Welcome to our ultimate guide for Conan Exiles’ EEWA mod! If you’ve reached level 60 and are wondering what to do next, this guide has got you covered. We’ll cover everything from weapons and magic to auras, quests, gems, and ascension. Plus, we’ve included maps of all areas to help you navigate the game. EEWA, created by Hosav, adds exciting new features to the endgame, so let’s dive in and discover its full potential!
🌎🌏🌍
🔽 INTRODUCTION 🔽
The guide is divided into five parts:
- Introduction
How to use the Altar of Hanuman, the Chaosmouth Altar and the Conjuration Pillar. New dungeons that will help you advance from level 60, new NPCs, items and keys. - EEWA Menu
Each menu tab explained here, its operation and details. - Equipment and powers
The new blacksmith benches, how to unlock EEWA weapons, armor, magic, auras and how to enchant legendaries. - Other mechanics
The Bounties, Events, Outpost, Challenges, Ranking and Courage System… - EEWA Mod
A list of the official guides, basic mod information, tips and my other Conan Exiles guides.
There’s quite a bit of EEWA content that doesn’t require high level:
🔹 Try to find the Waypoints so that you have them unlocked and can move more easily (more info in the “Waypoints” section of the guide).
🔹 Do the first quests for the NPC Arcos the Wanderer, who’s under one of The Sentinels statues. He’ll give you materials and equipment in exchange for easy materials. Also do the quests of Nunu the Cannibal and Braga the Cimmerian (more info in the “✏️ Quests” sections).
🔹 Advance in the Ranking System, since it normally only requires that you kill NPCs, some Elites, stun them… (more info in “Ranking System”).
🔹 Increase your Courage stacks to deal more damage and thus defeat stronger enemies (more info in “Courage”).
🔹 Explore the base game’s caves and dungeons.
Gather as all artefacts as you can, as they’ll be useful when you start with the EEWA content. There are six artefacts: the Heart of the Sands, the Star of the Champion, the Diadem of the Giant-kings, the Mask of the Witch Queen, the Tears of Two Races and the Shining Trapezohedron.
The Heart of the Sands (or Scourgestone) is divided into three fragments, distributed between Gallaman’s Tomb (desert), the Captain’s Quarters (east of the jungle) and The Passage (northwest of the jungle). To join them you must go to the Sandswept Ruins. There talk to the NPC Petruso the Sandstorm Maniac.
The Star of the Champion will be dropped by the Undead Dragon in The Arena.
The Diadem of the Giant-kings will be dropped by The King Beneath in The Barrow King’s cave, near the Mounds of the Dead, in the Highlands. You’ll need to carry a Demon Blood in your Inventory to enter.
The Mask of the Witch Queen will be dropped by The Witch Queen of the Palace of the Witch Queen, in the center of the Forgotten City of Xel-ha, in the jungle.
The Tears of Two Races will be dropped by the warrior The Kinscourge, in the Black Keep, in the snowy mountains of the north.
The Shining Trapezohedron will be dropped by the serpentmen of Valusia The Degenerate at The Well of Skelos, in the center of the volcano.
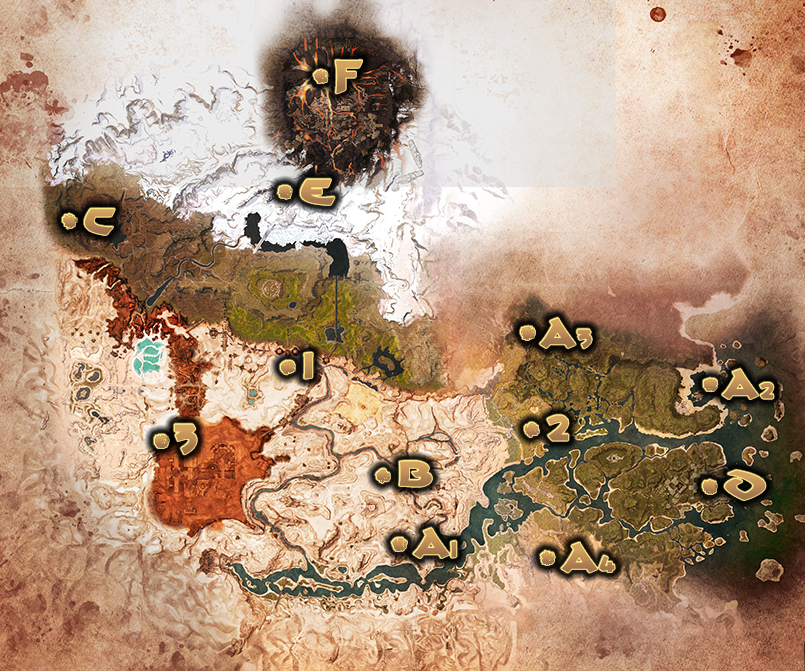 Map legend:
Artefacts
A1. A2. A3. Heart of the Sands Pieces. A4. Union of the Pieces.
B. Star of the Champion.
C. Diadem of the Giant-kings.
D. Mask of the Witch Queen.
E. Tears of Two Races.
F. Shining Trapezohedron.
Altars
1. Chaosmouth Altar.
2. Altar of Hanuman.
3. Conjuration Pillar.
When you reach level 60, you can get the new EEWA weapon sets and complete some quests that will give you a lot of experience. To achieve this, this would be the process to follow:
(See the locations of these places on the map above)
0. Get the necessary materials
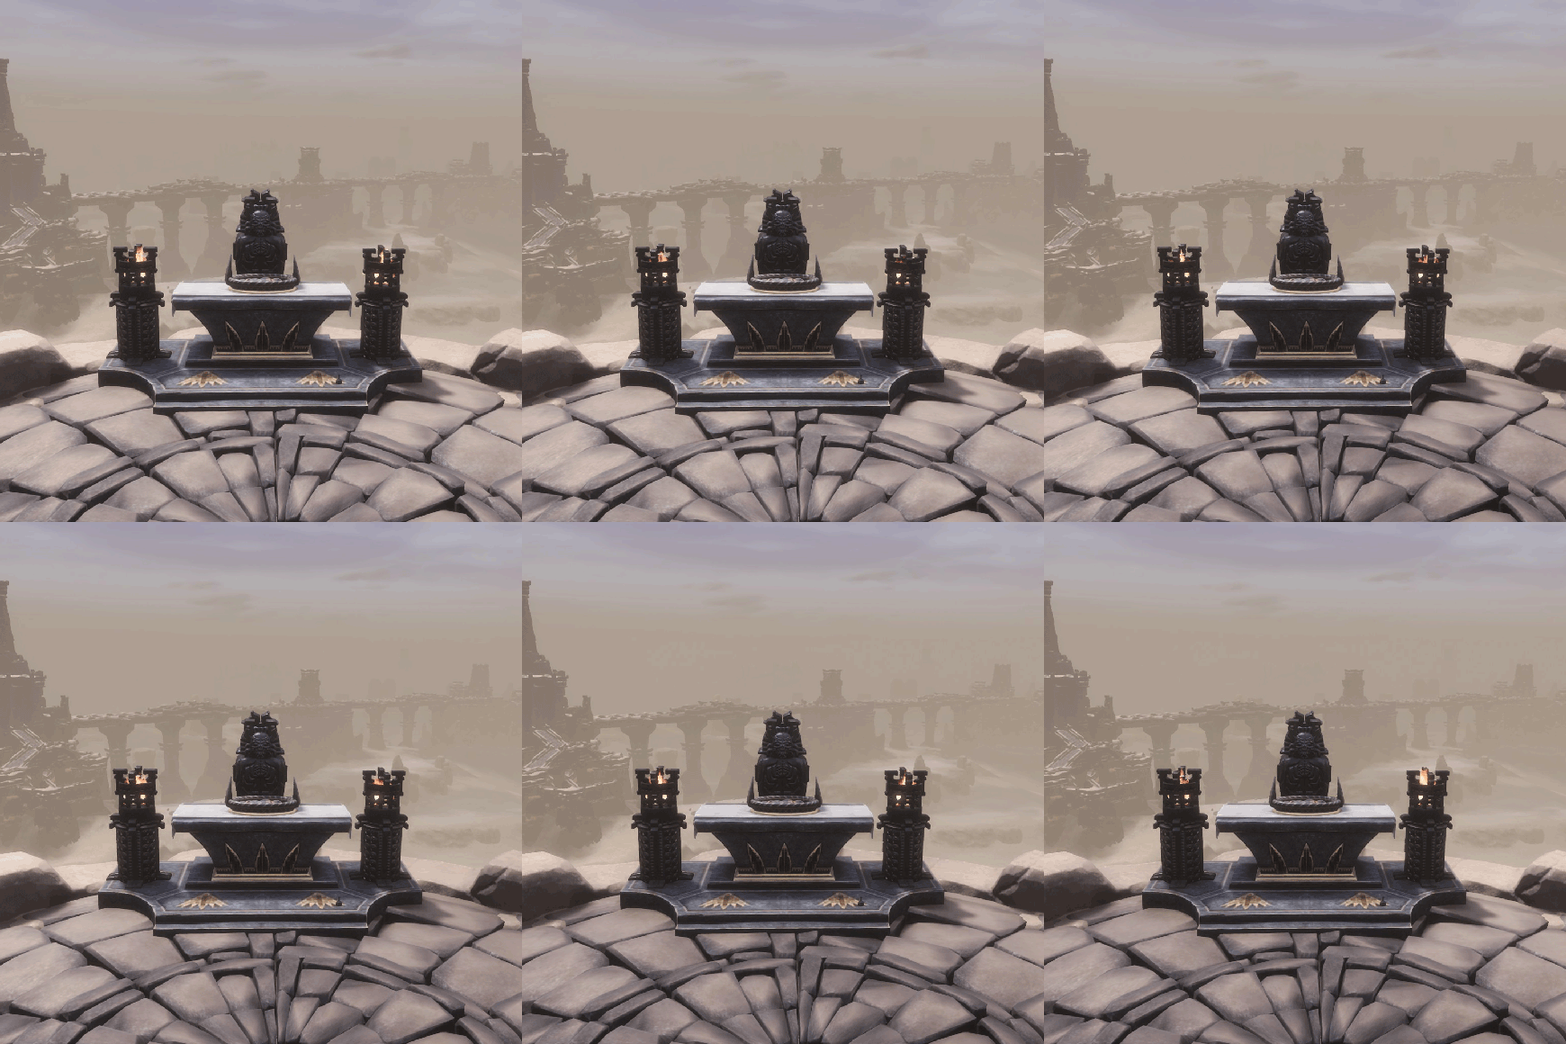 You’ll need to obtain the six Artifacts or three Corrupted Keystone Shards. To get these shards, check the “🟣 Corrupt Portals” guide section below.
1. Chaosmouth Altar
Go to the Chaosmouth, it’s south of New Asagarth (climbing the Acheronian wall). The Chaosmouth Altar is part of the Acheronian ruins of the wall. Insert either the six Artifacts or the three Corrupted Keystone Shards into it. A Keystone will immediately be created. DO NOT CONSUME IT, because the game will end.
2. Altar of Hanuman
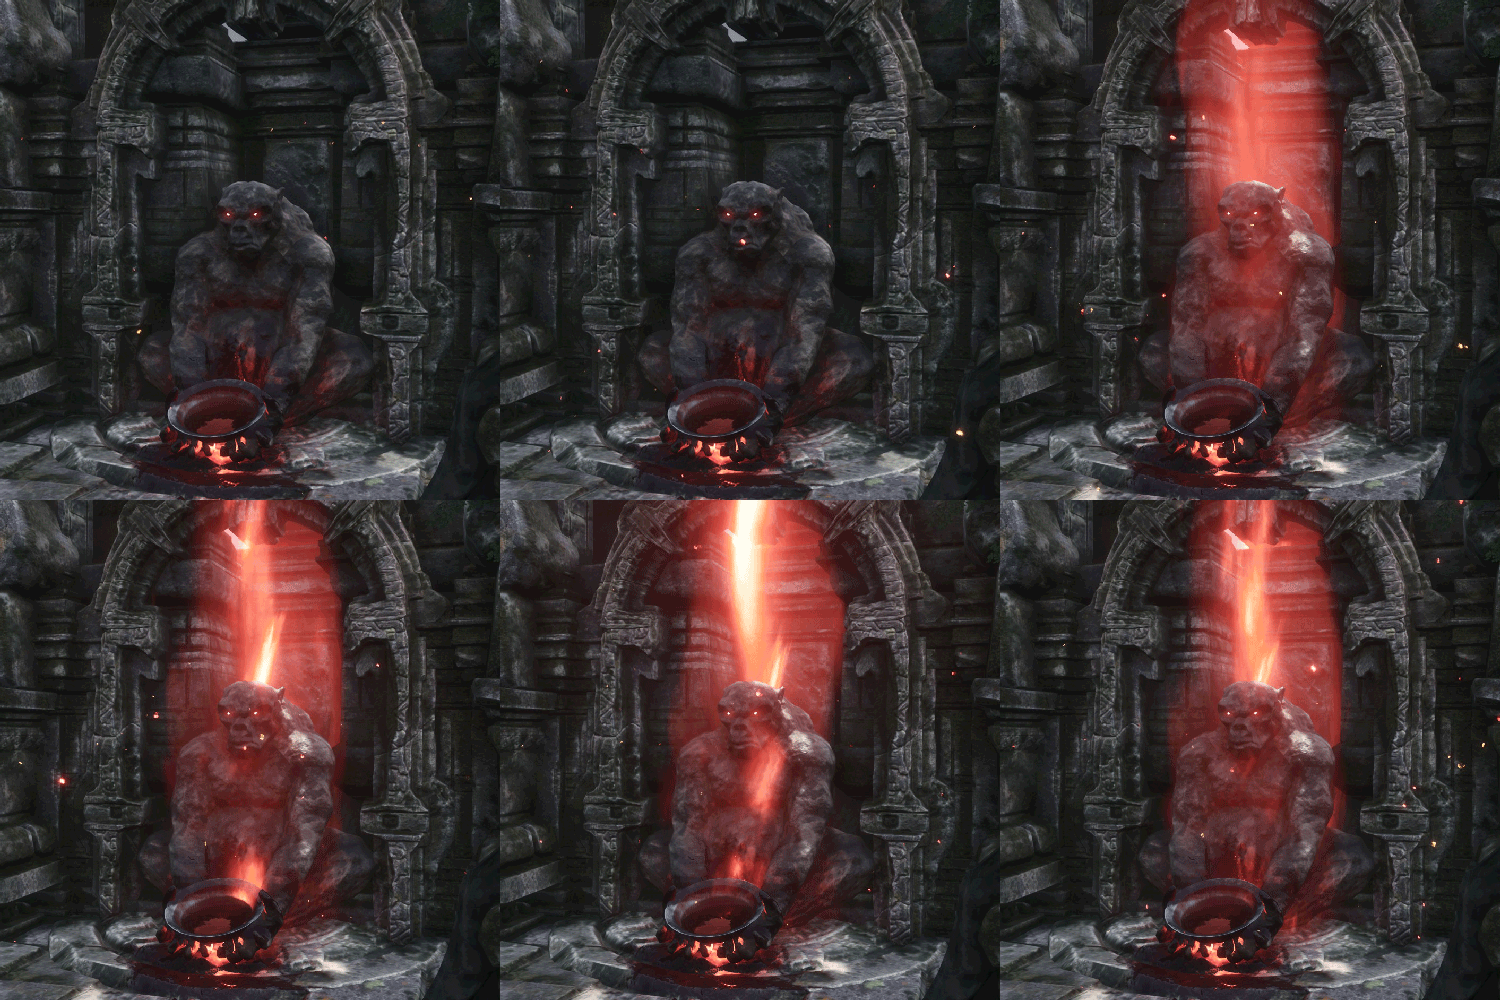 Go to this altar, which is south of The Passage. You won’t be able to access it without having the Eyes of Hanuman in your Inventory (you will get them from the Hanuman Devotees around it and from the Gray Apes in the jungle). Furthermore, it needs “fuel” to function; its fuel is Blood Sacrifice. To obtain it you must knock out some NPCs and take them with your restraints to the statue. While still holding them, interact with the altar and they’ll turn into Blood Sacrifice.
Once you’ve the Eyes of Hanuman and the Blood Sacrifice, you must enter the Keystone, one of the Artefacts that I’m going to indicate to you and you must also activate the altar (hit the button play in the altar interface):
If you introduce the Tear of Two Races, you’ll create the Corrupted Kingscourge Soul.
If you introduce the Mask of the Witch Queen, you’ll create the Corrupted Witch Queen Soul.
If you introduce the Diadem of the Giant-kings, you’ll create the Corrupted Priestking Soul.
Finally, if you introduce the three souls above (without The Keystone), you’ll create the United Soul.
Approximately three Bloods Sacrifice will be consumed for each soul created.
3. Conjuration Pillar
With one of the corrupted souls, go to the Conjuration Room. It’s beneath The Unnamed City and is entered through a grotto in the northwest part of the city. To enter, you’ll need to carry an Acheronian Sigil Key in your Inventory, which falls into the loot of magical monsters (Bounties) and EEWA dungeon monsters.
Enter the room and you will see the Conjuration Pillar in the center.
Depending on the soul you put into it, you’ll summon a different enemy that will unlock certain weapons:
(eat his Heart of Oblivion)
(for the Bloodbreaker Armor)
To find out how the rest of the weapons are unlocked, go to the “🗡 Weapon Set” and “🗡 Weapons” sections of the guide.
To purchase the Corrupted Champion Soul and the Corrupted Grey Elder Soul, check the “⭕️ NPCs I (traders only)” section for the Petrified Tree.
📍 Dungeons and areas I
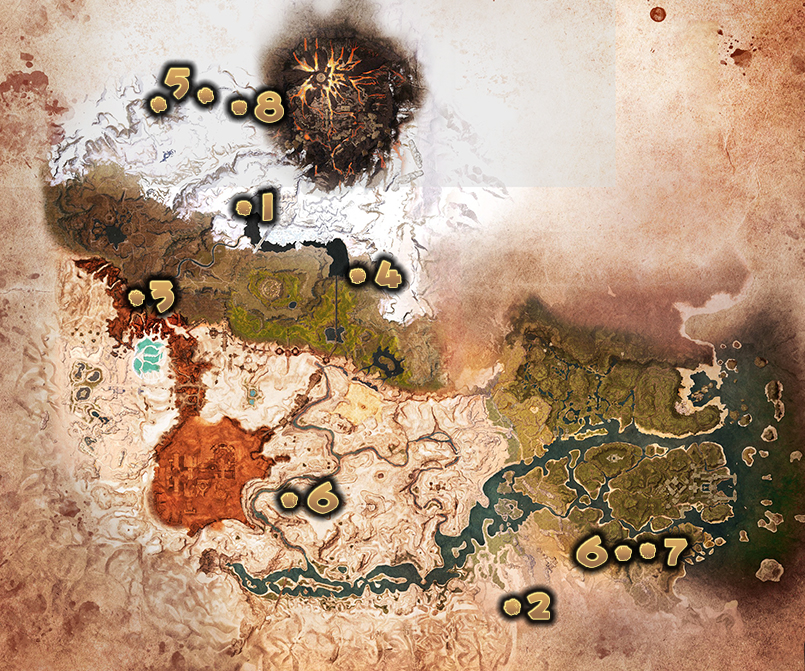 Map legend:
1. Perilous Valley.
2. Ancient Stygian Ruins.
3. Ancient Cave.
4. Meruvian Camp.
5. Small council camps.
6. Overtaken Tower of Bats (the two entrances).
7. The Wraithwoods.
8. Council of wolves.
Recommended minimum level 60
Located in the snowy mountains, southwest of the Black Keep, north of the lake.
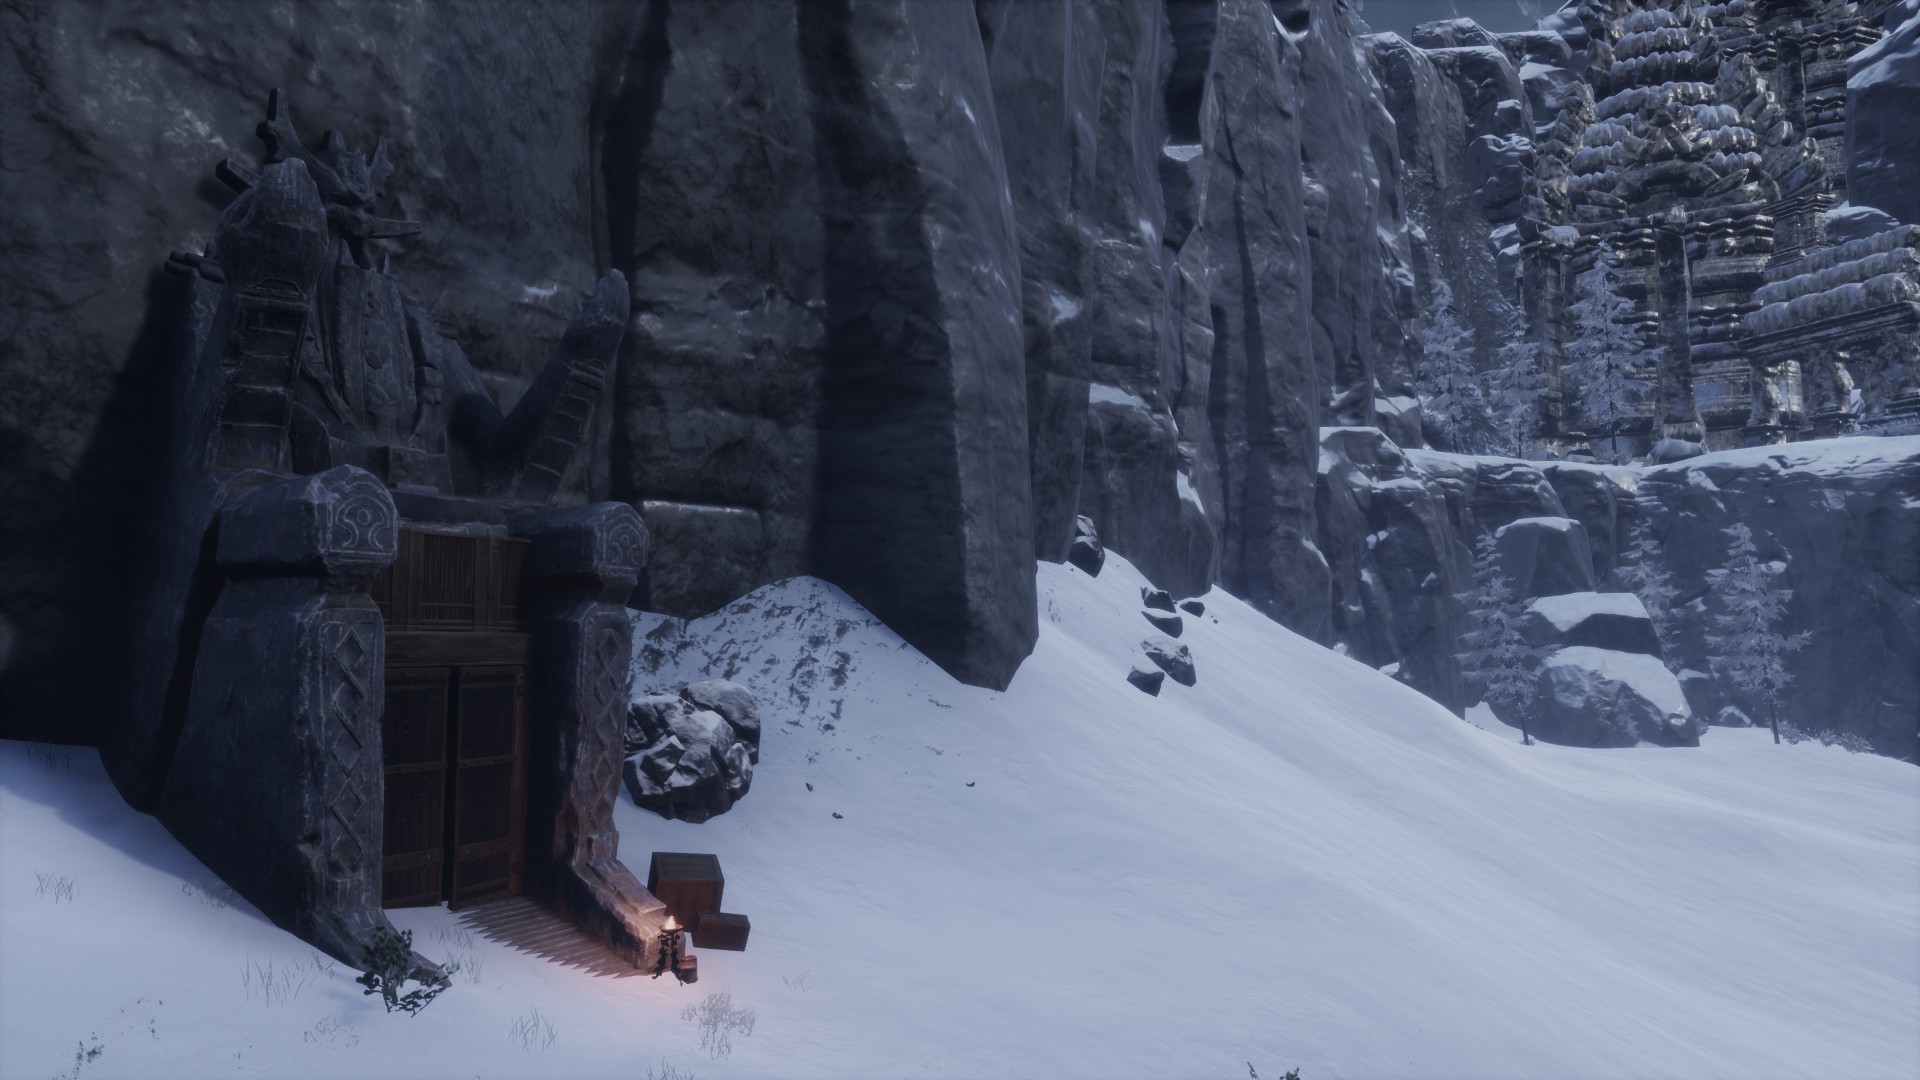
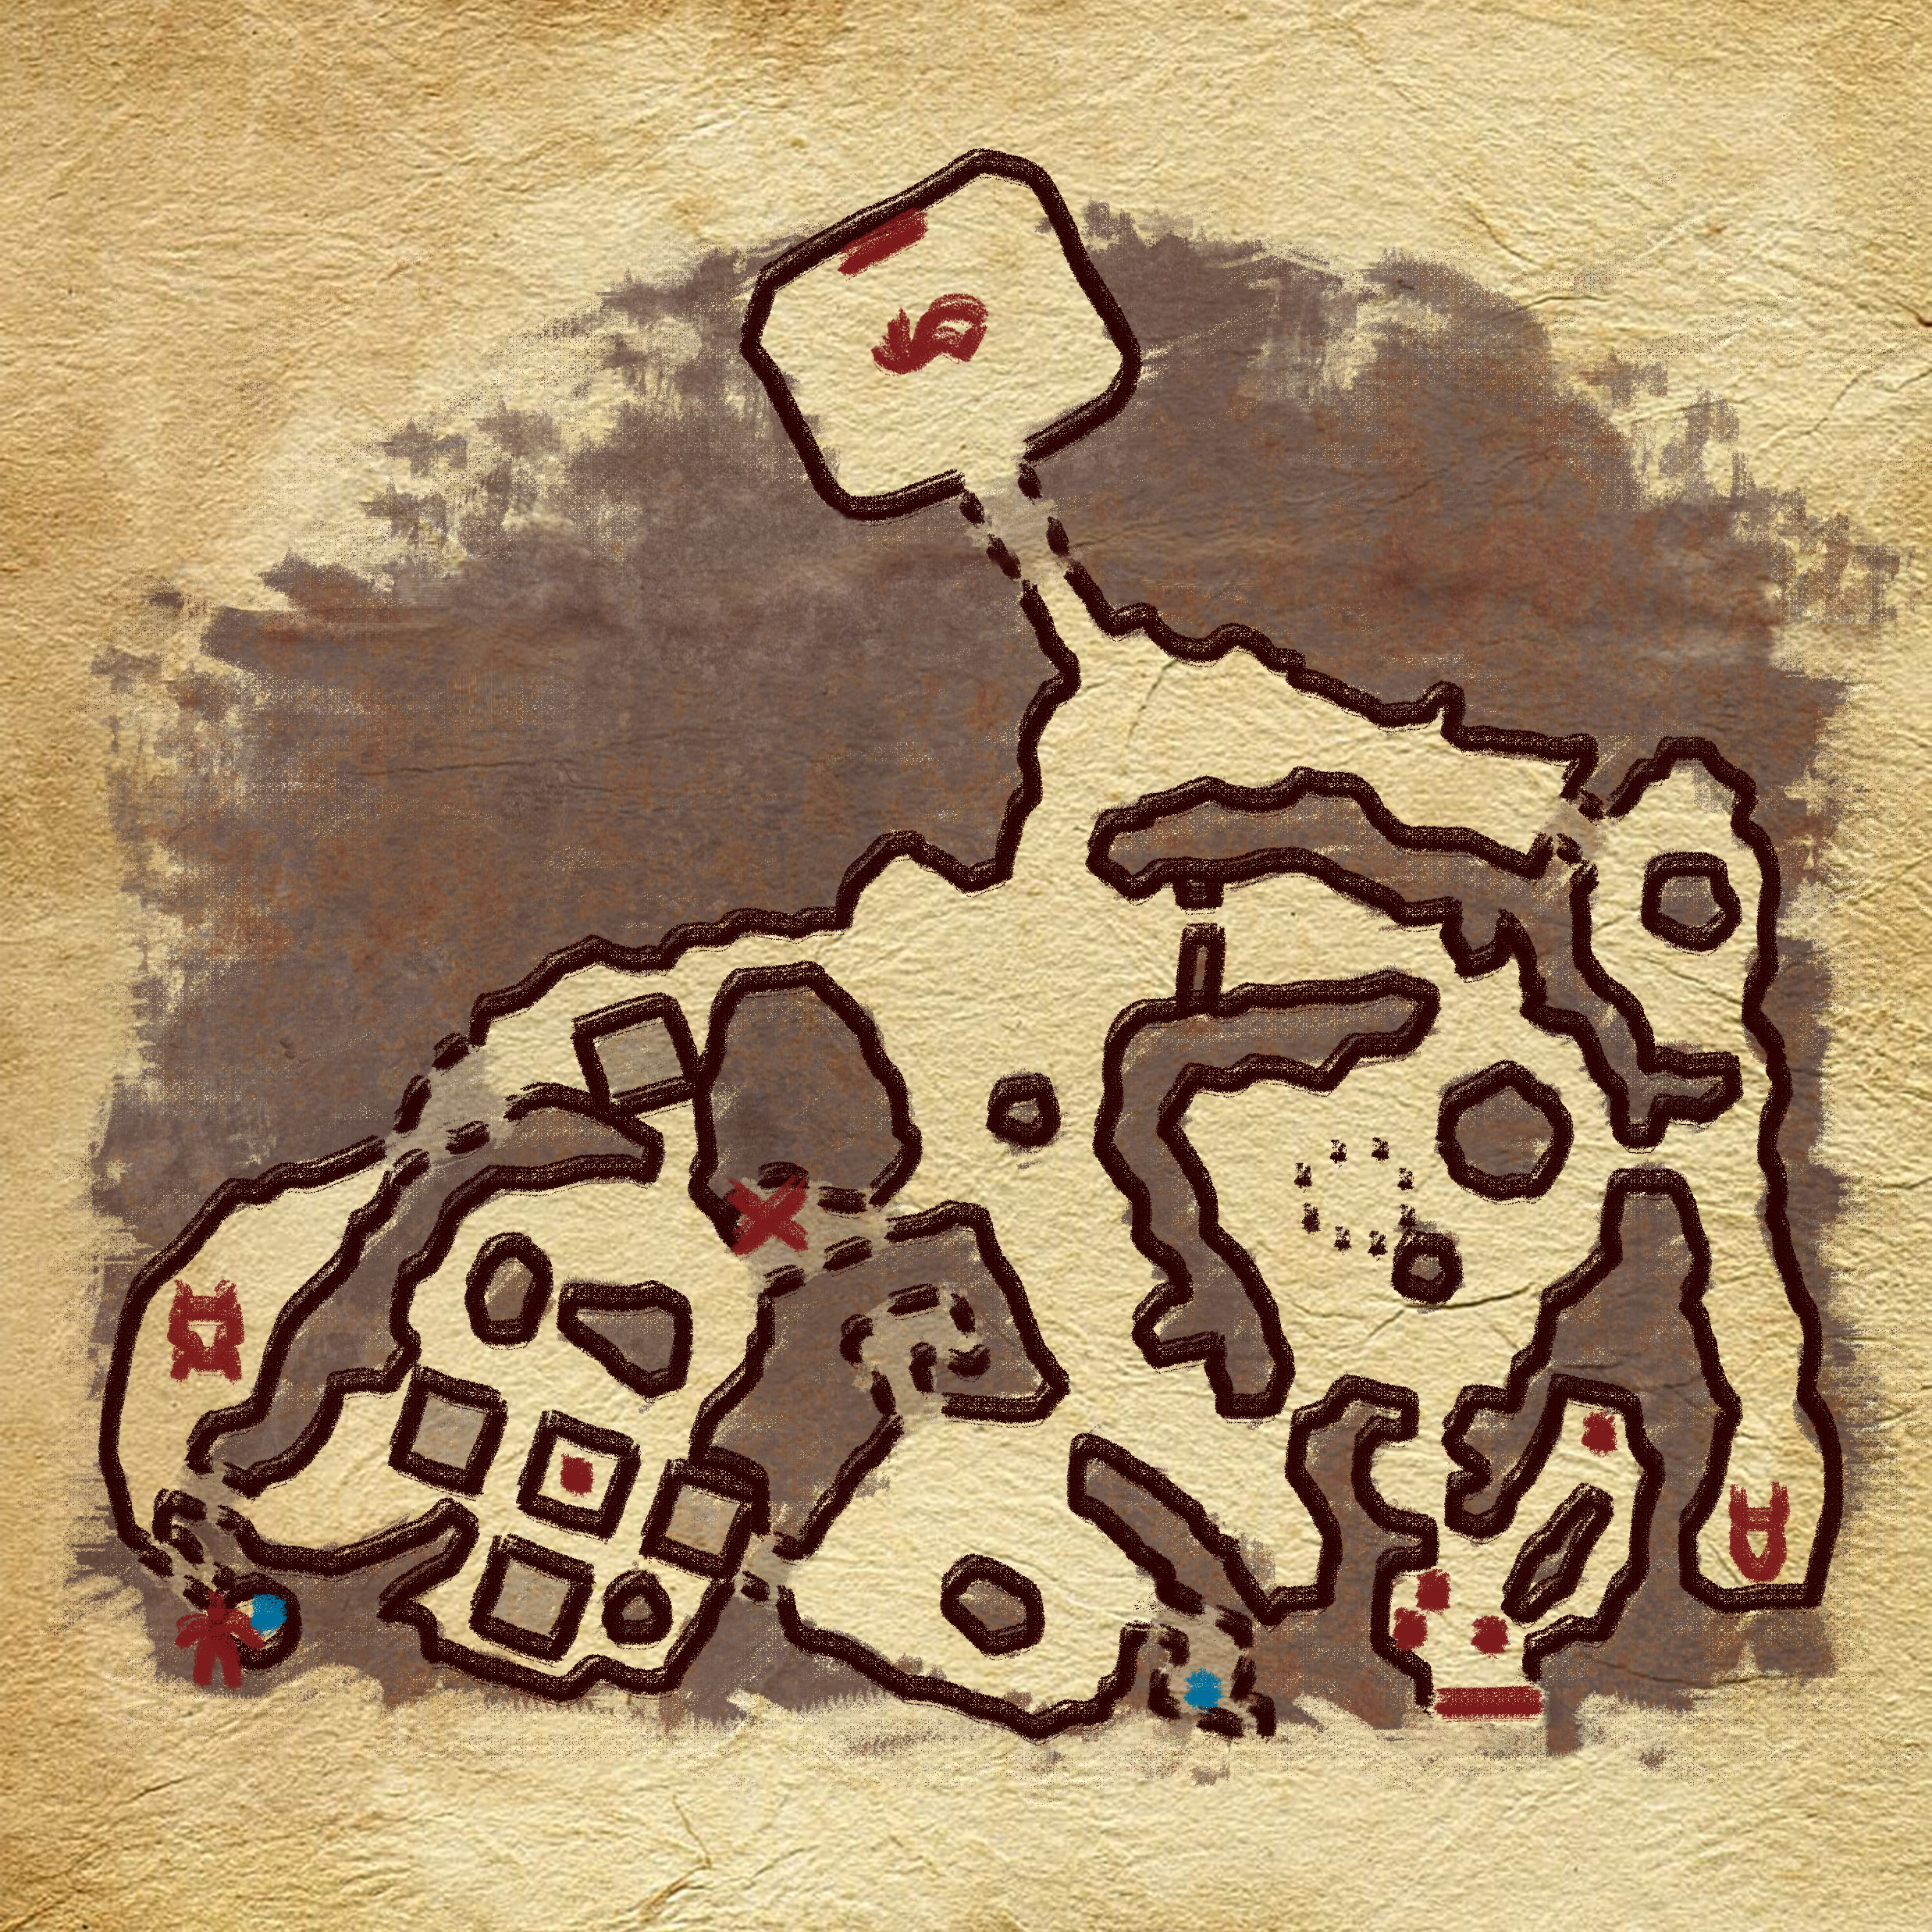 The most important NPCs are in the Perilous Valley, since if you complete their quests they’ll reward you with feats and EEWA recipes. Two of them are on your left as soon as you enter: Elrond the blacksmith and Egor the hunter. The Scrim Collector will be attached to the vault on Saturdays and Sundays. If upon entering the Perilous Valley you move to your right you’ll end up seeing Bastille, the translator. Finally there is Hosav, Shadow Legion Commander, among some Lemurian buildings. But to get to him you’ll have to go through part of this dungeon, so you may not be prepared from the beginning. The five NPCs are marked on this map with a 🔴 and all of them will give you quests and trade with you (more info in the “✏️ Quests” sections of the guide).
There are two chests marked with a 🔵 that can only be opened with a Master Skeleton key.
In the crystal cave before Hosav, there is a tablet that will teach you the Crystalbreaker Armor feat, i’s marked with an ❌ on the map.
In this dungeon you can find the following important enemies:
To the north of this map is the Daughter of the Devourer arena, behind a magical barrier. After killing her, extract the Slithering Tentacle from hers corpse, which is a Greater Bounty. Additionally, consuming it’ll unlock the Bloody Sanction weapon for the Legenday Assembly. To leave this arena you must go through the portal, which will return you to the entrance of the Valley.
Near the Shadow Legion Commander is the Un-Ild boar and a Black Yeti, both of which will give you Lesser Bounties (Molten Shards and Black Yeti Head, respectively).
Near the entrance is a Decayed Dragon along with a pair of Silent Advocants (humans).
Additionally, scattered throughout the dungeon are boars, humans, decayed and rock formations (they’ll likely spawn with a tablet on their back, and killing them will give you many Fragments of Power).
To leave Perilous Valley you must return through the entrance.
Recommended minimum level 100
Located in the desert, between the Sandswept Ruins and The Broken Highway further east in the desert.
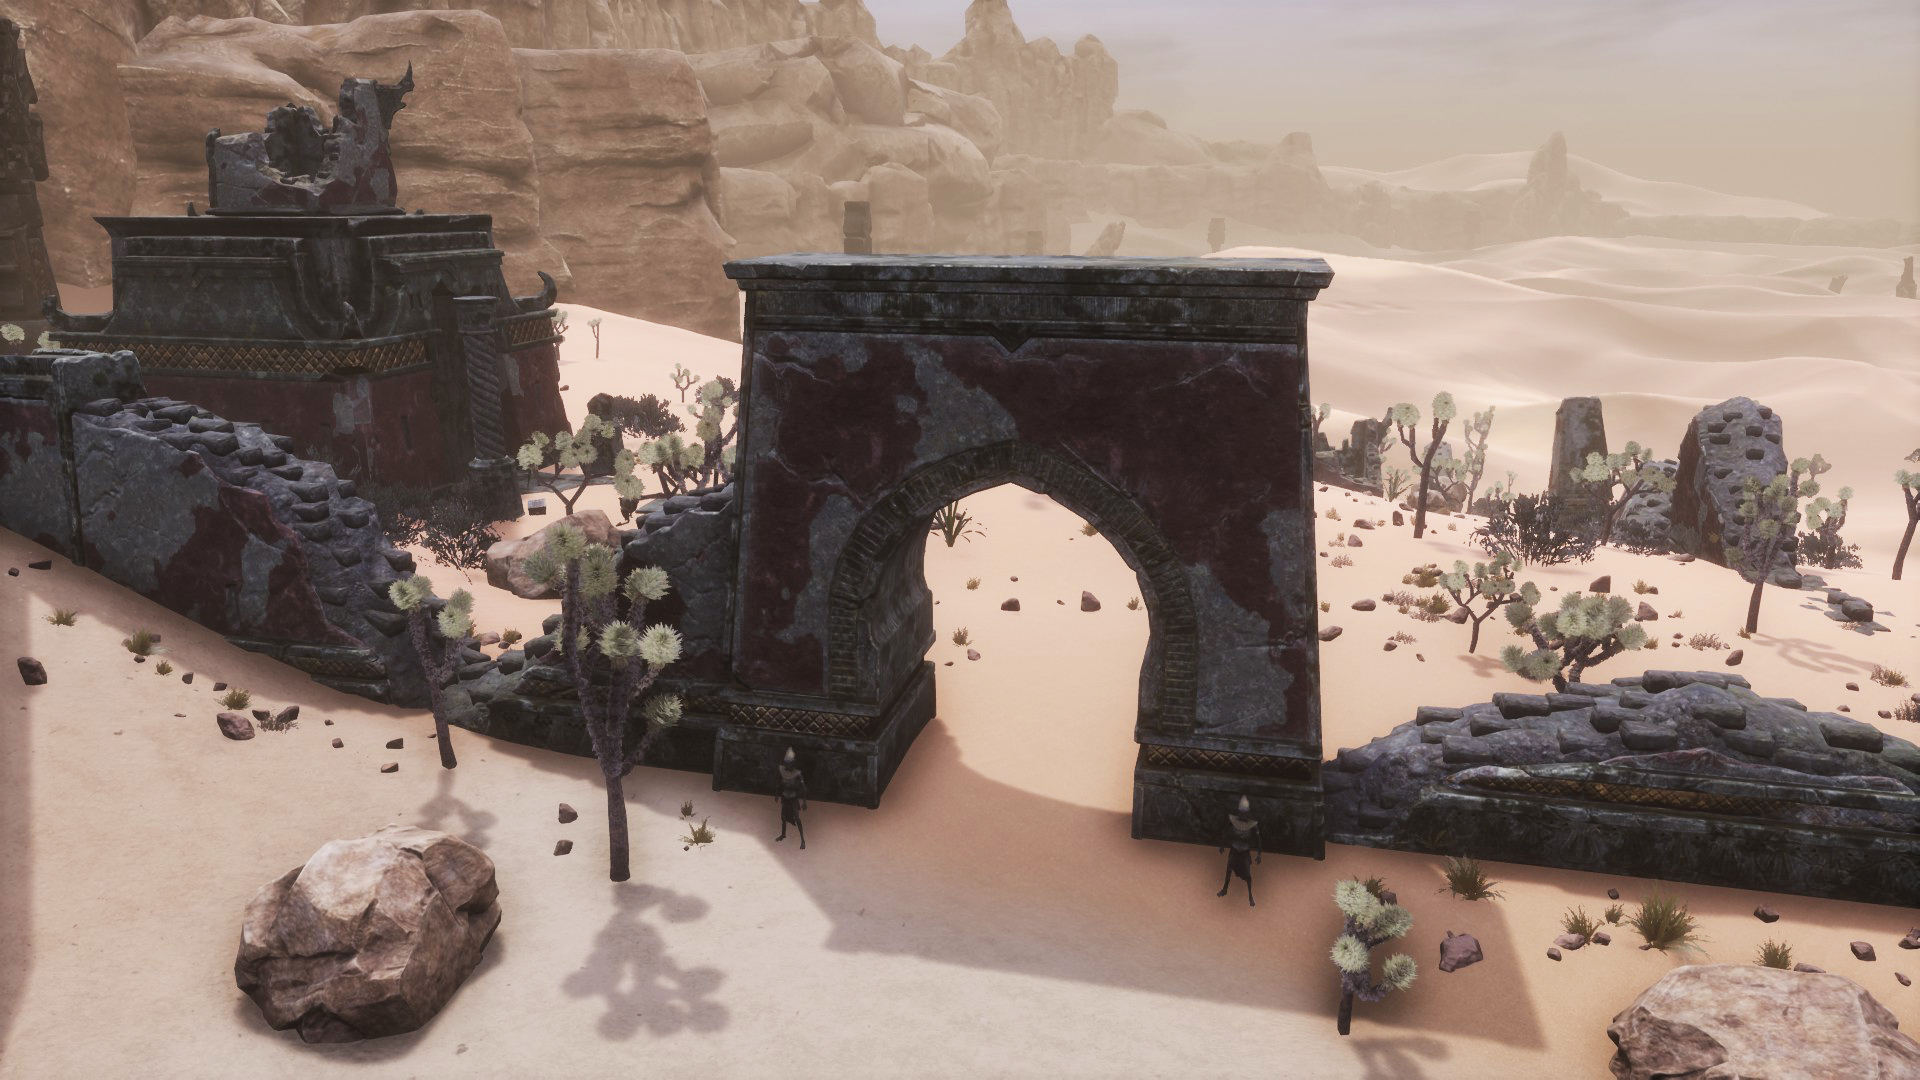
This area doesn’t have a loading screen. In it you’ll find several Stygian Remnant elites and the boss Feh’un K’hrom. The Stygian Remnants will be able to drop the item “Guard’s ???”, you must take it to Bastille, the translator, and during his quest chain he’ll translate it for you. Until he translates it to you, you won’t be able to kill the boss because “A curse prevents you from damaging Feh’un K’hrom”.
A little ways away from the enemies is a small stash chest between a bush and a collapsed golden dome.
Recommended minimum level 120
Located in the Mounds of the Dead, between the King’s Niche cave and the Riversend.
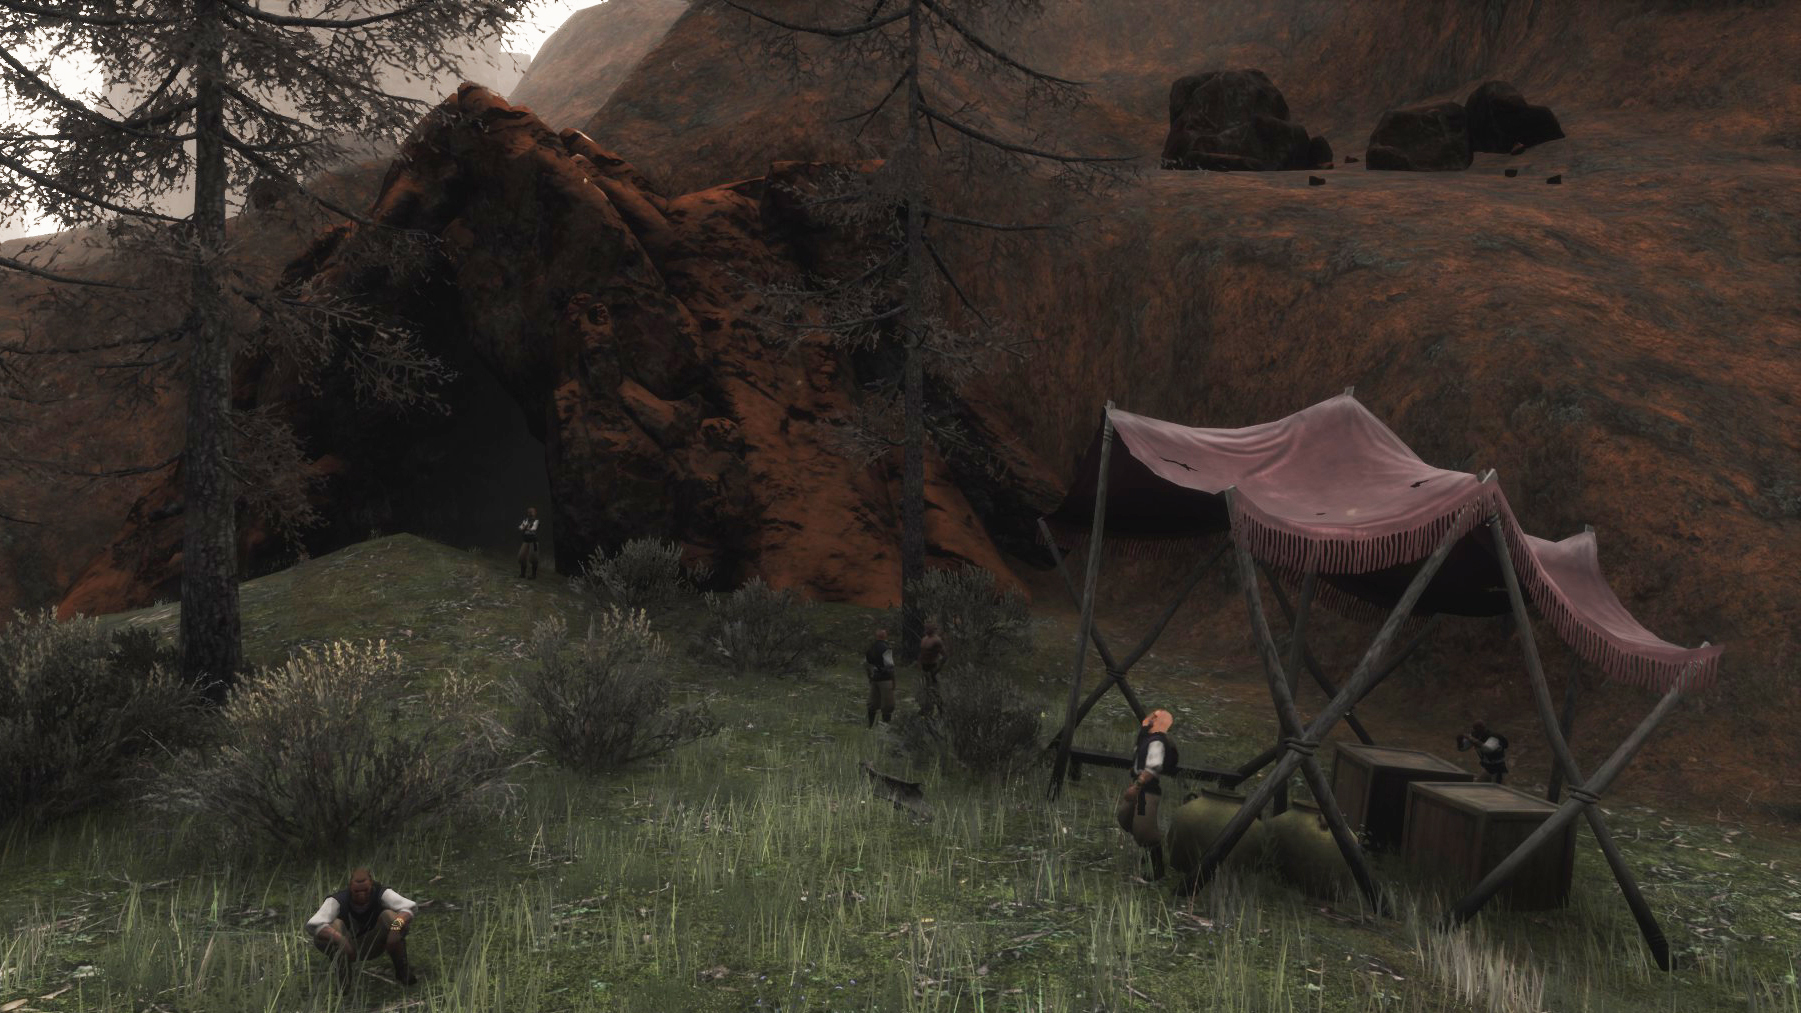
Outside there are some relic hunters guarding the entrance, among them the elite Door-mamu the Treasureseeker may appear.
When you enter the cave you’ve a Note of a Treasurehunter to your left that says:
“Demons are wandering this cave, we must be careful with how we proceed, especially with this cave being surrounded by foul magic. We must retrieve the artifact, some kind of horn, one demon here must possess it. This horn is said to give even the most simple Cimmerian the knowledge to conquer sorcery. I say we look for the biggest, baddest demon and bring it down so we can tear the horn of the beast’s corpse, surely that must be the right horn. Imagine the wealth we will accumilate!“
This already gives you the clue that you’re going to encounter many demons and that the bigboss will teach you the magic of EEWA.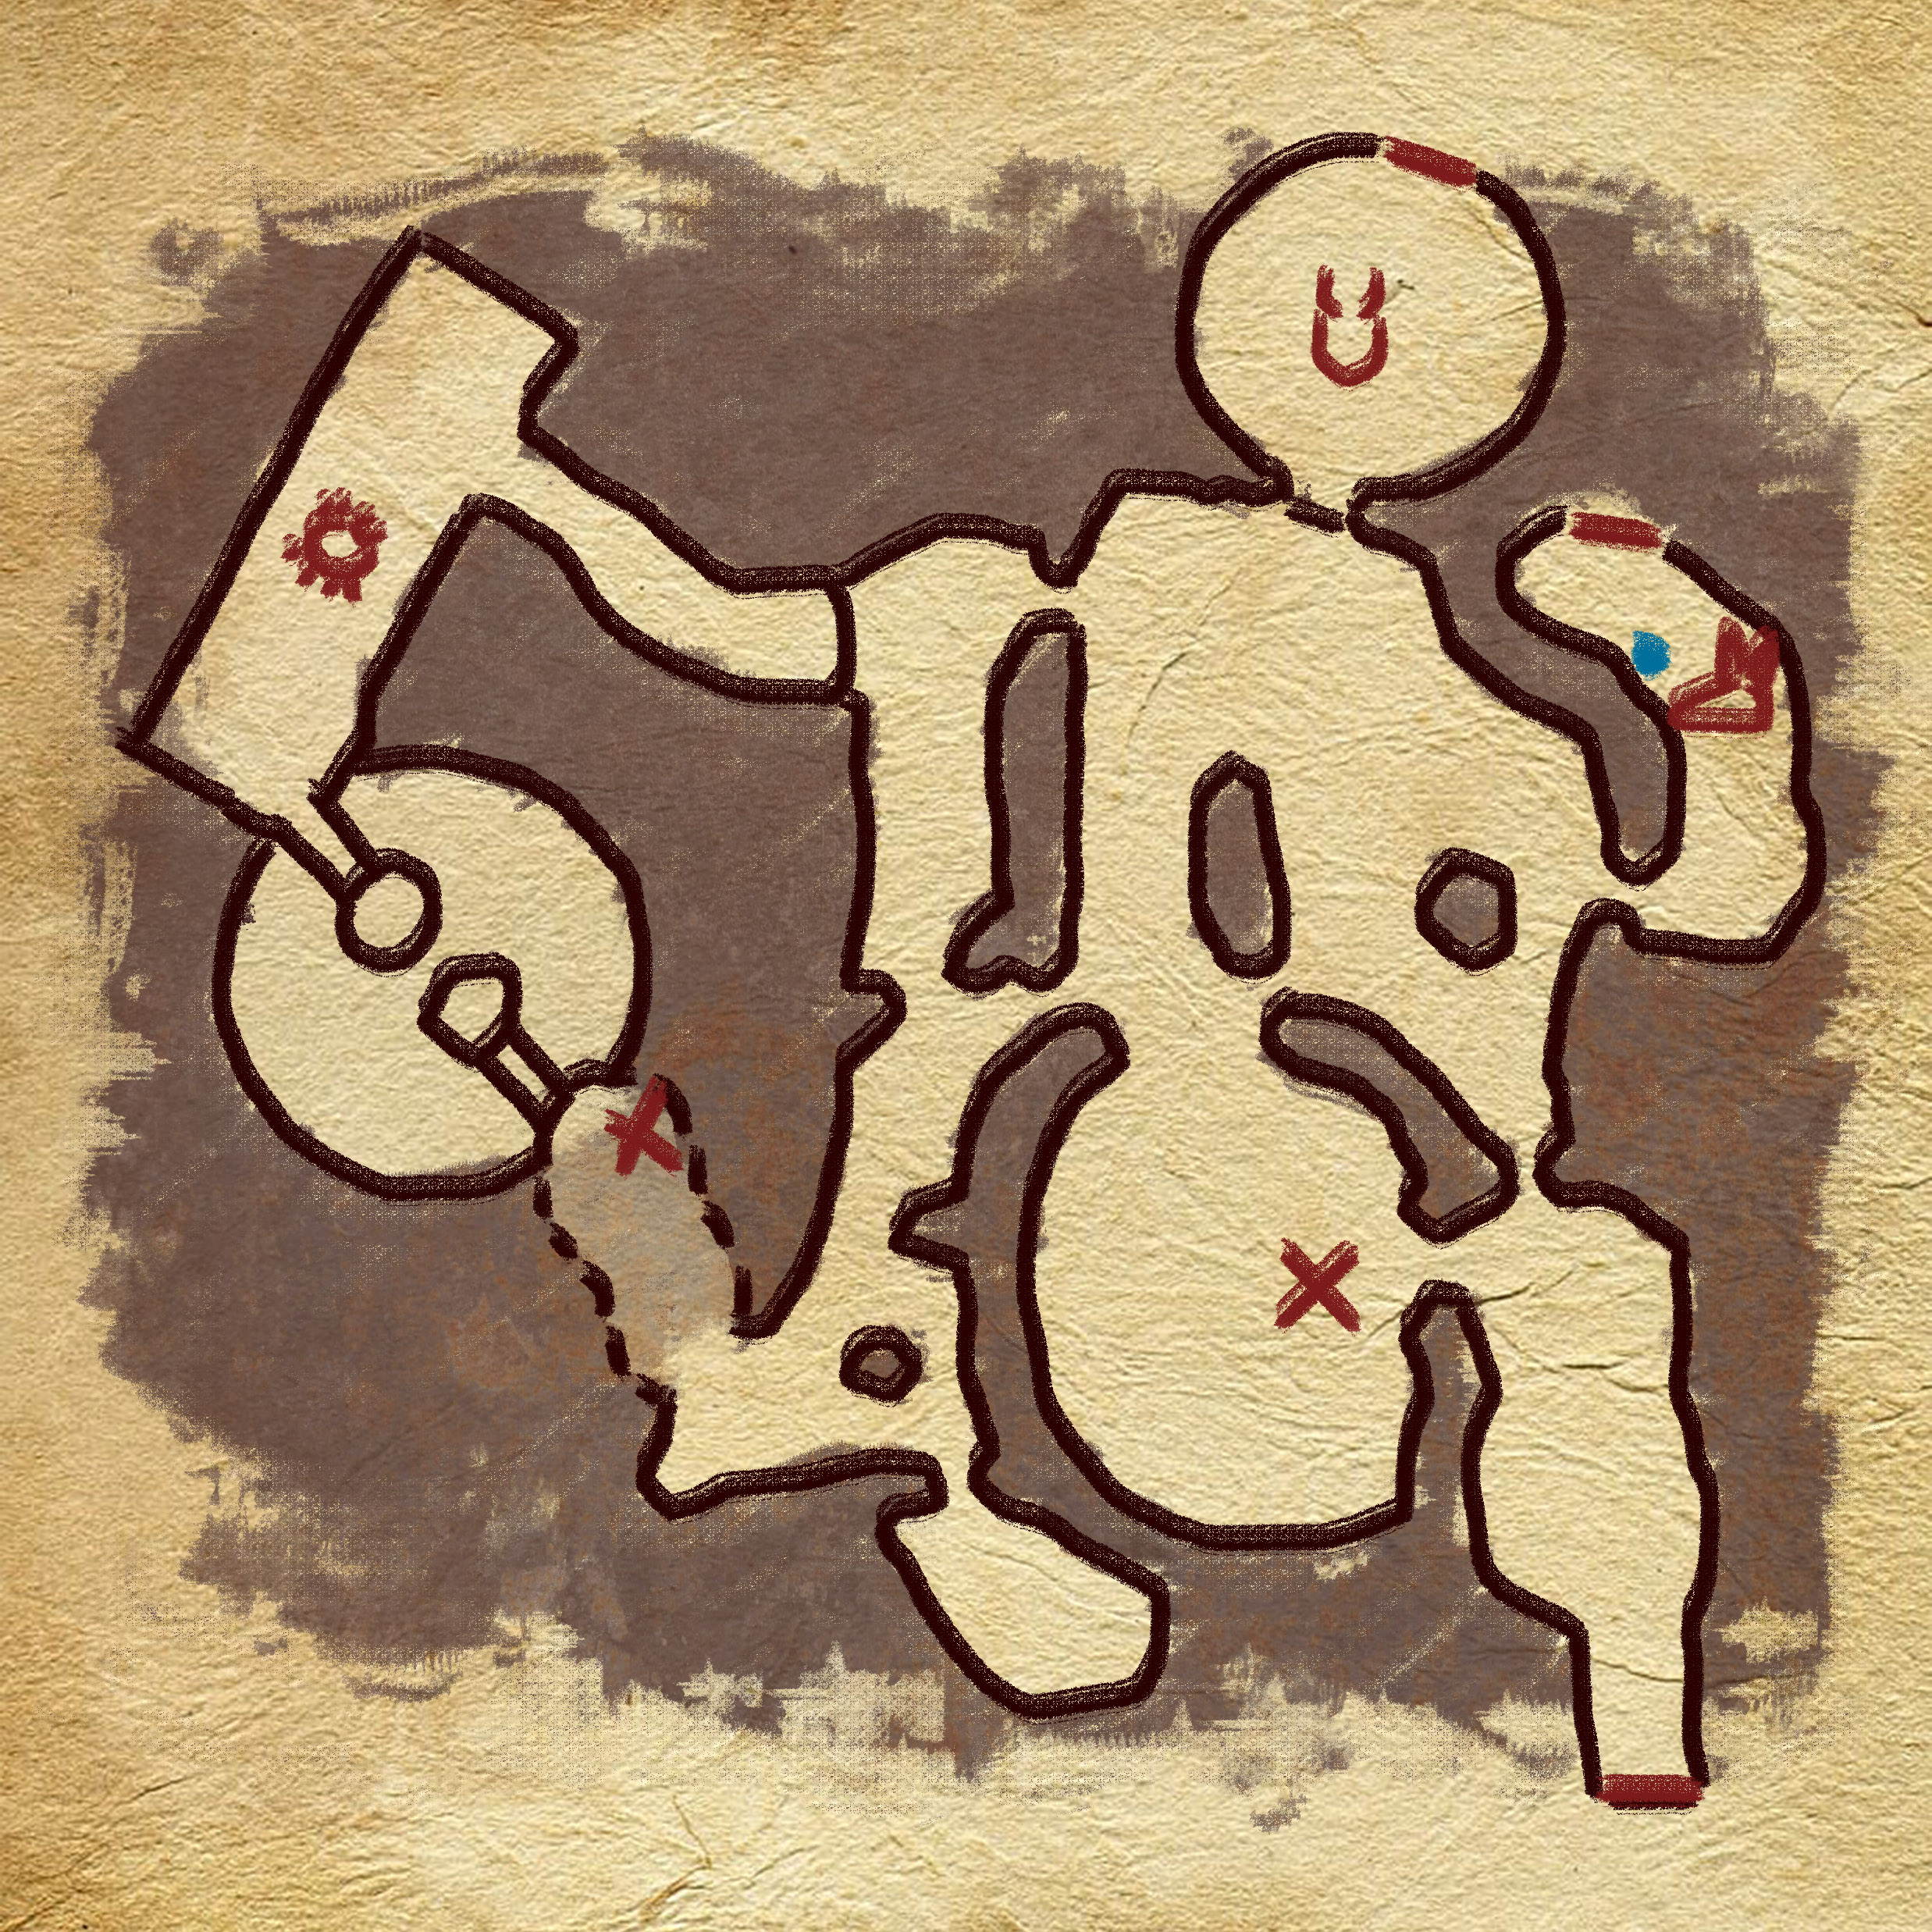
On this dungeon map I’ve marked the three exits with a red line (only one of them serves as an entrance). In the area of trees a little further ahead there will be a tablet (marked with a ❌) that you can read and unlock the Scourgesteel Arsenal with it.
There’s another tablet (the other ❌) in the crystal cave, which will teach you the Scourgebreaker Armor.
There’s a chest marked with a 🔵 that can only be opened with a Master Skeleton key.
In this dungeon you can find the following important enemies:
Before reaching the back exit there will be an Awakened Giant (killing it will give you a Bounty) buried under the sand, which will come out for you when you get close enough.
Going through the crystal cave and jumping from one platform to another you will find a magical barrier, behind which is the Molten Death (spider), which will drop a Lesser Bounty.
In another place in the dungeon you’ll see a closed Acheronian door, in order to go through it it will ask you to carry Scourge meat in your Inventory. You can extract it from the corpse of any of the demons around. As you go through the door there will be an arena with the magical demon, the Scourge Demon King. When you manage to kill him, extract the Demonic Horn of Secrets from his corpse, which is a Greater Bounty. In addition, you must consume it to unlock the use of EEWA magic, as well as mana, and to unlock the Meruvian, Varvarian and Oblivion weapons.
Additionally, throughout the cave you’ll find larvae, undead and scourge giants fighting some relic-hunting treasure hunters.
Among humans, the enslavable human Valiant Relic Hunter Blacksmith may appear (for the Valiant Blacksmith’s Bench).
To exit the Ancient Cave you’ve three ways: the entrance itself, the grotto near the entrance to the arena where you fight the Scourge Demon King and the grotto inside the arena. If you go through one of these two grottoes, you’ll come out west of the entrance to the Ancient Cave, in the desert area.
Recommended minimum level 200
Located in the Highlands, in an Acheronian building east of The Great Dam. You will see the entrance on its east face.
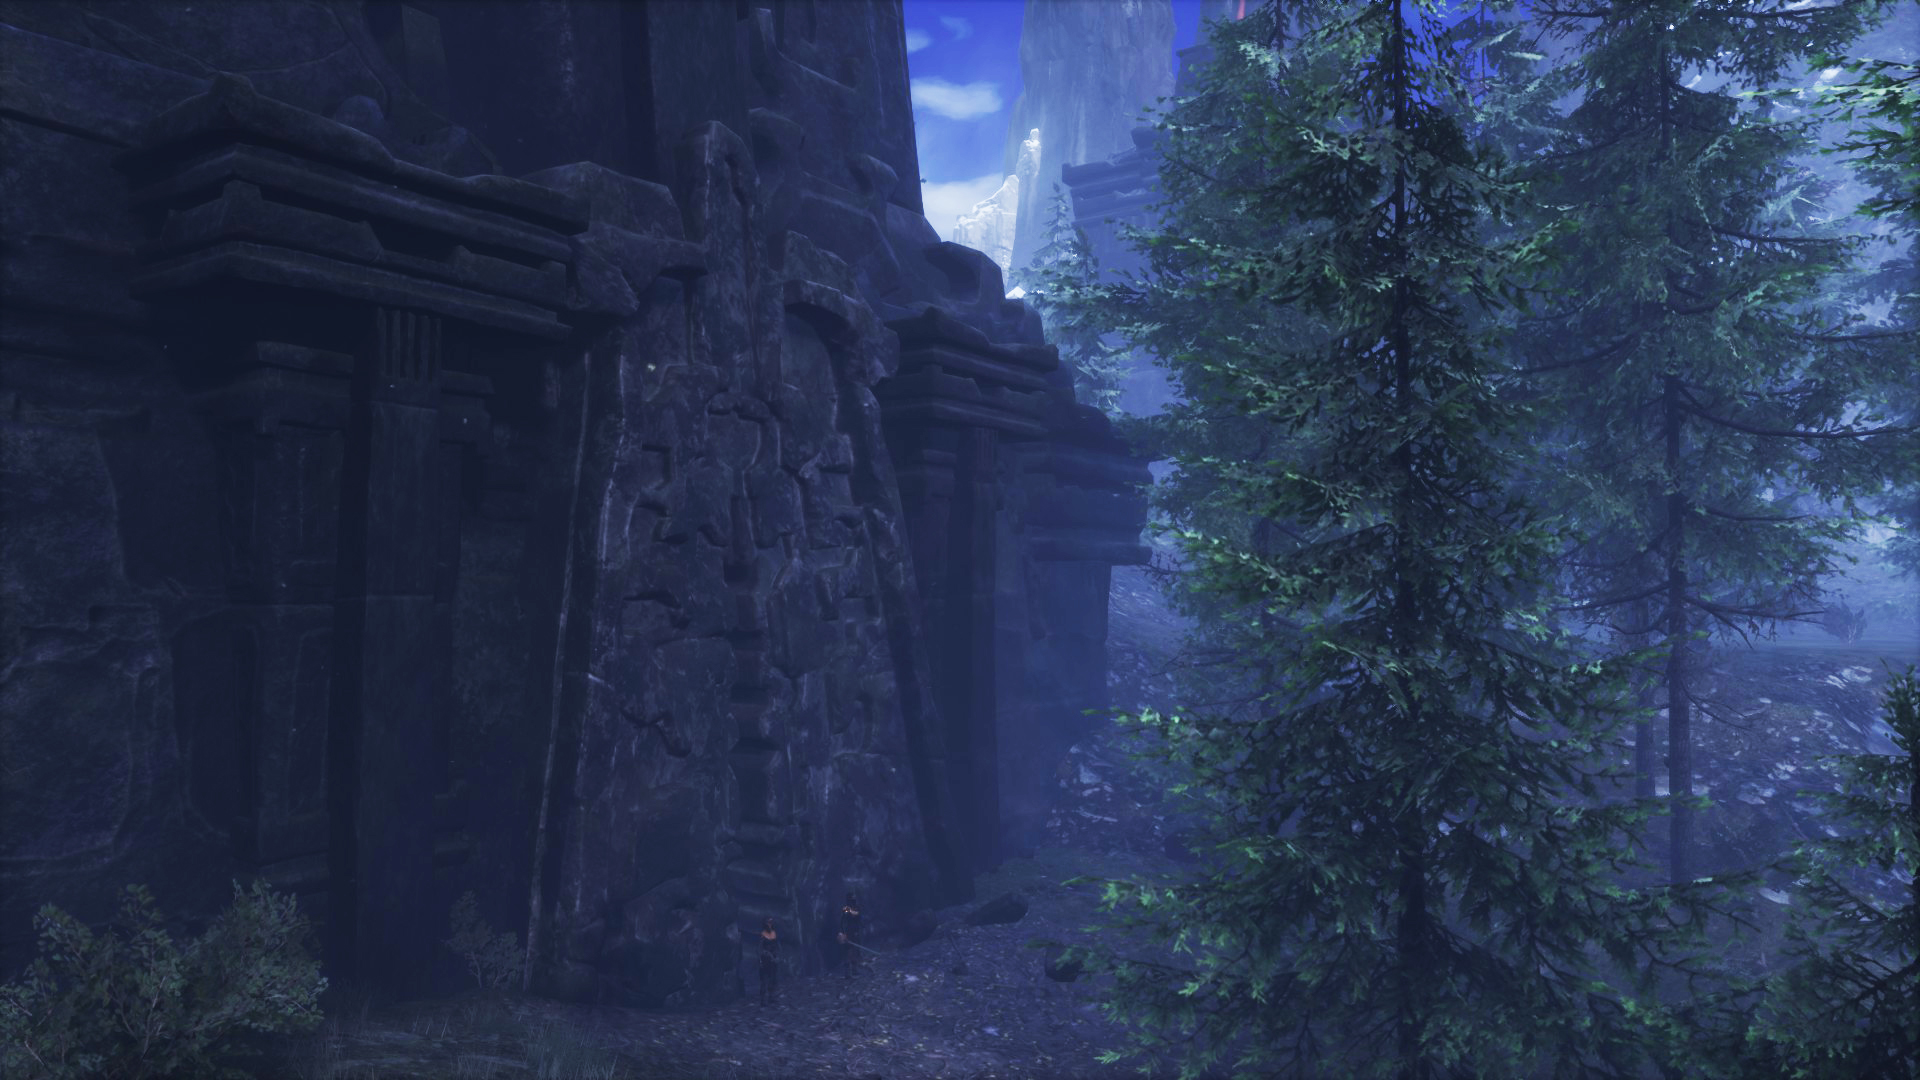
This area doesn’t have a loading screen. In addition to some Meruvian Sentinels (human), you’ll find an elite Afflicted Being (corrupted colossal shaleback) inside. Everyone will drop EEWA materials. Meruvian Sentry (fighter or archer) enslavable humans may appear.
📍 Dungeons and areas II
Recommended minimum level 200
Located in the snowy mountains, north of the Frostneedle Forest.
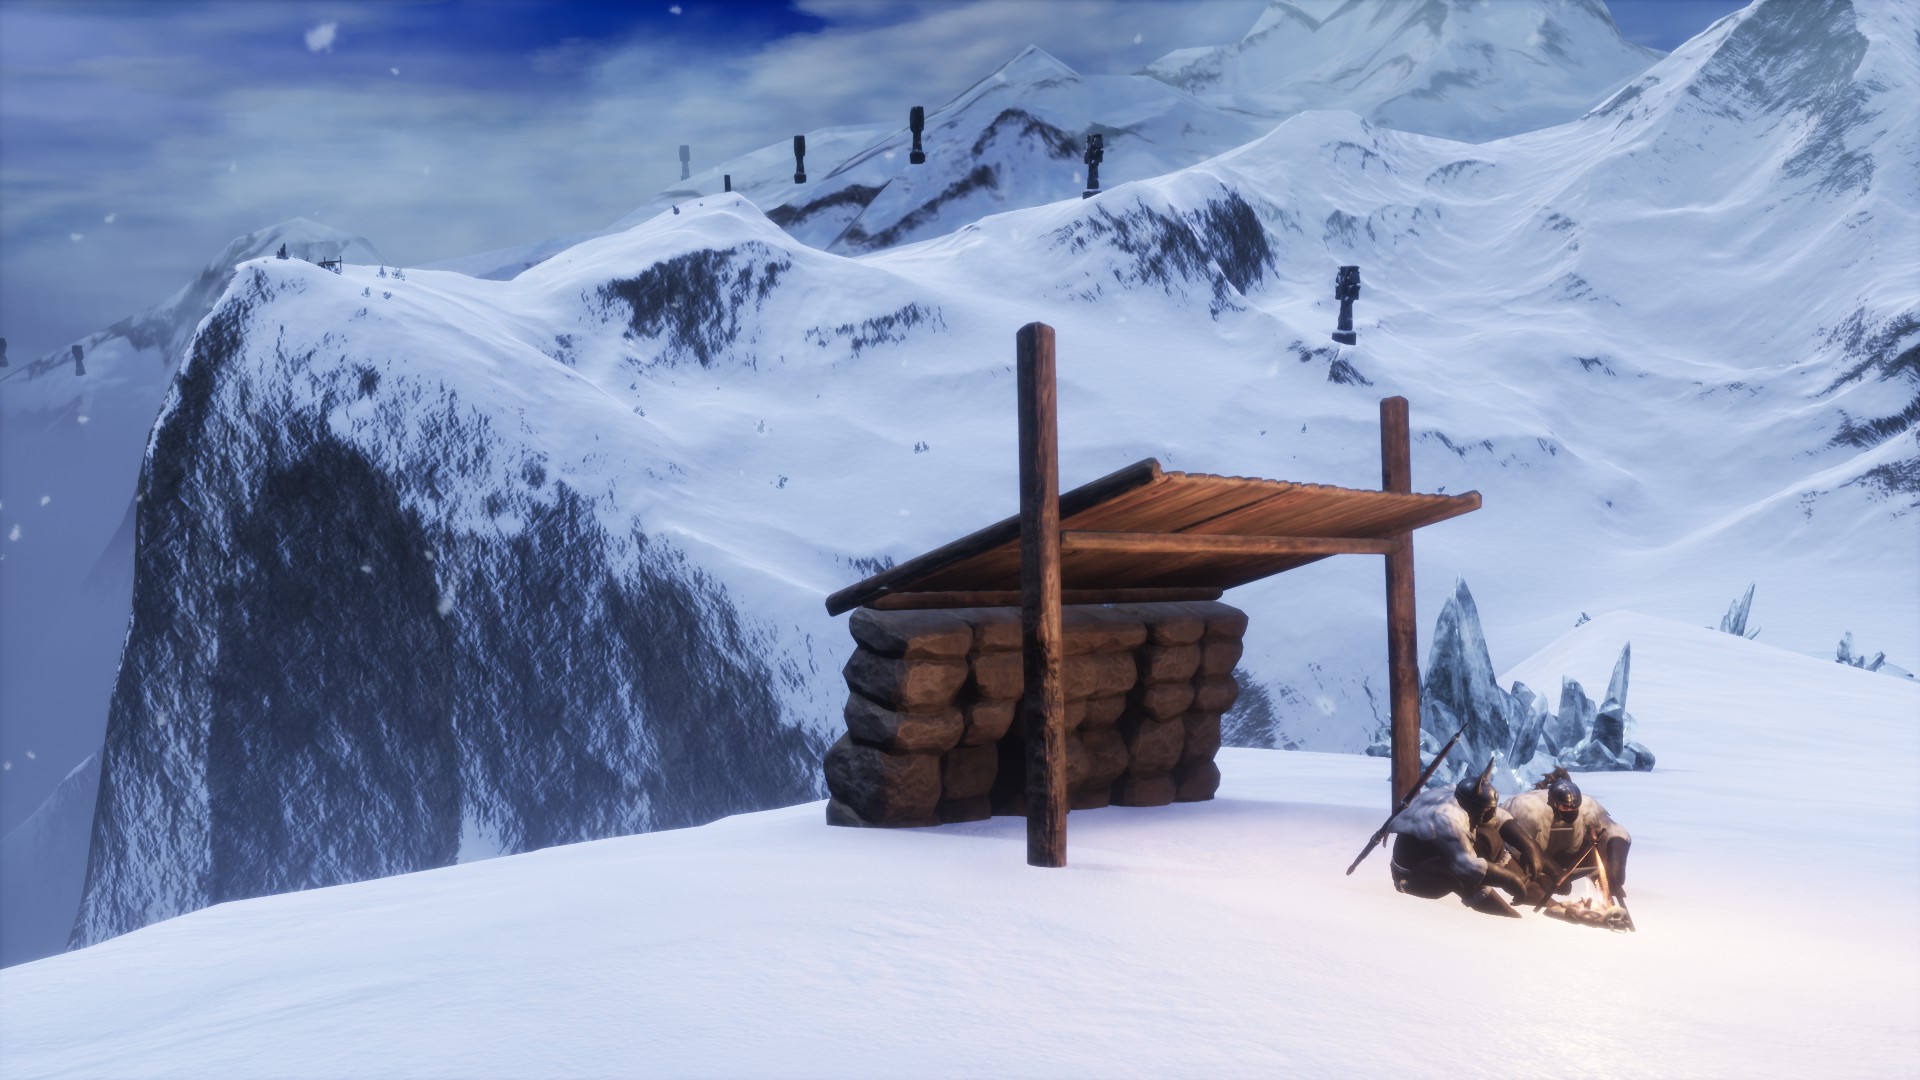
In the image above you can see the two camps, one of them in the foreground and the other in the distance. Both these small camps and the Council of Wolves are on the edge of different precipices of the snowy mountains.
In these camps you’ll find a couple of Council of Wolves fighters (humans).
Recommended minimum level 220
It has two entrances, one located in the desert, in The Tower of Bats itself… between The Unnamed City and The Summoning Place.
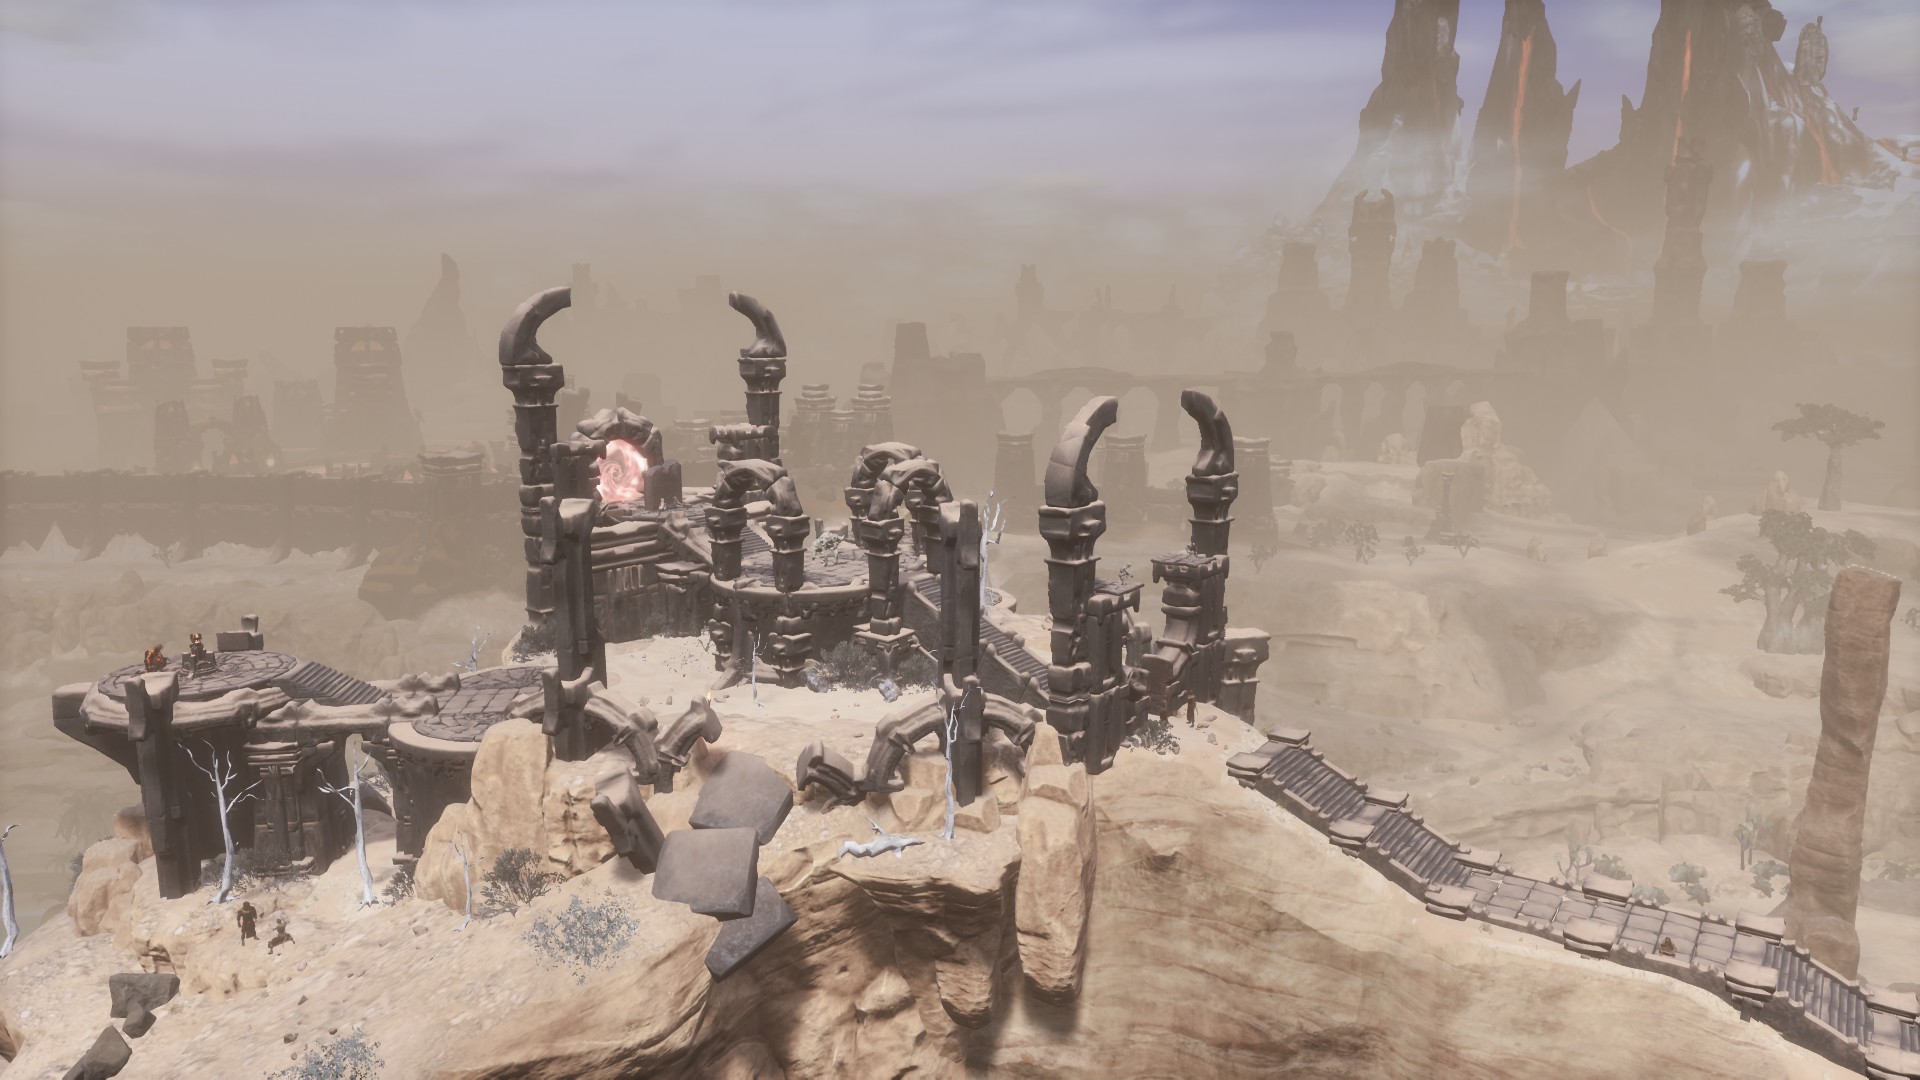
To reach the portal, you must first climb to The Tower of Bats. You can face three Meruvian Fire Spirits, several Meruvian Sentinels (humans) and an Afflicted Being (corrupted colossal shaleback). Just before entering the portal you’ll see a tablet that teaches you the Meruvian Armors Feat. Go through the portal to continue.
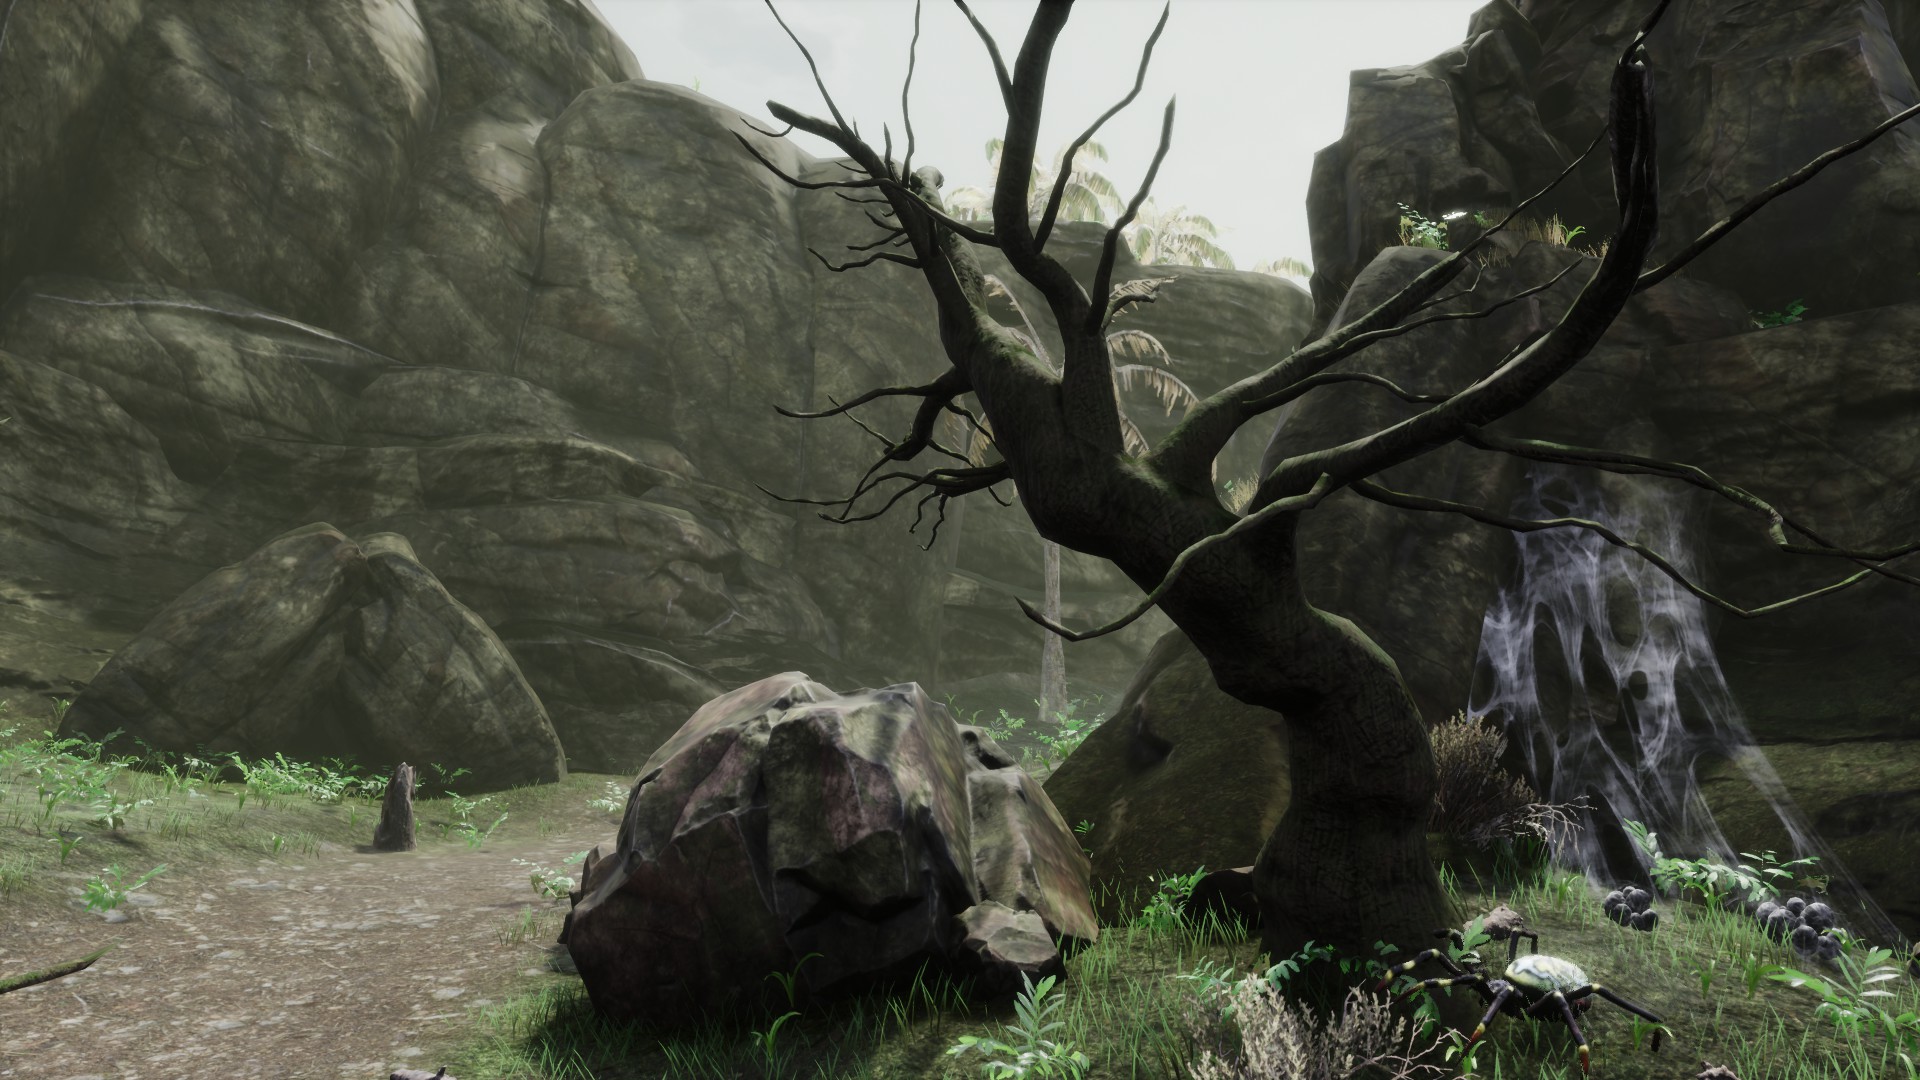
The other entrance is located in the jungle, west of The Wraithwoods. It’s the small cave seen on the left in the image below.
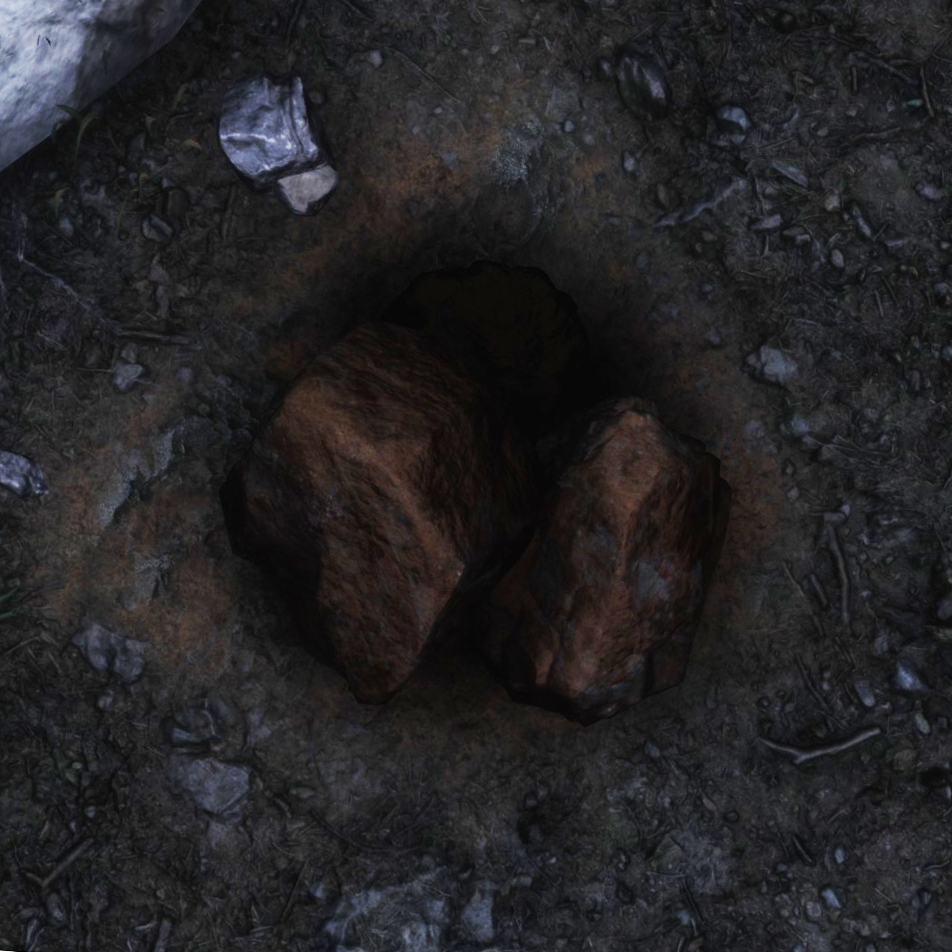
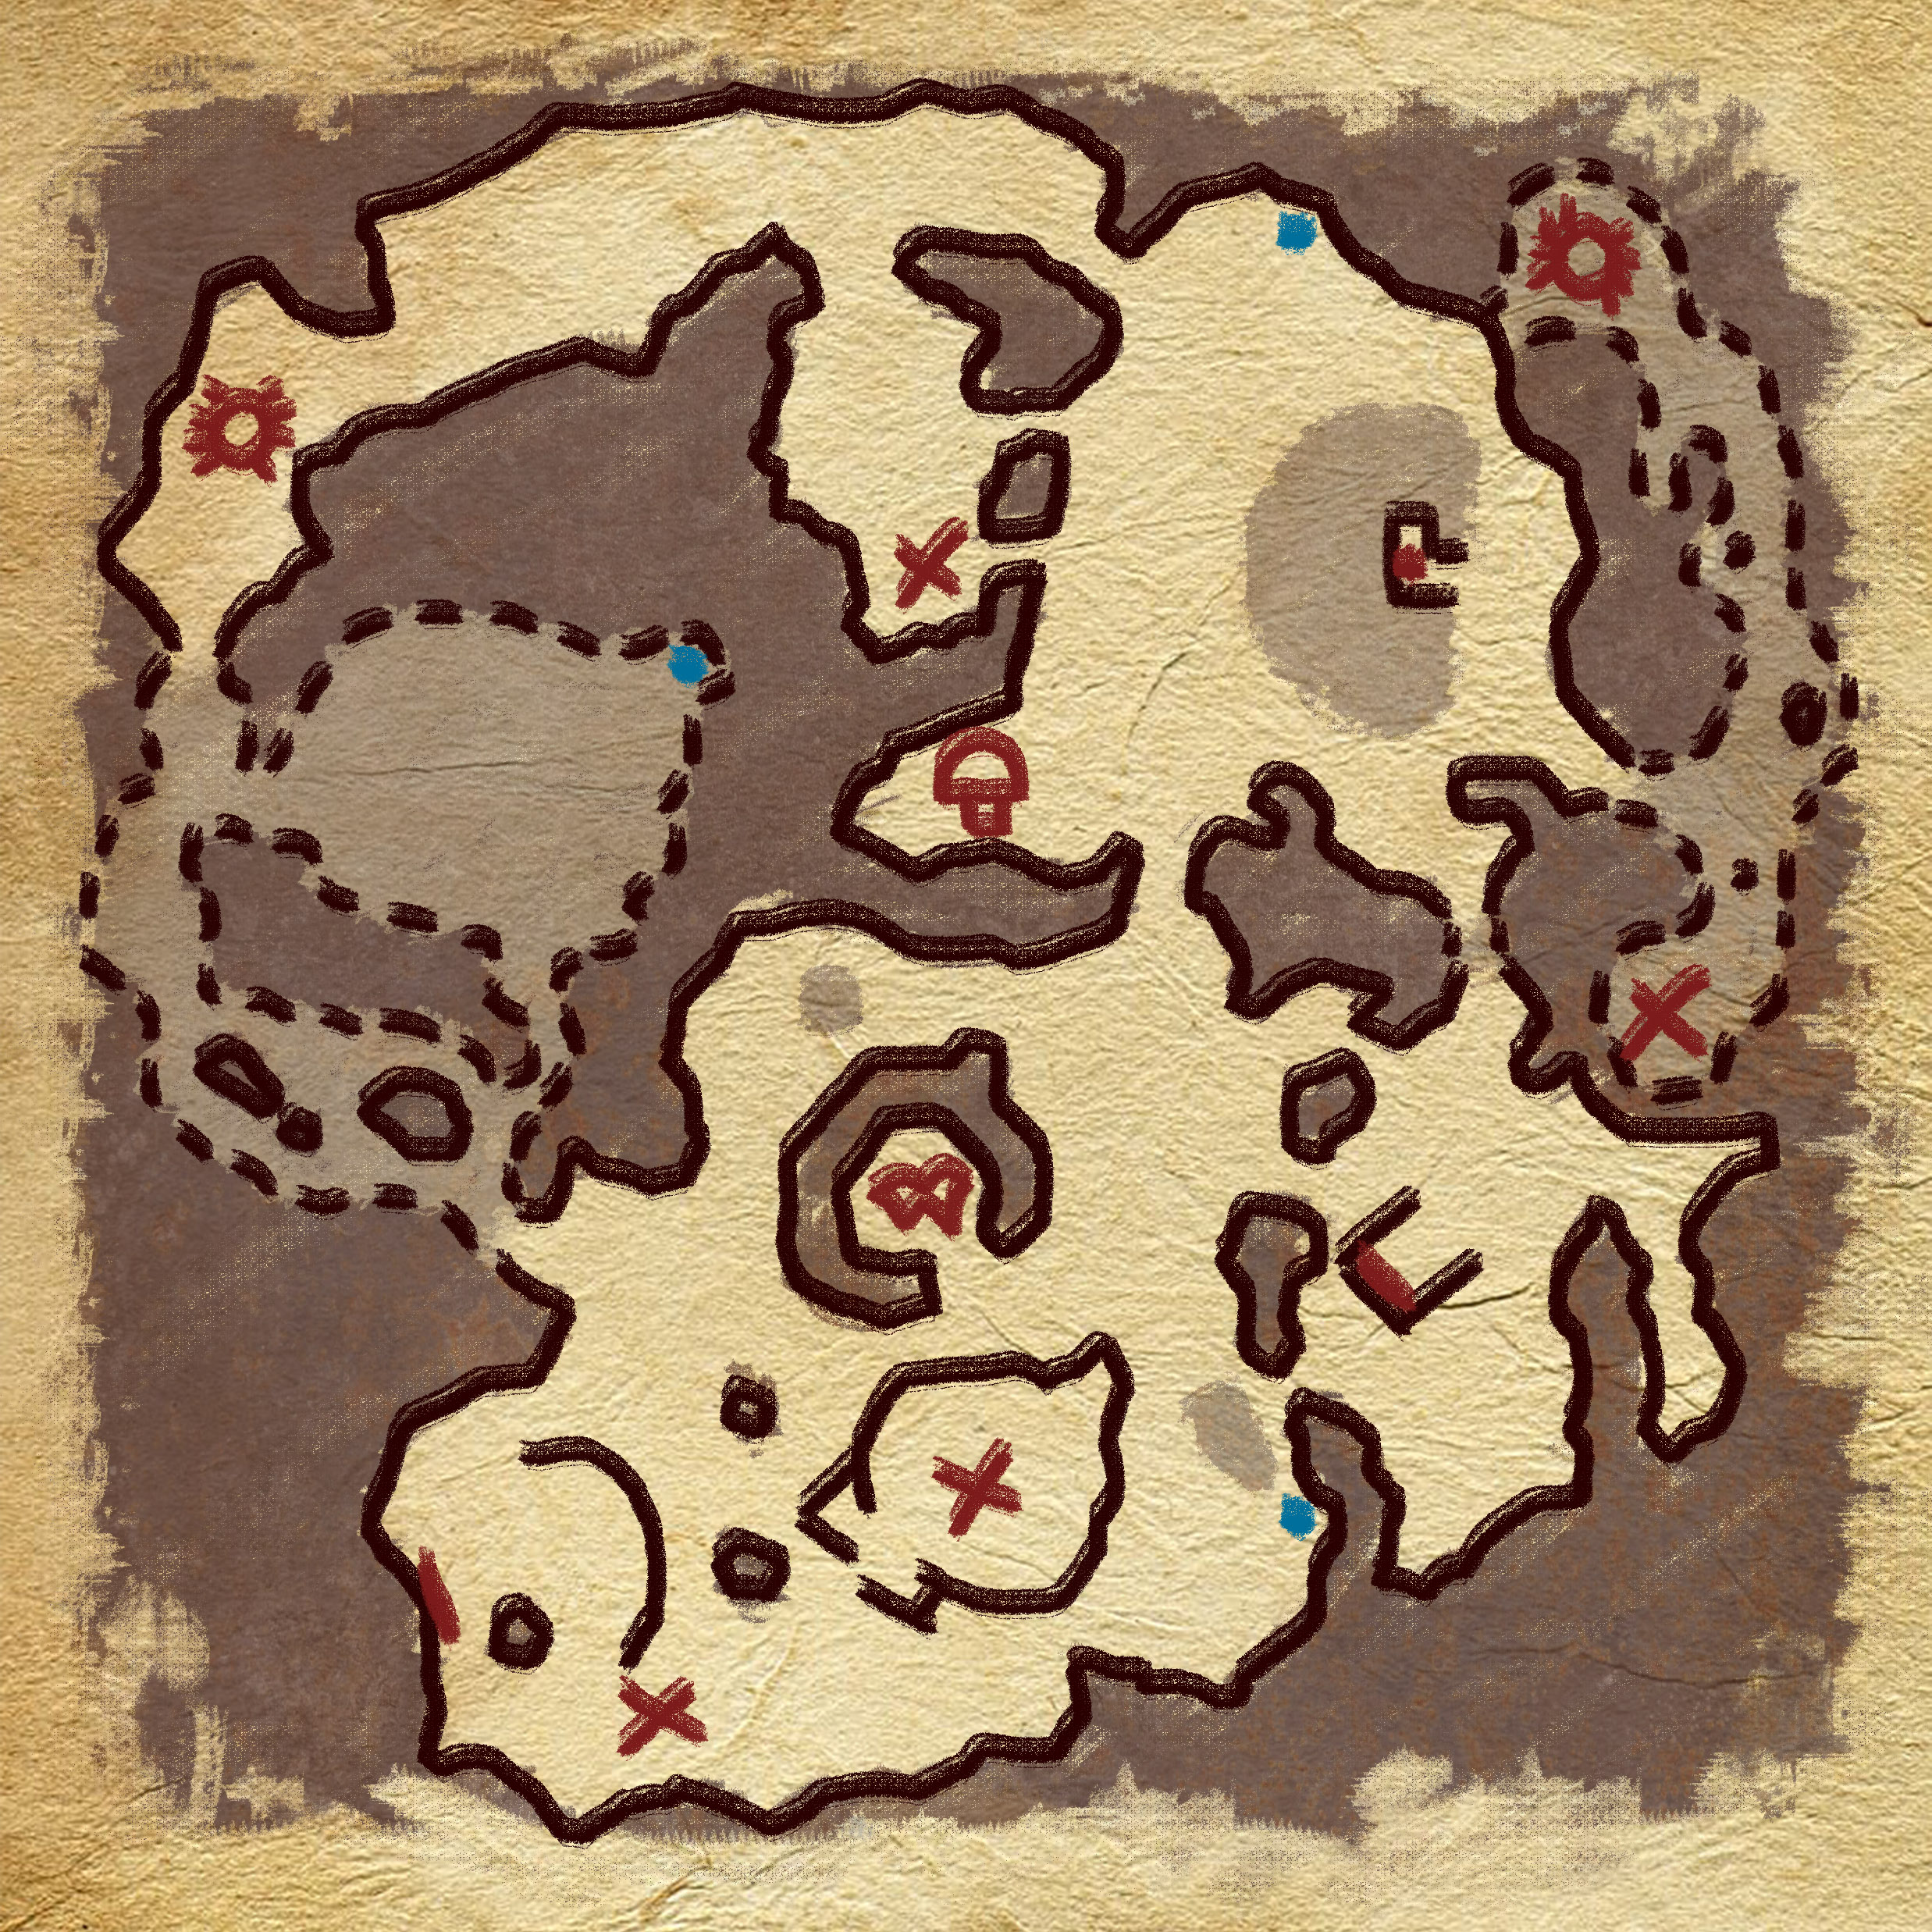 On this map of the dungeon I’ve marked with a red line the two entrances / exits that there are and with an ❌ the points where a meteorite will have fallen. By mining these meteorites you’ll have the possibility of mining both Jade ore and Oblivion Metal ore. Below the map I leave you an image of what the remains of the meteorites look like. I recommend that you bring a high-tier pick to make better use of them. It’s also possible that you don’t extract any of these minerals, and that when you mine the meteorites you only extract Goldstone, Silverstone, Star Metal Ore…
In this dungeon you’ll also find a couple of small stash chests (opens with a Stash Key), a rusty chest (opens with a Master Skeleton key) and some Skelos Shard Fragments. Chests are marked with a 🔵 on the map. The enslavable humans Meruvian Sentry (fighter or archer) and the Meruvian Warlock IV (for the Witchbowl Cauldron) may appear.
 When you go through the portal, move in a straight line slightly to your left until you find a lagoon. There you will see the only friendly NPC in the area marked with a 🔴 on the map, which is the merchant The Gemcutter. She’ll sell you over a dozen gems, each in exchange for several Gem Shards and several Scrims.
In this dungeon you can find the following important enemies:
The most relevant is the one you’ll find in a small circular arena, which will be the winged demon Yama’s Guardian. After killing him, you’ll obtain the Blood of the Guardian from his corpse, which is a Greater Bounty. Additionally, you must consume it to unlock the crafting of the Meruvian Jade Arsenal.
I’ve marked both the Yama’s Guardian and the other bosses on the map: Hive Construct (giant mushroom), Ruled Demon Spider (spider near the ghoul cave) and Regina Păianjenilor (spider inside the lagoon cave). Spiders will drop Lesser Bounties.
In addition, there will be various types of Meruvians, Afflicted Being, spiders, wild boars, ghouls, gazelles…
In order to leave this area, return through the same portal you entered through. You will exit at The Cursed Causeway, right in front of the Bat Tower.
You can also exit through the grotto near the ghoul cave. You’ll come out in The Wraithwoods (south of the jungle). These two entrances / exits are marked with a red line on the dungeon map.
Recommended minimum level 220
Located in the jungle, quite south of the Gate of the Moon, past the river.
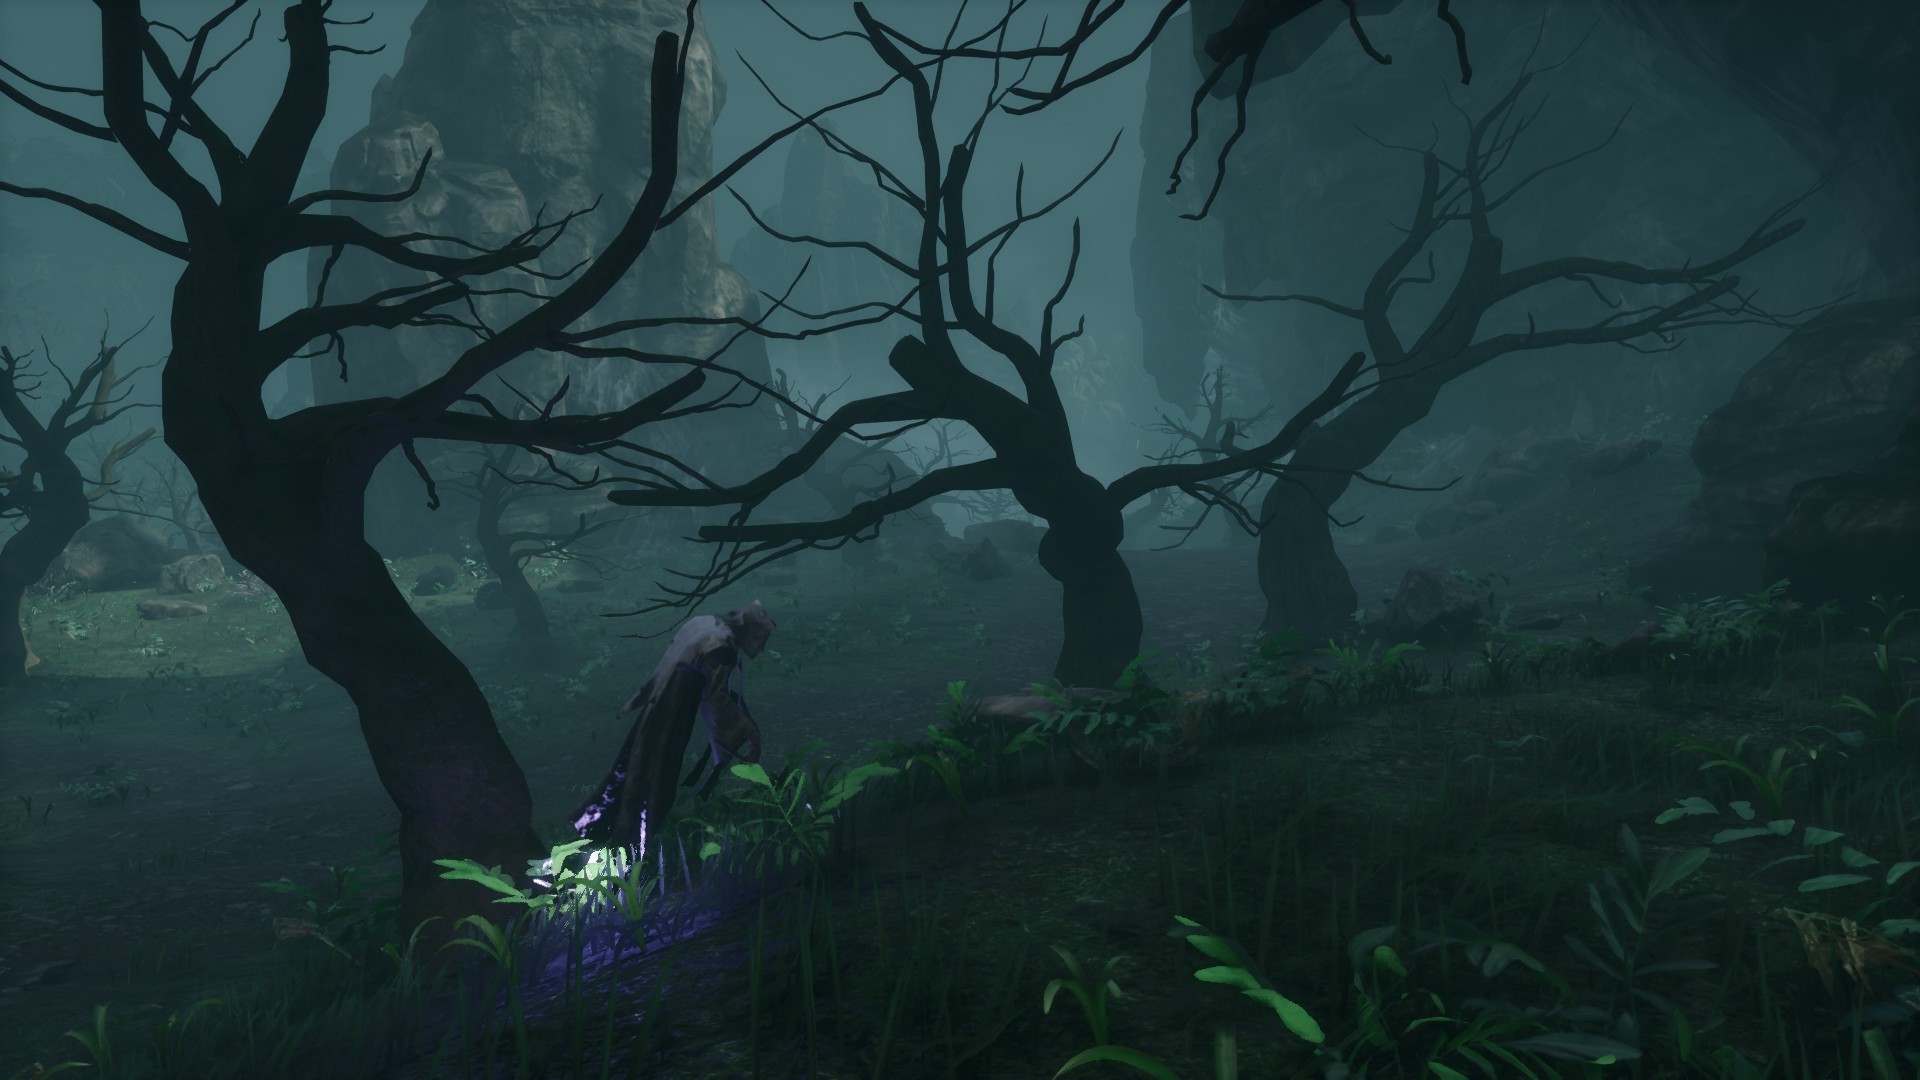
In this forest you’ll see several Undead Wraith bosses wandering around. By killing them, you’ll absorb the Wraith Essence from them, which is a Inusual Bounty.
In addition, there will also be many normal and Giant Spiders in this area (Lesser Bounties).
Recommended minimum level 260
Located in the snowy mountains, southeast of The Temple of Frost.
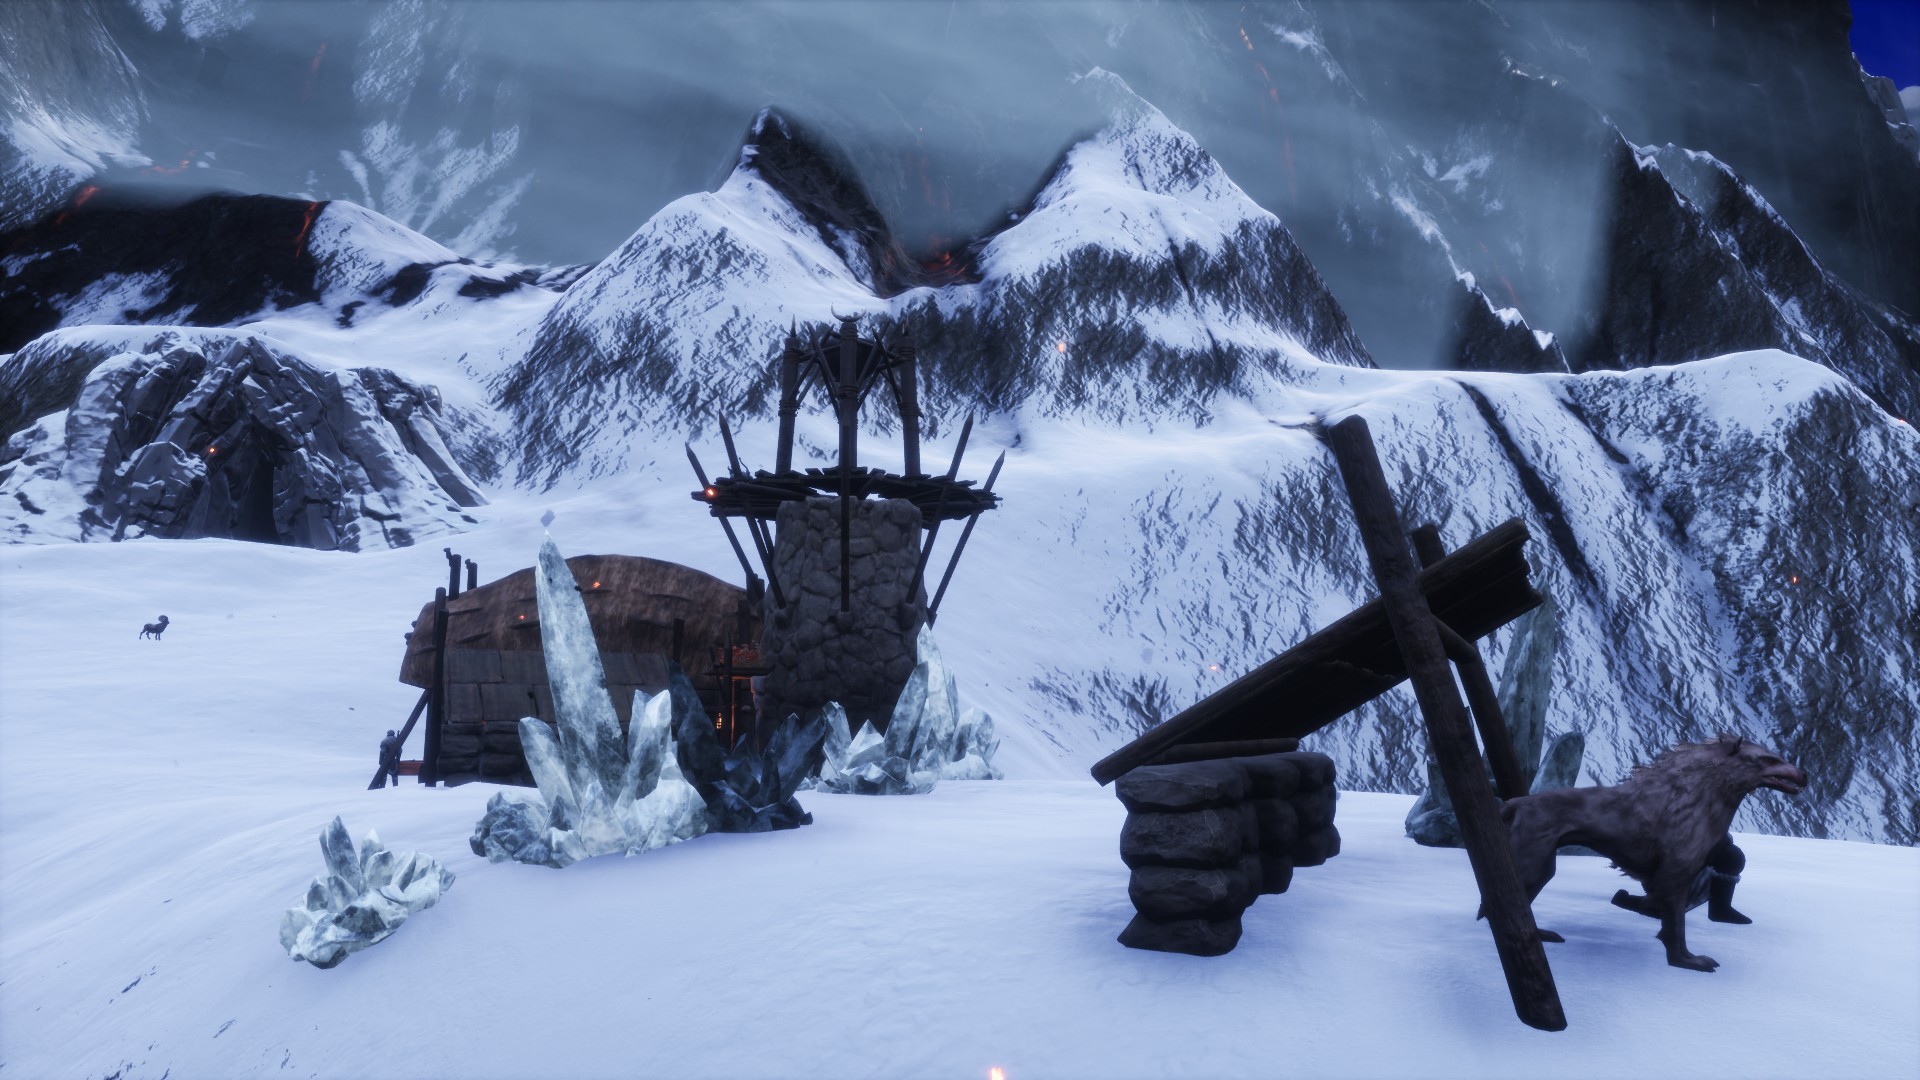
This is the largest camp of the Council of Wolves, in it you’ll find some Ravenous Wolves and a dozen different members of the council: archers, warriors, armorers… Among them the enslavable humans Council of Wolves Enchanter may appear (for the Legendary Assembly), Valiant Council of Wolves Blacksmith (for the Valiant Blacksmith’s Bench) and Council of Wolves Armorer (for the Armorer’s Bench). The Council Chieftain may also appear.
There will be an equipped mannequin that teaches you the Council of Wolves Armor.
📍 Dungeons and areas III
Located between the desert and the Highlands, south of New Asagarth, in the Chaosmouth.
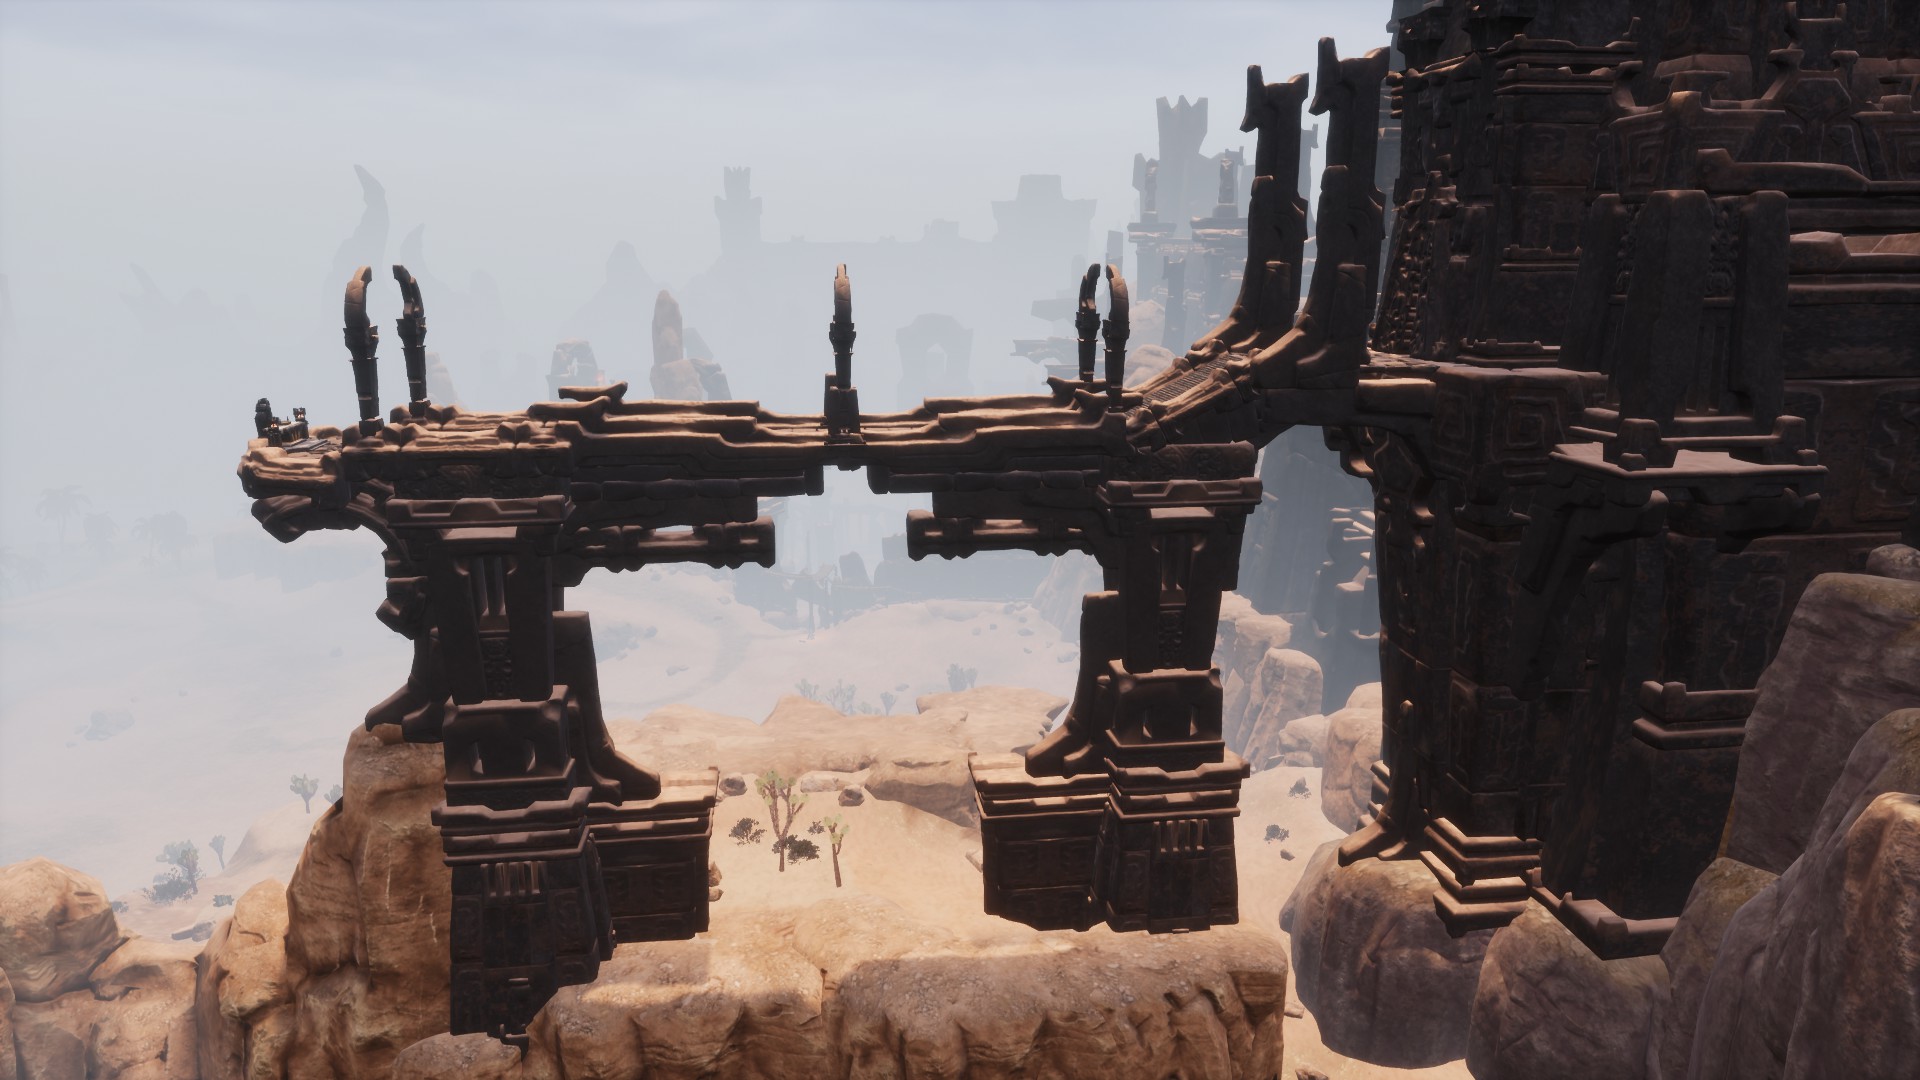
On this altar you can both create The Keystone and enchant legendary weapons and magic.
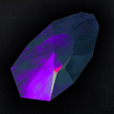 To create The Keystone, place six Artefacts or three Corrupted Keystone Shards into it.
To enchant a weapon, shield, throwing weapon, or magic, place the item and a God Krystallion on the altar. To disenchant it, place the item and an Orb of Cleansing on the altar. To learn more about this process, check the “💎 Weapon & magic enchantments” section of the guide.
Located in the transition from the desert to the jungle, south of The Passage.
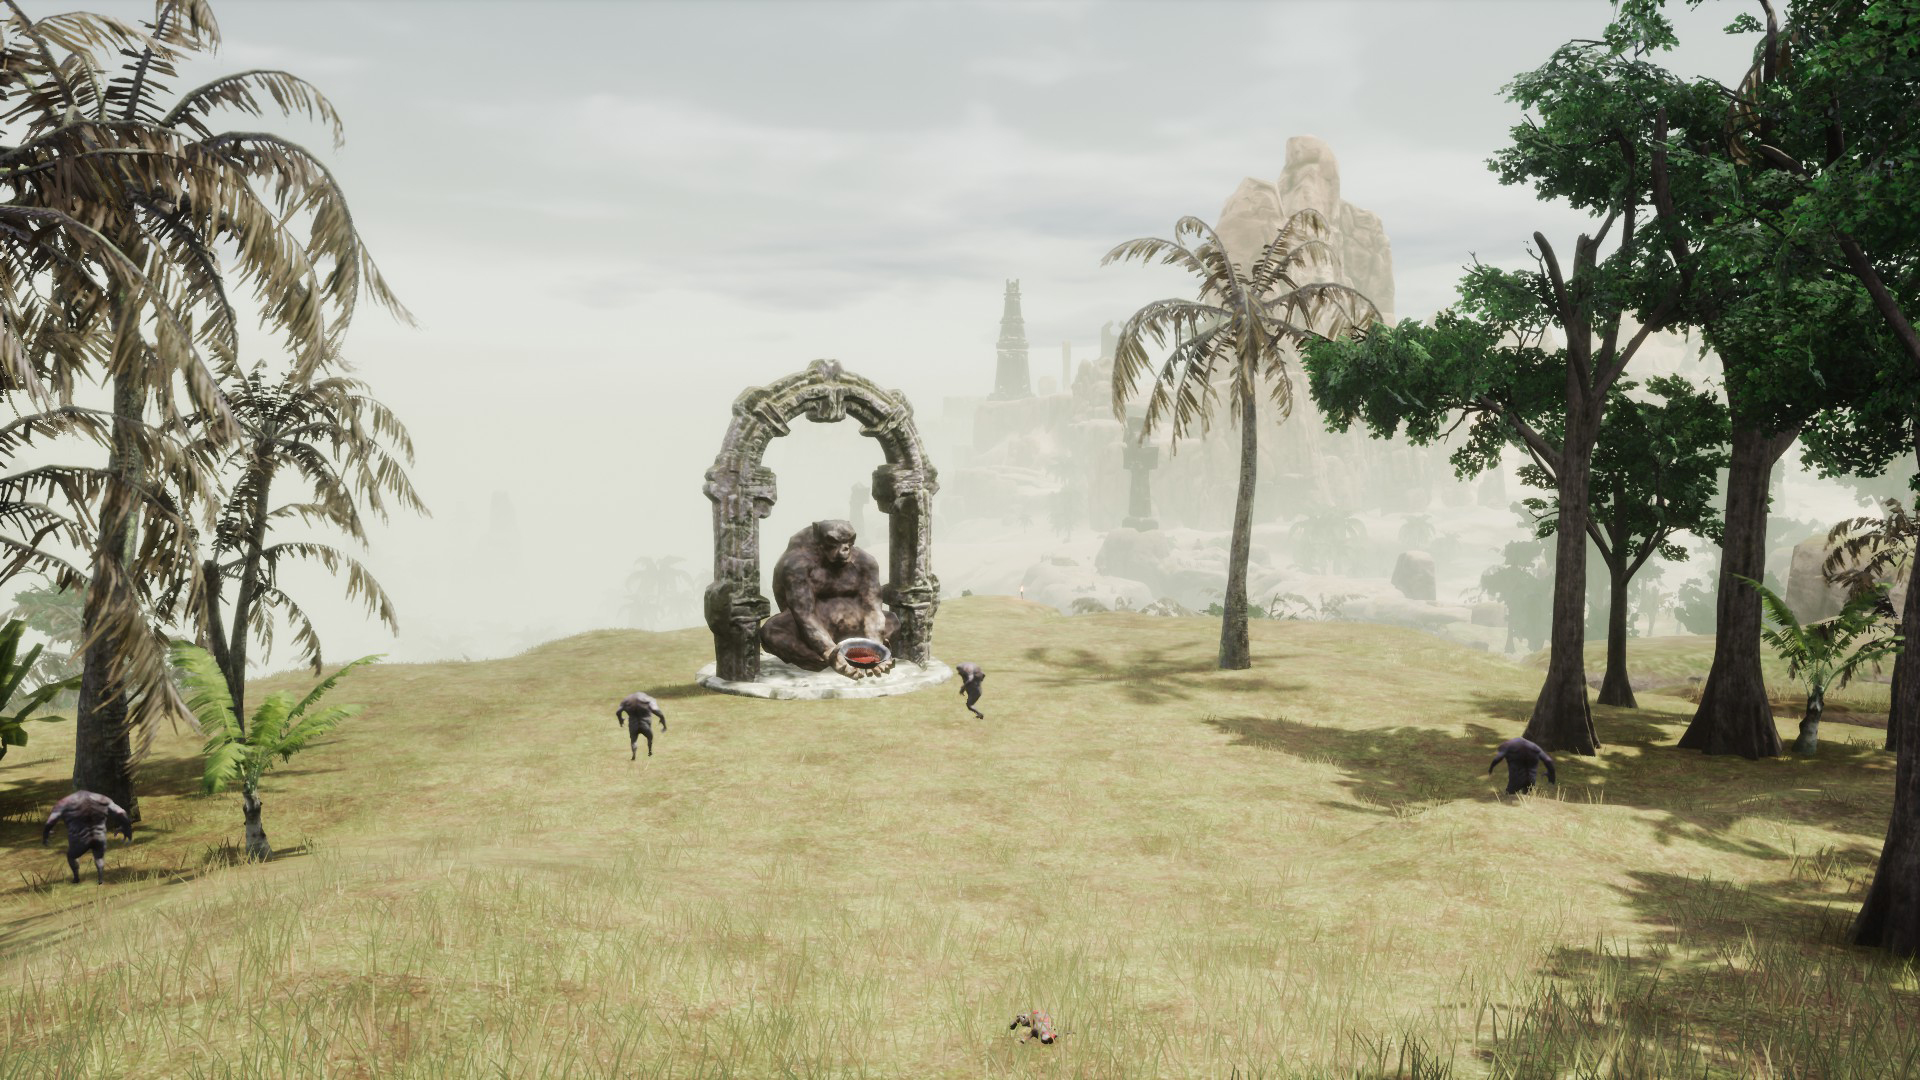
On this altar you can craft souls, specifically three Corrupted Souls and one United Soul.
 To access this altar the first thing you need are the Eyes of Hanuman. Around the altar there are about four elite Hanuman Devotees who can drop them. You can also get them from the Gray Apes (easier to kill) around the Forgotten City of Xel-ha. You won’t be able to remove these eyes from your Inventory without destroying them, a message will appear warning you before you destroy them, just in case.
 The next thing you’ll need is Blood Sacrifice, you’ll get it if you knock out some human NPCs, lead them tied up to the altar and interact with the statue. You’ll find quite a few humans near the altar, in the Deckswab’s Retreat (Black Hand camp, to the south) and at The Dryfalls (Darfari camp, to the west across the rock bridge). This blood will be consumed as you “craft” it on the altar, so you must replenish it.
Lastly, you’ll need The Keystone and a Artefact, or the three Corrupted Souls.
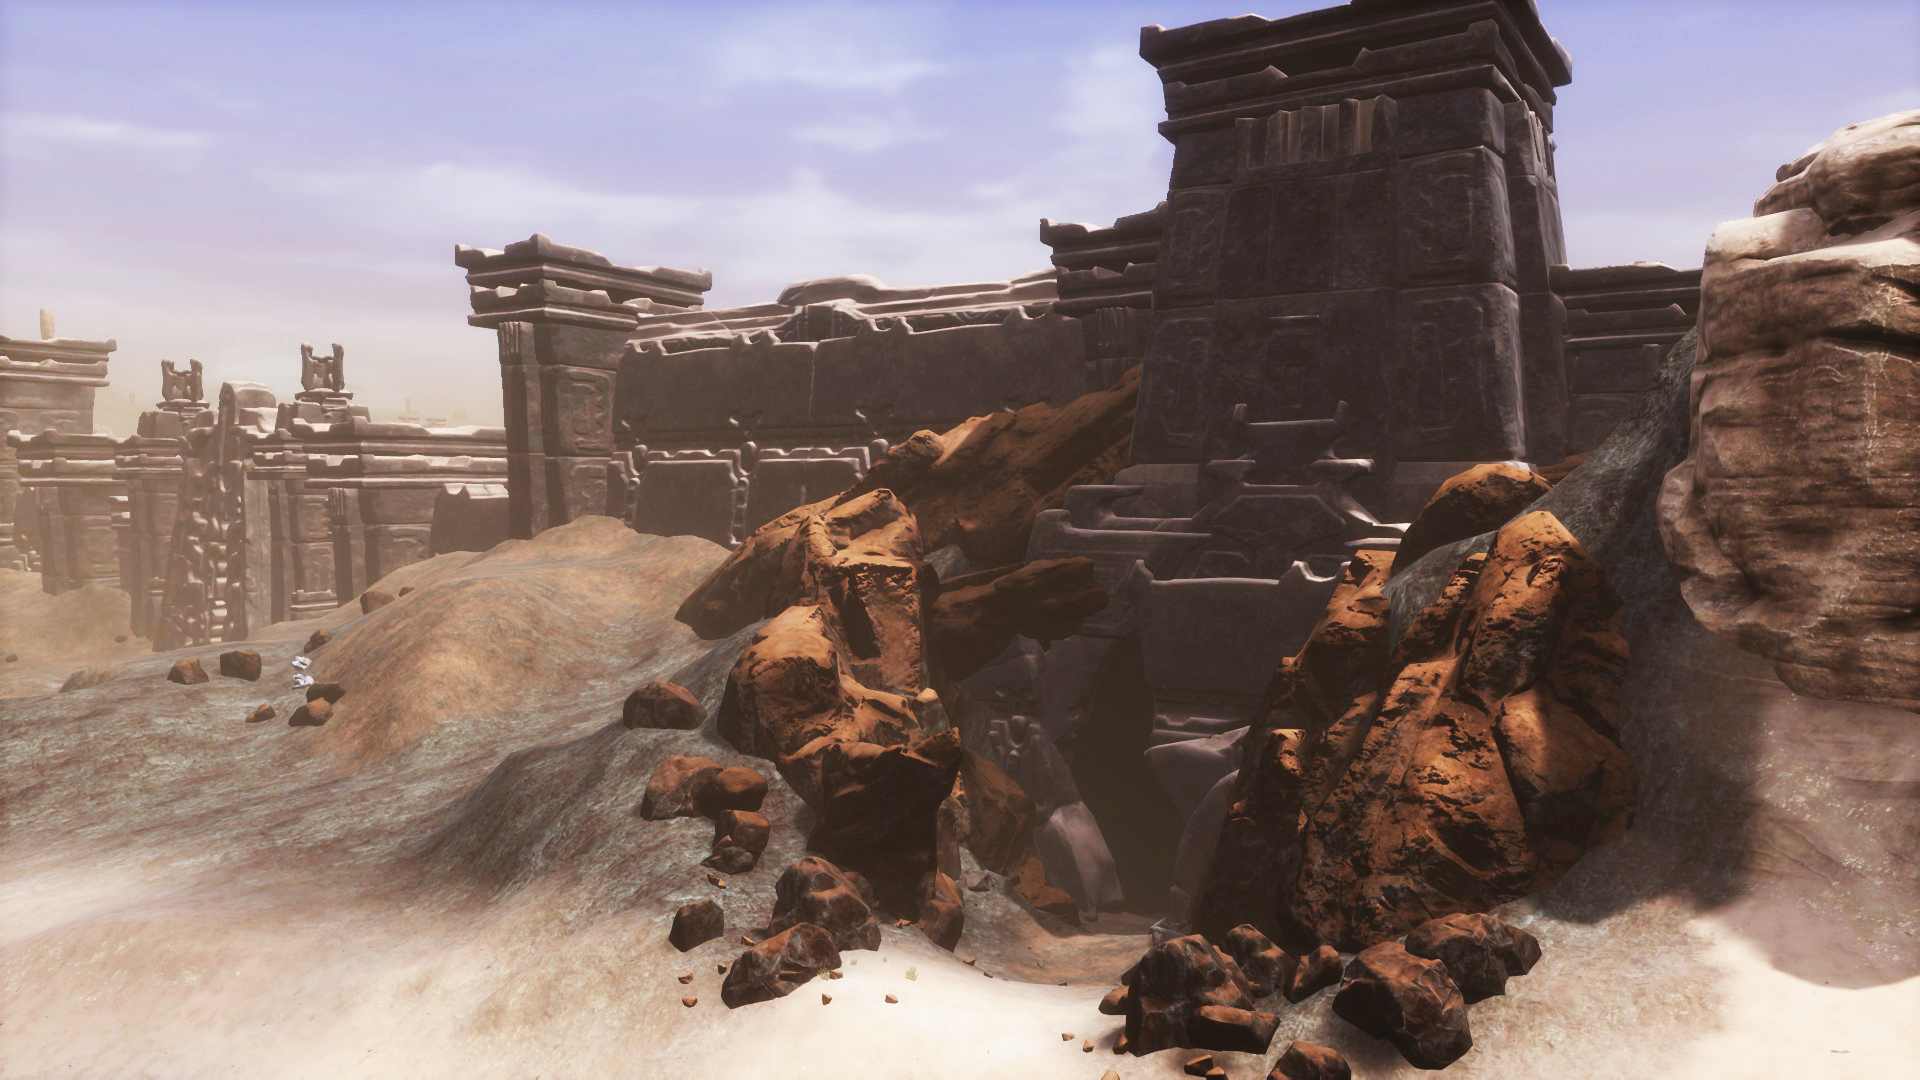
It has two entrances, one of them located northwest of The Unnamed City. You’ll enter through the grotto of the Acheronian ruins in this image.
The other entrance is to the east of the desert, under the Deathwhisper Ruins. You can access it through the Executioners Entrance or through the spider cave to the northwest of the Watchers Waystation. You’ll reach the room in this image, the entrance is behind the boss.
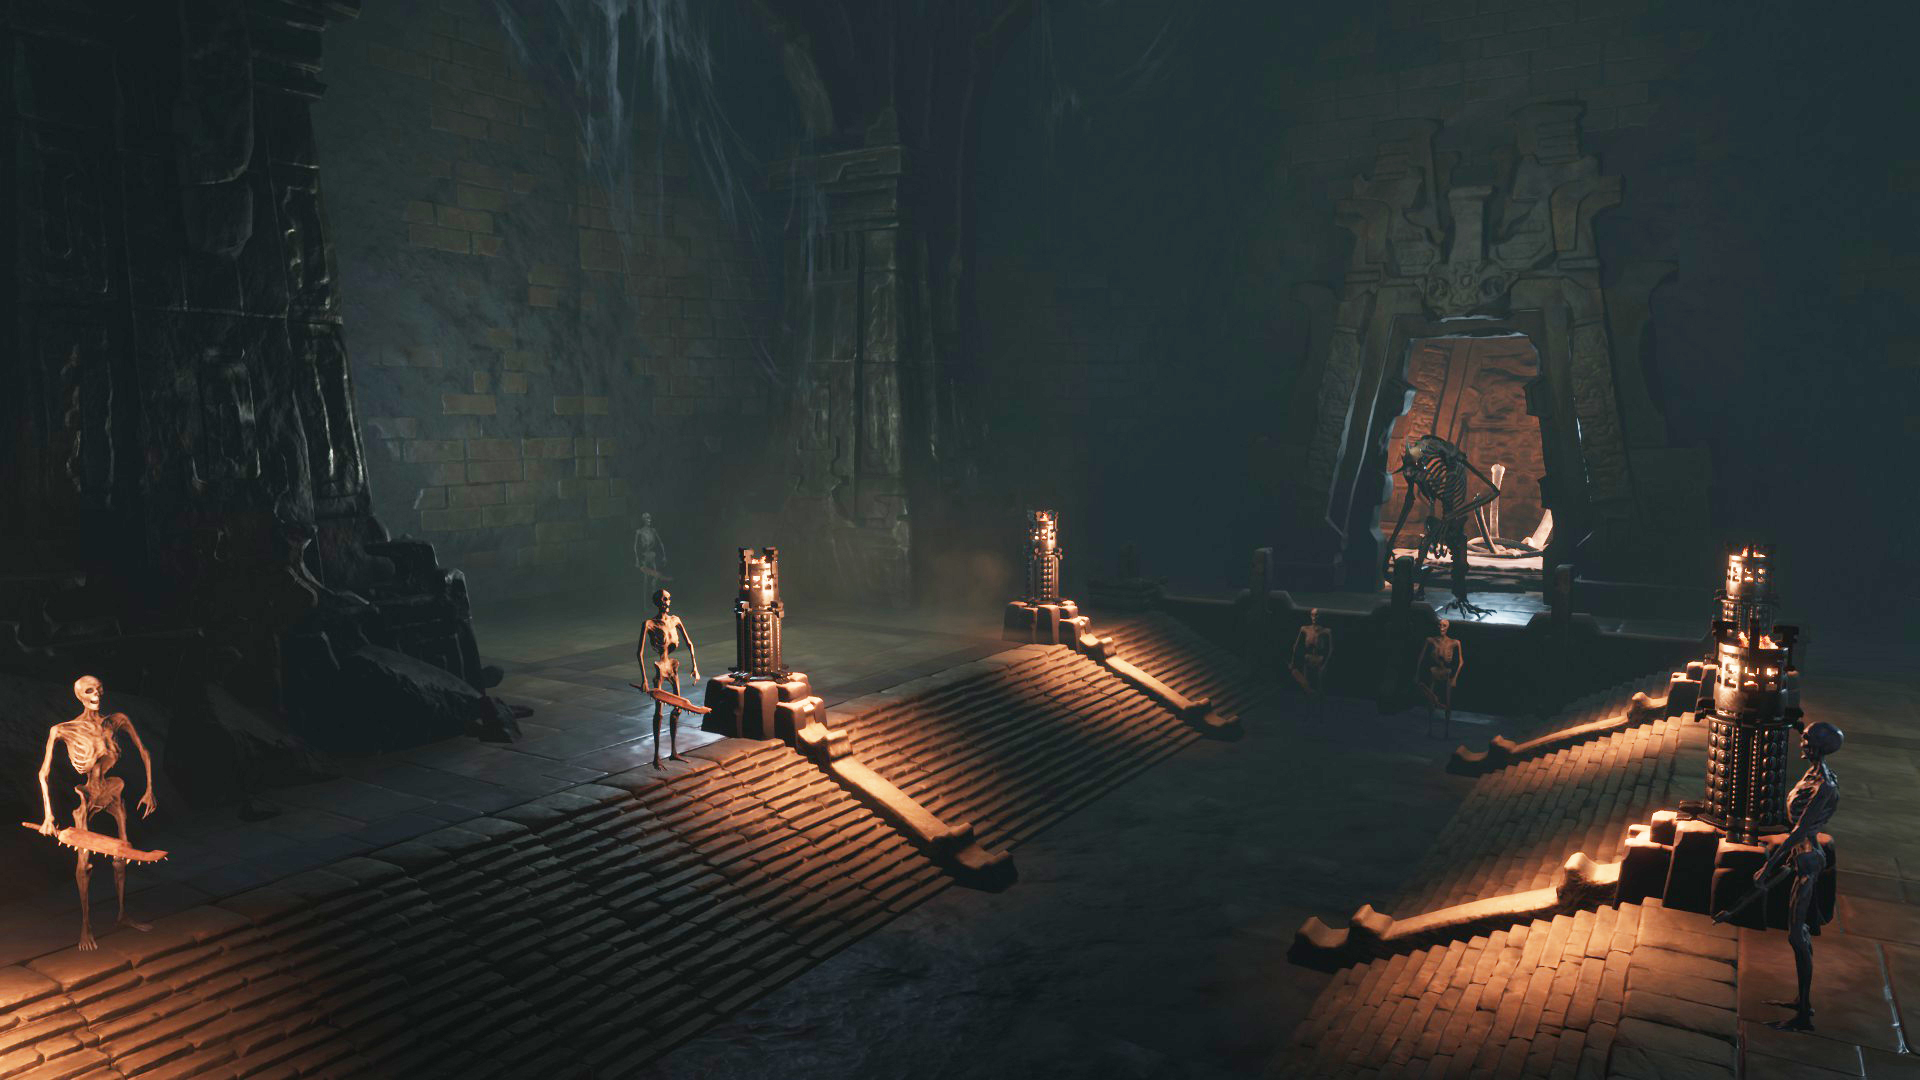
They’re both entrances and exits, but I don’t recommend that you go through the entrance to the Deathwhisper Ruins because it’s protected by the boss The Executioner (skeletal serpentman), ten Skeletons and a bunch of Spiders. Although it won’t be a problem for you to defeat these enemies, it’ll be less tedious to access through the other entrance, which doesn’t have any enemies nearby.
In this pillar you can summon bosses by introducing one of the six souls into it.
 Whichever way you enter, you must carry an Acheronian Sigil Key in your Inventory, which will be consumed as soon as you enter the interior.
Once you’re inside the Conjuration Pillar room and have faced a boss, you won’t need to go out and enter again to be able to face another boss (this way you can kill several by spending only one key).
You’ve all the necessary information about which bosses you’ll summon with each soul, how to get them and what the combat will be like in the “💀 Corrupted Souls” section.
⭕️ NPCs I (traders only)
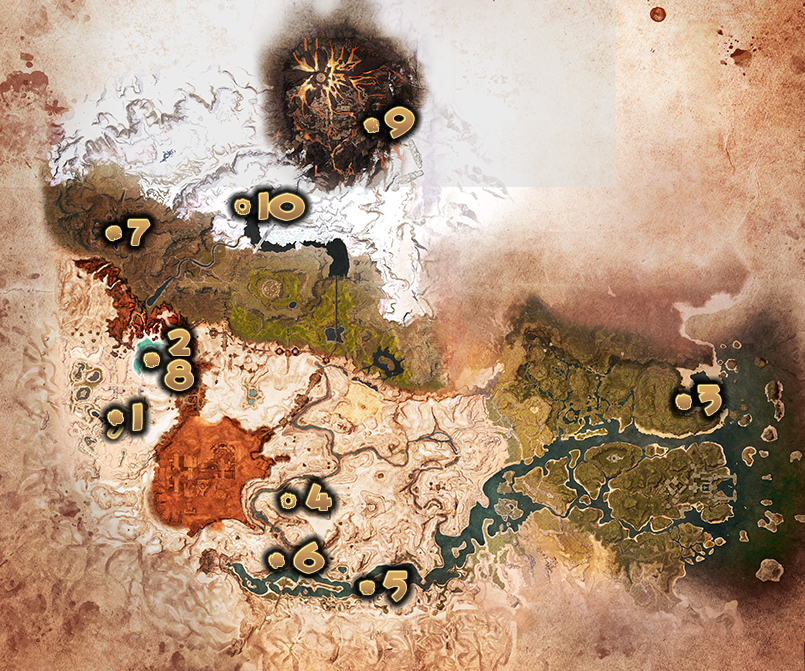 Map legend:
NPCs who only trade
1. Wandering merchant.
2. Petrified tree.
3. Rarity trader.
4. The Gemcutter.
NPCs who trade and give you quests
5. Arcos, the lone wanderer.
6. Nunu, the Cannibal.
7. Braga, the Cimmerian.
8. Thulmak, the frogman.
9. Vathis, the Hierophant.
NPCs inside the Perilous Valley
10. Erond, Egor, Scrim Collector, Bastille and Hosav.
- Wandering merchant
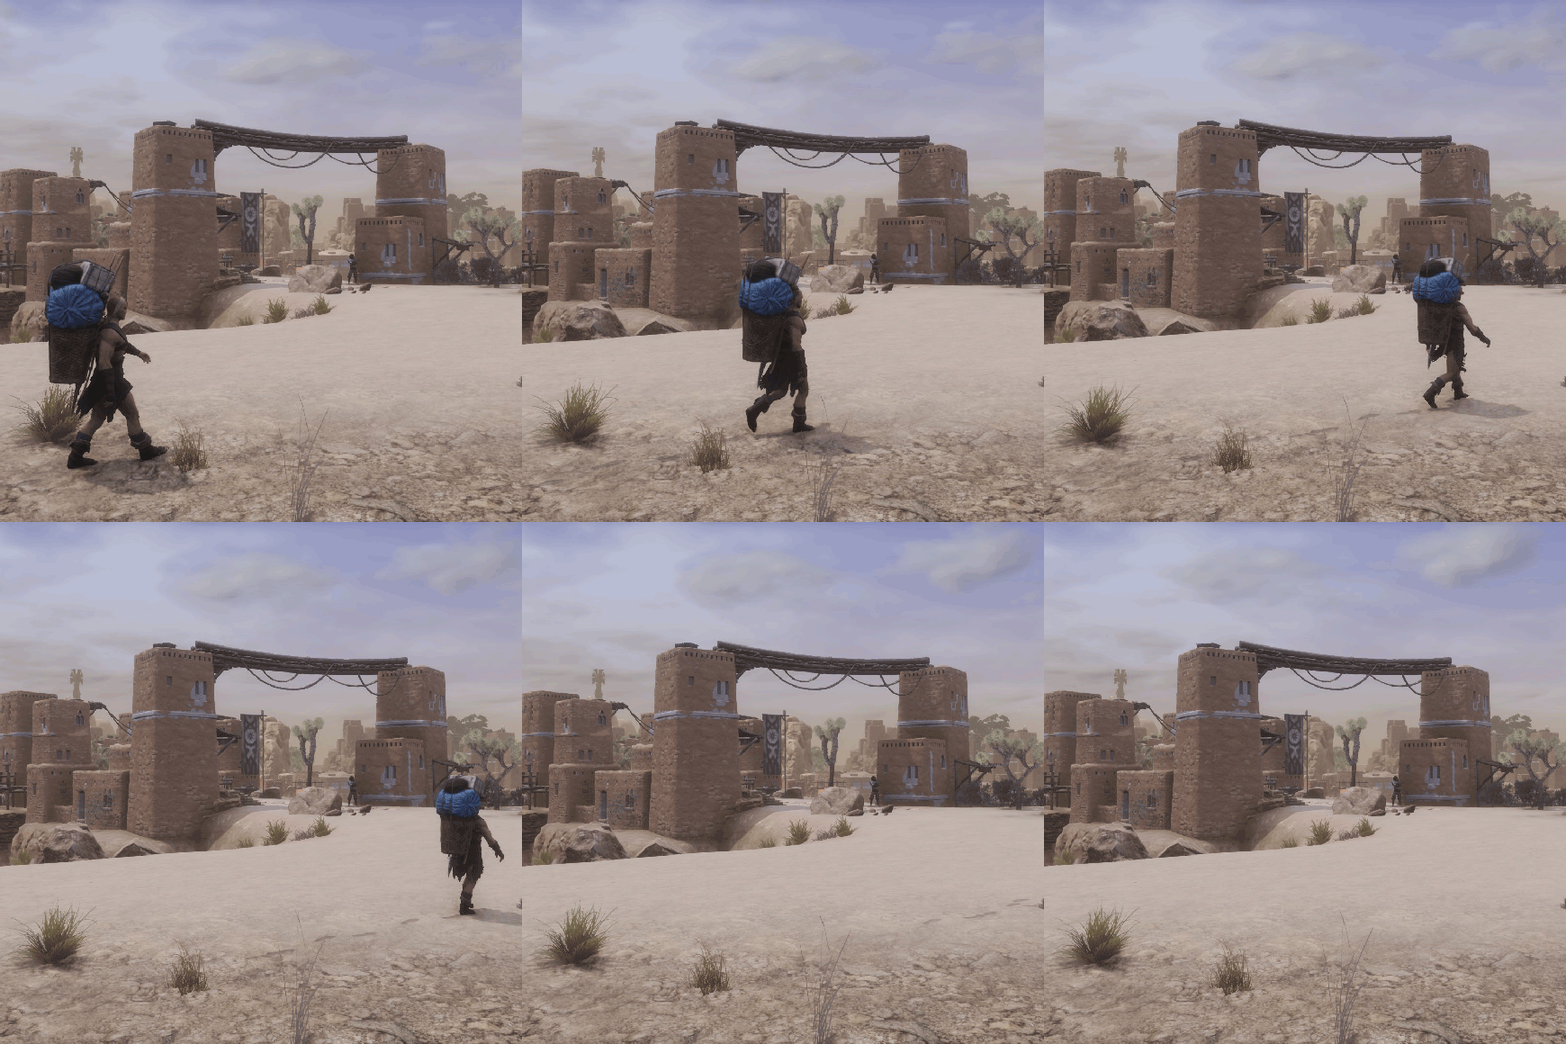 Location: You’ll see him northwest of the city of Sepermeru. Walks are taken in circles between the outskirts and the Temple Quarter. You’ll recognize him by his backpack on his back.
* He has life, so you can kill him and he’ll reappear after a while.
Conversation: He’ll tell you that he likes to explore to discover new places and different resources, which are what he has for sale.
Trade: Sells simple items from the base game, such as fiber, hides, scraps, alchemical base, powder of corruption, fragment os power… and also EEWA items: Shards of Skelos, Scourge Powder, Handheld Ymir Totems, Corrupted Spellbooks and more in exchange for Gold Coins and Spoils of Conquest… and other more valuable items such as Mik Fruit in exchange for Endgame Event Tokens and Spoils of Conquest.
The items he has for sale will change each day-night cycle of the game.
- Petrified tree
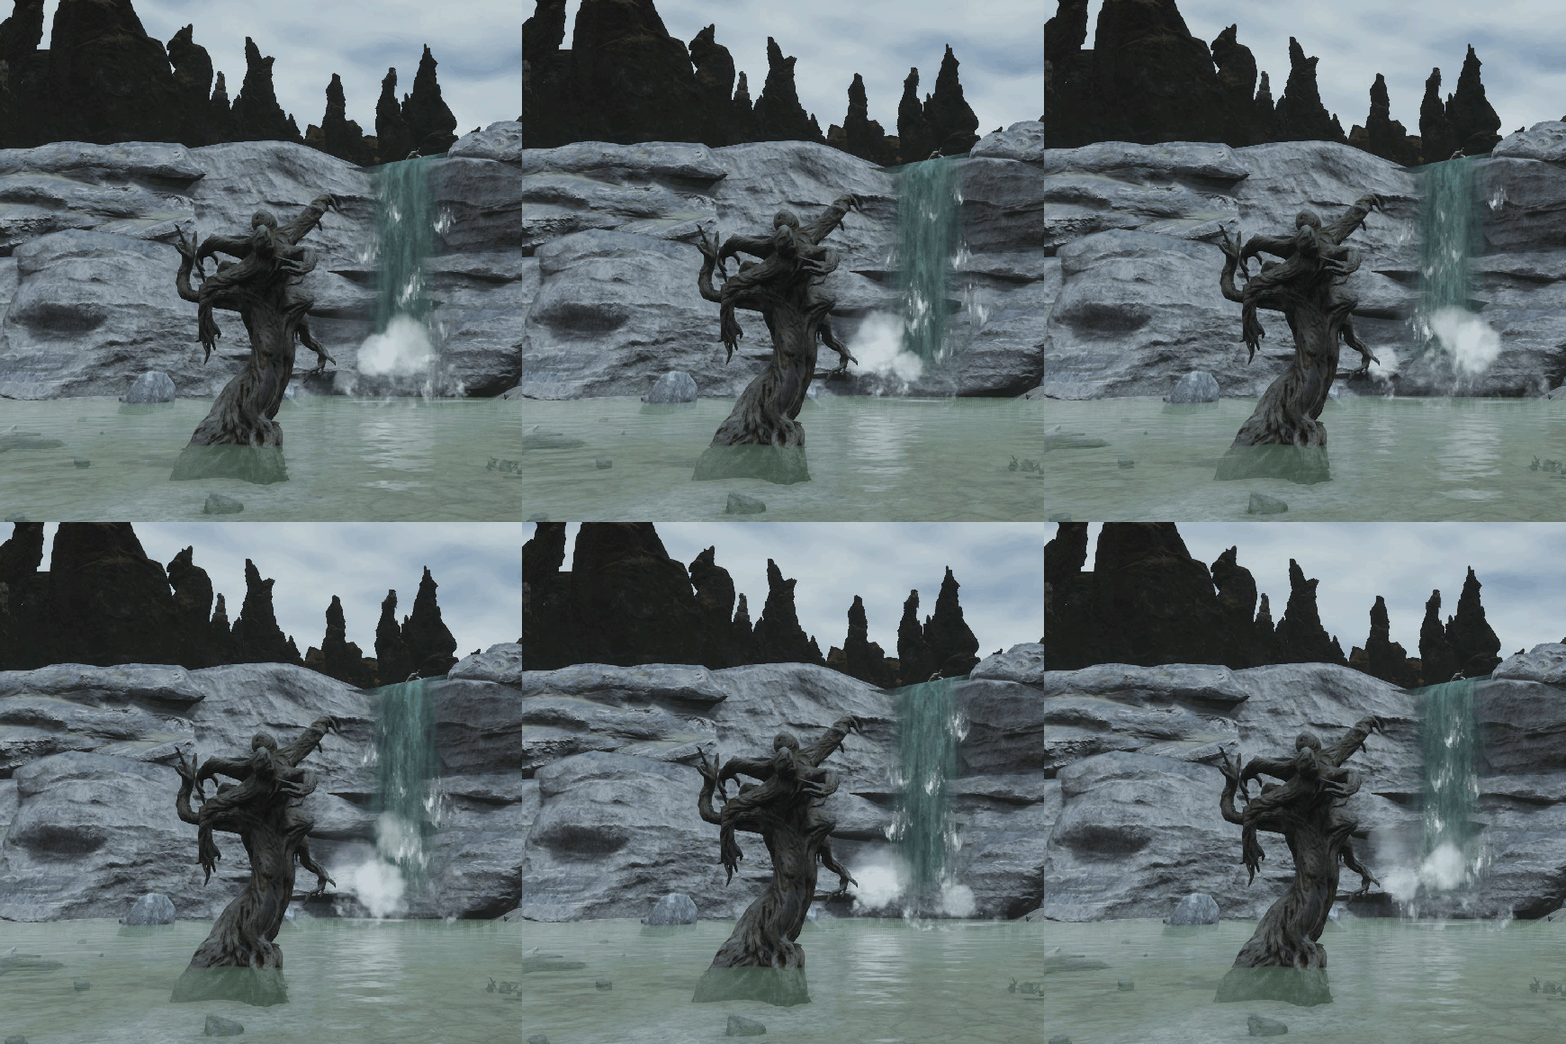 Location: It’s among the other dead trees in the Shattered Springs. It’s right where the icon is on the map, in the center of the springs. It’ll be completely still (petrified) so it’s easy to miss, but you’ll distinguish it because it’s the darkest tree.
Conversation: When you talk to it, it doesn’t elaborate much, it’ll tell you that it’s between life and death, lost like you. It’ll also tell you that you’ll understand when the Consumer of Worlds arrives from the Void.
Trade: It sell you five types of moss (they’ll give you temporary bonuses to certain Attributes), Endgame Event Tokens, the Corrupted Champion Soul in exchange for Mik Fruits and the Corrupted Grey Elder Soul adding Endgame Event Tokens to the payment.
It also give you the Bloodbreaker Armor in exchange for the Scourgebreaker Armor and Bloodbreaker Crystals. You’ll get these crystals by killing the enemy that you’ll summon if you take the Corrupted Champion Soul to the Conjuration Pillar.
- Rarity trader
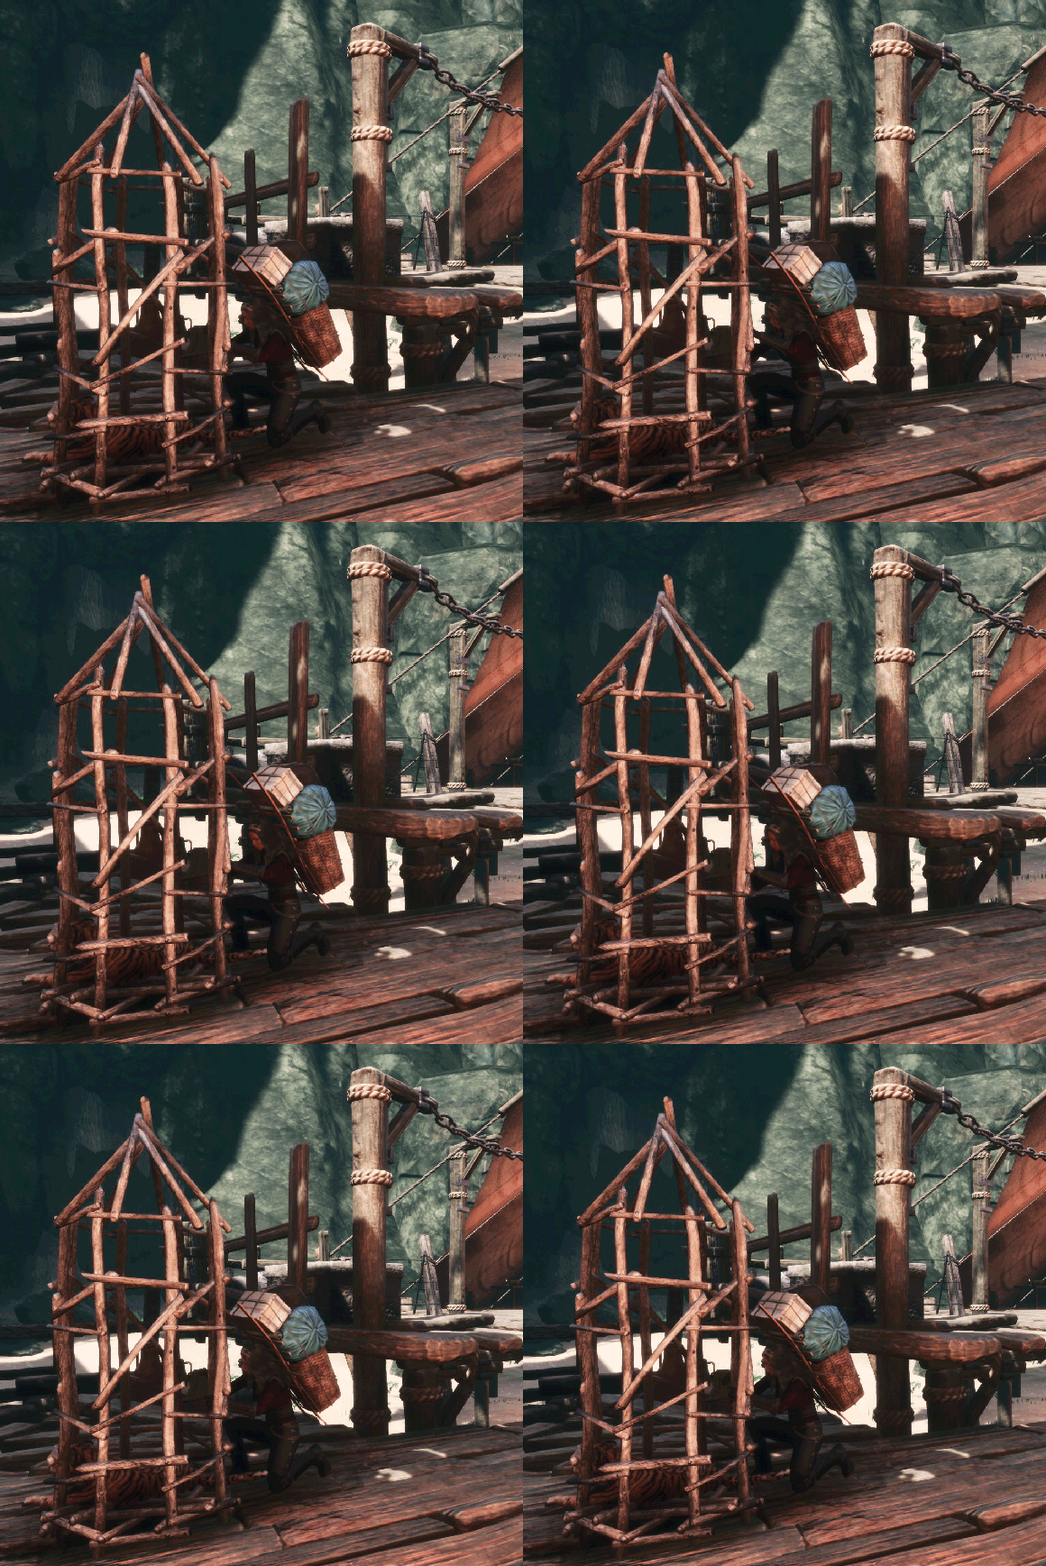 Location: She’s in one of the buildings in Buccaneer Bay, the beach located northeast of the jungle.
There are two large wooden platforms at the foot of the beach. One of them is full of drunks and panthers, and the other has cages with beasts and a couple of merchants from the base game (Owen the Beautiful and Zeina The Vixen).
In that one you’ll find the Rarity trader (interact on the cage to talk to her).
Trade: She sells you various types of mounts (shoebill, sabretooth, tiger, lion, panther…) and their respective saddles.
In exchange she’ll ask you for Handheld Ymir Totems and Gold Coins.
She also sells you Token of Choice in exchange for Master Skeleton keys and Gold Coins. You can use these tokens to buy parts for legendary weapons, so you can craft them later.
Additionally, she trades you Handheld Ymir Totems for Gold Coins.
- The Gemcutter
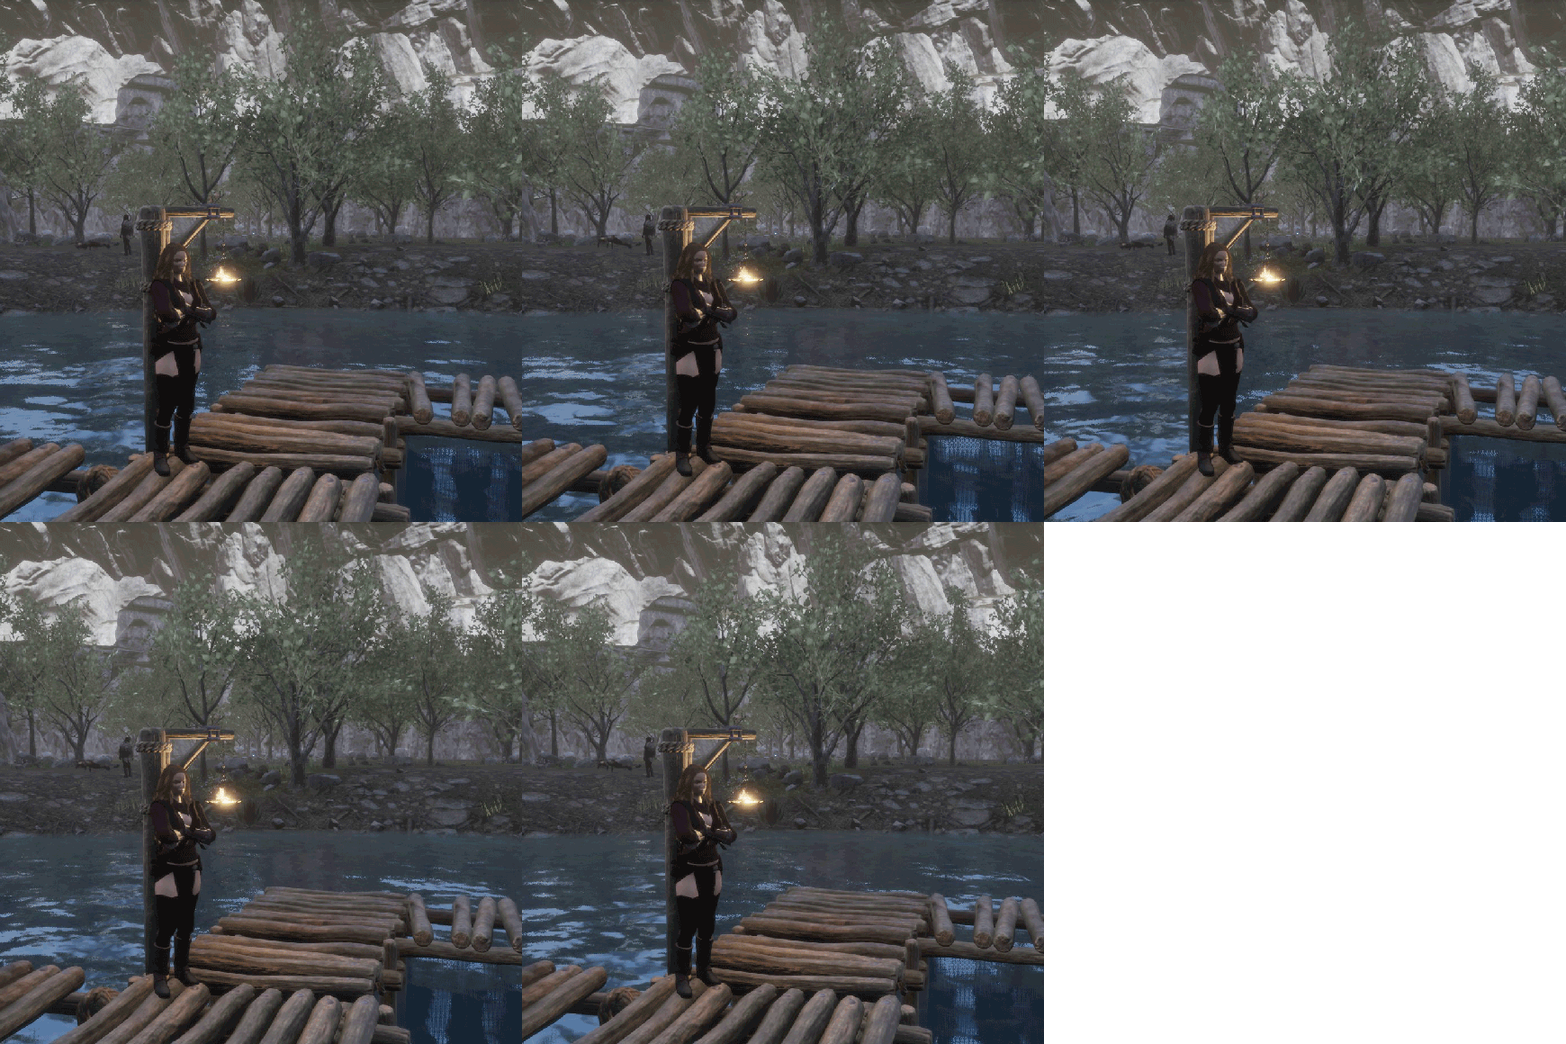 Location: You must go through the portal at the top of the Overtaken Tower of Bats to reach it. Once inside, continue in a straight line and slightly to your left until you reach a lagoon. You’ll see her there.
Conversation: Talking to her, she introduces you to Augmented Gems. She’ll tell you to equip them to give you great power, and that you can obtain them by killing large creatures.
If you ask her who she is, she will be a little rude to you.
Trade: She’ll sell you eight uncommon and eight rare Augmented Gems, each in exchange for several Gem Shards and several Scrims.
⭕️ NPCs II (+ deliver quests)
- Arcos, the lone wanderer
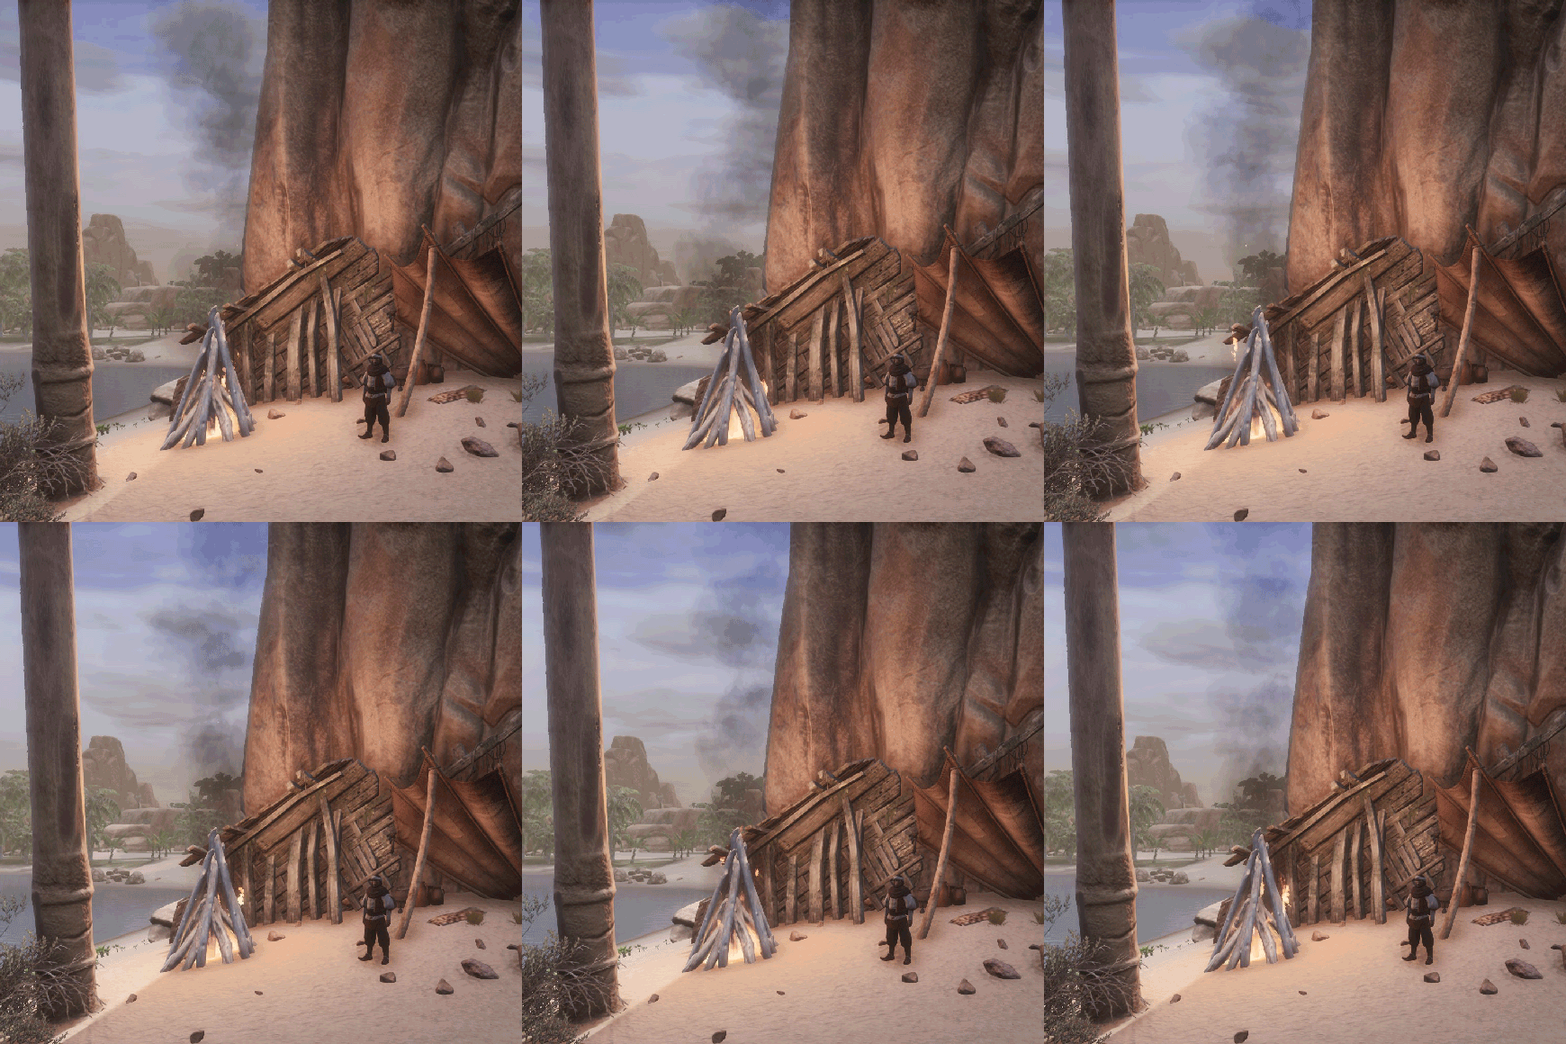 Location: You’ll see him under one of the statues of The Sentinels, which are in the central part of the great desert river.
Conversation: He tells you about a city to the north (Sepermeru), about the cursed wall, that you shouldn’t remove the bracelet, that soon you’ll begin to hear voices (from the tablets) and see ghosts, and he warns you about the rest of the exiles, that they won’t be peaceful like him.
Trade: He shows you a gesture without asking you for anything in return.
Quests: By completing Arcos’ quests, he’ll give you useful materials and equipment (at low levels) in exchange for materials that will be easy to obtain. If you advance in his quests he’ll connect you with the city of Sepermeru (with the Wandering merchant) and with the Perilous Valley. In addition, you’ll have obtained 340k experience from his quests.
- Nunu, the Cannibal
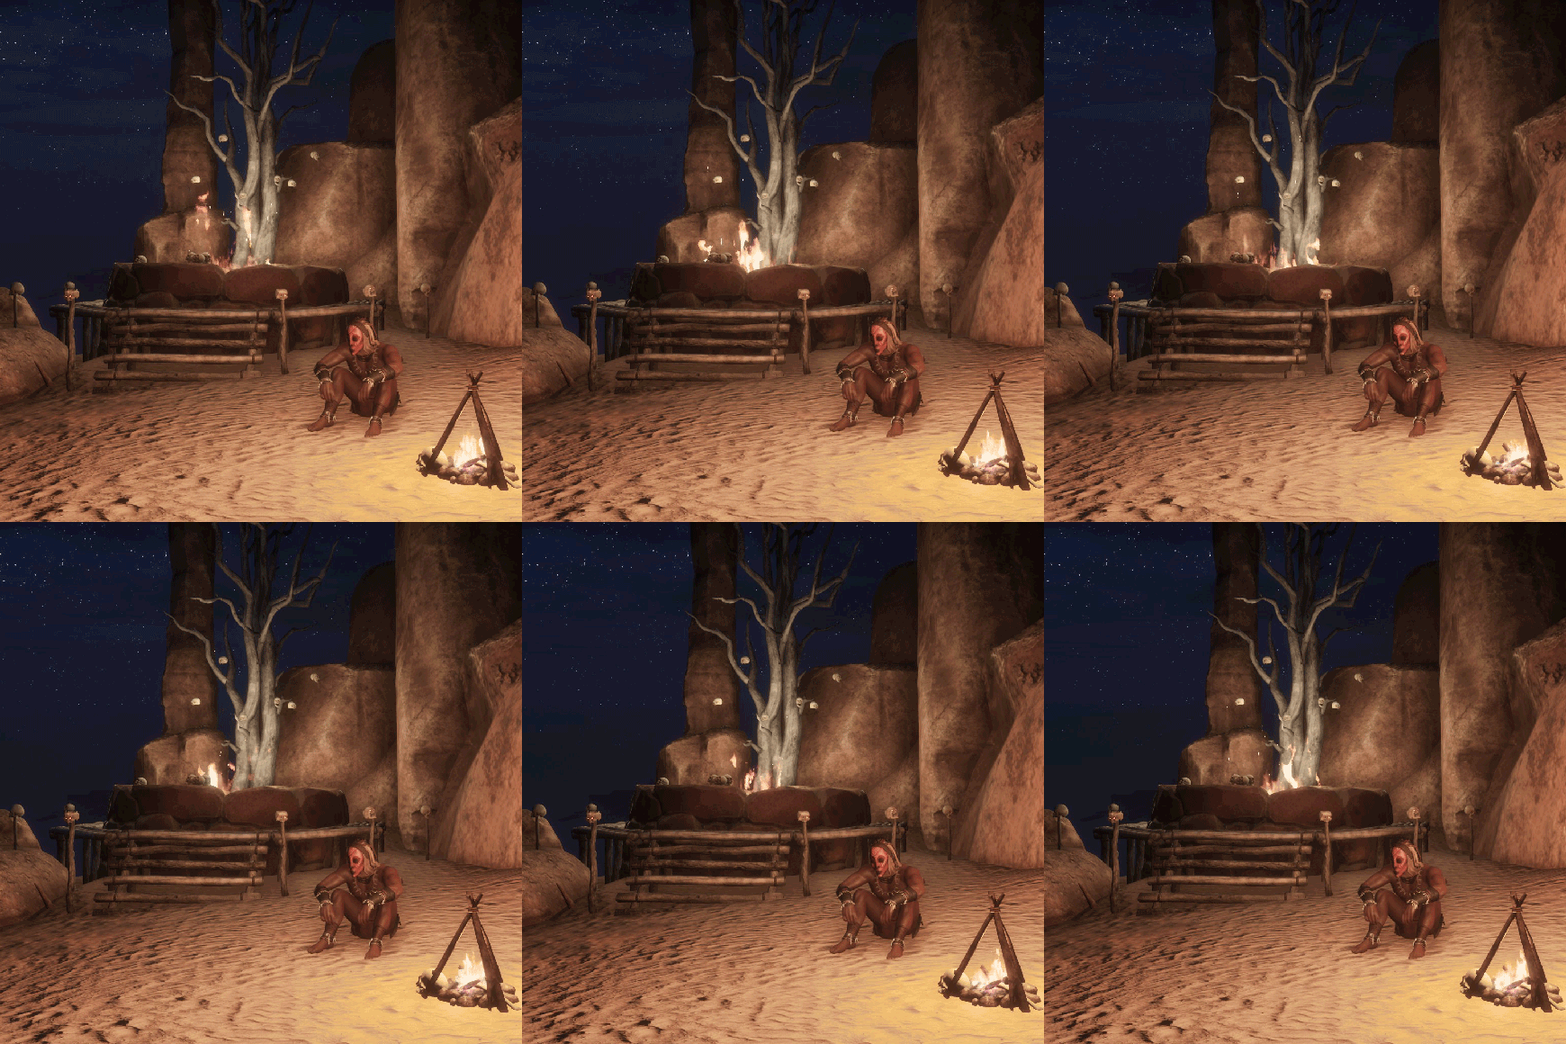 Location: In the southern part of the desert, near the Shattered Bridge, on Shaman’s Rise. He’s somewhat hidden and lonely, but you’ll surely find him by the light of his altar.
Conversation: He’ll tell you a lot about Yog and tells you why he was kicked out of his tribe.
Trade: He teaches you a gesture and the feat of the religion of Yog.
Quests: His five quests are about the god Yog, so he’ll ask you to give him objects such as human remains or to advance his religion. At the end he’ll give you a quests that you can repeat whenever you want.
- Braga, the Cimmerian
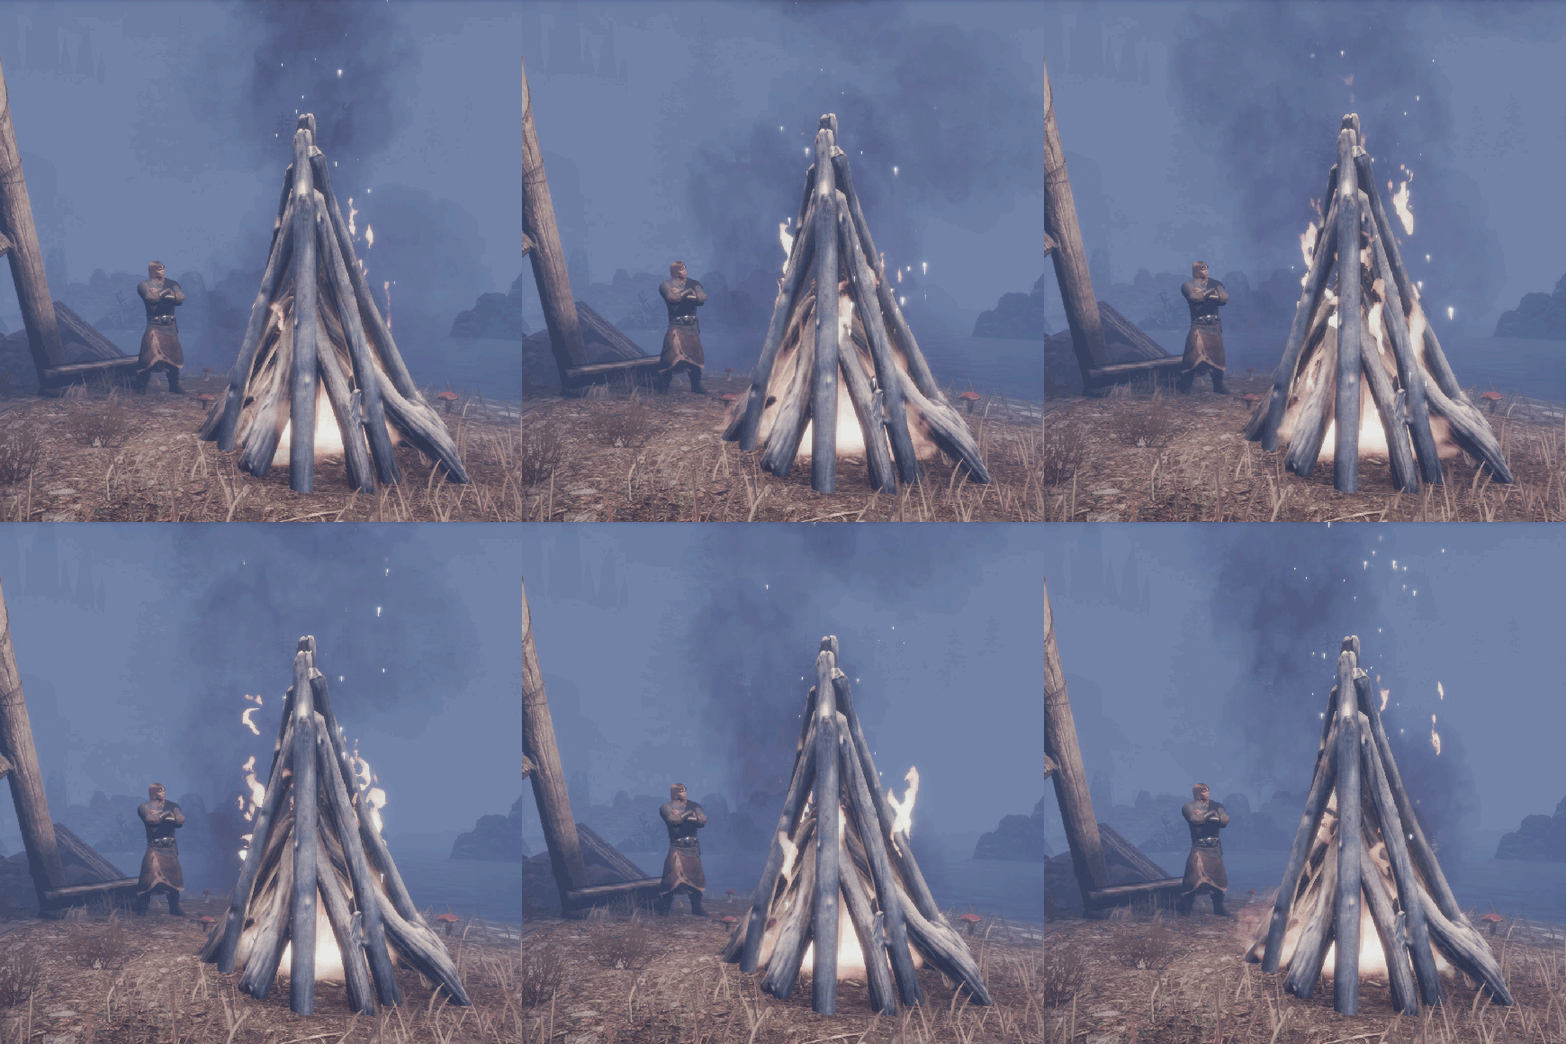 Location: He’s on the small central island of the Mounds of the Dead, his bonfire illuminates enough to see him from afar.
Conversation: When you talk to him you discover that the rest of the Cimmerians in the Mounds believe that they’re in the kingdom of Crom and he tries to convince them that they’re wrong. He also tells you about the places in the Exiled Lands that he’s explored.
Trade: He’ll sell you Servant thralls (for the Gathering Lectern workbench) and the Devout of Aesir feat (upgraded version of the Pride of Aesirs Armor) in exchange for Handheld Ymir Totems.
Quests: With he you can do three quests, related to the Aesires. After completing them all, you’ll have obtained 520k experience, in addition to the Gathering Lectern workbench, which allows you to put Servant thralls on it and have them collect the resources you tell them, in exchange for rations.
- Thulmak, the frogman
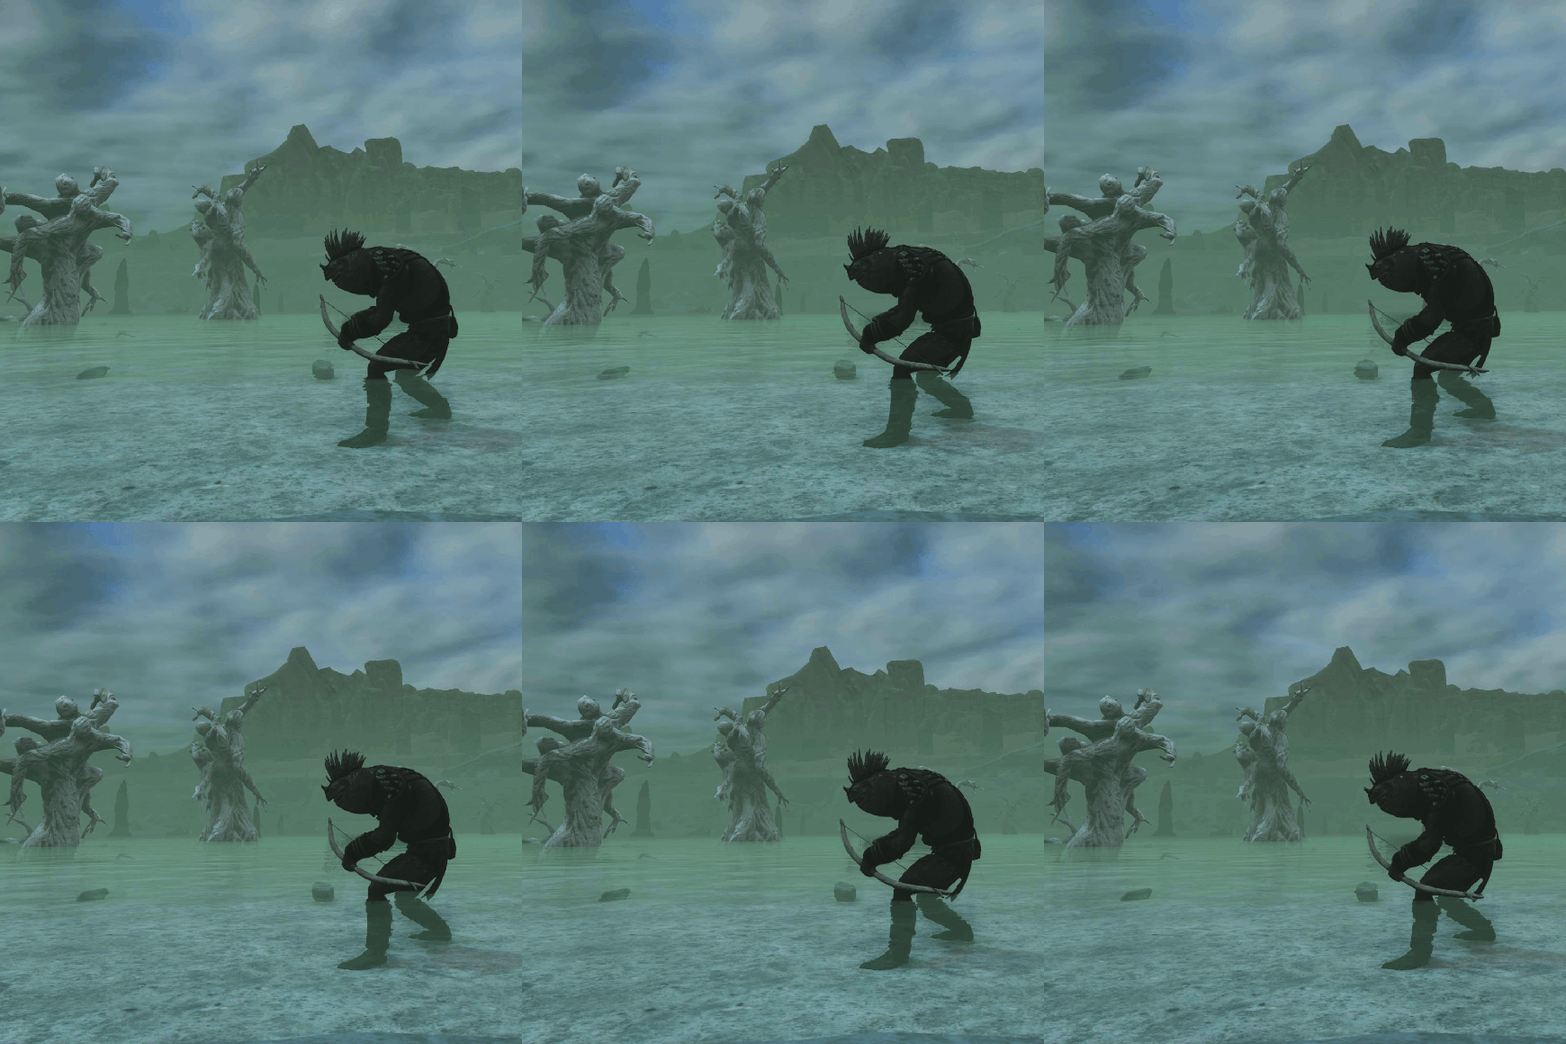 Location: He’s in the Shattered Springs, a little south of the map icon, on the edge of one of the plateaus.
* This NPC has life, so he can be killed by enemies around him and you can kill him yourself. In the event that he dies in some way, he’ll appear again after a while.
If he’s just fought enemies around you, he won’t be available to talk for two or three minutes.
Conversation: He’ll tell you that he’s only here to trade, not like the other foolish frogmen and that he belongs to the Clan of the Shattered.
Trade: He’ll sell you Stash Keys, Buff-Removing Meat and Lotus Flower Kits in exchange for Putrid Tongues (you’ll get them by killing his frogman friends). Additionally, in exchange for Endgame Event Tokens and Scrims, he’ll sell you: Scripture of Re-learning (will restore all Traits and return all spent points and 5 extra), Scripture of Unalignment (will erase the Constellations you have selected, it’ll be like never having Ascended) and Scripture of Time Reversal (will remove all Quests from you, allowing you to do them again).
Quests: He gives you a longer quest chain than the previous ones. In these quests Thulmak will tell you the history of Tyros and ask you for items related to him, such as certain Artefacts. He’ll also link you to several dungeons from the base game, such as The Sunken City, Midnight Grove and Wine Cellar. Finally he’ll ask you to go to the Perilous Valley and you’ll end up getting over 19M experience.
- Vathis, the Hierophant
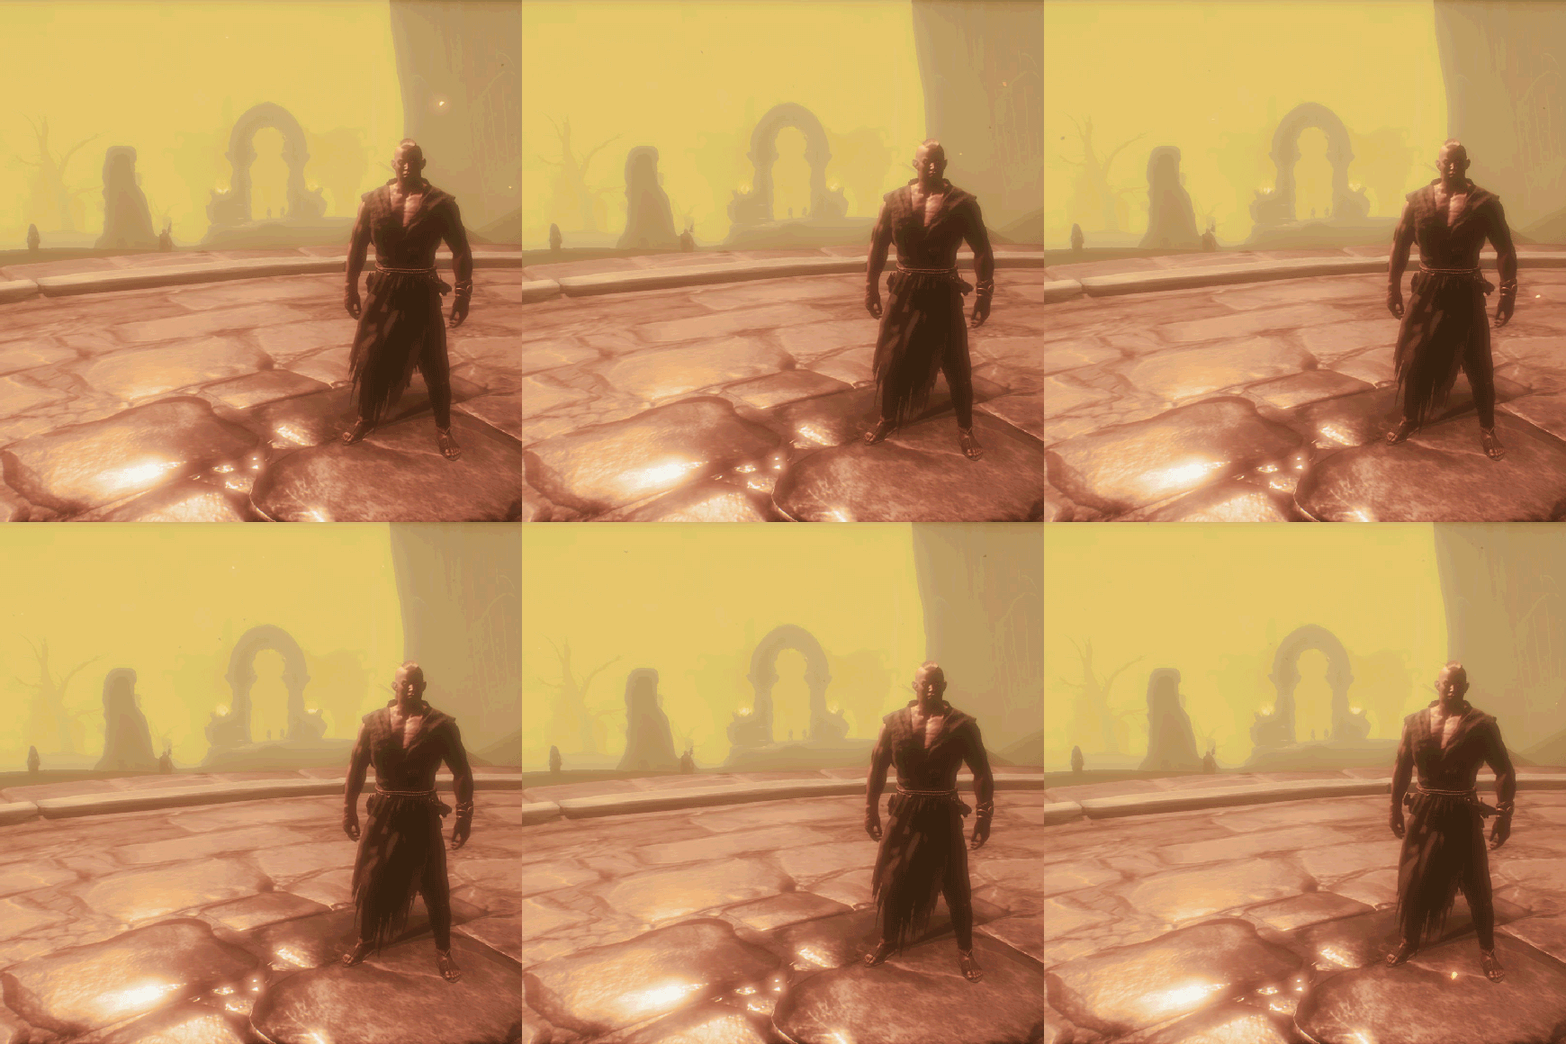 Location: He’s east of the Volcano, in the Shrine of the Oracle, right in front of the large statue of a serpent-man.
Conversation: He tells you how he left his previous life behind by reaching the volcano and becoming the leader of The Well of Skelos cult. Some time ago he was able to look at the Book of Skelos, so he’s the only one who can interpret the “voices from the well.”
Trade: He sell you Valiant Skelos Blacksmith thralls in exchange for two Scrims.
Quests: Vathis will only ask you to do two quests for him, plus another repeatable one. He’ll reward you with Master Skeleton keys.
- Mek-kamoses

This NPC used to give you a quest chain, but it’s disabled since the base game killed him.
⭕️ NPCs III (Perilous Valley)
- Erond, the legendary blacksmith
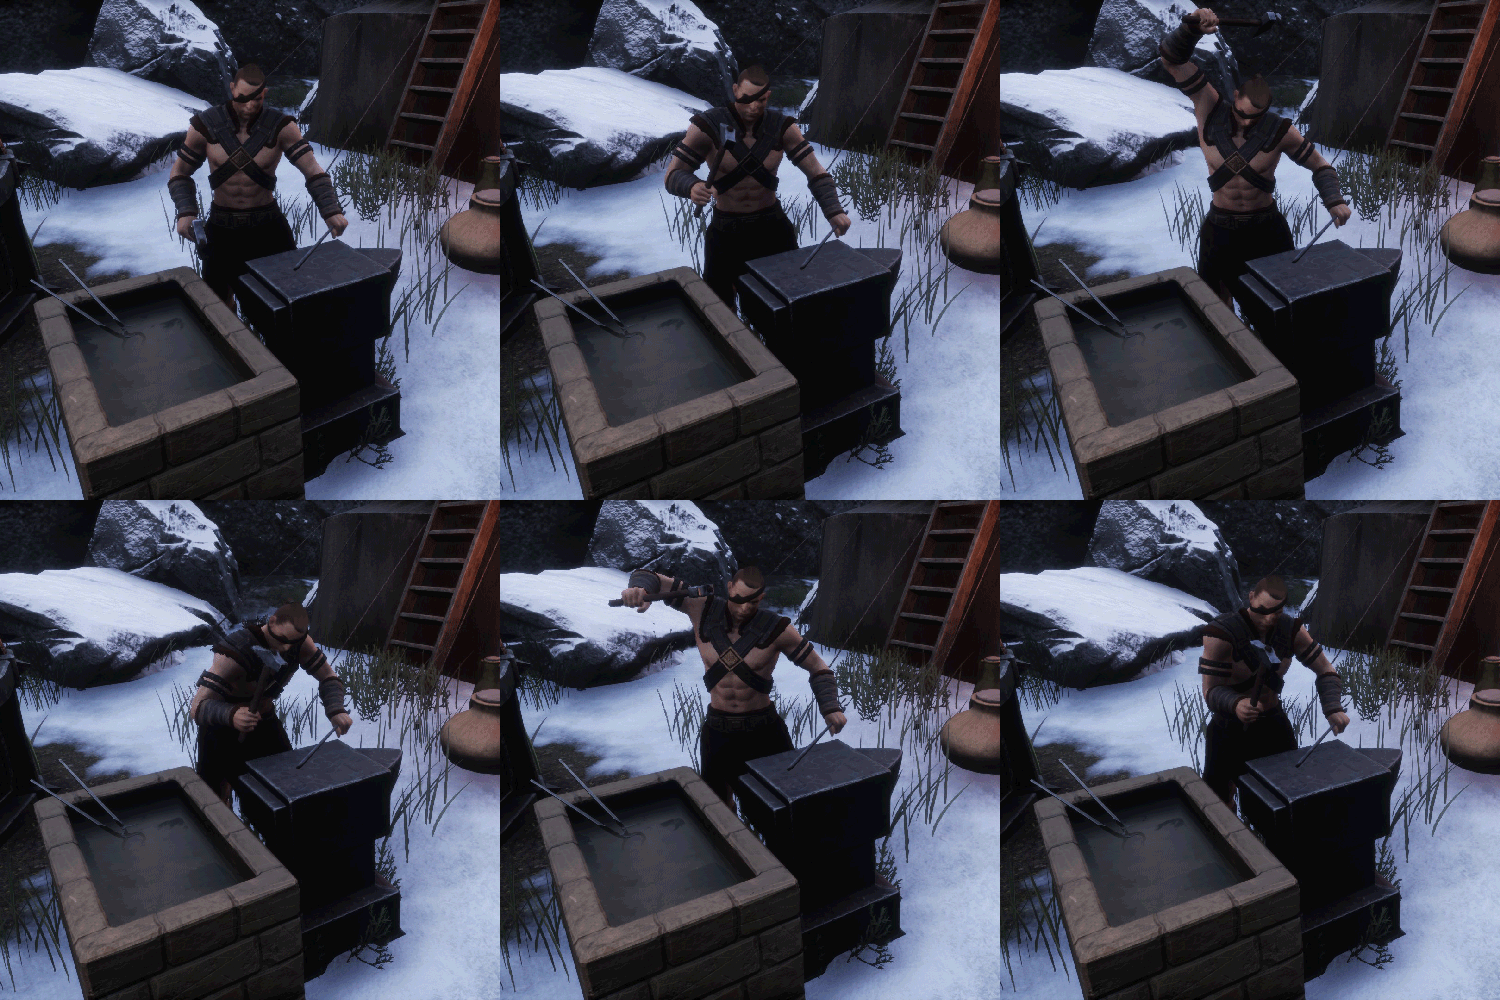 Location: He’s just upon entering the Perilous Valley, on the left side, hammering next to his Nether furnace.
Conversation: He’ll tell you the story of how he and his brother Egor came to the Valley and secured entry by building a camp. He also lets you know that if you bring him legendary weapons, he’ll upgrade them for you.
Trade: He’ll sell you Blacksmith’s Lightpacks, materials and Sharpening Kits in exchange for Handheld Ymir Totems. If you bring him certain legendary melee weapons he’ll upgrade them in exchange for 200 Handheld Ymir Totems each.
Quests: He has the longest quest chain, plus other NPCs’ quest chains end there. Through his 17 quests he’ll guide you as you advance through the EEWA weapon sets while asking you for blacksmithing materials and to learn new feats by killing Corrupted Souls. He’ll reward you with several blacksmithing resource packs, EEWA metal bars and almost 20M experience.
- Egor, the legendary hunter
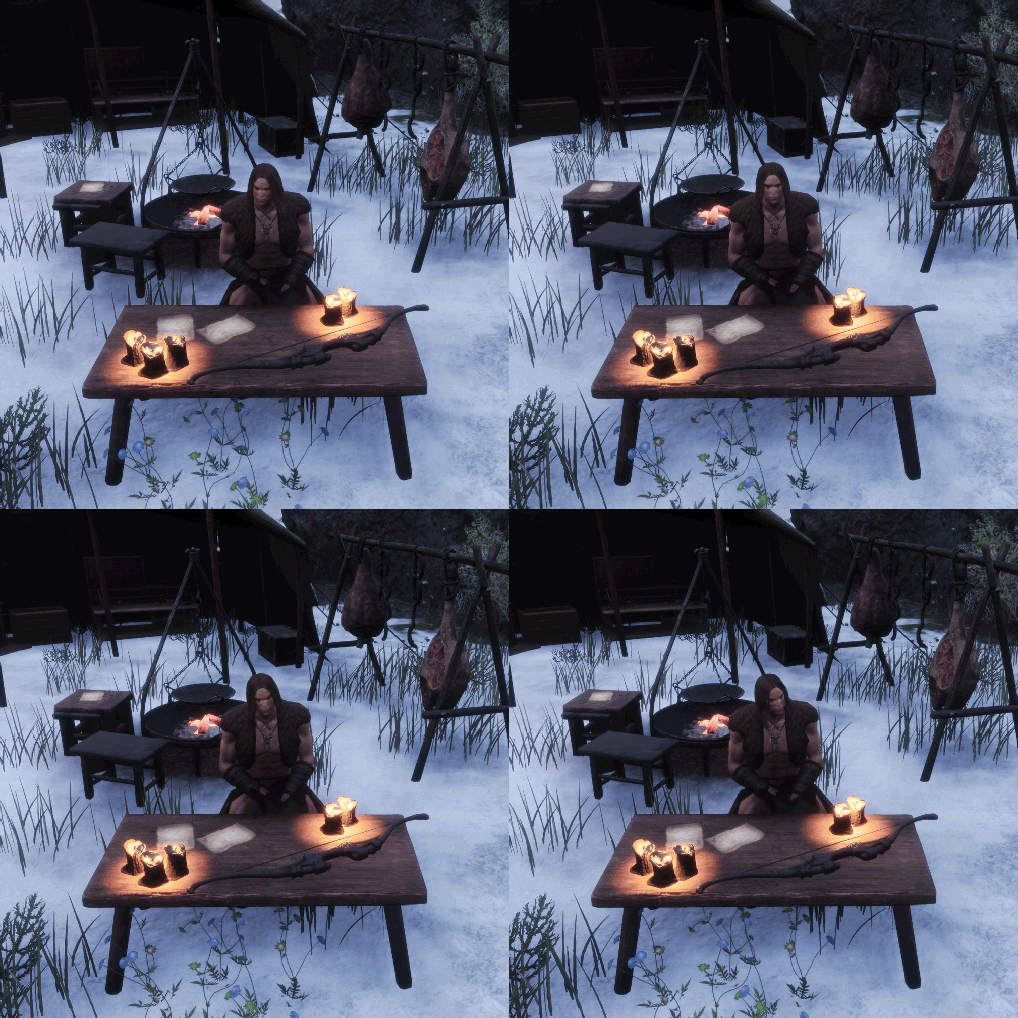 Location: He’s just upon entering the Perilous Valley, on the left side, sitting in front of a wood table.
Conversation: He mentions his brother Elrond and brags about the things he has for sale, all related to hunting.
Trade: If you bring him certain legendary bows he’ll upgrade them in exchange for 200 Handheld Ymir Totems each.
In addition, he’ll sell you four types of arrows in exchange for Handheld Ymir Totems and a specific material for each one, and you can get Handheld Ymir Totems from him in exchange for different objects.
Quests: In all his quests he asks you to give him heads of enemies, first he’ll ask you for heads of Lesser Bounties and then heads of Bounties. He’ll end up giving you a repeatable hunting quest. In return he’ll reward you with some gem Augment scrolls, many Handheld Ymir Totems and over 11M experience.
- Scrim Collector
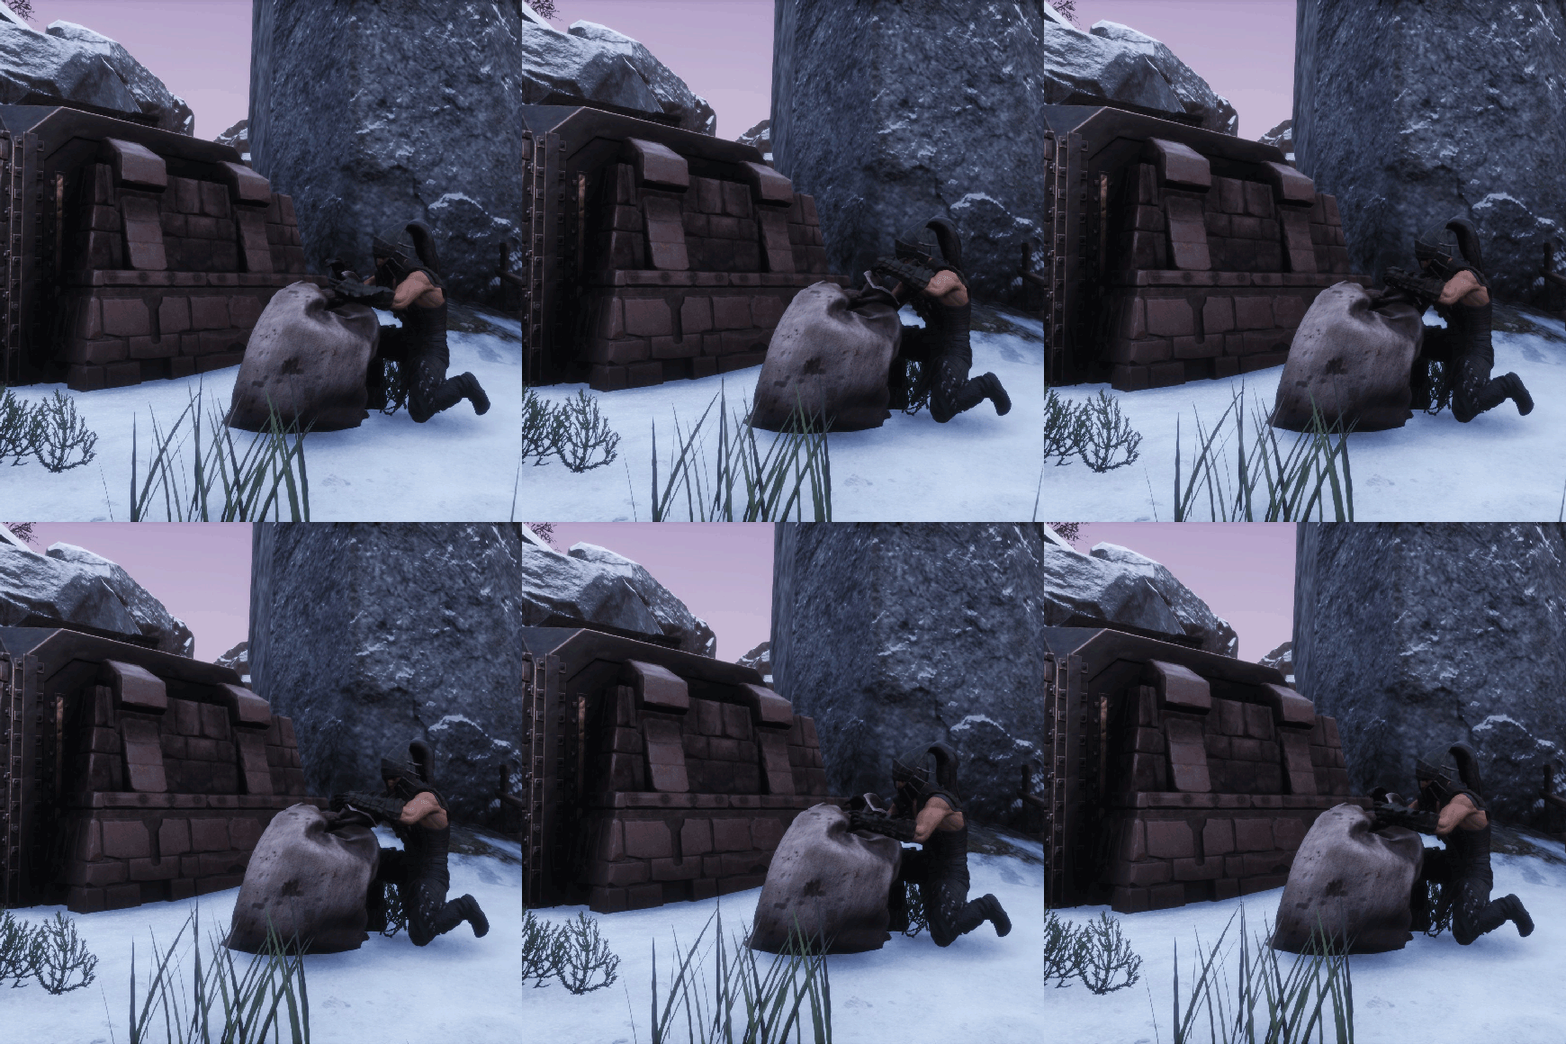 Location: You’ll find him at the entrance to the Perilous Valley, rummaging through a large sack. But depending on how the server you play on is configured, he may only appear on Saturdays and Sundays.
Conversation: He’ll tell you what Scrims are and that he’s a collector who trades on his travels. That’s why he won’t be in the Perilous Valley Monday through Friday.
Trade: He’ll give you several Scrims in exchange for different valuable items such as Endgame Event Tokens, Token of Choice, God Krystallion, Greater Bounties, Spoils of Conquest, Handheld Ymir Totems…
Quests: His quests will connect you to Outposts and ask you to conquer several. He’ll also tell you about Traits and will end up giving you a repeatable quest related to Outposts. In total, you can get almost 8M experience and many Scrims from him.
- Bastille, the translator
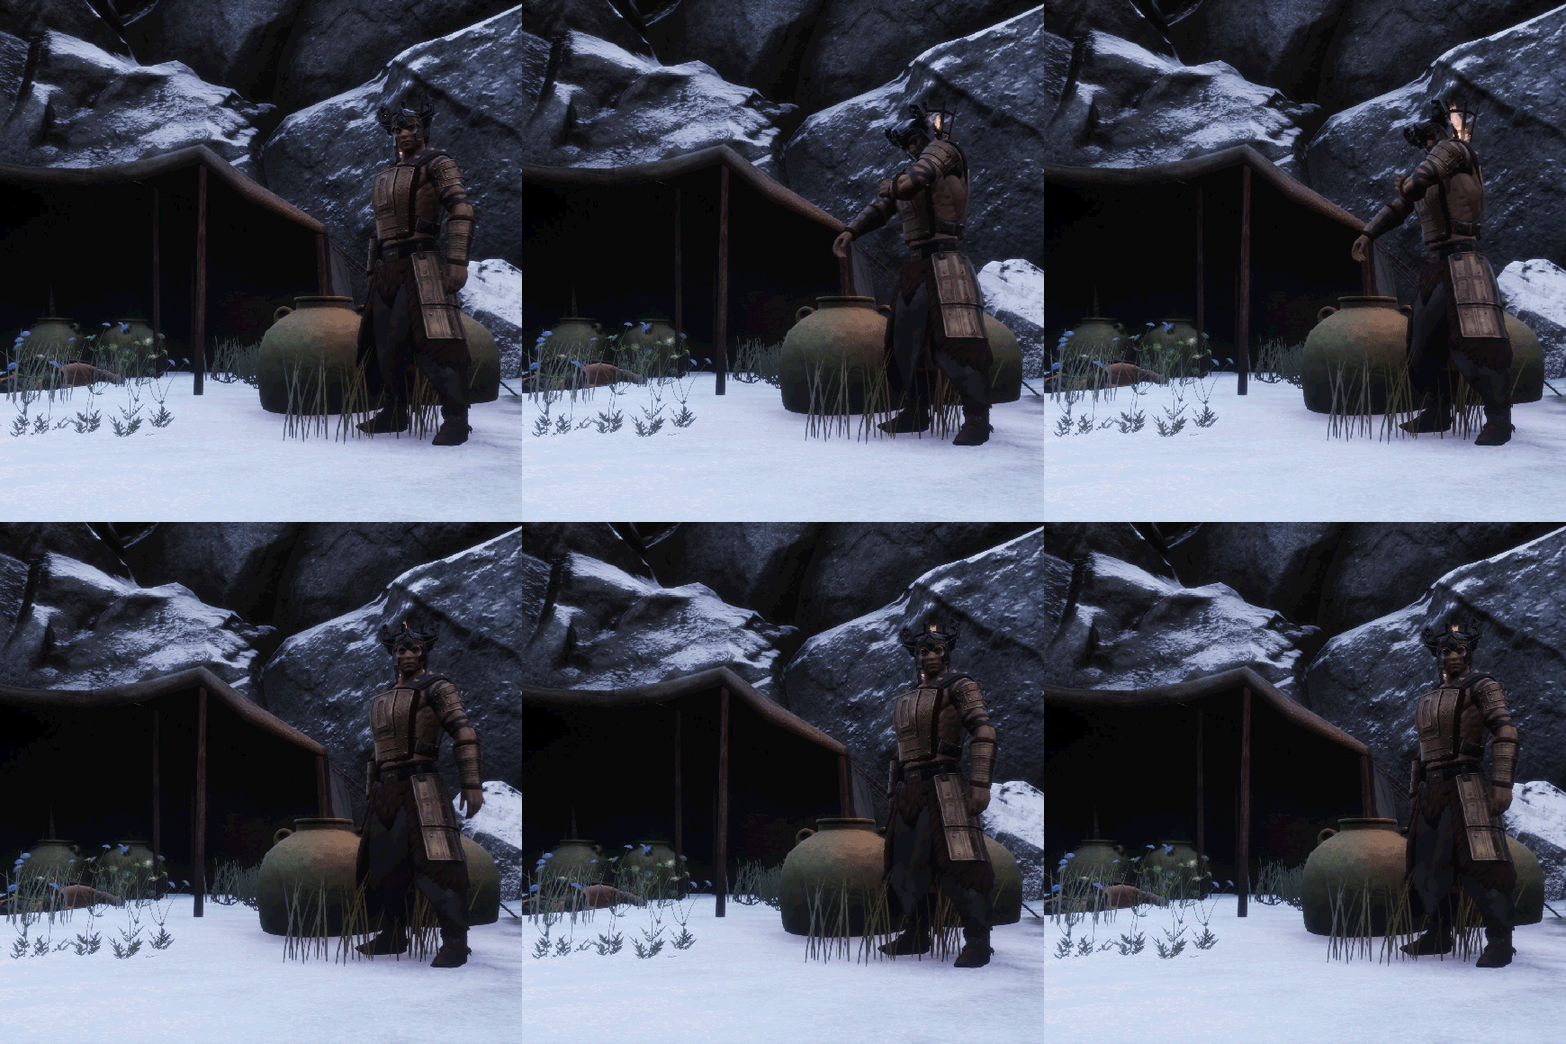 Location: Once you’ve entered the Perilous Valley, go down the path to the right and you’ll end up meeting him.
Conversation: He’ll tell you about the Council of Wolves in the north, about how strong they are and the powerful weapons they have. He will also mention that he himself belonged to the Council.
Trade: He’ll exchange Handheld Ymir Totems for Box of Goodies. If you open these boxes you’ll get several random items. You’ll have to buy them from him to start their quests chain and to complete their last repeatable quest as many times as you want.
Quests: Both in the diaries scattered at the entrance to the Perilous Valley and in the quests of Bastille, it’s clear that he’s a translator. For this reason, the quests that he’ll give you will try to discover some ruins, give him a text to translate and find out the history of an ancient empire. You can get more than 6M experience from him.
- Hosav, Shadow Legion Commander
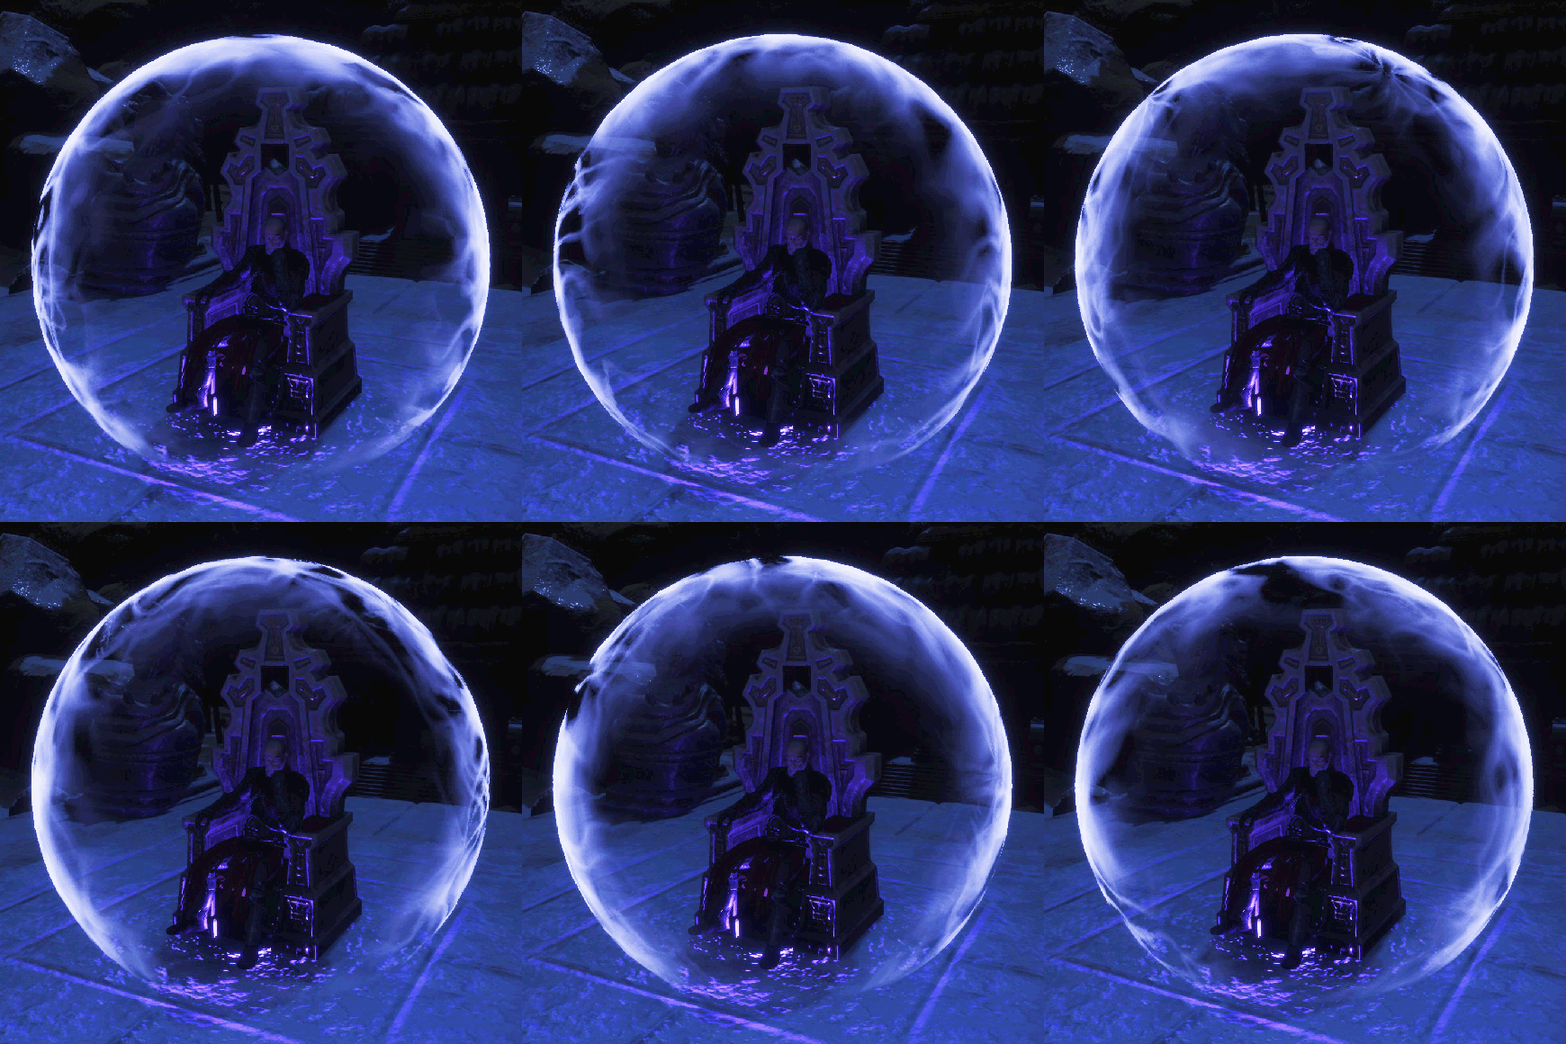 Location: You’ll have to enter the Perilous Valley to find him, which requires you to face several strong enemies every time you want to trade with him, complete one of his quests or Ascend.
Conversation: He’ll not speak to you until you’ve learned the Ancient Knowledge after drinking from the Demonic Horn of Secrets, which you’ll obtain after killing the Scourge Demon King in the Ancient Cave.
To learn it, you’ll need to be at least level 200, in addition to having learned all the previous feats of the EEWA weapon sets. Meanwhile, he’ll only tell you that he sees potential in you and that you’ll only impress him when you’ve drunk from the horn.
In short: there is little point in going to him until you meet these requirements.
Once you’re at least level 200 and have the feat learned, you’ll unlock his dialogues, trading and Ascensions. First he’ll be surprised that you’ve managed to kill the demon and he’ll tell you that he’s dedicated to studying the constellations, so he’ll introduce you to the Ascension system. He also tells you about the Shadow Legion and makes it clear that he wants a lot of Scrims.
Trade: He’ll sell you magic and three types of gem Augment scrolls in exchange for Scrims and Endgame Event Tokens. In exchange for just Scrims he’ll sell you a couple of elixirs, his armor set (Shadow Legion) and auras. For more info, go to the “🧿 Magic” and “🌀 Auras” sections of the guide.
Quests: His quest chain is the most advanced of all, since it introduces you to the magic of the EEWA, the Skelos Shard Challenges, the Constellations (that is, you must Ascend) and the Aspect of Ymir. Among his quest rewards, he’ll give you the Legendary Assembly feat and recipes to use in it, as well as several Corrupted Spellbooks, Gem shards and gem Augment scrolls.
🧧 Coins
- Handheld Ymir Totem
You can get them:
· In the Lesser Bounty Reward, from the Lesser Bounties on the Reward Boards.
· In the Bounty Rewards, from the Bounty, Greater and Avatar Bounties.
· In the Avatar Bounty Reward, from the Avatar Bounties.
· In the boxes after having successfully completed an Event.
· In the Black Hand Caravan Package.
· In the base game Treasure Chests that are scattered throughout the map.
· In the small stash chests that you’ll open with the Stash Key.
· In the quests of Arcos, the lone wanderer (40).
· In the quests of Braga, the Cimmerian (300).
· In the quests of Thulmak, the frogman (250).
· In the quests of Egor, the legendary hunter (1.350 + 80 for each repeatable quest).
· In the quests of Erond, the legendary blacksmith (125).You can buy them:
· To the Mysterious Obelisk, in exchange for 6 Spirit Essences and 10 Ice Shards.
· To the Wandering merchant, in exchange for 20 Gold Coins and 2 Spoils of Conquest.
· To the Rarity Trader, in exchange for 200 Gold Coins.
· To Egor, the legendary hunter:
1 Handheld Ymir Totem in exchange for 1 Armor Scraps.
1 Handheld Ymir Totem in exchange for 2 Fragment of Power.
2 Handheld Ymir Totem in exchange for 1 Grandmaster Armor/Weapon Repair Kit
5 Handheld Ymir Totem in exchange for 2 Endgame Event Tokens.Use of Totems:
· Pay 25 Totems to Erond to purchase the Star Obsidian Arsenal feat.
· Erond will ask you for 100 of them in his quests.
· Bastille will ask you for 90 of them in his first quest (to buy his boxes).
· They will serve as payment currency for the Wandering merchant, for the Rarity Trader (mounts), for Braga (thralls and a feat), for Erond (legendary weapons and smithing mats), for Egor (legendary weapons and arrows), for the Collector of Scrims and for Bastille.
· Craft the Speedy sandals at the Valiant Blacksmith’s Bench.
· Craft the Swords of Ebon at the Legendary Assembly. - Scrim
You can get them:
· In the Greater Bounties on the Reward Boards.
· In the Black Hand Caravan Package.
· In the small stash chests that you’ll open with the Stash Key.
· In the quests of Thulmak, the frogman (9).
· In the quests of Scrim Collector (85 + 20 for each repeatable quest).
· In the quests of Egor, the legendary hunter (20).
· In the quests of Bastille, the translator (40 + 1 for each repeatable quest).
· In the quests of Erond, the legendary blacksmith (100).
· In the quests of Hosav, Shadow Legion Commander (275).You can buy them:
To the Scrim Collector:
· 1 Scrim in exchange for 10 Bounty Assembly Pieces.
· 45 Scrims in exchange for 1 God Krystallion.
· 3 Scrims in exchange for 2 Corrupted Spellbook.
· 7 Scrims in exchange for 1 Frosted Assembly Piece (deliver the Avatar Bounty).
· 25 Scrims in exchange for 1 Ymir’r Seal.
· 1 Scrim in exchange for 95 Handheld Ymir Totem.
· 1 Scrim in exchange for 11 Spoils of Conquest.
· 4 Scrims in exchange for 1 Token of Choice.
· 1 Scrim in exchange for 5 Guard’s ??? (kill the enemies of the Ancient Stygian Ruins).
· 24 Scrims in exchange for 1 Slithering Tentacle (kill the Daughter of the Devourer).
· 16 Scrims in exchange for 1 Heart of Oblivion (kill the Son of the Devourer).
· 8 Scrims in exchange for 1 Demonic Horn of Secrets (kill the Scourge Demon King).
· 10 Scrims in exchange for 1 Blood of the Guardian (kill the Yama’s Guardian).
· 1 Scrim in exchange for 5 Acheronian Sigil Key.
· 1 Scrim in exchange for 15 Endgame Event Tokens.Use of Scrims:
· Pay 100 Scrims to Hosav, Shadow Legion Commander, every time you want to Ascend.
· Hosav will ask you for 300 of them in his quests.
· They will serve as payment currency for The Gemcutter (gems), for Thulmak (scrolls that will restore things), for Vathis (thralls) and for Hosav (magic, auras, Shadow Legion Armor and gem Augment scrolls).How to get many Scrims “easily”:
1. Get lots of Gold Coins in the base game Treasure Chests scattered around the map or by making them yourself in the Casting Table. By mining Obsidian you’ll get Goldstones, put 3 Goldstones in a Furnace to get 1 Gold Bar. At the Casting Table you’ll create 30 Gold Coins for each Gold Bar. Save them.
2. Get many Skeleton Keys from the base game, you’ll get them by using a tool on the corpse of the bosses (three-skull enemies).
3. With these keys, craft Master Skeleton keys (you’ll need 5 Skeleton Keys for each Master skeleton key)
4. At the Rarity Trader, use the Master Skeleton keys to buy Token of Choice (you’ll need 3 Master Skeleton keys and 130 Gold Coins for each Token of Choice).
5. In the Scrim Collector, use the Token of Choice to buy Scrims (for each Token of Choice he’ll sell you 4 Scrims).That is, you’ll need 15 Skeleton Keys and 130 Gold Coins to get 4 Scrims.
This is one Scrim for every 3,75 Skeleton Keys + 3,25 Goldstones. - Endgame Event Tokens
You can get them:
· In the boxes after having successfully completed an Event.You can buy them:
· To the Petrified Tree, 25 Tokens in exchange for 1 Mik Fruit.Use of Endgame Event Tokens:
· They will serve as payment currency for the Wandering merchant, for the Petrified Tree (Corrupted Souls), for Thulmak (scrolls that will restore things), for the Scrim Collector (Scrims) and for Hosav (magic and gem Augment scrolls) . - Token of Choice
You can craft them: only if you play with the mod AoC, otherwise not.
· In the Nether Furnace, spending 400 Honor Tokens and 1 Coin MoldYou can buy them:
· To the Rarity Trader, in exchange for 3 Master Skeleton keys and 130 Gold Coins.Use of Tokens of Choice:
· They will serve as payment currency for the Rarity Trader (materials to craft legendary weapons).
· Craft the Speedy sandals at the Valorous Blacksmith’s Bench
 If you play with mod The Age of Calamitous you’ll have the coins:
· Palace of Blood Token
· Honor Token
These two coins won’t be available without that mod.
🧧 Items to exchange
- Gem Shards
You can get them:
· In the quests of Thulmak, the frogman (1).
· In the quests of Scrim Collector (3).
· In the quests of Erond, the legendary blacksmith (3).
· In the quests of Hosav, Shadow Legion Commander (22).Use of Gem Shards:
· They will serve as payment currency for The Gemcutter (gemas). - Putrid Tongue
You can get them:
· Killing the Shattered Cultists and removing their tongue from their corpse.Use of Tongues:
· Thulmak will ask you for 25 of them in his quests.
· They will serve as payment currency for Thulmak.
· You can ingest them and you’ll receive the Poisoned status, which will deal 2 damage every second for five seconds. - Spoils of Conquest
You can get them:
· In the quests of Hosav, Shadow Legion Commander (100).
· 1 in Outposts Darfari Caravan Package.
· 2 in The Dogs Caravan Package.
· 2 in Black Hand Caravan Package.
· 3 in Relic Hunter Caravan Package.Use of Spoils:
· Scrim Collector will ask you for 12 of them in his quests.
· They will serve as payment currency for the Wandering merchant.
· It’s a Lesser Bounty that you can deliver on the Rewards Boards. - Spirit Essence
You can get them:
· Killing the ghosts that walk around the Mounds of the Dead.You can buy them:
· To the Mysterious Obelisk, 15 Essences in exchange for 1 Wraith Essence (killing Undead Wraith).Use of Essences:
· They will serve as crafting materials for the Mysterious Obelisk (Spirit Horse). - Mik Fruit
You can get them:
· In the quests of Hosav, Shadow Legion Commander (5).
· Killing the enemies of the EEWA bosses, with three skulls.You can buy them:
· To the Wandering merchant, in exchange for 200 Endgame Event Tokens y 100 Spoils of Conquest.Use of Fruits:
· They will serve as payment currency for the Petrified Tree.
· You can ingest them and you’ll receive the Void Speed status, which will increase your movement speed by 15% and prevent you from being incapacitated for two minutes. - Bloodbreaker Crystal
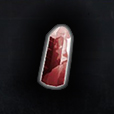
You can get them:
· Killing the Ultra Champion, a boss that you’ll summon if you take the Corrupted Champion Soul to the Conjuration Pillar.Use of Crystals:
· They will serve as payment currency for the Petrified Tree (Bloodbreaker Armor).
· Craft Blood Smash magic in the Witchbowl Cauldron. - Hemoglobin Crystal
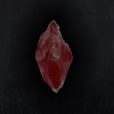
You can craft them:
· In the Witchbowl Cauldron, spending 1.250 Bloods, 400 Demon Bloods, 10 Hearts of a Hero and 20 Shards of Skelos.Use of Crystals:
· Craft all items in the Bloody Sanctions feat (the Hemoglob Armor and the Blood uprising weapon).
· Craft Bloodshot magic in the Witchbowl Cauldron. - Box of Goodies
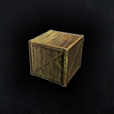
You can buy them:
· To Bastille, the translator, in exchange for 18 Handheld Ymir Totems.Use of these boxes:
· Bastille will ask you for 5 of them in his quests and 10 for each repeatable quest.
· Open them to obtain their contents, which will be several of the following items: Black Ice, Steelfire, Skelos Shard Fragments, Composite Obsidian, Silver Coin, Gold Coin, Dragonpowder, Scourge Powder, Powder of Corruption, Steel Reinforcement, Steel Bar, Silver Bar, Gold Bar, Hardened Steel Bar, Armor Scraps, Hardened Brick, Brimstone, Crystal, Shaped Wood and Elixir of temperature immunity.
🧧 Other items
- Shard of Skelos and their fragments
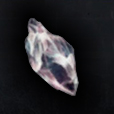
You can craft them:
· In the Witchbowl Cauldron (with some thrall equipped), spending 4 Oil of fragmented power, 80 Bloods, 10 Essence of a Star and 12 Corrupted Spellbooks or 6 Corrupted Woods. Depending on which thrall you equip, it’ll spend between this amount and half.You can get the Shards:
· By successfully completing the Skelos Shard Challenges.
· In the Avatar Bounty Reward, from the Avatar Bounties.
· In the Black Hand Caravan Package.
· In the small stash chests that you’ll open with the Stash Key.
· Killing the enemies of the EEWA bosses, with three skulls.You can get the Fragments:
· In the Box of Goodies, Bastille will sell them to you.
· Scattered throughout the Overtaken Tower of Bats dungeon.
· In the Bounty Rewards, from the Bounty, Greater and Avatar Bounties on the Reward Boards.You can buy them:
· In the Mysterious Obelisk:
2 Skelos Shard Fragments in exchange for 4 Spirit Essences and 8 Bounty Assembly Piece.
4 Skelos Shard Fragments in exchange for 2 Spirit Essences and 1 Token of Choice.
· Shards to the Wandering merchant, in exchange for 125 Gold Coins and 40 Spoils of Conquest.Use of Shards and Skelos Shard Fragments:
· Buy Shard of Skelos Arrows from Egor, the legendary hunter.
· Craft armor sets at the Armorer’s Bench.
· Craft materials in the Witchbowl Cauldron.
· Dismantle the fragments in the Dismantling Bench to get 1 Fragment of Power, 24 Crystals and 10 Corrupted Stones (a little more in the Improved Dismantling Bench). - Corrupted Spellbook
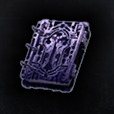
You can craft them:
· In the Witchbowl Cauldron (with some thrall equipped), spending 1 Tome of Kurak, 8 Shards of Skelos, 6 Alchemical fluids and 1 Chaos mixture. Depending on which thrall you equip, it’ill spend between this amount and half.You can get them:
· In the Dismantling Bench, placing any weapon recipe from the Legendary Assembly.
· In the Avatar Bounty Reward, from the Avatar Bounty on the Reward Boards.
· In the quests of Hosav, Shadow Legion Commander (8).
· Killing the enemies of the EEWA bosses, with three skulls.You can buy them:
· To the Wandering merchant, in exchange for 220 Gold Coins and 150 Spoils of Conquest.Use of these books:
· Erond, the legendary blacksmith, will ask you for 3 of them in his quests.
· They will serve as payment to learn the Weapons from the Gods.
· Craft armor sets at the Armorer’s Bench.
· Craft God Krystallion in the Volcanic Forge (in The Well of Skelos).
· Craft materials in the Witchbowl Cauldron and the Nether furnace.
· Craft Legendary Assembly Kits in the Legendary Assembly. - God Krystallion
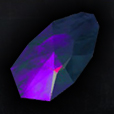
You can craft them:
· When you’re level 300 and have the Legendary Assembly feat, you can craft them in the Nether Furnace, spending 26 Corrupted Spellbooks, 8 Mystical Mixture and 150 Crystals.
· In the Volcanic Forge (in The Well of Skelos), spending 20 Corrupted Spellbooks, 5 Mystical Mixture and 100 Crystals.You can get them:
· In the quests of Hosav, Shadow Legion Commander (1).Use of these crystals:
· Spend 1 God Krystallion on the Chaosmouth Altar, every time you want to enchant a weapon or magic.
· Craft the Legendary Assembly.
· Craft the Mask of Thunder at the Legendary Assembly.
· Craft the Cosmic Steel Bar in the Nether Furnace. - Blooming mushroom and Mystical mushroom
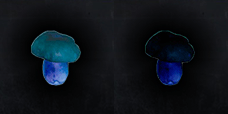
You can get them:
· Behind the Hive Construct boss in the Overtaken Tower of Bats dungeon.
· Near any water surface. On the shores of rivers, lakes, ponds…Specifically, it is along the wide river that runs through the desert and the jungle, on the sea
 coast, in the Priestking’s Retreat, in the Boundary Spillway, in the pond under the Mek-kamoses’s Spire, in the Waterside and the Southlake of Sepermeru, around the Telith’s Island, in the lake south of The Northern Aqueduct, in the Mounds of the Dead and throughout the lake that goes from The Great Dam to the Perilous Valley.
And it isn’t in the swampy area of the jungle (around the Mire of Eternal Dreams), nor in the Oasis of Nekhet, nor in the ponds near Muriela’s Hope, nor in the Shattered Springs, nor in the ponds near New Asagarth, nor in the Eyelet Lake, nor in the river that runs from the lake of the snowy area to the Riversend.When you pick up a Blooming mushroom it will take 8:45 minutes to transform into a Mystical mushroom, which will take 33 minutes to expire. Once it expires it’ll disappear from your Inventory, so plan a good route to collect several Blooming mushrooms and be able to reach your Witchbowl Cauldron in time. There you can craft the Mystical Mixture (the only thing these mushrooms are good for). For each Mystical Mixture you craft you’ll need 6 Mystical Mushroom, but also have the rest of the necessary ingredients ready: 25 Shadebloom, 5 Hearts of a Hero and 6 Alchemical Fluids.
Use of these mushrooms:
· Craft the Mystical Mixture in the Witchbowl Cauldron. - Legendary Assembly Kit
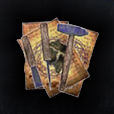
You can get them:
· Killing the enemies of the EEWA bosses, with three skulls.Use of these Kits:
· Craft all Legendary Assembly weapons.
· Craft the Dragon Stave in the Witchbowl Cauldron. - Legendary Parts
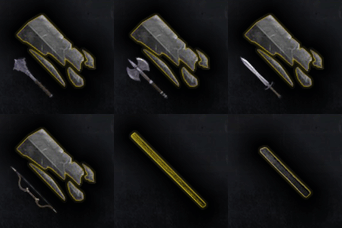
You can craft them:
· At the Legendary Assembly, spending 12 Corrupted Spellbooks, 5 Mystical Mixture and 30 Bounty Assembly Pieces.You can get them:
· In the rusty chests that you’ll open with the Master Skeleton key.
· Killing the enemies of the EEWA bosses, with three skulls.You can buy them:
· To the Rarity Trader, in exchange for 1 Token of Choice.Use of this Parts:
· Craft weapons at the Legendary Assembly.
🗝 Keys and what they open
- Stash Key
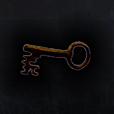
You can get them:
· In the quests of Arcos, the lone wanderer (2).
· In the quests of Nunu, the Cannibal (2).
· In the quests of Thulmak, the frogman (9).
· In the quests of Bastille, the translator (14 + 1 for each repeatable quest).You can buy them:
· To Thulmak, the frogman, in exchange for 20 Putrid Tongues and 2 Scrims. Use of the Stash Keys:
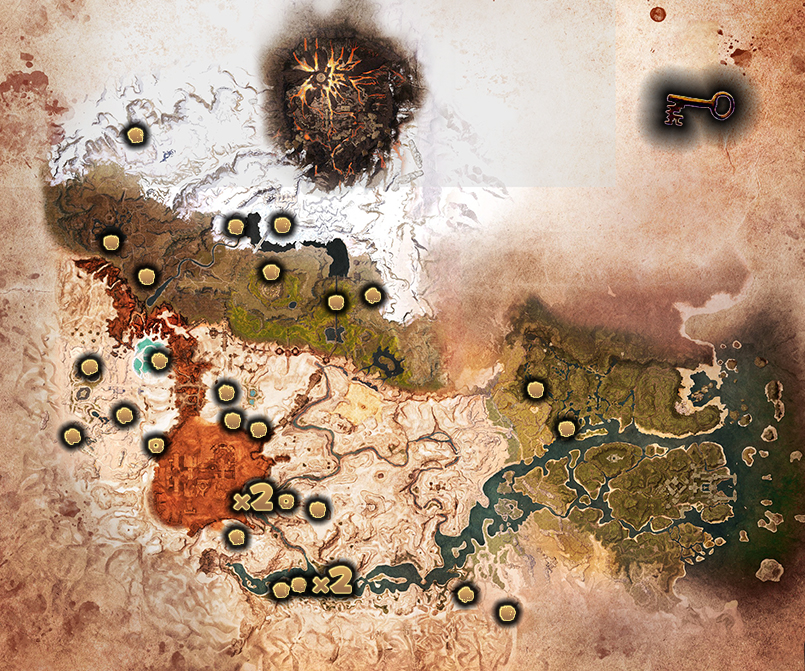
· Open the small half-buried stash chests.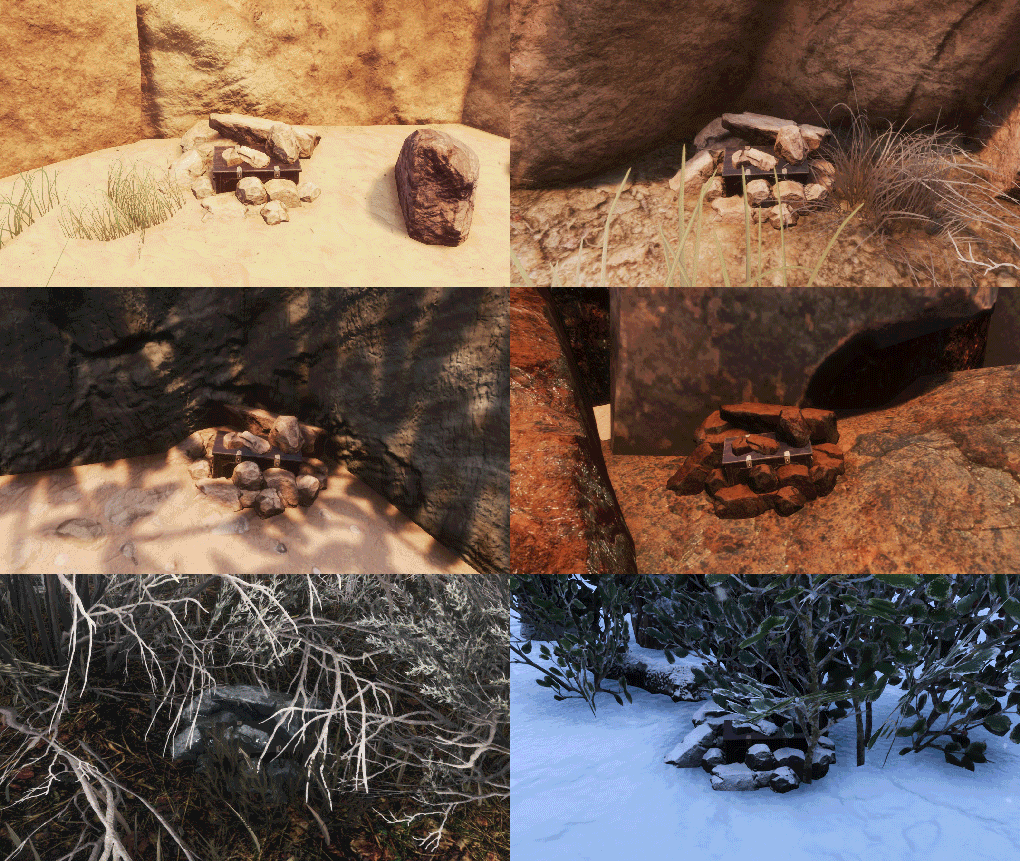 Here I leave you a gif so you can see what these chests look like and below is a map with their locations (even so, it’s difficult to find them). When you open one you won’t be able to open it again until after some time.
They may contain some of the following items: Scrims, Handheld Ymir Totems, Shard of Skelos, Scourge Powder, Molten Shards (Lesser Bounty), Star Obsidian Bars, Scourgesteel Bars, Star Metal Bars, Khari Steel, Gold Bars, Fragment of Power, Brimstone, Armor Scraps, Gold Coins, Silver Coins, Scourge Steaks, Lotus Flower Kits…
- Master Skeleton key
You can craft them:
· When you’re at least level 60 and unlock the “Master Explorer” feat, you can craft them by hand, spending 5 Skeleton Keys.You can get them:
· In the Avatar Bounties on the Rewards Boards.
· In the quests of Vathis, the Hierophant (3).
· In the quests of Hosav, Shadow Legion Commander (4).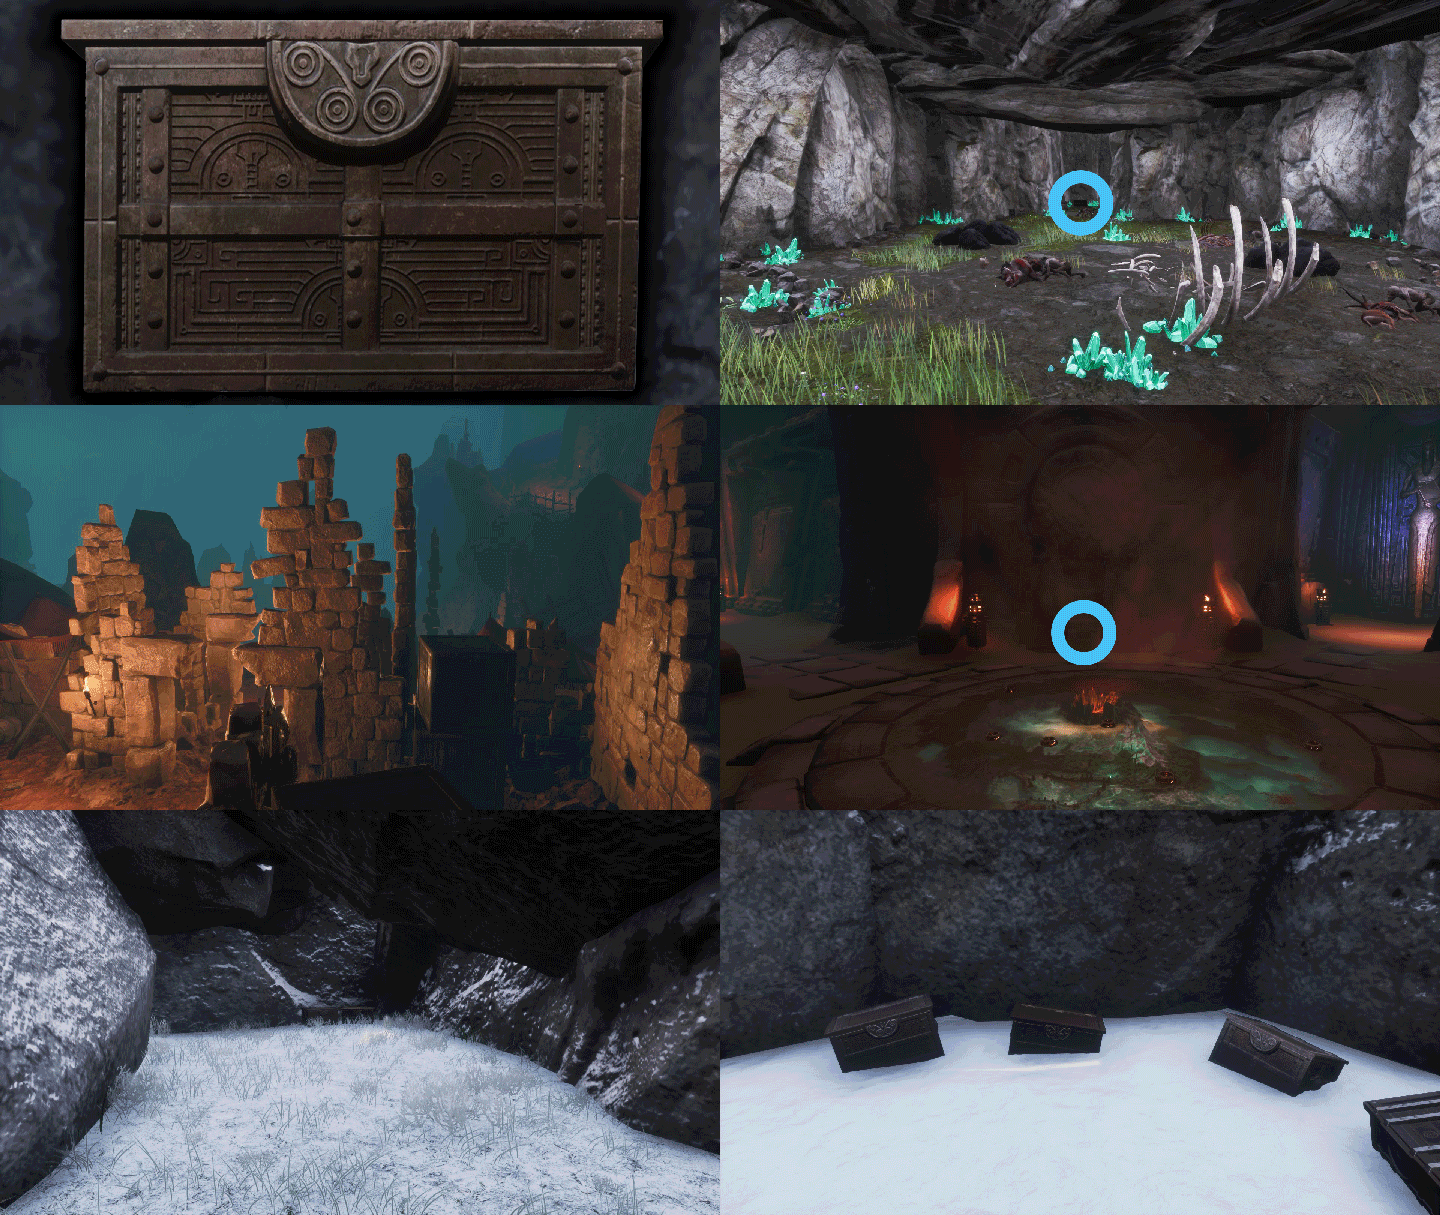 Use of the Master Skeleton Keys:
· Erond, the legendary blacksmith, will ask you for 100 of them in his quests.
· They will serve as payment currency for the Rarity Trader (Tokens of Choice).
· Open the rusty chests.
Here I leave you a gif so you can see what these chests look like (the same as the Large Chests that you can build but very rusty) and the locations I know, in order:
– in The Sunken City, before entering the water, behind the Cultists of Dagon.
– in the Overtaken Tower of Bats dungeon, behind the M’aal Dred ghoul.
– in the Midnight Grove, in the arena of the last boss (Werewolf).
– in the Wine Cellar, among the first humans you meet when you go down the ramp.
– in Klael’s Stronghold, in the map room directly in front of you, between the thrones.
– in the Ancient Cave, before the back exit.
– in the Perilous Valley, in the cave in front of the mine.
– in the Perilous Valley, behind the Black Yeti.
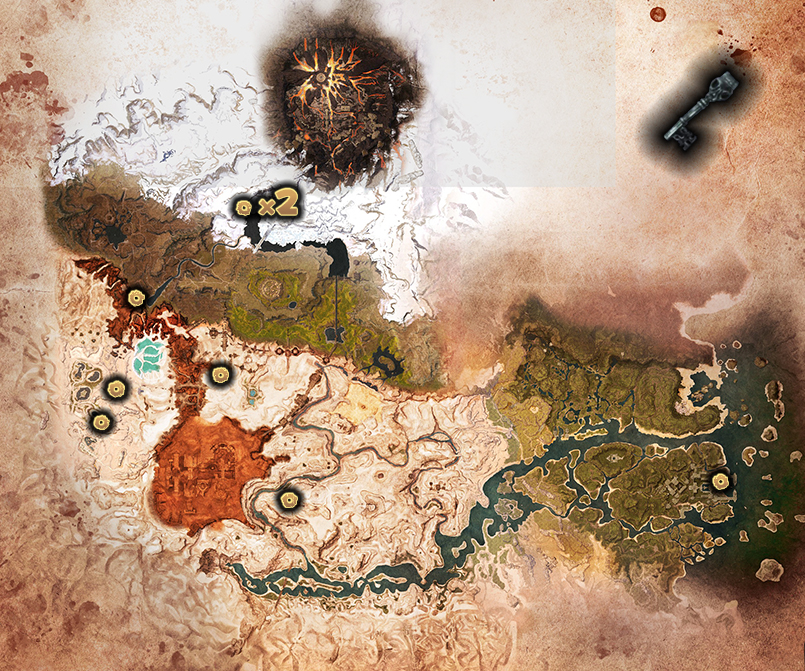
Below you have a map of their locations (for the exact location of some, look the dungeon maps in the “📍 Dungeons and areas” sections, they’re be marked with a 🔵).When you open them they’ll disappear, but they’ll reappear after a while. They may contain Legendary Parts (including handles and ropes) or Augment Scrolls (Lesser, Normal and Greater).
- Acheronian Sigil Key
You can get them:
· Killing the enemies of the EEWA bosses, with three skulls.
· Killing enemies that come out of the Corrupt portals.Use of the Acheronian Sigil Keys:
 · You won’t be able to access the Conjuration Pillar without an Acheronian Seal Key in your Inventory.
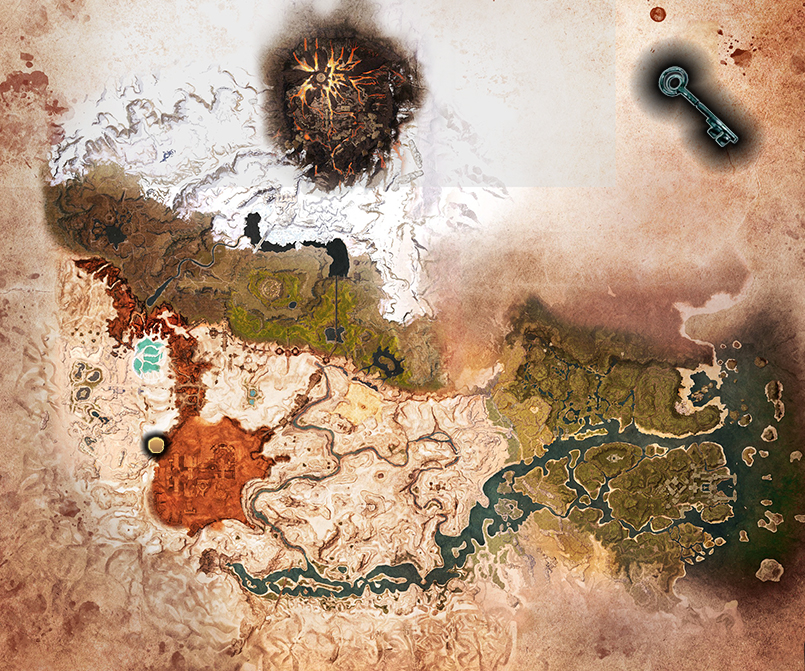
💢 “Companions” and workbenches I
In them you can equip specific thralls to reduce the amount of materials required when crafting items and to allow you to craft hidden recipes.
 The Gathering Lectern is a workbench from which you’ll get the recipe as a reward for the last quest of Braga, the Cimmerian. In it, the thrall you equip will bring you different materials in exchange for food rations. You can craft these rations in the Stove, they’re “Pack simple ration”, “Pack adventure ration”, “Pack expedition ration” and “Pack raiding ration”.
You’ll craft it by hand and it’ll cost you 50 Hardened Steel Bars, 30 Hardened Leathers, 90 Shaped Wood and 20 Fragment of Power.
As you use your thrall, he’ll deteriorate over time (durability of the Servant Condition item). To improve his status you’ll have to craft him some of the potions you can craft on the table (this will be the only use of those potions). If his durability drops to 0 he’ll disappear from the Gathering Lectern (you’ll lose the thrall).
Without a thrall equipped, you’ll not be able to craft anything in the Gathering Lectern. The difference between equipping a lower or higher level thrall will be reflected in the number of different materials they can craft (level I is limited to Fiber, Stone and Wood, and level III can bring you Black Ice, Demon Blood, Obsidian and much more).
- Cimmerian Servant I
- Cimmerian Servant II
- Cimmerian Servant III
The three Cimmerians will be sold to you by Braga, the Cimmerian, in exchange for 25 Handheld Ymir Totems. You’ll not be able to choose which of them to buy, there will be an approximately 50% chance that you’ll receive the Cimmerian Servant I, a 35% chance that you’ll receive the Cimmerian Servant II and the remaining 15% that you’ll receive the Cimmerian Servant III.
They can also appear in the Mounds of the Dead (in the area where there are Cimmerians) and in the Astronomer’s Summit. - Stygian Servant I
- Stygian Servant II
The two Stygians can appear in Sepermeru. - Nordheimer Servant I
- Nordheimer Servant II
The two Nordheimers can appear in New Asagarth and in the Nordheimer camps in the Highlands.
 The Witchbowl Cauldron is a workbench that you’ll get the recipe for by eating the Demonic Horn of Secrets (which you’ll get from the corpse of the Scourge Demon King). In it you can craft magics, magical materials and staffs to do magic.
You’ll craft it with the Construction Hammer in the Crafting Stations > Alchemy section, it’ll cost you 75 Iron Bars, 32 Composite Obsidian, 50 Witchfire Powder and 25 Powder of Corruption.
Having a thrall equipped in the Witchbowl Cauldron will reduce the required amount of most materials and unlock new recipes. By equipping them in the cauldron, you can craft: Alchemical fluids, Corrupted spellbook, Corrupted wood, Purified Wood, Shard of Skelos, Exhausting potion of purification, Incantation removal and Mystical potion.
The amount of materials required to craft these items will be highest with the Darfari, medium with the Cimmerian and very low with the Meruvian. Additionally, each of them will be able to craft some specific magic and enchantments.
- Darfari Witch Doctor II
He can appear in The Summoning Place, The Cursed Way, Gallaman’s Overlook and The Dryfalls.
He’ll allow you to craft: Incantation soothing metabolism, Necromatic summoning and Yog’s embrace. - Cimmerian Bear Shaman III
He can appear in Mounds of the Dead (the area where there are Cimmerians) and in the Stargazer’s Crest.
He’ll allow you to craft: Incantation ursine strength, Blood flow and Cimmerian warcry. - Meruvian Warlock IV
He can appear in Overtaken Tower of Bats dungeon.
He’ll allow you to craft: Incantation Dagon’s slave and Storm surge.
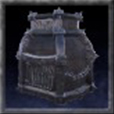 The Nether furnace is a smelting furnace for which you’ll obtain the recipe by purchasing the Star Obsidian Arsenal feat from Erond, the legendary blacksmith. In it you can craft ingots of the new metals and other materials from EEWA.
You’ll craft it with the Construction Hammer in the Crafting Stations > Smithing section, it’ll cost you 50 Bricks, 500 Steel Reinforcements, 30 Dragonpowder and 100 Iron Bars.
You can equip it with a thrall from the base game, the same as for the rest of the furnaces: a Smelter. Having a thrall equipped in the Nether Furnace will reduce the creation time of materials.
For it to work (like the furnaces in the base game) you’ll need to introduce some type of fuel, that is, Oil, Dry Wood, Charcoal, Bark, Wood, Branch or Fiber.
💢 “Companions” and workbenches II
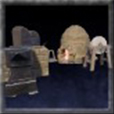 The Valiant Blacksmith’s Bench is a workbench that you’ll get the recipe for by purchasing it from Erond, the legendary blacksmith.
In it you can craft all EEWA Arsenals.
You’ll craft it with the Construction Hammer in the Crafting Stations > Smithing section, it’ll cost you 15 Star Obsidian Bars, 100 Bricks and 100 Iron Reinforcements.
Having a thrall equipped at the Valiant Blacksmith’s Bench will unlock the Speedy Sandals recipe and apply an upgrade to the weapons you craft depending on which thrall you’ve equipped (reduced materials required with the Council of wolves thrall, increased weapon durability with the Nordheimer thrall…).
- Valiant Relic Hunter Blacksmith (specialized in penetration 🔪)
He can appear inside the Ancient Cave. - Valiant Nordheimer Blacksmith (specialized in durability 🛡)
He can appear in the New Asagarth and in the Nordheimer camps
of the Highlands. - Valiant Skelos Blacksmith (specialized in damage 🔨)
He’ll be sold to you by Vahis, the Hierophant, in exchange for 2 Scrims (he’ll be called Votaries Crude Blacksmith). - Valiant Council of Wolves Blacksmith (specialized in reducing the cost)
He can appear in the Council of Wolves.
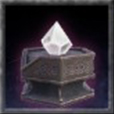 The Legendary Assembly is a workbench from which you’ll get the recipe as a reward for the third quest of Shadow Legion Commander. In it you can craft the EEWA legendary weapons.
You’ll craft it with the Construction Hammer in the Crafting Stations > Smithing section, it’ll cost you 1 God Krystallion and 80 Bounty Assembly pieces.
 This is the only workbench that will not come with recipes by default, but you’ll have to learn them in different ways, so when you obtain it you’ll not be able to craft anything in it. Discover them in the guide sections from “🗡 Weapons VI” to “🗡 Weapons X”.
Having a thrall equipped in the Legendary Assembly will reduce the required amount of various materials by half.
- Council of Wolves Enchanter
He can appear in the Council of Wolves.
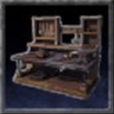 The Improved Armorer’s Bench is a workbench that you’ll unlock in the Knowledge menu, it’s from the base game. In it you can craft all the EEWA armor. Having a thrall (from EEWA) equipped in the Armorer’s Bench will reduce the cost of the required materials and apply an upgrade to the armor you craft depending on which thrall you’ve equipped.
You’ll find the following specialties: Armorer (simply), Scoutwright (specialized in weight reduction 🔩),  Temperatorwright (specialized in durability 🔨) and Shieldwright (specialized in armor 🛡).
- Council of Wolves Armorer
He can appear in the Council of Wolves.
- Meruvian Sentry (fighter)
- Meruvian Sentry (archer)
He can appear in the Meruvian Camp, in the Overtaken Tower of Bats and in its dungeon. Only the Meruvian Sentry are enslavable humans; you cannot enslave those called Sentinels or Expeditioners.You can equip them with the weapons and armor you want to strengthen them and craft them serve you better.
🔽 EEWA MENU 🔽

The menu will open with several icons, in order:
Constellations, Augmented Gems, Contracts (unused), Covenants (unused), Quests, Traits and Trinkets (unused). I’m going to break down each of these sections in the sections of the guide that follow.

Above the icons you’ll see your Elemental Damage Types and your Elemental Damage Resistance. This is related to Augmented Gems (check the “🔆 Augmented Gems” section) and enchantments on weapons, shields and magic (check the “💎 Weapon & magic enchantments” section).
✨ Constellations
If you have Ascended, you can use your Constellation points to align yourself with powerful Constellations.
Once you reach the maximum server level you’ll be able to Ascended. This means that you will become level 1 again and your attribute points will be reduced according to your new level… but in exchange you’ll gain great advantages. Additionally, you’ll keep all your feats, your Courage Stacks, Augment Gems and their points, Traits, Quests, your progress in the Rank system, your items and buildings.
To apply a Constellation point, press and hold the constellation you want until it fills with orange, as you can see in this gif:
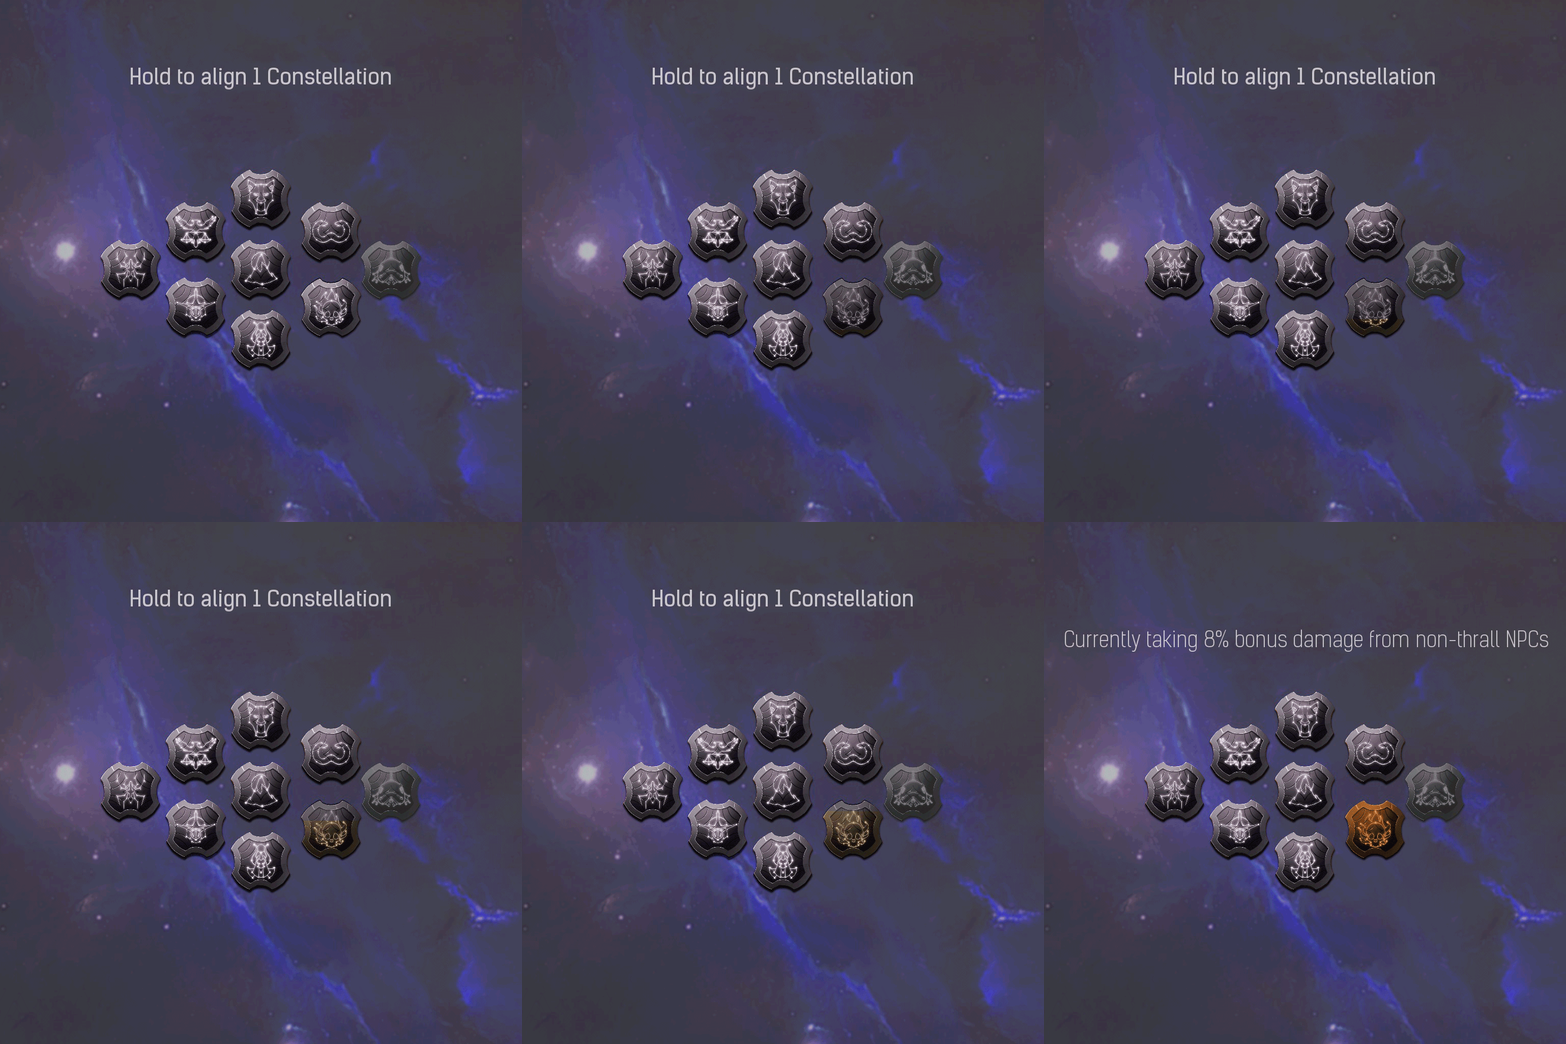 I recommend that before performing the Ascension you unlock the feats that require a very high level, so as not to have to wait to raise aaall the levels again.
In any case, so that it isn’t too hard for you to level up again, you can save some Greater Bounties, to reach a Reward Board, deliver them and raise many levels quickly and easily.
You can also consume the Scripture of Time Reversal, which will restore all EEWA quests. This means that you’ll be able to do the quests again from the beginning and receive all the experience they give you again, only now it’ll probably be much easier for you to complete them. It’s sold to you by Thulmak, the frogman of the Shattered Springs, in exchange for 500 Endgame Event Tokens and 450 Scrims.
The requirements to Ascend are:
· Be maximum level.
· Learn all religions feats to the maximum (admin can remove this requirement)
· Talk to Shadow Legion Commander and give him 100 Scrims.
The disadvantages, depending on how many times you’ve Ascended in total, are:
· An ascension will add 8% damage received by all NPCs.
· Two ascensions will add 13% damage received by all NPCs.
· Three ascensions will add 20% damage received by all NPCs.
· Four ascensions will add 32% damage received by all NPCs.
· Five ascensions will add 50% damage received by all NPCs.
· Six ascensions will add 79% damage received by all NPCs.
· Seven ascensions will add 125% damage received by all NPCs.
· Eight ascensions will add 198% damage received by all NPCs.
The advantages, depending on which constellation you choose, are the following:
- Constellation of Zath
+ 10 bonus damage to all elemental damage types (+3,2% chance to apply debuffs).
Your pet followers deal 20 corruption damage and apply crippling poison to enemy NPCs (non-players).
+ 1 bonus to all available Traits.
- Constellation of Mitra
Increased healing efficiency, healing to allies increased by 50%.
Replenish 50% more mana every second.
Reduce Corruption over time until it’s eliminated.
- Constellation of Jhebbal Sag
Bonuses depending on your type of armor equipped: Accuracy* for Light Armor, Strength for Medium Armor and Vitality for Heavy Armor.
*this is the EEWA description, although the Accuracy attribute currently doesn’t existBonus 25% damage against non-humanoid, non-undead creatures.
Your pet followers deals 50% bonus true damage versus NPCs and gains extra health regen.
- Constellation of Set
20% reduced mana costs on all abillities.
Immune to Cripple debuffs and some slowing effects.
Apply Set Toxin to enemies with your non-knockout weapons.
- Constellation of Dagon
Not available yet.
- Constellation of Ymir
Immune to weather negative temperature effects.
You regenerate 2% health every 5 seconds.
Killing non-human enemies will replenish water.
- Constellation of Crom
+ 2 bonus to all attributes.
350 additional bonus armor.
+ 10 bonus Vitality.
- Constellation of Yog
A Witch Effigy follows you around, automatically burning and damaging nearby enemies who attack with physical weaponry.
Your Witch Effigy deals 25% of your Survival* stat back as fire damage.
*this is the EEWA description, although the Survival attribute currently doesn’t existKilling human enemies will replenish food.
- Constellation of Derketo
5% increased movement speed bonus.
Bonus 30% damage to Undead and applies Specter Coating to them.
Massive Endurance boost, + 30 bonus Grit.
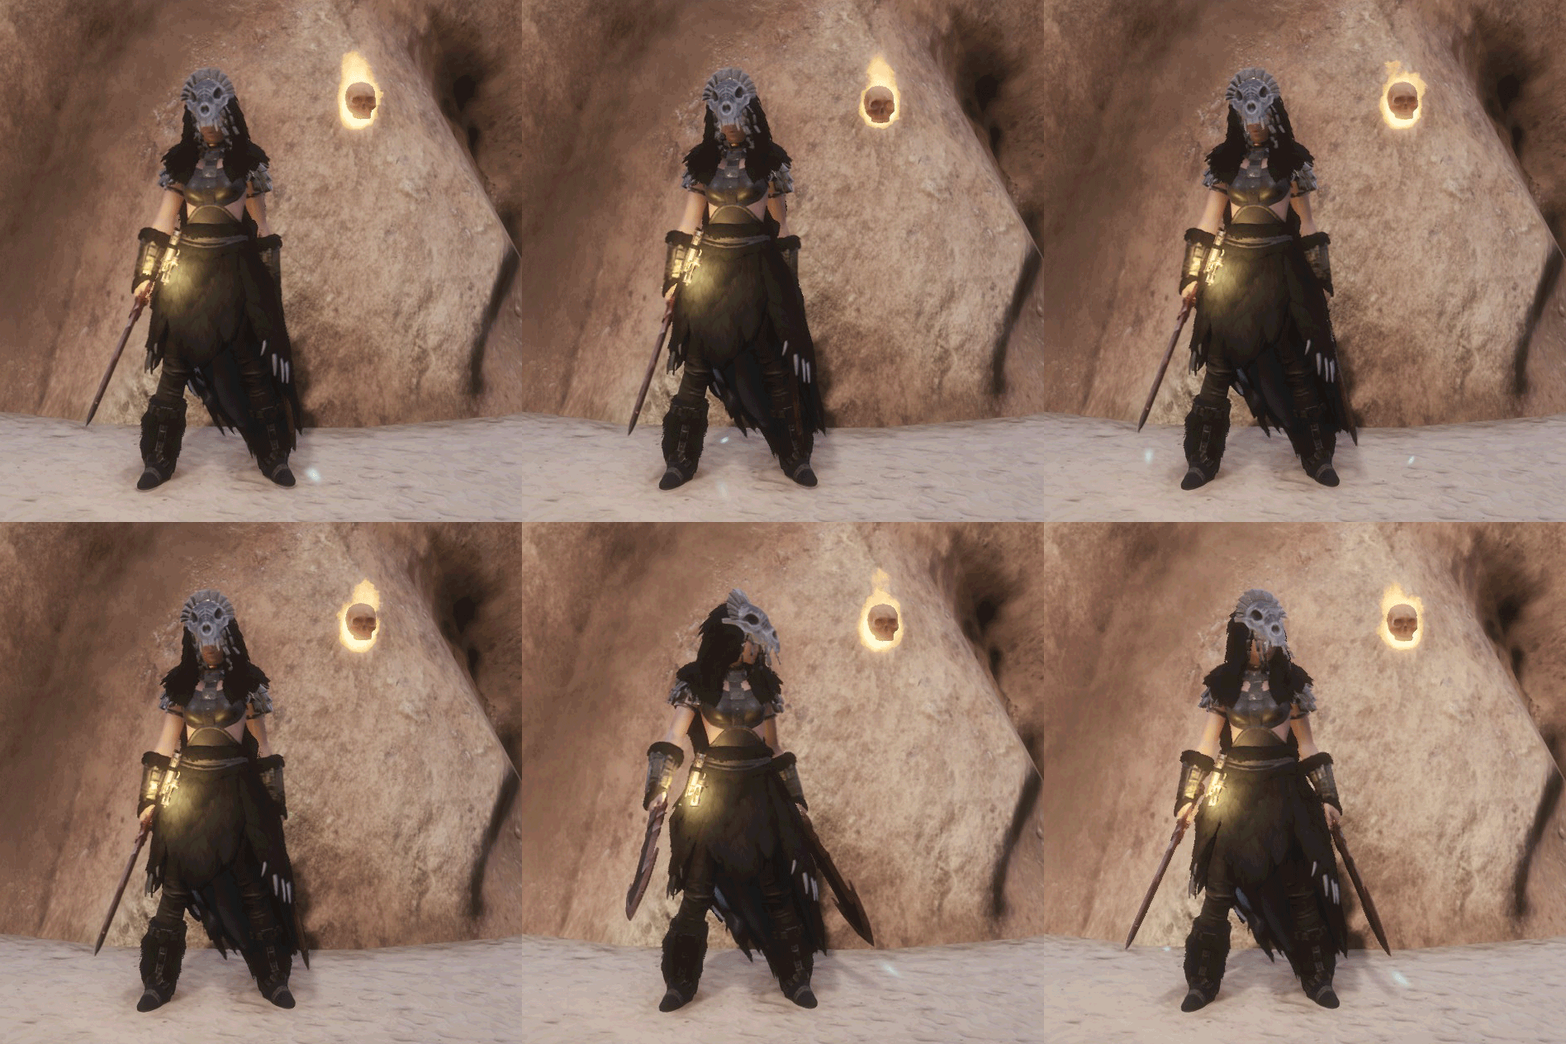 Here’s a gif so you can see what the Witch Effigy that the Yog Constellation will add looks like. It’s a floating burning skull that will appear whenever you unsheath your weapons, as soon as you sheathe them again it’ll disappear.
As I’ve mentioned, when Ascend you’ll once again be level 1 with what this entails in terms of Stamina reduction and carrying capacity, so you may not want to carry a lot of weight when going to see Hosav for the Ascension.
Your server admin can block the constellations he wants so that no one can select it. If this happens, the text “Admin has locked this constellation” will appear when you place the mouse over its icon.
 A Scripture of Unalignment will help you eliminate all the Constellations that you’ve selected, without recovering the Constellation points… so it’ll be like never having Ascended.
Thulmak will sell it to you in exchange for 300 Endgame Event Tokens and 80 Scrims. You’ll also get it as a reward from Shadow Legion Commander’s last quest. It’ll expire one hour after you get it.
When you consume it, the message “Your Constellations have been reset” will appear and it’ll apply Burning to you (9 damage every 0,5 seconds).
🔆 Augmented Gems I
Gain Augmented Gems, which will grant you different bonuses and level or dismantle them.
Augmentation Gems are objects that you can equip and will give you different bonuses that you can enhance by leveling them up.
You’ill level them up by obtaining Augment Points (AP).
You have two ways to get these points:
- Complete Augment Point missions over and over again.
These missions will appear in the Augmented Gems menu, they’re repeatable and will always be the same:
· Capture 8 Outpost + 38 AP
· Kill 50 Three Skull Enemies + 24 AP
· Kill 300 Non Player Characters + 16 AP - Consume Lesser, Normal, Greater or Superior Augment scrolls.
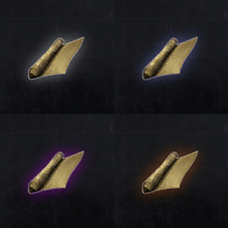
· Lesser Augment scroll + 3 AP
· Normal Augment scroll + 9 AP
· Greater Augment scroll + 15 AP
· Superior Augment scroll + 24 AP
· Admin Augment scroll + 999 AP (only the admin can give it to you)You can get Lesser, Normal and Greater Augment scrolls inside the rusty chests that you’ll open with the Master Skeleton Key and by killing the bosses of EEWA, with three skulls.
Shadow Legion Commander will sell you Lesser Augment scrolls in exchange for 6 Scrims and 5 Endgame Event Tokens.During Egor’s quest chain, you’ll be rewarded with 1 Greater Augment scroll and 6 Superior Augment scrolls, plus one more each time you complete his repeatable quest.
In Erond’s quests you’ll get 5 Lesser Augment scrolls and 2 Normal Augment scrolls.
Shadow Legion Commander will reward you for completing his quests with 8 Superior Augment scrolls.That is, once you’ve completed these quest chains, you will have obtained a minimum of 5 Lesser, 2 Normal, 1 Greater and 14 Superior Augment scrolls (384 AP in total).
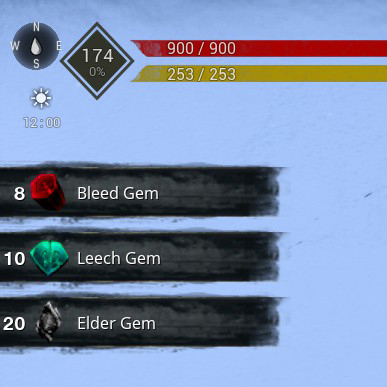 You can equip a maximum of three gems.
Equip them from your Inventory, clicking “Use” on the gem you want to equip. You can also equip them from the Augmented Gems menu, press “Backpack” in the lower left corner and your Inventory will open. Then drag the gem you want to equip to where it says “No Gem in Slot.”
Depending on whether or not you want your equipped gems to appear on the left of the screen (as in this image) and in the Stats menu, check or uncheck the “Show Gems as Buffs” box in the lower right corner .
Let’s look at the Augmented Gems menu.
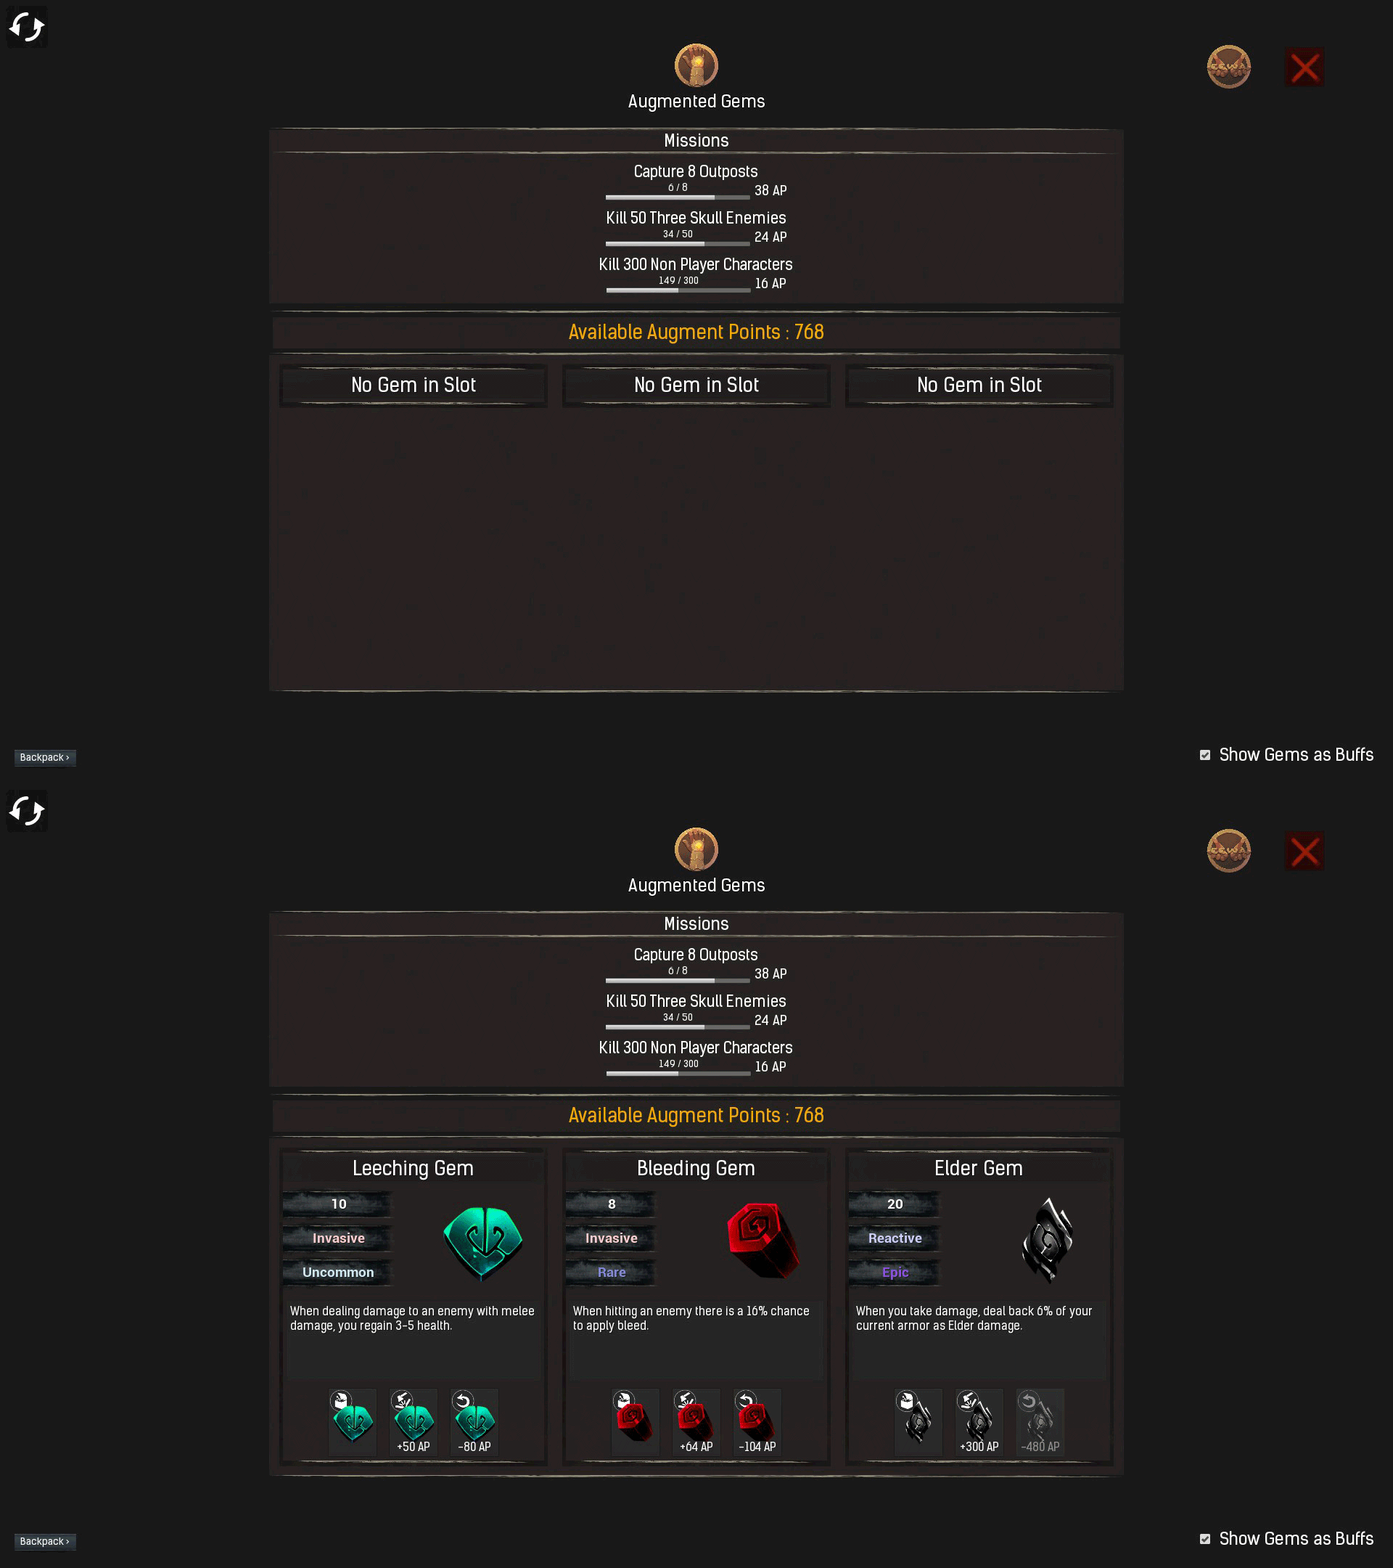
The first thing you see are the missions that you can do to get Augment Points (the ones I’ve listed before).
In orange letters you’ll see your currently Available Augment Points.
In this menu you’ll see the following gem data:
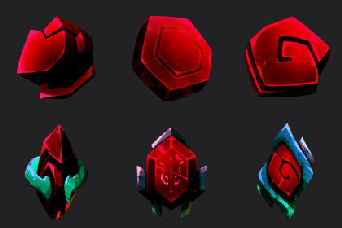 · Icon. It’ll be modified as you increase the level.
· Name.
· Current level. You can increase them up to level 20 maximun.
· Type. It’ll be Hybrid, Reactionary, Invasive or Passive.
· Quality. It’ll be Uncommon, Rare, Epic or Unique.
· Description of your bonus according to your current level.
Under each gem you’ve three options:
· Itemize: transforming the gem into an object will retain the levels you’ve increased.
· Dismantle (hold it): you’ll destroy the gem to gain Augment Points in return. The points you get will depend on the quality and level of the gem.
· Upgrade: level up the gem by spending Augment Points. The points you spend will depend on the quality and level of the gem.
Below you’ve a list of all the gems, divided into four blocks according to their quality. Here you’ll see how to get them, a table with the Augment Points that it’ll cost you to raise each level and the details of each gem. The bonus that the gems will give you will increase in a balanced way as you level up, but when you raise it from level 19 to level 20 (the maximum) it’ll be greatly enhanced and will even add extra bonuses. This is why I’ve put in each gem the details of its bonus at level 1, level 10 and level 20, so that you can orient yourself.
🔆 Augmented Gems II (uncommon)
You can get them after killing the EEWA bosses (low drop) or by buying them from the NPC Gemcutter in the lagoon in the Overtaken Tower of Bats dungeon, in exchange for 3 Gem Shards and 5 Scrims each.
If you want to raise a rare gem to level 20 it’ll cost you 1.520 Augment Points (AP).
- Enduring Gem
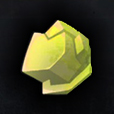
Gem type: PassiveAt level 1: You gain an additional 6 max Stamina.
At level 10: You gain an additional 33 max Stamina.
At level 20: You gain an additional 70 max Stamina. - Ferocity Gem
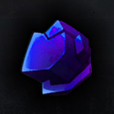
Gem type: InvasiveAt level 1: Whenever you deal damage to an enemy with your weapon, deal an additional 2 damage to them.
At level 10: Whenever you deal damage to an enemy with your weapon, deal an additional 20 damage to them.
At level 20: Whenever you deal damage to an enemy with your weapon, deal an additional 45 damage to them. - Harden Gem
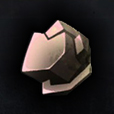
Gem type: PassiveAt level 1: You gain an additional 20 Armor.
At level 10: You gain an additional 200 Armor.
At level 20: You gain an additional 500 Armor and 8 Vitality. - Leeching Gem
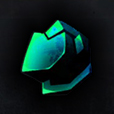
Gem type: InvasiveAt level 1: When dealing damage to an enemy with melee damage, you regain between 0 and 1 Health.
At level 10: When dealing damage to an enemy with melee damage, you regain between 3 and 5 Health.
At level 20: When dealing damage to an enemy with melee damage, you regain between 10 and 12 Health. - Nourish Gem
Gem type: PassiveAt level 1: You regain 1 Stamina every 13 seconds.
At level 10: You regain 10 Stamina every 13 seconds.
At level 20: You regain 12 Stamina every 8 seconds. - Replenishing Gem
Gem type: PassiveAt level 1: You regenerate an additional 1 Health every 5 seconds.
At level 10: You regenerate an additional 10 Health every 5 seconds.
At level 20: You regenerate an additional 20 Health every 4 seconds. - Thorns Gem
Gem type: ReactionaryAt level 1: When you take damage from an enemy, deal back between 0 and 1 damage.
At level 10: When you take damage from an enemy, deal back 5 damage.
At level 20: When you take damage from an enemy, deal back 15 damage. - Vigor Gem
Gem type: PassiveAt level 1: You gain an additional 10 max Health.
At level 10: You gain an additional 100 max Health.
At level 20: You gain an additional 250 max Health.
🔆 Augmented Gems III (rare)
You can get them after killing the EEWA bosses (low drop) or by buying them from the NPC Gemcutter in the lagoon in the Overtaken Tower of Bats dungeon, in exchange for 8 Gem Shards and 20 Scrims each.
If you want to raise a rare gem to level 20 it’ll cost you 2.497 Augment Points (AP).
- Agile Gem
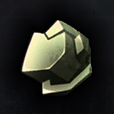
Gem type: PassiveAt level 1: You gain 1 Accuracy* and 1 Agility.
At level 10: You gain 5 Accuracy* and 6 Agility.
At level 20: You gain 12 Accuracy* and 12 Agility.
*this is the description of EEWA, although the Accuracy attribute currently doesn’t exist - Bleeding Gem

Gem type: InvasiveAt level 1: When hitting an enemy there is a 2% chance to apply Bleed.
At level 10: When hitting an enemy there is a 20% chance to apply Bleed.
At level 20: When hitting an enemy there is a 50% chance to apply Bleed. - Conviction Gem
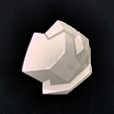
Gem type: InvasiveAt level 1: Whenever you deal damage to an enemy with your weapon, deal an additional 1 true damage to them.
At level 10: Whenever you deal damage to an enemy with your weapon, deal an additional 10 true damage to them.
At level 20: Whenever you deal damage to an enemy with your weapon, deal an additional 25 true damage to them. - Cripple Gem
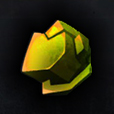
Gem type: InvasiveAt level 1: When hitting an enemy there is a 2% chance to apply Cripple.
At level 10: When hitting an enemy there is a 20% chance to apply Cripple.
At level 20: When hitting an enemy there is a 50% chance to apply Cripple. - Poison Gem
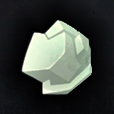
Gem type: InvasiveAt level 1: When hitting an enemy there is a 2% chance to apply Poison.
At level 10: When hitting an enemy there is a 20% chance to apply Poison.
At level 20: When hitting an enemy there is a 50% chance to apply Poison. - Strength Gem
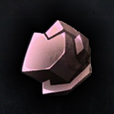
Gem type: PassiveAt level 1: You gain 1 Strength and 1 Encumberance*.
At level 10: You gain 5 Strength and 6 Encumberance*.
At level 20: You gain 12 Strength and 12 Encumberance*.
*this is the description of EEWA, although the Encumberance attribute currently doesn’t exist - Sunder Gem
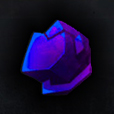
Gem type: InvasiveAt level 1: When hitting an enemy there is a 2% chance to apply Sunder.
At level 10: When hitting an enemy there is a 20% chance to apply Sunder.
At level 20: When hitting an enemy there is a 50% chance to apply Sunder. - Vitality Gem
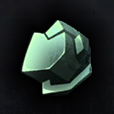
Gem type: PassiveAt level 1: You gain 1 Vitality and 1 Grit.
At level 10: You gain 5 Vitality and 6 Grit.
At level 20: You gain 12 Vitality and 12 Grit.
🔆 Augment Gems IV (epic)
You’ll get them in several different ways, to learn more about this look the sections of the guide “📍 Dungeons and areas” I and II, “🟣 Corrupt portals” and “Events”.
If you want to raise an epic gem to level 20 it’ll cost you 4.560 Augment Points (AP).
- Blazing Gem
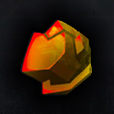
Gem type: Invasive
Way to get it: Kill the boss spider Molthen Death, in the Ancient Cave.At level 1: You deal an additional 2 Fire damage.
At level 10: You deal an additional 11 Fire damage.
At level 20: You deal an additional 25 Fire damage. - Chilling Gem

Gem type: Invasive
Way to get it: Kill the Council of Wolves Chieftain, in the Council of Wolves.At level 1: You deal an additional 2 Cold damage.
At level 10: You deal an additional 11 Cold damage.
At level 20: You deal an additional 25 Cold damage. - Corruption Gem
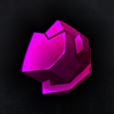
Gem type: Invasive
Way to get it: In the enemies that will come out of the Corrupted Portals.At level 1: You deal an additional 2 Corruption damage.
At level 10: You deal an additional 11 Corruption damage.
At level 20: You deal an additional 25 Corruption damage. - Corruptor Gem
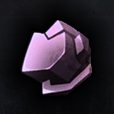
Gem type: Reactionary
Way to get it: In the enemies that will come out of the Corrupted Portals.At level 1: When you take damage, deal back 1% of your current Corruption as Corruption damage.
At level 10: When you take damage, deal back 5,5% of your current Corruption as Corruption damage.
At level 20: When you take damage, deal back 12% of your current Corruption as Corruption damage. - Elder Gem

Gem type: Reactionary
Way to get it: Kill the boss mushroom Hive construct, in the Overtaken Tower of Bats dungeon.At level 1: When you take damage, deal back 0,25% of your current Armor as Elder damage.
At level 10: When you take damage, deal back 2,5% of your current Armor as Elder damage.
At level 20: When you take damage, deal back 6% of your current Armor as Elder damage. - Heatup Gem
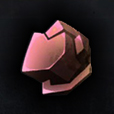
Gem type: Reactionary
Way to get it: Kill the boss spider Molthen Death, in the Ancient Cave.At level 1: After not taking any damage for 10 seconds, next time you take damage you will deal back 10 Fire damage to your attacker.
At level 10: After not taking any damage for 10 seconds, next time you take damage you will deal back 28 Fire damage to your attacker.
At level 20: After not taking any damage for 10 seconds, next time you take damage you will deal back 52 Fire damage to your attacker. - Retaliation Gem
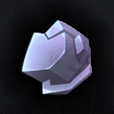
Gem type: Reactionary
Way to get it: Kill the boss Demon King, in the Ancient Cave.At level 1: When you take damage from an enemy, there is a 20% chance to deal back 8 Lightning damage.
At level 10: When you take damage from an enemy, there is a 24% chance to deal back 13 Lightning damage.
At level 20: When you take damage from an enemy, there is a 32% chance to deal back 20 Lightning damage. - Shocking Gem
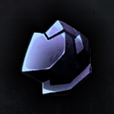
Gem type: Invasive
Way to get it: Kill the boss Demon King, in the Ancient Cave.At level 1: You deal an additional 2 Lightning damage.
At level 10: You deal an additional 11 Lightning damage.
At level 20: You deal an additional 25 Lightning damage. - Superior Nourish Gem
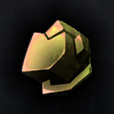
Gem type: Passive
Way to get it: Kill the boss The Necromonger, in the Necromancy Ritual III Event.At level 1: You regain 1 Stamina every 8 seconds.
At level 10: You regain 10 Stamina every 8 seconds.
At level 20: You regain 15 Stamina every 6 seconds.
🔆 Augmented Gems V (unique)
You can get it mostly by killing the bosses that you can summon in the Conjuration Pillar (low drop, approximately 3%). If you want to know more about these enemies, check the “💀 Corrupted Souls” section.
If you want to raise an unique gem to level 20 it’ll cost you 9.120 Augment Points (AP).
- Culling Gem
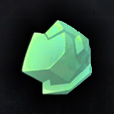
Gem type: Invasive
Way to get it: Kill the boss The King Beneath (carrying the Corrupted Priestking Soul).At level 1: You gain 0,5% chance to critically damage your opponents for 50% bonus true damage.
At level 10: You gain 5% chance to critically damage your opponents for 50% bonus true damage.
At level 20: You gain 12,5% chance to critically damage your opponents for 50% bonus true damage. - Glass Gem
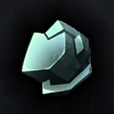
Gem type: Hybrid
Way to get it: Kill the boss Kinscourge (carrying the Corrupted Kingscourge Soul).At level 1: Whenever you take damage you take an additional 25 Cold damage, but you also deal 15 Cold damage with your attacks.
At level 10: Whenever you take damage you take an additional 25 Cold damage, but you also deal 42 Cold damage with your attacks.
At level 20: Whenever you take damage you take an additional 18 Cold damage, but you also deal 75 Cold damage with your attacks. - Hell Gem
Gem type: Hybrid
Way to get it: Kill the boss Son of the Devourer (carrying the United Soul).At level 1: You are immune to burning and you deal 20 more Fire damage. But you take 20 Cold damage whenever you are damaged.
At level 10: You are immune to burning and you deal 65 more Fire damage. But you take 65 Cold damage whenever you are damaged.
At level 20: You are immune to burning and you deal 120 more Fire damage. But you take 80 Cold damage whenever you are damaged. - Regrowth Gem
Gem type: Reactionary
Way to get it: Kill the boss Witch Queen (carrying the Corrupted Witch Queen Soul).At level 1: Every 10 seconds, whenever you take damage you heal for 1% Health over 8 seconds.
At level 10: Every 10 seconds, whenever you take damage you heal for 5,5% Health over 8 seconds.
At level 20: Every 8 seconds, whenever you take damage you heal for 10,5% Health over 5 seconds. - Vampiric Gem
Gem type: Invasive
Way to get it: Kill the boss Daughter of the Devourer, in the Perilous Valley.At level 1: Whenever you deal damage, you heal for 0,5% of the damage dealt.
At level 10: Whenever you deal damage, you heal for 5% of the damage dealt.
At level 20: Whenever you deal damage, you heal for 11% of the damage dealt.
✏️ Quests I (low level)

Your journey around the land leads you to new faces, some of them may offer you quests which you can track here.
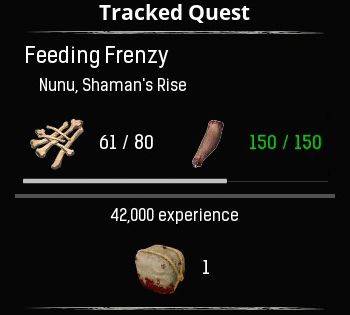 The EEWA mod includes quests, that is, tasks that different NPCs will ask you to do in exchange for a reward. In this menu you’ll be able to see your active quests on the left half of the screen and your already completed quests on the right half. For active quests, press the arrow for quest details, completion requirements and reward. Press the sheet to keep track of the quest and have it appear in the interface (under the minimap).
Both to receive the quests and to deliver what they ask of you, you’ll only have to interact with the NPC. Keep in mind that you must have the requested items in your Inventory, not in your action bar.
Below you’ve a list with: the NPC that starts the quest chain, his location, the name of each quest, the description of the quest that appears in EEWA, what they ask you to complete it, instructions for how to obtain it, with how much experience and what objects it will reward you with and who you’ve to give it to from a certain point (in case it’s to another NPC different from the one that starts the quest chain).
Location: under one of the statues of The Sentinels, south of the desert.
Quests:
- A lone wanderer.
 Arcos, the lone wanderer, hardened survivalist and Exile. He said the first steps to surviving is scavenging food and supplies, bring and deliver eggs found arround the river.
He asks you:
30 eggHow to get it:
Snook from Shaleback nests like the one in the picture. They’re all along the coast of the river and on its little islands.He’ll reward you with:
60.000 exp
40 Piel
10 Steak and Eggs
60 Stone
100 Wood
10 Branches
50 Twine - Sticks and Stones.
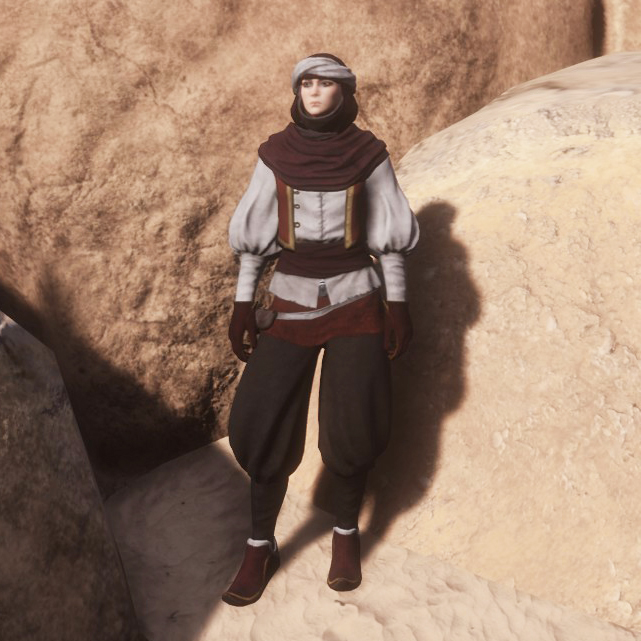 Arcos asked me to make some rudimentary weapons, tools, wraps and a bedroll.
He asks you:
1 Stone Sword
1 Stone Pick
1 Stone Hatchet
12 Rough Wraps
1 Fiber BedrollHow to get it:
You need to have learned the Warrior, Stone Tools and Survivalist feats. You can craft everything by hand. The set you’ll receive is the one you see in the image.He’ll reward you with:
80.000 exp
1 Shemite Turban
1 Shemite Tunic
1 Shemite Gloves
1 Shemite Leggings
1 Shemite Shoes
10 Silk - Civilized.
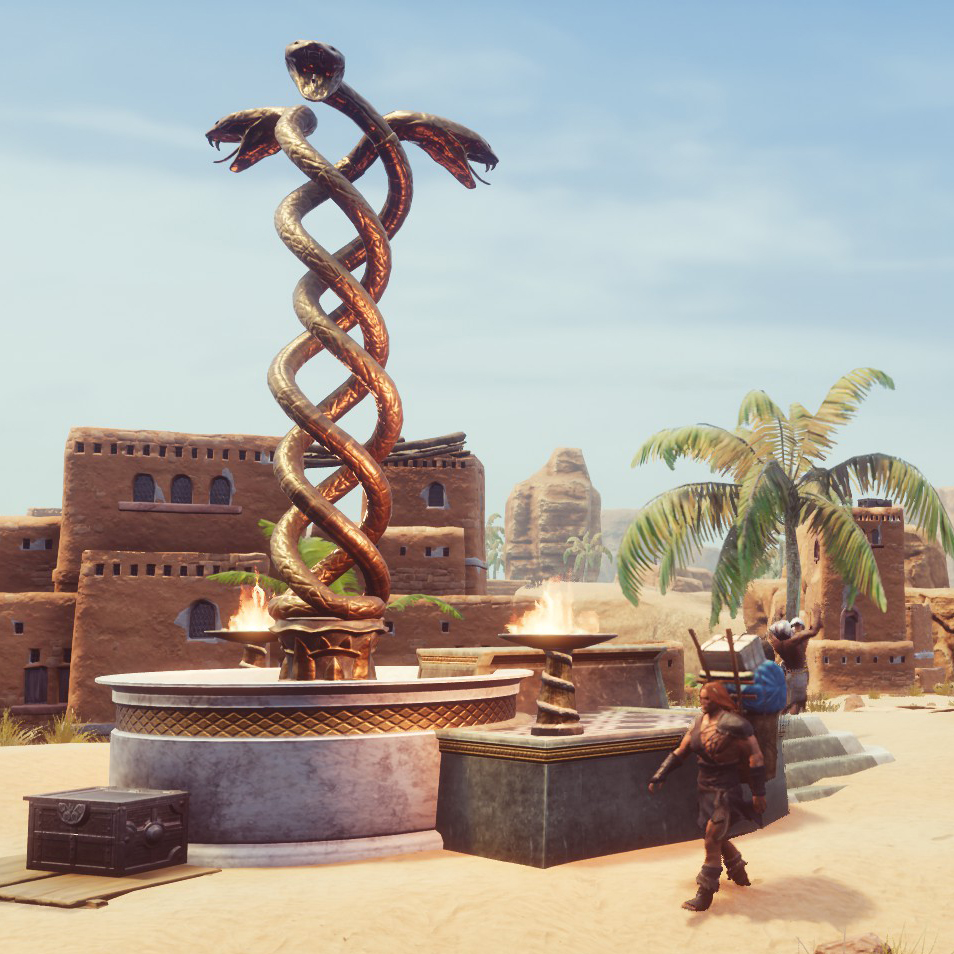 Arcos tells me about a city up north, Sepermeru, brimming with life. He tells me to find a Wandering merchant and deliver some silk to him.
He asks you:
10 SilkHow to get it:
Give the Wandering Merchant the 10 Silk that Arcos rewarded you with in the previous quest, or create them by hand with 20 Gossamer (obtained by hitting the spiders and their eggs with the Sickle). In the image you see the Wandering merchant walking.He’ll reward you with:
90.000 exp
1 Stash Key
10 Steel Bar
40 SteelfireYou must deliver it to:
Wandering merchant
Location: northwest of Sepermeru, take walks between the outskirts and the Temple Quarter. - A Valley of Sorts.
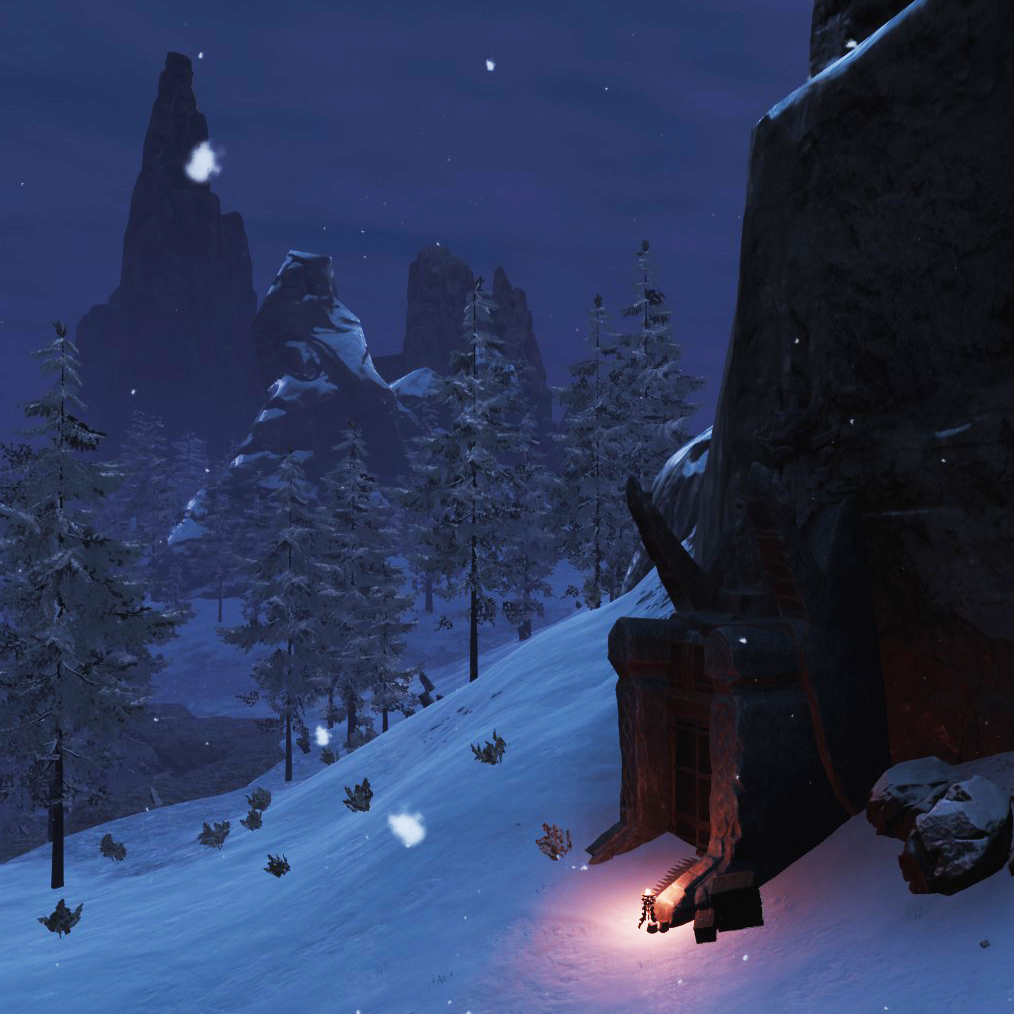 The Wandering merchant tells me about a place further Northeast, close by the Legendary Black Keep, that holds a number of individuals looking for a helping hand and with deep pockets. He told me to deliver some supplies to the blacksmith there.
He asks you:
10 Steel Bar
40 SteelfireHow to get it:
Deliver the ones that the Wandering merchant gave you in the previous quest to Erond, or craft them yourself. The Steel Bars in the Furnace and the Steelfire in the Firebowl Cauldron. In the image you see the entrance to the Perilous Valley, inside is Erond.He’ll reward you with:
110.000 exp
1 Stash Key
40 Handheld Ymir Totems
1 Scripture of LearningYou must deliver it to:
Erond, the legendary blacksmith
Location: at the entrance to the Perilous Valley.
Location: in the southern part of the desert, near the Shattered Bridge, on Shaman’s Rise.
Quests:
- Nunu, who who?
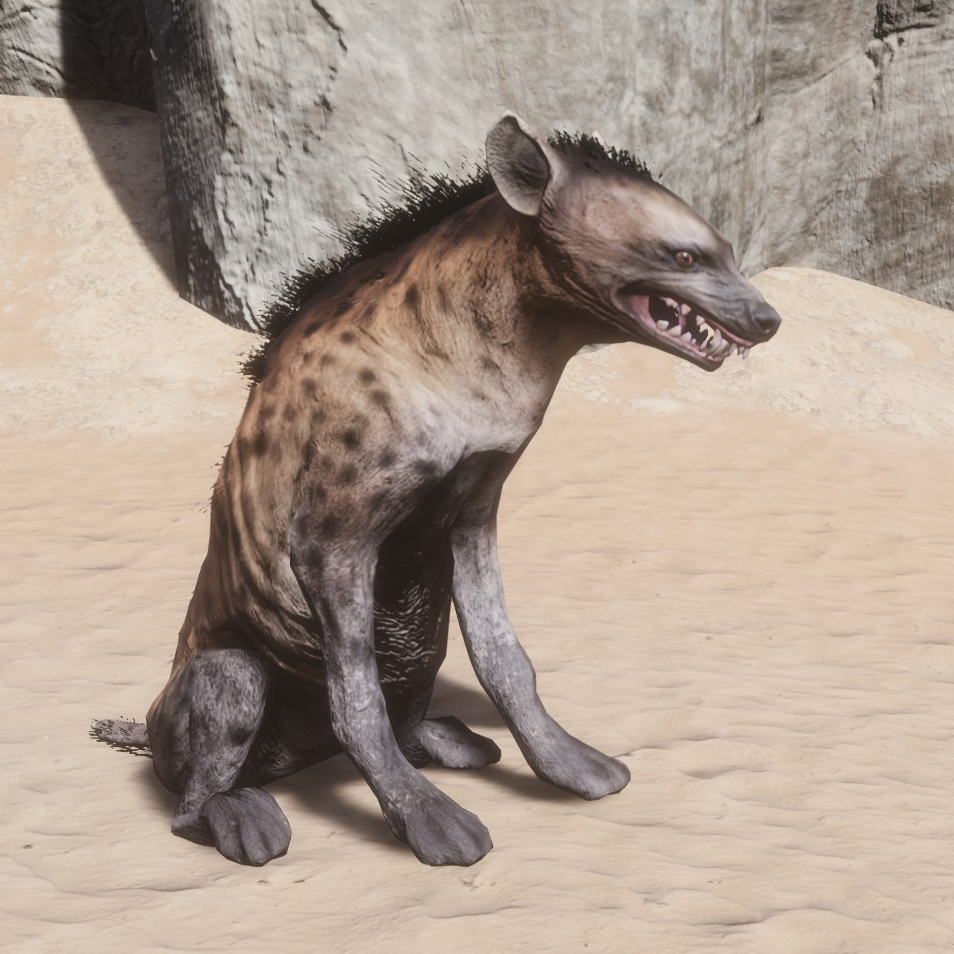 Nunu the Cannibal, an interesting guy. Offered to teach his religion to me. He said tome nearby Hyenas had been bothering him and was wondering if I could kill some and bring their heads.
He asks you:
10 Hyena HeadHow to get it:
You’ll get it from the Hyenas. You’ll find several going up to the Howling Plateau, just above Nunu. There are more scattered throughout the desert.He’ll reward you with:
72.000 exp
1 Yog Cleaver
12 Iron Bar - Nice to meat you!
Nunu wants me to kill some other Exiles and hit them with the Yog Cleaver, and then bring the unblemished meat to him.He asks you:
20 Unblemished Human MeatHow to get it:
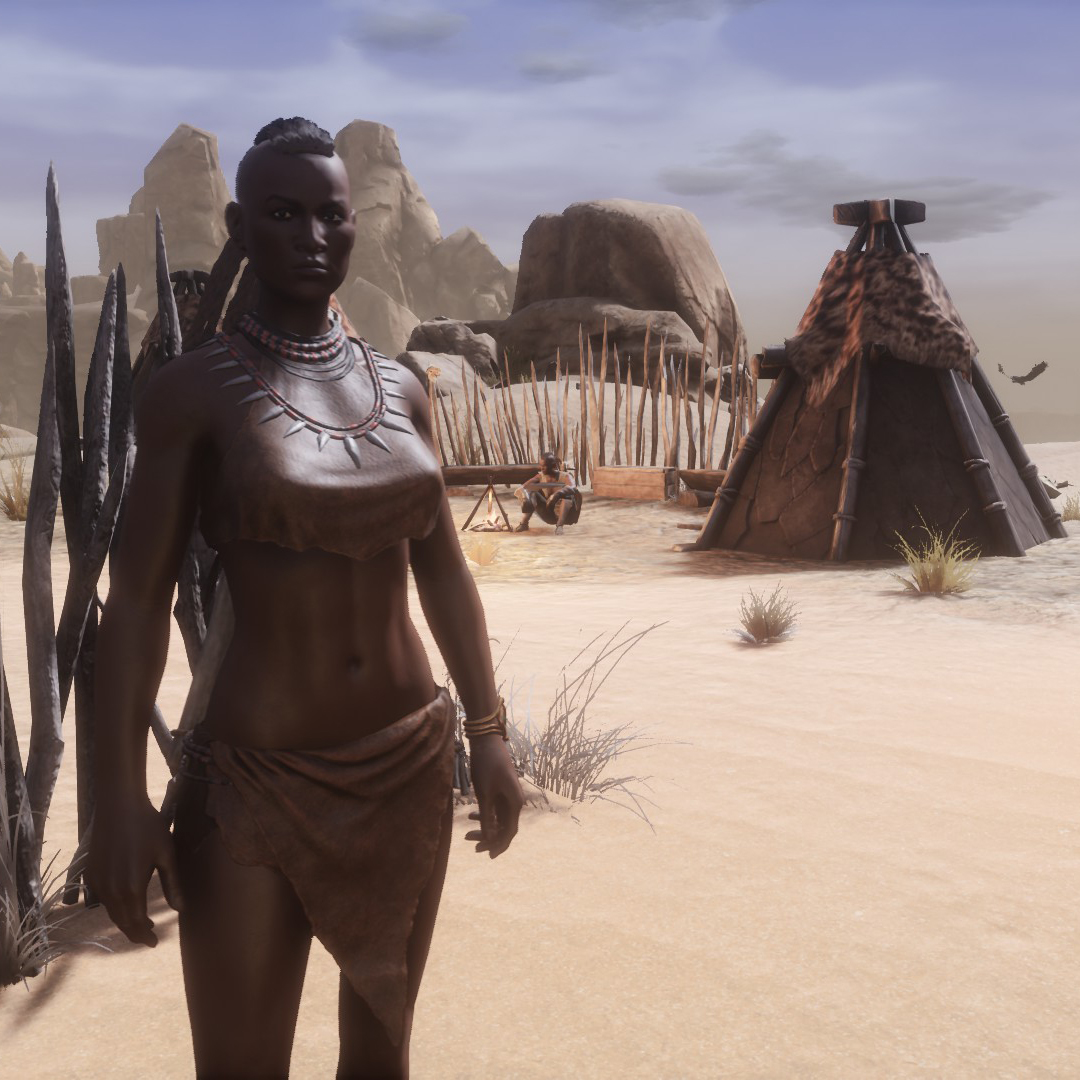 Use the Yog Cleaver on the corpses of the humans you kill to get this meat. There are humans nearby, southwest of Nunu, at Marrowman’s Height (image).
He’ll reward you with:
102.000 exp
15 Feast to Yog - Good taste, no waste!
Nunu wants me to kill some other Exiles and bring their skin, flesh and bones.He asks you:
25 Bone
120 Human Flesh
80 HideHow to get it:
Kill humans and use tools on their corpse. Using the Pick and the Hatchet you’ll get the Hides and Bones and with the Cleaver and the Yog Cleaver you’ll get the human meat.He’ll reward you with:
125.000 exp
2 Stash key
30 Gold Coin
25 Powder of Corruption - Witch Doctor.
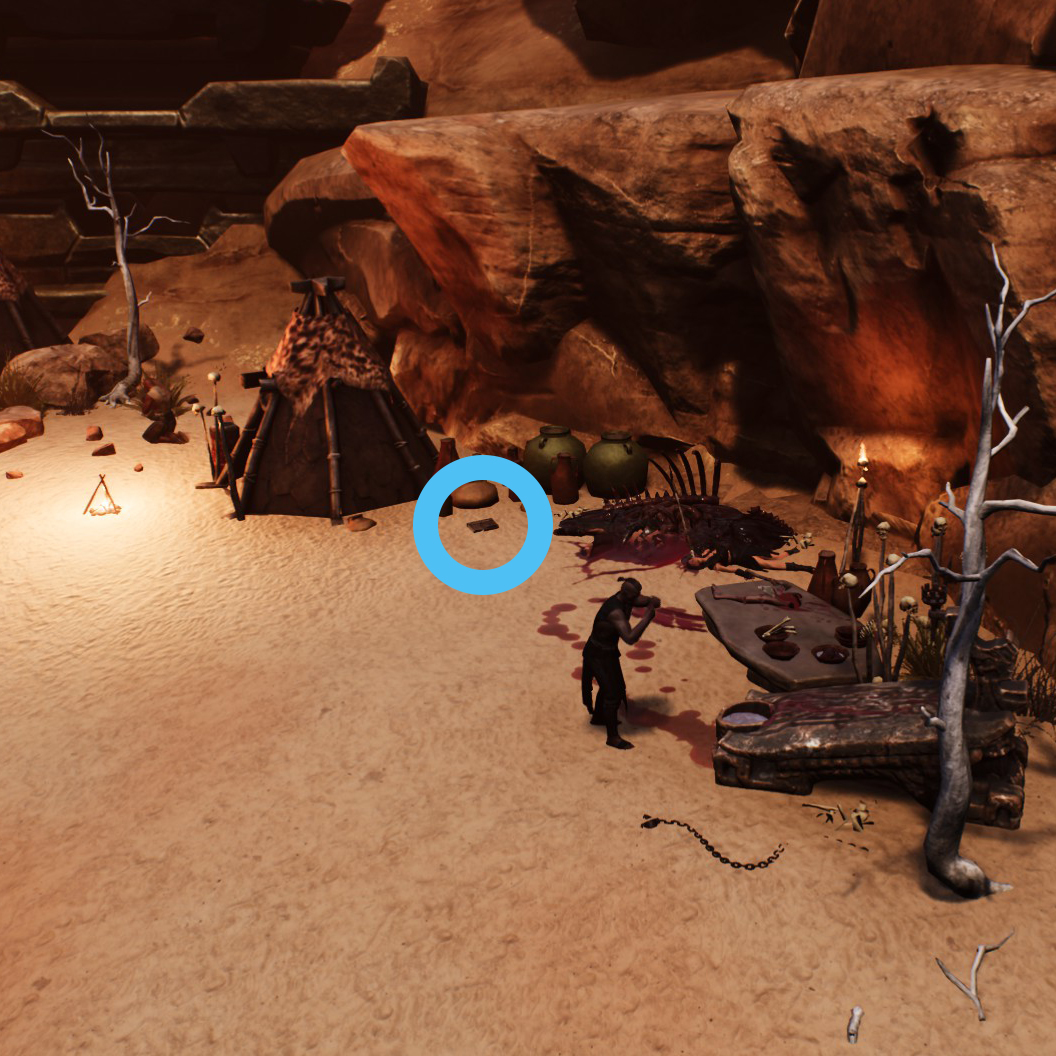 Nunu wants me to learn to summon Undead like the Witch Doctors of the Summoning Place. He said that is where I would learn it.
He asks you:
* Witch Doctor (feat)How to get it:
Go to The Summoning Place and learn the feat from a journal on the ground (It’s marked in this image). You’ll see it if, upon entering The Summoning Place, you go up the stairs on your right.
You need to have learned the Firebowl Cauldron feat.He’ll reward you with:
225.000 exp
20 Corrupted Bone
5 Fragment of Power
2 Heart of a Hero - Yog high priest.
 Nunu wants me to show my worship to Yog by learning to produce an Abyss of Yog.
He asks you:
* High Priest of Yog (feat)How to get it:
In the Knowledge menu, learn the High Priest of Yog feat. To learn it you’ll need the previous ones: Acolyte of Yog and Priest of Yog.He’ll reward you with:
275.000 exp
6 Darfari Caravan Package - Feeding Frenzy. QUEST REPEATABLE
Nunu tells me that if I ever have some leftover human flesh, bones and hide I could head his way and get a little reward for helping him out.He asks you:
80 Bone
150 Human Flesh
300 HideHow to get it:
Kill humans and use the Pick / Hatchet to get the Hides and Bones and use the Cleaver for human meat.He’ll reward you with:
42.000 exp
1 Darfari Caravan Package
✏️ Quests II (low level)
Location: the small central island of the Mounds of the Dead.
Quests:
- Medical Aid.
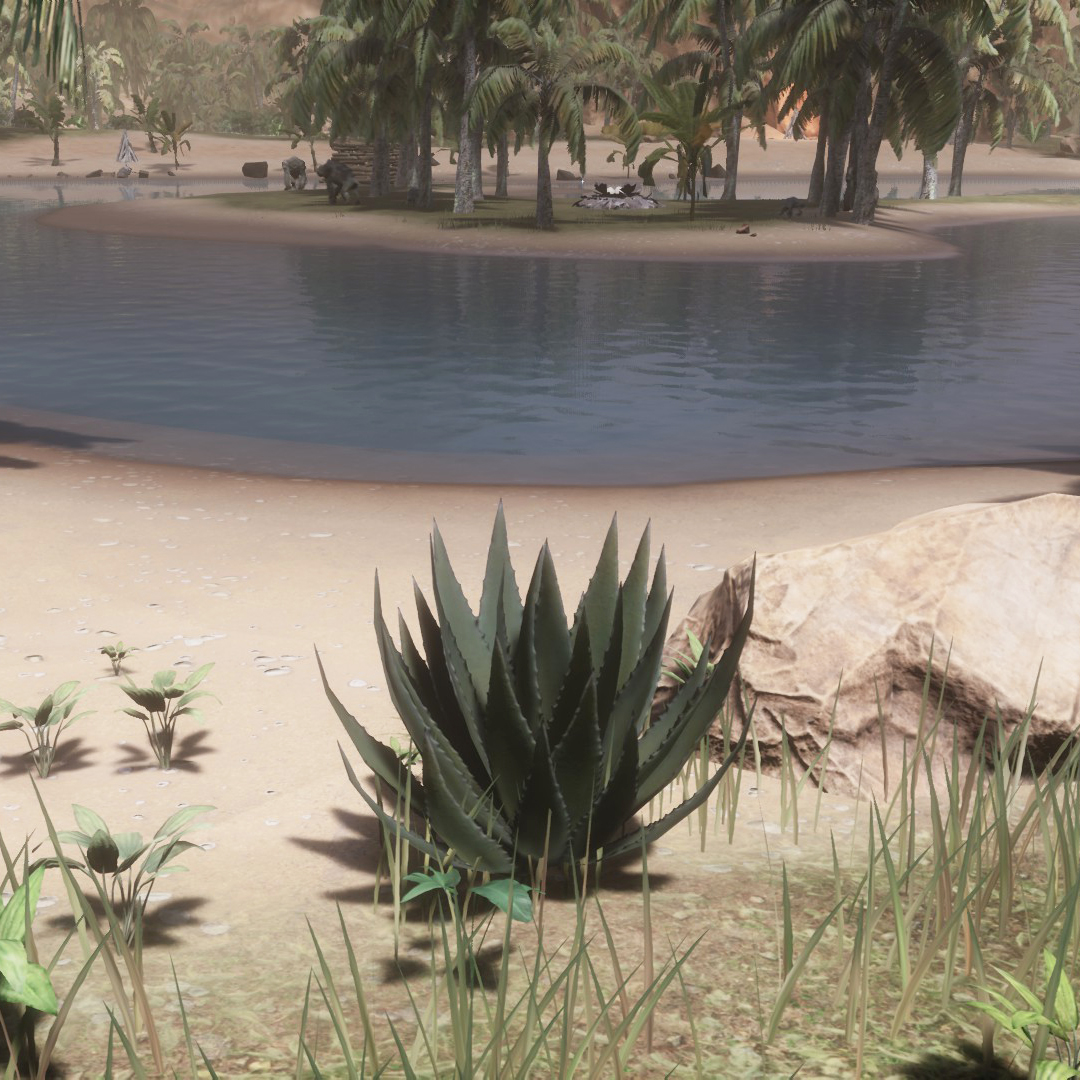 Braga, a lone Cimmerian in the middle of the Mounds tells me that the Cimmerian “idiots” have gathered a lot of supplies and meds. He wants me to bring him some of their meds.
He asks you:
5 Numbing Wraps
10 Concentrated Aloe ExtractHow to get it:
You’ill need to have learned their respective feats and create them on the Alchemist’s Bench. Both recipes will require a lot of Aloe, collect it with the Sickle near the water areas of the desert (image).He’ll reward you with:
120.000 exp
20 Hardened Steel Bar - Blacksmith’s Spirit.
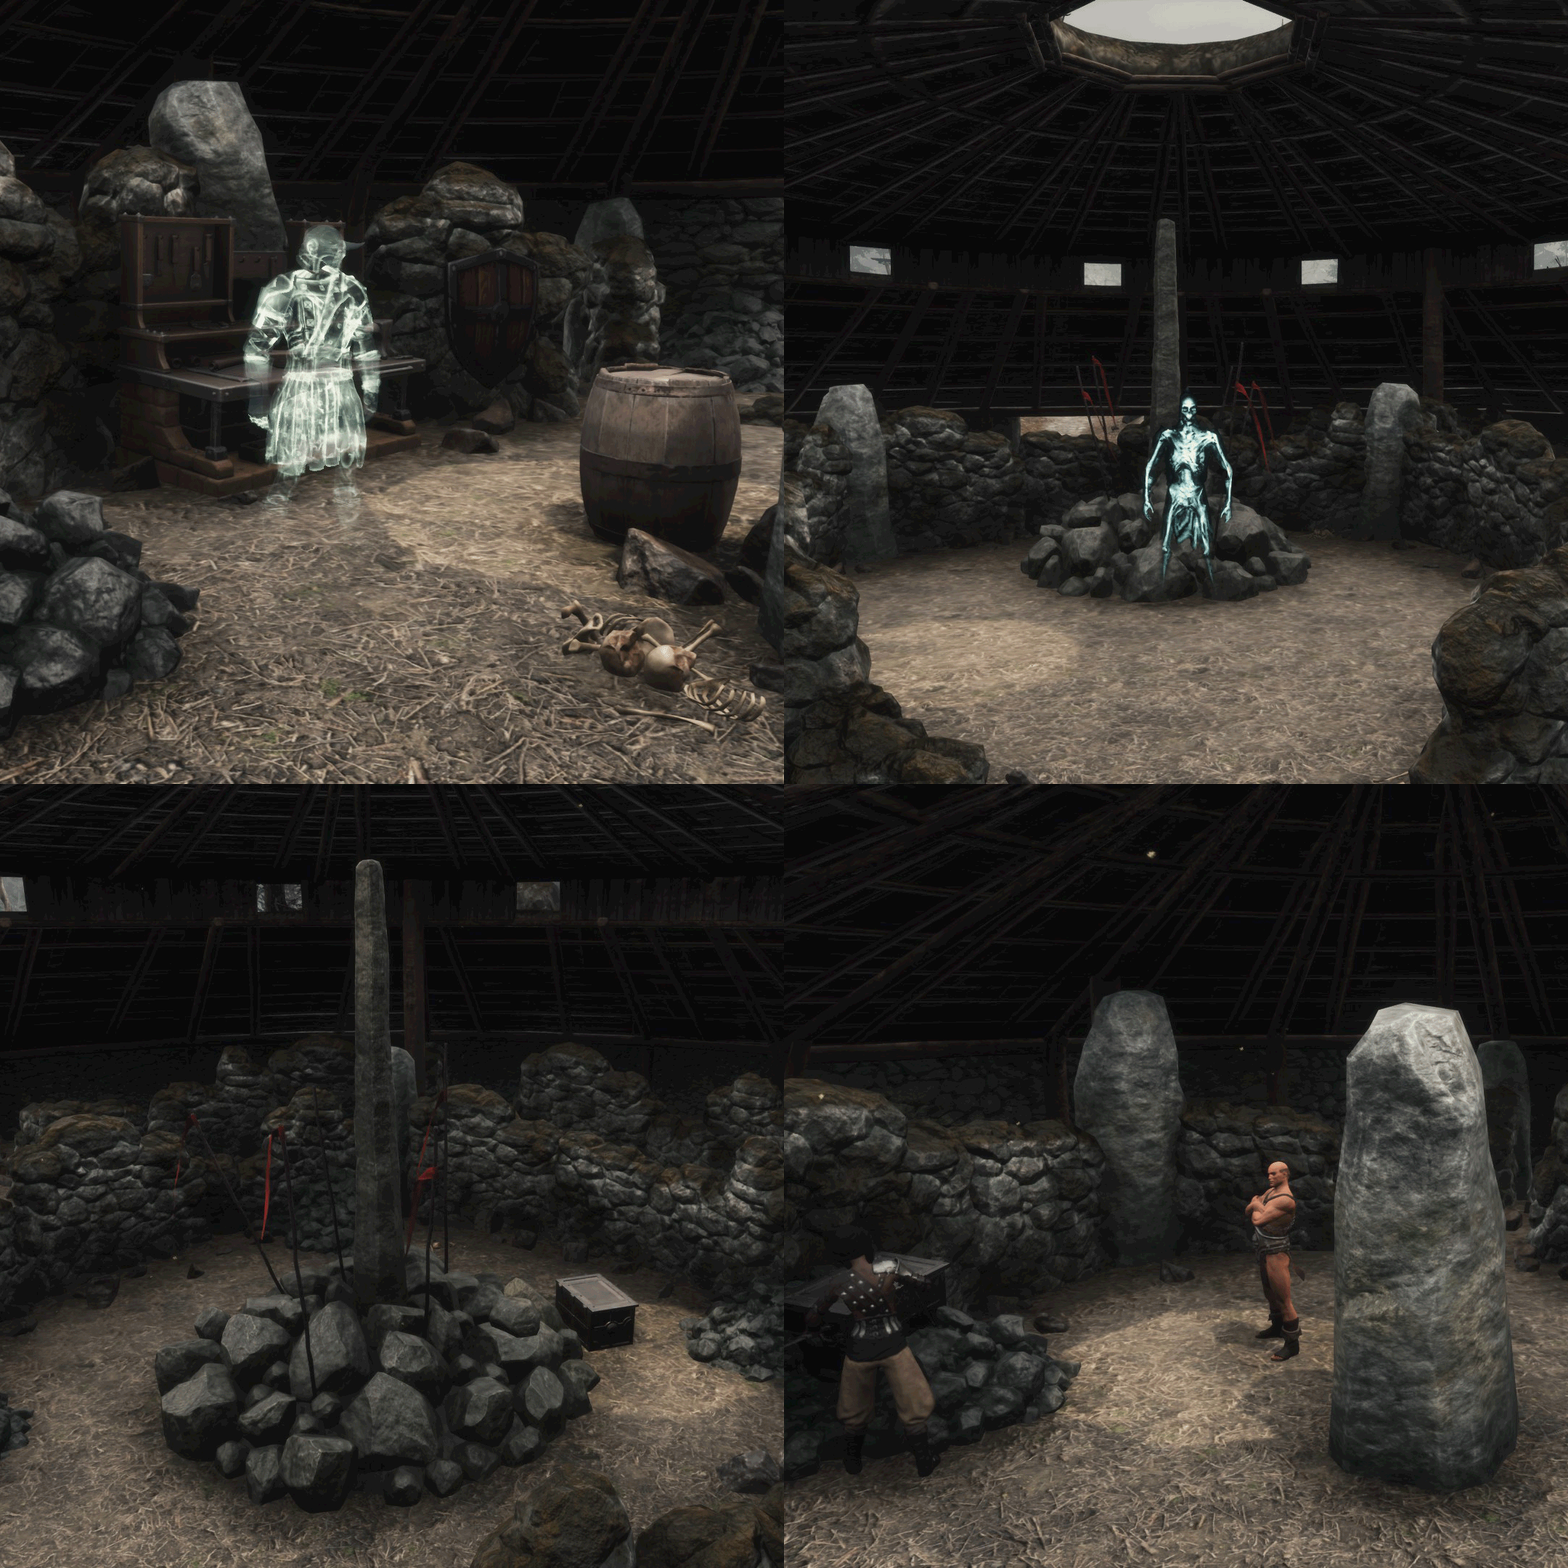 Braga tells me about a lost soul, Thorgar, that still resides within his blacksmith’s hut here in the Mounds. I have to learn how to make the Pride of Aesir armor from Thorgar and return to Braga.
He asks you:
* Pride of Aesir (feat)How to get it:
Enter the hut very close to the corrupted obelisk from the base game (in the western area of the lake of Mounds). There is the ghost of Thorgar the blacksmith. He’ll teach you the feat if you give him Thogar’s Recipe Fragment (kill Son ofThorgar inside The Cursed Mound hut), Thorgar’s Notes (in a chest inside the Ravaged Barrows hut), and the Thorgar Crest (kill Gothrad the Oathbreaker inside the small hut southeast of the Ravaged Barrows). In this gif I show you each of them, in order: Thorgar, his wight son, the chest and the human Gothrad.He’ll reward you with:
150.000 exp
1 The Horned Helmet - Pride of Aesir.
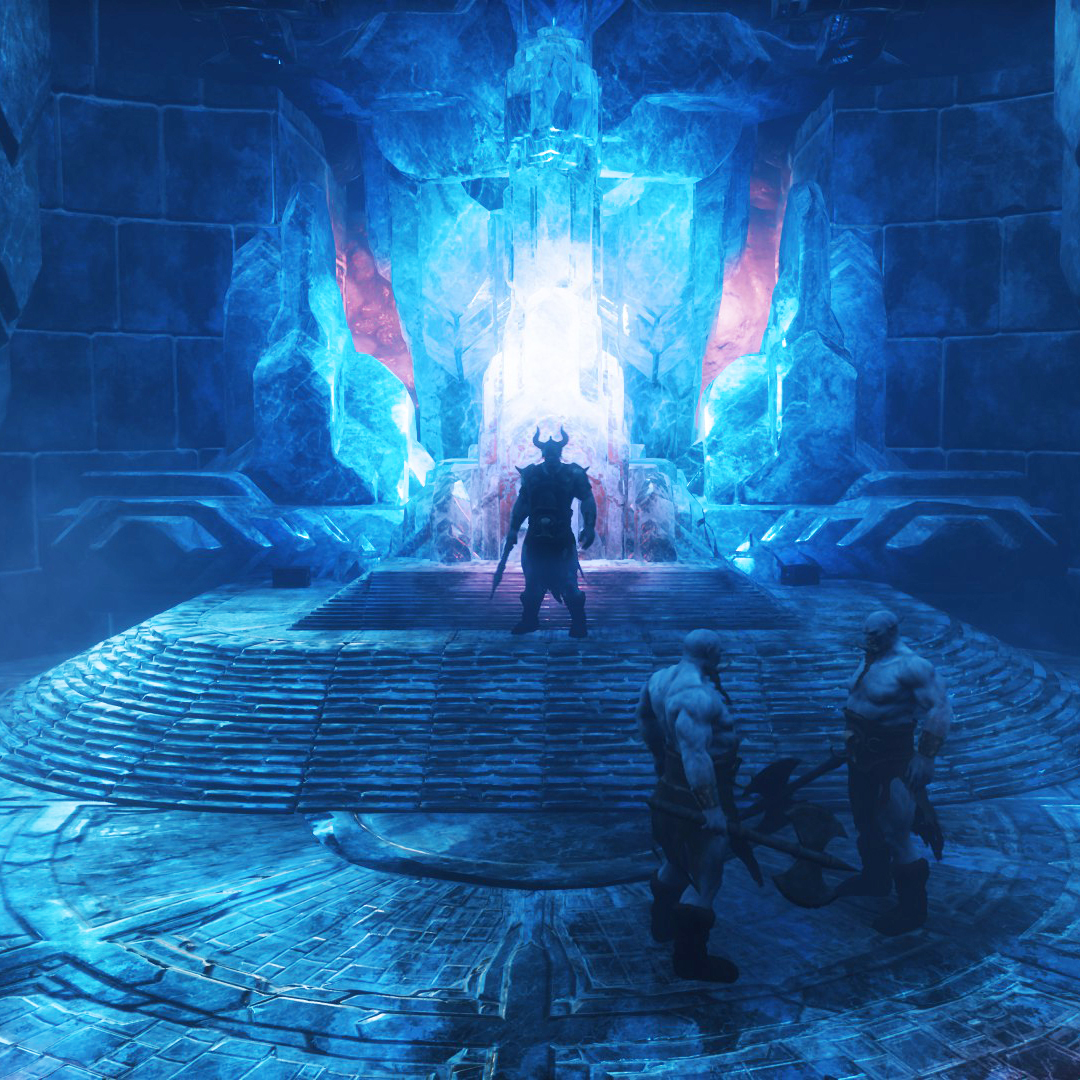 Braga wants me to craft the armor I learned to make and turn it in. He says he has something special for me.
He asks you:
1 Pride of Aesir Chestpiece
1 Pride of Aesir Helmet
1 Pride of Aesir Gauntlets
1 Pride of Aesir Boots
1 Pride of Aesir LeggingsHow to get it:
Enter The Temple of Frost and reach The Forge of Ymir. You can forge all the armor in the Frost Temple Smithy (the one in the image), to do this you’ll need 5 Perfected Medium Padding, 117 Star Metal Bars, 51 Black Ice and 40 Alchemical Bases.He’ll reward you with:
250.000 exp
300 Handheld Ymir Totems
1 Gathering Lectern (If you want more information about this workbench, check the “💢 Companions and workbenches I” section)
Location: in the Shrine of the Oracle, east of the Volcano.
Quests:
- A Pilgrim Approaches.
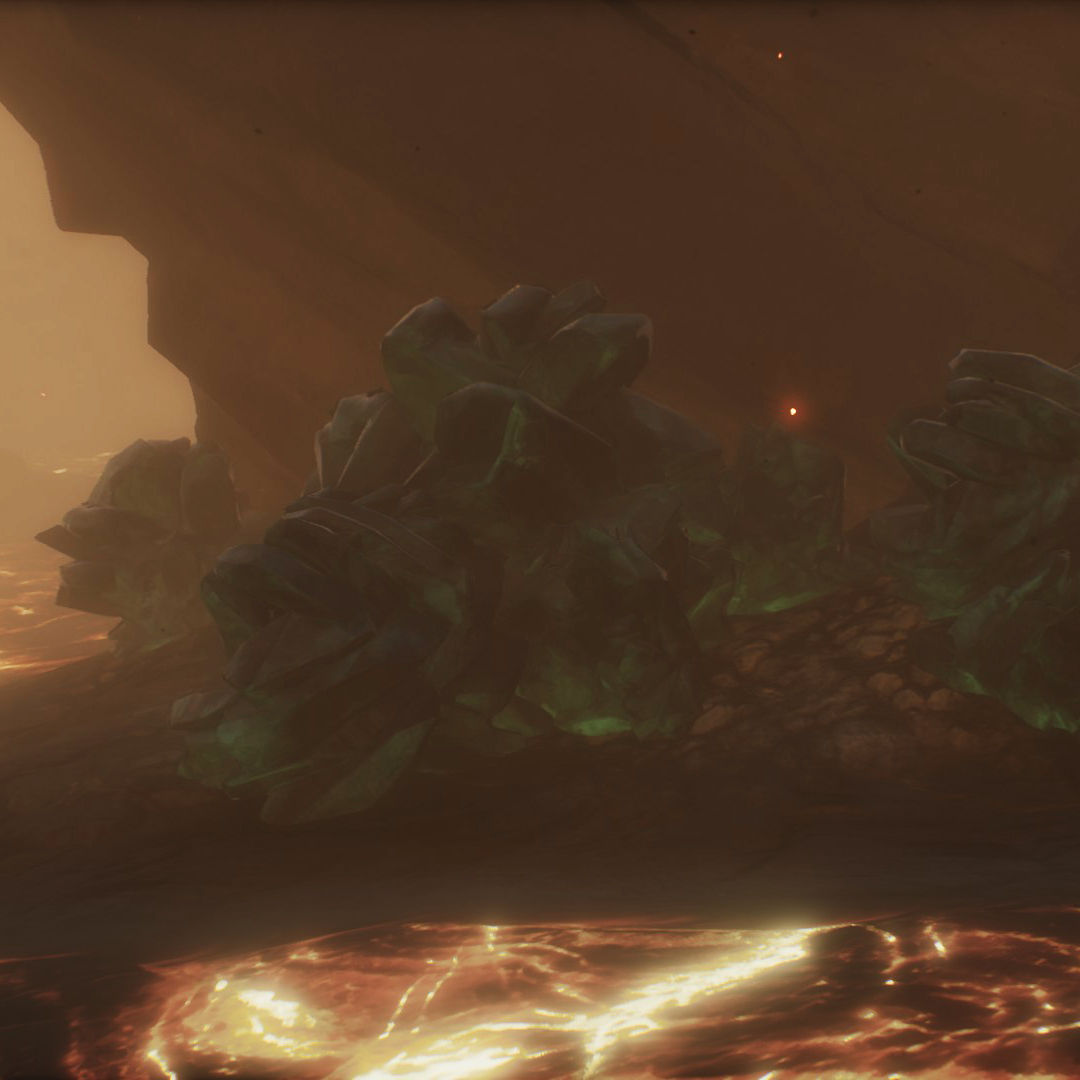 Mine Obsidian and gather Raw Ash and Goldstone.
He asks you:
150 Raw Ash
20 GoldstoneHow to get it:
Pick obsidian, from it you’ll extract both the Ash and the Goldentone. You’ll find obsidian throughout the volcano and large clusters near the lava rivers around The Well of Skelos.He’ll reward you with:
600.000 exp
40 Composite Obsidian
1 Master Skeleton key - Voices of the Well.
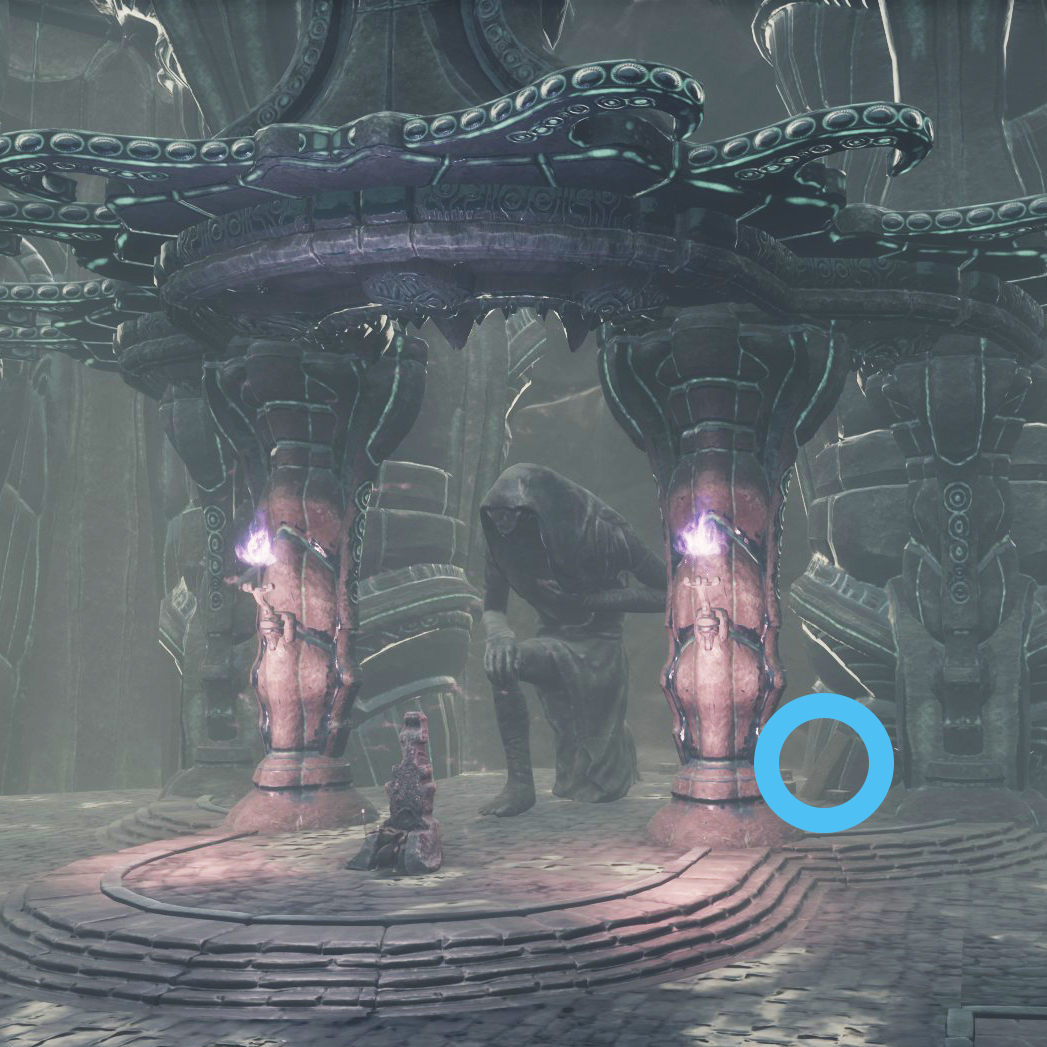 Acquire the Obsidian Tools Feat further into The Well of Skelos.
He asks you:
* Obsidian Tools (feat)How to get it:
Enter The Well of Skelos and reach the building with two statues of serpent-men holding purple fires at the entrance. Inside is the boss serpent-man sorcerer, and behind him is a tablet from which you’ll learn this feat.He’ll reward you with:
800.000 exp
2 Master Skeleton Key
1 Lotus flower kit - Volcanic Resources. QUEST REPEATABLE
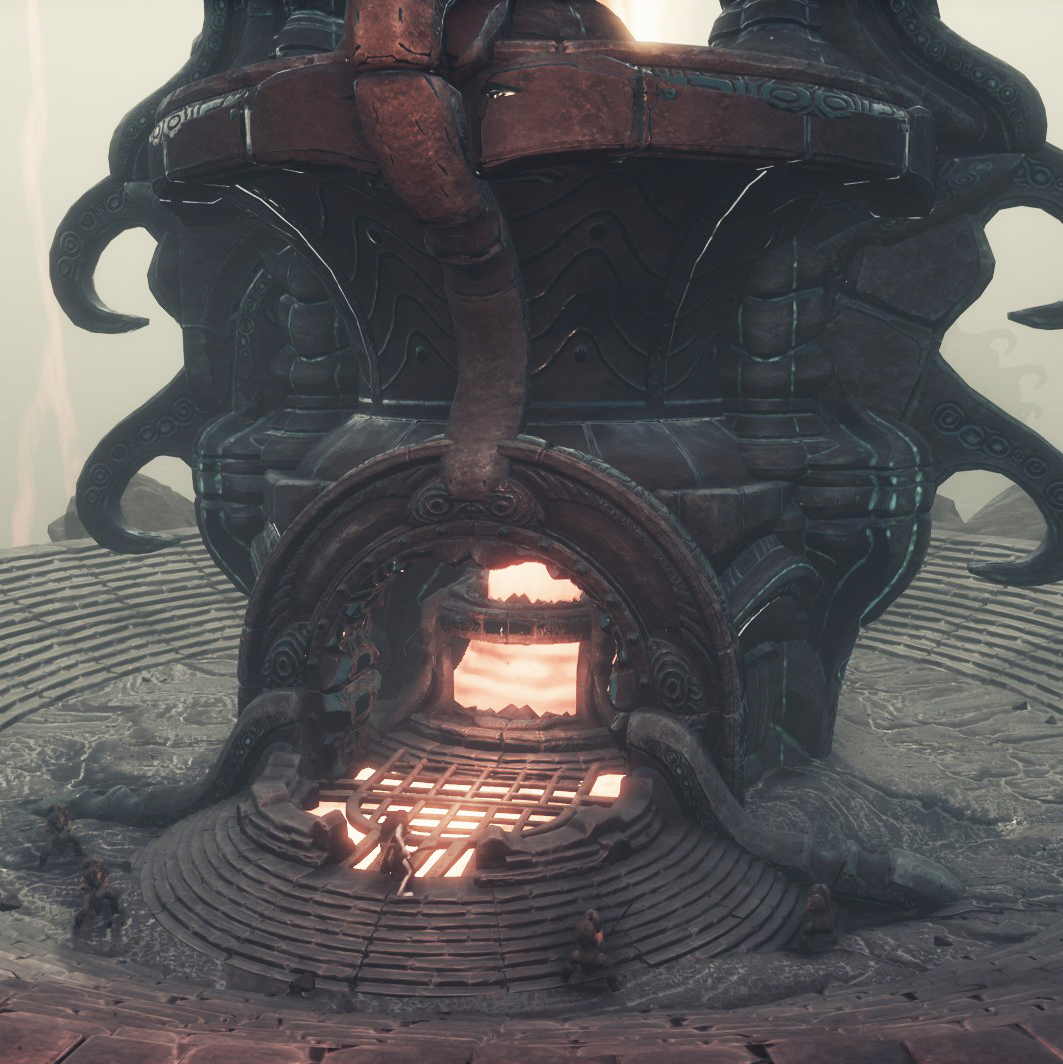 Gain a number of resources that can be acquired in the volcano.
He asks you:
80 Composite Obsidian
100 Gold Bar
15 Golden Lotus FlowerHow to get it:
Enter The Well of Skelos and reach the Volcanic Forge (the one in the image), where you can create all the Composite Obsidian that it asks for with 80 Obsidians and 8 Steel Bars. Additionally, the serpent-man defending the forge (Apep, Chaosforged) will drop Composite Obsidian.
You can also craft it in the Nether furnace, with 18 Obsidians and 2 Steel Bars (cheaper and closer, but you’ll need to be at least level 80). You can create Gold Bars in any Furnace, and you’ll find the Golden Lotus Flowers in the volcano.He’ll reward you with:
90.000 exp
2 Skeleton Key
1 Lotus flower kit
✏️ Quests III (medium level)
Location: Shattered Springs, on the edge of one of the plateaus.
Misiones:
- Tongue and Cheek.
 Collect Tongue’s off Shattered Cultists in the Shattered Springs and Heart of Heroes from Relic Hunter Elite’s around the Unnamed City.
He asks you:
25 Putrid Tongue
8 Heart of a HeroHow to get it:
Kill the other frogmen in the Shattered Springs to get the tongues. To get the hearts you must kill humans from the base game with a skull, you will find some in The Unnamed City: one between the EEWA teleport and The Spawning Pools, another southwest of the Citadel of the Triumvirate (image), another south of The Aviary, another west of The Archives and another up the stairs southeast of the corrupted obelisk from the base game. They will be together with other relic hunters.He’ll reward you with:
350.000 exp
1 Scripture of Learning
2 Heart of a Hero - Son and Father.
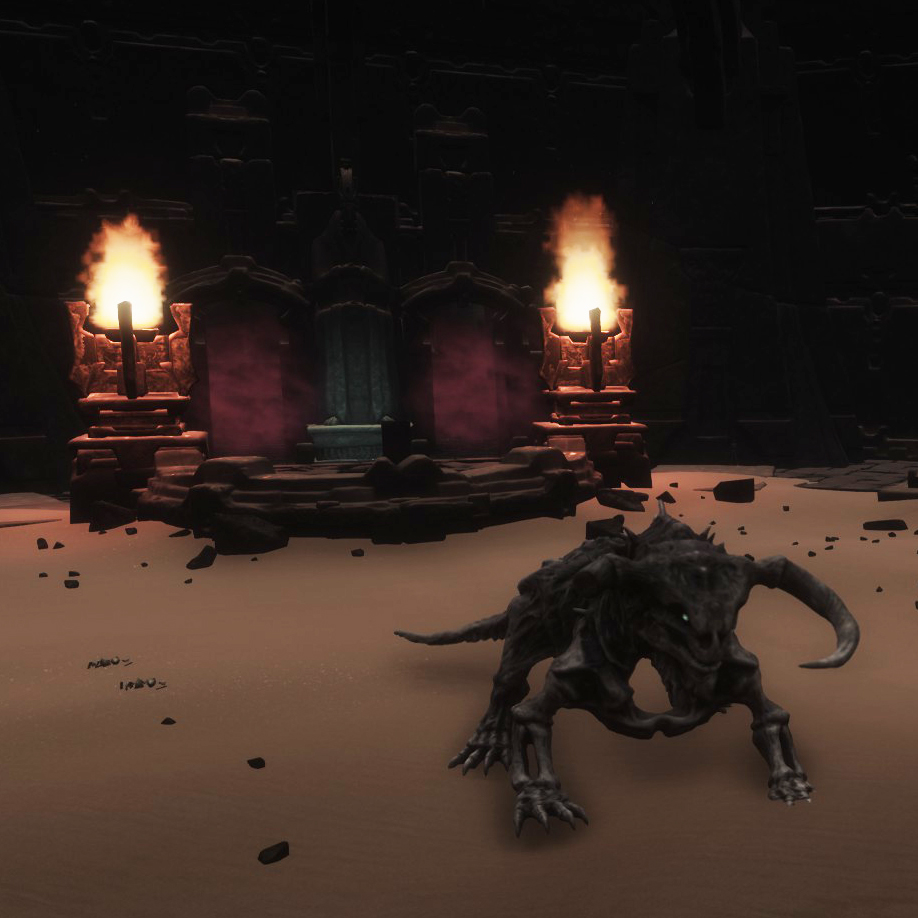 The Priestking had a son, the half-breed Tyros. Tyros became the champion of the arena after being the first to defeat the Giant Kings’ mightiest dragon. He was awarded the Star of the Champion and buried it with the dragon in the sand. Retrieve the Star in the arena.
He asks you:
1 Star of the Champion (artefact)How to get it:
Enter through The Arena to The Sinkhole and kill the Undead Dragon (8.265 health) there. Use a tool on his corpse to extract the Star of the Champion.He’ll reward you with:
500.000 exp
1 Skeleton Key
3 Pure Aloe Extract
1 Lotus flower kit - Son and Father II
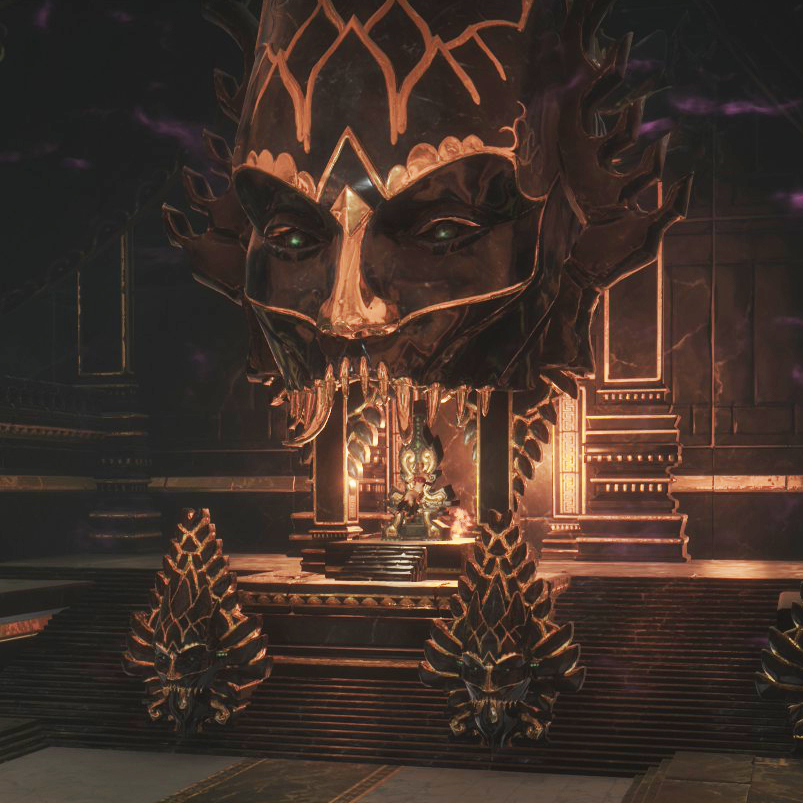 Tyros was to lead the Giant King’s armies against the Wich Queen and the Lemurians, but feel in love with a woman, Telith. Telith was the daughter of the Wich Queen. Find her temple in the jungle and retrieve her mask.
He asks you:
1 Mask of the Witch Queen (artefact)How to get it:
Enter the Palace of the Witch Queen, kill the two Witch Queen Guardian (1.895 health) and The Witch Queen (2.250 health). The mask is on his corpse.He’ll reward you with:
700.000 exp
3 Skeleton Key
5 Pure Aloe Extract
1 Stash key
1 Lotus flower kit - Son and Father III
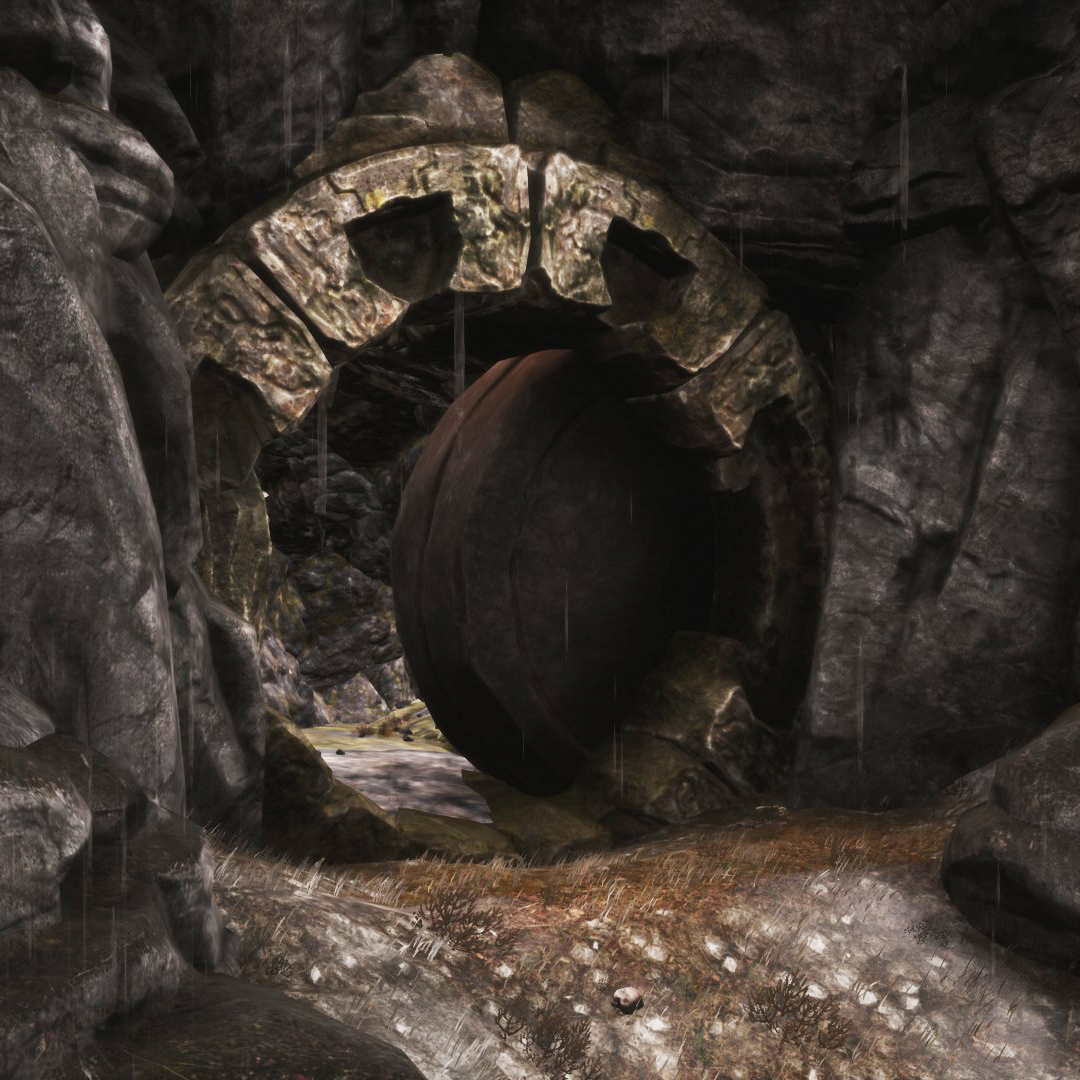 Tyros loved Telith and decided to kill his own father in the Mounds of the Dead. The Priestking was slan at the hands of his own son, but Tyros was in turn cursed with eternal life. Find the tomb of the Priestking and retrieve his Diadem.
He asks you:
1 Diadem of the Giant-kings (artefact)How to get it:
Enter The Barrow King cave (with a Demon Blood in your Inventory) and kill the The King Beneath (1.109 health). Use a tool on his corpse to remove the diadem.He’ll reward you with:
900.000 exp
5 Skeleton Key
8 Pure Aloe Extract
1 Stash key
1 Lotus flower kit - Son and Father IV
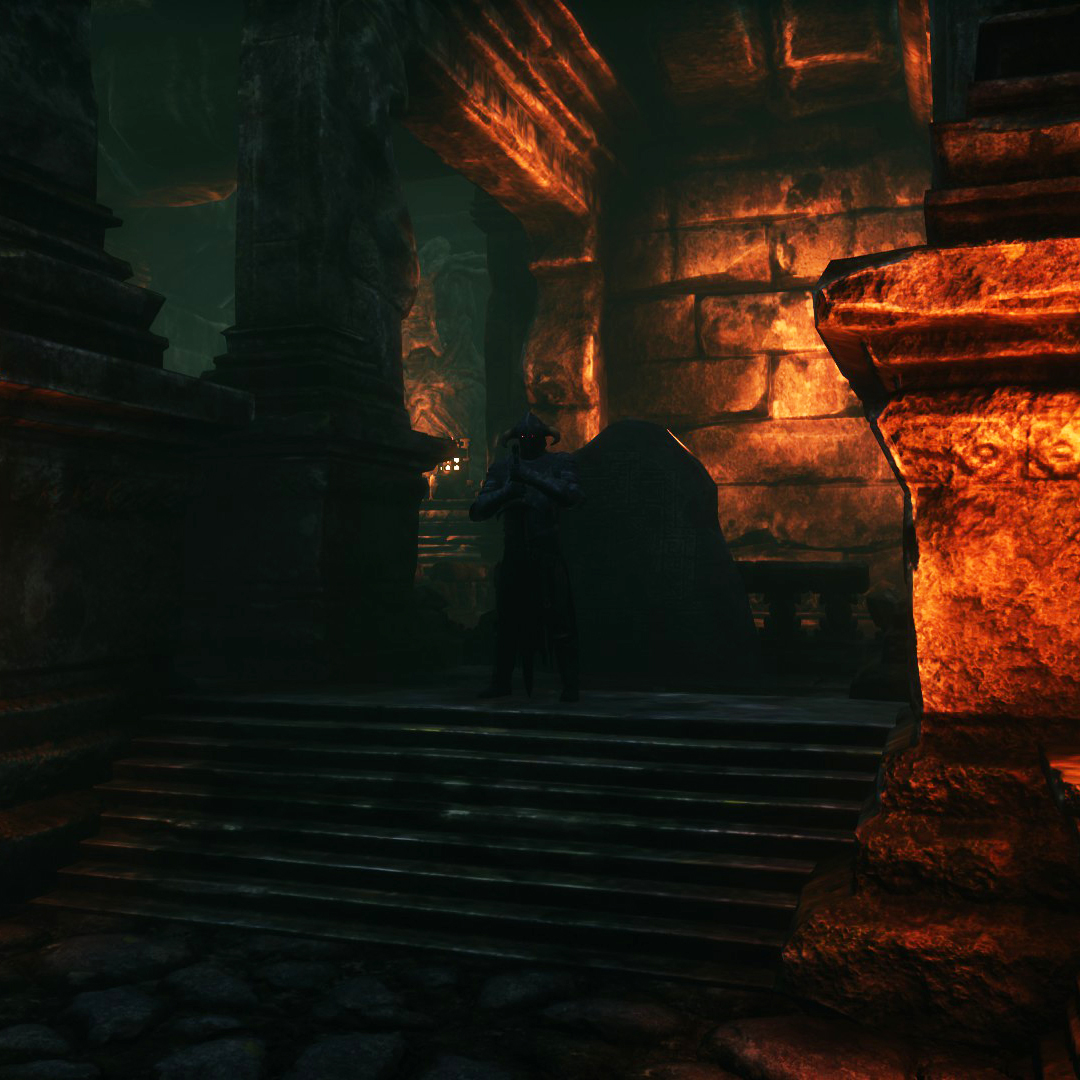 With the curse of immortality, Tyros grew mad as he lost his wife and his own son as he outlived them. He became the Kinscourge and still to this day walk the Black Keep, defeat him and retrieve the Tears of Two Races.
He asks you:
1 Tears of Two Races (artefact)How to get it:
Enter The Black Keep and kill the Kinscourge (14.560 health). Use a tool on his corpse to extract the tear.He’ll reward you with:
1.200.000 exp
10 Skeleton Key
10 Pure Aloe Extract
10 Star Metal Bar
2 Stash key
1 Lotus flower kit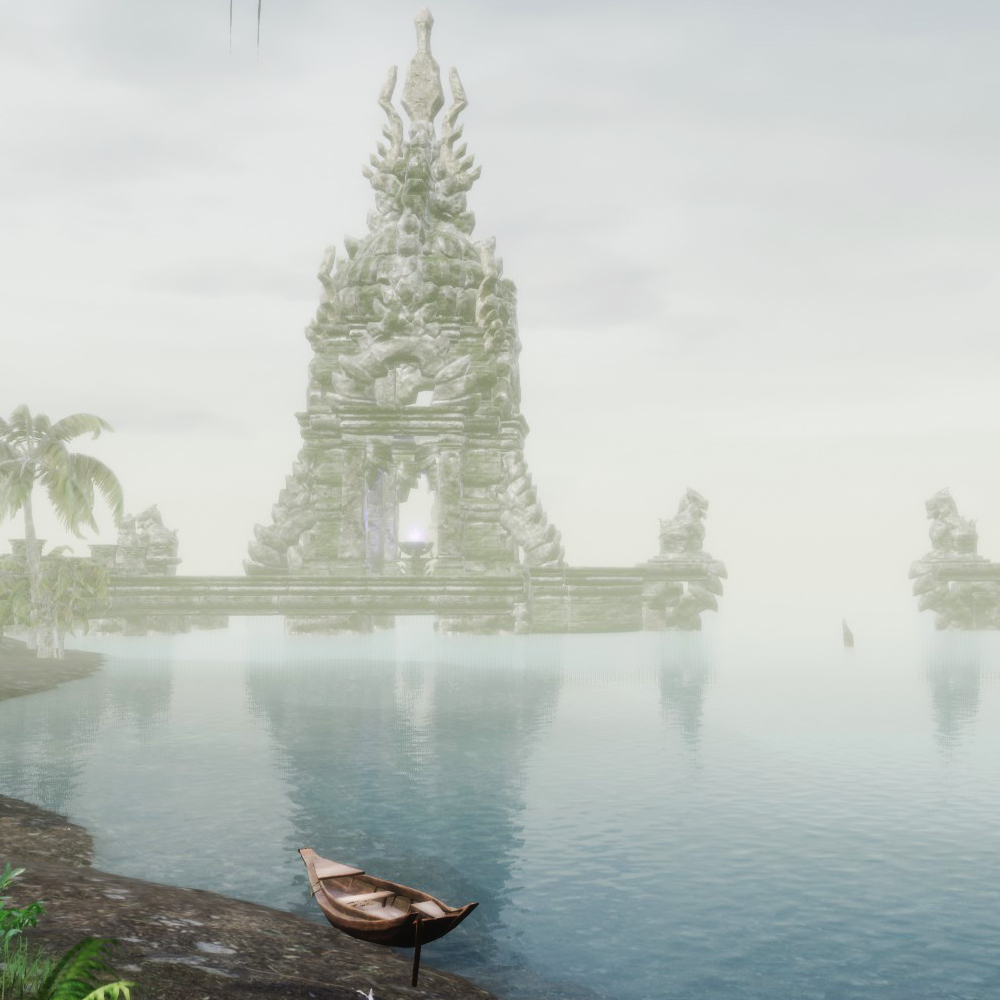
- Under the Sea.
There is a boat behind the Witch Queen’s temple that will be able to take you to the ruins of the Sunken City. Most of it is submerged in water, so be careful. Learn the Daggers of Dagon recipe.He asks you:
* Daggers of DagonHow to get it:
Go to the shore of the Forgotten City of Xel-ha and interact with the boat in this image to reach The Sunken City.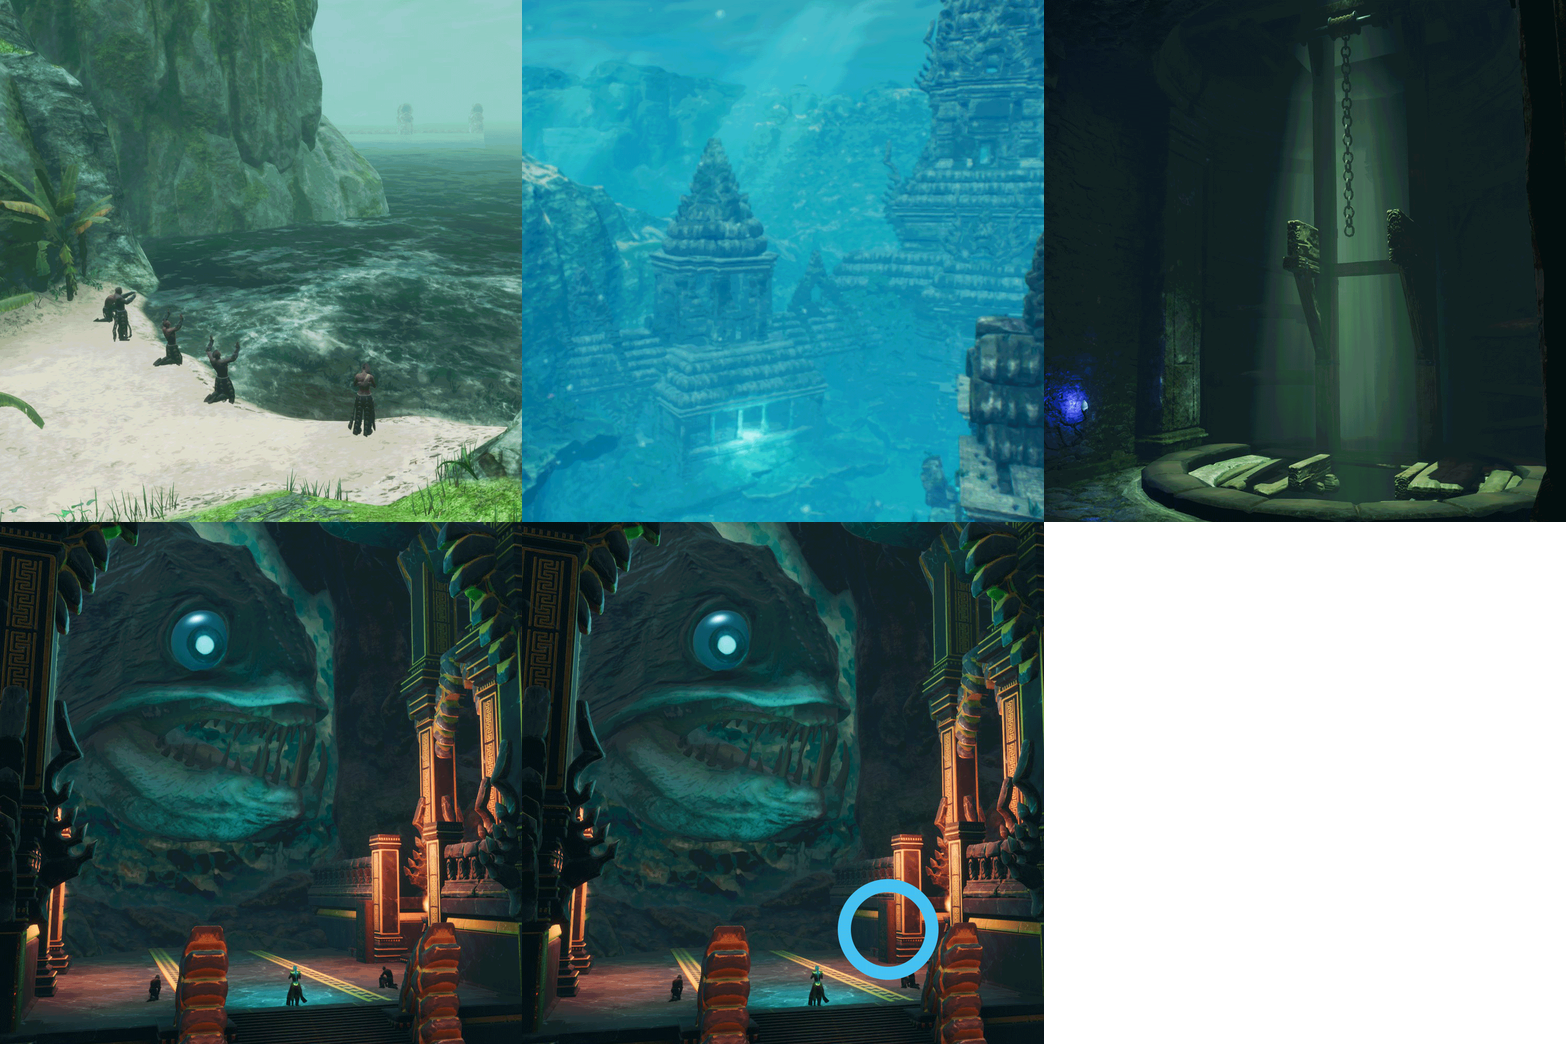 Below the image there’s a gif that shows you the steps you must follow. First go by land to the shore where the Cultist of Dagon are and dive. Swim to the Lemurian building in the gif (slightly to your right), enter it, move forward and you’ll reach the well in the gif. Go down it until you reach the last room with several bosses and a tablet at the bottom (it is marked in the gif). Interact with the tablet to learn this feat.
He’ll reward you wi:
1.000.000 exp
5 Skeleton Key
1 Scrim
1 Stash key
1 Lotus flower kit - The Grove
A Child of Jhebbal Sag awaits you by the Den. Bring him Feral Flesh and he will give a potion that will take you to Jhebbal Sag’s Grove. Obtain Shadebloom there and deliver it.He asks you:
25 ShadebloomHow to get it:
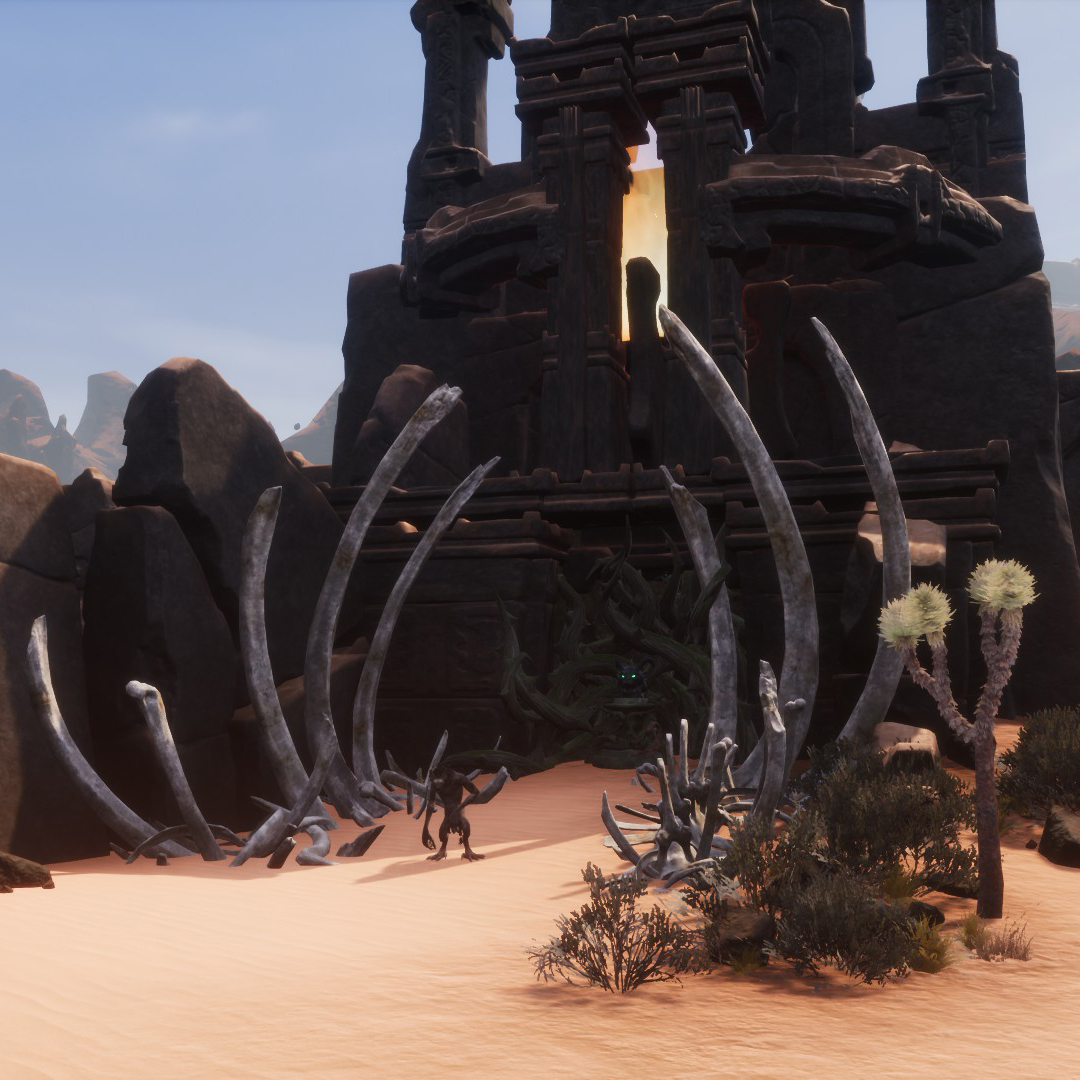 There are two main ways to get these flowers: by obtaining them from The Dogs Caravan Package (by conquering Dogs of the Desert Outposts) or by going to the Midnight Grove.
To go to this dungeon, talk to the man-beast in this image, who is between The Slaveway and The Den. He sells you the Potion of Midnight for 5 Feral Flesh or shows you the Midnight Alchemist feat so you can create it yourself at the Jhebbal Sag Totem behind him. Hurry to eat it since it expires in 30 seconds. Once inside the dungeon, go through it, kill its bosses and use a tool on their corpses to extract the Shadebloom. You can also find them in chests, bosses you kill…He’ll reward you wi:
1.500.000 exp
5 Skeleton Key
3 Scrim
1 Stash key
1 Lotus flower kit - Warmaker’s Black Heart.
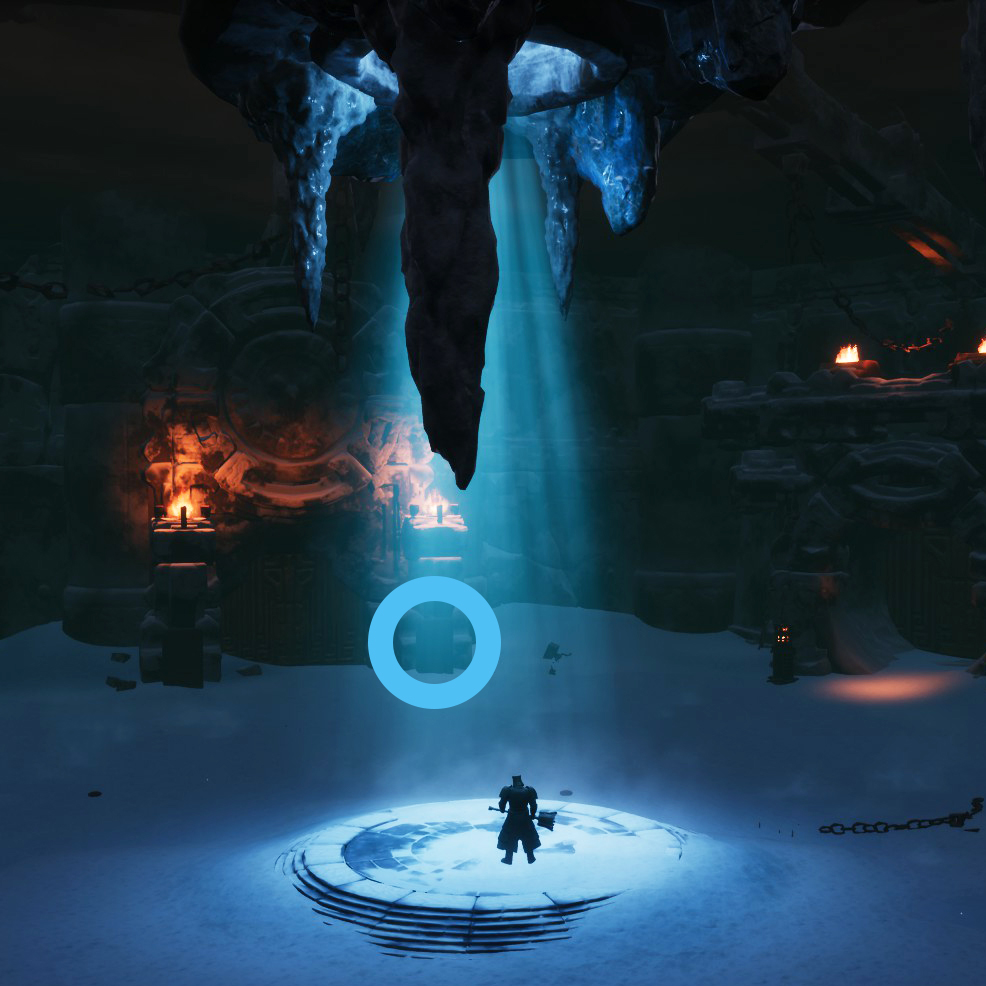 The Warmaker was one of the Priestkings most trusted advisors, set to handle the warfront. The Warmaker experimented on creatures in his fortress to try and make the ultimate creature to fight back against the humans. It was too little, too late. Defeat the creatures inside the Warmaker’s Stronghold and bring the Blackhearted Weaponry they bestow.
He asks you:
1 Blackheart Hammer
1 Blackheart BladeHow to get it:
Enter Klael’s Stronghold and kill the Champion of the Warmaker (24.500 health). In their arena there is a tablet that will teach you the feat to craft their weapons (marked in the image). At an Improved Blacksmith’s Bench, craft the hammer and sword. Between the two weapons you’ll need 2 Weapon Handles, 90 Star Metal Bars, 66 Composite Obsidians, and 30 Alchemical Bases.He’ll reward you wi:
2.500.000 exp
15 Skeleton Key
5 Scrim
3 Stash key
1 Lotus flower kit - Down Bellow.
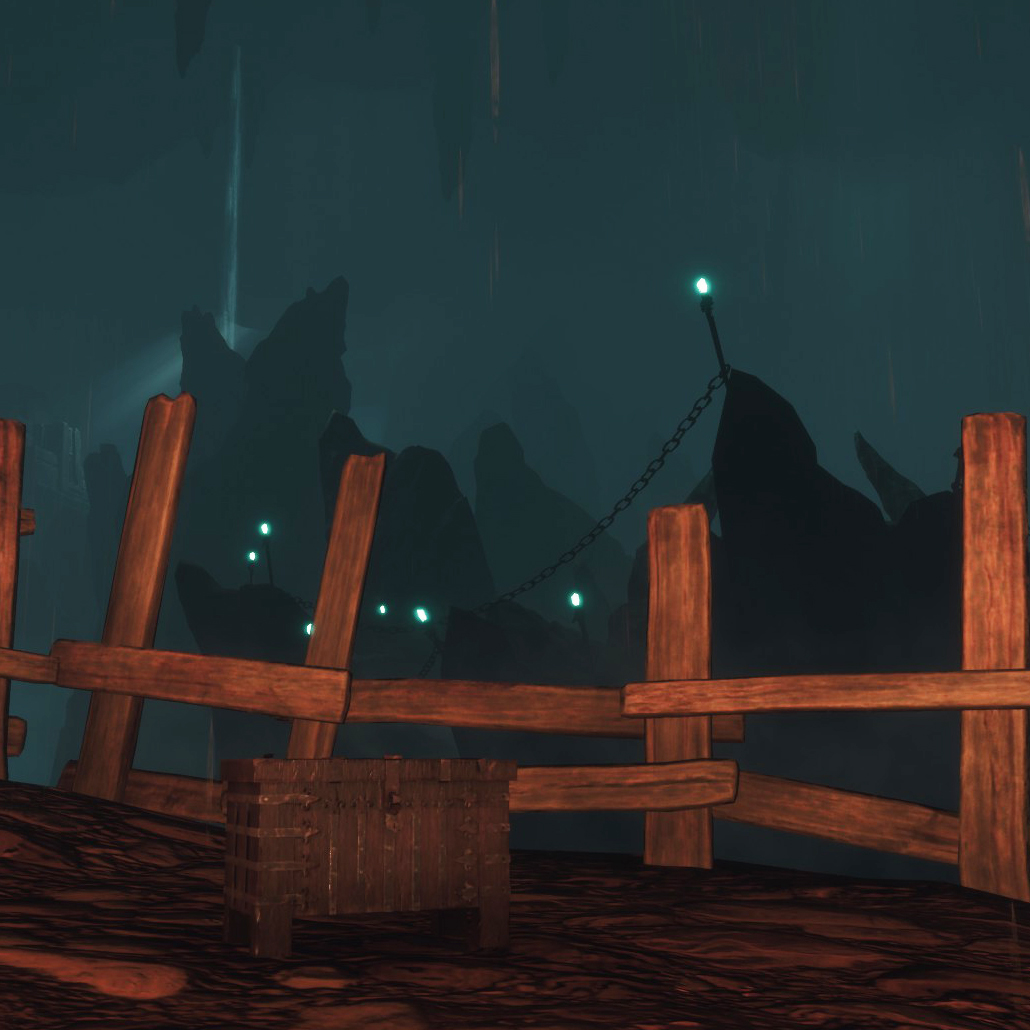 Something lurks below the winecellars of Sepermeru, an old Khari civilization filled with Khari steel to be found.
He asks you:
40 Khari SteelHow to get it:
Enter the Wine Cellar and find small chests like the one in the image in which there will be Khari Steel.He’ll reward you wi:
2.500.000 exp
250 Handheld Ymir Totems
1 Gem ShardsYou must deliver it to:
Erond, the legendary blacksmith
Location: at the entrance to the Perilous Valley.
✏️ Quests IV (medium level)
you have to deliver them to Erond, the legendary blacksmith)
- Full Haul.
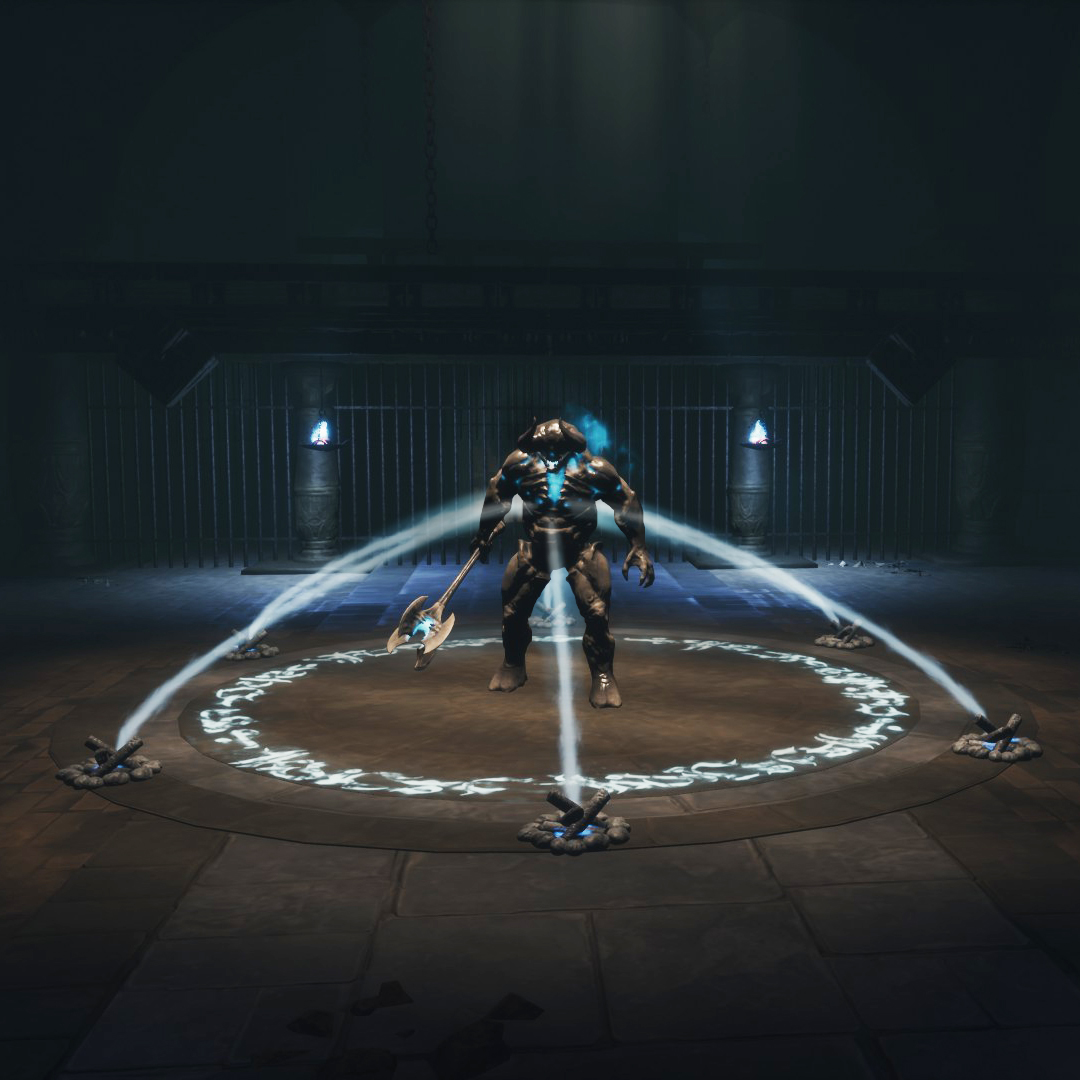 Learn the Khari weapon recipes from this old Khari civilization, craft them and deliver them.
He asks you:
1 Khari Bow
1 Khari Daggers
1 Khari Great-Sword
1 Khari Hammer
1 Khari Pike
1 Khari War-AxeHow to get it:
Enter the Wine Cellar and reach the end, following the path of blue torches until you reach the building, where you must light all the bonfires to summon and kill Thag (24.500 health). He’ll drop you a recipe, but this can vary between: Khari Weaponry (the one you need), Khari Soldier Armor, Khari Overseer Armor and Khari Raider Armor.
When you get the feat, craft all weapons on the Improved Blacksmith’s Bench except the bow, which will be on the Improved Carpenter’s Bench. You’ll need a total of 5 Weapon Handles, 1 Sturdy String and 90 Khari Steels.He’ll reward you with:
6.000.000 exp
5 Blacksmith’s Pack - Khari Remnant.
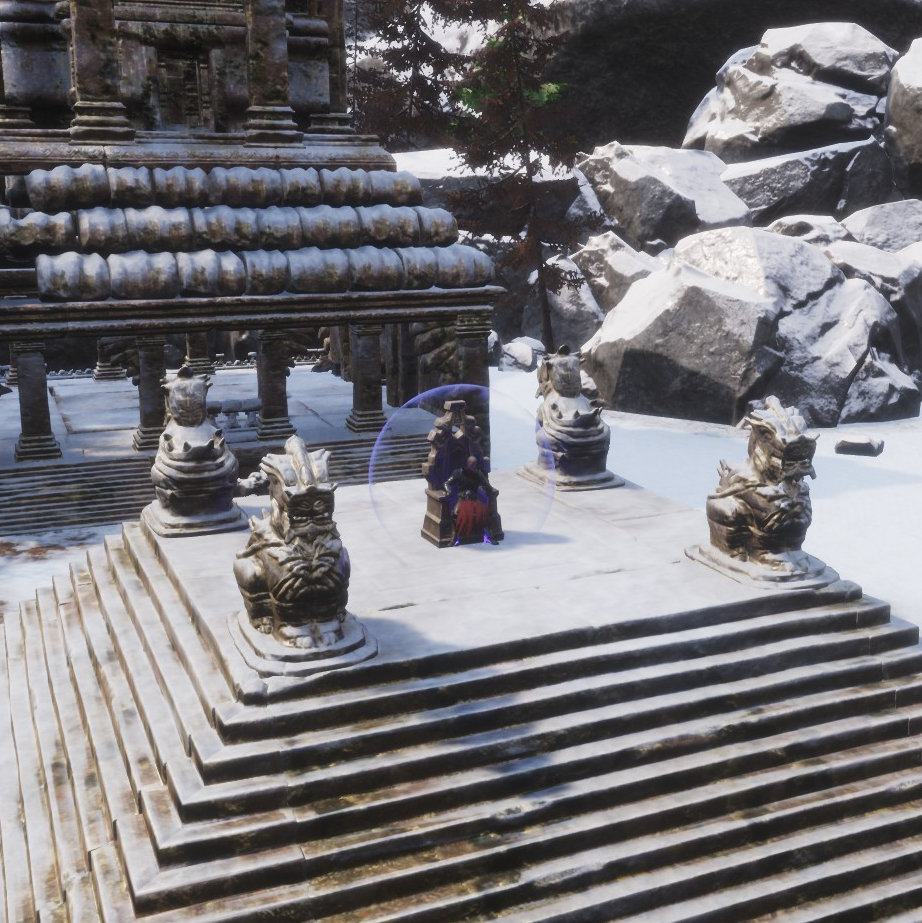 Once you have learned the Legendary Assembly Feat. You may recieve the recipe for the Khari Skullcrusher.
He asks you:
* Legendary Assembly (feat)How to get it:
Progress through Shadow Legion Commander’s quests until he asks you to kill the Daughter of the Devourer. He’ll reward you with the Legendary Assembly feat.He’ll reward you with:
2.000.000 exp
1 Khari Skullcrusher (recipe)
Location: at the entrance to Perilous Valley, on Saturdays and Sundays.
Quests:
- Conqueror.
 Conquer your first outpost! As you hold these over time you gain Caravan Packages which may contain loot related to the type of outpost you conquered.
He asks you:
* Conquered an OutpostHow to get it:
Go to one of the seven Outposts scattered around the map, kill all its NPCs and interact on the altar to conquer it. You’ve more information about this mechanic and the location of the posts in the “📦 Outpost” section of the guide.He’ll reward you with:
905.000 exp
10 Scrim
3 Gem Shards - Conqueror II.
Conquer outpost and deliver Spoils of Conquest.THe asks you:
12 Spoils of ConquestHow to get it:
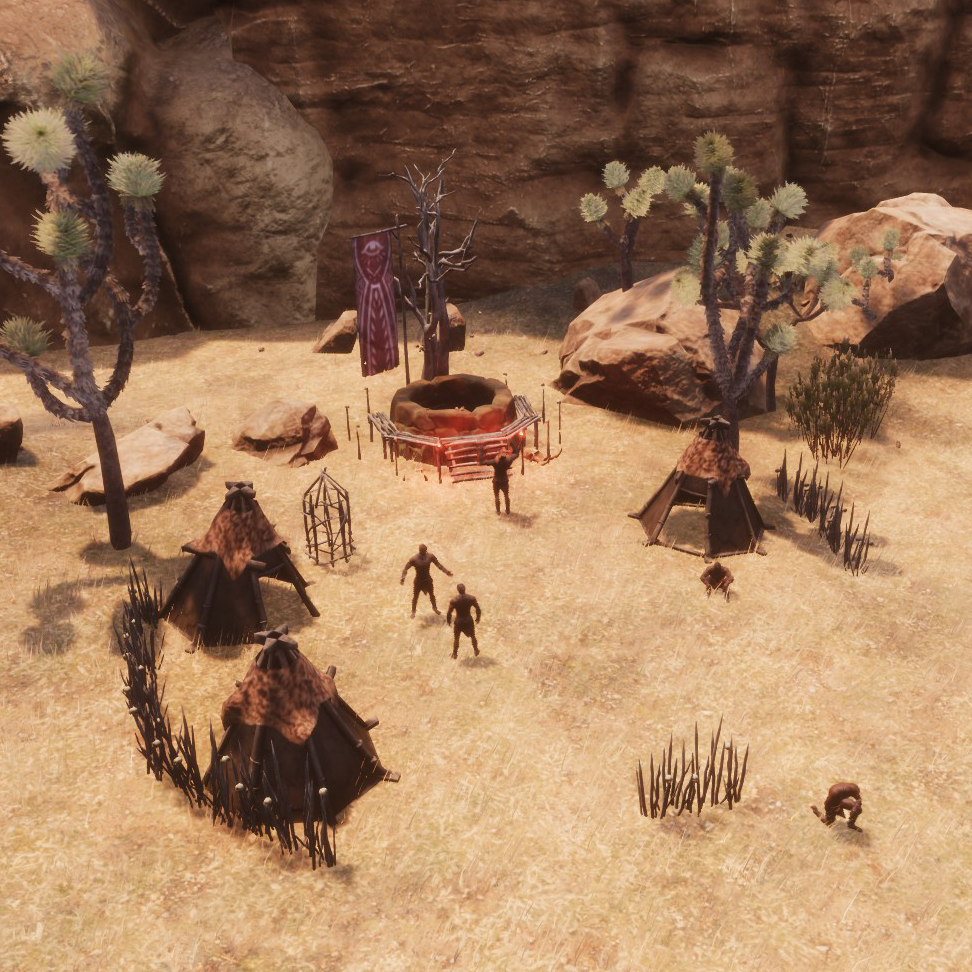 Conquer an Outpost to have several caravan packages sent to you. Open them when they arrive and, among other items, you’ll get Spoils of Conquest. The packages sent to you by Darfari Outposts will give you one Spoil of Conquest, those from the Relic Hunters will give you three Spoils of Conquest and those from the Dogs of the Desert and the Black Hand will give you two Spoils of Conquest.
He’ll reward you with:
1.510.000 exp
15 Scrim - Conqueror III.
Conquer outposts and deliver each caravan package of each type.He asks you:
2 Darfari Caravan Package
1 Relic Hunter Caravan Package
1 Black Hand Caravan Package
1 The Dogs Caravan PackageHow to get it:
Conquer at least one Outpost of each faction to have their packages sent to you.He’ll reward you with:
2.100.000 exp
20 Scrim - Fast Learner.
 Max out a Trait to level 10.
He asks you:
* Level a Trait to 10How to get it:
Up to level 10 it’s no small matter. Surely the first Trait you raise to level 10 will be the one you use the most (Ranger if you use the bow a lot, Guardian if you usually wear heavy armor…). As you can see more extensively in “⚡️ Traits”, you’ll level them up in two ways: depending on which weapons you use a lot, you’ll level up a particular Trait, and simply by playing or using Scripture of Learning, you’ll get extra points.He’ll reward you with:
3.200.000 exp
40 Scrim
2 Scripture of Learning
1 Scripture of Re-Learning (will restore all your Traits) - Forever Conqueror. QUEST REPEATABLE
Conquer outposts and deliver Caravan Packages and Spoils of Conquest.He asks you:
6 Darfari Caravan Package
3 Relic Hunter Caravan Package
3 Black Hand Caravan Package
3 The Dogs Caravan Package
50 Spoils of ConquestHow to get it:
Conquer several Outposts to have their packages sent to you.He’ll reward you with:
1.100.000 exp
20 Scrim
5 Heart of a Hero
✏️ Quests V (high level)
Location: at the entrance to the Perilous Valley.
Quests:
- Novice hunter.
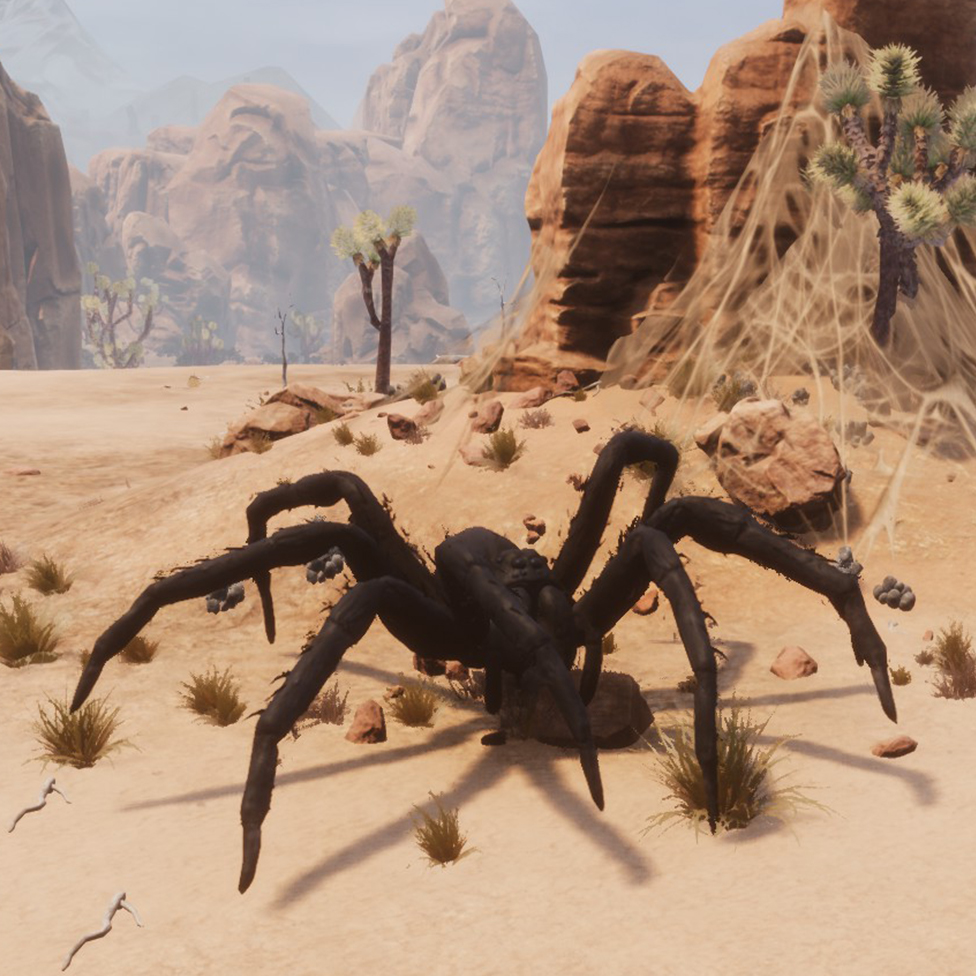 Collect trophies of these dangerous creatures around the land and bring them back.
He asks you:
1 Giant Crocodile Head
1 White Tiger Head
1 Giant Spider Head
1 Black Yeti HeadHow to get it:
Find these legendary creatures from the base game, kill them and use a tool on their corpses to remove their heads. If you want to know their exact locations, attacks and more, check the “🦁 Lesser Bounties” I and II sections of the guide.He’ll reward you with:
325.000 exp
50 Handheld Ymir Totem
5 Scrim - Intermediate hunter.
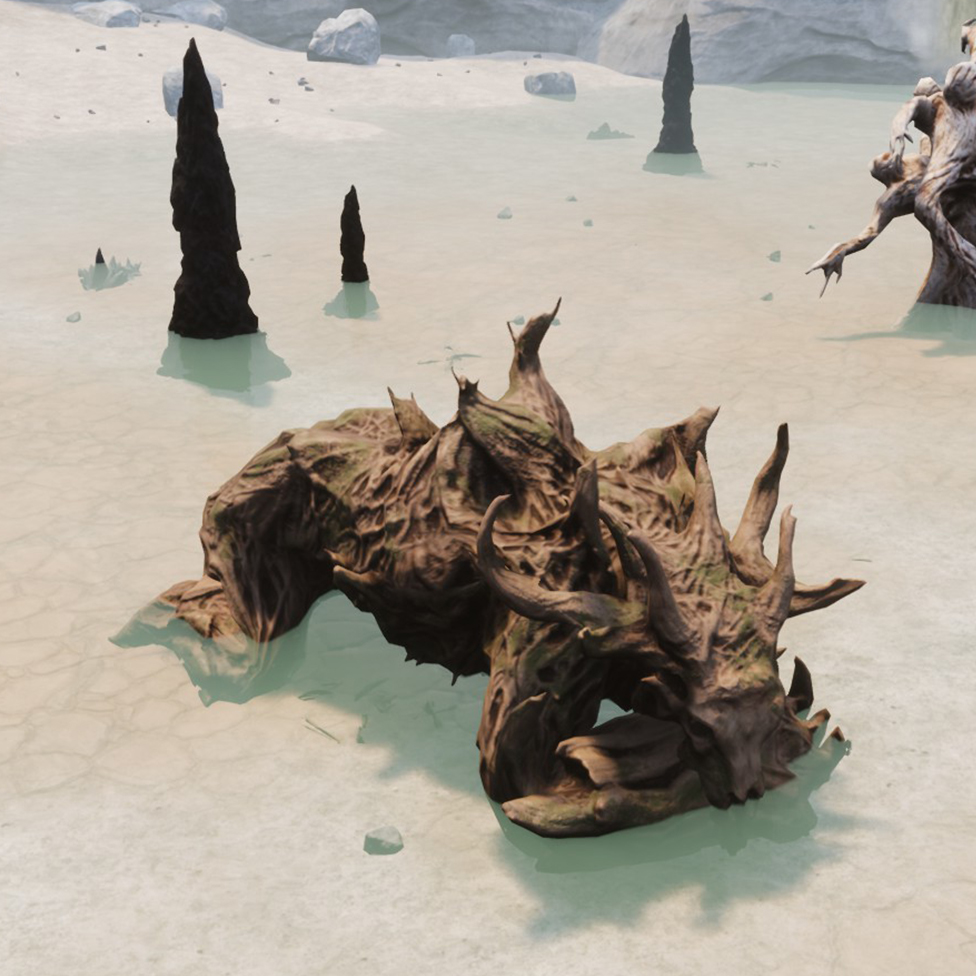 Collect trophies of these dangerous creatures around the land and bring them back.
He asks you:
2 King Scorpion Tail
2 Rotbranch Head
1 Thunderfoot Head
1 Giant Snake HeadHow to get it:
Find these legendary creatures, kill them and extract their heads and tails from their corpses. For more info, check the “🦁 Lesser Bounties” II and III sections.He’ll reward you with:
600.000 exp
100 Handheld Ymir Totem
2 Skeleton key - True hunter.
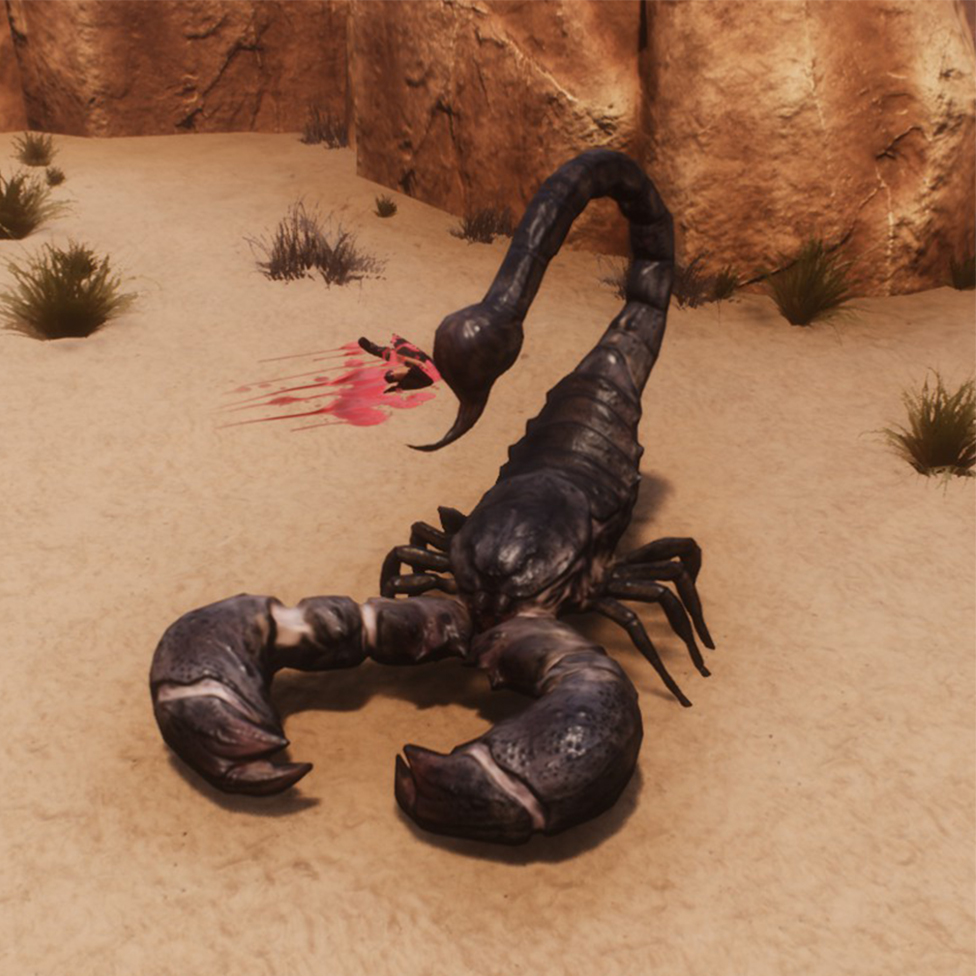 Collect tropies of these dangerous creatures around the land and bring them back.
He asks you:
3 King Scorpion Tail
3 Rotbranch Head
3 Thunderfoot Head
3 Giant Snake Head
3 Giant Crocodile Head
3 White Tiger Head
3 Giant Spider Head
3 Black Yeti HeadHow to get it:
Find and kill most types of creatures that give Lesser Bounties. Use a tool on their corpses to remove their heads and tails.He’ll reward you with:
1.200.000 exp
1 Greater Augment Scroll
200 Handheld Ymir Totem
5 Skeleton key - Elite hunter.
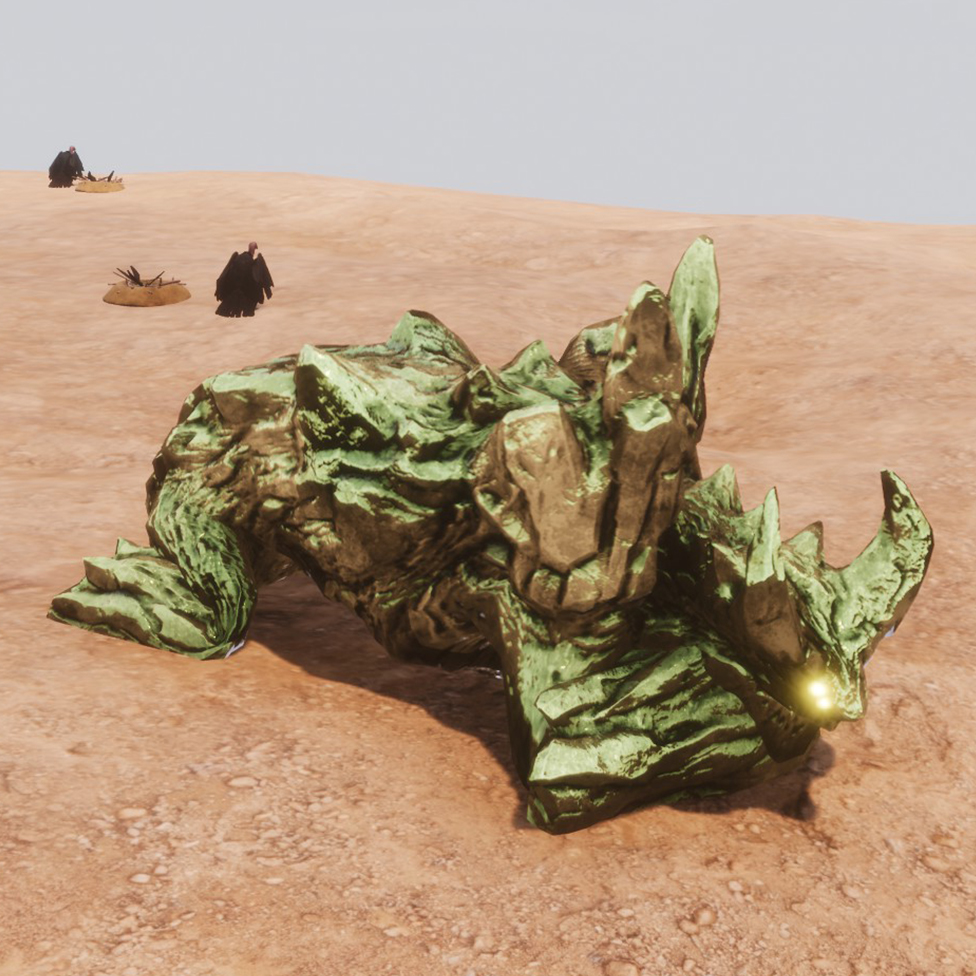 Collect tropies of these dangerous creatures around the land and bring them back.
He asks you:
1 Lufk Head
1 Crystal Rocknose King Head
1 Awakened Giant HeadHow to get it:
Find these magical monsters added by the EEWA, kill them and use a tool on their corpses to remove their heads. If you want to know their exact locations, attacks and more, check the “🐲 Bounties” I and II sections.He’ll reward you with:
1.800.000 exp
1 Superior Augment Scroll
15 Scrim - Legendary hunter.
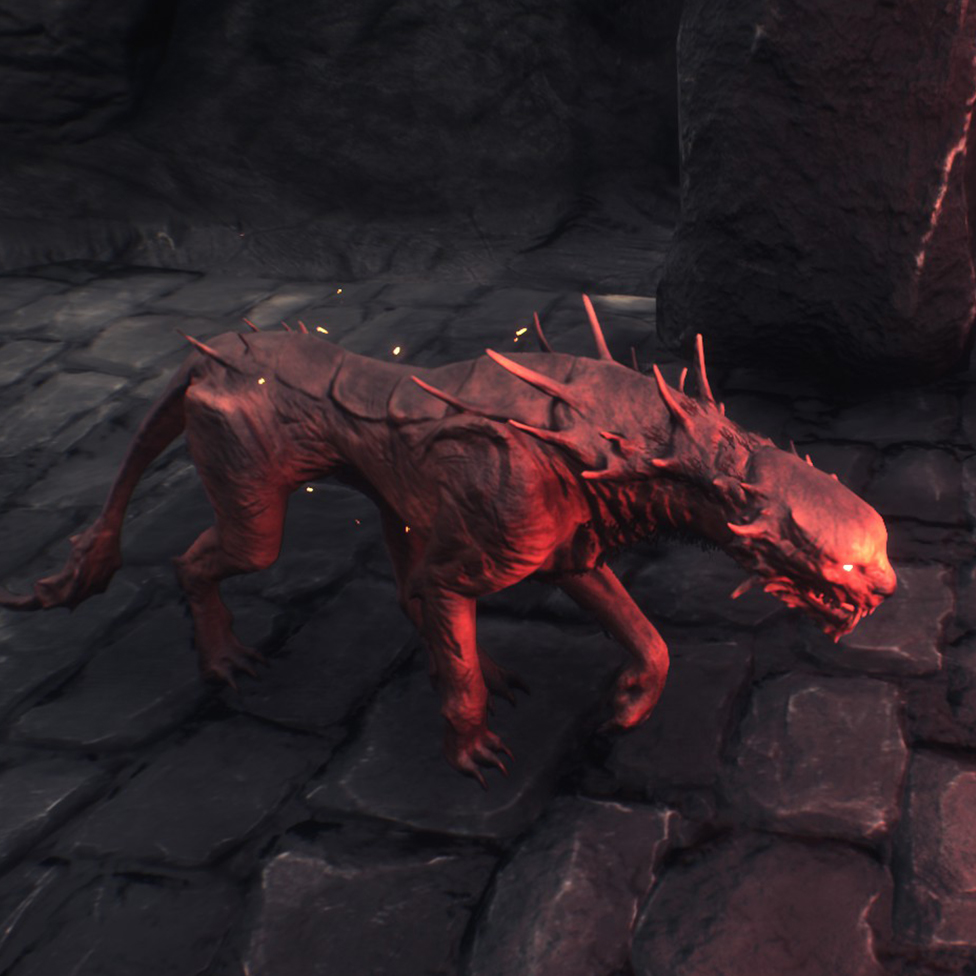 Collect tropies of these dangerous creatures around the land and bring them back.
He asks you:
2 Locust Nightmare Head
2 Lurker Head
2 Hellcat HeadHow to get it:
Find these magical monsters, kill them and extract their heads from their corpses.He’ll reward you with:
2.200.000 exp
1 Superior Augment Scroll
1 The elderwood (recipe) - Hunt for the Ages.
Collect tropies of these dangerous creatures around the land and bring them back.He asks you:
10 Lufk Head
10 Crystal Rocknose King Head
10 Awakened Giant Head
10 Locust Nightmare Head
10 Lurker Head
10 Hellcat HeadHow to get it:
Find and kill all the magical monsters several times. Use a tool on their corpses to remove their heads.He’ll reward you with:
4.900.000 exp
1.000 Handheld Ymir Totem
500 Afflicted Arrow
4 Superior Augment Scroll - Monster Hunter. QUEST REPEATABLE
Collect trophies of these dangerous creatures around the land and bring them back.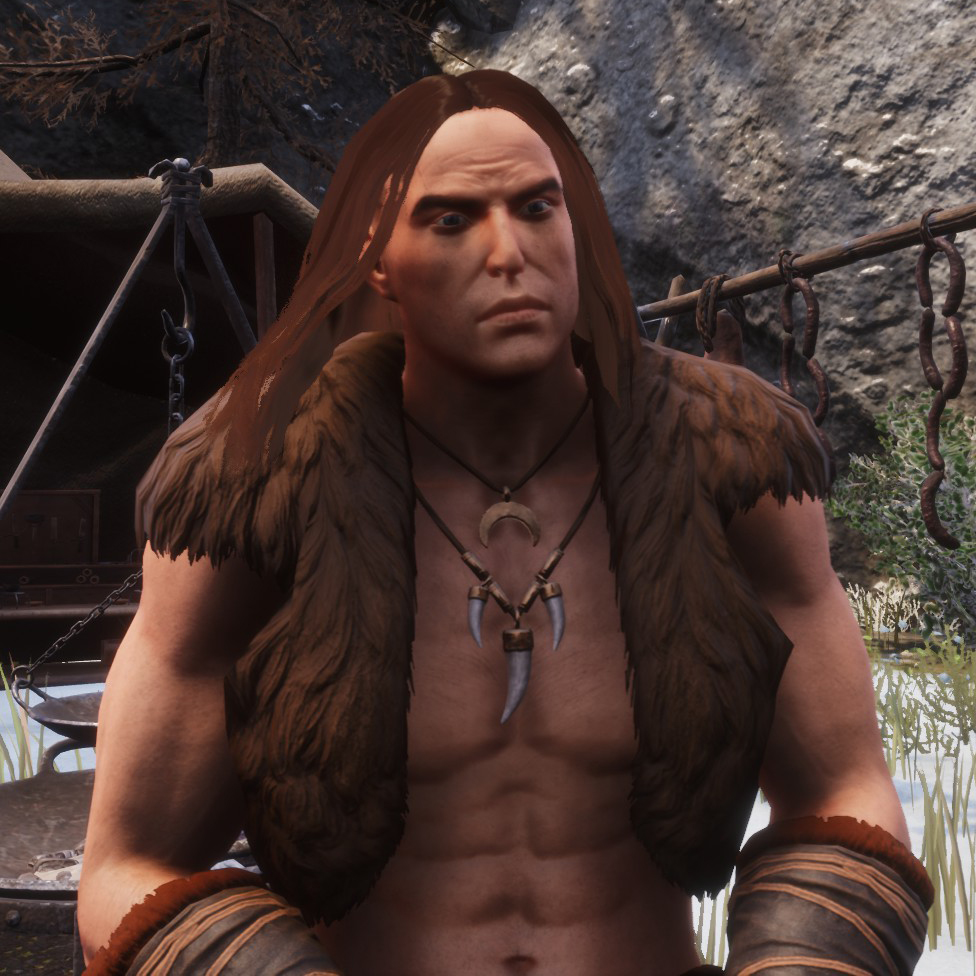 He asks you:
1 Lufk Head
1 Crystal Rocknose King Head
1 Awakened Giant Head
1 Locust Nightmare Head
1 Lurker Head
1 Hellcat Head
2 Giant Crocodile Head
2 White Tiger Head
2 Giant spider Head
2 Black Yeti Head
2 King scorpion tail
2 Thunderfoot Head
2 Rotbranch Head
2 Giant snake HeadHow to get it:
Find all these legendary creatures and magical monsters, kill them and remove their heads from their corpses.He’ll reward you with:
3.500.000 exp
80 Handheld Ymir Totem
1 Superior Augment Scroll
Location: in the Perilous Valley, moving to your right as soon as you enter.
Quests:
- Loads of Boxes.
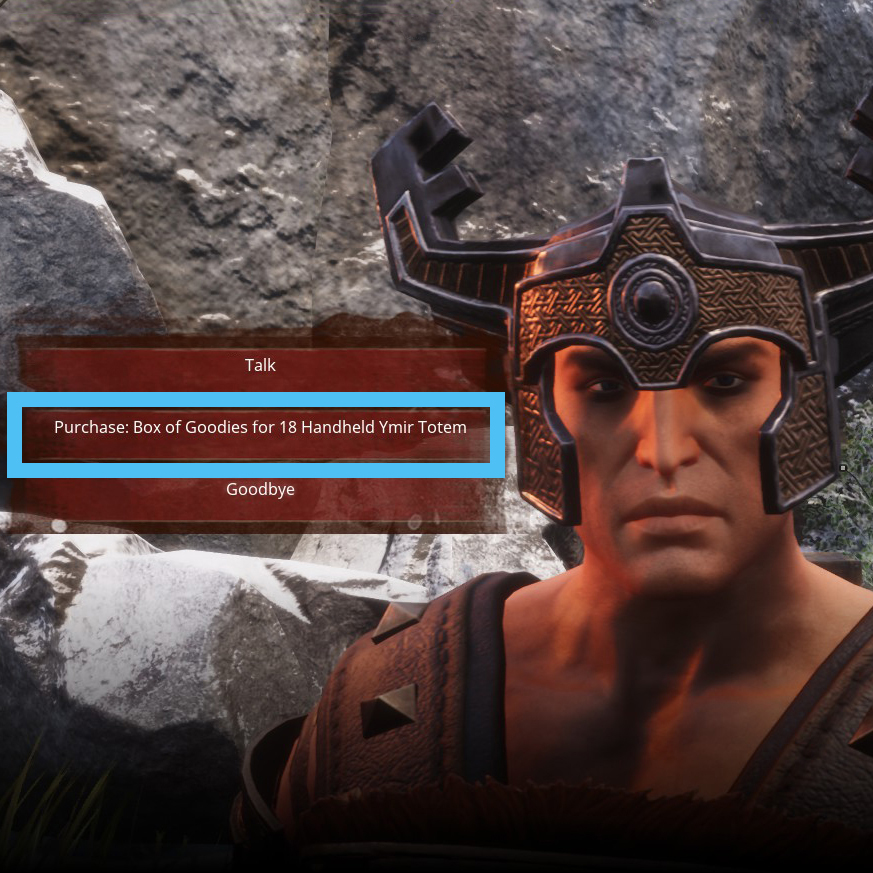 Purchase Boxes of Goodies and… turn them in.
He asks you:
5 Box of GoodiesHow to get it:
Talk to him and buy five of the boxes he sells. In total they will cost you 90 Handheld Ymir Totems.He’ll reward you with:
500.000 exp
1 Stash key - Old Stygian Empire.
Reportedly there is are partial ruins of an old Stygian Empire in the Southeast, find if there is any truth to these rumours and report back.He asks you:
* Discover Ancient Stygian RuinsHow to get it:
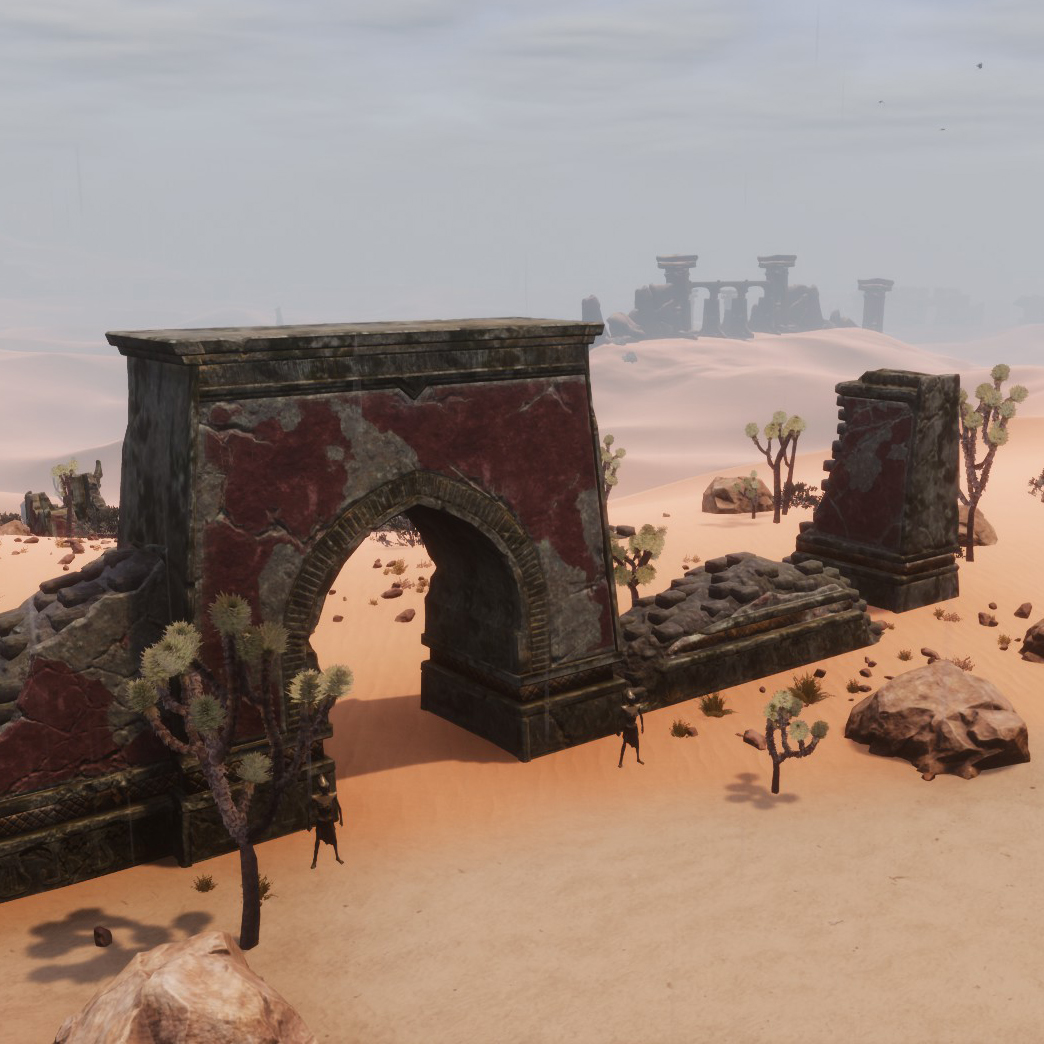 Reach the Ancient Stygian Ruins. To do this, from The Broken Highway that is further east in the desert, head northeast. You’ll see the ruins halfway between said highway and the Sandswept Ruins. In this image you can see the highway in the background, so you can orient yourself. You can also check its exact location on the “📍 Dungeons and areas I” section.
He’ll reward you with:
700.000 exp
2 Stash key - Professional Translator.
Time as a Council of Wolves member, taught Bastille a lot about ancient civilizations. As well as specifically studying translation, retrieve some sort of note from this old Stygian Empire and bring back for translation.He asks you:
1 Guard’s ???How to get it:
Go to the Ancient Stygian Ruins, kill the Stygian Remnants (894 health) and take the “Guard’s ???” of their corpses (he won’t drop it every time).He’ll reward you with:
1.250.000 exp
4 Stash key
1 Guard’s Translated Lamentation - Something Hideous.
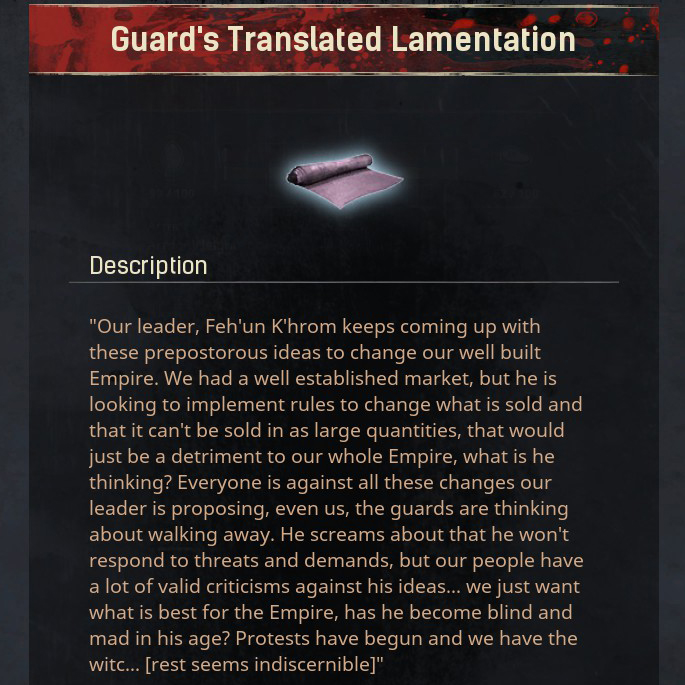 The note reveals a lot about the fall of this ancient Empire. A cursed leader, forever immortalized in agony by a witch, can only be defeated by someone touched with another spell from the same witch. Consume the lament and hear the voices of this ancient empire, calling upon the defeat of their leader.
He asks you:
* Lament of the PeopleHow to get it:
Read the scroll that rewarded you with in the previous quest.
Before reading it you couldn’t kill the three-skull enemy in the Ancient Stygian Ruins because “a curse prevents you from damaging Feh’un K’hrom.” Having read this scroll, you’ll be able to kill him.He’ll reward you with:
505.000 exp
2 Stash key - Karmic Justice.
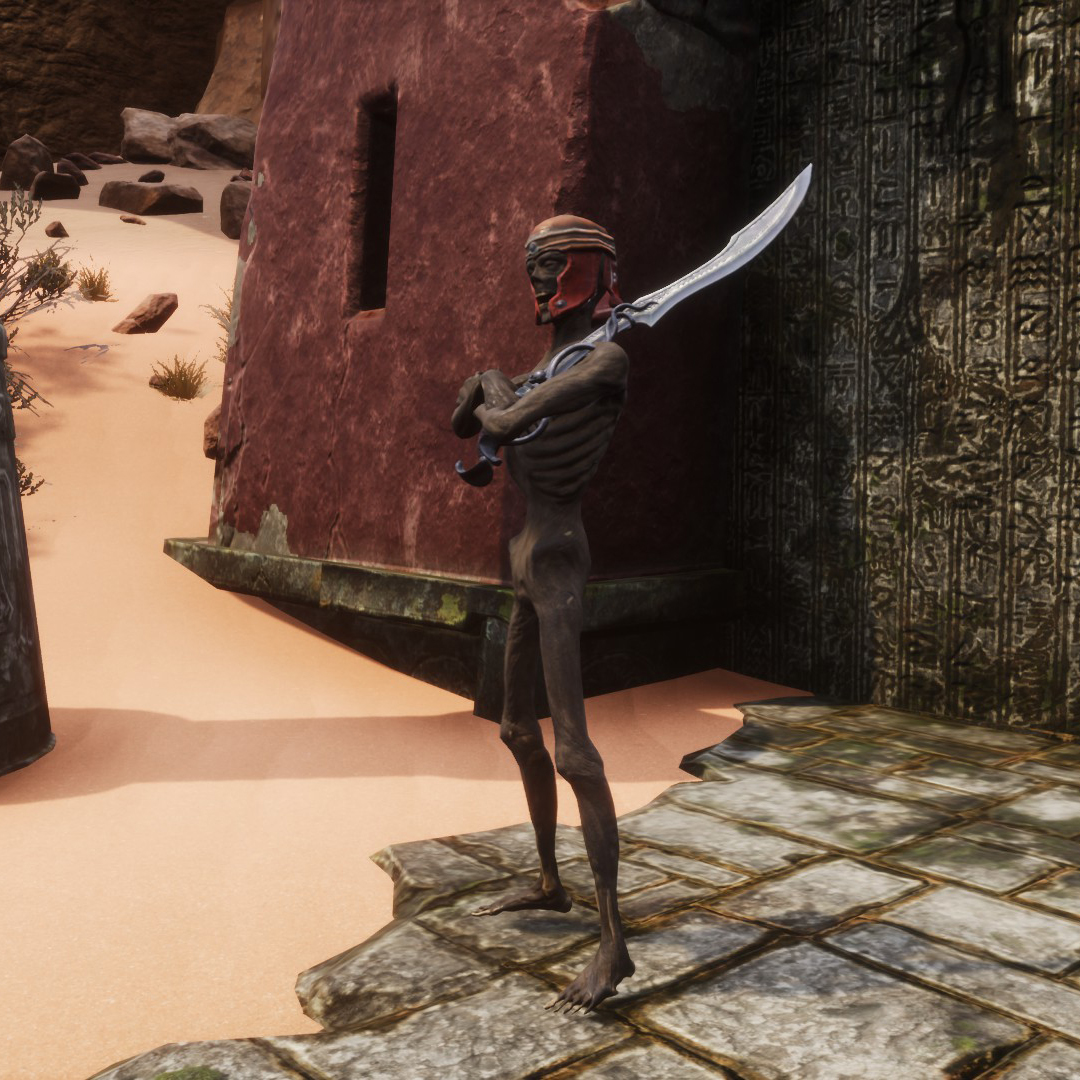 During his lifecycle, Feh’un K’hrom was a vicious Warlord, at first bringing prosperity to his Empire, before going against his trusted people and changed the way they lived without any warning much to their shock. Feh’un K’hrom’s newfound tyranny and manipulation of his people led to the downfall of his Stygian Empire as his once loyal subjects rioted in protest for what they truly believe in. Bring the True Nemedian Helmet of Feh’un K’hrom and deliver it.
He asks you:
1 True Nemedian (helmet)How to get it:
Go to the Ancient Stygian Ruins, kill Feh’un K’hrom (2.235 health) and take the True Nemedian helmet from his corpse (he won’t drop it every time).He’ll reward you with:
3.205.000 exp
40 Scrim
1 Danse Macabre (recipe)
5 Stash key
20 Box of Goodies - Loyal Customer. QUEST REPEATABLE
Purchase Boxes of Goodies and… turn them in.
He asks you:
10 Box of GoodiesHow to get it:
Talk to him and buy ten of the boxes he sells. In total they will cost you 180 Handheld Ymir Totems.He’ll reward you with:
450.000 exp
1 Scrim
1 Stash key
✏️ Quests VI (Erond)
Location: at the entrance to the Perilous Valley.
Quests:
- Material Gathering.
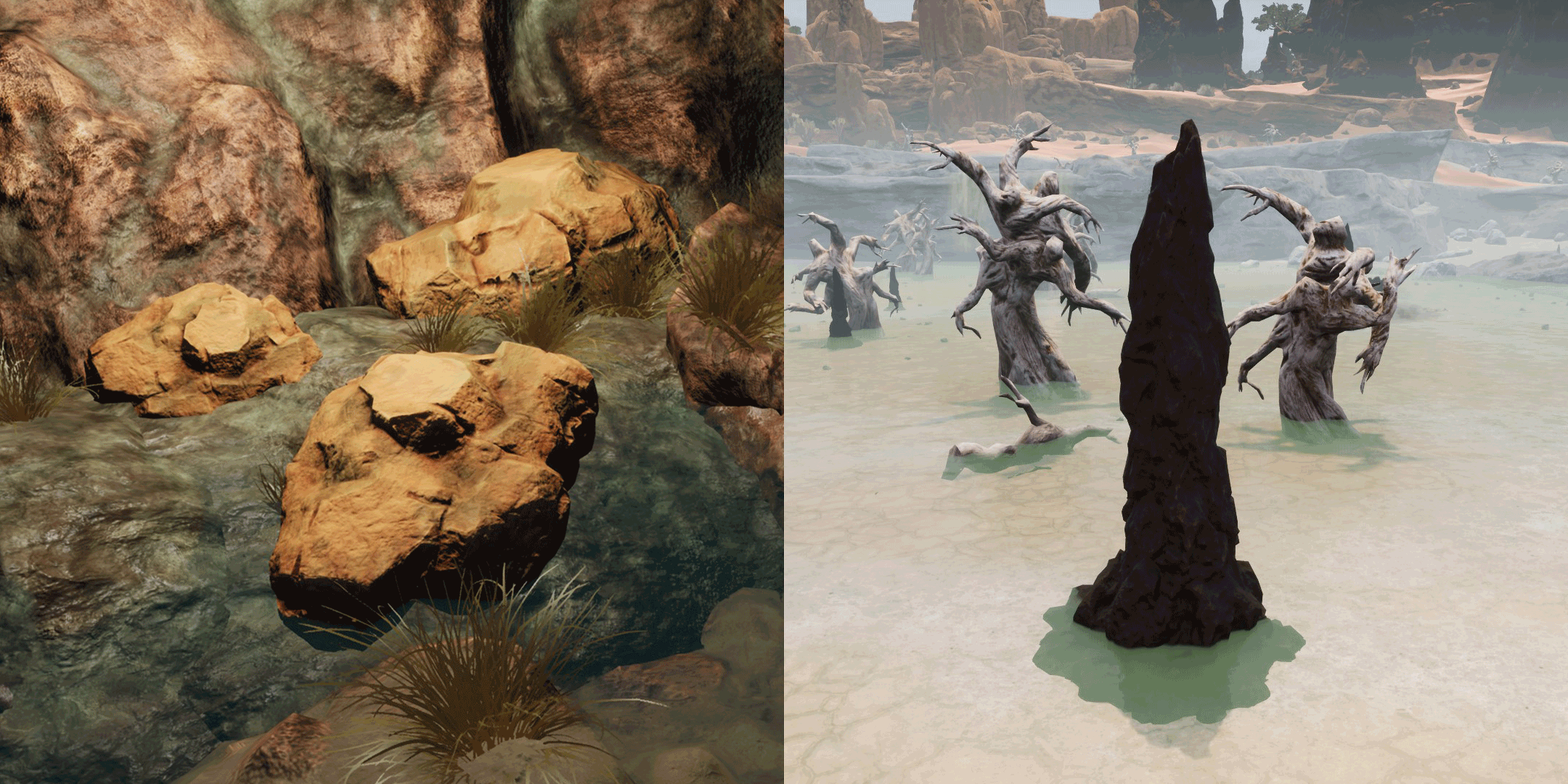 Collect some basic blacksmith materials and deliver them.
He asks you:
100 Hardened Steel Bar
20 Brimstone
40 LeatherHow to get it:
Hardened Steel can be created in any Furnace, by introducing Steel Bars and Black Ice.
You’ll get Brimstone mainly by mining the ores inside the Sinner’s Refuge, Gallaman’s Tomb and Executioners Entrance caves, and by cmining the sulphur pillars in the Shattered Springs and the ghoul cave in the Overtaken Tower of Bats (the ores and pillars that appear in this gif).
You can create Leather at any Tannery, introducing heads of some animals, Hides, Wolf Pelts, Feline Pelts, Hyena Pelts, Bat Skins and Reptile Hides.He’ll reward you with:
225.000 exp
1 Hardened Steel Pick
1 Spiked Weapon Fitting
10 Handheld Ymir Totem - Material Gathering II.
 Collect some intermediate blacksmith materials and deliver them.
He asks you:
30 Star Metal Bar
30 Armor ScrapsHow to get it:
Sometimes a meteor shower will fall in the snowy mountains (like in the gif). That happening is quite unusual, so if your server has the Pippi mod, you could ask the admin to generate a meteor shower by typing /meteor in chat.
You can open these meteorites by exploding them (activating an Explosive Jar near them, launching Explosive Arrows, Demon-fire Orbs…) and thus being able to mine the metal (with Hardened Steel Pick or higher). By introducing these ores, Brimstone and Black Ice into a Furnace, you’ll craft the Star Metal Bar that it asks for.
You will obtain Armor Scraps from the loot of some enemies or in some chests. You’ll get quite a few by killing the Champion of the Warmaker at the end of Klael’s Stronghold. You can also find them inside the Relic Hunter Caravan Packages, small Stash Chests, boxes from completed Events, the Box of Goodies that Bastille will sell you, the Blacksmith’s lightpack and the Blacksmith’s packs.He’ll reward you with:
355.000 exp
5 Grandmaster Weapon Repair Kit
5 Grandmaster Armor Repair Kit
1 Master Weapon Fitting - Blacksmith Apprentice.
Learn the Star Obsidian Arsenal Feat.He asks you:
* Star Obsidian Arsenal (feat)How to get it:
He himself will sell you this feat in exchange for 25 Handheld Ymir Totems.He’ll reward you with:
505.000 exp - Expert Blacksmith Apprentice.
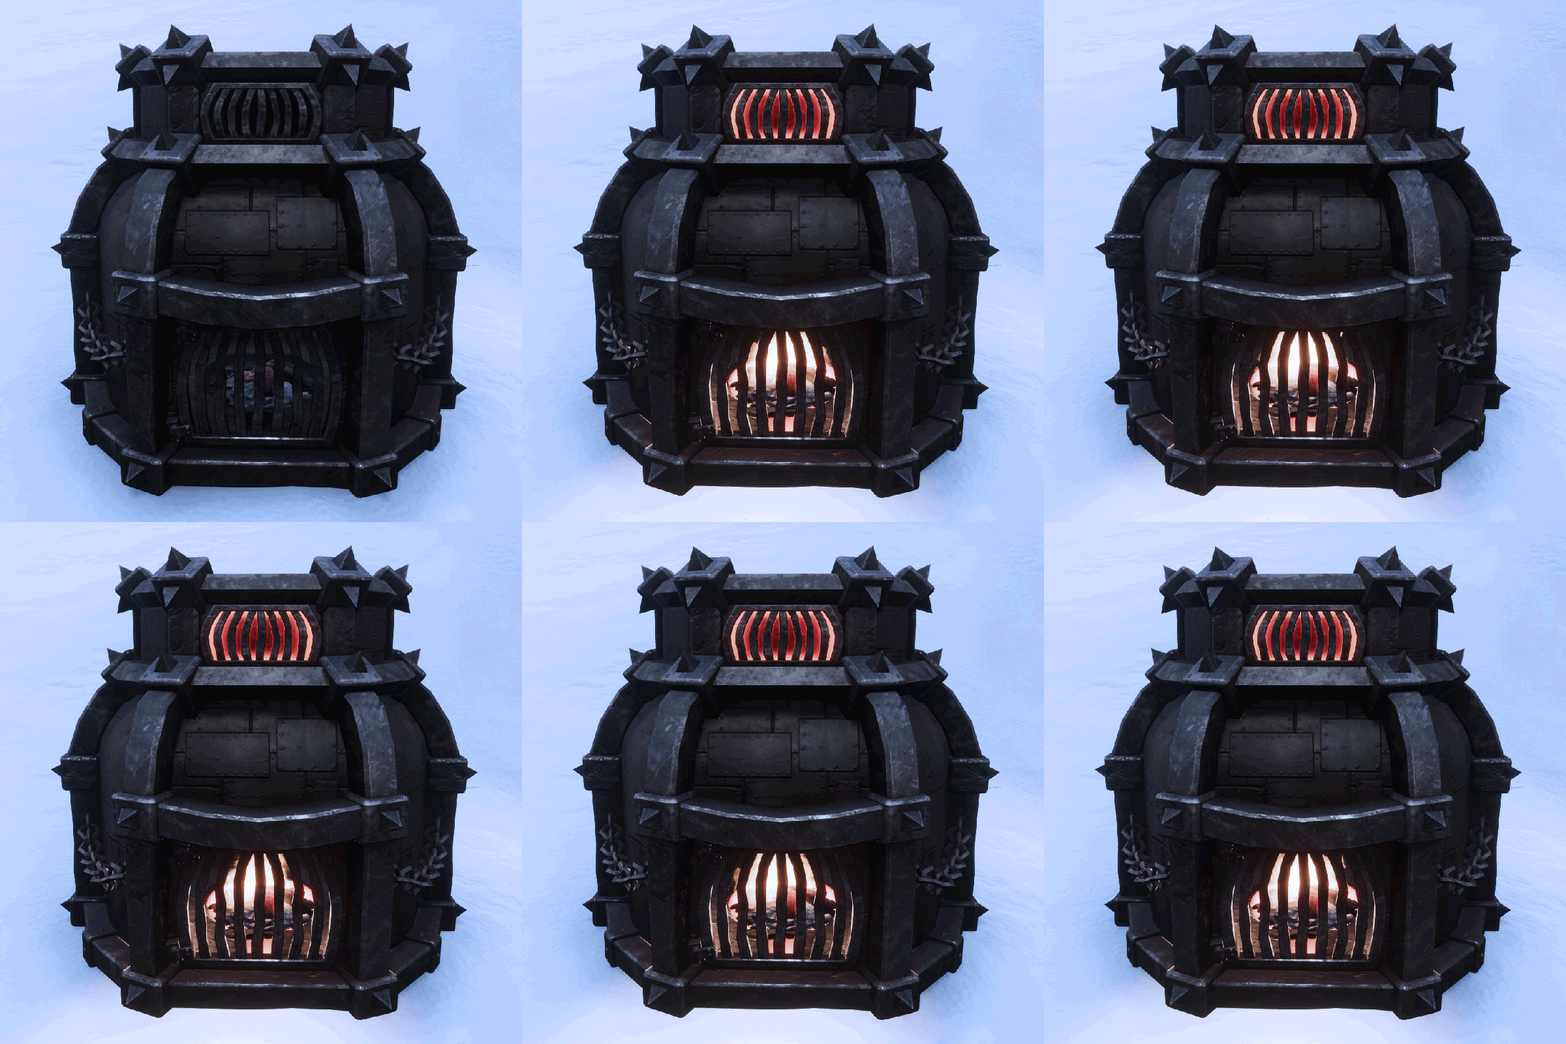 Build or interact with a Nether Furnace.
He asks you:
* Interacted with Nether FurnaceHow to get it:
With the feat you bought from Star Obsidian Arsenal, you have also unlocked the ability to craft this furnace. You’ll craft it with the Construction Hammer in the Crafting Stations – Smithing section, it’ll cost you 50 Bricks, 500 Steel Reinforcements, 30 Dragonpowder and 100 Iron Bars.He’ll reward you with:
565.000 exp
3 Blacksmith’s Pack - Totems.
Find and collect Handheld Ymir Totems to deliver.He asks you:
100 Handheld Ymir Totem How to get it:
There are a lot of ways to get these Totems, within Stash Chests, from Treasure Chests, in the Rewards you receive from the Reward Board, in Caravan Packages, in Events, in various quests… Check the section from the “🧧 Coins” guide for more details on how to get them.He’ll reward you with:
405.000 exp
30 Star Metal Bar
120 Composite Obsidian
2 Skeleton key - Material Gathering III.
Collect some more rare blacksmith materials and deliver them.He asks you:
30 Star Obsidian Bar
10 Oil of fragmented powderHow to get it:
You’ll create the Star Obsidian Bars in the Nether furnace, introducing a total of 90 Star Metal Bars, 150 Composite Obsidian, 180 Oils and 240 Corrupted Stones.
You can also craft the Oil of fragmented powder in the Nether furnace, with a total of 10 Fragment of Power.He’ll reward you with:
705.000 exp
1 Blacksmith’s sharpening toolset
1 Blacksmith’s Pack - Master Blacksmith Apprentice.
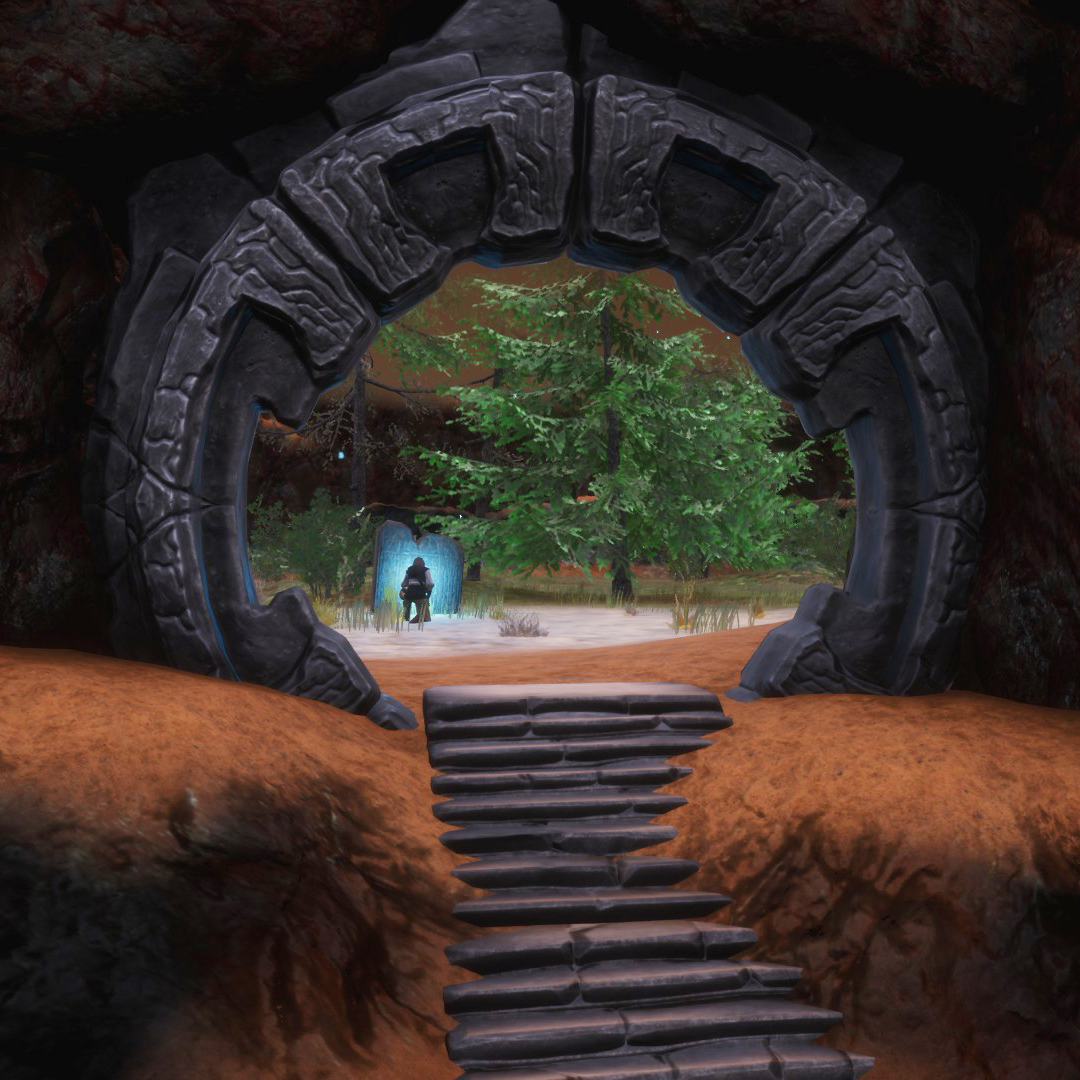 Learn the Scourgesteel Arsenal Feat in the Ancient Cave.
He asks you:
* Scourgesteel Arsenal (feat)How to get it:
Enter the Ancient Cave (it’s in the Mounds of the Dead, between the King’s Niche cave and the Riversend), move forward and turn to your right when you can to enter the tree area in the image. There you’ll see the tablet that, when interacted with, will teach you this feat.He’ll reward you with:
505.000 exp
15 Star Obsidian Bar - Material Gathering IV.
Collect some very rare blacksmith materials and deliver them.He asks you:
20 Scourge Powder
10 Scourgesteel BarHow to get it:
You can get Scourge Powder by killing EEWA enemies, in the Box of Goodies that Bastille will sell you, in the small Stash Chests and by crafting it in the Firebowl Cauldron or in the Witchbowl Cauldron (in this one it’ll be cheaper). To do this you’ll need a total of 20 Dragonpowder, 160 Witchfire Powder, 400 Bonemeal and 120 Demon Blood.
Craft the bars in the Nether furnace, adding a total of 50 Scourge powders, 80 Hardened Steel Bars, 10 Oils of fragmented powder and 20 Star Obsidian Bars.He’ll reward you with:
905.000 exp
2 Blacksmith’s Pack
50 Handheld Ymir Totems
✏️ Quests VII (Erond)
- Hanuman Sacrifice.
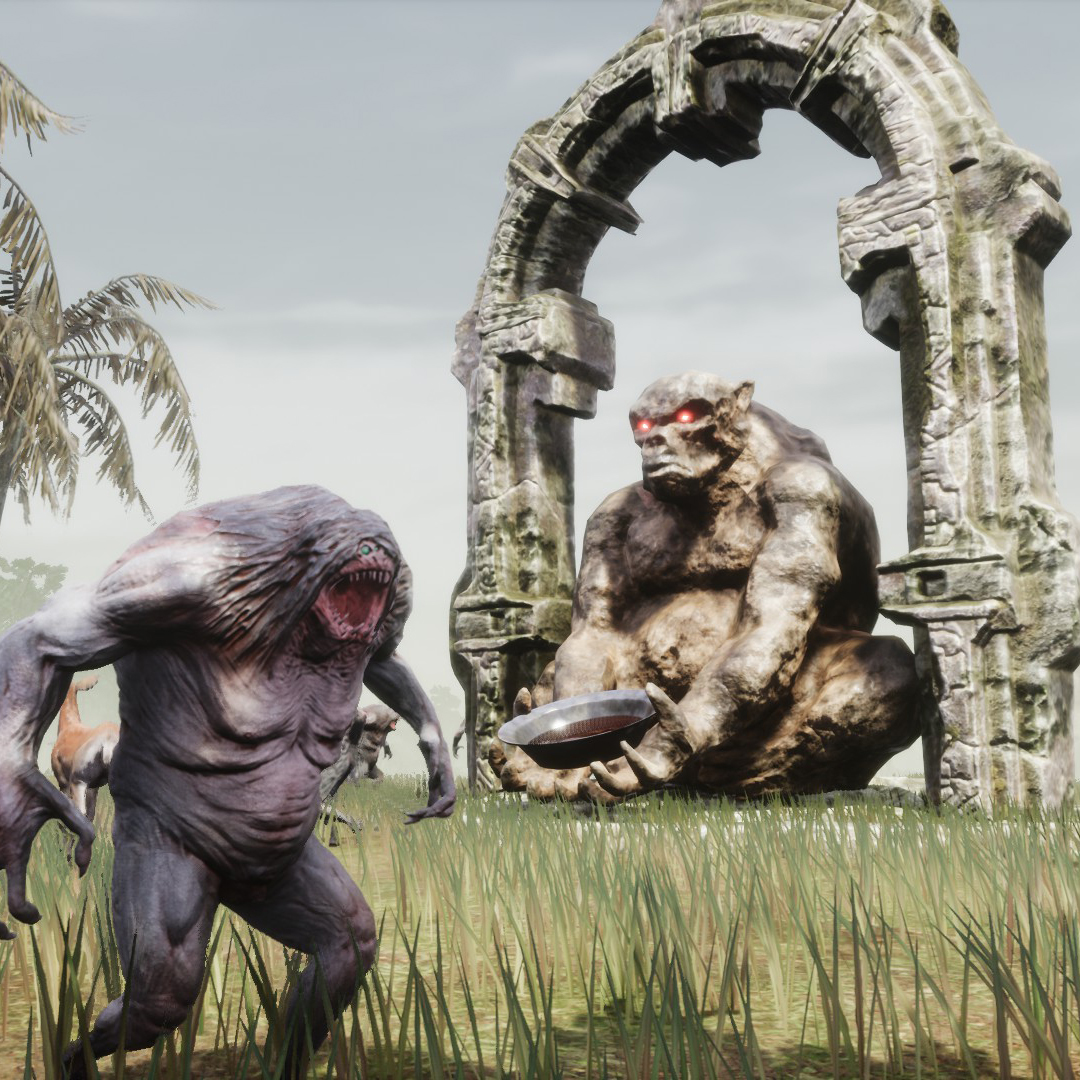 There are rumours of a Hanuman Altar able to summon corrupted souls of powerful entities. It is said you need a pair of crystals named the “Eyes of Hanuman”. The creatures you know as Imps and the Grey Apes in the Jungle are said to have been human Hanuman followers before they mutated.
He asks you:
1 Eyes of HanumanHow to get it:
The altar is south of The Passage, before reaching the river. Around him there are about four elite Hanuman Devotees (like the one in the image, with 2.640 health) who, when killed, will be able to drop the Eyes of Hanuman. They’ll also be dropped by the Gray Apes (447 health) throughout the Forgotten City of Xel-ha. They’ve a low chance of dropping them, so you may have to kill a few. When you get the eyes, don’t unequip them or they will be destroyed.He’ll reward you with:
805.000 exp
25 Handheld Ymir Totem - Dark Ritual.
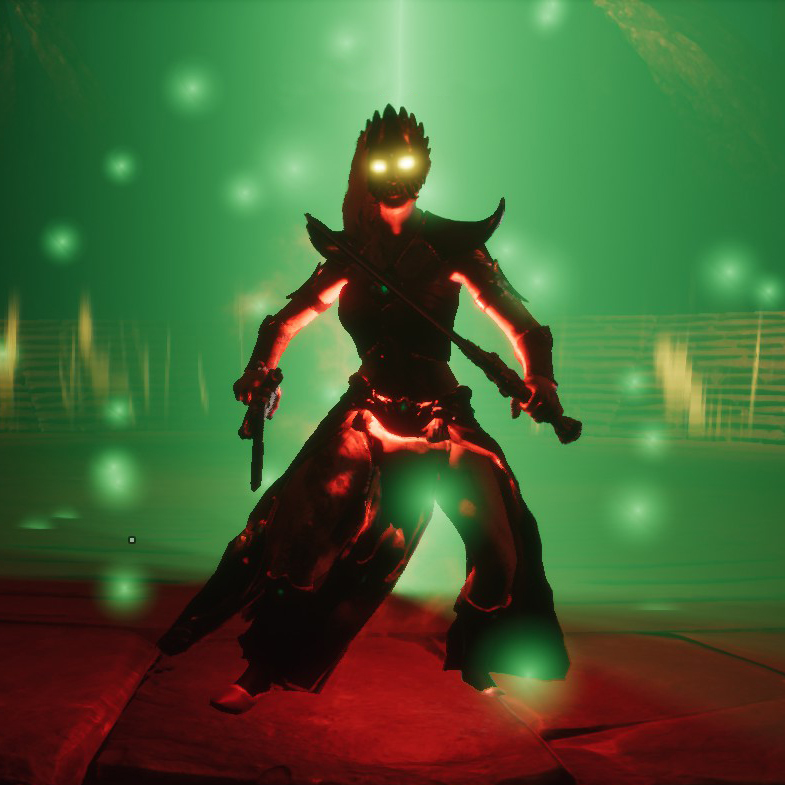 You will need the Eyes of Hanuman to access the Hanuman Altar, once you have access you must try and summon the soul of the Ultra Witch Queen with a Keystone and her Witch Queen Mask, as well as a blood sacrifice in the form of an unconscious thrall. Bring her soul to a conjuring pillar. Destroy her demonic version and study the recipes.
He asks you:
* Imperial Lemurian Arsenal (feat)How to get it:
Combine the Keystone with the Mask of the Witch Queen on the Altar of Hanuman to create the Corrupted Witch Queen Soul (more info about this process in the “🔽 INTRODUCTION 🔽” section). Go to the Conjuration Pillar (you’ll need an Acheronian Sigil Key to enter) with the Corrupted Witch Queen Soul, insert it into the pillar to summon the boss Witch Queen (19.800 health) and kill her.He’ll reward you with:
2.505.000 exp
12 Royal Steel Bar
1 Blacksmith’s Pack - Dark Ritual II.
 You will need the Eyes of Hanuman to access the Hanuman Altar, once you have access you must try and summon the soul of the Ultra Kingscourge with a Keystone and the Tear of Two Races, as well as a blood sacrifice in the form of an unconscious thrall. Bring his soul to a Conjuring Pillar. Destroy his demonic version and study the recipes.
He asks you:
* Condemmed Arsenal (feat)How to get it:
Combine the Keystone with the Tears of Two Races at Altar of Hanuman to create the Corrupted Kingscourge Soul. Go to the Conjuration Pillar with the Corrupted Kingscourge Soul, insert it into the pillar to summon boss Kinscourge (19.800 health) and kill him.He’ll reward you with:
2.505.000 exp
12 Hallowed Bones
1 Blacksmith’s Pack - Inspecting Augments.
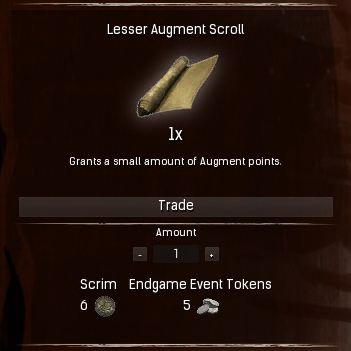 Get a hold of a few Augment Incantations and deliver them.
He asks you:
5 Lesser Augment ScrollHow to get it:
You can buy them from Shadow Legion Commander in the Perilous Valley, in exchange for 30 Scrims and 25 Endgame Event Tokens. You can also find them in the chests that you can open with the Master Skeleton key (check the “🗝 Keys and what they open” section to find out their locations).He’ll reward you with:
1.500.000 exp
2 Normal Augment Scroll
2 Gem shards - Witchcraft Study.
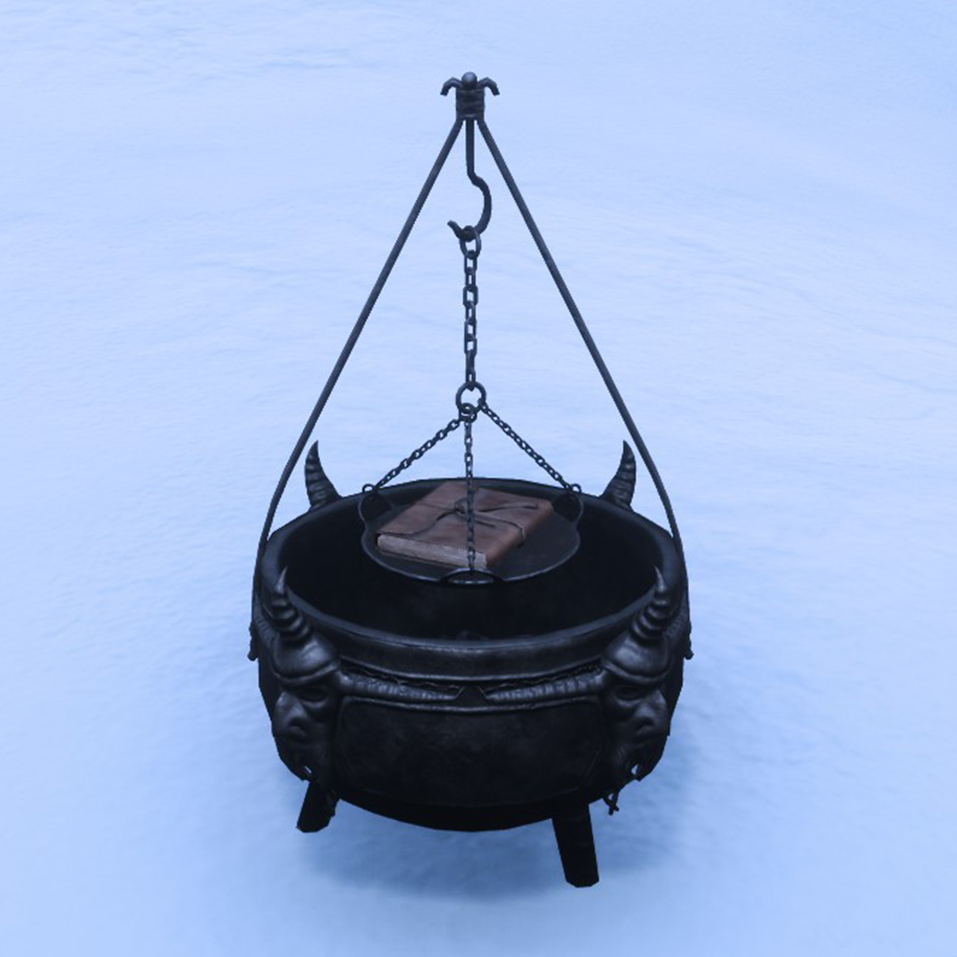 Build and deliver a Witchbowl Cauldron.
He asks you:
1 Witchbowl CauldronHow to get it:
To be able to craft it you’ll need the Ancient Knowledge feat, which you’ll get by killing the Scourge Demon King (38.500 health) in the Ancient Cave and drinking his Demonic Horn of Secrets (more info about this enemy in the “👹 Greater Bounties”). You’ll craft it with the Construction Hammer in the Crafting Stations – Alchemy section, it’ll cost you 75 Iron Bars, 32 Composite Obsidian, 50 Witchfire Powder and 25 Powder of Corruption. In order to deliver the item itself to Erond you must be on a server with the Pickup+ mod or the Pippi mod and a Thespian who will deliver the Witchbowl Cauldron item to you. More info on this in the “Tips” section at the end of the guide.He’ll reward you with:
800.000 exp
40 Handheld Ymir Totem - Dark Ritual III.
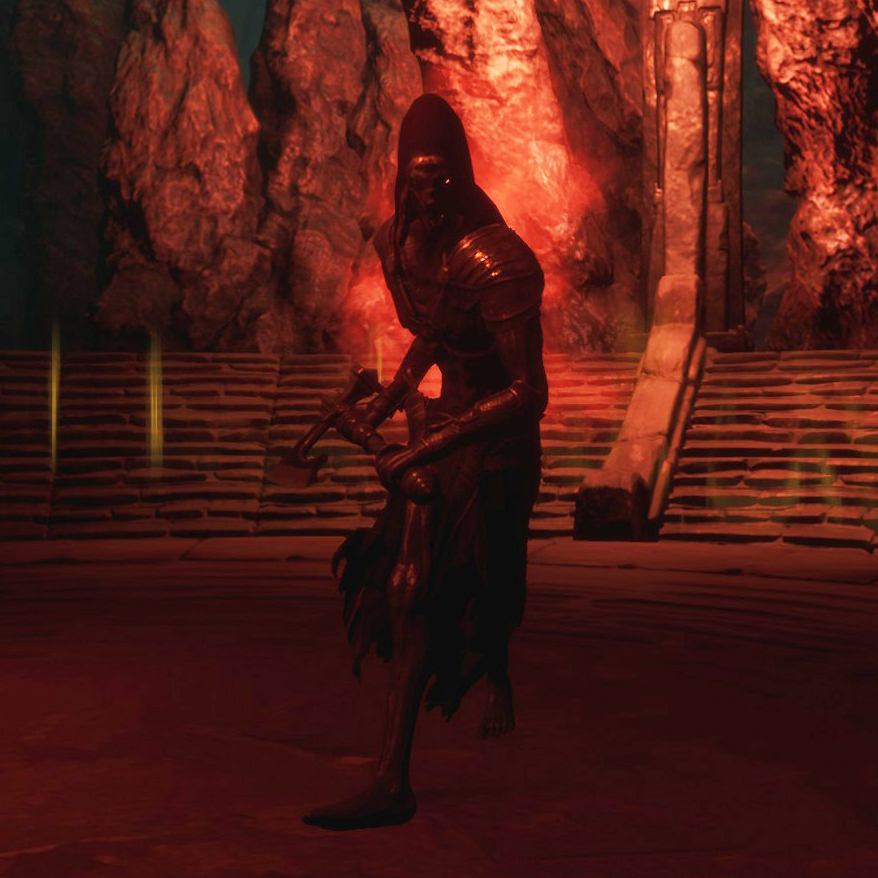 You will need the Eyes of Hanuman to access the Hanuman Altar […] Bring his soul to a Conjuring Pillar. Destroy his demonic version and study the recipes.
He asks you:
* Varvaryan Arsenal (feat)How to get it:
Combine the Keystone with the Diadem of the Giant-kings at the Altar of Hanuman to create the Corrupted Priestking Soul. Go to the Conjuration Pillar with the Corrupted Priestking Soul, insert it into the pillar to summon the boss The King Beneath (19.800 health) and kill him.He’ll reward you with:
2.505.000 exp
12 Varvaryan Steel Bar
1 Blacksmith’s Pack
1 Scripture of Learning
1 Gem Shards - Material Gathering V.
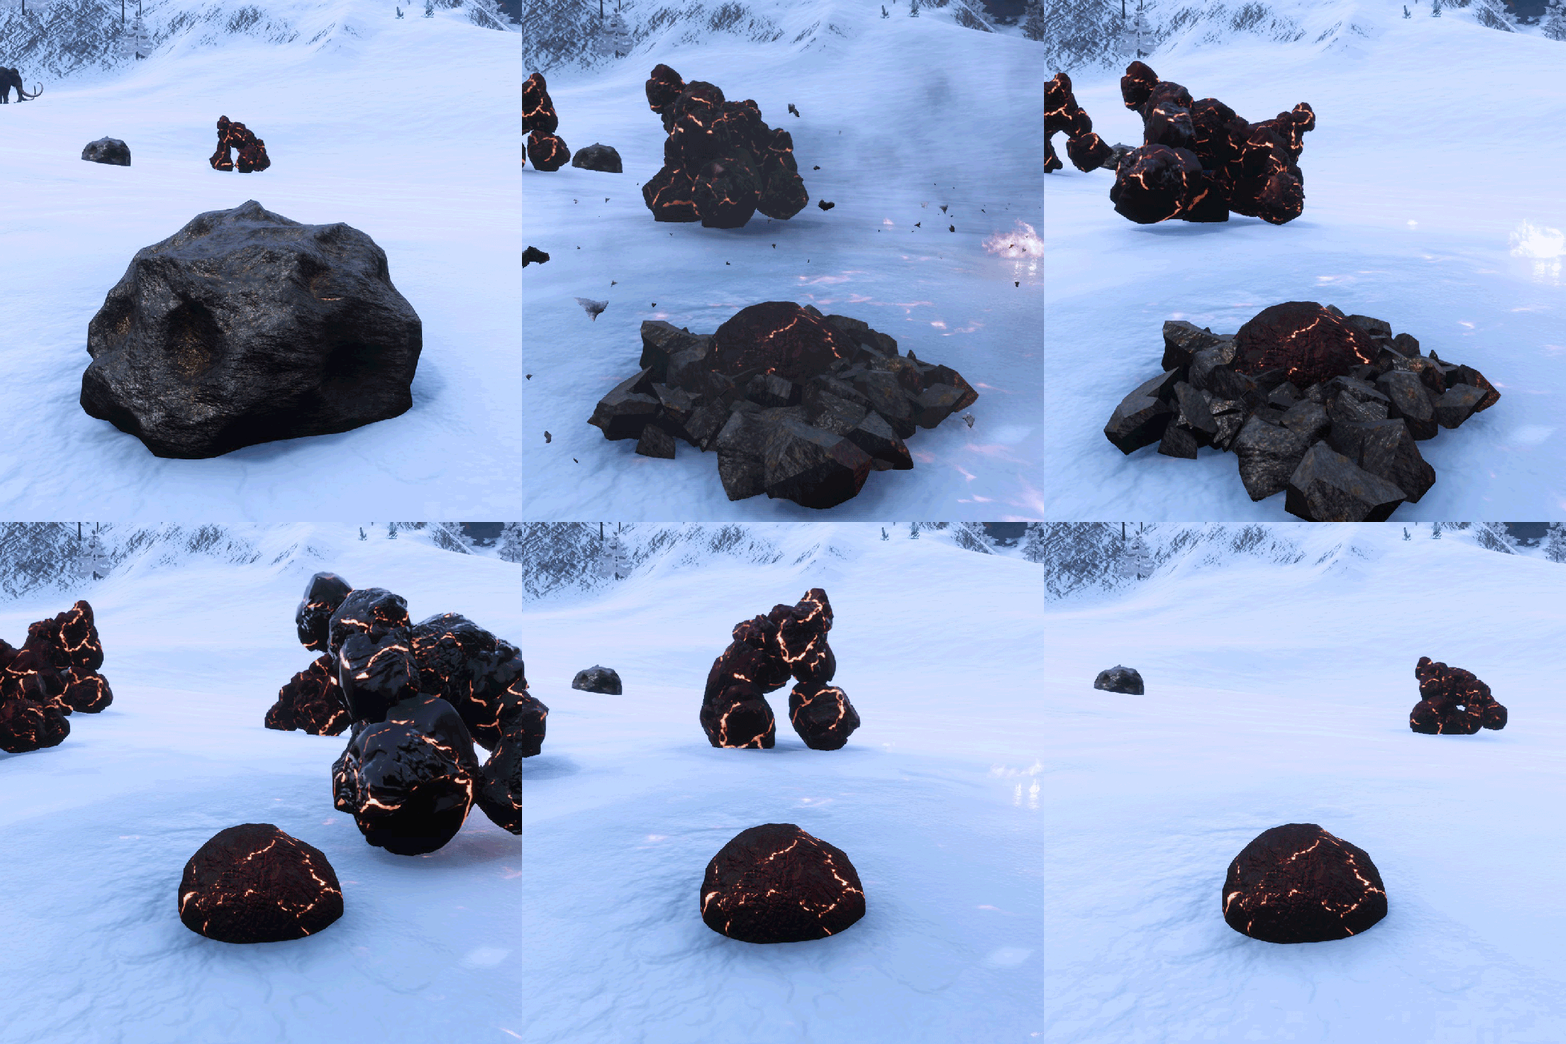 Collect some legendary materials and deliver them.
He asks you:
80 Jade Ore
35 Oblivion metal Ore
3 Corrupted Spellbook
5 Wraith EssenceHow to get it:
You’ll get the minerals by mining the meteorites in the Overtaken Tower of Bats dungeon. In addition, you can get the Oblivion mineral by ingesting the Heart of Oblivion to summon what you see in this gif around you. They’ll be similar to meteorites that fall from star metal, so to open them, explode them up (with an Explosive Jar, Explosive Arrows or Demon-fire Orbs) and then mine them.
The Corrupted Spellbook can be crafted in the Witchbowl Cauldron (with a thrall equipped) and also obtained by killing EEWA bosses, delivering Avatar Rewards, disassembling Legendary Assembly weapon recipes and as rewards from Hosav quests.
You will absorb the Wraith Essence by killing the spectral in The Wraithwoods.He’ll reward you with:
1.405.000 exp
1 Scripture of Learning
5 Blacksmith’s Pack - Legendary Blacksmith Apprentice.
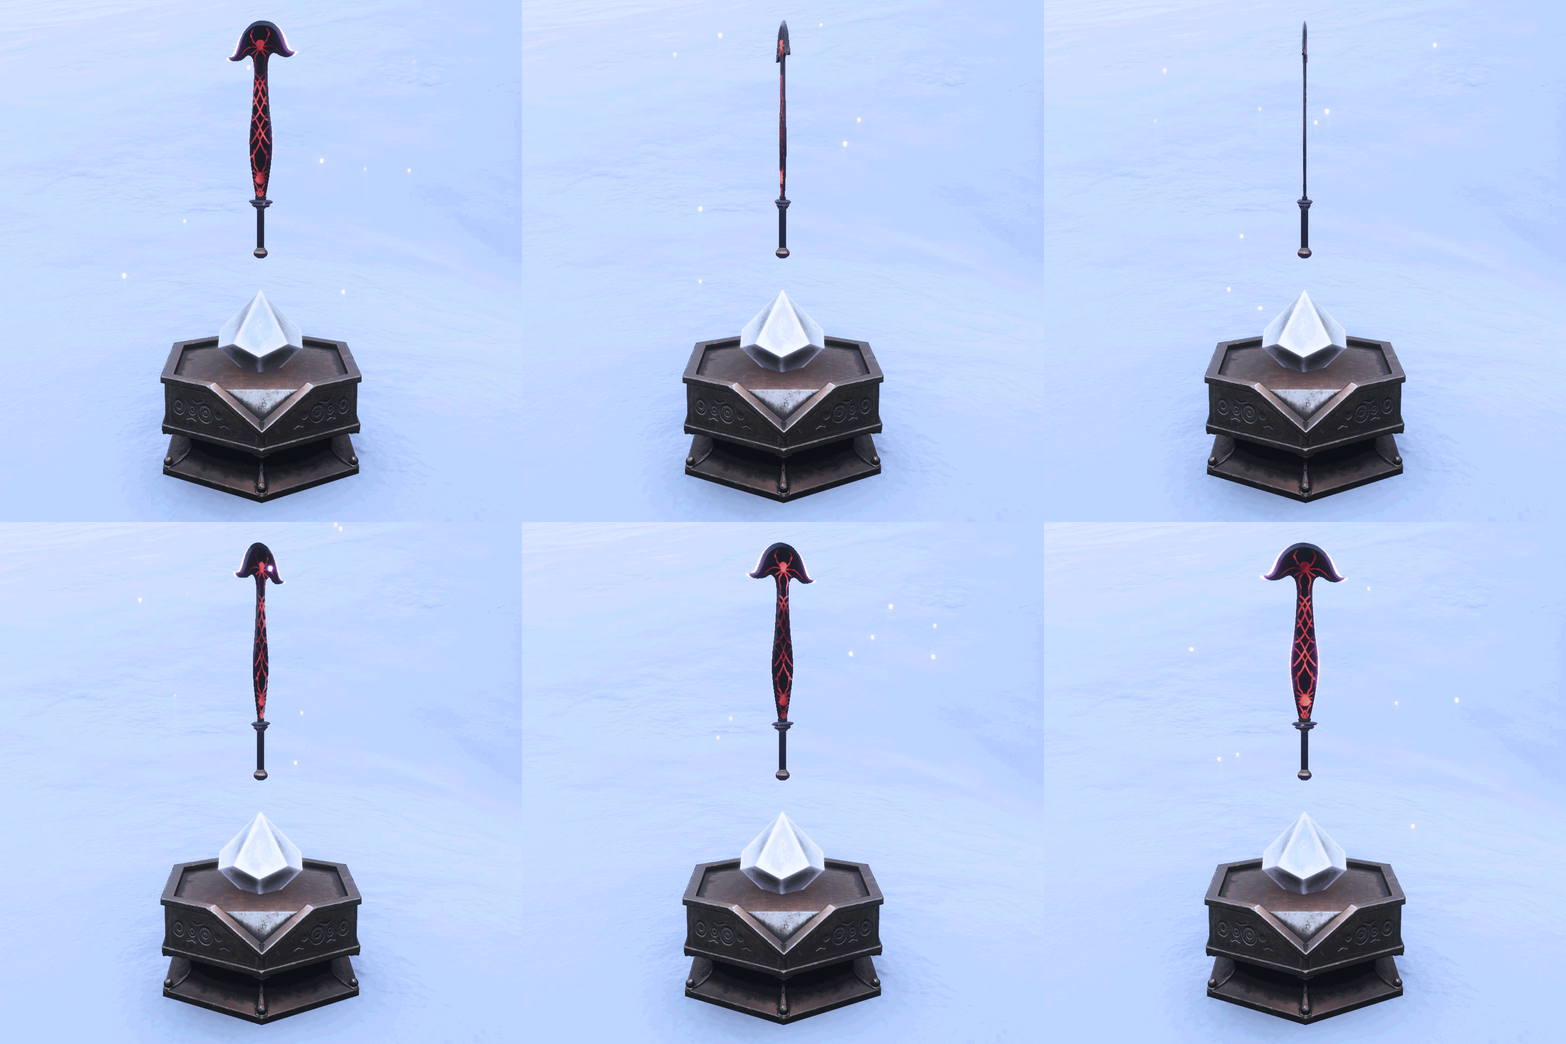 Build and deliver a Legendary Assembly Bench.
He asks you:
1 Legendary AssemblyHow to get it:
Progress through Shadow Legion Commander’s quests until he asks you to kill the Daughter of the Devourer. He’ll reward you with the Legendary Assembly feat. You’ll craft it with the Construction Hammer in the Crafting Stations – Smithing section, it’ll cost you 1 God Krystallion and 80 Bounty Assembly pieces. In order to deliver the item itself, the same as in the quest to deliver the Witchbowl Cauldron (I’m out of characters 😢).He’ll reward you with:
1.105.000 exp
10 Oblivion Steel Bar
3 Blacksmith’s Pack - Master Skeleton Key Collector.
Collect and deliver 100 Master Skeleton Keys.He asks you:
100 Master Skeleton KeyHow to get it:
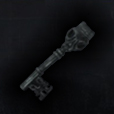 You’ll earn three within each Avatar Reward you earn from Reward Boards (by turning in a Ymir’s Seal), another three from Vathis quests and four from a Hosav quest. But the easiest way to get them is to craft them by hand, spending 5 Skeleton Keys for each Master Skeleton Key you craft, that is, you would need 500 Skeleton Keys.
He’ll reward you with:
2.005.000 exp
1 Cosmic Steel Bar
100 Scrim
1 Scripture of LearningYou must deliver it to:
Scrim Collector
Location: at the entrance to the Perilous Valley, on Saturdays and Sundays.
✏️ Quests VIII (Hosav)
Location: In the Perilous Valley, advance a little and head to your left until you reach some Lemurian ruins.
Quests:
- Demonic Sorcery.
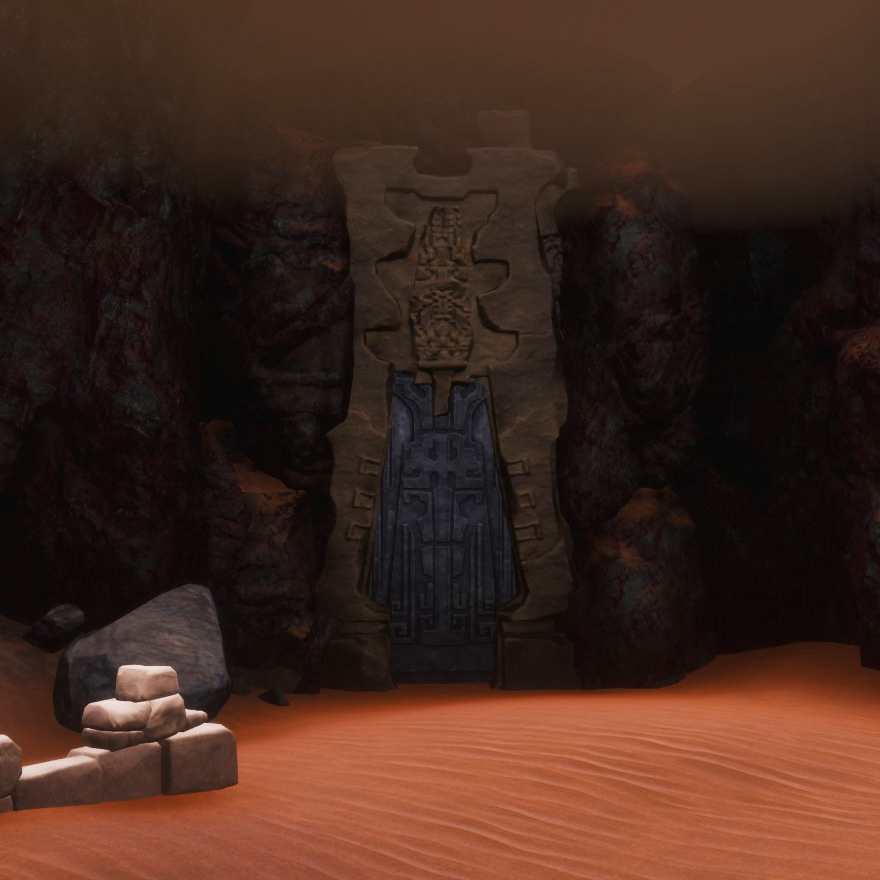 Retrieve the horn of the Demon King and consume the liquid inside so that you may learn the Ancient Knowledge within.
He asks you:
* Ancient Knowledge (feat)How to get it:
Enter the Ancient Cave, get a Scourge meat, go through the Acheronian gate (image) and kill the Scourge Demon King (38.500 health). Use a tool on his corpse to extract the Demonic Horn of Secrets and ingest it. For more information on this enemy, check the “👹 Greater Bounties” section.He’ll reward you with:
500.000 exp
2 Corrupted Spellbook
3 Gem shards - Heart on Fire.
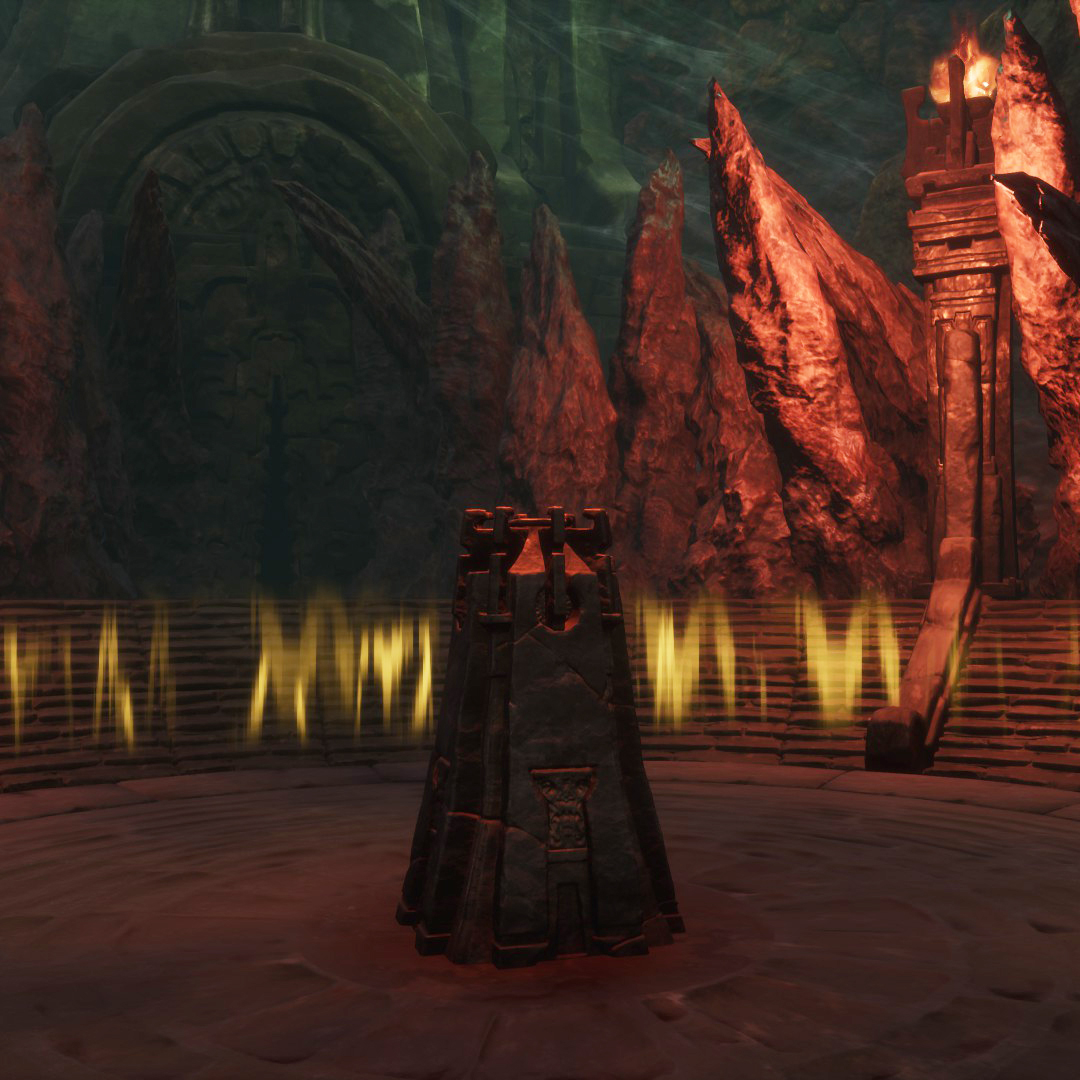 Combine the corrupted souls of the Witch Queen, Kinscourge and Priestking in the Hanuman Altar. Once you have the United Soul, bring it to a Conjuring Pillar to summon a powerful beast that will drop the Heart of Oblivion, retrieve the heart and deliver it.
He asks you:
1 Heart of OblivionHow to get it:
If you need more information on how to create the United Soul, check the “🔽 INTRODUCTION 🔽” section. Go to the Conjuration Pillar (you’ll need an Acheronian Sigil Key to enter) with the United Soul, insert it into the pillar (image) to summon the Son of the Devourer (38.500 health) and kill him. Use a tool on his corpse to extract the Heart of Oblivion.He’ll reward you with:
1.900.000 exp
5 Corrupted Spellbook
5 Gem shards
1 Superior Augment scroll - Creature of the Valley.
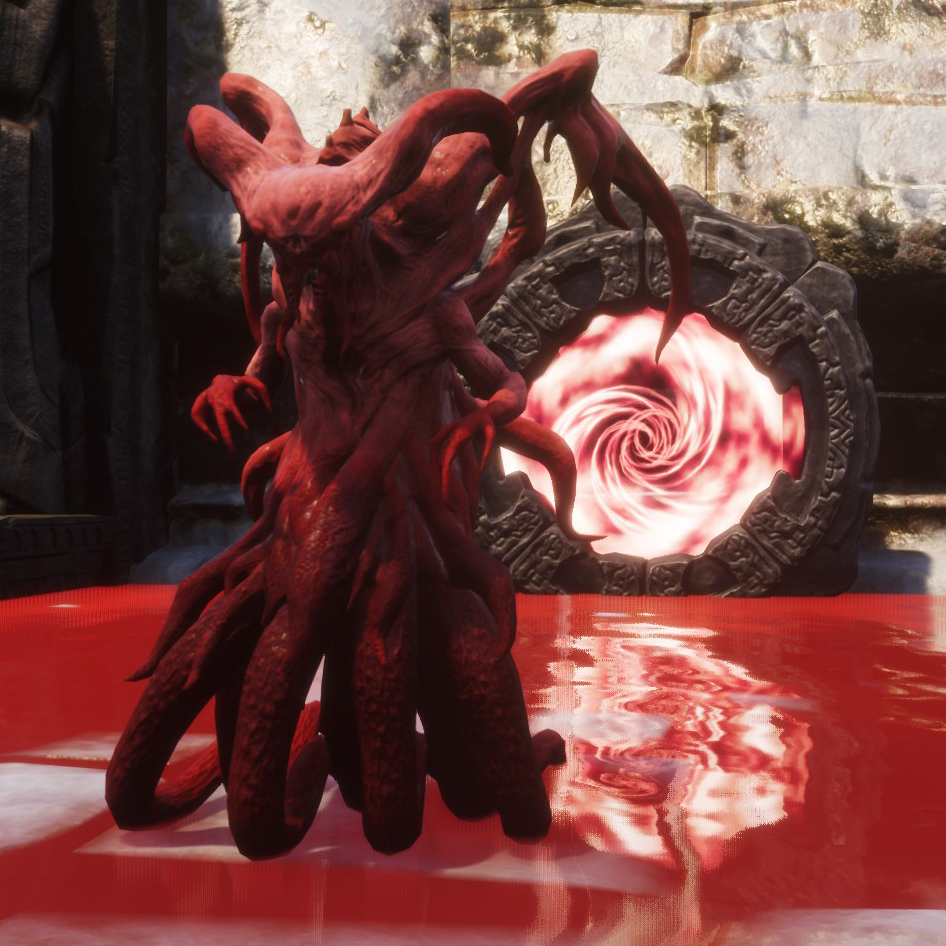 Deeper within the Valley resides a grotesque monster slithering and summoning blood to eliminate any challengers. This creature will drop the Slithering Tentacle.
He asks you:
1 Slithering TentacleHow to get it:
Reach the Perilous Valley arena and kill the Daughter of the Devourer (45.500 health). Use a tool on her corpse to extract the Slithering Tentacle. For more info on this enemy, check the “👹 Greater Bounties” section.He’ll reward you with:
2.800.000 exp
2 Superior Augment scroll
1 Legendary Assembly (if you want more information about this workbench, check the “💢 Companions and workbenches II” section)
25 Scrim - Champion of Skelos.
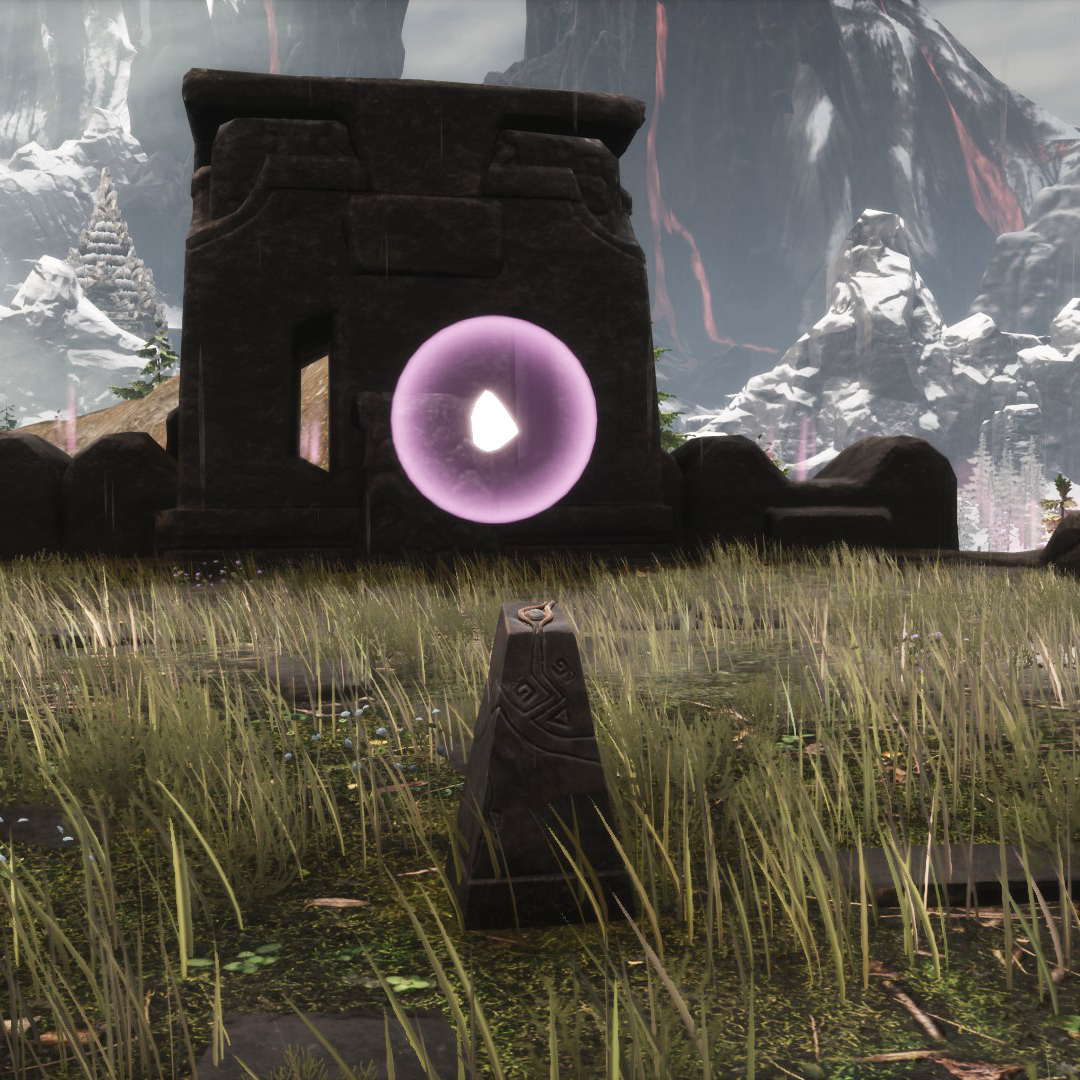 Skelos Shard Challenges can be found across the lands, accept the Challenge and beat it. Become a Champion worthy of Skelos respect.
He asks you:
* Completed Skelos Shard ChallengesHow to get it:
Activate one of these small altars (image) and kill 20 Skelos Seekers (2.400 health) without leaving the purple light barrier that will have been generated around you. You have more information in the “Skelos Shard Challenges” section.He’ll reward you with:
1.300.000 exp
50 Courage stacks
6 Gem shards - Neverending Power.
You must consume both the Heart of Oblivion and the Slithering Tentacle and learn the knowledge the both possess.He asks you:
* Oblivion Arsenal (feat)
* Bloody Sanctions (feat)How to get it:
Go to the Conjuration Pillar with the United Soul, insert it into the pillar to summon the Son of the Devourer, kill him, extract his Heart of Oblivion and ingest it. Kill the Daughter of the Devourer in the Perilous Valley, extract her Slithering Tentacle and ingest it. This way you’ll have learned both feats.He’ll reward you with:
2.800.000 exp
1 Dragon Stave (recipe)
10 Heart of a Hero
4 Master Skeleton key - Ascension!
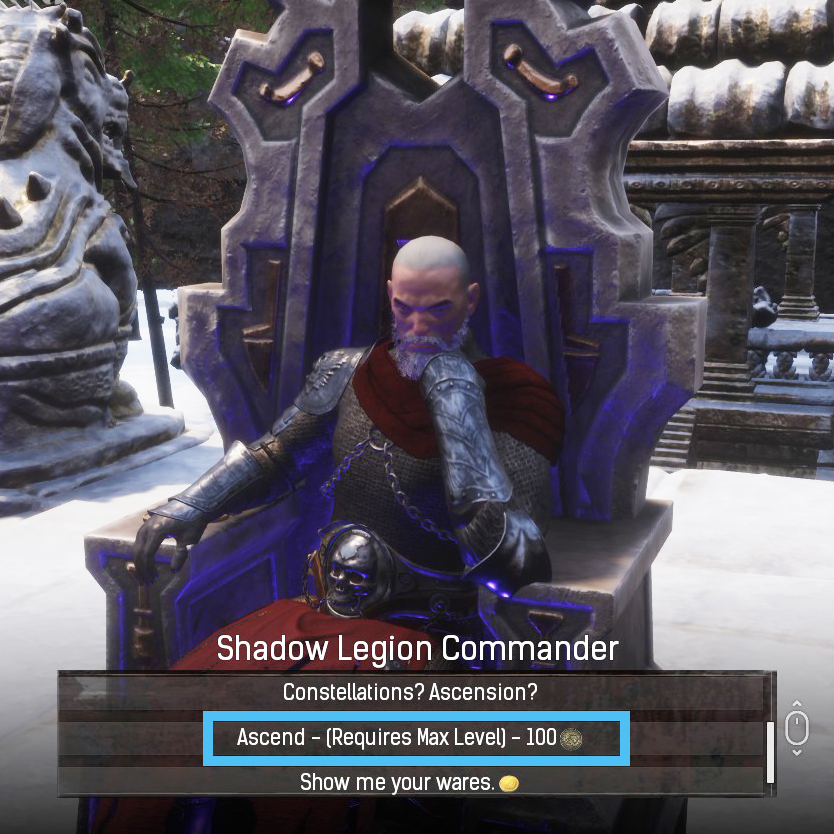 Ascend and gain a constellation point that you can use to align yourself with a constellation and become even more powerful than ever.
He asks you:
* Gain a Constellation PointHow to get it:
Level up to the maximum server level, have all religion feats maxed out and give Shadow Legion Commander 100 Scrims to Ascend. By Ascending you’ll get a Constellation Point. To find out what Ascension entails, check the “✨ Constellations” section of the guide.He’ll reward you with:
1.200.000 exp
8 Gem shards
✏️ Quests IX (Hosav)
- Collector.
 Collect Scrim and deliver them and you shall recieve great rewards.
He asks you:
300 ScrimHow to get it:
Check the “🧧 Coins” section of the guide to see all the ways you can get Scrims (purchasing them from the Scrim Collector, as a reward in other quests, delivering Greater Bounties…). There you also have a breakdown on how to get a lot of Scrims easily.He’ll reward you with:
2.400.000 exp
1 Kashaf’s Razorbeast (recipe)
1 Dagon’s End (recipe)
1 Ilden Flame (recipe)
1 Scripture of Learning
5 Superior Augment Scroll - False God.
There are claims of a false god, an Aspect, roaming the lands at times. Destroy it and bring it’s Seal.He asks you:
1 Ymir’s SealHow to get it:
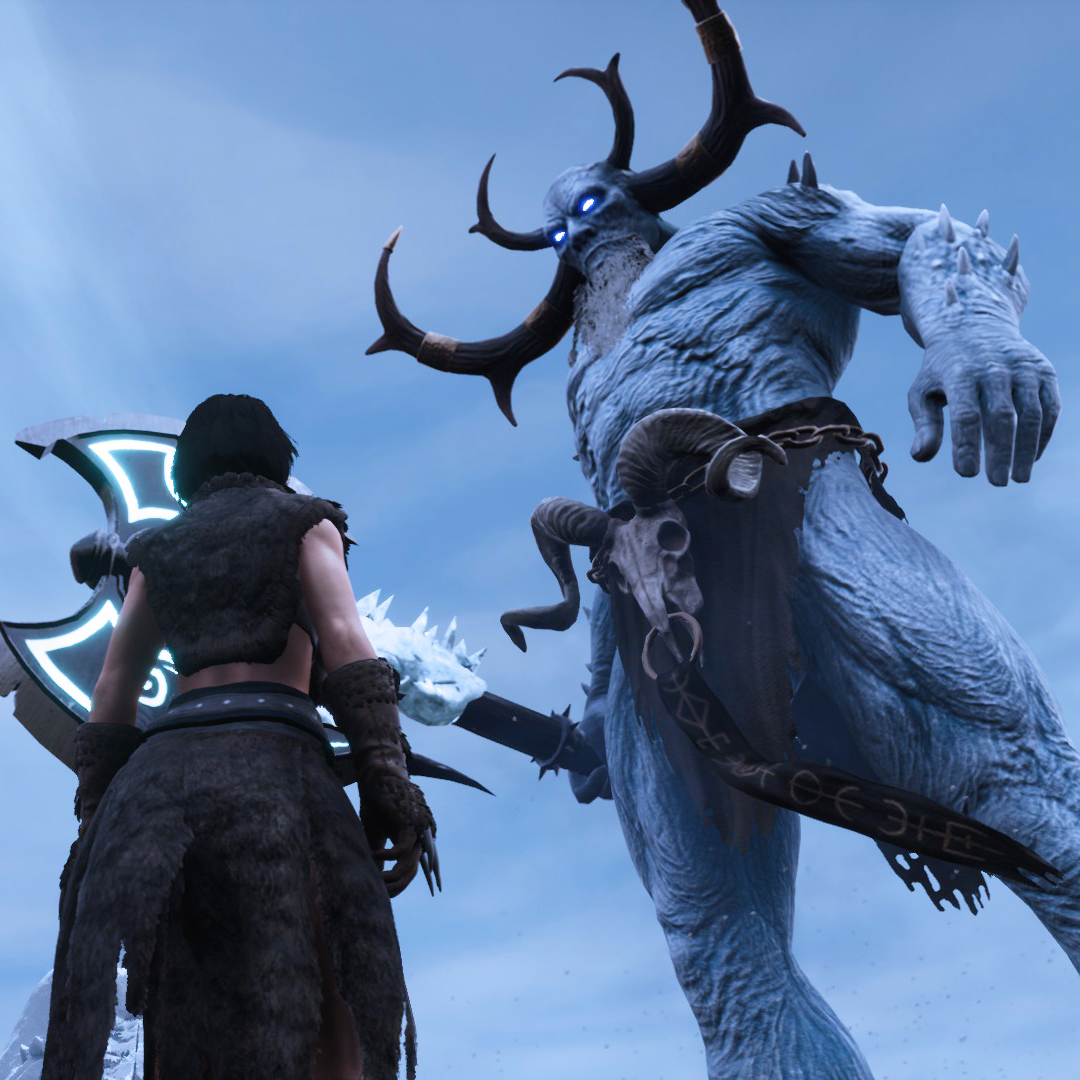 Between one and two times every two days, the Aspect of Ymir will appear on the map, a huge god with more than a million health who, when killed, will give you a Ymir’s Seal. More info on where it appears, combat, and more in the “🧊 Avatar Bounty – Aspect of Ymir” section.
He’ll reward you with:
3.500.000 exp
1 God Krystallion
100 Scrim - False God II.
There are claims of a false god, an Aspect, roaming the lands at times. Keep destroying it and bring the Seals.He asks you:
3 Ymir’s SealHow to get it:
You must go for Aspect of Ymir when it appears and kill it three times. In the server configuration, it’s set by default that between 10 and 40 hours pass between one appearance of Ymir and another, so it’s a quest that will surely take you several real days to complete.He’ll reward you with:
5.500.000 exp
50 Scrim
100 Courage stacks
5 Avatar bounty reward - Smite of the Gods.
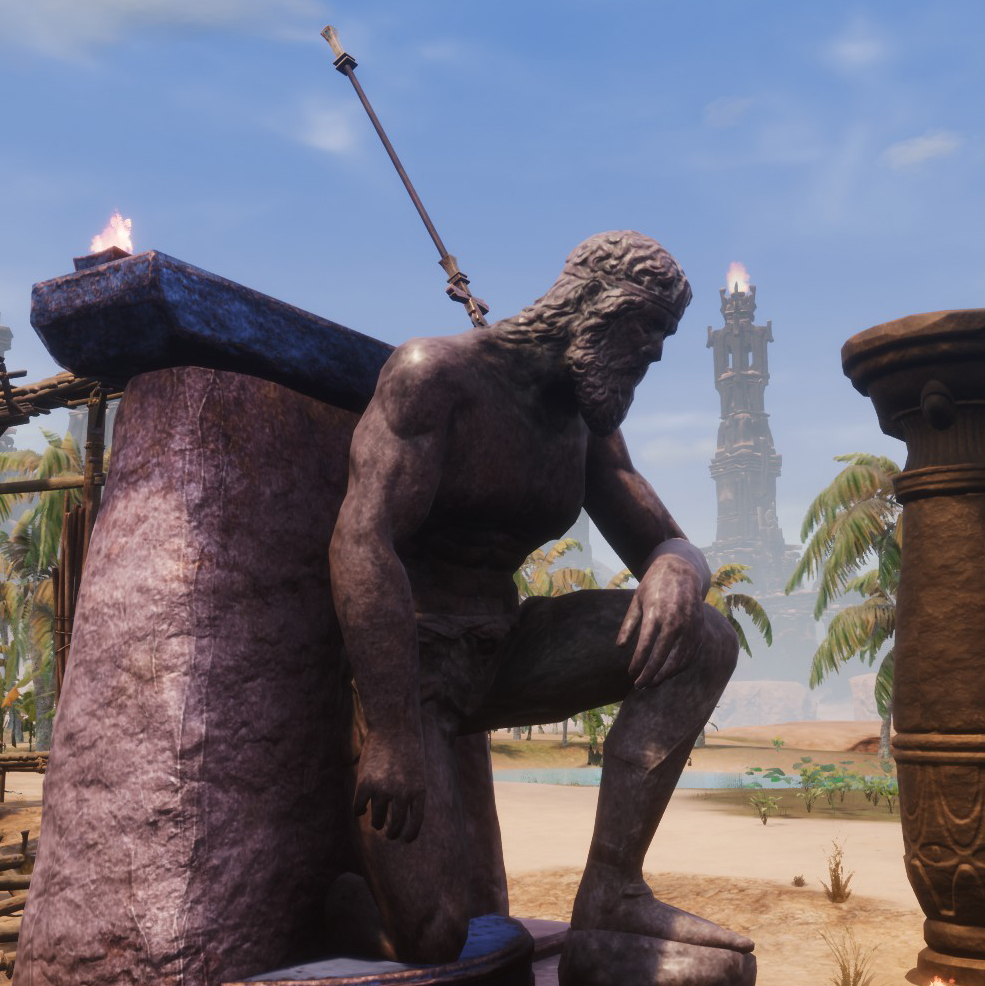 Find the secrets of the Gods and learn to craft their weapons.
He asks you:
* Swingers of Derketo (feat)
* Set’s Mistmakers (feat)
* Yamato’s Holiness (feat)
* Yog’s Destroyer (feat)
* Mitra’s Blessings (feat)
* Ymir’s Presence (feat)
* Instruments of Jhebbal Sag (feat)How to get it:
You must find the seven weapons scattered throughout the Exiled Lands (when doing so, carry six Corrupted Spellbooks in your Inventory), interact with them and thus learn their feat. You’ll find most of them in locations linked to their religion, although you can see their exact locations in the “🗡 Weapons VIII (from the Gods)” section of the guide. For example, the spear Mithras Blessings is stuck in the back of the statue of Mithra in Muriela’s Hope (image).He’ll reward you with:
3.000.000 exp
100 Spoils of Conquest
1 Corrupted Spellbook - Weapons of the Gods.
Now craft the secrets of the Gods and deliver them.He asks you:
1 Swingers of Derketo
1 Set’s Mistmakers
1 Yamato’s Holiness
1 Yog’s Destroyer
1 Mitra’s Blessings
1 Ymir’s Presence
1 Instruments of Jhebbal SagHow to get it:
Craft weapons at the Legendary Assembly. You’ll need a total of 6 Legendary Assembly Kits, 5 Legendary Short Handle, 2 Legendary Long Handle, 14 Cosmic Steel Bars and several specific epic weapons.He’ll reward you with:
3.000.000 exp
5 Mik fruit
2 Scripture of Learning
100 Scrim
1 Scripture of Re-learning (restores your Traits)
1 Scripture of Unalignment (It DELETES the Constellations you’ve selected and erases your Constellation Points… if you consume it, it’ll be as if you had never Ascended)
 A Scripture of Time Reversal will help you eliminate all the quests that you’ve completed or started, so you can repeat them and obtain their rewards and experience again.
I’ll be sold to you by Thulmak, the frogman, in exchange for 500 Endgame Event Tokens and 420 Scrims. It’ll expire one hour after you get it.
When you consume it, the message “Flow of time has been manipulated, all your quest have been renewed” will appear and it’ll apply Burning to you (9 damage every 0,5 seconds).
⚡️ Traits

As you face enemies and challenges you learn new traits and become more proficient with different combat techniques.
Traits are passive bonuses that will benefit you. To activate and increase these bonuses, you will have to level up the Traits that interest you. There are two ways to do it:
- Raise the level bar progress of a particular Trait.
 You’ll level up one Trait or another depending on your playing style, that is, if you like to attack with Greatswords and it’s the weapon you usually use, little by little you’ll raise the Conqueror Trait, thus achieving increase your damage dealt with those weapons.
 - Raise the upper level bar, for Traits in general.
 You’ll level up just playing, leveling up, attacking your enemies, completing EEWA quests, conquering Outposts, discovering Waypoints and completing Skelos Shard Challenges.
This will give you an unassigned Trait Point, so you’ll be the one to choose which Trait you want to increase with the points you get this way. You’ll also gain Trait Points by consuming Scripture of Learning (explained at the end of this section).
Additionally, you can get a permanent point in some Traits depending on which race you choose for your character when you start the game. As you can see in the “Bonus of each race” section of the guide, each of the fourteen races will contribute one point to one or two Traits.
Regulation of levels:
- You will be able to raise Traits up to level 10. As a Trait increases in level, it’ll cost more Trait Points to raise it. At the bottom of this menu you can see in detail how many points each level requires (hover the mouse over the text “Trait Point Costs?”).
- There is a maximum level of Traits that you can assign (your server admin can remove this restriction). Therefore you won’t be able to have all the Traits uploaded, and therefore it makes sense that you activate the lock on some Traits.

- You’ll be able to lock with a padlock the Traits that you aren’t interested in leveling up, since once they’re locked they won’t increase.
- Traits will lose their progress over time. This way you’ll only have the Traits that you actively use uploaded. For example, if you have previously raised some levels of the Conqueror or Barbarian Traits (melee weapons) but now you’ve unlocked magic, you’re passionate about it and it’s the only thing you want to use, those Traits will gradually descend in level. It’s a very good way to “recover” levels (from the maximum level limit) to be able to apply them to other Traits.
At the top of this menu you’ll see the following information:
x / 35 total levels. This is the number of levels that you have assigned compared to the maximum number of levels that you can apply.
x Trait Points spent. This is the number of points that you have obtained in the way that I mentioned before of “just playing” and that you’ve already applied to a particular Trait.
x available Trait Points. These are the points that you haven’t yet applied to any Traits. To do this, press the ➕ symbol next to each Trait.
Below you’ve a list of all the Traits, with their passive bonus and an explanation of how to level them up. To find out what percentage of bonus you have, place the mouse over the name of the Trait.
- Demonologist

That Trait increased your percentage of sorcery damage. (+ 15% per level)
Increase progress by dealing damage with sorcery. - Shaman

That Trait decreased your percentage of mana cost used. (+ 2% per level)
Increase progress by having less than 25% mana or cleasing debuffs. - Conqueror

That Trait increased your percentage of damage dealt with two-handed weapons. (+ 5% per level)
Increase progress by dealing damage with two handed melee weapons. - Ranger

That Trait increased your percentage of damage dealt with ranged weapons.
(+ 4% per level)
Increase progress by dealing damage with ranged weapons. - Necromancer

That Trait increased your entity’s lifespan and increases the percentage of its health. (+ 20% time and + 10% health per level)
This Trait is currently disabled (as of December 2022). - Priest

That Trait increased your percentage of sorcery healing. (+ 6% per level)
Increase progress by using healing sorcery and healing yourself or allies. - Barbarian

That Trait increased your percentage of damage dealt with one-handed weapons. (+ 5% per level)
Increase progress by dealing damage with one handed melee weapons. - Guardian

That Trait increased your percentage of damage prevented and increased your percentage of base damage taken returned as health.
(+ 1% damage prevented and + 2% damage converted to health per level)
Increase progress by taking damage while wearing heavy armor. - Templar

That Trait increased your percentage of lifesteal and damage reflected on attackers. (+ 1,5% per level) These bonus will apply to you even if you don’t have a shield equipped BUT without the shield you won’t continue to level up this Trait.
Increase progress by blocking or dealing damage while wielding a shield. - Herald

Not implemented yet.
 A Scripture of Learning will help you get a Trait Point, which you can apply to the Trait of your choice.
You’ll get ten in total: as rewards from quests from Arcos, from Thulmak, from the Scrim Collector, from Erond and from the Shadow Legion Commander. The only way to get even more would be to use a Scripture of Time Reversal (more info at the end of the “✏️ Quests IX” section).
When you consume it, the message “You have gained a trait point” will appear and it’ll apply Burning to you (9 damage every 0,5 seconds).
 A Scripture of Re-learning will help you reset all Traits (reduce their progress to zero).
You won’t recover all the points, but only the ones you have obtained using Scripture of Learning or by increasing the upper level bar and five extra (that is, you’ll lose the levels you have obtained with your play style).
It’ll be sold to you by Thulmak, the frogman, in exchange for 200 Event Tokens and 50 Scrims. You’ll also get it as a reward from the last quest of the Scrim Collector and in the last quest of the Shadow Legion Commander. It’ll expire one hour after you get it.
When you consume it, the message “You have reset your traits and regained all spent points” will appear and it’ll apply Burning to you (9 damage every 0,5 seconds).
🔽 EQUIPMENT & POWERS 🔽
In the following sections you’ve each of the weapons (the arsenals and the non-arsenal weapons), the armor sets (and the extra pieces of equipment), the magics and the auras. At the end you’ve the “💎 Weapon & magic enchantments” section, where you can see how to add an enchantment to some legendary items.
To give you an idea, here are the arsenals from the entire game ordered from worst to best.
Base game:
Weapons of Stone < Steel < Hardened Steel < Aqueronian < Star Metal < Eldarium = Obsidian.
EEWA mod:
Weapons of Star Obsidian < Scourgesteel = Imperial Lemurian = Condemned < Varvaryan = Meruvian Jade < Oblivion << Legendary Assembly << Enchanted weapons.
level 80
level 80
level 200
level 300
🗡 Weapon sets I
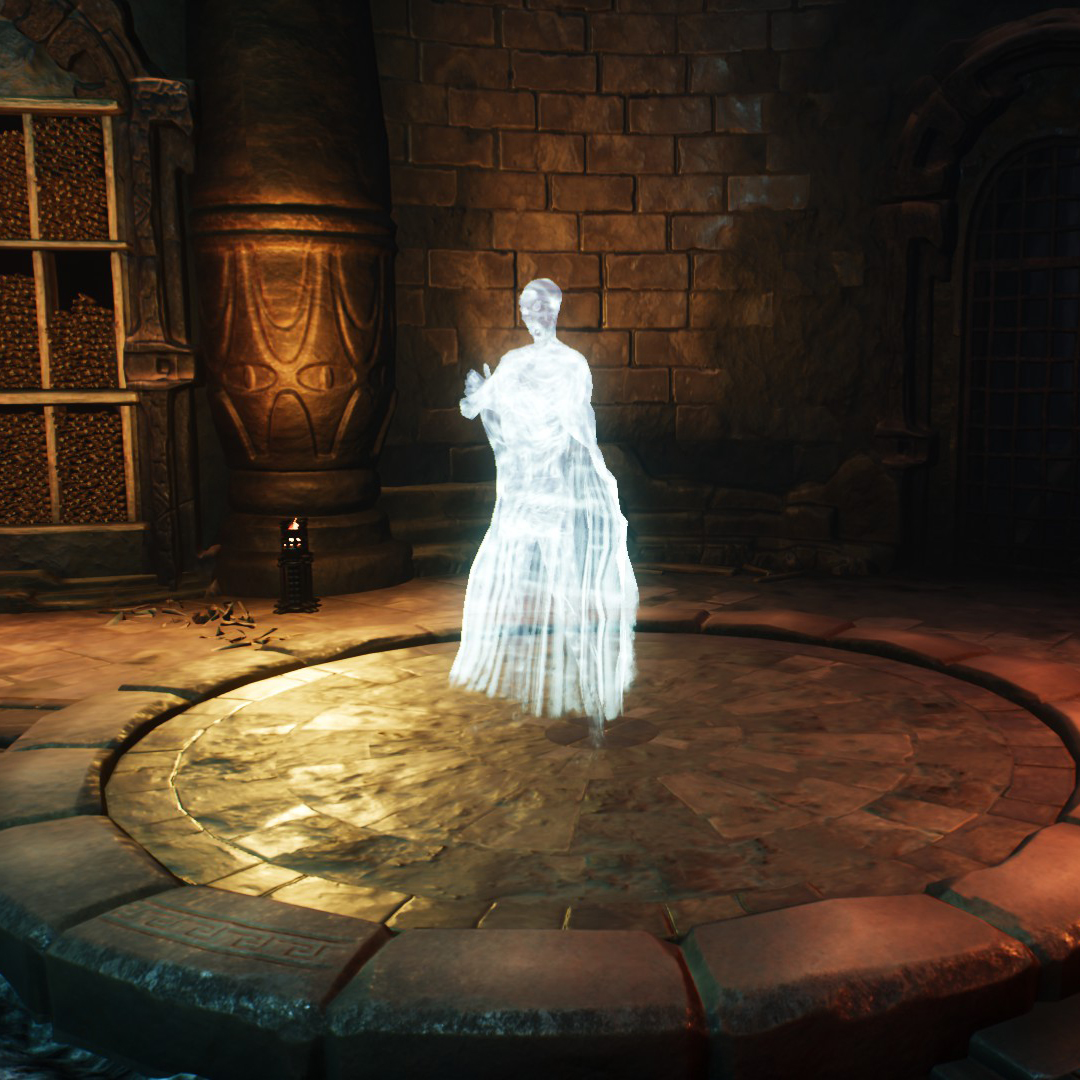
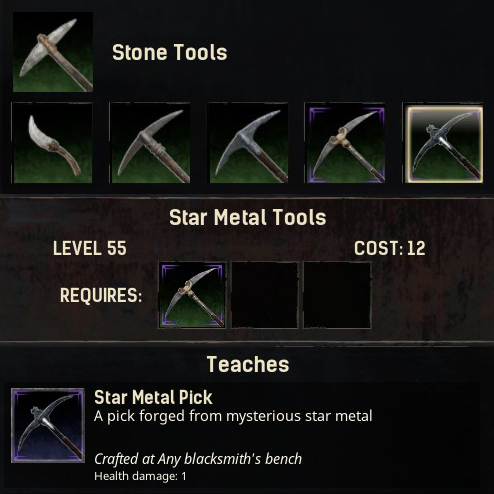
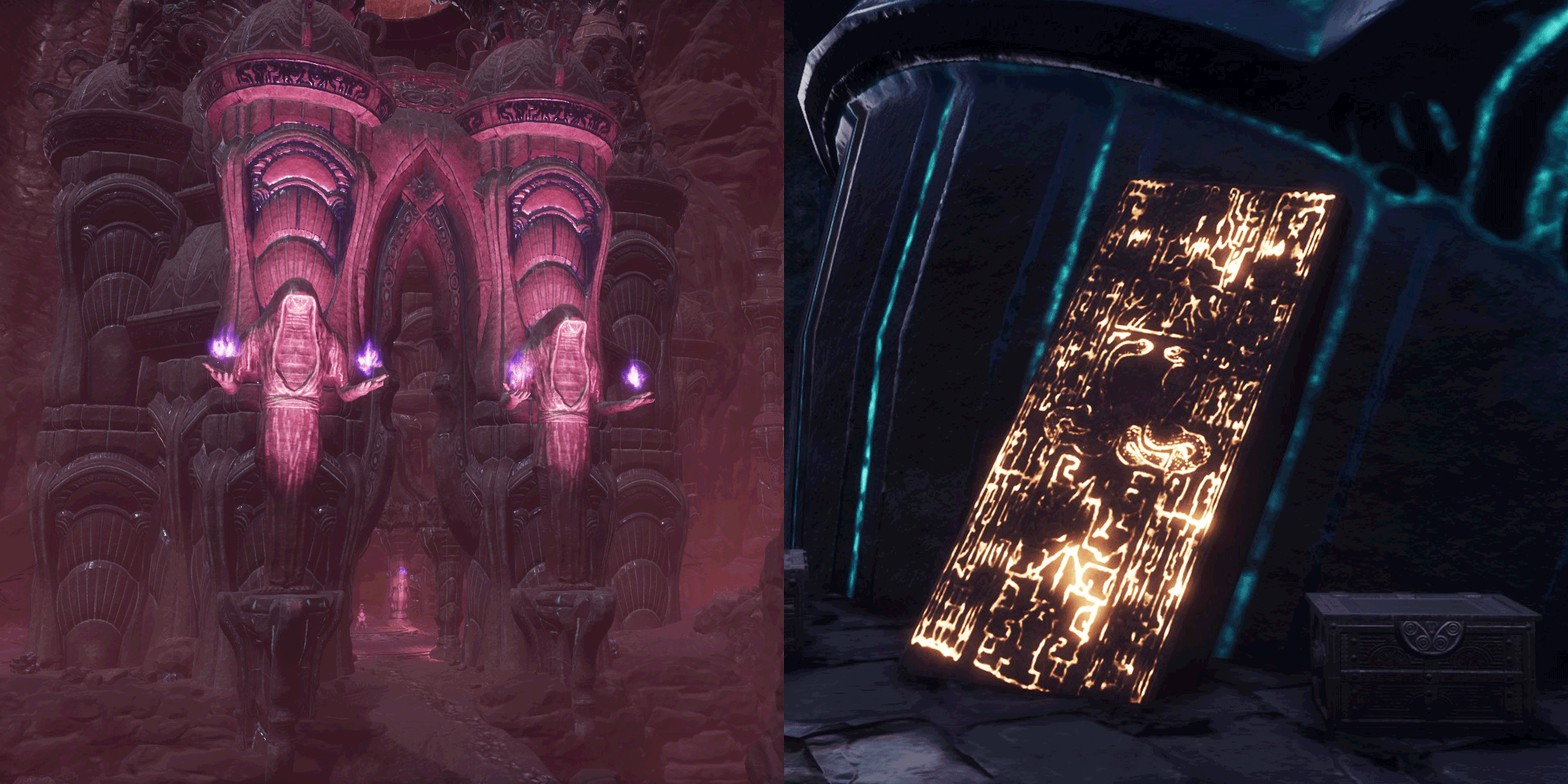 Before starting with the EEWA Arsenals, you need to have three feats learned:
Cartographer. The Archivist will taught it to you by talking to him. You’ll find it inside The Archives at The Unnamed City.
Star Metal Tools. You can learn them in the Knowledge window of the menu. You’ll need to be at least level 55 and have learned the previous tools.
Obsidian Tools. You’ll have to interact with the tablet that I show you in this gif, which is located behind the serpent-man sorcerer boss of The Well of Skelos.
To craft all the EEWA weapons and necessary materials, you’ll need to use the EEWA workbenches. If you want to see in detail how to unlock the feat of each of them, how to craft them and what thralls you can equip them, check the “💢 Companions and workbenches” sections.
You’ll craft these weapon sets in the Valiant Blacksmith’s Bench, and their metals in the Nether furnace (you can also get the metal bars in the EEWA boss loot and in the Treasure Chests that are scattered around the map). The EEWA materials that you’ll need to create these metals will be manufactured in:
-
 The Nether furnace:
Composite Obsidian
Spending 18 Obsidians and 2 Steel Bars.Oil of fragmented powder
Spending 1 Fragment of Power. -
 The Witchbowl Cauldron:
Scourge powder (or in the Firebowl Cauldron but more expensive)
Spending 1 Dragonpowders, 8 Witchfire Powders, 20 Bonemeals and 6 Demon Bloods.Alchemical fluids (with a thrall equipped in the Cauldron, the amount of materials required depends on the thrall’s quality)
Spending 8 Corrupted bonemeals, 40 Alchemical Bases, 15 Witchfire Powders and 40 Bloods.
The big difference between these Arsenals is the status that you’ll apply to your enemies with them. In addition to the customization in combat that each type of weapon offers you, from swords and shields to tridents, flails, bows… Both the damage they inflict and their armor penetration are quite similar from one arsenal to another.
Next we’re going to see each of the arsenals, the text of the notes distributed by the Perilous Valley entry (from Erond’s diary), how to obtain the feat to learn these weapons, what materials they require, their bonuses… and in the sections below we’ll see the rest of the weapons that don’t belong to any arsenal and that you can buy or craft at the Legendary Assembly.
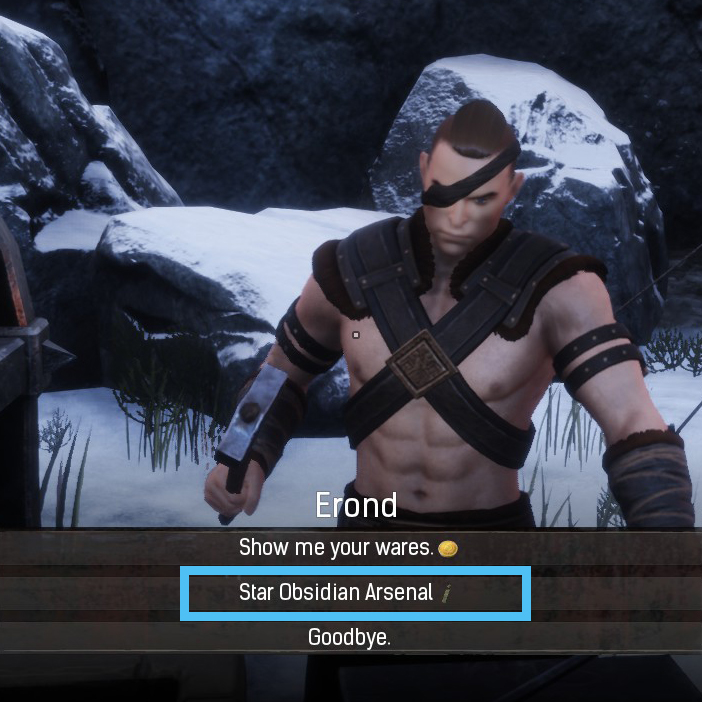 Requires level 80
Feats: Cartographer, Star Metal Tools and Obsidian Tools.
Extras: Buy the feat from Erond in exchange for 25 Handheld Ymir totems.
“With my powerful Nether Furnace I have been able to make an extraordinary type of metal, fused together with obsidian and star metal. The metal is filled with corruption and power and is able to bring down any foe if properly made part of a weapon.“
Steel recipe:
Star Obsidian
3 Star Metal Bars, 5 Composite Obsidian, 6 Oils and 8 Corrupted Stone.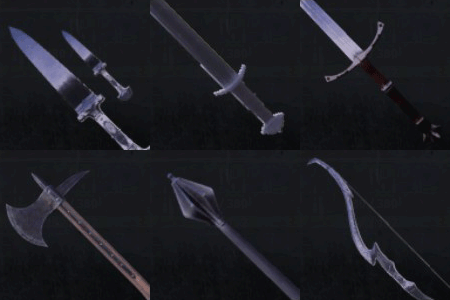
Bonus / Effect: Apply Gold Strike (slows down your enemy). +5 Vitality.
Available weapons: Daggers, Shortsword, Longsword, Dual Longswords, Greatsword, Katana, Axe, Greataxe, Mace, Greathammer and Bow.
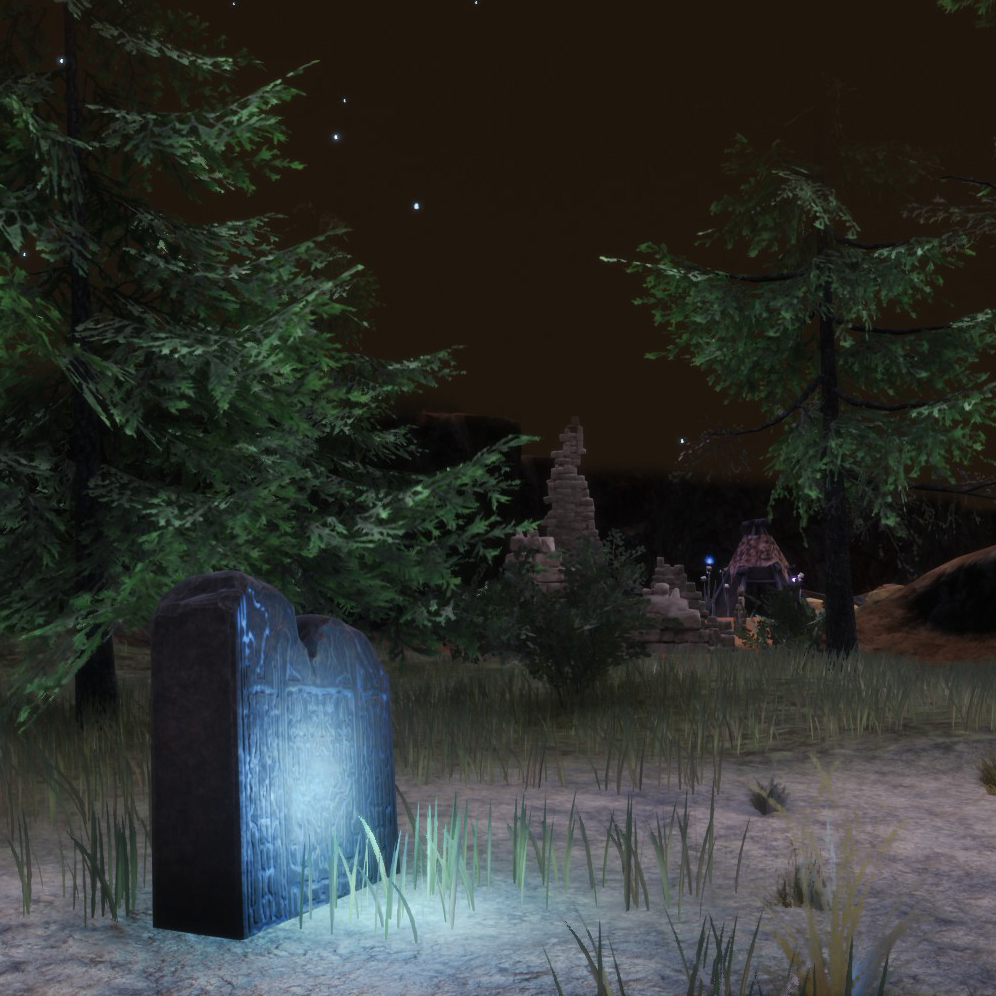 Requires level 120
Feats: Star Obsidian Arsenal
Extras: Read the Ancient Cave tablet.
“If any of you travelers ever come by the Ancient Cave, that cave is filled with a great amount of rare resources and materials. The old Scourge giants is there are very dangerous and can pose quite a threat so be careful. But you may harvest their flesh for their meat which can be pressed into Scourge Powder. From this Scourge Powder you can make really powerful Scourgesteel.“
Steel recipe:
Scourgesteel
5 Scourge powder, 8 Hardened Steel Bars, 1 Oil of fragmented powder and 2 Star Obsidian Bars.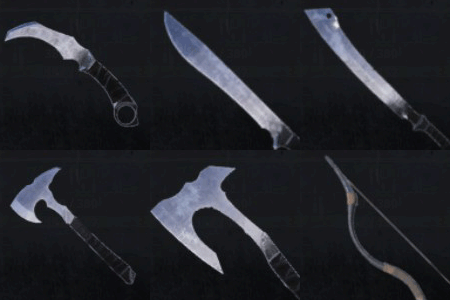
Bonus / Effect: Apply up to 10 stacks of Blind (generates a thick cloud around your enemy’s head, damaging them and reducing their movement speed). With 10 stacks of Blind your enemy will receive 90 points of normal damage + 12 points of pure damage per tick.
Available weapons: Parrying Knife, Daggers, Shortsword, Sword, Greatsword, Katana, Throwing Axe, Axe, Greataxe, Spear and Bow.
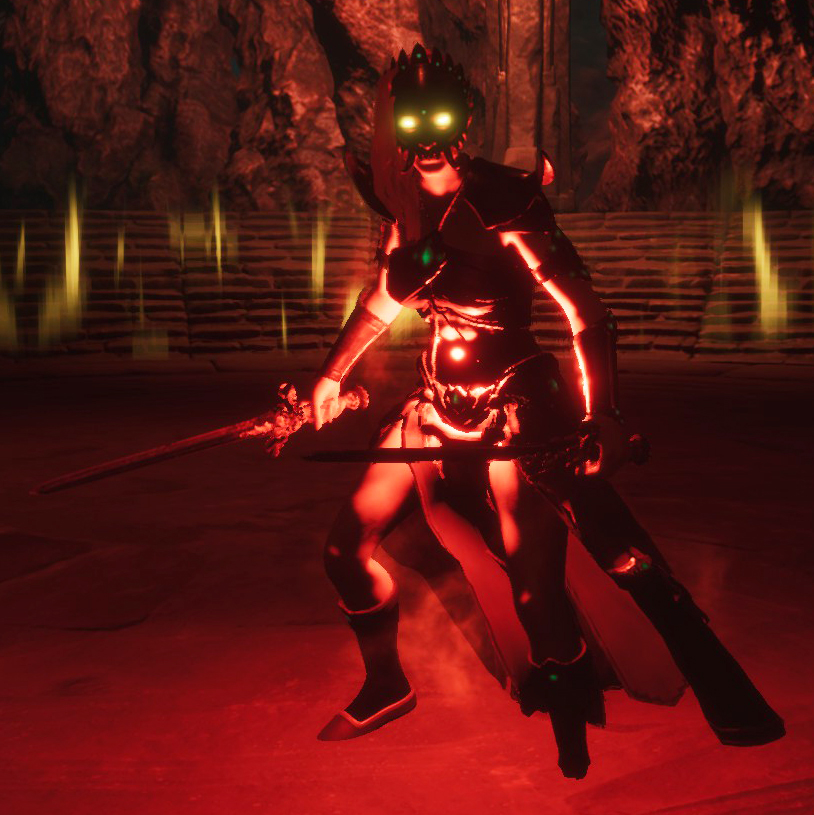 Requires level 120
Feats: Condemned Arsenal
Extras: Kill the Boss Witch Queen (summoning her in the Conjuration Pillar with the Corrupted Witch Queen Soul).
“Bastille was studying Ancient Lemurian text when he came across an interesting read, a recipe for an old Imperial type of steel from the Lemurian Empire of old. This peaked my interest greatly and Bastille was able to translate the recipe for me.“
Steel recipe:
Royal Steel
2 Scourgesteel Bars, 5 Gold Bars and 1 Oil of fragmented power.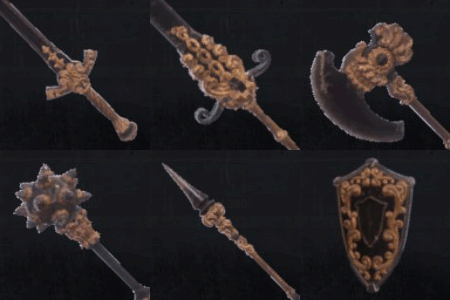
Bonus / Effect: Apply up to 10 stacks of Dagon’s Curse (you’ll generate splashes of water around you, cursing enemies who touch them, dealing damage and knocking them back). With 10 stacks of Dagon’s Curse your enemy will receive 90 points of normal damage + 12 points of pure damage per tick.
Available weapons: Sword, Dual Swords, Greatswords, Axe, Warhammer, Club, Javelin, Trident and Shield.
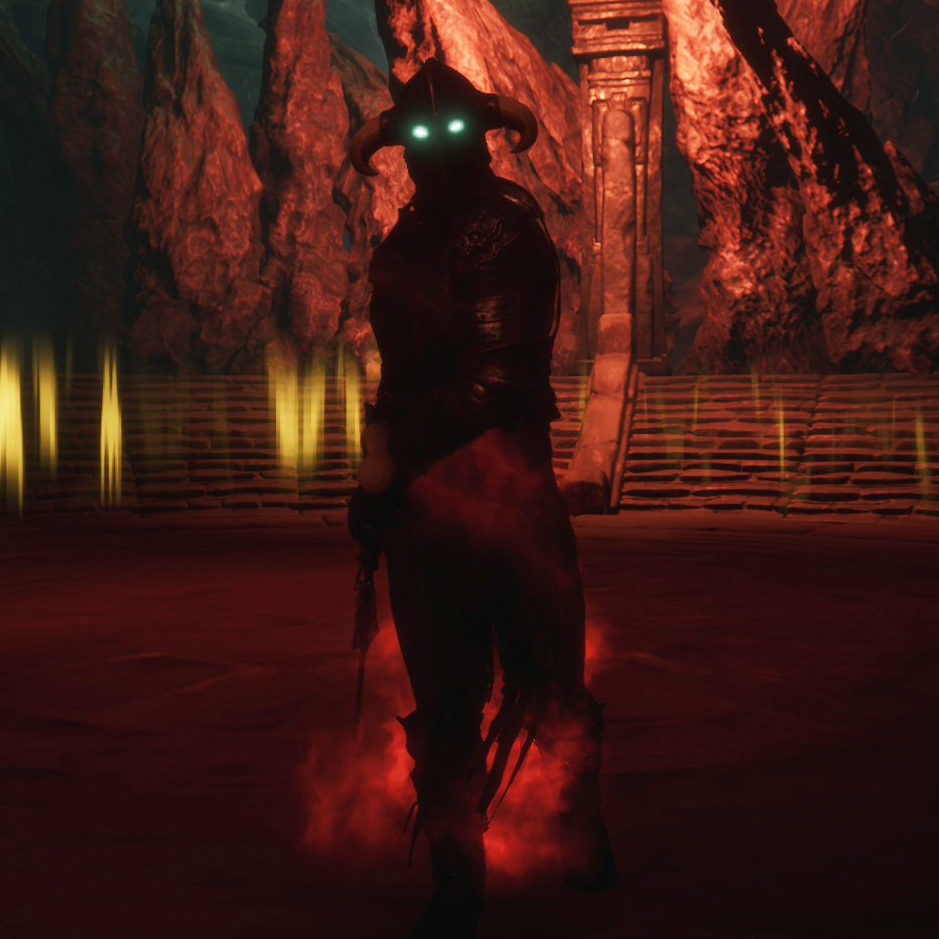 Requires level 120
Feats: Scourgesteel Arsenal
Extras: Kill the Boss Kinscourge (summoning him in the Conjuration Pillar with the Corrupted Kingscourge Soul).
“Egor was able to find an old scroll in one of the Acheronian ruins outside the Exiled Lands, he brought it to me and Bastille helped me translate it. It had a recipe for a strange mixture of bone materials, used in some sort of life leeching rituals by the Acheronians.“
Material recipe:
Hallowed bones
10 Corrupted Bones, 25 Ivories, 5 Dragonbones and 1 Oil of fragmented power.
This weapon set is made with Hallowed bones and Scourgesteel Steel.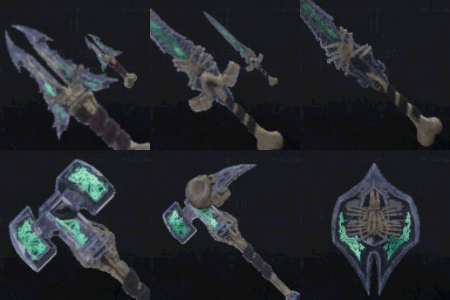
Bonus / Effect: Apply up to 10 stacks of Condemn (damages your enemy and steals life). With 10 stacks of Condemn your enemy will receive 90 points of normal damage + 12 points of pure damage per tick.
Available weapons: Daggers, Sword, Dual Swords, Greatsword, Axe, Hammer, Greathammer, Spear and Shield.
🗡 Weapon sets II
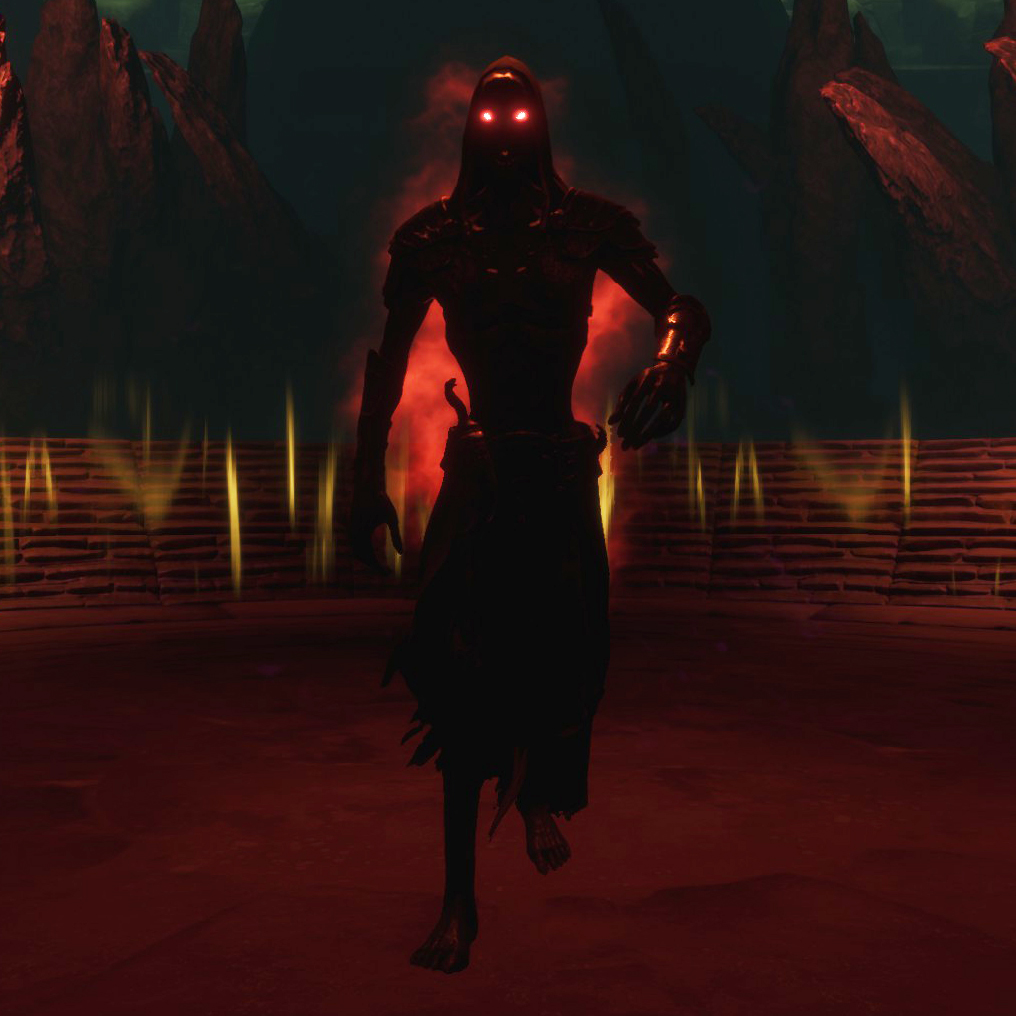 Requires level 200
Feats: Ancient Knowledge (it’s obtained by drinking the Demonic Horn of Secrets, more info in “🧿 Magic” and “🌀 Auras”)
Extras: Kill the Boss The King Beneath (summoning him in the Conjuration Pillar with the Corrupted Priestking Soul).
“I once heard about the Varvaryans, a hidden race of people of sorts. There were Cimmerian Shamans and Stygian Sorcerers that took part of orgies to produce fierce and powerful offspring. Almost sounds like they were worshipping Derketo just by that fact, but even though the lust of the flesh was part of it, the ultimate goal was to sire children to be part of a new society. Said to have been praised and hidden by the Acheronians, the Varvaryans reportedly had a unique connection to the earth, many to the Varvaryans said to be able to control the ground beaneath them. I believe I have managed to find a recipe for Varvaryan Steel in an old book my father Ebon gave me.“
Steel recipe:
Varvaryan Steel
4 Scourgesteel Bars, 2 Oil of fragmented power, 1 Alchemical fluids and 20 Black Ice.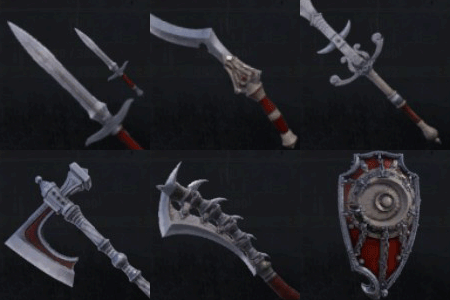
Bonus / Effect: Apply up to 9 stacks of Earth Shatter (the earth will shatter beneath your enemies, damaging and knocking them back). With 9 stacks of Earth Shatter your enemy will receive 90 points of normal damage + 14 points of pure damage per tick.
Available weapons: Daggers, Shortsword, Sword, Dual Swords, Greatsword, Greataxe, Mace, Cleaver, Flail and Shield.
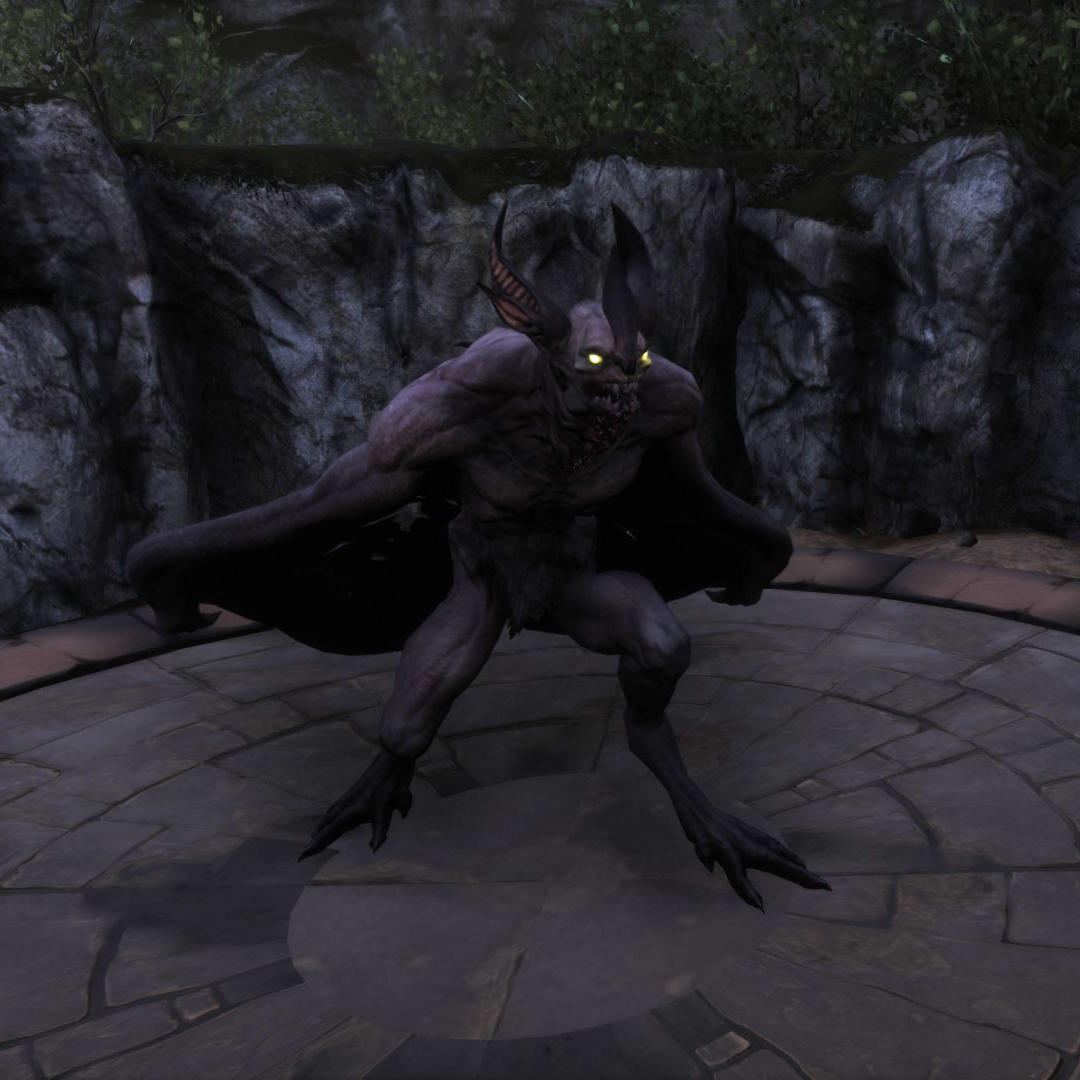 Requires level 200
Feats: Ancient Knowledge (it’s obtained by drinking the Demonic Horn of Secrets)
Extras: Blood of the Guardian (from the corpse of the Yama’s Guardian, in the Overtaken Tower of Batsdungeon, more info in “👹 Greater Bounties”).
“When I first heard tales of Meruvians in the Exiled Lands I would not believe it, Meruvians are just a myth, a legend? But I was wrong, they have opened a gate on top of the Tower of Bats that leads Crom knows where? I was able to get a hold of some of their valued Jade Ore and managed to make a Composite out of if.“
Steel recipe:
Composite Jade
4 Jade Ore, 2 Oil of fragmented power, 1 Alchemical fluids and 8 Scourge powders.
You’ll find the Jade Ore in the dungeon where the Yama’s Guardian was. There will be pickable meteorites, from which you can extract either Jade Ore or Oblivion Ore. You may also find this mineral on the three-skull EEWA enemies you kill.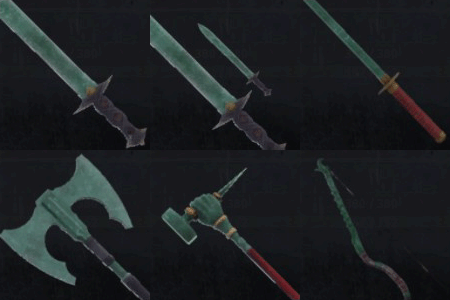
Bonus / Effect: Apply up to 9 stacks of Yama’s Curse (damage your enemies). With 9 stacks of Yama’s Curse your enemy will receive 90 points of normal damage + 14 points of pure damage per tick.
Available weapons: Sword, Dual Swords, Greatsword, Katana, Axe, Mace, Warhammer and Bow.
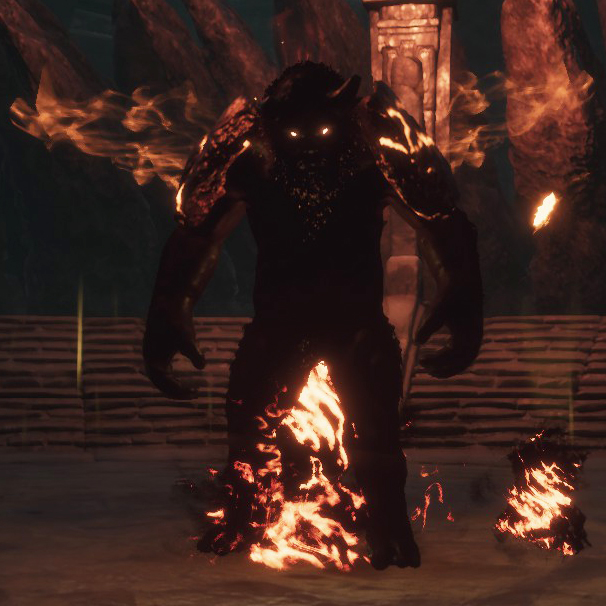 Requires level 300
Feats: Ancient Knowledge (it’s obtained by drinking the Demonic Horn of Secrets)
Extras: Eat a Heart of Oblivion (from the corpse of the Son of the Devourer, which you summon in the Conjuration Pillar with the United Soul).
“A group of Exiles brought me what was called ‘Oblivion Ore’, it looks like a living volcano inside of this ore. Most fascinating ore I have ever seen. The Exiles gave me some instructions on what they belived could lead to making a steel component out of this ore, and with their instructions and some finessing of my own, I was able to forge it into a steel compnent.“
Steel recipe:
Oblivion Steel
4 Scourgesteel Bars, 12 Oblivion Ore, 3 Alchemical fluids and 3 Oil of fragmented power.
You’ll find the Oblivion Ore in the Overtaken Tower of Bats dungeon. There will be pickable meteorites, from which you can extract either Jade Ore or Oblivion Ore. You may also find this mineral on the three-skull EEWA enemies you kill.
 Additionally, you can ingest the Heart of Oblivion to summon Oblivion Ore meteorites around you. You’ll be able to ingest one every five minutes and this icon will appear
  on the map where you have done so (so other players can come and mine on your mineral). This way you’ll summon several Oblivion Constructs (with 2.240 health, when they die they’ll give you some ore) and several Oblivion Ore meteorites. You’ll need an Explosive Jar to be able to mining the meteorites (same as with the Star Metal ones). The number of Oblivion Constructs and meteorites you’ll summon will vary each time, between one and six enemies, between one and three meteorites, and a Razor Hellcat may even appear (14.500 health).
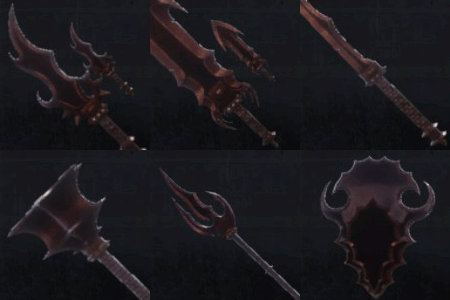
Bonus / Effect: Apply up to 8 stacks of Scorch (sets your enemies on fire, damaging them). With 8 stacks of Scorch your enemy will receive 90 points of normal damage + 16 points of pure damage per tick.
Available weapons: Daggers, Sword, Dual Swords, Greatsword, Katana, Axe, Greataxe, Mace, Greatmace, Spear, Javelin and Shield.
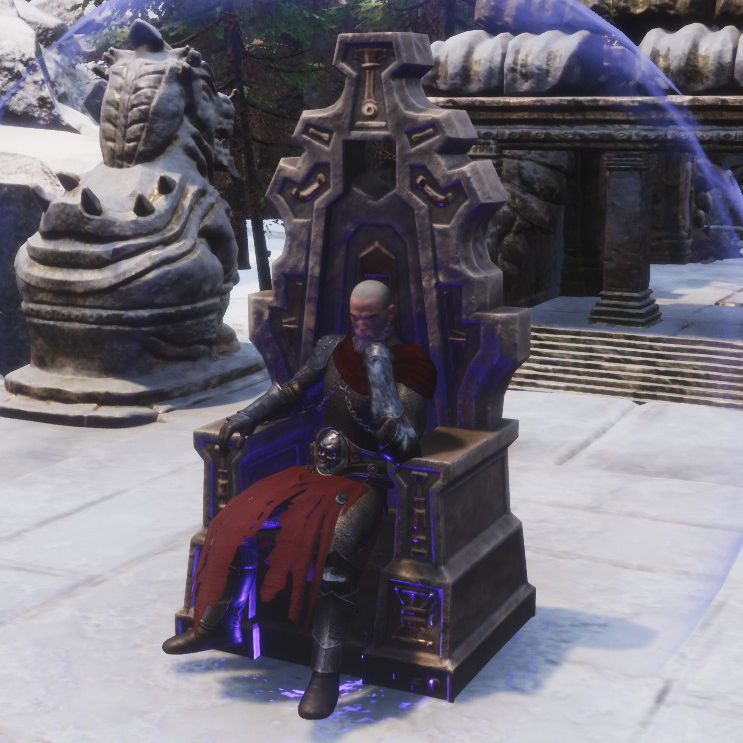 Requires level 300
Extras: Advance through the Shadow Legion Commander’s quests until he asks you to kill the Daughter of the Devourer (more info in “✏️ Quests VIII”). He’ll reward you with the Legendary Assembly feat.
You’ll unlock the legendary weapons that you can craft in the Legendary Assembly as you progress with the NPC quests, finding them in the Exiled Lands or in the EEWA boss loot. If you want to see what weapons they’re and how to get them one by one, look at the sections of the guide from “🗡 Weapons VI” to “🗡 Weapons X”.
- Scourgesteel Arrow x25
Damage dealt: 29 + 16% Armor Penetration
Effect / Bonus: Apply Blind (damages your enemy and reduces his movement speed).Sells them: Egor, the legendary hunter
In exchange for: 12 Handheld Ymir Totem and 3 Scourgesteel Bars. - Afflicted Arrow x25
Damage dealt: 33 + 3% Armor Penetration
Effect / Bonus: Apply Afflicting (you’ll apply different negative effects to your enemy).Sells them: Egor, the legendary hunter
In exchange for: 25 Handheld Ymir Totem and 1 Afflicted Arrow Instructions. - Hunter’s Dragon Arrow x25
Damage dealt: 7 + 11% Armor Penetration
Effect / Bonus: Apply Subjugate (I haven’t been able to figure out what this effect does).Sells them: Egor, the legendary hunter
In exchange for: 12 Handheld Ymir Totem and 3 Dragonpowders. - Shard of Skelos Arrow x25
Damage dealt: 44 + 5% Armor Penetration
Effect / Bonus: Apply Crippling.Sells them: Egor, the legendary hunter
In exchange for: 15 Handheld Ymir Totem and 1 Shard of Skelos. - Deceitful Trap
Crafting workbench: Valiant Blacksmith’s Bench
Materials to craft it: 8 Bounty Assembly Piece, 20 Hardened Steel Bar, 5 Twine and 12 Oils.
🗡 Weapons III (purchased)
 You can buy legendary weapons from Erond, the legendary blacksmith, and from Egor, the legendary hunter, in the Perilous Valley.
If you give them 200 Handheld Ymir Totems and a legendary weapon, they’ll give you a different version of that weapon.
There will be no recipe for these weapons so you won’t be able to craft them.
These legendary weapons:
· You’ll be granted Unbreakable status (you’re immune to knockdowns while attacking).
· They’ll have their damage reduced compared to the weapons you give as payment.
· They’ll have their durability reduced (up to ten times less) compared to the weapons you give as payment.
· In some, the Armor Penetration percentage will increase.
- Erond’s Aja’s Bane
 Weapon type: Mace, Strength based
Damage dealt: 56 + 28% Armor Penetration
Bonus / Effect: Grant Unbreakable and apply Shieldsmash. +5 Strength.Sells it: Erond, the legendary blacksmith
In exchange for the legendary weapon: Aja’s Bane (you’ll get it in the Skeleton Key Chests of the base game or in the loot of about 20 NPCs) - Erond’s Annihilator
 Weapon type: Greatsword, Strength based
Damage dealt: 51 + 33% Armor Penetration
Bonus / Effect: Grant Unbreakable and apply Cripple.Sells it: Erond, the legendary blacksmith
In exchange for the legendary weapon: Annihilator (you’ll get it in the loot of the boss He-Who-Walks-Below -yes, this is the name of the NPC- in Klael’s Stronghold, 50% drop) - Erond’s Axe of the Lion
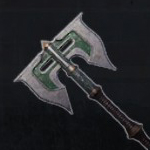 Weapon type: Axe, Strength based
Damage dealt: 59 + no Armor Penetration
Bonus / Effect: Grant Unbreakable and apply Shieldsmash. +5 Strength.Sells it: Erond, the legendary blacksmith
In exchange for the legendary weapon: Axe of the Lion (you’ll get it in the Skeleton Key Chests of the base game) - Erond’s Black Dragon pike
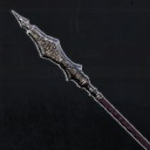 Weapon type: Spear, Strength based
Damage dealt: 58 + 7% Armor Penetration
Bonus / Effect: Grant Unbreakable. +5 Grit.Sells it: Erond, the legendary blacksmith
In exchange for the legendary weapon: Black Dragon pike (you’ll get it in the Skeleton Key Chests of the base game or in the loot of about 20 NPCs) - Erond’s Blade of the Adventurer
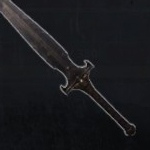 Weapon type: Greatsword, Strength based
Damage dealt: 81 + 15% Armor Penetration
Bonus / Effect: Grant Unbreakable and apply Cripple.Sells it: Erond, the legendary blacksmith
In exchange for the legendary weapon: Blade of the Adventurer (you’ll get it in the Skeleton Key Chests of the base game or in the loot of about 20 NPCs) - Erond’s Daggers of a thousand bites
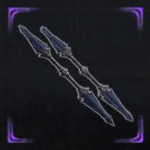 Weapon type: Daggers, Agility based
Damage dealt: 50 +18% Armor Penetration
Bonus / Effect: Grant Unbreakable and apply Bleed.Sells it: Erond, the legendary blacksmith
In exchange for the legendary weapon: Daggers of a thousand bites (you’ll get it in the loot of the seneschal Hoshum the Fang that can appear in the Temple Quarter of Sepermeru, 100% drop) - Erond’s Doom
 Weapon type: Two handed Mace, Strength based
Damage dealt: 58 + 49% Armor Penetration
Bonus / Effect: Grant Unbreakable and apply Sunder.Sells it: Erond, the legendary blacksmith
In exchange for the legendary weapon: Doom (you’ll get it in the loot of the elites Claw and Rake, the Werehyenas who can appear in The Den arena, 33% drop) - Erond’s Drunkard’s blade
 Weapon type: Sword, Strength based
Damage dealt: 56 + 9% Armor Penetration
Bonus / Effect: Grant Unbreakable and apply Cripple.Sells it: Erond, the legendary blacksmith
In exchange for the legendary weapon: Drunkard’s blade (you’ll get it in the loot of the bosses Guardian of the Flame, The Commander, The Gravewalker and The Watcher in The Unnamed City, low drop) - Erond’s Glimmermoon
 Weapon type: Axe, Strength based
Damage dealt: 62 + no Armor Penetration
Bonus / Effect: Grant Unbreakable and apply Shieldsmash.Sells it: Erond, the legendary blacksmith
In exchange for the legendary weapon: Glimmermoon (you’ll get it in the Skeleton Key Chests of the base game or in the loot of about 20 NPCs) - Erond’s Jhebbal Sag’s prowl
 Weapon type: Daggers, Agility based
Damage dealt: 48 + 19% Armor Penetration
Bonus / Effect: Grant Unbreakable and apply Bleed.Sells it: Erond, the legendary blacksmith
In exchange for the legendary weapon: Jhebbal Sag’s prowl (you’ll get it in the loot of the elite Servant of the Priest King in Klael’s Stronghold, low drop)
🗡 Weapons IV (purchased)
- Erond’s Lifeblood spear
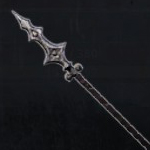 Weapon type: Spear, Strength based
Damage dealt: 48 + 9% Armor Penetration
Bonus / Effecte: Grant Unbreakable and apply Regeneration.Sells it: Erond, the legendary blacksmith
In exchange for the legendary weapon: Lifeblood spear (you’ll get it in the loot of the boss The Red Mother in The Unnamed City, low drop) - Erond’s Lovetap
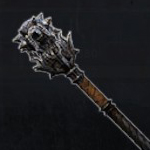 Weapon type: Mace, Knockout weapon
Damage dealt: 1 + no Armor Penetration
Bonus / Effect: Grant Unbreakable and apply Shieldsmash.Sells it: Erond, the legendary blacksmith
In exchange for the legendary weapon: Lovetap (you’ll get it in the Skeleton Key Chests of the base game or in the loot of about 20 NPCs) - Erond’s Maelstrom
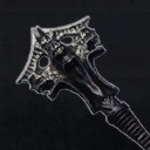 Weapon type: Two handed Mace, Strength based
Damage dealt: 60 + 49% Armor Penetration
Bonus / Effect: Grant Unbreakable and apply Sunder. +5 Strength and +5 Vitality.Sells it: Erond, the legendary blacksmith
In exchange for the legendary weapon: Maelstrom (you’ll get it in the loot of the bosses Guardian of the Flame, The Commander, The Gravewalker and The Watcher in The Unnamed City, low drop) - Erond’s Mistmourn
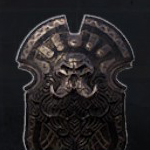 Weapon type: Shield
Damage dealt: 45 + 14% Armor Penetration
Bonus / Effect: Grant Unbreakable, apply Shieldsmash and Heat Insulated.
* This shield doesn’t have its durability reduced.Sells it: Erond, the legendary blacksmith
In exchange for the legendary weapon: Mistmourn (you’ll get it in the Skeleton Key Chests of the base game or in the loot of about 20 NPCs) - Erond’s Predatory blade
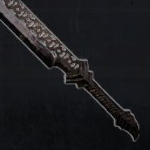 Weapon type: Sword, Strength based
Damage dealt: 102 + 9% Armor Penetration
Bonus / Effect: Grant Unbreakable and apply Cripple.Sells it: Erond, the legendary blacksmith
In exchange for the legendary weapon: The Predatory Blade (you’ll get it in the loot of the boss The Brute in The Unnamed City, low drop) - Erond’s Solspeil
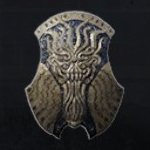 Weapon type: Shield
Damage dealt: 45 + 14% Armor Penetration
Bonus / Effect: Grant Unbreakable, apply Shieldsmash and Cold Insulated.
* This shield doesn’t have its durability reduced.Sells it: Erond, the legendary blacksmith
In exchange for the legendary weapon: Solspeil (you’ll get it in the Skeleton Key Chests of the base game or in the loot of about 20 NPCs) - Erond’s Sword of Crom
 Weapon type: Greatsword, Strength based
Damage dealt: 96 + 22% Armor Penetration
Bonus / Effect: Grant Unbreakable and apply Cripple.Sells it: Erond, the legendary blacksmith
In exchange for the legendary weapon: Sword of Crom (you’ll get it in the loot of the boss The Brute in The Unnamed City, low drop) - Erond’s the Grim
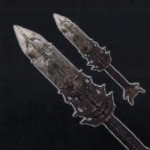 Weapon type: Daggers, Agility based
Damage dealt: 52 + 18% Armor Penetration
Bonus / Effect: Grant Unbreakable and apply Bleed.Sells it: Erond, the legendary blacksmith
In exchange for the legendary weapon: The Grim (you’ll get it in the Skeleton Key Chests of the base game or in the loot of about 20 NPCs) - Erond’s Warspear of the Black Circle
 Weapon type: Spear, Strength based
Damage dealt: 49 + 8% Armor Penetration
Bonus / Effect: Grant Unbreakable.Sells it: Erond, the legendary blacksmith
In exchange for the legendary weapon: Warspear of the Black Circle (you’ll get it in the Skeleton Key Chests of the base game) - Erond’s World breaker
 Weapon type: Two handed Mace, Strength based
Damage dealt: 43 + 69% Armor Penetration
Bonus / Effect: Grant Unbreakable and apply Sunder.Sells it: Erond, the legendary blacksmith
In exchange for the legendary weapon: World breaker (you’ll get it in the loot of the boss He-Who-Walks-Below -yes, this is the name of the NPC- in Klael’s Stronghold, 50% drop) - Erond’s Ymir’s targe
 Weapon type: Shield
Damage dealt: 43 + 13% Armor Penetration
Bonus / Effect: Grant Unbreakable and apply Shieldsmash.
* This shield doesn’t have its durability reduced.Sells it: Erond, the legendary blacksmith
In exchange for the legendary shield: Ymir’s targe (you’ll get it in the loot of the elite Servant of the Priest King in Klael’s Stronghold, low drop)
🗡 Weapons V (purchased)
- Erond’s Yog’s touch
 Weapon type: Axe, Strength based
Damage dealt: 59 + 40% Armor Penetration
Bonus / Effect: Grant Unbreakable and apply Sshieldsmash.Sells it: Erond, the legendary blacksmith
In exchange for the legendary weapon: Yog’s touch (you’ll get it in the loot of the elite Servant of the Priest King in Klael’s Stronghold, low drop) - Erond’s Black Bruargh’s fury
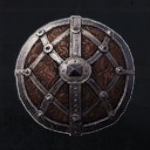 Weapon type: Shield
Damage dealt: 45 + 14% Armor Penetration
Bonus / Effect: Grant Unbreakable and apply Shieldsmash. +5 Agility.
* This shield doesn’t have its durability reduced.LSells it: Erond, the legendary blacksmith
In exchange for the legendary weapon: Black Bruargh’s fury (you’ll get it in the Skeleton Key Chests of the base game or in the loot of about 20 NPCs) - Erond’s Crom’s hammer
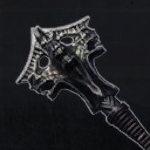 Weapon type: Two handed Mace, Strength based
Damage dealt: 58 + 49% Armor Penetration
Bonus / Effect: Grant Unbreakable and apply Sunder. +5 Strength and +5 Grit.Sells it: Erond, the legendary blacksmith
In exchange for the legendary weapon: Crom’s hammer (you’ll get it in the loot of the elite Servant of the Priest King in Klael’s Stronghold, low drop) - Erond’s Executioner’s blade
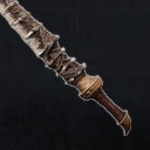 Weapon type: Sword, Strength based
Damage dealt: 54 + 9% Armor Penetration
Bonus / Effect: Grant Unbreakable and apply Execution.Sells it: Erond, the legendary blacksmith
In exchange for the legendary weapon: Executioner’s blade (you’ll get it in the loot of Veteran of Jhebbal Sag, Wing of Jhebbal Sag, and from the boss The Executioner in the Deathwhisper Ruins, low drop) - Erond’s Jedias Greatsaber
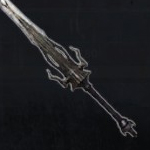 Weapon type: Greatsword, Strength based
Damage dealt: 64 + 23% Armor Penetration
Bonus / Effect: Grant Unbreakable and apply Cripple.Sells it: Erond, the legendary blacksmith
In exchange for the legendary weapon: Jedias Greatsaber (you’ll get it in the Skeleton Key Chests of the base game or in the loot of about 20 NPCs) - Erond’s Mitra’s Justice
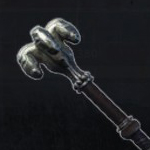 Weapon type: Mace, Strength based
Damage dealt: 54 + 28% Armor Penetration
Bonus / Effect: Grant Unbreakable, apply Shieldsmash and Cleansing.Sells it: Erond, the legendary blacksmith
In exchange for the legendary weapon: Mitra’s Justice (you’ll get it in the loot of the elite Servant of the Priest King in Klael’s Stronghold, low drop) - Erond’s Set’s Tongue
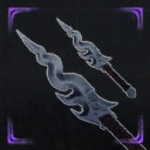 Weapon type: Daggers, Agility based
Damage dealt: 48 + 18% Armor Penetration
Bonus / Effect: Grant Unbreakable, apply Bleed and Cleansing.Sells it: Erond, the legendary blacksmith
In exchange for the legendary weapon: Set’s Tongue (you’ll get it in the loot of the elite Servant of the Priest King in Klael’s Stronghold, low drop) - Erond’s Festering one
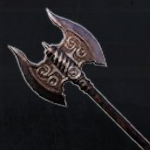 Weapon type: Axe, Strength based
Damage dealt: 57 + Armor Penetration
Bonus / Effect: Grant Unbreakable, apply Shieldsmash and Poisoned.Sells it: Erond, the legendary blacksmith
In exchange for the legendary weapon: The festering one (you’ll get it in the loot of the bosses Guardian of the Flame, The Commander, The Gravewalker and The Watcher in The Unnamed City, low drop) - Erond’s The Impaler
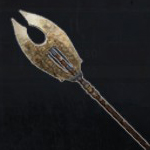 Weapon type: Spear, Strength based
Damage dealt: 54 + 9% Armor Penetration
Bonus / Effect: Grant Unbreakable.Sells it: Erond, the legendary blacksmith
In exchange for the legendary weapon: The Impaler (you’ll get it in the Skeleton Key Chests of the base game or in the loot of about 20 NPCs) - Erond’s Derketo’s Voice
 Weapon type: Bow, Agility based
Damage dealt: 30 + no Armor Penetration
Bonus / Effect: Grant Unbreakable. The weapon says that it adds Accuracy, but currently this attribute doesn’t exist.Sells it: Egor, the legendary hunter
In exchange for the legendary weapon: Derketo’s Voice (you’ll get it in the loot of the elite Servant of the Priest King in Klael’s Stronghold, low drop) - Erond’s Frostshot
 Weapon type: Bow, Agility based
Damage dealt: 24 + 9% Armor Penetration
Bonus / Effect: Grant Unbreakable.Sells it: Egor, the legendary hunter
In exchange for the legendary weapon: Frostshot (you’ll get it in the Skeleton Key Chests of the base game or in the loot of about 20 NPCs) - Erond’s Reach of the red mother
 Weapon type: Bow, Agility based
Damage dealt: 32 + 30% Armor Penetration
Bonus / Effect: Grant Unbreakable.Sells it: Egor, the legendary hunter
In exchange for the legendary weapon: Reach of the red mother (you’ll get it in the loot of the boss The Red Mother boss in The Unnamed City, low drop)
🗡 Weapons VI (from quests)
As there are many weapon recipes, I’m going to divide them according to their source of obtaining: those obtained from quests, those obtained from specific ways, the weapons of the gods and those that have a chance of falling into the loot of the enemies of the EEWA.
You won’t be able to learn these recipes until you’ve the Legendary Assembly feat, therefore, until you’re level 300.
From quests rewards
For more information on the quests I’m going to refer to, check the “✏️ Quests” sections of the guide.
- Khari Skullcrusher
 Quest that gives it to you: Khari Remnant, from the Thulmak, the frogman quest chain (the last quest).
Weapon type: Two handed Mace, Strength based
Damage dealt: 58 + 42% Armor Penetration
Bonus / Effect: Grant Unbreakable (you’re immune to knockdowns while attacking) and apply Crushing Blow (each hit will cause more damage to your enemy and you will have a chance to knock them down).Crafting workbench: Legendary Assembly
Materials to craft it: 1 Legendary Assembly Kit, 1 Legendary long handle and 2 Legendary mace parts. - The elderwood
 Quest that gives it to you: Legendary hunter, from the Egor, the legendary hunter quest chain.
Weapon type: Bow, Agility based
Damage dealt: 13 + 4% Armor Penetration
Bonus / Effect: Shoot three arrows instead of one (spending three arrows per shot).Crafting workbench: Legendary Assembly
Materials to craft it: 1 Legendary Assembly Kit, 1 Legendary bowstring and 2 Legendary bow parts. - Danse Macabre
 Quest that gives it to you: Karmic Justice, from the Bastille the translator quest chain (the last quest).
Weapon type: Sword
Damage dealt: 76 + 28% Armor Penetration
Bonus / Effect: Repair your equipped items over time. +6 Strength.Crafting workbench: Legendary Assembly
Materials to craft it: 1 Legendary Assembly Kit, 1 Legendary short handle and 2 Legendary sword parts. - Dragon Stave
 Quest that gives it to you: Neverending Power, from the Shadow Legion Commander quest chain.
Weapon type: Stave
Damage dealt: 58 + 23% Armor Penetration
Bonus / Effect: Use enchantments. More info in “💧 Stave enchantments”.Crafting workbench: Witchbowl Cauldron
Materials to craft it: 2 Weapon Handle, 10 Corrupted Spellbook, 2 Legendary Assembly Kit and 1 Cosmic Steel Bar. - Kashaf’s Razorbeast
 Quest that gives it to you: Collector, from the Shadow Legion Commander quest chain.
Weapon type: Sword
Damage dealt: 61 + 31% Armor Penetration
Bonus / Effect: Apply Sandstorm status to nearby enemies.Crafting workbench: Legendary Assembly
Materials to craft it: 2 Legendary Assembly Kit, 1 Legendary short handle and 2 Legendary sword parts. - Dagon’s End
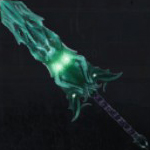 Quest that gives it to you: Collector, from the Shadow Legion Commander quest chain.
Weapon type: Greatsword, Strength based
Damage dealt: 63 + 24% Armor Penetration
Bonus / Effect: Apply Dagon’s Curse (you’ll generate water splashes around you, cursing enemies who touch them, causing damage and knocking them down).Crafting workbench: Legendary Assembly
Materials to craft it: 2 Legendary Assembly Kit, 1 Legendary long handle and 2 Legendary sword parts. - Ilden Flame
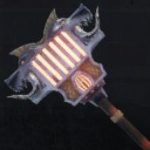 Quest that gives it to you: Collector, from the Shadow Legion Commander quest chain.
Weapon type: Two handed Mace, Strength based
Damage dealt: 80 + 44% Armor Penetration
Bonus / Effect: Apply Bruning to nearby and hit enemies.Crafting workbench: Legendary Assembly
Materials to craft it: 2 Legendary Assembly Kit, 1 Legendary long handle and 2 Legendary mace parts.
🗡 Weapons VII (from specific ways)
For more information on the mechanics I’m going to refer to, check the guide sections “📦 Outpost”, “🦁 Lesser Bounties III”, “👹 Greater Bounties” and “🧊 Avatar bounty – Aspect of Ymir”.
- Black Hand Legendaries
How to get it: It can drop into Black Hand Caravan Packages, which you’ll receive if you conquer the Black Hand Outpost. You’ll find it in the jungle, south of The Passage.
This recipe contains four weapons:
· Scallywag
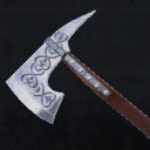 Weapon type: Axe, Strength based
Damage dealt: 64 + 13% Armor Penetration
Bonus / Effect: Apply Crushing Blow (each hit will cause more damage to your enemy and you will have a chance to knock them down).Crafting workbench: Legendary Assembly
Materials to craft it: 1 Legendary Assembly Kit, 1 Legendary short handle and 2 Legendary axe parts.· The bull
 Weapon type: Mace, Strength based
Damage dealt: 61 + 28% Armor Penetration
Bonus / Effect: Apply Crushing Blow (each hit will cause more damage to your enemy and you will have a chance to knock them down).Crafting workbench: Legendary Assembly
Materials to craft it: 1 Legendary Assembly Kit, 1 Legendary short handle and 2 Legendary mace parts.· Captain Blackspear
 Weapon type: Spear, Strength based
Damage dealt: 54 + 8% Armor Penetration
Bonus / Effect: Apply Crushing Blow (each hit will cause more damage to your enemy and you will have a chance to knock them down).Crafting workbench: Legendary Assembly
Materials to craft it: 1 Legendary Assembly Kit, 1 Legendary long handle and 2 Legendary spear parts.· Admiral’s Legacy
 Weapon type: Sword, Agility based
Damage dealt: 49 + 23% Armor Penetration
Bonus / Effect: Apply Crushing Blow (each hit will cause more damage to your enemy and you will have a chance to knock them down).Crafting workbench: Legendary Assembly
Materials to craft it: 1 Legendary Assembly Kit, 1 Legendary long handle and 2 Legendary sword parts. - Burning Legendaries
How to get it: It can drop into the loot of Molten Death, the boss spider inside the Ancient Cave. You’ll need Molten Shards to craft these weapons, check the “🦁 Lesser Bounties III” section to find out how to get them.
This recipe contains three weapons:
· Teella’s Demise
 Weapon type: Bow, Agility based
Damage dealt: 34 + 22% Armor Penetration
Bonus / Effect: Apply Burning to enemies.Crafting workbench: Legendary Assembly
Materials to craft it: 1 Legendary Assembly Kit, 1 Legendary bowstring, 1 Legendary bow parts and 15 Molten Shards.· Overlord
 Weapon type: Sword, Strength based
Damage dealt: 67 + 18% Armor Penetration
Bonus / Effect: Apply Burning to enemies.Crafting workbench: Legendary Assembly
Materials to craft it: 1 Legendary Assembly Kit, 1 Legendary short handle, 1 Legendary sword parts and 15 Molten Shards.· Inviction
 Weapon type: Axe, Strength based
Damage dealt: 71 + 9% Armor Penetration
Bonus / Effect: Apply Burning to enemies.Crafting workbench: Legendary Assembly
Materials to craft it: 1 Legendary Assembly Kit, 1 Legendary short handle, 1 Legendary axe parts and 15 Molten Shards. - Council Uniques
How to get it: It can drop from the Council Chieftain loot, a boss that can appear in the Council of Wolves (the large camp).
This recipe contains four weapons:
· Bane of the Spider
 Weapon type: Sword, Strength based
Damage dealt: 59 + 17% Armor Penetration
Bonus / Effect: Apply Crippling Poison to enemies.Crafting workbench: Legendary Assembly
Materials to craft it: 1 Legendary Assembly Kit, 1 Legendary short handle and 2 Legendary sword parts.· Banes of the Spider
 Weapon type: Dual Swords, Agility based
Damage dealt: 59 + 7% Armor Penetration
Bonus / Effect: Apply Crippling Poison to enemies.Crafting workbench: Legendary Assembly
Materials to craft it: 1 Legendary Assembly Kit, 1 Legendary short handle, 2 Legendary sword parts y 1 Bane of the Spider (sword).· Servant of the Spider
 Weapon type: Greatsword, Strength based
Damage dealt: 71 + 26% Armor Penetration
Bonus / Effect: Apply Crippling Poison to enemies.Crafting workbench: Legendary Assembly
Materials to craft it: 1 Legendary Assembly Kit, 1 Legendary long handle and 2 Legendary sword parts.· Council volatile javelin
 Weapon type: Throwing Javelin
Damage dealt: 35 + 20% Armor Penetration
Bonus / Effect: It’ll generate light around you like a torch, you can attack with it in melee and you can throw it at your enemies by applying Burning to them. As soon as you use it and unequip it, it’ll disappear from your Inventory.Crafting workbench: Valiant Blacksmith’s Bench
Materials to craft it: 10 Dragonpowder, 1 Demon-fire Orb, 5 Dragonbone and 1 Weapon Handle. - Bloody Sanctions
How to get it: Kill the Daughter of the Devourer and ingest her Slithering Tentacle. You’ll find her inside the Perilous Valley.
This recipe contains one weapons:
· Blood uprising
 Weapon type: Throwing Javelin, Agility based
Damage dealt: 53 + 18% Armor Penetration
Bonus / Effect: Attack with it in melee and throw it at your enemies, applying Bleed to them.Crafting workbench: Legendary Assembly
Materials to craft it: 1 Legendary Assembly Kit, 1 Legendary spear parts and 1 Hemoglobin Crystal. - Secrets of Ymir
How to get it: Kill Ymir’s Avatar, who will occasionally appear somewhere in the Highlands or snowy mountains.
This recipe contains one weapon:
· Ymir’s End
 Weapon type: Axe, Strength based
Damage dealt: 68 + 30% Armor Penetration
Bonus / Effect: Apply Cold damage to your enemies. +5 Strength.Crafting workbench: Legendary Assembly
Materials to craft it: 1 Legendary Assembly Kit, 1 Legendary short handle, 2 Legendary axe parts and 2 Frosted assembly pieces.
🗡 Weapons VIII (from the Gods)
 To interact with these weapons (except Ymir’s) you need to have a Corrupted Spellbook in your Inventory that will be consumed when touching the weapon.
By interacting you’ll learn its recipe, that is, you won’t obtain the weapon as such.
All of the weapons are located in places consistent with their religion, so you could more or less guess their location (except Yamato’s and Ymir’s weapons). Still, here is a map of the Exiled Lands with their locations.
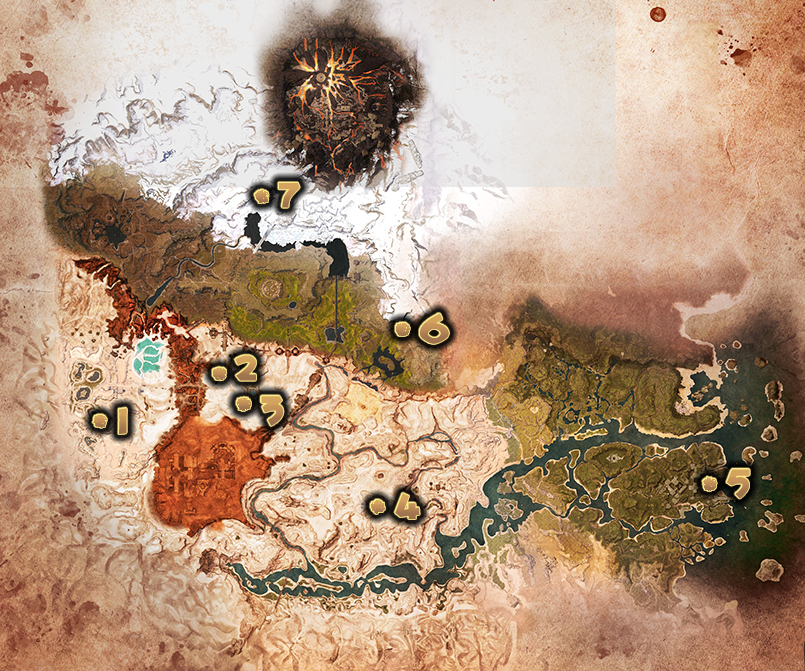 Map legend:
1. Set’s weapon.
2. Jhebbal Sag’s weapon.
3. Mitra’s weapon.
4. Yog’s weapon.
5. Derketo’s weapon.
6. Yamato’s weapon.
7. Ymir’s weapon.
- Set’s Mistmakers
Place where it is: East of the desert, in the city of Sepermeru. In the first image you can see the Sepermeru tavern in the background to have a reference of where to find these daggers.
Weapon type: Daggers, Agility based
Damage dealt: 60 + 18% Armor Penetration
Bonus / Effect: Enemies you attack will undergo Set. Crafting workbench: Legendary Assembly
Materials to craft it: 1 Legendary Assembly Kit, 1 Legendary short handle, 2 Cosmic Steel Bar and 2 Snakebite (daggers that you can craft in the Sanctum of Set).When you draw these daggers and attack with them, the hiss of a snake will sound.
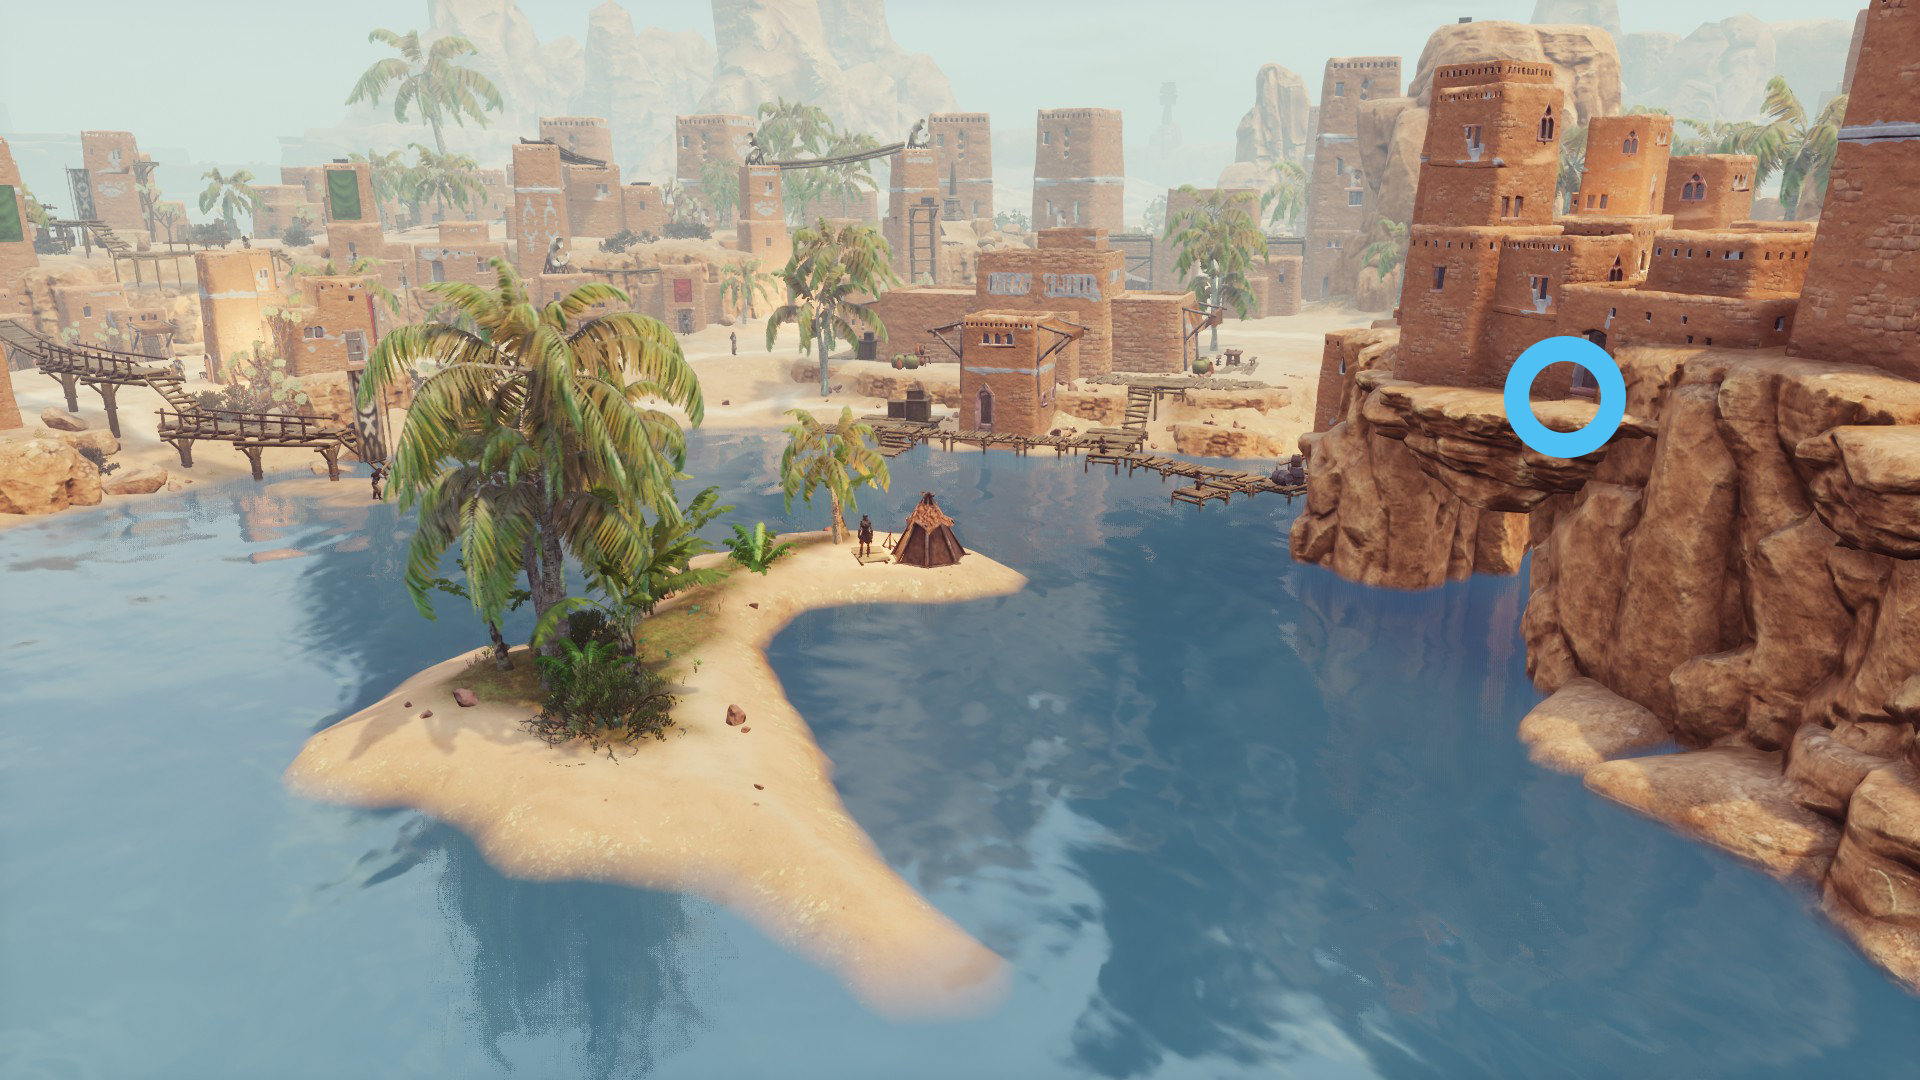
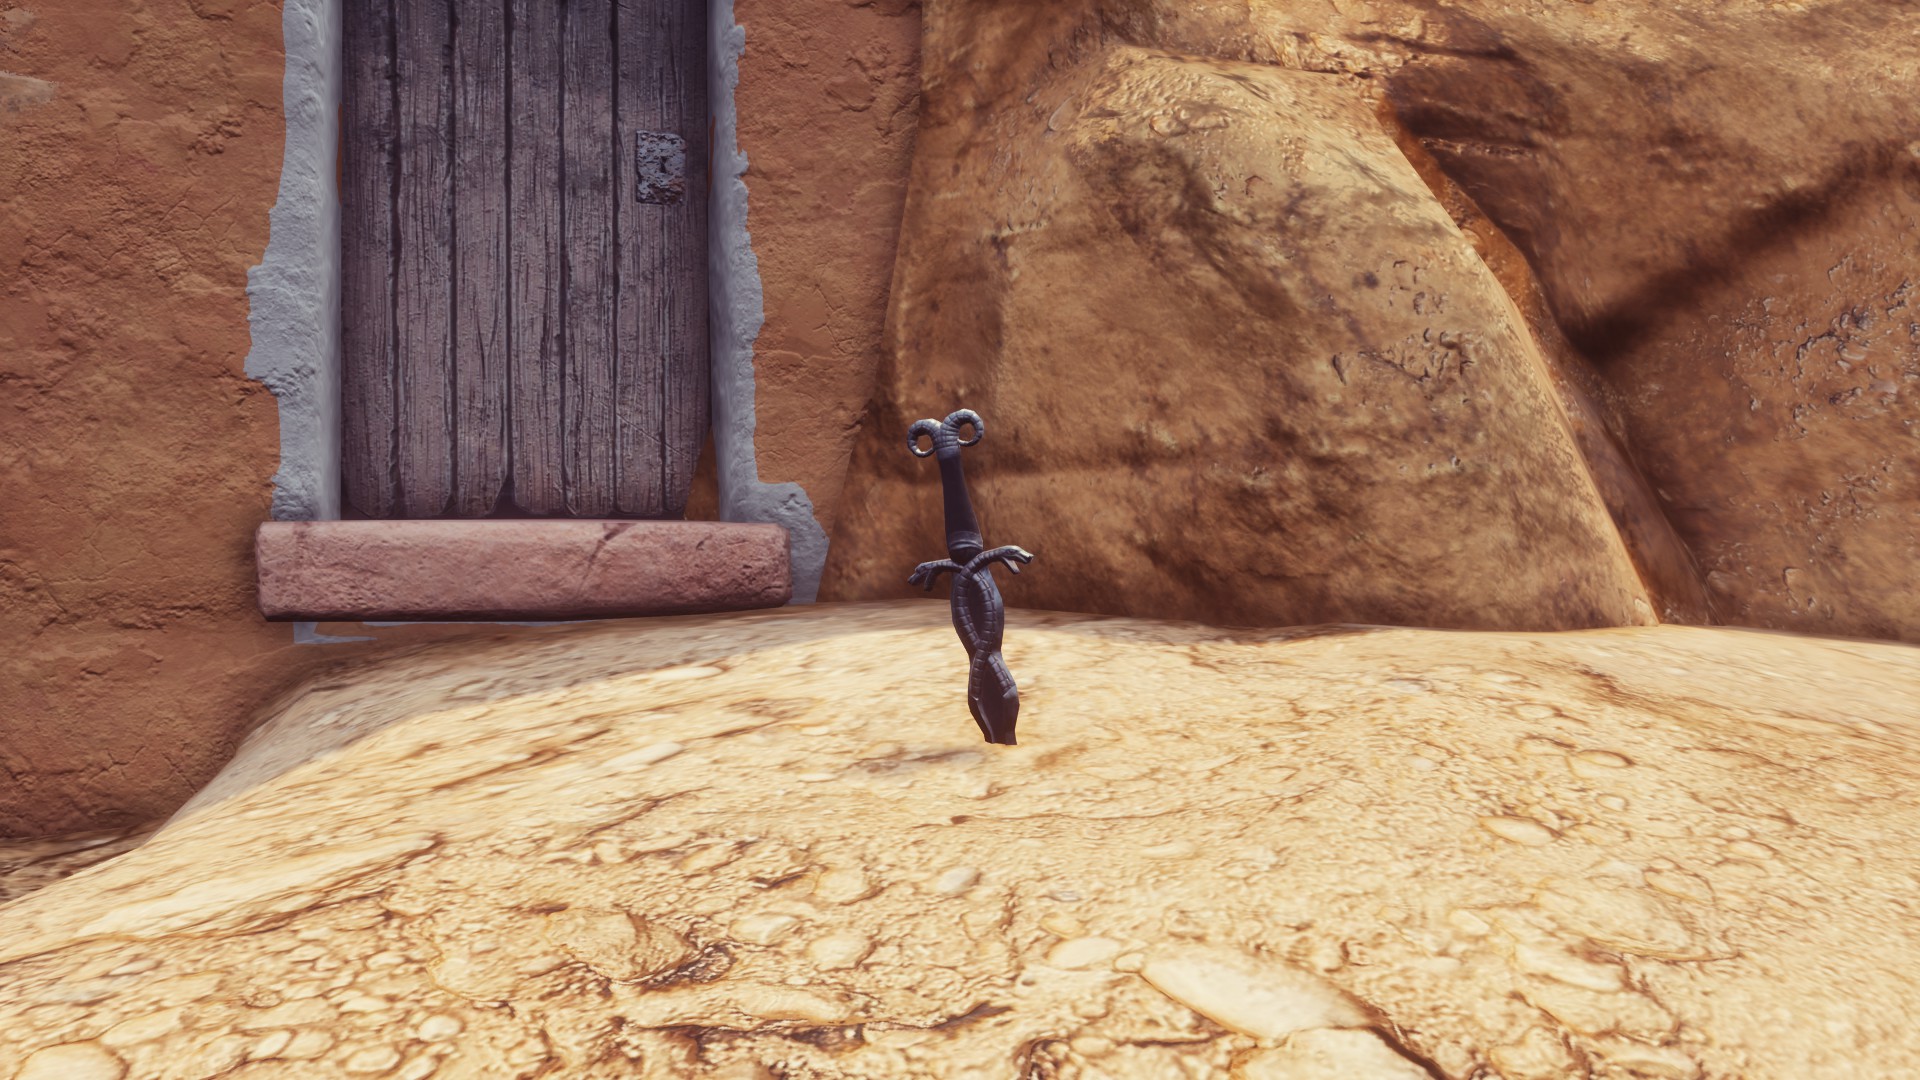
- Instruments of Jhebbal Sag
Place where it is: In the desert, north of The Unnamed City. The daggers are stuck atop the Acheronian ruins seen in the first image, where you’ll find the Child of Jhebbal Sag and the Totem of Jhebbal Sag.
Weapon type: Claws, Agility based
 Damage dealt: 46 + 12% Armor Penetration
Bonus / Effect: Enemies you attack will undergo Jhebbal Sag.Crafting workbench: Legendary Assembly
Materials to craft it: 1 Legendary Assembly Kit, 1 Legendary short handle, 2 Cosmic Steel Bar and 2 Claws of Jhebbal Sag (claws that you can craft in Grove of Jhebbal Sag).
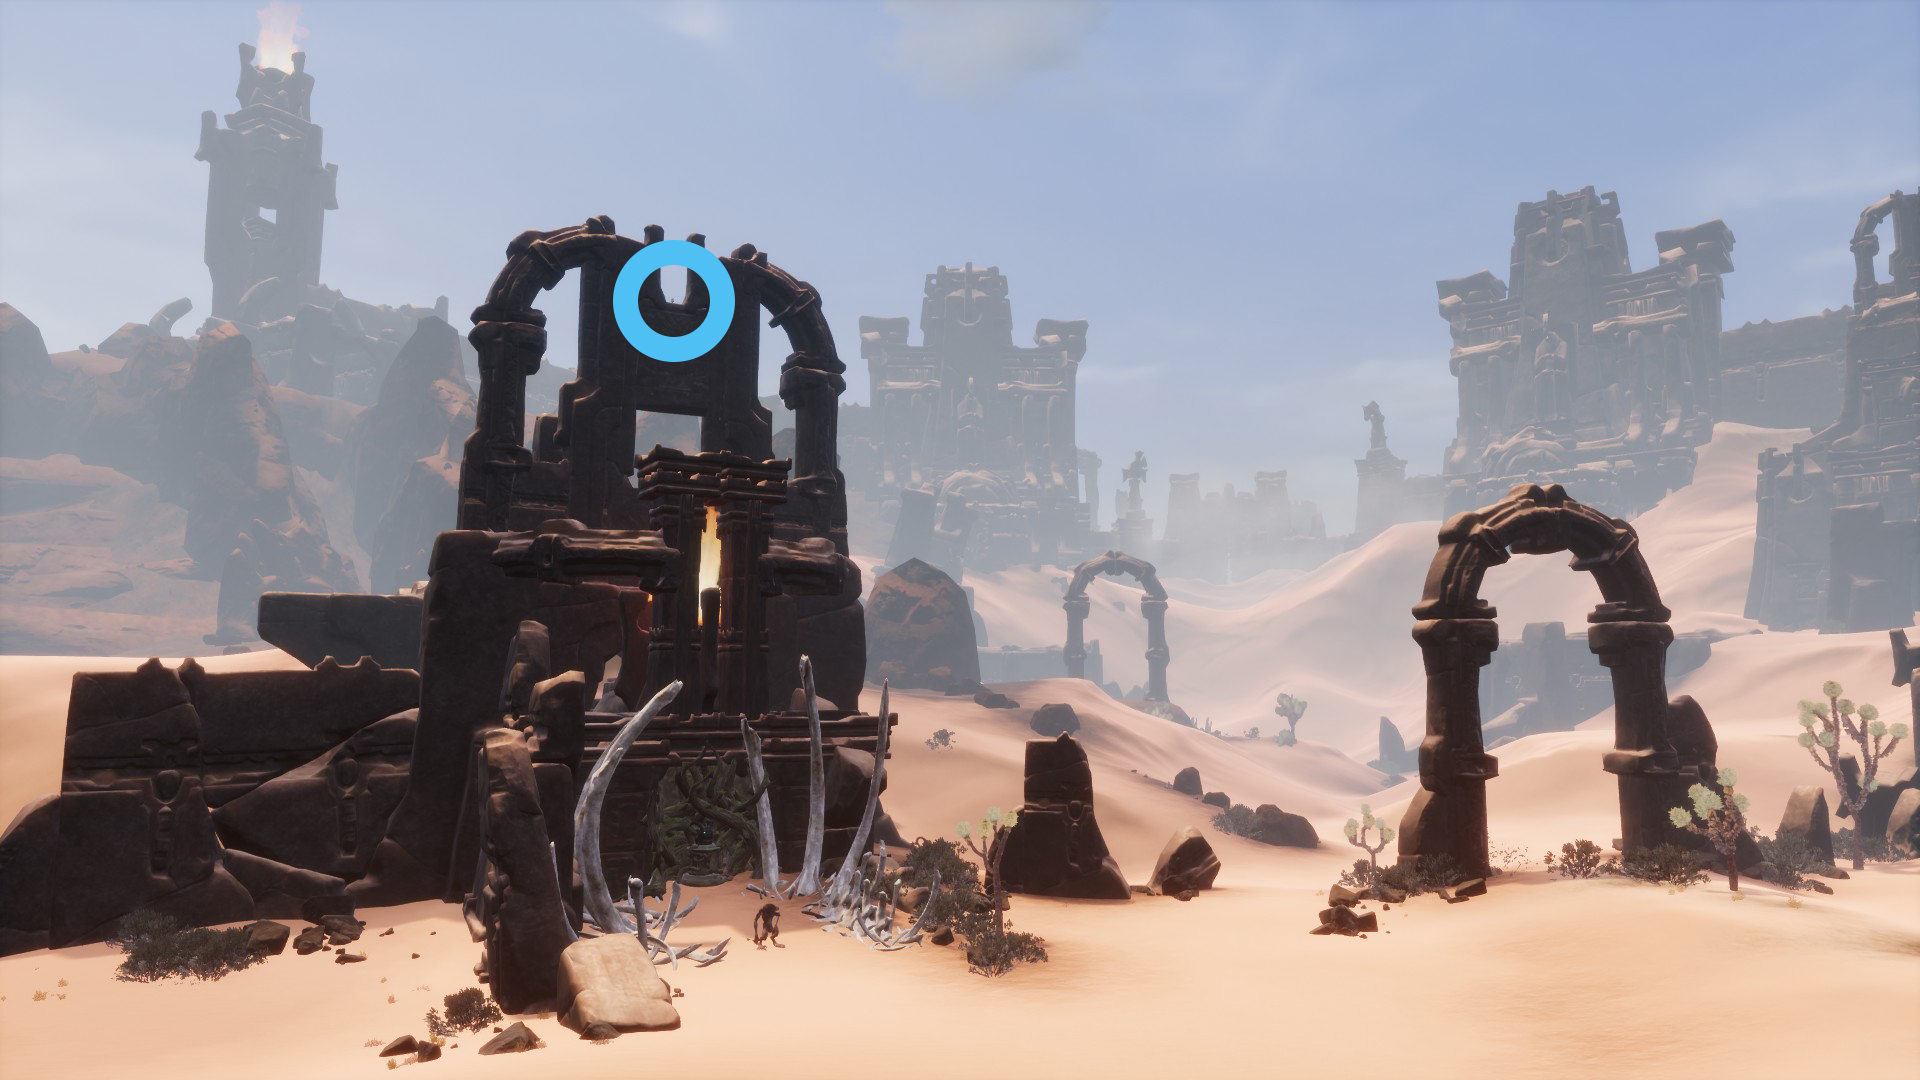
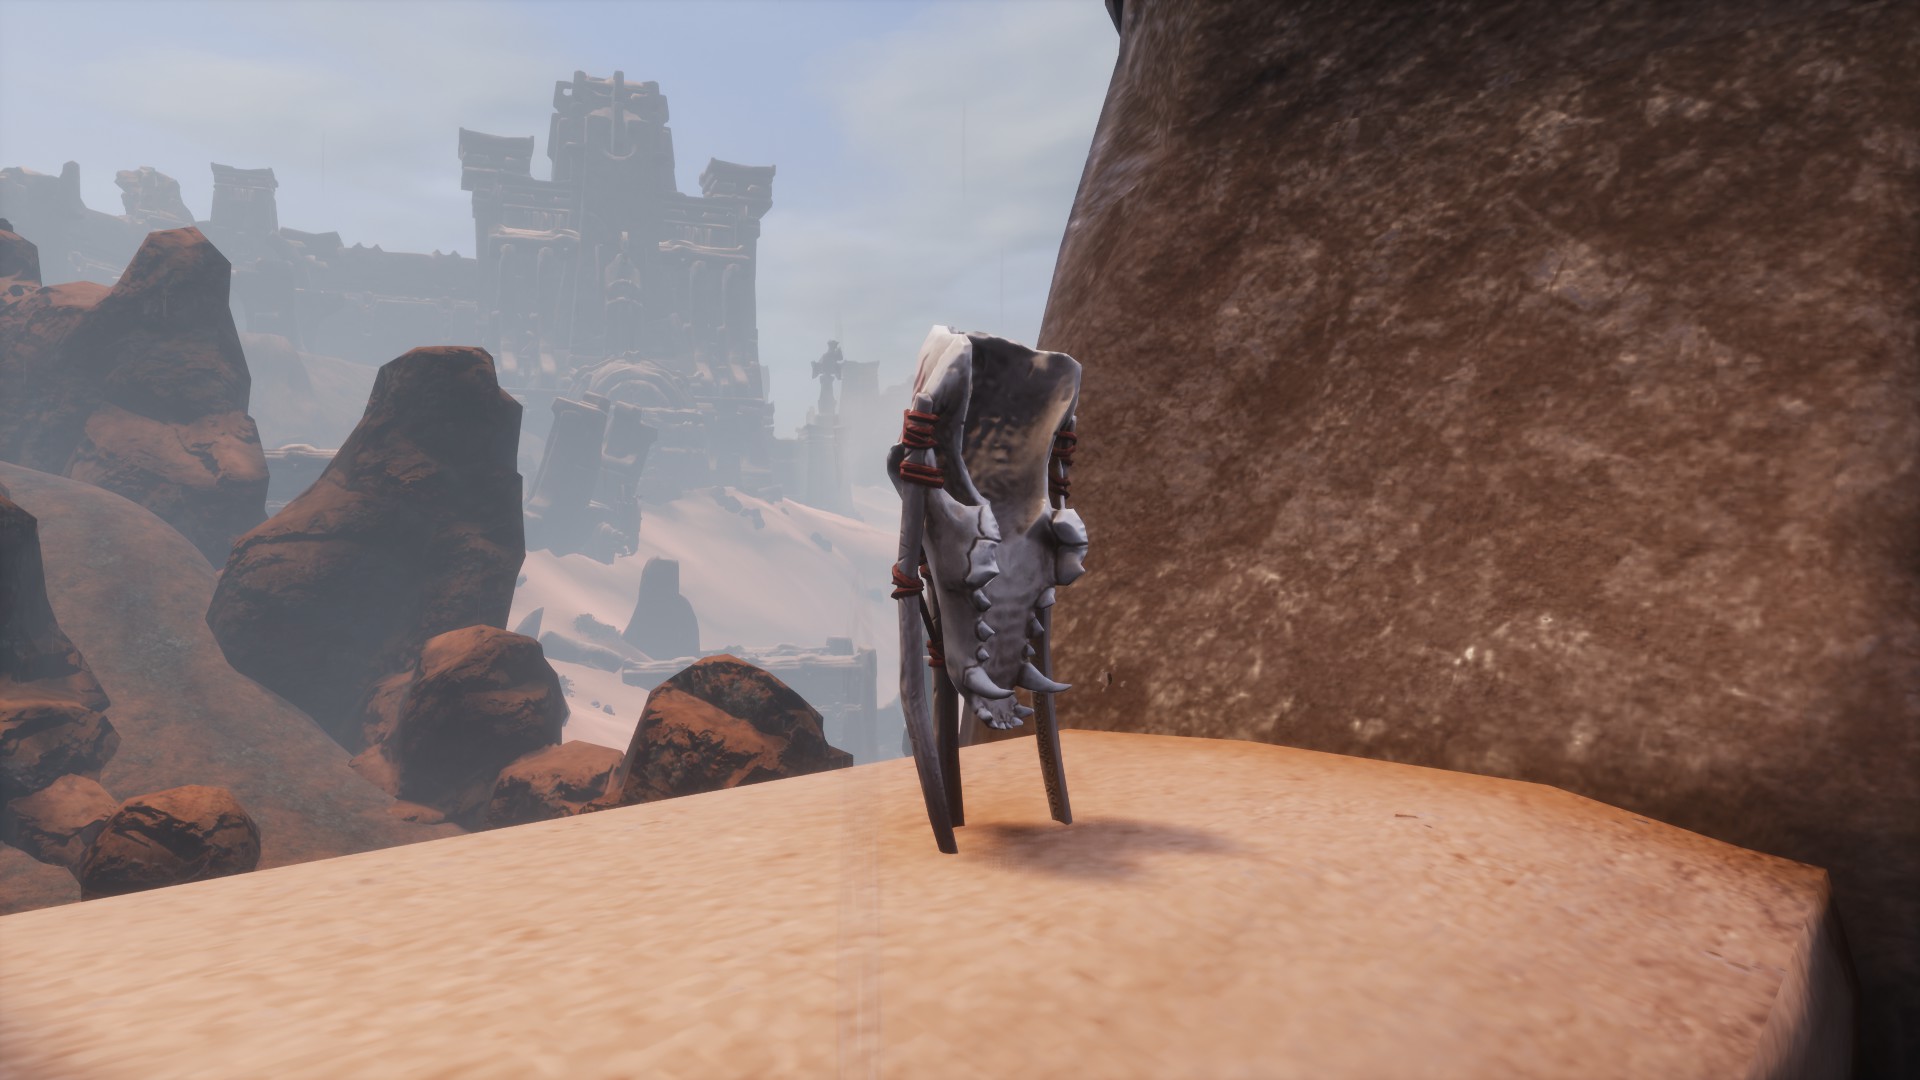
- Mitra’s Blessings
Place where it is: In the desert, north of The Unnamed City. The spear is in Muriela’s Hope, stuck on the back of the statue of Mitras.
Weapon type: Spear, Strength based
 Damage dealt: 65 + 9% Armor Penetration
Bonus / Effect: Enemies you attack will undergo Mitra.Crafting workbench: Legendary Assembly
Materials to craft it: 1 Legendary Assembly Kit, 1 Legendary long handle, 2 Cosmic Steel Bar and 2 The Staff of Epemitreus (spear that you can craft in Temple of Mitra).
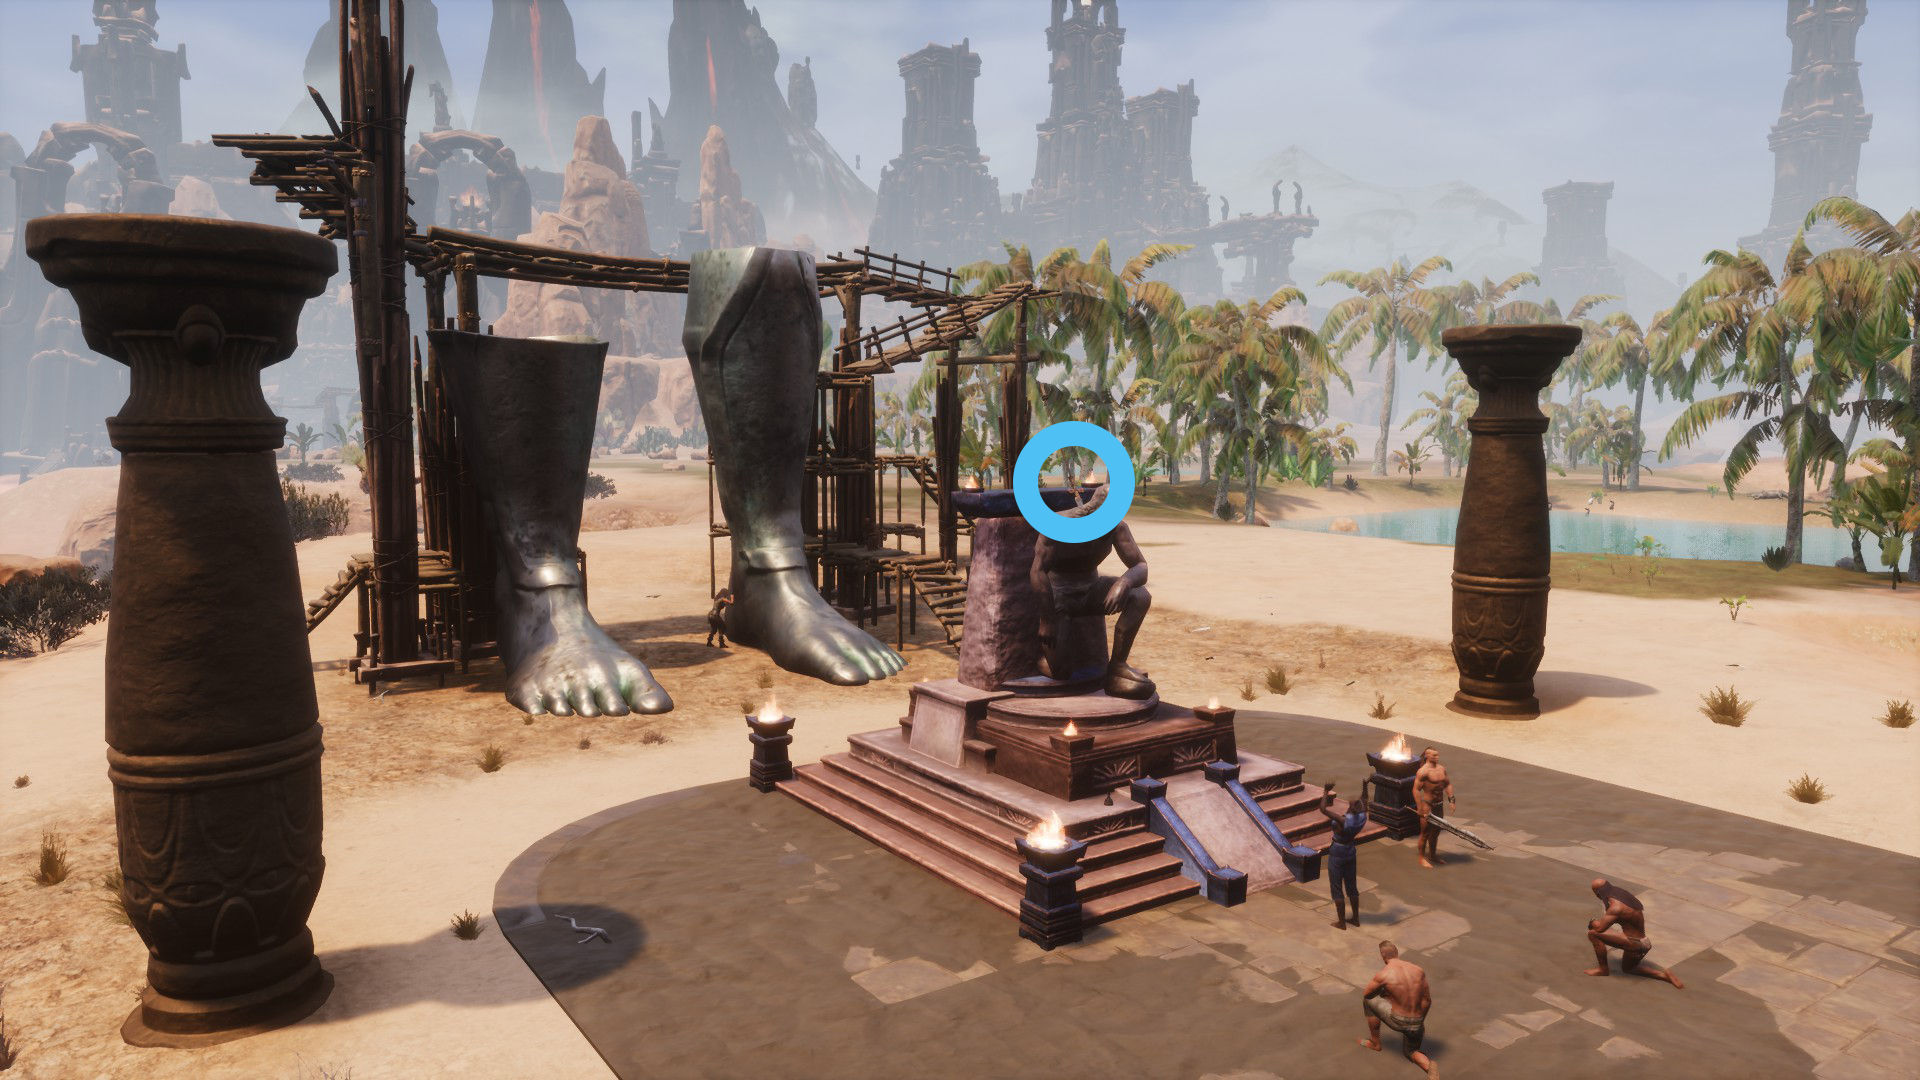
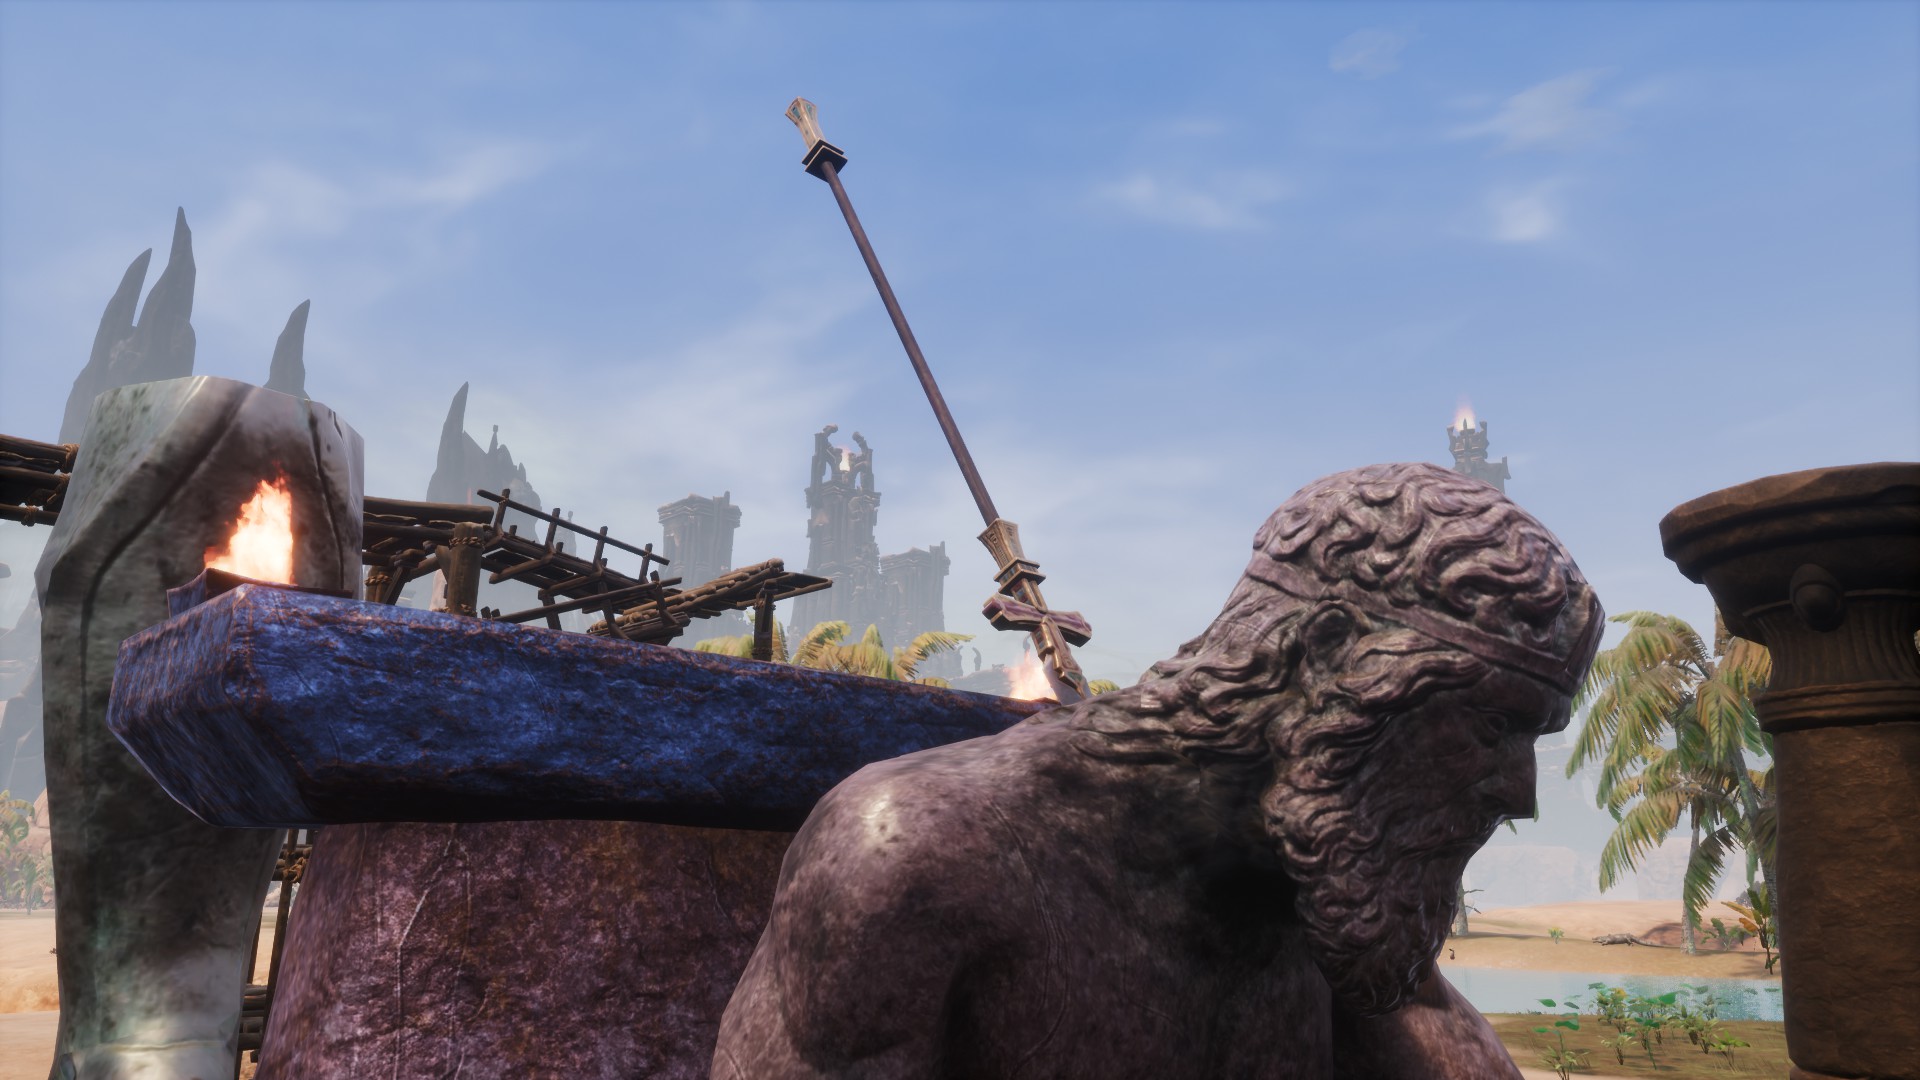
- Yog’s Destroyer
Place where it is: West of the desert, in The Summoning Place. The mace will be at the top of the ruins as you see in the first image, stuck in the rock.
Weapon type: Mace, Strength based
 Damage dealt: 64 + 28% Armor Penetration
Bonus / Effect: Enemies you attack will undergo Yog.Crafting workbench: Legendary Assembly
Materials to craft it: 1 Legendary Assembly Kit, 1 Legendary short handle, 2 Cosmic Steel Bar and 2 The Tenderizer (mace that you can craft in Abyss of Yog).
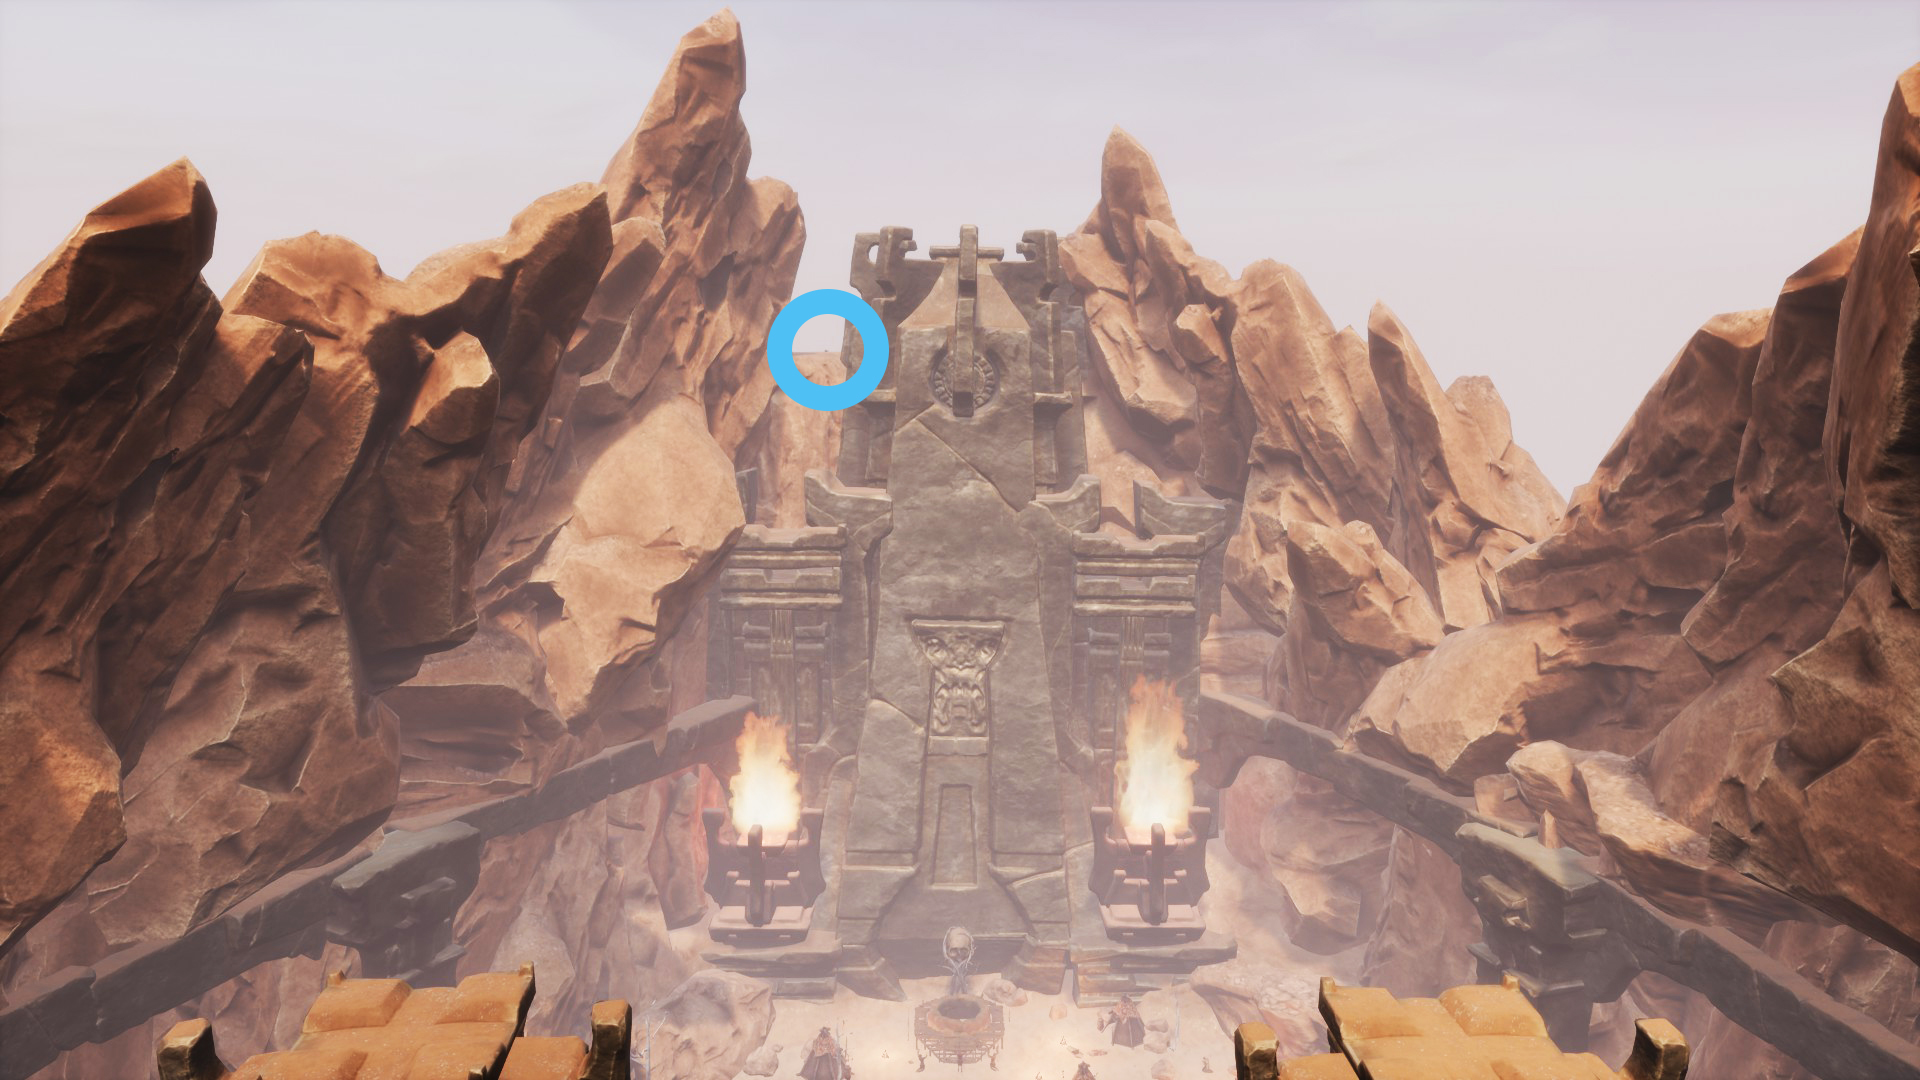
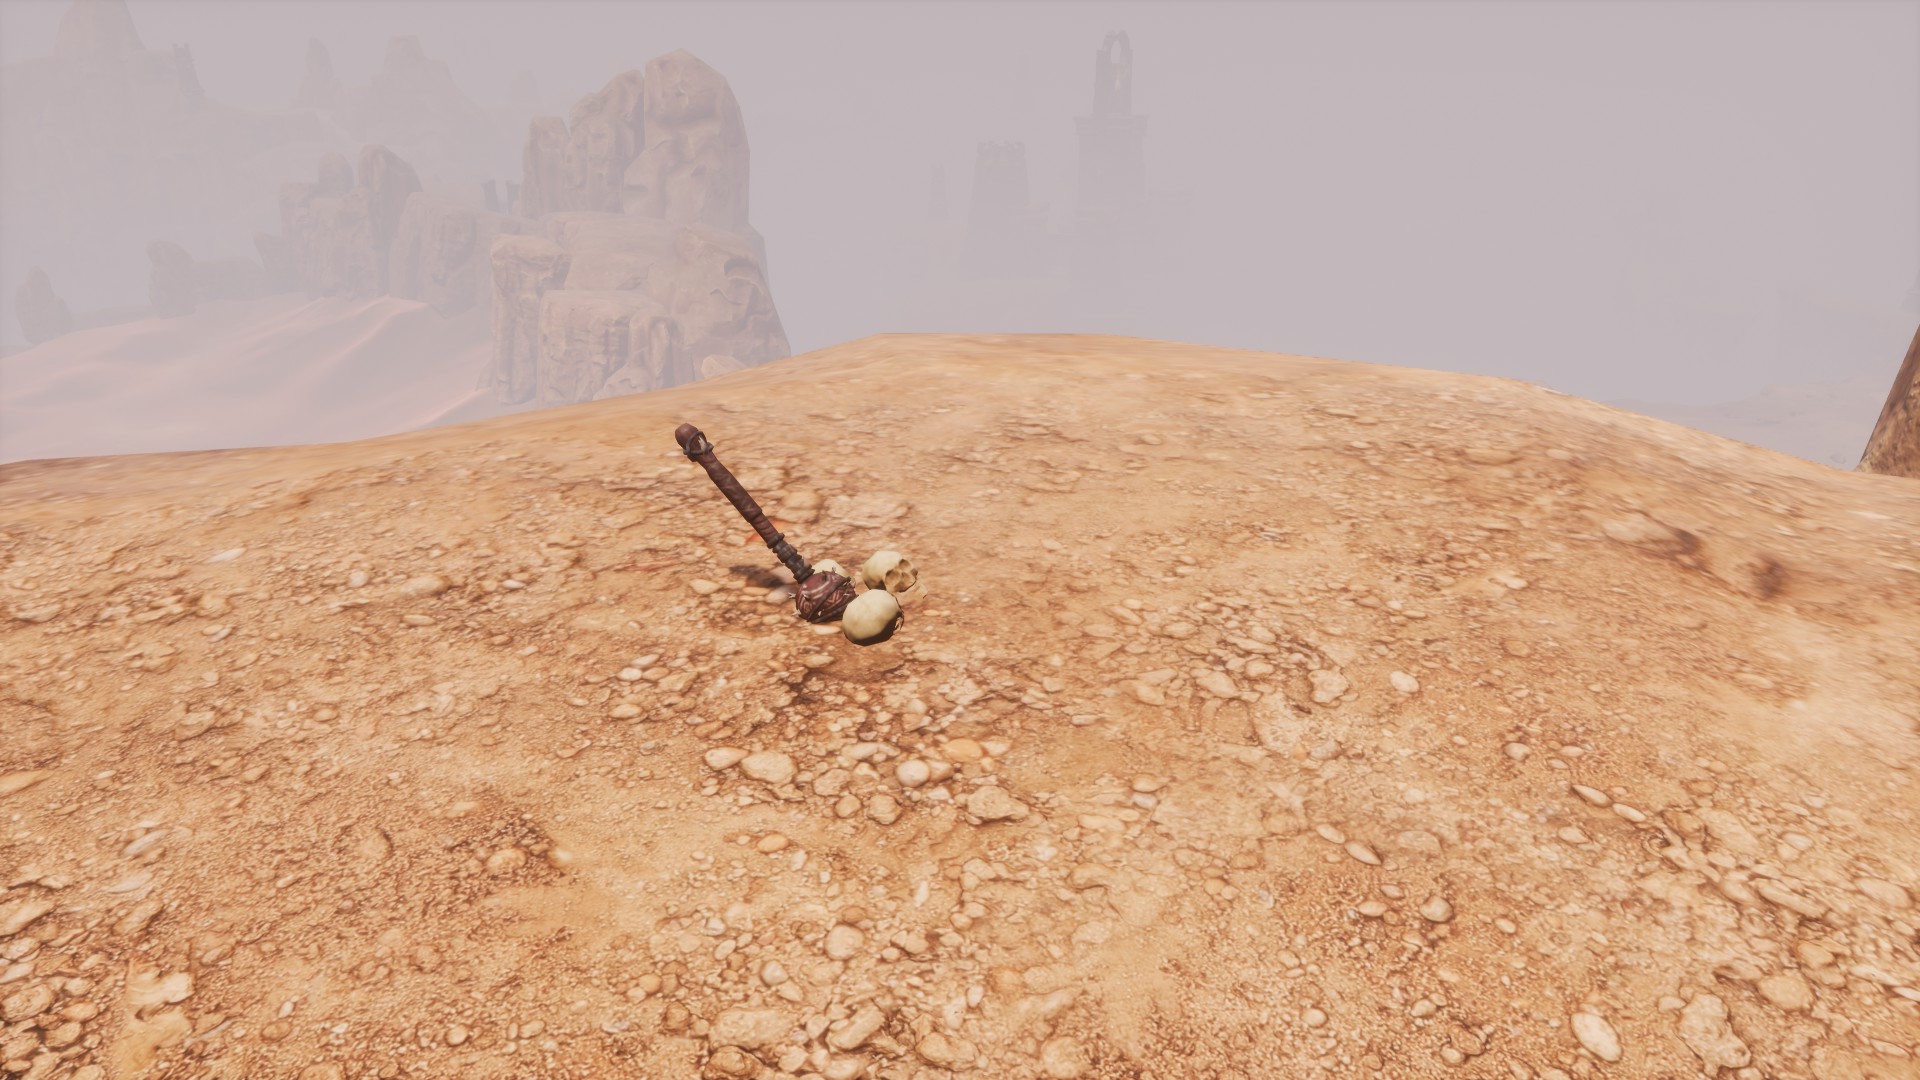
- Swingers of Derketo
Place where it is: West of the jungle, in the Palace of the Witch Queen of the Forgotten City of Xel-ha. The swords are before entering the dungeon, near the waterfall on the left side (first image).
Weapon type: Dual Swords, Agility based
Damage dealt: 60 + 18% Armor Penetration
Bonus / Effect: Enemies you attack will undergo Derketo. Crafting workbench: Legendary Assembly
Materials to craft it: 1 Legendary Assembly Kit, 1 Legendary short handle, 2 Cosmic Steel Bar and 2 Lusttaker (swords that you can craft in Pleasure Palace of Derketo).When using the strong attack with these dual swords, women’s moans will sound.
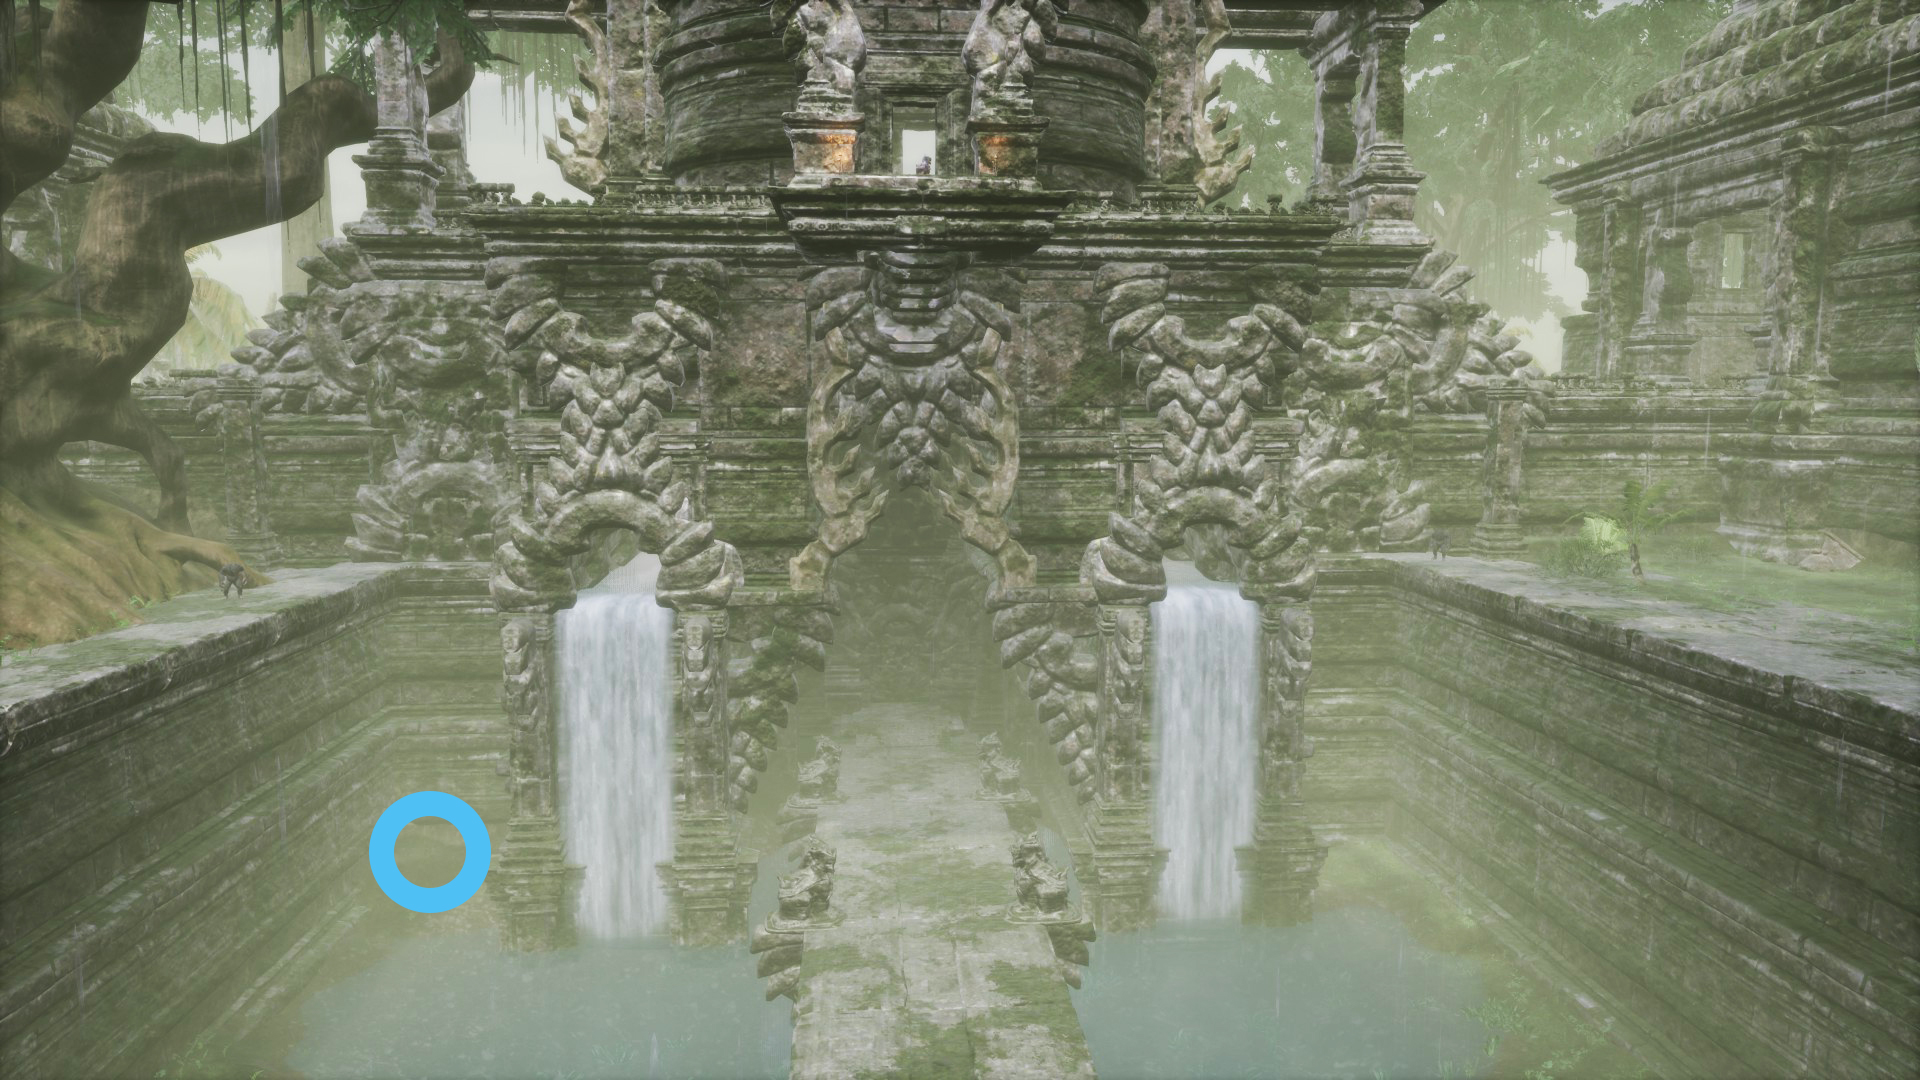
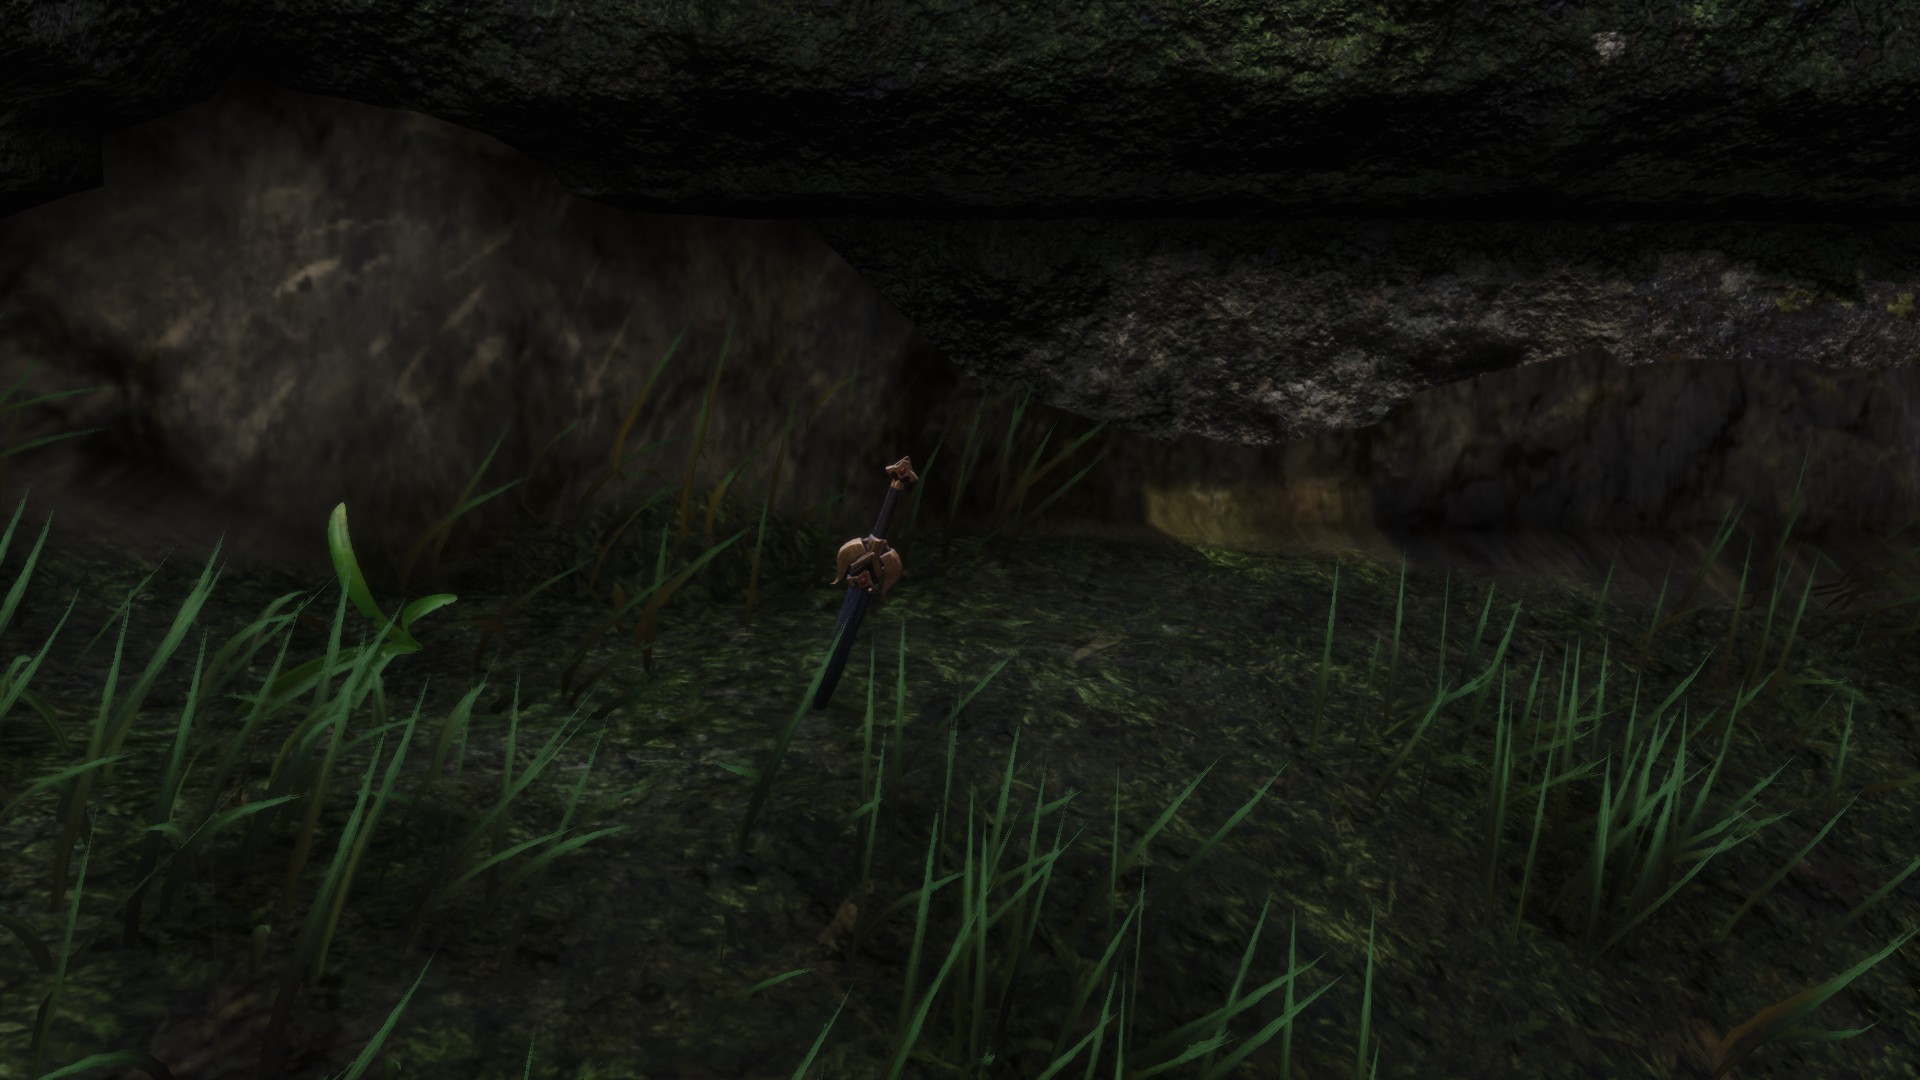
- Yamato’s Holiness
Place where it is: West of the Highlands, very close to where the snowy area begins. The katana is nailed to the base of the obelisk on the cursed wall in the image, on the Scartalon Ridgeline.
 Weapon type: Katana, Agility based
Damage dealt: 68 + 14% Armor Penetration
Bonus / Effect: Enemies you attack will undergo Yamato.Crafting workbench: Legendary Assembly
Materials to craft it: 1 Legendary Assembly Kit, 1 Legendary long handle, 2 Cosmic Steel Bar and 2 Legendary sword parts.
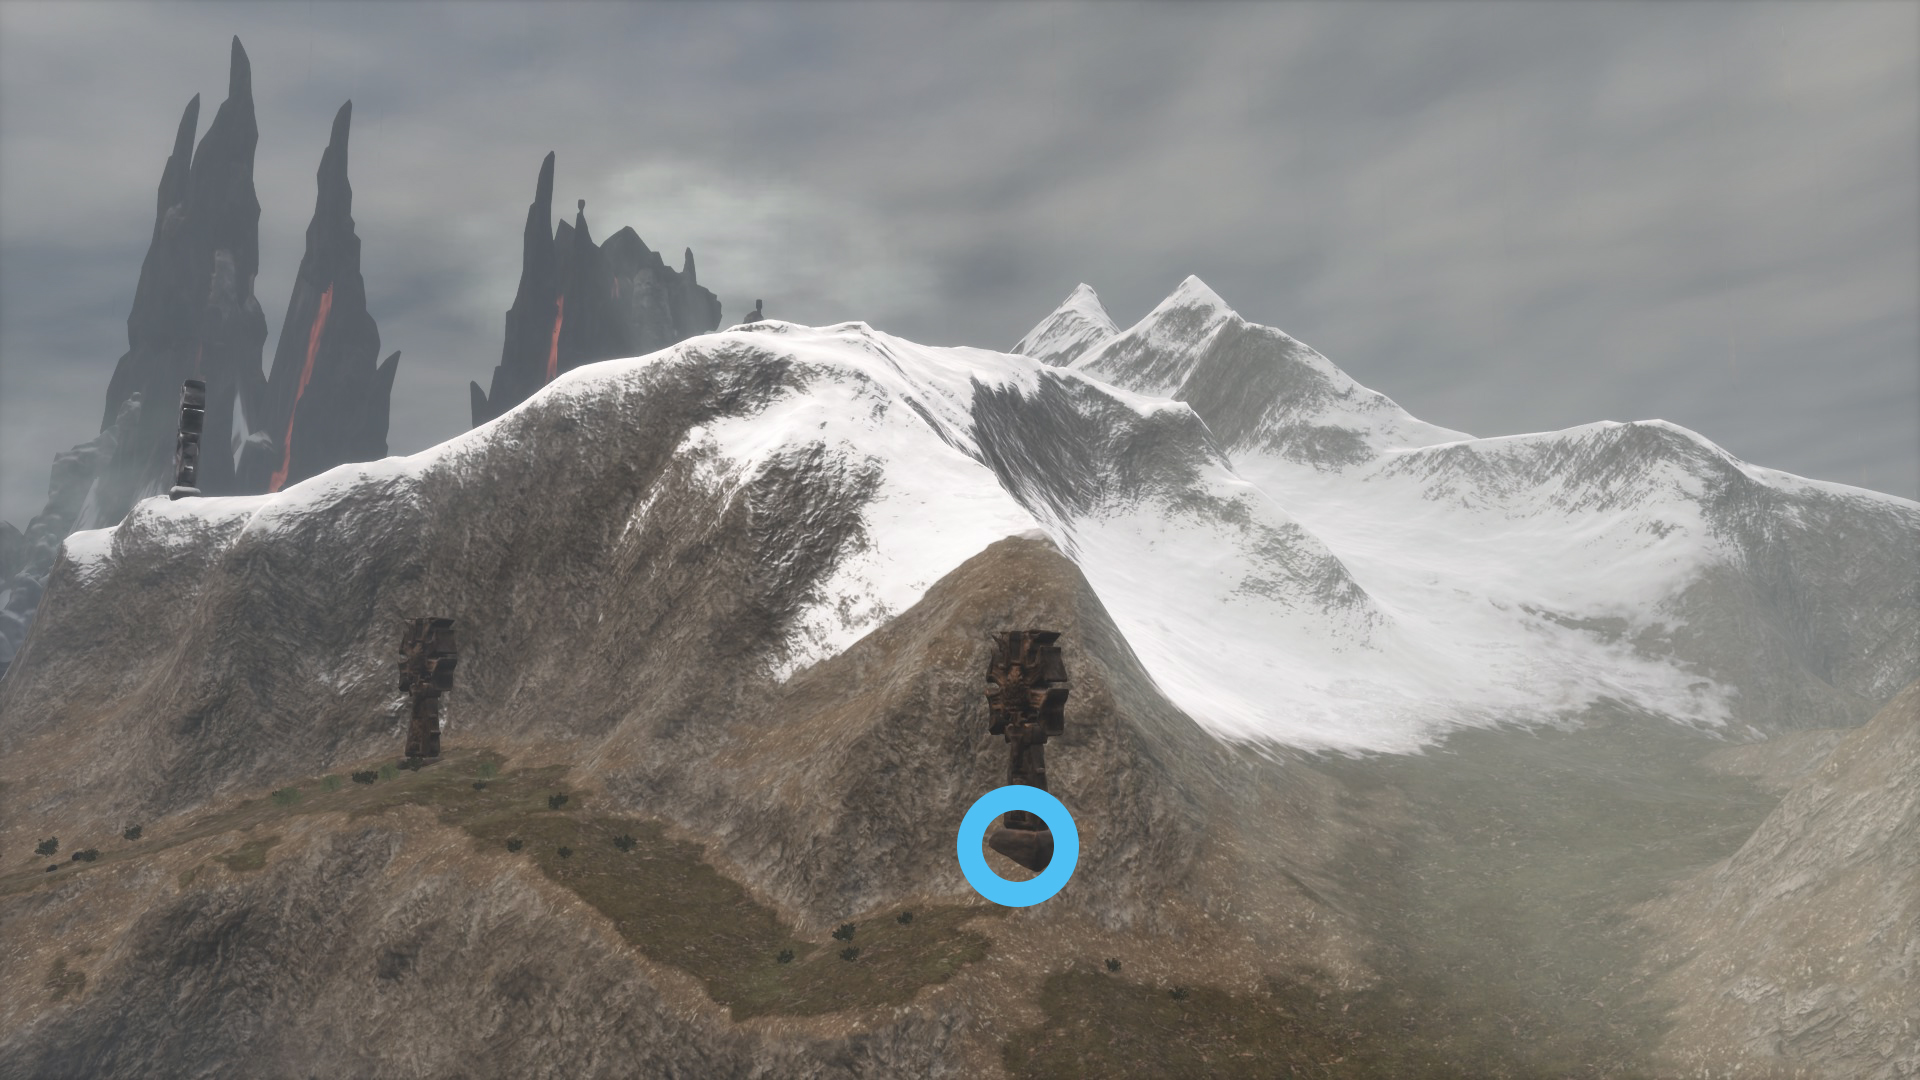
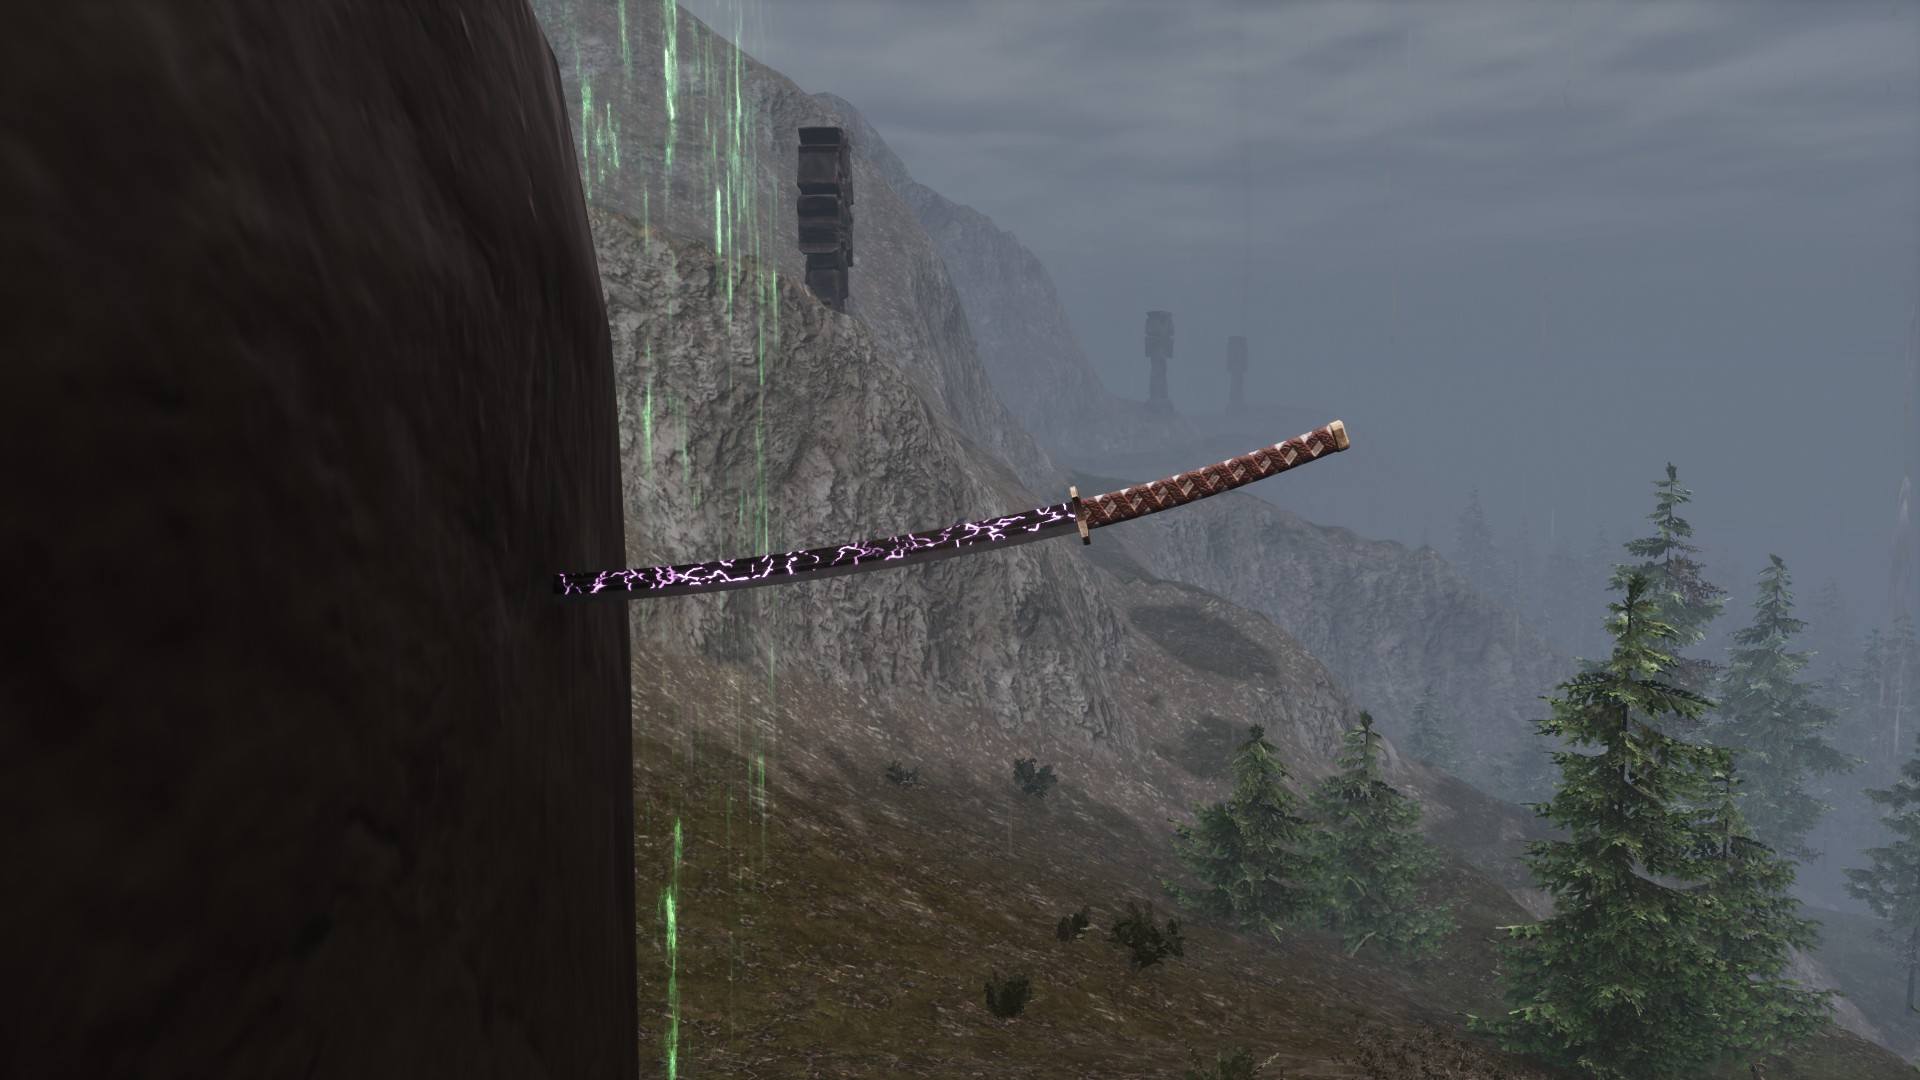
- Ymir’s Presence
Place where it is: In the central area of the snowy mountains. The ax will be stuck at the top of the Lemurian ruins between The Black Keep (seen in the background in the images) and the Perilous Valley.
Weapon type: Axe, Strength based
 Damage dealt: 68 + no Armor Penetration
Bonus / Effect: Enemies you attack will undergo Ymir.Crafting workbench: Legendary Assembly
Materials to craft it: 1 Legendary Assembly Kit, 1 Legendary short handle, 2 Cosmic Steel Bar and 2 Foeshatter (axe that you can craft in Exalted Altar of Ymir).
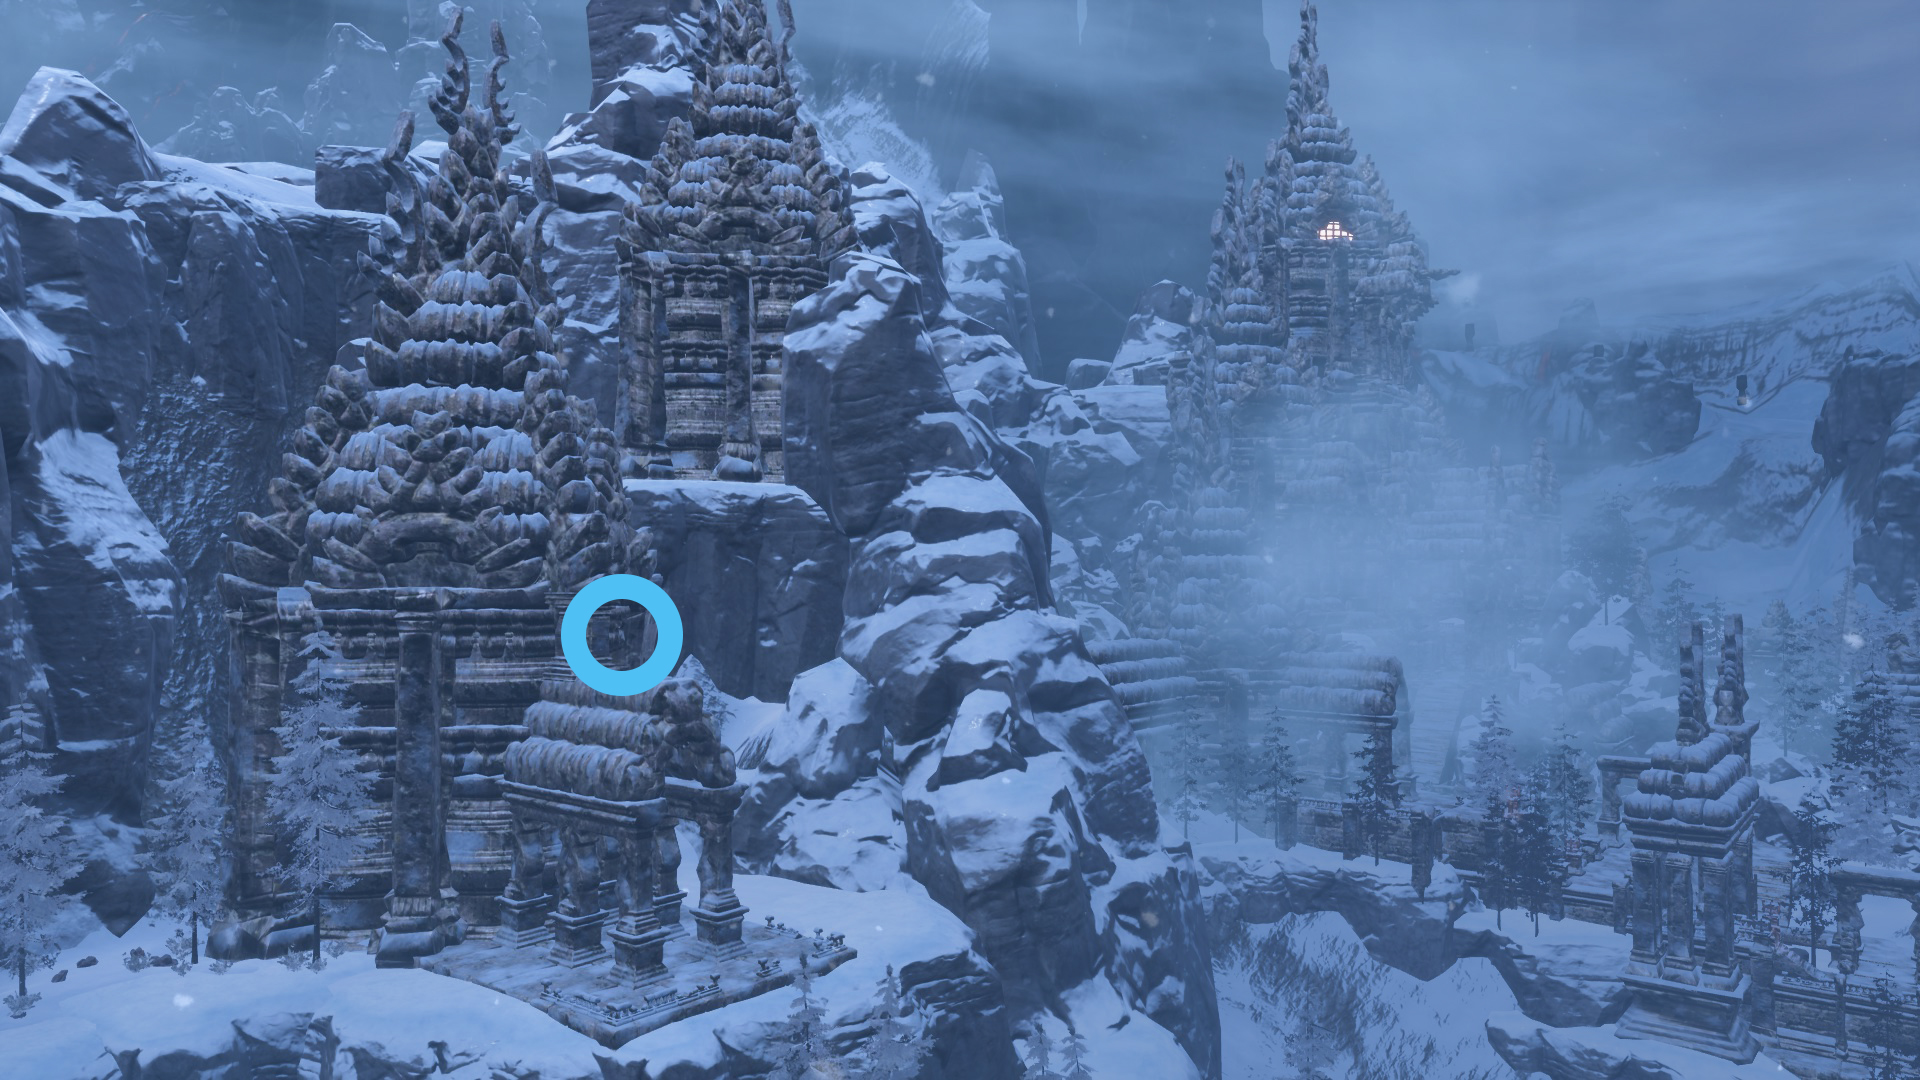
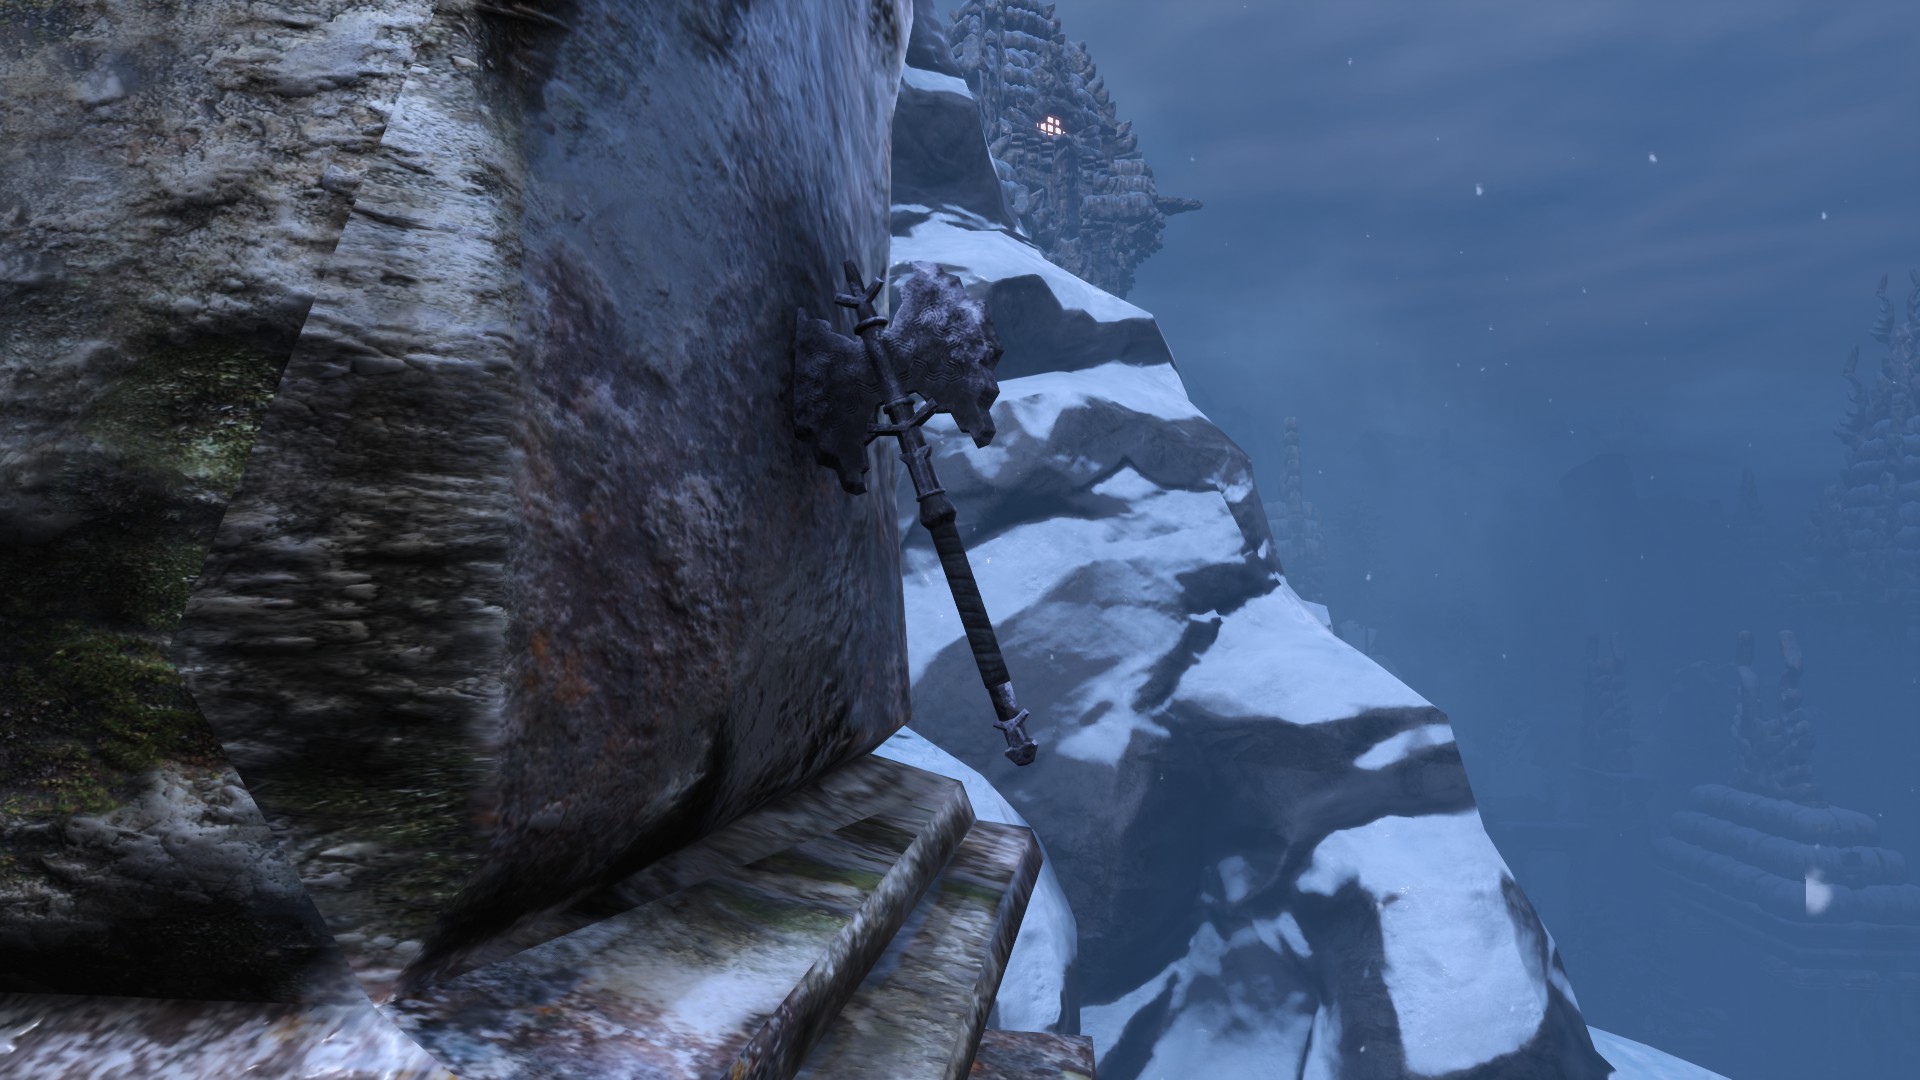
🗡 Weapons IX (from loot)
- Avarice Edge
 Weapon type: Katana, Agility based
Damage dealt: 56 + 25% Armor Penetration
Bonus / Effect: Apply Deep Cuts (quickly applied to your enemies, causing damage).Crafting workbench: Legendary Assembly
Materials to craft it: 1 Legendary Assembly Kit, 1 Legendary long handle and 2 Legendary sword parts. - Balgamesh
 Weapon type: Axe, Strength based
Damage dealt: 67 + 20% Armor Penetration
Bonus / Effect: Grants Magic Throw (casts a replica of itself each time it attacks).Crafting workbench: Legendary Assembly
Materials to craft it: 1 Legendary Assembly Kit, 1 Legendary short handle and 2 Legendary axe parts. - Blade of Jarus
 Weapon type: Katana, Agility based
Damage dealt: 66 + 12% Armor Penetration
Bonus / Effect: Apply Crushing Blow (each hit will cause more damage to your enemy and you will have a chance to knock them down).Crafting workbench: Legendary Assembly
Materials to craft it: 1 Legendary Assembly Kit, 1 Legendary long handle and 2 Legendary sword parts. - Celestia
 Weapon type: Sword, Strength based
Damage dealt: 75 + 8% Armor Penetration
Bonus / Effect: Grants Soul Seeking (when attacking an enemy, you’ll also deal some damage to nearby enemies).Crafting workbench: Legendary Assembly
Materials to craft it: 1 Legendary Assembly Kit, 1 Legendary short parts and 2 Legendary sword parts. - Crushing habits
 Weapon type: Two handed mace, Strength based
Damage dealt: 65 + 39% Armor Penetration
Bonus / Effect: Apply Crushing Blow (each hit will cause more damage to your enemy and you will have a chance to knock them down).Crafting workbench: Legendary Assembly
Materials to craft it: 1 Legendary Assembly Kit, 1 Legendary long handle and 2 Legendary mace parts. - Cursed fell
 Weapon type: Great Axe, Strength based
Damage dealt: 104 + 20% Armor Penetration
Bonus / Effect: Grants Cursed (you deal a lot of damage but take some of that damage).Crafting workbench: Legendary Assembly
Materials to craft it: 1 Legendary Assembly Kit, 1 Legendary long handle and 2 Legendary axe parts. - Edge of Fertillity
 Weapon type: Greatsword, Strength based
Damage dealt: 98 + 23% Armor Penetration
Bonus / Effect: +8 Vitality.Crafting workbench: Legendary Assembly
Materials to craft it: 1 Legendary Assembly Kit, 1 Legendary long handle and 2 Legendary sword parts. - Edge of Today
 Weapon type: Throwing javelin
Damage dealt: 55 + 12% Armor Penetration
Bonus / Effect: You can attack with it in melee and you can throw it at your enemies by applying (each hit will cause more damage to your enemy and you will have a chance to knock them down). As soon as you use it and unequip it, it’ll disappear from your Inventory.Crafting workbench: Legendary Assembly
Materials to craft it: 1 Legendary Assembly Kit, 1 Legendary long handle and 1 Legendary spear parts. - Elegance beyond
 Weapon type: Two handed mace, Strength based
Damage dealt: 85 + 48% Armor Penetration
Bonus / Effect: +15 Agility.Crafting workbench: Legendary Assembly
Materials to craft it: 1 Legendary Assembly Kit, 1 Legendary long handle and 2 Legendary mace parts. - Headcutter
 Weapon type: Great Axe.
Damage dealt: 82 + 12% Armor Penetration
Bonus / Effect: +10 Strength.Crafting workbench: Legendary Assembly
Materials to craft it: 1 Legendary Assembly Kit, 1 Legendary long handle and 2 Legendary axe parts. - Kingdom
 Weapon type: Mace, Strength based
Damage dealt: 61 + 43% Armor Penetration
Bonus / Effect: Applies damage in relation to your Grit.Crafting workbench: Legendary Assembly
Materials to craft it: 1 Legendary Assembly Kit, 1 Legendary short handle and 2 Legendary mace parts. - Limb Hugger
 Weapon type: Axe, Strength based
Damage dealt: 59 + 43% Armor Penetration
Bonus / Effect: Increase your attack speed.Crafting workbench: Legendary Assembly
Materials to craft it: 1 Legendary Assembly Kit, 1 Legendary short handle and 2 Legendary axe parts. - Limbo
 Weapon type: Greatsword, Strength based
Damage dealt: 71 + 27% Armor Penetration
Bonus / Effect: Apply Crushing Blow (each hit will cause more damage to your enemy and you will have a chance to knock them down).Crafting workbench: Legendary Assembly
Materials to craft it: 1 Legendary Assembly Kit, 1 Legendary long handle and 2 Legendary sword parts.
🗡 Weapons X (from loot)
- Nordic Un-Wellness
 Weapon type: Two handed mace, Strength based
Damage dealt: 78 + 34% Armor Penetration
Bonus / Effect: Grant Area Blast (when you perform strong attacks you’ll make a wave that will slow and damage nearby enemies).Crafting workbench: Legendary Assembly
Materials to craft it: 1 Legendary Assembly Kit, 1 Legendary long handle and 2 Legendary mace parts. - Runic slicers
 Weapon type: Dual Swords, Agility based
Damage dealt: 62 + 12% Armor Penetration
Bonus / Effect: Apply Deep Cuts (quickly applied to your enemies, causing damage).Crafting workbench: Legendary Assembly
Materials to craft it: 1 Legendary Assembly Kit, 2 Legendary short handle and 2 Legendary sword parts. - Silverlight
 Weapon type: Sword, Strength based
Damage dealt: 66 + 9% Armor Penetration
Bonus / Effect: Apply Crushing Blow (each hit will cause more damage to your enemy and you will have a chance to knock them down).Crafting workbench: Legendary Assembly
Materials to craft it: 1 Legendary Assembly Kit, 1 Legendary short hand and 2 Legendary sword parts. - Skidrow’s End
 Weapon type: Dual Swords, Agility based
Damage dealt: 55 + 18% Armor Penetration
Bonus / Effect: Apply Crushing Blow (each hit will cause more damage to your enemy and you will have a chance to knock them down).Crafting workbench: Legendary Assembly
Materials to craft it: 1 Legendary Assembly Kit, 2 Legendary short handle and 2 Legendary sword parts. - Solarflare
 Weapon type: Greatsword, Strength based
Damage dealt: 74 + 21% Armor Penetration
Bonus / Effect: Grant Solar Healing (heals you for 15 health every 0,8 seconds).Crafting workbench: Legendary Assembly
Materials to craft it: 1 Legendary Assembly Kit, 1 Legendary long handle and 2 Legendary sword parts. - Stormbringer blade
 Weapon type: Katana, Agility based
Damage dealt: 45 + 29% Armor Penetration
Bonus / Effect: Grant Thunder (you summon thunder upon your enemies when attacking them, which sets them on fire).Crafting workbench: Legendary Assembly
Materials to craft it: 1 Legendary Assembly Kit, 1 Legendary long handle and 2 Legendary sword parts. - Stygian’s capernice
 Weapon type: Mace, Strength based
Damage dealt: 75 + 19% Armor Penetration
Bonus / Effect: +10 Vitality and +750 Armor.Crafting workbench: Legendary Assembly
Materials to craft it: 1 Legendary Assembly Kit, 1 Legendary short handle and 2 Legendary mace parts. - Swift strikes
 Weapon type: Sword, Agility based
Damage dealt: 53 + 21% Armor Penetration
Bonus / Effect: Increase your attack speed.Crafting workbench: Legendary Assembly
Materials to craft it: 1 Legendary Assembly Kit, 1 Legendary long handle and 2 Legendary sword parts. - Swordbreaker
 Weapon type: Sword, Strength based
Damage dealt: 65 + 5% Armor Penetration
Bonus / Effect: Apply Sunder to enemies.Crafting workbench: Legendary Assembly
Materials to craft it: 1 Legendary Assembly Kit, 1 Legendary short handle and 2 Legendary sword parts. - The affliced
 Weapon type: Greatsword, Strength based
Damage dealt: 90 + 16% Armor Penetration
Bonus / Effect: Apply Afflicted (you’ll apply different negative effects to your enemy).Crafting workbench: Legendary Assembly
Materials to craft it: 2 Legendary Assembly Kit, 1 Legendary long handle and 2 Legendary sword parts. - The deep
 Weapon type: Trident, Strength based
Damage dealt: 58 + 8% Armor Penetration
Bonus / Effect: None.Crafting workbench: Legendary Assembly
Materials to craft it: 1 Legendary Assembly Kit, 1 Legendary long handle and 4 Legendary spear parts. - The haymaker
 Weapon type: Spear, Strength based
Damage dealt: 71 + 30% Armor Penetration
Bonus / Effect: Grant Haylift (you’ll push your enemies back when attacking them and slow them down). +8 Vitality.Crafting workbench: Legendary Assembly
Materials to craft it: 1 Legendary Assembly Kit, 1 Legendary long handle and 2 Legendary spear parts. - Trophy of the Guardian
 Weapon type: Bow, Agility based
Damage dealt: 31 + 26% Armor Penetration
Bonus / Effect: You will have a 60% chance of replenish the arrows you shoot.Crafting workbench: Legendary Assembly
Materials to craft it: 1 Legendary Assembly Kit, 1 Legendary bowstring and 2 Legendary bow parts. - Vanir’s eye
 Weapon type: Spear, Strength based
Damage dealt: 49 + 15% Armor Penetration
Bonus / Effect: Apply Deep Cuts (quickly applied to your enemies, causing damage).Crafting workbench: Legendary Assembly
Materials to craft it: 1 Legendary Assembly Kit, 1 Legendary long handle and 2 Legendary spear parts. - Swords of Ebon*
 Weapon type: Dual Swords, Agility based
Damage dealt: 52 + 9% Armor Penetration
Bonus / Effect: Grant Unbreakable (you’re immune to knockdowns while attacking).Crafting workbench: Legendary Assembly
Materials to craft it: 1 Legendary Assembly Kit, 1 Legendary short handle, 2 Legendary sword parts and 100 Handheld Ymir Totems.
* This weapon will only be available if your server admin shows you the recipe.
💠 Armor I
 Exile Epics. You can learn them in the Knowledge window of the menu.
You’ll need to be at least level 60 and have learned the Star Metal Tools and Armorer 8 feats.
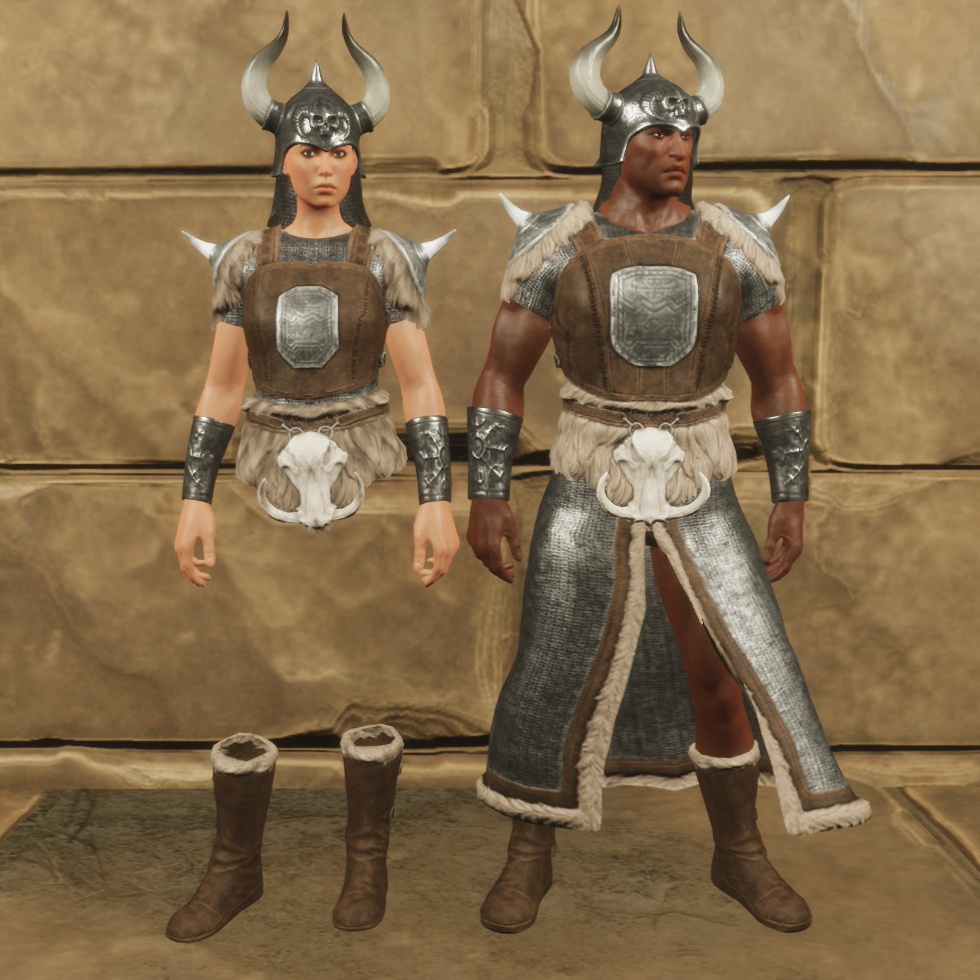
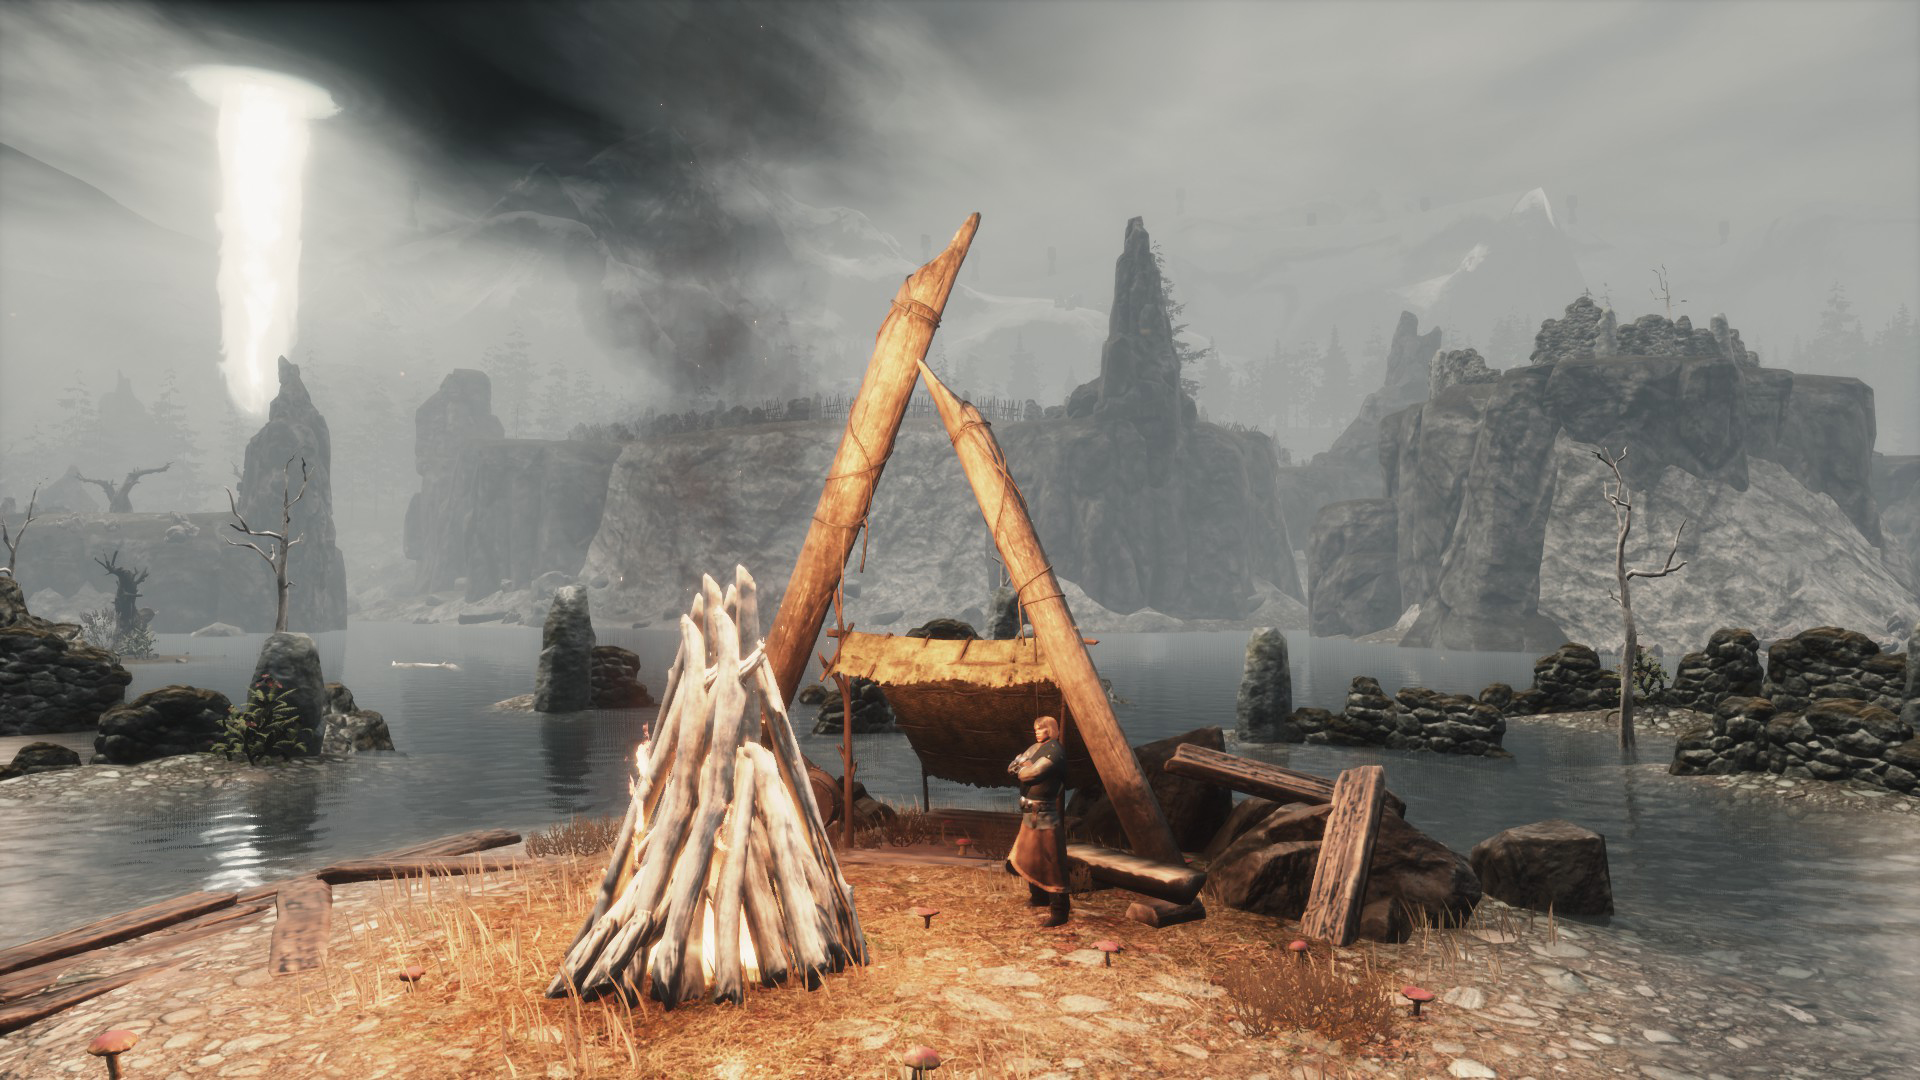
Get the feat: Braga the Cimmerian, will sell you this feat in exchange for 500 Handheld Ymir Totems.
Armor type: Medium Armor
Armor value: 540
Thermal isolation: 3 / 10 ☀️ ➖ 6 / 10 ❄️
Bonus / Effect: Grants Snowstorm Aura (applies Cold Strikes to nearby enemies).
Visually you will have a snowy effect around you.
Crafting workbench: Improved Armorer’s Bench.
Materials to craft it: 5 Perfected Medium Padding, 37 Armor Scraps, 66 Star Obsidian Bars and the Pride of Aesir set (you can craft it in The Forge of Ymir in The Temple of Frost, you’ve more information about getting this feat in the Braga quests “✏️ Quests II”).
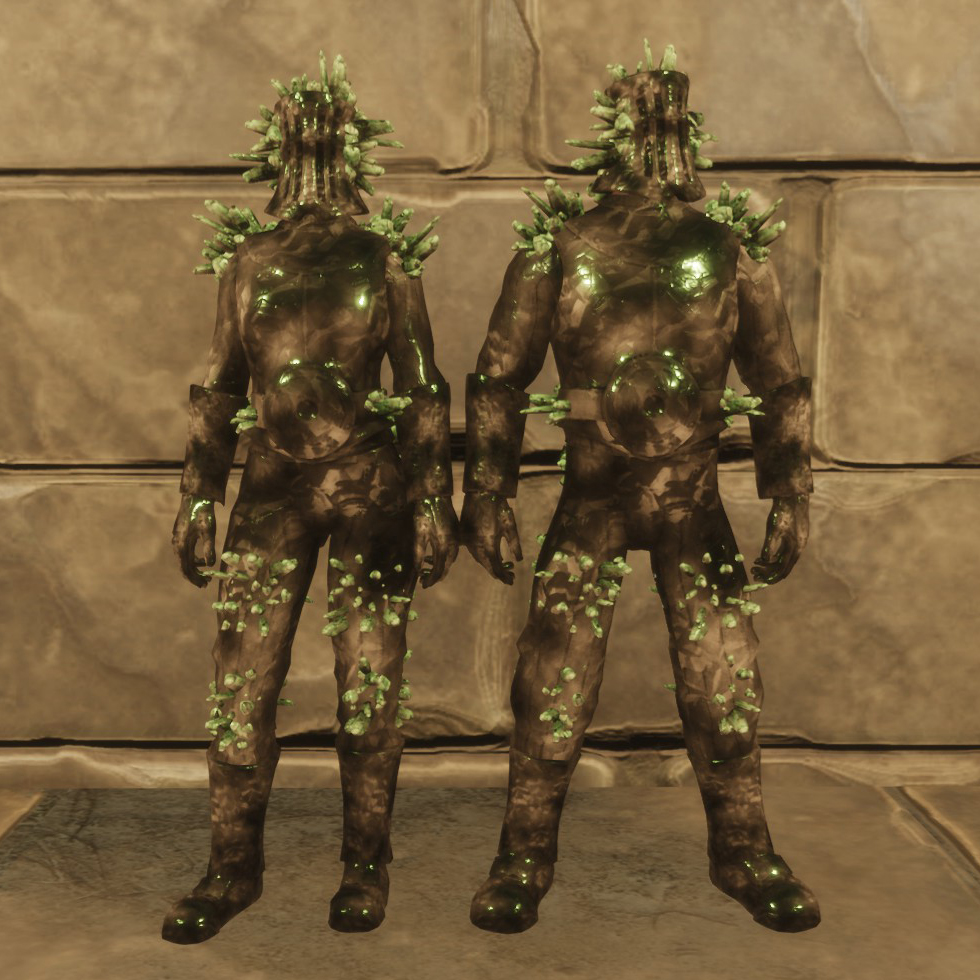
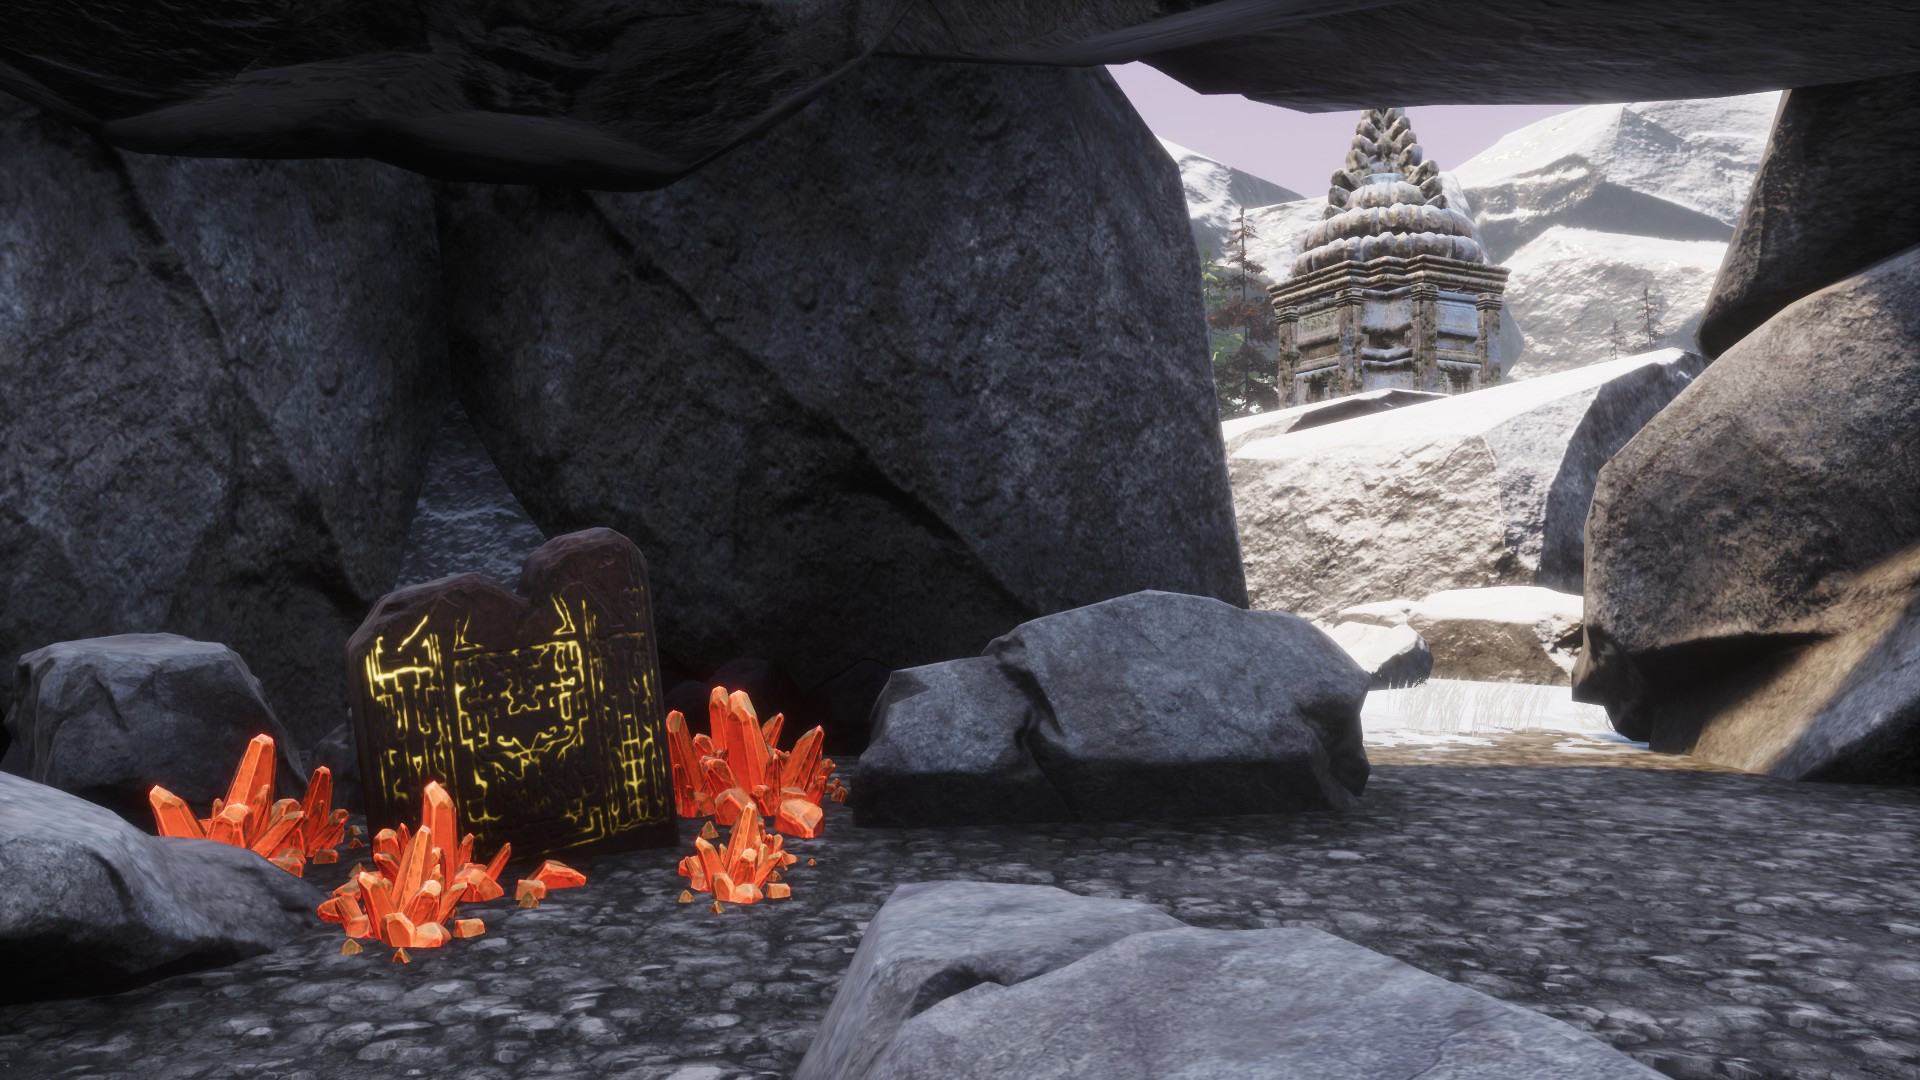
Requires level 120
Get the feat: Tablet in the Perilous Valley, before reaching Hosav.
Armor type: Heavy Armor
Armor value: 1.348
Thermal isolation: 9 / 10 ☀️ ➖ 9 / 10 ❄️
Bonus / Effect: Grants Sandstorm Mask and Crystal Speed (+8% to your speed, prevents cripple and you gain 1 health point every 0,4 seconds).
Crafting workbench: Improved Armorer’s Bench.
Materials to craft it: 48 Bounty Assembly Pieces, 46 Armor Scraps, 38 Star Obsidian Bars and the Godbreaker Armor set (you can craft it at the Improved Armorer’s Bench, the feat is in the Champion of the Warmaker’s arena, in Klael’s Stronghold).
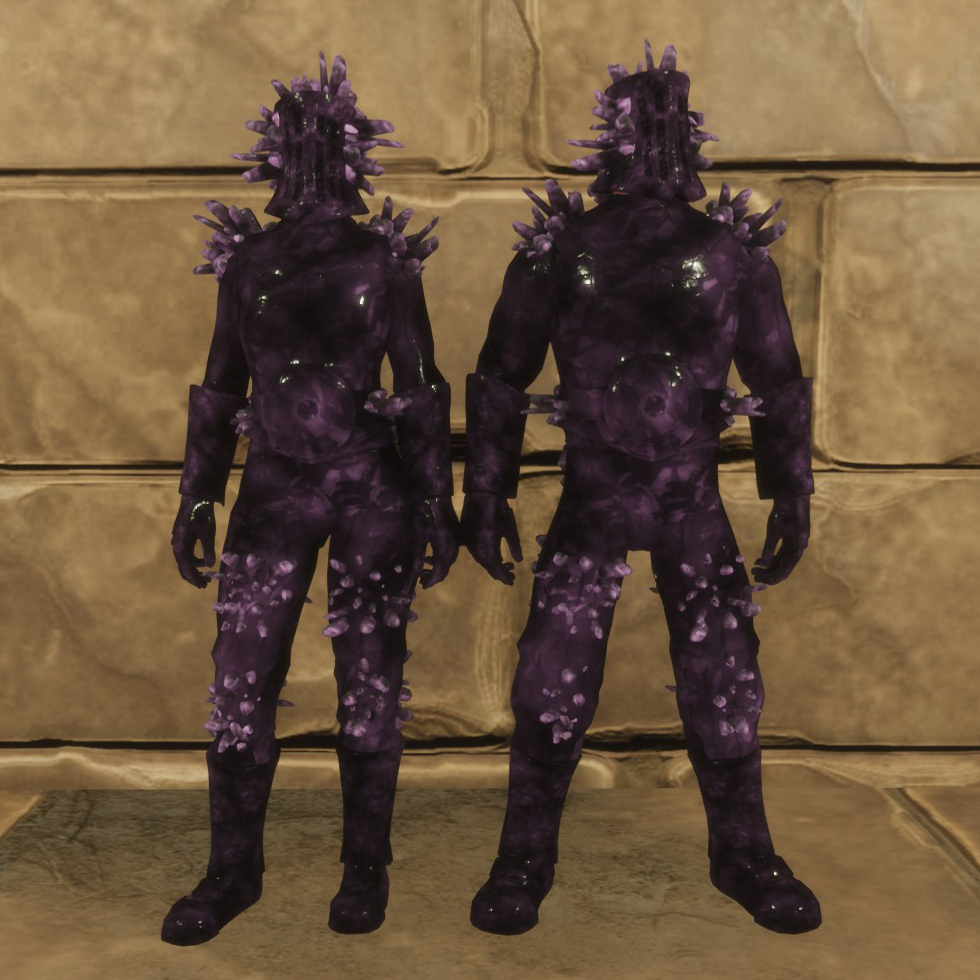
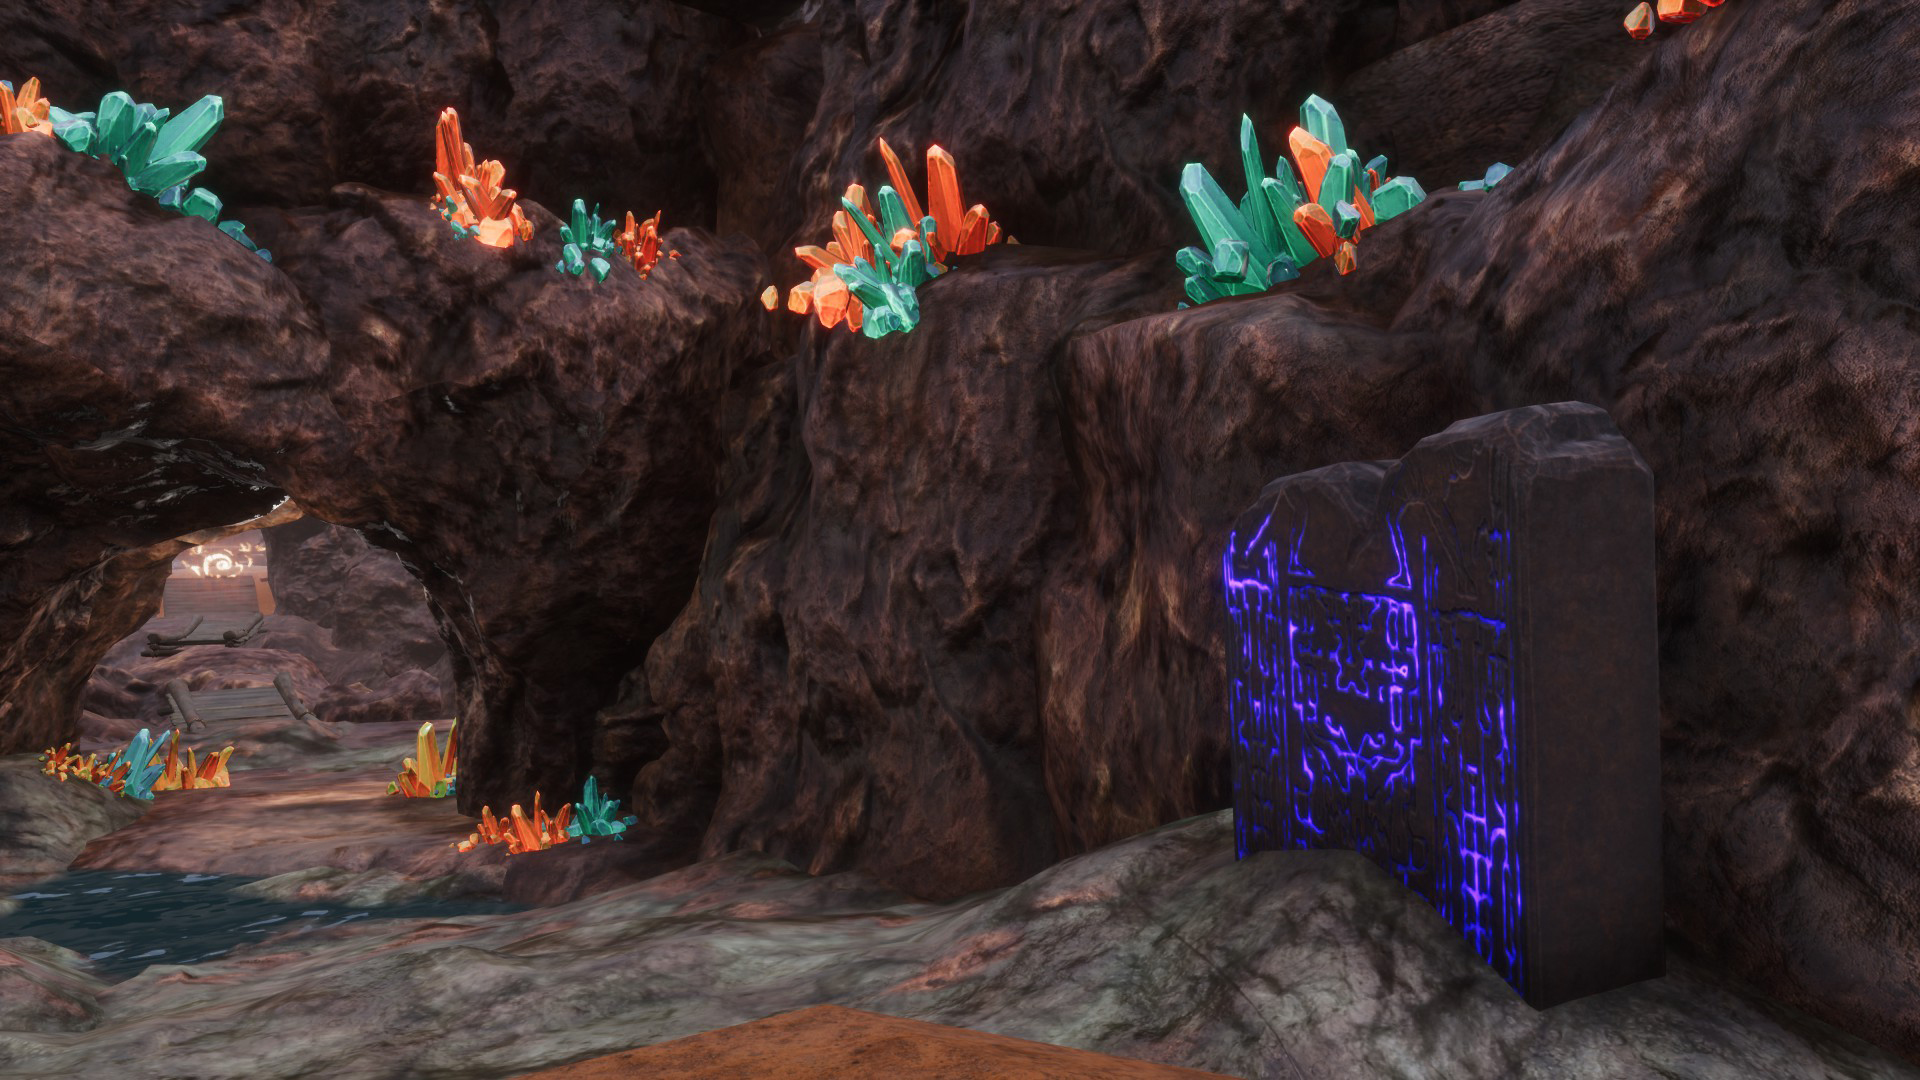
Get the feat: Tablet in the Ancient Cave, before the Molten Death spider.
Armor type: Heavy Armor
Armor value: 1.472
Thermal isolation: 9 / 10 ☀️ ➖ 9 / 10 ❄️
Bonus / Effect: Grants Sandstorm Mask and Thorns (you return 18% of melee damage received and 34% of ranged damage received). +10 Agility.
Crafting workbench: Improved Armorer’s Bench.
Materials to craft it: 159 Scourgesteel Bars, 93 Armor Scraps and the Crystalbreaker Armor set.
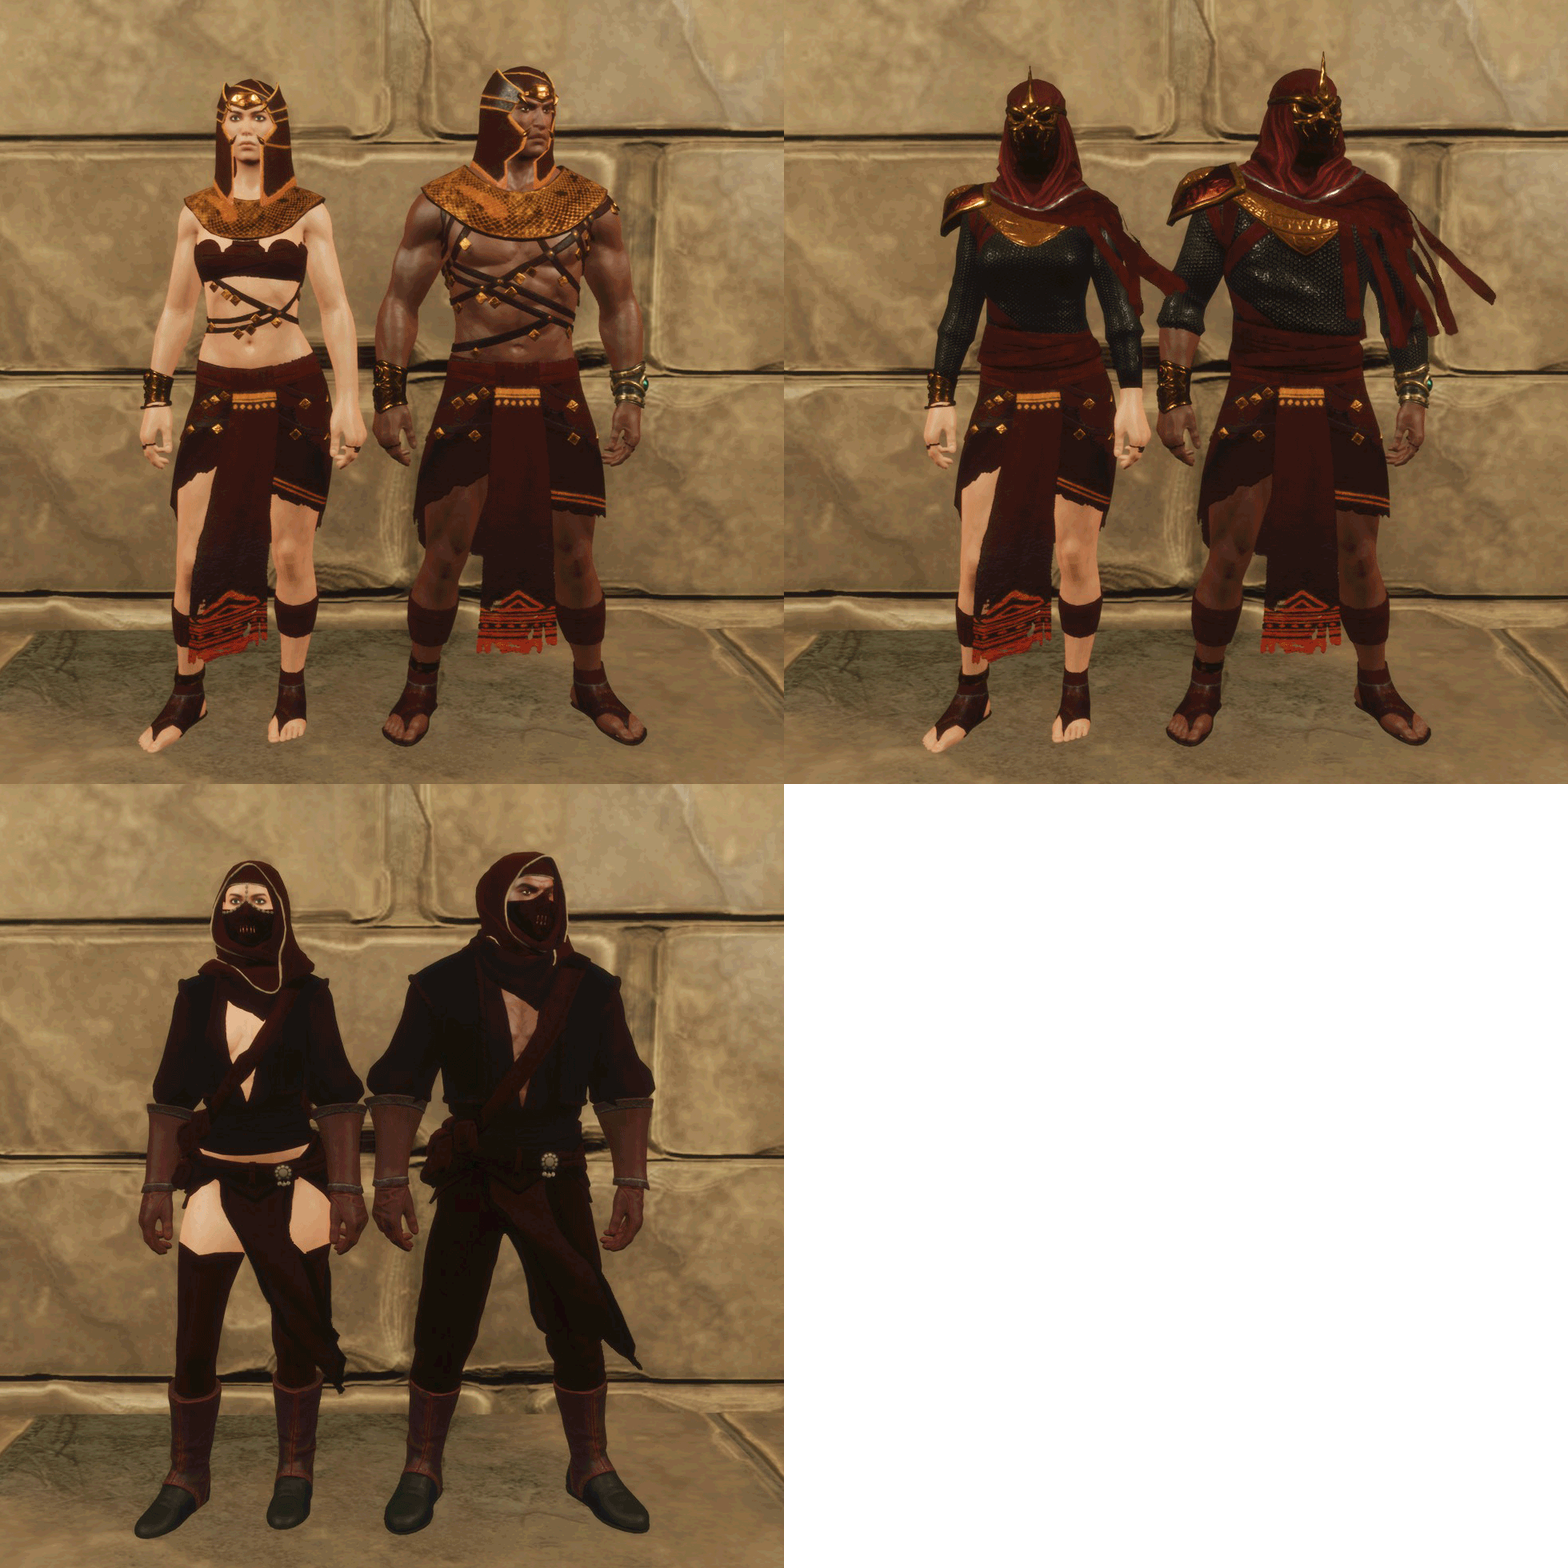
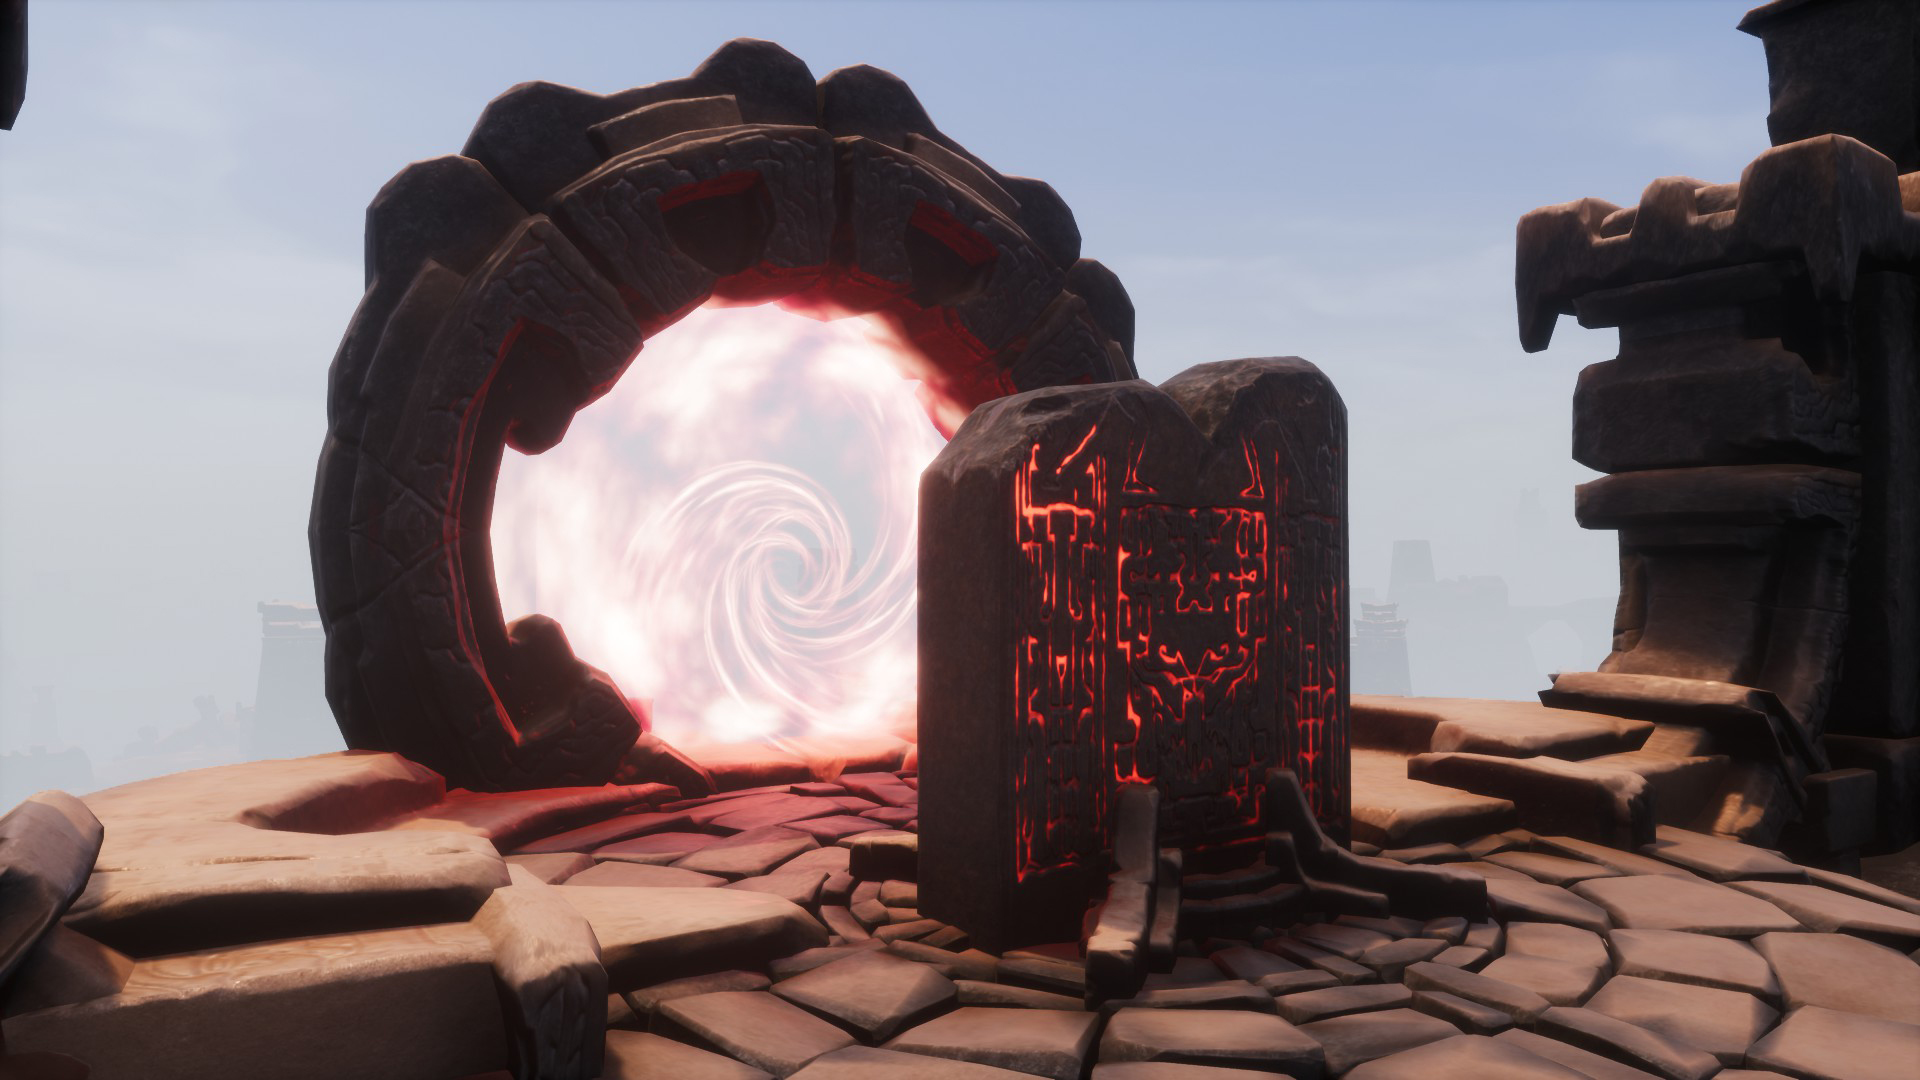
Requires level 195
Get the feat: Tablet in the Overtaken Tower of Bats, before entering the portal.
- Meruvian Sentry y Meruvian Expedition
Armor type: Light Armor
Armor value: 803
Thermal isolation: 9 / 10 ☀️ ➖ 9 / 10 ❄️
Bonus / Effect: Grants Meruvian Warcry (+10 Strength and +20 Agility) when taking damage and Sandstorm Mask (only with Meruvian Expedition).Crafting workbench: Improved Armorer’s Bench.
Materials to craft it: 5 Perfected Light Padding, 215 Demon Bloods, 132 Layered Silk and 30 Shard of Skelos. - Meruvian Sentinel (the stats are counting only these two pieces)
Armor type: Medium Armor
Armor value: 599
Thermal isolation: 4 / 10 ☀️ ➖ 4 / 10 ❄️
Bonus / Effect: Increases Accuracy (although the Accuracy attribute currently doesn’t exist).Crafting workbench: Improved Armorer’s Bench.
Materials to craft it: 2 Perfected Medium Padding, 74 Demon Bloods, 100 Hardened Leathers and 22 Corrupted Spellbook.
💠 Armor II
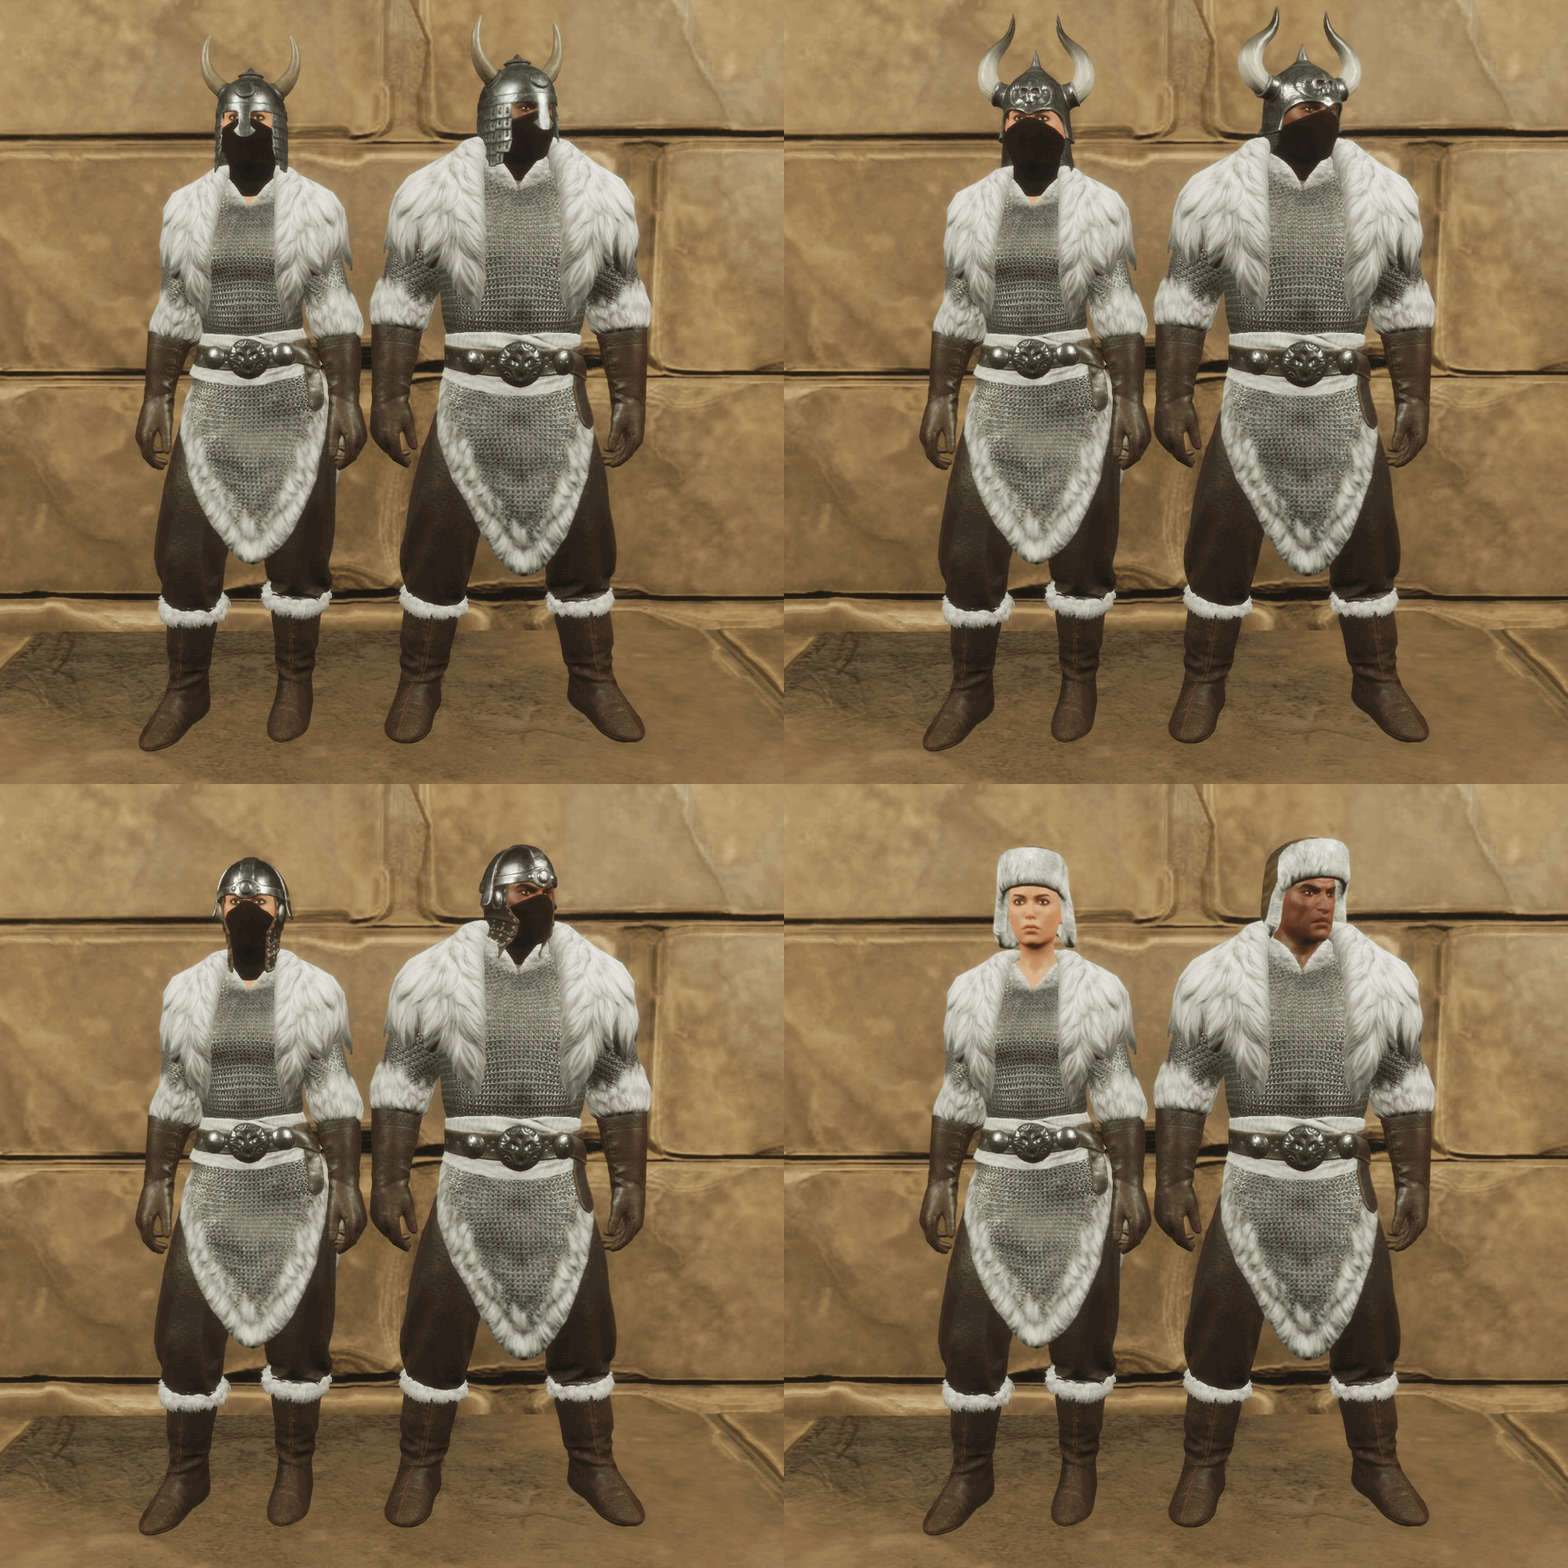
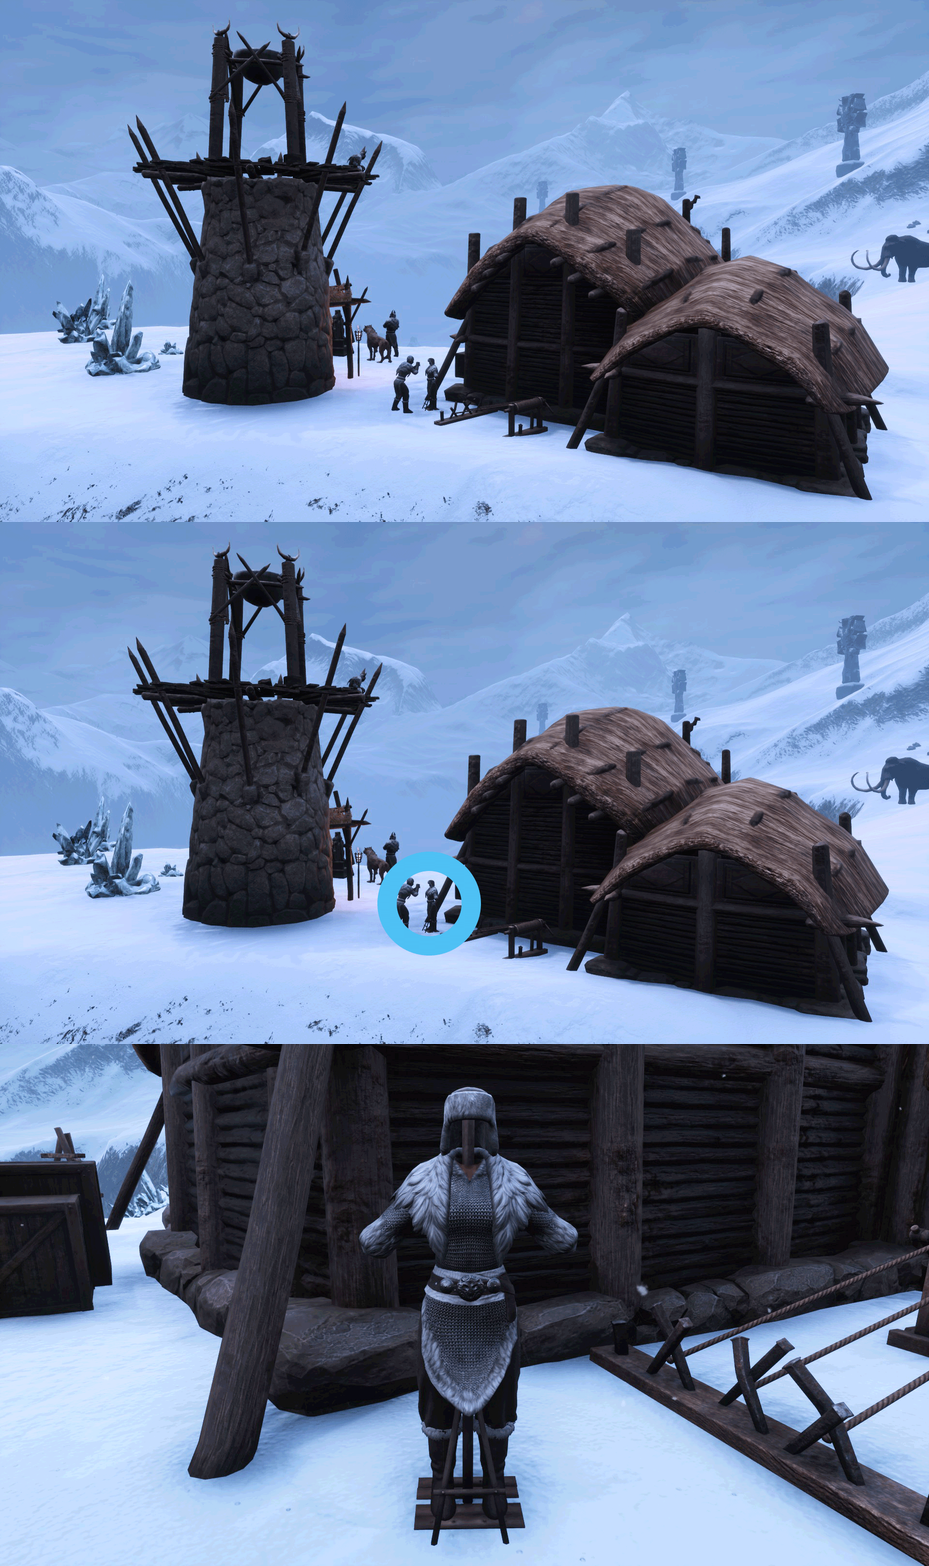
Requires level 255
Get the feat: Mannequin at the Council of Wolves (the larger camp).
Armor type: Heavy Armor
Armor value: 1.780
Thermal isolation: 9 / 10 ☀️ ➖ 9 / 10 ❄️
Bonus / Effect: Grants Unburdened (you’ll be immune to knockbacks while attacking). +5 Strength, +14 Vitality and +25 Expertise.
Crafting workbench: Improved Armorer’s Bench.
Materials to craft it: 5 Perfected Heavy Padding, 67 Reinforced armor scraps, 118 Layered Fur, 174 Star Metal Bars and 1 Leather.
- Council Horned Helmet (available if you equip a Council of Wolves Armorer at the workbench)
Armor type: Heavy Armor
Armor value: 345
Thermal isolation: 2 / 10 ☀️ ➖ 2 / 10 ❄️
Bonus / Effect with the rest of the set: Grants Unburdened (you’ll be immune to knockdowns while attacking). +10 Strength, +8 Vitality and +25 Expertise.Crafting workbench: Improved Armorer’s Bench.
Materials to craft it: 1 Perfected Heavy Padding, 6 Reinforced armor scraps, 1 Leather and 15 Star Metal Bars. - Council Paced Helmet (available if you equip a Council of Wolves Armorer at the workbench)
Armor type: Heavy Armor
Armor value: 345
Thermal isolation: 2 / 10 ☀️ ➖ 2 / 10 ❄️
Bonus / Effect with the rest of the set: Grants Unburdened (you’ll be immune to knockdowns while attacking). +5 Strength, +8 Vitality, +6 Grit and +25 Expertise.Crafting workbench: Improved Armorer’s Bench.
Materials to craft it: 1 Perfected Heavy Padding, 6 Reinforced armor scraps, 1 Hardened Leather and 13 Star Metal Bars. - Council Medium fur cap (available if you equip a Council of Wolves Armorer at the workbench)
Armor type: Medium Armor
Armor value: 290
Thermal isolation: 2 / 10 ☀️ ➖ 2 / 10 ❄️
Bonus / Effect with the rest of the set: Grants Unburdened (you’ll be immune to knockdowns while attacking). +5 Strength, +8 Agility, +8 Vitality and +25 Expertise.Crafting workbench: Improved Armorer’s Bench.
Materials to craft it: 1 Perfected Light Padding, 4 Reinforced armor scraps, 18 Layered Fur and 9 Star Metal Bars.
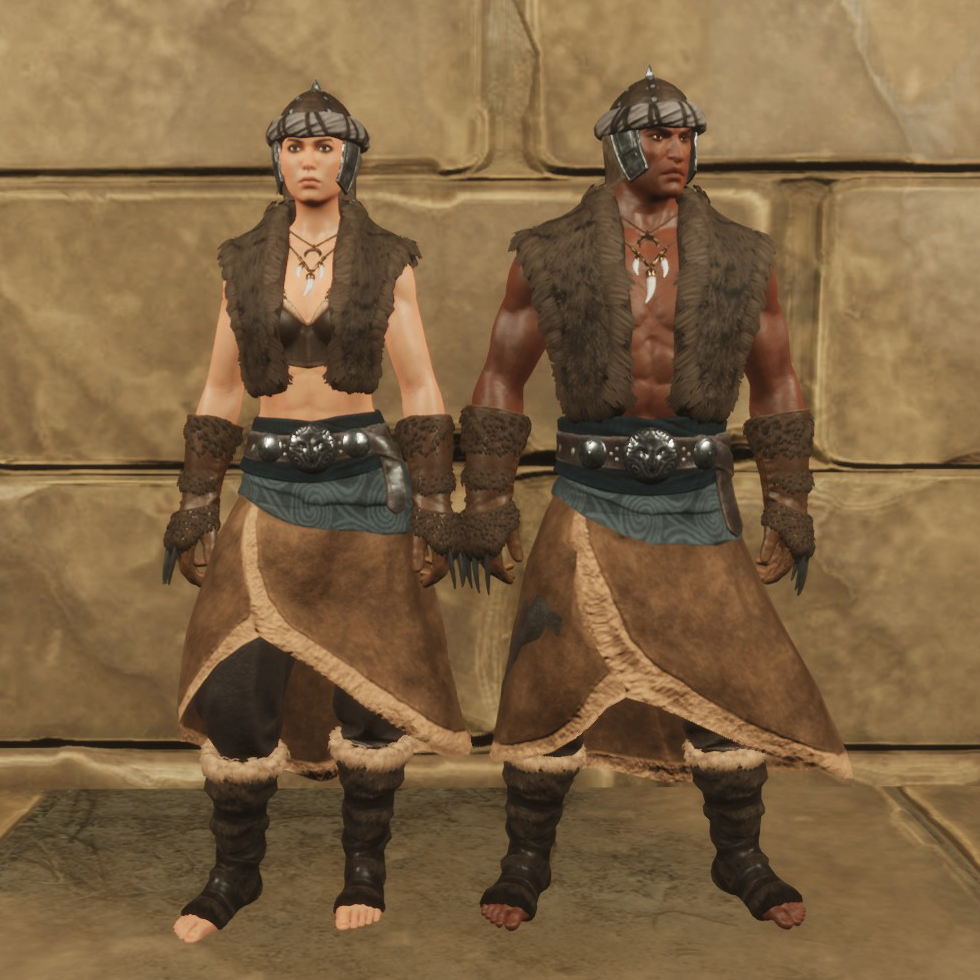
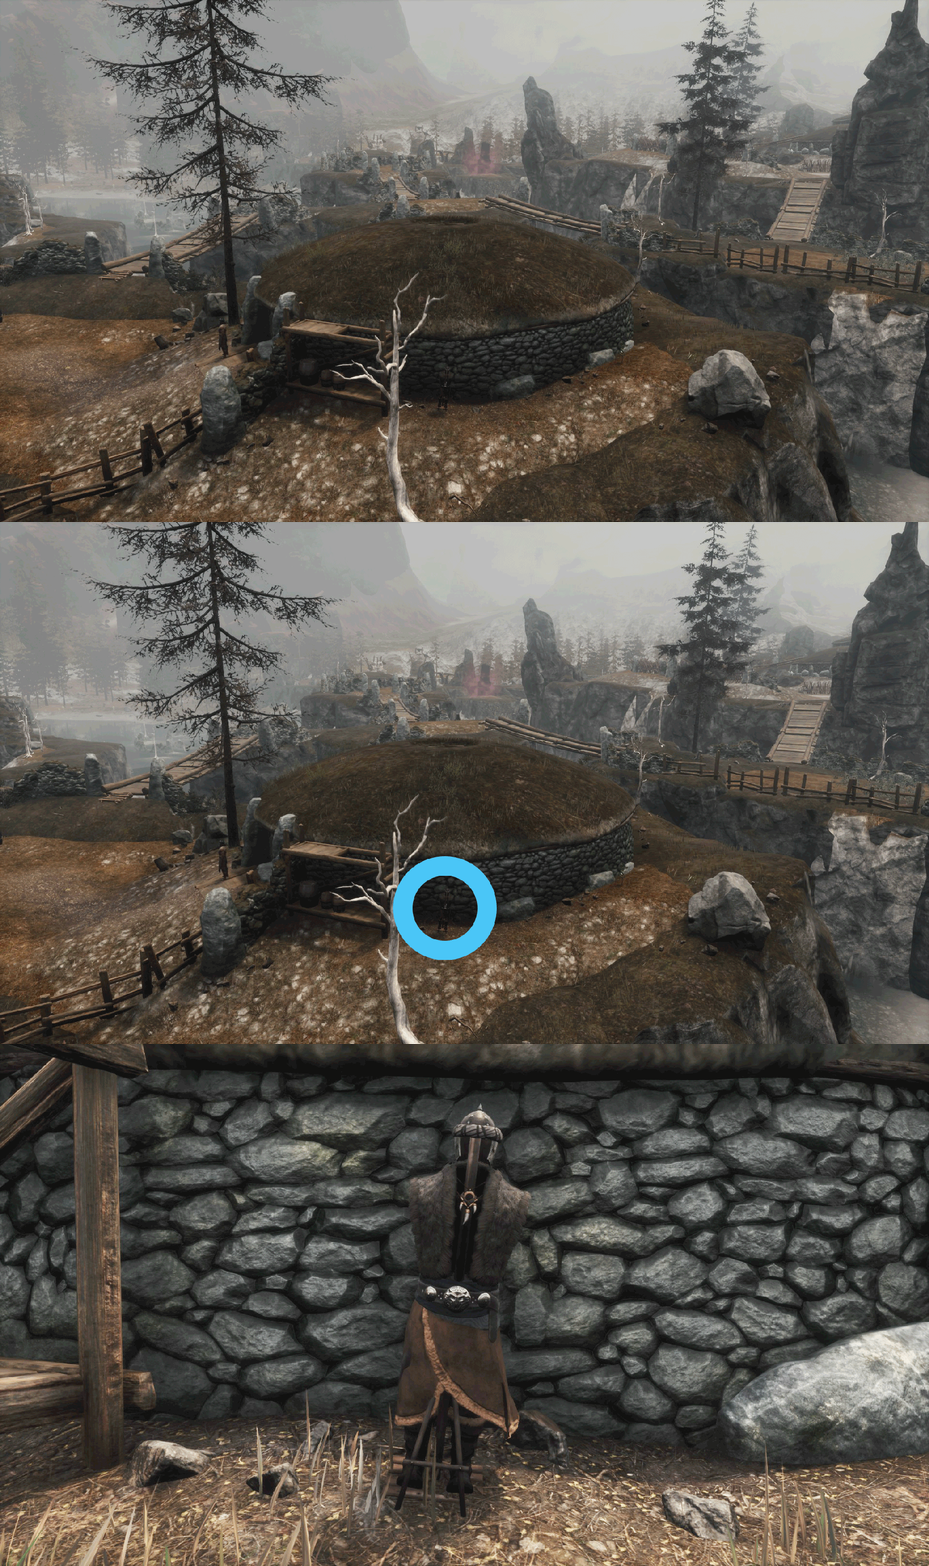
Requires level 300
Get the feat: Mannequin in the Mounds of the Dead, in the area where there are humans.
Armor type: Light Armor
Armor value: 666
Thermal isolation: 9 / 10 ☀️ ➖ 9 / 10 ❄️
Bonus / Effect: Grants increased mana regeneration.
Crafting workbench: Improved Armorer’s Bench.
Materials to craft it: 34 Armor Scraps, 17 Mystical Mixture, the Cimmerian Fur set and the Cimmerian Steel set (you can craft it at any Armorer’s Bench, you learn its feat in the Knowledge menu).
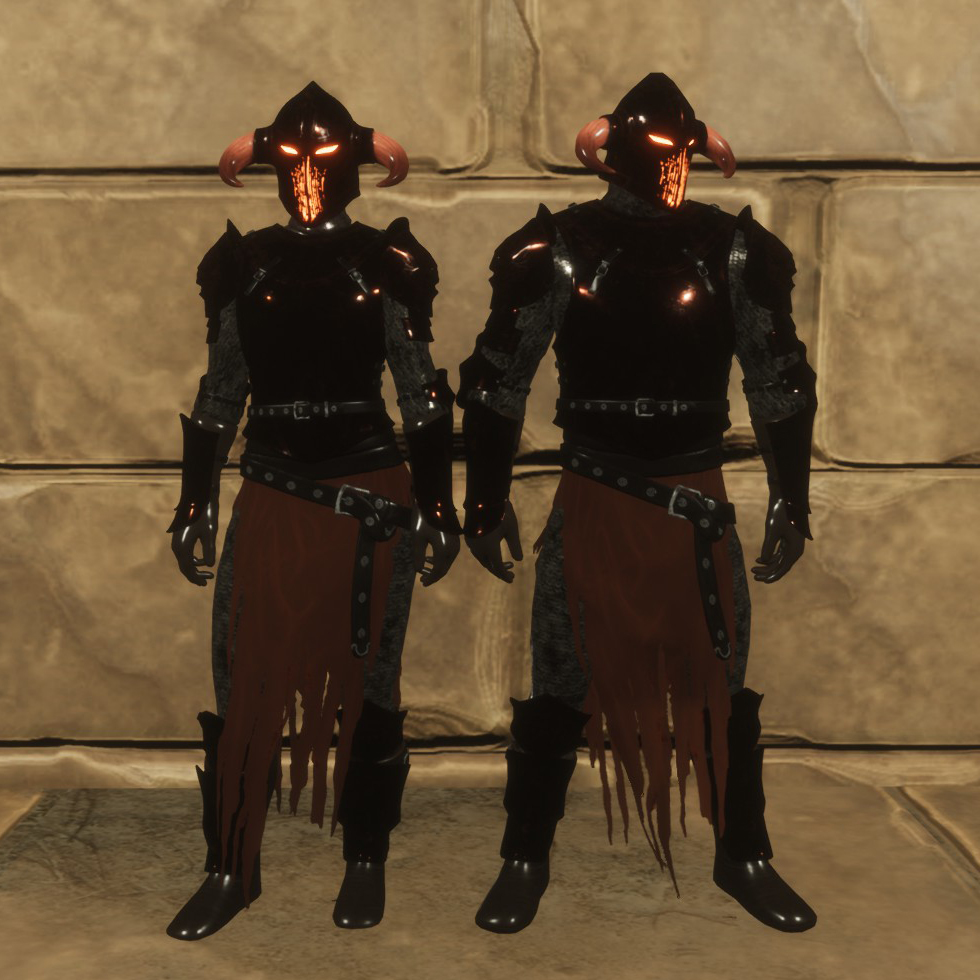
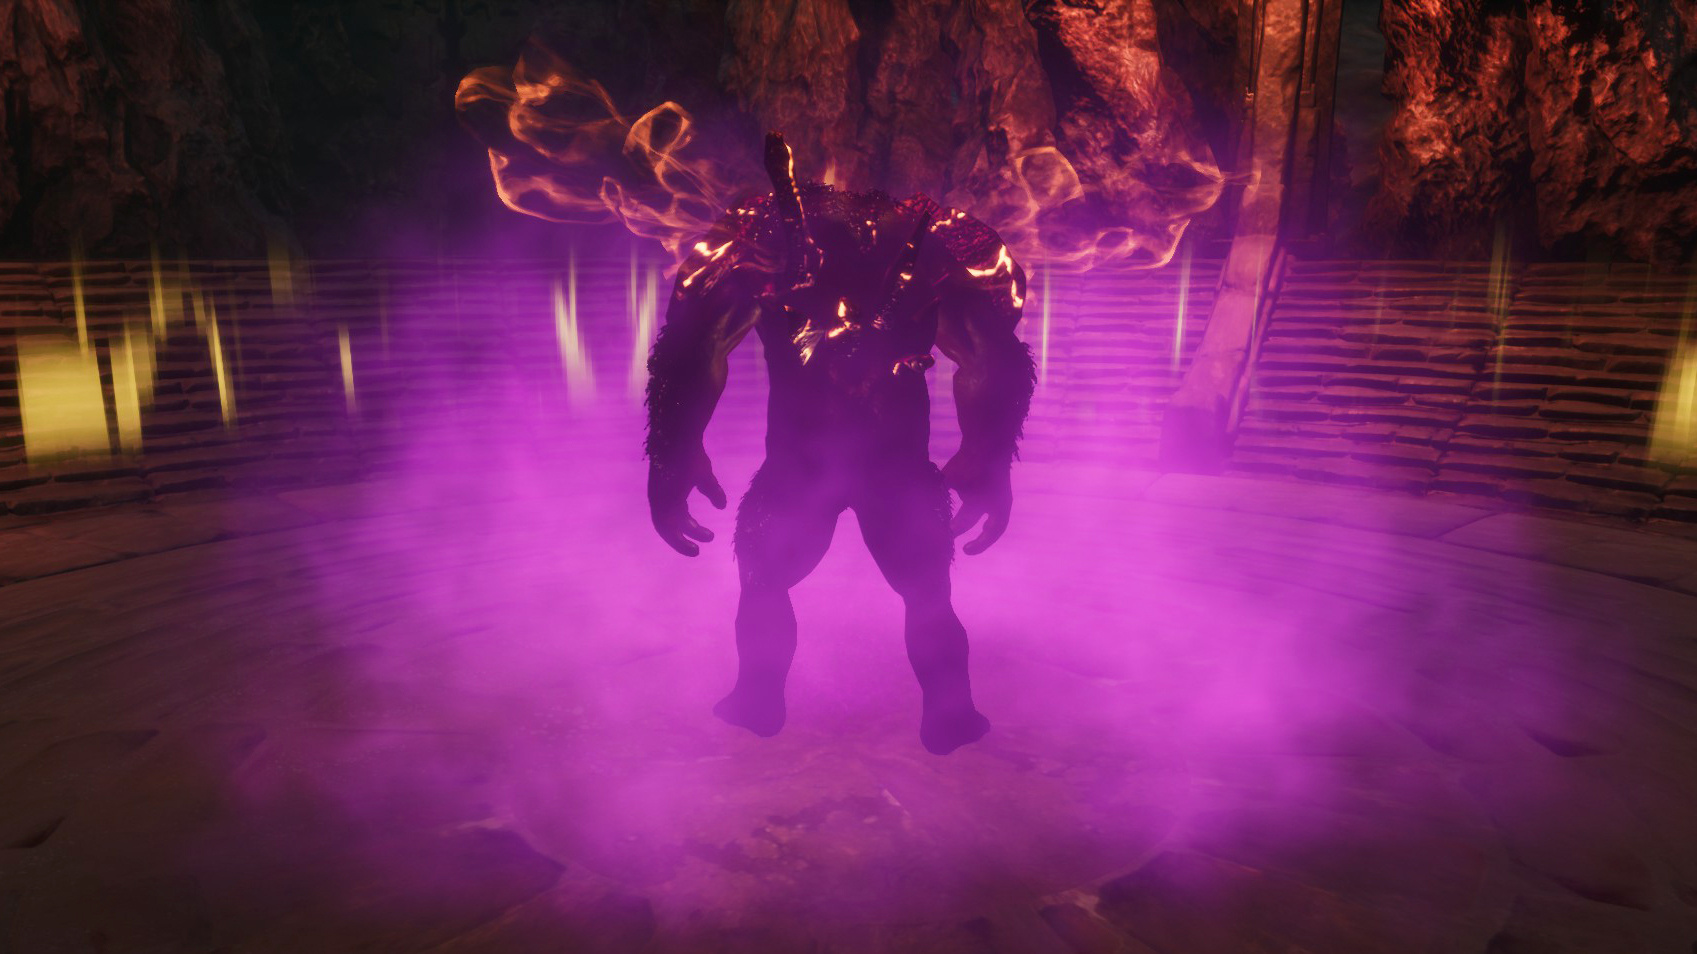
Requires level 300
Get the feat: Ingest the Heart of Oblivion.
Armor type: Heavy Armor
Armor value: 1.090
Thermal isolation: 9 / 10 ☀️ ➖ 9 / 10 ❄️
Bonus / Effect: Grants Phoenix Jump (you can do a jump with a small teleport forward when out of combat). +10 en Vitality.
Visually you will have wings of fire.
Crafting workbench: Improved Armorer’s Bench.
Materials to craft it: 9 Oblivion Steel Bars, 24 Armor Scraps, 13 Mystical Mixture and the Silent Legion set (you can craft it at the Improved Armorer’s Bench, the feat is in The Kinscourge arena, in The Black Keep).
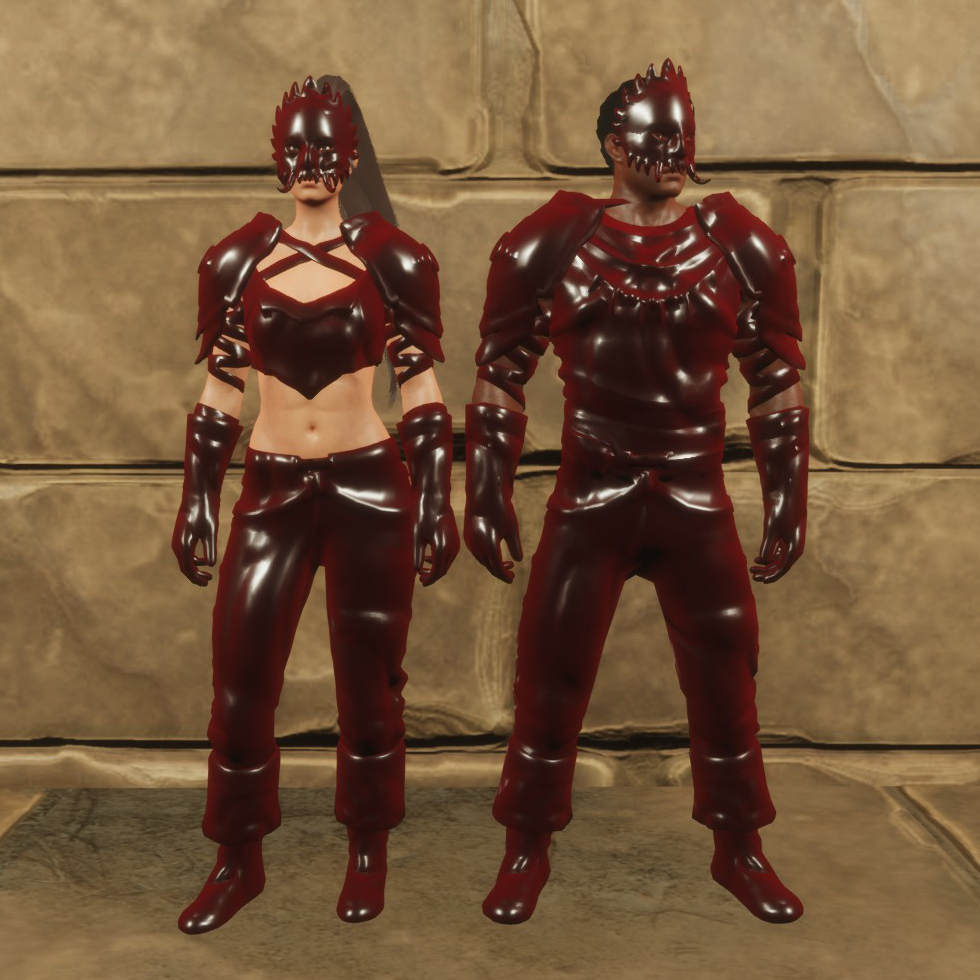
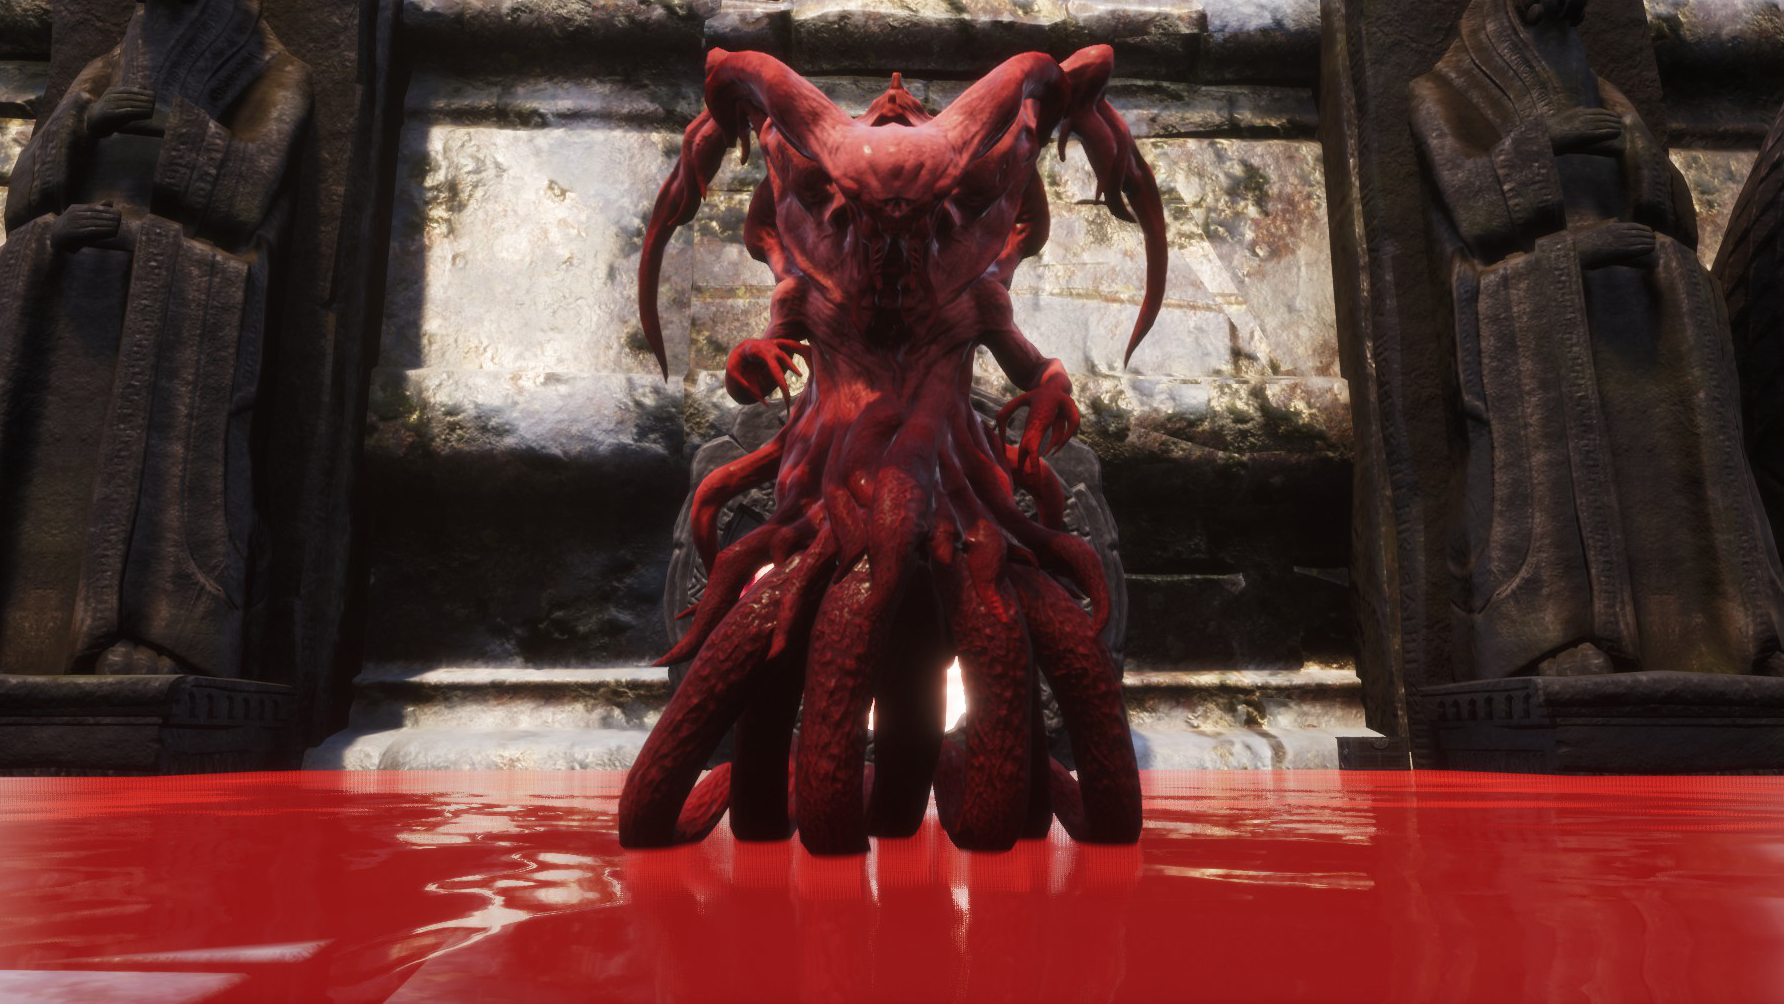
Requires level 300
Get the feat: Ingest the Slithering Tentacle.
Armor type: Medium Armor
Armor value: 906
Thermal isolation: 0 / 10 ☀️ ➖ 0 / 10 ❄️
Bonus / Effect: Grants Pumping Heart (regenerates health) when taking damage. +12 Vitality.
Crafting workbench: Improved Armorer’s Bench.
Materials to craft it: 5 Perfected Medium Padding, 77 Armor Scraps, 11 Hemoglobin Crystals and 171 Bounty Assembly Pieces.
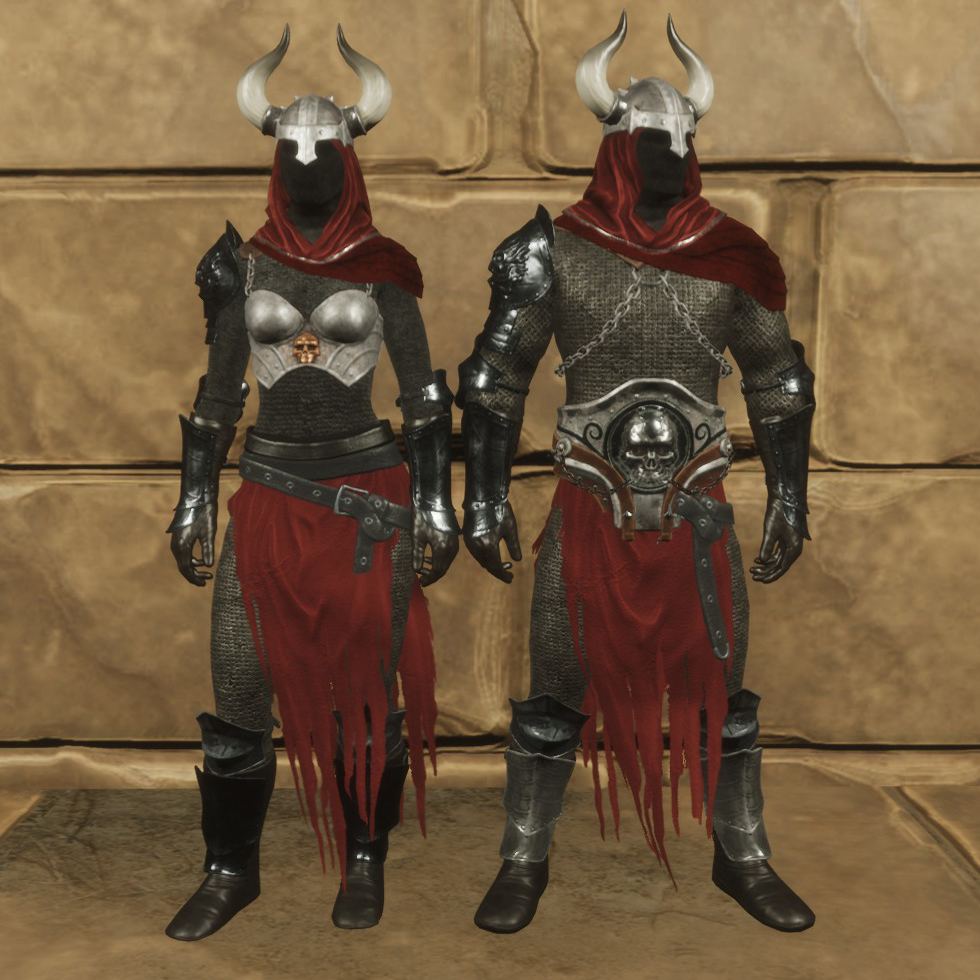
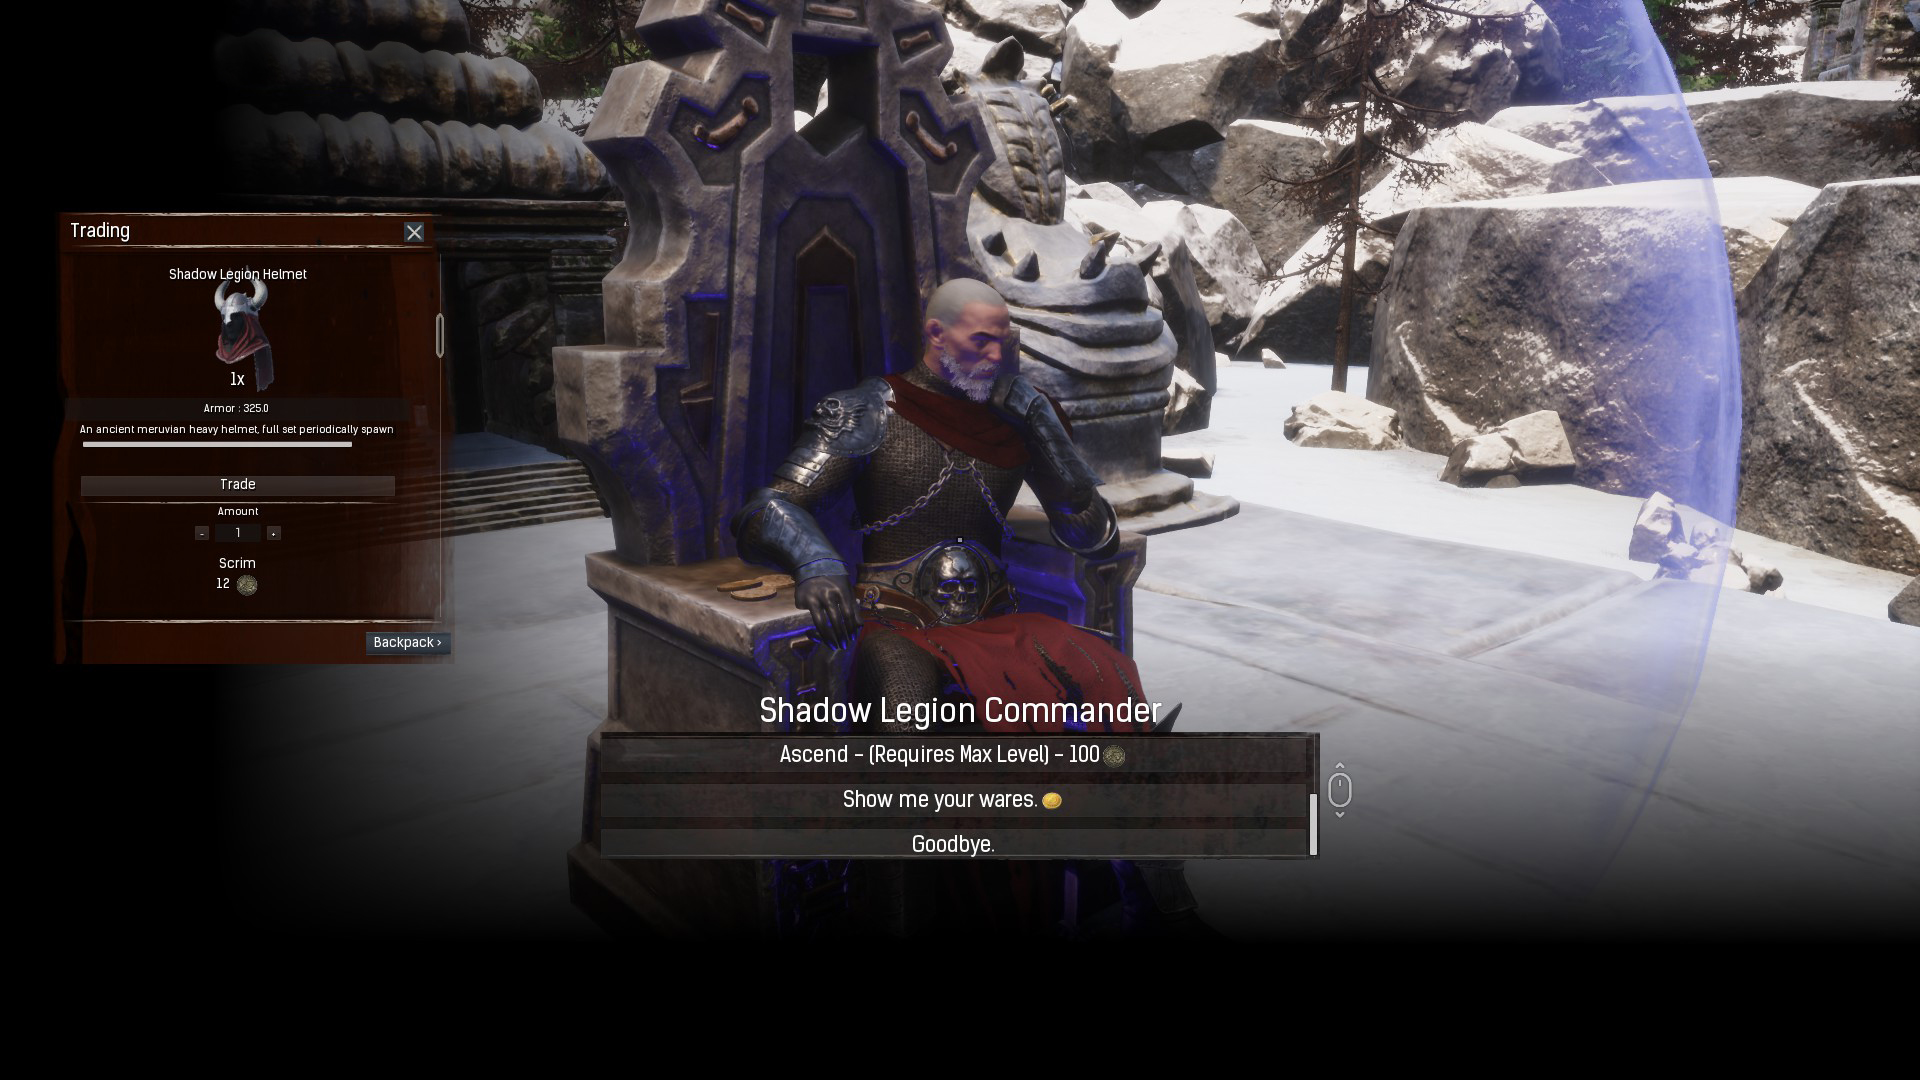
Get the feat: It can’t be learned. The Shadow Legion Commander will sell you this set in exchange for 84 Scrims.
Armor type: Heavy Armor
Armor value: 1690
Thermal isolation: 9 / 10 ☀️ ➖ 9 / 10 ❄️
Bonus / Effect: Grants Shadow Bonus (you generate shadows periodically, if you roll on them you’ll recover the health you had when the shadow was created). +10 Strength.
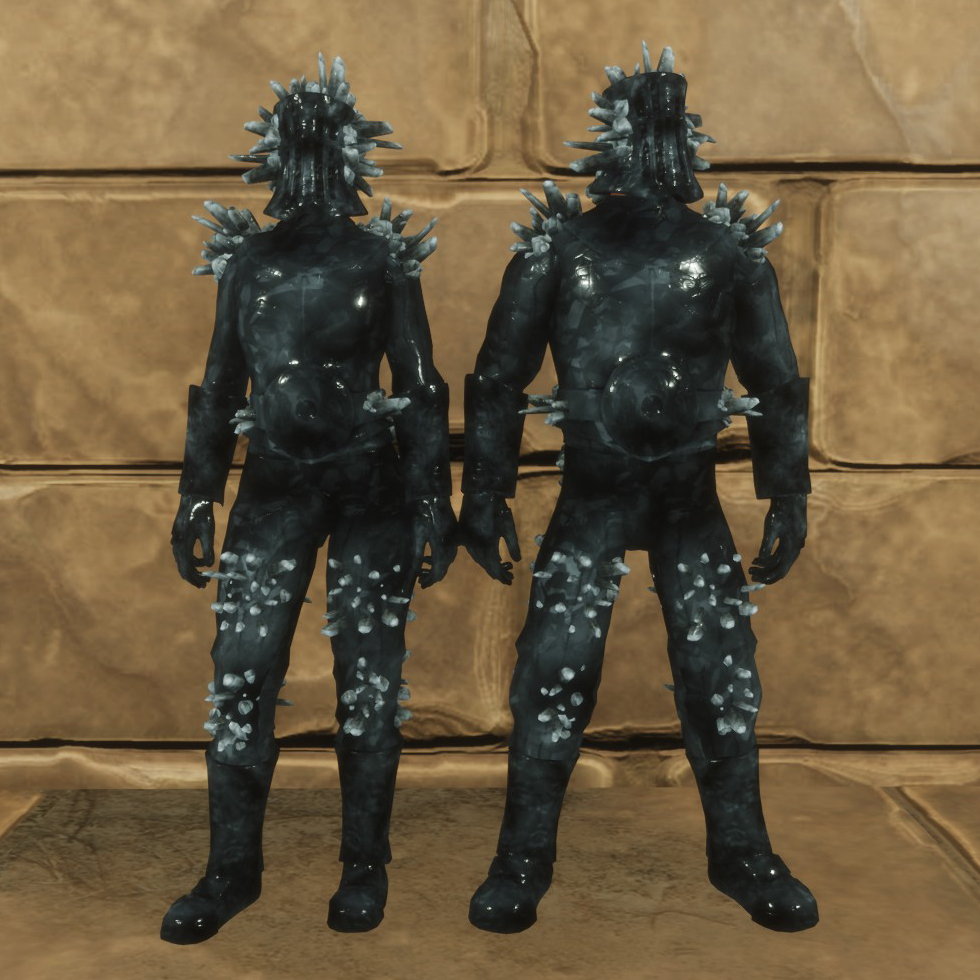
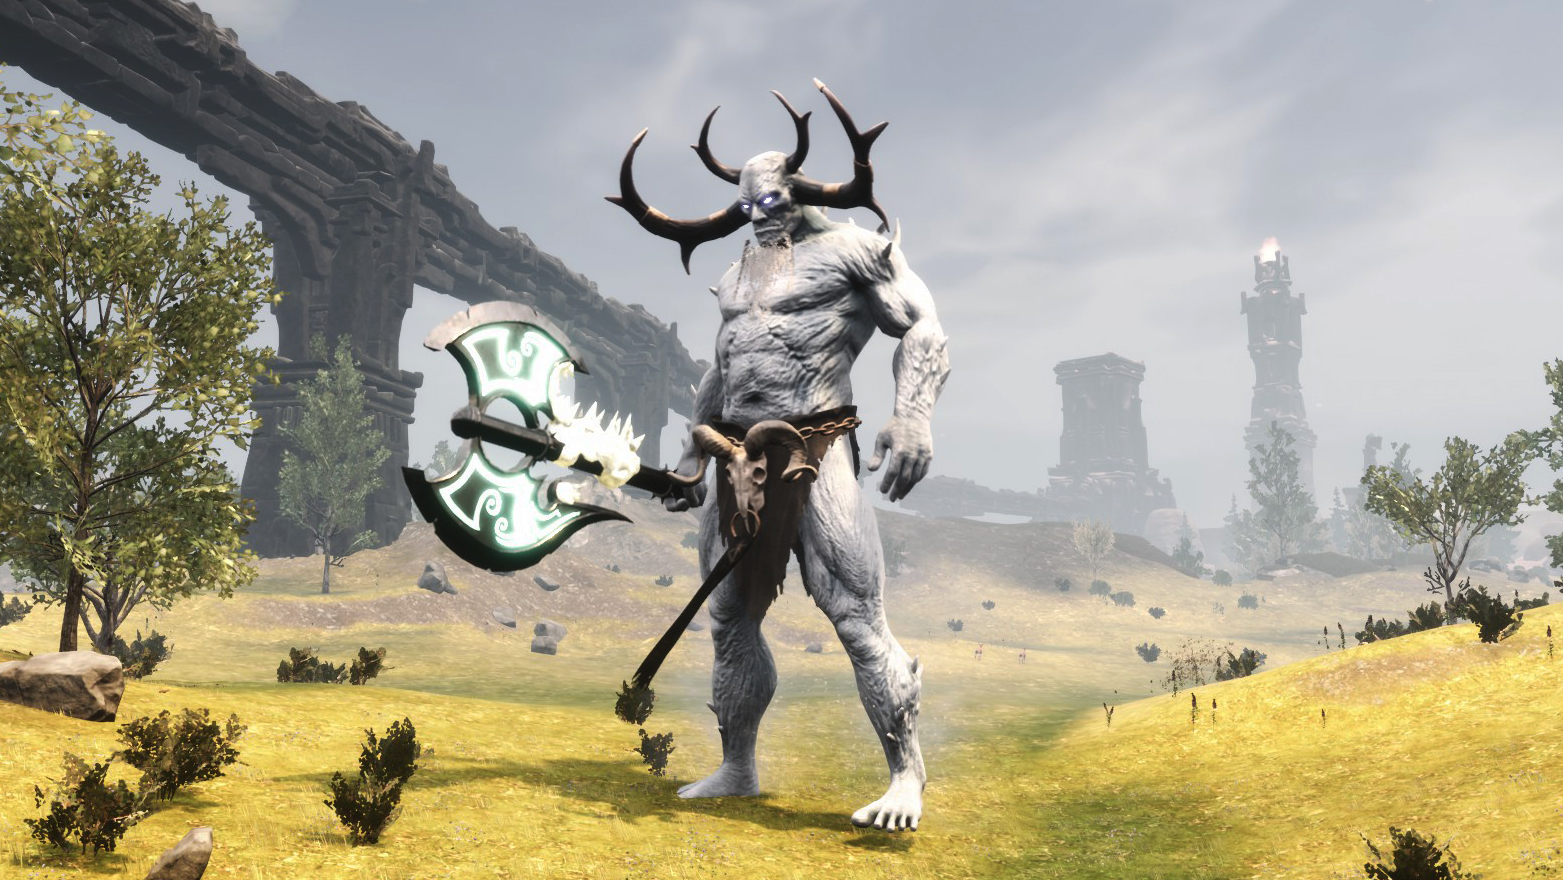
Get the feat: Kill the Aspect of Ymir.
Armor type: Heavy Armor
Armor value: 1.914 + 800
Thermal isolation: 9 / 10 ☀️ ➖ 9 / 10 ❄️
Bonus / Effect: Grants Sandstorm Mask and Block of Ice (prevents cripple, adds 800 Armor and reduces your movement speed by 20%). +30 Vitality.
Crafting workbench: Improved Armorer’s Bench.
Materials to craft it: 7 Frosted Assembly Pieces, 20 Corrupted Spellbook and Scourgebreaker Armor set (which in turn requires the Crystalbreaker Armor set, which in turn requires the Godbreaker Armor set).
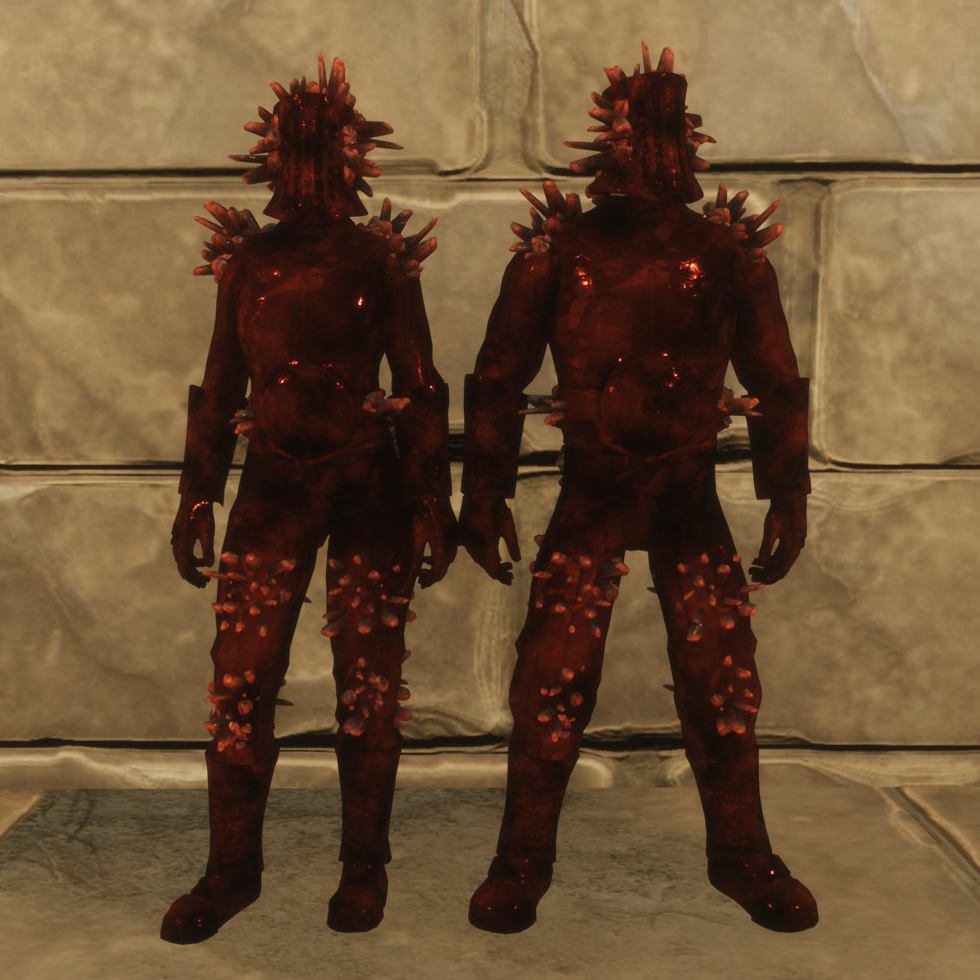
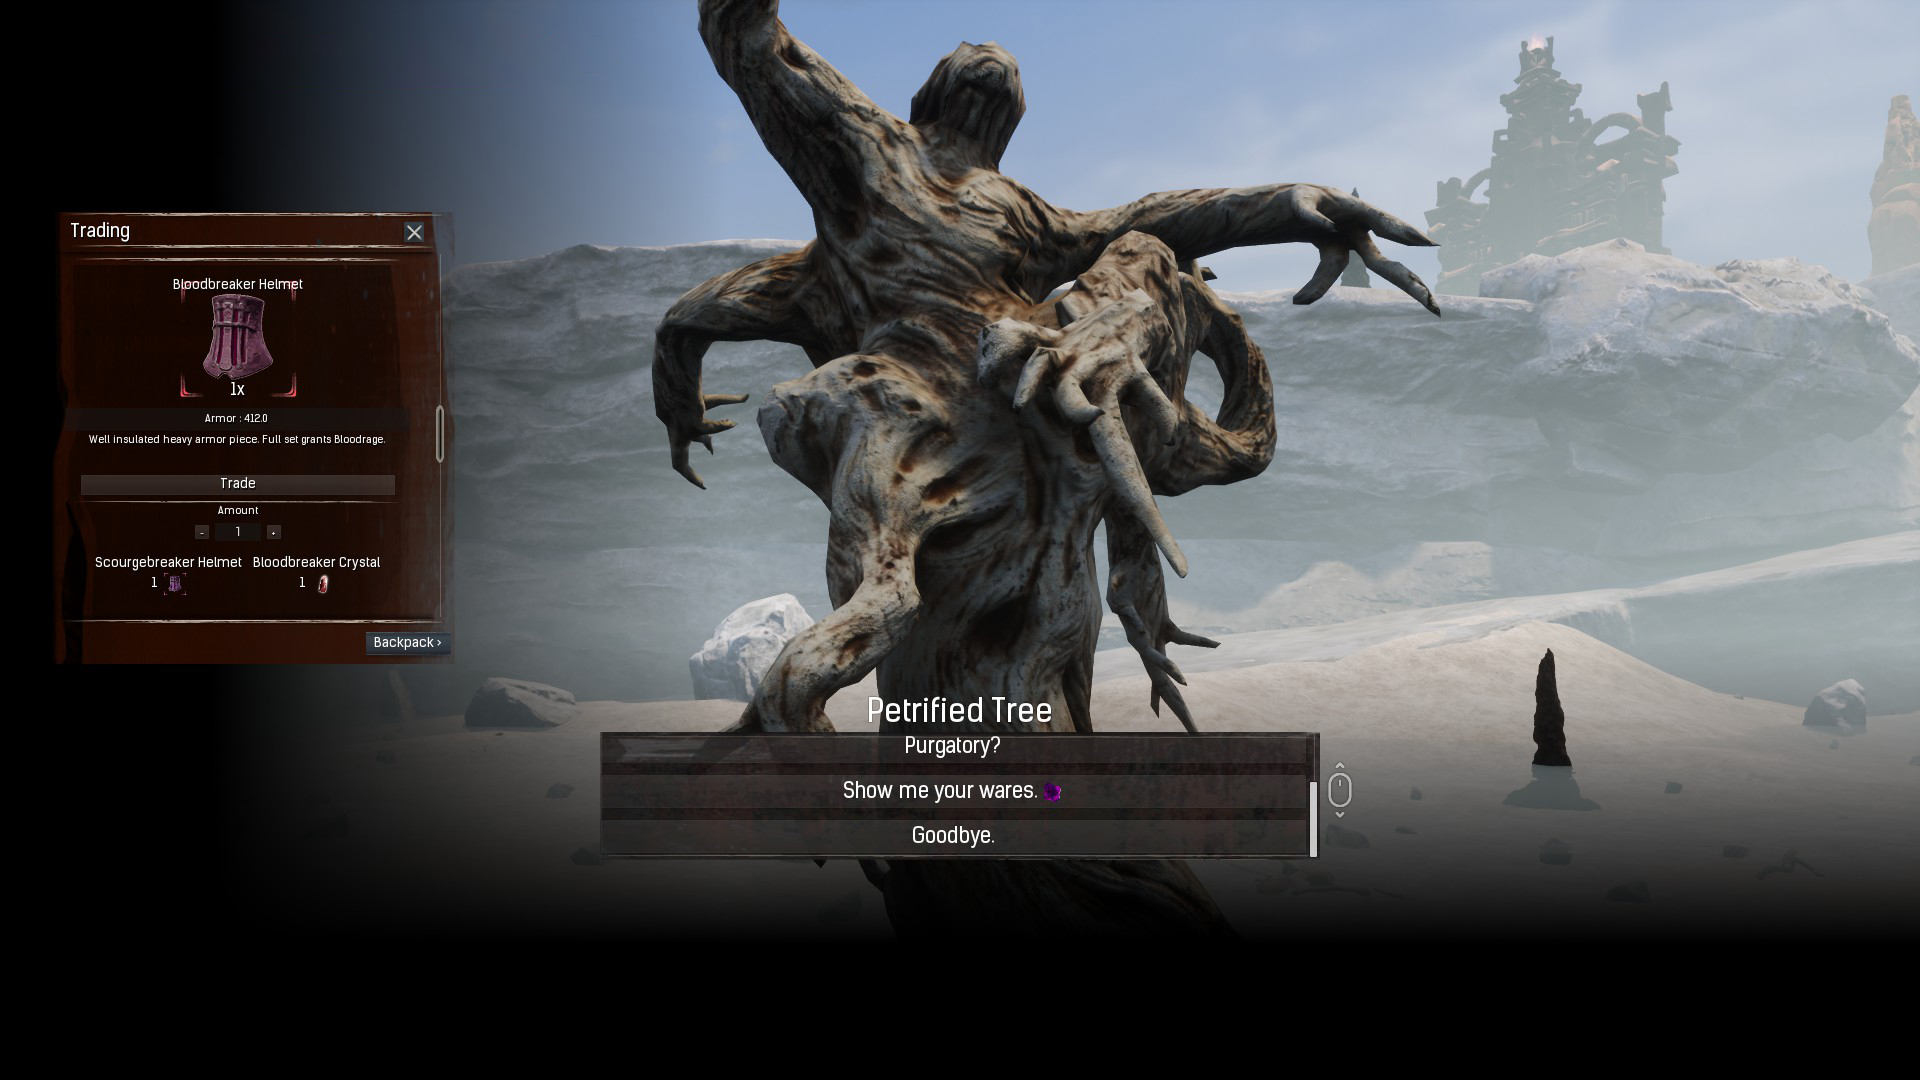
Get the feat: It can’t be learned. The Petrified Tree will sell you this set in exchange for 8 Bloodbreaker Crystals and the Scourgebreaker Armor set.
Armor type: Heavy Armor
Armor value: 1.914
Thermal isolation: 9 / 10 ☀️ ➖ 9 / 10 ❄️
Bonus / Effect: Grants Sandstorm Mask and Bloodrage (you accumulate 10% of the damage received that you’ll apply to nearby enemies in an explosion of blood, ignoring their armor).
💠 Armor III
- Speedy sandals
Get the feat: The recipe will only appear
if you equip the workbench with a Valiant Blacksmith.Armor type: Light Armor
Armor value: 28
Bonus / Effect: Grants Speedy Sandals (increases your movement speed by 15%). –5 Vitality.Crafting workbench: Valiant Blacksmith’s Bench
Materials to craft it: 12 Corrupted Wood, 1 Token of Choice, 20 Bounty Assembly Pieces and 16 Handheld Ymir Totems. - Mask of Thunder
Get the feat: Occasional Yama’s Guardian loot, in the Overtaken Tower of Bats dungeon.
Armor type: Light Armor
Armor value: 250
Bonus / Effect: Gives a 10% chance to generate lightning against your enemies and will remove your debuffs.Crafting workbench: Legendary Assembly
Materials to craft it: 2 Legendary Assembly Kits, 100 Corrupted Wood and 1 God Krystallion.
📘 About the powers
- Take advantage of the full potential of magic
Below you have relevant information to use magic in the most efficient way. Magics are the “weapon” that inflicts the most damage in the EEWA mod, but for them to be so, there are several things to take into account:
· When starting the game, choose the Khitian race (+1 Priest and Demonologist Trait) or Vendhyan (+1 Priest Trait, +1 Vitality and +2 Courage).
· At level 200 you can unlock magic, so use them to increase their respective Traits and apply your Trait points to: Demonologist to deal 150% extra damage with magic, Priest to heal an extra 60% with magic and Shaman to reduce your mana cost by 20%. These percentages would be when having those Traits at level 10. Thus you would add 30 points of the 35 available by default, so you could use those 5 leftover Trait points in the Templar Trait (for example).
· At level 300 you can learn and craft the Cimmerian bear Shaman Armor, it’s a light armor with 666 Armor, which will give you greater mana regeneration.
· At level 300 you’ll be able to enchant your magics to add 72 damage to your hits (32 damage from level 3 + 40 damage from level 4).
· When Ascending, choose the Constellations of: Mitra to replenish 50% more mana per second, improve healing and increase healing by 50% for allies; that of Set to reduce the mana cost by 20%; and that of Zath to add 10 damage to all types of elemental damage and have 1 extra point in all Traits.
· In addition to the above, you’ll deal 50% additional damage if you accumulate 100 Courage stacks.
With all this, your elemental damage, your magic damage and healing, and your mana regeneration will greatly increase.
- Focus on a single type of element
There are several types of element damage that you can deal with your hits and you can choose whether you want to apply several element damage at the same time or focus on one.
I think there are many aspects to consider to be able to objectively tell you what is better or worse… Here is simply an example of how you could focus on the Fire damage that Burning will apply.· Learn and craft one of the following weapons (whichever best suits your play style) that will apply Burning to your enemy when hit with them: the Teella’s Demise bow deals 24 damage and 22% armor penetration, the Overlord sword deals 67 damage and 18% armor penetration, the Inviction ax deals 71 damage and 9% armor penetration and the two-handed mace Ilden Flame deals 80 damage and 44% armor penetration, also applies Burning to nearby enemies.
· Obtain and increase the following Augmentation Gems to the maximum level: Blazing Gem to deal 25 Fire damage, Heatup Gem to deal 52 Fire damage when they attack you (if you haven’t taken damage for 10 seconds) and Hell Gem to deal 120 Fire damage.
· If you’ve a weapon and a shield equipped, you can enchant one with Burning level 4, which will deal 40 Fire damage, and the other with Burning level 3, which will deal 32 Fire damage.
· When Ascending, choose the Zath Constellation, it’ll add 10 Fire damage.
All of this will add up to 227 points of Fire damage (pure damage, ignores the enemy’s armor) that you’ll do with each hit, plus 52 Fire damage if they take more than 10 seconds to hit you, plus your weapon’s base damage and plus 43 % chance to apply Burning to your enemy (will damage them for a while).
🧿 Magic
Nivel 200. Ancient Knowledge.
Blood Shield
Summon a blood orb that will launch forward and return to you. If it passes through a target along the way, it will grant you a blood shield.
12 Scrim
Catcher Hook
Close your distance to your enemy with this hook. Also dismounts riders.
15 Scrim
Fanning Blades
Disperse a lethal barrage of deadly blades in front of you, dealing high corruption damage and applying Soulrend.
15 Scrim
Unaffected
At the cost of a large chunk of mana, dodge out of the way, removing all your debuffs and making you impervious to damage for a short period.
35 Scrim.
Sparks
Consume mana and spread out 5 lightning bolts in varied directions that will apply lightning damage and travel through enemies.
18 Scrim
Fire Reign
Consume mana and decimate the area in front of you with fireballs, applying fire damage.
12 Scrim
Flaming mastery
Master the arts of the flames and summon powerfull fireballs, area attacks and fire tornados.
42 Scrim
Lightning Mastery
Master the arts of lightning and summon powerful lightning and lightning storms.
46 Scrim
————————
Necromatic Summoning
Used to conjure powerful Necrotic entities to fight by your side.
En el Caldero de bruja (con el esclavo Darfari Witch Doctor II) gastando 14 Libros de hechizos corruptos, 8 Mystical mixture y 40 Corrupted bonemeal.
Yog’s embrace
Consume mana and gain 20 Survival and regain health but generate corruption as well.
En el Caldero de bruja (con el esclavo Darfari Witch Doctor II) gastando 10 Libros de hechizos corruptos y 5 Mystical mixture.
Blood flow
Consume mana and gain 5 Vitality and gain 5 Vitality and regenerate health over time.
En el Caldero de bruja (con el esclavo Cimmerian Bear Shaman III), gastando 10 Libros de hechizos corruptos y 6 Mystical mixture.
Cimmerian Warcry
Consume mana and gain 10 strength.
En el Caldero de bruja (con el esclavo Cimmerian Bear Shaman III), gastando 7 Libros de hechizos corruptos y 3 Mystical mixture.
Storm Surge
Consume mana and gain 5 Grit and gain temporary knockback inmunity.
En el Caldero de bruja (con el esclavo Meruvian Warlock IV), gastando 10 Libros de hechizos corruptos y 5 Mystical mixture.
————————
Ice Longsword
Will replenish mana slowly over time and increases cold damage. It cannot break, but offers no […]
En el Caldero para el fuego (aprendido al matar al aspecto de Ymir)
Ice Warden
Use this cold spell to make a shield at will, consume mana slowly when blocking to regain health.
En el Caldero de bruja (aprendido al matar al aspecto de Ymir)
🌀 Auras
Requires the Aura knowledge
Balanced Mark Token
Learn to conjure the Balanced Mark Aura, which will increase damage to enemies with consecutive hits.
12 Scrim 40 Token
Hearty Cleanse Token
Learn to conjure the Hearty Cleanse Aura, cleanses you and nearby allies of debuffs once reaching max stacks.
20 Scrims 40 Token
Prospector Token
Learn to conjure the Prospector Aura, granting you and nearby allies increasing tool speed.
10 Scrim 40 Token
Guardian Angel Token
Learn to conjure the Guardian Angel Aura, which will heal you and allies increasingly over time.
22 Scrim 40 Token
Toxic Diplomacy Token
Learn to conjure the Toxic Diplomacy Area, applying poison to nearby enemies with increasing power.
16 Scrim 40 Token
Ardent Protector Token
Learn to conjure the Ardent Protector Aura, which return health to you and allies when attacked.
12 Scrim 40 Token
Cold Presence Token
Learn to conjure the Cold Presence Aura, which will after reaching max stacks, deal cold damage and chill nearby enemies.
18 Scrim 40 Token
Retaliating Phoenix Token
Learn to conjure the Retaliating Phoenix Aura, which will deploy a barrage of fiery birds to damage opponents hitting you.
14 Scrim 40 Token
Lycan’s Mark
Learn to conjure the Lycan’s Mark Aura, which will mark nearby opponents, causing you to heal when attacking them at an increasing rate.
18 Scrim 40 Token
Lamplight Token
Learn to conjure the Lamplight Aura, which will light up the nearby area.
5 Scrim 40 Token
💧 Stave enchantments
💎 Weapon & magic enchantments
In the EEWA menu you can see this table showing the damage of each element you deal and your resistance to elemental damage. At most, you can have 50% elemental damage resistance. This is calculated from your maximum Stamina and Health.
Bonus fire damage / % chance to apply Burning
Bonus cold damage / % chance to apply Chilled
Bonus lightning damage / % chance to apply Shocked
Bonus corruption damage / % chance to apply Corrupted
Bonus Elder damage / % chance to apply Elder Curse
% chance to critically hit for % extra true damage.
The elemental types are:
🔥 Burning
Can apply Burn to the enemy. This deals damage to him for quite some time.
❄️ Chilled
Can apply Cold to the enemy. This slows down his movement and attack speed.
⚡️ Shocked
Can electrocute the enemy. This reduces his Armor and will add lightning damage to any additional hits.
💀 Corrupted
Can apply Corruption to the enemy. This increases his corruption and applies damage over time (prevents it from healing).
🕸 Elder Curse
Can nullifies resistance to elemental damage. This causes all elemental damage types to deal all damage.
These elemental damage types ignore the enemy’s armor. The more elemental damage you deal, the more chances you have to apply its debuff (burn, corruption…).
There are several ways to increase elemental damage, the main ones being: by using Augmented Gems (check the “🔆 Augmented Gems” section above) or by enchanting your weapon. You’ve more suggestions in the “📘 About the powers” section.
You can apply enchantments to any legendary weapon, shield or throwing weapon, whether from the base game or from mods. Also to the legendary magics of the EEWA.
Enchantments count as kits, so you won’t be able to enchant an item that already has a kit applied to it.
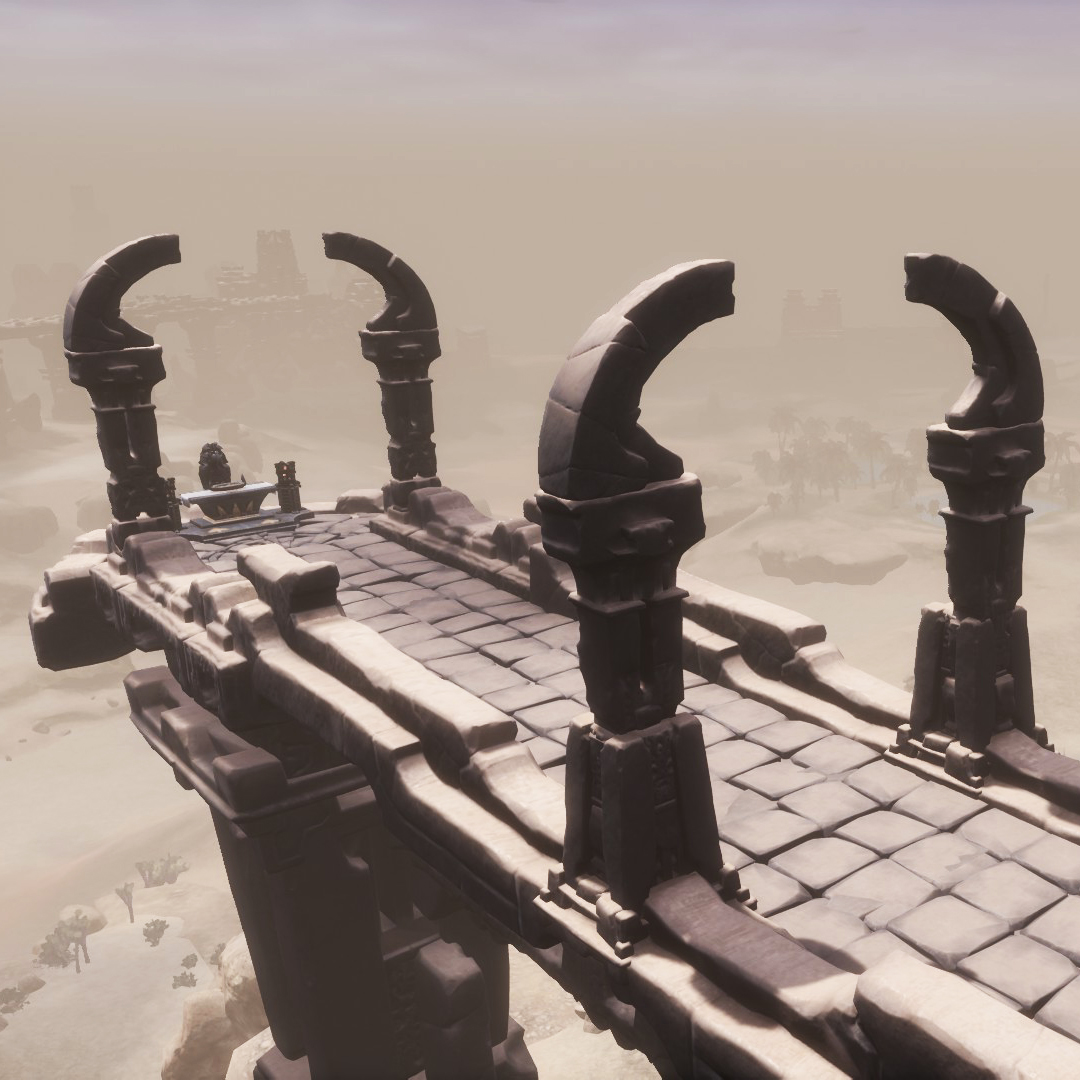 Go to the Chaosmouth, it’s south of New Asagarth. There is the Chaosmouth Altar. Insert the item you want to enchant (legendary) and a God Krystallion into it. The God Krystallion will be consumed and you will have enchanted the item.
You cannot choose which element to enchant the weapon with or what level of damage will be applied to it from that element. So, unless you’re lucky, you’ll probably need several tries (and several God Krystallions) to get the item you want. Additionally, for each new attempt you’ll need to cleanse the previous enchantment with an Orb of Cleansing on the same Chaosmouth Altar.
You can have the same type of item in both your main and secondary hand weapons (the bonus will accumulate), as long as the item has different damage levels.
The damage levels are:
Level 1: 15 damage + 4,7% chance to apply debuff.
Level 2: 25 damage + 7,6% chance to apply debuff.
Level 3: 32 damage + 9,6% chance to apply debuff.
Level 4: 40 damage + 11,7% chance to apply debuff
(there is no Level 4 for the Elder Curse element).
There are two ways to know what enchantment has been applied to the item:
· In your Stats menu, it’ll say, for example “Increased Fire Damage IV“.
· Equip the item and this message will appear on the right of the screen:
“(item name) – Grants (damage number) (elemental type) damage“.
🔽 OTHER MECHANICS 🔽
Waypoints
 The EEWA mod adds 16 teleportation points spread across the Exiled Lands. Like this:
Guide yourself with the map that I’ve left below to find them or explore yourself until you find them. Sometimes they’re found in somewhat inhospitable places, but usually they’re close to some important place (near the Altar of Hanuman, the Perilous Valley, the Chaosmouth Altar, where Petruso is…).
You’ll only be able to travel from one Waypoint (by clicking E) to the other Waypoints that you’ve already discovered.
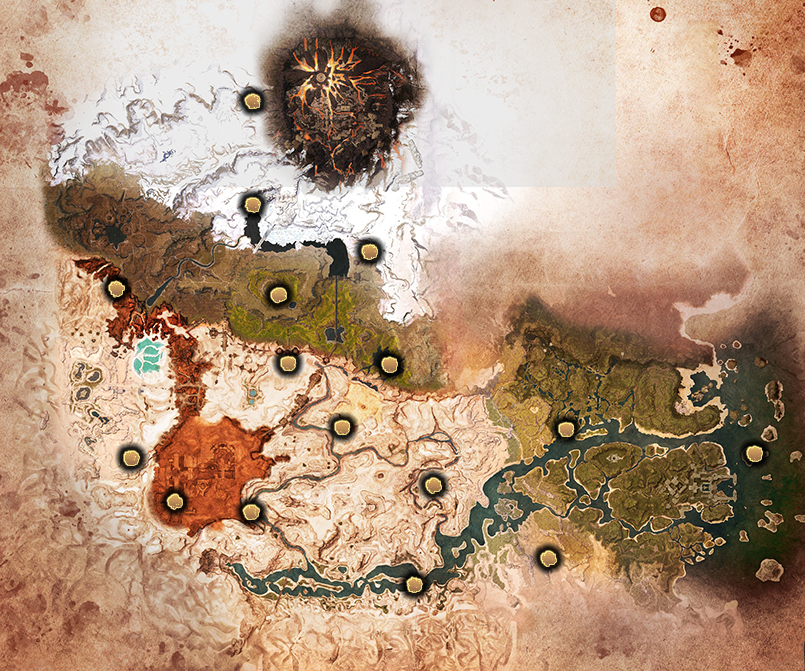
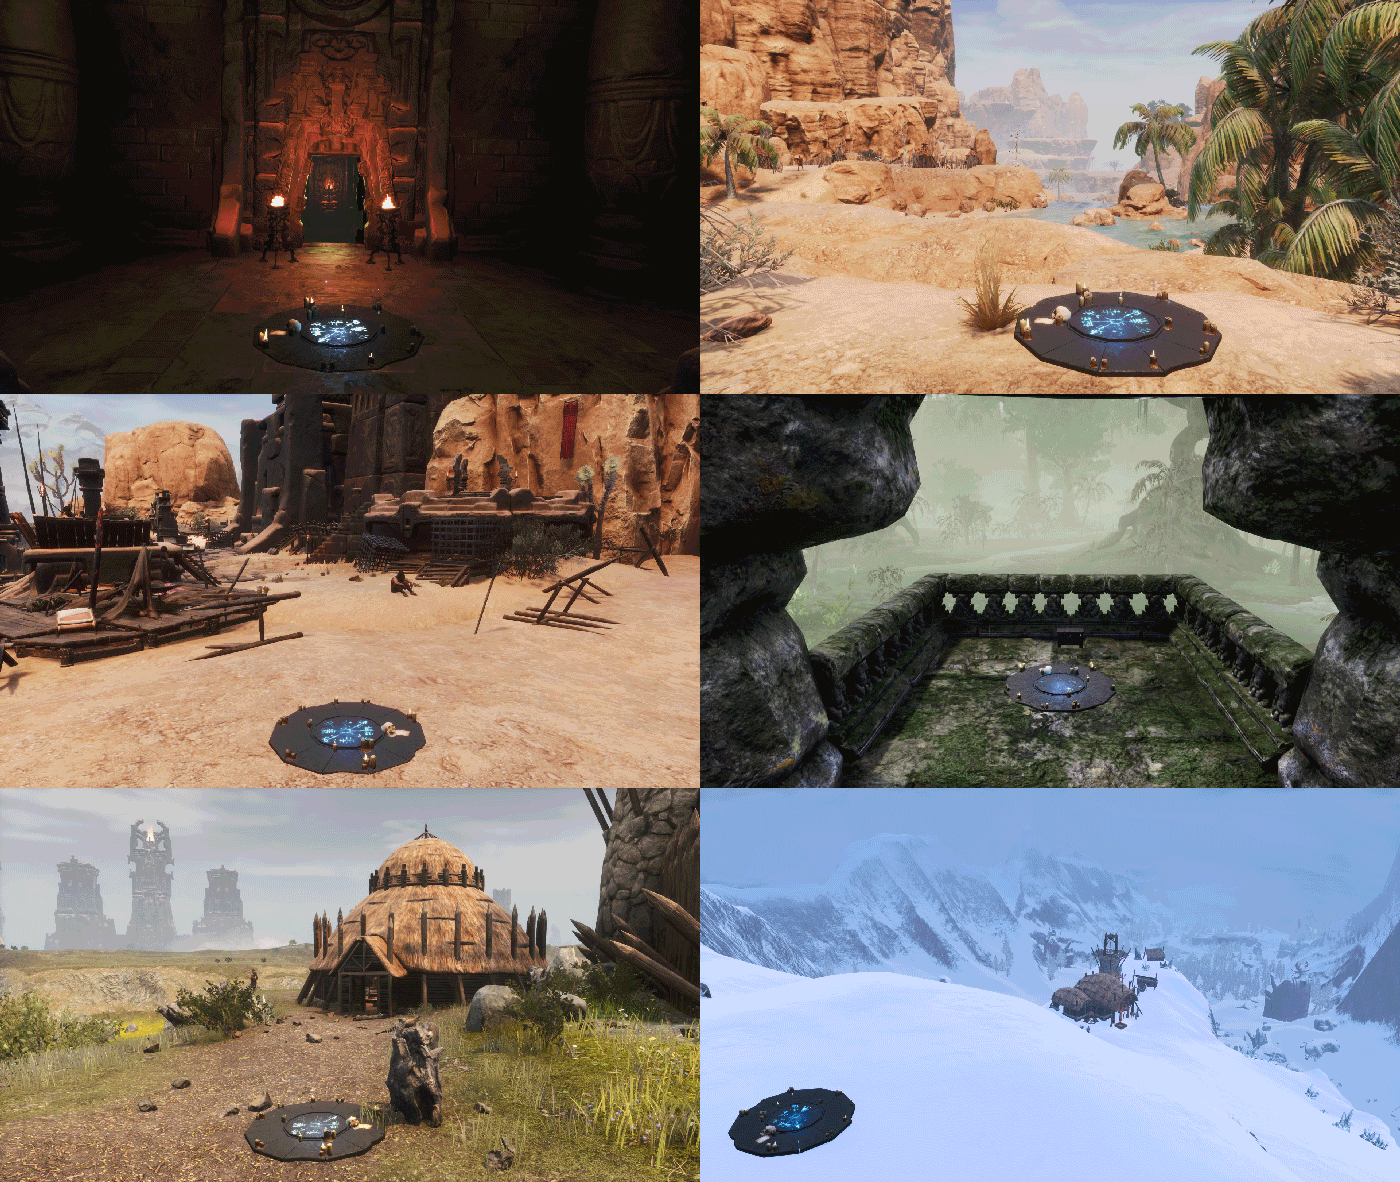 Here’s a gif with all the locations in this order:
King’s Niche, The Jawbone, The Spawning Pools, Shaleback Hollow, Hanuman’s Grotto Outlook, Deathwhisper Ruins, Mek-kamoses’s Spire, Chaosmouth, Sandswept Ruins, Eastern Barrack, Wreck of the Martyr, Telith’s Island, New Asagarth, Bin-Yakin’s Seal, Perilous Valley and Council of Wolves Construction Site.
The Waypoints already have pre-established names which the admin of your server could change at will, for example, so that they’re in another language.
In addition, the admin can remove them, add more, establish a minimum level so that players can use them, a payment, have a feat learned… In the mod it’s set by default that there is no payment or conditions to be able to use them.
Bounty Boards
Let’s look at the basics first and then look at each bounty enemy one by one.
You won’t have access to the Reward Boards until you have learned their feats.
 You will have to wait until you’re level 40 to learn the first feat, which is called Bounties. This will unlock eleven Lesser Bounties and one Bounty.
Once you know that feat and are level 60, you can learn Greater Bounties. This will unlock you a Lesser Bounty, six Bounties, four Greater Bounties and two others (Unusual Bounty and Avatar Bounty).
If you play on a server with the full conversion The Age of Calamitous mod, you’ll only have the Calamitious Bounties feat at level 50, with thirteen rewards that only appear with that mod.
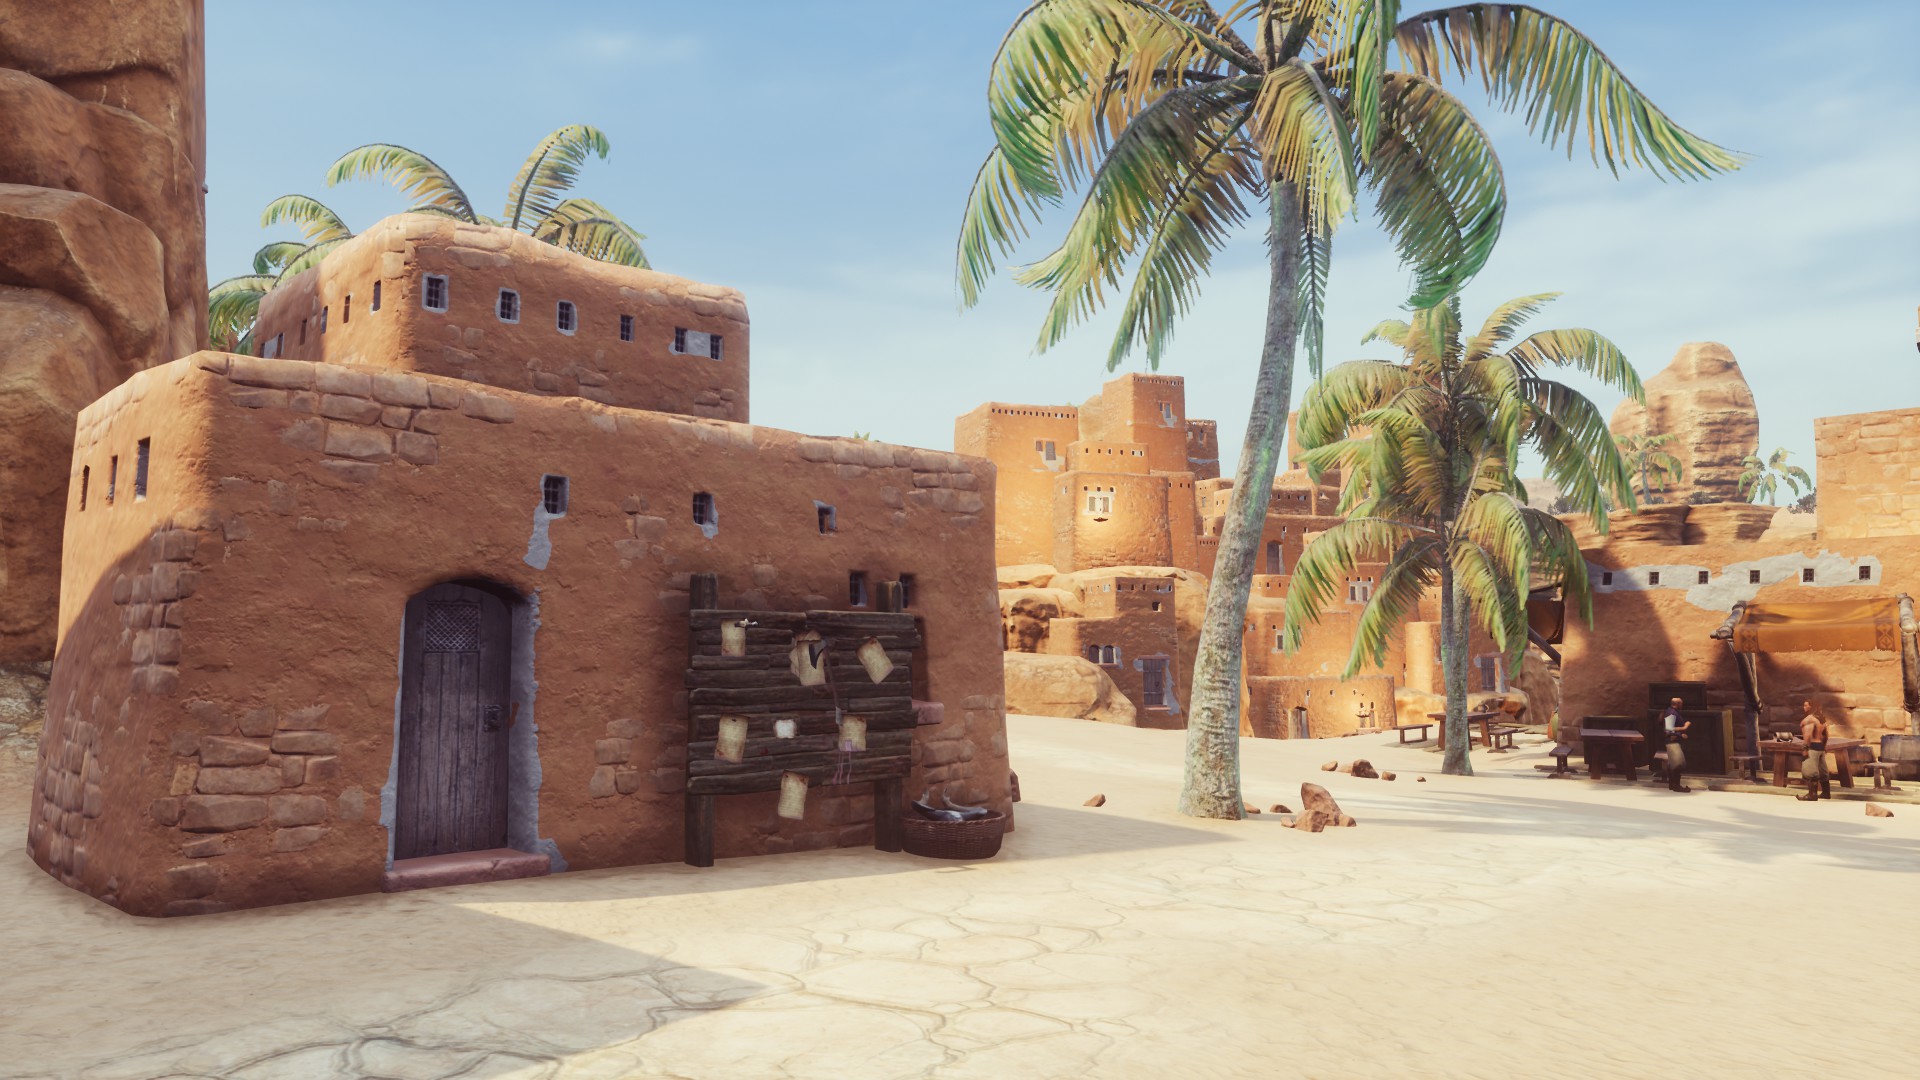 There are three points scattered around the map with Reward Boards:
You will find one in the city of Sepermeru, west of the desert.
Another one near the NPC Rarity Trader in Buccaneer Bay, northwest of the jungle.
Another one at the entrance to New Asagarth, in the center of the Highlands.
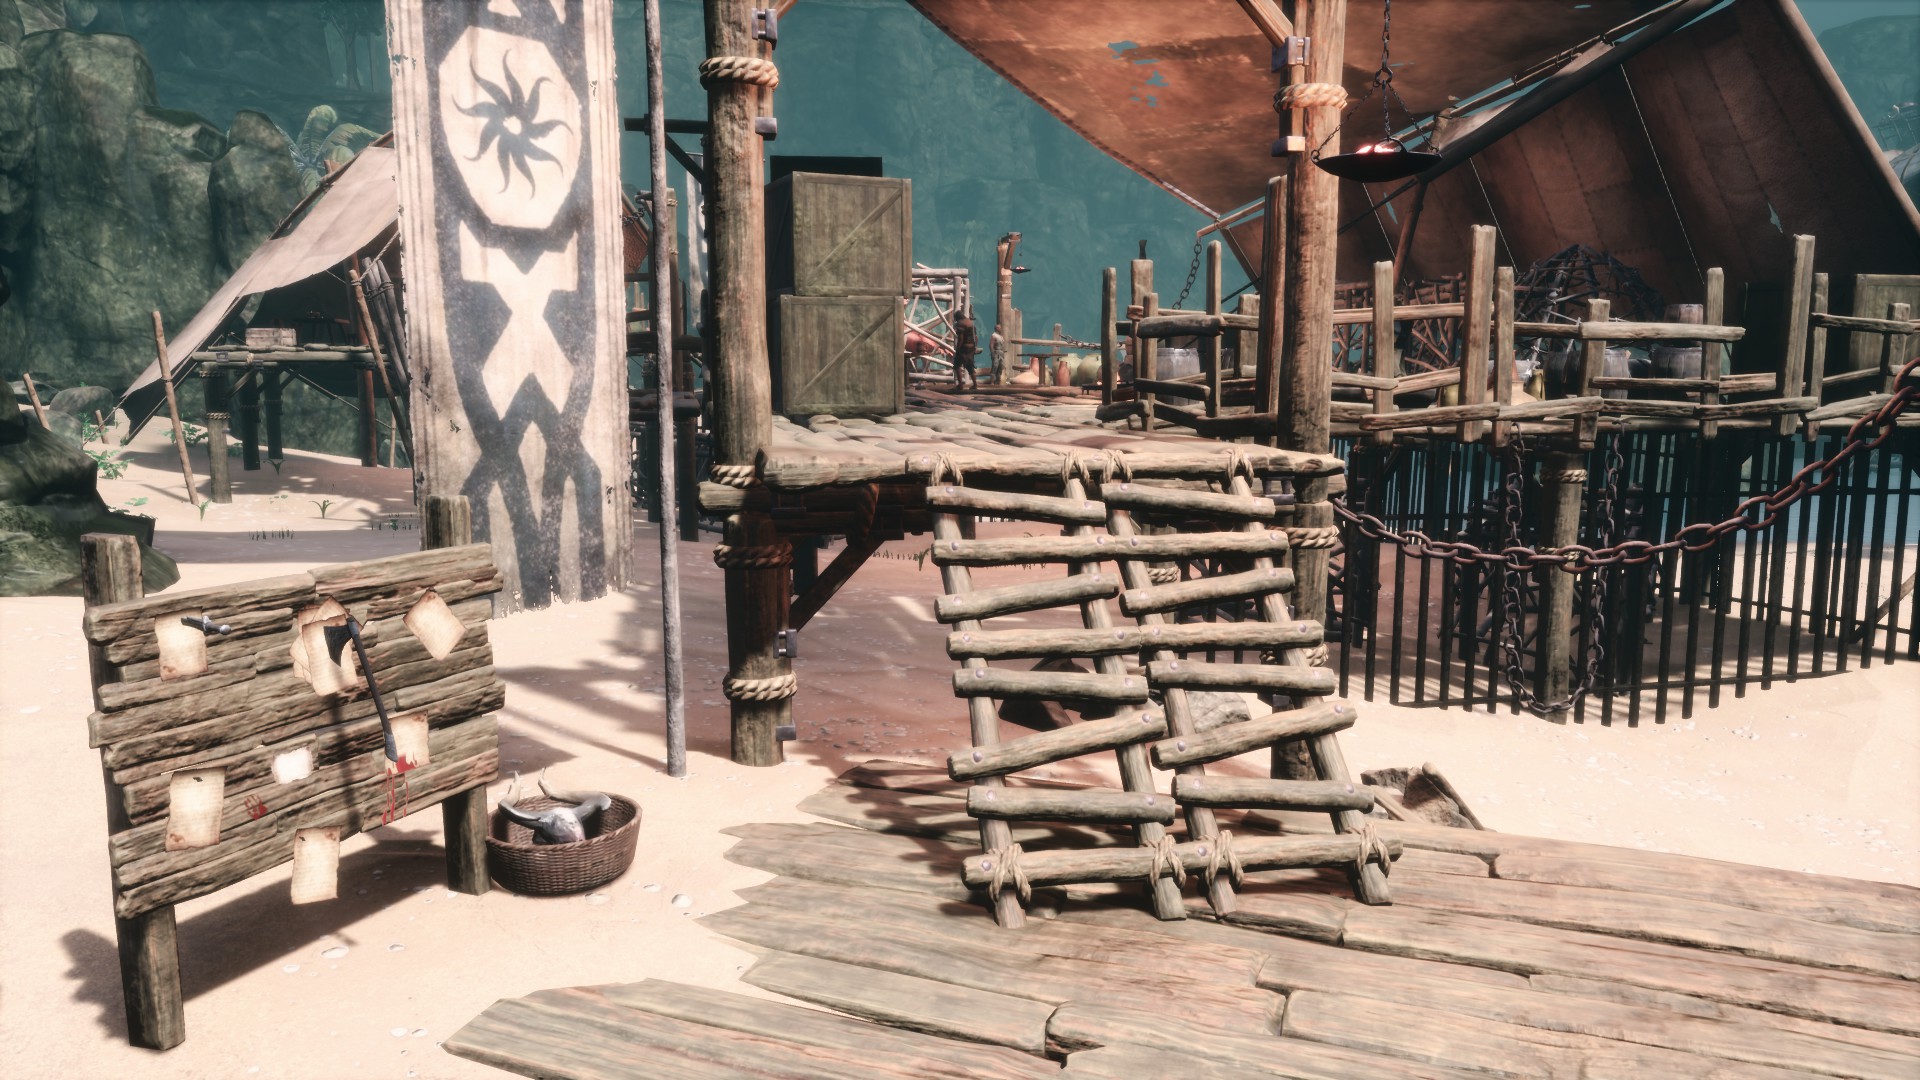
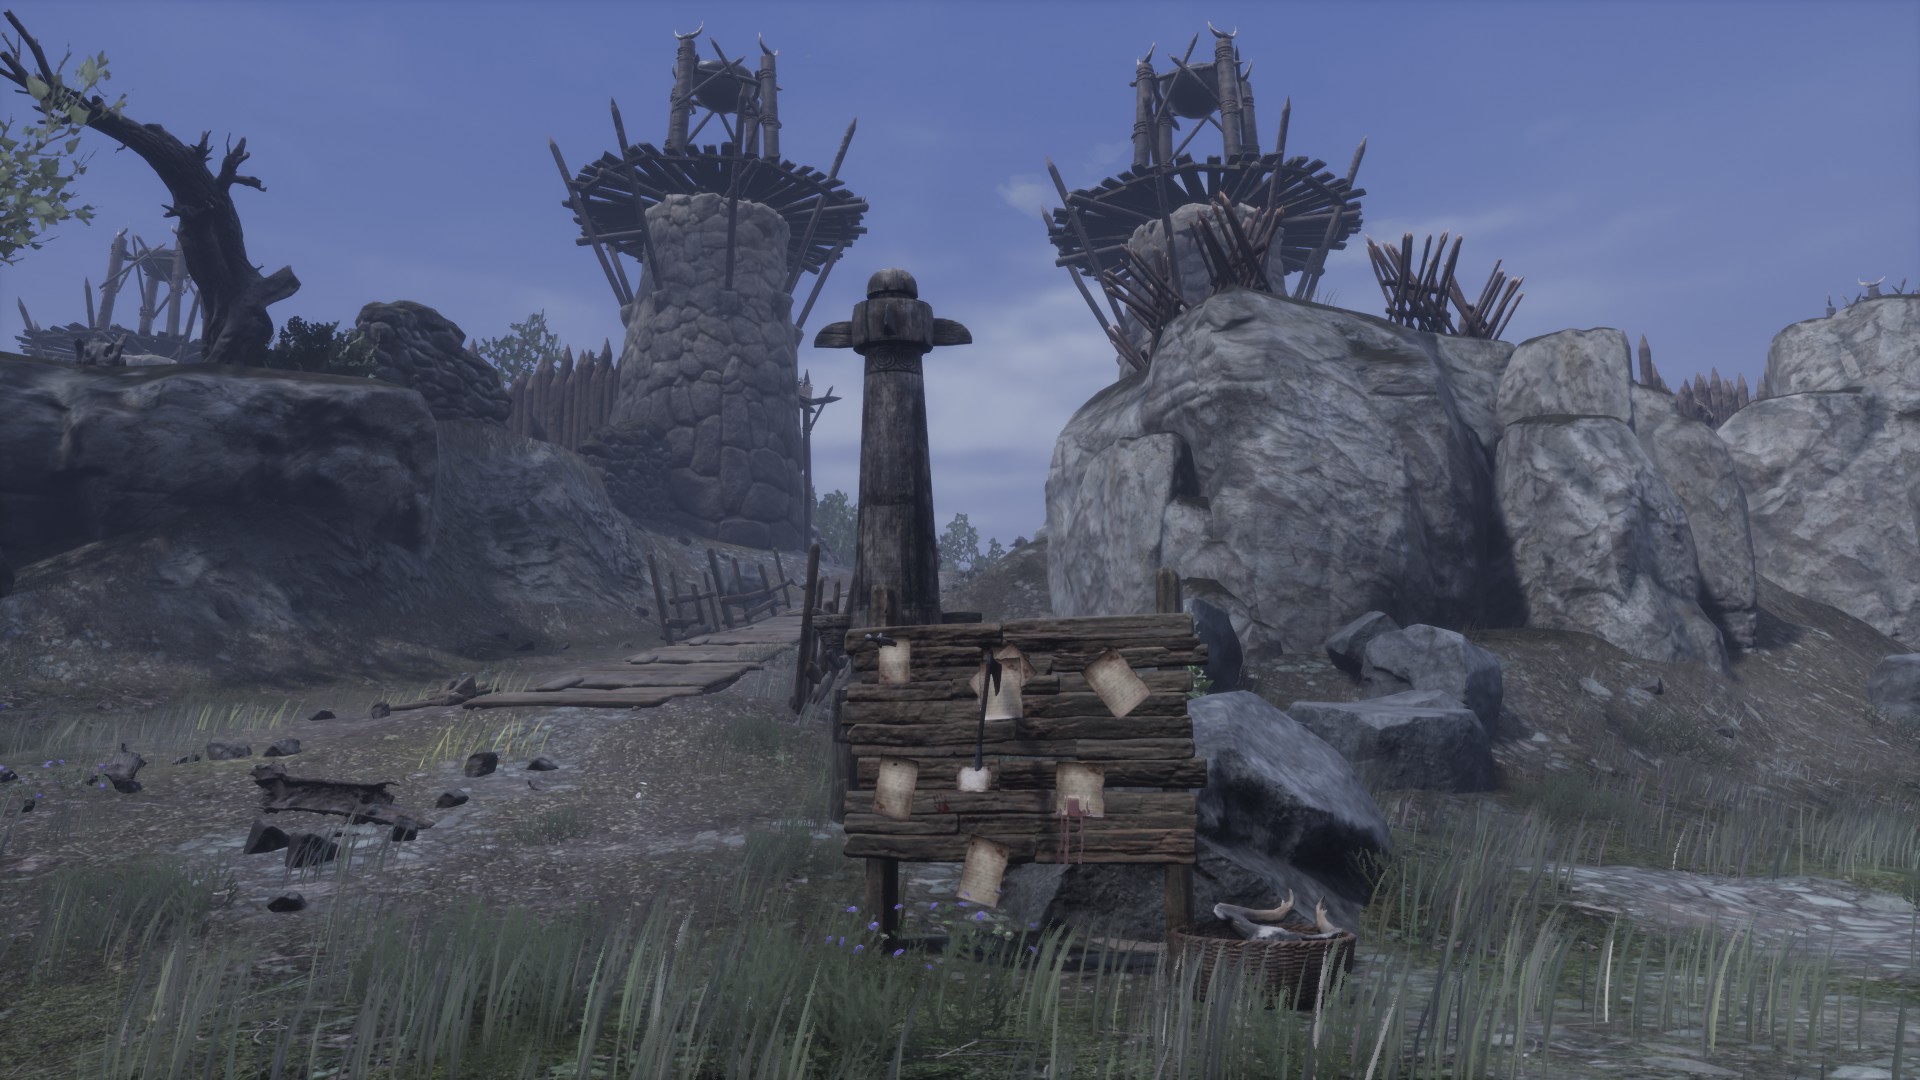
The admin of the server you play on can add more Reward Boards and even delete existing ones.
You will have to use one of your Hatchets, Picks, Sickles, Cleavers, Skinning Knives or Pickaxes on the creature’s corpse to remove its head (or whatever part of the body you need). You may not get any heads, you may get one or even two. It will depend on the quality of your tool and chance. But the usual thing will be that you receive a head for each enemy.
There is one exception to this, the wraiths of The Wraithwoods, from which you’ll absorb their Wraith Essence as soon as you kill them.
Once you’ve finished with them, they’ll appear again in about an hour. However, this (like many other things) will depend on how the server you play on is configured.
Delivering any of these rewards will give you a lot of experience and valuable items. Here is a general list of these objects.
- Lesser Bounties:
They’ll give you between 3 and 10 Gold Coins from the base game and 1 Lesser Bounty Reward, which will contain some of the following items: Supply Materials, Gold Bar, Bounty Assembly Piece, Fragment of Power, Handheld Ymir Totem and Silver Bar. - Bounties:
They’ll give you materials from the head delivered, 2 Bounty Assembly Piece and 1 Bounty Reward, which will contain some of the following items: Supply Materials, Handheld Ymir Totem, Bounty Assembly Piece, Fragment of Power, Blacksmith’s Lightpack (from them you’ll get materials such as Star Obsidian Bar, Dragonpowder, Essence of a Star, Armor Scraps, Scourgesteel Bar…) and Skelos Shard Fragment.
Additionally, by killing the Bounties creatures, you will have a chance of getting some of the artefacts, Acheronian Sigil Key (to enter the Conjuration Pillar room), Orb of Corruption (to activate Corrupt Portals), scrolls for Augmented Gems and recipes for the Necromancer Trait (which is disabled).
- Greater Bounties:
They’ll give you between 1 and 3 Scrims and between 1 and 2 Bounty Rewards, which will contain some of the objects that I mentioned in the previous point. - Avatar Bounty:
They’ll give you 2 Frosted Assembly Piece, 3 Master Skeleton Key,
4 Bounty Reward and 1 Avatar Bounty Reward, which will contain some of the following items: Handheld Ymir Totem, Blacksmith’s Pack (from them you’ll get the same materials as with the Blacksmith’s Lightpack, but between double the amount and seven times more), Wraith Essence (Unusual Bounty), Frosted Assembly Piece, Corrupted Spellbook and Shard of Skelos.
In the following sections we’re going to see where to locate each of the enemies that are needed to deliver their heads, what they’re like physically so that you can distinguish them, what kind of attacks they’ll make at you, how much life they have and what payment you’ll receive for them.
🦁 Lesser bounties I
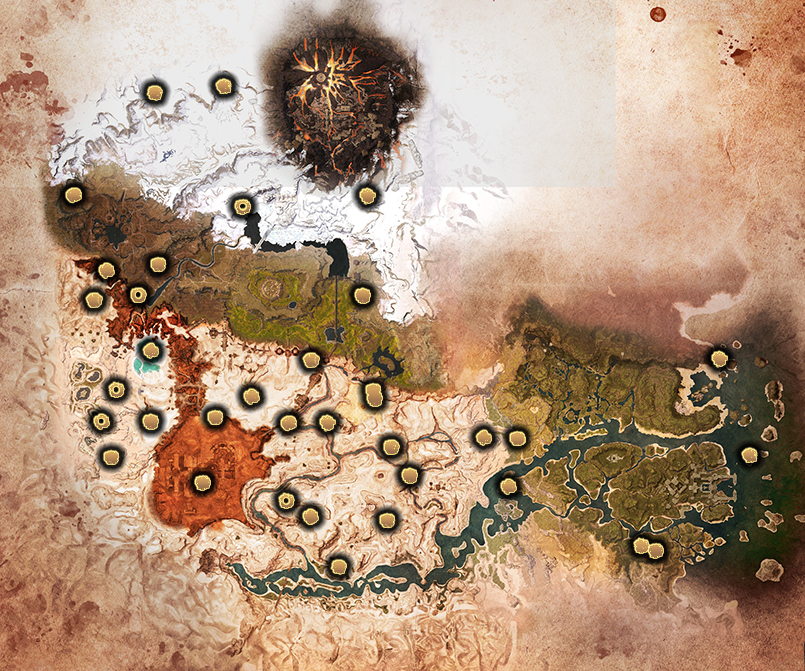 The locations of all Lesser Bounties are marked on this map. Thus ⭕️ the creatures that you have to go through a loading screen to reach them, and thus 🔴 the ones that don’t.
- King Rhino Head
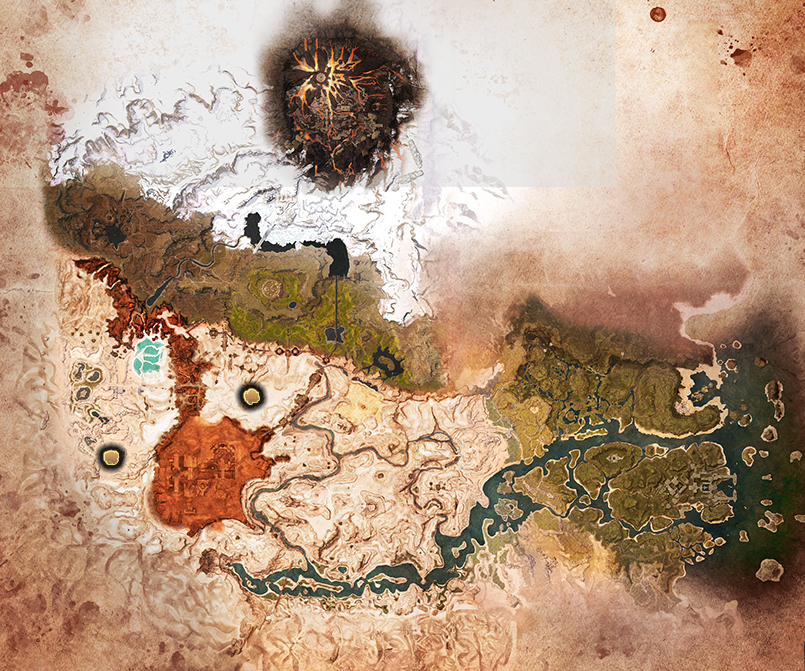 Bounty description: King Rhinos may usually be found around in large open, hot desert areas.
Location: There are two king rhinos in the Exiled Lands.
· On the Rhinohorn Ridge, southeast of Sepermeru (first image).
· In the oasis next to Muriela’s Hope, north of The Unnamed City (second image).
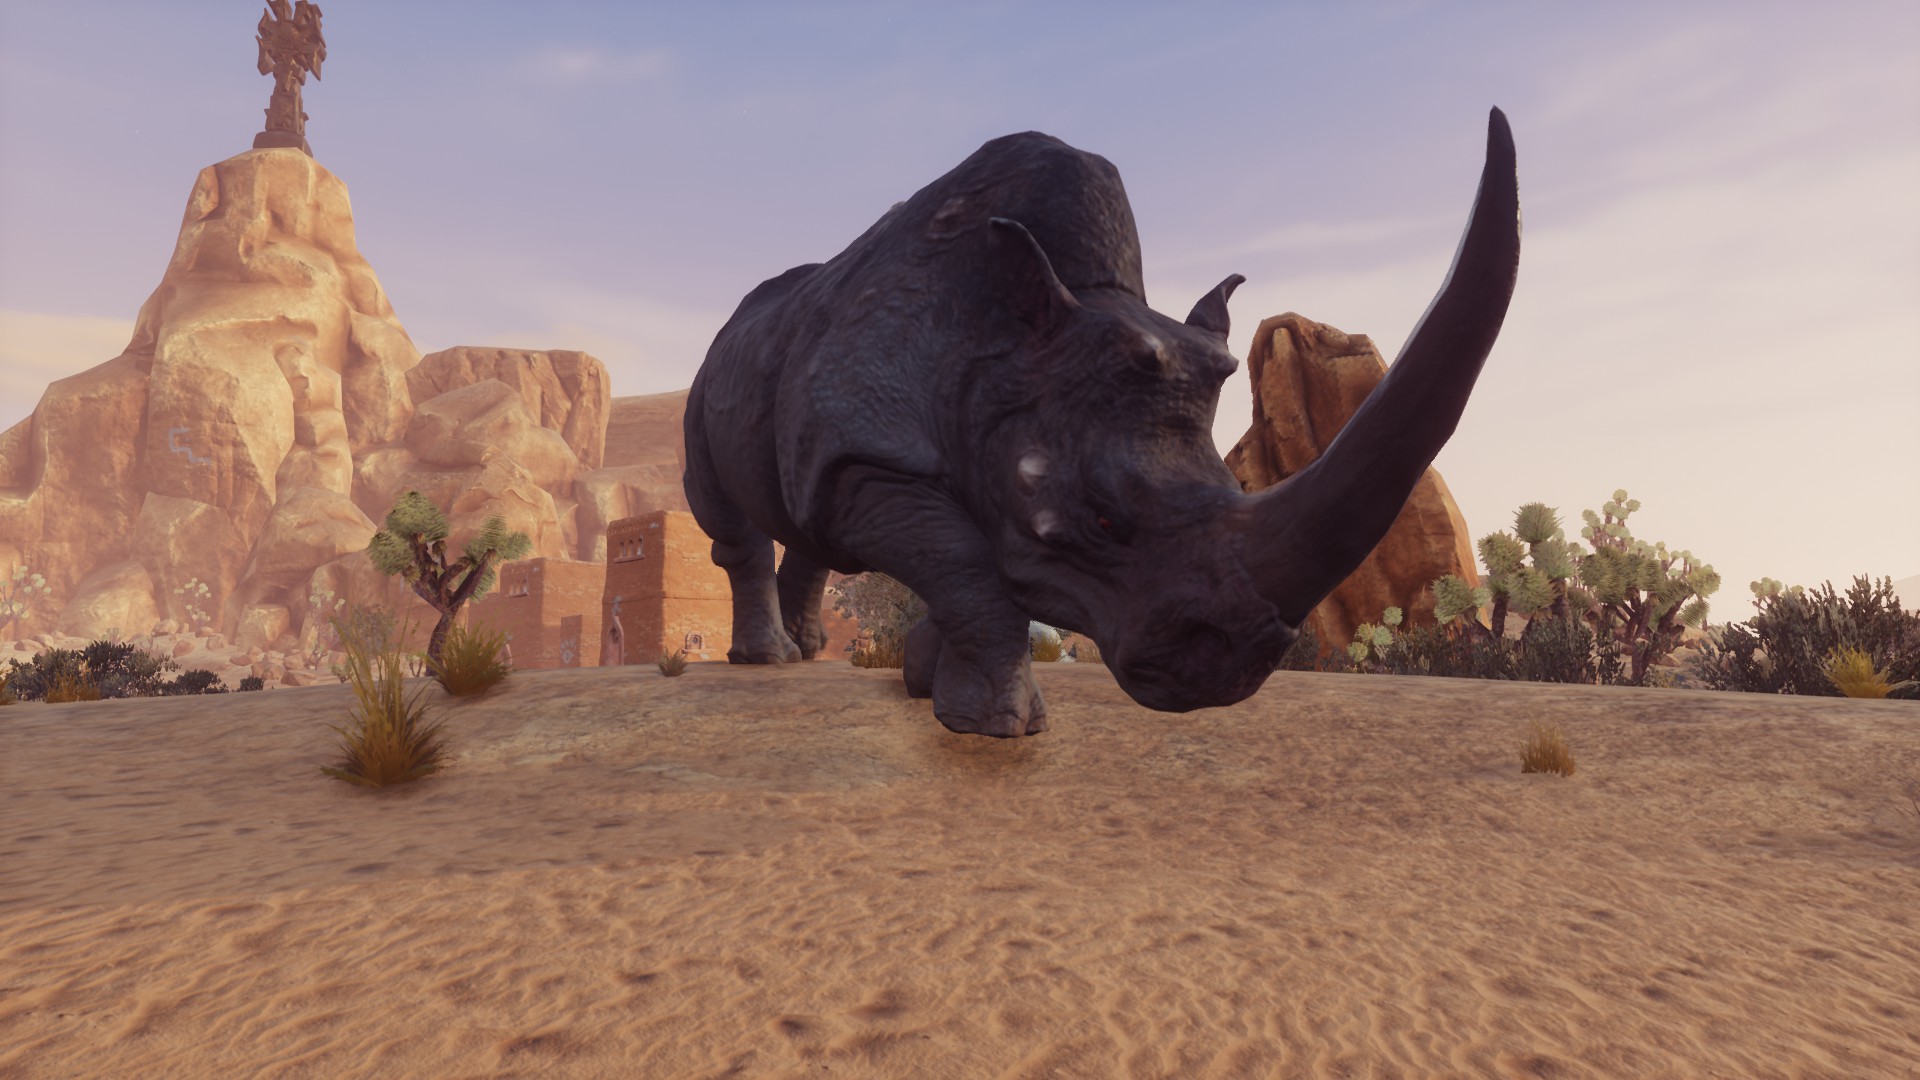
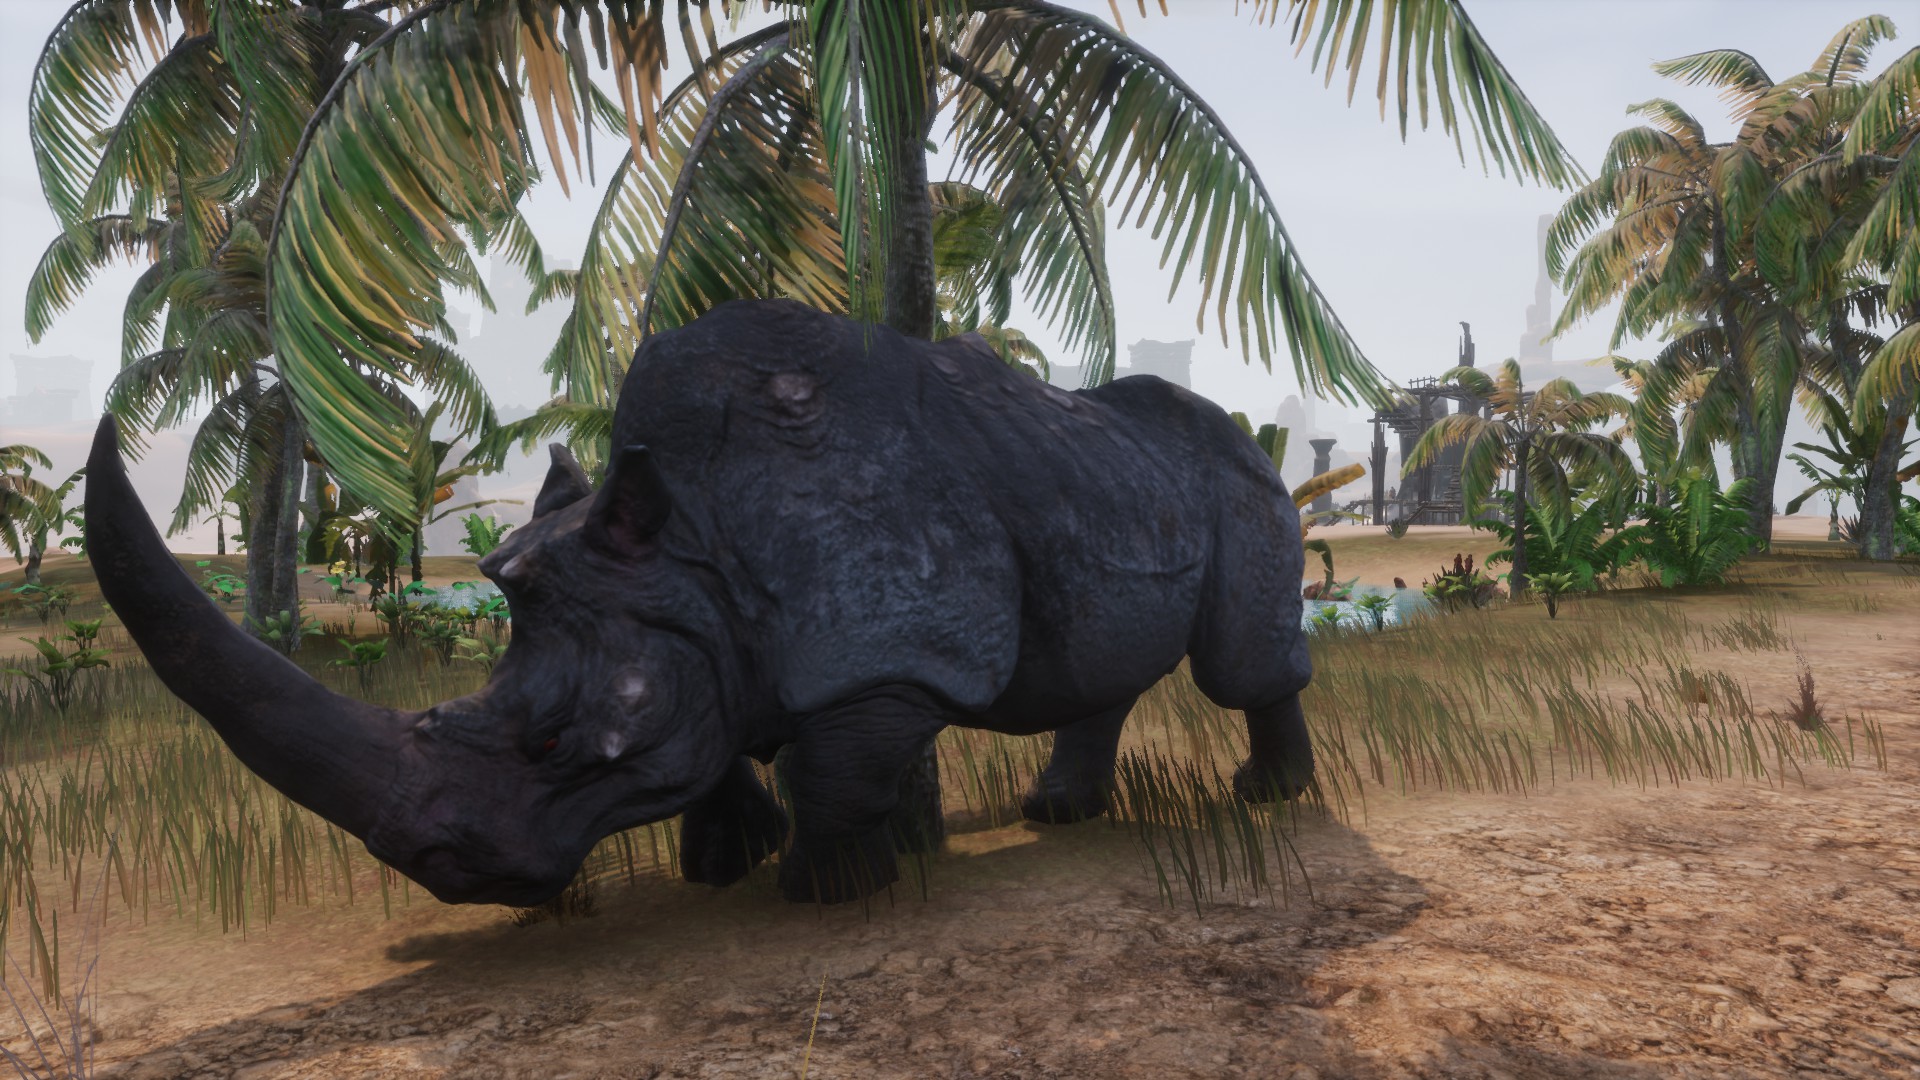
How is: You’ll distinguish it by being significantly larger than normal rhinos, in addition to being somewhat darker, stocky, with a single horn on its snout and red eyes.
Combat: It makes charged attacks that will damage and overwhelm you if you’re in front of it.
Has 5.565 health. Will give you 40.886 xp.
Reward: 1 Lesser Bounty Reward and 6 base game Gold Coins.
- Giant Crocodile Head
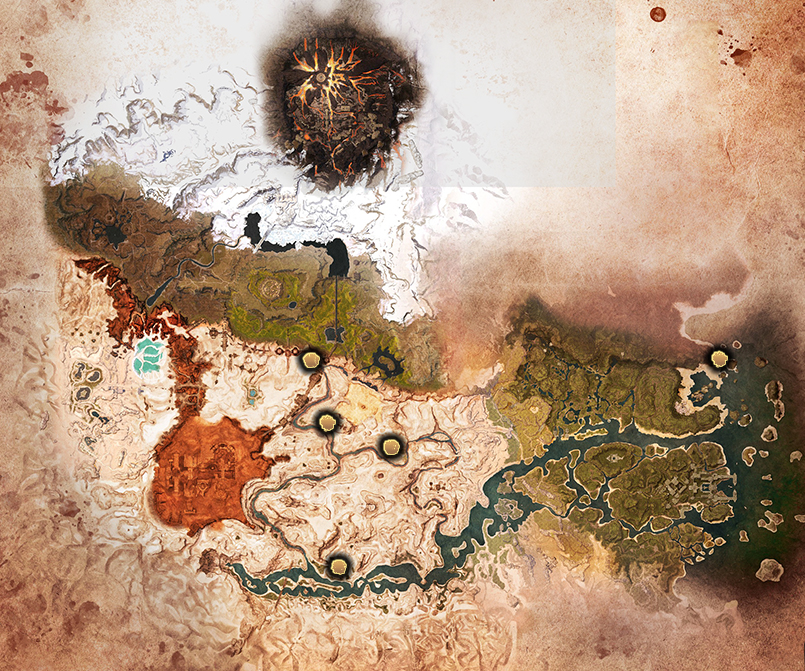 Bounty description: Giant Crocodiles may usually be found in areas around a small river or pool.
Location: There are five giants crocodile.
· In the pond northwest of The Sentinels, south of the desert (first image).
· Go down to the river level west of Mek-kamoses’s Spire, there you’ll see a pond tucked into the rock. Mek-kamoses’s Spire is north of the desert, close to the savannah (second image).
· In the pond just below the Waterhole Outlook, northeast of the desert (third image).
· West of Priestking’s Retreat, north of the desert, just before reaching the Highlands (fourth image).
· On the coast of the small island west of the Heliograph Heights, northwest of the jungle (fifth image).
There is another giant crocodile but weaker, with 807 life and a single skull. It’s in the Gallaman’s Tomb, south of the desert, but it won’t drop the Giant Crocodile Head.
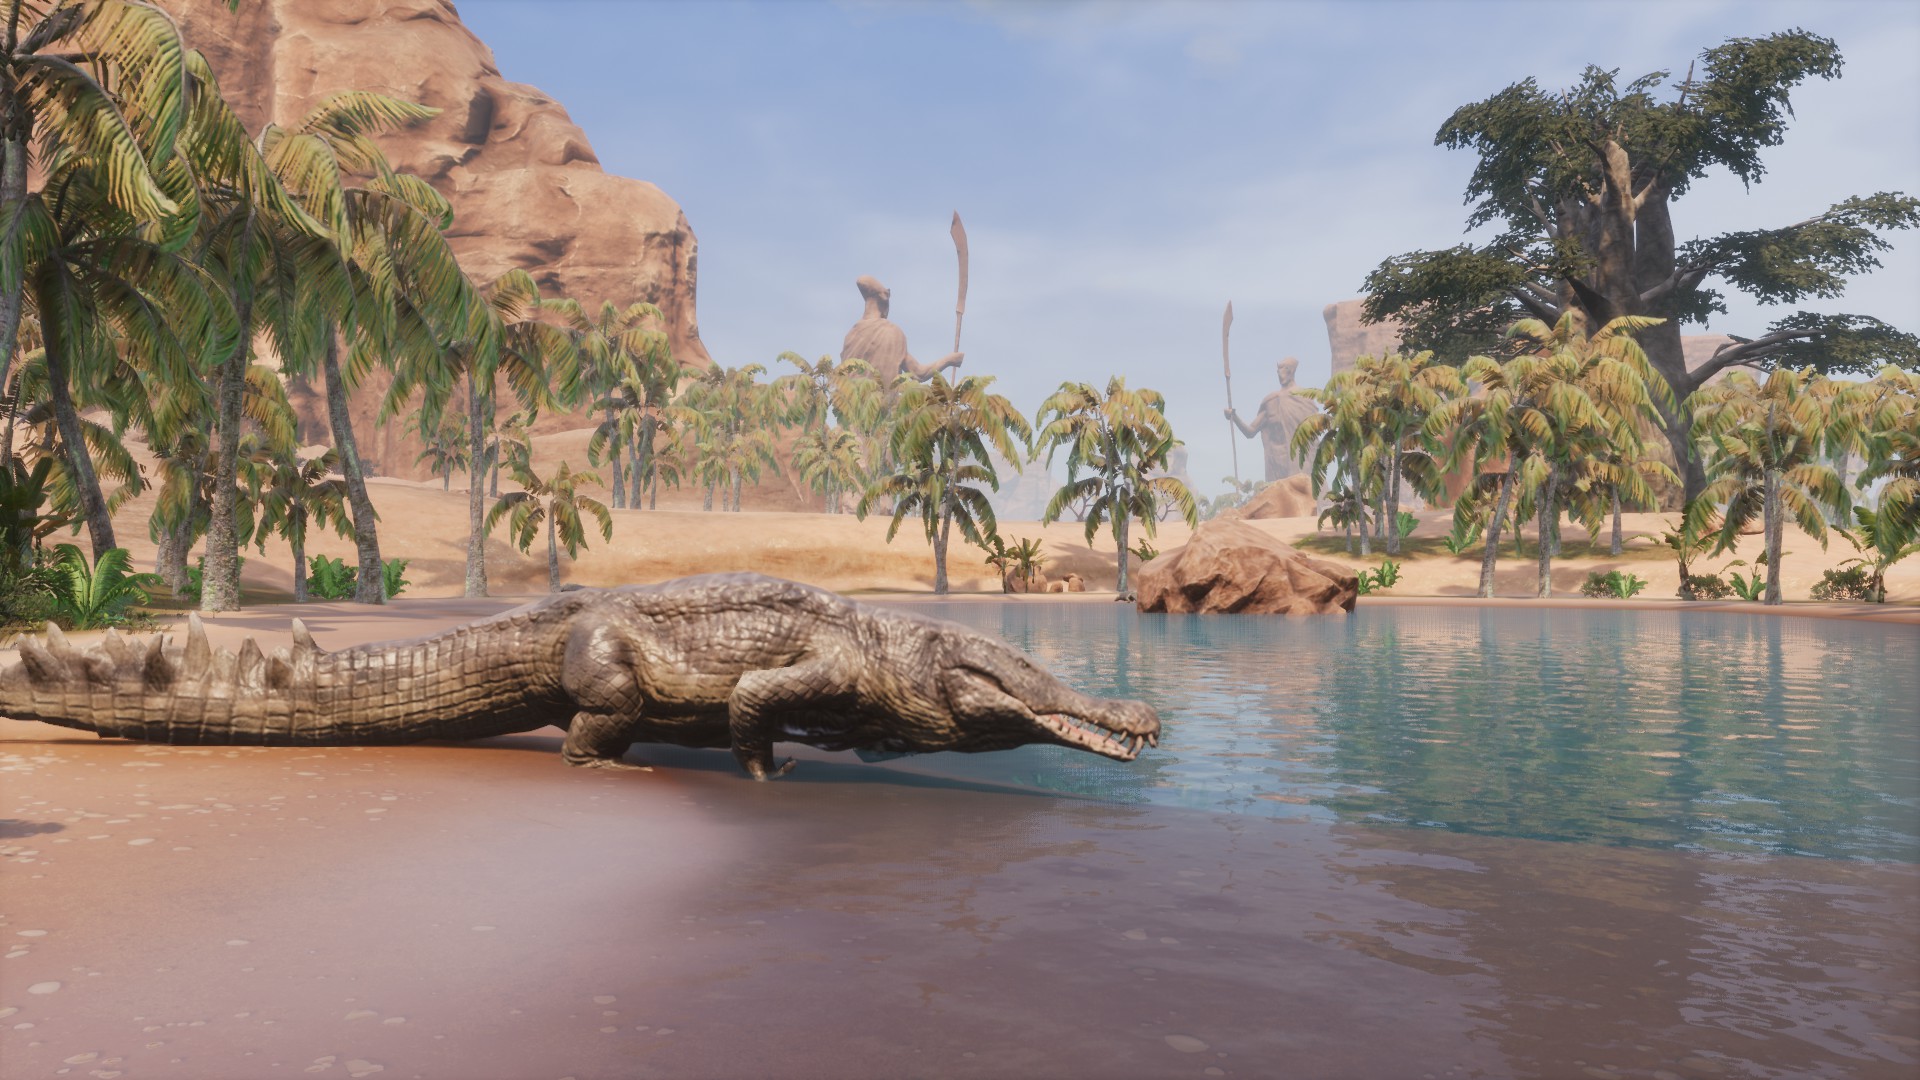
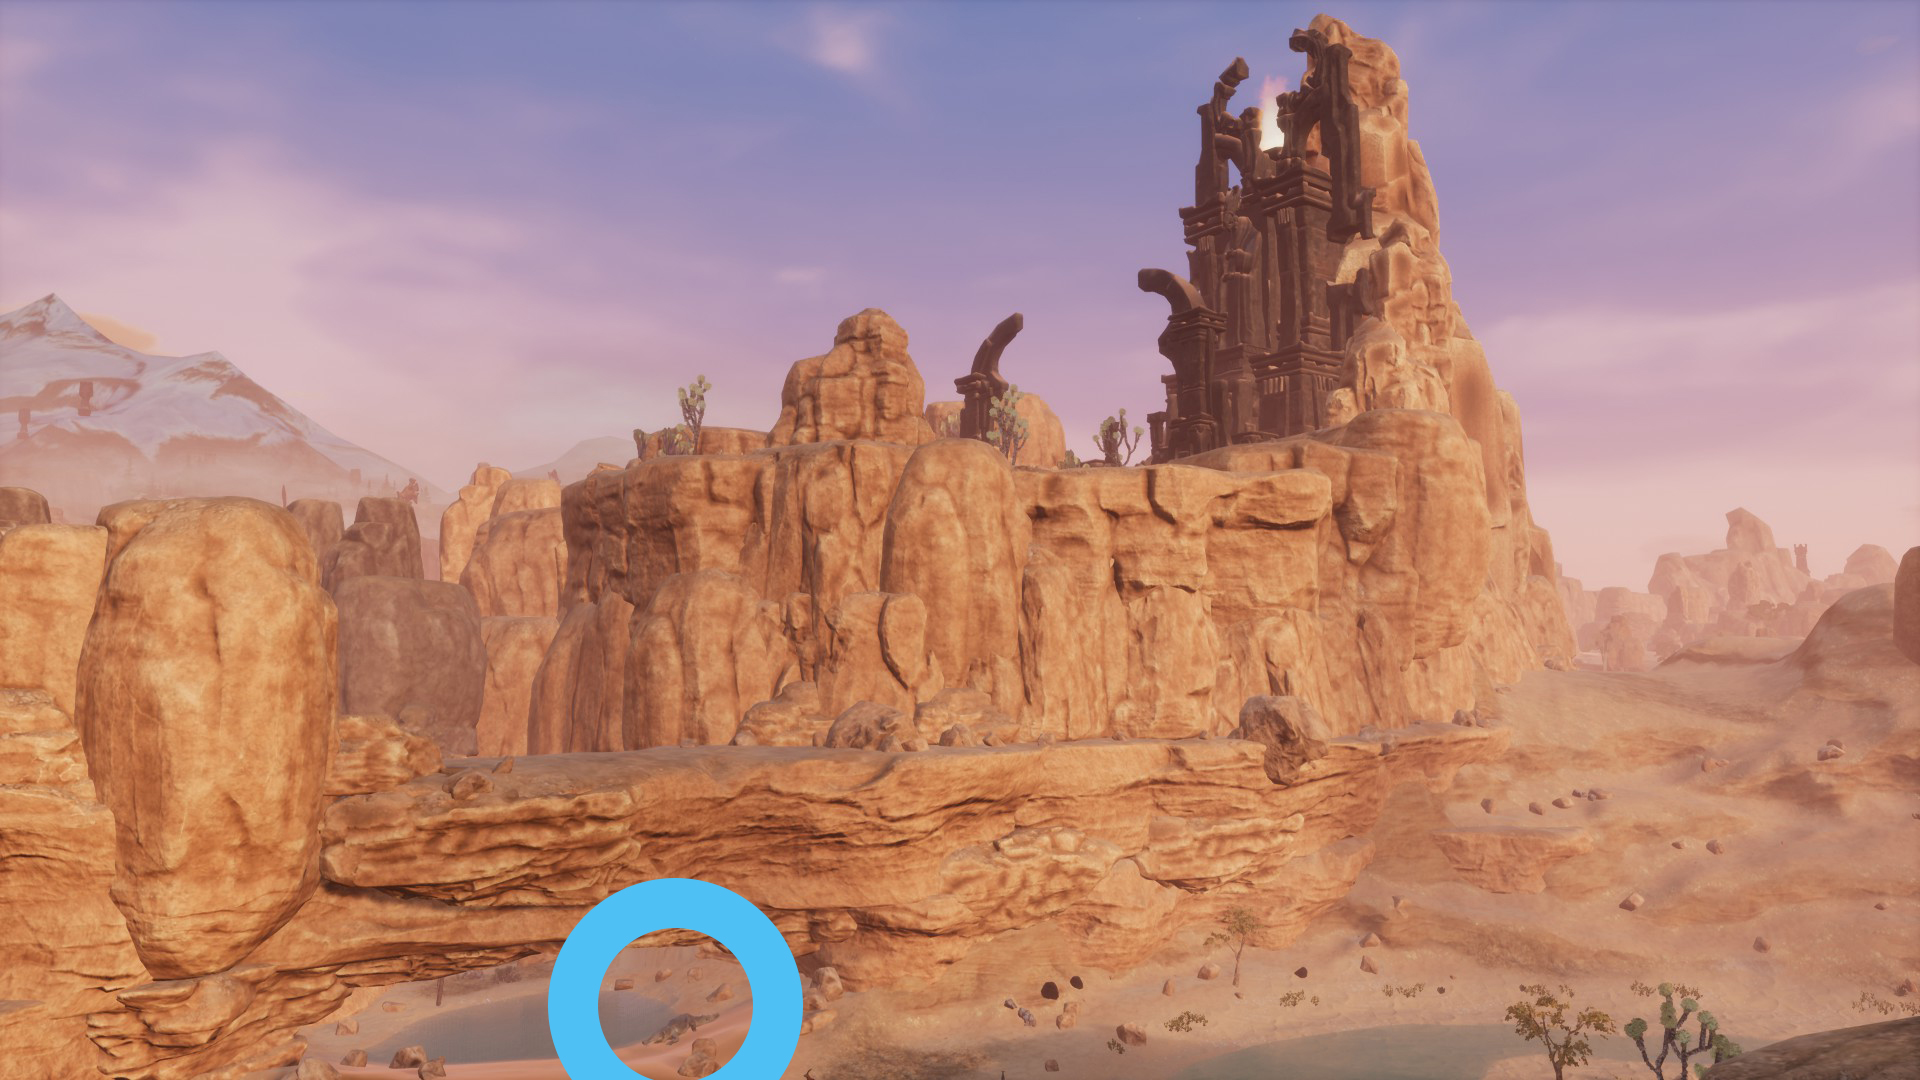
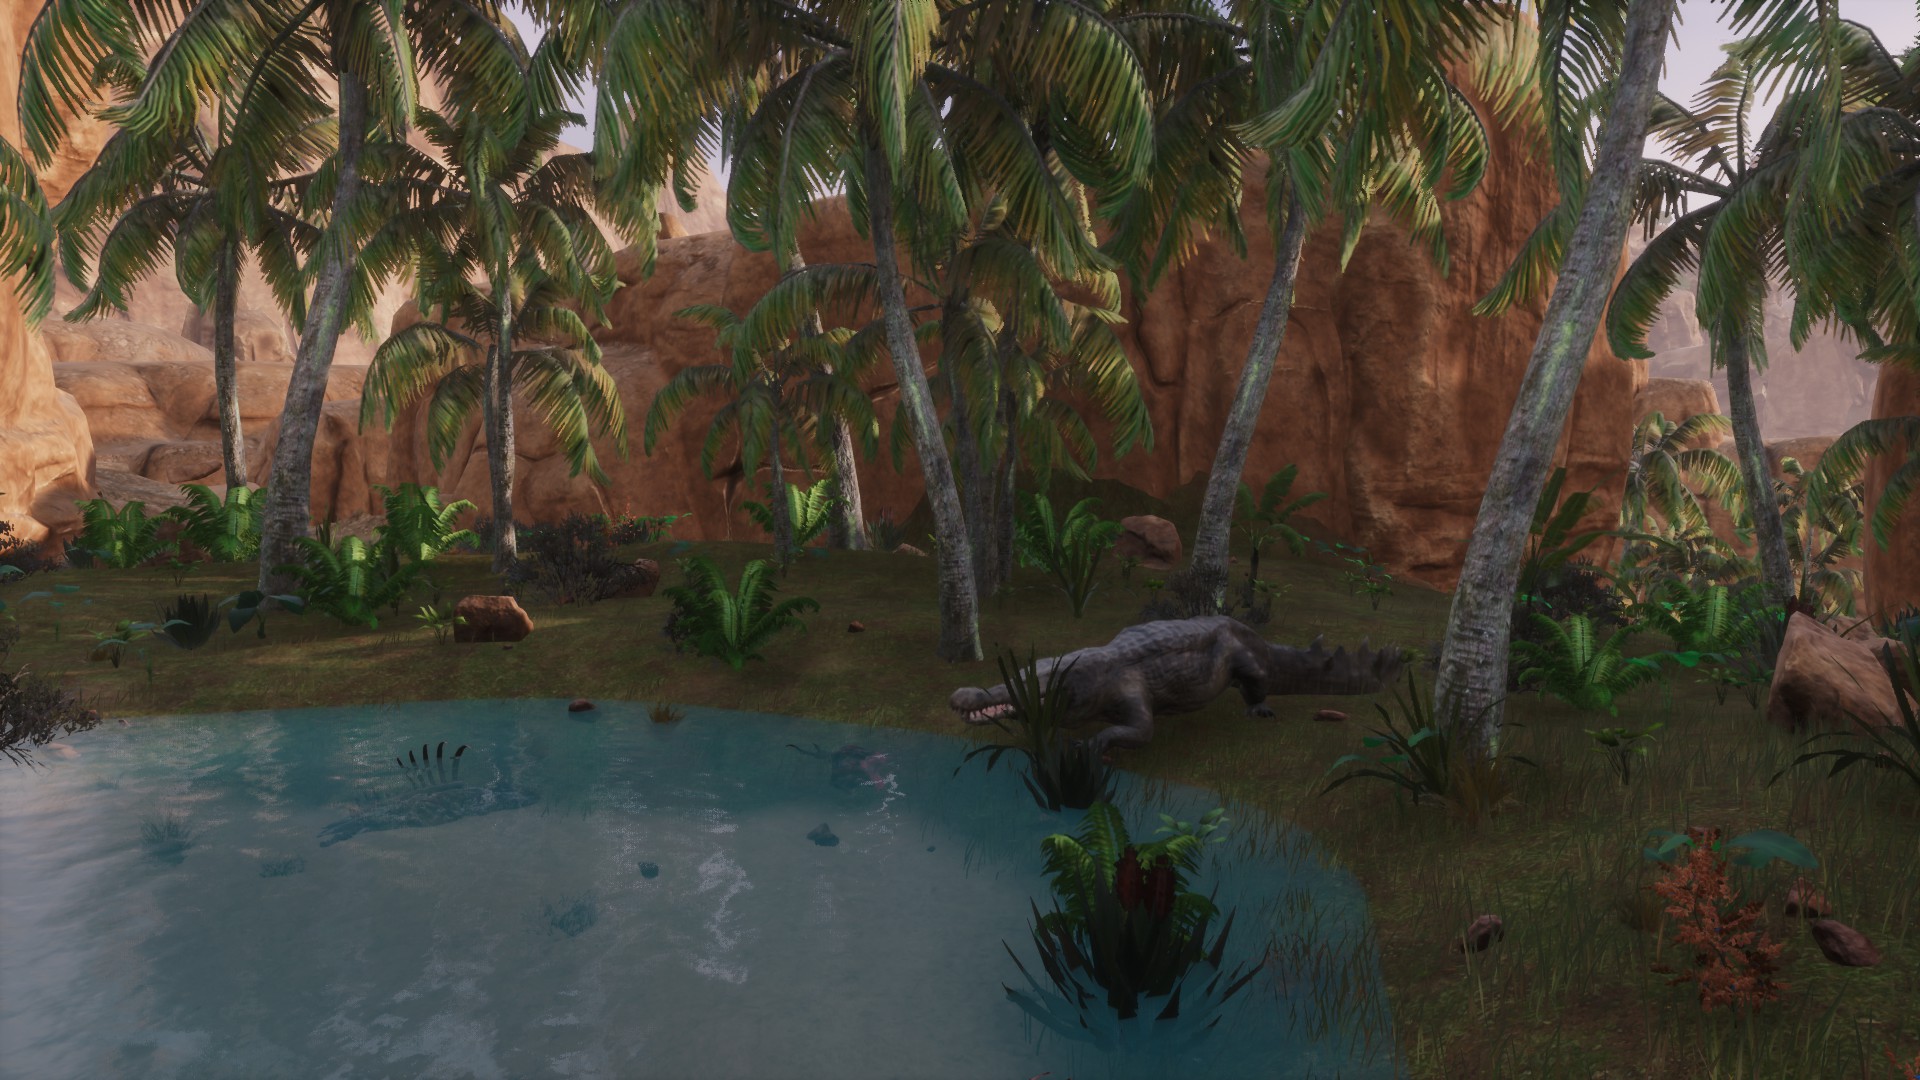
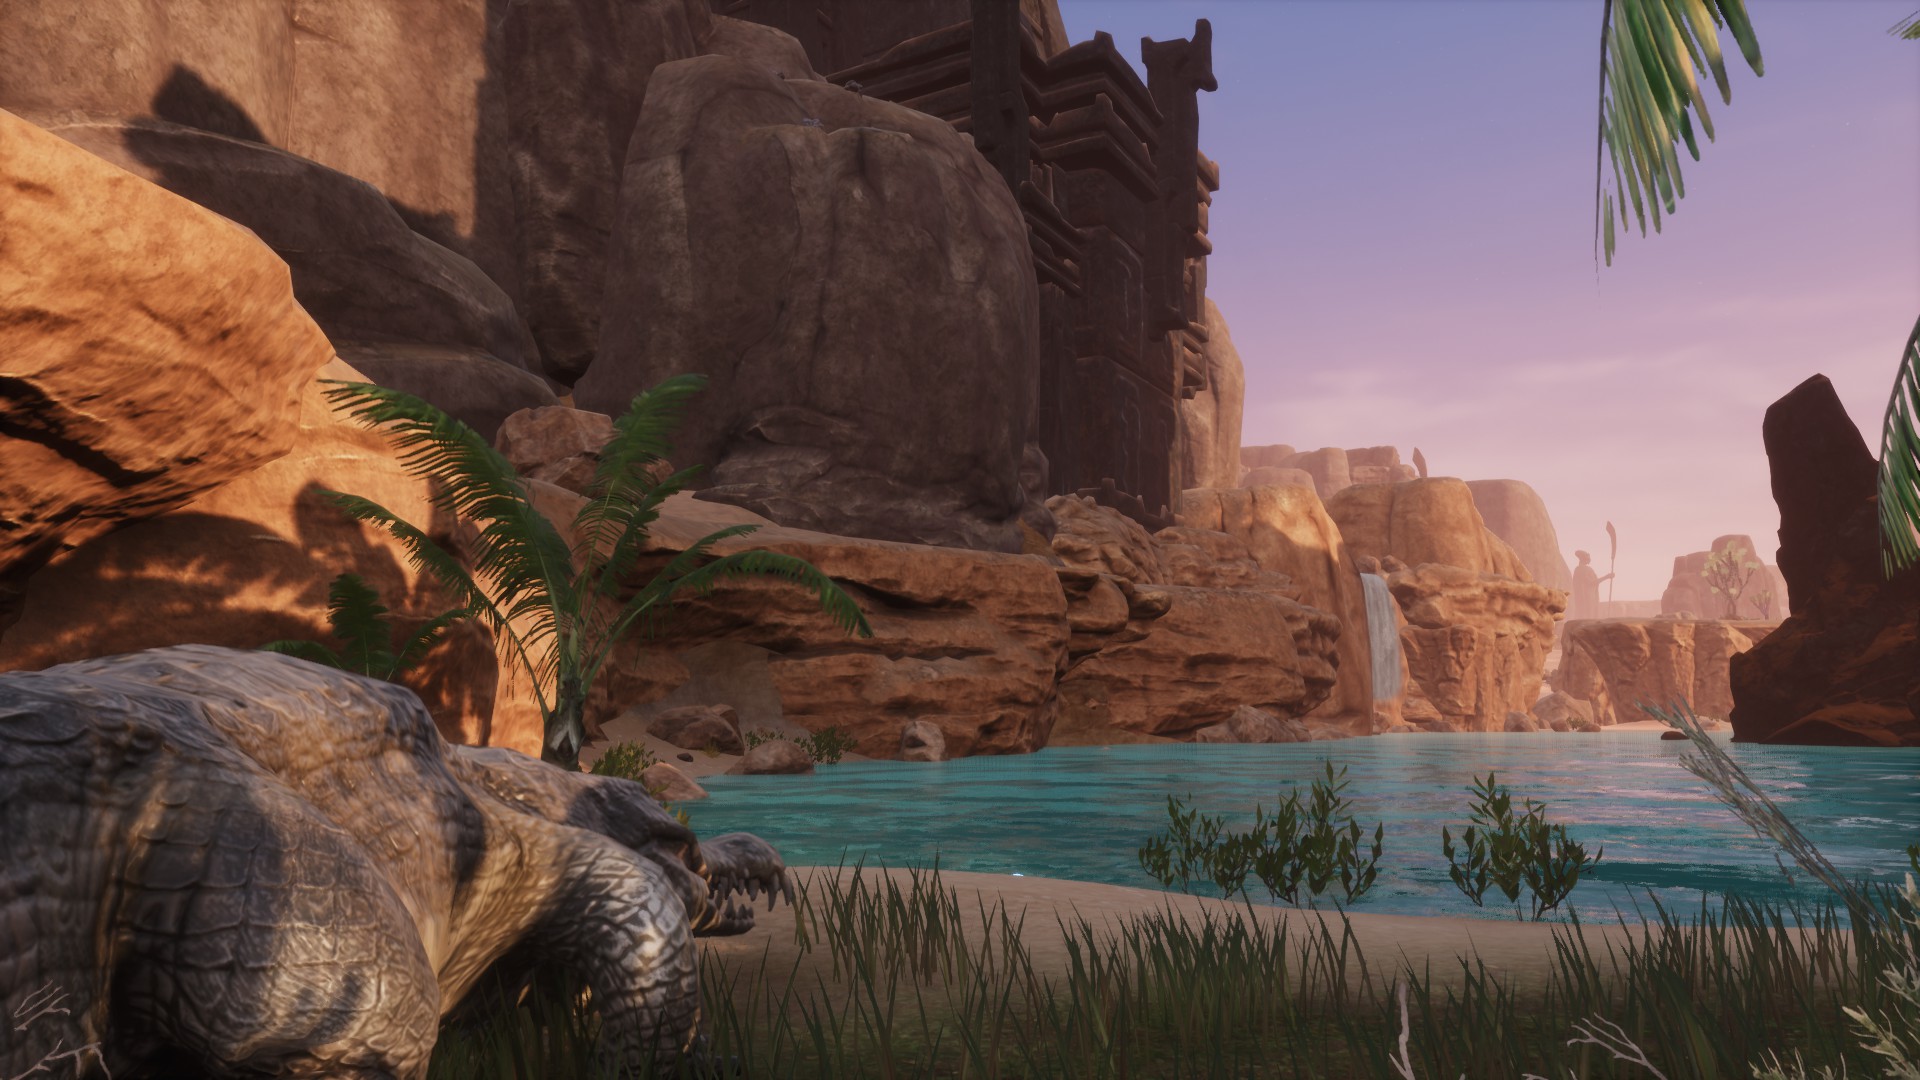
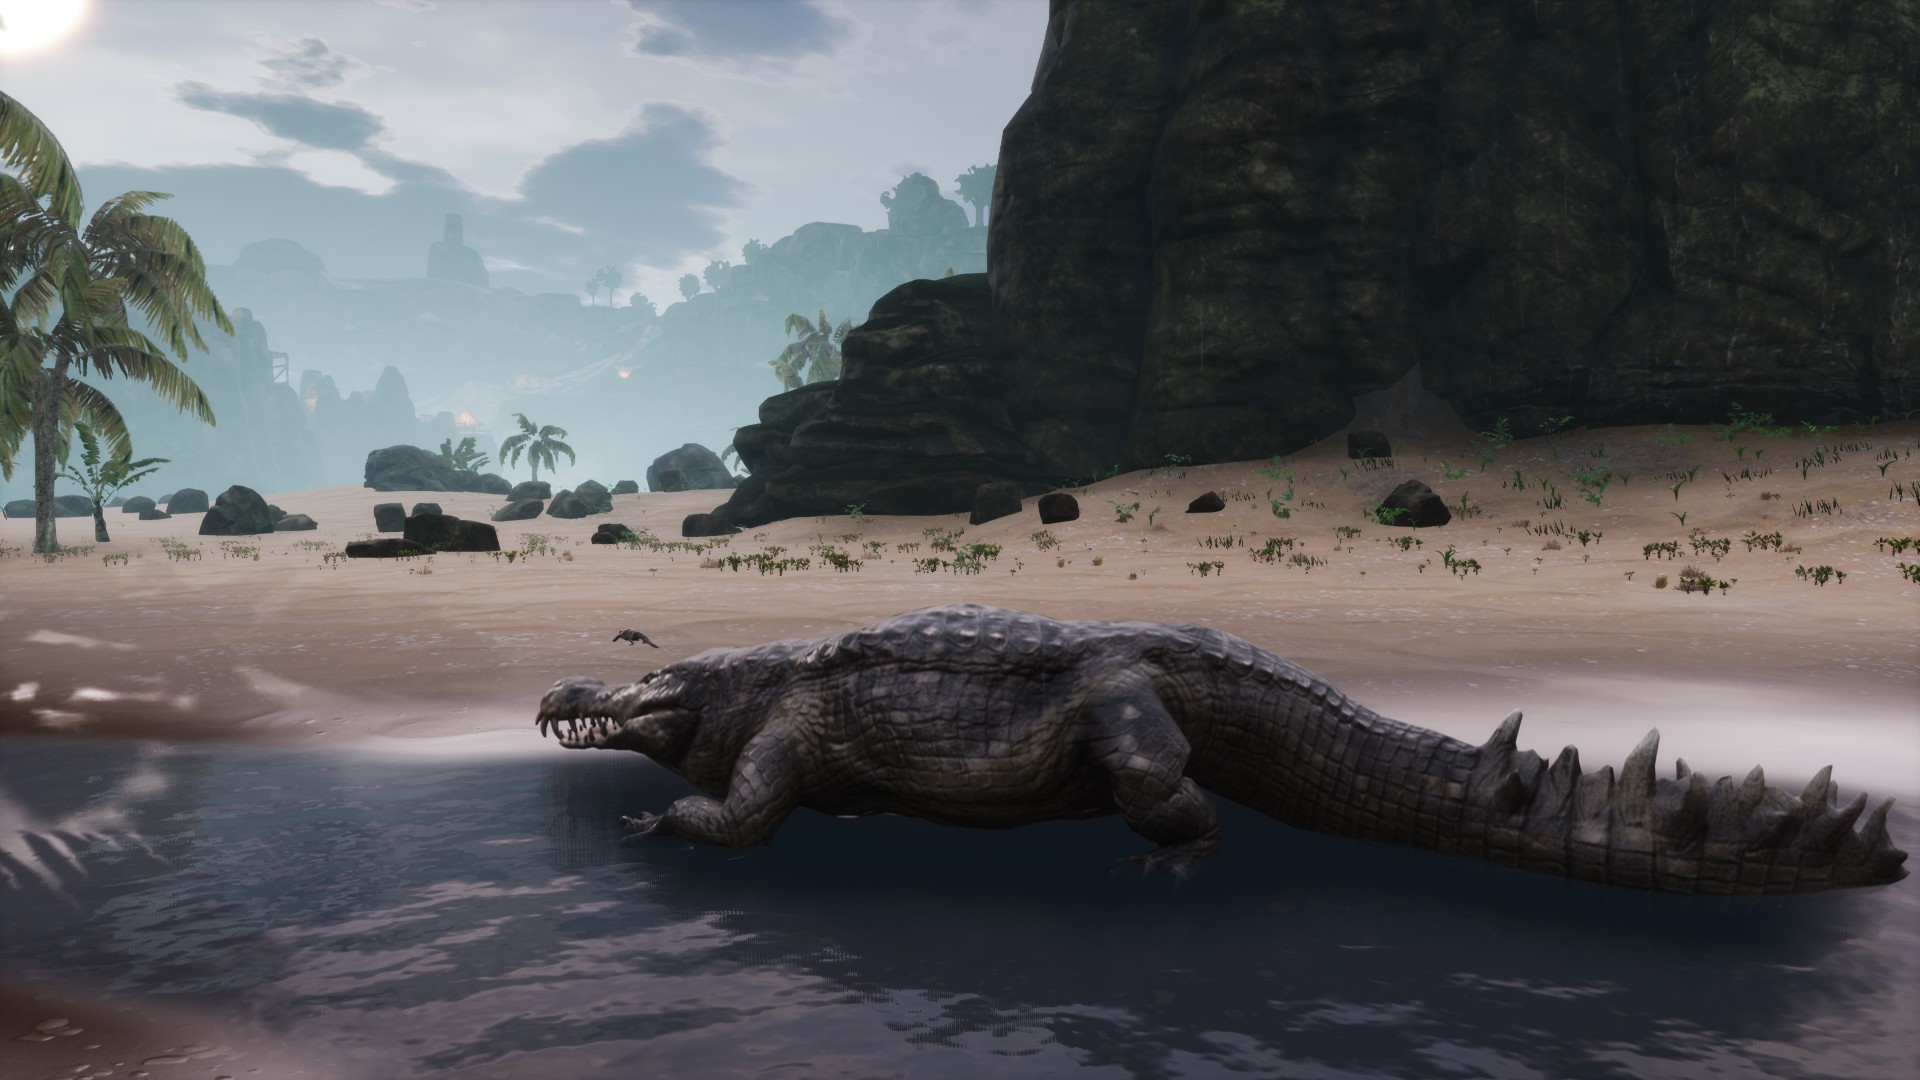 How is: It’s approximately three times larger than a normal crocodile, its skin is whitish, its tail is full of spikes and it has much more developed fangs.
Combat: It makes an attack with its tail, making three sweeps in a row. It’ll also lunge at you and try to bite you. They usually have other normal crocodiles nearby.
Has 5.629 health. Will give you 51.681 xp.
Reward: 1 Lesser Bounty Reward and 7 base game Gold Coins.
- Giant Spider Head
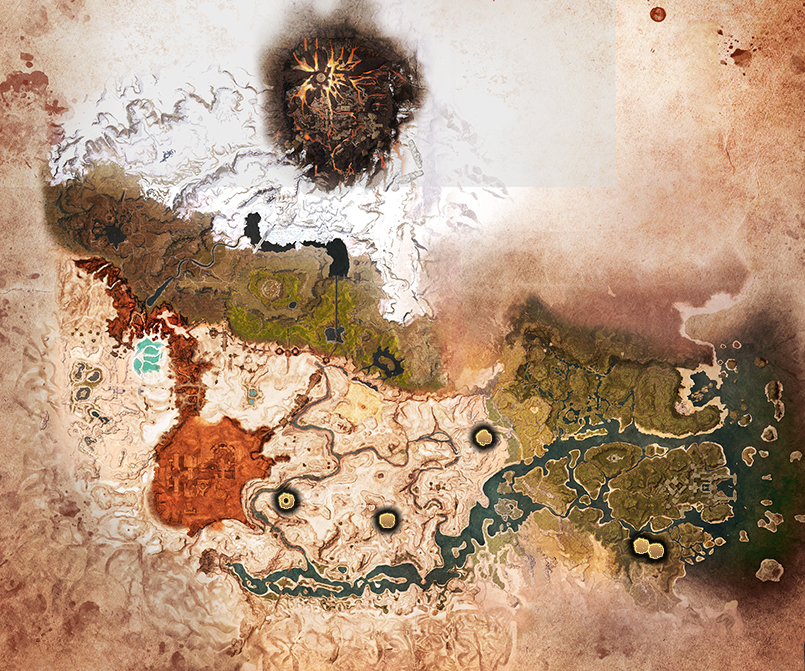 Bounty description: Giant Spiders may usually be found in areas around other spiders and areas covered in cobweb.
Location: There five giant spiders.
· South of Spinebreaker’s Flank, very close to The Summoning Place (first image).
· East of The Black Galleon, in some canyons between The Sandspit and The Dryfalls (second image).
· Two spiders in The Wraithwoods, south of the jungle. One in the central pond and another in the pond on the right (third and fourth image).
· Inside the Overtaken Tower of Batsdungeon is the spider Regina Păianjenilor (fifth image). To find out its exact location, look the “📍 Dungeons and areas II” section of the guide.
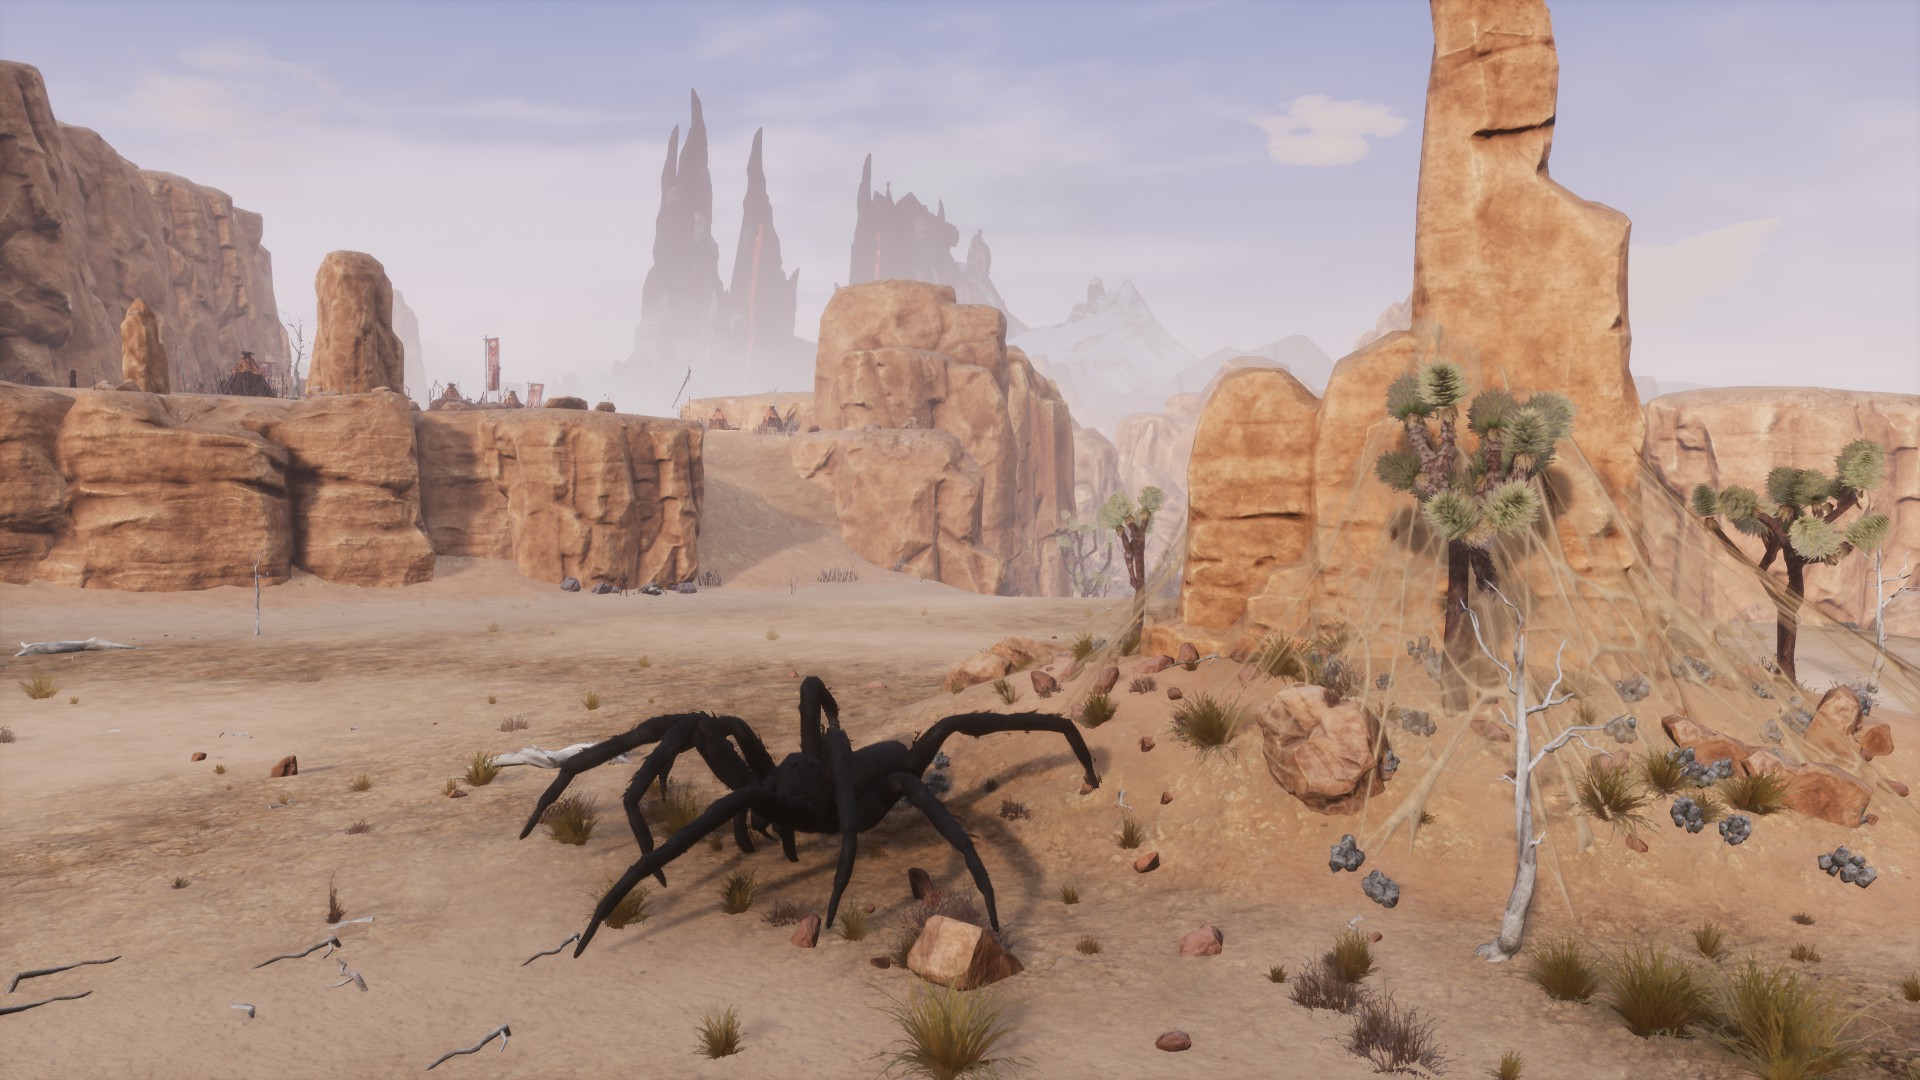
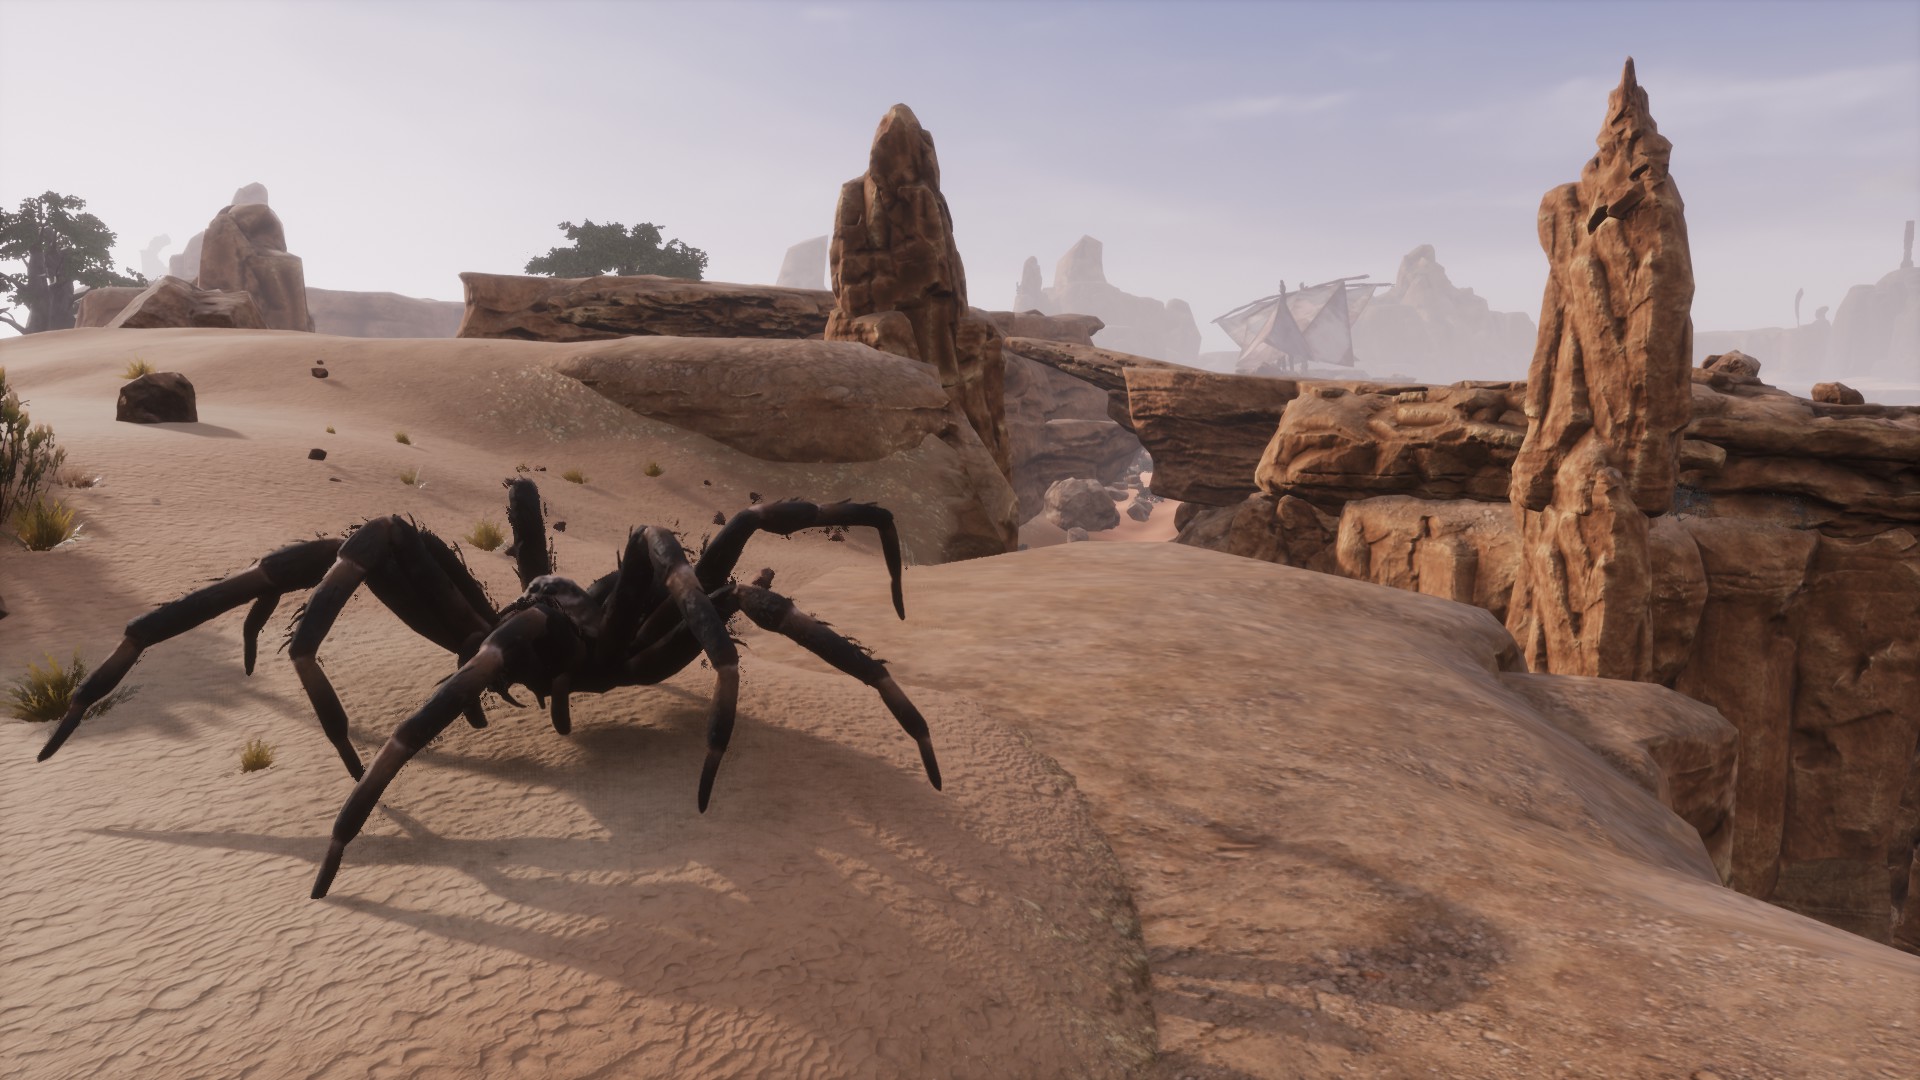
 How is: It’s much larger than any other spider. They’re all dark brown with orange parts except for one spider, which is hairy and completely black.
The Regina Păianjenilor spider is different, with a demonic appearance, more elongated legs ending in some kind of hands and a swollen abdomen. All of her is purple and her eight eyes shine pink.
Combat: It’ll usually attack you with its two front legs, and sometimes it’ll kick the ground both in front of and behind it and end up making a big jump to crush you when it falls. All but one will be surrounded by many normal spiders.
The Regina Păianjenilor spider will attack you with the stinger in its abdomen, shoot webs at you three at a time and lay eggs that hatch into spiders.
Has 5.338 health. Will give you 37.551 xp.
Reward: 1 Lesser Bounty Reward and 3 base game Gold Coins.
- Black Yeti Head
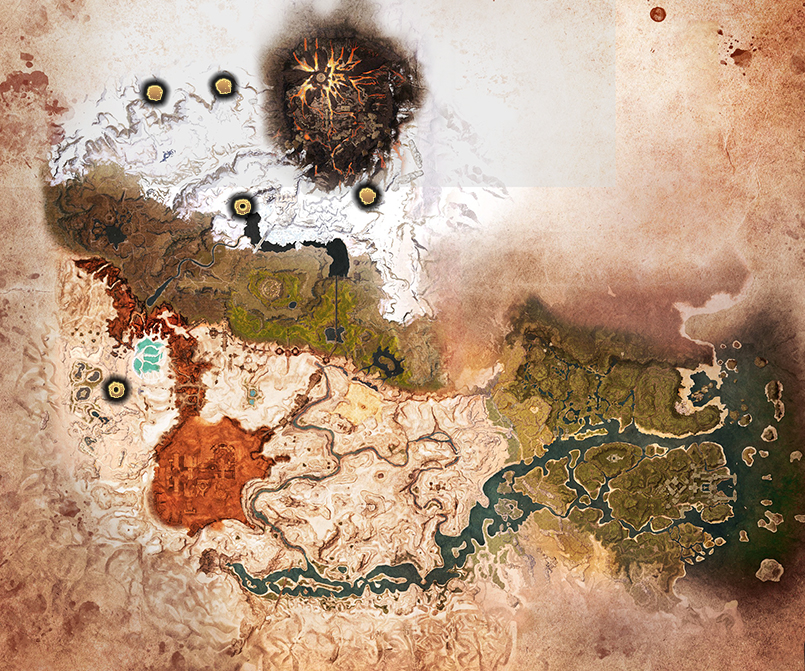 Bounty description: Black Yetis may usually be found in cold areas, hidden from plain sight.
Location: There are five black yetis.
· Enter Klael’s Stronghold, north of Sepermeru. You will have to reach the end of the dungeon, and just before passing through the magical barrier before the final boss you’ll see several rooms with creatures such as mammoths, undead dragon… in one of them will be the Black Yeti. You will have to open it by breaking the ice that covers its entrance (first gif).
· In the Perilous Valley, near the Shadow Legion Commander (second image).
· Somewhat south of Rockfall Canyon, northeast of the snowy mountains (third image).
· Well west of The Temple of Frost, in the snowy mountains. You can also take the Small council camps as a reference, since this yeti is north of one of them (fourth image).
· In The Disjunction room, inside The Temple of Frost, north of the snowy mountains (fifth image).
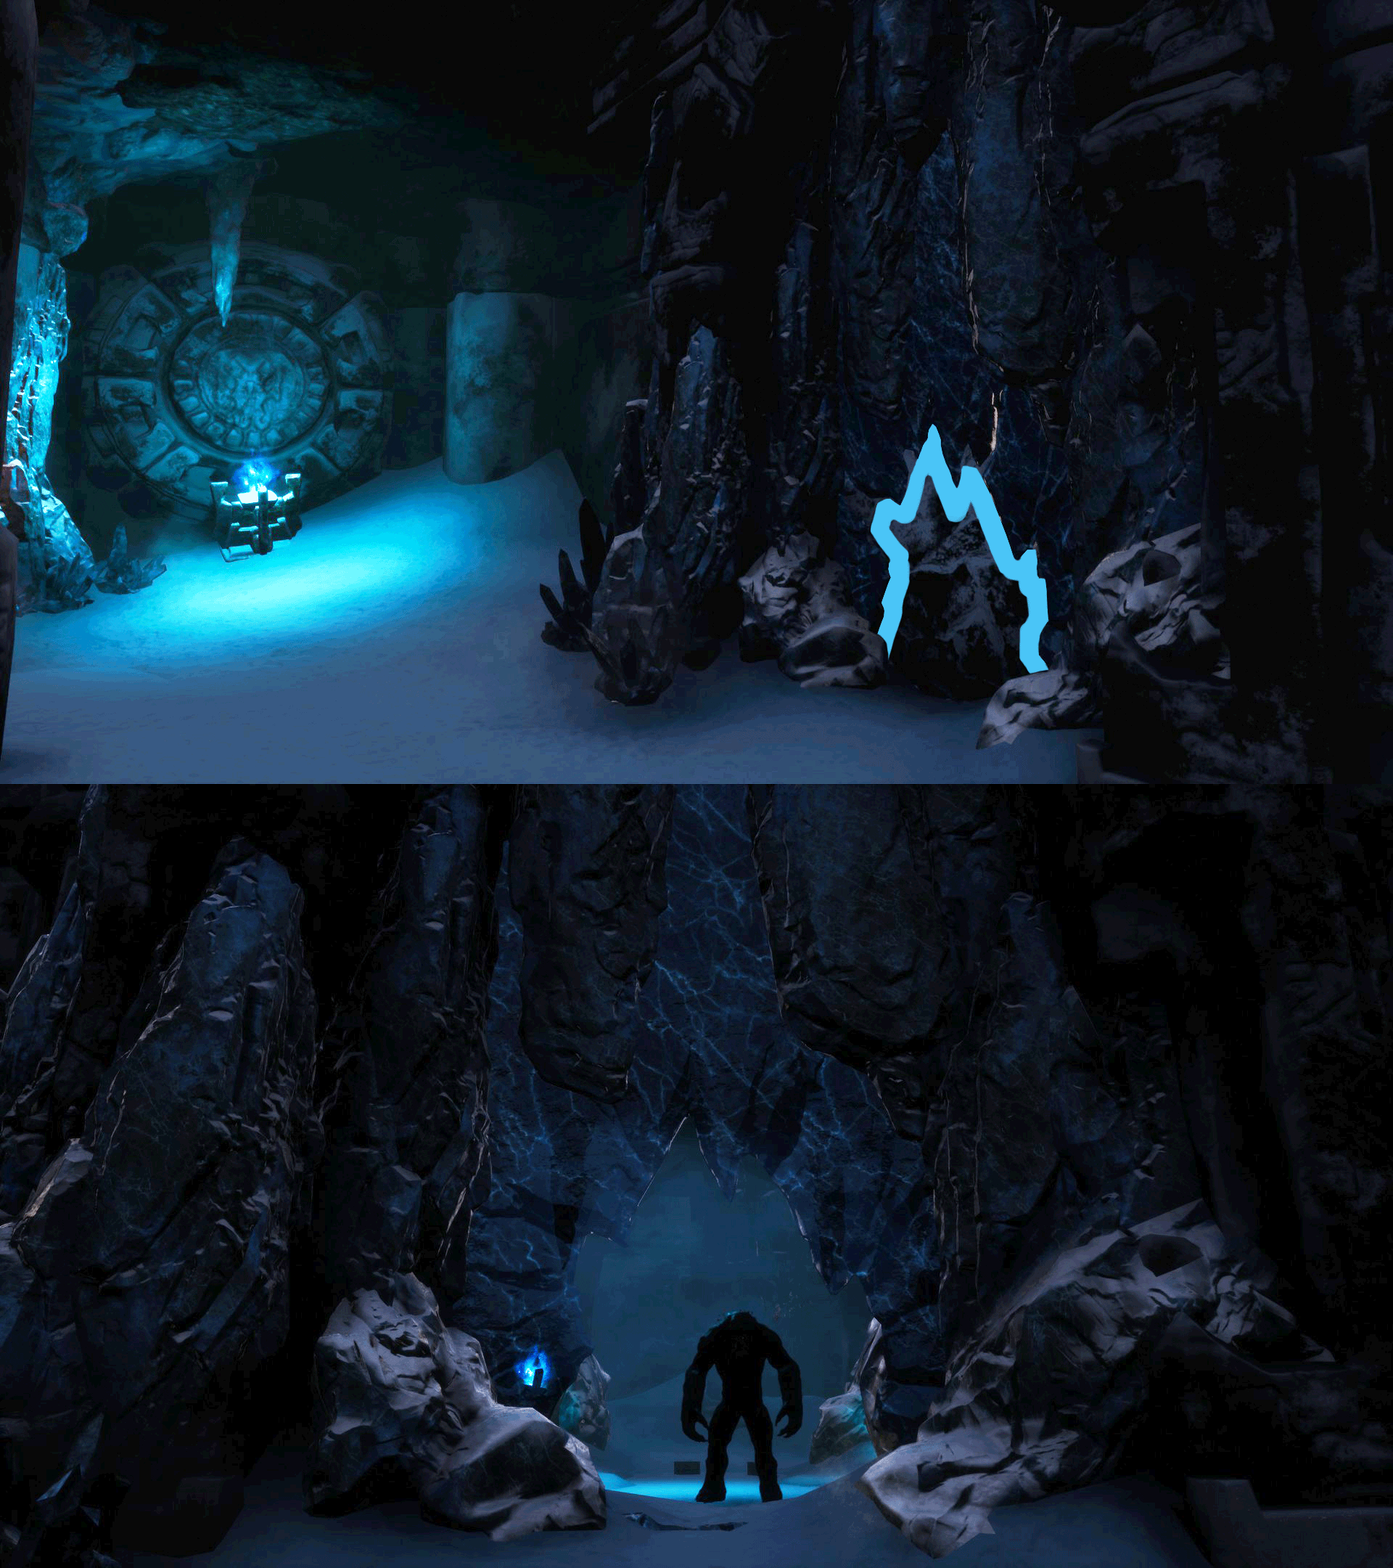
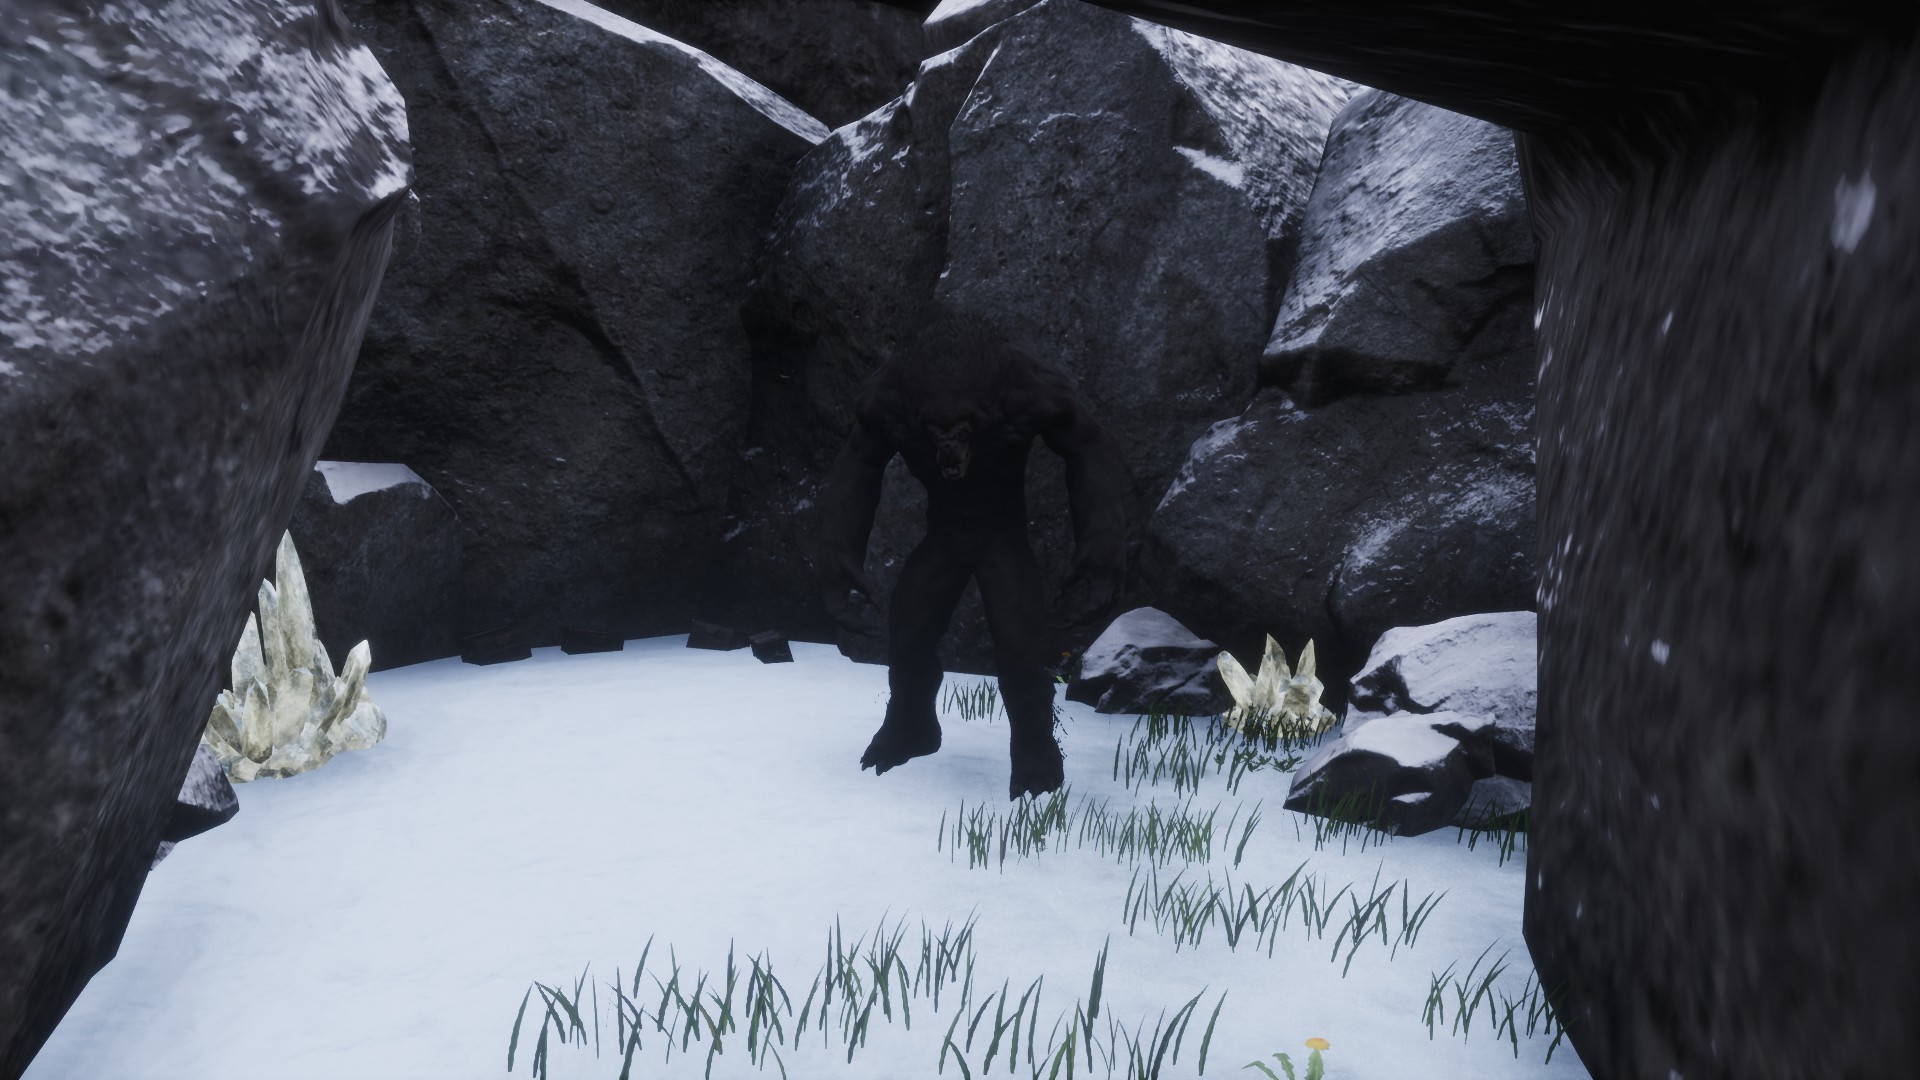


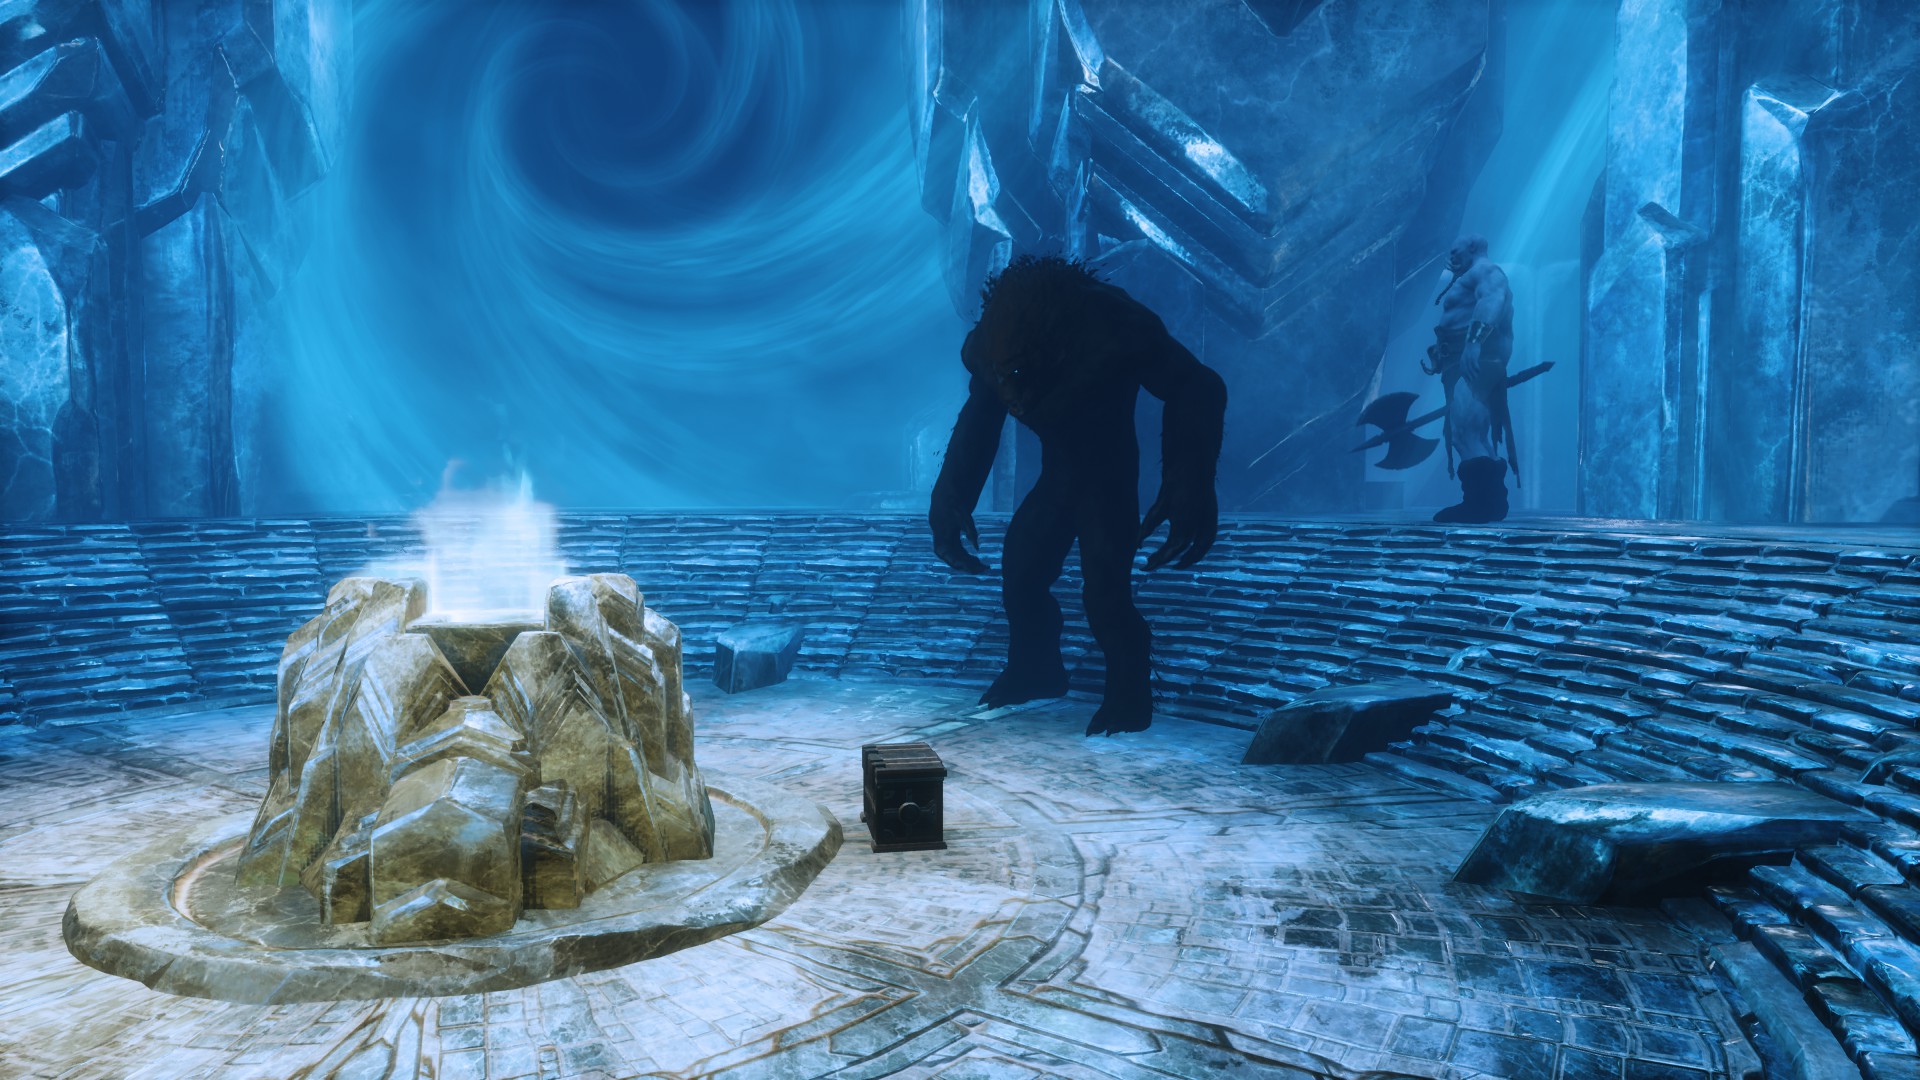 How is: There is nothing like it in the game, so you shouldn’t confuse it with another creature. He’s like a gorilla-humanoid with black fur and blue eyes.
Combat: He’s a slow enemy, he’ll attack you with his fist, he’ll try to crush you with a stomp or by jumping with his two fists on you.
Has 8.265 health. Will give you 37.551 xp.
Reward: 1 Lesser Bounty Reward and 8 base game Gold Coins.
🦁 Lesser bounties II
- White Tiger Head
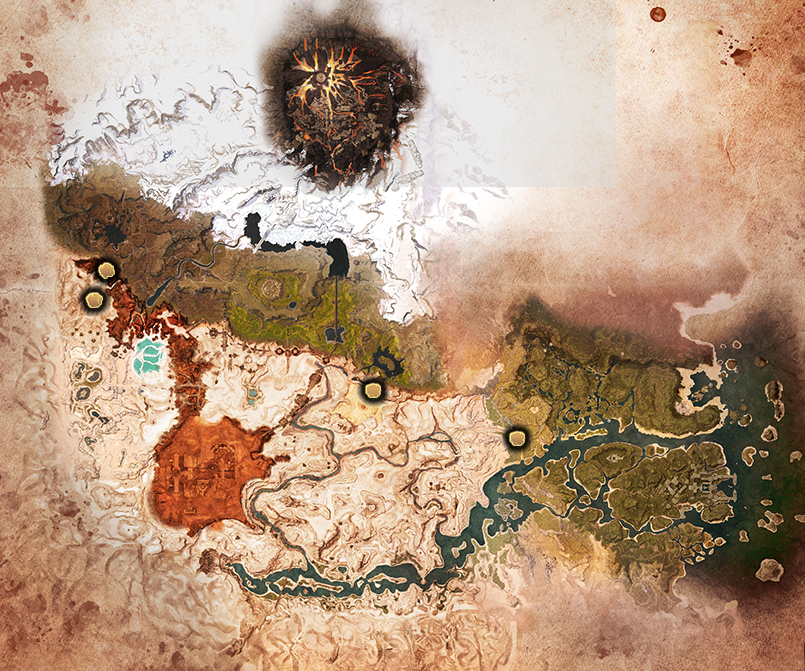 Bounty description: White Tigers may usually be found hidden under shadows in hot areas, usually relaxing.
Location: There are four white tigers.
· In Boundary Spillway, northeast of the desert, next to the savannah (first image).
· Walking on the path between The Dryfalls and the river, where the desert meets the jungle (second image).
· Between King’s Niche and The Crowngrove, northwest of the desert (third image).
· Northwest of King’s Niche, very close. You’ll get to it by going uphill from the desert (fourth image).
How is: A little larger than a normal tiger, but above all you will recognize it by its white fur instead of orange like that of the rest of the tigers.
Combat: When fighting a white tiger, it’ll jump at you and swipe at you, swing to swipe at you from the side and swipe at you from the front.
Has 4.215 health. Will give you 18.136 xp.
Reward: 1 Lesser Bounty Reward and 10 base game Gold Coins.
- Demonic Spider Head
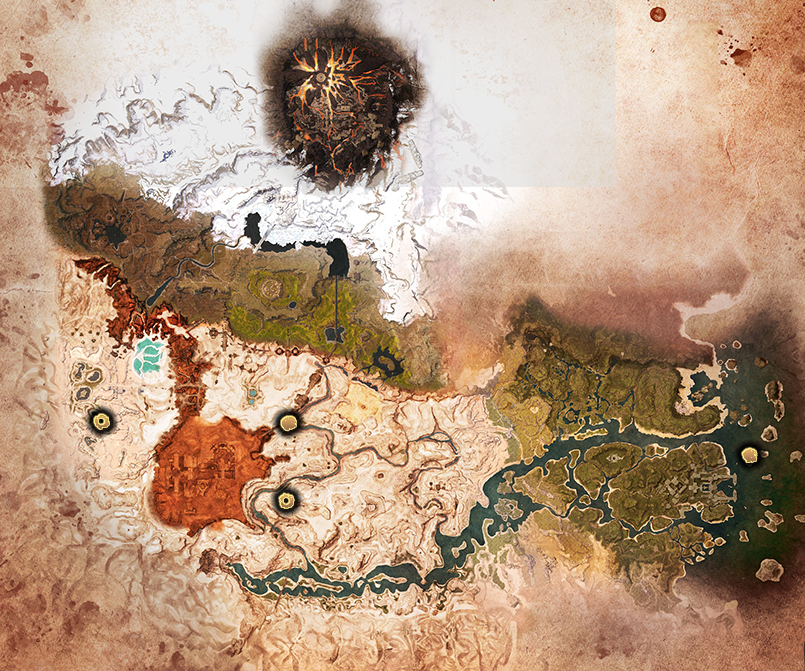 Bounty description: Found deep in caves or hidden in uninhabited areas.
Location: There are four demonic spiders.
· In the Sepermeru Wine Cellar dungeon, before reaching the boss fight, you will have to go up a ramp that will branch. Go left and you will find the spider (first image).
· Enter Scuttler’s Shortcut and advance until you meet the NPC Harpagus the Hatcher (he teaches you the religion of Zath), in that same room is the demonic spider. You can also access it by entering through the Weaver’s Hollow cave. Both caves are in the desert, west of the savanna (second image).
· On the island Wreck of the Martyr, east of the jungle (third image).
· In the Overtaken Tower of Bats dungeon is the Ruled Demon-Spider (fourth image). To find out its exact location, check the “📍 Dungeons and areas II” section.
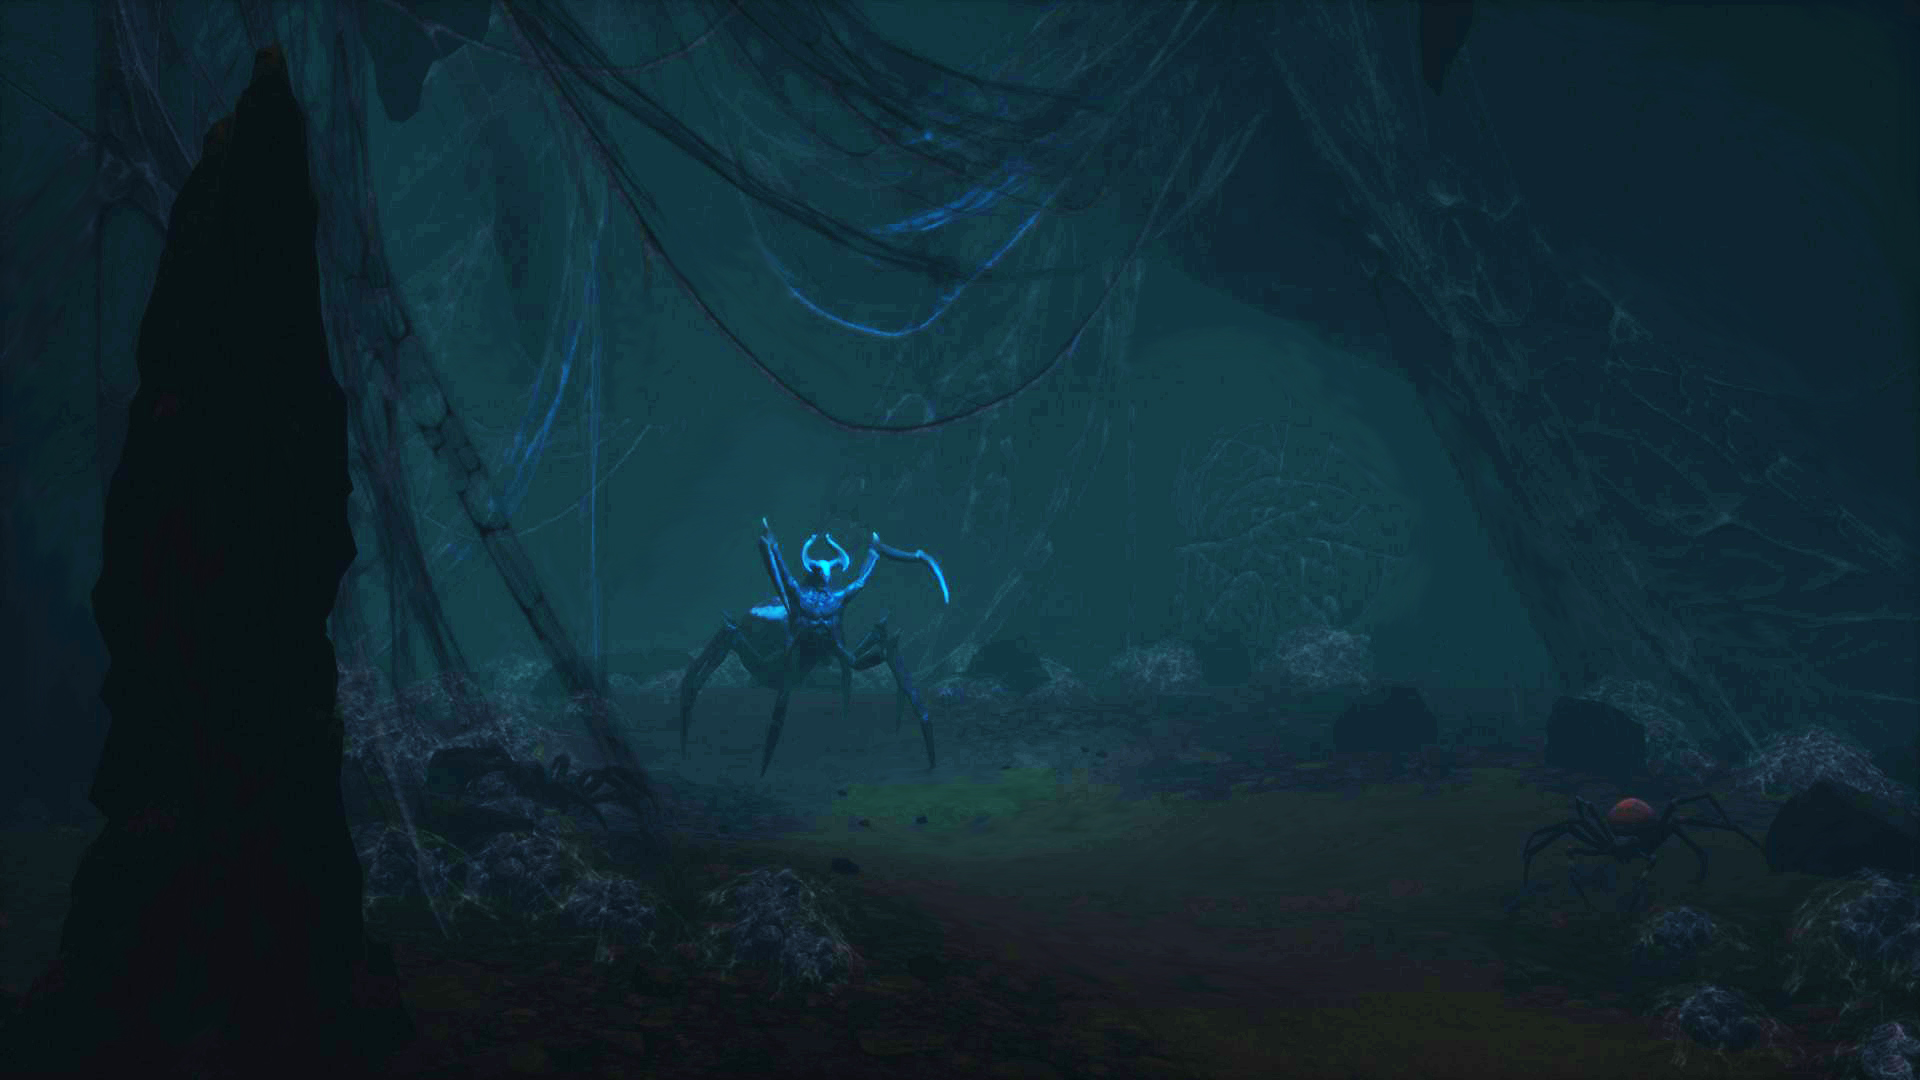
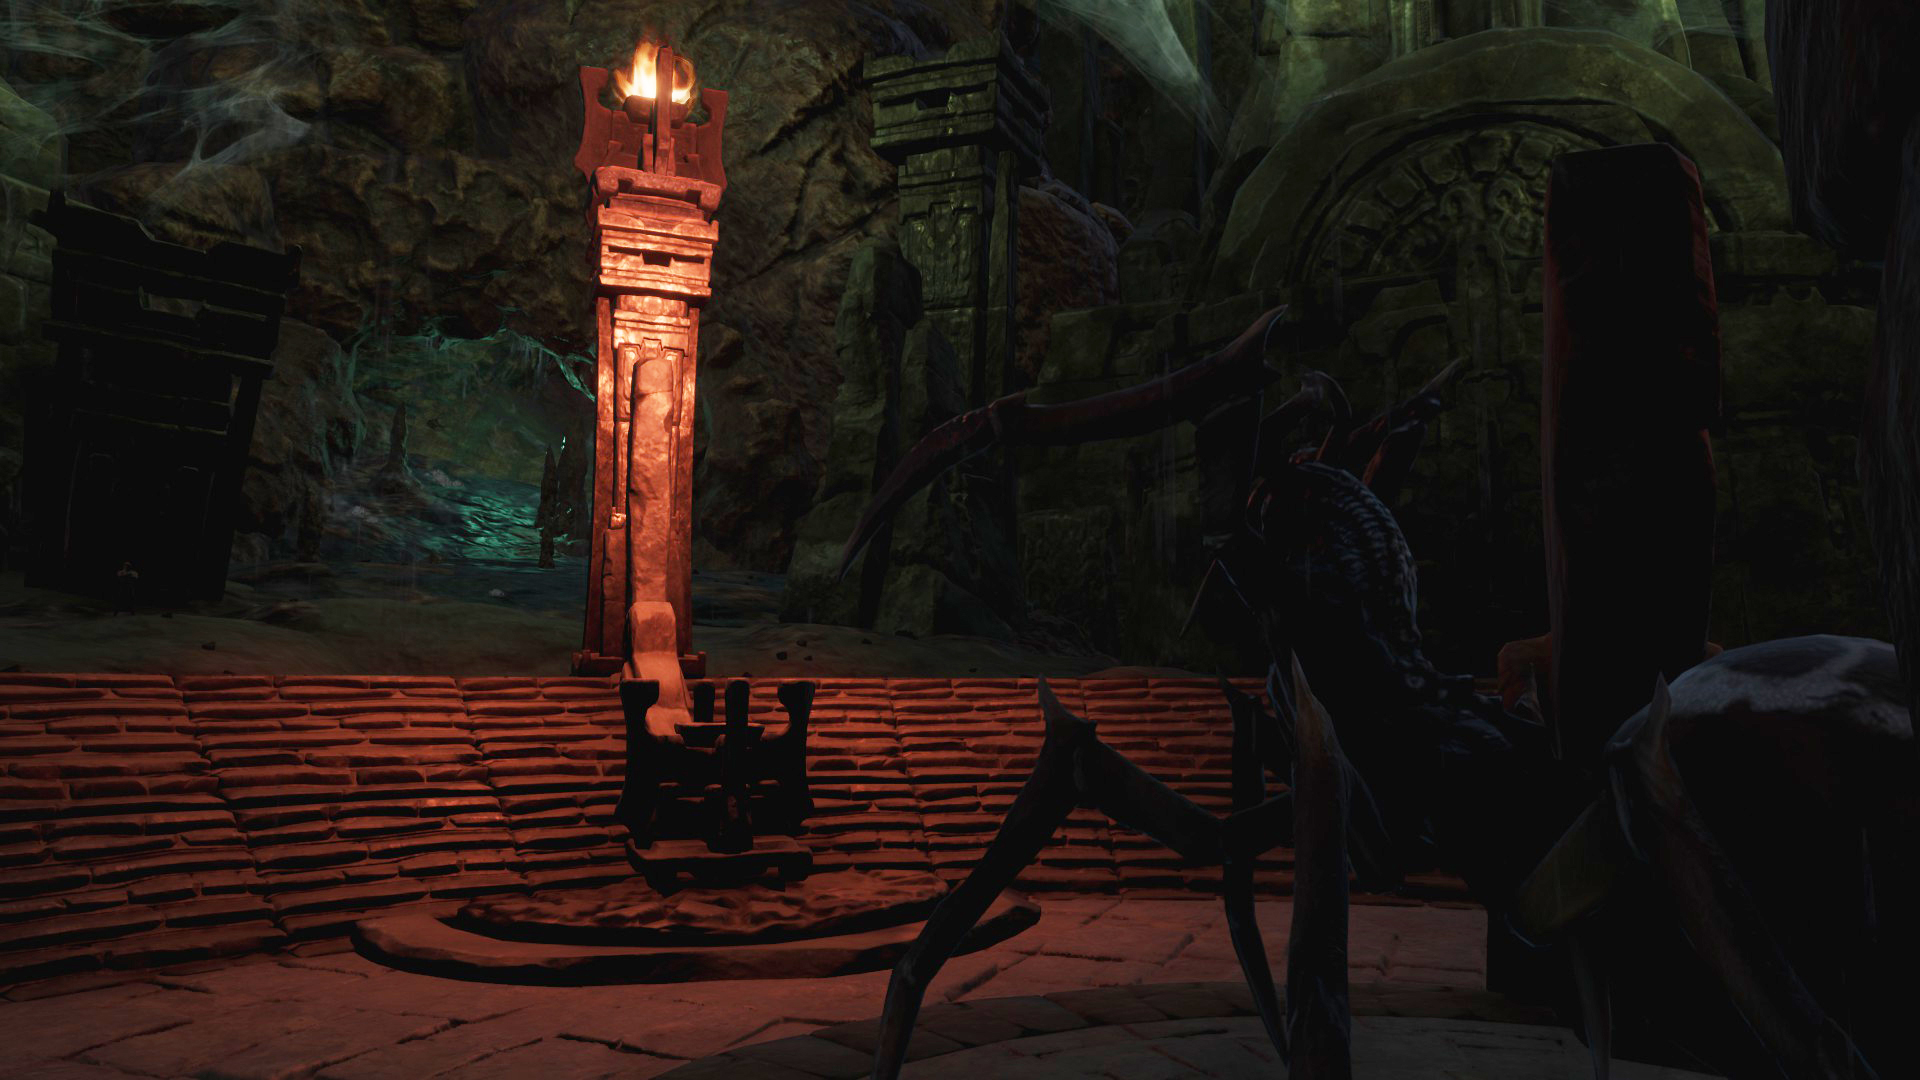
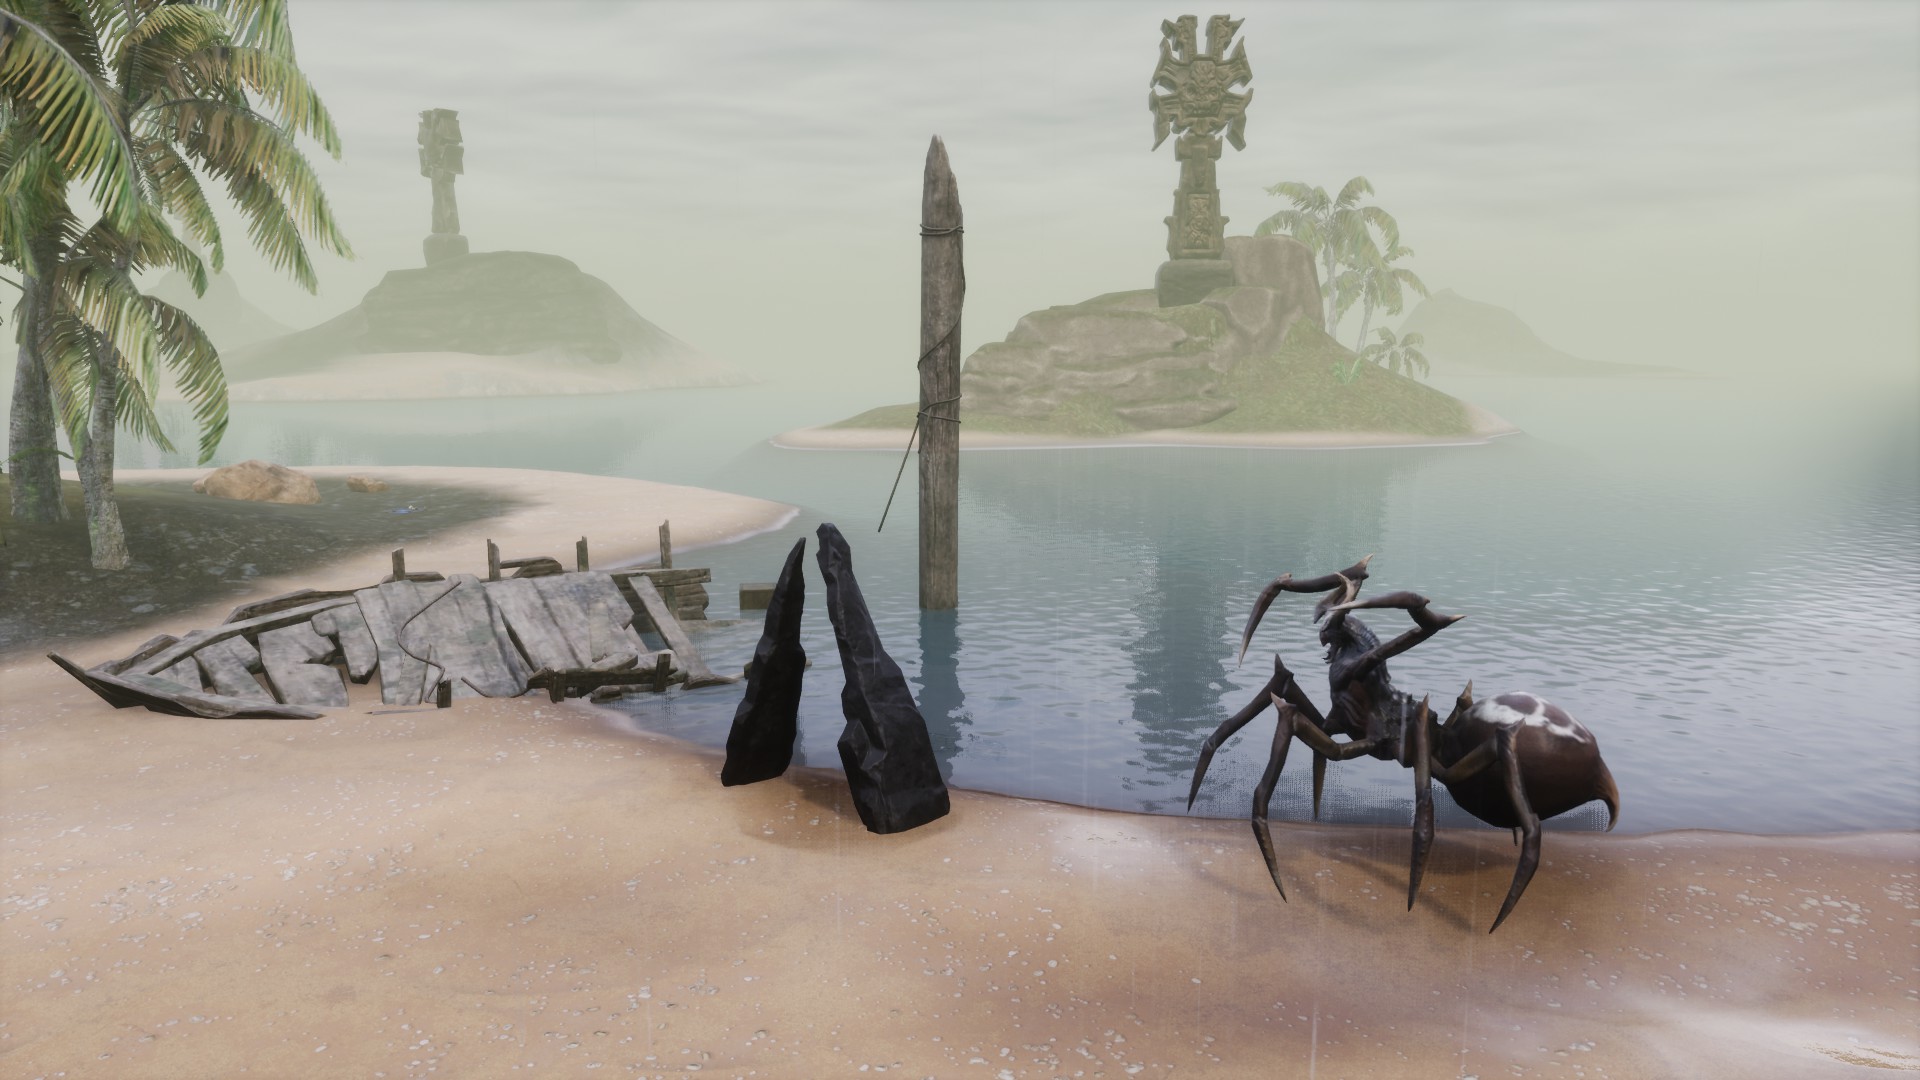
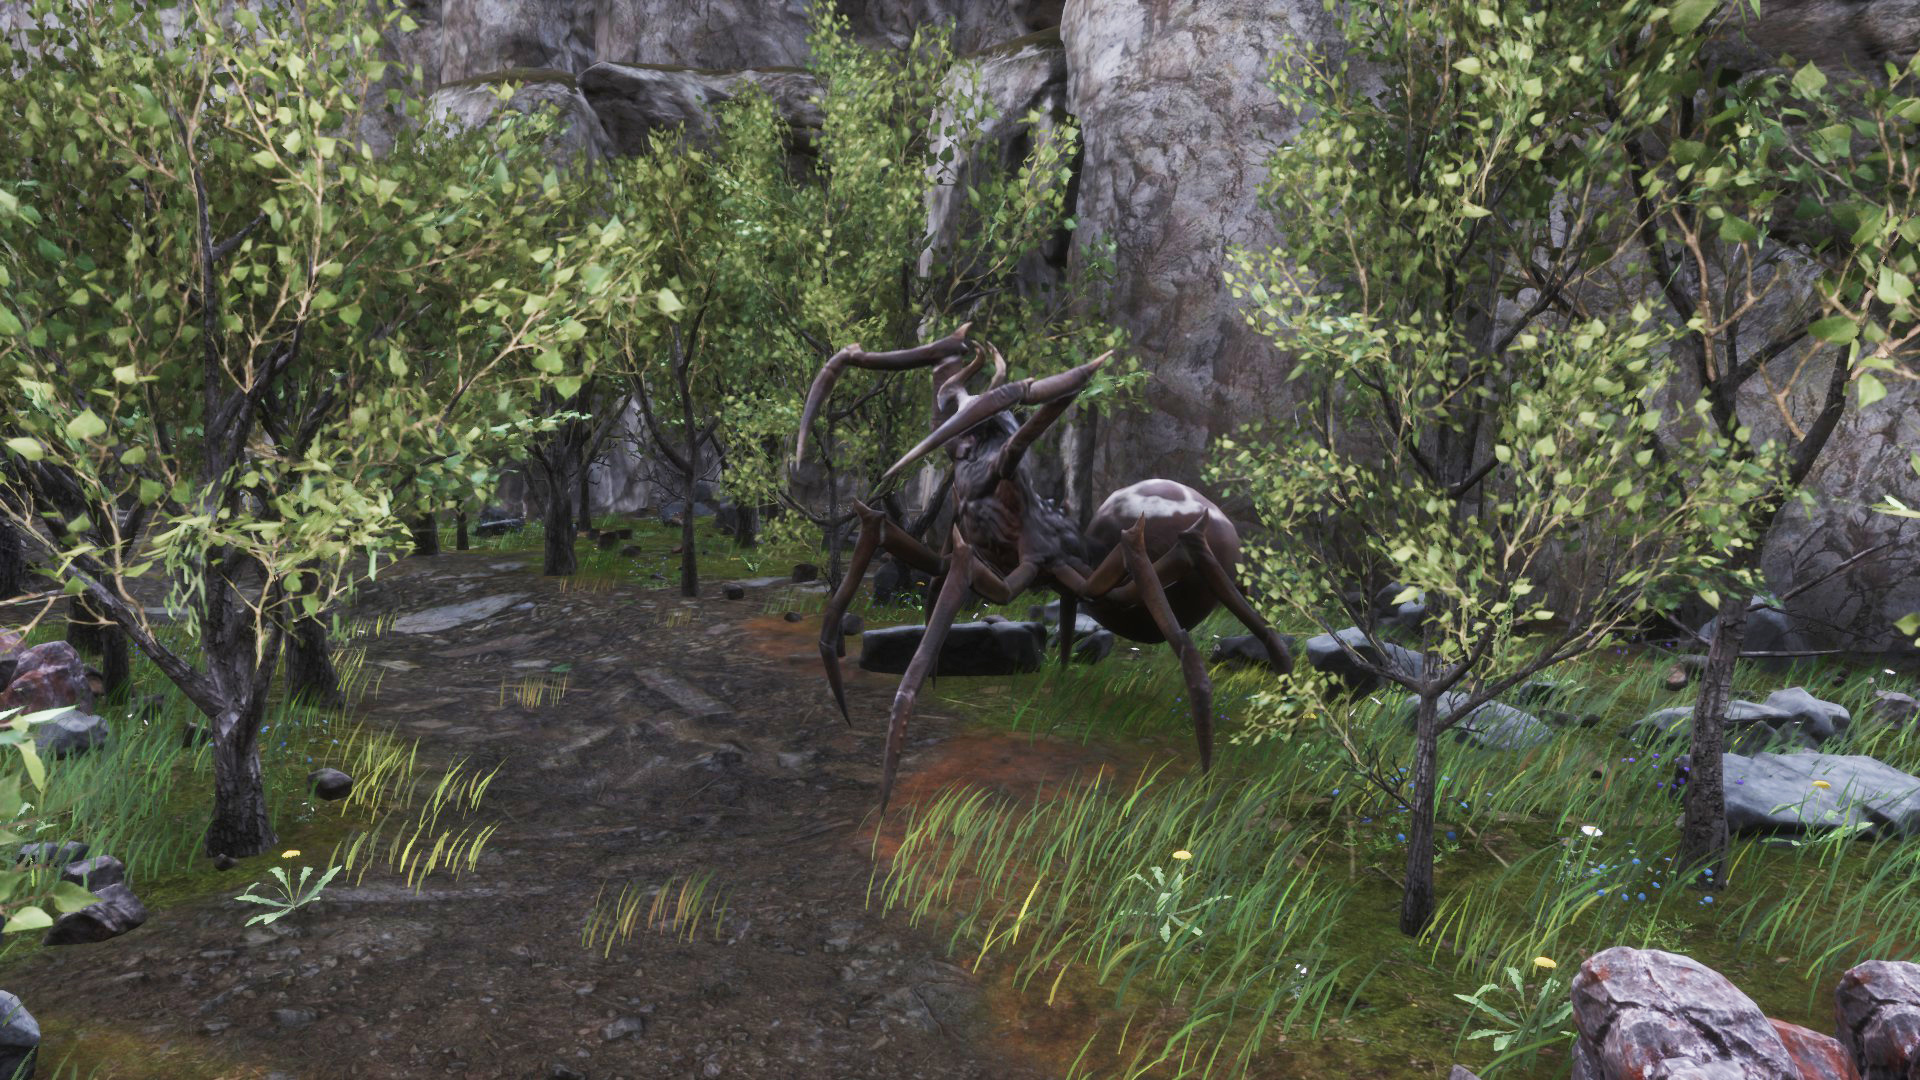
How is: It’s a huge spider and looks much more devilish than normal spiders. Instead of a thorax, it has a somewhat humanoid torso with a spine, legs that look like large claws and a white pattern on its abdomen.
Combat: It’ll try to stab you with one of its paws, it’ll lunge at you to stab you with its two front paws and it’ll shake its body to spread corruption.
Has 5.338 health. Will give you 37.551 xp.
The Ruled Demon-Spider will be the same as the rest of the demon spiders except for its high health (21.352 health).
Reward: 1 Lesser Bounty Reward and 8 base game Gold Coins.
- Thunderfoot Head
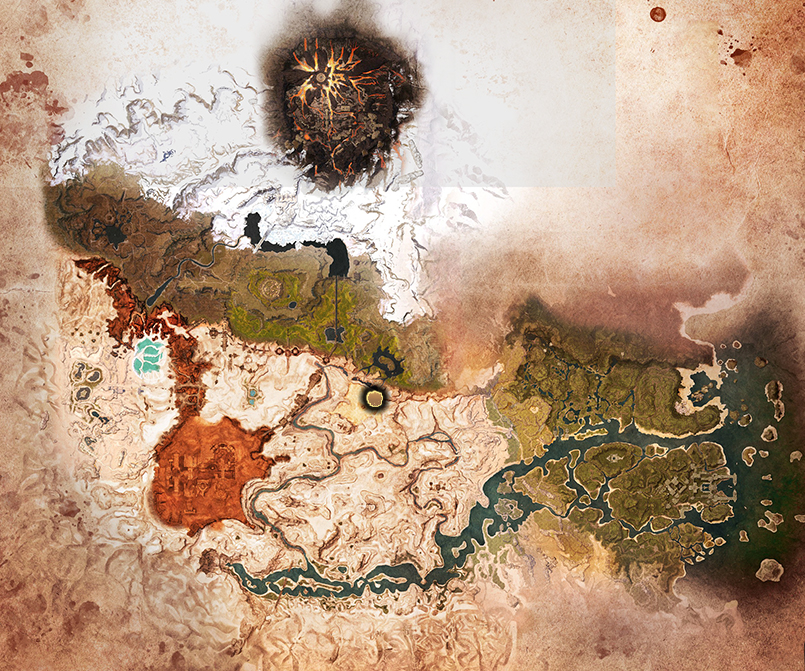 Bounty description: The big Thunderfoot Elephant may usually be found in the Savannah.
Location: There is only one Thunderfoot.
· In the savannah north of the desert, very close to Boundary Spillway.
How is: Something larger than the other elephants and with the same appearance except for the color of its skin, which is a whitish tone.
Combat: It’ll attack you, make a sweep with its fangs rotating around it and, when
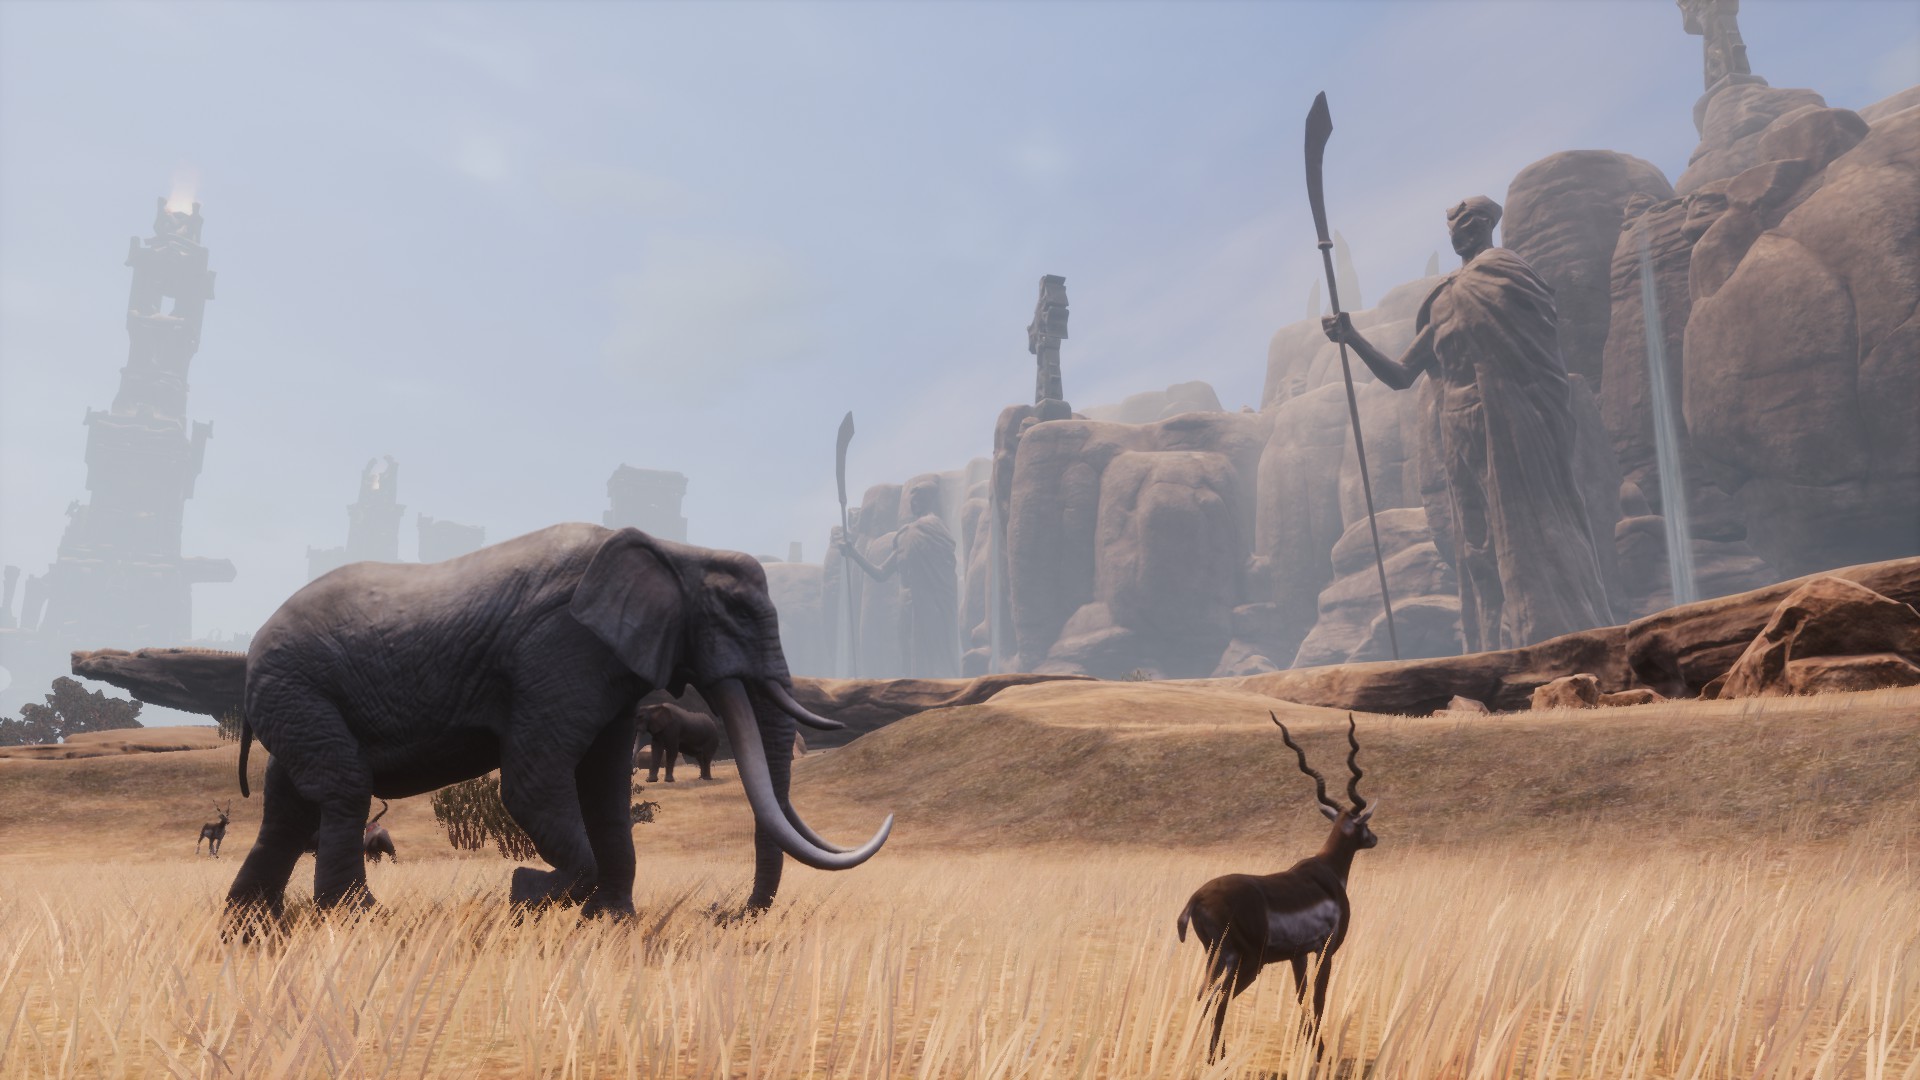 it raises its front legs and hits them against the ground, it’ll make you fly and knock you down. It’s a bit lonely, but fighting it requires you to move a lot, so you may attract other elephants or tigers around you.
Has 9.259 health. Will give you 18.136 xp.Reward: 1 Lesser Bounty Reward and 10 base game Gold Coins.
- Rotbranch Head
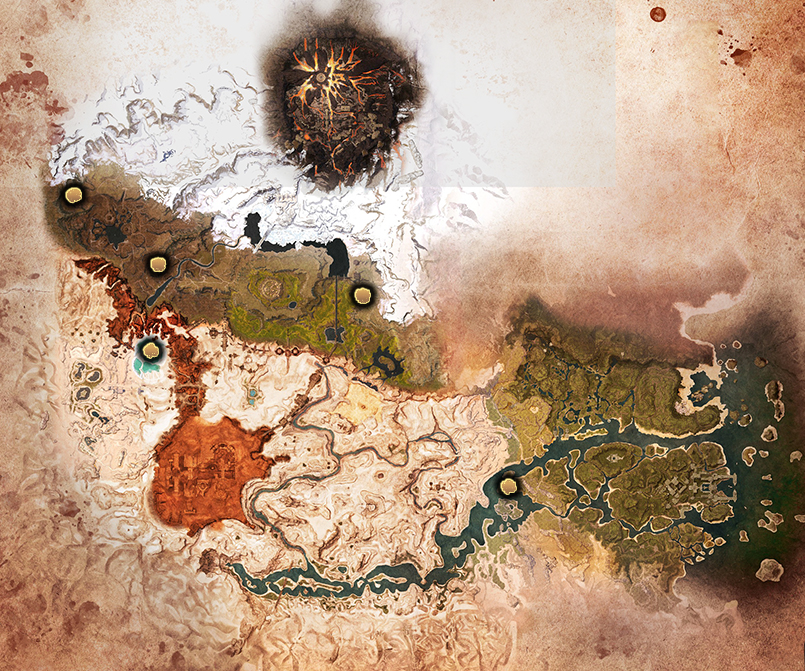 Bounty description: Rotbranches are usually hidden amongst vegetated areas.
Location: There are five in total.
· On the island between Pitfall Pass and Tarman’s Berth, right on the border between the desert and the jungle (first image).
· In the Shattered Springs, in the northwest of the desert (second image).
· In the Circle of Swords, west of New Asagarth (third image).
· Well north of The Barrow King cave, northwest of the Mounds of the Dead (fourth image).
· West of Jhil’s Roost, east of the Highlands (fifth image).
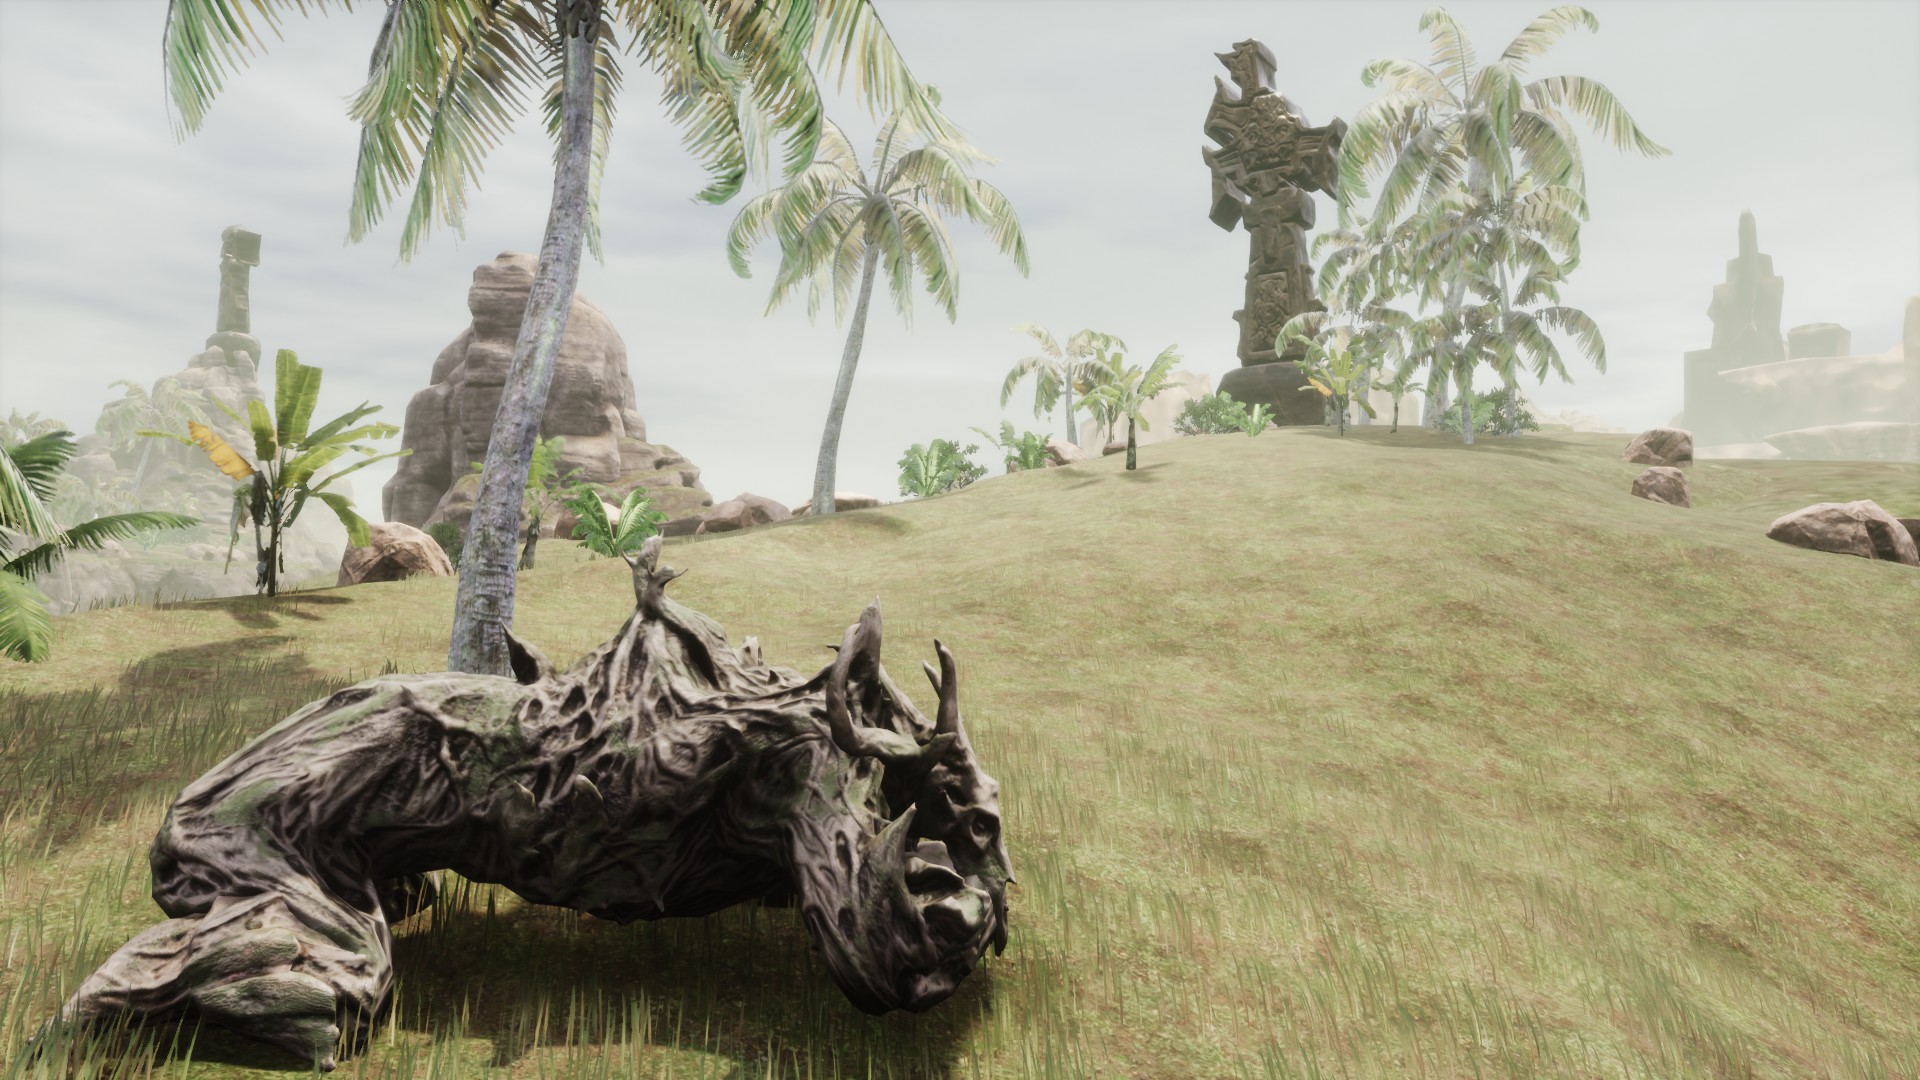
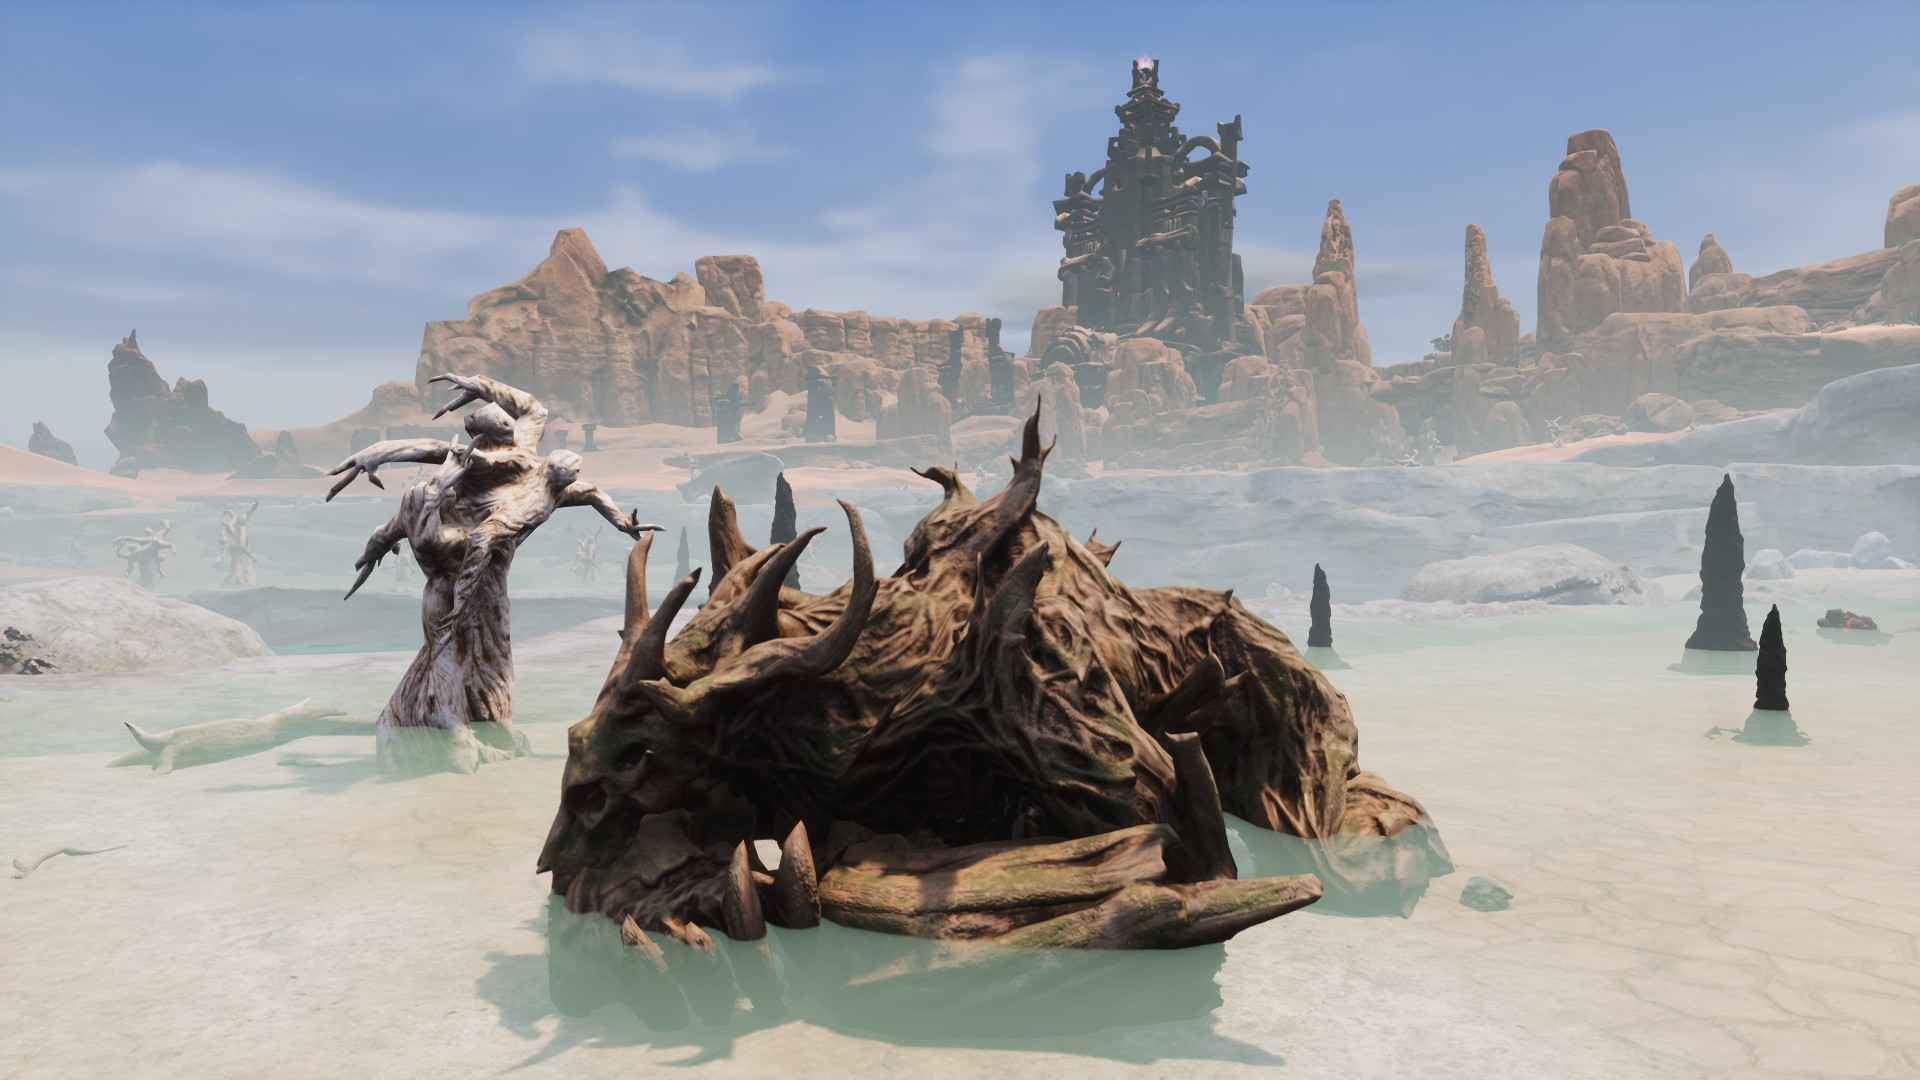
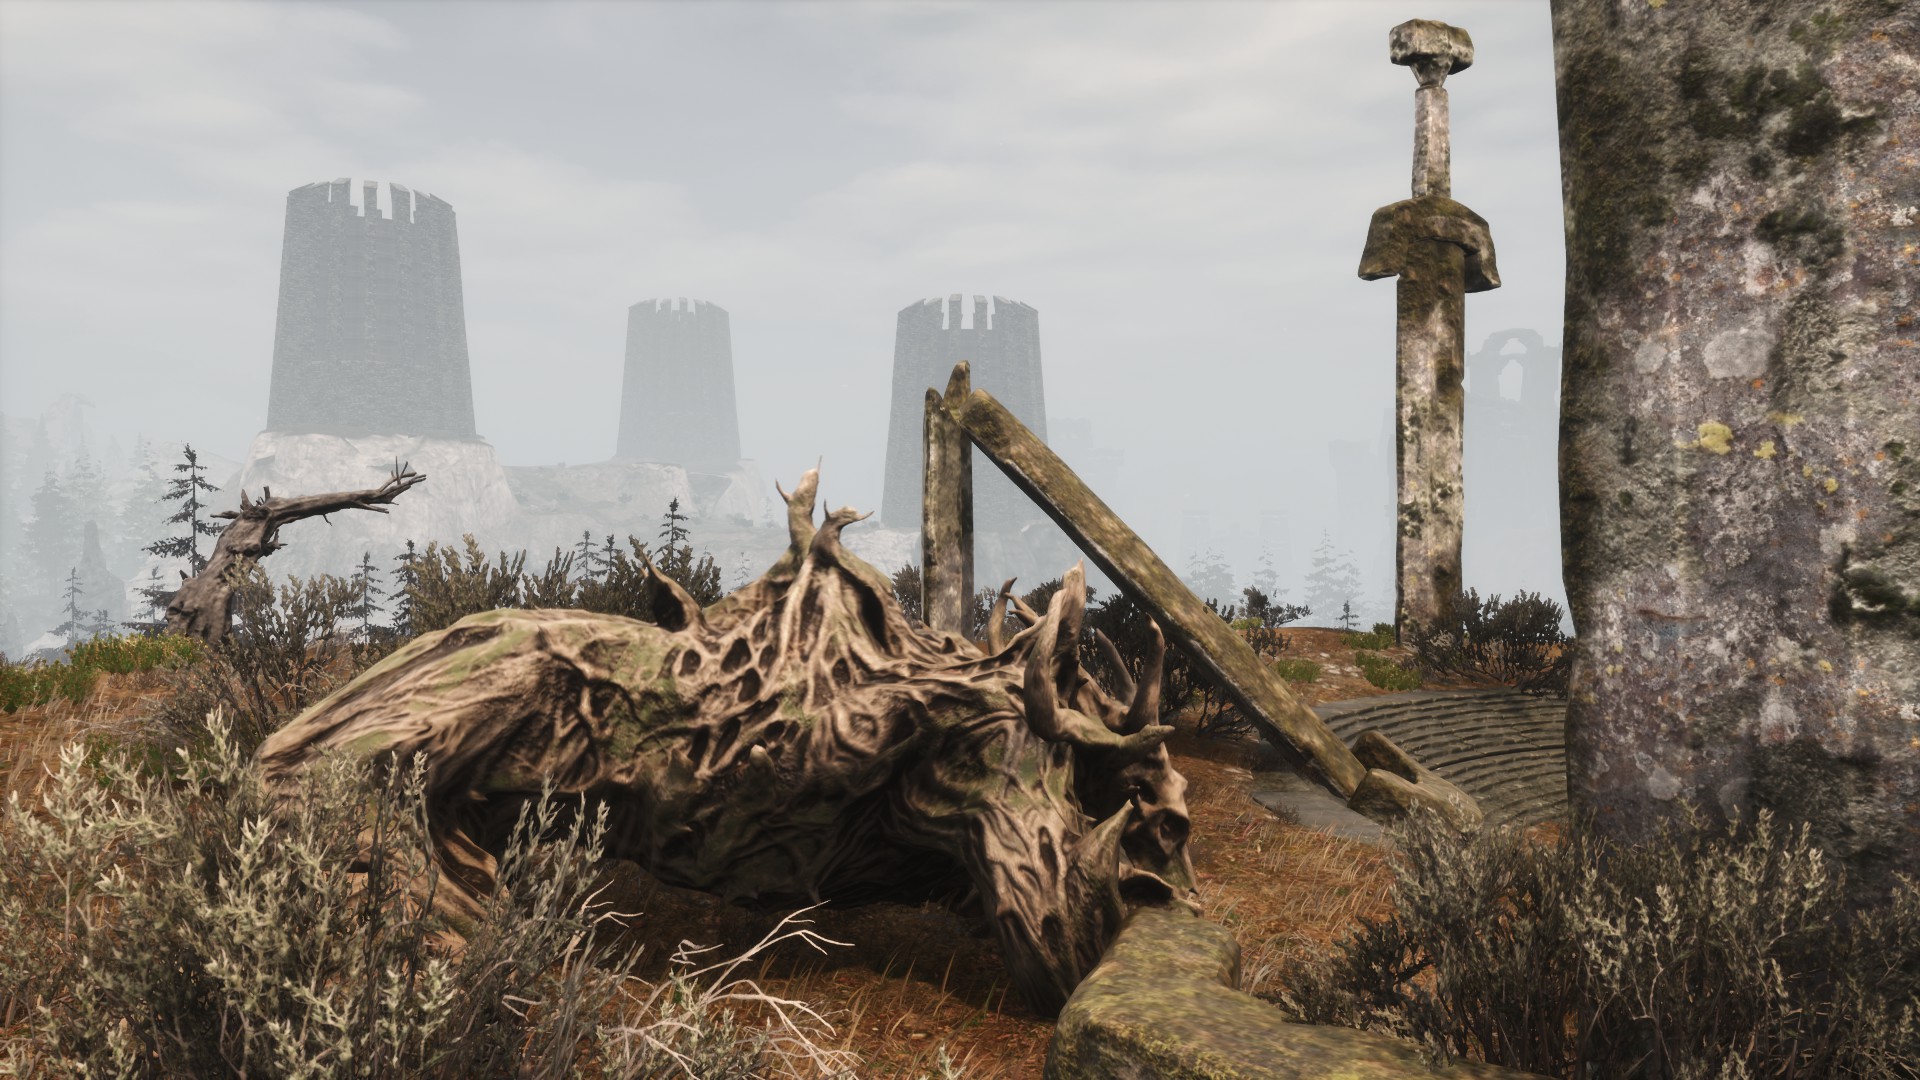
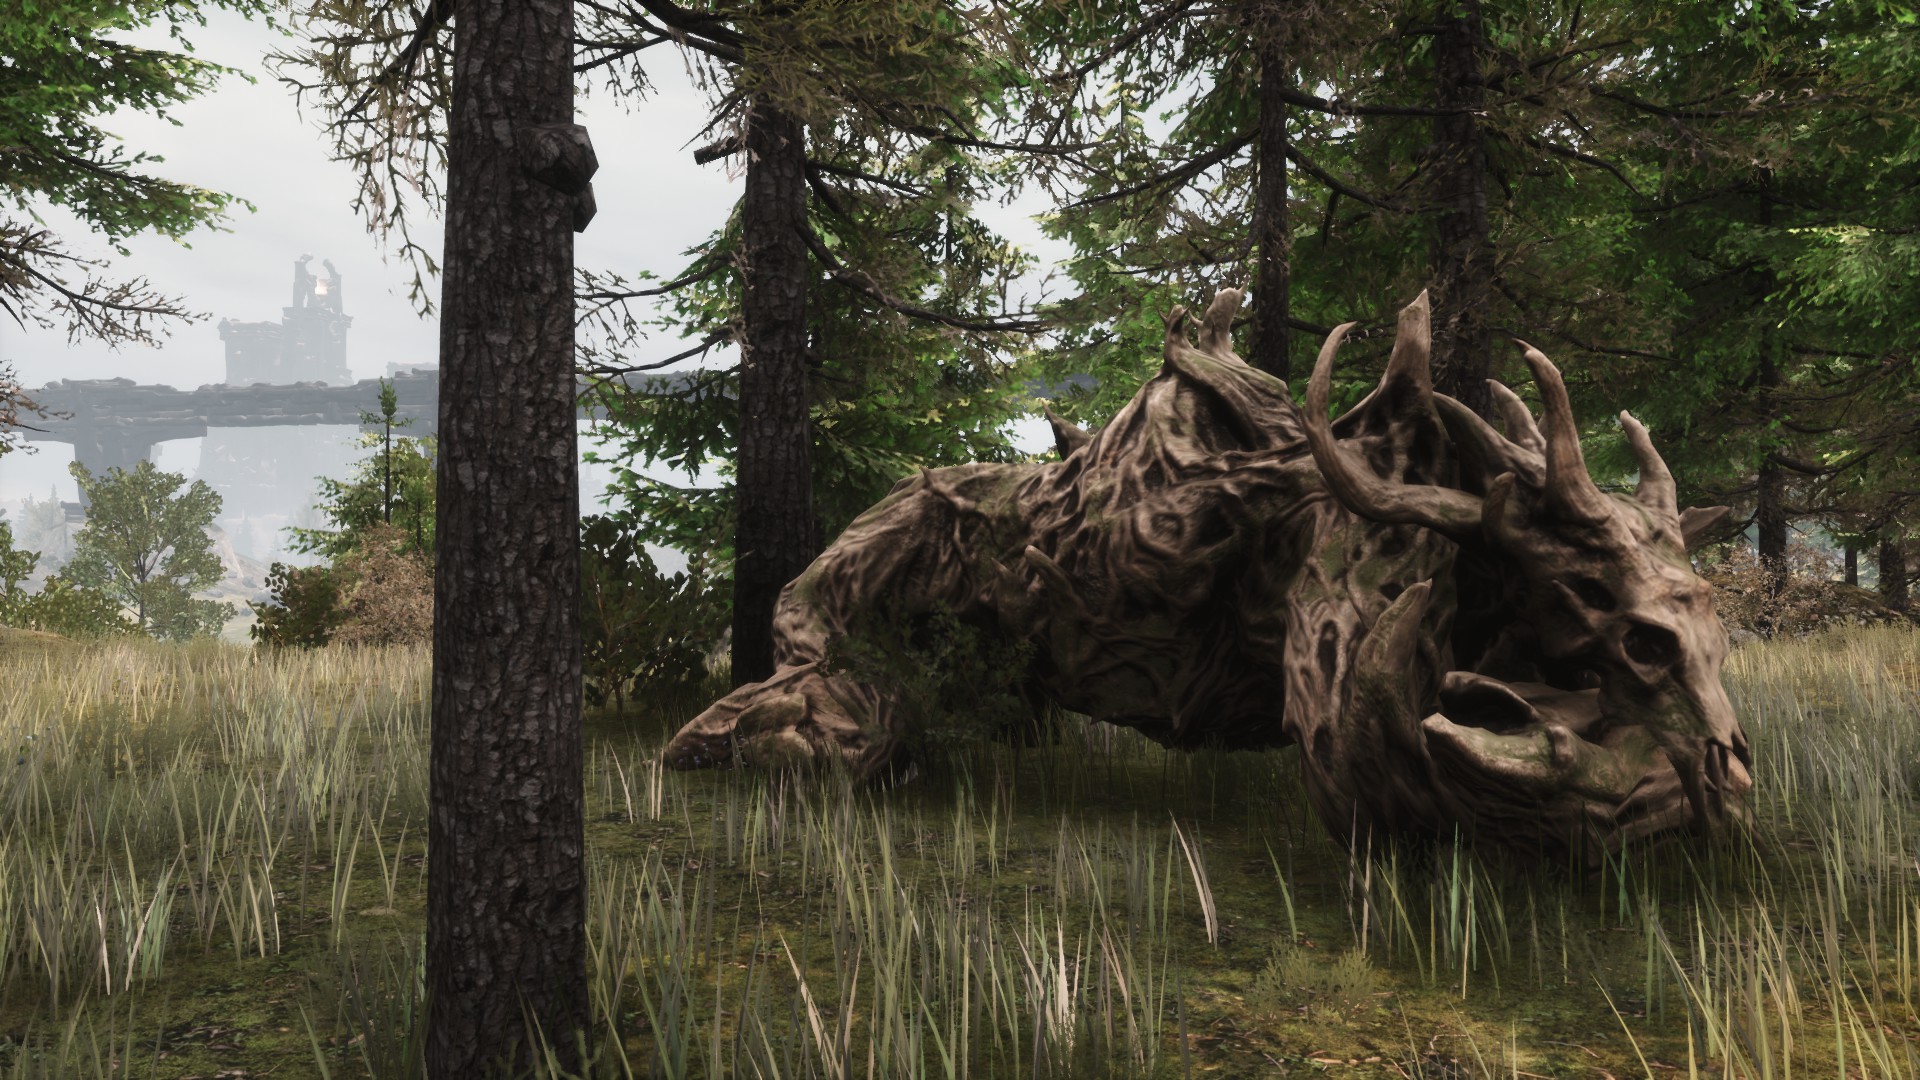
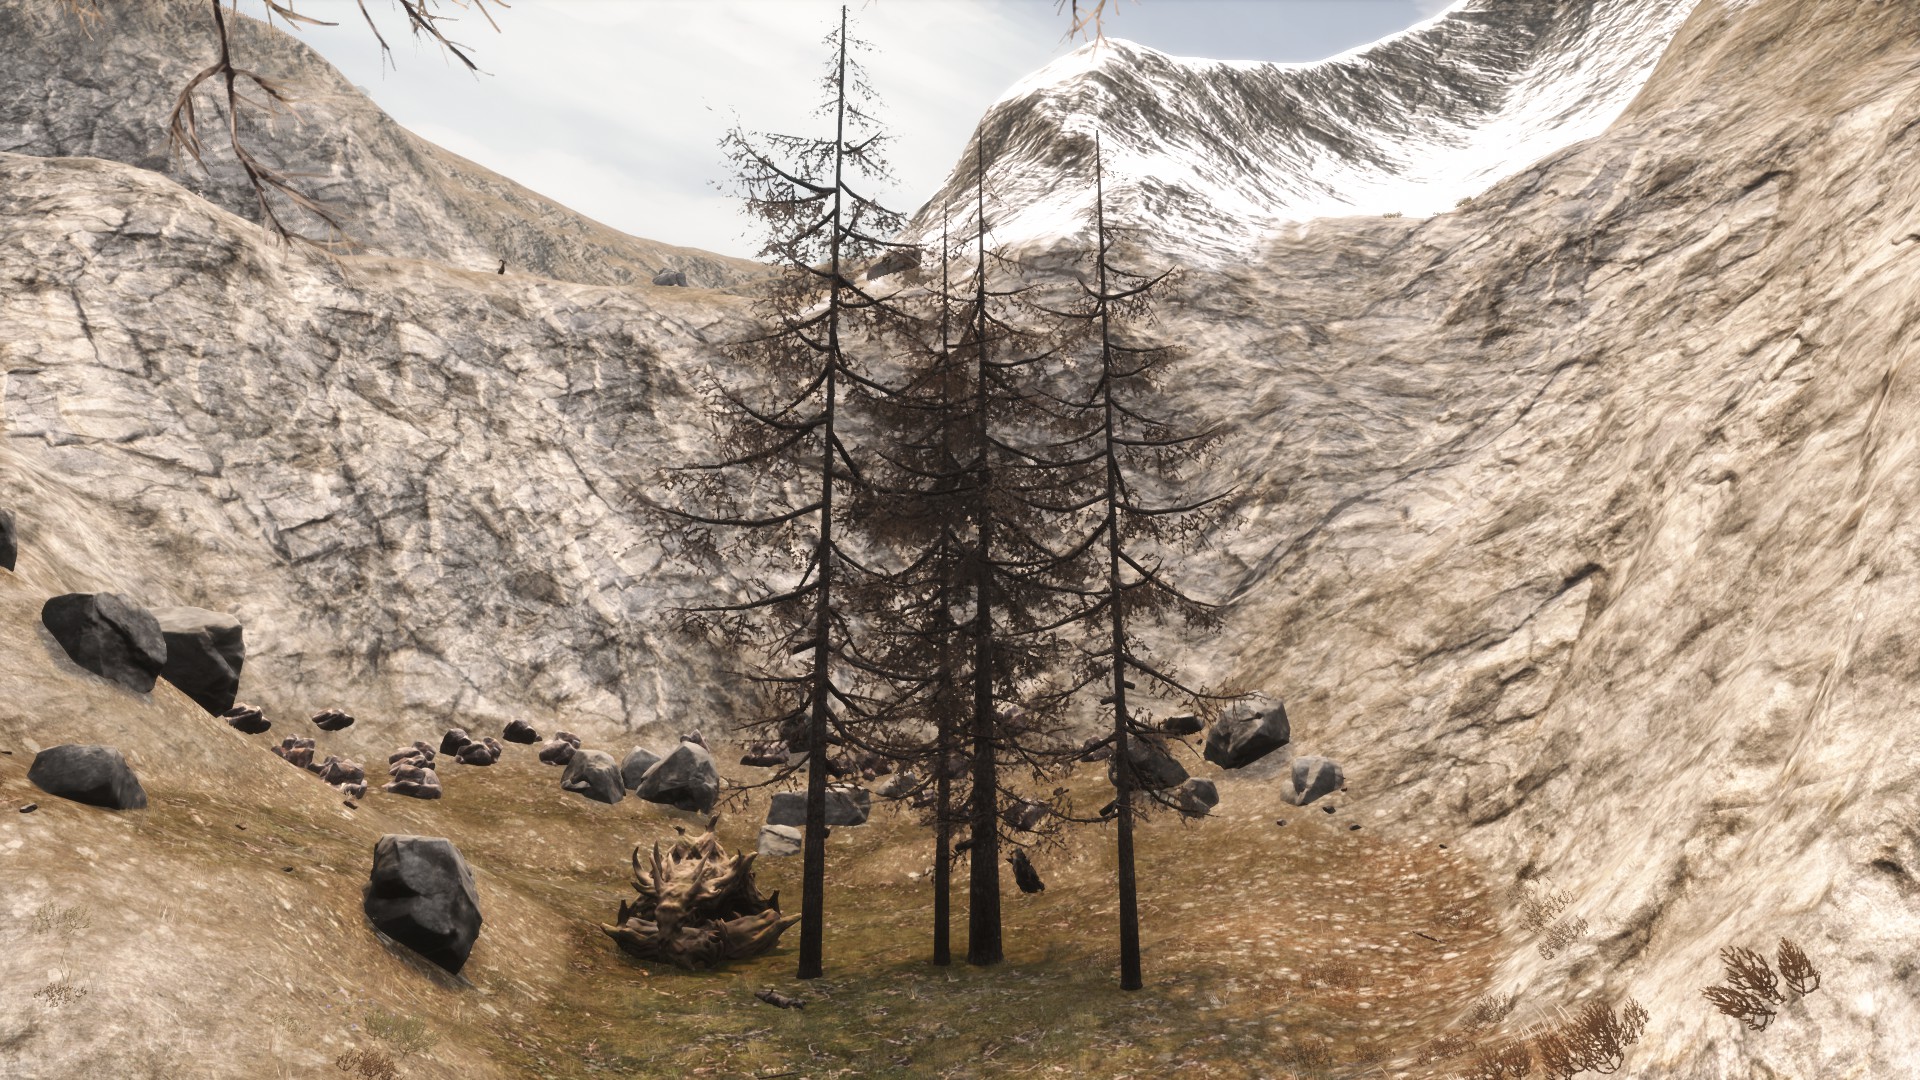 How is: It has a unique appearance, it’s a burly figure made of branches and roots, which will walk on all fours. You’ll always find them resting.
Combat: It’ll make two sweeps in a row with its fist, it’ll try to hit you and, when it digs its fists into the ground, it’ll take out stabbing roots from all over its body.
Has 4.020 health. Will give you 37.551 xp.
Reward: 1 Lesser Bounty Reward and 10 base game Gold Coins.
🦁 Lesser bounties III
- Giant Snake Head
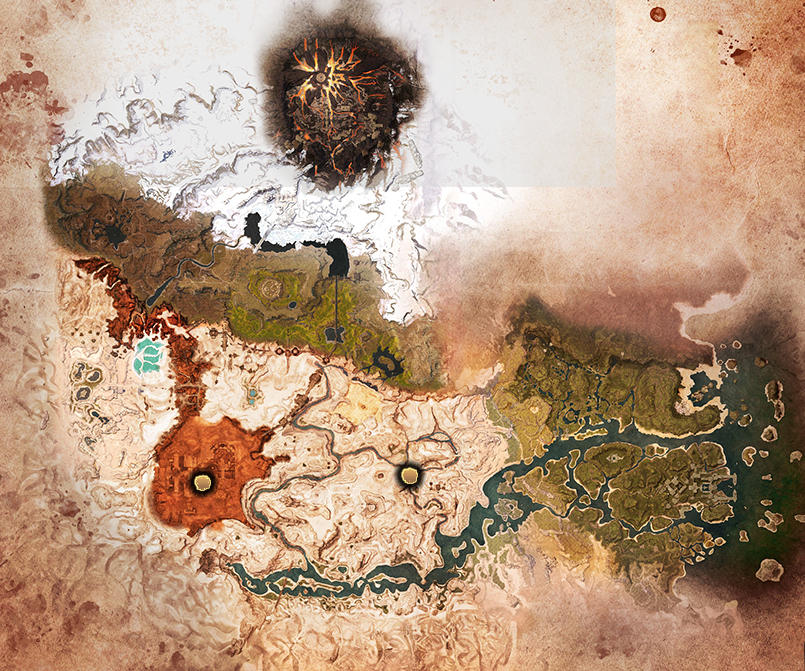 Bounty description: Giant snakes are usually found slithering in large, dark, corrupt areas.
Location: There are two giant snakes.
· In The Arena, west of the desert. You’ll see it shortly after entering, before reaching the boss of The Sinkhole (first image).
· Inside the Citadel of the Triumvirate, in The Unnamed City (second image).
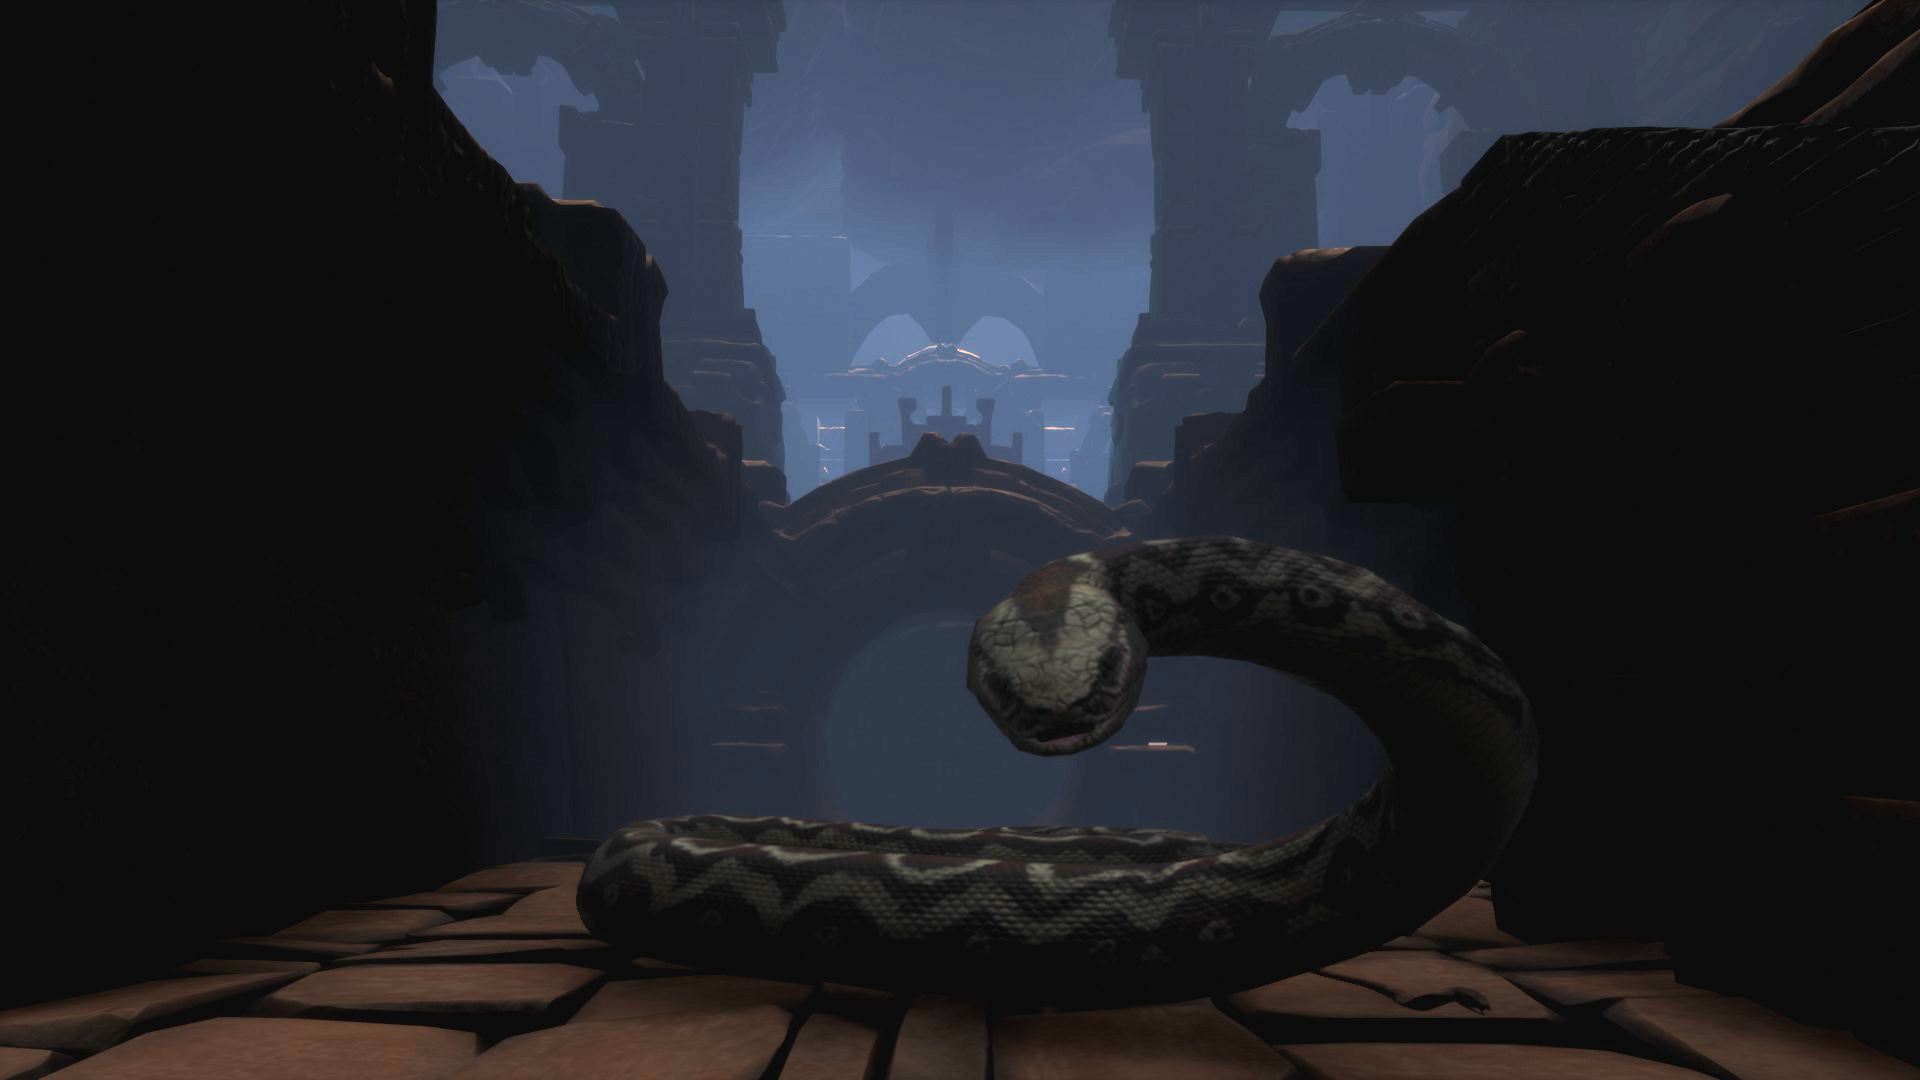
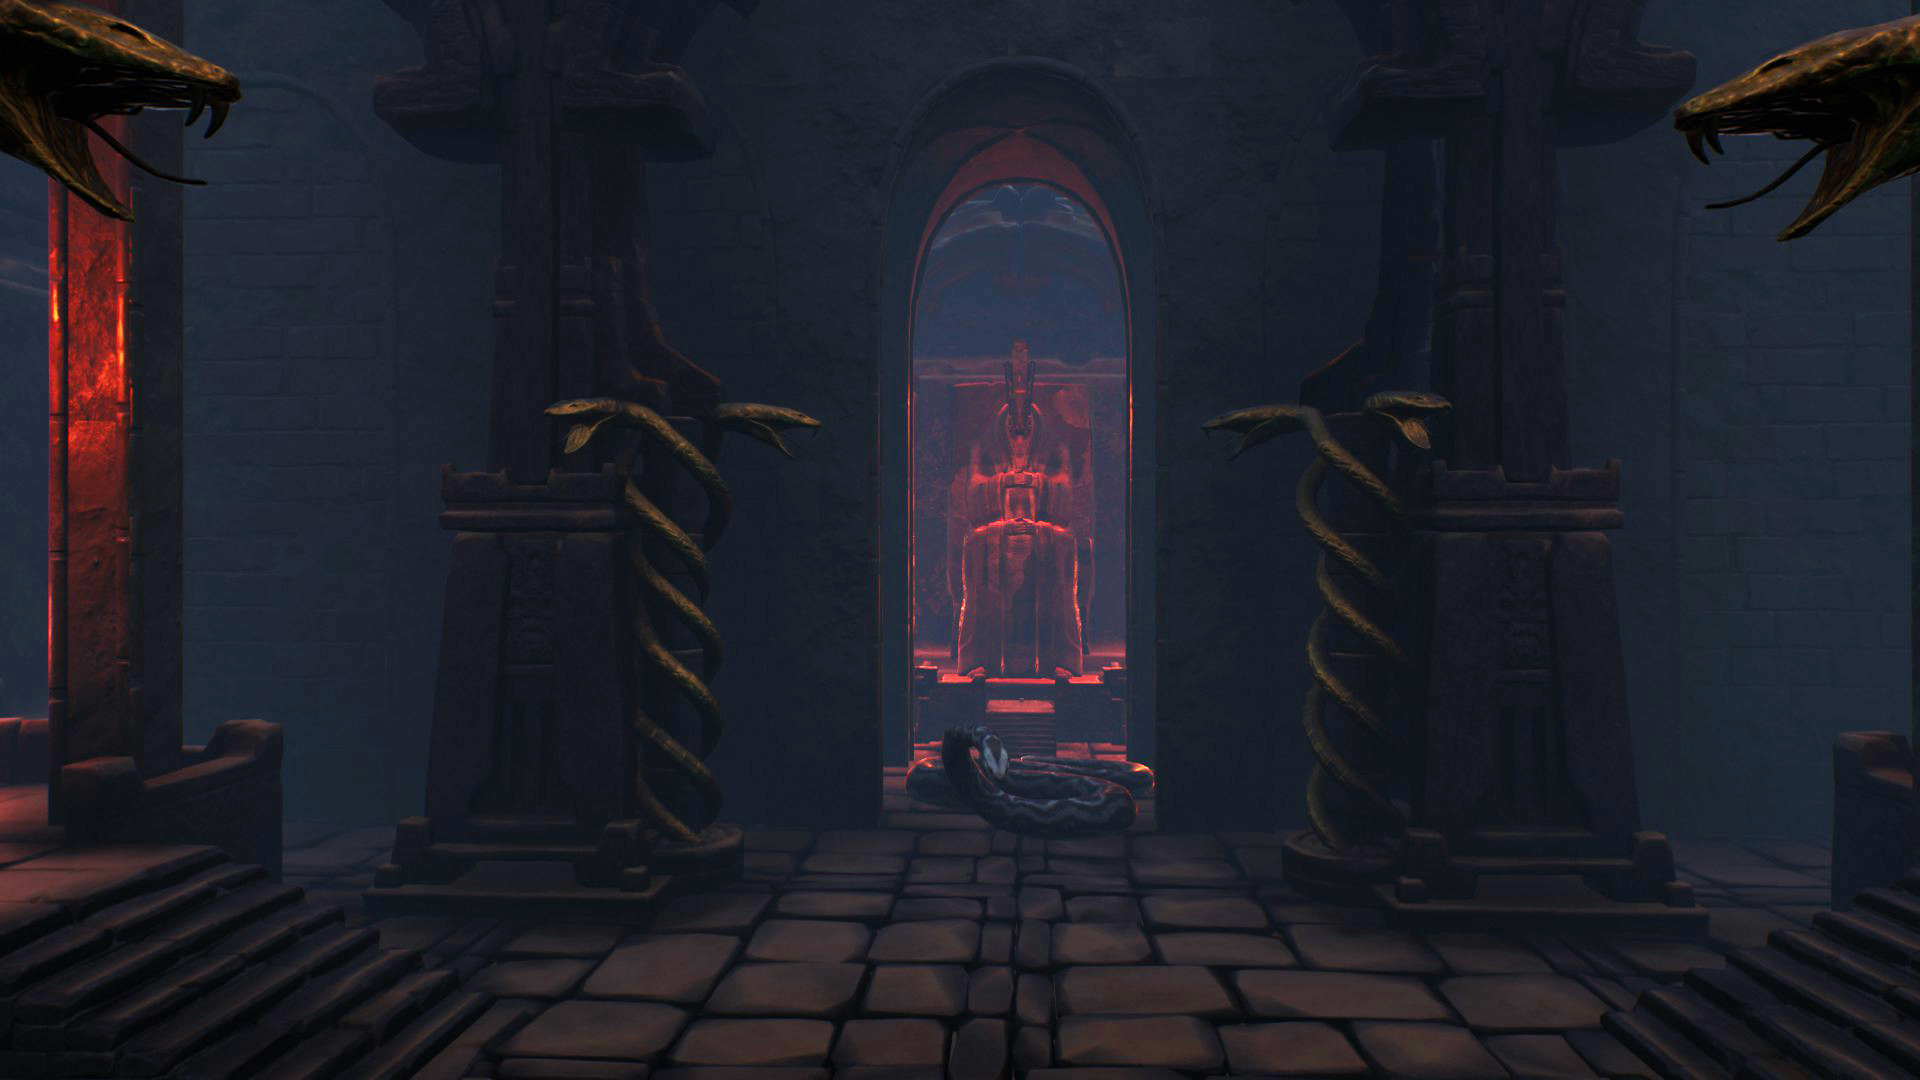
How is: In terms of size, it’s huge, and with drawings on its skin like a reticulated python.
Combat: It’ll make a bite attack towards you, like a lunge.
Has 8.265 health. Will give you 62.586 xp.
Reward: 1 Lesser Bounty Reward and 10 base game Gold Coins.
- King Scorpion Tail
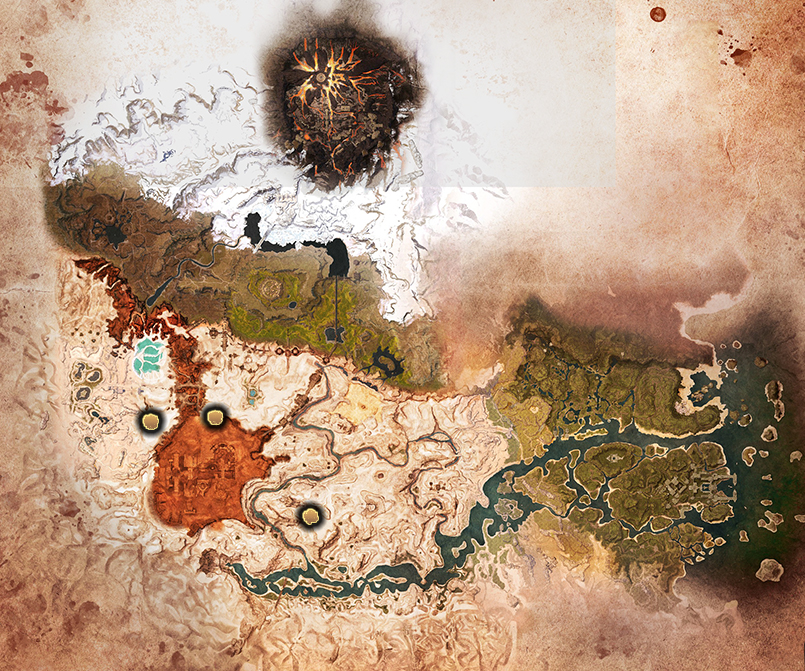 Bounty description: King Scorpions are usually found in abandoned Desert Areas.
Location: There are three king scorpion.
· Stand between The Cursed Way and the Ravager’s Cleft, the scorpion will be very close to the south. Regarding the general map, it’s in the center of the desert, between The Unnamed City and The Summoning Place (first image).
· You’ll see it from the Godsight Spire, north of The Unnamed City (second image).
· West of a Relic Hunter Outpost, next to a rock between Sepermeru and The Unnamed City (third image).
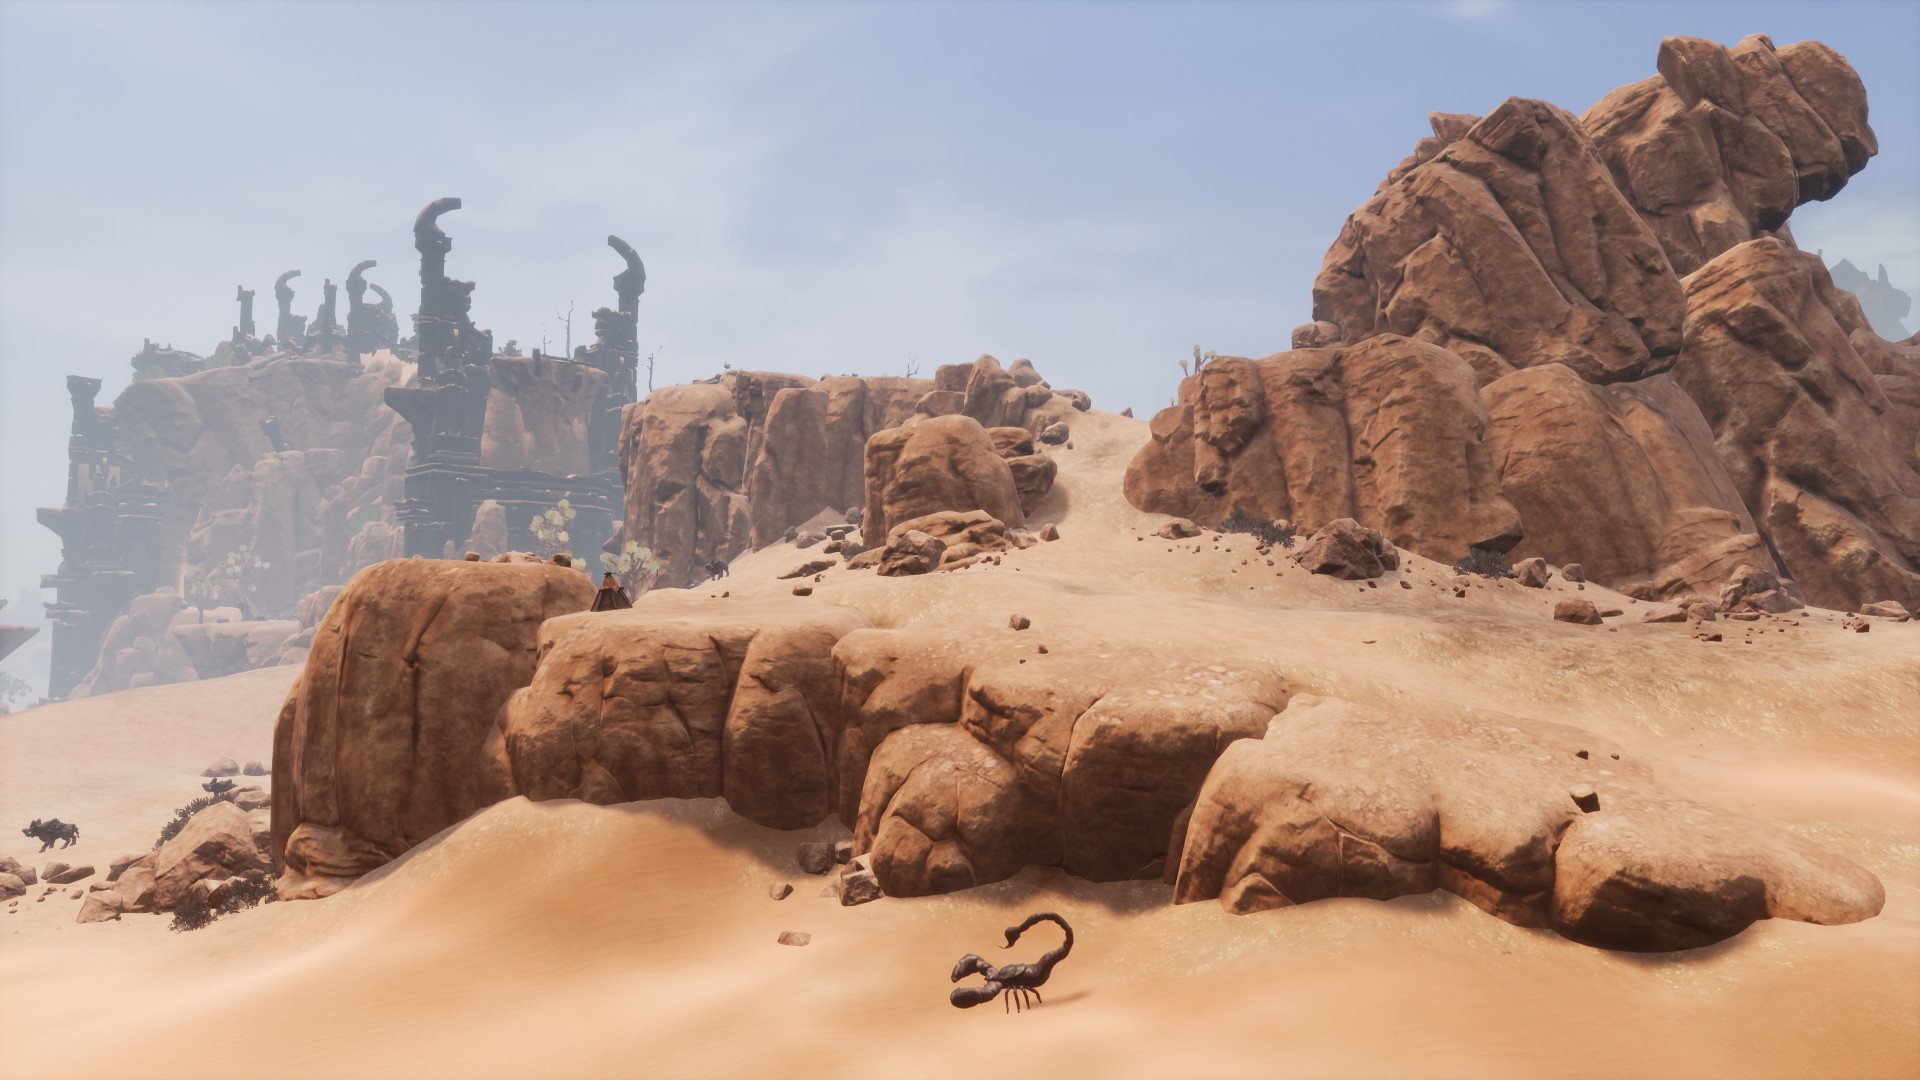
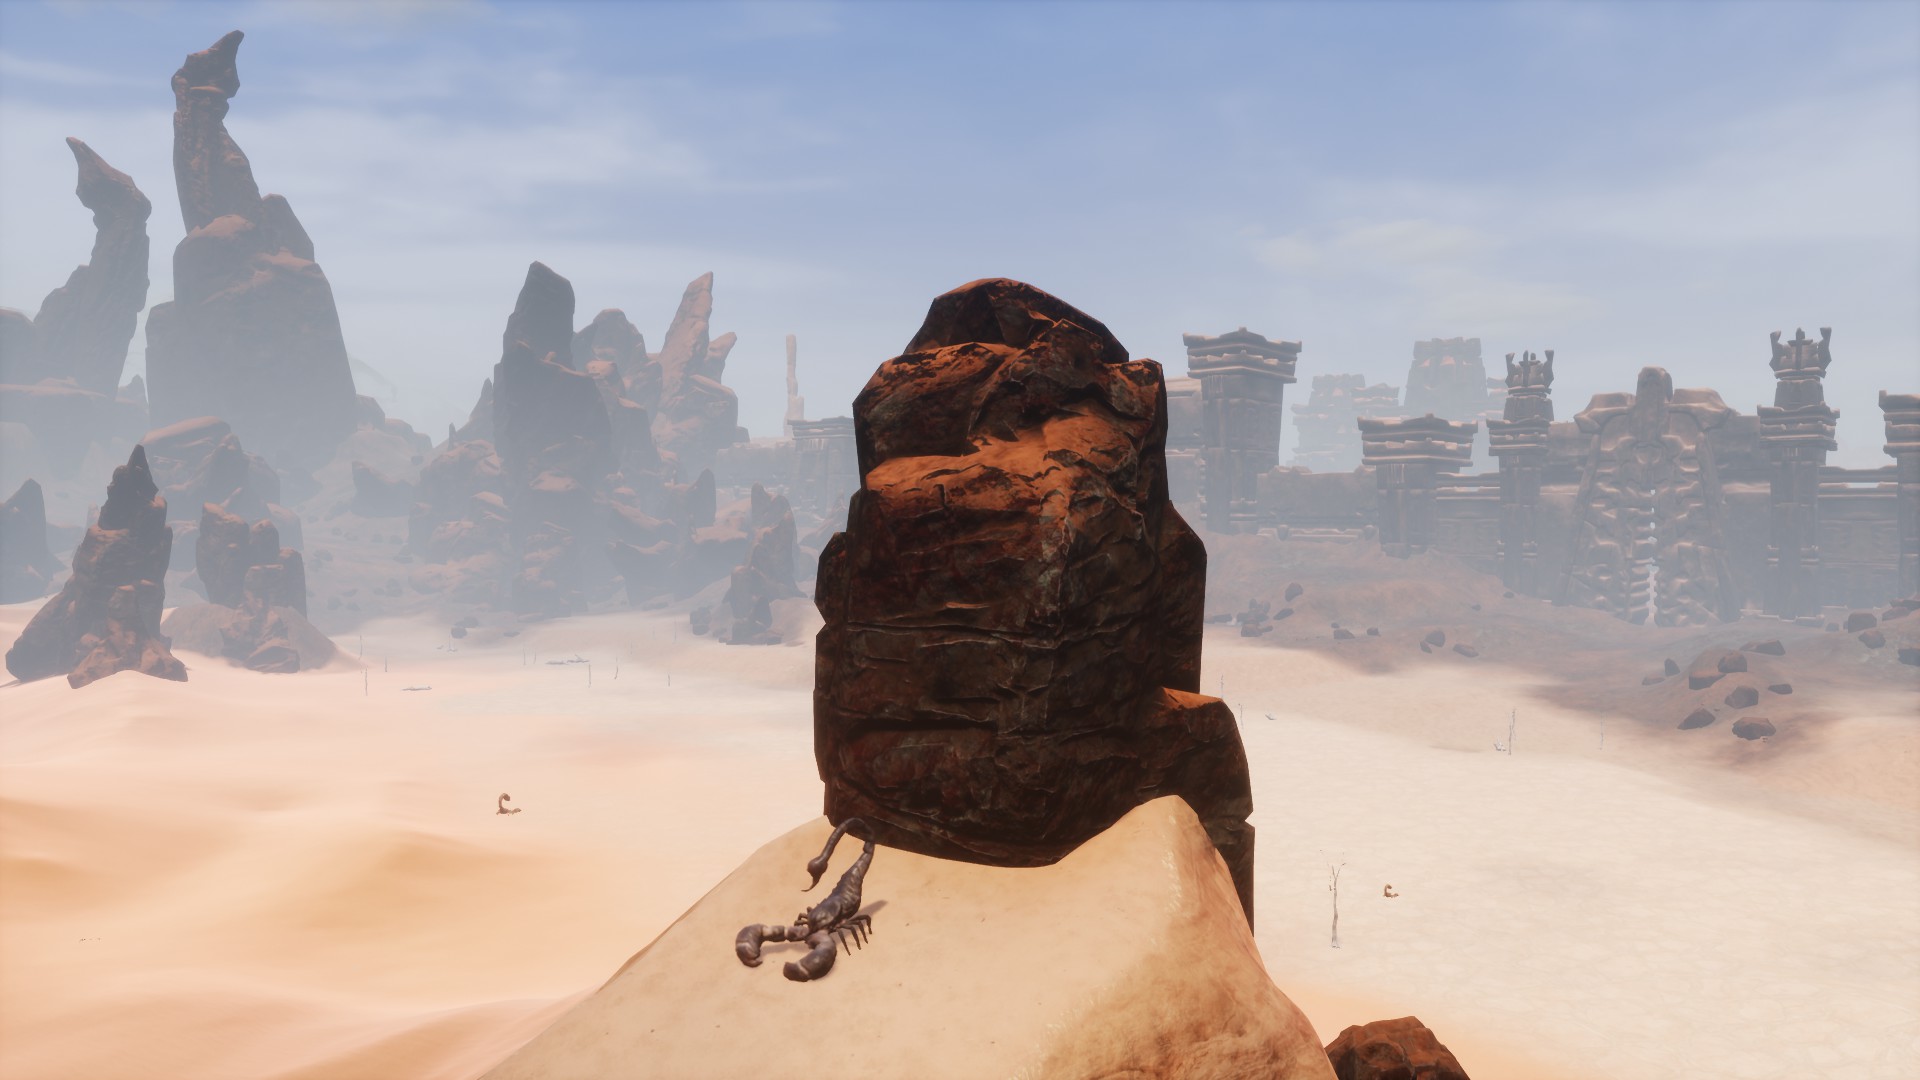 How is: It’s larger than the rest of scorpions, you’ll mainly distinguish it by its grayish color and its larger, chubbier claws.
Combat: It’ll attack with its pincers, sweep with its tail and attack you with it.
Has 5.338 health. Will give you 37.551 xp.
Reward: 1 Lesser Bounty Reward and 10 base game Gold Coins.
- Molten Shards
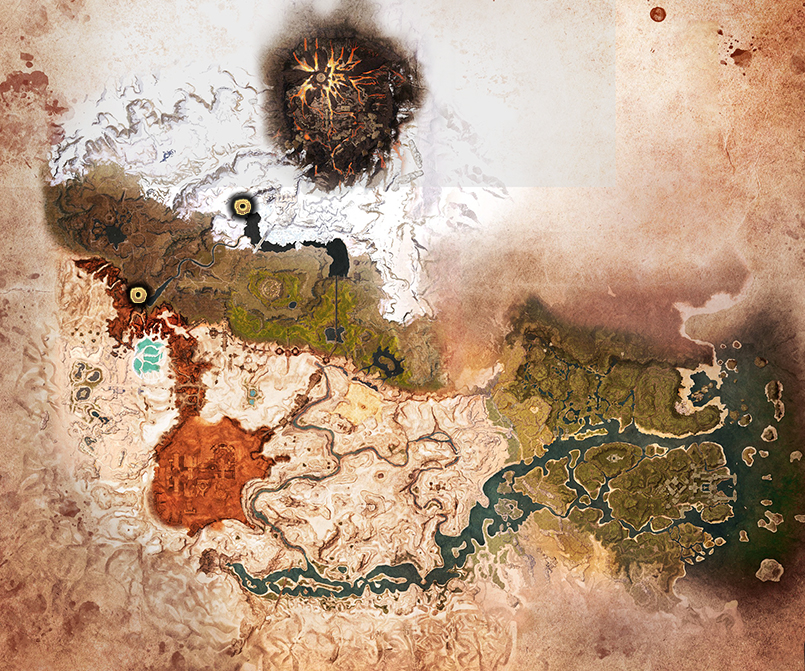 Bounty description: May be dropped by Ild Boards or other fire-like creatures.
Location: There are several types of creatures that Molten Shards will drop.
· The Molten Death is in the Ancient Cave, after going through the crystal cave (first image).
· The Un-Ild boar and the Ild boar are in the Perilous Valley. On the path from the entrance to the Shadow Legion Commander you’ll see about four one-skull boars, which will have a lower chance of dropping the Molten Shards. Near the Commander will be the three-skull boar, which will surely release them to you (second image).
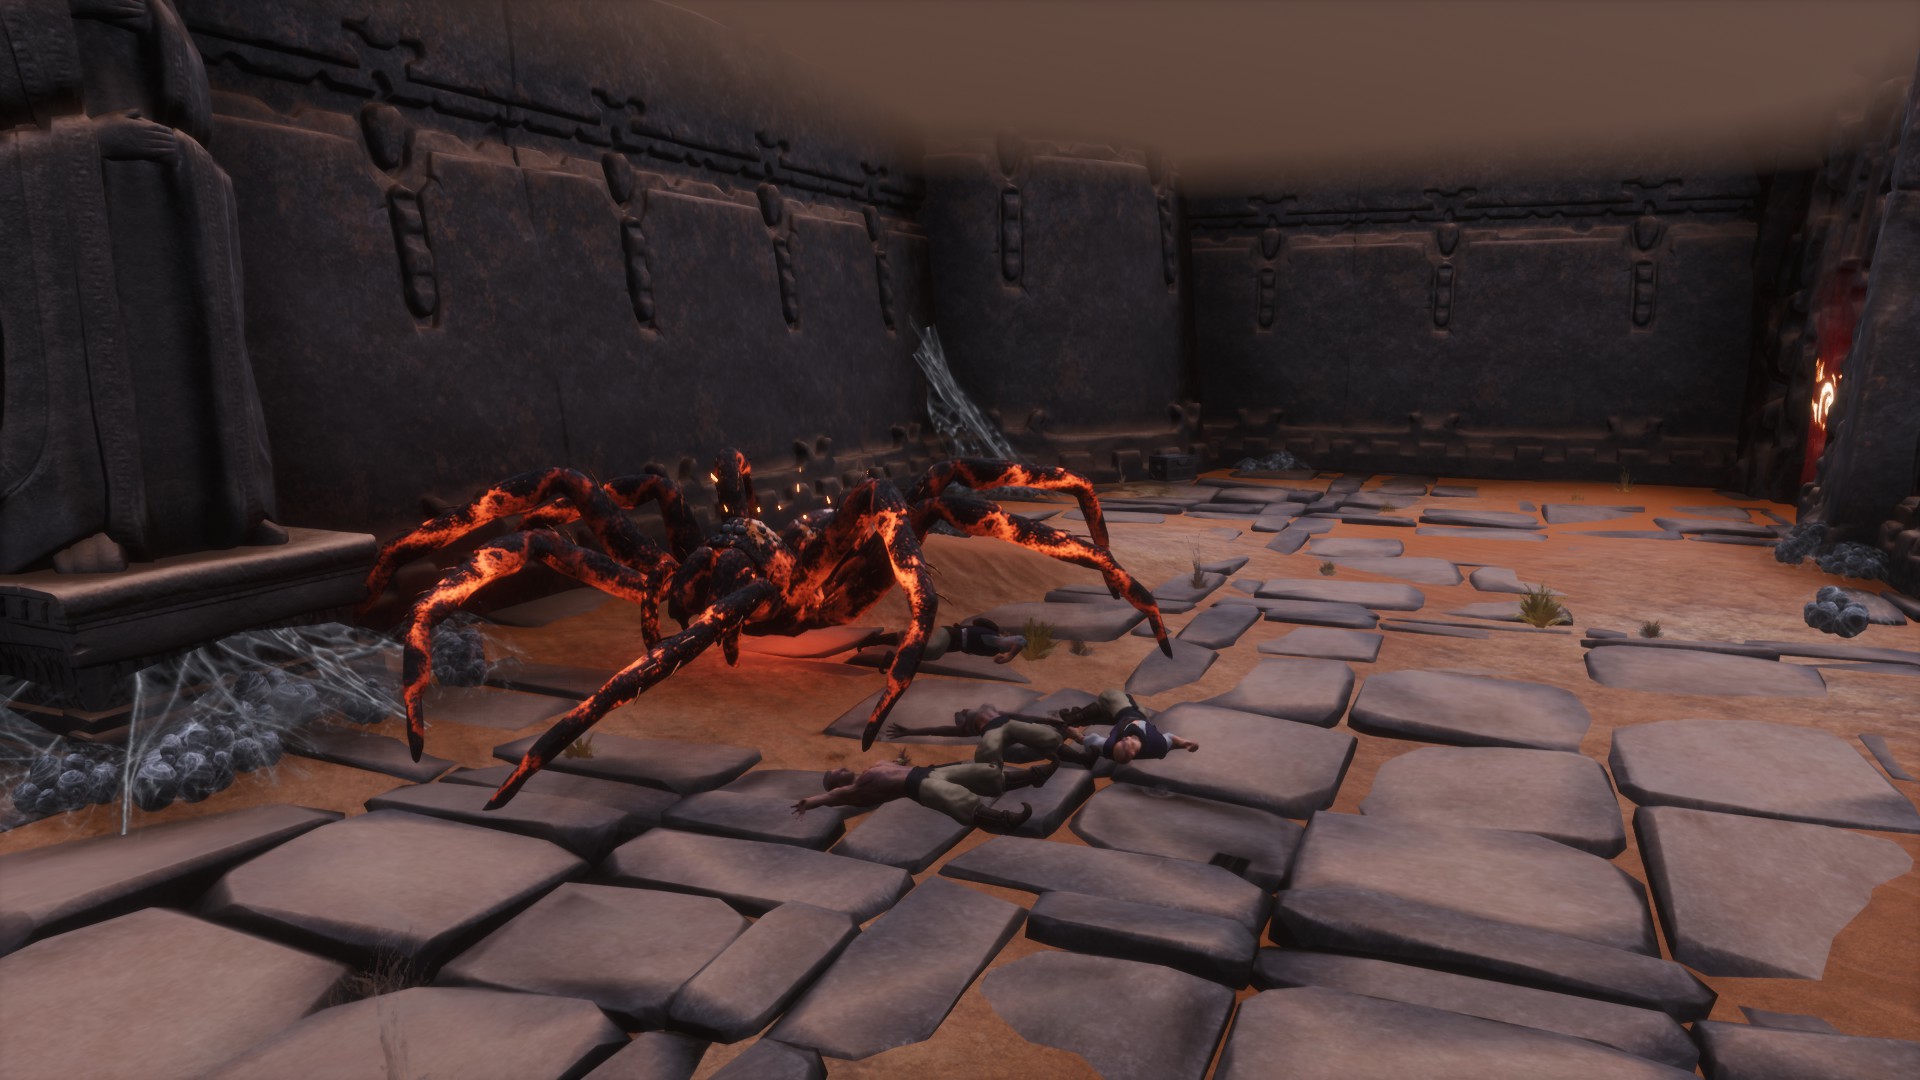
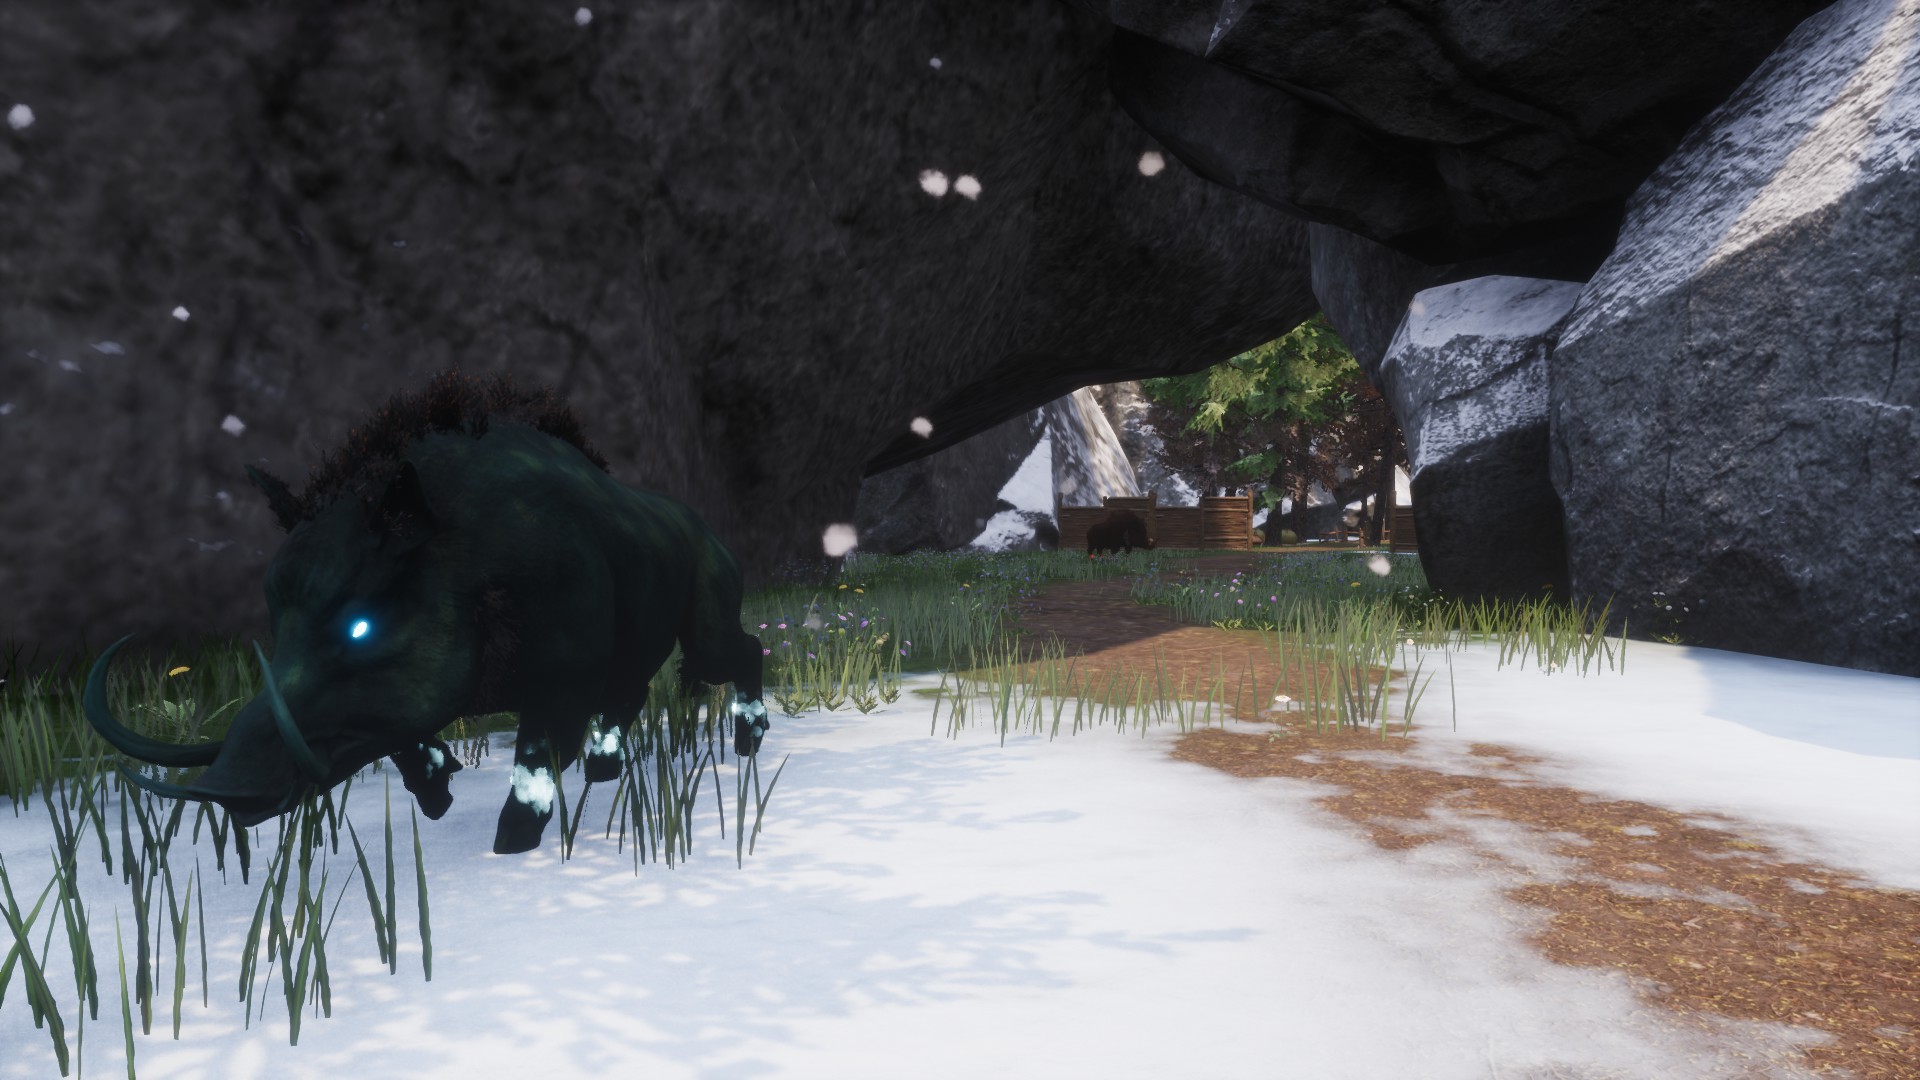
Look at the dungeon maps in the “📍 Dungeons and areas I” section to check their exact locations.
How is:
The spider: It’s the same as the giant black and hairy spider, but imbued with fire.
The boars: Those with one skull have all their skin reddish, a human skull stuck in one of their tusks, bright red eyes and legs with fire. The one with three skulls is somewhat larger, has all its skin bluish, bright blue eyes and legs with blue fire.
Combat:
The spider: Two of its attacks will be similar to those made by the Giant Spiders in the base game, raising its front legs to try to hit you with them, sometimes it will kick the ground both in front of and behind it and will end up biting whatever is in front of it. Additionally, if it doesn’t have you close enough to attack you in melee, it’ll throw a ball of fiery web at you and approach you. Upon death, it’ll release several larvites with 400 health.
Has 24.500 health. Will give you 20.000 xp.
The boars: They’ll make long lunges with fury, they will attack you with their fangs and, when you are close to them, they will set you on fire.
Those with one skull have 2.800 health, and the one with three skulls has 11.200 health.
Will give you 21.000 xp.
Reward: You will have to deliver the Molten Shards 6 at a time. For every 6 you deliver, you’ll be rewarded only with 1 Lesser Bounty Reward and no Gold Coin.
- Spoils of Conquest
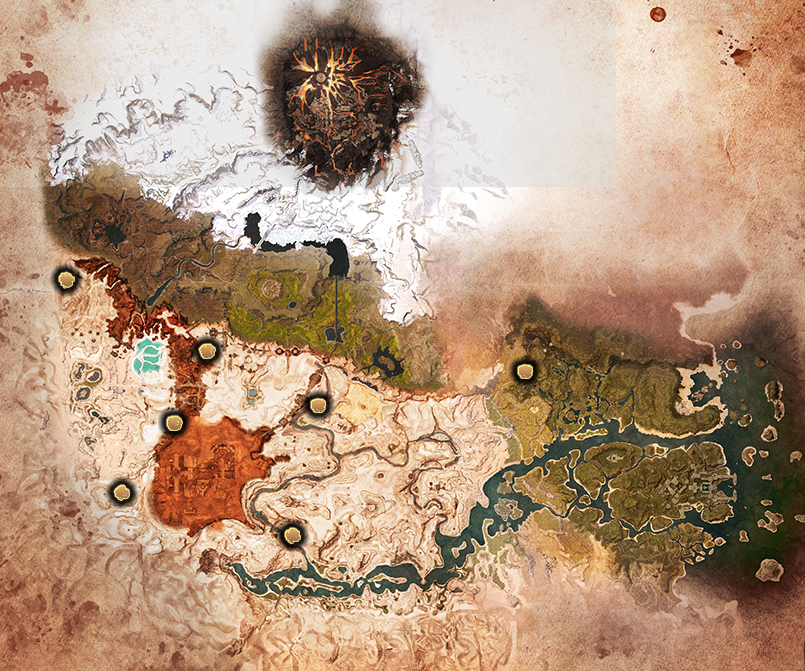 Bounty description: These trophies may be obtained from Outpost Caravan Packages.
Location: In the Lands of Exile there’re seven Outposts that you can conquer, so they’ll send you the packages from which you will get the Spoils of Conquest.
You can also get 100 Spoils of Conquest by progressing through the Hosav Shadow Legion Commander quest, in the Perilous Valley.
You’ve more information about this EEWA mechanic in the “📦 Outpost” section.
Reward: You will have to deliver the Spoils of Conquest 8 at a time. For every 8 you deliver, you’ll be rewarded with 1 Lesser Bounty Reward.
🐲 Bounties I
In addition to the locations that I’m going to indicate, you can also find and kill these Magical Monsters in some EEWA Events. They’ll be Events named Locust Nightmare Spawn III or Lurker Spawn III, for example. You have more information about this in the “Events” section of the guide.
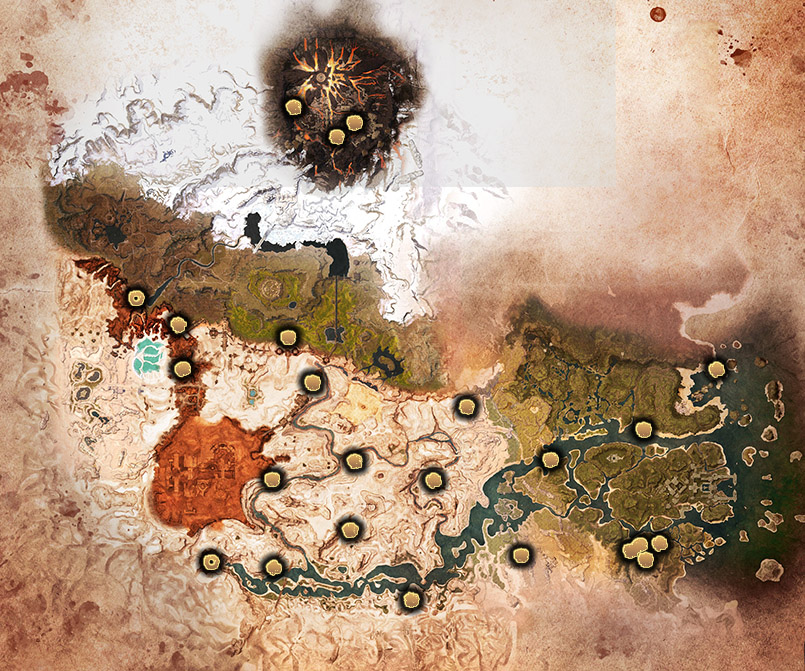
- Keystone
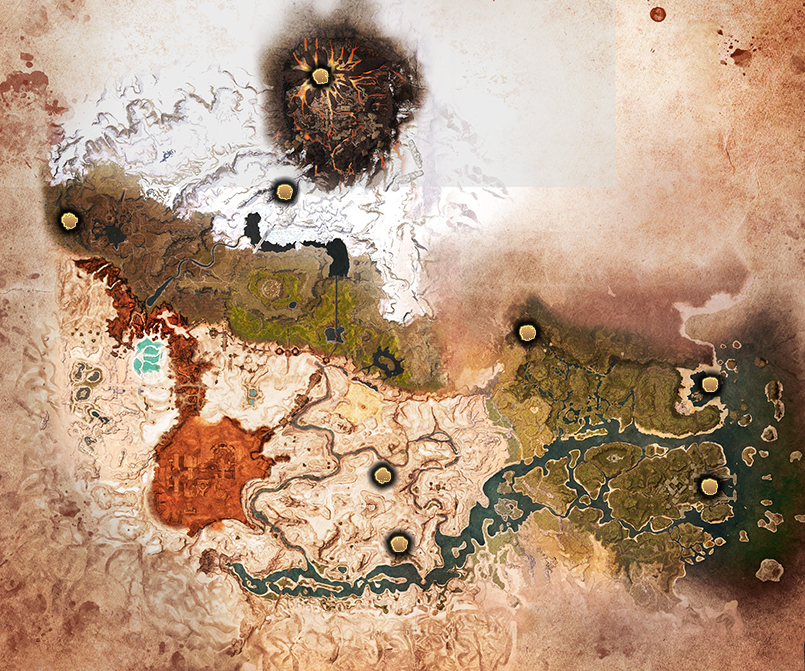 Bounty description: Assemble and deliver the Keystone and recieve rewards.
Location: Create it at the Chaosmouth Altar, south of New Asagarth.
· On this map you can see the location of the artifacts, with them you’ll create the Keystone. For more information check the section “🔽 INTRODUCTION 🔽”.
· You can also create it with three Corrupted Keystone Shard, to obtain these see the “🟣 Corrupt Portals” section of the guide.
Reward: 3 Lesser Bounty Reward, 2 Elixir of Life and 1 Elixir of Temperature Immunity.
- Lufk
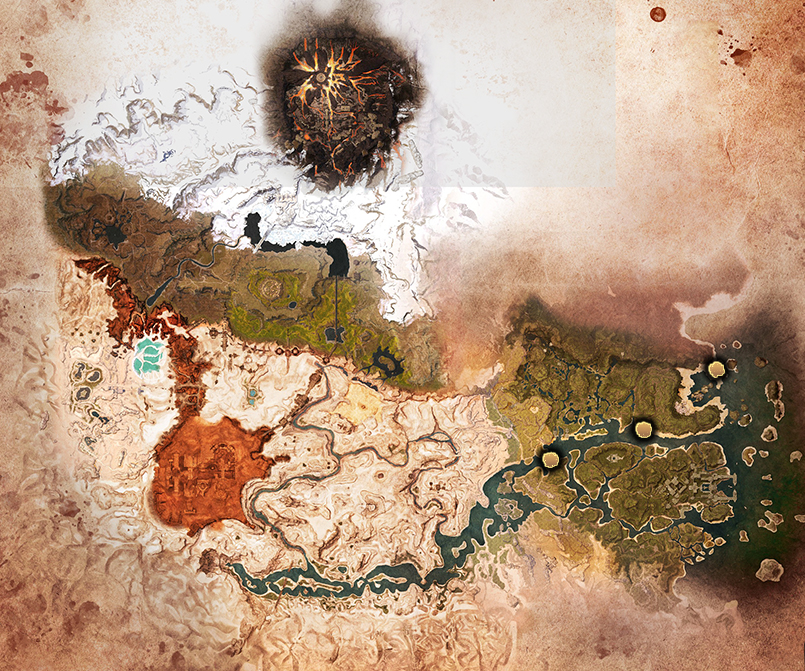 Bounty description: Lufk’s usually wander around jungle areas along rivers, usually avoids inhabited areas.
Location: There are three Lufks.
· Southwest of the Eastern Barracks, on the opposite bank of the river (first image).
· Between Buccaneer Bay and the Forgotten City of Xel-ha, following the river bank to the west (second image).
· Northwest of Buccaneer Bay, on the coast closest to Heliograph Heights island (third image).
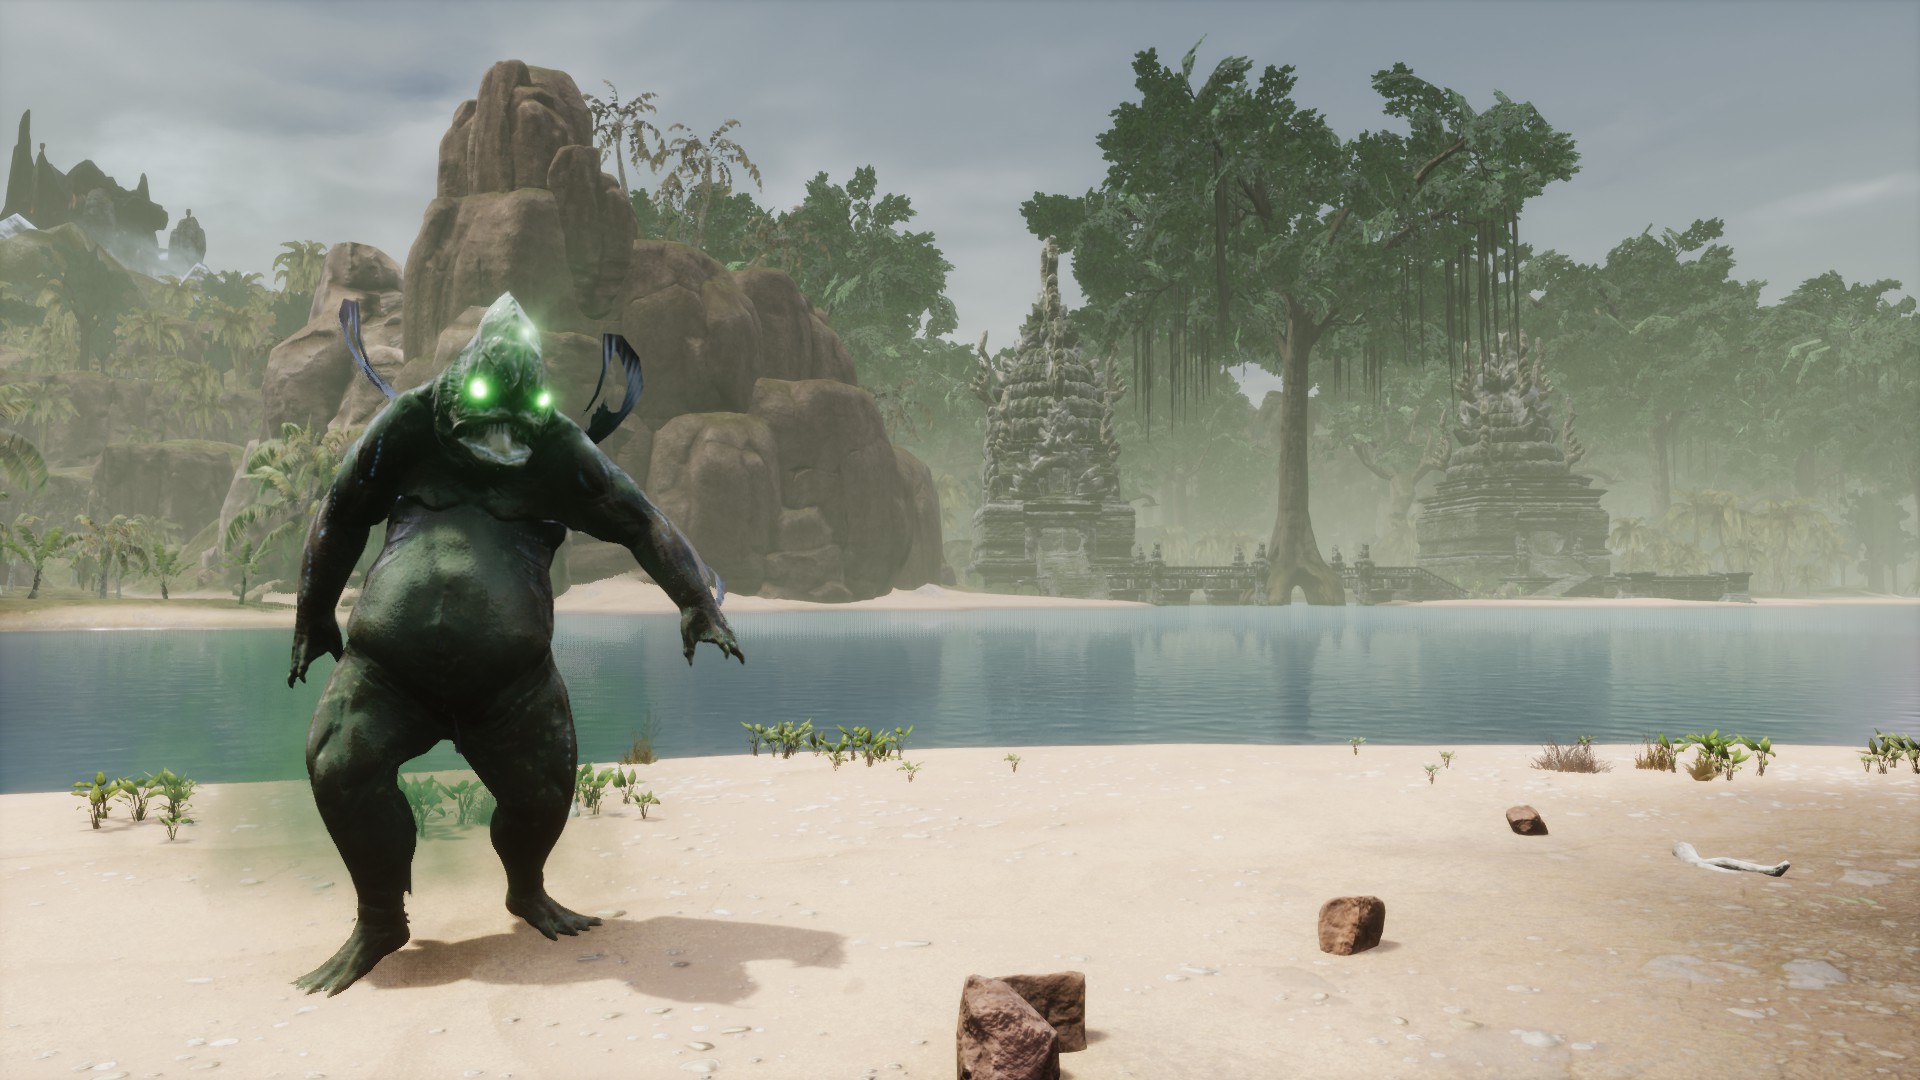
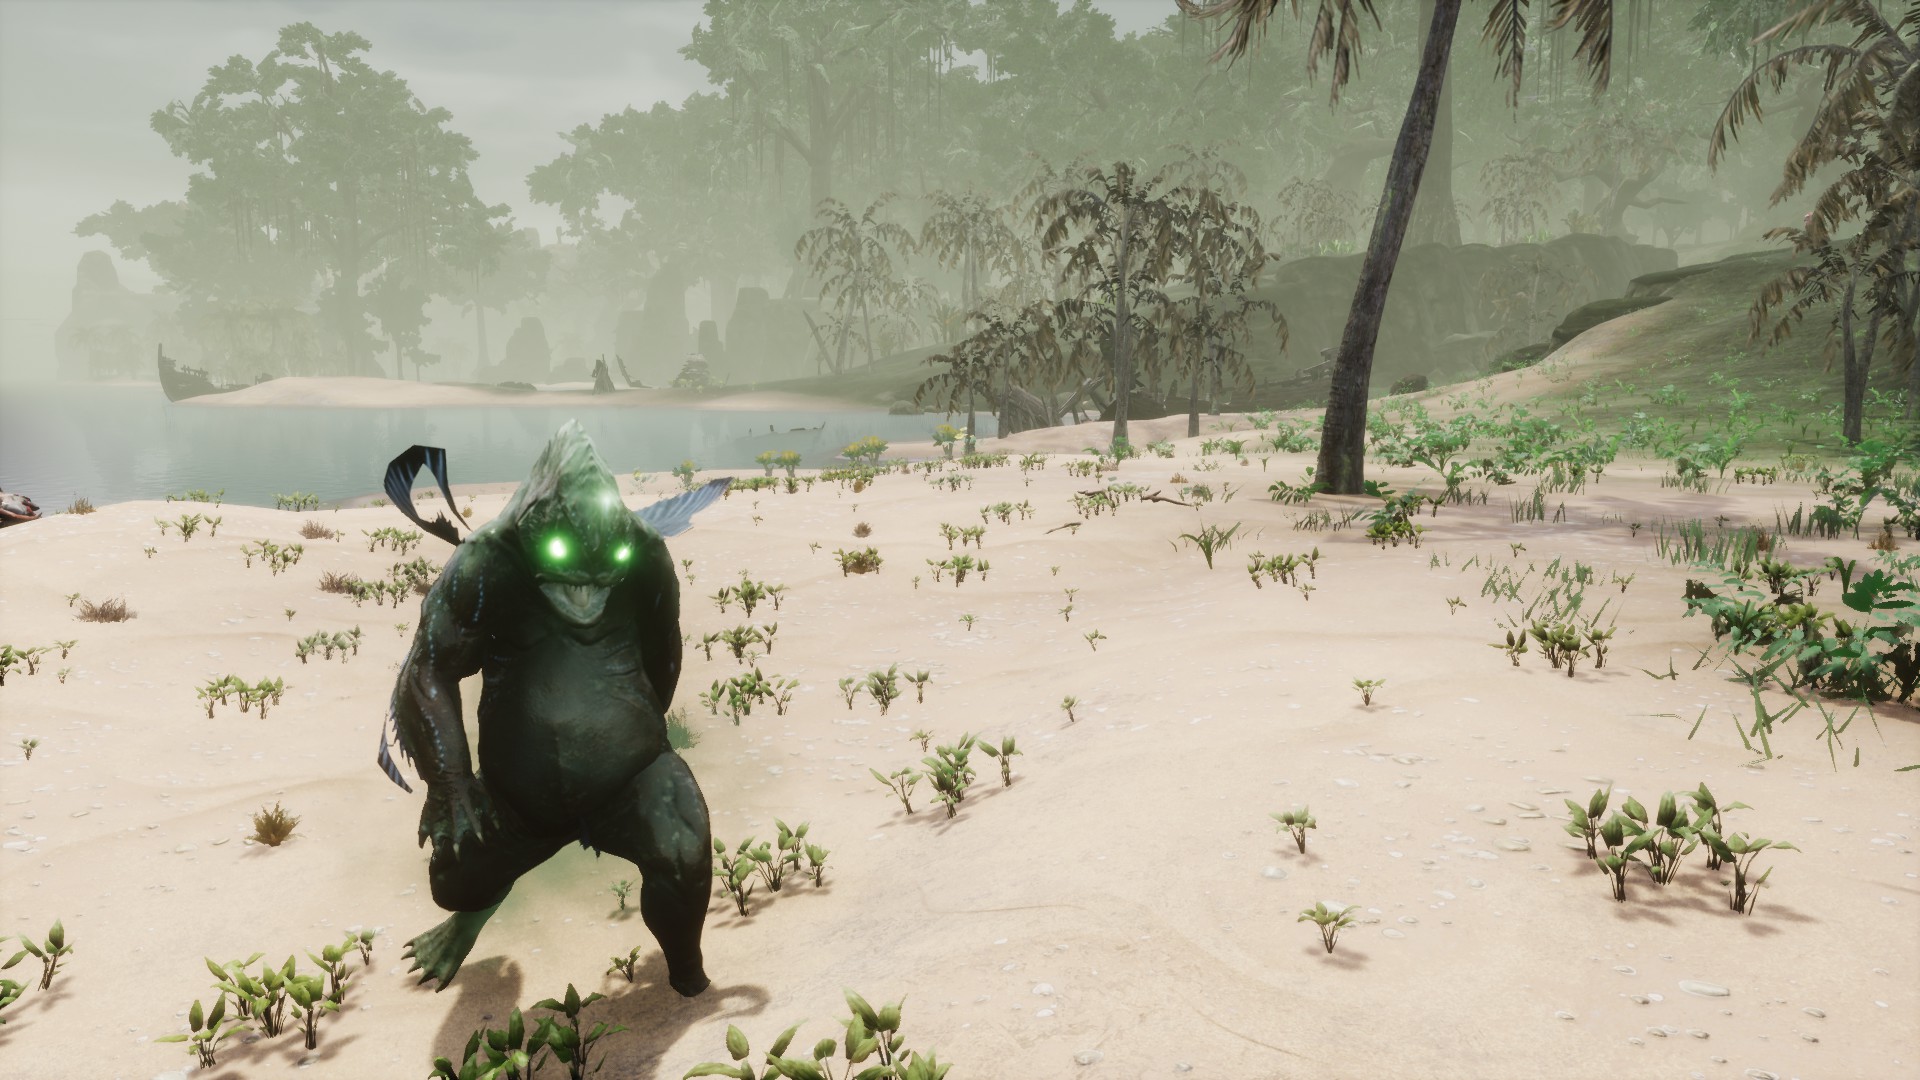
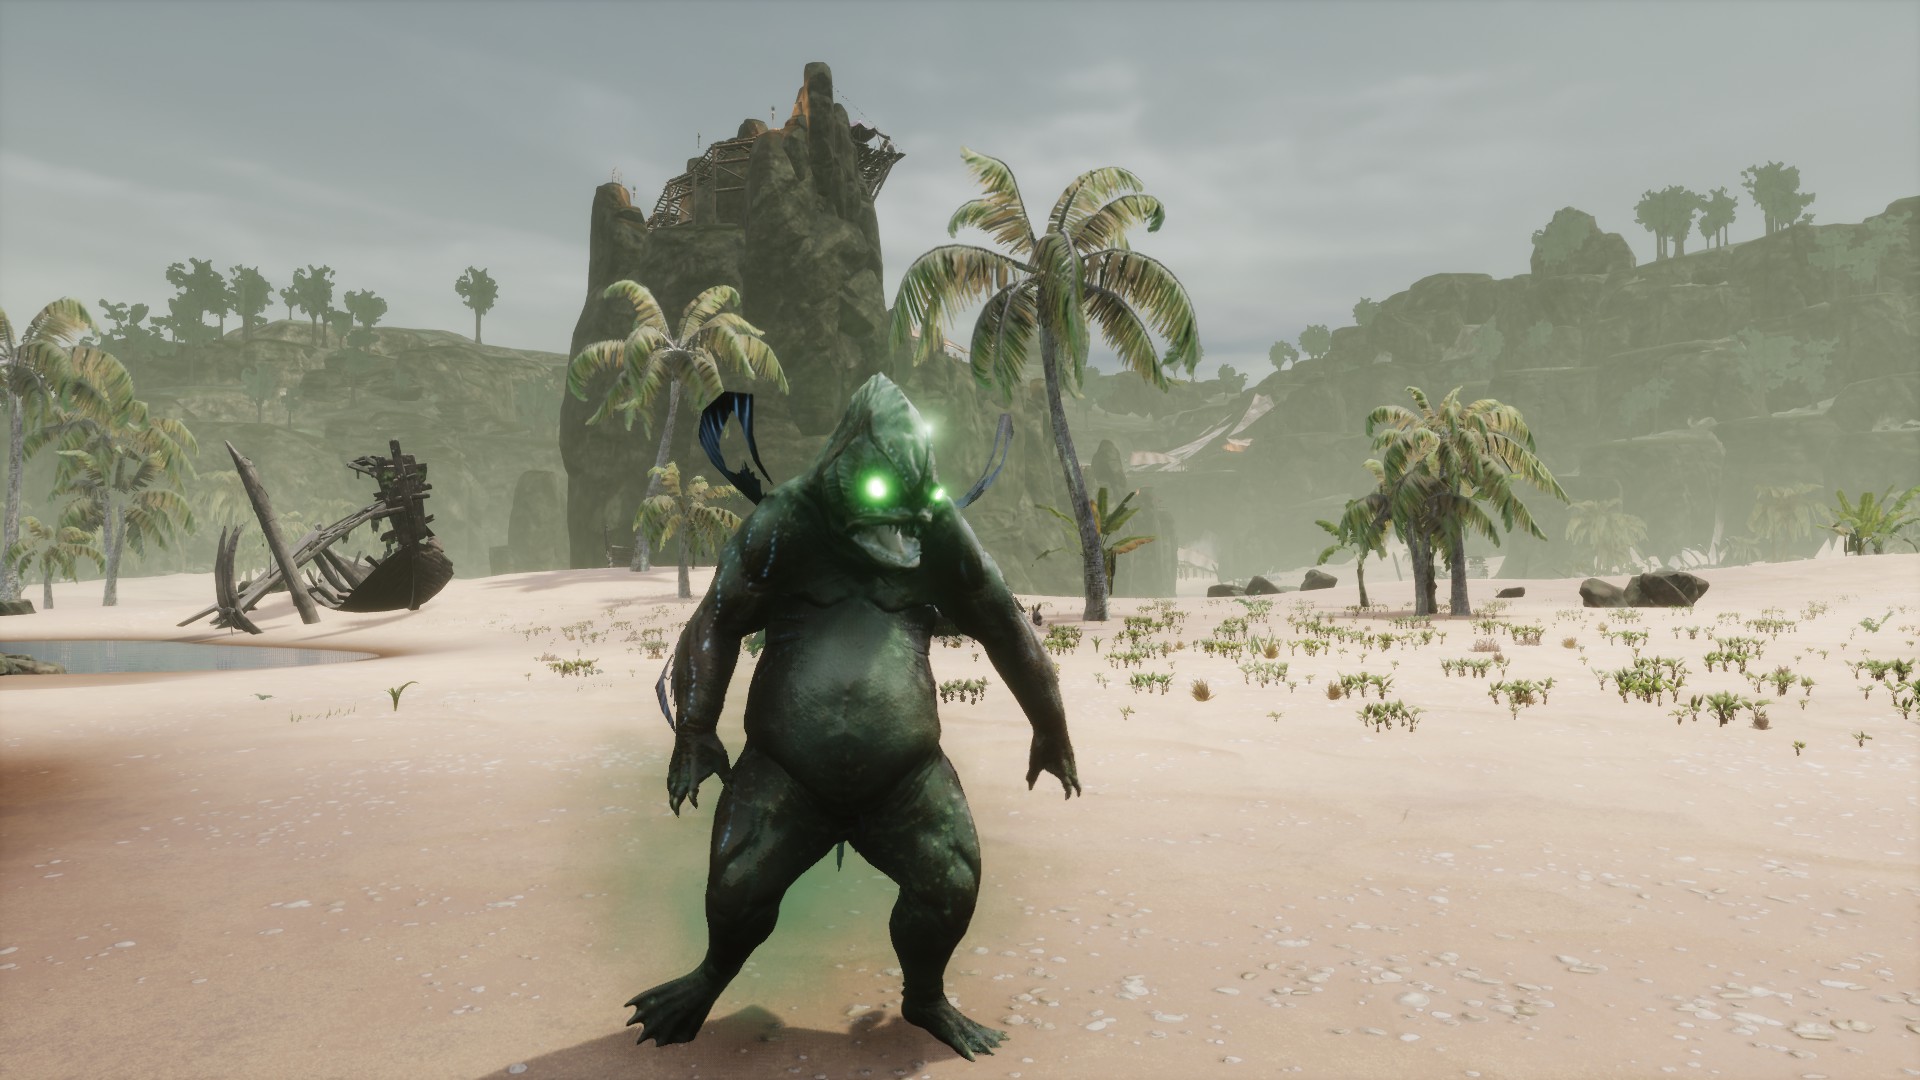 How is: He’s similar to the Son of Dagon, a species of fish-man, with the face of an abyssal fish, bright green eyes, greenish skin, fins on his extremities and membranes joining his fingers.
Combat: He’ll make several attacks with his arms, hitting the ground with his fists creating a wave around him. When you’re close to him, he’ll apply the Noxious Gas status to you, dealing 28 points of damage every second, but if you move away from him, he’ll get on all fours to spit a ball of poison at you.
Has 25.200 health. Will give you 190.000 xp.
Reward: 1 Bounty Reward, 4 Powder of Corruption, 4 Scales of Dagon and 2 Bounty Assembly Pieces.
- Locust Nightmares
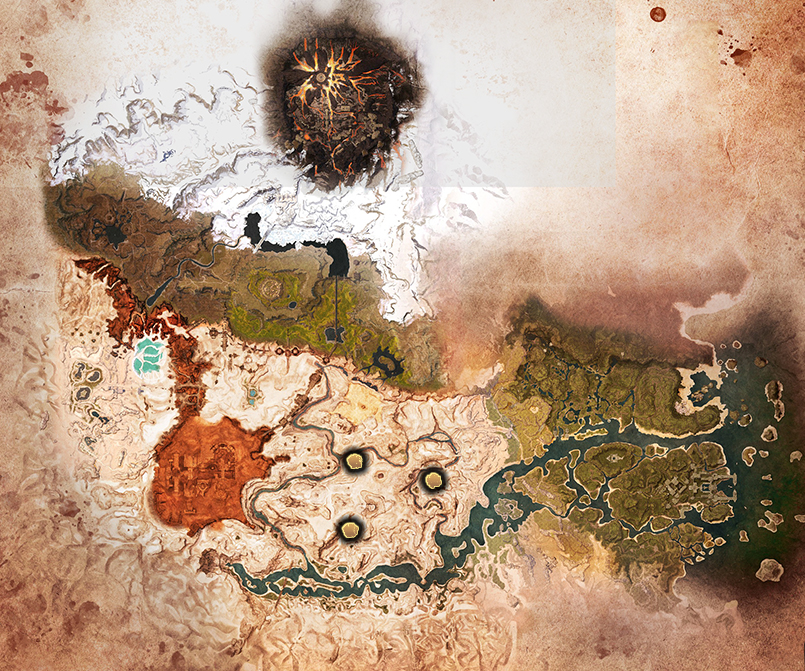 Bounty description: Locus Nightmares usually wander around desert areas onmountains, usually avoids inhabited areas.
Location: There are three Locust nightmares.
· North of the Sinner’s Refuge cave are two plateaus joined by a rock “bridge.” In one of them is this creature. Regarding the general map, it’s south of the desert (first image).
· In the Deathwhisper Ruins, east of the desert (second image).
· On the plateau above Thugra’s Stand, east of the desert (third image).
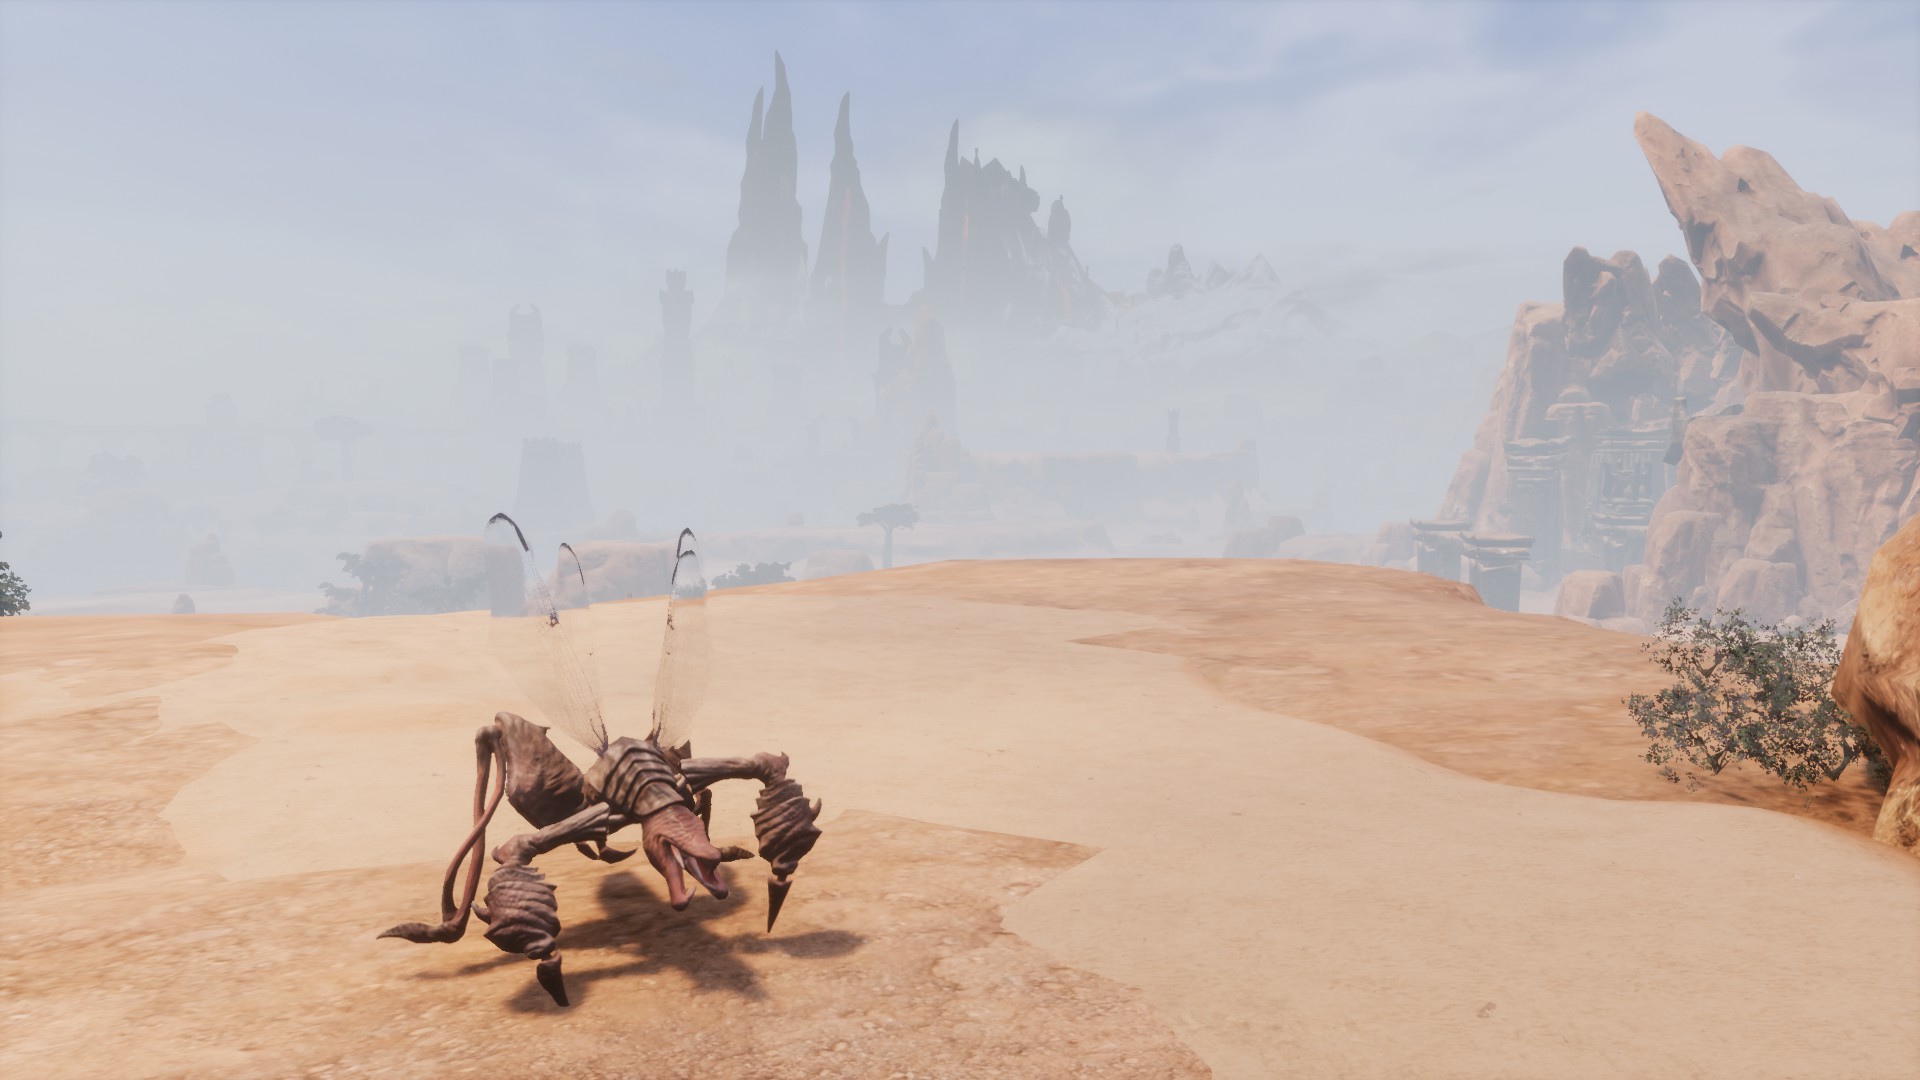
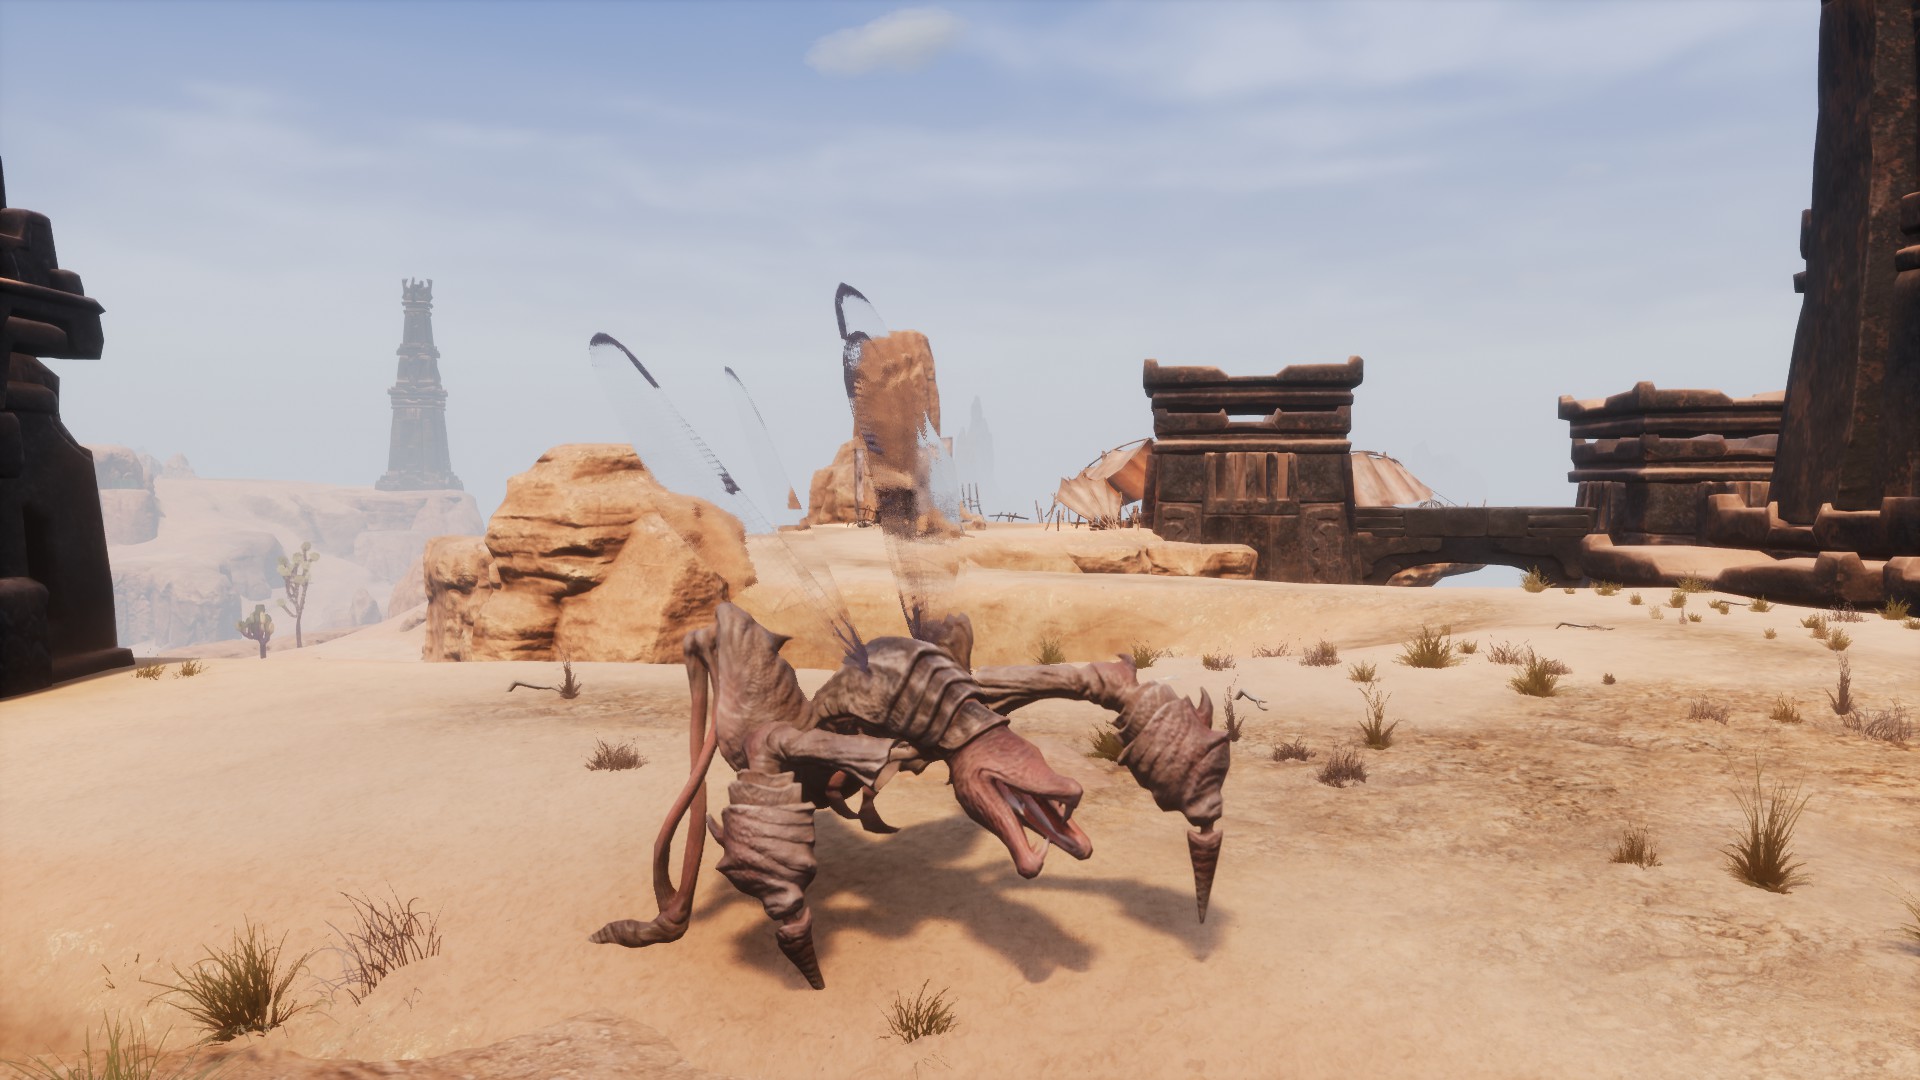
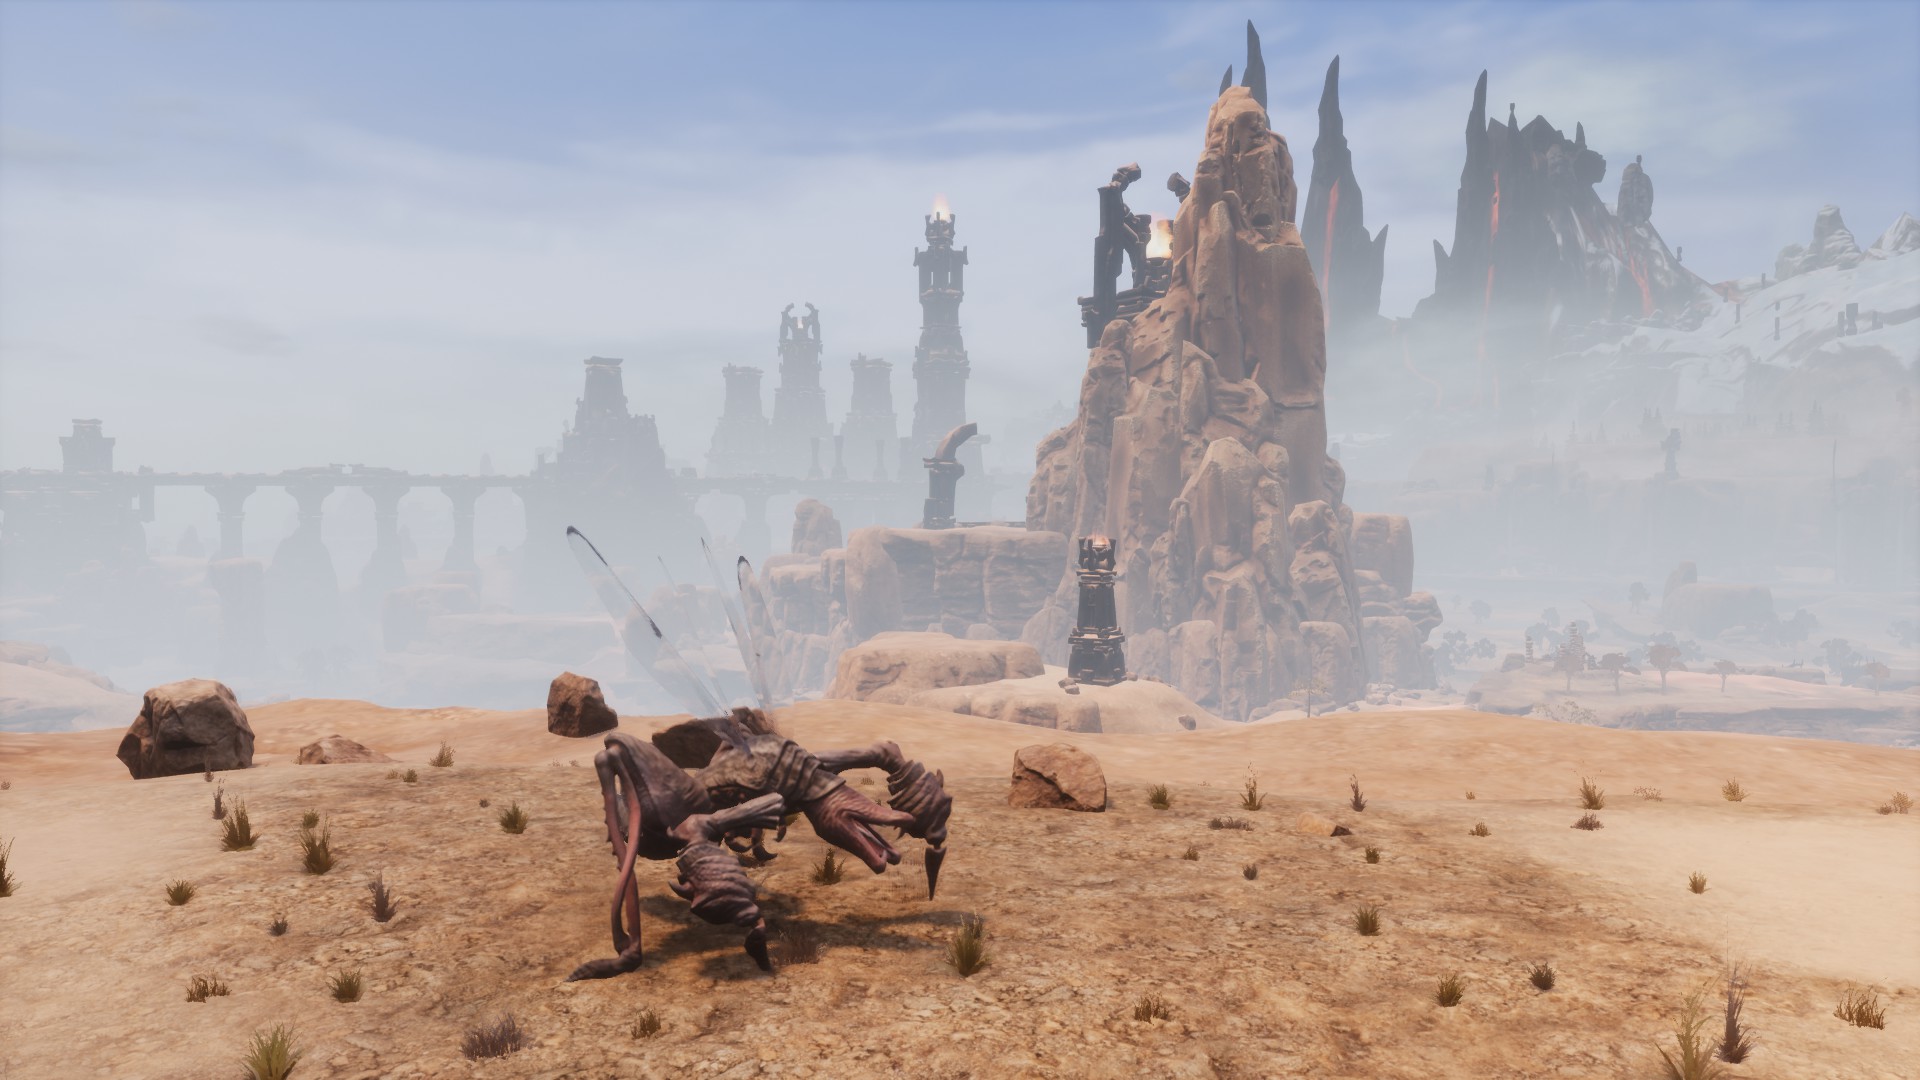 How is: It’s a variety of Sand Reapers, larger and uniform in color.
Combat: It’ll attack you with its front claws and vomit on you.
Has 22.100 health. Will give you 190.000 xp.
Reward: 1 Bounty Reward, 60 Ichor, 60 Oils and 2 Bounty Assembly Piece.
- Crystal Rocknose King
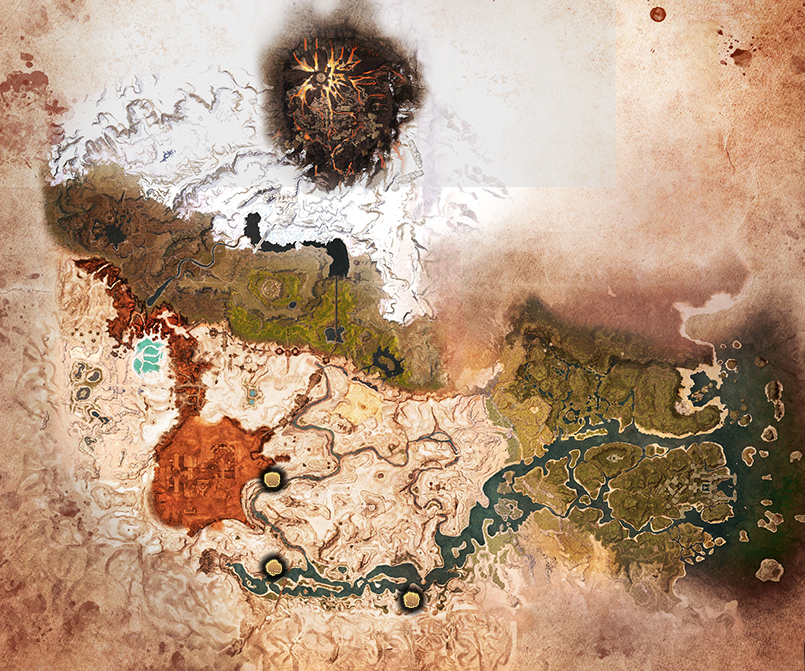 Bounty description: Crystal Rocknose King’s usually hang around outside the entrances of crystal caves.
Location: There are three in the Exiled Lands.
· On the huge rock bridge between the Darfari camp Narrowneck Span and Hanuman’s Grotto, southeast of the desert (first image).
· At the exit of the Cavern of Fiends, south of the desert (second image).
· Just above the Warren of Degenerates, on the eastern border of The Unnamed City (third image).
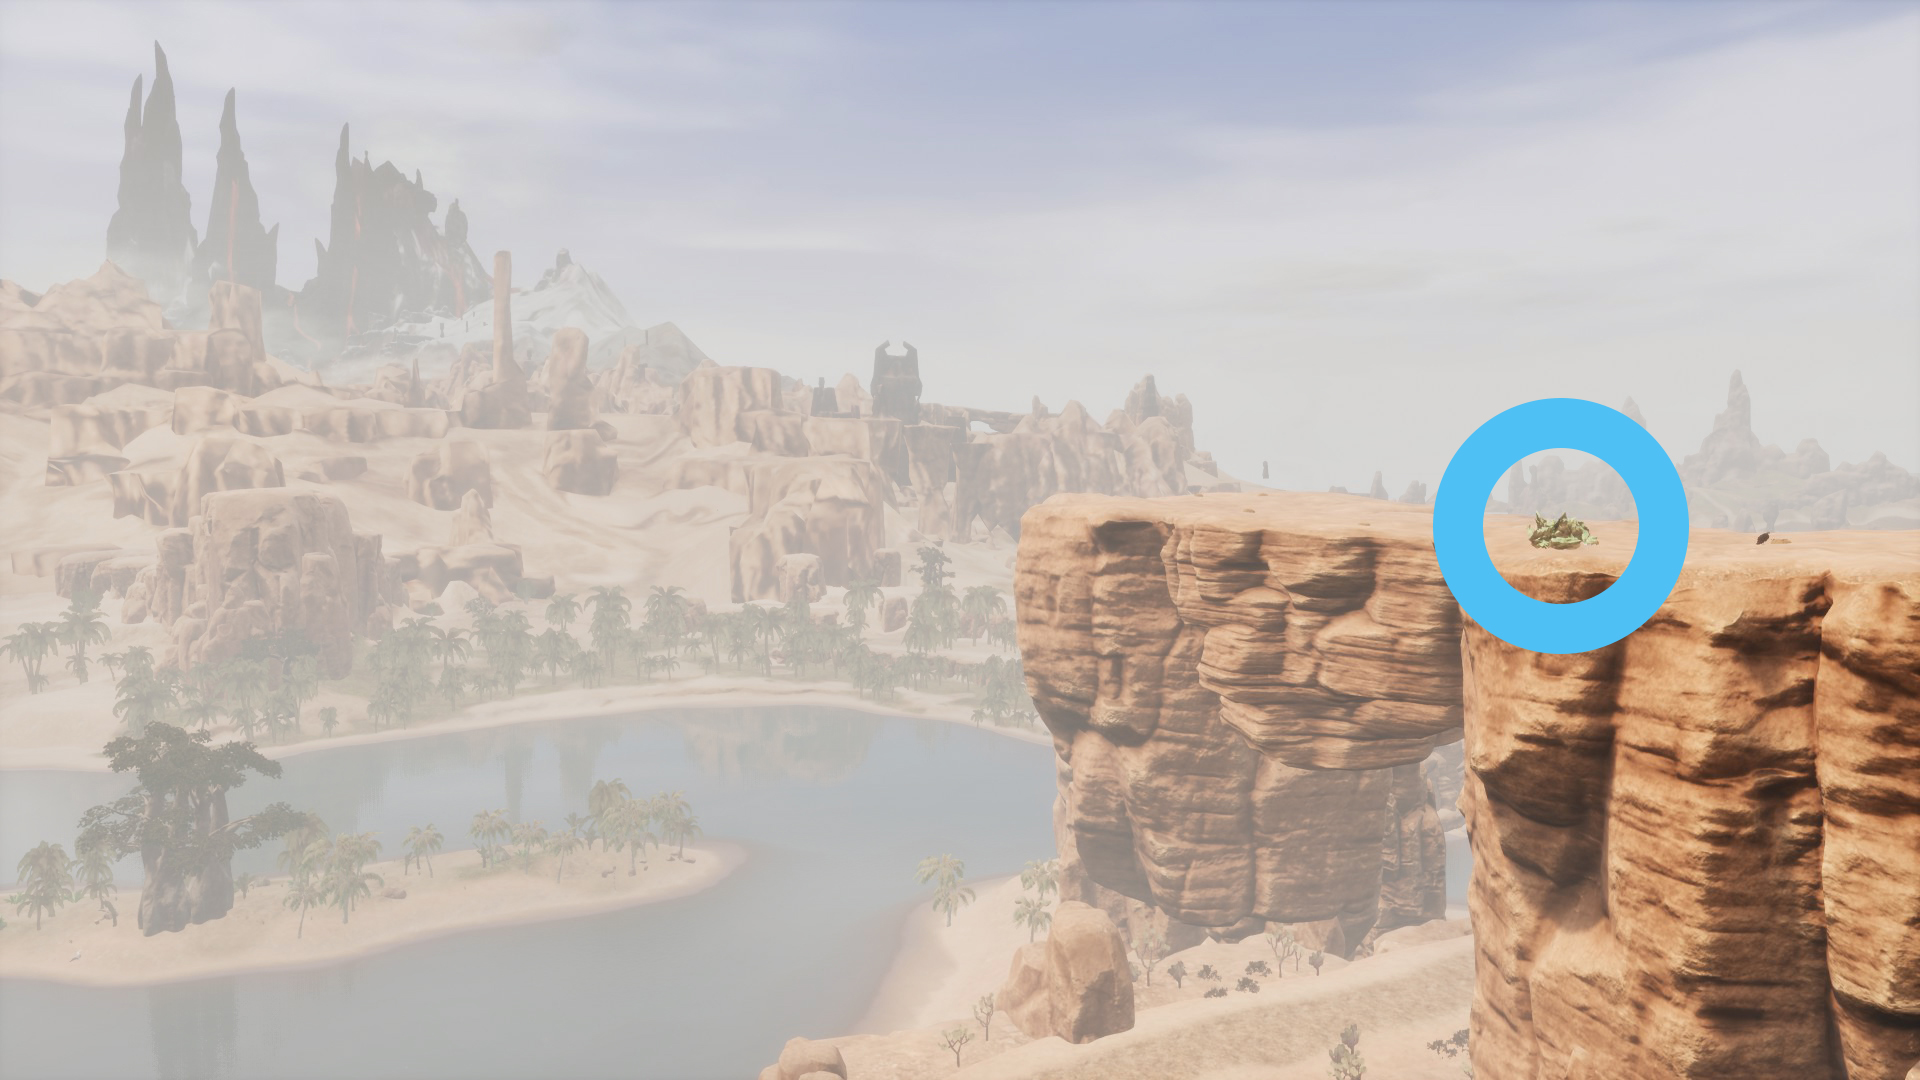
 How is: It’s very similar to the Rotbranch except that this one is made of a yellowish-green crystal instead of branches. His eyes glow yellow.
Combat: It’ll make attacks similar to those of the Rotbranch: two consecutive sweeps to his right and it’ll attack you with his fists.
Has 24.600 health. Will give you 190.000 xp.
Reward: 1 Bounty Reward, 80 Brimstone and 2 Bounty Assembly Piece.
🐲 Bounties II
- Lurker
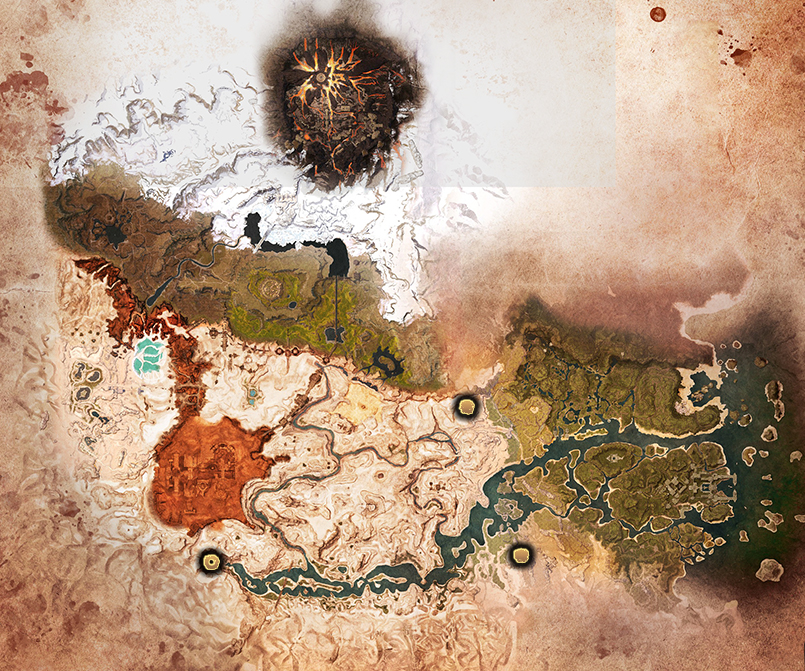 Bounty description: Lurker’s usually hang around in Sewer areas or where desert meets jungle.
Location: There are three Lurkers.
· Inside The Dregs, as soon as you enter you’ll see it wandering to your left (first image). The Dregs dungeon is located at the beginning of the southern river of the desert.
· West of the Sandswept Ruins, where the desert meets the jungle (second image).
· West of Xalthar’s Refuge, northwest of the desert (third image).
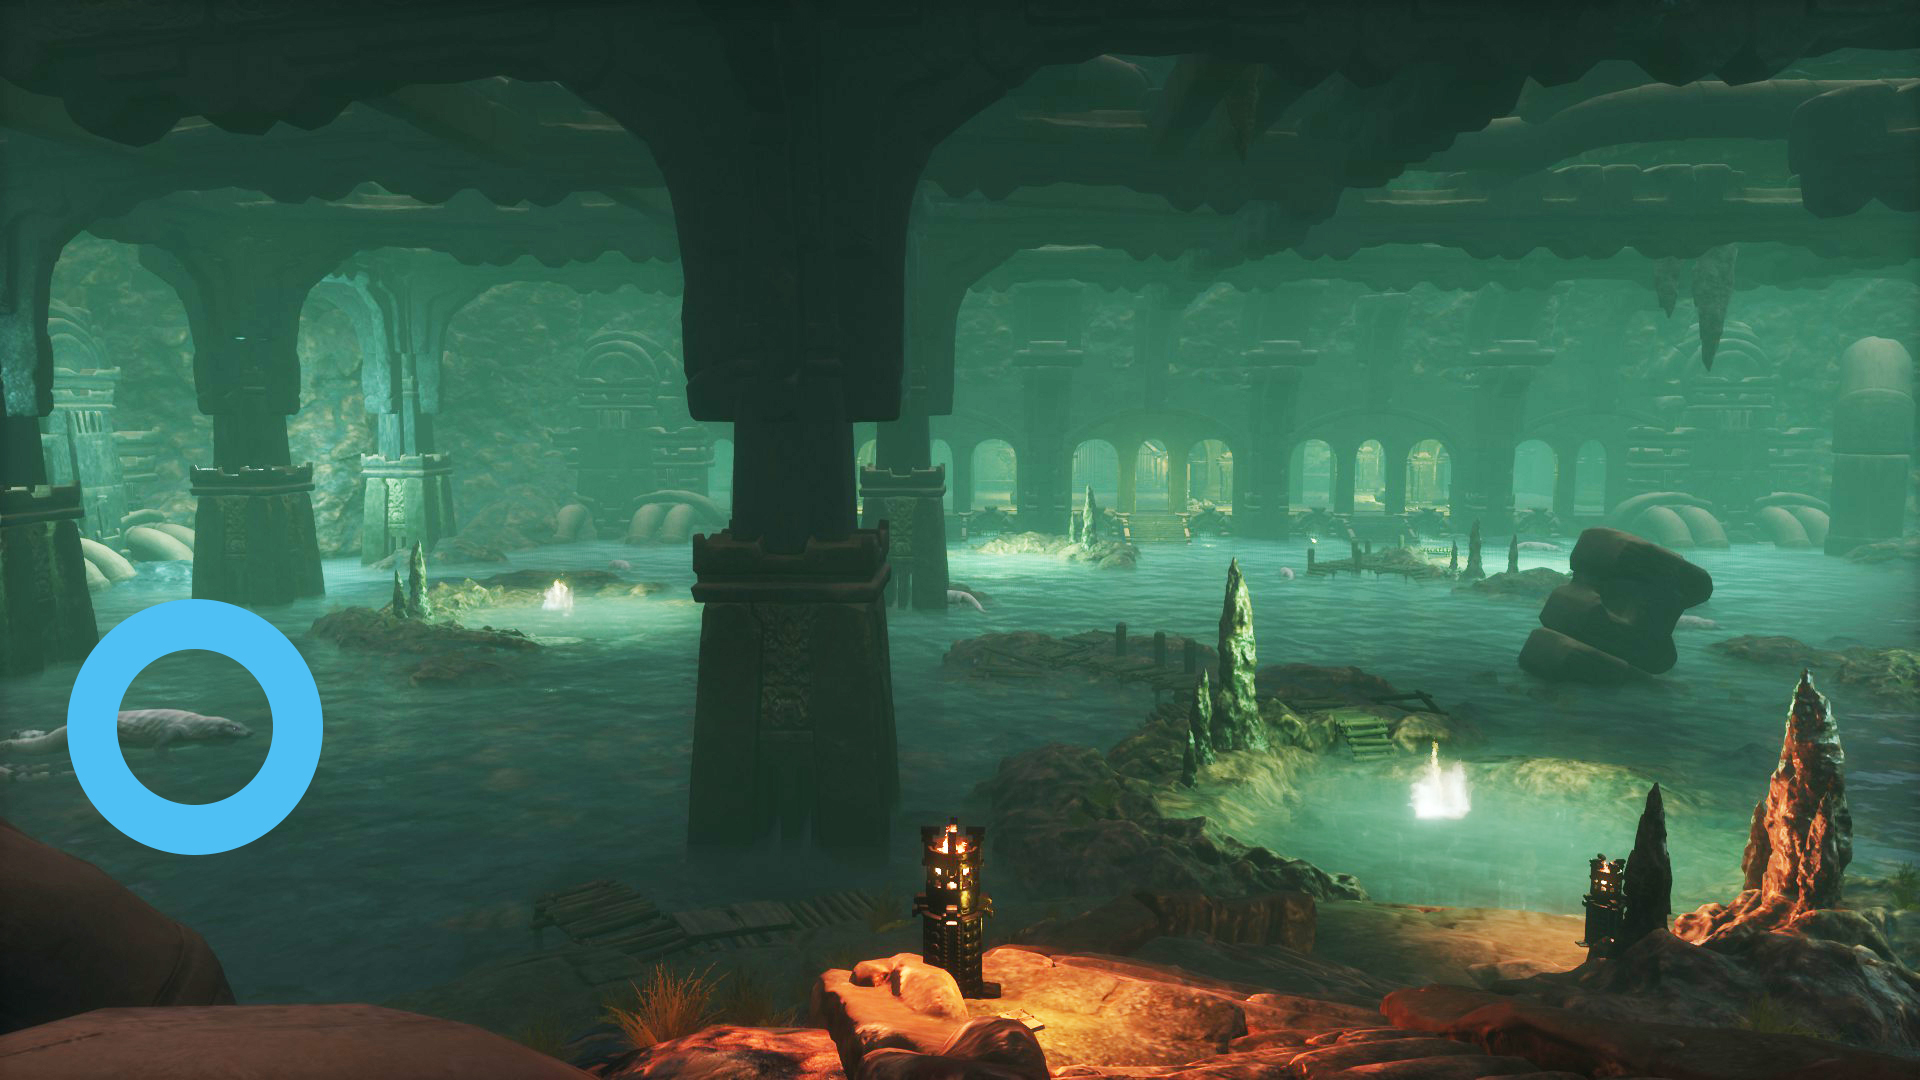
How is: Physically its like an albino komodo, but it’s twice the size and its eyes shine pink.
Combat: It does the same attacks as the giant crocodile: an attack with its tail making three sweeps in a row, lunges towards you and it’ll bite you.
Has 24.500 health. Will give you 190.000 xp.
Reward: 1 Bounty Reward, 20 Goldstone, 50 Silverstone and 2 Bounty Assembly Piece.
- Awakened Giant
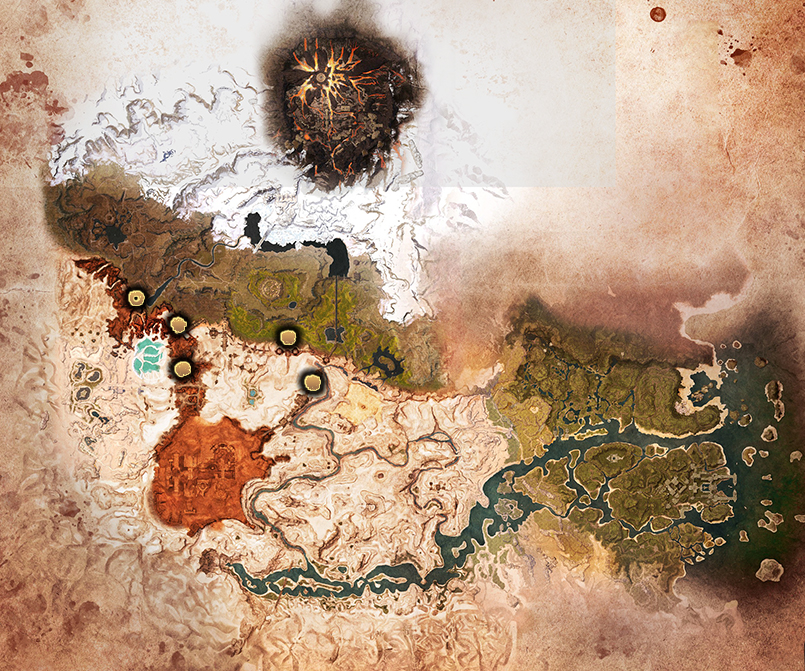 Bounty description: Awakened Giant’s may usually be found a top ruins of the dead giants.
Location: There are five giants.
· In The Slaveway, north of The Unnamed City, following the ruins (first image).
· West of The Tradeway, north of The Unnamed City, following the ruins until you just reach the Highlands (second image).
· Between The Southern Aqueduct and Priestking’s Retreat, near the junction between the desert and the Highlands (third image).
· In the Chaosmouth, across from the Chaosmouth Altar, south of New Asagarth (fourth image).
· Inside the Ancient Cave, he’ll be buried until you get close enough. To get to it, go straight and turn left when you can (fifth gif).
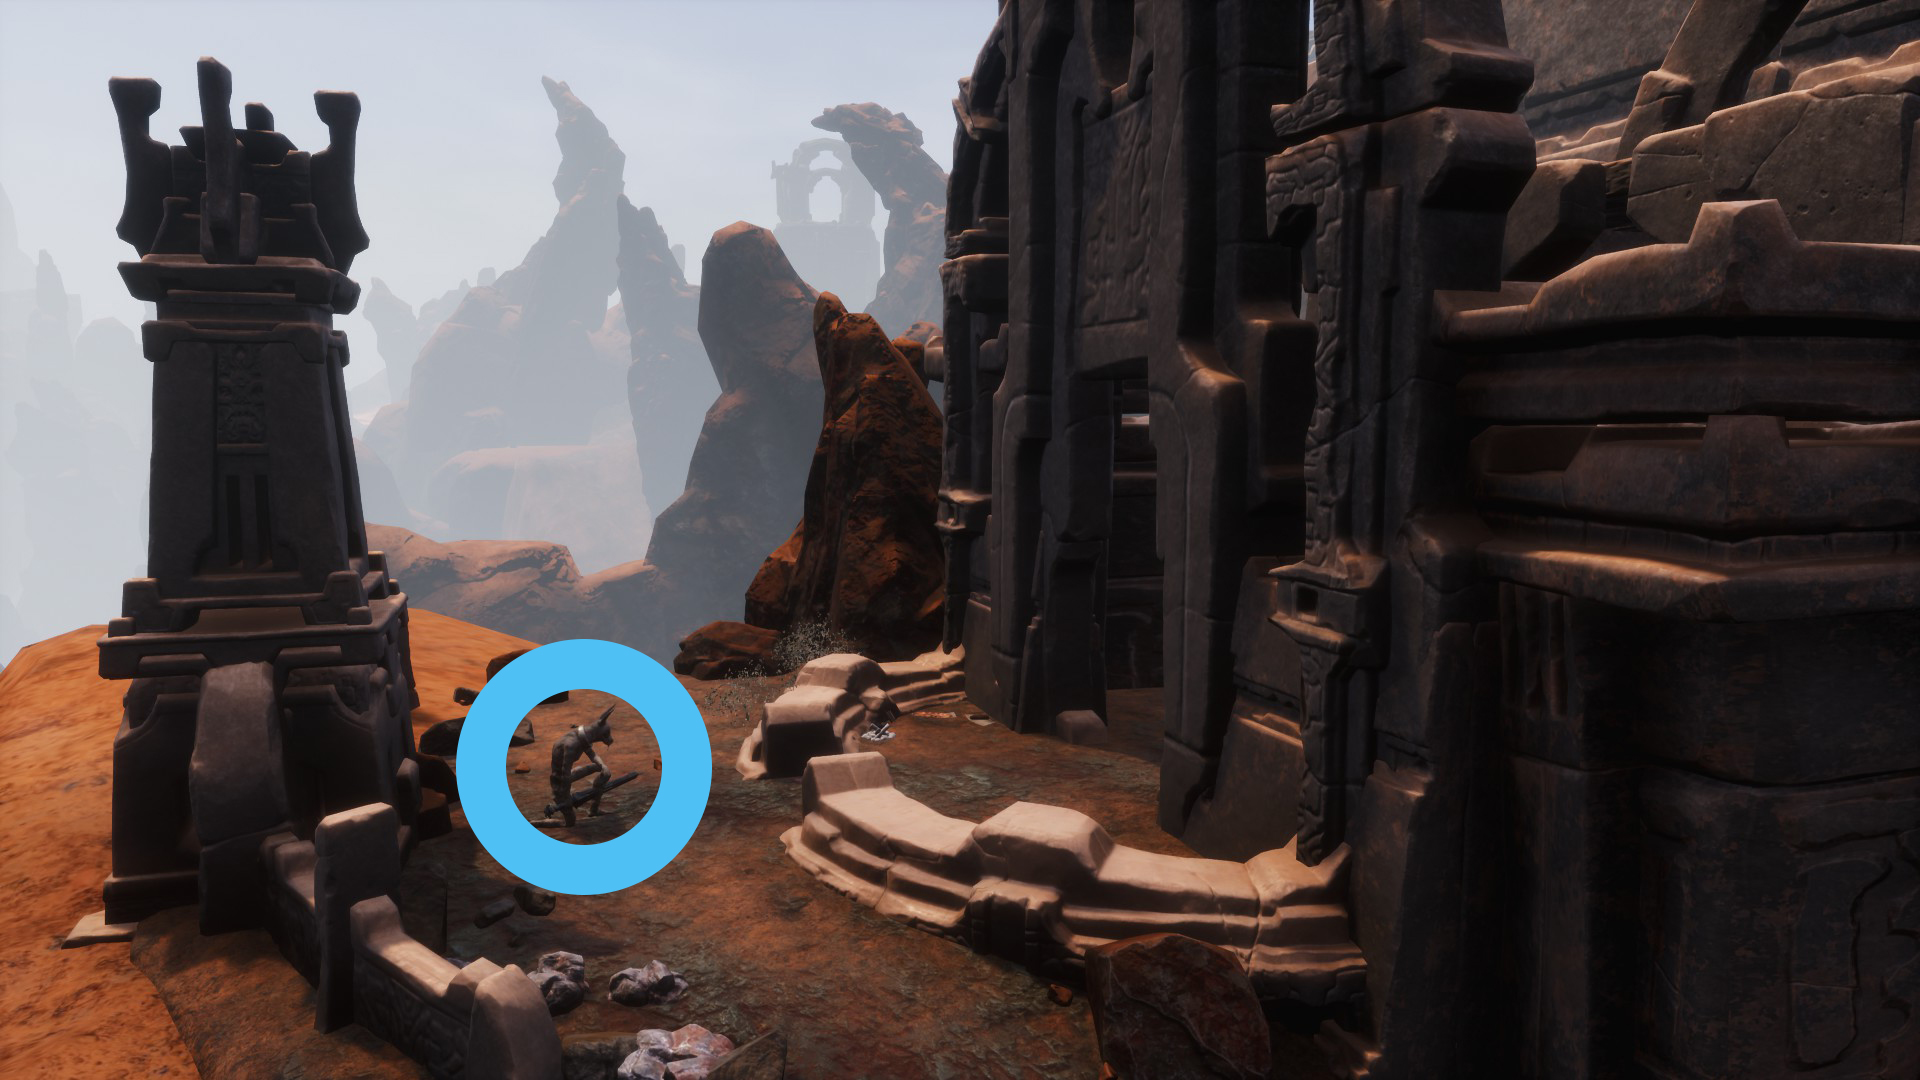
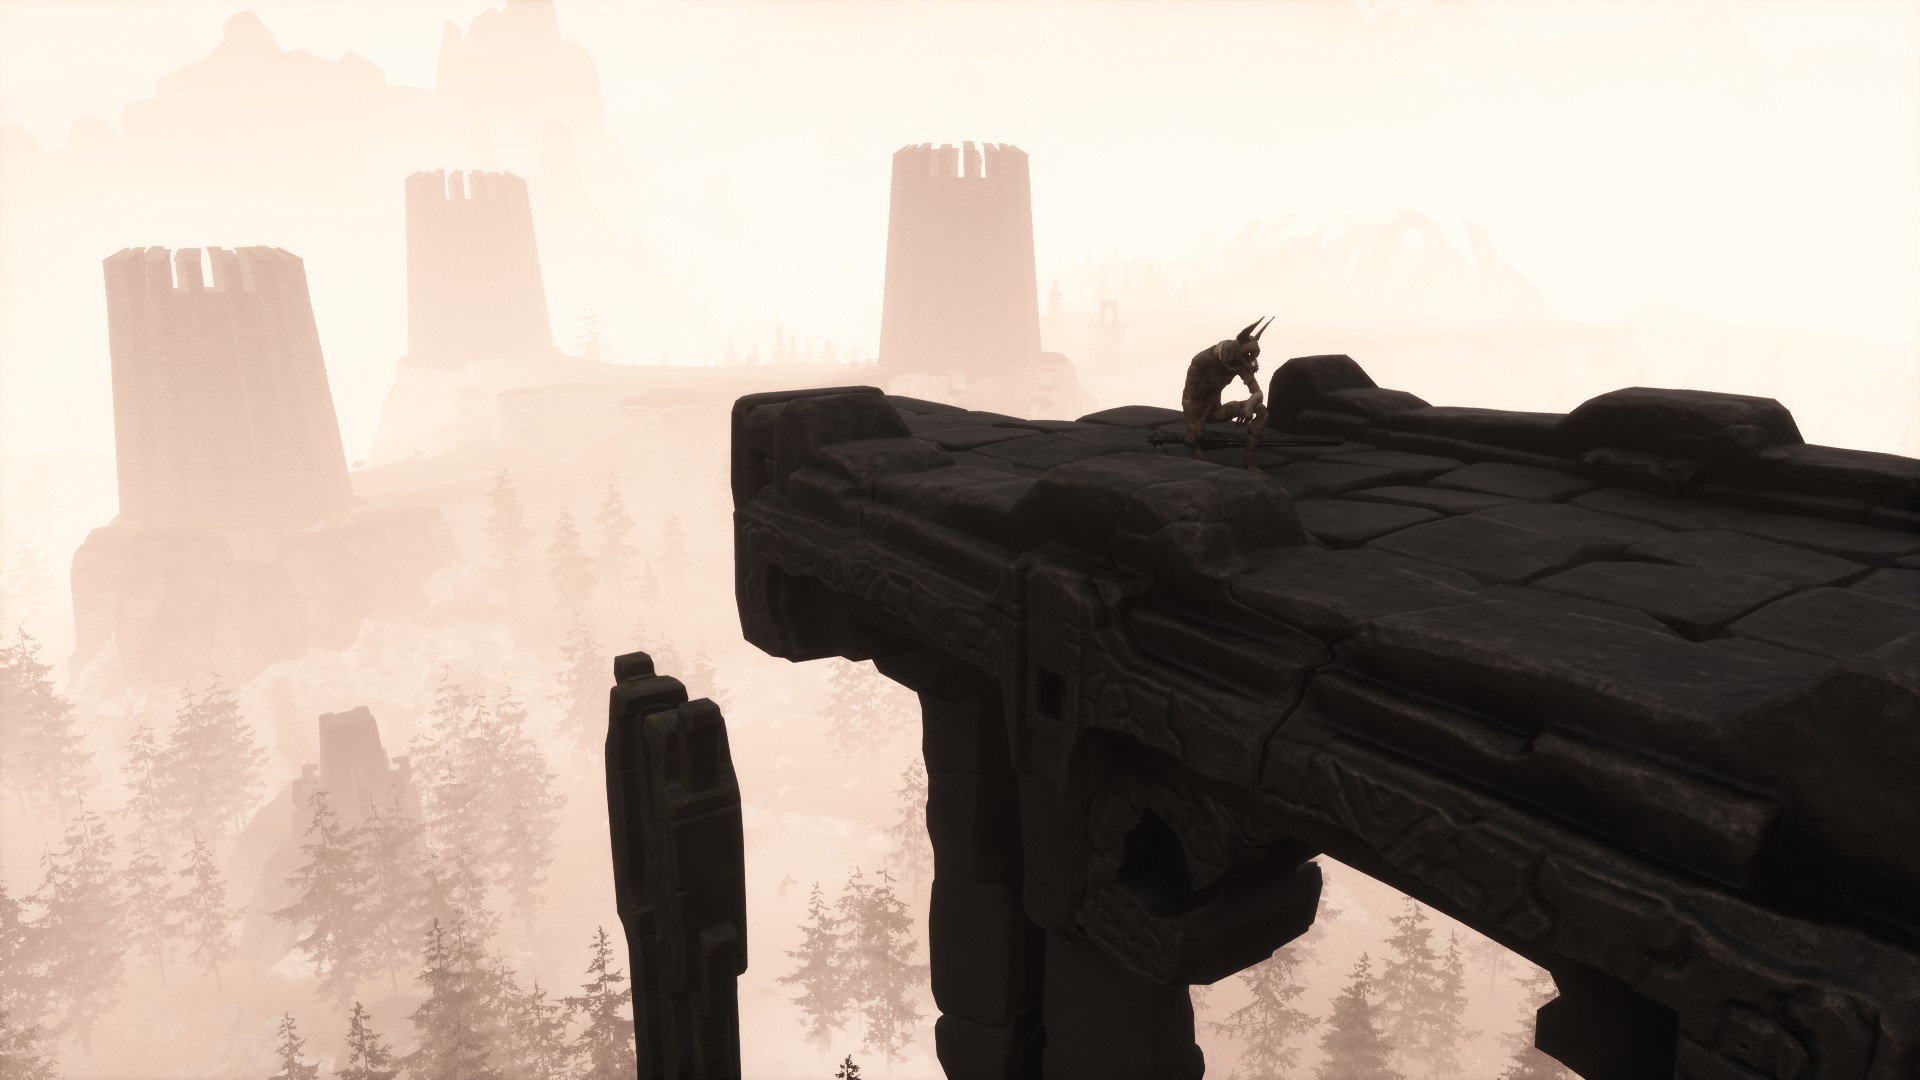
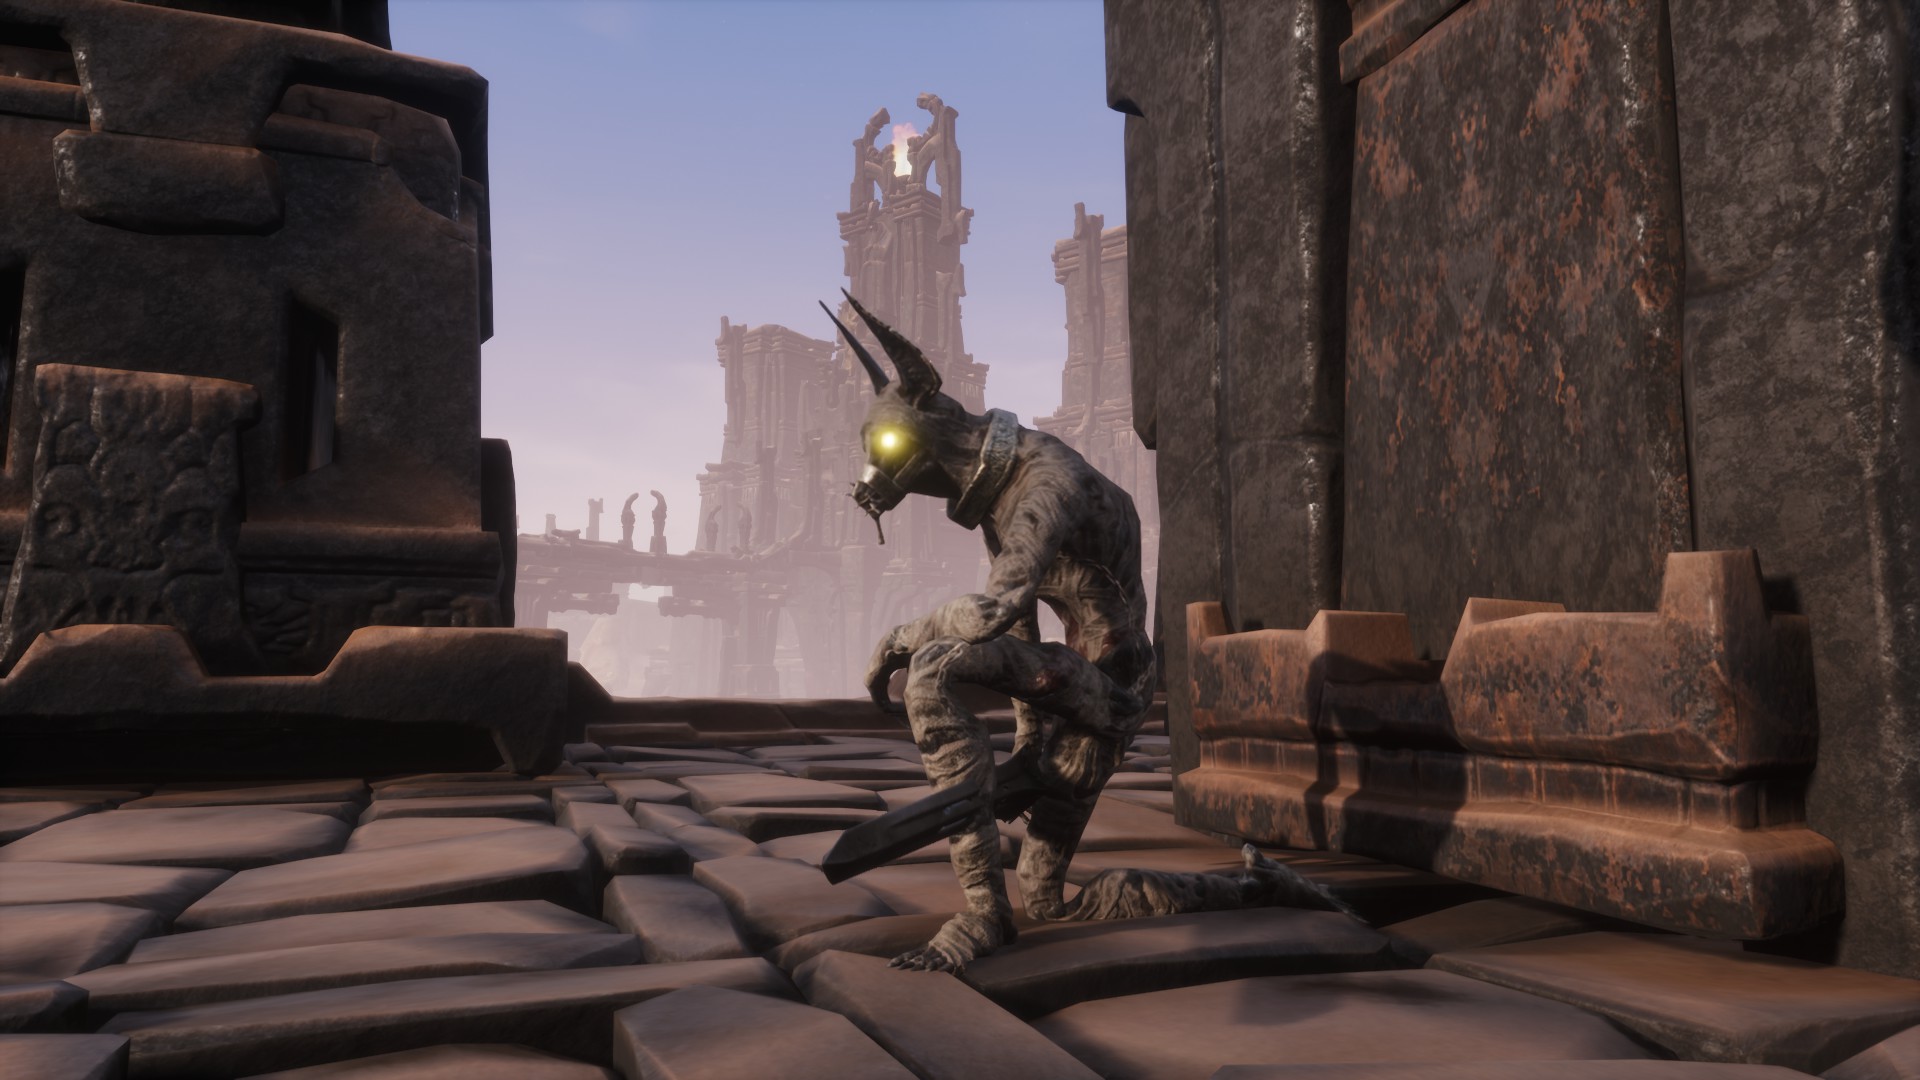
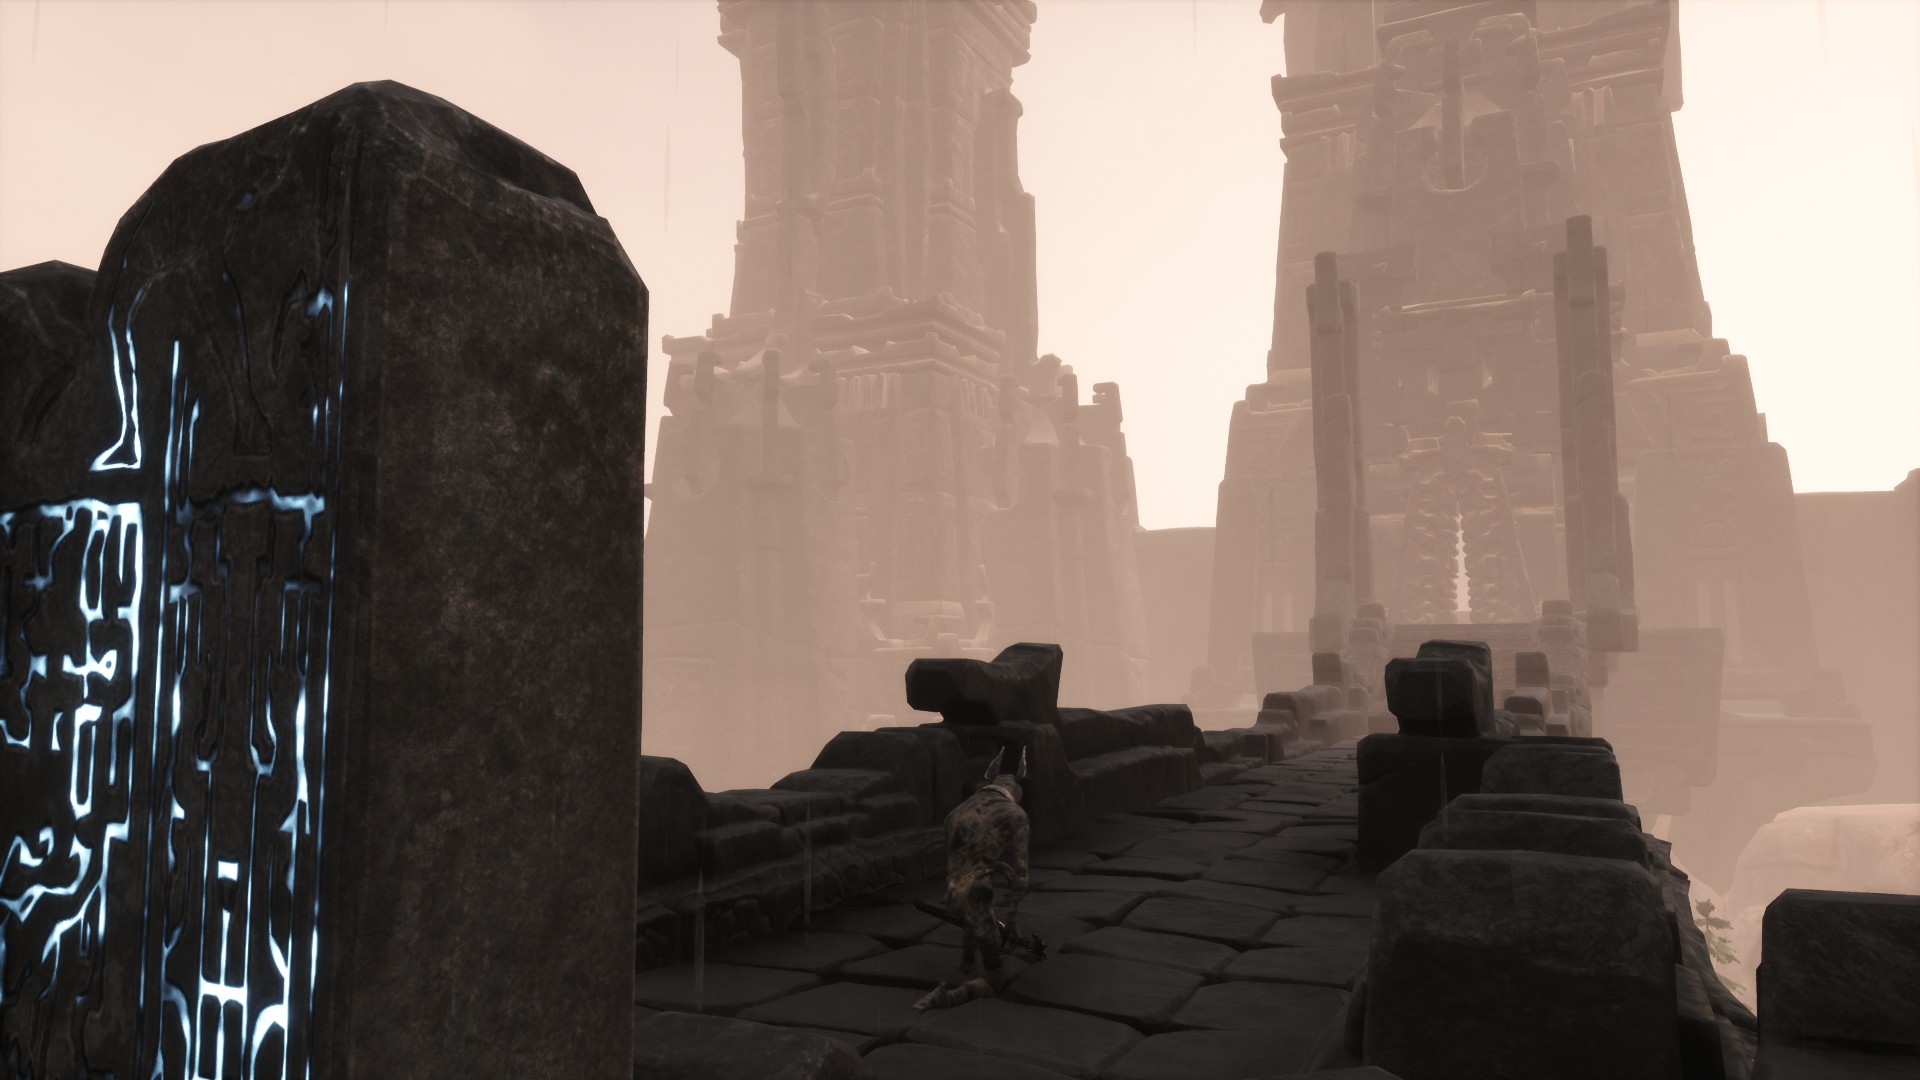
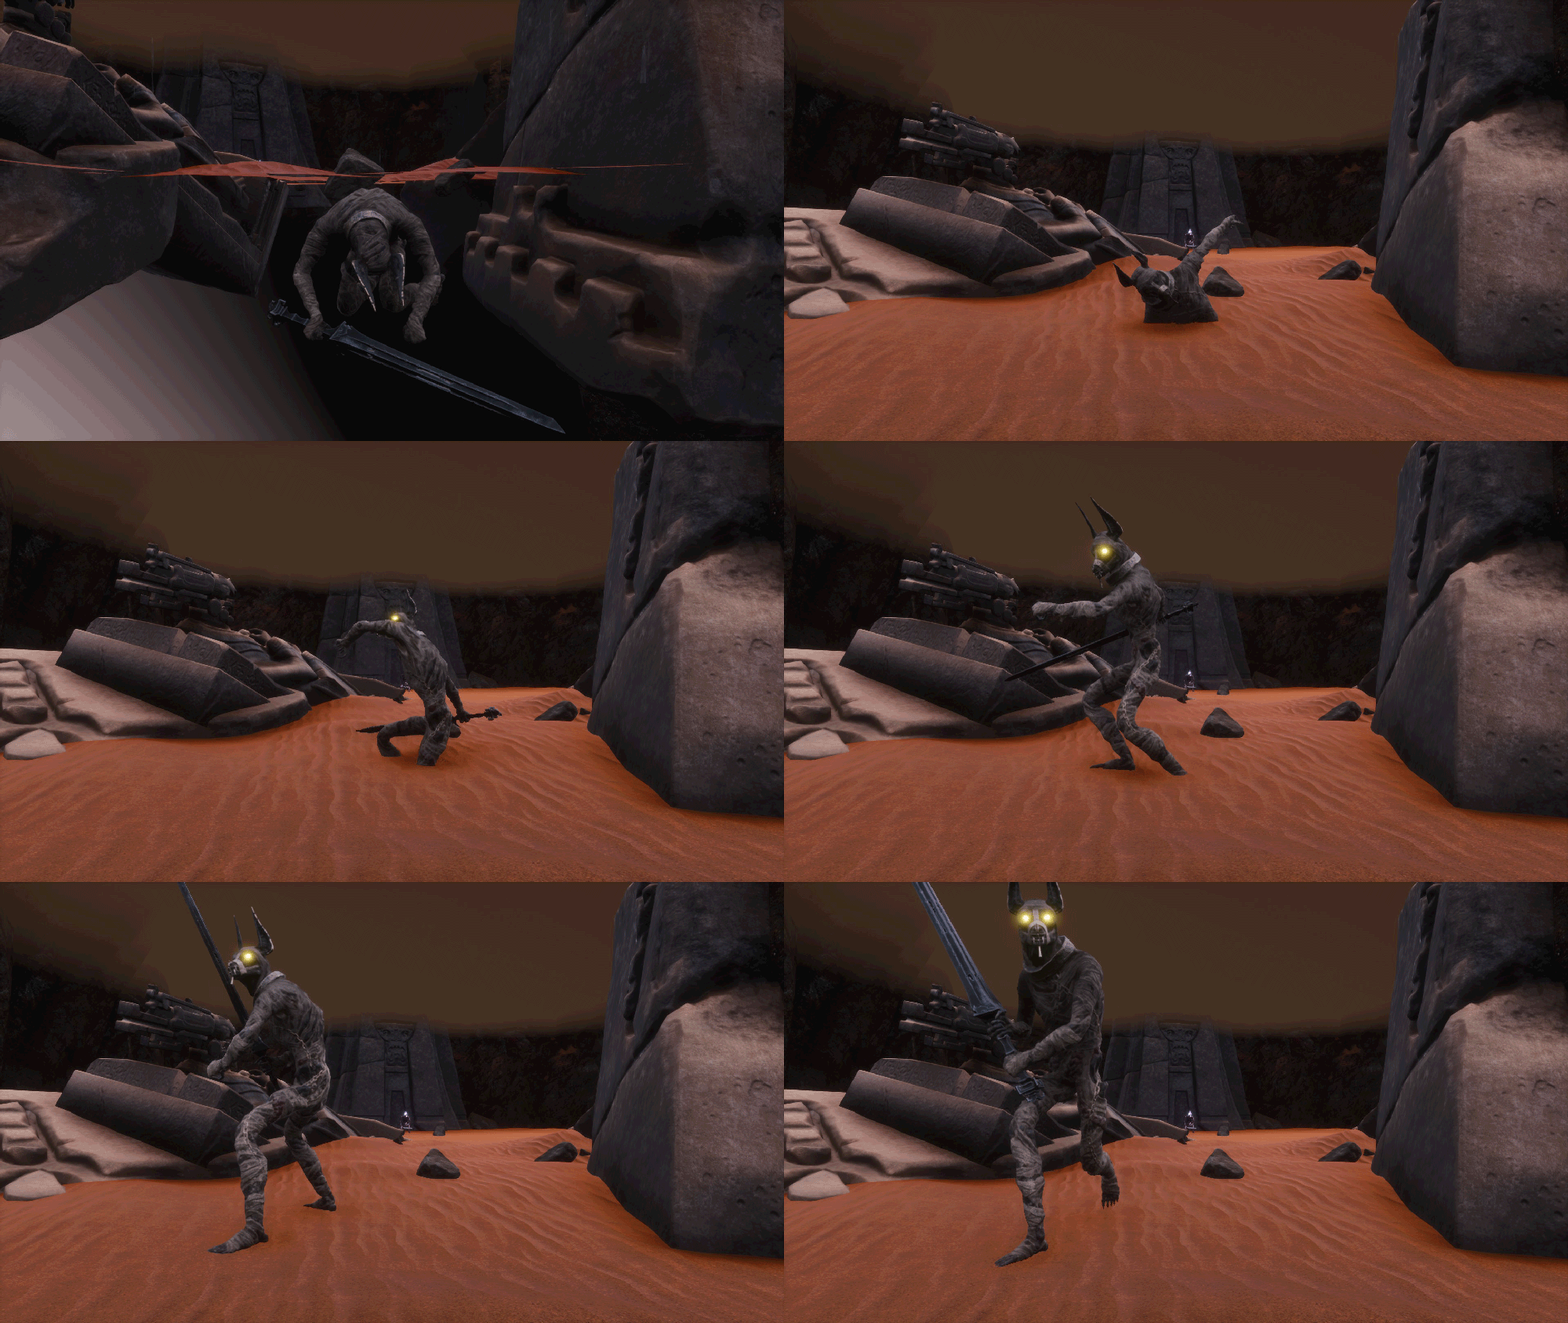 How is: he’s a very tall human figure, with the head of a jackal, like the ancient Egyptian god Anubis. His body is covered in bandages (as if he had been mummified), with muzzle and he’s carrying a large sword. Furthermore, his eyes glow yellow.
Combat: He’ll use his sword to attack you.
Has 21.050 health. Will give you 190.000 xp.
Reward: 1 Bounty Reward, 1 Fragment of Power and 2 Bounty Assembly Piece.
- Razor hellcat
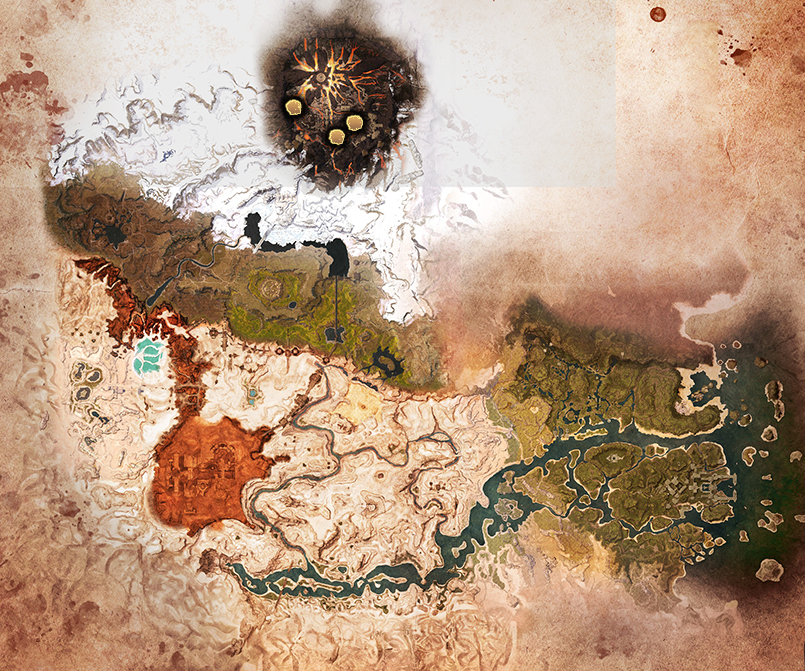 Bounty description: Hellcat Razor’s usually wander around insanely warm locations, like volcanos.
Location: There three Razor hellcats:
· If you enter the volcano through the Road of the Righteous and advance along the constructed path, you’ll reach the structure in which this creature is (first image).
· In front of the Shrine of the Oracle, east of the volcano (second image).
· If you enter the volcano via the Dragonmouth path, you’ll have to go up The Shattered Stairs and go south of them to reach the Hellcat (third image).
Additionally, when you consume a Heart of Oblivion it’s possible that a Hellcat will appear along with other enemies, for more information read about the Oblivion Arsenal in the “🗡 Weapon sets II” section of the guide.
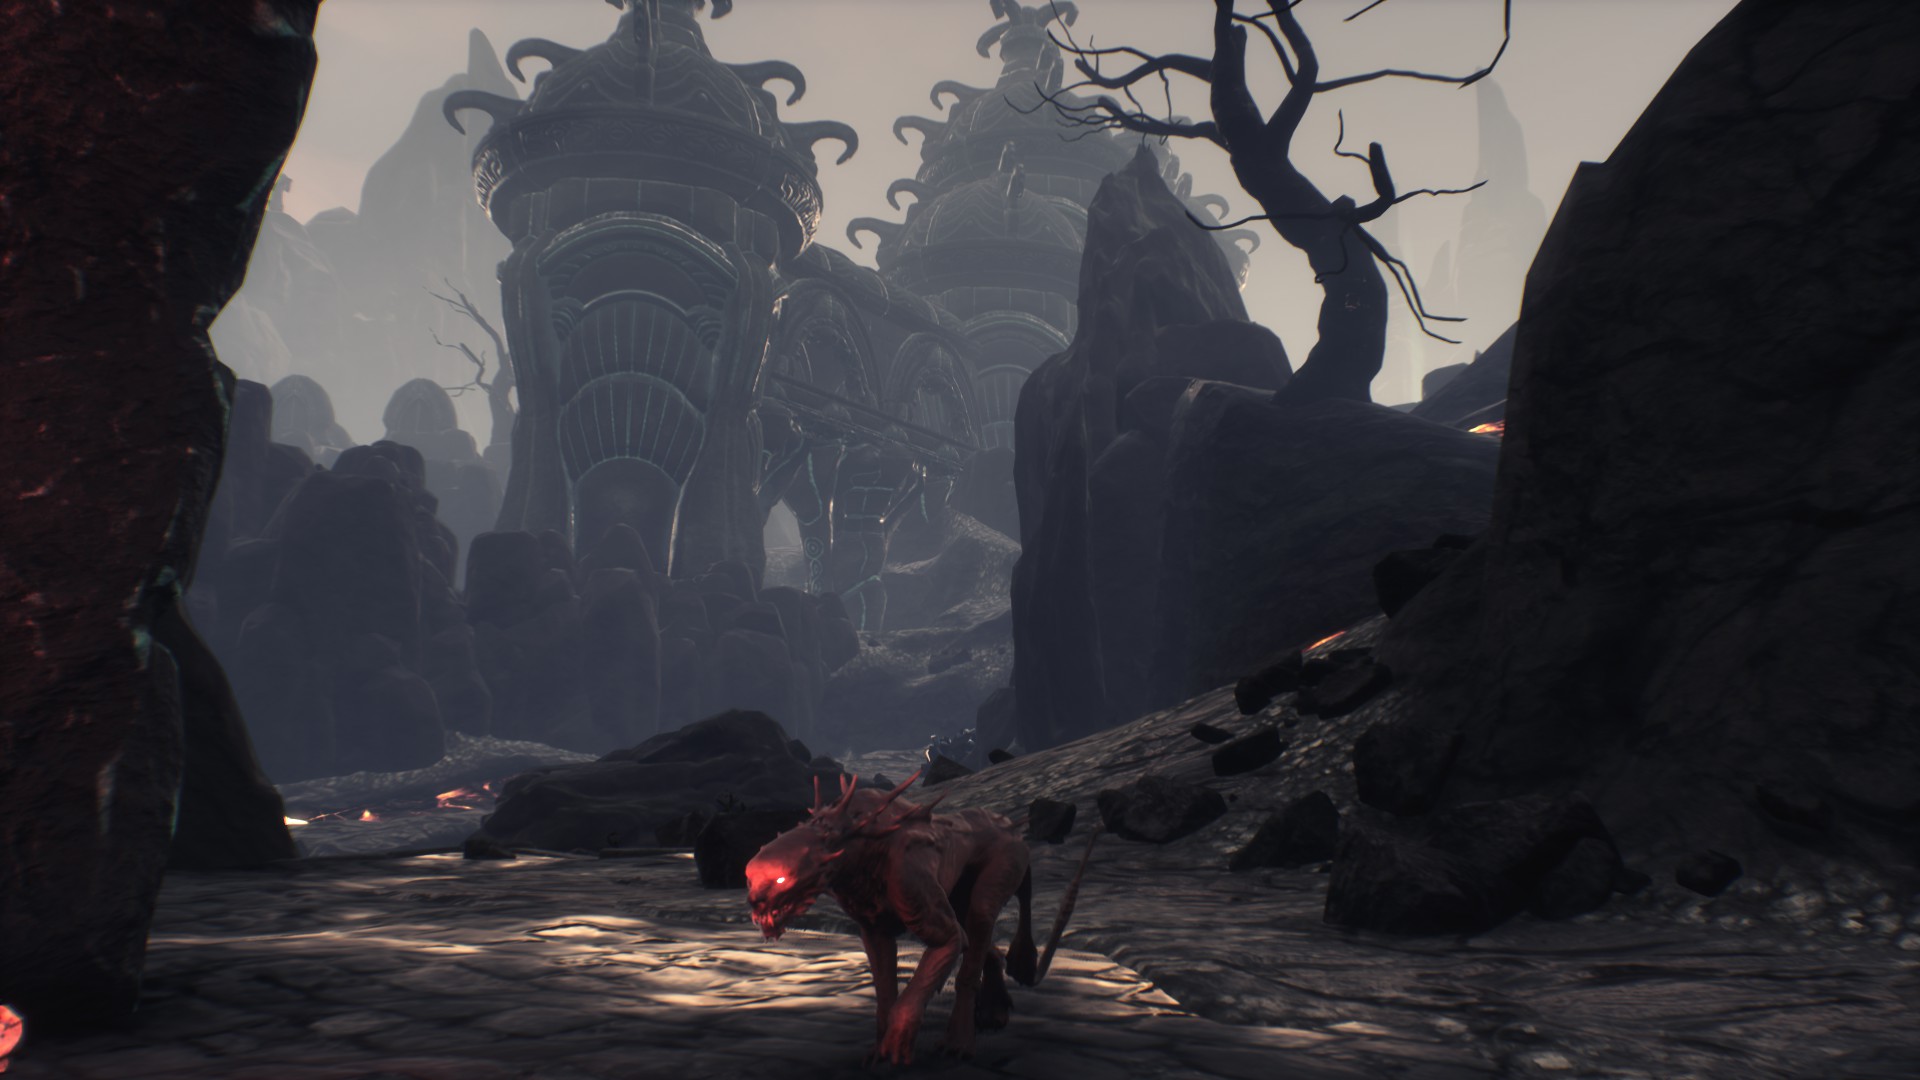
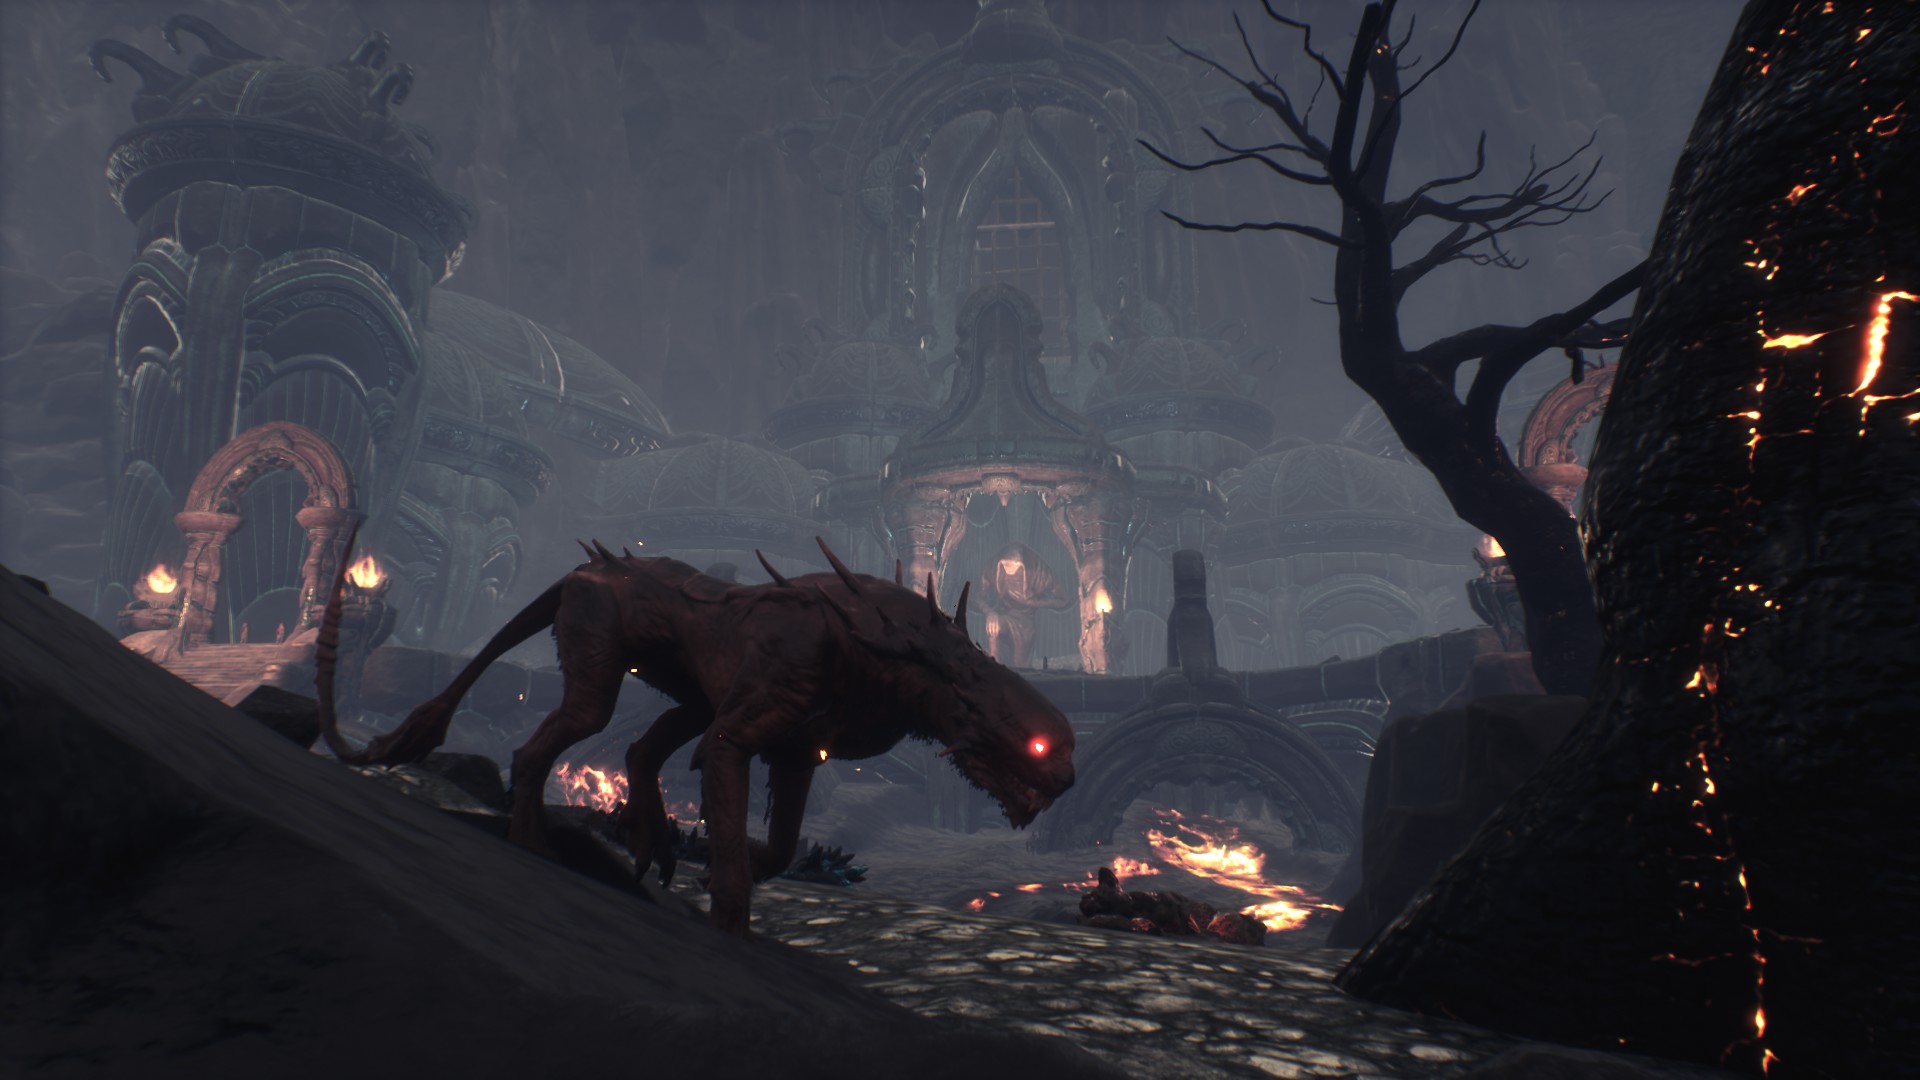
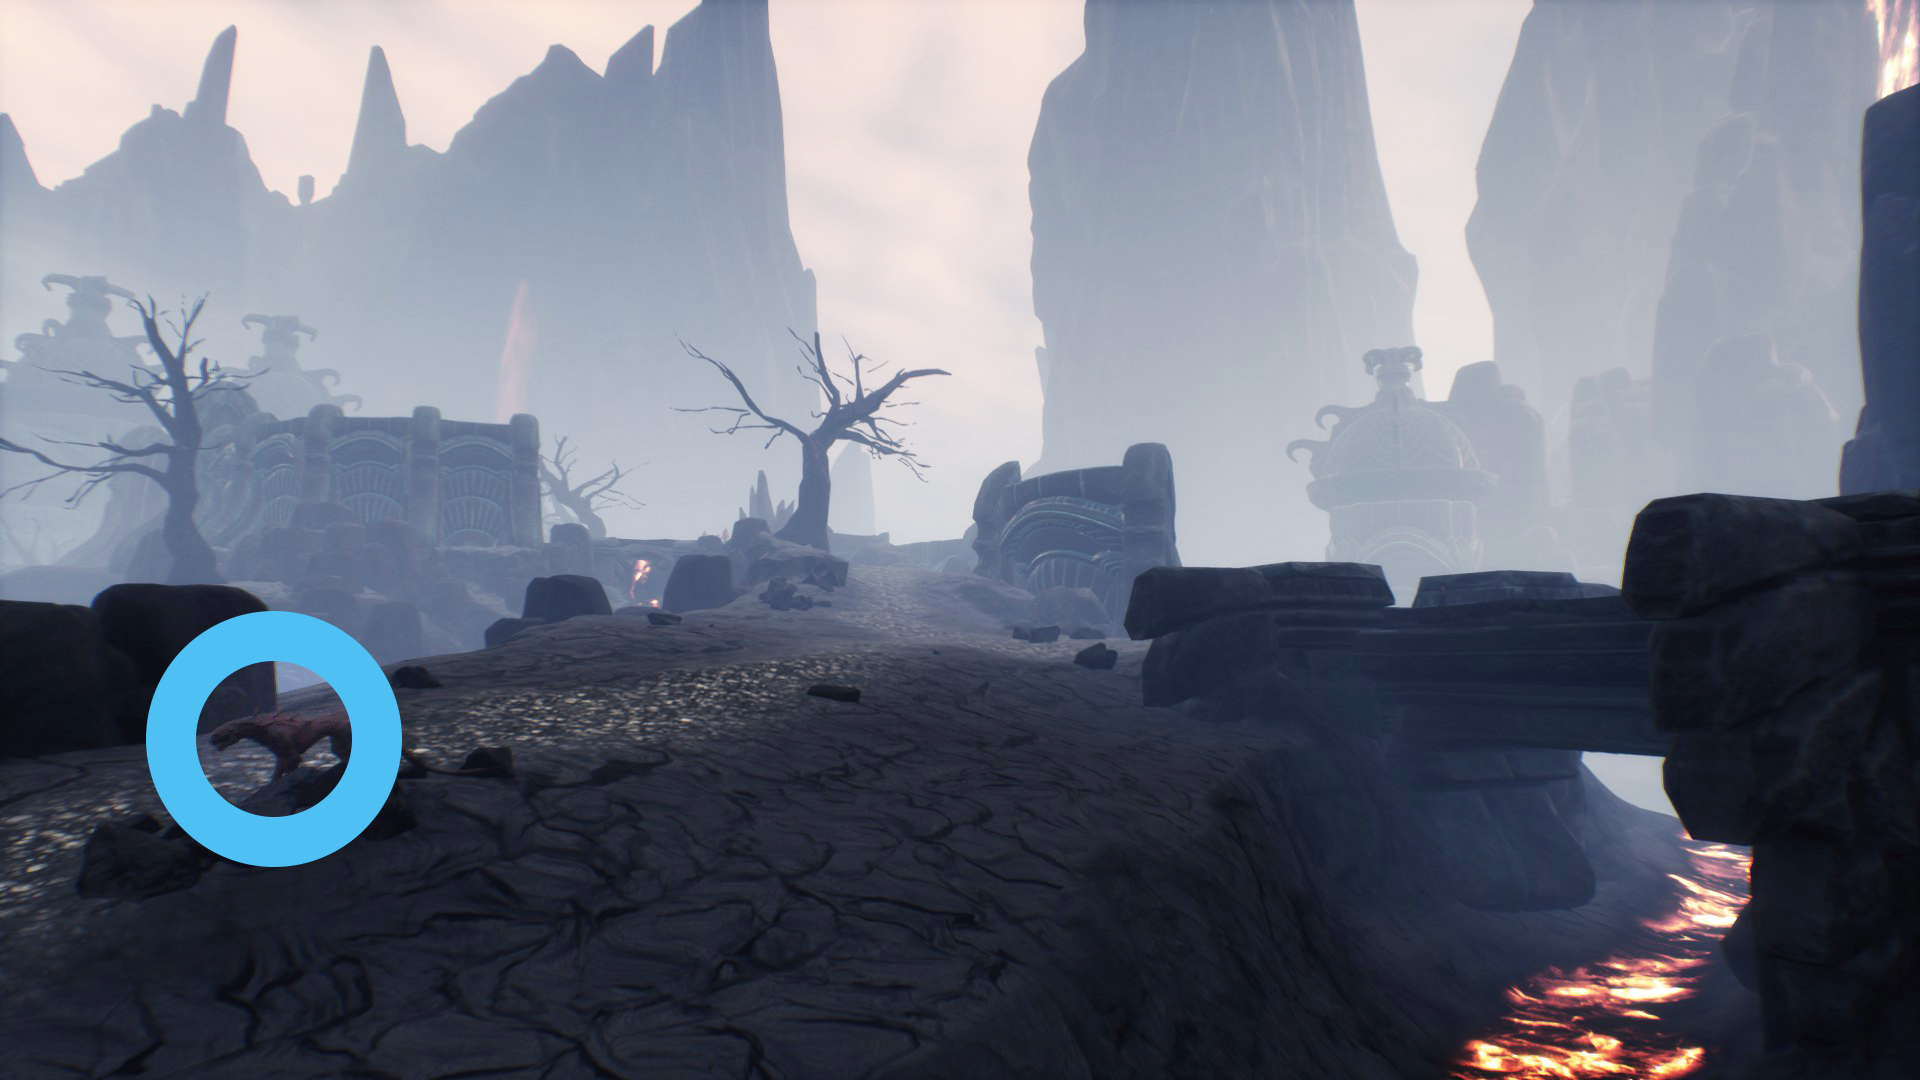 How is: It’s a type of Sandbeast, but with red glowing eyes.
Combat: Its attacks are similar to those of the white tiger: it claws, it’ll jump towards you and it’ll make breaks to attack you from your side.
Has 14.500 health. Will give you 240.000 xp.
Reward: 1 Bounty Reward, 1 Lesser Bounty Reward and 2 Bounty Assembly Piece.
- Wraith (Wraith Essence)
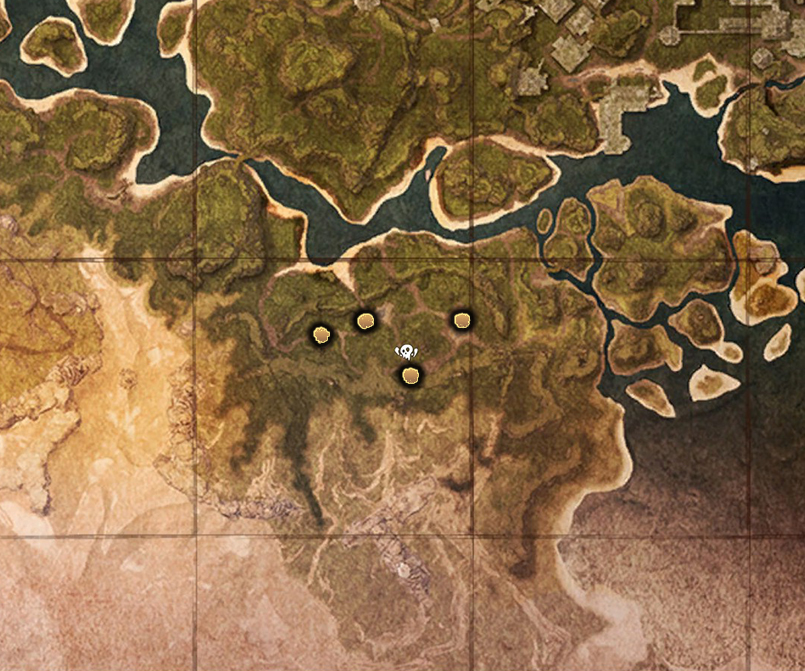 Bounty description: Wraiths may be found in the Wraithwoods and perhaps scarcely in unusual lands.
Location: There are four wraiths, all in The Wraithwoods. On this map I leave you their initial locations, but you may not see them there, since they move around the area a lot.
How is: He’s an undead that will move by levitating and teleporting, covered in a ragged cloak and equipped with a scythe.
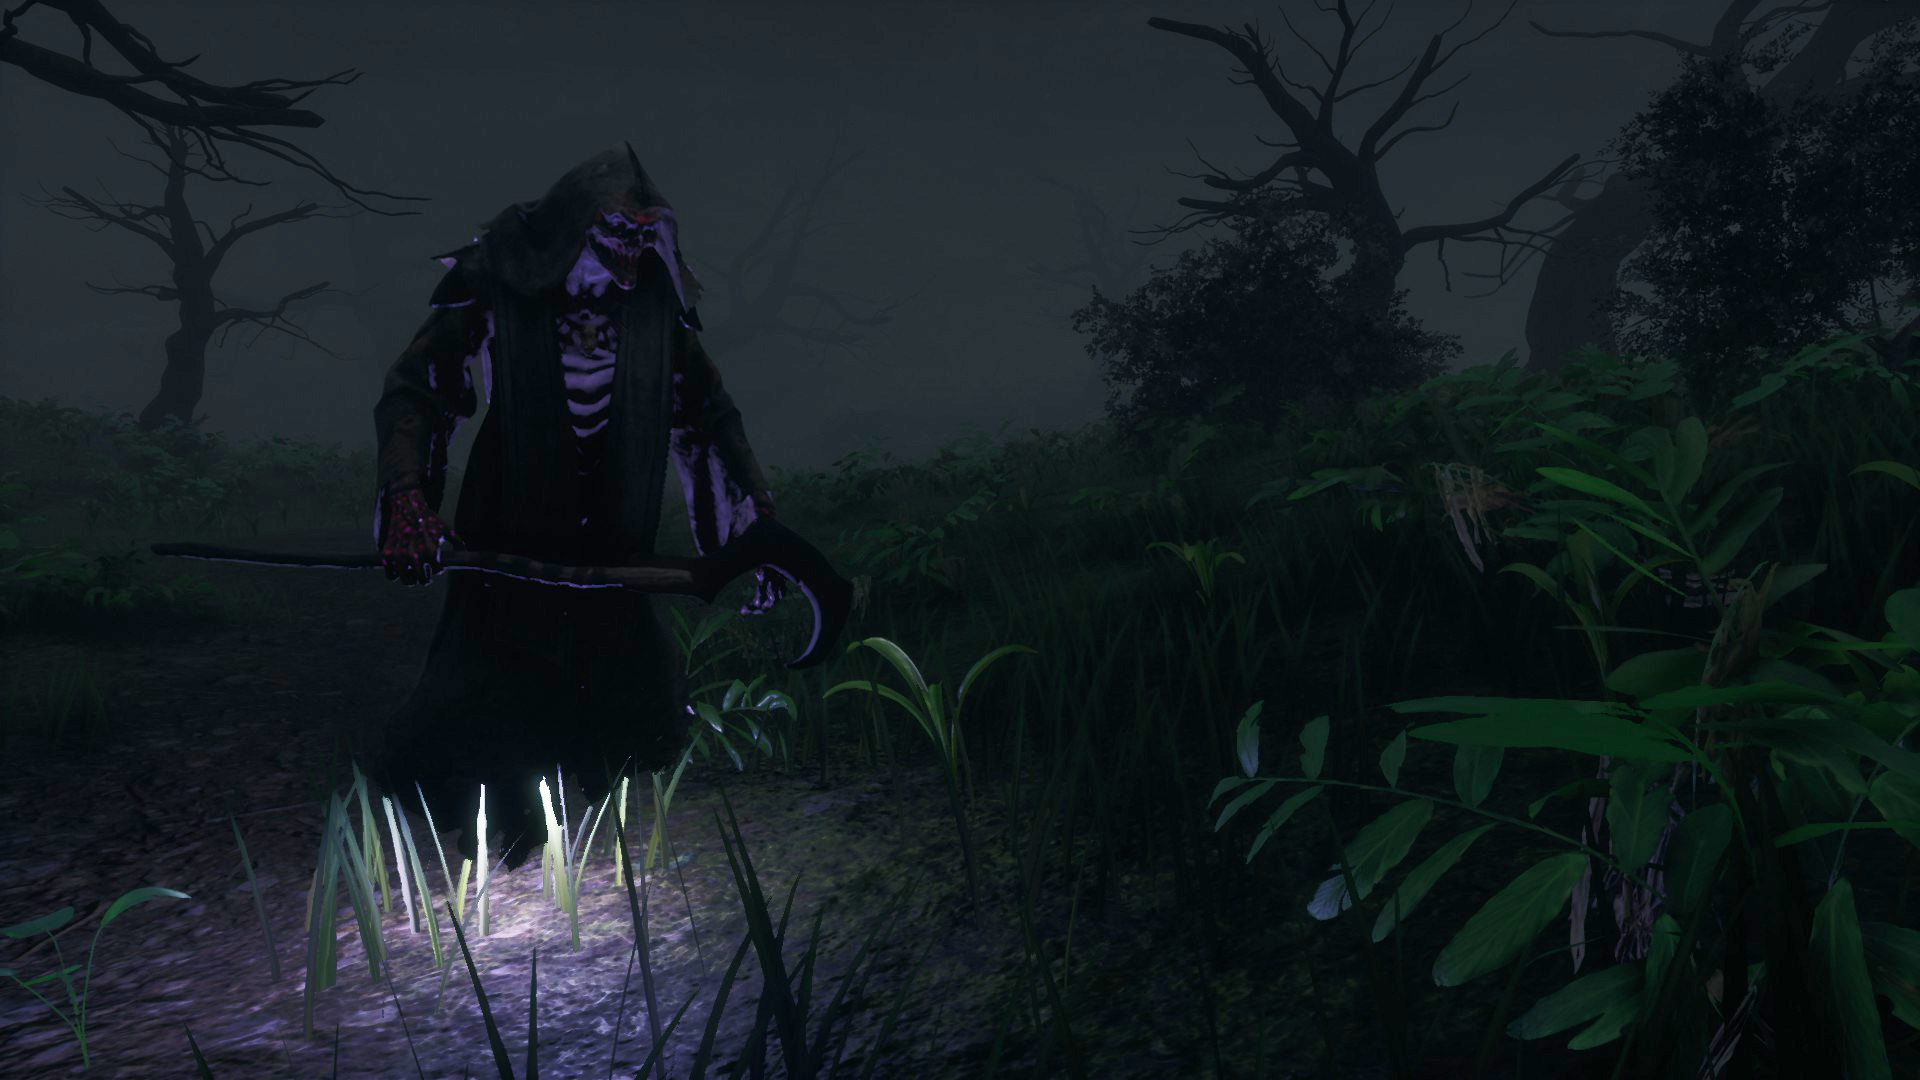

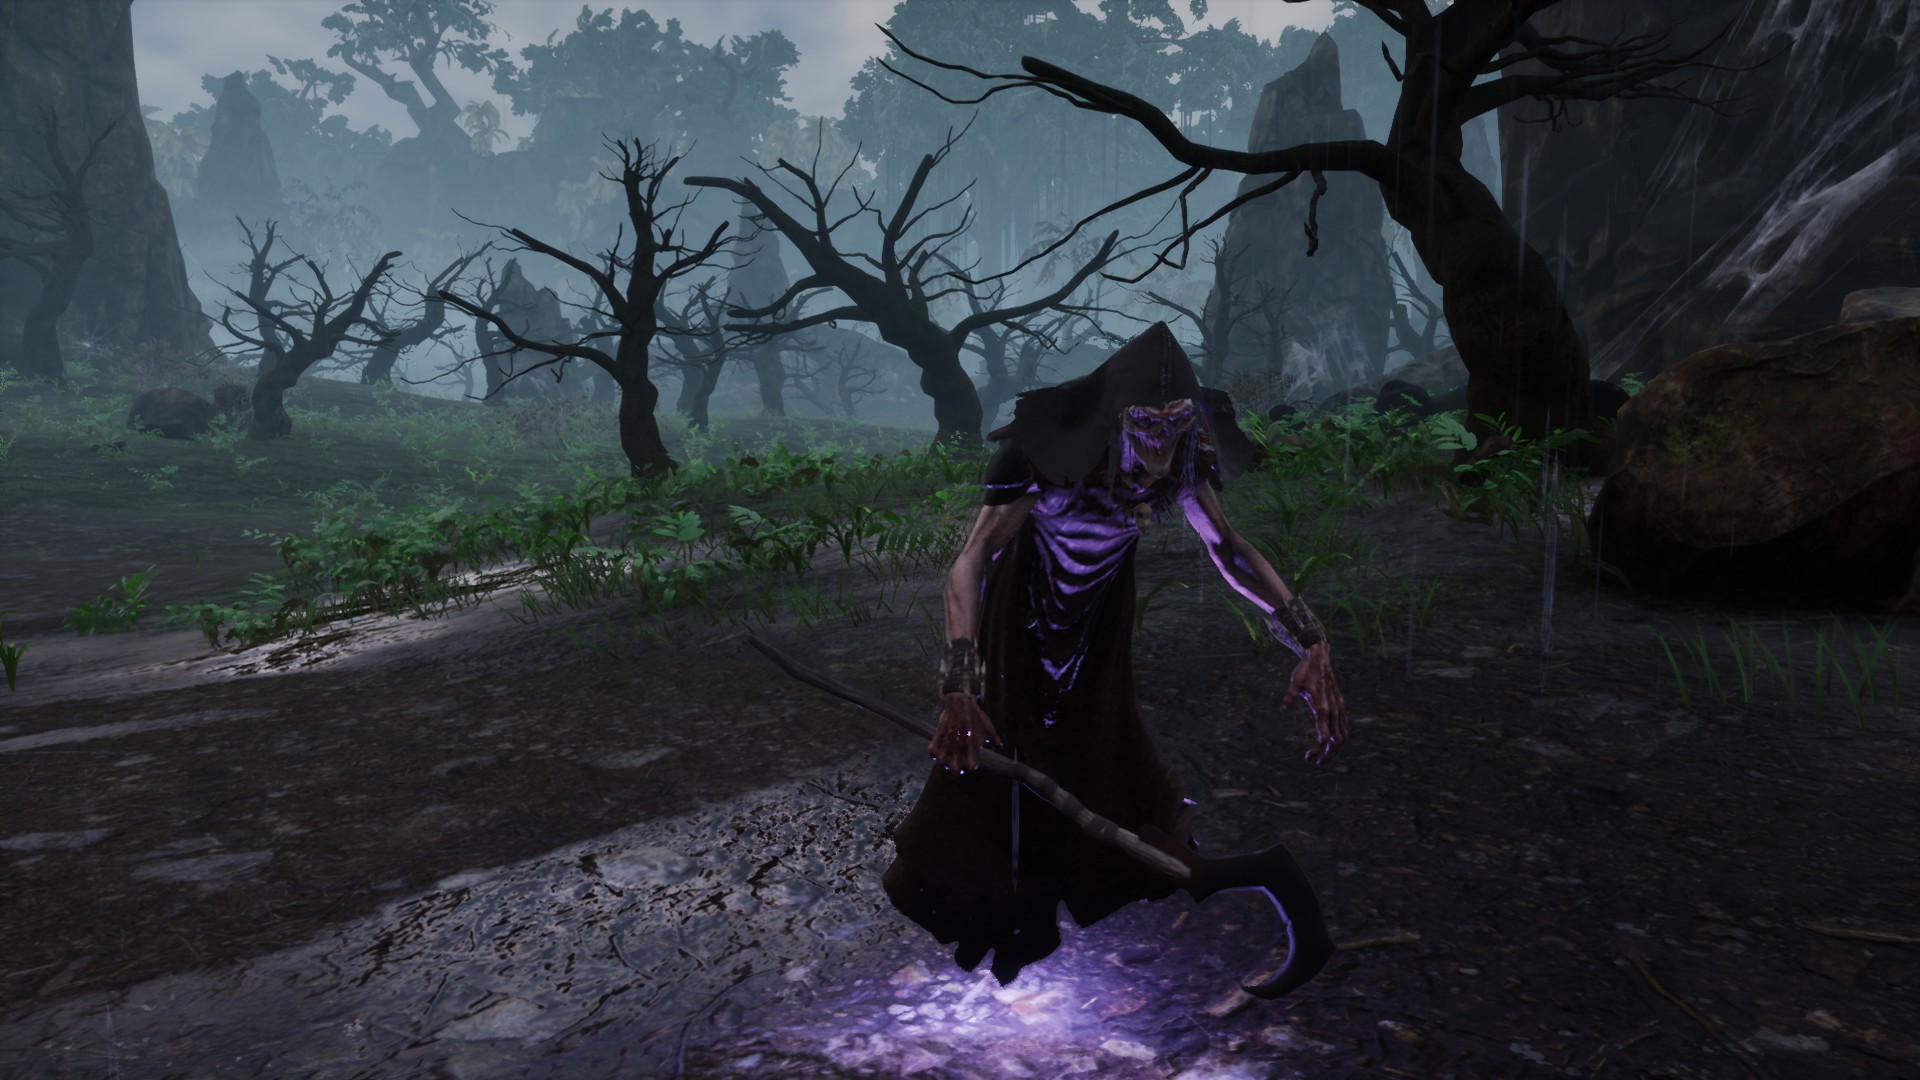
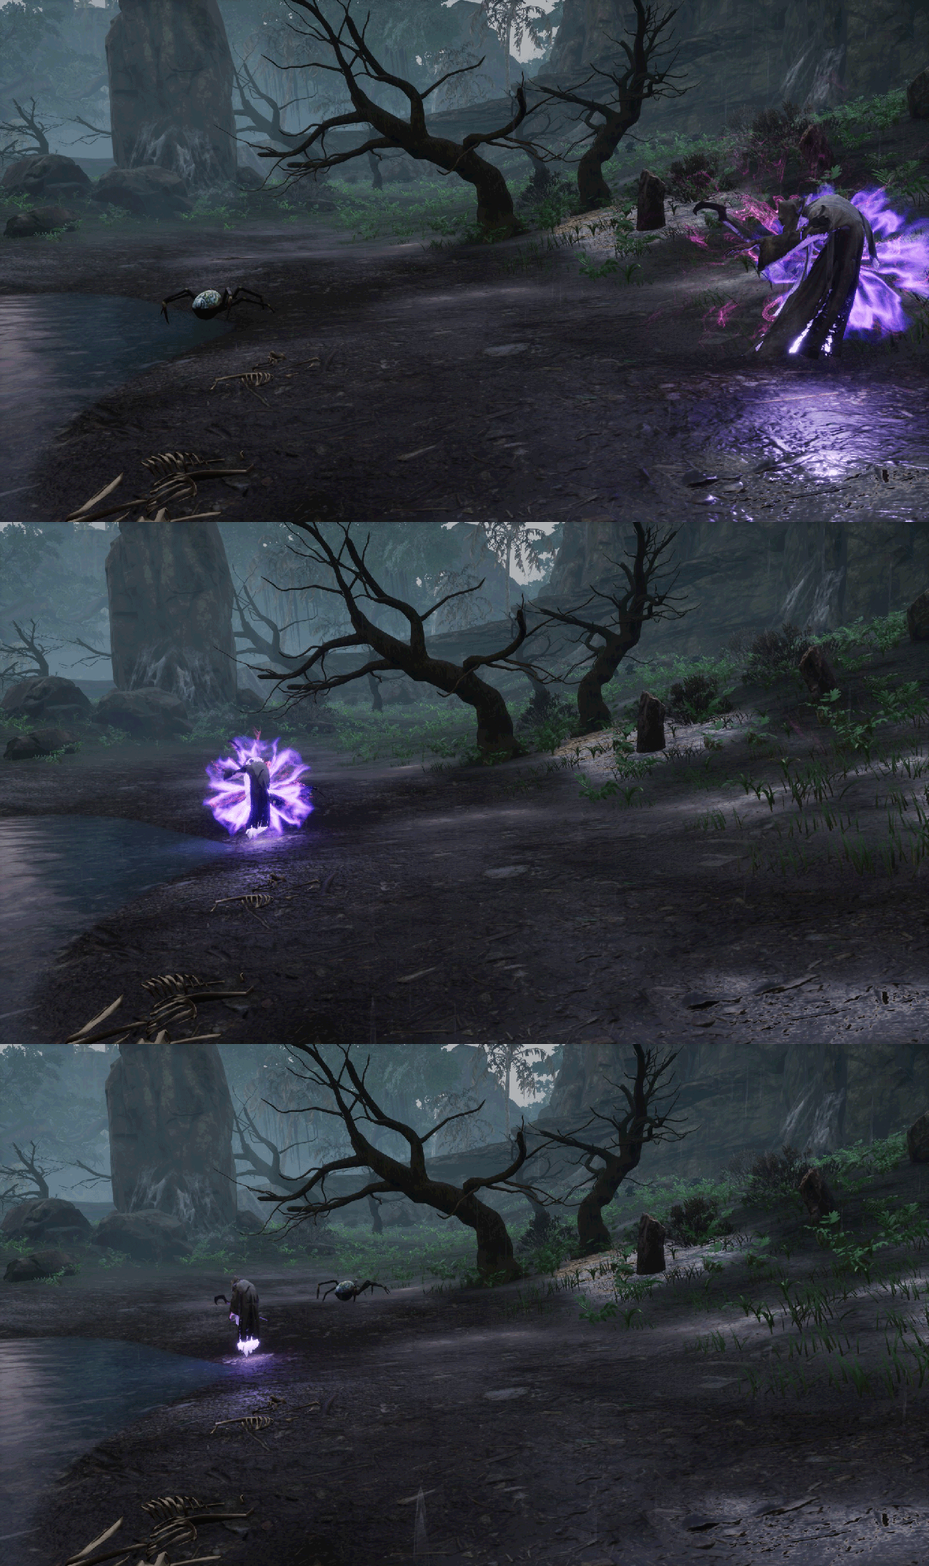
Combat: Count on the fact that most of the damage you’ll inflict on him will be from the debuffs you apply to him with corruption, burning, freezing, paralyzing… He’ll make a couple of different attacks with his scythe, but the most dangerous thing is that he’ll teleport to your side. By killing him you will absorb his Wraith Essence.
Has 1.250 health. Will give you 49.500 xp.
Reward: You must carry 2 essences. 4 Lesser Bounty Reward and 2 Fragment of Power.
👹 Greater bounties
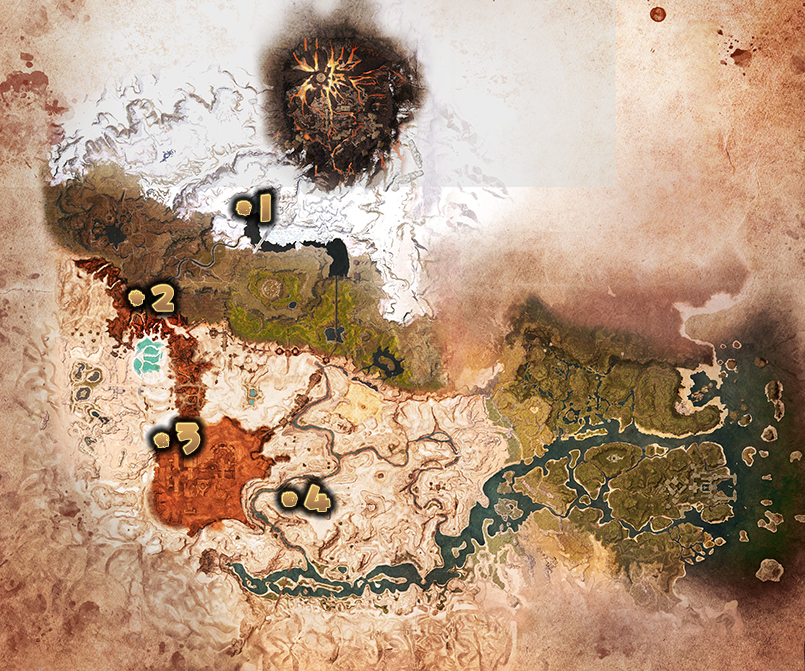 Map legend:
1. Daughter of the Devourer within the Perilous Valley.
2. Scourge Demon King within the Ancient Cave.
3. Son of the Devourer in the Conjuration Pillar.
4. Yama’s Guardian within the Overtaken Tower of Bats dungeon.
- Slithering Tentacle
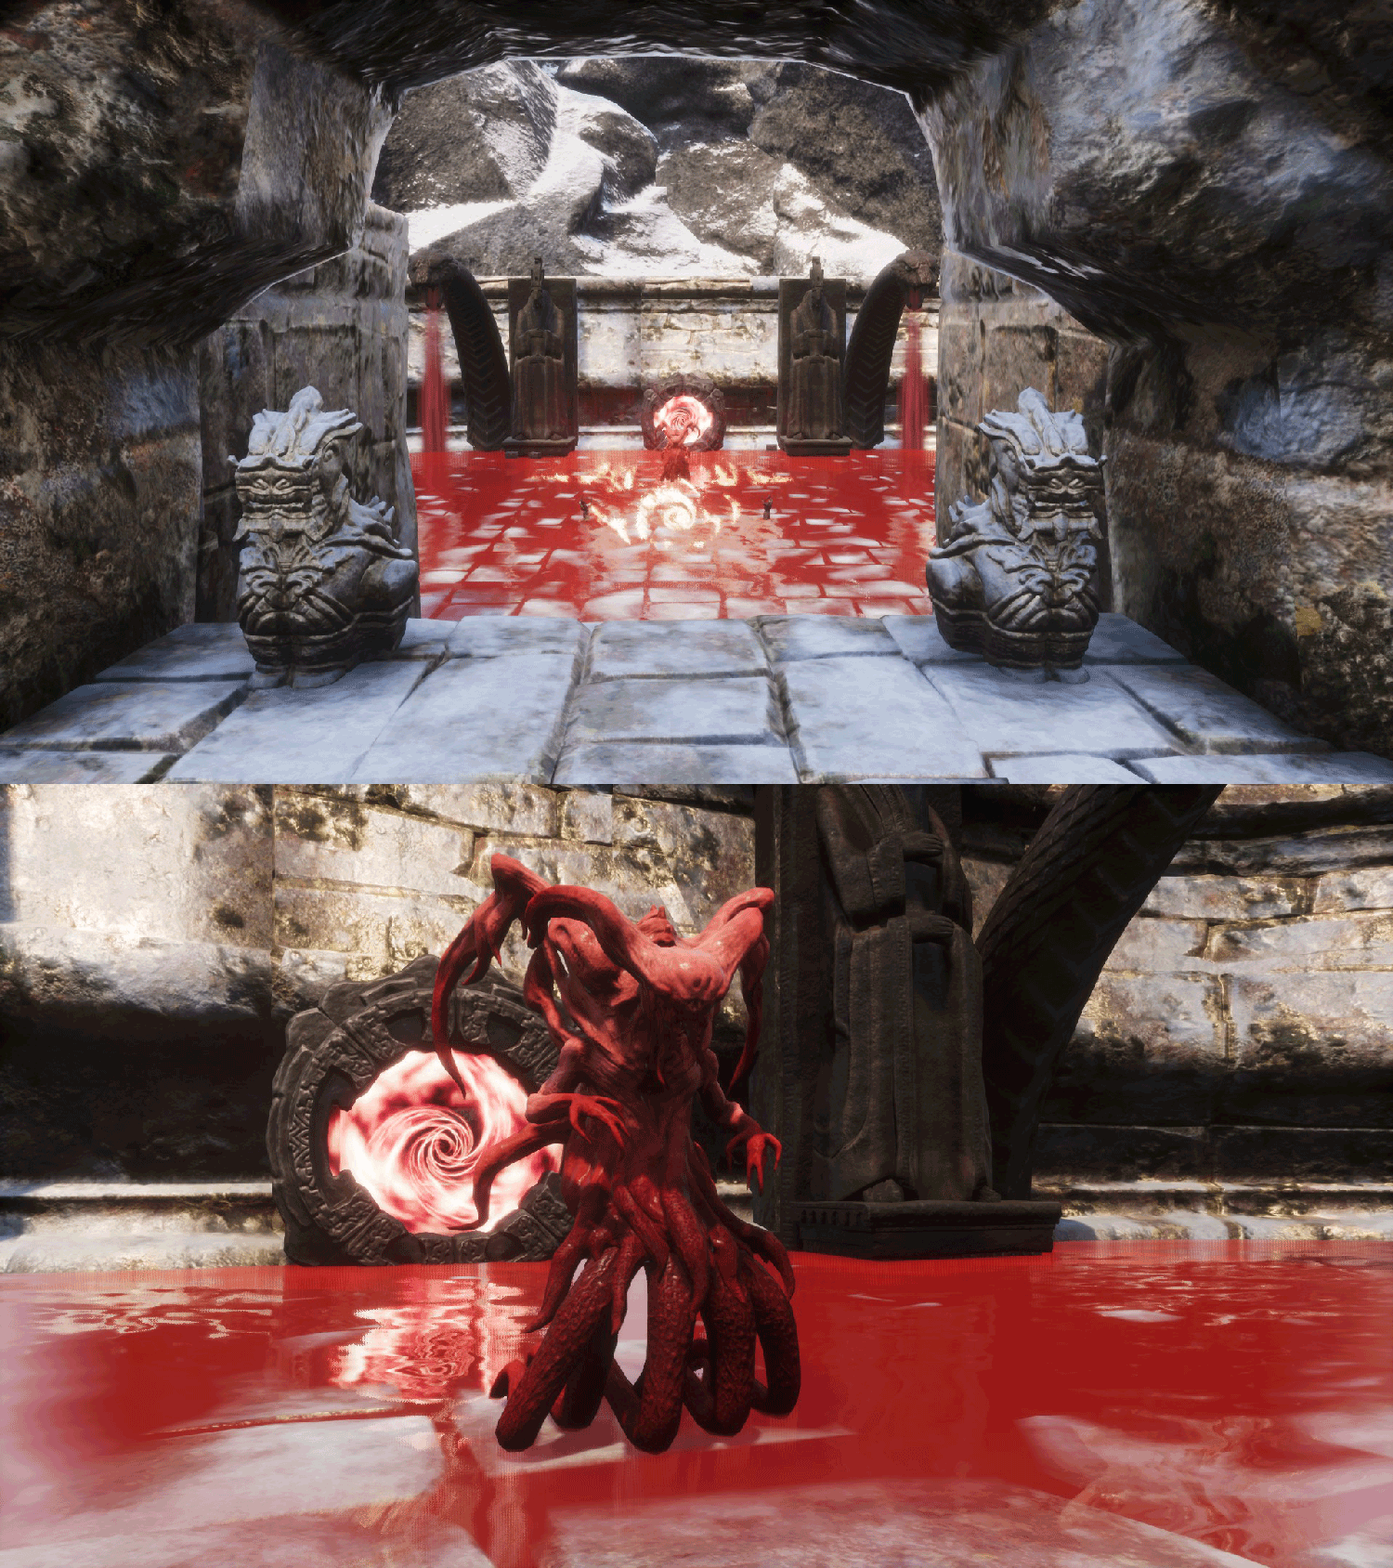 Bounty description: This tentacled beast been said to hide deep within the Perilous Valley.
Location: Within the Perilous Valley, which is located in the northern mountains. To find out hers exact location, check the “📍 Dungeons and areas I” section at the beginning of the guide.
How is: The Slithering Tentacle reward will be obtained by using a tool on the corpse of the blood demon Daughter of the Devourer. She’s a tentacled creature made up of blood.
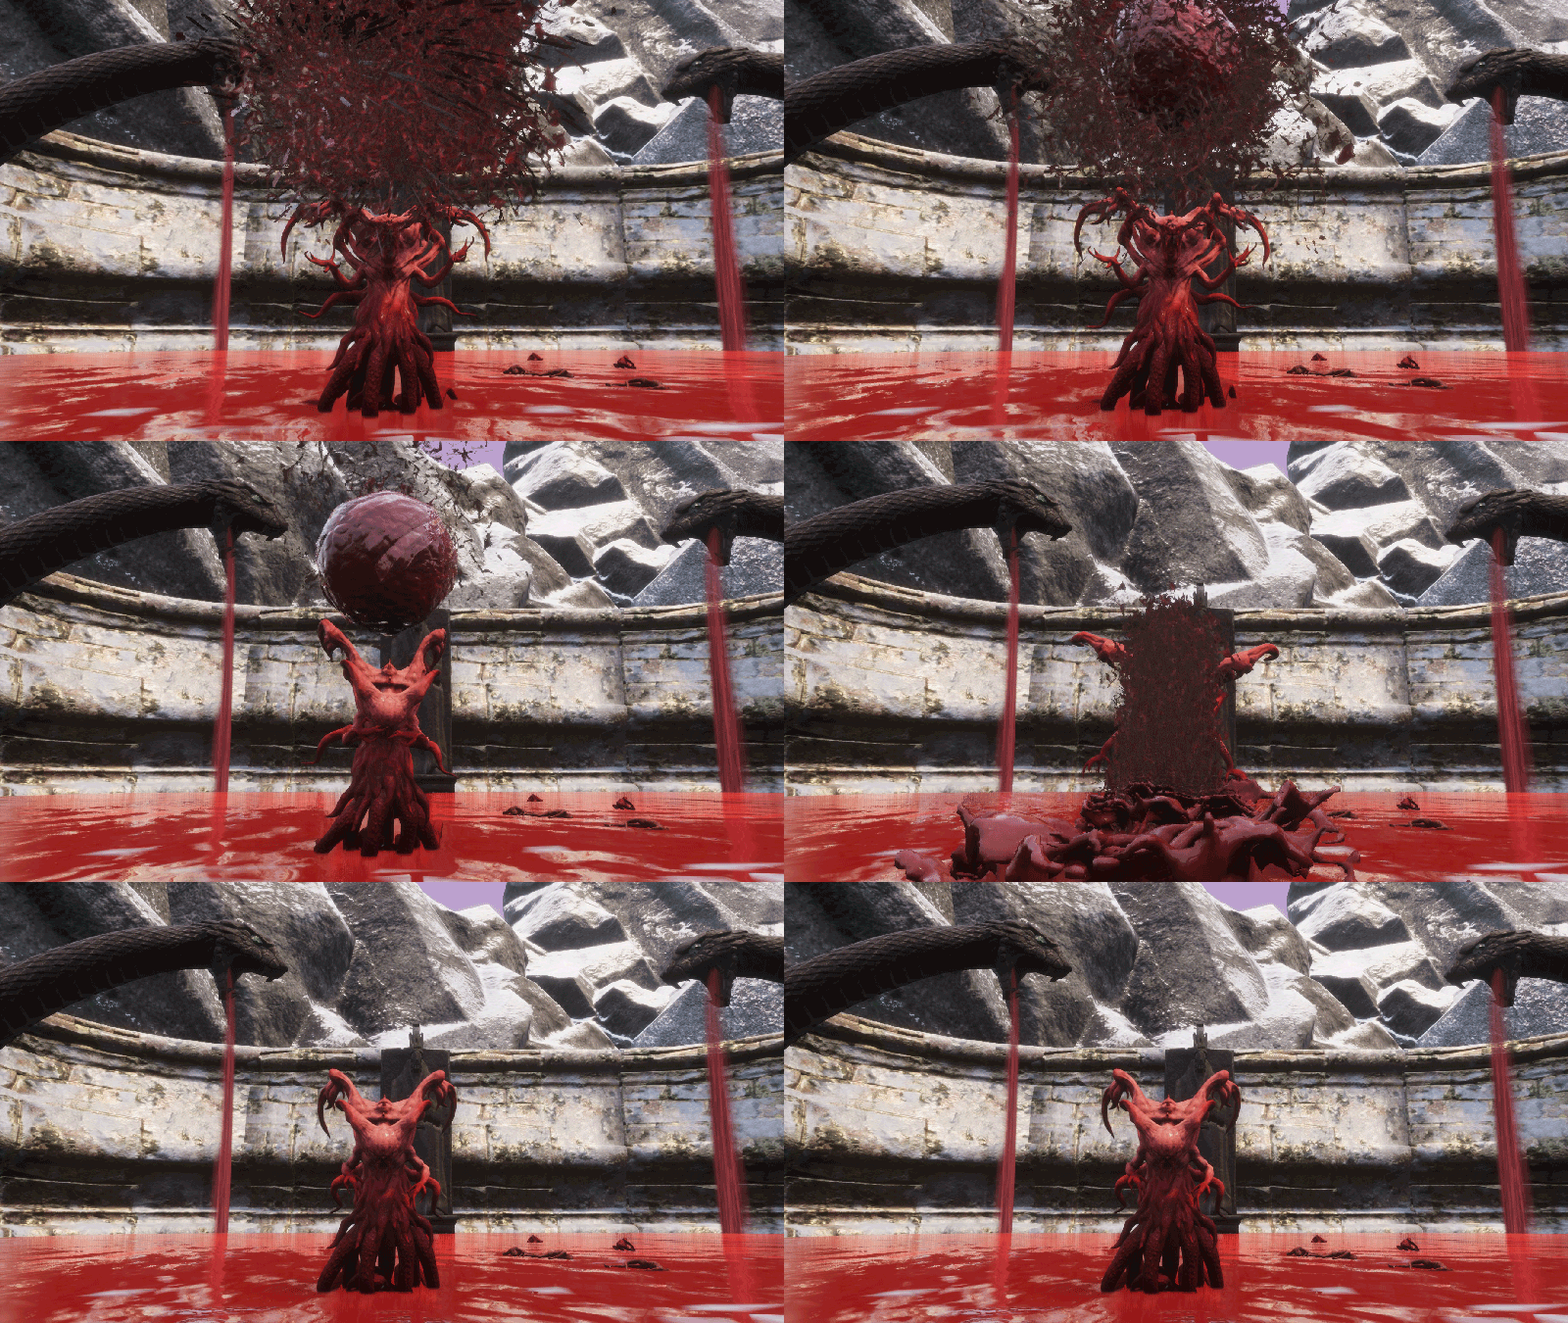 Combat: She’s protected by three Decayed with 600 health each. During combat she’ll summon larvites with 700 health, Flayer Fleshlings with 2.100 health and Hemophile Duplicates with 6.243 health.
Her attacks will consist of throwing blood balls at you from a distance, generating a large blood ball in the air and making it fall (gif), drawing branches of blood from her body, spitting blood balls near her, generating a wave around her and vomiting acid. This last attack will cause you the Acid Burn status (10 points of damage per second), the rest of the attacks will inflict Elder Curse (removes your resistance to the elements), Corrupted (reduces your maximum Health), Deep Cuts, Crippling and Bleeding. When you kill her, she’ll put the Blood Curse on you for a few seconds, dealing a lot of damage when you move.
Has 45.500 health. Will give you 860.000 xp.Reward: 2 Bounty Reward, 1 Corrupted Spellbook and 2 Scrims.
- Demonic Horn of Secrets
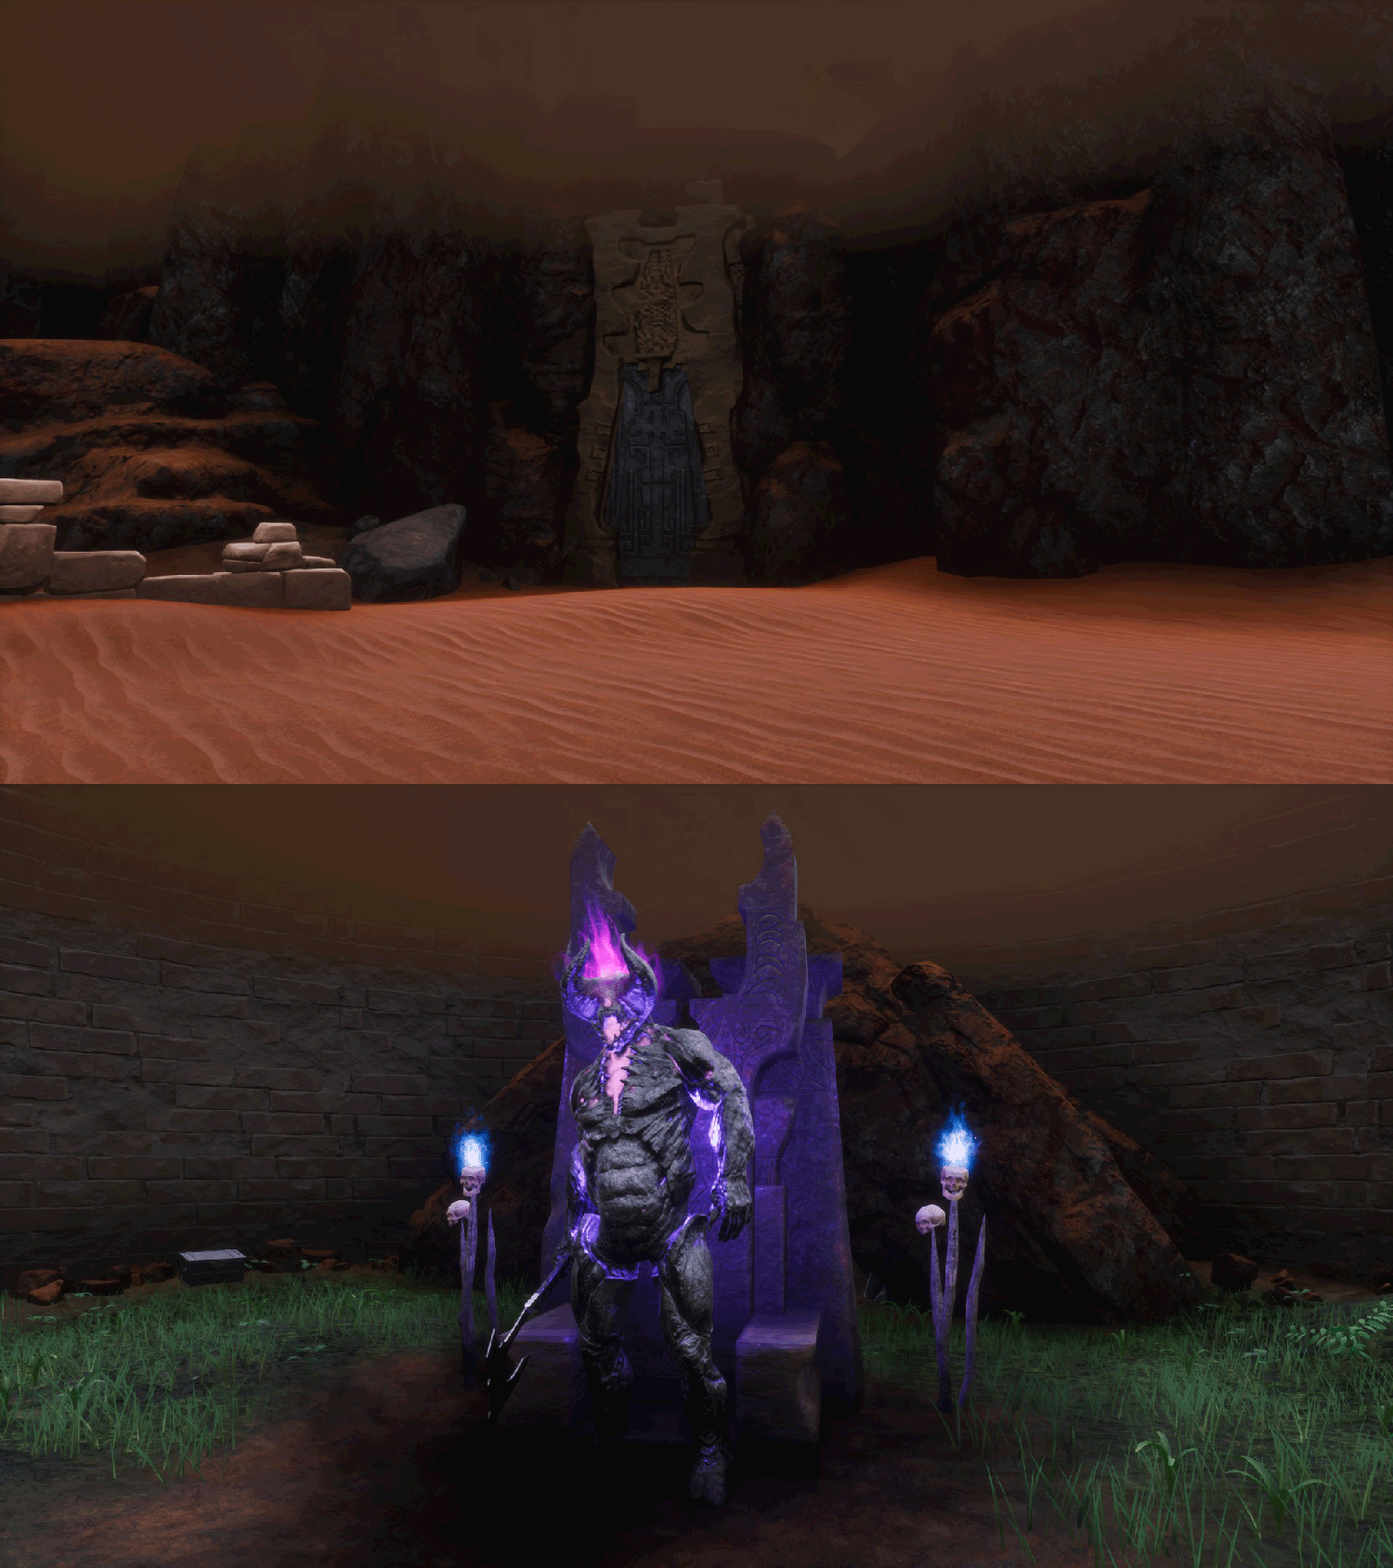 Bounty description: The Scourge Demon King has been roaming the Ancient Cave for some time, locked behind a door.
Location: Within the Ancient Cave, which is located in the Mounds of the Dead. You must have Scourge meat in your Inventory to be able to access the arena it is in. To find out his exact location, check the “📍 Dungeons and areas I” section at the beginning of the guide.
How is: The Demonic Horn of Secrets reward will be obtained by using a tool on the corpse of the magical demon Scourge Demon King. He’s similar to the plague demons that guard the entrance to his door.
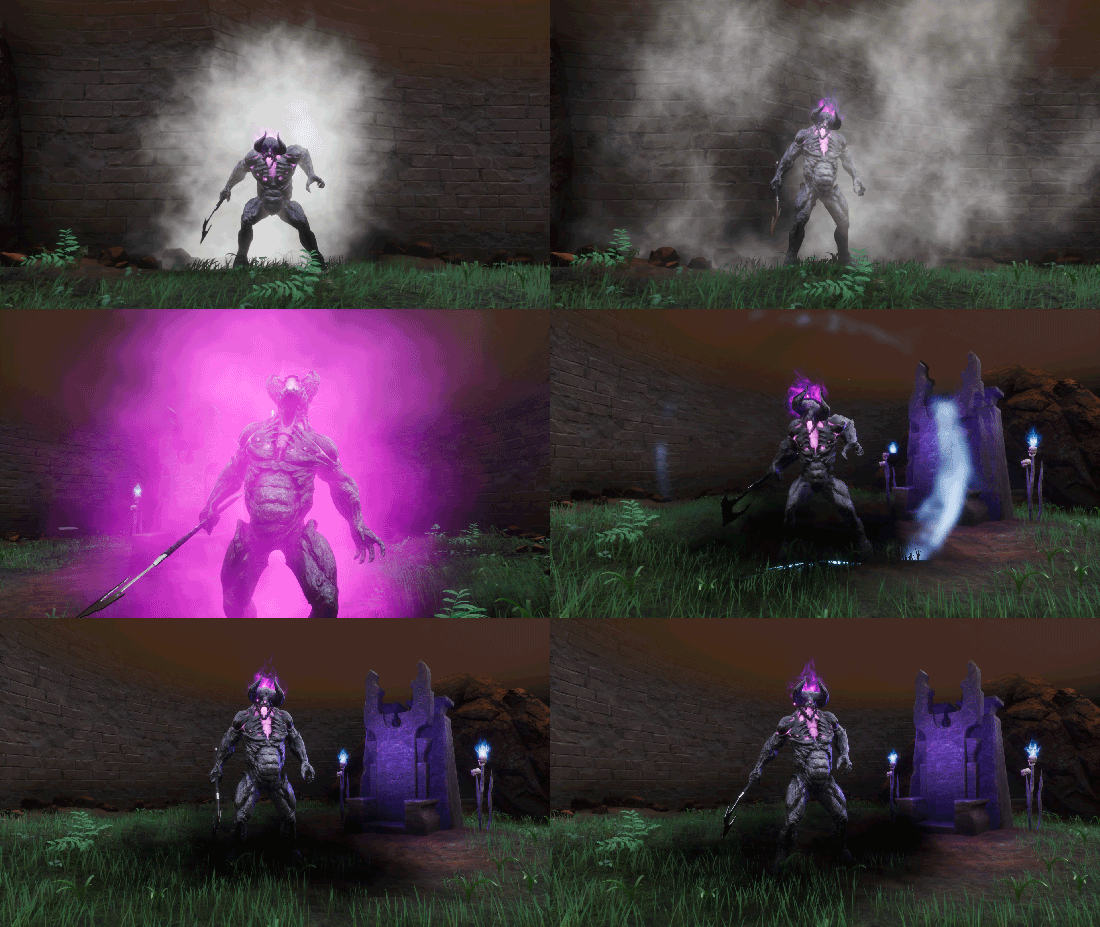 Combat: During combat, energy balls with 128 health will appear and head towards you until they explode, accumulating damage as they advance. If you dodge them right before they explode or kill them quickly, they won’t hurt you.
The demon will make explosions of blindness, corruption and electricity (gif), he will stomp with a wave, he will make a strong attack with his ax causing a wave and a couple of sweeps with the axe. Depending on the element the demon uses in his attacks, he’ll put you in the status of Blinded (damages you, reduces your movement speed and your Strength and Accuracy attributes), Corrupted (reduces your maximum Health), Shocked (reduces your Armor) and Weakened (reduces your Vitality and Agility attributes).
Behind the throne there is a grotto through which you can exit the cave. It may seem silly, but be careful during combat not to get too close to this exit so as not to accidentally leave and lose your progress in the battle.
Has 38.500 health. Will give you 290.000 xp.Reward: 1 Bounty Reward and 1 Scrim.
- Heart of Oblivion
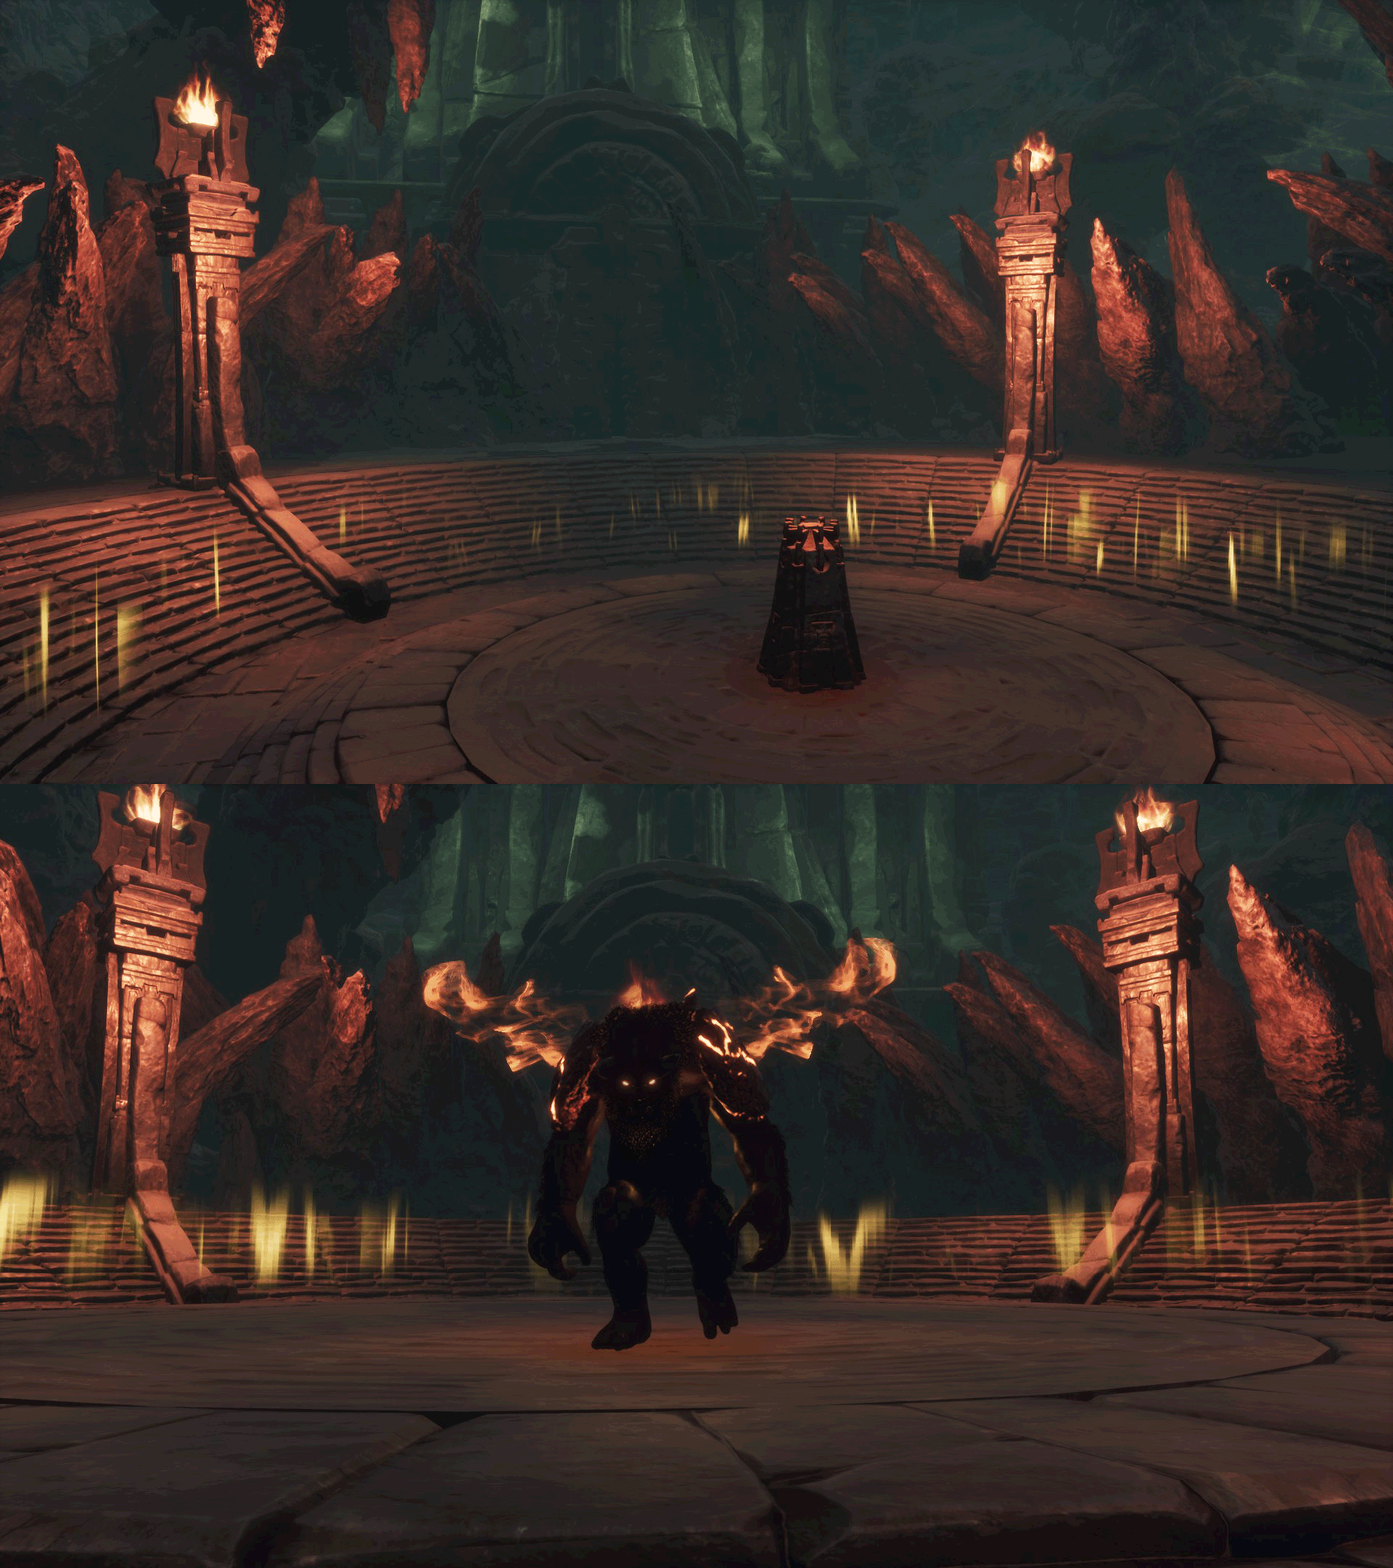 Bounty description: Said to be retrieved from the a beast conjured from combined powers.
Location: In the room of the Conjuration Pillar, which is located on the outskirts of The Unnamed City. You must have an Acheronian Sigil Key to enter and the United Soul to summon it. To learn about the process of creating the United Soul and the exact location of the Conjuration Pillar, check the “🔽 INTRODUCTION 🔽” section at the beginning of the guide.
How is: You will obtain the Heart of Oblivion reward by using a tool on the corpse of the flame demon Son of the Devourer. He’s similar to a black yeti, but with demon horns, glowing red eyes, wings of fire and crystals of the mineral oblivion on his back.
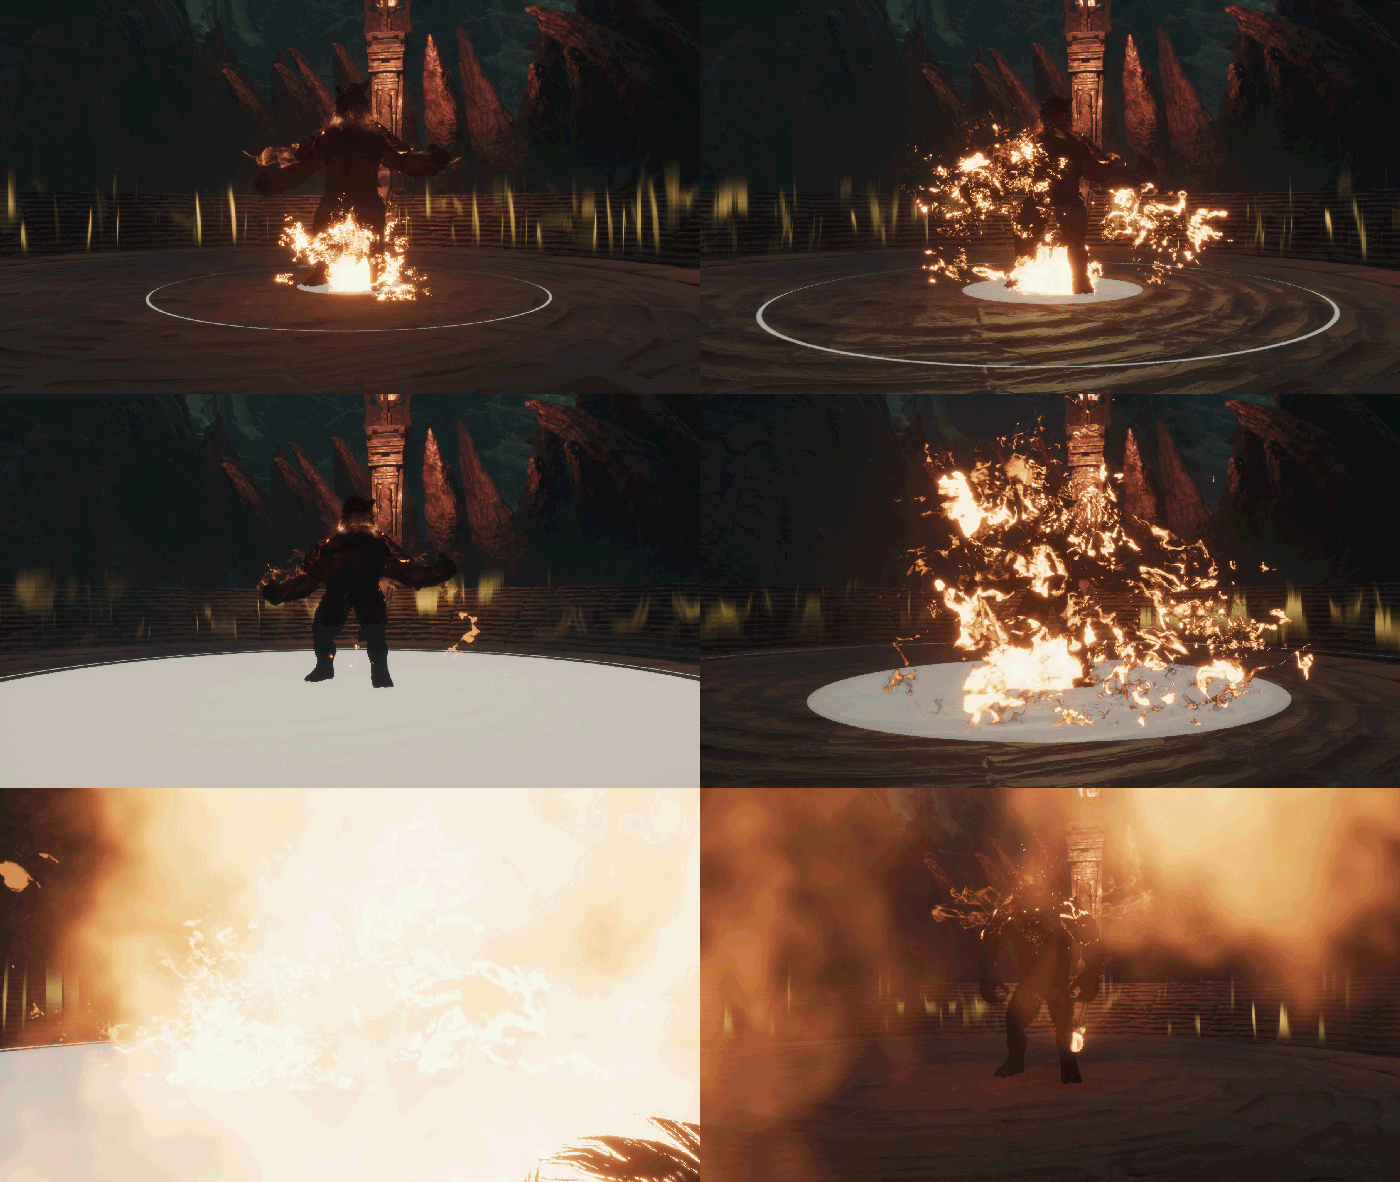 Combat: He’ll jump towards you, hitting the ground with his fists, he’ll stomp his foot, he’ll summon four fireballs that will fall simultaneously around him, he’ll generate a wave of fire, he’ll also generate eight waves that will go one after another affecting a larger area each time (gif) and will summon small fireballs with 128 health that will head towards you until they explode.
With all his attacks he’ll create a wave of fire that will put you in the Burning status (9 damage every 0.5 seconds); roll several times to remove it.
Has 38.500 health. Will give you 660.000 xp.Reward: 2 Bounty Reward and 1 Scrim.
- Blood of the Guardian
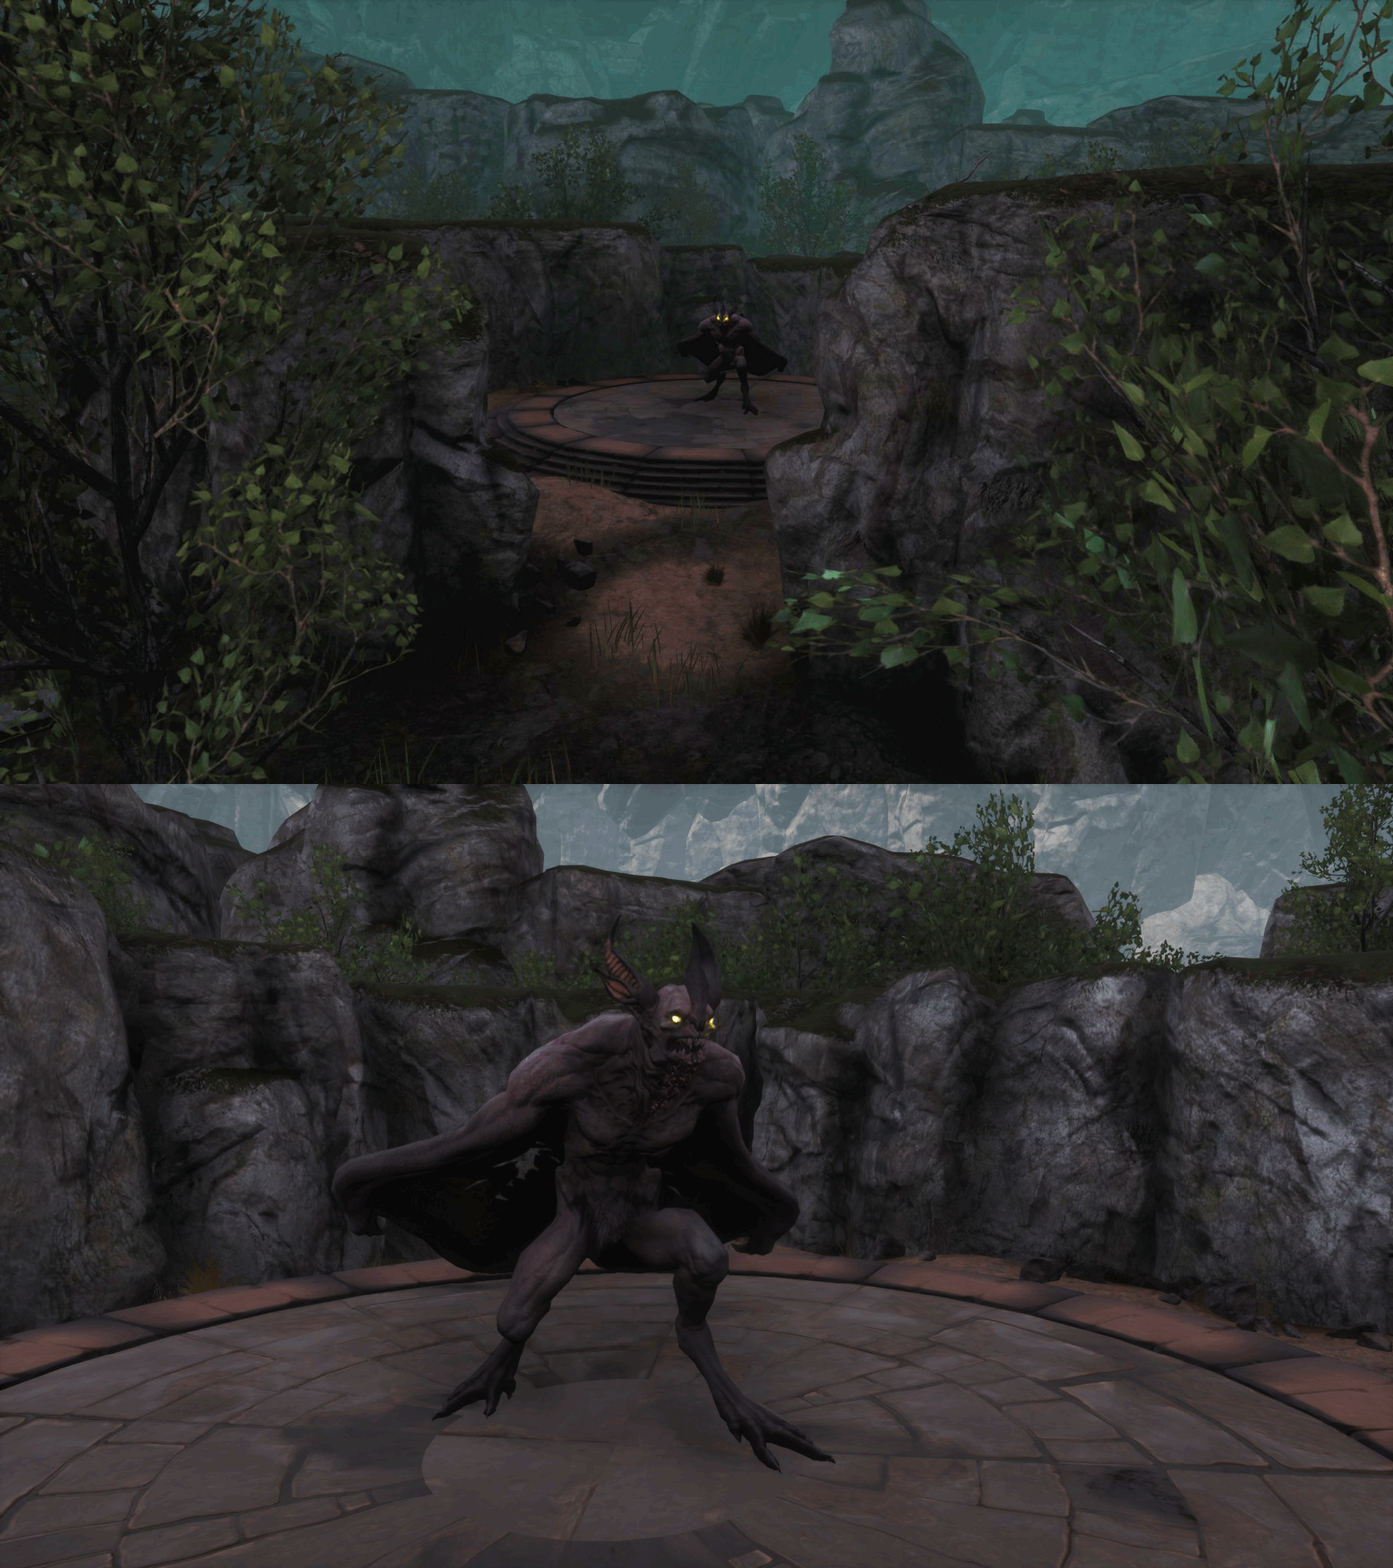 Bounty description: The Devolved Guardian has been spotted inside the Moors. Be careful of this dangerous winged.
Location: Inside the Overtaken Tower of Bats dungeon, which is located in the desert. To find out its exact location, check the “📍 Dungeons and areas II” section at the beginning of the guide.
How is: You will obtain the Blood of the Guardian reward by using a tool on the corpse of the winged demon Yama’s Guardian. It’s a giant bat, similar to the ones you find on the broken highways.
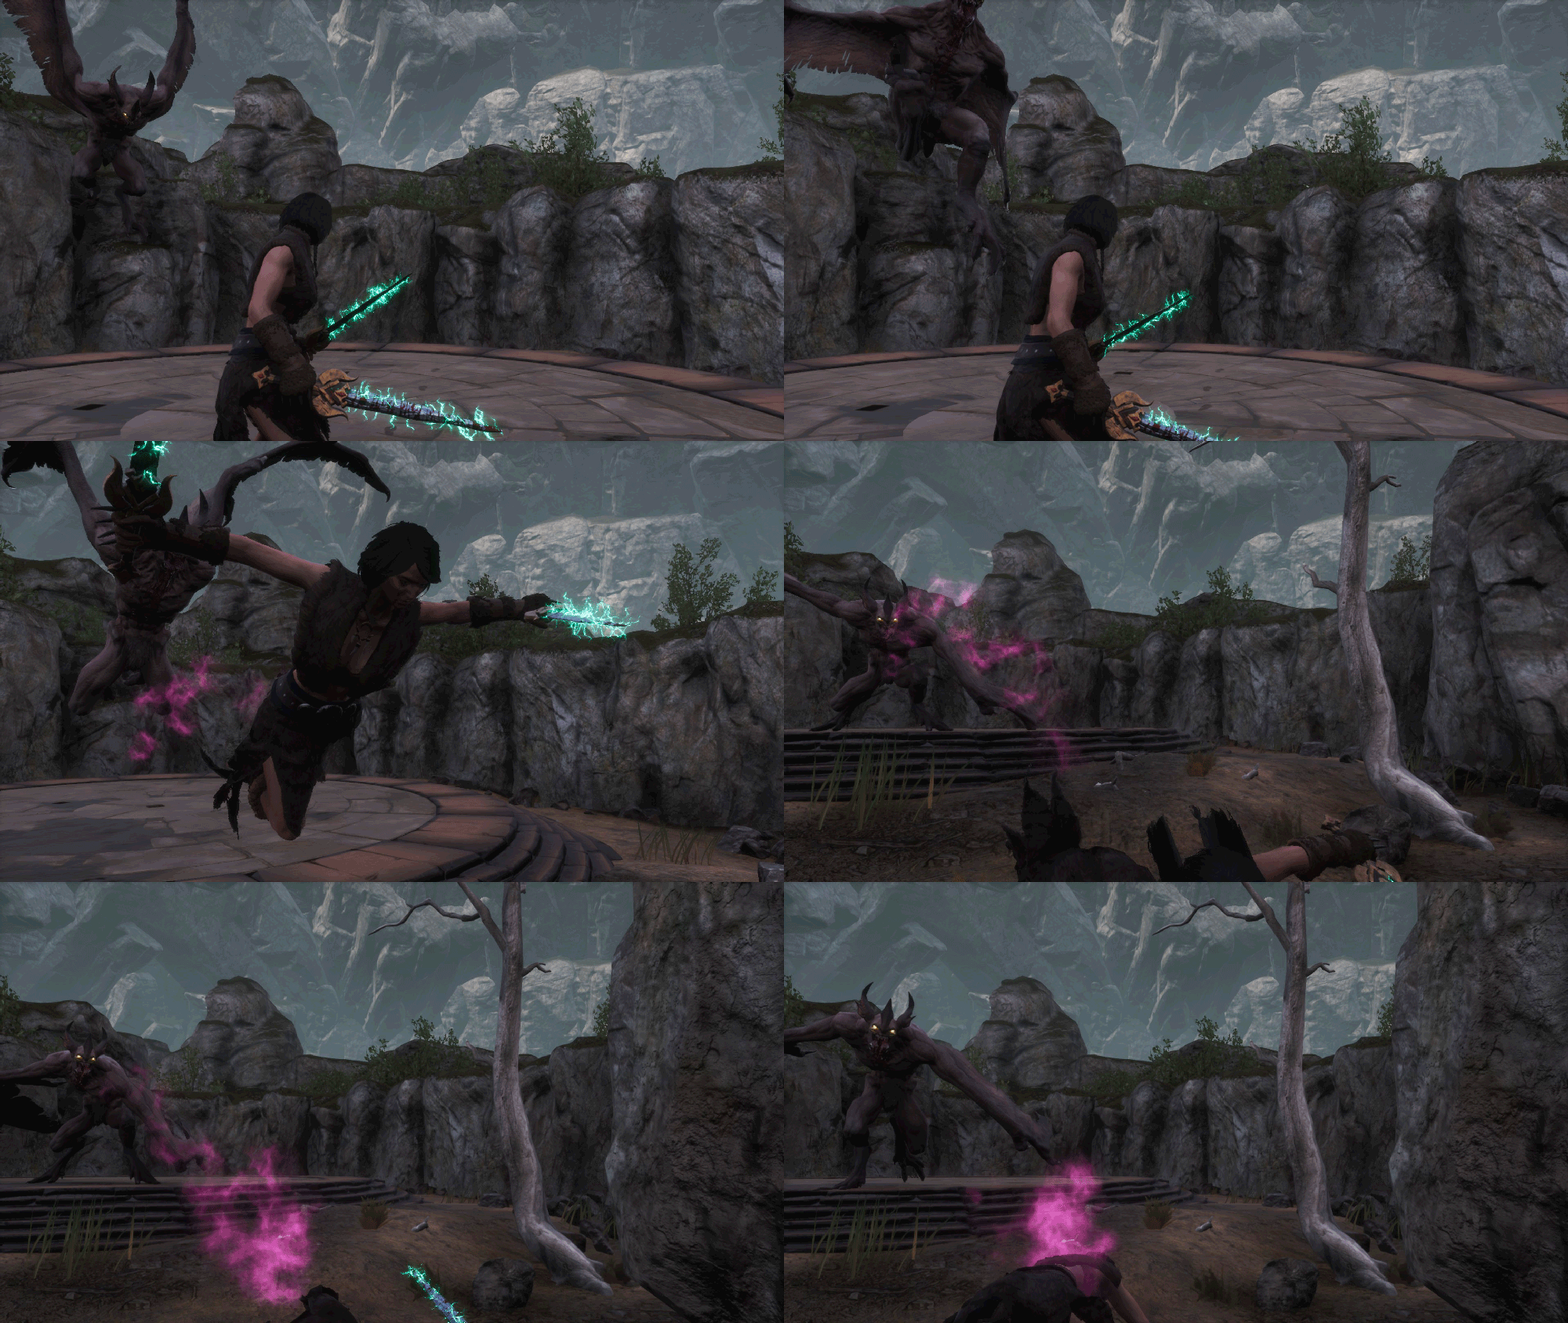 Combat:
The most frequent attacks will be using its wings, applying charges of the Yama’s Curse status (damages you and reduces your movement speed and Armor) and Corrupted (reduces your maximum Health). With them it’ll make normal attacks and will also turn around to hit you with its wings with more force, remaining stunned afterwards. It’ll also emit ultrasounds with which it’ll apply the Sundered status to you (reduces your Armor), it’ll flap its wings to hit you and take flight so it can attack you with its hind legs (gif). Most of these attacks will knock you to the ground.
Has 26.420 health. Will give you 190.000 xp.Reward: 1 Bounty Reward and 3 Scrims.
🧊 Avatar bounty – Aspect of Ymir
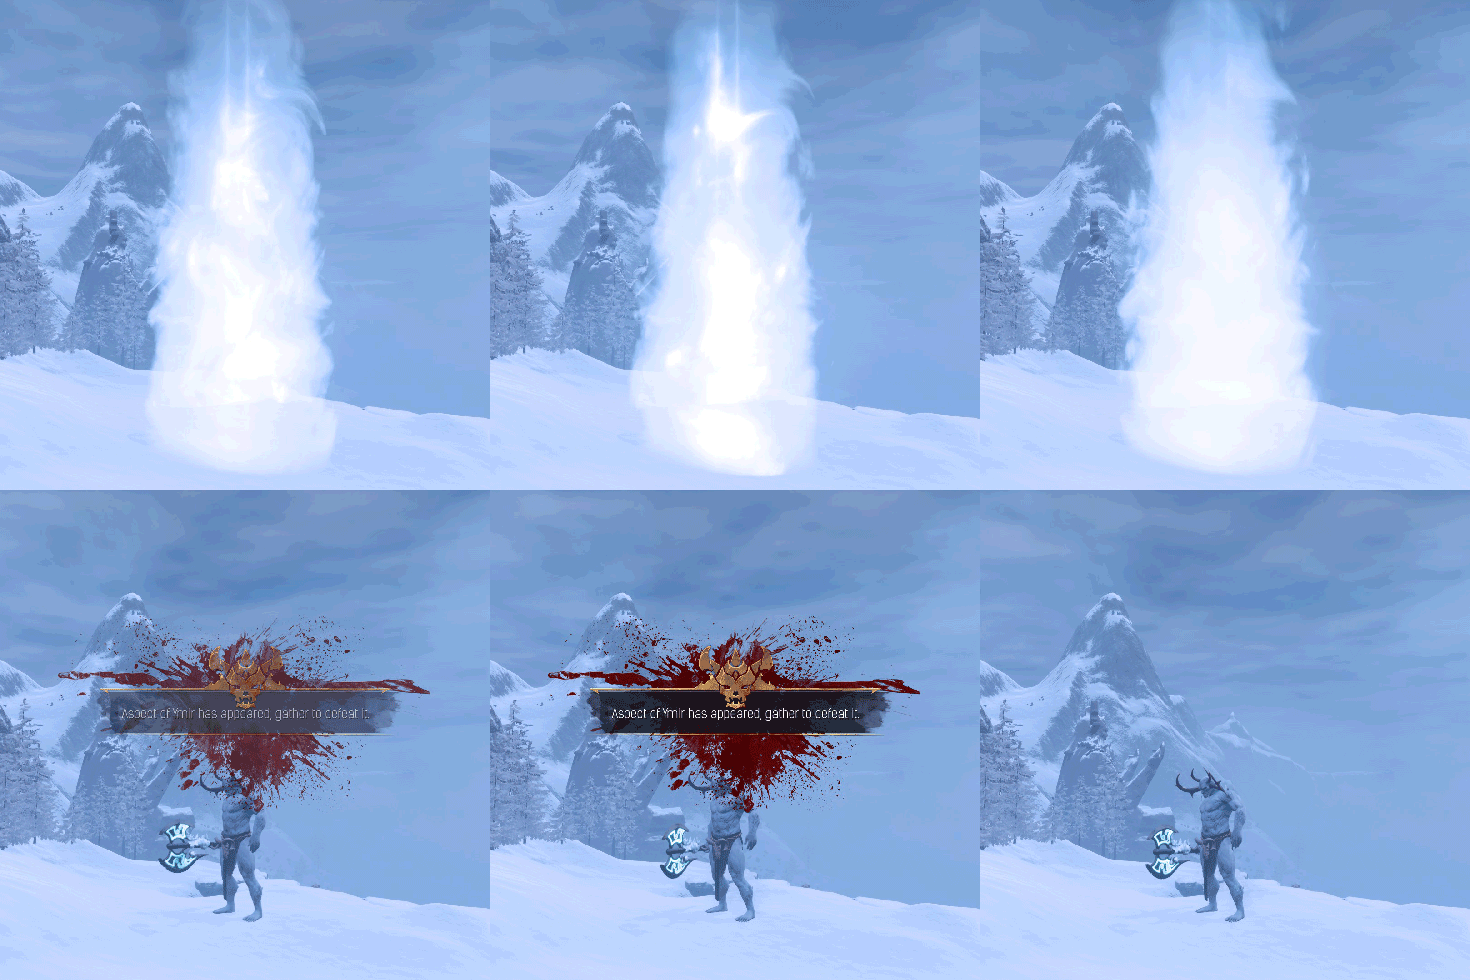
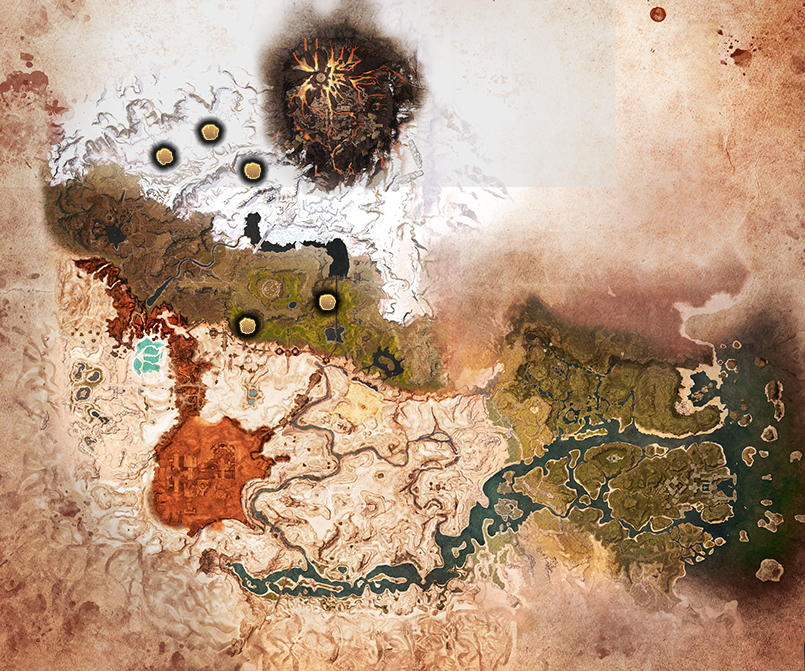
Bounty description: Very rarely an Aspect of Ymir, an immensly powerful illusion will appear in the north.
Location: On the map above you can see the locations where he could appear.
 Sometimes you’ll get a message in the middle of the screen warning you that Ymir will appear after 15 minutes. To find out exactly where it’ll be, go to where this icon appears on your map. If you go to the place you’ll see a column of white mist.
 After 15 minutes (no surprise) a message will appear informing you that Aspect of Ymir has already appeared and this icon on the map. If you were already at its place of appearance, you’ll see how the column of white mist disappears and gives way to Ymir.
Ymir will disappear after an hour and a half after his appearance, regardless of whether you’re in the middle of fighting him or not. If you manage to defeat him, you’ll learn the Secrets of Ymir feat and you’ll be able to claim the Ymir’s Seal in the package that is when you open your Inventory, at the bottom (where you claim the packages that the Outposts send you).
It’s configured by default that no less than 10 hours will pass between one Ymir appearance and the next, and, at most, 40 hours will pass.
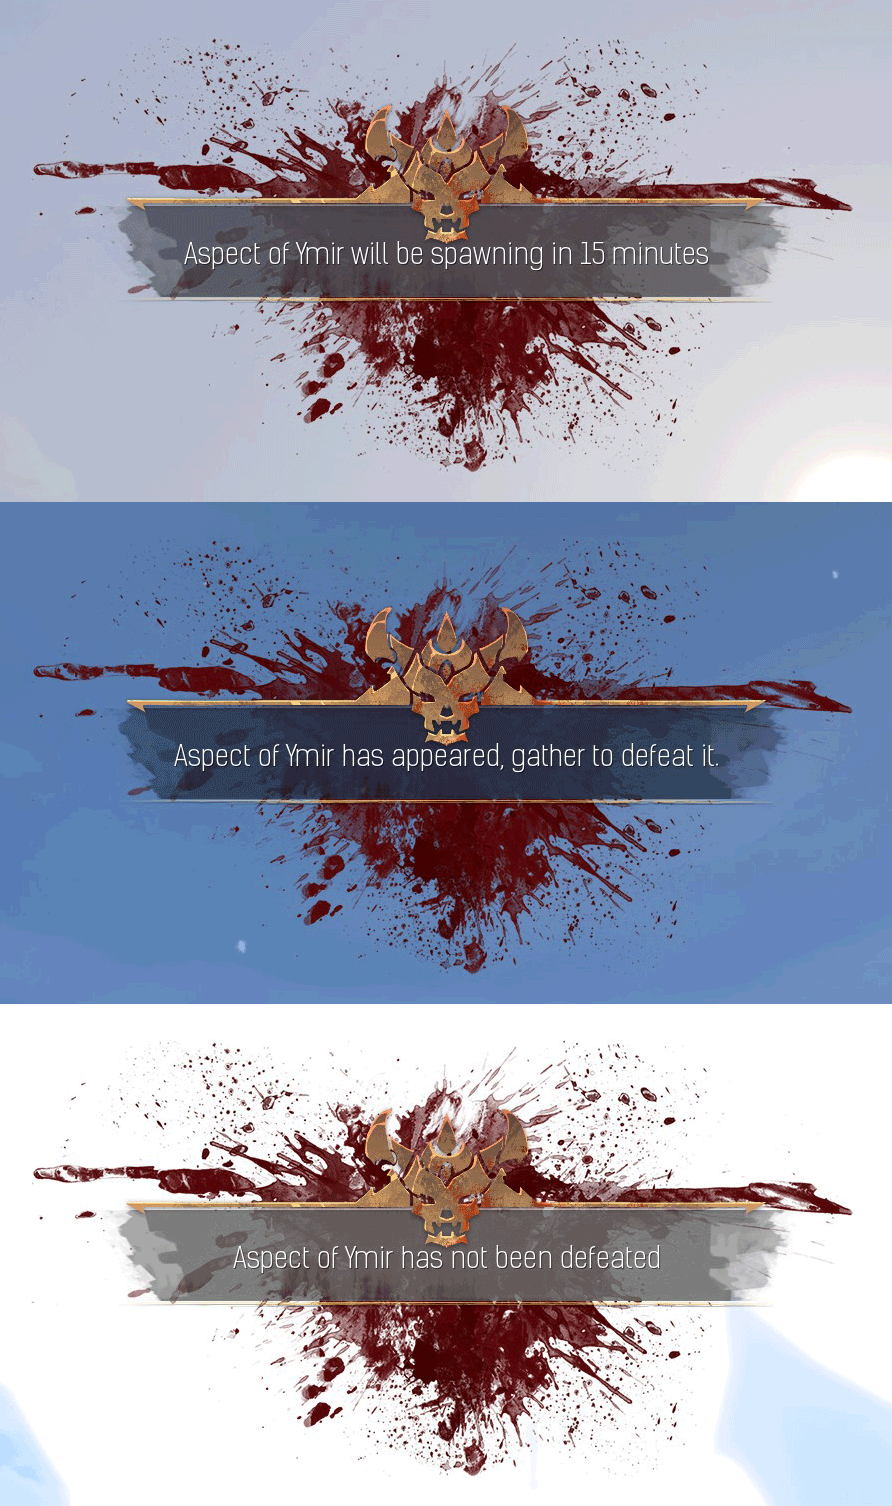
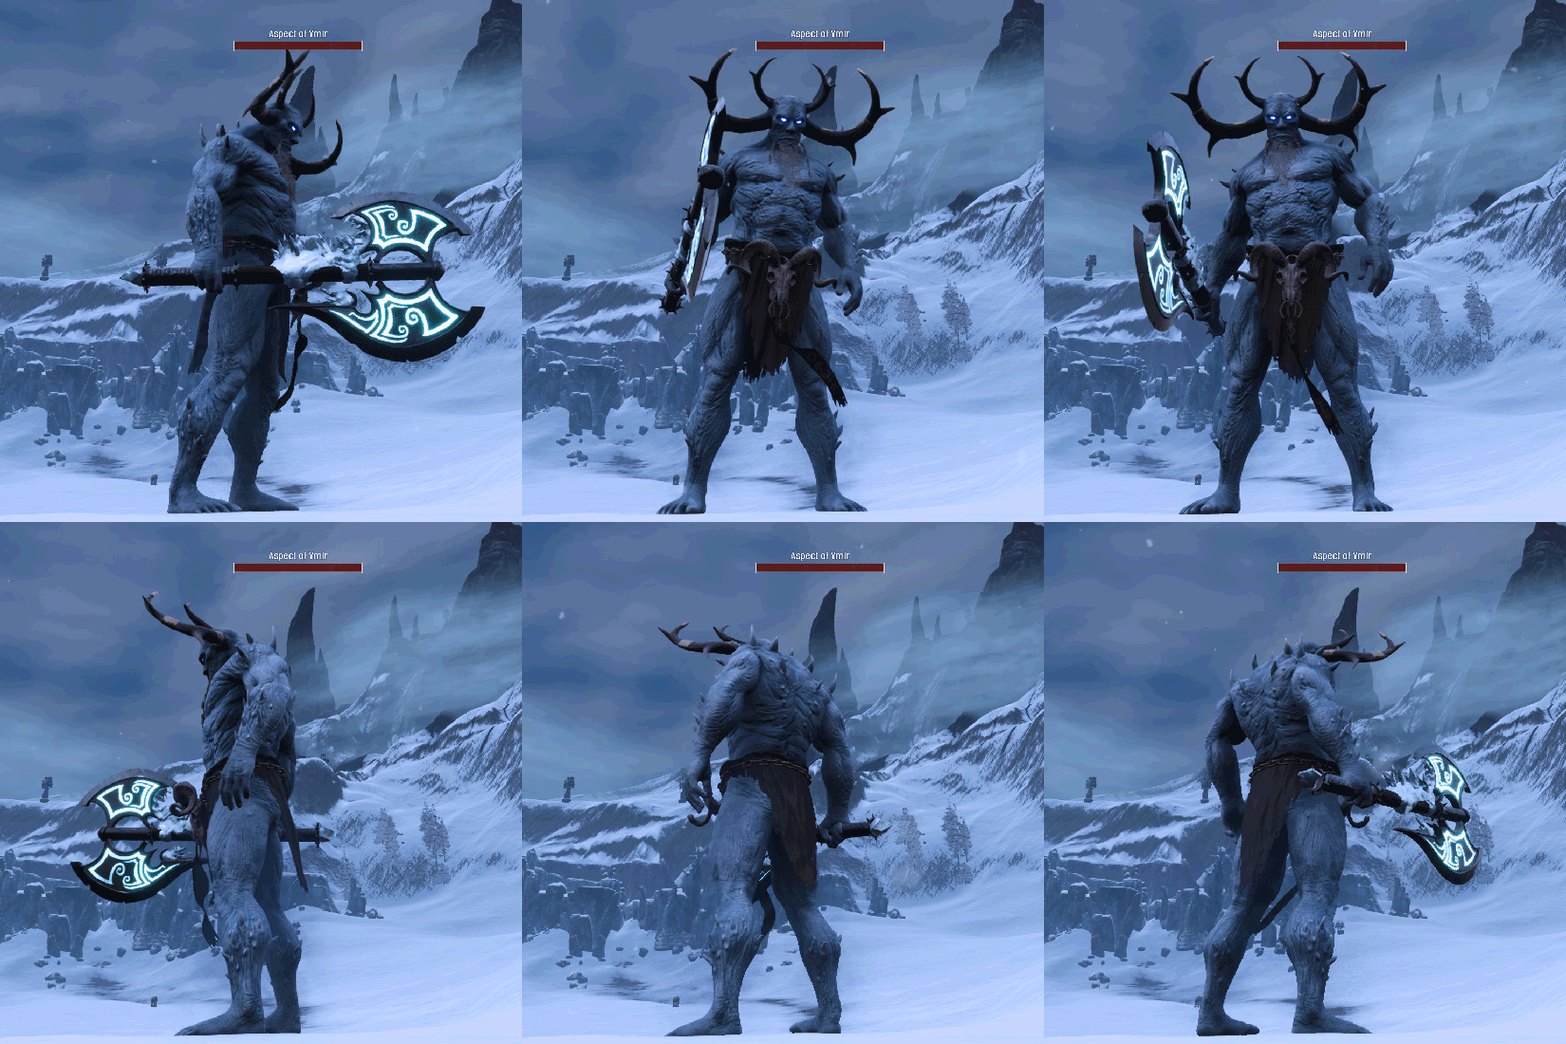
Combat: Unless your server’s admin has reduced its health, the Aspect of Ymir will have over a million health, so be prepared for a long fight.
Throughout the fight, Ymir will summon Ymir Devotees, which are frost giants with 4.100 health each. These will attack you with their axes and give you the Extremely Cold and Chilled statuses.
Ymir will make five different attacks on you: he’ll launch an ice breath at you, he’ll stomp with his right leg creating a wave, he’ll make a couple of sweeps with his axe, when he grabs it with two hands he’ll hit the ground with it and grab it with just one hand will lash out at the ground twice in a row, once on each side, creating a wave of ice each time. Although the wave he creates with his attacks is wide, you’ll be able to dodge them since he performs his attacks very slowly.
Under this paragraph I leave you some gifs of his attacks.
During combat, Ymir may run out of stamina and will kneel to recover. It will be a good time to take advantage of attacking him.
Has 1.050.000 health. Will give you 25.000 xp.
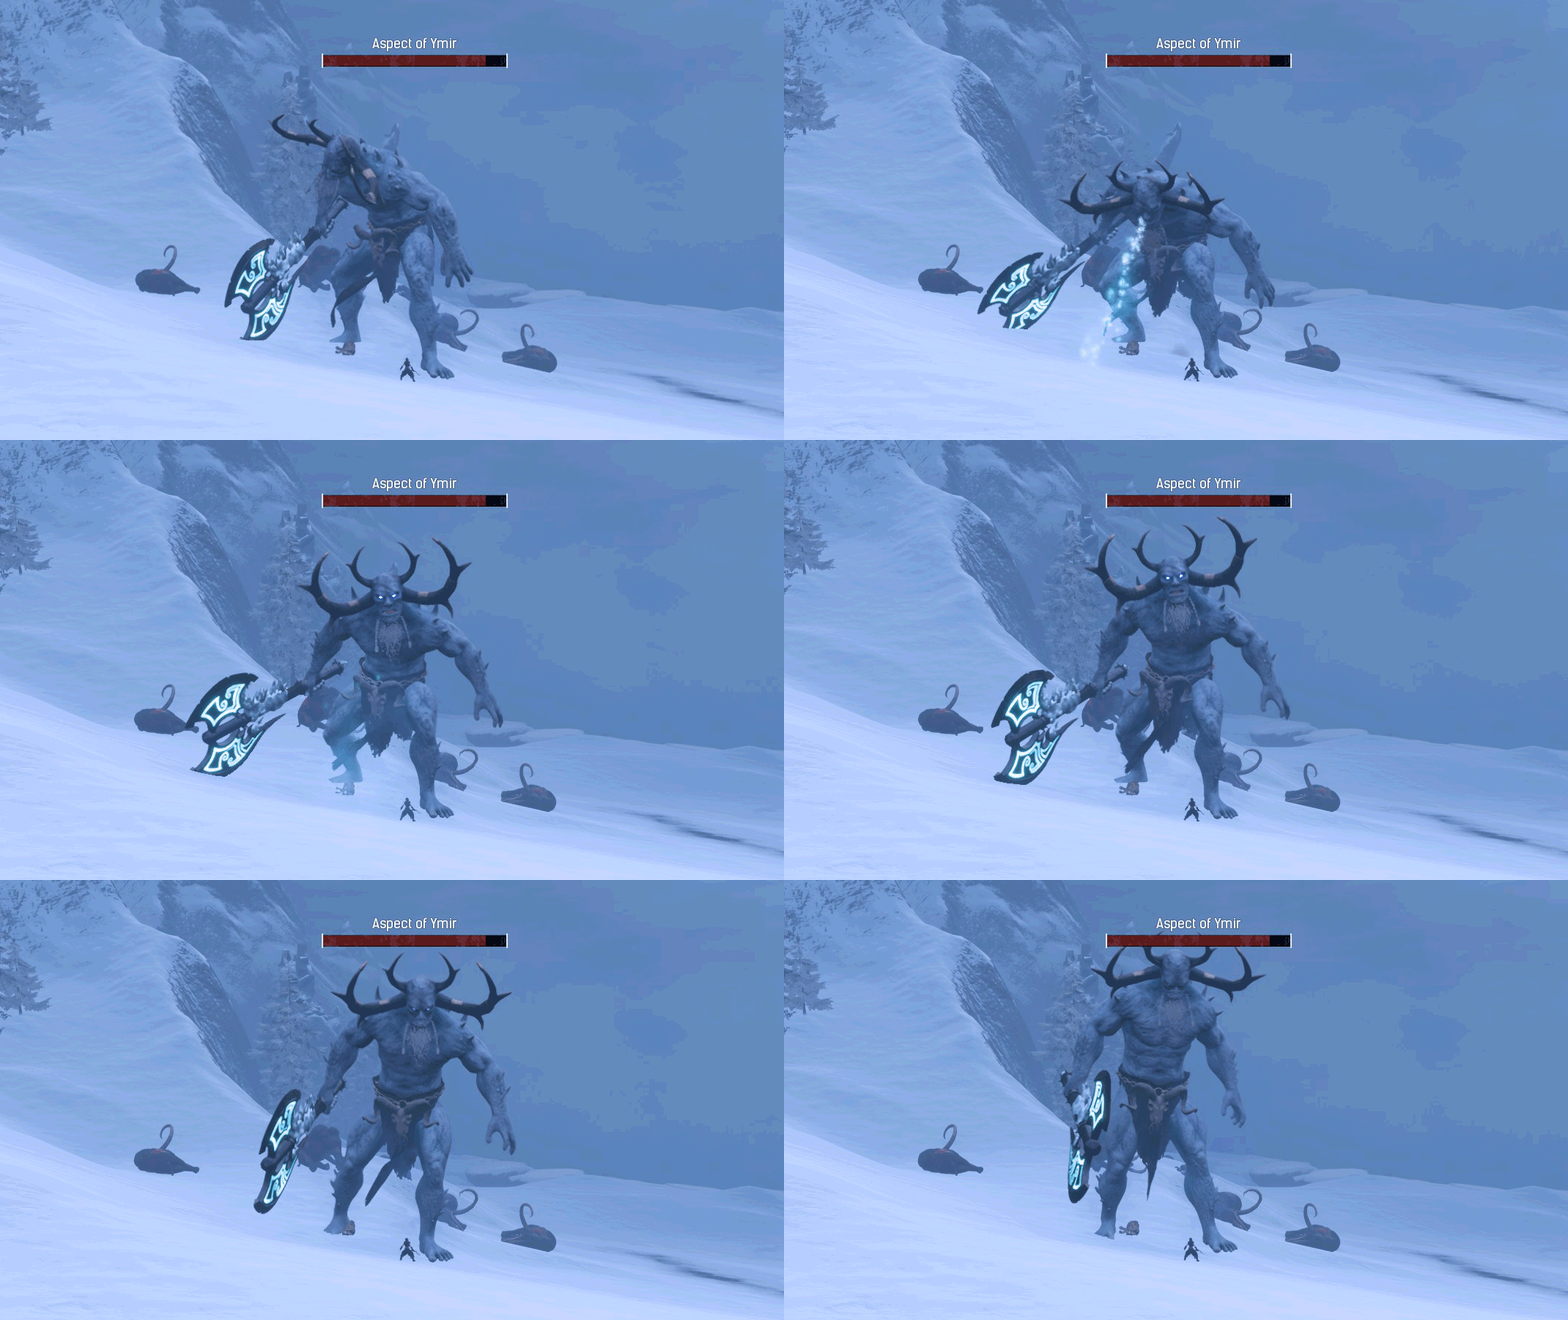
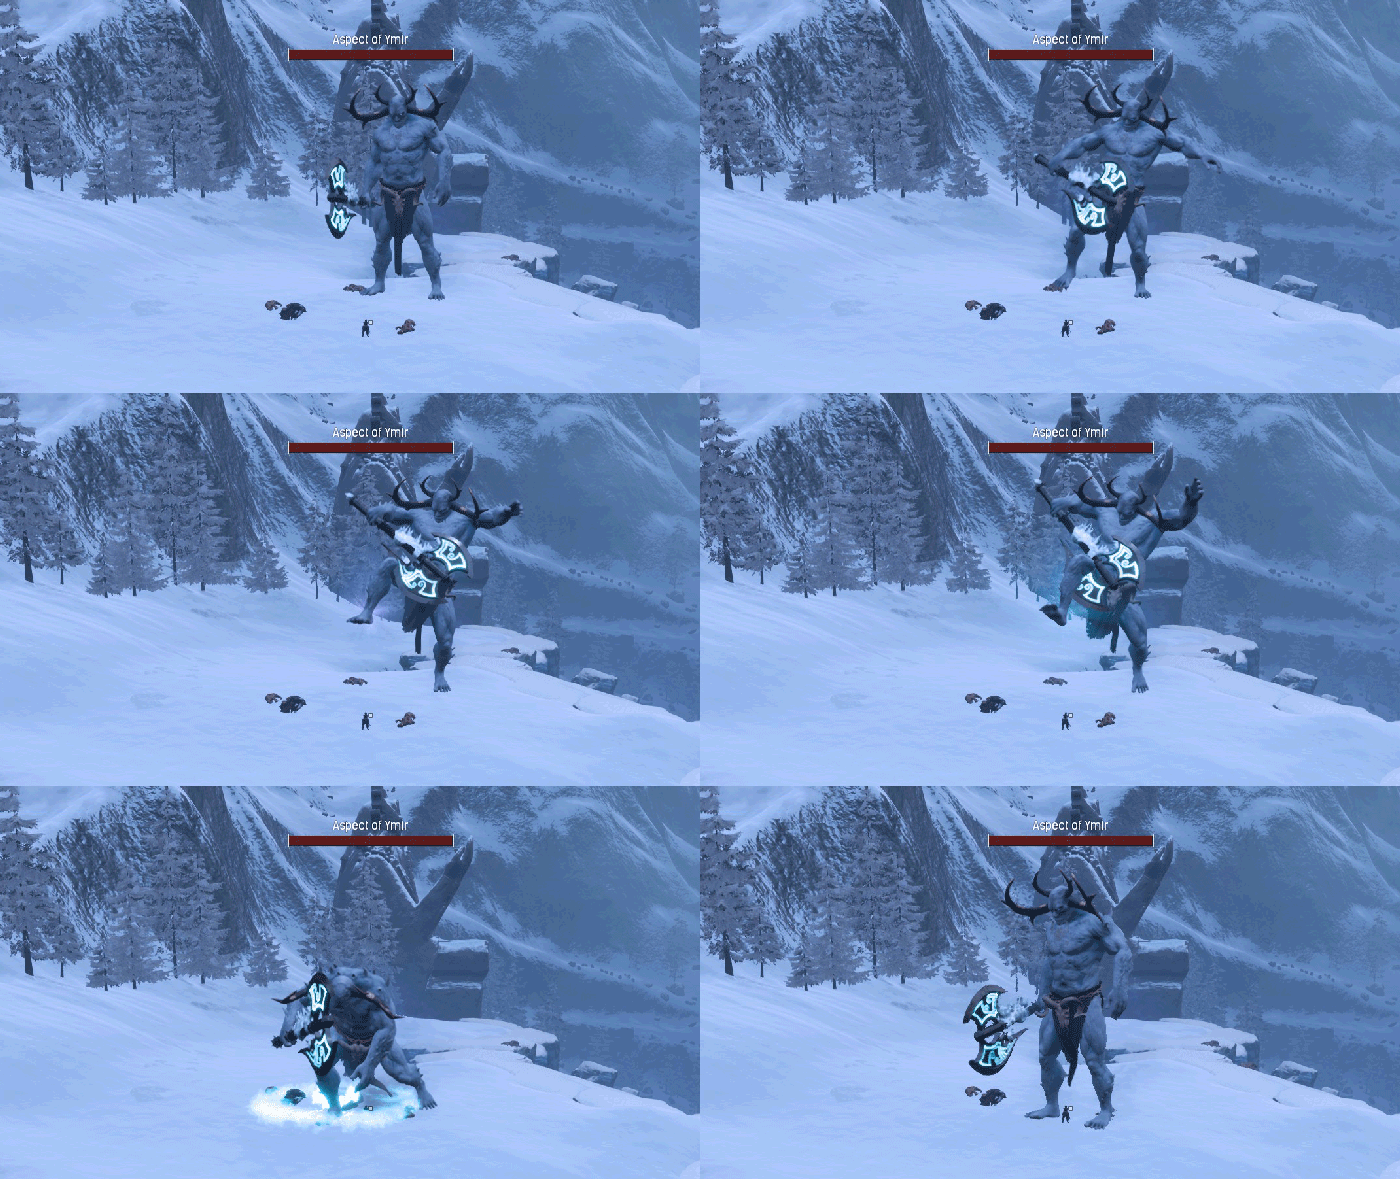
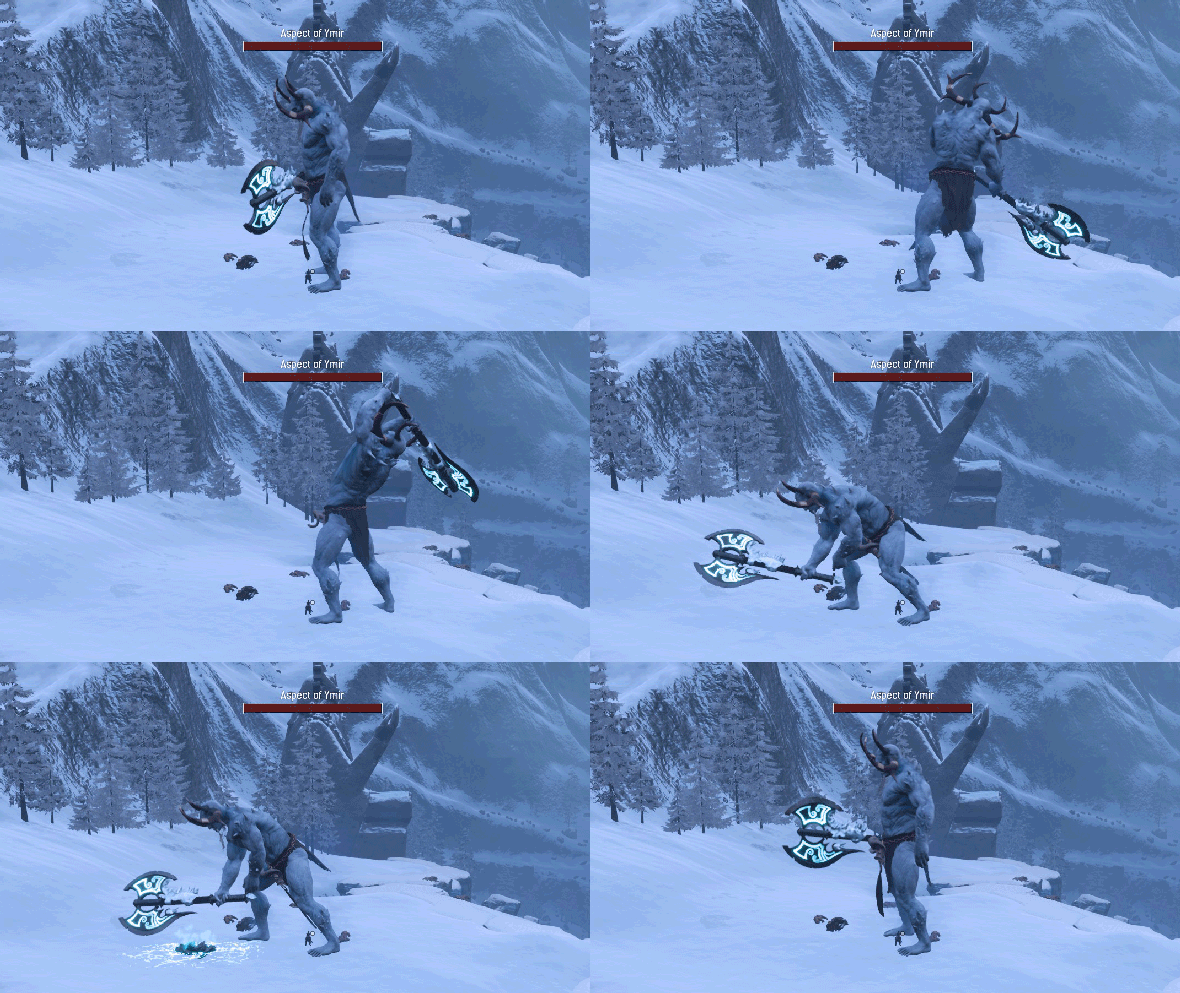
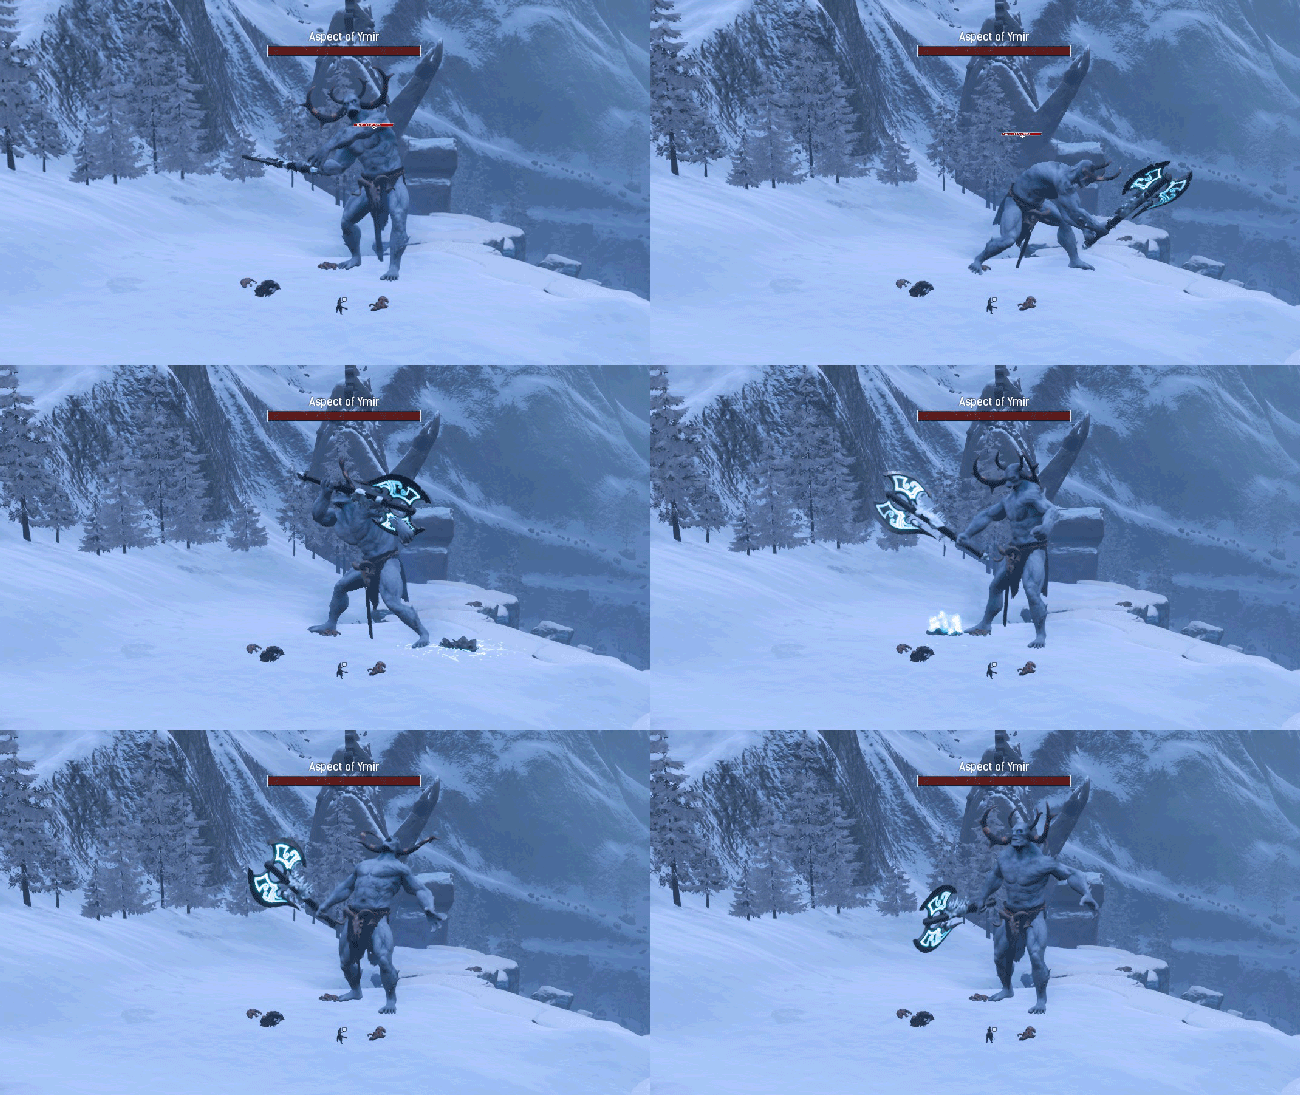
Reward: 1 Avatar Bounty Reward, 4 Bounty Reward, 3 Master Skeleton Key and 2 Frosted Assembly Piece.
💀 Corrupted Souls
These souls will be used to summon a different enemy in the Conjuration Pillar with each one of them. Let’s see one by one how to get them, what enemy they summon, their attacks, life, etc, and what you’ll unlock by killing them.
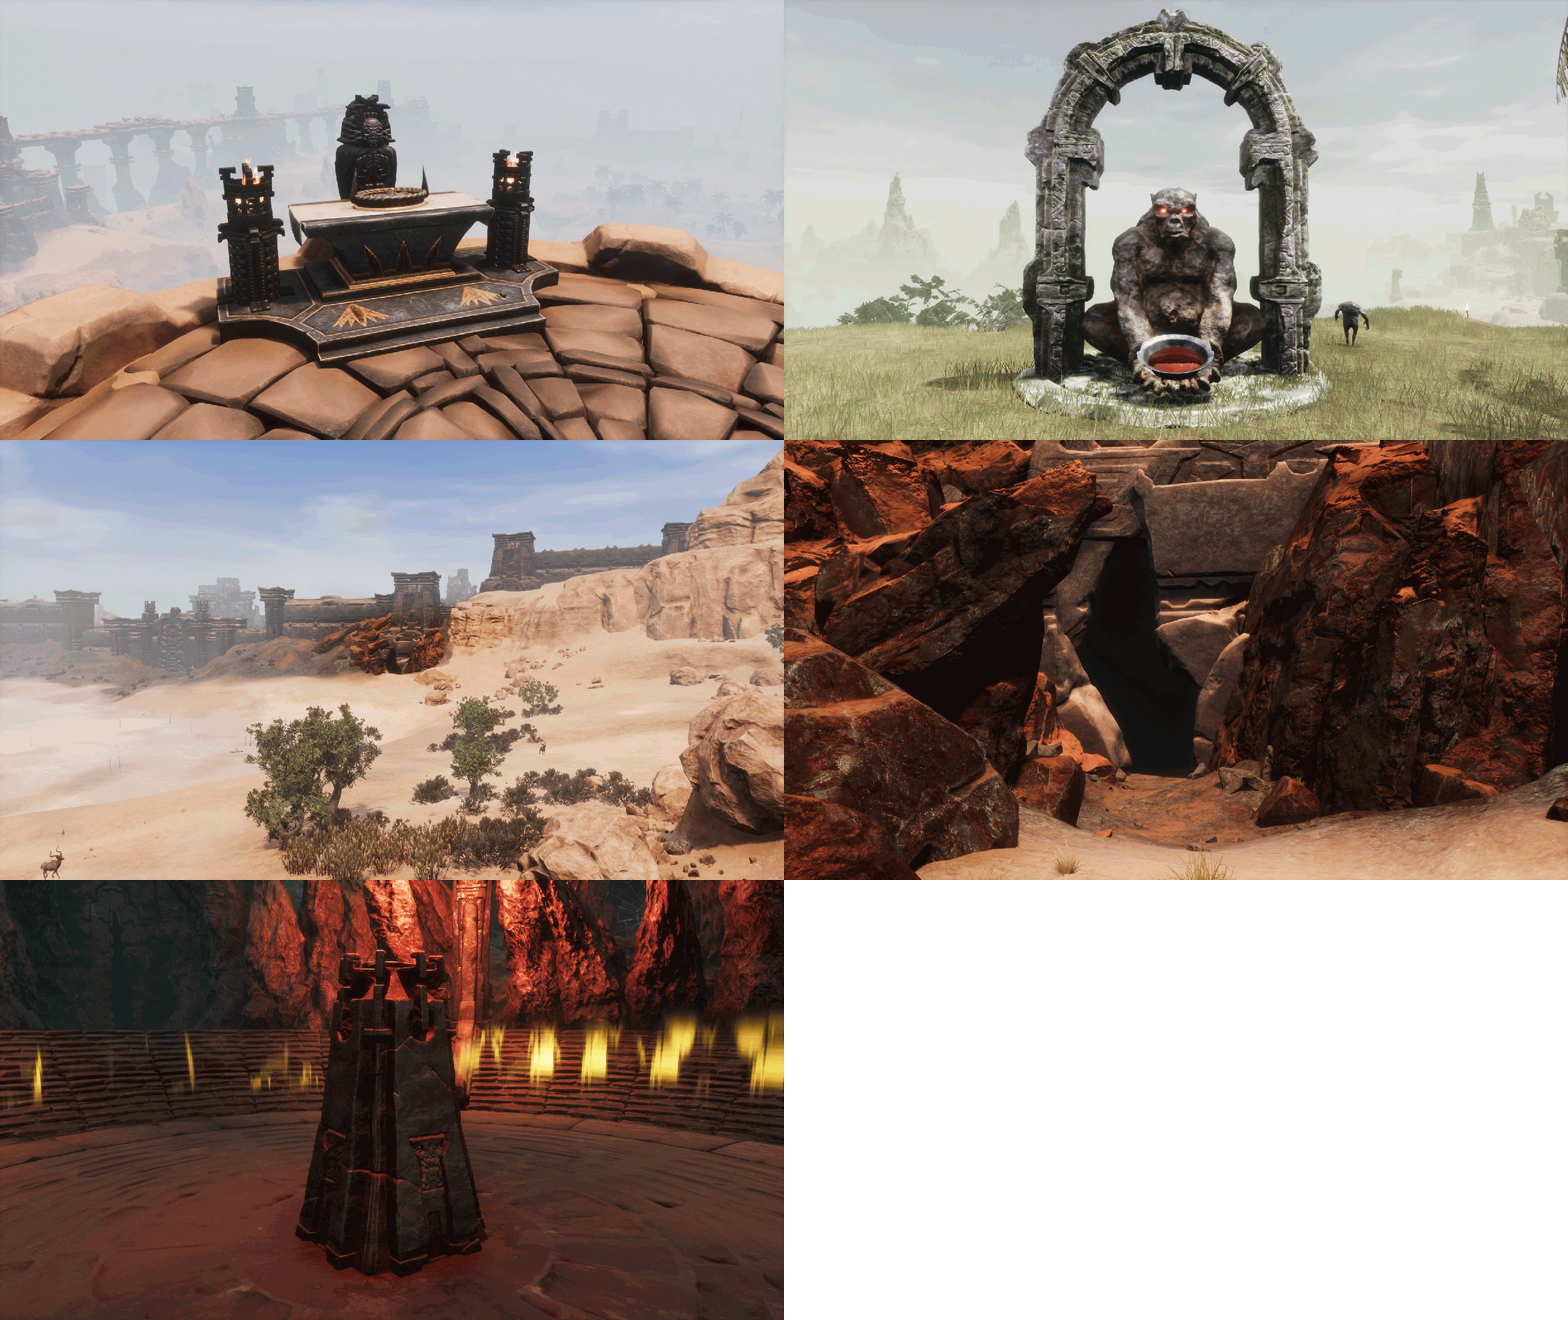 If you want to know exactly where the Conjuration Pillar is located, check the “🔽 INTRODUCTION 🔽” or “📍 Dungeons and areas III” sections of the guide. You’ll get several souls from Altar of Hanuman (if you want to know more about this, check the same sections of the guide) and others you’ll get by buying them from the Petrified Tree NPC (more info in “⭕️ NPCs I” section).
- Corrupted Kingscourge Soul
 You will get it: at the Altar of Hanuman, introducing the Keystone and the Tears of Two Races.
By killing him you unlock: the Condemned Arsenal.
Summons enemy: Kingscourge (19.800 health)
ñañaña
- Corrupted Witch Queen Soul
 You will get it: at the Altar of Hanuman, introducing the Keystone and the Mask of the Witch Queen.
By killing her you unlock: the Imperial Lemurian Arsenal.
Summons enemy: Witch Queen (19.800 health)
ñañaña
- Corrupted Priestking Soul
 You will get it: at the Altar of Hanuman, introducing the Keystone and the Diadem of the Giant-kings.
By killing him you unlock: the Varvaryan Arsenal.
Summons enemy: The King Beneath (19.800 health)
ñañaña
- United Soul
 You will get it: at the Altar of Hanuman, introducing the Corrupted Souls of the Kingscourge, the Witch Queen and the Priestking.
By killing him you unlock: from his corpse you’ll get the Heart of Oblivion, if you ingest it you’ll unlock the Oblivion Arsenal. In addition, it’s a Greater Bounty and you can use it to summon meteorites from the Oblivion mineral.
Summons enemy: Son of the Devourer (38.500 health)
ñañaññ
- Corrupted Champion Soul
 You will get it: buying it from the Petrified Tree, in exchange for 5 Mik Fruits.
By killing him you unlock: from his corpse you’ll get Bloodbreaker Crystal, which will serve as payment currency for the Petrified Tree, to buy the Bloodbreaker Armor.
Summons enemy: Ultra Champion (26.400 health)
ñañaña
- Corrupted Grey Elder Soul
 You will get it: buying it from the Petrified Tree, in exchange for 2 Mik Fruits and 300 Endgame Event Tokens.
By killing him you unlock: the Auras, since he’ll drop the Aura Knowledge recipe.
Summons enemy: Grey Elder (13.200 health)
ñañaña
Events
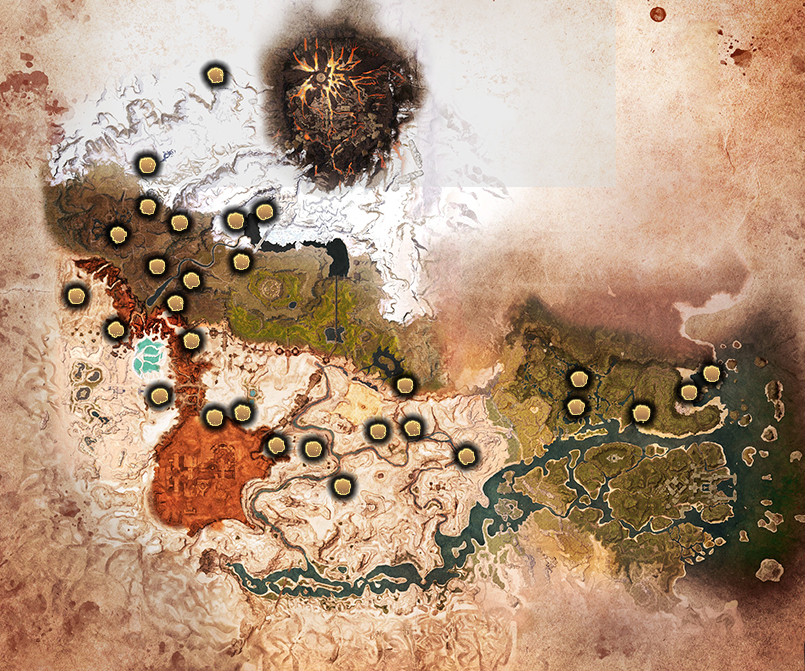
 There are many event spawn points scattered throughout the Exiled Lands. When these start, you will find out by this message on the right side of the screen and because a colored icon will appear on the map.
Every half hour one of these points will be activated randomly. In turn, one of the events on the list will be triggered randomly. This results in a different event appearing in a different location on the map every 30 minutes.
You can get an idea of the difficulty of the event based on its level (I, II, o III).
I recommend not trying it until you’re at least level 100.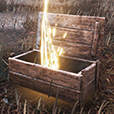
Event completed: after successfully completing an Event, a wooden box will appear (emitting a vertical halo of golden threads) for you to interact with and collect your reward. It’ll contain some of these items: Endgame Event Tokens, Handheld Ymir Totems, Heart of a Hero, Fragment of Power and Armor Scraps.
Failed Event: if you fail to complete the Event before the countdown ends, the Event will disappear and you won’t get any rewards. The countdown minutes will vary depending on the Event, but will be between 10 and 20 minutes.
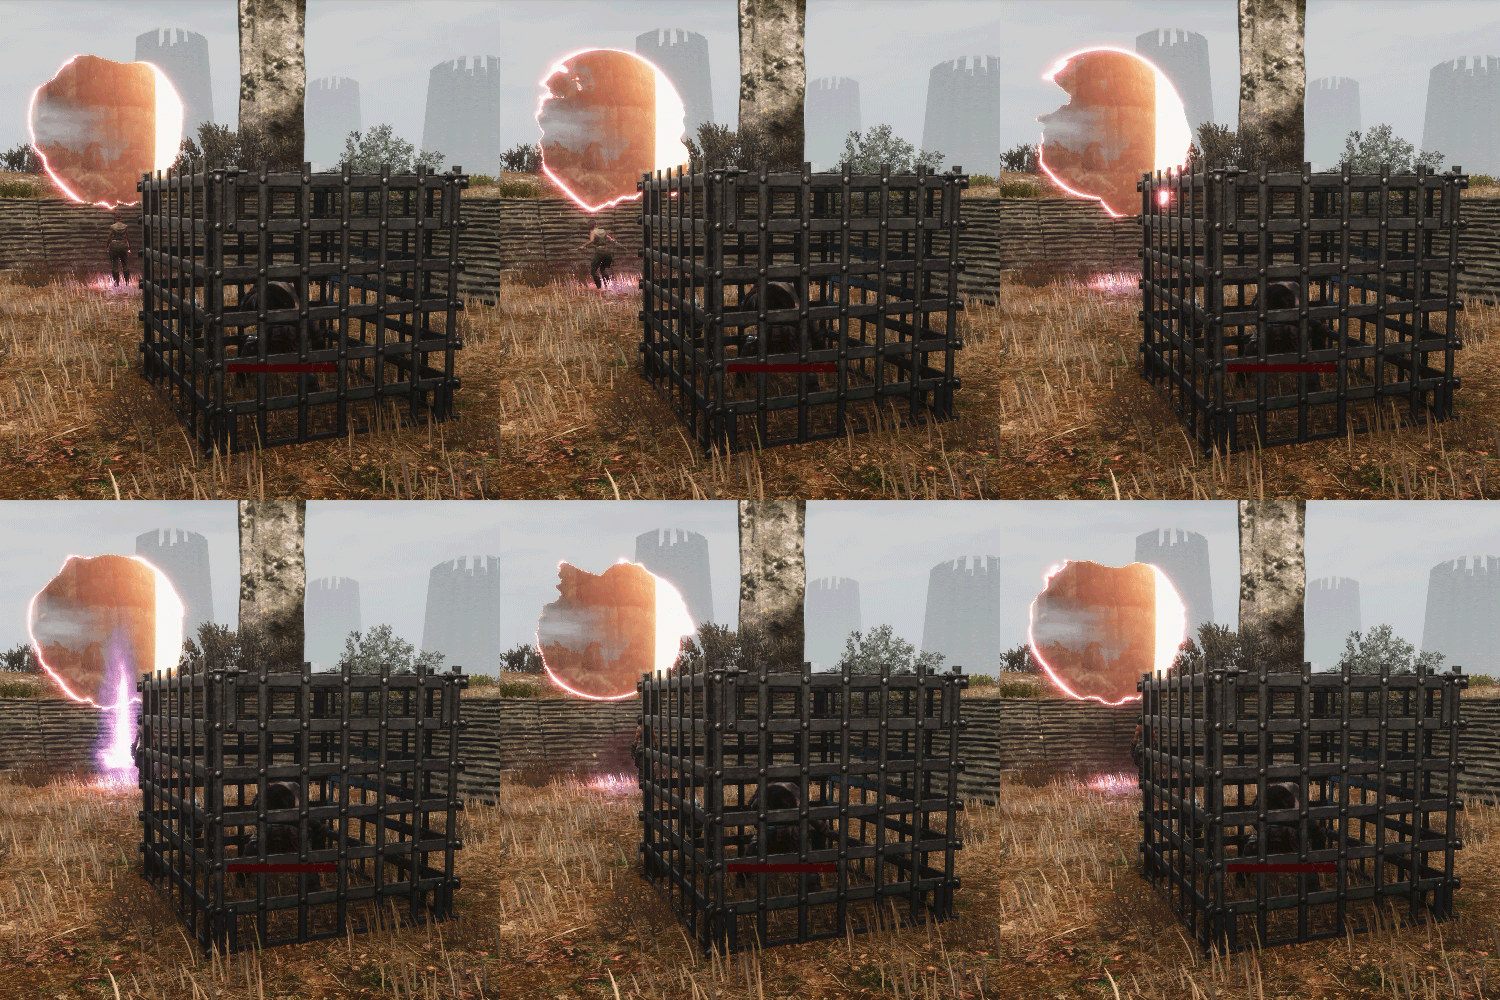 List of events that can be generated:
- Free the pets
10 minutesYou must destroy the cage containing the creature while several humans defend it.
Upon successful completion, you’ll receive a pet of the creature you freed.· Free the Aardwolf I
· Free the Pelican I
· Free the Thunn’Ha I
· Free the TchoTcho I
· Free the Lynx I
· Free the Yakith II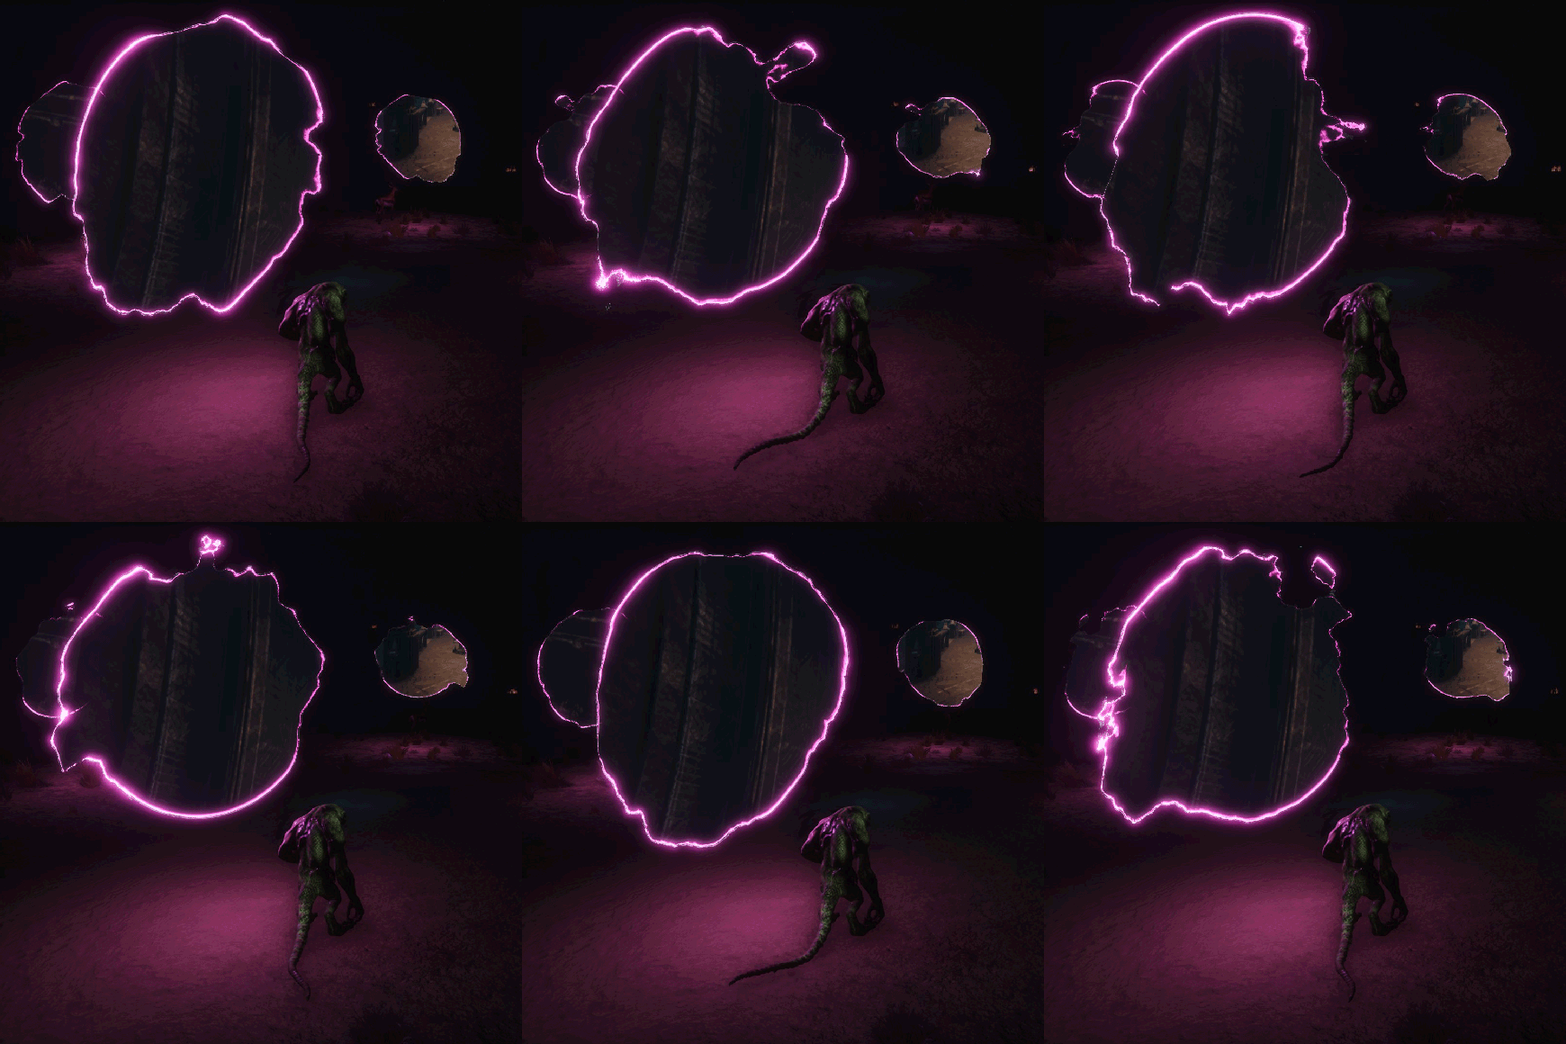
- Avoid invasions
20 minutesFour portals will appear from which several enemies will emerge and finally a boss with three skulls.
· Goblinoid Invasion II
Several Goblinoids with 1.466 health and an Extant Goblinoid Champion boss with 8.843 health.
· Demon Spider Invasion II
Several Demon-spiders with 761 and 2.345 health and a Malevolent Demon-spider boss with 14.328 health.
· Serpentmen Invasion II
Several Degenerate Serpent-men with 761 and 2.345 health and a Degenerate
Serpent-man Champion boss with 14.328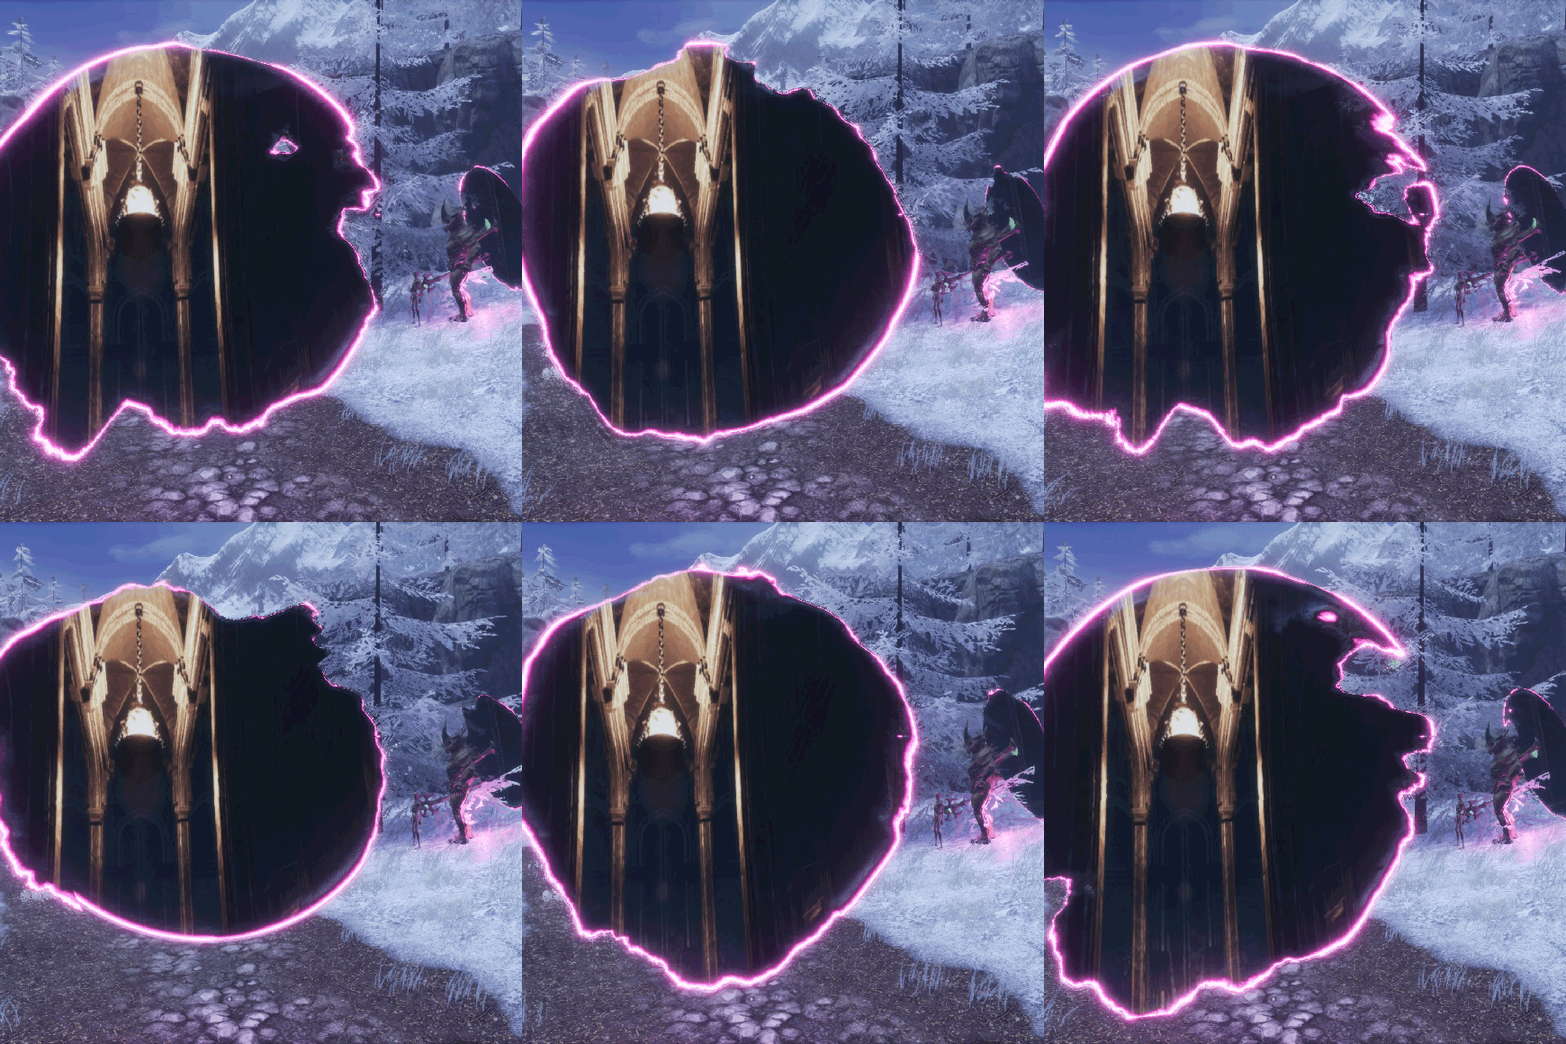 health.
· Fiend Invasion II
Several Degenerate Finds with 588 and 3.671 health and a Champion Fiend boss with 17.017 health.
· Demon Bat Invasion II
Several Demon-bats with 2.545 health and a Champion Demon-bat boss with 15.583 health.
· Jhil-Brood Invasion II
Several Jhil-brood with 2.123 and 2.345 health and a Champion Jhil-brood boss with 14.328 health.
· Werewolf Invasion II
Several Degenerate Howler with 2.153 health and a Degenerate Howler Champion boss with 13.126 health.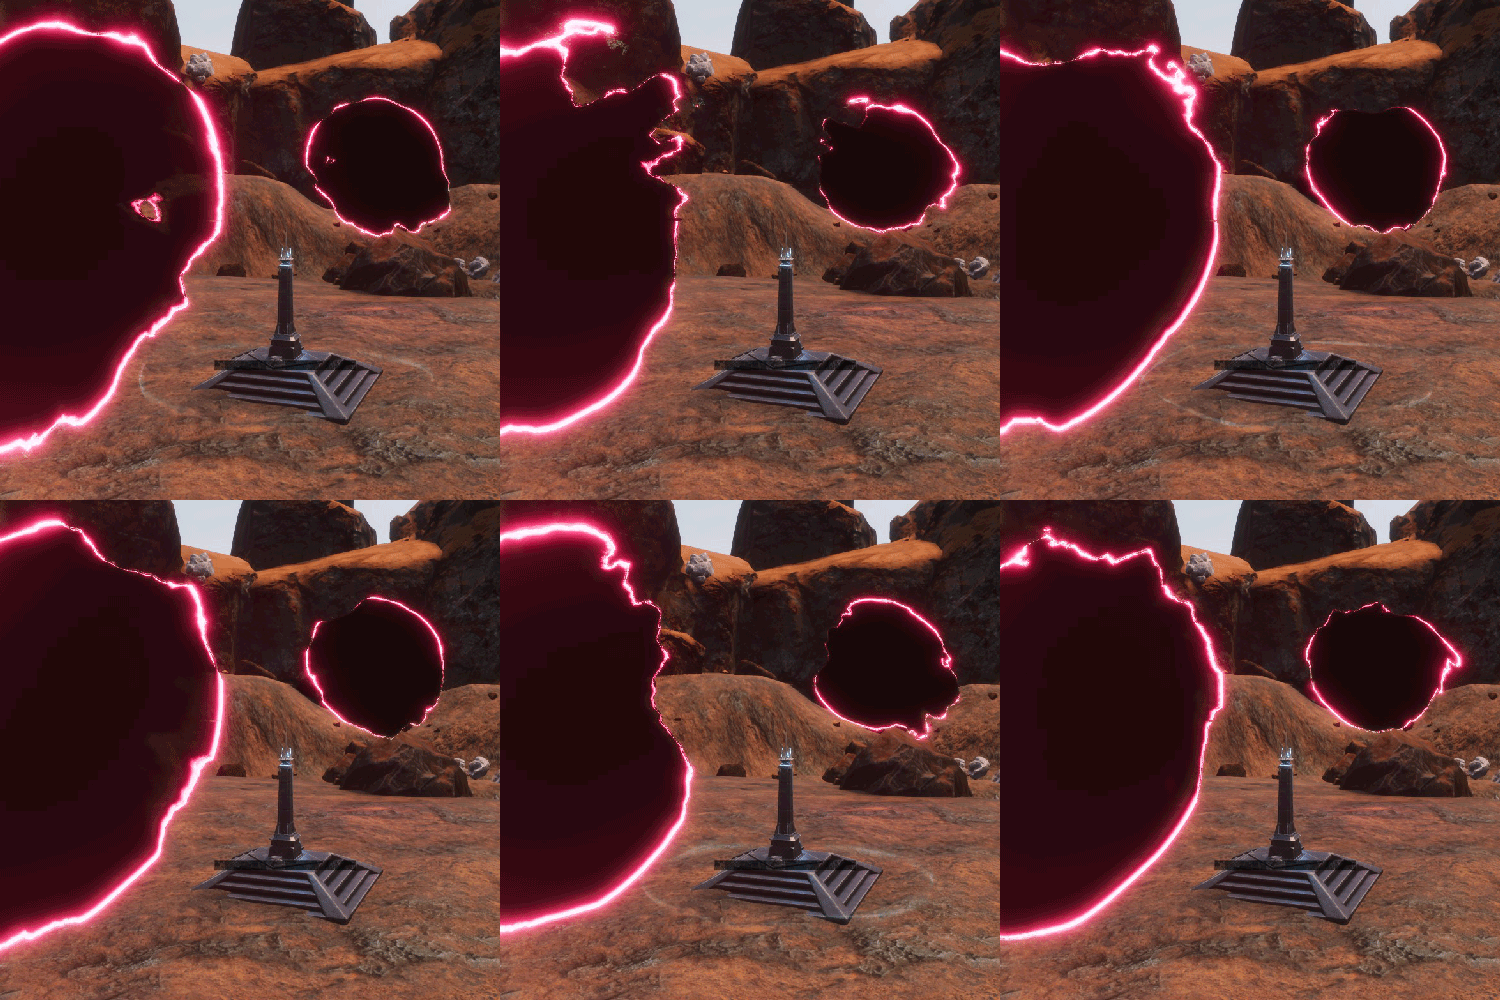
- Conquer the territory
15 and 20 minutesTwo portals will open and a small obelisk will appear with a blue luminous circle around it. You must stay within said circle so that its conquest bar increases while several enemies will try to prevent you from doing so. At the end, a boss will appear. Until you activate the obelisk (clicking it) the event won’t begin.
· March of the Council III
Several members of the Council of Wolves with 900 and 1.800 health and a Council Chieftain boss with 10.500 health.
· The Shattered Foes III
Several Hive Flies with 300 health, Shattered Cultists with 875 health and a Hive Construct boss with 43.000 health.
· Meruvian Grounds III
Several Meruvians with 900 health and an Afflicted Being boss with 9.500 health.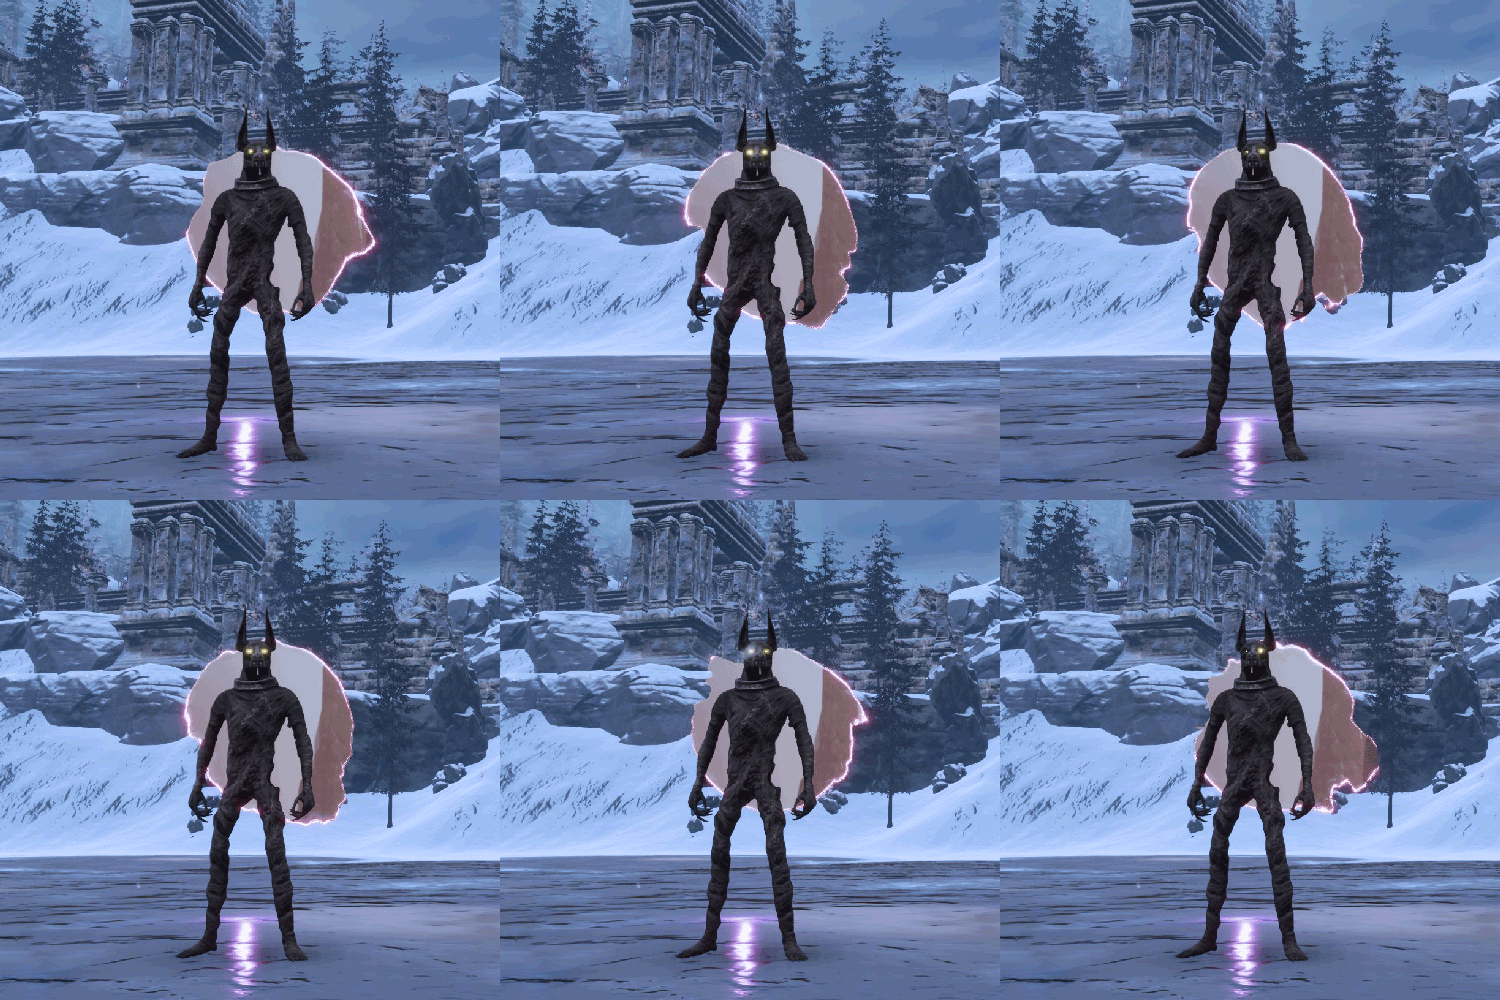
- Defeat magical monsters
15 minutesYou must kill the boss, he’ll be alone with no more enemies around him.
· Lufk Spawn III
· Locust Nightmare Spawn III
· Awakened Giant Spawn III
· Lurker Spawn III
· Crystal Rocknose Spawn III
· Razor Hellcat Spawn IIIAll of them will give you Bounties, for more information about them check the “🐲 Bounties” sections of the guide.
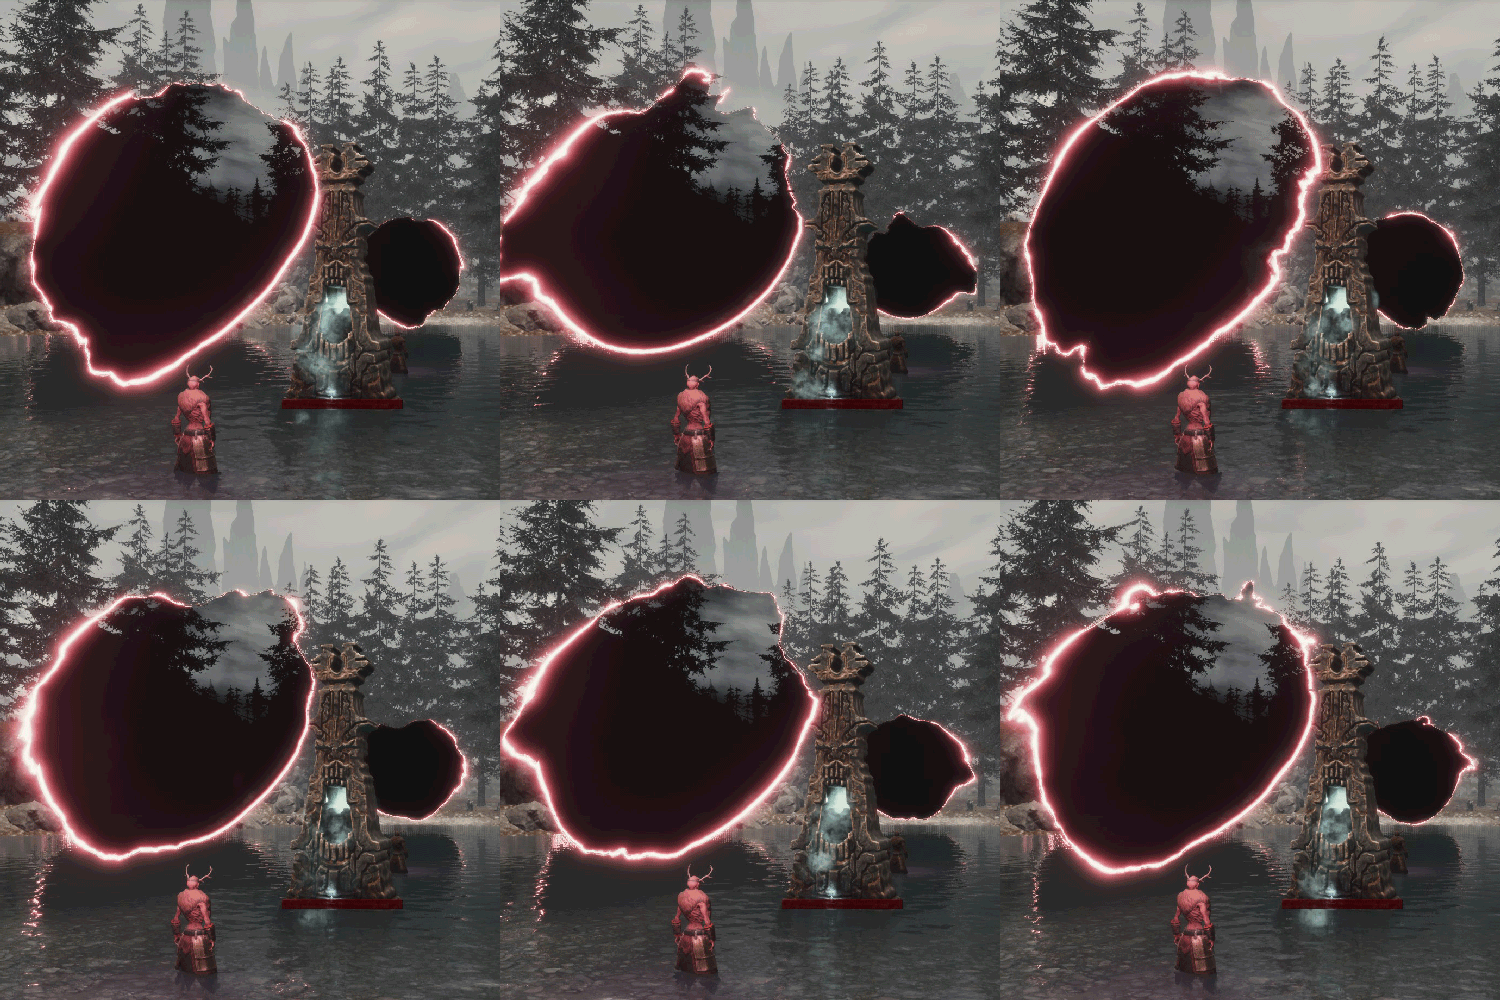
- Others
20 minutes· Summoning of the Decayed II
Destroy the cyan mist totem while some enemies (Decayed with 600 health) defend it. Once you’ve destroyed it, you will have to kill the Kingscourge boss with 2.056 health.
No matter how much Kingscourge is, he won’t drop the Tears of Two Races artifact.
· The Grey Elder III
Destroy the pink mist totem while some enemies (Grey Ones with 978 health) defend it. Once you’ve destroyed it, you will have to kill the Grey Elder boss with 13.200 health.
Killing this boss will unlock the use of EEWA Auras (more info in the “🌀 Auras” section).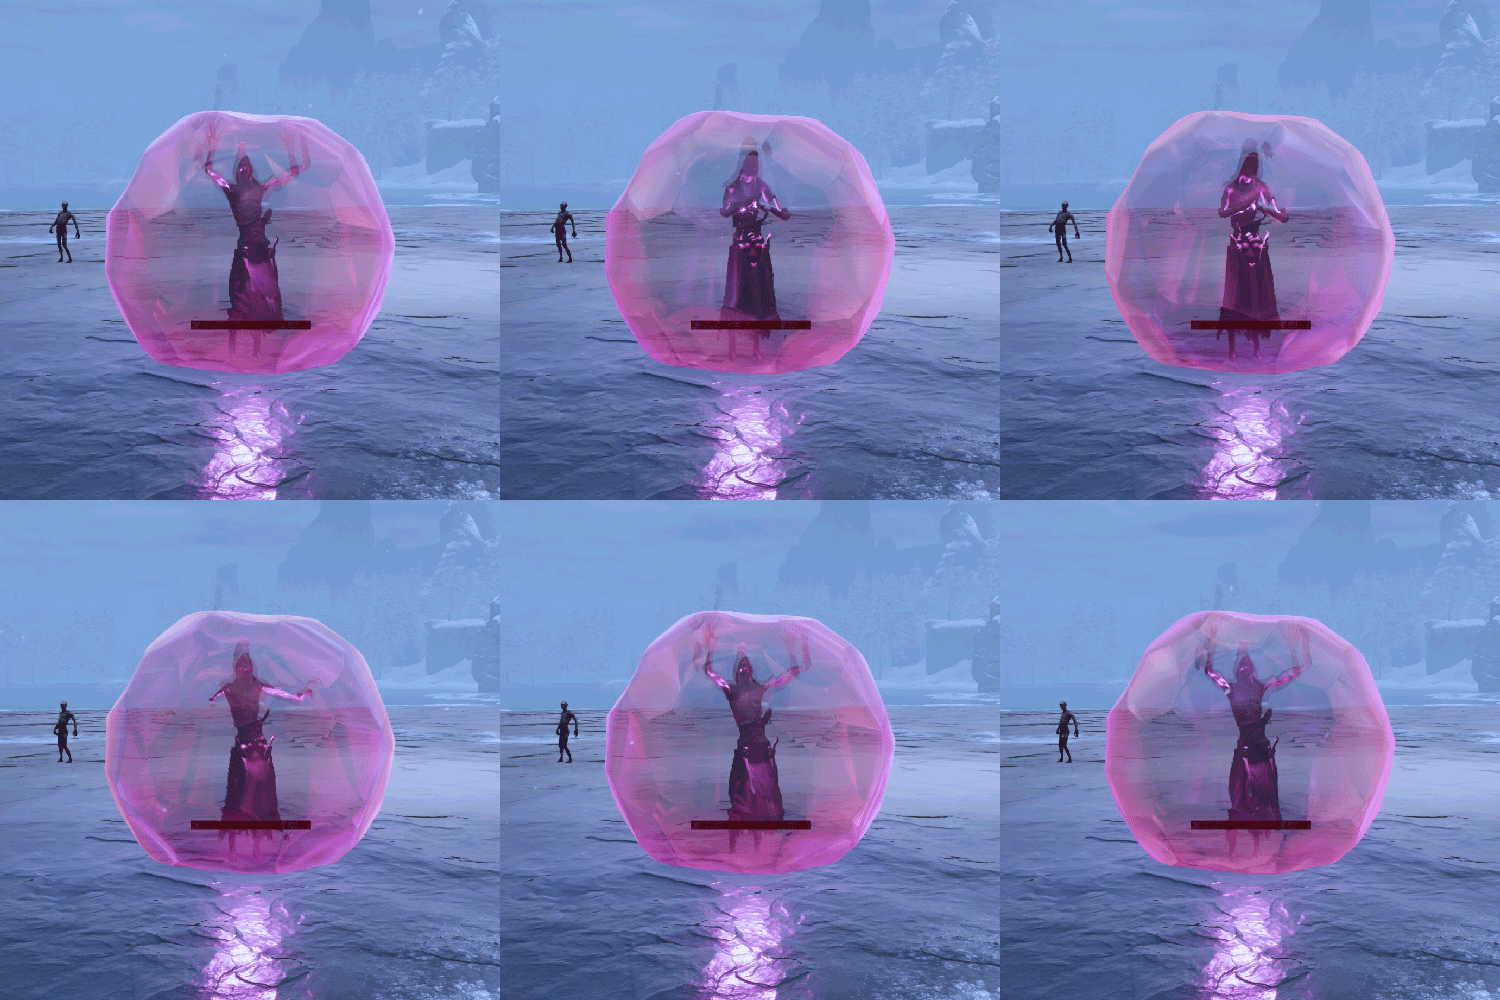 · Ild Mating Ritual III
Destroy the orange mist totem while some enemies (Ild boar with 2.800 health) defend it. Once you’ve destroyed it, you will have to kill the Un-Ild boar boss with 11.200 health.
From them you can get the Lesser Bounty Molten Shards (more info in the “🦁 Lesser Bounties III” section).
· Necromancy Ritual III
Destroy the shield protecting the boss while some enemies (Knight Monstrosities with 550 health) defend him. Once you’ve destroyed it, you will have to kill The Necromonger boss with 13.200 health.
· Ghoul Feeding III
There will be three rhino carcasses that you must destroy so that the Ghouls (with 850 health) around do not feed on them, since doing so will restore life. There will be no final boss.
Skelos Shard Challenges
 You can find three small altars distributed throughout the Exiled Lands.
Activate them (interacting with them), kill all enemies and receive Shard of Skelos as a reward. Once you have the level necessary to take on these enemies, this will be your main source of obtaining Shard of Skelos.
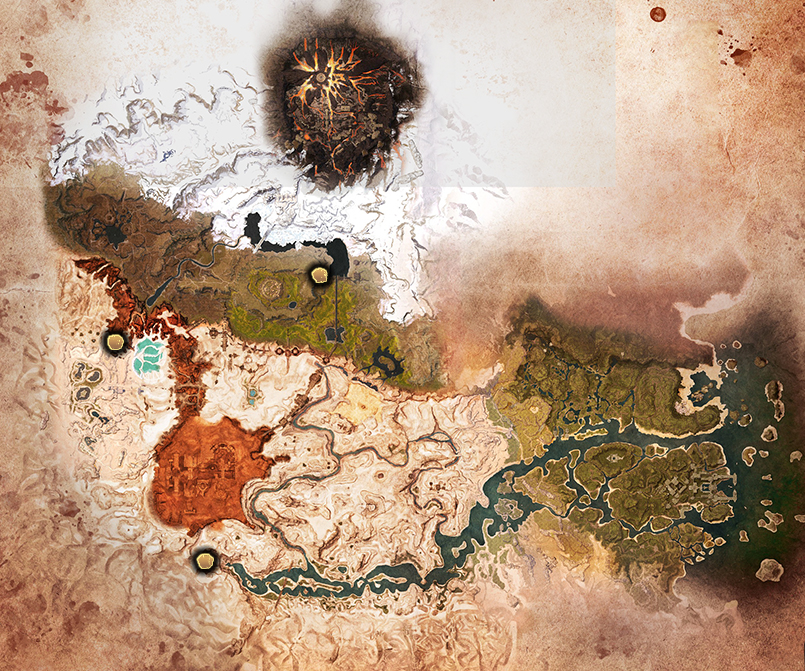
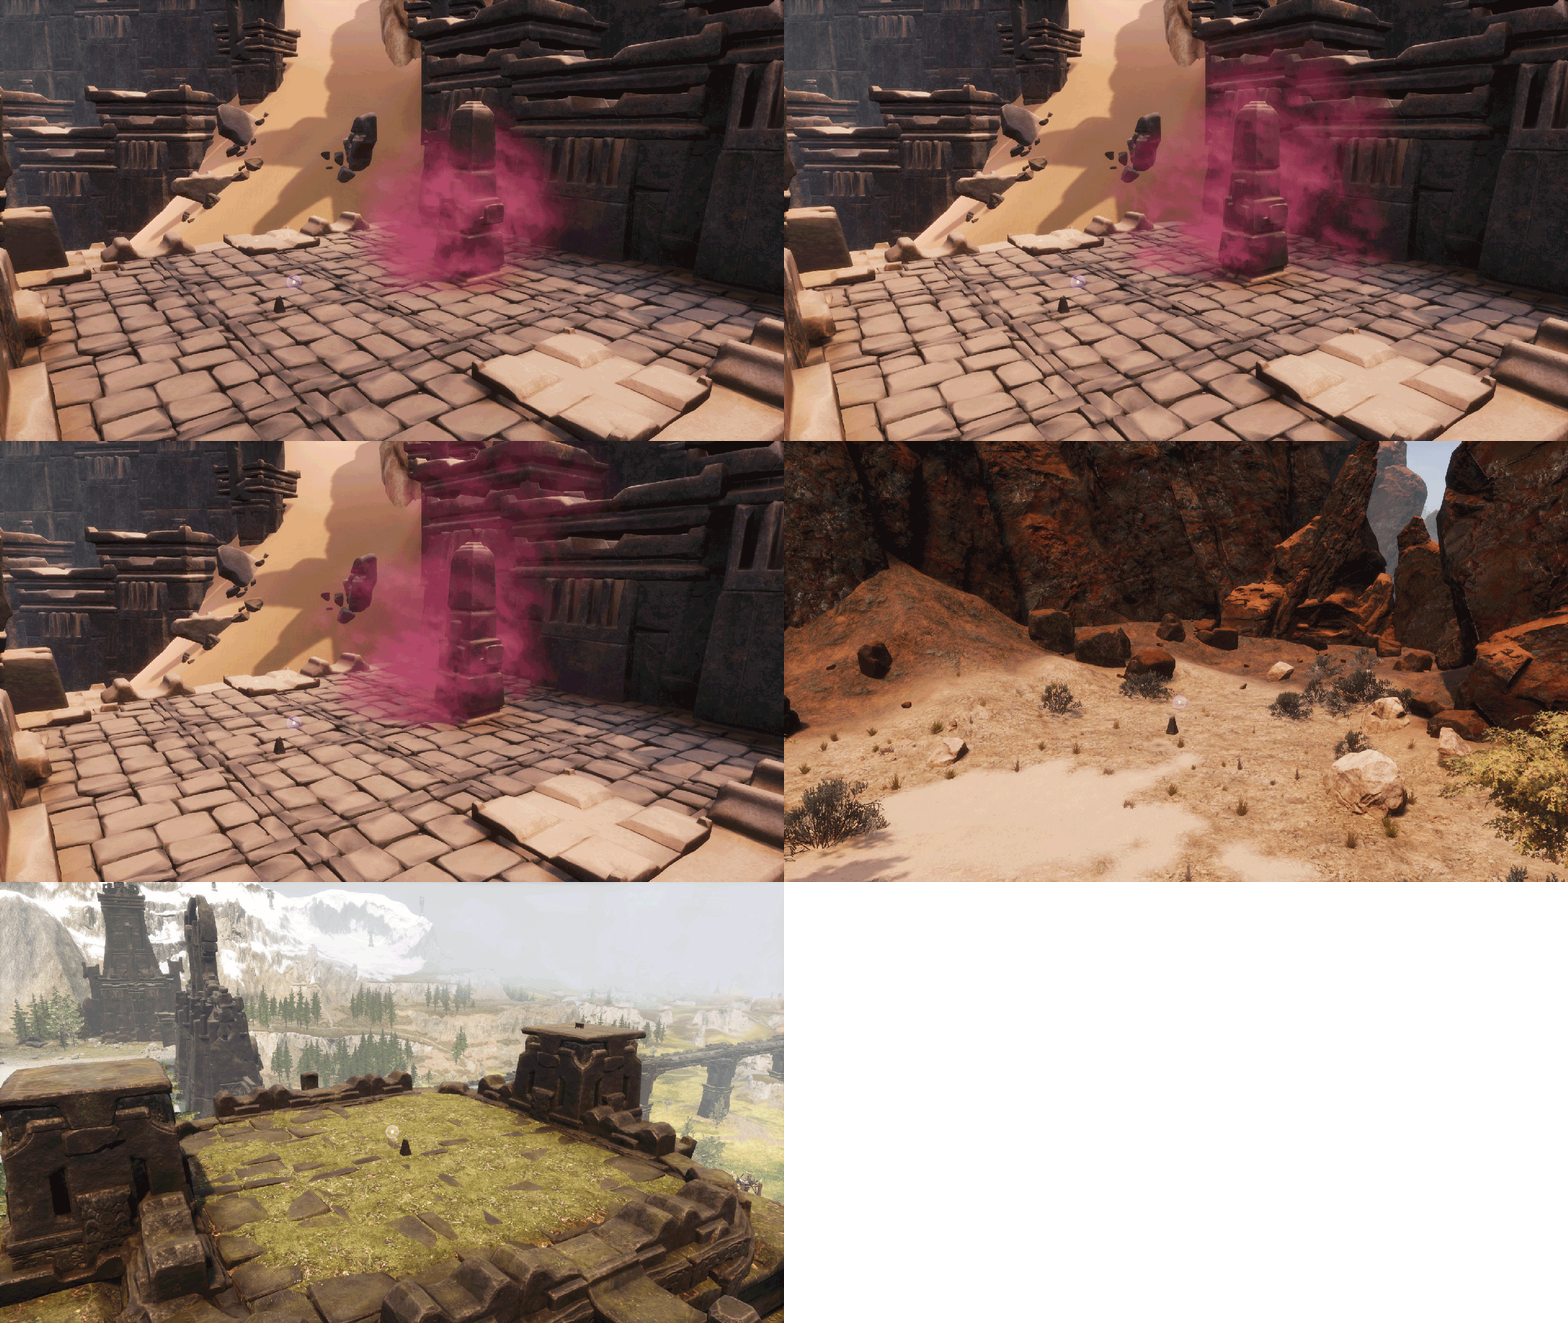 In this gif you can see the locations of the three points where you can activate the Skelos Shard Challenges, in order:
· The Dregs: not recommended at all, it has the obelisk taking up space and emanating corruption next to it, so you lose a lot of area to fight.
· Westwatch Keep: there will be a Tiger nearby that can bother you, plus it has no natural barriers that will help you not leave the fighting area.
· The Great Dam: Highly recommended, it’s in a high place where no other enemy will bother you and the Acheronian construction will prevent you from leaving the fighting area.
Go to one of these small altars and interact with it. If there is a glowing orb on it, the Skelos Shard Challenge will begin; if there isn’t, it means that you or another player has recently activated it and you will have to wait until the cooldown passes.
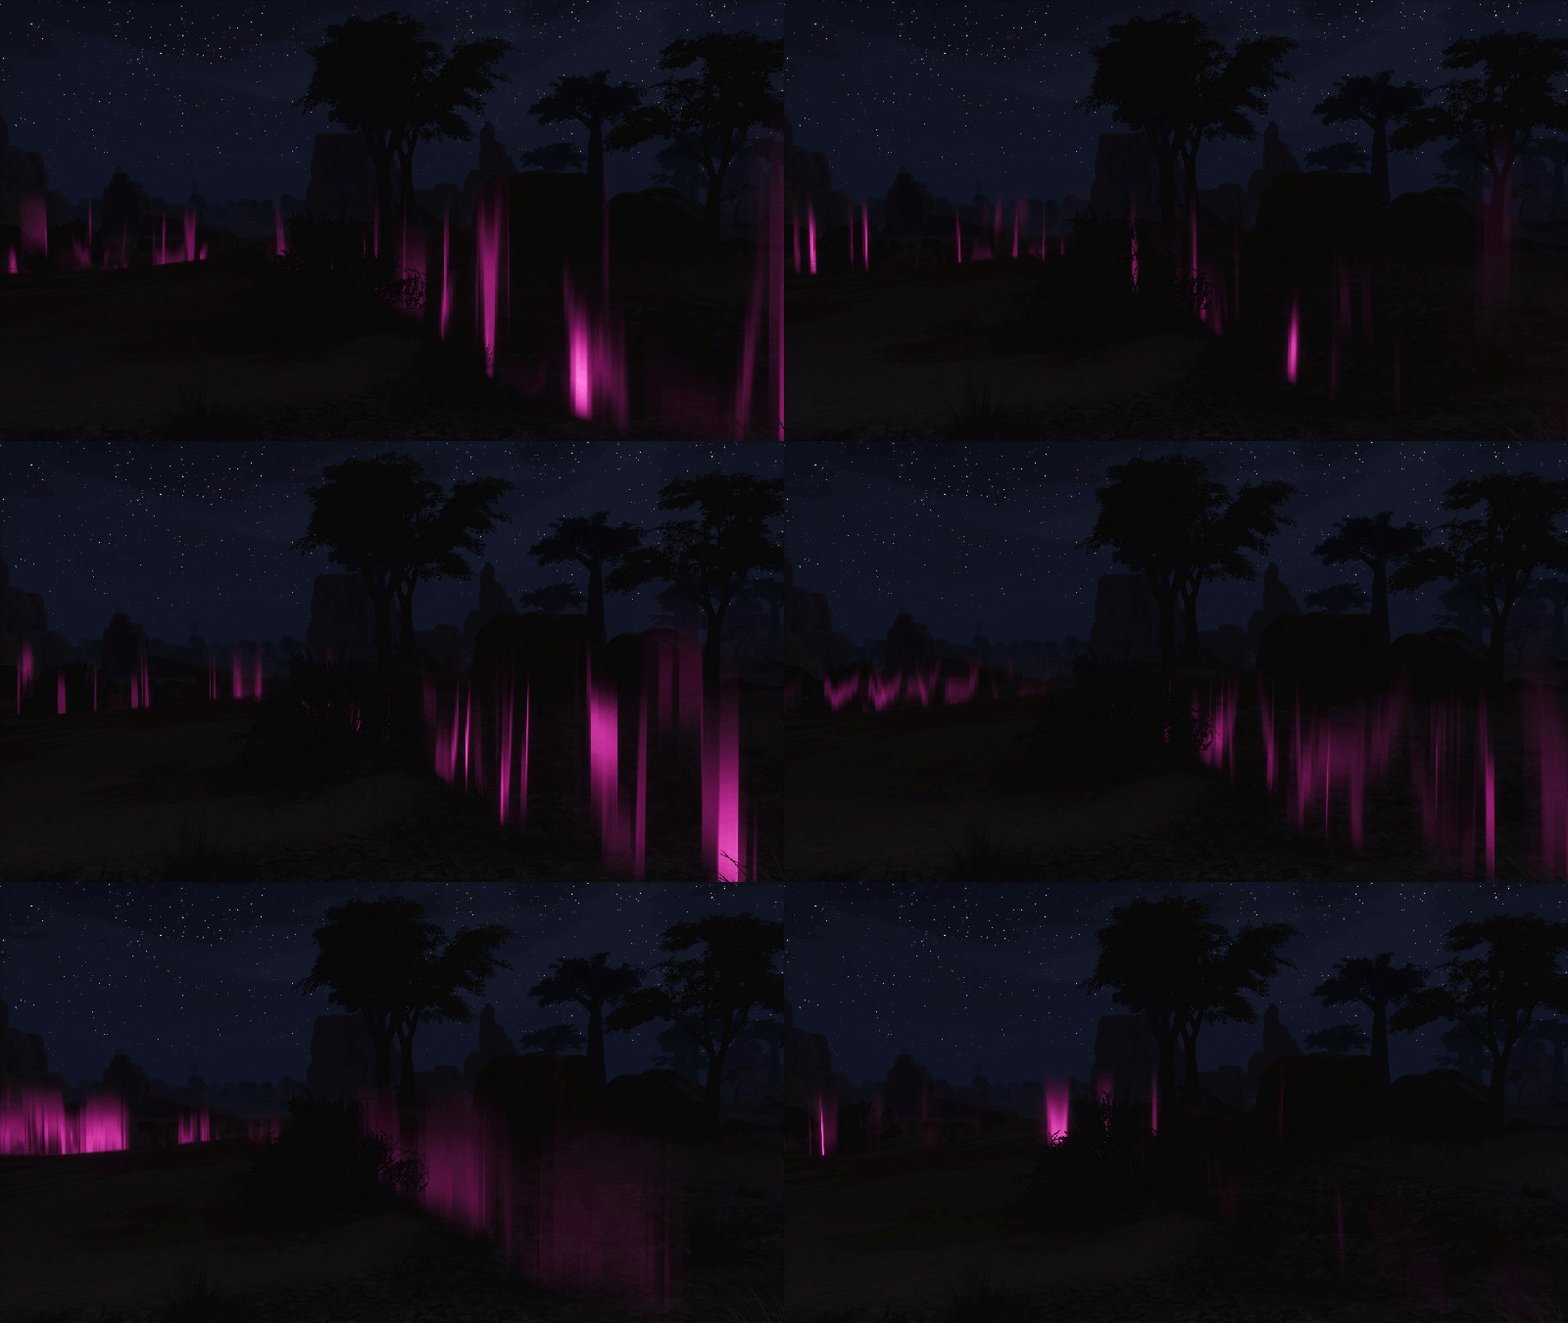 Activating it will raise a barrier of purple light around it, surrounding the fighting area. Skelos Seekers (ghostly serpentmen, 2.400 health) will also appear that you will have to face, 20 in total. These enemies will appear little by little and no more than three will accumulate at the same time. Every time you kill one of them, a message will appear on the right of the screen informing you how many you’ve left to kill.
They’ll attack you in melee, applying the Sundered status (reduces your Armor). The strength of these enemies is their armor, so you’ll want to go with weapons that do high armor-penetrating damage or do some sort of elemental damage, as this damage ignores armor.
 When you kill them all you will have obtained a total of 180.000 exp and you will have the reward in your inventory:
between 10 and 13 Shard of Skelos.
The challenge will be lost if you die or if you cross the light barrier.
After 10 minutes have passed since you started the Skelos Shard Challenge, the barrier and the glowing orb on the altar will disappear. This isn’t important since the challenge will still be active, but it’ll be more difficult for you to see the edge of the fighting area (since you won’t see the barriers)… that is why the best place to do the Skelos Shard Challenges is in the point near The Great Dam.
🟣 Corrupt Portals
 There are several portals distributed around the map that you can activate with the Orb of Corruption item (keep it in your Inventory and interact on the portal to E). Doing so will open a fissure that will remain open for five and a half minutes through which about thirteen enemies in total will emerge, little by little.
When time ends, any enemies you haven’t killed will fade into a purple mist. You won’t be able to cross through the fissure.
You’ll get the Orbs of Corruption by killing the EEWA bosses, but you won’t be able to craft them.
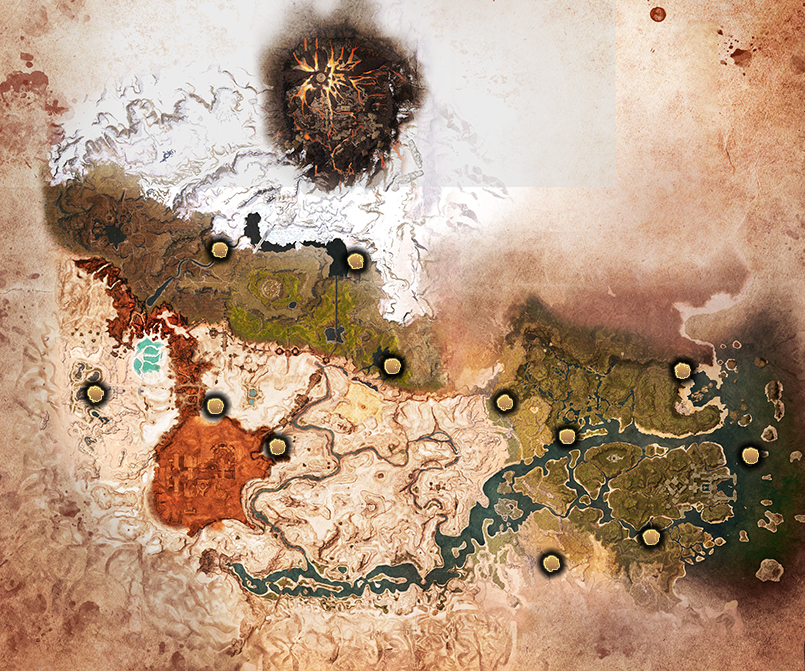 If you discover more Corrupt Portals, please tell me in the comments 🙂
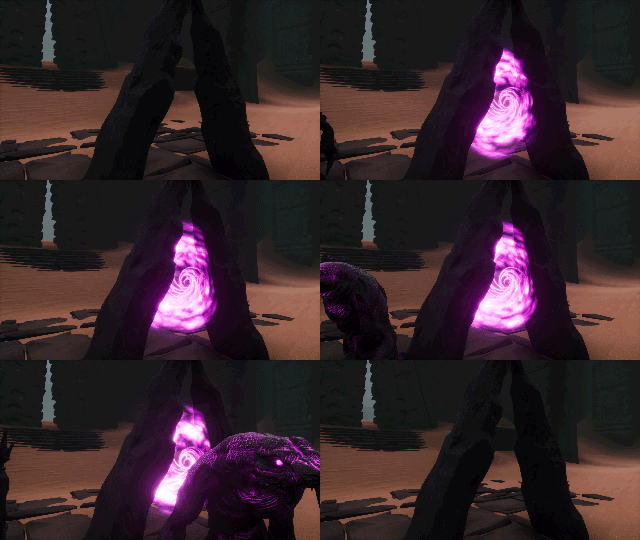 Enemies will appear randomly among these five: Corrupted Beast King (elite serpentmen) with 28.656 health, Corrupted Beast (serpentmen) with 4.690 health, Corrupted Form with 3.164 health, Corrupted Yakith (animals) with 1.582 health and Corrupted Undead with 1.146 health.
The serpentmen and animals have attacks with which they’ll be throwing you to the ground all the time, and between all of them they’ll put you in the status of Crippled (reduces your movement speed), Corrupted (reduces your maximum Healh), Sundered (reduces your Armor) and Poisoned (2 damage every second).
 In their loot you can find Corrupted Keystone Shards, Acheronian Sigil Key or Exhausting potion of Purification. For each round they may not drop a single shard, or they may drop one or two.
Once you’re level enough, Corrupted Portals will be the quickest way to get the Keystone. With three of these corrupted shards you can create a Keystone at the Chaosmouth Altar. The Keystone will be used to create Corrupted Souls with which you will summon bosses, and these will unlock several EEWA weapons.
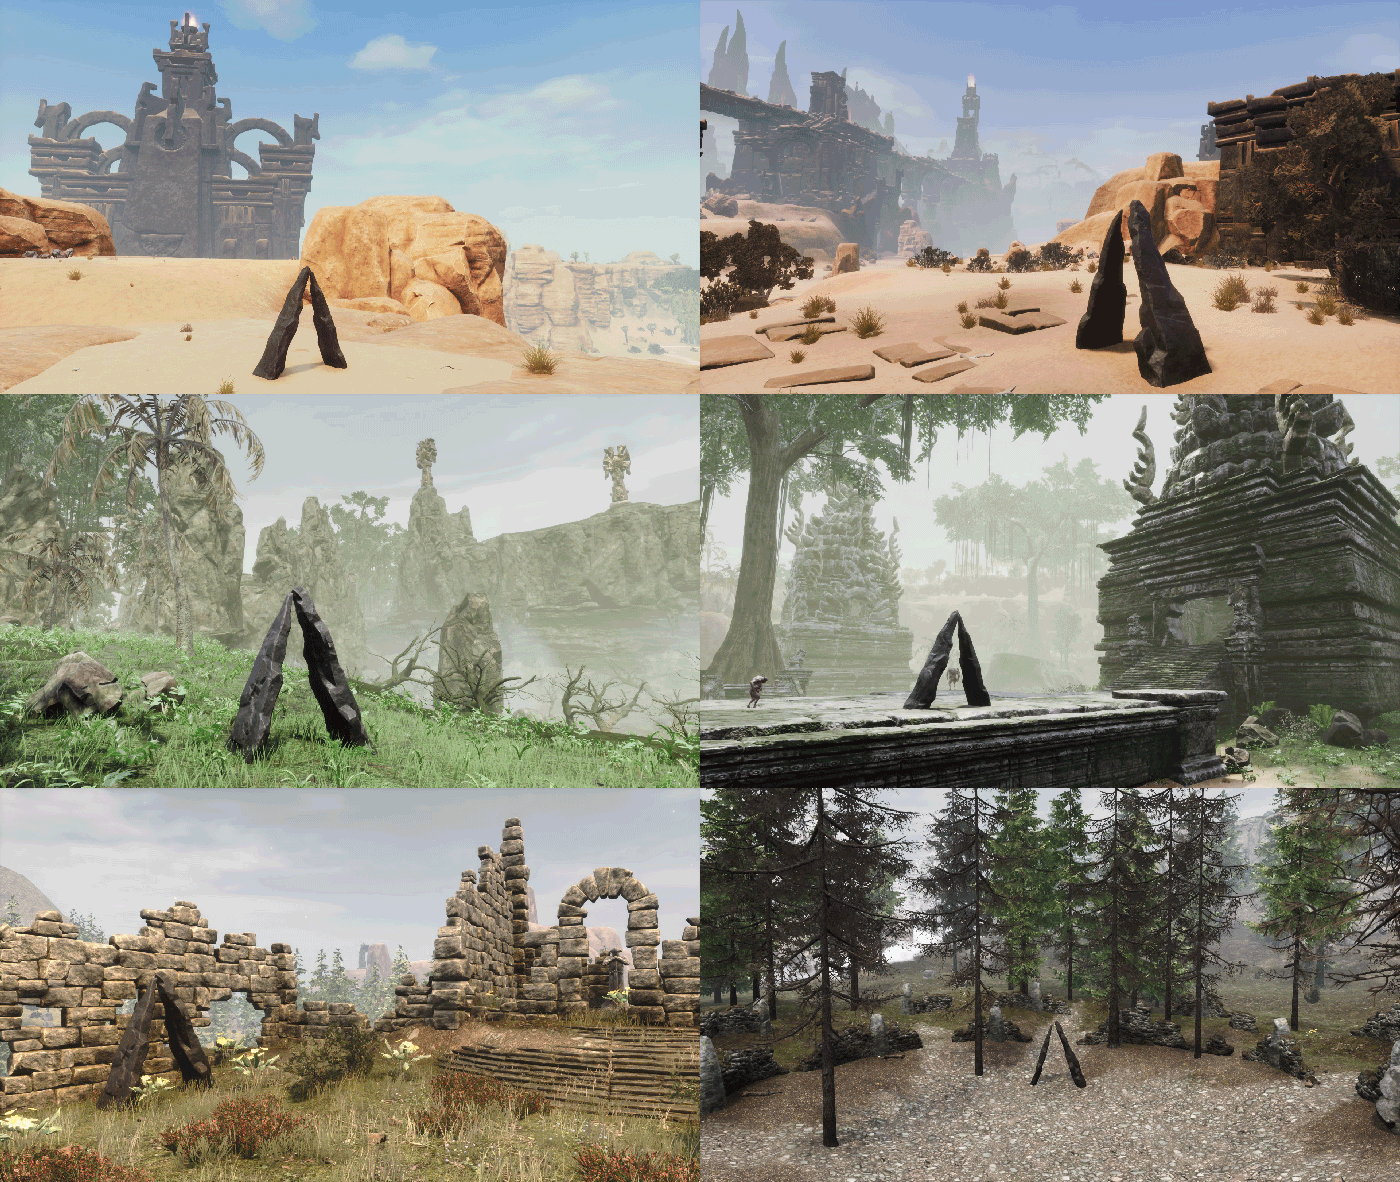 If you want more information on how and why to create the Keystone, check the “🔽 INTRODUCTION 🔽” section of the guide.
I recommend that you use the Sandwept Ruins Waypoint to go to the Corrupted Portal there, since to get there you’ll only have to kill a couple of Sandbeast, there will be no enemies around the portal and you’ll be protected from Sandstorms.
📦 Outpost
· Kill all the enemies in the area (there are usually between five and six).
· Interact with the altar to E.
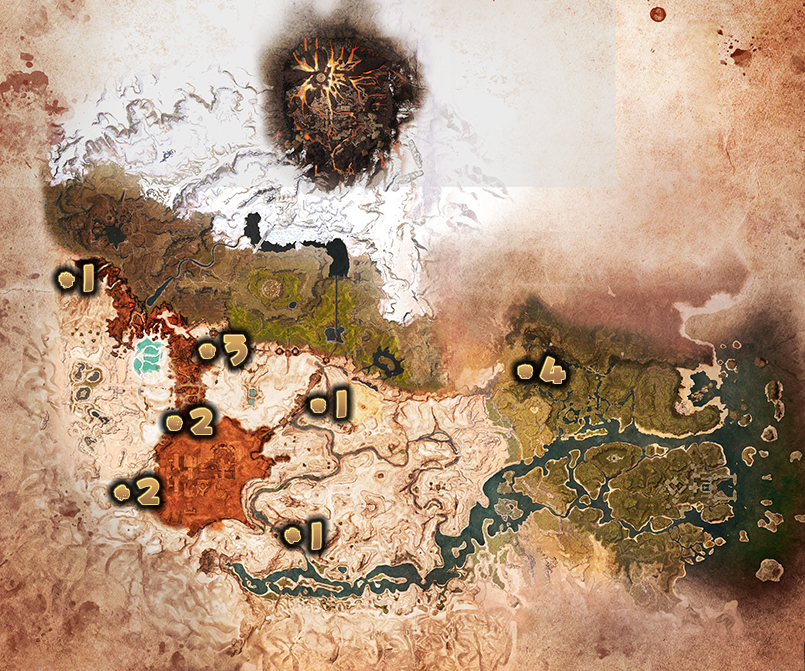 Map legend:
1. Darfari Outposts.
2. Relic Hunter Outposts.
3. Dogs of the Desert Outpost.
4. Black Hand Outpost.
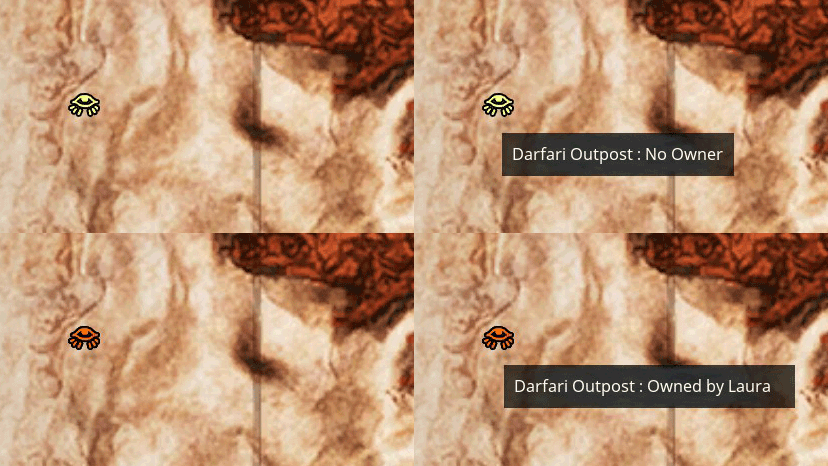 After conquering one of the Outposts, it’ll remain your “property” for four hours. During this time they’ll send you a Caravan Package every hour, so you will get a total of four packages for each Outpost conquered. The content of these packages will vary depending on which faction sends them to you, but they will always contain Spoils of Conquest.
After this time, the Outpost will no longer be your property, so it’ll stop sending you packages and you’ll be able to conquer it again. Additionally, when an hour has passed since you conquered it, other players will be able to take over your Outpost, taking it from you.
You can have several Outposts conquered at the same time, even all of them.
 To claim the packages they send you, go to your Inventory and click on this package icon which is to the left of your action bar. The number that appears next to it indicates the number of packages you have to claim, if no number appears, it means that none have been sent to you yet.
These are the Outposts of each faction and their Caravan Packages:
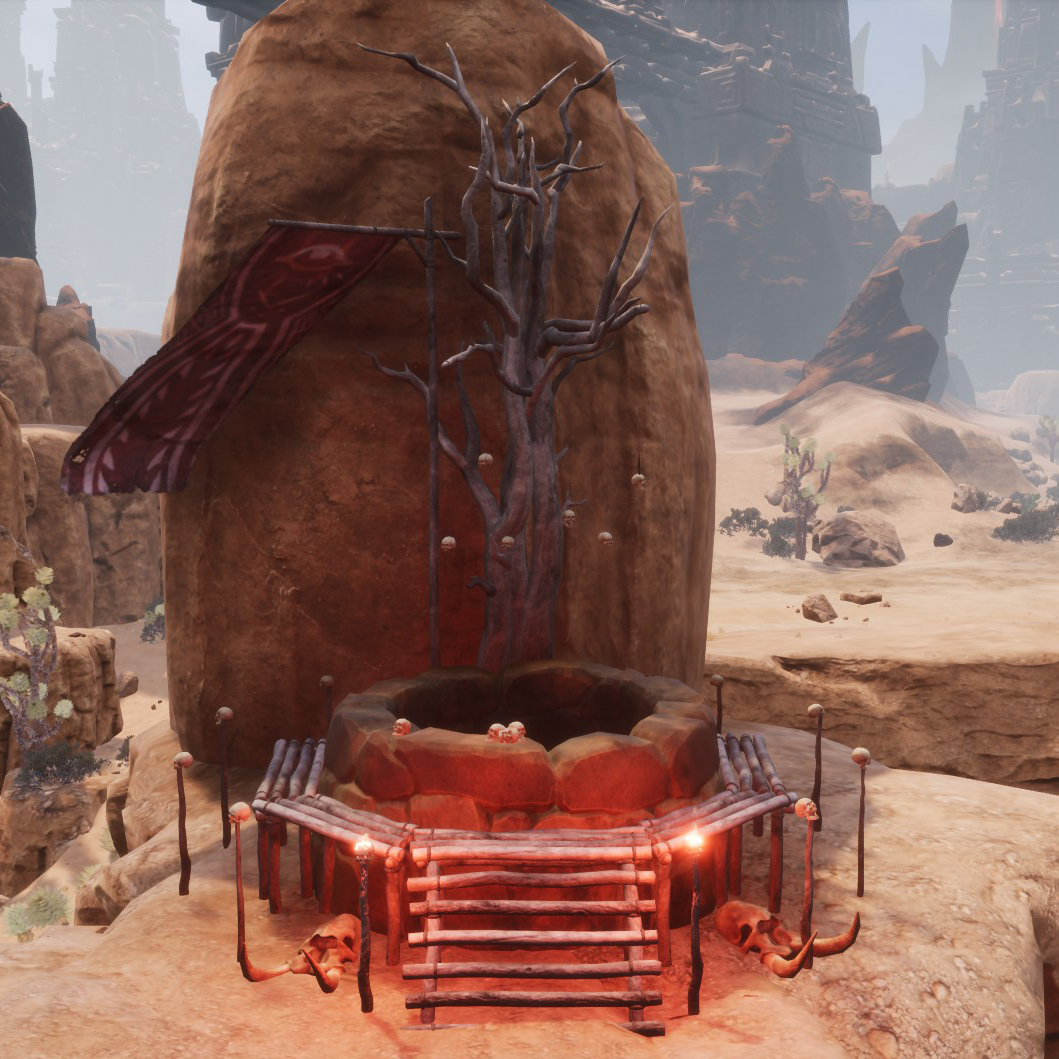
- Darfari Outposts
There is an Outpost southwest of the Mounds of the Dead (first image), another between The Southern Aqueduct and the savannah (second image) and another following the Shattered Bridge to the north (third image).
It’ll be defended by four to five elite cannibal fighters and archers (960 health) and a High Priest (4.500 health).
When you’ve killed them all, approach Yog’s altar and interact with it.
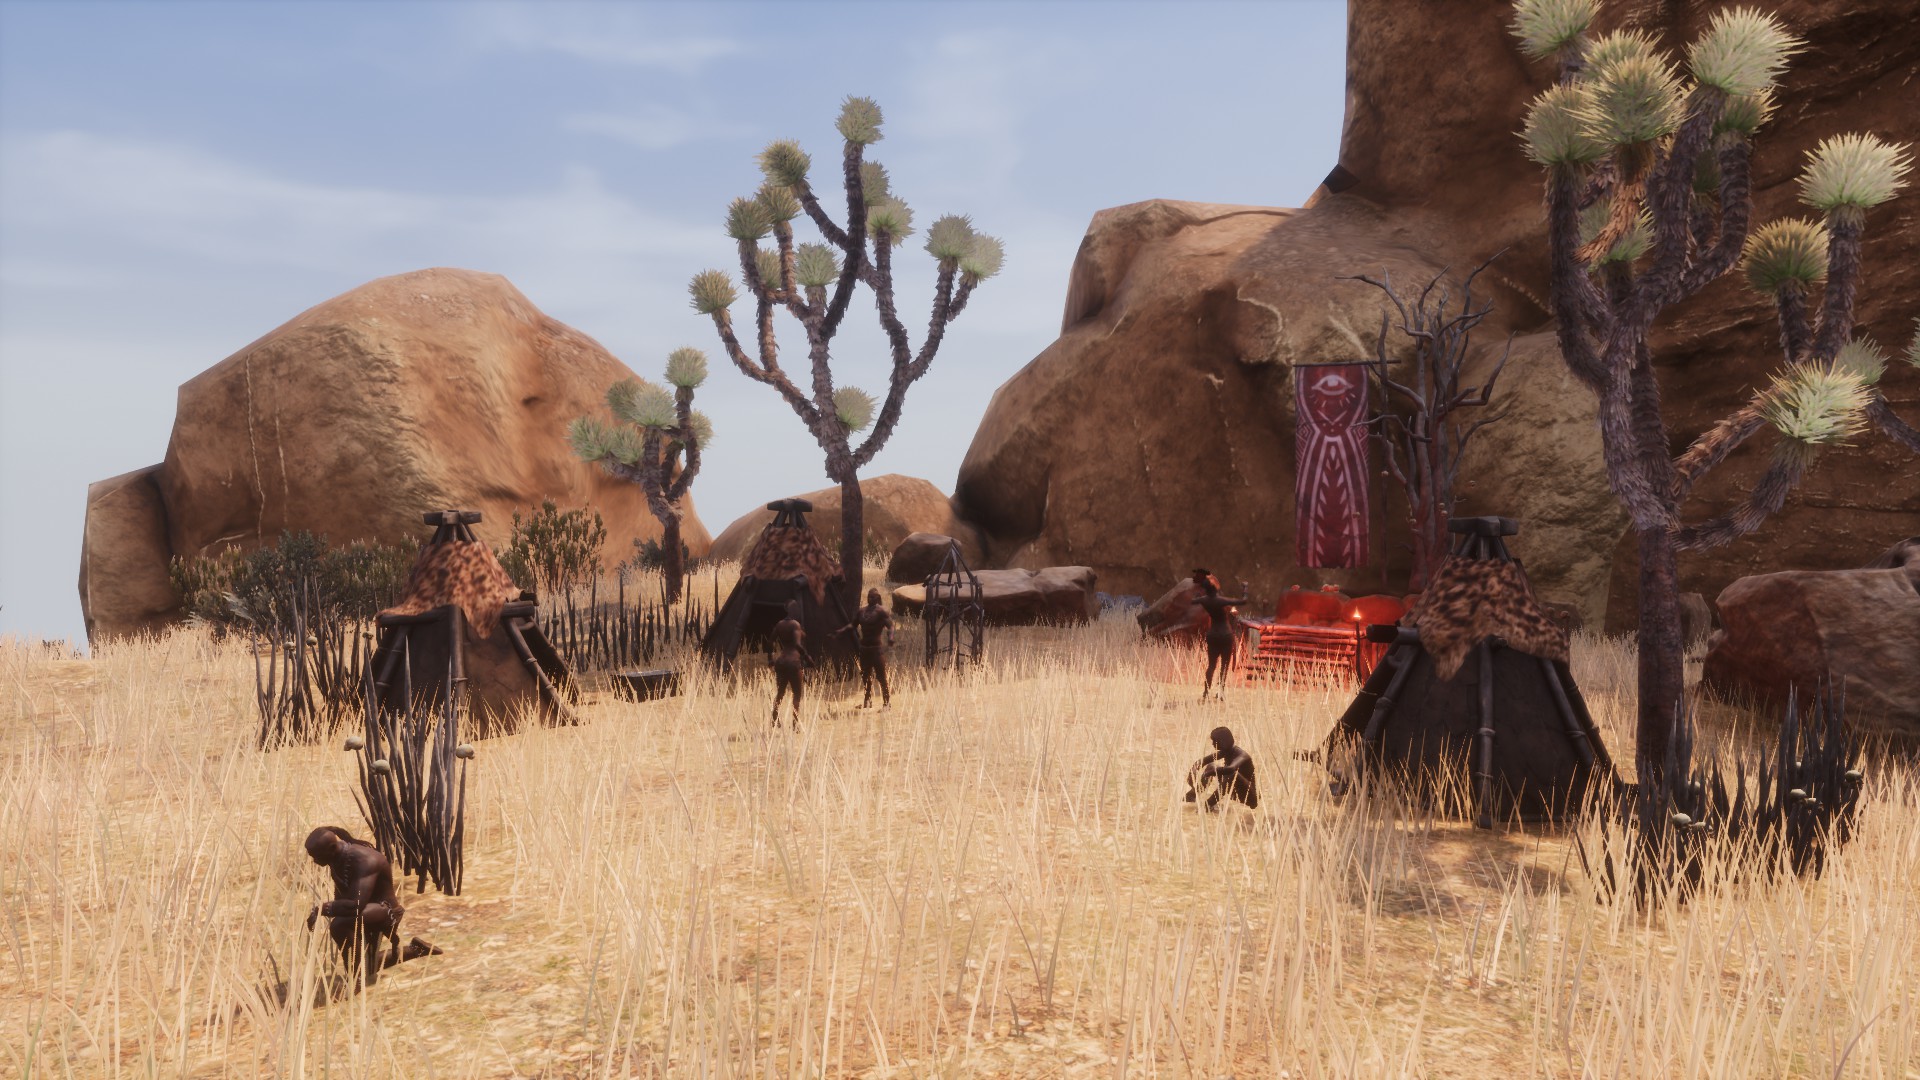
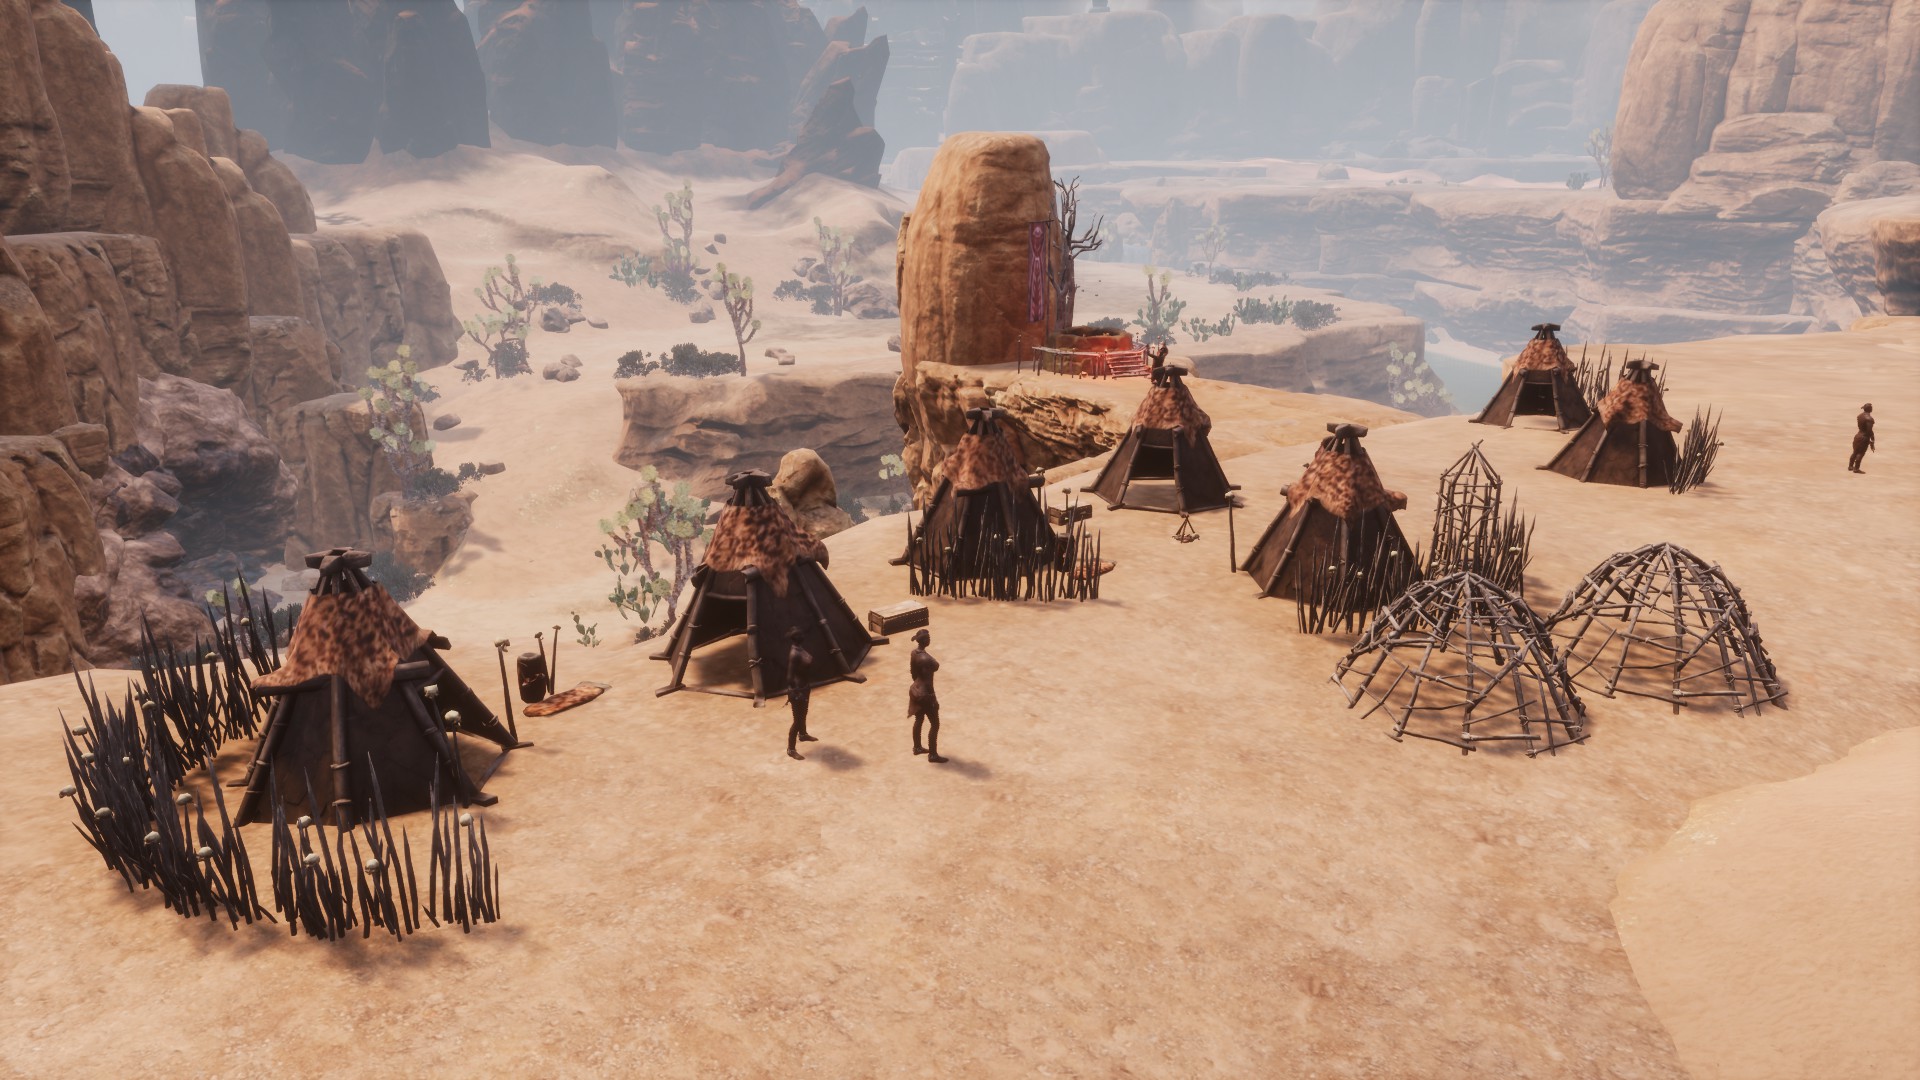
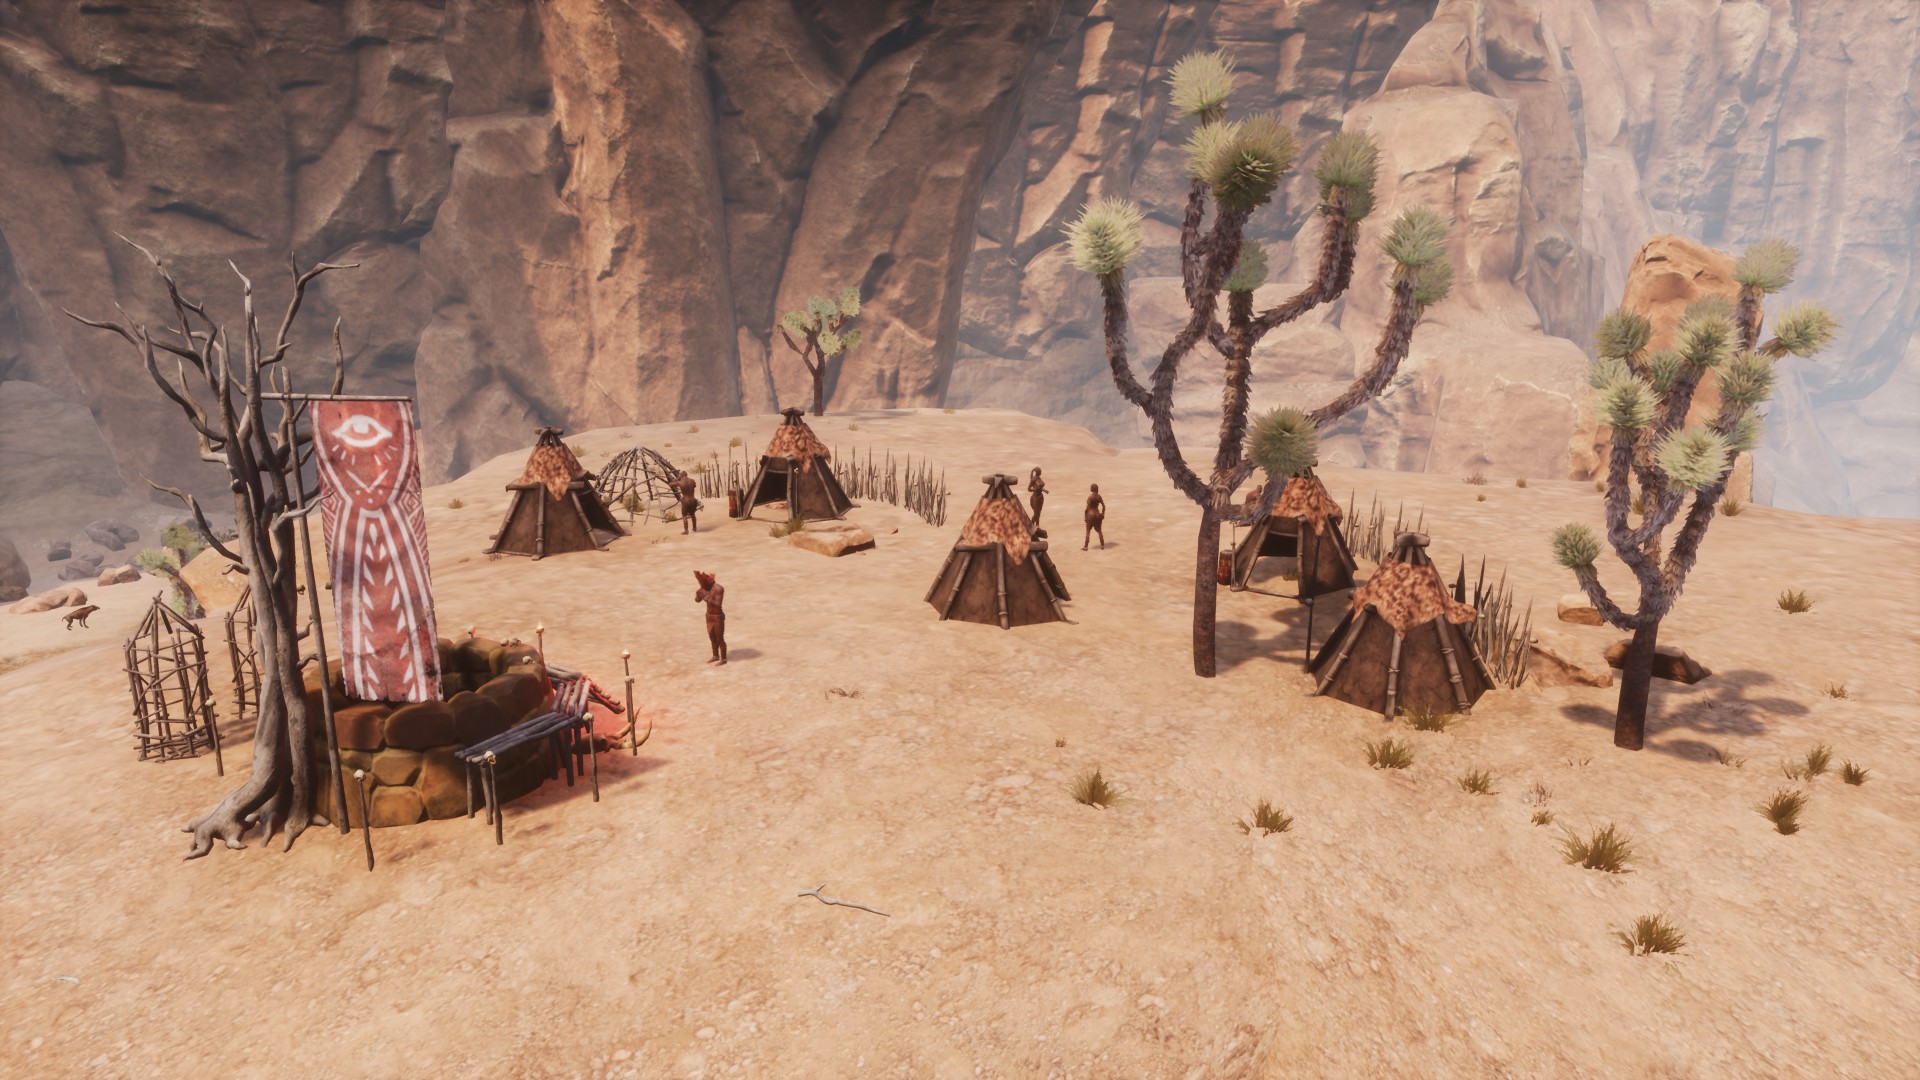
 They’ll be give Darfari Caravan Packages, which will contain some of the following items: Powder of Corruption, Human Flesh, Unblemished Human Meat, Purified Flesh, Hide, Bone and Weathered Skull.
Also a Spoil of Conquest for each package.
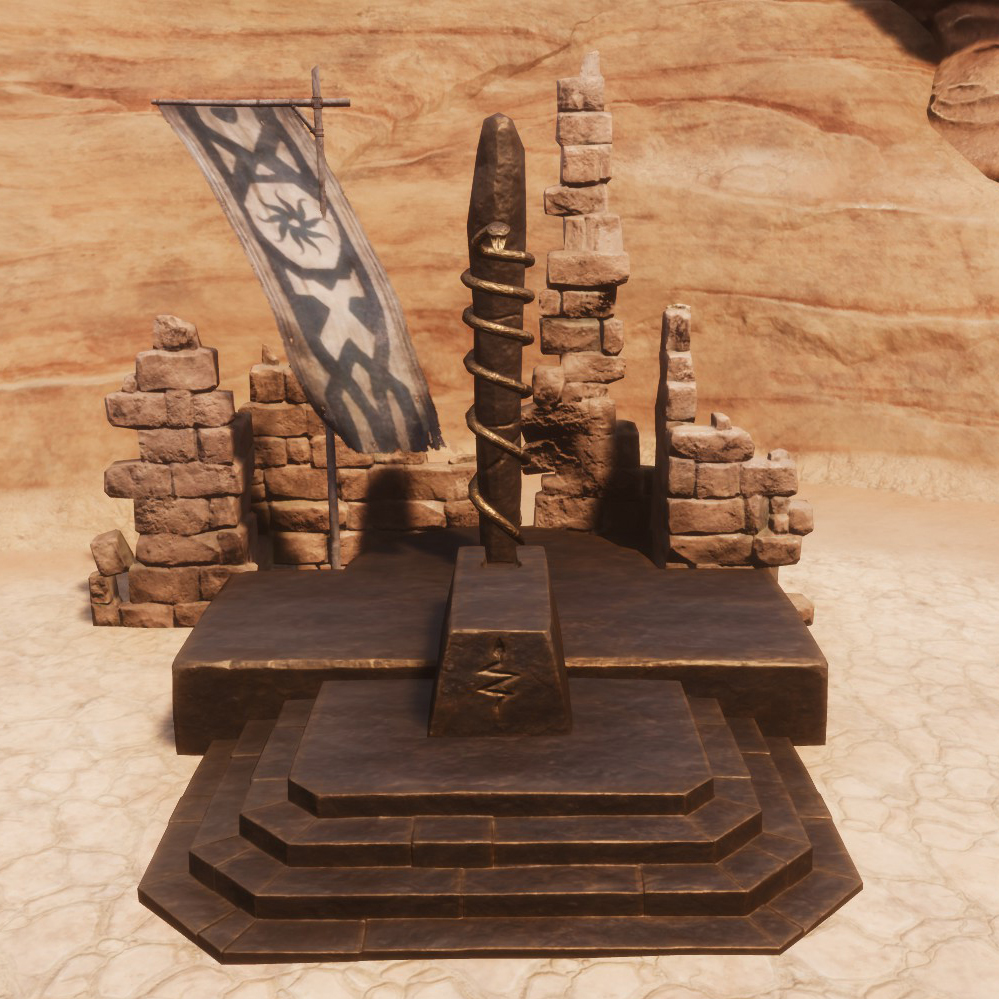
- Relic Hunter Outposts
There is an Outpost northwest of The Unnamed City (first image), very close to the entrance to the Conjuration Pillar and another Outpost south of The Jawbone (second image).
It’ll be defended by four to five elite relic hunter fighters and archers (960 health) and a Relic Hunter Lieutenant (1.920 health).
When you’ve killed them all, approach the Set’s altar and interact with it.
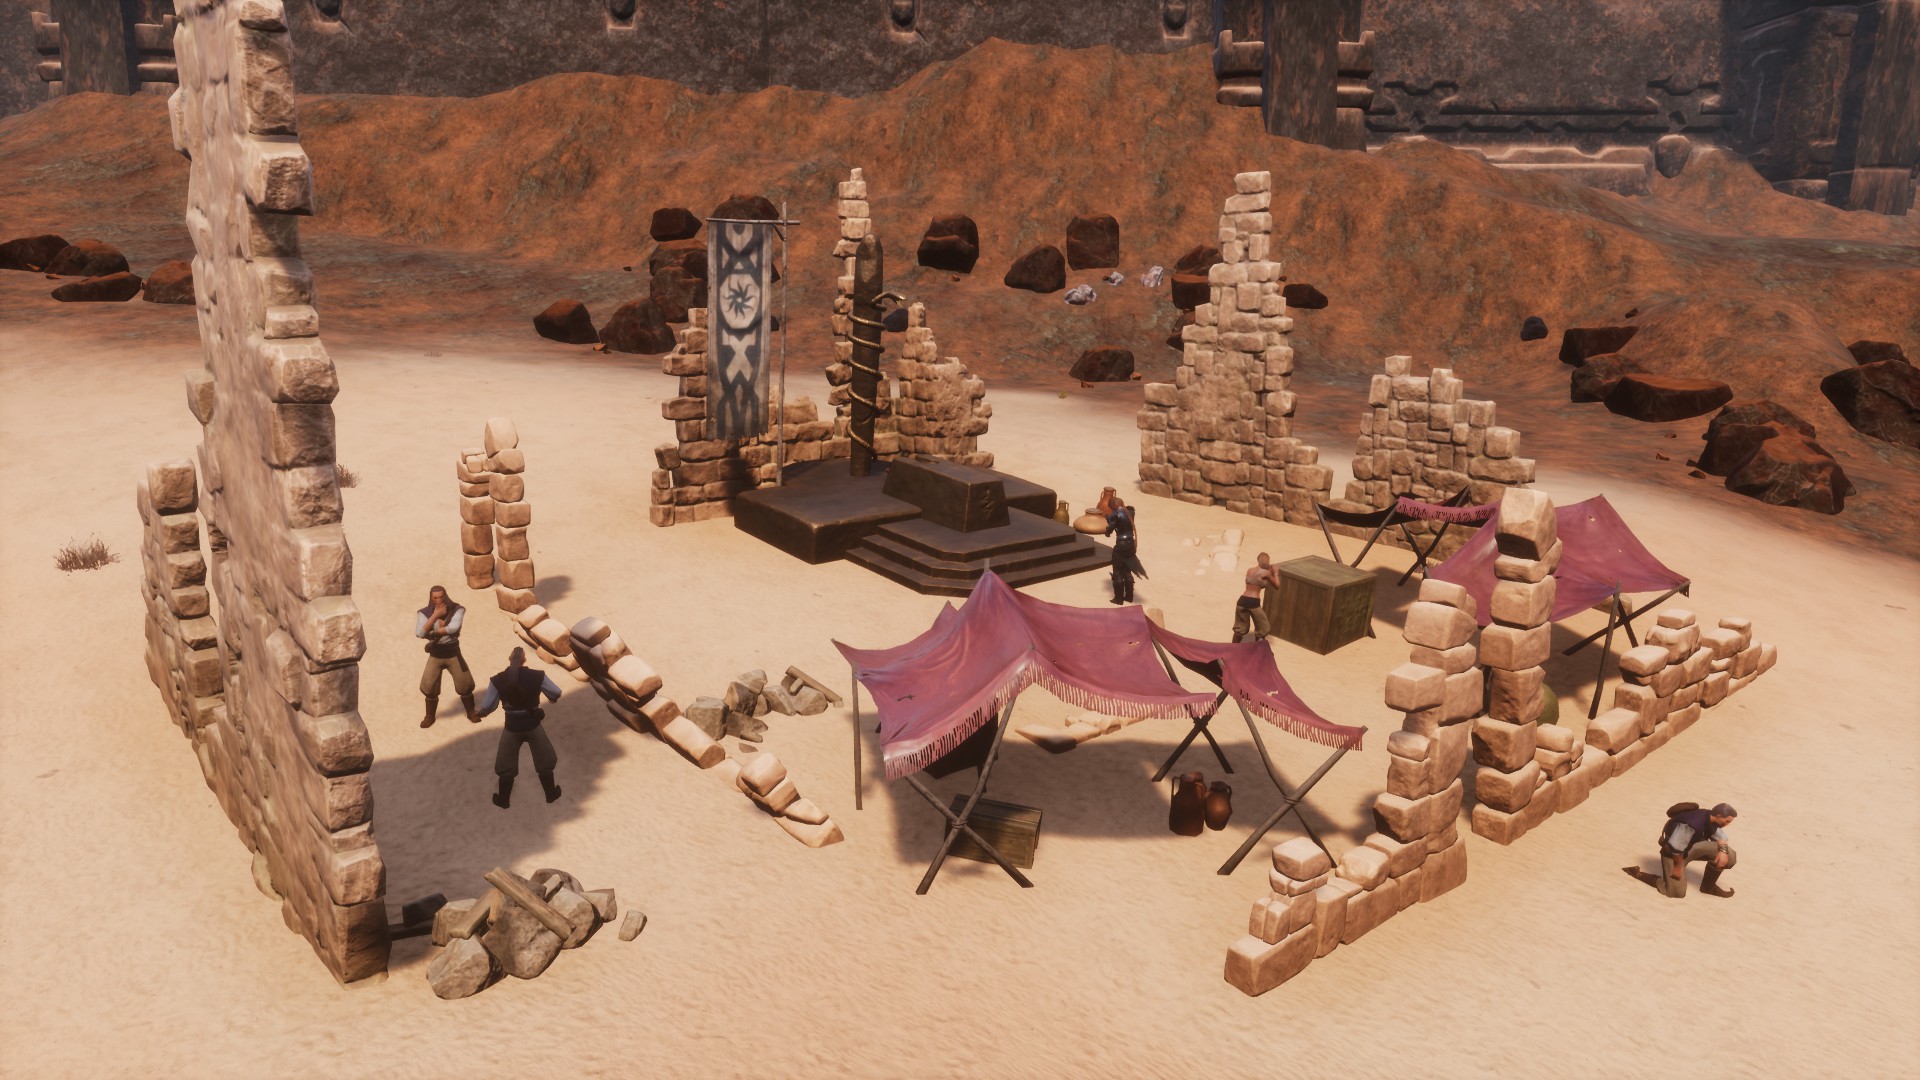
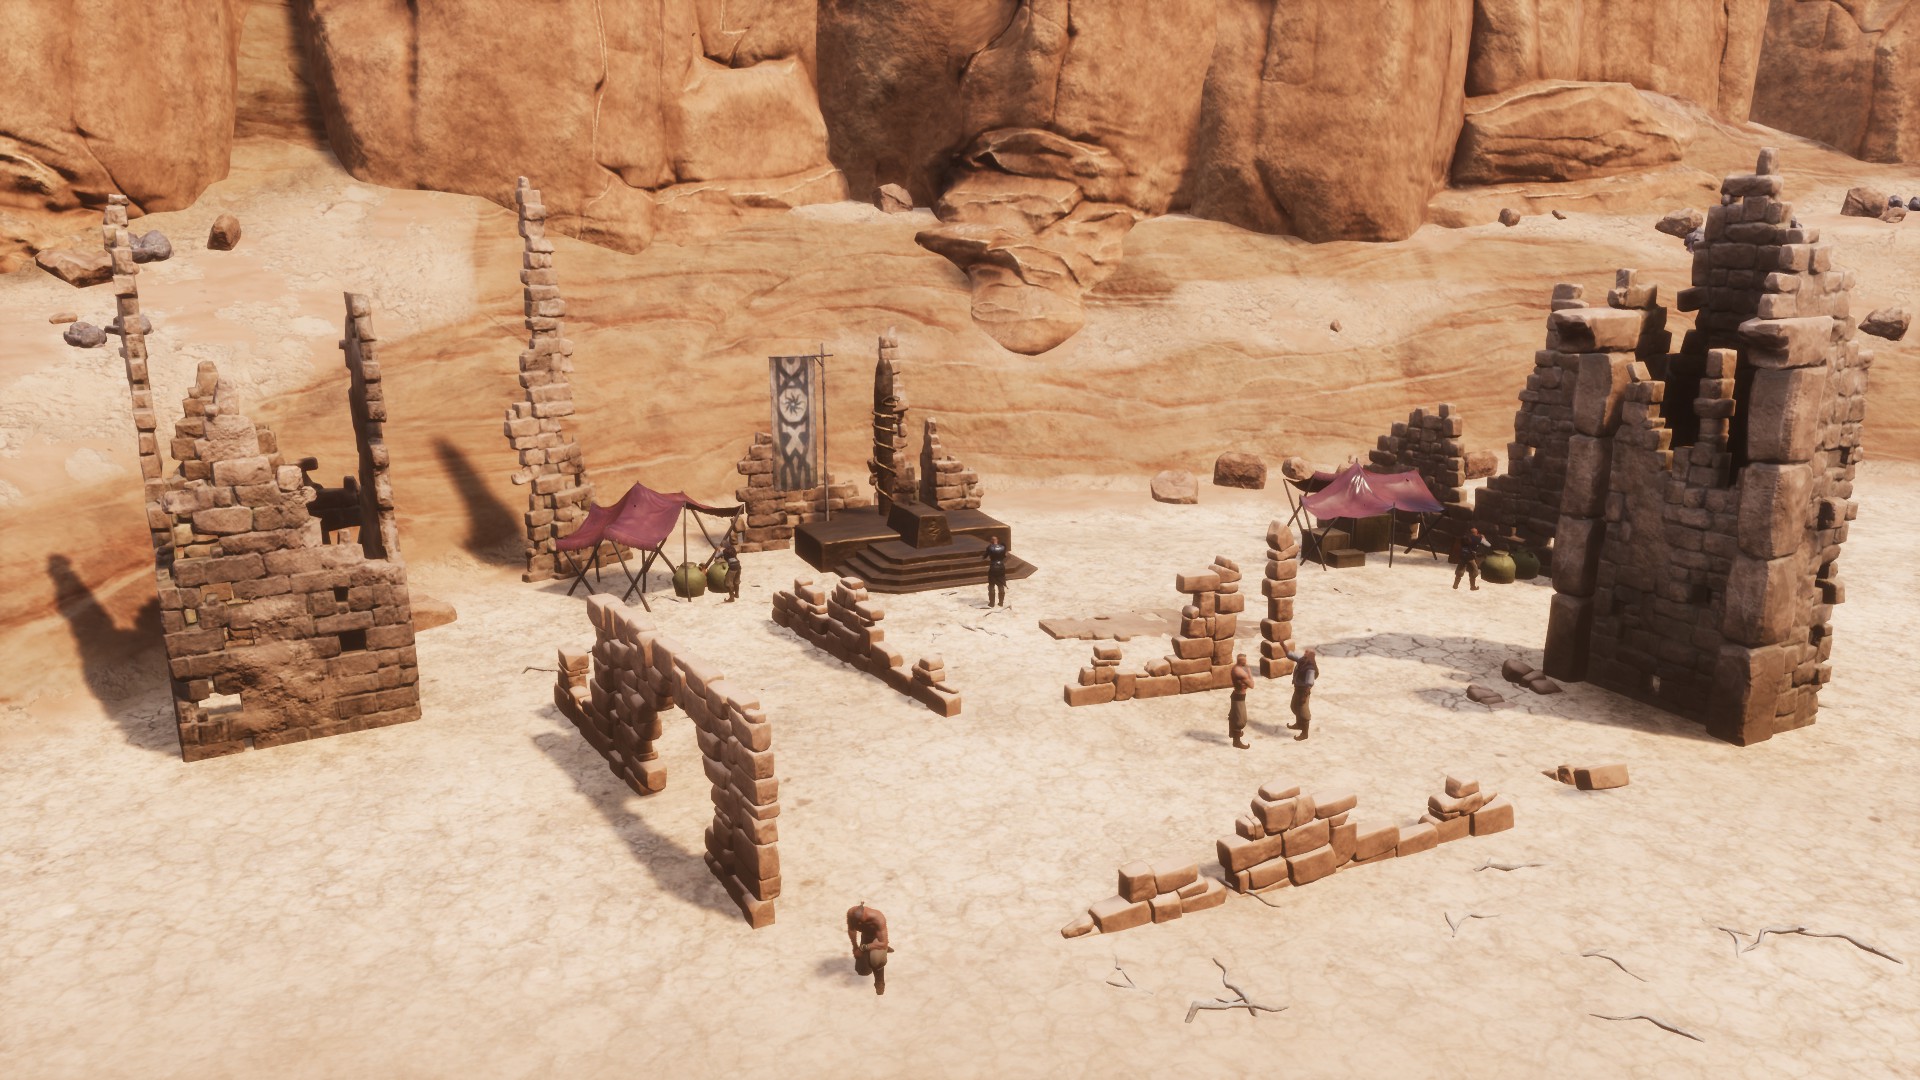
 You’ll be given Relic Hunter Caravan Packages, which will contain some of the following items: Dragonpowder, Snake Arrow, Hardened Brick, Oil, Steelfire, Fragment of Power, Armor Scraps, Steel Reinforcement, Iron Reinforcement and Supply Materials.
Also three Spoils of Conquest for each package.
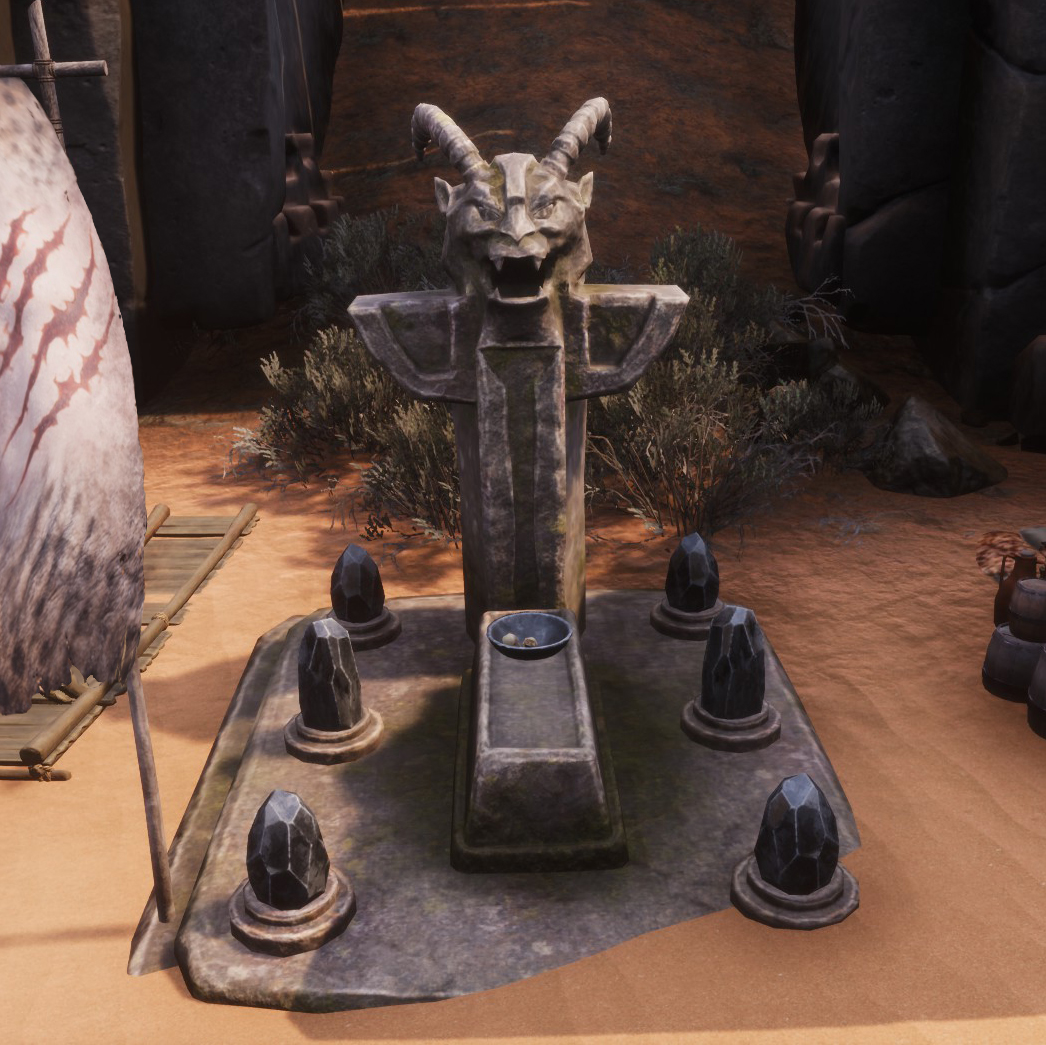
- Dogs of the Desert Outpost
There is a single Outpost west of The Den.
It’ll be defended byive elite dog fighters and archers (960 health) and an Alpha Dog (1.920 health).
When you’ve killed them all, approach the  Jhebbal Sag’s altar and interact with it.
They’ll be give Dog Caravan Packages, which will contain some of the following items: 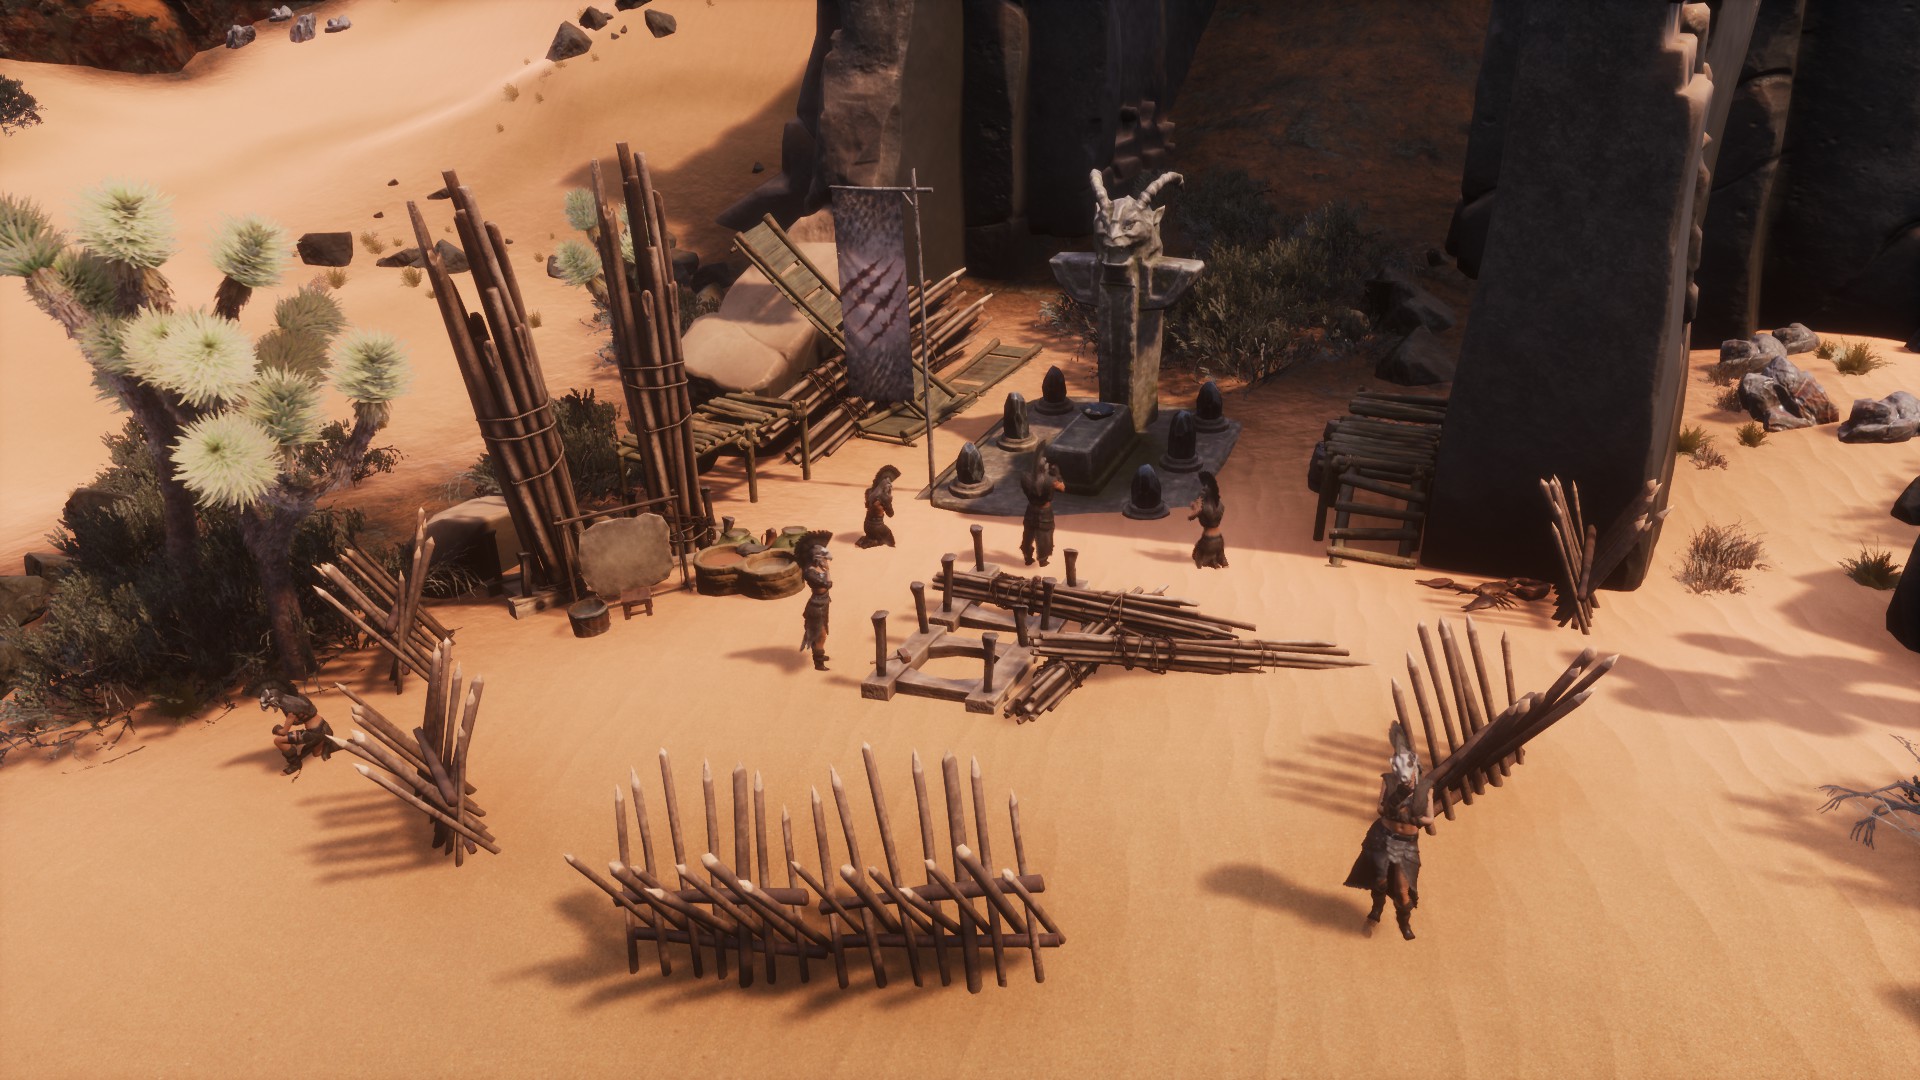 Shadebloom, Bone, Hide, Fur, Thick Hide, Asura’s Glory, Grey Lotus Flower, Aloe Leaves and Steel Bar.
Also two Spoils of Conquest for each package.
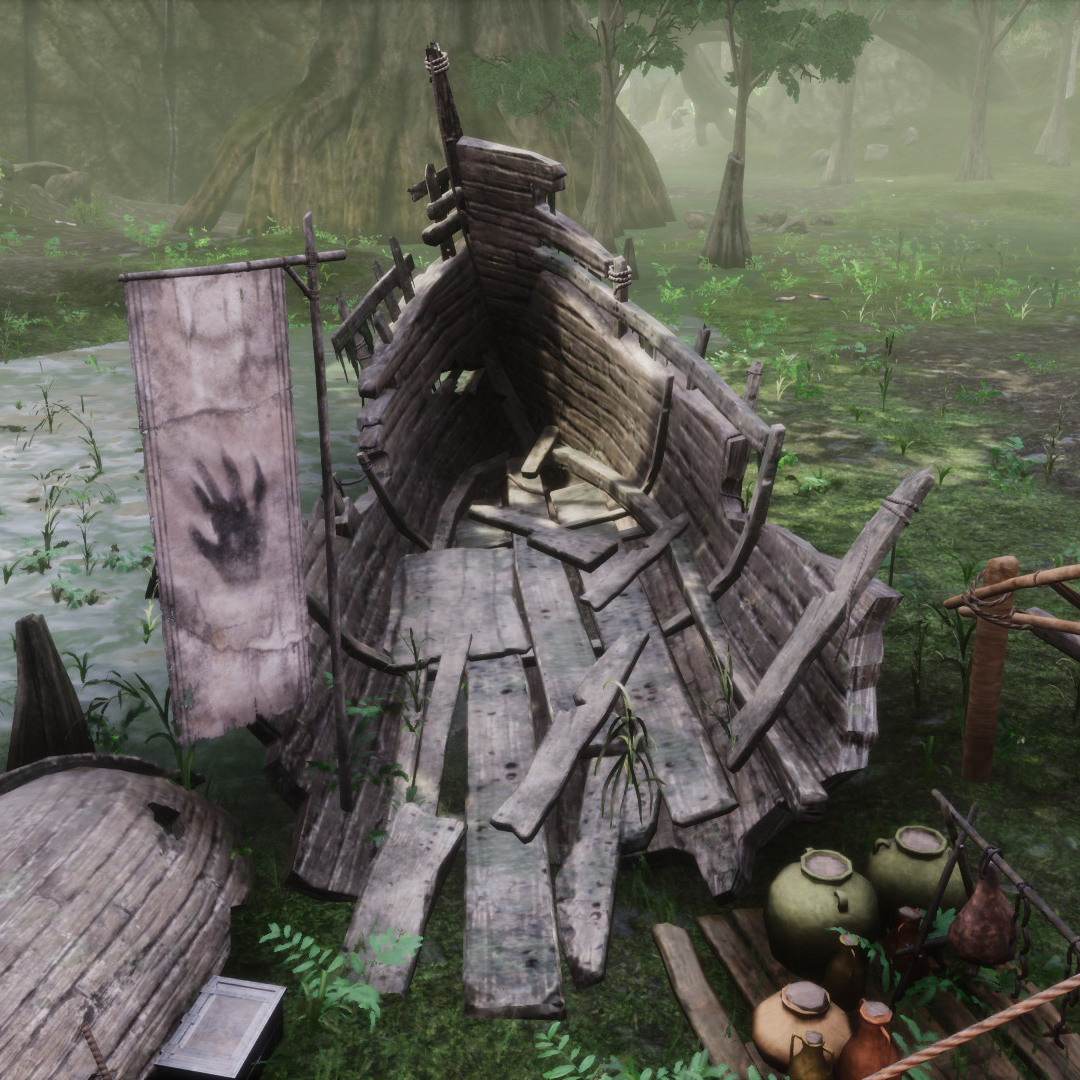
- Black Hand Outpost
There is a single Outpost in the Mire of Eternal Dreams, south of The Passage.
It’ll be defended by four elite Black Hand fighters and archers (960 health) and a Black Hand Captain (1.920 health).
When you’ve killed them all, approach the shipwreck and interact with it.
They’ll be give Black Hand Caravan Packages, which will contain some of the following items: Ebony Silk, Layered Silk, Gold Bar, Silver Bar, Hardened Steel Bar, Thick Leather, Leather,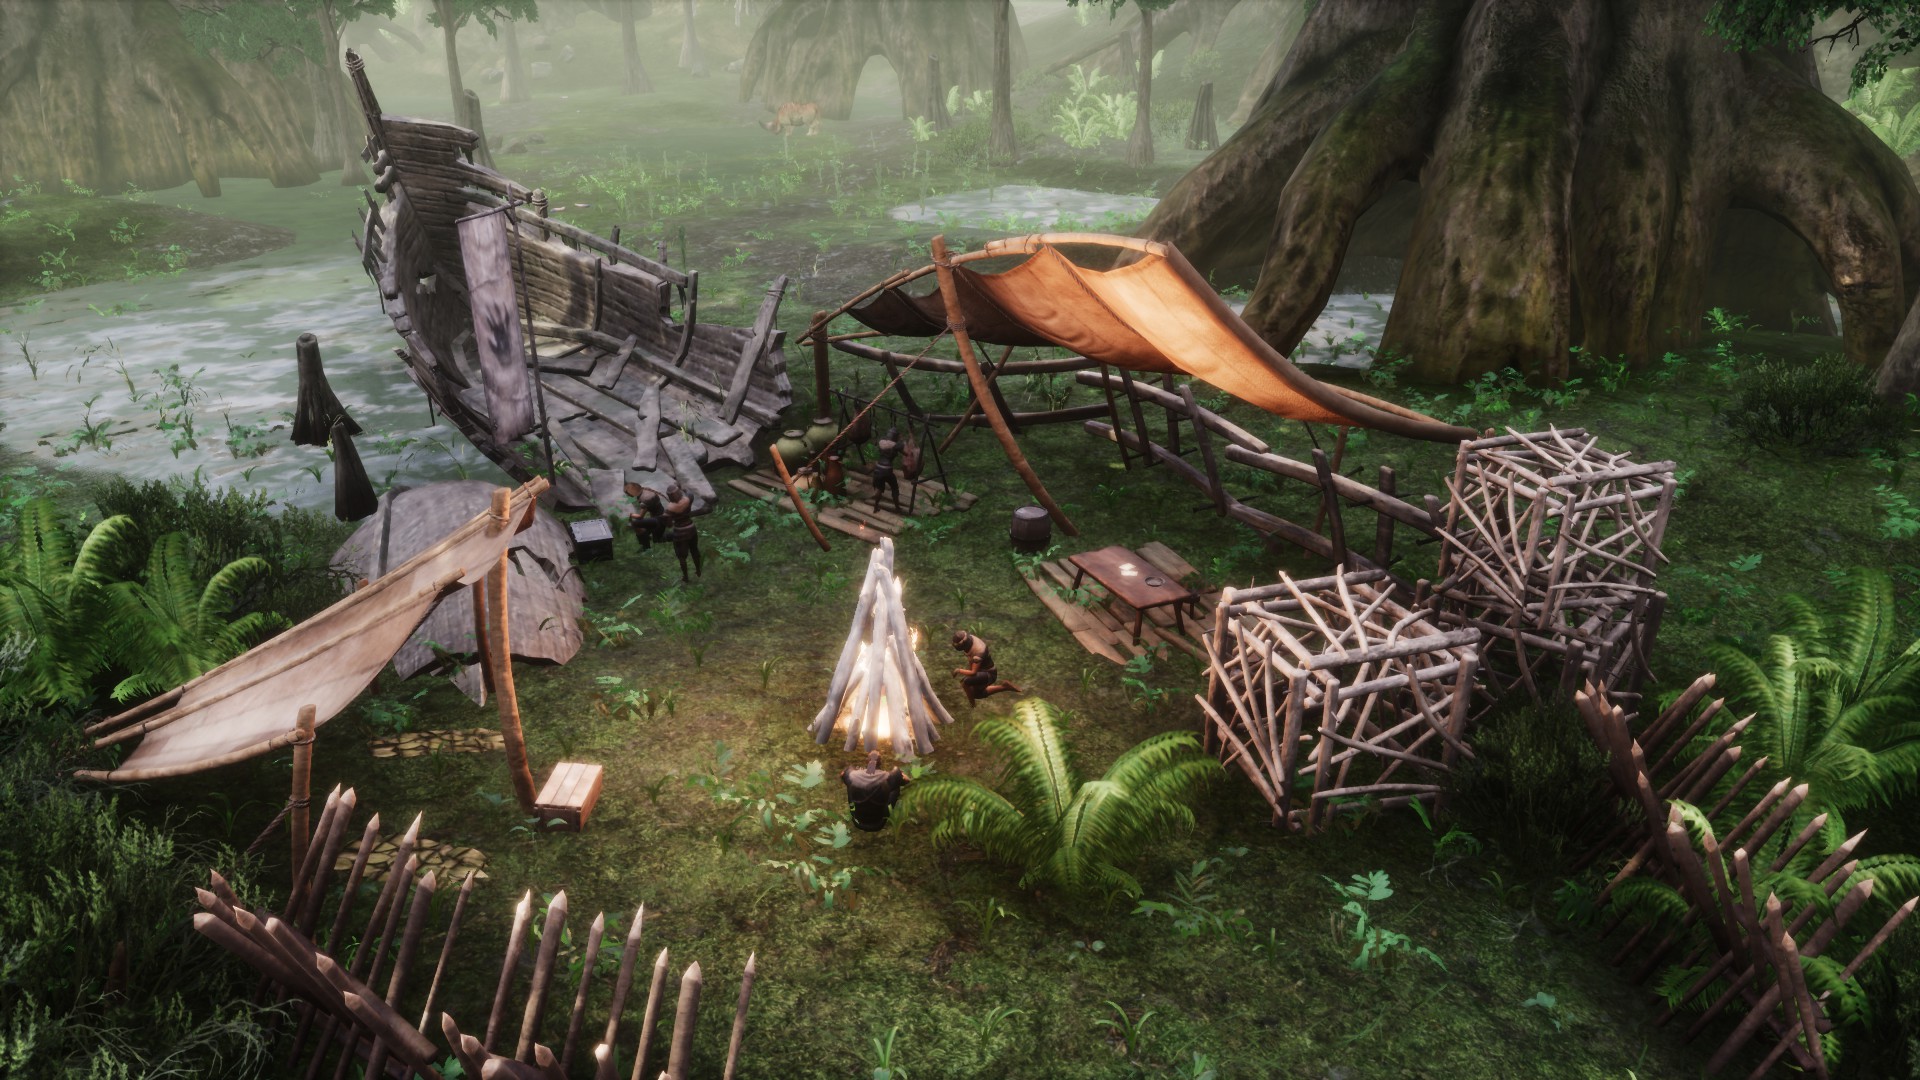 Hardened Leather, Fish Strips , Pearl, Handheld Ymir Totem, Molten Shards, Scrims, Shard of Skelos and the feat scroll Black Hand Legendaries
 (for the Legendary Assembly).
Also two Spoils of Conquest for each package.
Courage
This bonus is accumulated by charges of Courage (Courage stacks).
You’ll get the stacks by killing bosses, those with one skull will give you a Courage stack and the bosses with three skulls will give you three Courage stacks. They’ll be added to you until you reach a maximum of 100 stacks, unless you lose them when you die at the hands of an NPC.
 If you want to check how many Courage stacks you currently have, open your Inventory and press this icon (it looks like a lion’s face) to the left of your action bar.
There you can see your number of current stacks and the percentage that applies to you.
If you don’t want a small notification to appear about your Courage stacks every time you kill an elite or a boss, you can disable it by unchecking the box next to the icon I just mentioned (it’ll say Courage Popup).
It’s set by default so that you acquire 0.5% additional damage to NPCs for each Courage stack. Here is a table of the additional damage with respect to stacks:
The only other way to get Courage stacks is by progressing through the Hosav Shadow Legion Commander quests, in the Perilous Valley. He’ll give you 150 stacks in total as a reward for some of his more advanced quests. Check the guide sections “✏️ Quests” VIII and IX for more information.
Ranking System
You will get particles and effects that surround your character, to make it unique and distinguish you from other players. These effects are only visual, they won’t give you any improvement in combat, attributes or any class. Even so, by reaching the highest rank you can get unlimited Augment Points.
- How to consult the rank system:
Open your Inventory and you’ll see a box in the lower right corner with the following information:
· Name and icon of your current rank.
· Death penalty, so you know the amount of rank points you’ll lose when you die.
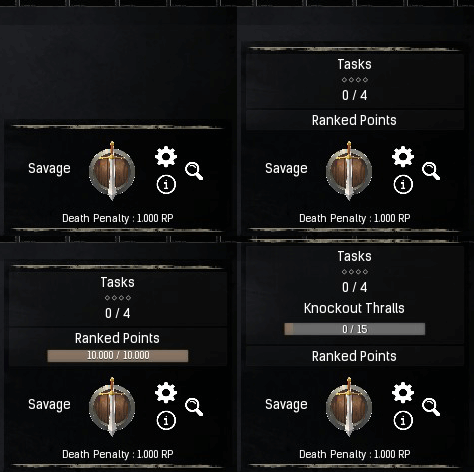 · ⚙️ Will open the window where you can buy the particles in exchange for the Retsum currency. There you can also check your amount of Retsum and, if you press the 💬 you can compare your progress in the Ranking System with that of the rest of the players on the server.
· ℹ️ Information about the Rank System.
· 🔍 Will display a box with the Tasks to do and your Rank Points. Click on Tasks to check them and thus know more details.
- How to rank up:
· First you must get all the Ranked Points (or RP) by killing NPCs. Each Rank Point is equivalent to one NPC.
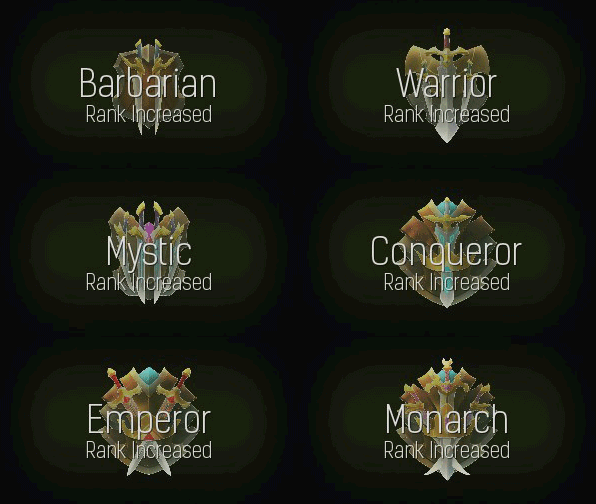 · Once you’ve the maximum number of Rank Points required, you’ll be able to perform the Tasks, for example killing bosses, knocking out humans, capturing Outposts, etc.
· With Rank Points maxed out and all Tasks completed, you’ll automatically rank up and start the next rank.
- How to rank down:
It won’t be something you do on purpose.
· Every time you die at the hands of an NPC you’ll lose the last Task you completed and its progress. If you haven’t yet completed any Tasks, you’ll lose 10% (by default) of your Rank Points.
 · If you had not yet obtained any Rank Points, you’ll rank down and, at this lower rank, the last Task to complete and 10% of the RP will have been removed.
Even if you reach the highest rank (Monarch), if you die you’ll be demoted to Emperor with 22.500 Rank Points (i.e. 2.500 points less) and with 24 tasks (i.e. one less Task).
- The Tasks:
That one Task or another appears and the amount required seems to be random (idk).
The Tasks that will be asked of you will be the following:· Knockout Tralls 5, 15, 45, 60 or 120 NPCs
· Capture 5 or 7 Outposts
· Kill 75, 100, 150, 200 or 250 NPCs
· Kill 20, 30 or 40 Elite (one-skull enemies)
· Kill 1, 3, 5, 8, 12 or 15 Boss (three-skull enemies)
· Complete 2, 3, 5 or 7 Skelos Shard Challenges - The particles:
Every time you reach a rank for the first time you’ll get a certain amount of Retsum. Retsum is the currency used to purchase particles and effects for your character. This coin has no other use.
When you reach the highest rank (Monarch) every time you reach the maximum Rank Points and complete all Tasks, you’ll receive Retsum and 200 Augment Points for your EEWA gems.You can buy the particles by pressing the ⚙️. Note that some will be restricted by your rank and the amount of Retsum you have. There will be fifteen available and eleven paid exclusives (real money).
To purchase the particles, press Unlock and a confirmation window will appear. Once you make the purchase, press Equip. You can unequip the particles at any time.
Here you can see some examples:
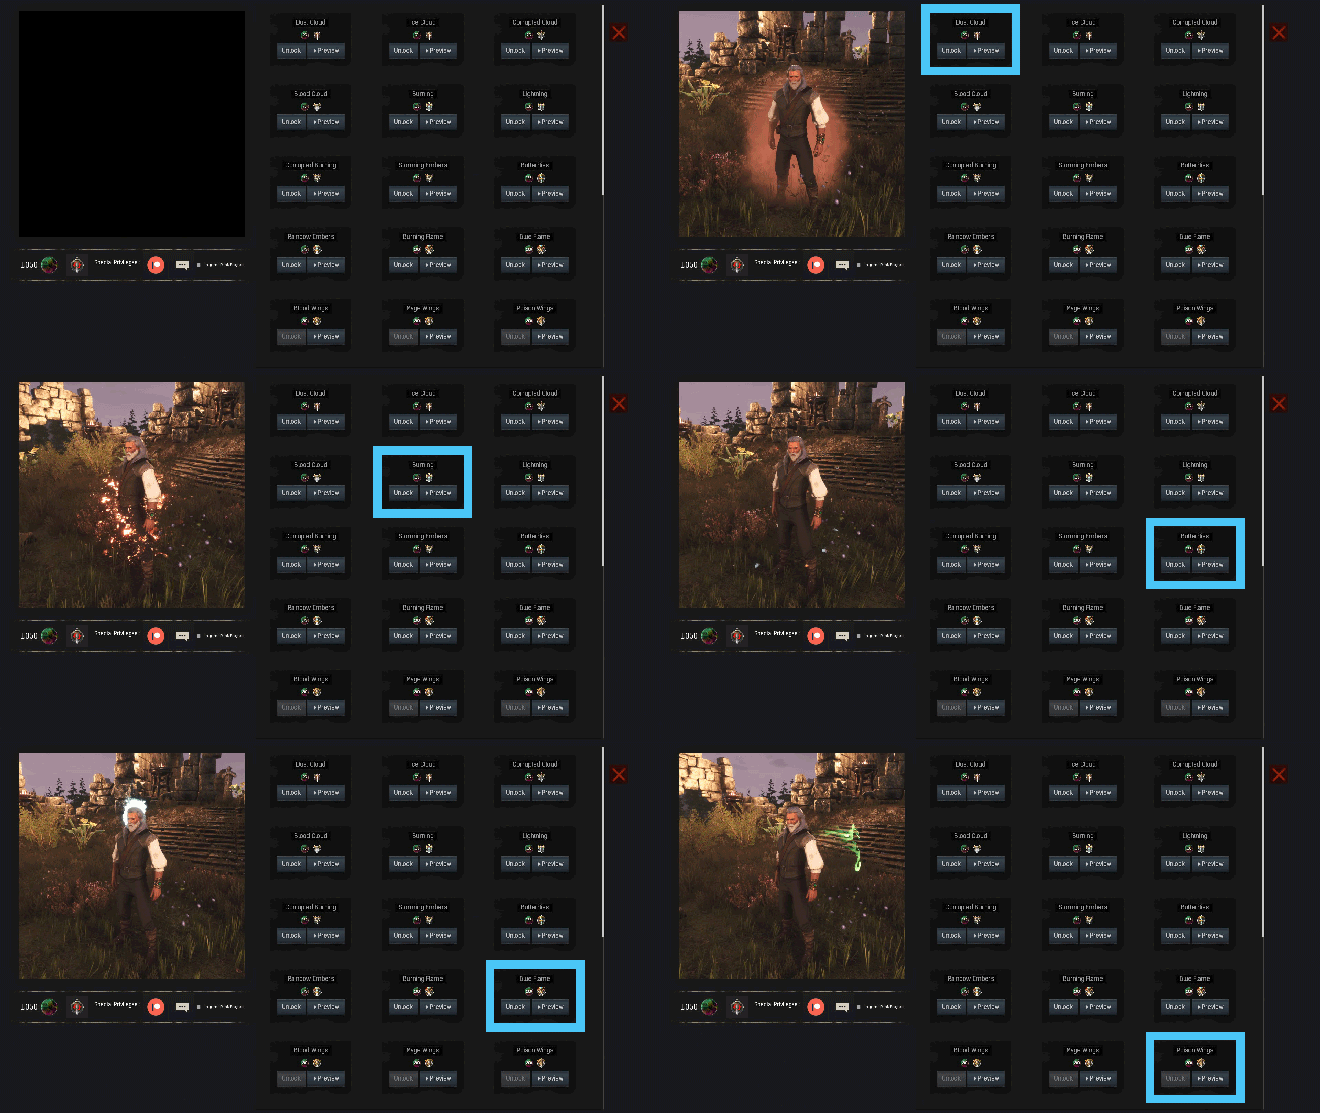
- The ranks and their requirements:
 · Savage
It’s the initial Rank you start at.
Get 10.000 RP and complete 4 Tasks
to promote to Barbarian and earn 25 Retsum.
 · Barbarian
It unlocks two particle effects.
Get 12.500 RP and complete 6 Tasks
to promote to Warrior and earn 50 Retsum.
 · Warrior
It unlocks two particle effects.
Get 15.000 RP and complete 8 Tasks
to promote to Mystic and earn 75 Retsum.
 · Mystic
It unlocks two particle effects.
Get 17.500 RP and complete 10 Tasks
to promote to Vanguard and earn 100 Retsum.
 · Vanguard
It unlocks two particle effects.
Get 20.000 RP and complete 15 Tasks
to promote to Conqueror and earn 150 Retsum.
 · Conqueror
It unlocks two particle effects.
Get 25.000 RP and complete 20 Tasks
to promote to Emperor and earn 200 Retsum.
 · Emperor
It unlocks two particle effects.
Get 25.000 RP and complete 25 Tasks
to promote to Monarch and earn 300 Retsum.
 · Monarch
It unlocks three particle effects.
Get 25.000 RP and complete 25 Tasks
to earn 50 Retsum and 200 Augment Points.
Your server’s admin will be able to add the Lockbox of Completion item to the loot of the chests or to the rewards of the Thespians that he himself places around the Exiled Lands (if the server has the Pippi mod). If you receive this item in one way or another, you can use it to instantly complete your current Task.
For the Ranking System to work, you must be on a PvE server or, if the server is PvP, the admin must disable the “Enable Ranked PvP Mode System” option in the EEWA configuration.
🗿 Mysterious Obelisk
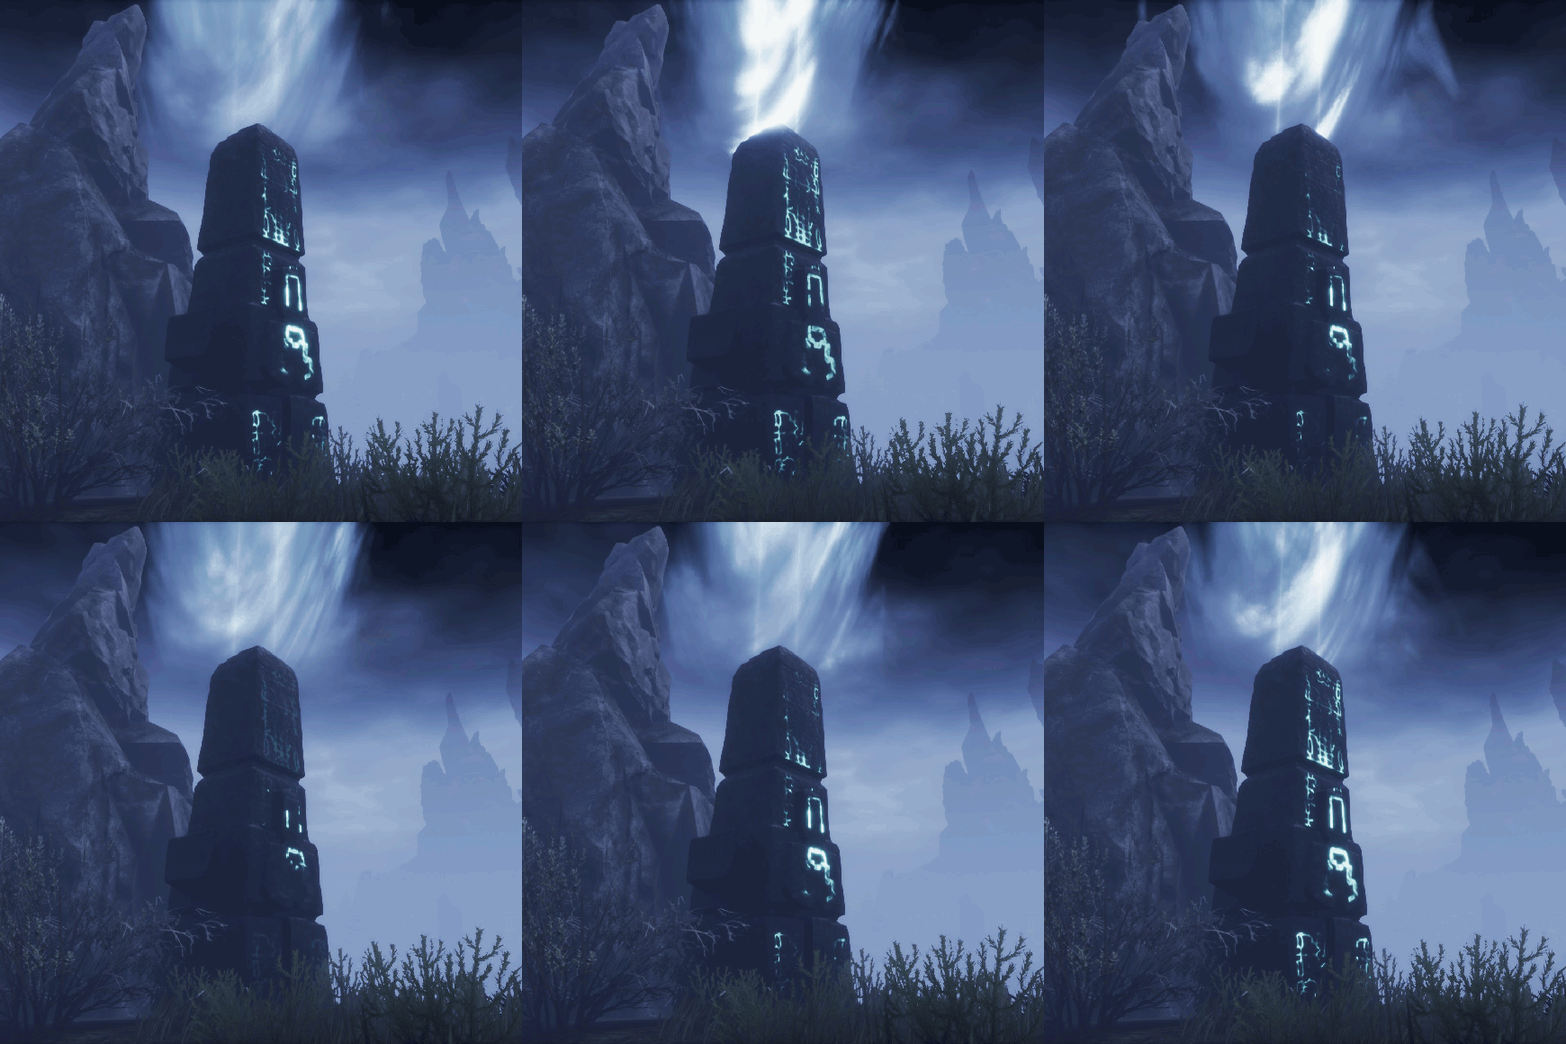 This obelisk is like a workbench, as it’ll craft items for you in exchange for Spirit Essence and other items. You’ll get Spirit Essence by killing the ghosts that walk around the mounds. They have only 141 health and are neutral (they won’t attack you), when you kill them they’ll explode (so move away a little) and you’ll absorb their essence.
Below I leave you a gif of one of these ghosts so you know which one it is and don’t confuse it with the Wight enemies (the ones that look like x-rays).
You can also get these essences from the obelisk itself, by crafting 15 Spirit Essence using a Wraith Essence.
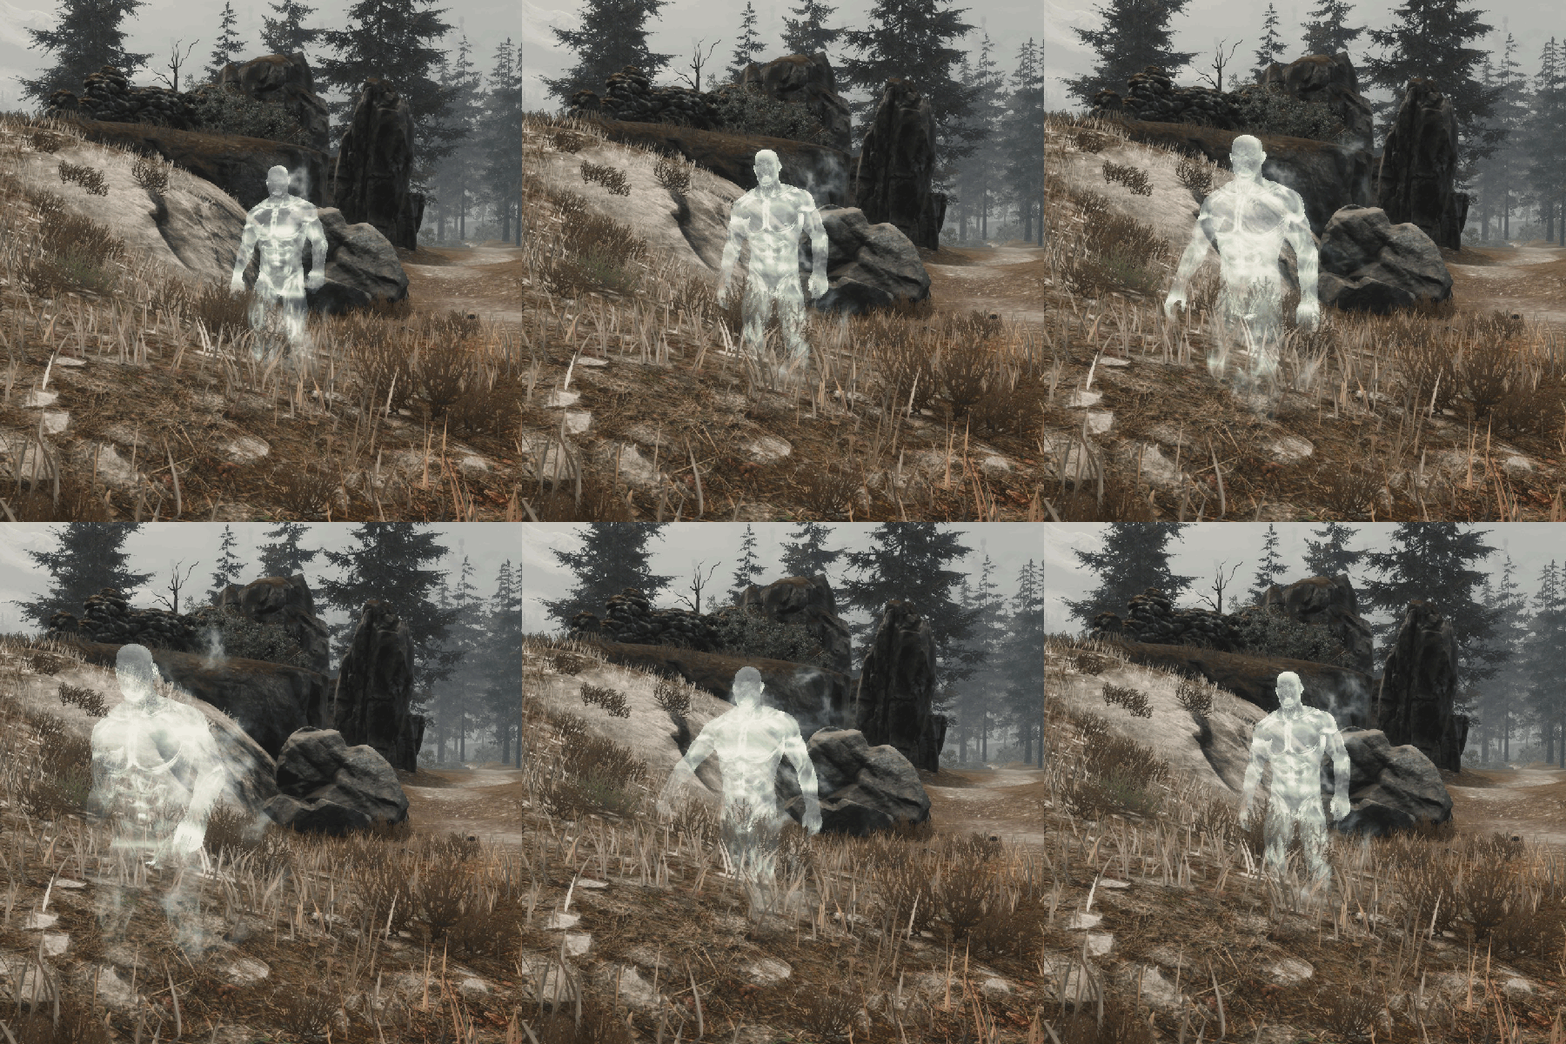 You can craft the Human Bone weapon (+400 maximum health), Handheld Ymir Totems, Heart of a Hero, Skeleton Key, Skelos Shard Fragment (two or four, depending on what materials you use) and the Spirit Horse mount (the one in the image).
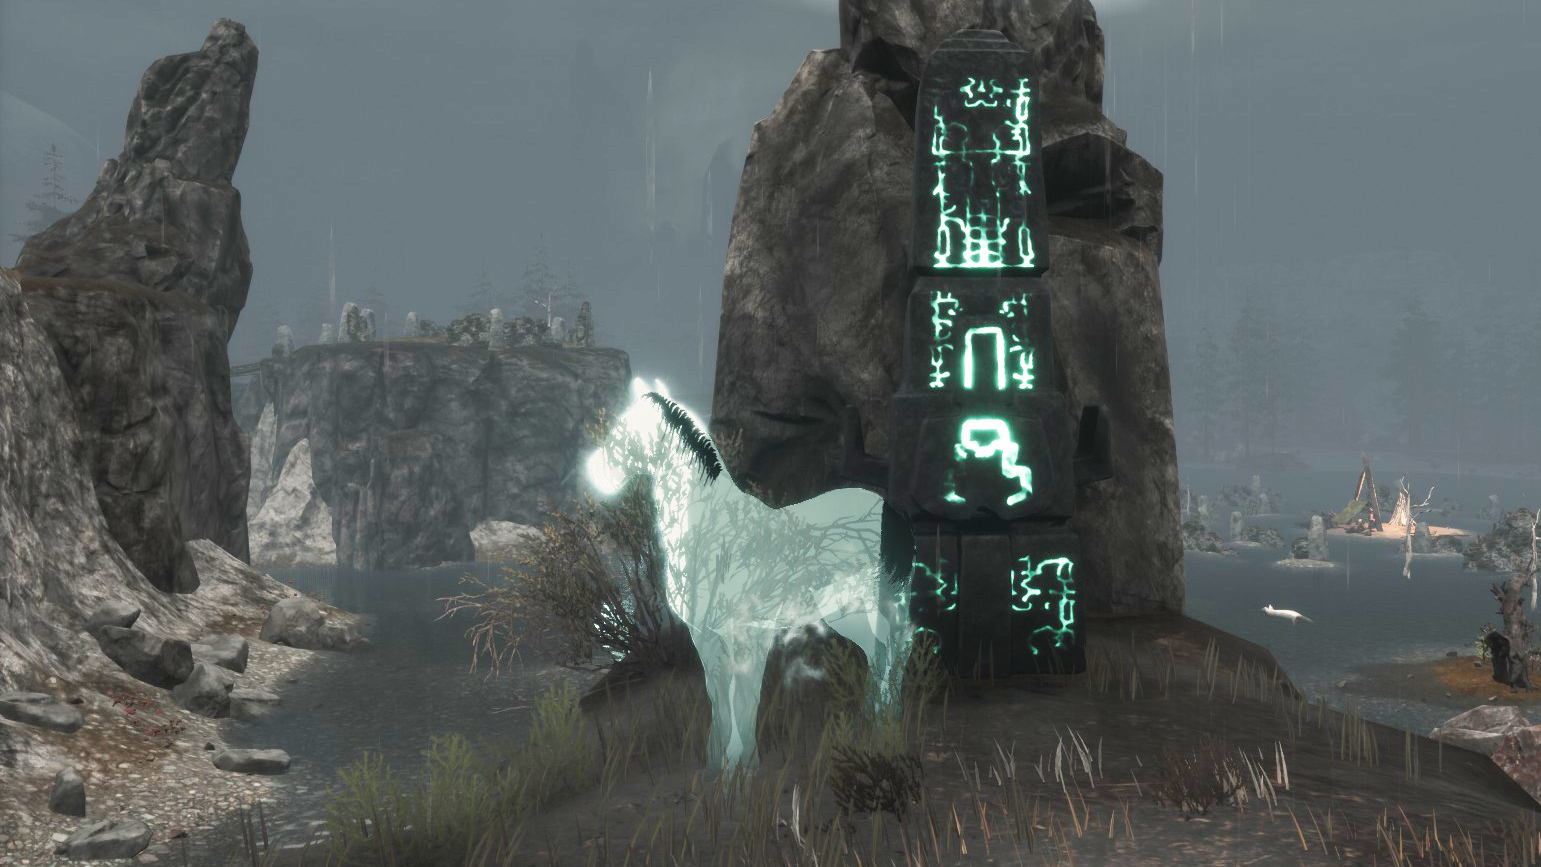
You’ll find it on the northwest side of the lake of the Mounds of the Dead, very very close to the base game obelisk (with corruption) in this area. You’ll find it easily because a column of light rises above it. When you discover it, an icon will appear on the map.
Bonus of each race
Once you have your character created and are playing, you can review them in the Attributes menu (in the upper left corner), or in the EEWA menu and clicking on Traits (in the lower right corner).
These bonuses will be applied to your Attributes and/or your Traits. For more information on Traits, check the “⚡️ Traits” section of the guide.
- Hyborian
“Hyborians encompass those descendants of the barbaric worshippers of Bori, who swept from the north millennia ago and destroyed the ancient empire of Acheron. The original Hyborians were tawny-haired and grey-eyed, but intermingling with other races has diversified their appearance.”
+ 1 Strength
+ 1 Vitality
+ 1 Guardian Trait (increases your damage avoided and your base damage taken returned as health)
- Cimmerian
“Barbaric and warlike, the Cimmerians of Cimmeria are the descendants of the ancient Atlanteans. They fight on foot, mainly, and make savage raids on their neighbors to the east, north and south.”
+ 2 Strength
+ 1 Barbarian Trait (increases damage with one-handed weapons)
- Stygian
“Stygians are ruled by King Ctesphon, but it is no secret that the priests of Set are the true power in the land. Only the Black Ring, a cabal of sorcerers led by Thoth-Amon, rivals the priests in power and influence.”
+ 1 Necromancer Trait (currently disabled)
+ 1 Demonologist Trait (increases damage with magic)
- Tribal Himelian
“Wedged between the Turanians to the north and the Vendhyans to the south, Himelians have developed a fierce survivalist society. They are fiercely loyal to one another and quick to turn against their multitude of enemies.”
+ 3 Authority
+ 1 Templar Trait (increases your lifesteal and reflected damage)
- Hyrkanian / Turanian
“Dark and slender, the Hyrkanians are the descendants of the Lemurians who roamed westward after escaping their slavery in the east by the Khari. The most famous Hyrkanian tribe are the Turanians, who have carved themselves an empire in the shores of the Vilayet sea.”
+ 3 Grit
+ 1 Guardian Trait (increases your damage avoided and your base damage taken returned as health)
- Khitian
“Khitan are known to be mysterious and secretive, which increases their reputation as powerful sorcerers.”
+ 1 Priest Trait (increase your healing with magic)
+ 1 Demonologist Trait (increases damage with magic)
- Kushite
“Very little is known of the Black Kingdoms, but merchants and adventurers tell stories of savage tribes and great civilizations that thrive in that vast territory.”
+ 1 Grit
+ 2 Expertise
+ 1 Shaman Trait (reduces mana cost)
- Nordheimer
“The yellow-haired Aesir and red-haired Vanir are the pale-skinned, blue-eyed race who rule the kingdoms north of Cimmeria. Known for being wayward and fierce, they use their powerful builds or brute strength to overwhelm their enemies in battle.”
+ 1 Strength
+ 1 Grit
+ 1 Conqueror Trait (increases damage with two-handed weapons)
- Pict
“The tribes of the Pictish Wilderness are continually at war with each other, their neighbors, and anybody who is unfortunate enough to wander into their territory. The life of the average Pict is one of constant, unrelenting horror, as dark gods or bloody wars threaten to snatch away life and soul at every turn.”
+ 2 Vitality
+ 1 Templar Trait (increases your lifesteal and reflected damage)
- Shemite
“Nomadic Shemites are notorious for their skill with bows and their duplicity as traders. The pastoral people are considered calmer and more civilized, with highly skilled artisans such as the smiths of Akbitana.”
+ 2 Agility
+ 1 Ranger Trait (increases damage with ranged weapons)
- Darfari
“Barbaric to the core, Darfari are savage bandits and murderers that form loose bands in order to bring sacrifices to the altar of their god Yog. They file their teeth to points and use mud and twigs to style their black hair into horns, giving them a demonic appearance.”
+ 2 Expertise
+ 1 Strength
+ 1 Barbarian Trait (increases damage with one-handed weapons)
- Vendhyan
“Referred to as the golden kingdom, Vendhya has a caste of rulers who are considered close to divinity. In particular, the sister of the King, Devi Yasmina, is well known for her unearthly beauty.”
+ 1 Vitality
+ 2 Grit
+ 1 Priest Trait (increase your healing with magic)
- Zamorian
“Zamorian are reputed to be the best thieves in the world and cities such as “Shadizar the Wicked” and the “City of Thieves” reinforce the reputation of this despotic state.”
+ 2 Grit
+ 1 Agility
+ 1 Ranger Trait (increases damage with ranged weapons)
- Zingaran
“Zingaran nobleman are renowned for their chivalry and swordplay, while Zingaran sailors are cursed in seaports around the civilized world as coarse brutes.”
+ 1 Strength
+ 2 Agility
+ 1 Conqueror Trait (increases damage with two-handed weapons)
If you are playing on a server with the full conversion The Age of Calamitous mod, the Bonuses for each faction may be activated. I’m not going to list them because this guide is for the game in the Exiled Lands, but you can see them by clicking on the EEWA menu, in the upper left corner.
🔵 EEWA MOD 🔵
Feature Documentation[docs.google.com]
Getting Started[docs.google.com]
Weapons & Sorcery[docs.google.com]
Armors[docs.google.com]
Vendors[docs.google.com]
Systems[docs.google.com]
Augmented Gems[docs.google.com]
All published between May 2020 and May 2021.
Additionally, Hosav shared this interactive map:
Interactive map[www.worldanvil.com]
https://steamcommunity.com/sharedfiles/filedetails/?id=1734383367
Tips
- Hosav, the creator, recommends loading this mod as low as possible in your mod list so that it doesn’t cause problems.
- On the Chaosmouth Altar, when you want to create a Keystone don’t place more than six artefacts, nor more than three Corrupted Keystone Shards… since the surplus could disappear. Do the same for when you enchant an item. Only enter one God Krystallion and one item at a time.
- If you want to quickly search for a word in this guide, press Ctrl + F and type the word in the box in the upper right corner. For example,
 “Ymir Totem” to highlight texts where they’re needed or dropped.
- Keep in mind that the EEWA enemies (bosses, Skelos Shard Challenges, Events, etc.) have been created so that you can face them using EEWA weapons (more powerful than the base game weapons), being protected with EEWA armor and being between level 100 and 300, even having Ascended once or twice to defeat one of them.
It’s something that I don’t mention throughout the guide because it still depends on your skills, whether you use followers fighters or players, the configuration of the server you play on and the other mods you have installed. But with the data that I provide throughout the guide about the health and combat of certain enemies, I think you can get an idea if you are ready to face them or not.
- How to get Scrims easily?
You can get a Scrim for every 4 Skeleton Keys + 3 Goldenstones you have. If you want more details, check the “🧧 Coins” section at the beginning of the guide. - If you need to craft a lot of Essence of a Star
 and want to save materials in the process, you can craft them at the Volcanic Forge (in The Well of Skelos). You’ll craft 100 Essence of a Star at once in exchange for 1.200 Star Metal Ore and 240 Scourge Powder. If you craft 100 Essence of a Star in the Nether furnace, apart from spending fuel and time, you would have to use 600 more Minerals and 160 additional Scourge Powder.
- To complete two quests from Erond in which he asks you to give him two workbenches, there are two options:
 · that you’re on a server that has the Pickup+ mod so that you can build the workbenches and pick them up, thus having them in your Inventory as items.
· that you’re on a server that has the Pippi mod and that the admin has created a Thespian (NPC) who will give you the object of said workbenches, for free or in exchange for the materials it costs to craft them. Learn how to use the Mushi Editor of the Pippi mod in this guide in English or in esta guía en español .
If you’re an admin but you can’t think of how to do the Thespian thing (or you don’t know) feel free to ask me in the comments. Anyway, later I’ll share a Script (MushiString) of a dialog I’m creating. It’s from a Thespian who will serve to guide server users through the EEWA content and will also be the one who delivers these work tables to you at the appropriate time. - Clarifications of some terms of the guide:
· Elites = one-skull enemies
· Bosses = three-skull enemies
· Pure damage = damage that ignores Armor
· On the maps of the Exiled Lands:
🔴 = will be “outdoors”
⭕️ = will be inside a dungeon, that is, you will have to go through a loading screen
· On the handmade dungeon maps:
➖ (red) = entrances and exits
🔴 = Friendly EEWA NPCs
❌ = points of interest such as tablets or meteorites
🔵 = stash chests and Master skeleton key chests
(rare figures in red) = important three-skull enemies
· Base game Attributes:
Strength = determines the damage you deal with Strength based weapons and slightly increases your carrying capacity
Agility = affects the damage of Agility based weapons and slightly increases your Stamina
Vitality = determines your maximum Health and your regeneration capacity
Authority = affects the damage your followers deal and the bludgeoning damage you deal
Grit = determine your maximun Stamina and directly increase your Armor
Expertise = directly affects your carrying capacity - When I made this guide, the server had all the default rates and this list of mods:
· Pippi – User & Server Management
· Greater Camera Distance
· Hosav’s Custom UI Mod
· Hosav’s Pets Extended
· Exiled Heroic level System
· Kerozards Paragon Leveling -
 In order for you to continue leveling up after reaching 60 (the maximum level in the base game), the server you’re playing on must have a mod like this: Exiled Heroic level System, which will allow you to advance up to level 300. This mod also adds additional attribute points. Another mod that adds good functions and passive bonuses is this one: Kerozards Paragon Leveling. Both can be installed on the same server, and they’re fully compatible with EEWA.
- This is a guide focused on user players, not on admins, so it’s possible that your server’s admin has changed some parameters from the ones I show you here. He can change the minimum level to unlock magics and arsenals, the percentage of damage that adds Courage, whether the NPC Scrim Collector appears only on weekends or always, reduce the amount of Blood Sacrifice that the Altar of Hanuman requires for each soul, the appearance time of the Aspect of Ymir or Events, remove the Trait System…
 Anyway, if you’re an admin and have any questions about how to change any settings, don’t hesitate to ask in the comments.
🎮 Other Conan Exiles guides
https://steamcommunity.com/sharedfiles/filedetails/?id=3108365294
Pippi – User & Server Management mod guide, managing NPCs and the Mushi Editor dialogues:
https://steamcommunity.com/sharedfiles/filedetails/?id=2842005825
La guía del MOD PIPPI en español.
Here is a guide with the mod Underdark of Acheron maps (in English and en español):
https://steamcommunity.com/sharedfiles/filedetails/?id=3114086496
🎮
 I hope you liked and found this guide useful. Any questions you have and if you see any errors throughout the guide, please let me know through the comments! Also, sorry for my English, it isn’t my native language.
And that wraps up our share on Conan Exiles: The Ultimate 100% EEWA Guide from Scratch. If you have any additional insights or tips to contribute, don’t hesitate to drop a comment below. For a more in-depth read, you can refer to the original article here by Laurasesina, who deserves all the credit. Happy gaming!
