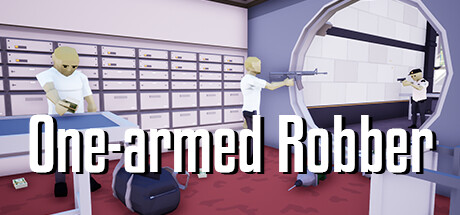
Welcome to the ultimate guide for free maps in the game, One-Armed Robber! This guide covers everything from solo stealth and loud methods, all loot locations, map rankings, and gameplay tips. Whether you’re a beginner or an experienced player, this guide has got you covered with both text and video guides. So let’s dive in and level up your gaming skills!
Intro
Maybe you need other’s help to do stealth or loud and you want to do so solo instead?
Do you want to know how much and where all the loot is and the maximum take would be?
Do you want to know about the fine details?
Do you want to know about fun facts about maps?
Do you want reviews of each map overall, and for solo stealth and solo loud?
Then this guide is for you, as it’s for all the free maps available with in-depth guides and information.
Jewelry Store (Not started)
Liberty Hawk Bank (Not started)
Pegasus Museum Of Art (Not started)
Lundenburg Liquors (Near finished)
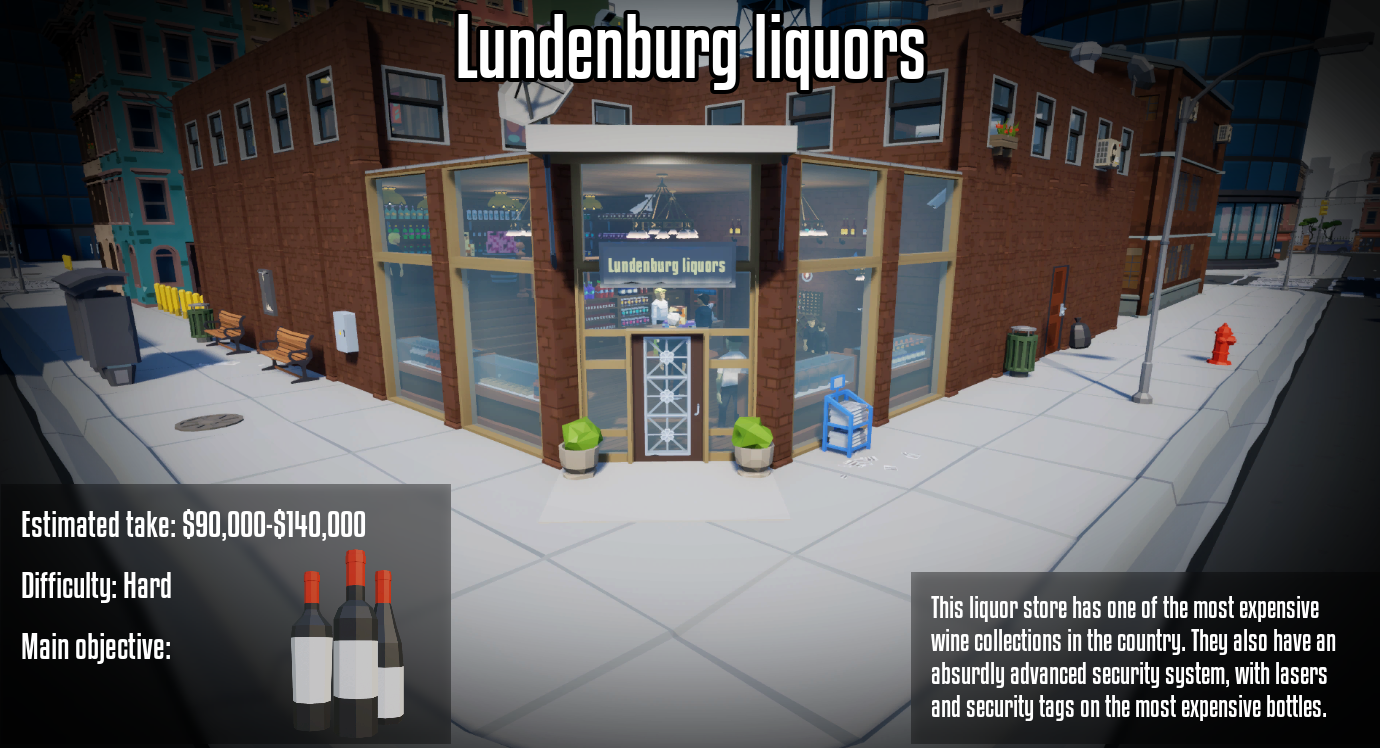
Overall Map rating: 2/5
Overall Map review: This is quite a horrible map as it is quite easy, posing no challenge except the slow, painful, monotonous loot moving of low-paying items as 122 of the 143 loot items are only ~$500 and manage to make around half of the total value and so isn’t worth the time, especially since no trolley exists in the map, the bottles are quite large, and the general duffel bag/looting system should be overhauled
Number of civilians: 12
Number of guards: 4
Number of guard check-in stations: 3
Number of powerboxes: 3
Number of trolleys: 0
Number of keycards: 1 (Vault)
Total take:
~$138.5k for 143 loot items
Loot available:
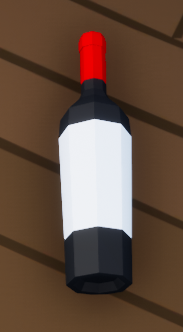


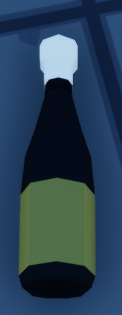
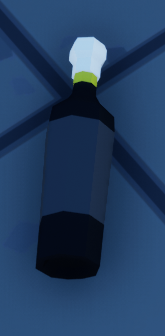
Special loot locations: All the loot is relatively easily to locate and is only in the store or the vault cells
Extra facts:
- There are cigars and bottles of beer/alcohol that can be picked up and are located in display cases that can even be lockpicked but are worth nothing
- Security Tag triggers the alarm when a bottle leaves the store’s vault
- The lasers in the vault triggers only by the player, items, or the door opening and closing
- You can take the wines in-store, but you’ll alert guards if you hold them for too long
- The Chateau Brumeaux Rogue bottle is the only bottle with a unique model as the Riserva Nebbia is the Vino Rosso Incantato recolored and with a tag, while the Cuvee Eclat is a recolored with security tag Amarone Rosso Segreto
- The map is technically called “Lundenburg liquors” with a lowercase L for the word liquor, unlike the other free maps where every word has it’s first letter capitalized
Vault Combinations
I’d like to post someone else’s guide here and give them credit for it, but I am waiting to get permission from the creator to do so, therefore this is incomplete until I obtain confirmation from the guide creator.
Solo StealthVideo guide
Text guide
1 – Gear up after spawning
2a – Immediately go to the back of the shop (to the left with the car barriers) before the guard behind there wanders back and sees you
2b – Pick open the door, go inside with the lockpick, and close the door
3 – Pick open the utility door and shut off the breaker
4 – Take your lockpick and go upstairs to the camera room (end of hallway)
5 – Kill the camera guard and answer his pager then open a window to the roof
6 – Go out the window and drop it at the store’s entrance (to save time)
7 – Go through the other window into the apartment and take the keycard
8 – Drop the keycard at the same place of the lockpick (again, to save time)
9a – Drop down, open the door, and kill the guard
9b – Zip-tie the civilians nearby, there’s one that is in the lower area but like the other NPCS will come to the dead guard’s body to try and report the crime
9c – Zip-tie civilians that didn’t see anything and weren’t alerted
10a – Go down to the lower area, zip-tying the civilian looking 180* away from the whole fiasco
10b – Kill the guard and answer his pager
10c – Zip-tie the rest of civilians
The main store has now been fully cleared and is free for looting
11 – Grab the keycard
12 – Open the vault
13 – Bring the keycard into the vault and open it
At this point you can trigger loud for a mixed-stealth run as the vault has already been opened and so you don’t need to wait for powerboxes, however it is better to stay with full stealth as it’s generally safer, faster, and easier than loud
14 – Go to the back of the shop (the right side this time)
15a – Wait for the guard to not detect you
15b – Go to the box and click on it
16 – Go back to the vault and put in the correct combinations to disable the lasers for the corresponding cell
17 – Lockpick the cell open
18 – Take the bottles out of the cell and return them to the van
19 – Repeat for all cells in the vault
20 – Take the bottles in the main store if it has not been done already
21 – Leave with your takingsStealth rating – 1/5
Stealth review – The map doesn’t challenge the player, as it has only 4 guards with easy routing practically being split into 3 parts which is actual stealth gameplay like lockpicking doors, taking out the camera guard, and disabling the utility room alarm, then the second part of the bottleneck as you clear out the store (more specifically main entrance area) and the final section of loot transfer simulator 2024, 143 objects edition.Solo Loud GuideVideo guide
Text Guide
1 – Gear up after spawning
2 – Trigger the alarm
3 – Activate first powerbox (next to the bus stop)
4 – Go to the truck so you get a cover advantage
5 – After the powerbox is finished, take a drill then go inside
6 – Start the second powerbox
7 – Stand in the left corner of the vault door area for good cover
8 – While waiting, drill the vault
9 (reccomended) – After the powerbox is finished, drop the drill and go all the way to the back of the store (this is because by drilling open the door while you can easily get in and out of the store, cops now have a second angle where they can come into the store which ruins the choke point at the main store entrance and makes waiting for the 3rd powerbox harder due to there being another direction of cops to come through)
10 – Start the 3rd powerbox and either hide in the alley that’s facing towards the camera/back entrance of the store (gives coverage of left, right, and center but not behind) or in the side entrance area (gives great cover for the left and center area of you but you may also have to worry about the door if it has been opened)
11 – After the powerbox is completed, go back to the vault
12 – Open up the vault’s cells and take the wines
13 – Take the in-store wines
14 – Leave with your winningsLoud rating – 3/5
Loud review – Despite being advertised as hard, the map is quite easy doing loud as the first 2 powerboxes have good cover and choke points to take advantage of, as well as the short distance to and from the van, though obviously brought down by the annoying loot transfer as stated various times earlier.
Orbital Bank (Not started)
Extra’s & Credits
It’d be greatly appreciated if you leave a like, a comment with some constructive criticism, or maybe an idea for something to add to the guide, but you don’t have to, as I’m happy you even clicked on the guide, and I hope you have a great day!
- Jewerly Store – Not Started
- Liberty Hawk Bank – Not started
- Pegasus Museum Of Art – Not Started
- Lundenburg Liquors – Vault “codes” section & map layout drawing and/or video
- Orbital Bank – Not started
- BunnyAlex321 – Main guide creator
- No other user guides have been used so far
And that wraps up our share on One-Armed Robber: The Ultimate Guide to Free Maps, Tricks, & Tips. If you have any additional insights or tips to contribute, don’t hesitate to drop a comment below. For a more in-depth read, you can refer to the original article here by BunnyAlex321, who deserves all the credit. Happy gaming!
