Have you ever wanted to create your own custom livery in the game Nuclear Option, but didn’t know where to start? This guide will walk you through the basic steps of using the livery builder in Unity, so you can easily build and publish your very own livery. No prior knowledge required, just follow along and you’ll have a personalized livery in no time!
Introduction
This guide makes the following assumptions:
- You have little to no experience working with Unity. This is perfectly okay; building and publishing a livery is really quite simple once you understand the process, no prior experience required! (If you do have experience working with Unity, that’s okay too!)
- You know how to download and unzip files from GitHub, and navigate File Explorer. You won’t have to do much of this, but it is something you should know how to do.
- You already have a completed livery texture. There are plenty of guides out there on how to texture an object in Blender or another program of your choice; this in itself is currently a somewhat complex process if you want to be able to preview the actual model, but rumor has it there will be some templates available soon to hopefully make this process easier. Regardless, that is not the focus of this guide at present.
Prerequisites
- Unity Hub[unity.com]
- Unity 2022.3.6f1 (will be installed via Unity Hub in a few steps from now, but also available here[unity.com] if you want to download it manually)
- The Nuclear Option modding tools[github.com]
- A completed livery texture in .png file format.
Setting Up
Once Unity Hub is installed, open it and go to the Projects tab. Download and unzip the modding tools (linked in the Prerequisites section), and put the unzipped folder somewhere convenient. I recommend your Documents folder, but you can put it wherever as long as you know where it is. You should now have a folder named Nuclear-Option-Mods-release, with several files and subfolders inside of it.
Now, go back to Unity Hub. In the Projects tab, click the arrow next to the “Add” button in the top right and select “Add project from disk”. Navigate to the location where you put the modding tools, and select the Nuclear-Option-Mods-release folder. A project with the same name as the folder should now appear in the Projects list, along with a warning symbol under the Editor Version indicating that the proper version of the editor is not installed.
Click the warning symbol, and follow the prompts to install Unity Editor 2022.3.6f1. As before, if it prompts you to install Visual Studio or any other components, you can deselect them because all you need is the editor itself.
Once the editor is installed (which will probably take a little while), open the project by clicking on it in the Projects tab. This may take a few seconds if it is the first time the project has been opened.
Now, create a new folder in the Assets directory in the lower menu panel of the editor (right-click -> Create -> Folder). I would recommend naming it either “Liveries” or “Skins”, so you remember what it does. This isn’t strictly necessary, but it helps to keep things organized. You can even create subfolders for each aircraft if you want, but again this isn’t required.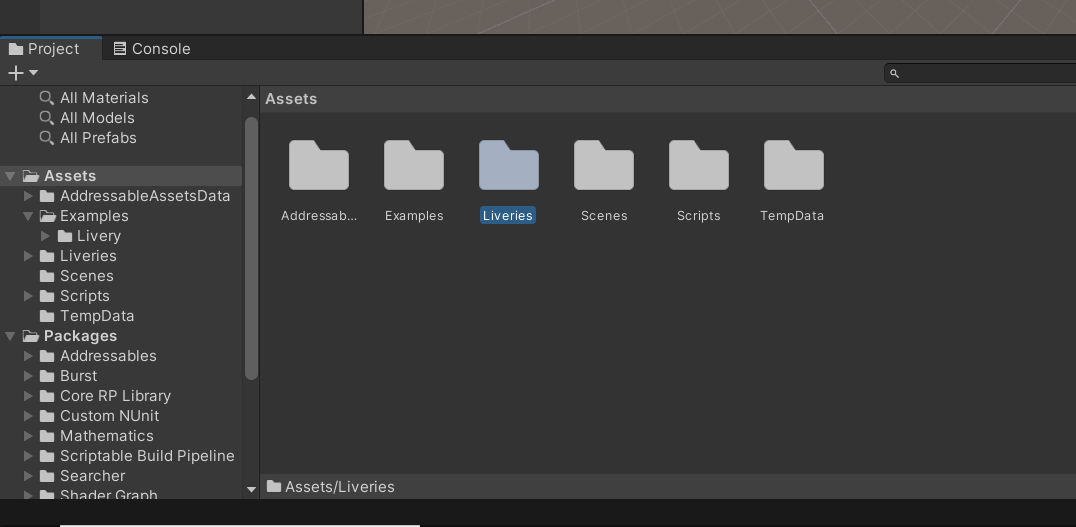
Double-click on your new folder to enter it. Congratulations! You have finished setting up the Unity editor and modding tools and are now ready to begin building your livery.
Creating the Builder

This will open up a new menu tab, which should have only one button: “Create Livery Builder”. Click on this button, and you should be prompted to choose a location to save the builder asset in the project’s Assets directory. Navigate to the Liveries folder you created earlier – it should be right there in the Assets directory – and name the builder something related to the livery you want to build (e.g. “BDFCamoShark.asset”), then click Save.
You should now see your Builder asset in the Assets panel. 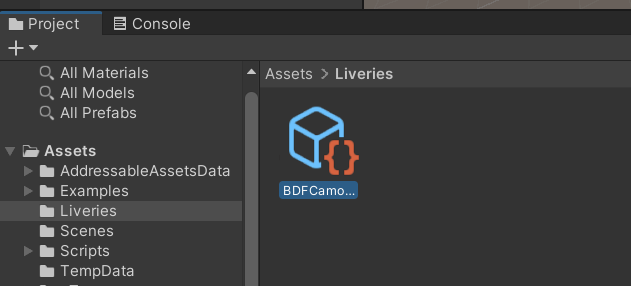
Select it, and you will see a series of parameter in the Inspector panel on the right side of the screen. We will get to those in a moment, but first we need to import the texture.
Importing the Texture
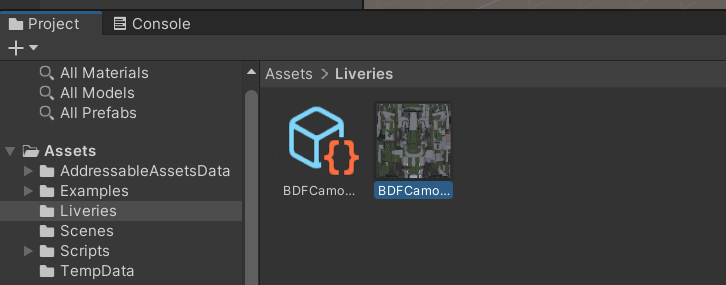
I would recommend renaming the texture to match the name of the Builder (e.g. “BDFCamoShark.png”); this makes it easier to keep track of multiple liveries since Unity sorts them alphabetically.
Builder Parameters
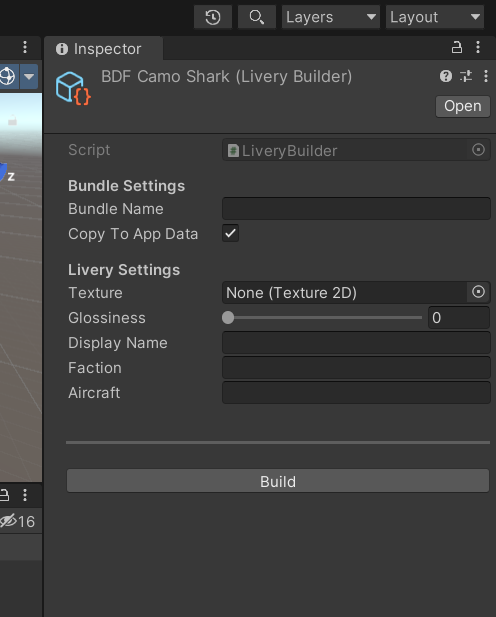
This will be the name that the game uses to internally identify the livery (and what you select when uploading it to the workshop), but it is NOT the name displayed to the player when picking a livery in the aircraft selector. Name it something related to the livery; I generally name it the same thing as whatever I picked for the Builder (e.g. “BDFCamoShark”).
This will create a local copy of the livery (once built) to your computer’s %appdata%\..\LocalLow\Shockfront\NuclearOption\Skins\ folder. Check this box.
(If you wanted to ONLY be able to use the livery AFTER it was published to the workshop (and thereby have to subscribe to it yourself), leave it unchecked. Honestly I don’t know why you would do this, so I would highly recommend leaving the box checked.)
This is where you tell the Builder which texture asset to use. Clicking the button on the right side of the box should open a file selector window showing all of the image textures in the Unity project. Select the one you want to use (the texture you imported earlier) and double-click to confirm.
This is an optional parameter controlling how glossy and shiny the livery will appear. A higher number equals more glossiness. (For reference, the official default liveries have a glossiness value of 0.)
This parameter controls what the livery will be named when the player is picking a livery in the aircraft selector. Name it something relatively short that clearly indicates what the livery is (e.g. “BDF Temperate Camo (Shark)”). I would recommend avoiding using special characters other than parentheses and hyphens; these may sometimes cause issues.
This is an optional parameter controlling which faction the livery will be available for. Entering Boscali will restrict the livery to the BDF team, while entering Primeva will restrict the livery to the PALA team. Leaving this parameter blank will make the livery available for both factions.
This parameter controls which aircraft the livery is for. This requires the full name of the aircraft, not just its nickname or designation.
Once you have finished entering the appropriate values for your livery, it should look something like this example, with all of the necessary parameters filled in: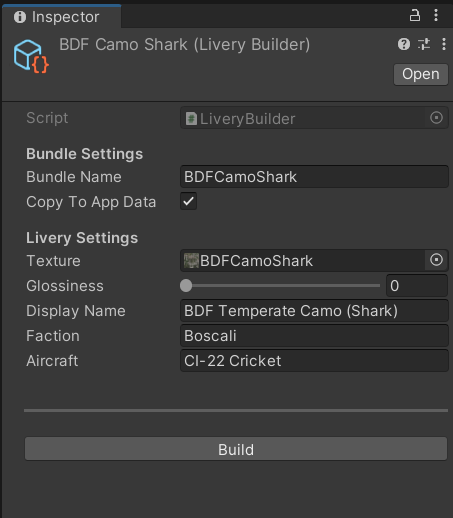
When you are finished, click the big Build button at the bottom. A loading bar will indicate that the livery is being built and packaged. Wait for it to finish, then launch Nuclear Option (the game).
In-Game Testing
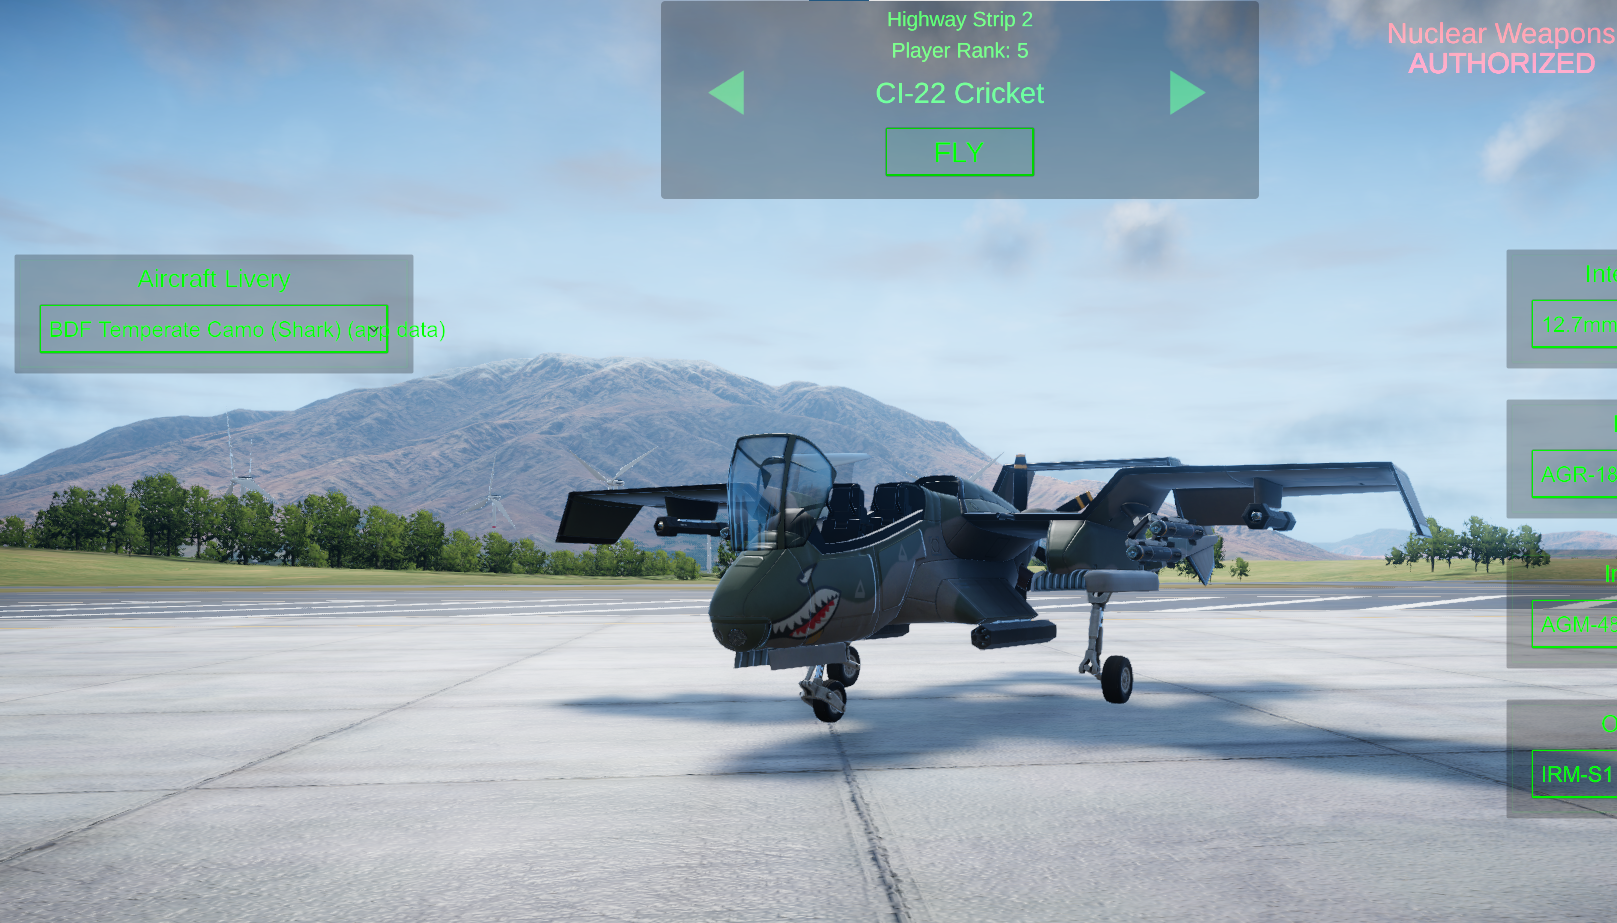
(If your livery does not appear in the list, go back and check the parameters you applied to the Builder to ensure that they are correct, and then rebuild the livery to apply any changes.)
Congratulations! You have successfully built a livery for Nuclear Option, and you can now fly with it to your heart’s content! If this livery is only for personal use (i.e. you don’t want to publish it to the Steam Workshop), you’re done!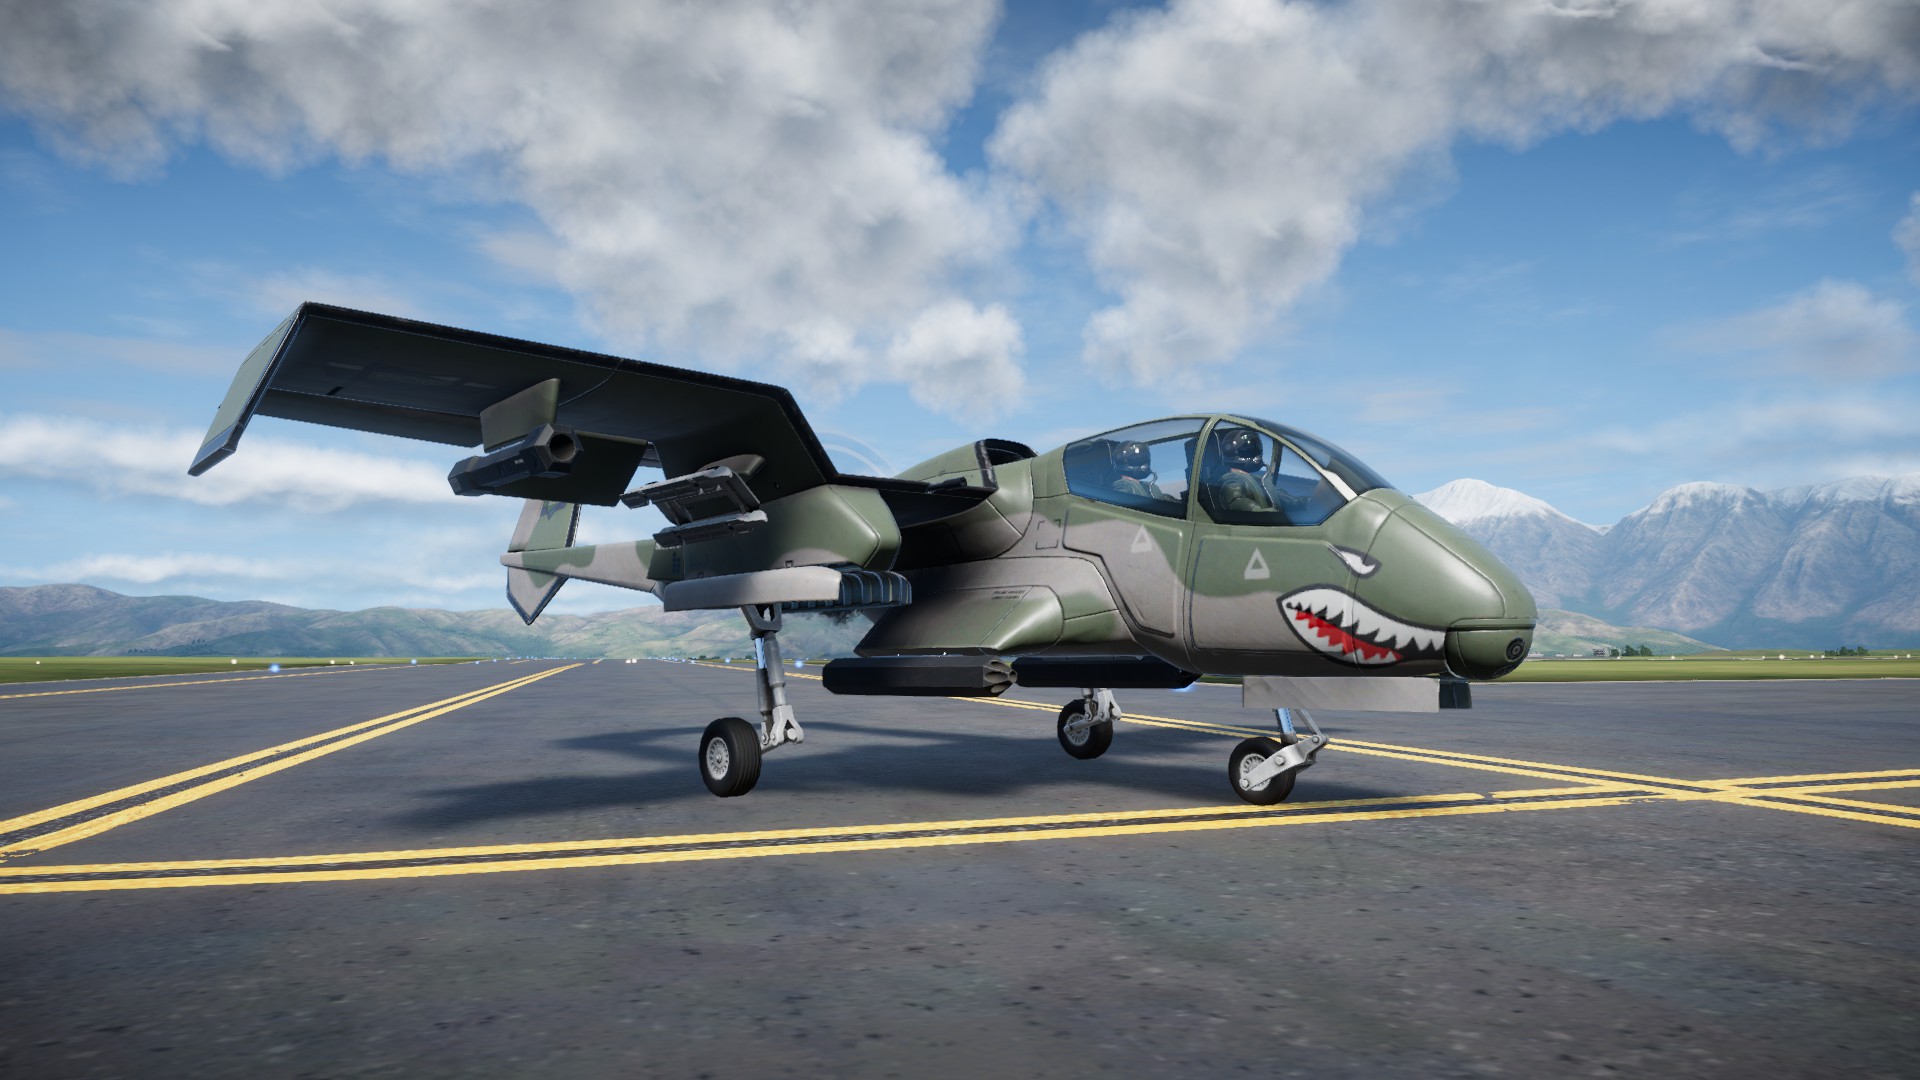
If you do want to publish your livery to the workshop so others can download and use it, read on.
Publishing to the Steam Workshop
Fill in the title and description boxes, and add your thumbnail image. If you took your screenshot with Steam’s screenshot tool (F12 key by default), it can be found in the following directory:
Check the “Public” box if you want your livery to be publicly available immediately upon upload, or leave it unchecked to upload it as a private workshop item. You can change the item’s visibility (as well as the description and title) after publishing it by going to the item’s workshop page and using the author tools on the right side, so don’t worry too much if you make a mistake.
When you’re done editing, publish the livery via the button in the bottom right of the window, and you’re finished! You can now view the item on the Steam Workshop and further edit it there if you wish.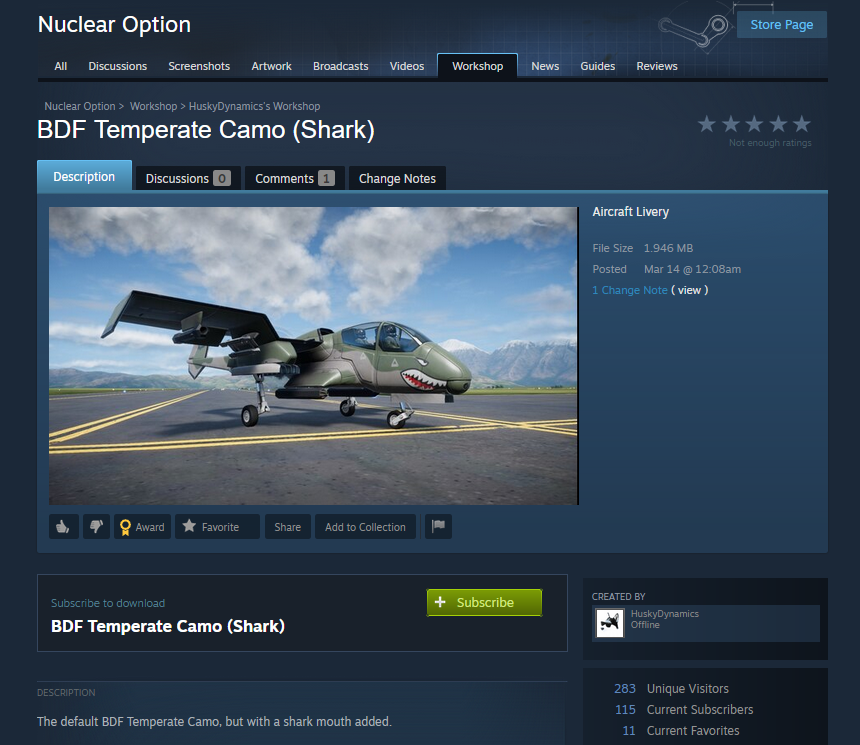
And that’s everything! You have now successfully built and published a livery for Nuclear Option. Congratulations!
And that wraps up our share on Nuclear Option: How to Build and Publish a Livery. If you have any additional insights or tips to contribute, don’t hesitate to drop a comment below. For a more in-depth read, you can refer to the original article here by HuskyDynamics, who deserves all the credit. Happy gaming!
