Welcome to our LISA gaming guide! In this article, we will be discussing the progression map for LISA the Painful, but be warned, there will be spoilers ahead. Our goal is to help you navigate through the game and avoid getting lost. So, let’s get started and make sure you don’t miss a beat on your journey through LISA!
Notes
Opening
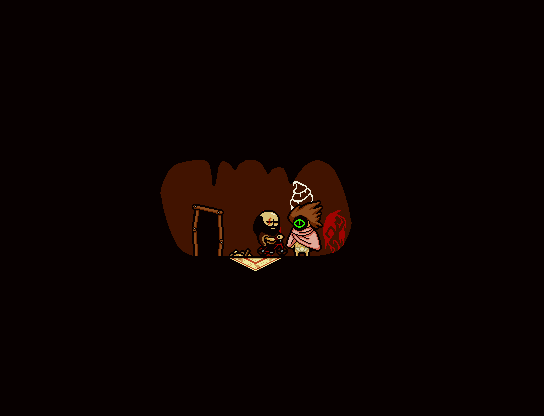
If you go to the left you’ll see a mysterious man just chilling out next to a shopping cart, and if you go to the far right past your house you’ll find a scene with a man in a suit talking about how Olathe, the location of this game, is perfect.
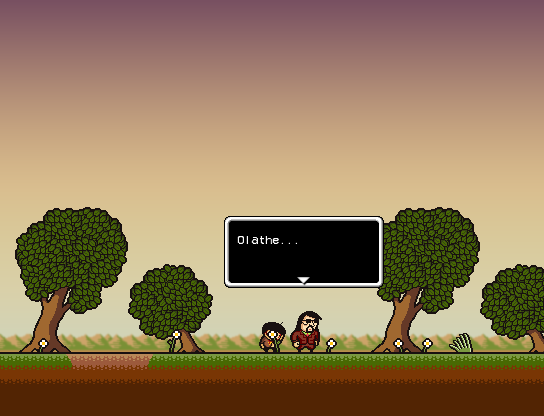
Once you get home and go upstairs you’ll notice 3 doors. The clean one progresses the story so save that for last. The other rooms belong to Brad’s Baby Sister; Lisa and his Father; Marty, the latter of which is locked off. (which is a subtle nod to the first LISA game, as well as the “music” in this area (the TV noise) being the same as in Marty’s House in that game.)
Pre-AREA 1
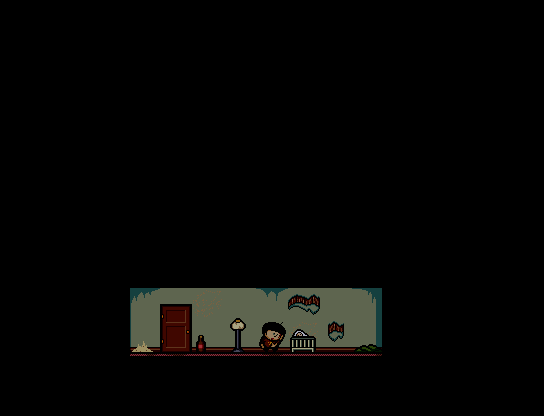
Now Brad is all grown up, and finds a baby girl who he names Buddy. Cheeks suggests giving the baby away to the Rando Army but Brad decides against that, instead wanting to raise her on his own, and his friends comply. A timelapse happens, showing Buddy growing up and then we’re given control of Brad again. Now we have to fight the first enemy in the entire game.
BOSS 1: CHEESE LEGS
Gives +53 EXP and 0 Mags
Theres not much strategy to this fight, its simply an introduction to the fighting mechanics of the game. Brad doesnt even have any skills yet! Just spam attack.
Terry Hints
Story Progression Character, literally impossible to miss.
His stats are bad compared to other characters, and he hits like a wet towel. Later down the road he learns some decent supporting skills and some subpar attacking skills. The real reason to keep him around is story based.
Starting Stats:
Hints:
Skills:
After you get Terry he asks if you want to play in Pain Mode or not. Pain Mode has some simple yet key changes, the only main differences being you can only use Save Points once and a few bosses get notably harder. This guide will cover said bosses when you get to them.
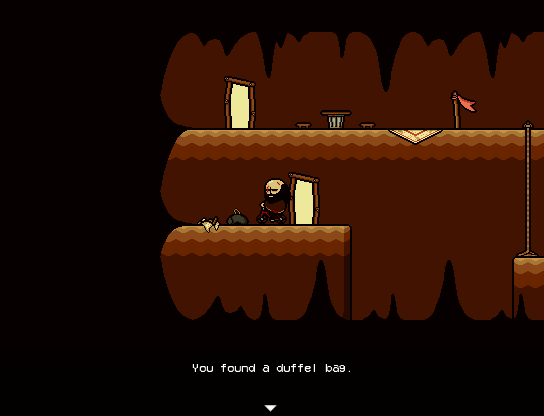
On your way to Area 1 you’ll see a bunch of bottles and items scattered around the ground. You might want to ignore your impulse to pick them up as soon after you have to choose between giving away all your items or Terry. After said choice you can come back and pick up everything you missed if you don’t mind backtracking a bit. 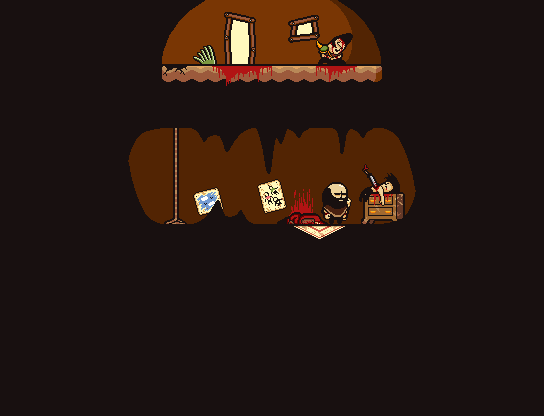 This corpse gives you a knife that inflicts poison. Brad can’t use it but maybe someone else can!
BOSS 2: SUGAR MOUNTAIN
Gives +100 EXP and 8 Mags
Use Verbal Bash until he’s Crying and PO’d and spam Buster Punches. Simple.
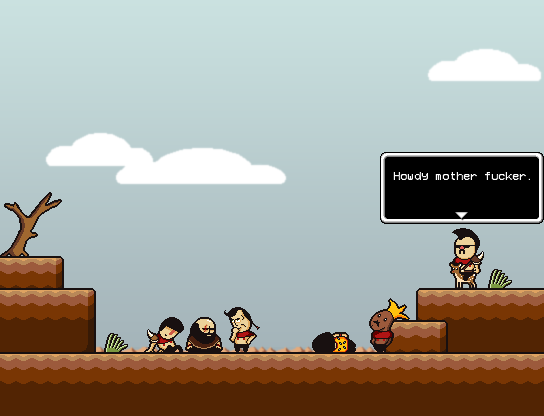
The game opens with a young Brad taking the blame for his friends and getting beat up by some bullies because of it.
The same bullies from Brad’s Childhood survived, and have started their own sort of faction. They’re annoying, but I’m digging this guys style. I wish I could ride a deer everywhere. If you took my advice and left all the items behind, you can go back and get them now. (or wait until you get the bike)
AREA 1 (Part 1)
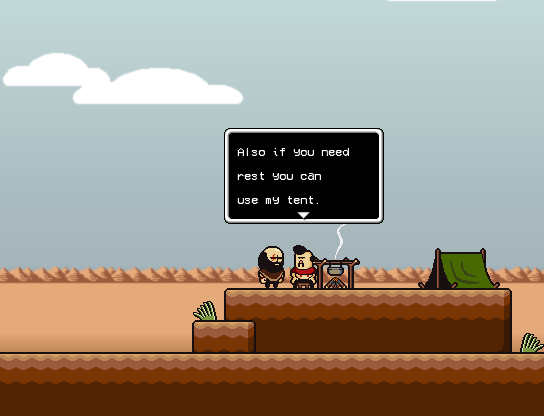
This guy will heal you without you having to worry about your party members getting kidnapped/you getting status ailments, BUT theres a 33% chance that a guy will ambush you and PERMINANTLY lower your SP and Luck. The good news is this only happens once and afterwards this rest spot becomes 100% safe, but the game is perminantly harder. Thankfully, if you wanna be a coward you can save-scum and rest here safely.
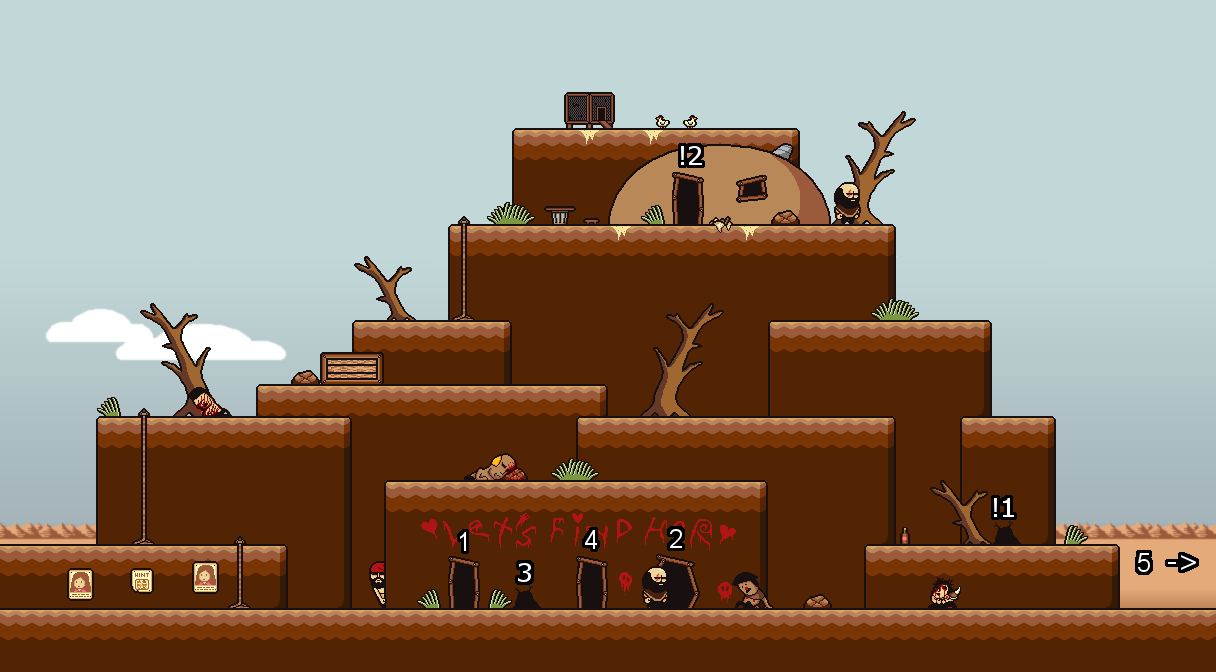
Heres a quick overview of what we’ll be doing in all of these areas.
1: General Progression.
2: Getting Firebombs to kill a Joy Mutant in 3.
3: Getting the Bike for more mobility.
4: Getting the Truck Keys to fix the bridge at 5
5: To Area 2
!1: A little, misable scene. You can come here at any point.
!2: Roosters House. To get him to join us we need to get his Golden Chicken from Location 4.
Once you enter imidiately go to the Left to get a free 3rd Party Member.He’ll talk your ear off, but once you mash through his useless dialogue he’ll join you! (see Characters section for more details)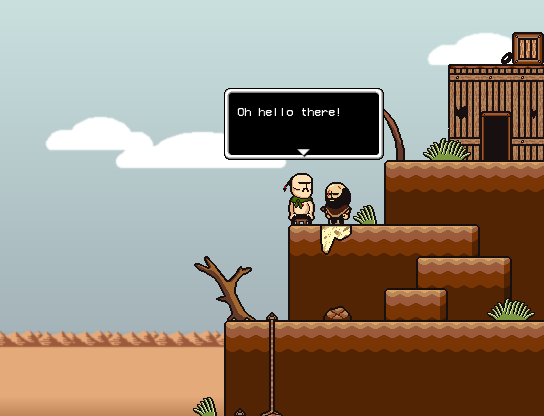
Now go back to the right to progress. Ignore the item blocked by the corpse as we’ll be coming back for it. Now head into the bar. Theres two new characters you can recruit: Olan the Archer and Rage the Luchador. Both have their ups and downs that I’ll explain in the Characters Section, but chances are you can only afford Olan right now, so come back later to get Rage. In the town next to the bar you’ll find a bunch of items and people to talk with, theres also a house which triggers the first of many flashbacks.
Bring some Booze to the Hulk Hogan look-alike and score yourself 50 free mags.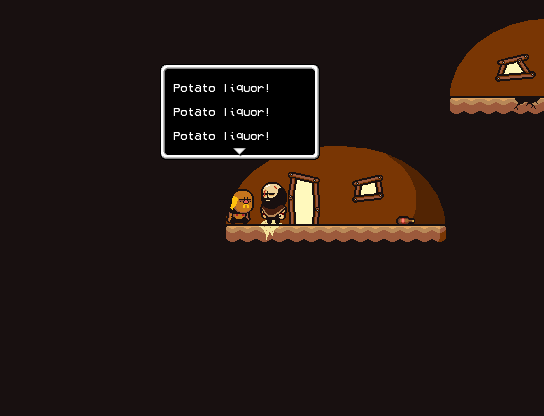
Don’t invest in this guy, he’s just a sham.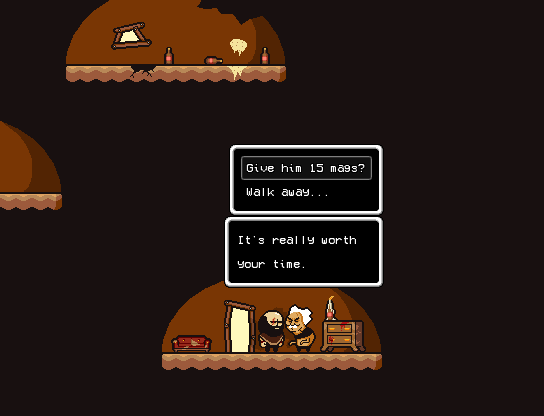
Once you’re ready to proceed head right of the town.
Keep right and some guy will talk about how him and his friends are playing cards in an abandoned building just down the way. Enter said building and this guy with facepaint will sing about how happy he is and tells you to take care of yourself, giving you some Joy for free.
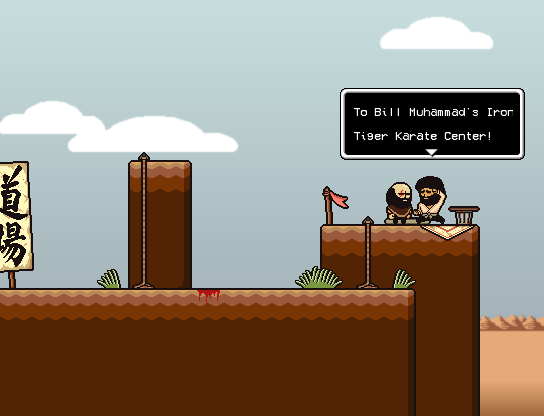
To pass Bill Mohammad’s trial just jump off of the pillar next to the bloodstain 15 times. He gives you an item that perminantly increases your defense. Use it on whoever you think needs it the most. (Brad is never a bad choice.)
Now headback to the Crossroads.
On your way back if you didn’t before buy anything you need from Chester (the blue chest guy) assuming you don’t want to save your mags for Rage or Olan if you didn’t pick them up earlier. Proceed, and you’ll notice the guy from earlier has a Joy Mask on now.
Going back even further, that guy from before has turned into a mutant, and you want to fight him.
Optional Boss 1: Punkert
Drops 1,000XP and 2 Joy
Guarding: Trash Bag Shawl
The first optional boss of the game, but a pretty important one at that. He drops 1,000 EXP which is very important if you want to survive the run up to the bike. He’s pretty easy to take out with only 700 HP, If you have Olan and Nern you can basically just spam Big Shot forever and eventually kill him while Brad and your other party member provide support (either offensively if you have Rage, or by spamming Verbal Bash if you have Terry)
On your way back to the Crossroads you’ll get a forced ambush against an enemy, so don’t forget to heal/save after this encounter.
When you enter you’ll be stopped by some members of Rando’s Gang. No matter what you say you can’t avoid fighting them, however if you say “♥♥♥♥ You” to them you only have to fight 4 of them at once, then Oak Tree Steve on his own. Before you can get any Gas to make Firebombs here you need to take out all of the Rando Troops, even the harmless ones. Once you do proceed to the bottom right and go in the cave, then talk to the guy at the very top of the cave. Good to note is that this area has an Inn. Inns are 100% safe, but cost some mags. While you’re exploring this area be sure to pick up all the Empty Bottles you can for Firebombs. Once you’re done here proceed to Location 3.
Its basically a straight shot with annoying enemies and a boss at the end. The snakes you fight here can take out a majority of your health in single attacks, and have a second phase where they can poison you, not to mention at this point in the game they outspeed your whole party. Theres also a Tree Man and a Man lying on the ground for you to fight, aswell as some items to pick up.
Boss 3: Charmy
Drops +2000XP and 2 Joy
Guarding: Children’s Bicycle
Now that we have the Bike theres a few more areas that we can explore.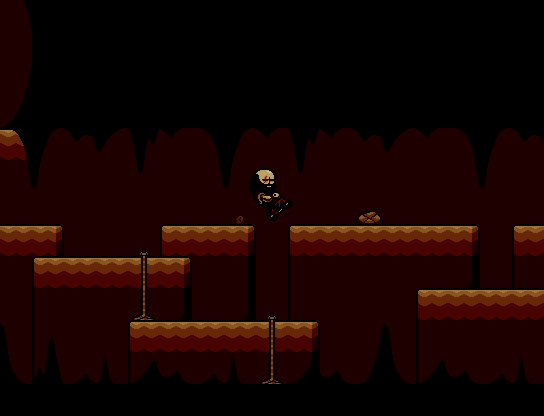
This area in the cave going towards Aurora Town. It leads to a boss fight that gets you a new party member
Optional Boss 2: Beastborn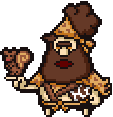
You can also kill his squirrel friend to get some Jerky.
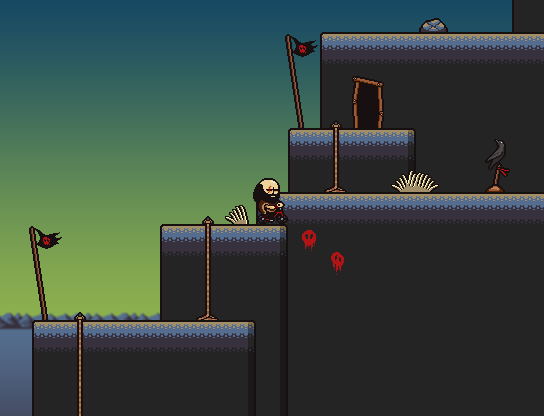
Once you have the bike, jumping from the right here at the Rando Camp nets you 3 Diesel Firebombs.
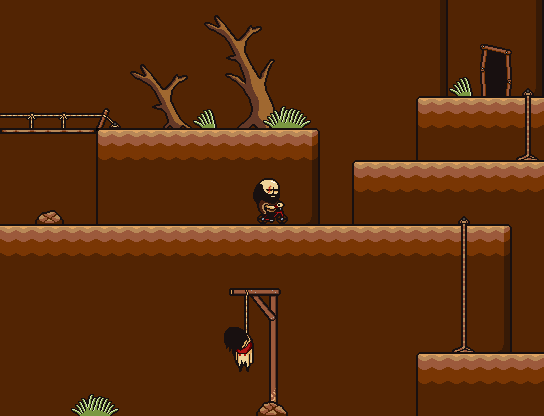
And this area to the left of the Crossroads that leads to something more…. interesting.
If you haven’t yet take the chance to go to Location !1: Orphanage to see the scene there now.
AREA 1 (Part 2)
From the very start head left to find a rusty tap and get dirty water which restores your SP, but only if you have bottles to spare.
You need to be on the bike to properly explore this area. Make sure to get all the items and mags in this starting area.
Remember this guy for later. He’s a character from a sidequest that happens in Area 2.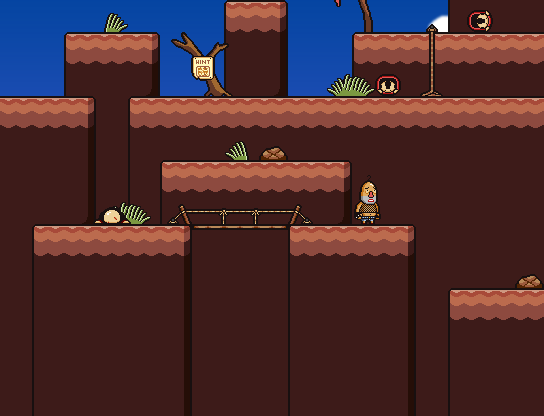
Jump off this cliff to not only take massive damage but to get some hidden items.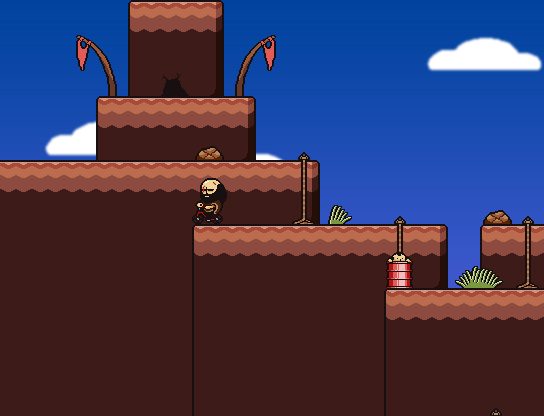
Continue onward to get kicked in the groin so hard you fall off your bike, and dodge the bush running at you with a Spiked Bat. Make sure to remember the house with the W2D Fanboy inside (you guessed it, once we beat the area boss he’ll be gone and we can get his items) If you go down the rope you can take a race challange for 5 mags and get some healing items. (or just jump down onto the goal like a smartass and get nothing. Keep going forward, get revenge on the Groin Kicker, and fight a guy with bad friends. Once you get to the Men’s Hair Club if you proceed to the right you get yet another Flashback (this time with Sticky) about Brad trying to get some Joy from him. If you keep going right after that, you’ll see a mountain and at the top is Rooster’s Chicken so make sure to get that. Once you come back go on top of the building to actually get inside.
Boss 5: Men’s Hair Club Presidents
Drops 600XP and 4 Mags on kill.
The Hair does the brunt of the damage in this fight, and is weak to Fire. If you have any Firebombs left, use them here otherwise just spam Fireball and Bomb Arrow.
With that out of the way, go to the room they were guarding and find out that the girl is actually a middle aged trucker named Fardy Hernandez. However not all hope is lost. His truck is the one back at the Crossroads, and with his tools you can repair the bridge and continue to search for Buddy.
Spend all your mags before doing this sidequest. On the way to the Hair Club theres a village. Said village doesn’t offer much, aside from a new Party Member named Mad Dog (who you can only get if you got his club from hopping off that cliff I mentioned above) and a bunch of bottles. Once you leave the village a gang will steal all your mags, or you can fight them off, but if you lose then they steal all your mags and blow up the village.
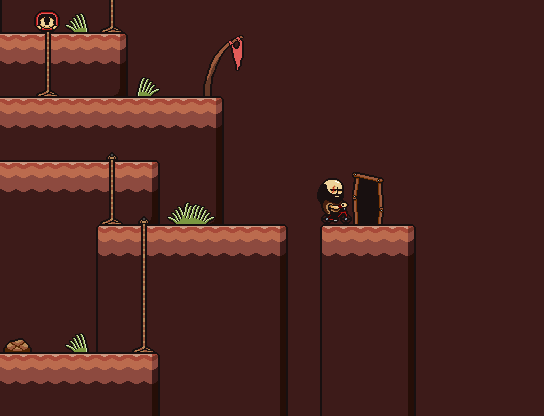
Back at the Crossroads head straight up to visit Rooster. You can either get 100 Mags from him or have him as a Party Member. Up to you.
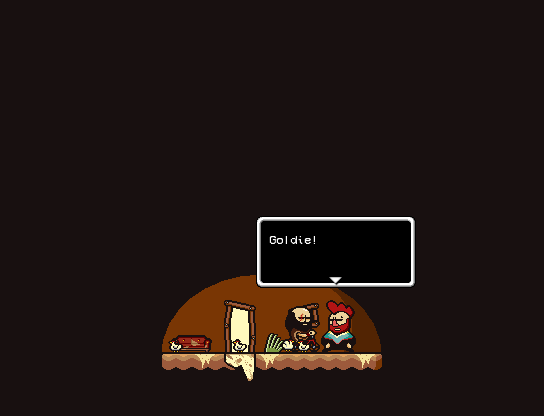
If you haven’t done Beastborn’s Sidequest, gotten the Disel Firebombs or seen the Trumpet Man yet now is the time.
For Beastborn go to Location 1, and use your bike to jump over the gap in the cave.
For the Trumpet Man go to the left of the Crossroads and head up instead of left.
For the Firebombs, head back to the Rando Camp, and jump off to the left of the Save Point on the Bike.
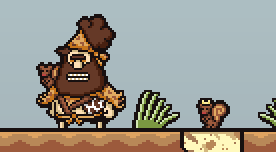
Then simply go to the Abandoned Building in Location 1 Aurora Town with 100 Mags. If you choose to fight the gang they’ll perminantly kill your Party Member before fighting you.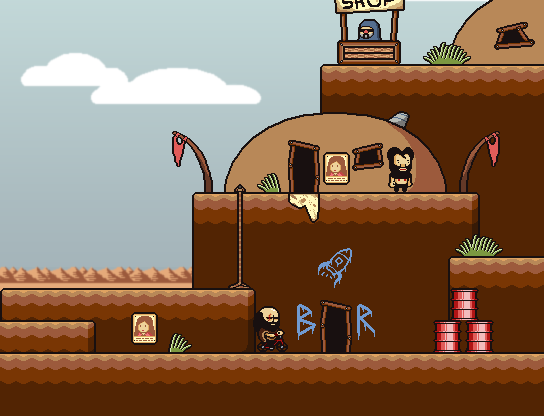
AREA 1 Characters

Base Stats:
Nern is a solid early game support character with the ability to heal both SP and TP, and has enough powerful attacks to hold his own, and can easily be used as a permanent member of the team.
Olan Hoyt
Core Stats:
Olan is an early game DPS character with high luck meaning he’ll get lots of crits. He’s a solid damage dealer if you don’t like any of the other options the early game throws at you.
El Rage
Core Stats:
A Pure Powerhouse. His abilities alone don’t deal too much damage, however his comboability is the real reason to keep Rage around.
Beastborn
Core Stats:
AREA 1 to AREA 2
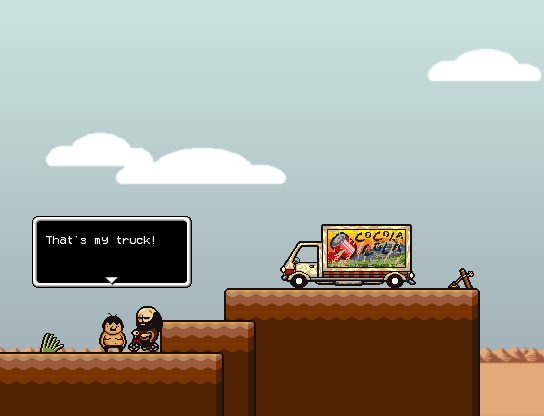
Dodge the car by going down and avoid taking damage, then dodge the other guy by climbing up the rope and fight a weaker version of them for the EXP. After that go inside the cave above them to get another hallucination scene involving Lisa.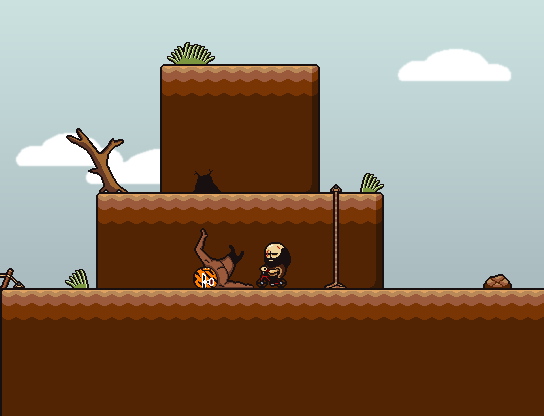
Afterwards, proceeding right, the guy you’ll encounter on the next screen will fight you no matter what you do with him so answer him accordingly. Also the camp on this screen is 100% safe so use it all you want. Now the boss coming up is actually the first of a few bosses that have changes in Pain Mode.
SWEET TEA RAKEEM
Drops 1000XP and 5 Mags on kill, 1/3 chance to drop Mystery Jerky or an Empty Bottle. 1/9 for Perfume.
This guy’s main deal is that he’s going to outspeed you, and deals good damage against you, not to mention a higher healthpool than the Men’s Hairclub Presidents. He can also afflict Wierd on your party. In Pain Mode he’s joined by…
VIC CHERRY
Drops 1000XP and 5 Mags on kill, 1/3 chance to drop Mystery Jerky or an Empty Bottle. 1/9 for Perfume.
who has an identical moveset and stats to Rakeem. In this version of the fight I suggest spamming attacks that can hit both of them at once, like using Firebombs/the Disel Firebombs you can get from the Rando Camp with the Bike. Spam multihitting moves, and focus your single hitting guys on taking out one guy specifically, the fight gets much easier after one of them is dead.
After defeating those asshats, rest up and push forward, I also recommend saving.
You’ll encounter your newest party member in the second screen after you beat the boss, and then deal with an emotional scene with your friend Rick. Fight the guy wearing two eyepatches for extra XP if you want it, then proceed inside the cave.
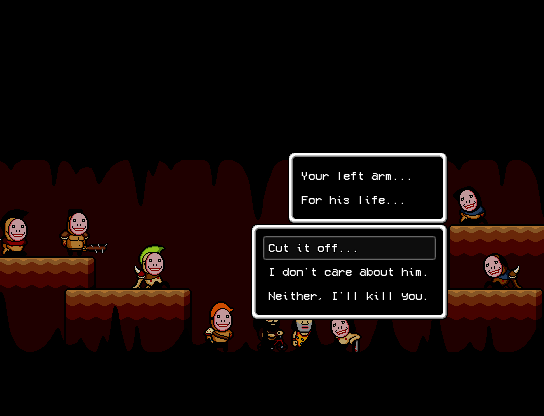
This is the first REAL descision of the game. First and foremost if you say “Neither, I’ll kill you.” he’ll just wipe out your entire party (its technically possible to beat him in a later encounter using status effects and the right party, but its time consuming and ends with a game over.) If you choose to cut off your own arm, you perminantly lower your attack and defense stats, Brad will go into widthdrawl more often, and lose use of your arm forever (meaning the combo system will change), and if you choose the other option, the person next to Brad in your party will perma-die.
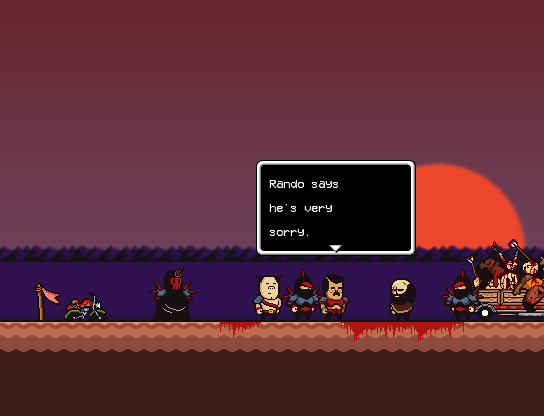
After the bike ride you’ll crash into Rando, and he’ll give you all of his rations (full heal items), which his troops disagree with and decide to attack you (good thing your entire party isn’t knocked out because you fruitlessly attacked Buzzo, right?) take them out quickly with firebombs if you have any left and move on. Continue through the cave and make your way to Area 2.
AREA 2 (Part 1)
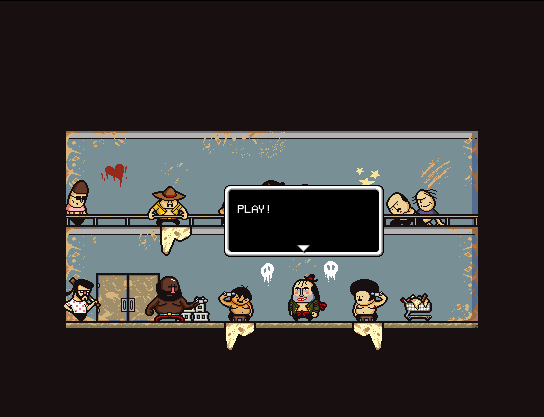
Choose your least desired party member to play Russian Roulette for you. This game is ENTIRELY RNG based with no way I know of to put the odds in your favor, and the penalty for losing is permadeath. You have to win 3 games to escape, but there is a sidequest you can do that will unlock one of my favorite characters which I will get into later on. Feel free to save-scum if your party member dies, since this is 100% RNG based.
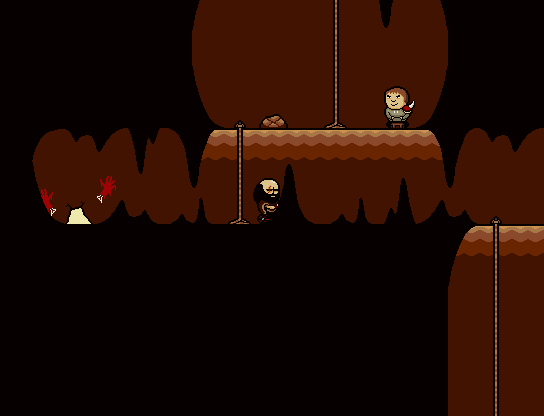
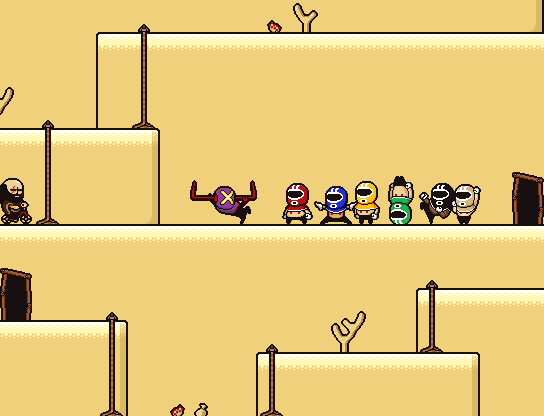
Go Down to get a Hat, and Up for Progression (Fight Mike the Pun Master for extra XP) After you go up, keep Right to continue progressing, and by going right you start the Salvation Rangers sidequest. If you want to continue their sidequest fight and defeat Blake the Snake, and they’ll move on to their next destination. 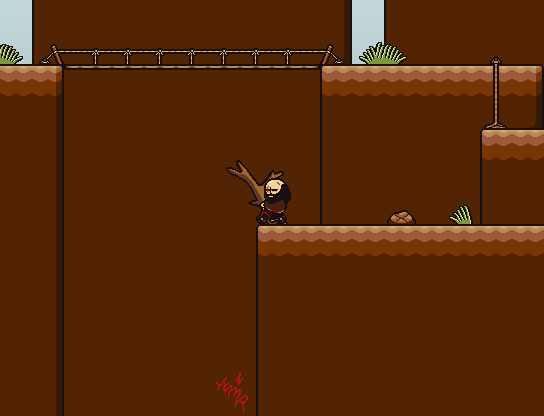
(this drops you right by the hat guy harmlessly, and is supposed to introduce you to the mechanic of survivable falls.)
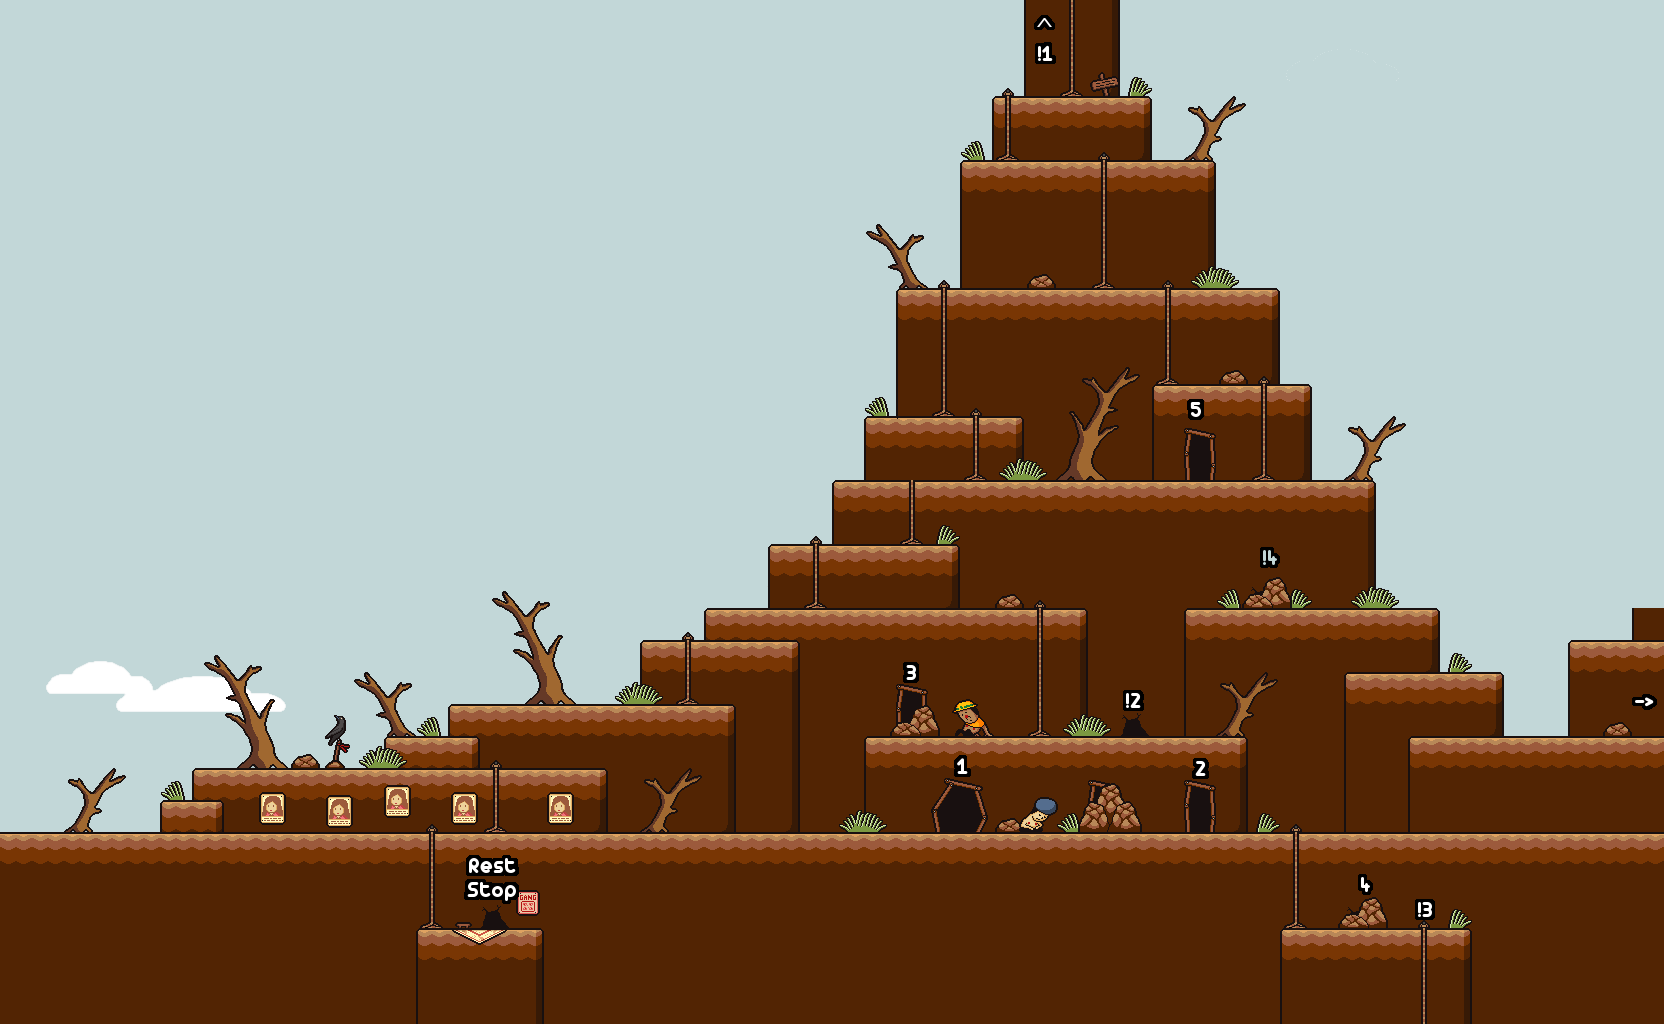
Heres a quick overview of what we’ll be doing in all of these areas.
1. Getting TNT to get rid of all these rocks.
2. Visiting the Bees
3. Chasing after Buddy’s Trail.
4. Some Sidequesting.
5. Visiting a Dojo
!1. Discovering the Meaning of Life
!2. Getting Swole
!3. Sidequesting
!4. Visiting a Lab.
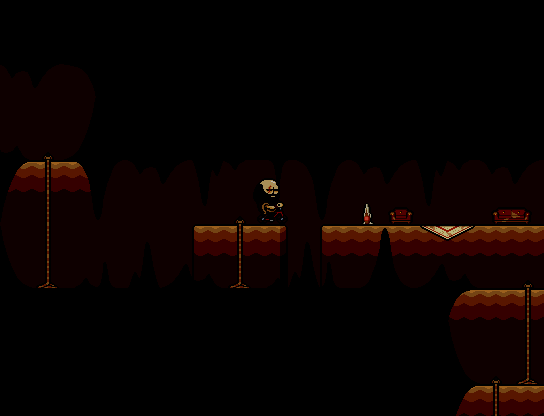
Jump across this gap on the way to Construction to get a little optional scene.
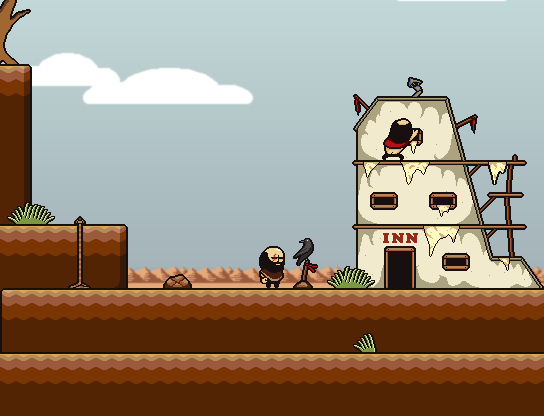
At the Inn, if you rest 3 times and speak to the guy upstairs each time he will join your party.
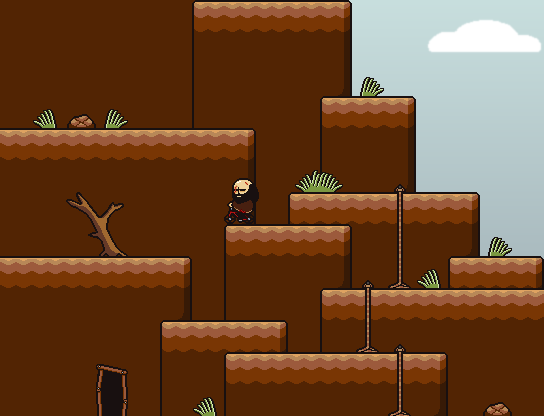
To the left here is a Dojo. The challange this time is just to stand still on some oil drums for 3 minutes, then you get a scroll that increases SP and S. Attack. Once you’re done there continue onward, and just dodge the football players like you dodged the barrels in Area 1.
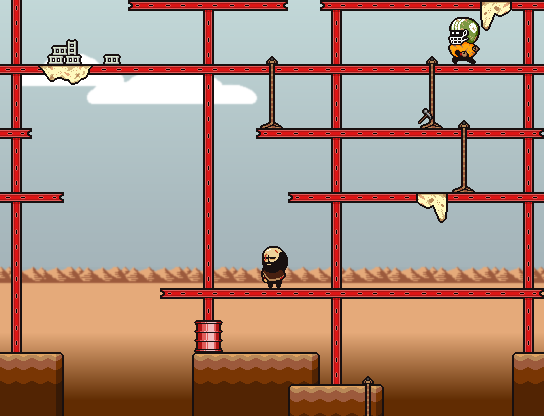
Go down at this part for a little optional scene, some mags, and an achievement.
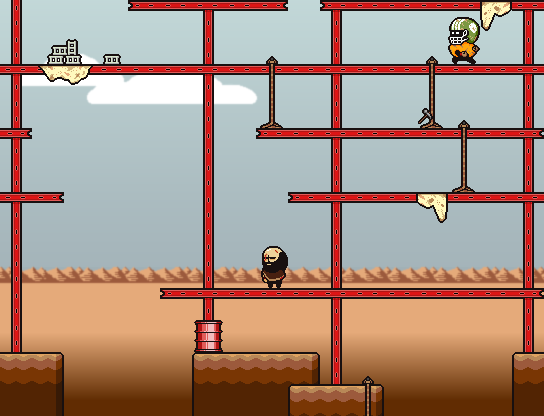
Jump down here and keep going down the ropes to continue the Salvation Rangers quest, and the Pink Ranger will join your team.
Once you go back up, and head right you’ll find a bar. Remember this place, because you’ll be coming back here. Feel free to buy Weapon Upgrades from Chester as you see fit.
Horrace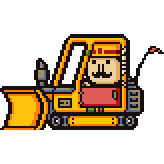
Drops 1500XP and 5 Mags on kill
After beating Horrace, make your way right, fill up on Diesel Firebombs and grab the TNT.
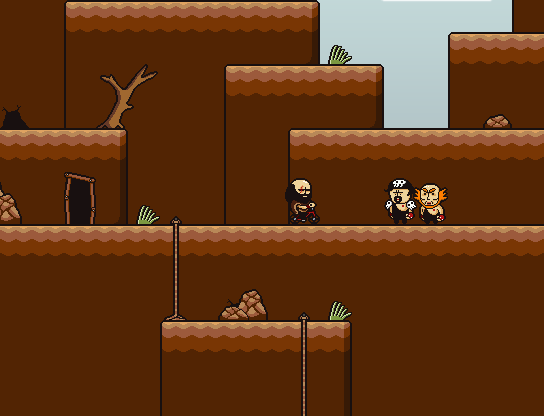
Whatever you do, DON’T give the TNT to these two once you return to the Crossroads, at least until you finish doing Bob’s Dojo. They say they won’t do anything bad but they’re huge baby liars and are probably friends with a dirty pie theif, don’t trust them!
Now, continue to Area 2.
Once at Muddy Waters, go right and talk to all the people at the Swamp Bar. You’ll notice a wierd looking guy wishing his brother was still there and how they used to always listen to music together there. (See “Sidequesting” to learn more.) Theres also a guy fishing for human fishes. Now keep right and go see the “Bees.” The path is really straight forward, you’ll encounter some Snakes and Wierdos, but nothing you can’t handle at your current level.
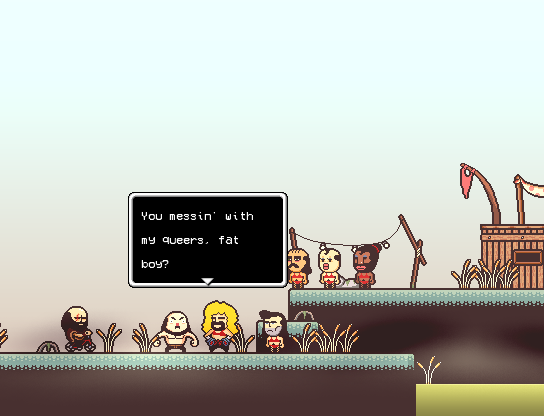
Go inside, and once there enter the Blue Door on the main floor, let the bee “show you what a real man feels like” and your defense will fully increase. Go downstairs by entering the green door and jumping down on the barrel. You can get a tissue by having the guy in the blue room dance for you and saying you love him. Go upstairs and talk to Queen Roger and ask to do some work for him. Once in your room examine the door and select “wait”, Once you’re done you’ll get a notification the next time you check the door so just keep doing “battles” over and over until then. Your reward is getting Queen Roger to join your crew.
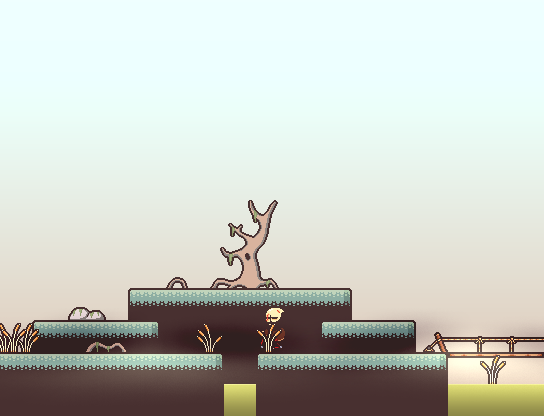
Jump down this hole directly to the left of the Bees.
Once in the land of the fish people make sure to pick up everything you can see, and also make sure to buy some Green Paste from the vendor at the bottom of the area. Once put to trial answer however you like because it really makes no difference, then after talking to Harvey and getting him to join your side use the truck keys to end up back at Area 2’s Crossroads.
Keep heading right, theres nothing to miss in the areas leading up to where you’re going.
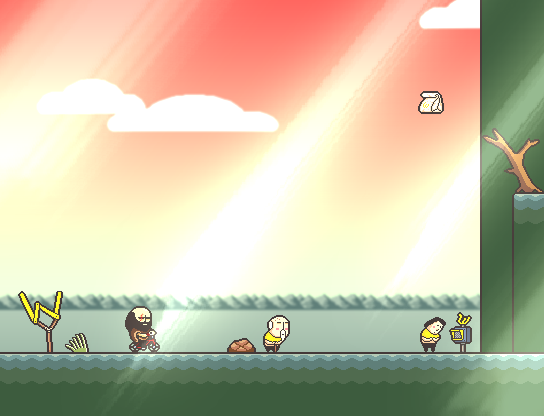
After watching that amazing cutscene, battle the two Employees standing out front of the place and proceed onward fighting everything in your way.

The main gimmick to this boss is his high attack, but he also has decent defense and will always go first. He’s also resistant to fire, so you should primarily be using strong physical attacks and status effecting moves on him.
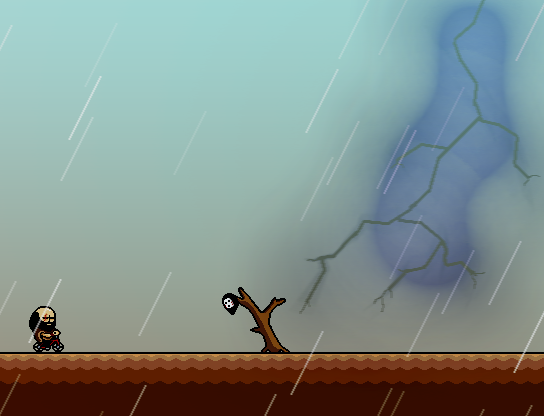
Past Wally, go down the cave and see (the hallucination of?) that man with the shopping cart you saw in the intro. You can talk to him now and find out he’s Sticky’s (Tony’s) dad. Once you get Buddy’s Poncho at the bottom of the cave, head back up. Heal Brad up if you have to, because you’re about to start a fight only he can fight.

Spam your best combo (probably Fire Ball 2) and he’ll go down soon enough
AREA 2 (Part 2)
Right away you can recruit a new companion in the cave leading up to Skull Town if you have 150 Mags to spare.
Keep left to enter the town proper, and continue the Salvation Rangers quest. Demon X is meant to be unbeatable, but once again like with Buzzo its possible with the right status effects. If you manage to beat him, just like with Buzzo, Austin will personally call you an ♥♥♥♥♥♥♥ and then a game over will happen.
Go below first to get a Cigarette and more importantly…
(See “Sidequesting”)
Once in the town, theres a few things to do. Firstly, theres a potential Party Member in the Bar, but you can only get him if you have 500 mags. Theres another guy at the top of the village who will join you if you have used Joy on Brad as little as possible up to this point. Aside from that theres a ton of people to fight. If you need any good items for really cheap, fall off the left side of the save point, you’ll take 500 damage, but its worth it.
On the way there, theres a Bar and a new Party Member. Recruit him by giving him some form of Whiskey. Once you’re at the Dojo Proper theres a few more companions to get. To get Yazan, head far left and just listen to his story. For Jack, go far right and buy the playing cards from the merchant, while you’re here you might as well buy the Dismal Map (we’ll need it later) and the doll to give to the Chuck Norris Look-a-Like (he just gives you some whiskey for it, so its only nessisary if you didn’t have any to give Birdie) and the last companion is in Bob’s actual Dojo, just defeat him and he’ll join you. Tiger Man has 27,000 HP and a 200x damage multiplier against Animal damage. Once you beat him, go to the right to the next screen then up to get Master Friday back to his office. You can buy the Student Creed from him, but it does aboslutely nothing for you. (however it gives you an achievement.)
AREA 2 Sidequests
First thing’s first
All the Characters in this area so far:
>Geese, in Construction by Sleeping at the Inn 3 times and talking to him each time.
>Pink Ranger, in Construction by continuing the Salvation Rangers quest.
>Queen Roger, in Muddy Waters by doing their Sidequest
>Harvey, in a sub area in Muddy Waters
>Garth, in the cave before Skull Town by paying him 150 Mags
>Clint, in Skull Town Proper by paying him 500 Mags
>Adjeet, in Skull Town Proper by not using Joy
>Birdie, before Bob’s Dojo, give him Wiskey.
>Yazan, Jack and Tiger Man in Bob’s Dojo by doing everything there
Now we’ll backtrack a bit to get characters we couldn’t before. 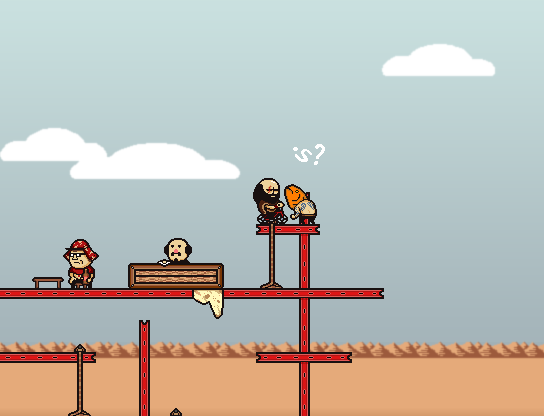
Back at the Bar in the Construction to get Carp.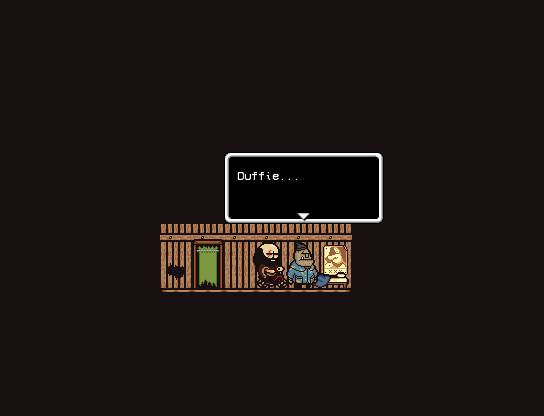
Back at the Bees Area in Muddy Waters to get RJ.
Now, head to Location !2: Muscle Cave. Explore the cave as you want to. If you enter the muscle cave proper then you can do a lifting mini game and gain EXP based on how well you do.
But what we’re here for it another character sidequest. At the very enterance of the cave head straight into the wall to your right and keep heading down. You’ll find a record, take it. There will be a joy mutant fight as soon as you leave the room you’re in, HOWEVER you can use the Truck Keys to go back to the Crossroads and skip the fight entirely.
Henry Wyatt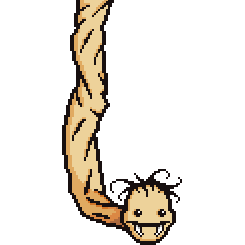
Drops +2,000XP on death.
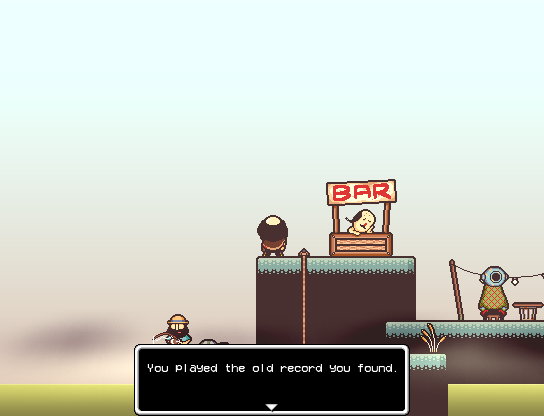
Once you grab the record from Henry, go back to Muddy Waters, and take a left to the Bar area, pop the record in and Bo Wyatt will join your team.
If you haven’t already, feel free to visit the “Meaning of Life” anytime.
Along the way you picked up a few maps (Dismal Map and Garbage Map) and they’ll allow you to take trips over to their respective Island. Be warned, At this point of the game these islands can be a bit challanging, but if you know how to abuse status conditions properly you should be fine. First, head to !3, and use your Garbage Map next to Shardy.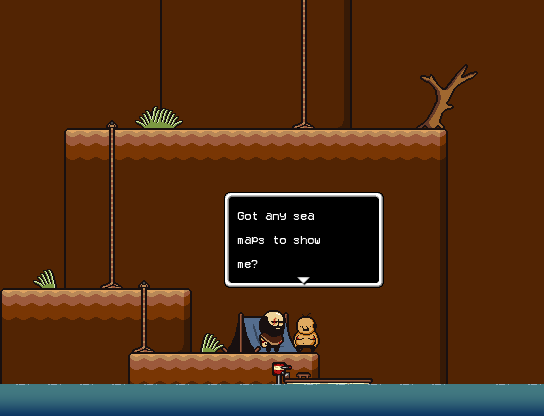
To actually enter Garbage Island you need to smell like garbage. Along the way you probably picked up some Old Socks, just put one in Brad’s Accessory Slot and that’ll do the job. If you don’t have one, just take the Stench off of Beastborn and give it to Brad. 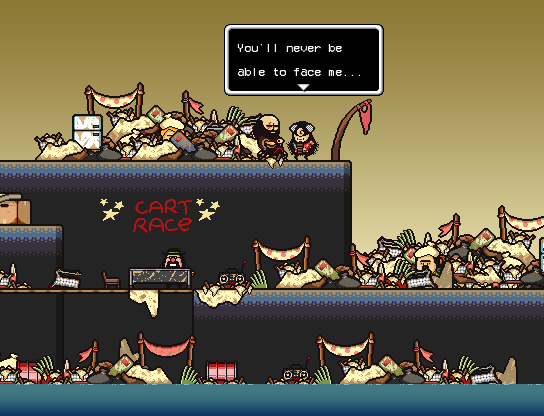
This is your next Party Member, Fly. To get him, simply beat him in a Cart Race, and to do that you have to beat everyone before him. So just win 4 Cart Races. Its pretty easy considering he’s absolutely the best partner in the game. After you finish Cart Racing, keep right. Theres some hidden items in all this trash so keep an eye out. Once you get to the end theres a wandering Joy Mutant you can fight, and a party member inside the bar. Just pay his debt and let him join you.
Georgy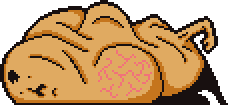
Drops +3,000XP and 3 Joy on death.
Dismal Island
Remember this guy for later. He’s a character from a sidequest that happens in Area 2.
 Remember how he said his pal Jim told him to go stare at the sun for a while? Well we’re about to meet Jim.The idea is that these characters are based off of the members of the Dismal Jesters Podcast, featuring Jim Sterling, Jonathan Holmes, and Conrad Zimmerman, the first of which helped to kickstart this game. All podcast members have vocal roles in the game, voicing the SFX for their characters. Jonathan “going missing” is in reference to him leaving the Podcast.
Slave Lord Jim
Drops +6,000XP and the Martlo Bow on death.
Jonathan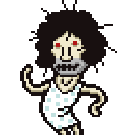
Drops +6,666XP and the Crimson Tide on death.
Watch out for Jonathan doing Feral Chop, which is a OHKO move.
Get back to the Russian Roulette building by falling off the side to the left of the Area 2 Crossroads (where it says “Jump.”) To enter Russian Roulette again you have to pay up 50 Mags, however you get paied out 100 Mags +50 for each consecutive win you get. This is a great way to make money if you need it for whatever reason, assuming you don’t care about your party members or don’t mind save-scumming. After 10 Wins, once you leave the party member Buckets will join your team.
Head to Area !4, and explore the houses normally. You can only access the actual laboratory in Pain Mode, so if you’re not playing in Pain Mode you’re gonna miss out. All thats in the lab are a bunch of Creeps like in the village, some other expirements, and a letter next to a dead body at the very end.
And that wraps up our share on LISA: LISA the Painful Progression Map (SPOILERS). If you have any additional insights or tips to contribute, don’t hesitate to drop a comment below. For a more in-depth read, you can refer to the original article here by Minerva, who deserves all the credit. Happy gaming!
