Welcome to ‘Dexious’ Guide to Basic Wiremod Battle Robots (No E2)! In this guide, you will learn how to create your own cool robots using wiremod in Garry’s Mod. No E2 is needed to make these basic robots, and you can easily customize them by experimenting and figuring out more things on your own. This guide will teach you how to make these robots using Gmod’s default physics and gravity settings, and no extra mods are required. So let’s get started!
Getting started
Before we begin spawn the destructible long wooden crate from HL2. Add some Wire Wheels to your crate with 0 friction and then select the Target Finder. Edit the target finder to target only NPCs for now and spawn it somewhere on top of your crate. Now select Beacon Sensor and tick these options.
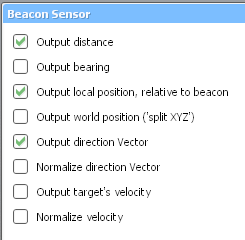
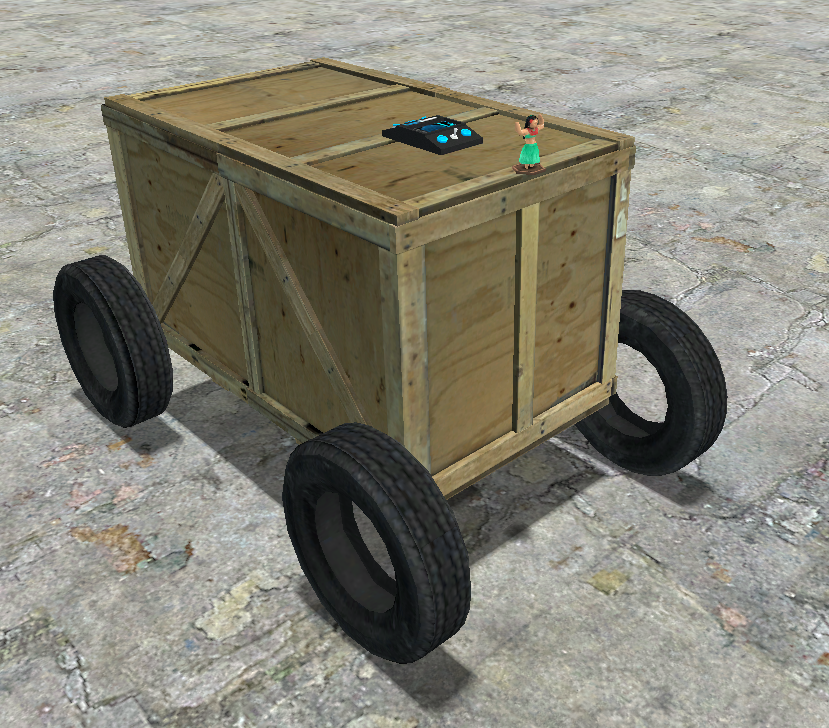
Spawn the beacon sensor on top of your crate. The direction of the hula doll matters and you will want her facing the forward direction of your robot. It should look like this.
Next select the Vector Thruster and edit it to these values and boxes. The plasma thruster effect is optional but it will show you later if you wired it correctly.
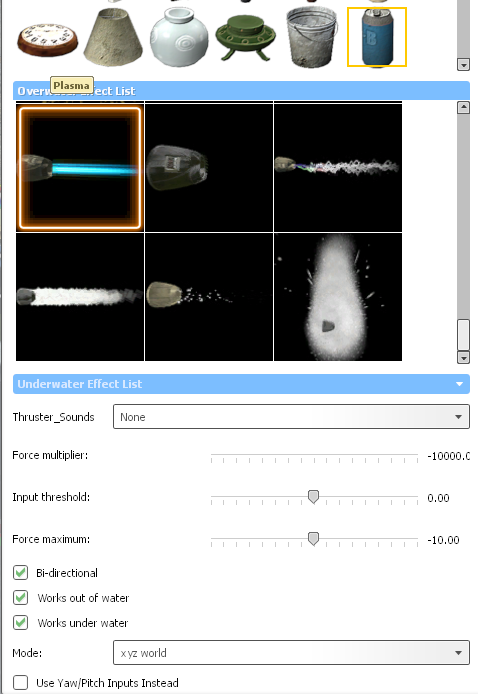
Place the vector thruster on the front of the crate. Then spawn a normal Wire Thruster on the opposite end and make sure the force multiplier is also -10000. After this is done spawn a Wire Turret on the front of your crate, do whatever with the values but you preferably want some spread.
Wiring and testing
Mul > Distance
X > Direction X
Y > Direction Y
We will not wire Z for now.
Wire your turret to distance or the target finder’s 1 for now. Then spawn any npc, preferably a zombie and watch as your contraption springs to life and starts attacking it! If done correctly the zombie should be full of bullet holes or became roadkill.
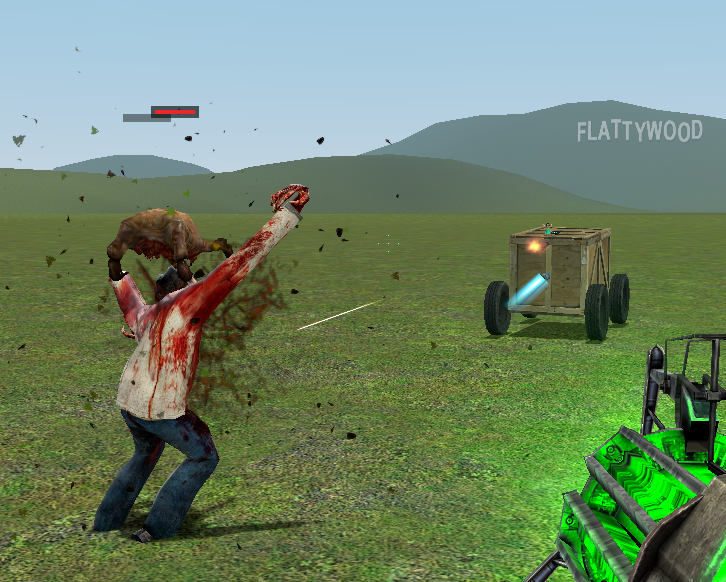
What you’ve probably figured out by now is that this robot is insanely fast and that I’ve taught you how to make a minge missile more than anything. Remember the wire thruster I told you to put on the back? I’m now going to show you how to make your robot stop and shoot instead of ramming itself head-first into it’s target.
Select Constant Value, set it to “number” and set the value to 1000, then put it somewhere on your robot. Then select Gates and search for “Greater Than,” spawn it near the constant value and then spawn “If Then Else” near those too.
Wire A of “Greater Than” to distance of the beacon sensor then wire B to the constant value.
Wire A of “If Then Else” to “Greater Than,” DO NOT wire B, wire C to distance of beacon sensor.
Rewire your turret to “If Then Else,” then spawn another npc a good distance away. If done properly your robot should now stop and shoot when it is within 1000 range of the enemy. You may also notice that it does some cool combat rolls or some other strange behavior when it moves now. This is because your robot is very lightweight.
The importance of weight and saving your robot
If you change the weight of a thruster, whether it’s a vanilla or wire one, it significantly impacts the force multiplier of it more than you can do by default. Try making both the vector and back thruster the same but heavier weight then do some more field testing. You will notice that while it is faster and can turn better it will have a harder time trying to be stable, warranting some more experimenting around.
Play around with the weight of your robot’s props and thrusters until it’s at a point you’re satisfied with. Protip: if you make the back thruster a bit heavier than the vector thruster, your robot will have a kiting behavior and aim better! When you feel like you’ve optimized your robot, save it as a dupe.
Something a lot of people don’t know is that when you save a dupe, where you aim your toolgun at really affects how stable it is when it is deployed. For the box robot it shouldn’t be very unstable at all if you’ve optimized it, just don’t save it from the wheels or wire parts. (Basically save it from the box prop)
Congratulations, you’ve made your first(?) basic wiremod battle robot! There’s some more things this guide covers however, so keep reading!
“Turrets”
Create another wheeled crate like in the first section. Make sure the wheels and the box are heavy. Spawn an appropriately sized PHX prop and use the axis tool to put it on the top of the long one. Now spawn a wooden PHX panel and nocollide it to the prop. Position the wooden panel in front and ballsocket the side of the panel to the middle edges of the prop (follow visual aide below)
Now, you pretty much have to repeat the target finder, beacon sensor, thrusters, and turret process on the wooden panel but this time wire the vector thruster’s Z to direction Z of the beacon sensor. You will also want your target finder to have less range, this time around 1000-2000 max range. The reason for this is because the way I set up the “aiming” makes it fall off hard around long ranges, it will not be accurate any more past a certain point. It is also generally more “fair” to not have your robots shooting at long ranges unless fully built and intended for it.
Optimize the weight of the phx prop, the wooden panel, and the thrusters too. For “turrets” on these robots you will want their thrusters to be the same weight and also at a light weight so that the rest of the robot can still move around when the “turret” is locked onto something. Test your robot out by spawning some city scanners. If built properly the results should look like this:
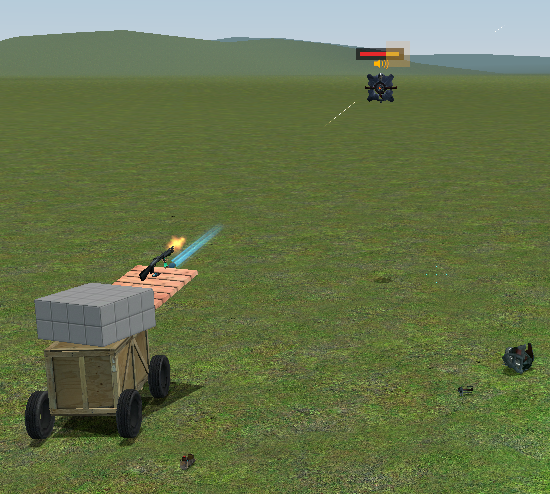
If it works well, then congratulations you’ve made your first wire turret that doesn’t involve usage of the wire gimbal. You may ask “Why shouldn’t I use the gimbal instead?” I will tell you why, it does NOT work well with mobile contraptions at all. Trust me I’ve tried several times to get a stable mobile build working with the gimbal but it’s absolutely awful for them. Using the vector thruster/wire thruster combo works wonders in comparison.
Anyways, you’re probably wondering how to go about making this “mobile turret” move and if your first guess was to repeat the standard process again but on the long crate you would be correct. If you hadn’t done that already go ahead and do so. Make sure the range of the target finder on the crate is back to 10000 or some other range. You will also want to repeat the gate process covered earlier if you don’t want your robot to crash into targets.
If you’ve done everything properly, your robot should now be able to drive itself to the target and be able to engage targets at different elevations thanks to the turret.
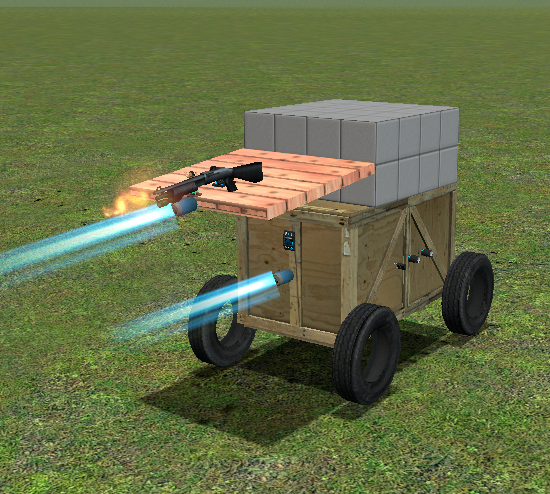
Changing the behavior of your robot
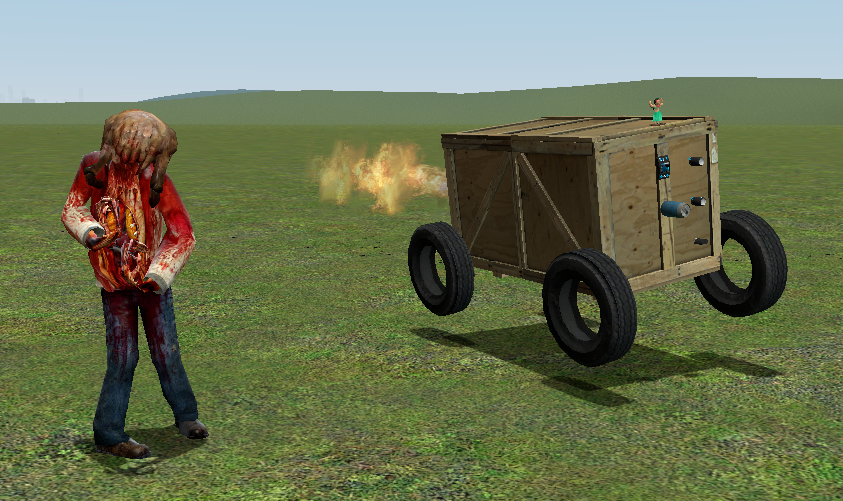
In this image, the robot is not moving directly into or trying to aim at/kite the zombie, instead it drives right past it. If it had a turret, it would be doing a drive-by. The wire thruster in the back emitting flames is wired to distance on the beacon sensor, while the vector thruster’s mul is wired to the “If Then Else” gate. The “If Then Else” gate is wired differently than how I showed you earlier, this time B is wired to distance and C is empty.
While this behavior can still make the robot crash into it’s targets and even other things it makes for interesting/fair fights against other players and robots. You could put a “melee” prop at it’s front to give it some ramming protection and make it easier for it to win in a head-on collision with an enemy contraption. You could also add a prop spawner and set it up so that it deploys some hazards near the target as it passes by. I use this same behavior for plane robots but I also have a simple avoidance system to make them avoid crashing into the world and buildings.
Setting up “teams”
I generally use wire hoverballs (i rarely use them properly anyways), wire locators, and wire trails (gmod_wire_trail in the entity filter btw) as identifiers across all of my wiremod factions but more “teams” are possible.
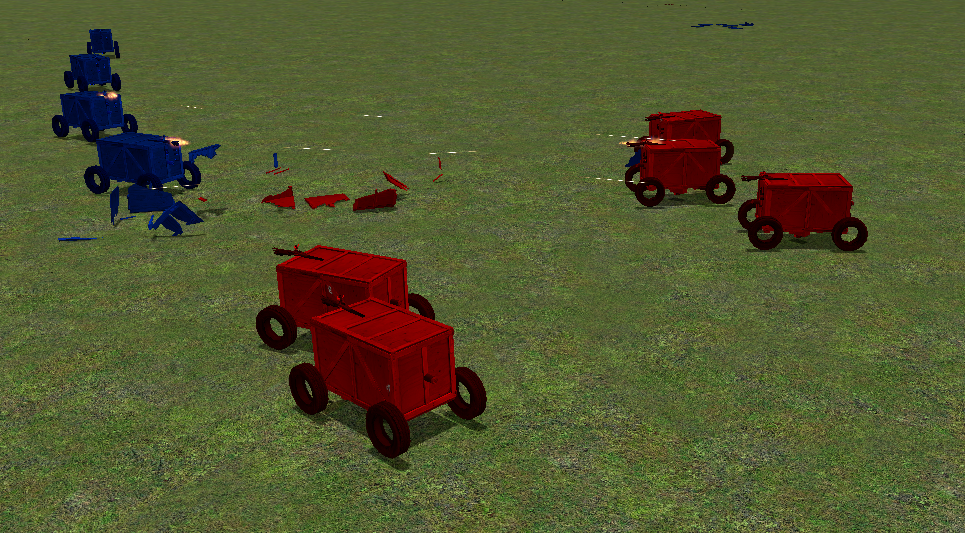
In the image above, the red robots have locators on them while the blue robots have hoverballs on them. The target finders are adjusted properly so that they can target and fight each other. In a scenario with many different robot types or even npcs and players having identifiers on your robot will go a long way in ensuring “fair” and interesting fights.
Bonus: changing a dupe’s thumbnail
An easy way to find your dupes folder is to right click Garry’s Mod in your steam library, browse local files, click on the garrysmod folder and then the dupes folder. You may also want to make a shortcut to it while you’re there. To edit the thumbnail of a dupe, find the associated image and just change it to whatever you feel like, just make sure the image dimensions are the same at the end of it.
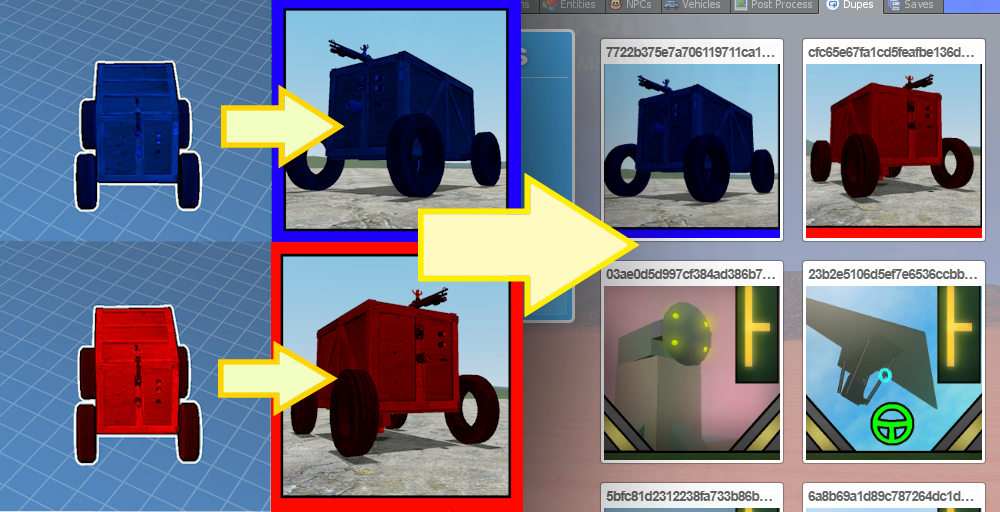
If you change a dupe’s thumbnail while in-game you will have to restart the map/exit the game in order for the game to register any changes to the thumbnail. Also keep in mind that the way the thumbnails appear in the workshop and in-game is slightly different.
Ending section, recommended mods
…
Just kidding, I actually want a massive wiremod war spanning across servers that will give the skibidi toilet videos a run for their money. I LOVE WAR



Anyways, here’s some mods I recommend subscribing to to make building robots easier and gives you more stuff to play with. https://steamcommunity.com/sharedfiles/filedetails/?id=2594890507
And that wraps up our share on Dexious’ guide to basic wiremod battle robots (No E2). If you have any additional insights or tips to contribute, don’t hesitate to drop a comment below. For a more in-depth read, you can refer to the original article here by Dexious Emera, who deserves all the credit. Happy gaming!
