“Looking to dominate in Fursan Al-Aqsa Classic? Look no further! In this guide, we’ll walk you through the basics of the game and provide some helpful tips to level up your skills. Let’s become the ultimate champion in Fursan Al-Aqsa Classic!”
Basic gameplay
Though probably obvious, this guide only applies to Fursan Al-Aqsa Classic–Remake is very different!
- Health can go above the “max” of 100, to as high as 200 (higher if you’re using the Remake skin) if you pick up medkits. Headshots and knife kills will heal Ahmad, but only to 100 health.
- Ahmad is not much tougher than the soldiers he faces. If you’re totally out in the open you can probably take on a single soldier without trouble. More than one and you’ll probably die unless you can make good use of techniques like bullet time or headshots.
- Bullet Time is not that important to master for most of the game but becomes very important in the last few levels. Enemies at the end of the game are deadly accurate and can kill you very quickly. Triggering Bullet Time to shoot them before they can react is critical. Bullet time jumps around blind corners or through doors into rooms.
- If you’re playing in 3rd person view, the center dot of the targeting reticle is just a little bit higher than where your shots will actually go for most weapons. 1st person view the reticle is more accurate.
- You can jump in the middle of a Bullet Time jump to launch yourself even higher. Useful for getting onto or over obstacles.
- Remember that medkits respawn after a minute or so. Securing a medkit should be one of your primary goals, so that you can retreat and heal up if things go wrong later in the level.
- Enemies are really easy to kill if you can catch them looking in the wrong direction. While not always possible to sneak up on everyone, try to find a path through the level that lets you get behind as many enemy soldiers as possible.
- Soldiers carrying mission-critical items cannot be headshot. They usually wear berets instead of helmets.
- Combat Knife: A last resort. You can sneak up on enemies and stab them to death but that’s really hard to pull off most of the time. You heal quite a bit if you manage to pull it off.
- Soviet pistol: A surprisingly good weapon, the pistol does pretty decent damage per shot, even more than some of the automatic weapons. Still, you’ll probably want to use an AR instead if you have the option.
- Silenced Pistol: The silencer doesn’t really do much since enemies don’t react to gunfire. This is pretty similar to the Soviet pistol
- Soviet Rifle: One of the three assault rifles in the game, the Soviet Rifle has the slowest rate of fire, but also seems to do more damage per shot than the others–though this is only really noticeable when fighting tougher enemies.
- USA Carbine: One of the most common weapons you’ll find, it’ll probably be your main weapon in a lot of the game. The USA carbine fires a little bit faster than the Soviet Rifle but doesn’t seem to do as much damage per shot.
- Rocket Launcher: Good against vehicles, not so good against infantry. If it hits a soldier it’ll gib them instantly, but the projectile is slow and easily dodged.
- USA LMG: Slowish firing rate compared to most other automatic weapons but the big magazine size makes this weapon great for extended firefights.
- Israeli Rifle: The fastest firing of the three assault rifles, the Israeli rifle is relatively common. It seems to do a little less damage per shot.
- Israeli SMG: Fast rate of fire, OK-ish damage? The targeting reticle makes aiming a little tougher than other weapons, especially at range.
- Hand Grenade: Tricky to aim, but great for throwing into a room and blowing up enemies inside. Not as useful in big open areas.
- Silenced SMG: The lowest-damage of the firearms, it has enough firing rate that it’s still servicable. Mainly present on the ship mission; switch it out for something better when you can.
- USA Shotgun: Powerful weapon but not great. There’s a long delay between each shot and reloading takes forever.
- Machine Pistol: Seems similar to a SMG in terms of power and rate of fire. Only available in a few levels.
Mission 2: Camp Ariel Sharon
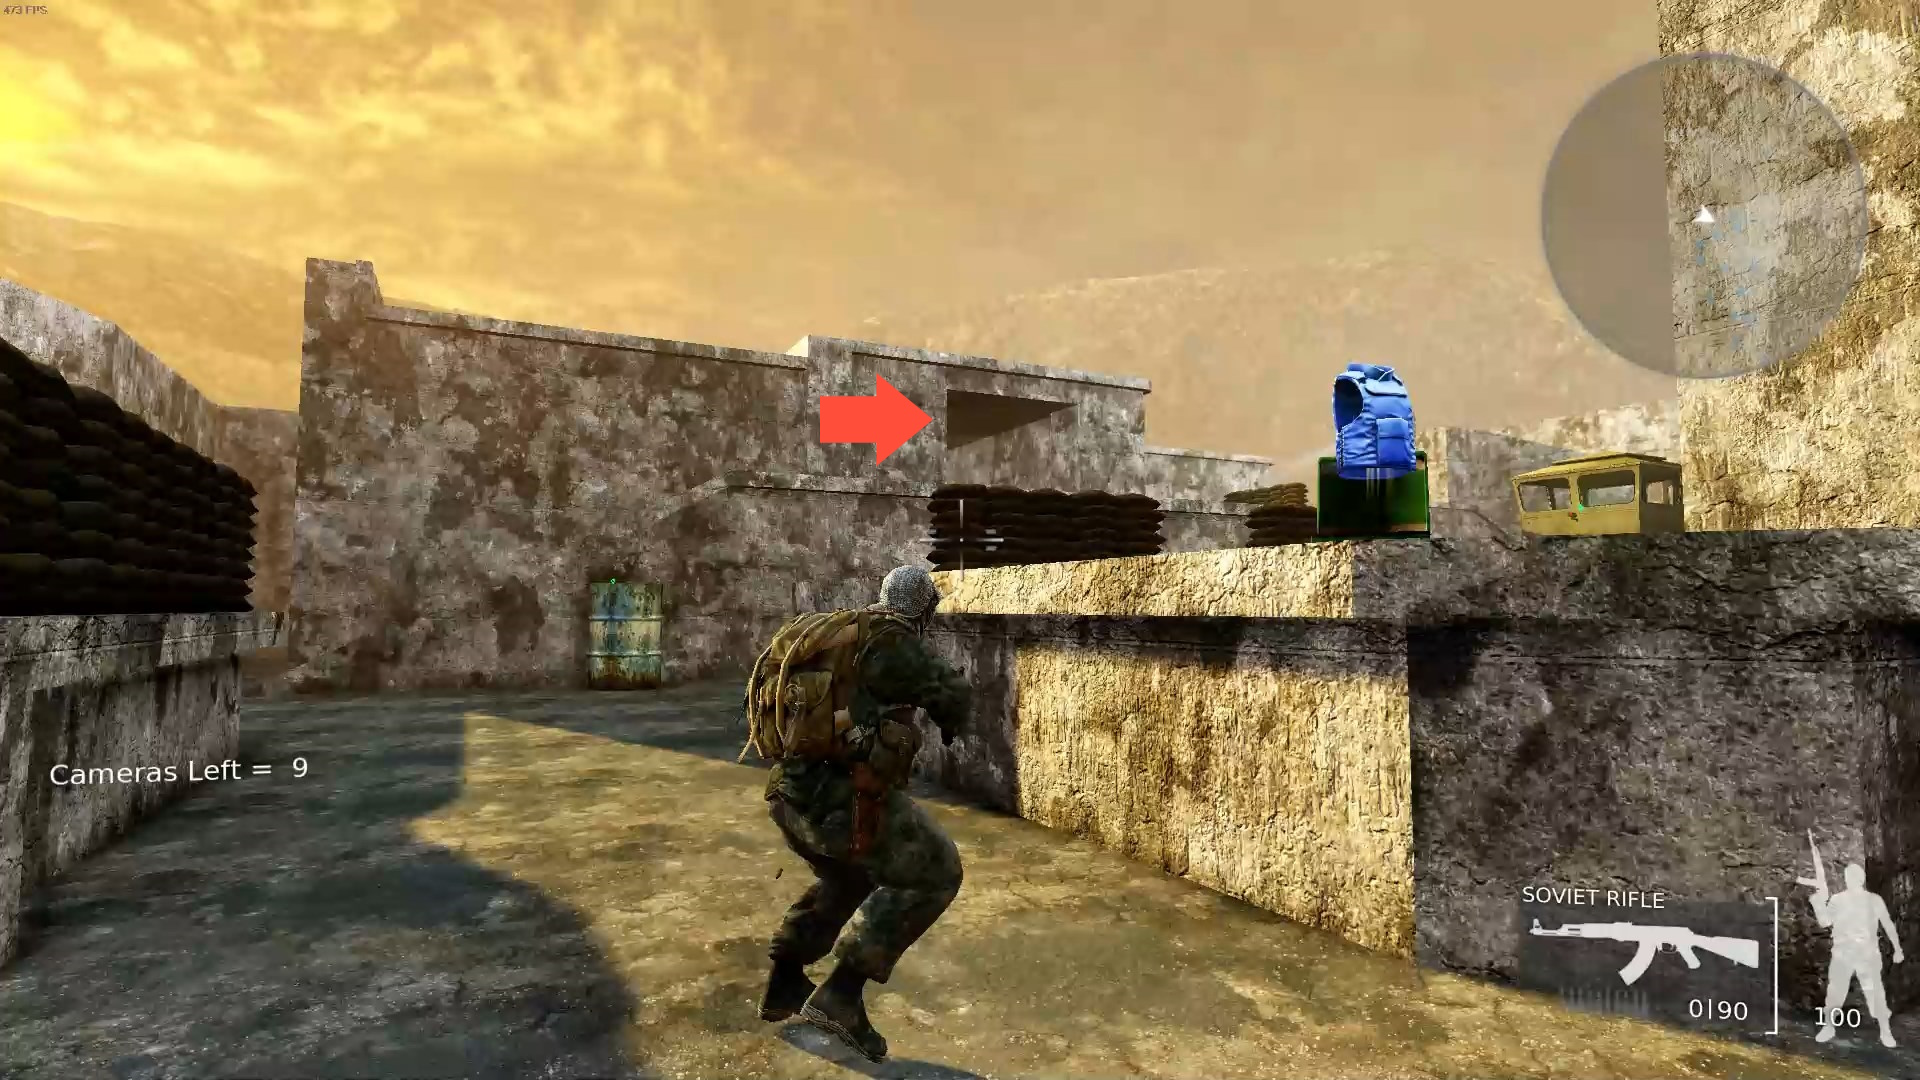 There are two cameras just out of view on either side of your starting position. Don’t panic if they see you; you have several seconds to take them out before failing the mission. After that, head to where the red arrow is pointing in the image. There’s a medkit up there and securing it early means you can heal up whenever you need to. Also there are some grenades near the armor, but they’re not as useful in this level as some others since it’s so wide open.
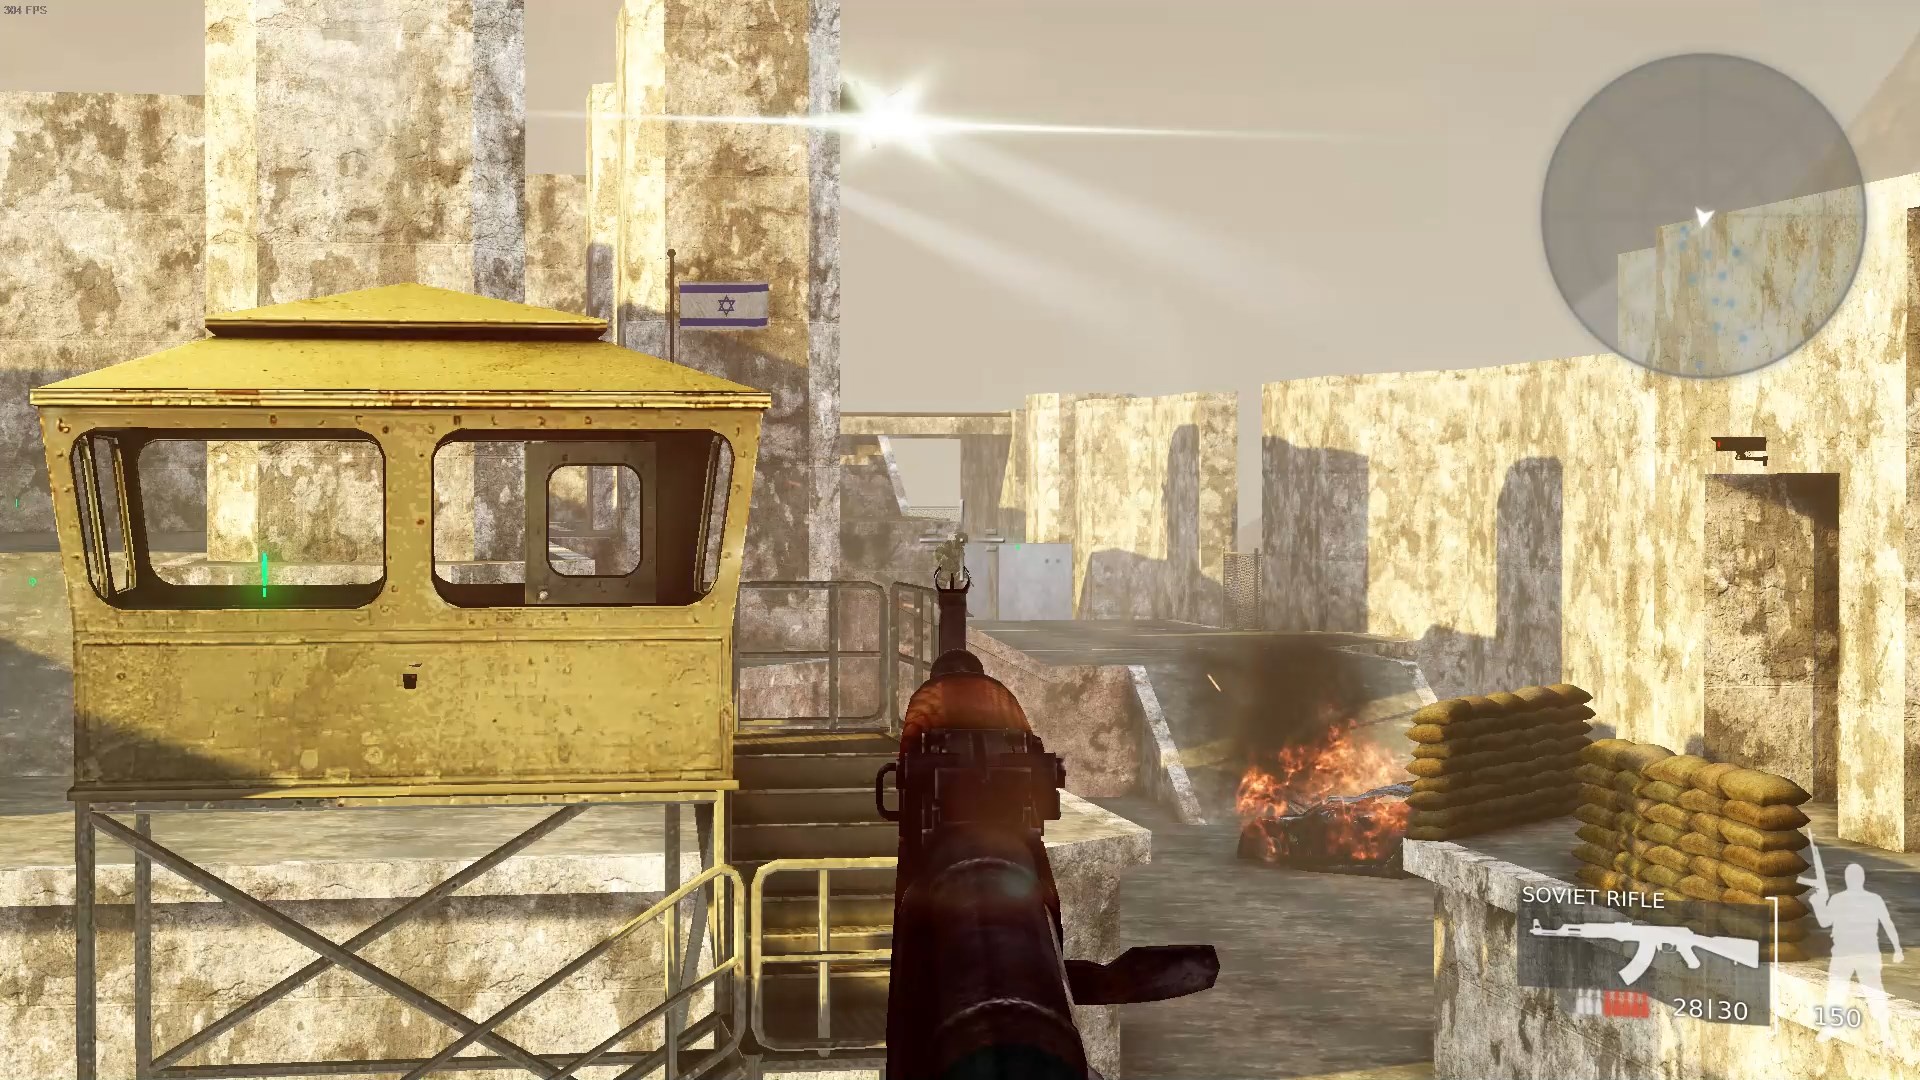 By the first guard tower there are some Zionist soldiers that are looking away from you. They’re far away but you can snipe them. As a rule of thumb, always look for soldiers looking the other way in this game–killing enemies before they even see you is a core strategy.
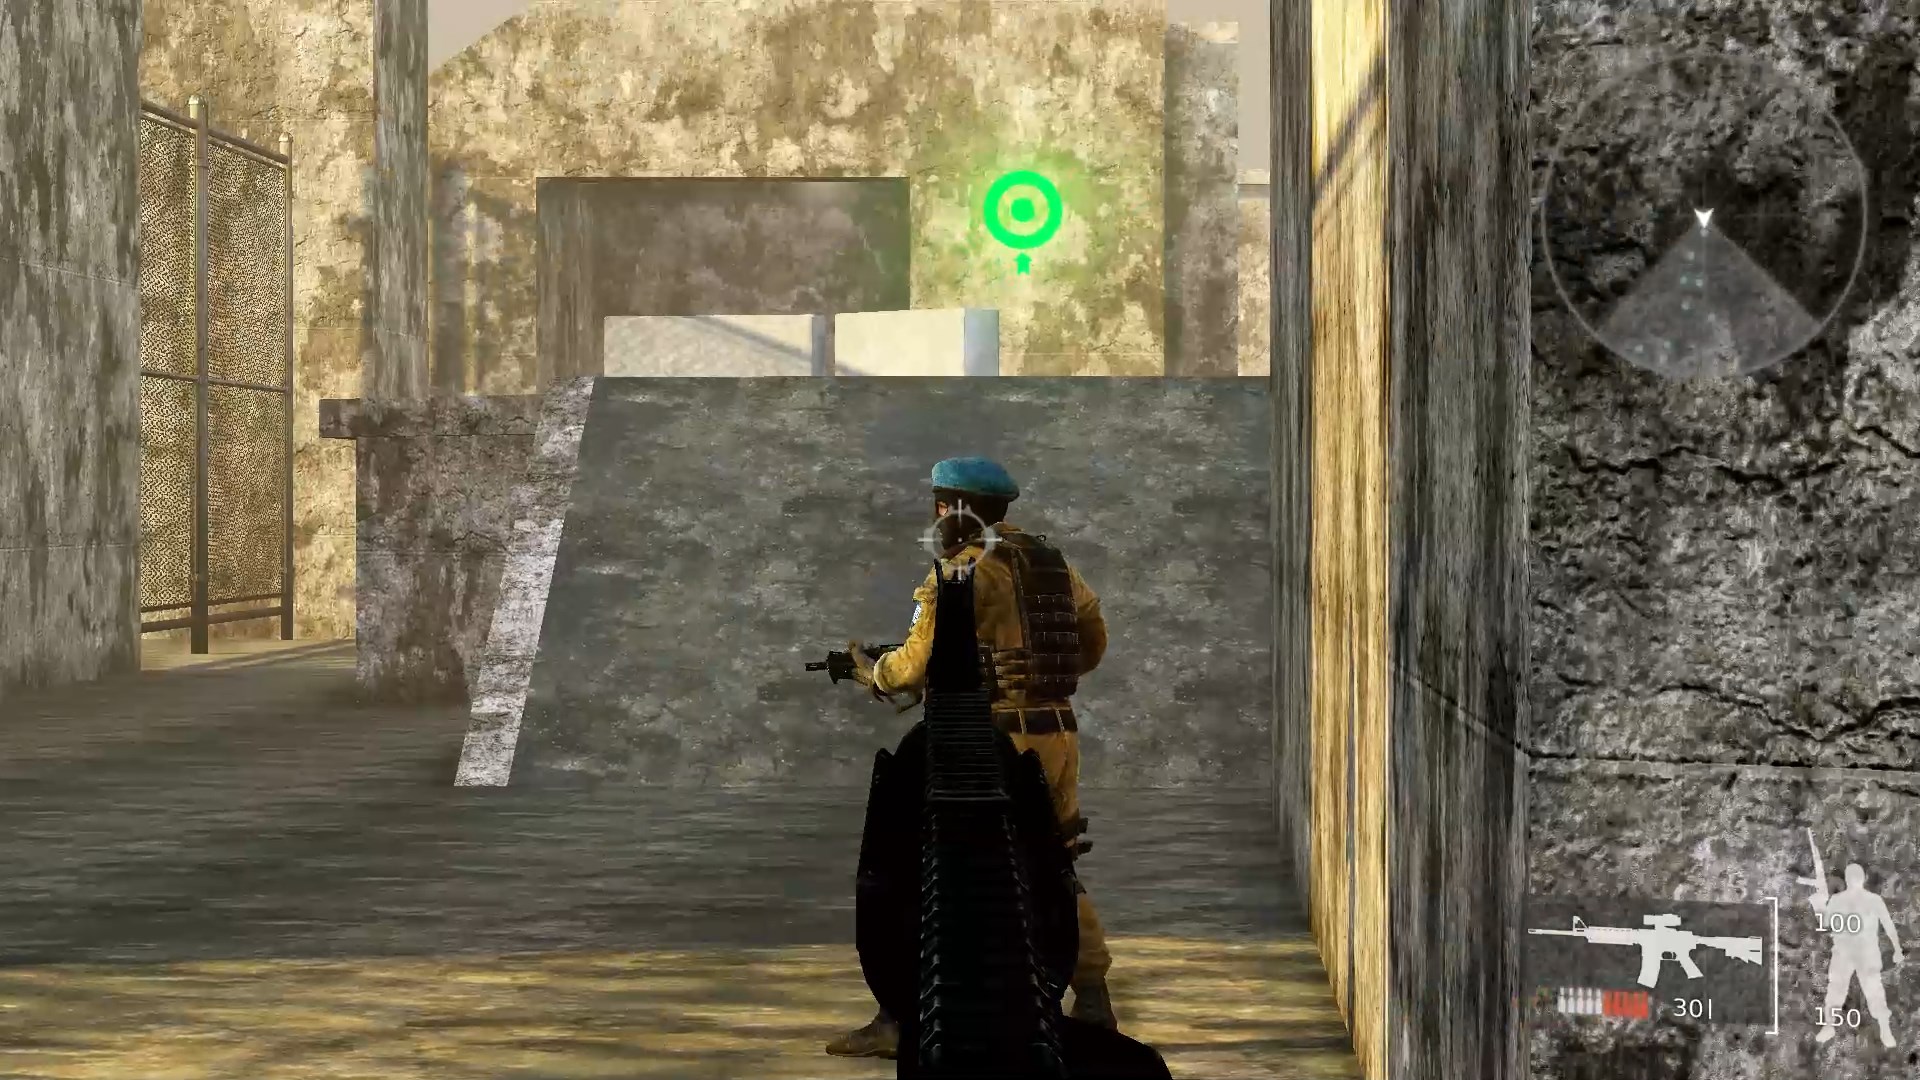 This guy with the blue beret is on the side of the camp across from where you started, past the area with the medkit. He’s carrying a special item (the key to the safe holding C4). Enemies with mission items can’t be instakilled with a headshot. However it’s not hard to fill him full of lead before he can get a shot off.
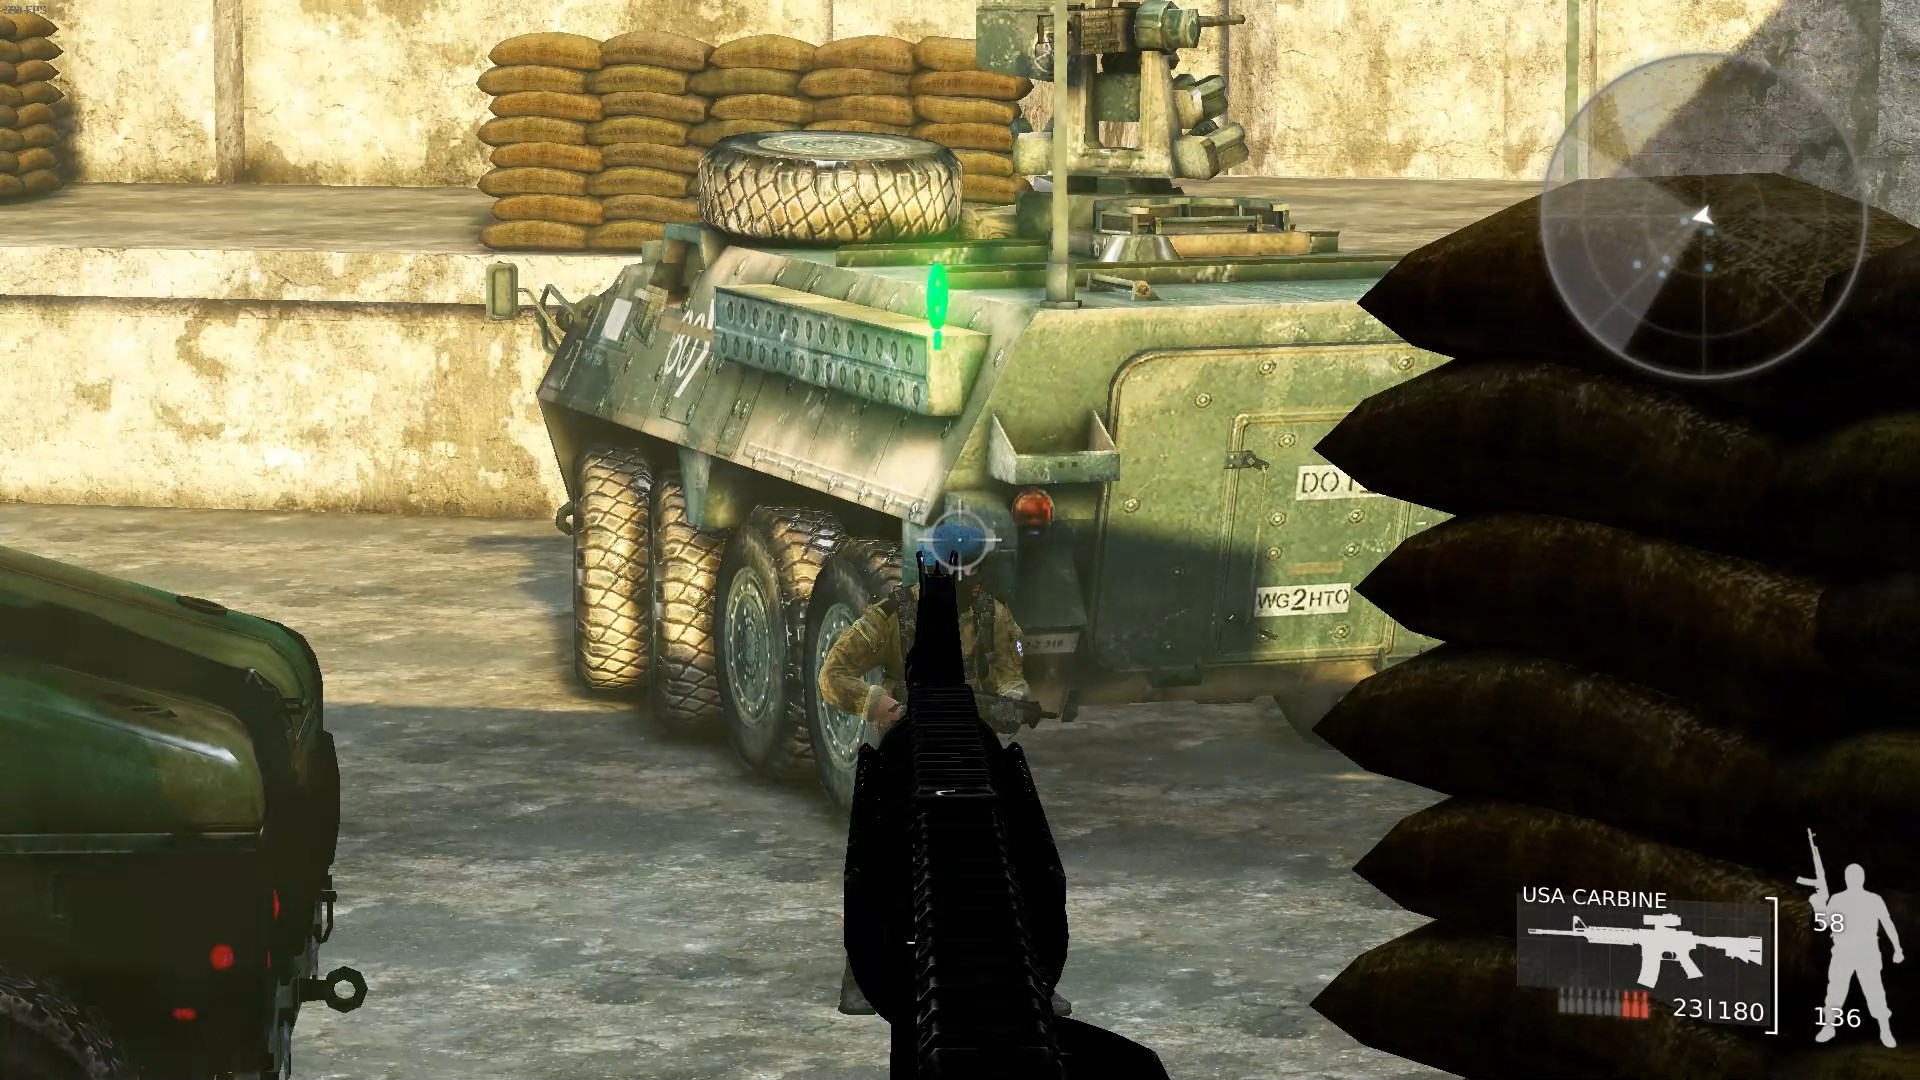 There’s another blue beret soldier standing by a few vehicles at the far end of the camp. He’s got a key to the safe with the drone prototype.
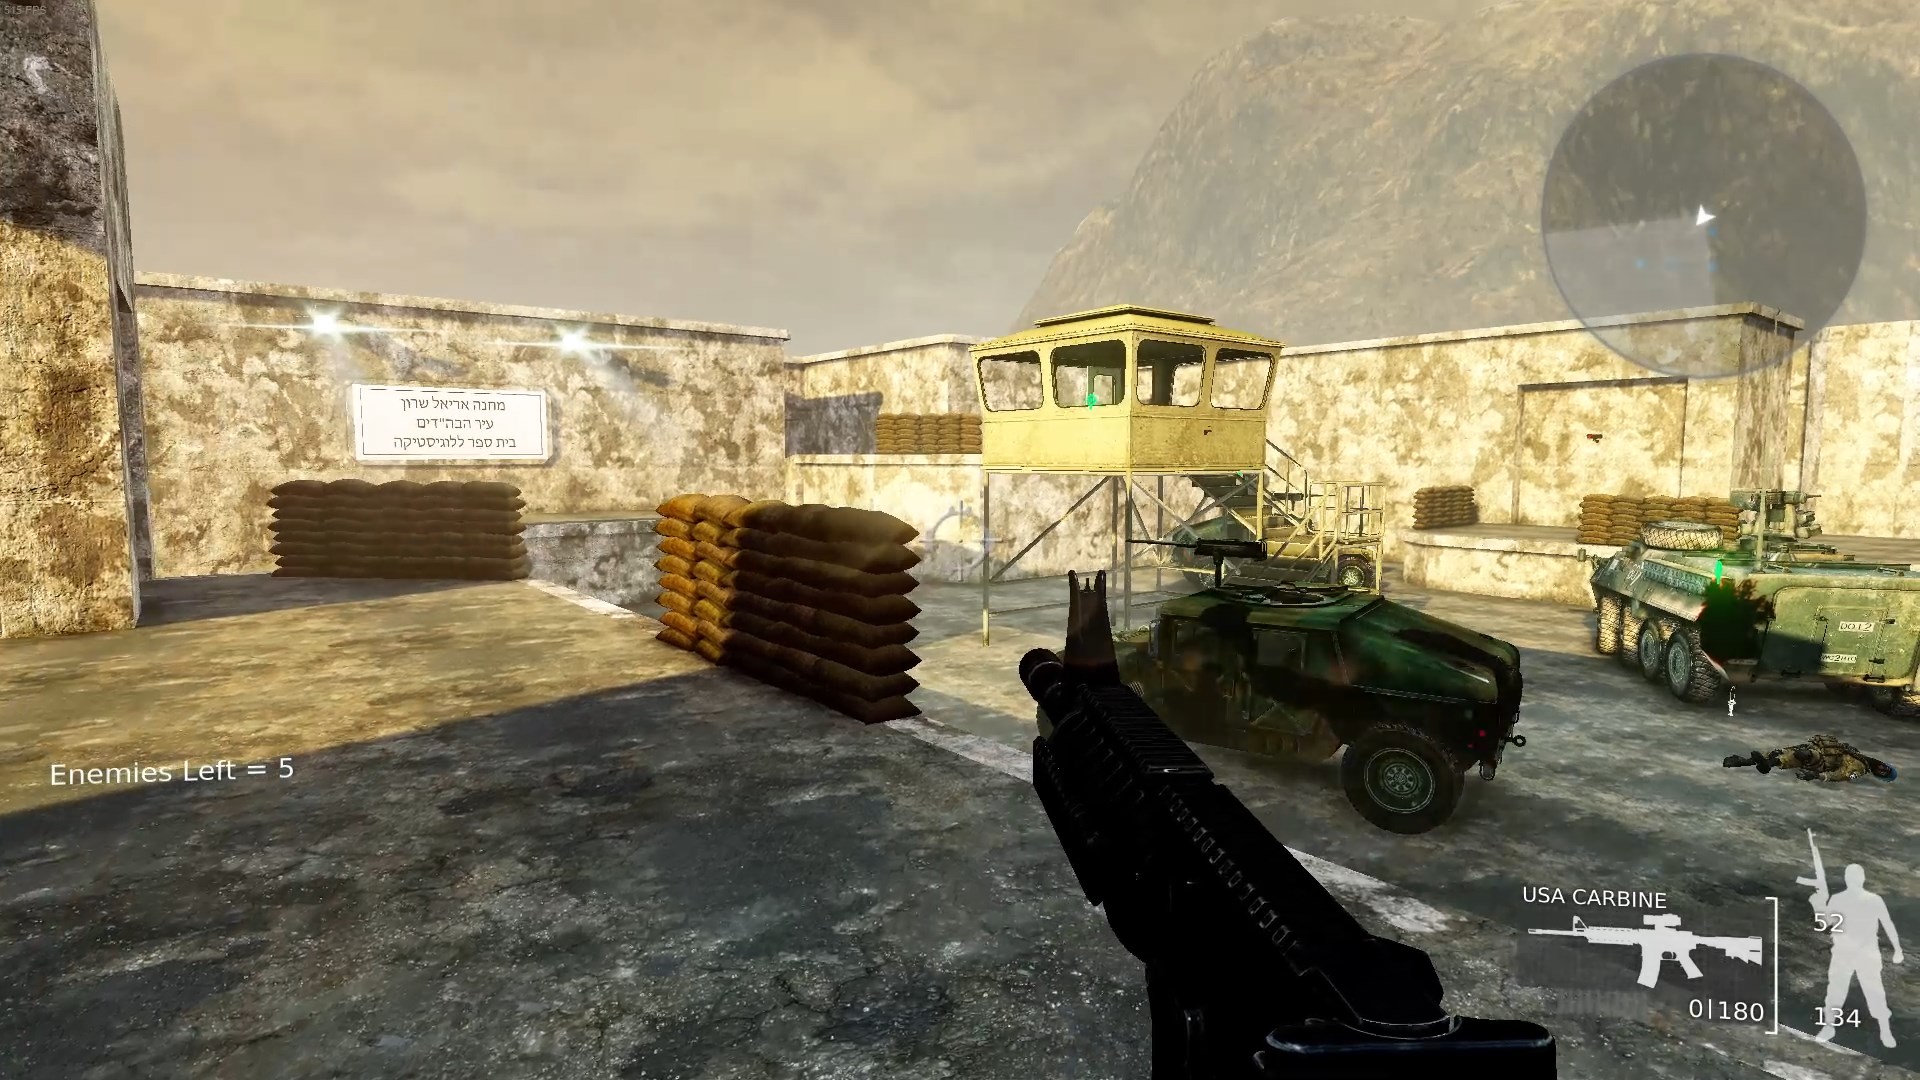 The watchtower by the second blue beret soldier contains a safe with C4. Use this to blow up the Israeli missiles (they’re in the corners of the level).
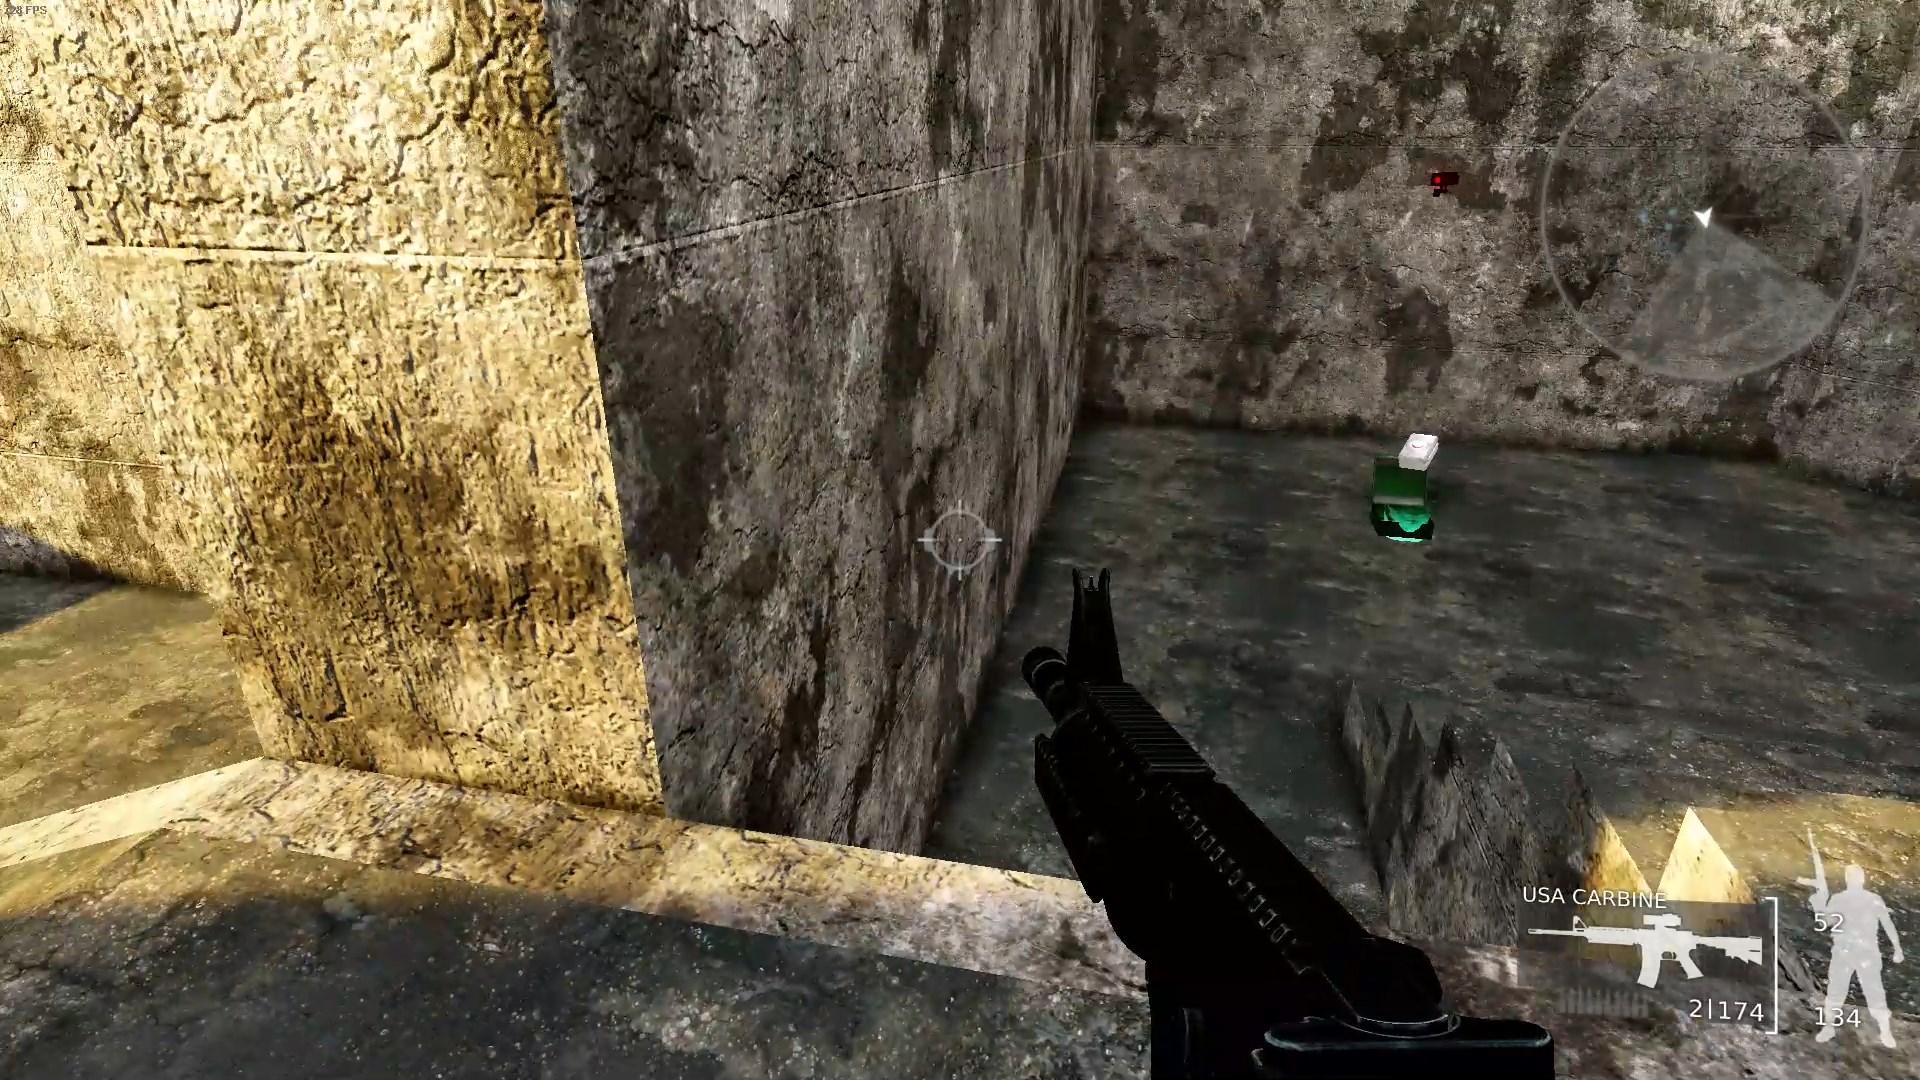 There’s a second medkit in the corner of the camp, near the tower with the C4. Careful, there’s a camera that’s easy to miss guarding it.
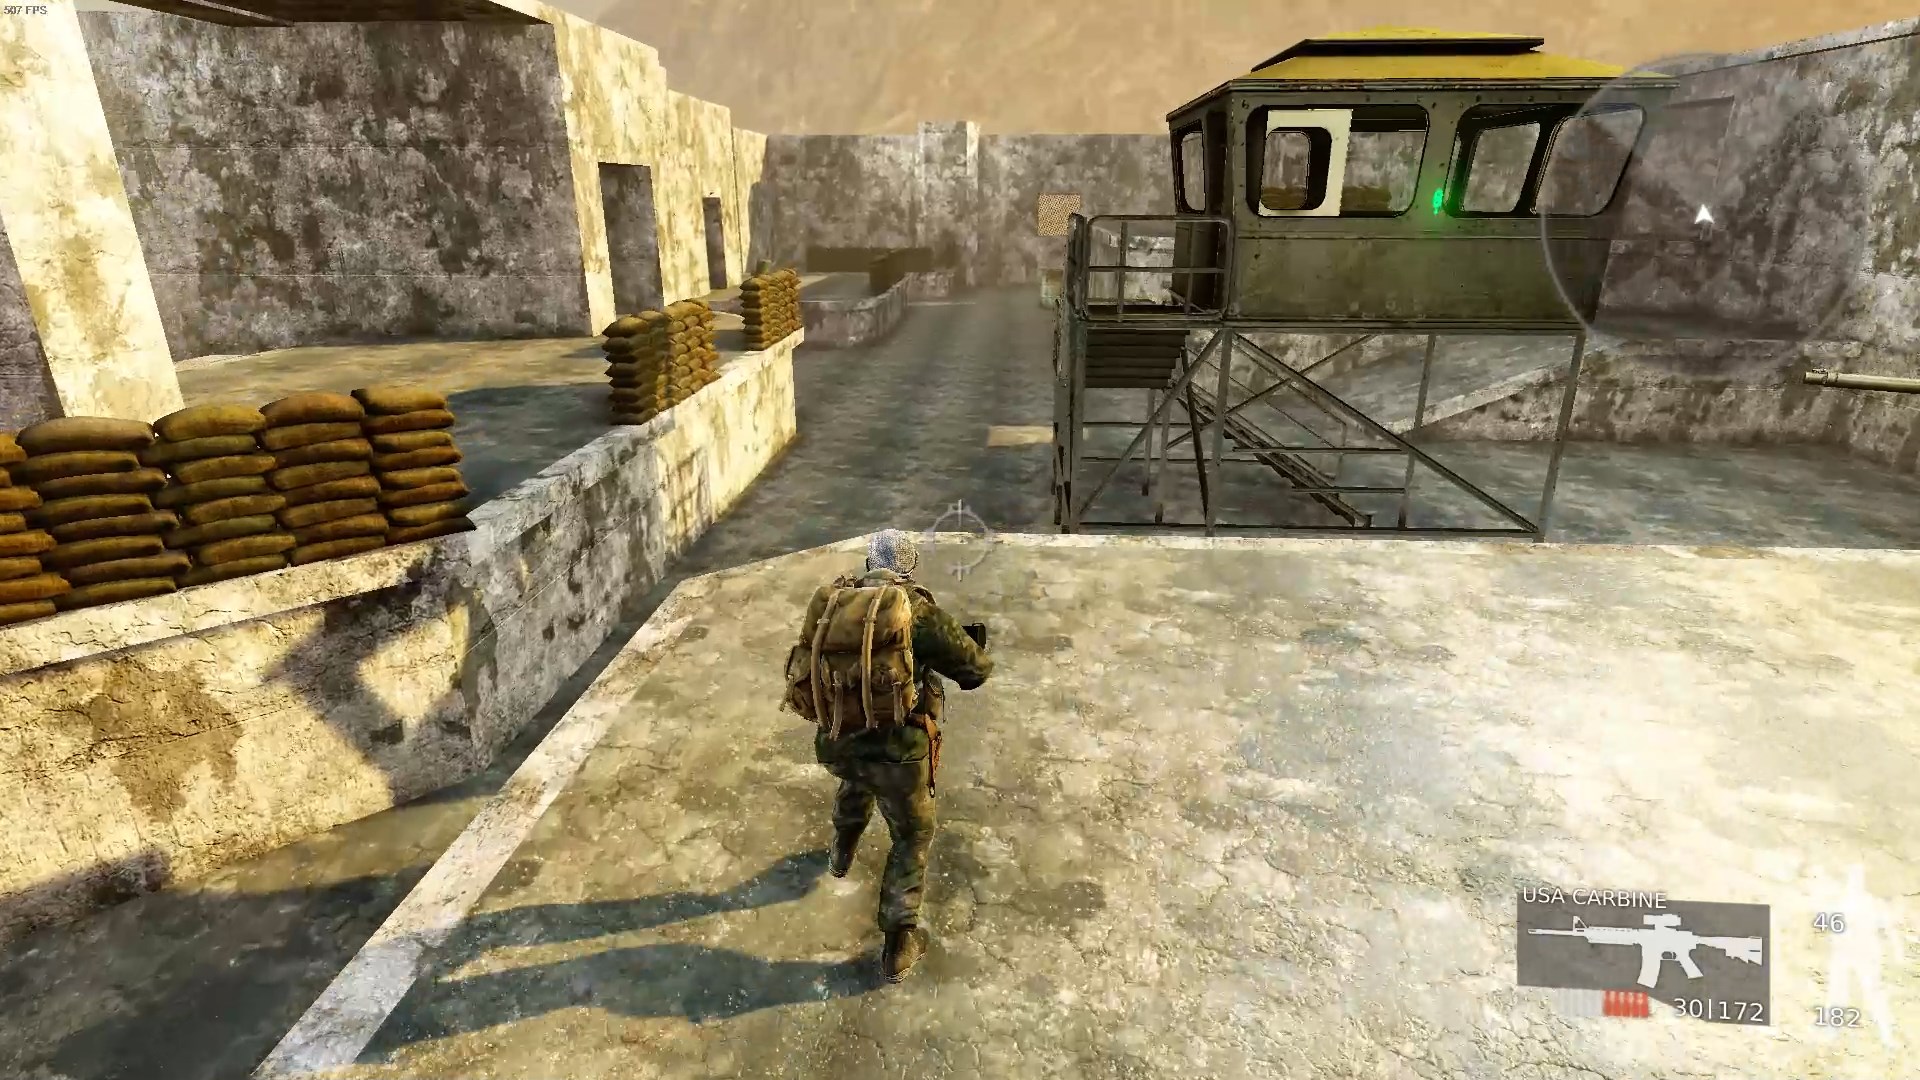 The guardtower by the area where you started the level has the safe with the drone prototype in it.
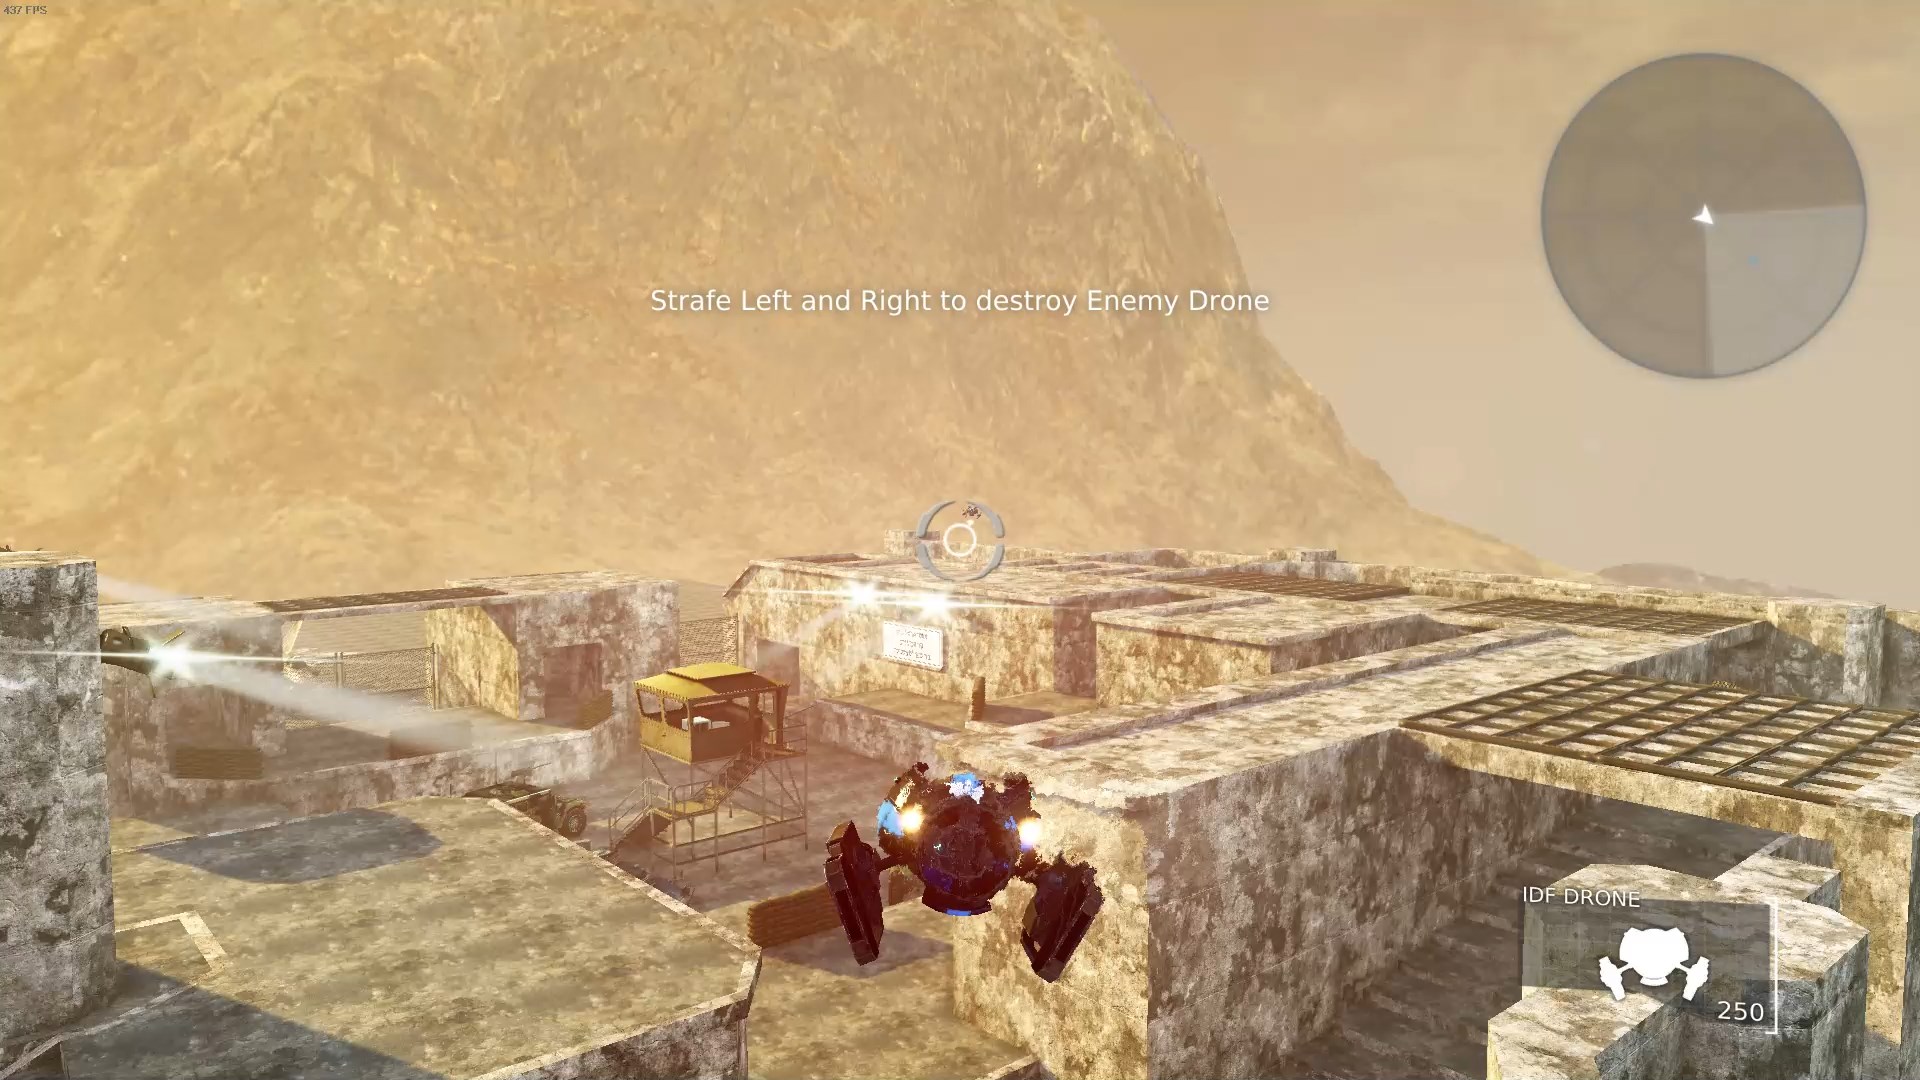 Once you’ve completed all your missions you have to fight an enemy drone with your drone prototype. As the tip says, strafing will keep you alive, but you also need to adjust your height in order to hit the enemy drone. It’s much easier to hit it from far away than from close up. Wait until the targeting reticule focuses on the drone like in the screenshot before firing. If it’s not focused and doesn’t have that circle in the middle, you’ll miss for sure.
Mission 3: Mossad Executive Office
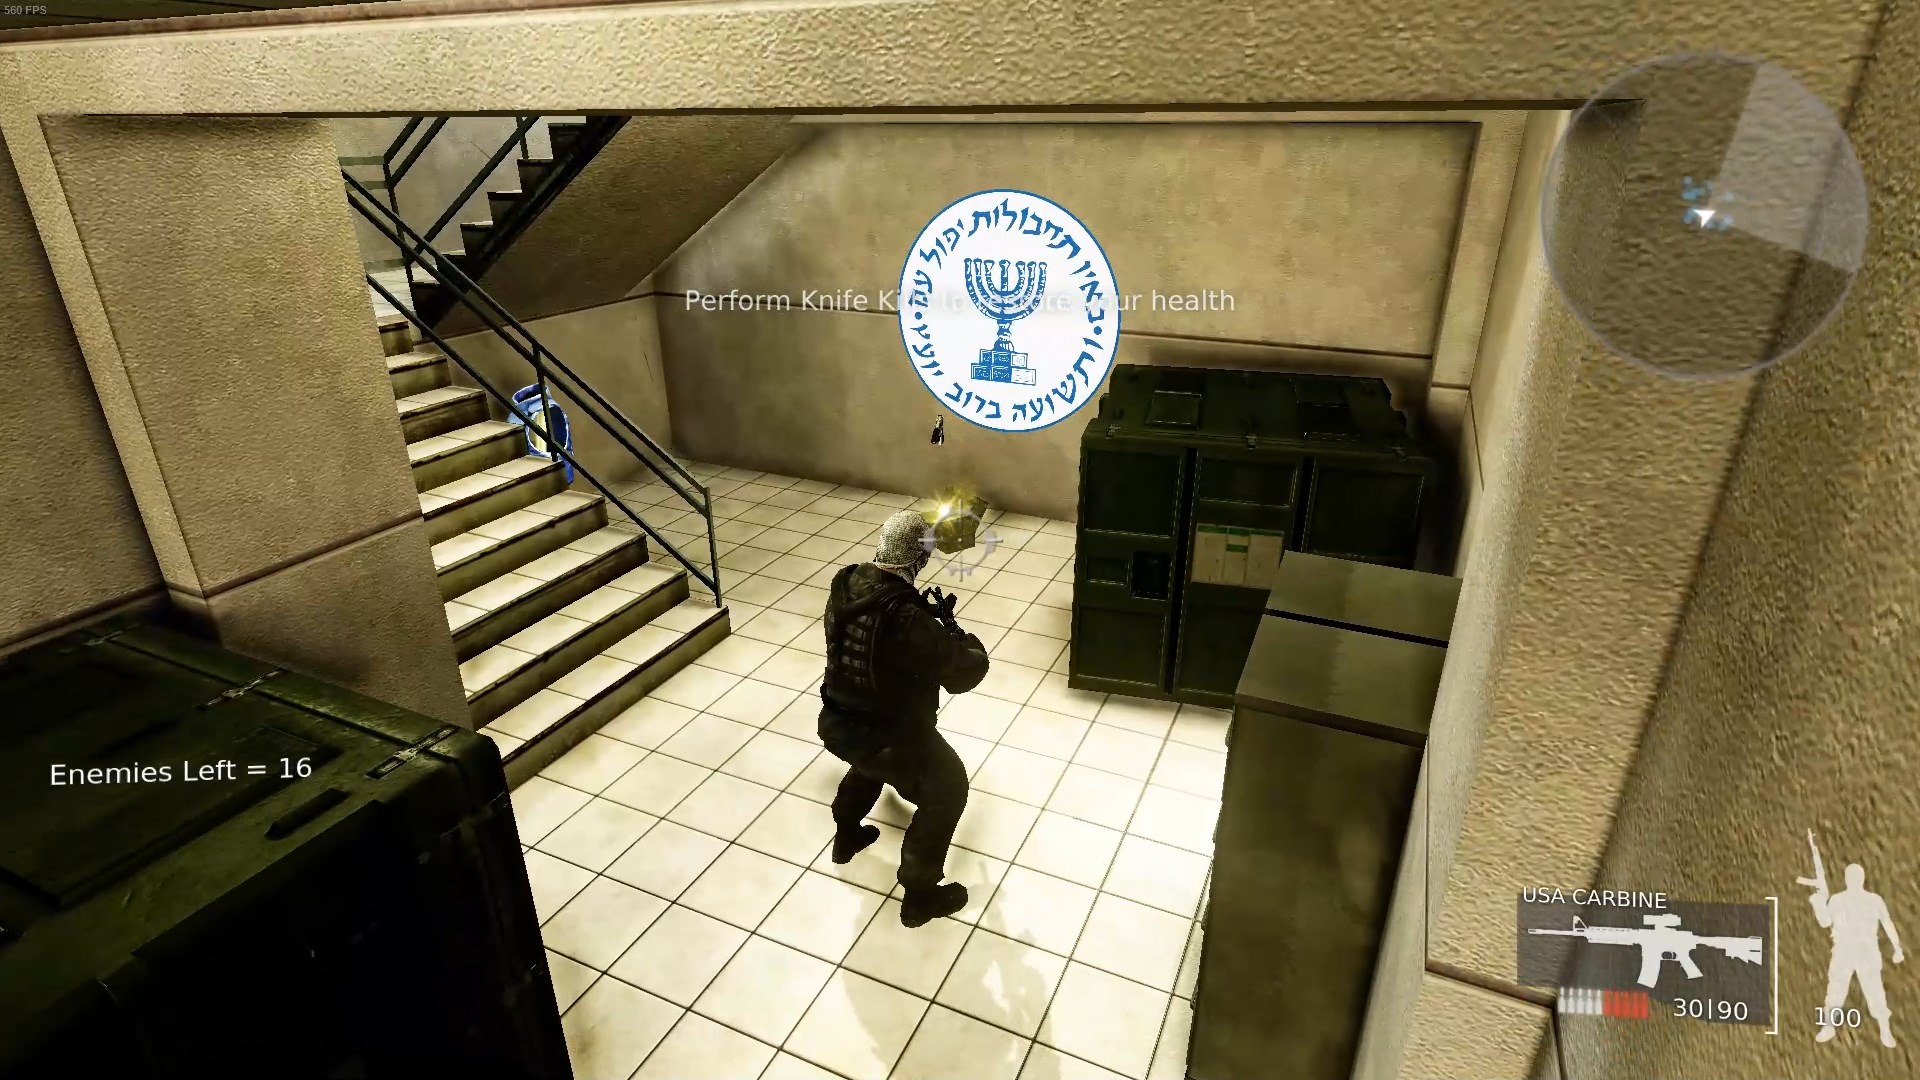 After the cutscene, go forward and pick up the silenced pistol. You might want to wait to pick up the armor, so that you can save it for the boss.
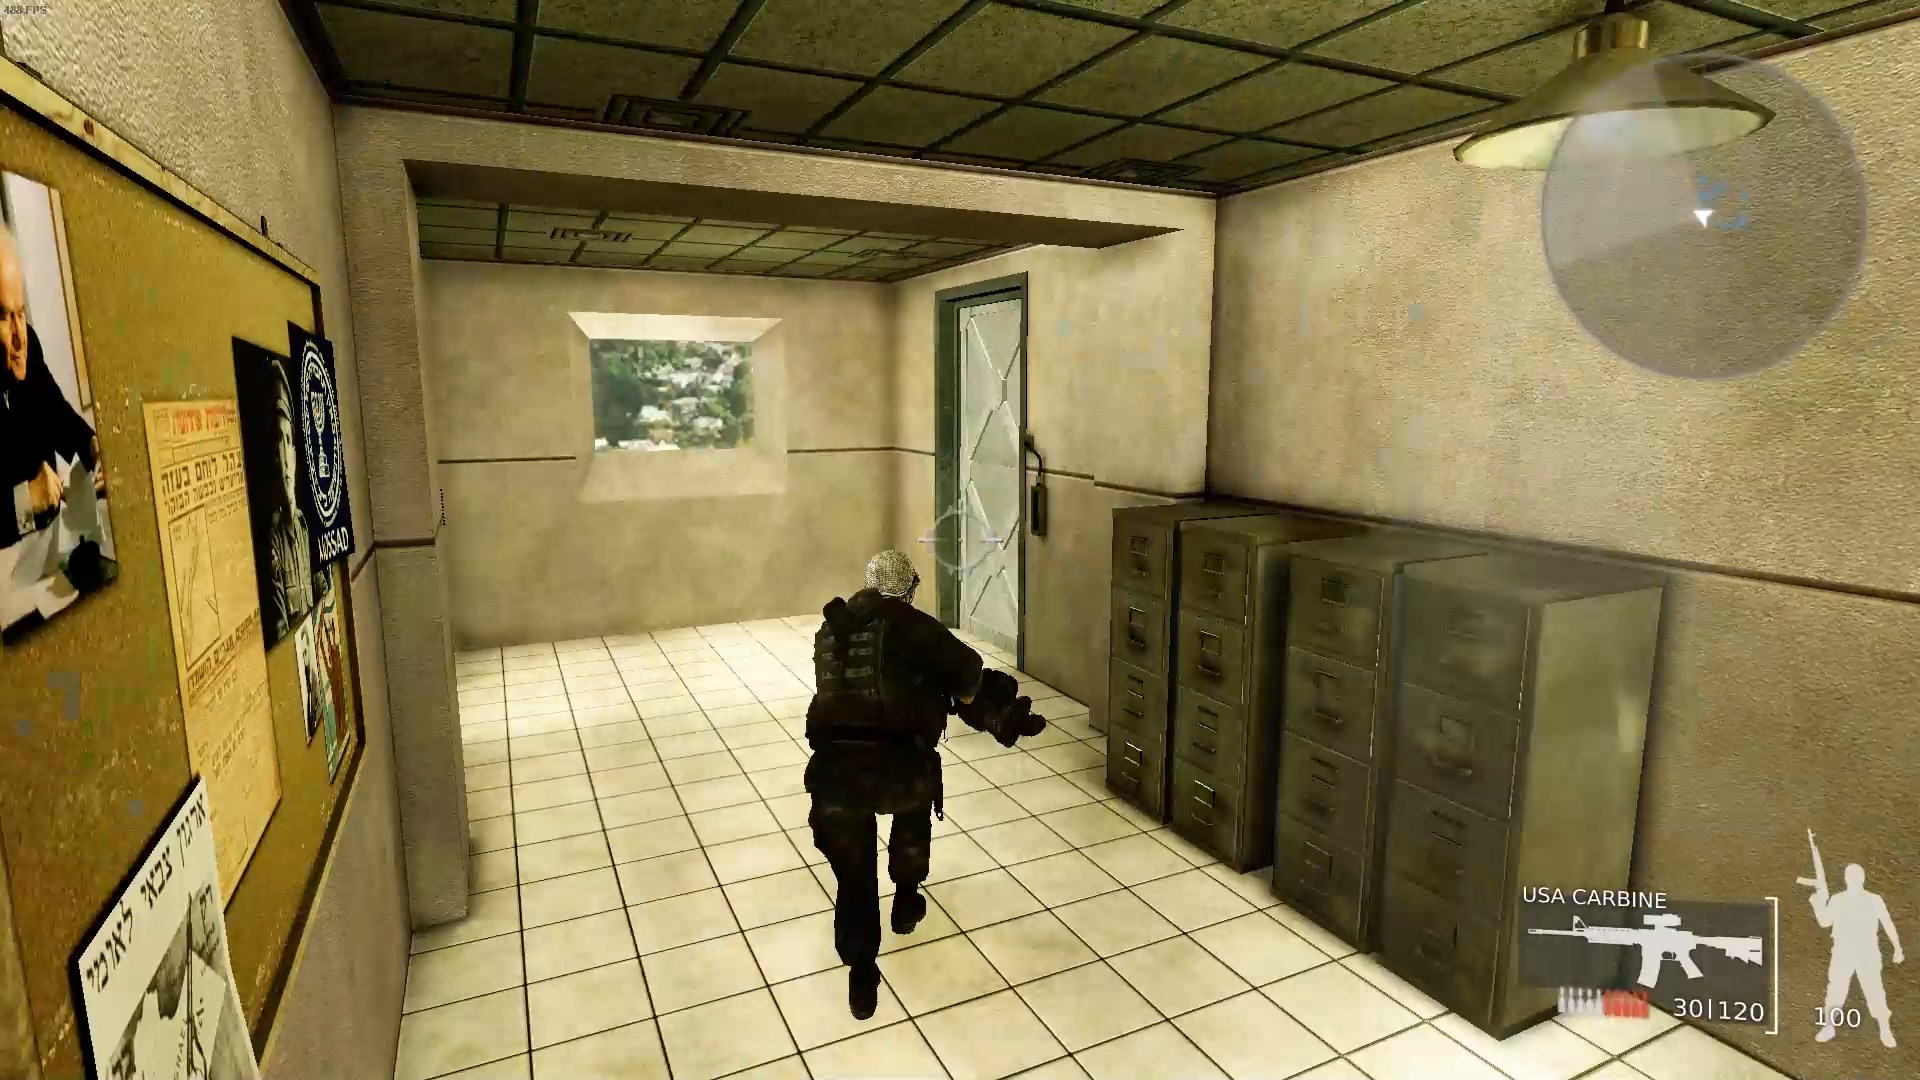 Now you need to secure a medkit. There are two, one upstairs and one downstairs. I like to clean out the ground floor first, so I usually turn around and go through the door next to the soldier you killed in the intro cutscene. The big room there has several cameras and 3 soldiers in it, but also a medkit.
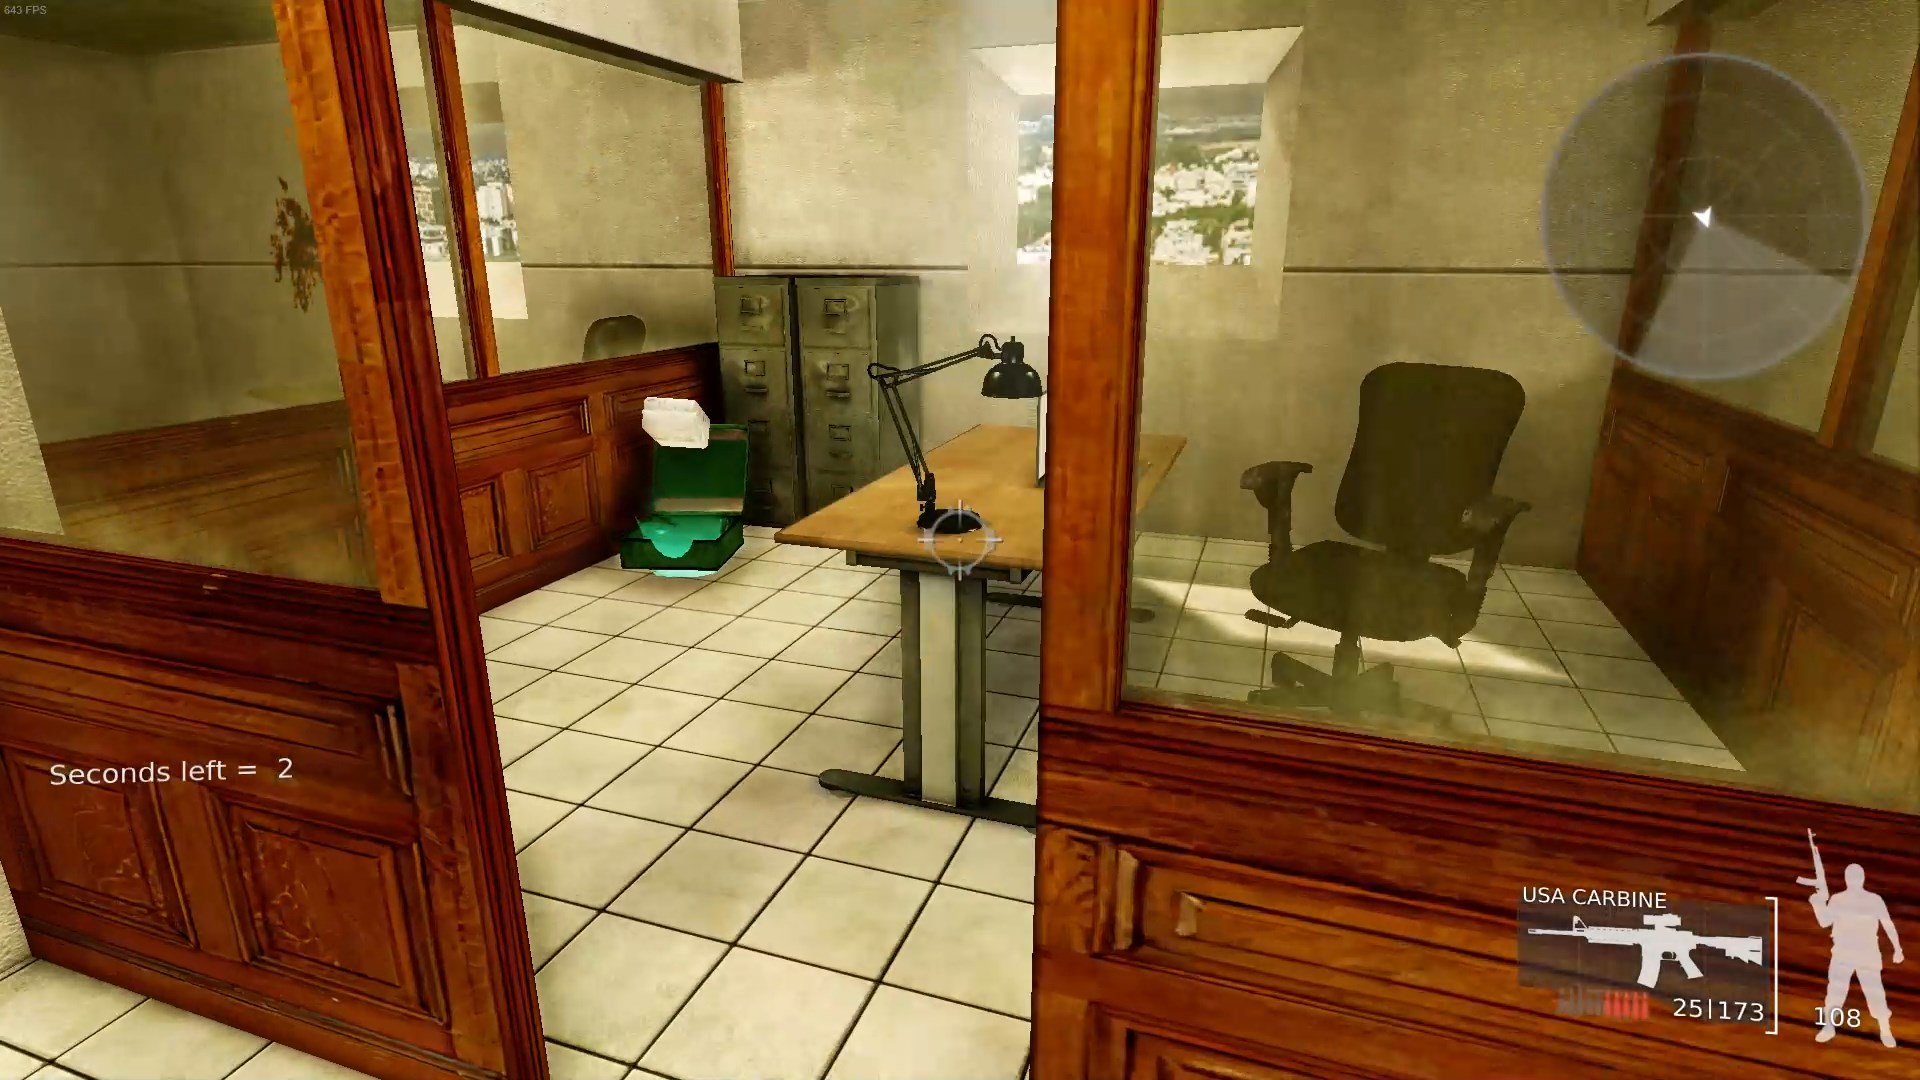 The medkit upstairs is in an office. There are soldiers in the offices adjacent to it so you’ll probably want to take them out first.
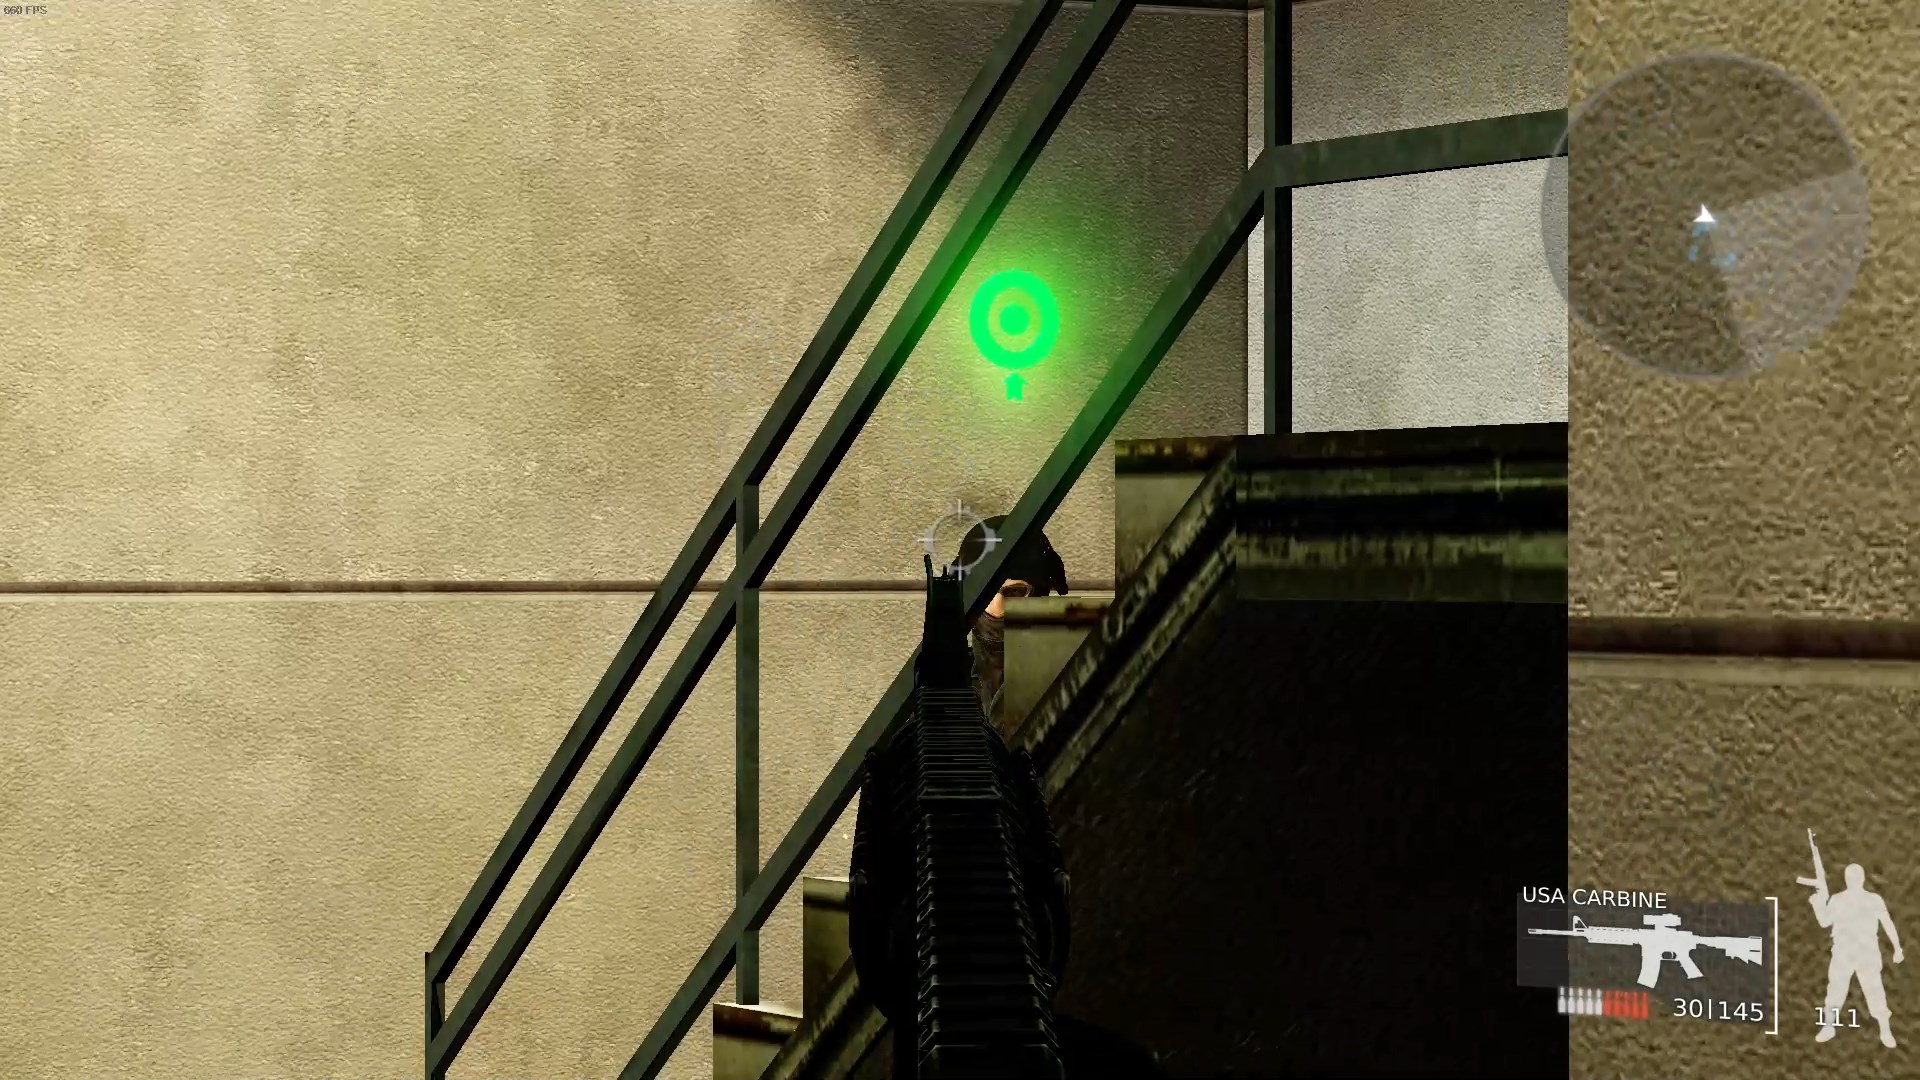 Down the hall on the first floor is a soldier with a battery you’ll need to power the exit. Try to keep a bead on the objective marker before he comes into view and kill him quickly. Shoot him through the stair railway like in the screenshot if you can.
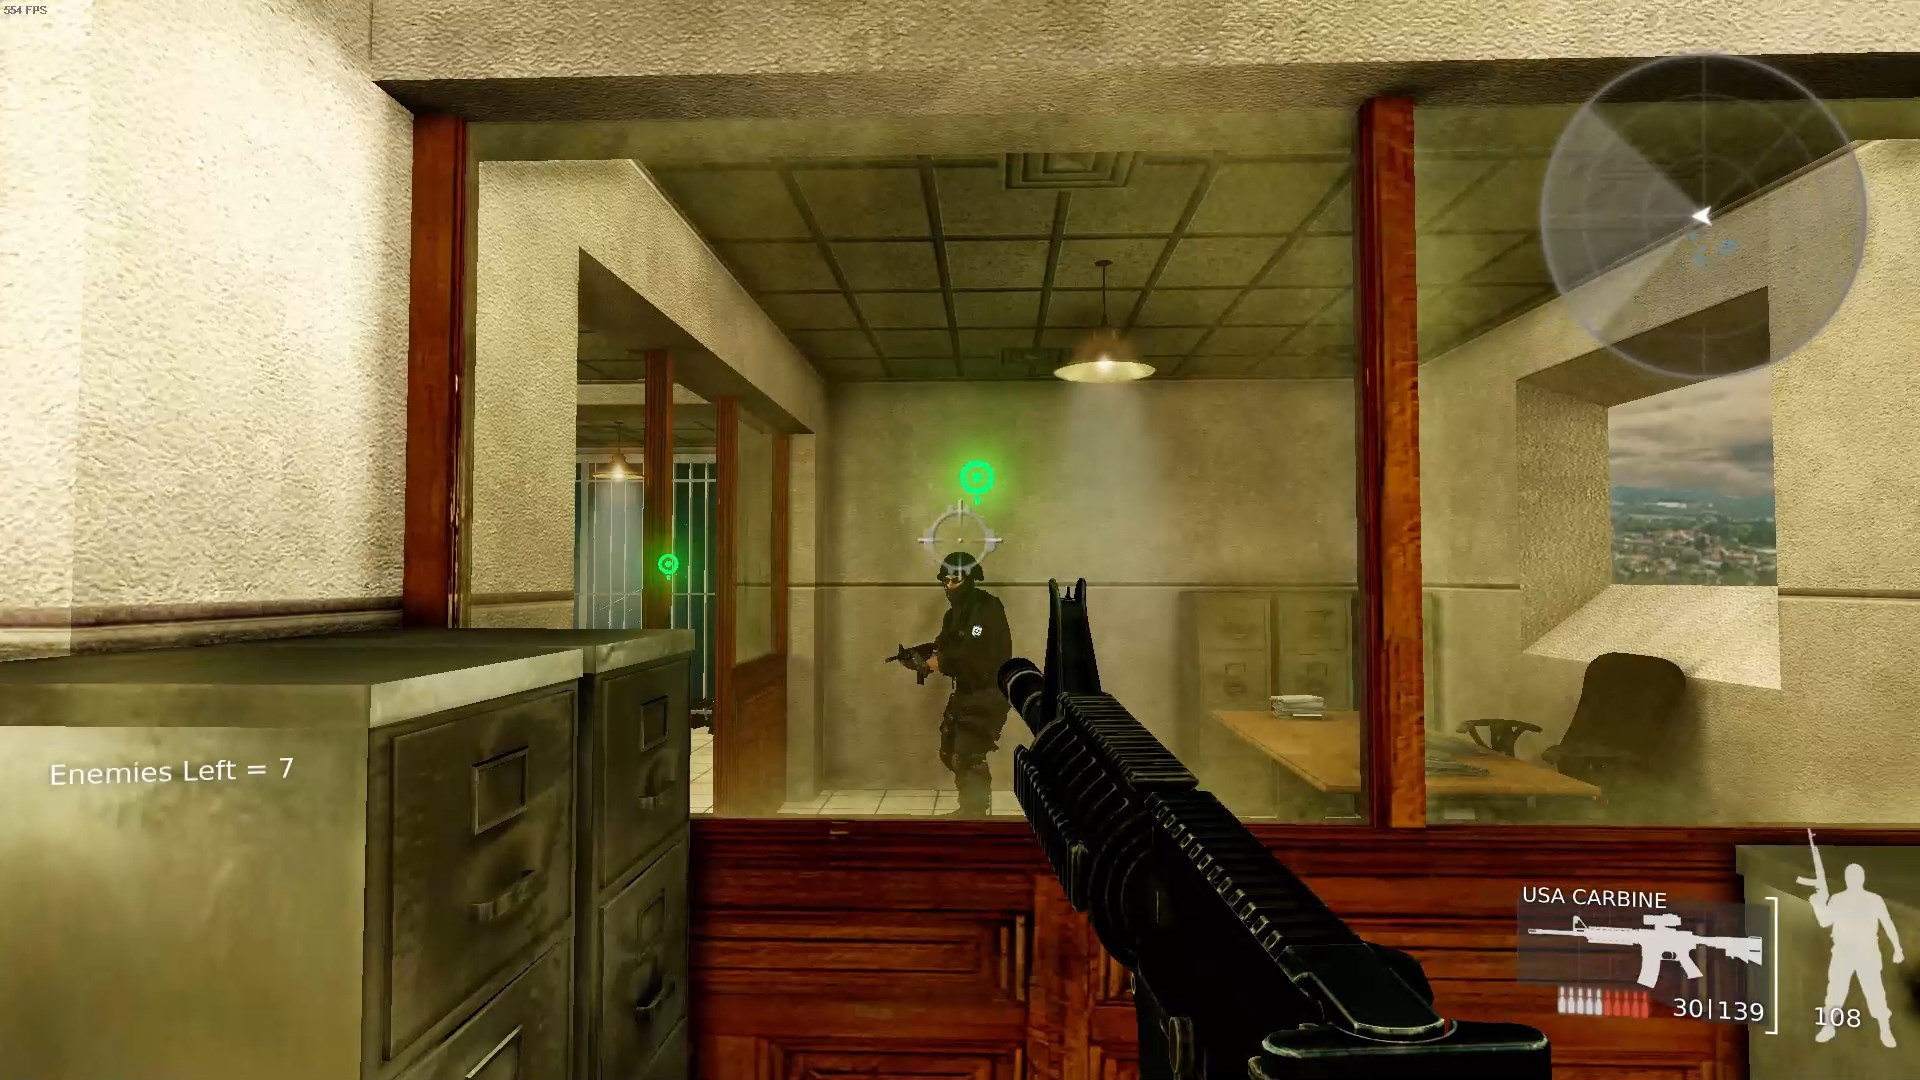 Upstairs there are a bunch of offices. The soldiers can’t see you through the tinted glass but you can shoot them through it. This soldier here has the key to the cabinet with the Mossad uniform. He’s easy pickings if you kill him through the window.
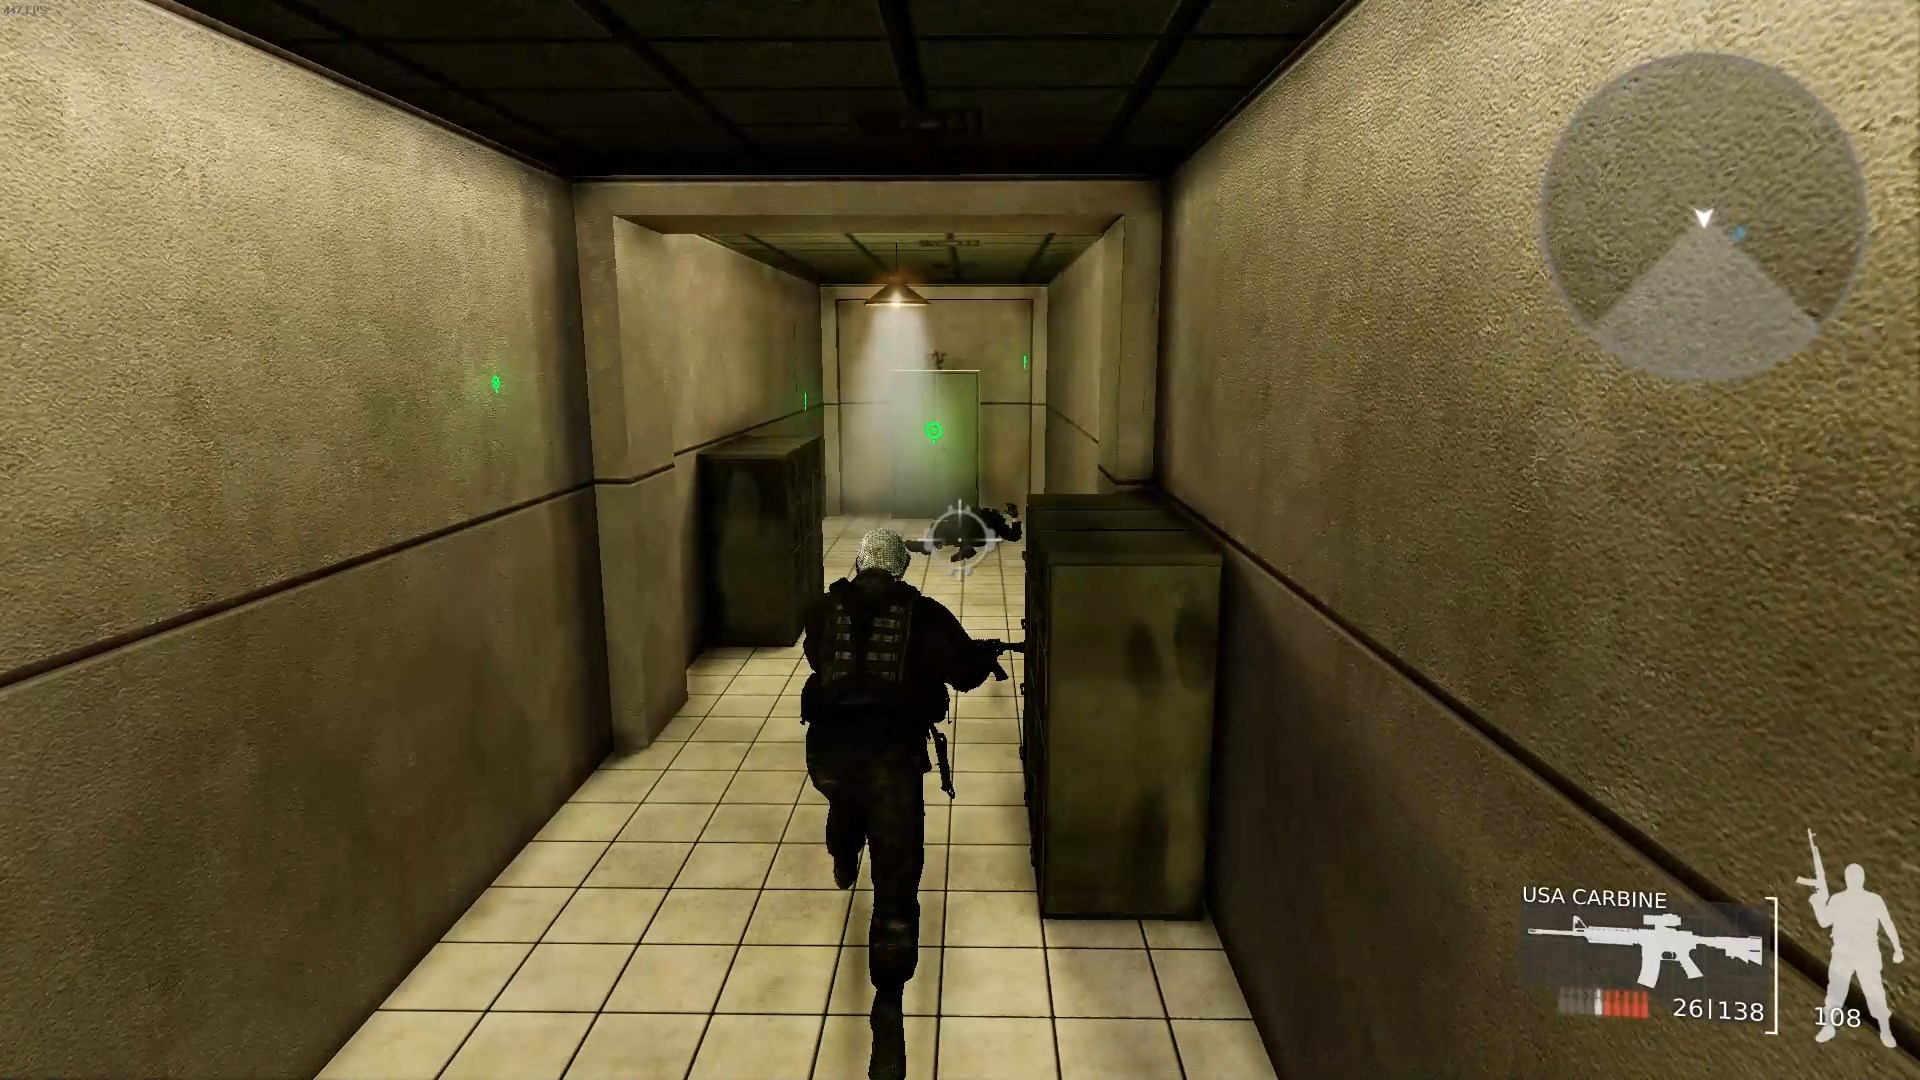 This is the cabinet with the Mossad uniform. If you shoot anyone when wearing the uniform you immediately fail the mission. So don’t pick it up until you’ve killed everyone on the second floor, otherwise you’ll have to deal with them while fighting the boss.
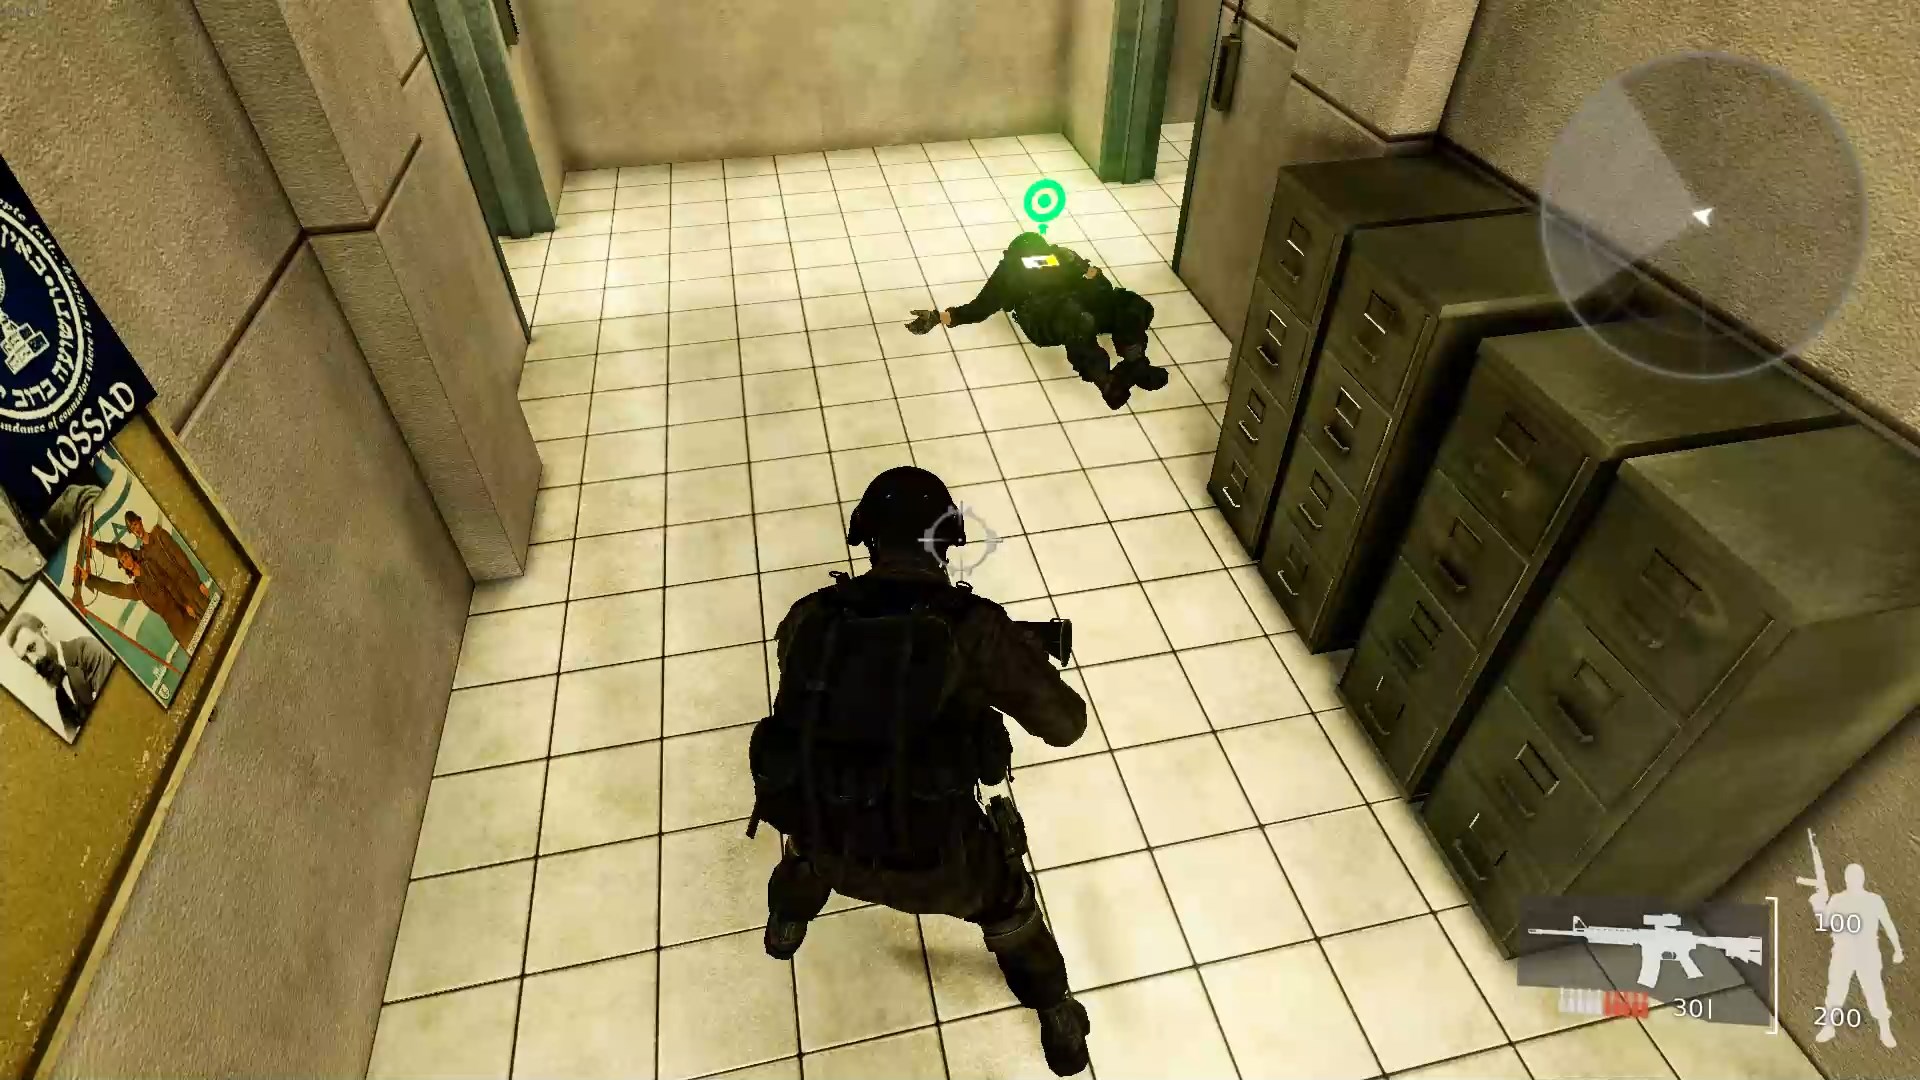 Once you’ve got the uniform, the keycard to the Mossad Chief’s office will spawn on the soldier you killed in the intro cutscene. Now is also the time to heal up with the medkits and pick up that armor if you haven’t already.
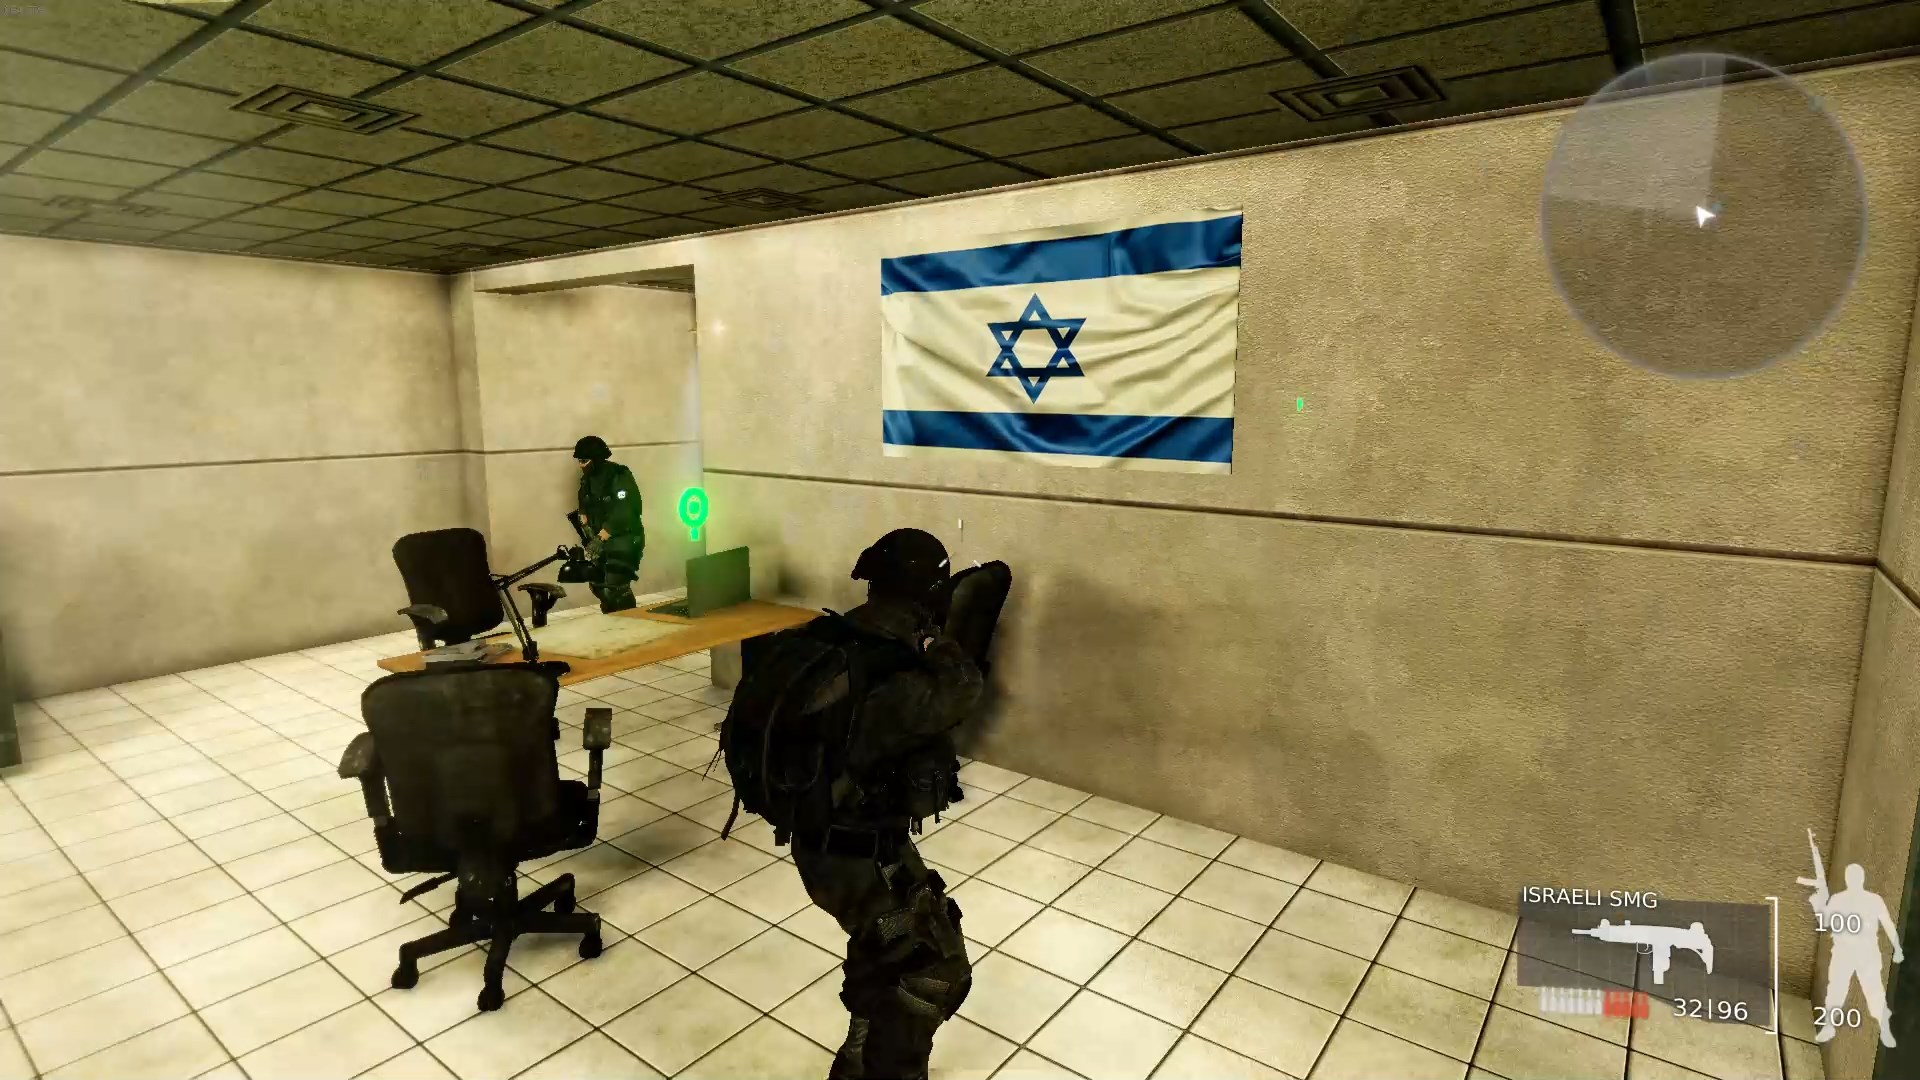 Enter the Mossad Chief’s office and there will be a cutscene. Immediately turn around–there’s a soldier hiding in the corner behind you! Kill him quickly, then turn off the security system and power the exit door. Now head out into the hallway to fight the Mossad Chief.
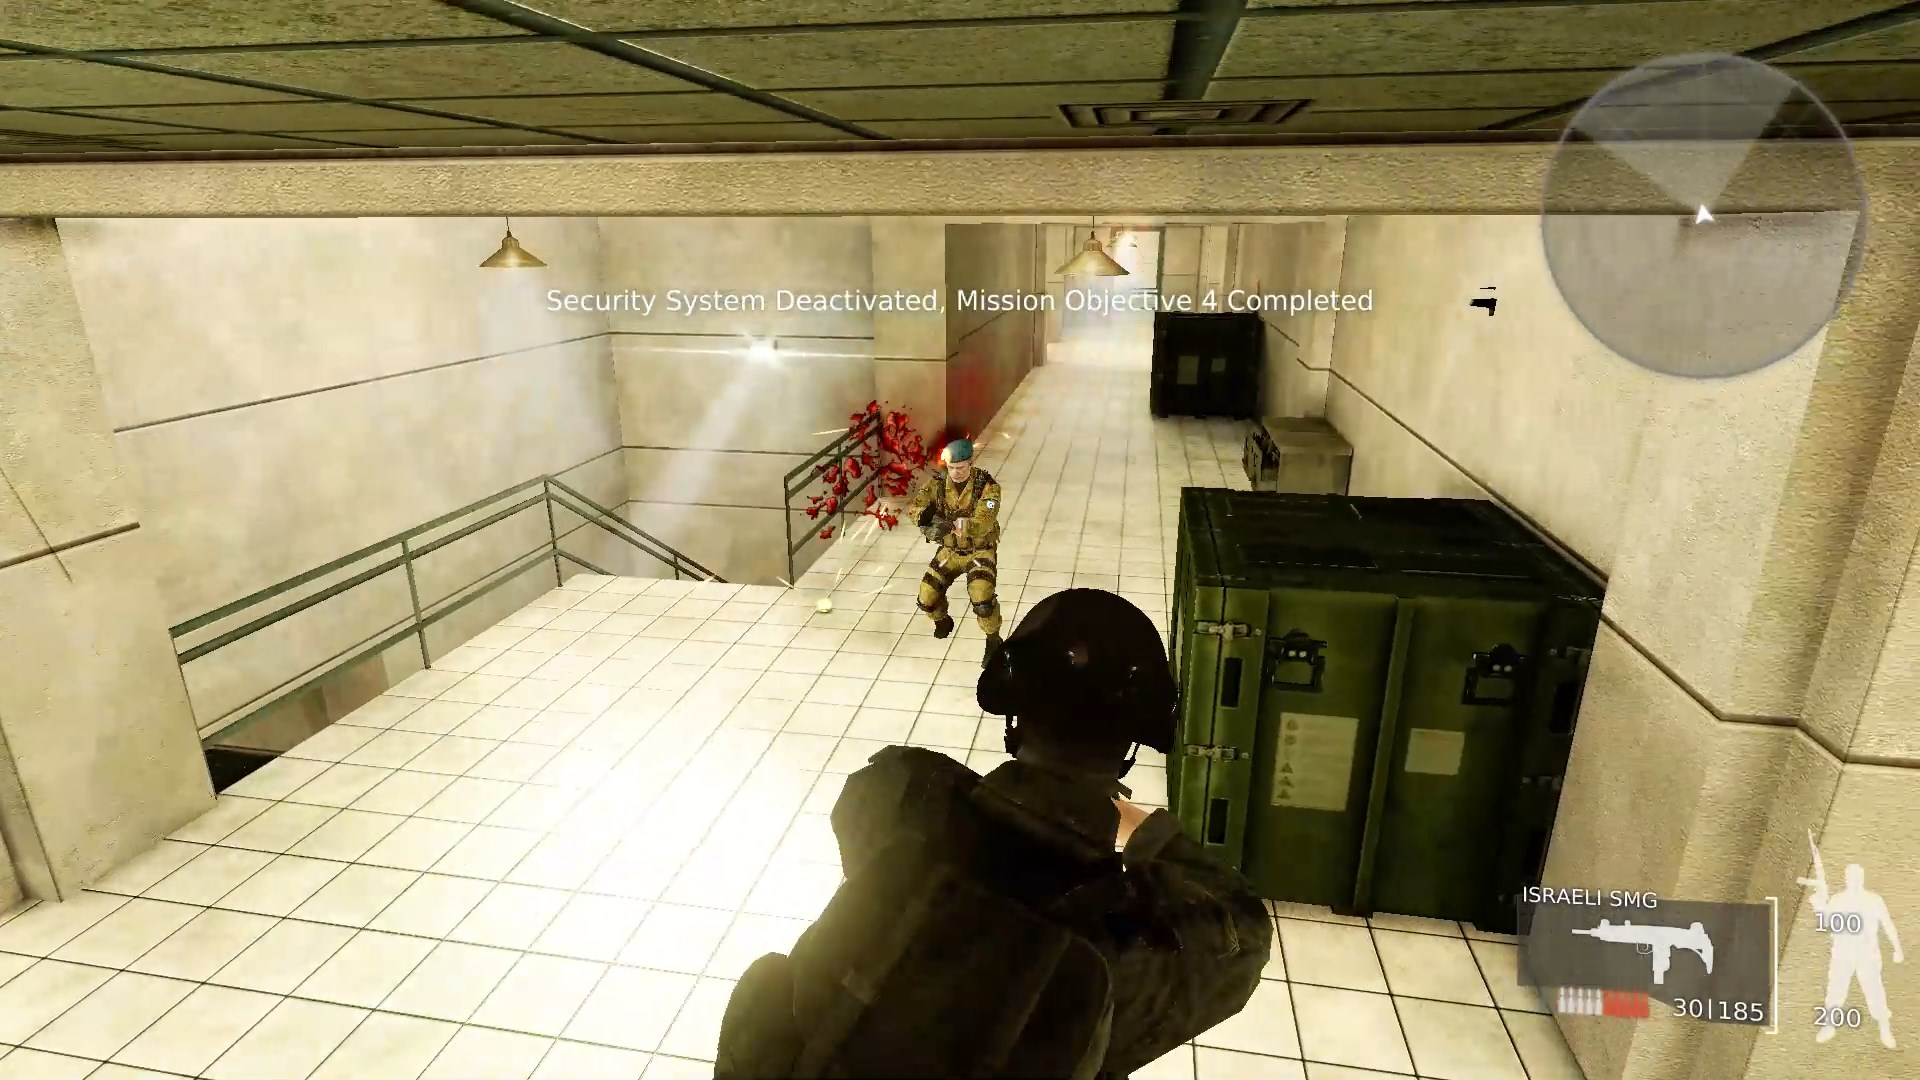
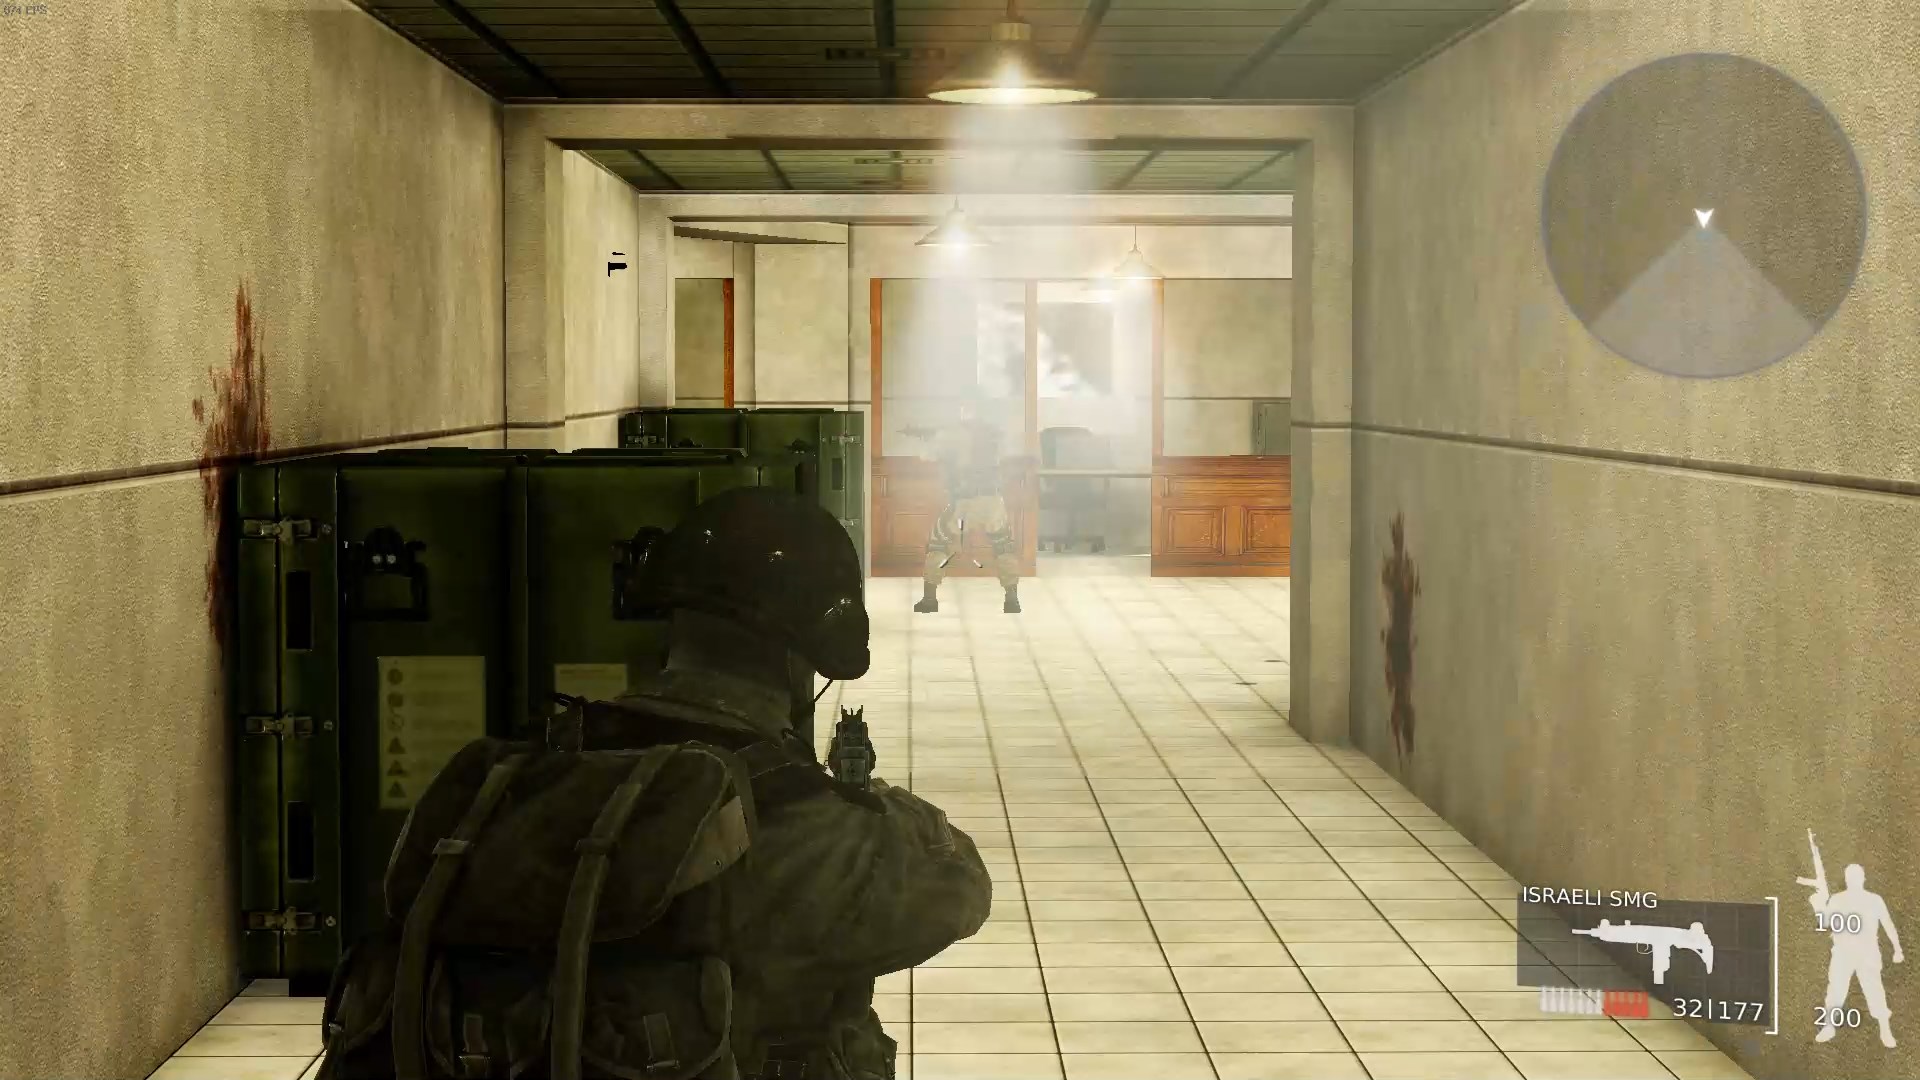 The Mossad Chief is VERY tough to kill in a straight up fight. You can stunlock him a bit by shooting him, but it’s not enough to stop him. To kill him easily, shoot him a bit and run away. He’ll chase you to wherever you last shot him and then stop. There are plenty of loops in this level you can use to circle around behind where he’s stopped, and then shoot him in the back. Keep repeating this and you can kill him taking very little damage.
Head to the emergency exit and you’ve won the level!
Mission 4: Old City of Jerusalem
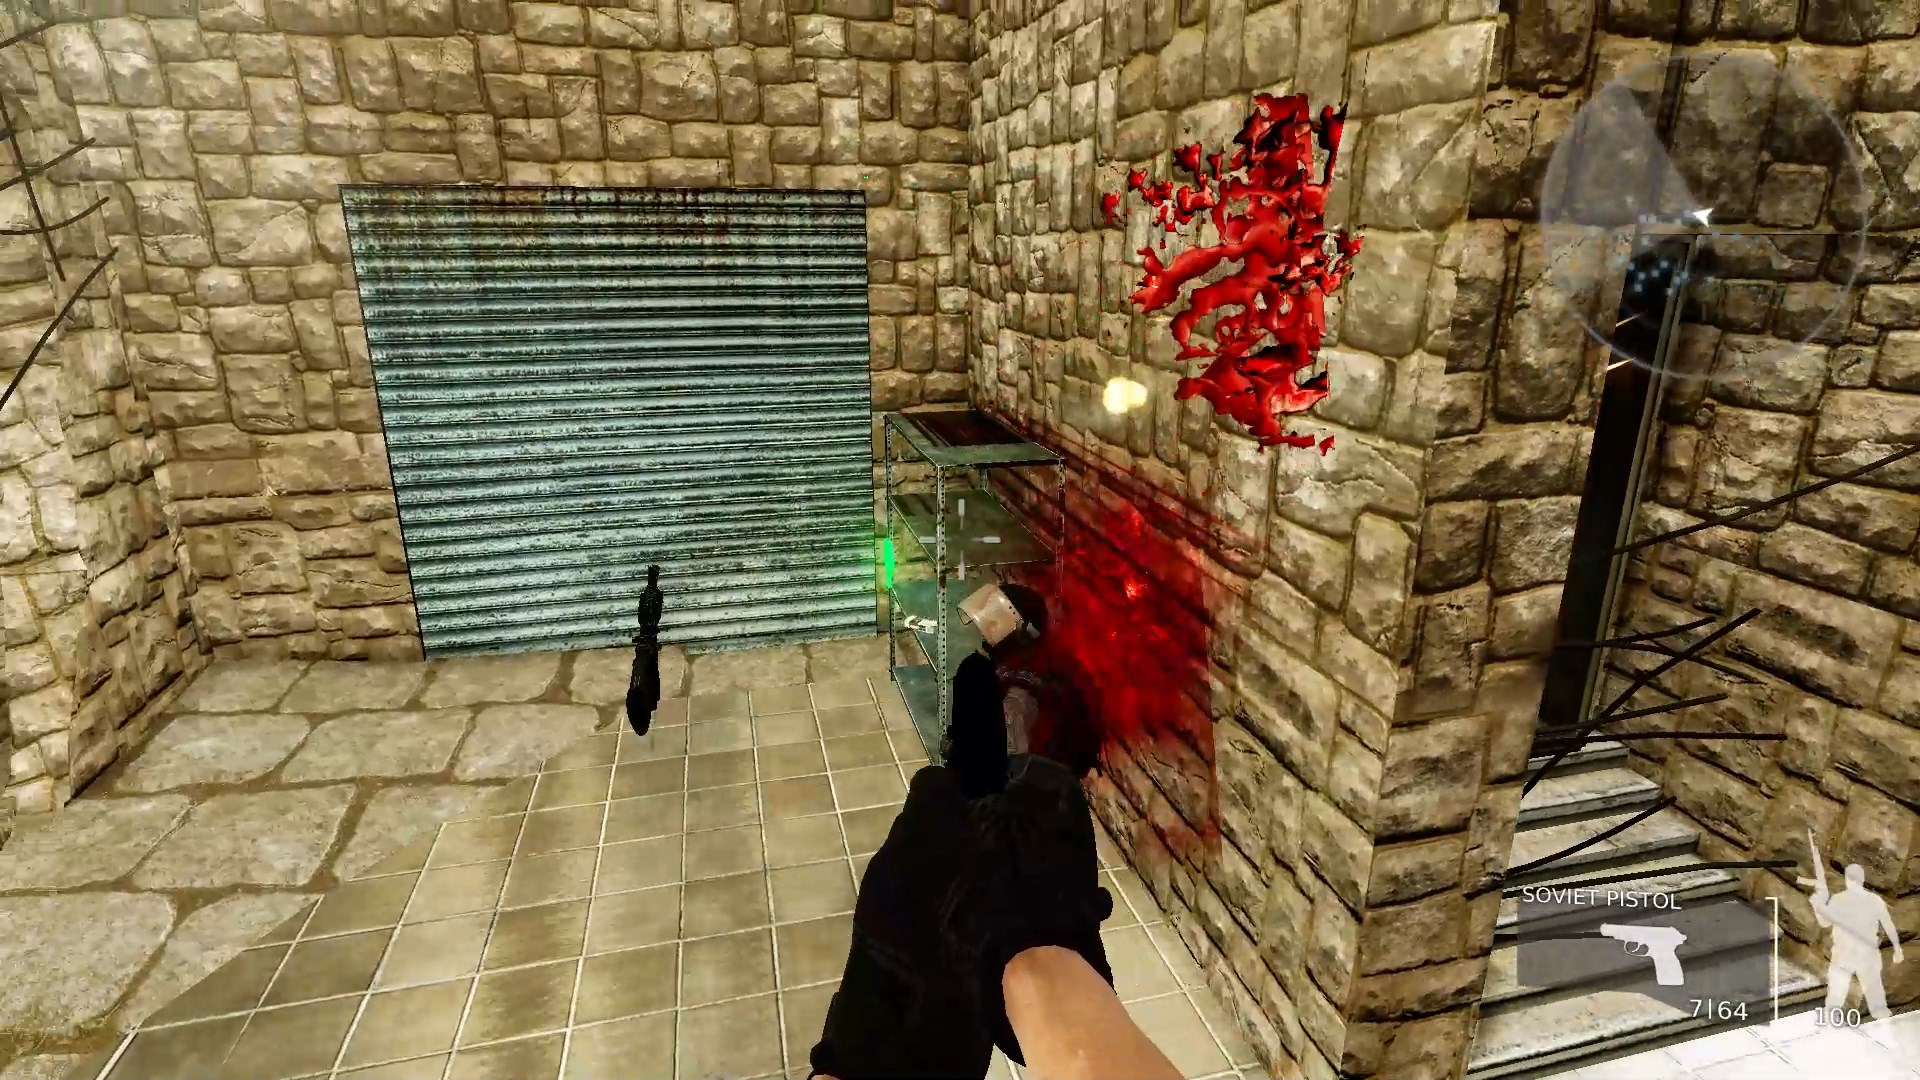 The first thing you want to do after the cutscene is turn around. Bullet-time sidejump past the wall, pop the Zionist soldier hiding behind it and pick up the jammer he’s guarding. There’s armor here you might want to pick up as well. In this level you don’t really need to save it for the boss.
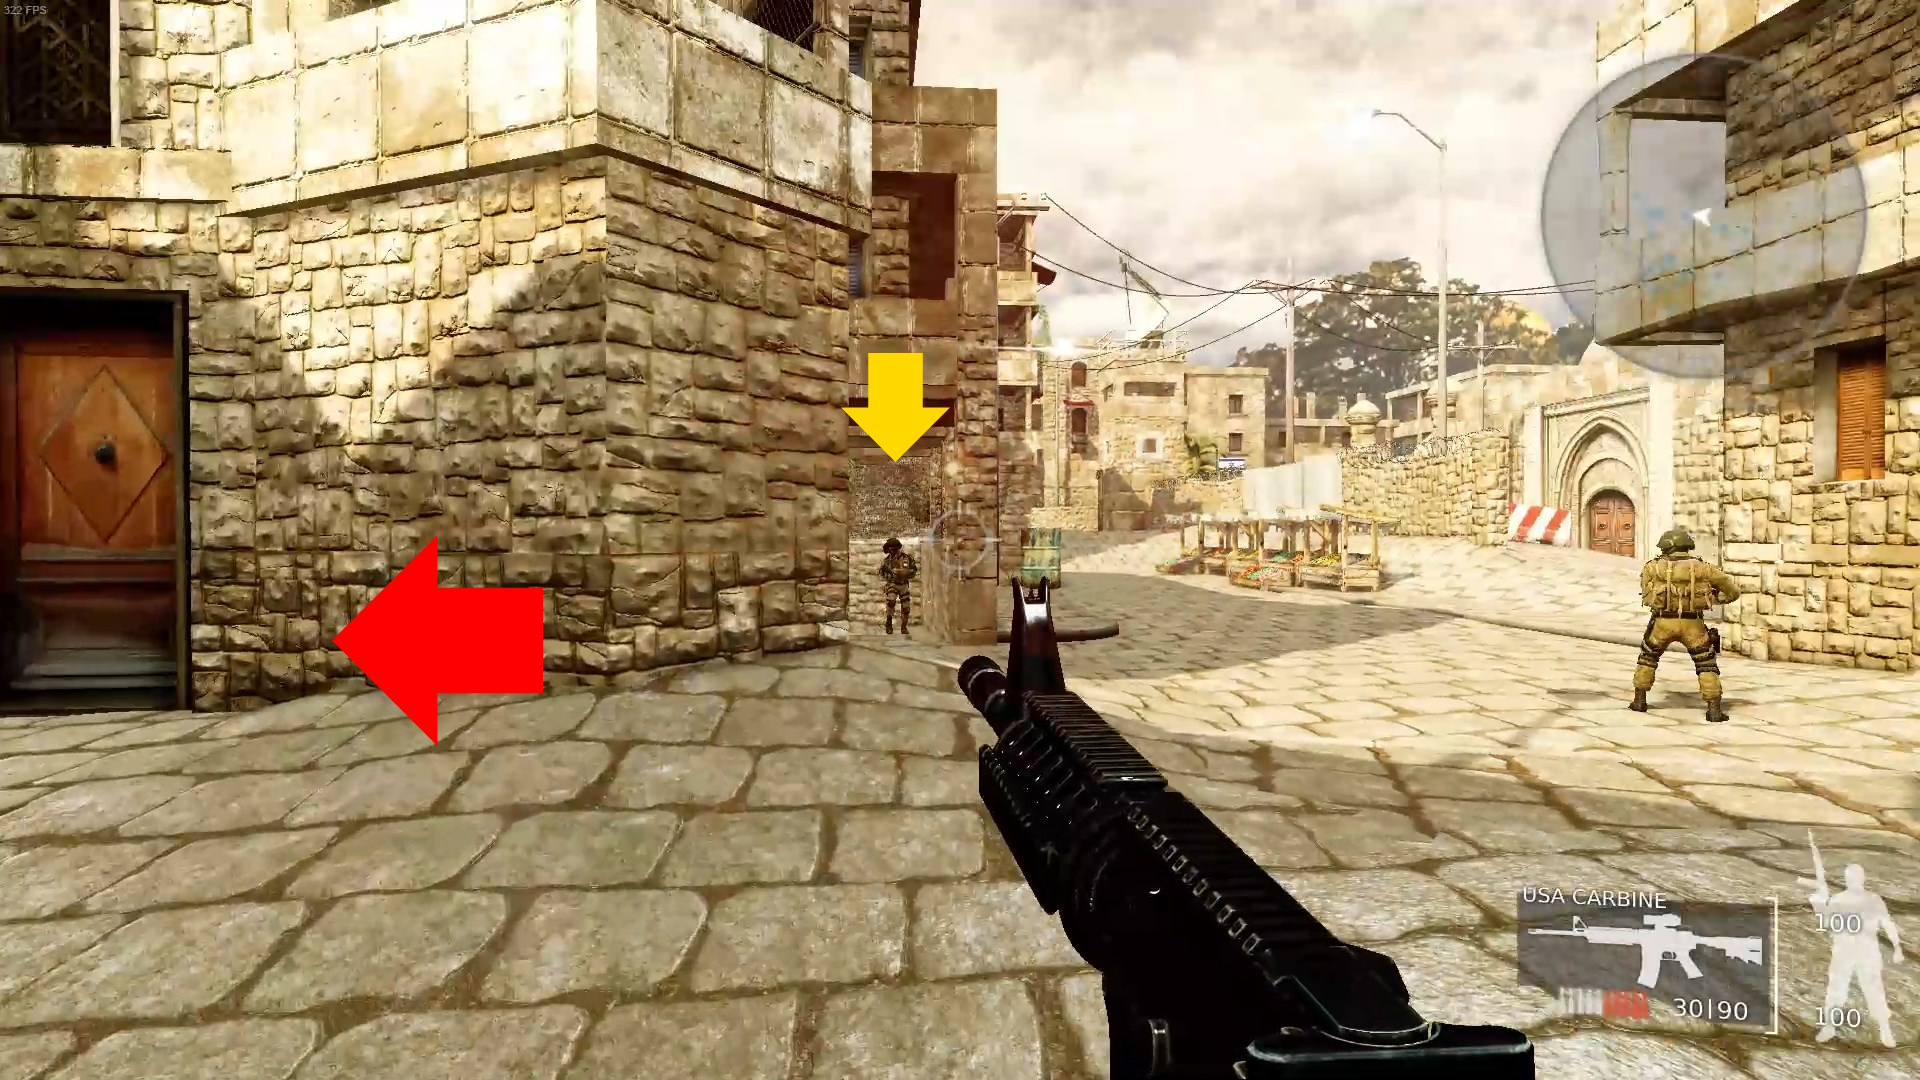 Continue into the area with the market stalls and take out the soldiers here, then head down the alleyway in the direction of the red arrow in the screenshot. Also, the path with the yellow arrow leads to an open area with a soldier, and a medkit in an enclosed area.
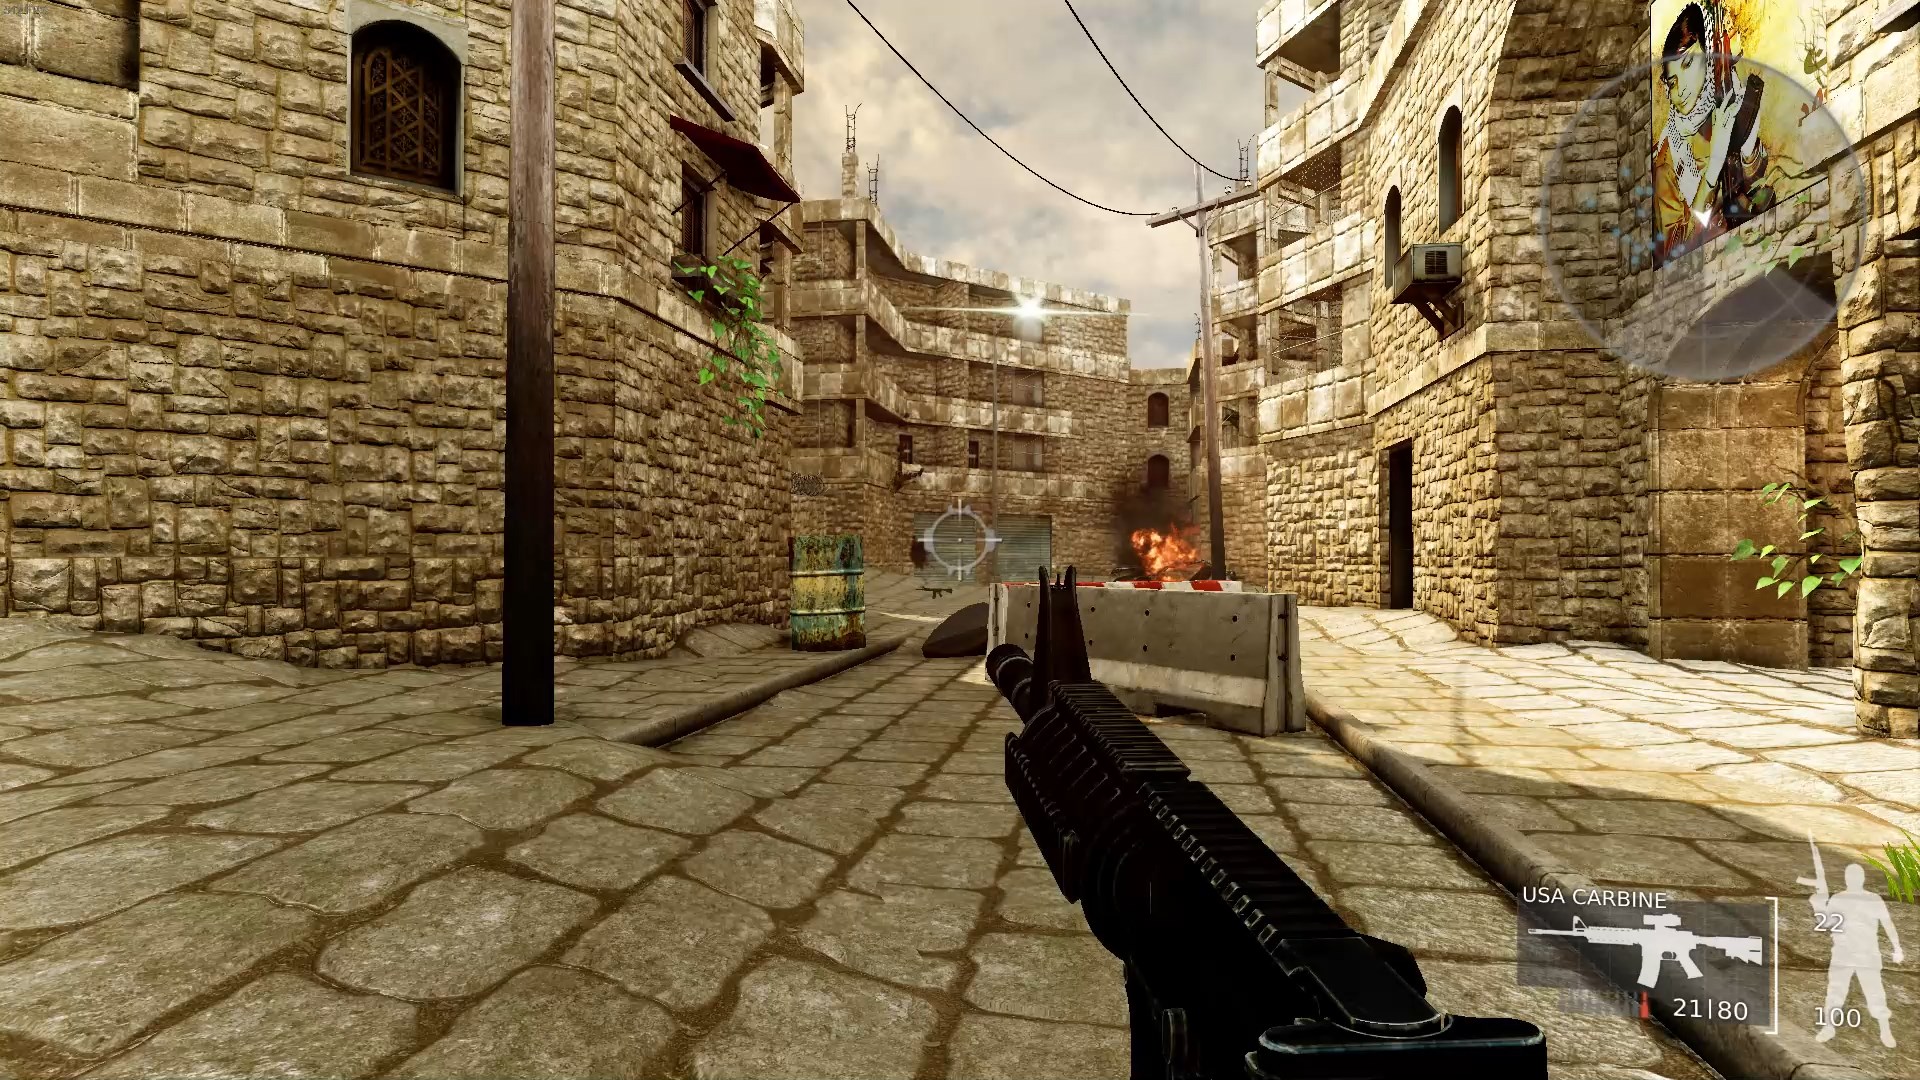 The burning car in this screenshot is something you should keep an eye out for. There’s a soldier (barely visible in this screenshot, he’s rocketing in the air from blowing up the nearby barrel) that blends in really well to the background and is often behind the car where you can’t see him, but he can shoot you.
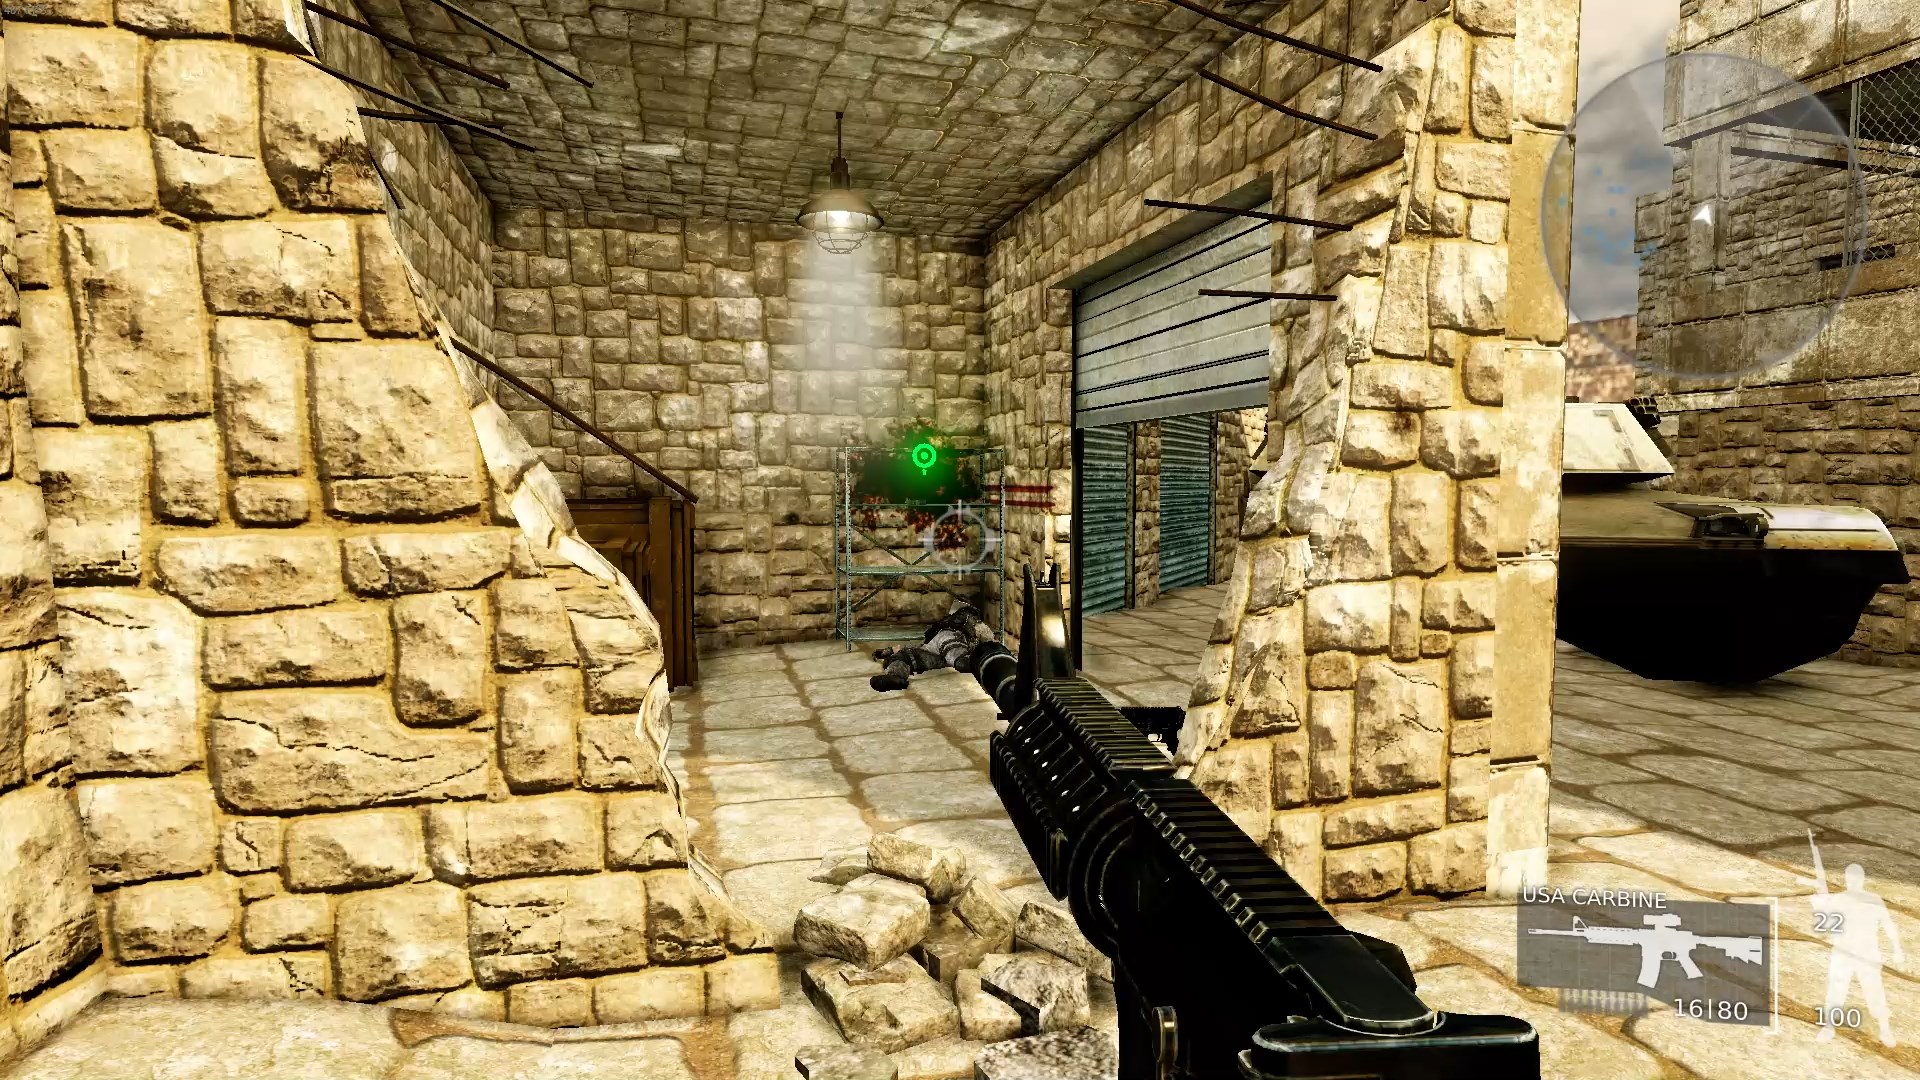 Keep going and you’ll find another soldier guarding the second jammer device. There’s also another medkit in this area.
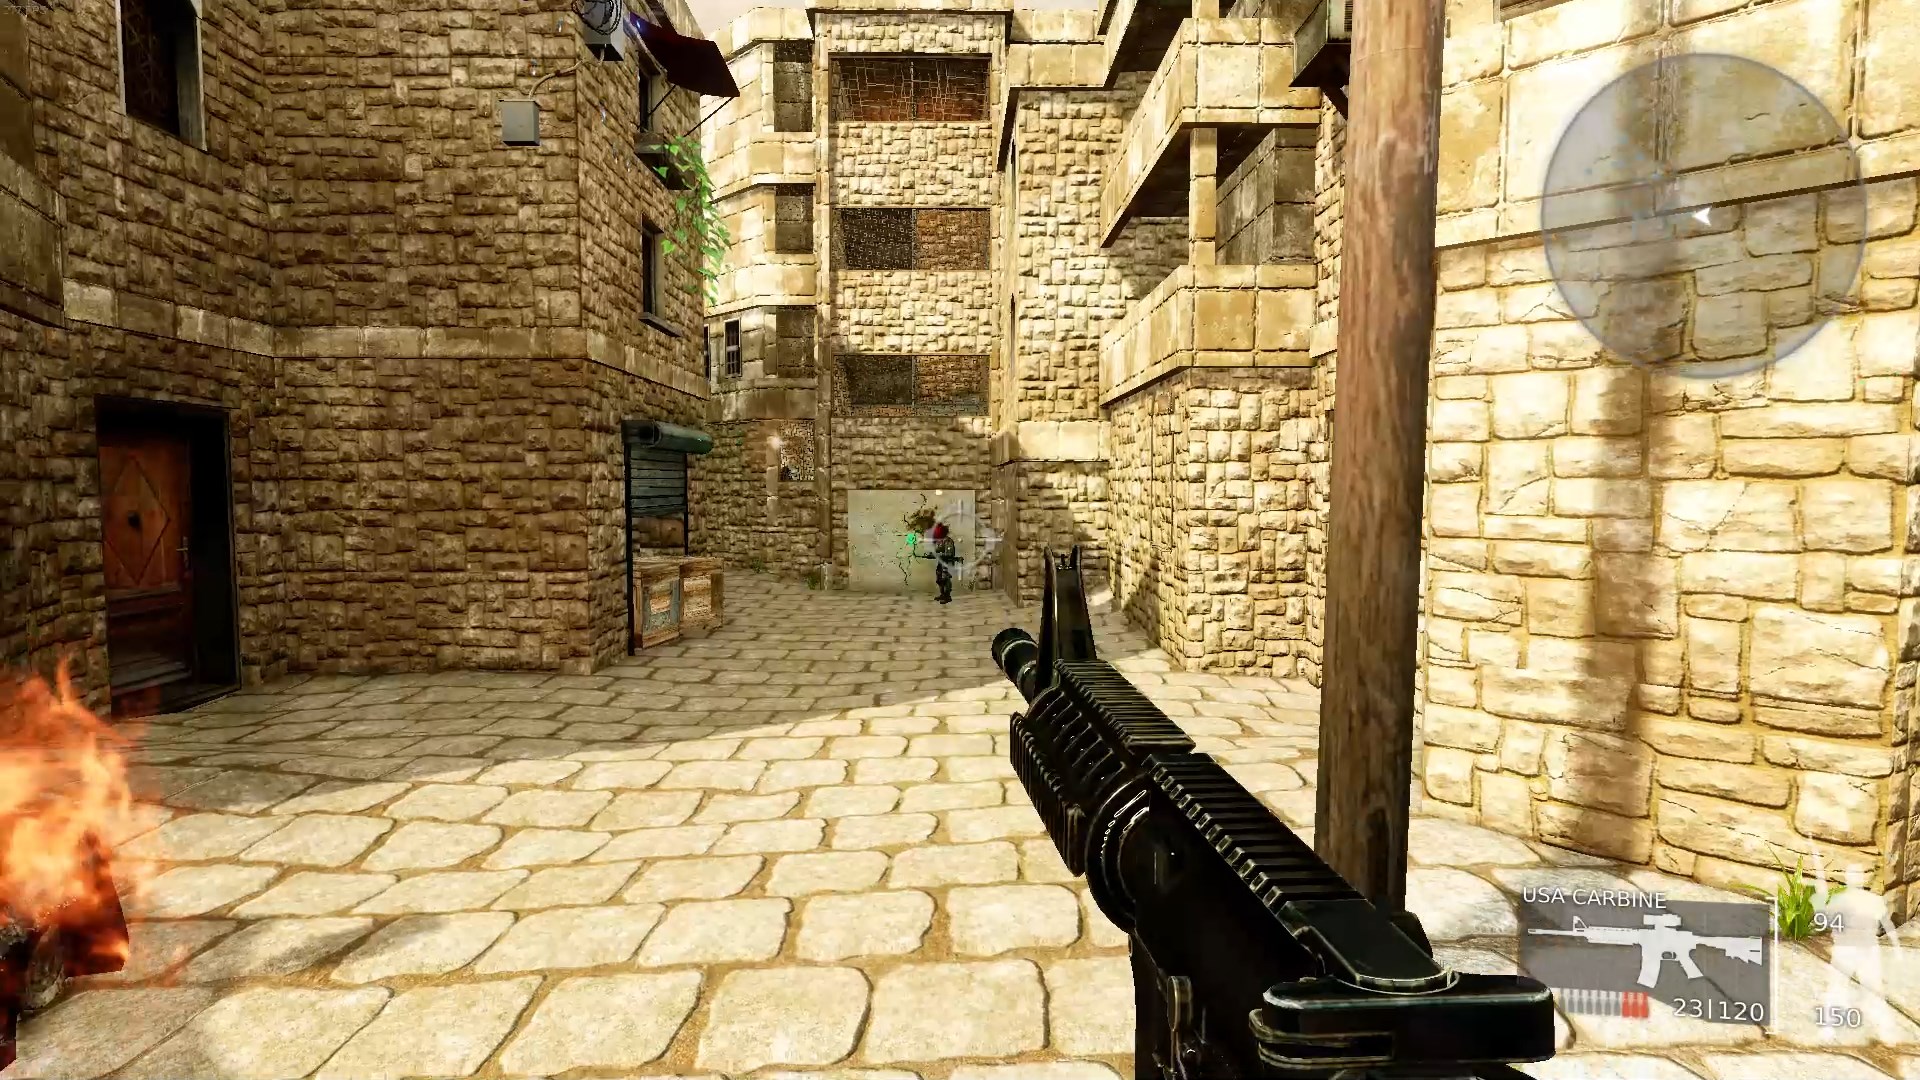 Head back and walk directly past the flaming car. Note the fragile wall here–you’re going to blow this up with C4 to get access to the rocket launcher, but you need to finish up the rest of the mission first.
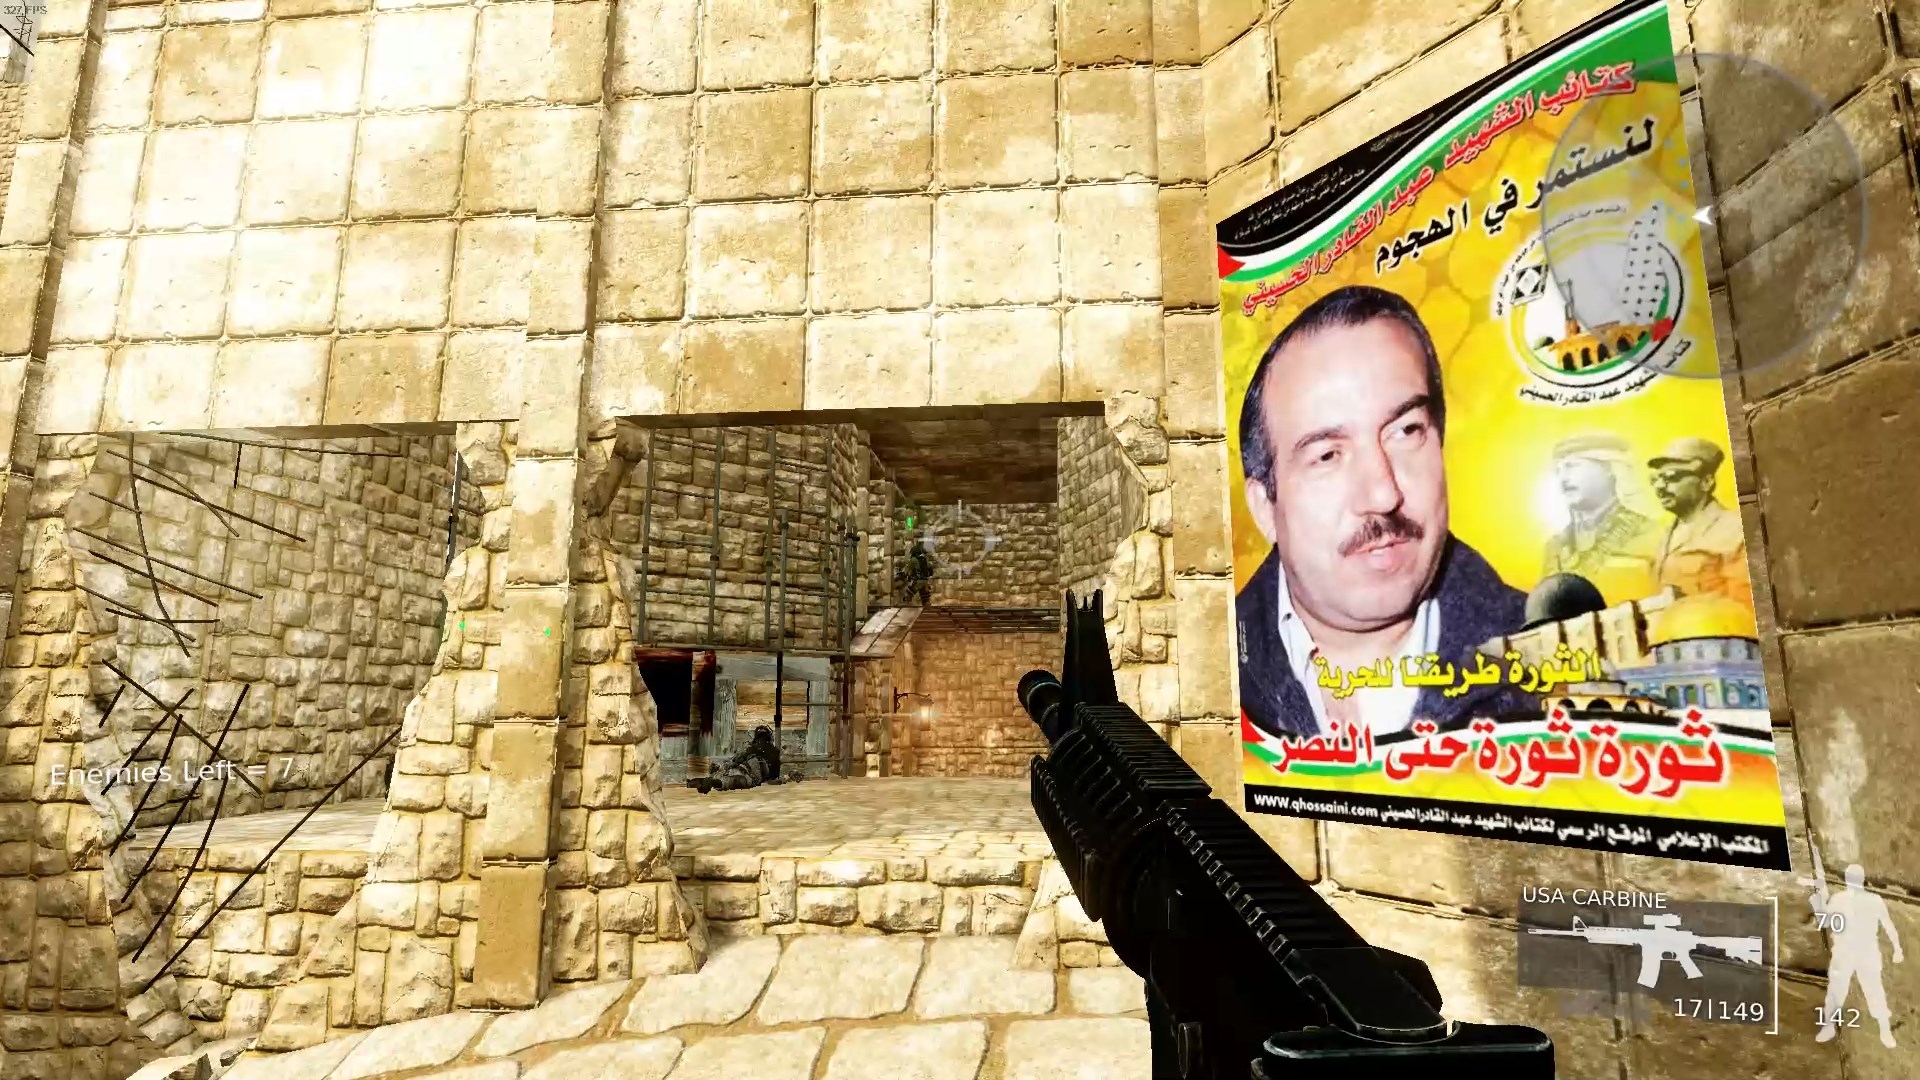 A little bit further, you’ll reach this area with a yellow sign. The soldier holding the keys to the safe with the helicopter plans is in this building. If you enter from here he won’t notice you and you can kill him before he can see you.
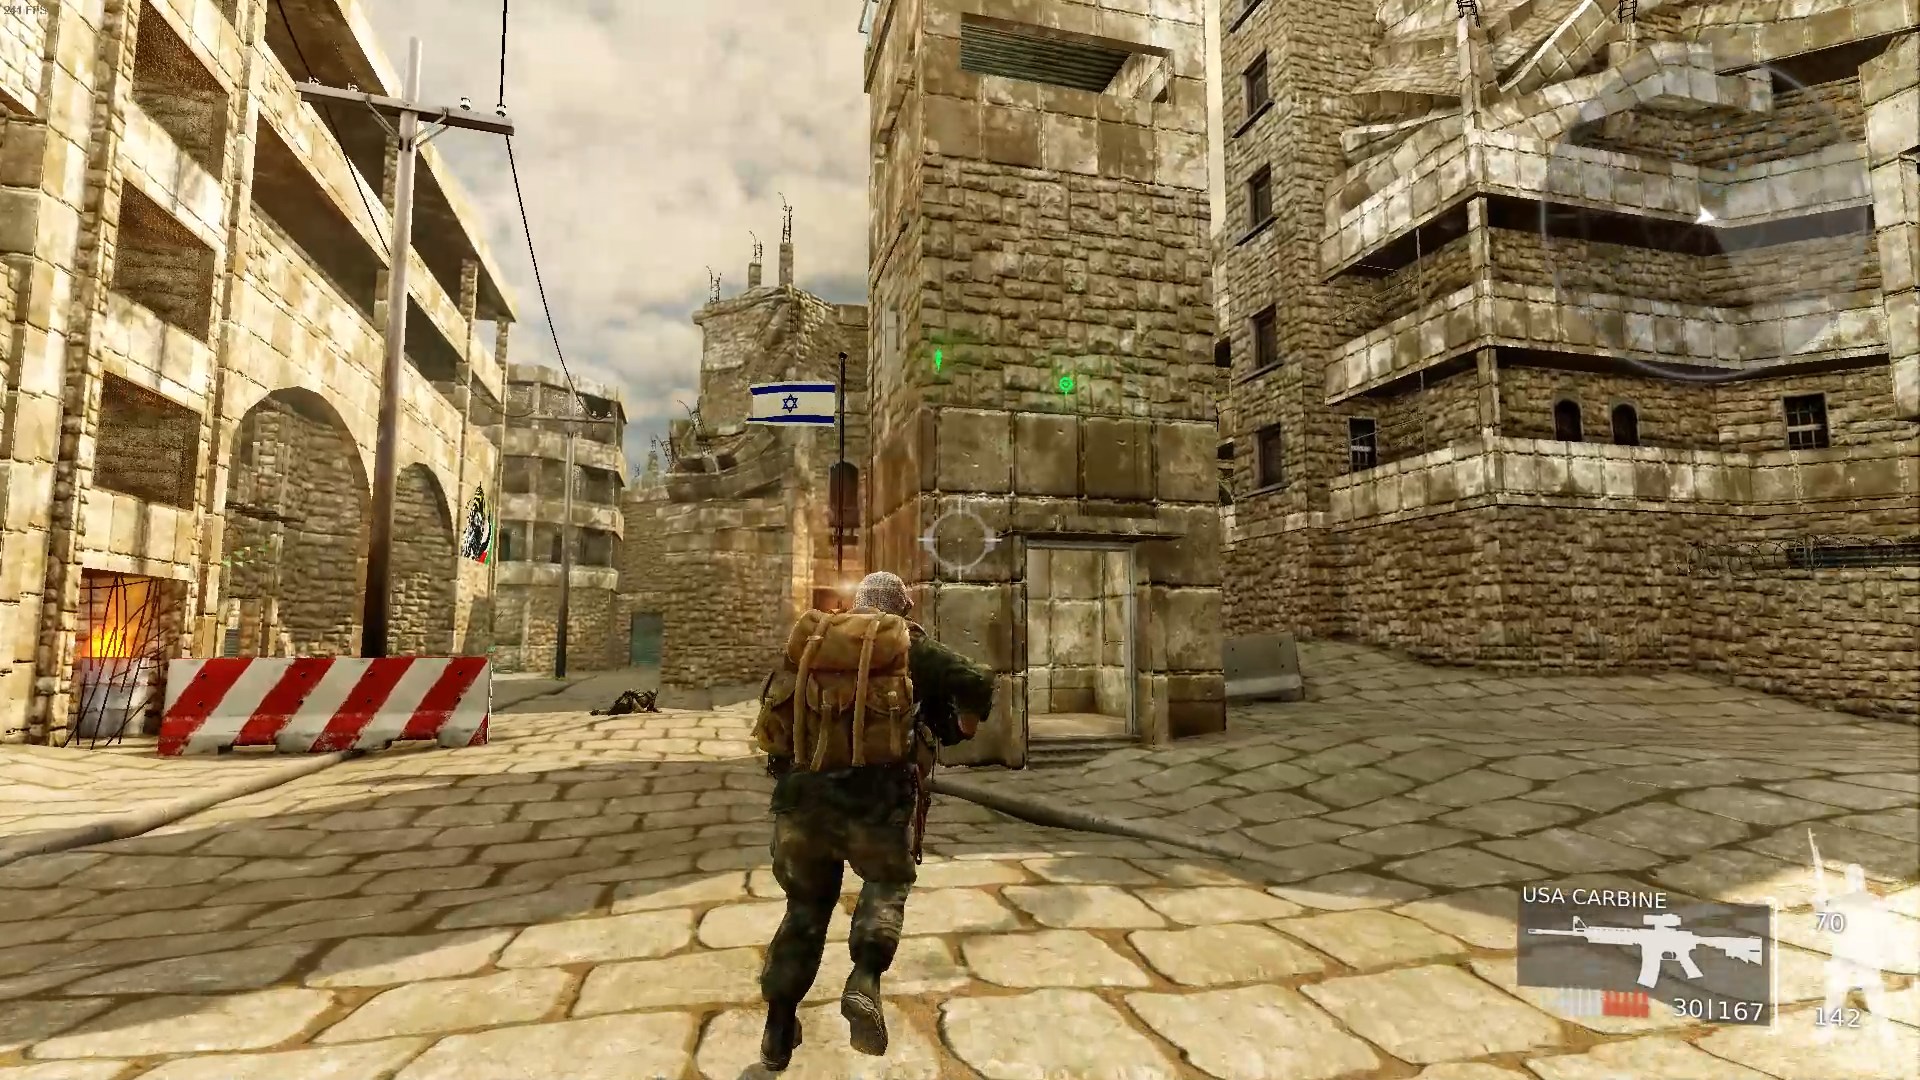 The communications tower right in this area has the helicopter plans in it. Shut off the satellite and grab the plans using the key you just got from the soldier.
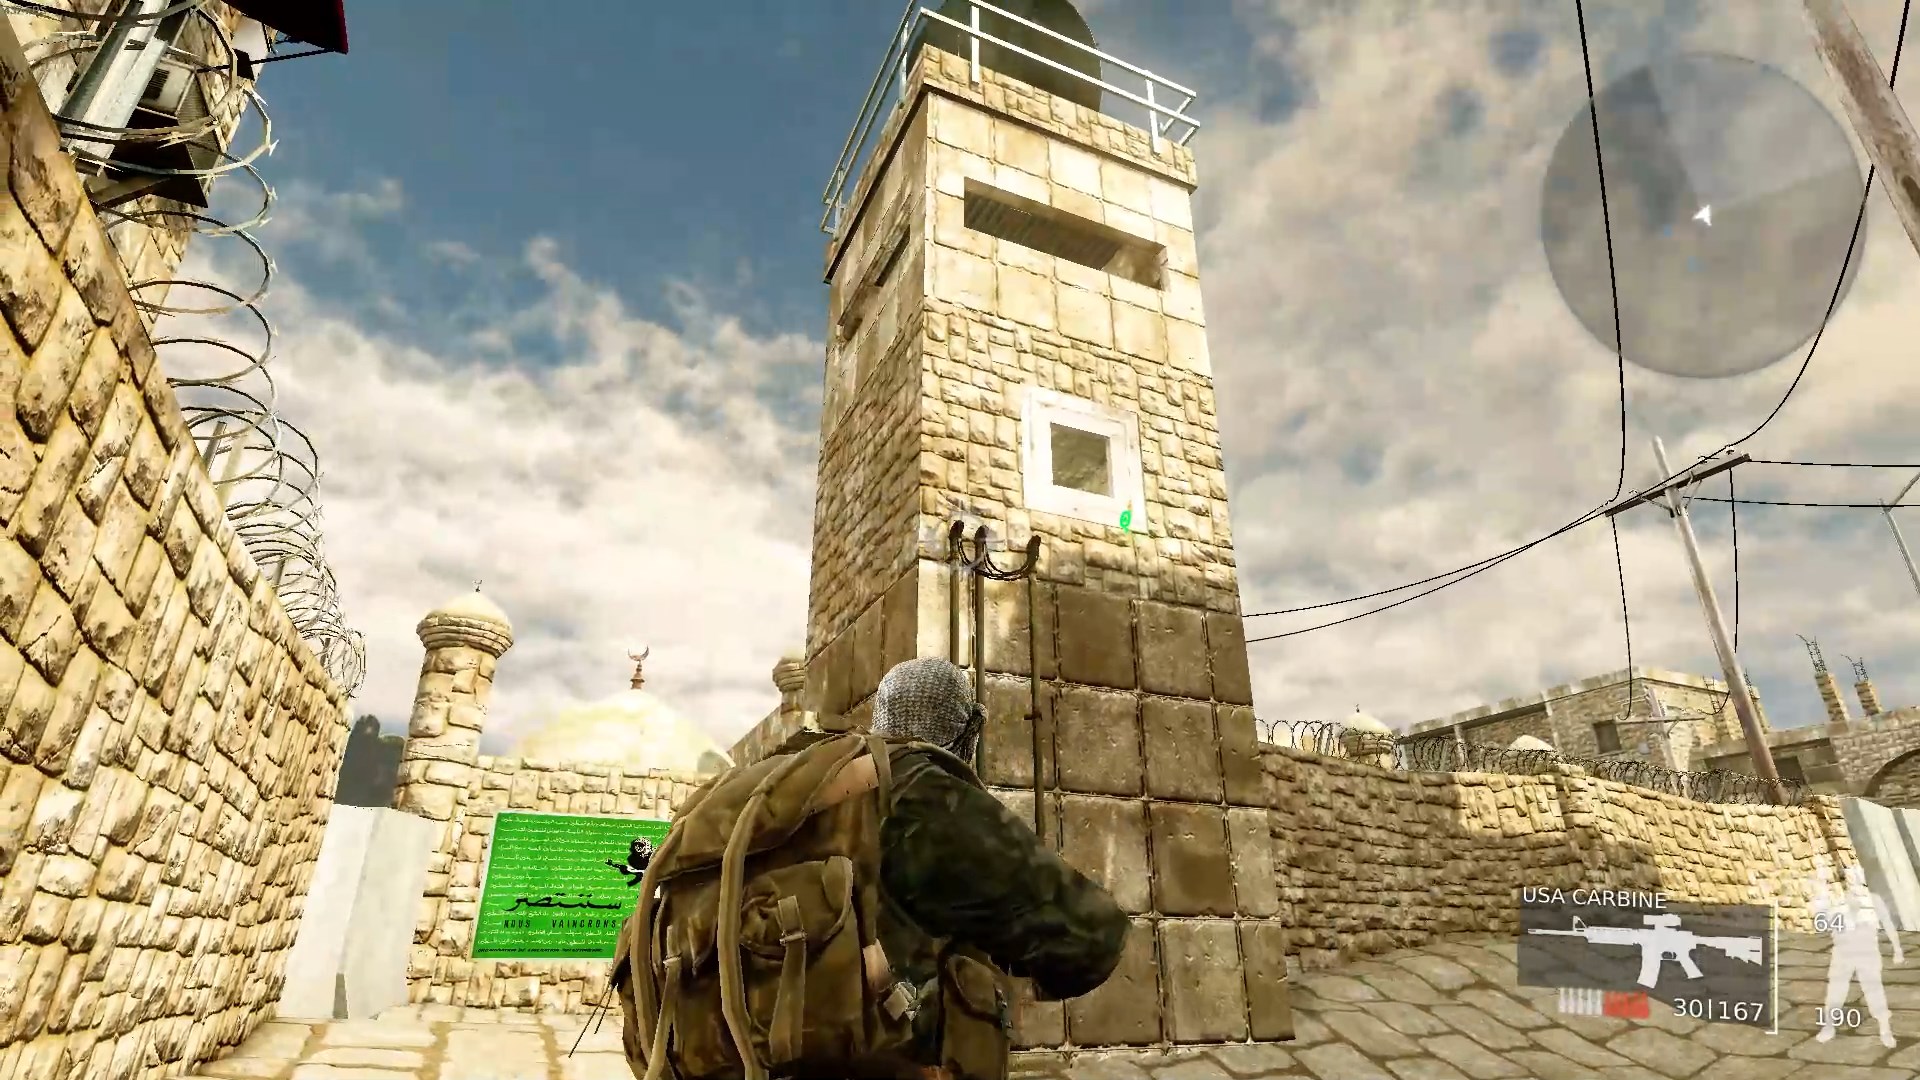 This second communications tower is near the market stalls area at the beginning of the level. There’s an LMG inside, as well as the C4. Turn off the satellite and take the C4.
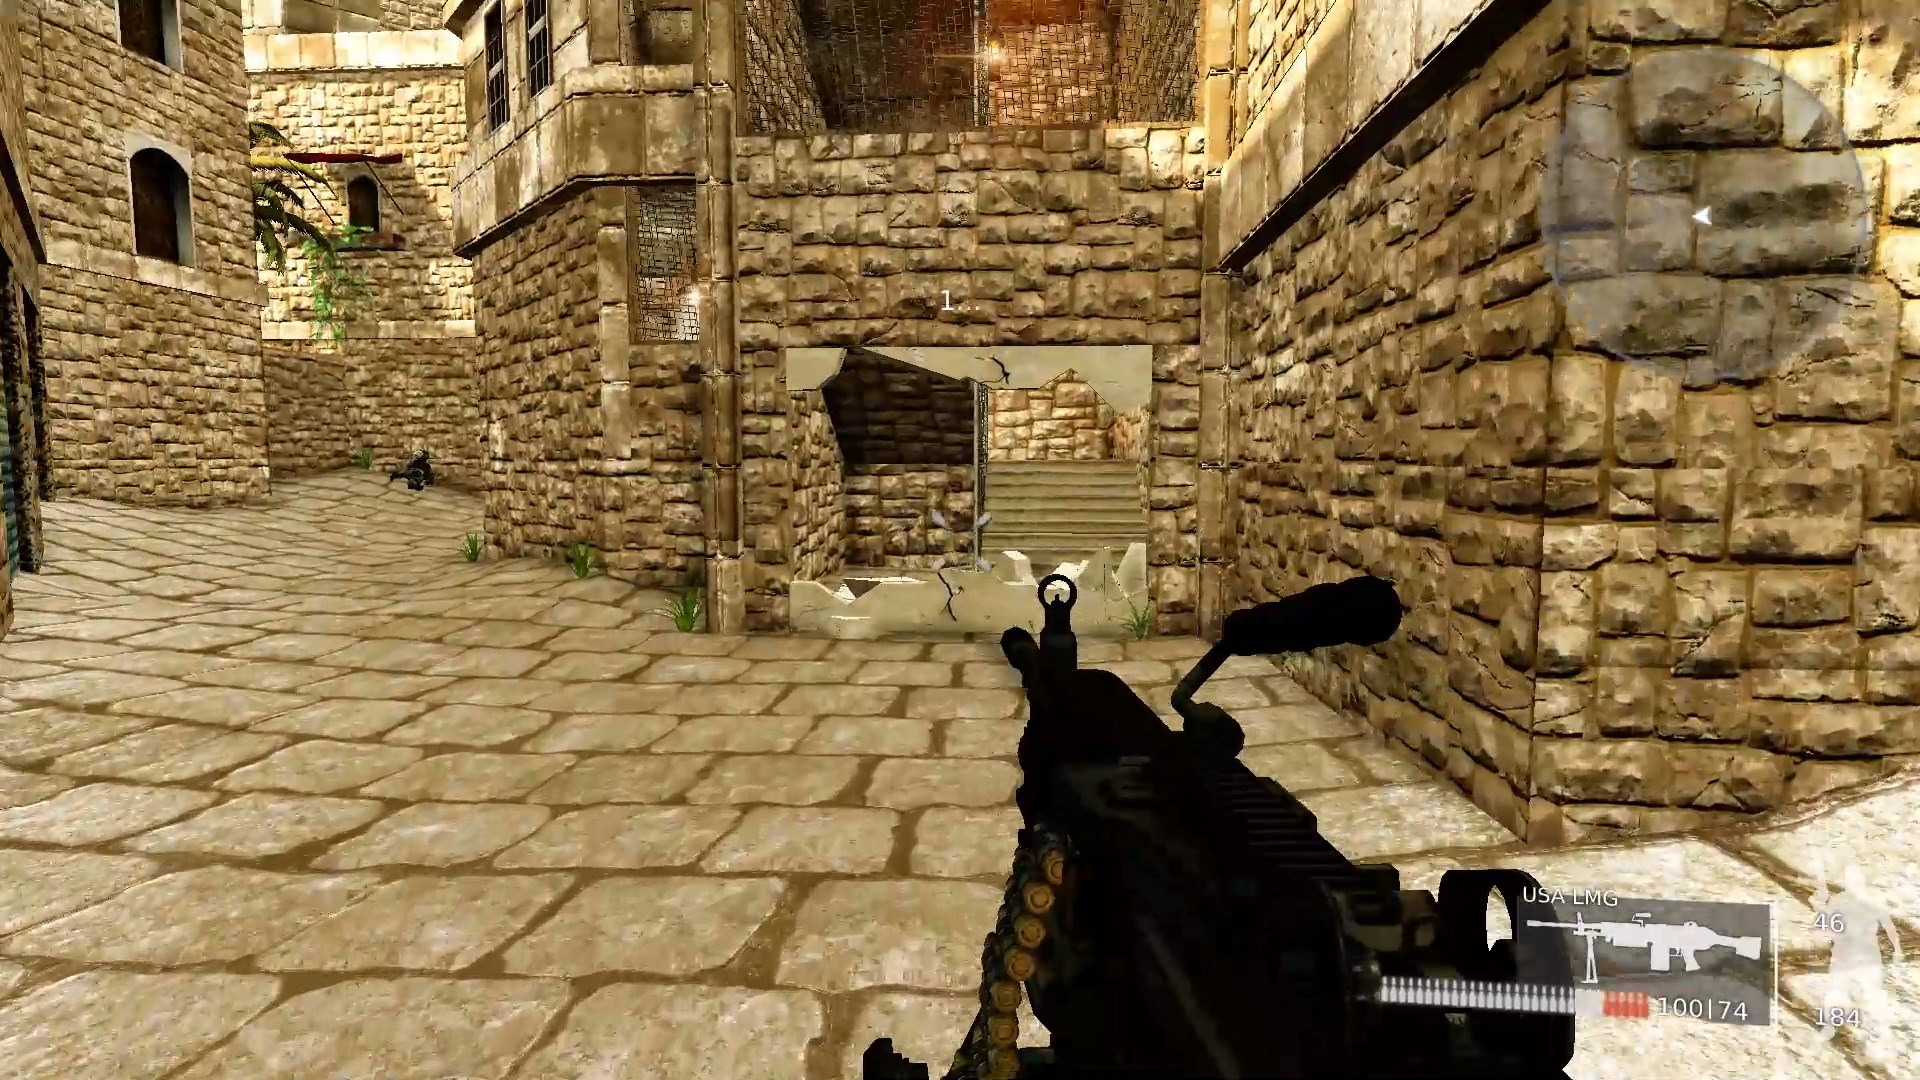 Once you’ve cleared out the rest of the level you can place the C4 on the broken wall from earlier. Stand clear, then go to the top and grab the rocket launcher.
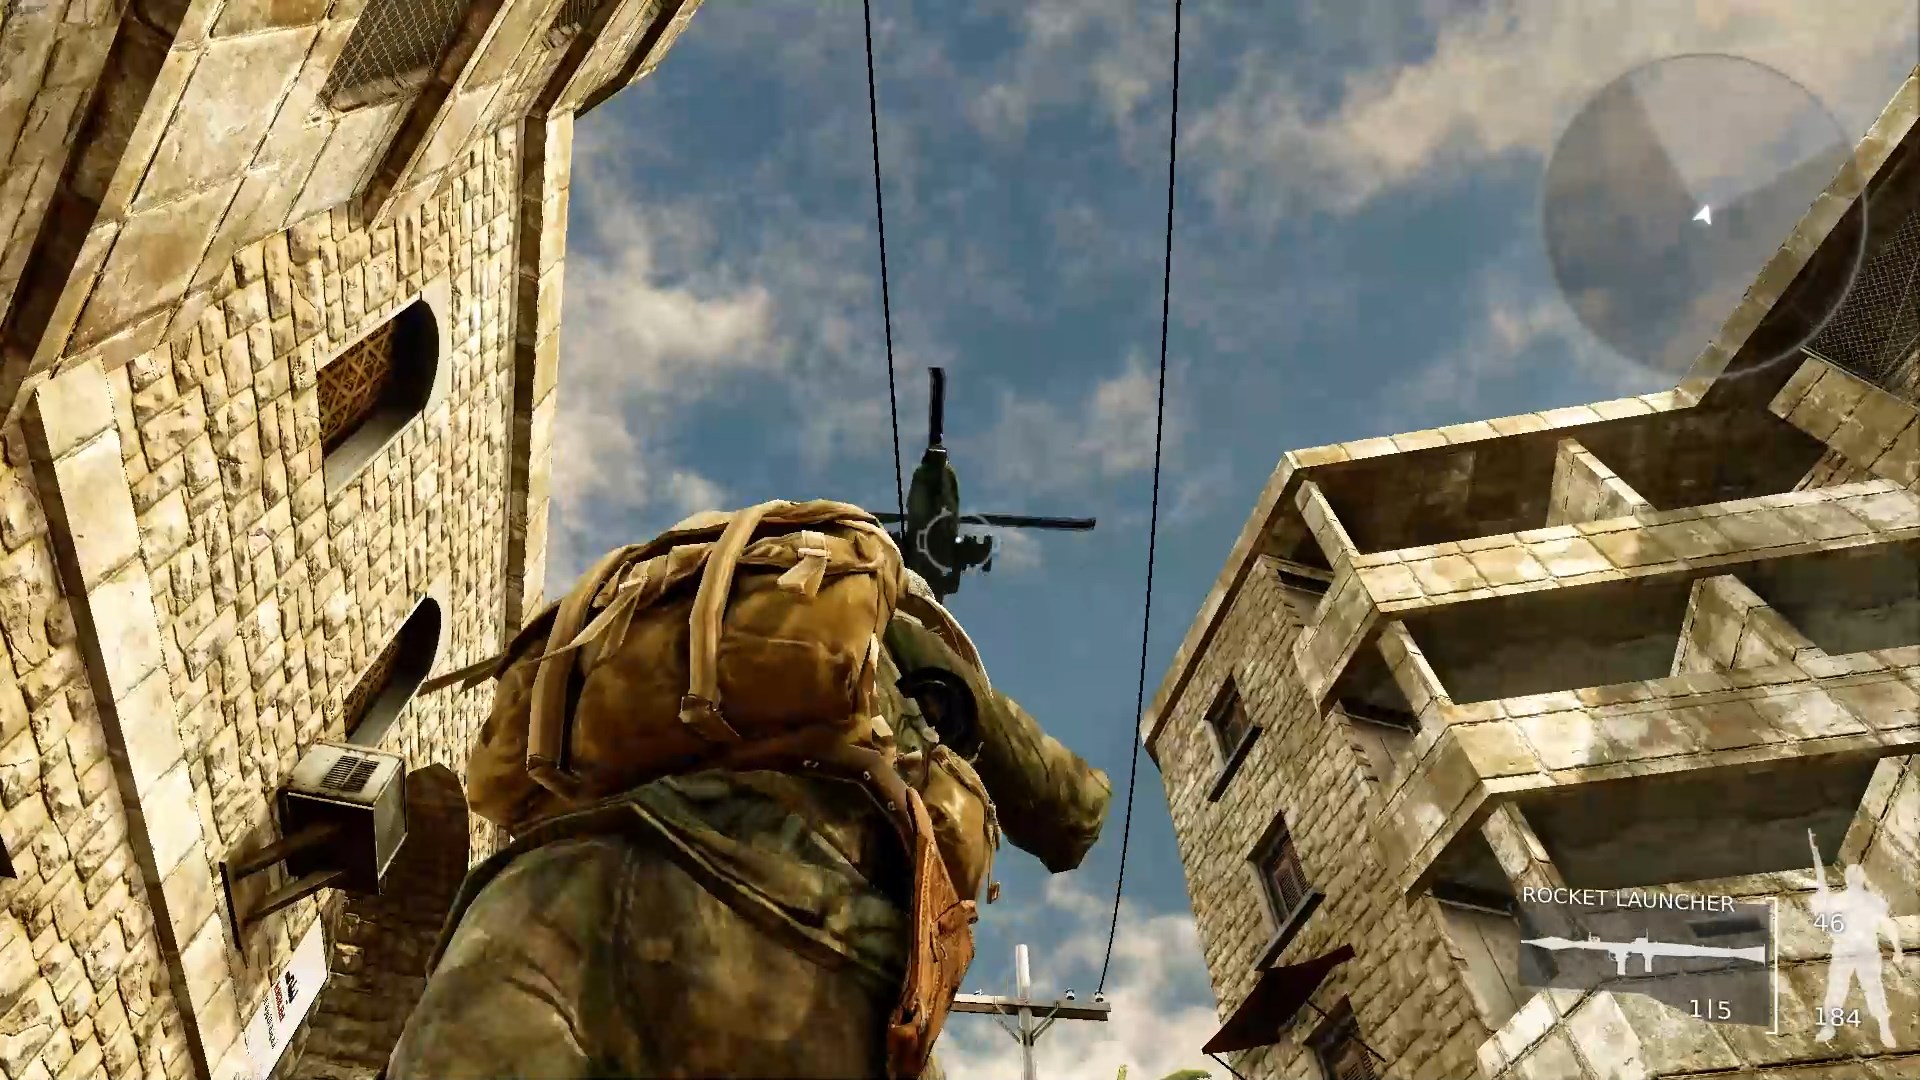 Now you have to fight the boss of this level, a helicopter. You need to use the rocket launcher to destroy it, but you won’t start out with enough ammo to take it out. When you run out, head back to where you picked up the launcher for additional ammo. If you stand directly under the rocket it’s relatively safe. Also, the helicopter can’t hit you right inside the builidng where you just blew up the wall. If you hide in there while reloading, popping out only to shoot the helicopter, you can destroy it with little difficulty. As a bonus sometimes it’ll shoot rockets into the building and blow itself up with splash damage.
Mission 5: Gaza City Shuja’iyya District
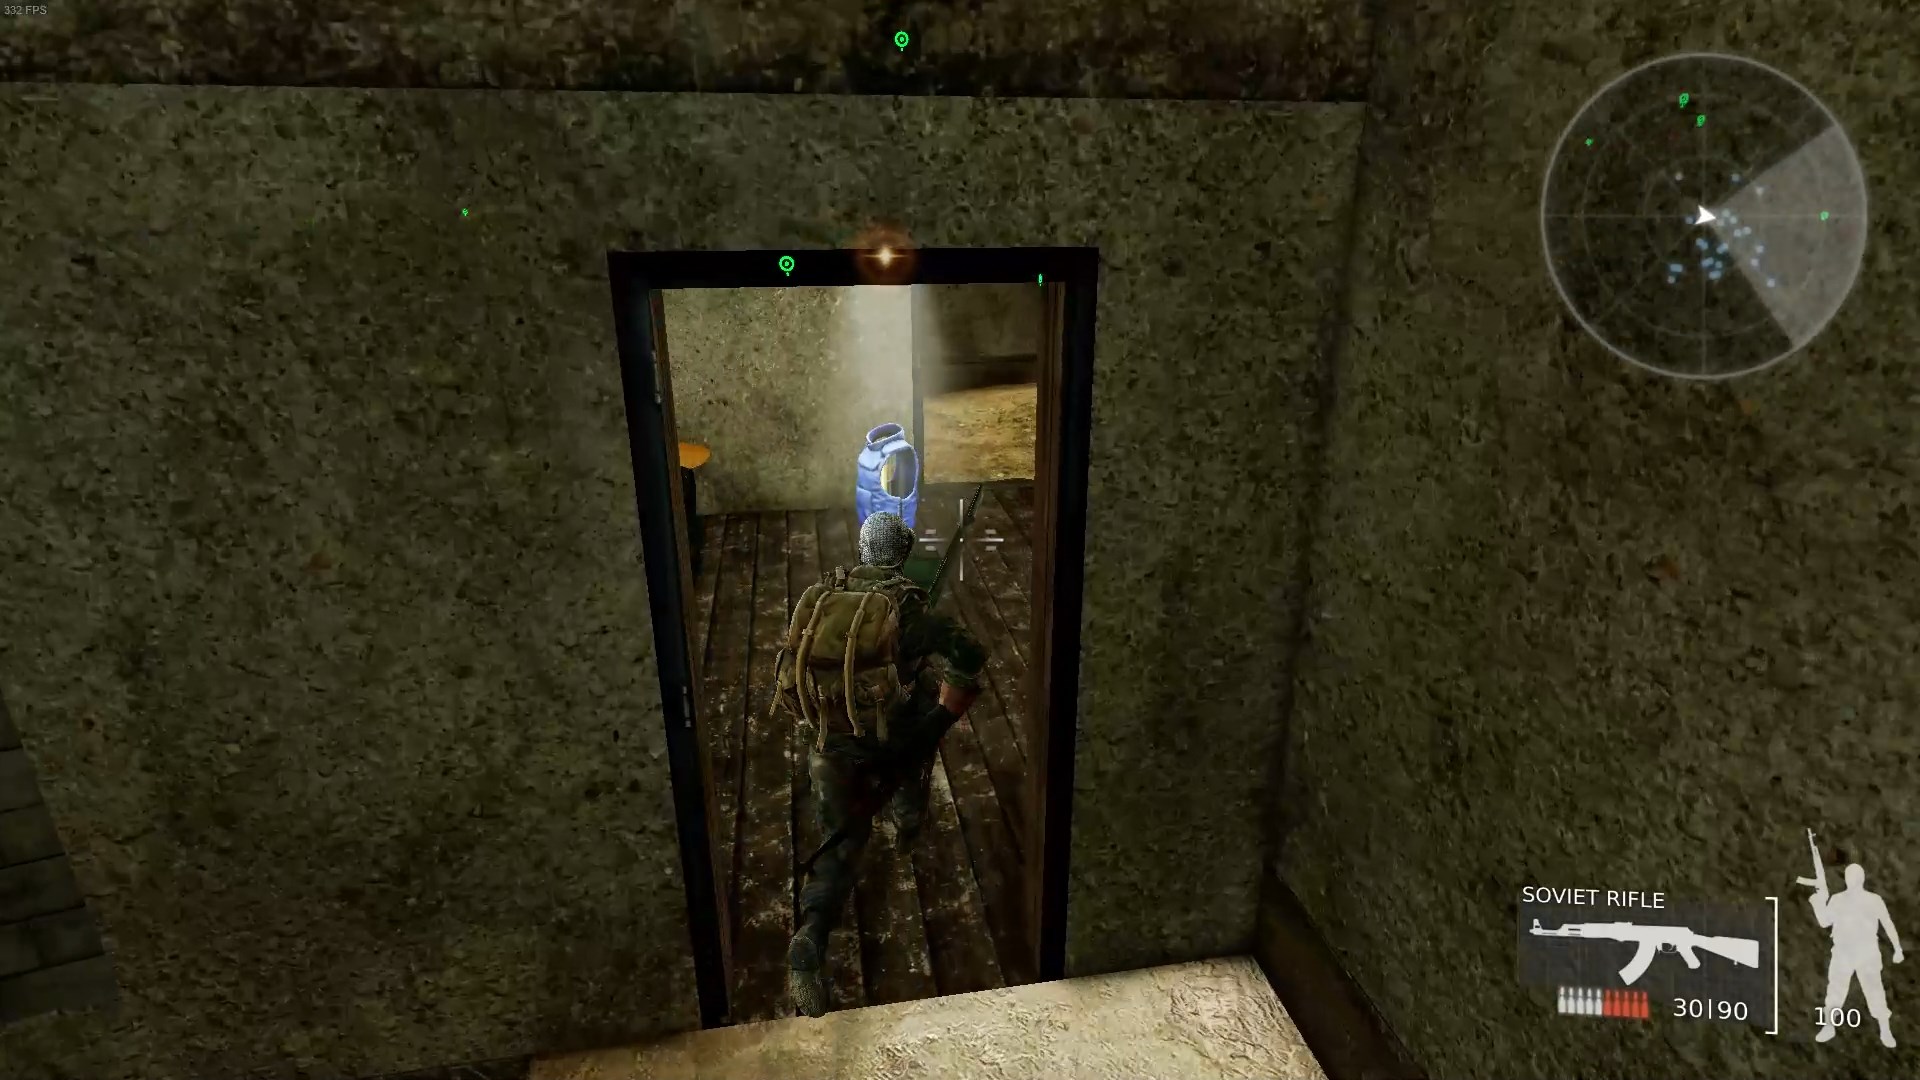 Immediately after the start turn around and go inside. The streets are crawling with Zionist soldiers that are in well-concealed positions so stick to the alleyways to begin with. Plus you get to pick up some armor.
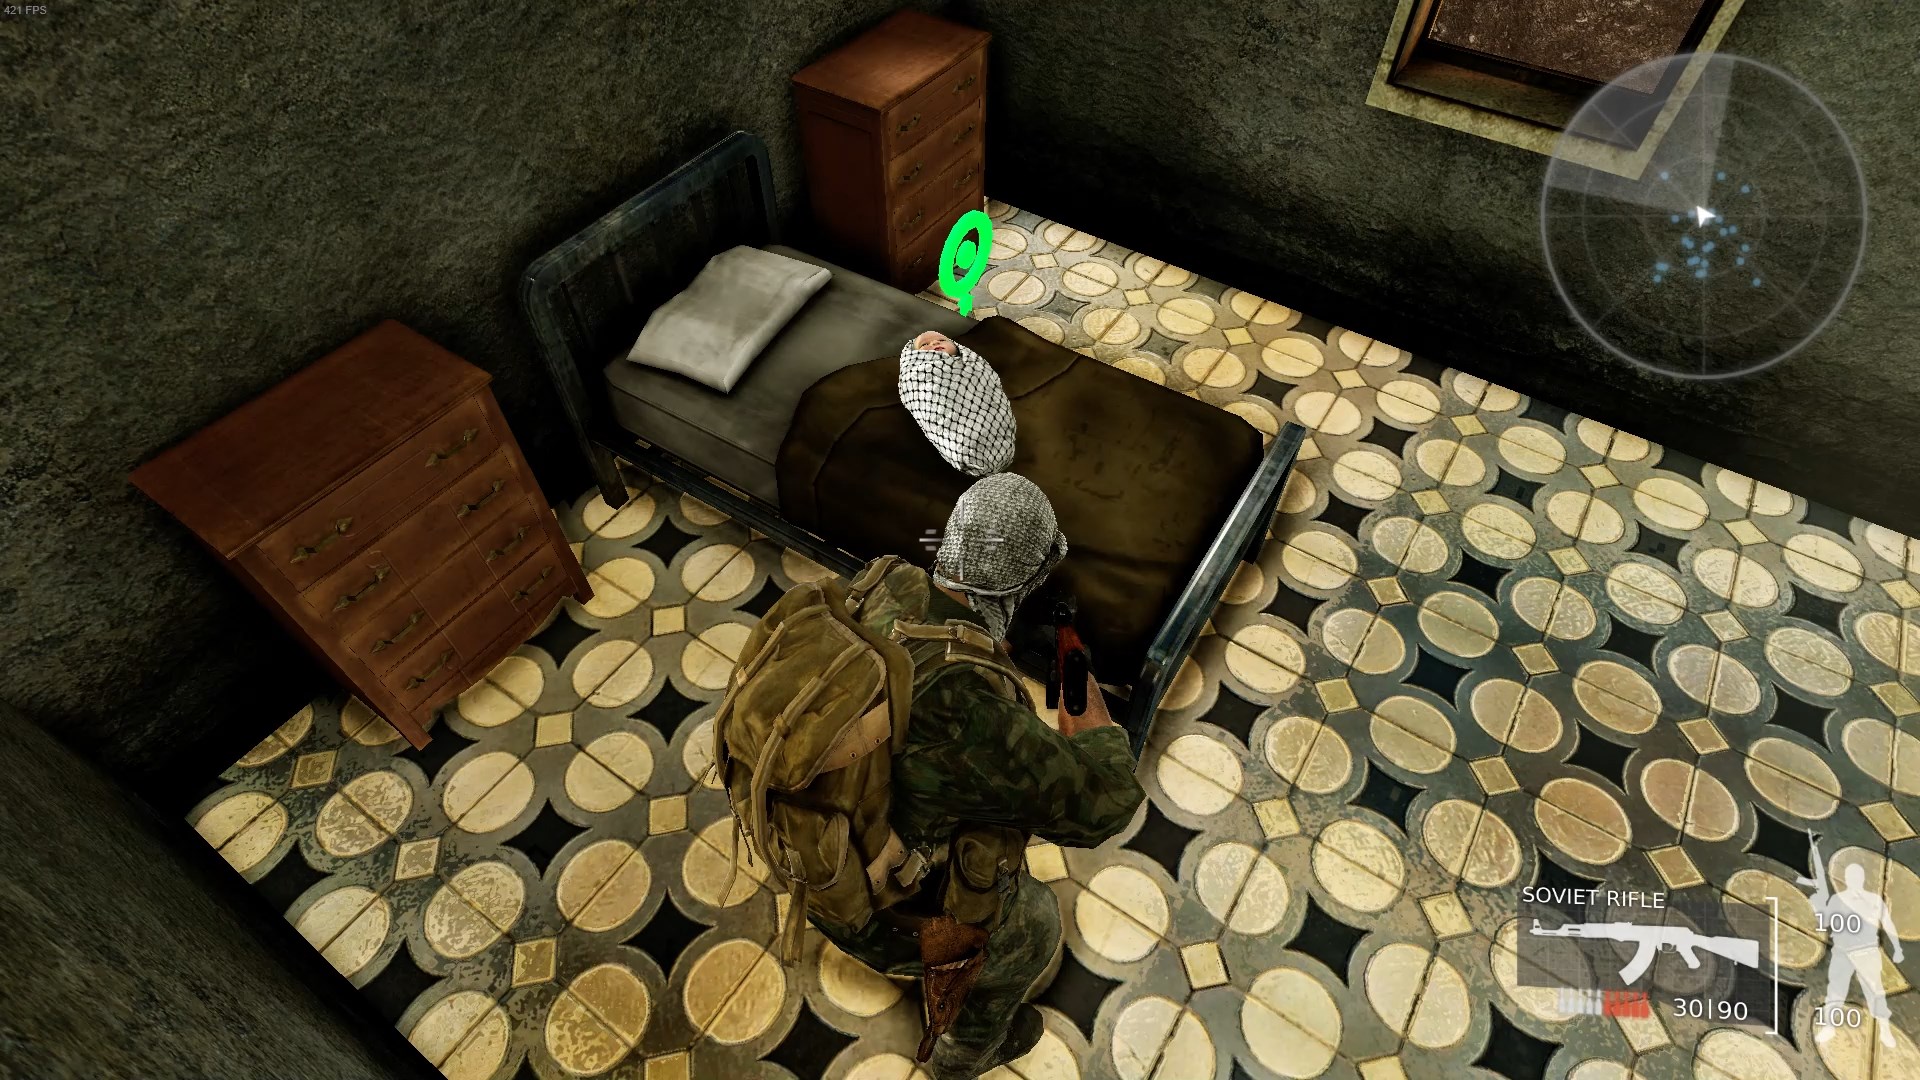 The first house on the left has a baby swaddled in a keffiyeh in it. Pick him up; we’re heading to the ambulance first thing. Leave the house and turn left.
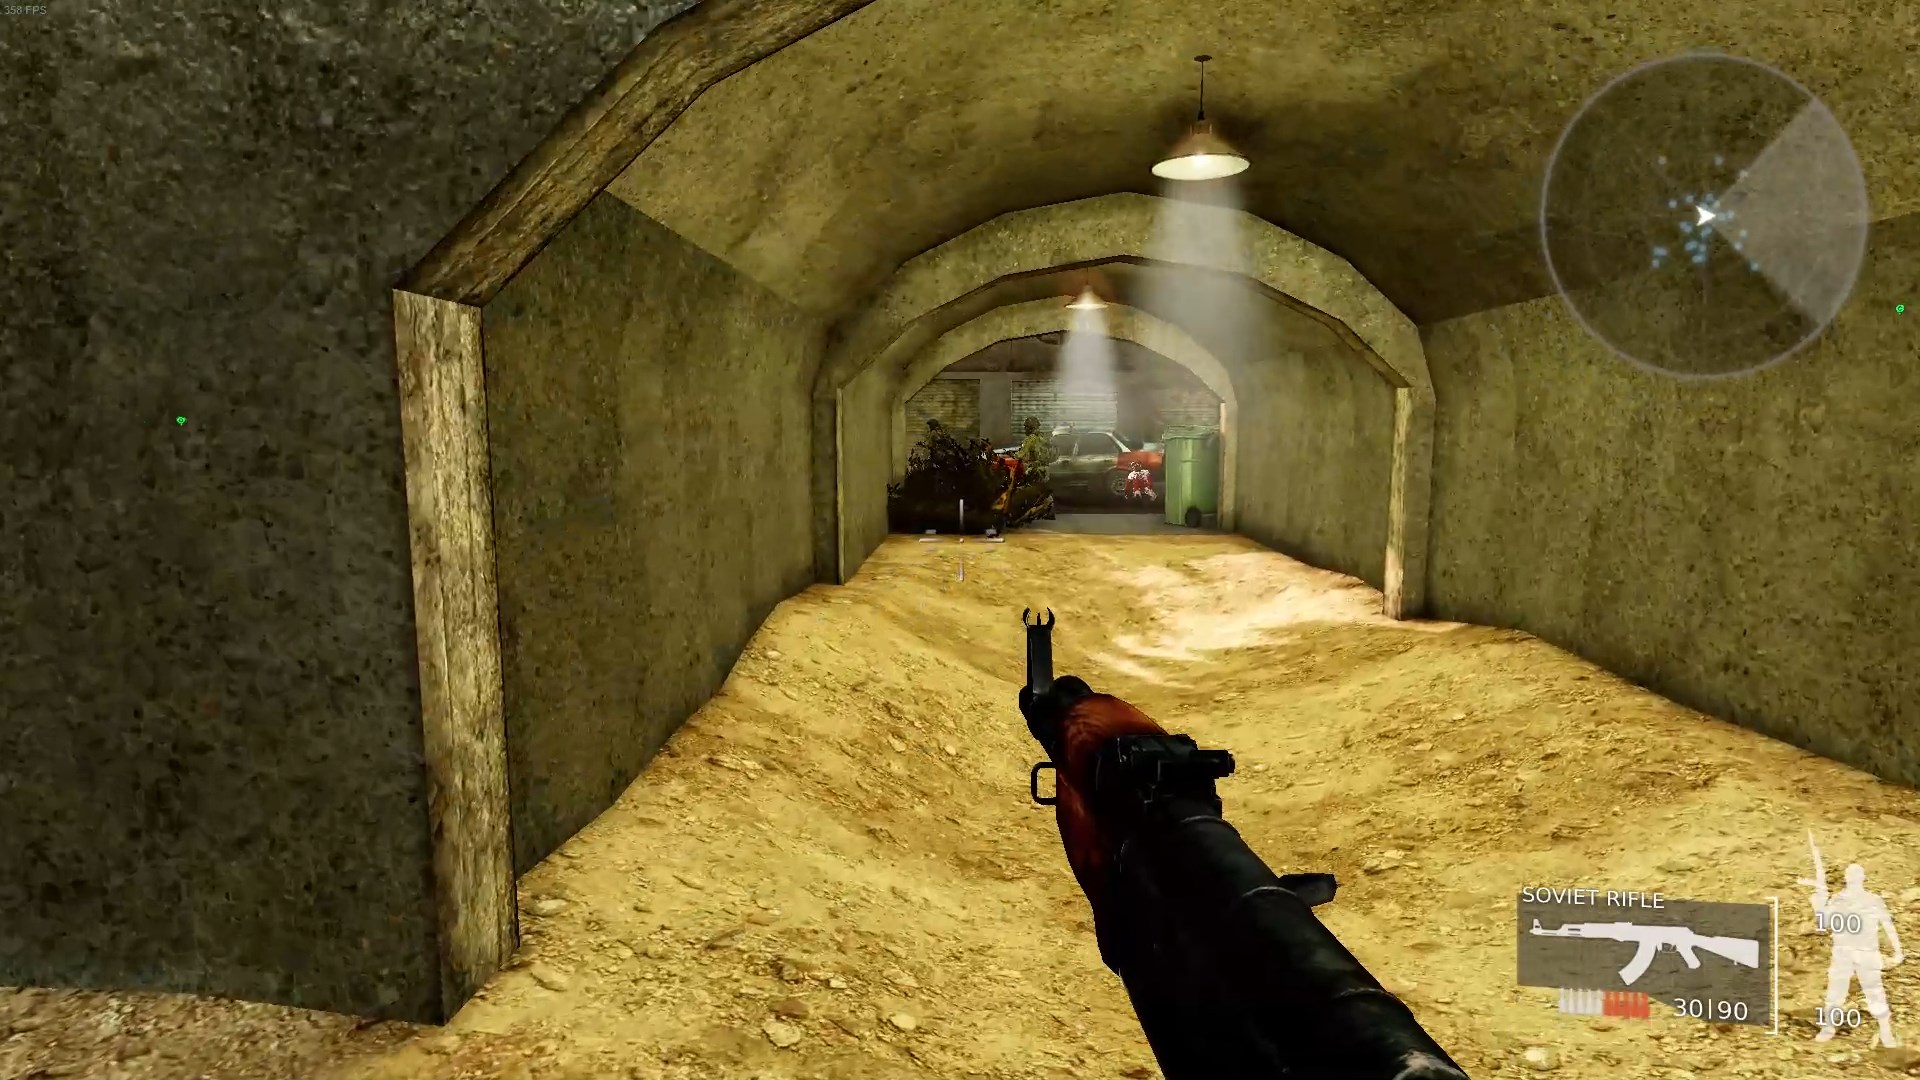 Keep going ahead, but to the left is an underpass leading back to the main street. There are two soldiers guarding the street that are looking the wrong direction, so you can kill them now easily.
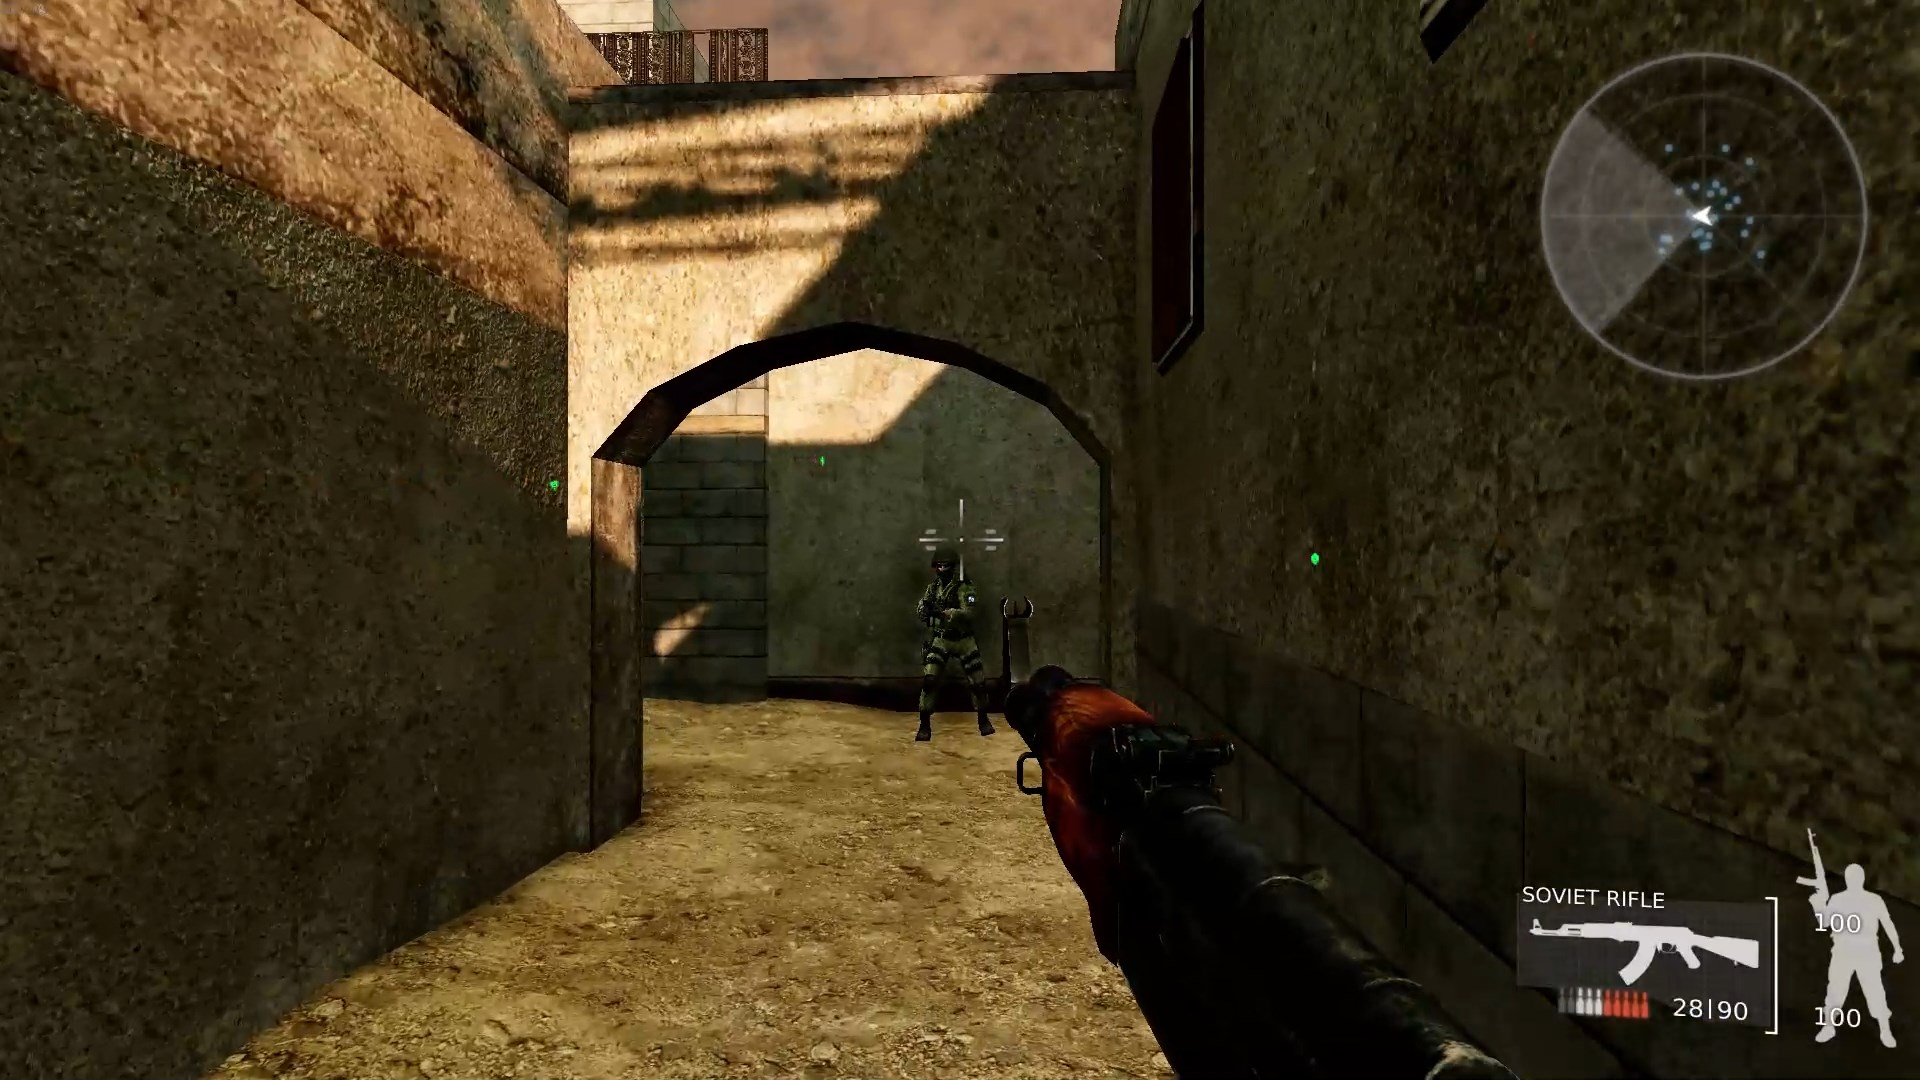 Keep going, kill the soldier at this intersection here and turn left. There’s another soldier facing away from you; shoot him and pass through the door he was standing at.
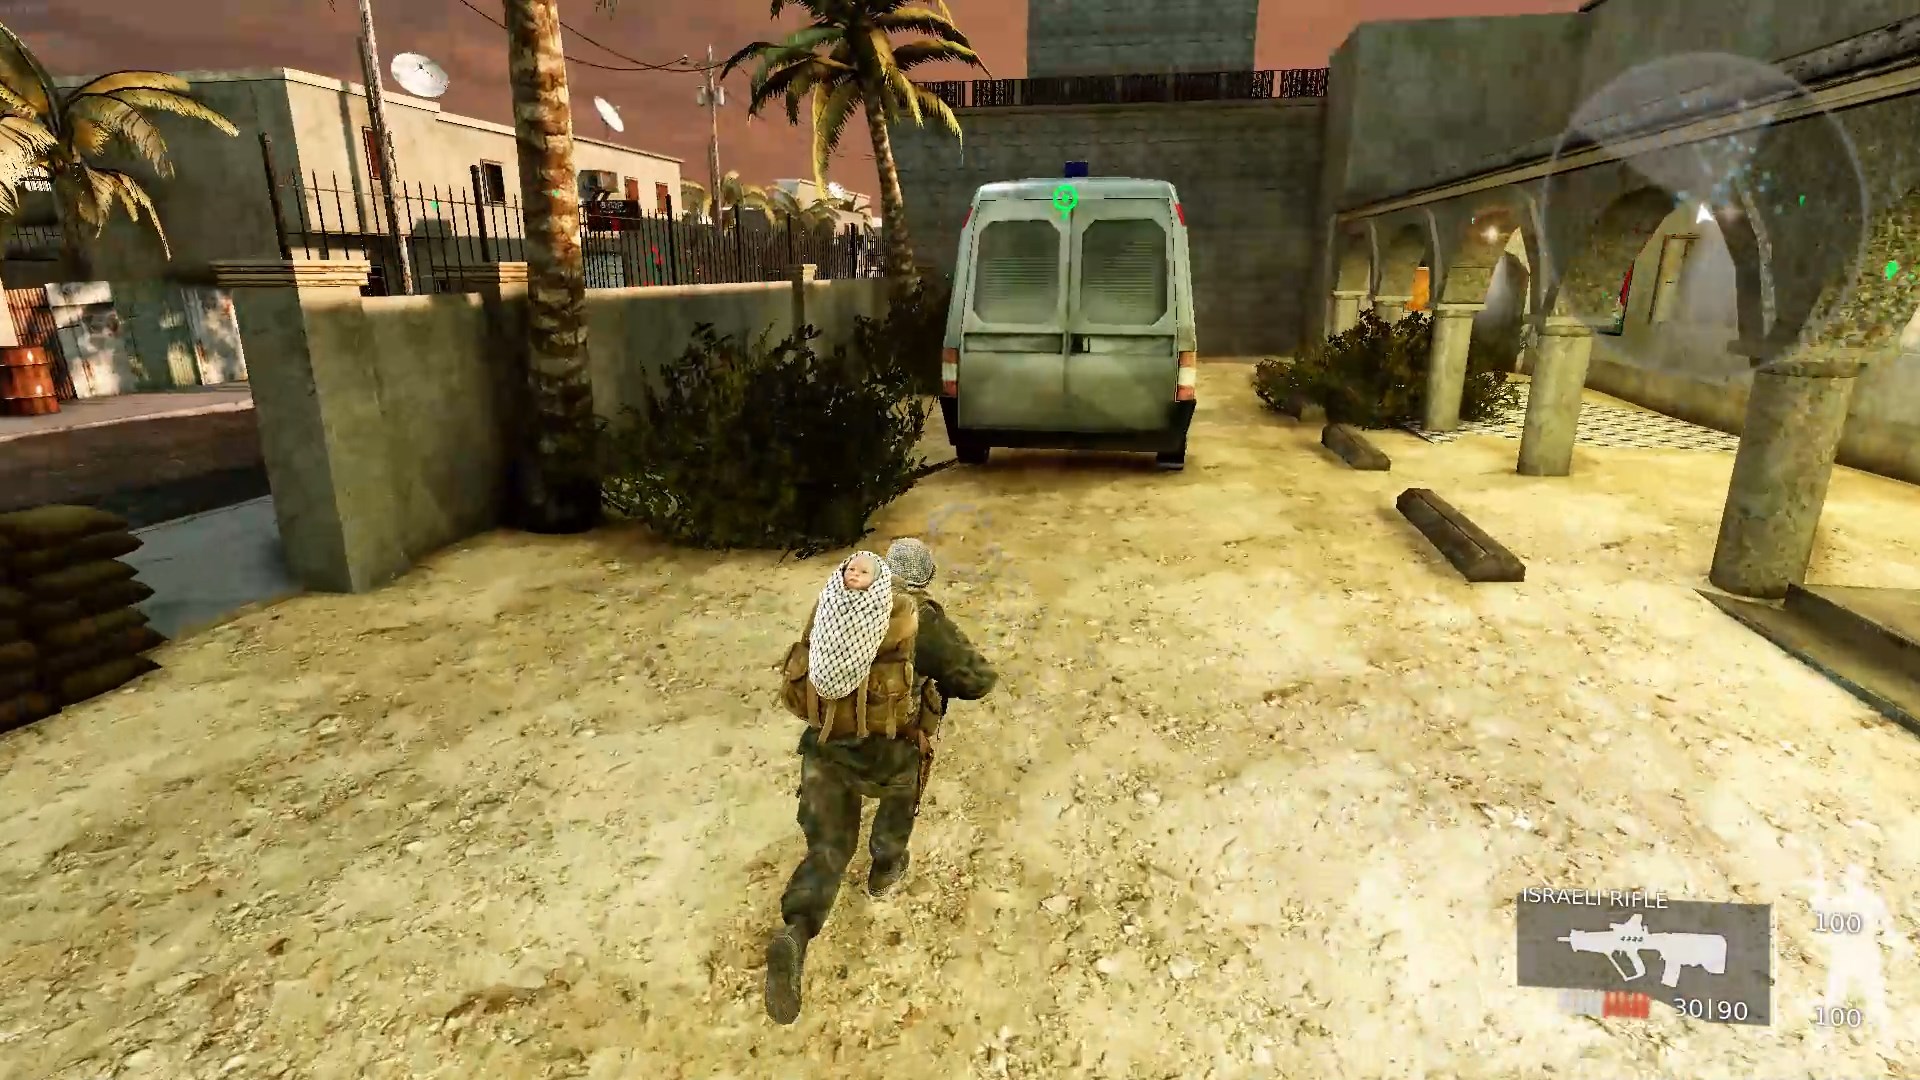 Now you’re at the ambulance; drop off the baby. The ambulance is next to a school which makes a great “home base” for this level. There are a few soldiers inside you have to kill first, but you’re safe from airstrikes there, there’s a respawning medkit, and it’s close to several objectives.
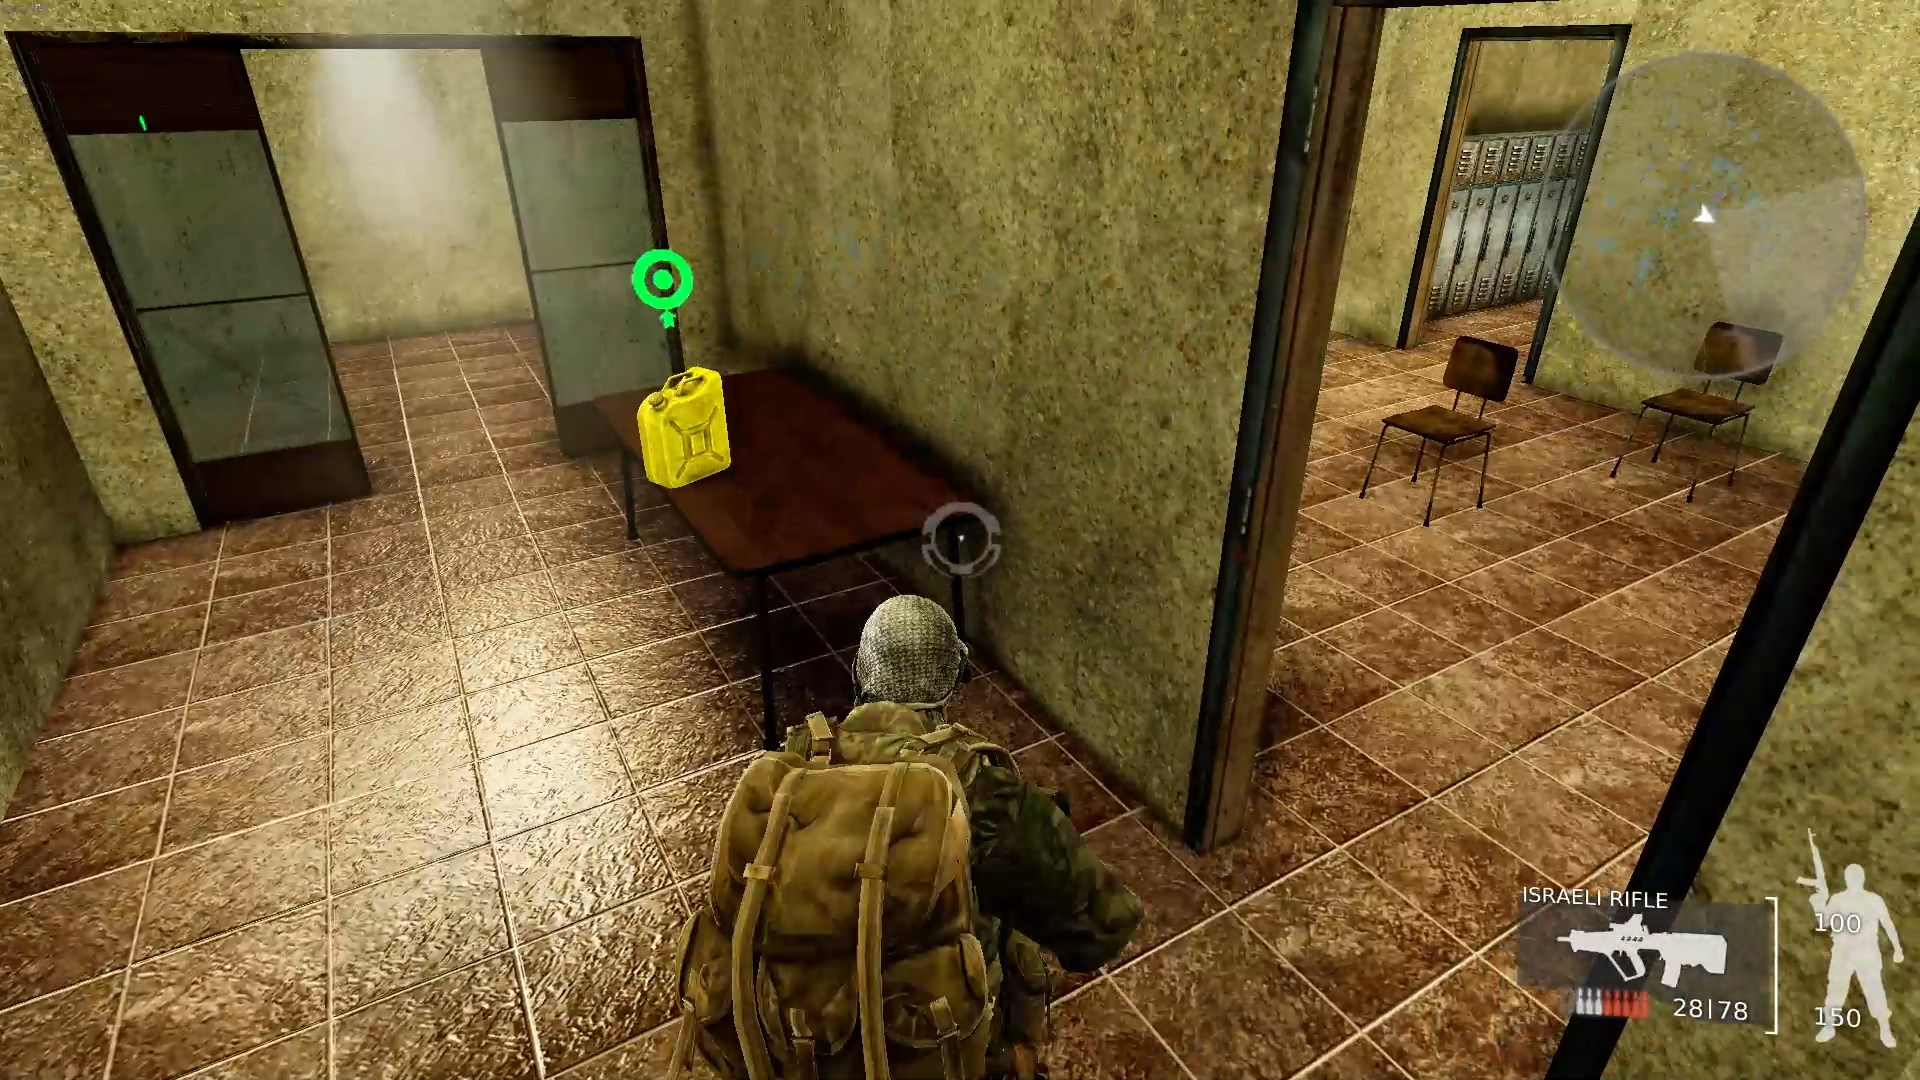 Inside the school there’s a gallon of diesel fuel. You’ll need three of them, one for each anti-aircraft missile launcher.
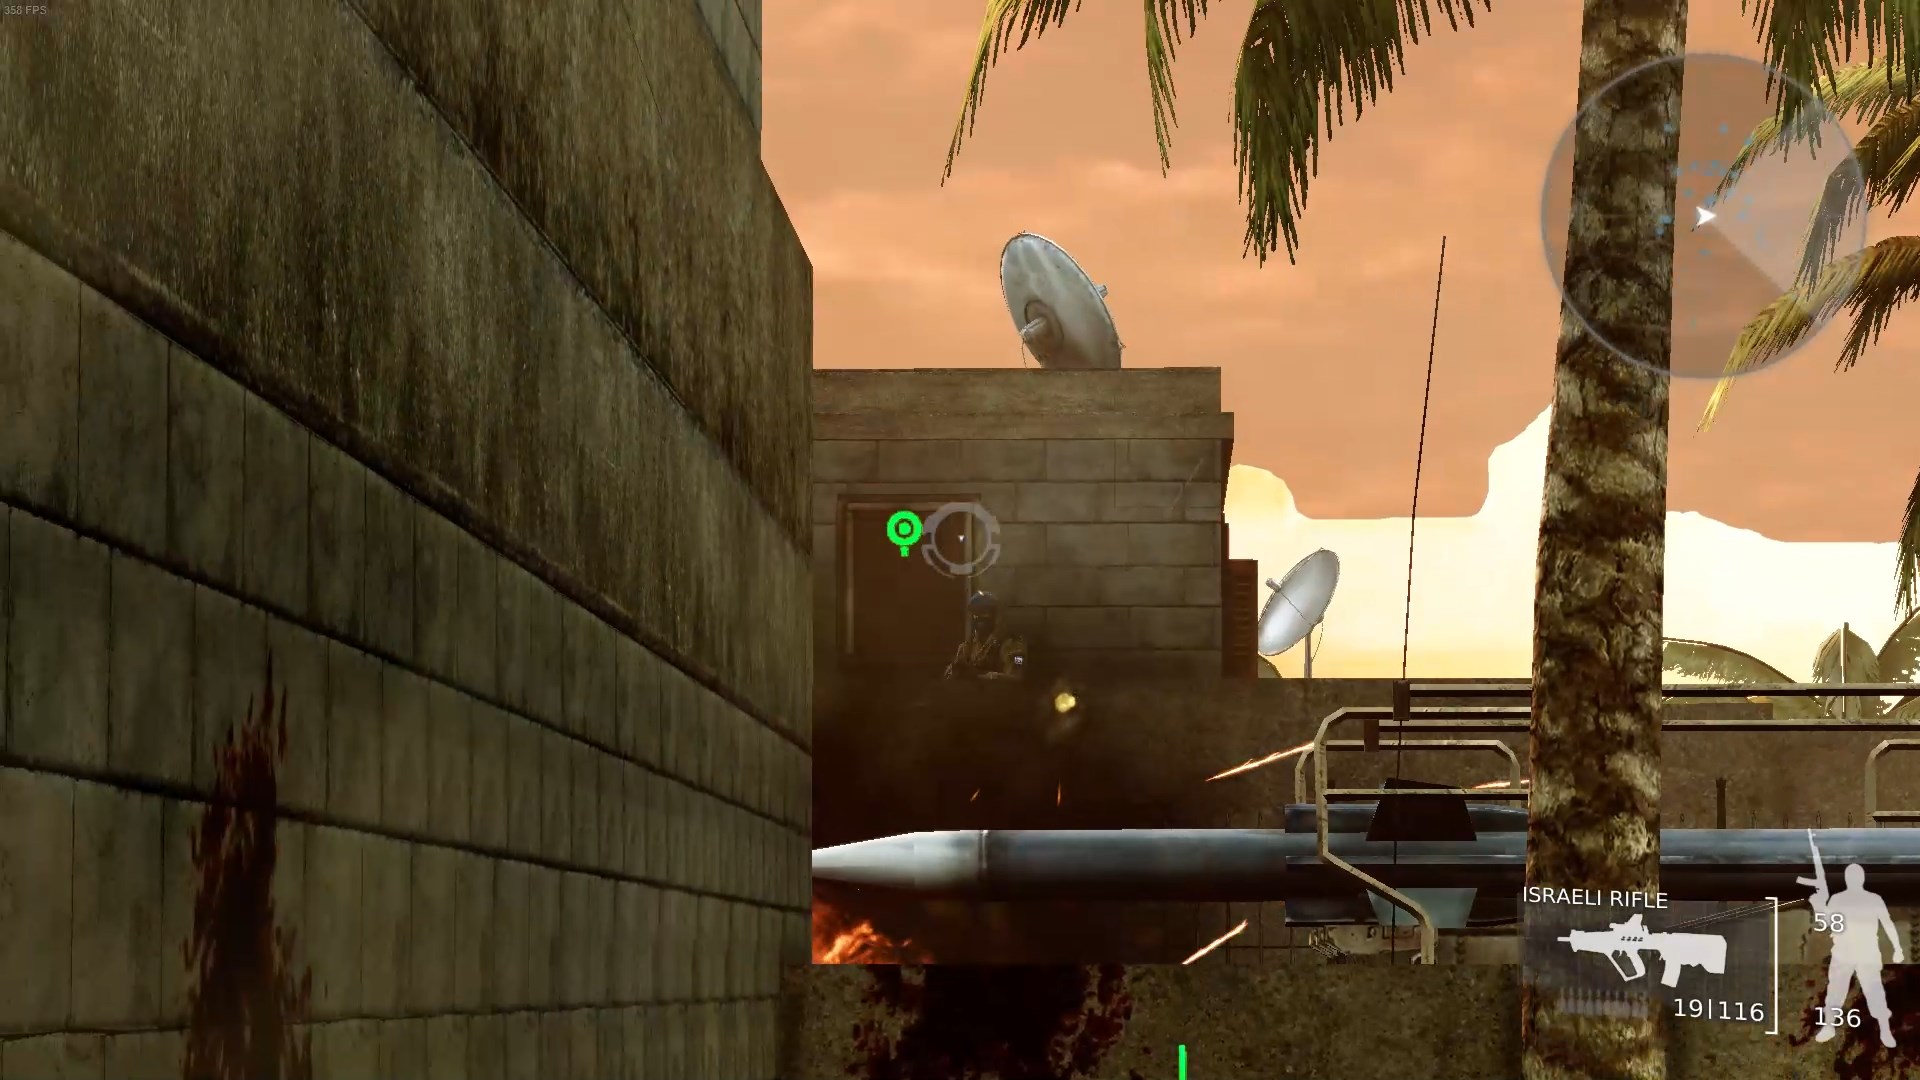 Immediately past the room with the fuel is an alleyway leading to the first missile launcher. Be careful; it’s guarded by a blue beret guy who’s easy to miss. He’s one of those special enemies that can’t be headshot and is carrying the keys to the military vehicle you’ll need at the end of the mission.
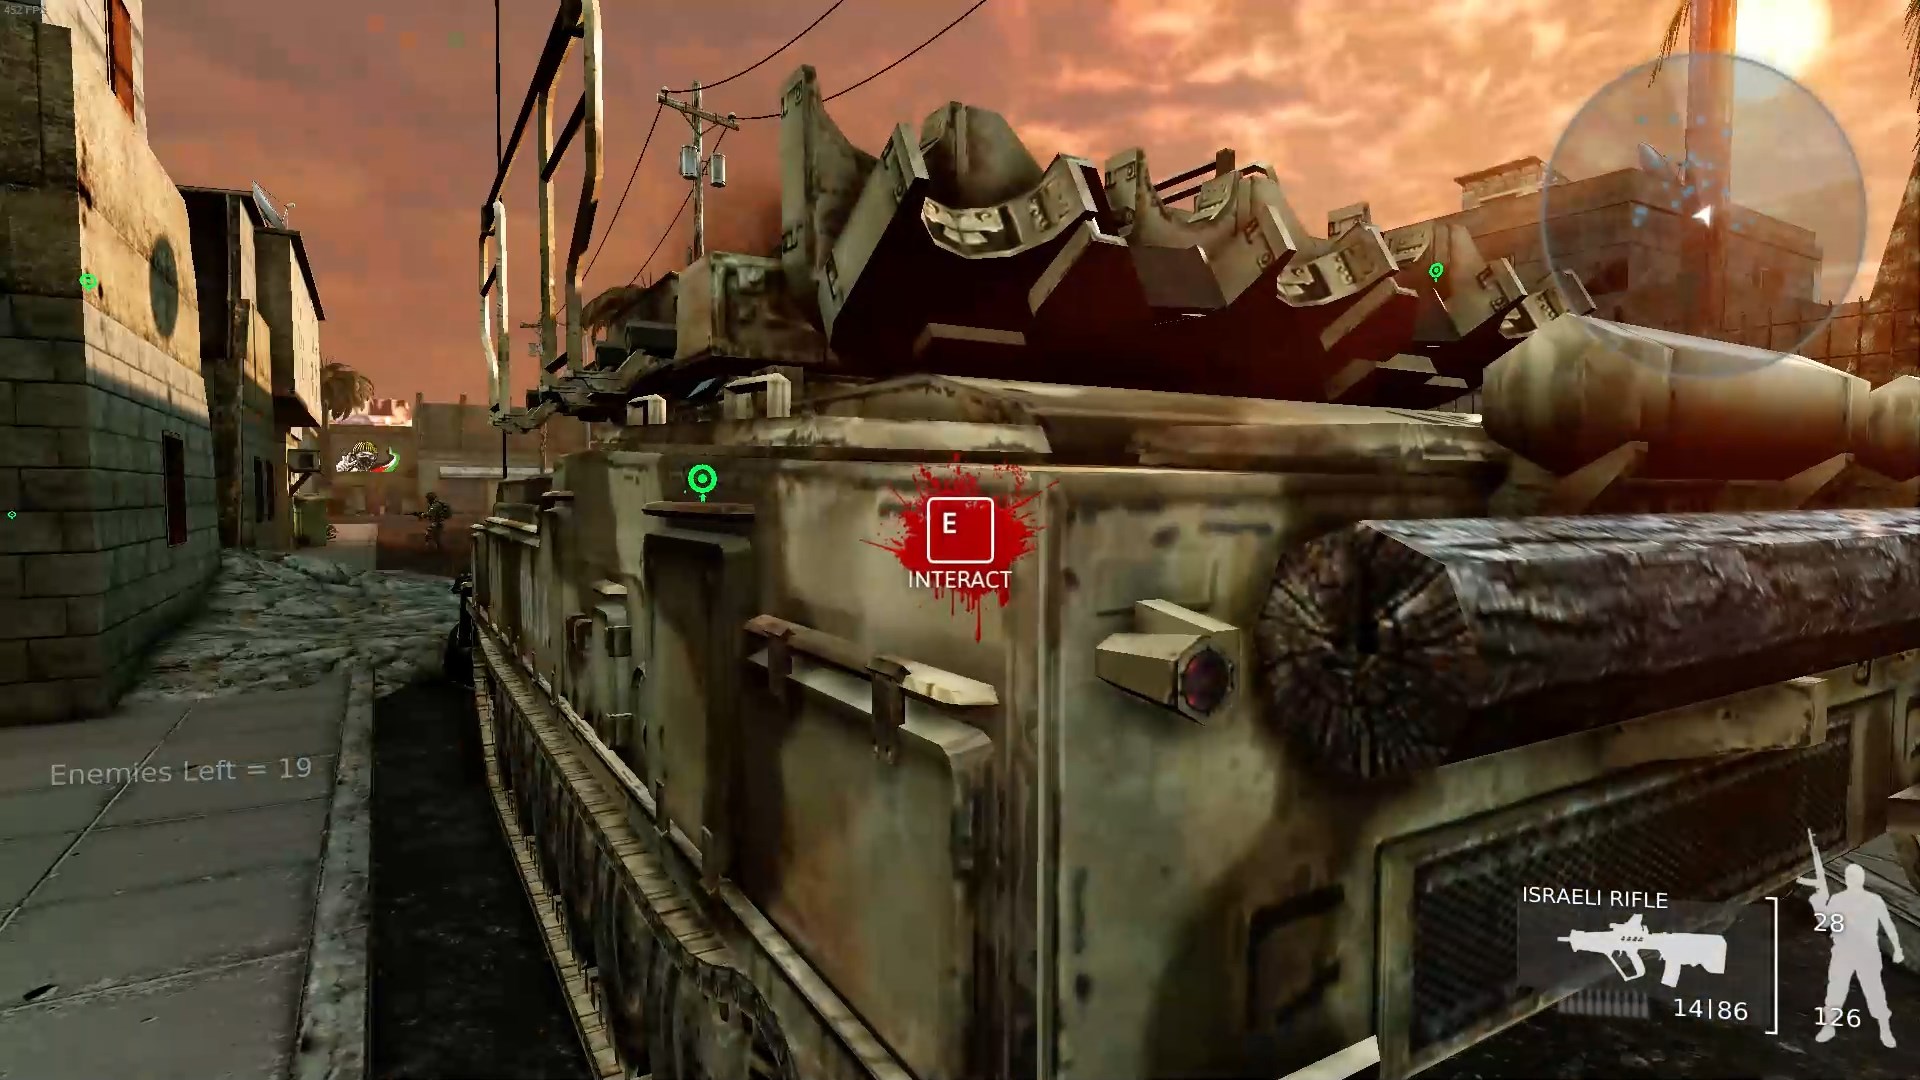 Go and launch the first missile (be careful, there are some enemies on the street covering it). One plane down, two to go. Also while you’re at it head to where the blue beret guy was and pick up his keys.
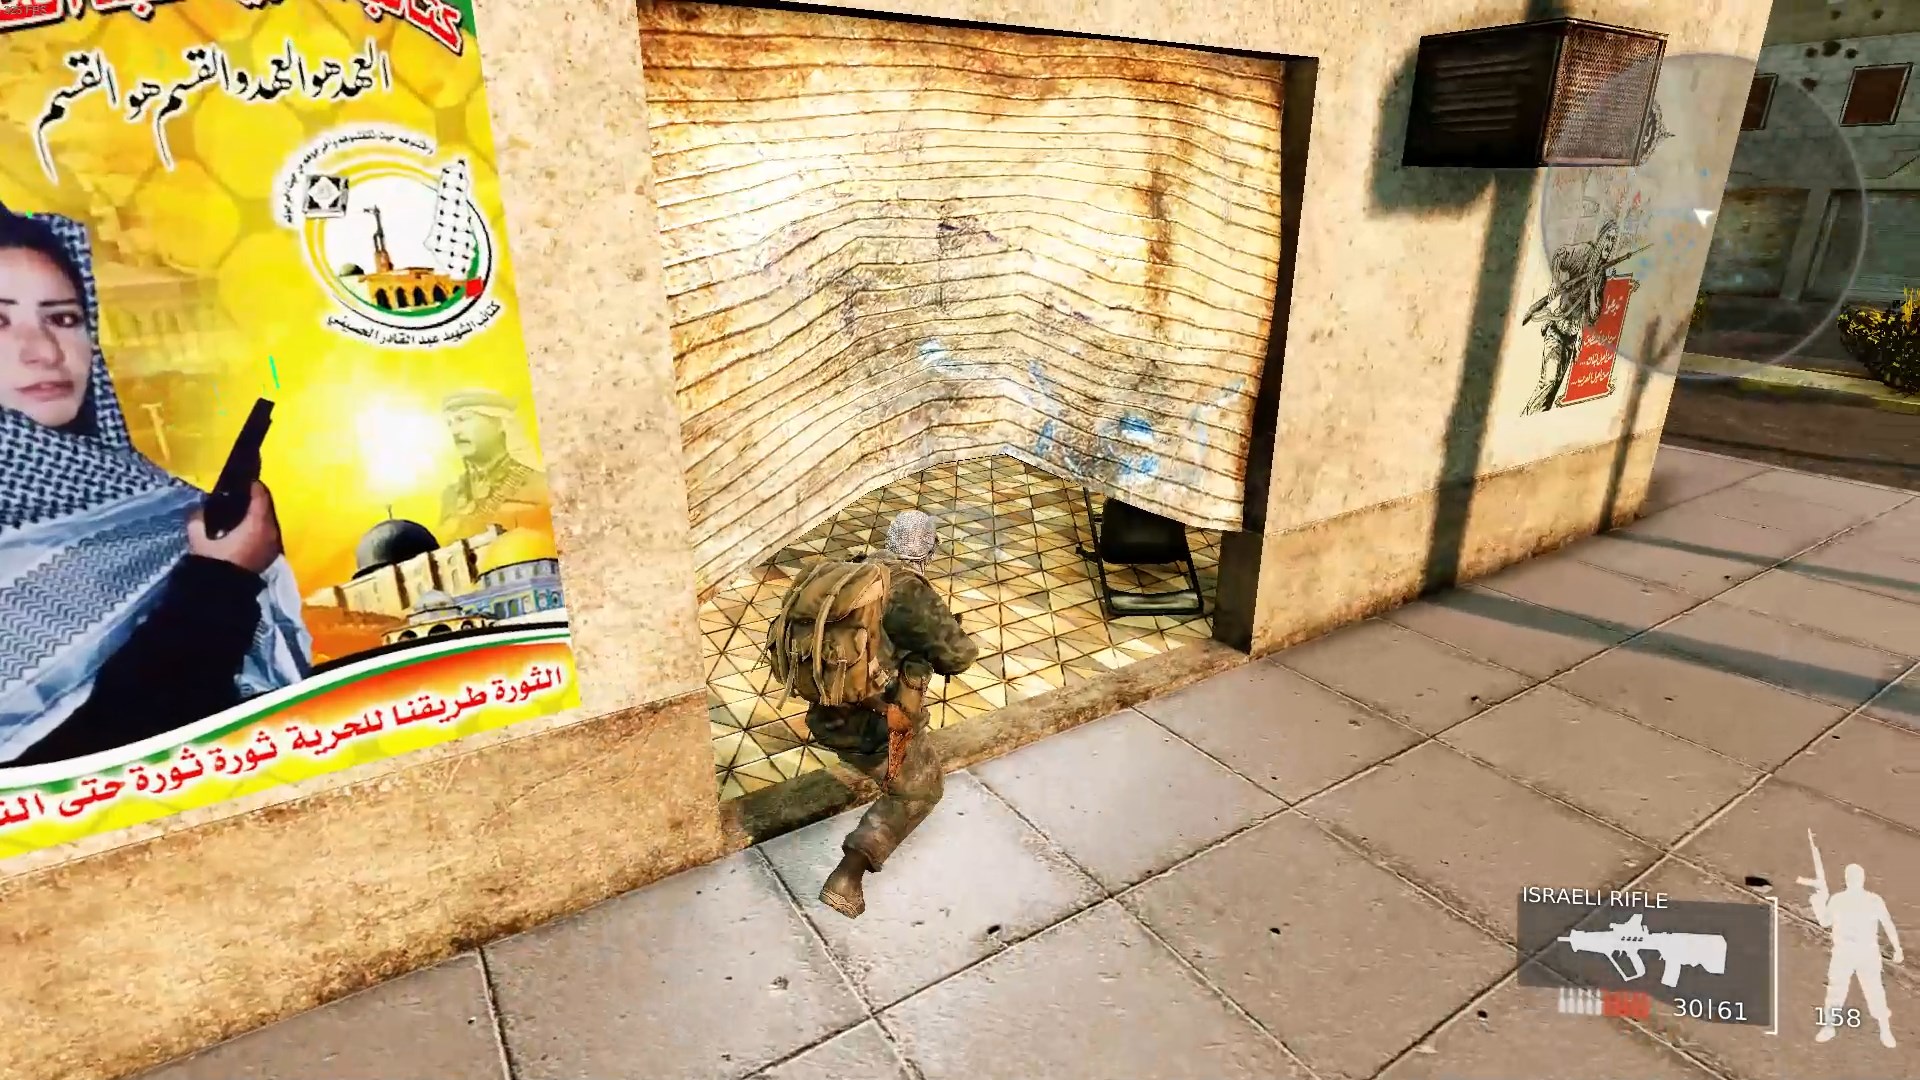 Head down the street past the missile launcher, killing any enemies you see, until you find this broken door into a store. Crouch through it to enter, kill the soldier inside, and pick up the second fuel can. There’s a medkit in here too.
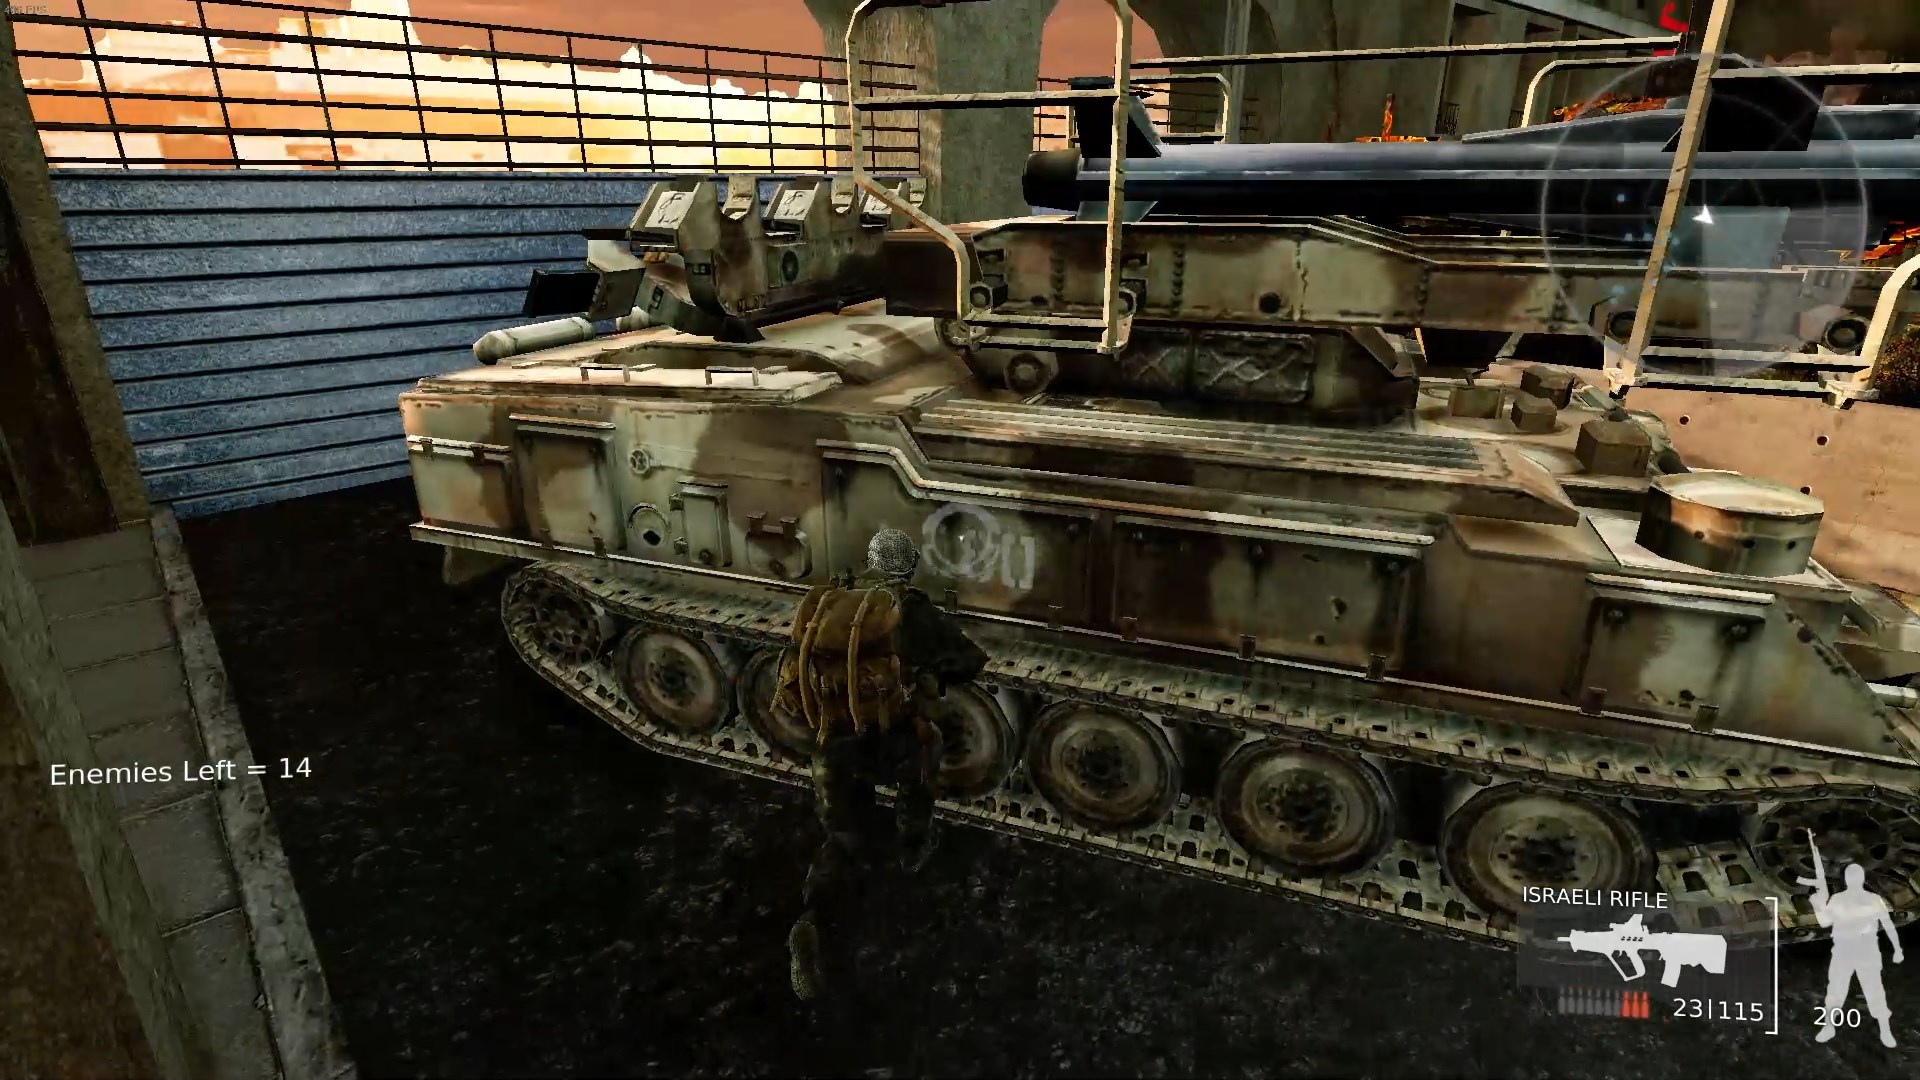 The next missile launcher is outside of the store, next to the tank you blew up in the intro, but it’s heavily guarded by soldiers in good cover. Take out everyone nearby, then launch the second missile.
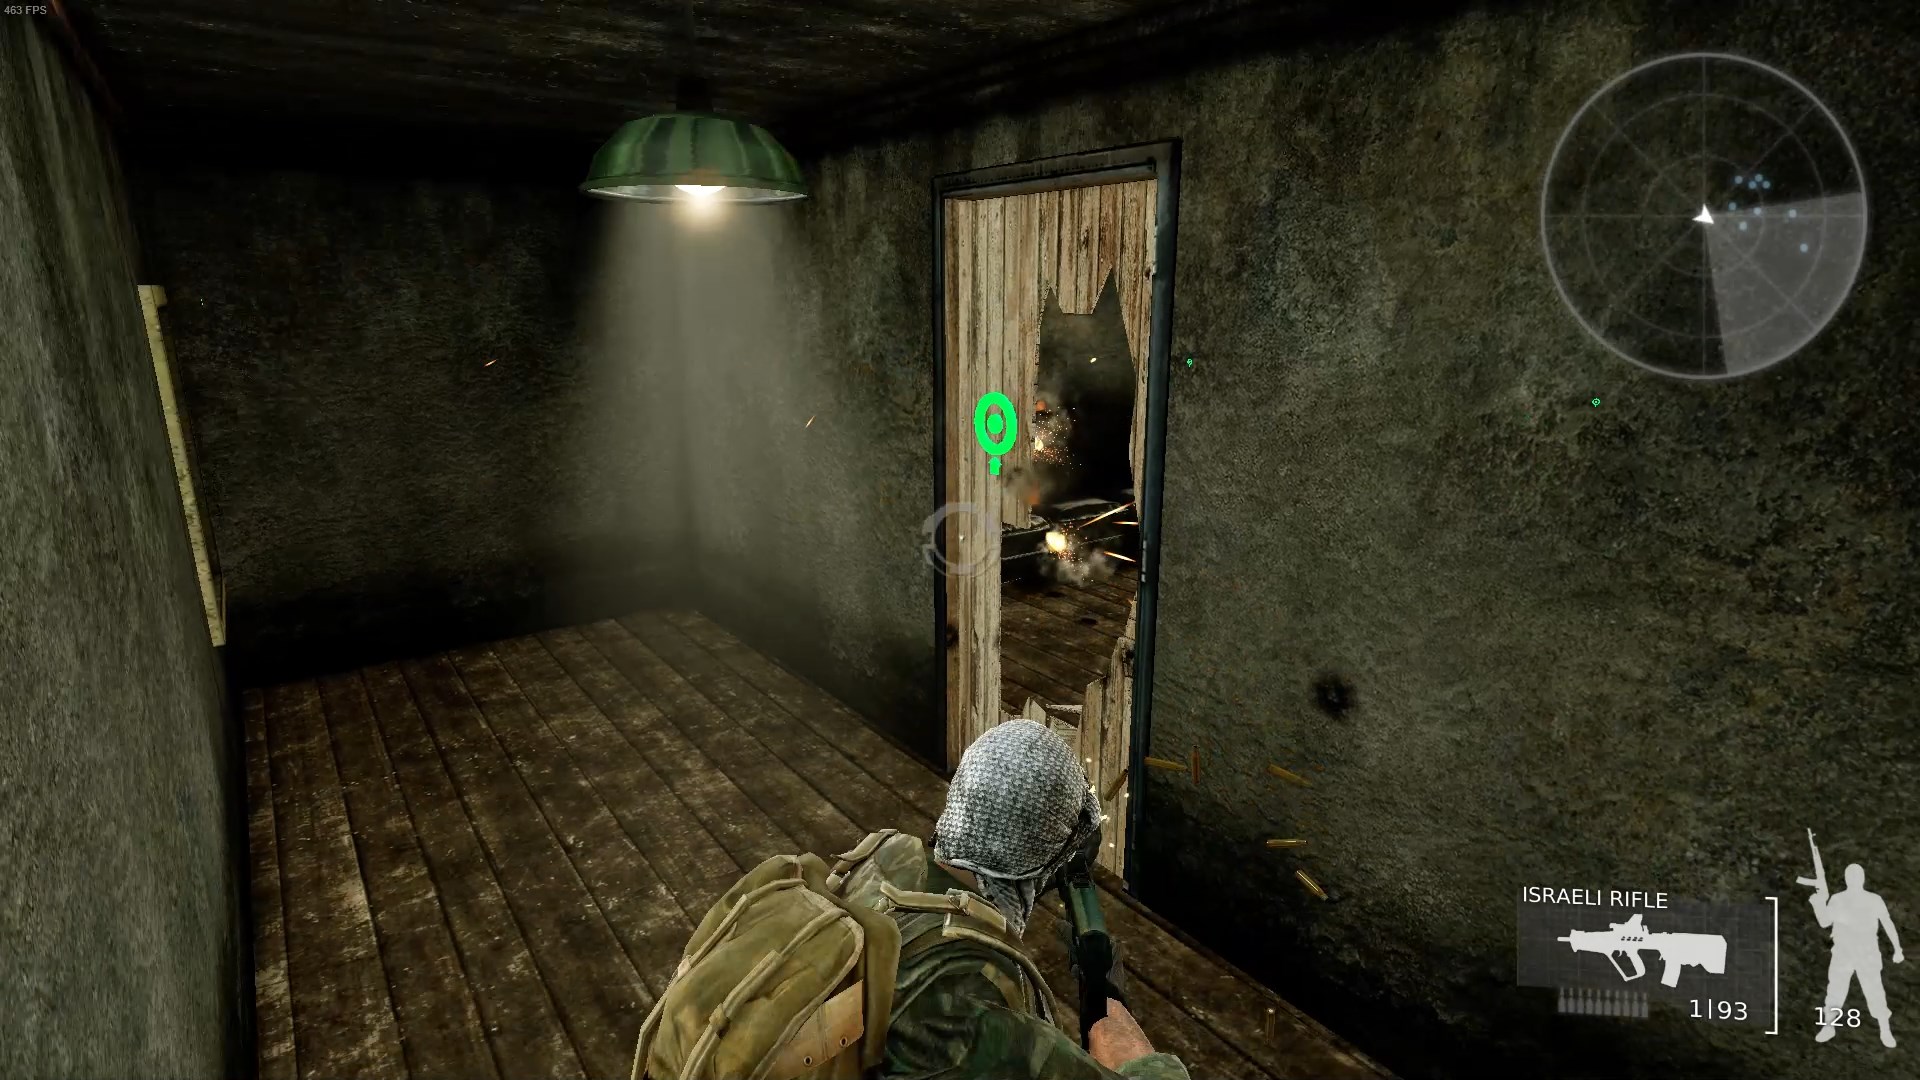 Clear out the remaining main street and work your way back to the school. Right across the street from the ambulance is a low fence you need to double jump over into a courtyard. Run up the stairs in the courtyard to a building with one soldier, the last fuel can, and some C4 explosives. The C4 is behind a door you’ll need to destroy first. Now you can go to the final missile launcher and stop the airstrikes for good.
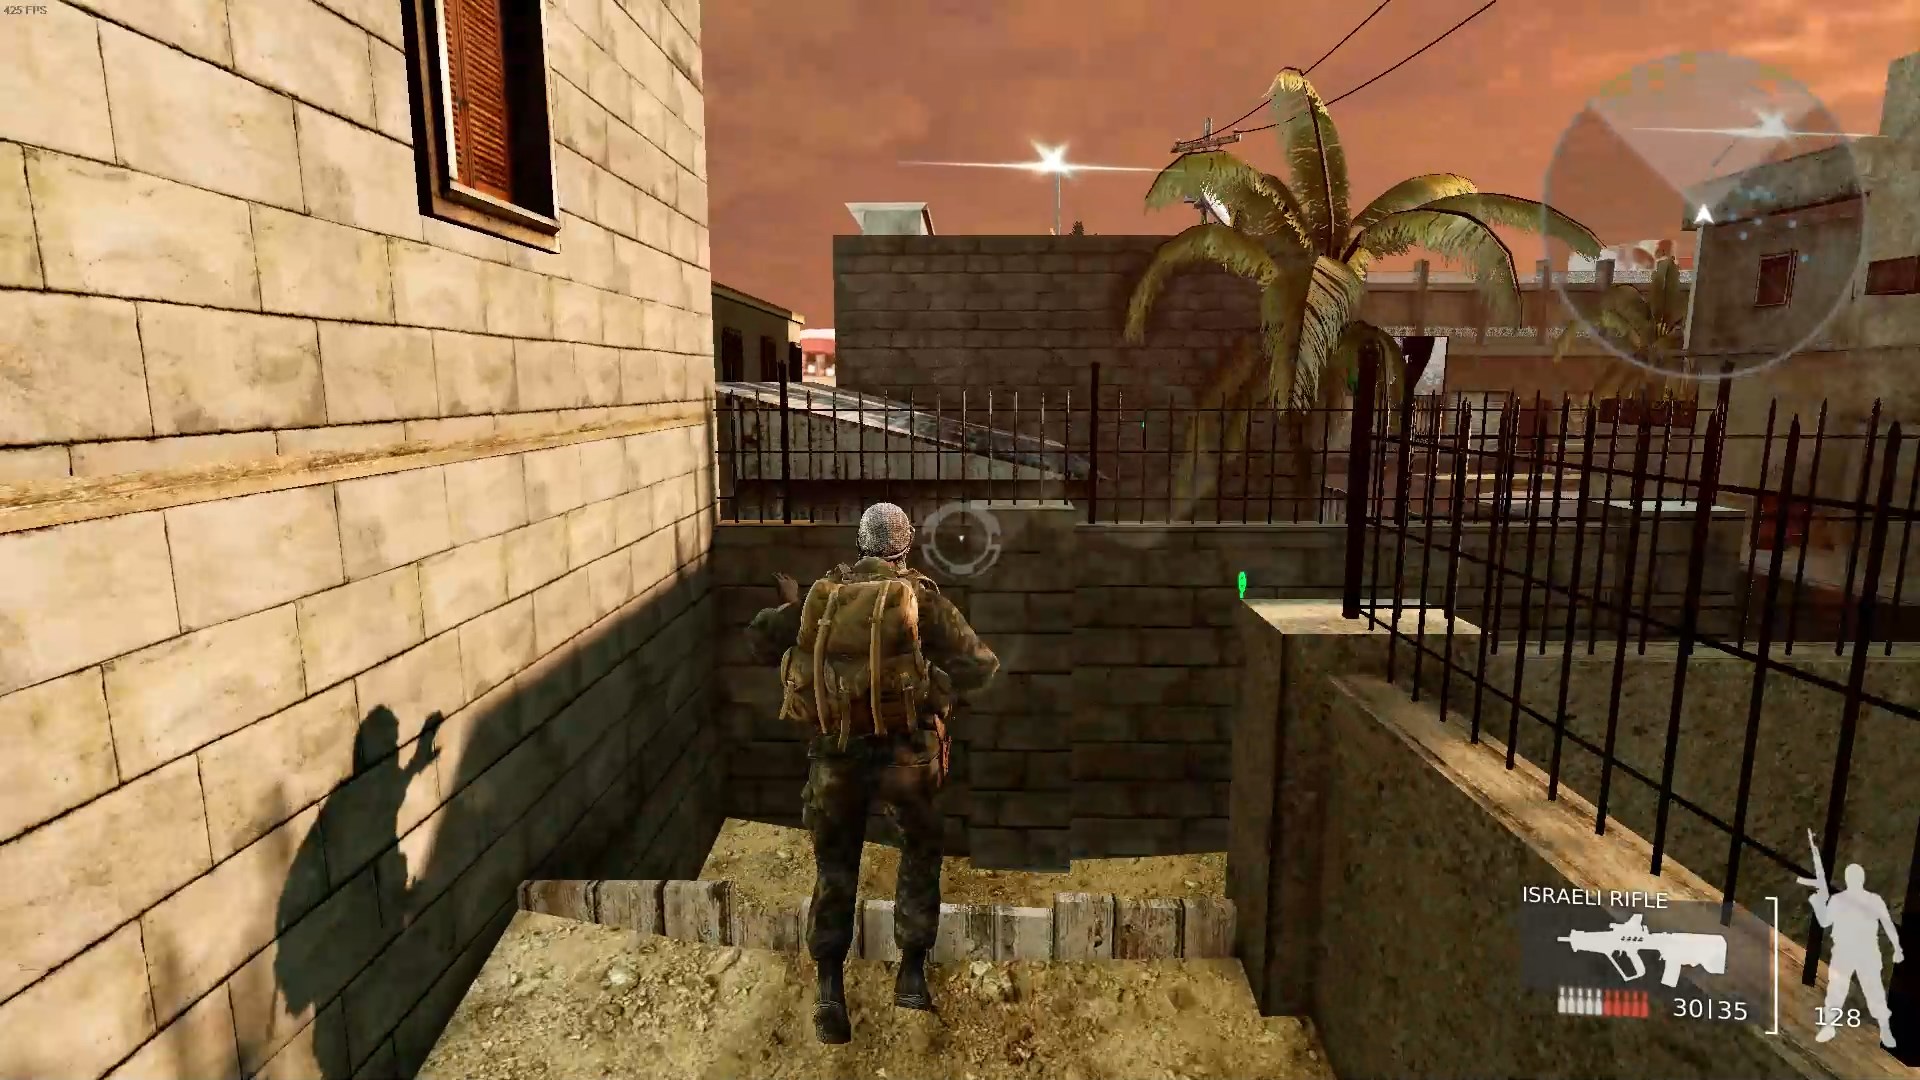 Past the building with the C4 and the final fuel can is an injured woman that can be hard to reach. Double-jump right at the spot in the screenshot and you should land on the top of the fence. Jump over the fence, grab the injured woman, and bring her to the ambulance. You can get out of the fenced-in area by jumping over the fence from the roof of the little building inside.
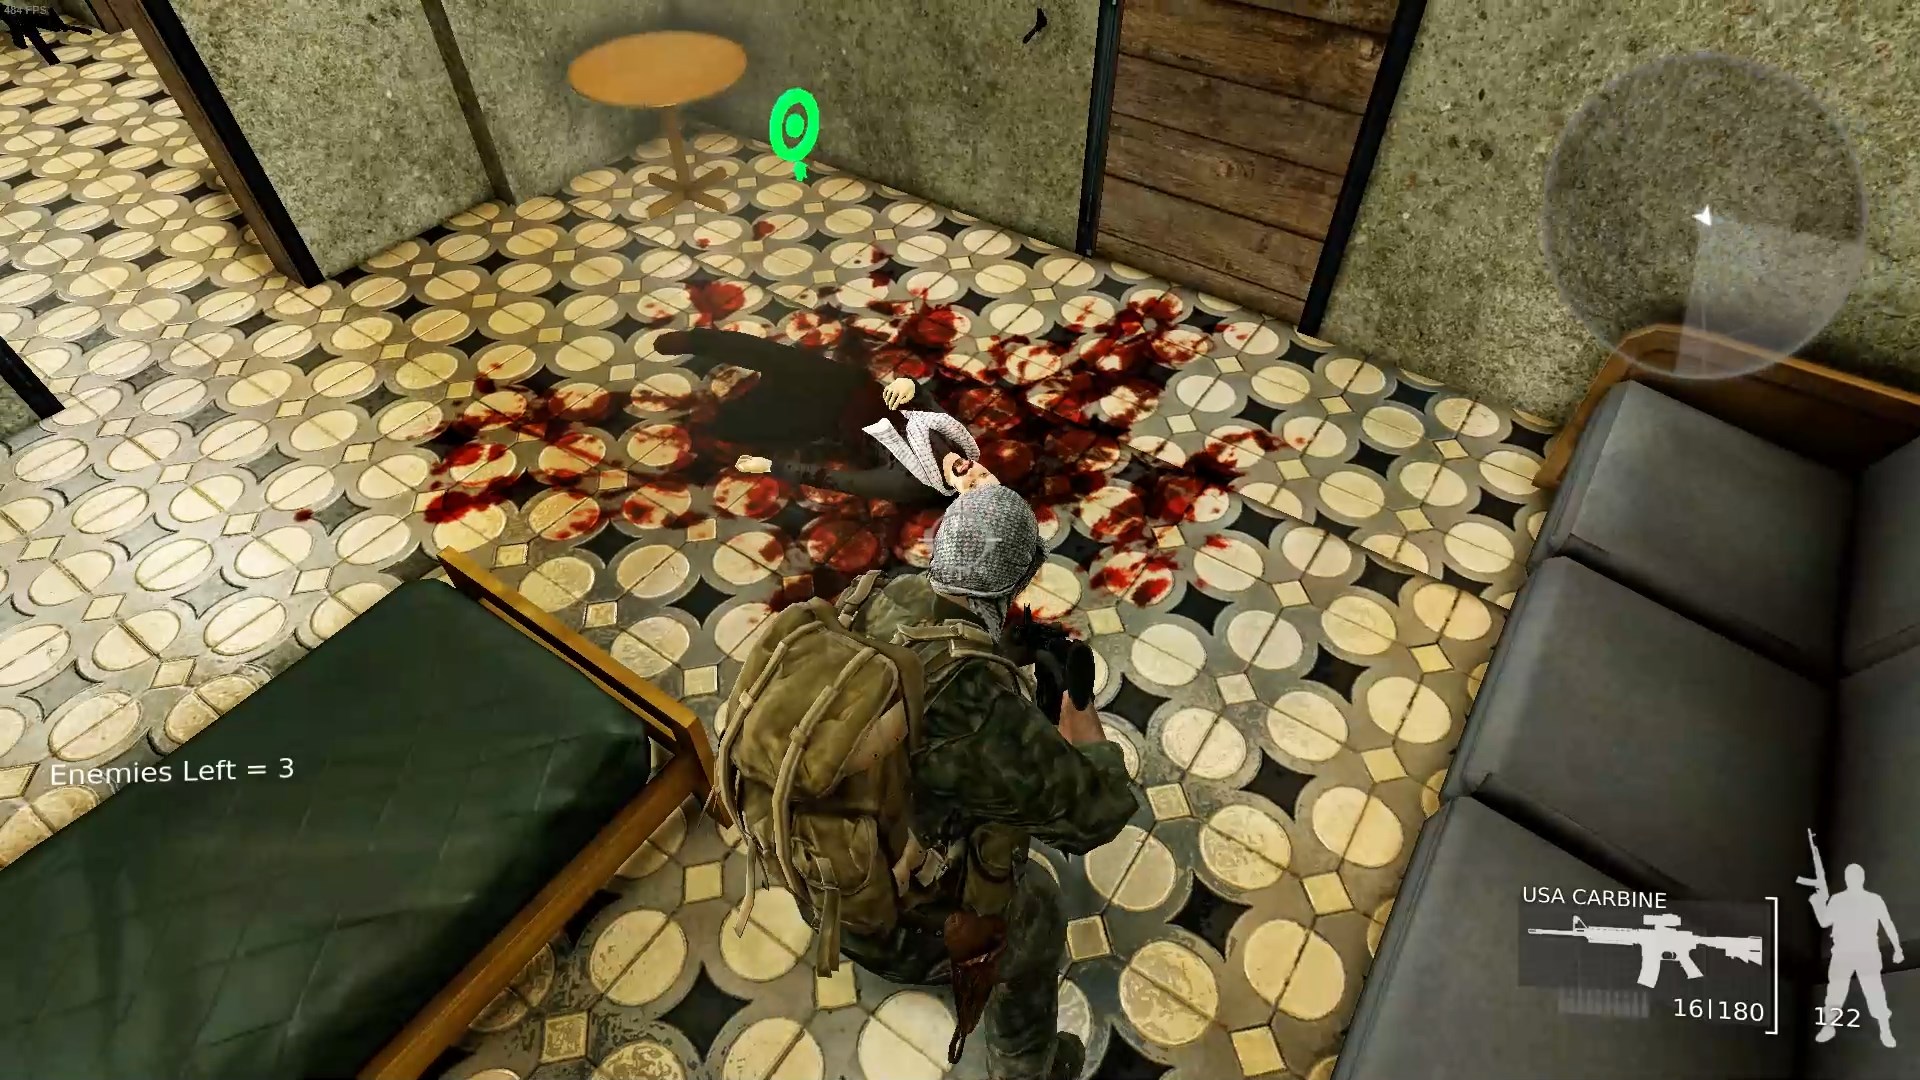 Now you have to destroy the Israeli weapons depot and rescue two more injured civilians. They’re all on the rooftops of the central complex. Make your way up there but be careful as there are lots of well-concealed enemies up there. You’ll find one of the injured civilians inside a room off the rooftop. Pick him up and bring him to the ambulance.
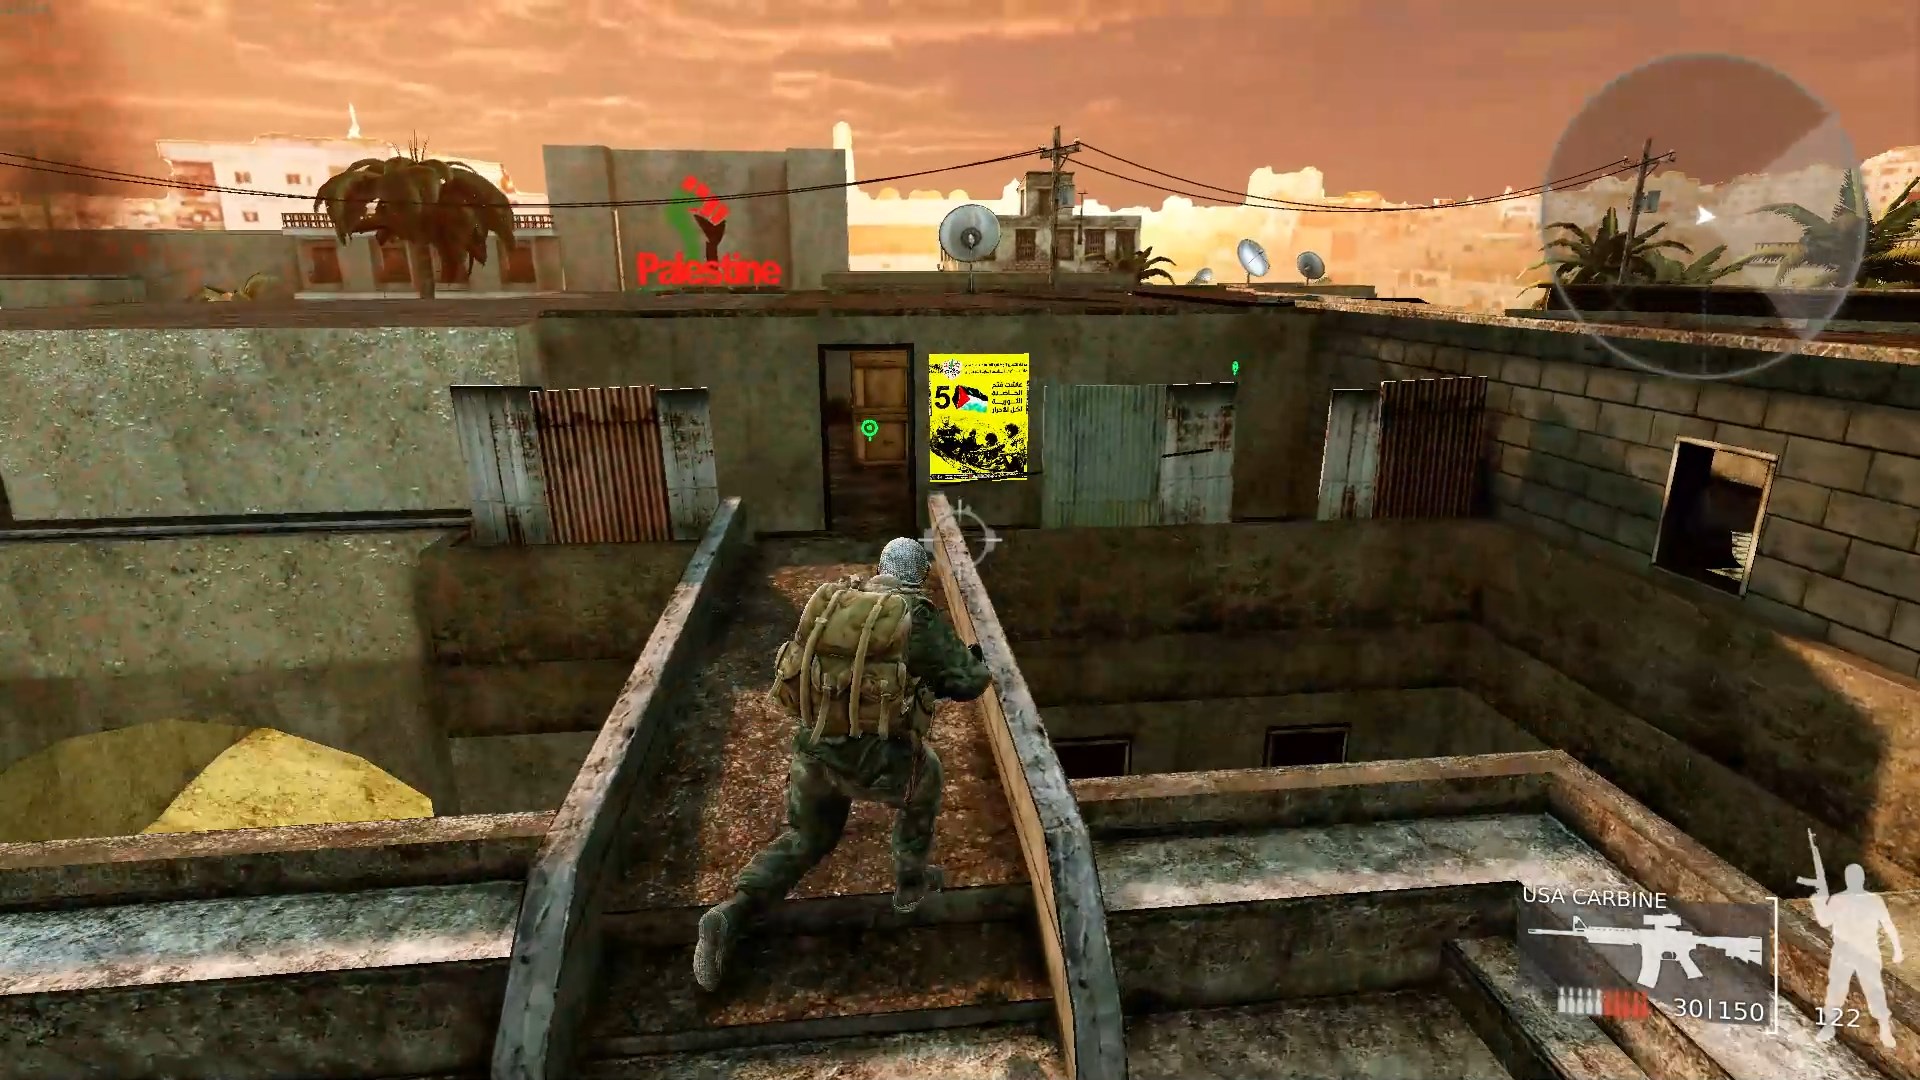 The Israeli weapons depot is inside this building here on the rooftops. Use the C4 to blow it up, but make sure to stand clear.
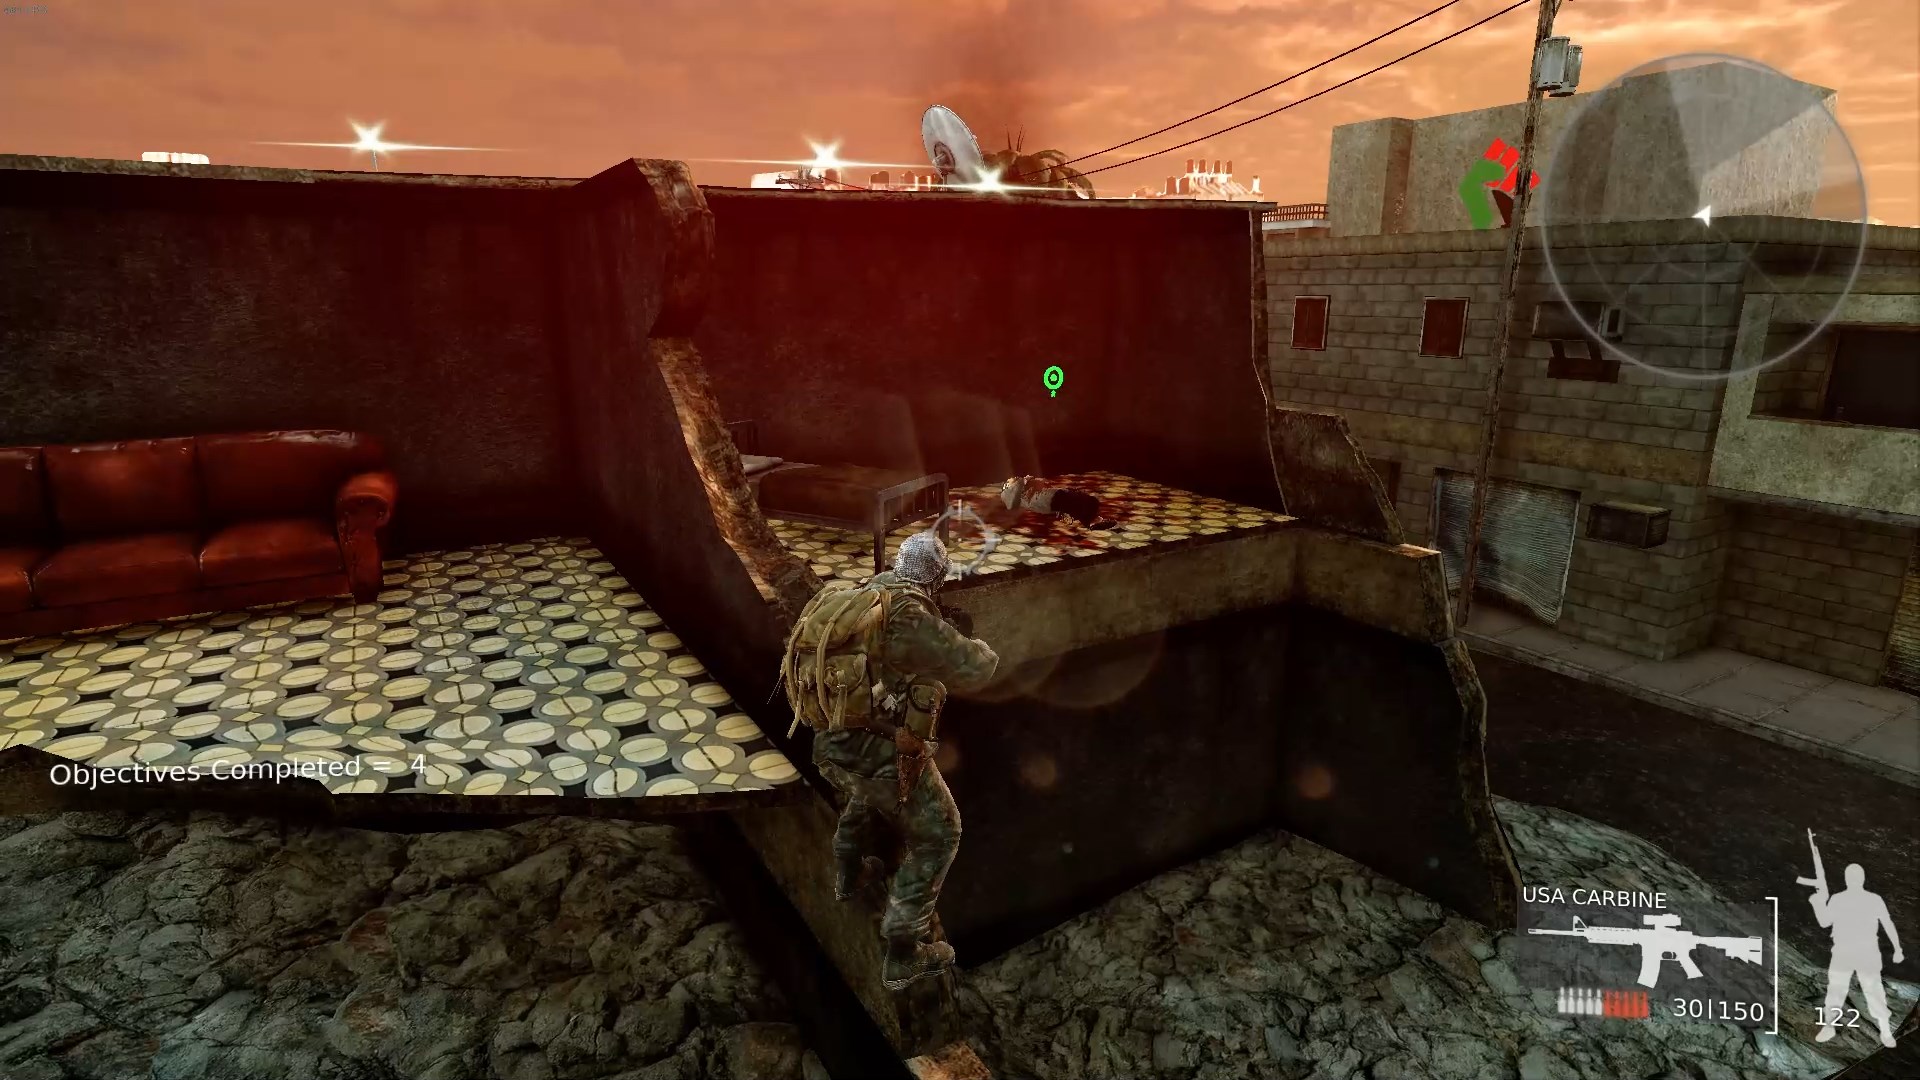 The final injured civilian is lying on this ledge here. Jump to the ledge, pick him up, and bring him to the ambulance.
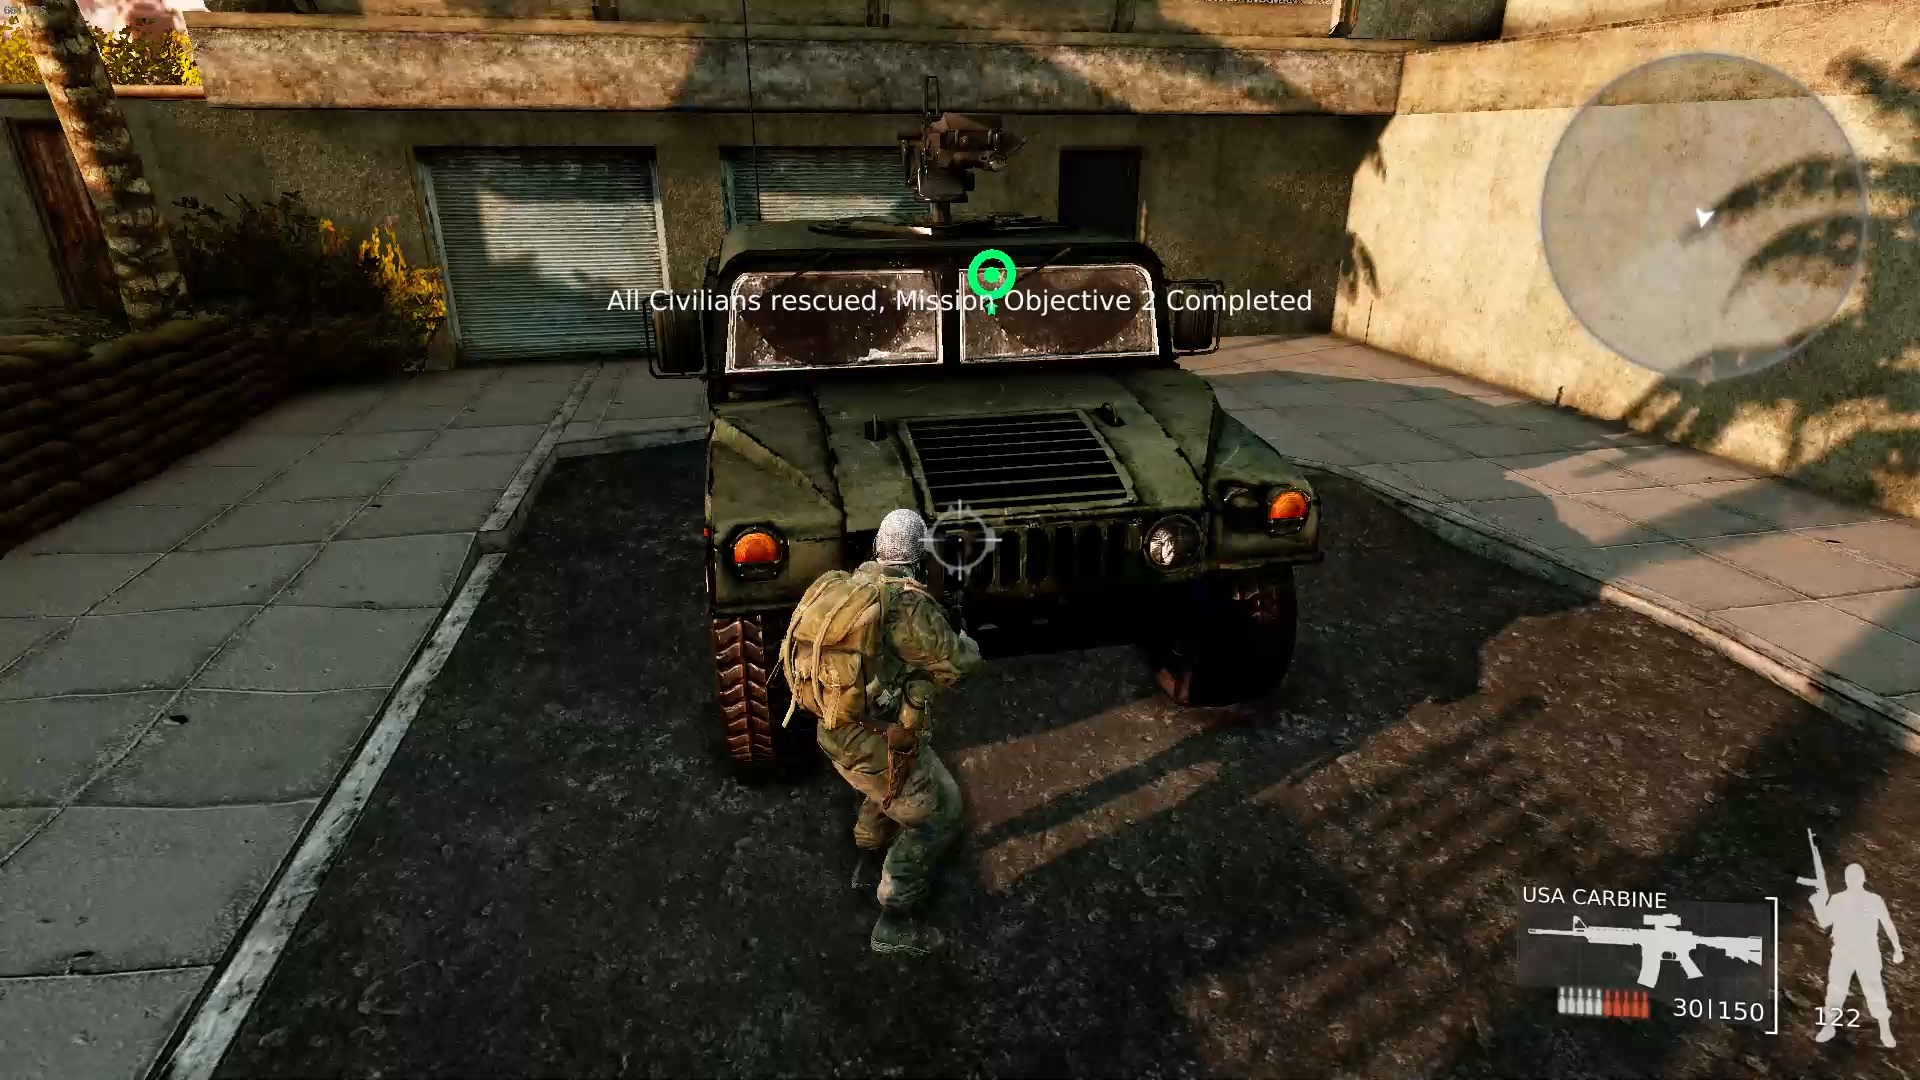 If there are any soldiers left, kill them now. Otherwise you want to head to the military vehicle to face off against the boss.
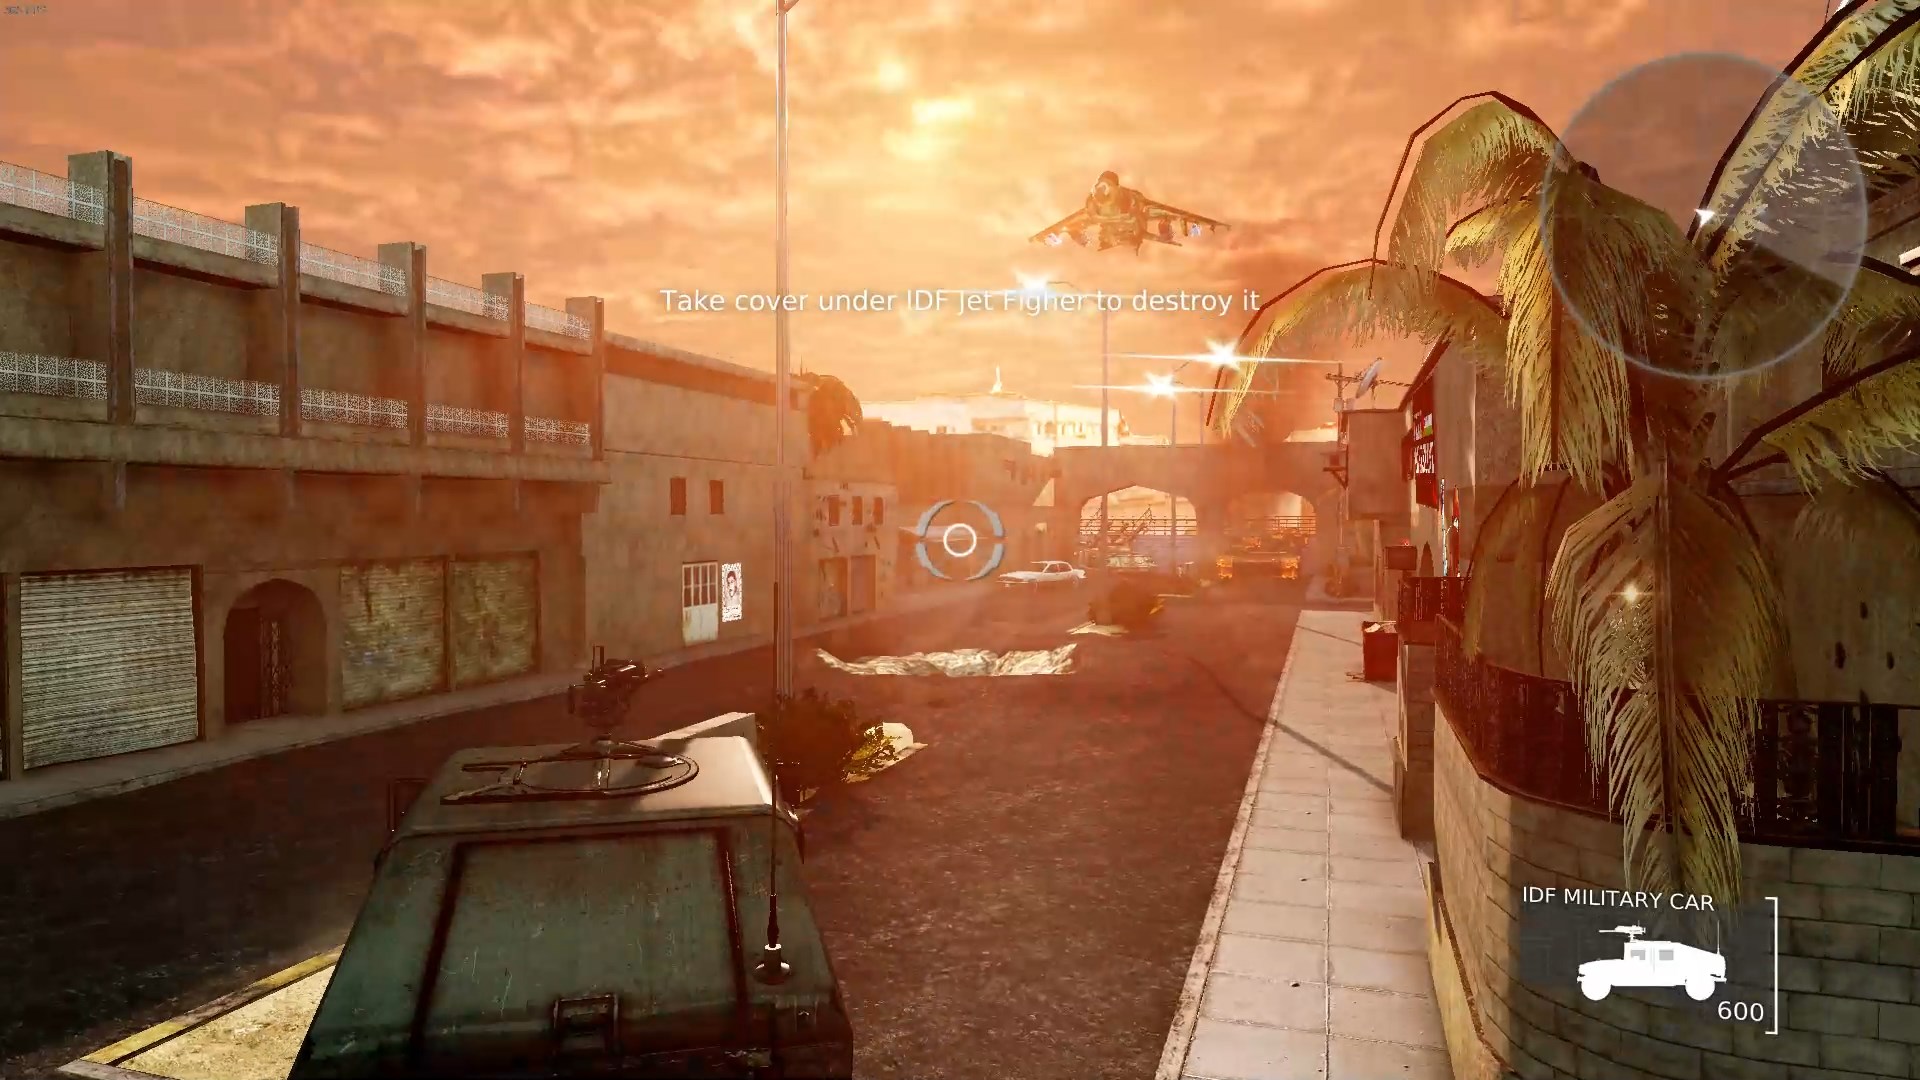 As the tip suggests, you’re somewhat safe under the jet. However the jet will often position itself in a place where you can’t easily get under it. If that happens you might want to move out of its line of sight so that it chases you–then you can get in a better position. This fight can be tricky since you can’t really see where your car is going while aiming at the jet. You may need to adjust position a few times. Also a lot of the time you may need to aim higher than the jet to take the arc of your weapon’s projectile into account.
Mission 6: Camp Gibor
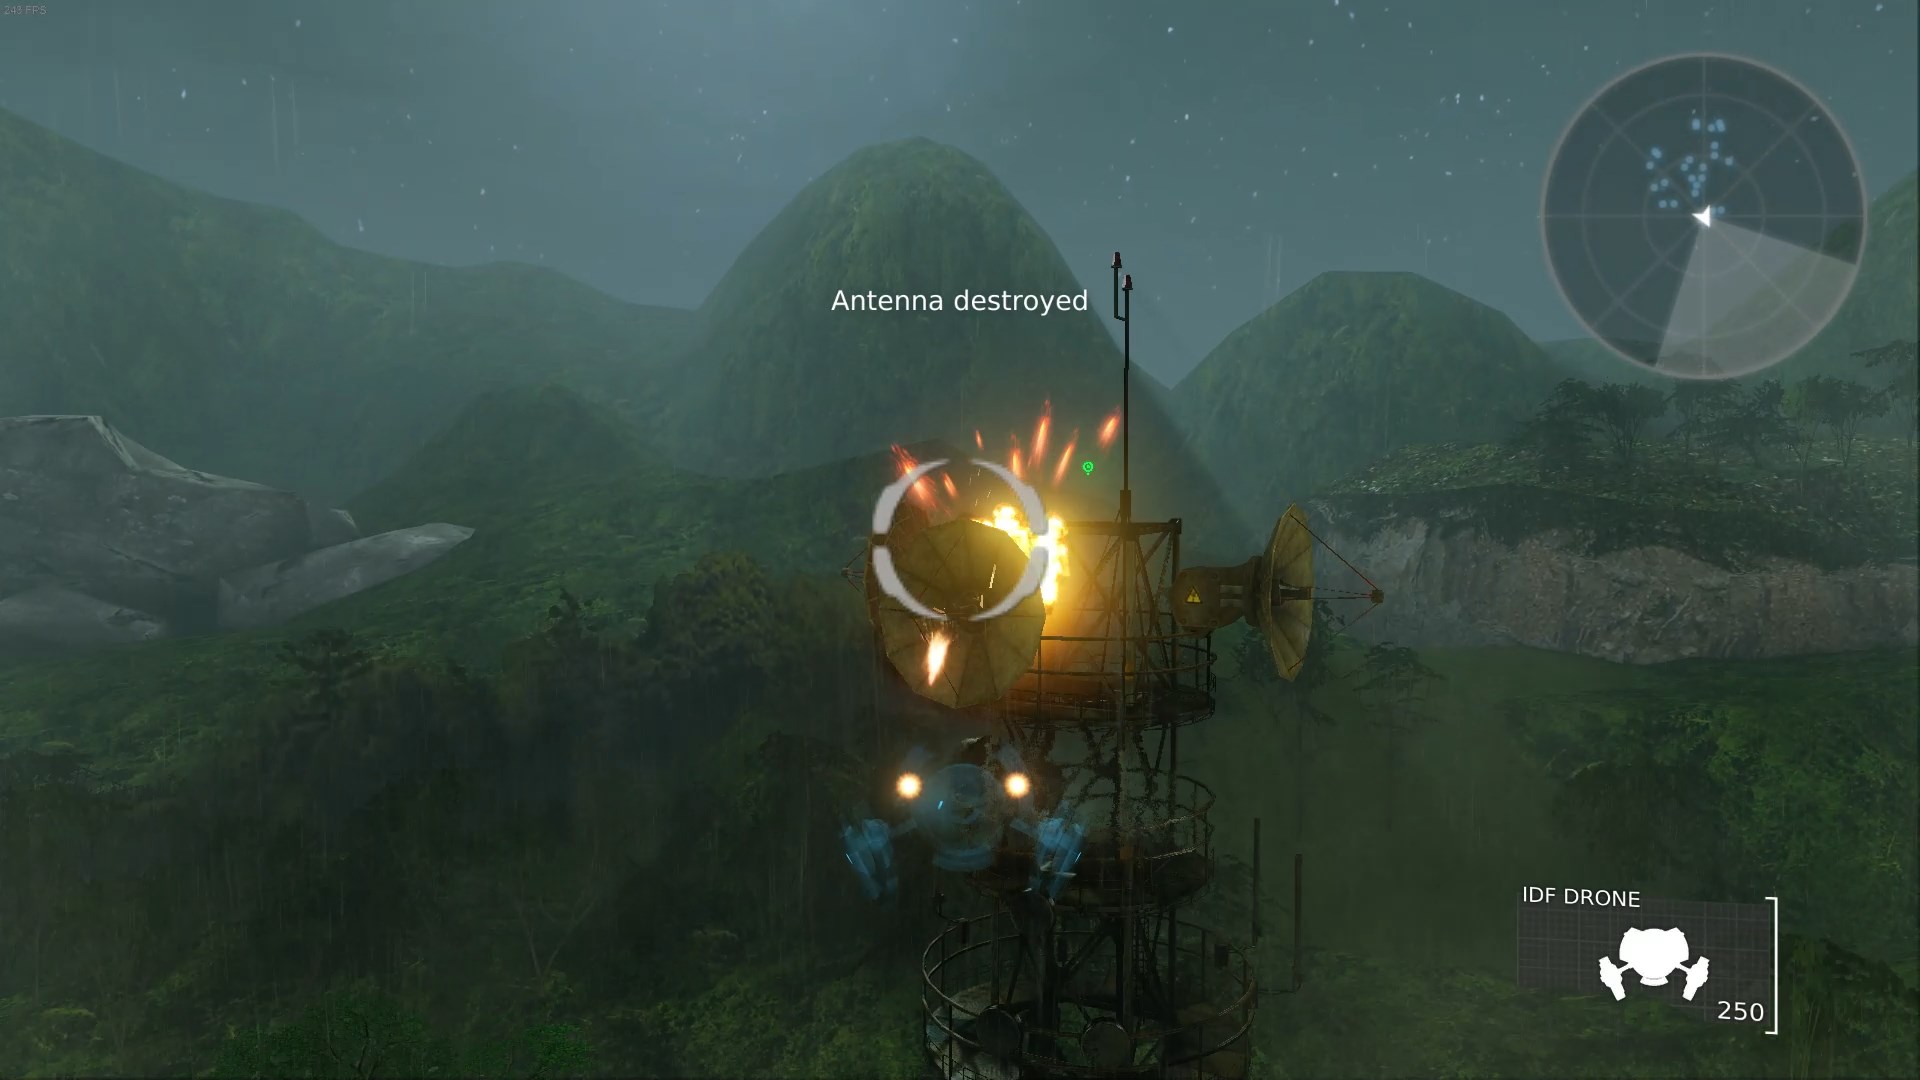 You start the level with a cloaked drone which you need to use to destroy two antenna towers. Enemies can’t see you so you can also use the drone to scout the camp completely–just don’t shoot any soldiers with it or you’ll lose the mission.
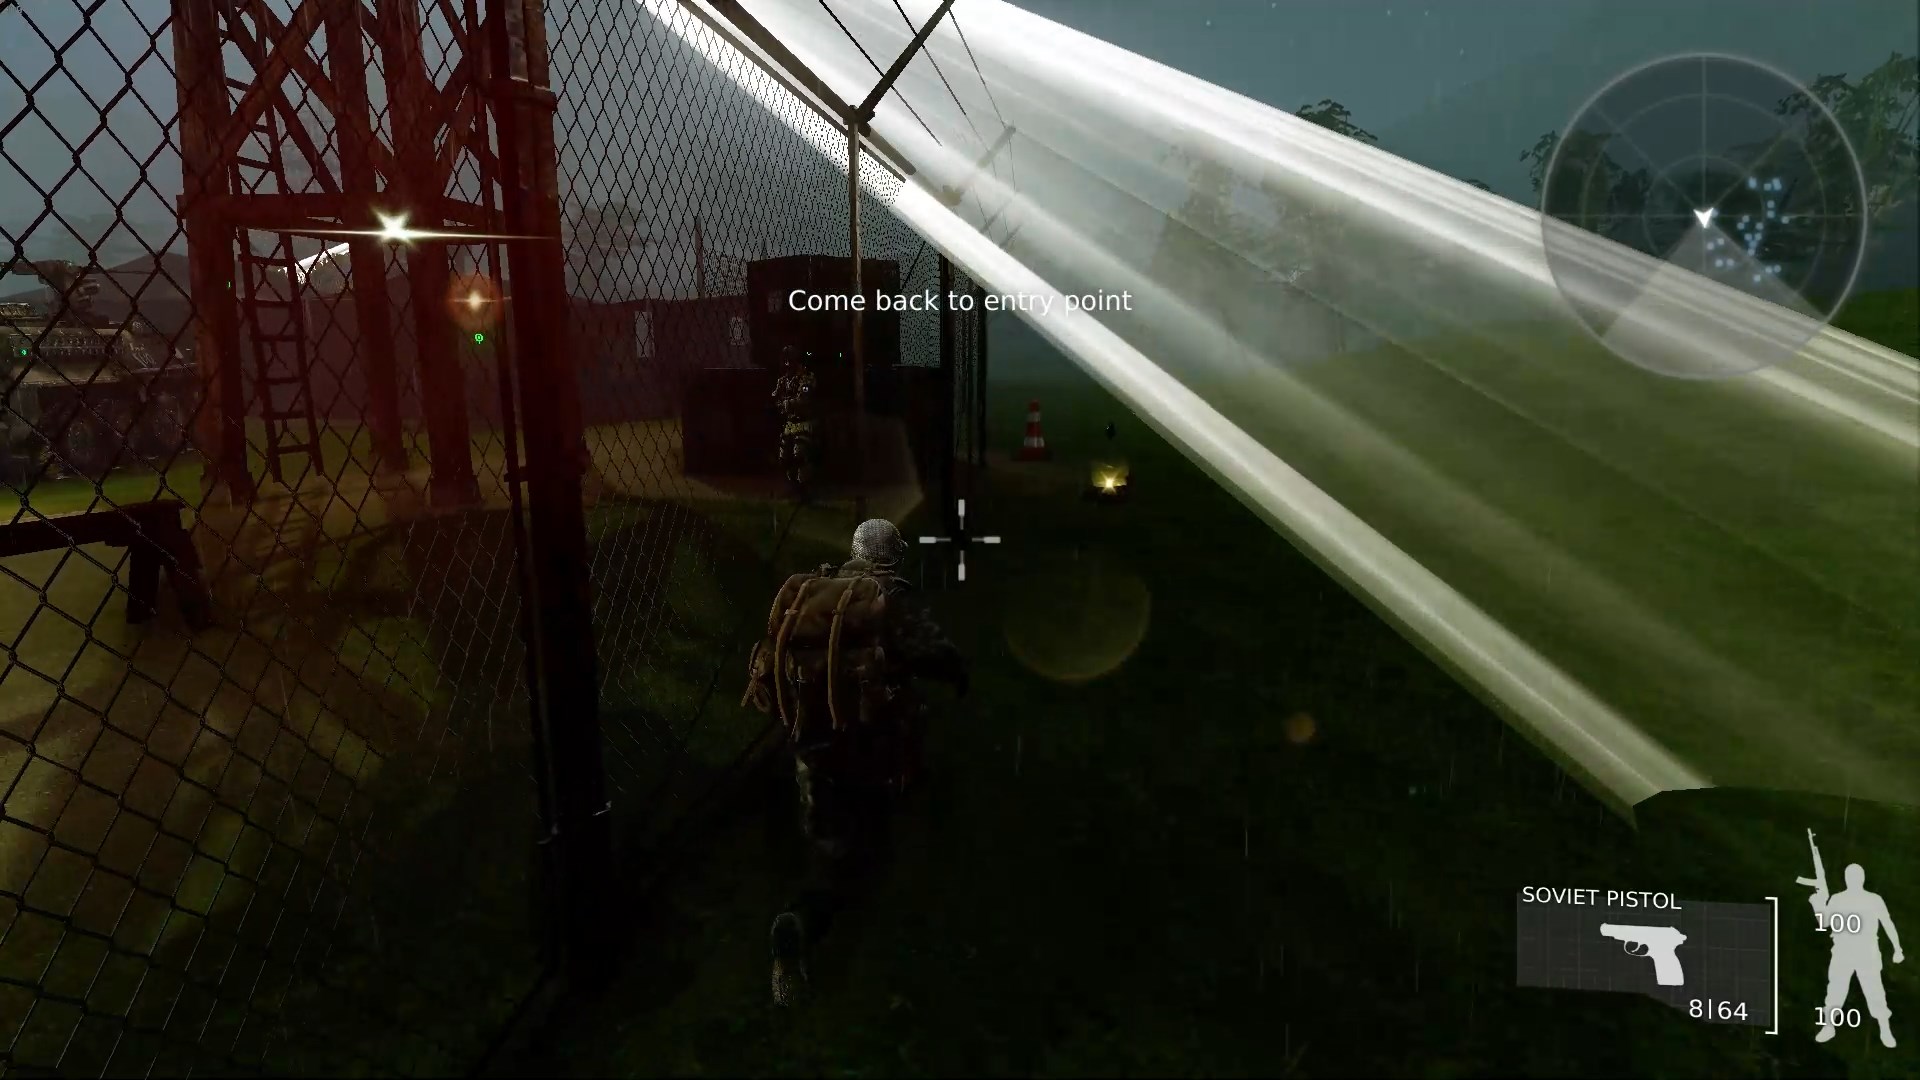 After destroying the antennas head back to Ahmad to take control of him. Before entering the camp proper you might want to head south along the western fence. There are some grenades you’ll want on the way but more importantly there’s a supply box outside the fence at the north end of the camp you’ll want to destroy.
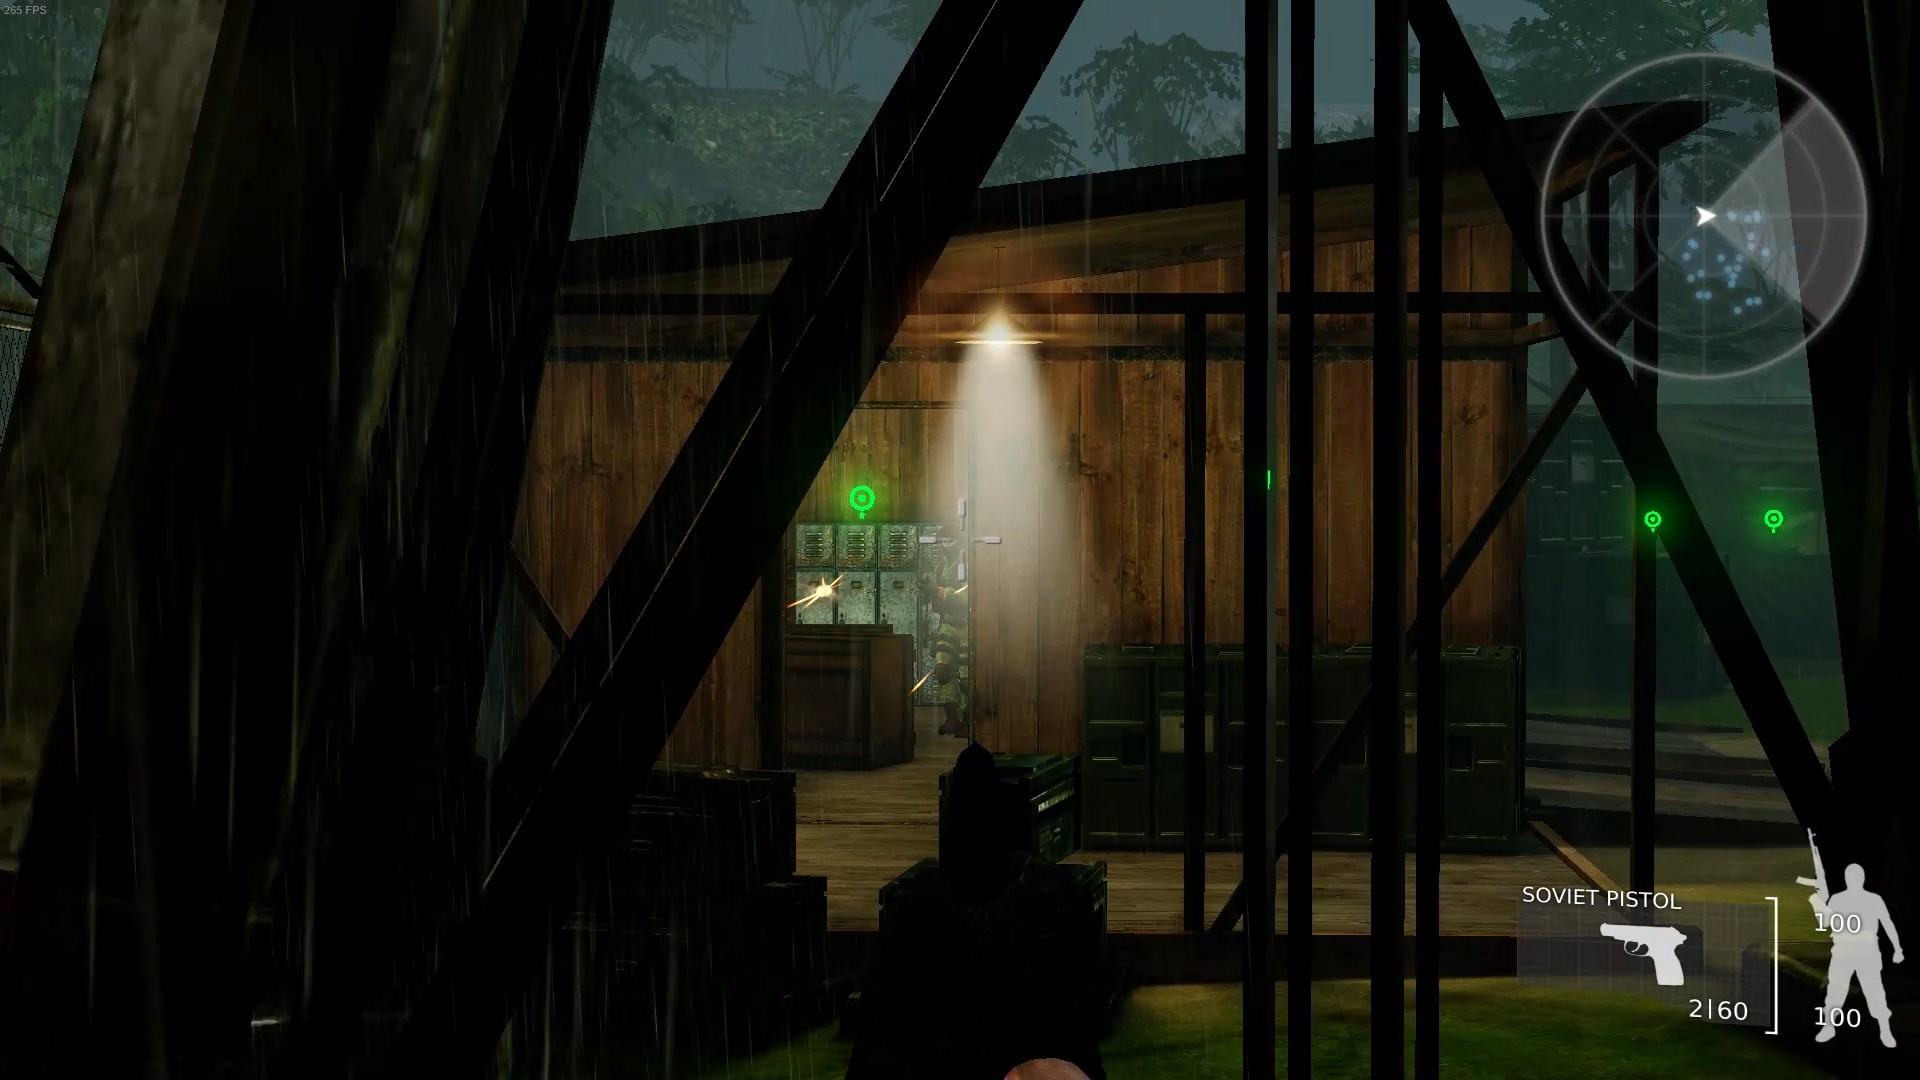 As soon as you enter the camp you’ll probably be spotted by two soldiers–one far in front of you and one in the small building to the left, pictured in the screenshot. Take cover and kill them; the soldier in the building has a jammer.
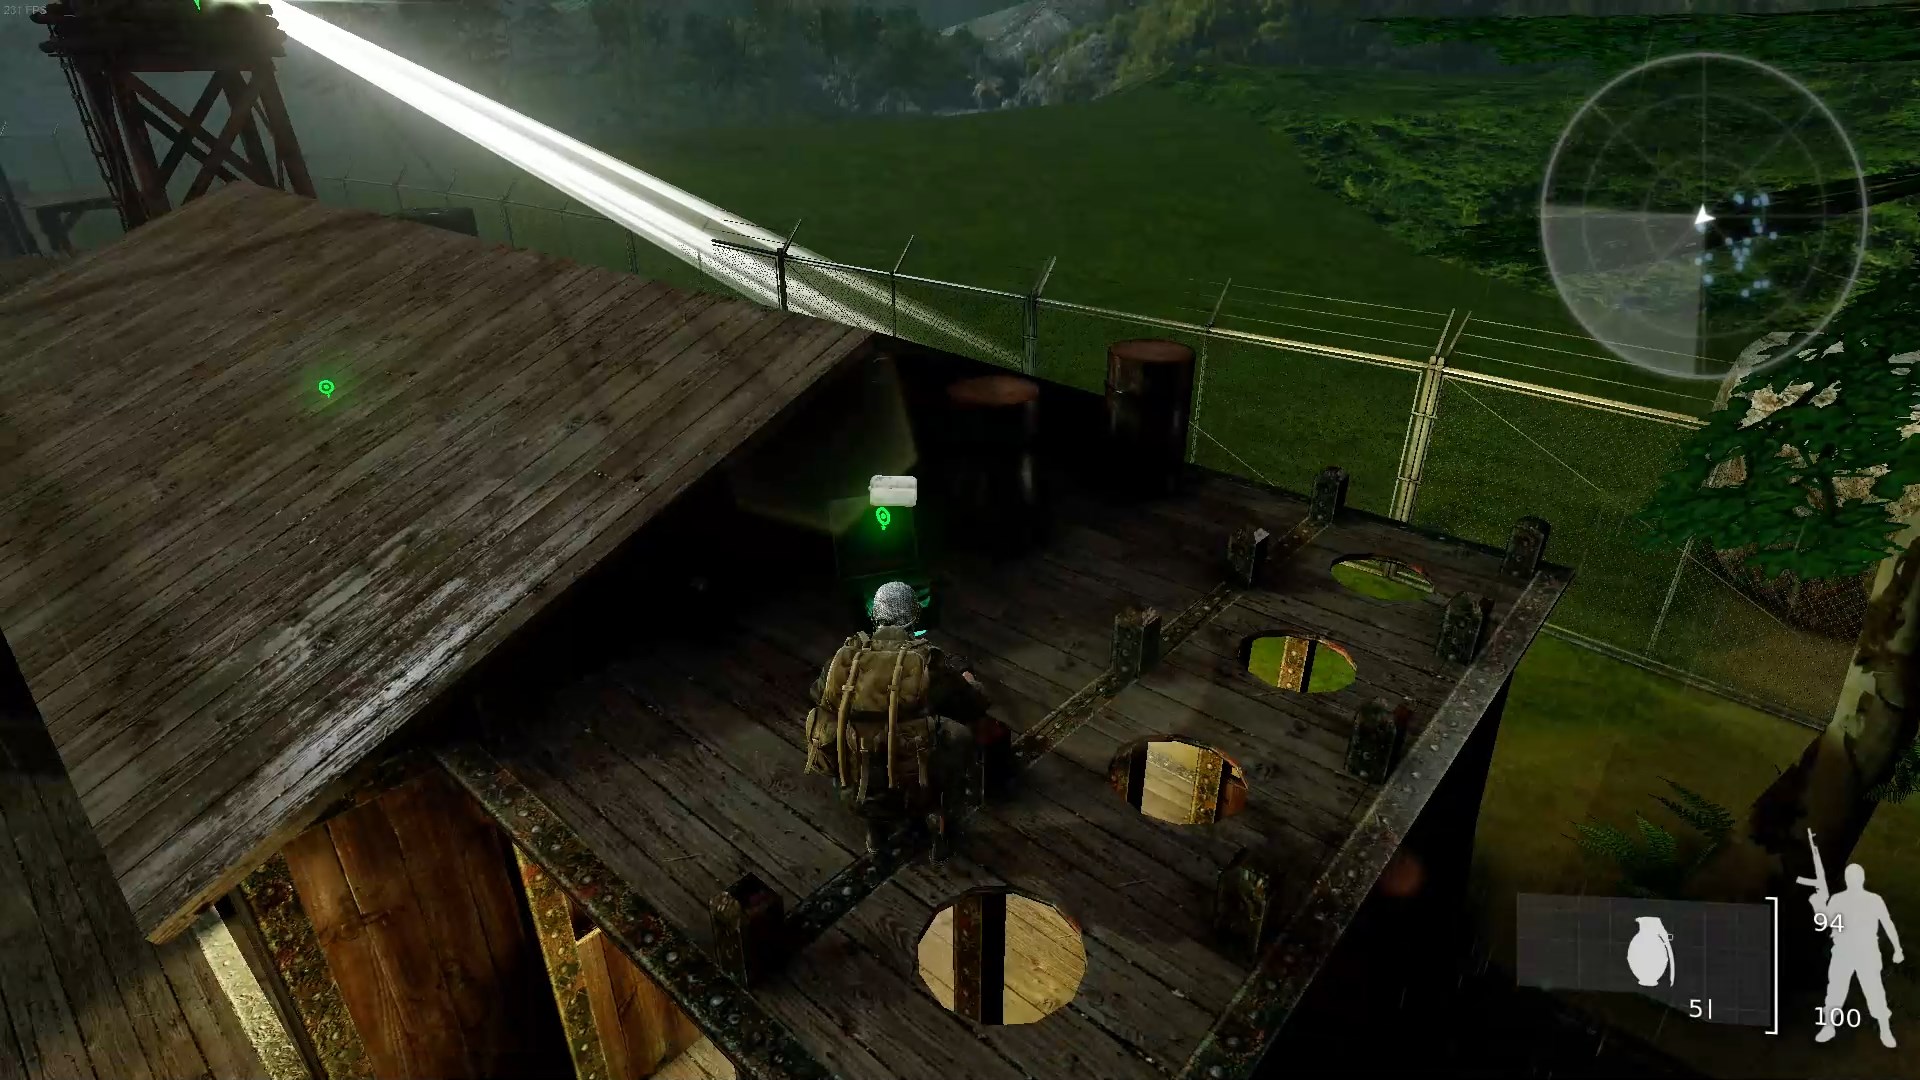 There’s a medkit that’s very easy to miss right near the entrance to the camp. It’s up here on the roof above the toilets. Jump on the crates nearby to get up there.
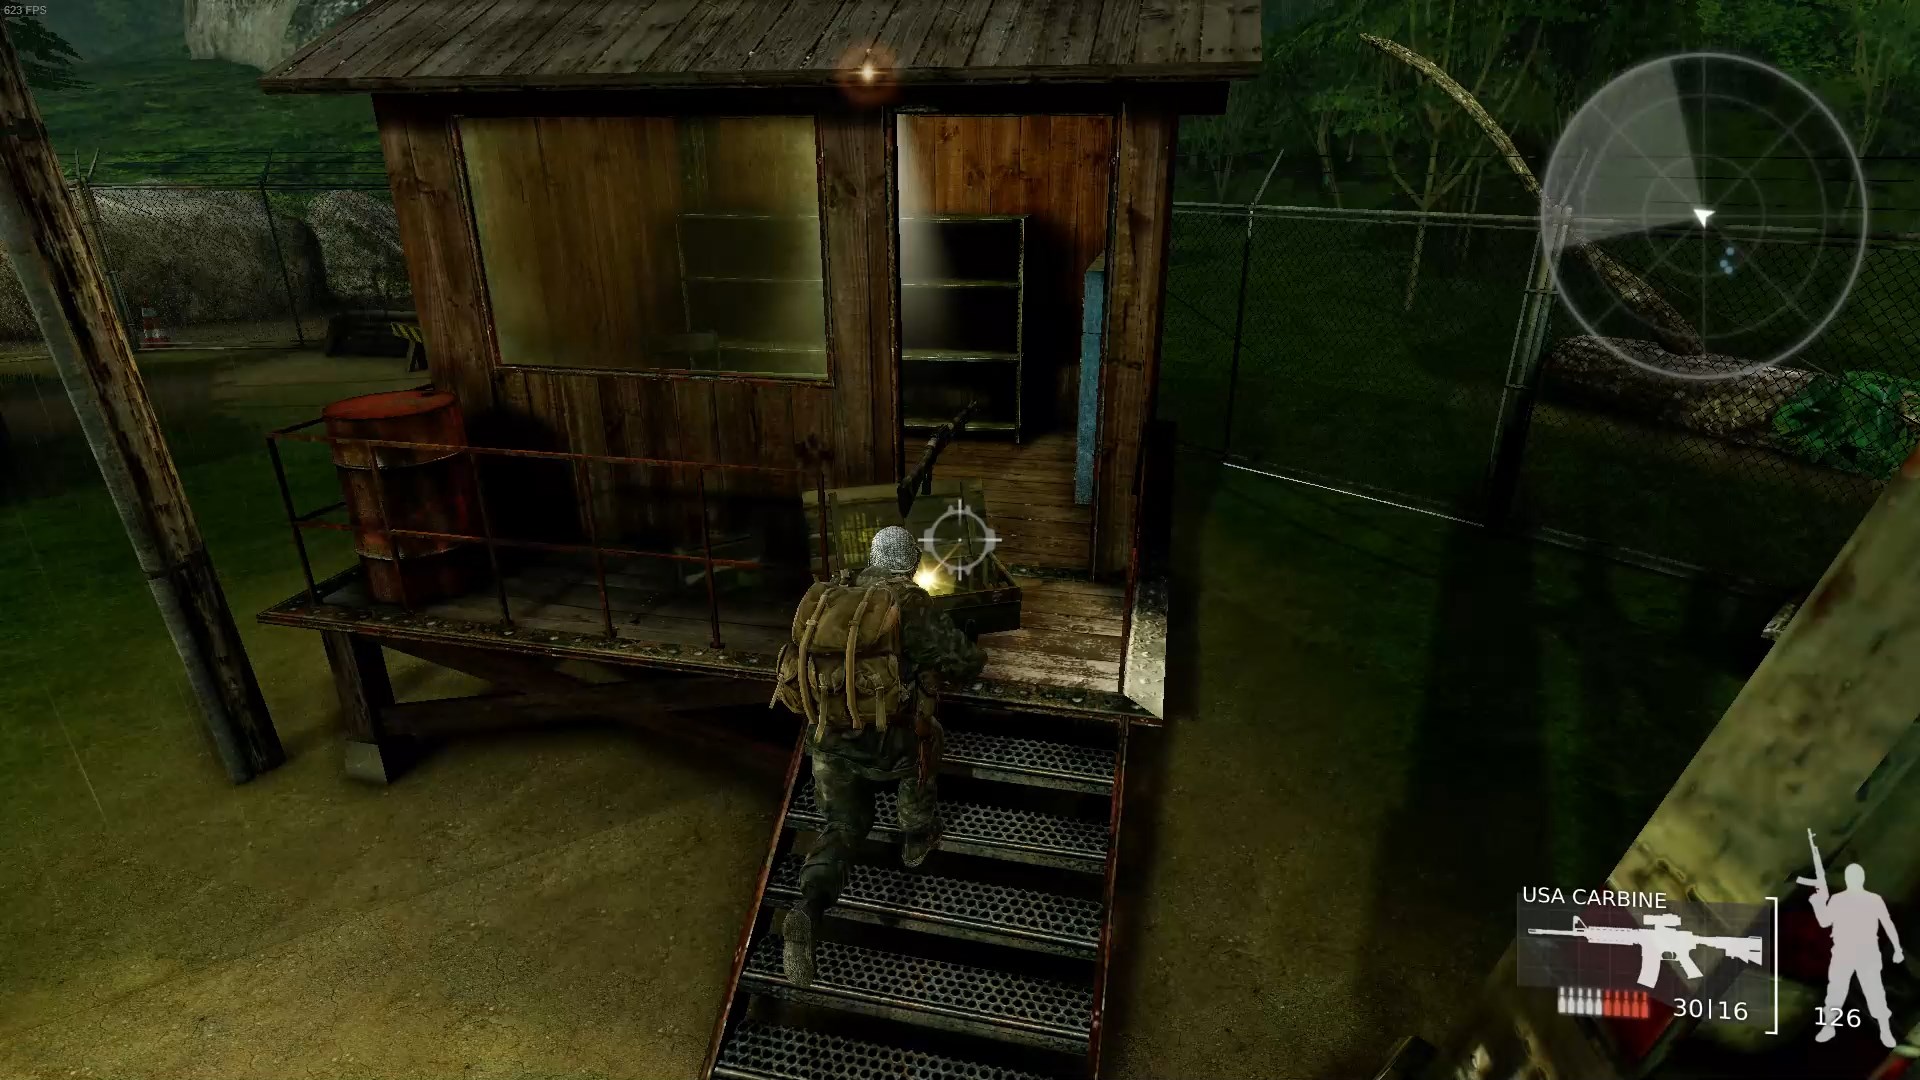 Right near the entrance of the camp there’s a shotgun as well, but it’s not a very good weapon–its rate of fire and reload speeds are very slow.
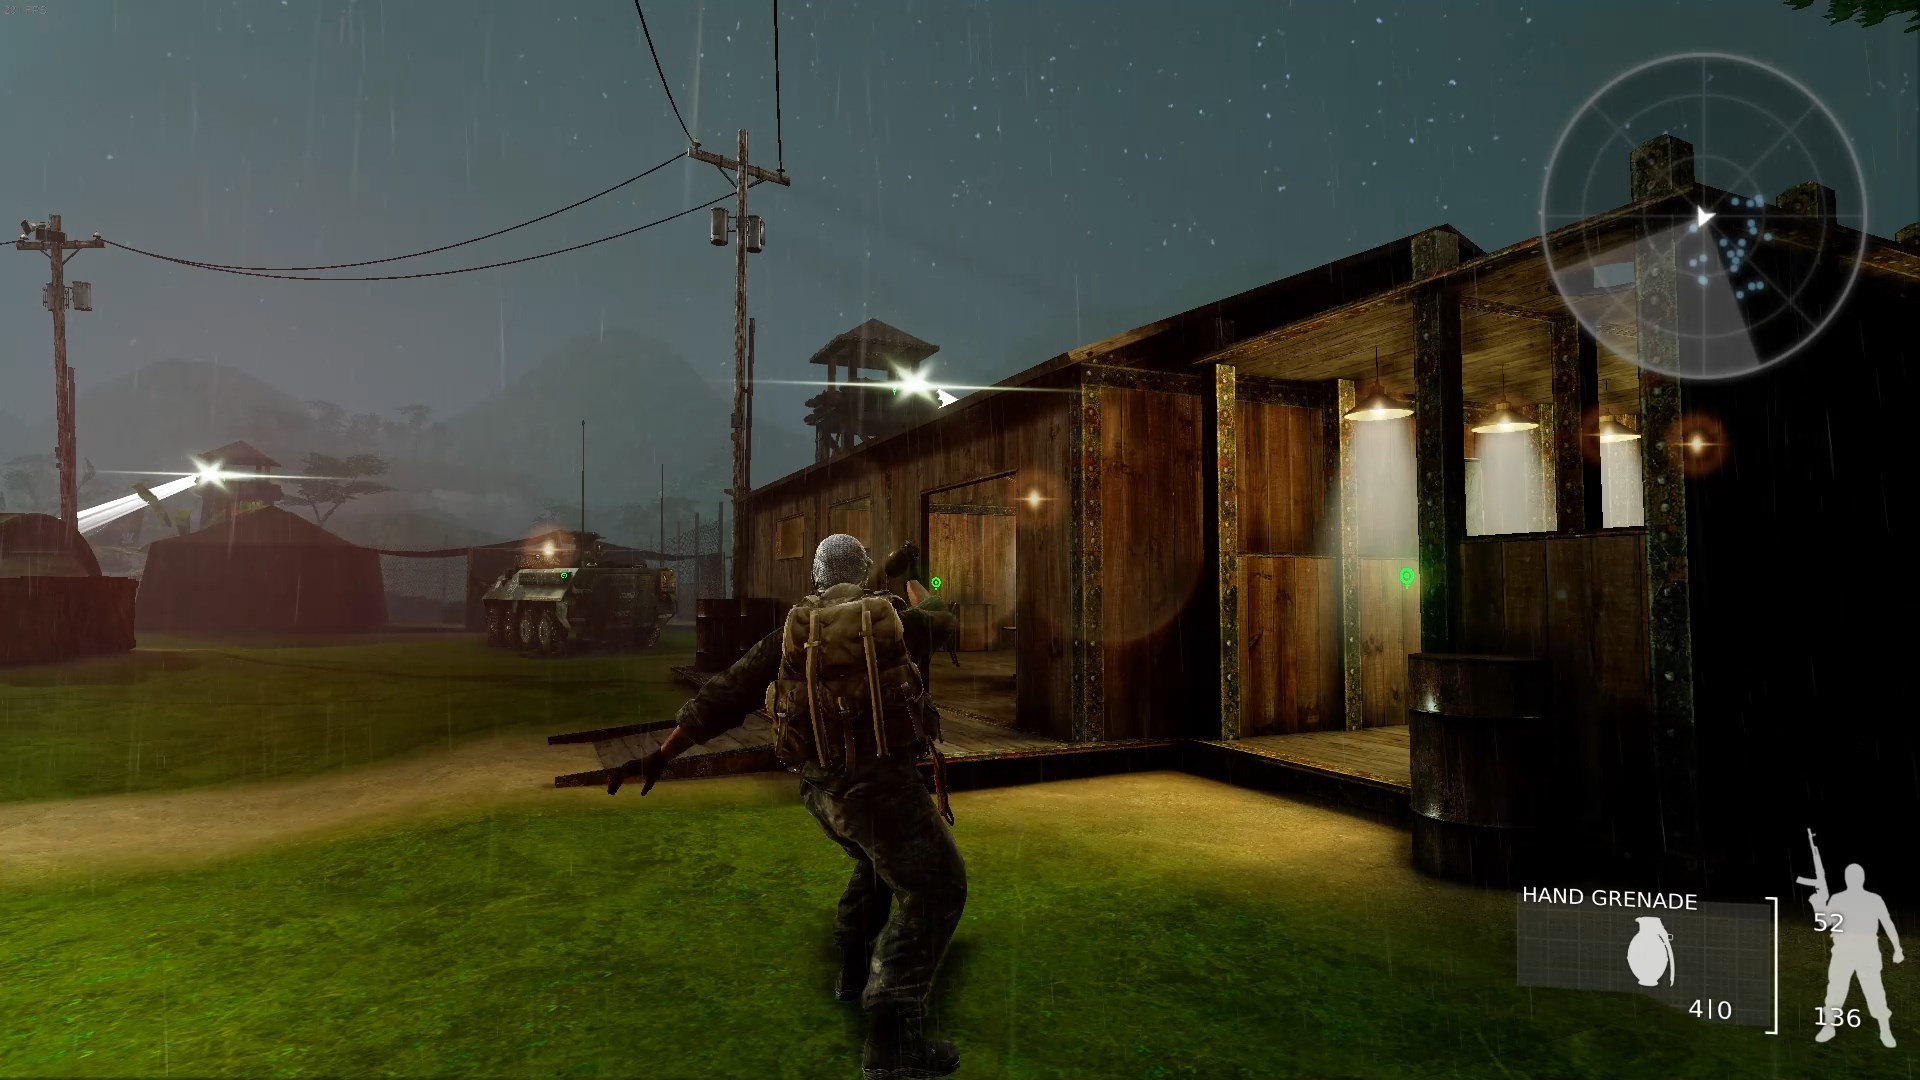 Grenades are really useful in this level. There are lots of soldiers waiting for you inside buildings, and you can lob them in through the door to kill them with little risk.
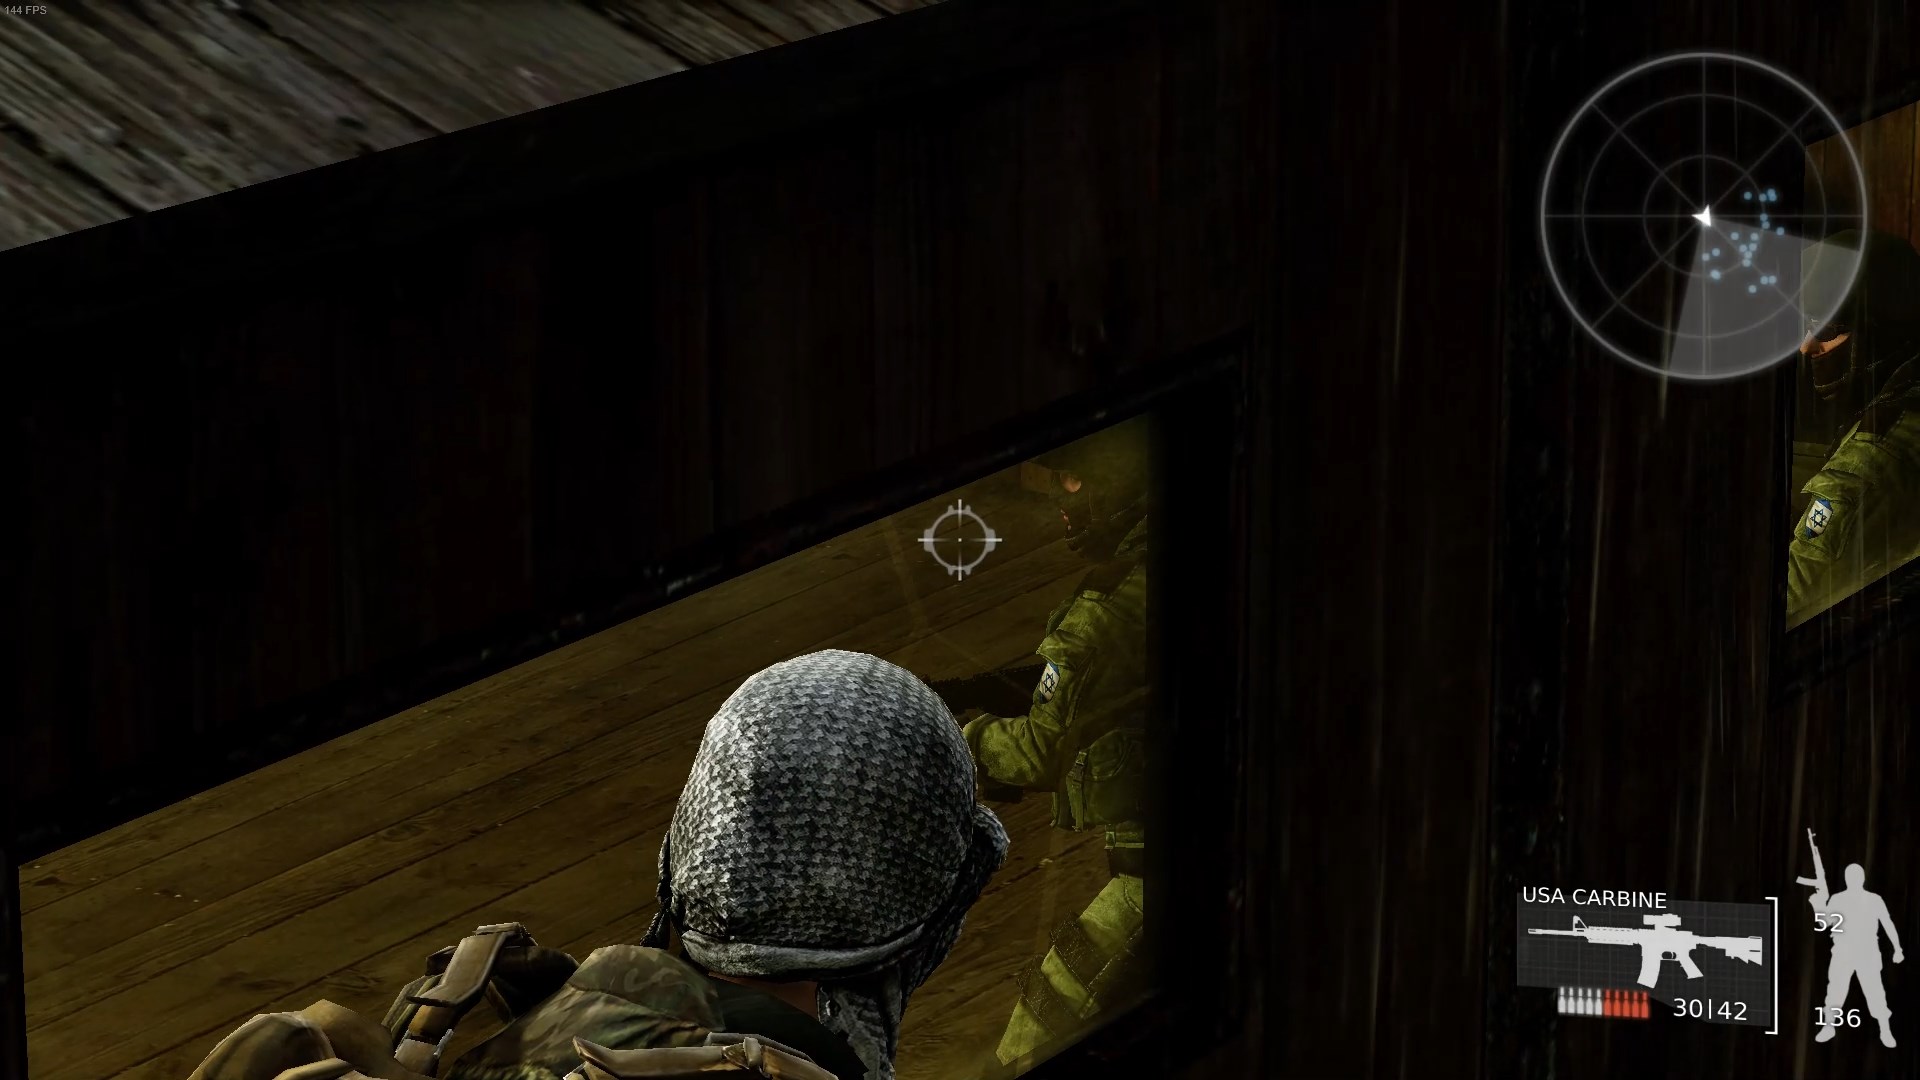 Another tip: most soldiers on this level are inside tents or buildings facing the door. Nearly all of them also have windows you can shoot them through without them being able to see you.
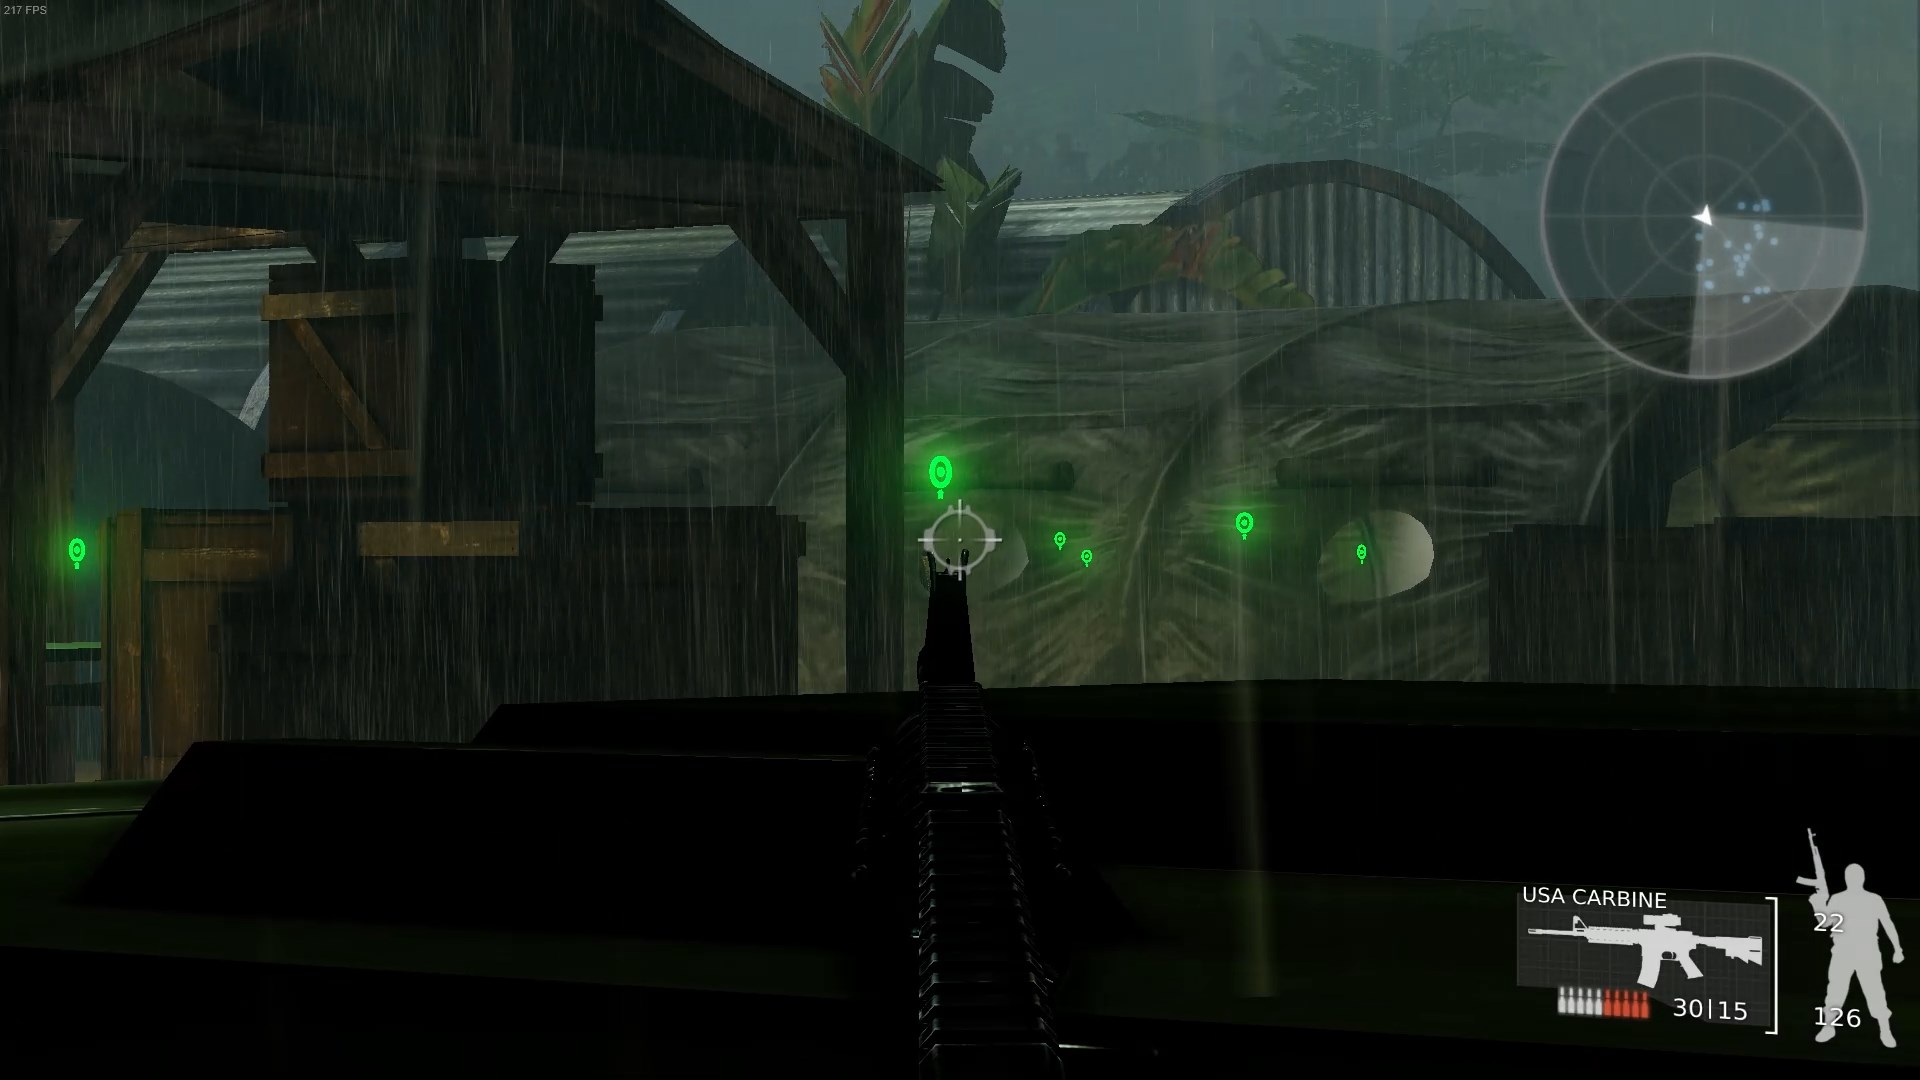 On that note, be careful of the windows as soldiers can spot you through some of them. This window here often has a soldier that can see you enter the camp from it. If you can’t tell where an enemy is shooting you from, it’s probably a window somewhere.
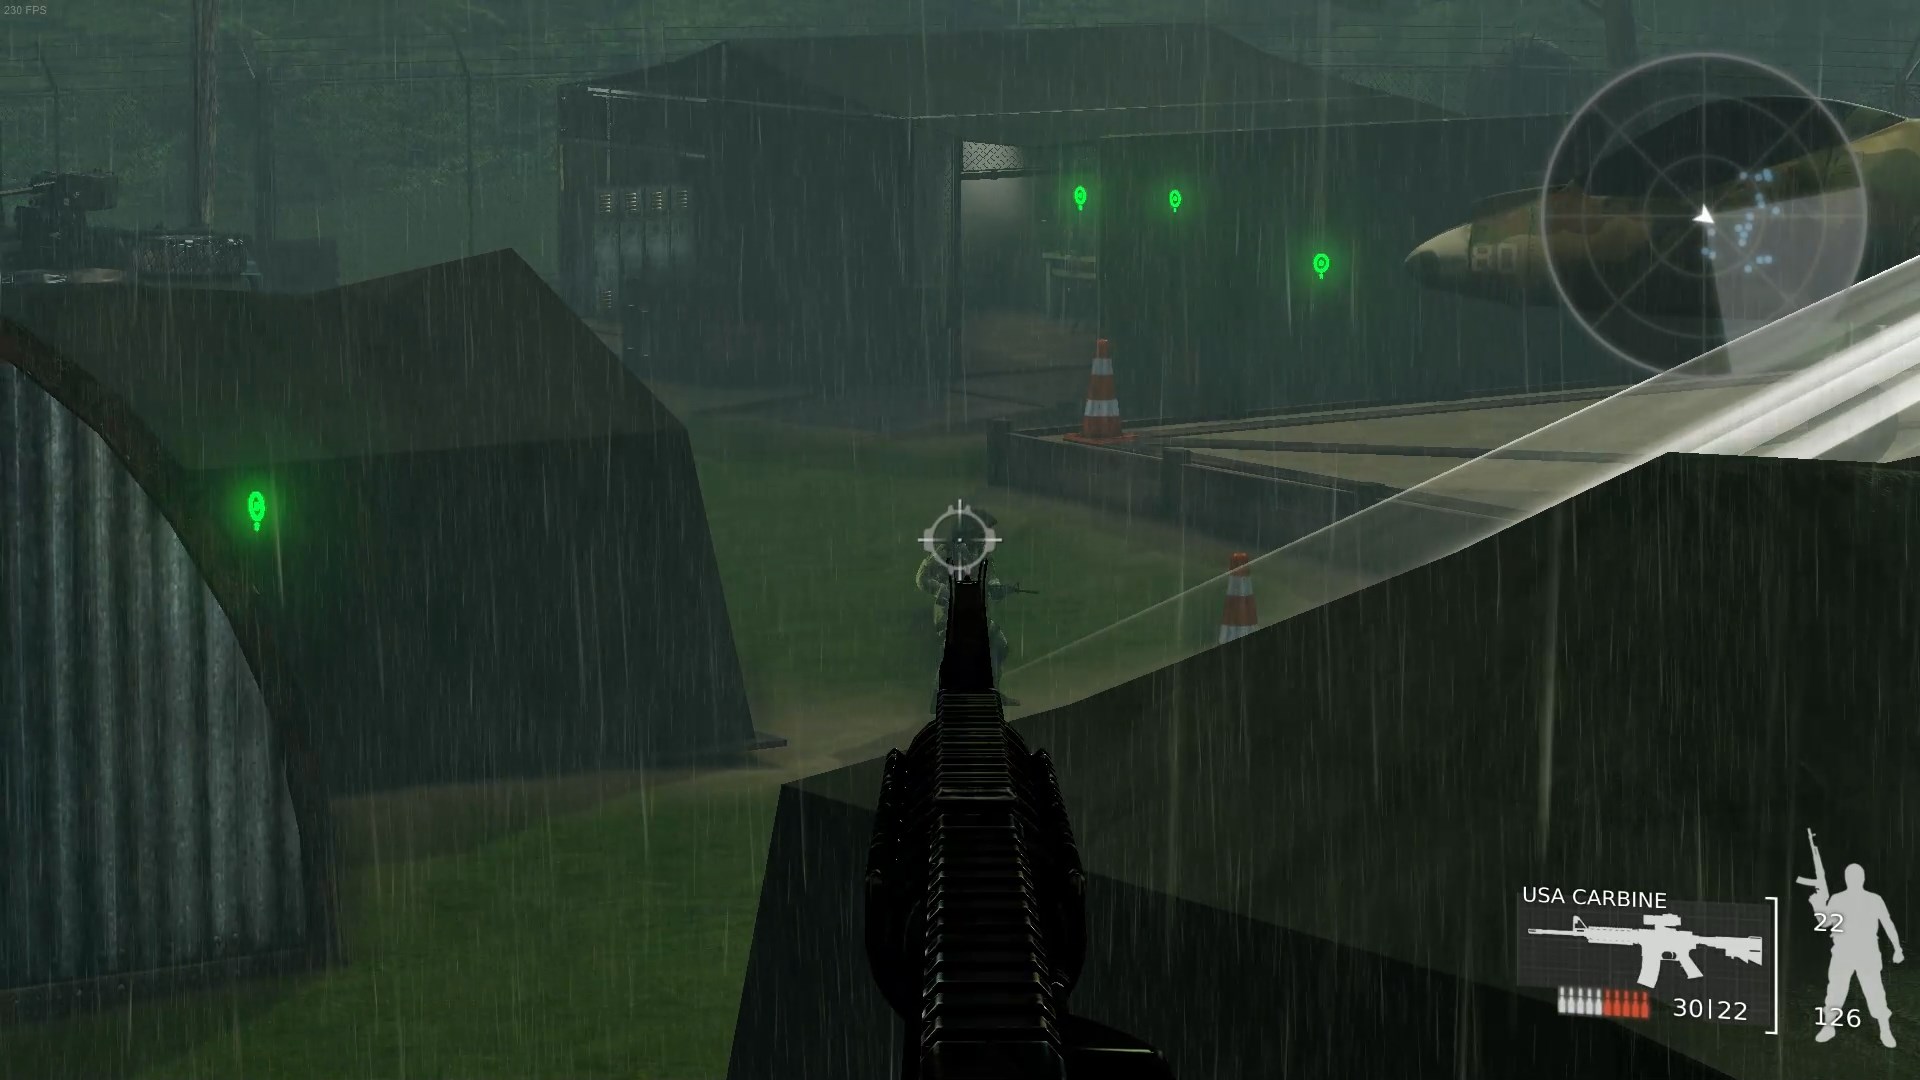 The spotlight towers are another good vantage point to take out soldiers. There’s usually at least 2-3 per tower you can shoot without them noticing you.
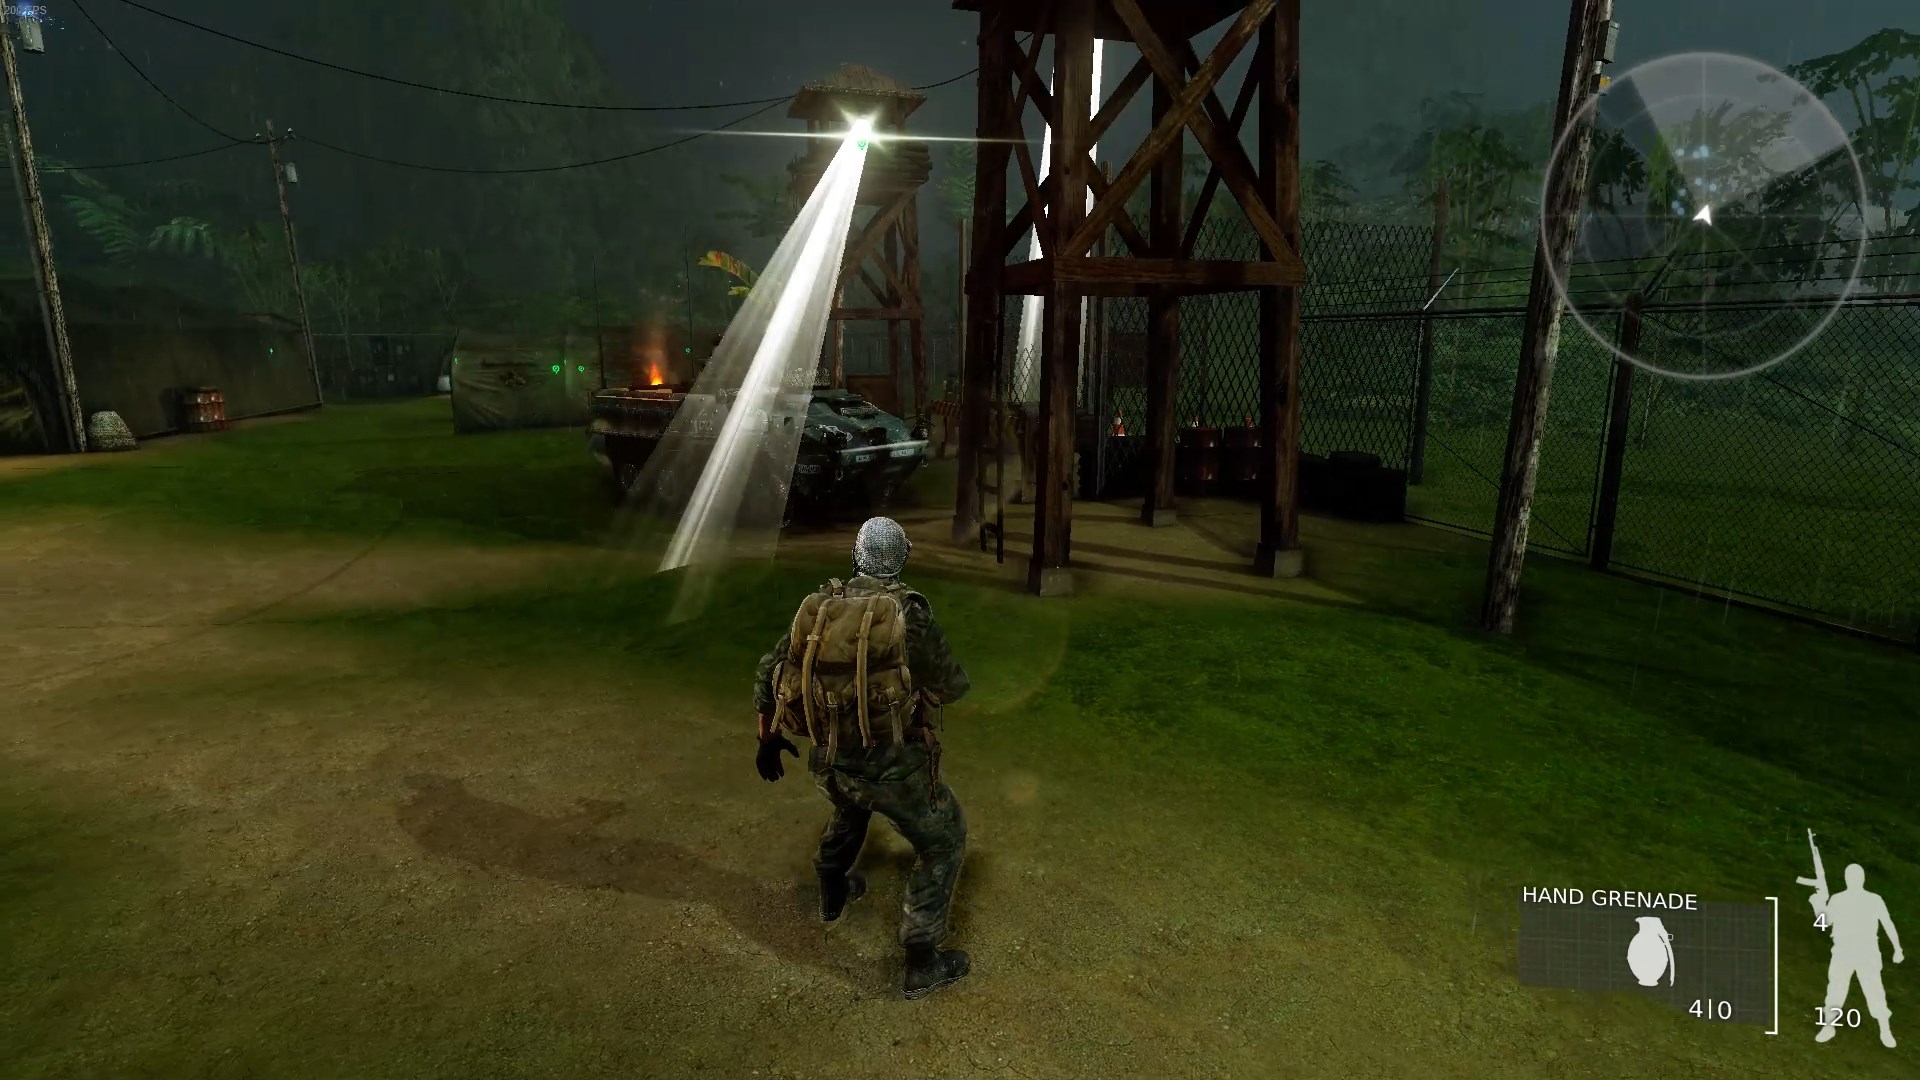 These twin spotlight towers are the trickiest part of the level, as each tower monitors the other’s ladder. If you’re spotted you fail the mission. Time things so that you start the climb up the ladder right when the spotlight moves away from you, to right outside the camp. Once one spotlight is turned off the other is much easier to manage.
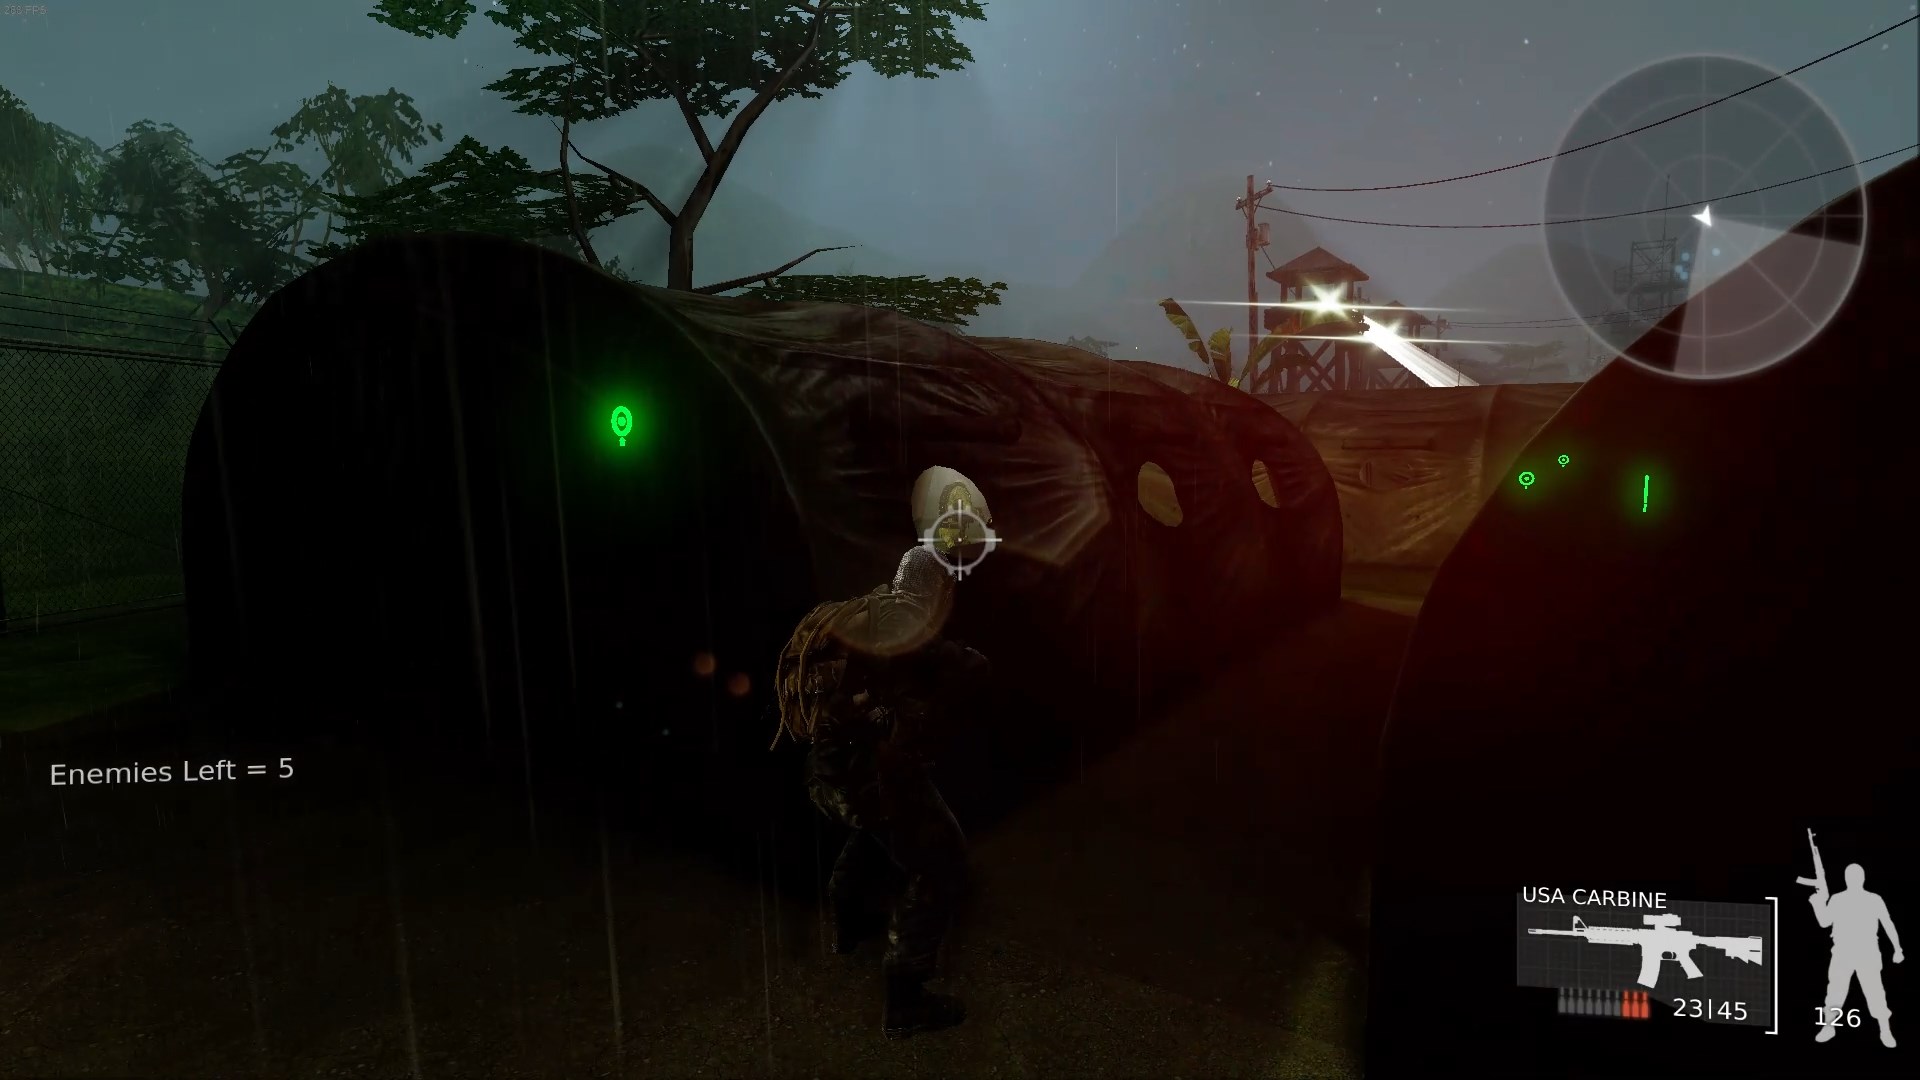 Just about every tent or building in this mission has either a radio, a soldier with a jammer, a supply box, or combination of all of the above. Once the spotlights are taken care of there’s less of a worry of an instant game over, so proceed through each. Approaching from the rear and shooting through windows is the safest method.
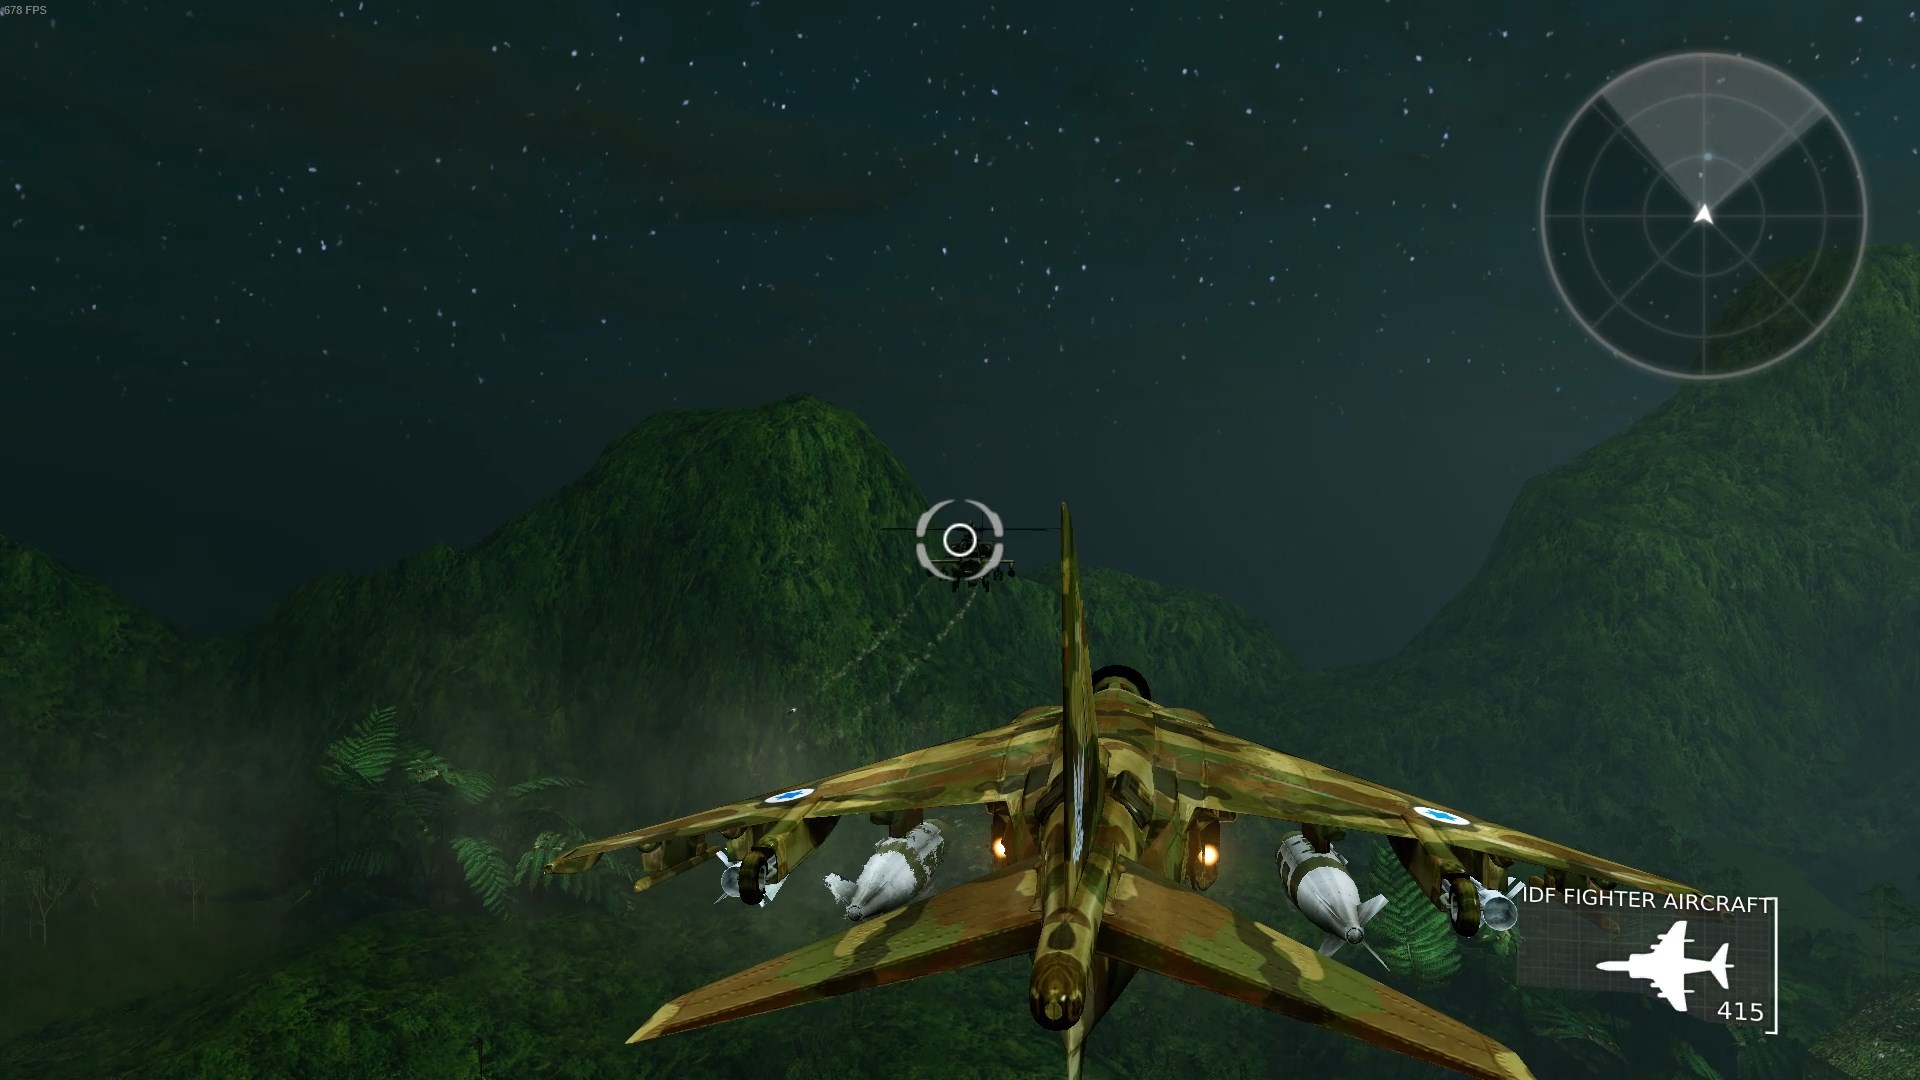 Once you’ve finished all the other objectives head to the VTOL and get in for a boss fight against an IDF helicopter. Fighting the helicopter is similar to fighting the drone in Camp Ariel Sharon but easier as your missiles are partially guided. So long as you keep moving you should be able to avoid its attacks pretty easily.
Mission 7: Shizafon Armored Corps Base
This is an unusual level as you spend the whole thing in a tank. You’re under constant attack but every time you kill something your health gets refilled to max. You have quite a lot of health, but the tank is a big target and has very poor turning speed and maneuverability so you’ll need to soak up quite a lot of hits.
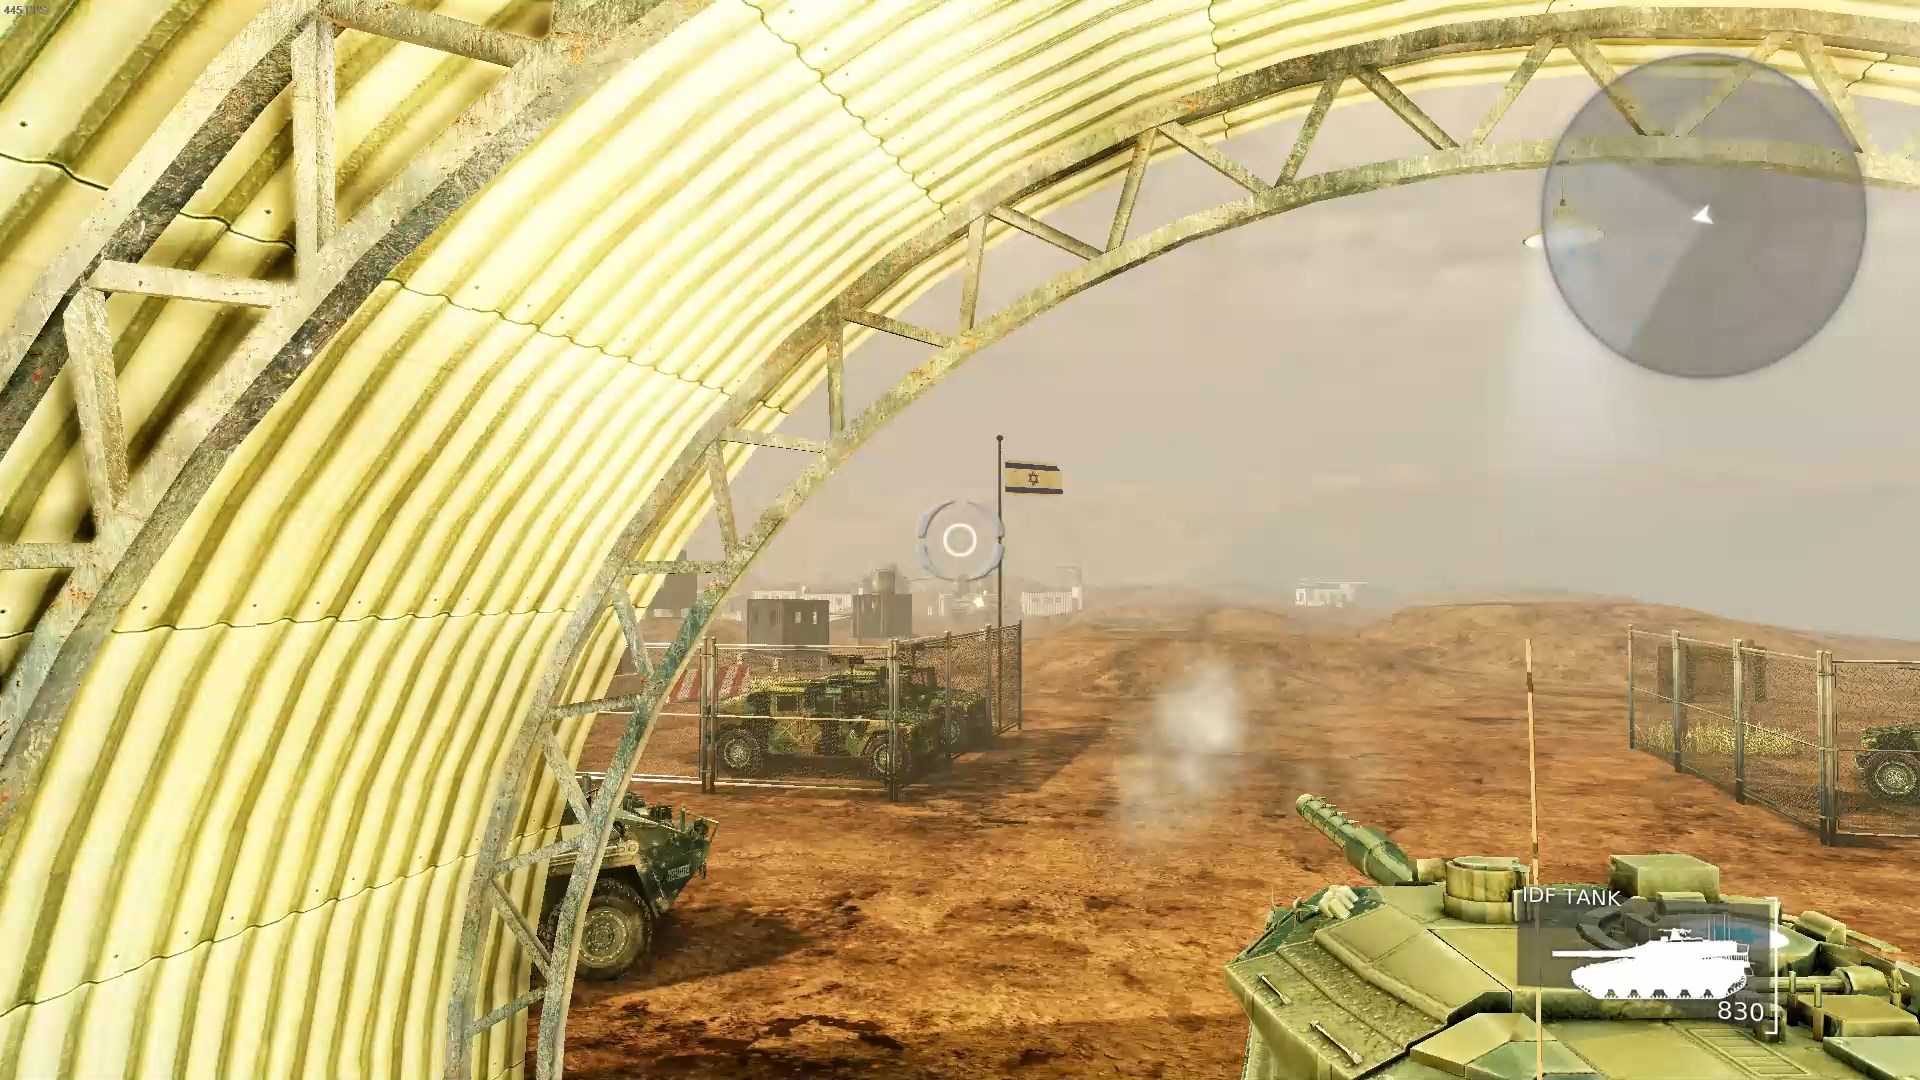 At the start of the level the best thing to do is back up into the hangar behind you so fewer enemy tanks can target you. There are still a few tanks that can target you from here; take out the ones that are still visible.
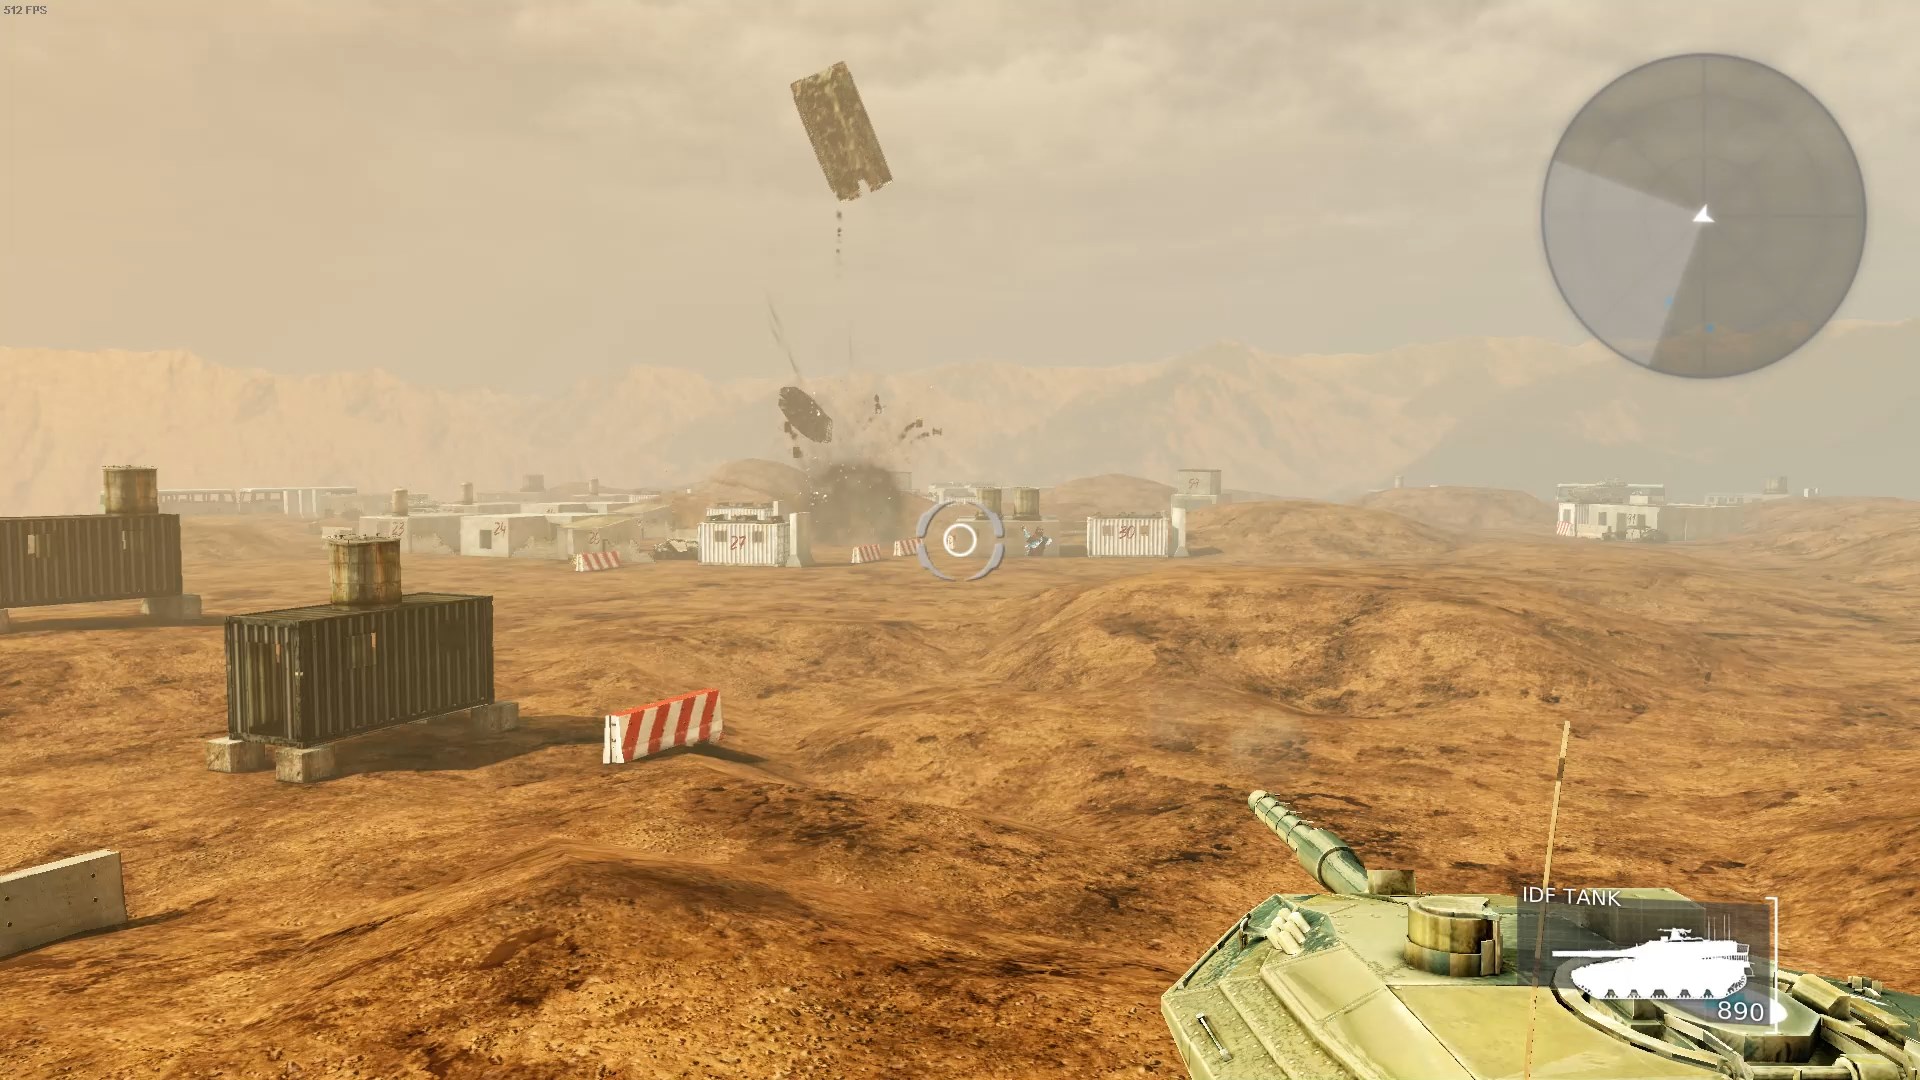 Once the forward area is clear you can come out of the hangar and start targeting more tanks. It helps to try to take cover behind obstacles to make it more difficult to target you. Even fences and concrete barriers act as de facto walls for this purpose. In general, rolling forwards and backwards in and out of cover while taking pot shots can help throw off enemies’ aim. Move just a little bit at a time around the camp so that you don’t draw too much fire at once.
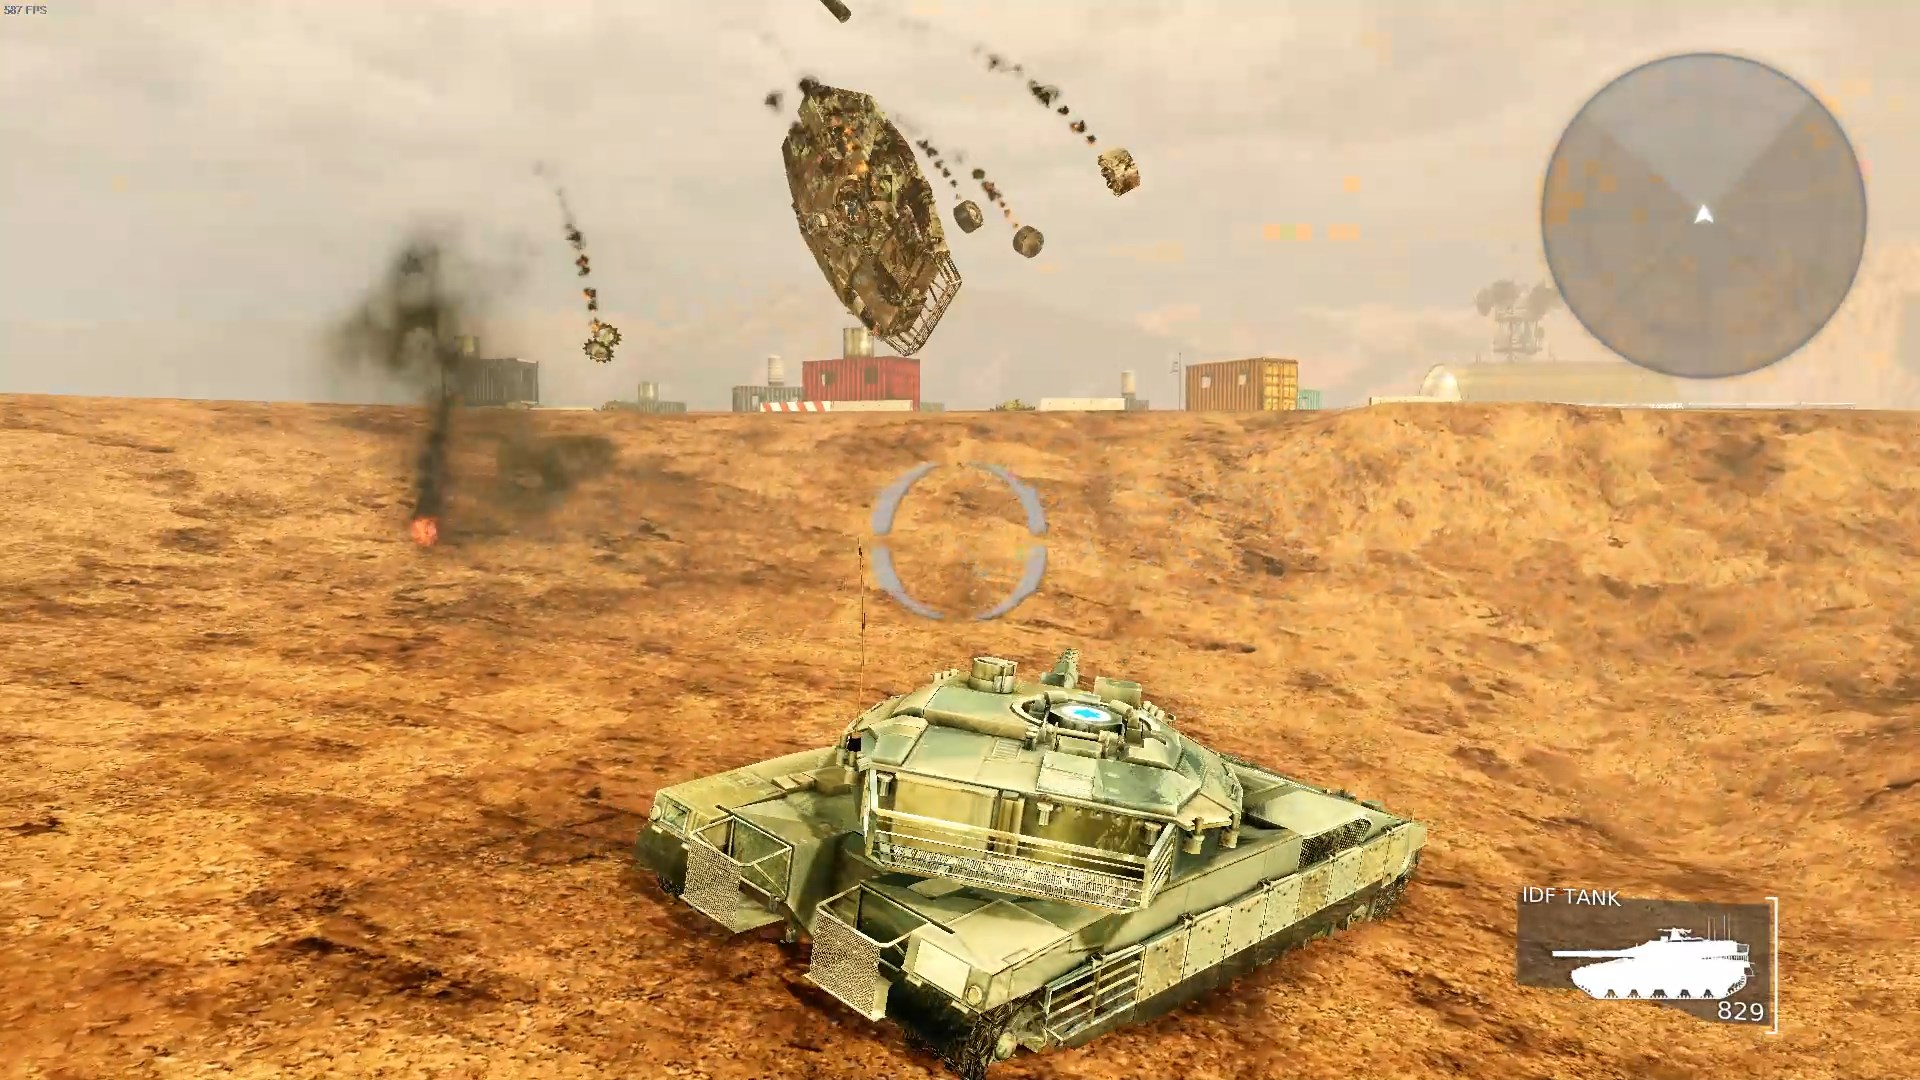 This sinkhole-like area in the corner of the camp is a good defensive position in general; it’s not a bad idea to start each new “wave” of the level here so you aren’t overwhelmed.
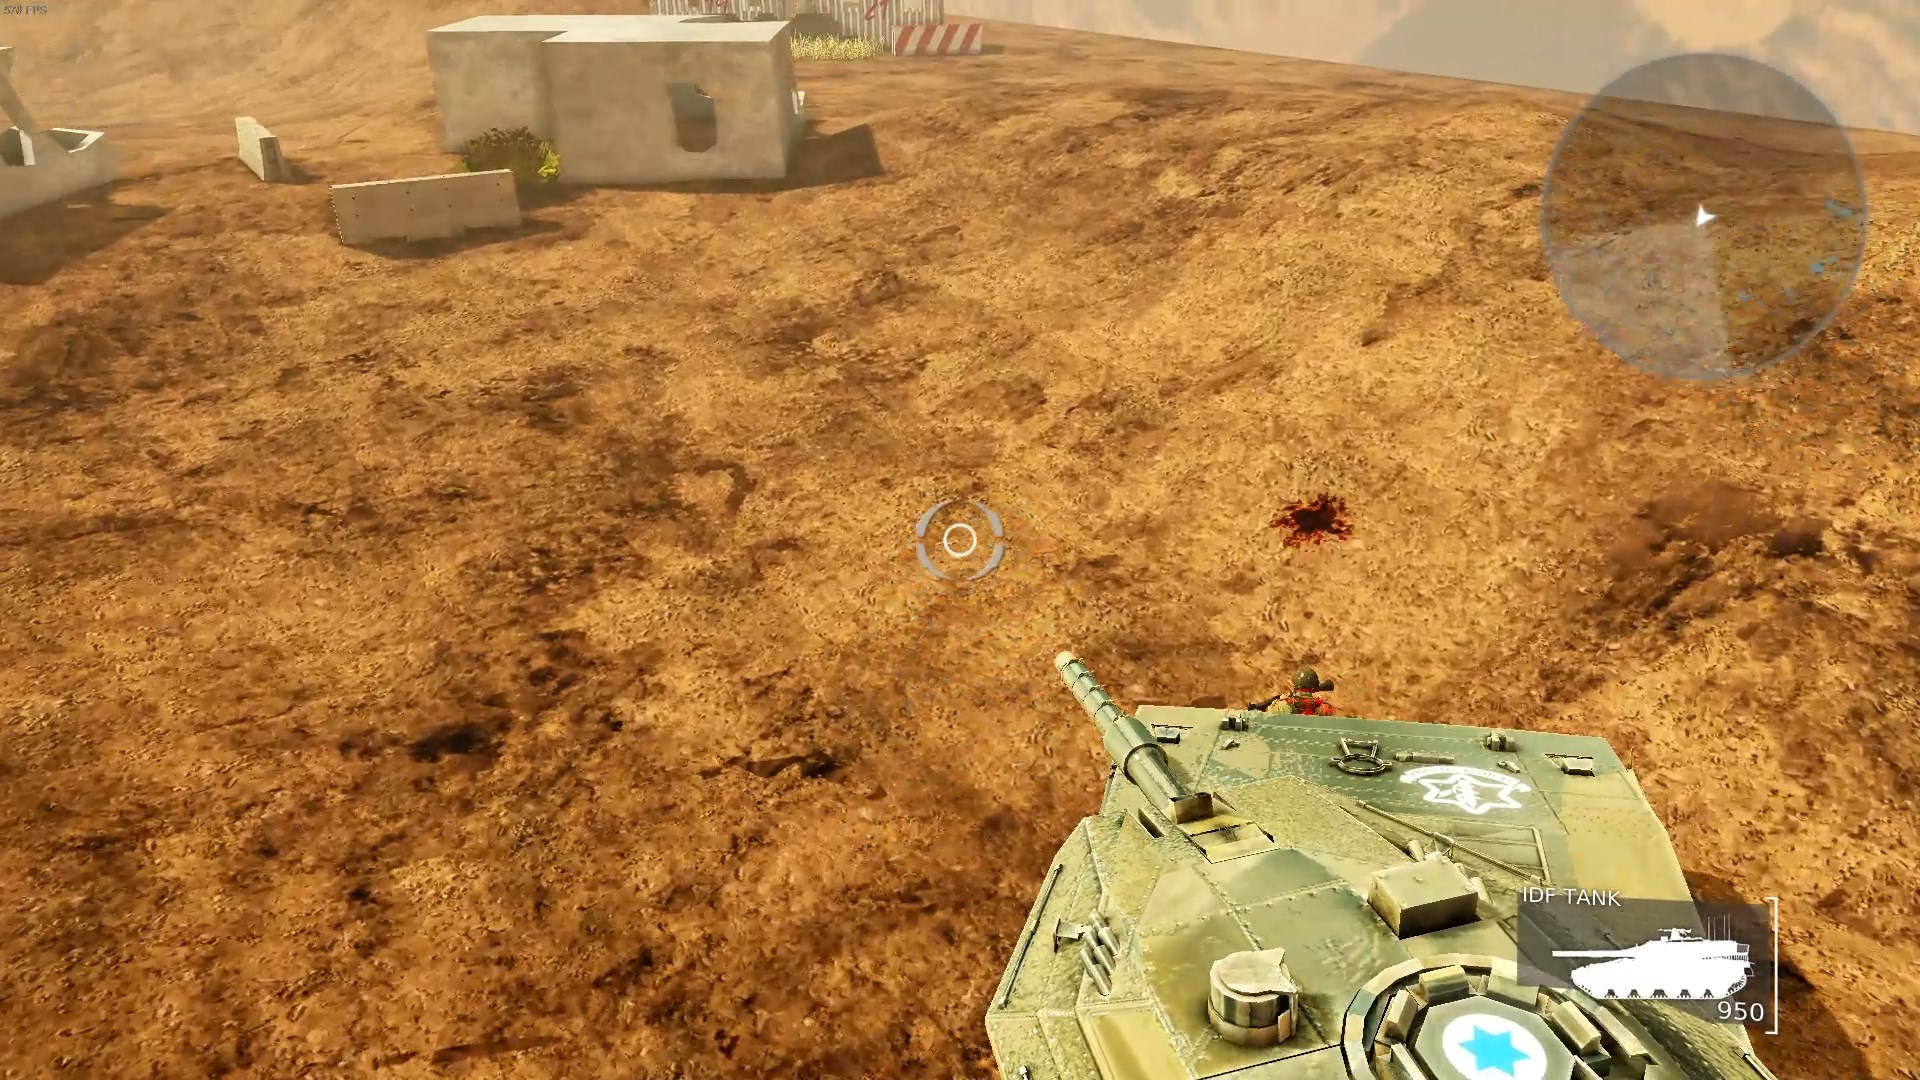 Once you destroy all the tanks you’ll have to take out several helicopters and infantry carring rapid-fire rocket launchers. With your main gun’s arc the helis are more difficult to hit than the tanks, but the real threat are the infantry, which are small, fast, and difficult to hit. They still refill your health when killed though, and if you’re having real trouble targeting them, you can also just run them over.
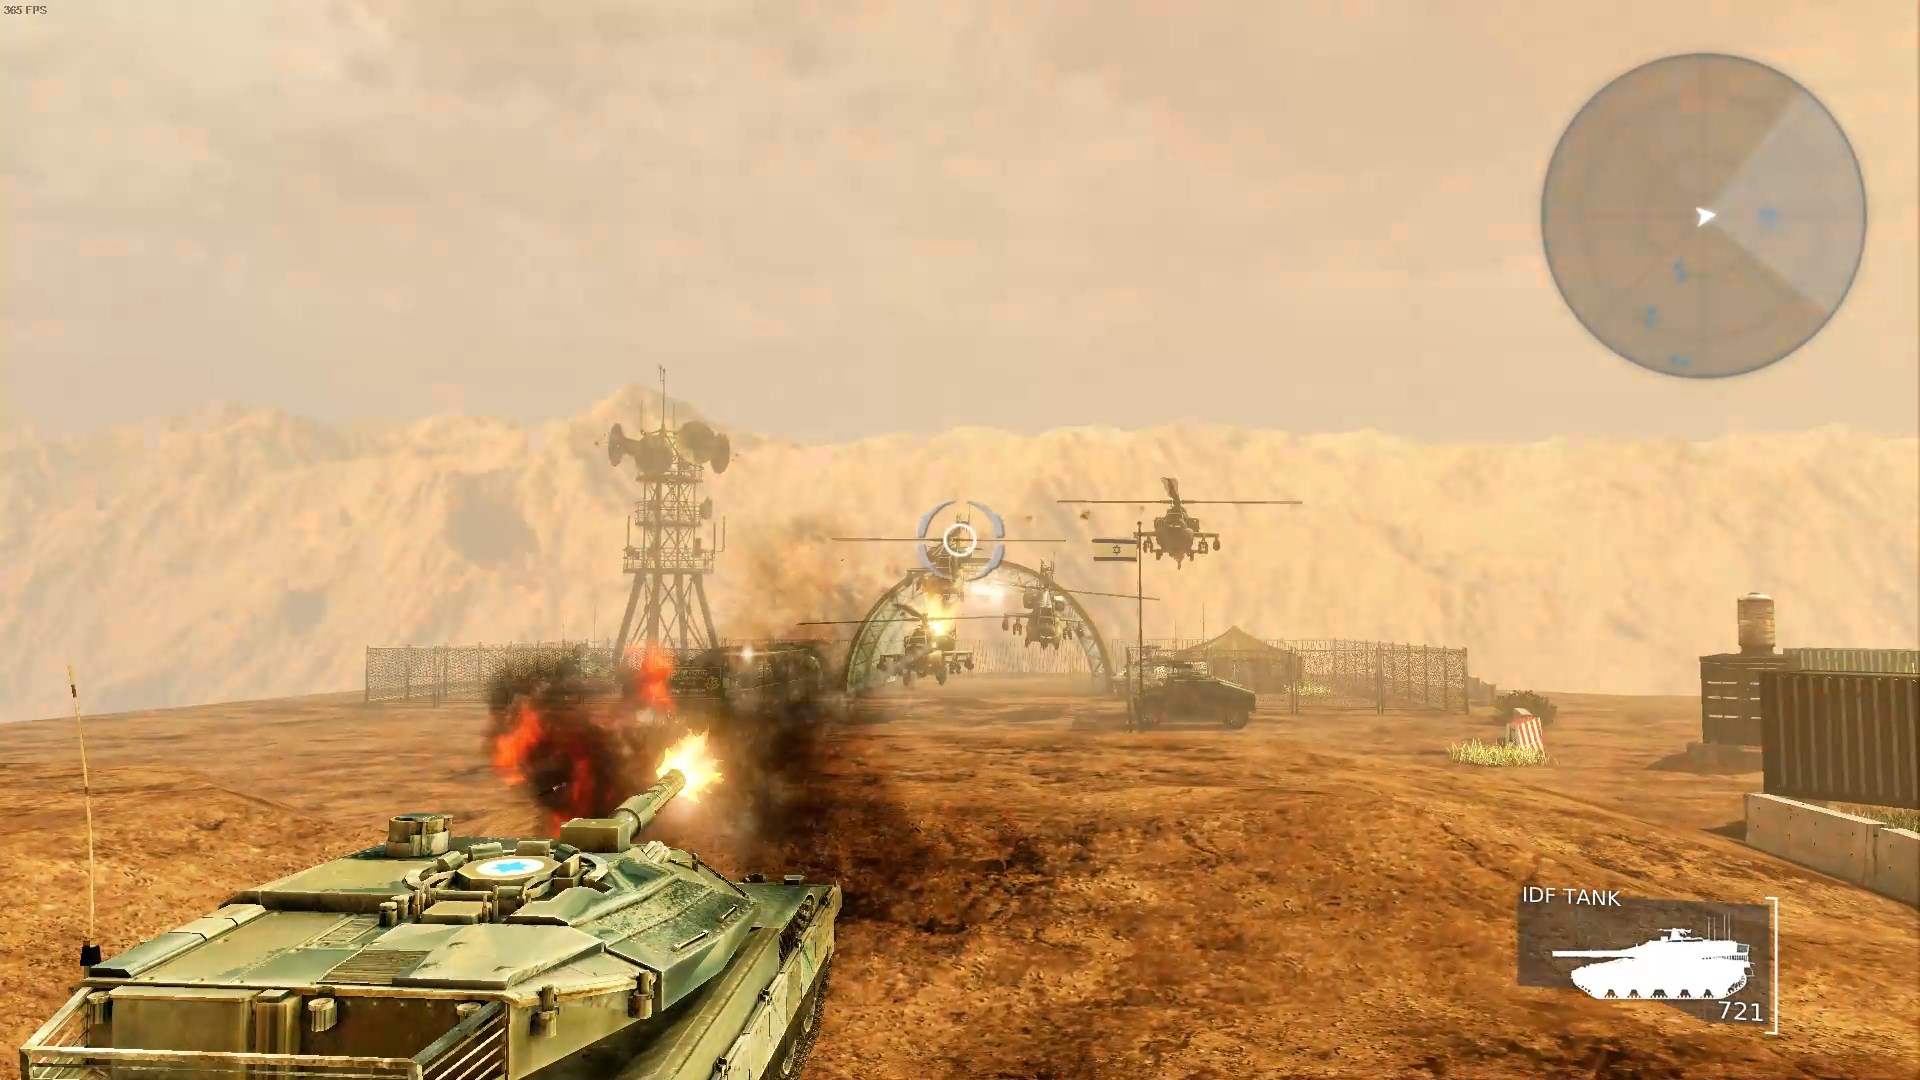 Because you’re limited in how high you can shoot, the helis are best engaged at a distance rather than trying to shoot them from below. Their AI is a little wonky so sometimes situations like this happen where they get stuck on each other. They’re easy to target like this but they can also all shoot you at the same time!
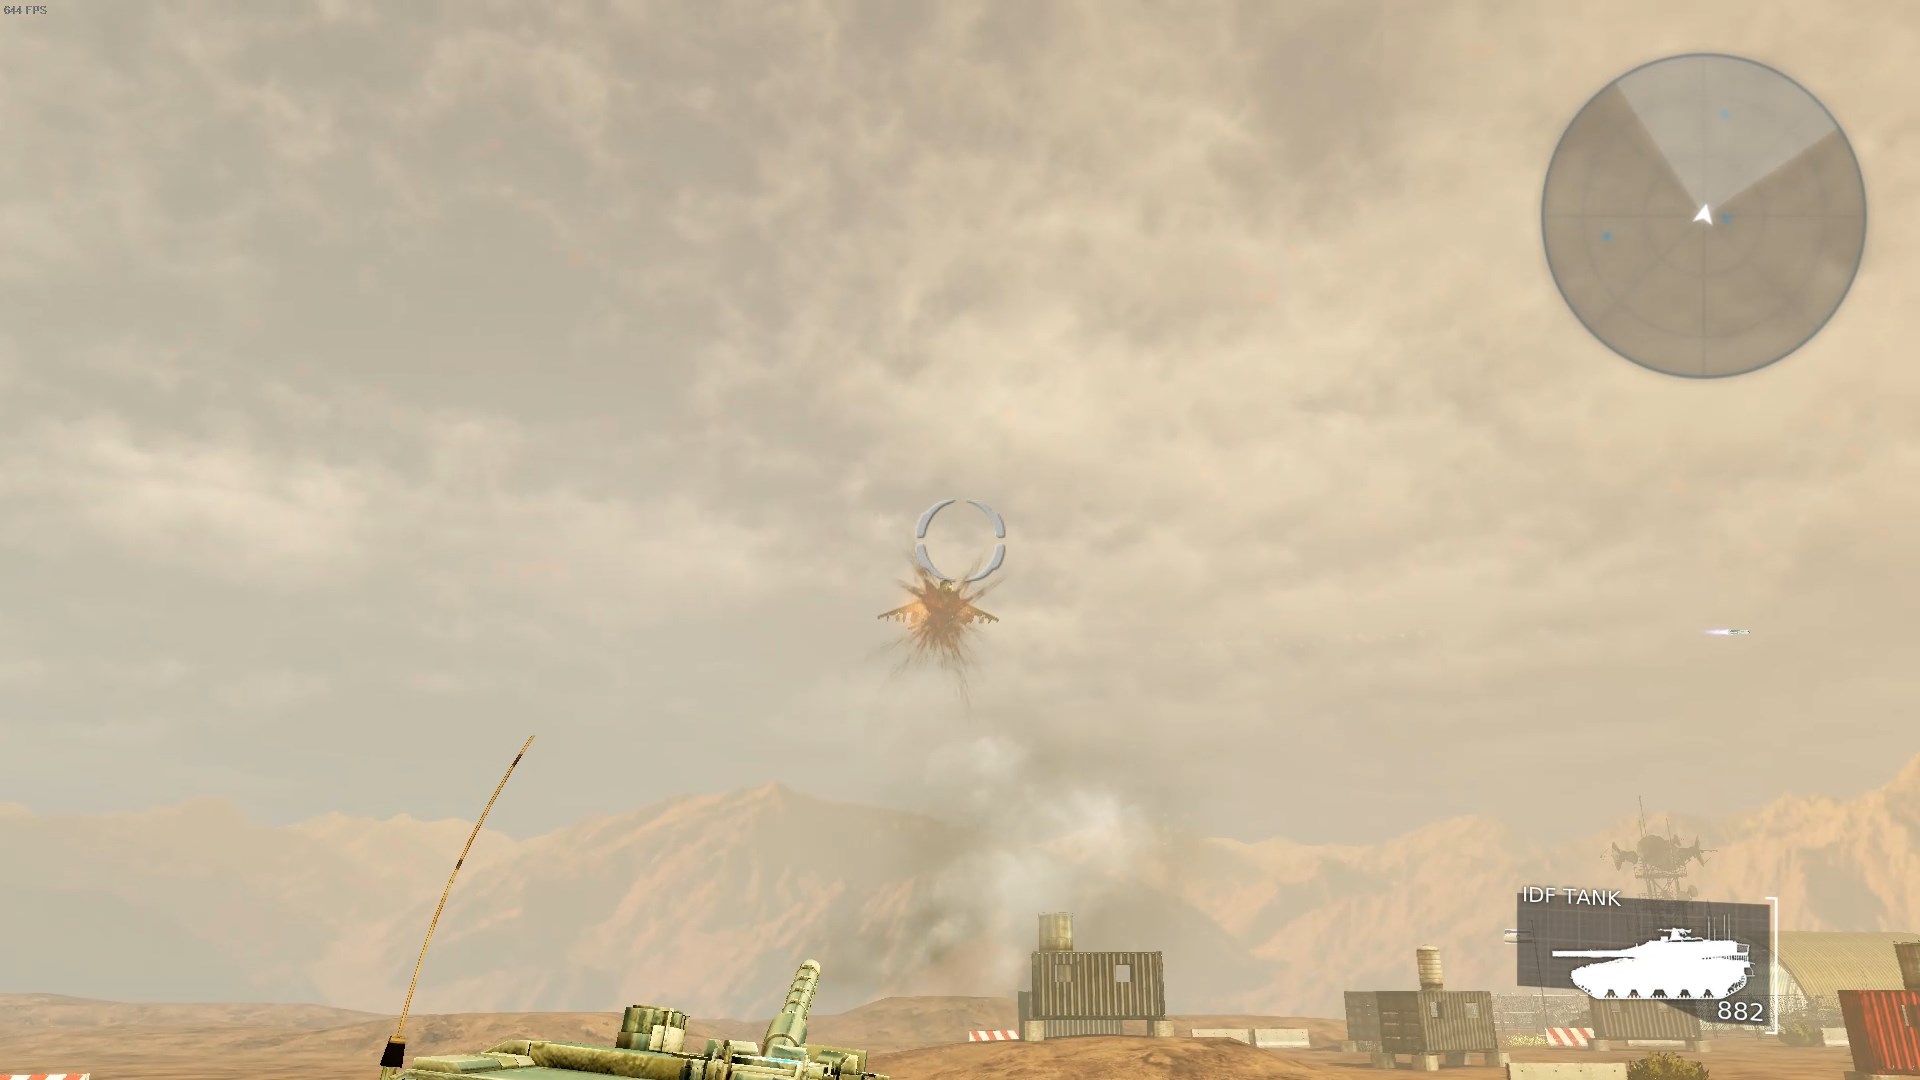 After you destroy the helicopters you have to take out three VTOLs. This wave is the easiest of the three as the VTOLs don’t move around as much as the helicopters do so are easier to target. You can pretty much just stay still once you’ve found the right firing angle and just shoot them down in turn.
Mission 8: Ins Lahav Warship
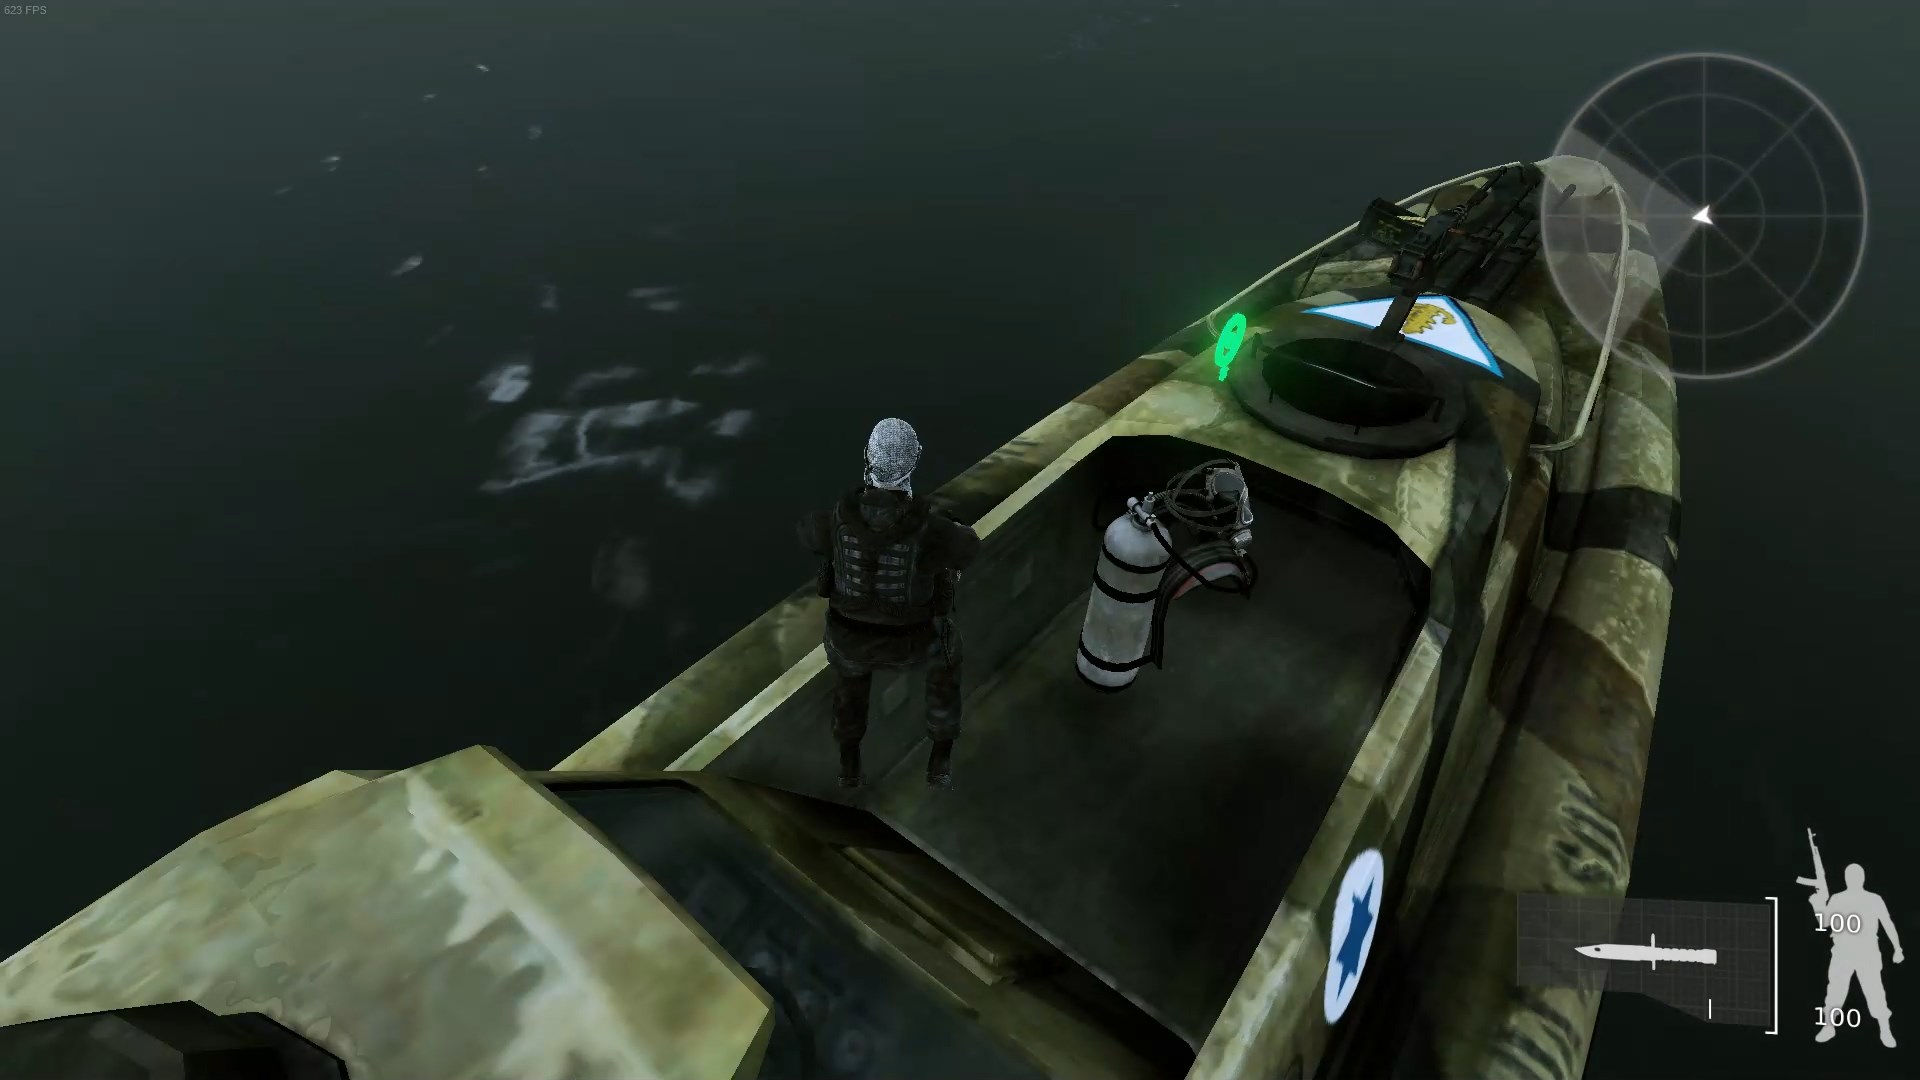 You start this level completely unarmed except for your knife, so the first thing you should do is grab the armor on the boat nearby so that you have a little protection if a soldier sees you before you get a weapon proper. Once you grab the armor, swim to the next boat that has the scuba gear on it. The scuba gear will allow you to stay underwater indefinitely (without it you’ll eventually drown) and gives you a silenced pistol.
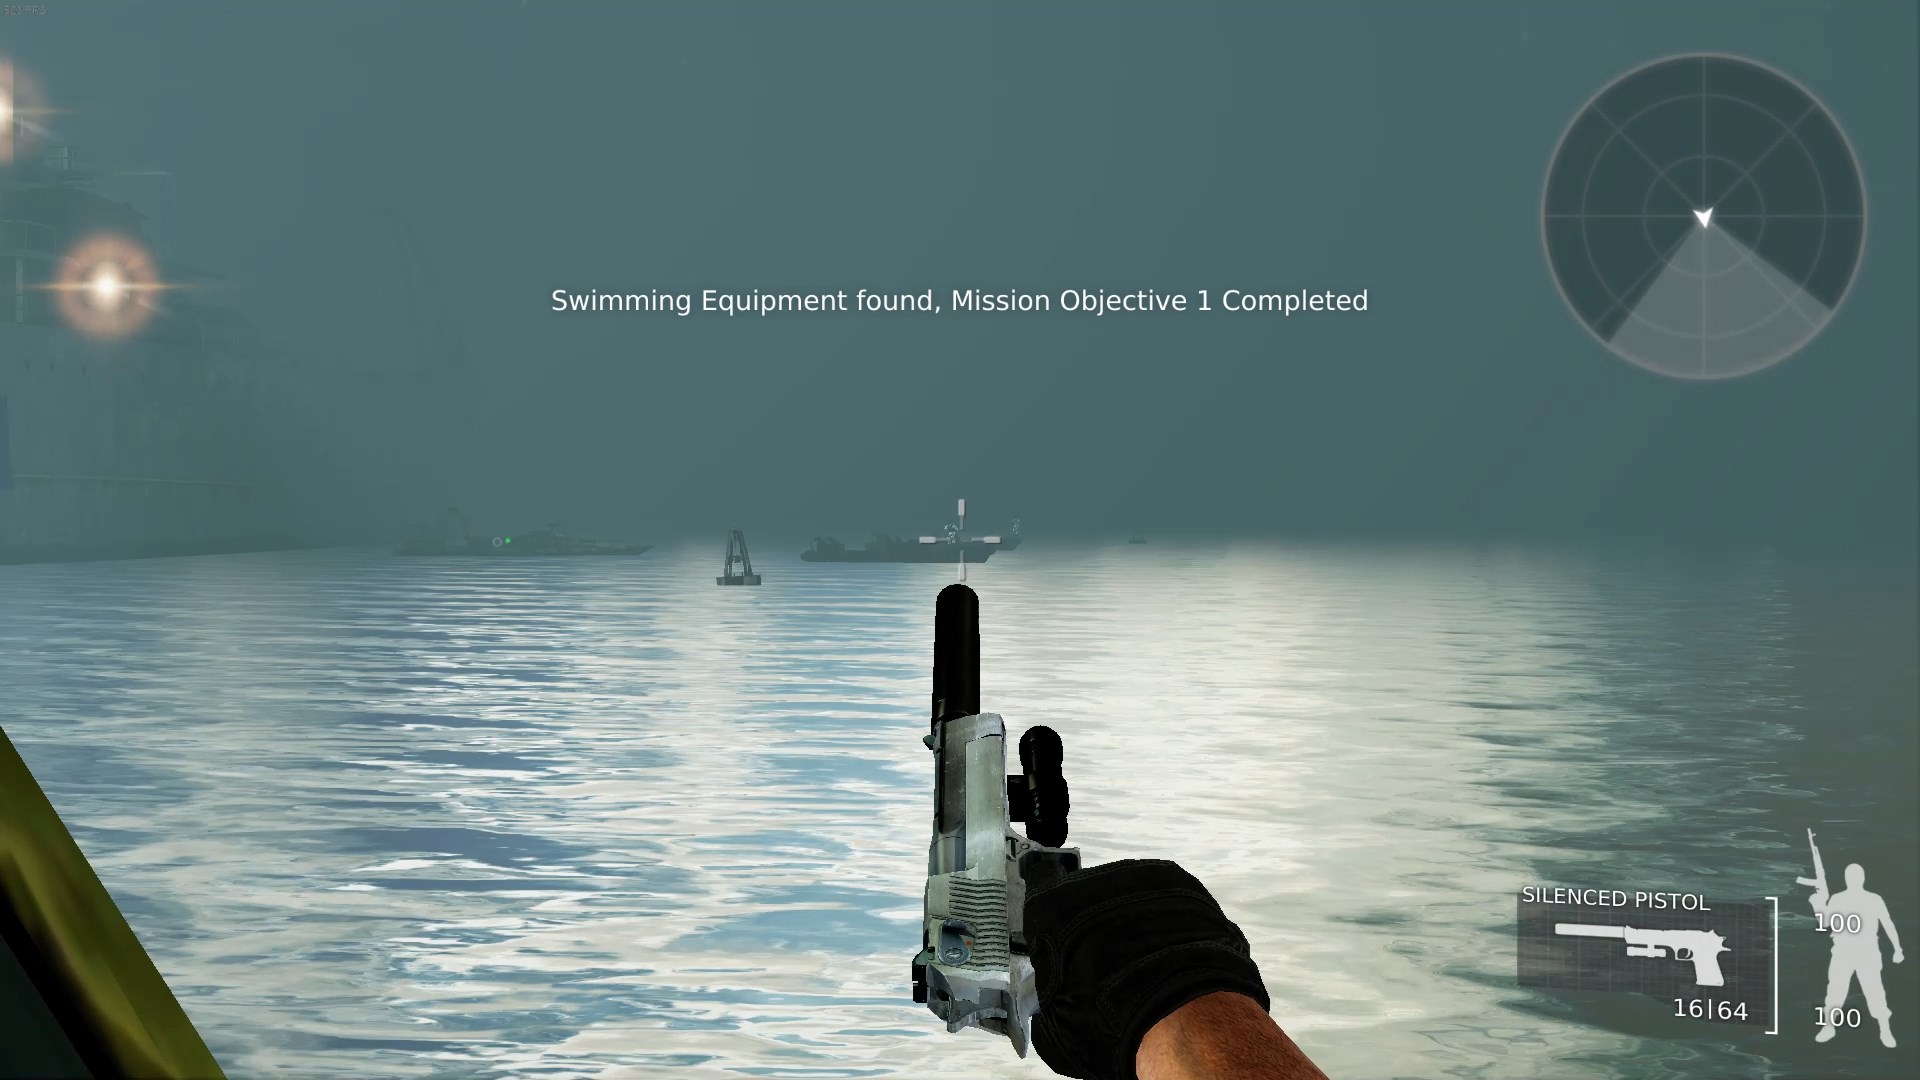 Immediately look to the south and take out the soldiers in white gear. They’re far away but they’re very good shots so you want to take them out as soon as possible rather than get torn up trying to get closer.
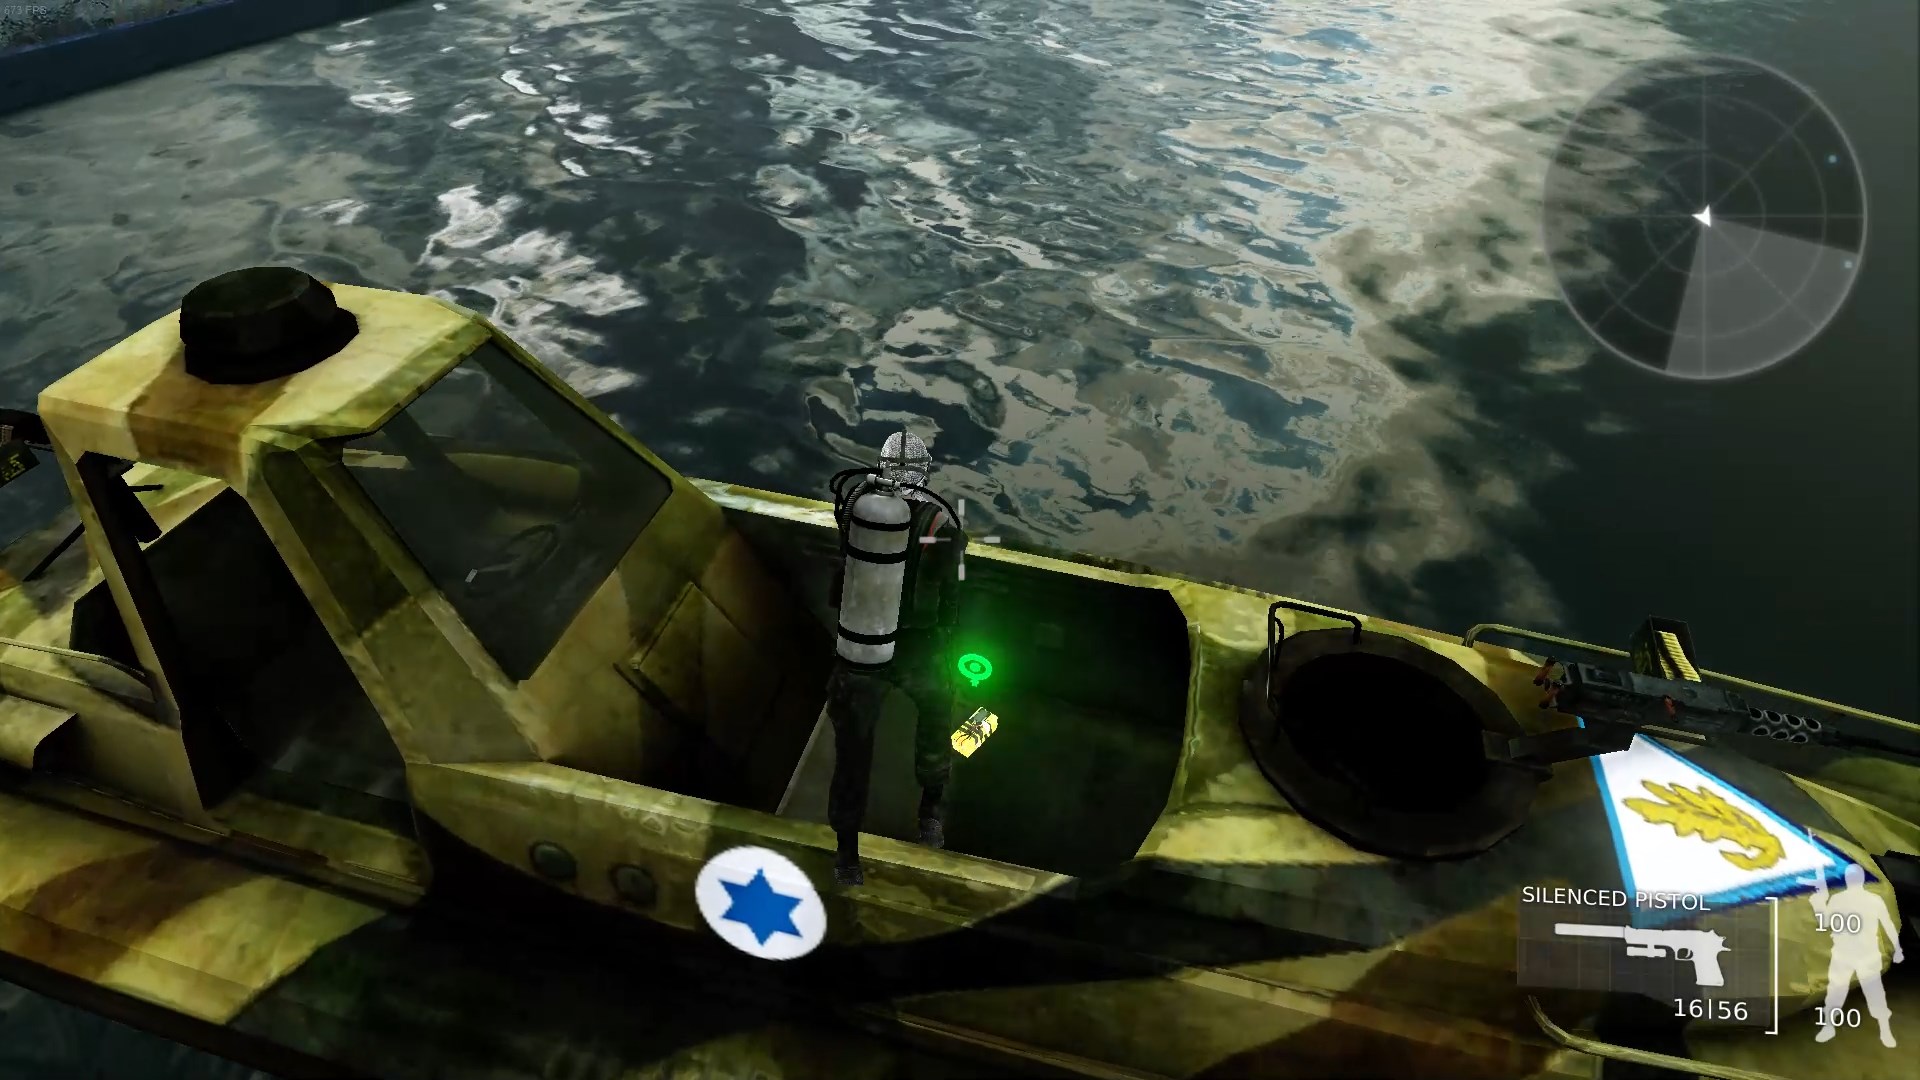 Next to the boat that had the soldiers is another with some C4 explosive charges. Pick them up, then swim back to the north end of the boat and plant them on the big “1” on the side of the ship.
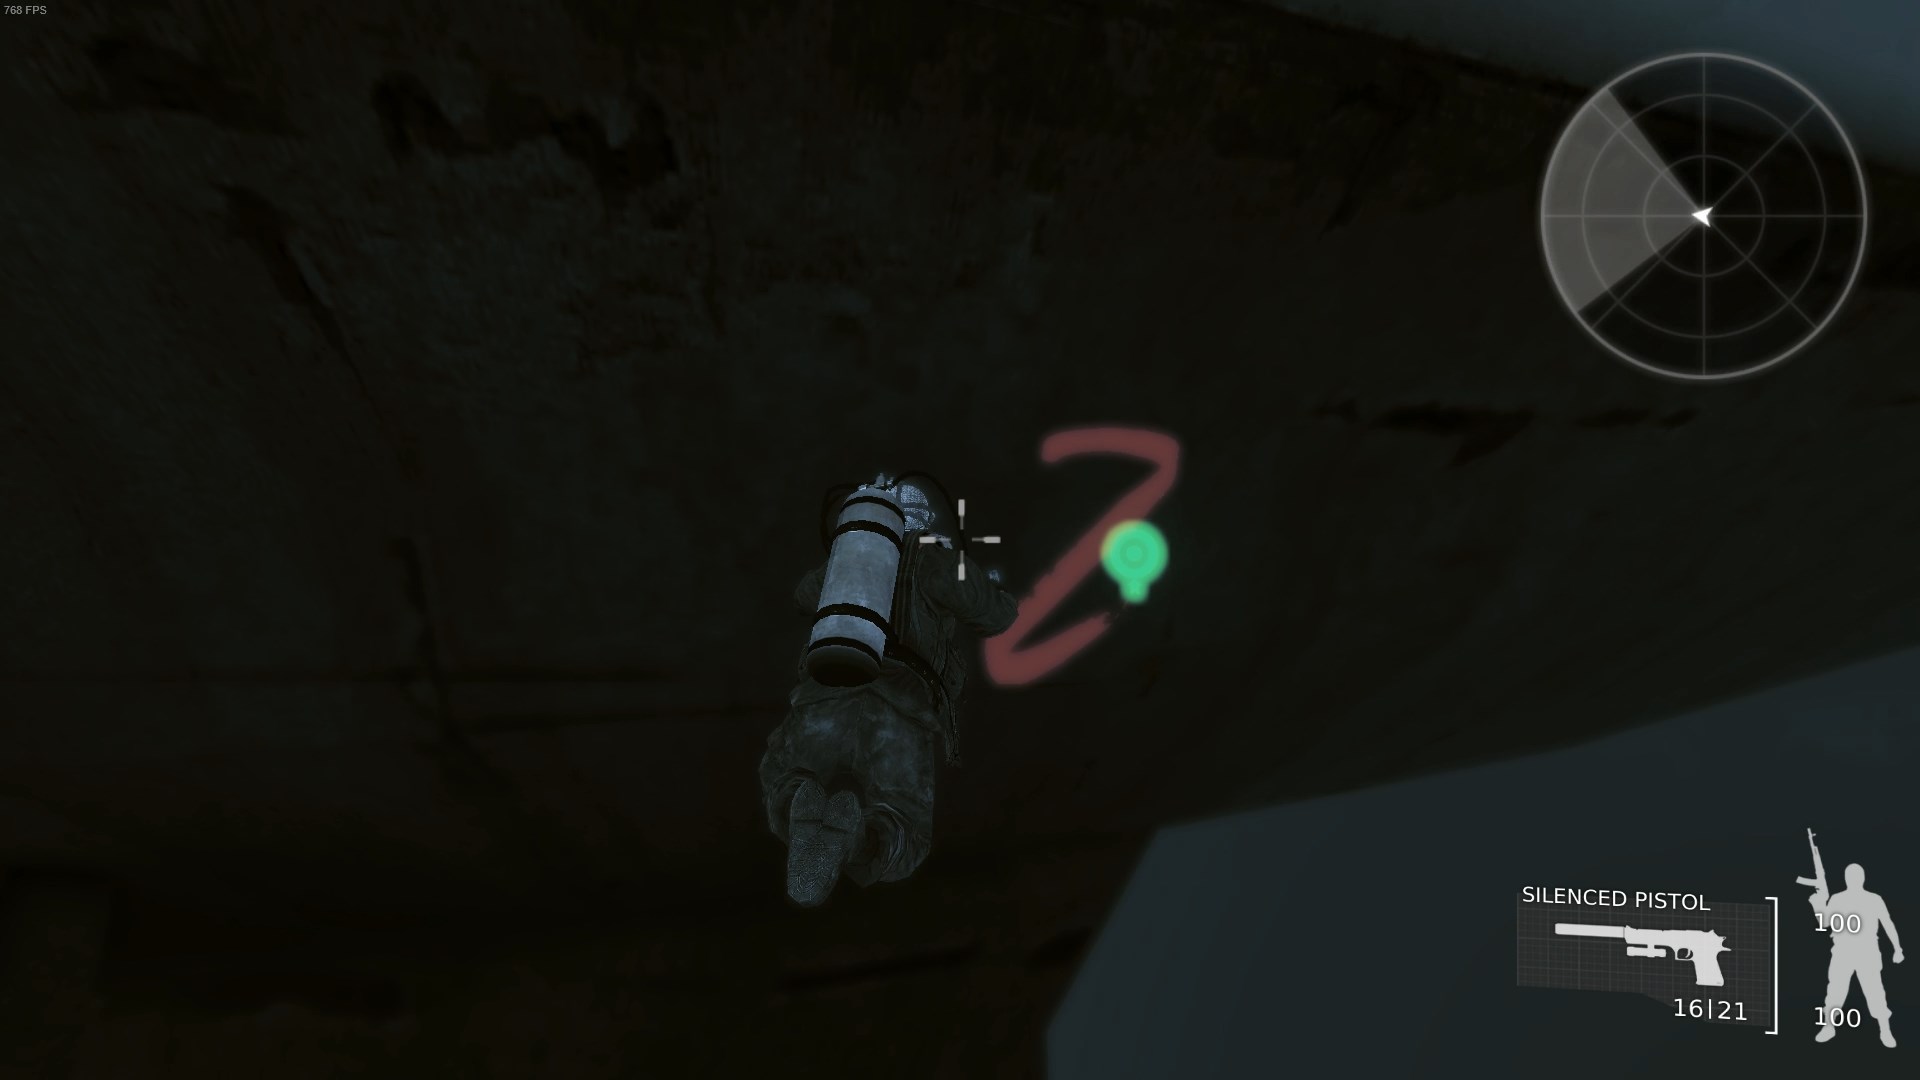 The other two C4 charges are on the other side of the ship, so dive beneath it and surface on the other side. Take out as many soldiers as you can from the water, then swim south–the boat with the second C4 charge is near the middle of the ship. Pick it up, swim back north and plant it on the “2” on the end of the ship.
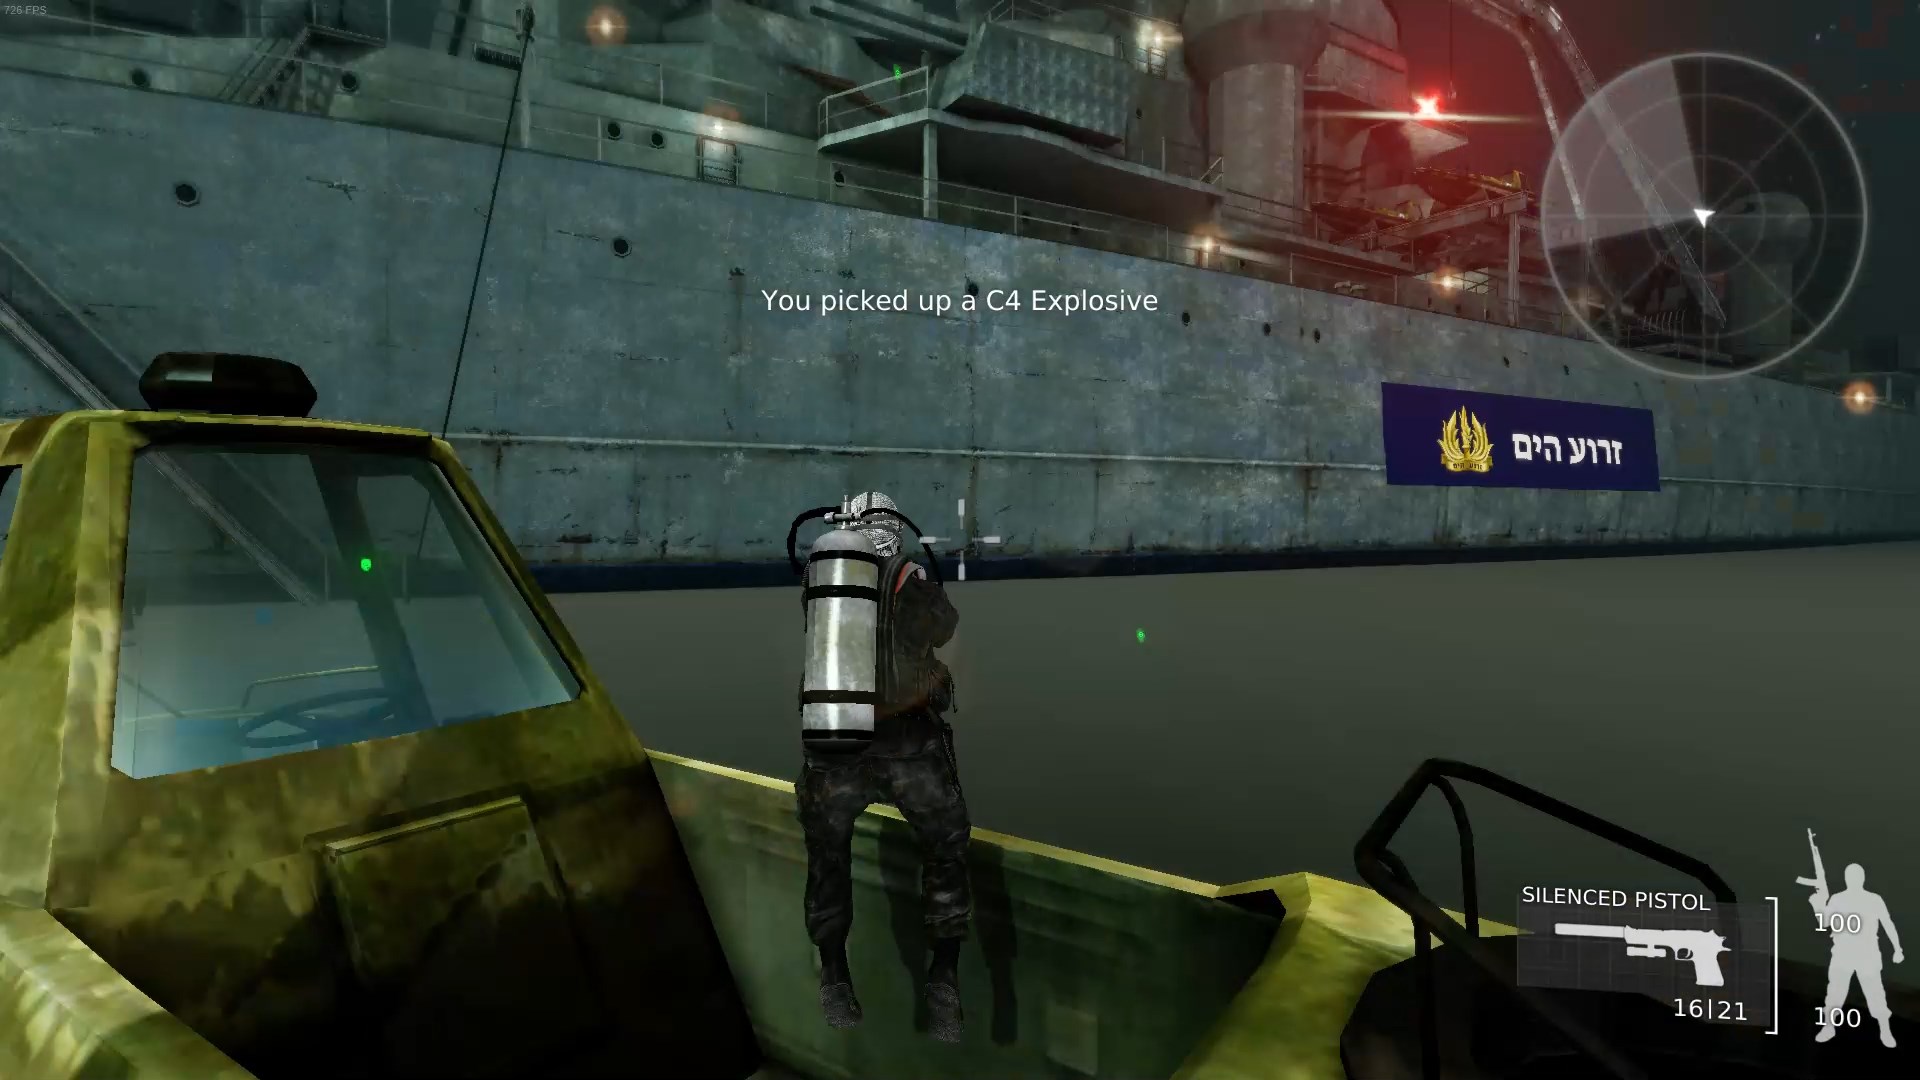 The final C4 charge is on a boat right near the stairs leading up to the ship. Pick it up, plant it on the “3” at the south end of the ship, then head back to the stairs to board the ship proper.
After the cutscene you’ll take off your dive suit. DON’T FALL OFF THE SHIP! The stairs on the side are just decorative and too steep for Ahmad to climb back up. If you fall off your only solution is to quit and restart the game from the last checkpoint.
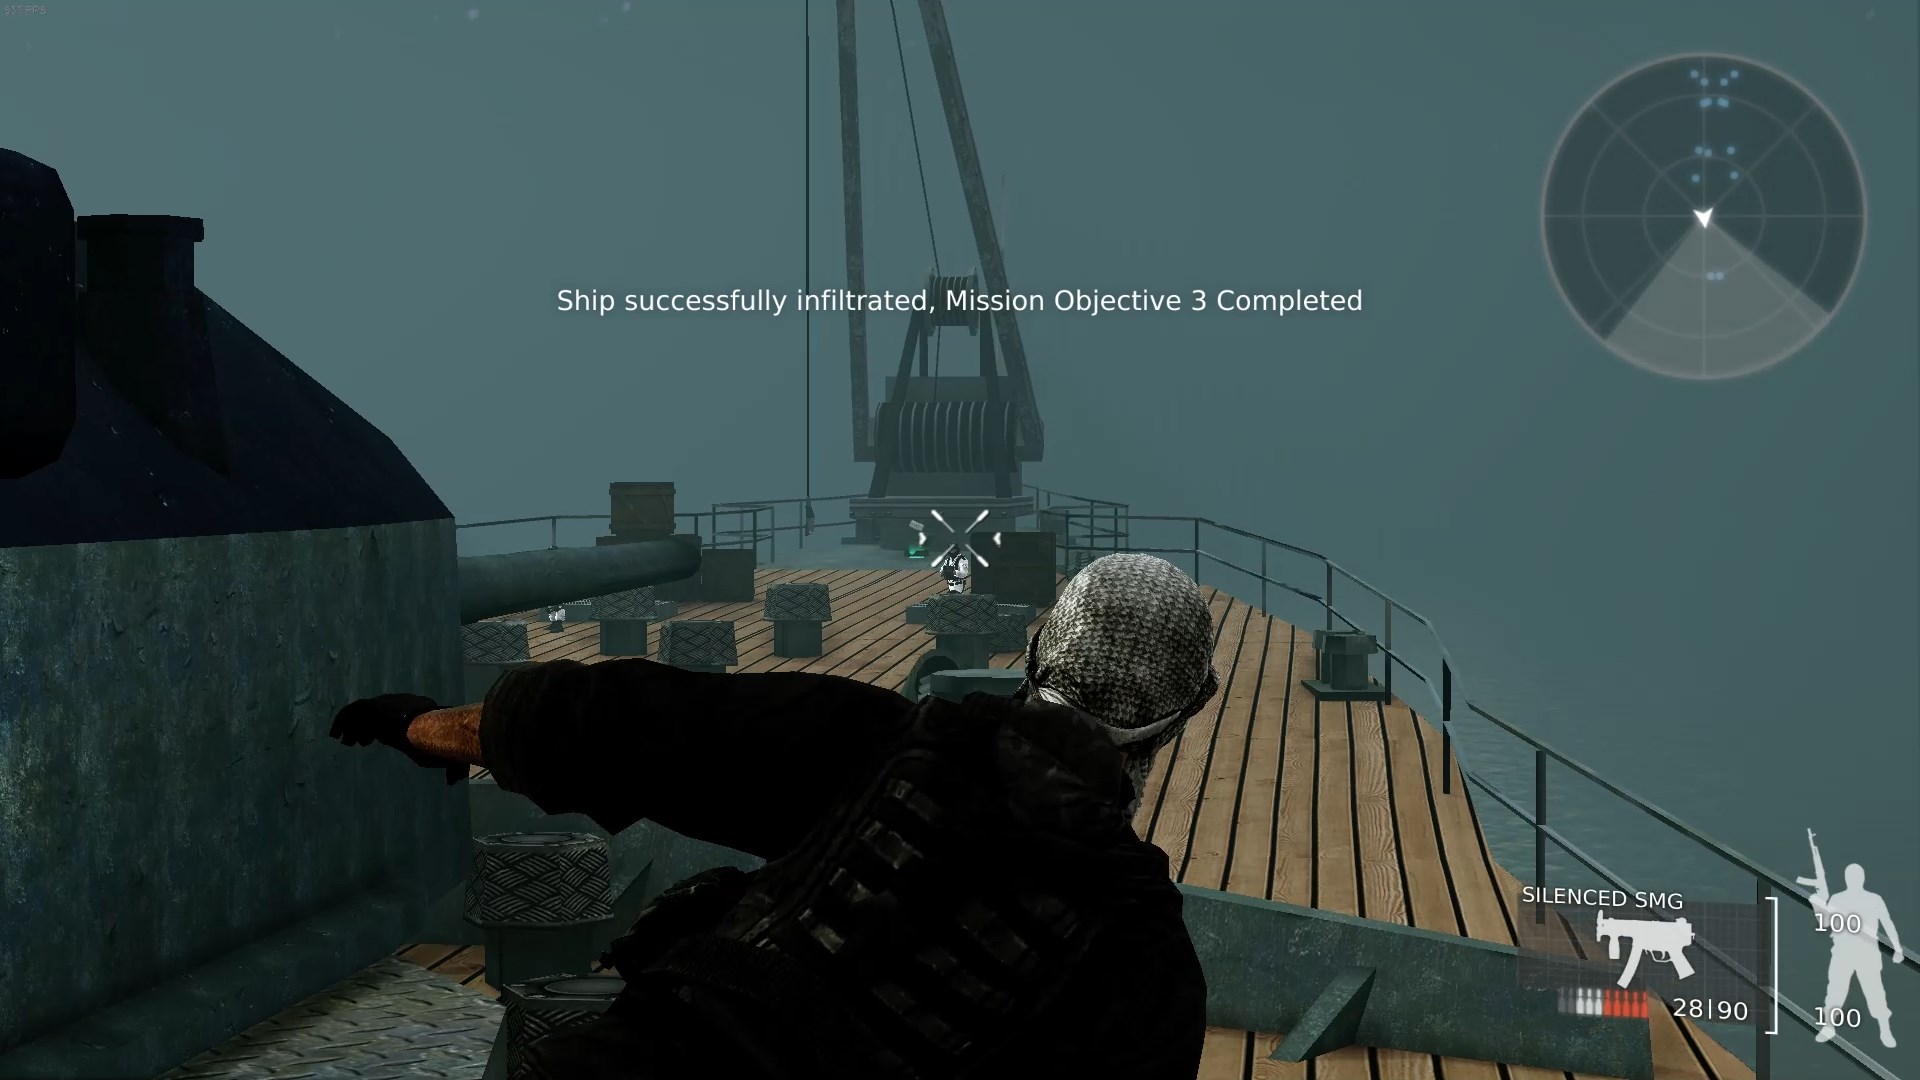 There’s a medkit at the stern of the ship on the deck, but it’s guarded by two soldiers in white. They will tear through your health rapidly if you try to face them head-on, so bullet time jump around the side of the cannon so that you can kill them quickly. You can also take cover behind the low wall in front of you.
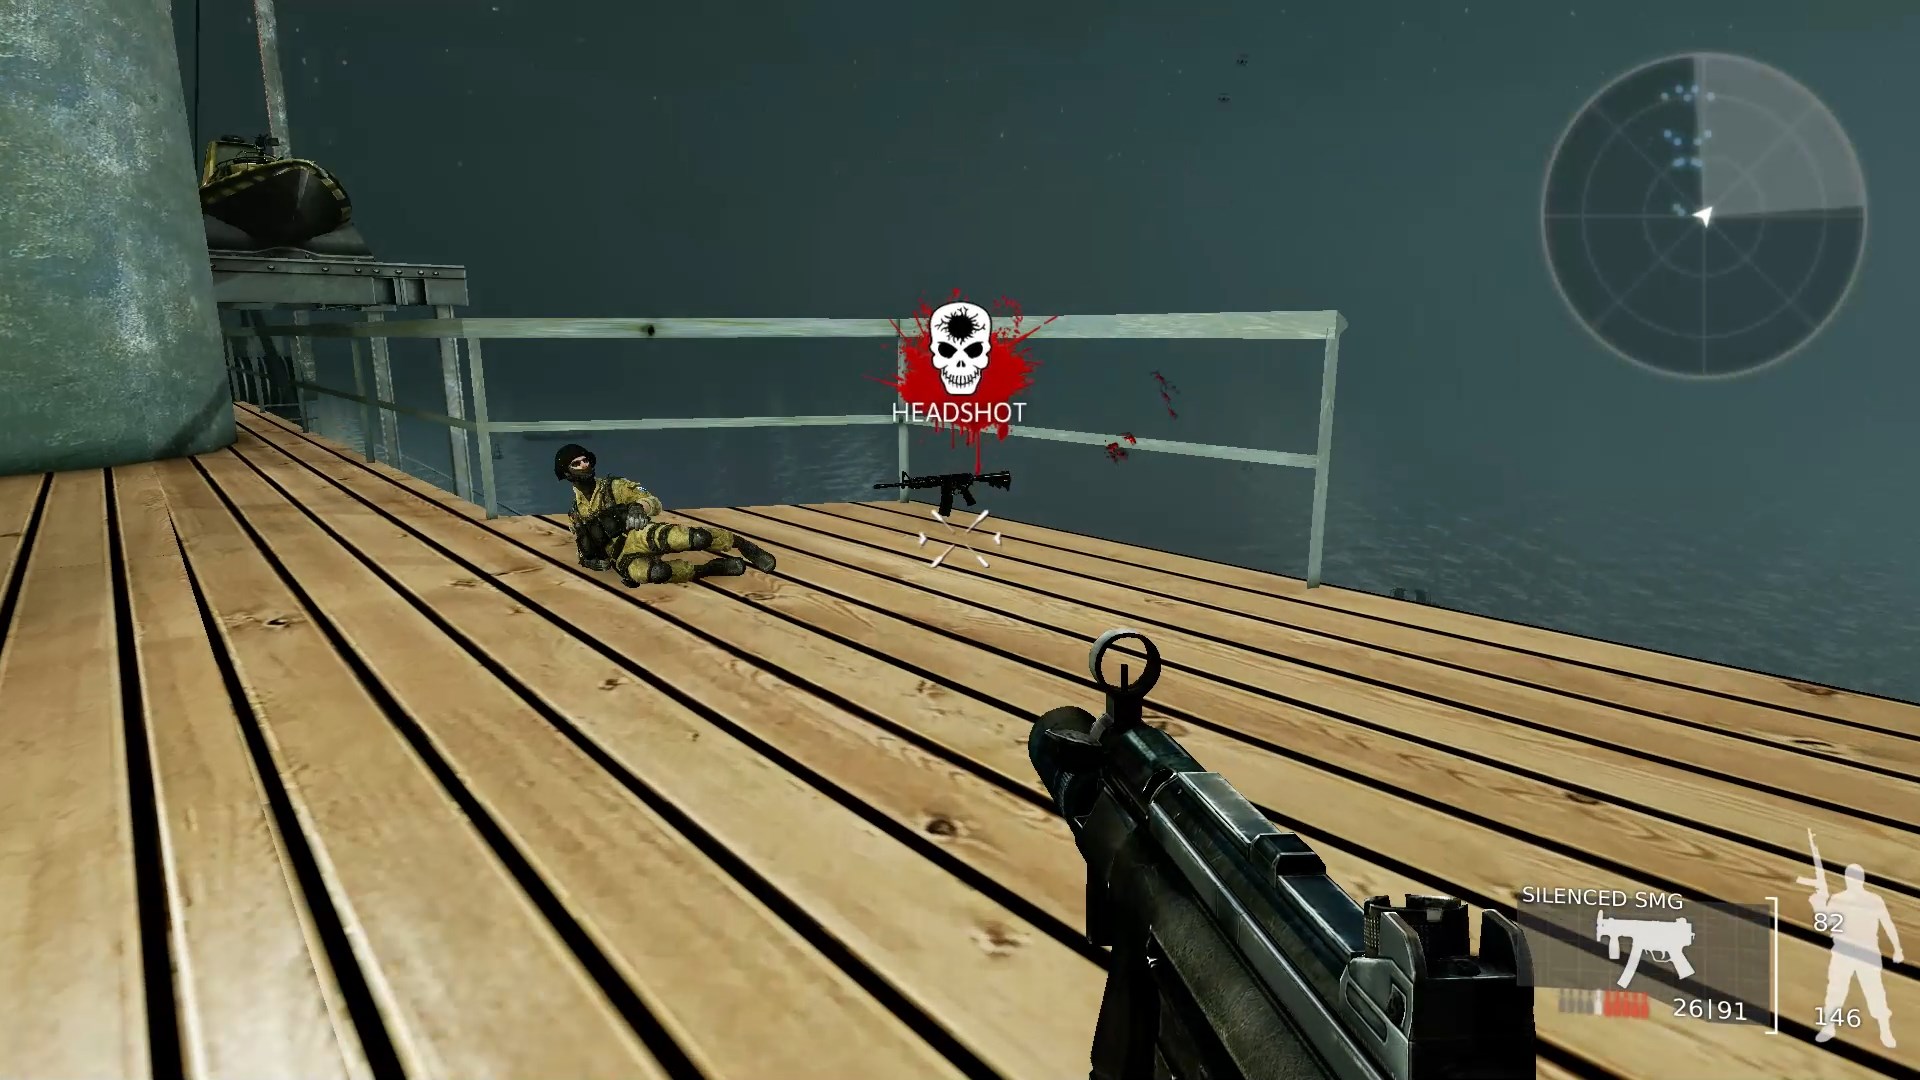 Once you’ve secured the medkit slowly work your way to the stern of the ship. Enemies can and will see you from quite far away and there’s lots of cover. Sticking to the upper decks make it a little easier to see enemies before they can see you. Keep a close eye on the radar and make sure that you don’t miss any soldiers as you move north as you might end up surrounded otherwise.
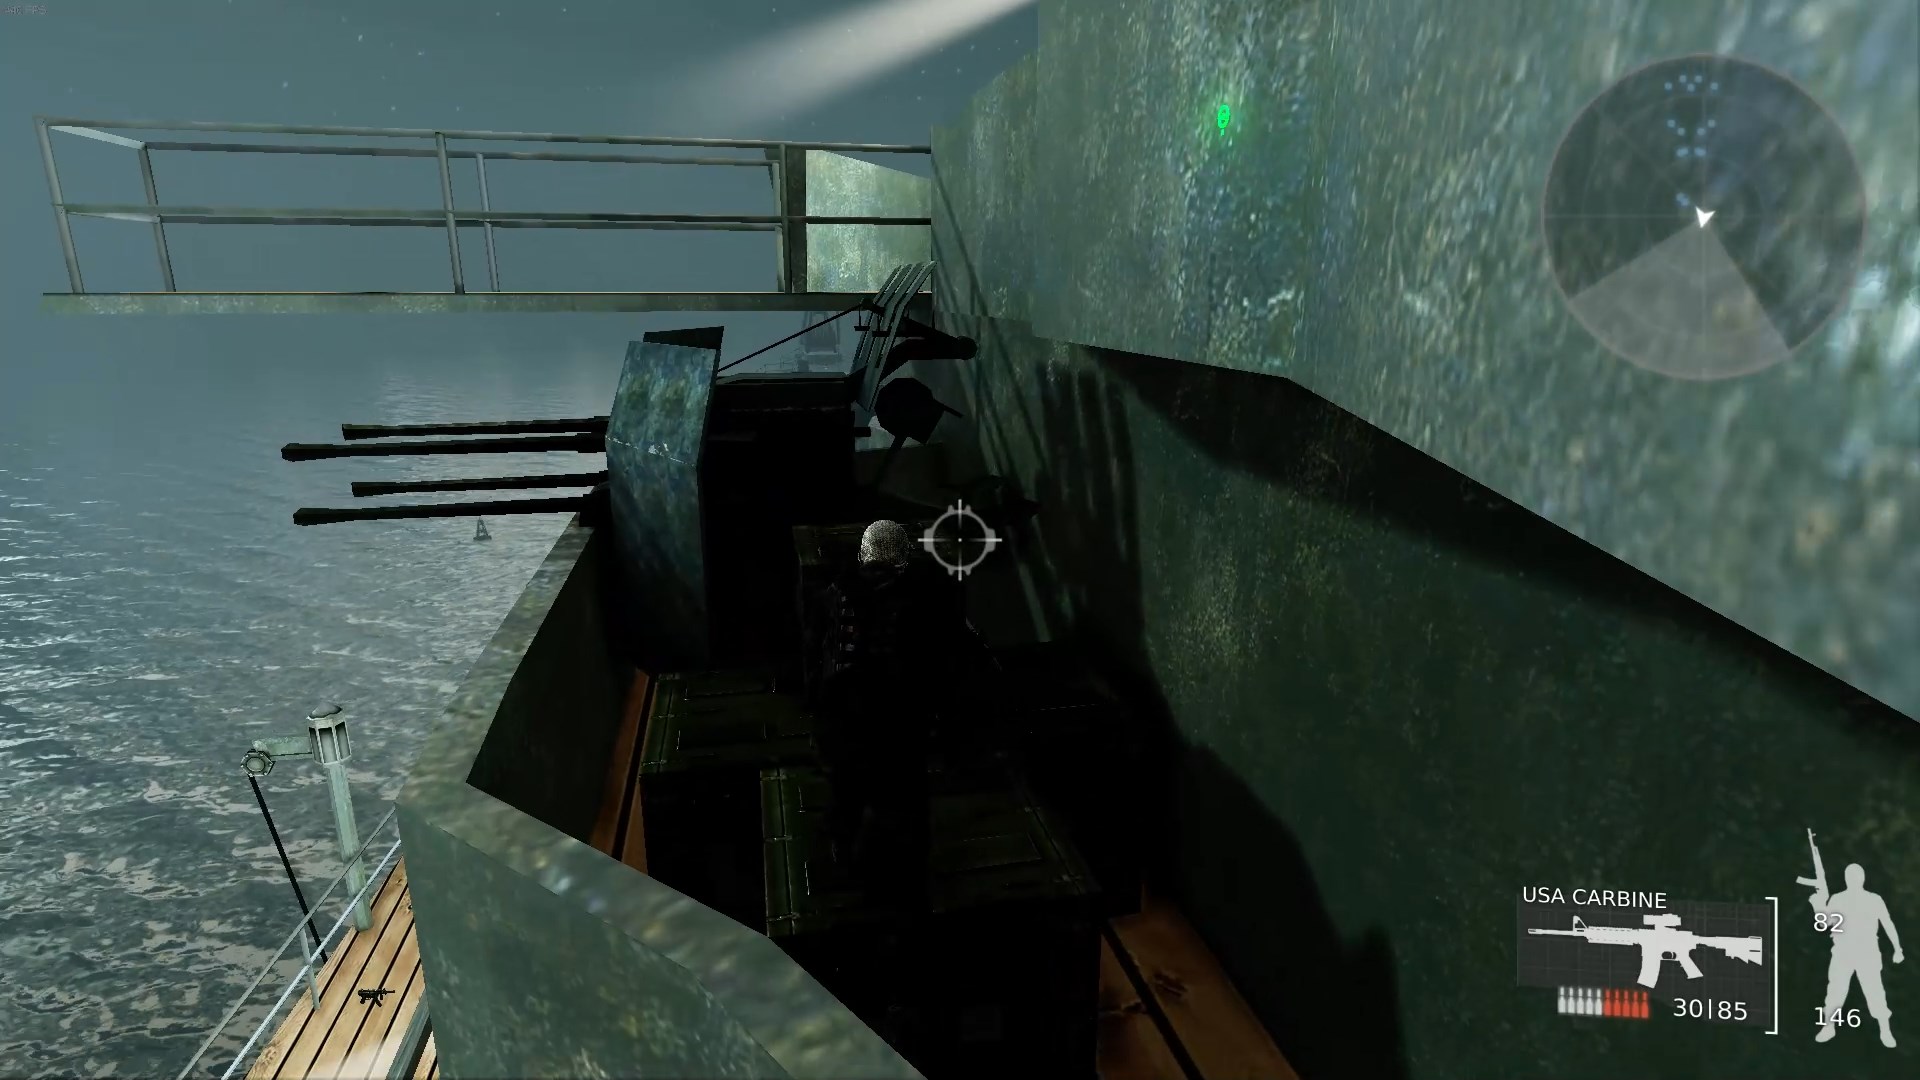 The very top deck can only be reached by climbing up these guns; there’s one on either side of the ship. If you’re having trouble getting over, start a bullet time jump forward, then double-jump over the railing. There’s a blue beret soldier up here with a keycard you’ll need to get into the navy chief’s office, but you won’t be able to use it until you’ve killed all the other soldiers on the level.
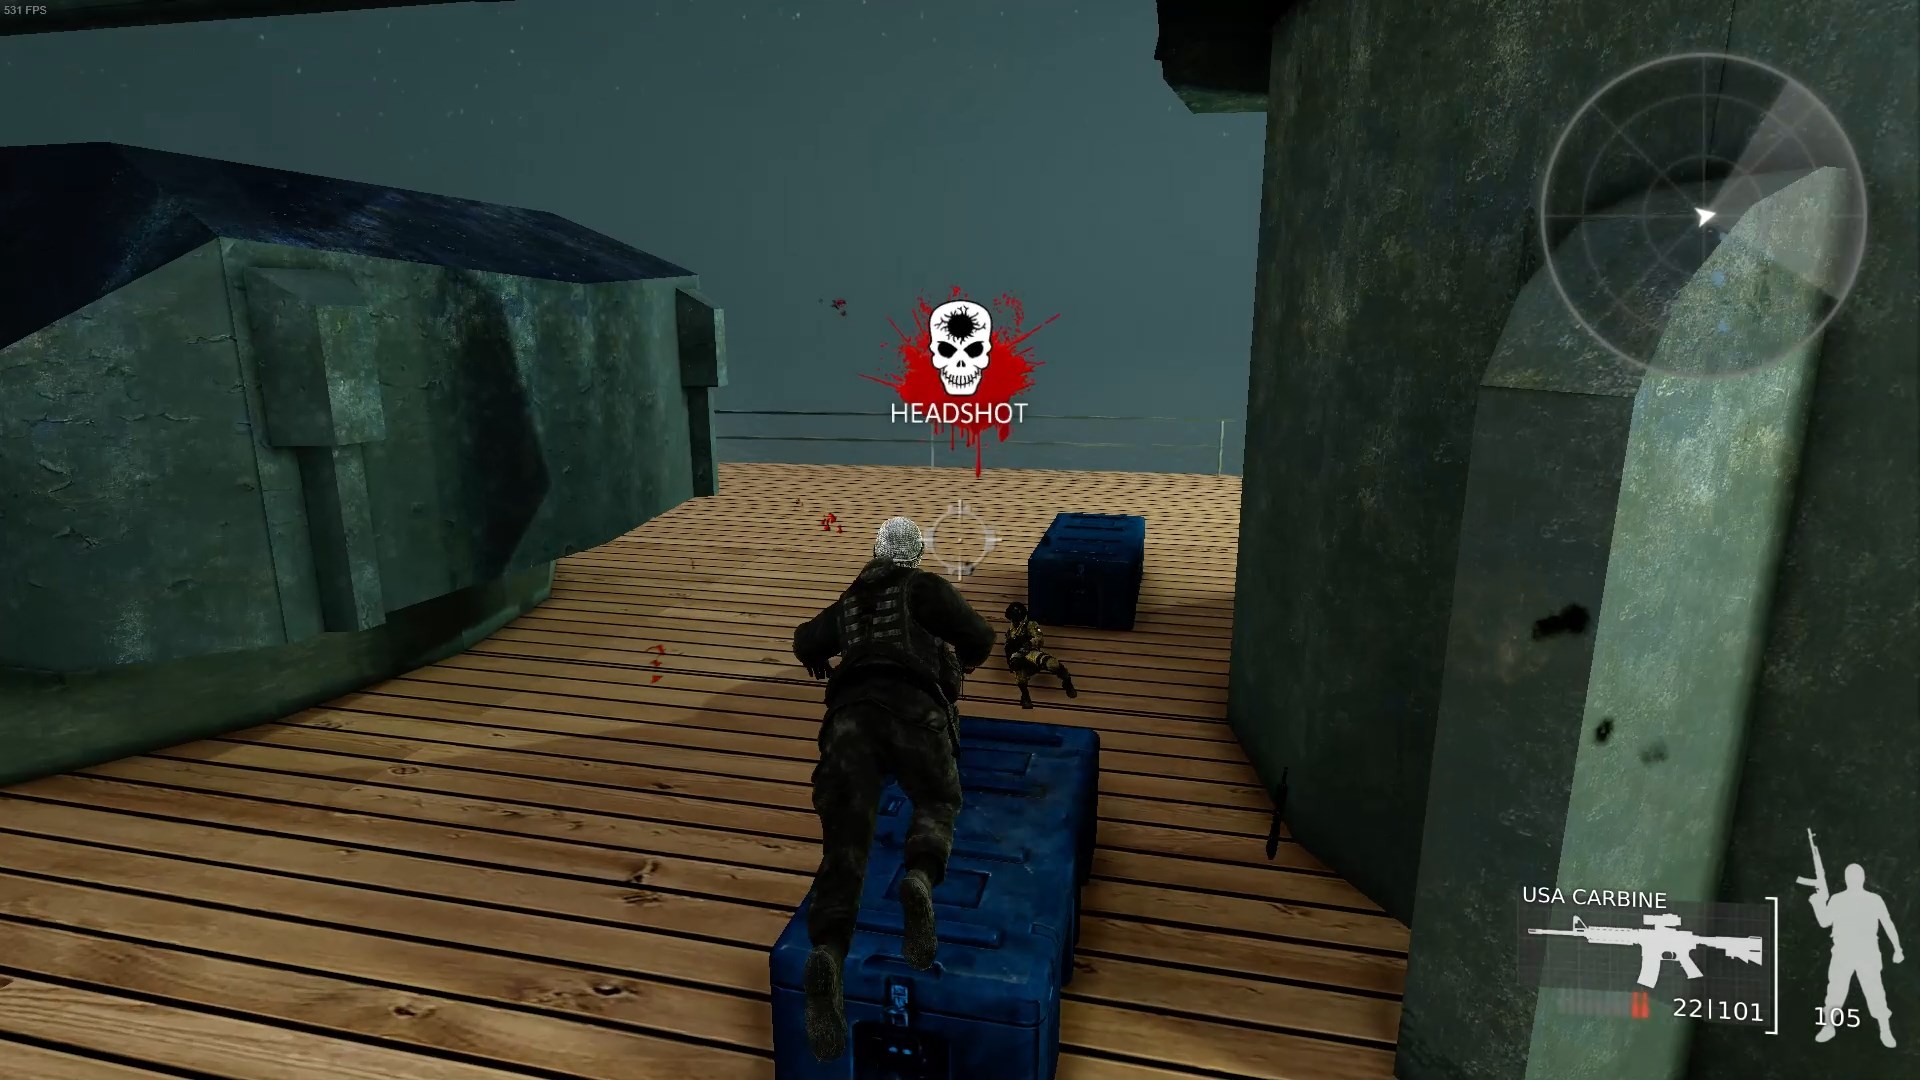 The stern of the ship has several soldiers under very good cover. Make judicious use of bullet time and it’s not too hard, but you definitely don’t want to go charging in or you can get overwhelmed. There’s a set of armor back here too.
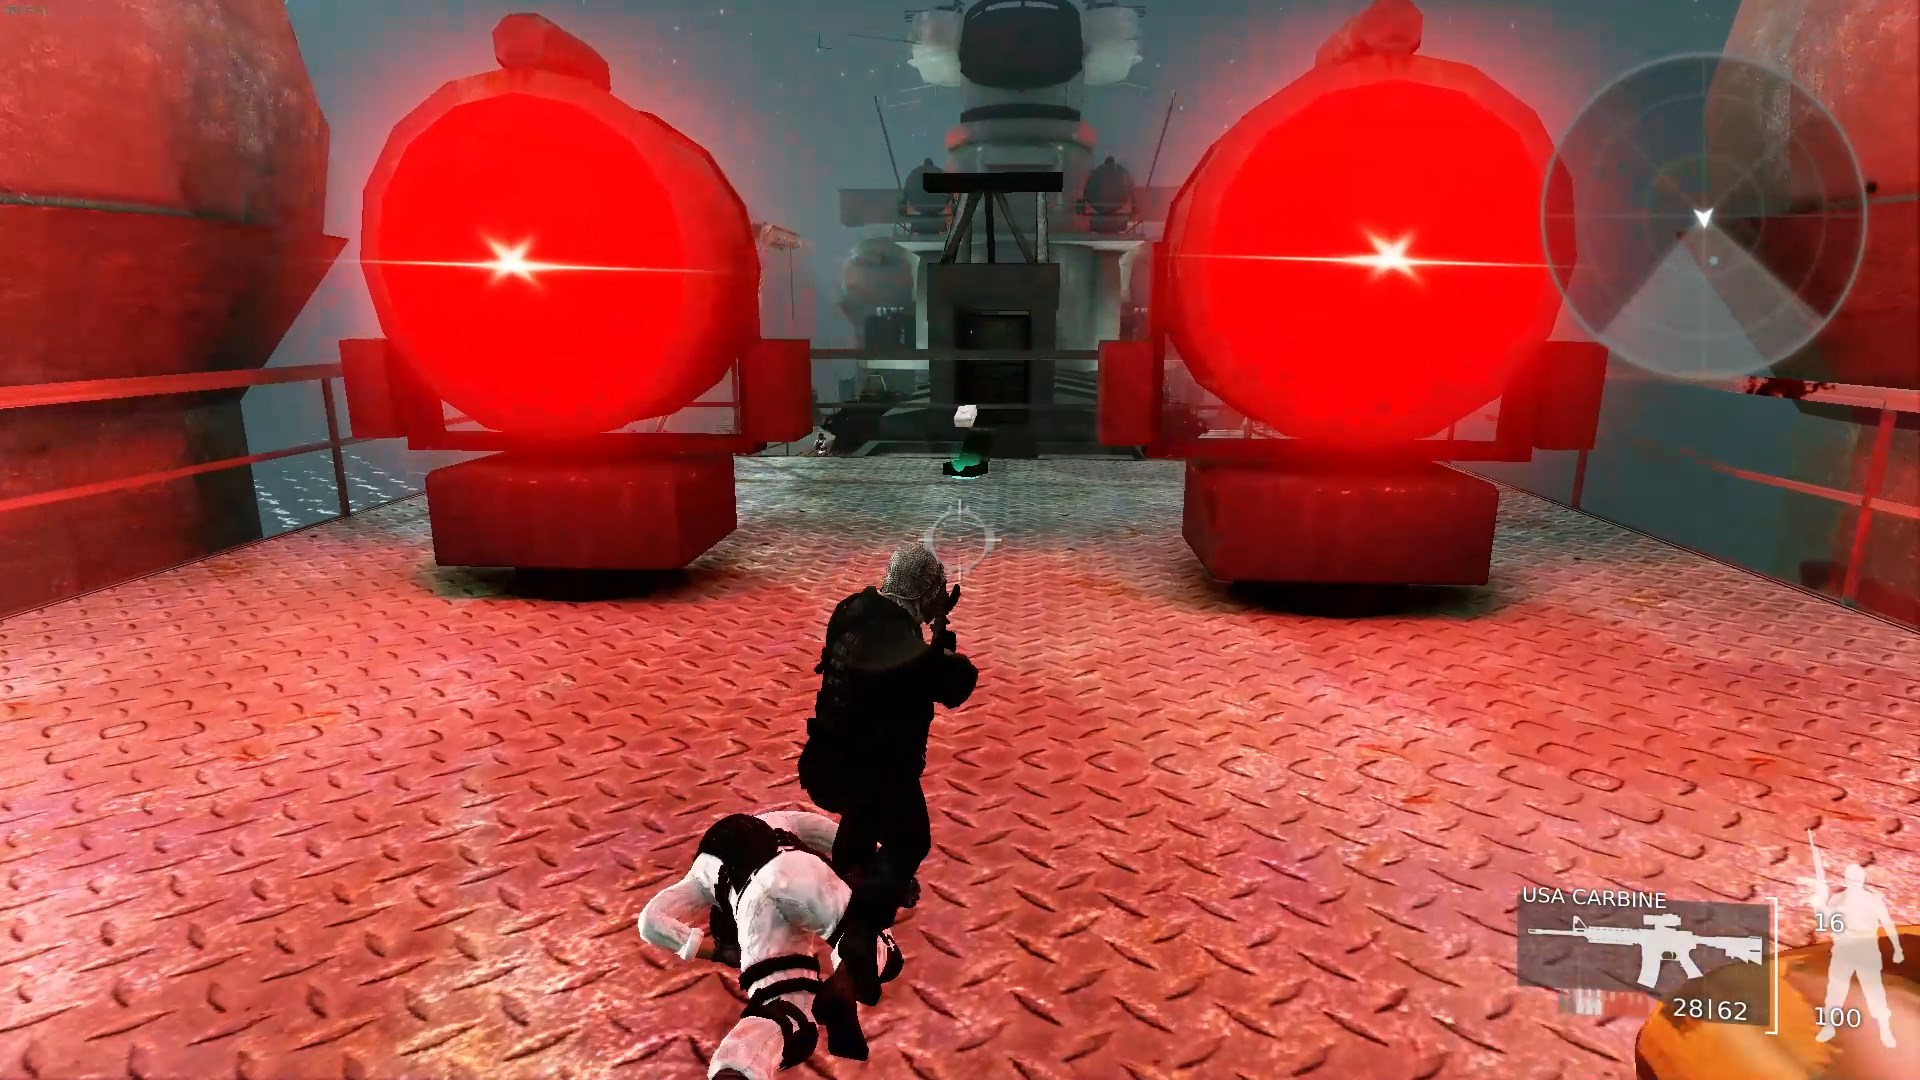 There’s a second medkit on the top deck of the ship near the stern too. It’s guarded by 3 soldiers, two of whom are white-uniformed sniper types so try to take them one at a time and/or lure them away.
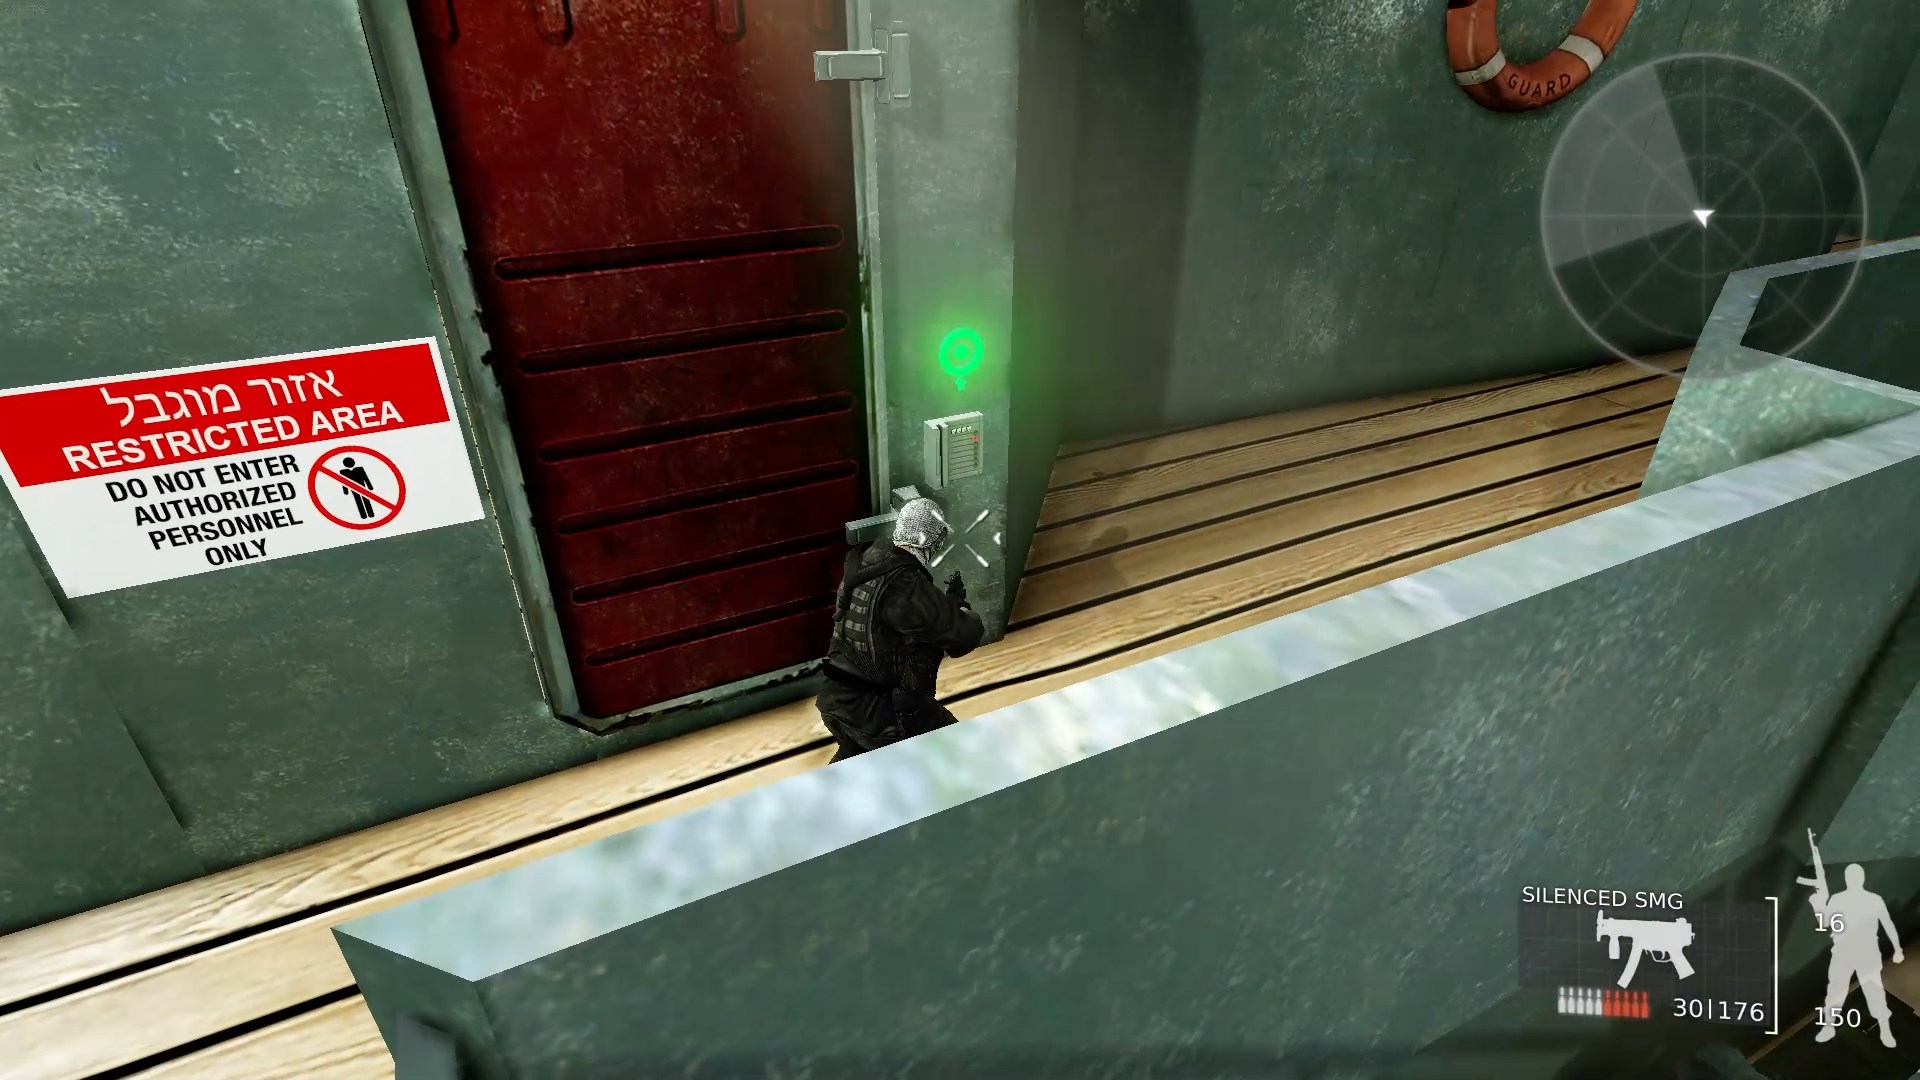 Once all the soldiers are dead head to the Navy Chief’s office at the top deck of the ship, near the guns you have to climb.
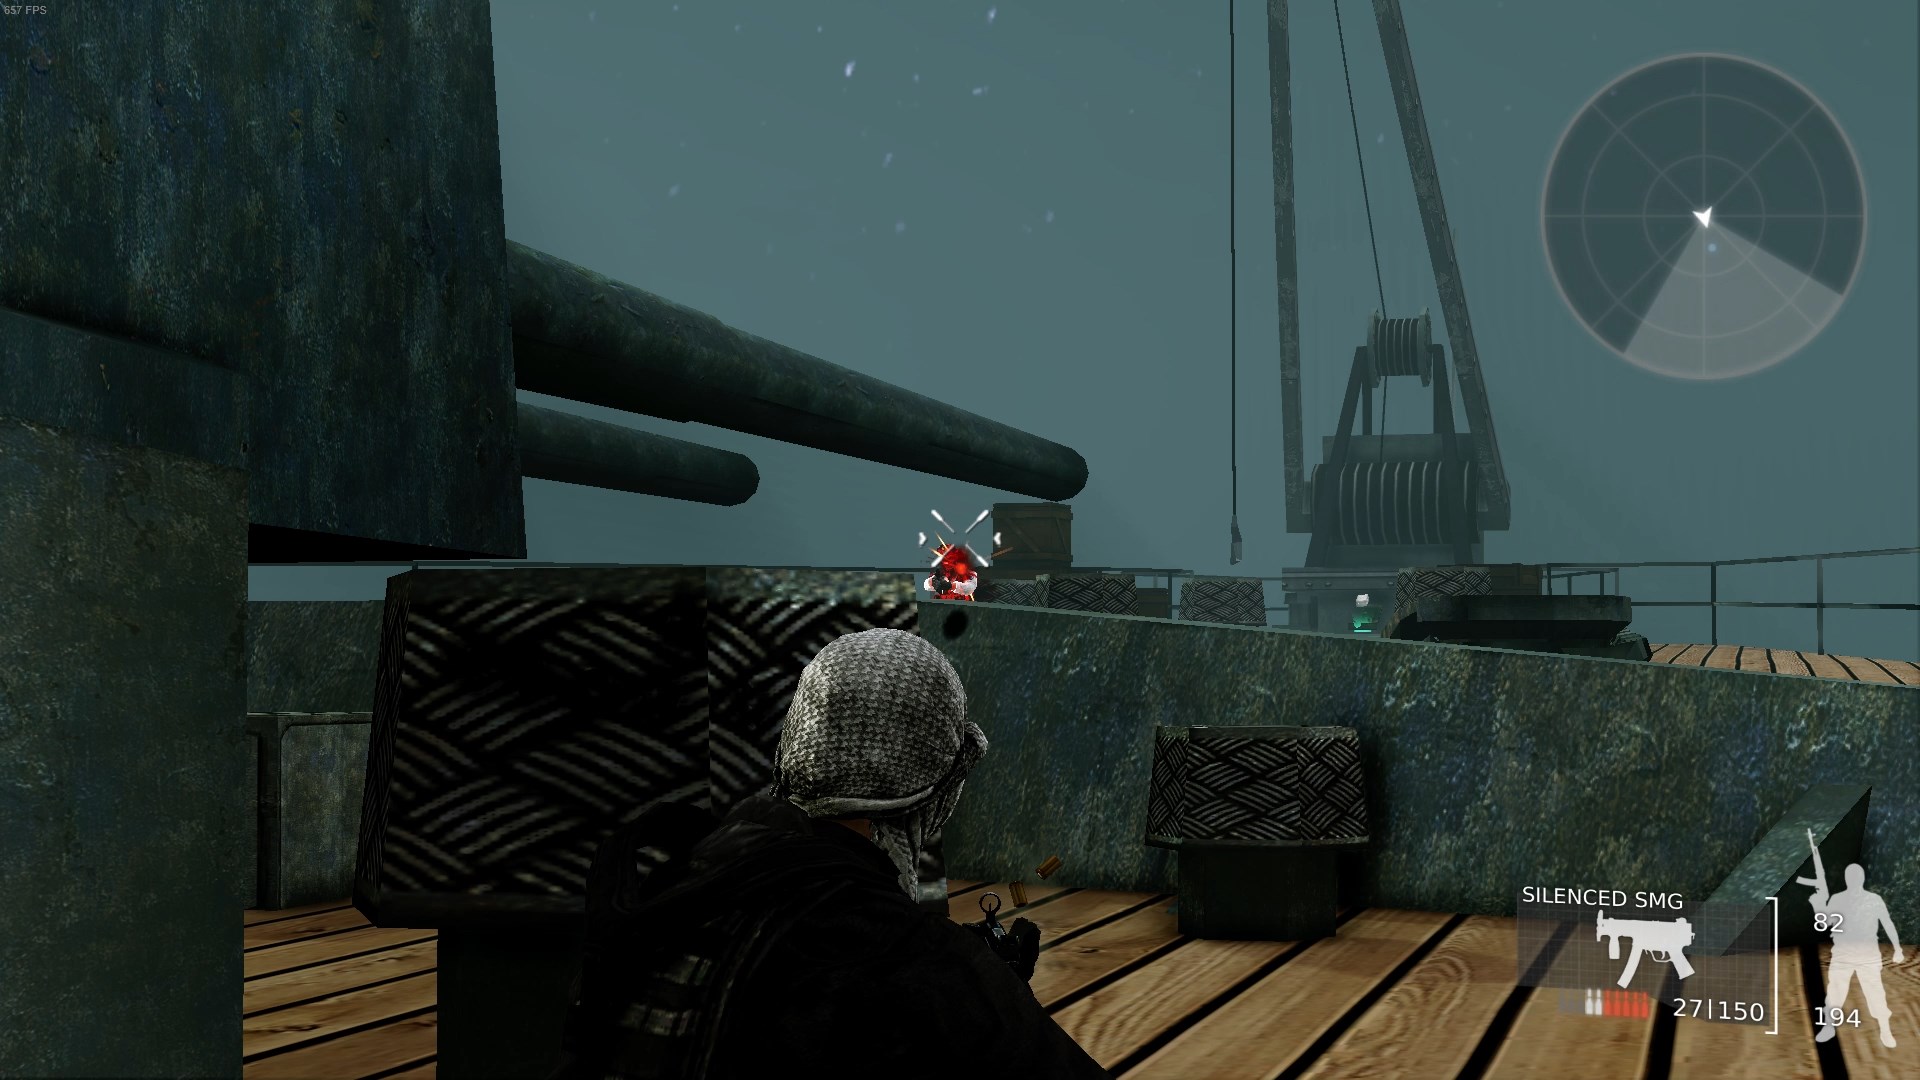 The Navy Commander is another bullet-sponge boss like the Mossad chief but even tougher. He hangs out right by the medkit on the bow, preventing you from going for it. There are a couple of ways you can take him out. You can try to snipe him from the upper decks or dodge in and out of cover by the big cannon at the bow and take potshots at him. But the easiest way to kill him is to go to the area in the screenshot above and crouch behind the vent(?) next to the cannon at the bow. From this position the navy commander can’t shoot you from behind your cover, but you can shoot him. It’s cheap, but effective.
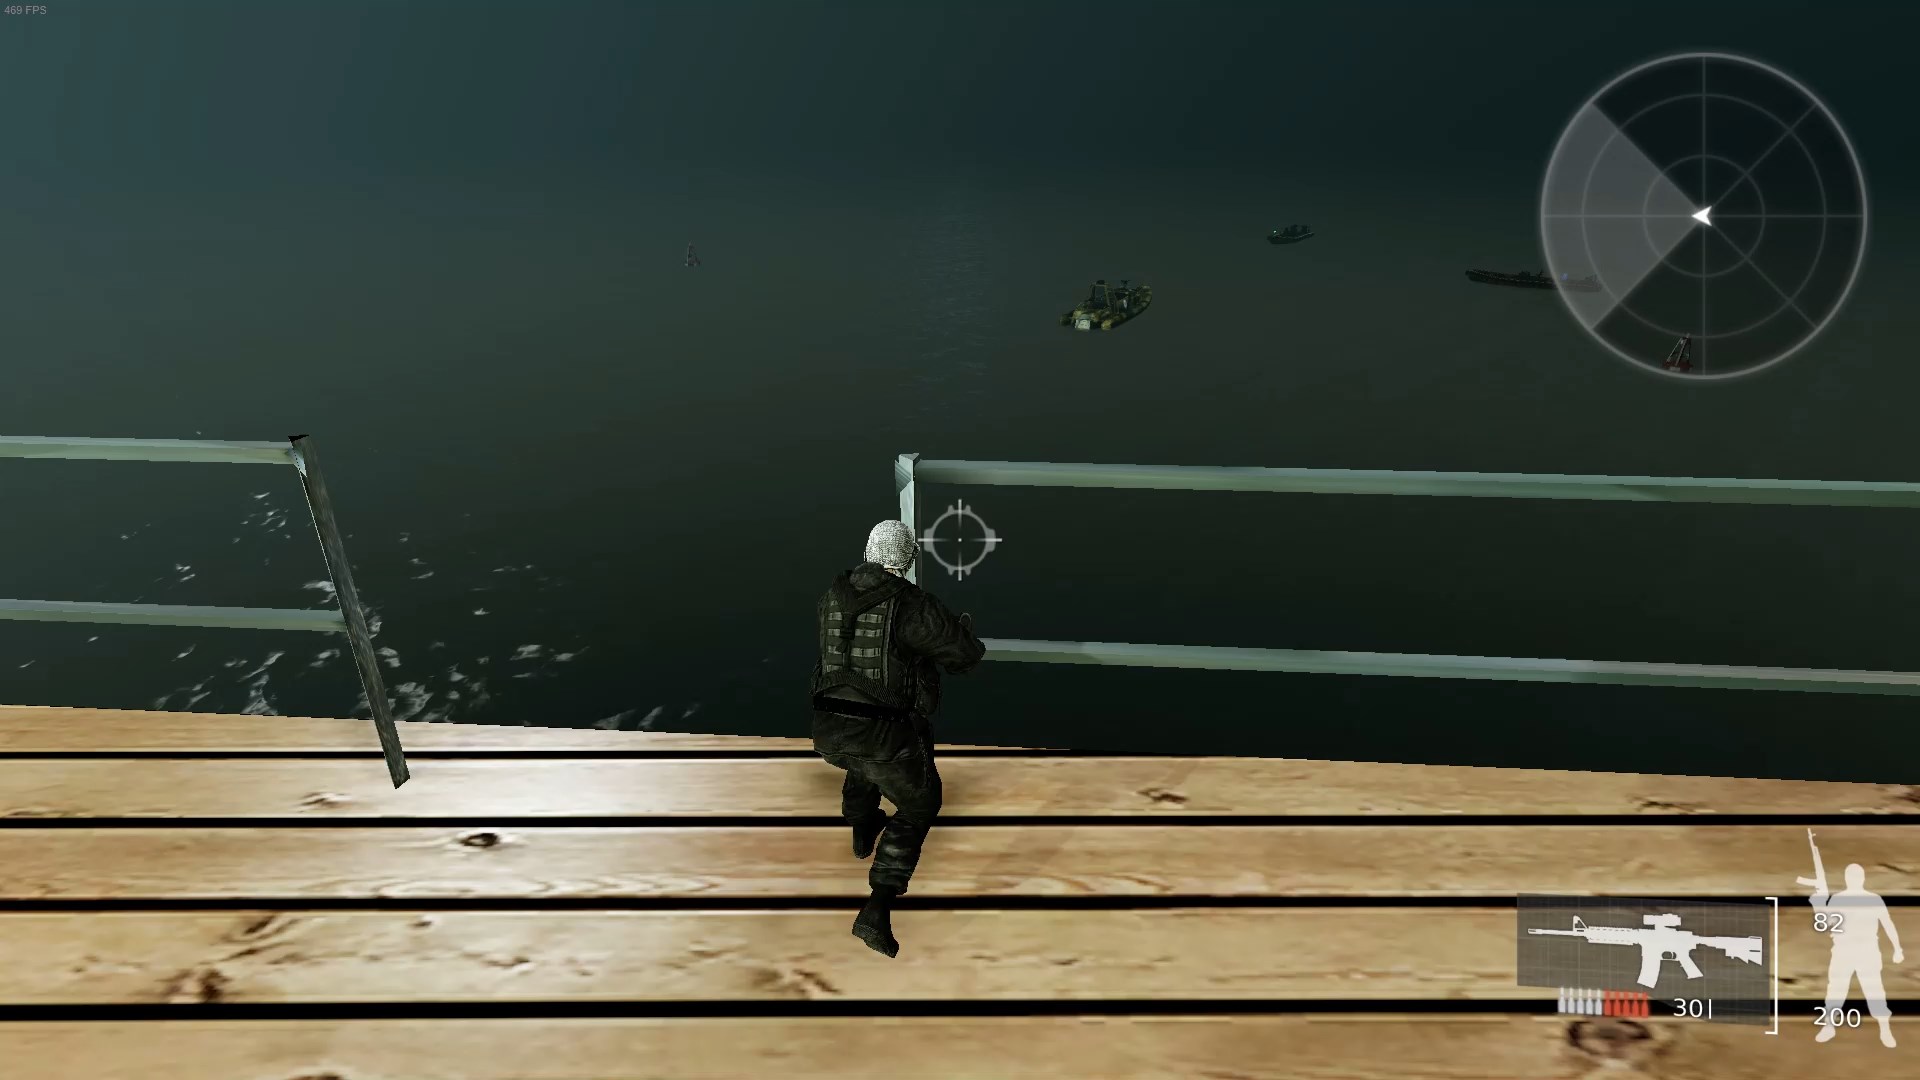 Once the cutscene is over and Ahmad’s megalodon has gotten his meal, run to the bow of the ship, jump off the deck at the opening in railing in the screenshot (actually you can jump off anywhere, this is just the quickest way there) and return to your boat to finish the level.
Mission 9: Israel Iron Dome Control Center
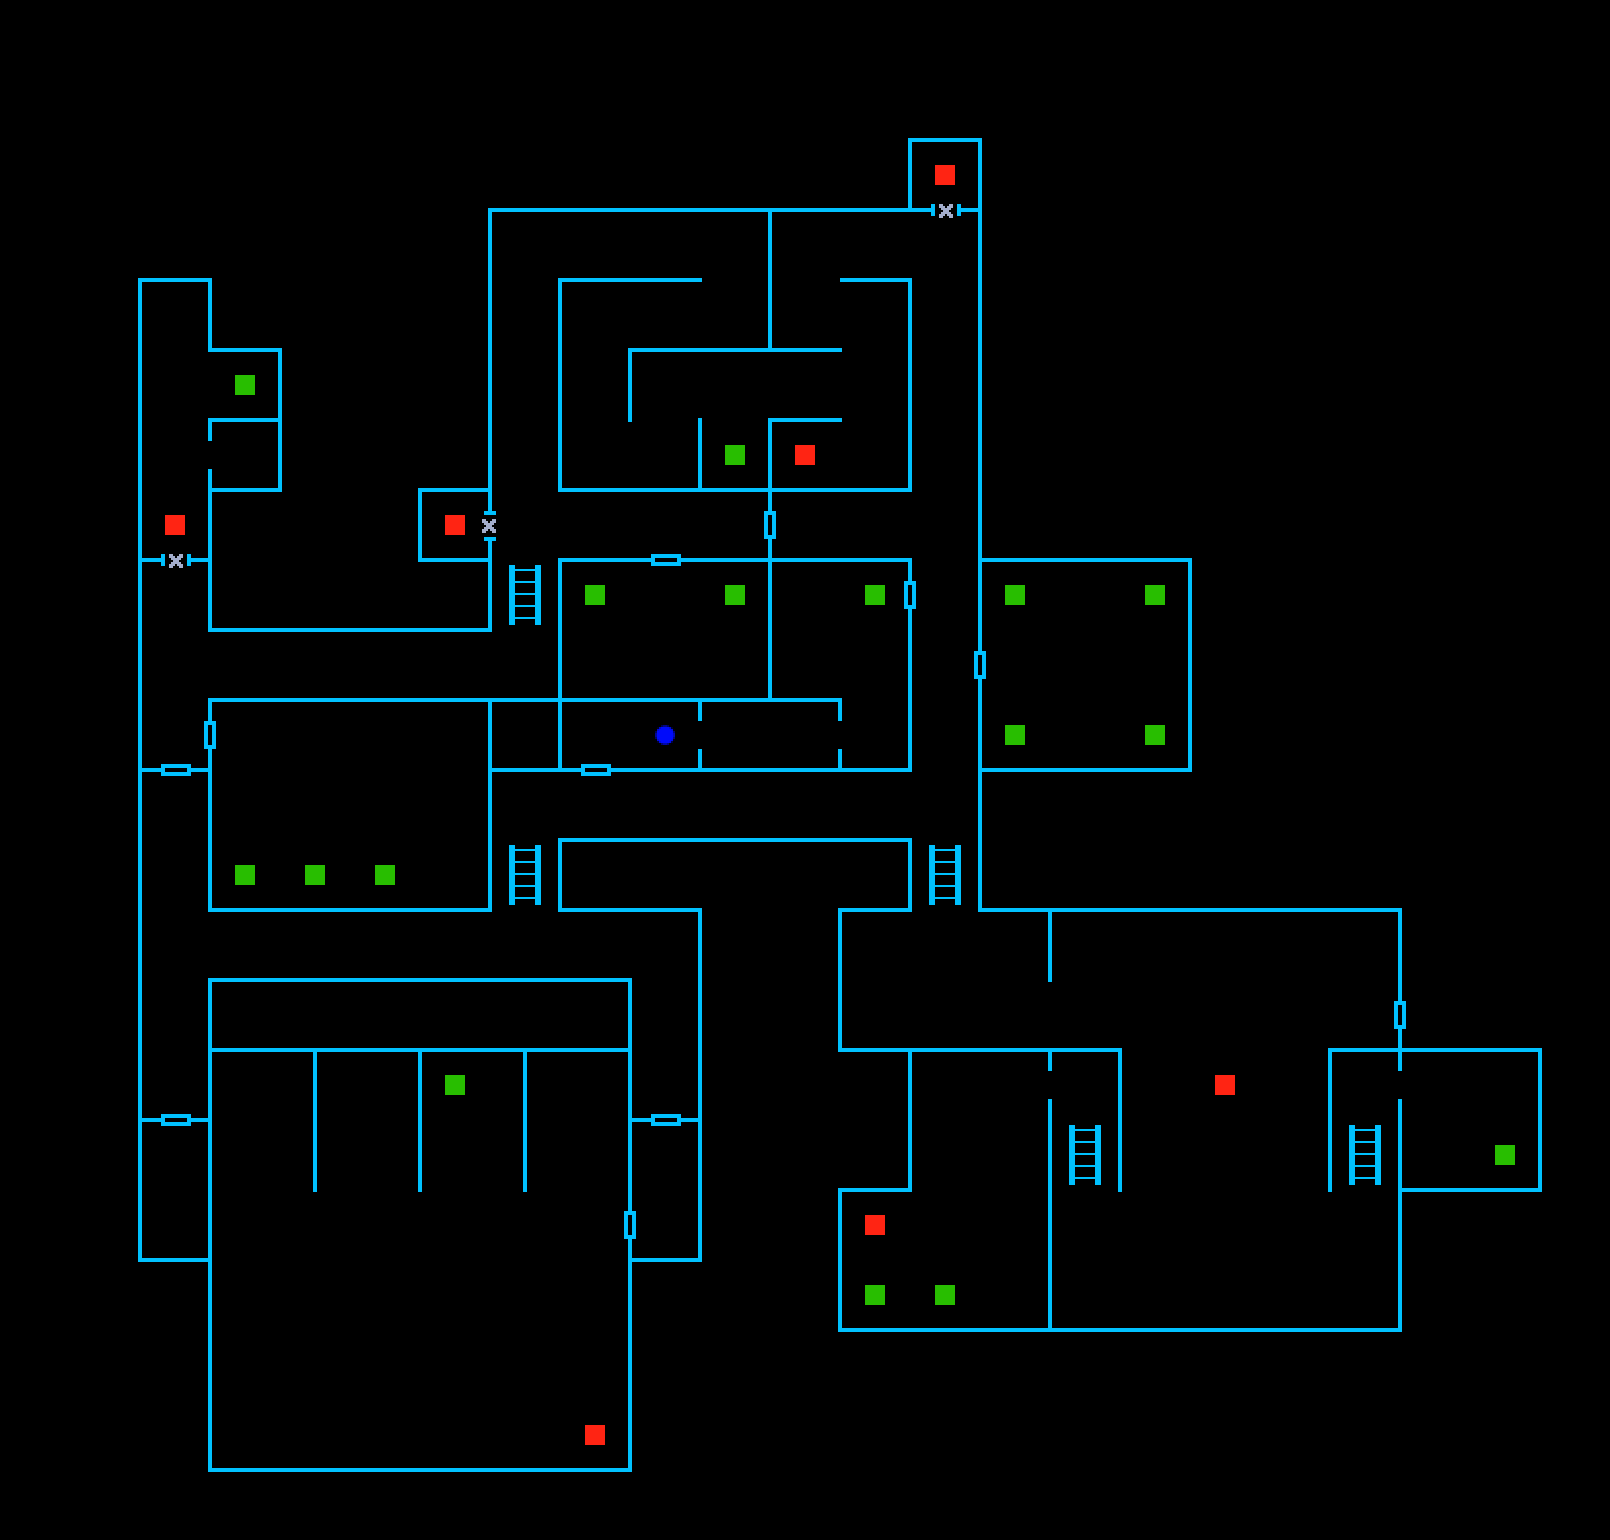 Maybe my sense of direction is just terrible, but I kept getting lost in this level so I made a map. It’s rough and not exact, but this is the general layout of the level. Red squares are special mission items or locations. Green squares are servers you have to destroy. The blue circle is your starting position.
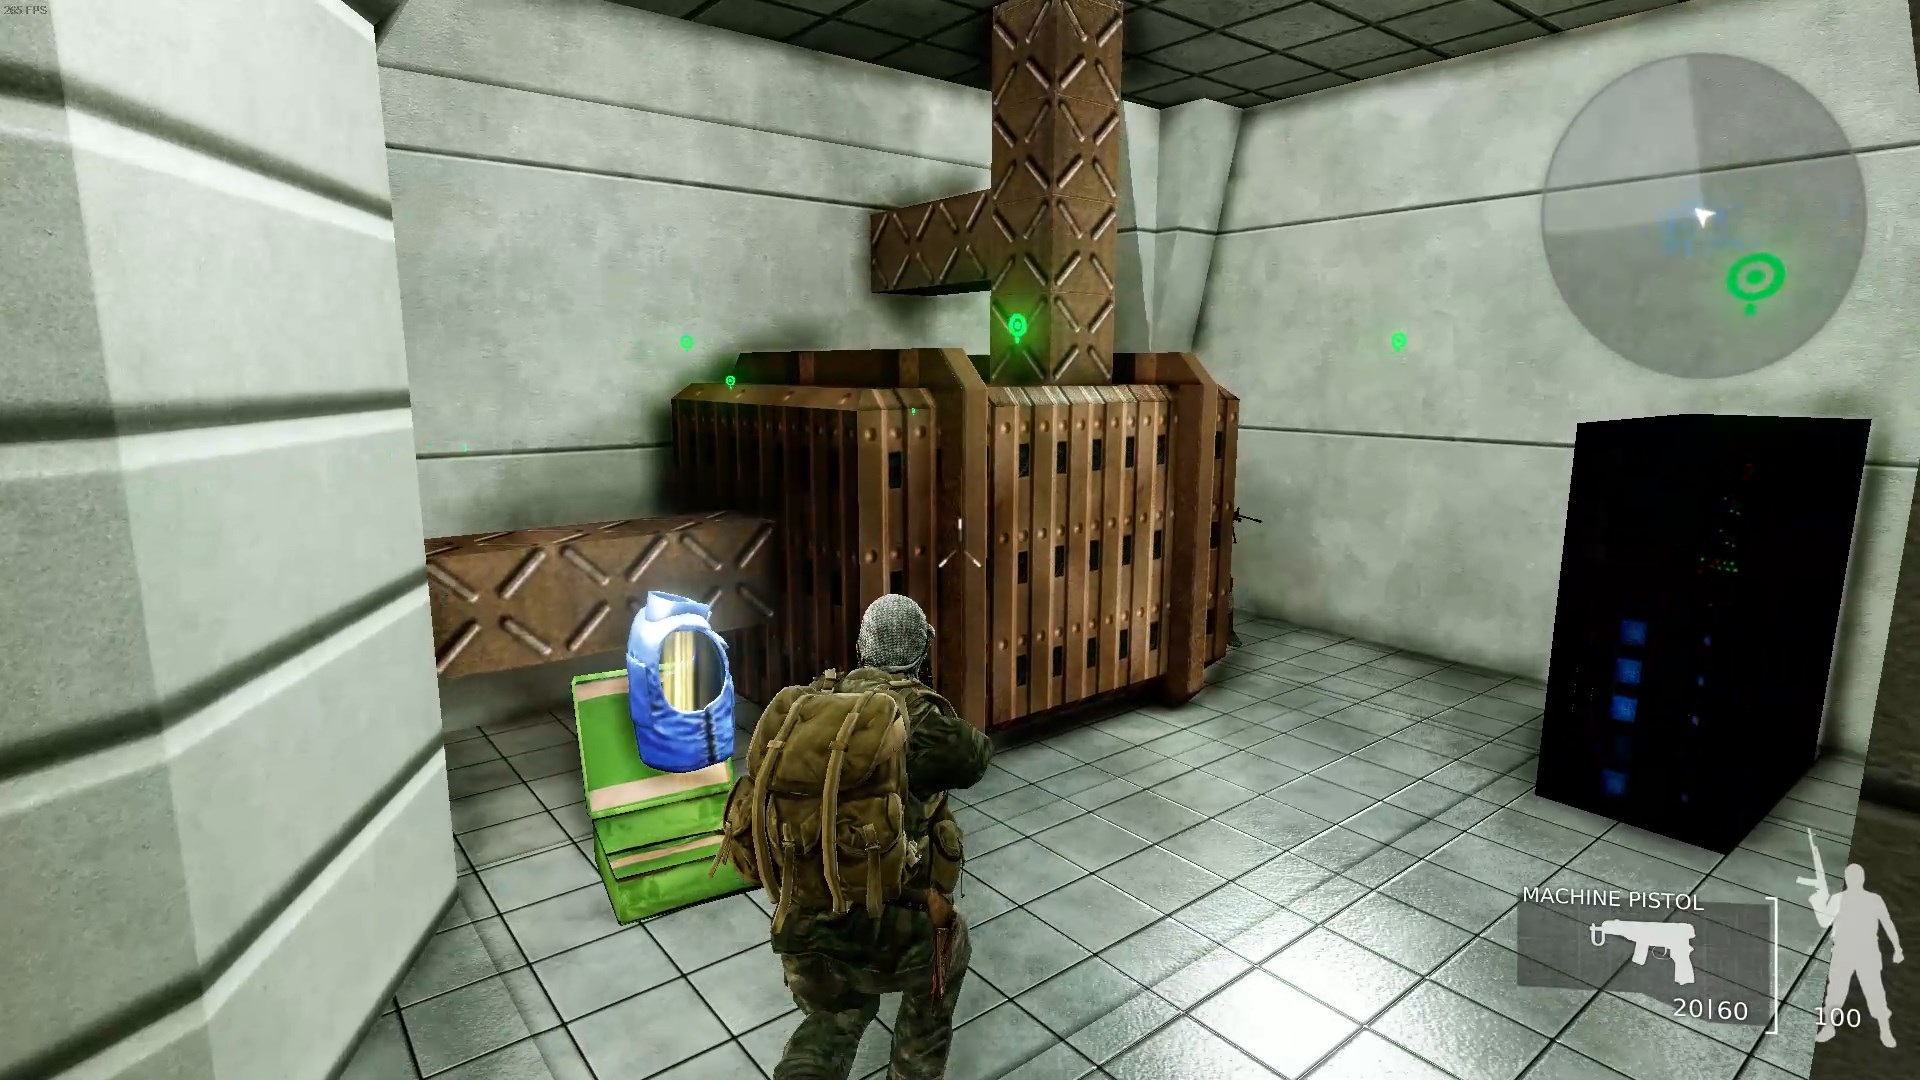 Kill the soldier in front of you with your knife when you start, grab his gun and the machine pistol in the corner, then turn around and go back the other way. You’ll be in a room with some armor and a mainframe. Look out for the IDF soldier hiding in the corner!
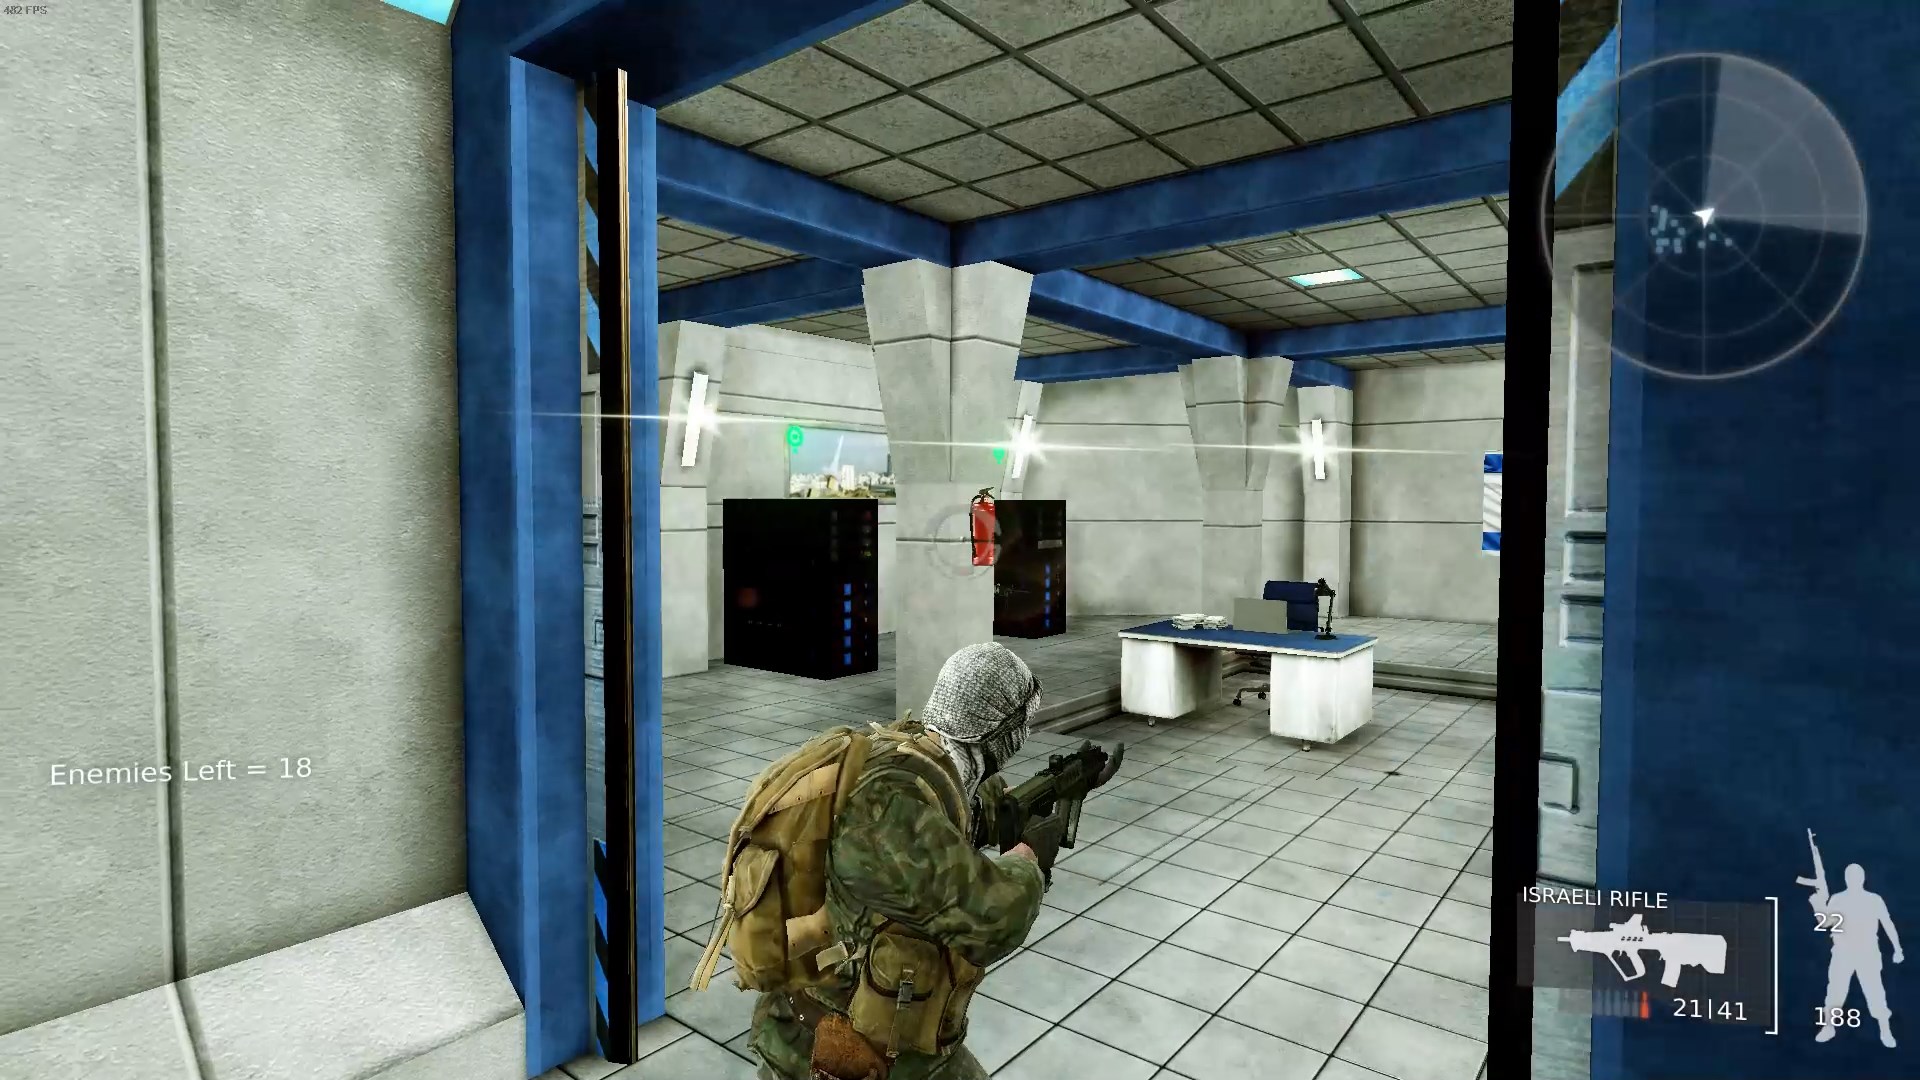 The room on the map with four mainframes in the corners has three soldiers it–one right at the door, and then two waiting to ambush you behind pillars. If you shoot this fire extinguisher here it’ll blow up, gibbing the soldier hiding behind the pillar.
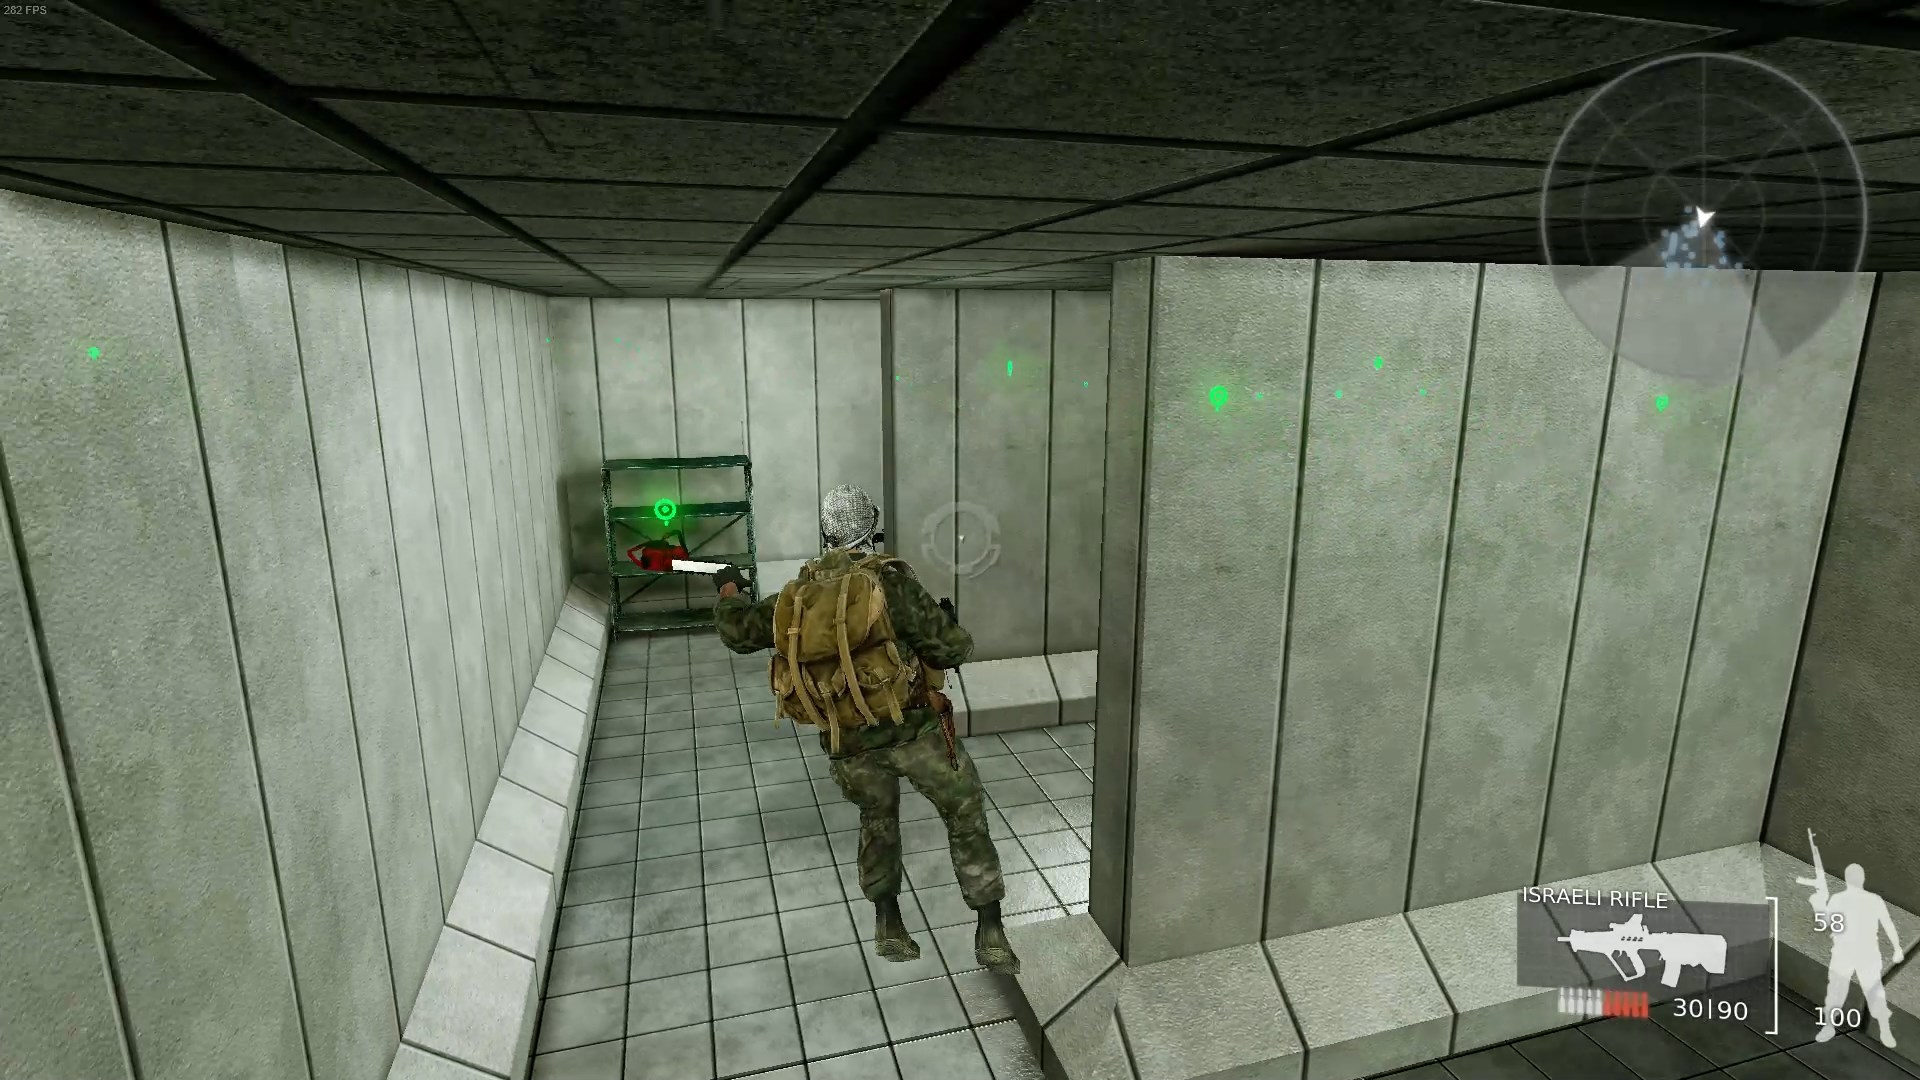 The chainsaw is in the “maze” area at the north end of the level. Careful, there’s a soldier hiding around the corner guarding it! Right next to the chainsaw is another little alcove with a health kit in it.
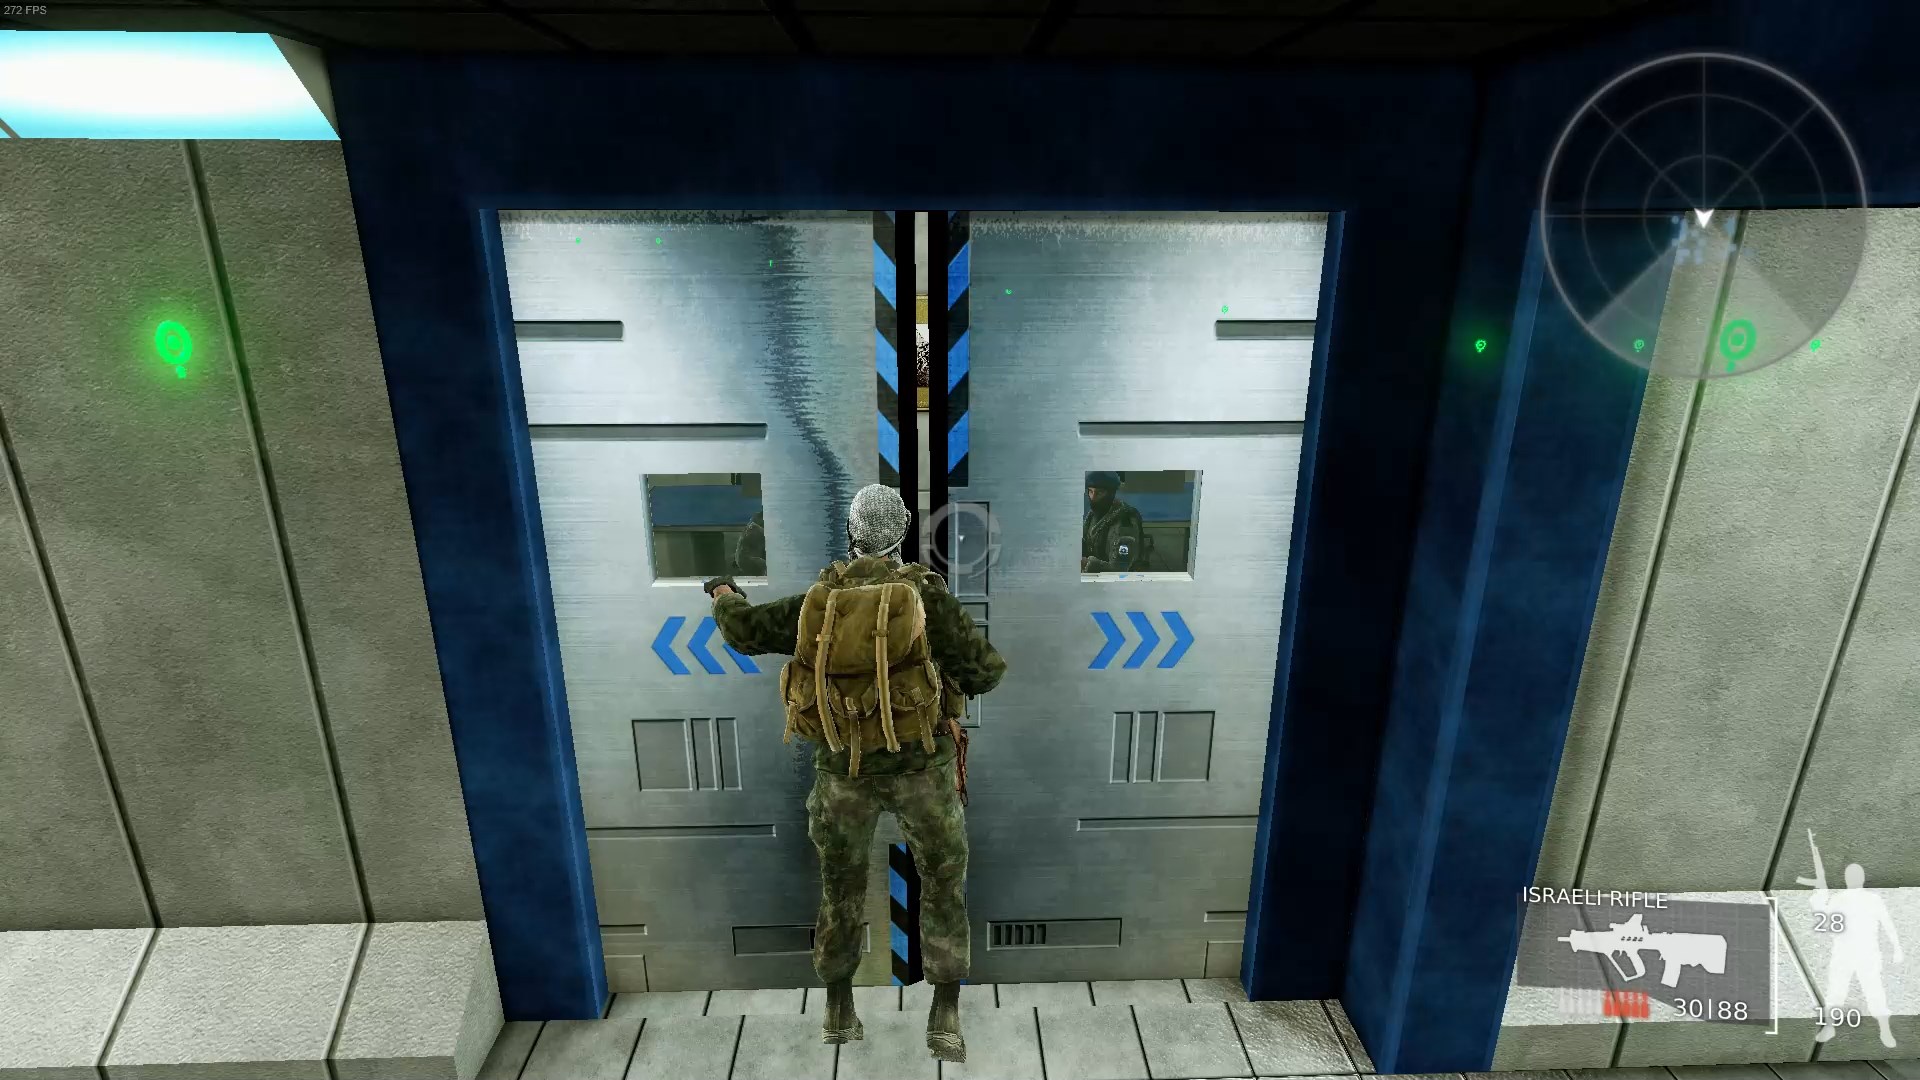 In general, whenever there’s a door in this level, you should bullet-time jump through it. Many of them have soldiers right on the other side, so this way you’re less likely to get mulched as soon as the door opens.
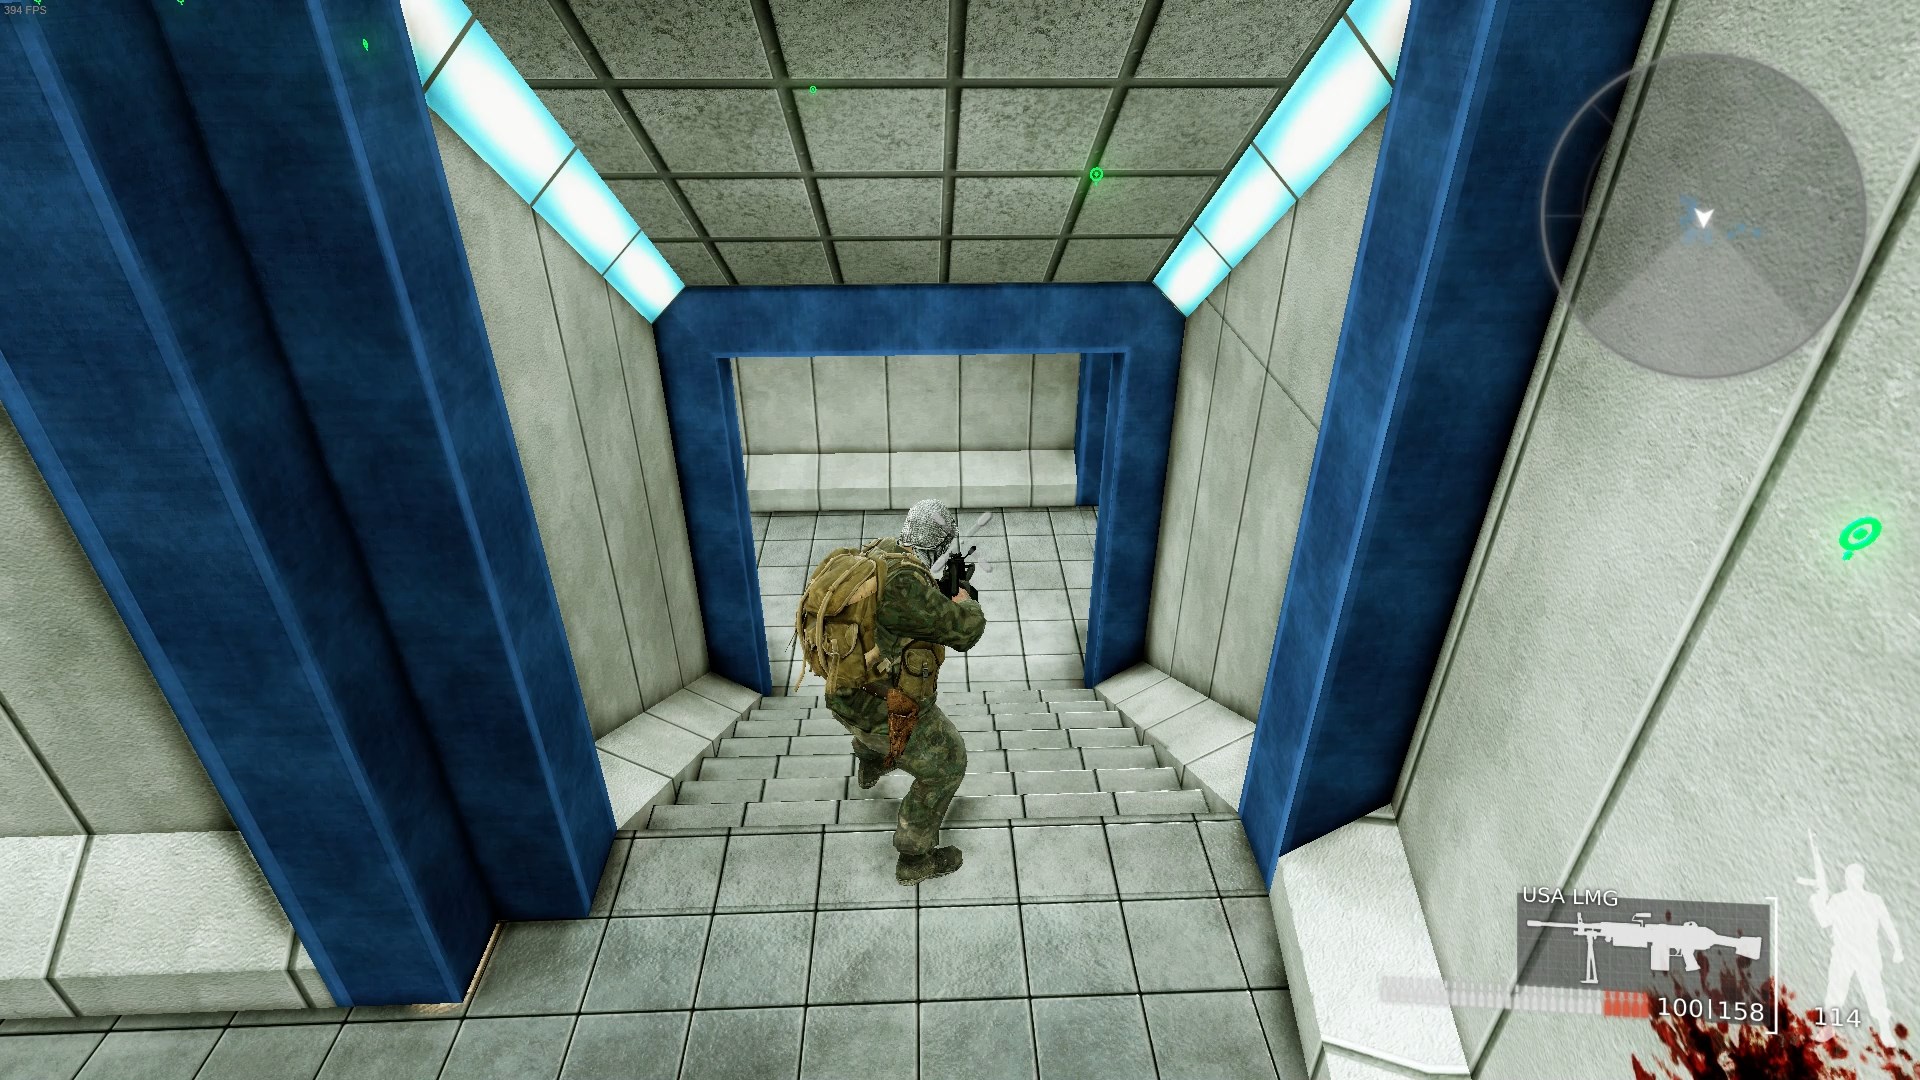 There are two ways down to the lower level. The one in the screenshot above is dangerous–there are soldiers waiting to ambush you on either side of the doorway. The other way down, on the west side of the map, is much safer.
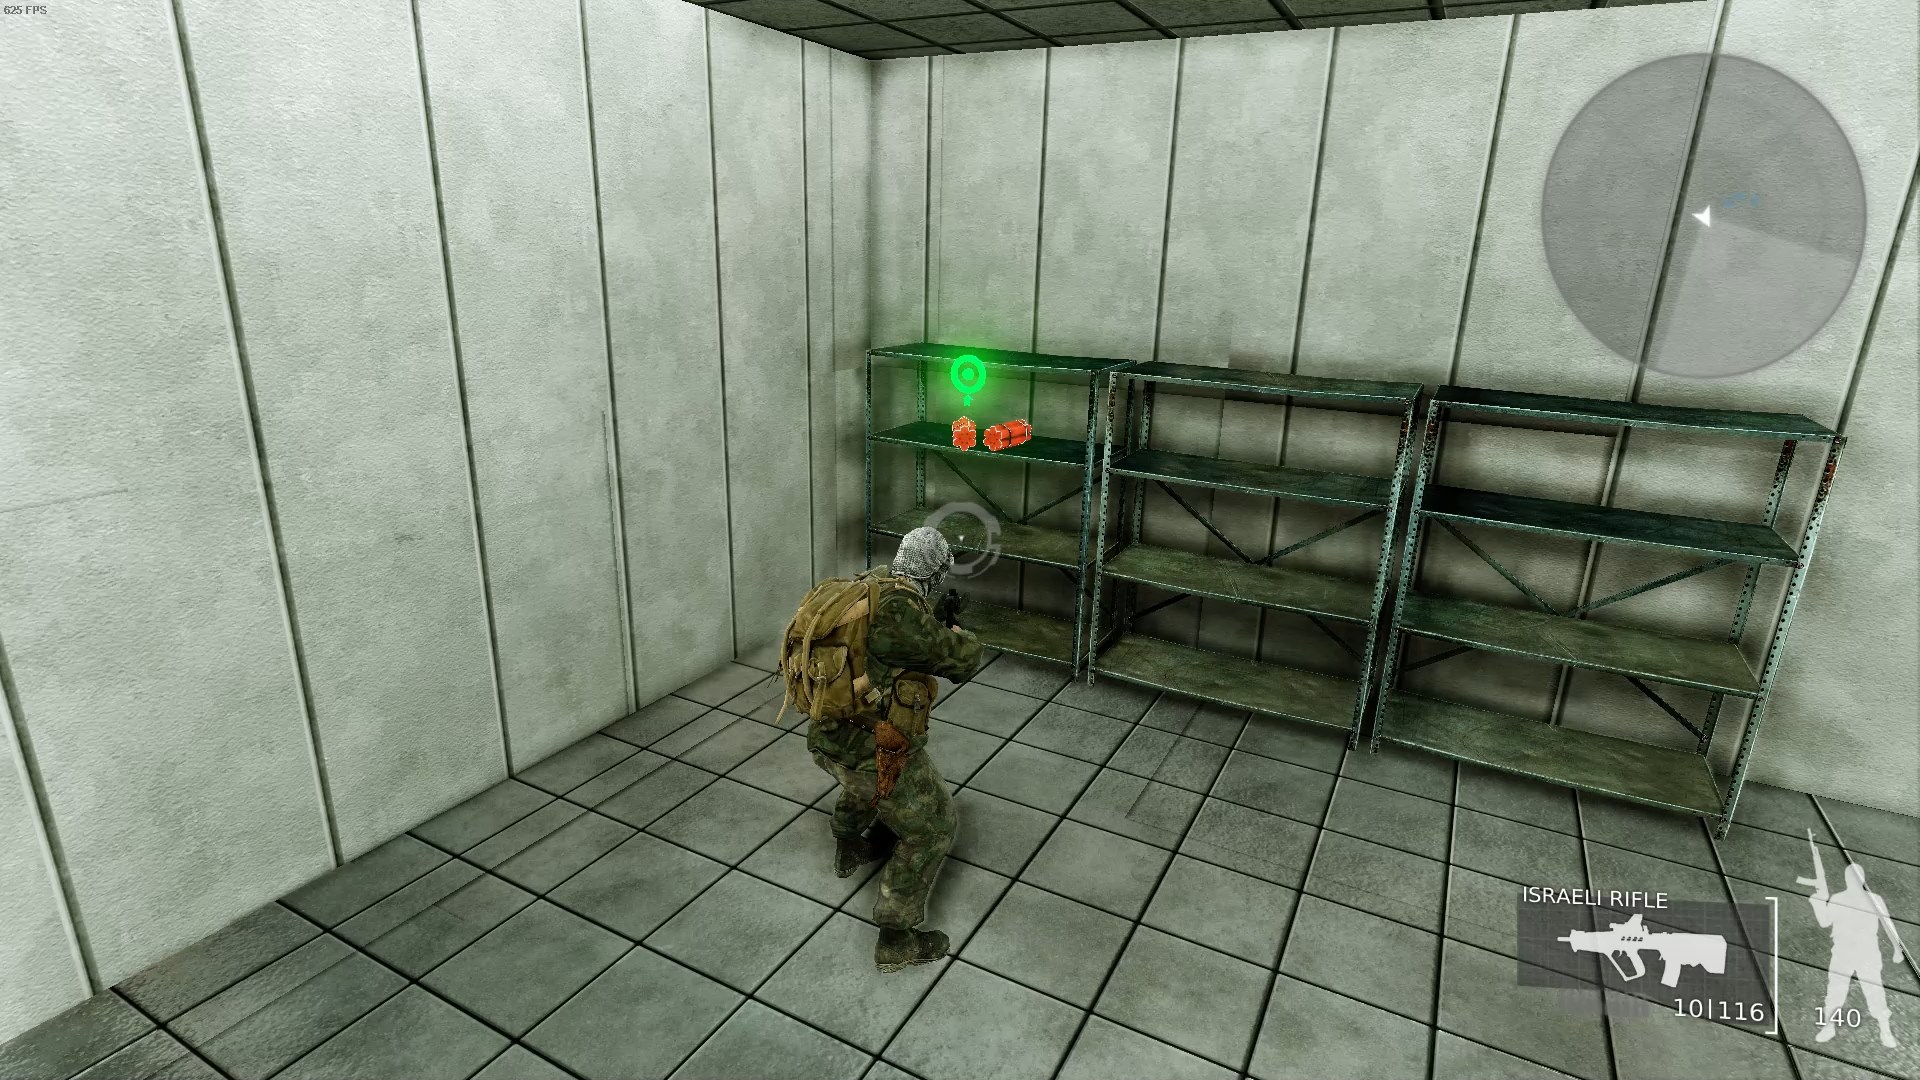 The dynamite is in the large room at the southwest corner of the level. This room has four alcoves in it, three of which have soldiers waiting to ambush you. The fourth alcove has a medkit and a mainframe in it.
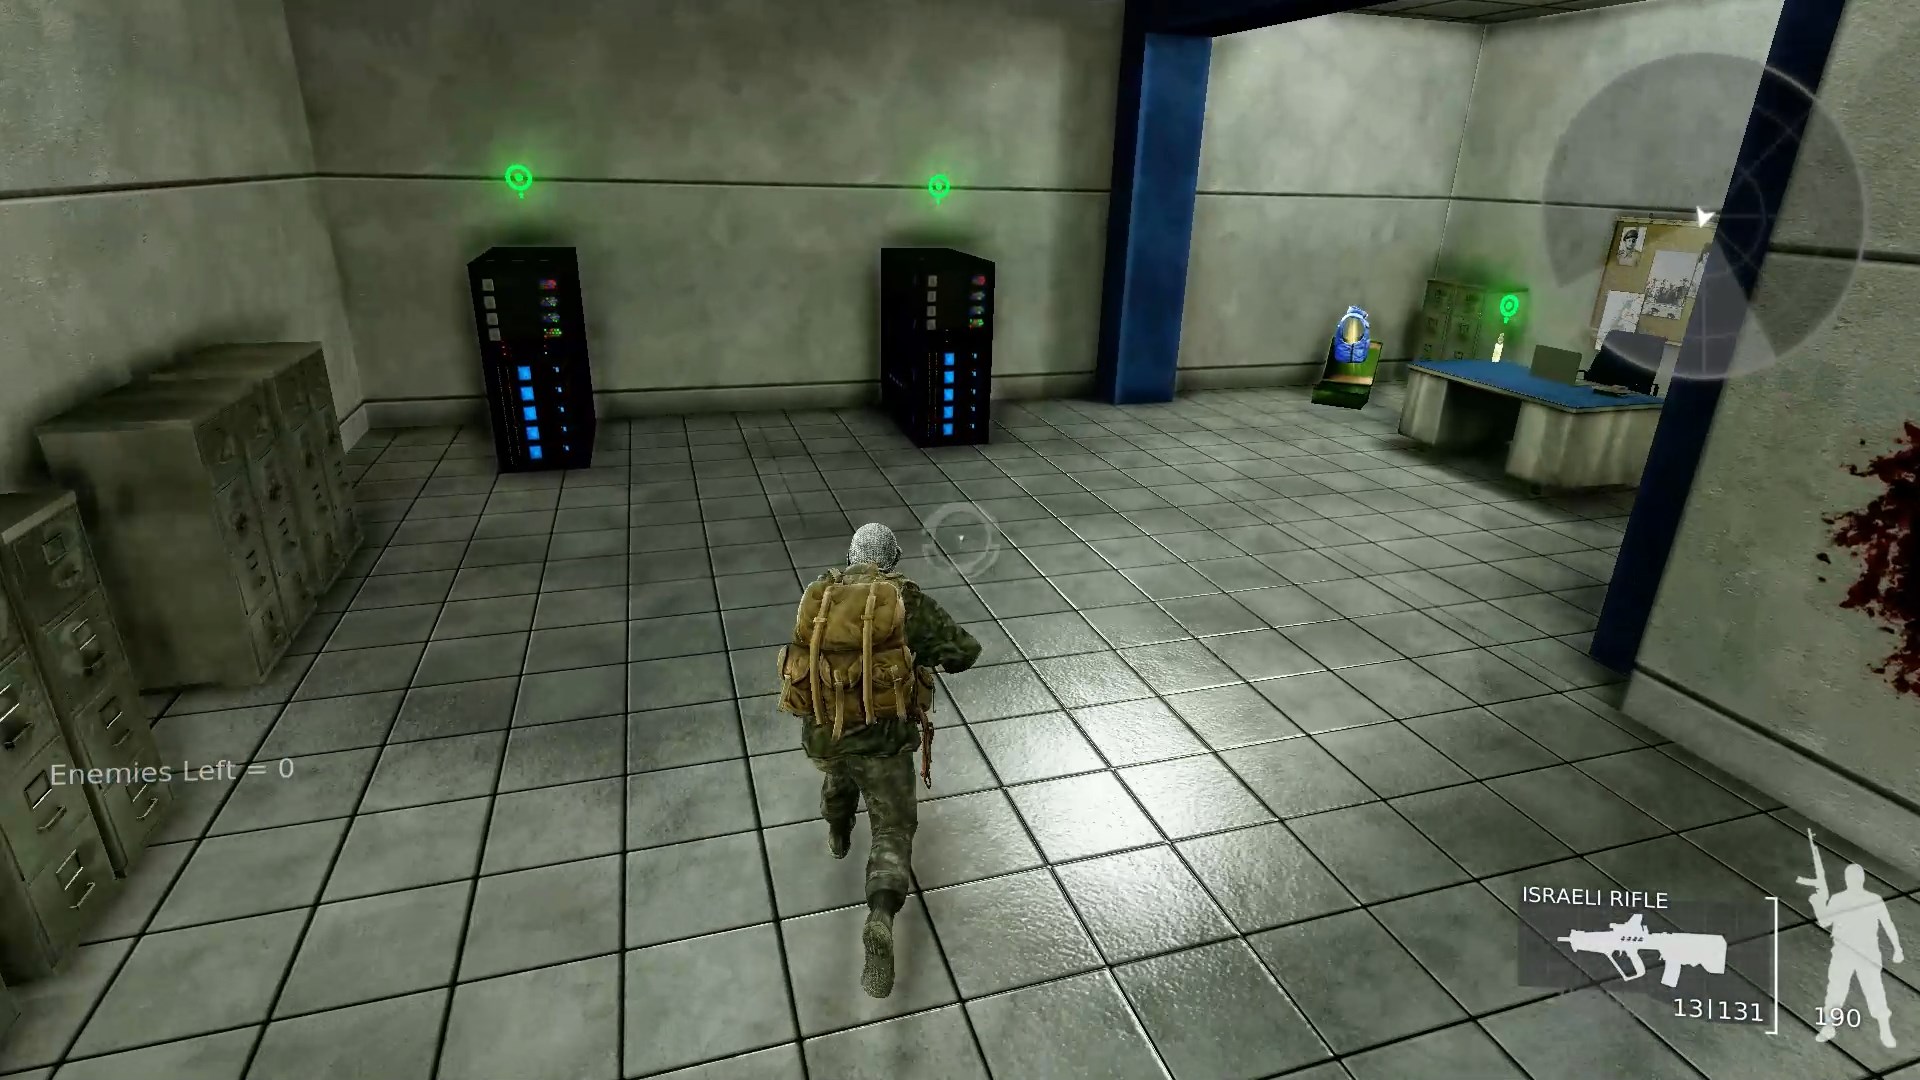 The main control room at the southeast end of the level has a lot of cameras and several soldiers in it. One of the offices off to the side of it has several mainframes, some armor, and a detonator in it.
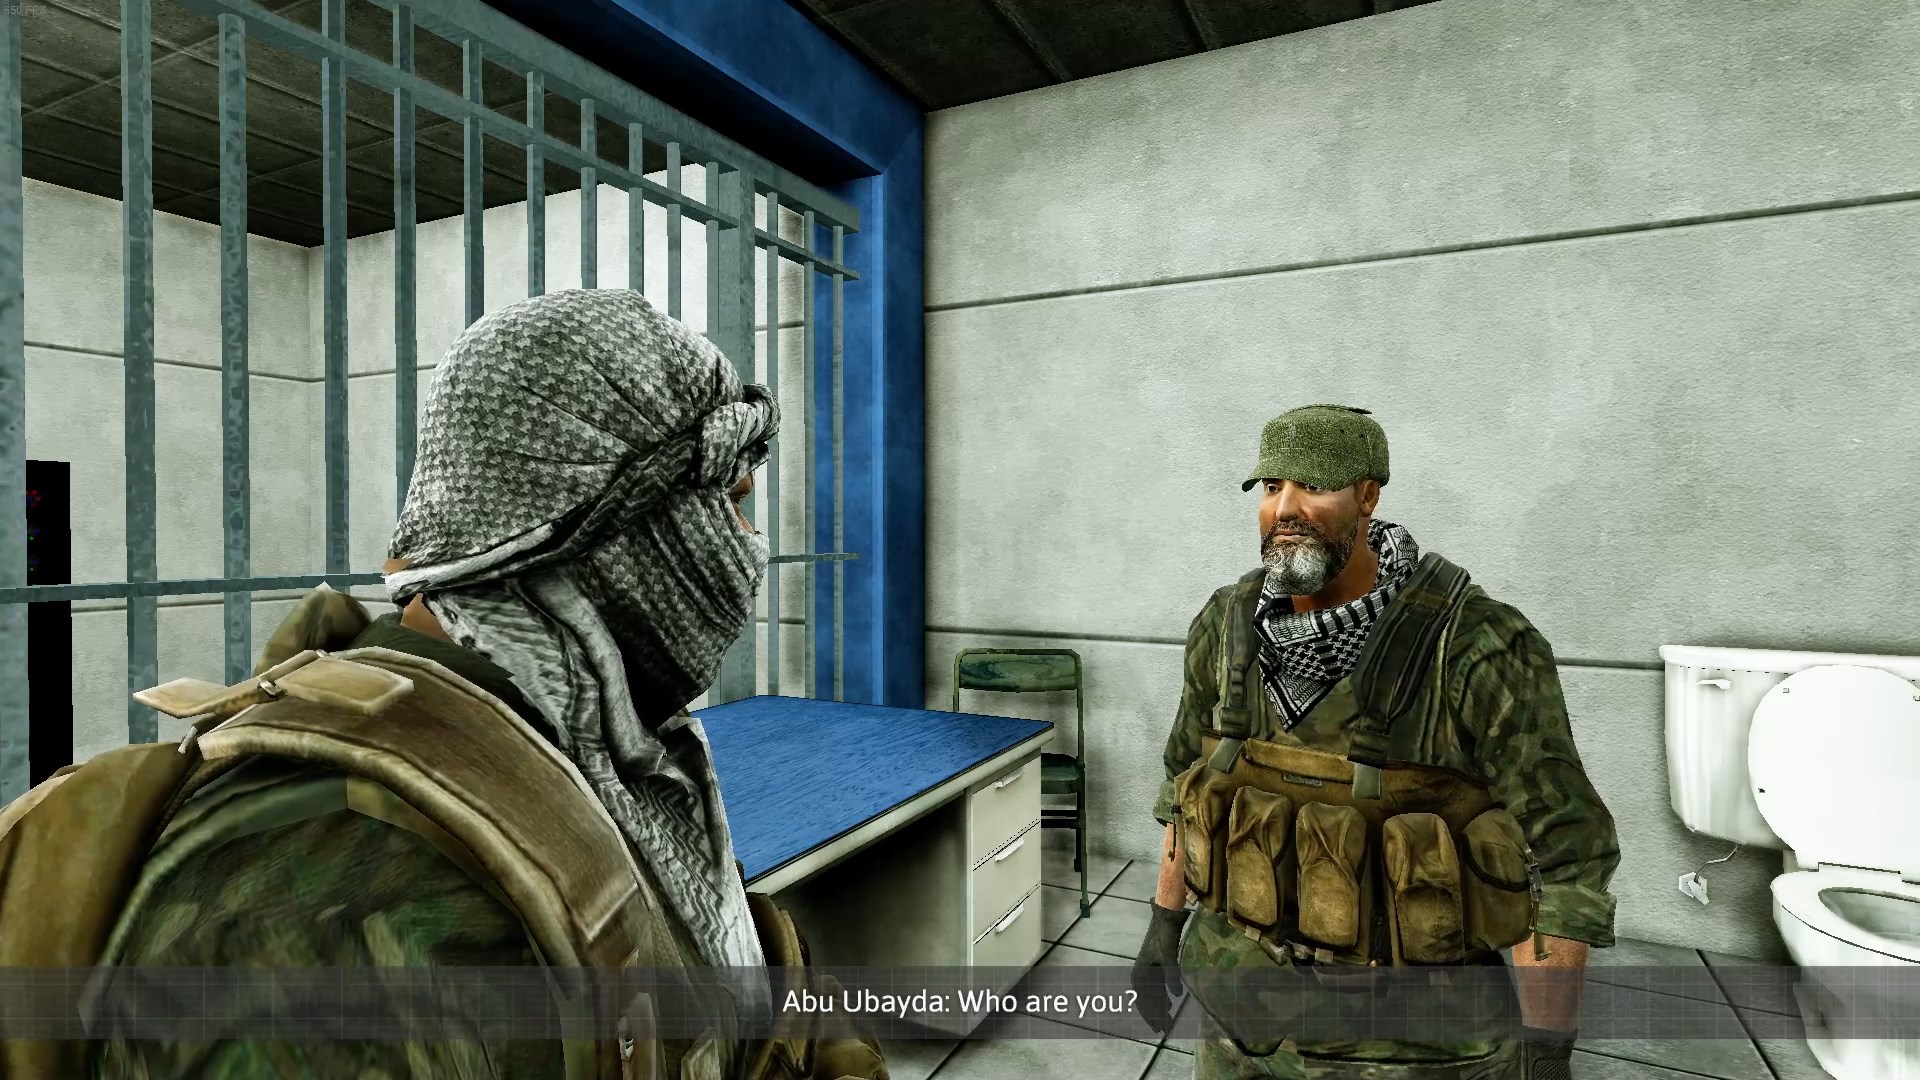 Once you’ve cleared out all the enemies, gotten the chainsaw, the dynamite, and the detonator, head to the northwest corner of the level and rescue Abu Ubayada. He’ll give you explosives with which to blow up the Iron Dome missiles. Also note there’s a mainframe you need to destroy right next to his cell.
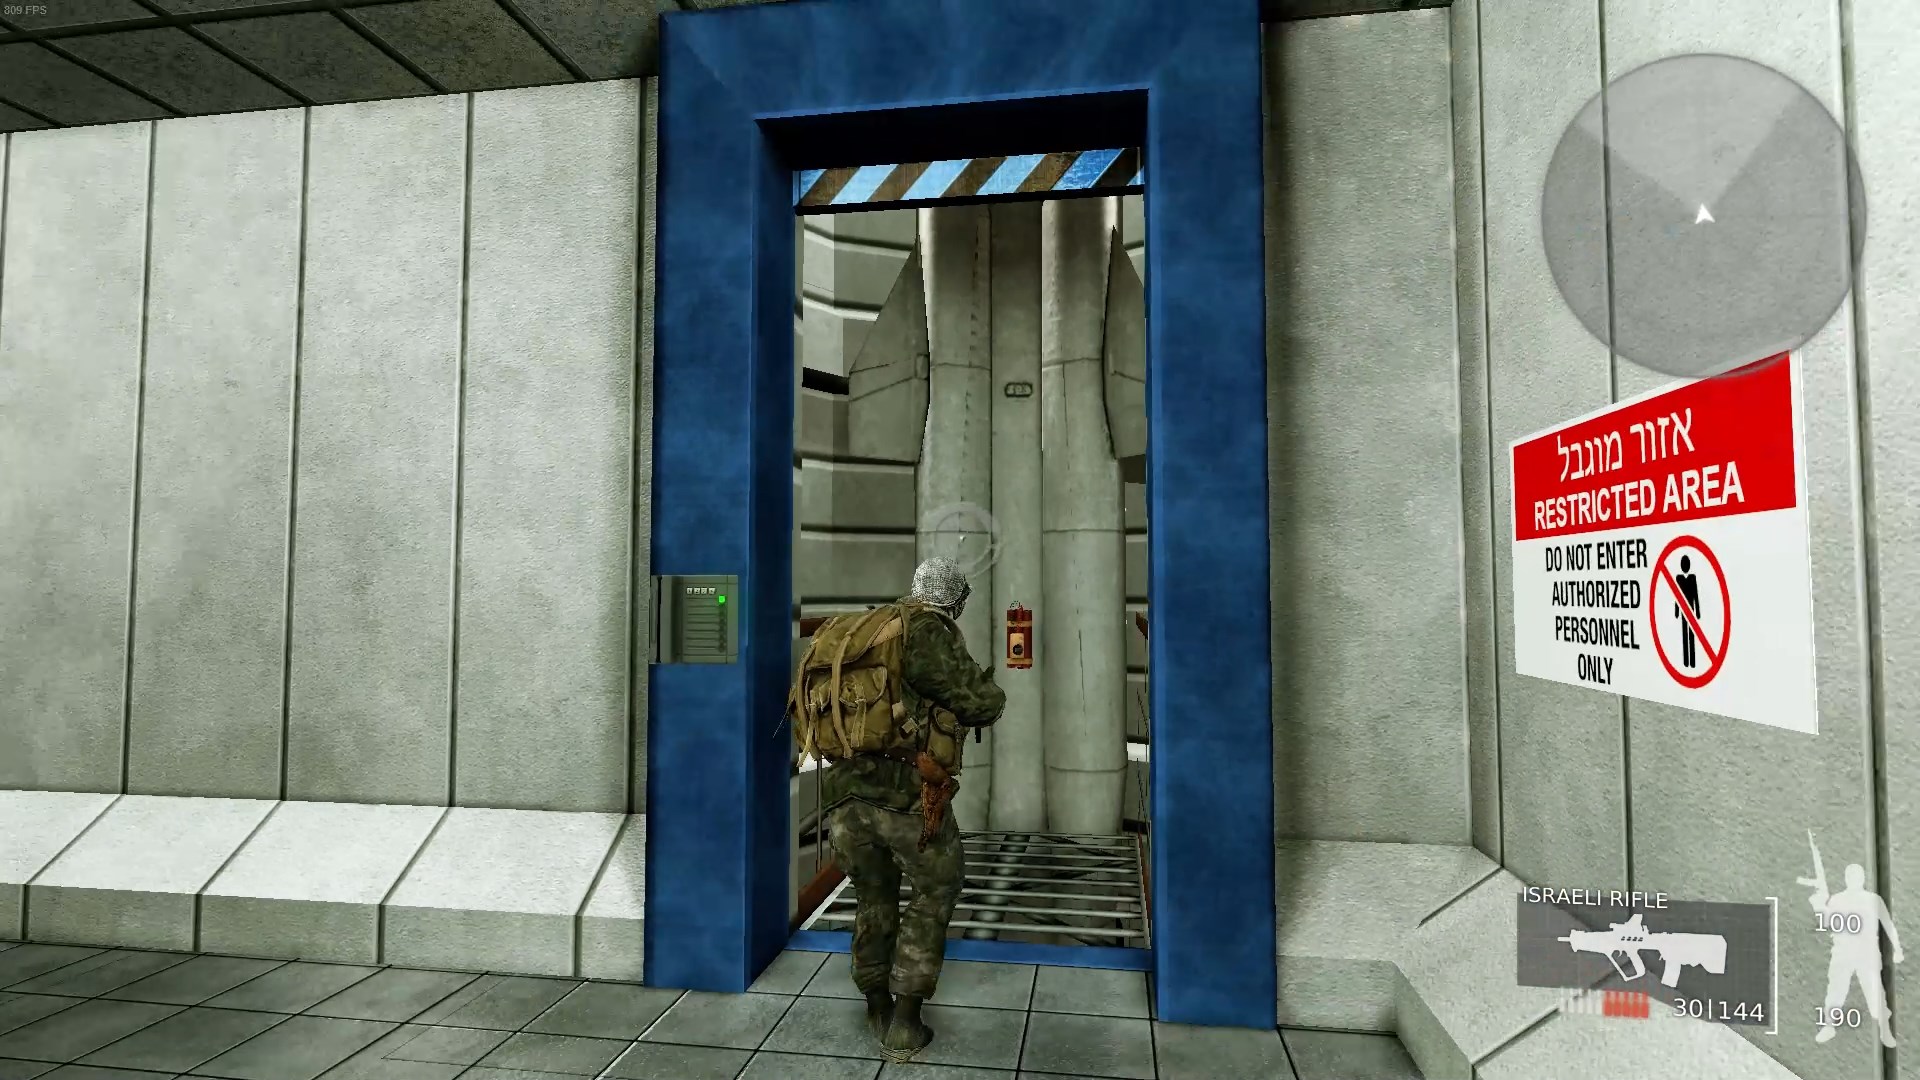 There are two Iron Dome missiles, both in launch pods on the north and west side of the second floor. Place your explosives on them, then head to the main control room on the ground floor. As soon as you get there, the boss and his two bodyguards will arrive.
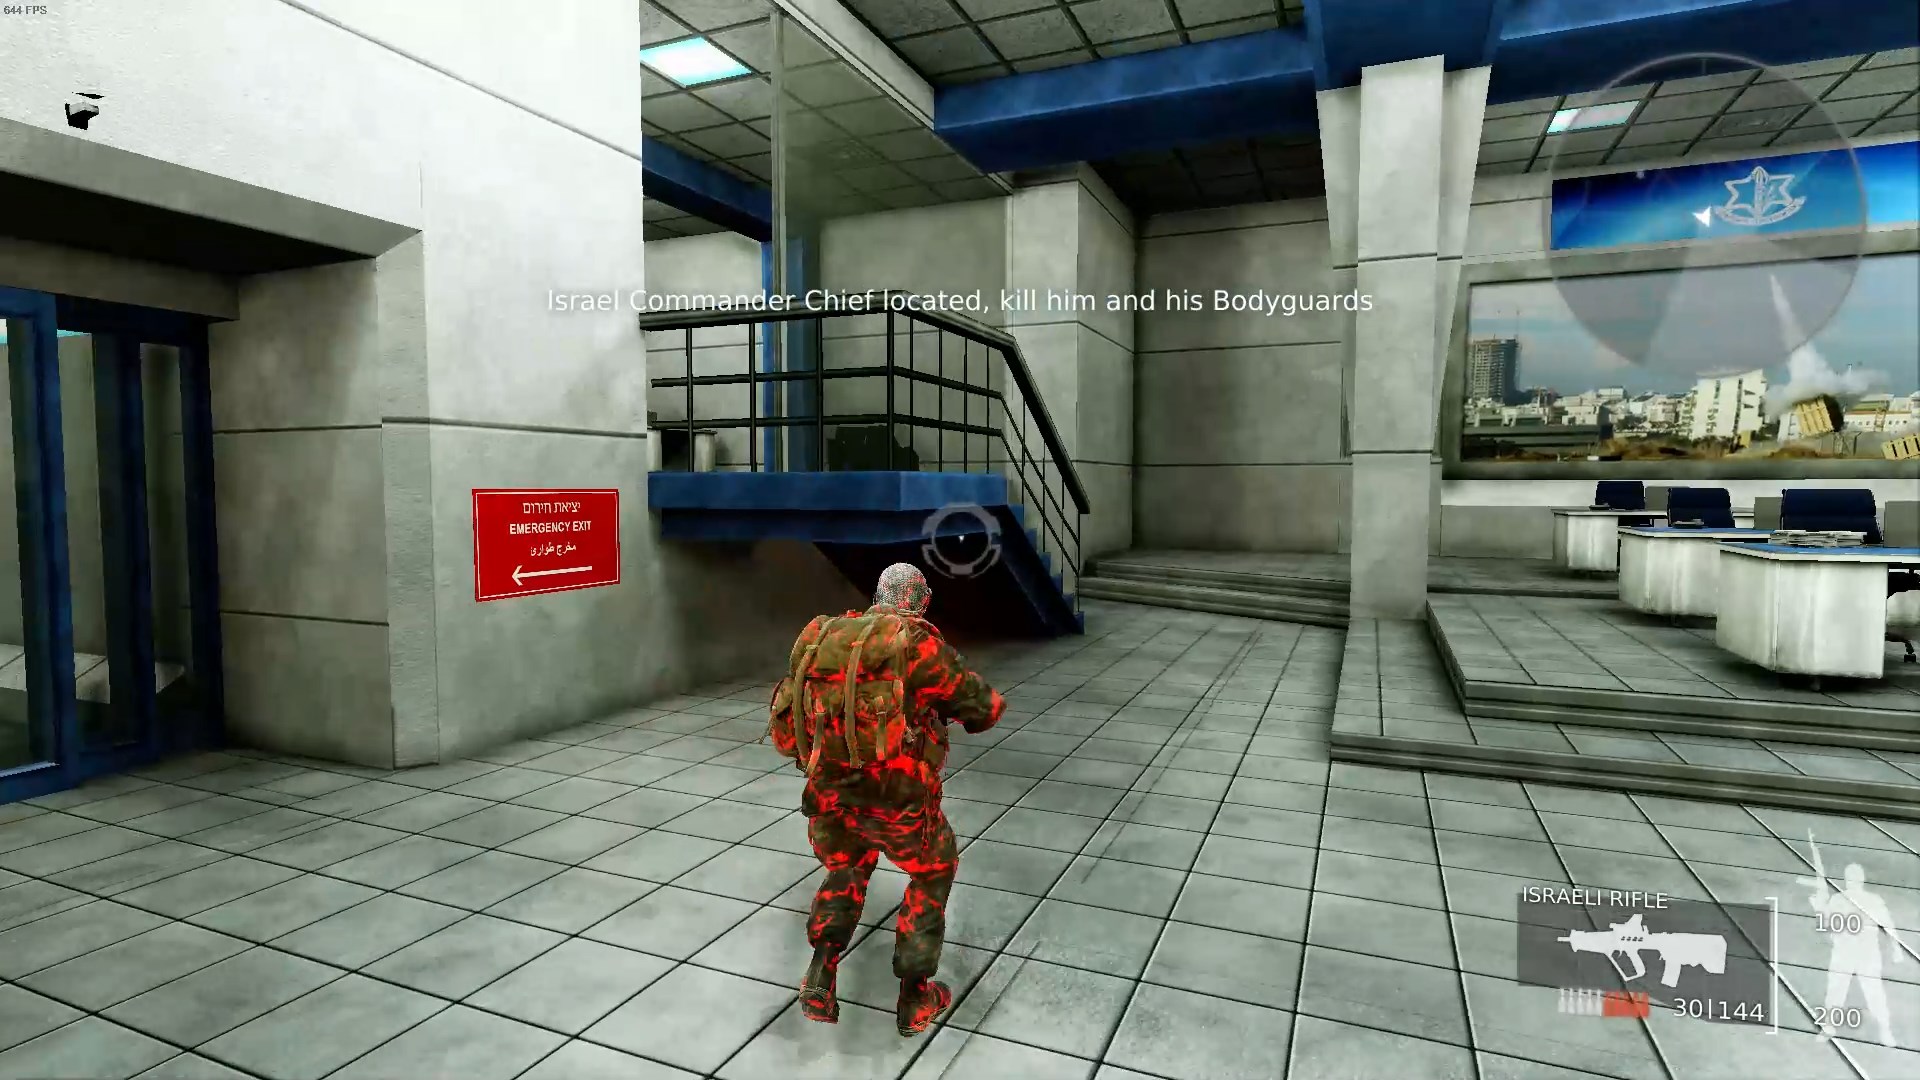 Trying to face the boss head-on is very difficult, so this is an easier method to kill him. First, turn around and run up the stairs into the office shown above in the screenshot.
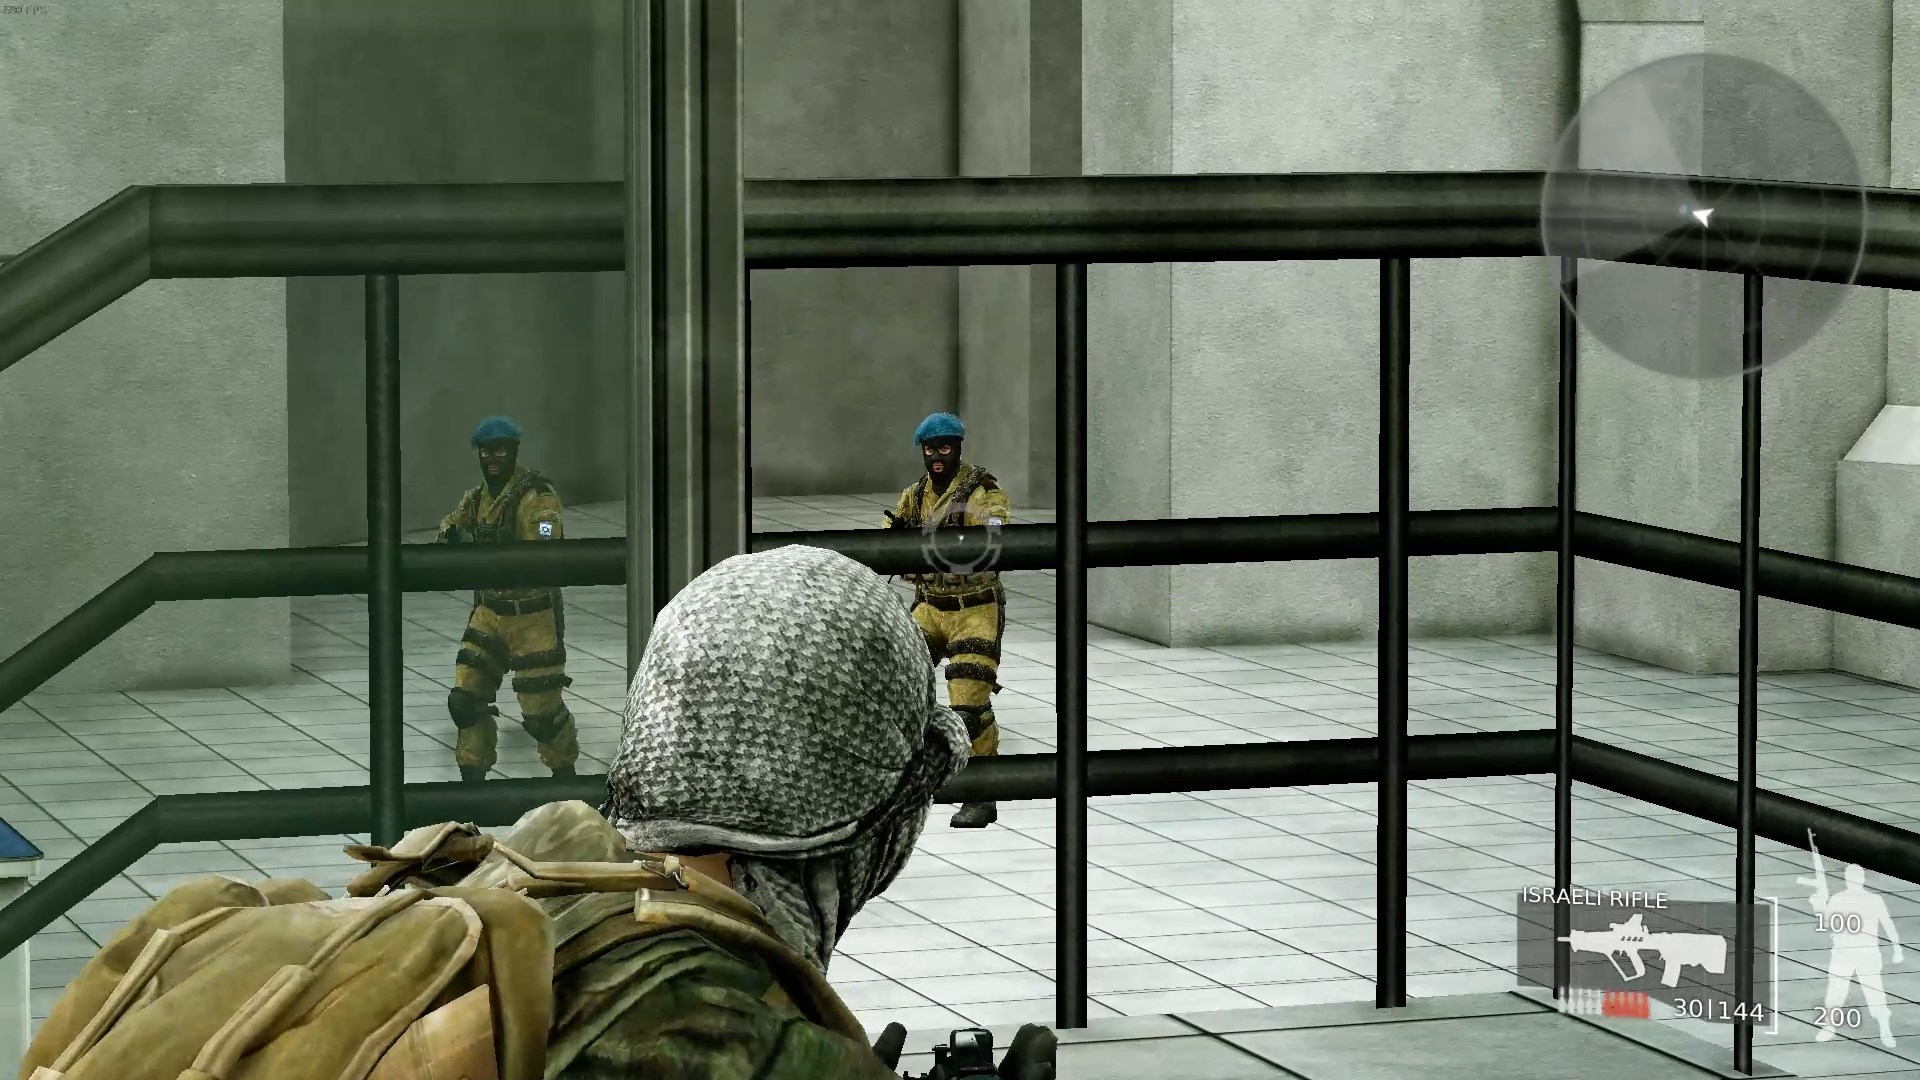 From the office, take out the two bodyguards. The boss himself will approach the office but usually won’t go up the stairs, instead standing by or under the landing.
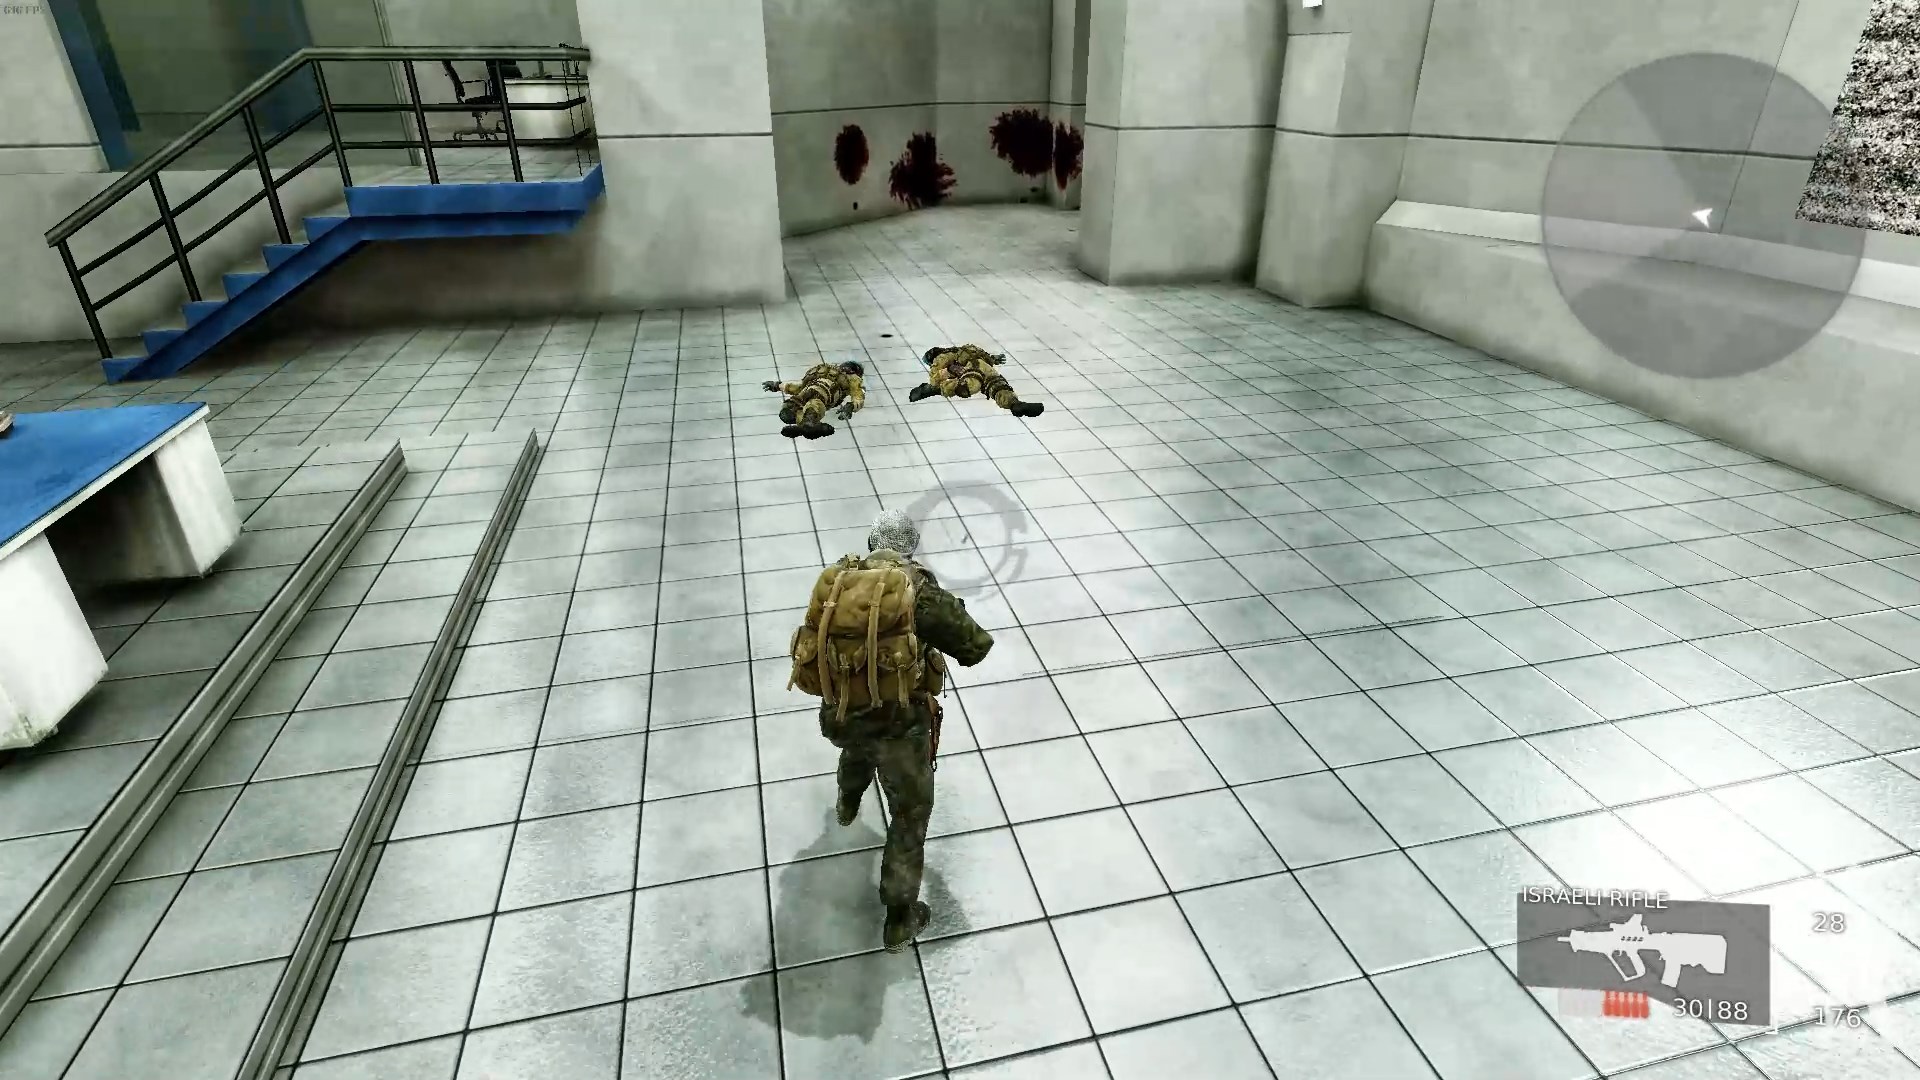 Next, bullet-time jump over the railing and sprint for the stairs back up into the level. You might take a hit or two from the boss but shouldn’t die unless your health is very low.
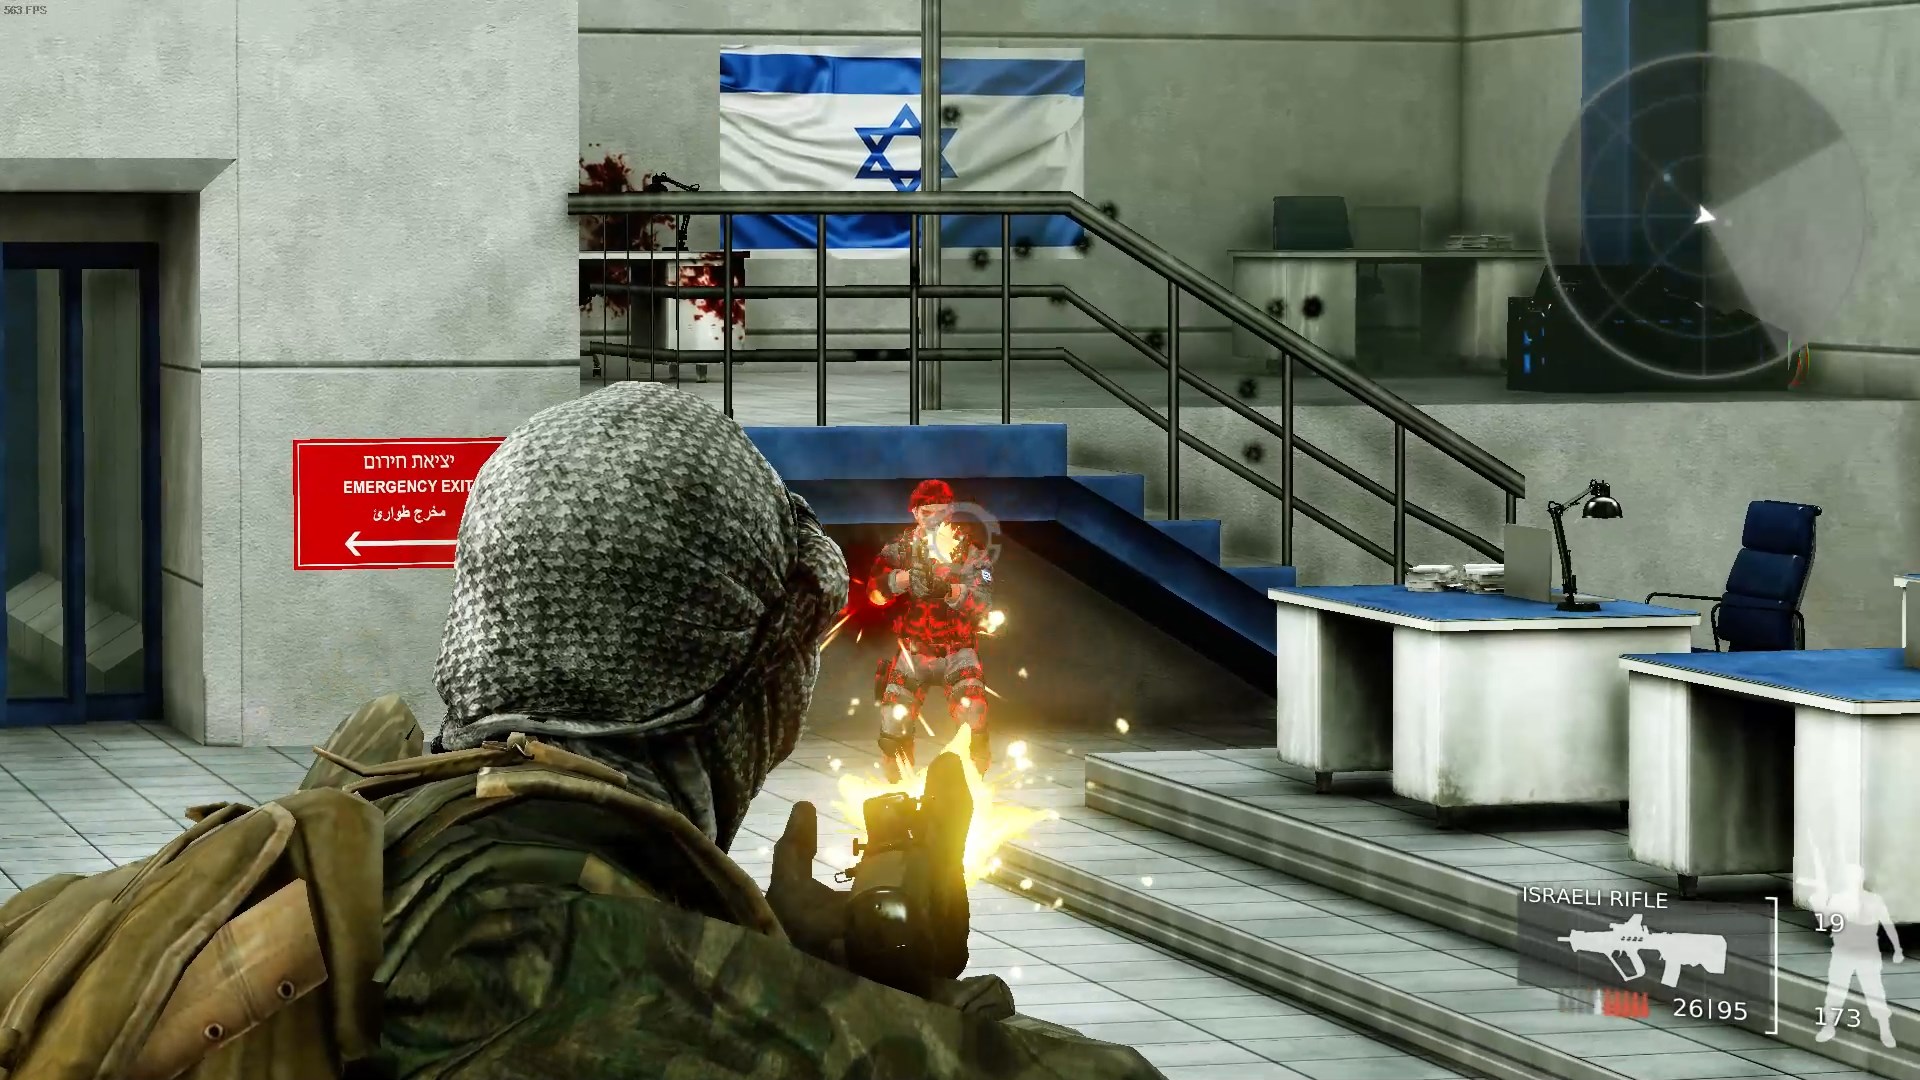 From the bottom of the stairs, shoot the boss a few times, then turn around and run up the stairs; this should lure him to where you were just standing. Try to get him to follow you up the stairs.
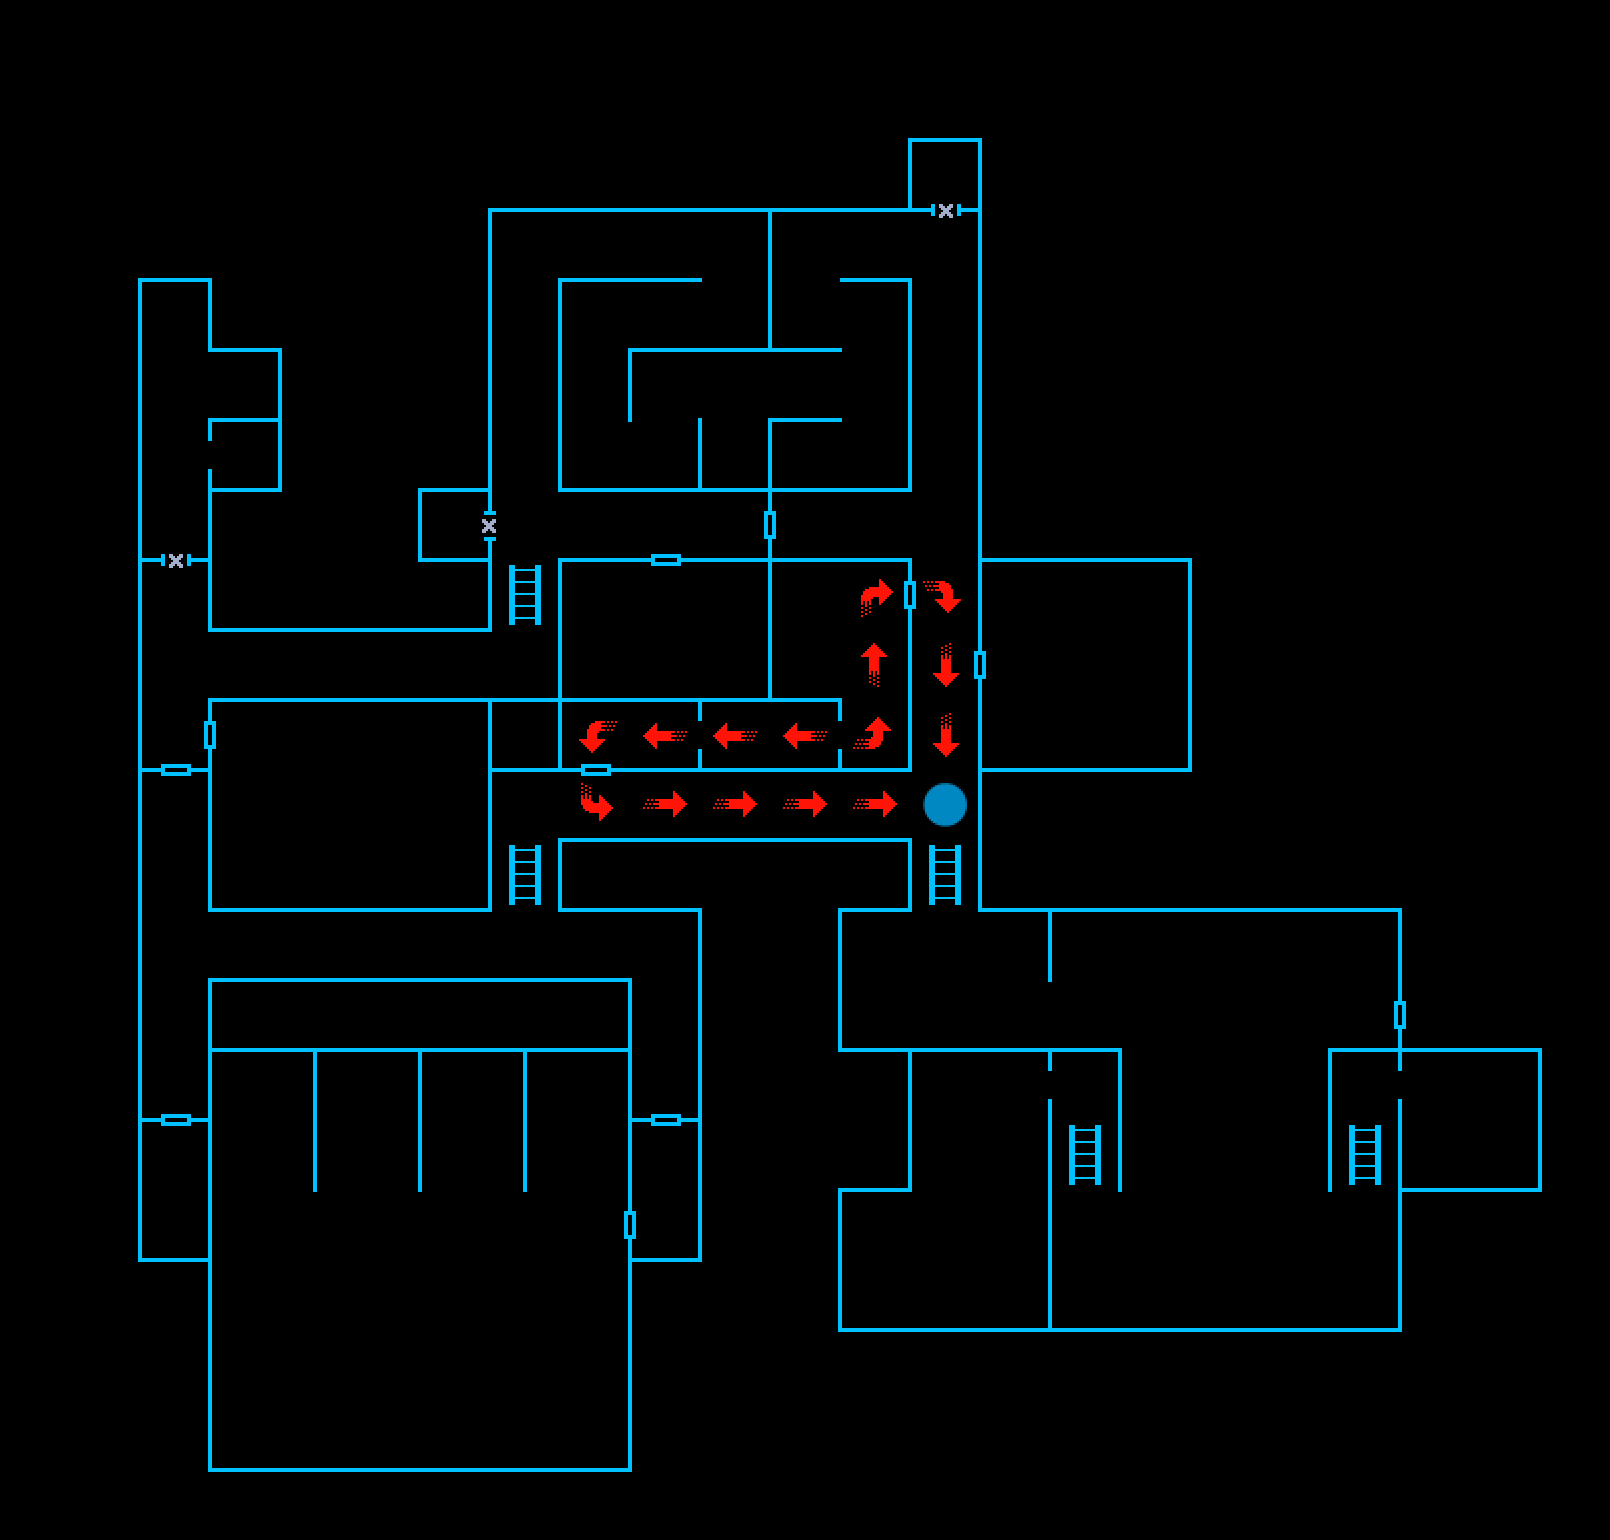
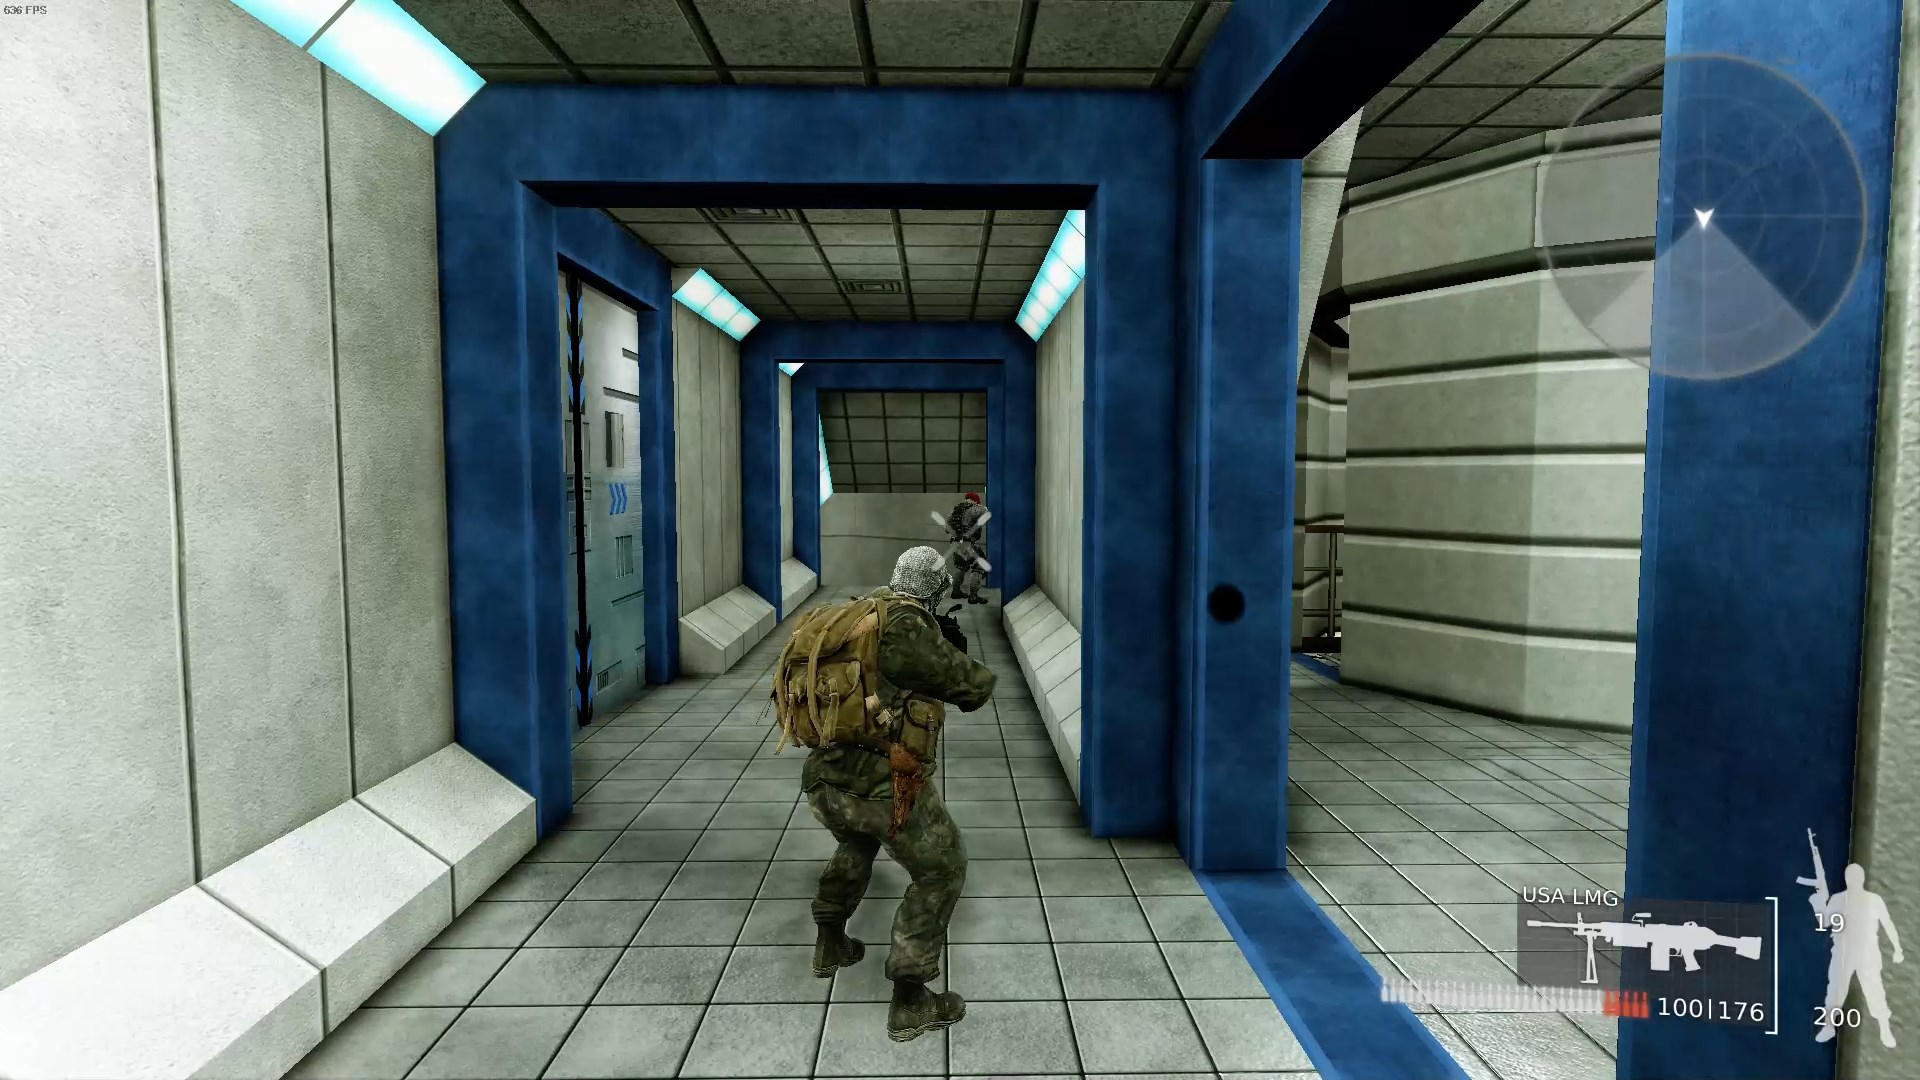
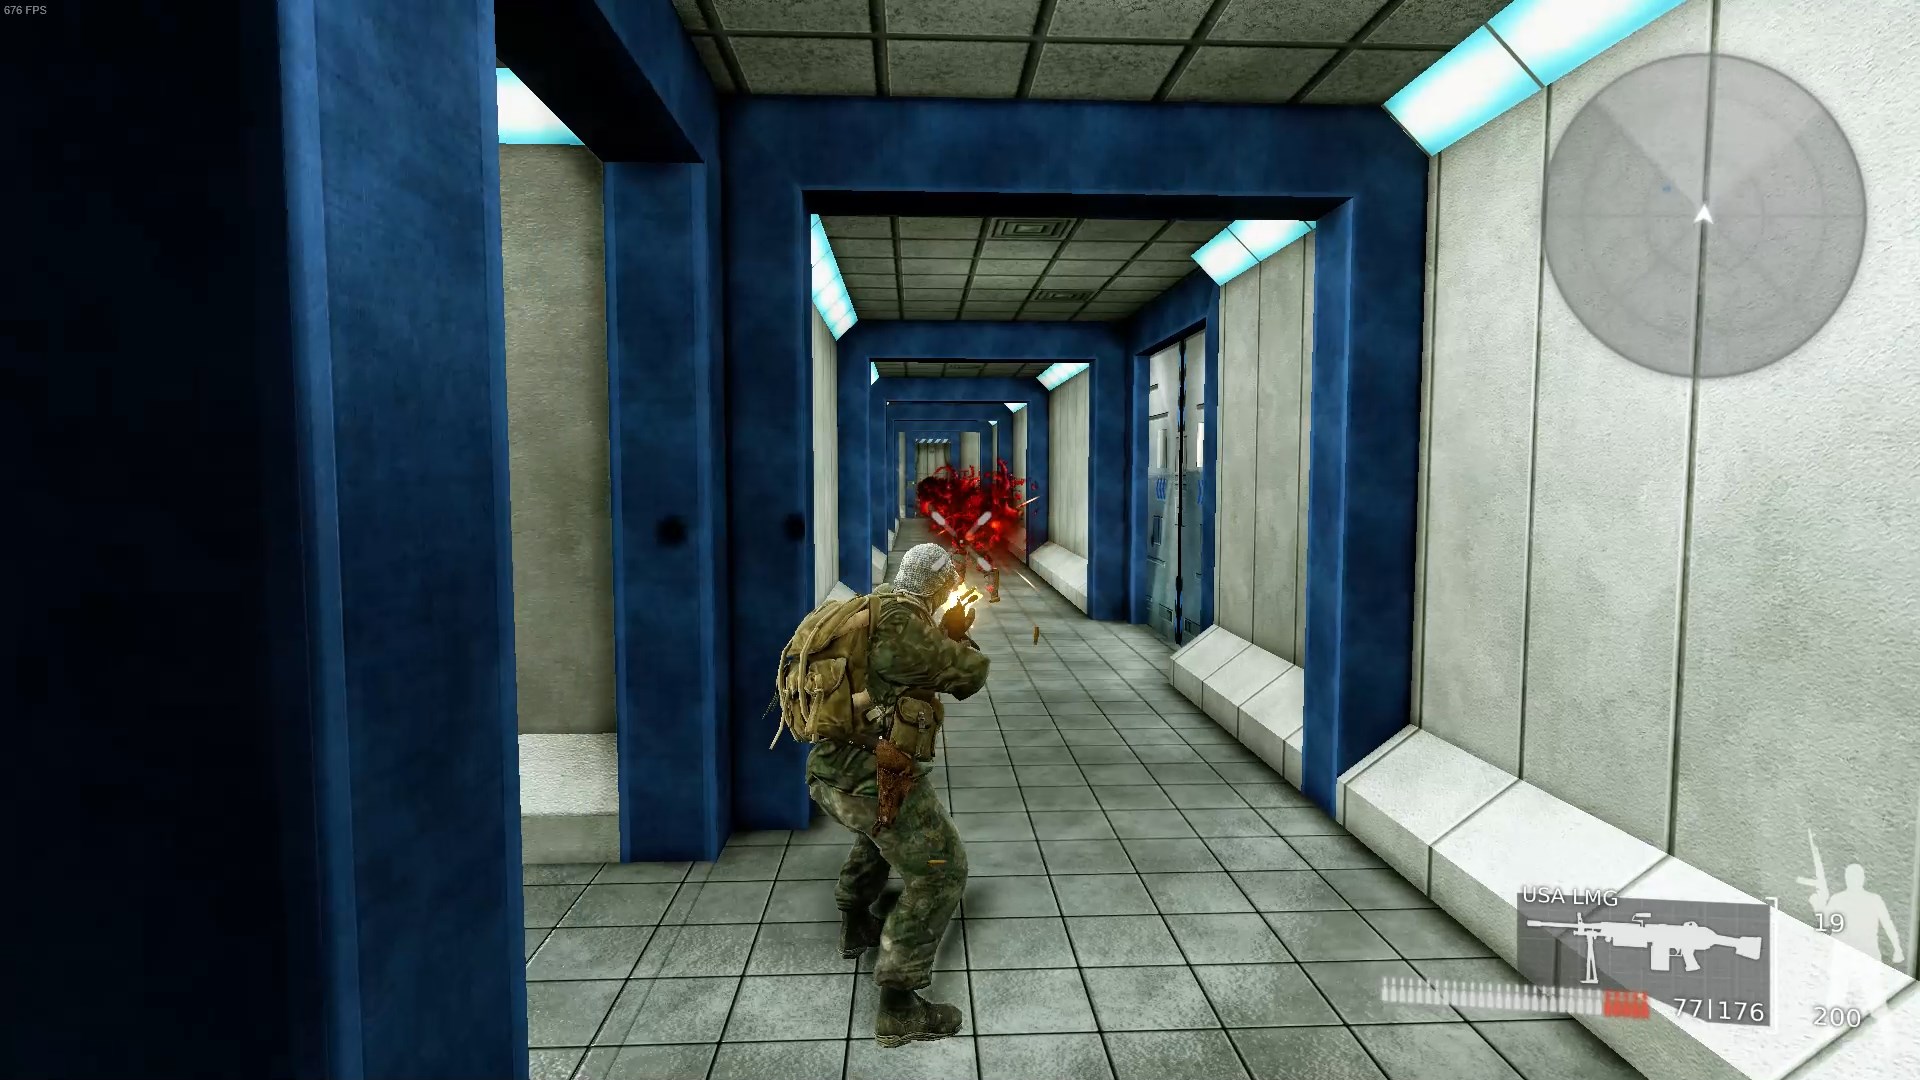 Once the boss is at the top of the stair landing, you’re pretty much set. You can use the same strategy against him as the Mossad Chief in level 2. Shoot him and run away; he’ll follow you to wherever you shot him. Then loop behind him, shoot him again, and repeat the process. The map above is a good loop path.
Mission 10: The Battle of Al-Aqsa Mosque
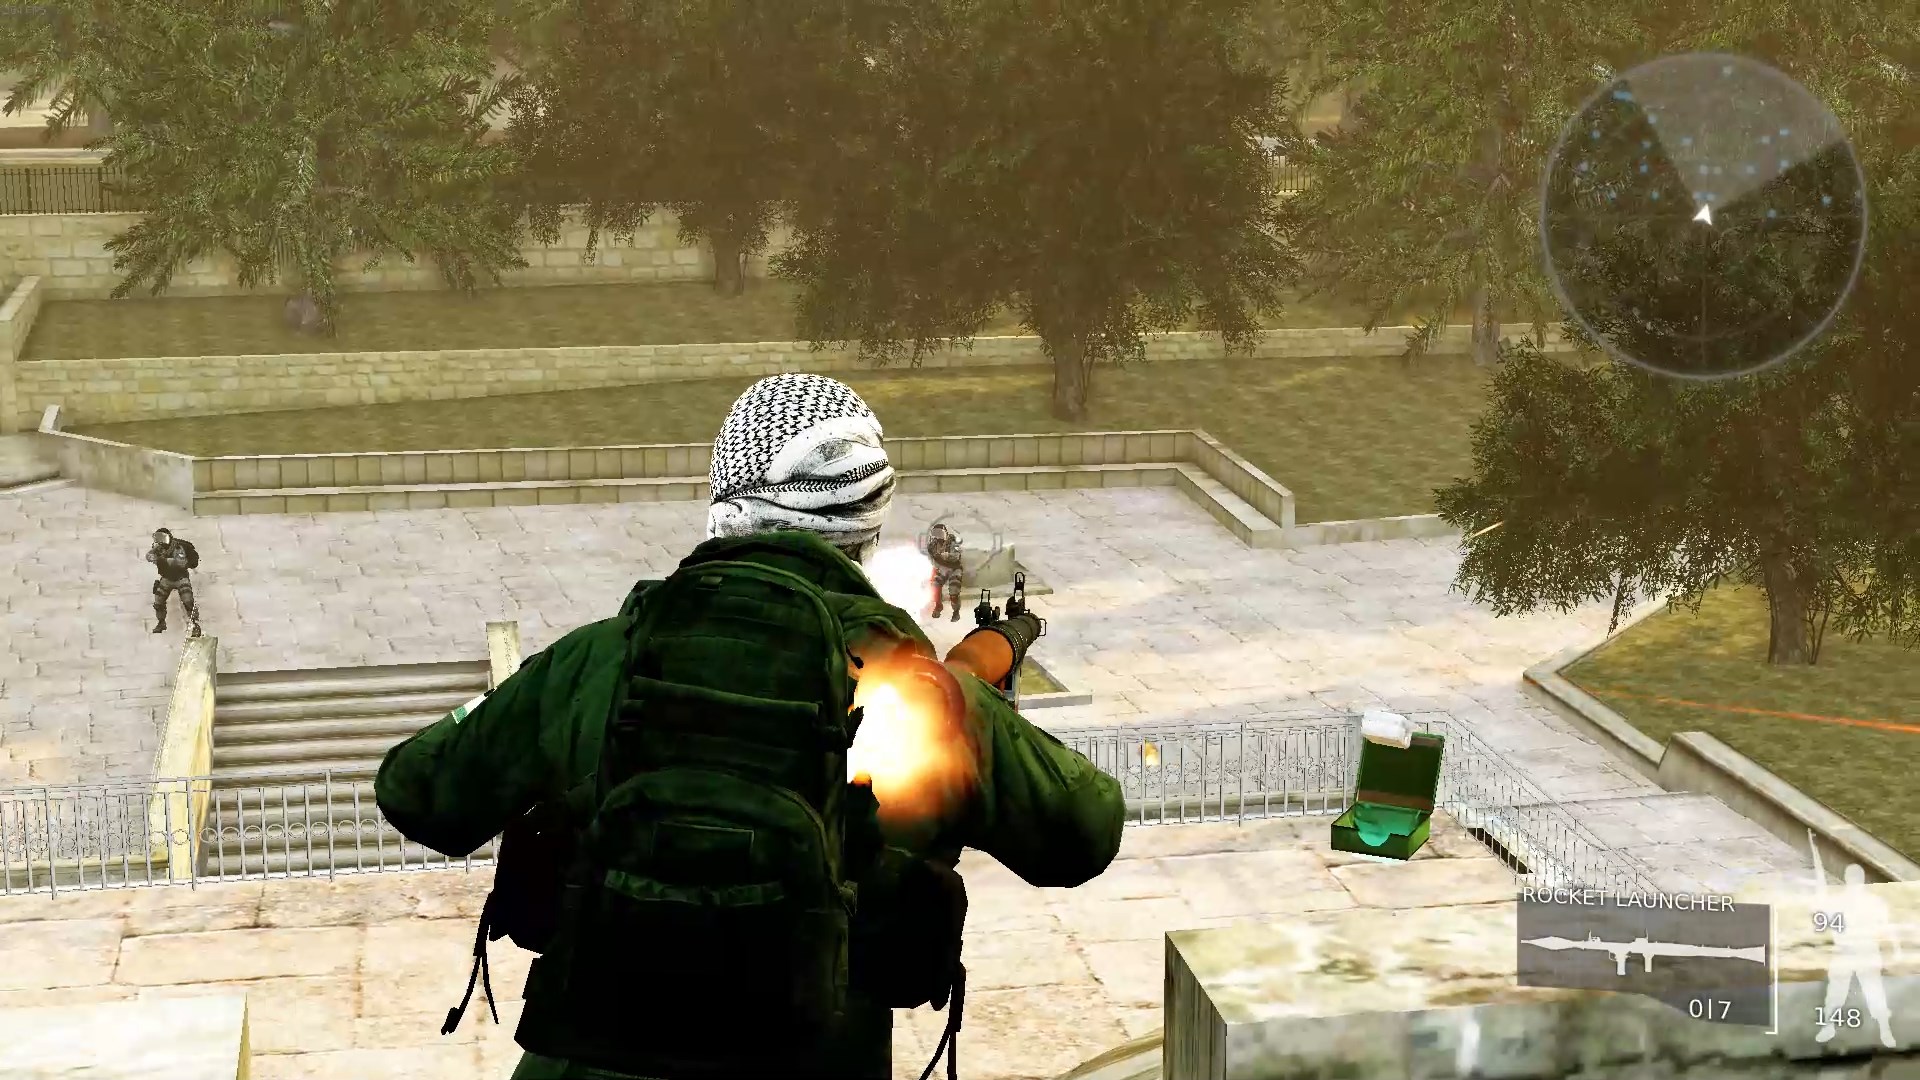 You start the level on top of the Golden Gate, at the south end of the map. There’s some armor and a rocket launcher right there; pick them up immediately. There’s a small opening, beyond which many soldiers will immediately open fire on you. The rocket launcher is a rough weapon to be taking on infantry with–your first goal is to get a better weapon. There’s a medkit on top of the gate in case you need it.
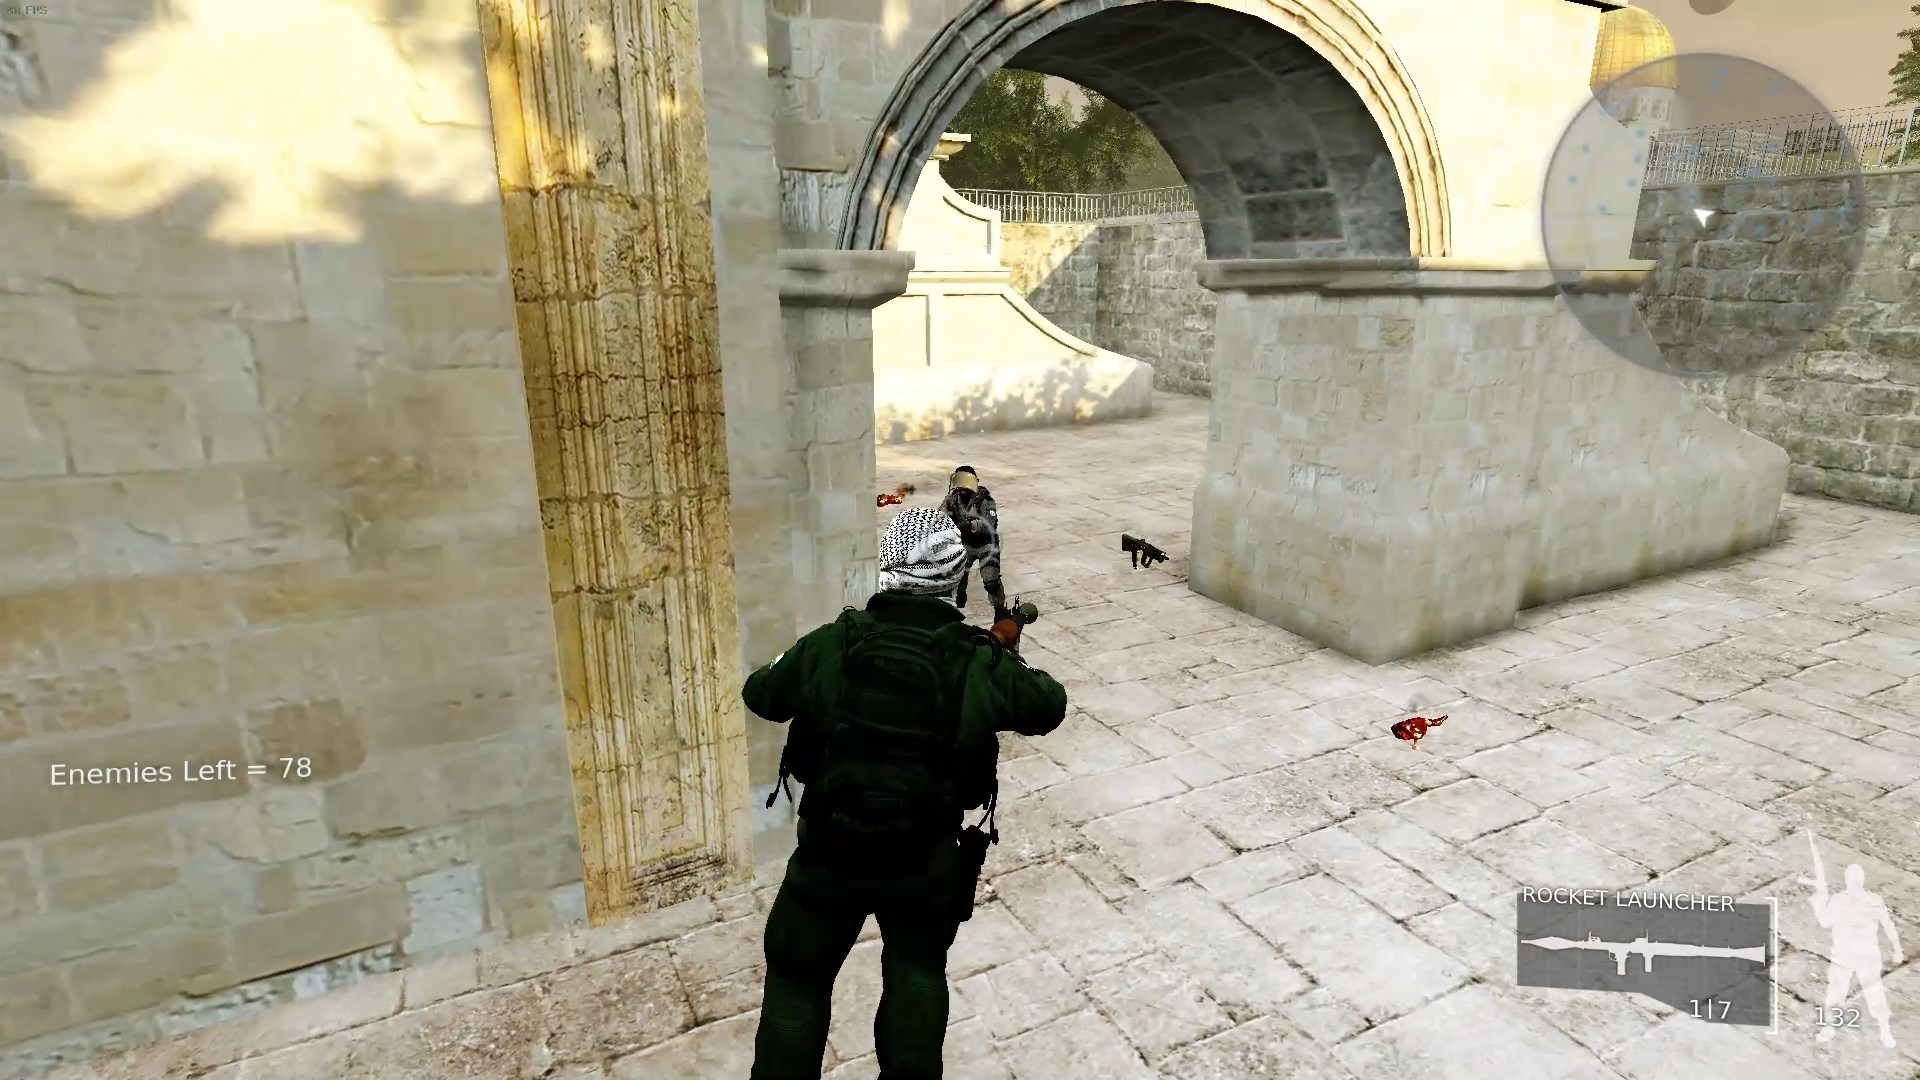 Dive down to the actual gate entrance; fewer soldiers can reach you there. There are two down there; take them out with the rocket launcher and they’ll drop a LMG and Israeli rifle–much better weapons for infantry than the rocket launcher.
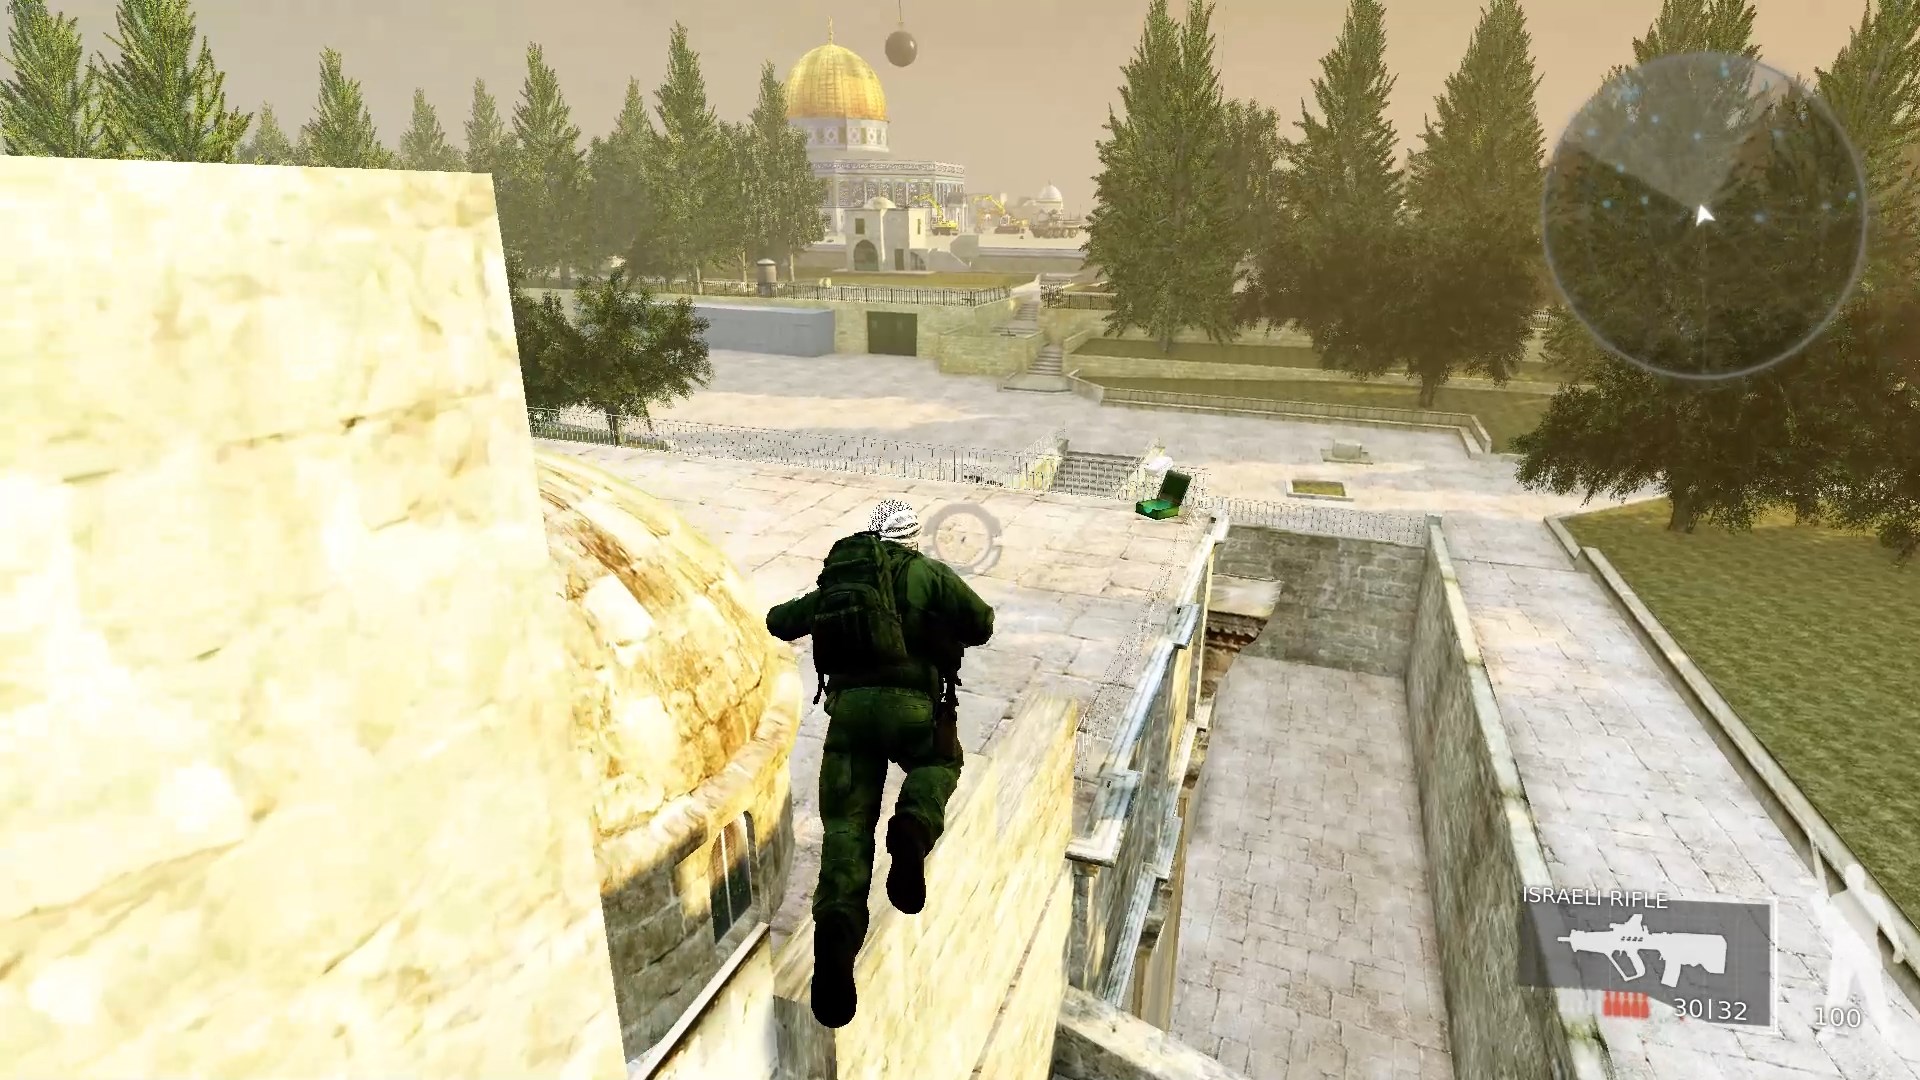 If you start running low on health, you can get back up to the top of the Golden Gate to grab the medkit using the stairs to the east. Bullet-time jump at the top and you should be able to get over the wall to pick up the medkit.
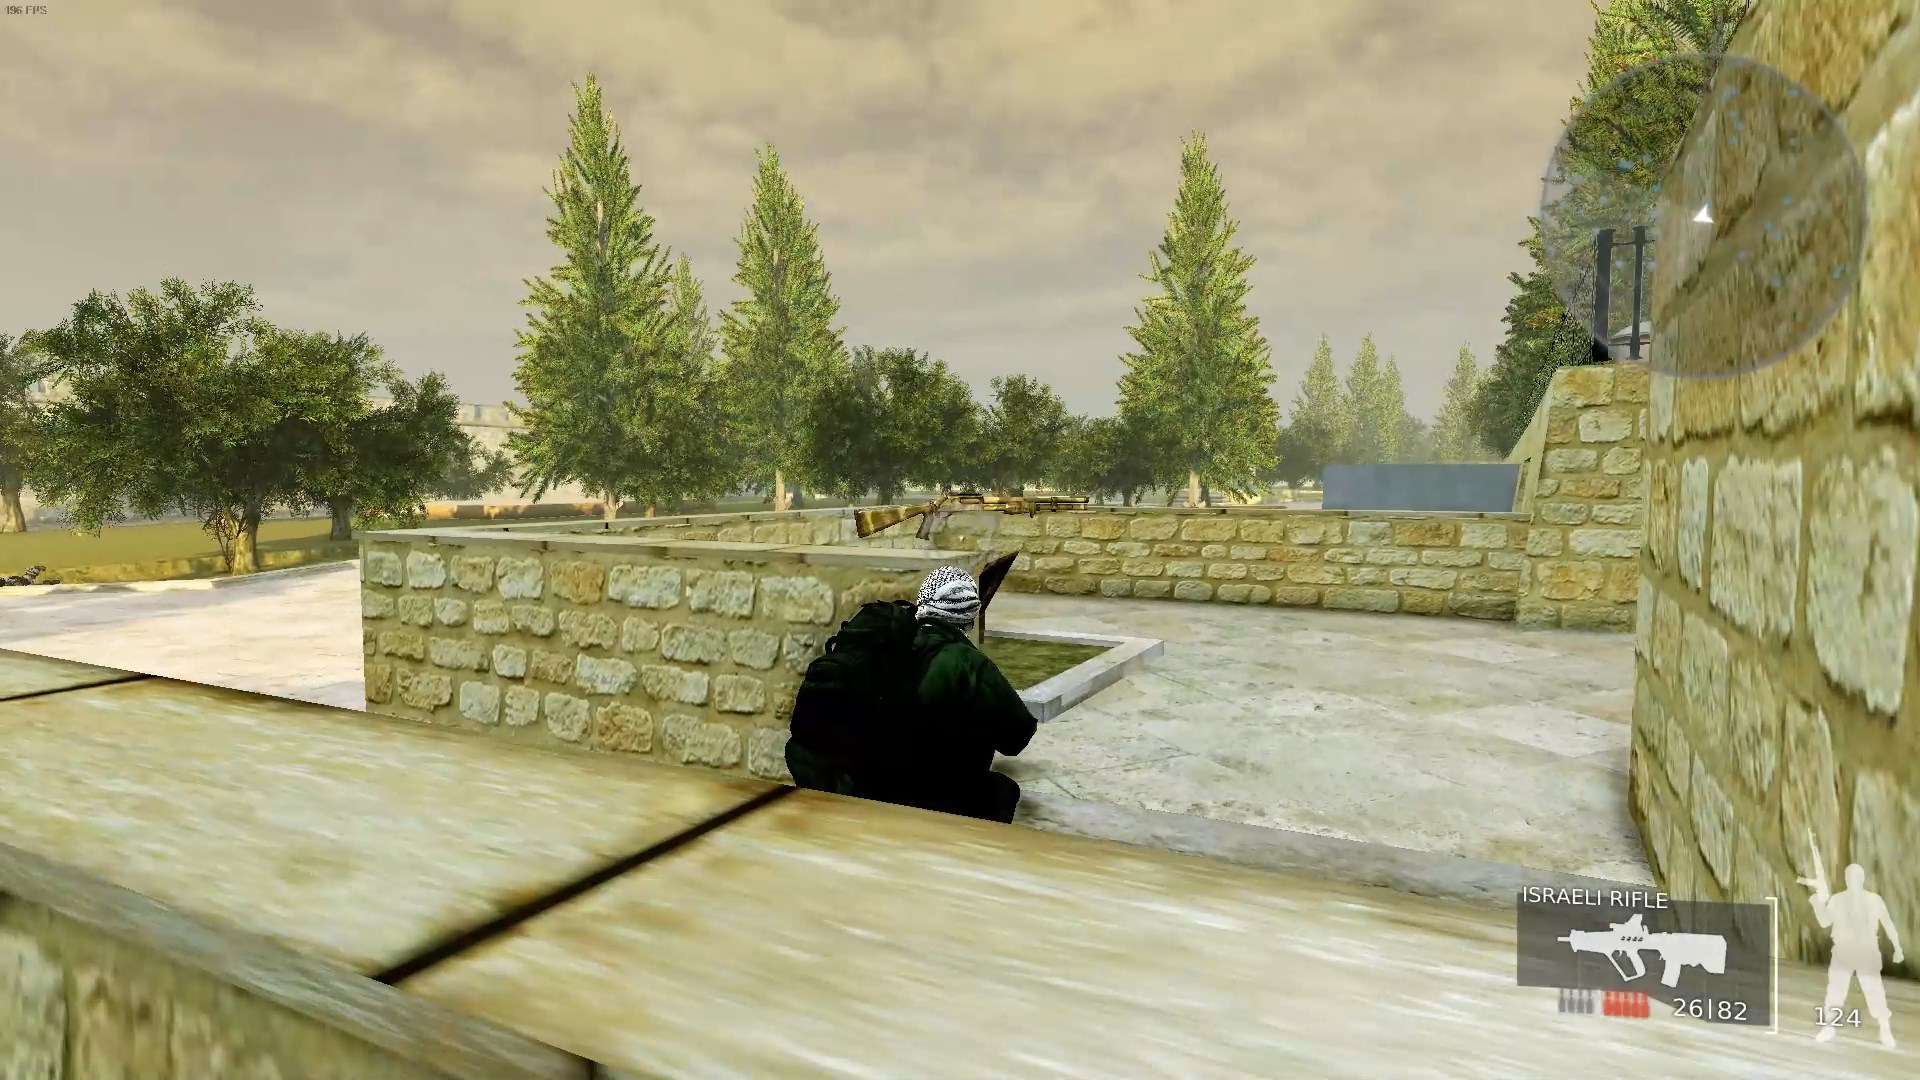 Work your way north to the plaza with the Dome of the Rock in the center. There’s a shotgun on the way but you don’t really need it.
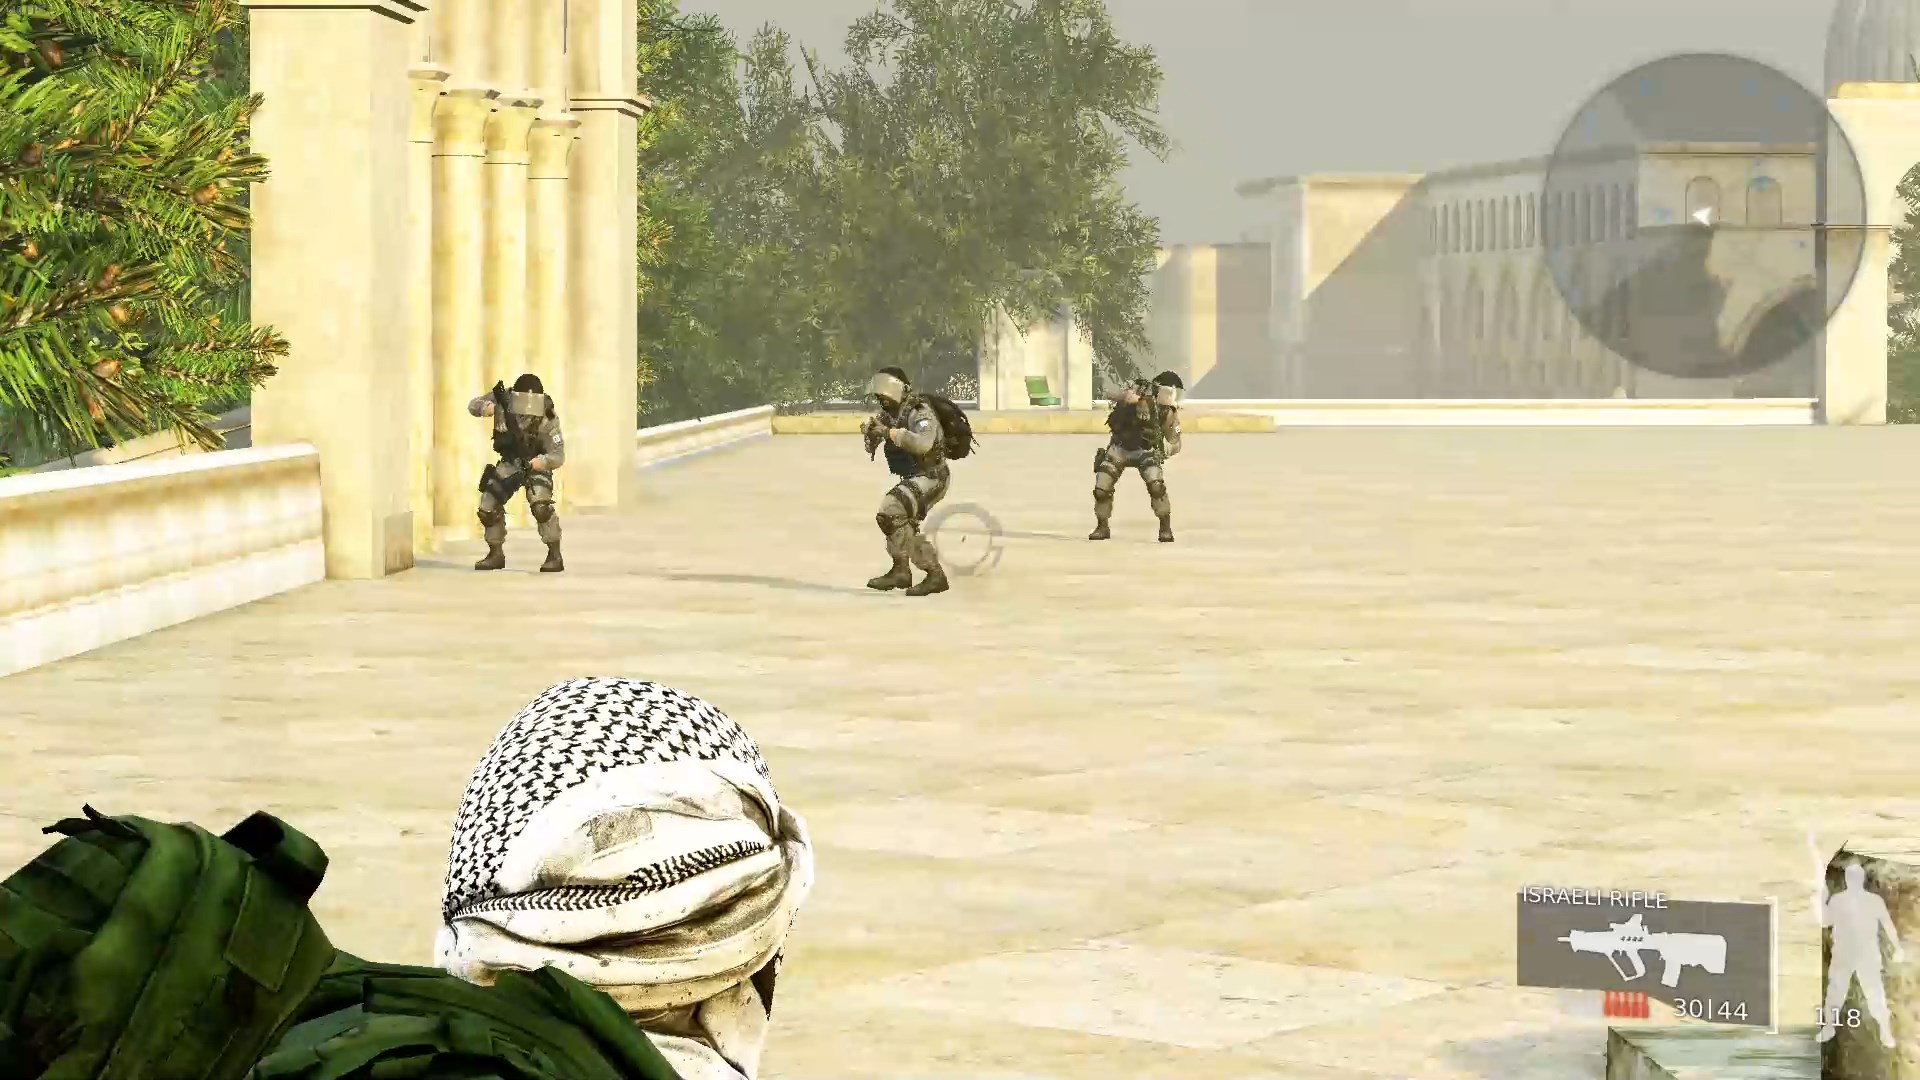 There are three soldiers on the south end of the plaza. Use Bullet Time to kill them quickly. These three guys are the main opposition on the central plaza. Once you’ve taken them out you’ve got a great foothold to clear out the rest of the level.
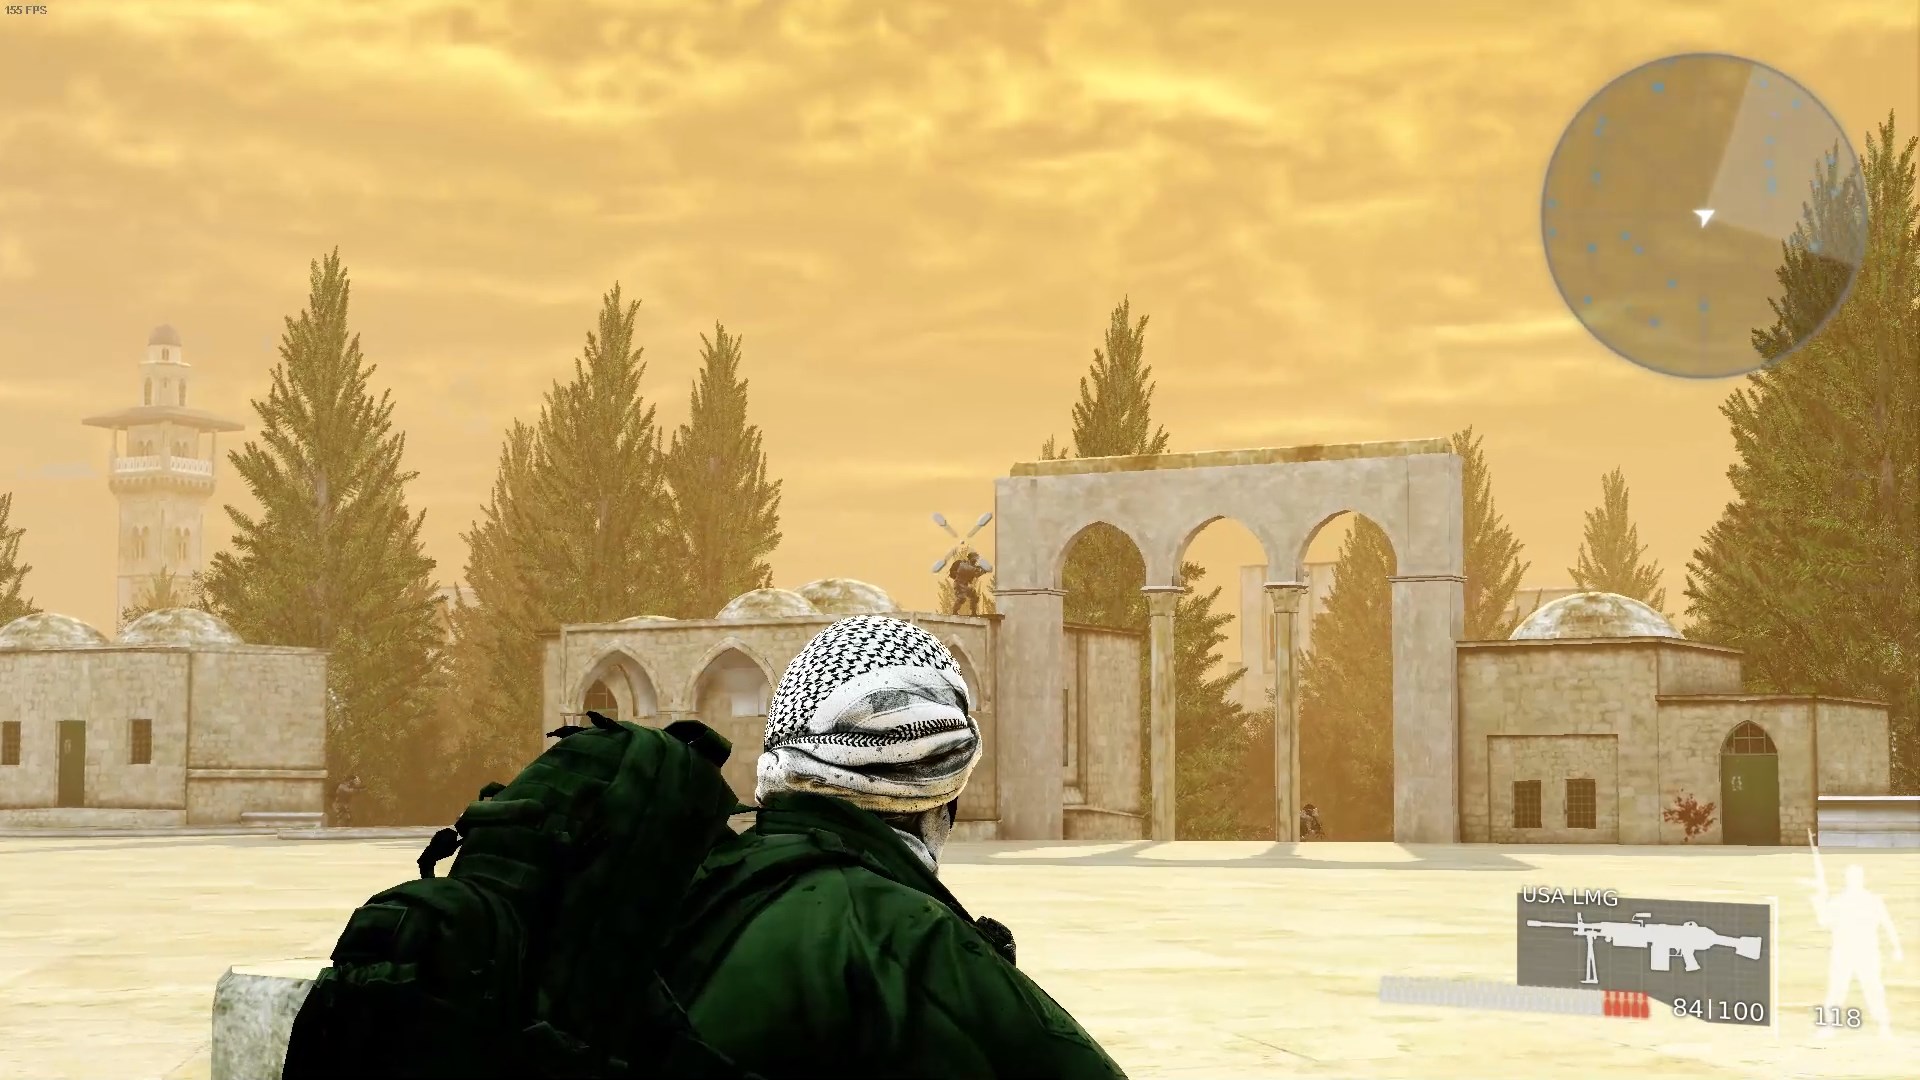 There are a LOT of soldiers on the edge of the central plaza. But they’re all looking away from the Dome of the Rock, hoping to snipe you as you approach. From the central plaza it’s trivially easy to pick them all off without them even noticing you. If you’re going for the headshot achievement, you can get about half of them here.
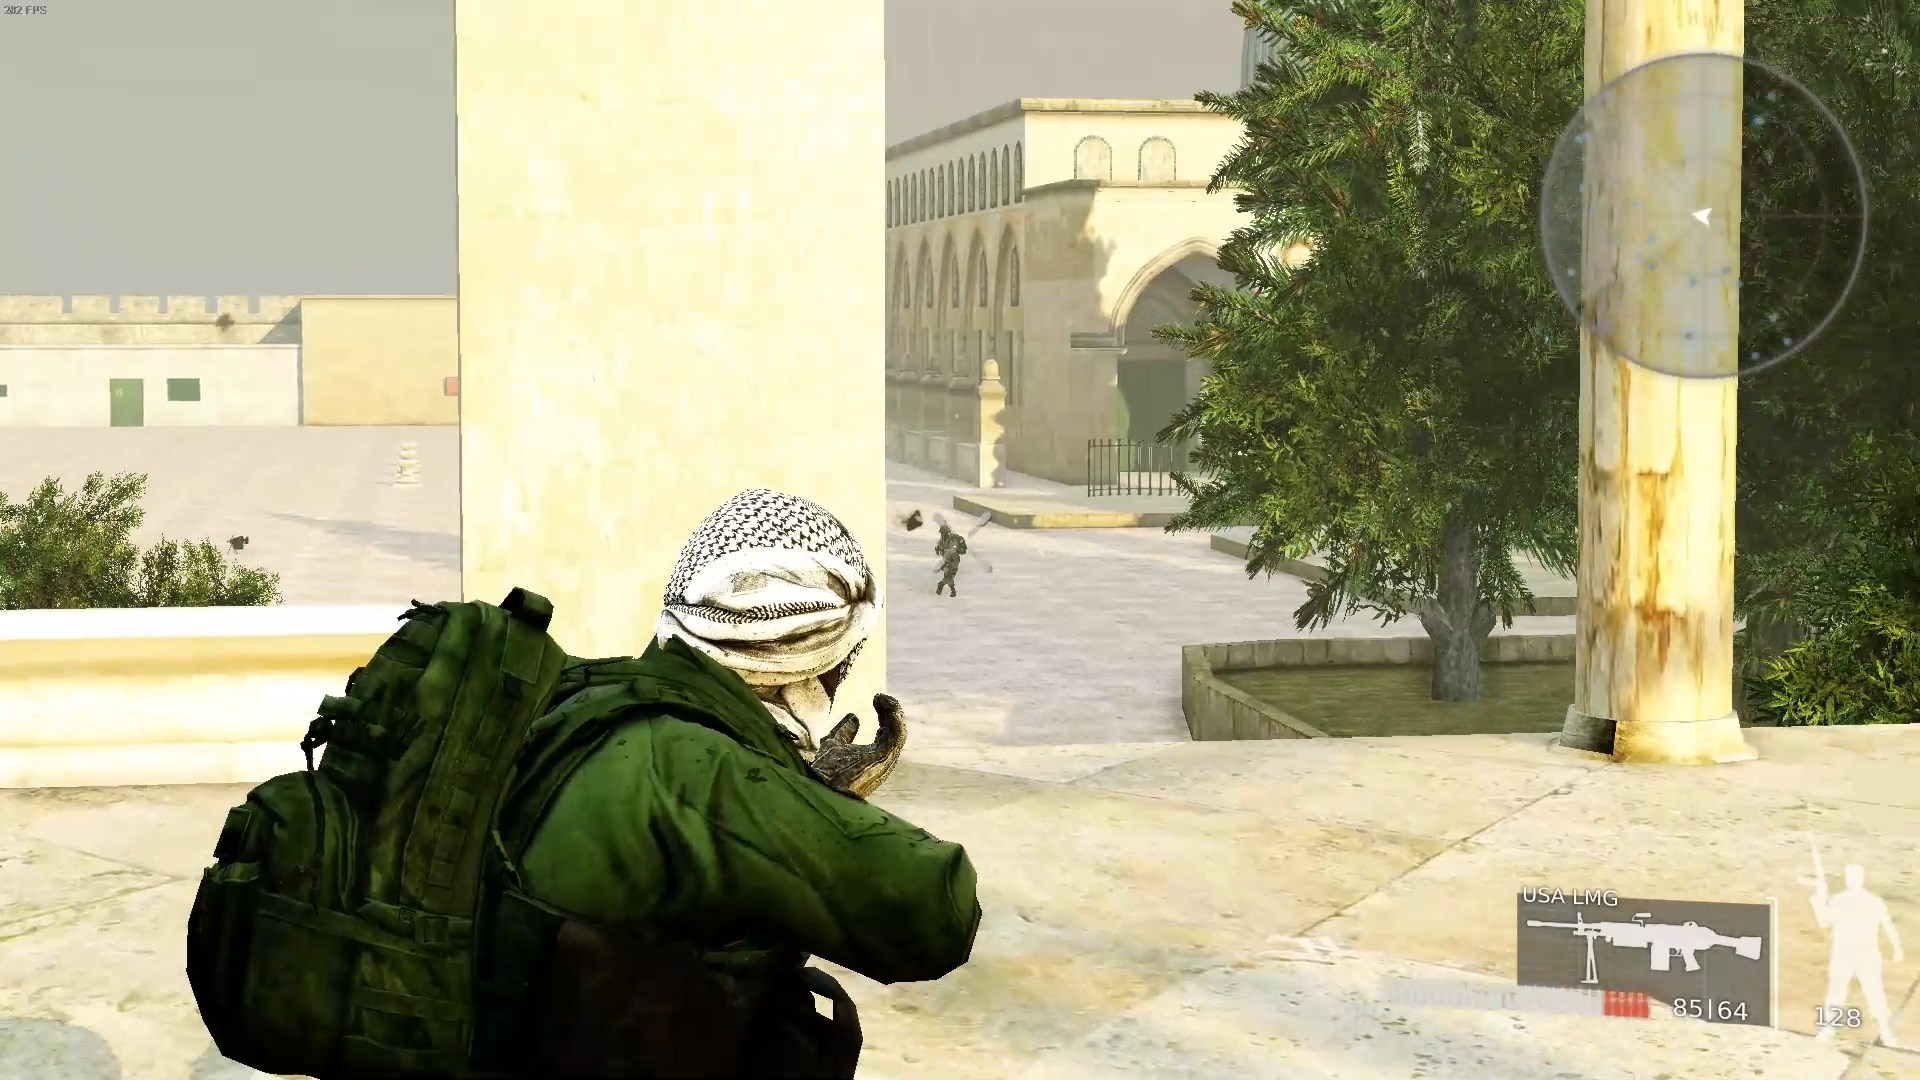 Once you’ve secured the central plaza, it makes a great place to start taking out soldiers on the outskirts of the complex. There’s plenty of cover with all the gates and low walls. This is a good place for a “base”, as there’s both medkits and weapons nearby.
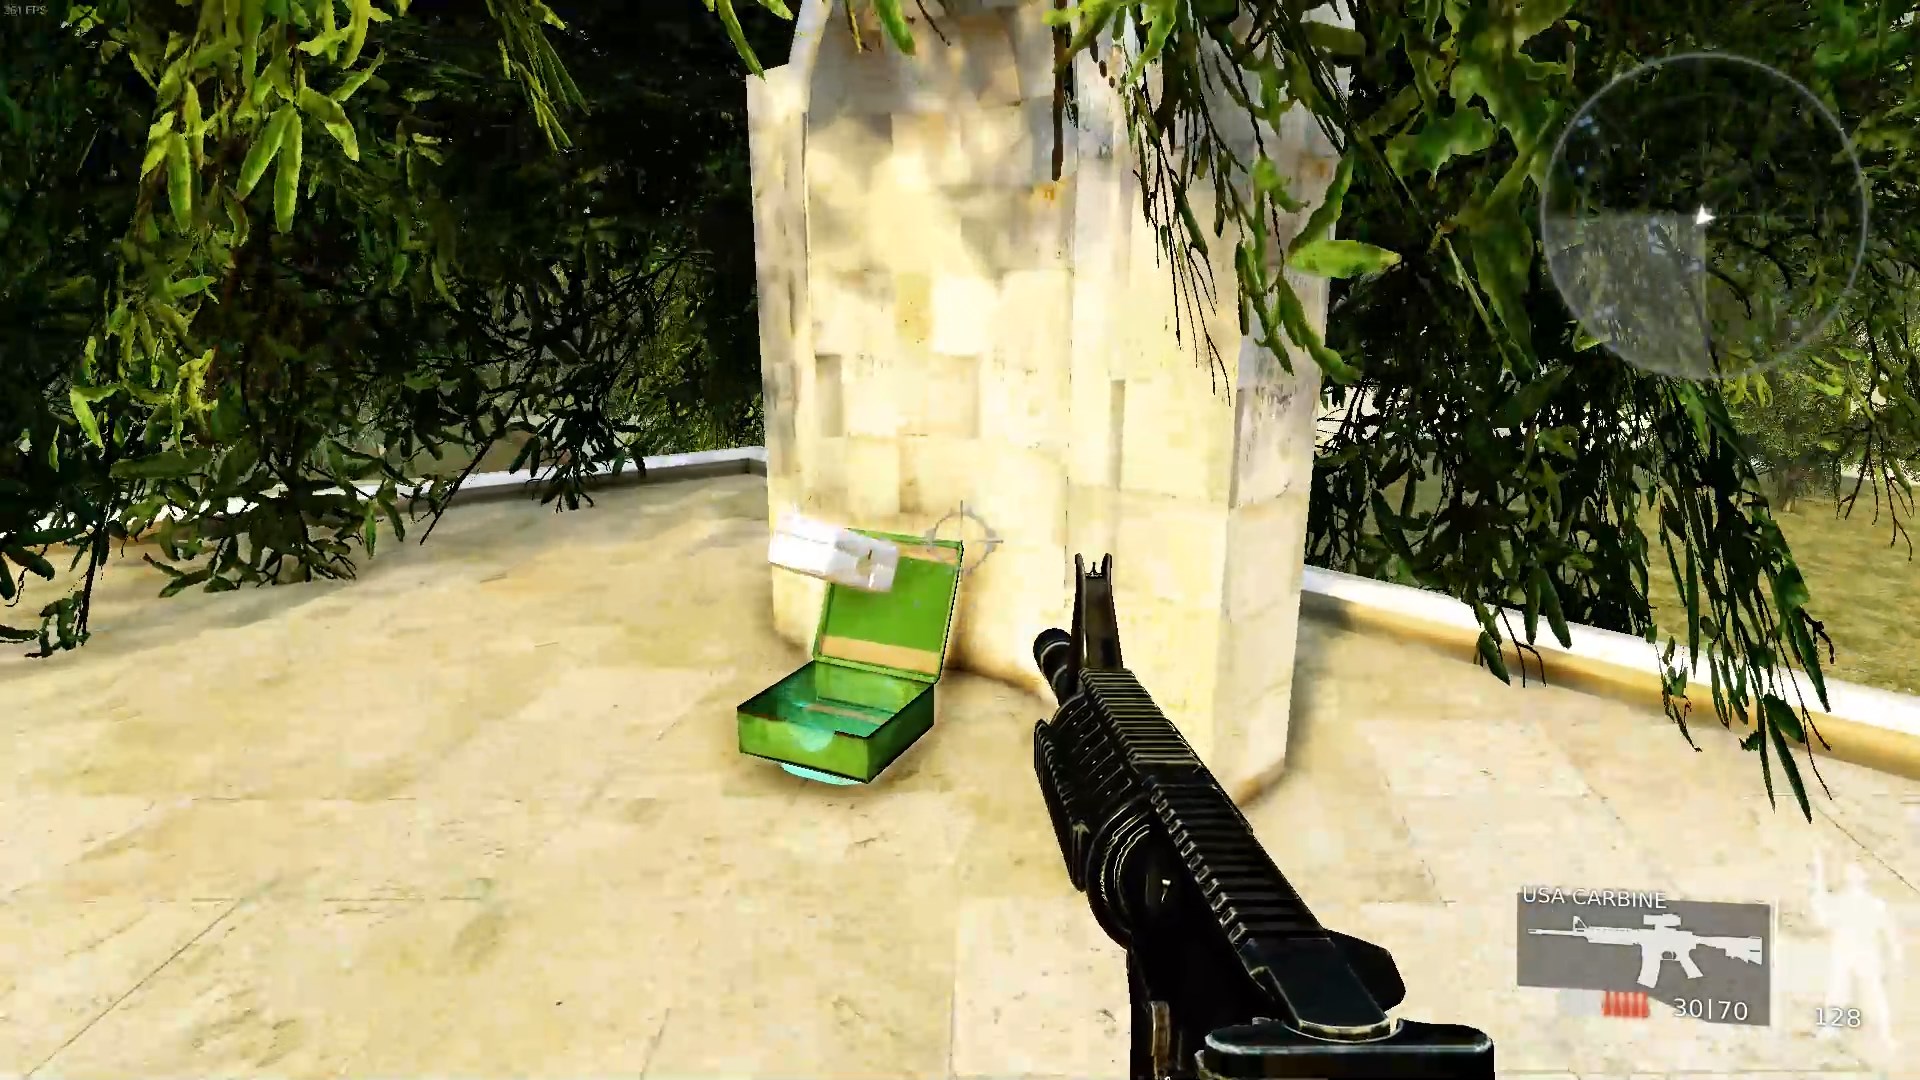 The southwest corner of the central plaza has a medkit and respawning rocket launcher ammo.
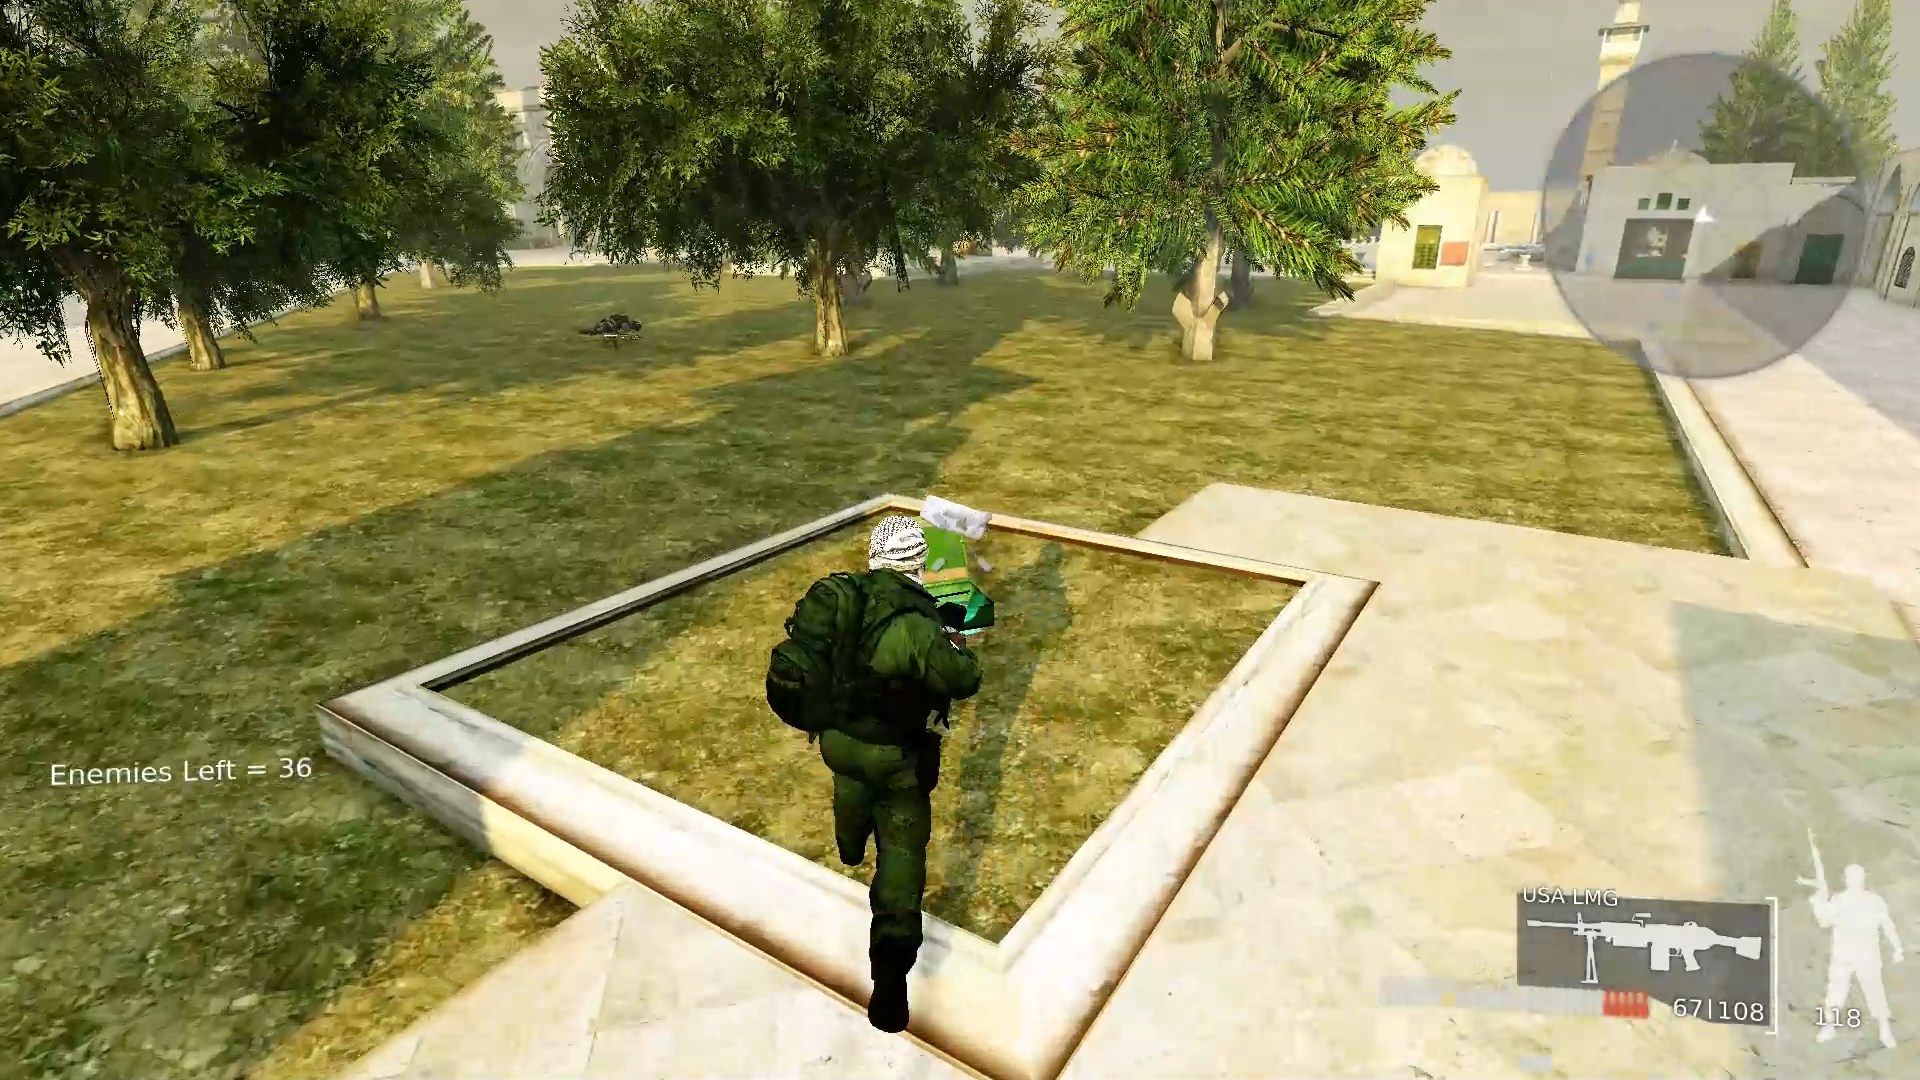 A short bit northwest of the plaza there’s another health kit, by the entrance of Al-Buraq Mosque (which I’m guessing won’t be much of an indicator to 99% of the people reading this guide, but hey, why not point out some landmarks while I’m at it?)
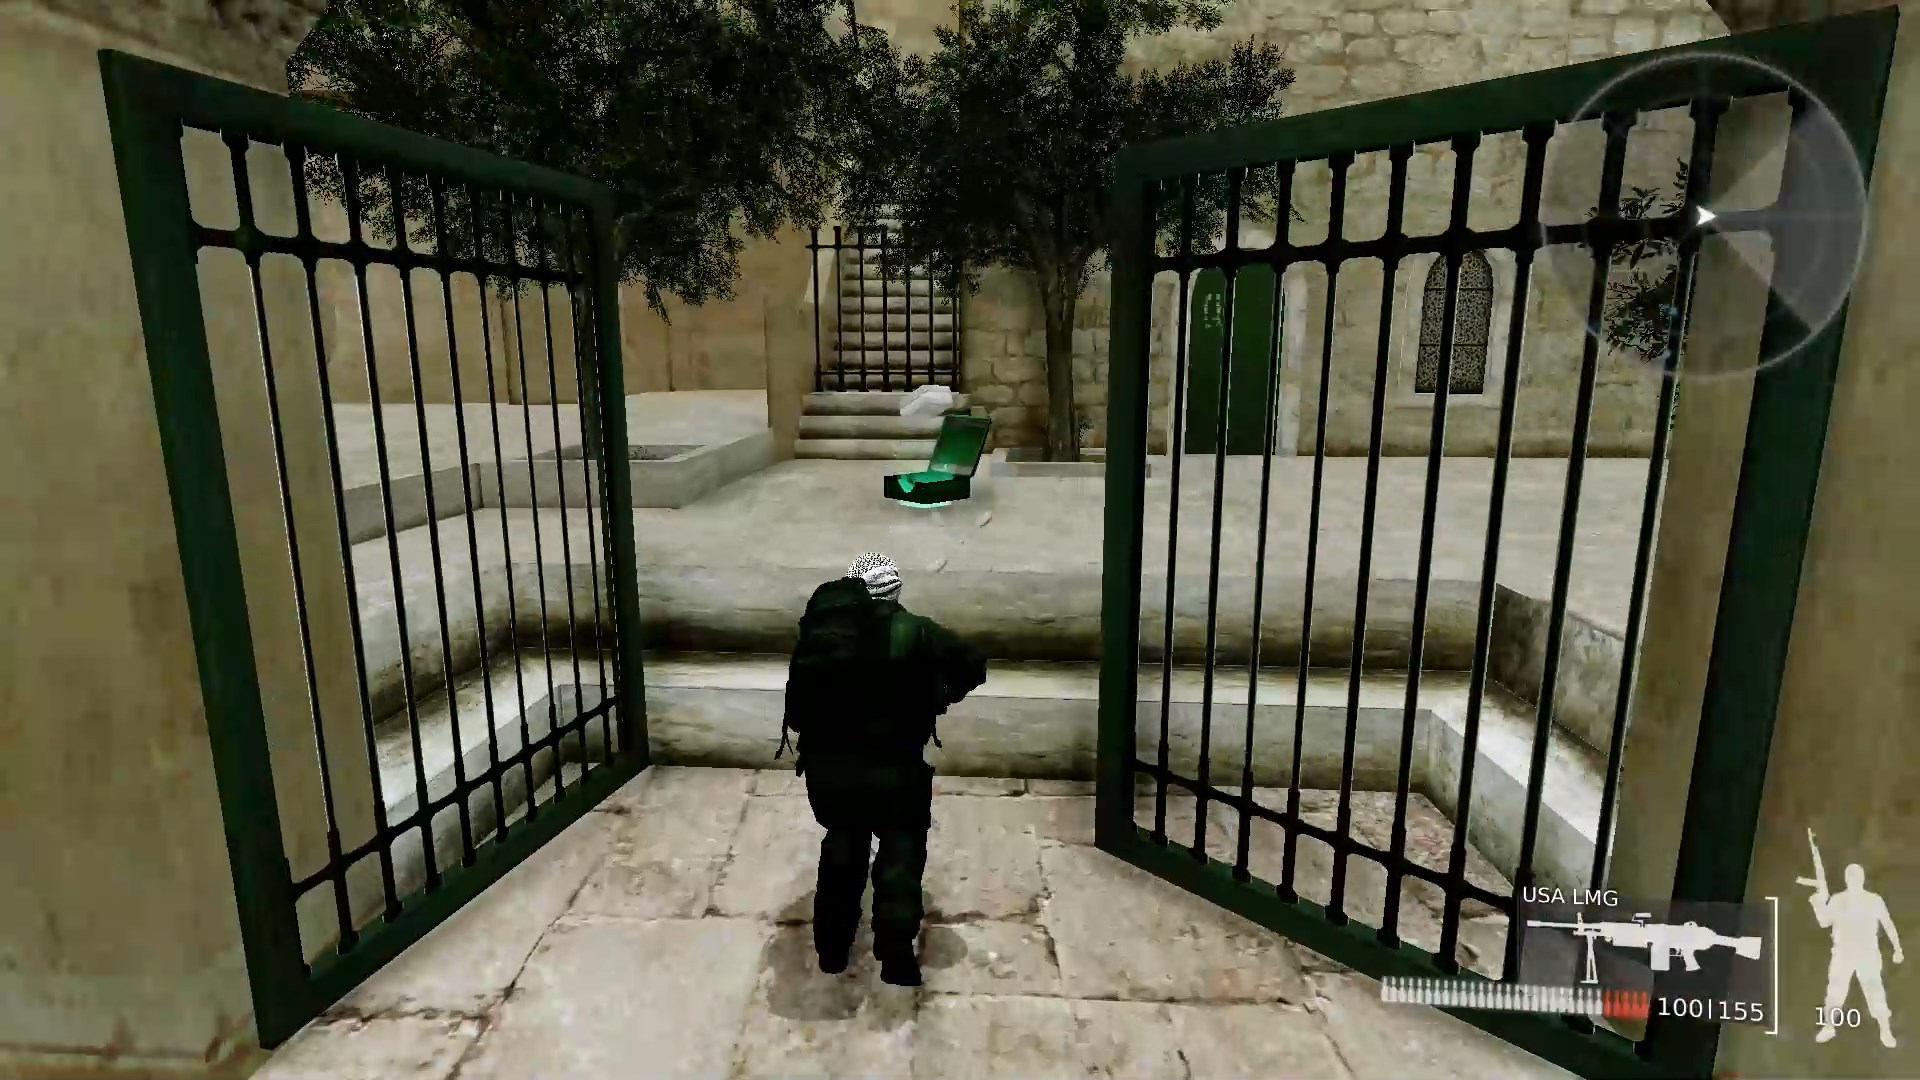 There’s another medkit at the extreme northeast corner of the level, by the Bani Ghanim Gate.
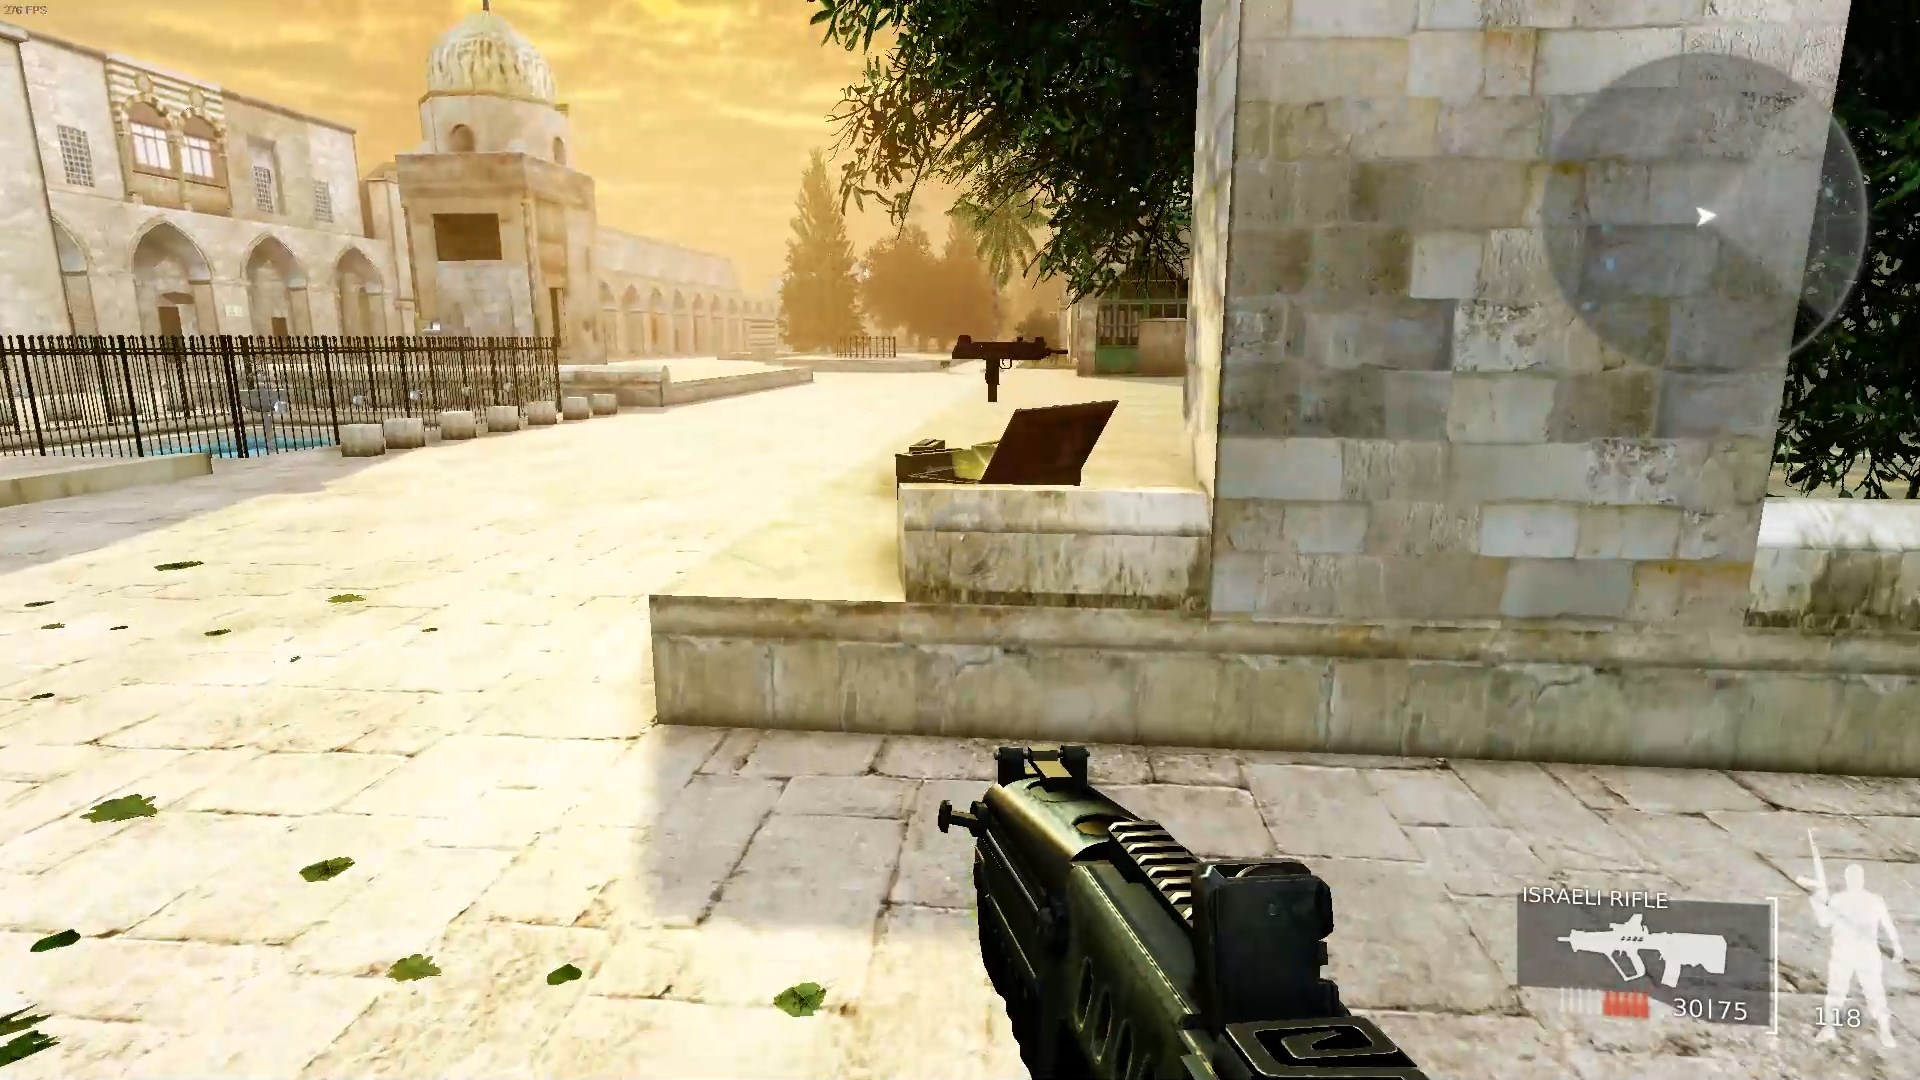 There’s a SMG right to the north of the central plaza, near the Fountain of Qayt Bay.
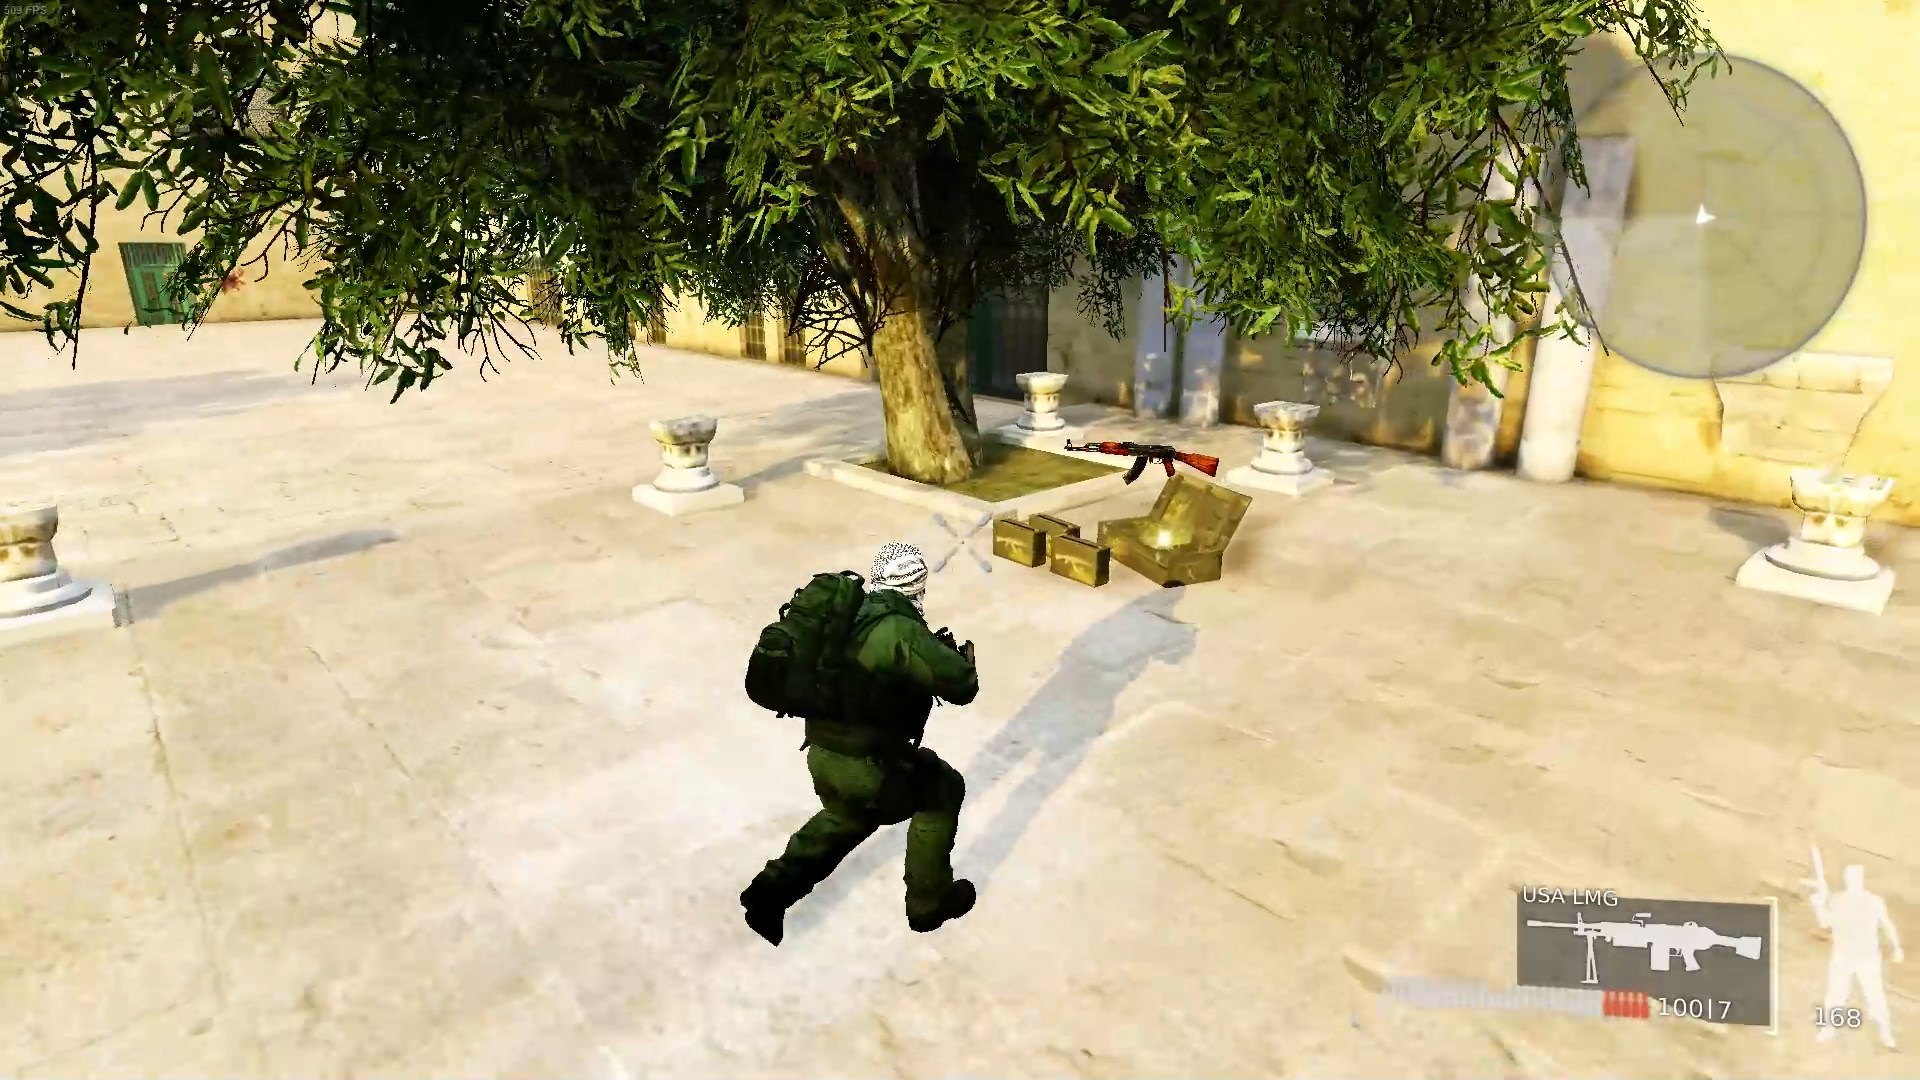 In the extreme northwest corner of the map there’s a Soviet Rifle, by the Islamic Museum. As the most damaging of the AR weapons it’s nice to pick it up early-ish. There are several soldiers guarding it but you can take them out at range before they see you pretty easily.
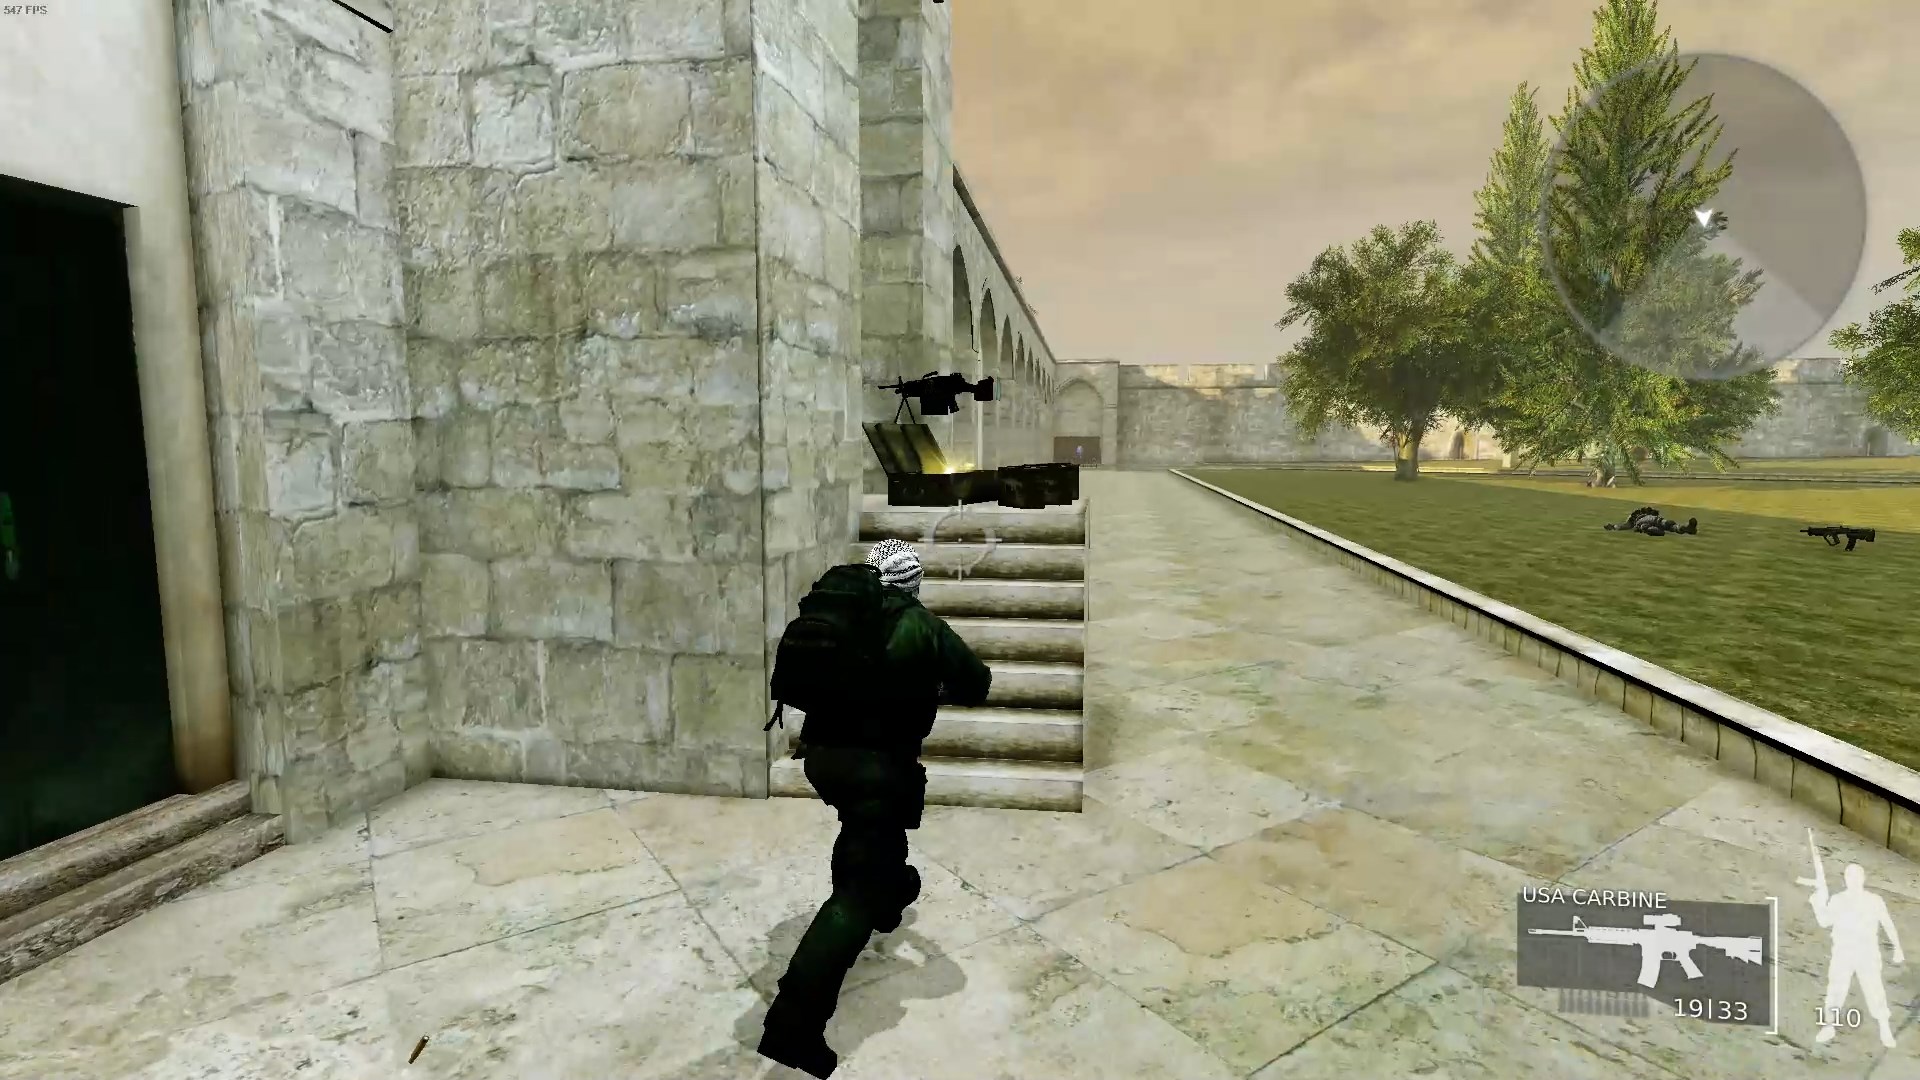 There’s an LMG right by the Tribes Gate Minaret near the southeast corner, though since so many soldiers in this level drop them you’ll probably already have one by the time you get here.
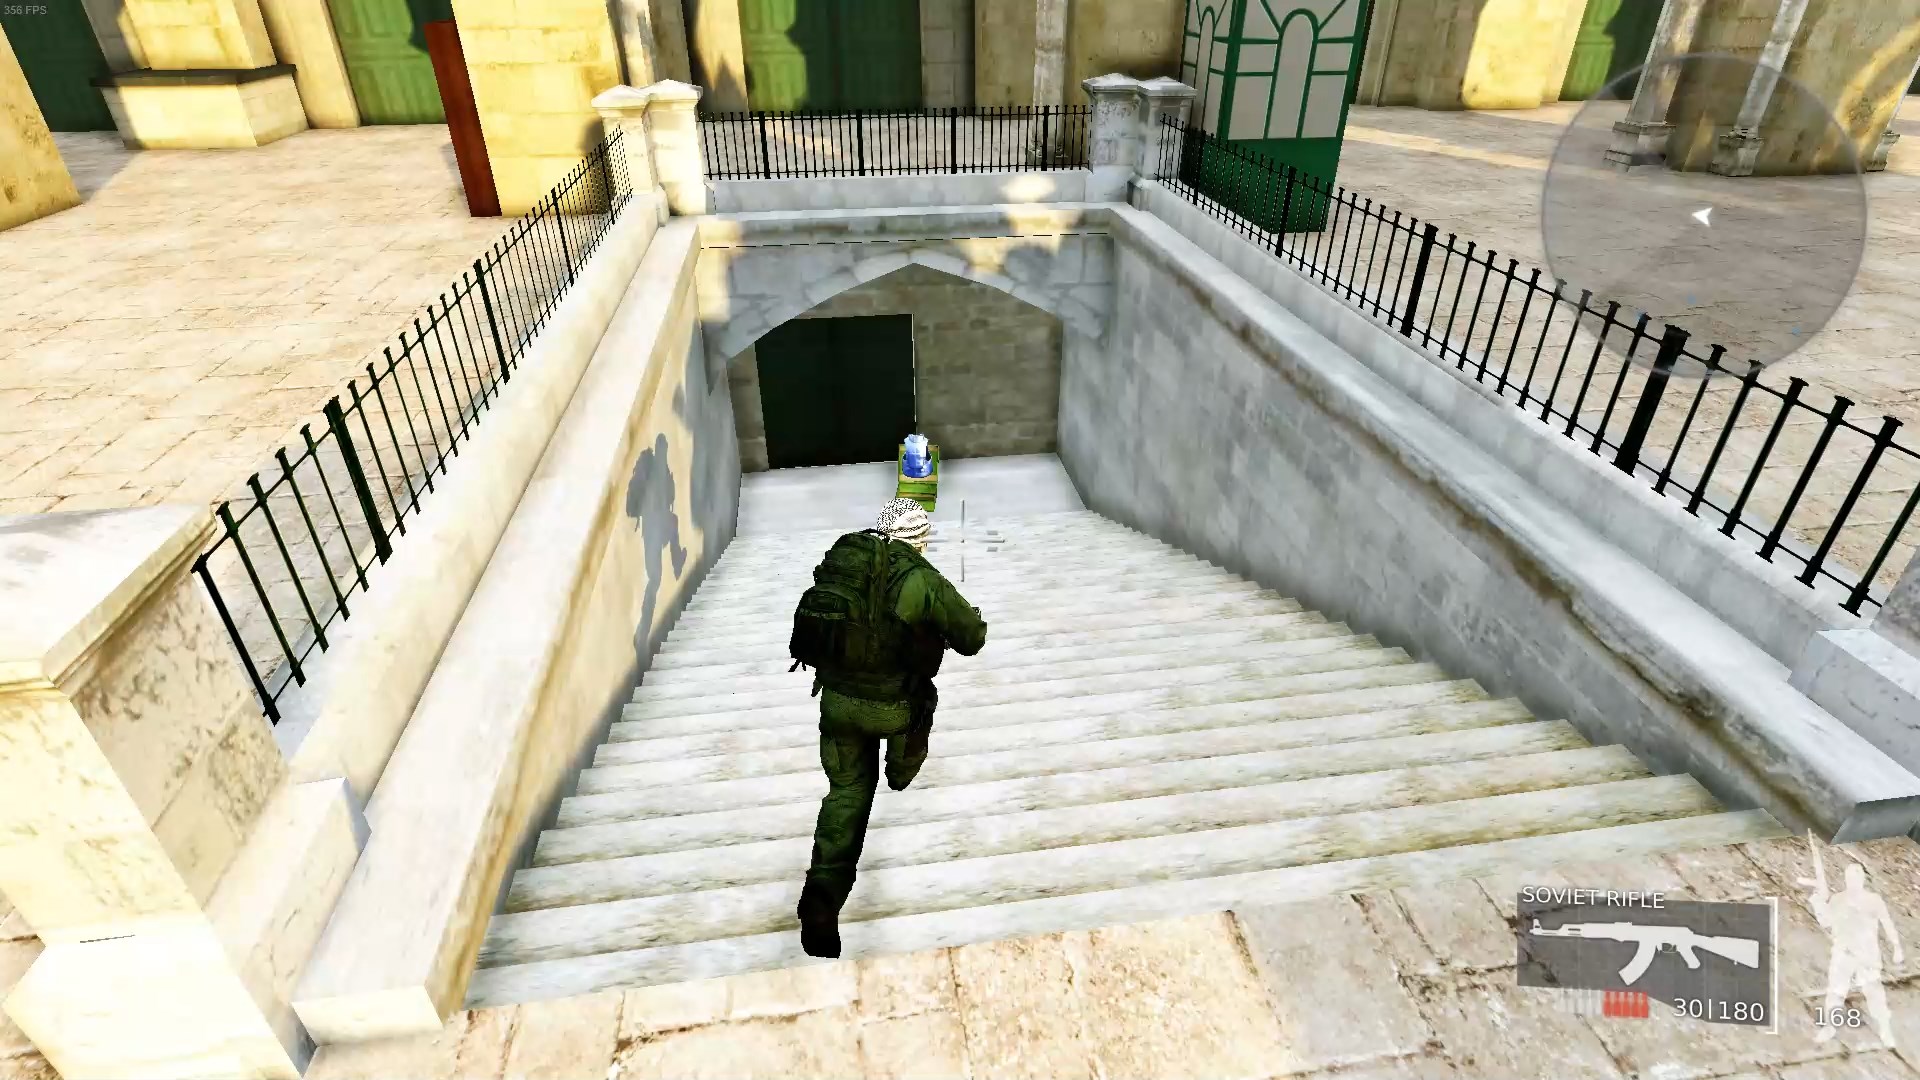 The entrance of the Al-Aqsa mosque proper is on the west end of the map and guarded by quite a few soldiers under good cover. Once you take them out, there’s some armor down the stairs you can use.
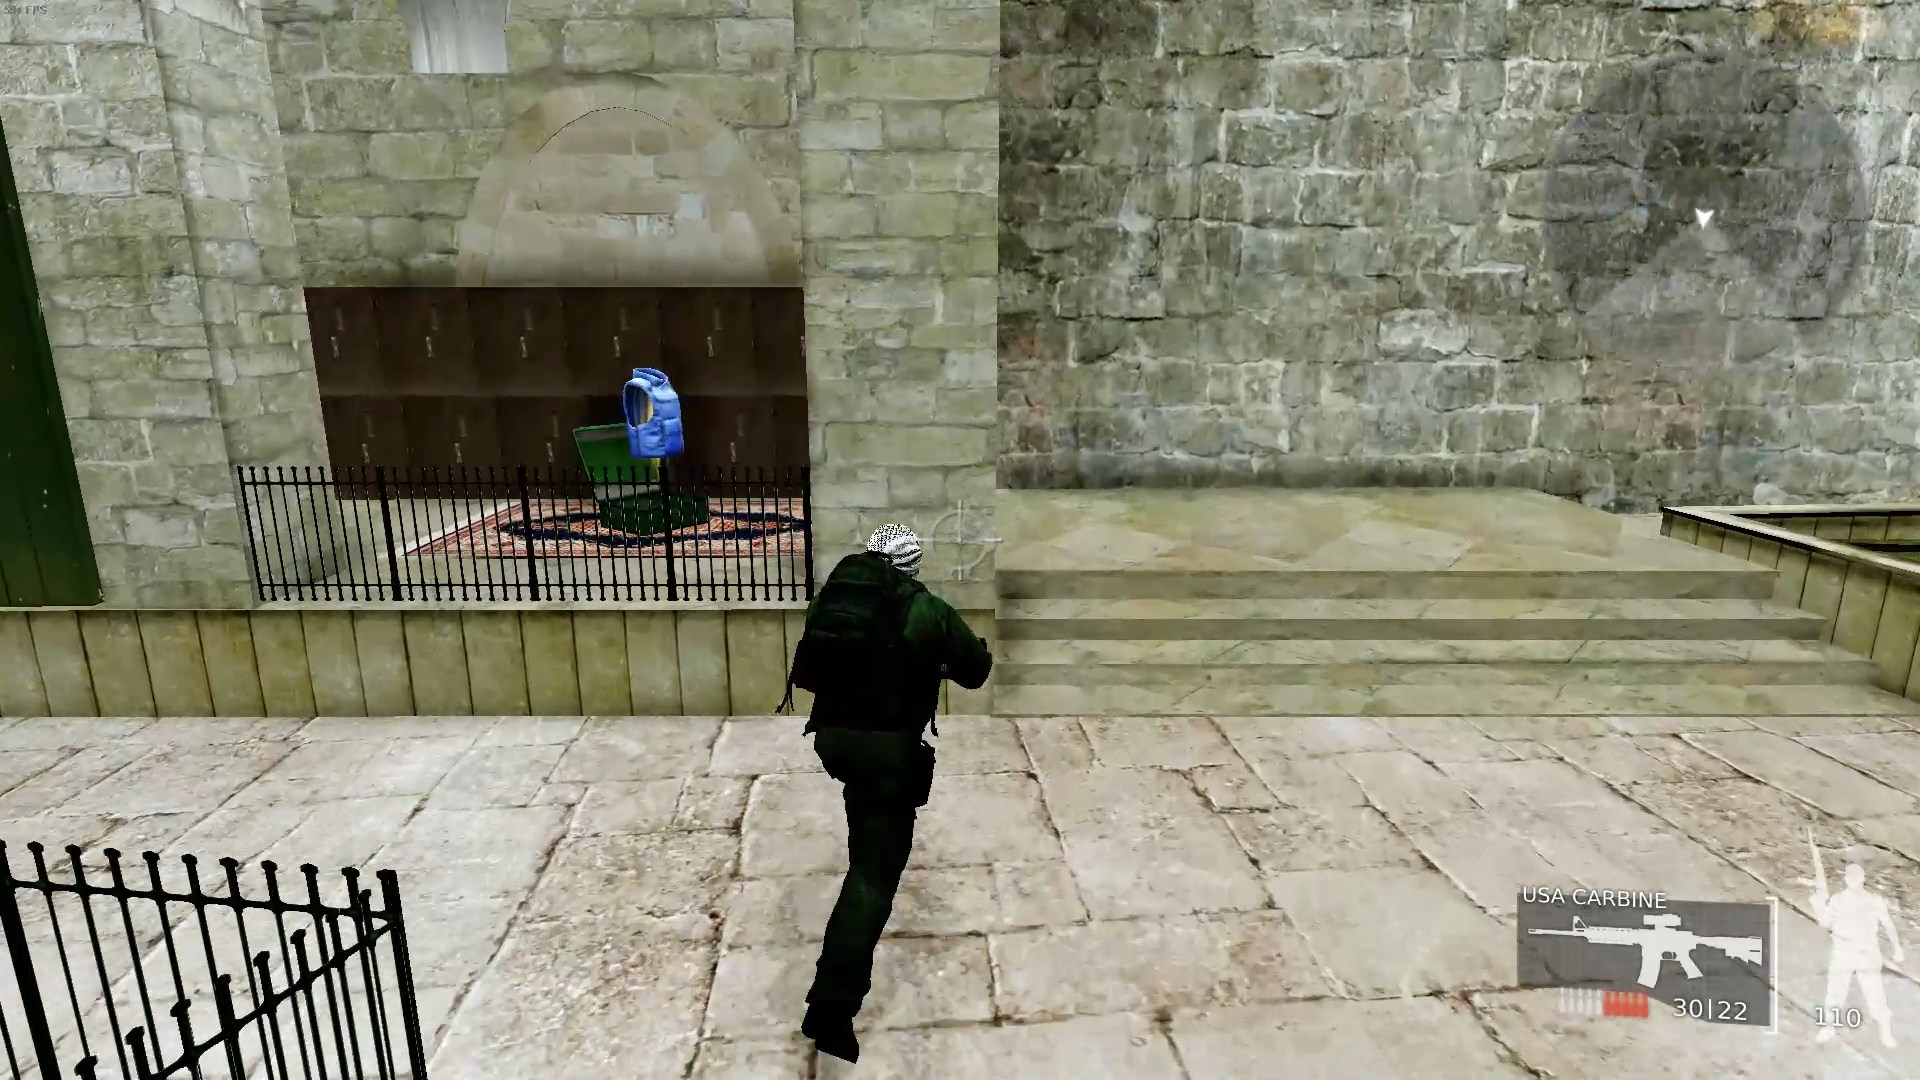 There’s another set of armor by the Tribes Gate in the extreme southeast corner of the map.
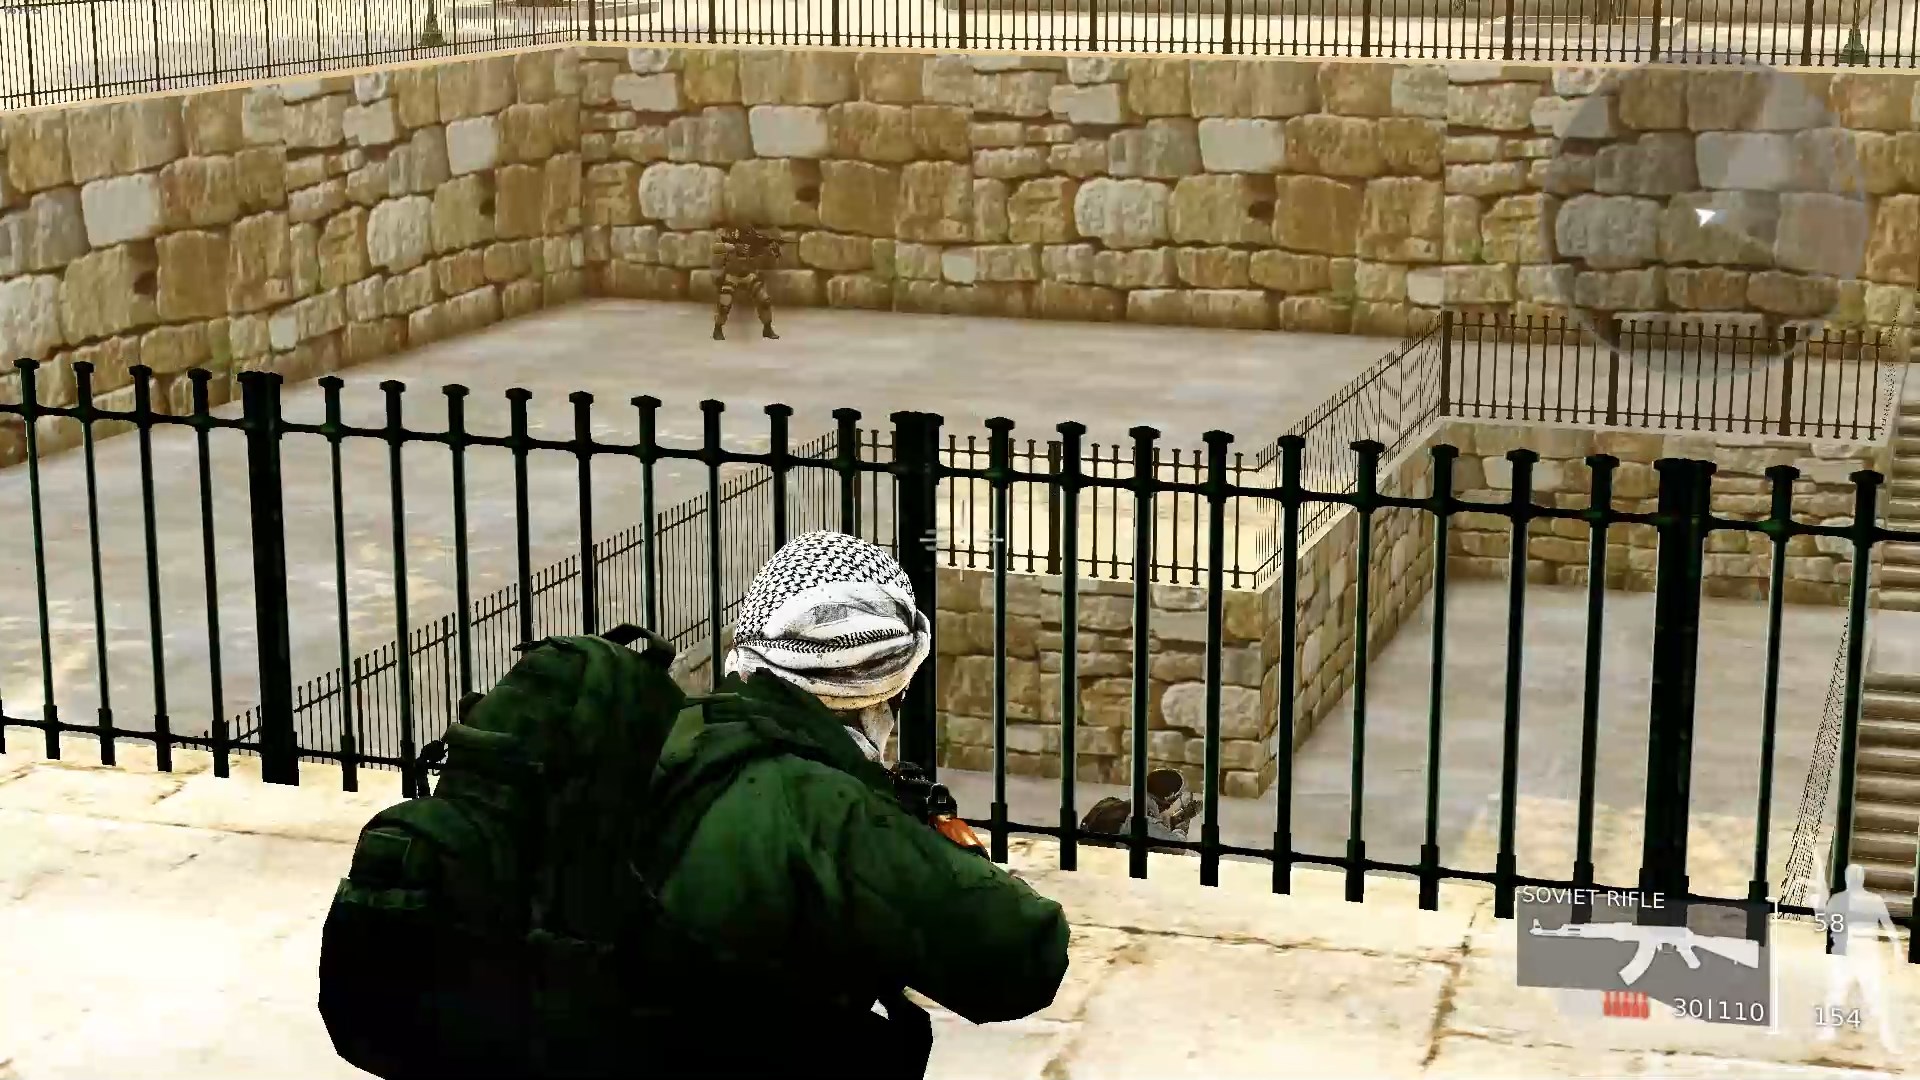 At the southwest corner of the map is the entrance to the Eastern Basement which has several soldiers waiting for you. Approach from the west and you can take them out without them ever seeing you.
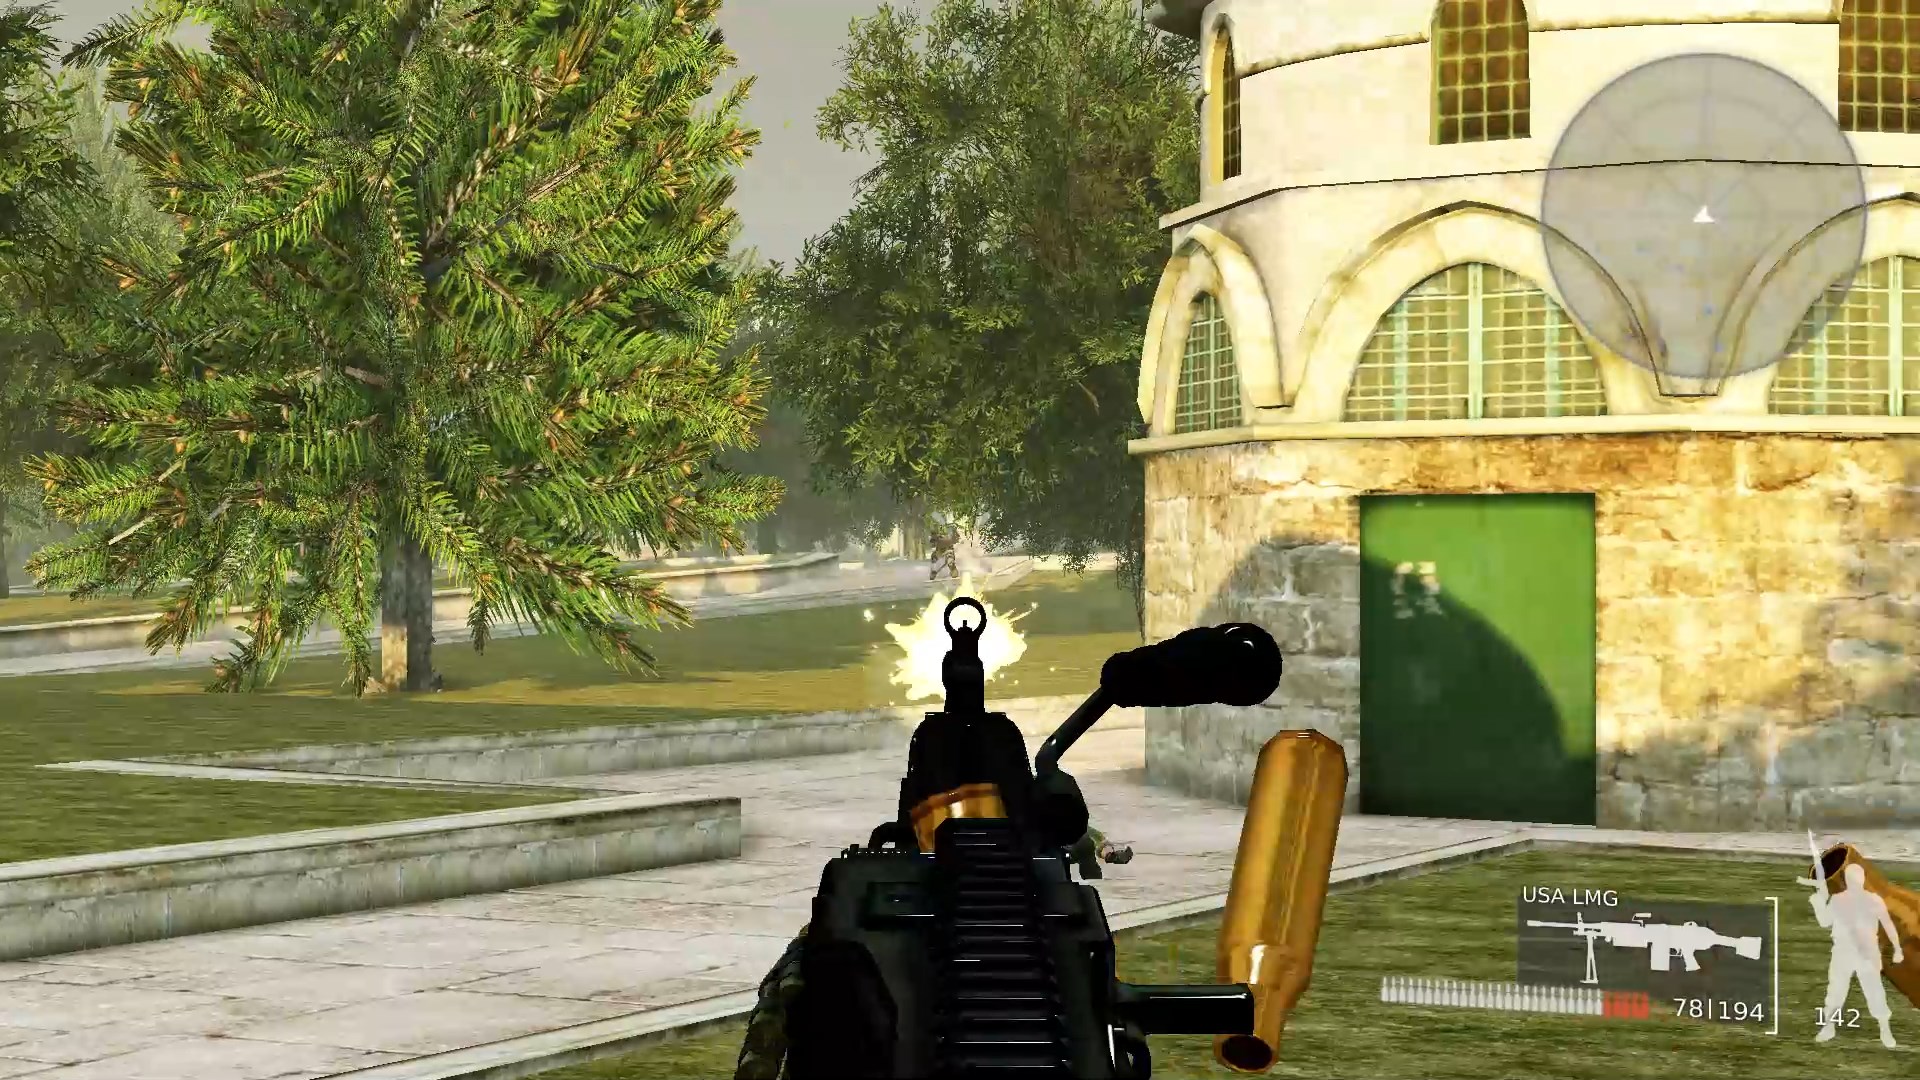 The eastern side of the complex is by far the most troublesome to clear out because of all the trees. They’re a danger in this level in general as enemy soldiers can see you right through them, though you won’t necessarily be able to do the same.
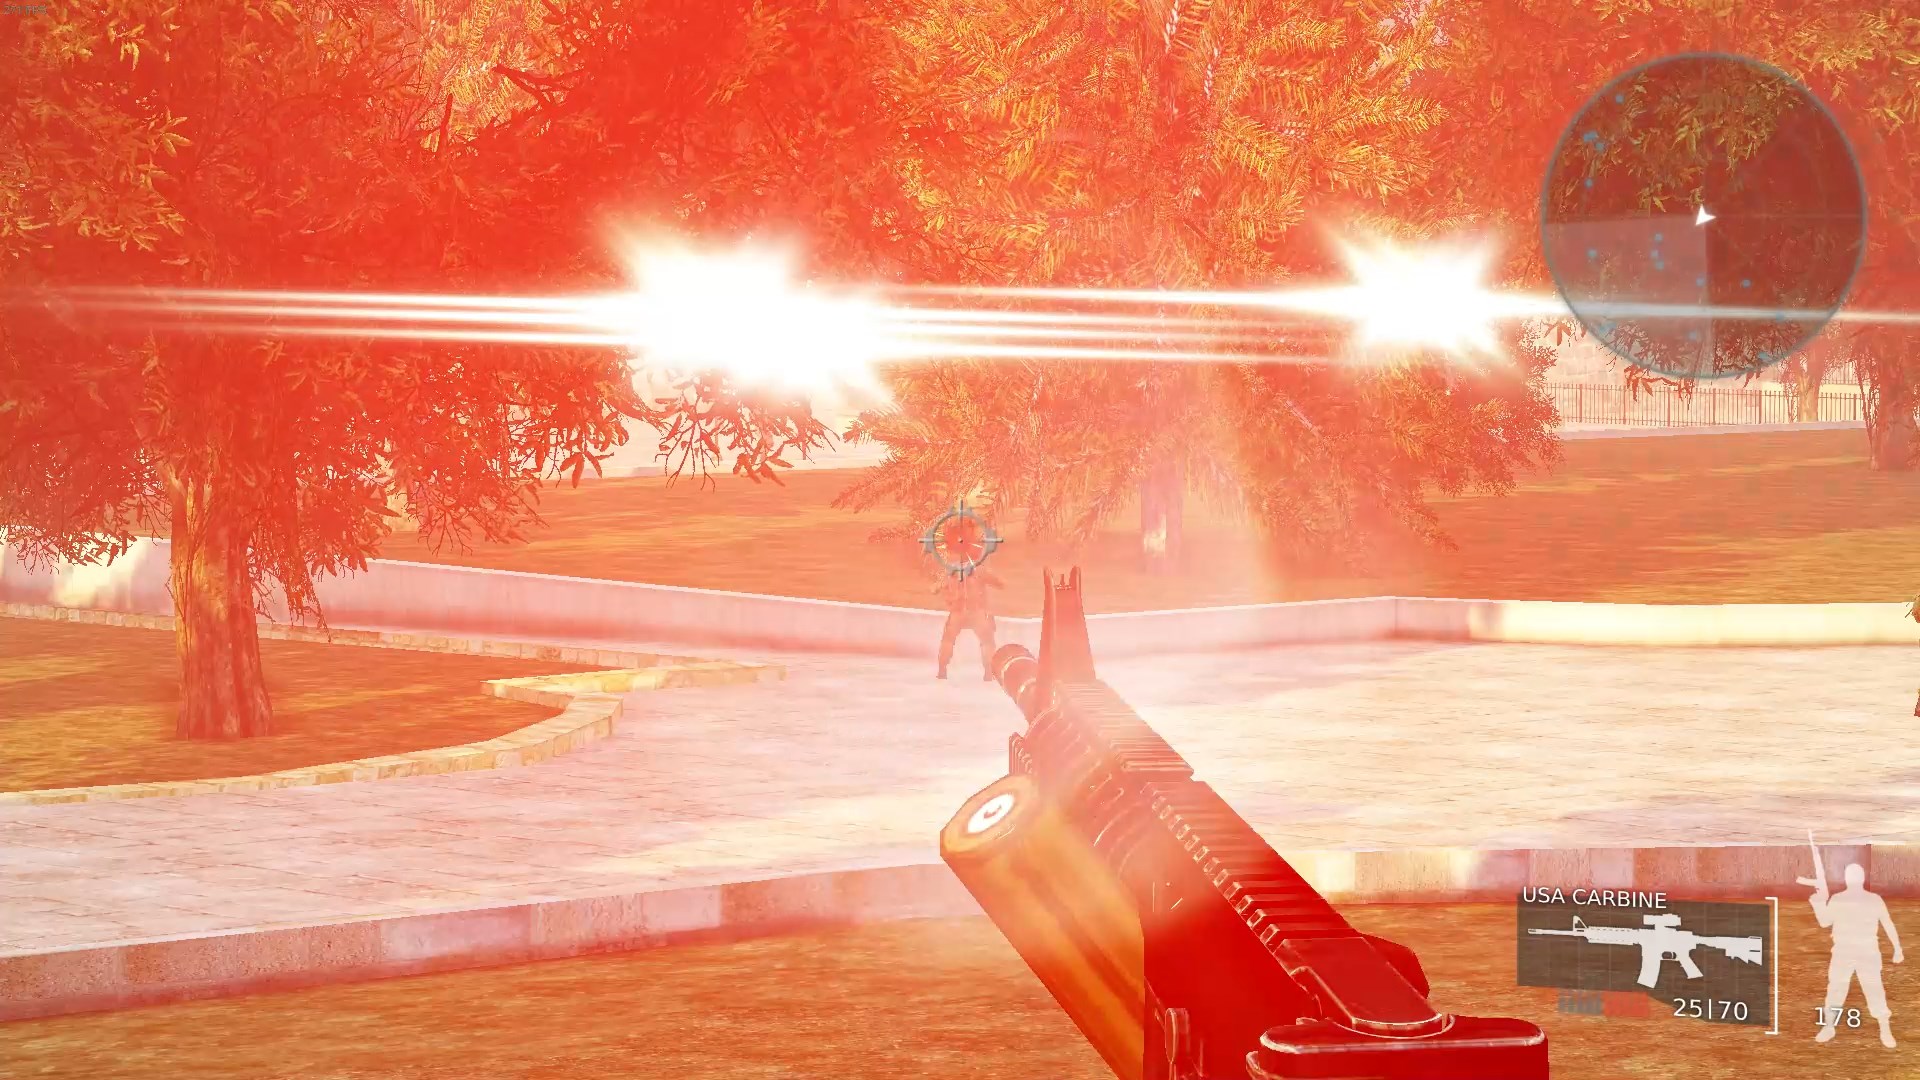 While not as bad as the eastern side, the south/southwestern area of the complex is also one of the harder ones to clear out–the bright red lights and heavy foliage make it difficult to spot soldiers.
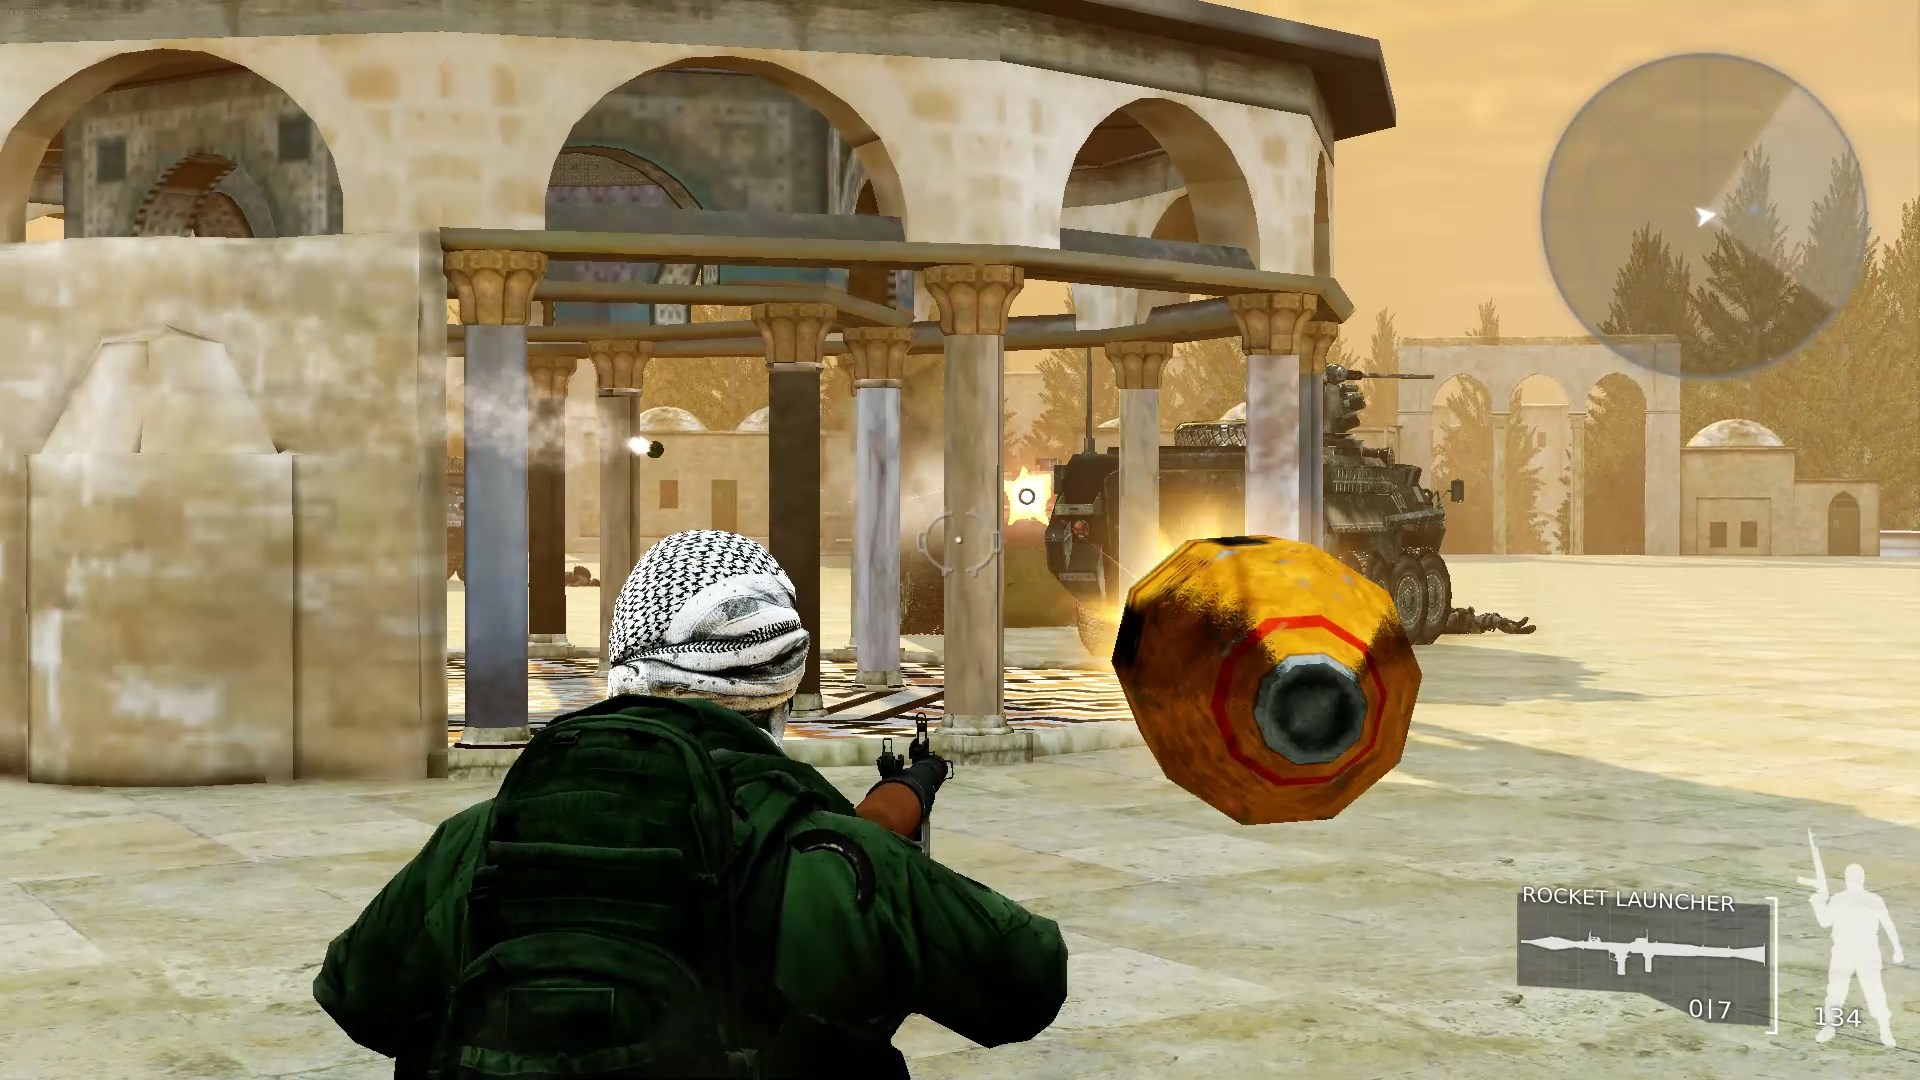 Once you’ve finally killed off all of the soldiers you have to fight a tank in the central plaza. Getting hit by a tank round will ruin your day, but they’re not hard to avoid. You won’t have enough rockets to take out the tank in one go so you’ll need to reload with the respawning rocket ammo. It’s pretty trivially easy to get the tank stuck on the Dome of the Chain as in the screenshot above (close shave there) and rocket it with impunity.
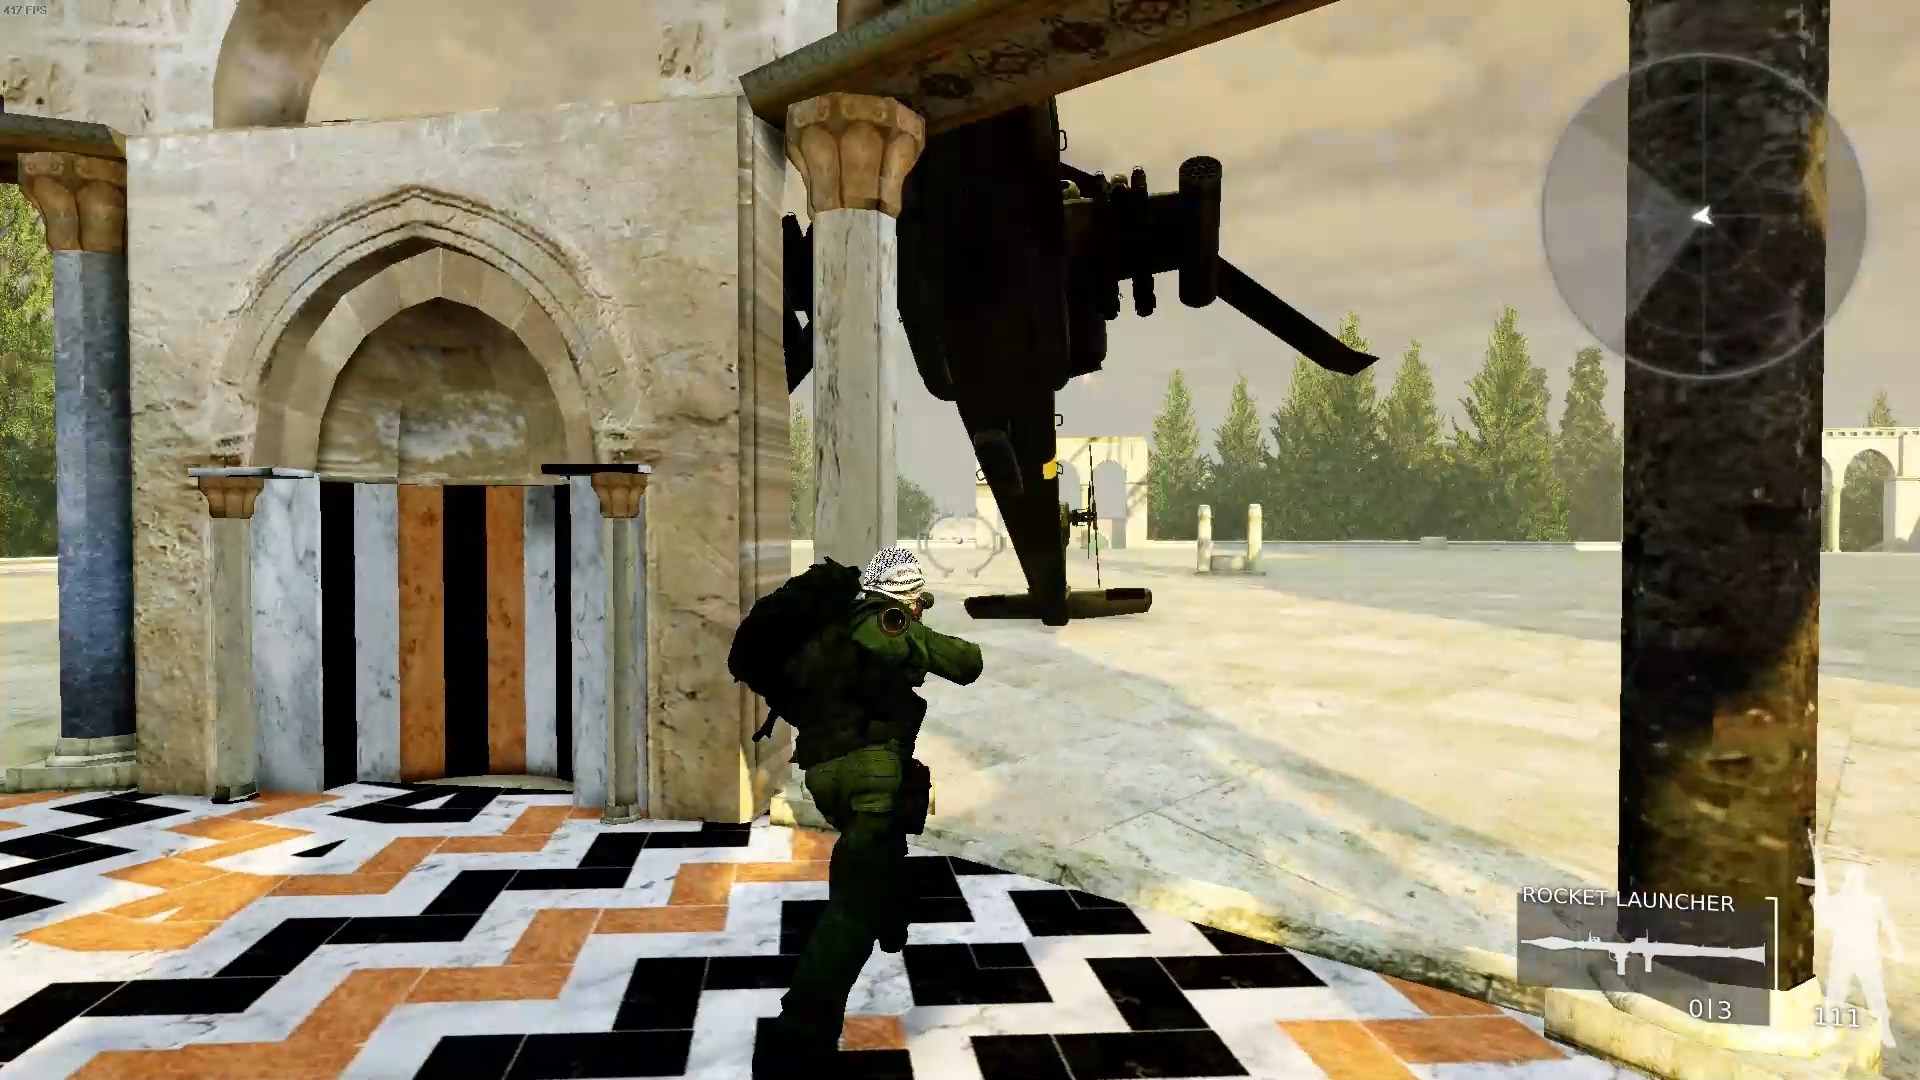 With the tank destroyed, you now have to destroy a helicopter. The helicopter can’t hit you at all when you’re standing in the middle of the Dome of the Chain so it’s a good place to reload your rocket launcher, popping out only to shoot. Sometimes the helicopter will even descend to where you can hit it from under the dome, as in the above screenshot. Like the tank, you can’t carry enough ammo to destroy the helicopter so you’ll need to fill up once or twice. You’ll have to break cover to do so, but any damage you take can be healed with the medkit.
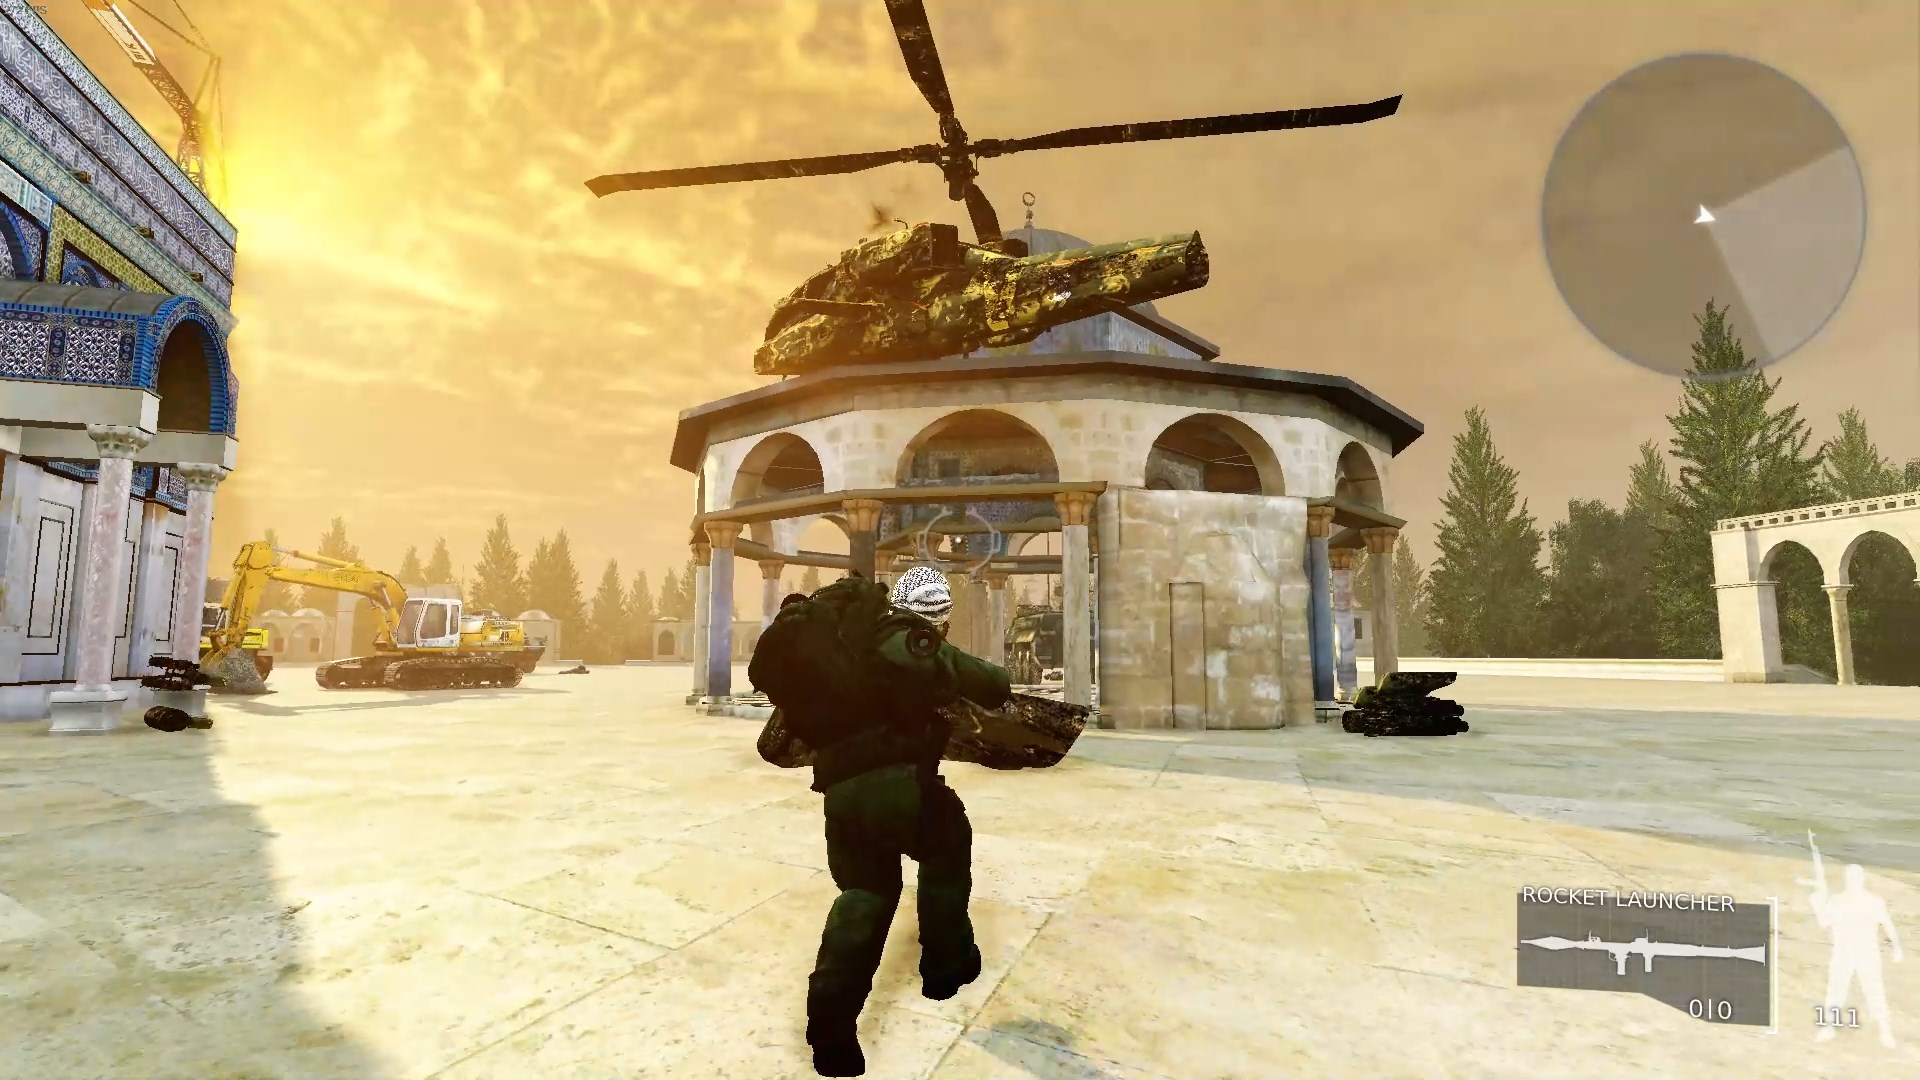 With the helicopter destroyed, you’ve beaten the level and the game–congrats!
And that wraps up our share on “Fursan Al-Aqsa Classic: Ultimate Guide and Tips”. If you have any additional insights or tips to contribute, don’t hesitate to drop a comment below. For a more in-depth read, you can refer to the original article here by Genpei Turtle, who deserves all the credit. Happy gaming!
