Welcome to the final installment of our “All Secrets” guide for WRATH: Aeon of Ruin! As with the previous episodes, the rules for finding scrolls, keys, and crates, as well as achievements, remain the same. Let’s dive in and uncover all the secrets in Episode 3.
E3 – The Wretched Domain
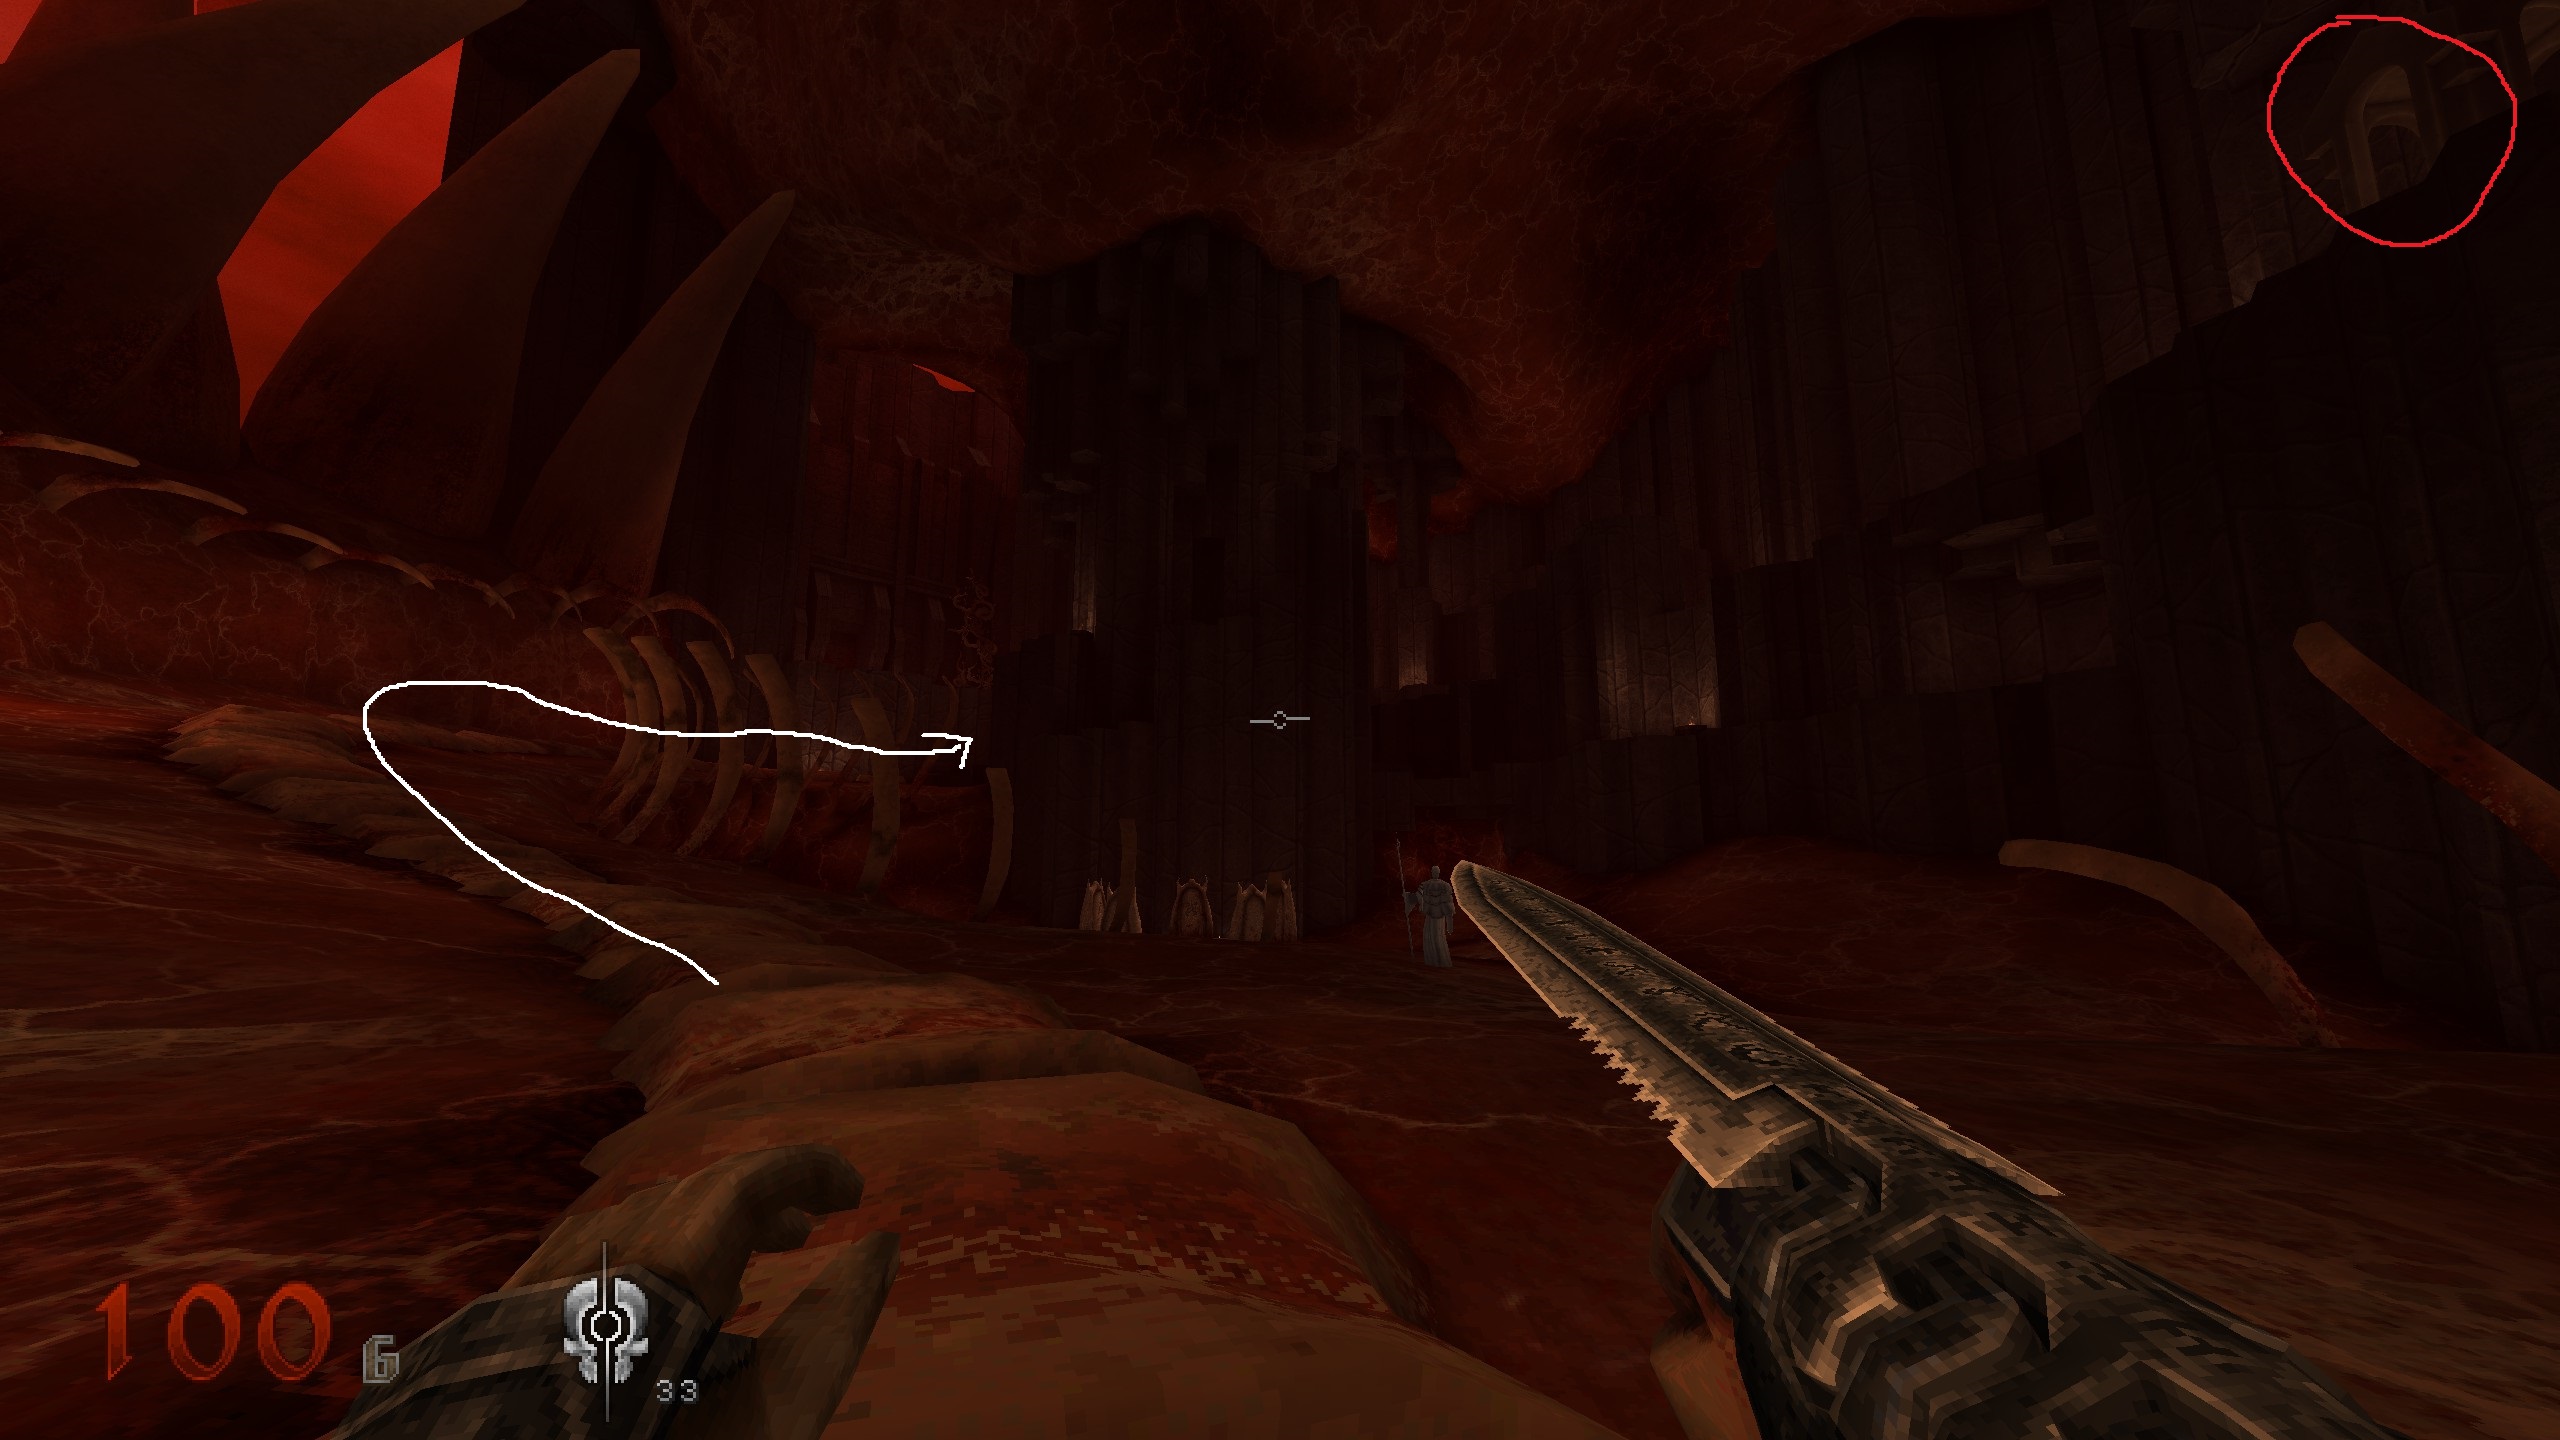
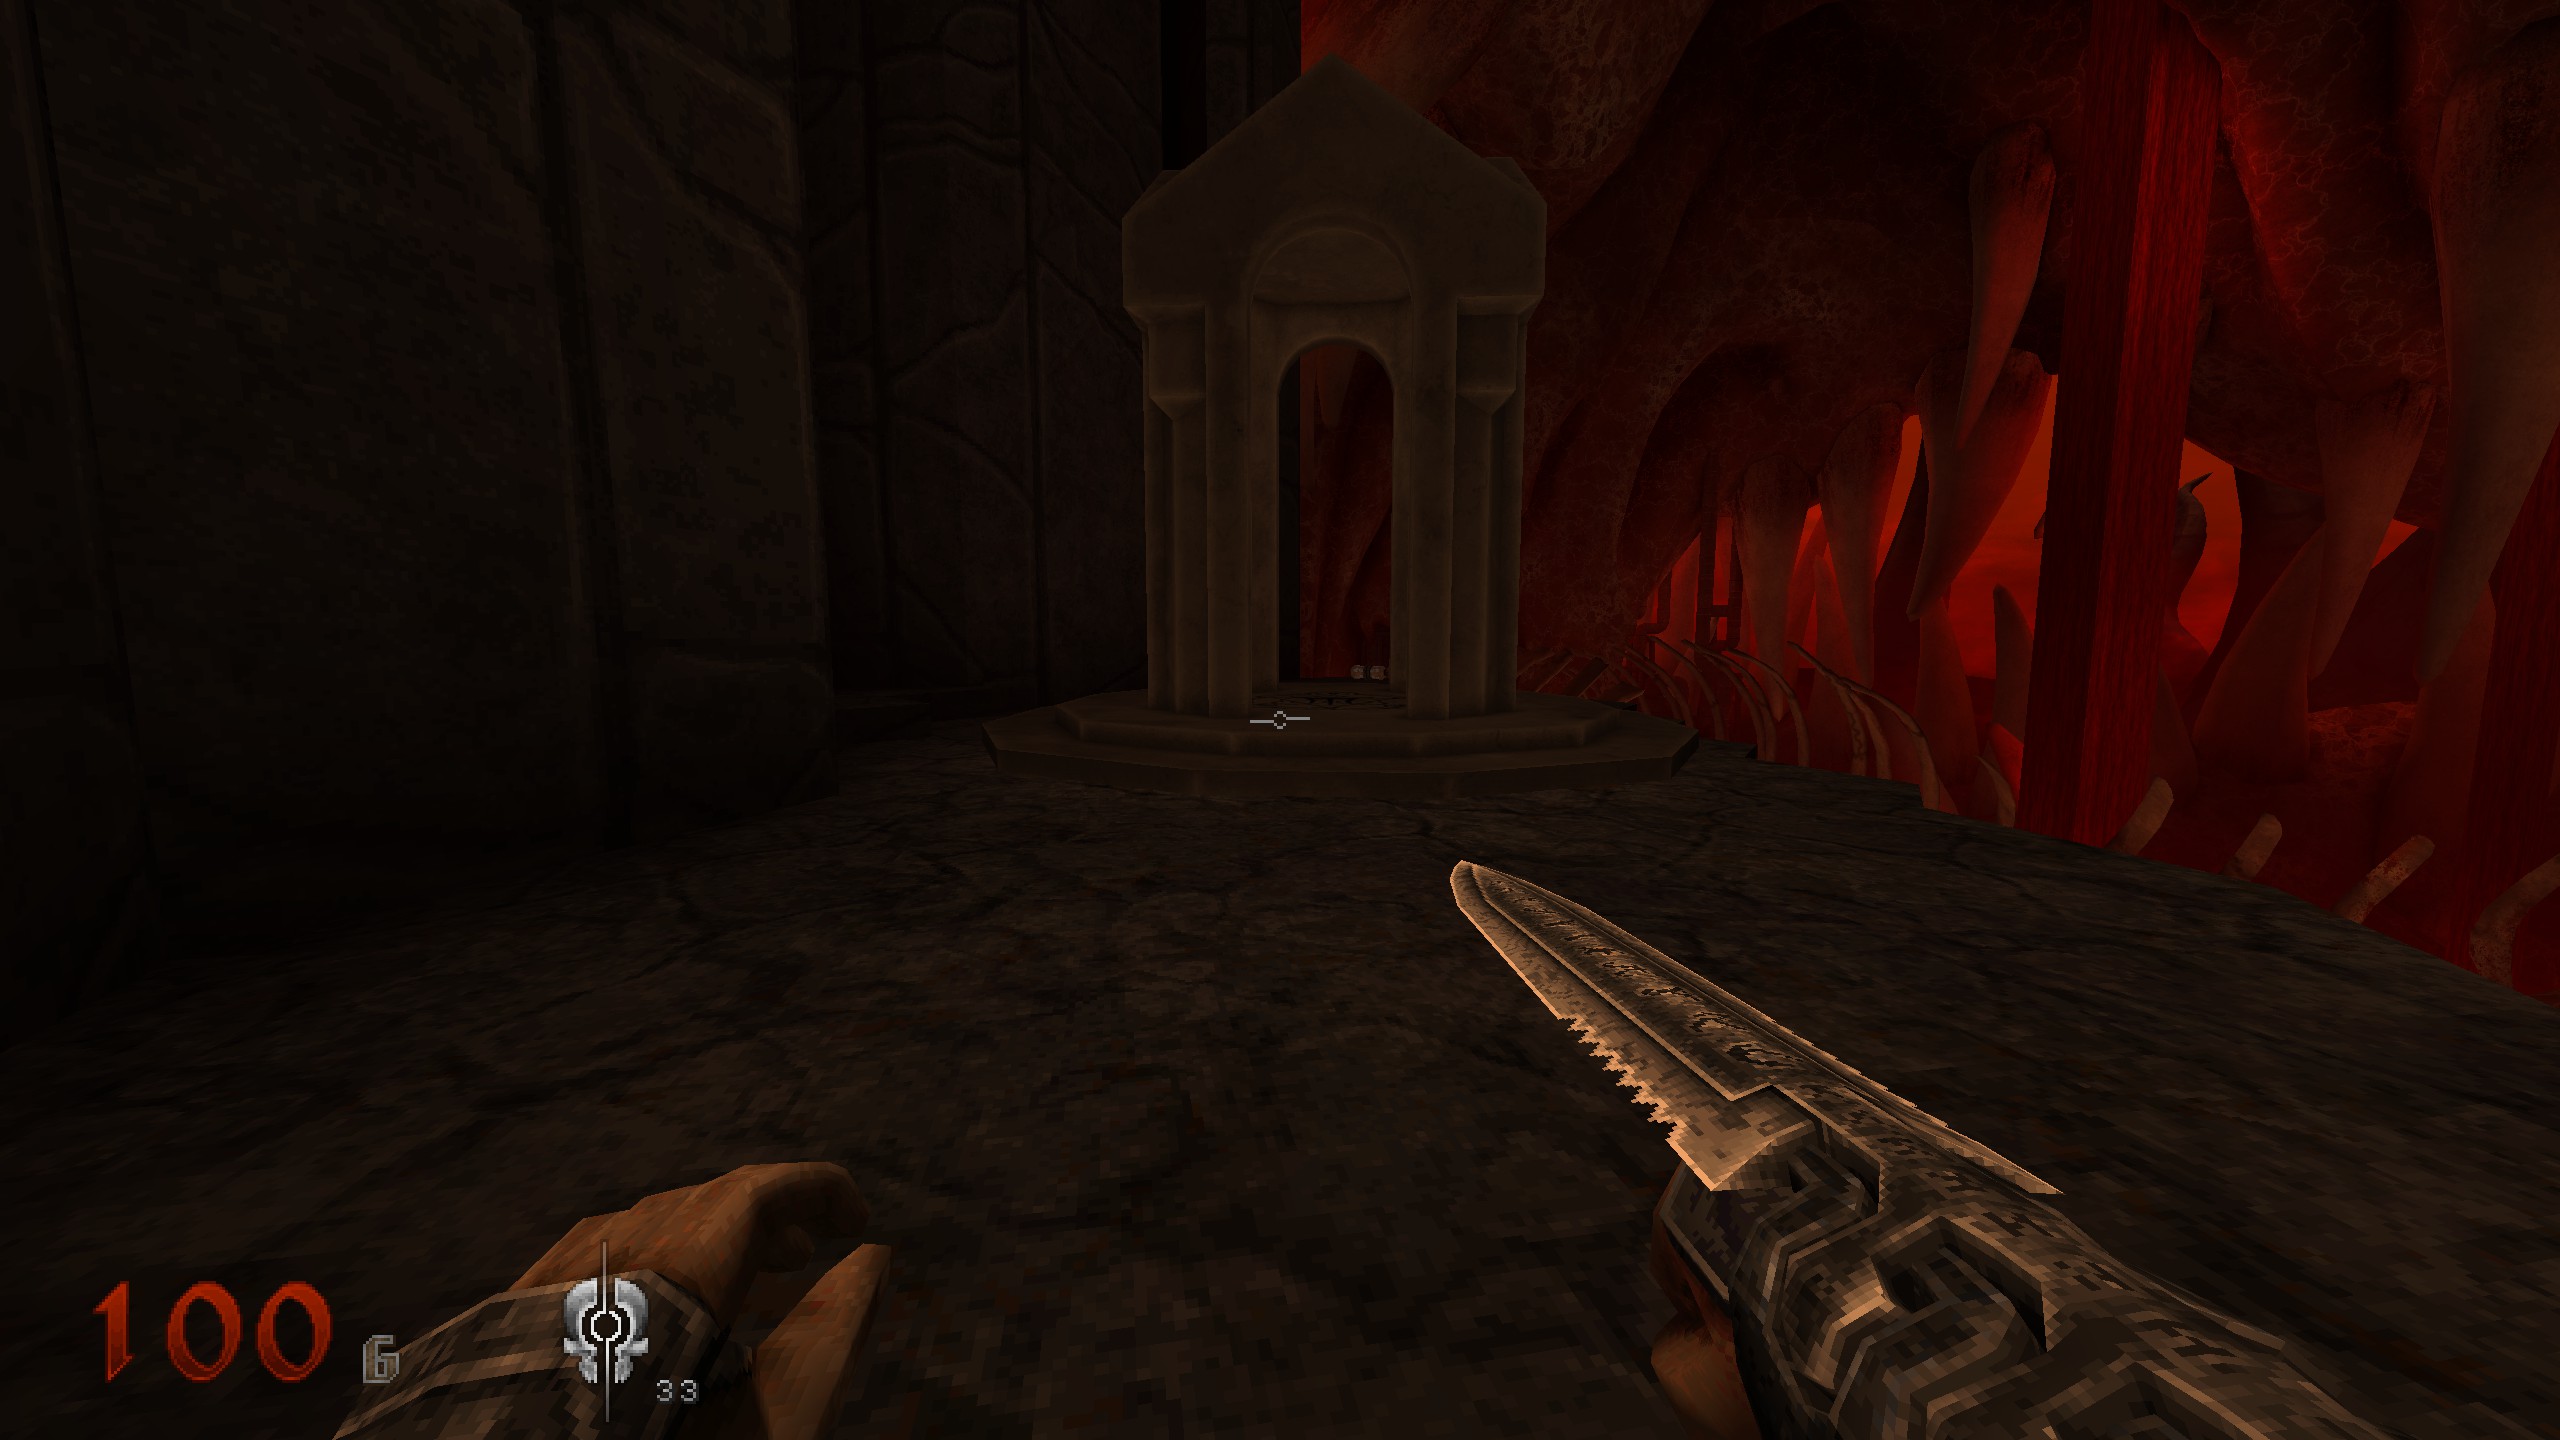
After you spawn take the meaty circular way around the building an to the shelter. Scroll will be right there.
S1
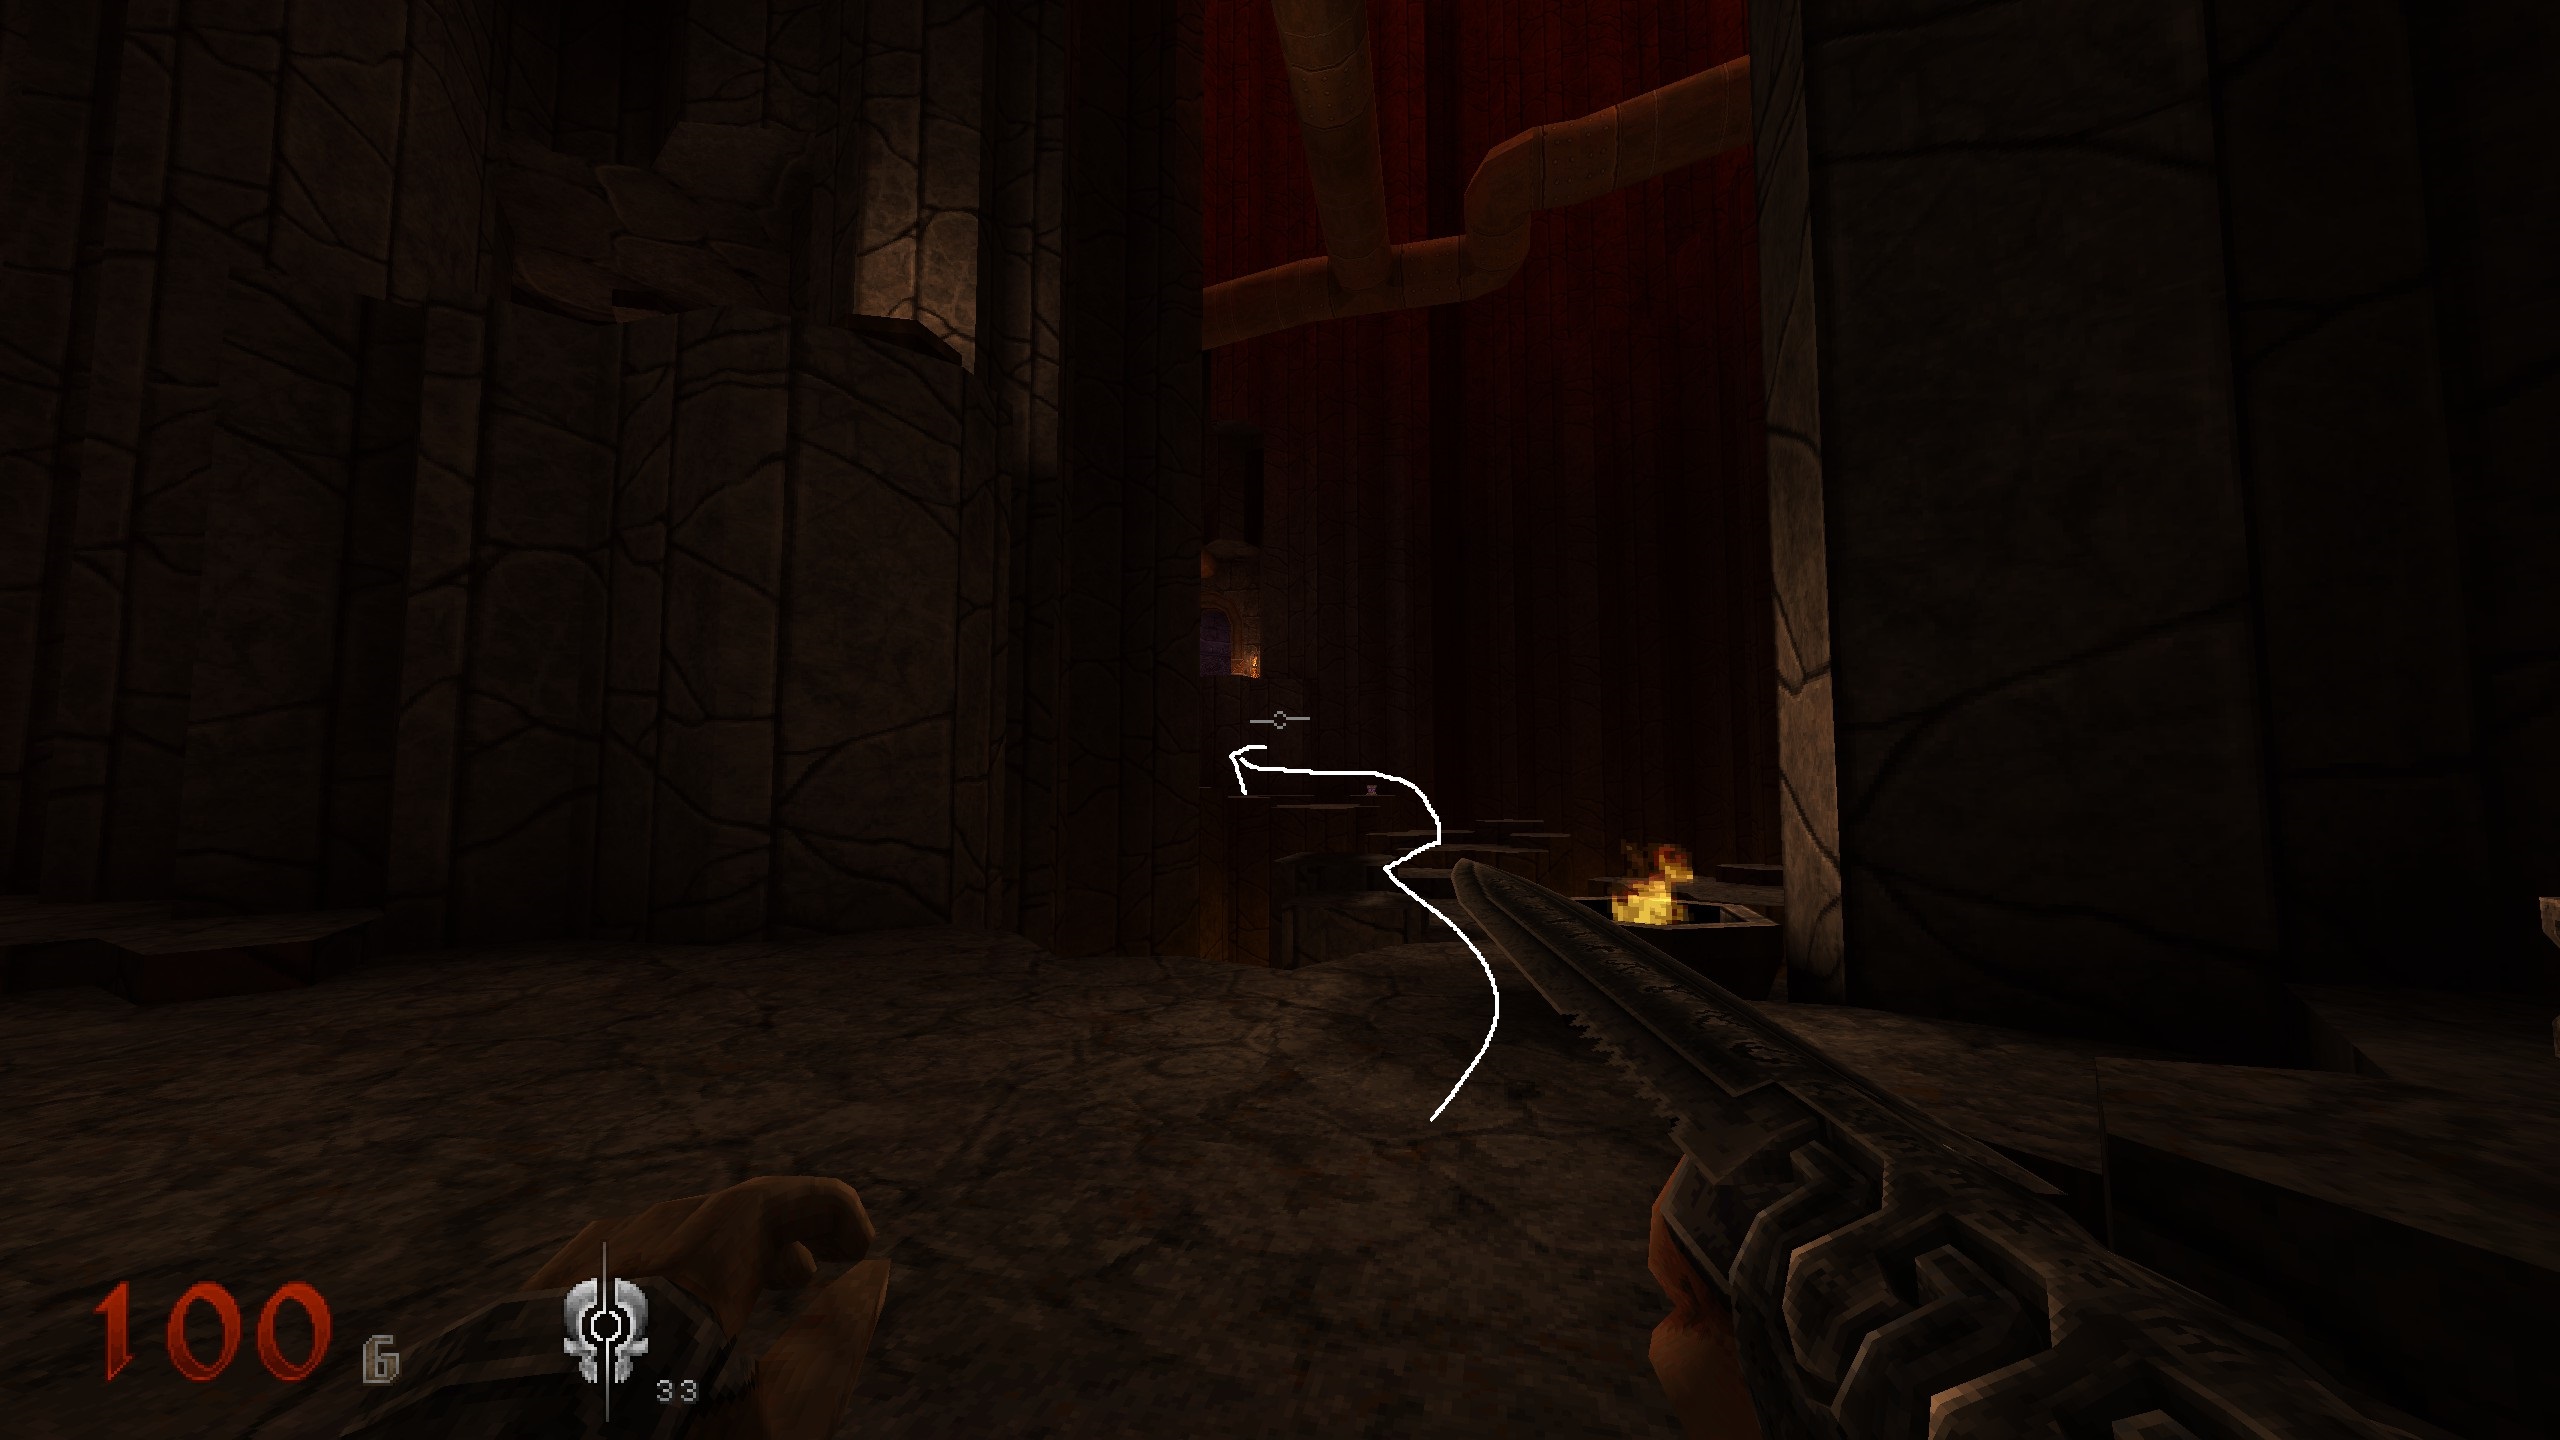
Stick to the right, jump over some floating platforms and up a plateu. From there over to another one and all the way down the stairs. Lood around down there for a crate.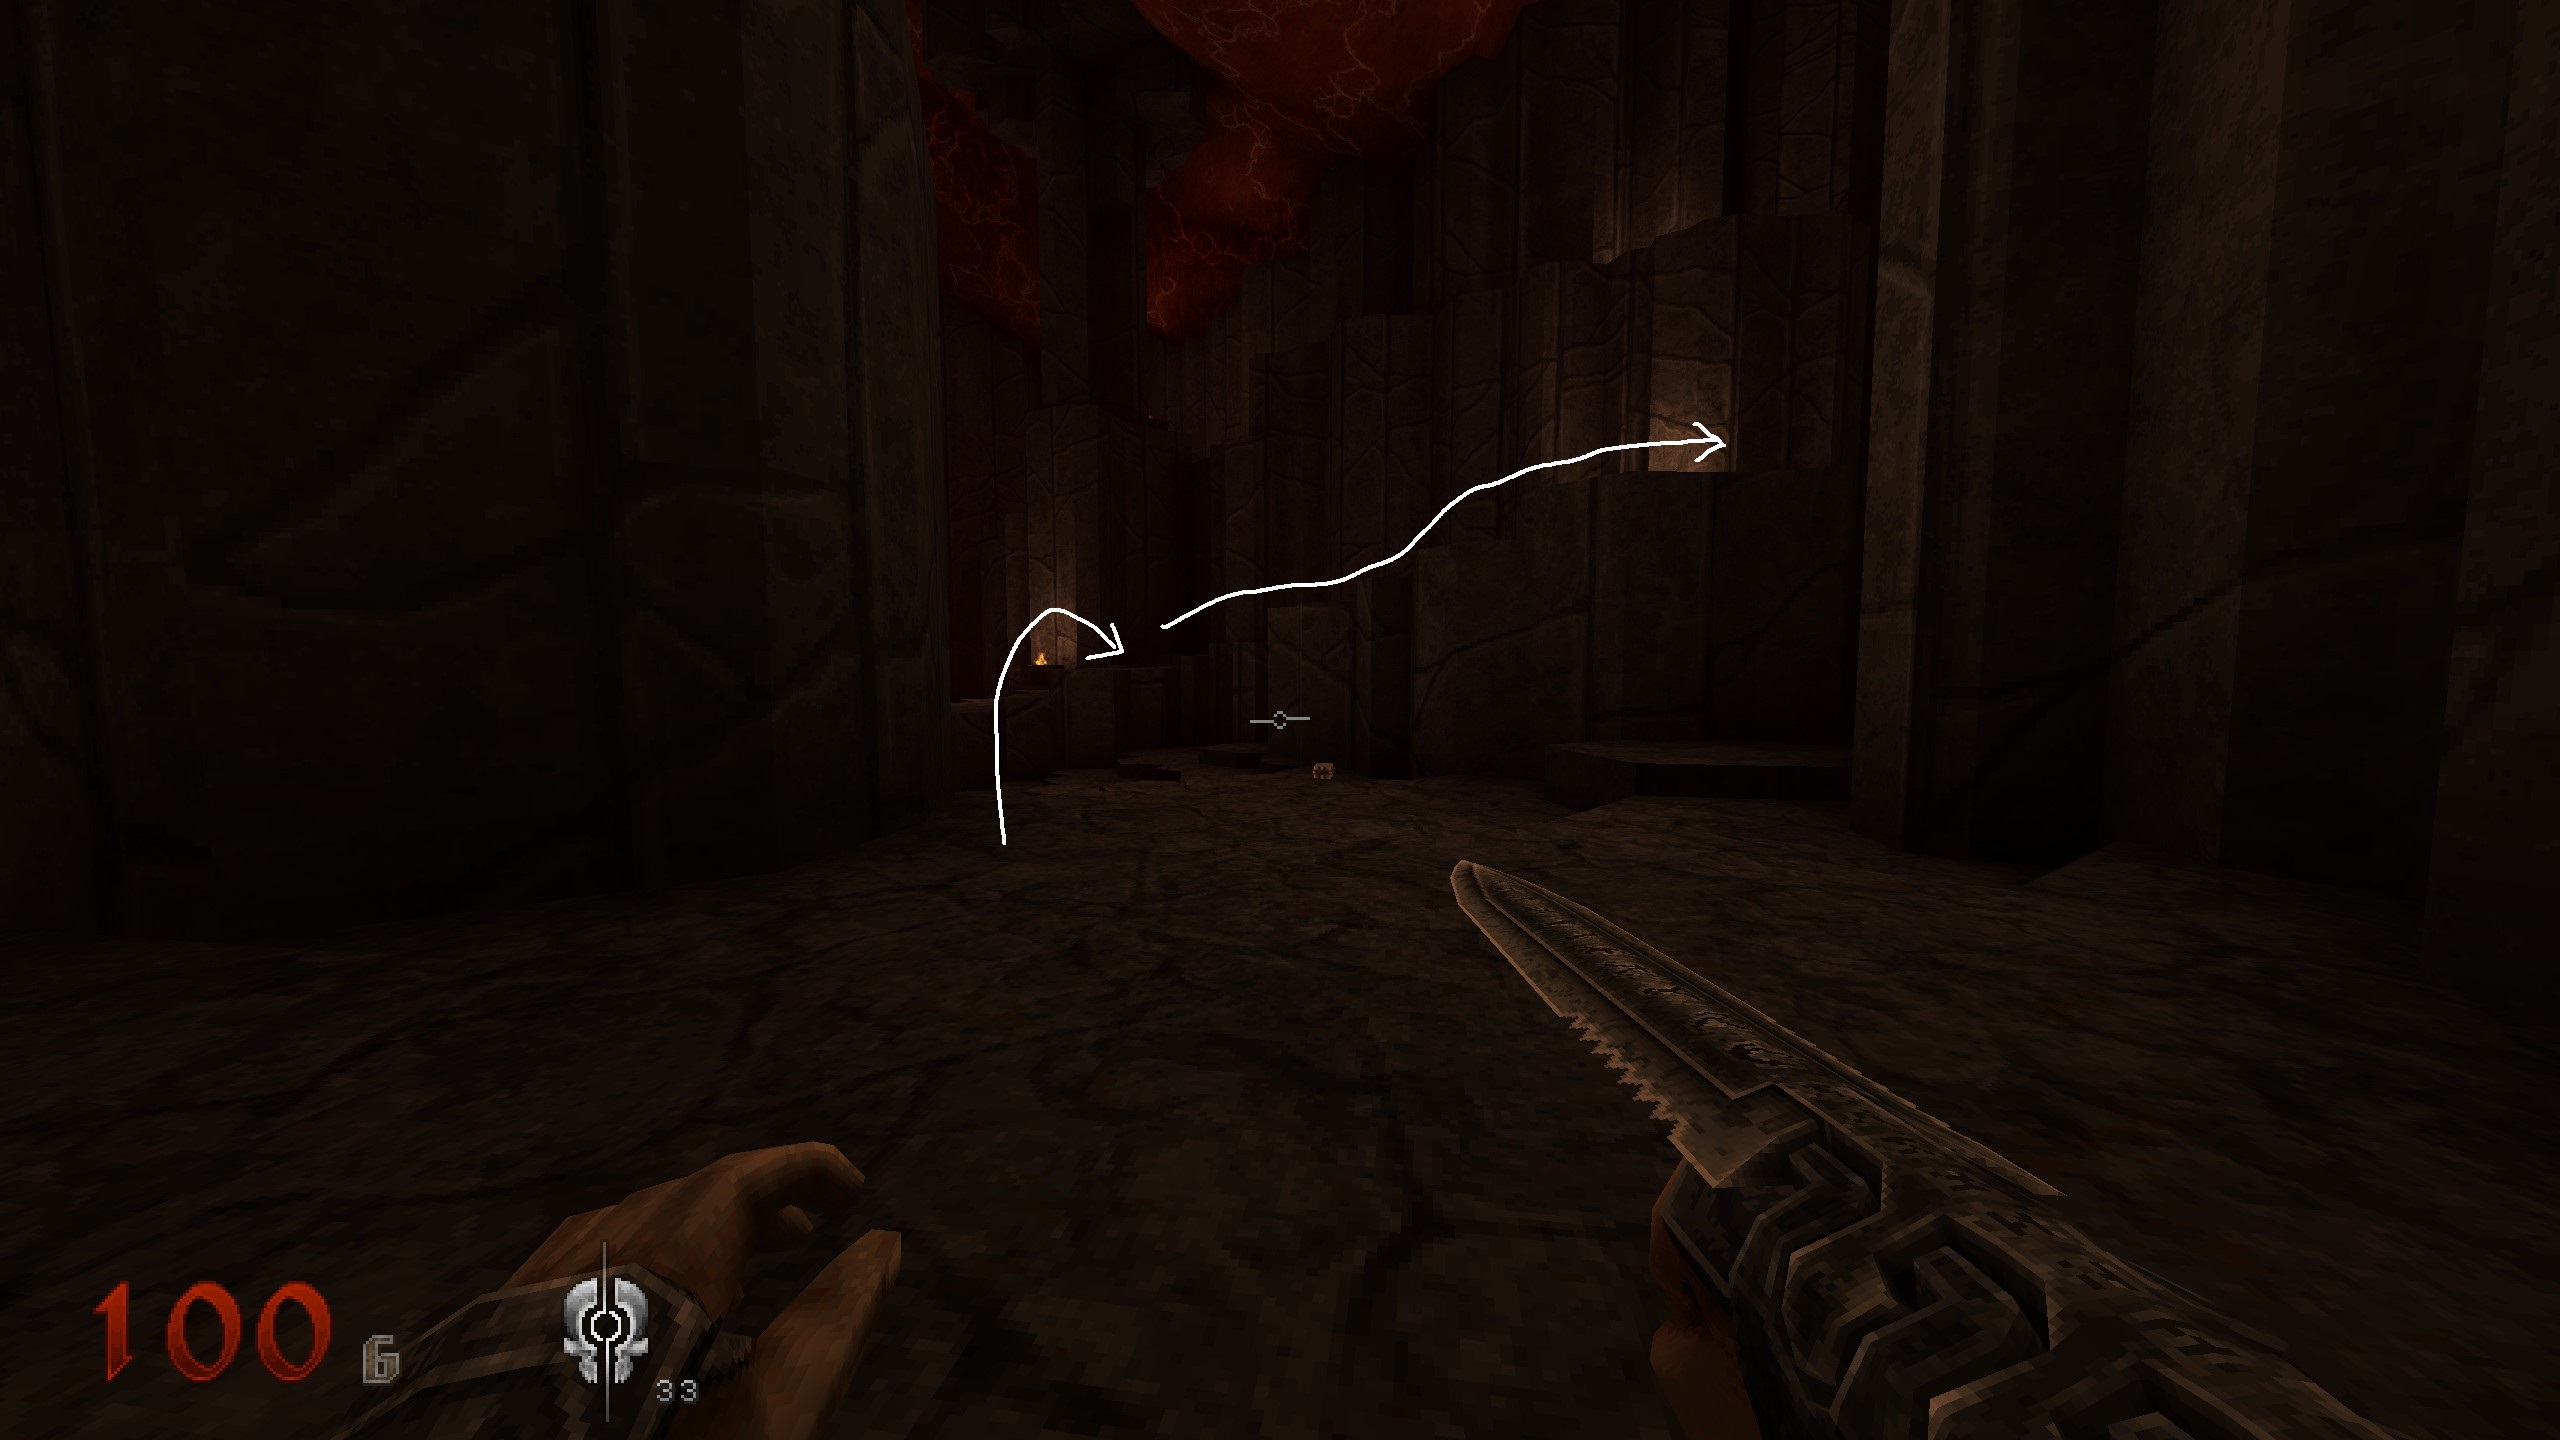
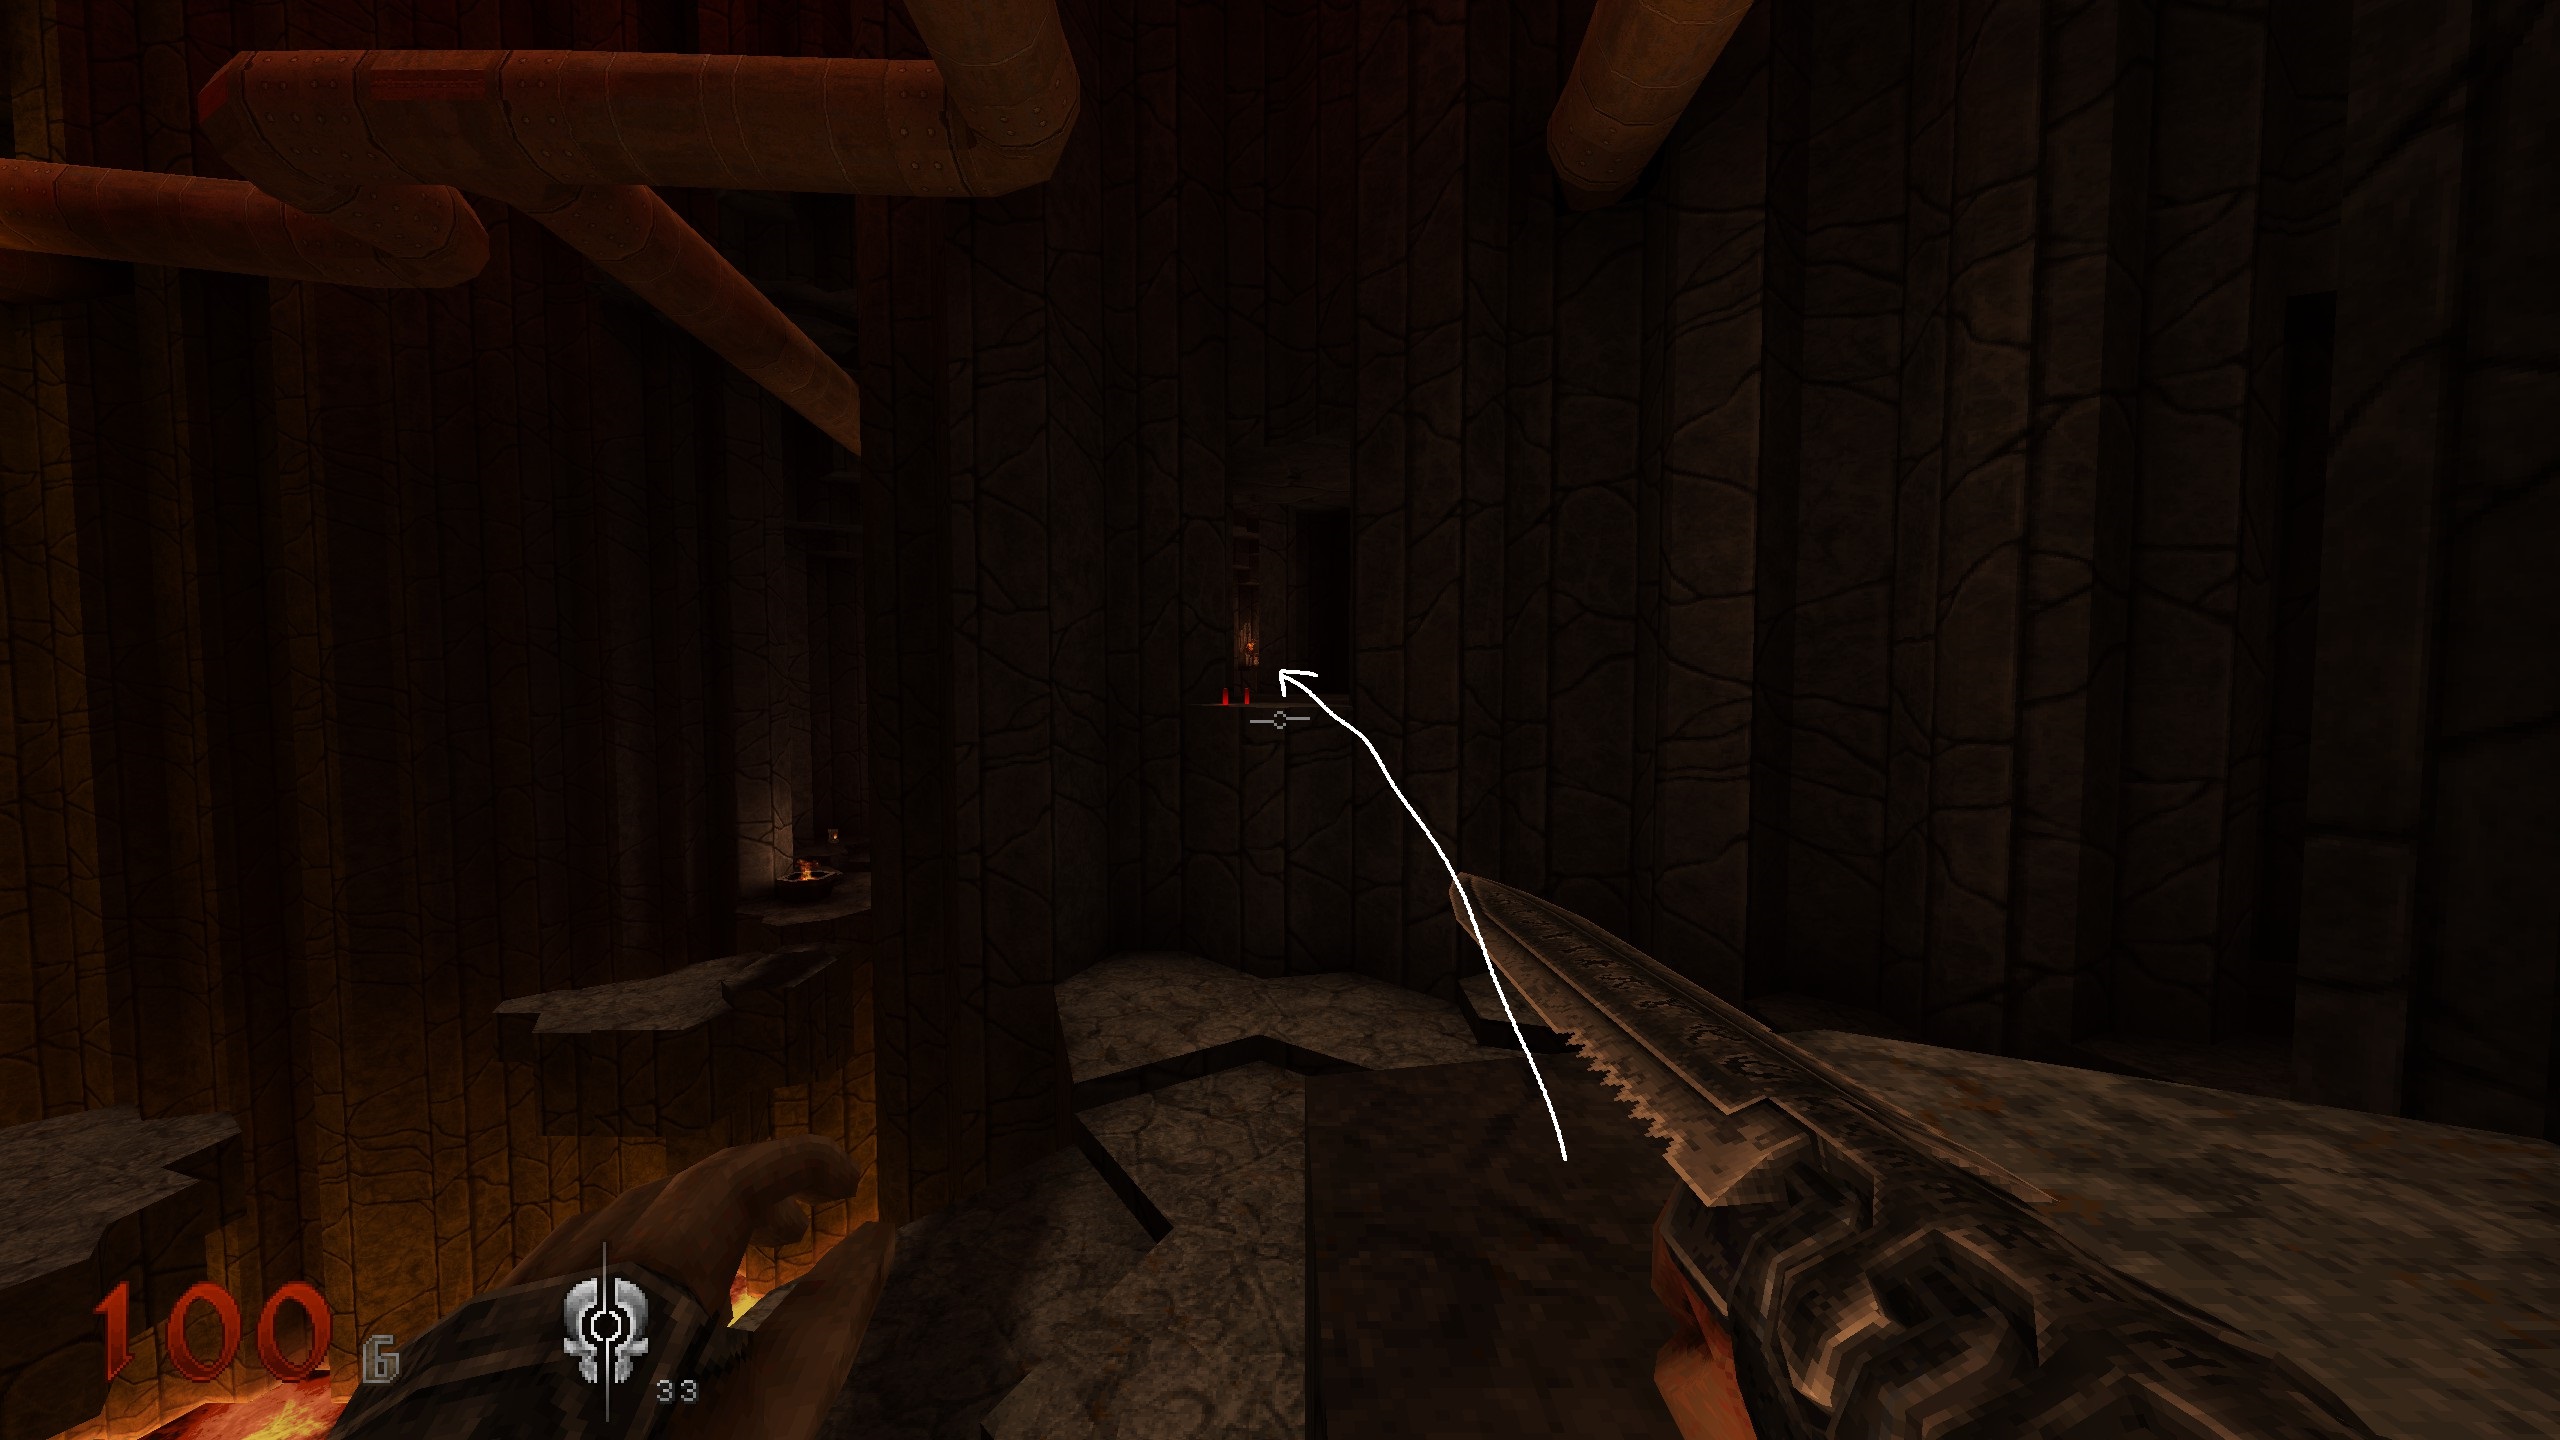
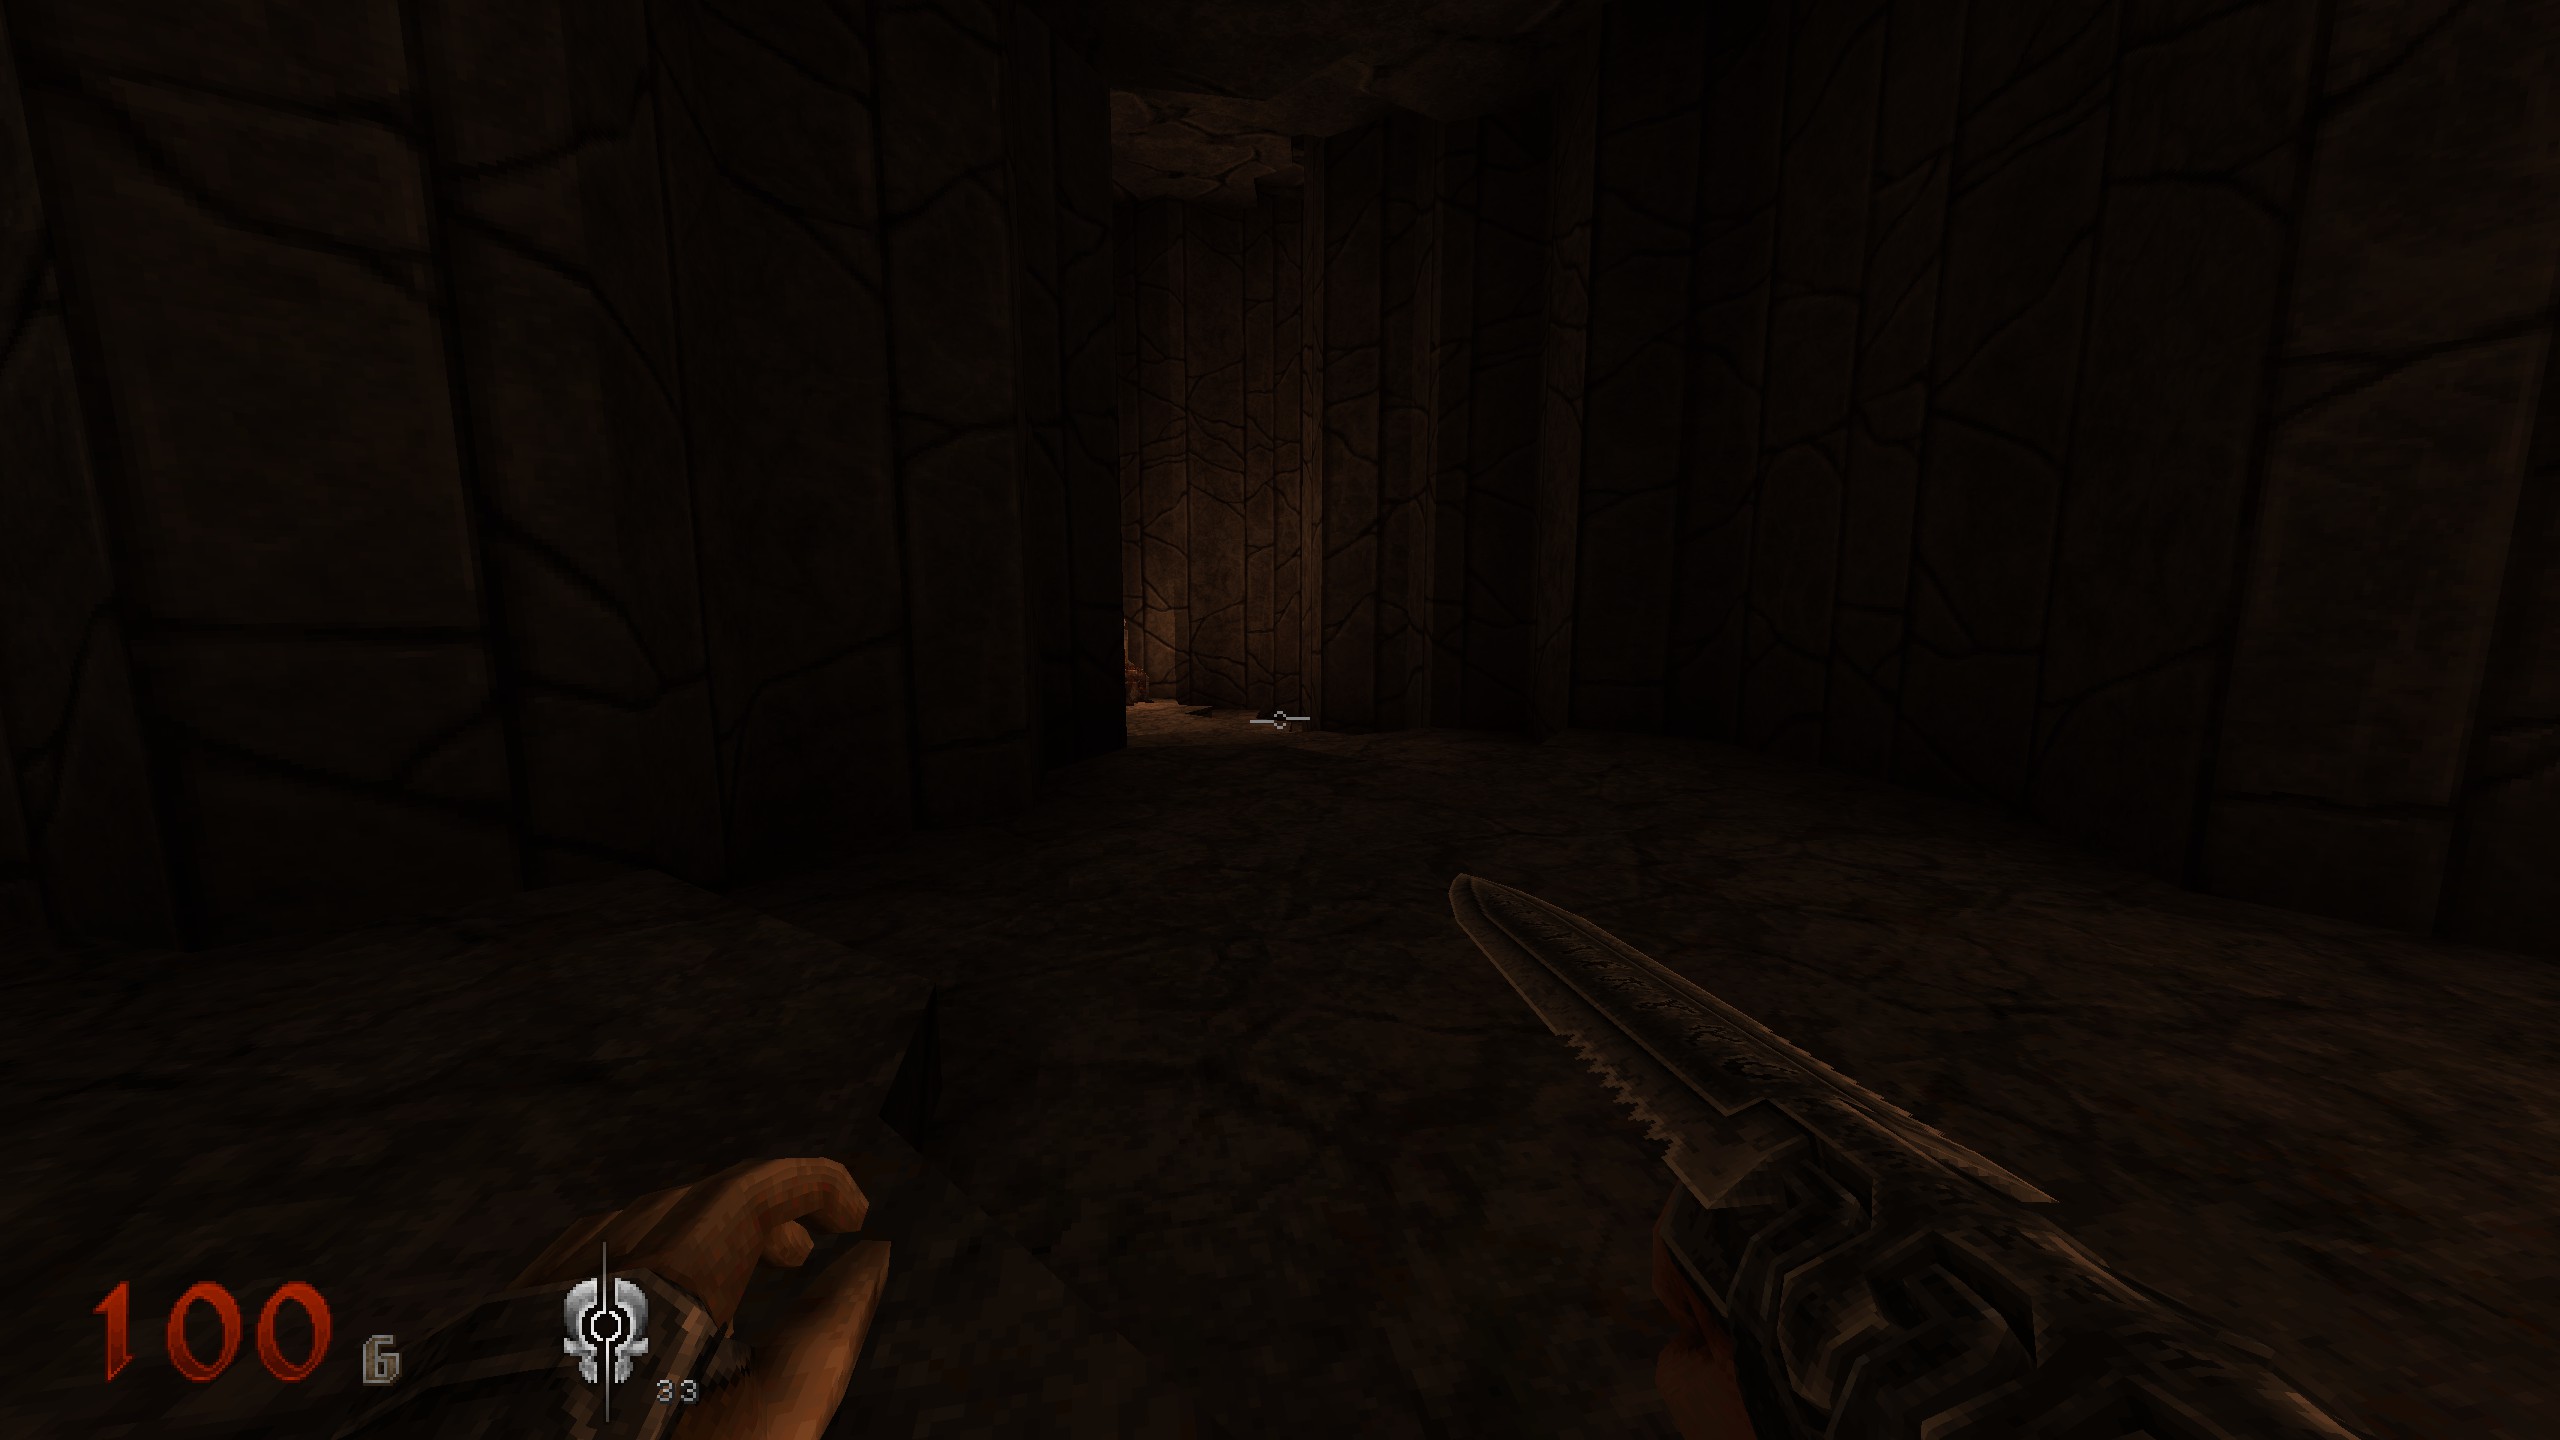
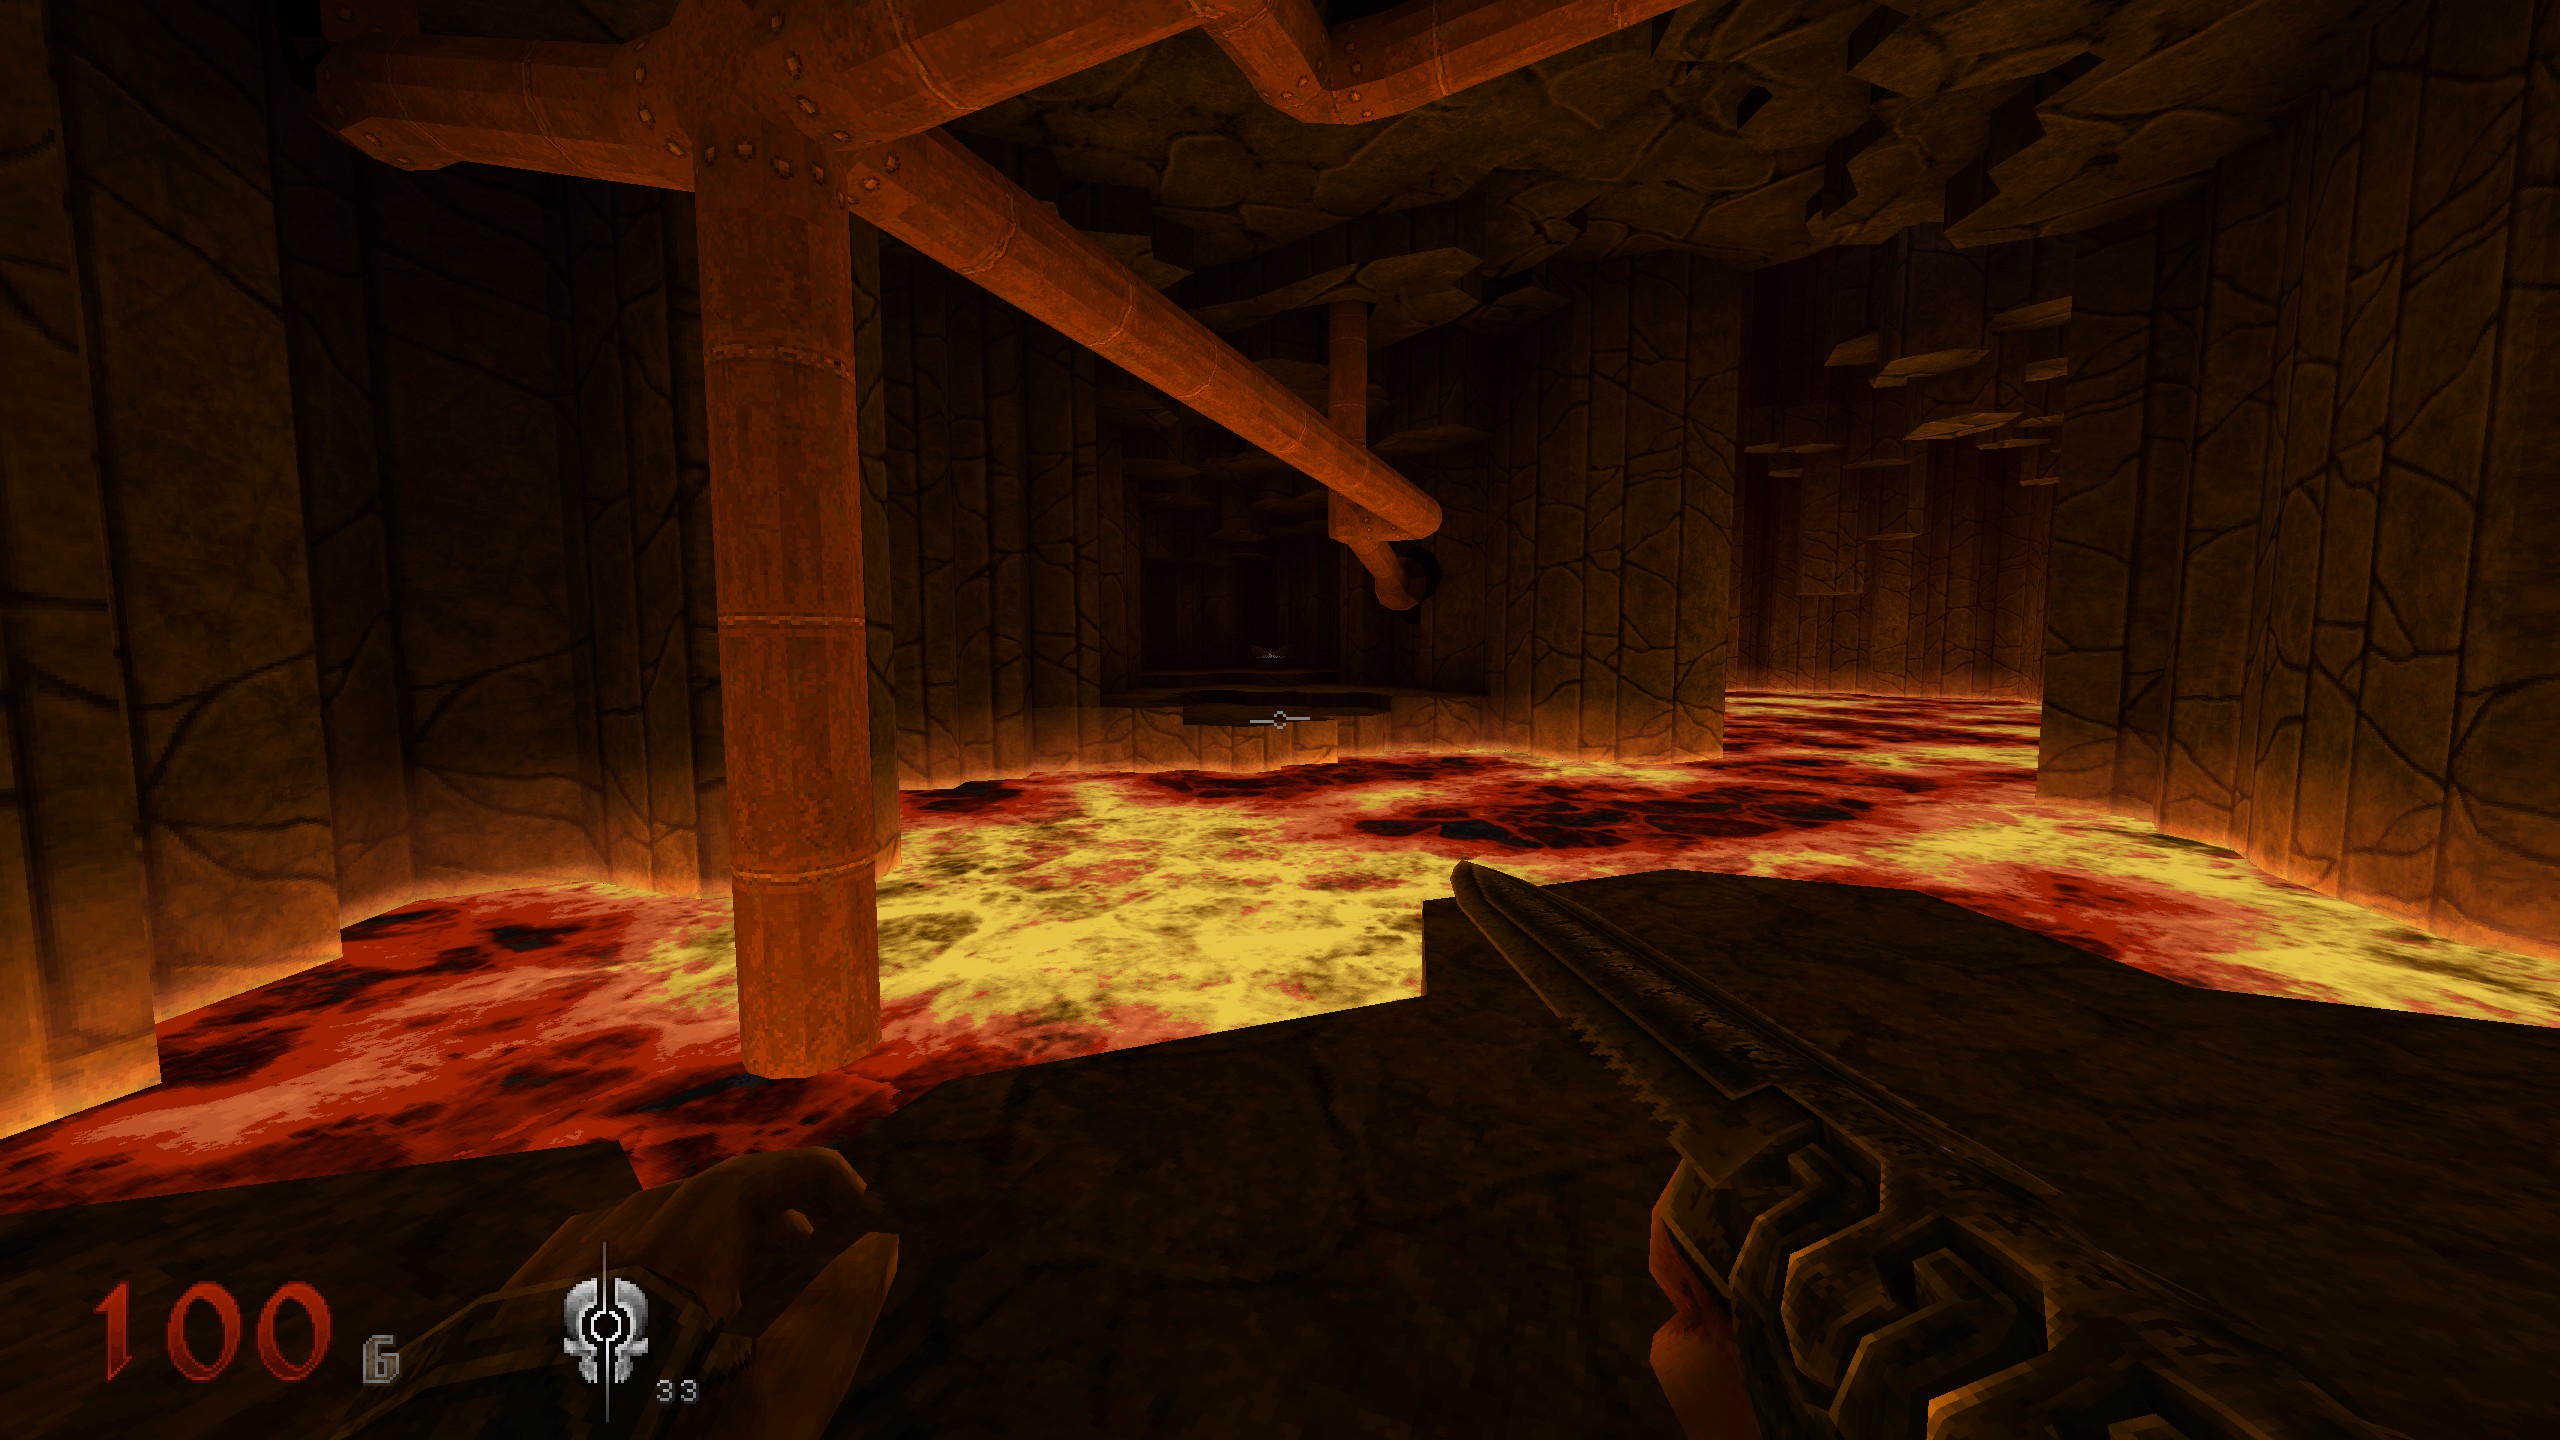
S2
When you get back up from S1, jump over again and forward a little. First jump down to the piece of black armor.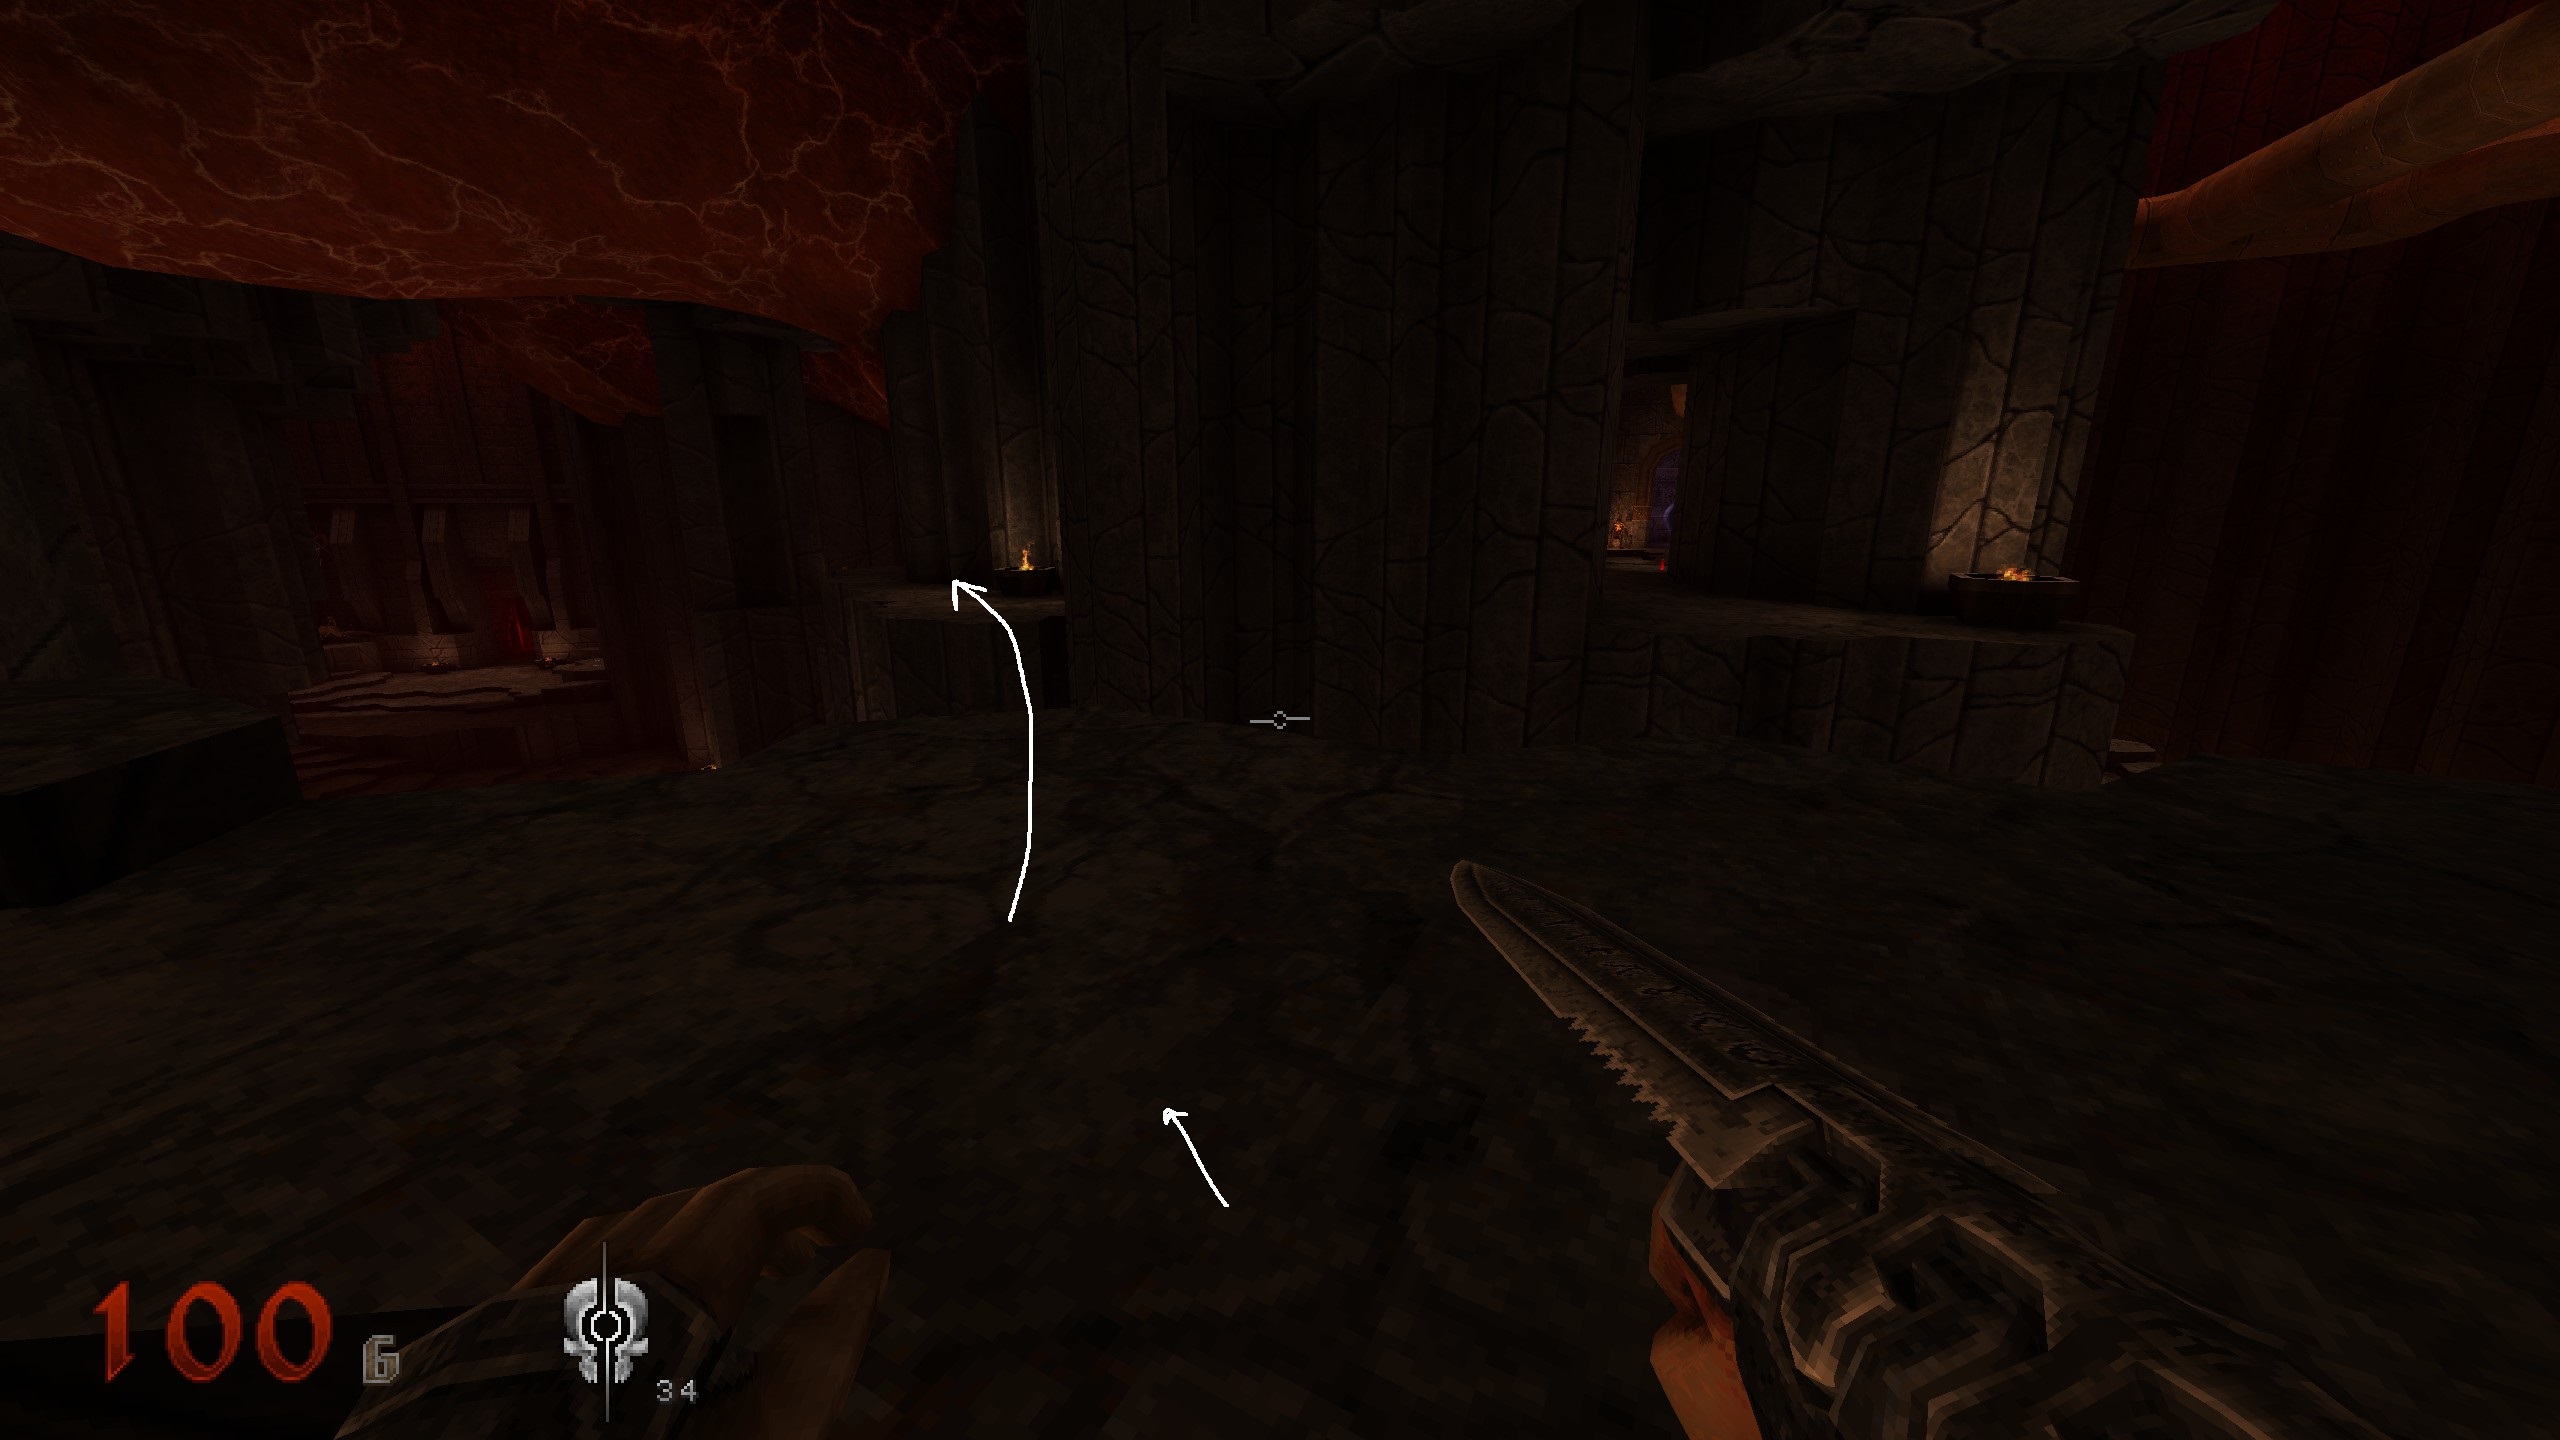

S3
Use the stones from S2 to get back up and jump over to that big skull. Destroy it. Carefully turn right and look down.
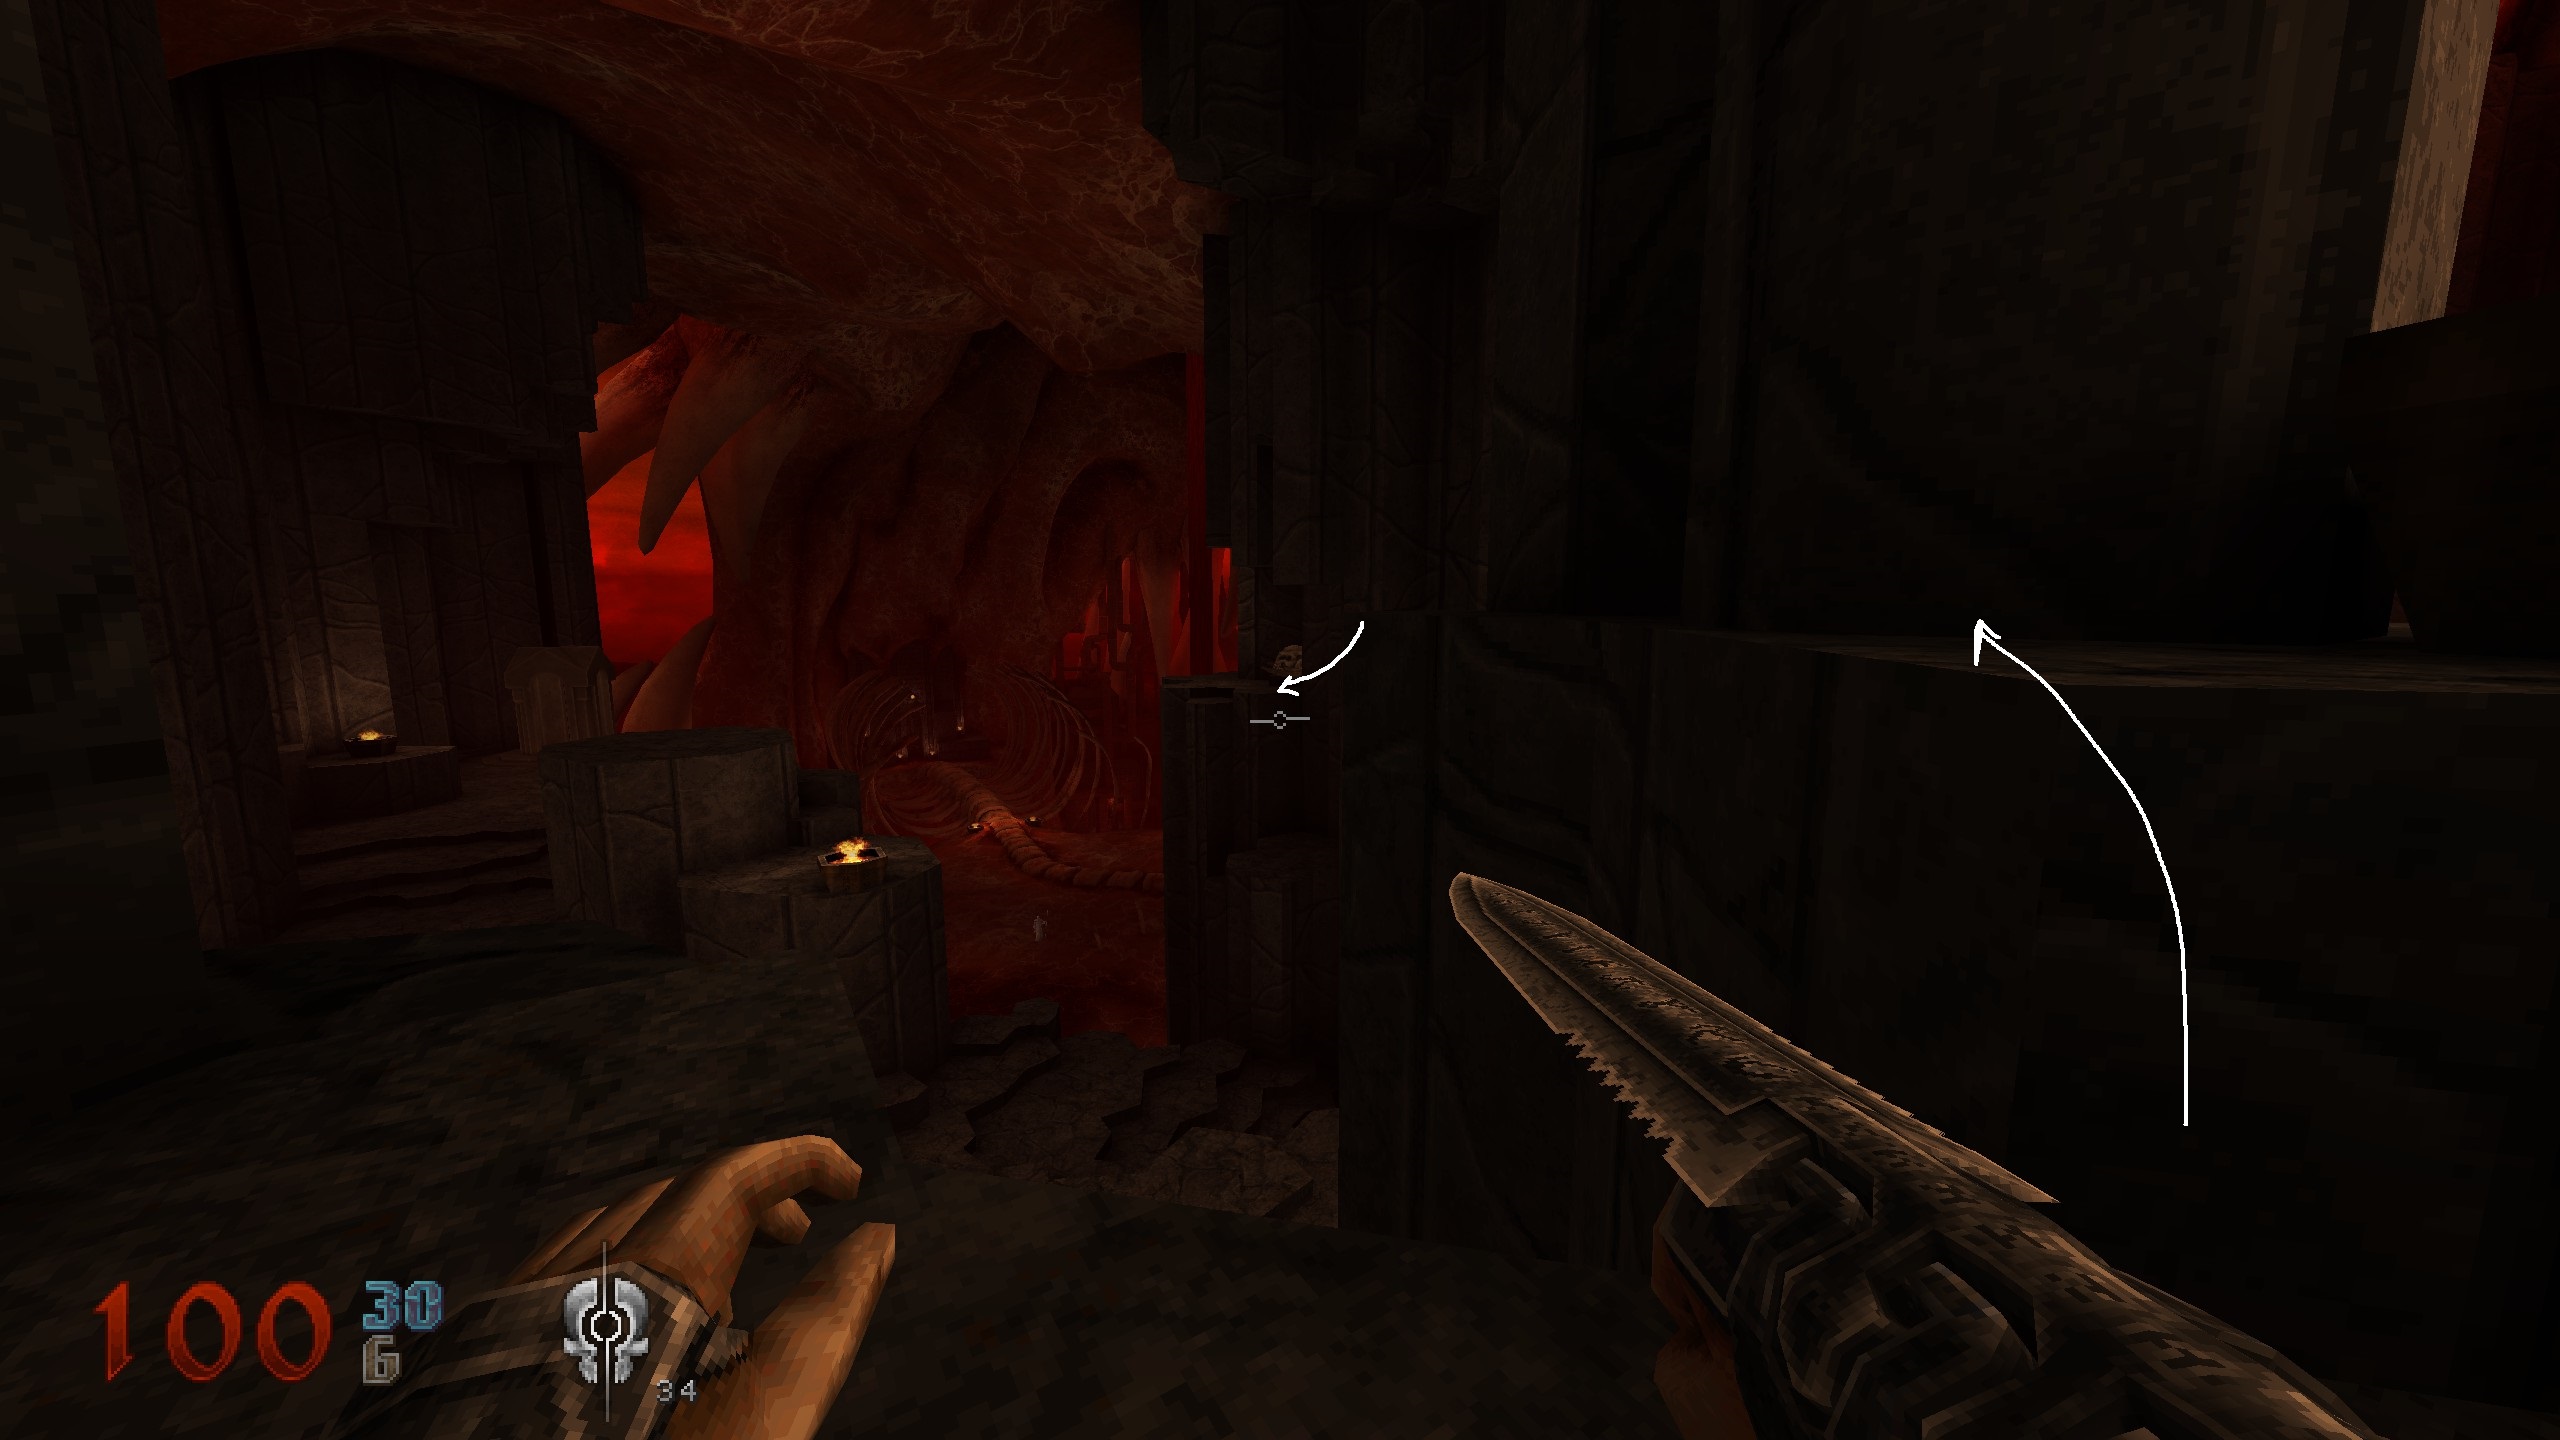
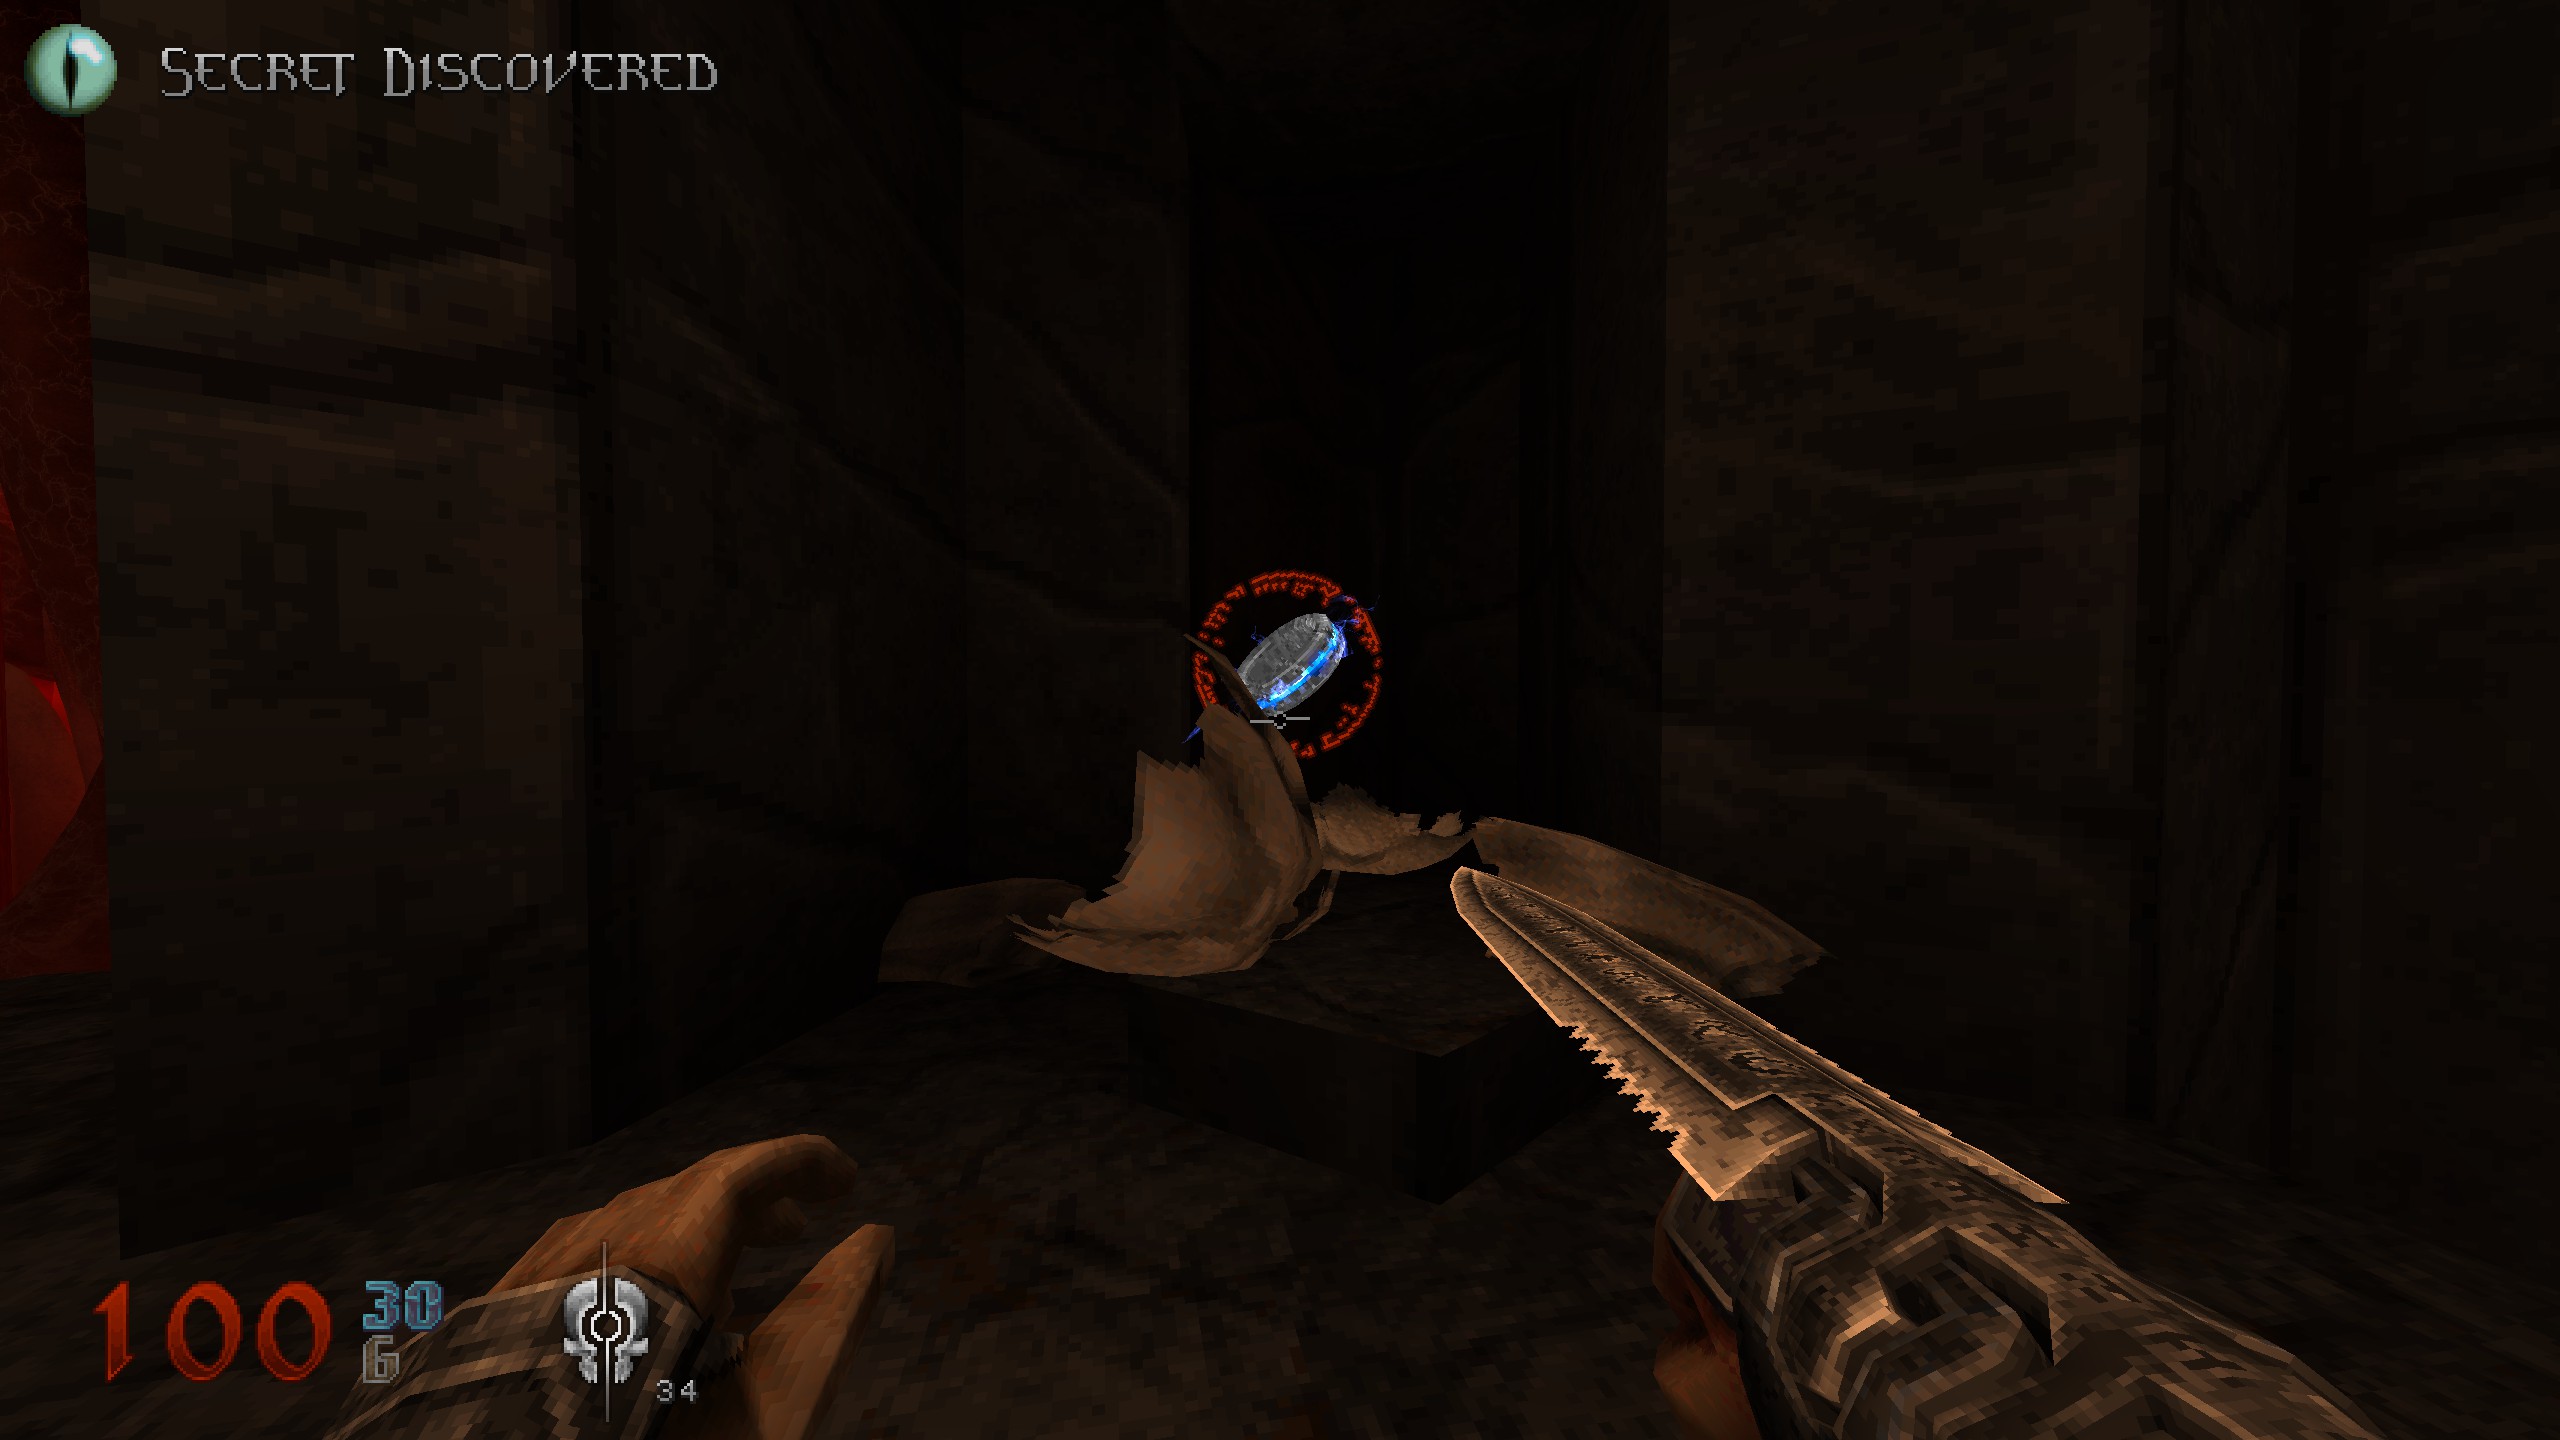
S4
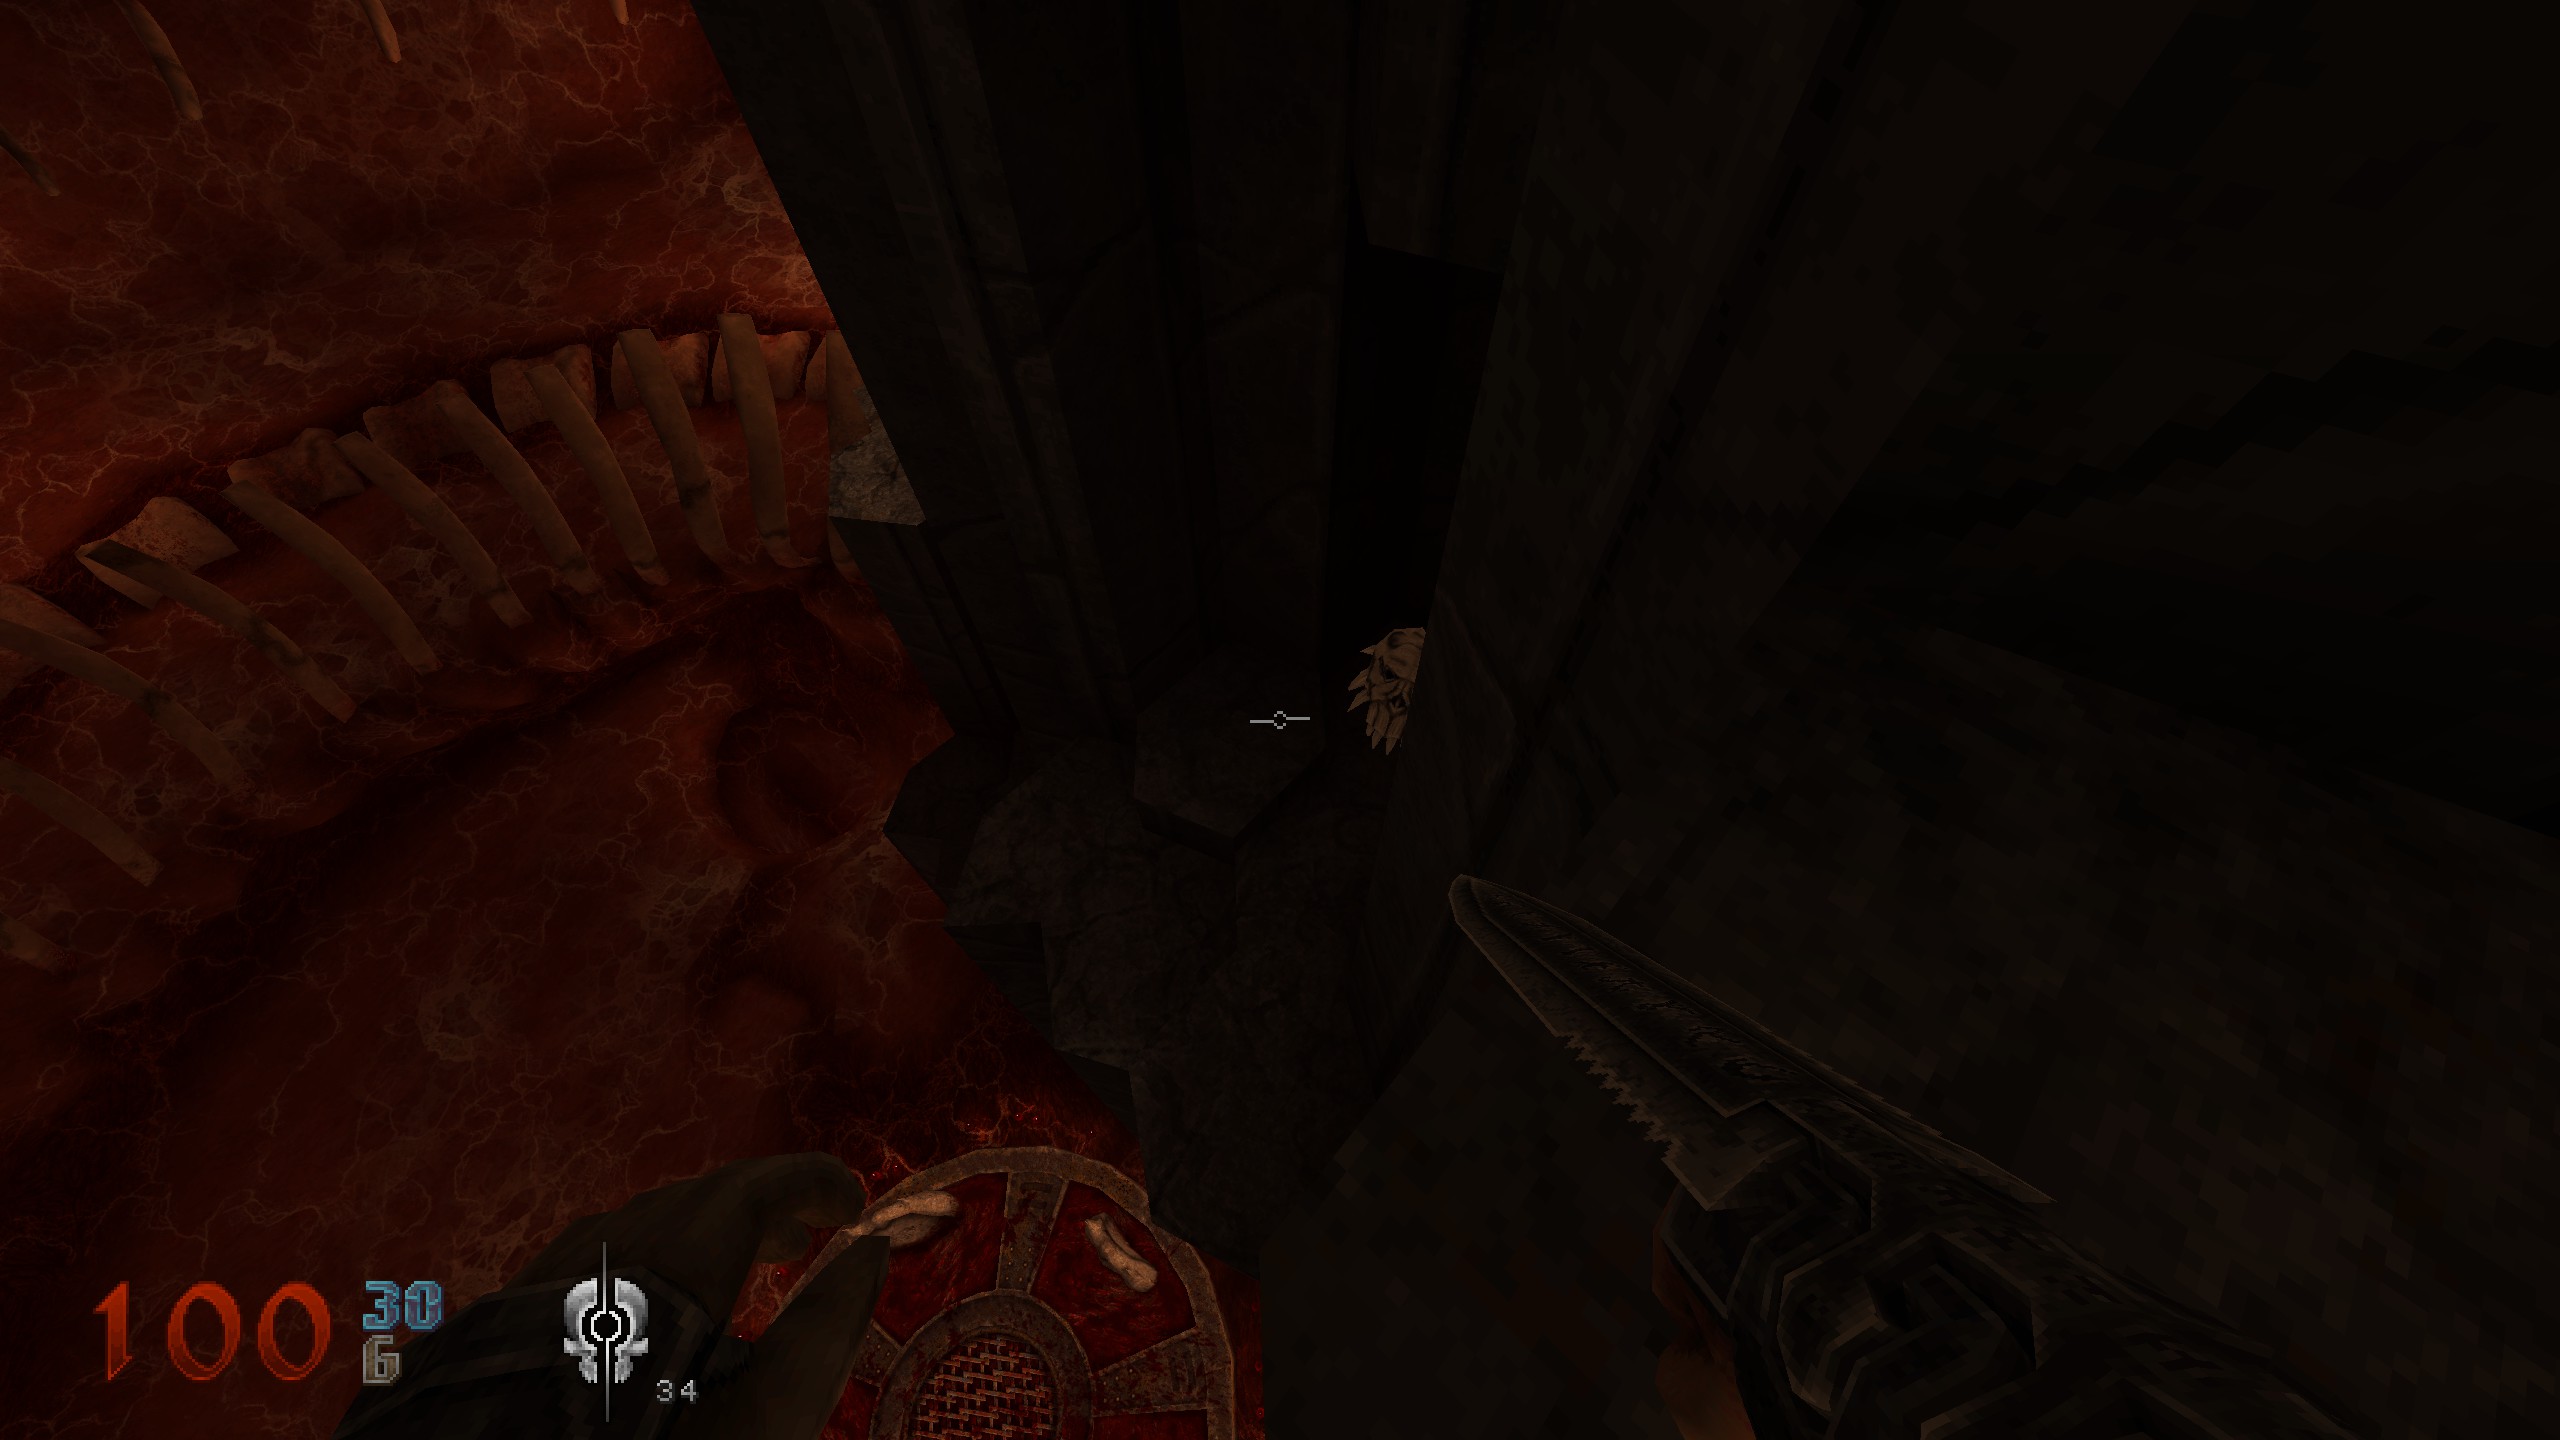
Drop down from S3 and you will find another skull. Destroy it and drop to teh ground.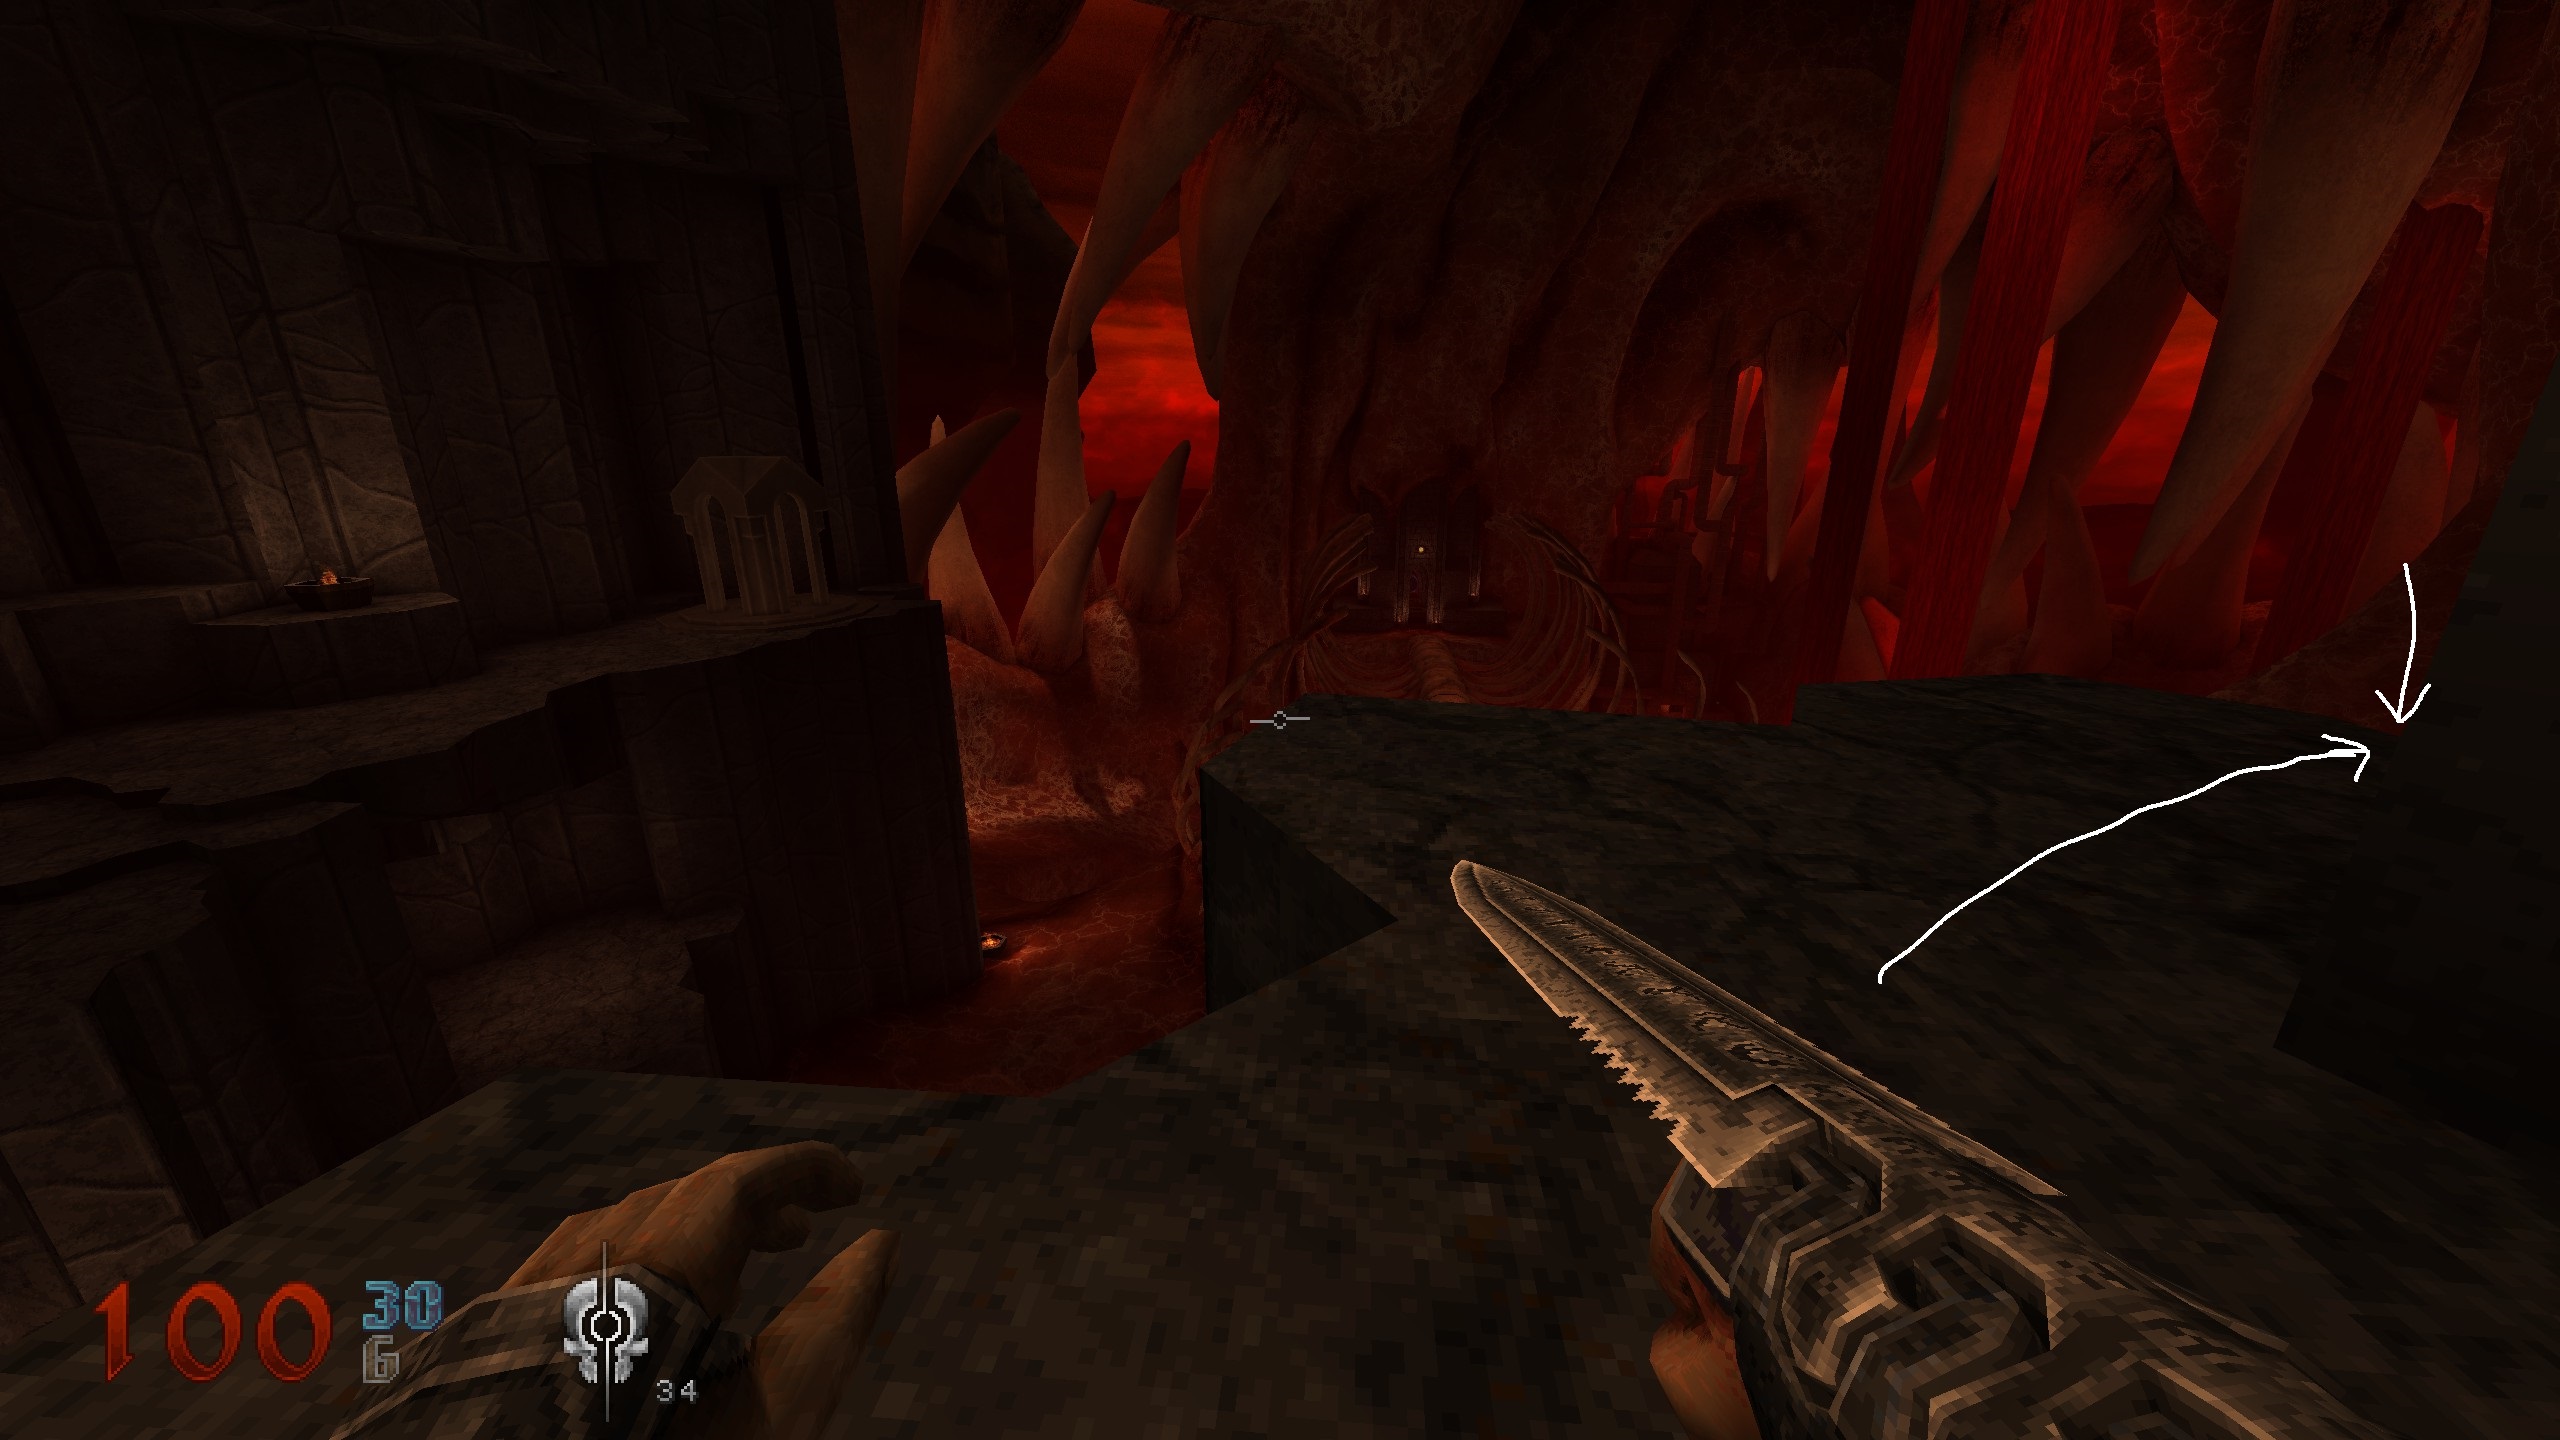
S5
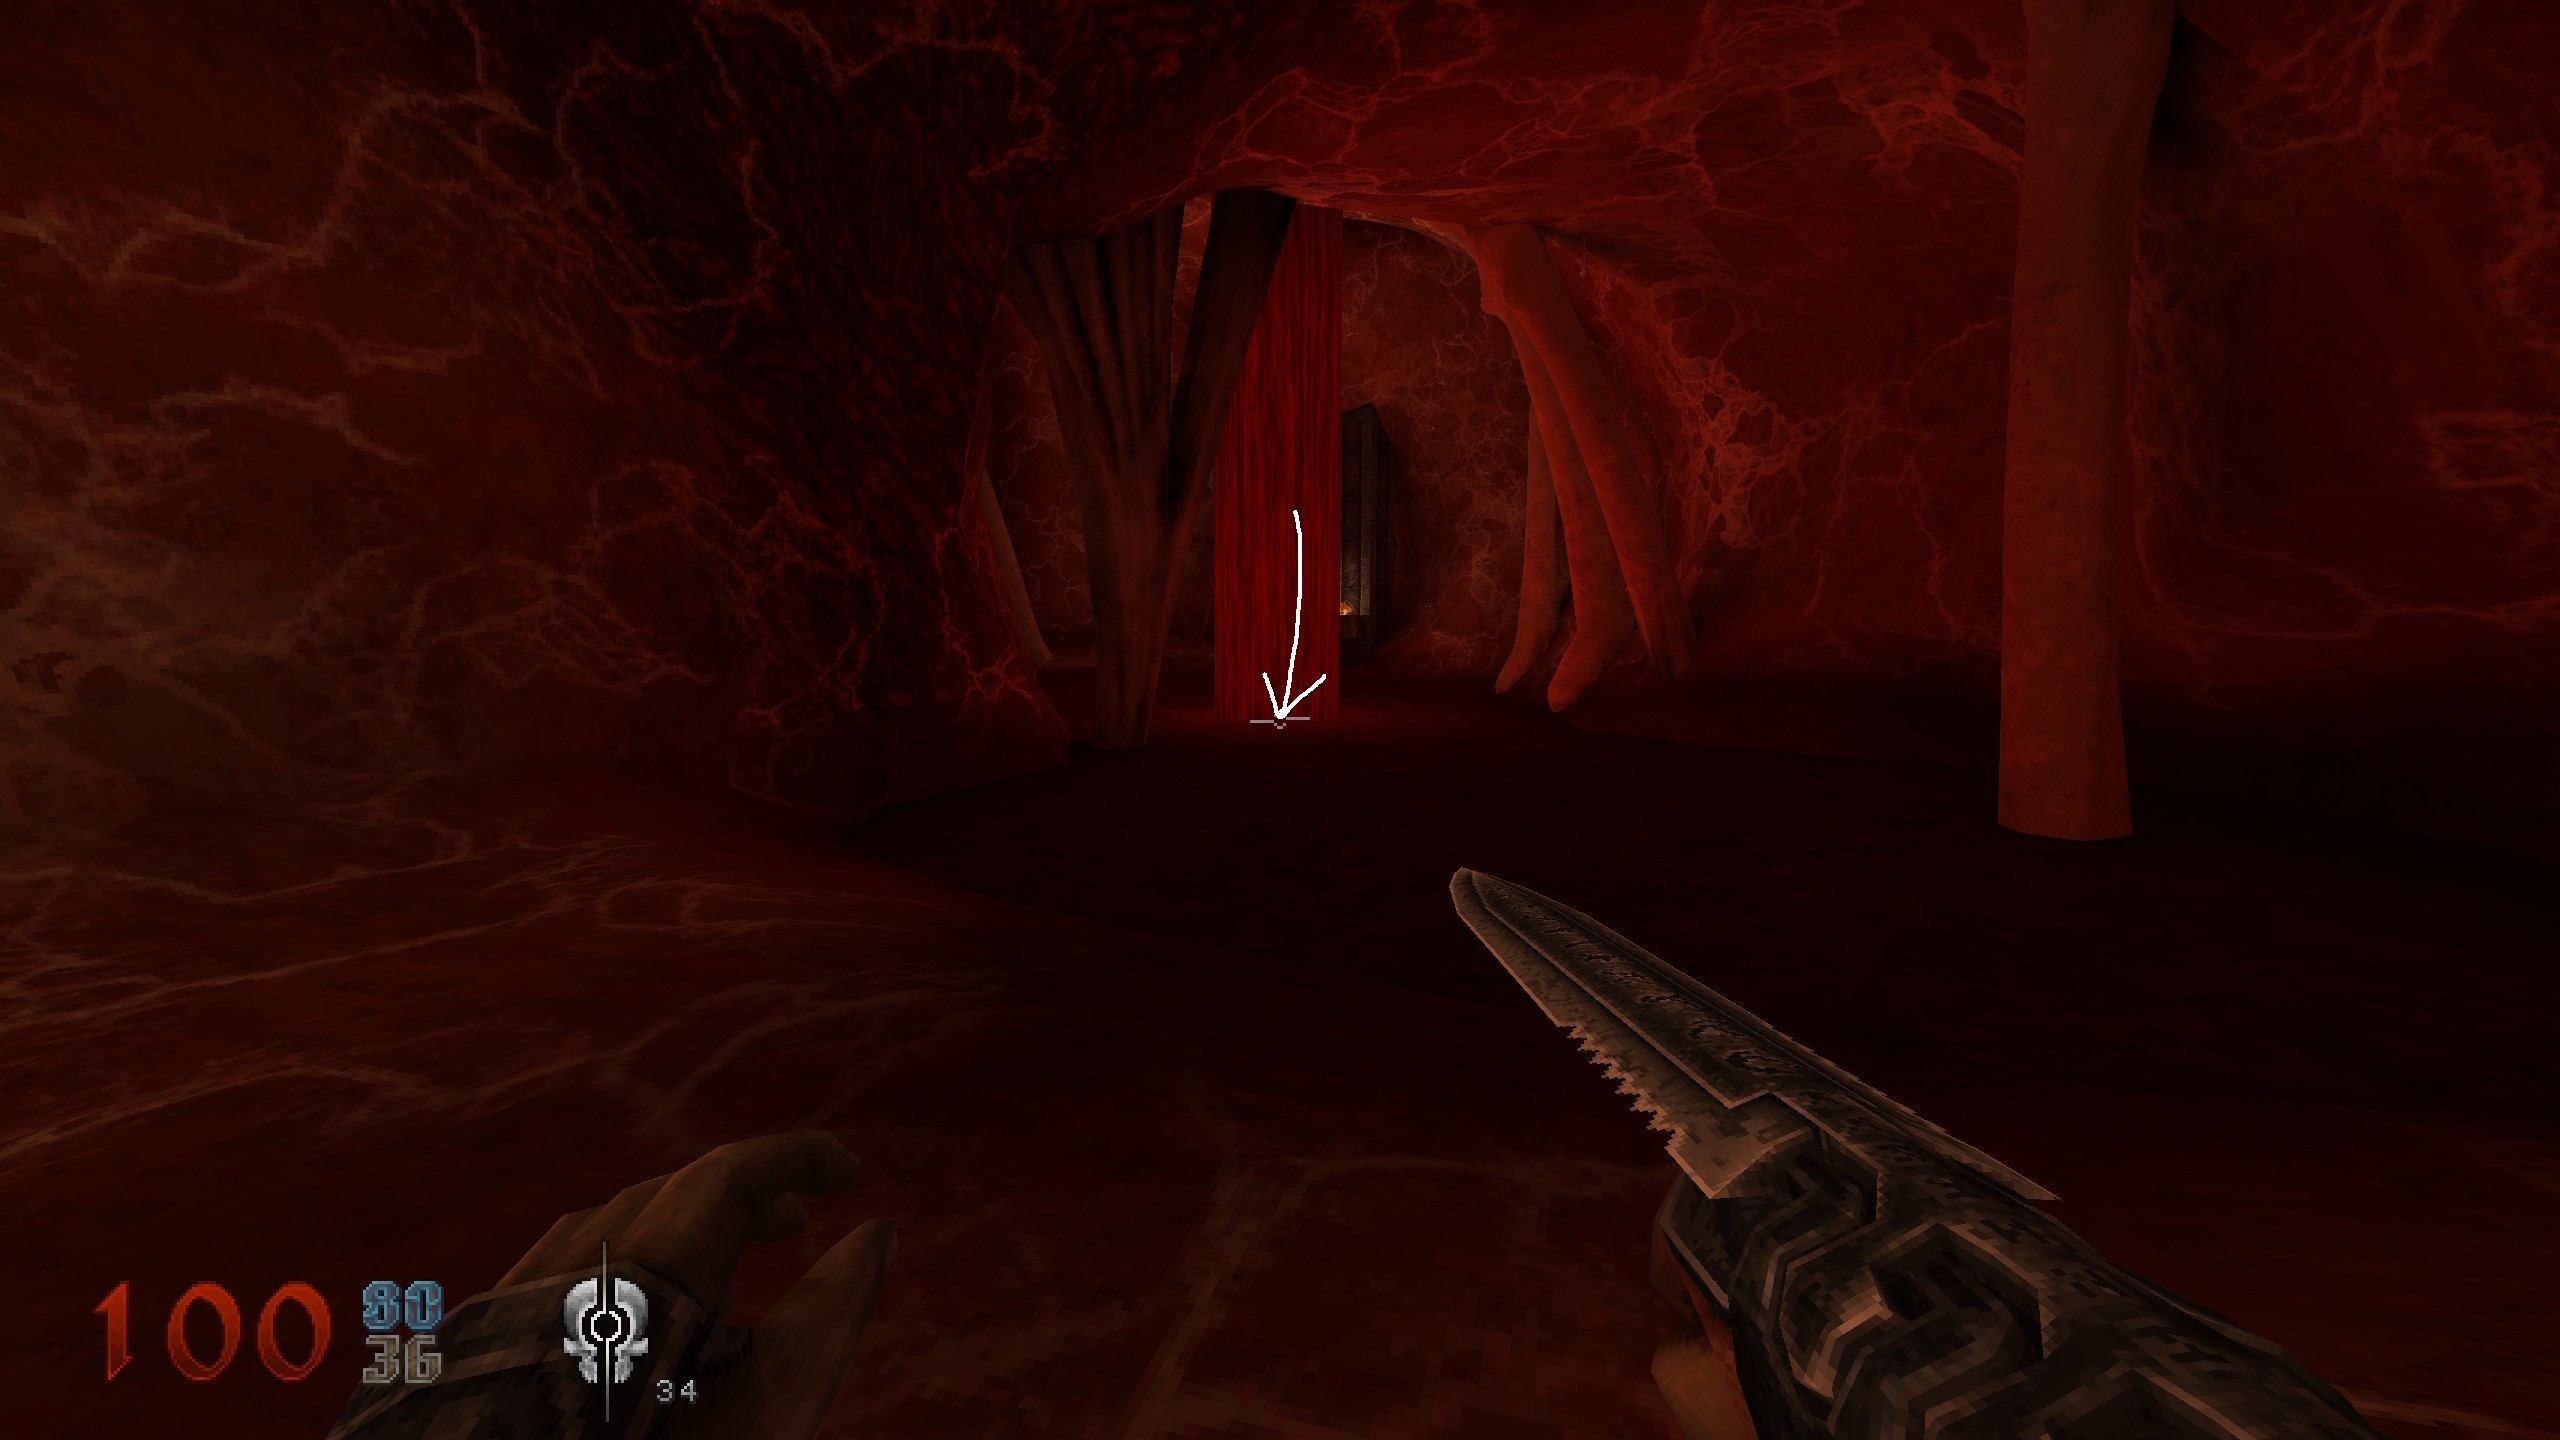
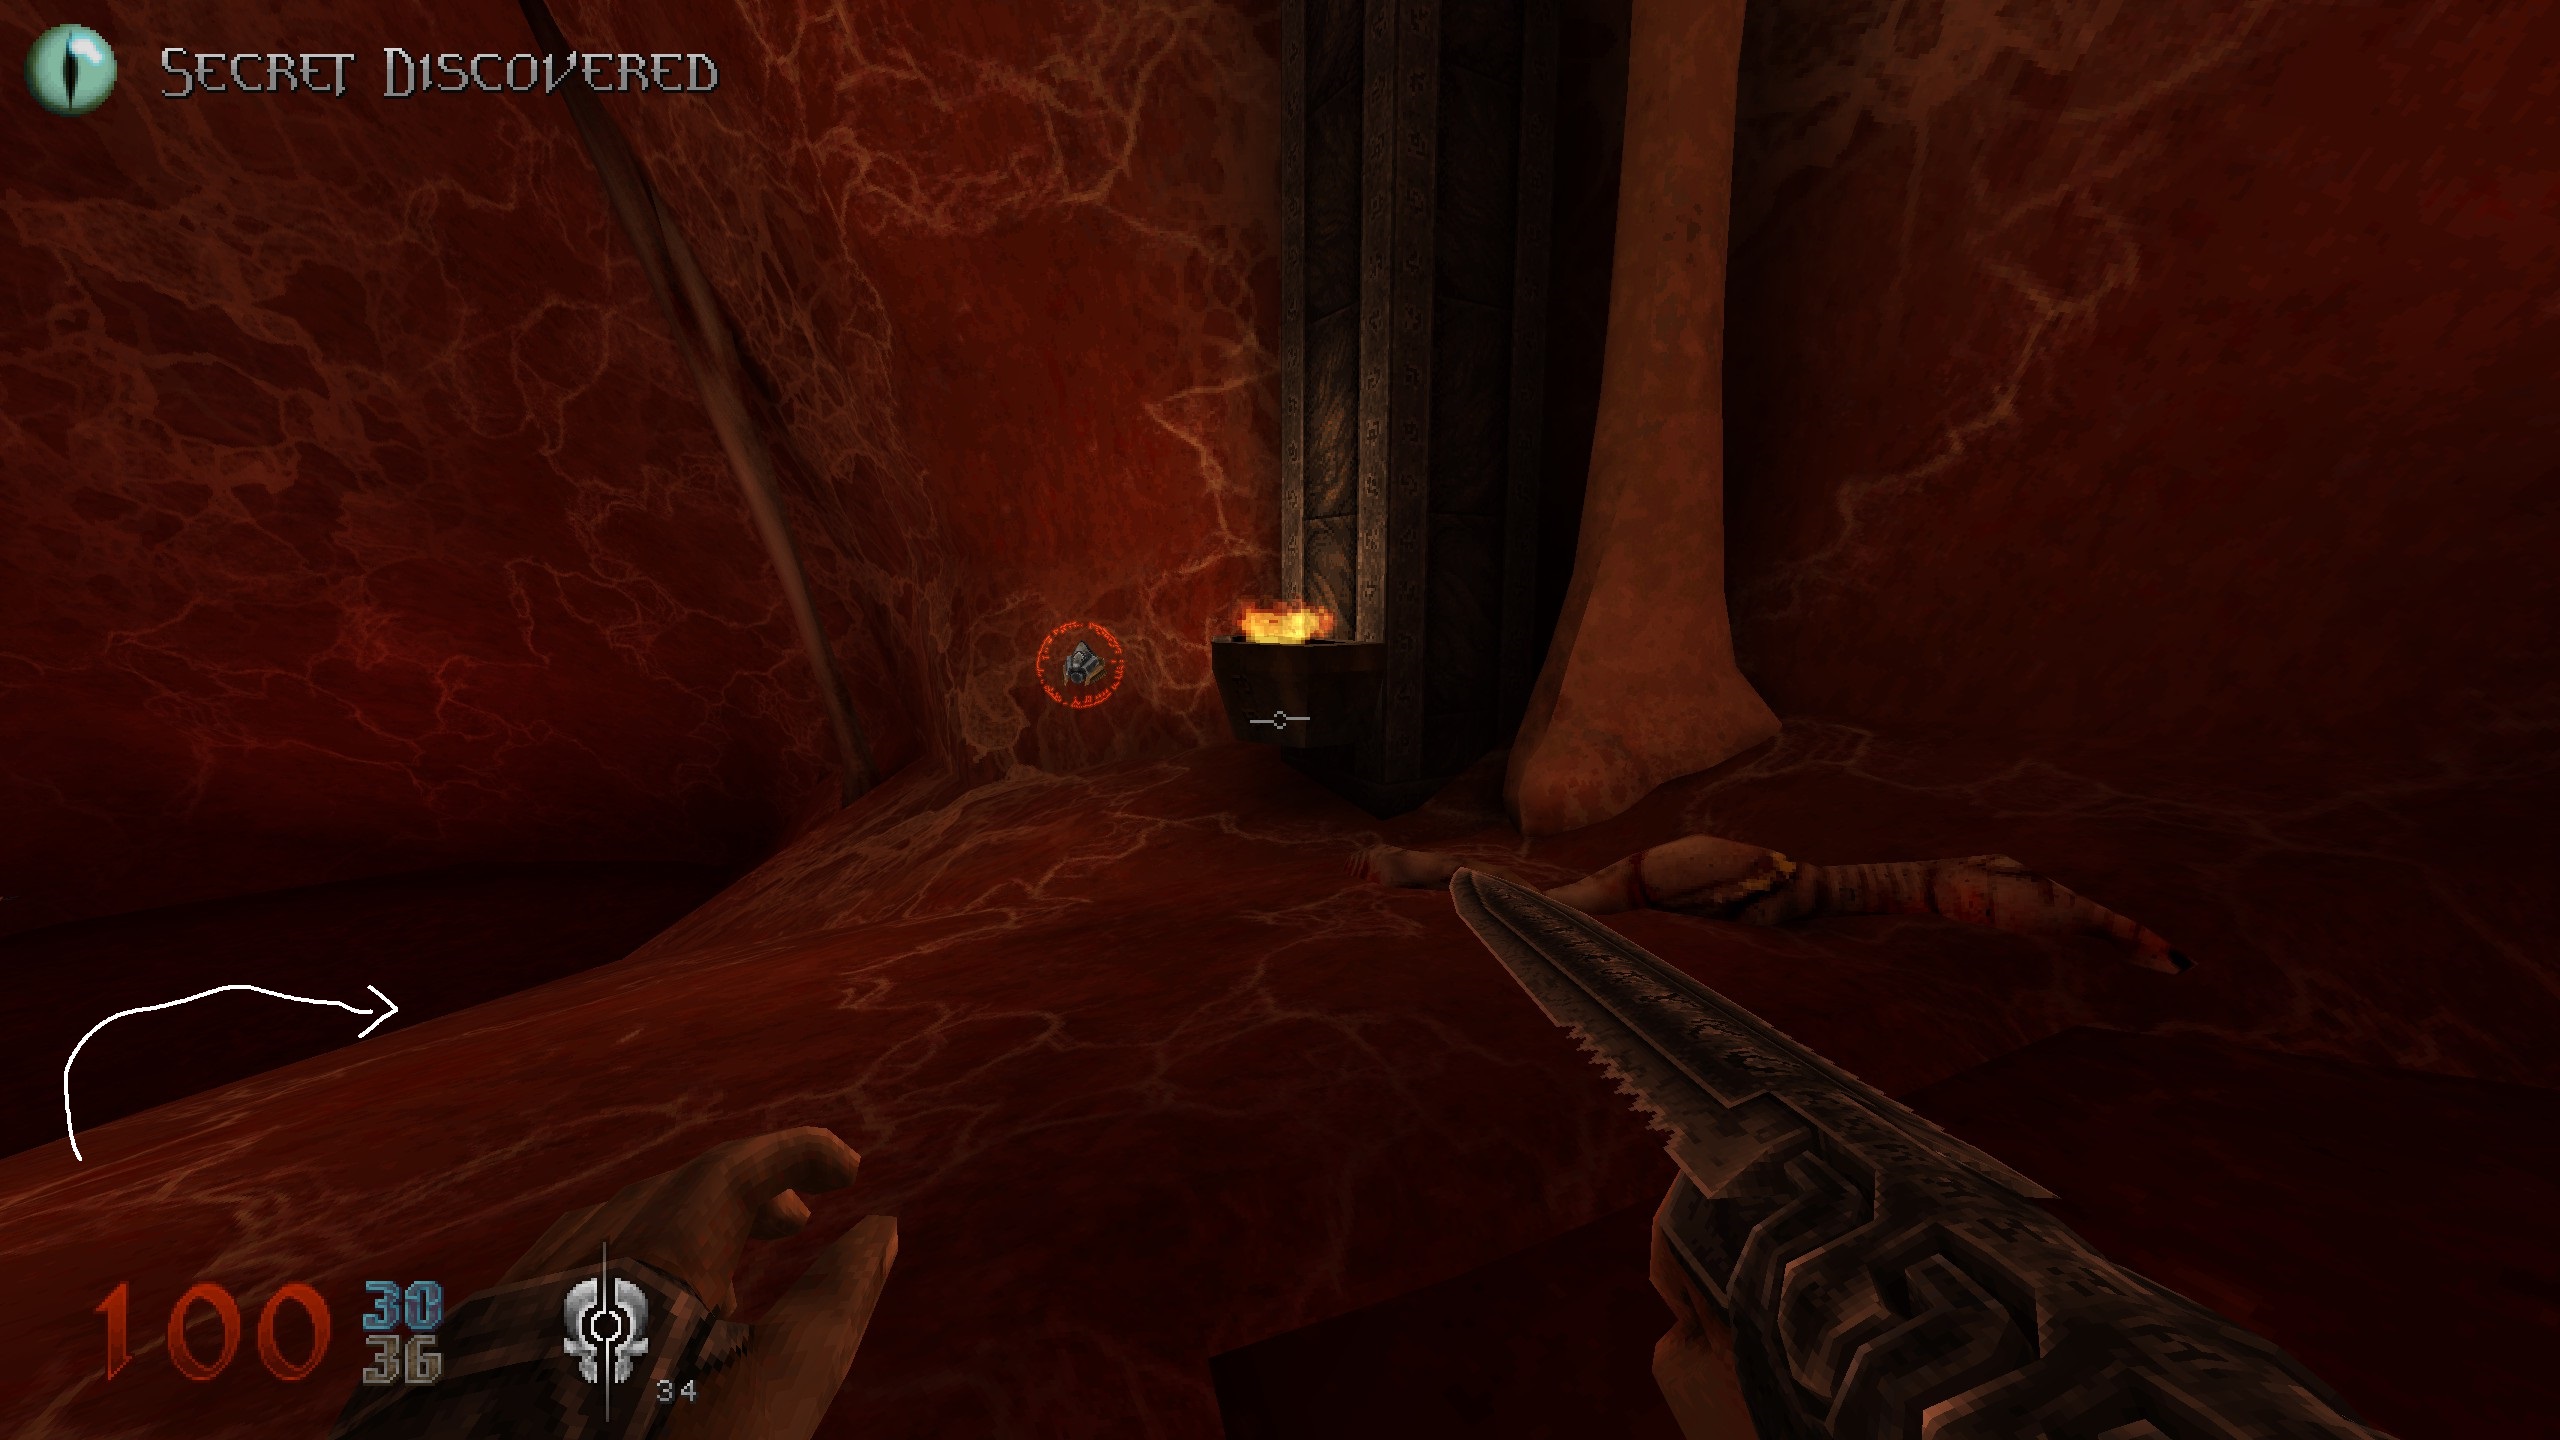
Now on the ground, there are two holes in the ground. Drop down either one and dive into the hole in the ground where the fall hits the surface. Dive through till you come out. Proceed diving into the next blood pool and follow it.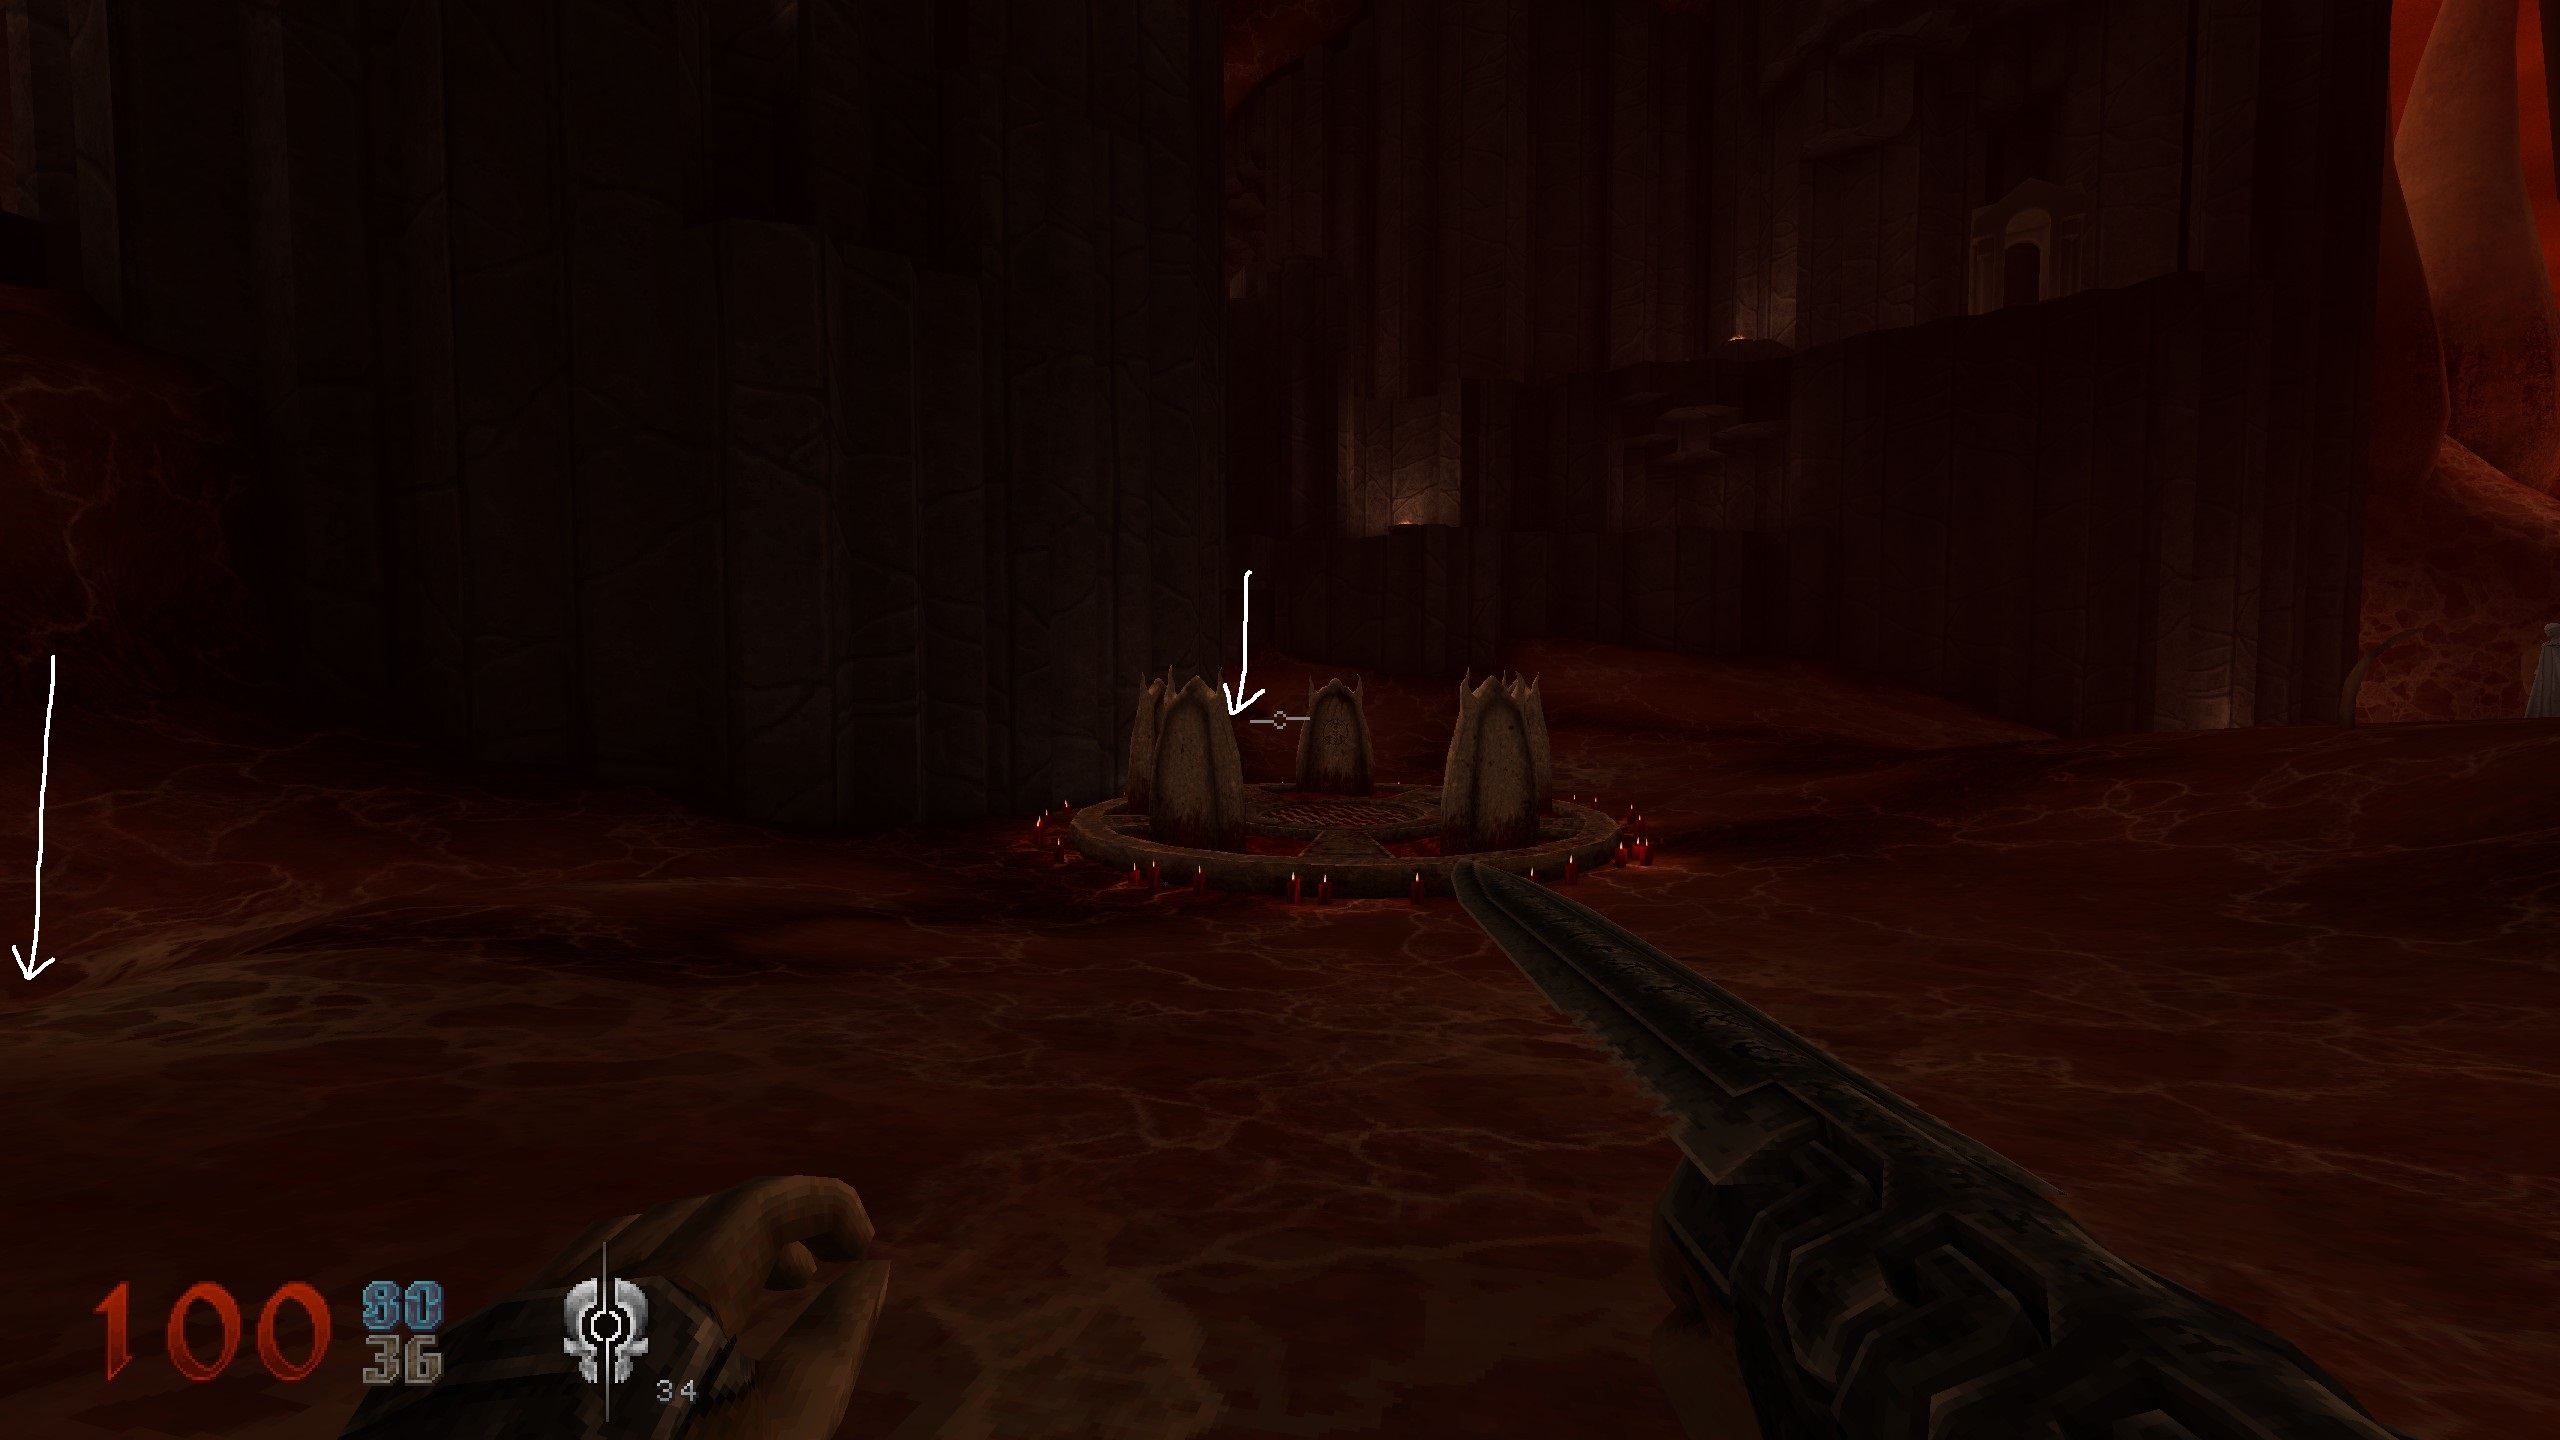
S6
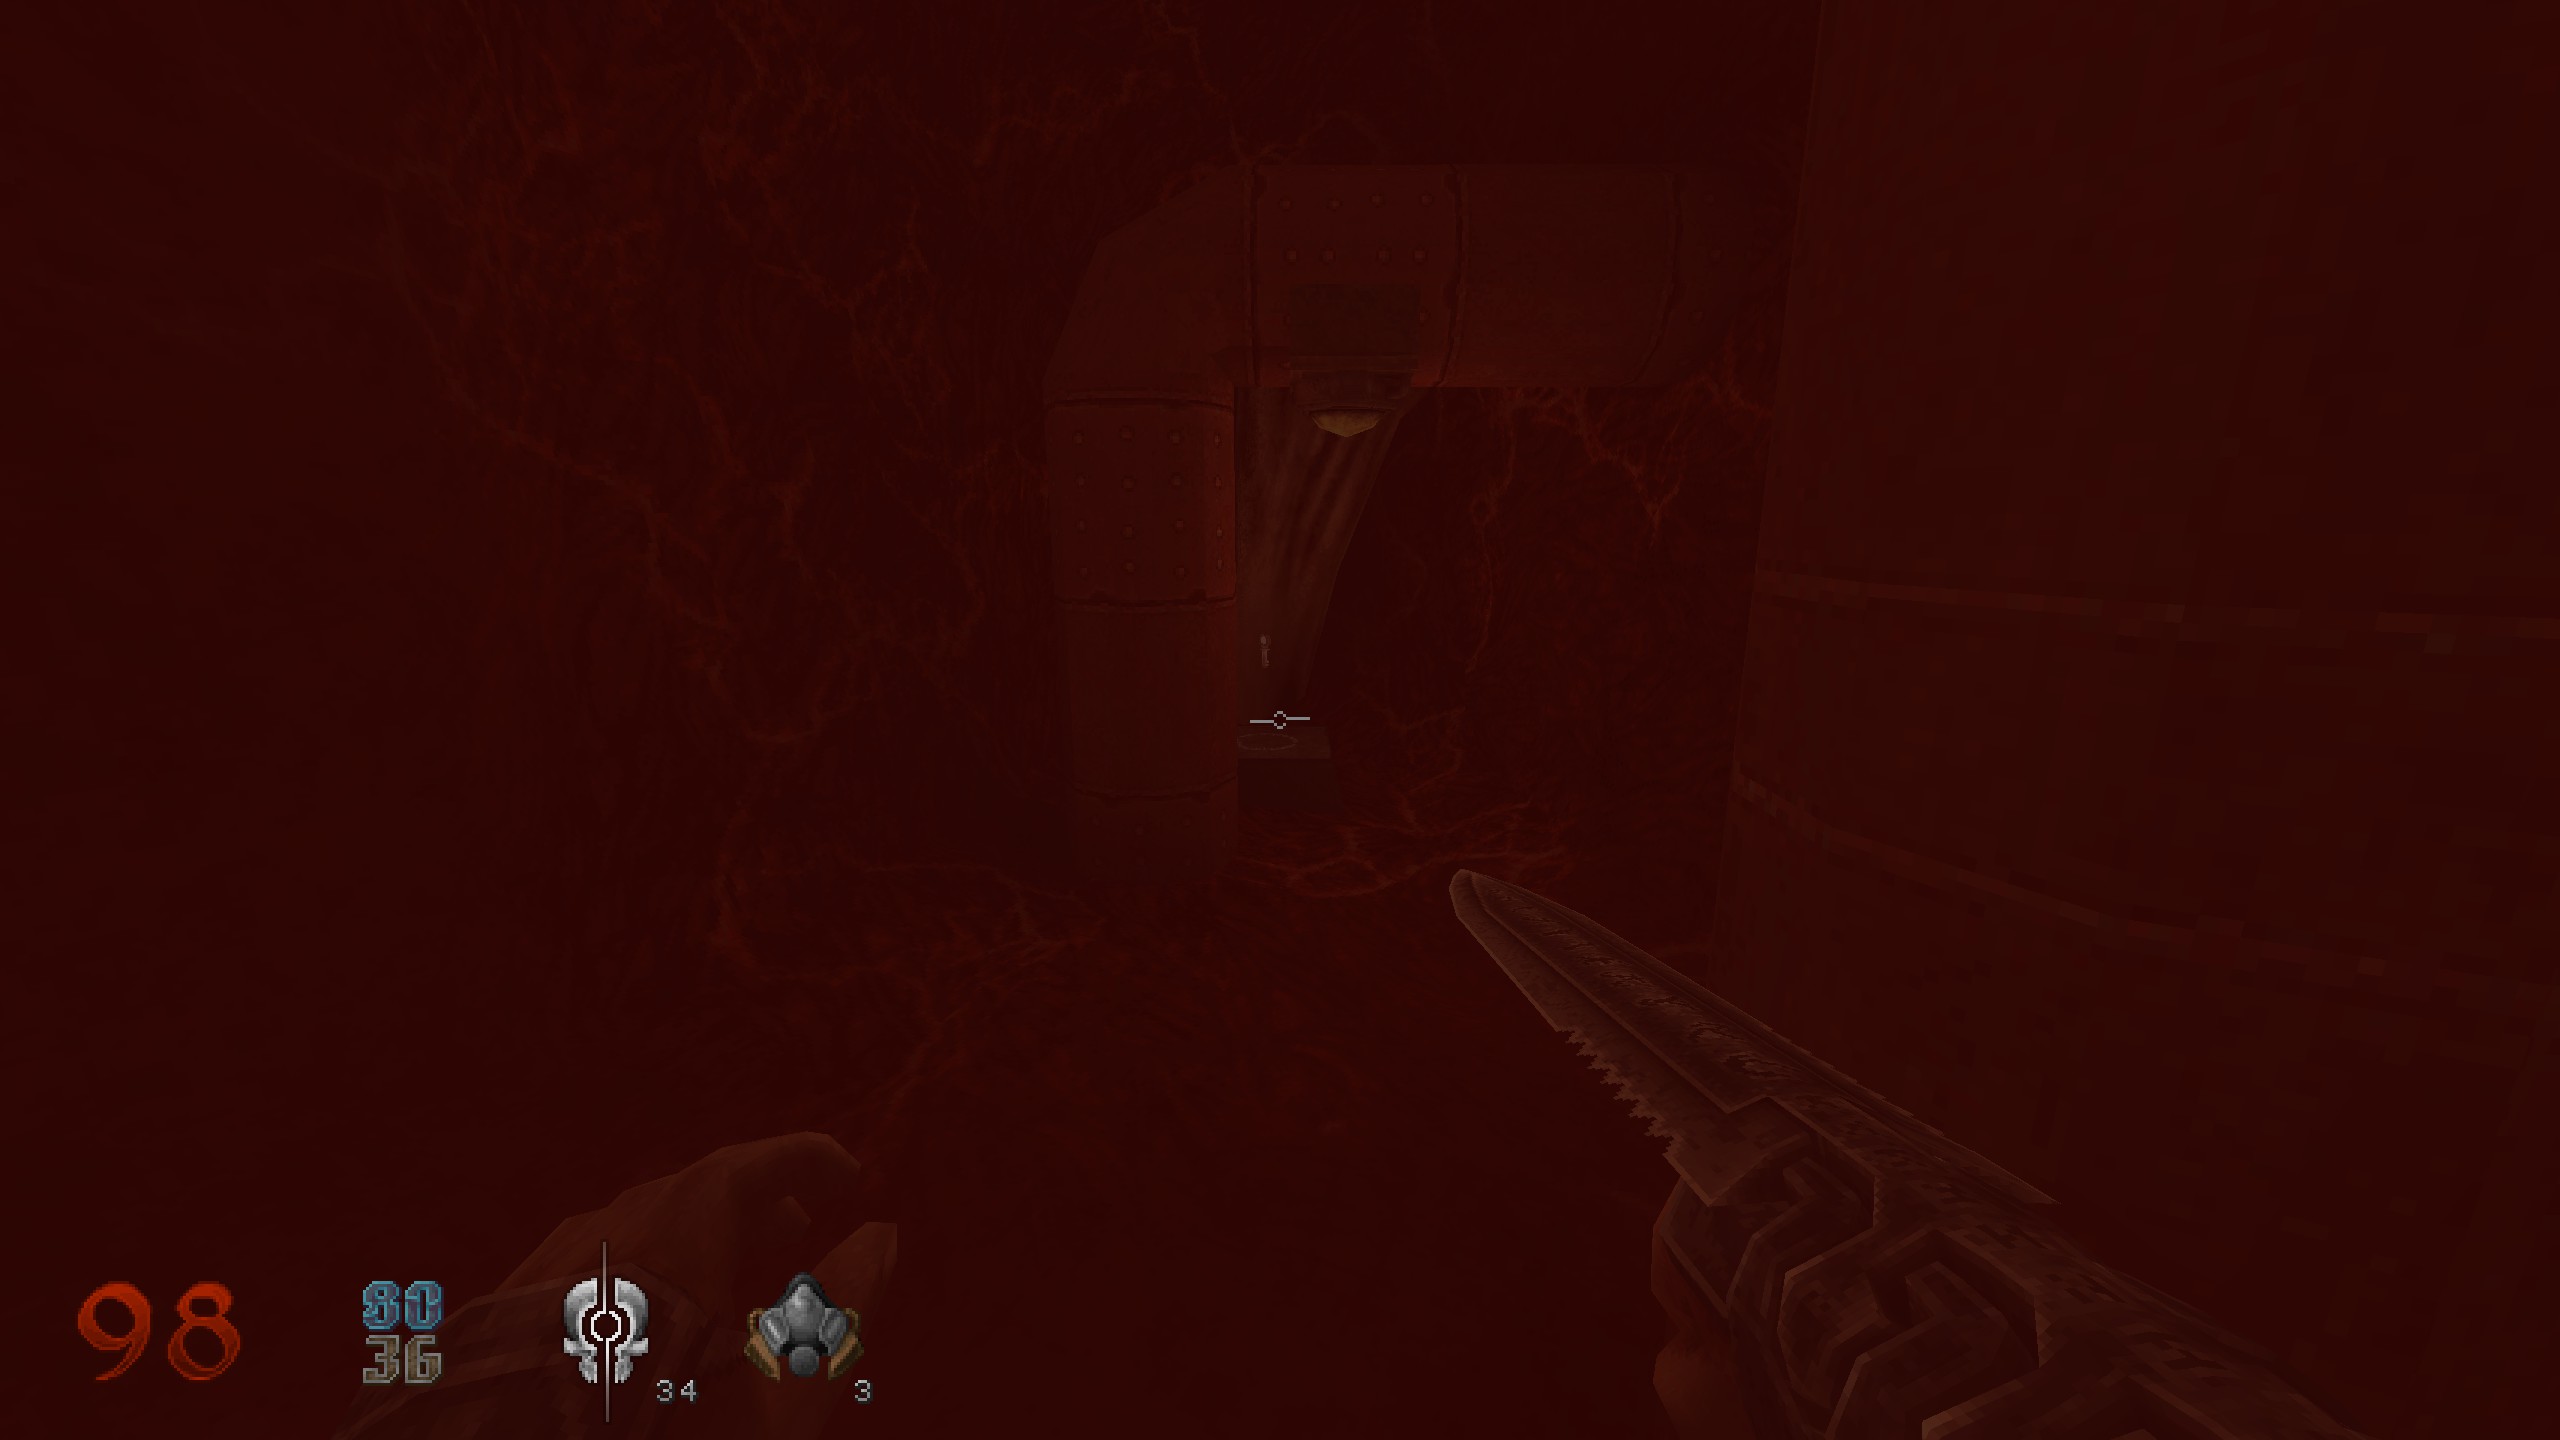
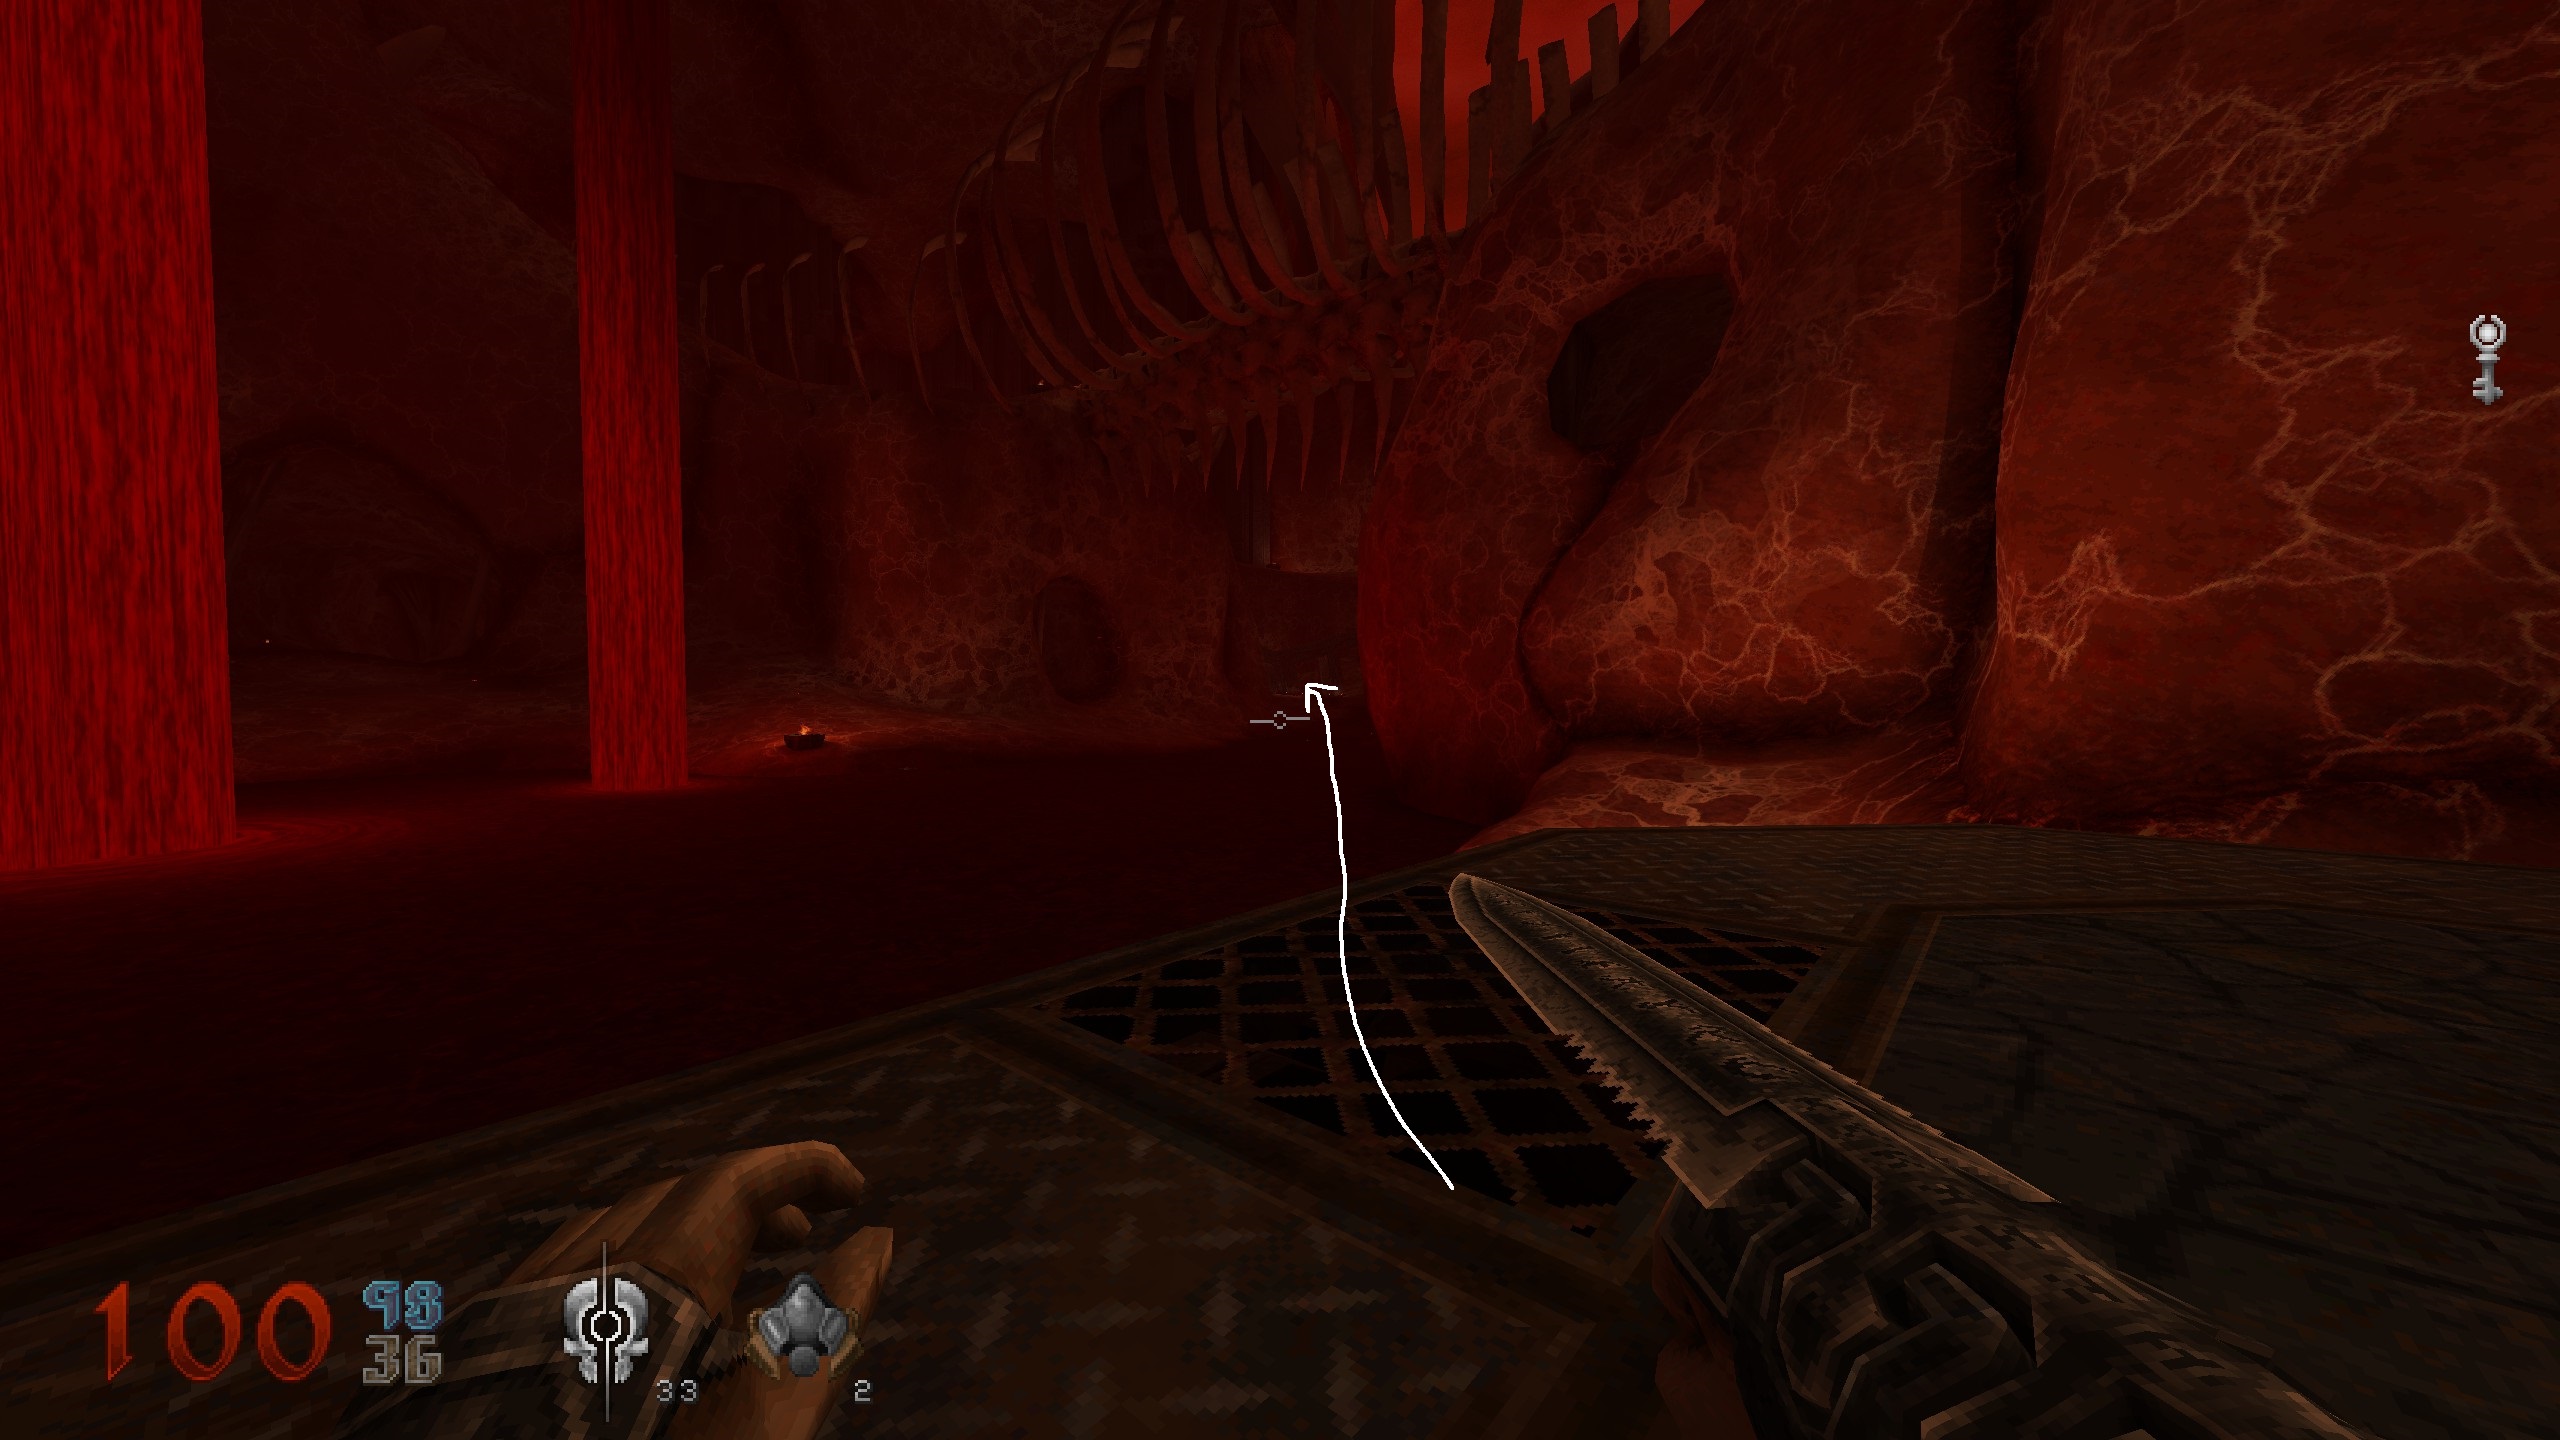
You came into a wide open area still diving. Notice the pipes up ahead. Move to those pipes and dive down into the back for a key. Emerge and head over to those wooden structures.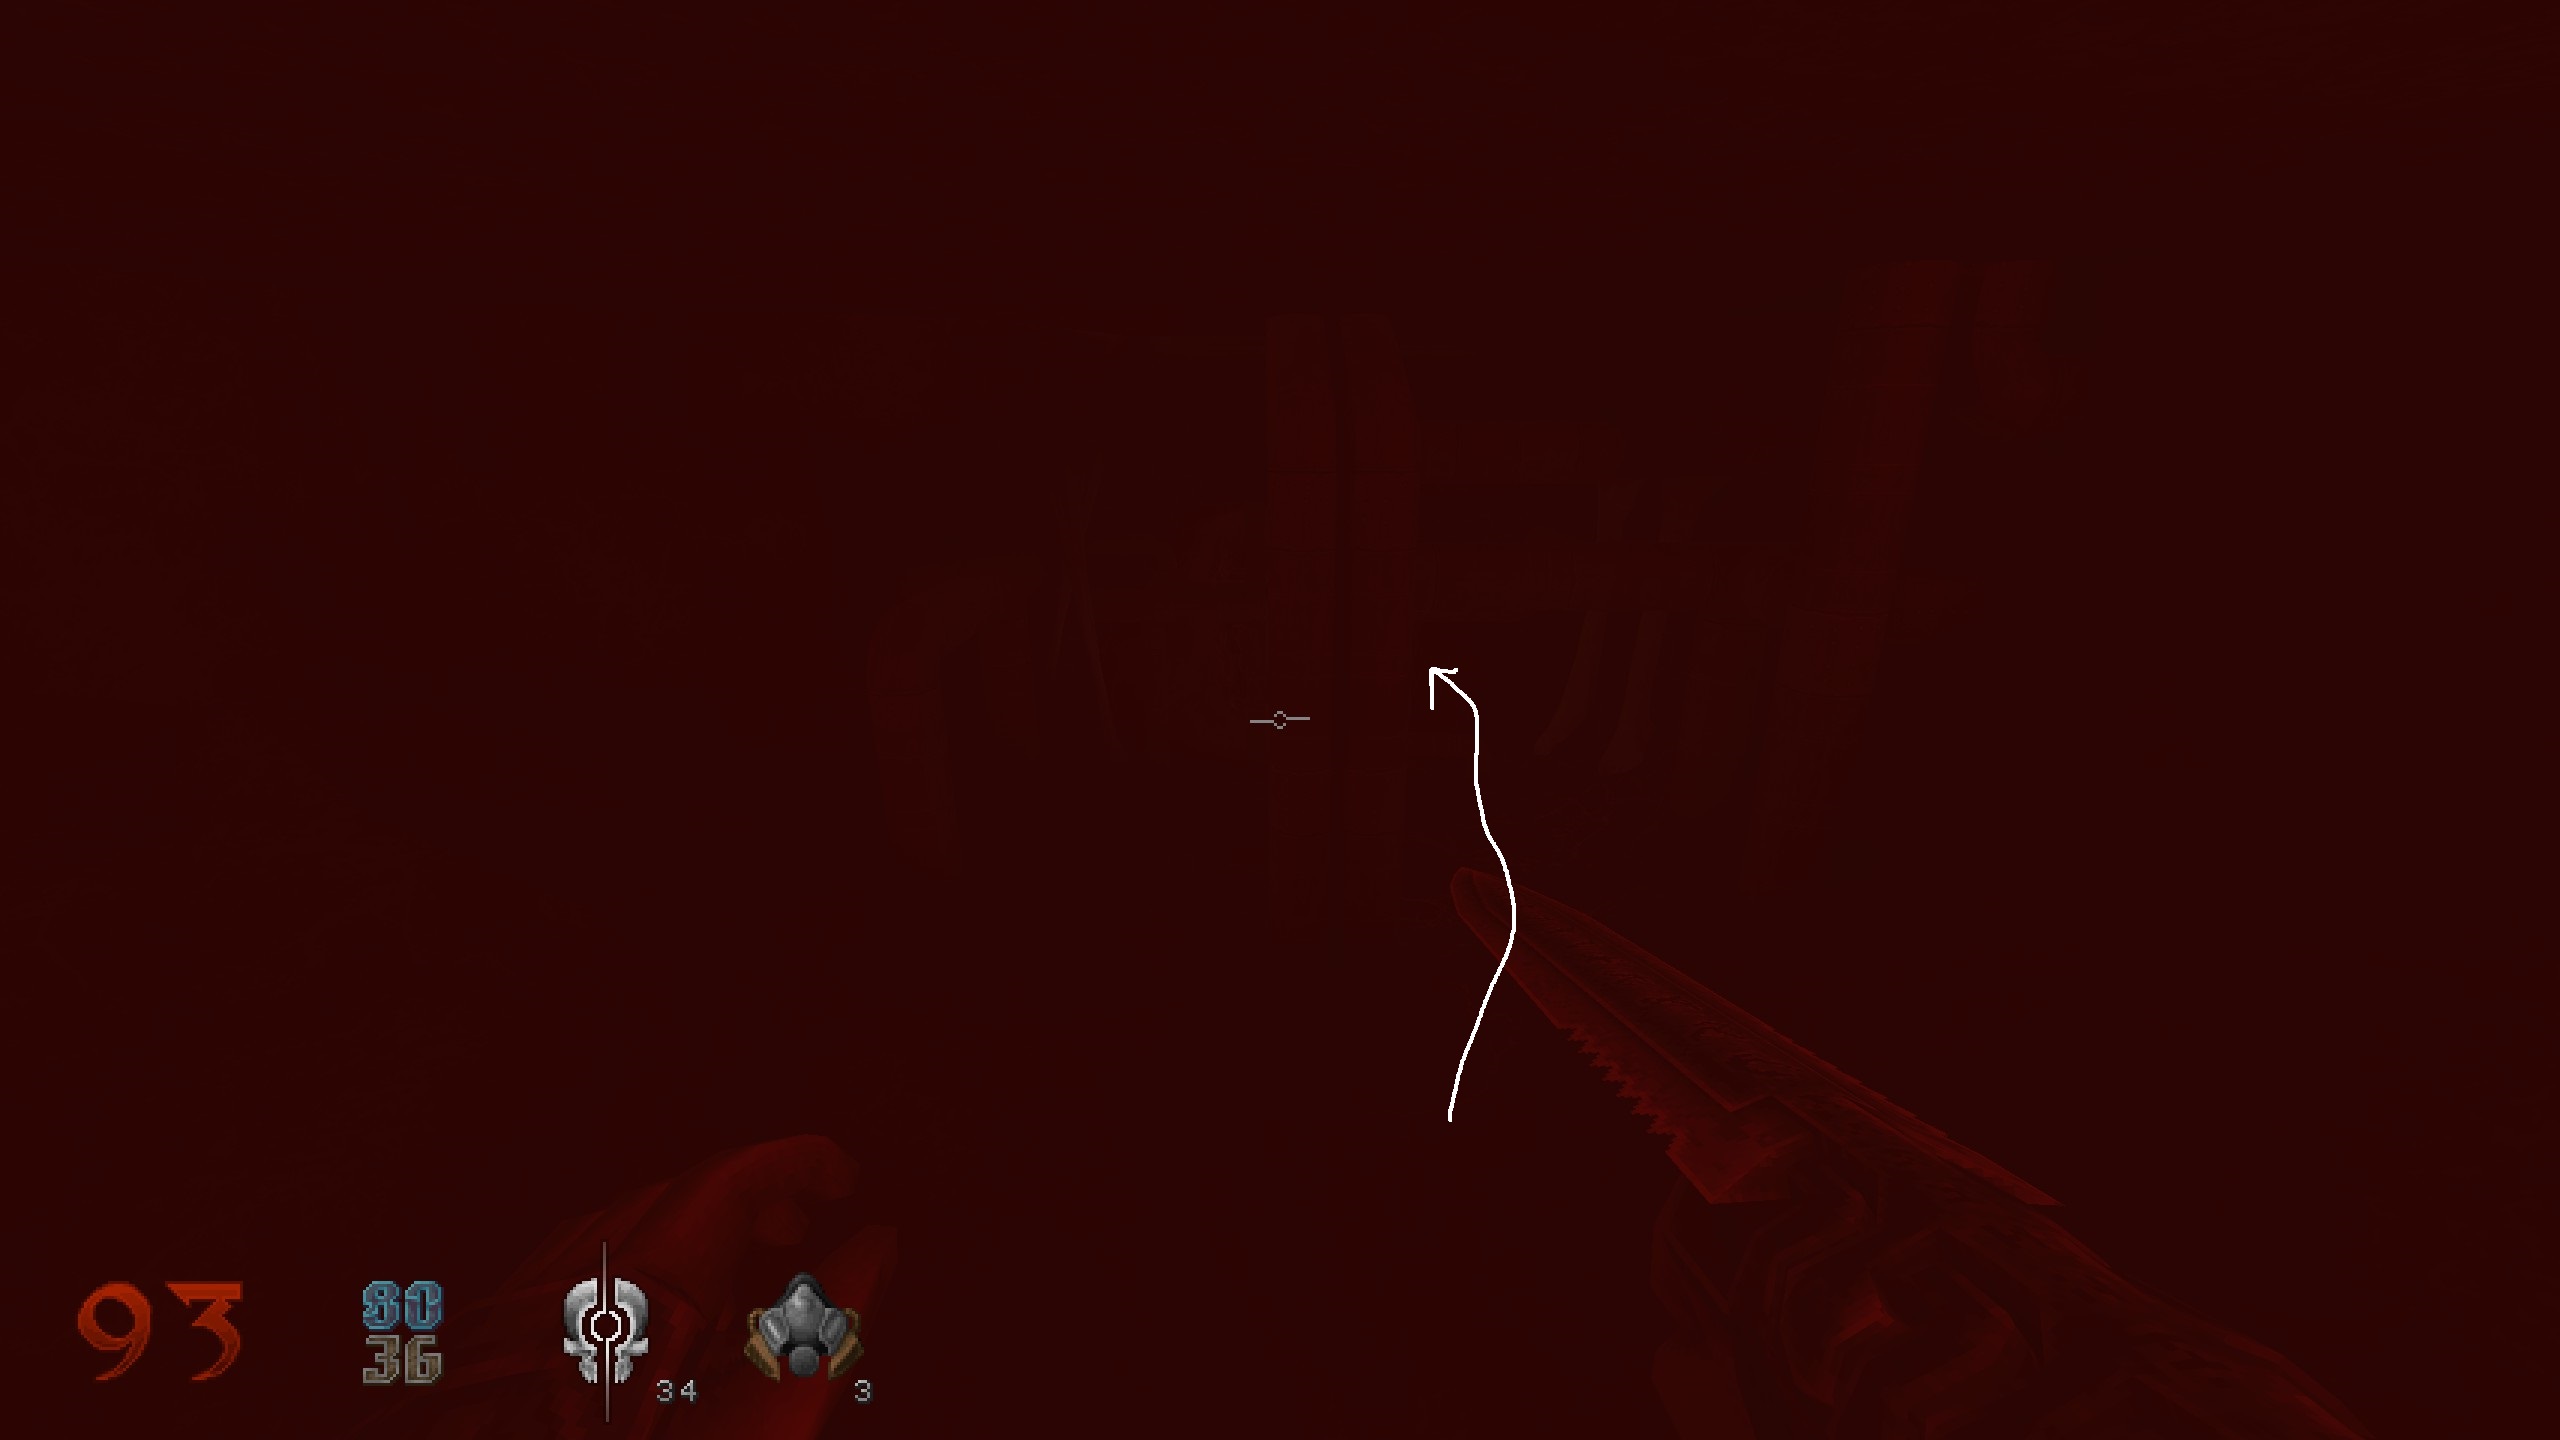
S7
Passing the wooden structures, enter the building and use the stone to jump into the opening. Destory wall and grad item. Leave and head over to bone bridge.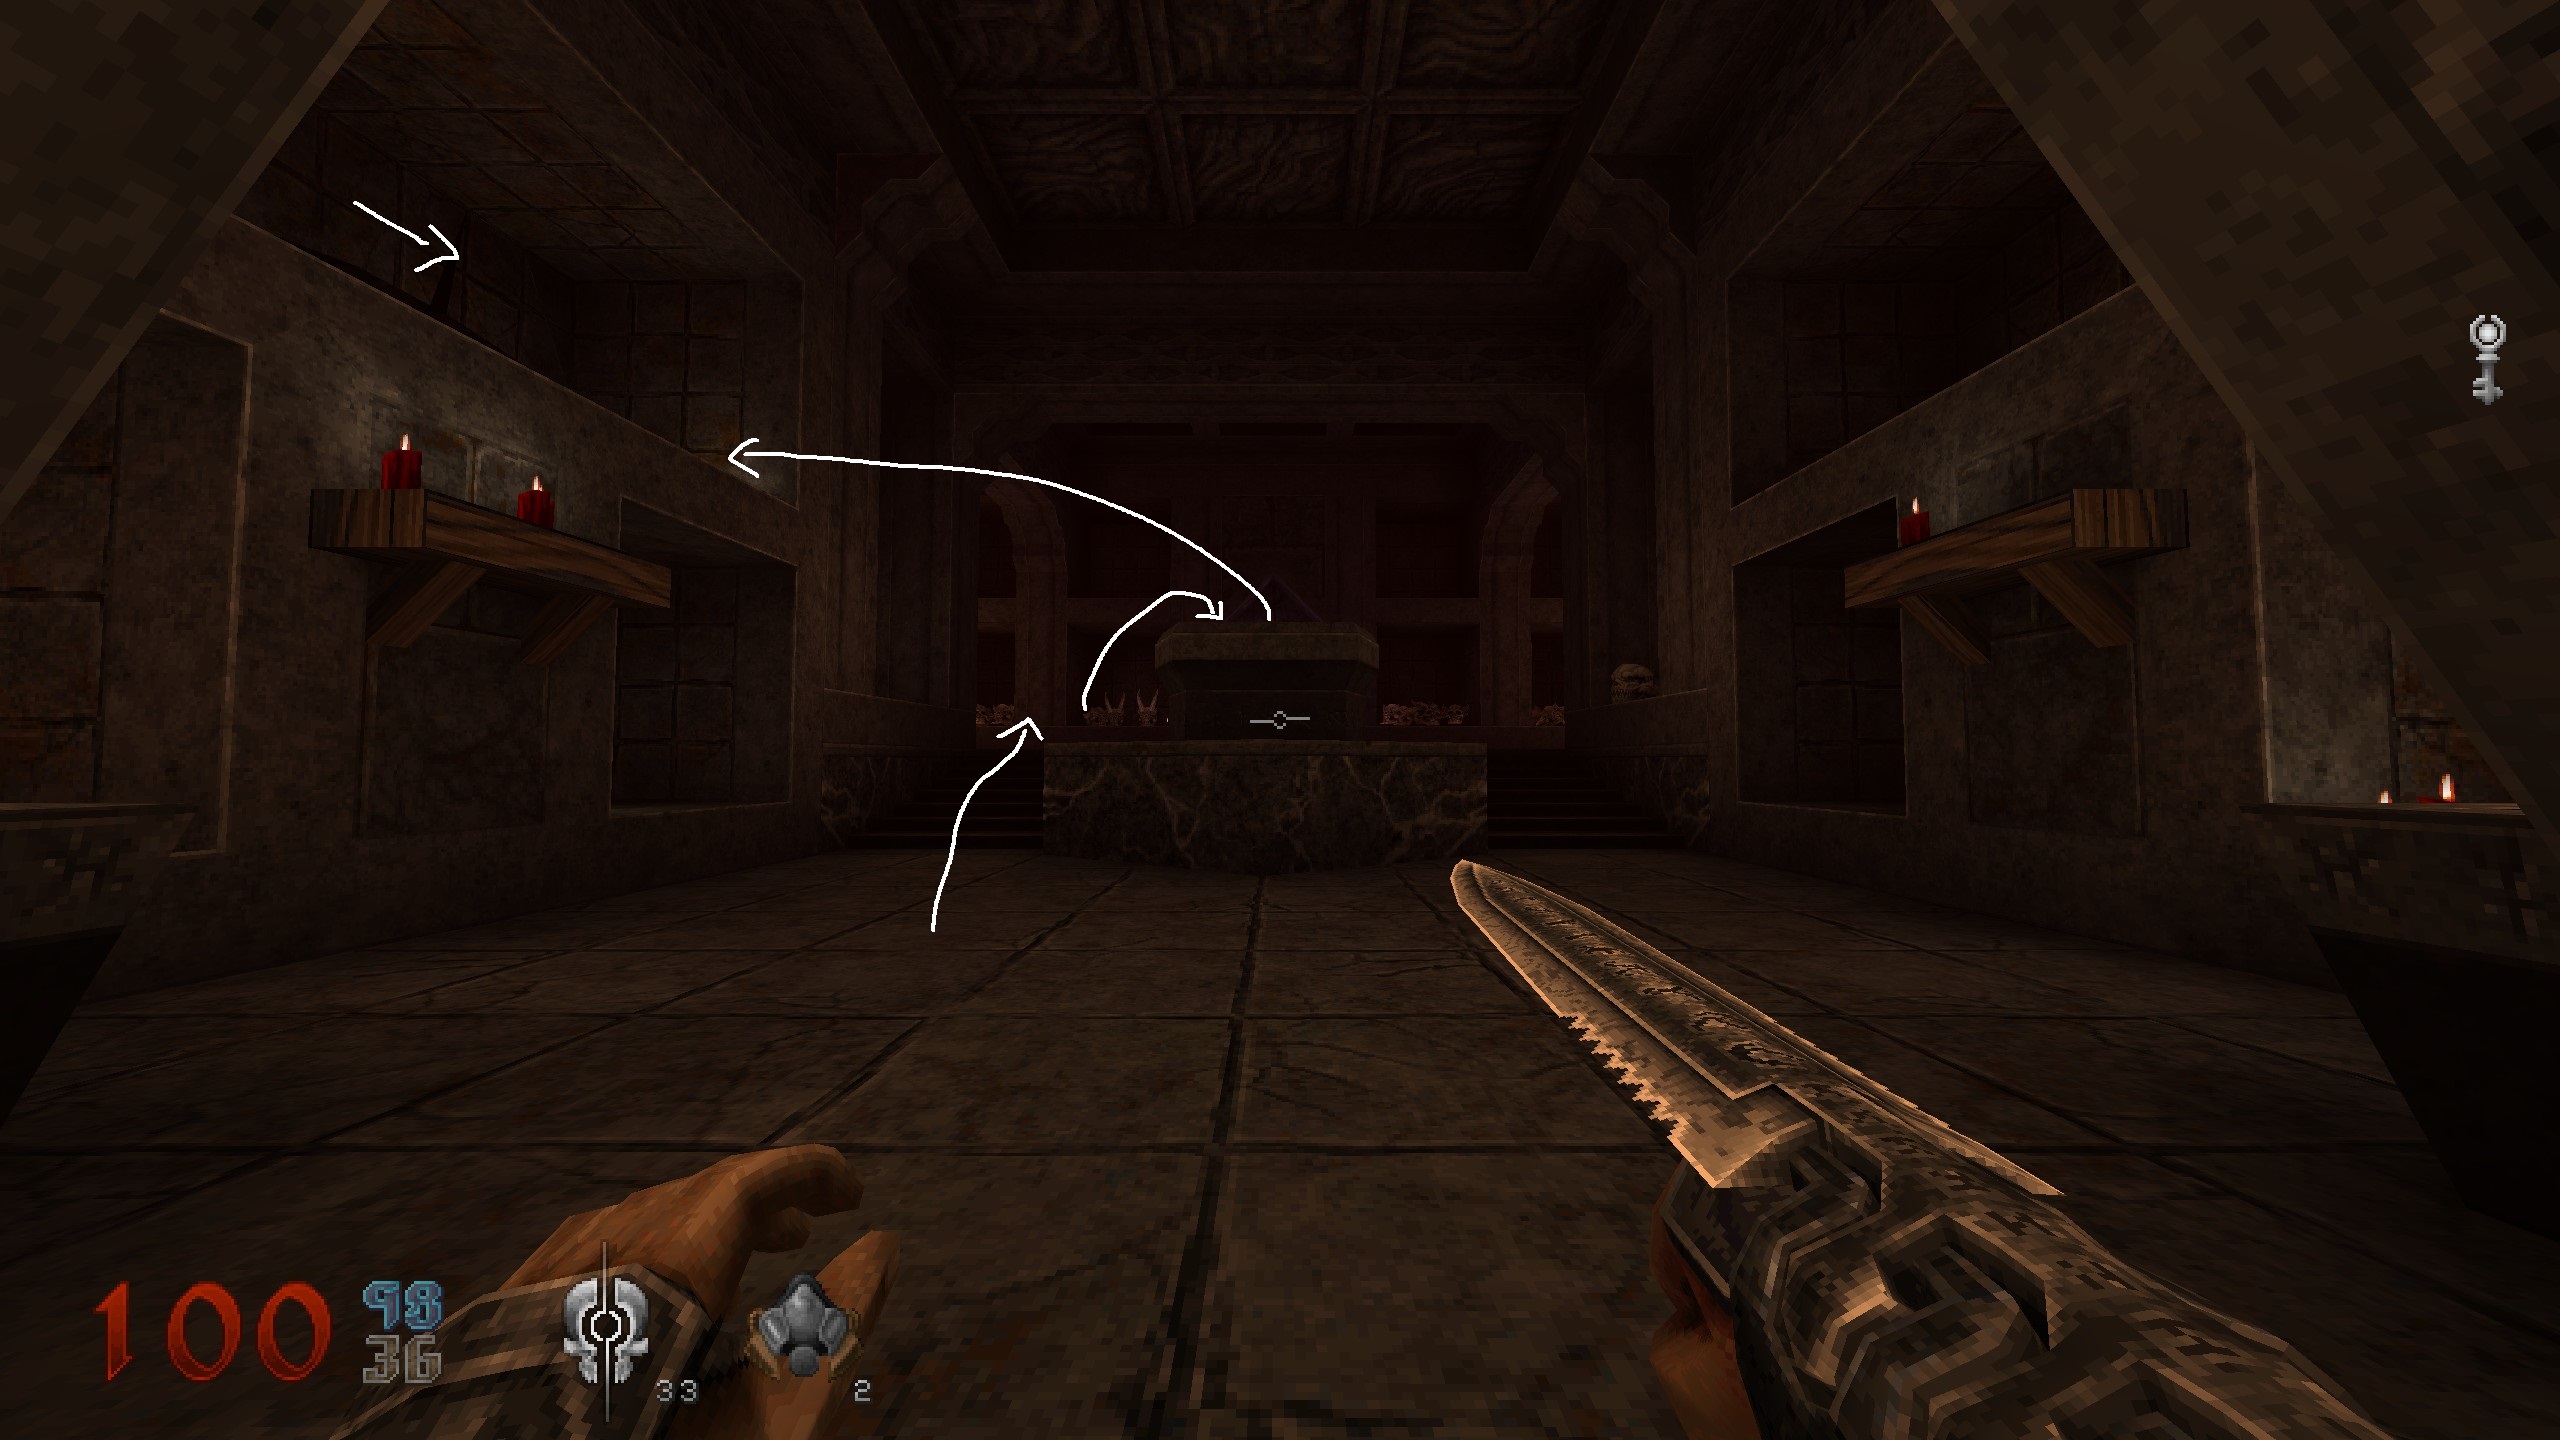
S8
Cross the bone bridge and stick to the right. Jump over on those pipes and in the back corner is some black armor. One last time, back to bridge and cross it.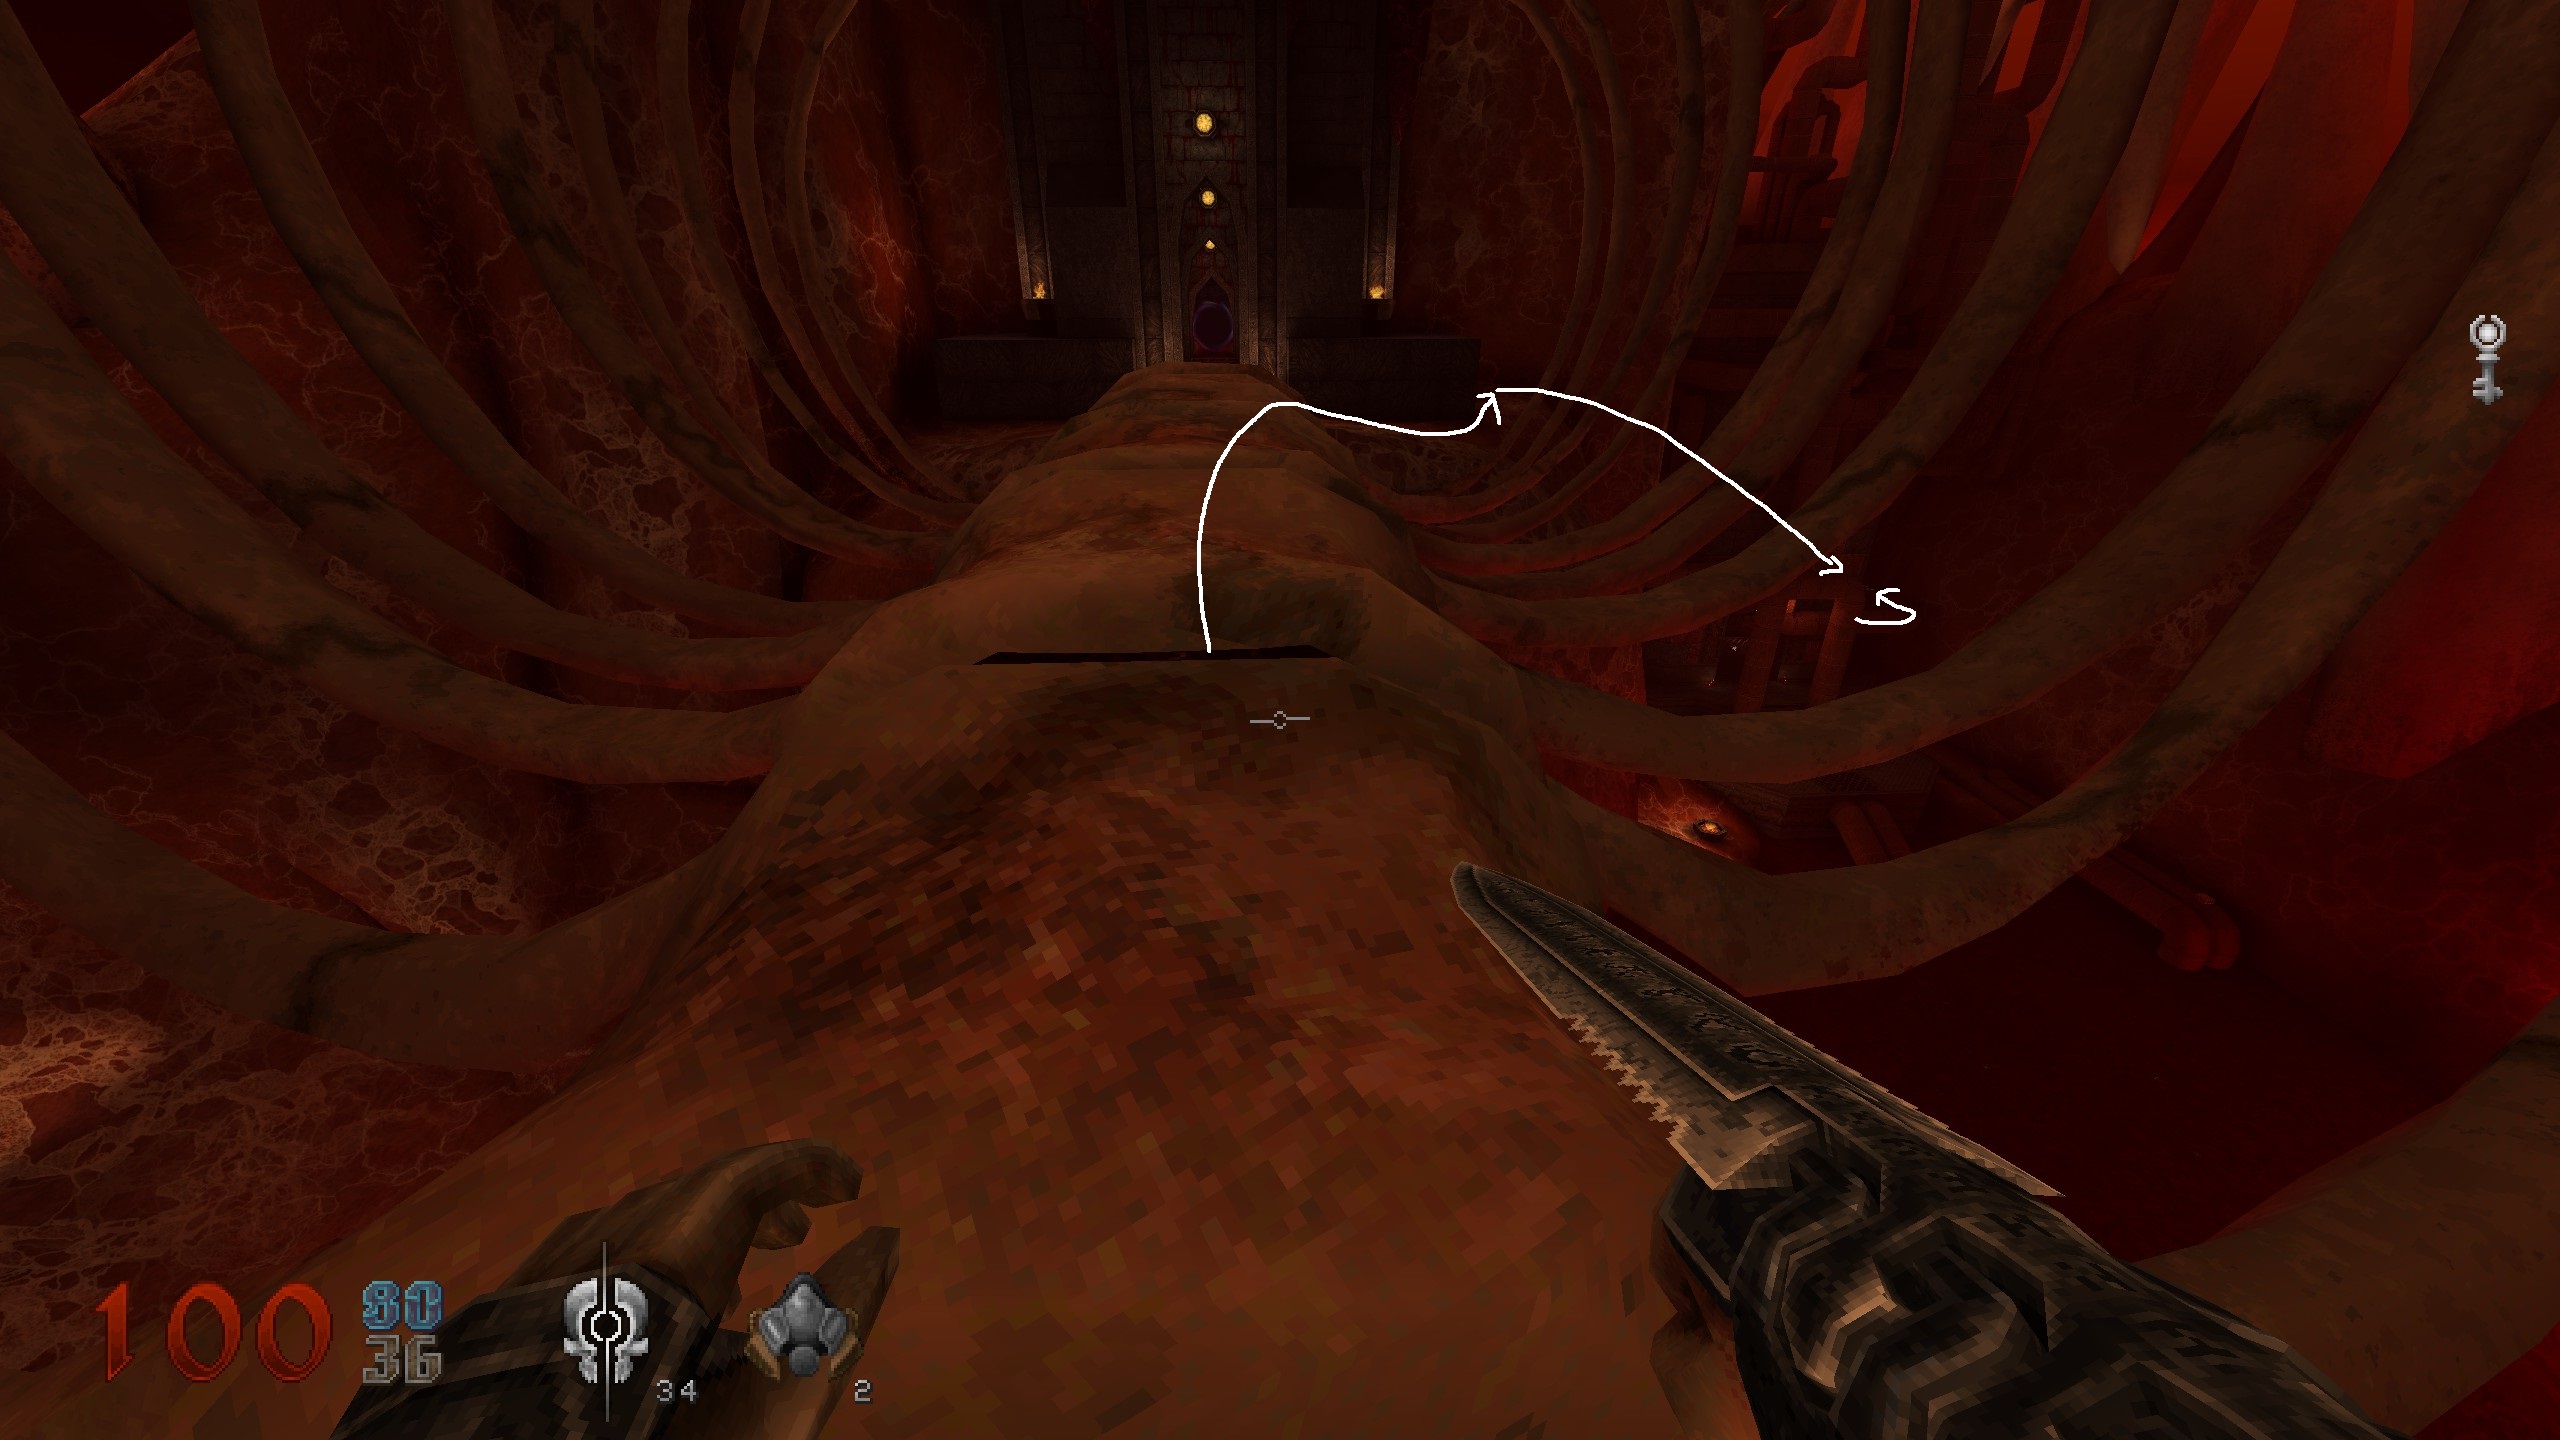
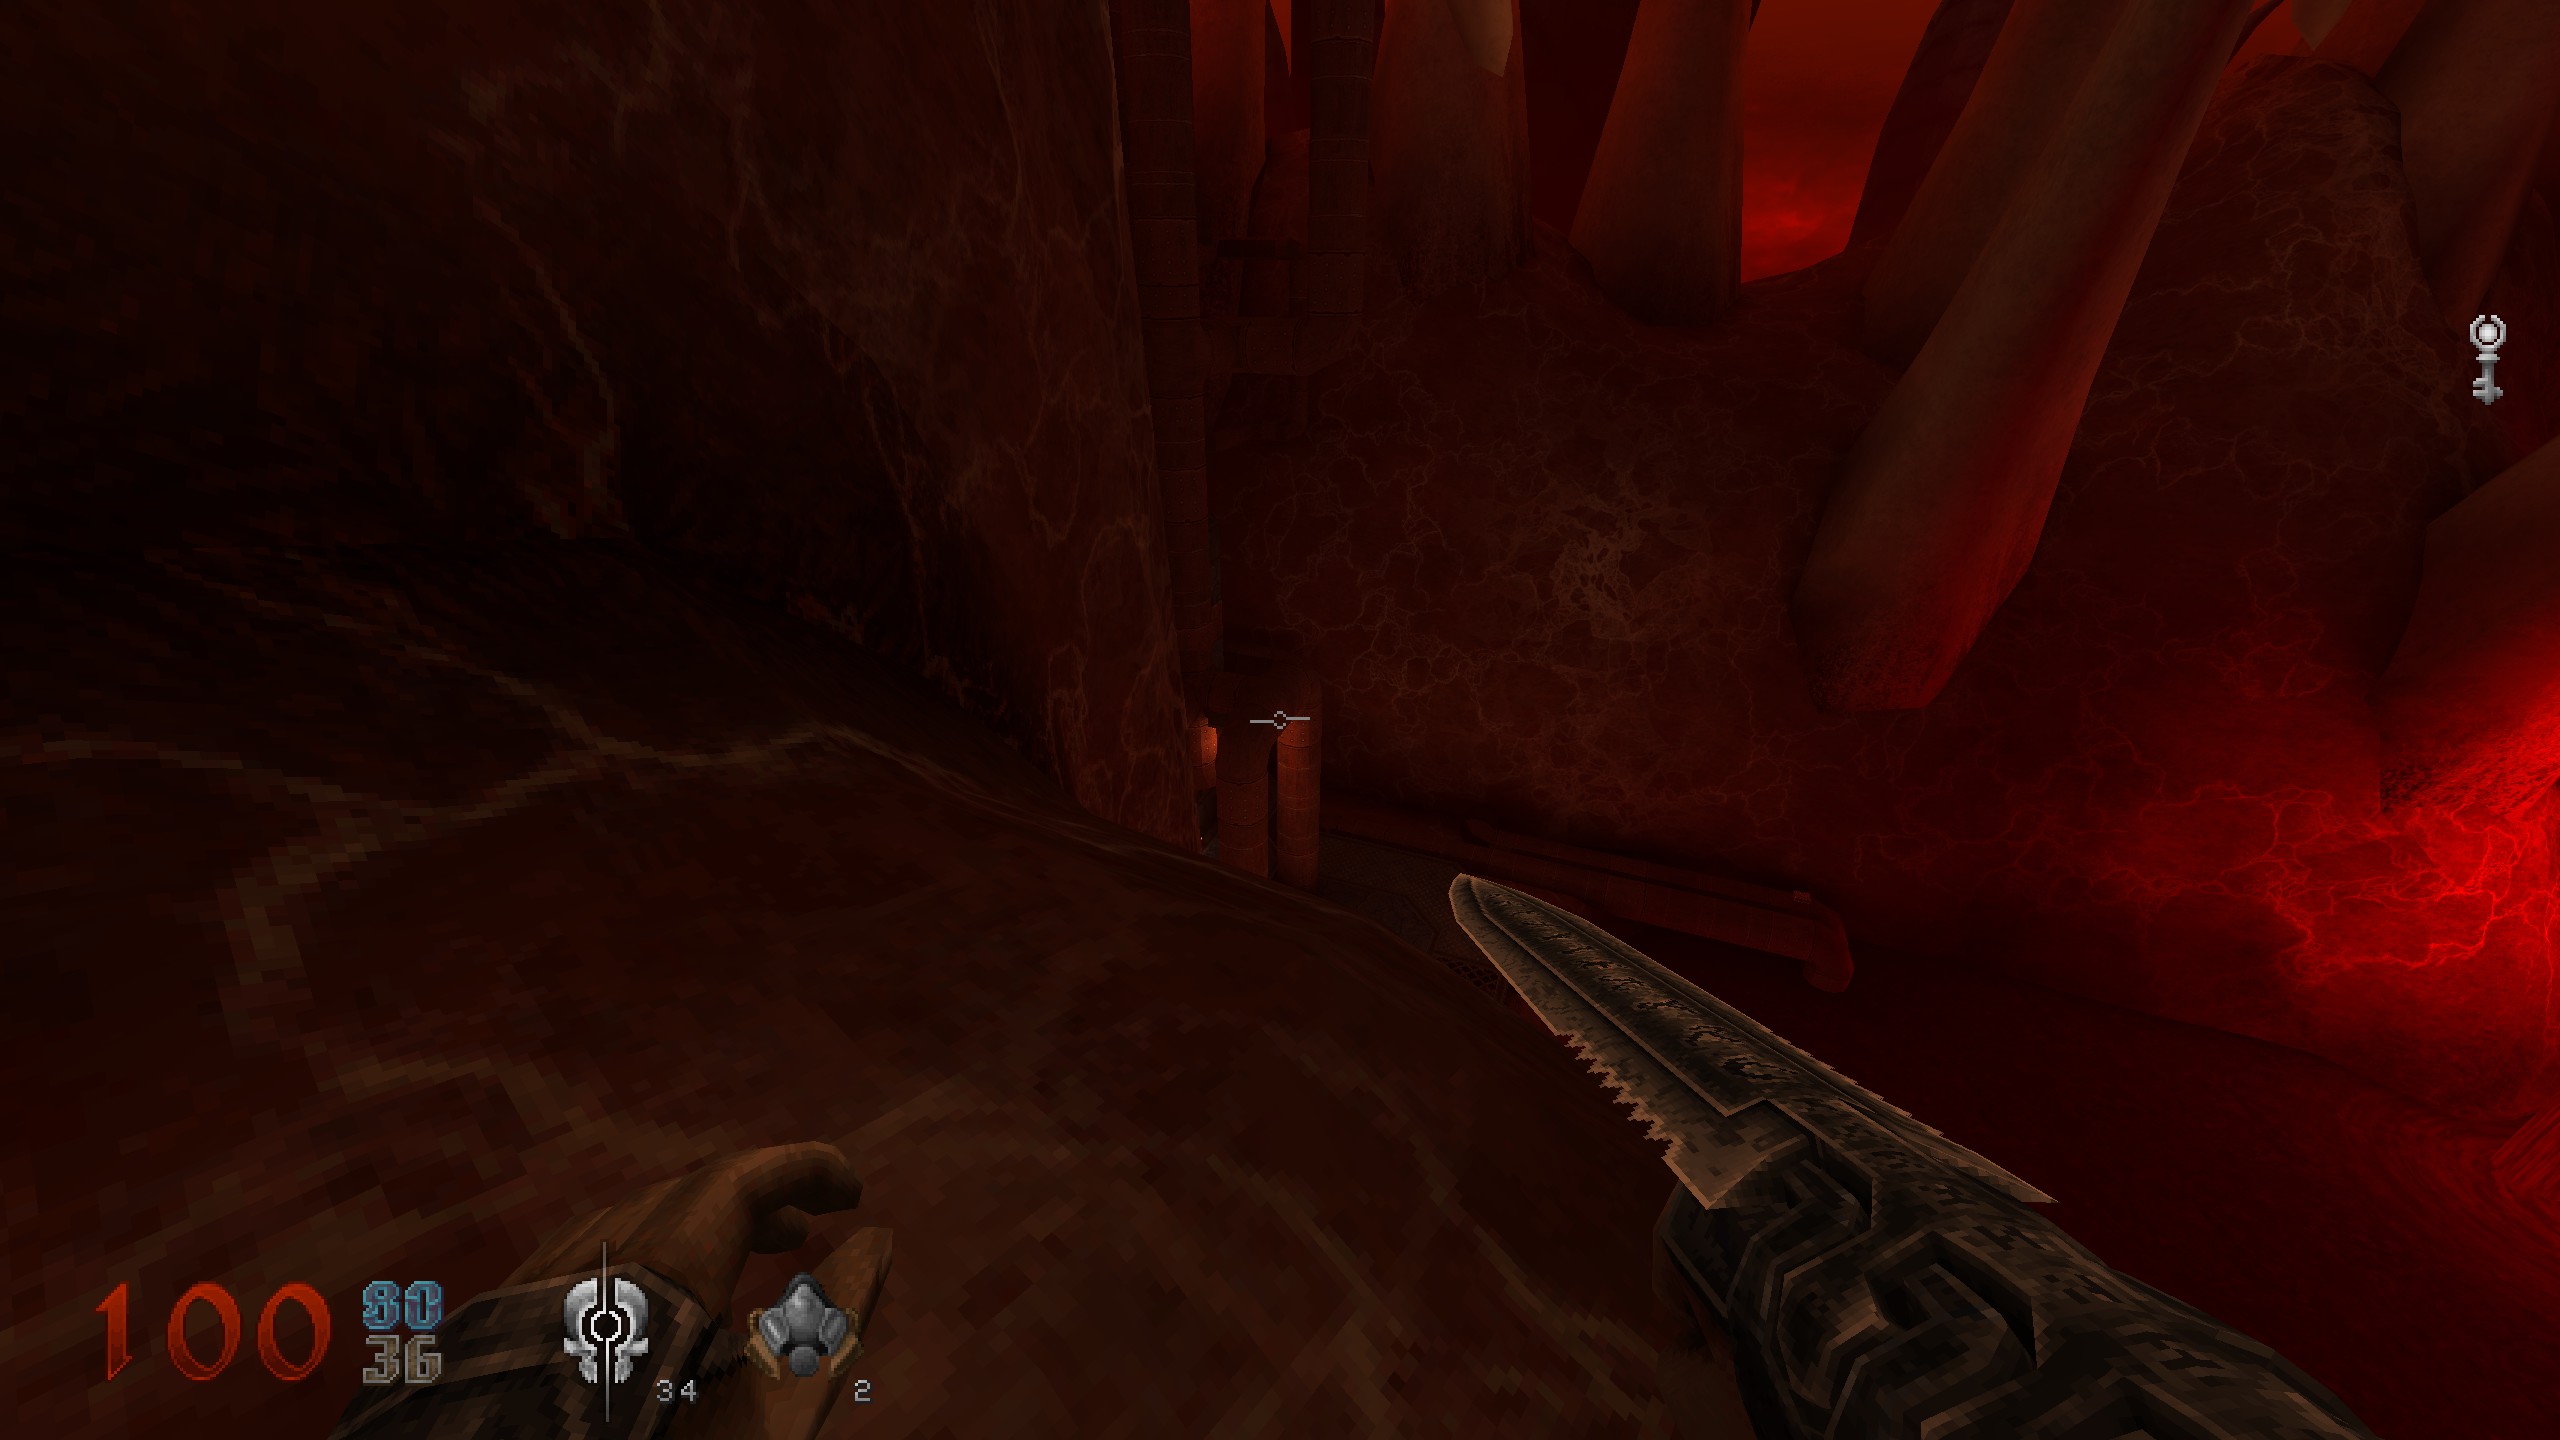
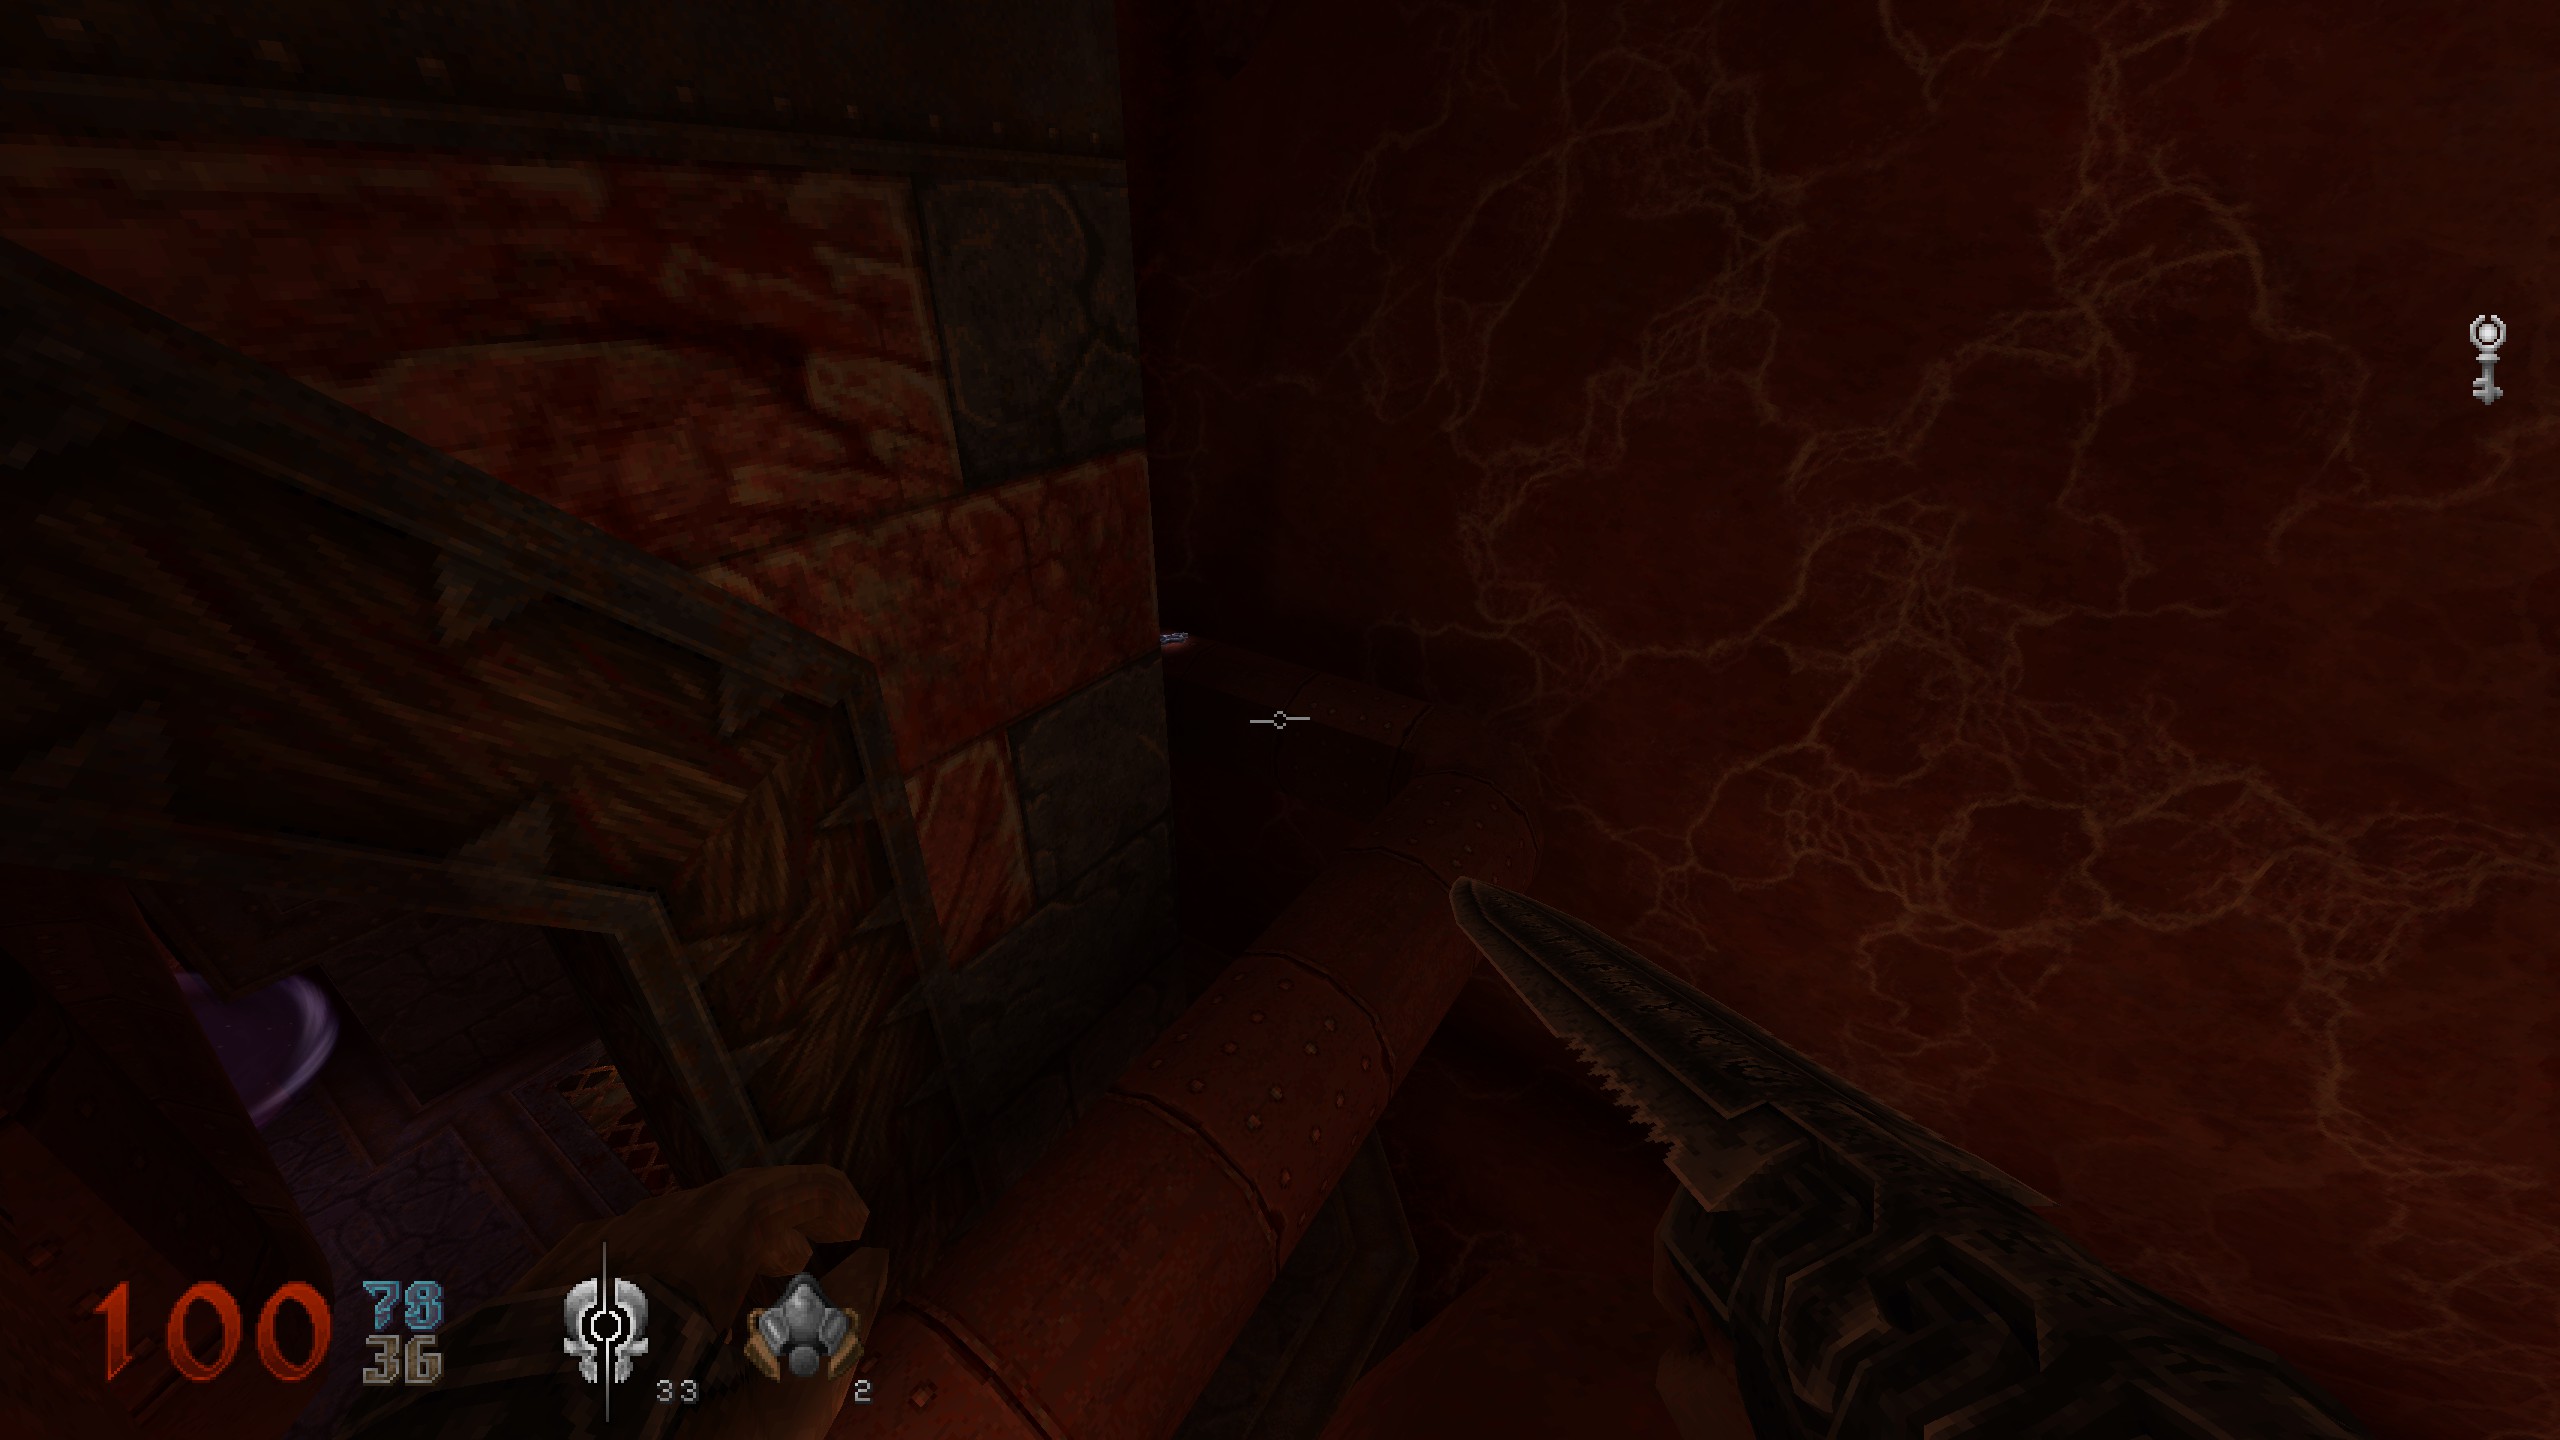
S9
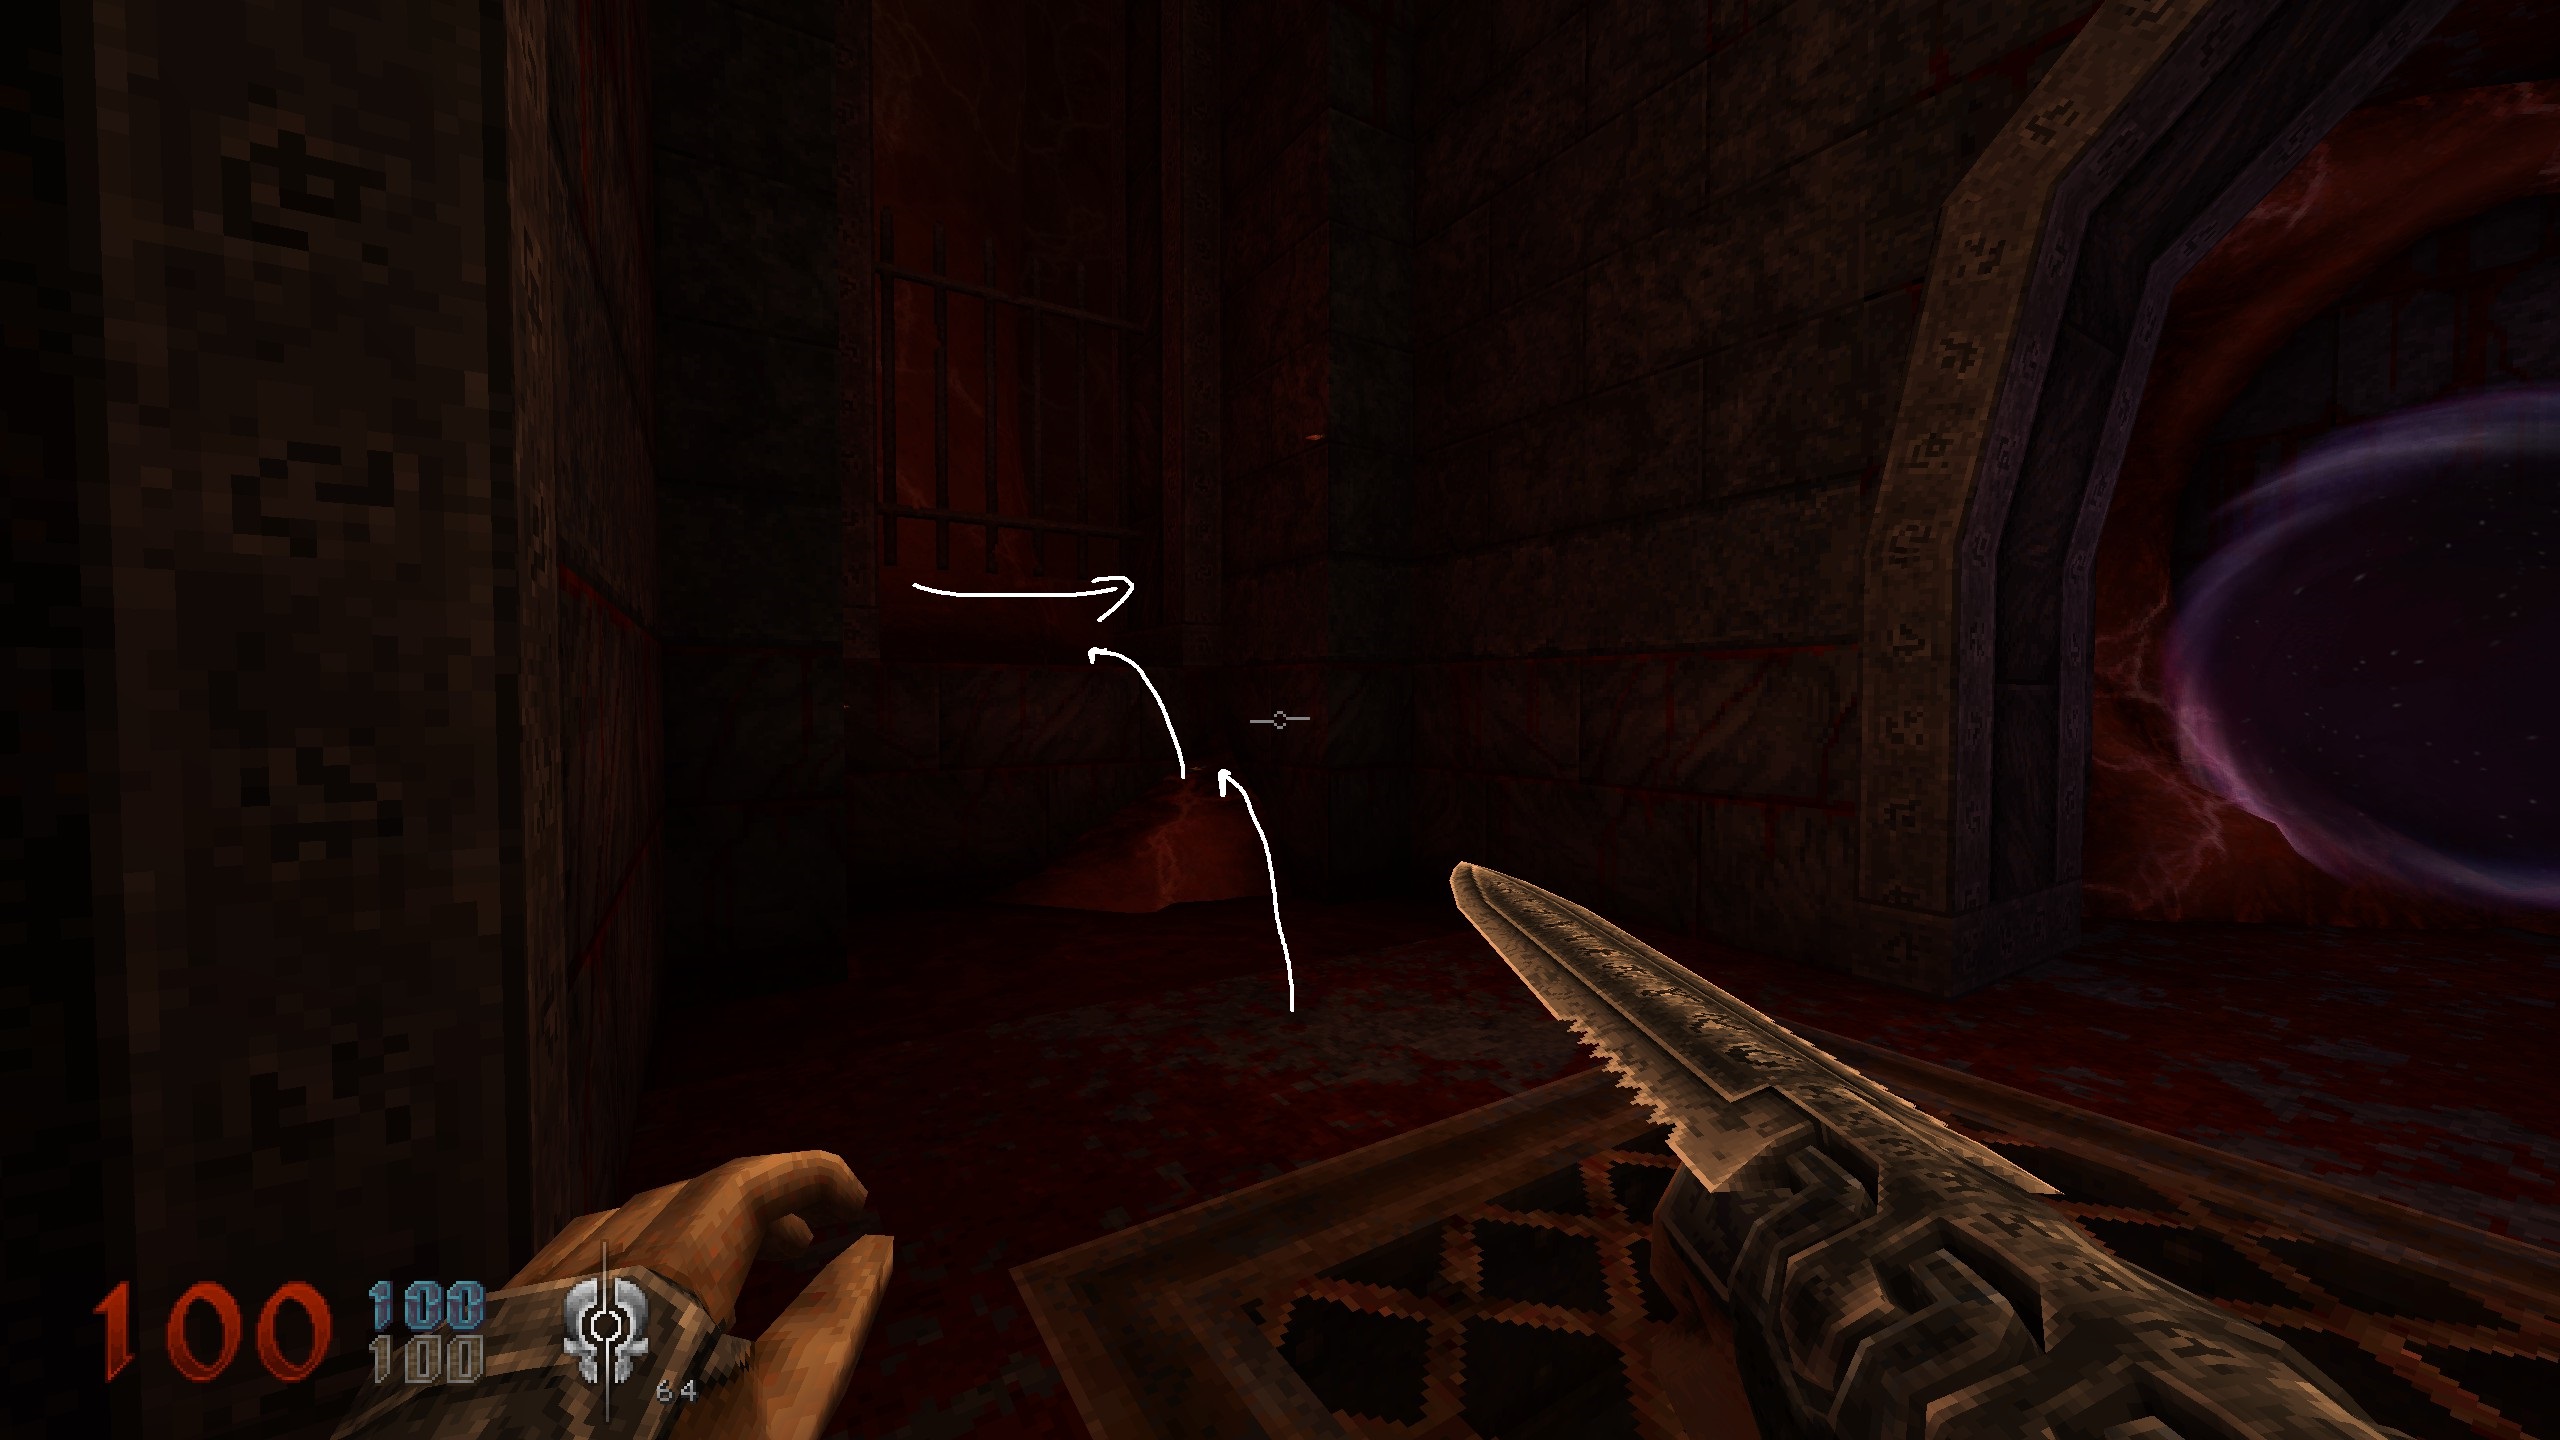
Just crossed the bridge. Go into building with level teleporter and shortly before teleporter look left. Crouch down there and go back for the last secret.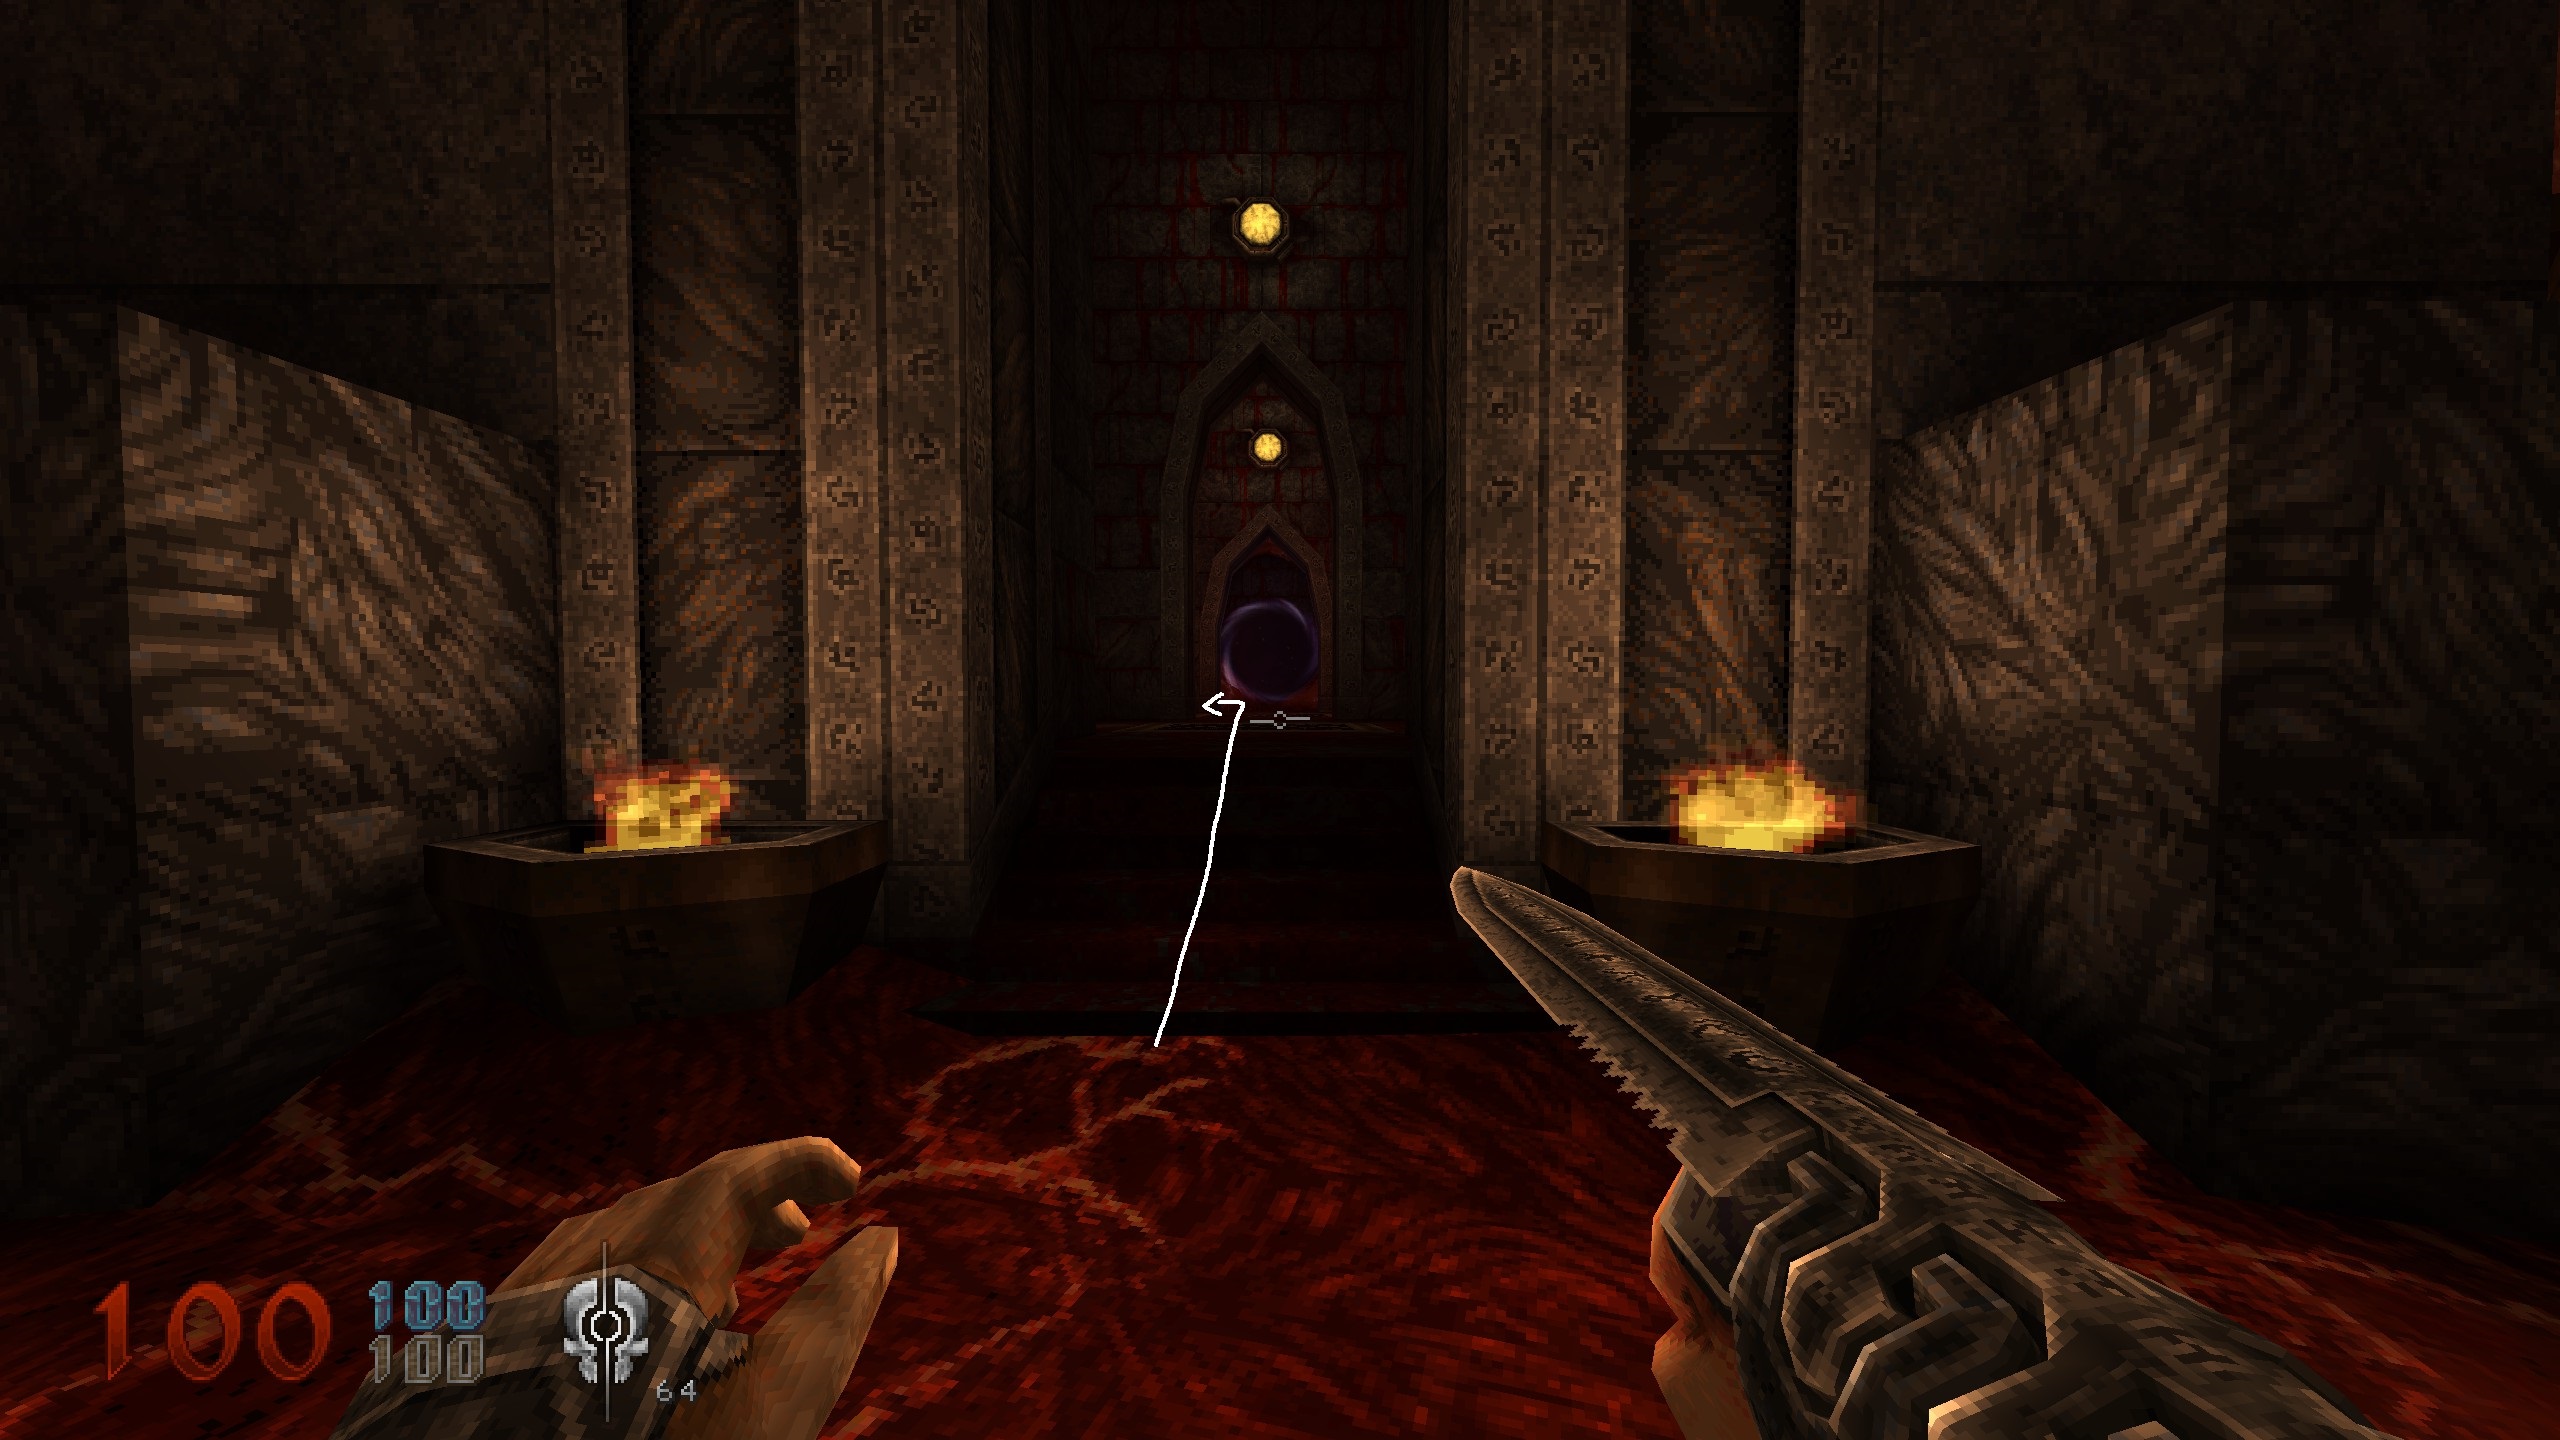

E3 – The Bounday of the Living
For the 2 bugged secrets, if you want to get them you have to use “noclip”. Pretty sure you all know what that is and how it works. Using it does not lead to any problems with secret related achievements.
Key
It is directly where you spawn, left side, high up. I like to get it now and like this to have the key.
Get up on the right side and use the broken pillar to get to the other one. Then jump up normaly as far as u get. Then canon jump on the last niche with the candle on it. Go around the corner, smash the cracked wall and grab the key. Drop down and continue on the path.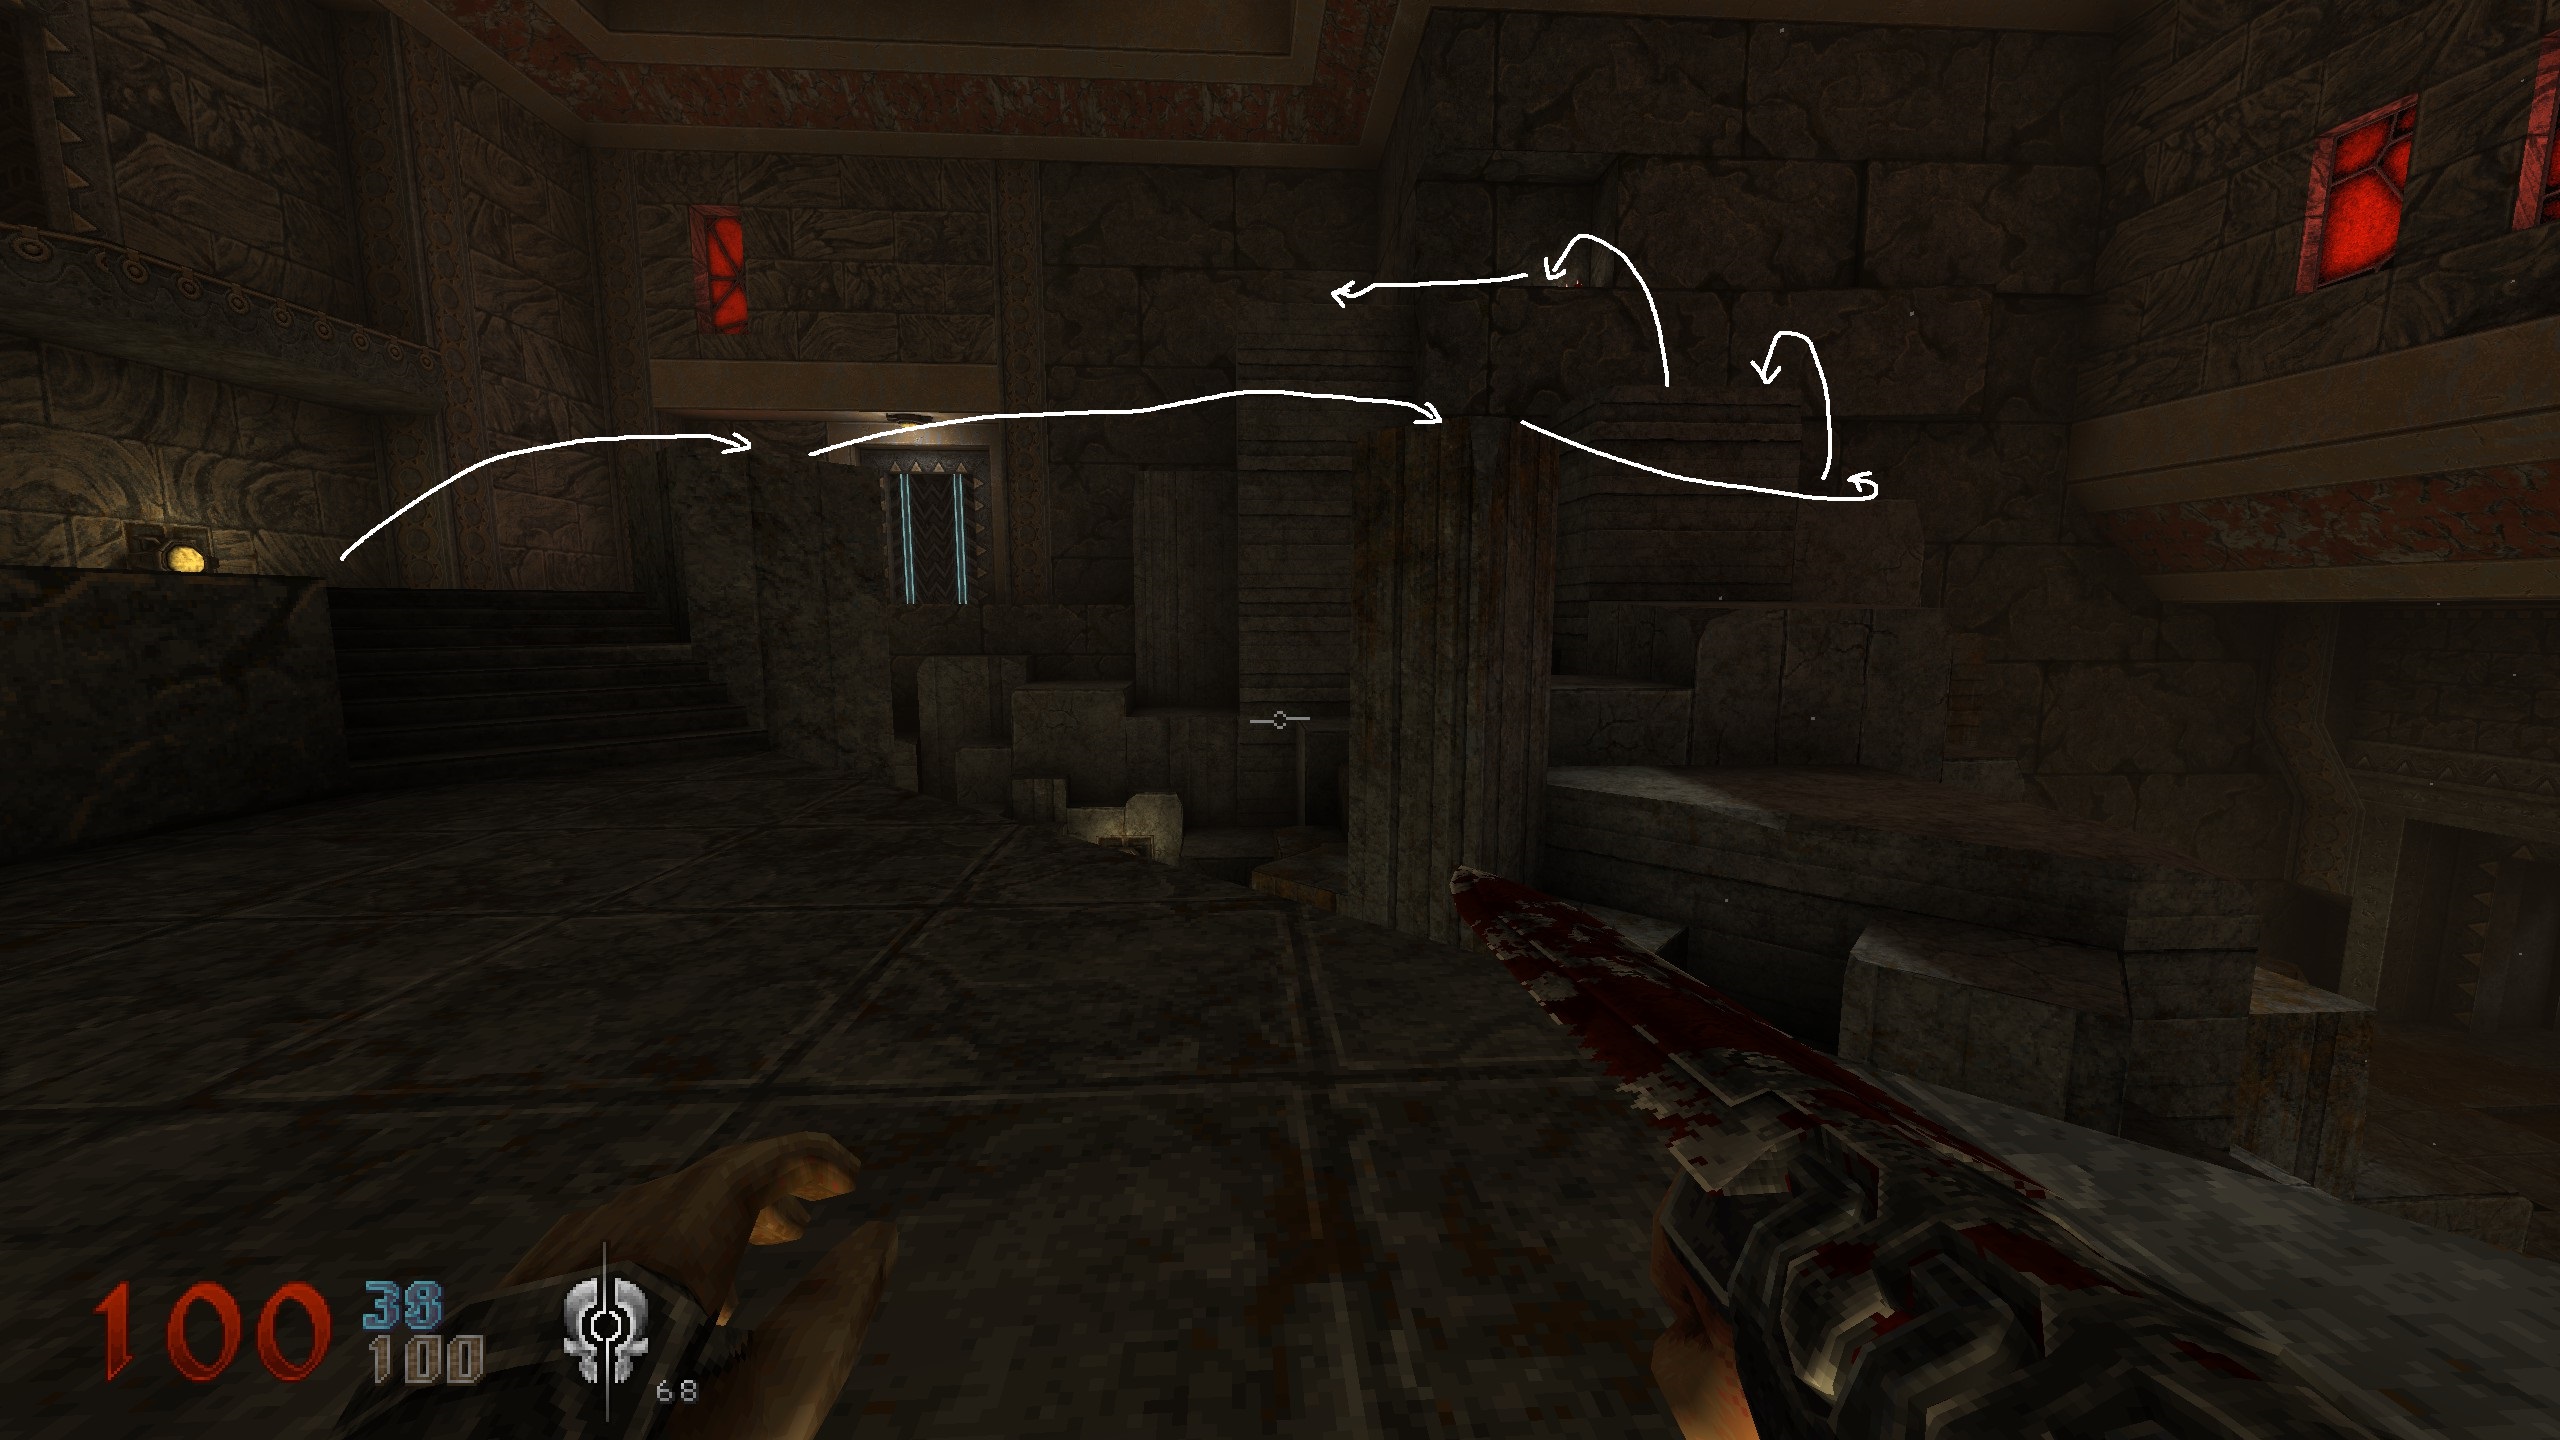
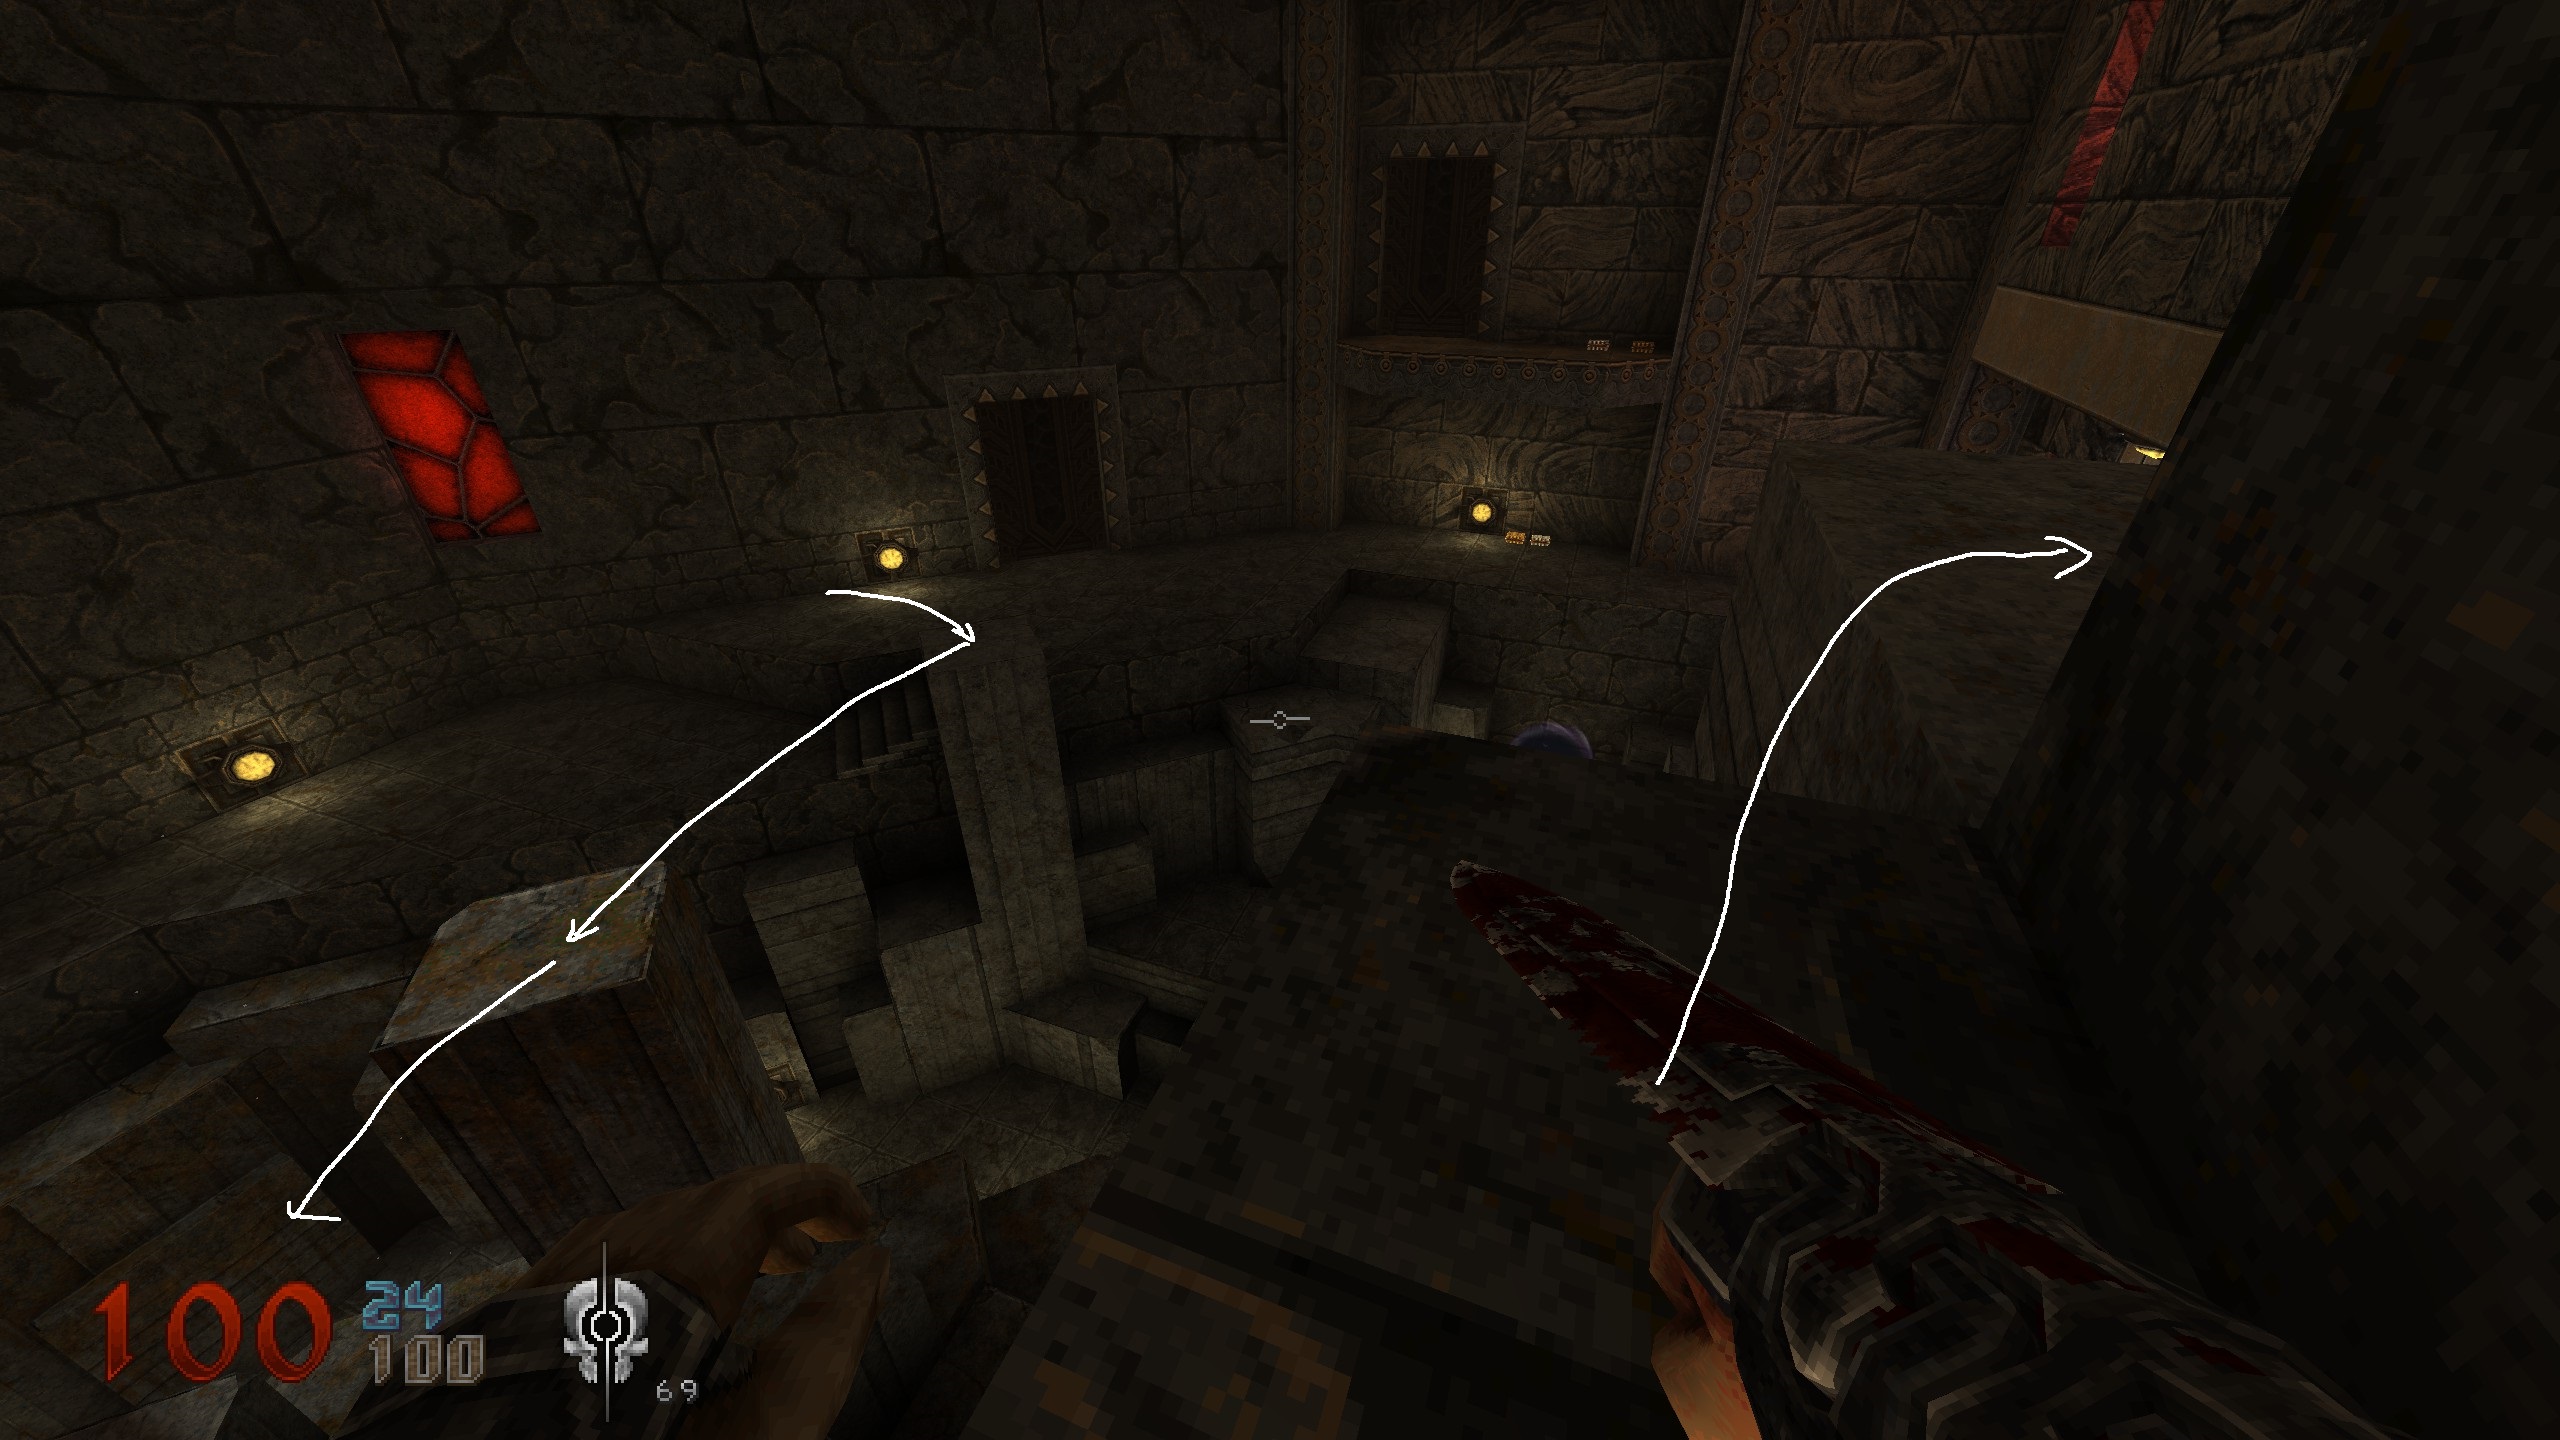
Crate
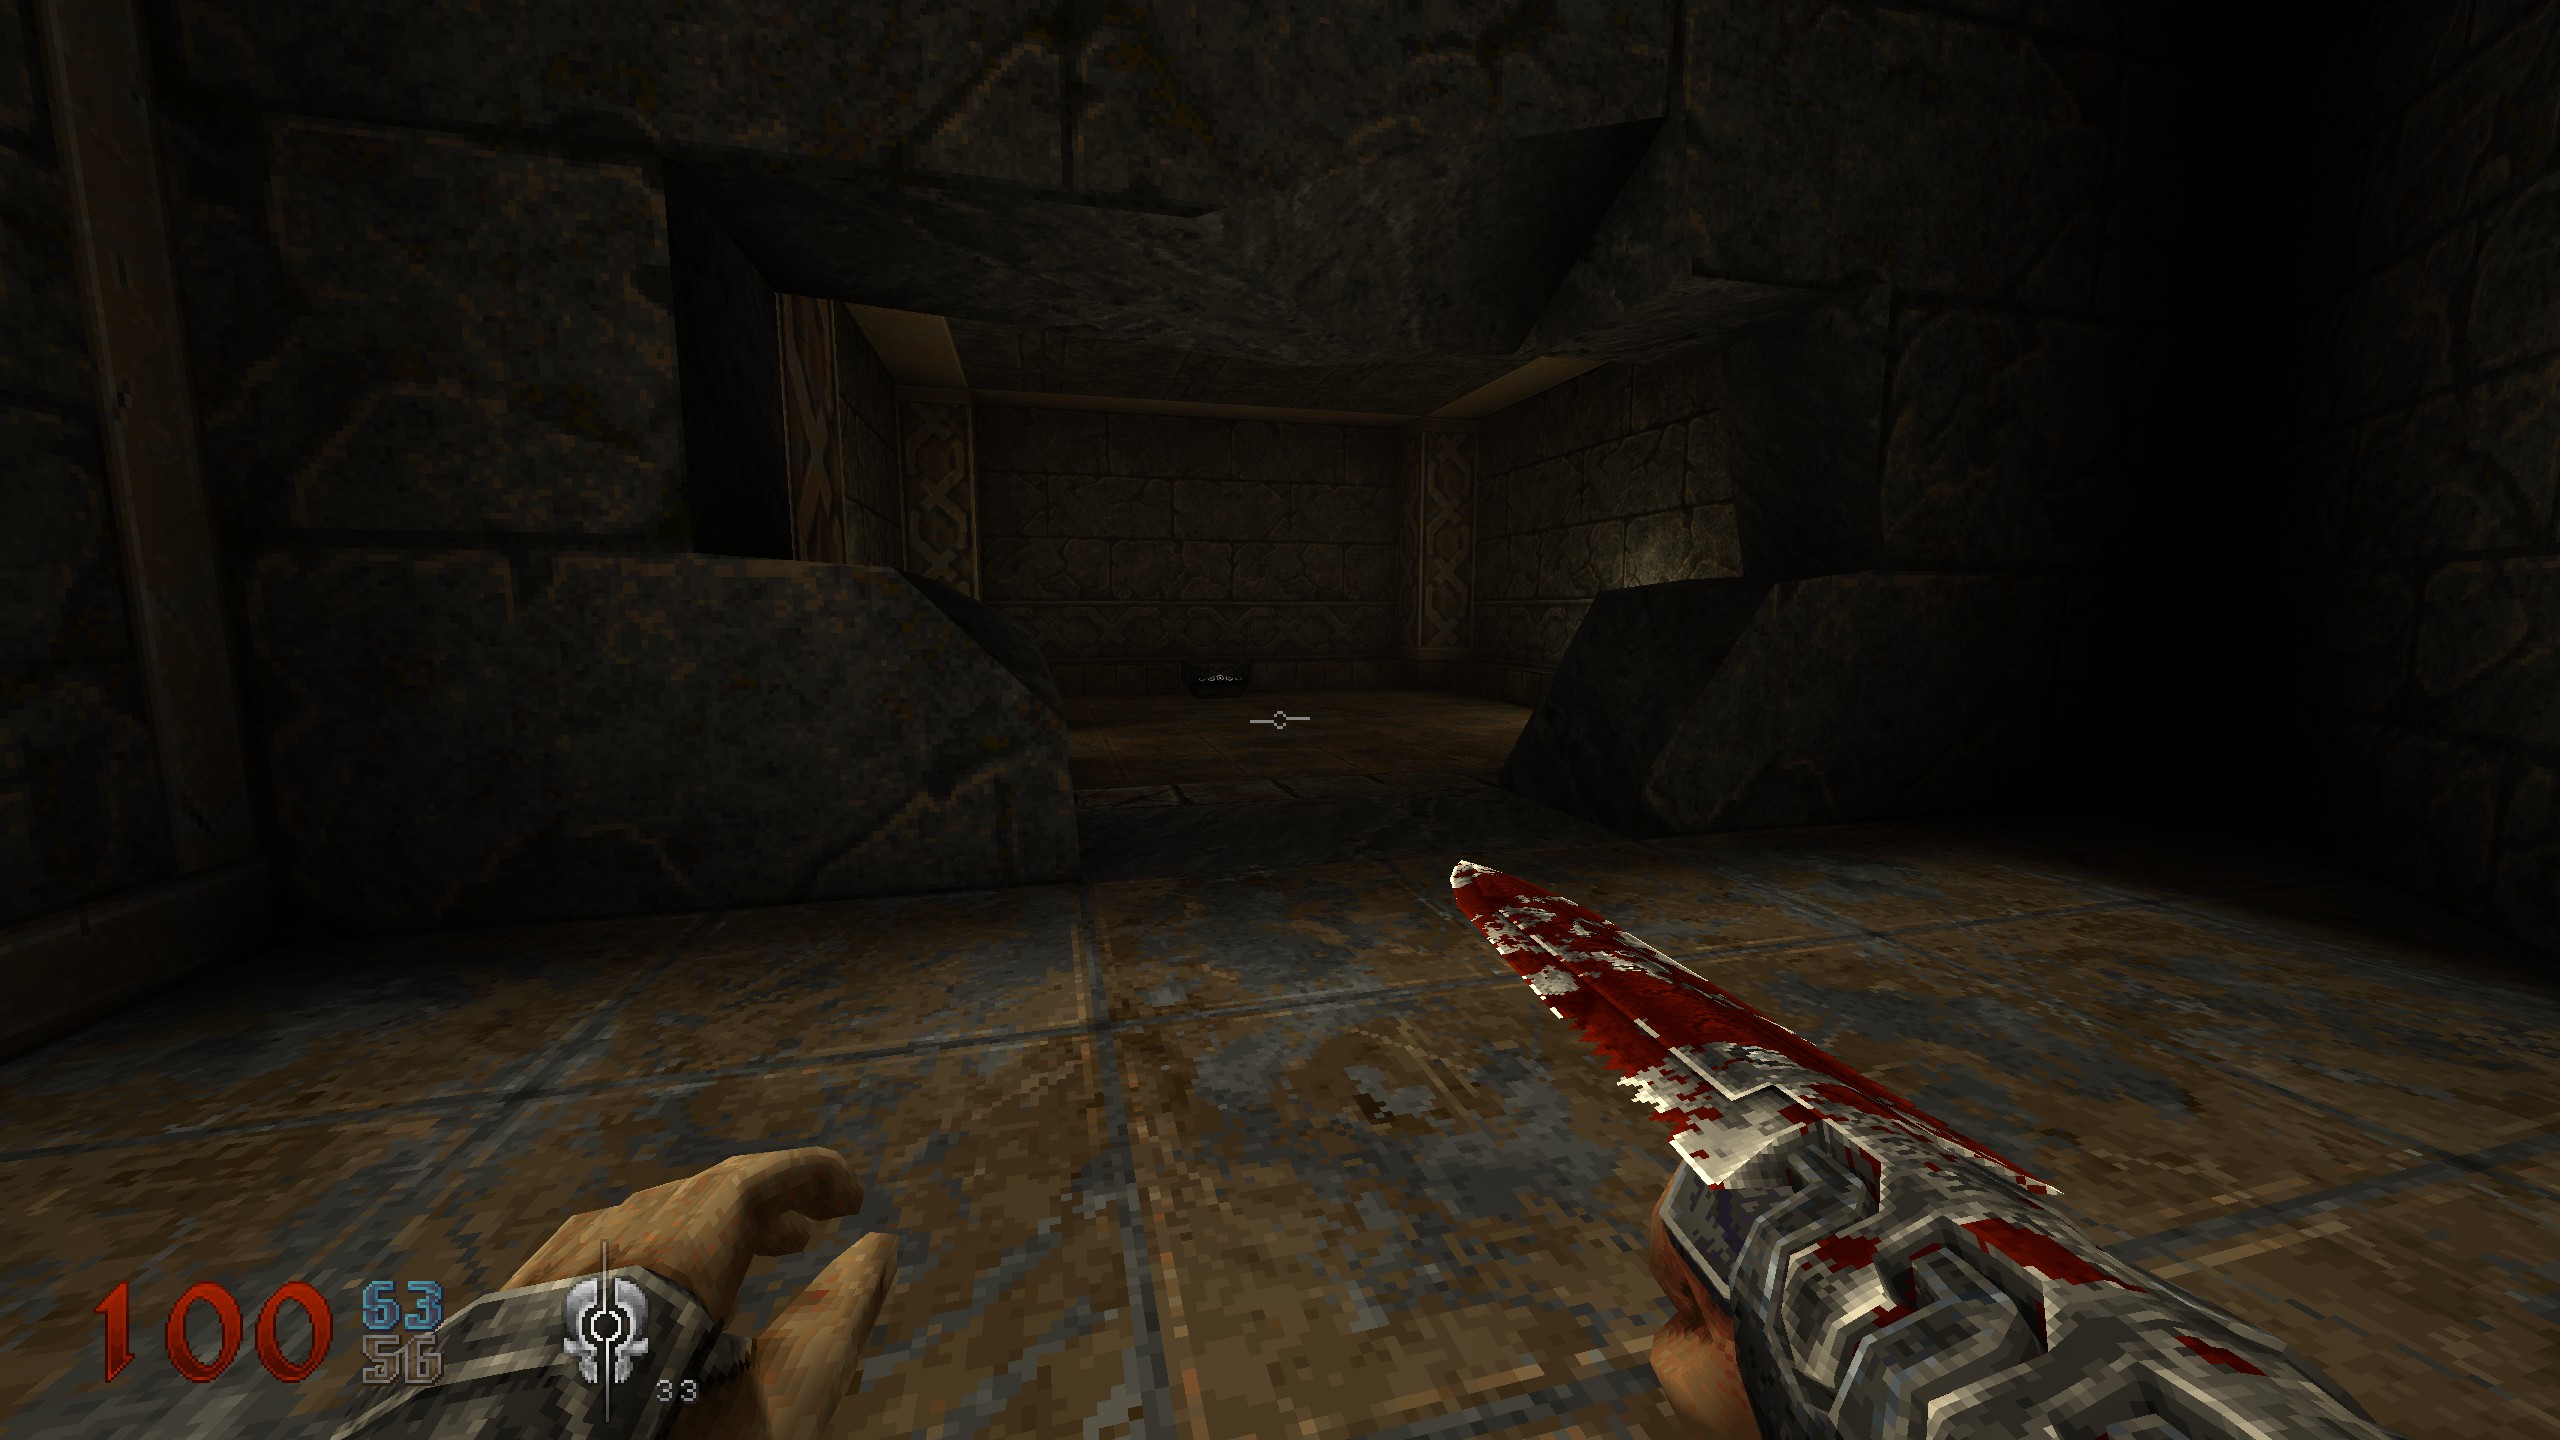
As you move along you open a bigger door and come into an room with a huge hole in the wall on the left side – an enemy smashed its way through it. The crate is in there. Continue on.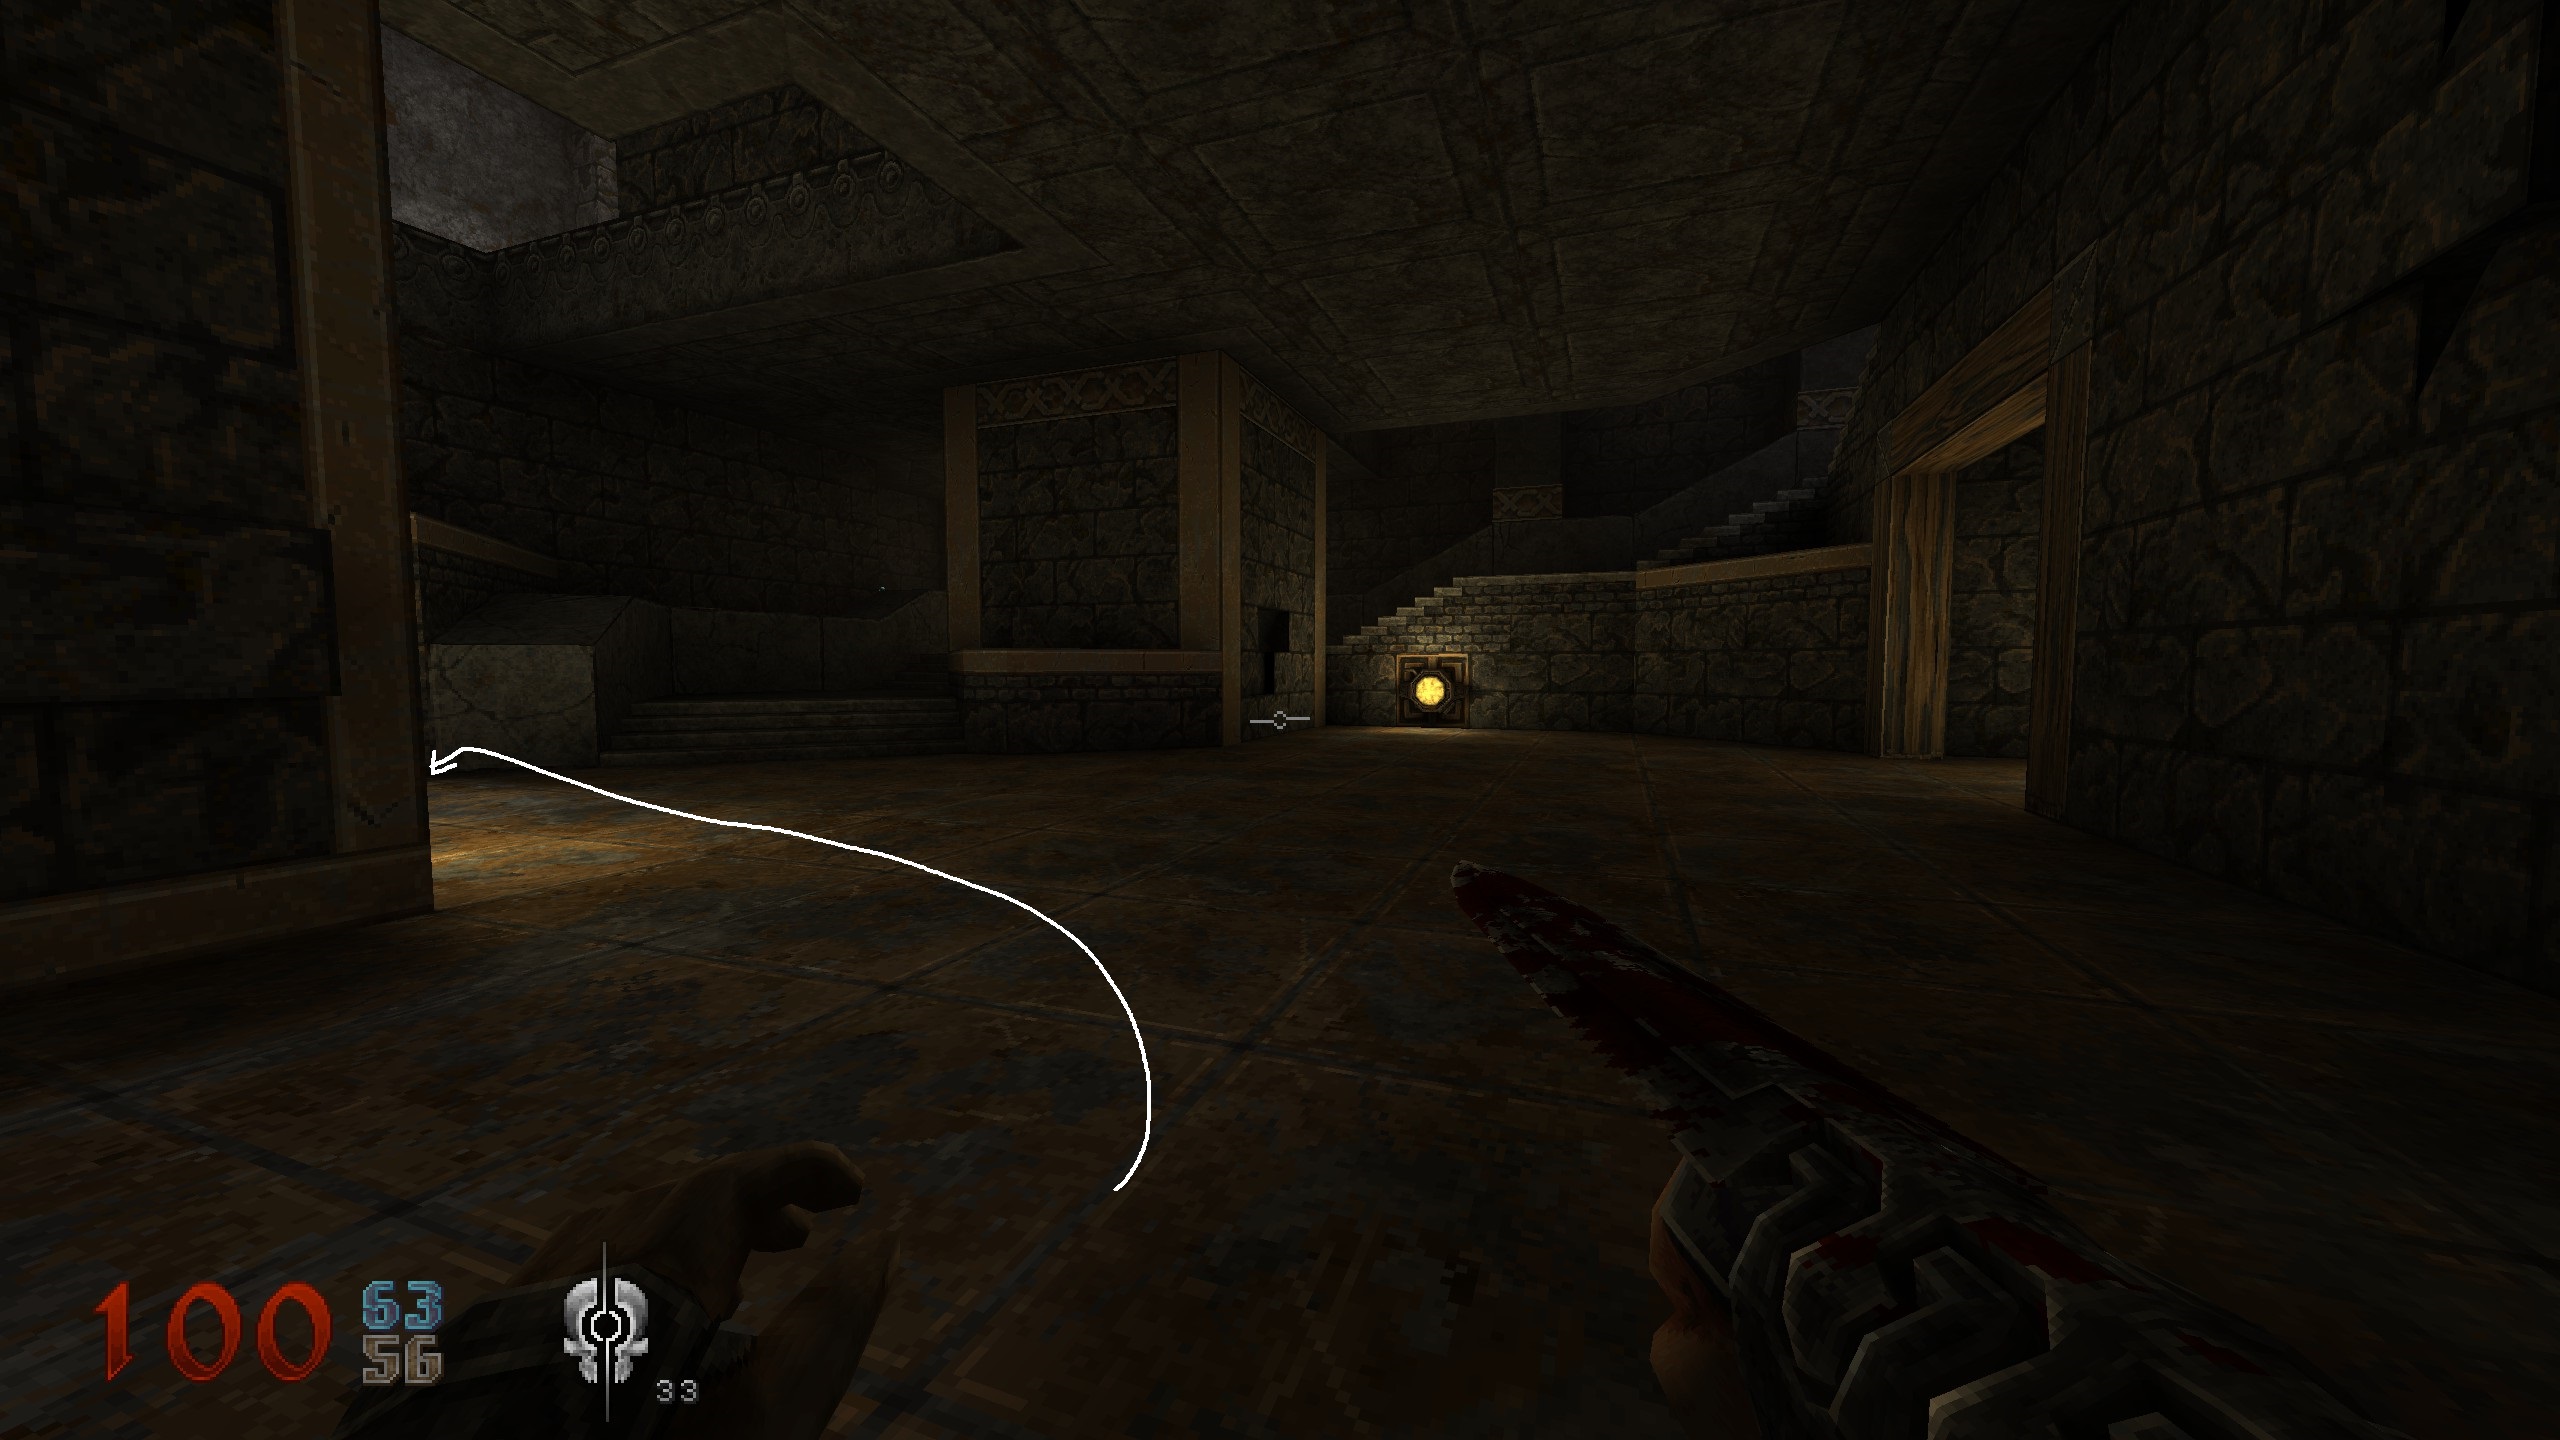
S1 & S2 / Key
You just rode up an elevator, have a switch in front of you. Hit it and the doors will open. Stick to the right and follow the circular path all around into a room with a switch. In that room, jump over on the stone niche and from there into the window.
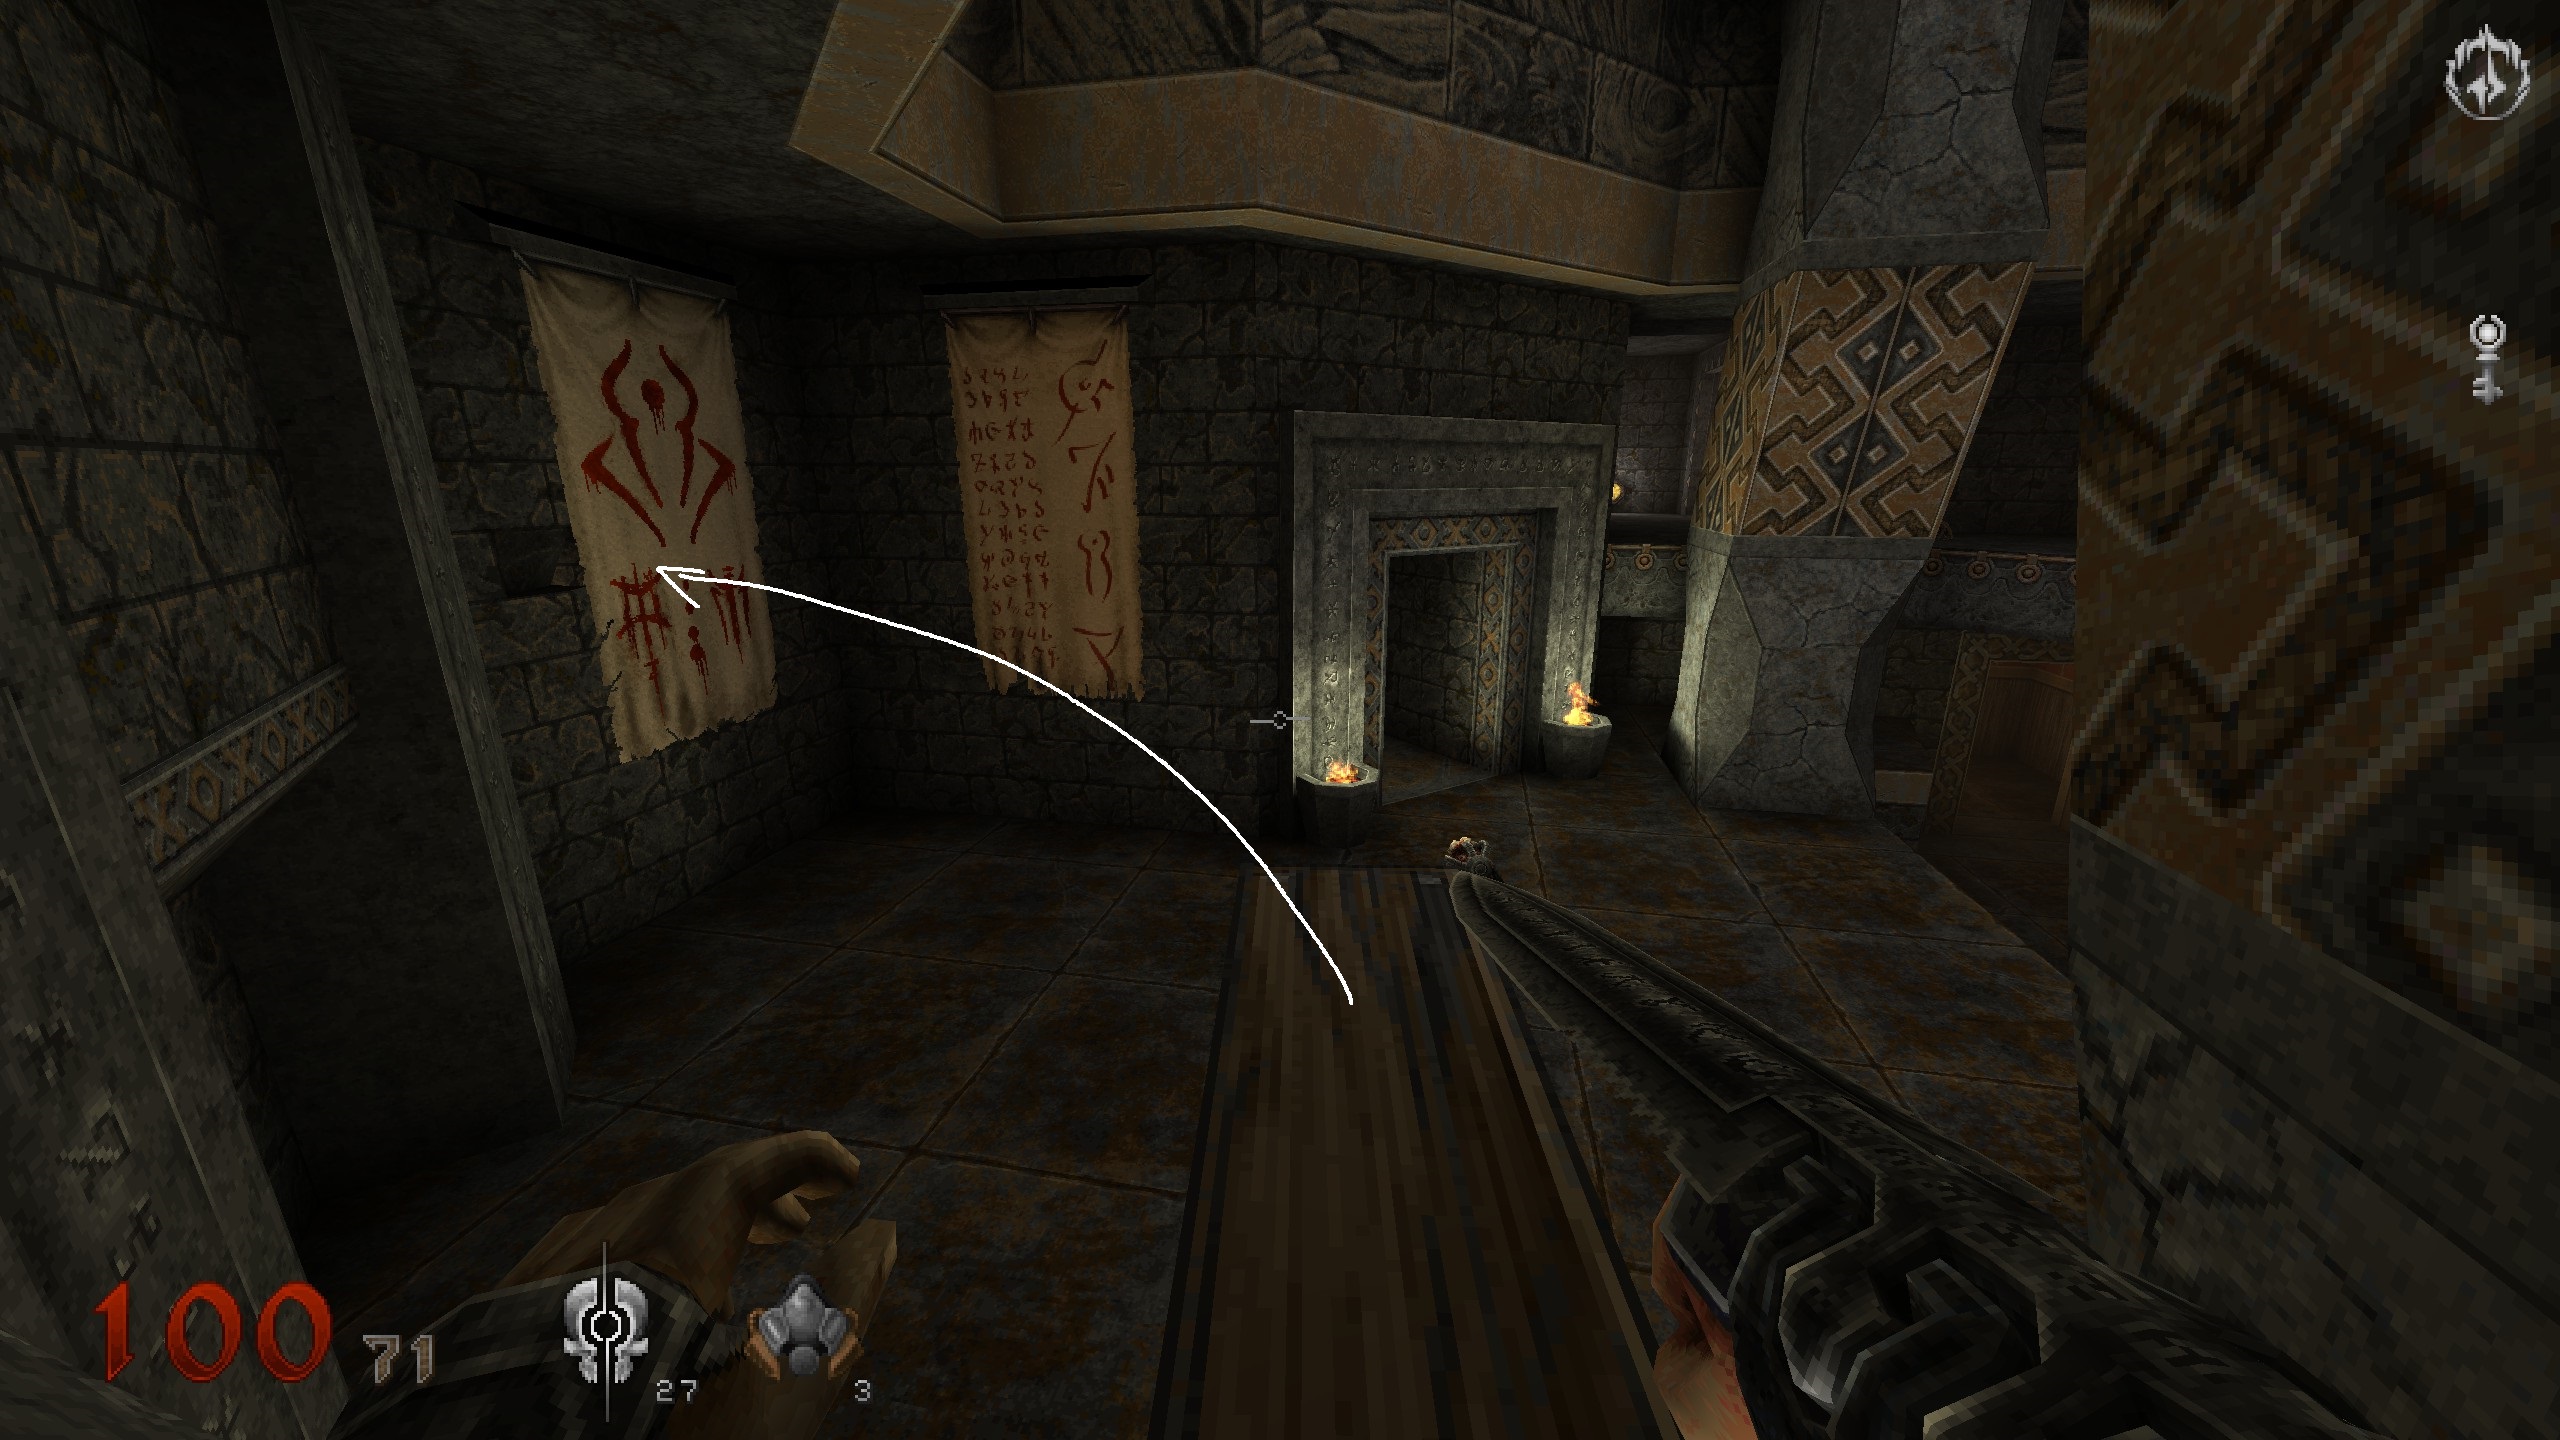
Hit the switch, get back and notice that wooden plank on the floor. Now why would that be there? Use it to jump into the flag on the left wall. Secret key in there. Continue on with grabbing the blue key and going through the blue door.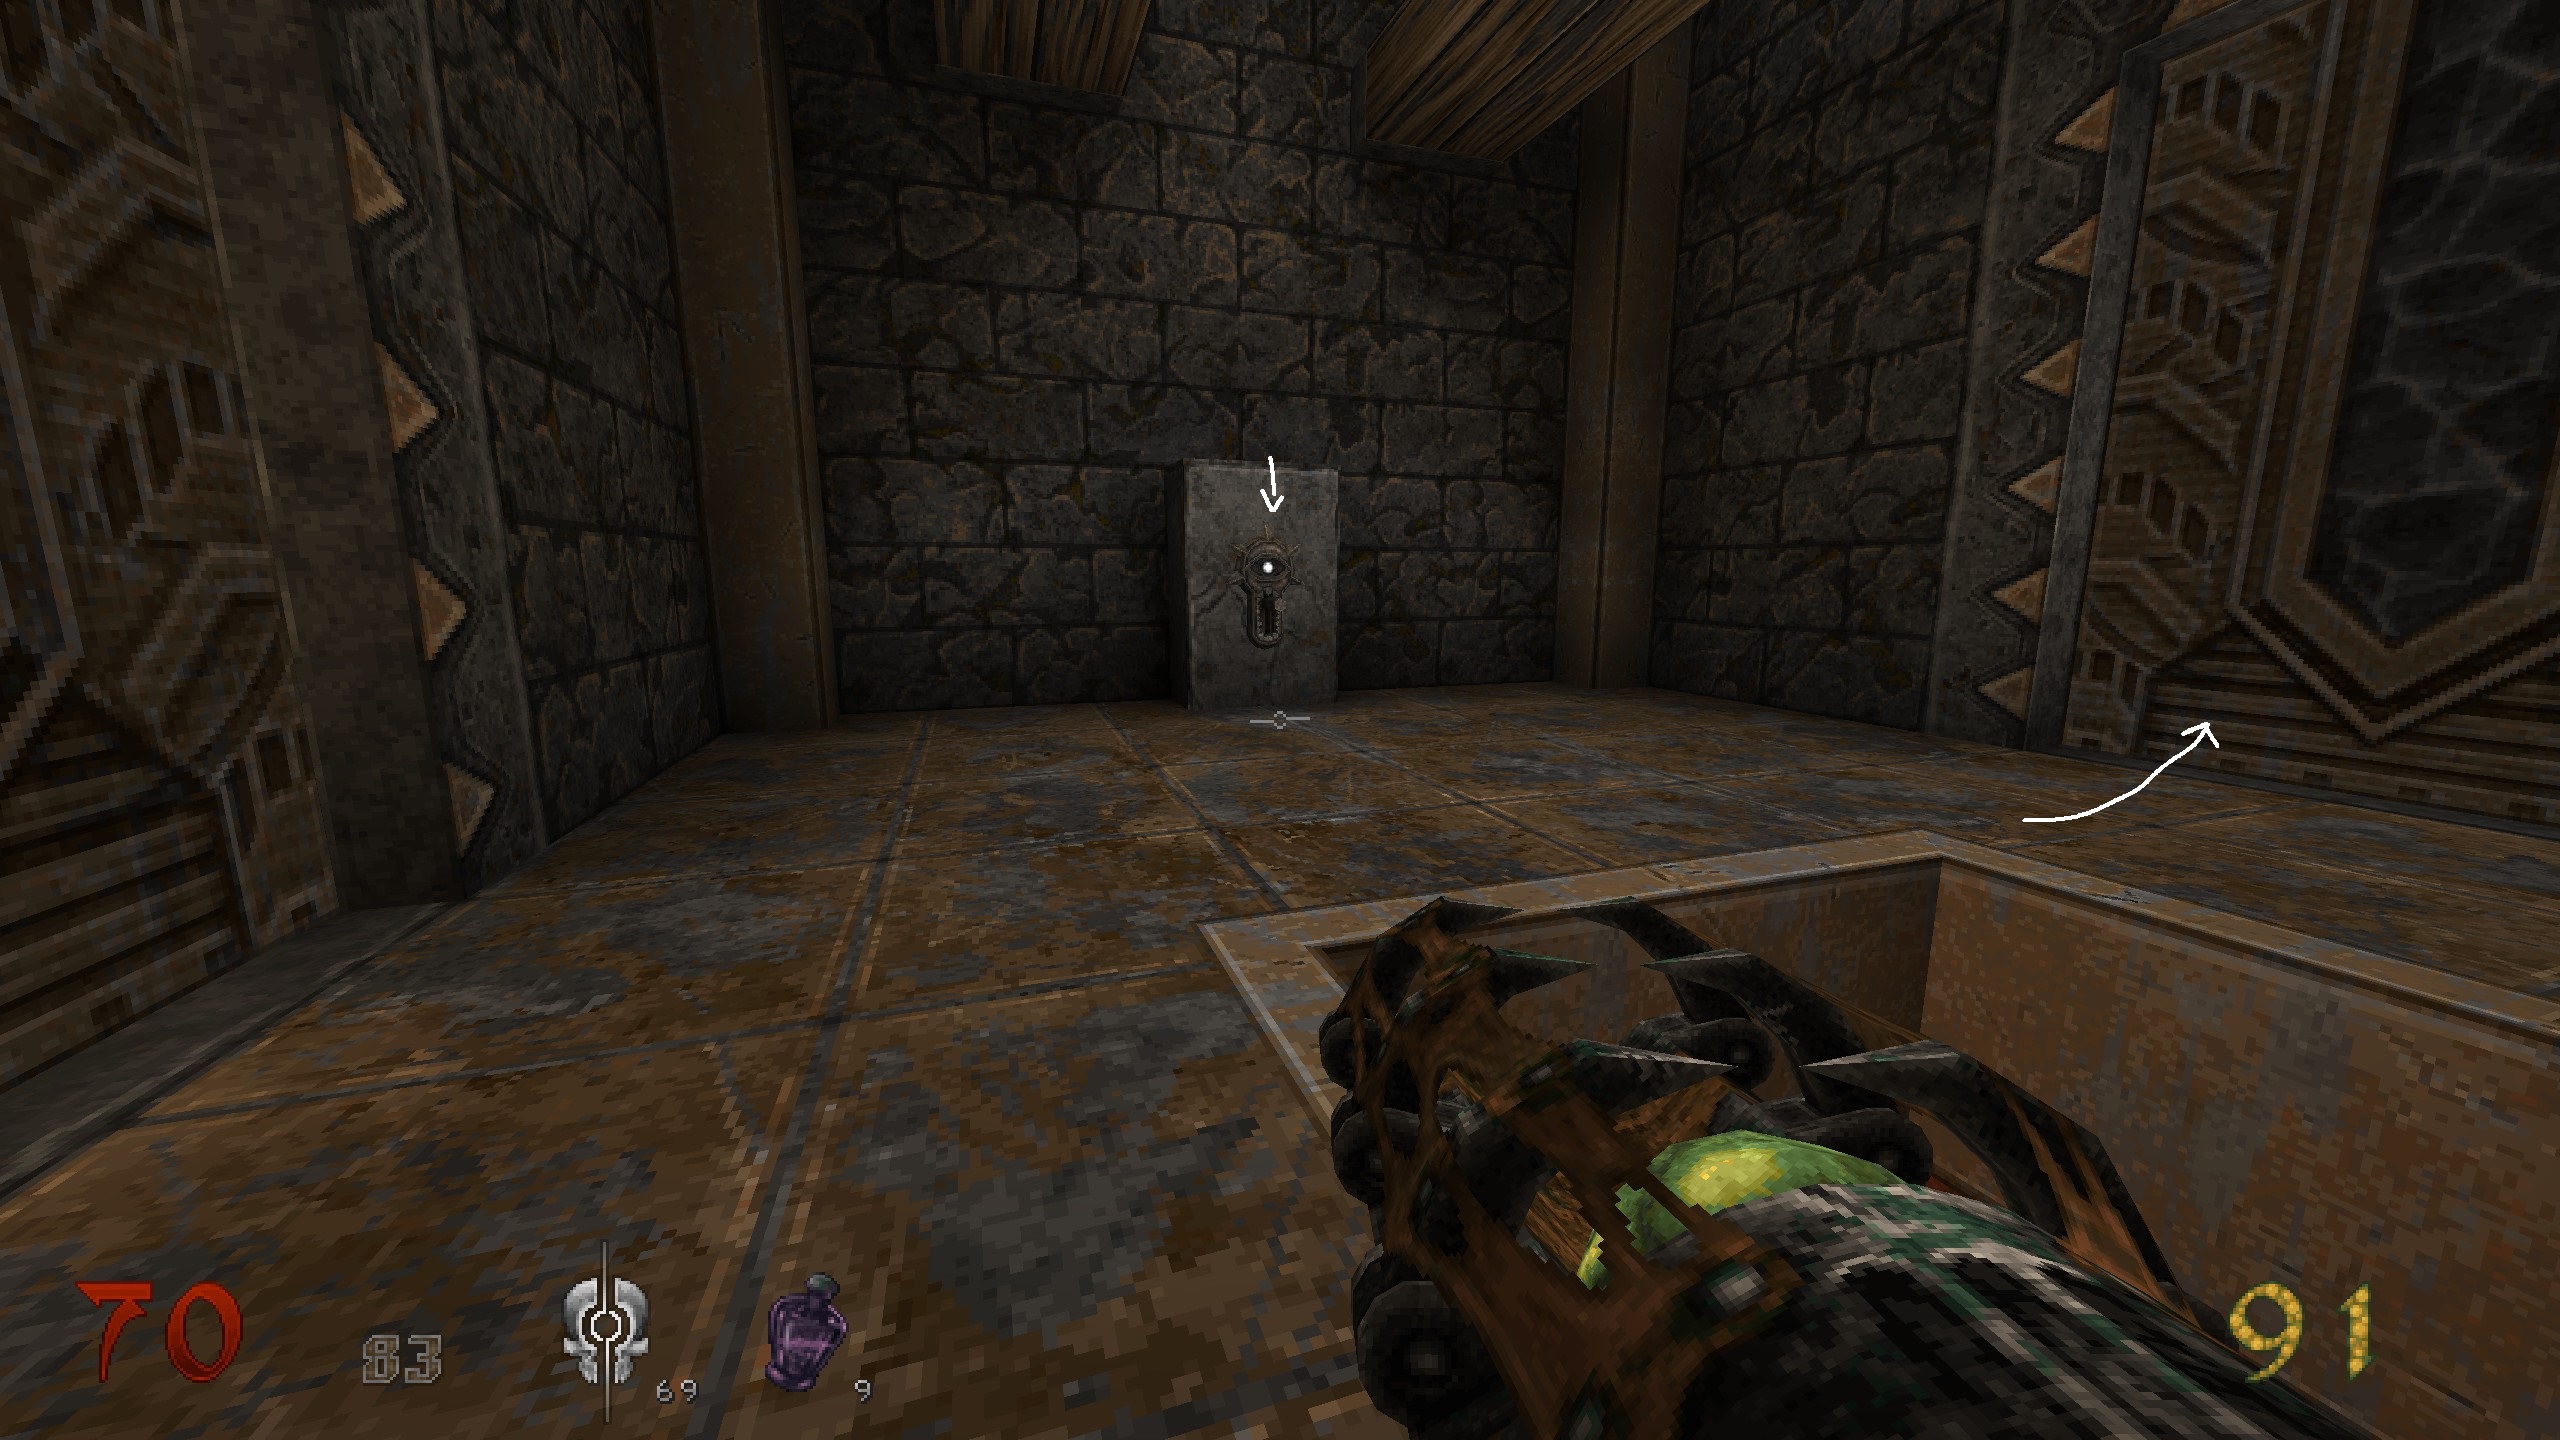
S3 / Key
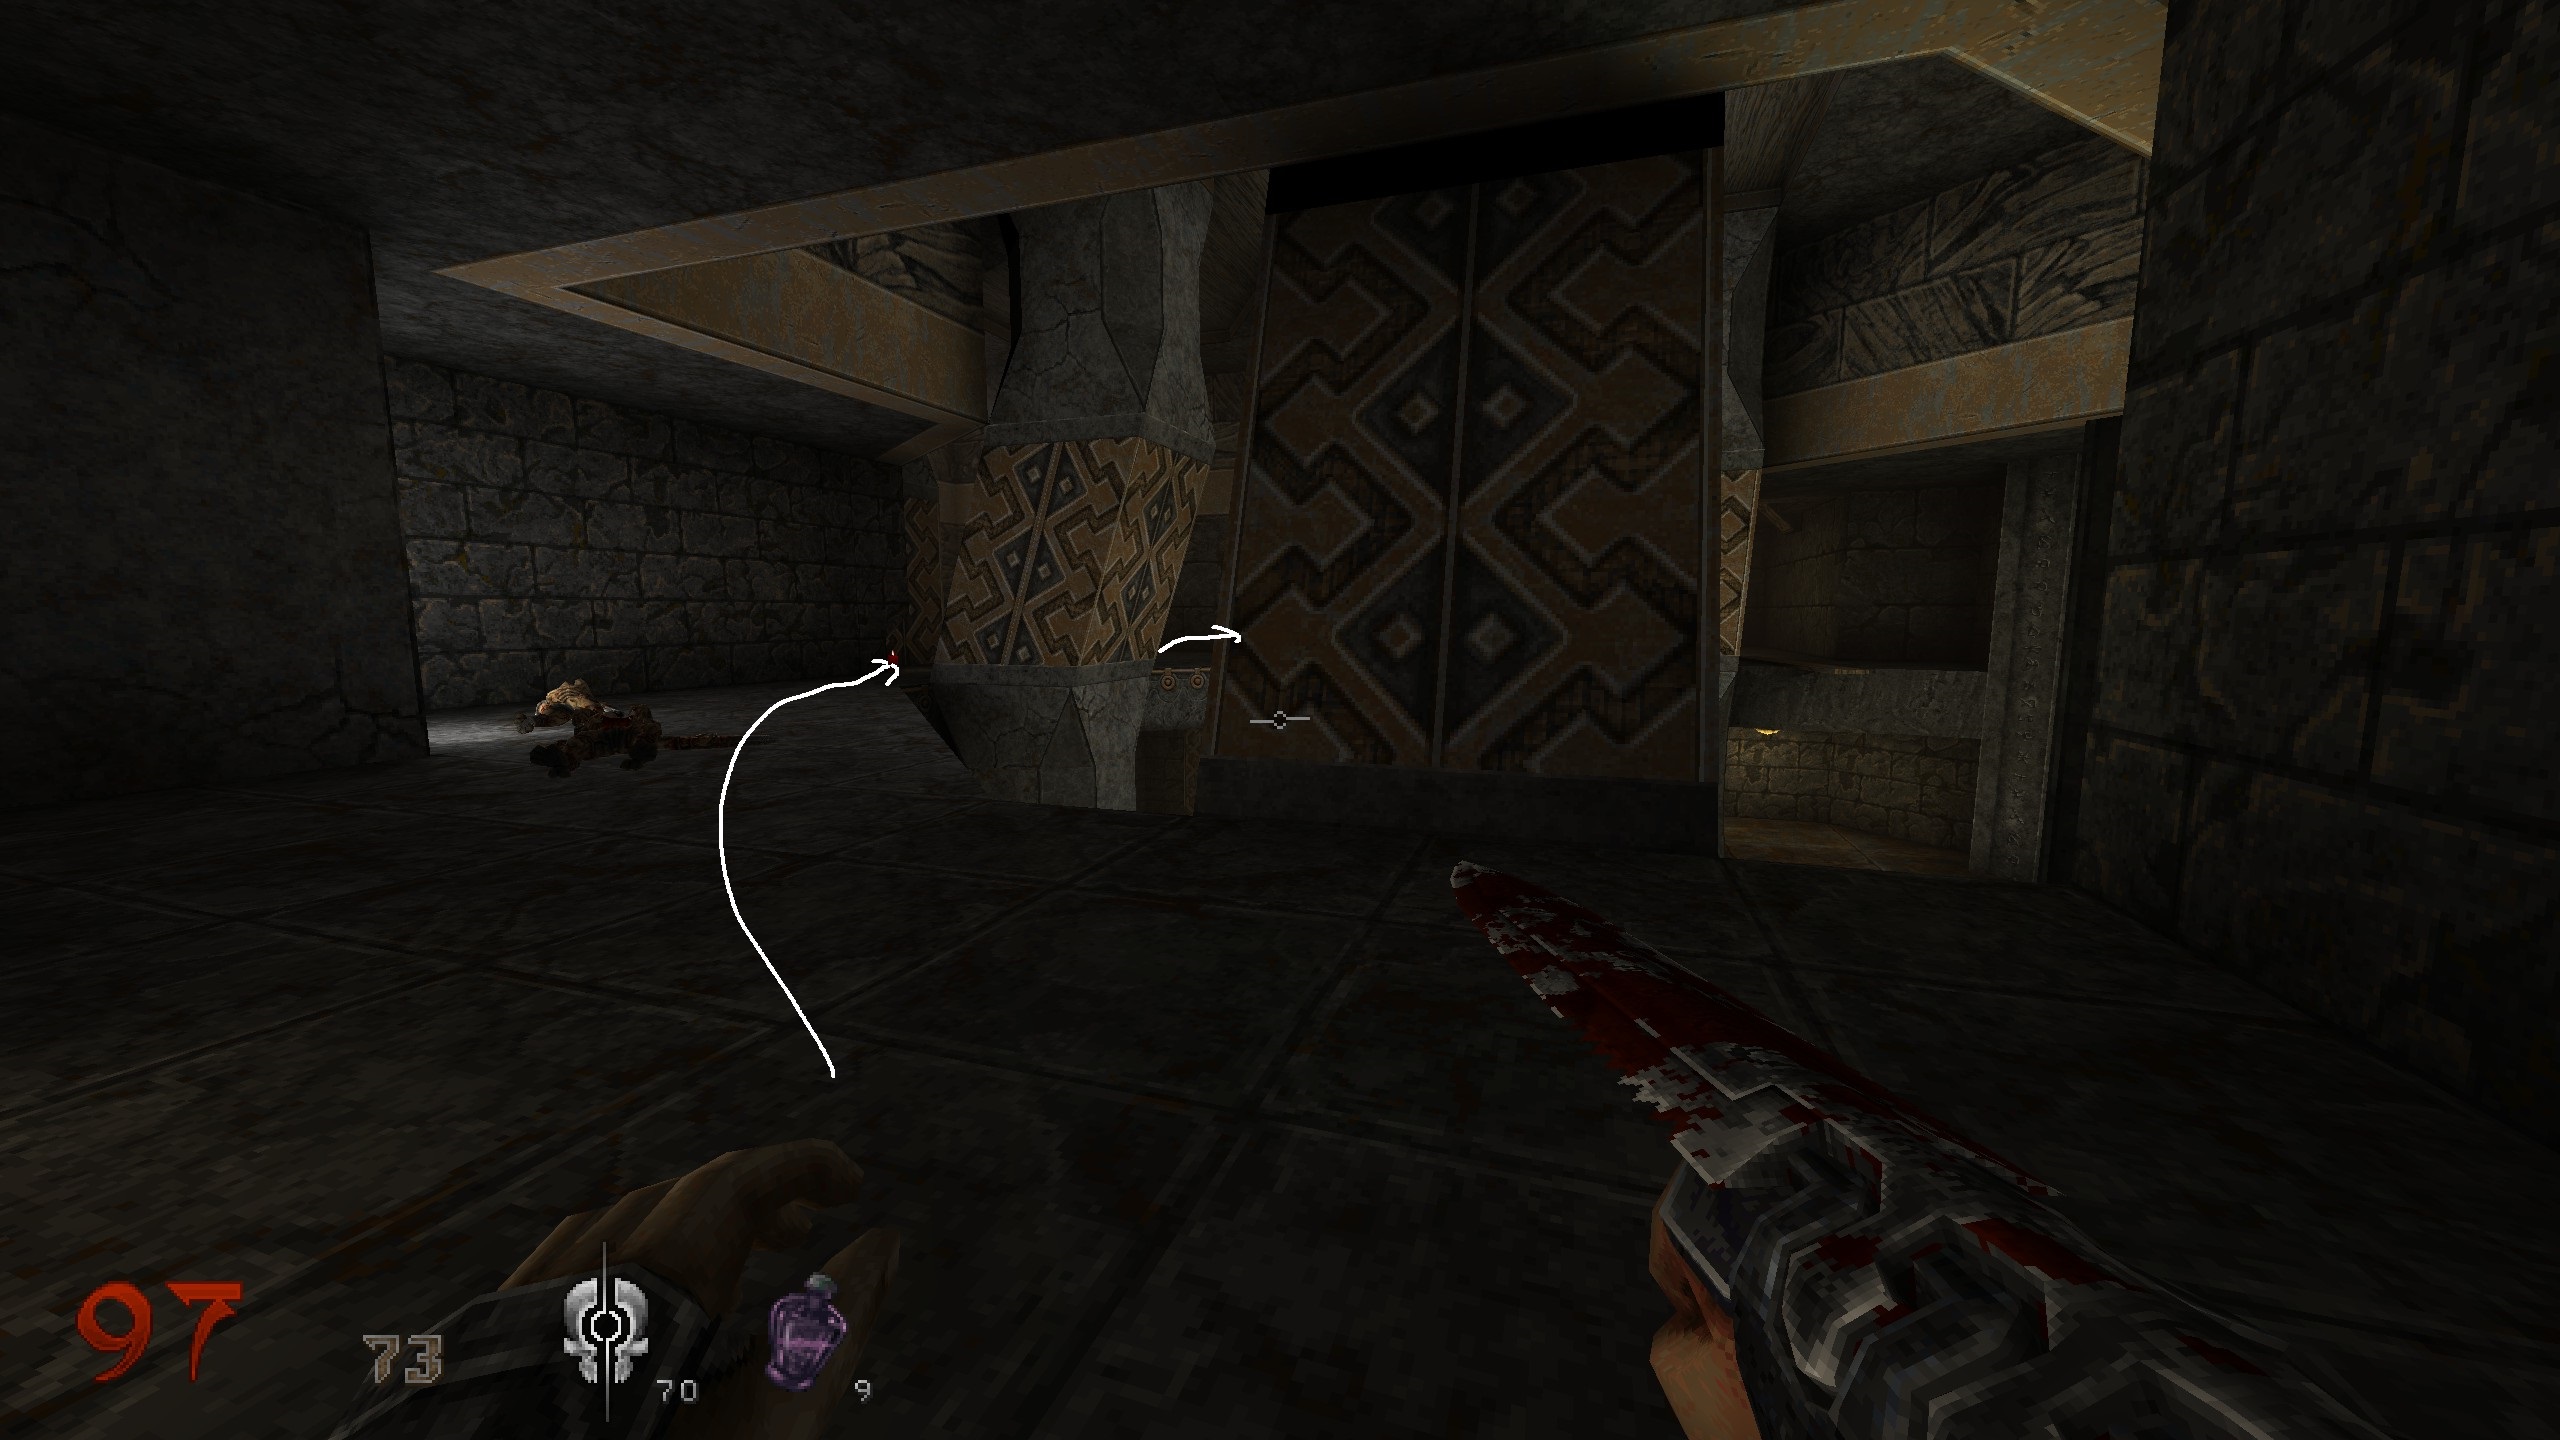
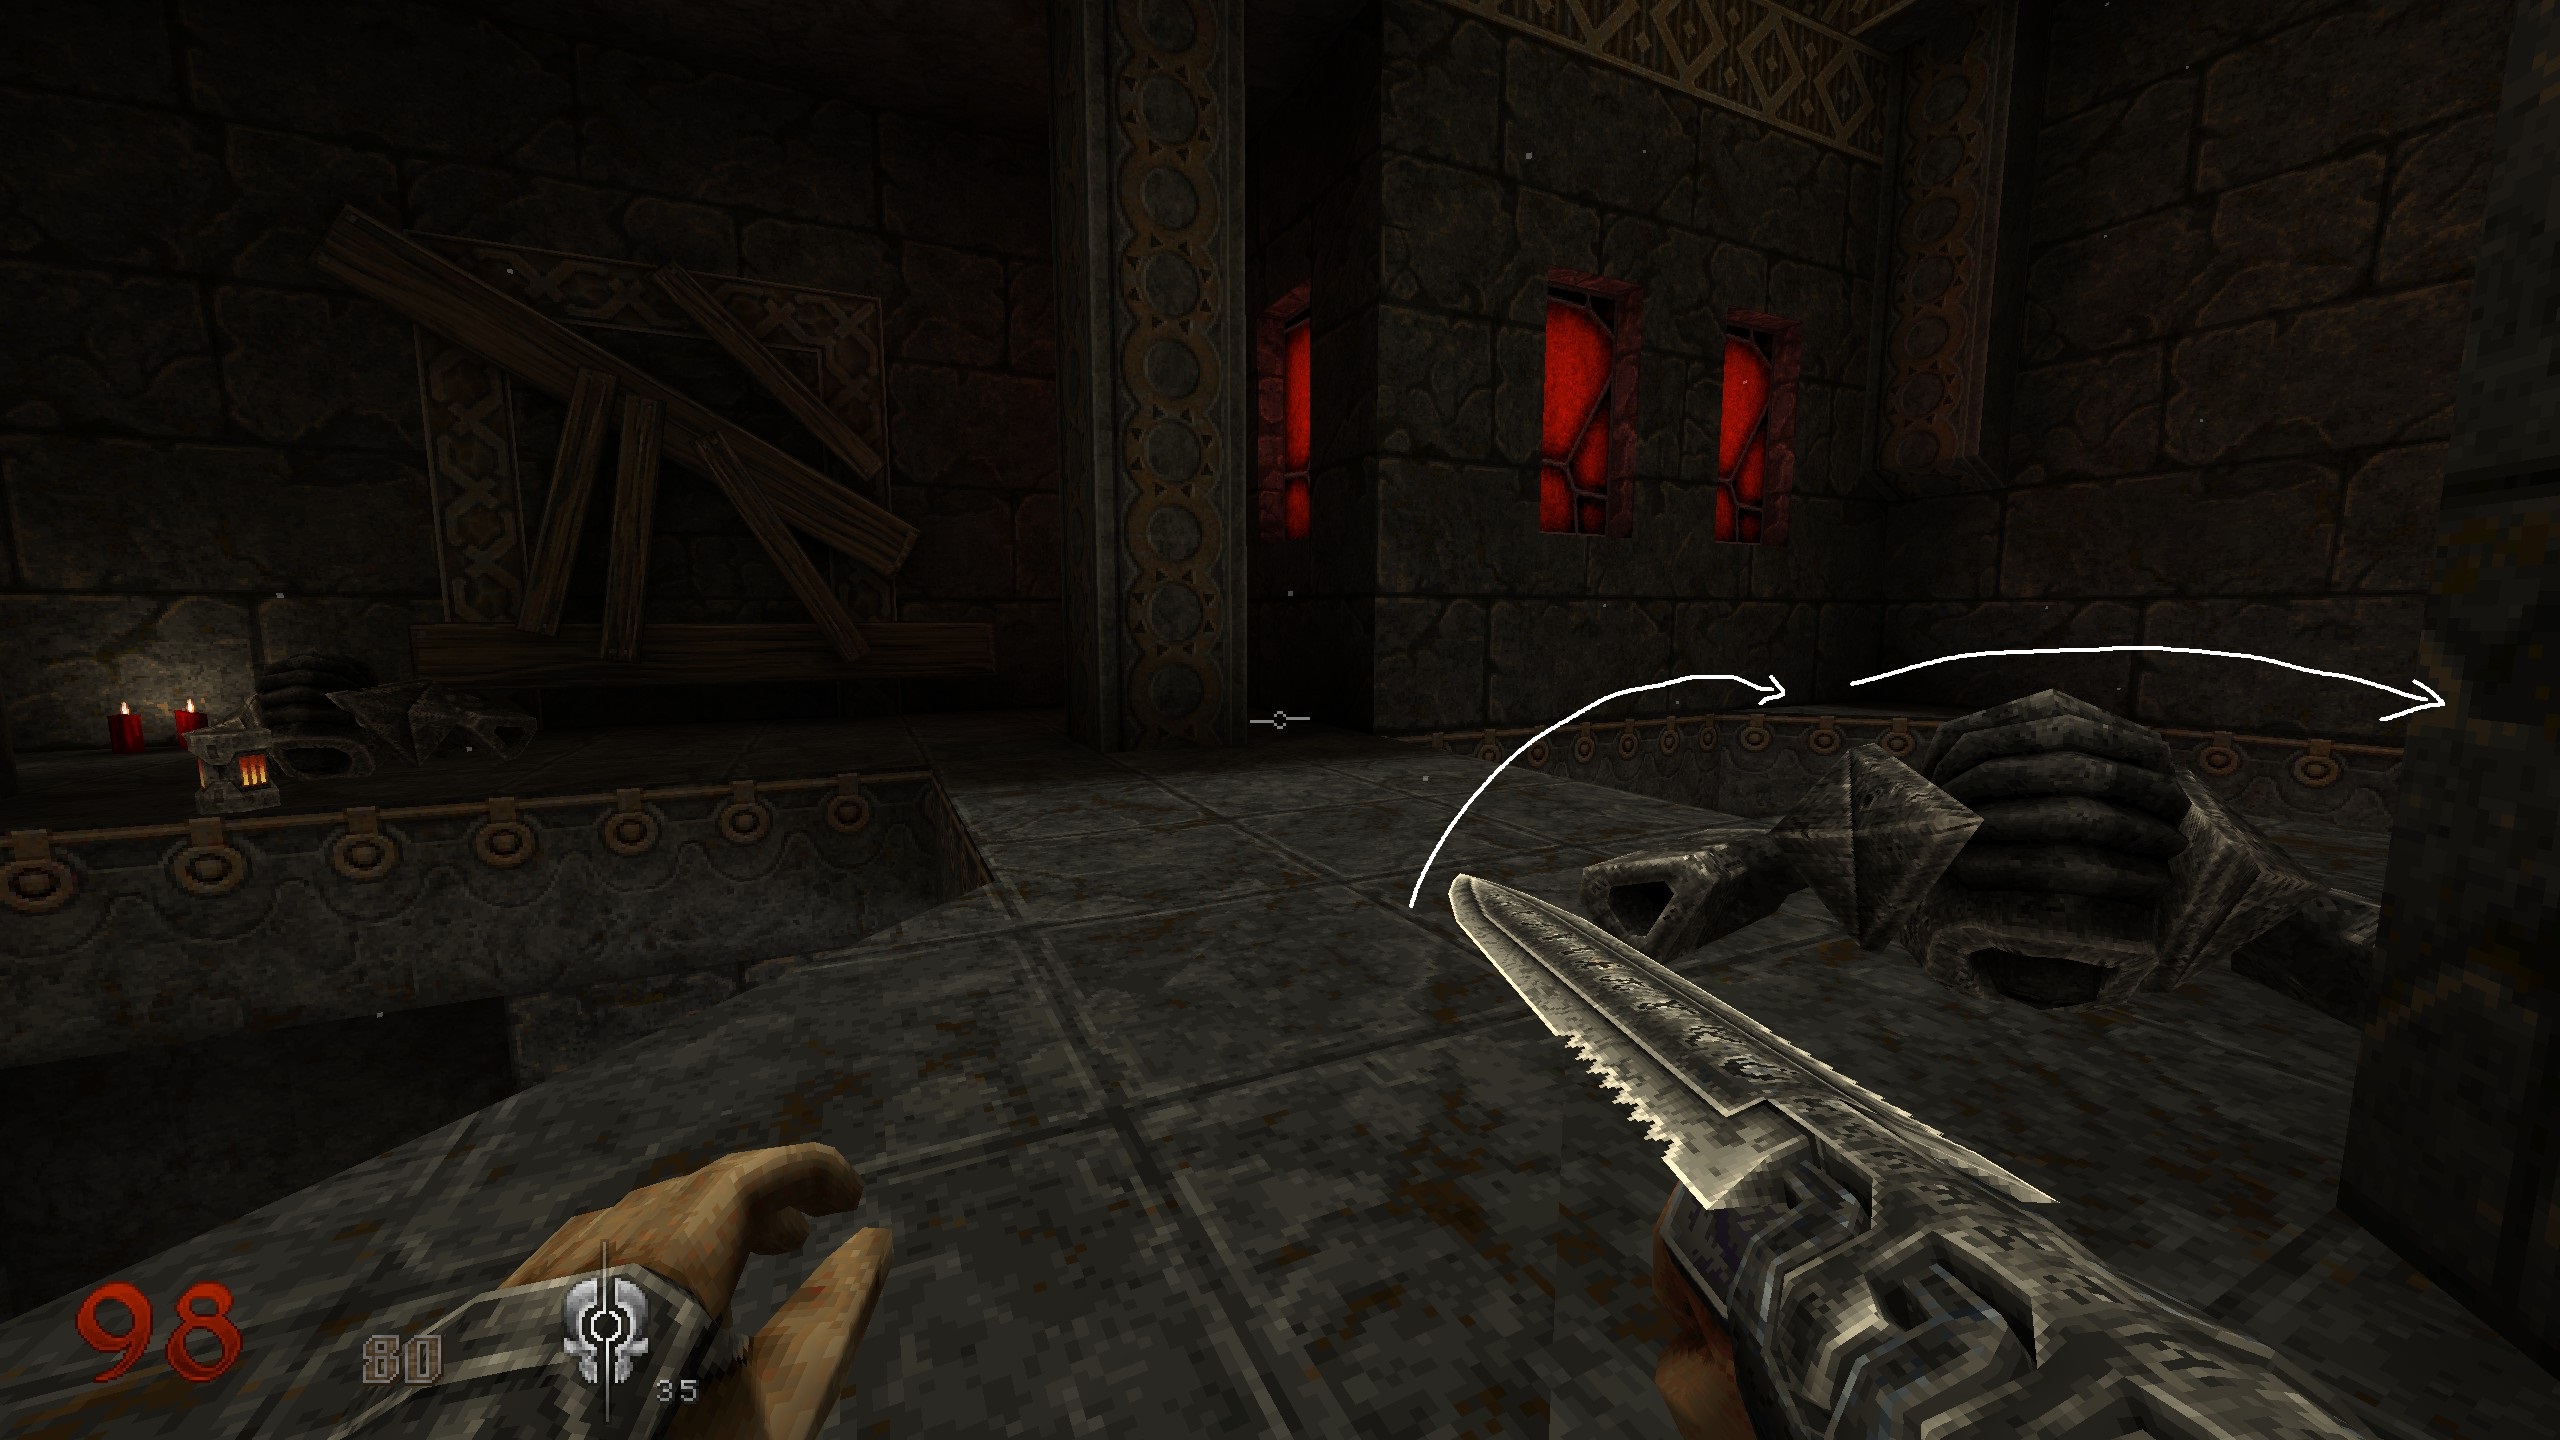
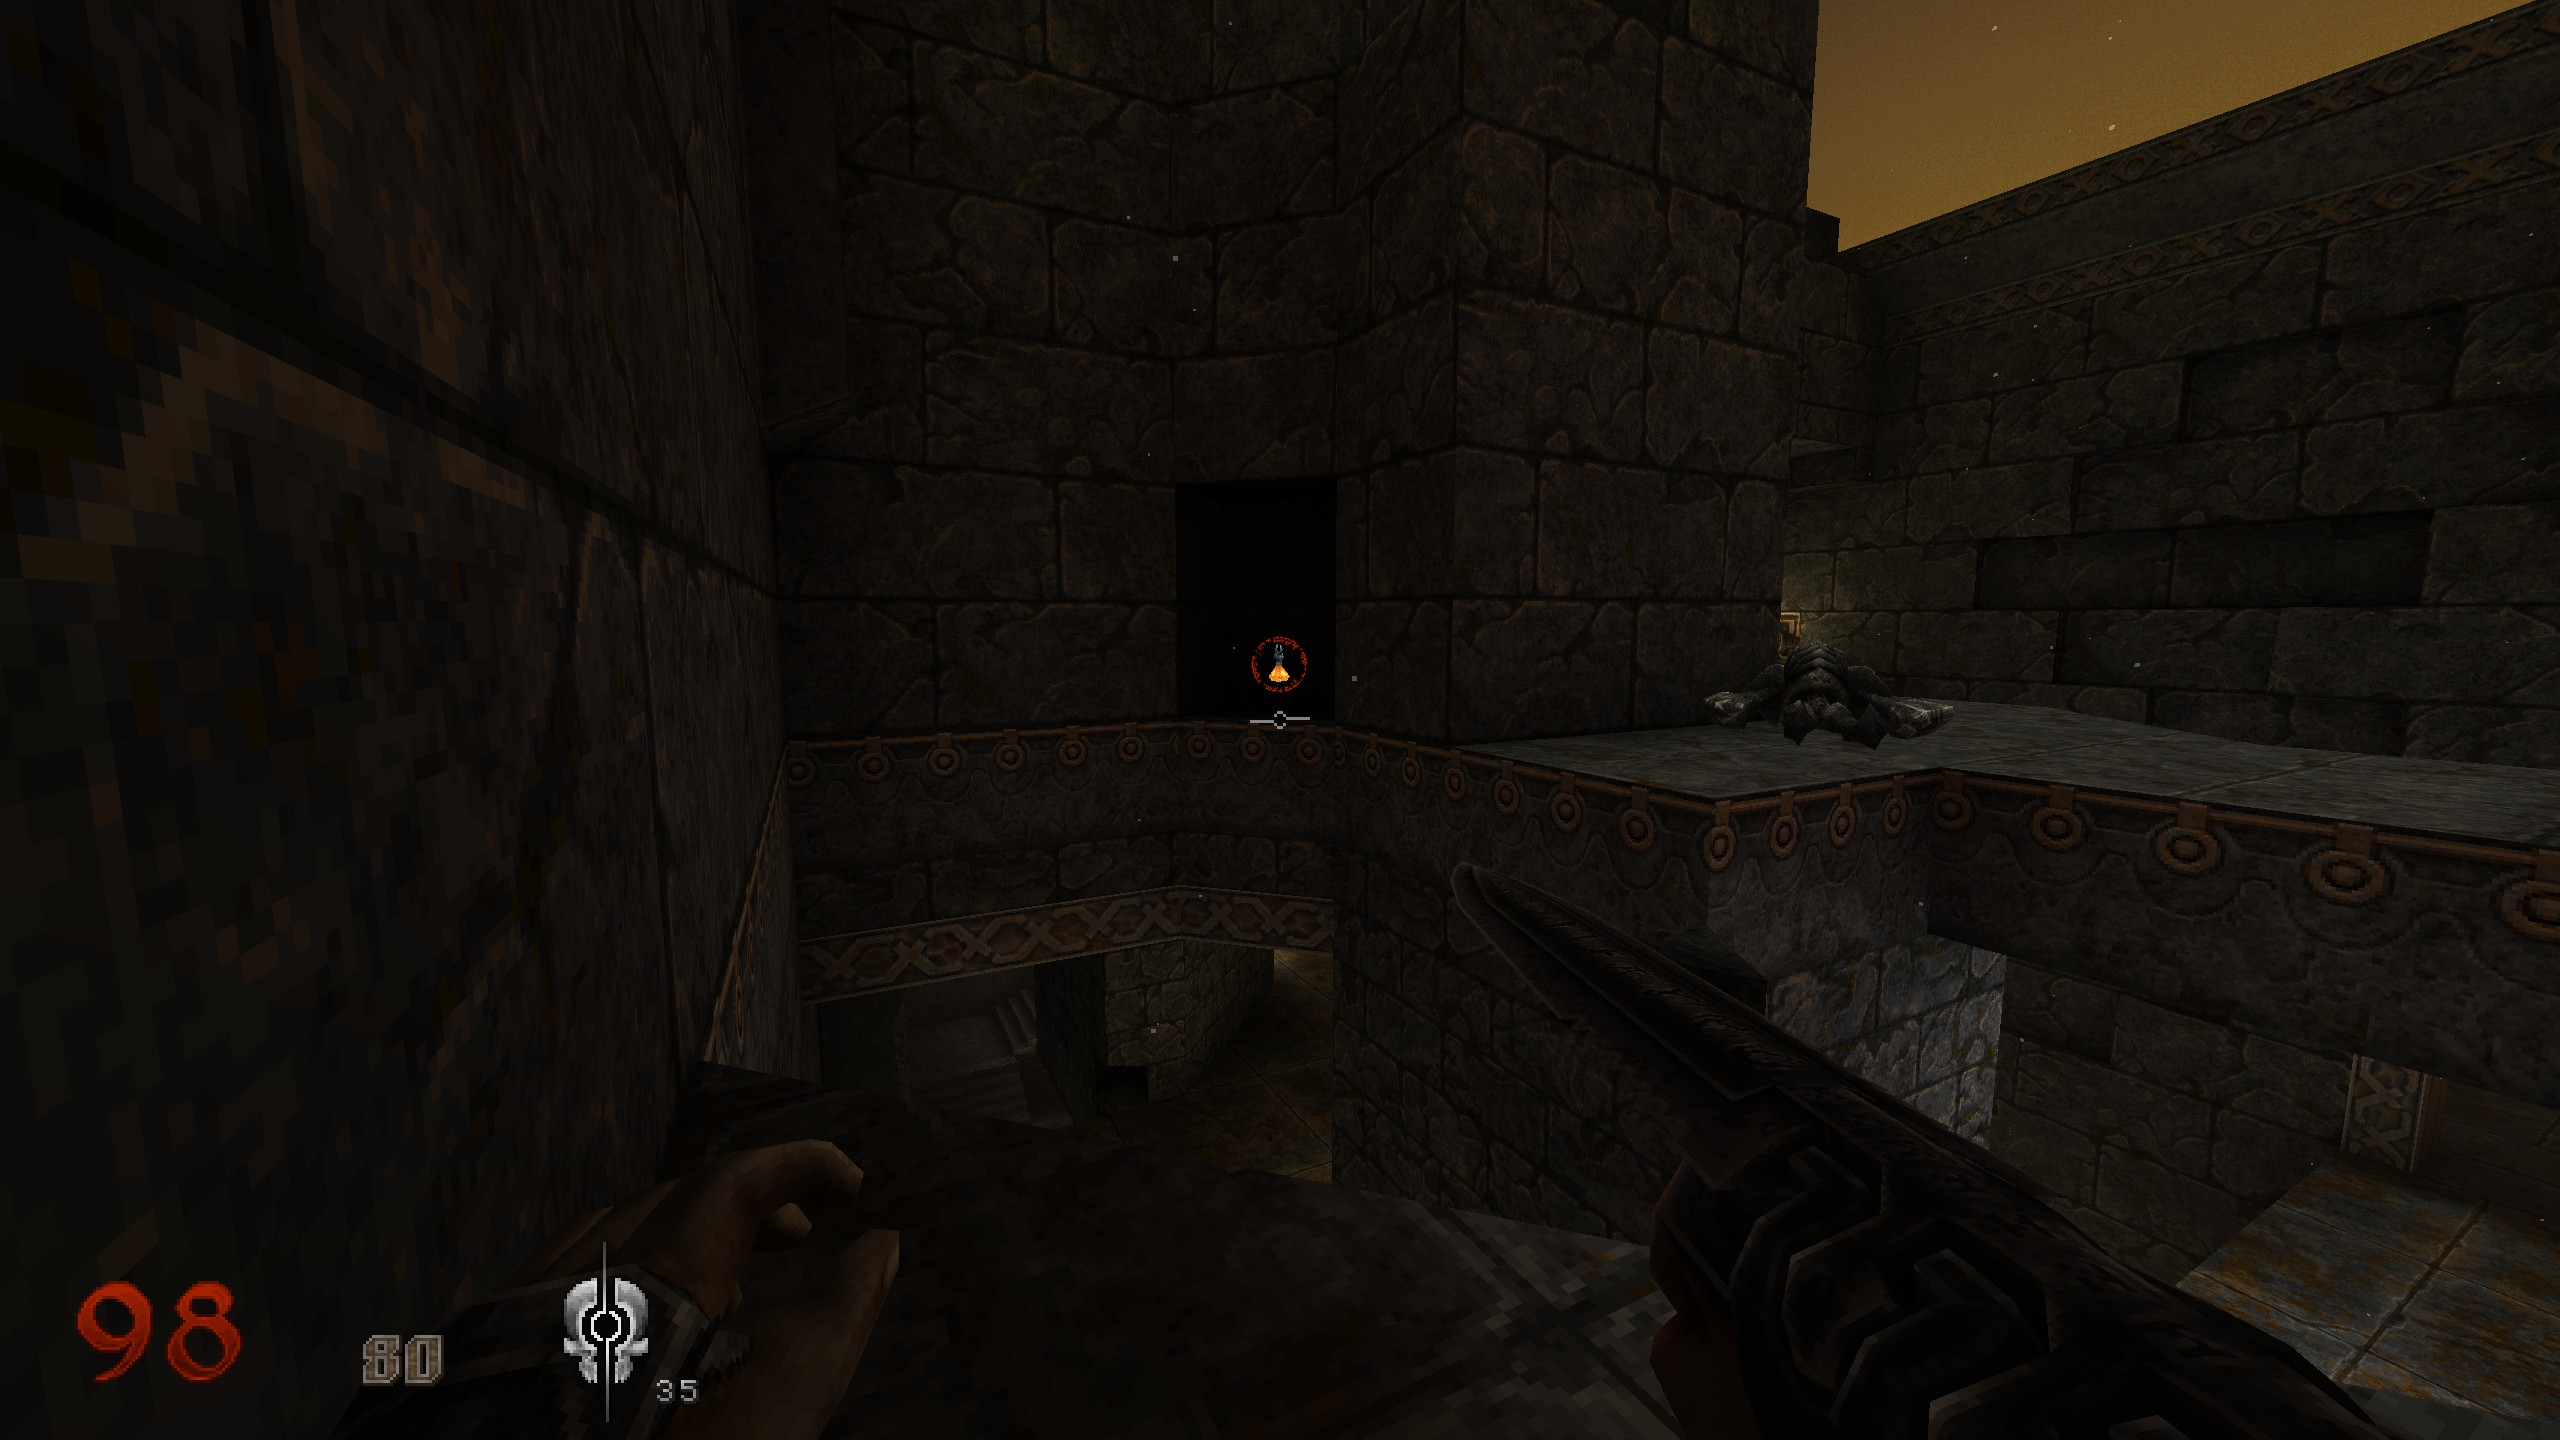
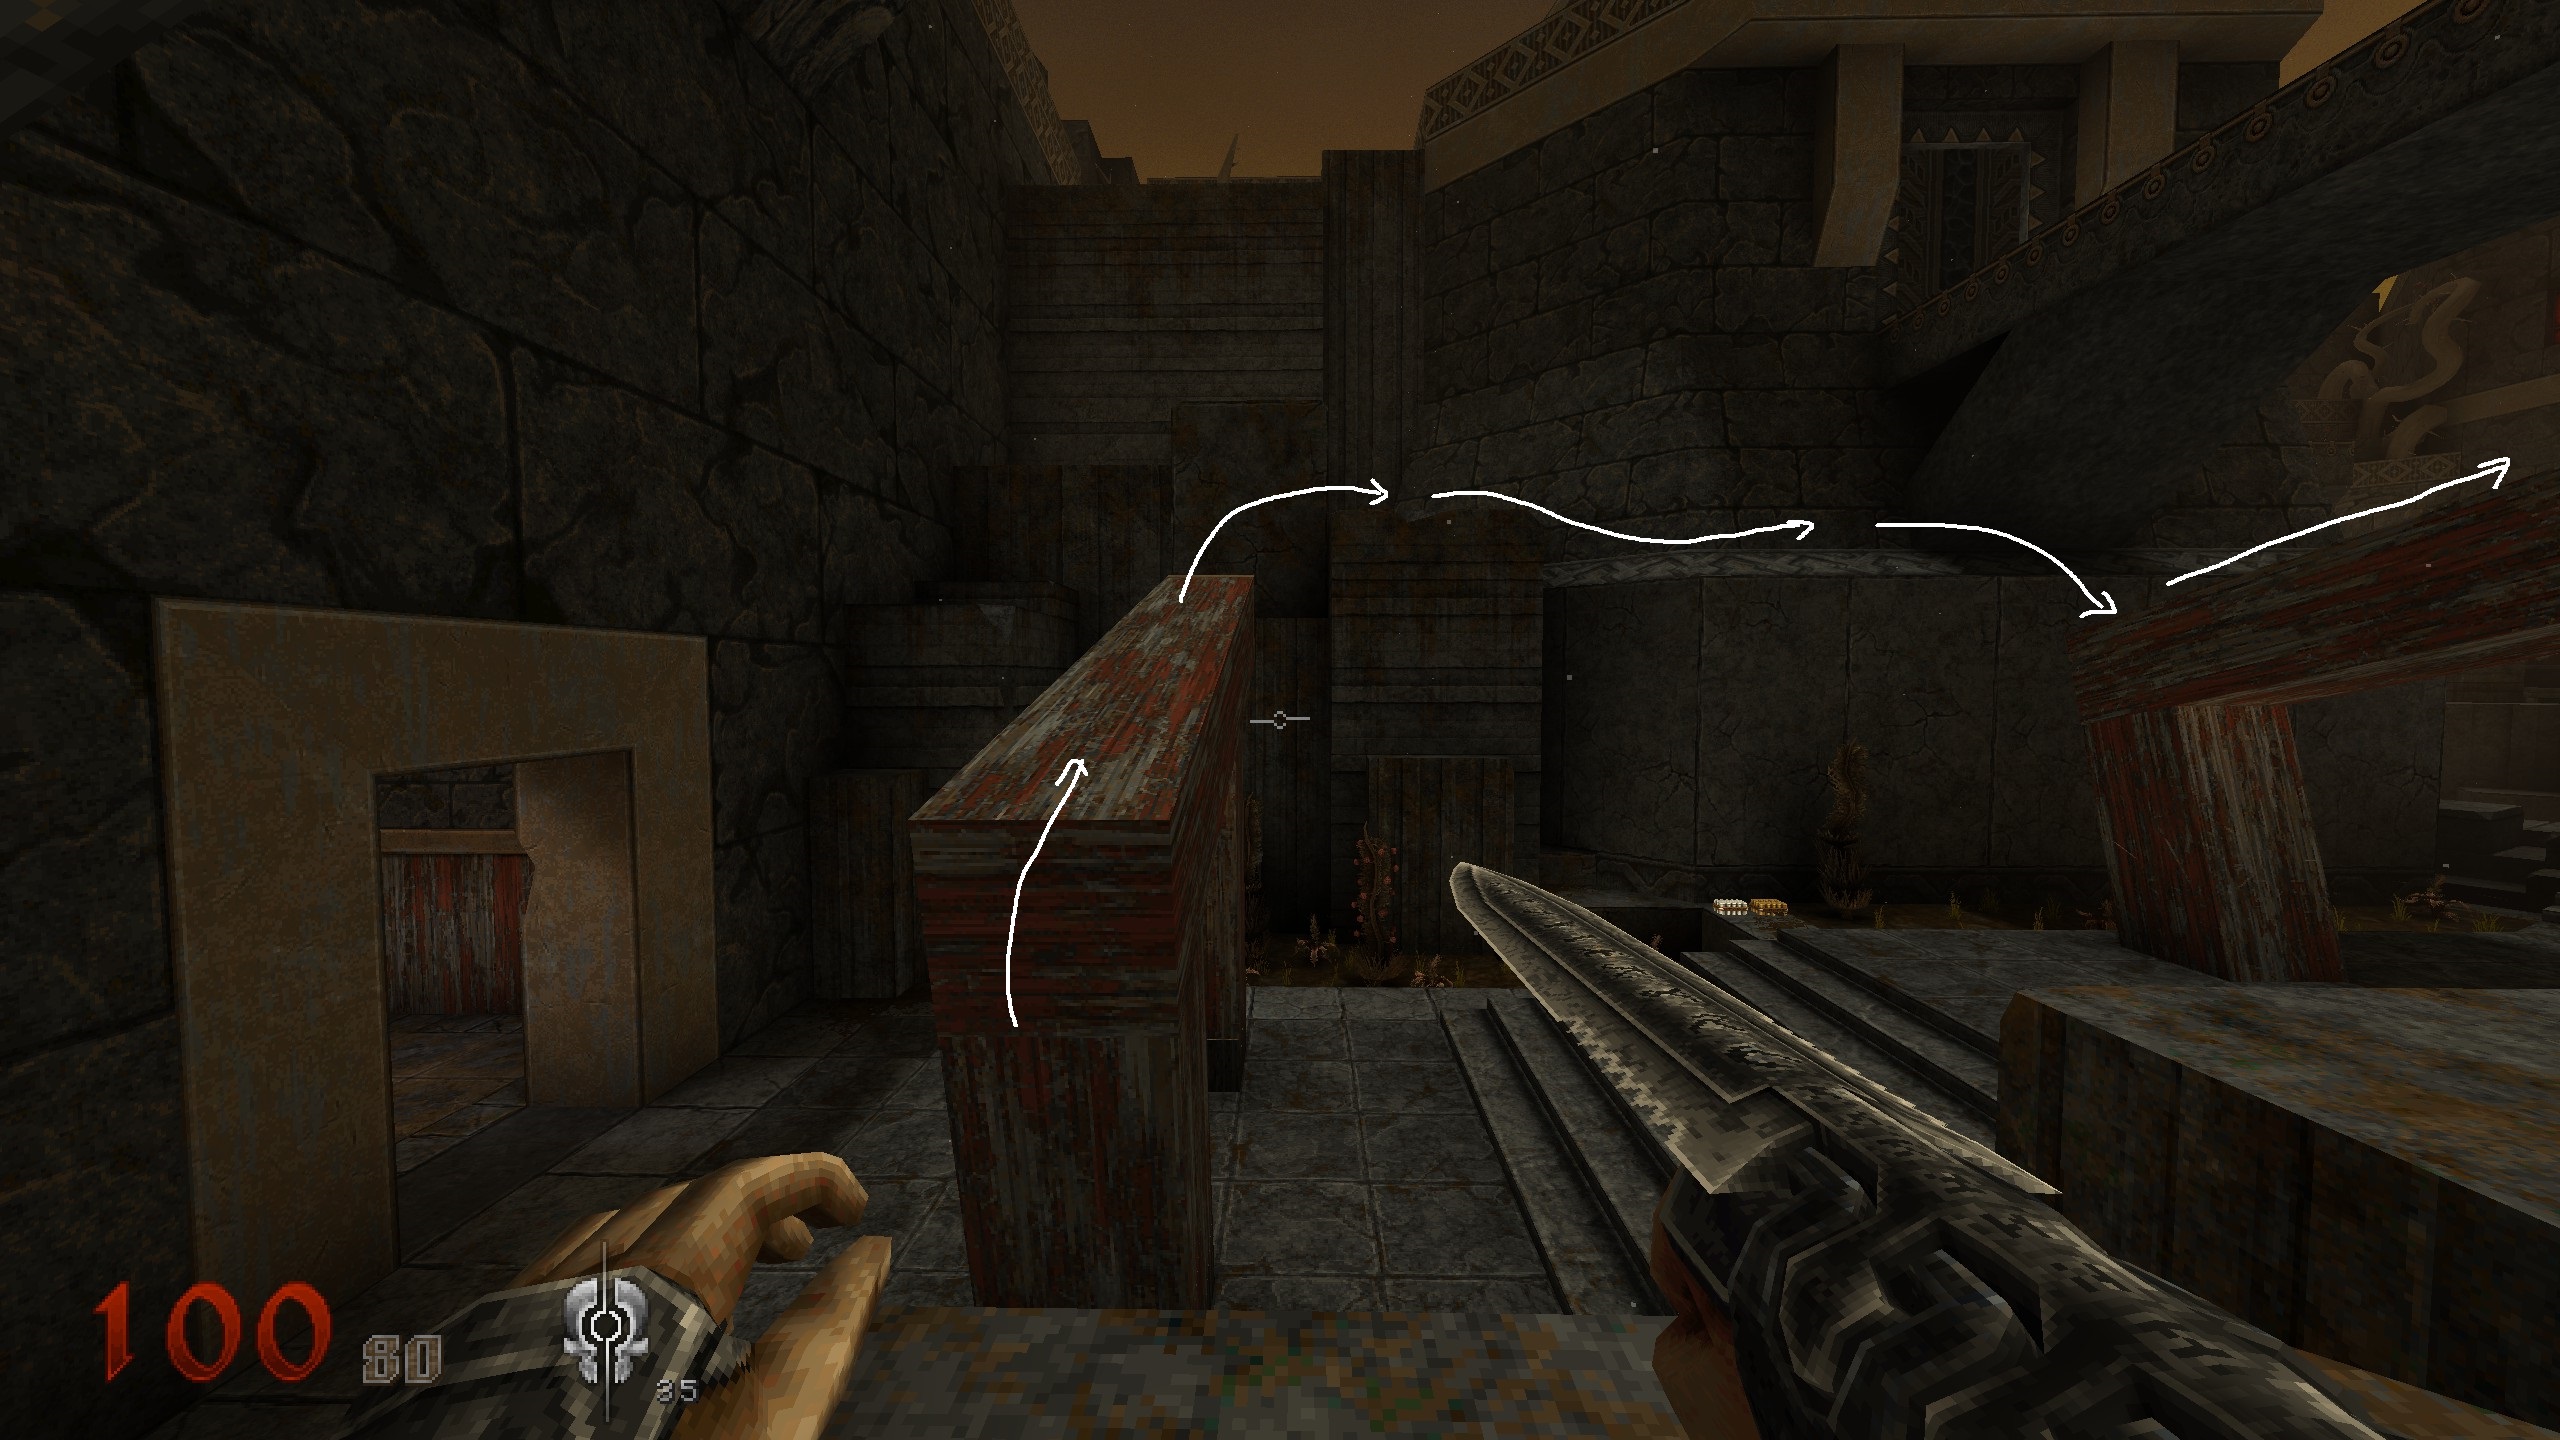
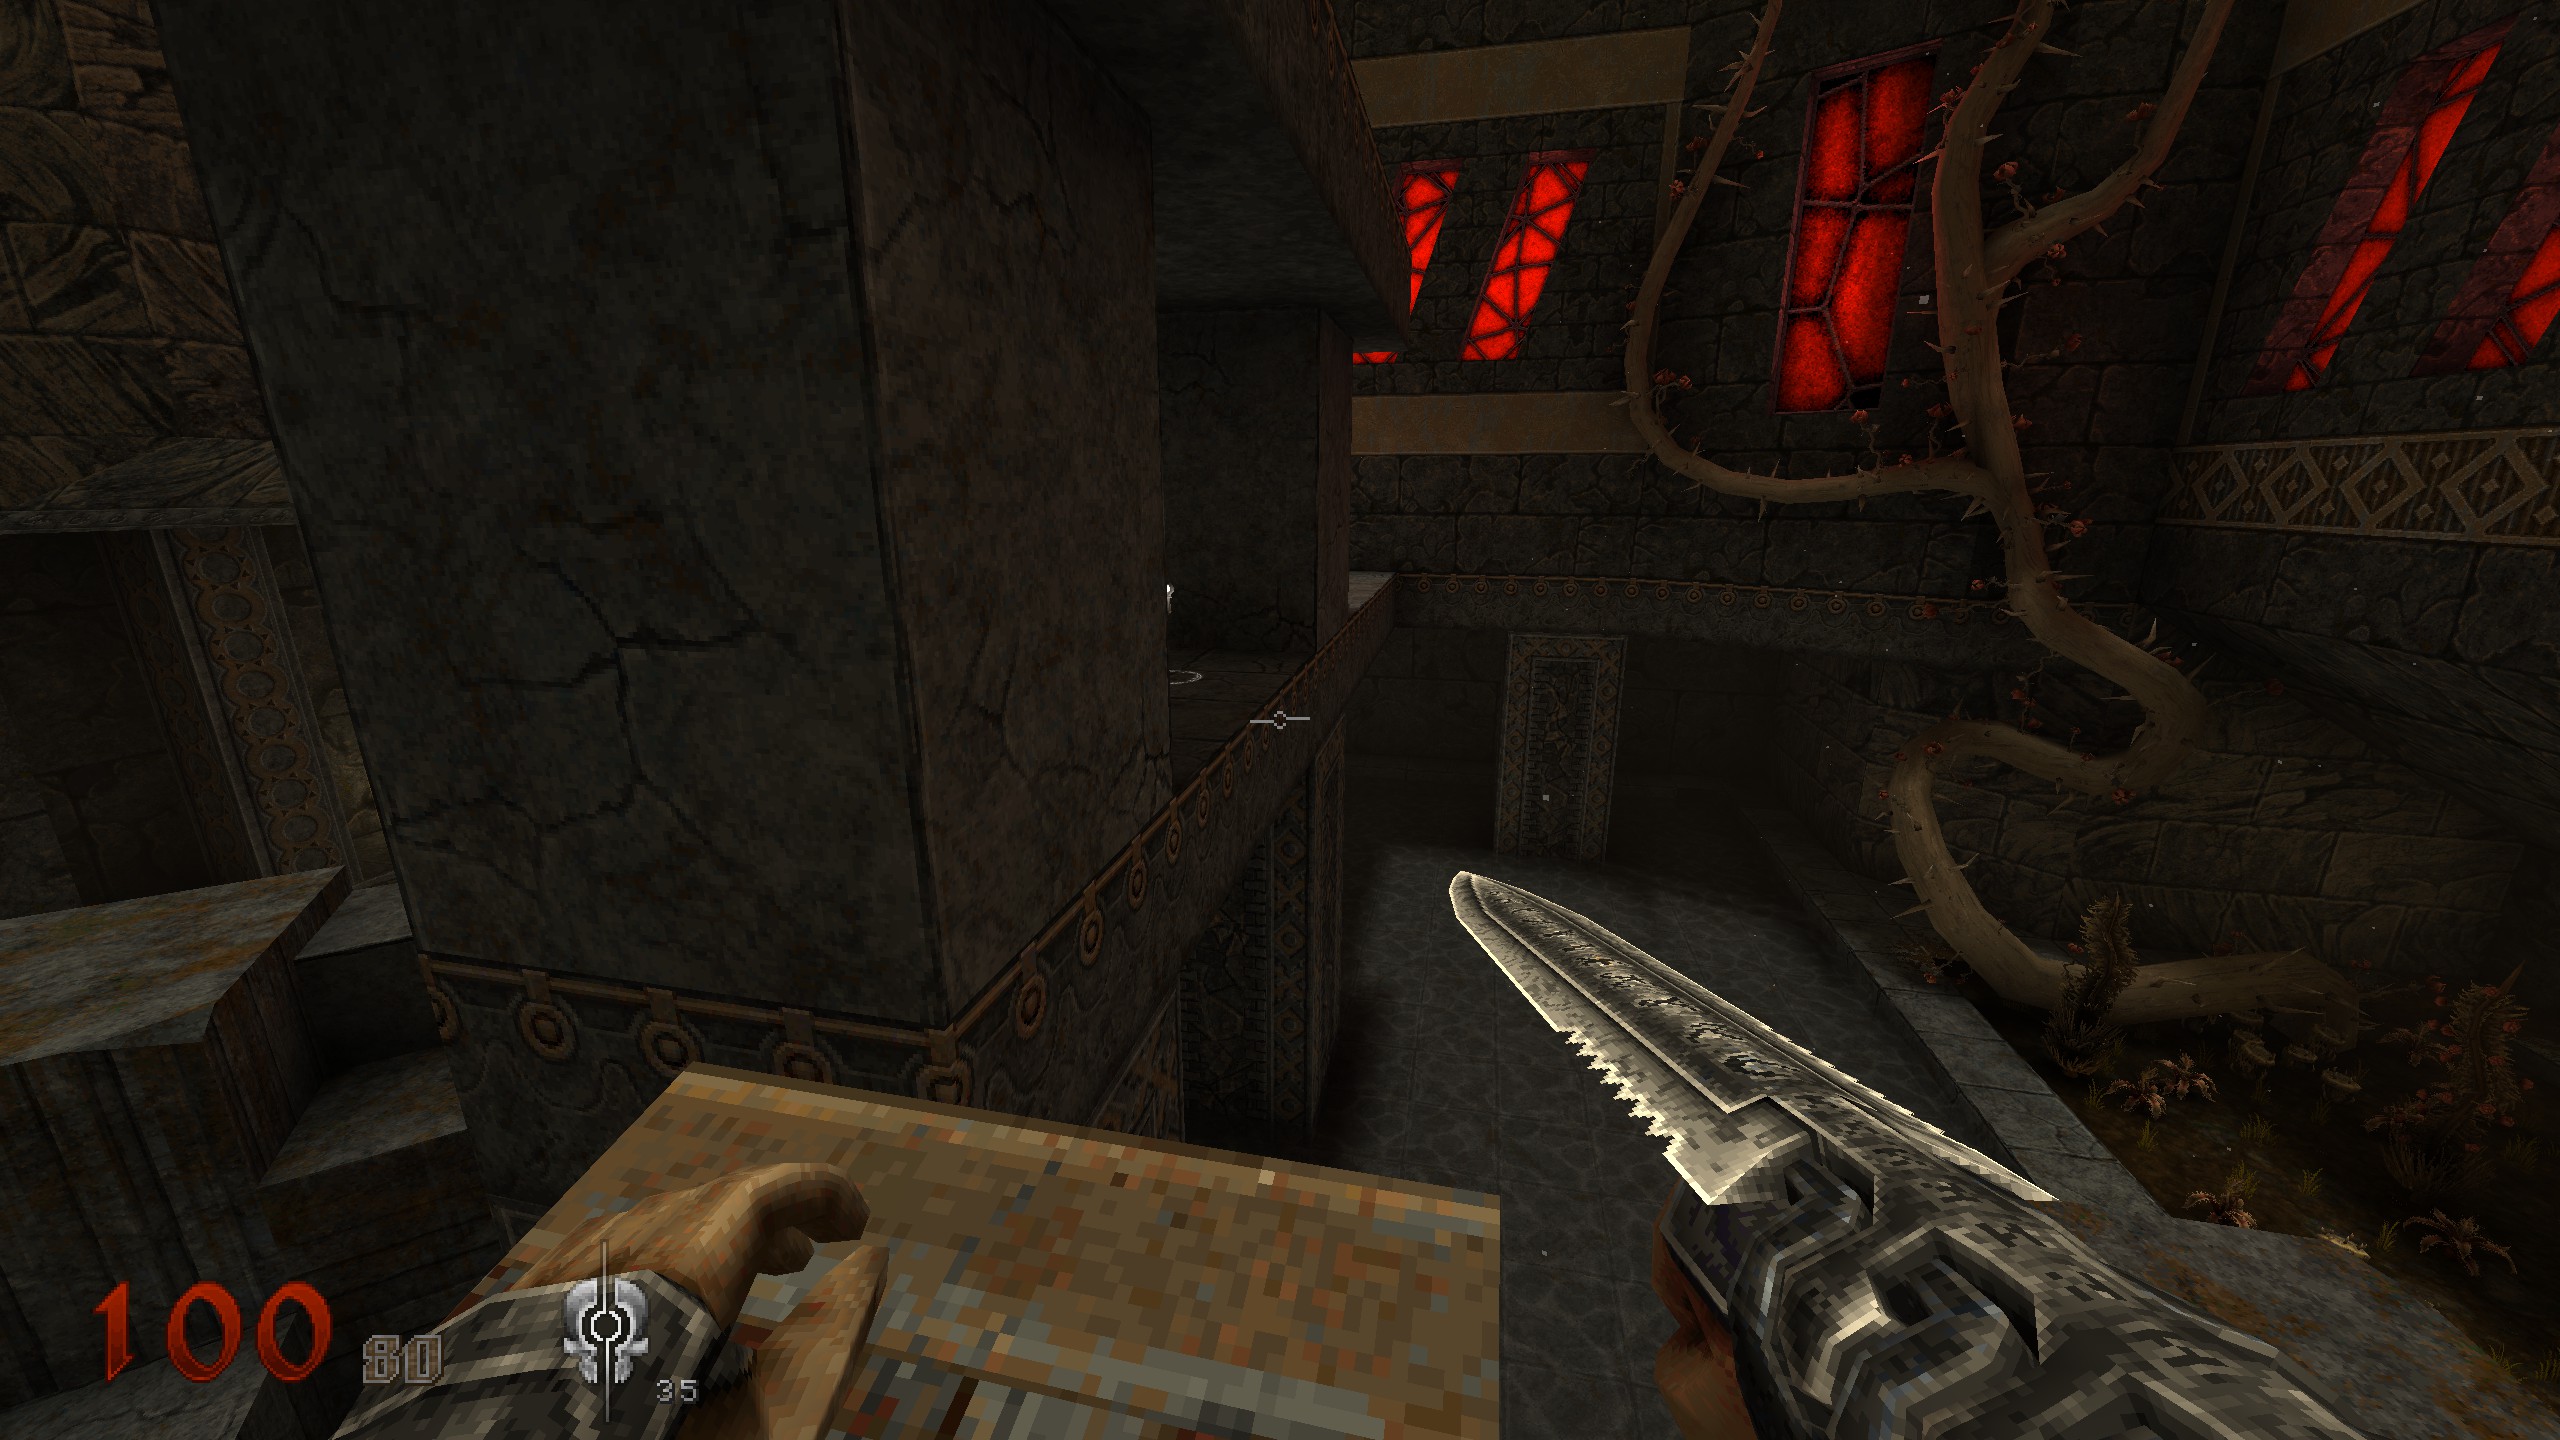
After the blue door, as soon as you get outside. If possible try to avoid destroying the wooden structures. If they get destroyed, dont worry, there is another way to that key which will be mentioned later. Instead use stone plateus and those wooden things to get onto that stone bar in the middle of the area to get the secret key.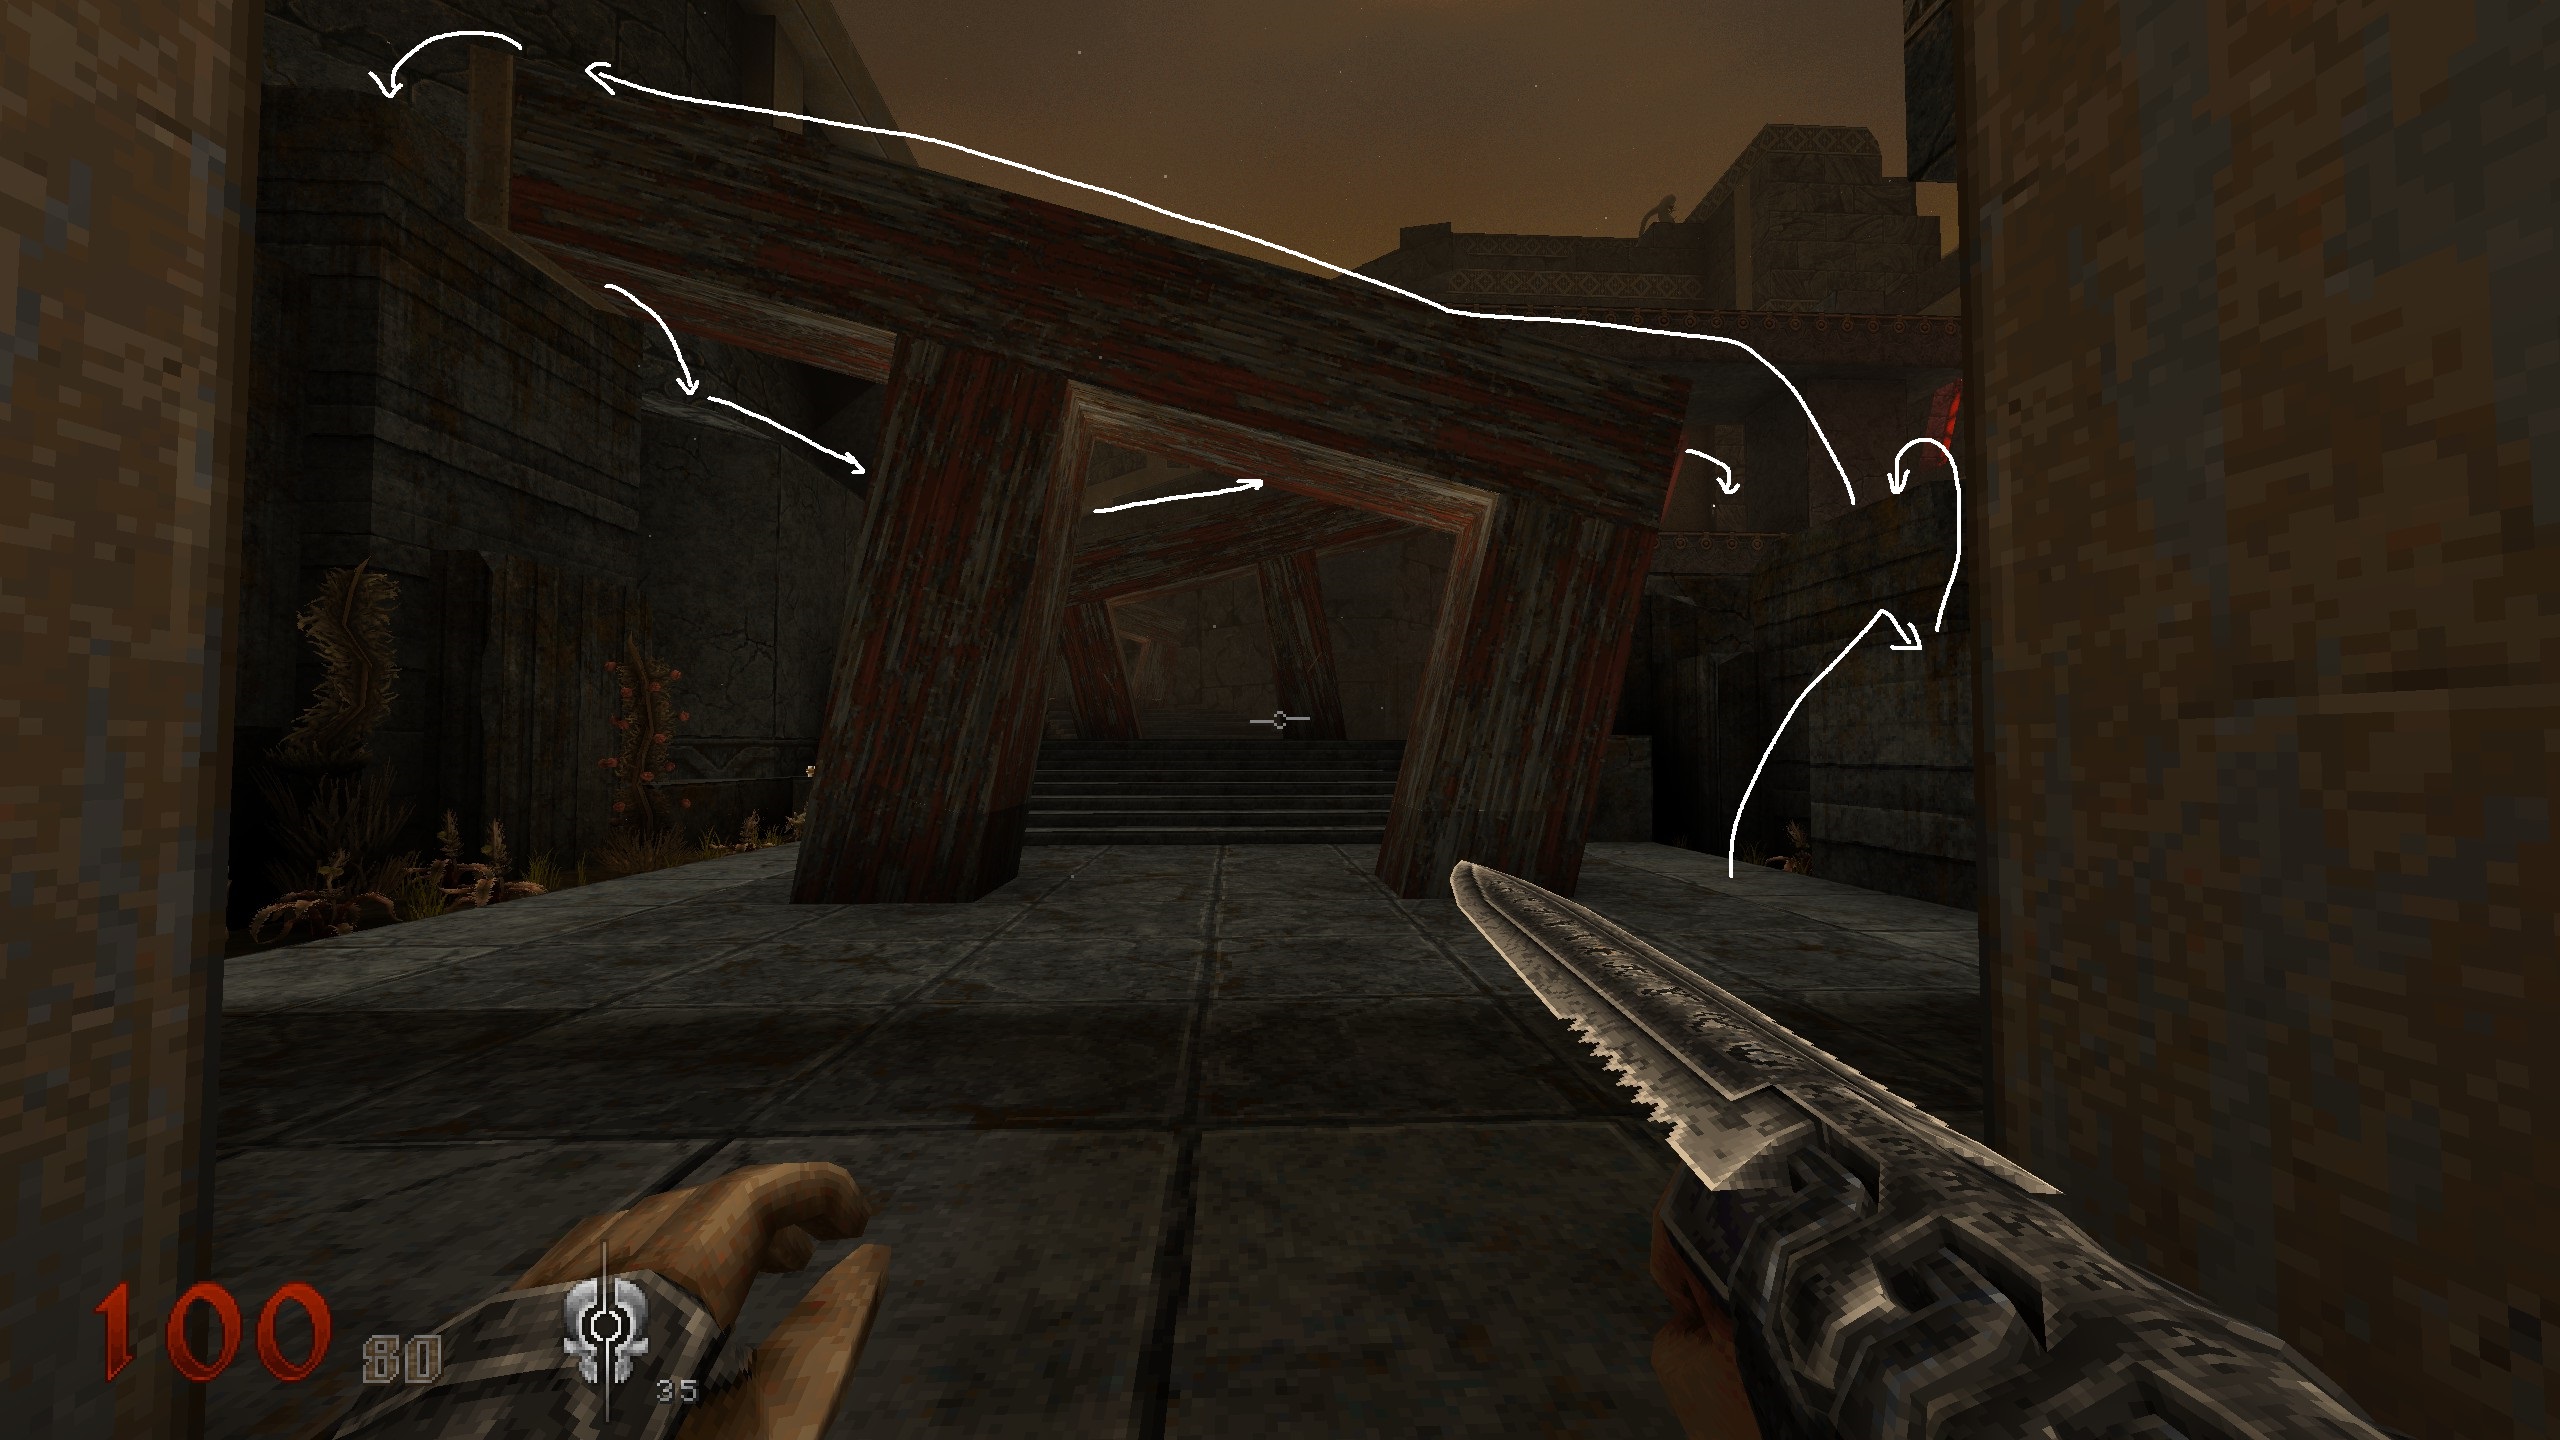
Crate
From the key you passed a shrine and went inside again. At a certain point you can take stairs on left side to get down or on right side to get up. Take right side and proceed. You pass a locked away chalise open another door and use a switch. After using it, turn around and go for the chalise. Let the elevator take you down and get into the water. Destroy the wooden planks covering the hole on the ground and dive in for the crate. Proceed.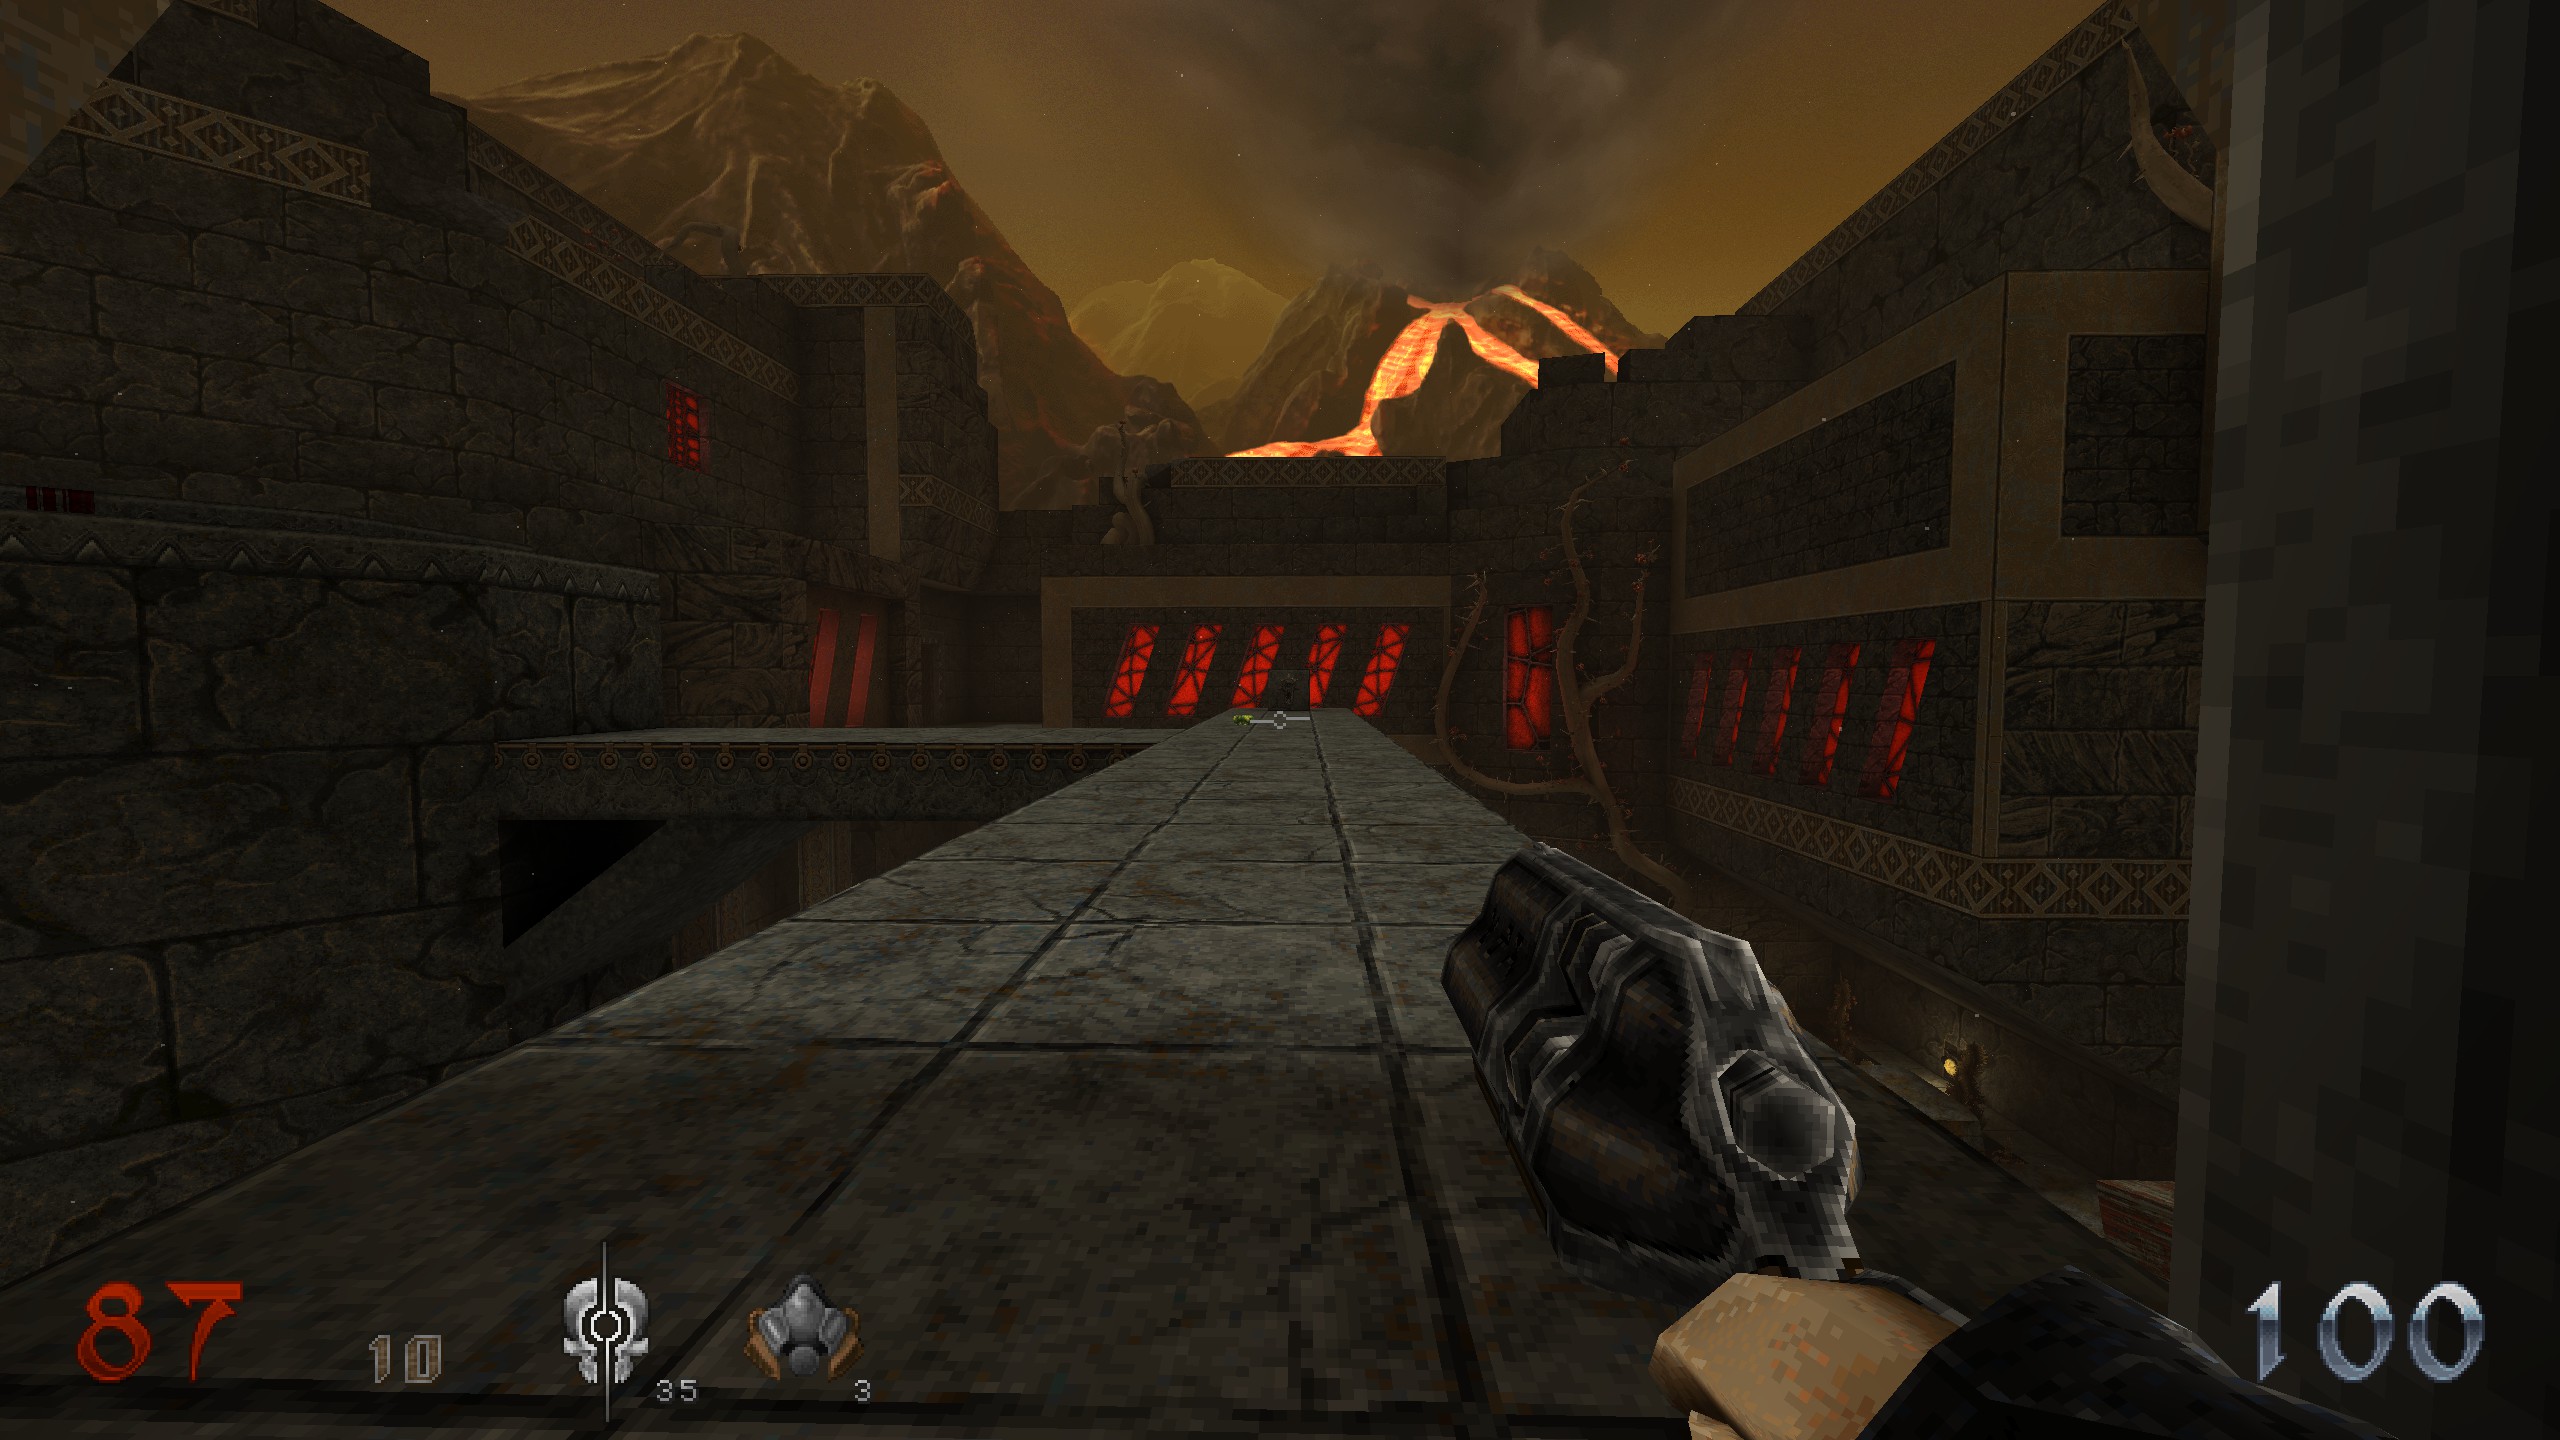
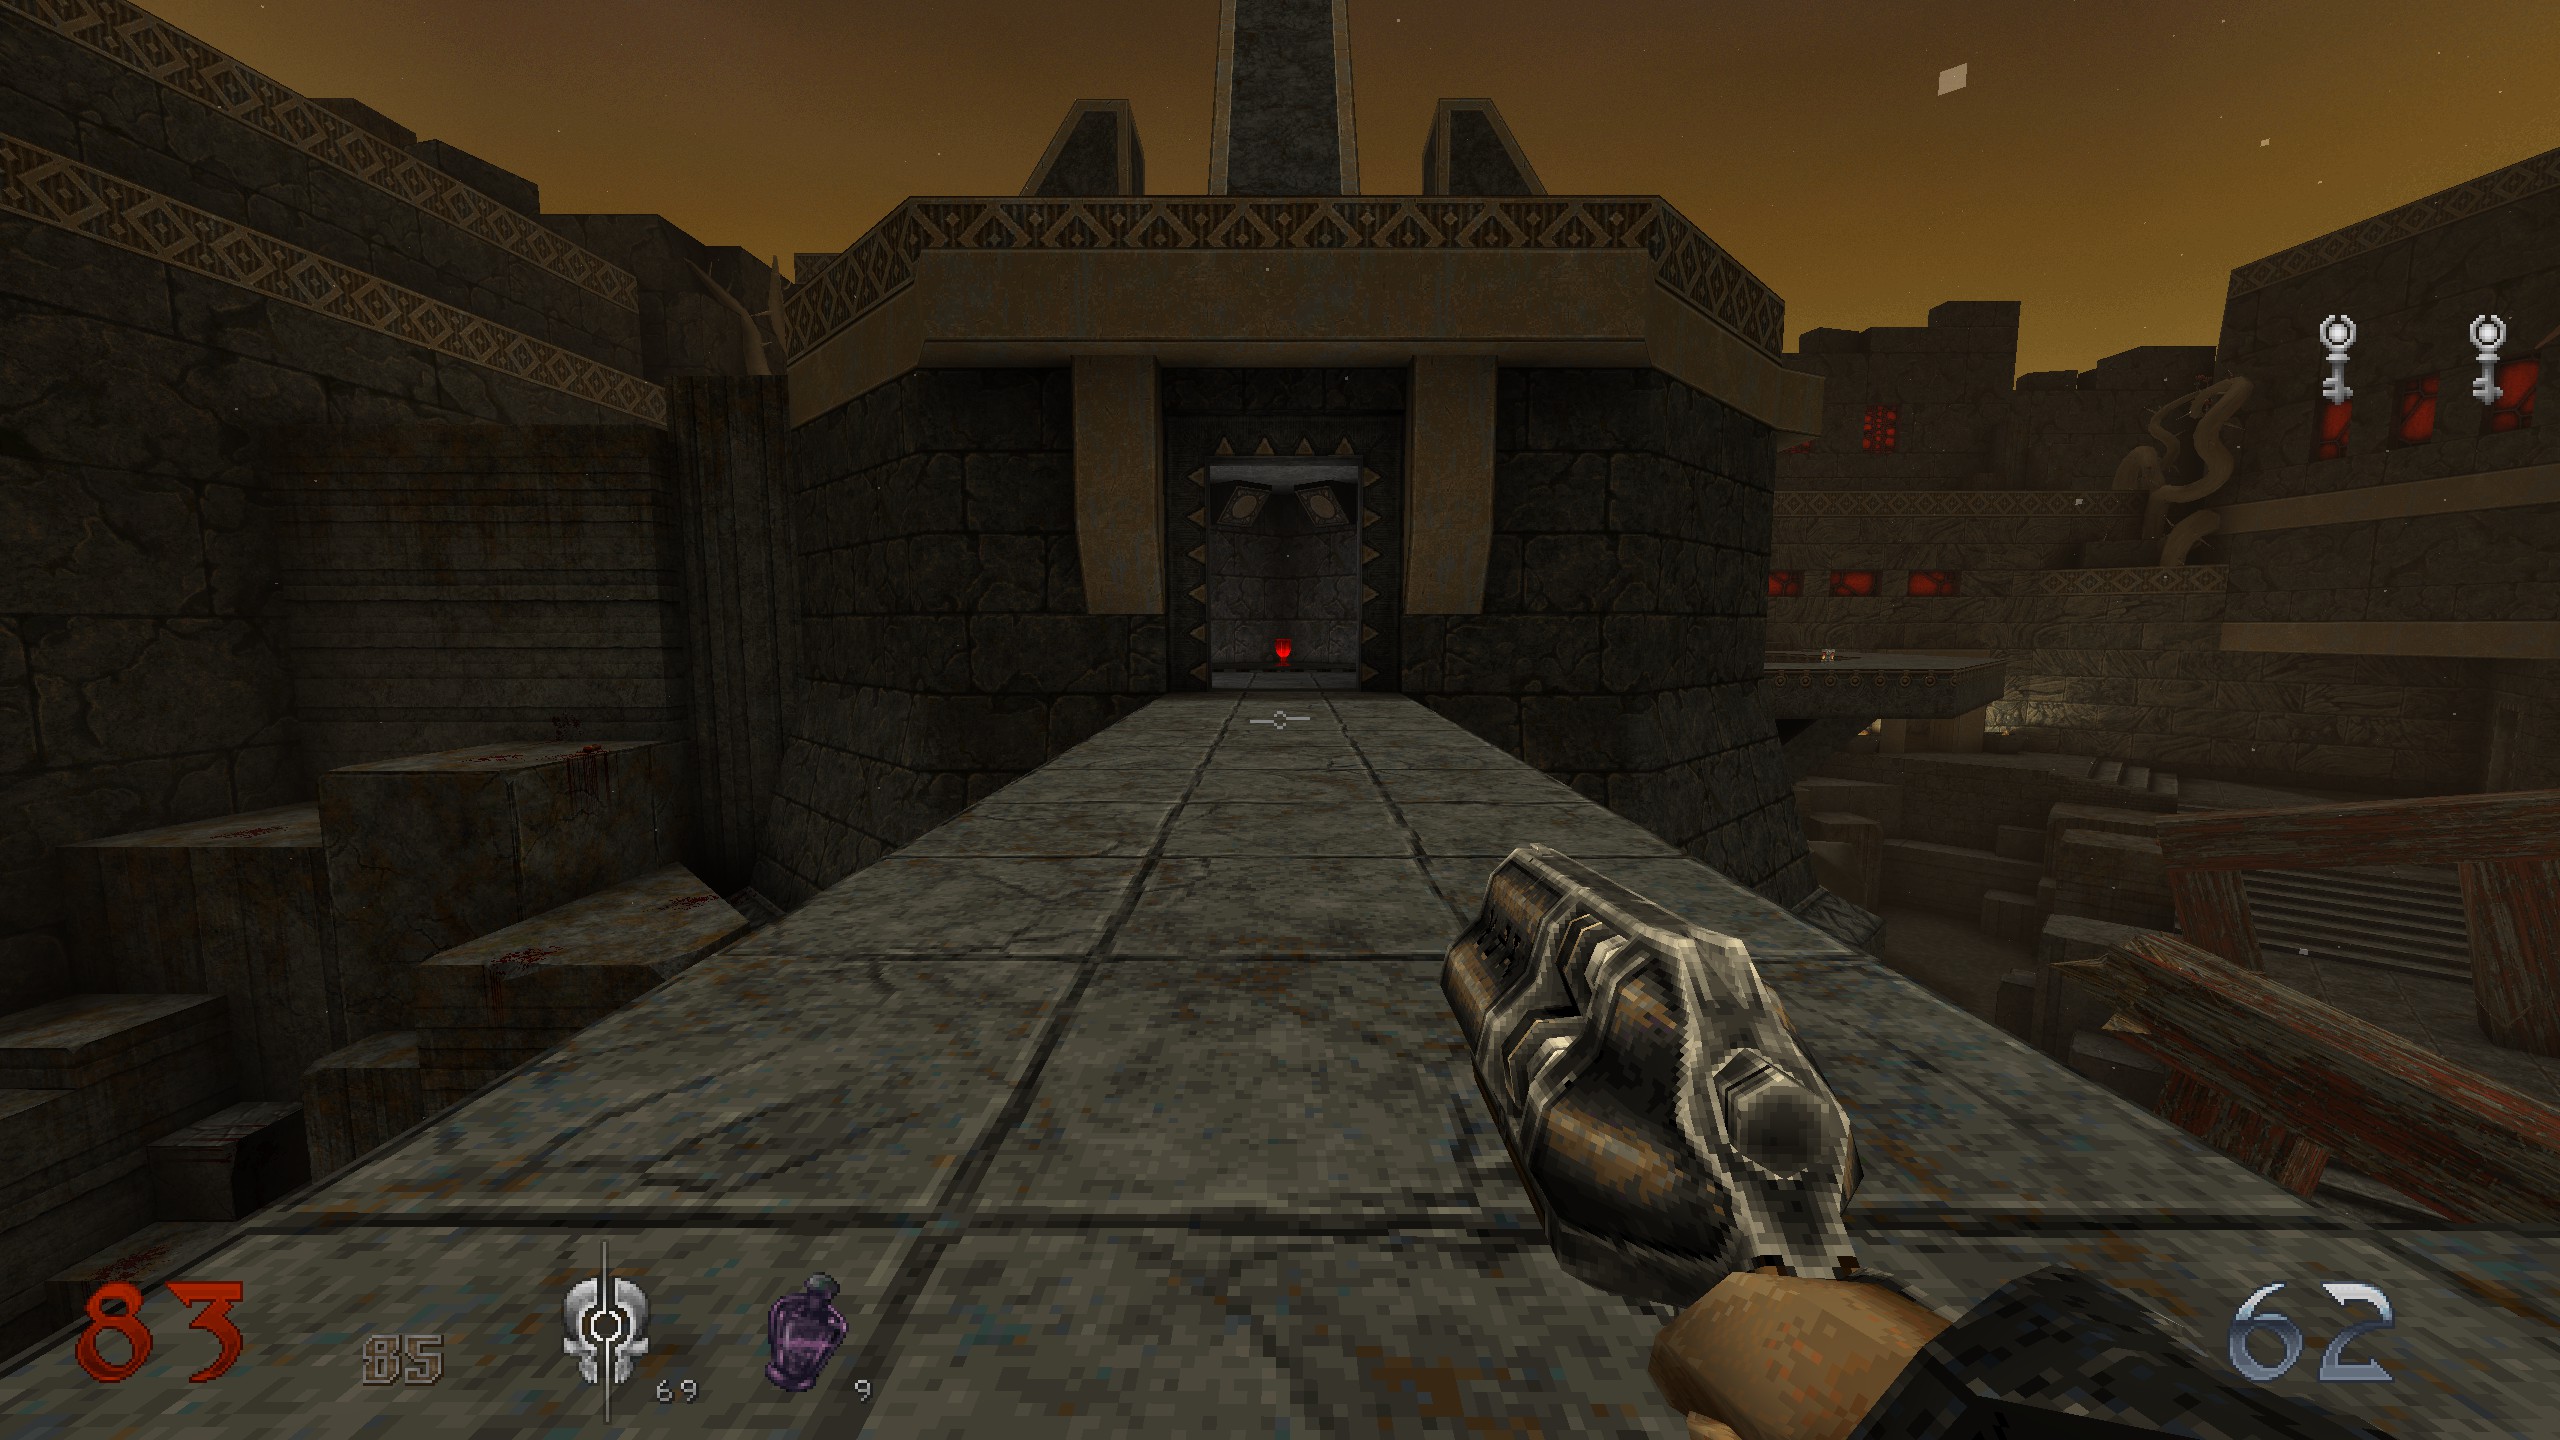
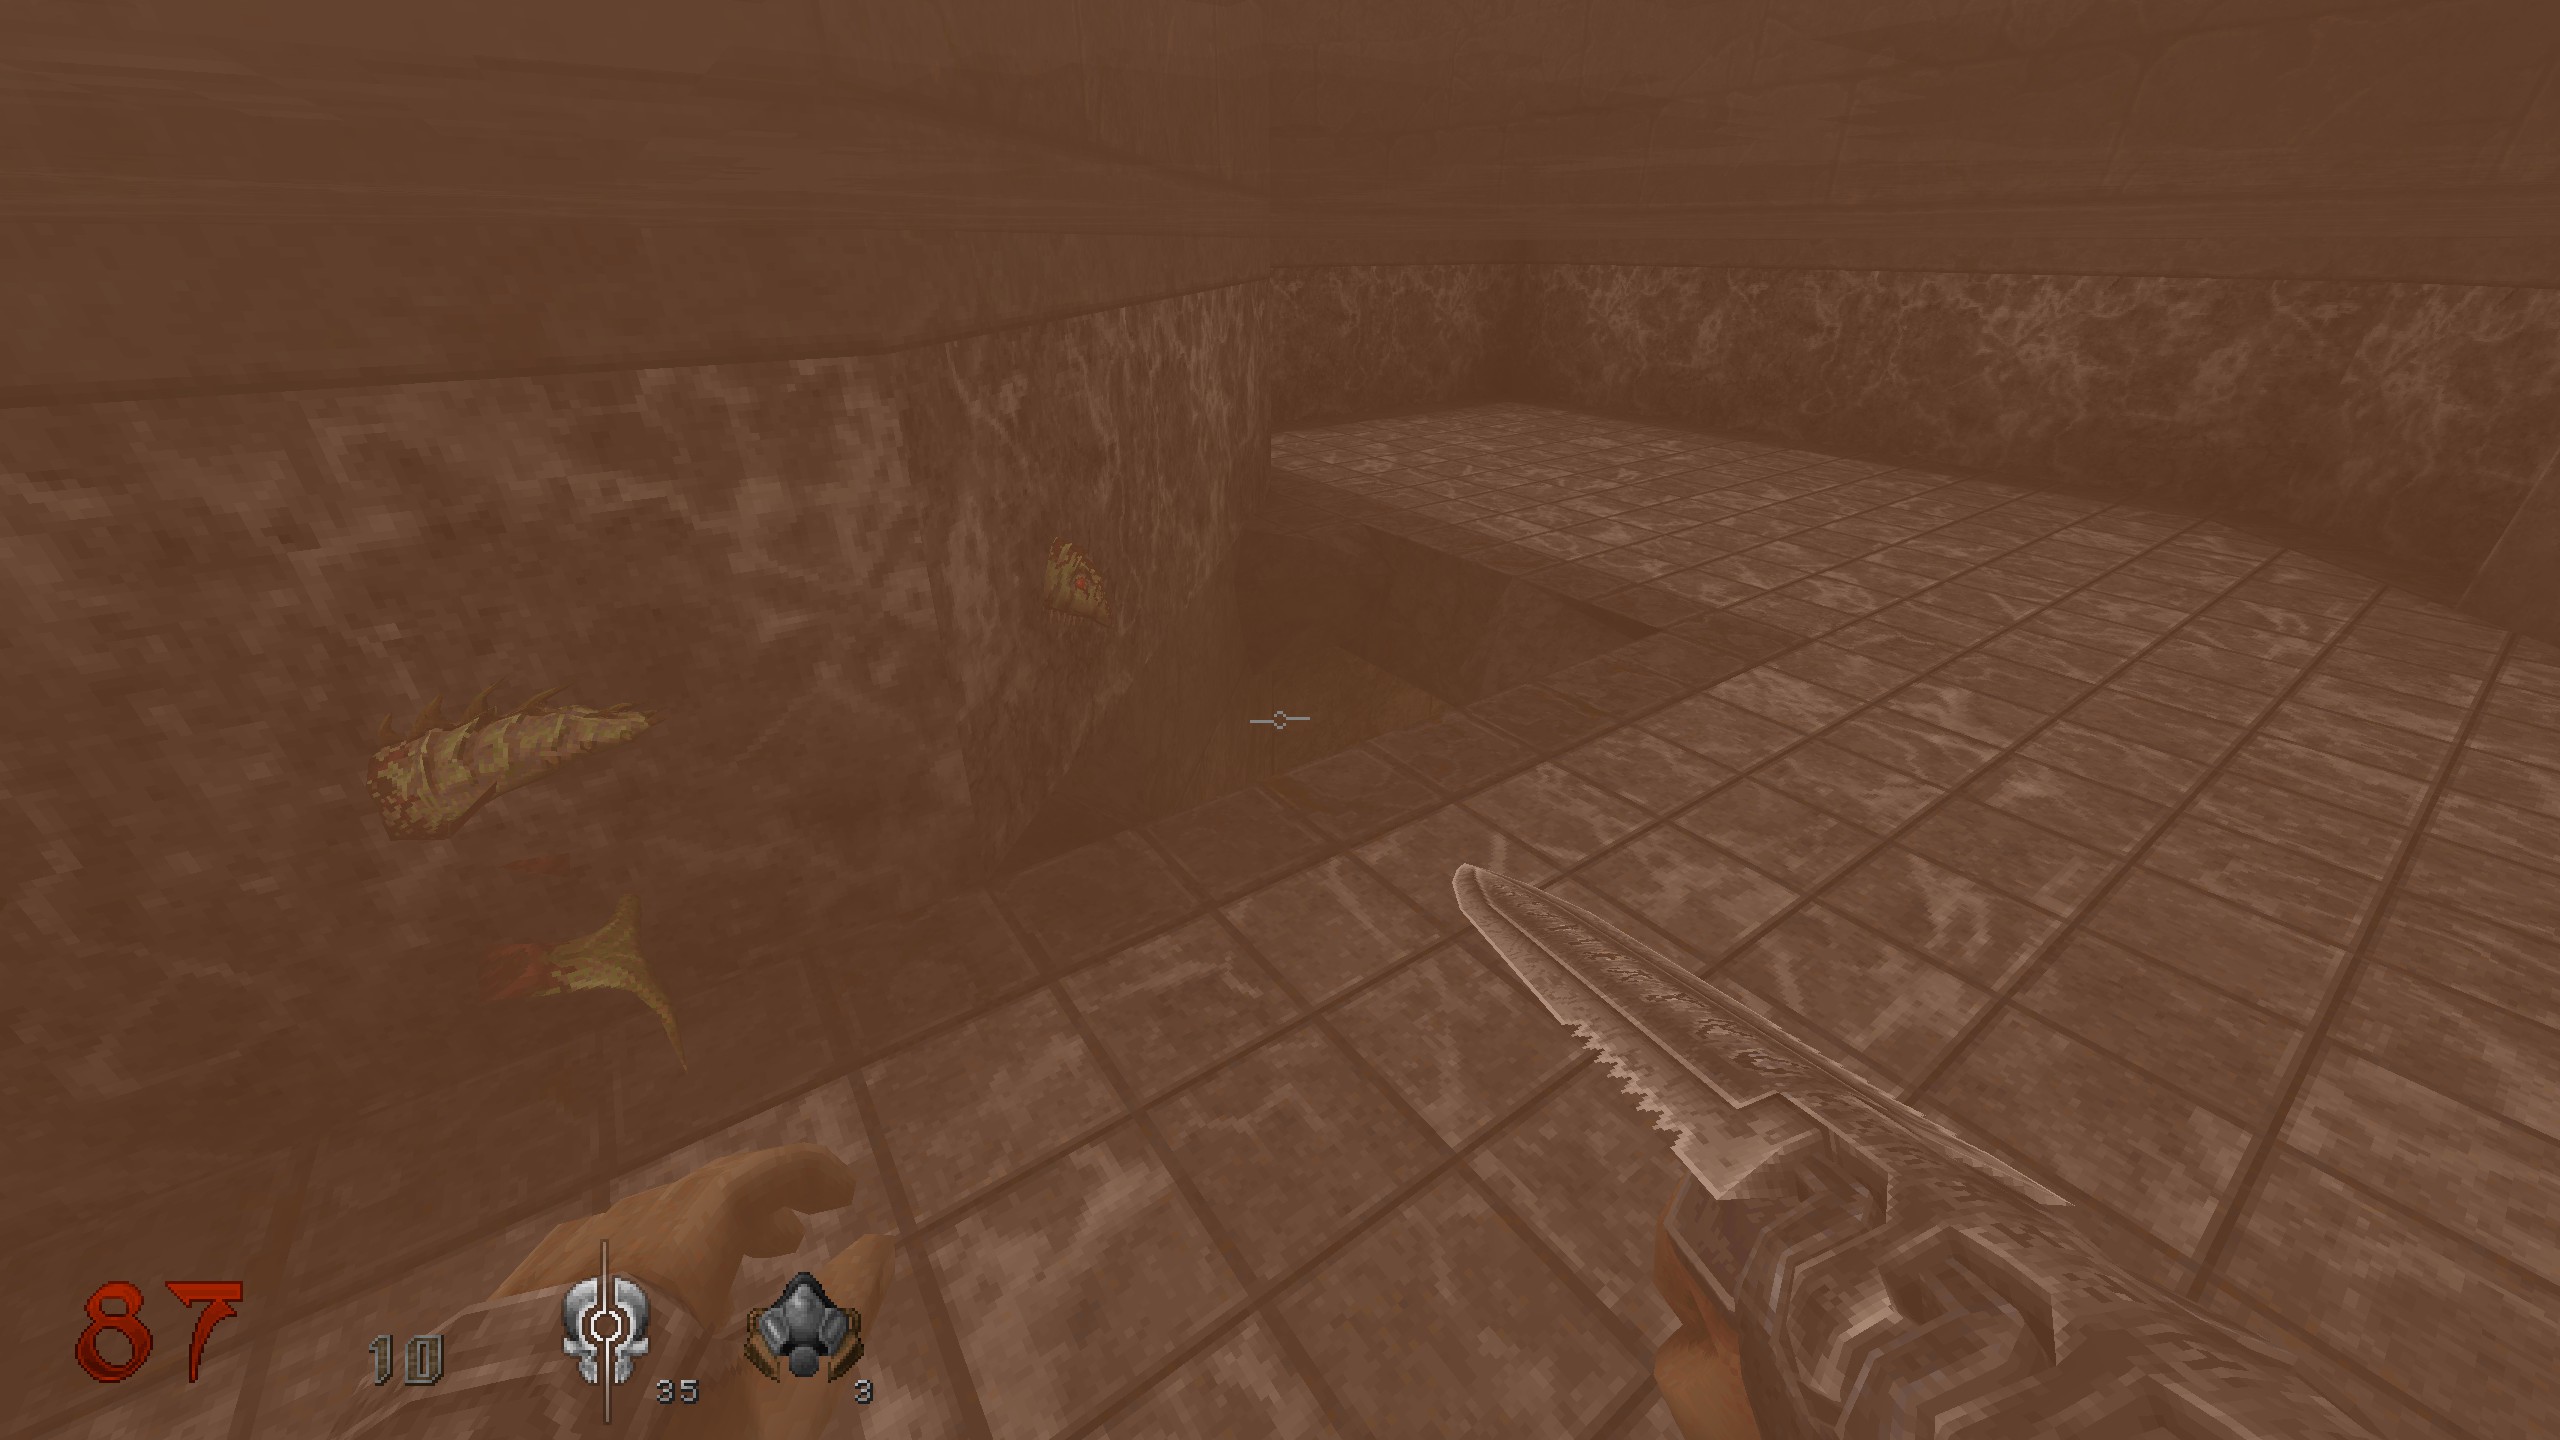
S4
After a while you come to this spot. To your left, back to spawn and blue door. Take the right and follow the stairs until you can see some hp on top a broken wall. Get hp to get secret. Continue on.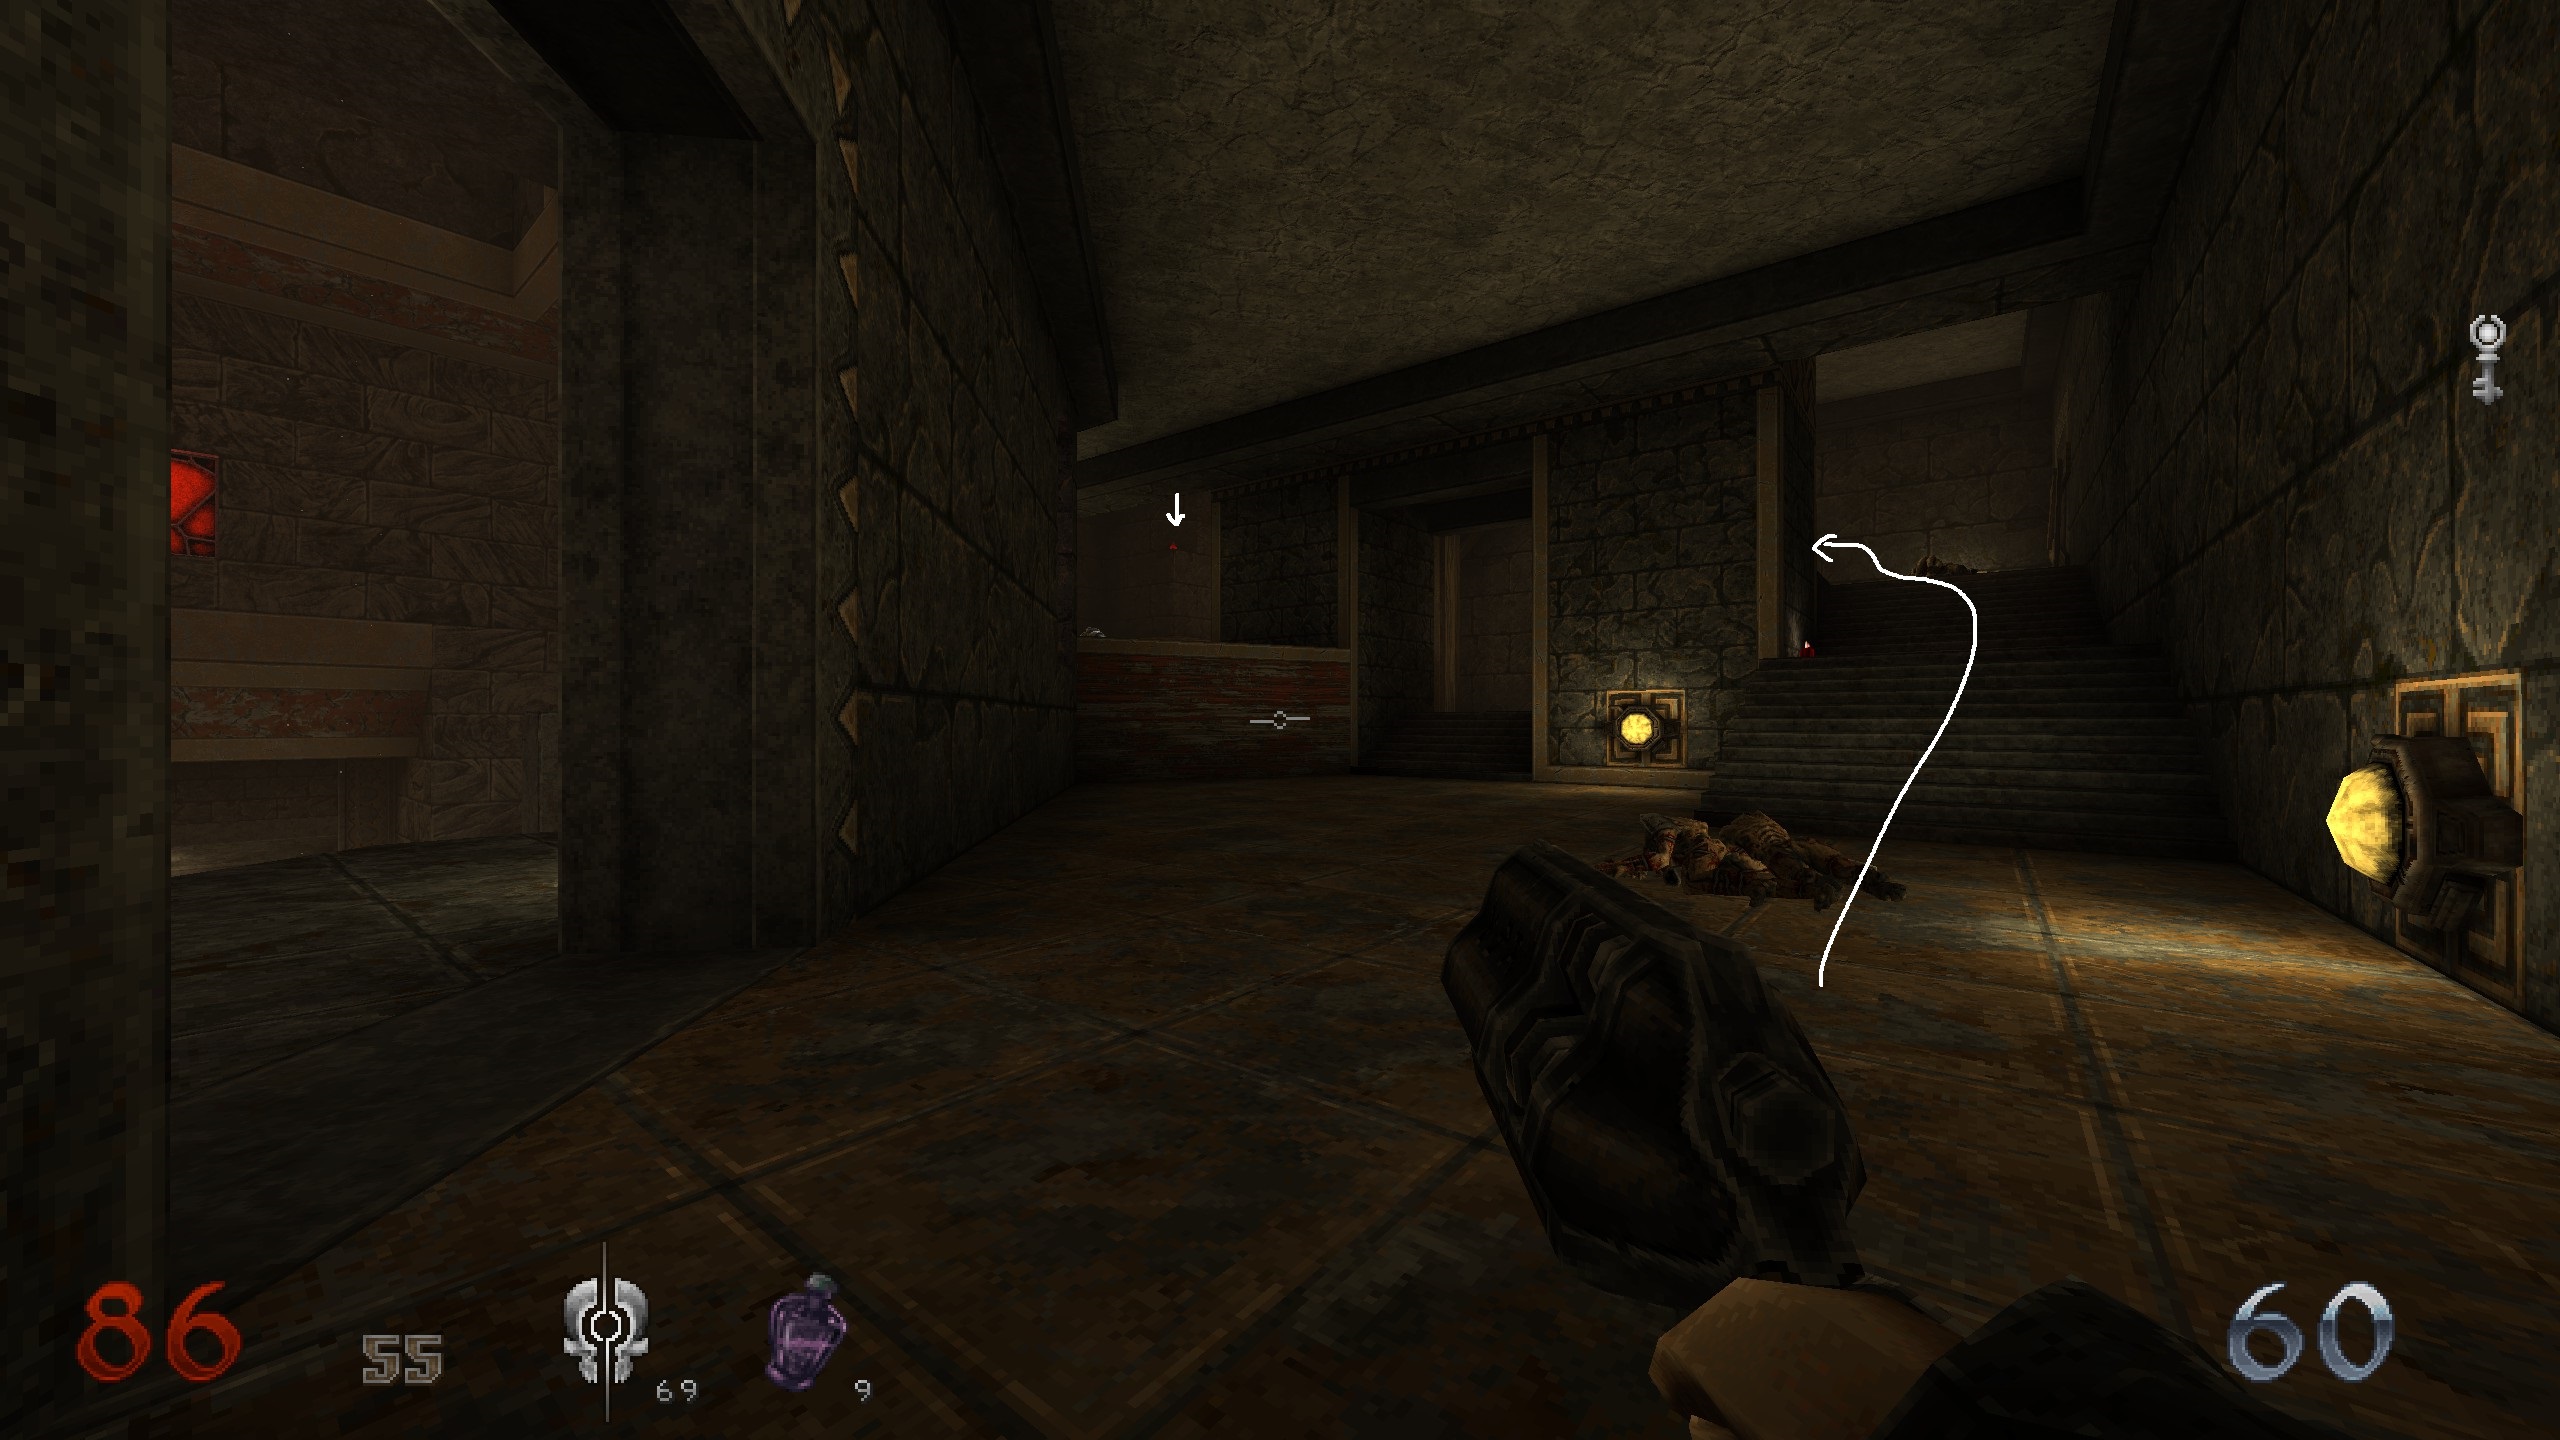
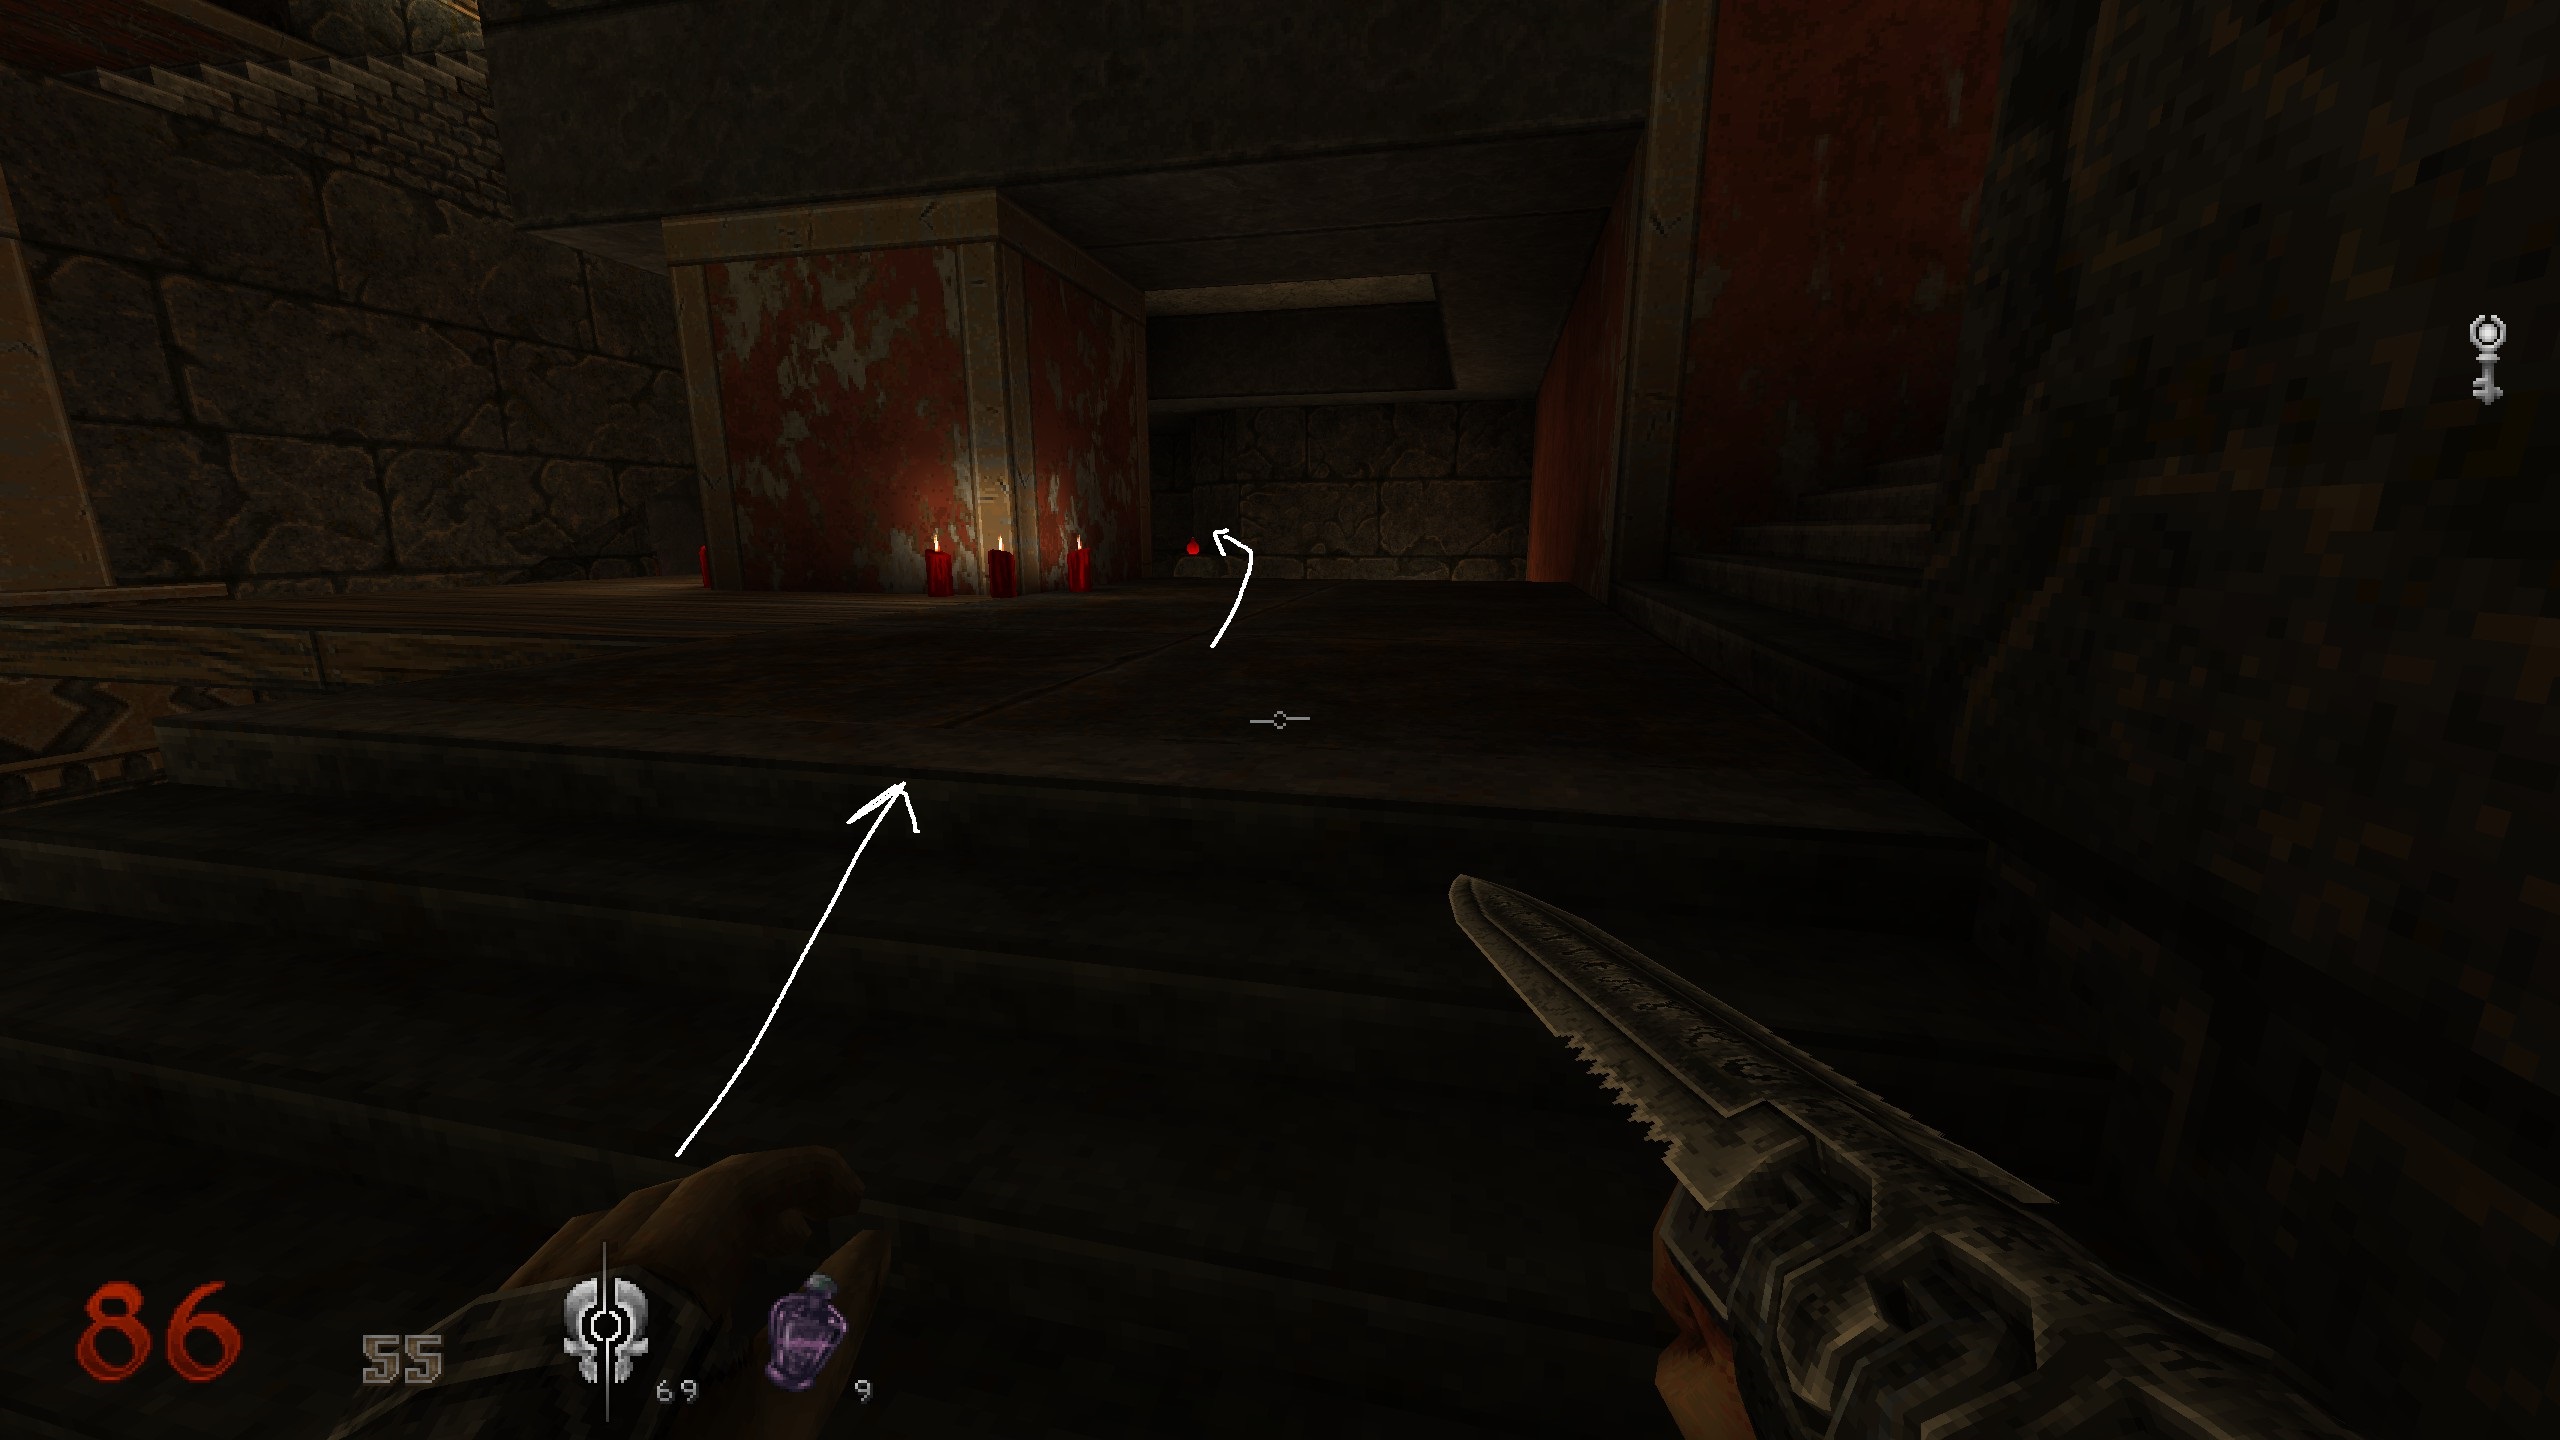
Crate
You have gone on for a while and are coming into the area where blue crystals appear on the wall as well as blue candles. Where that area starts you can go right for a shelter and left for the crate. Get crate and then over to shelter to proceed with mission.
After the shrine is a very good spot for achievement “Grounded” since only those small flying enemies spawn and nothing more.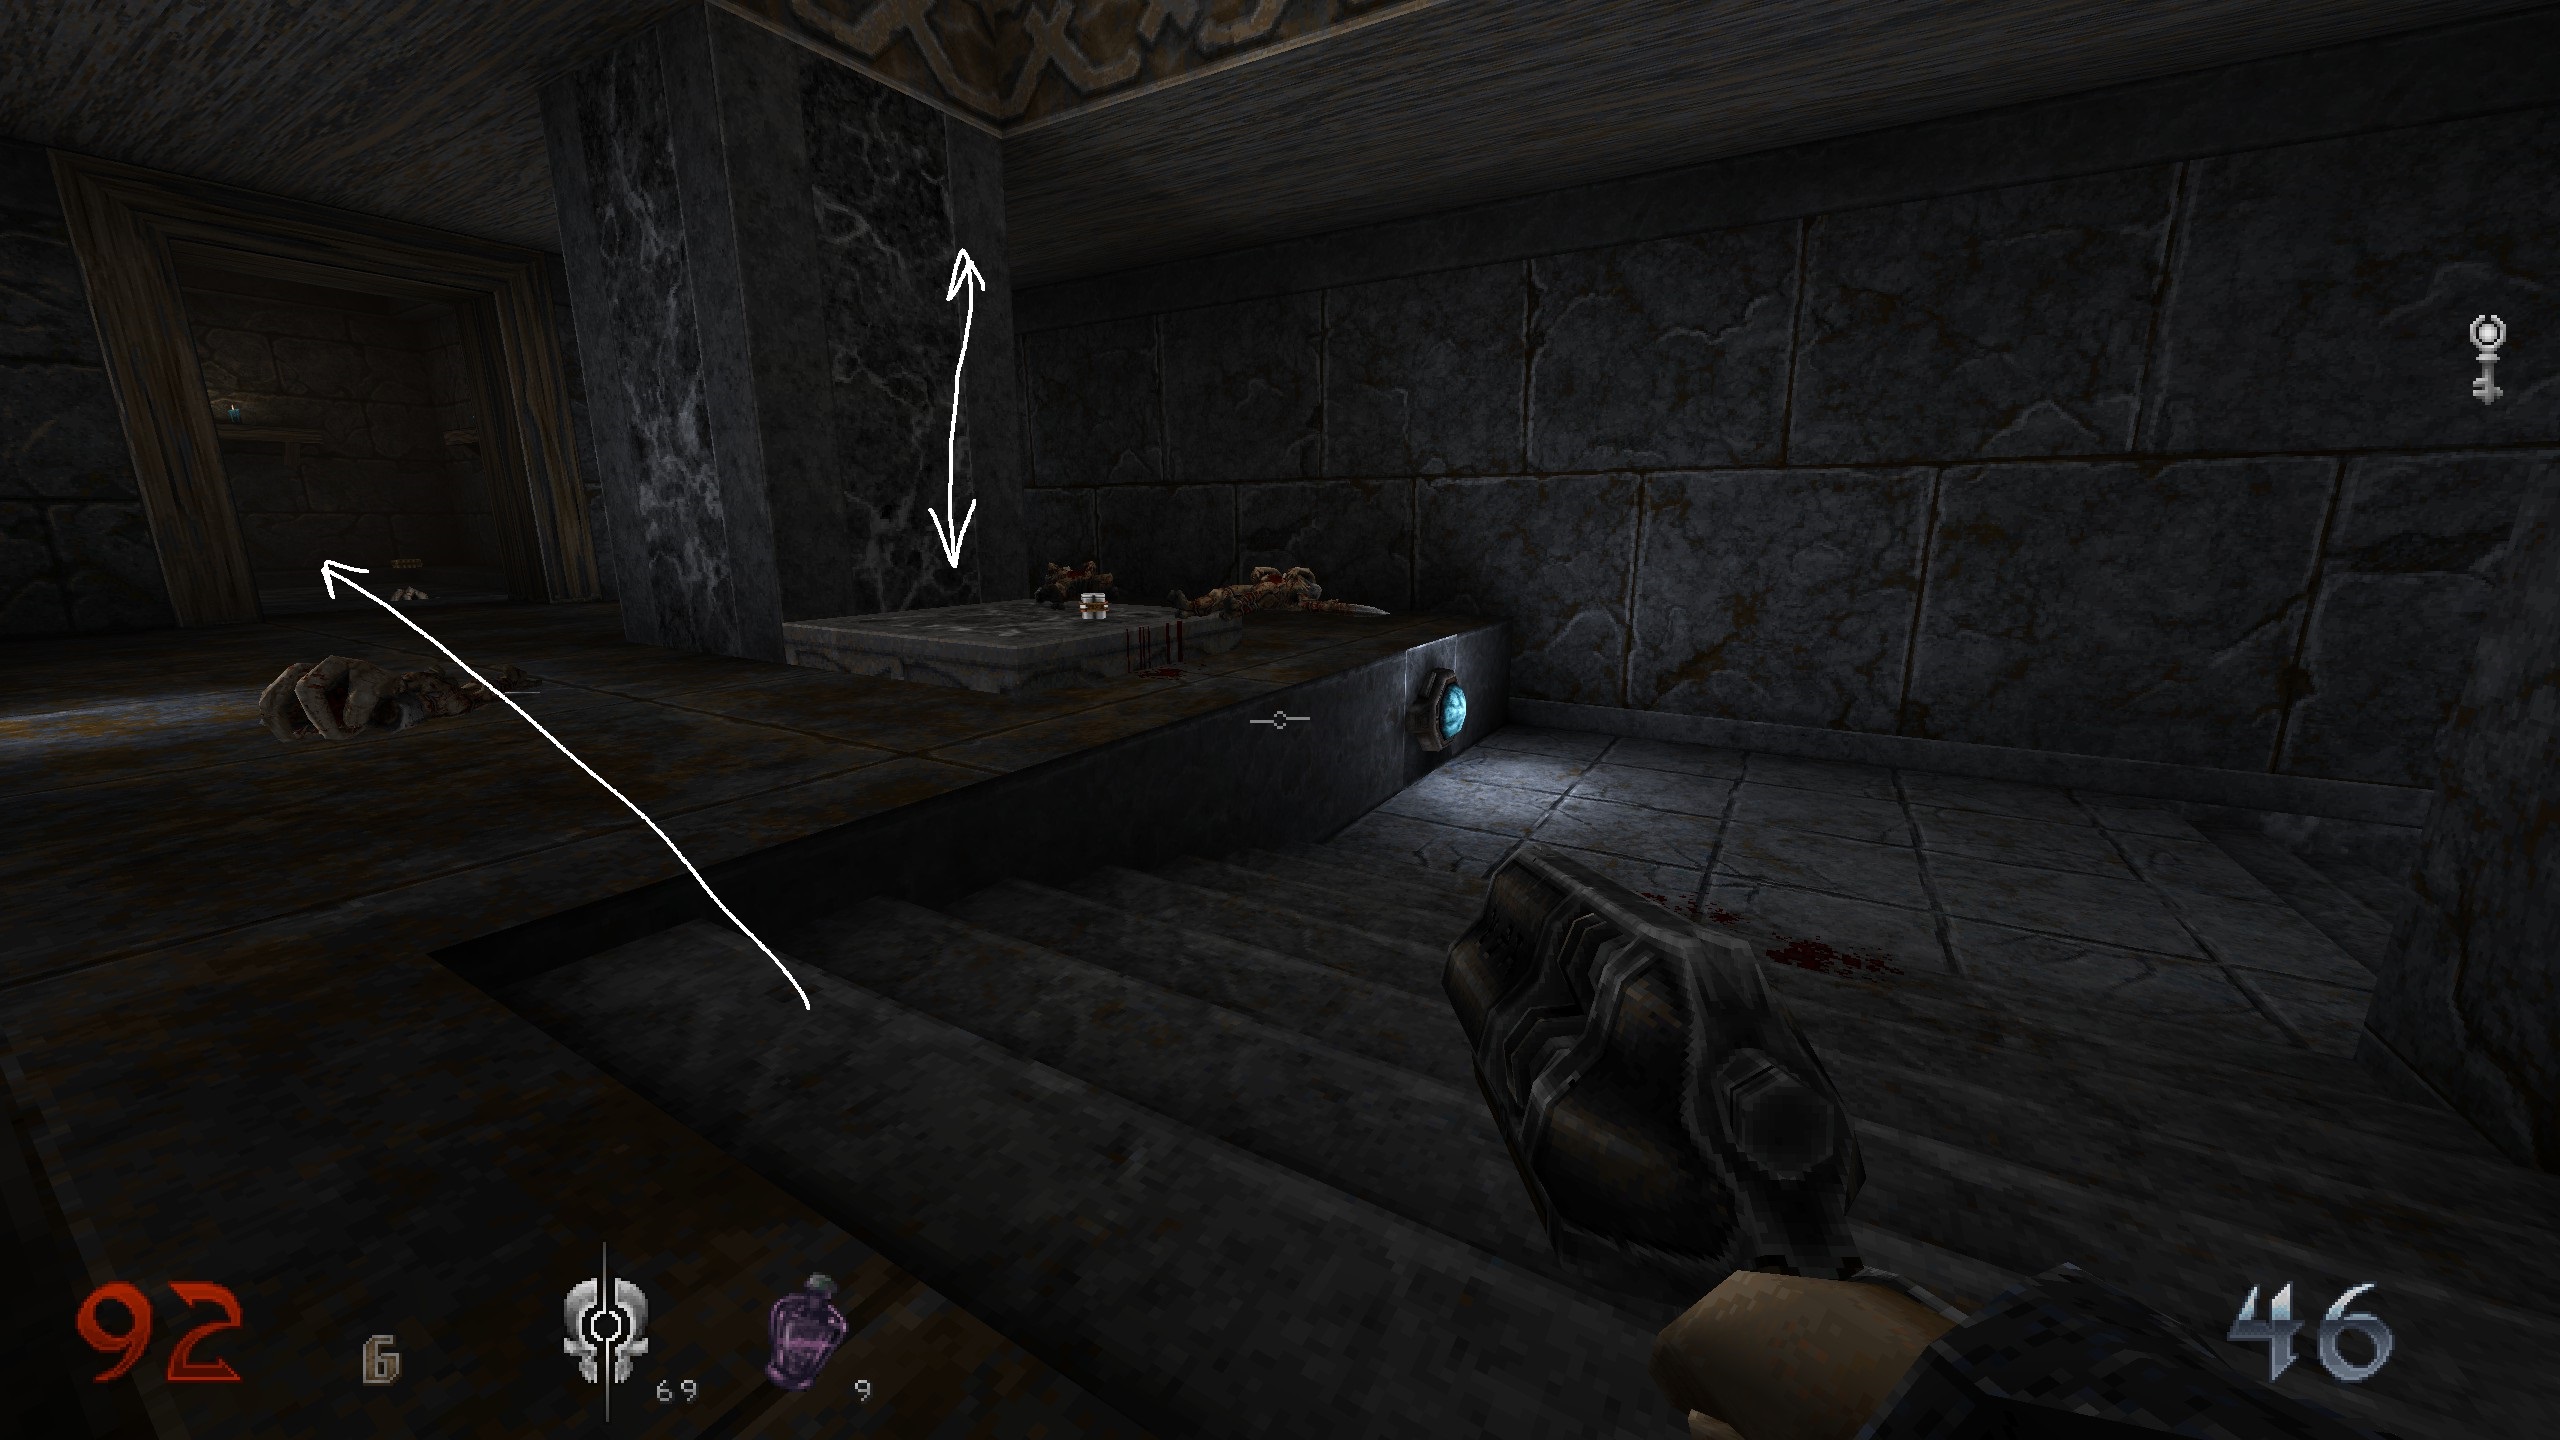
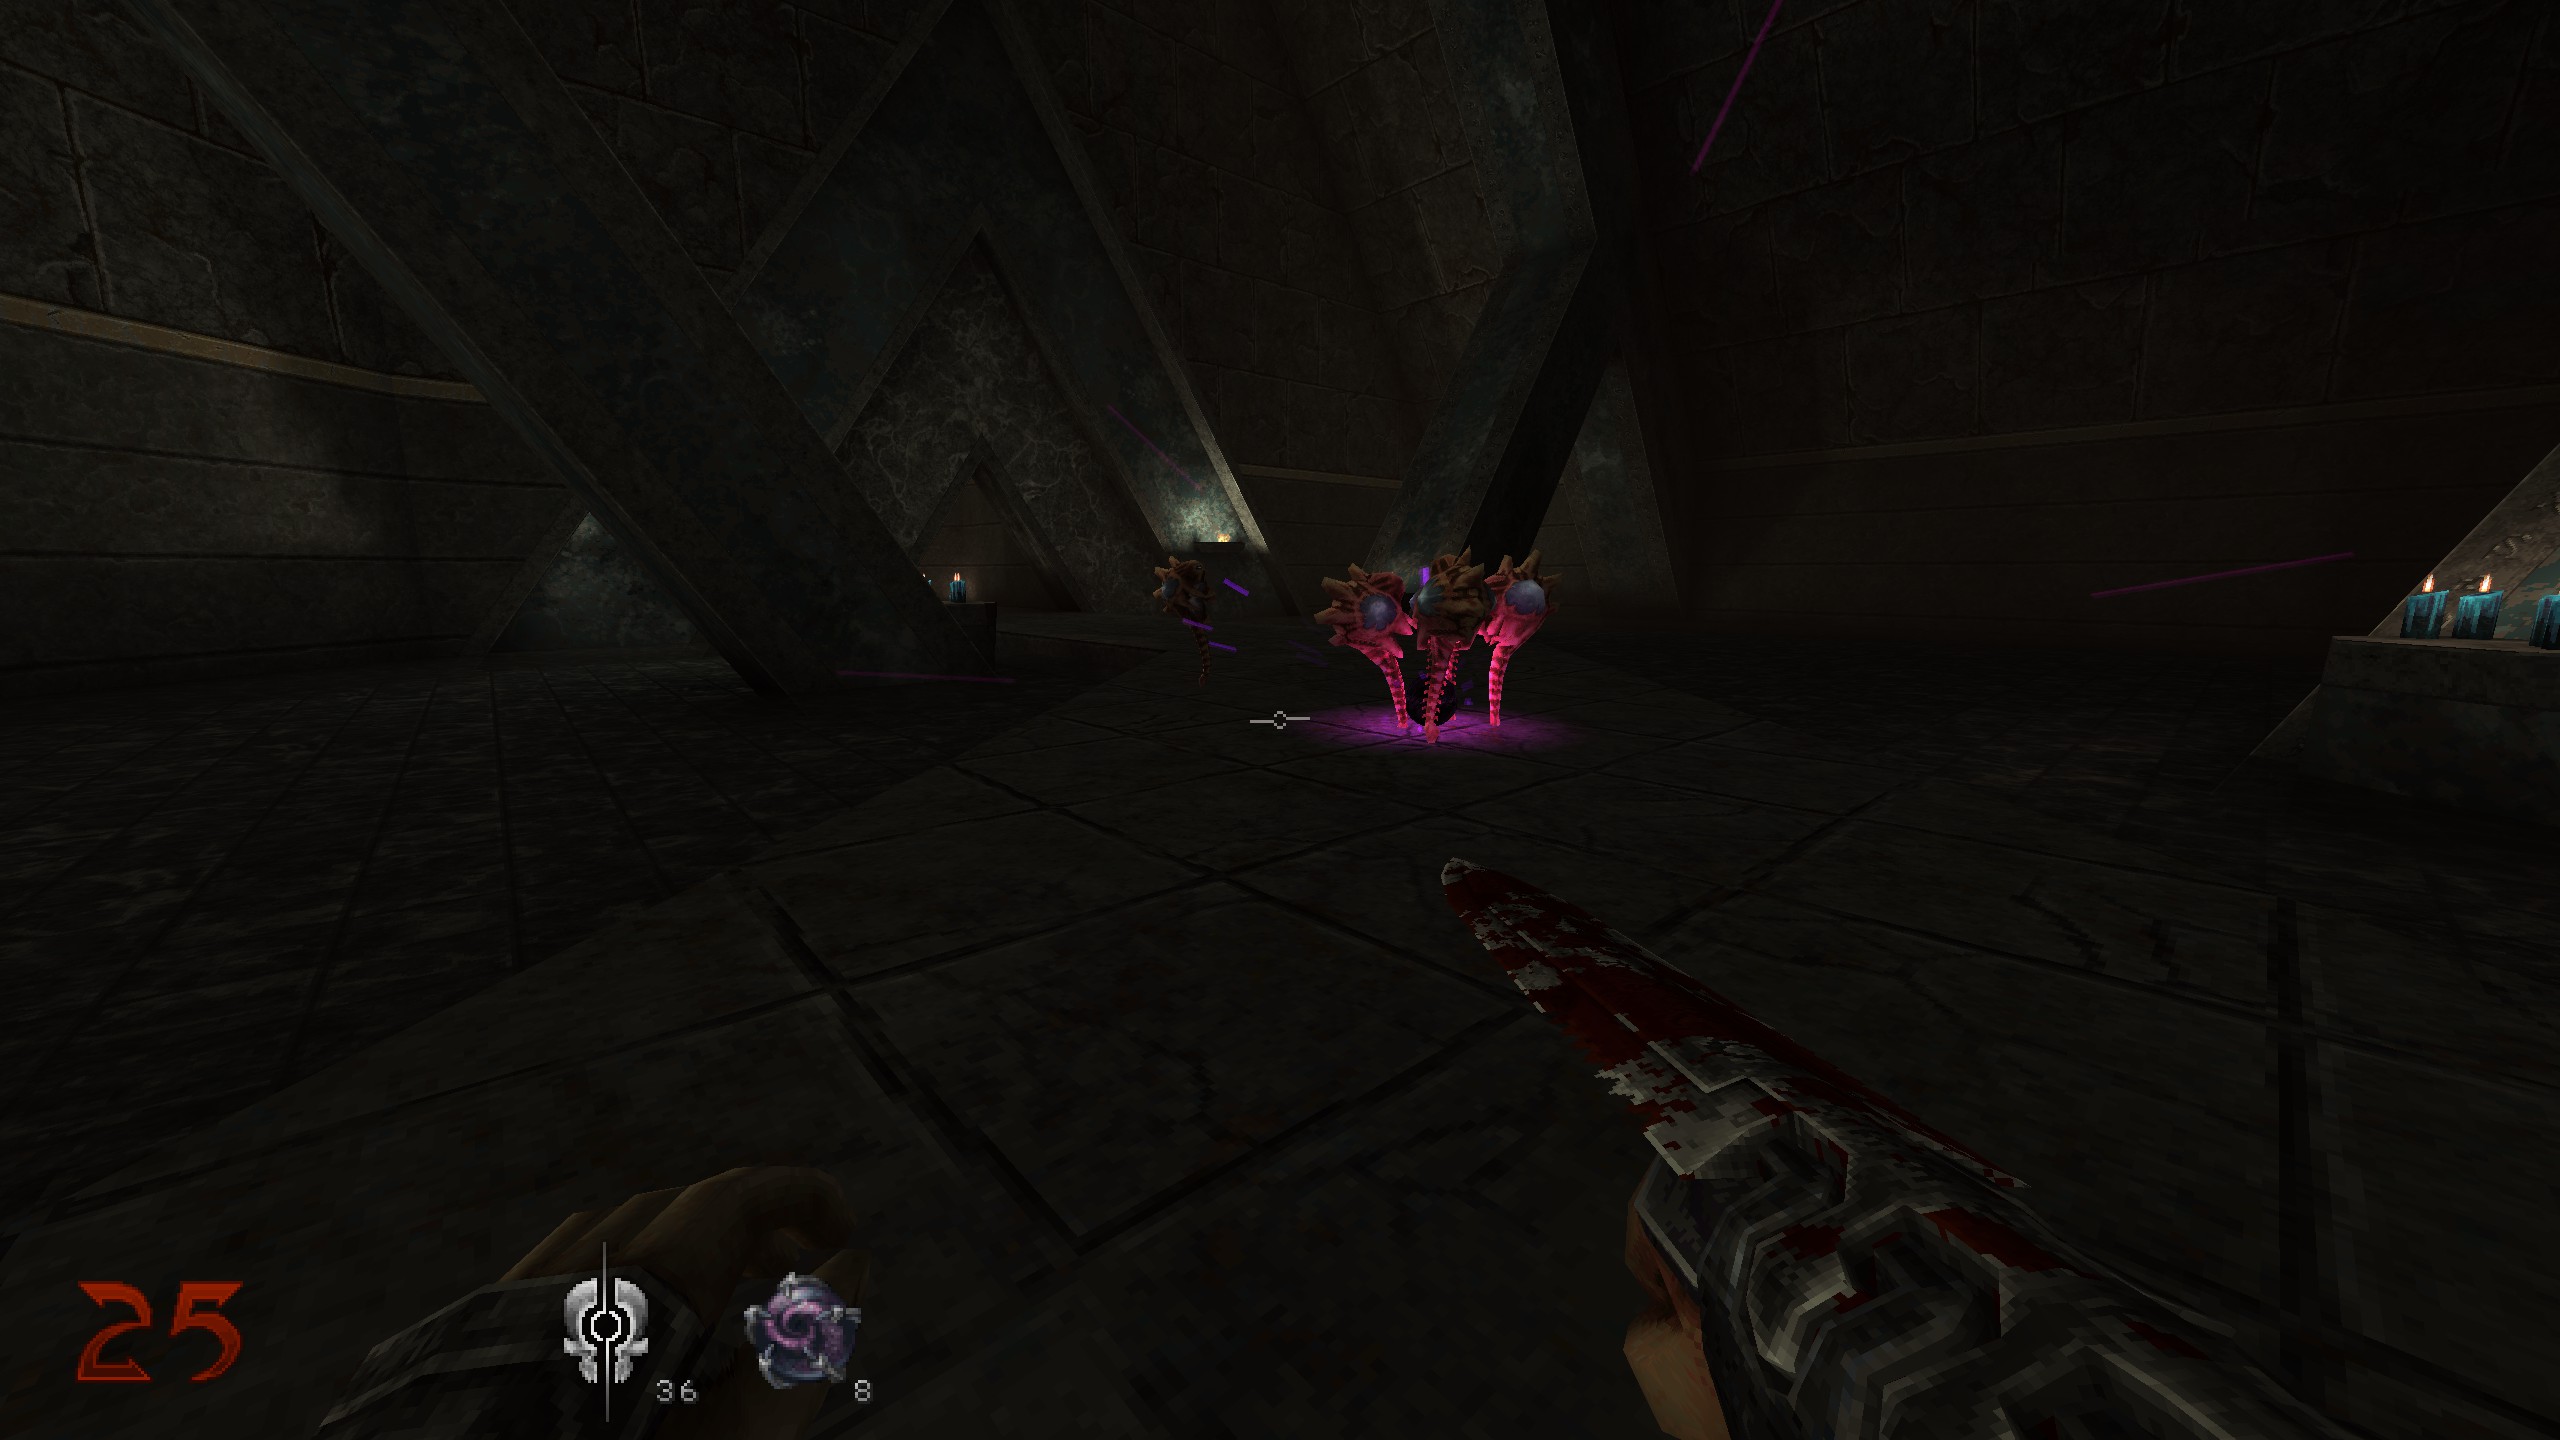
S5 bugged & S6
Shortly after the shelter, you will come into a huge room with water falling down. Get up the stairs, jump on the stone ledges on the wall and use all those following ledges to get to an opening. You will notice that you cant proceed.
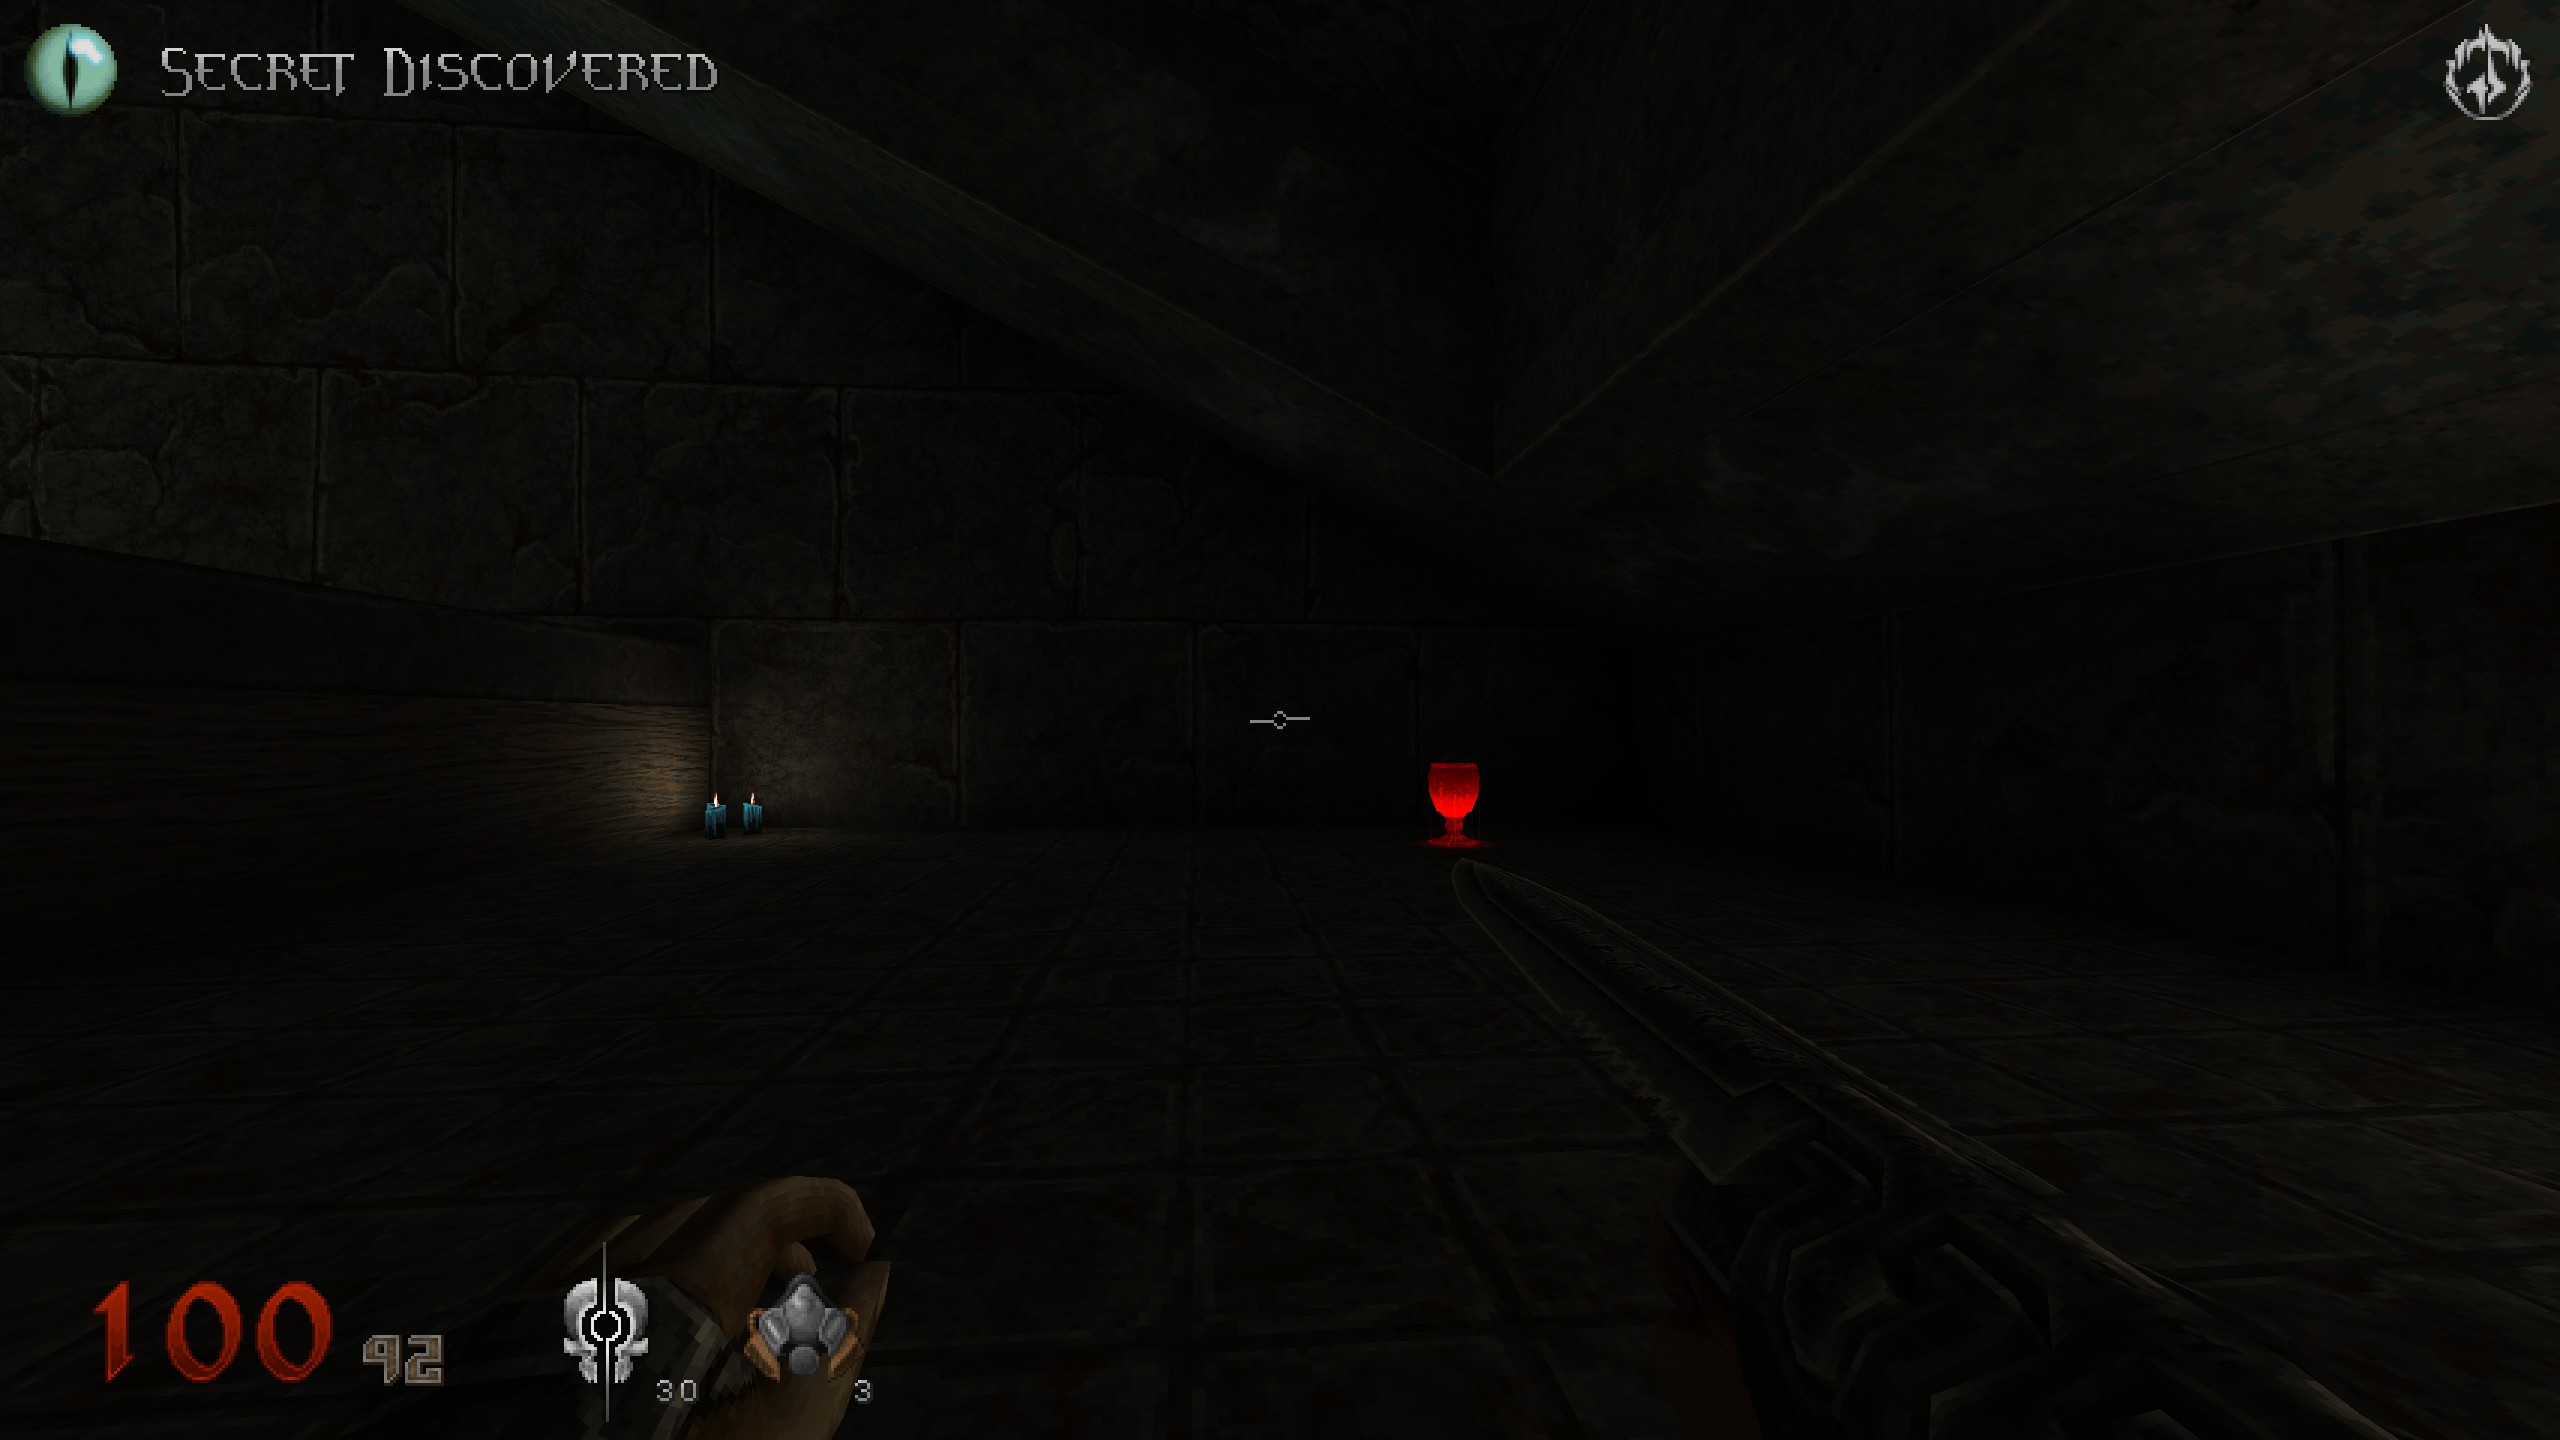
Press “Shift+Esc” to open/close console. Type in “noclip” and hit enter, close console. Get past the invisible barrier till the secret pops and pick up chalise. Open console and tpye in “noclip off” and close console.
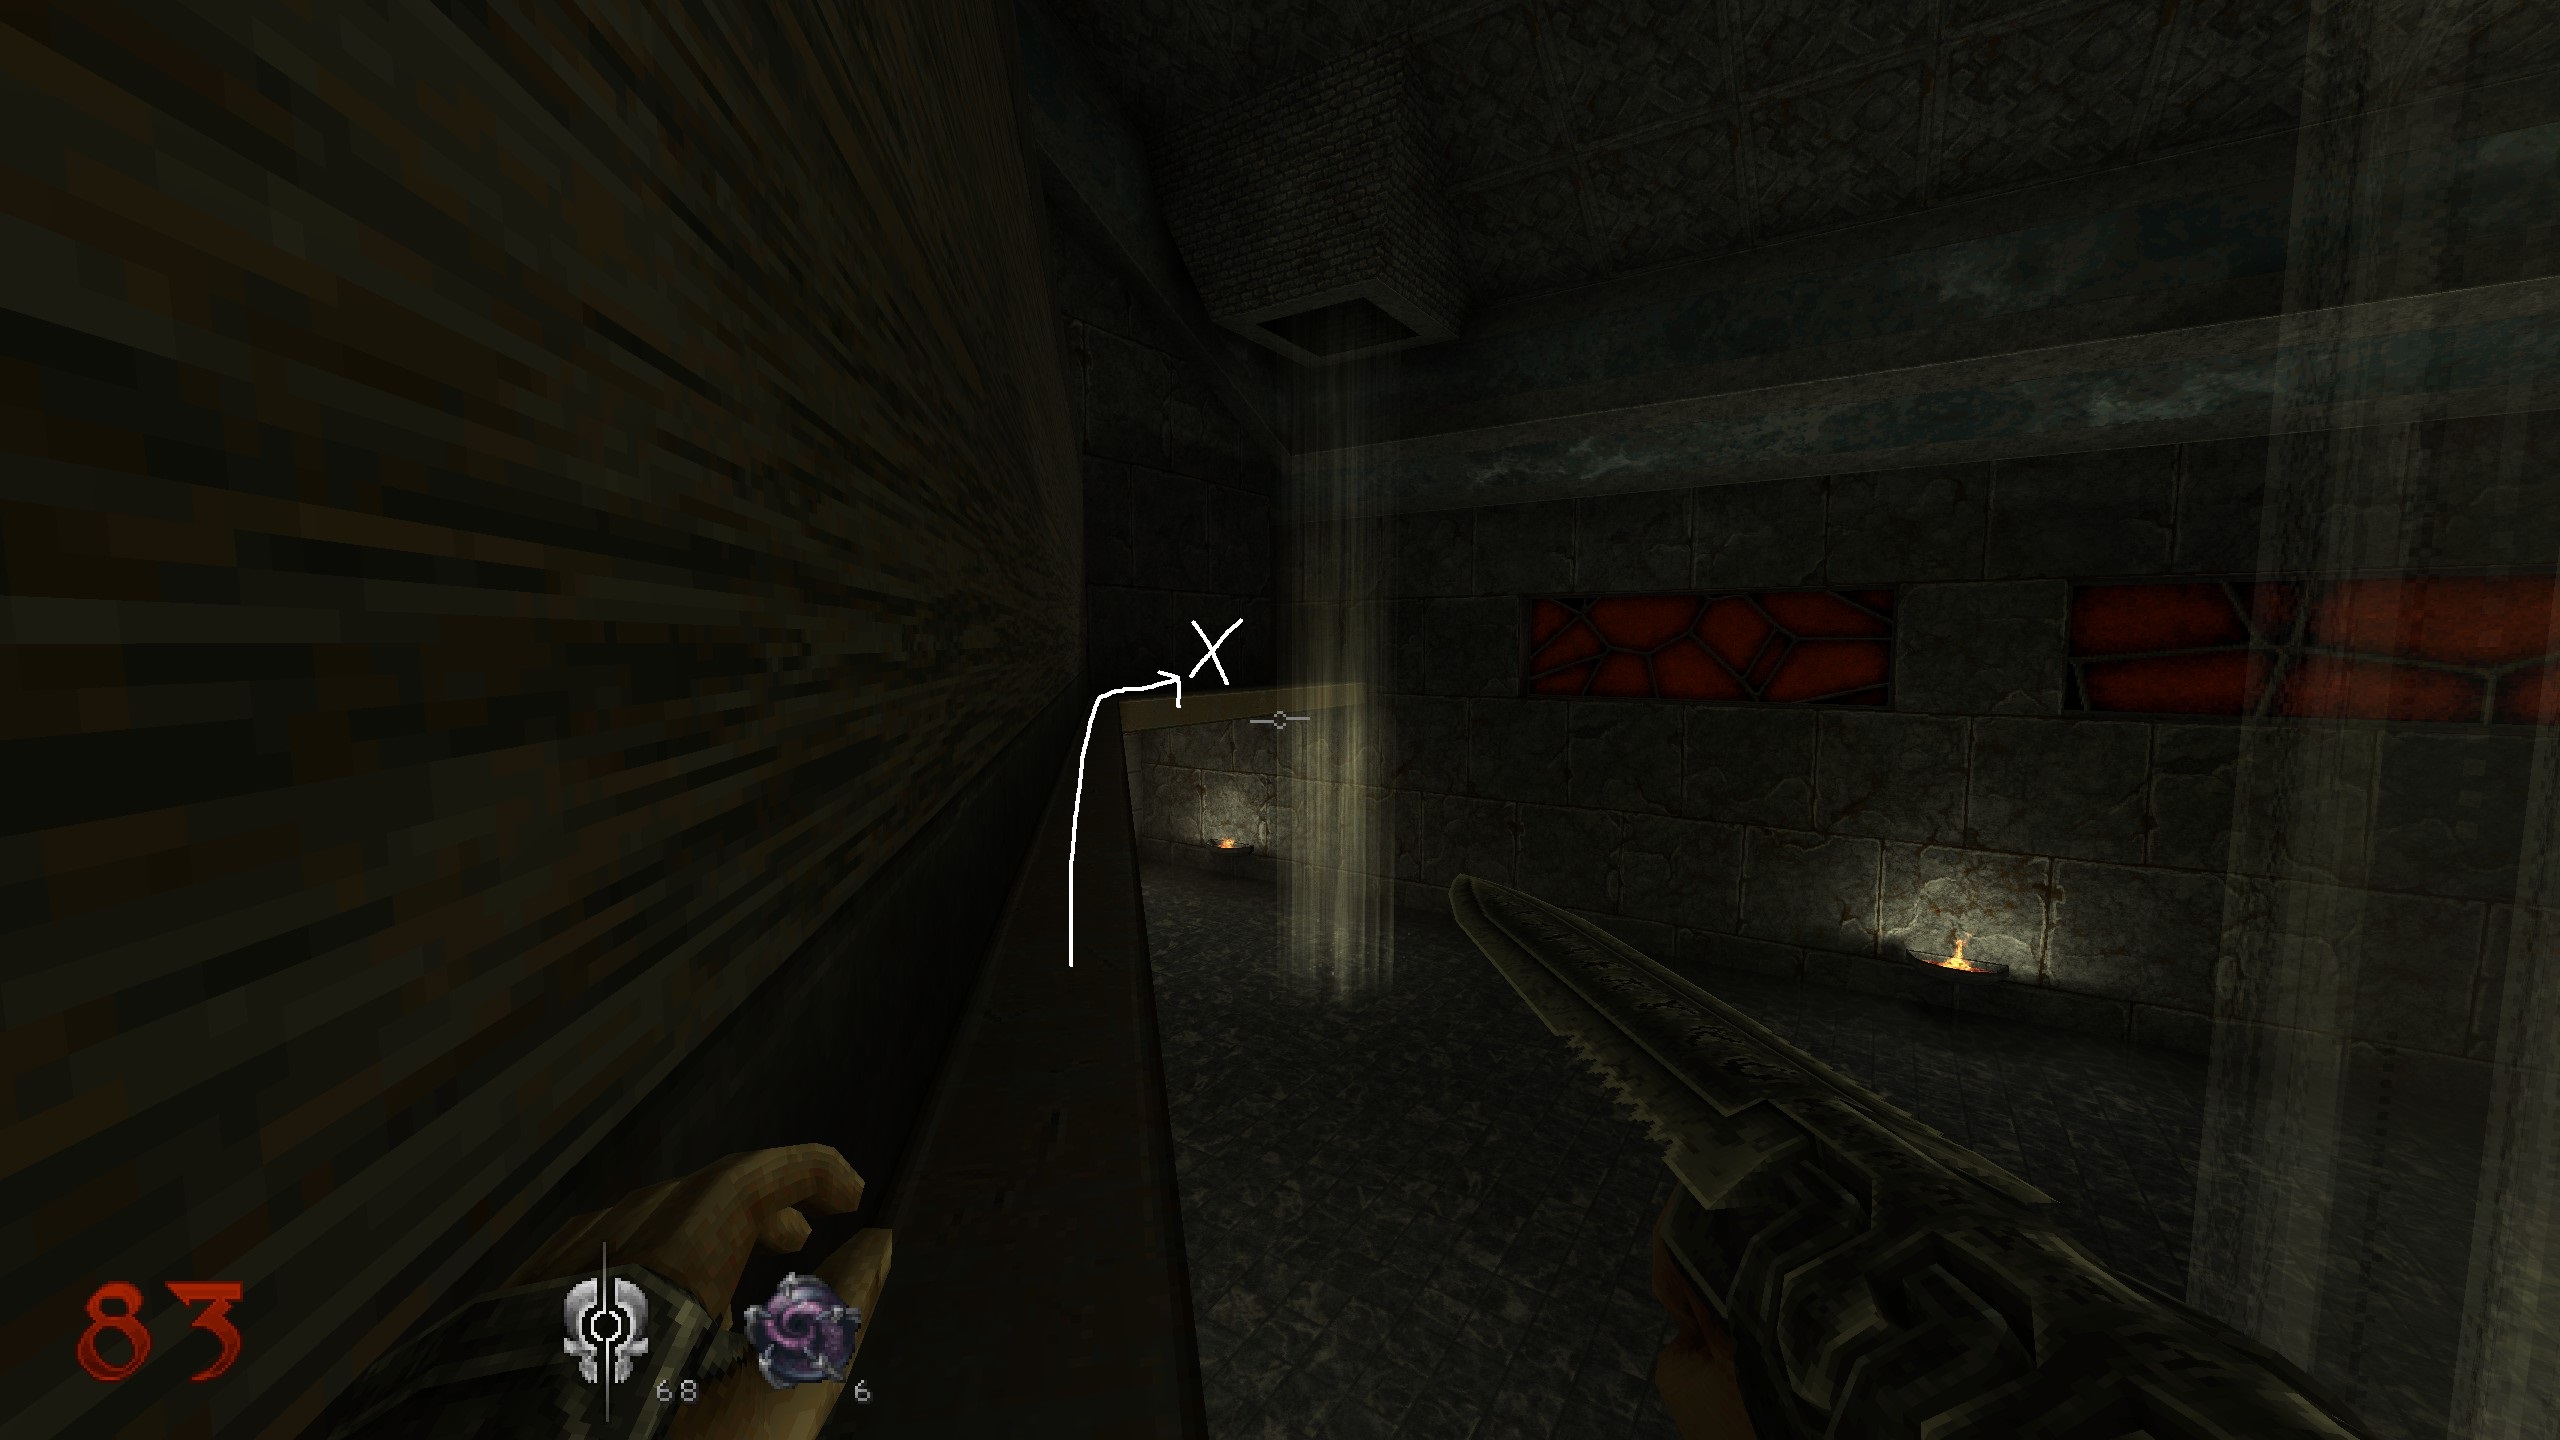
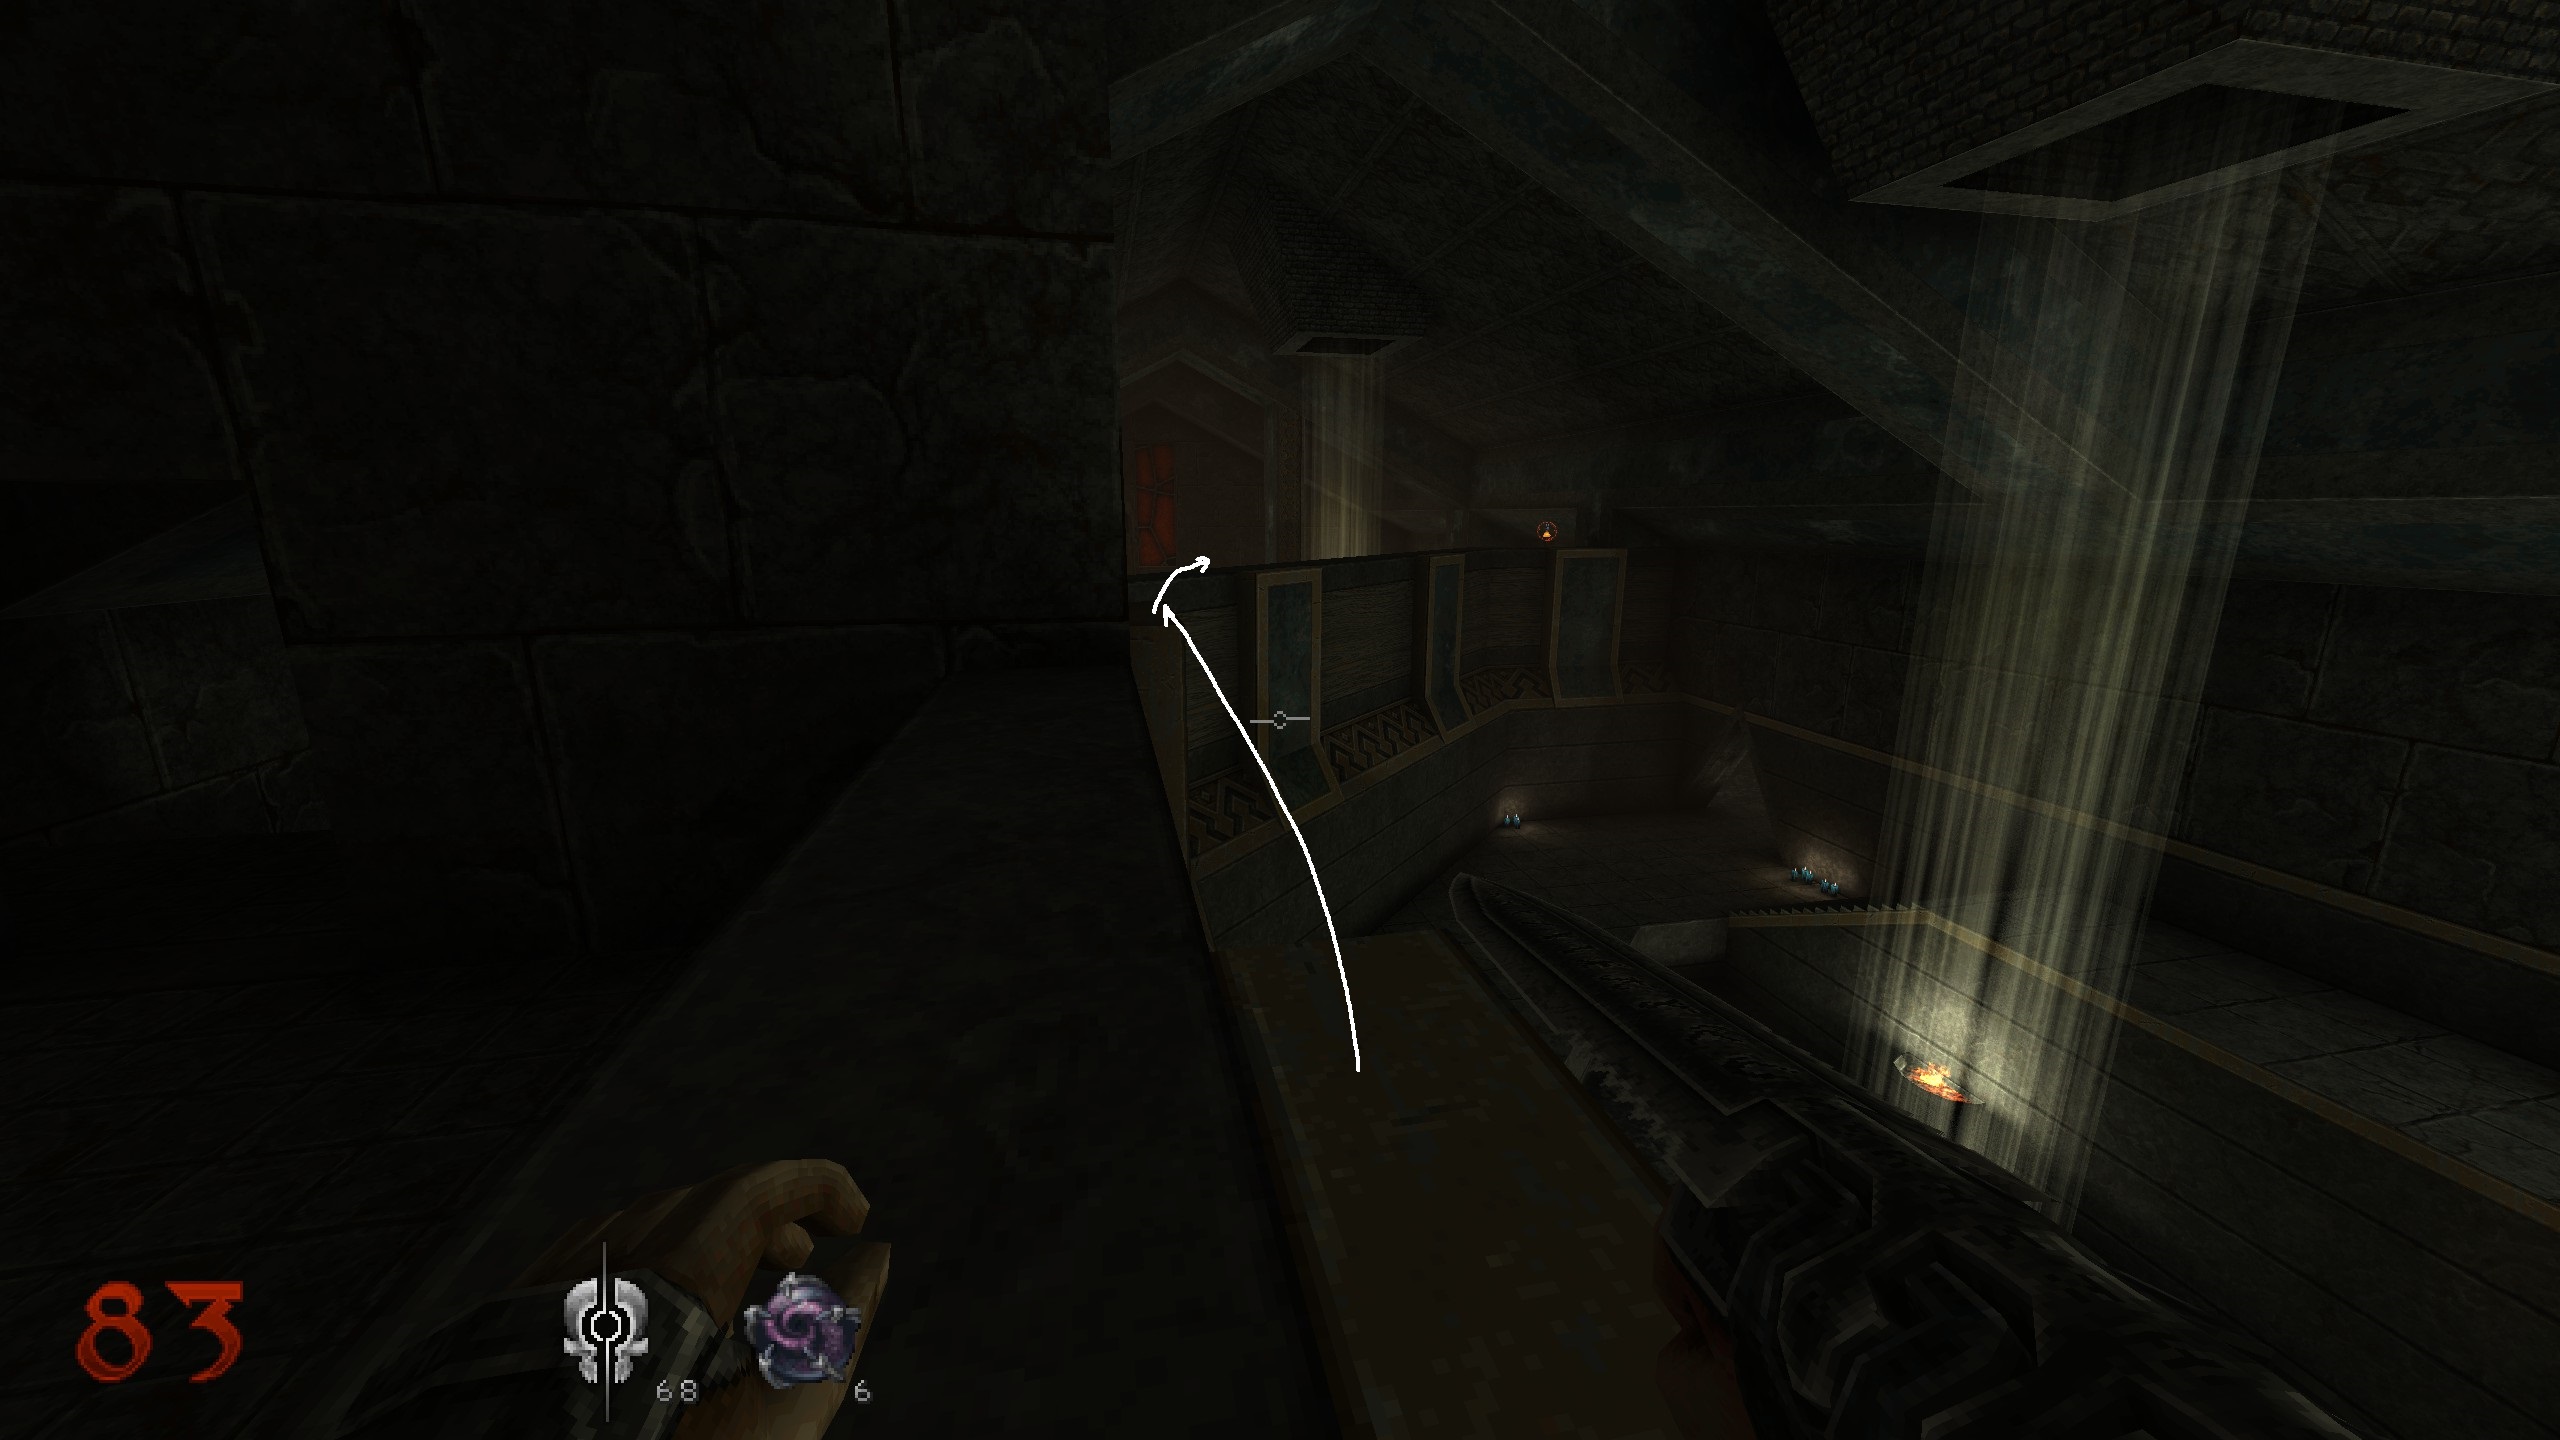
Turn to your left, jump on edge and notice the small ledge to your left, which you can use to get on the wall and to the item. Pump down and proceed with mission by dopping down the hole.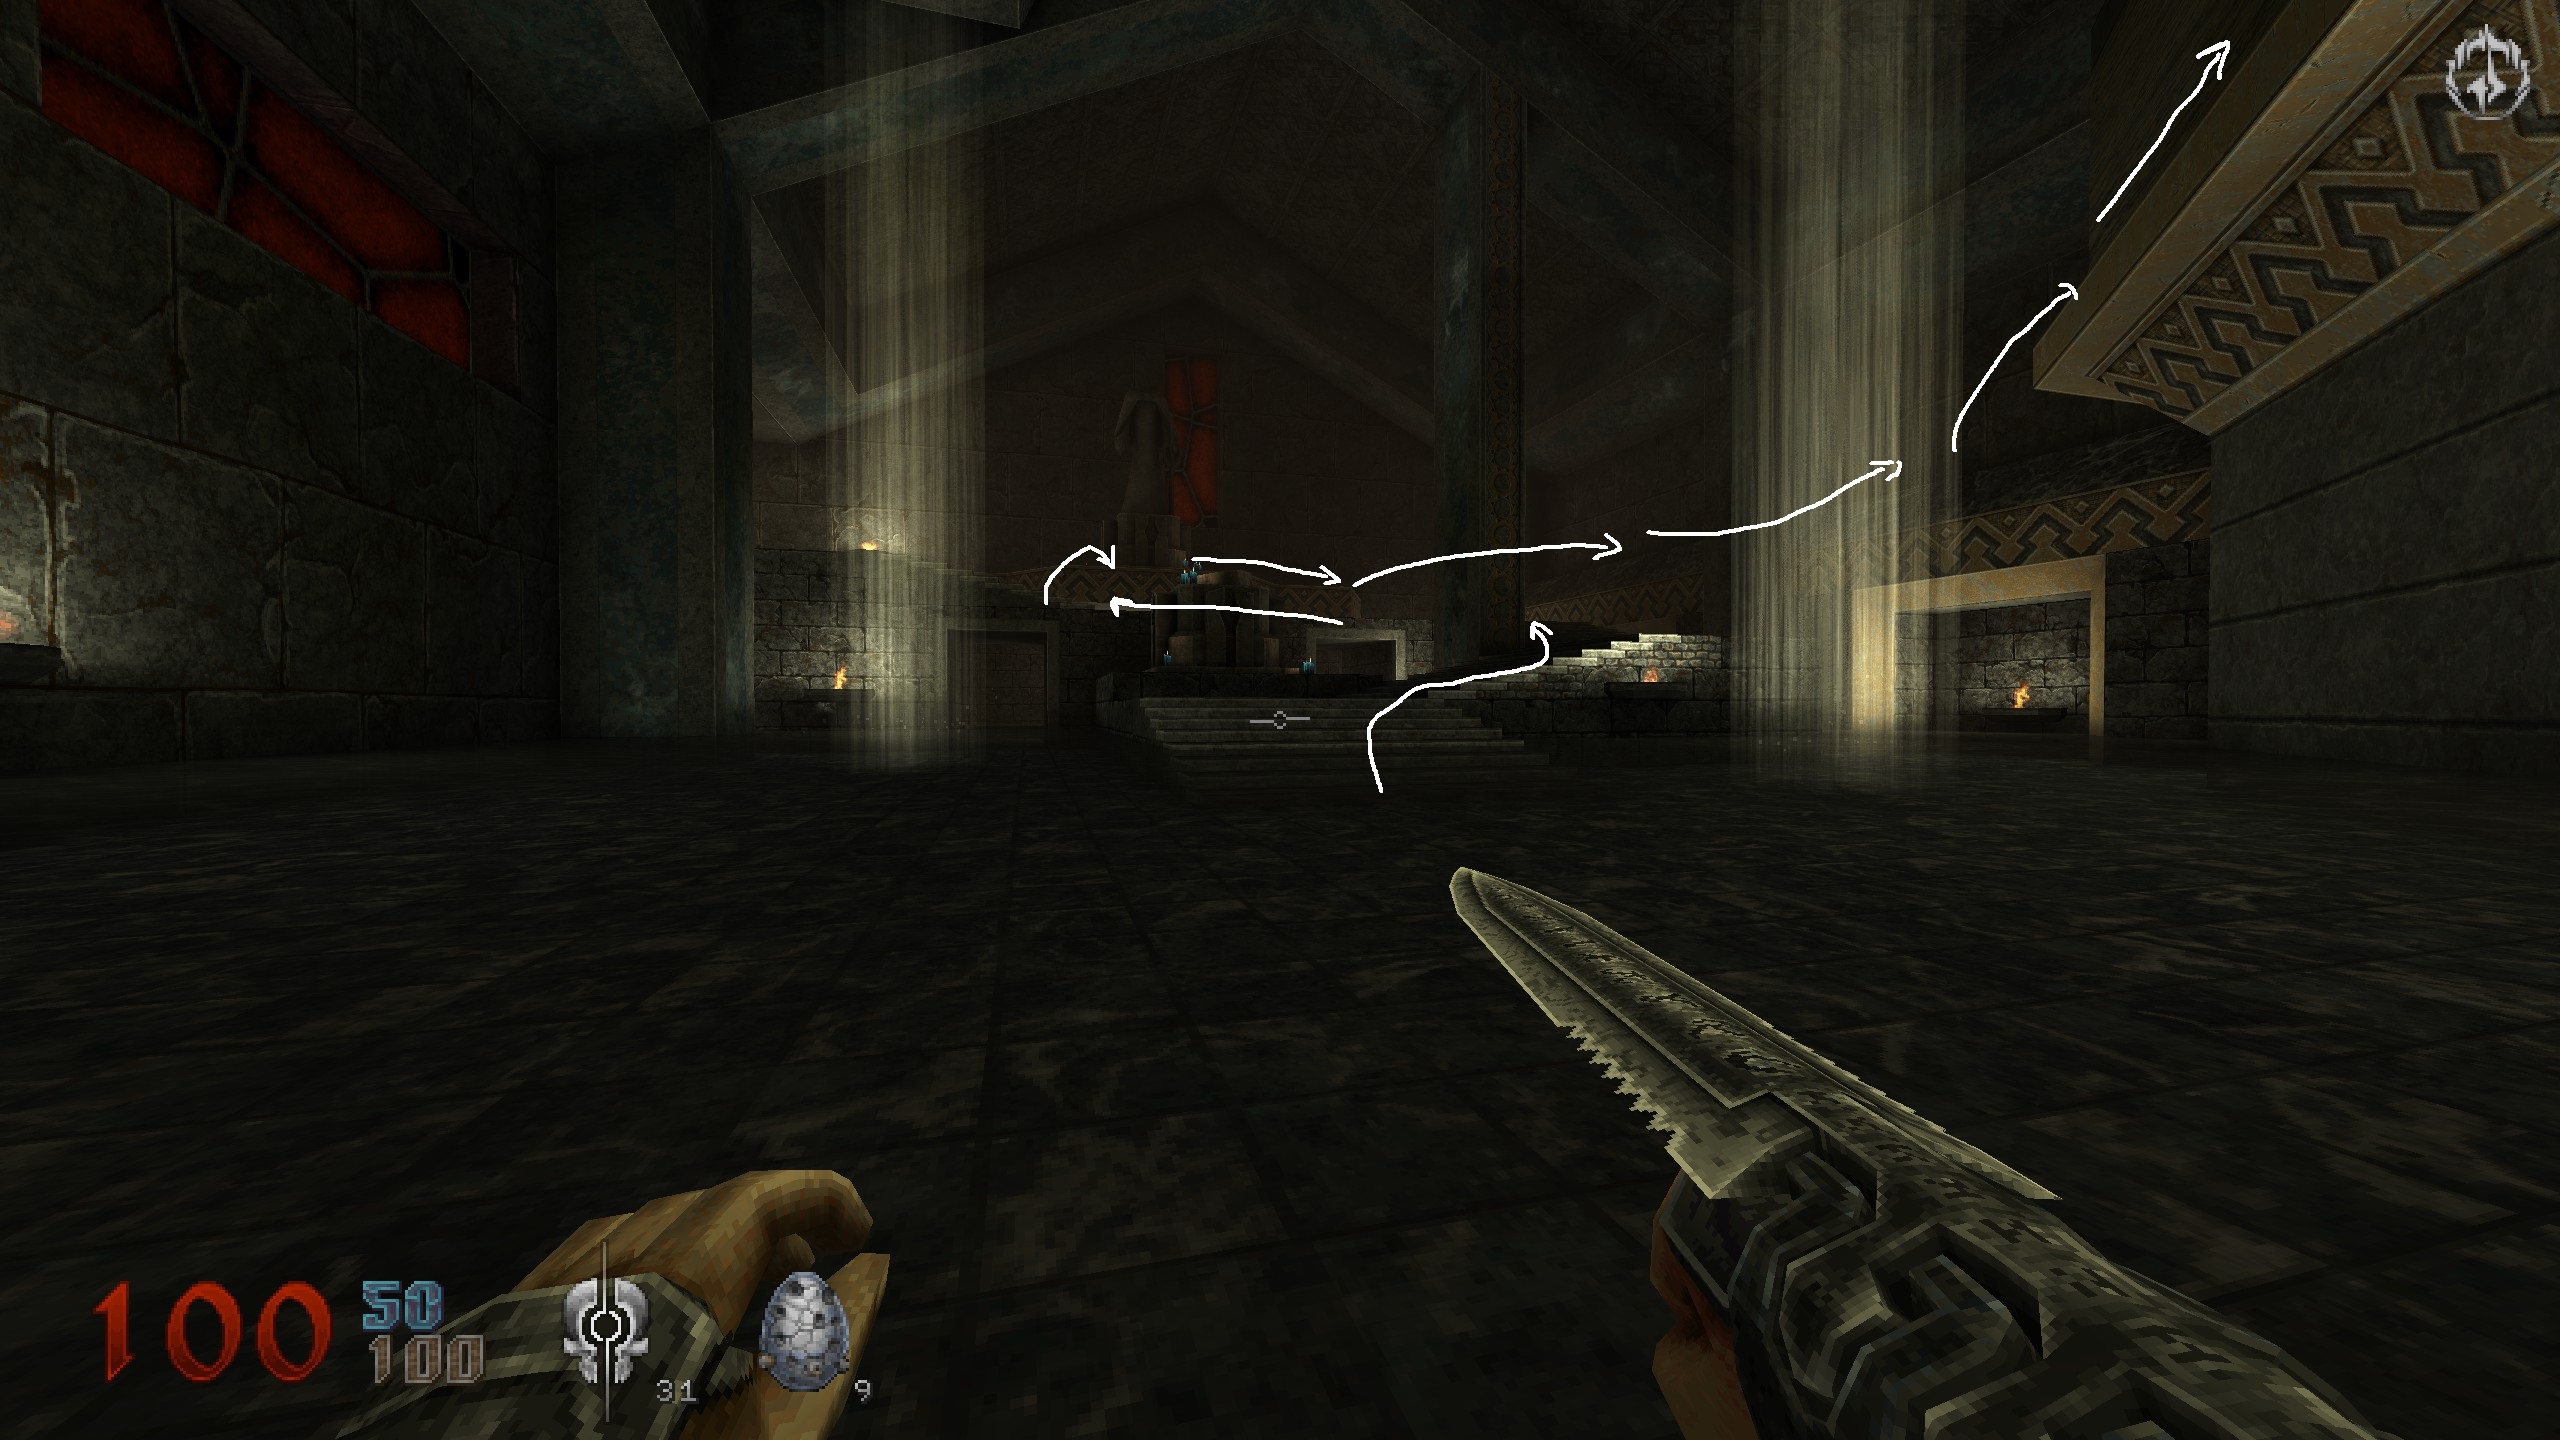
S7
You come into a very big room with lava. The first bridge you enter will crumble, dont fall down. Jump over, follow the path and you will find yourself on another bridge. On the left side carefully look over the edge and you will notice a sunken shelter.
Drop down there and jump straight till you reach a teleporter. Instead of taking it, jump around the corner and destroy the big skull in the second opening on the right side. Take the teleporter and ride up the elevator.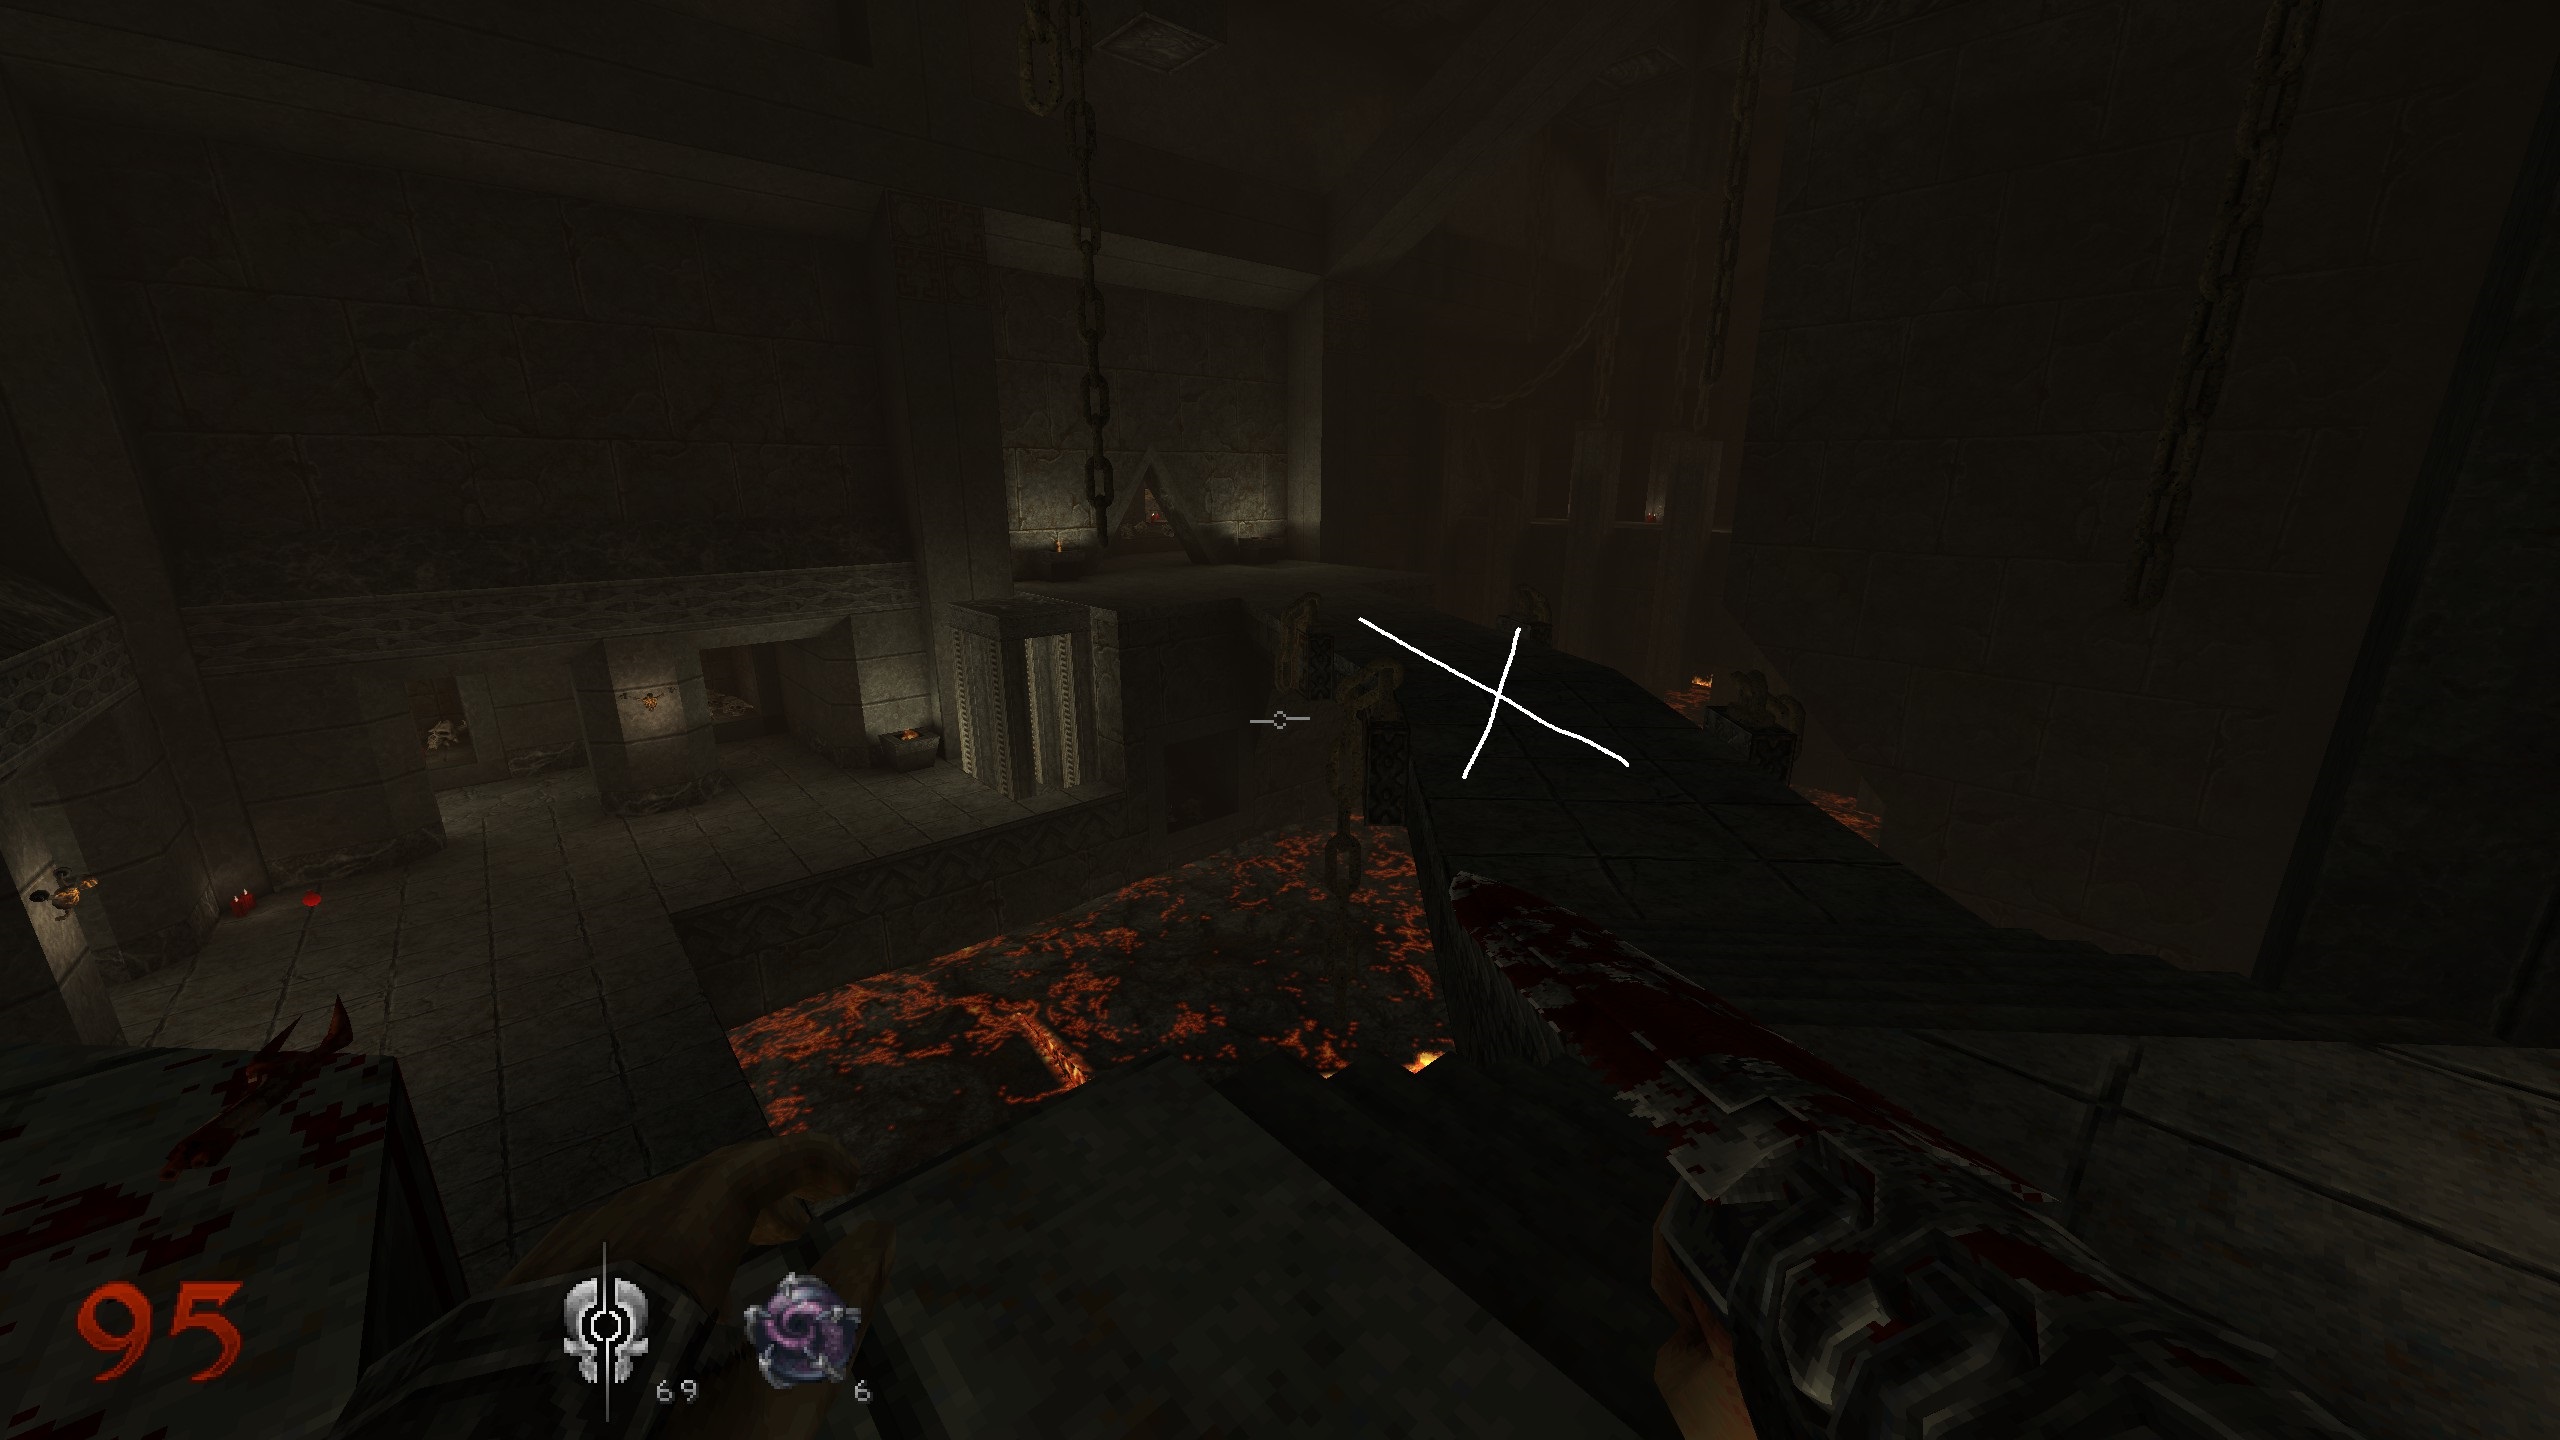
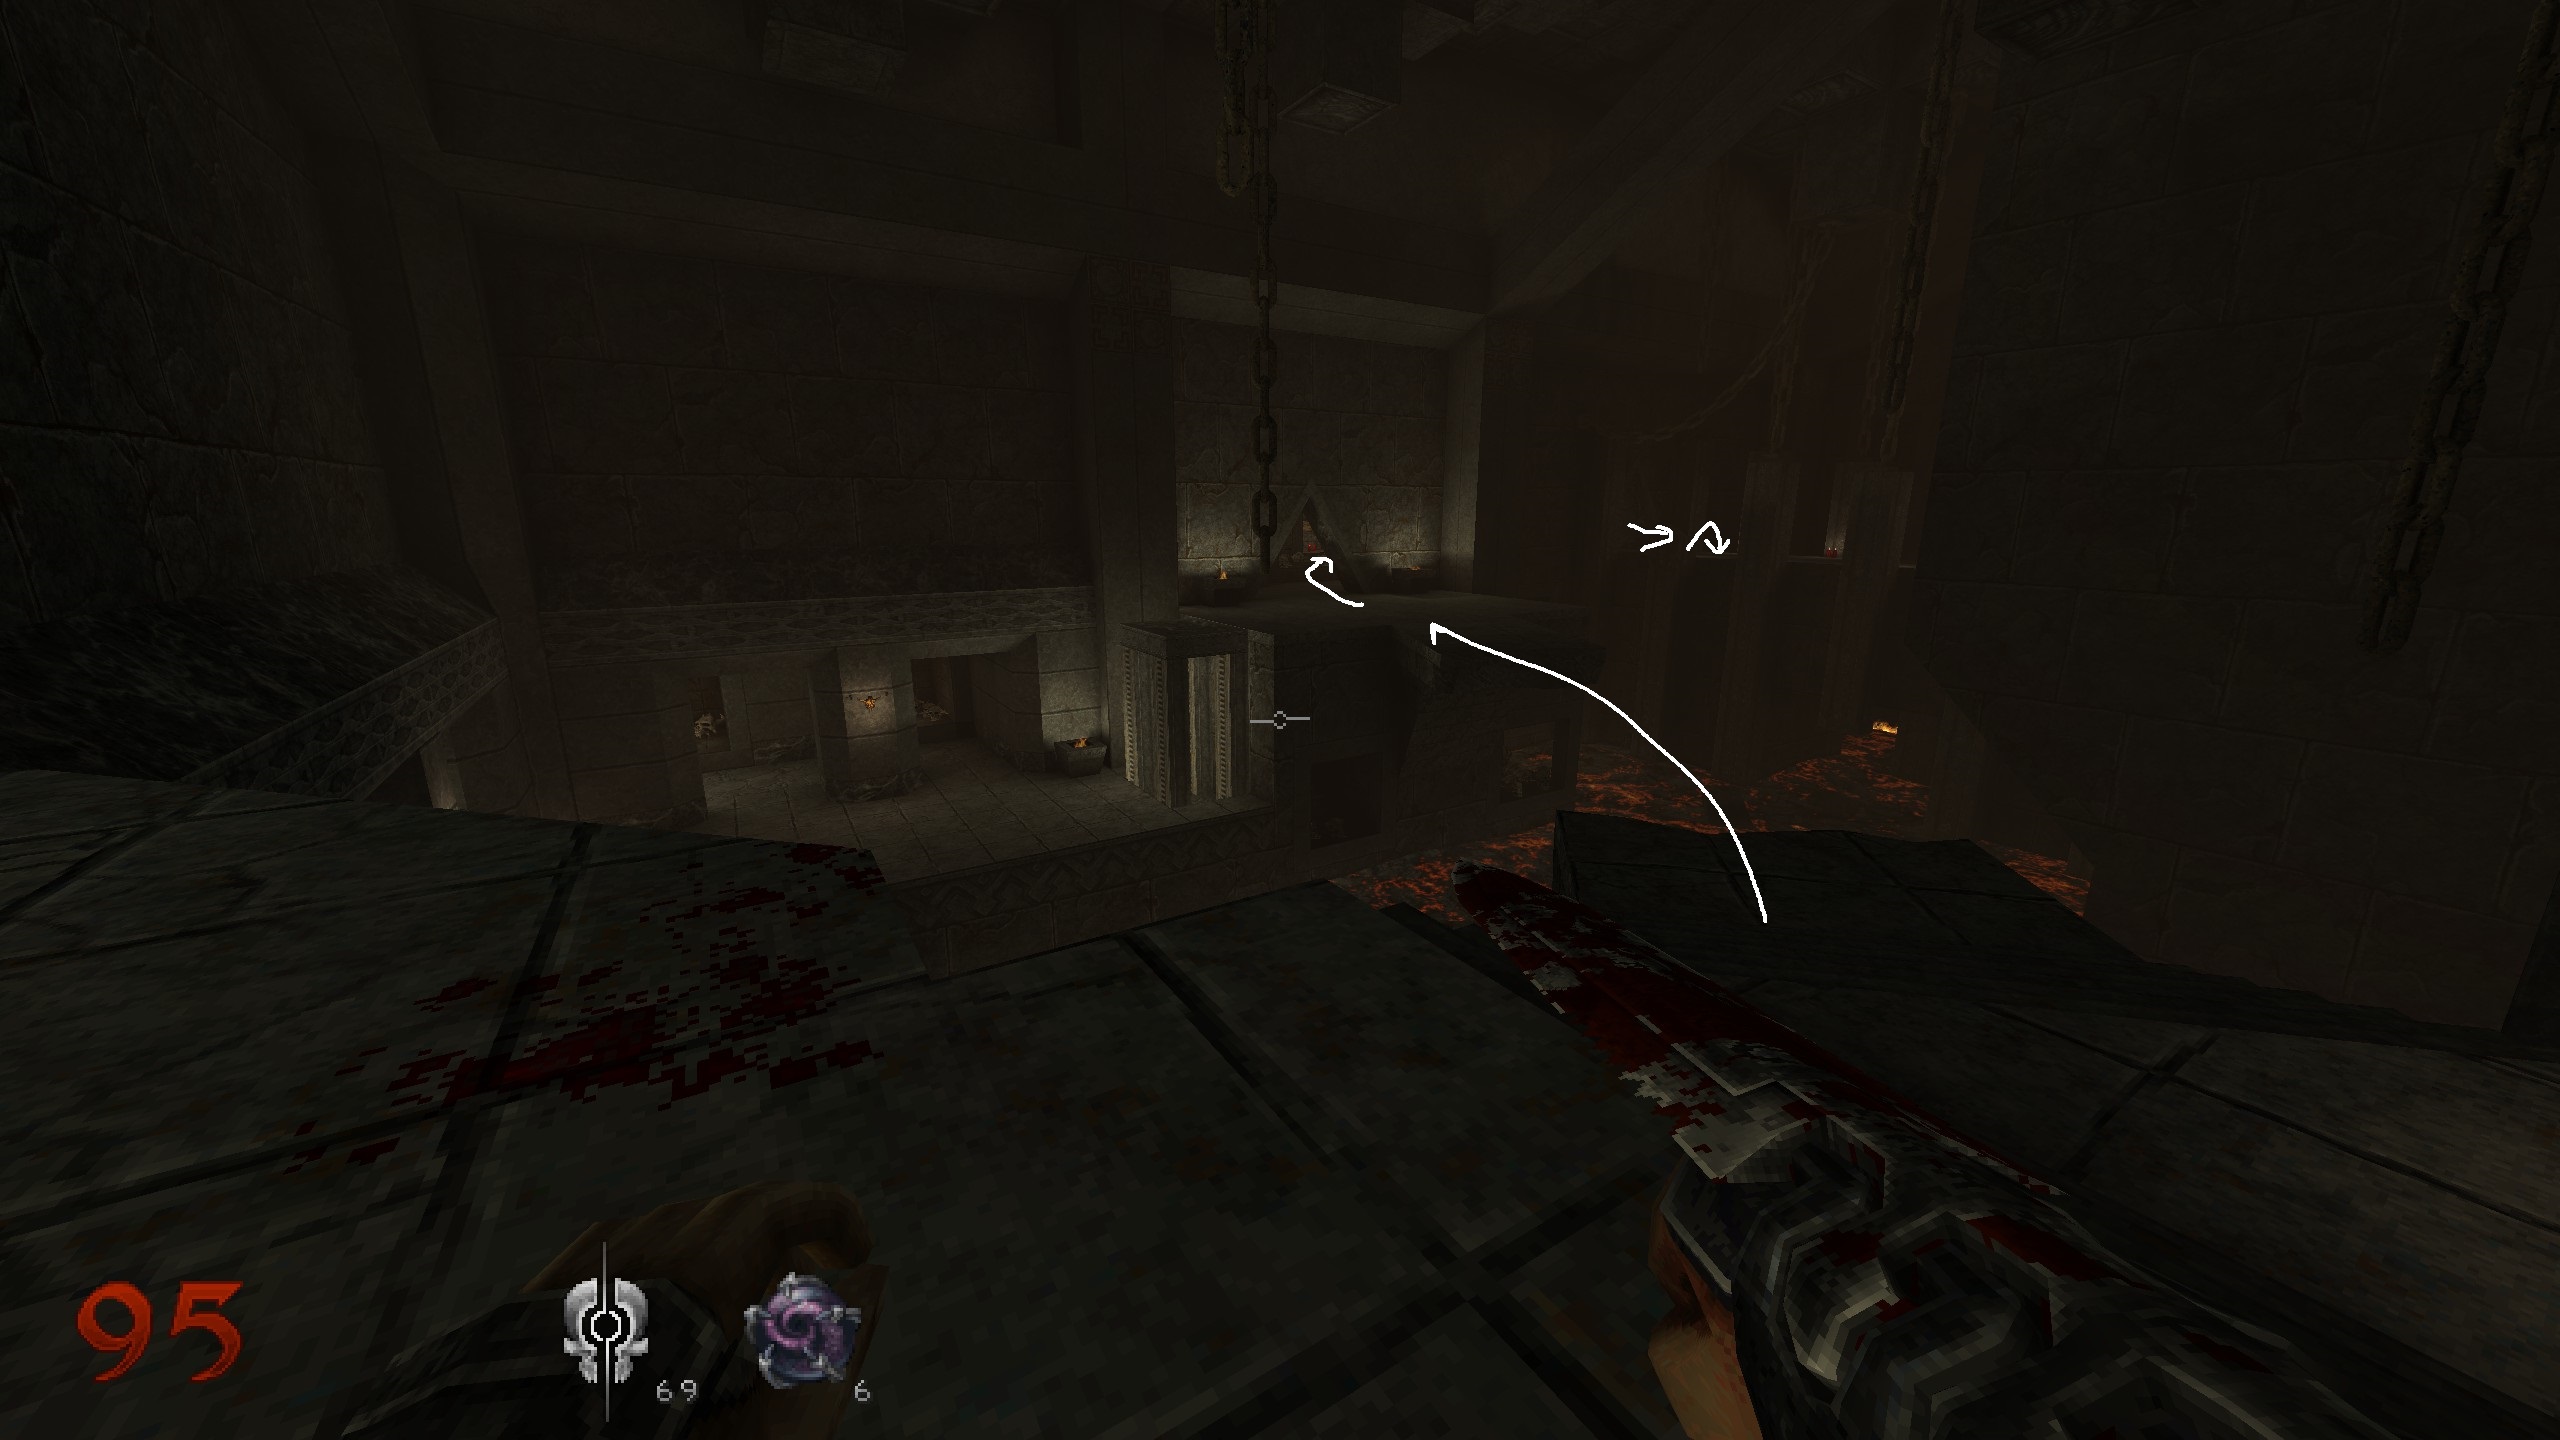
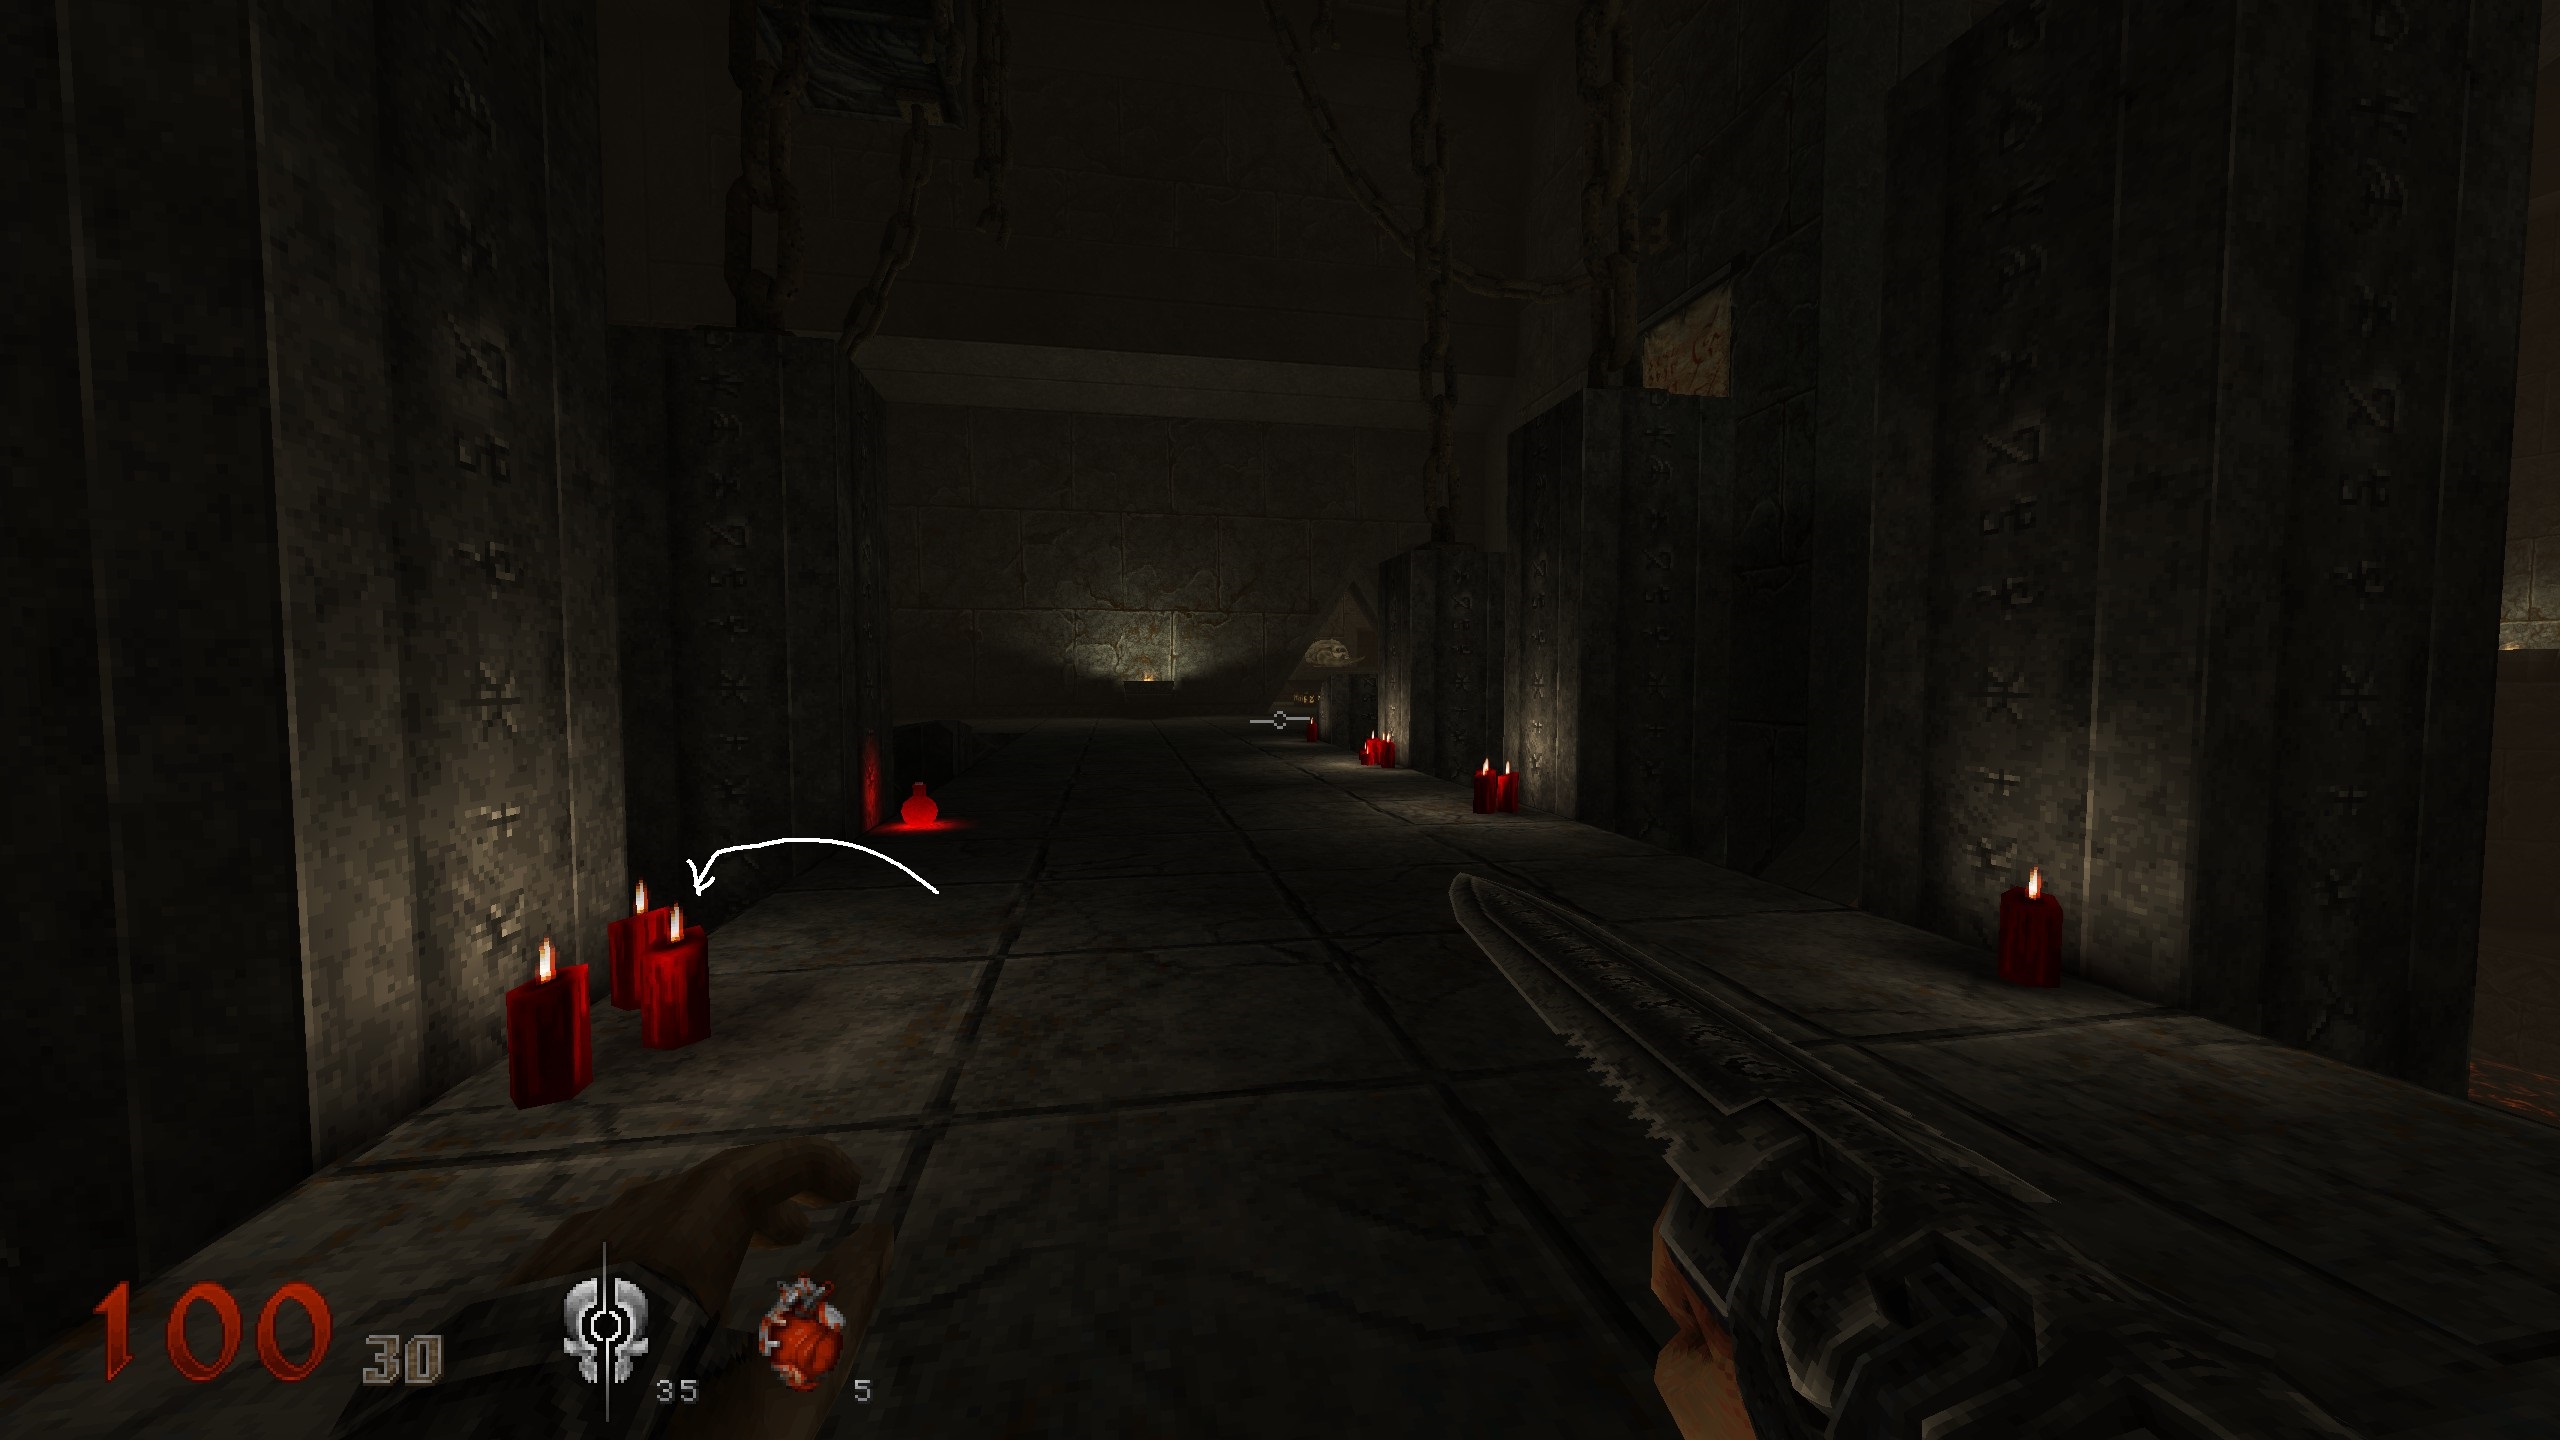
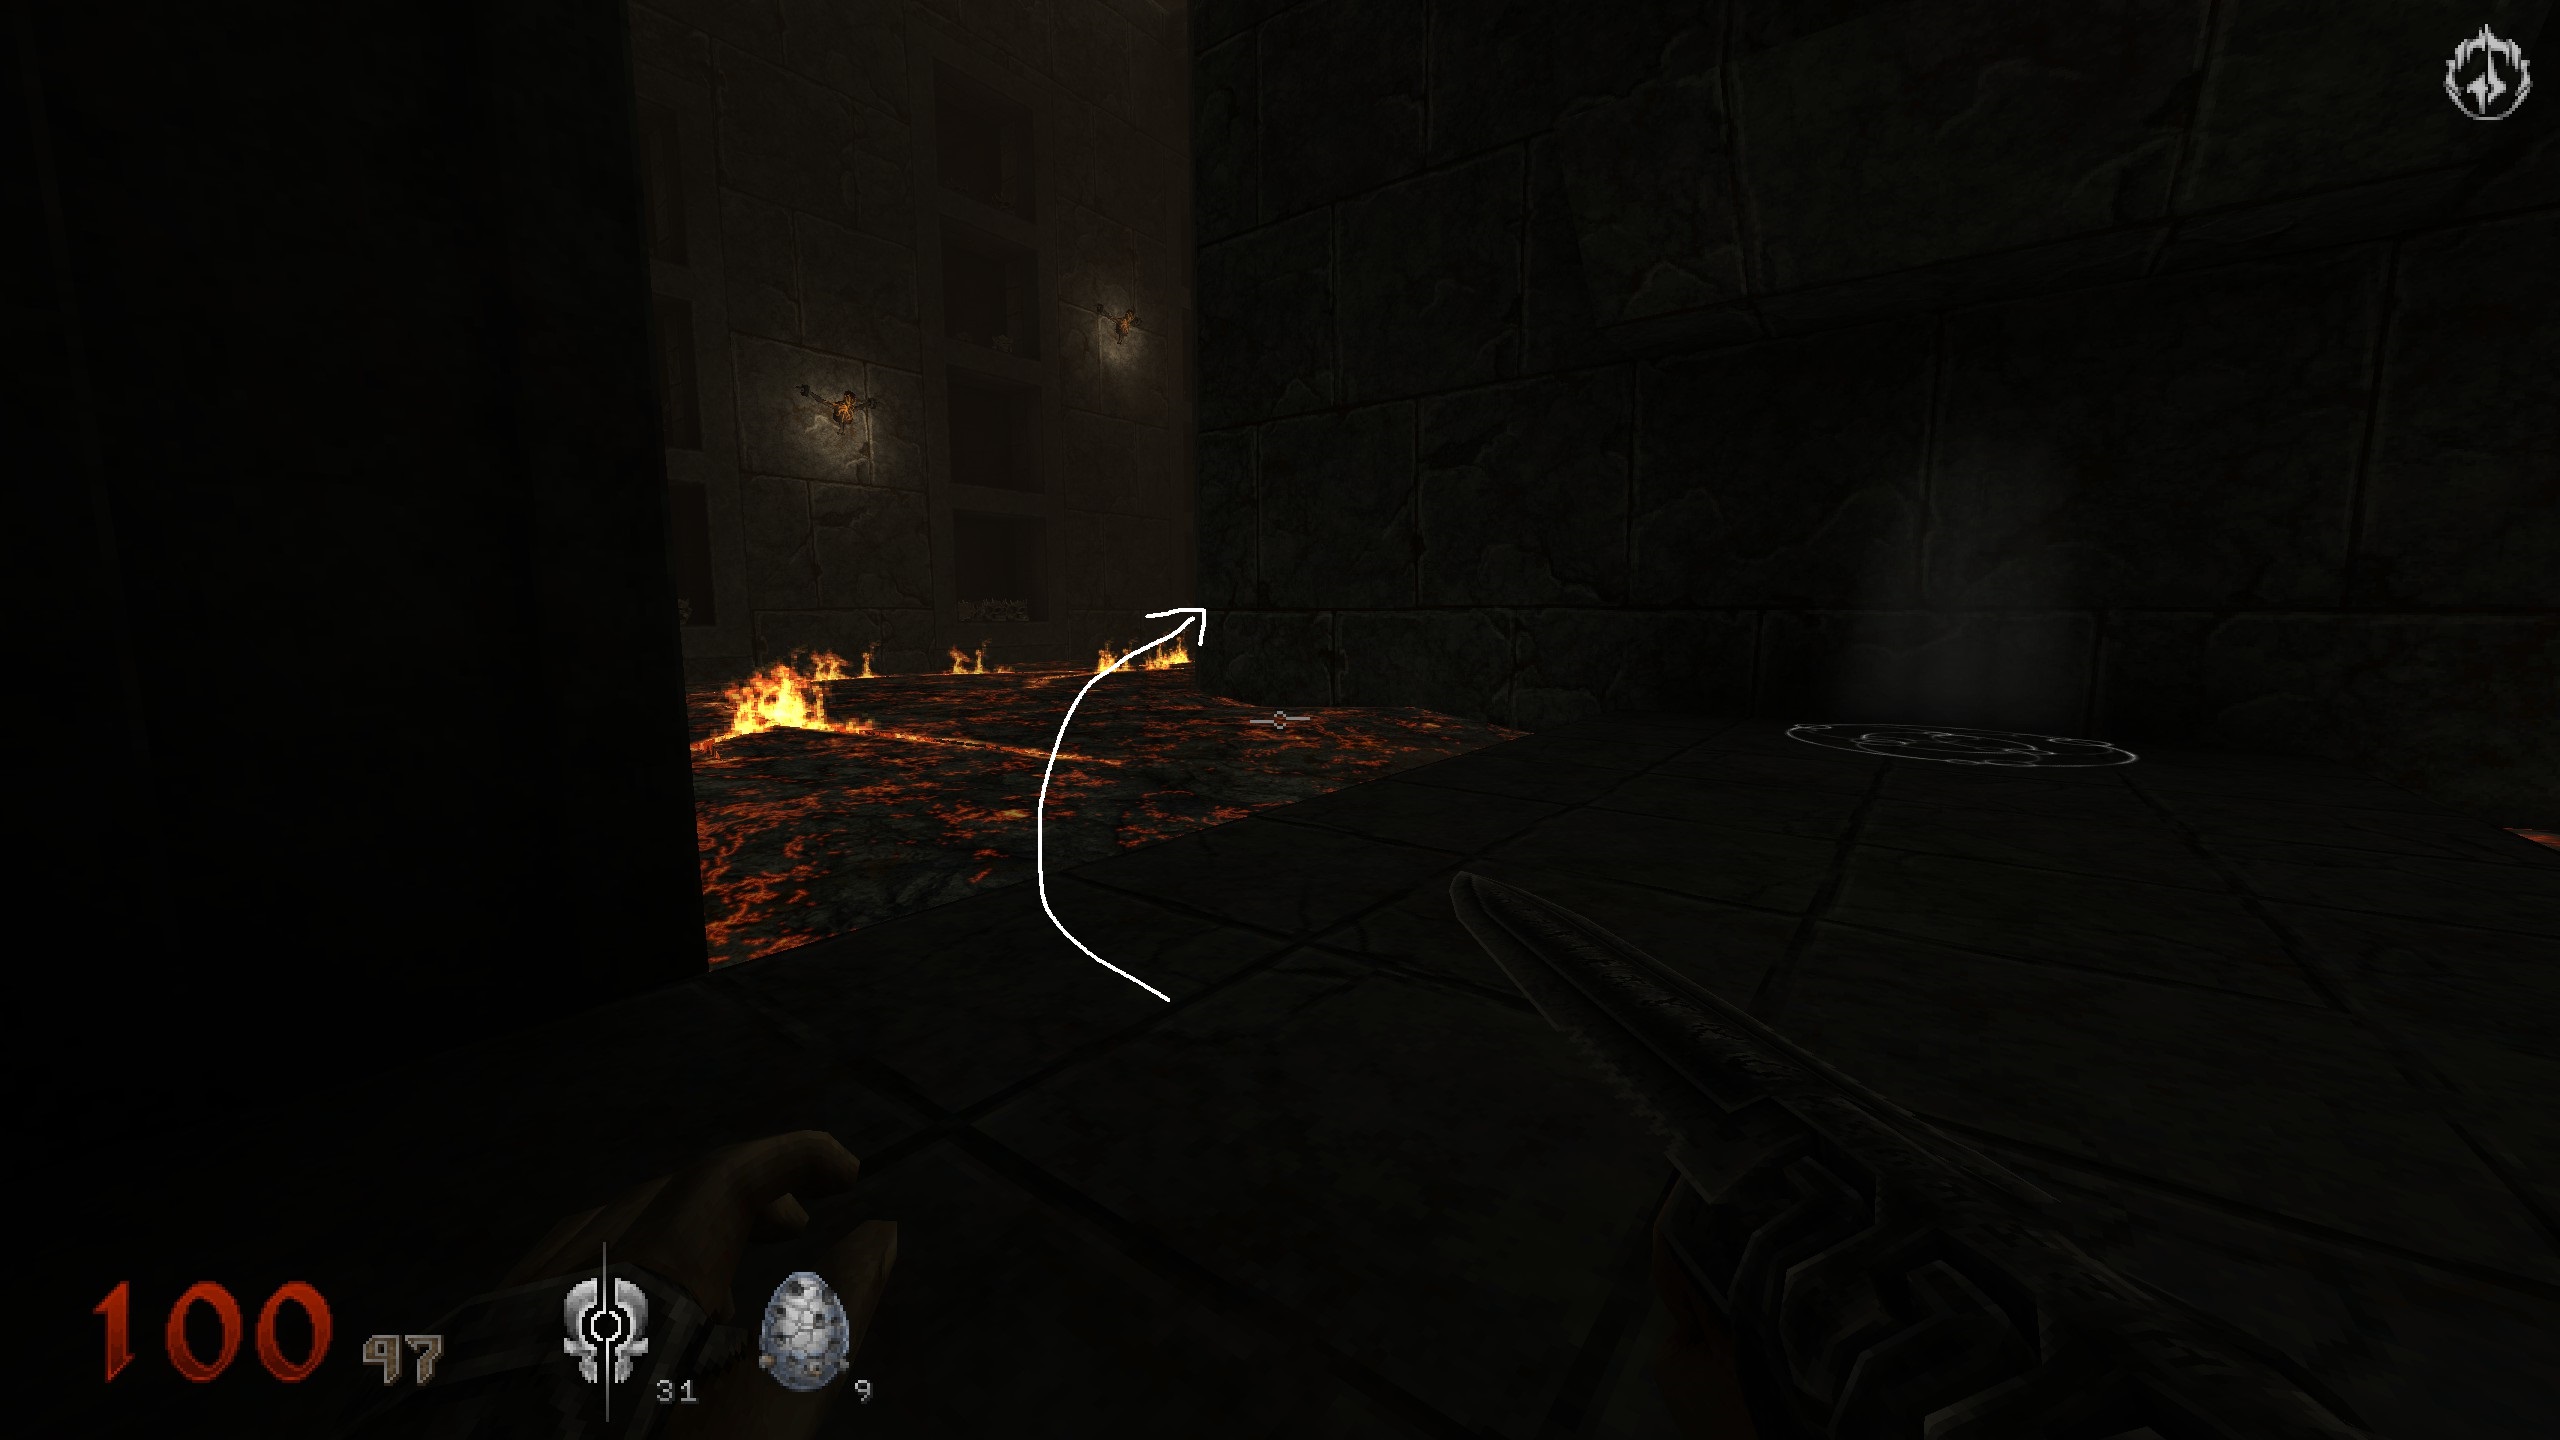
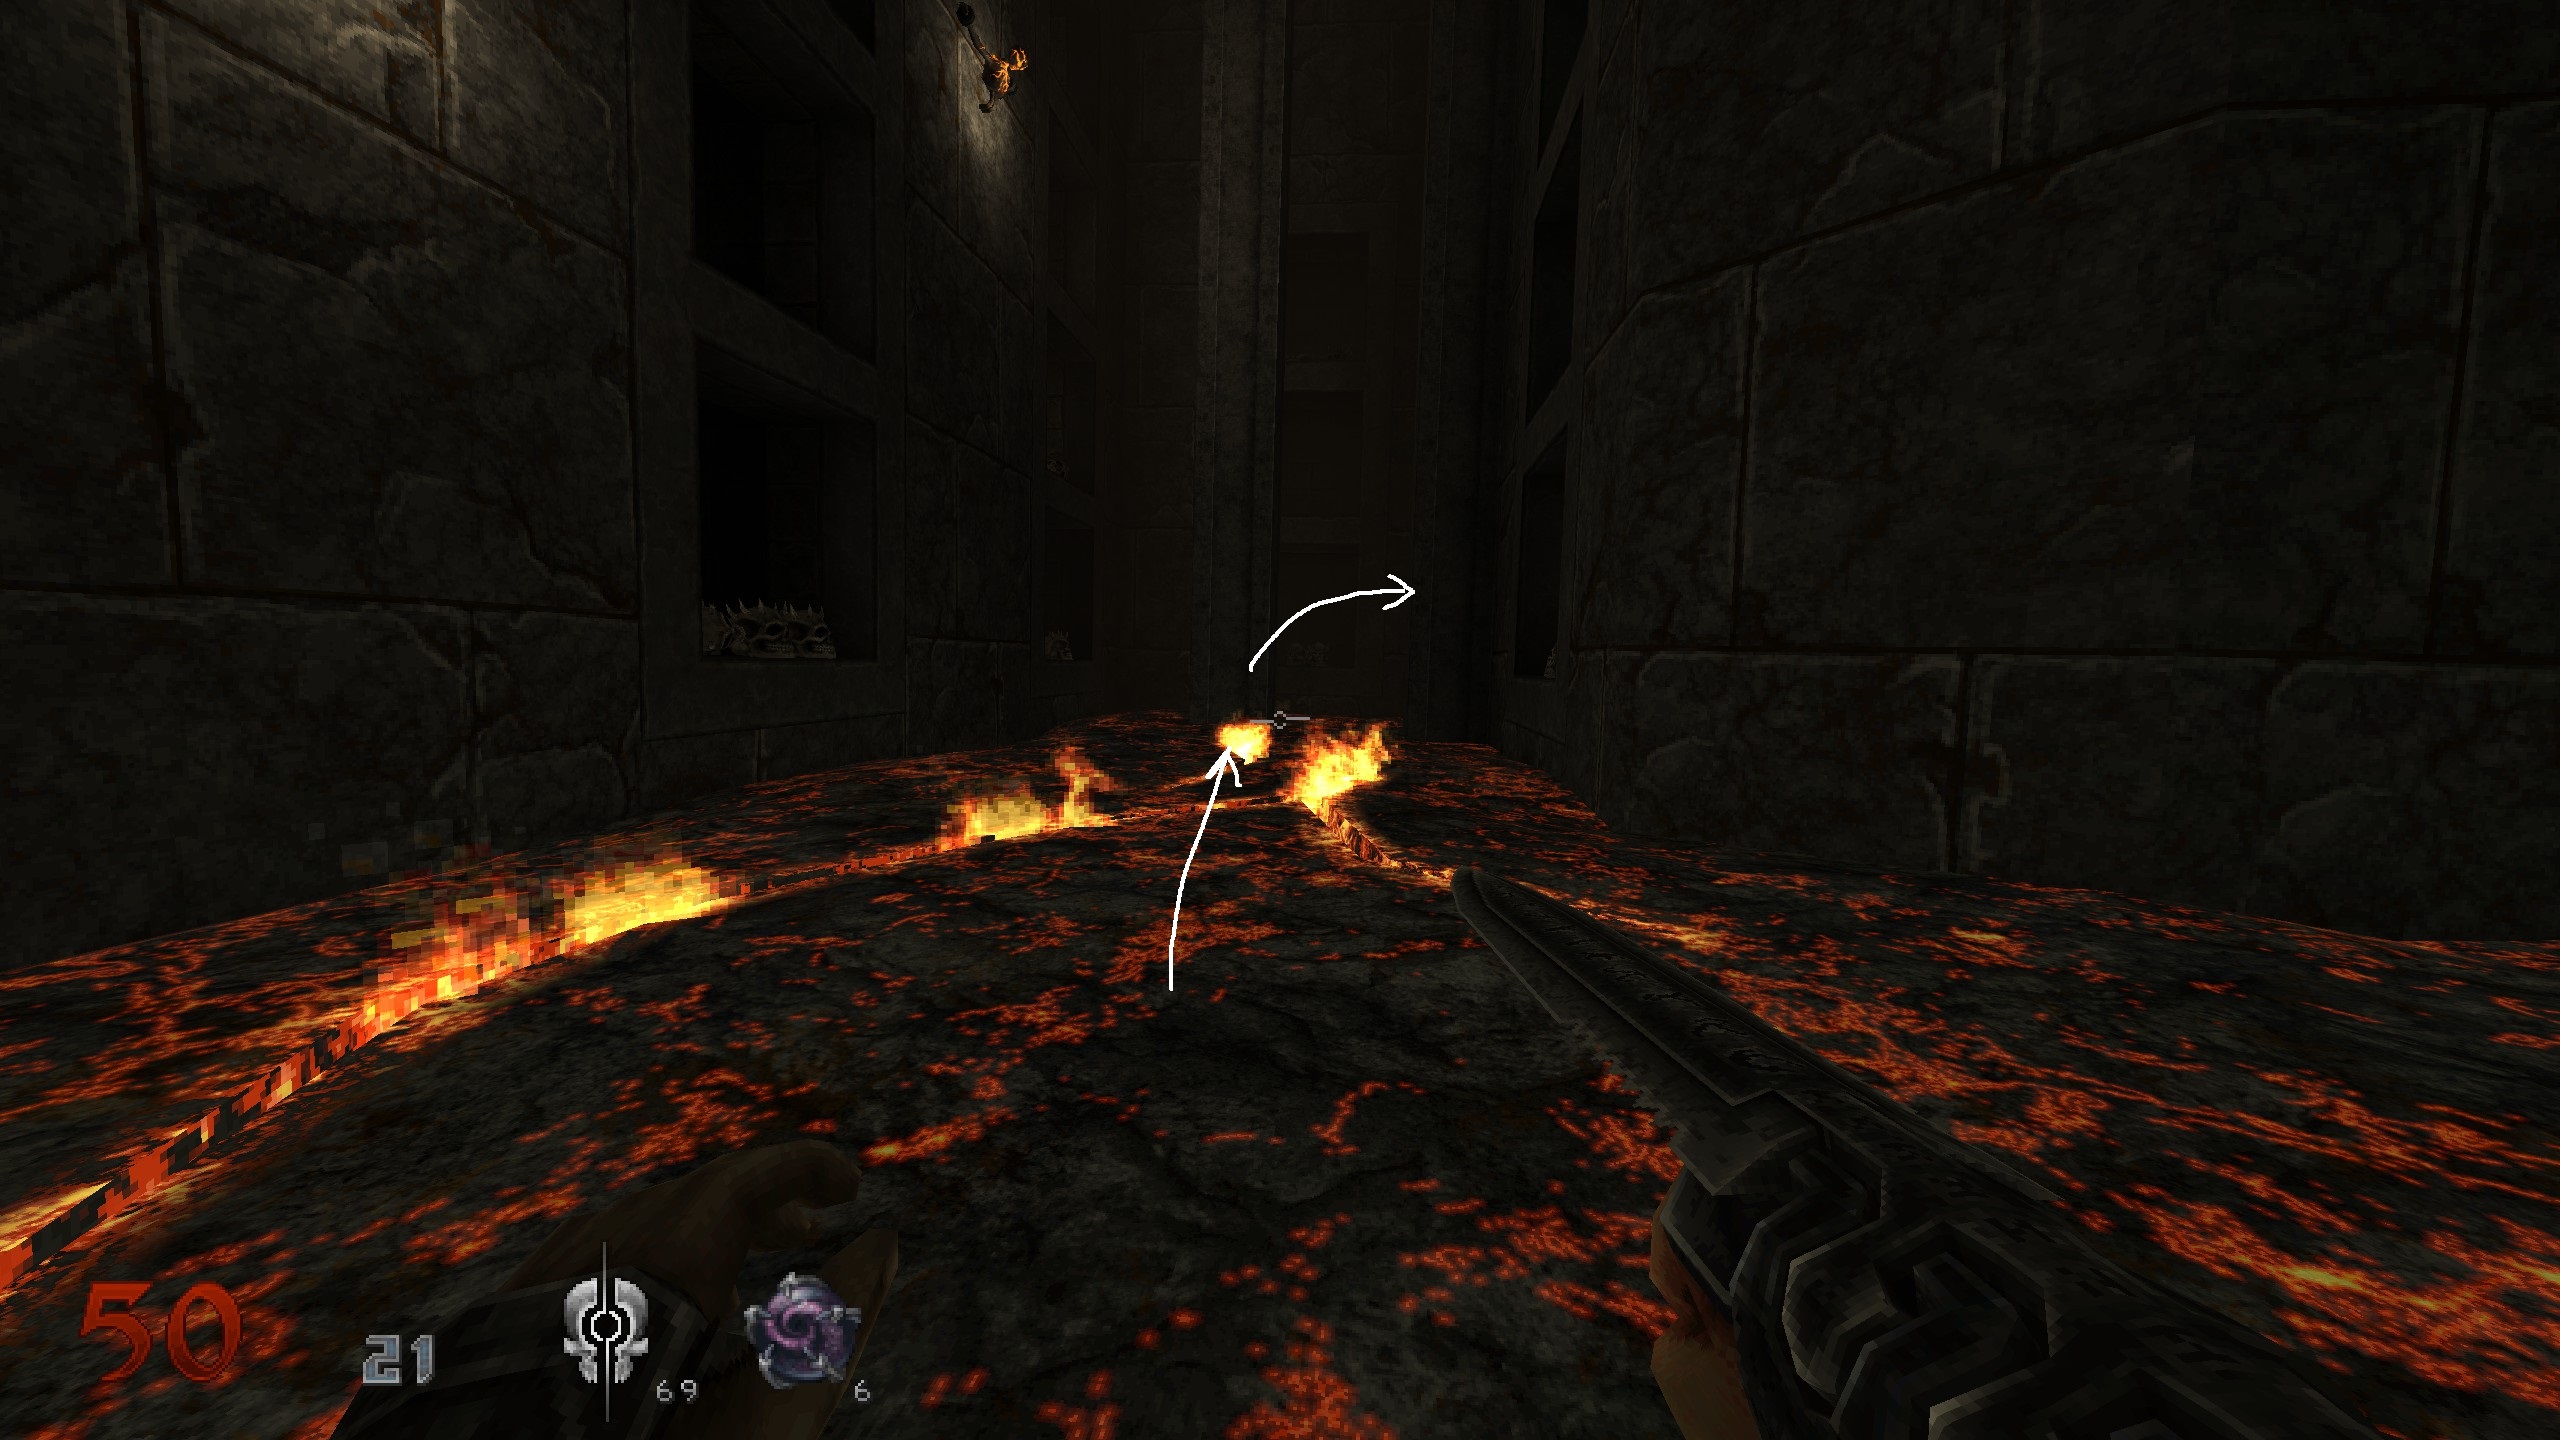
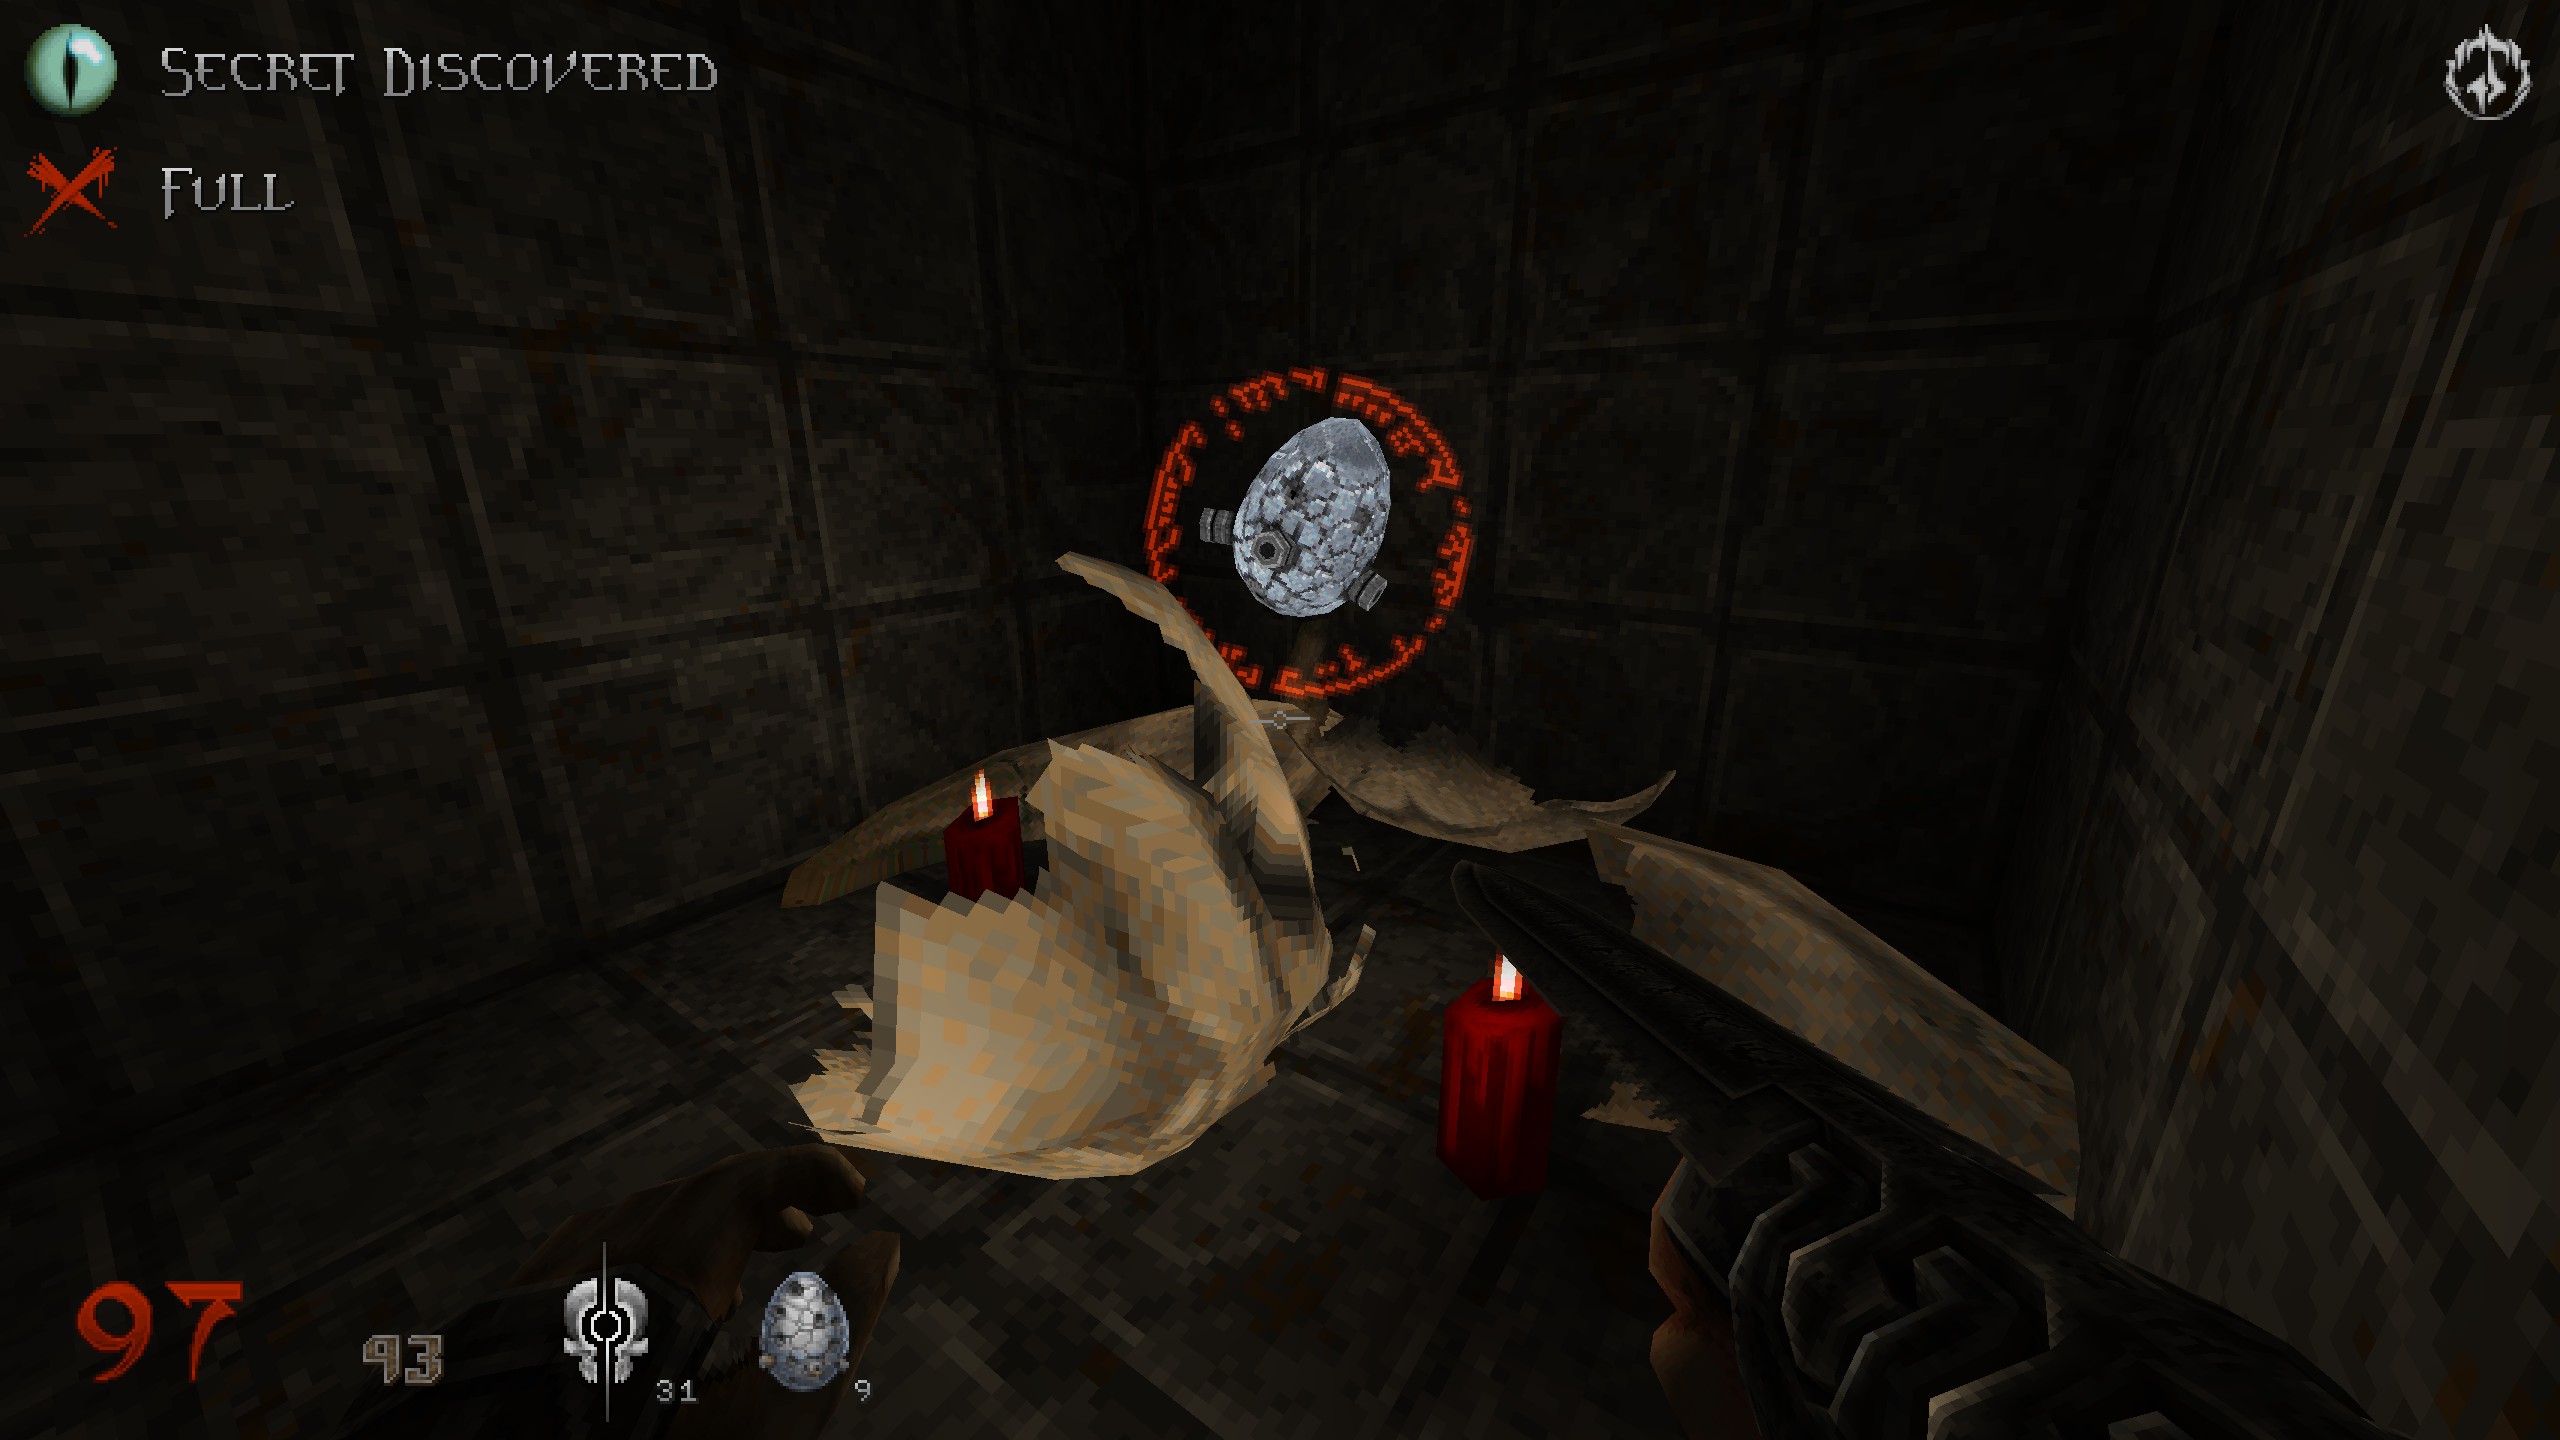
S8 & S9
Back at the bridge where you dropped down before, you can see a big skull an a sarcophegus. Take a left in that room and you will see the item. Get up the stairs and jump on stone bars. Jump around the corner on another one and grab the secret.
Up the stairs until you reach the top. Turn around and jump on stone niche to your left and from there into the opening the big slimy enemy was in. Proceed with mission.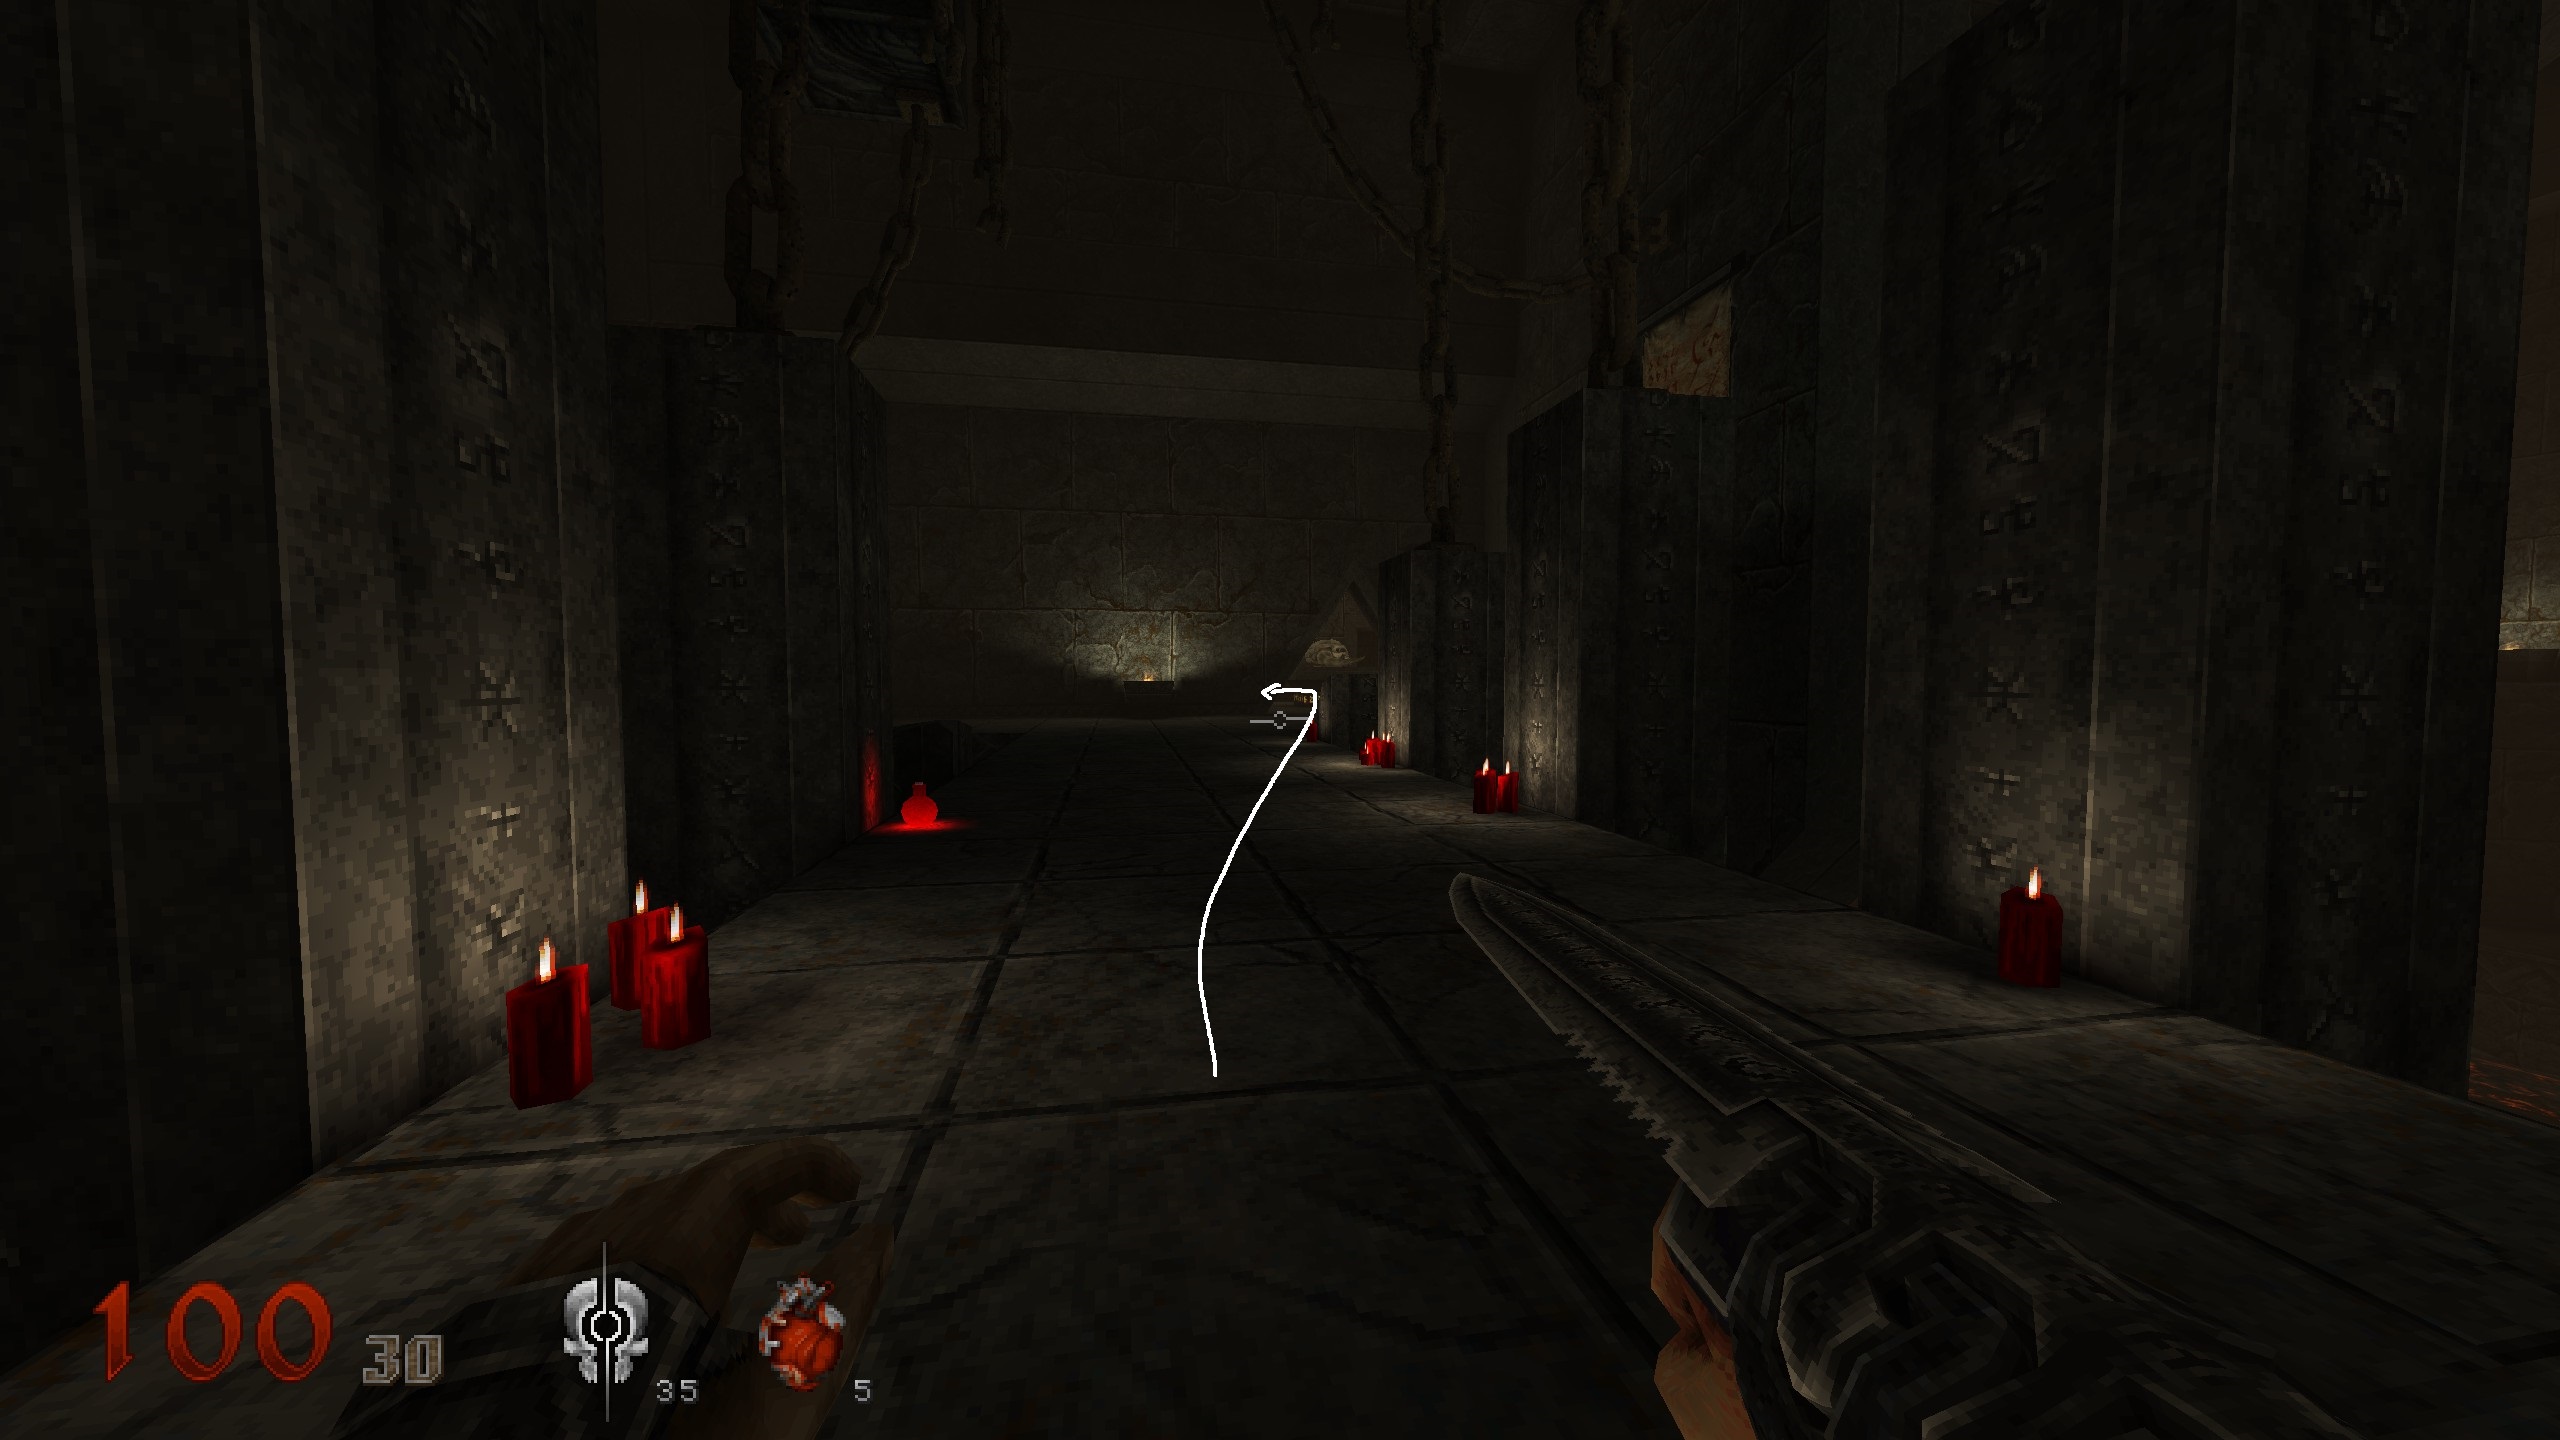
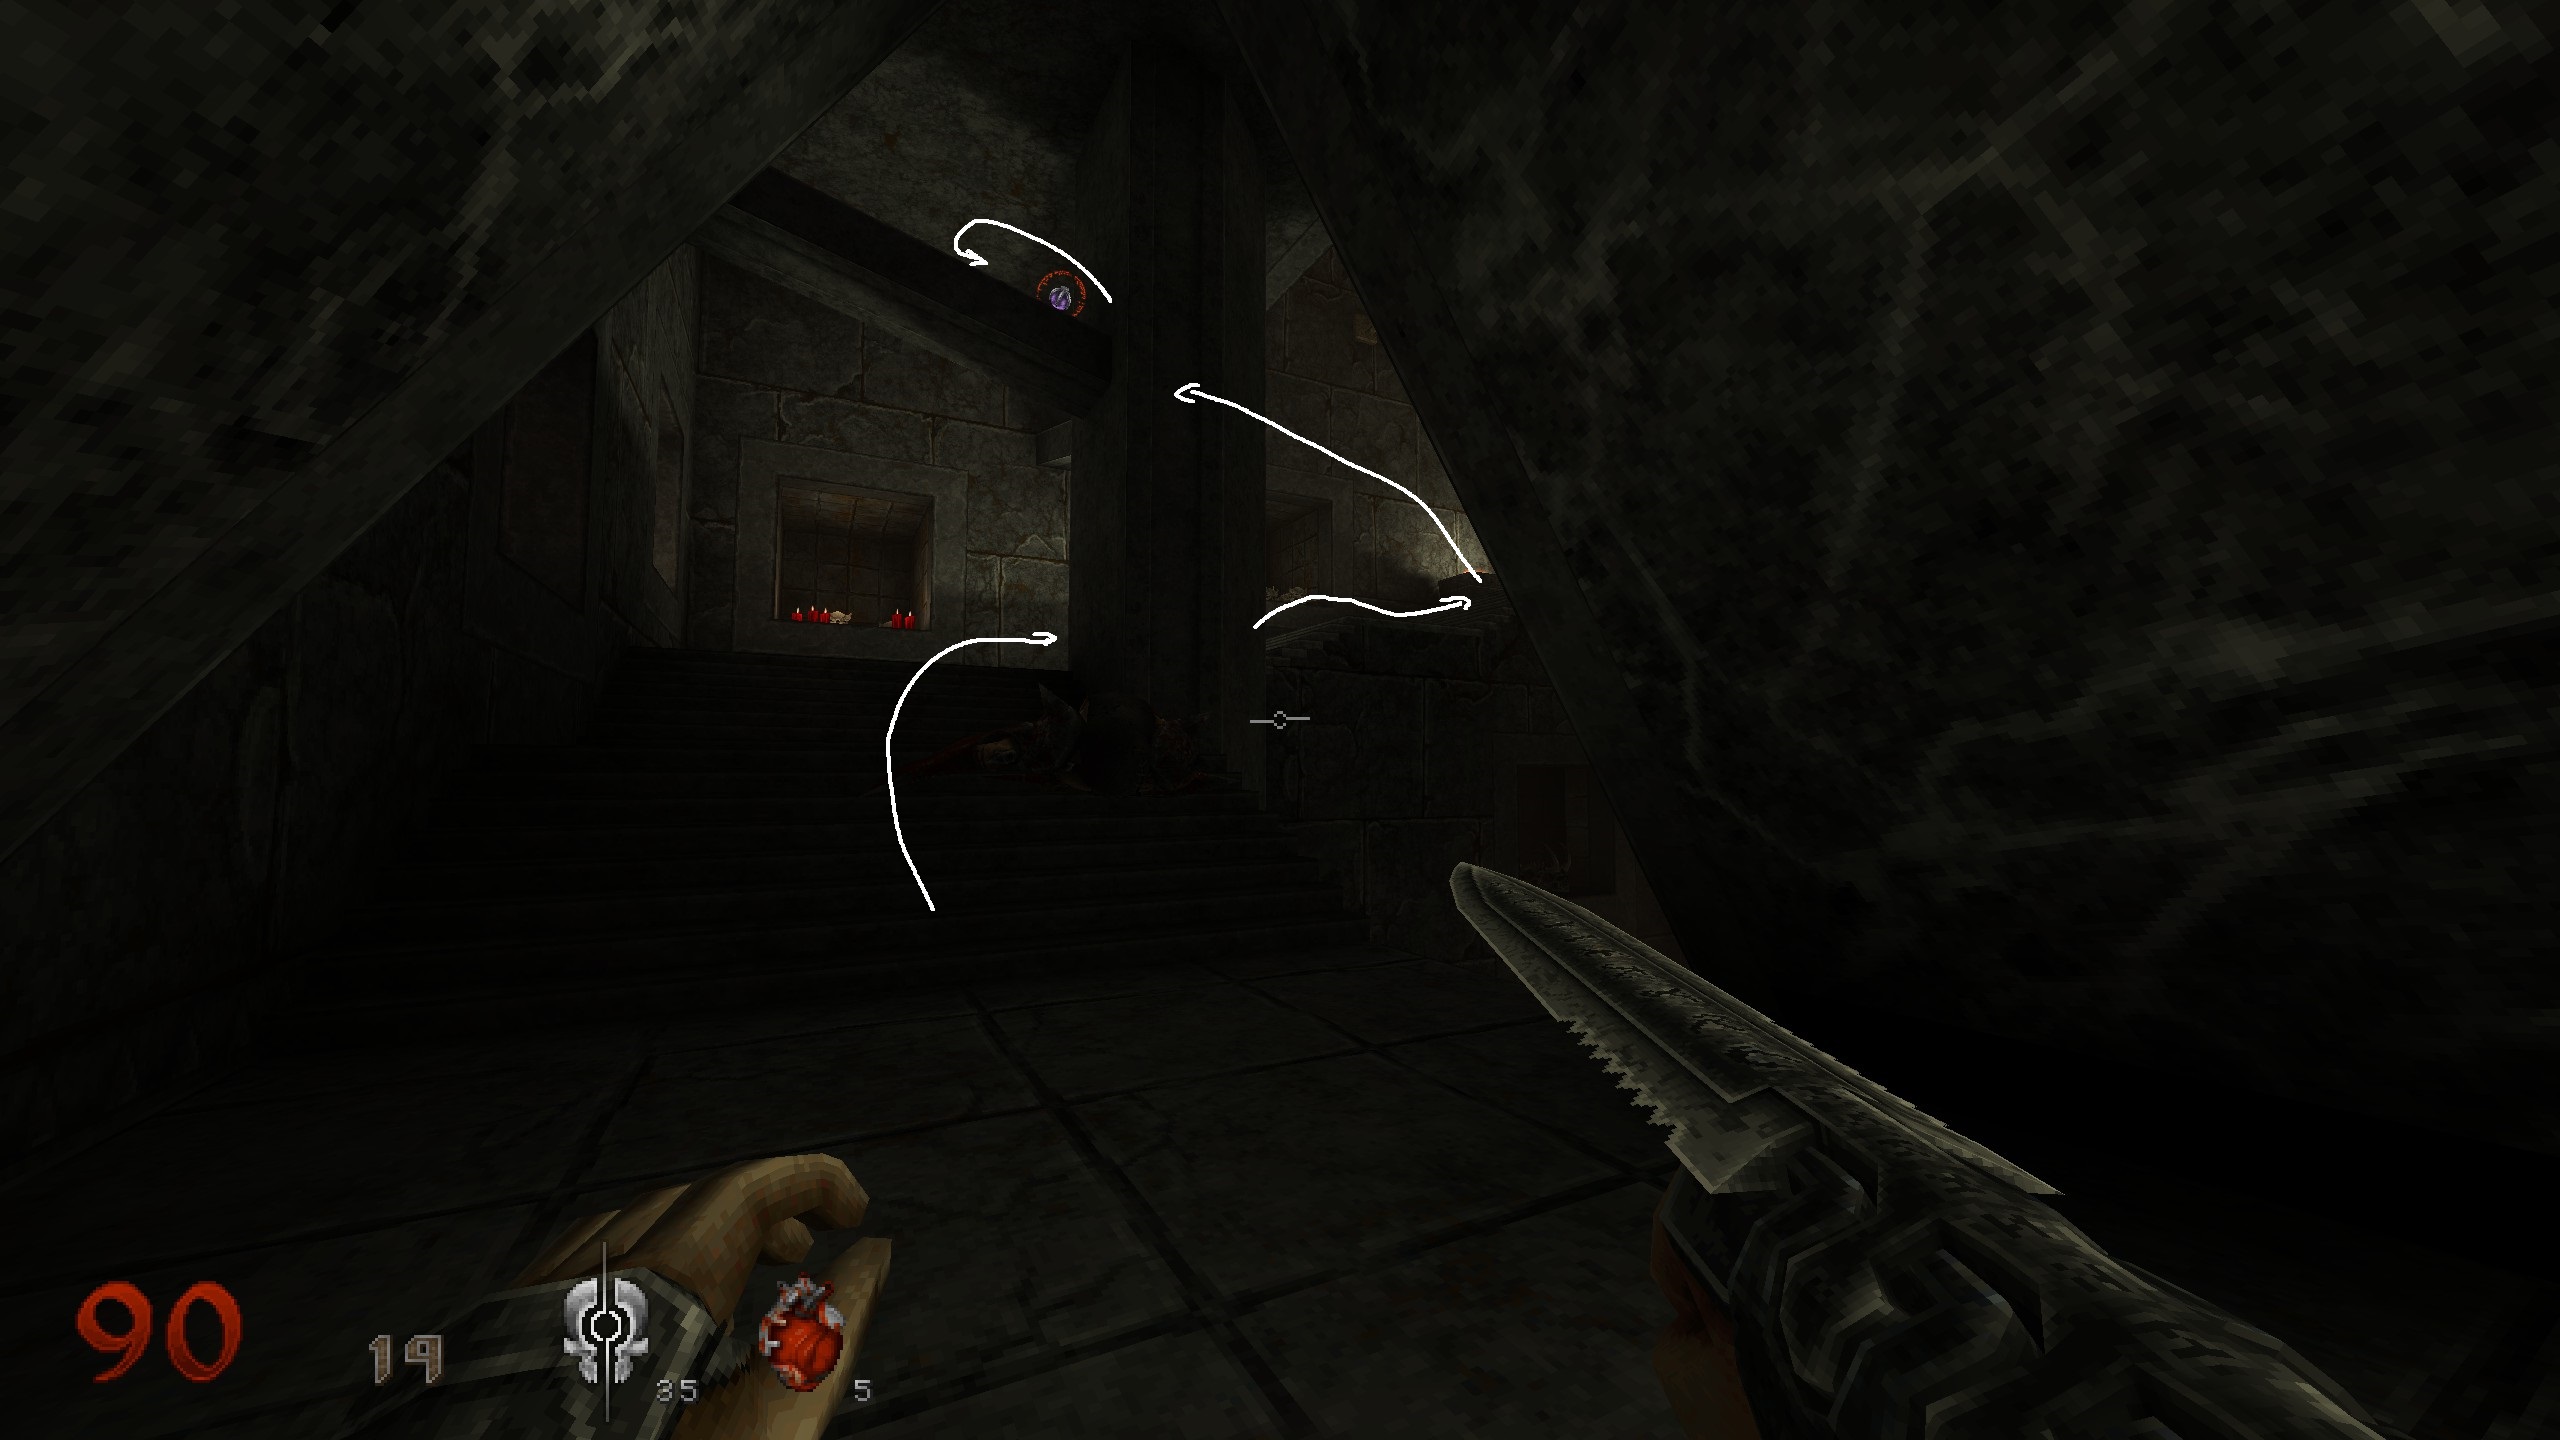
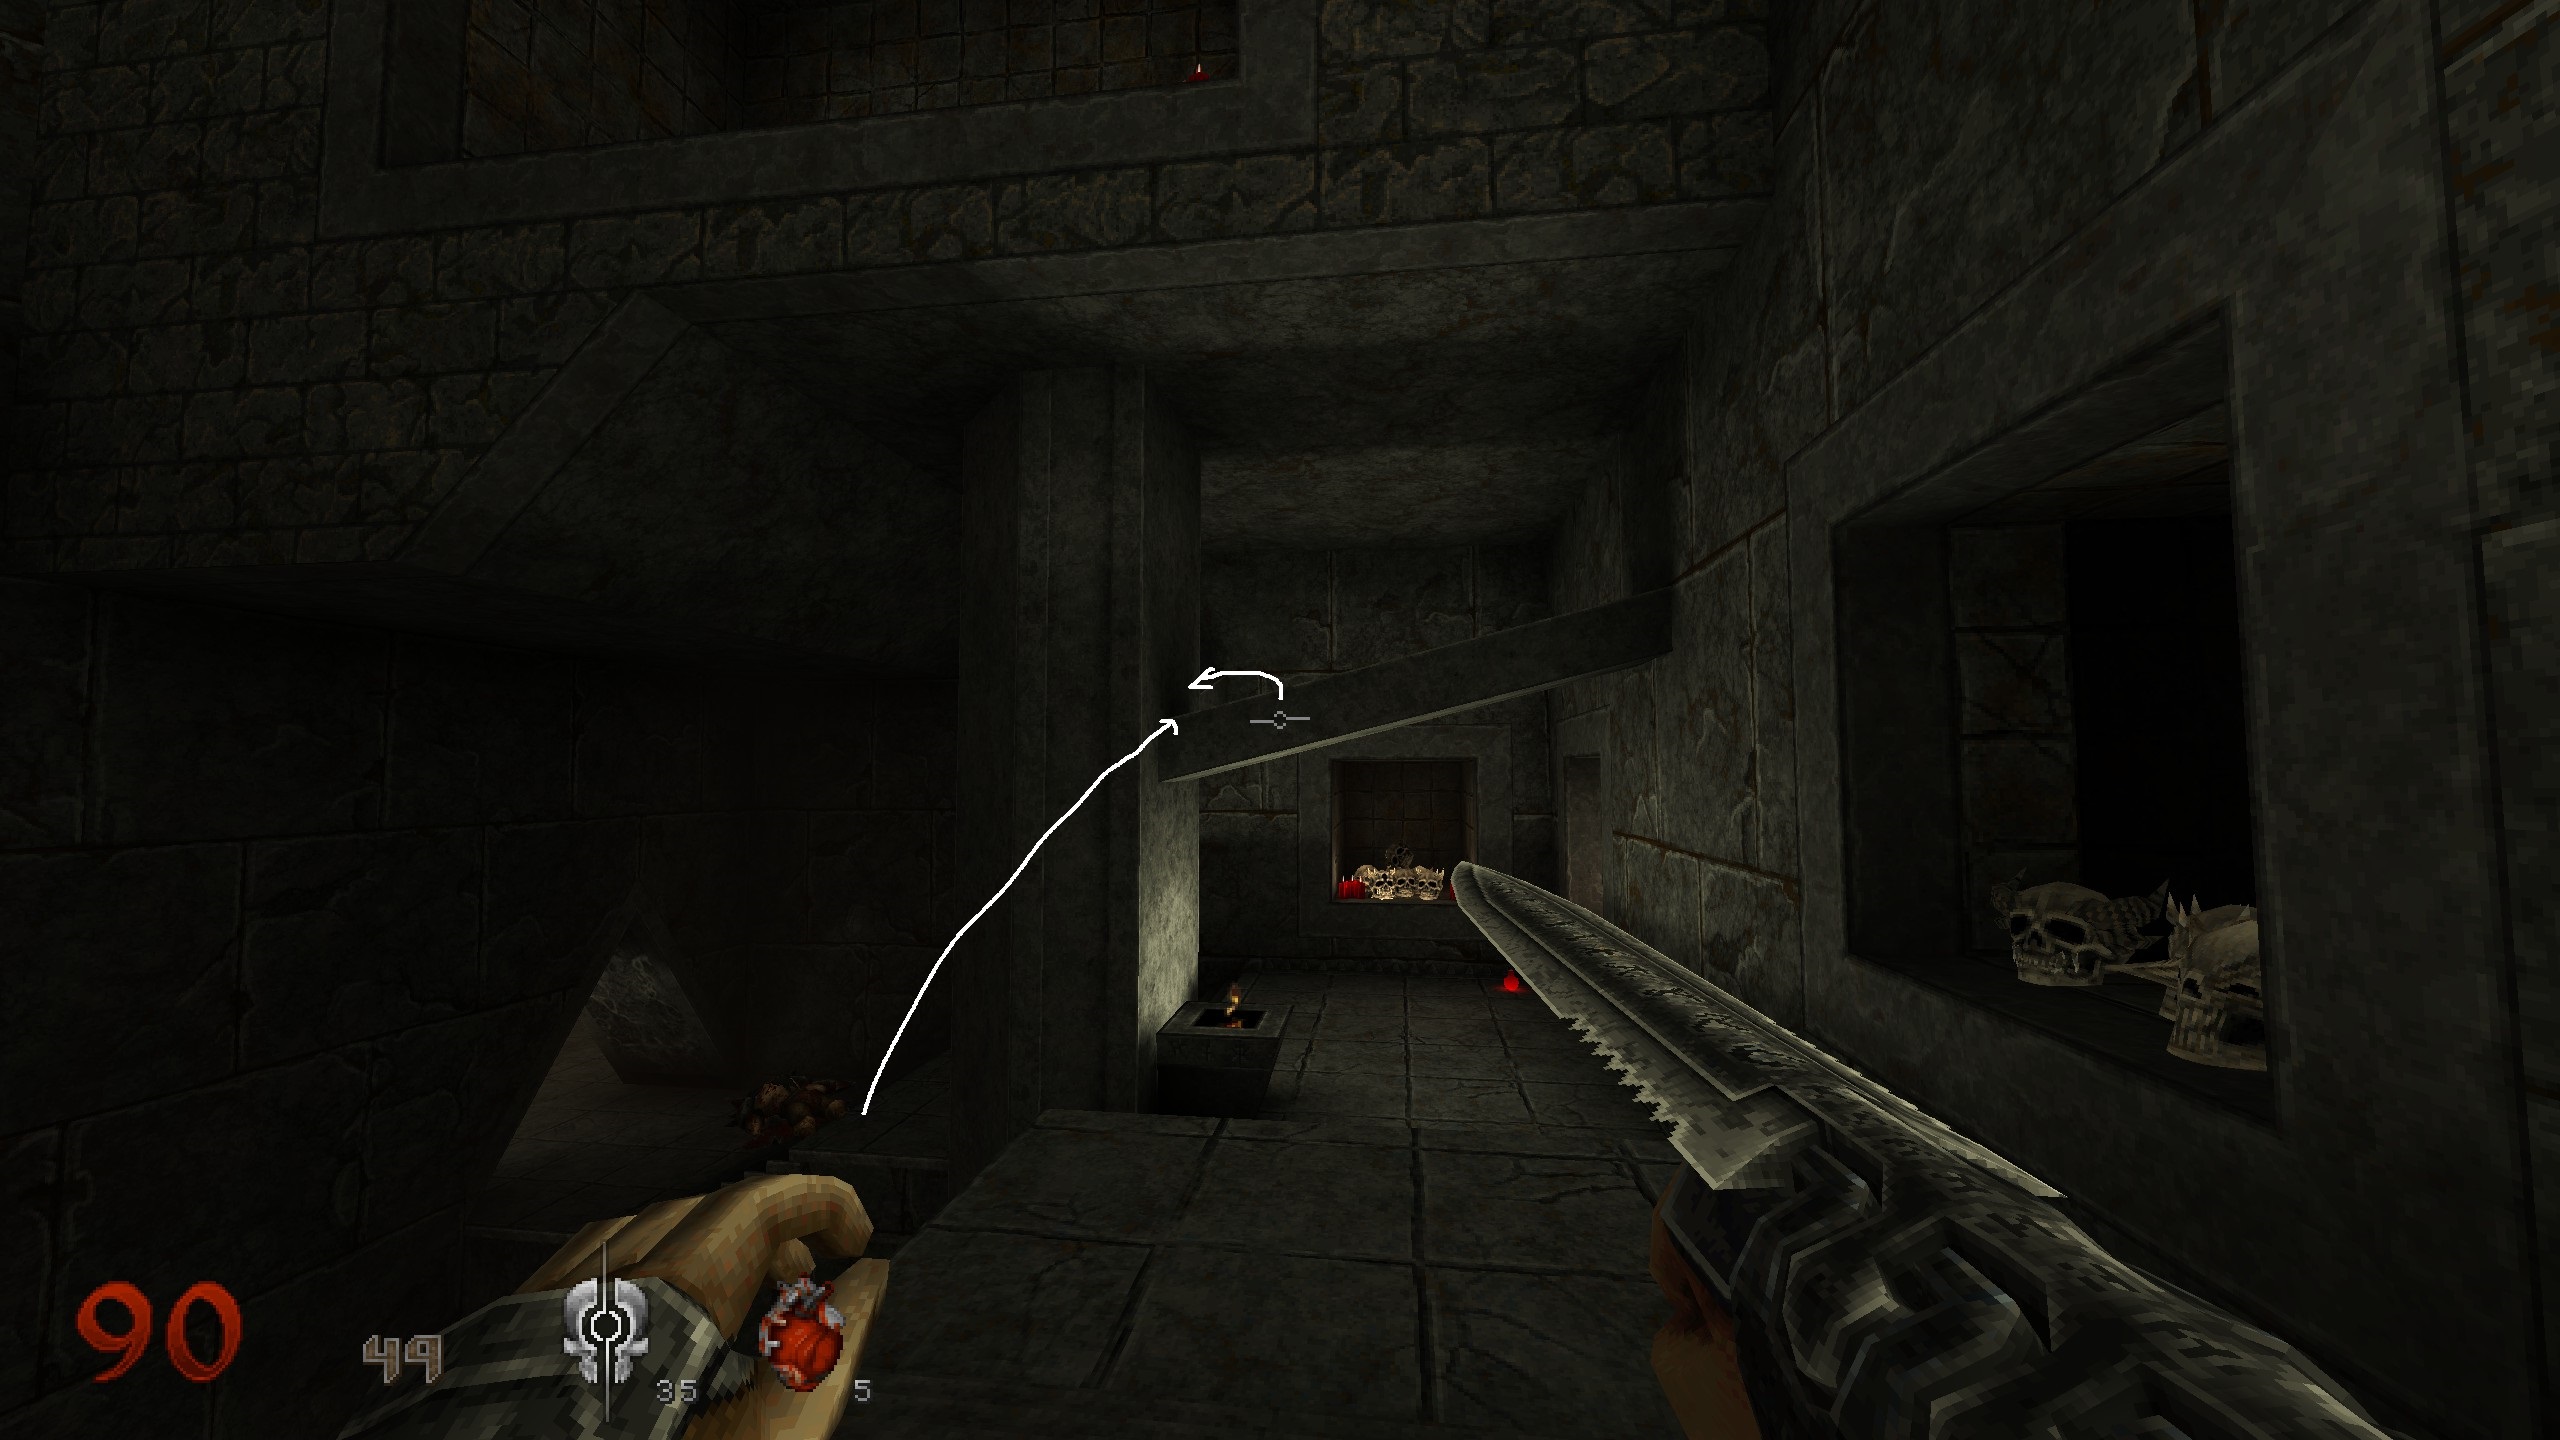
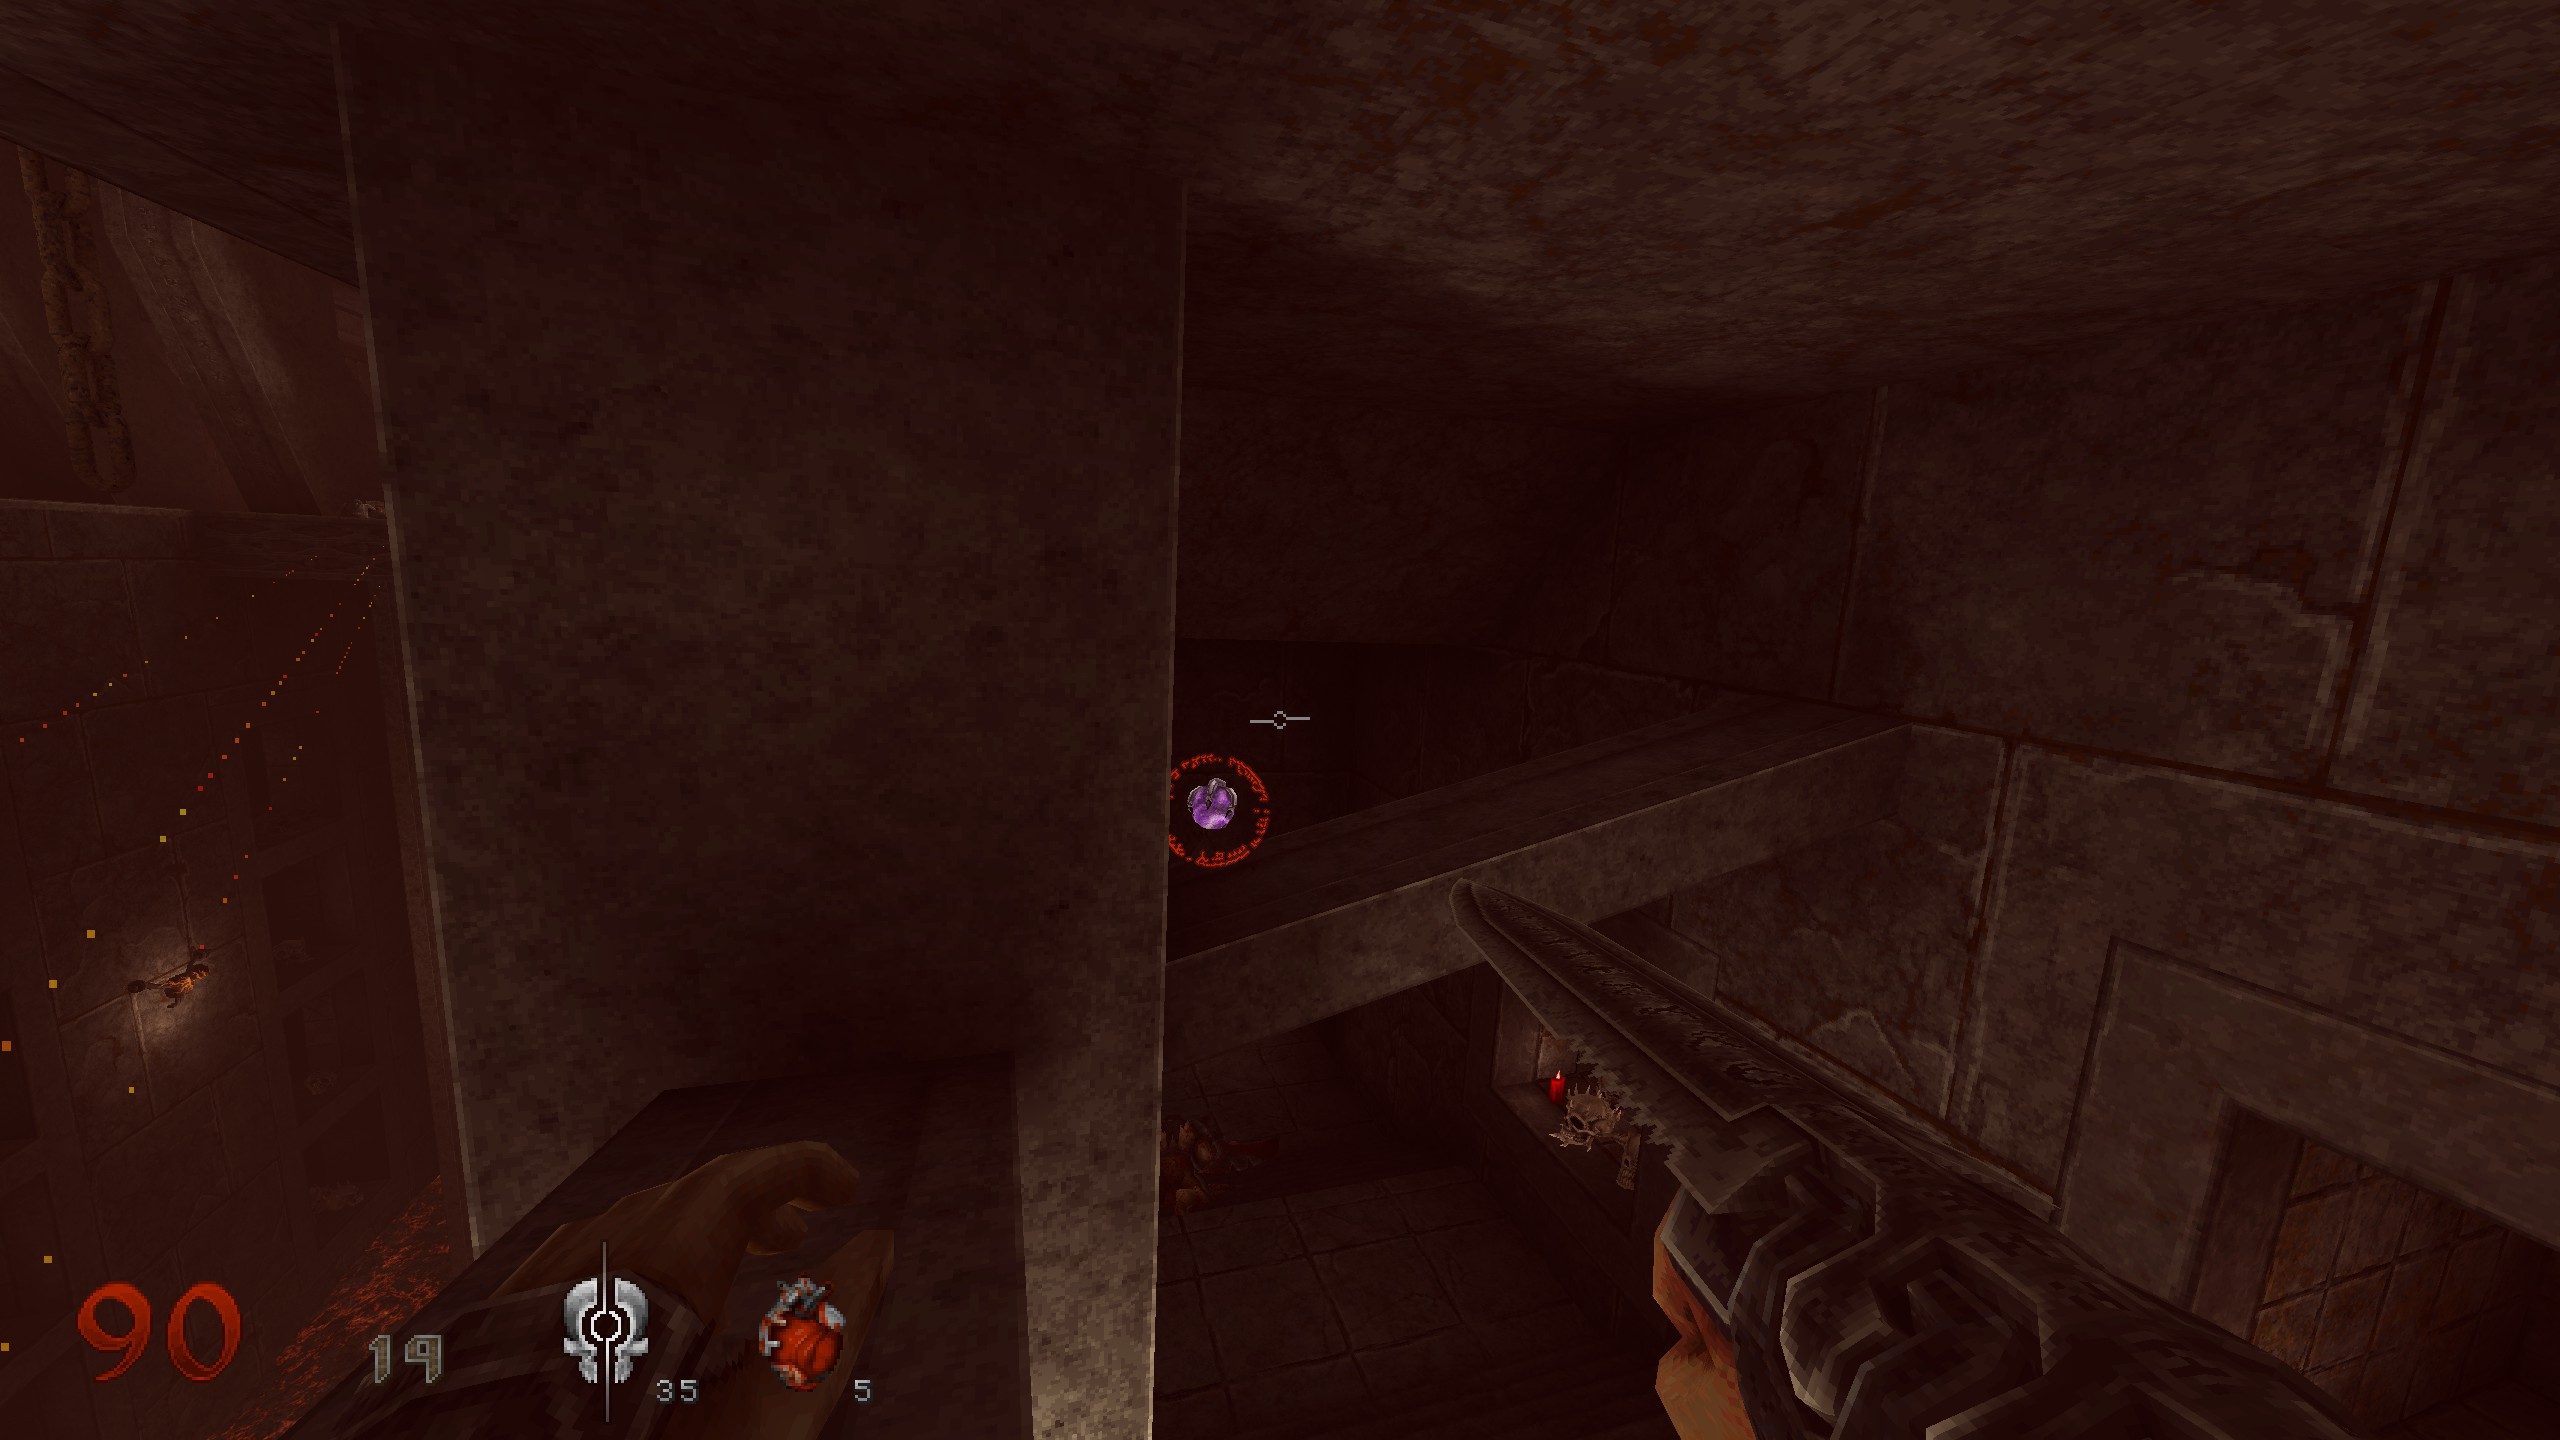

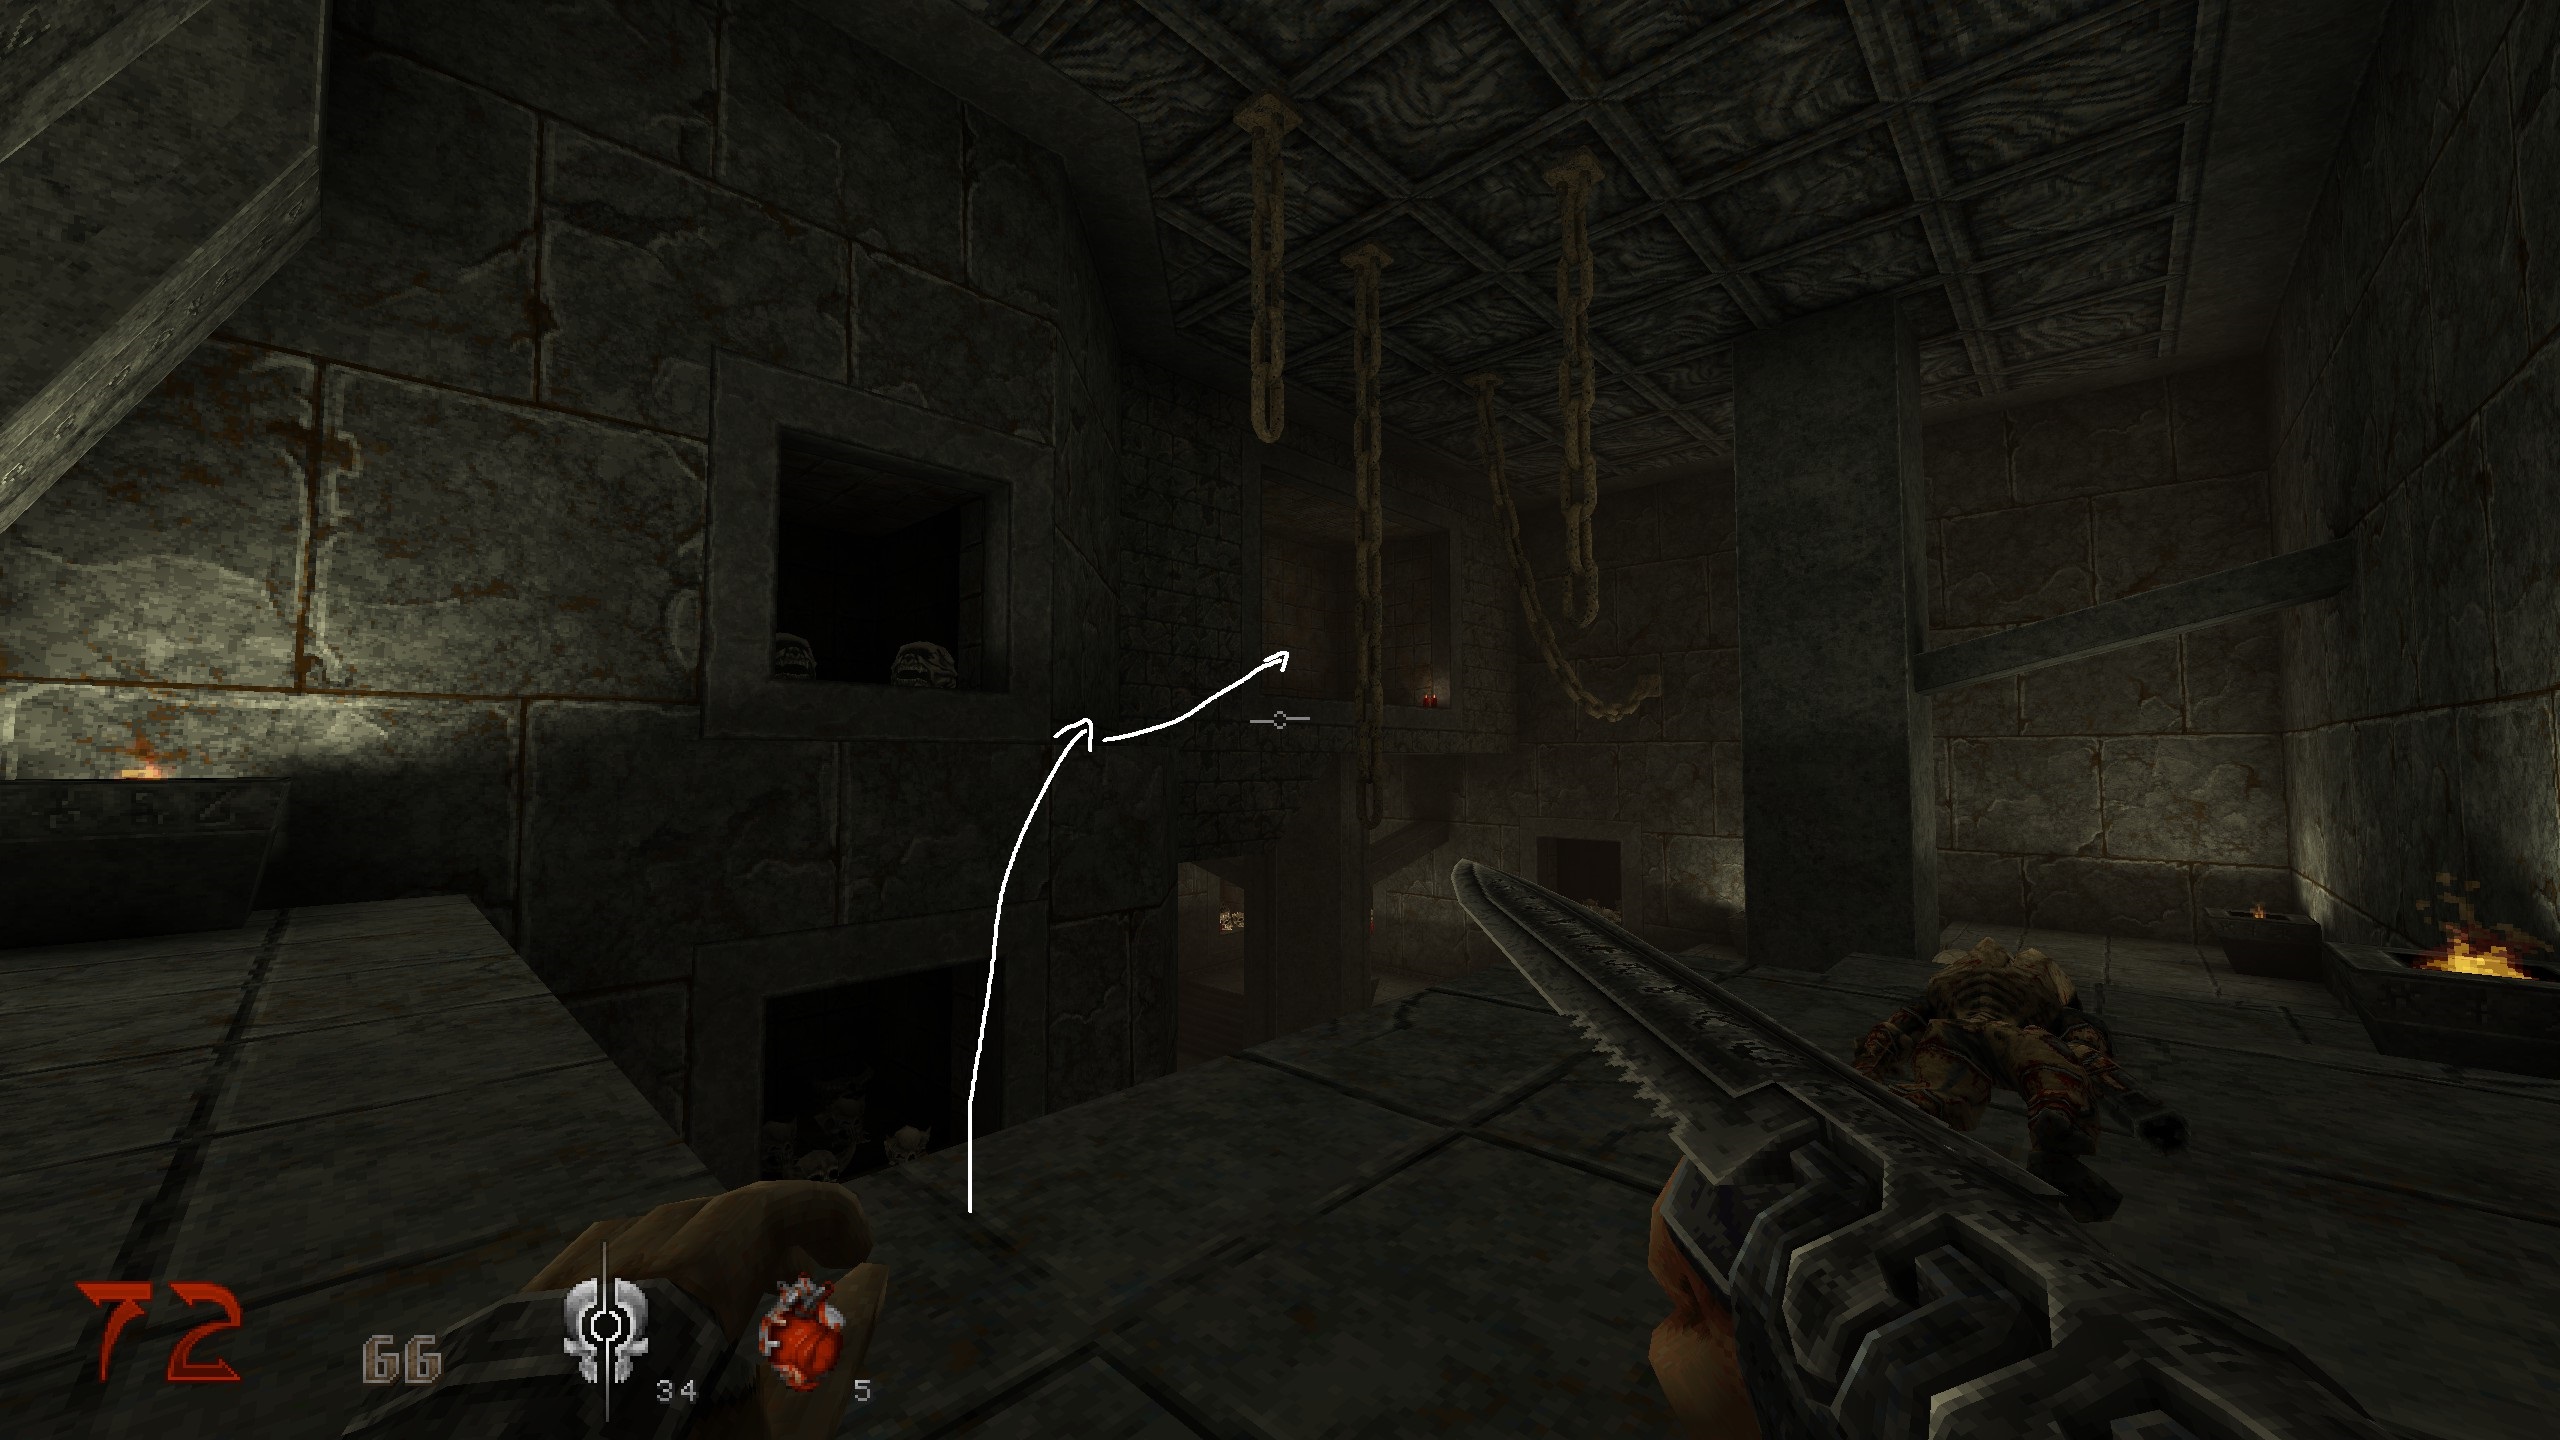
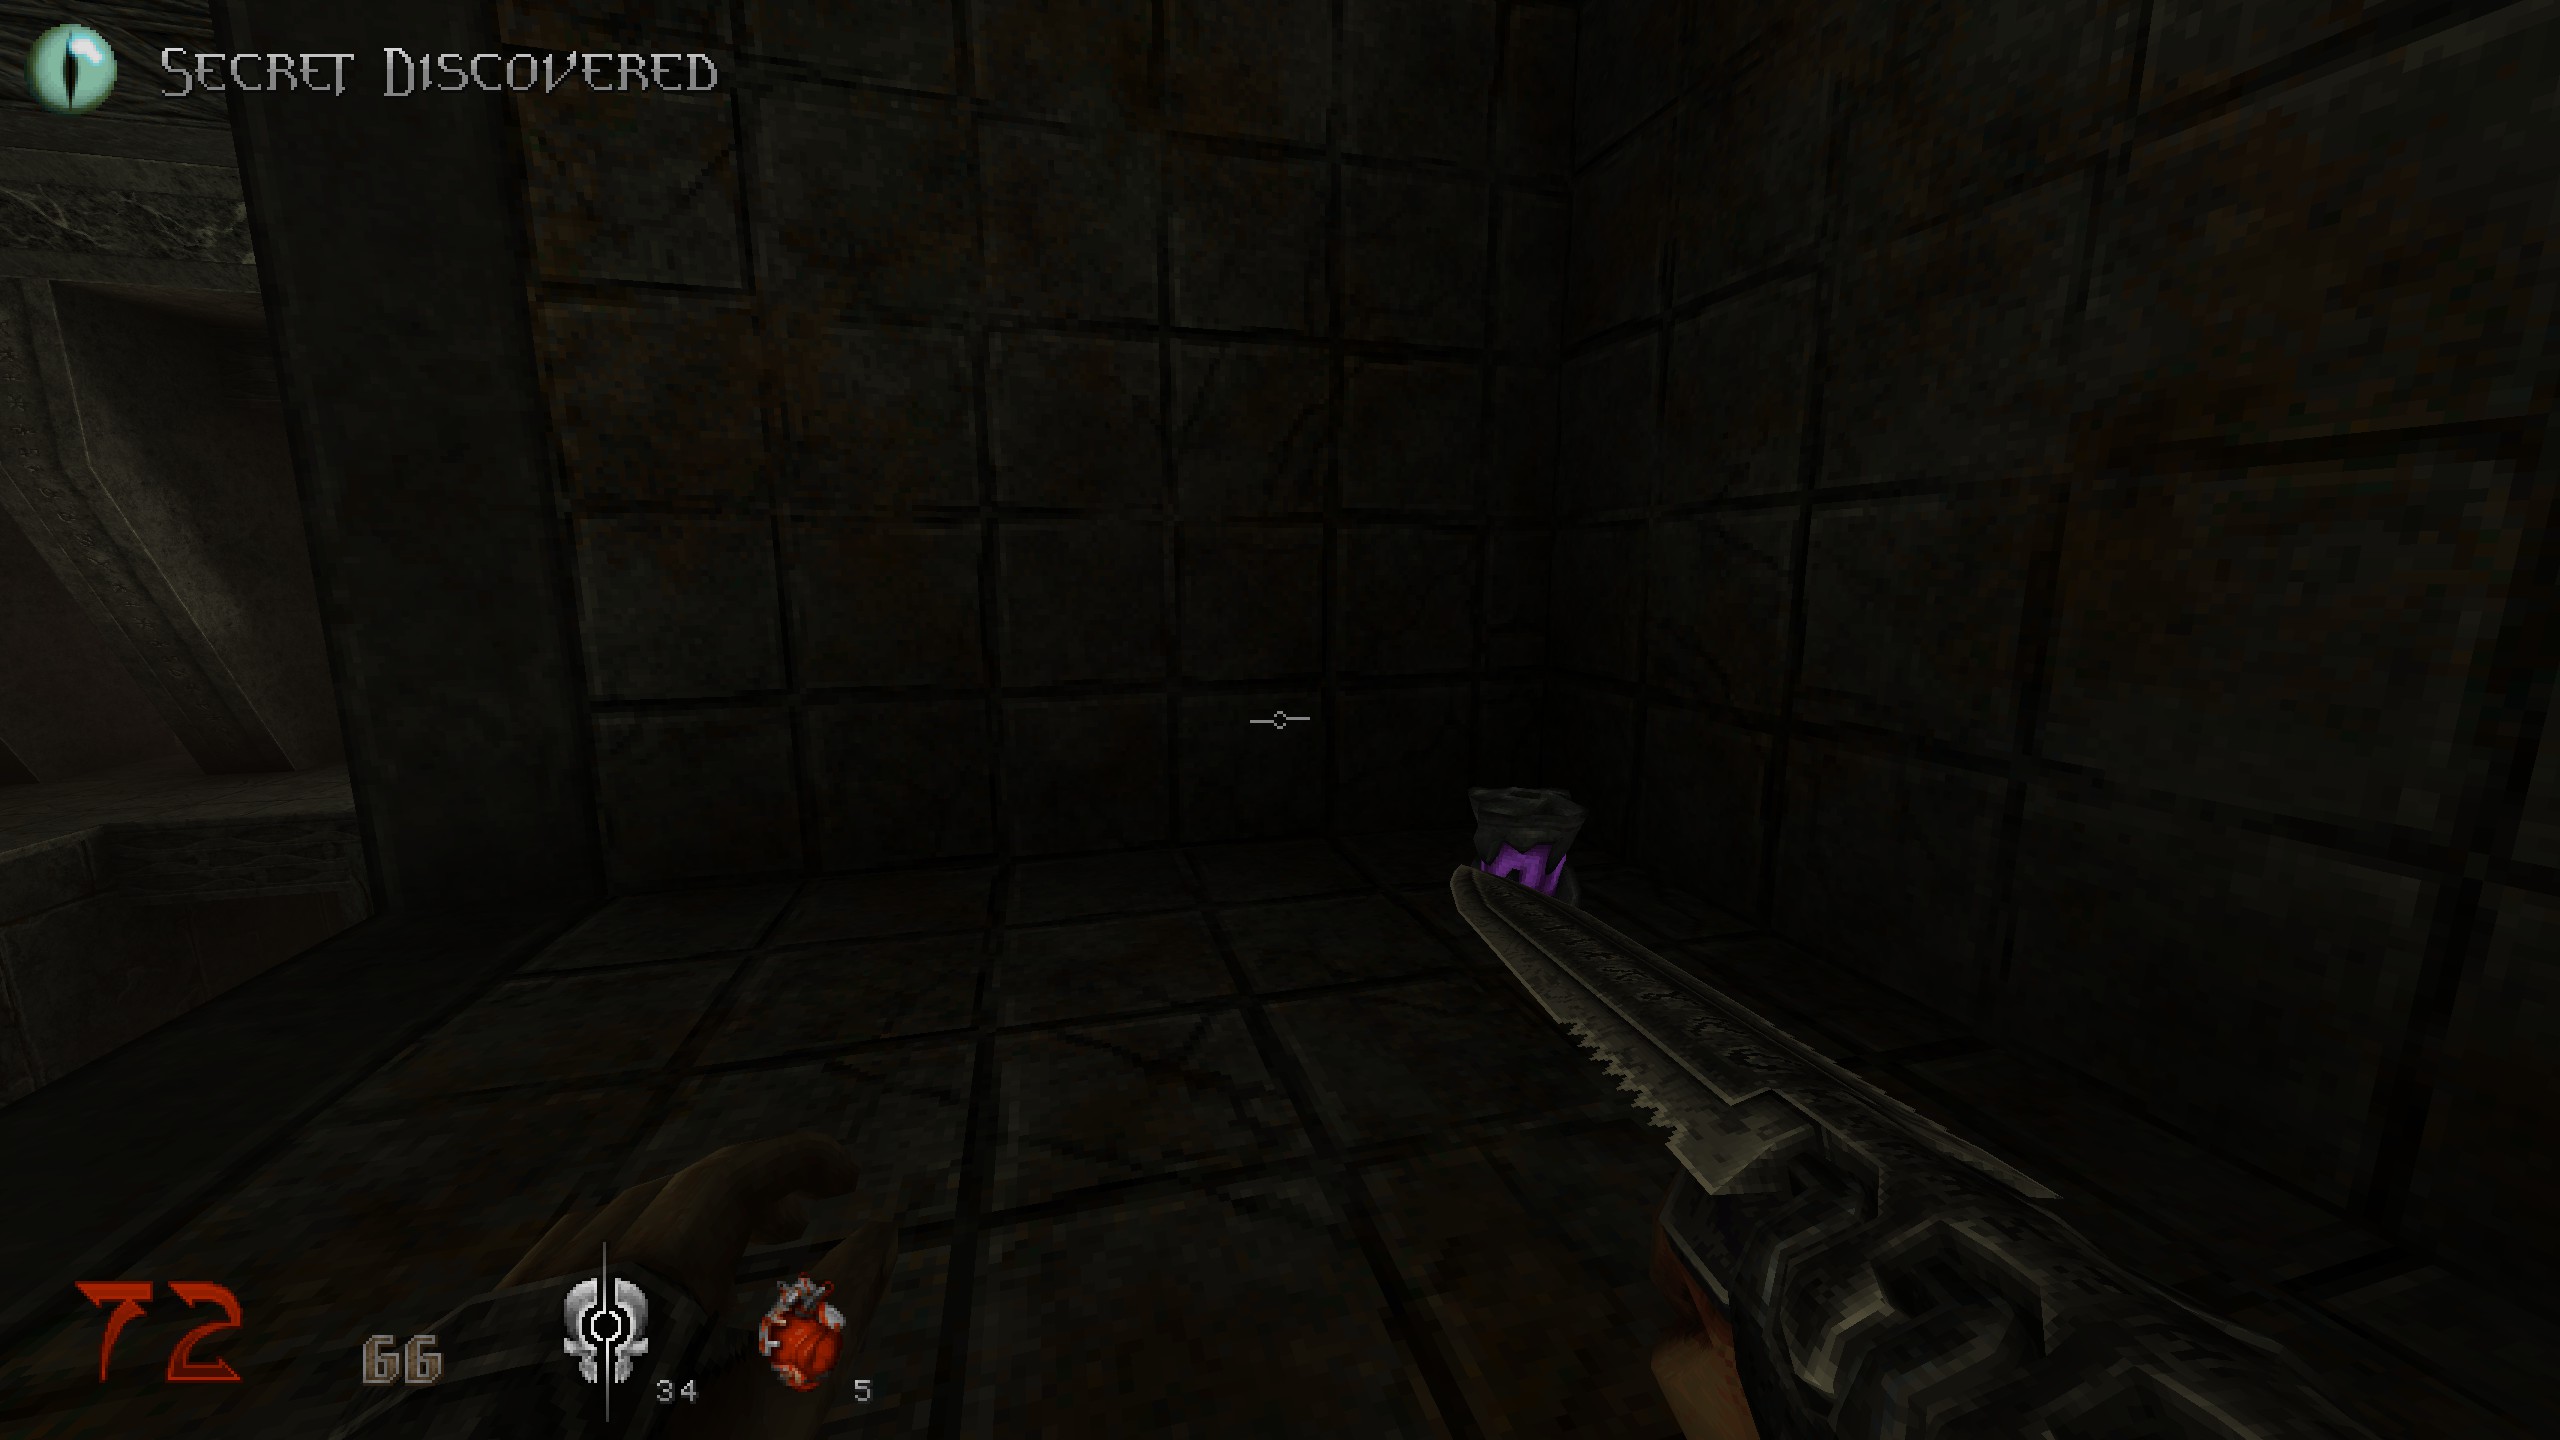
S10 – bugged
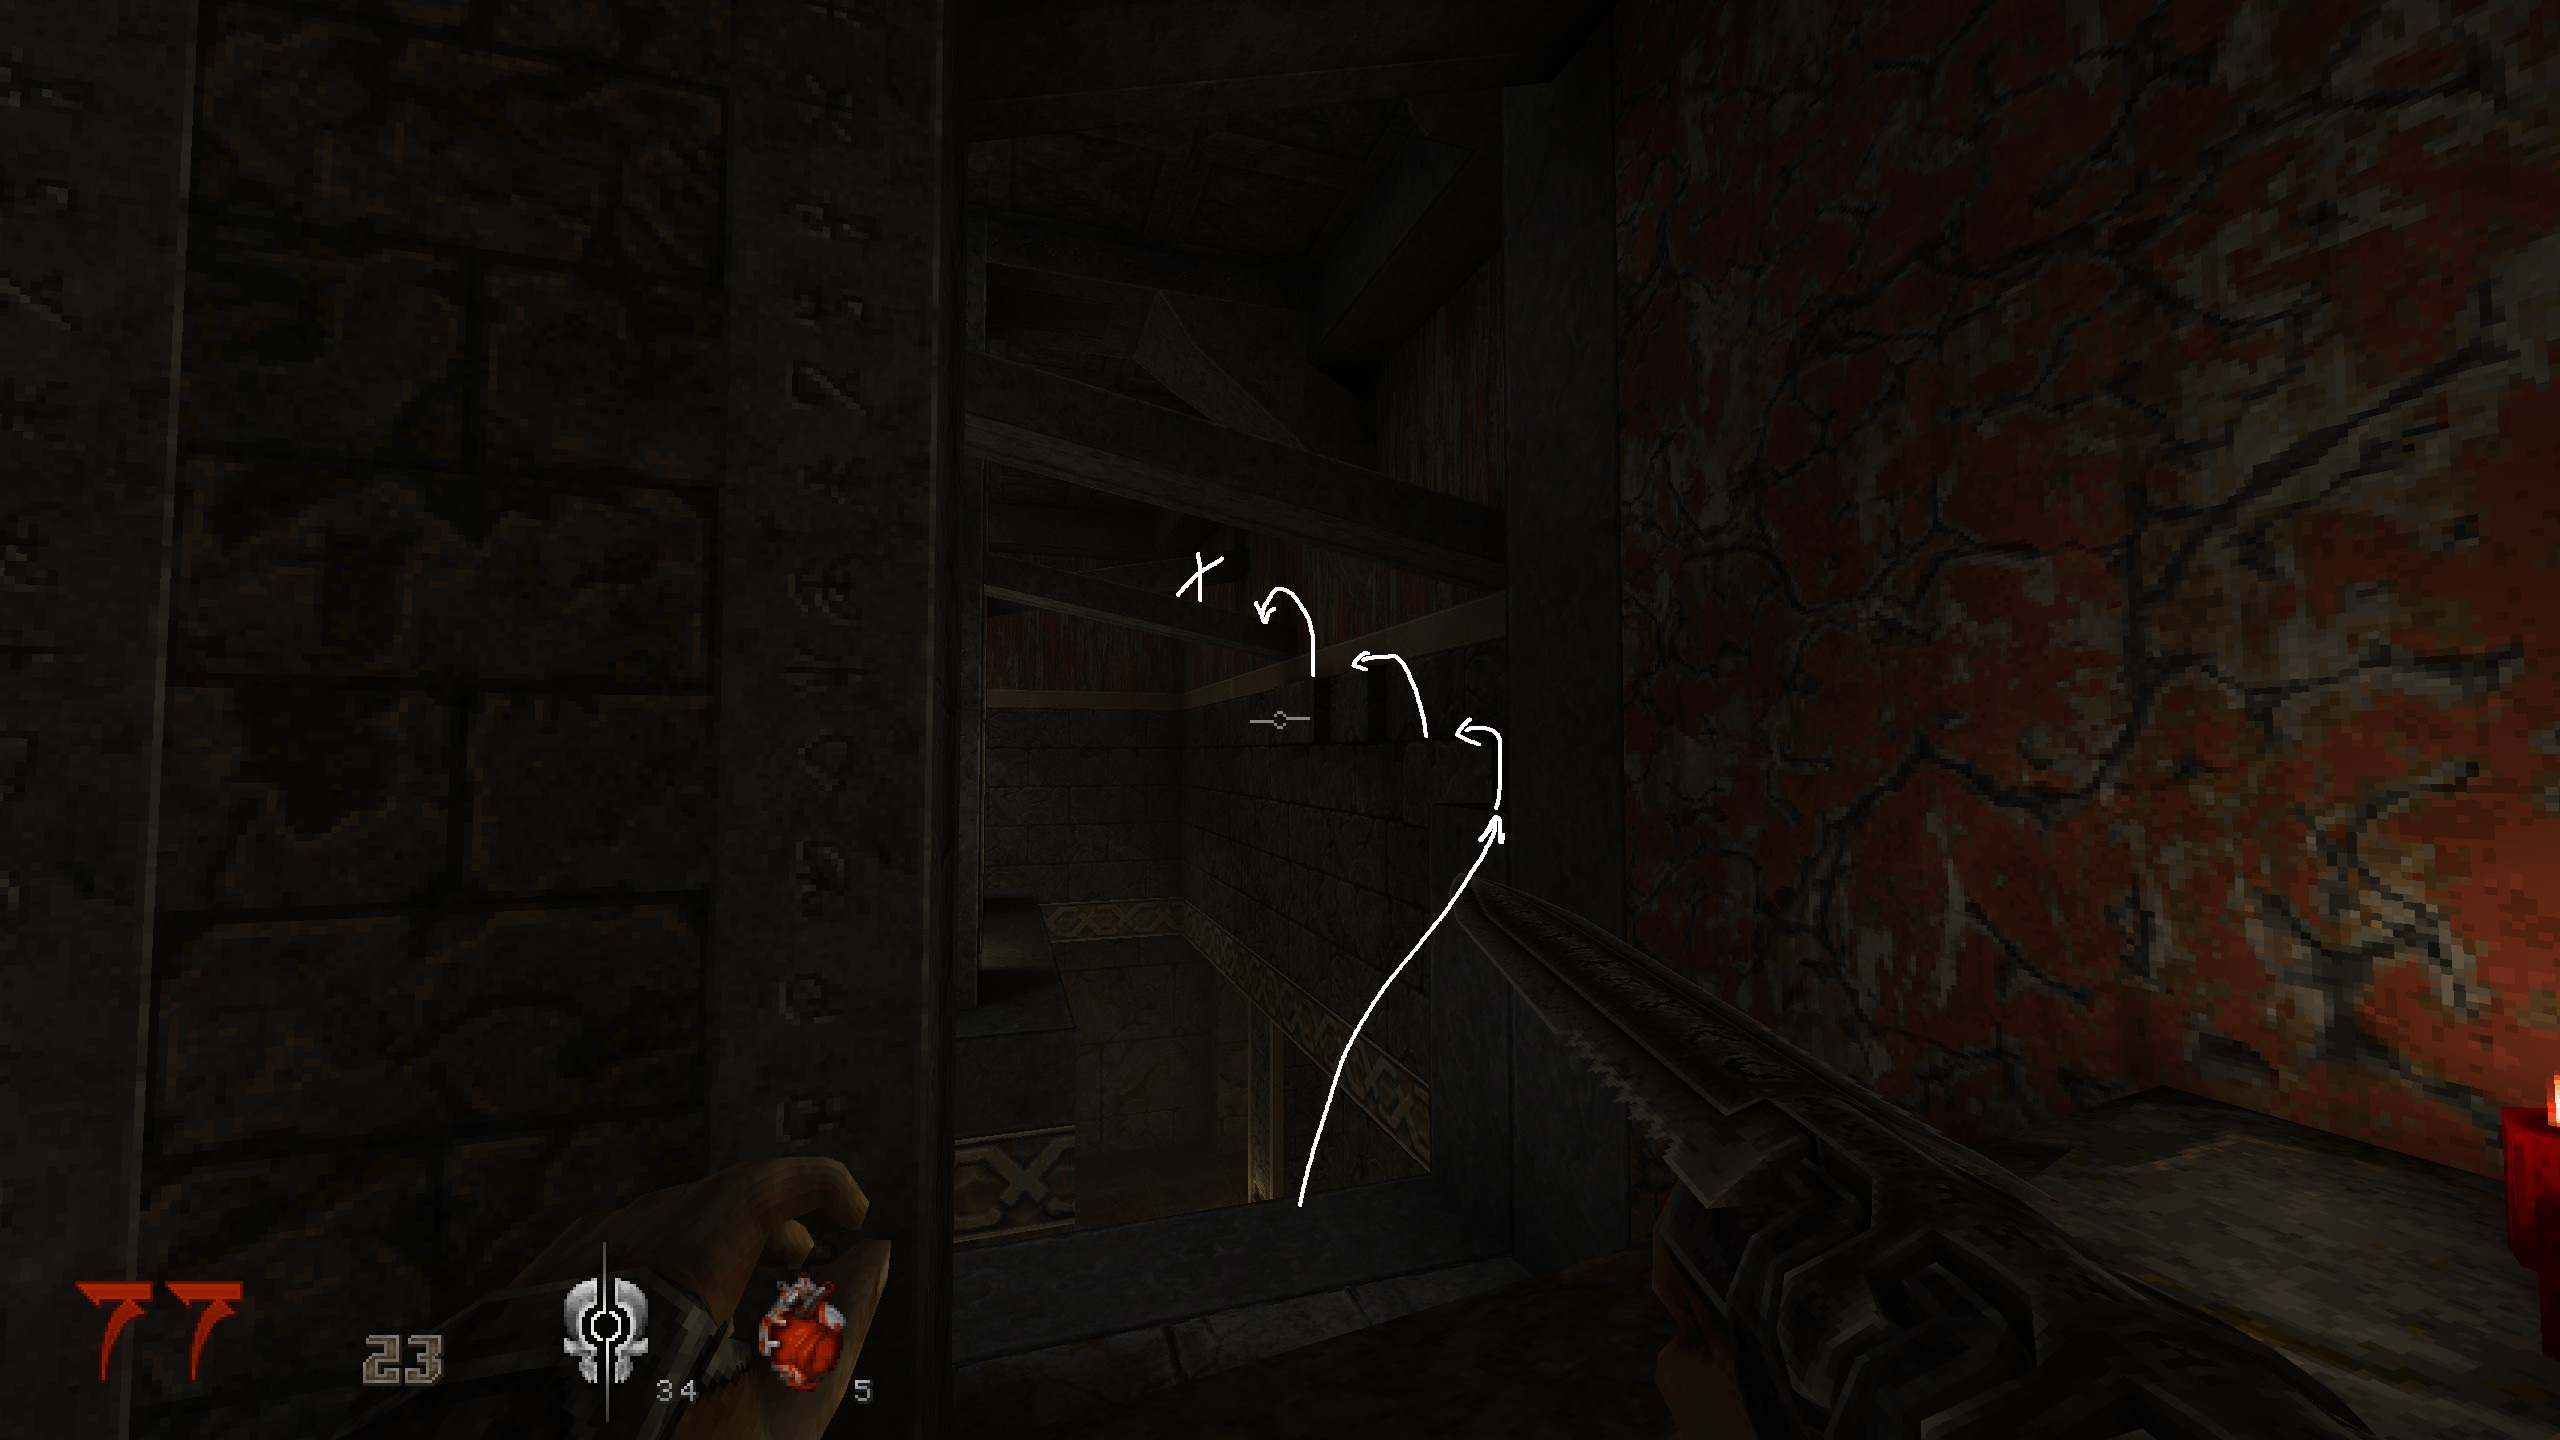
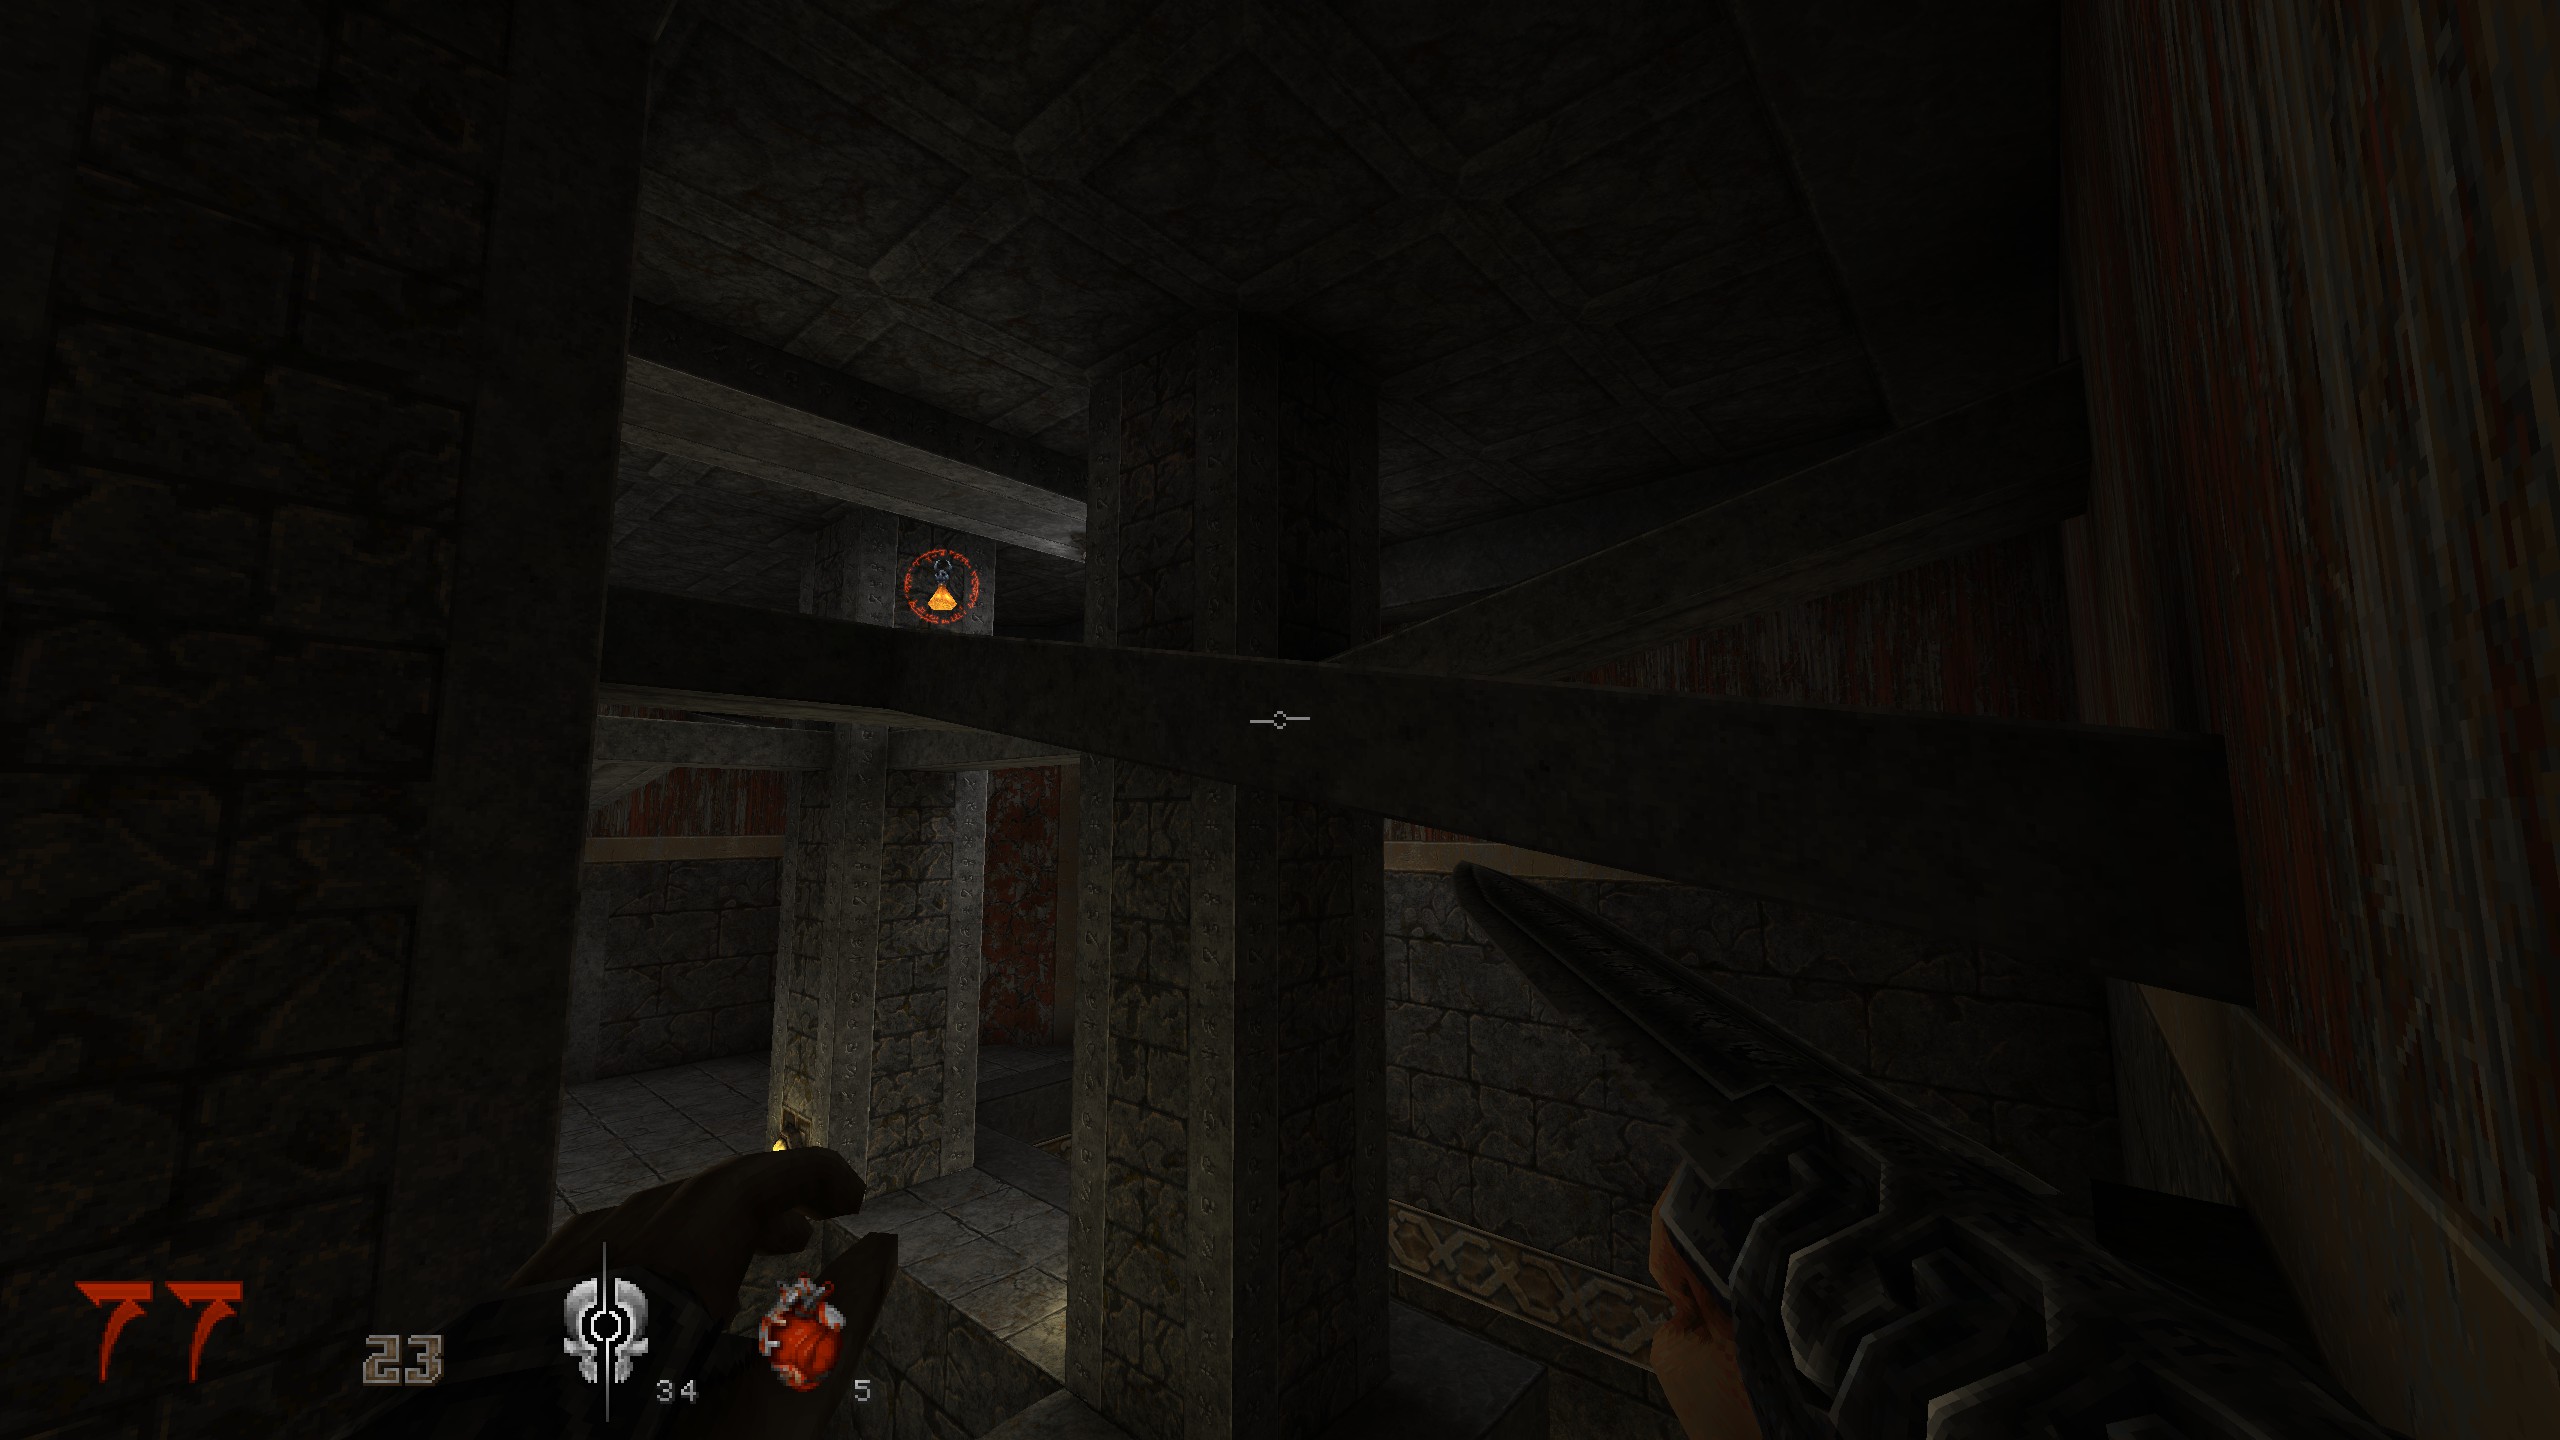
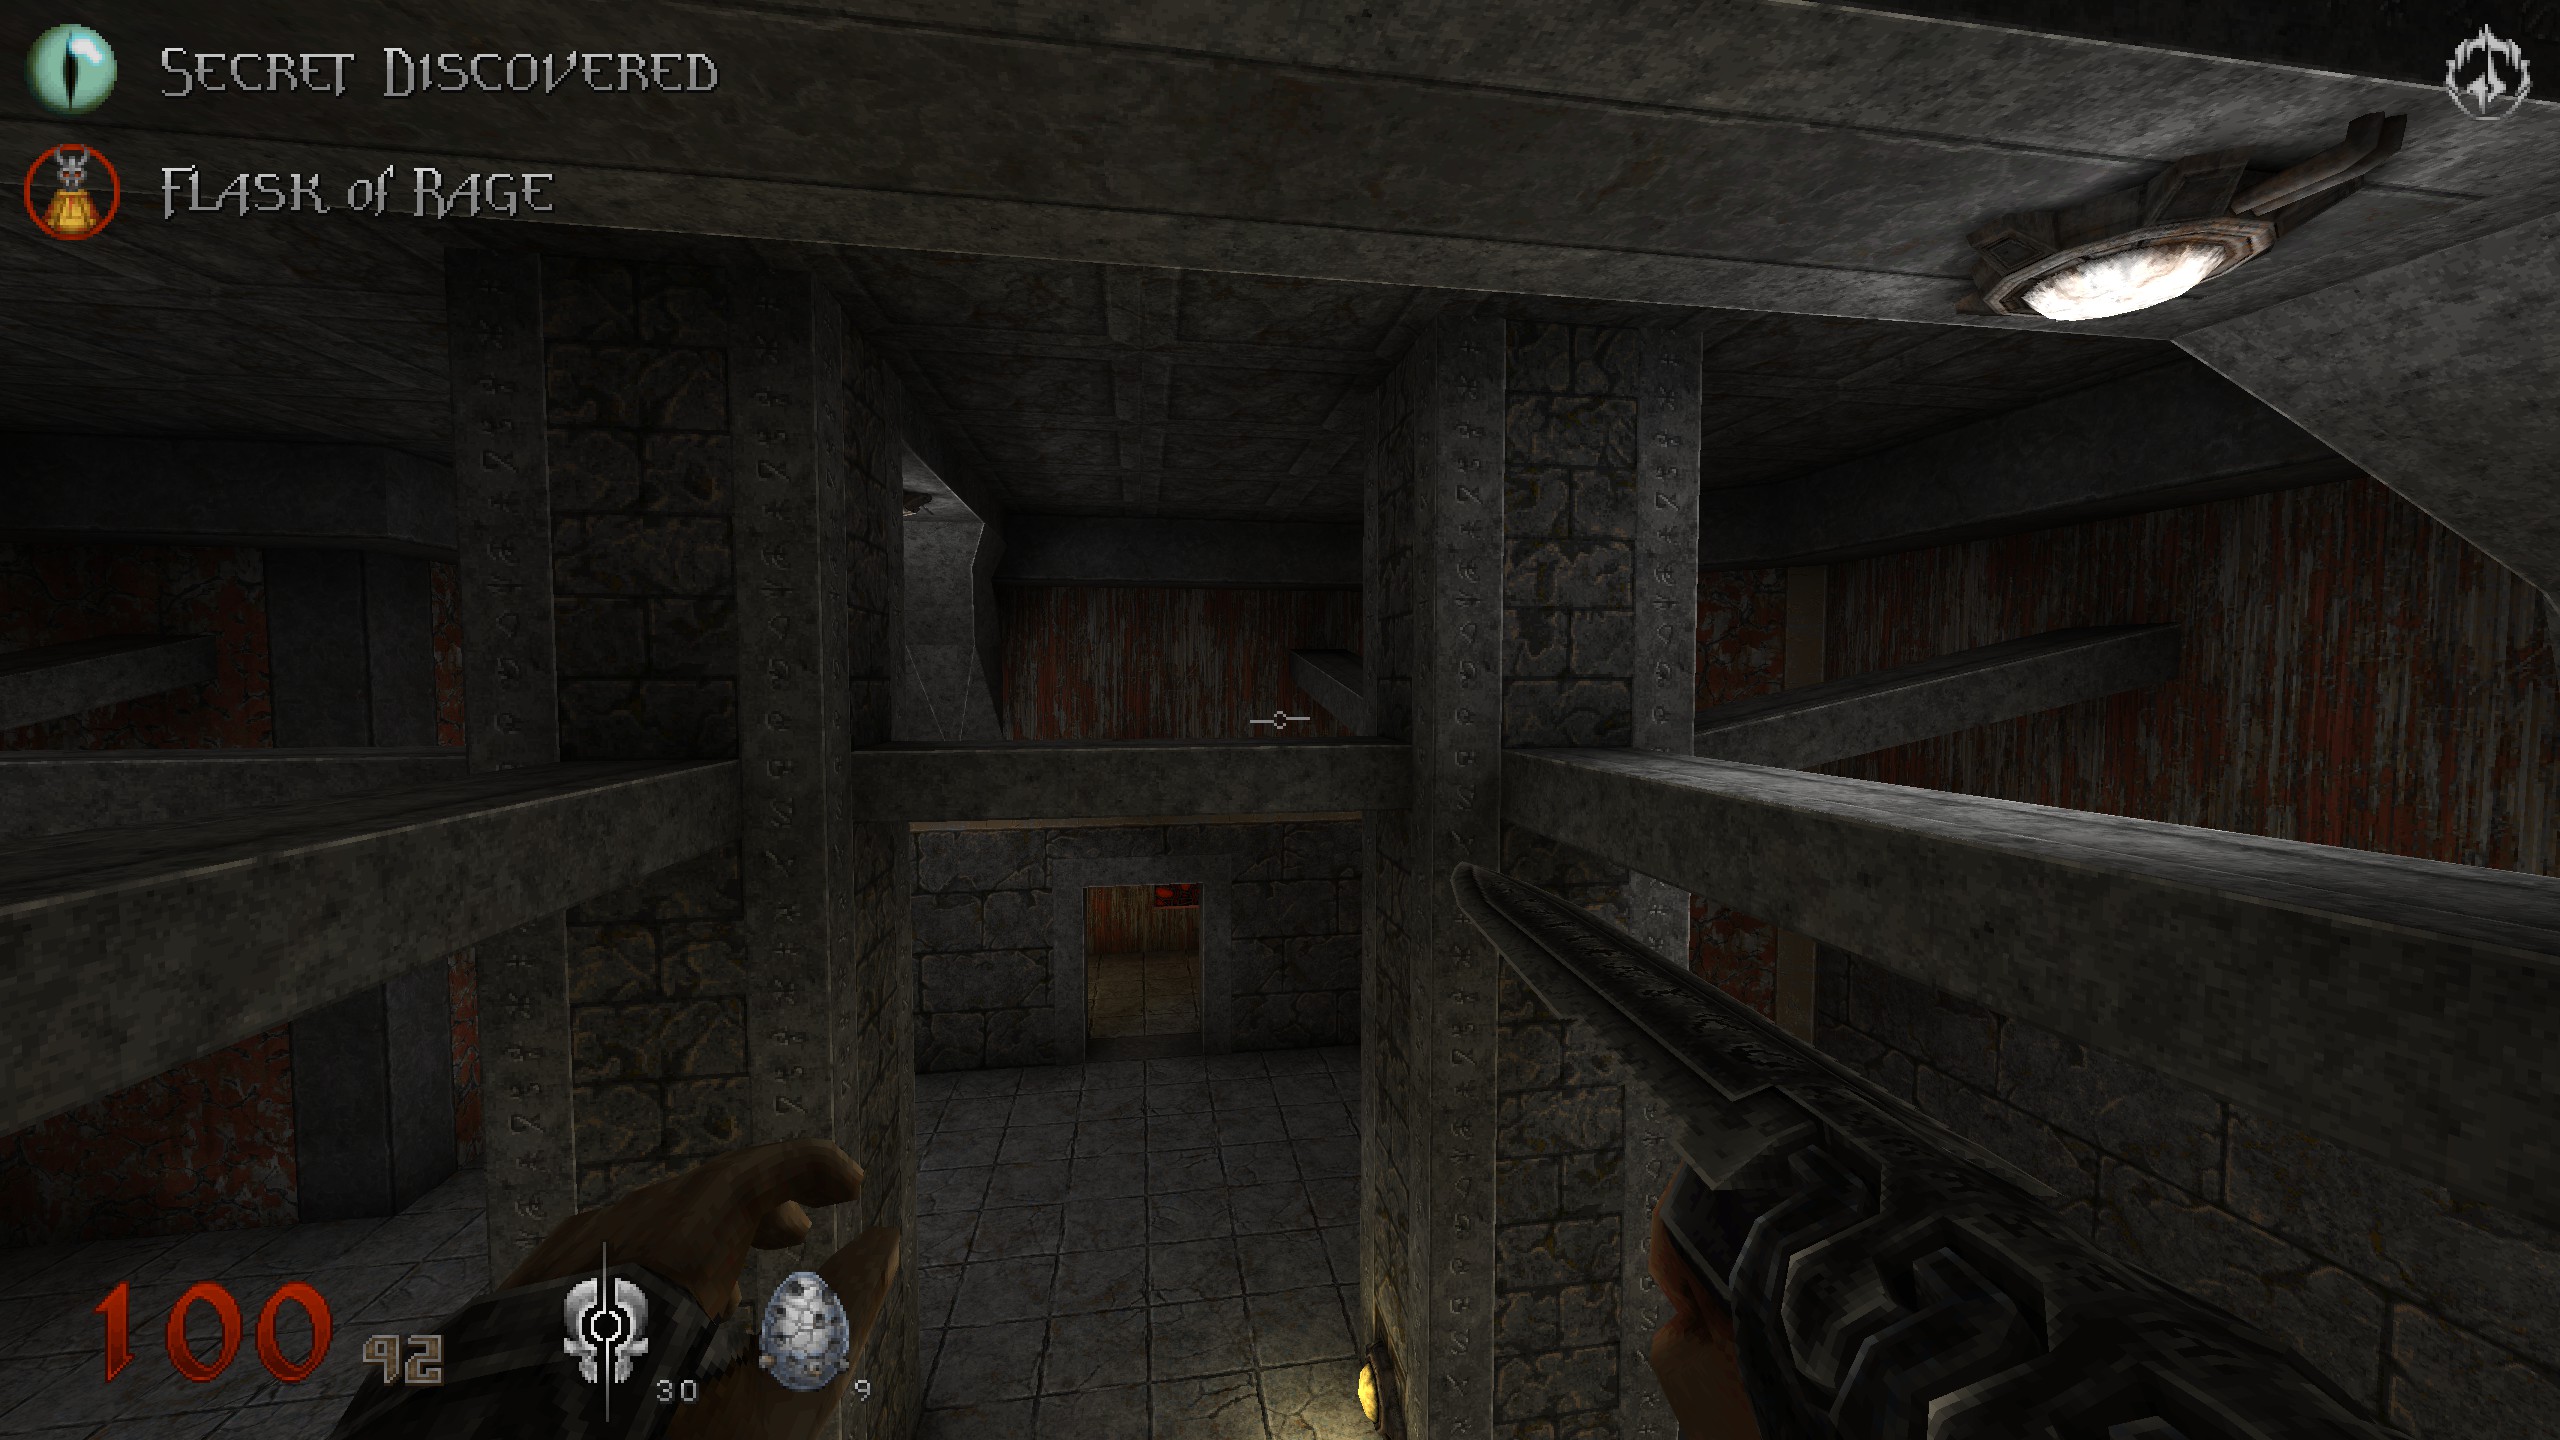
You rode up and elevator and come into a big room with lots of stone crossbars close the the ceiling. Use the stones where the candle is to get up. Then use the tiny stone ledges on the wall to get further up. Jump on big crossbar and you will again notice that you cant proceed. Repeat “noclip” from other secret to get it. Turn “noclip” off and proceed.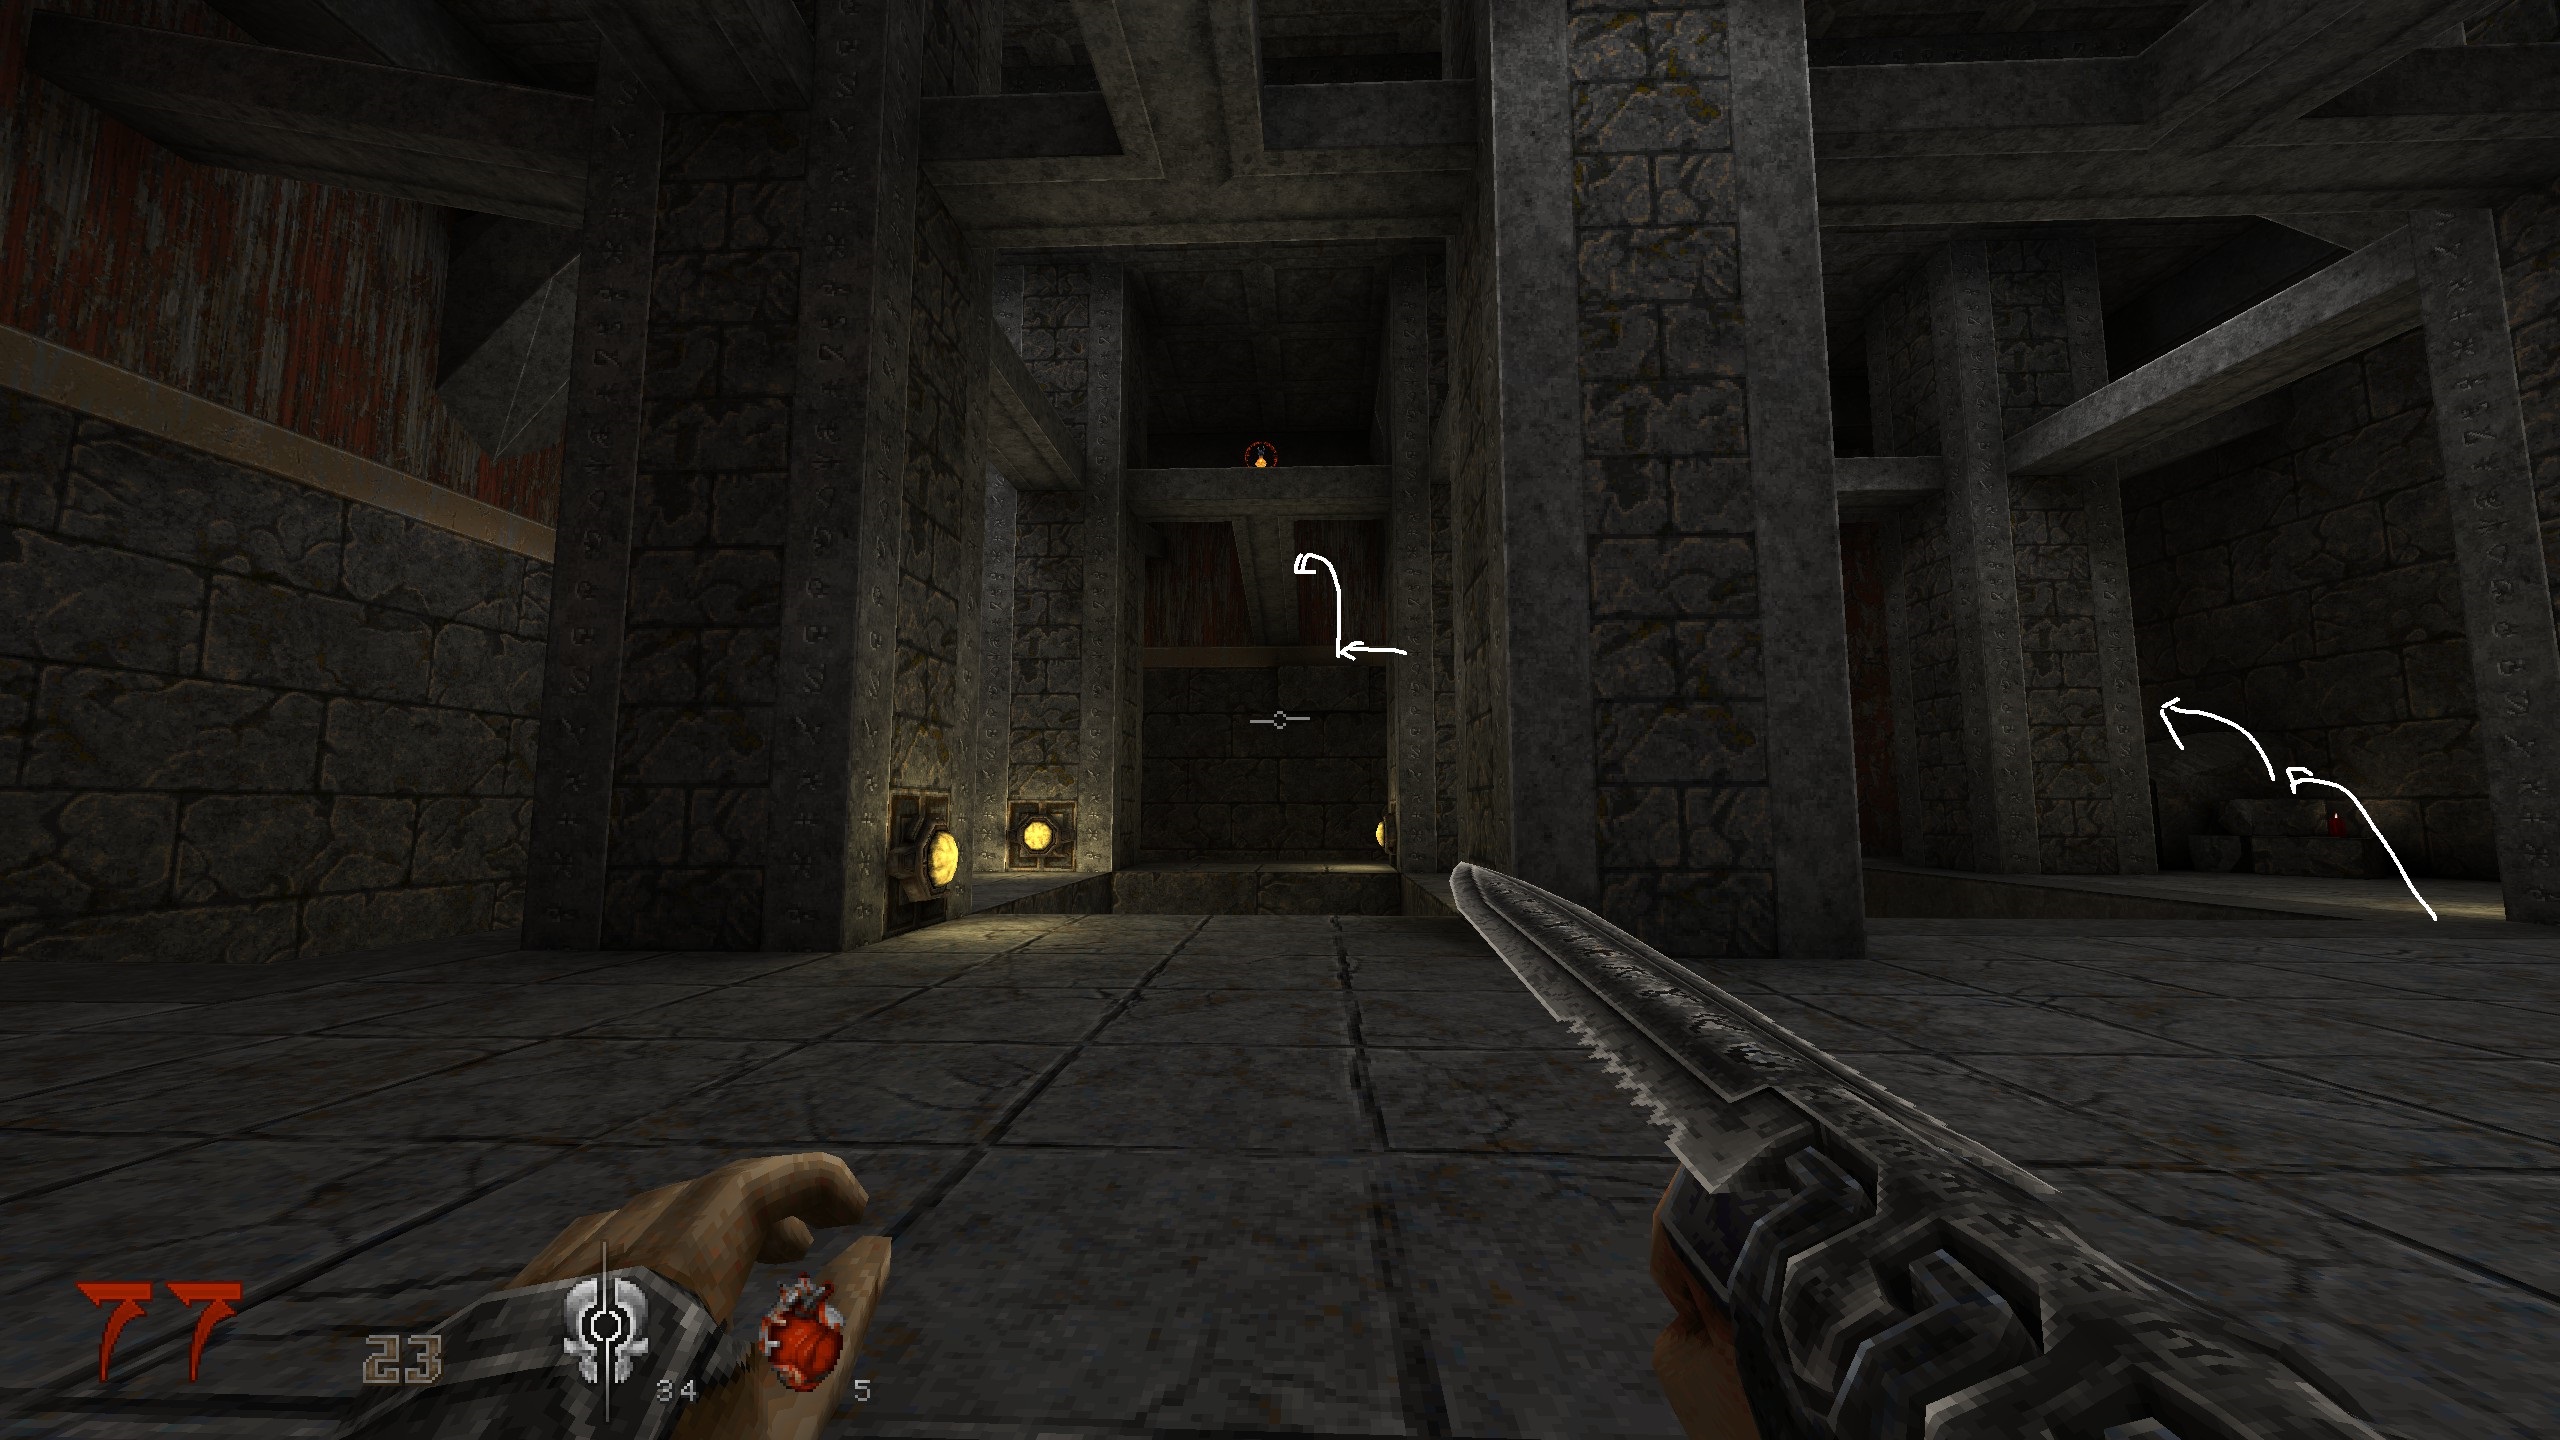
E3 – The Blood Pits
S1
Directly after opening the blue door. Jump over where the skulls are for a secret. Jump down and proceed but not to far.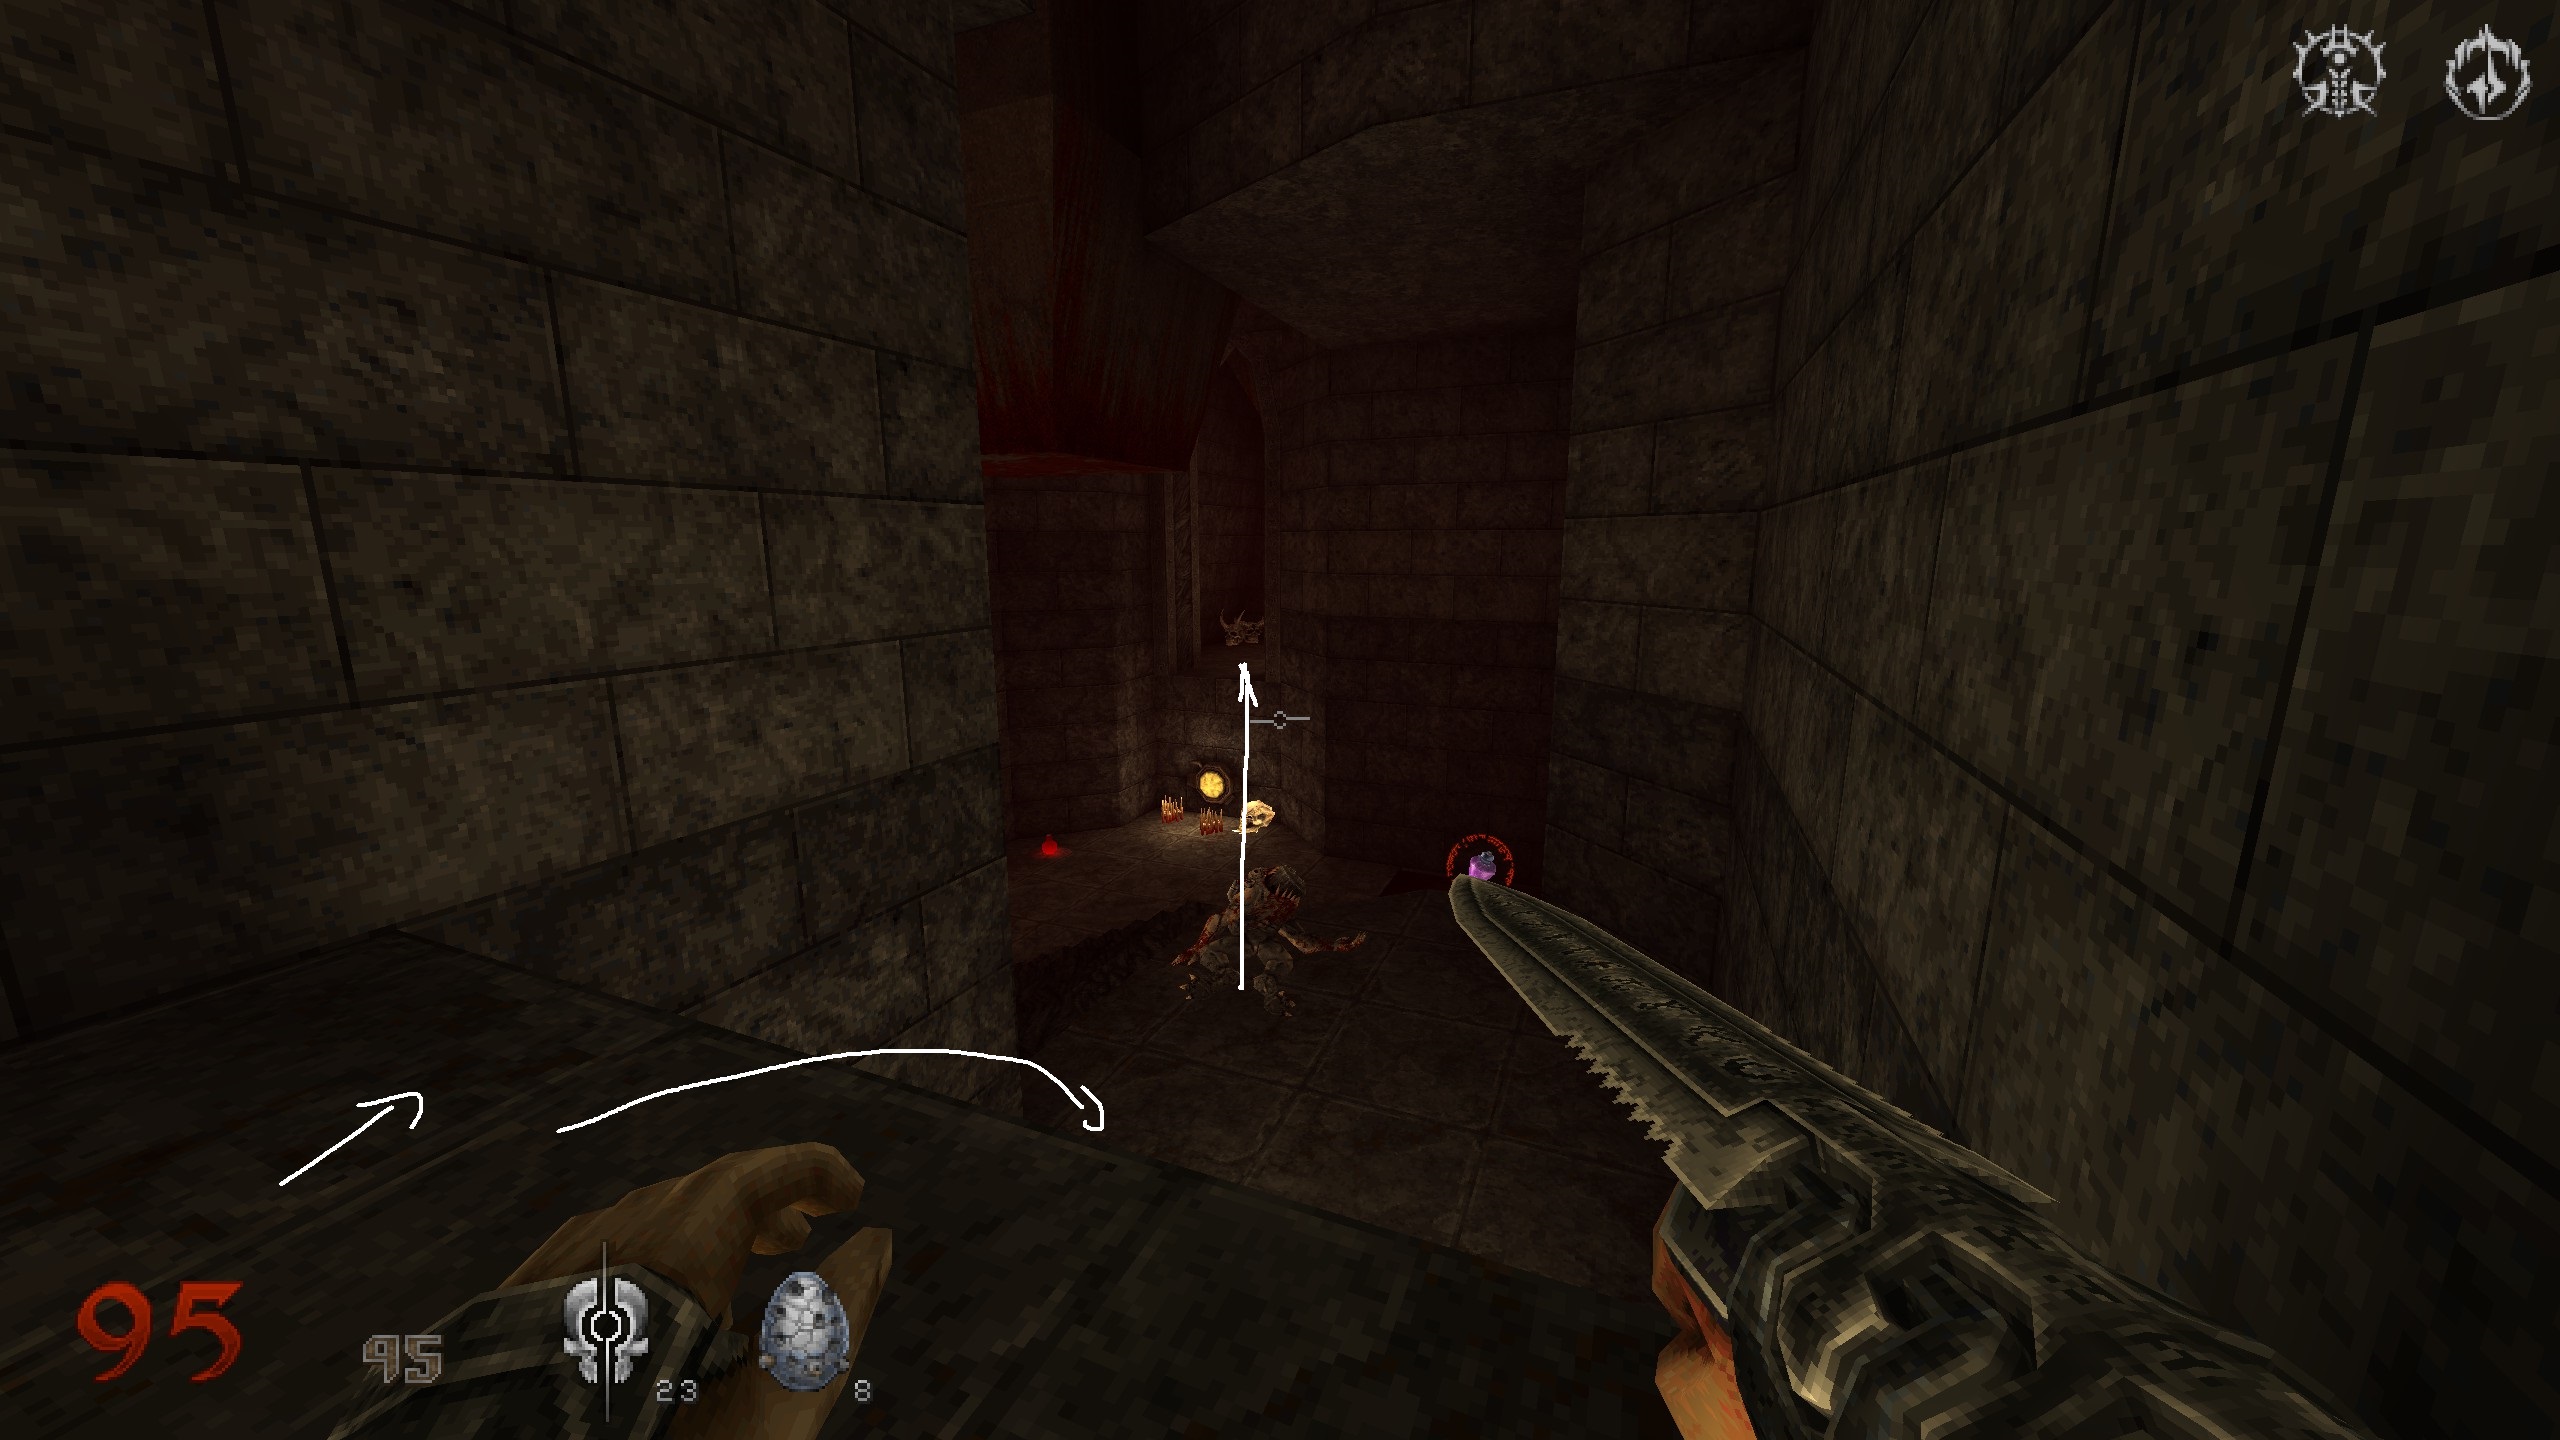
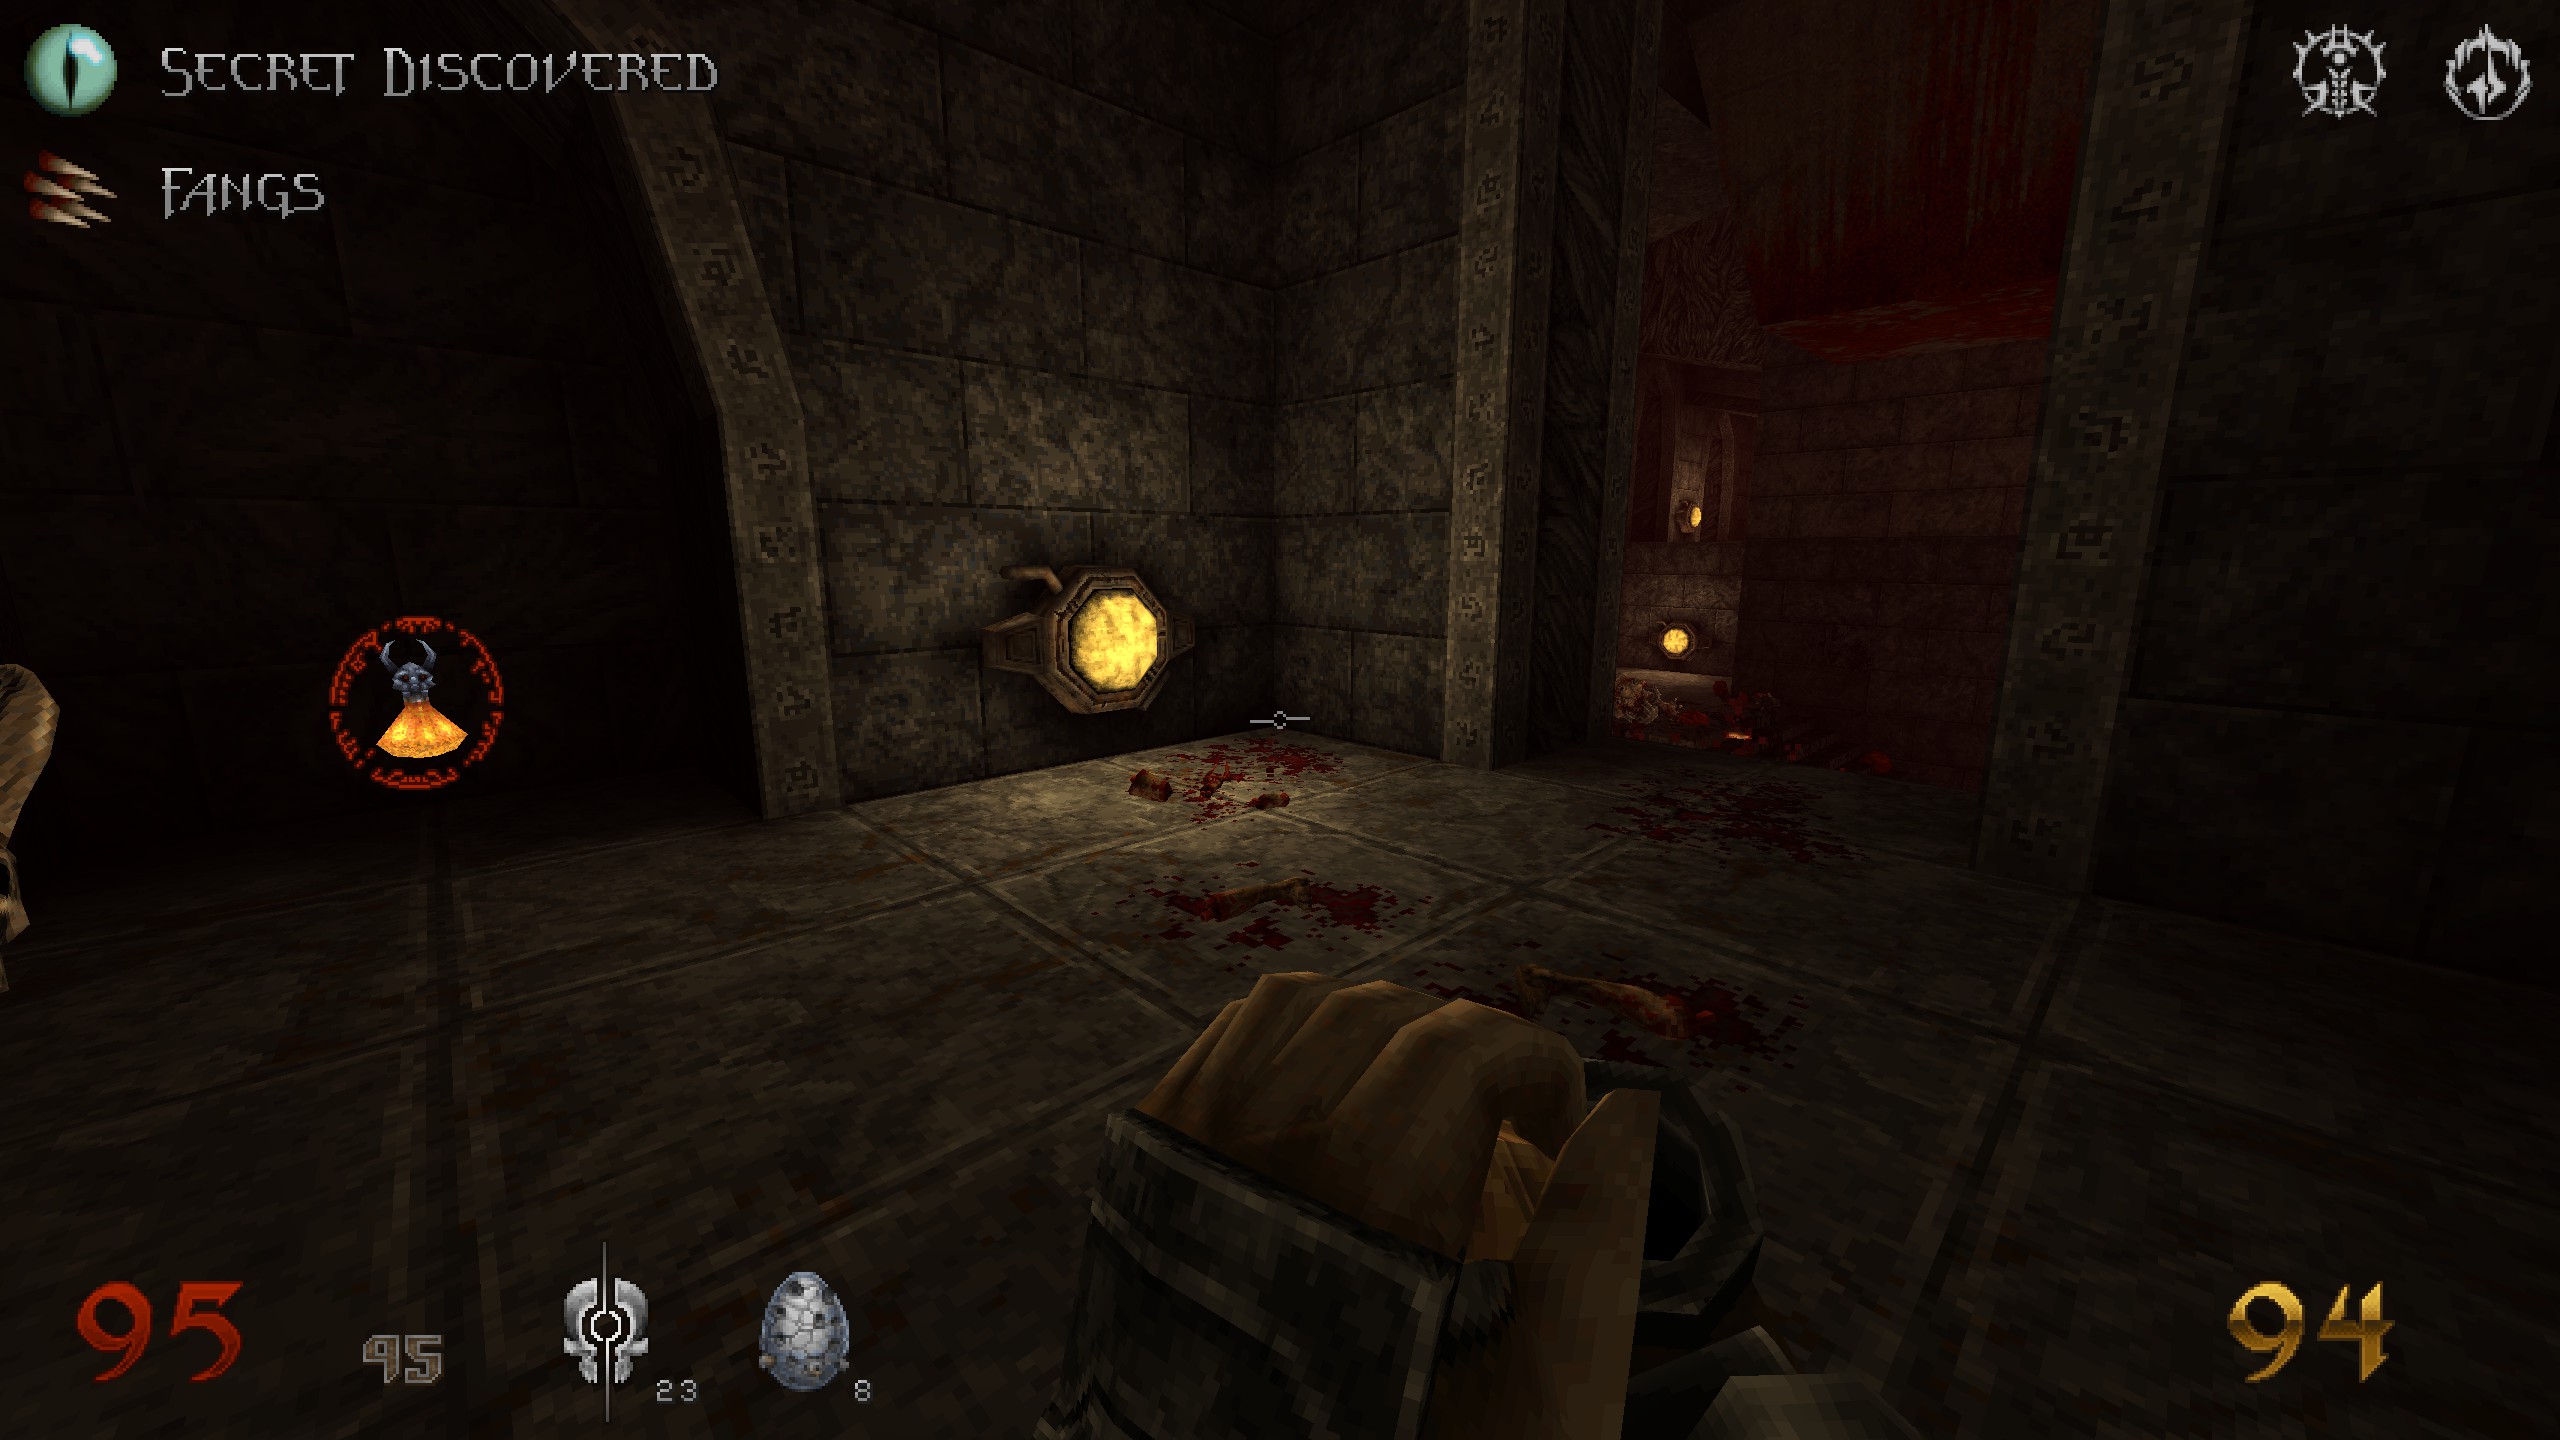
S2 / Crate
You crossed some blood on the floor and are supposed to head right. Stop where the yellow crystal is and use it to jump up. Up again and inside the room that is up there. Jump down and proceed with mission until you get to the blue key.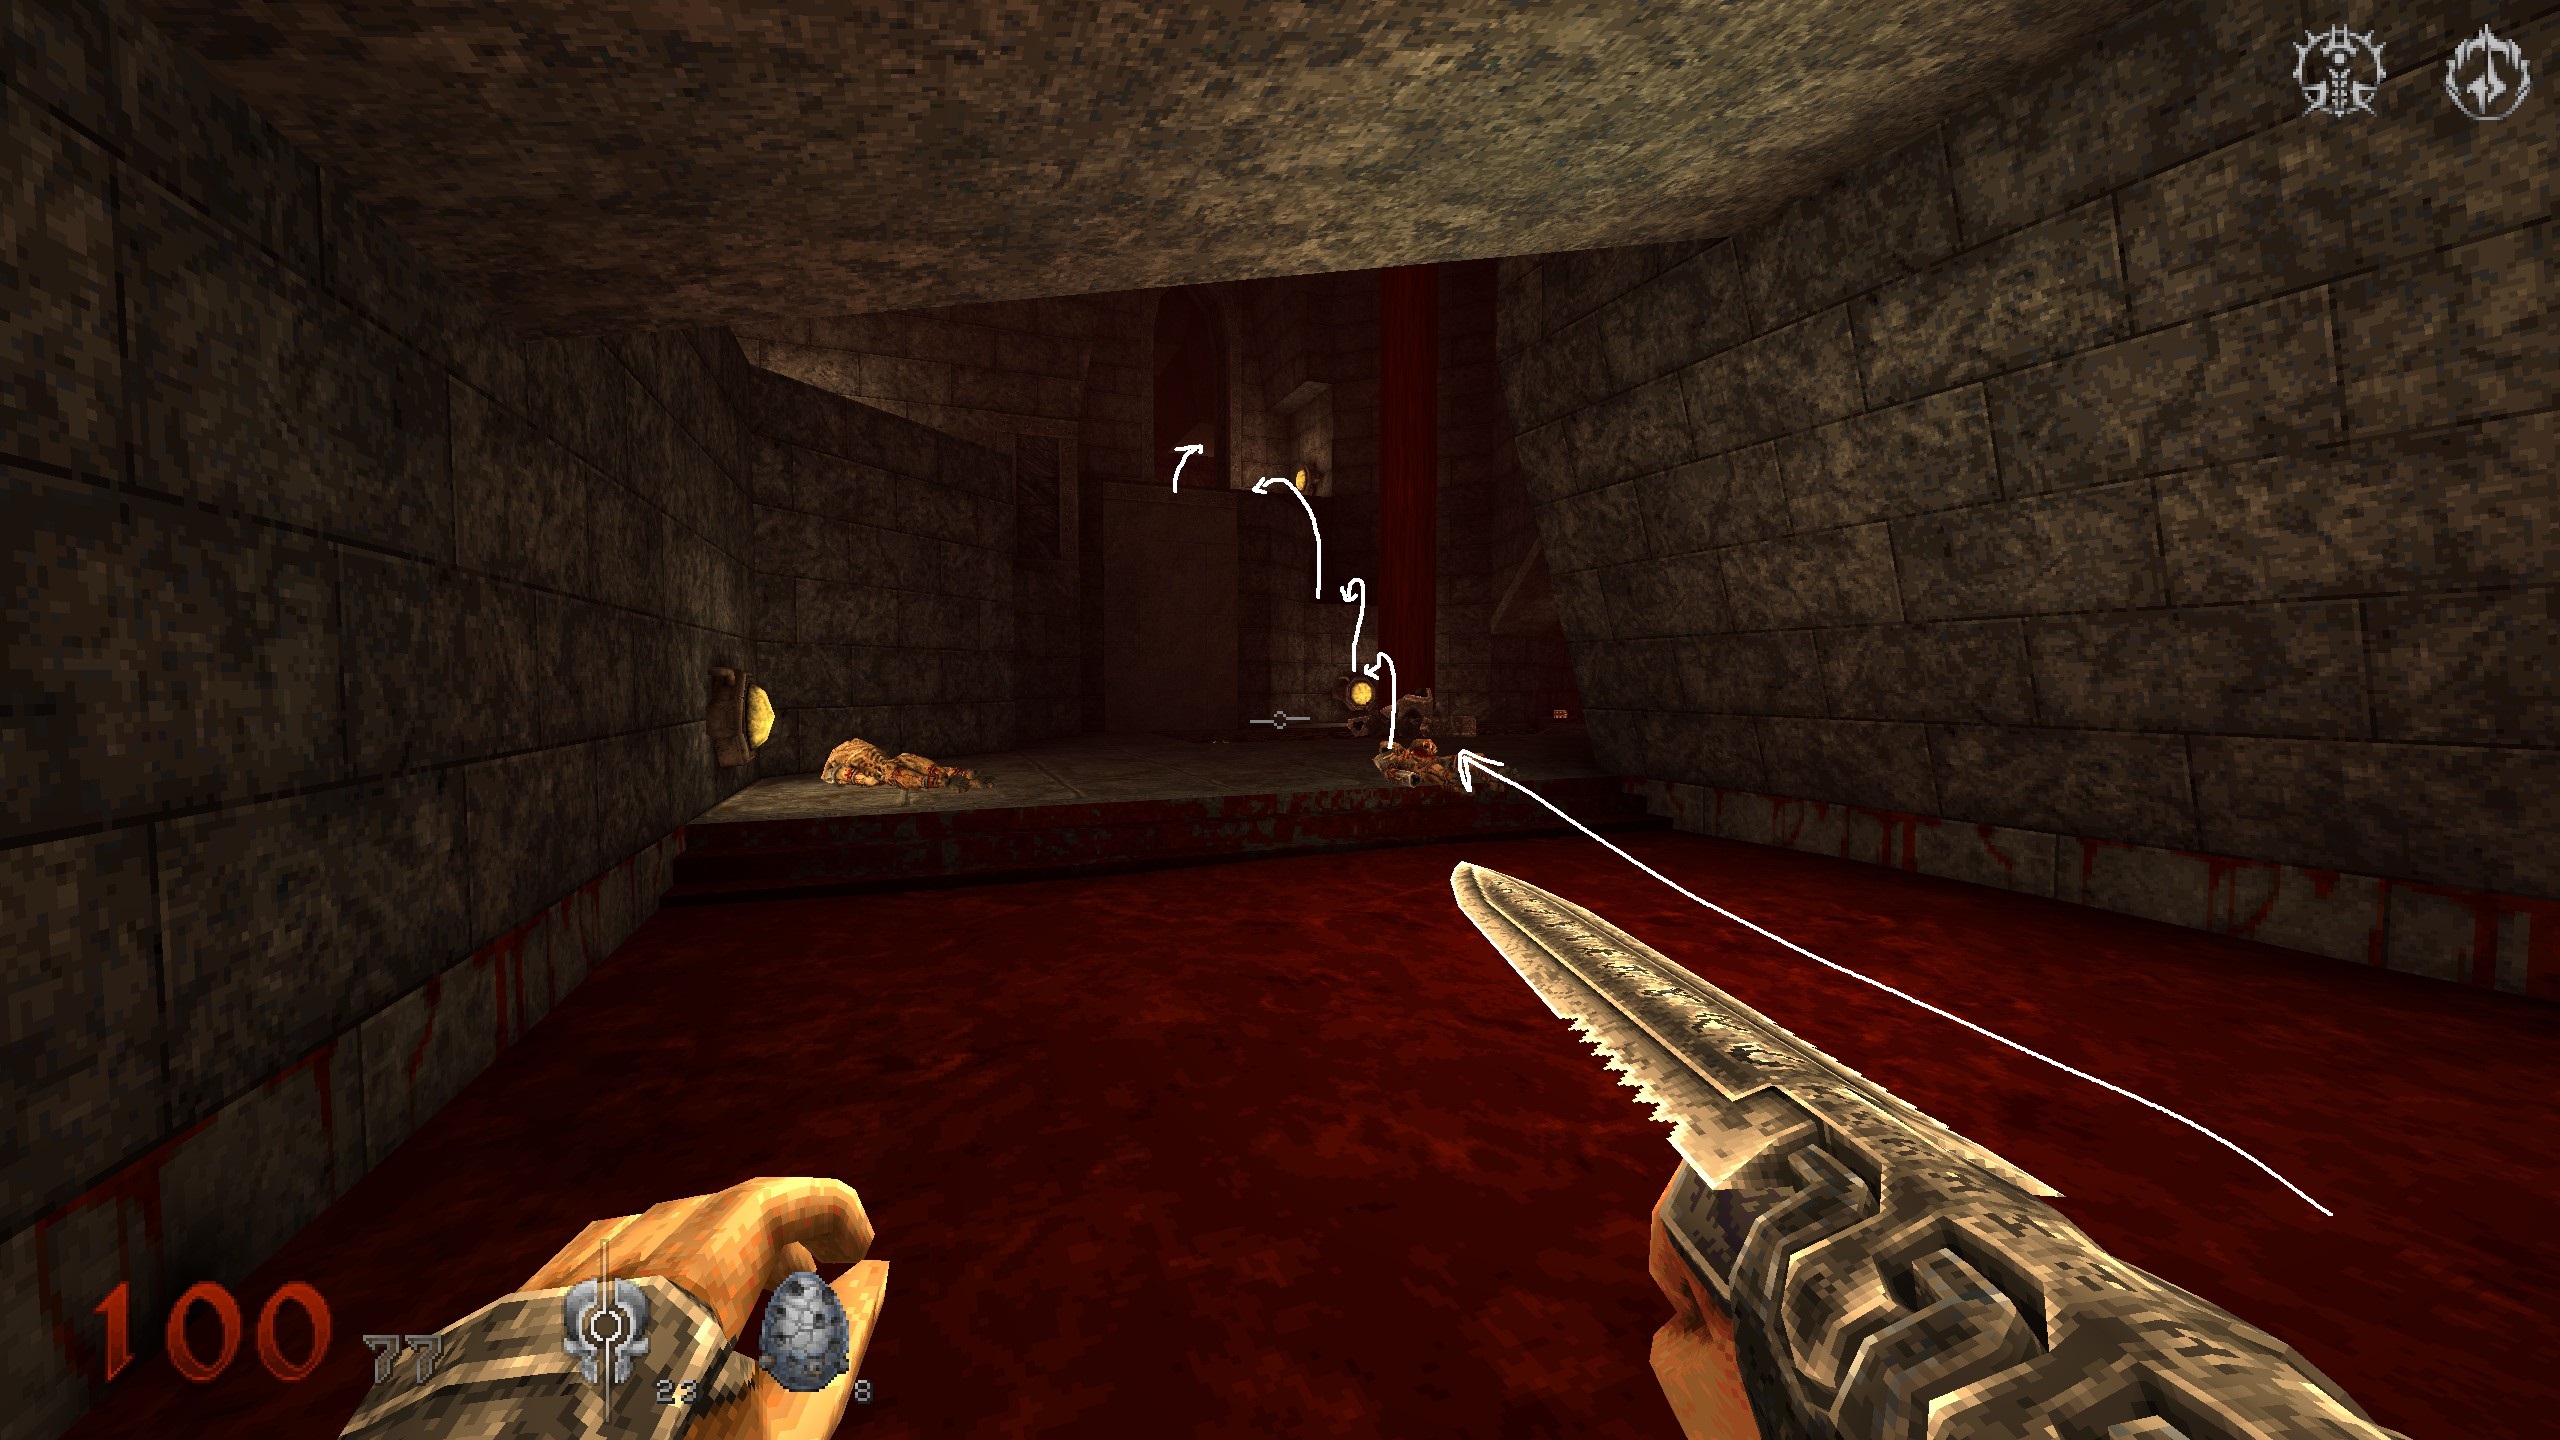
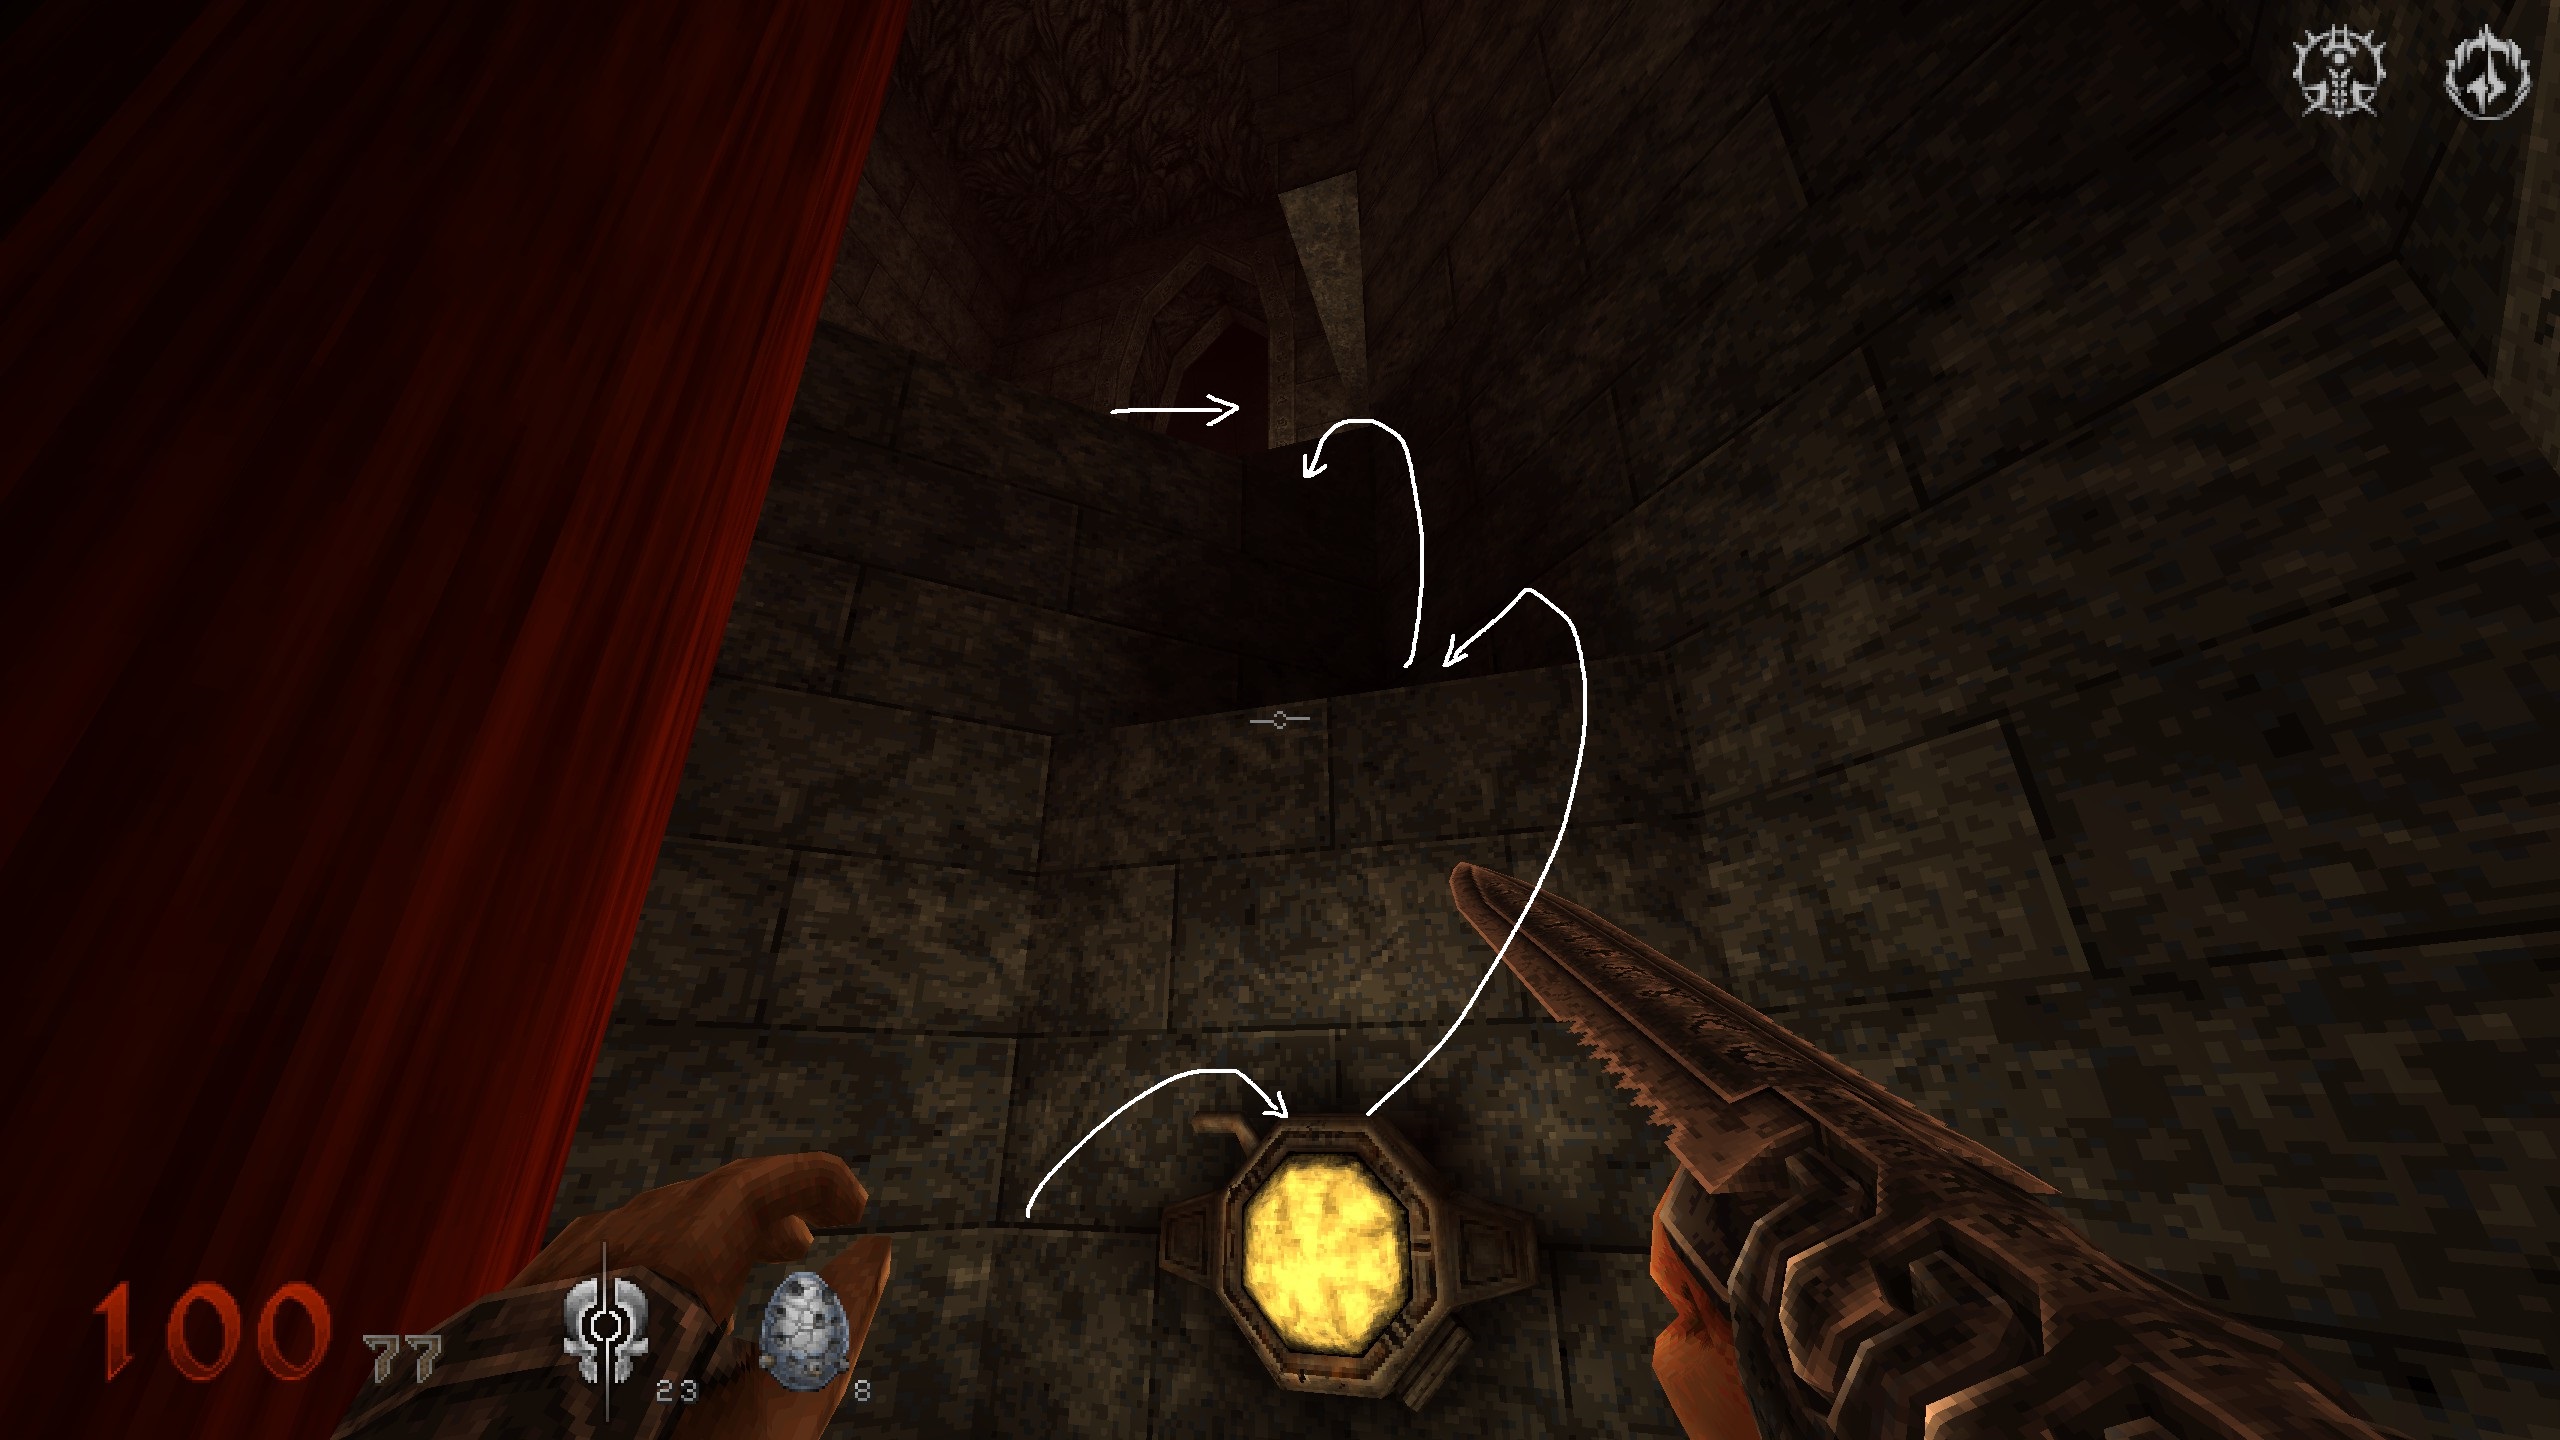
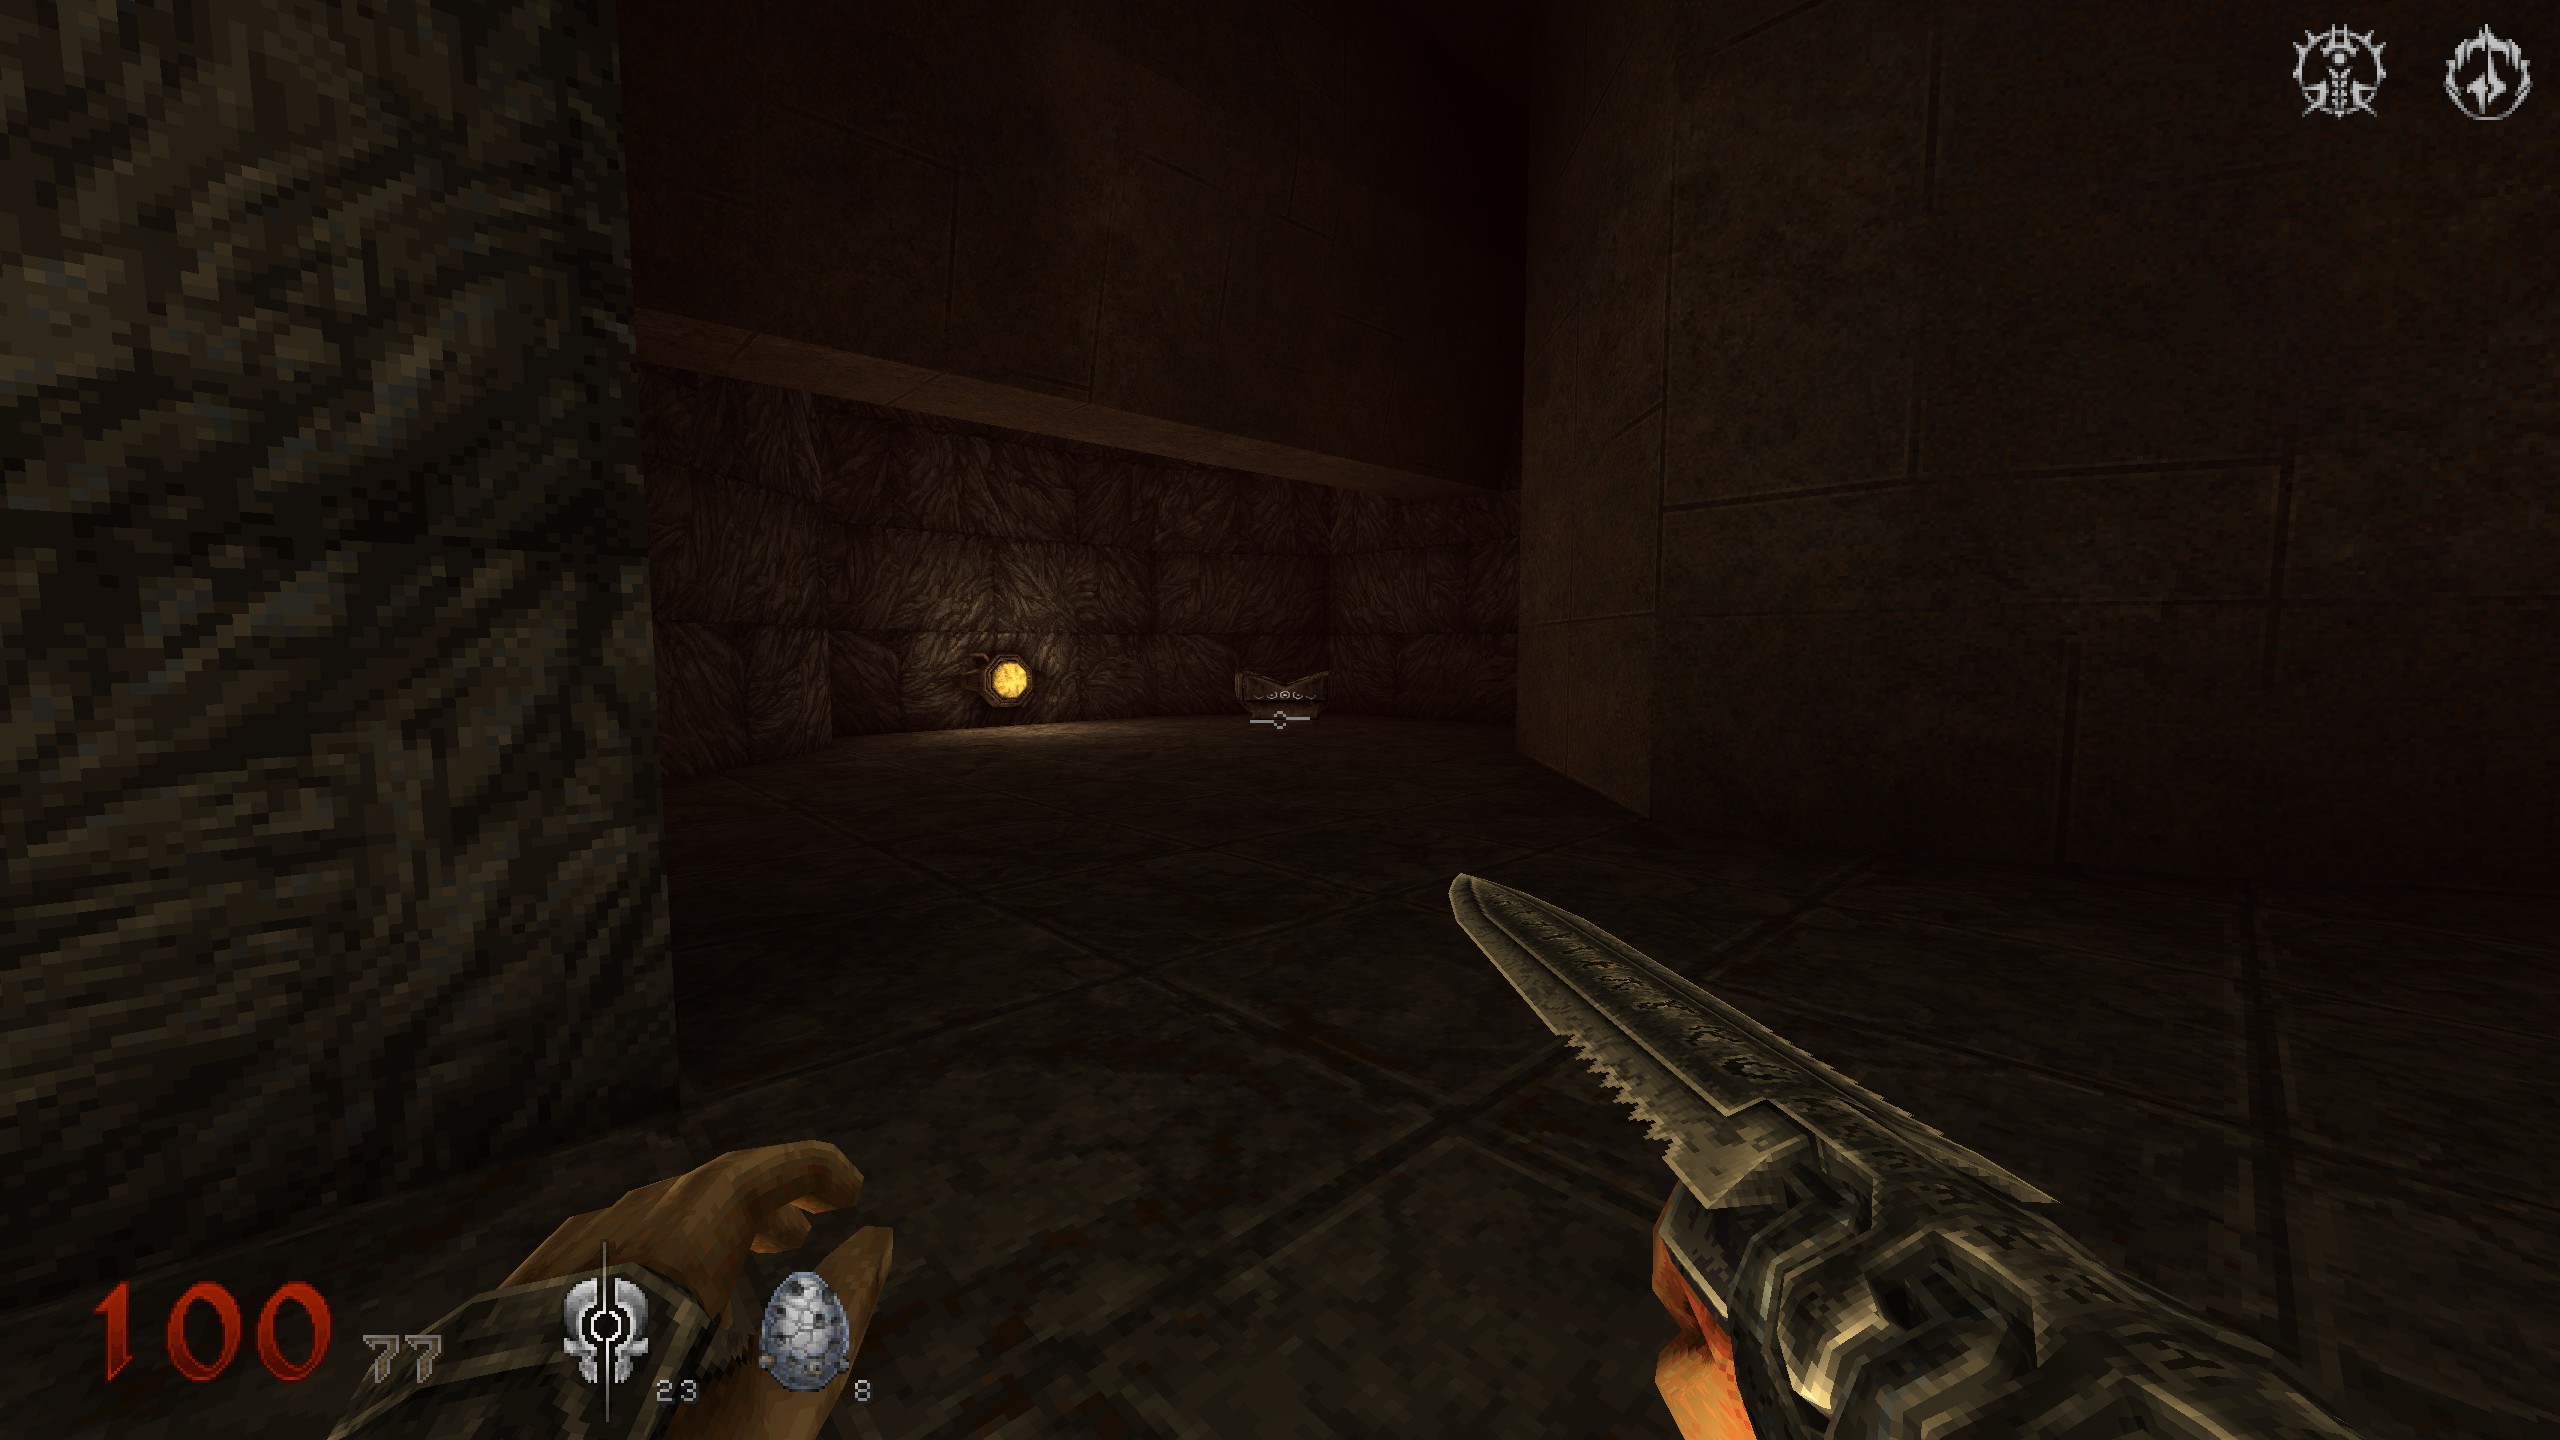
S3 / Key
At the blue key. Dont drop down after you picked it up. Instead carefully get to the edge, look right and jump over there. Drop down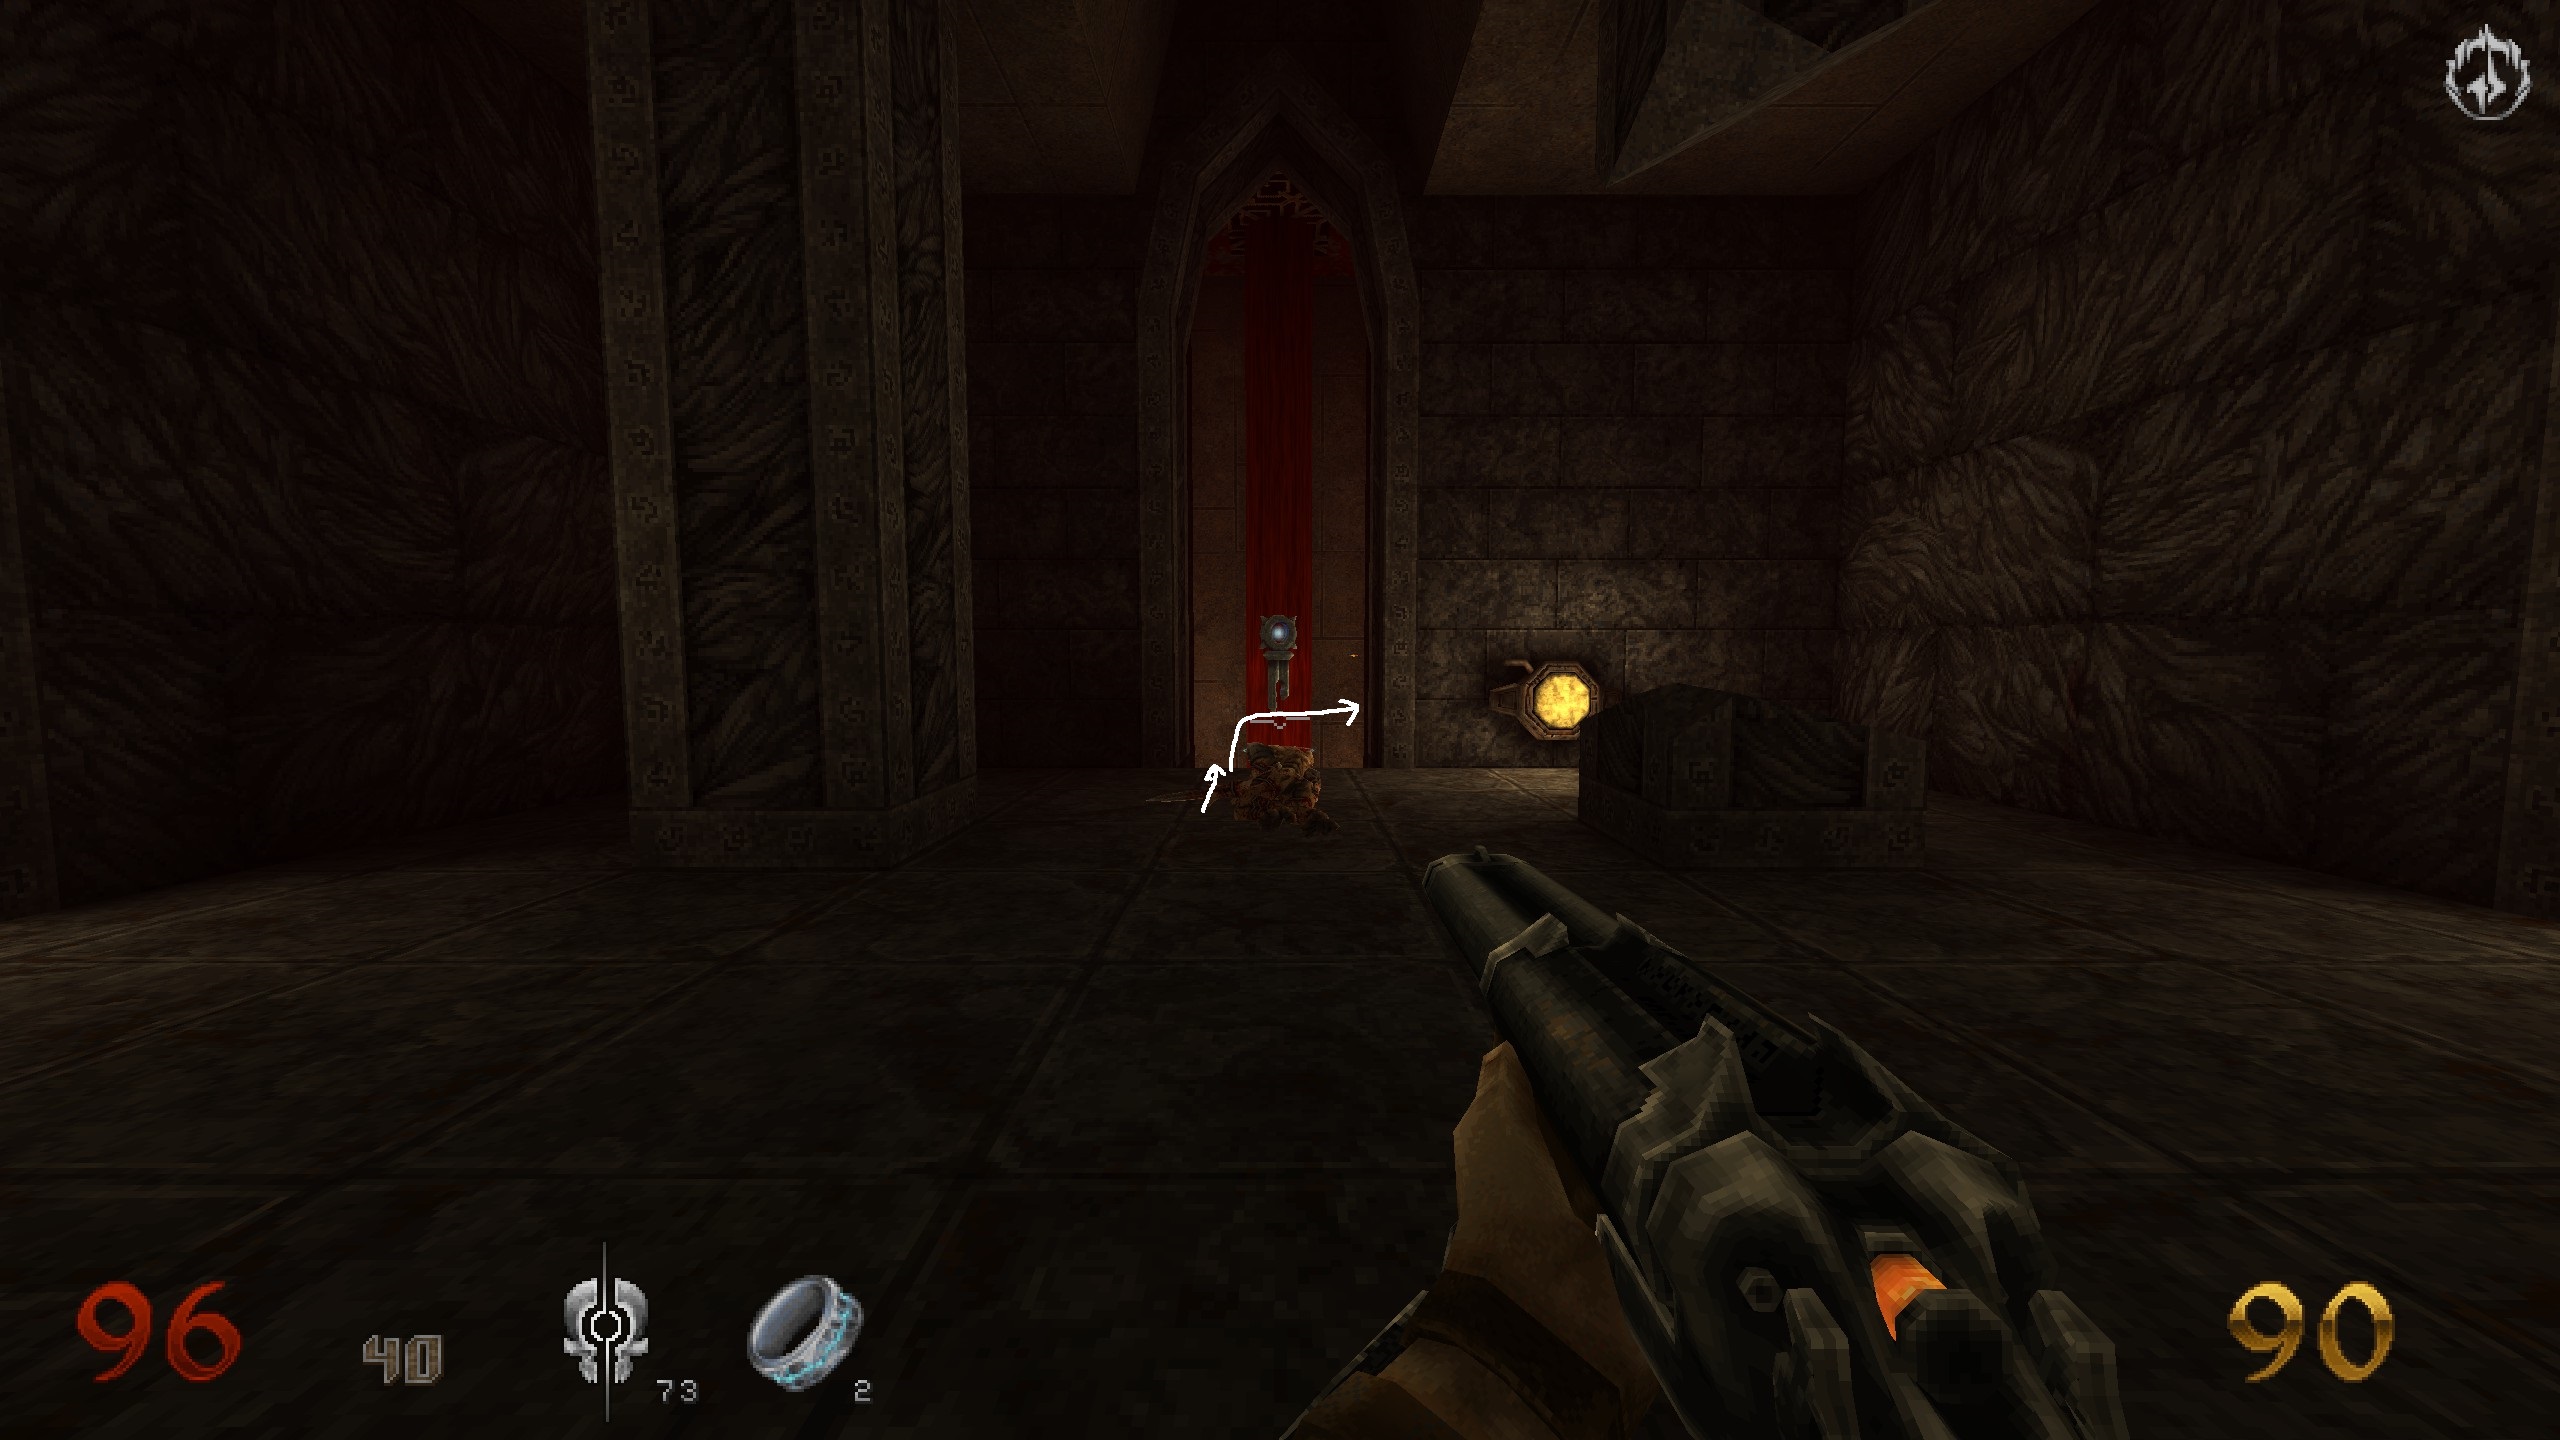
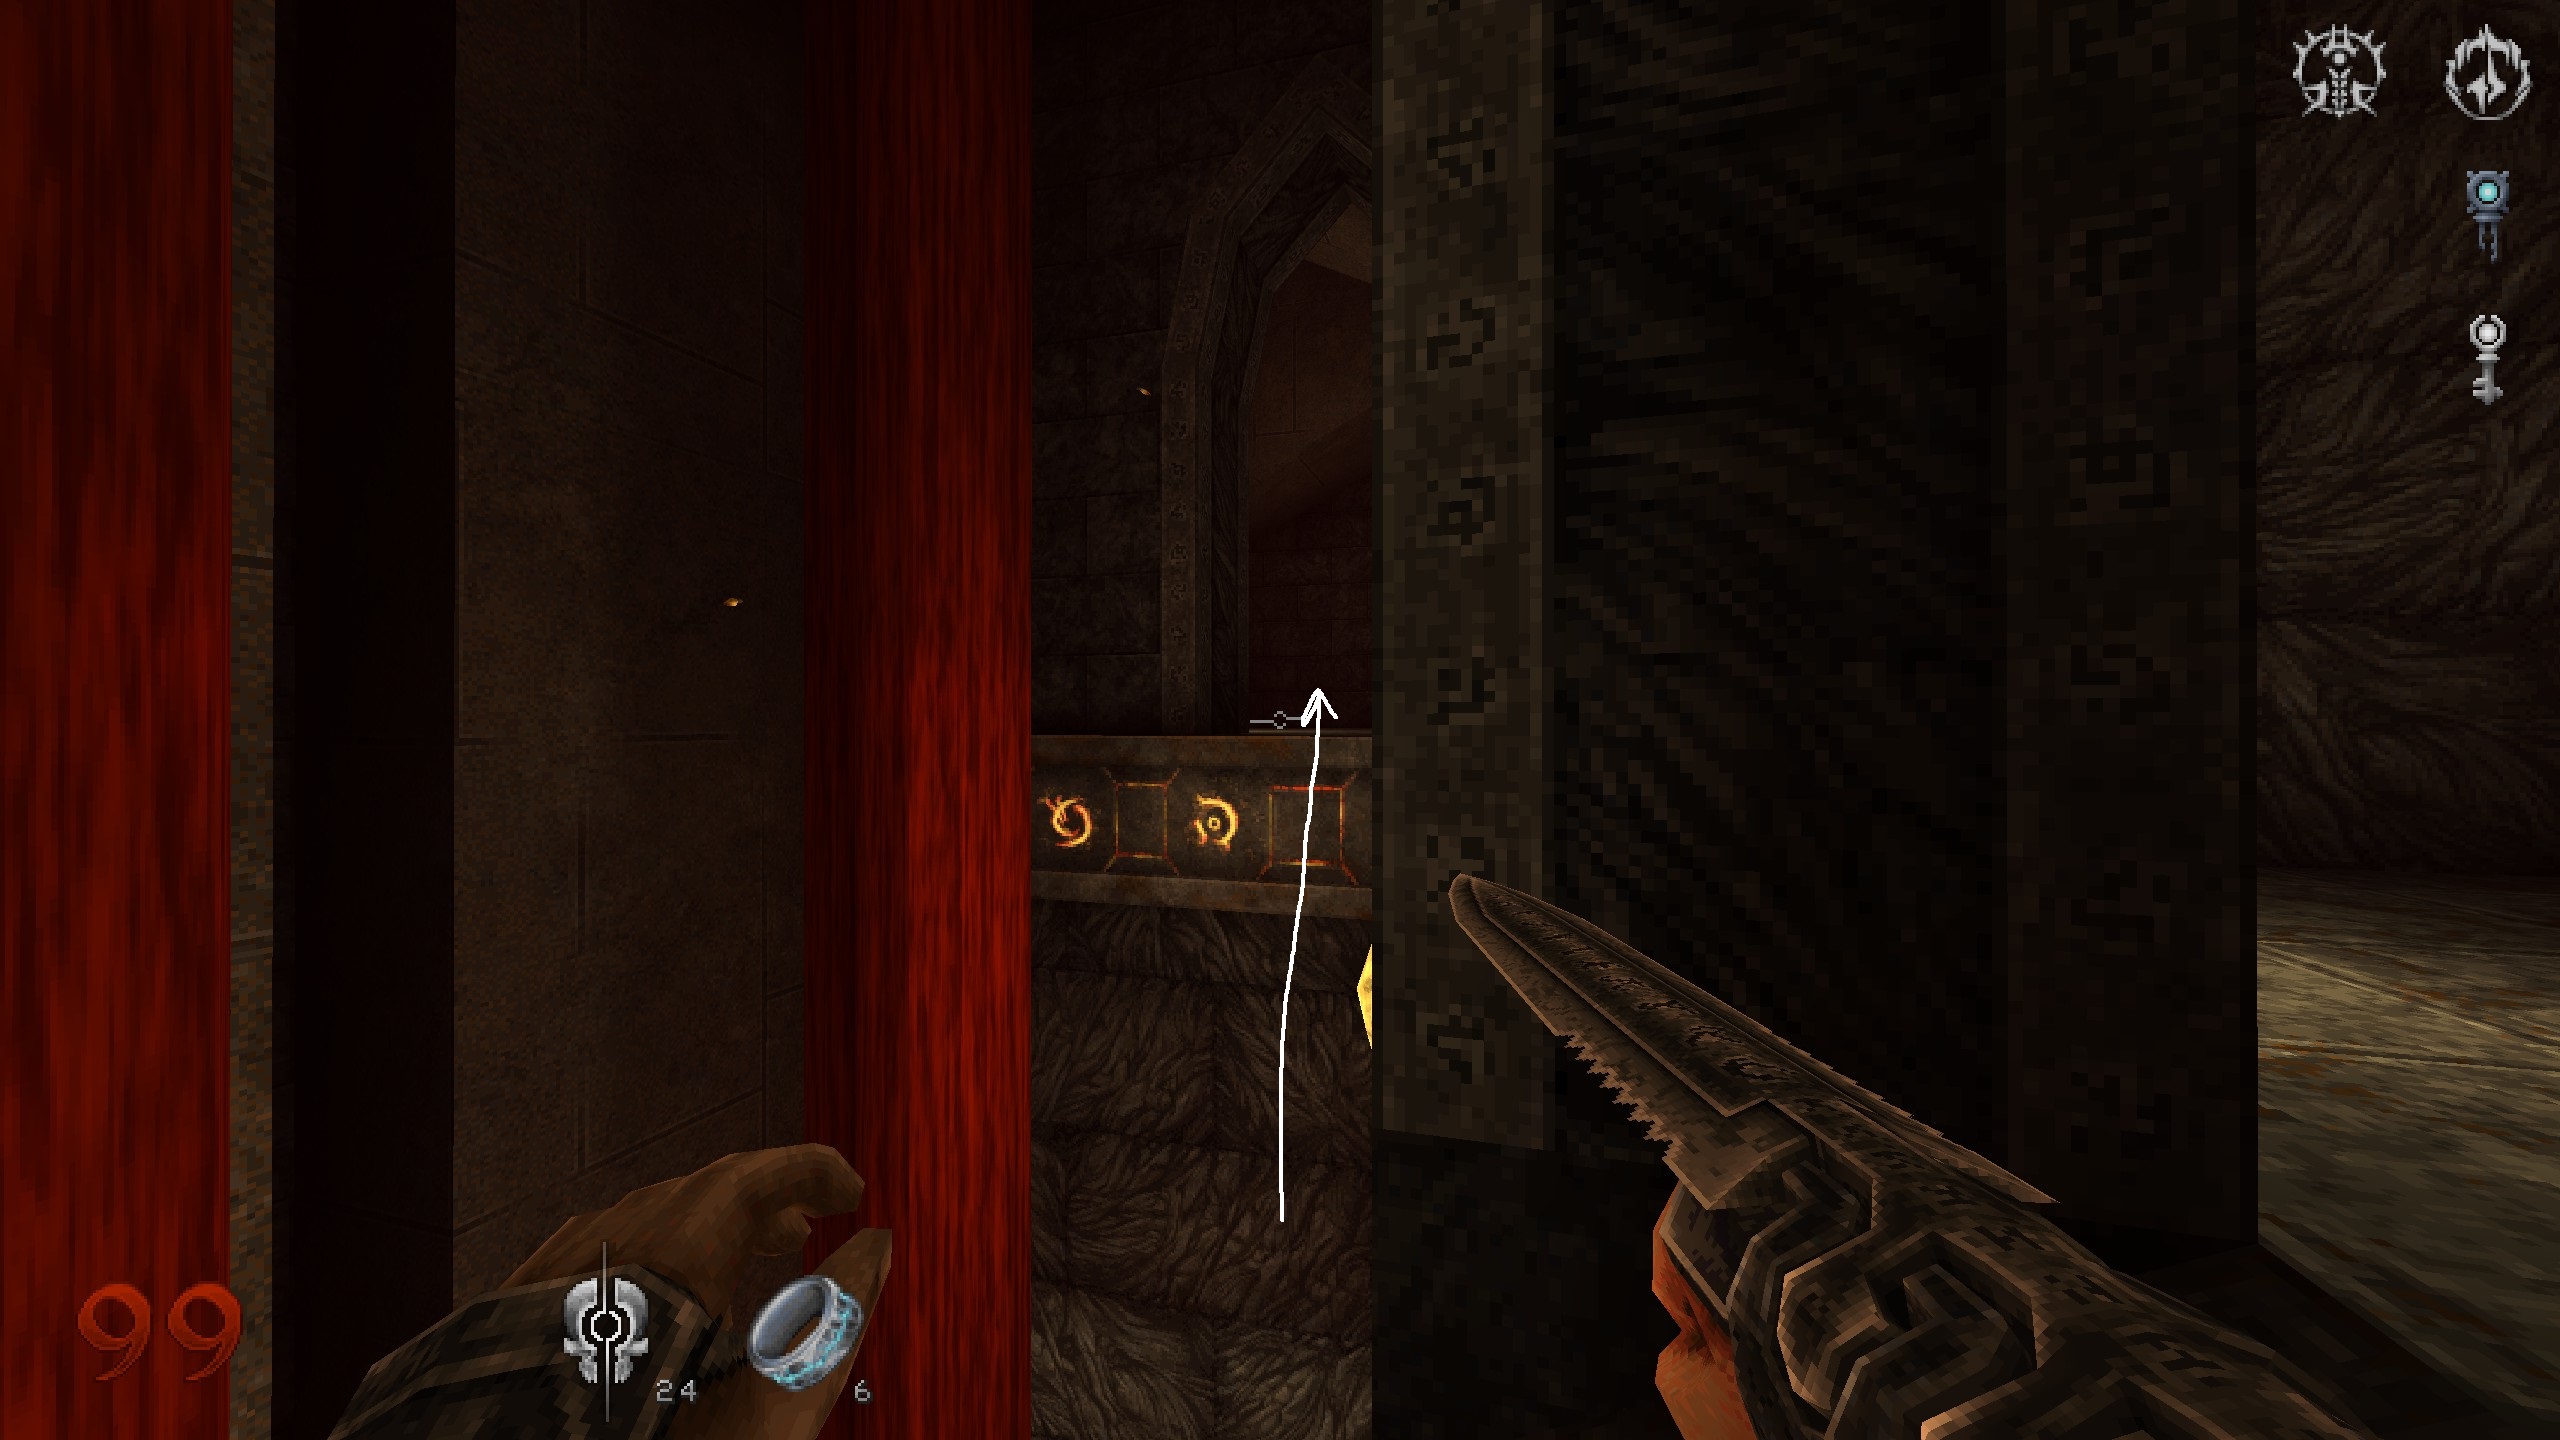
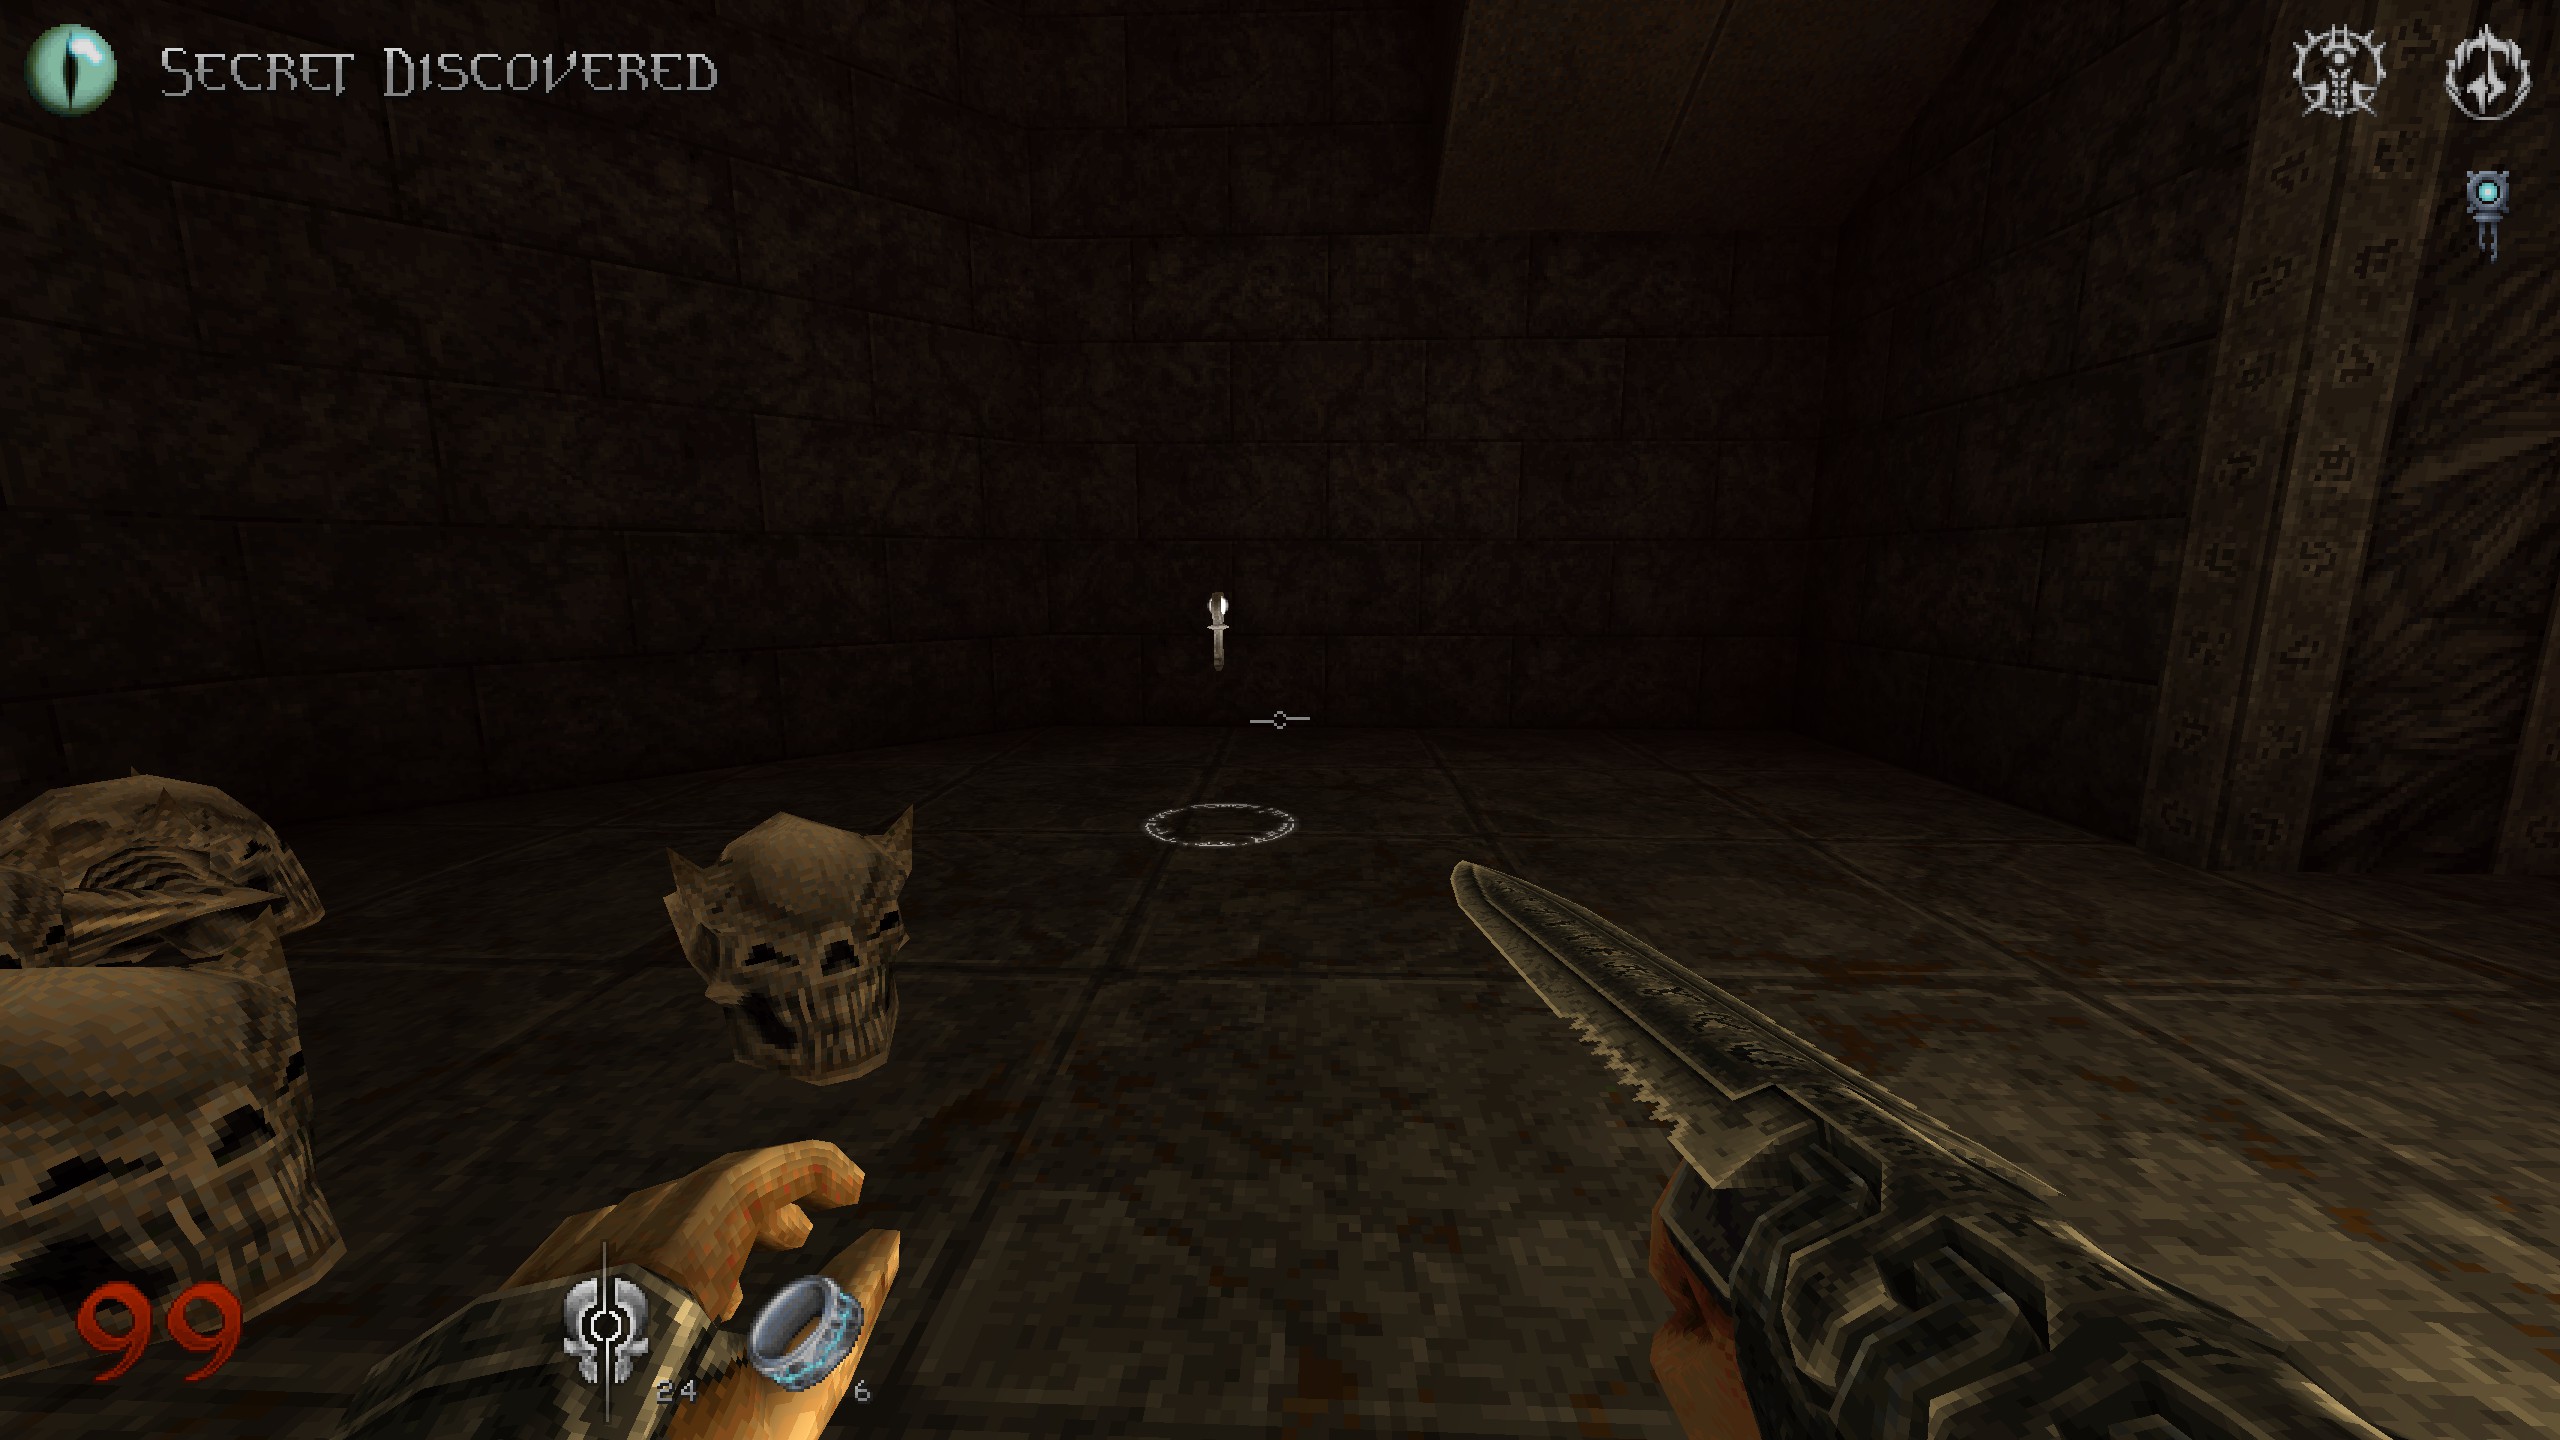
Scroll
Where you landed after you just dropped down from S3, look around. Scroll in that area. Proceed past the blue door.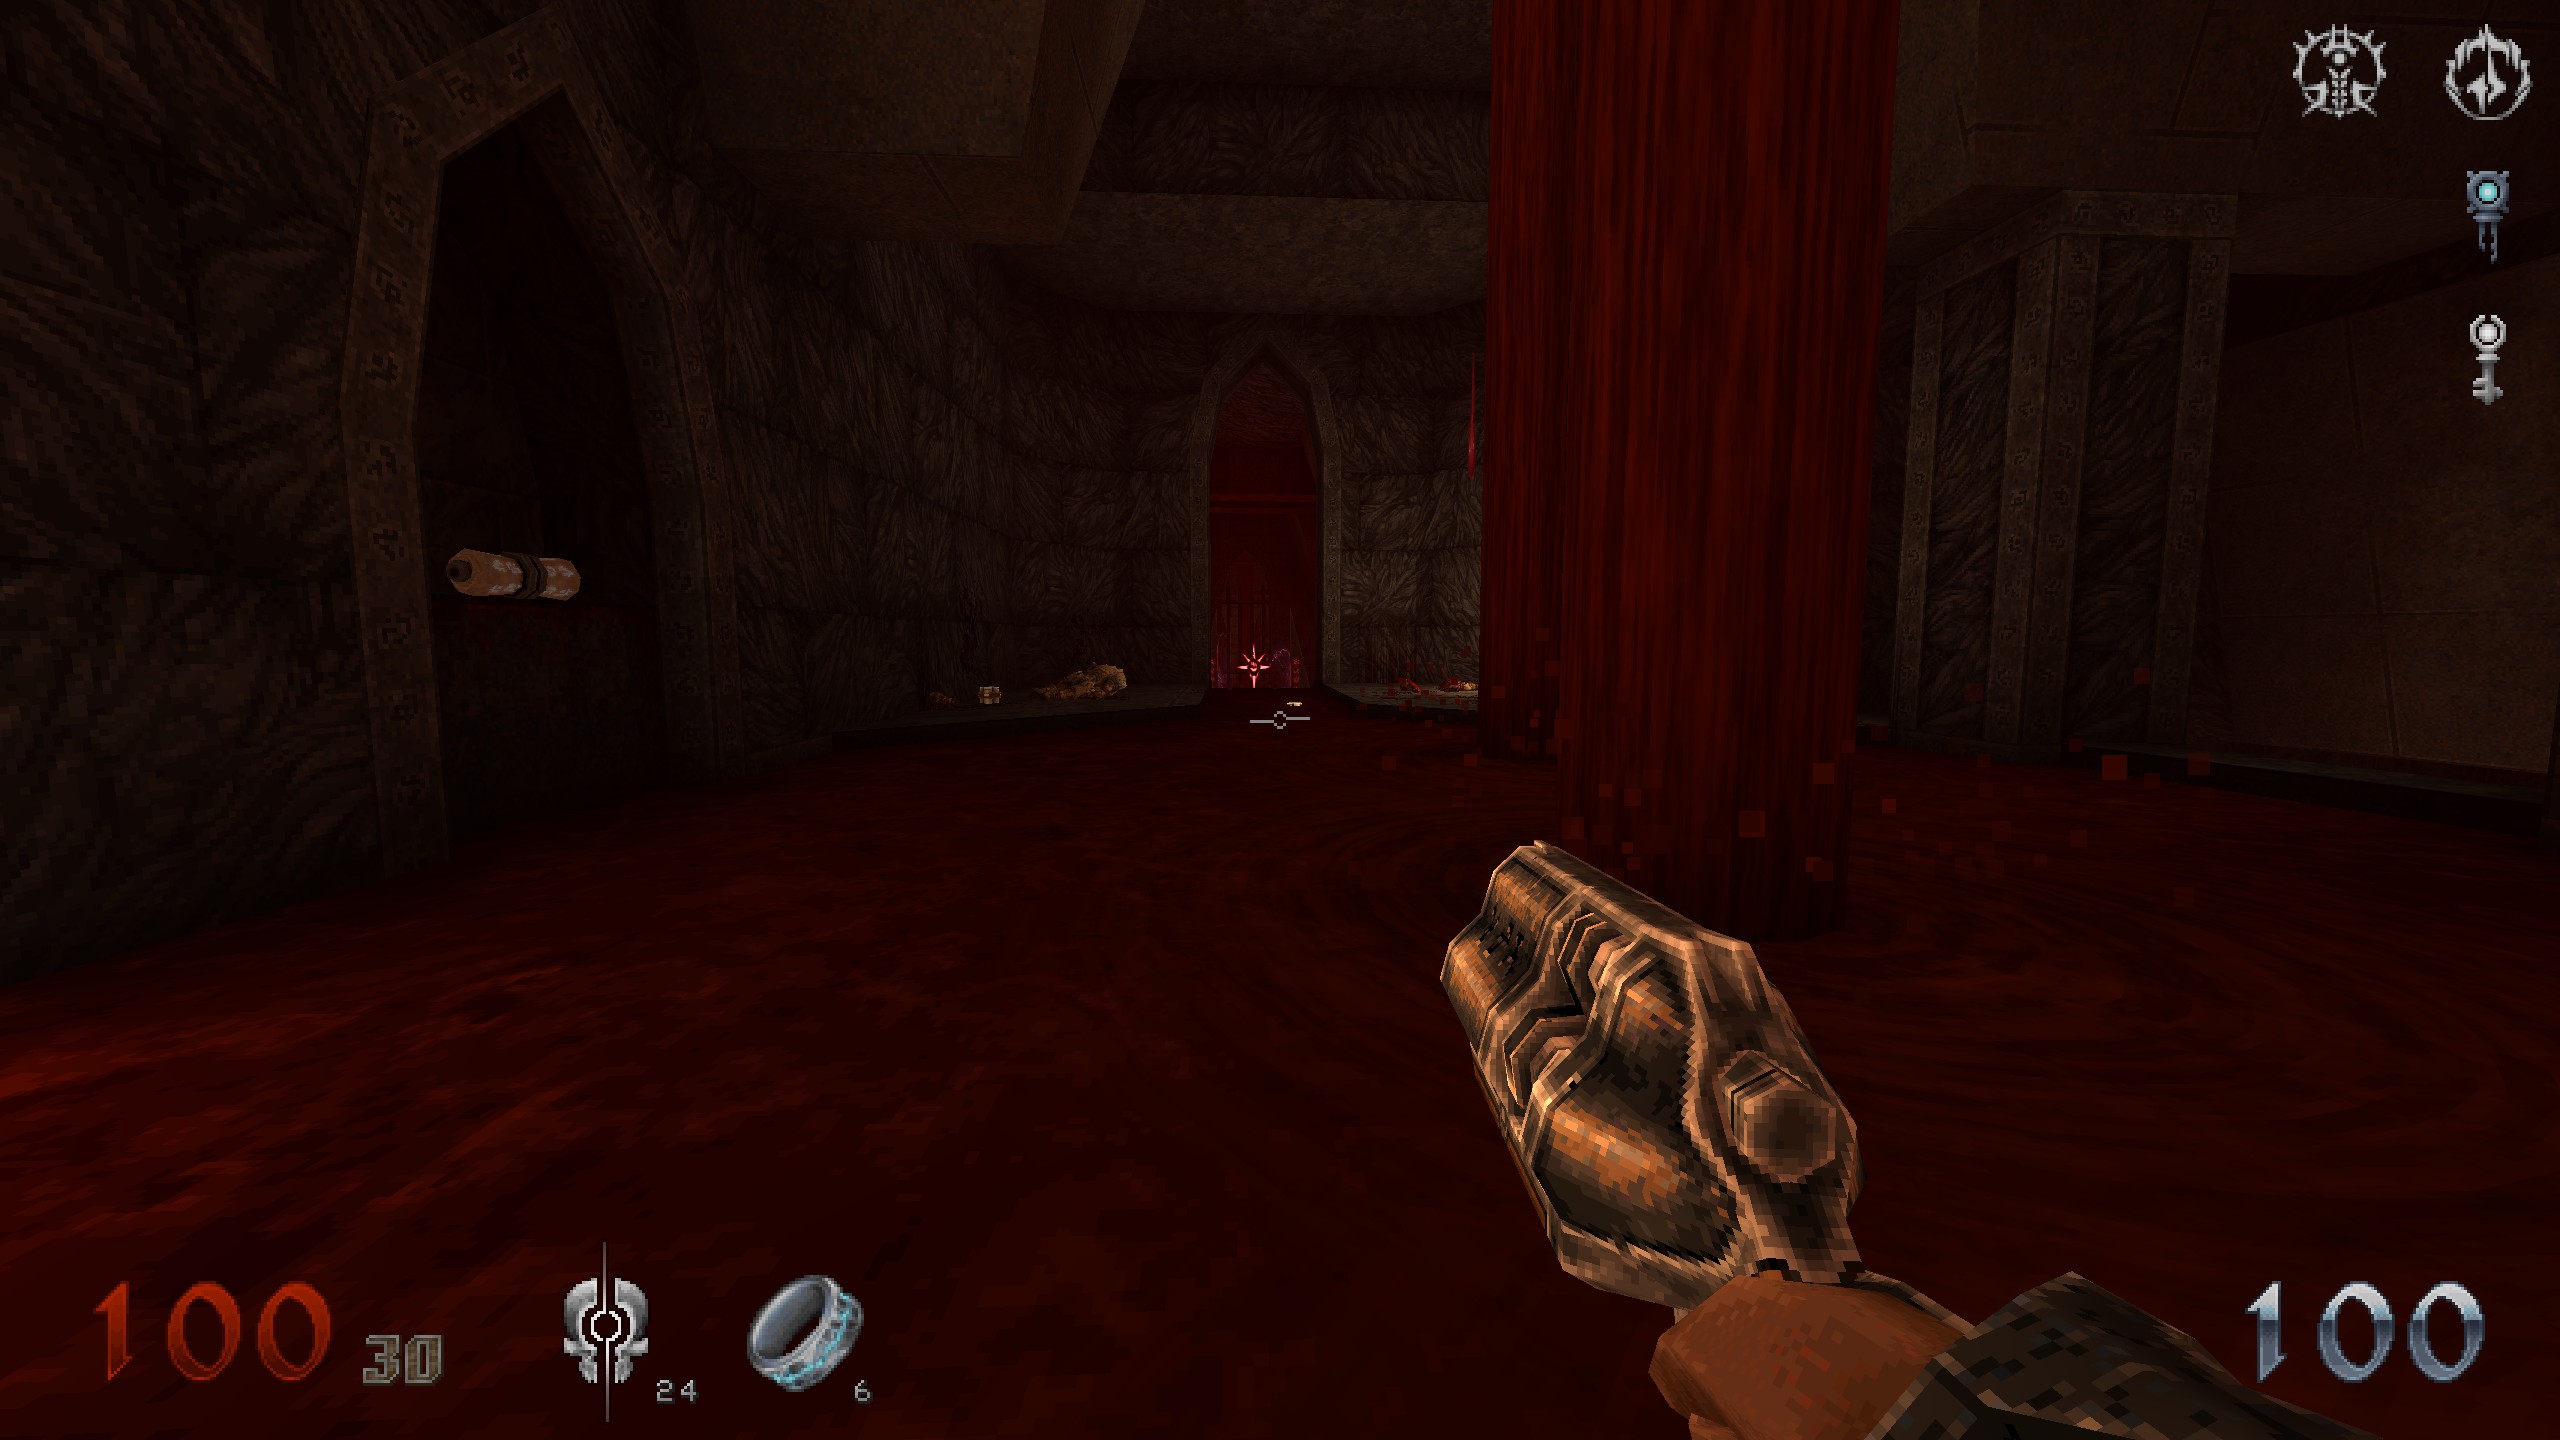
S4 / Key
You have gone on for a while and passed rooms with lots of stairs and eventually end up in a room with a big square hole in the ground. Depending on where you came into this room from,find the key hidden in the wall. Proceed by dropping down the hole.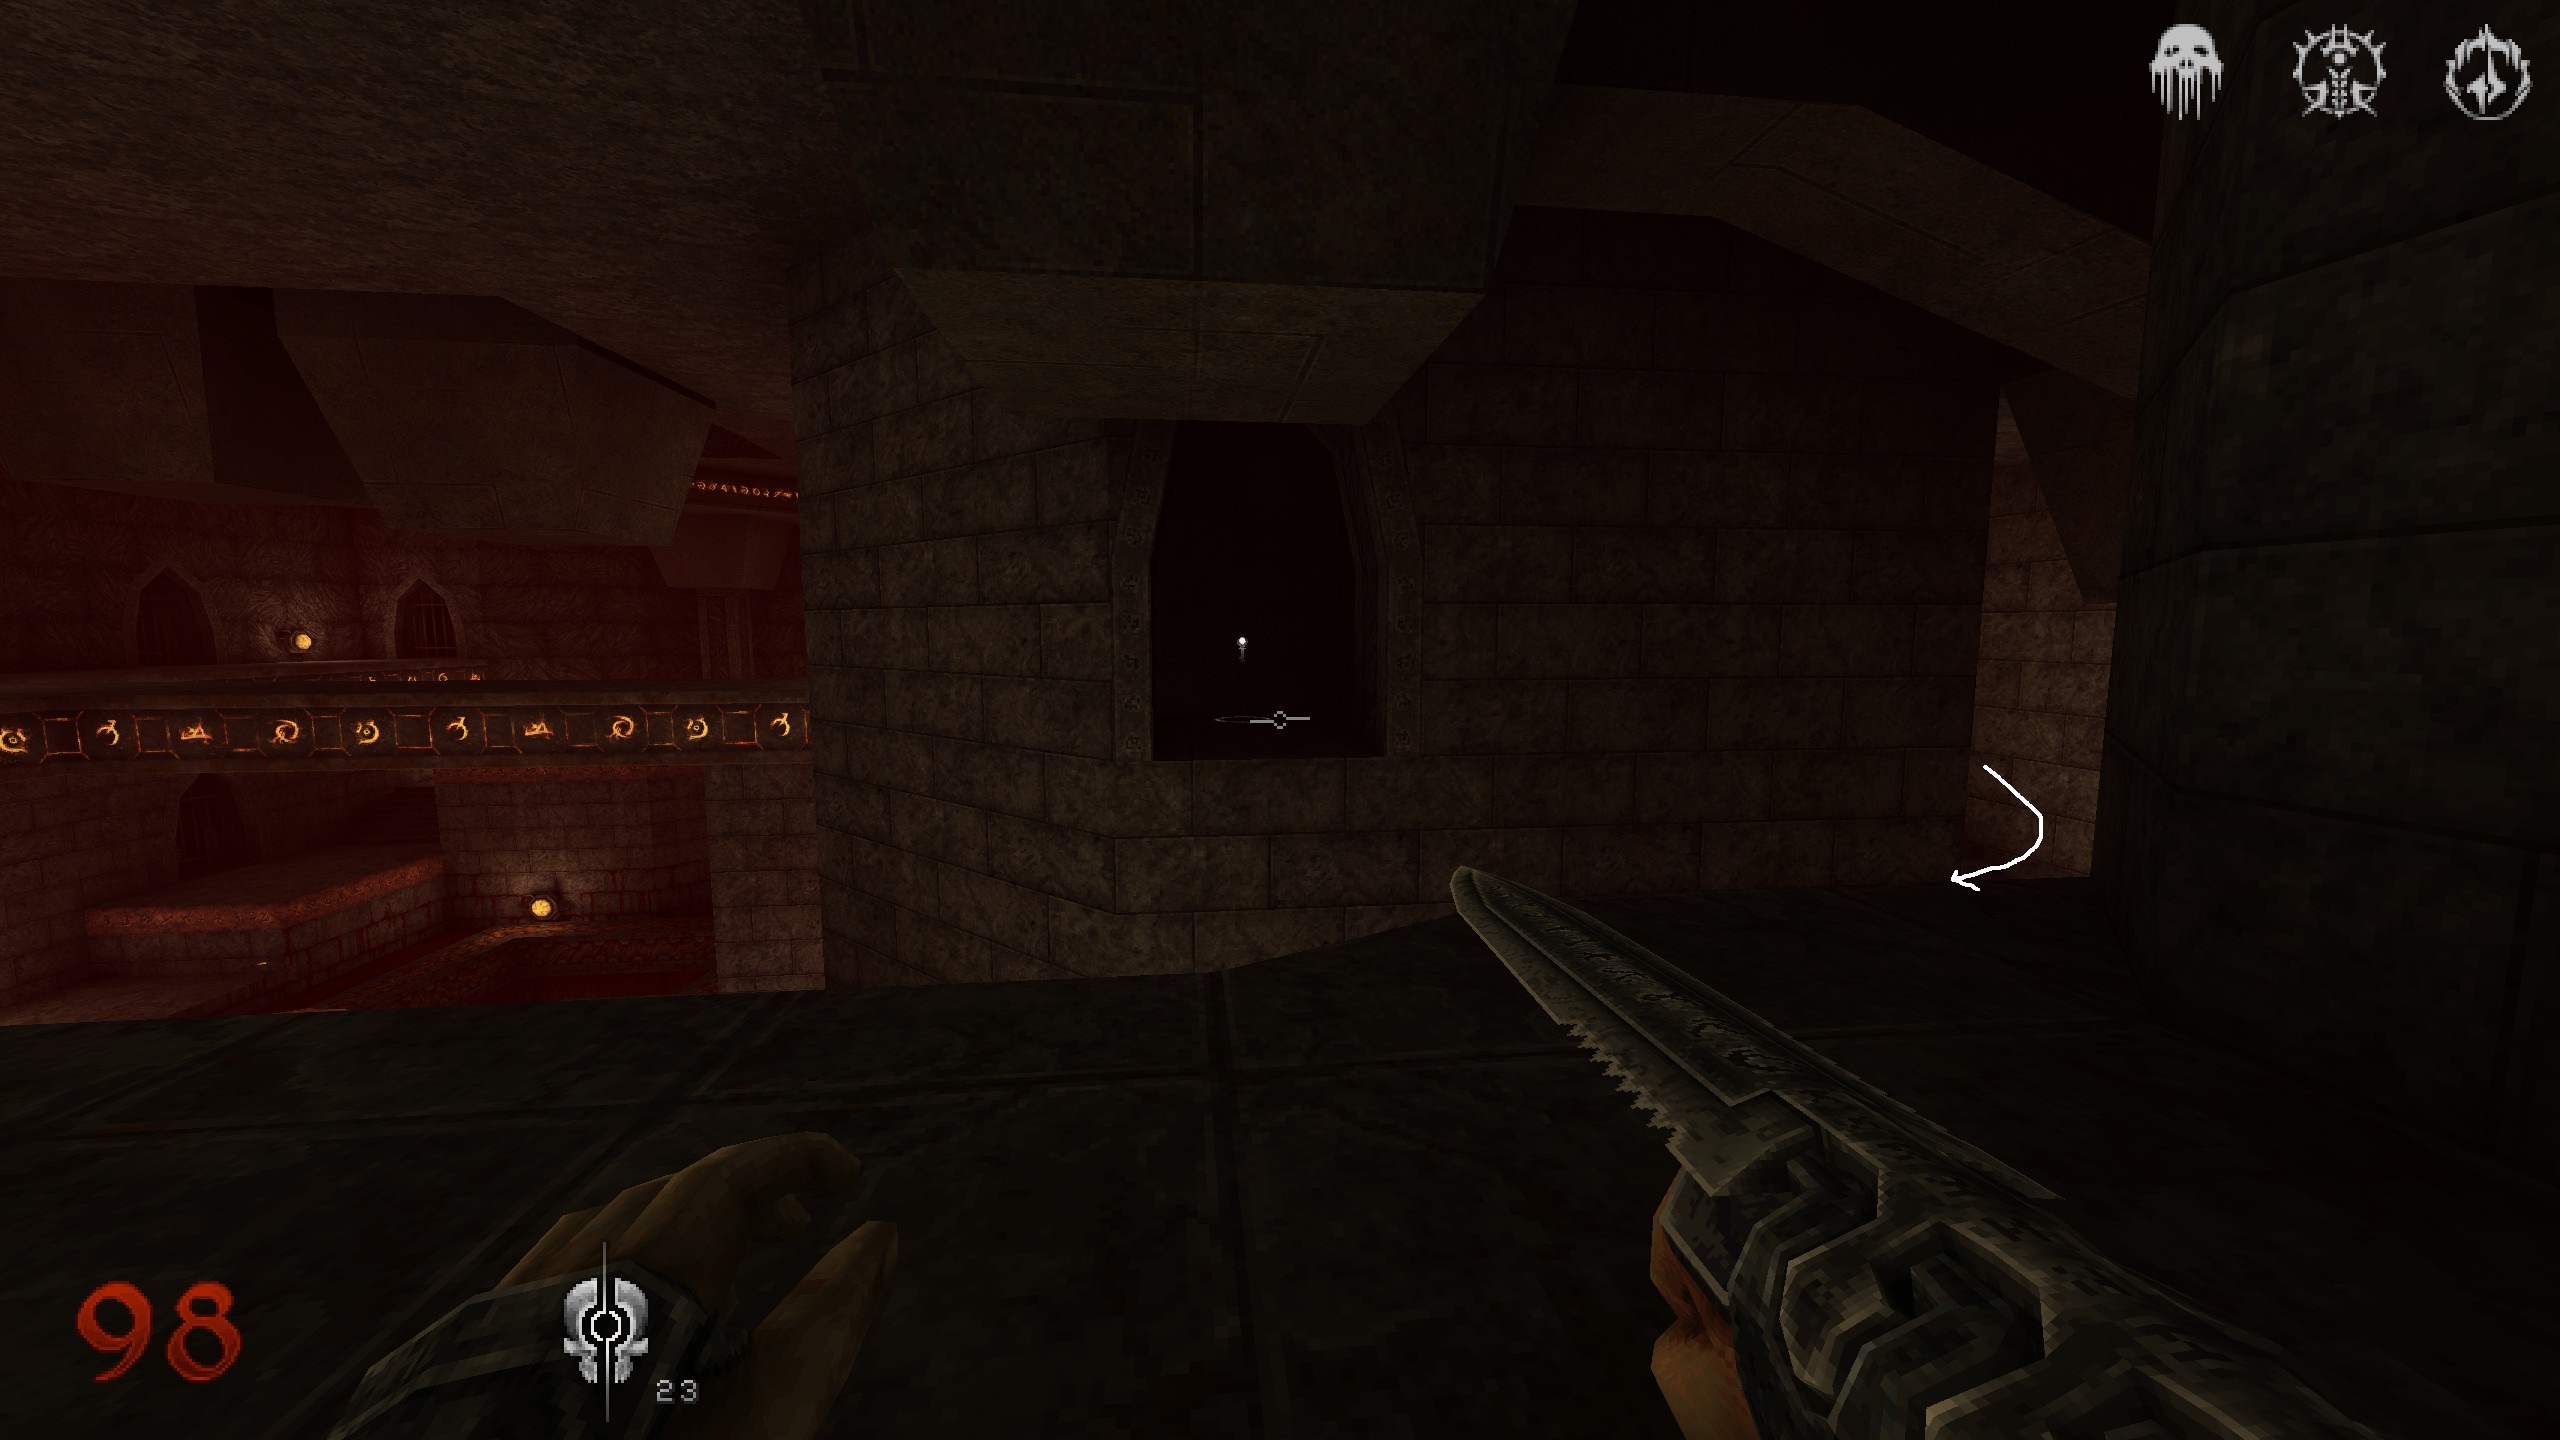
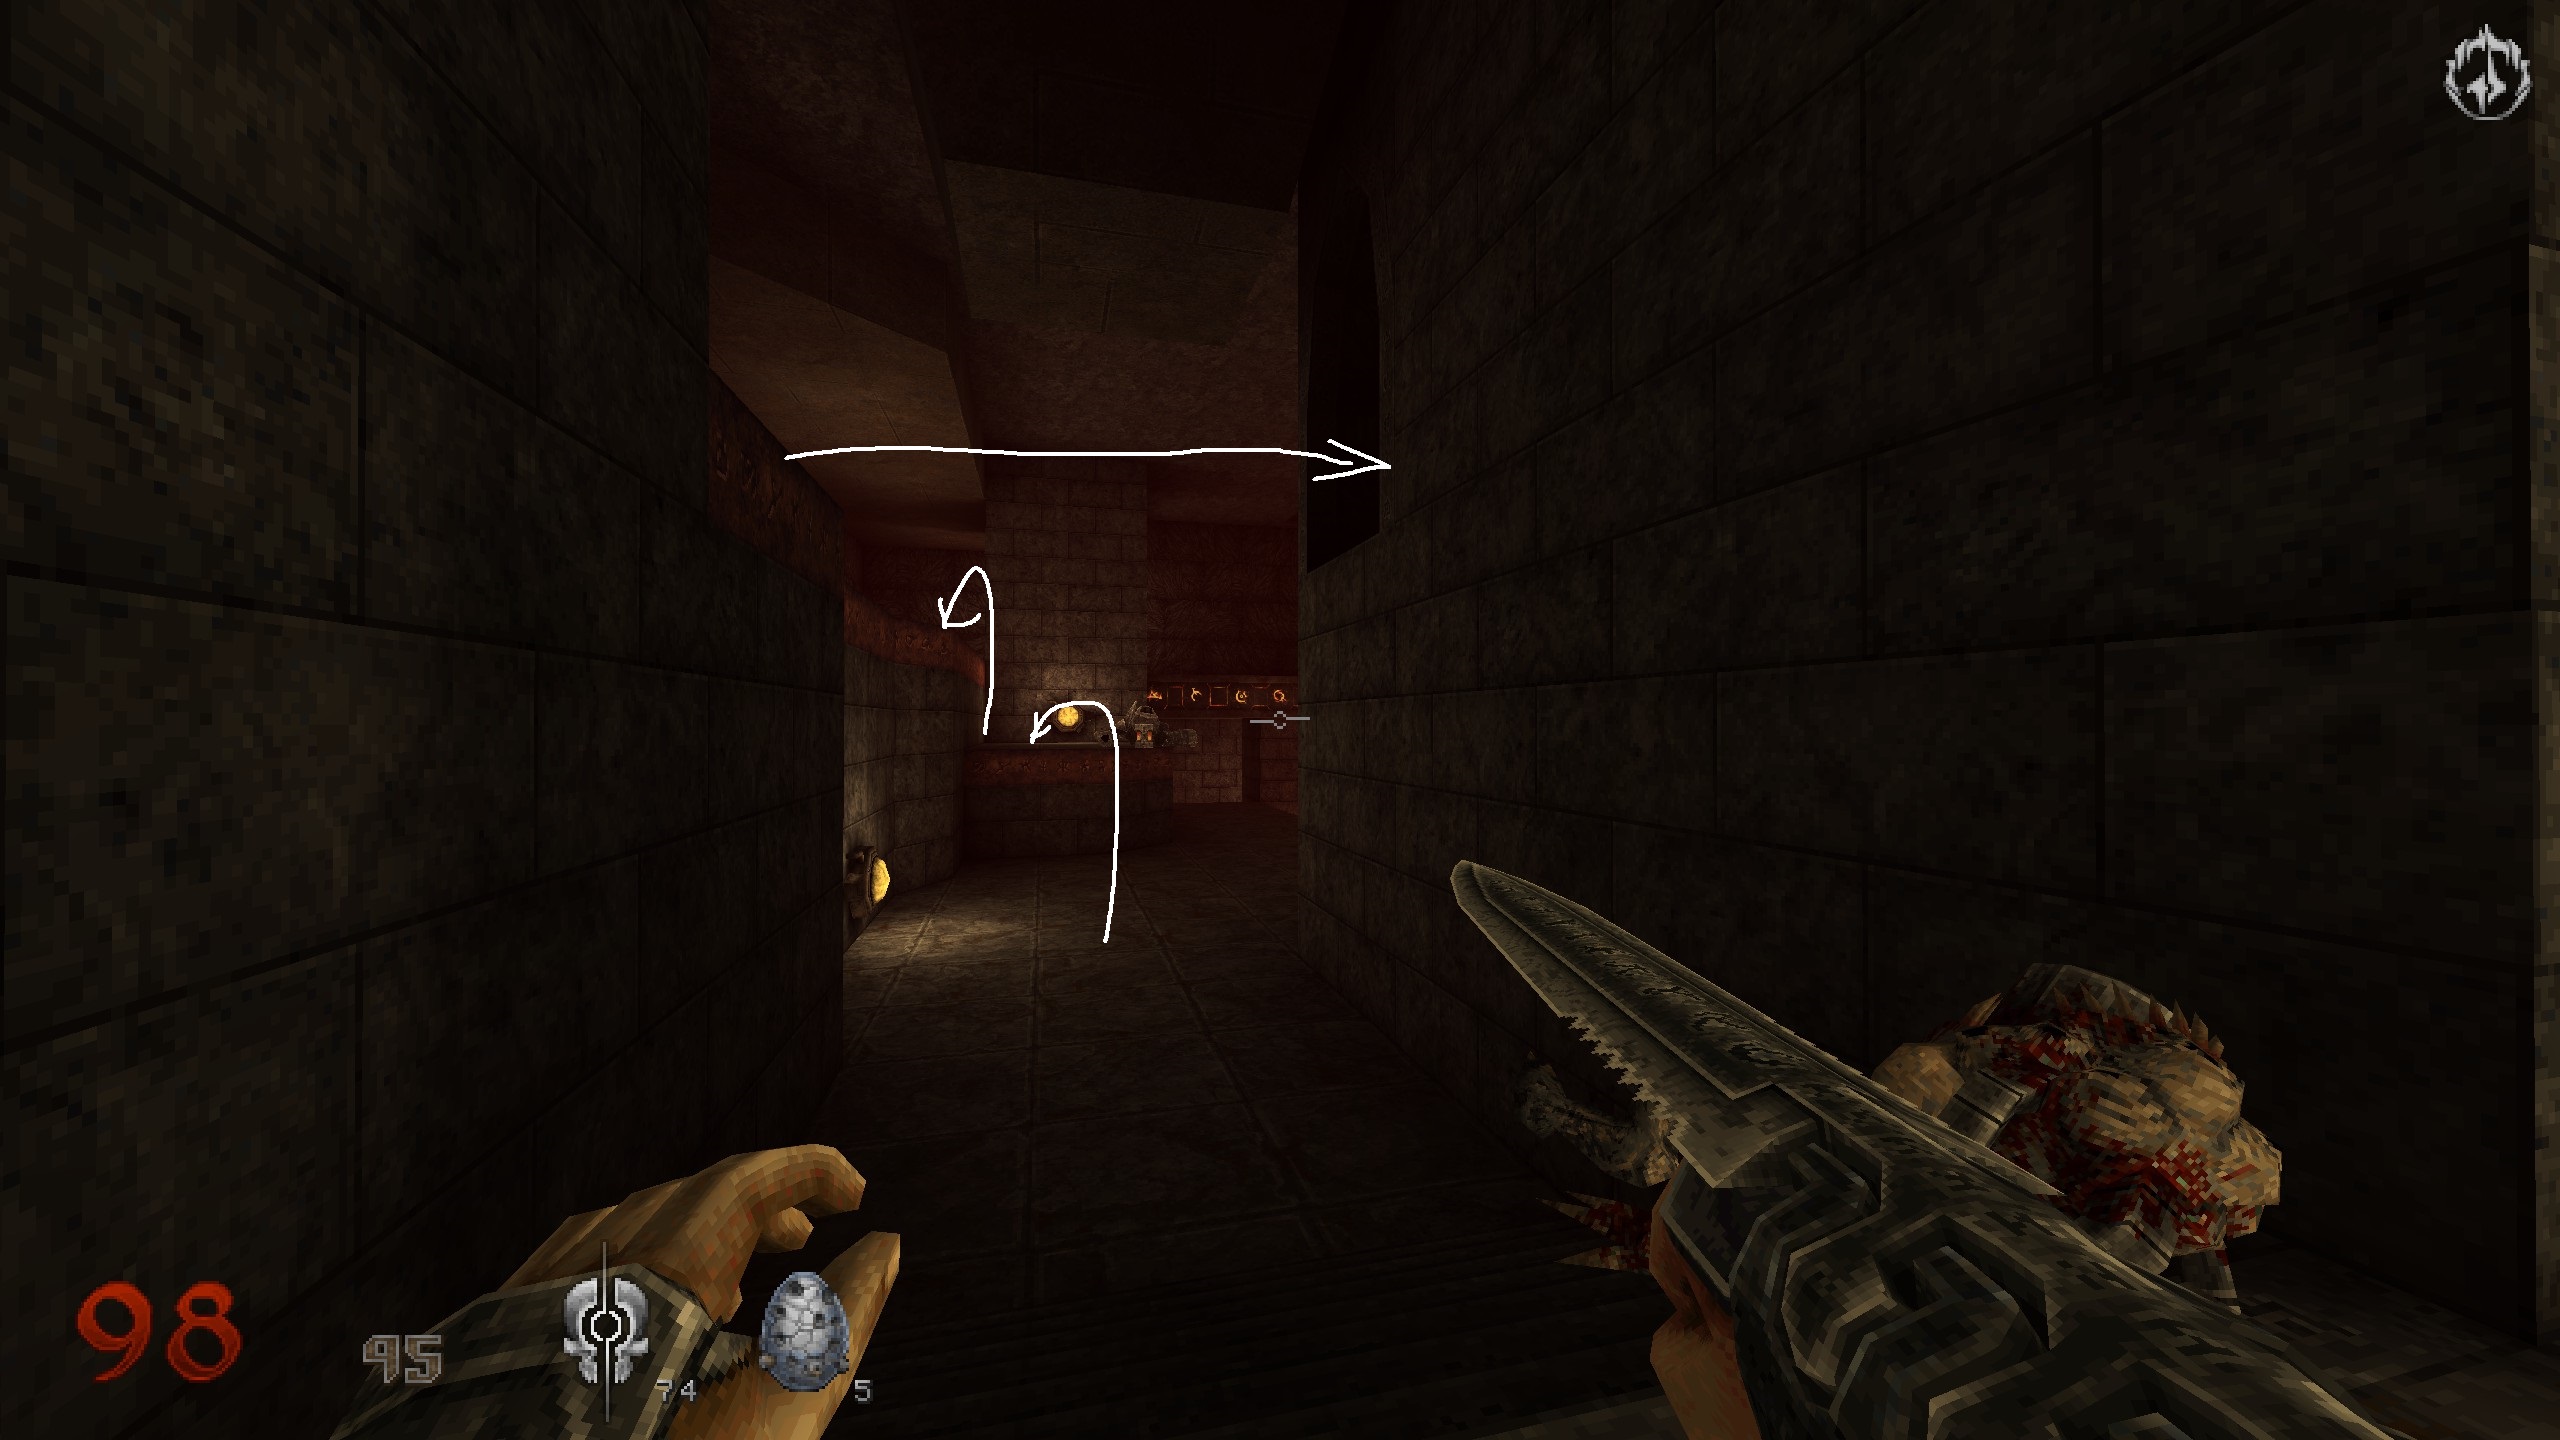
Crate
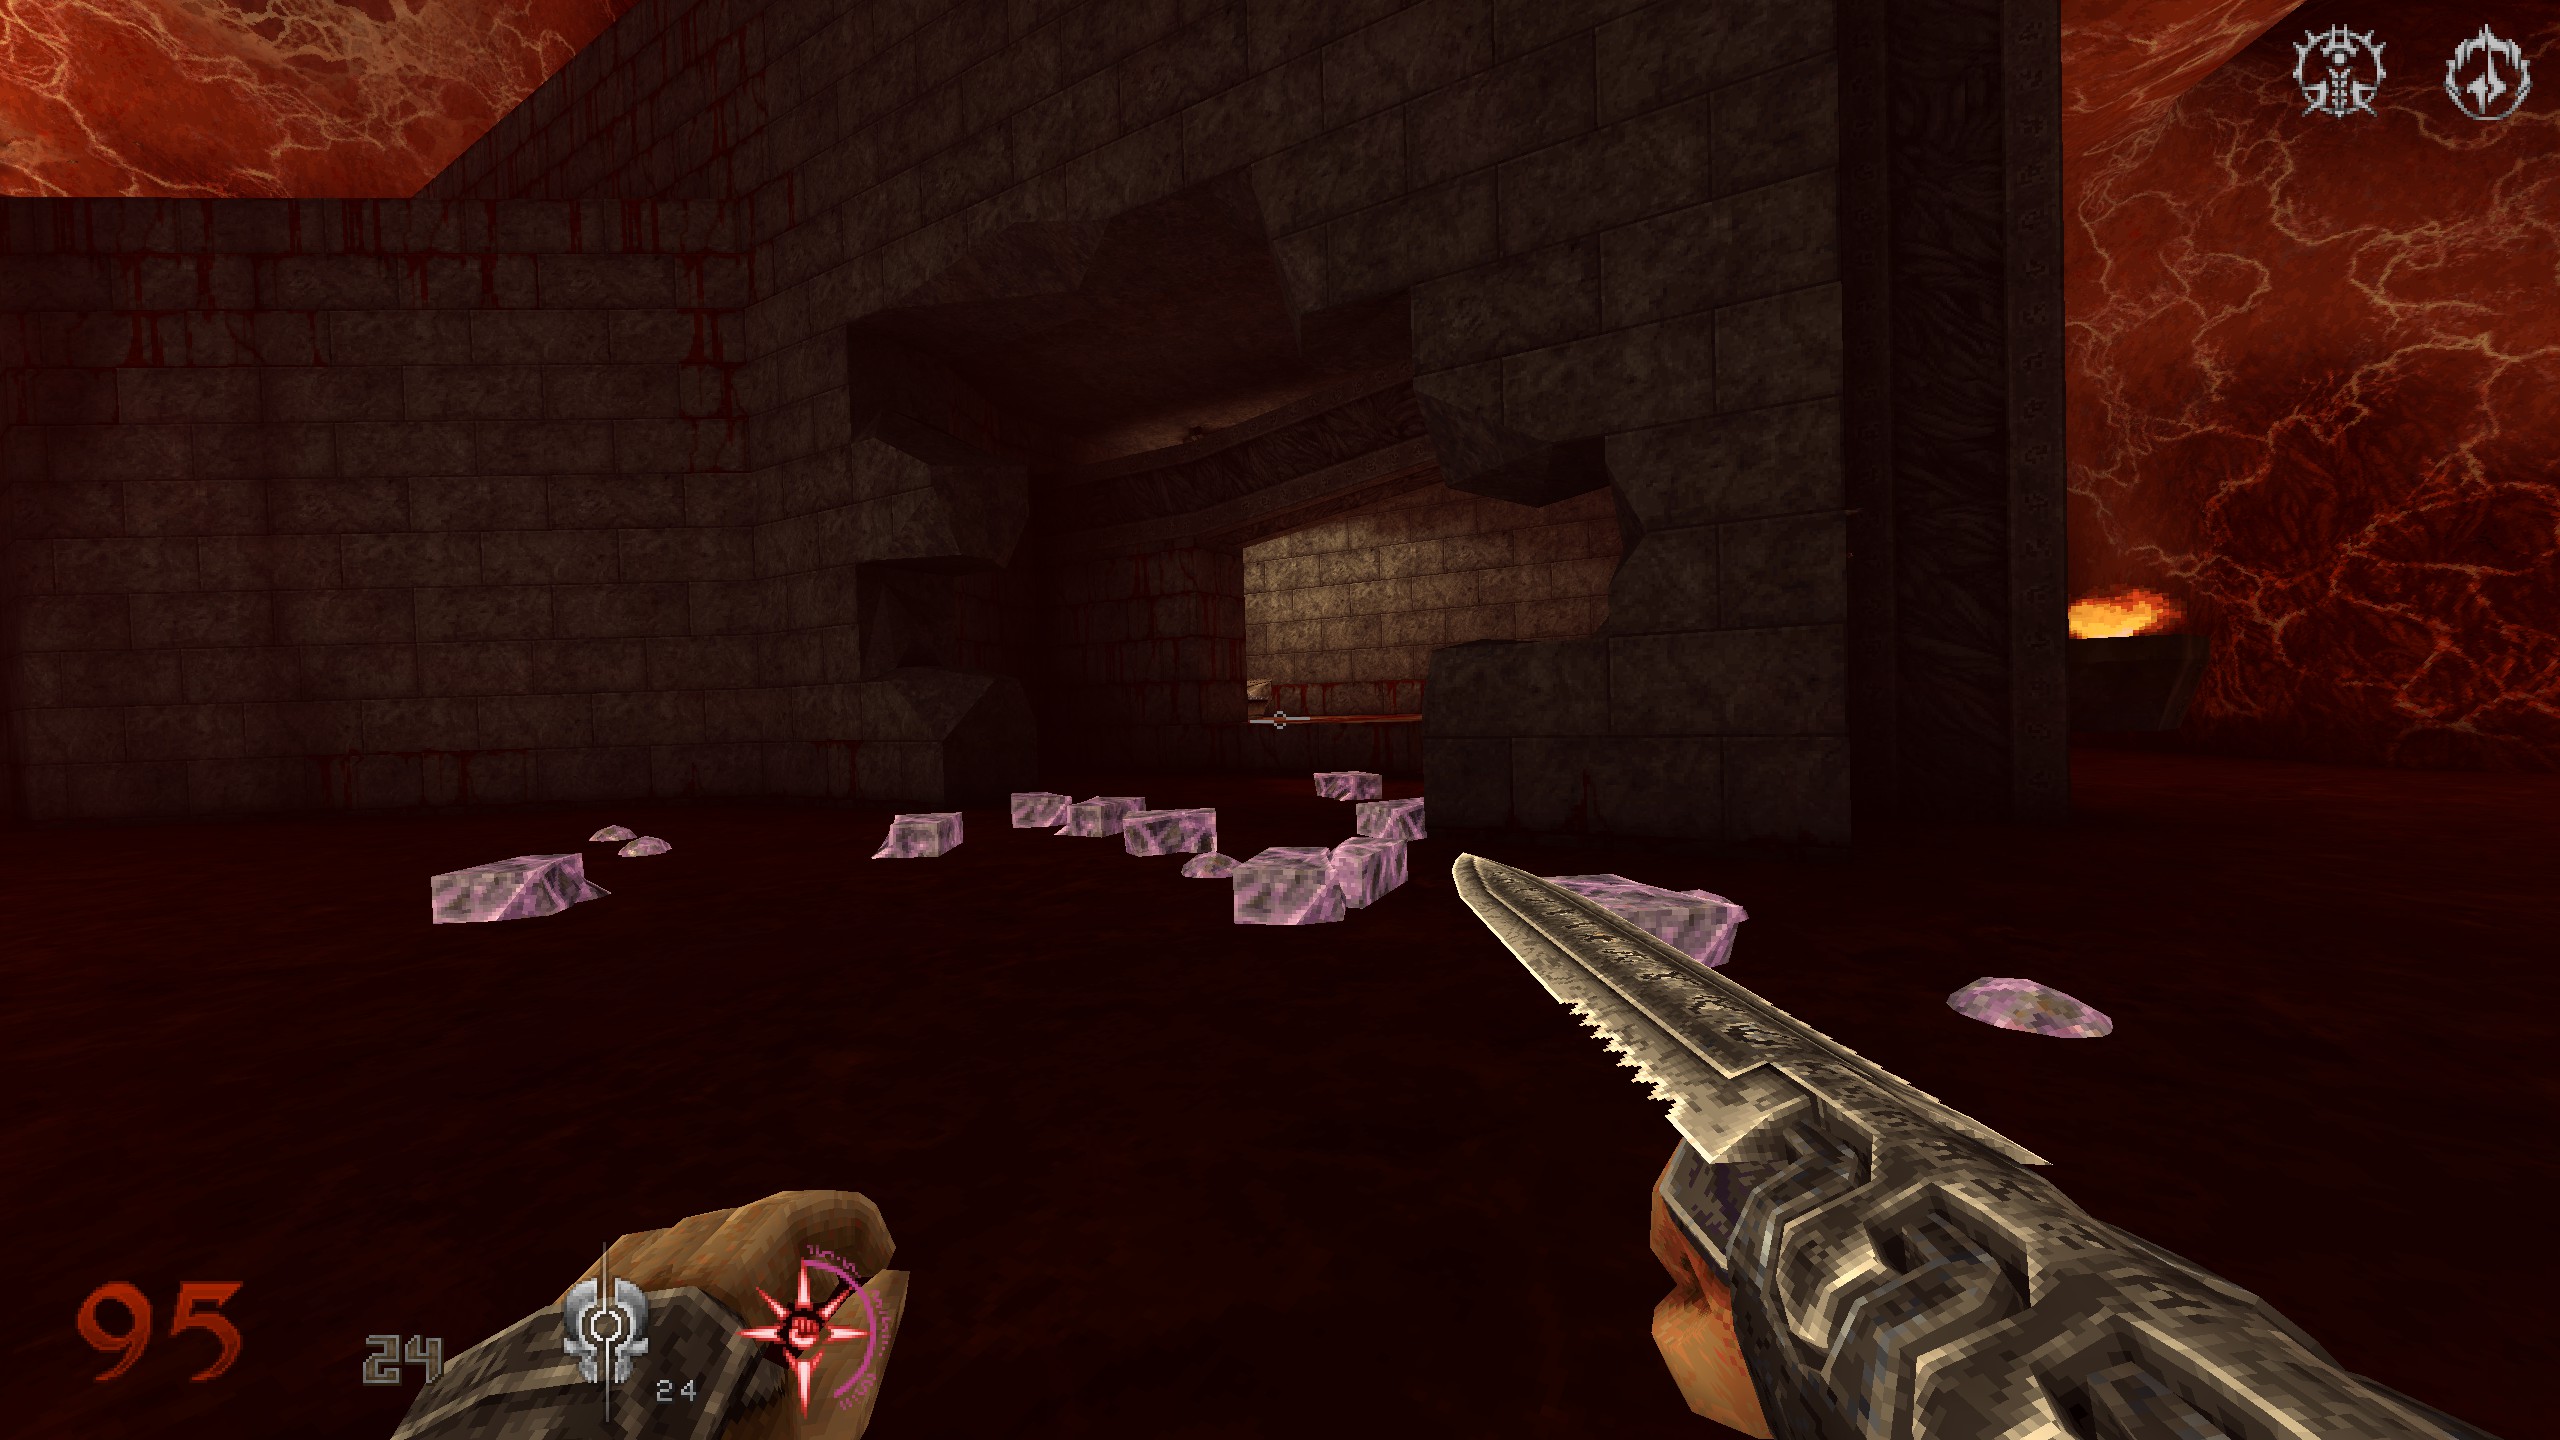
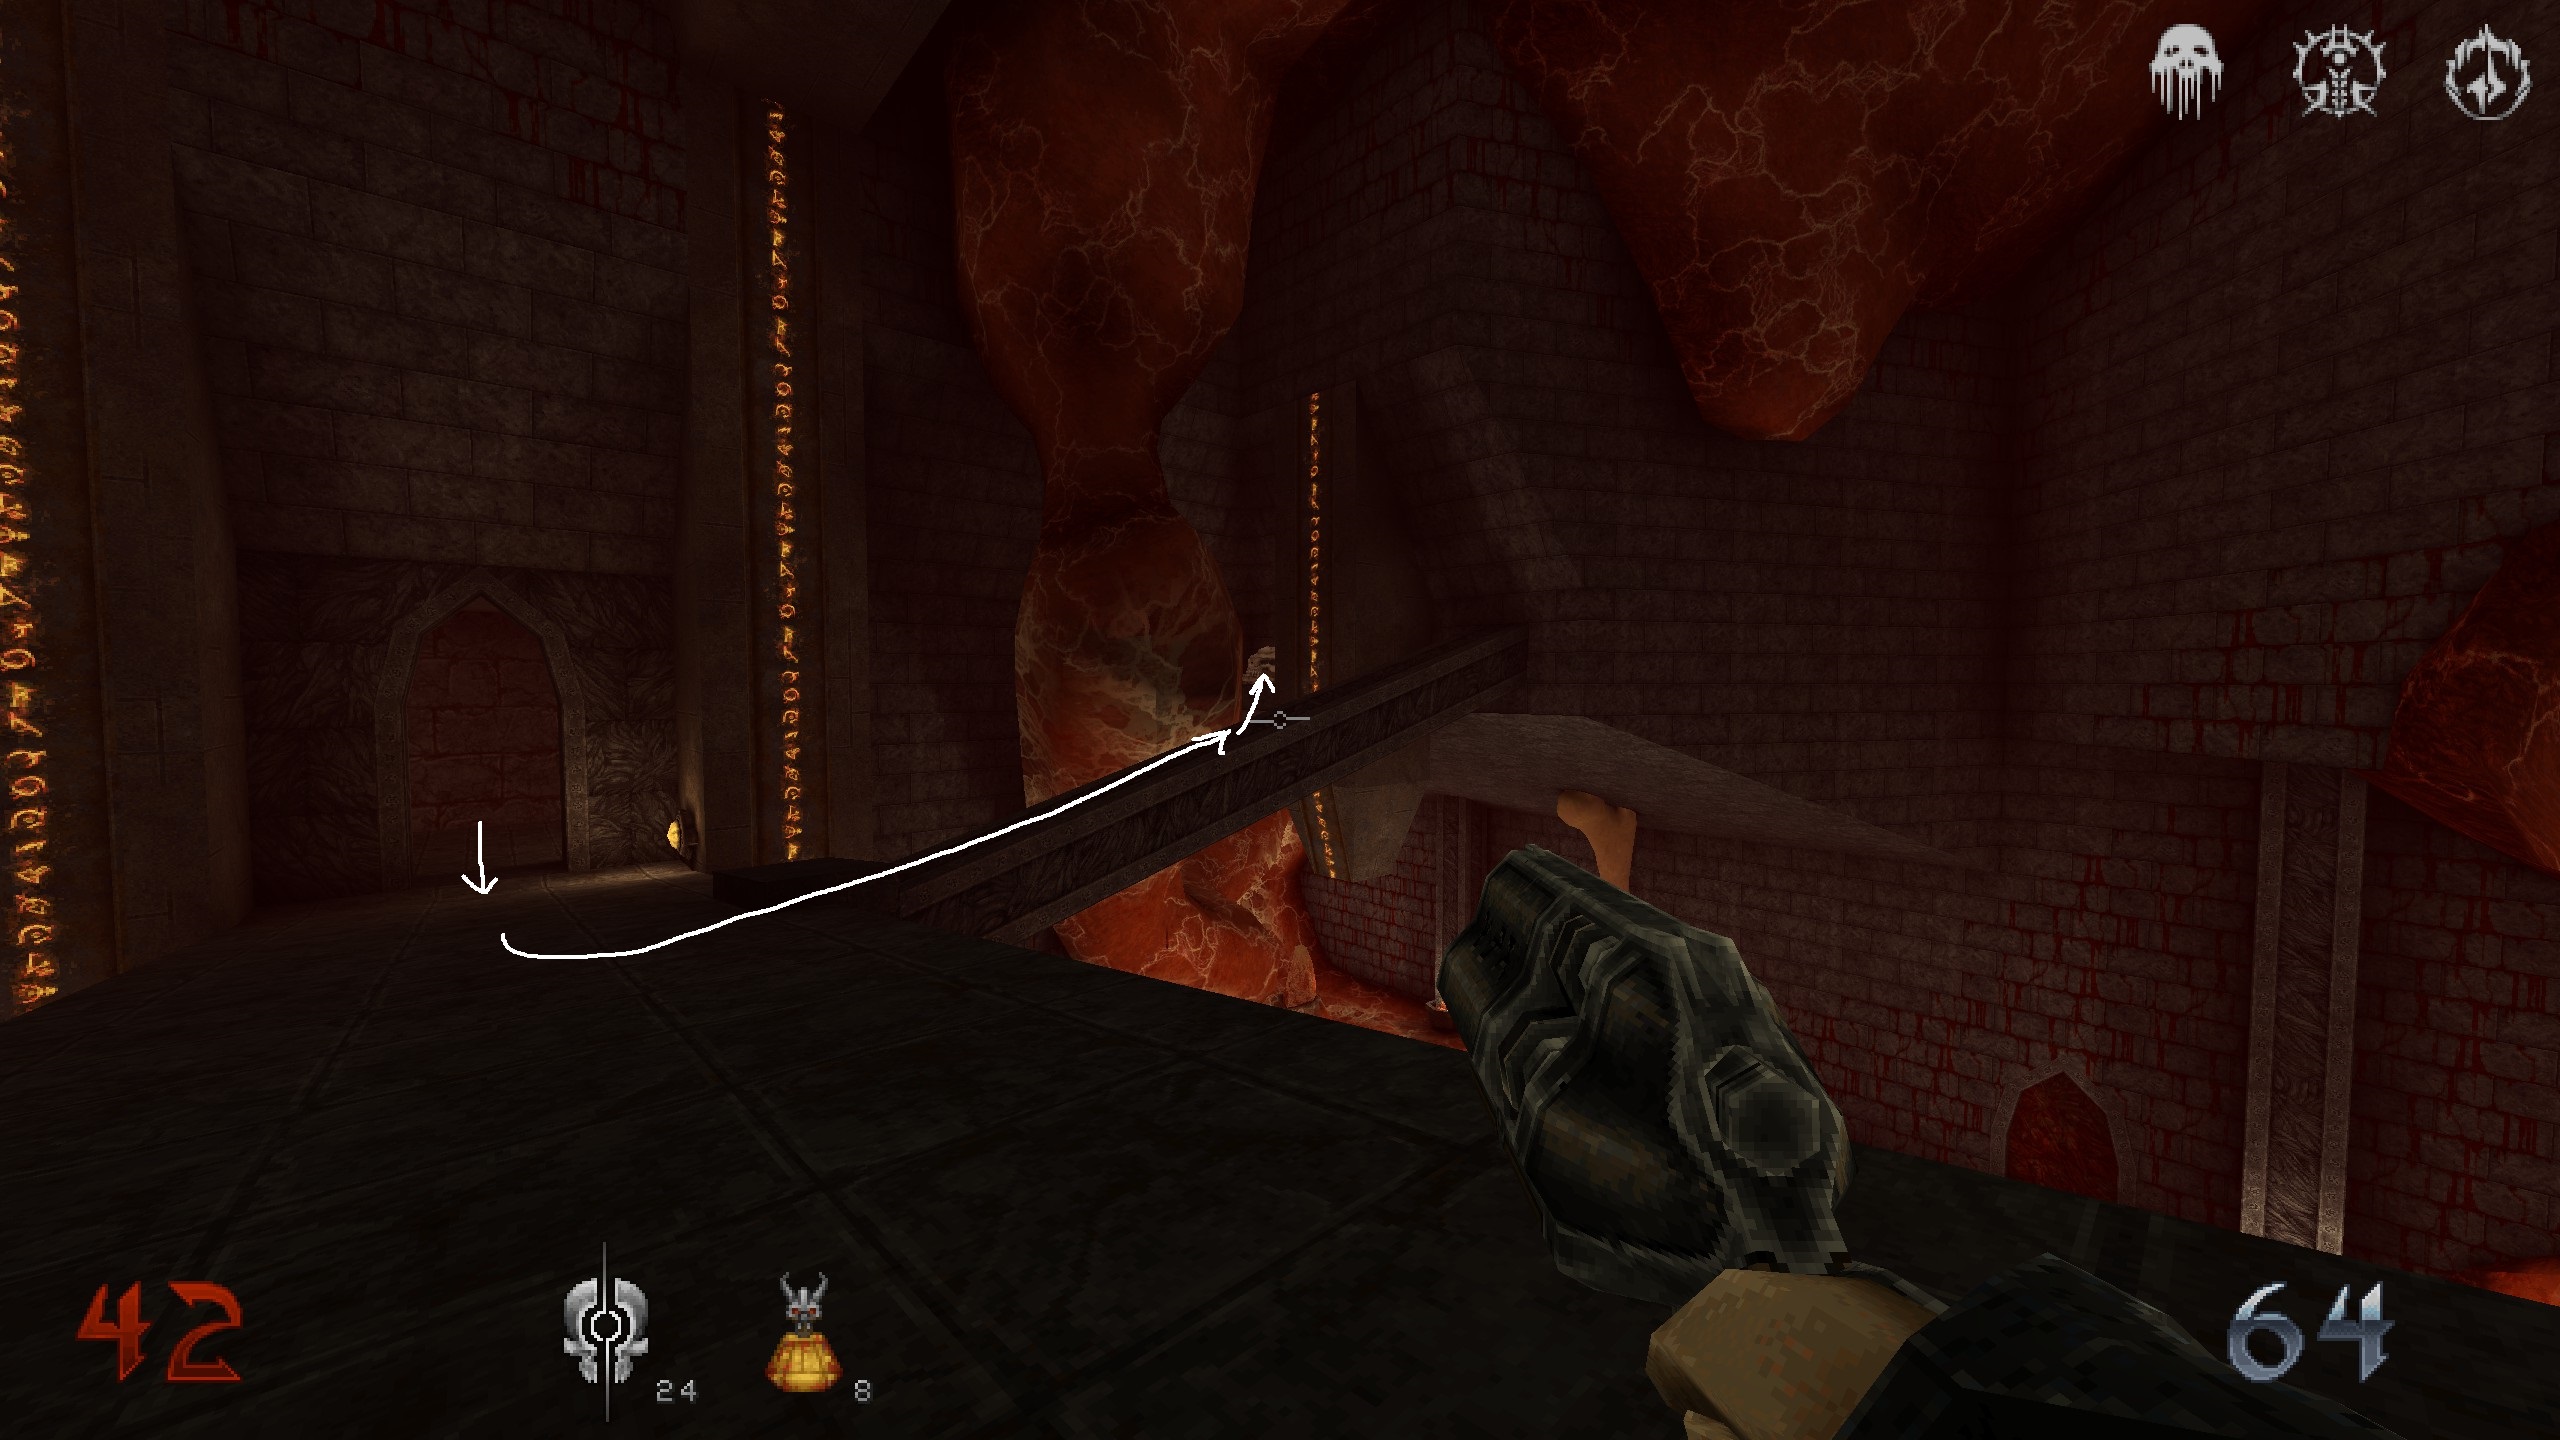
You are in the huge meaty area with all the eyes. Use the sigil and notice the wall below the bone bridge. Get done, destory it and go in for the crate.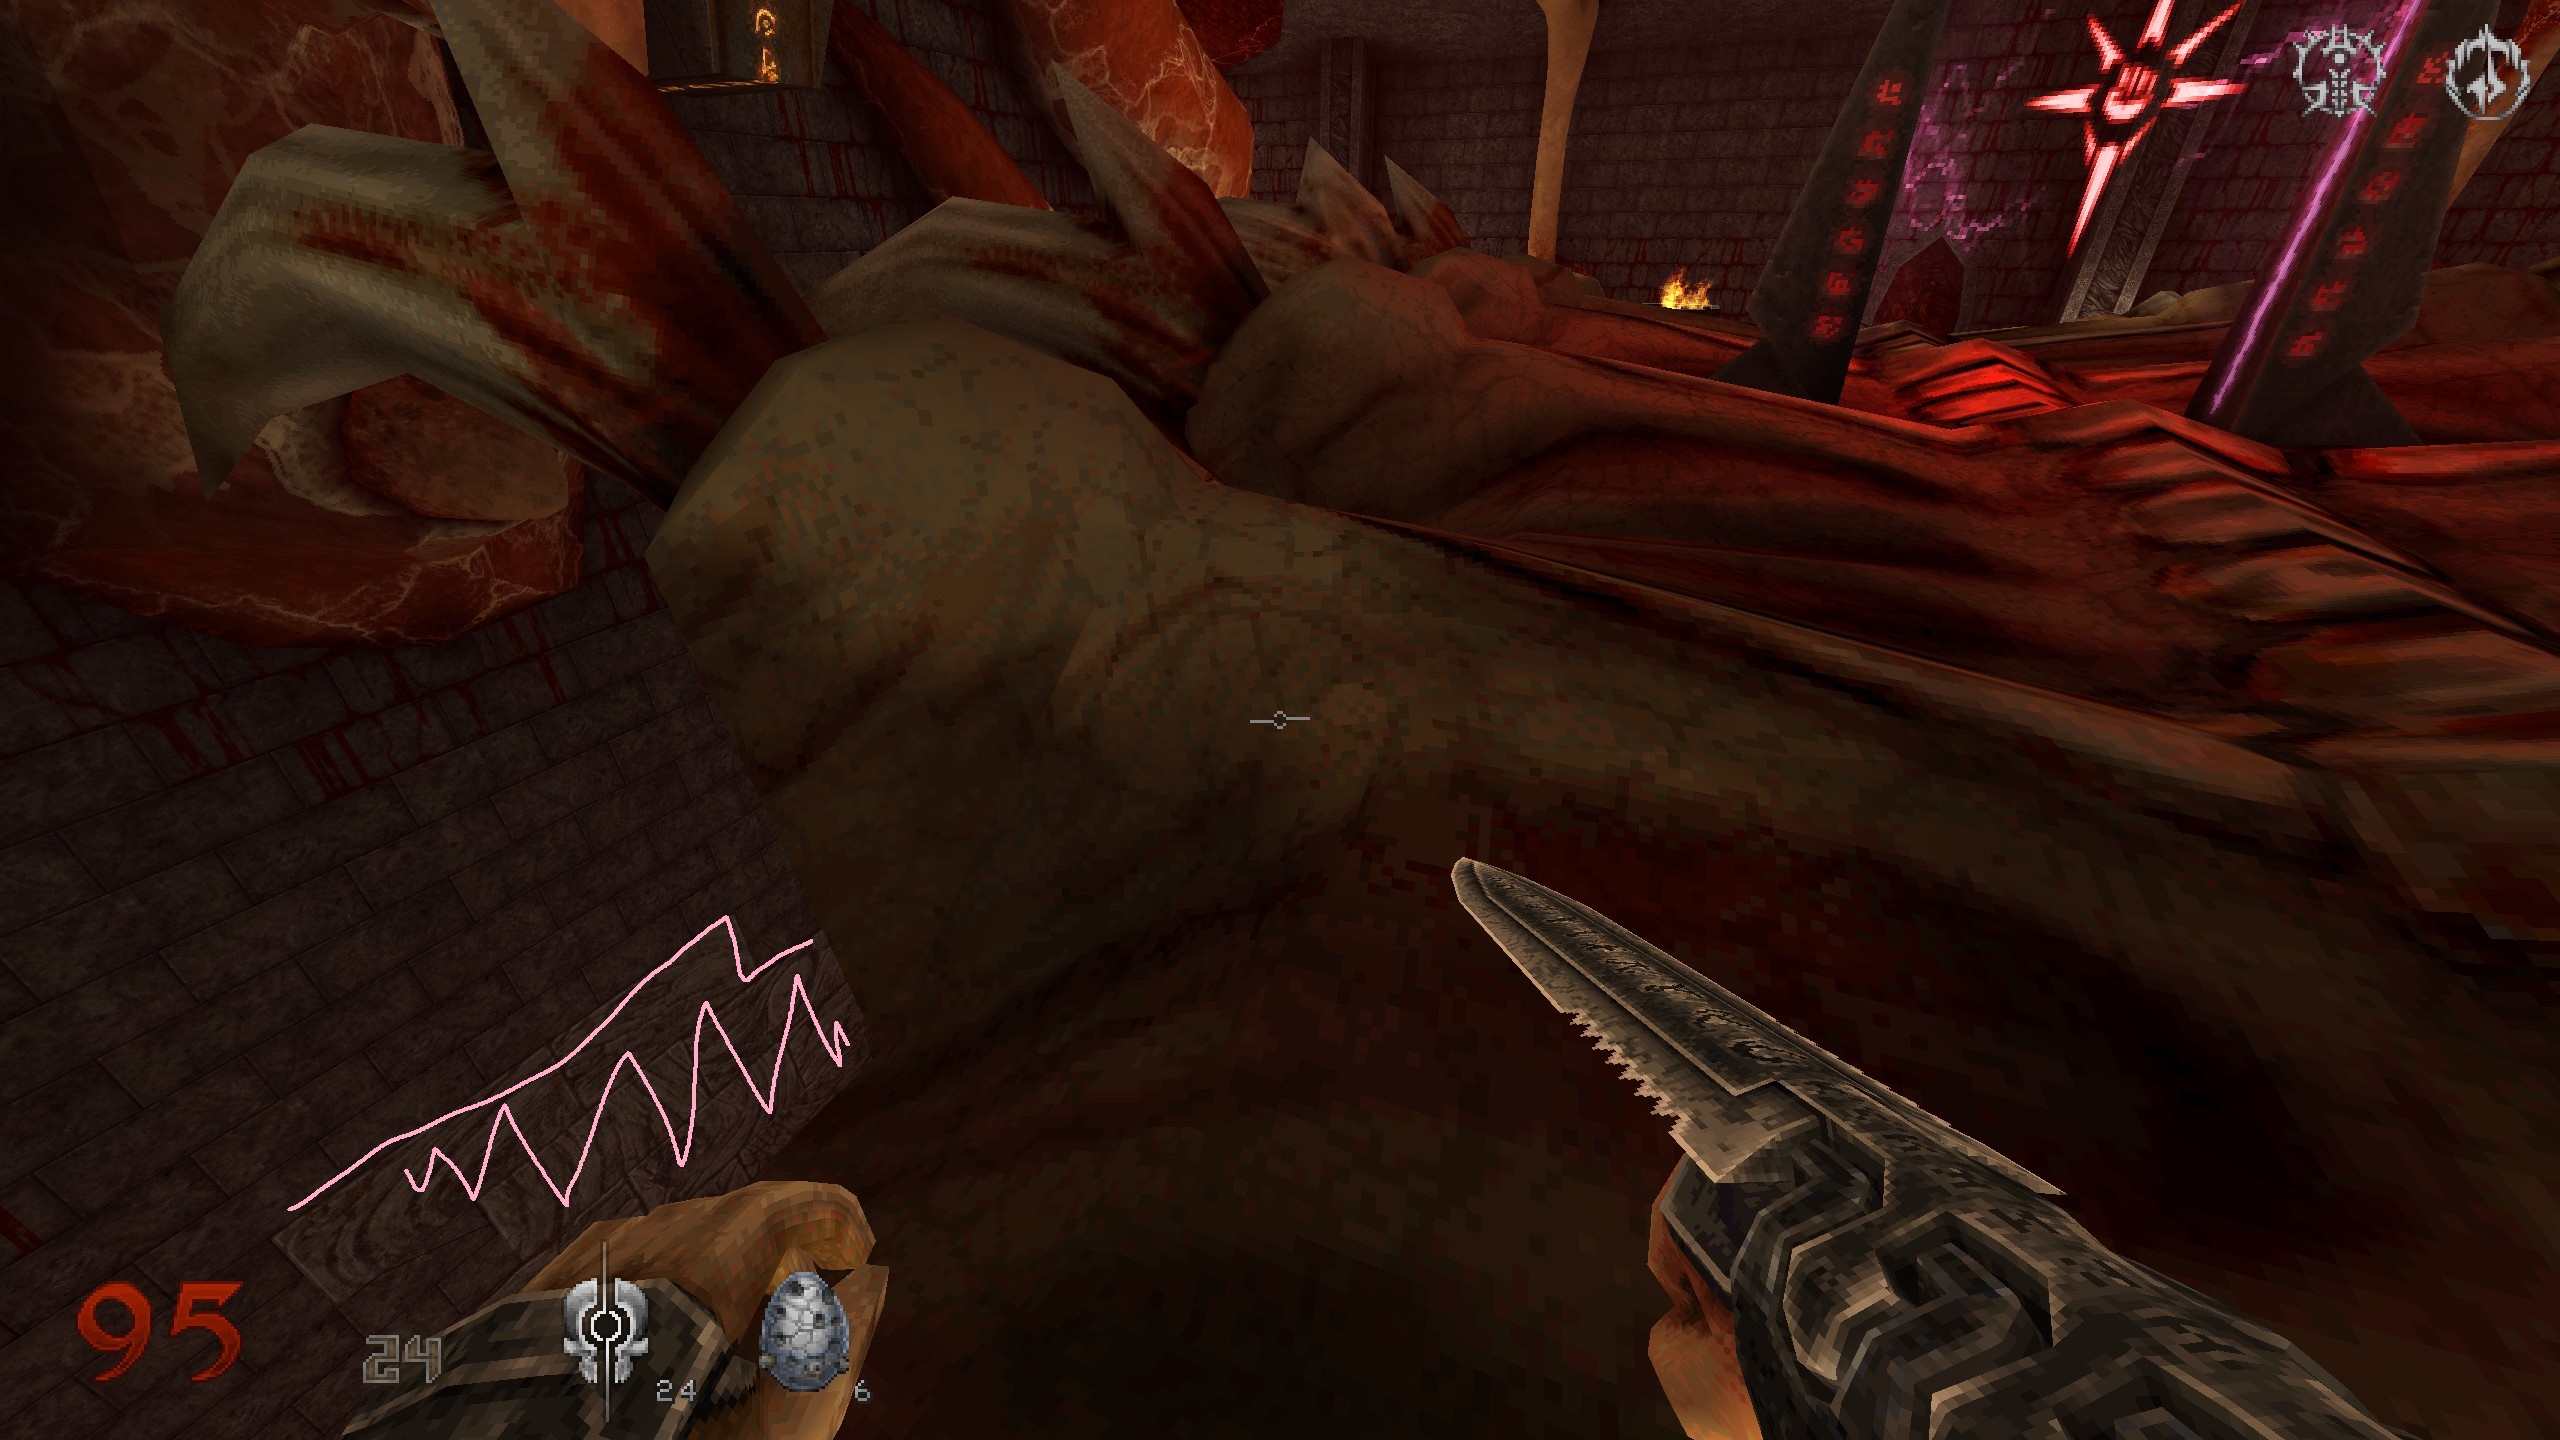
S5
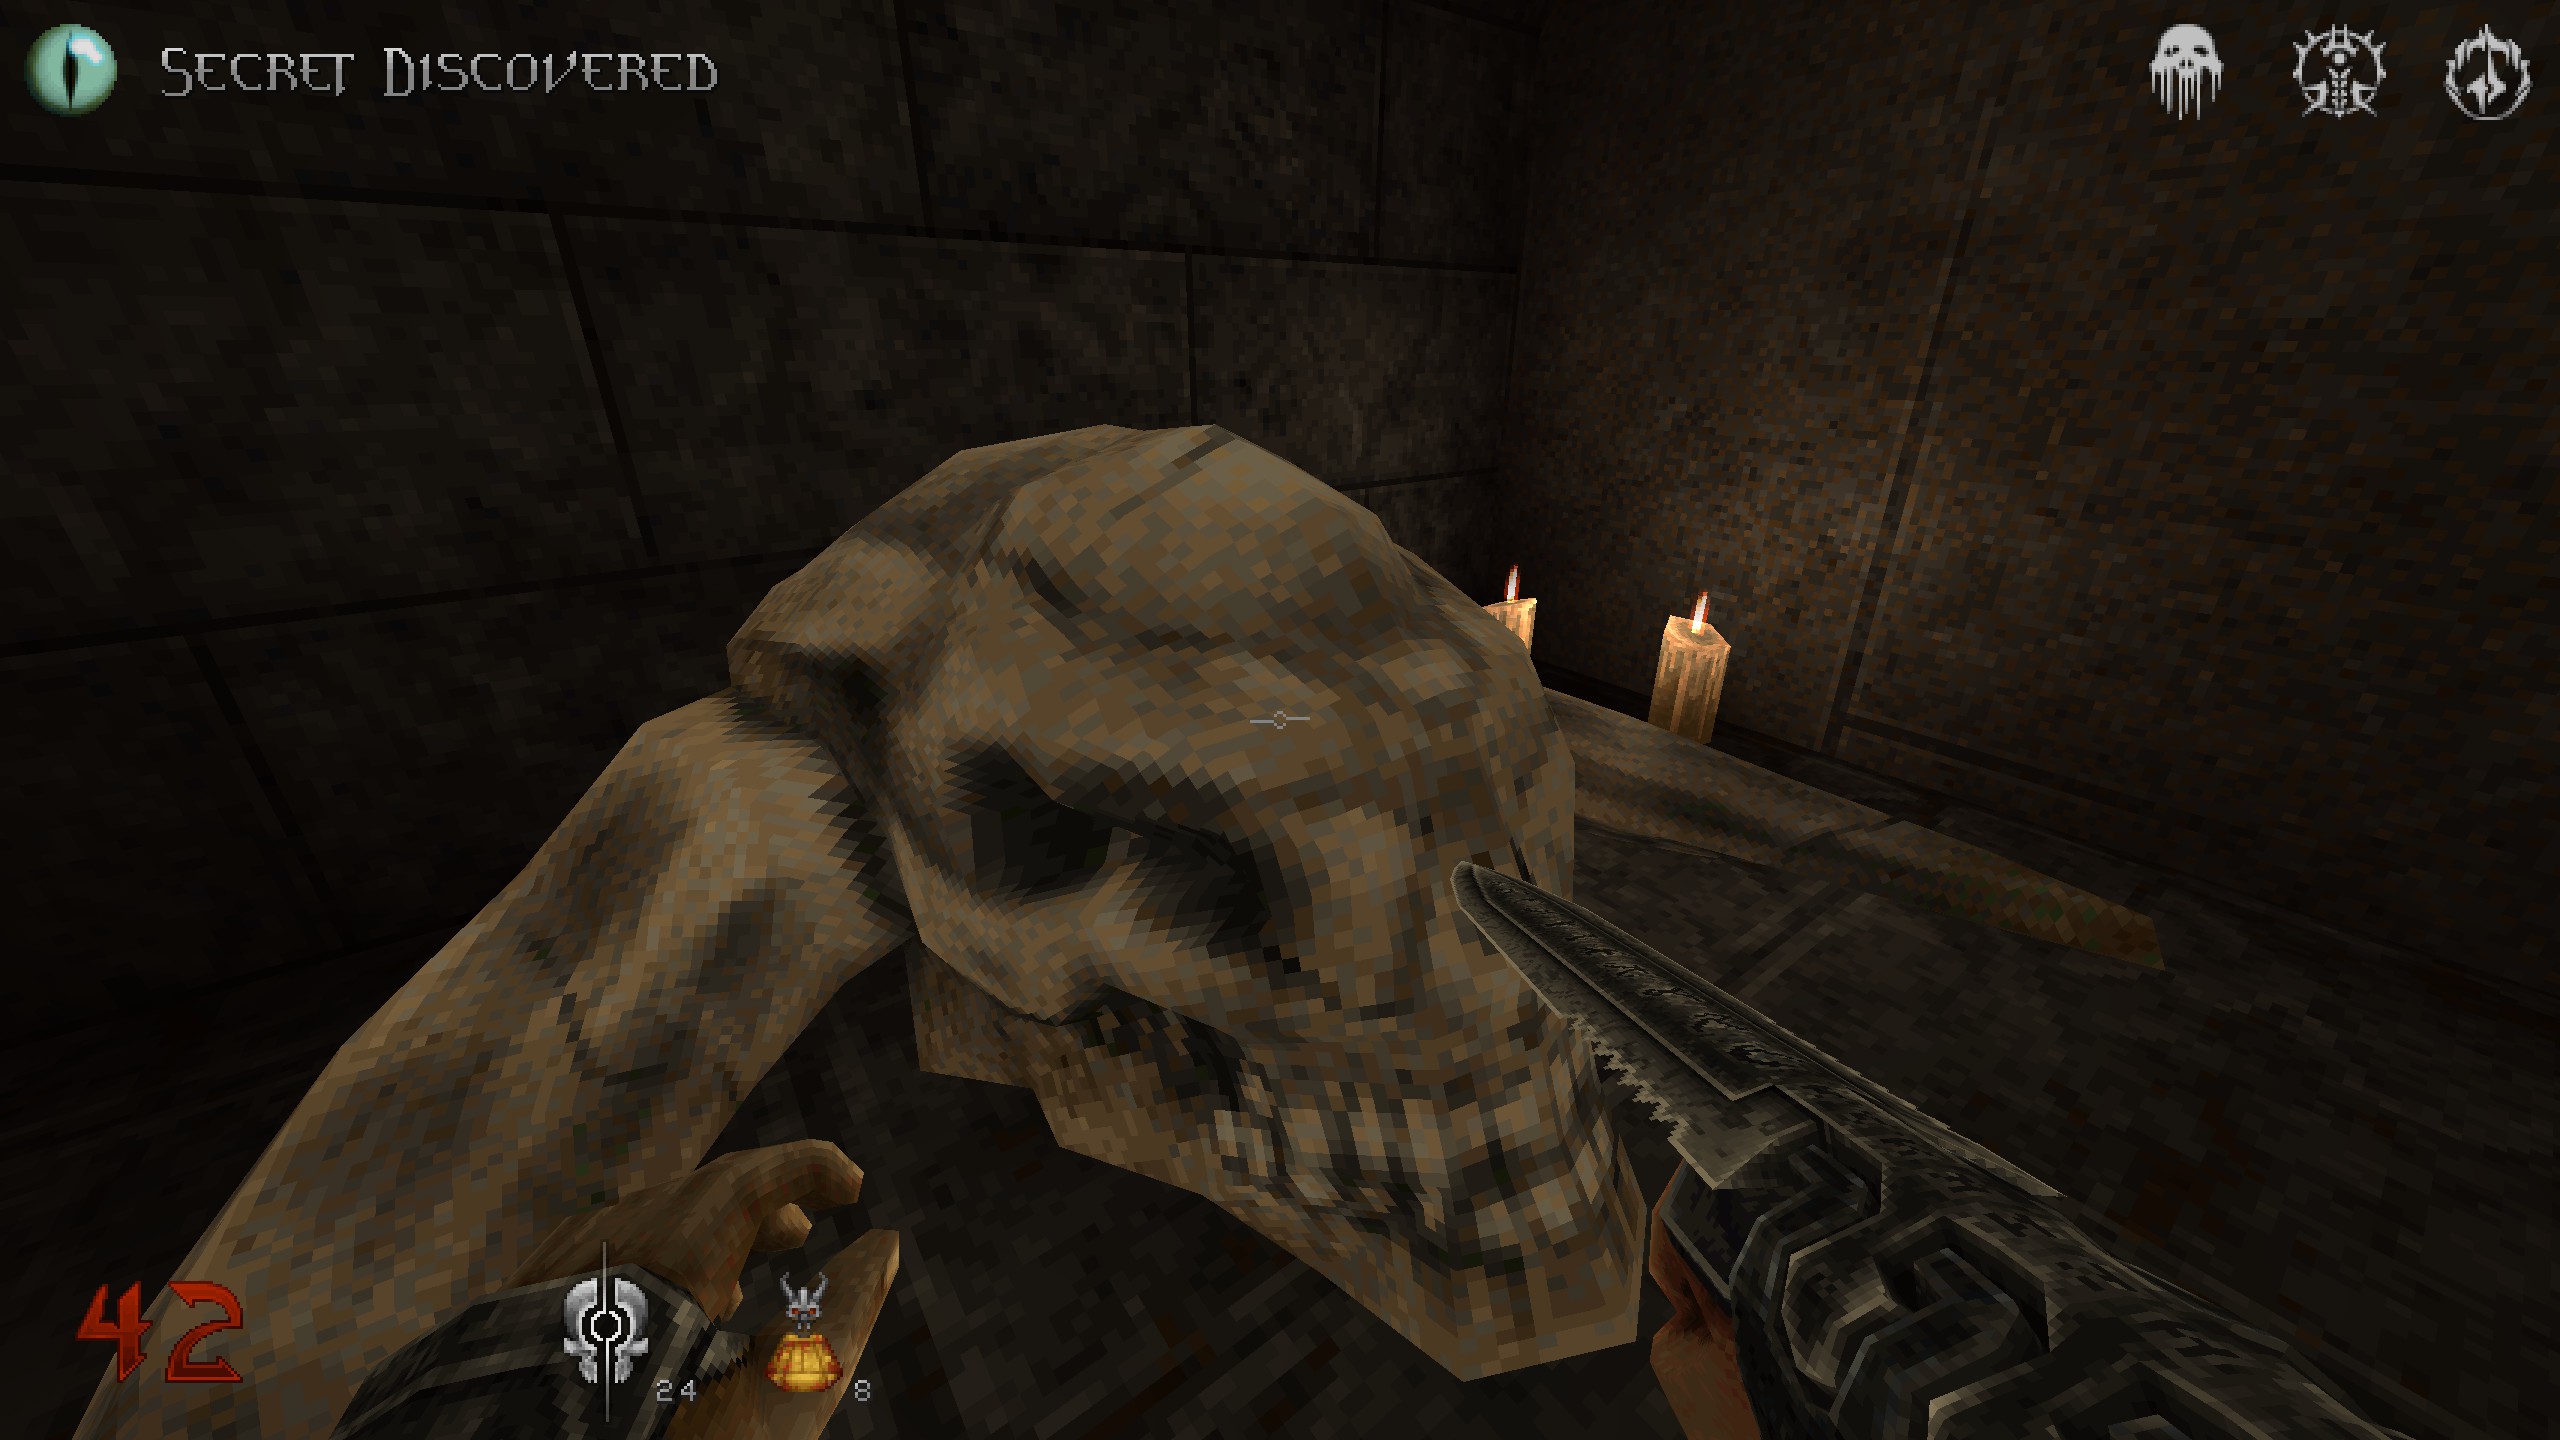
After picking up the relic, get on the bridge and check the stone bar on the left. Use it to get over to the giant skull and destroy it for the last secret of the level.
E3 – The Rending Chambers
S1
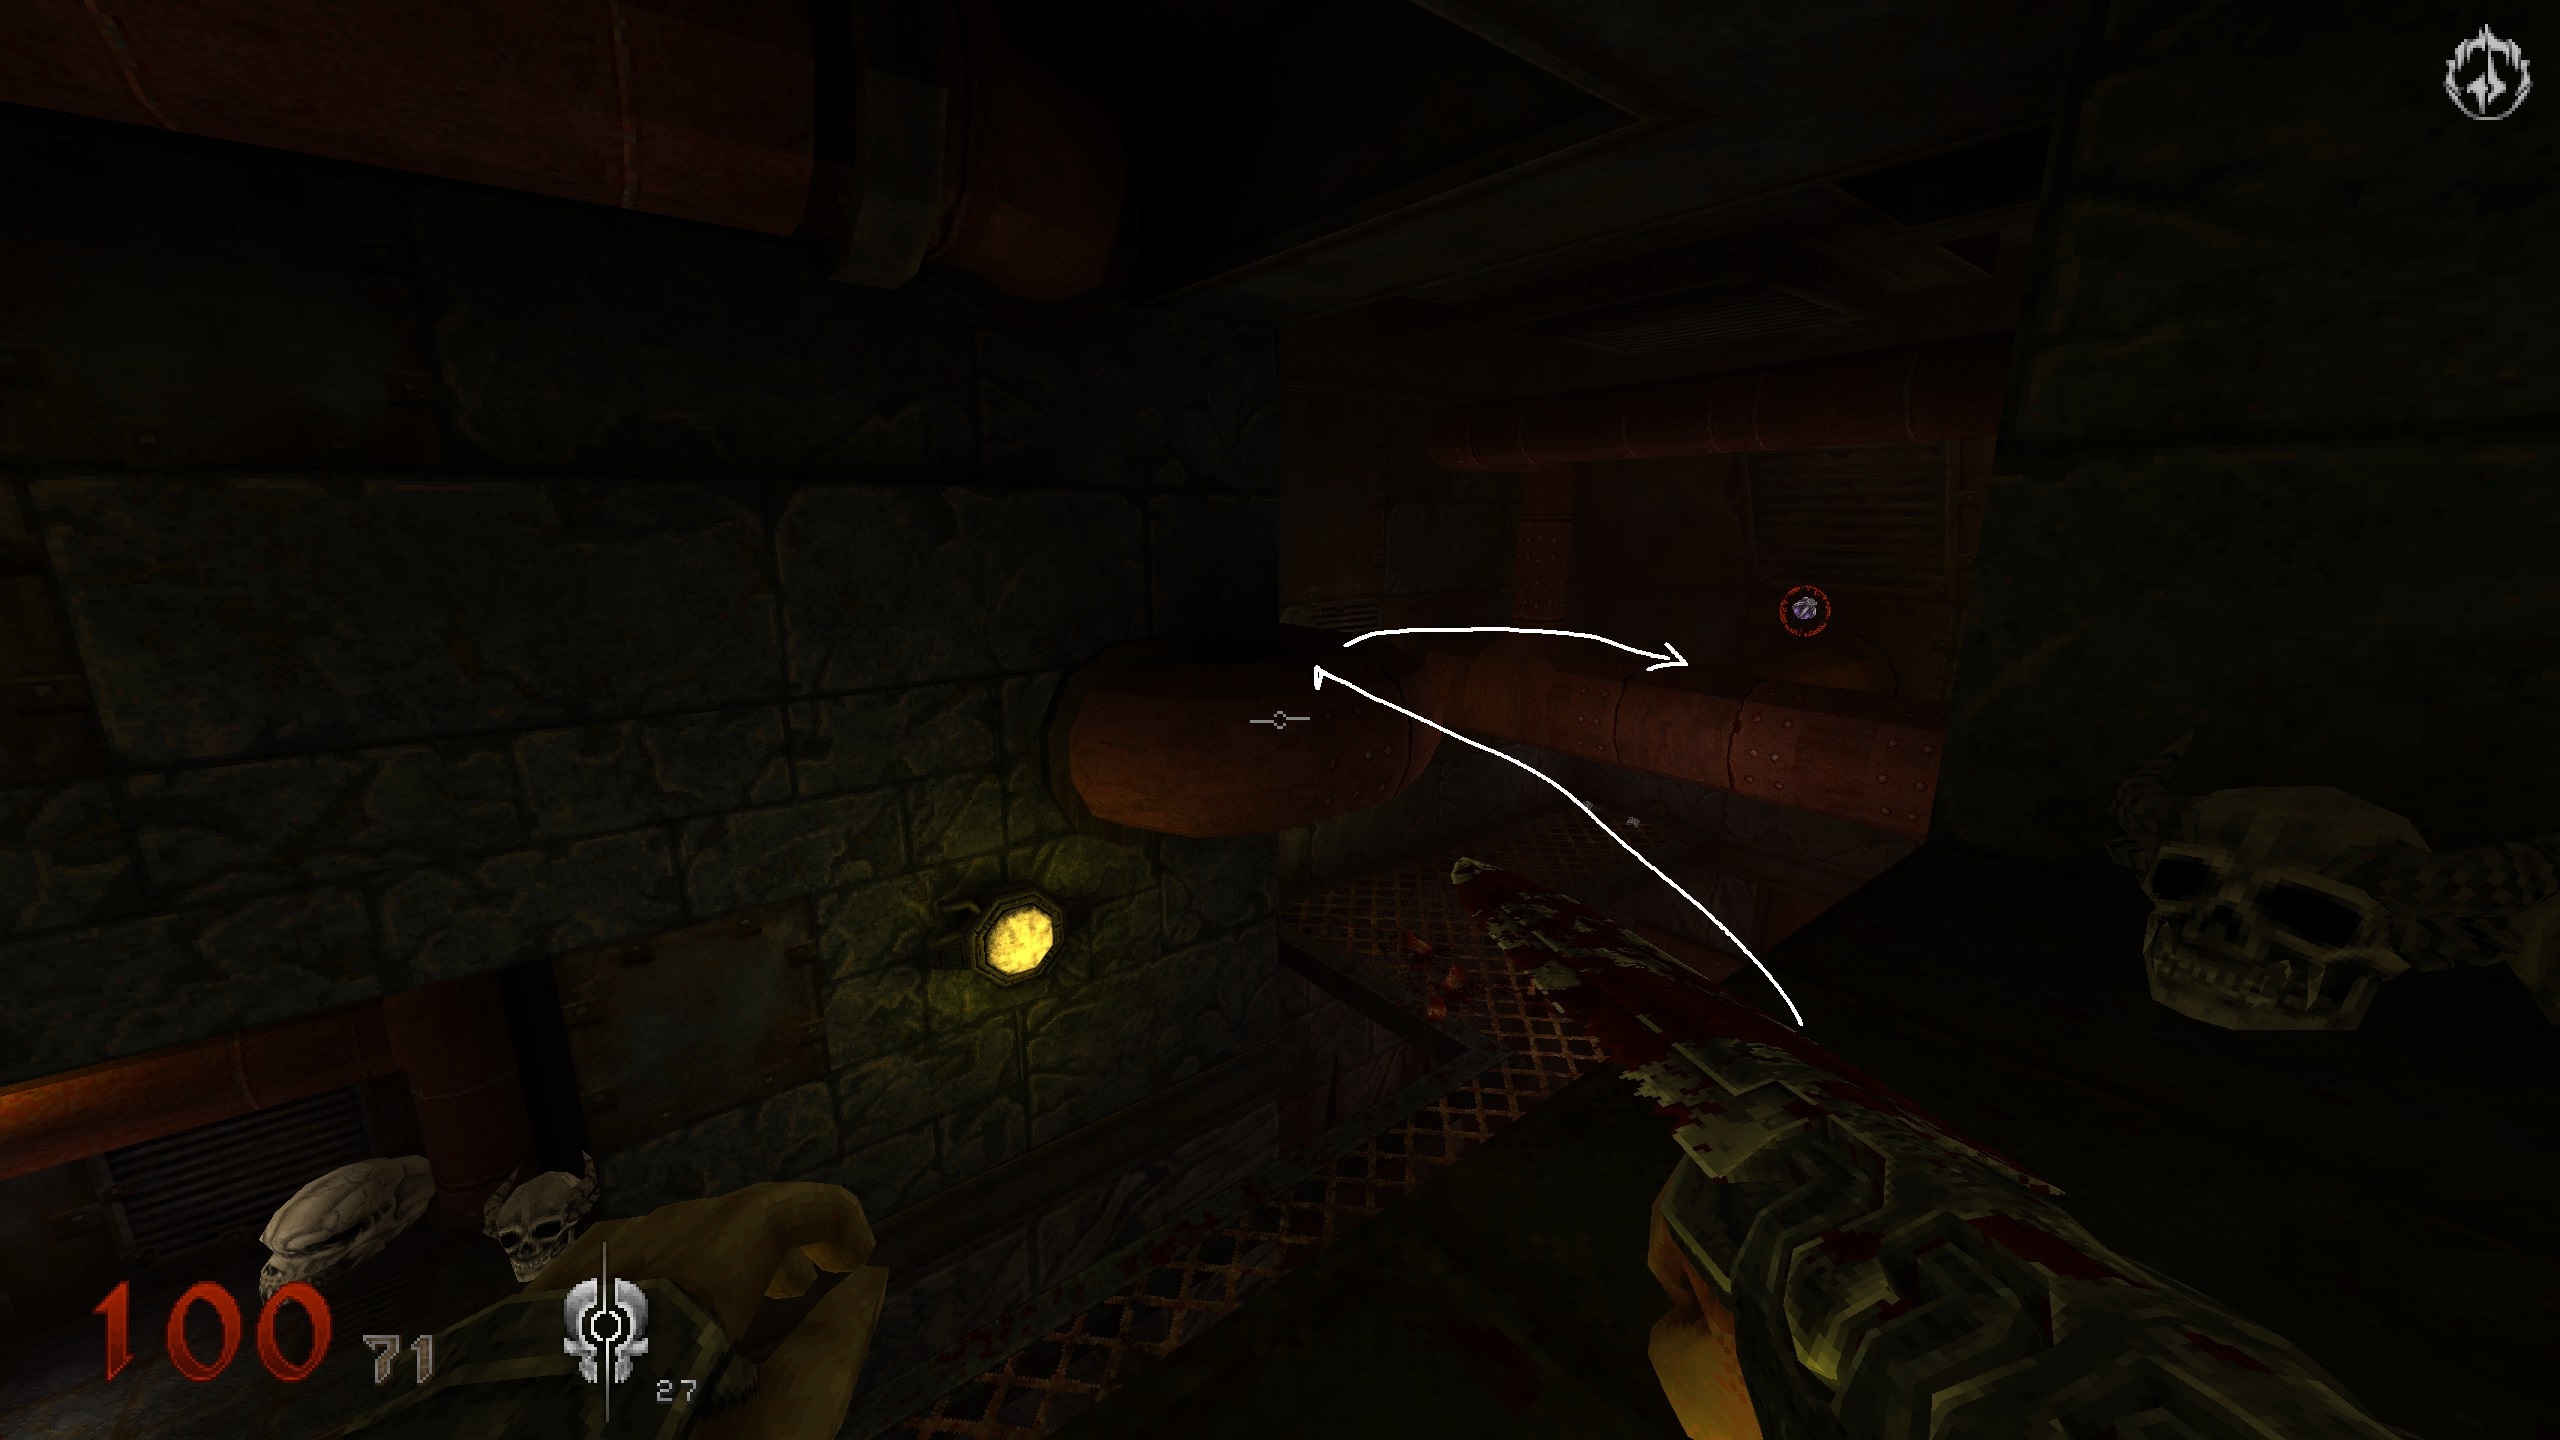
You can already see it from the start. Get into second room, up stairs and around the corner. From there on the pipes and over to item.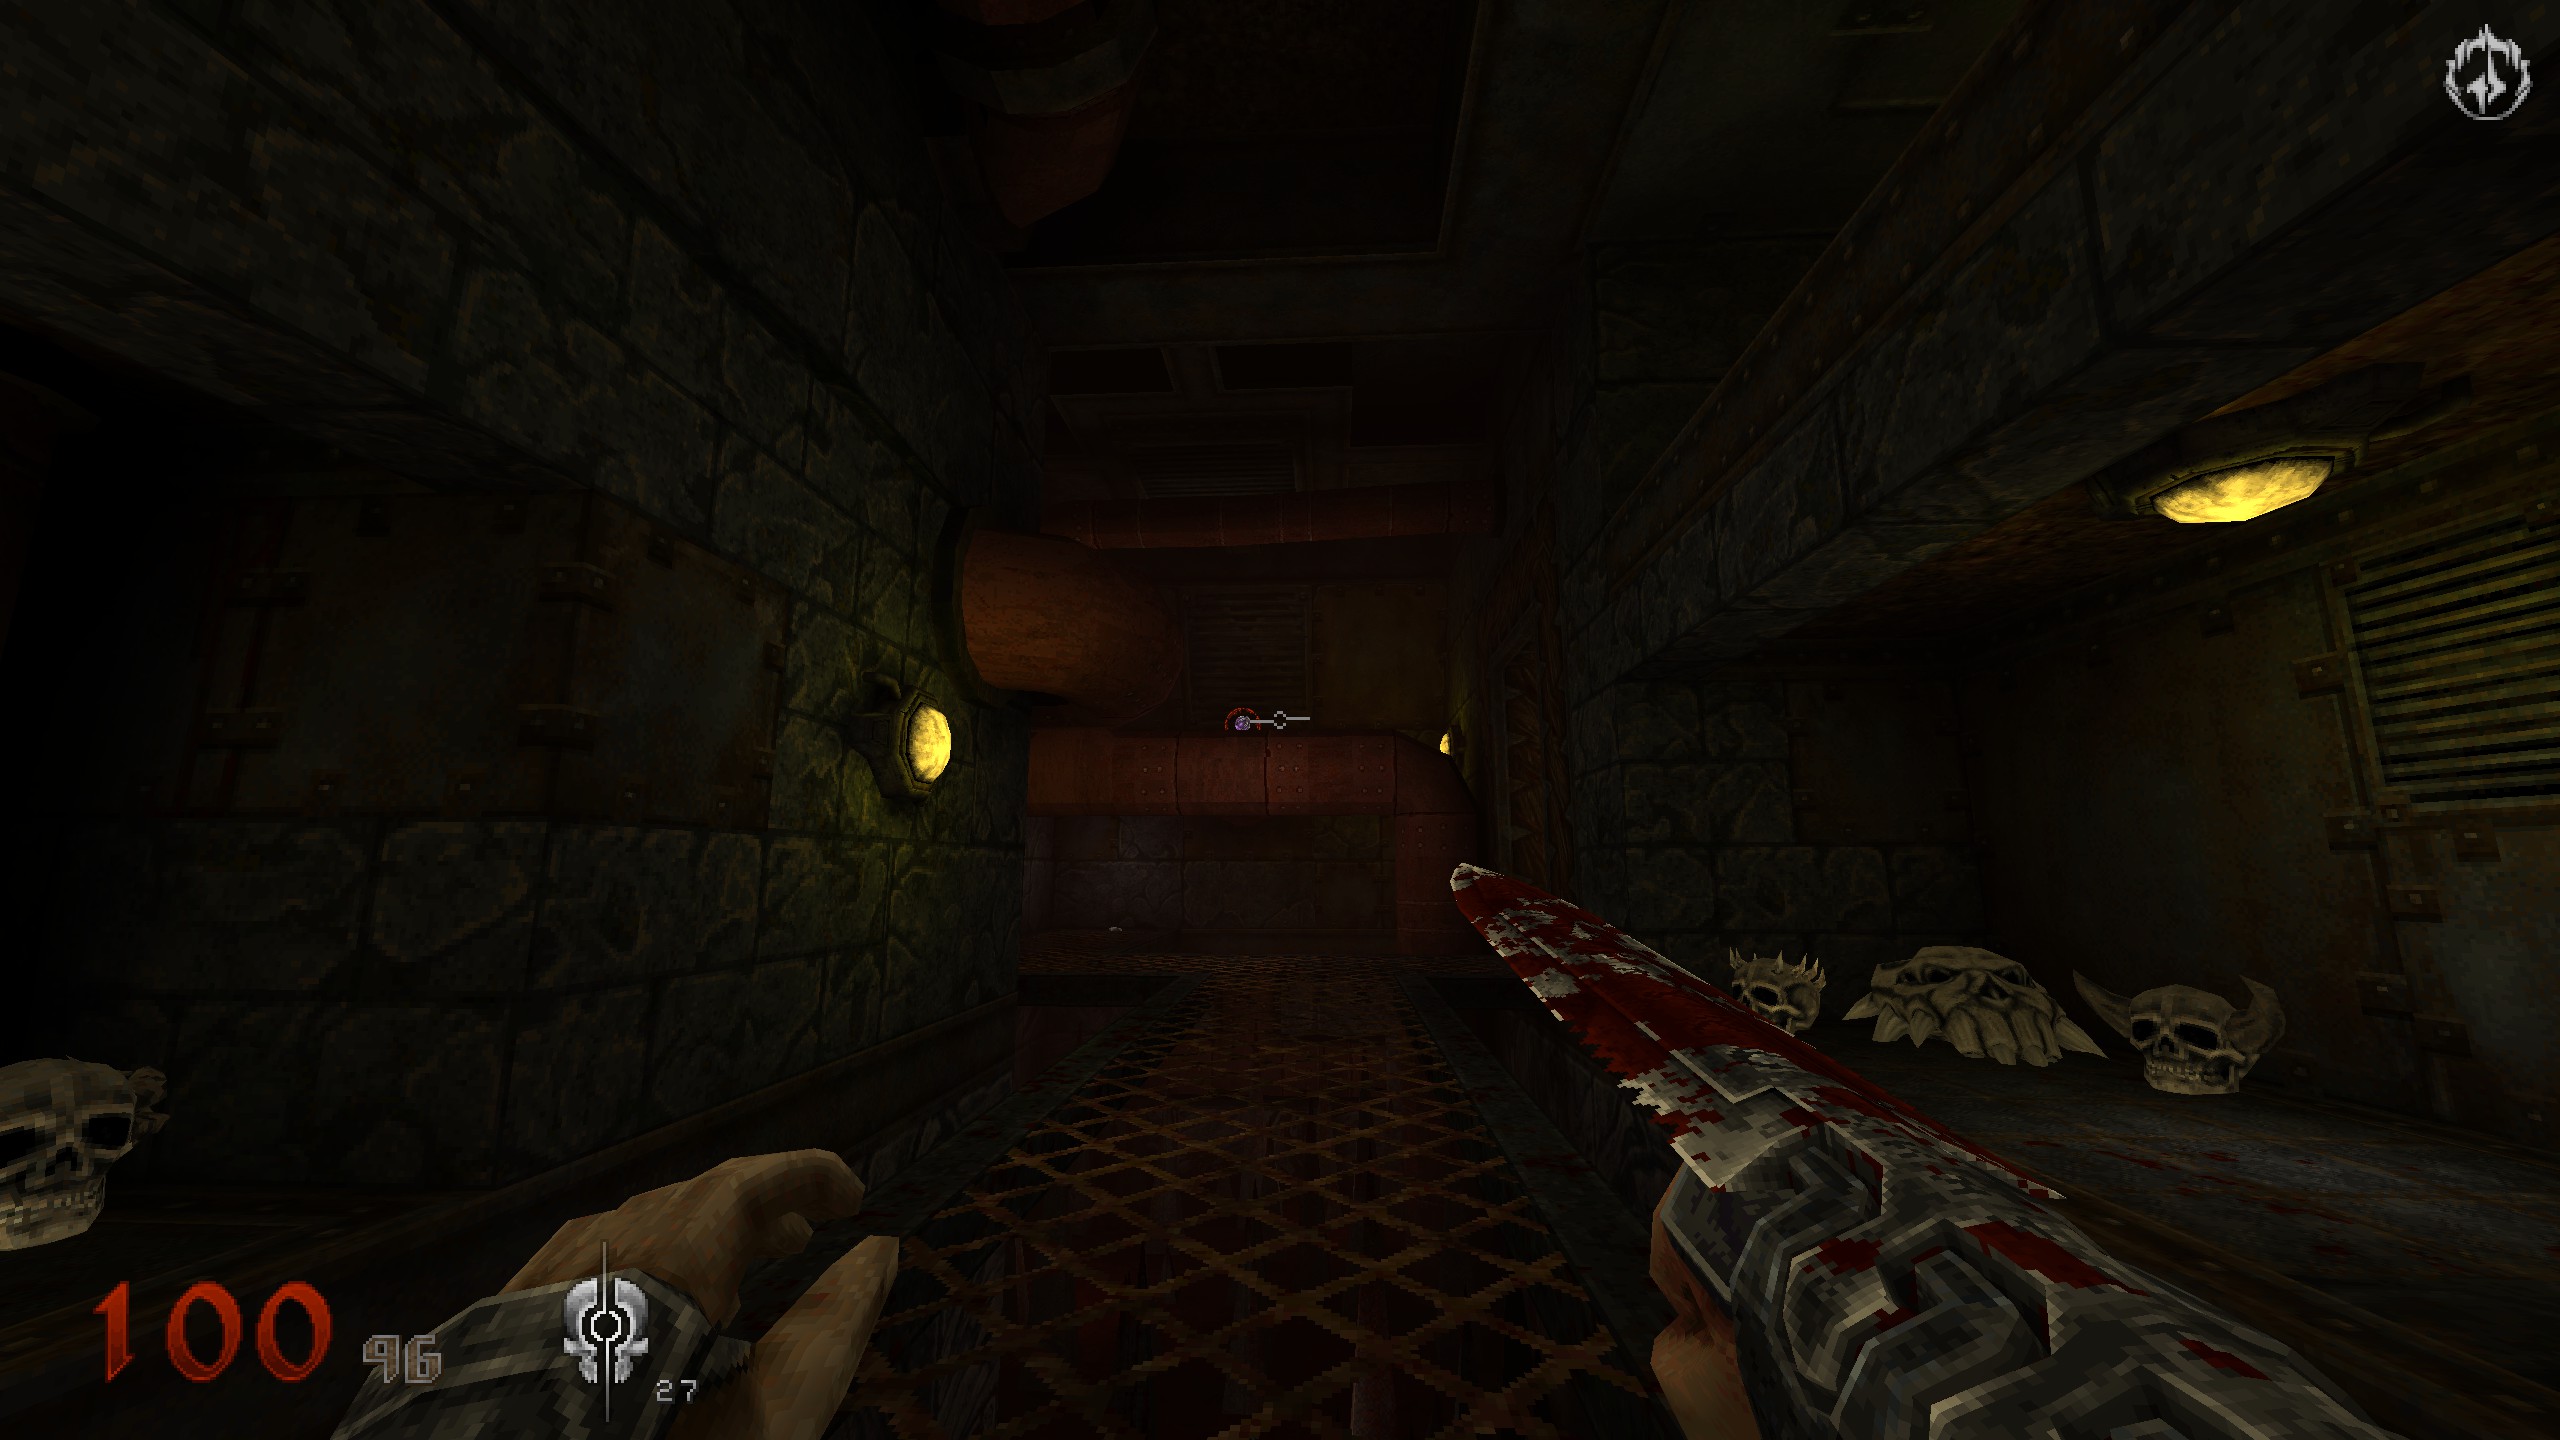
S2
A couple of rooms from S1, you will come across some horizontal crushers. Get in behind the 2nd one for a secret.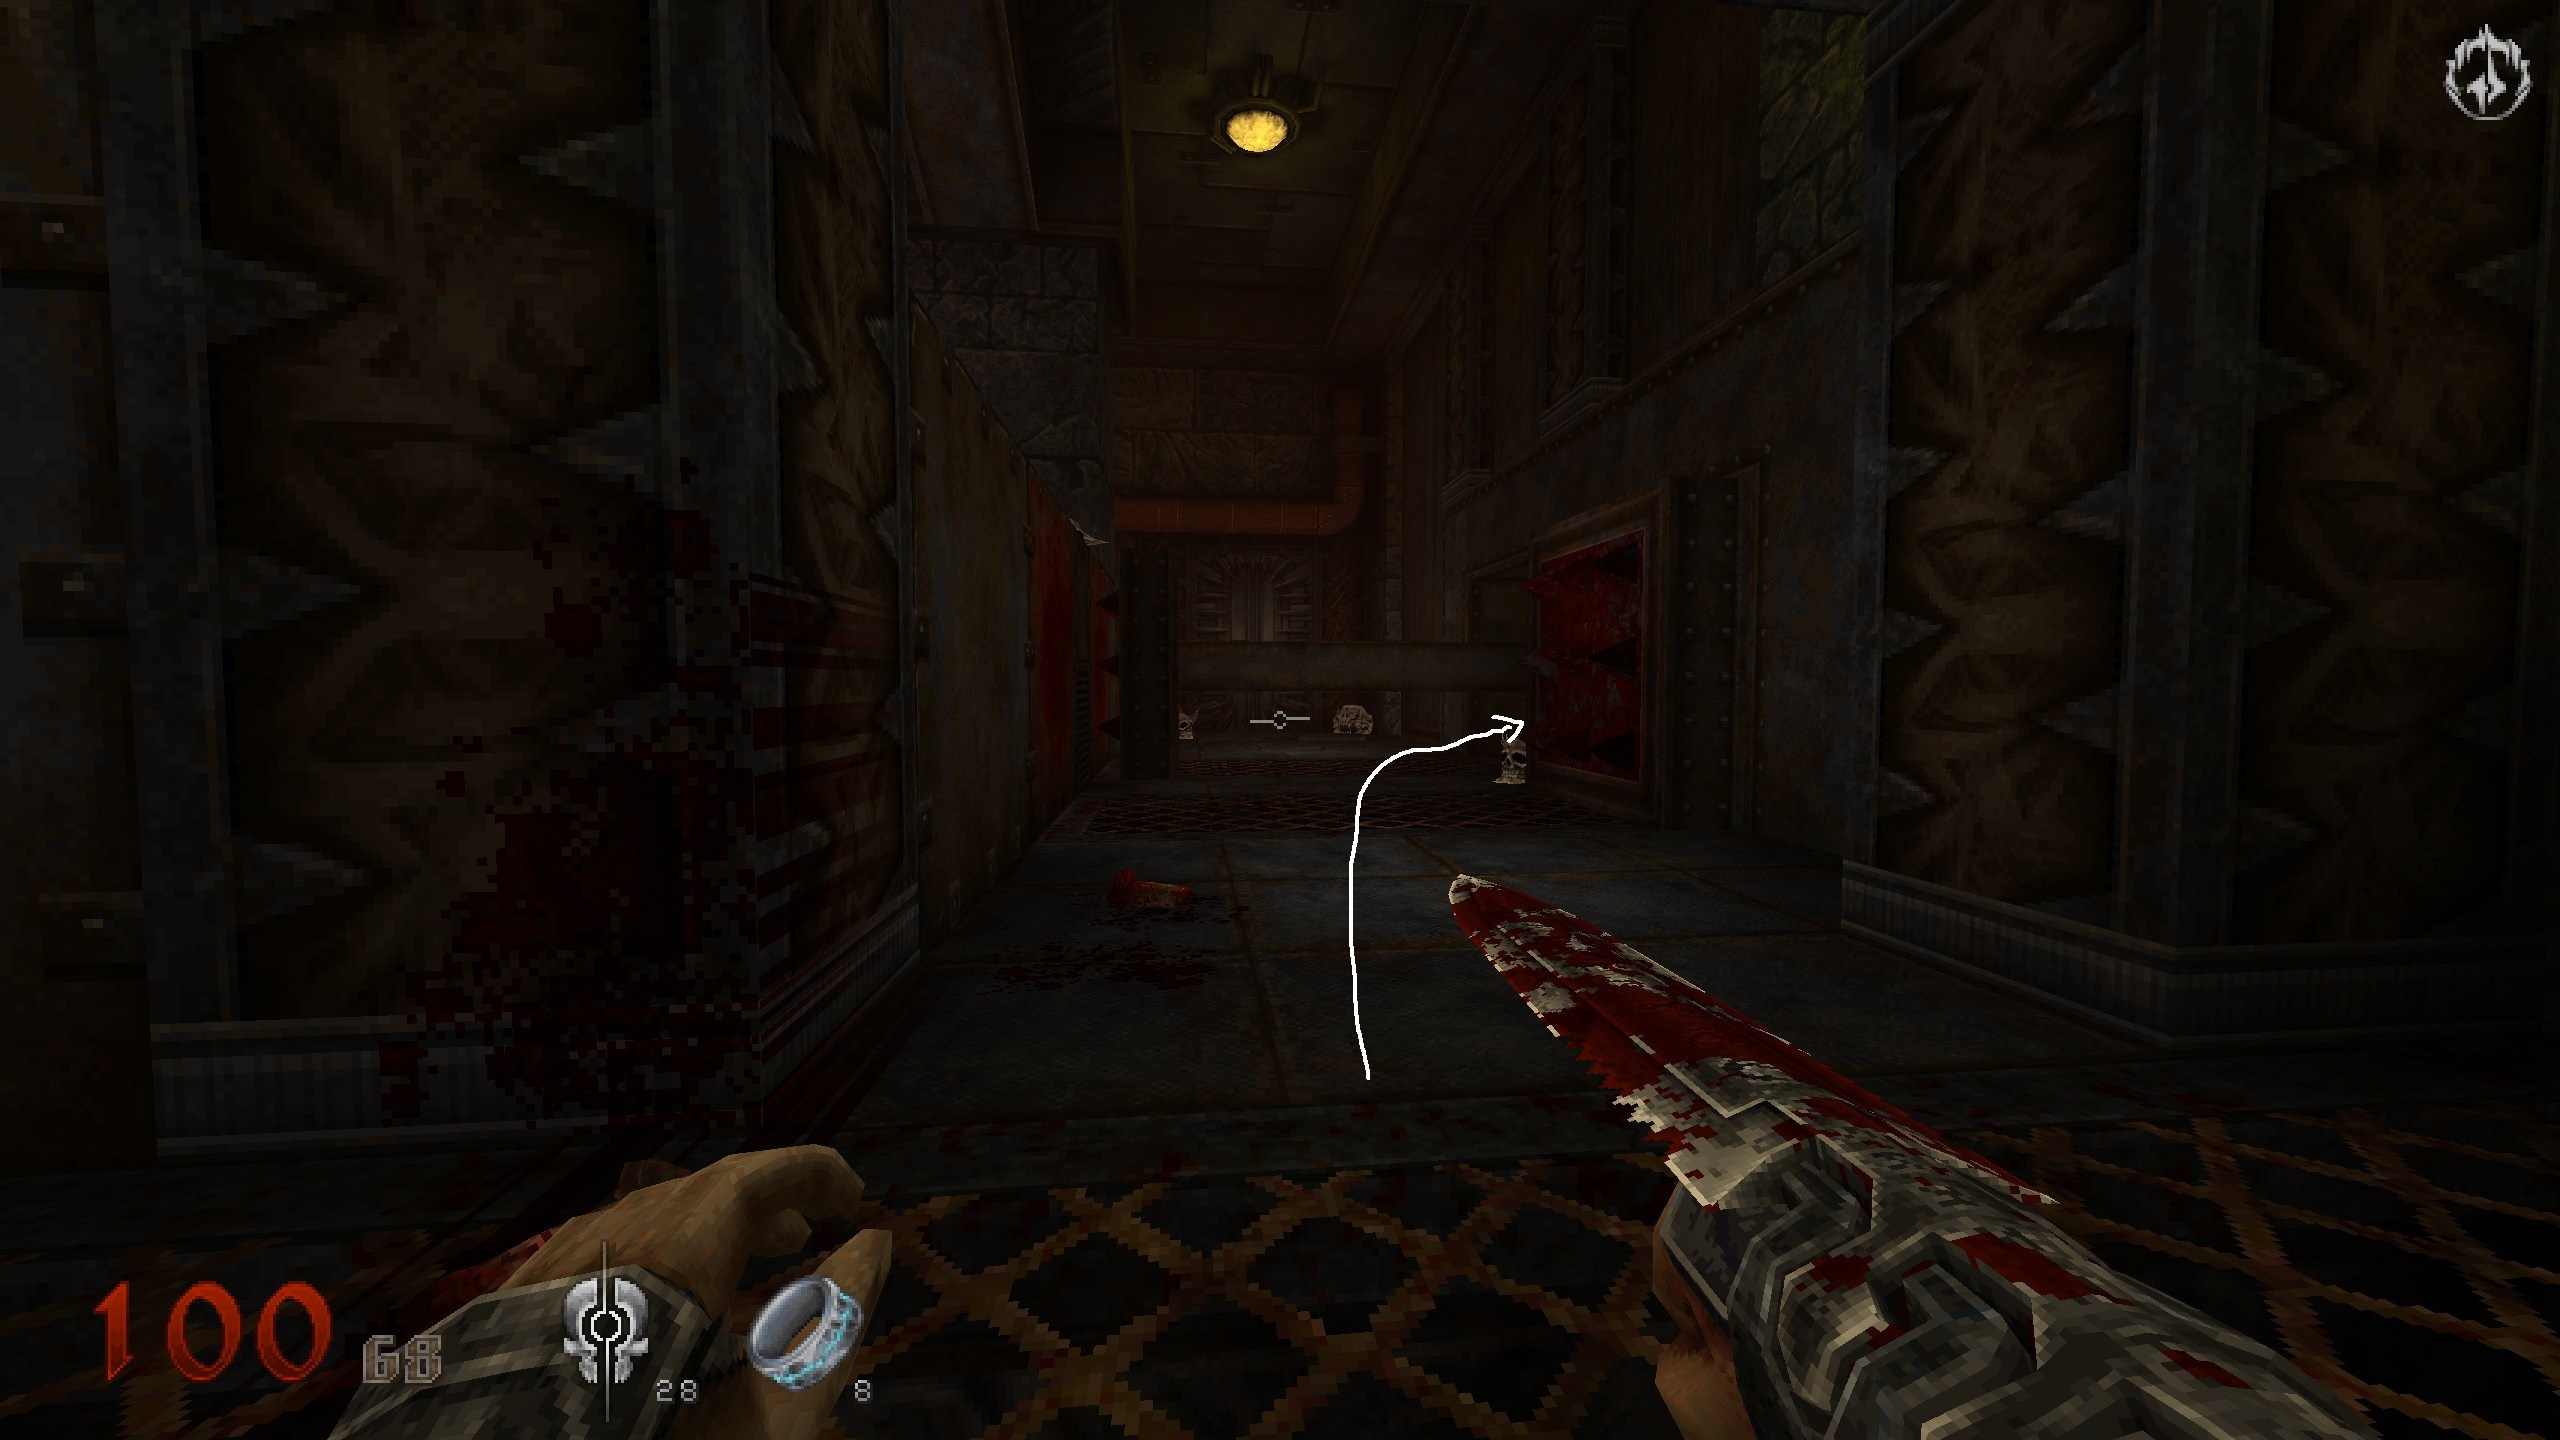
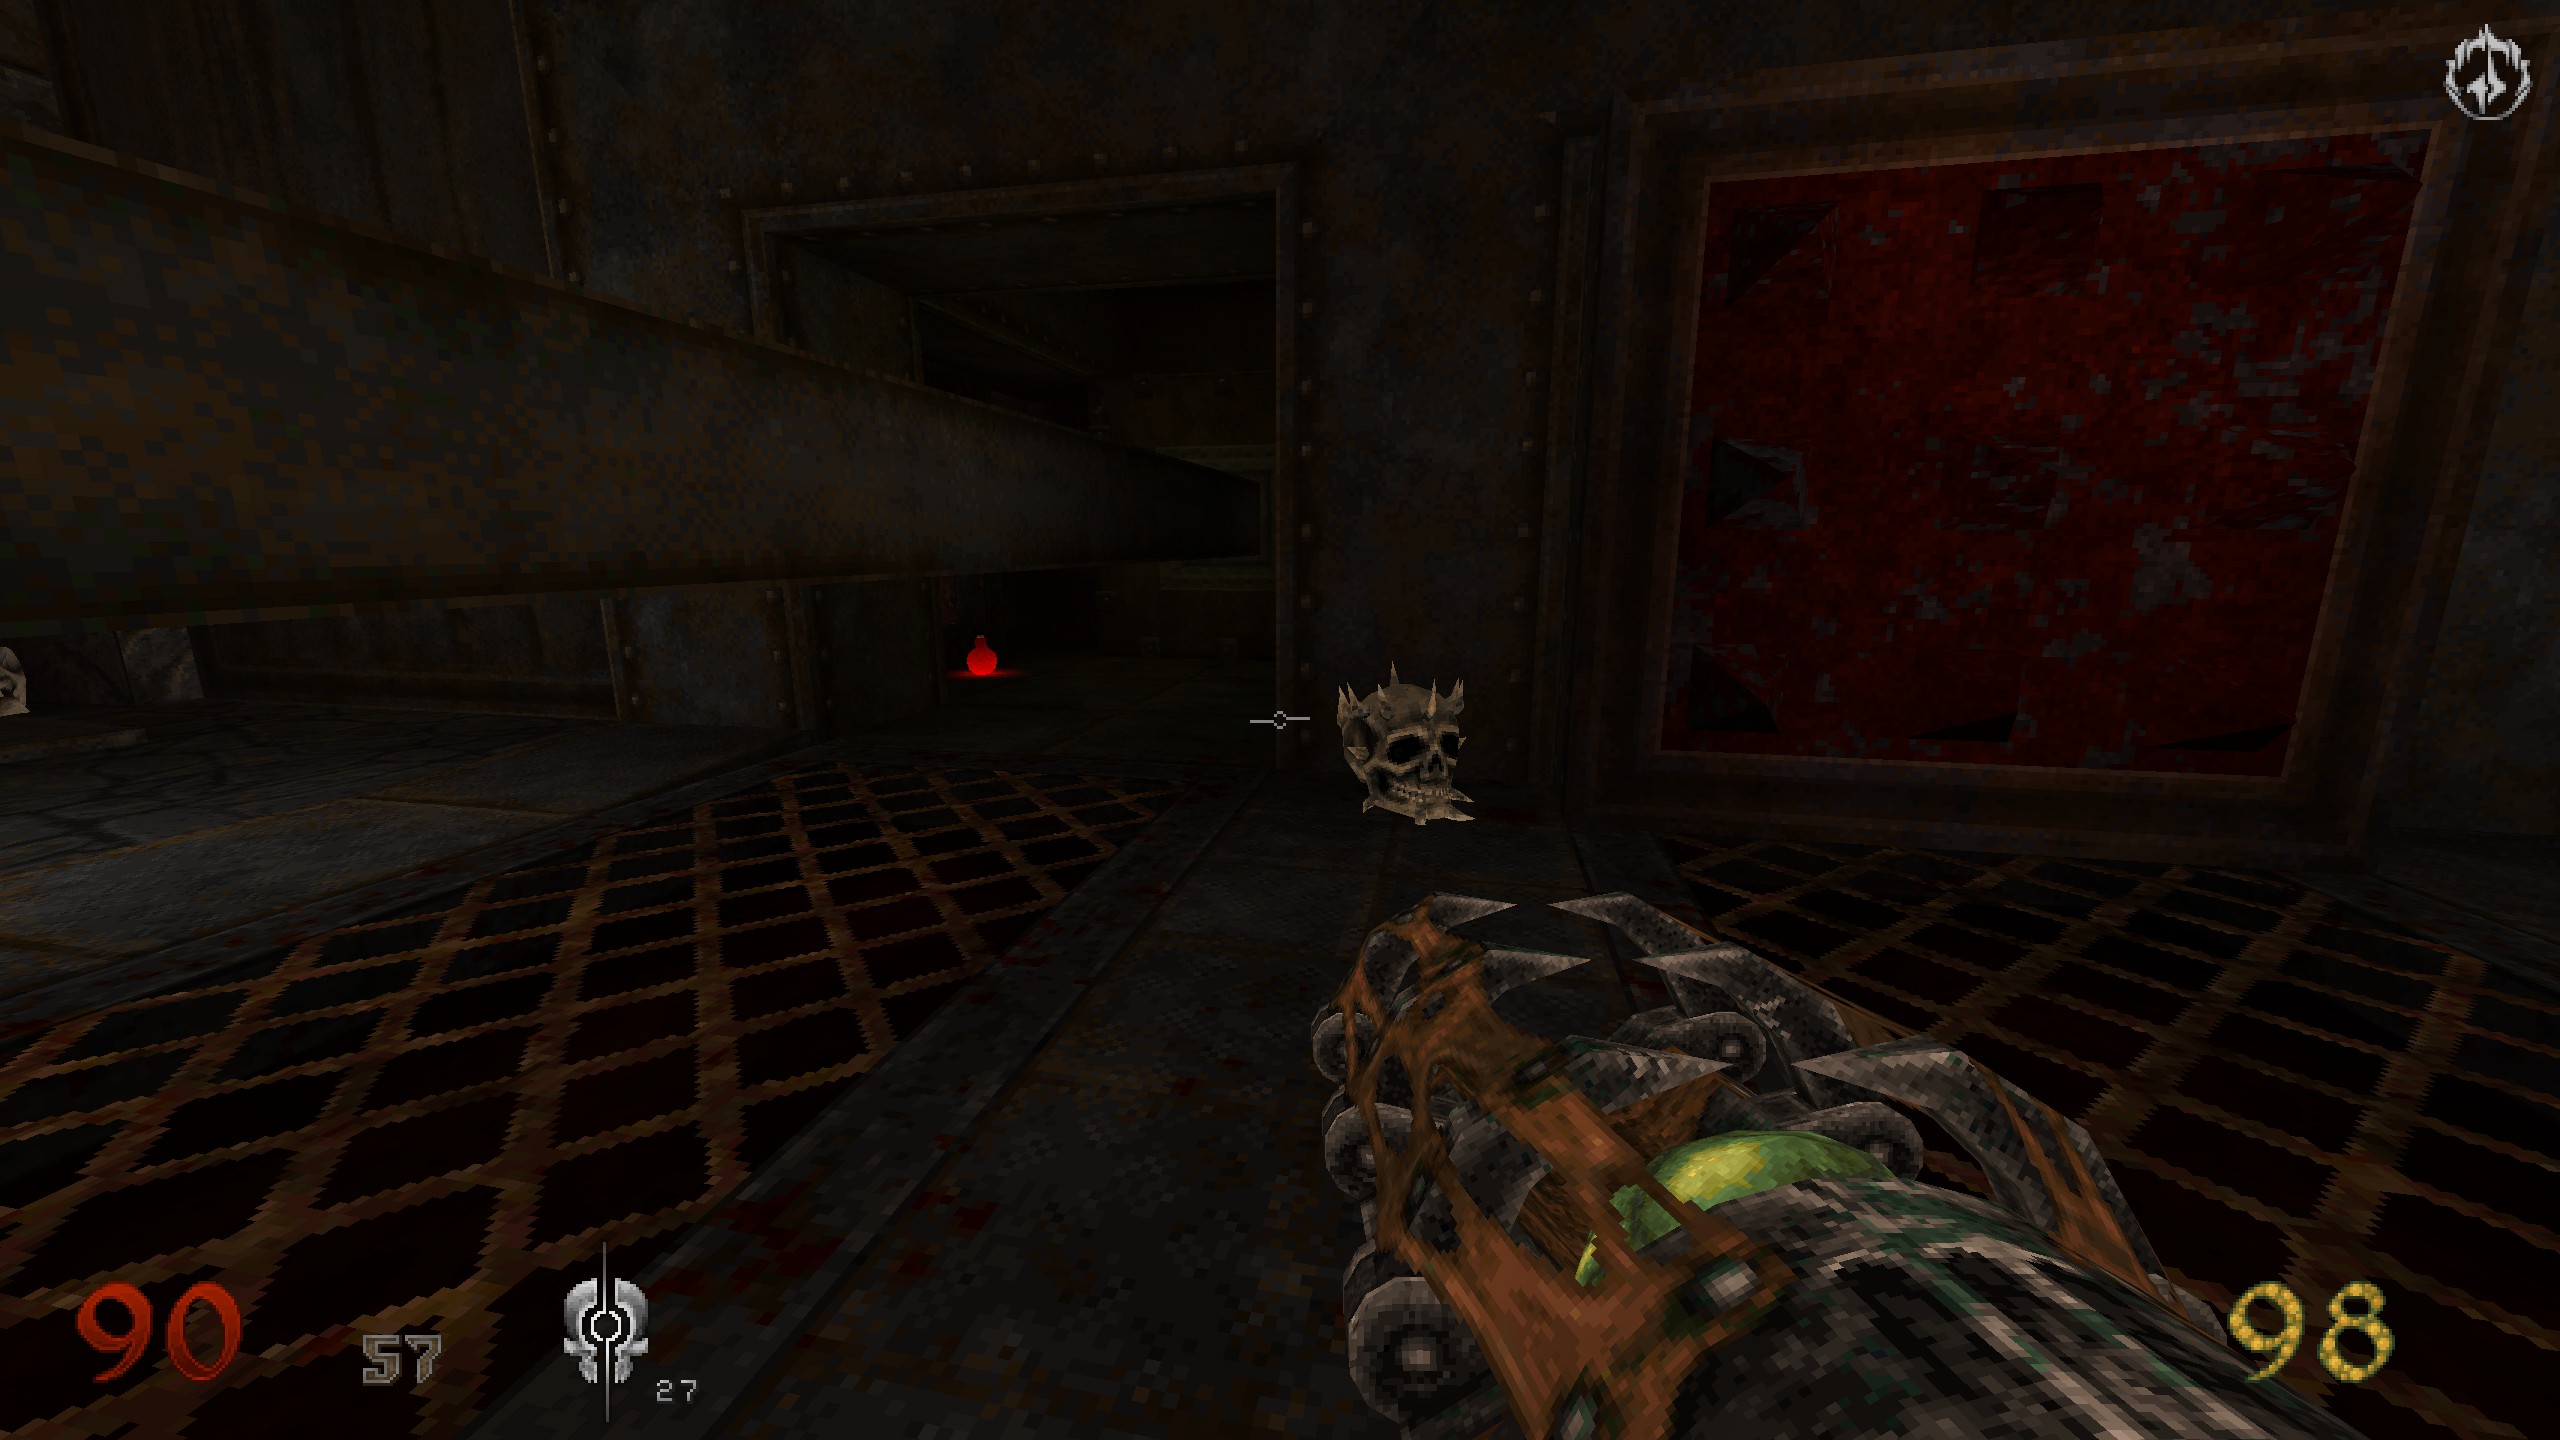
Key
Again a couple of rooms later, you will use a switch and a wall will rise up with an enemy behind it. In there is the key.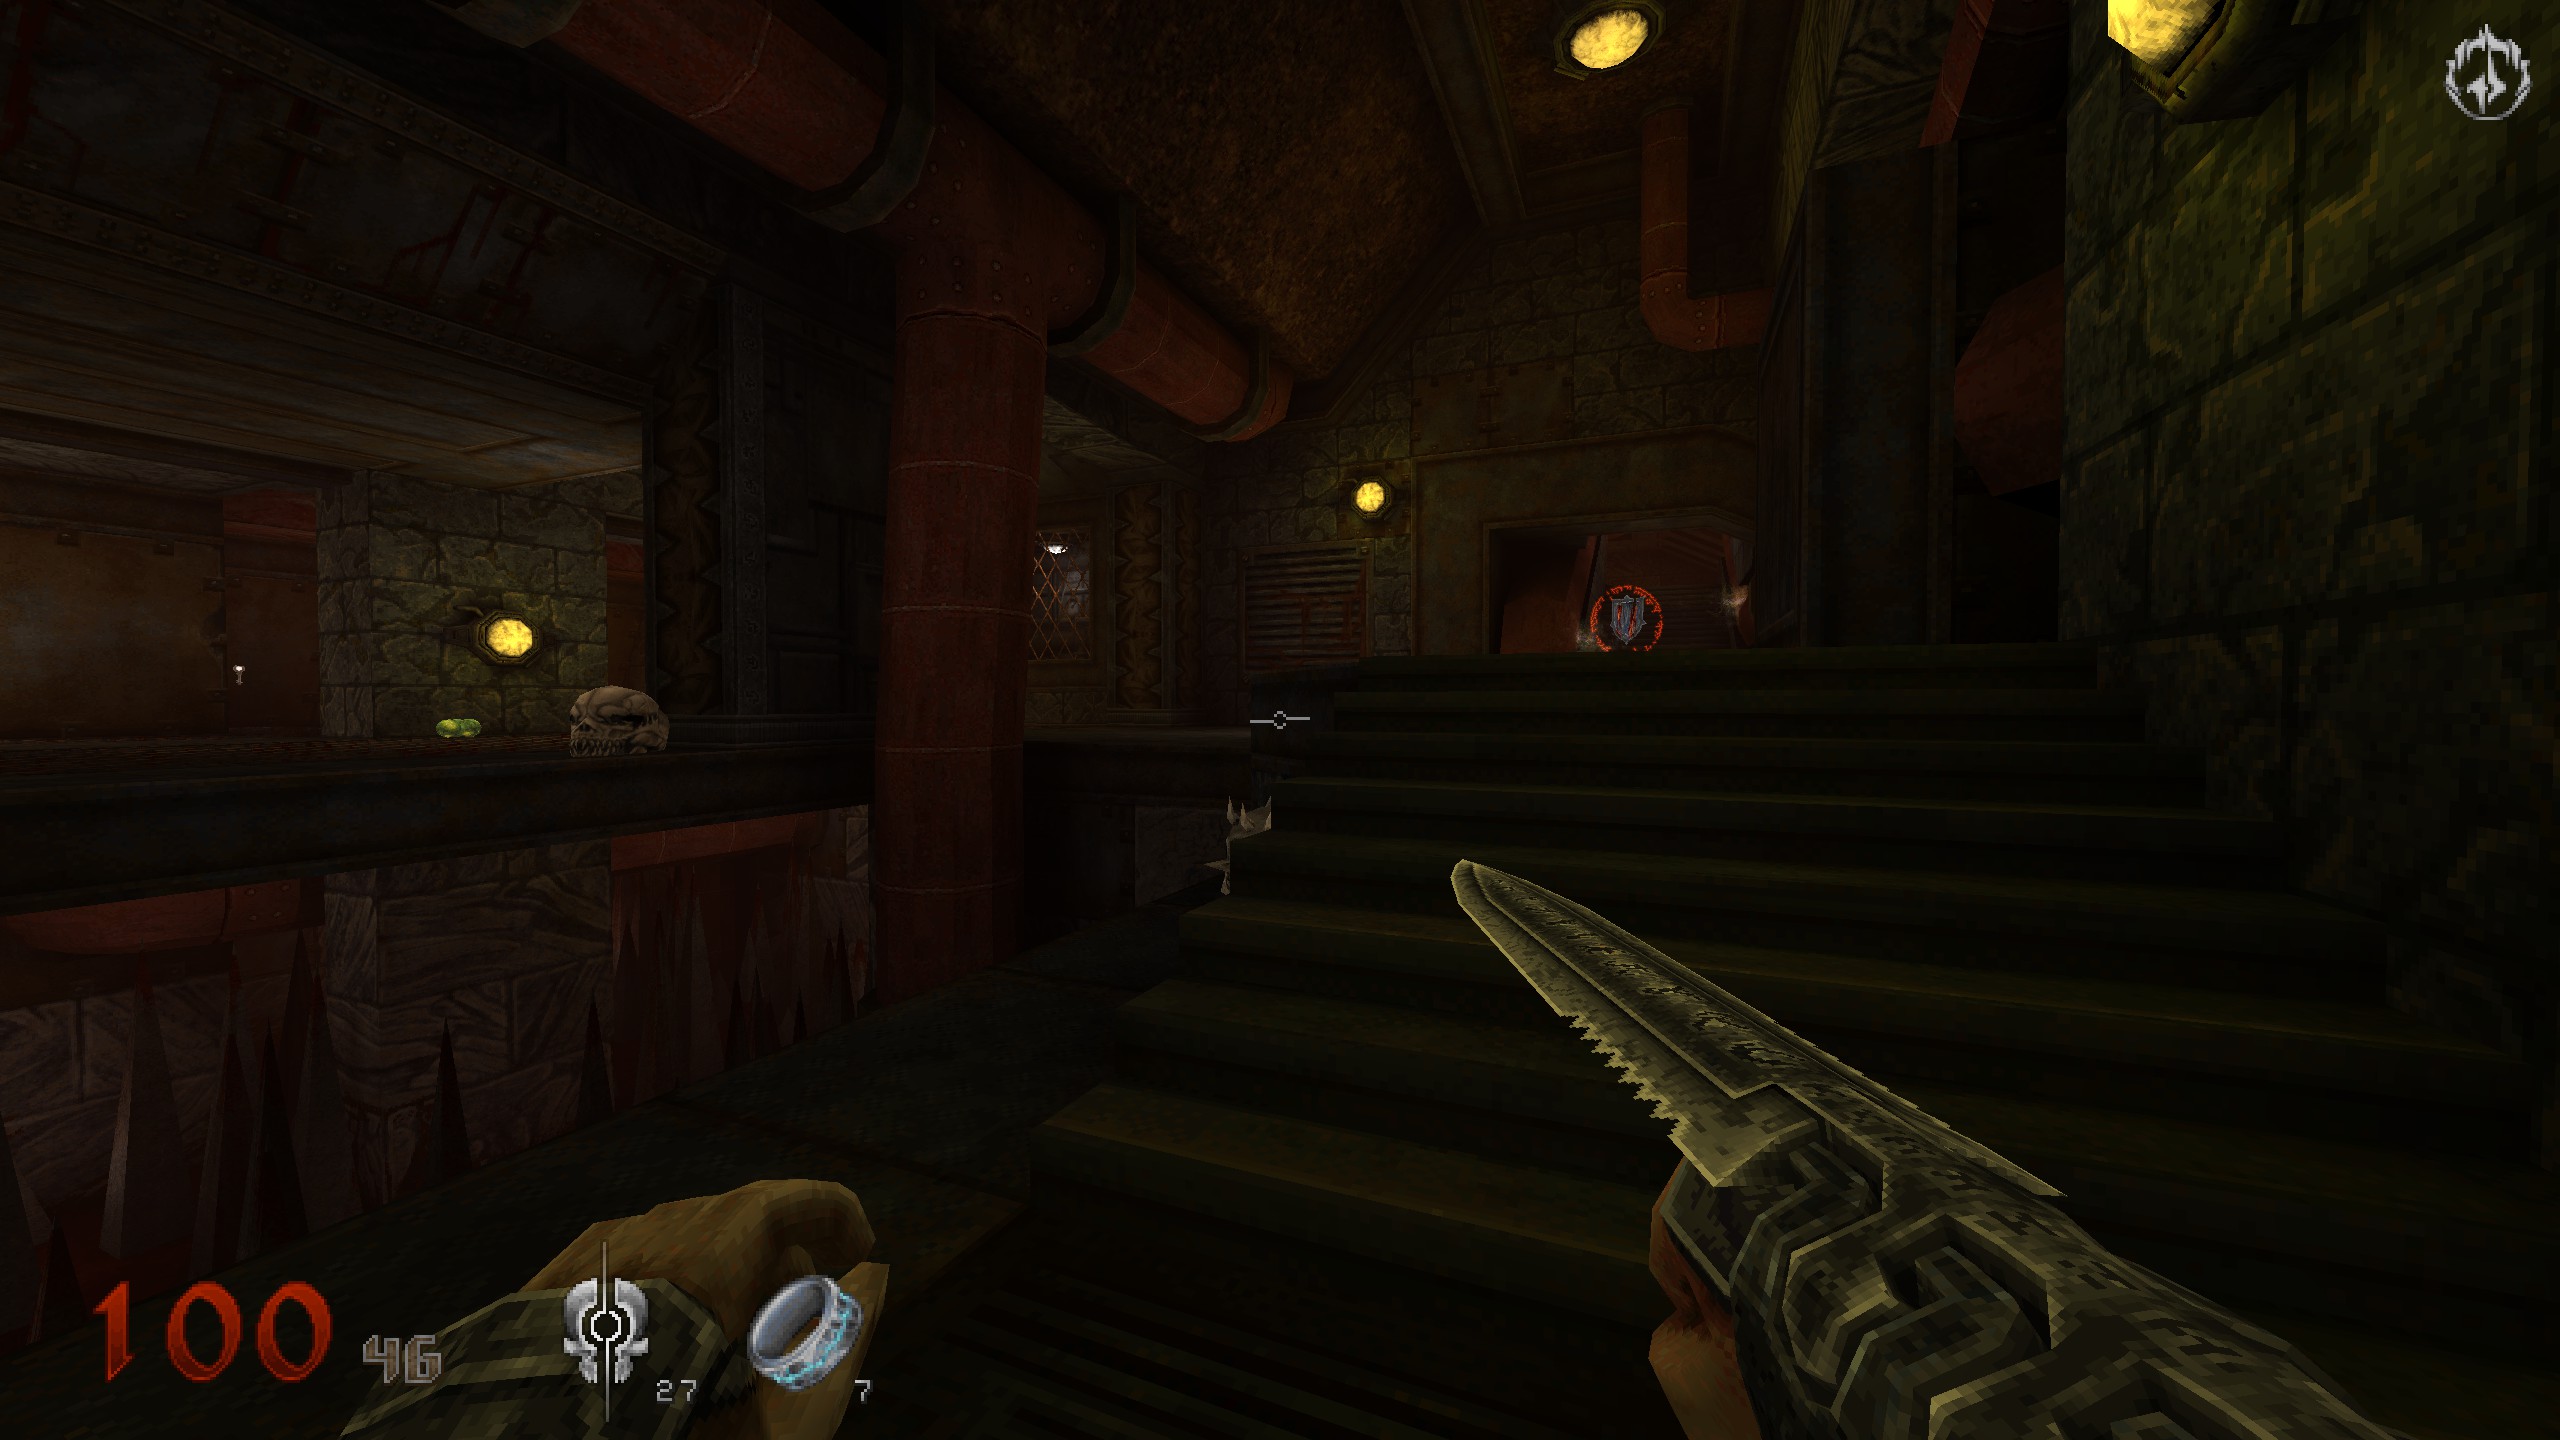
S3
You end up in a very big room with a statue to your left, a shelter right side down. Take the stairs in front of you. Halfway down notice the pipe to your left. Get on it and from there were the blood fall drops down. Dive down to find some armor.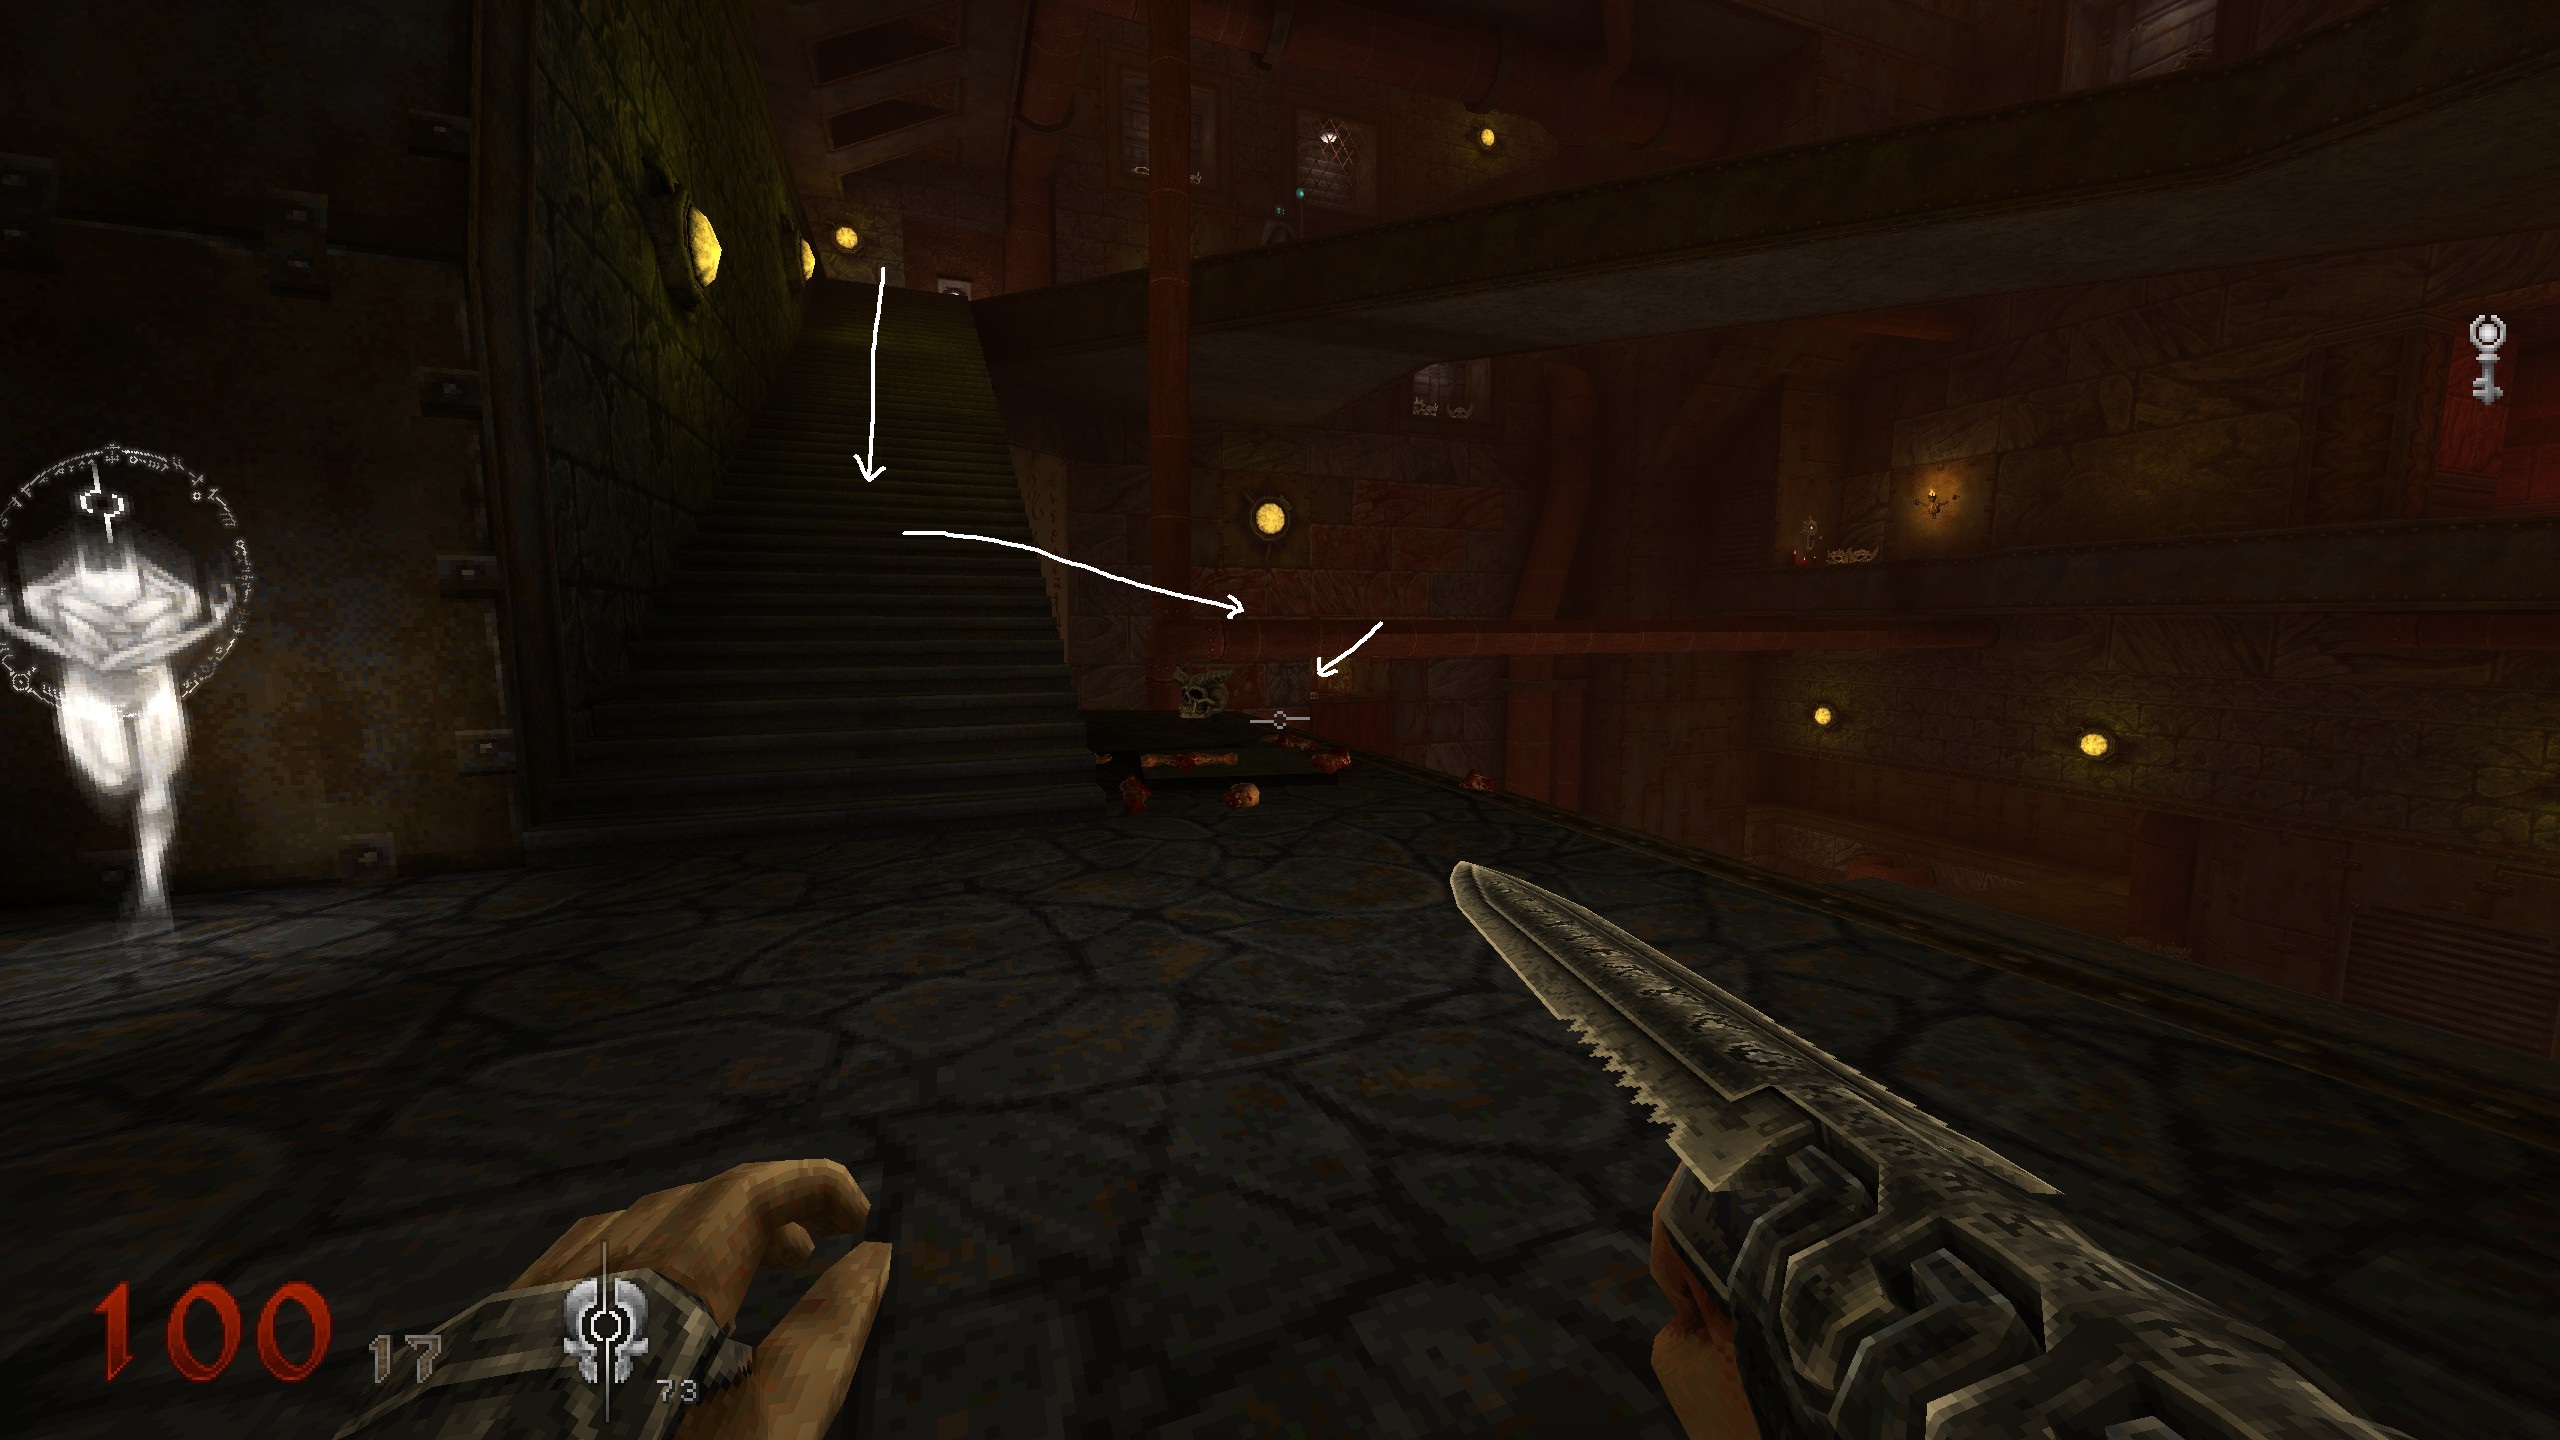
S4
Still up where the fall drops from S3. Looks left and down where the giant skull is. Jump down there and follow the ledge till you reach the item. Get red key and up towards red door.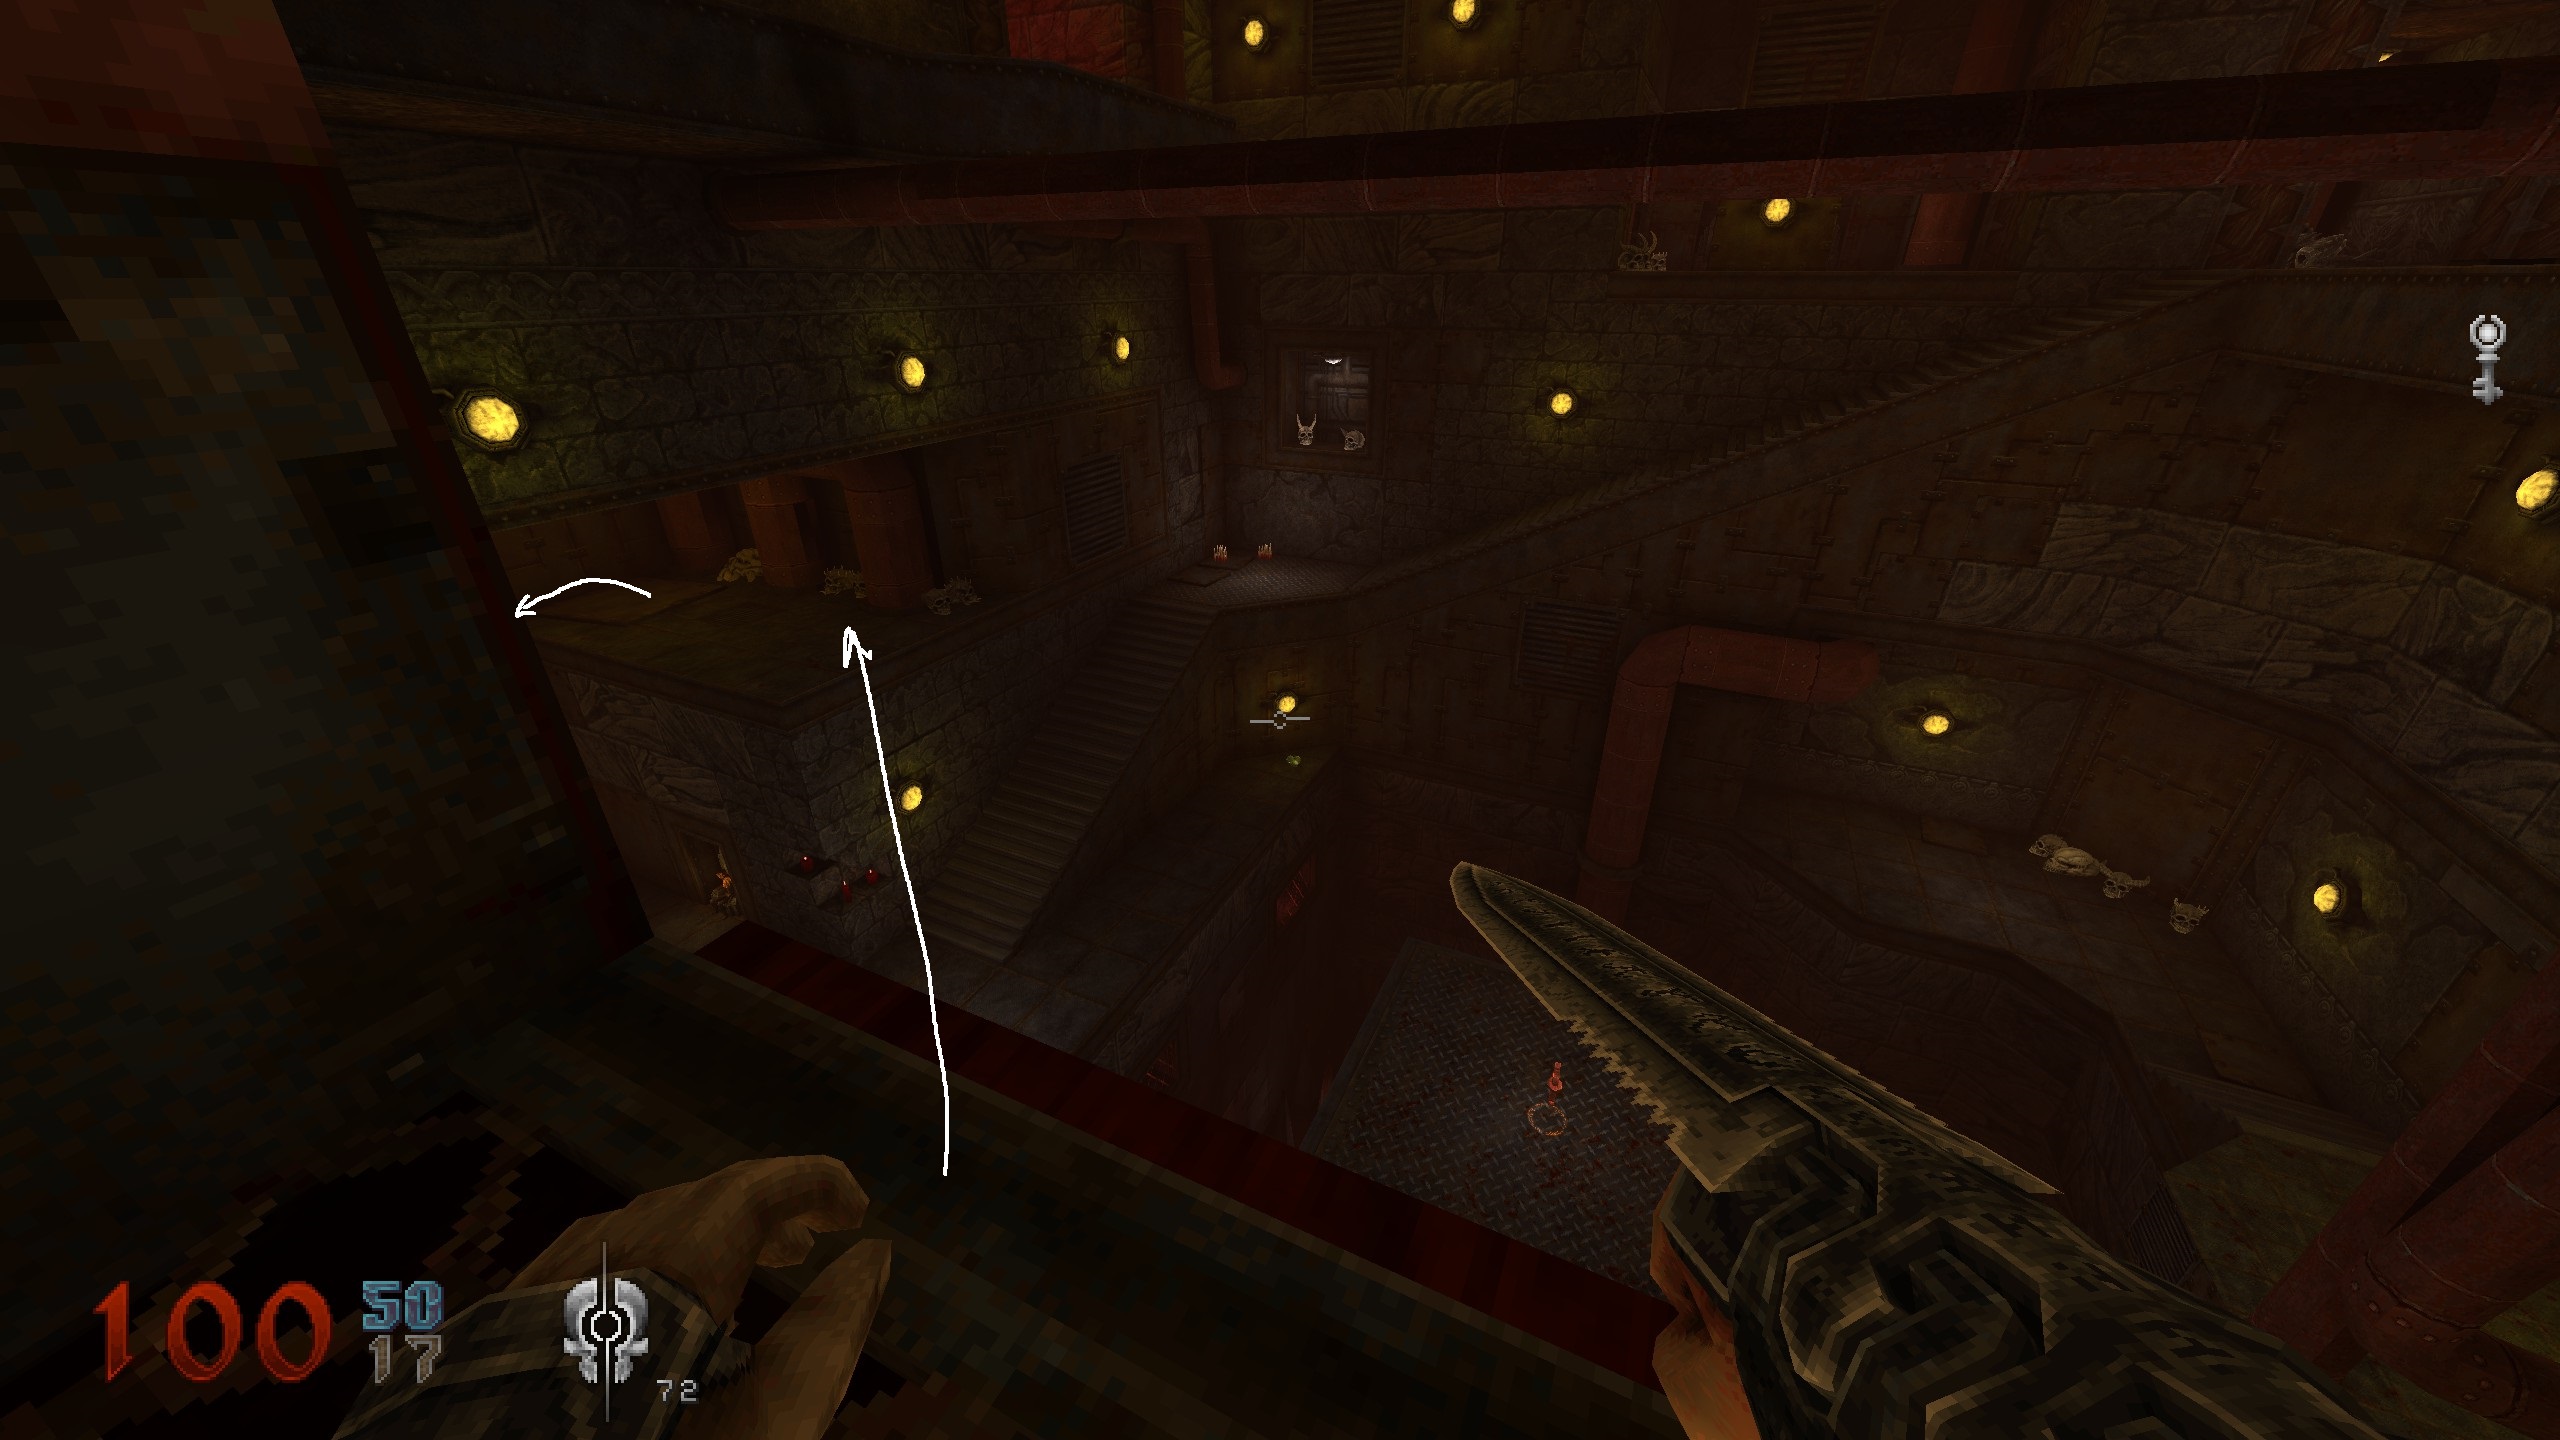
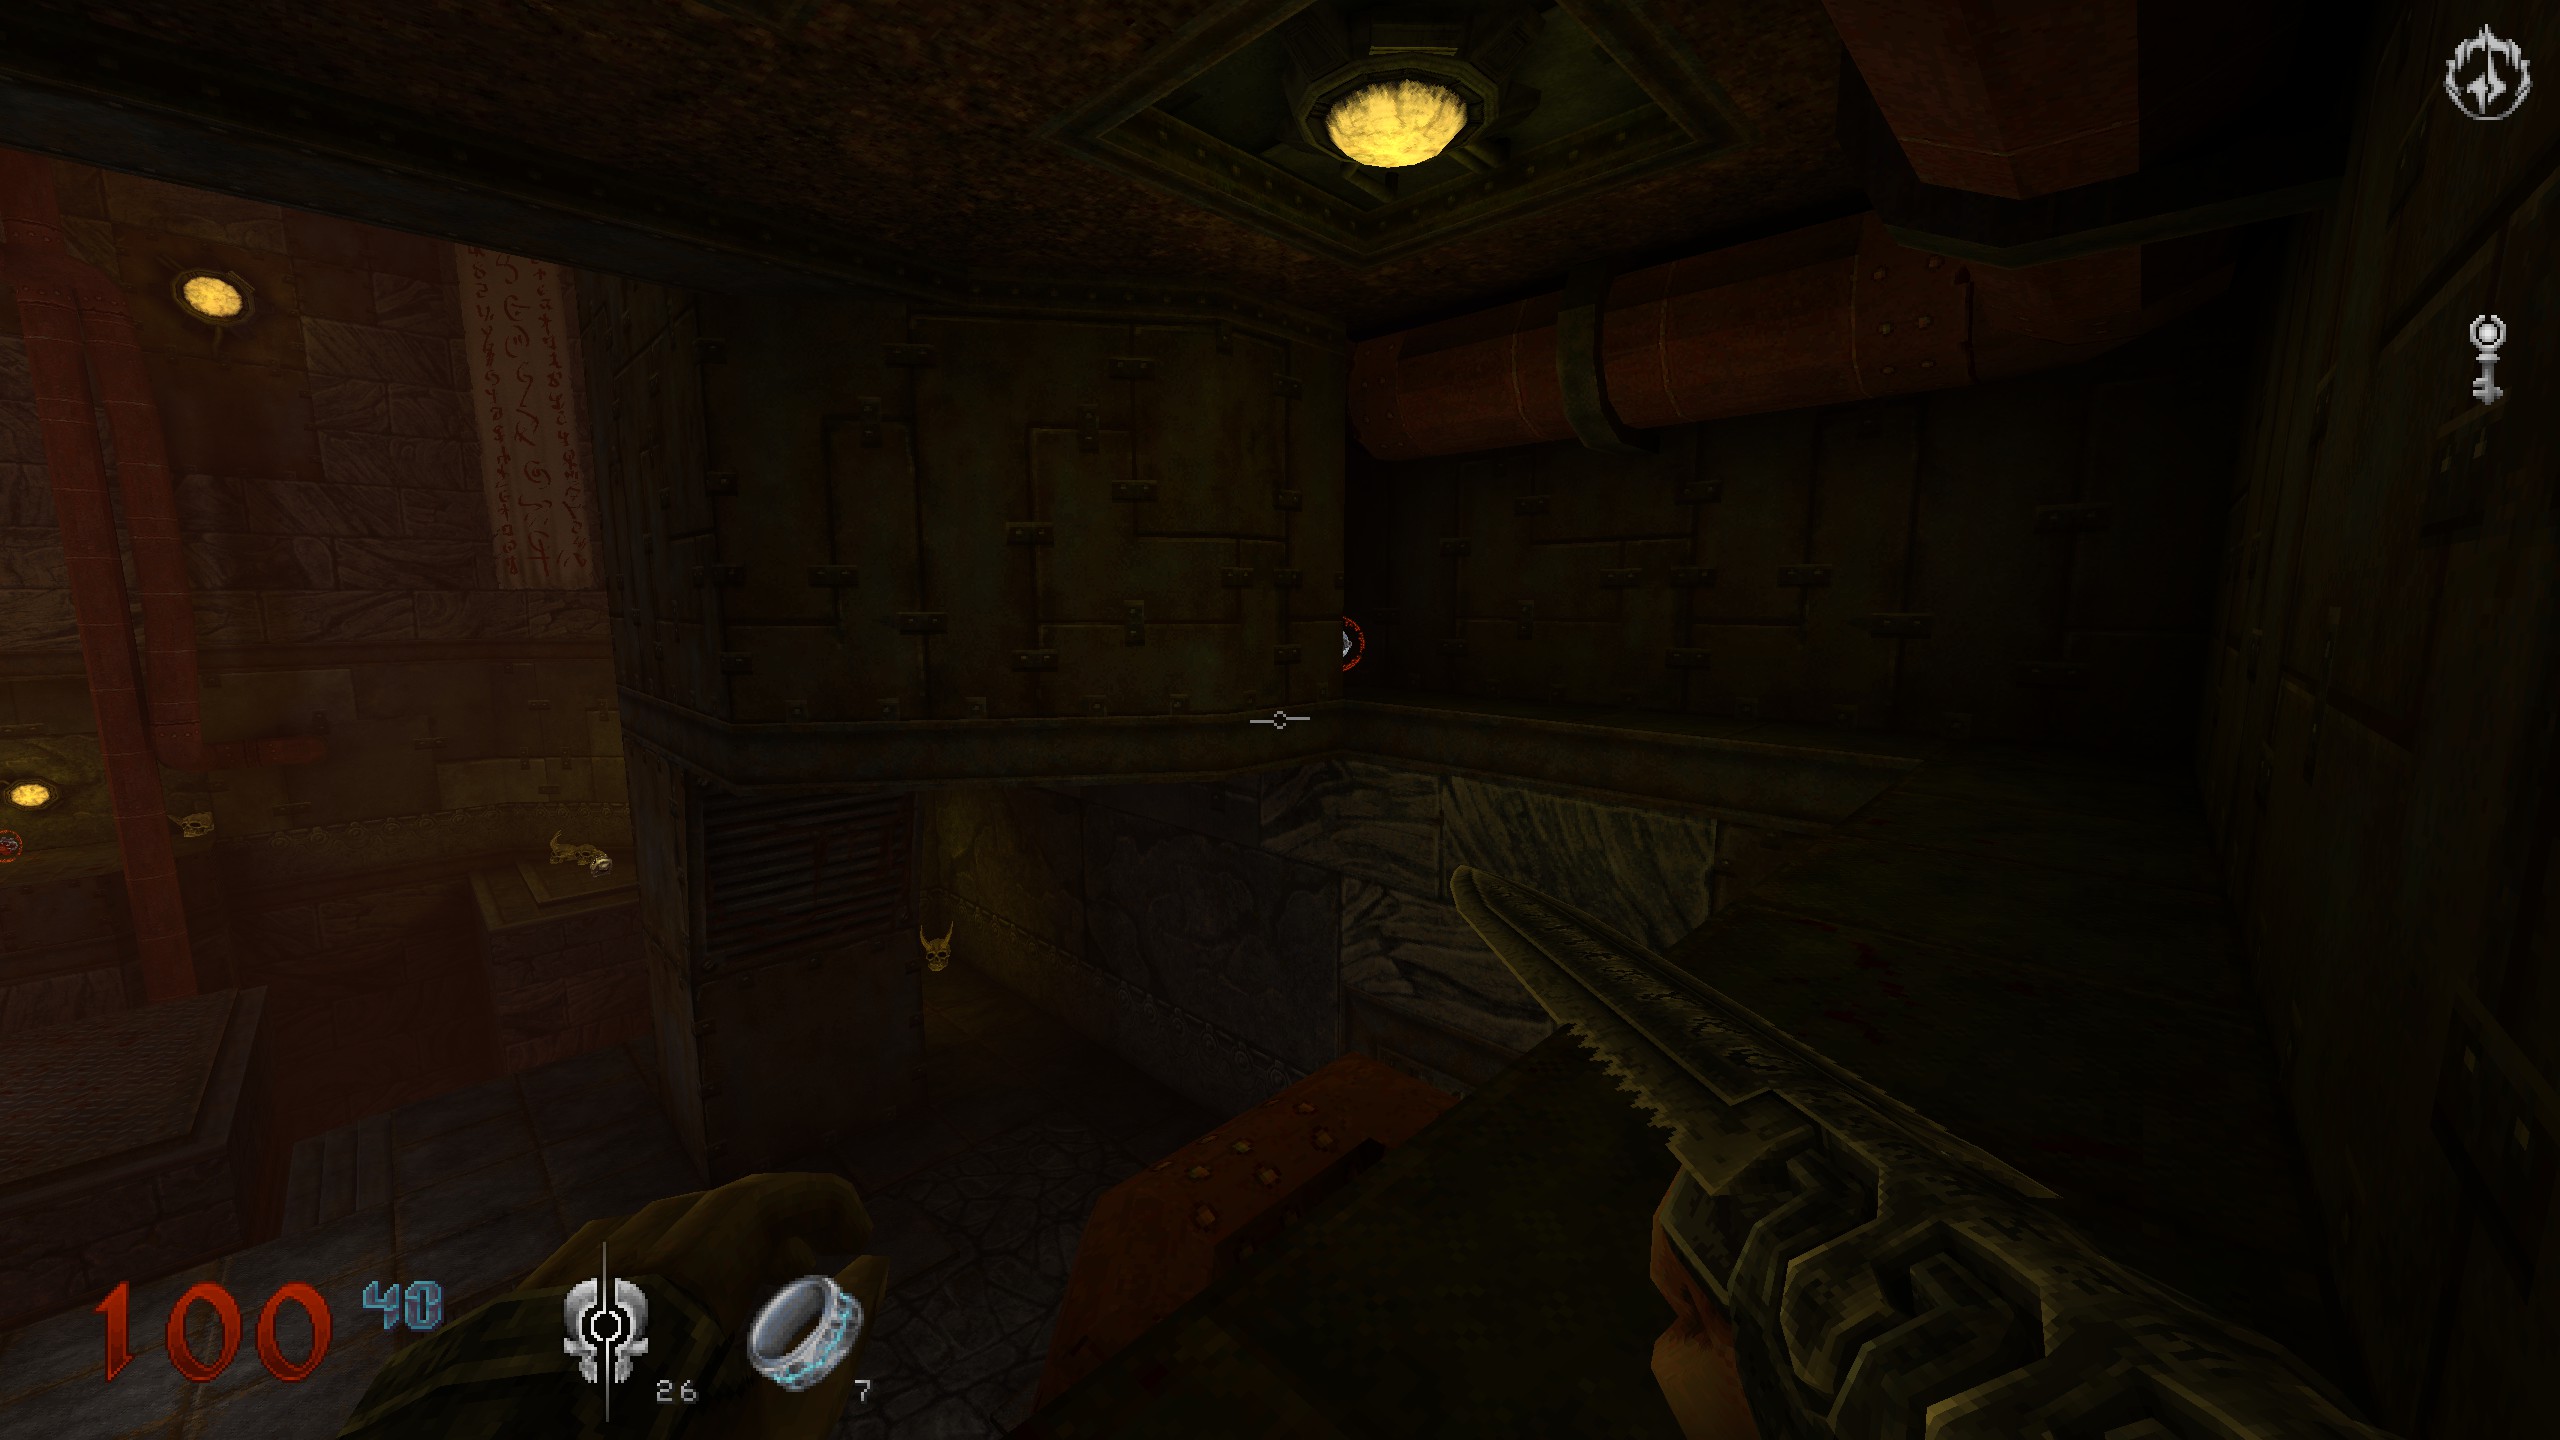
Crate
When you are at the same floor as the statue, check across the room for the crate. Now through the red door.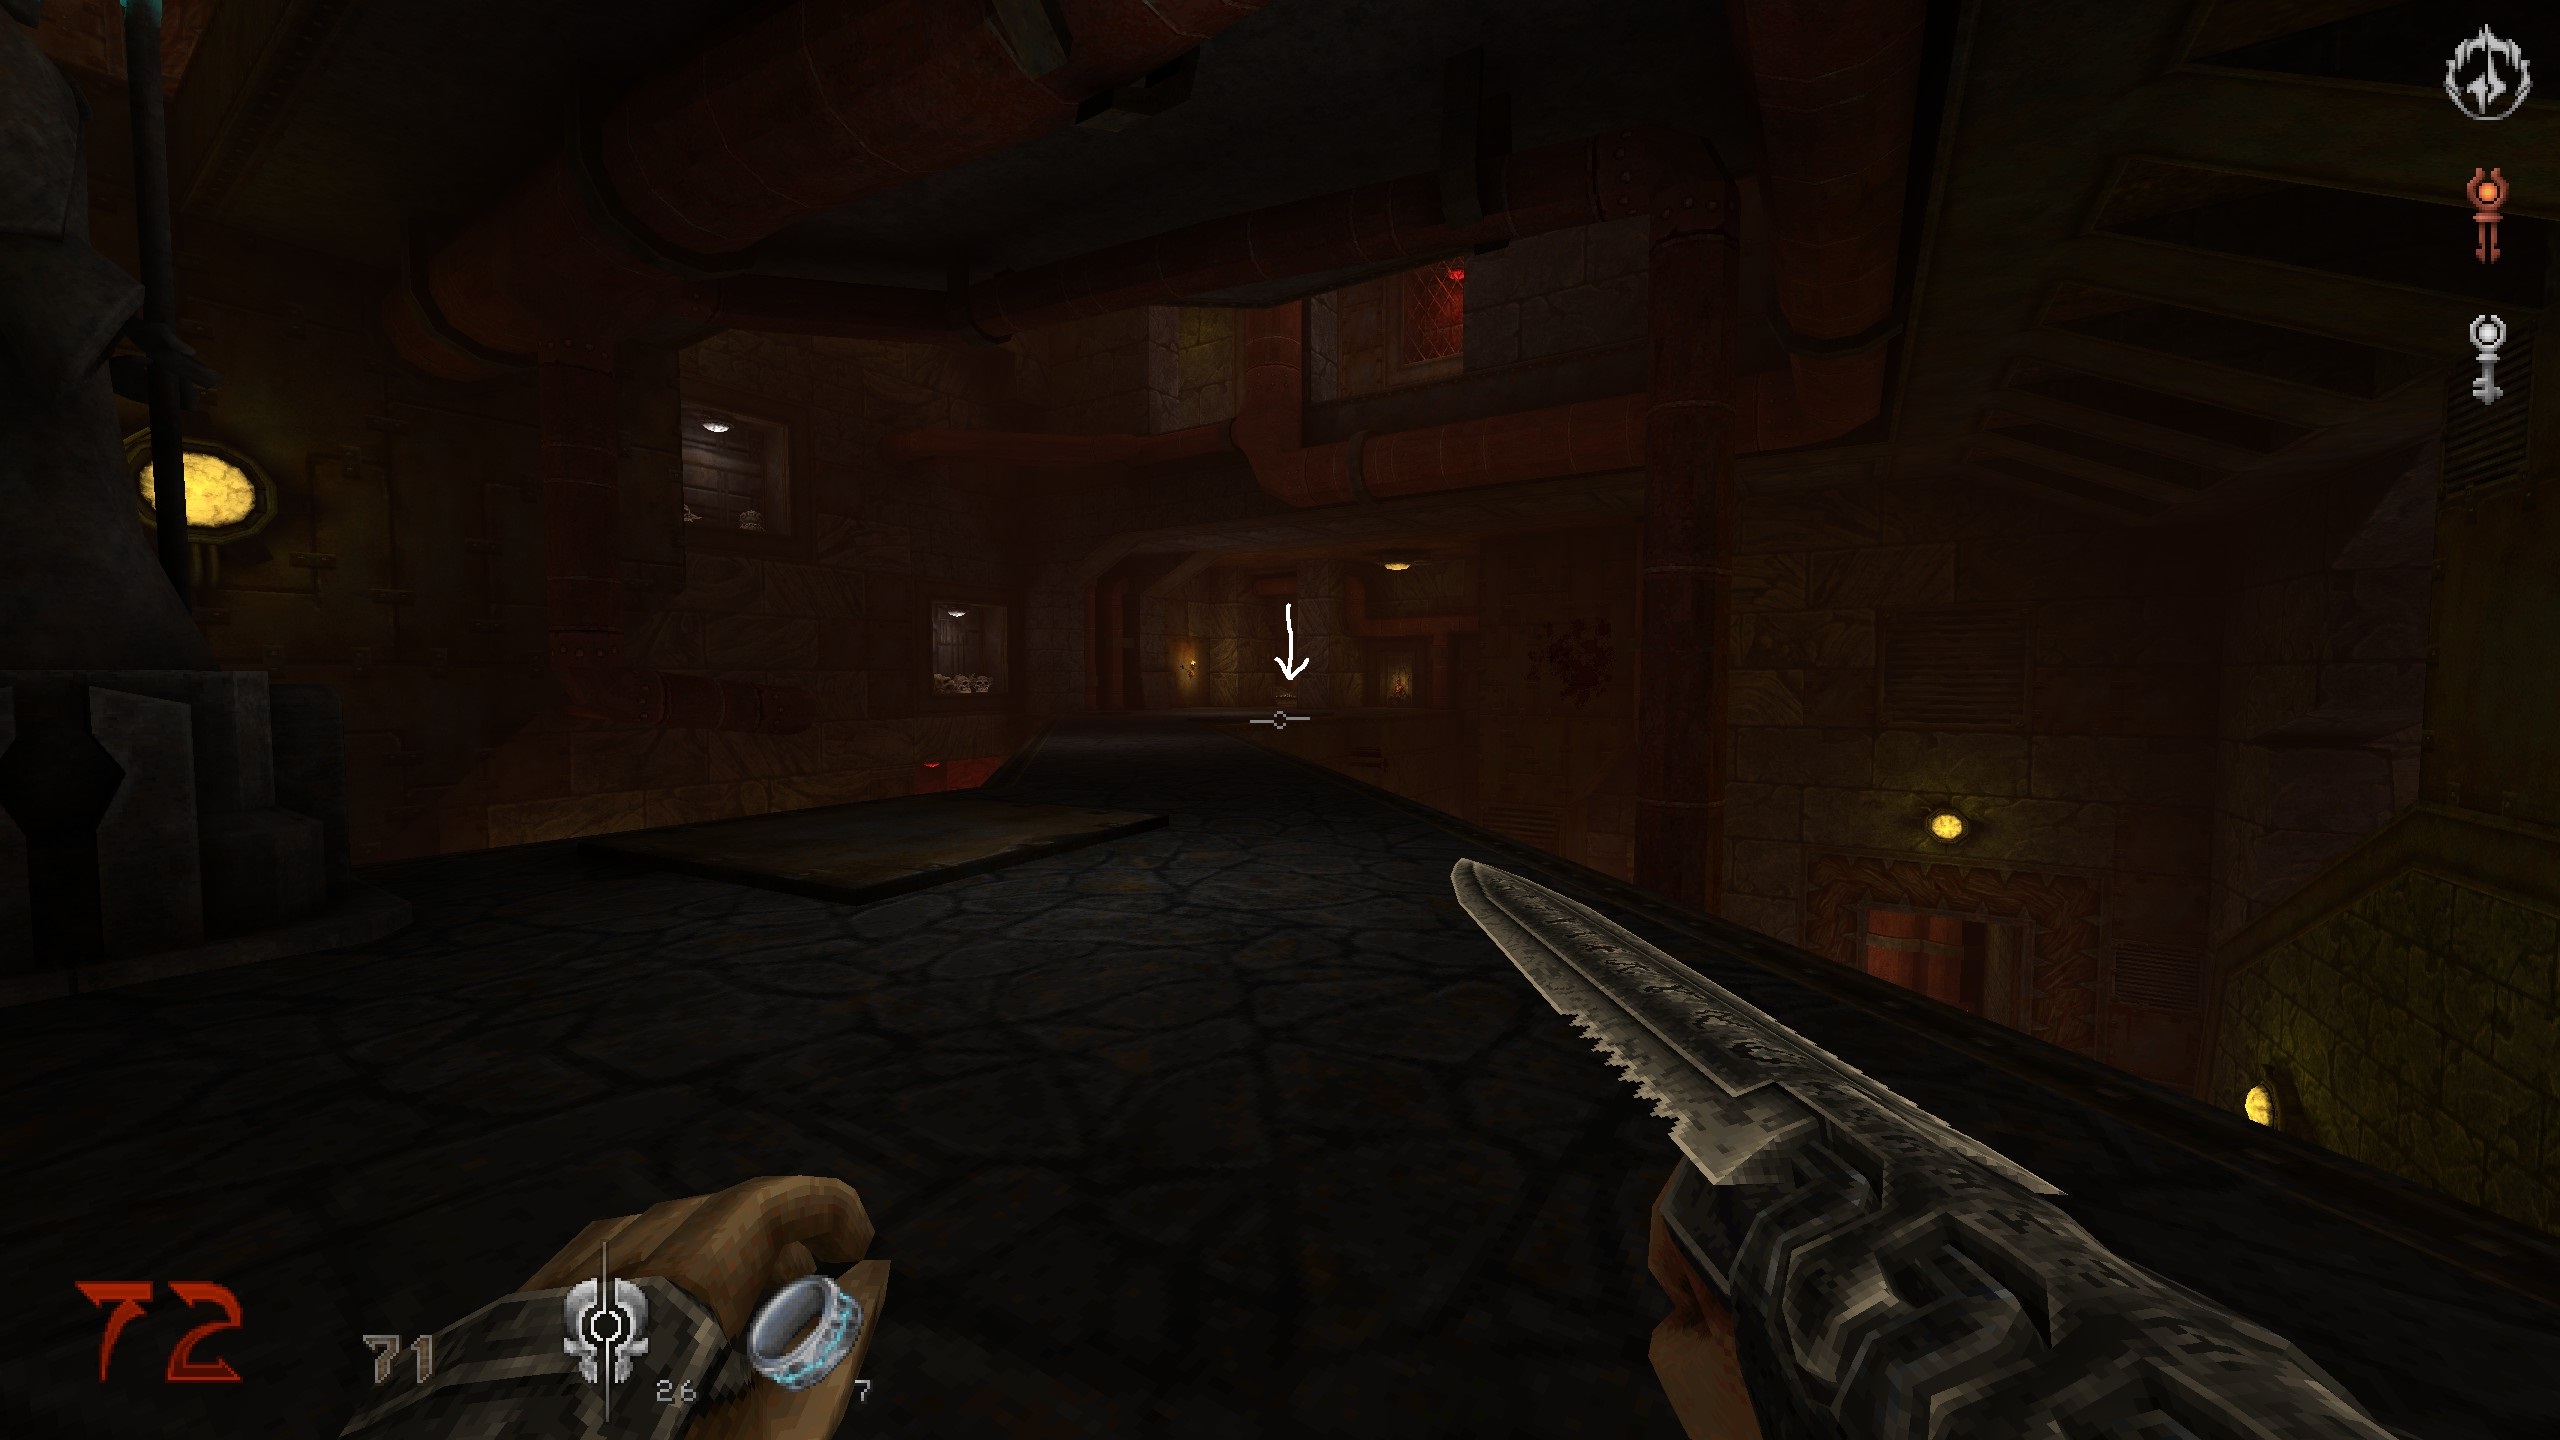
S5
After the red door follow the path until you reach a room where you have 3 choices to proceed. Stick to the right, jump over the spikes and use the switch in that room. Get back but before you jump over spikes again, drop down right and you will end up in a room where you can drop into an opened hole. Do that and get the secret. Drop down into the blood.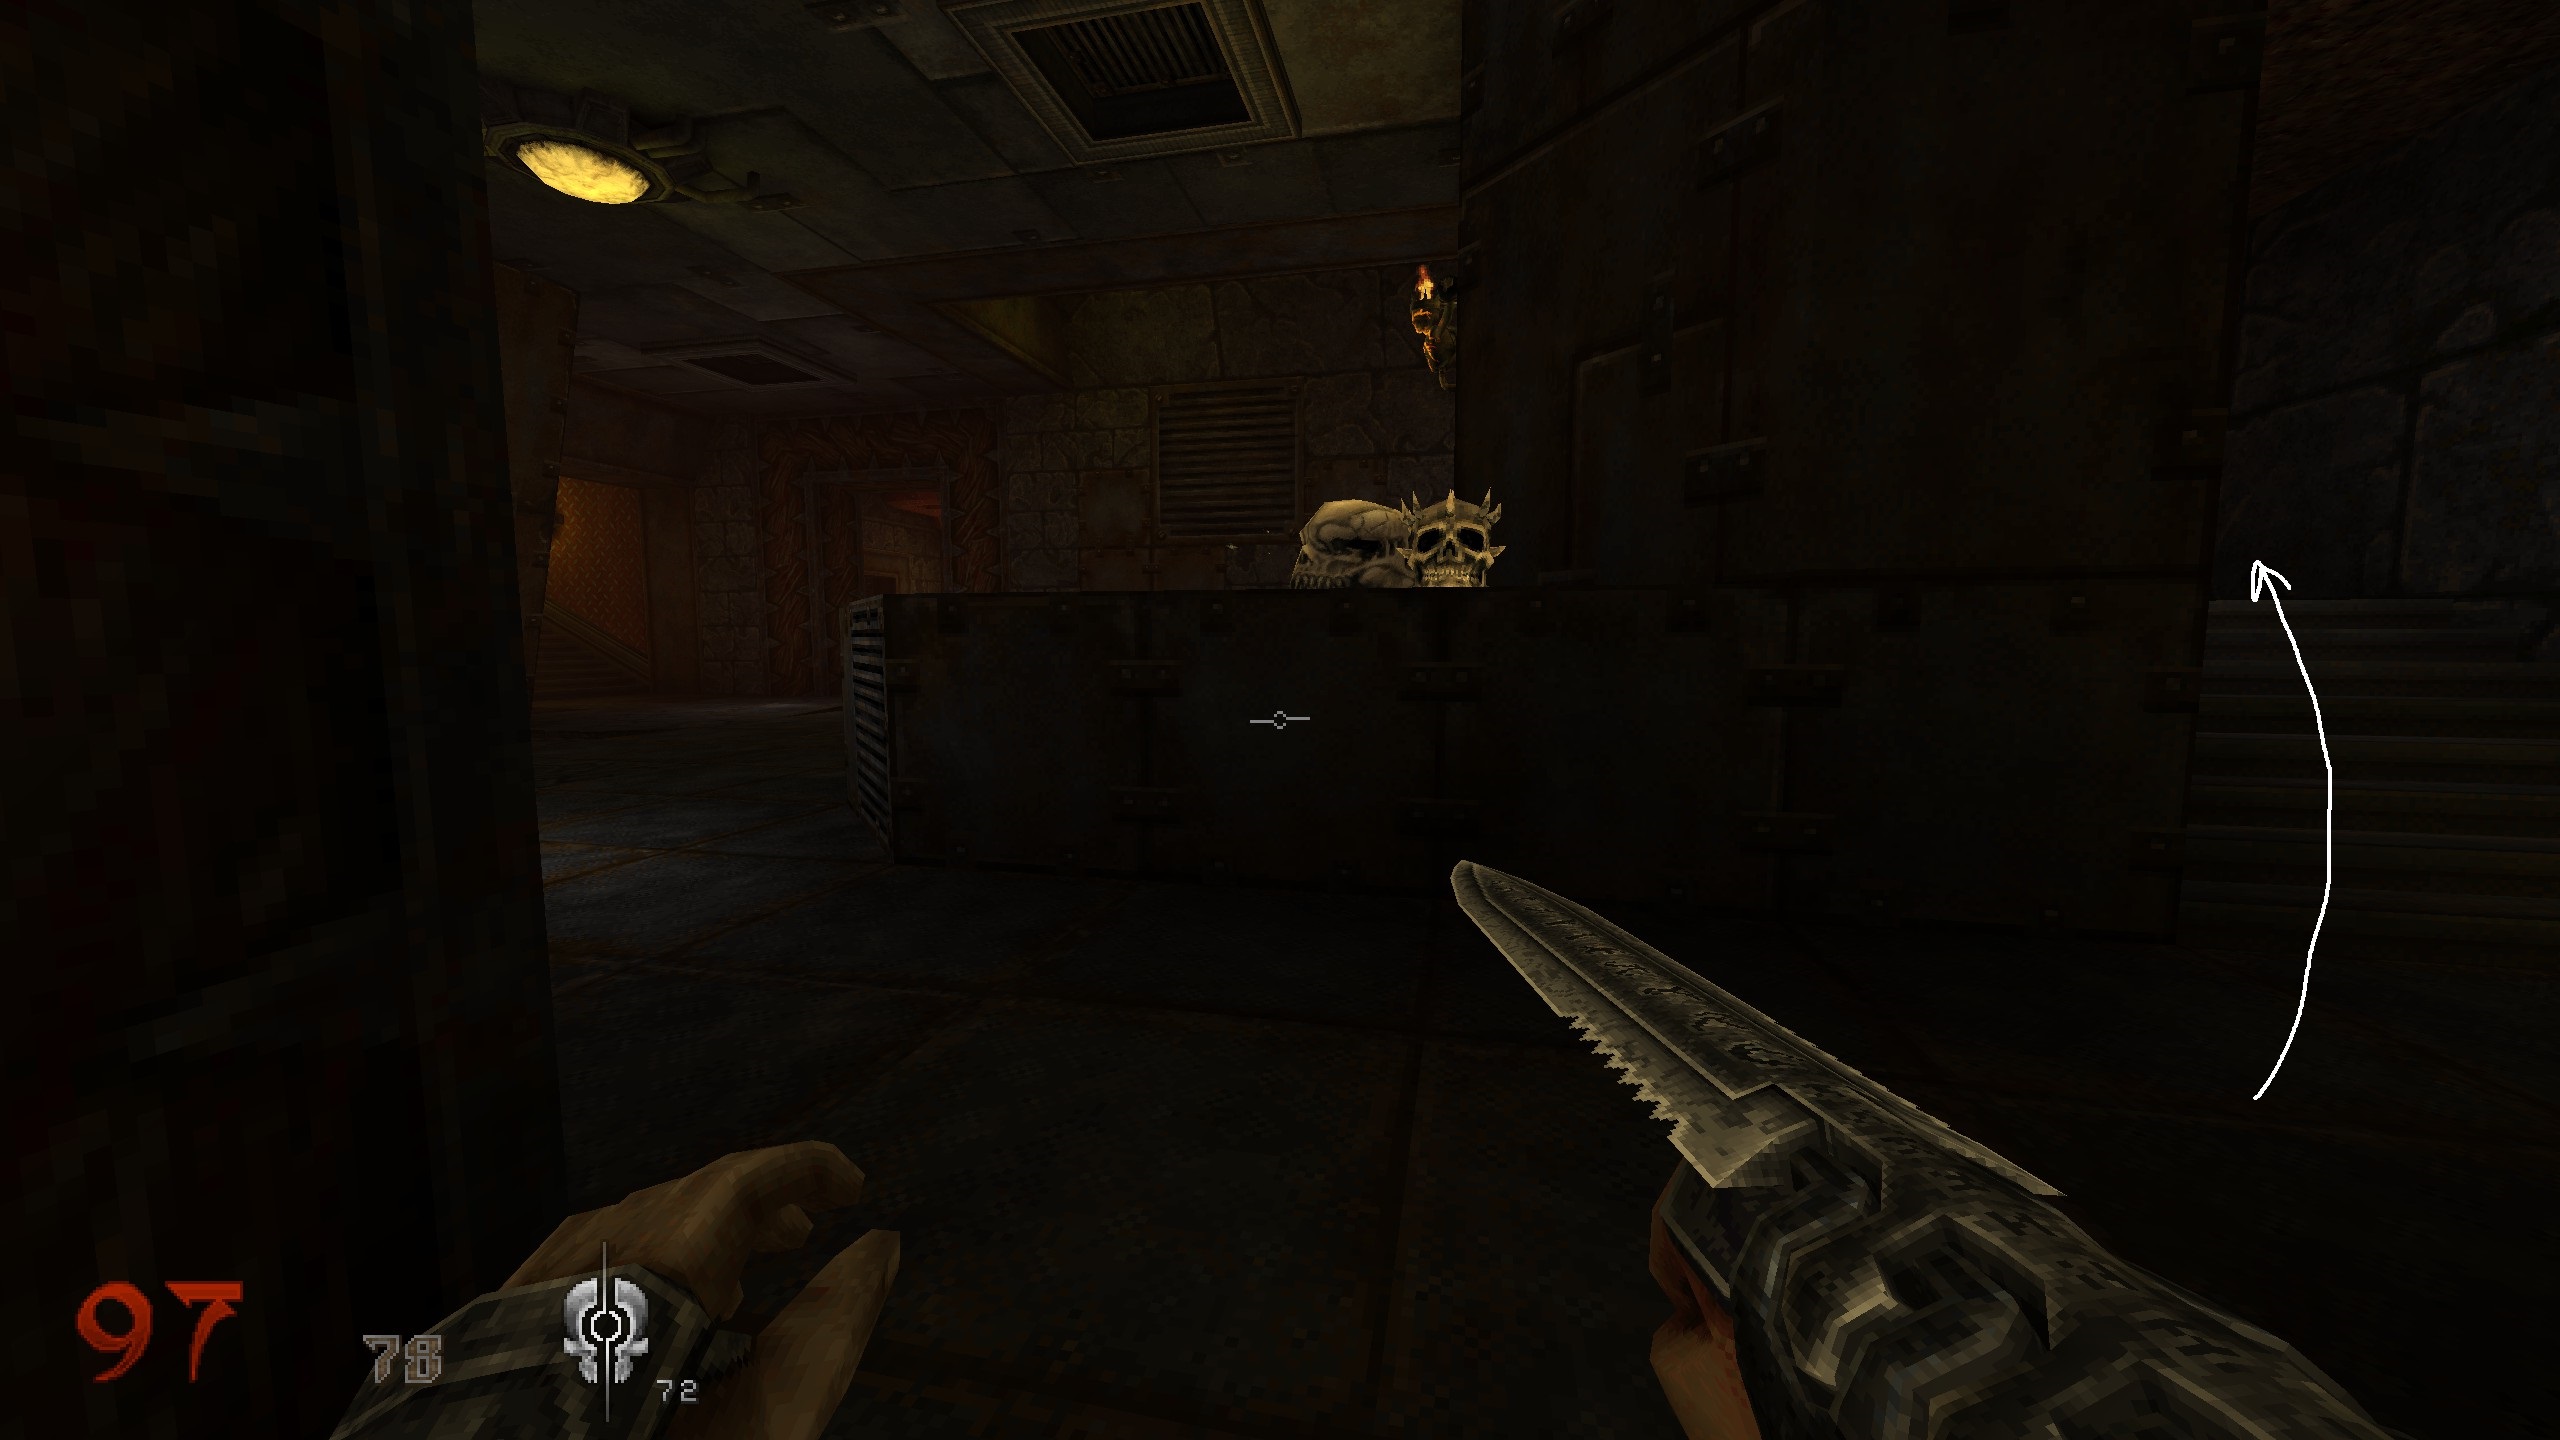
S6
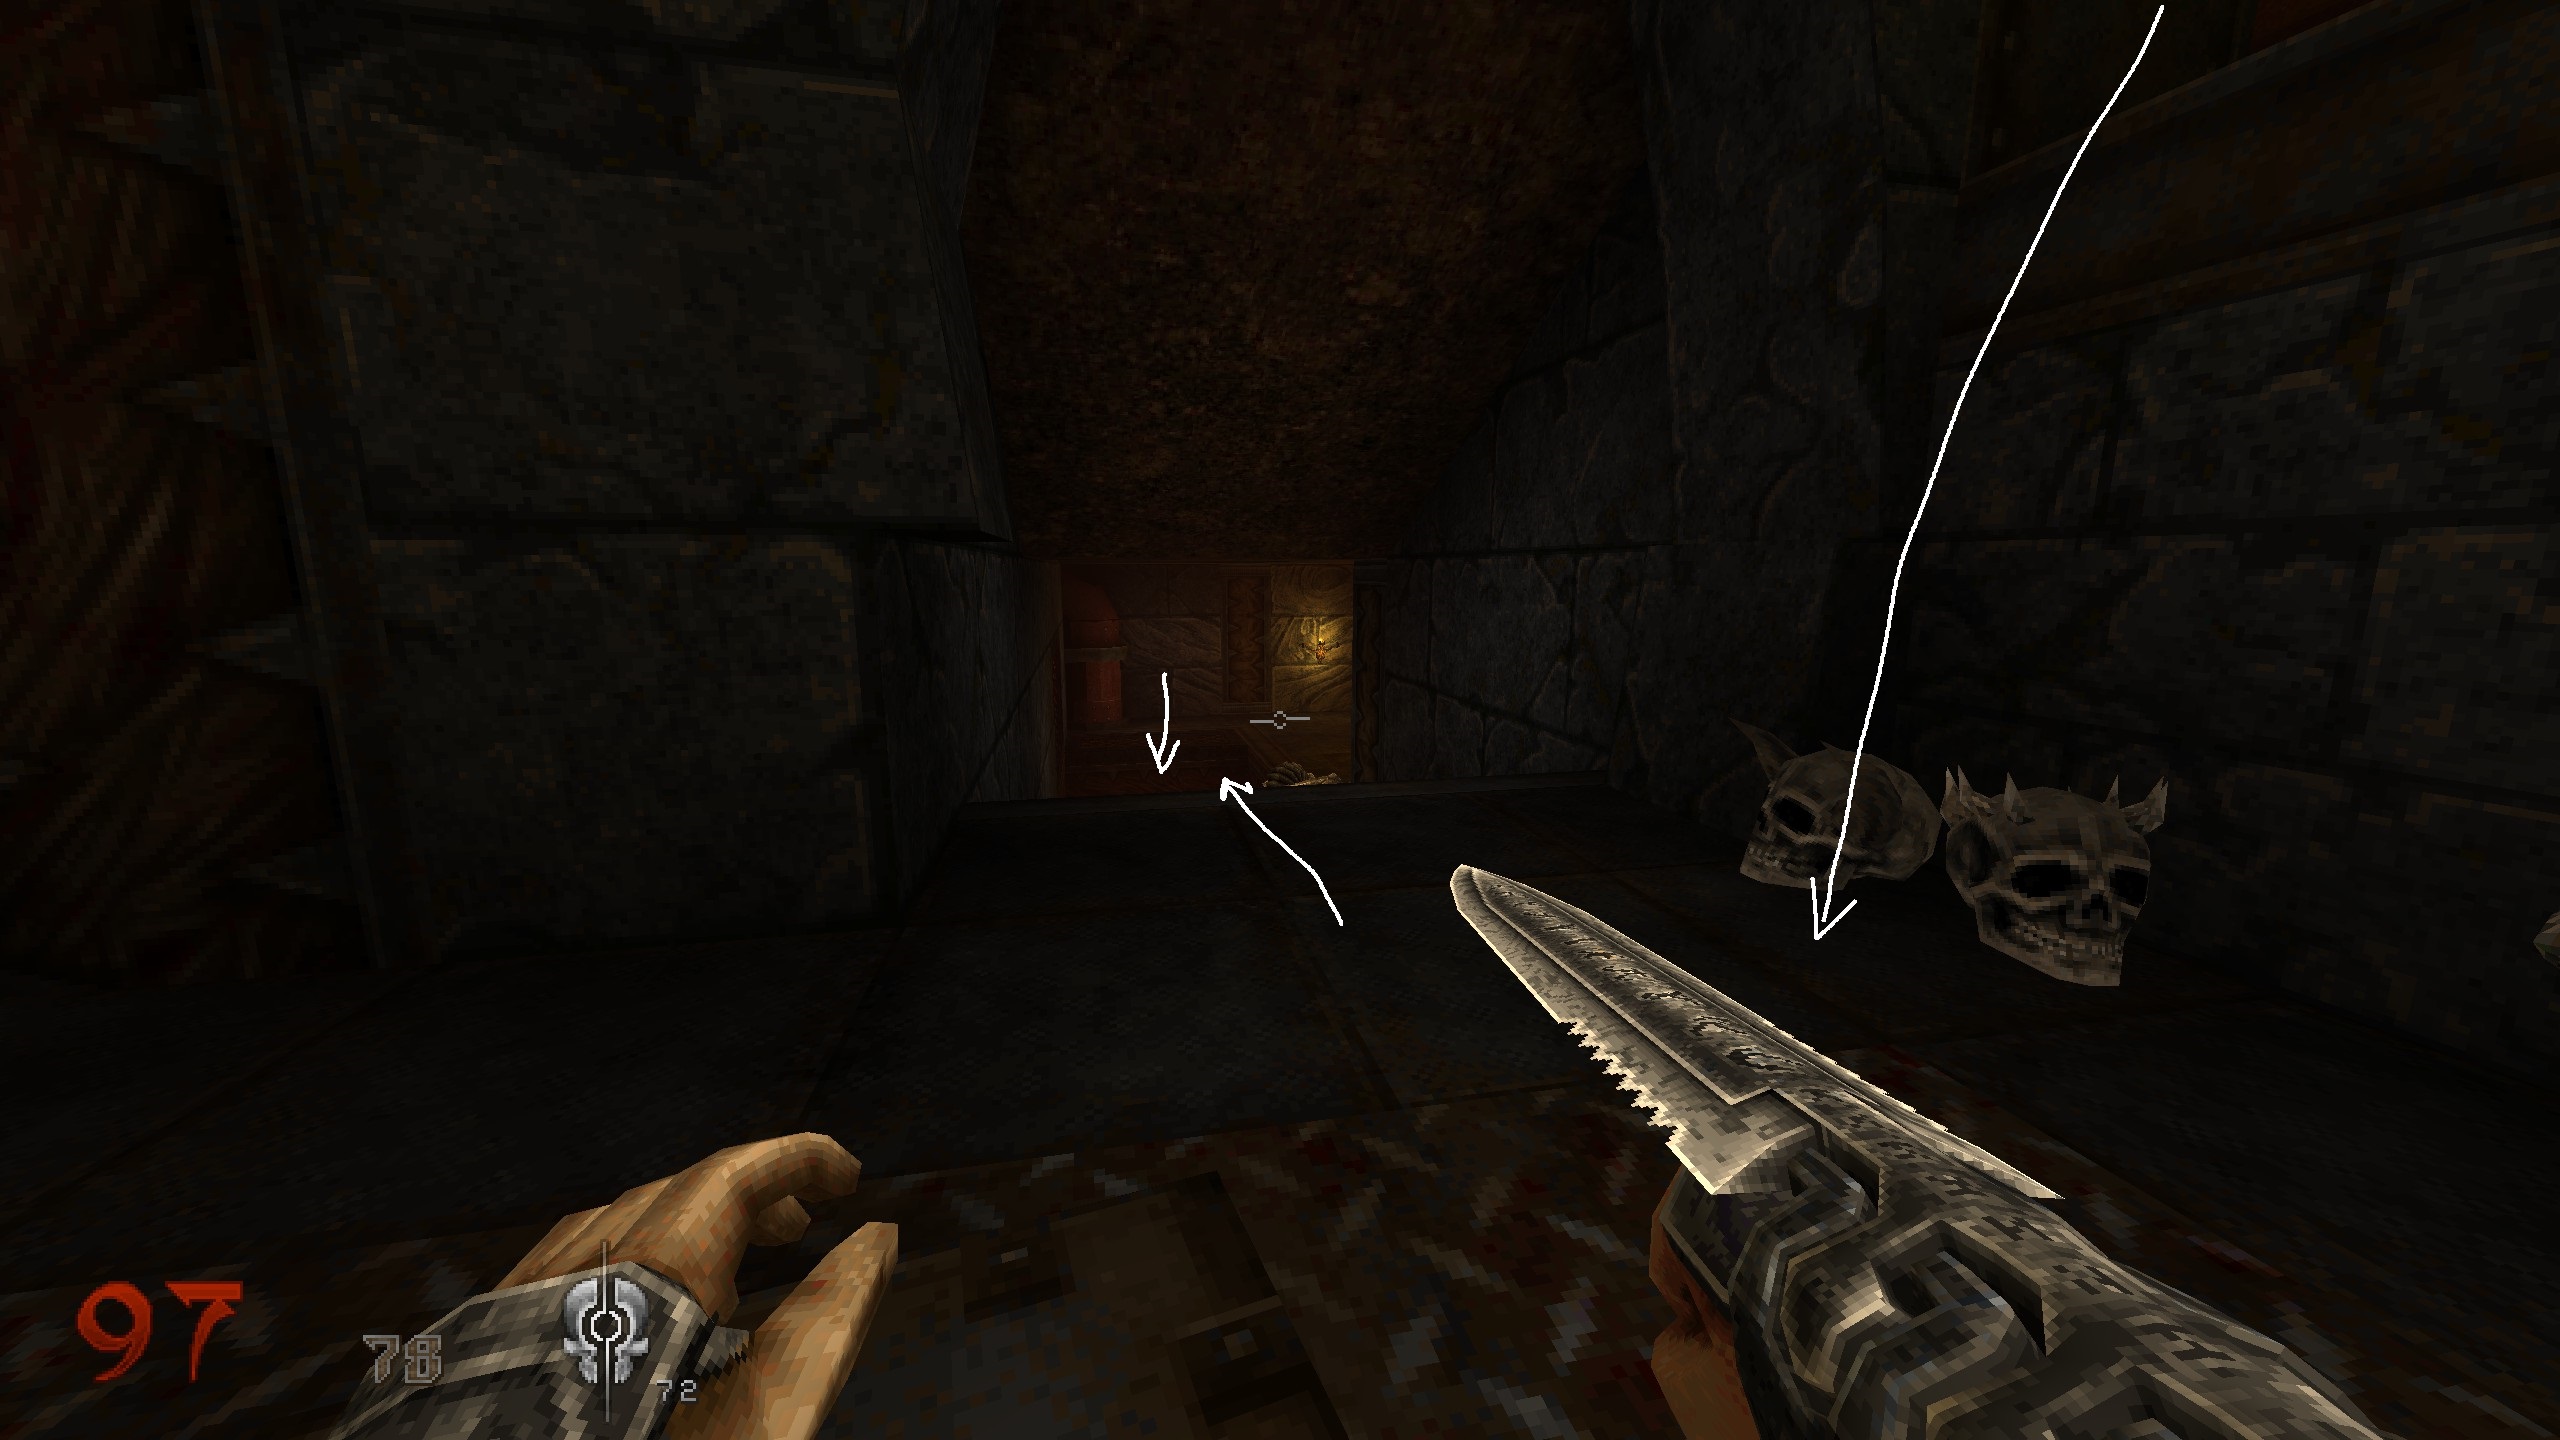
You moved shortly in that blood and used some stones to get higher up again. You are in a room with a big metal cube thing in it. Use stones and said cube to get back into the corner for a secret.
Continue with mission and you will come back to the room with “3 choices”.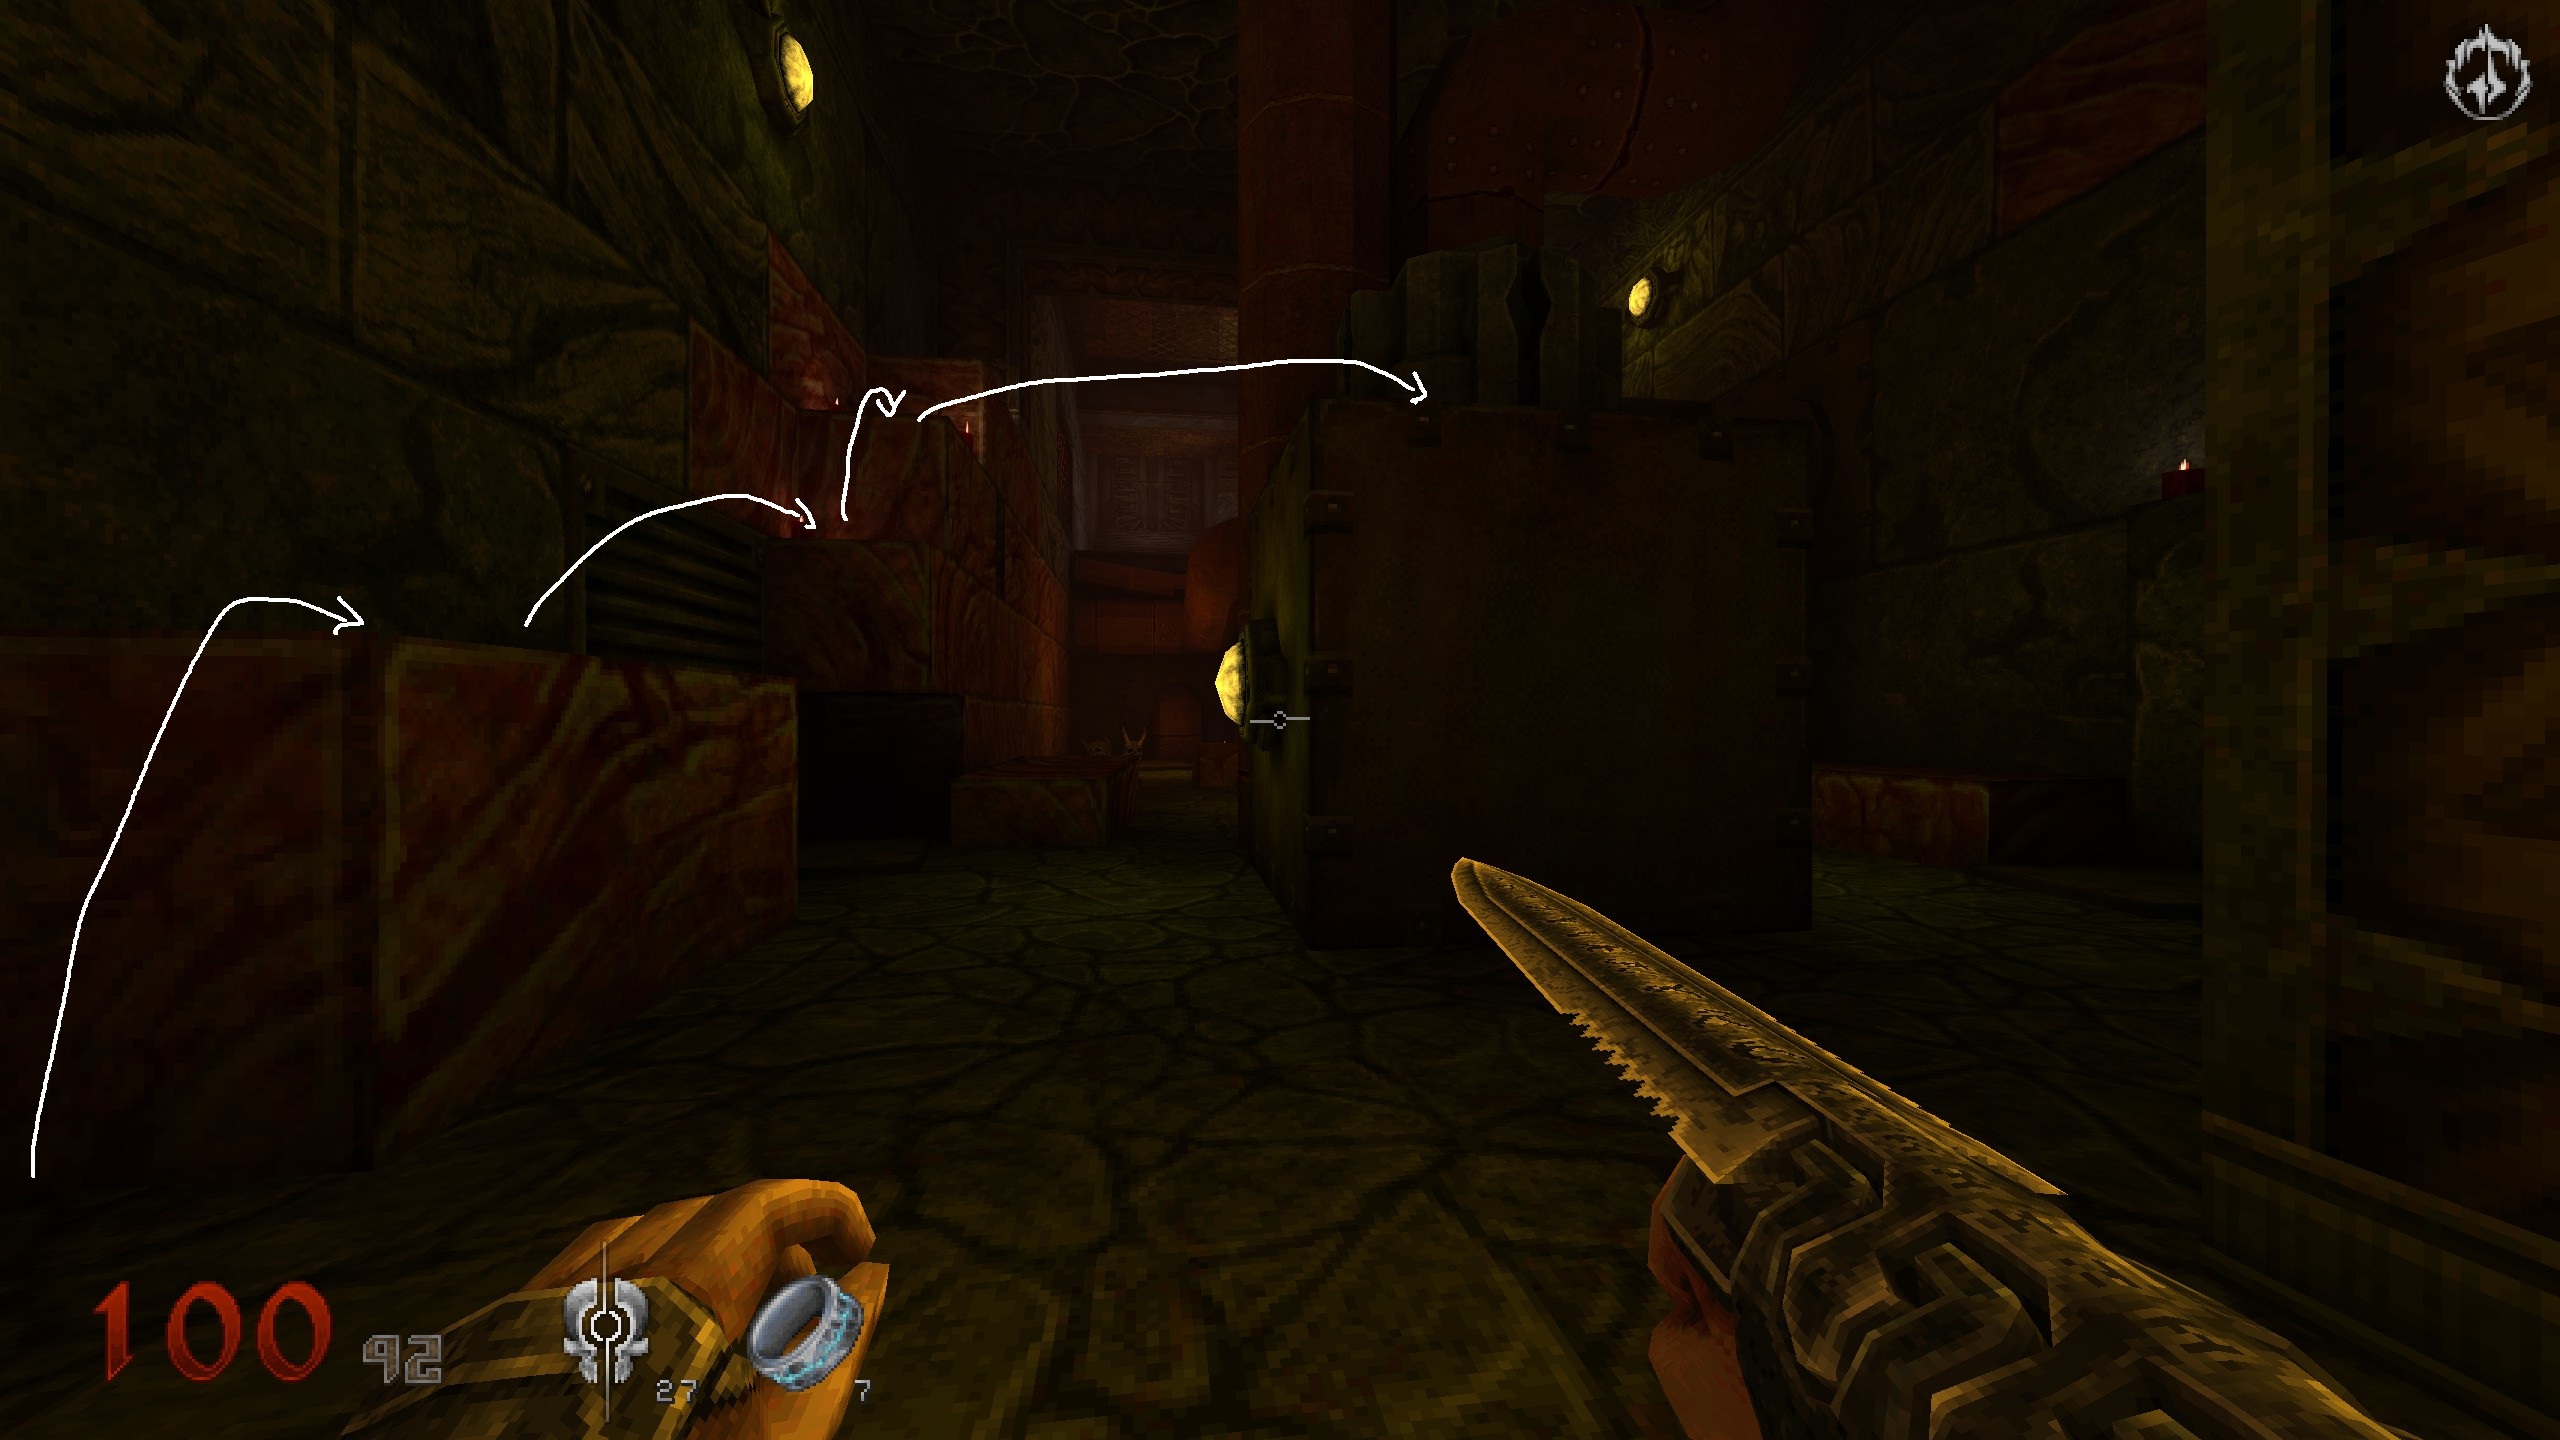
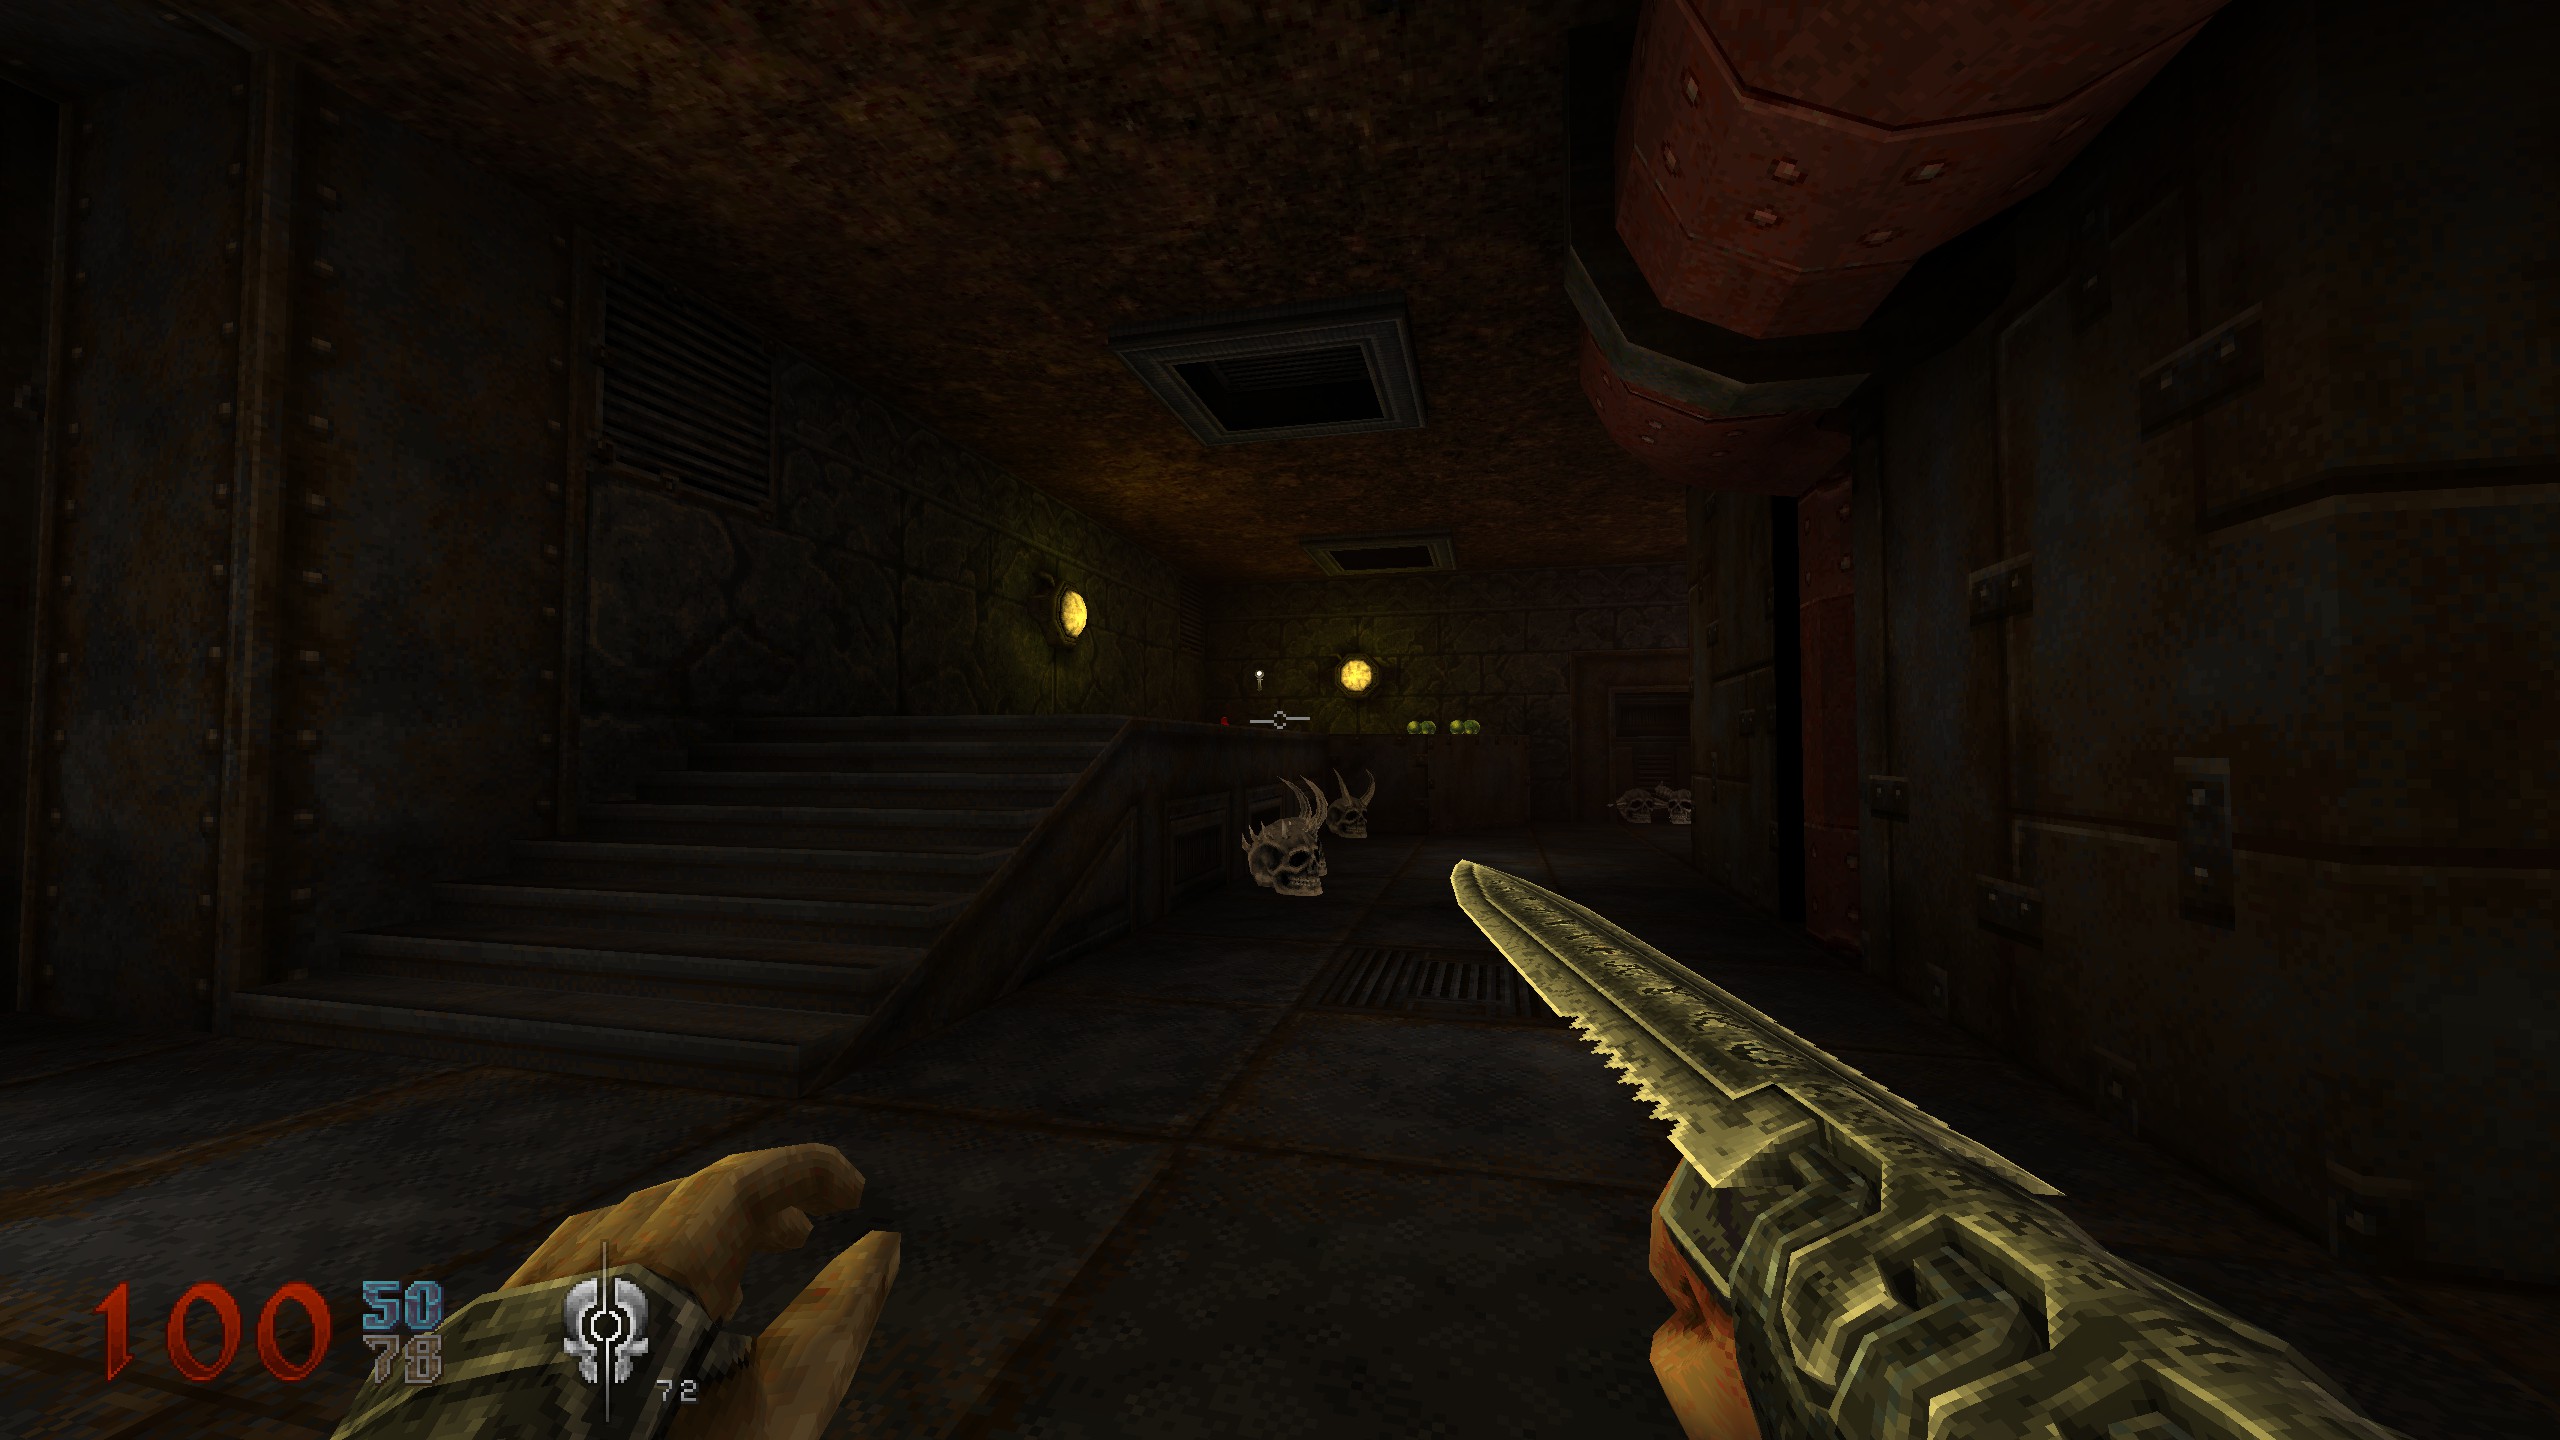
Key
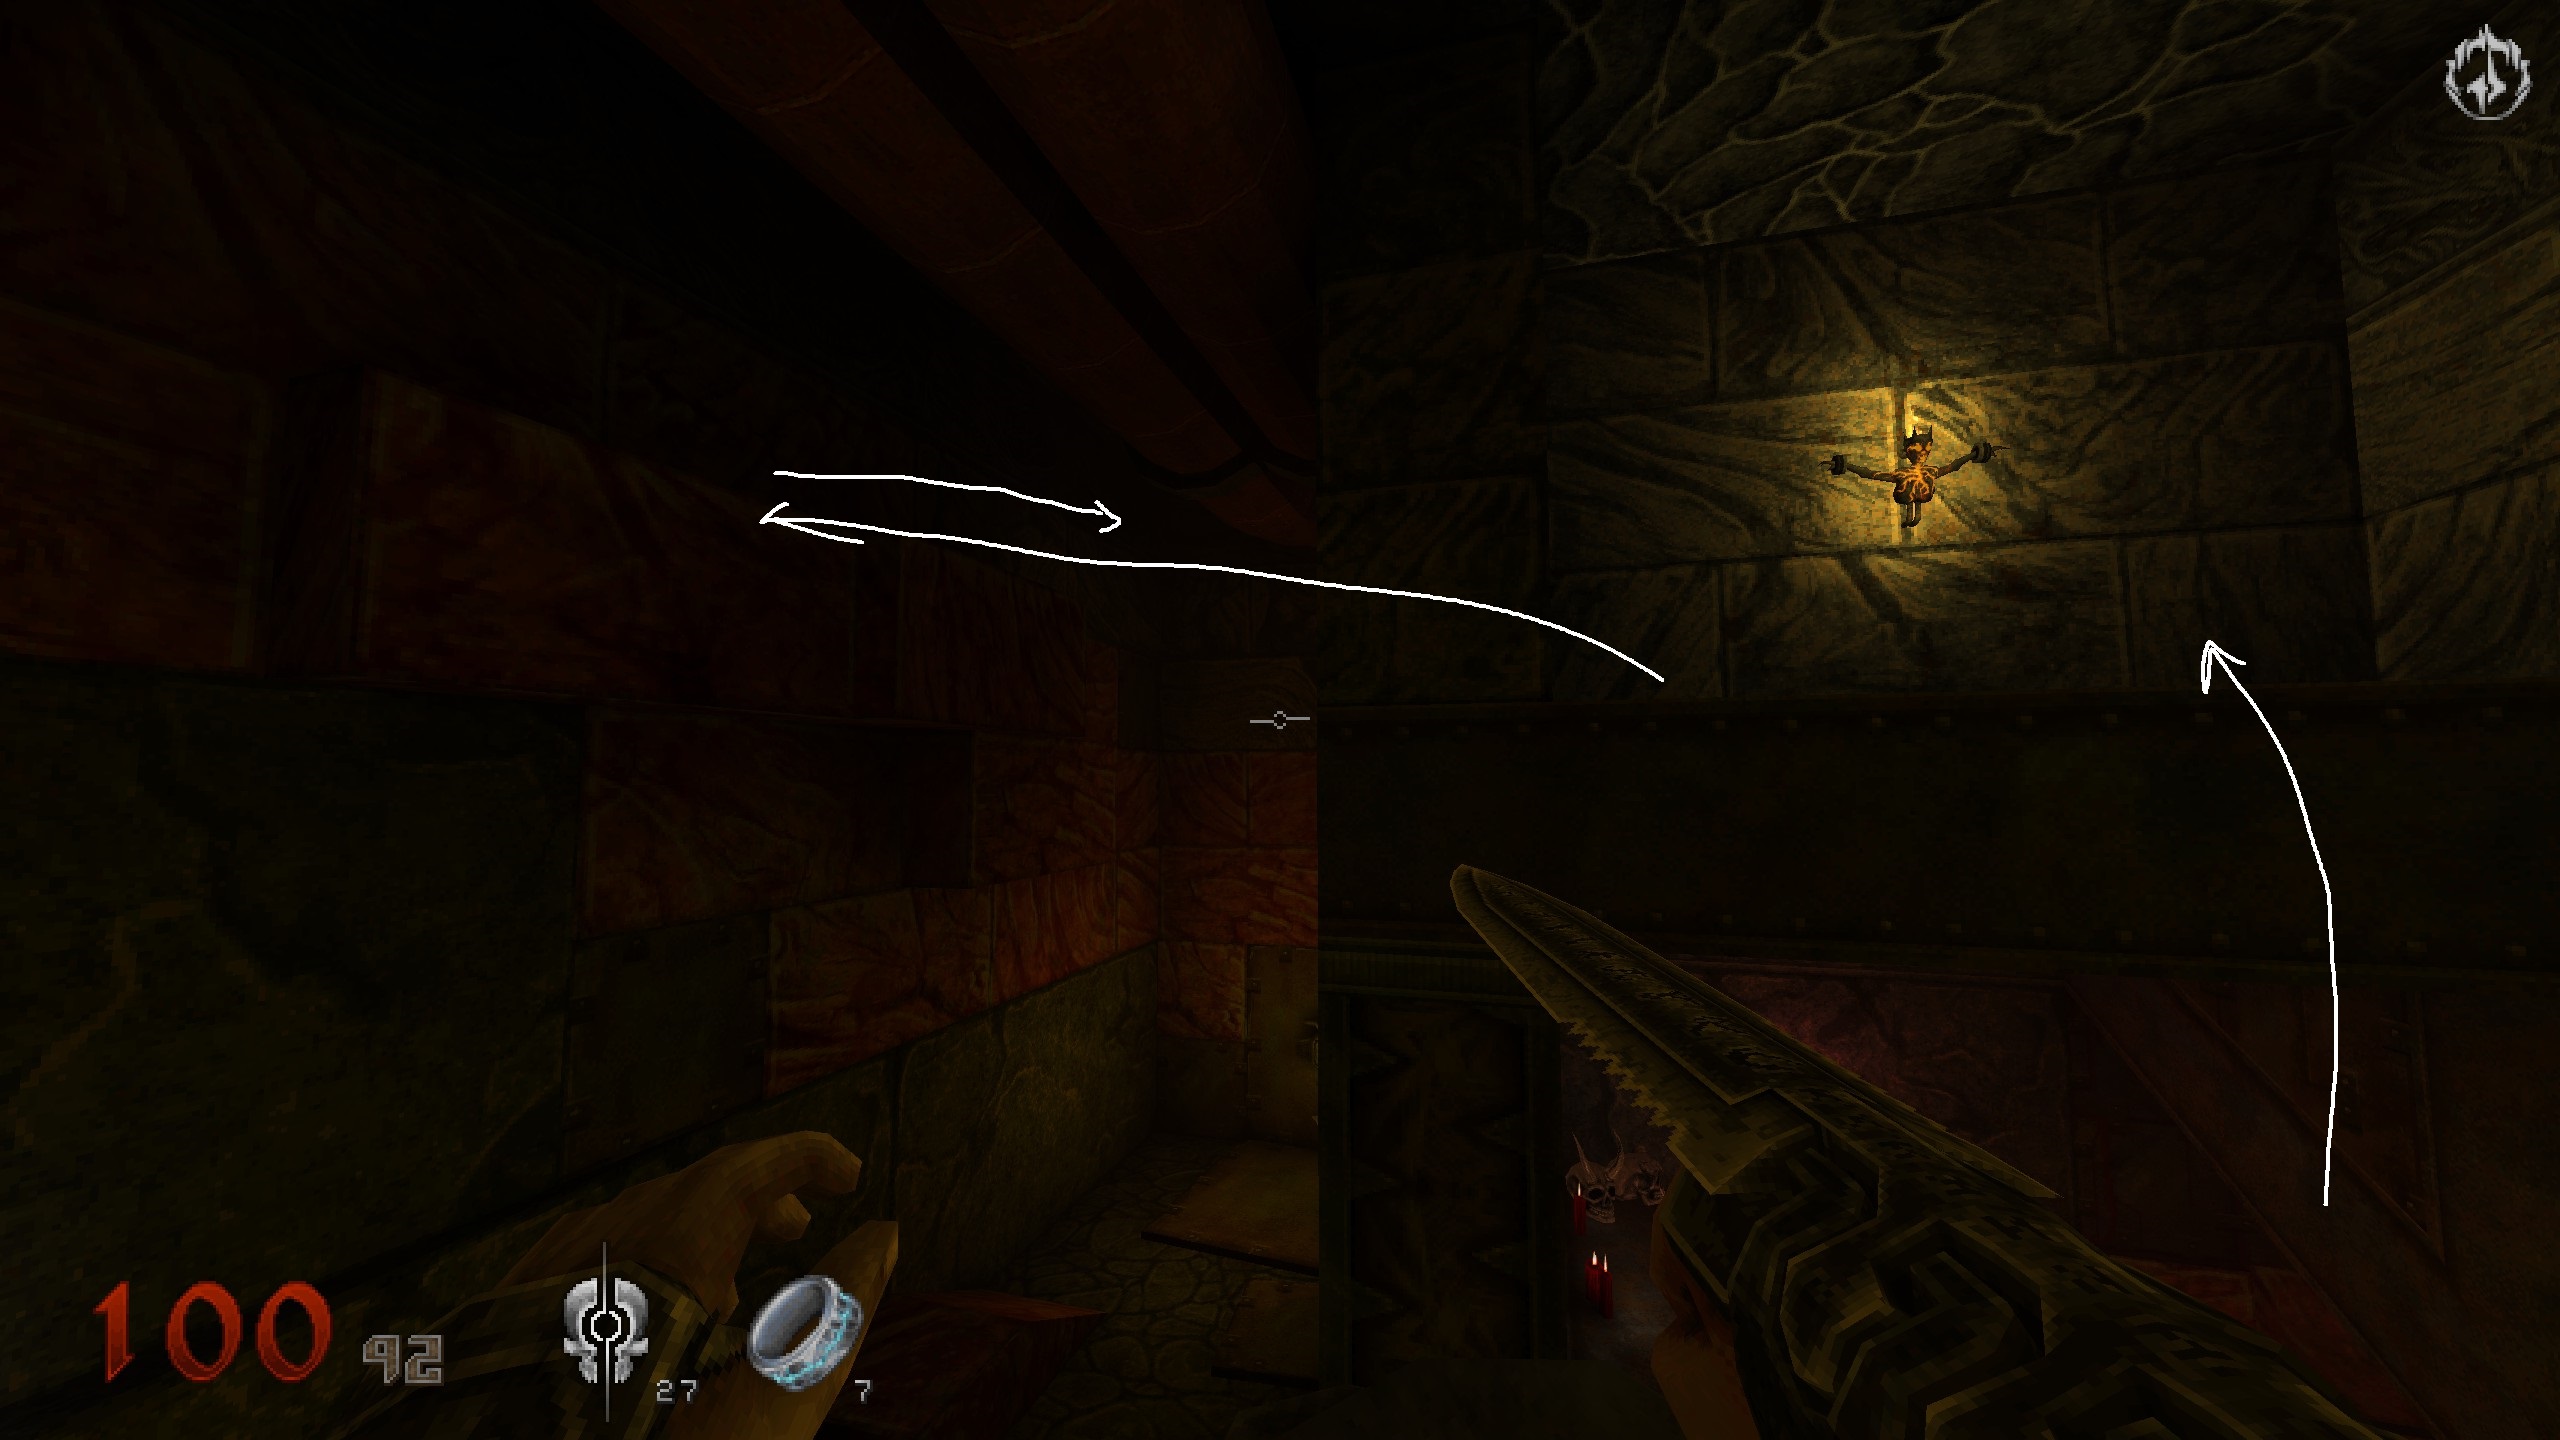
This time take the stairs up left and you will enter a room with a “Devestation Mace”. Go left there into the back for a key.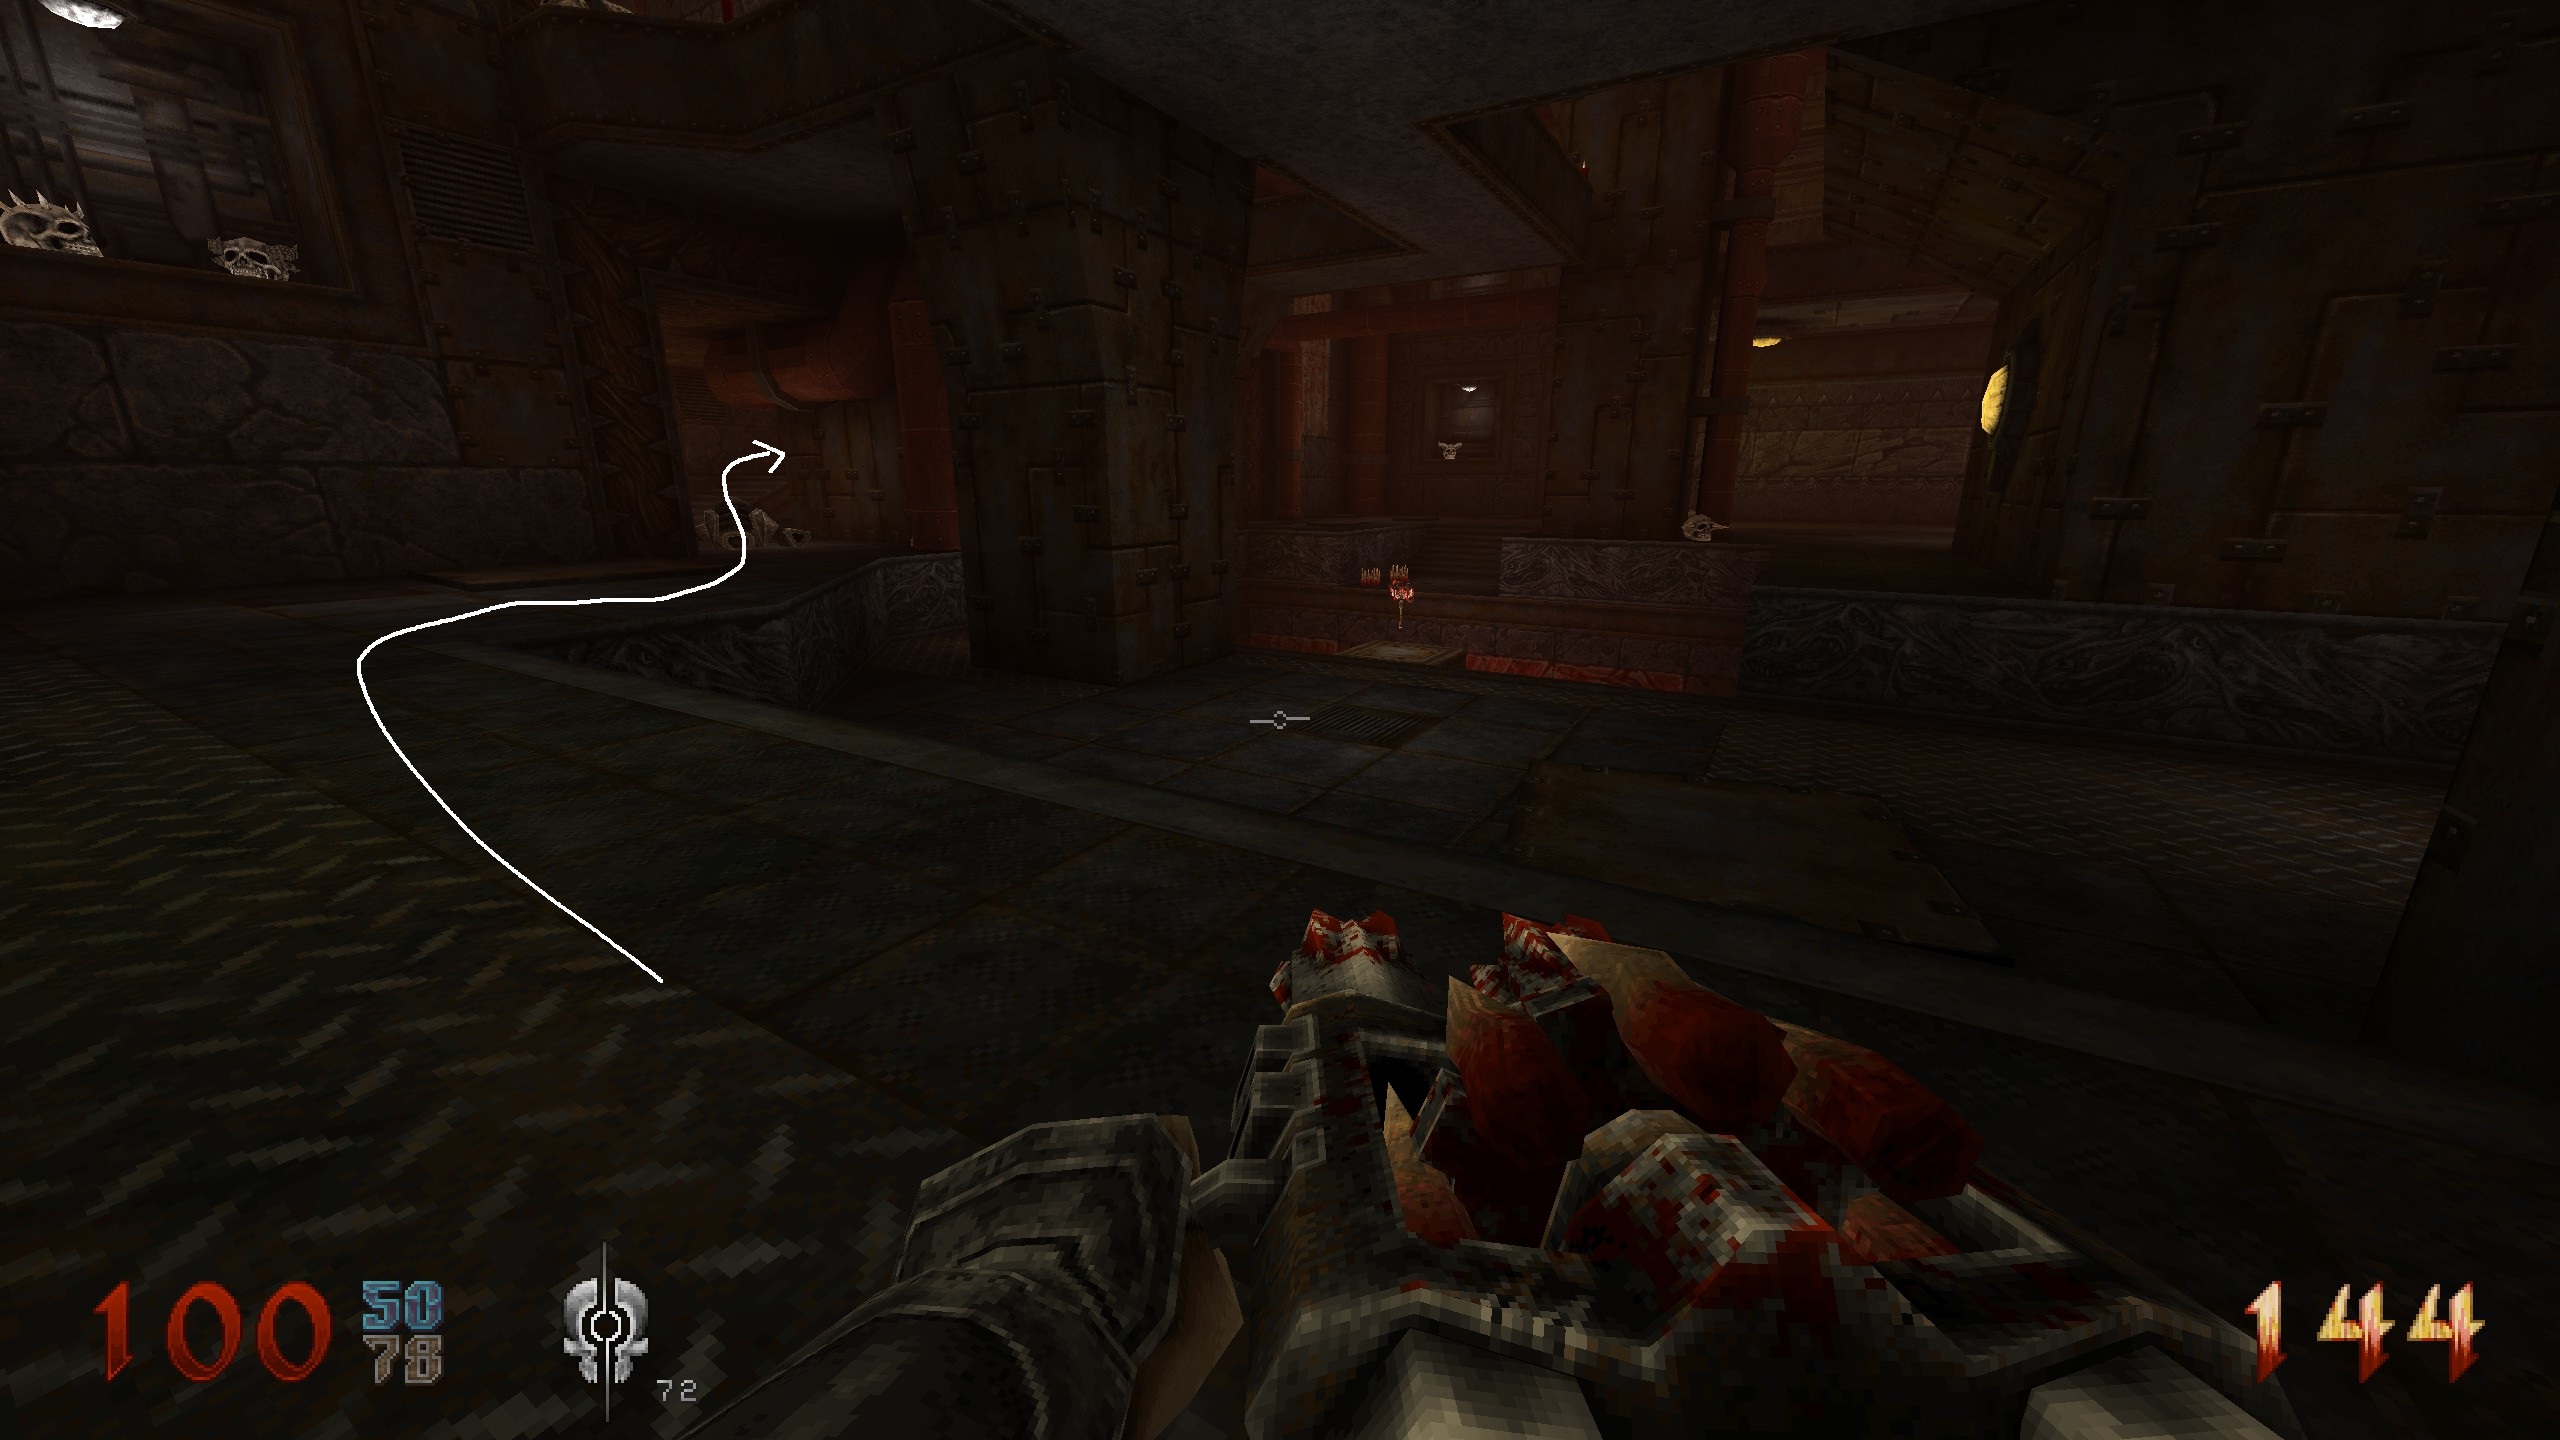
S7
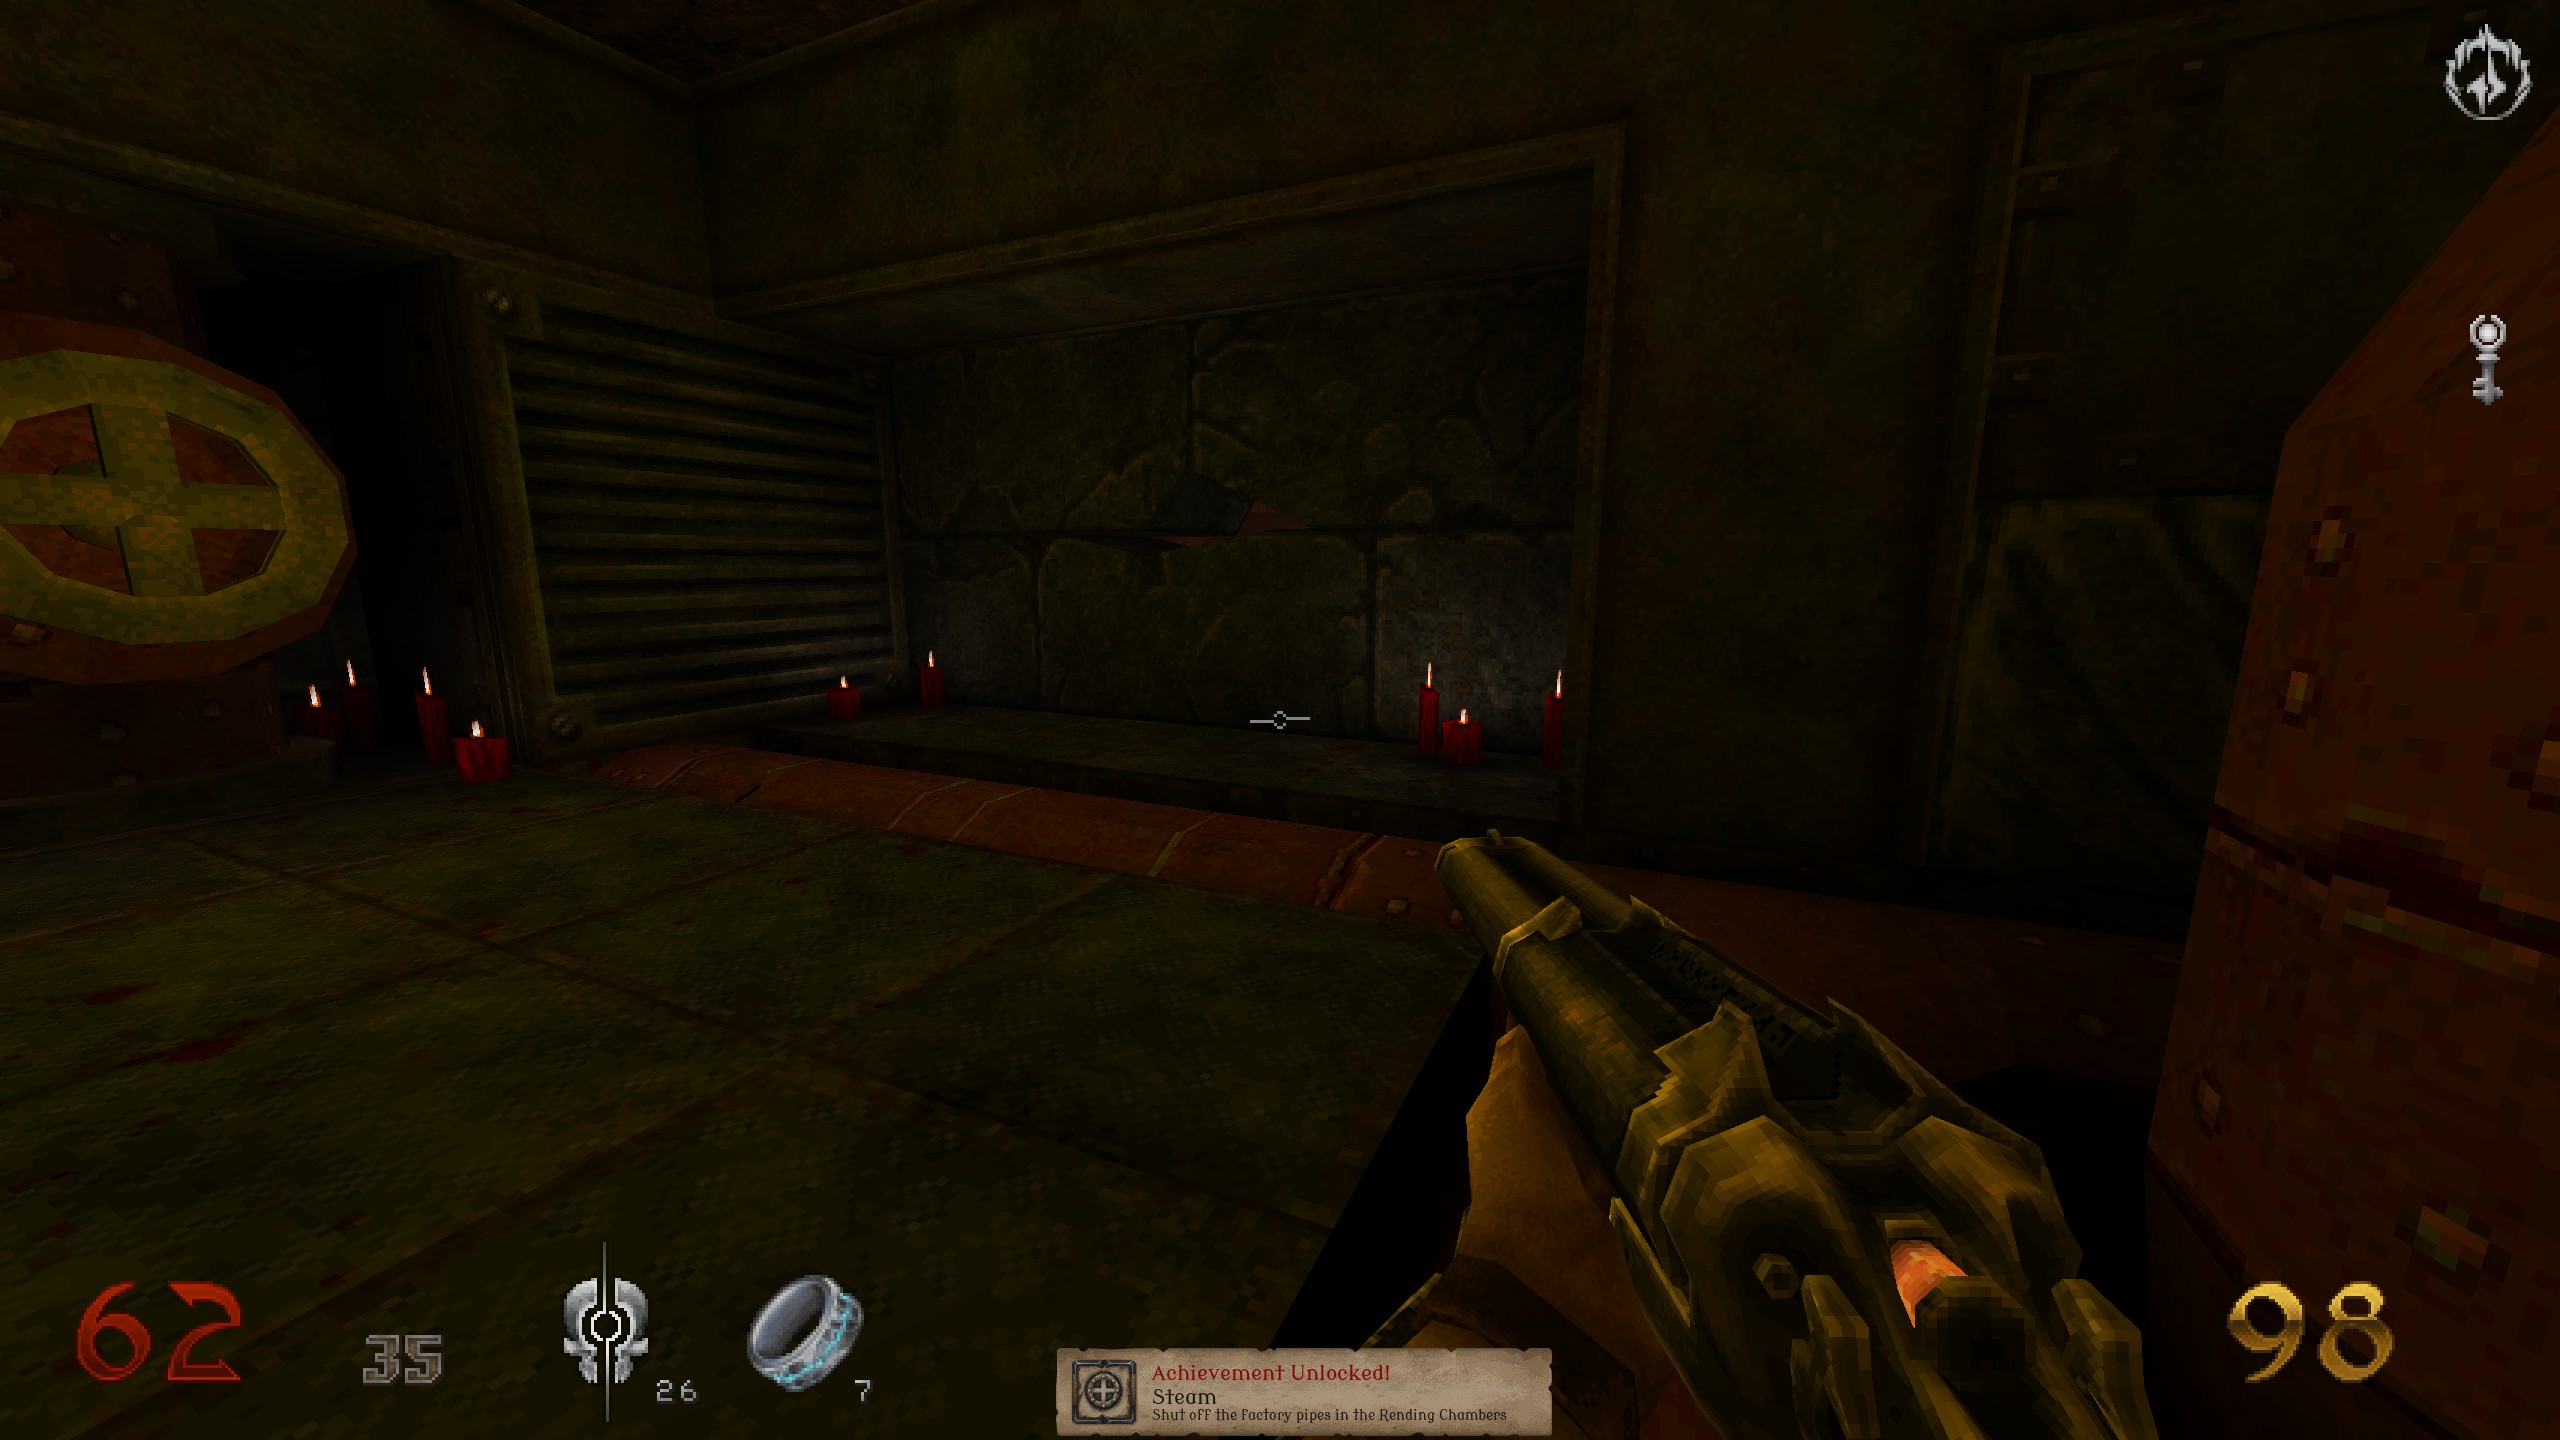
You have gone on for a while and come into a small room, with one pipe running through it in the ground, ammo and candles at the wall. The wall has a crack. Get in there for secret and also turn off the steam using the wheel, which will grant you achievement “Steam”.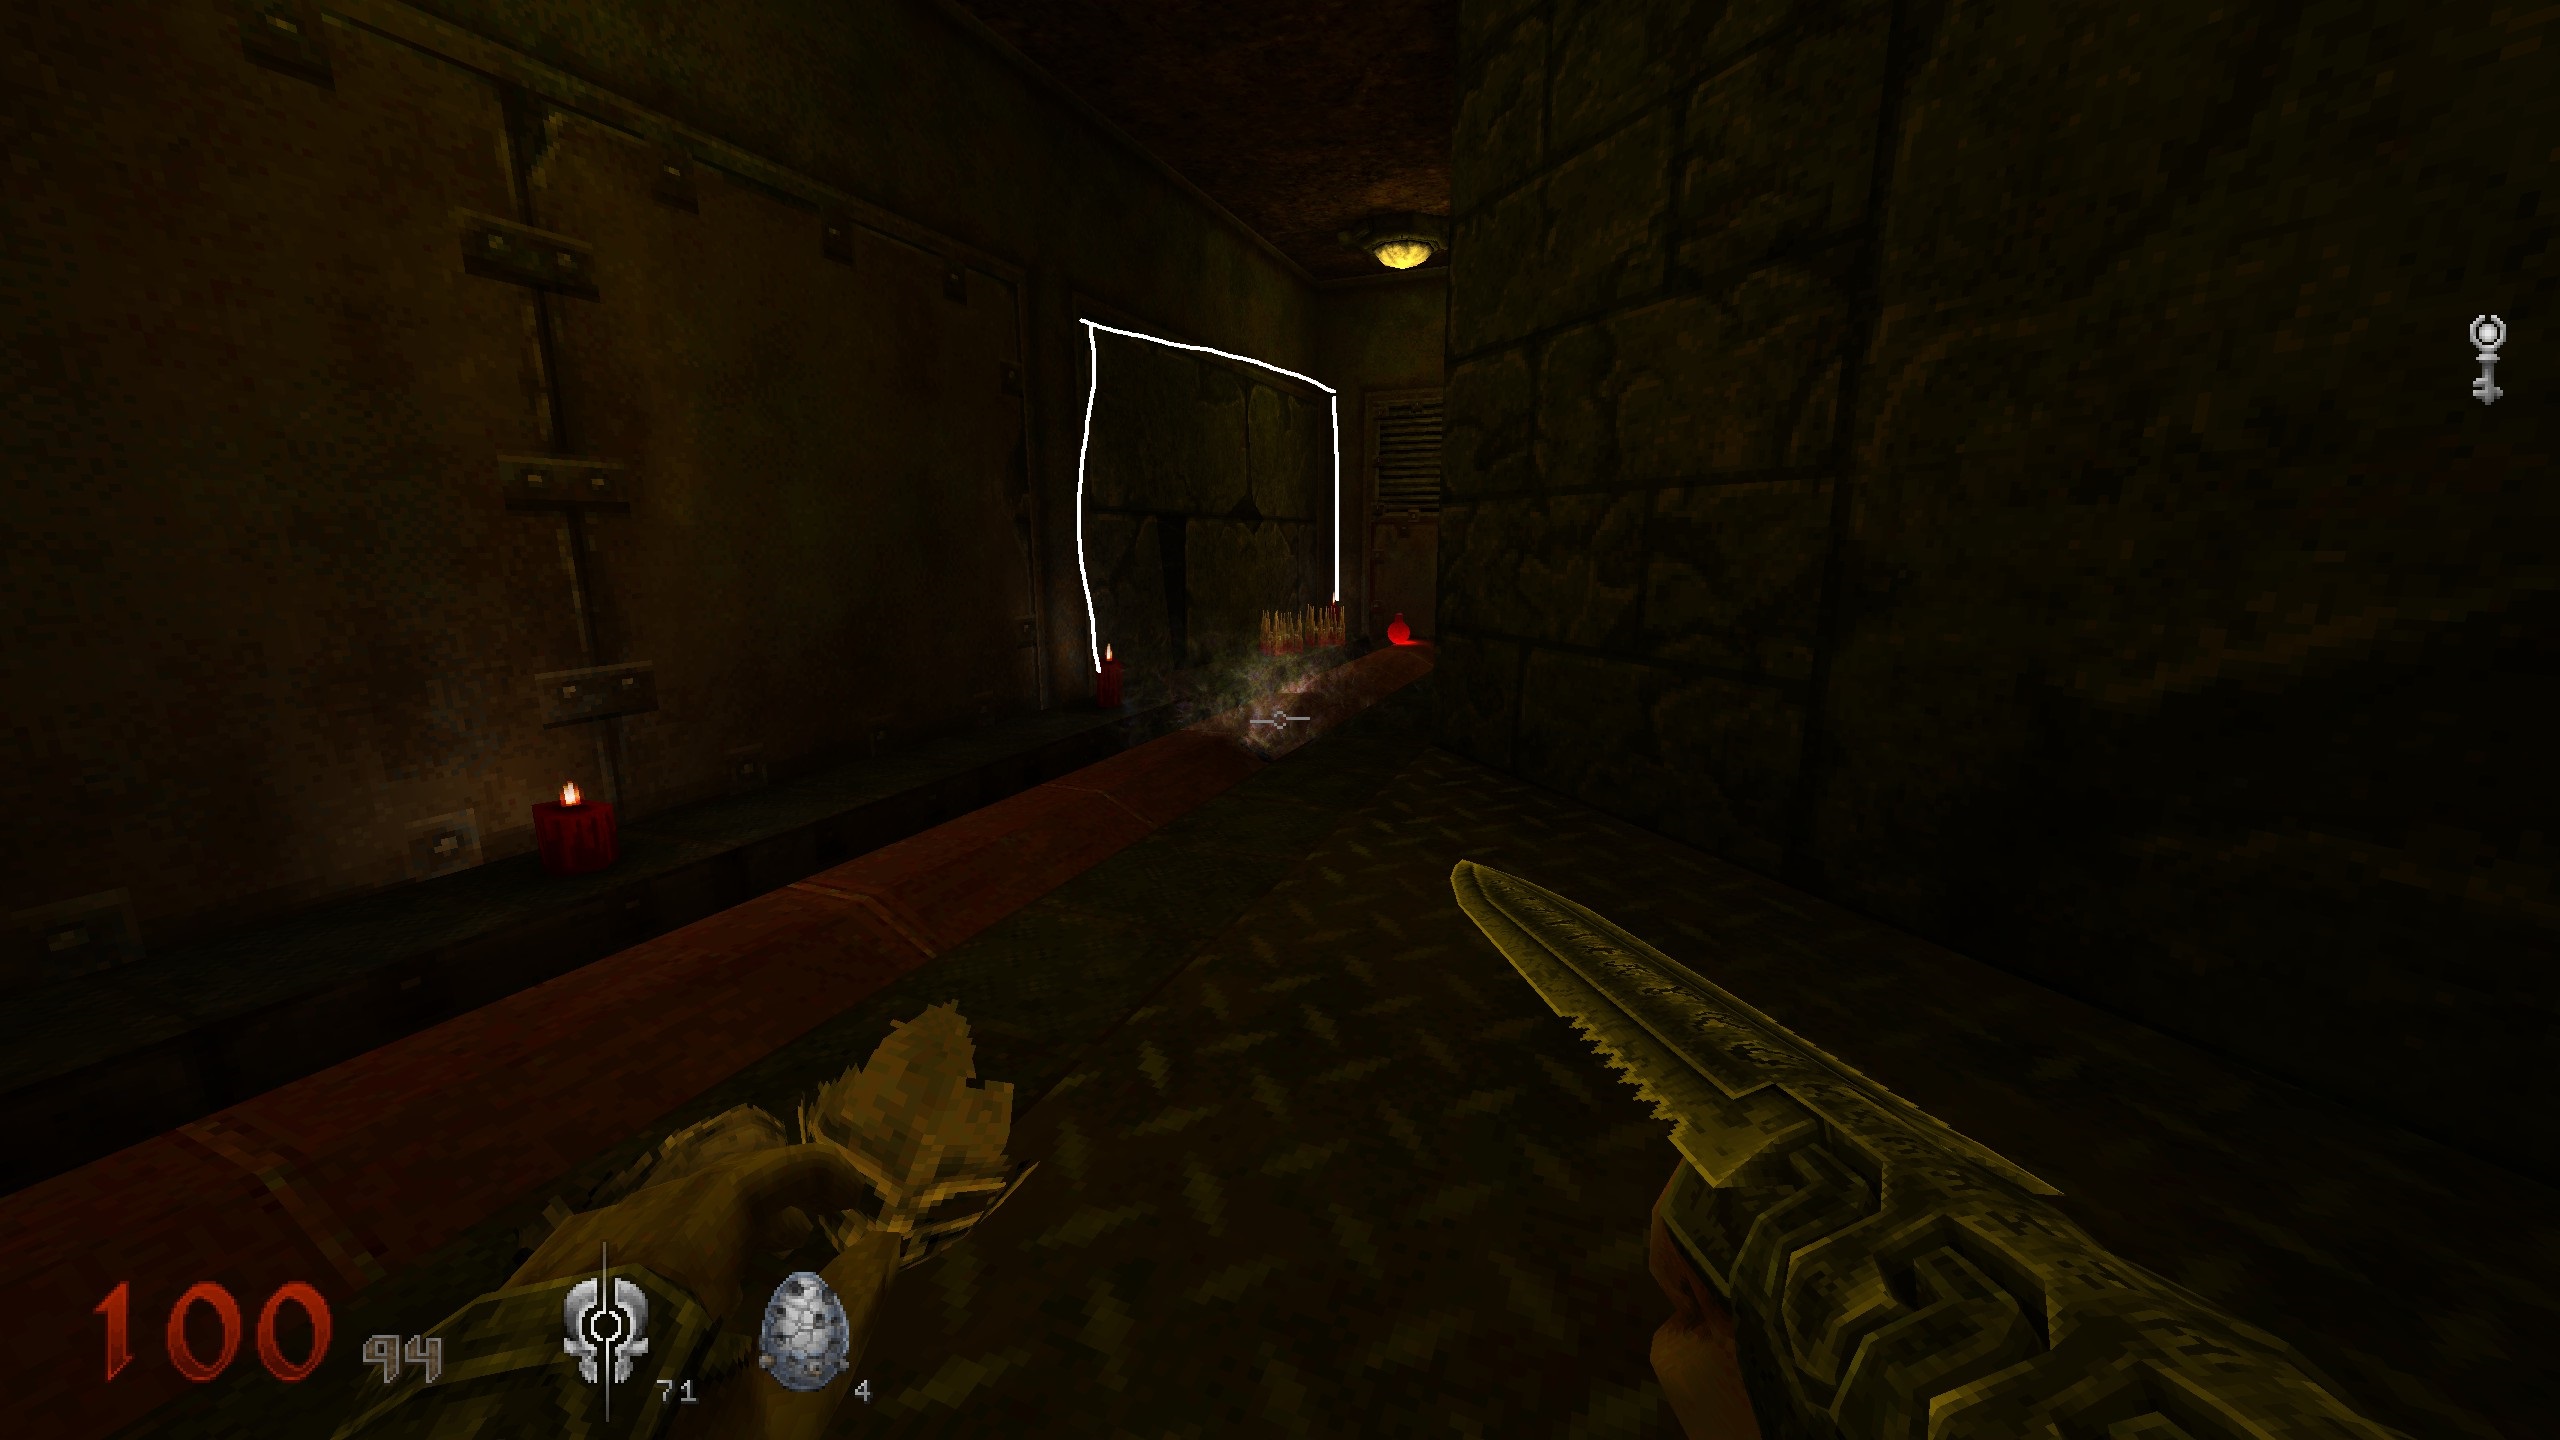
Crate
Proceed until you reach the blue door, crate is in that area. Hit switch and lots of enemies will spawn. Good spot for the achievement “Rage” if you have a fully loaded mace. Stay in the area with the blue door.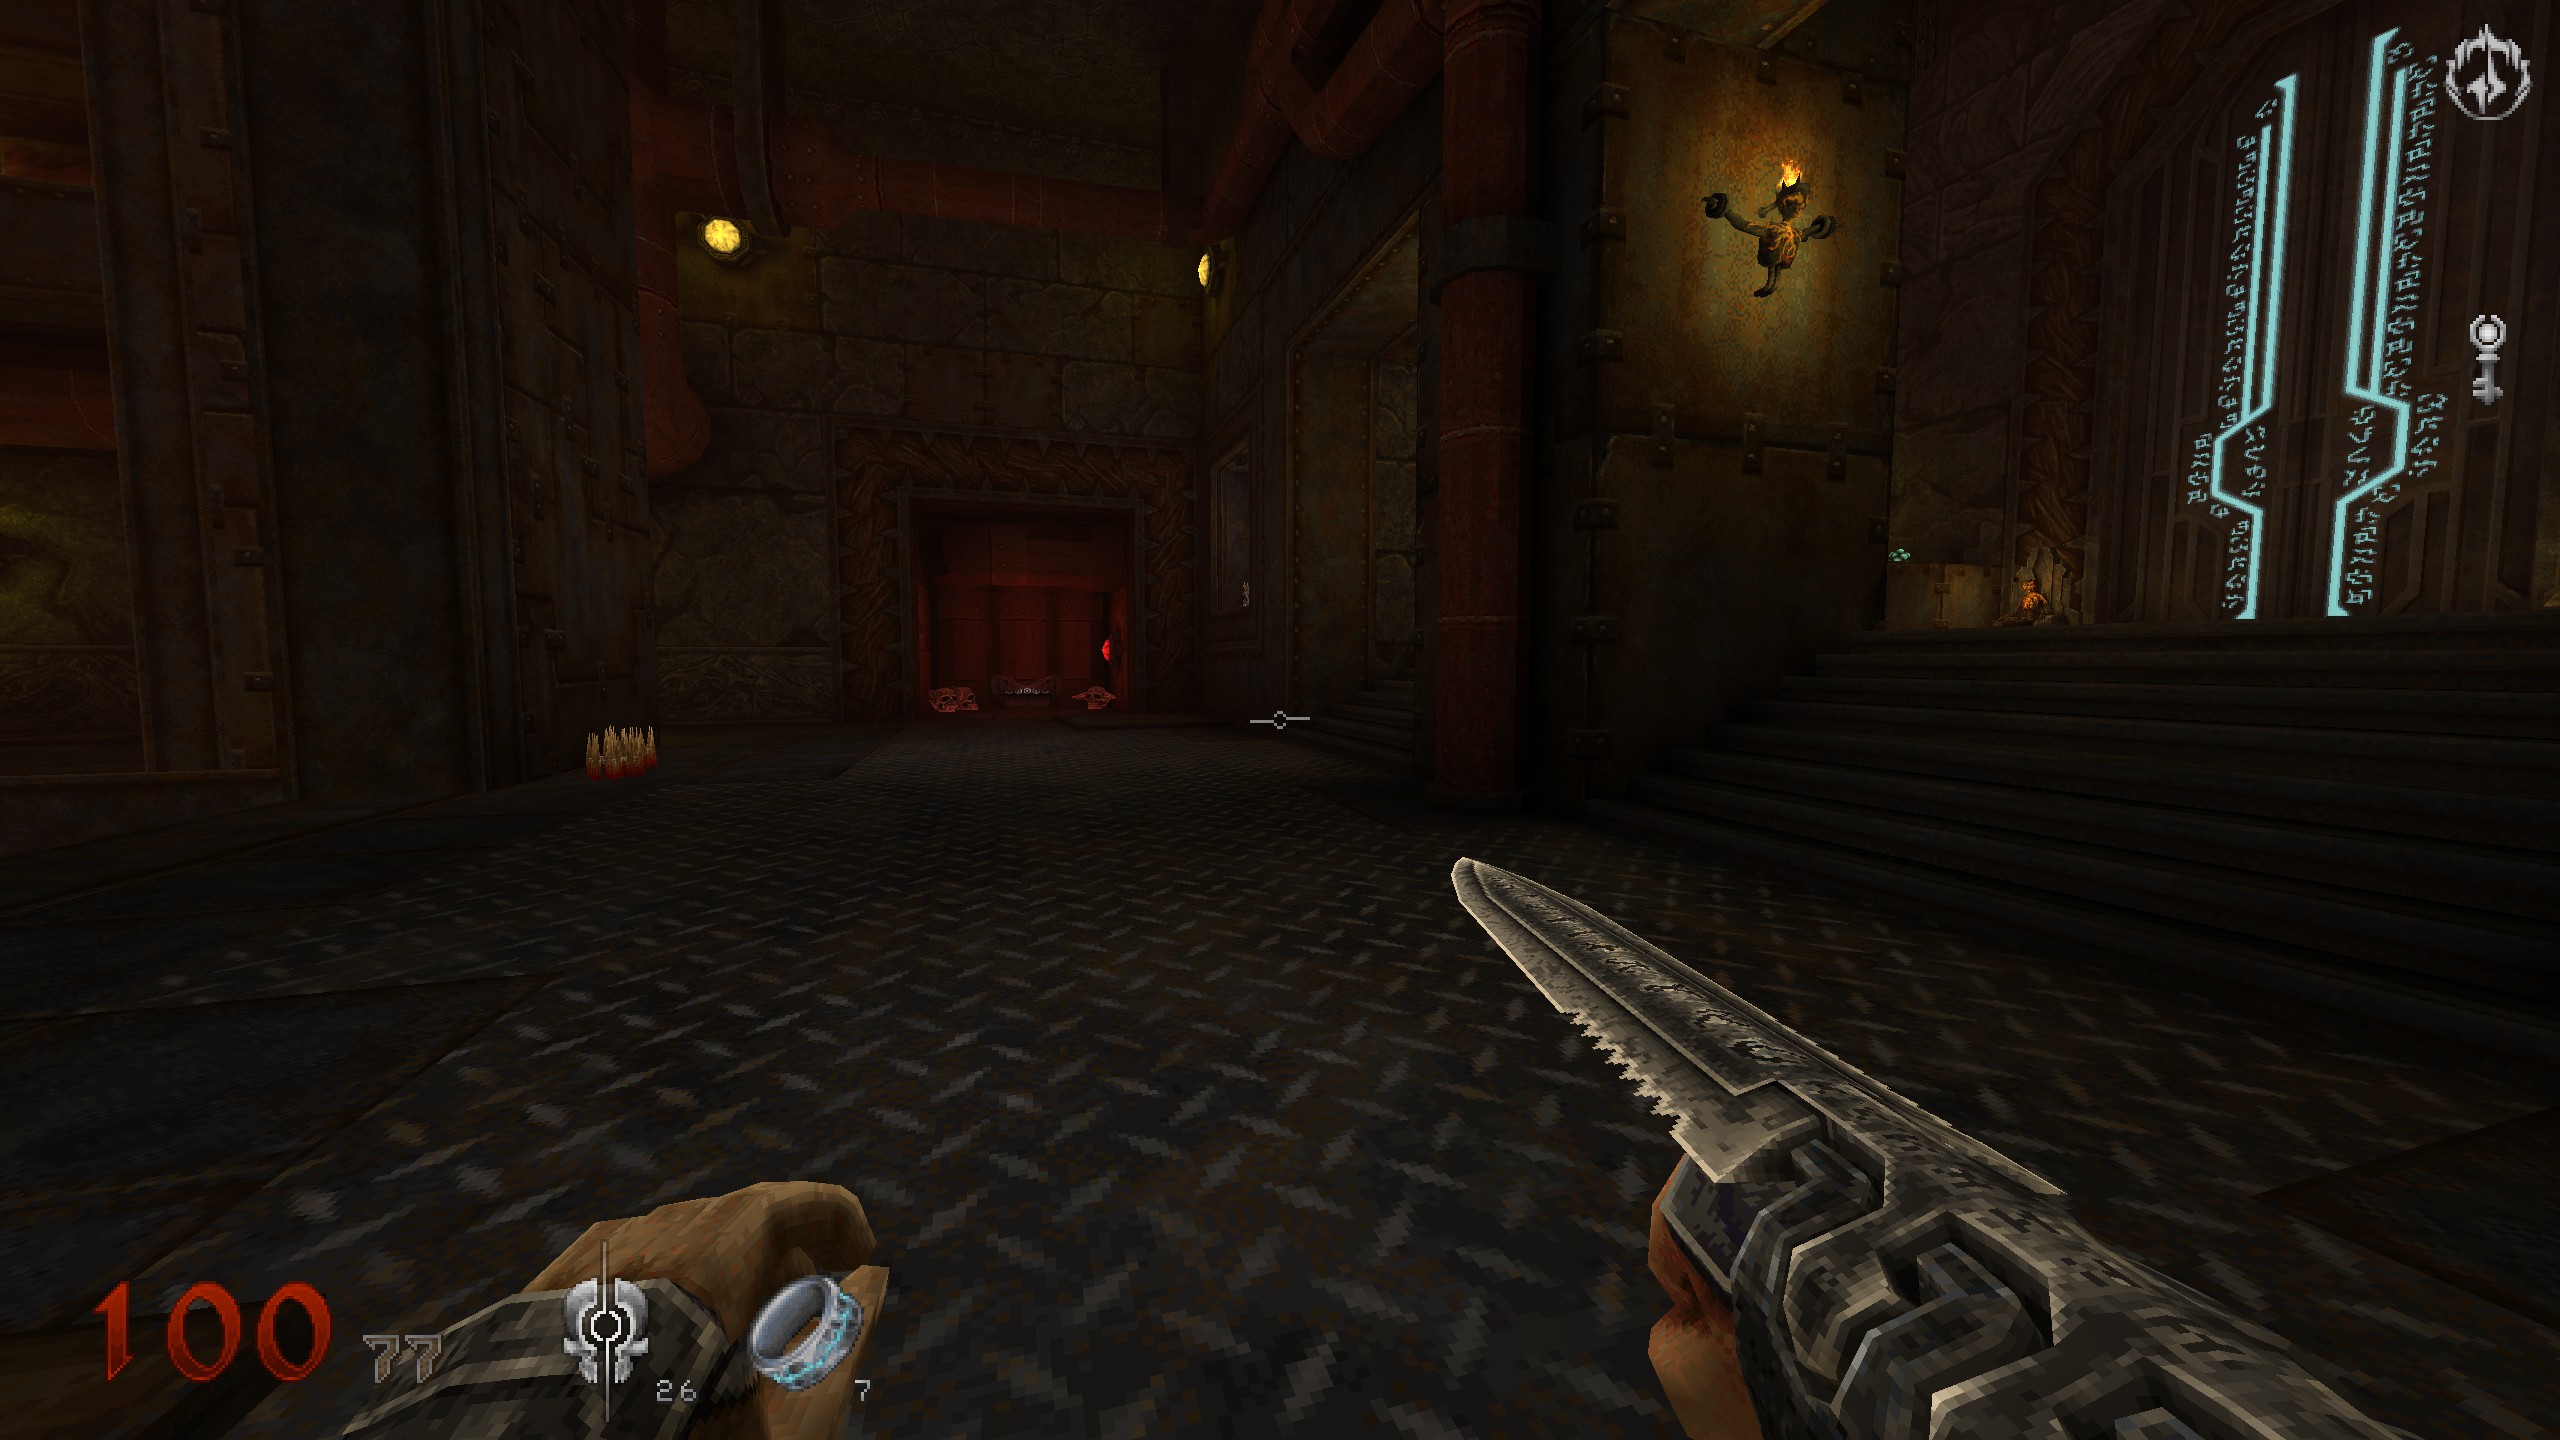
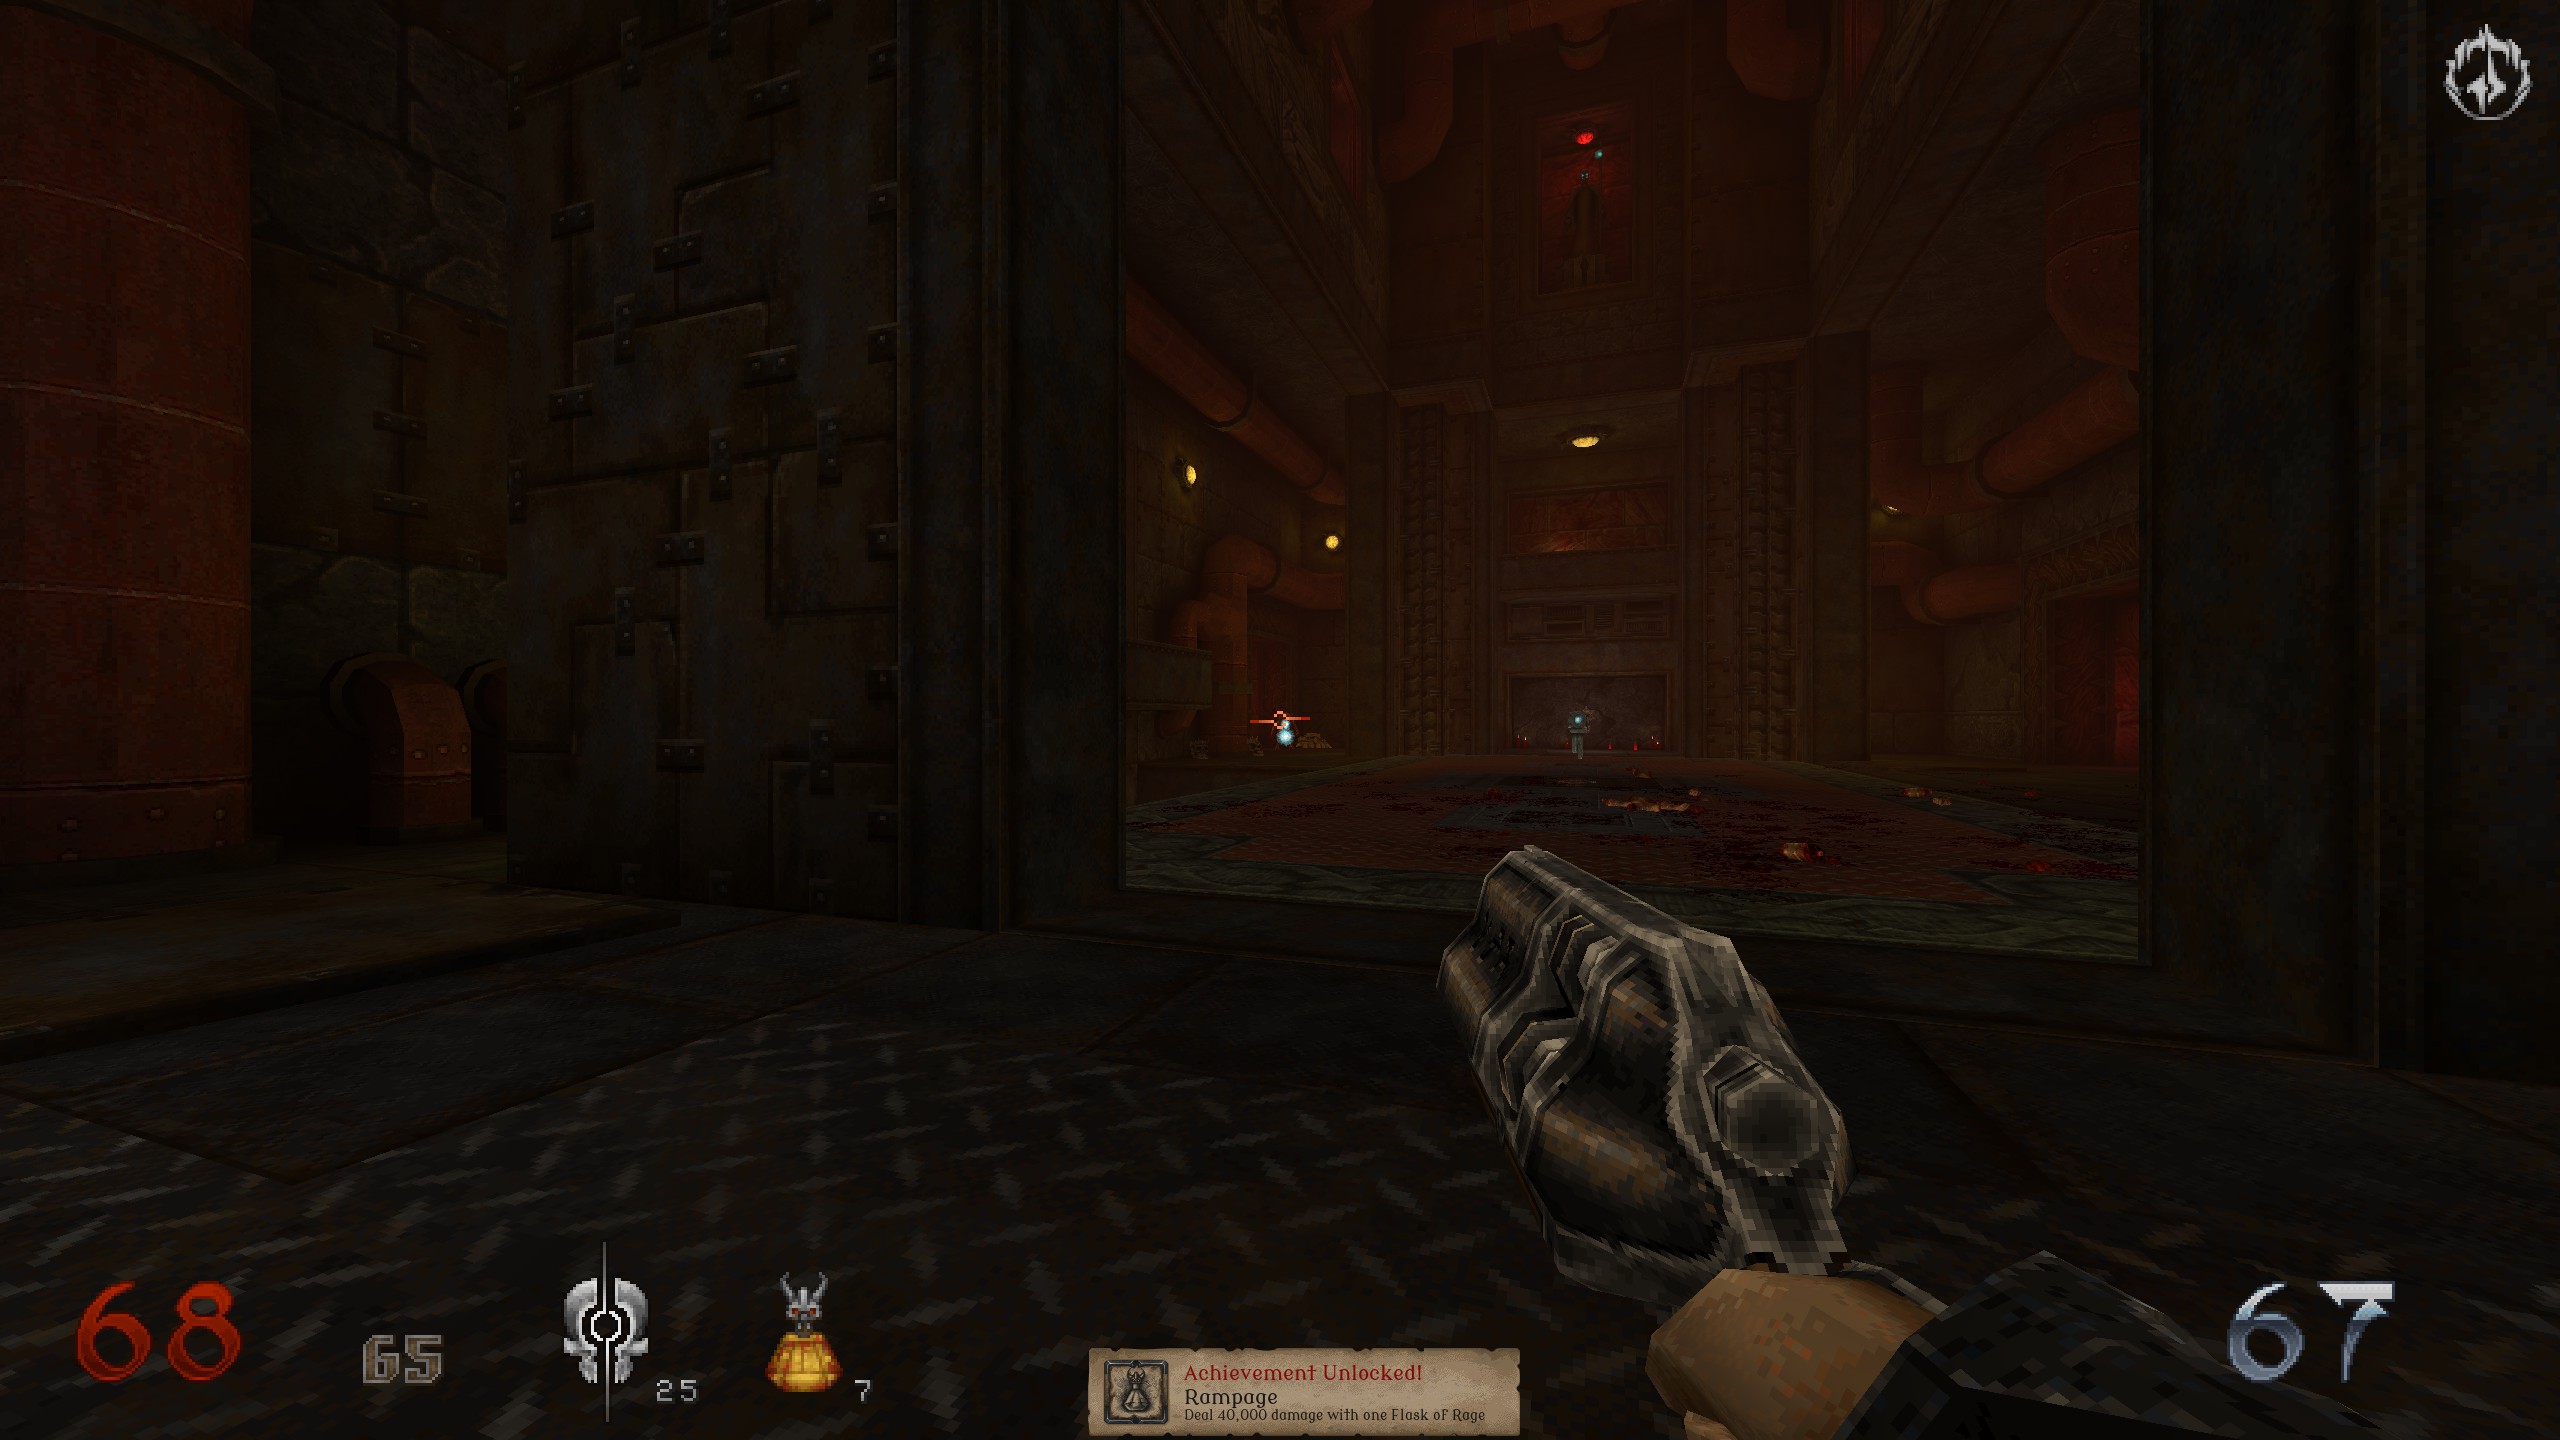
S8
Using pipes, get up and all the way around the room to an item. Still dont go through the blue door. Head to shelter left to blue door.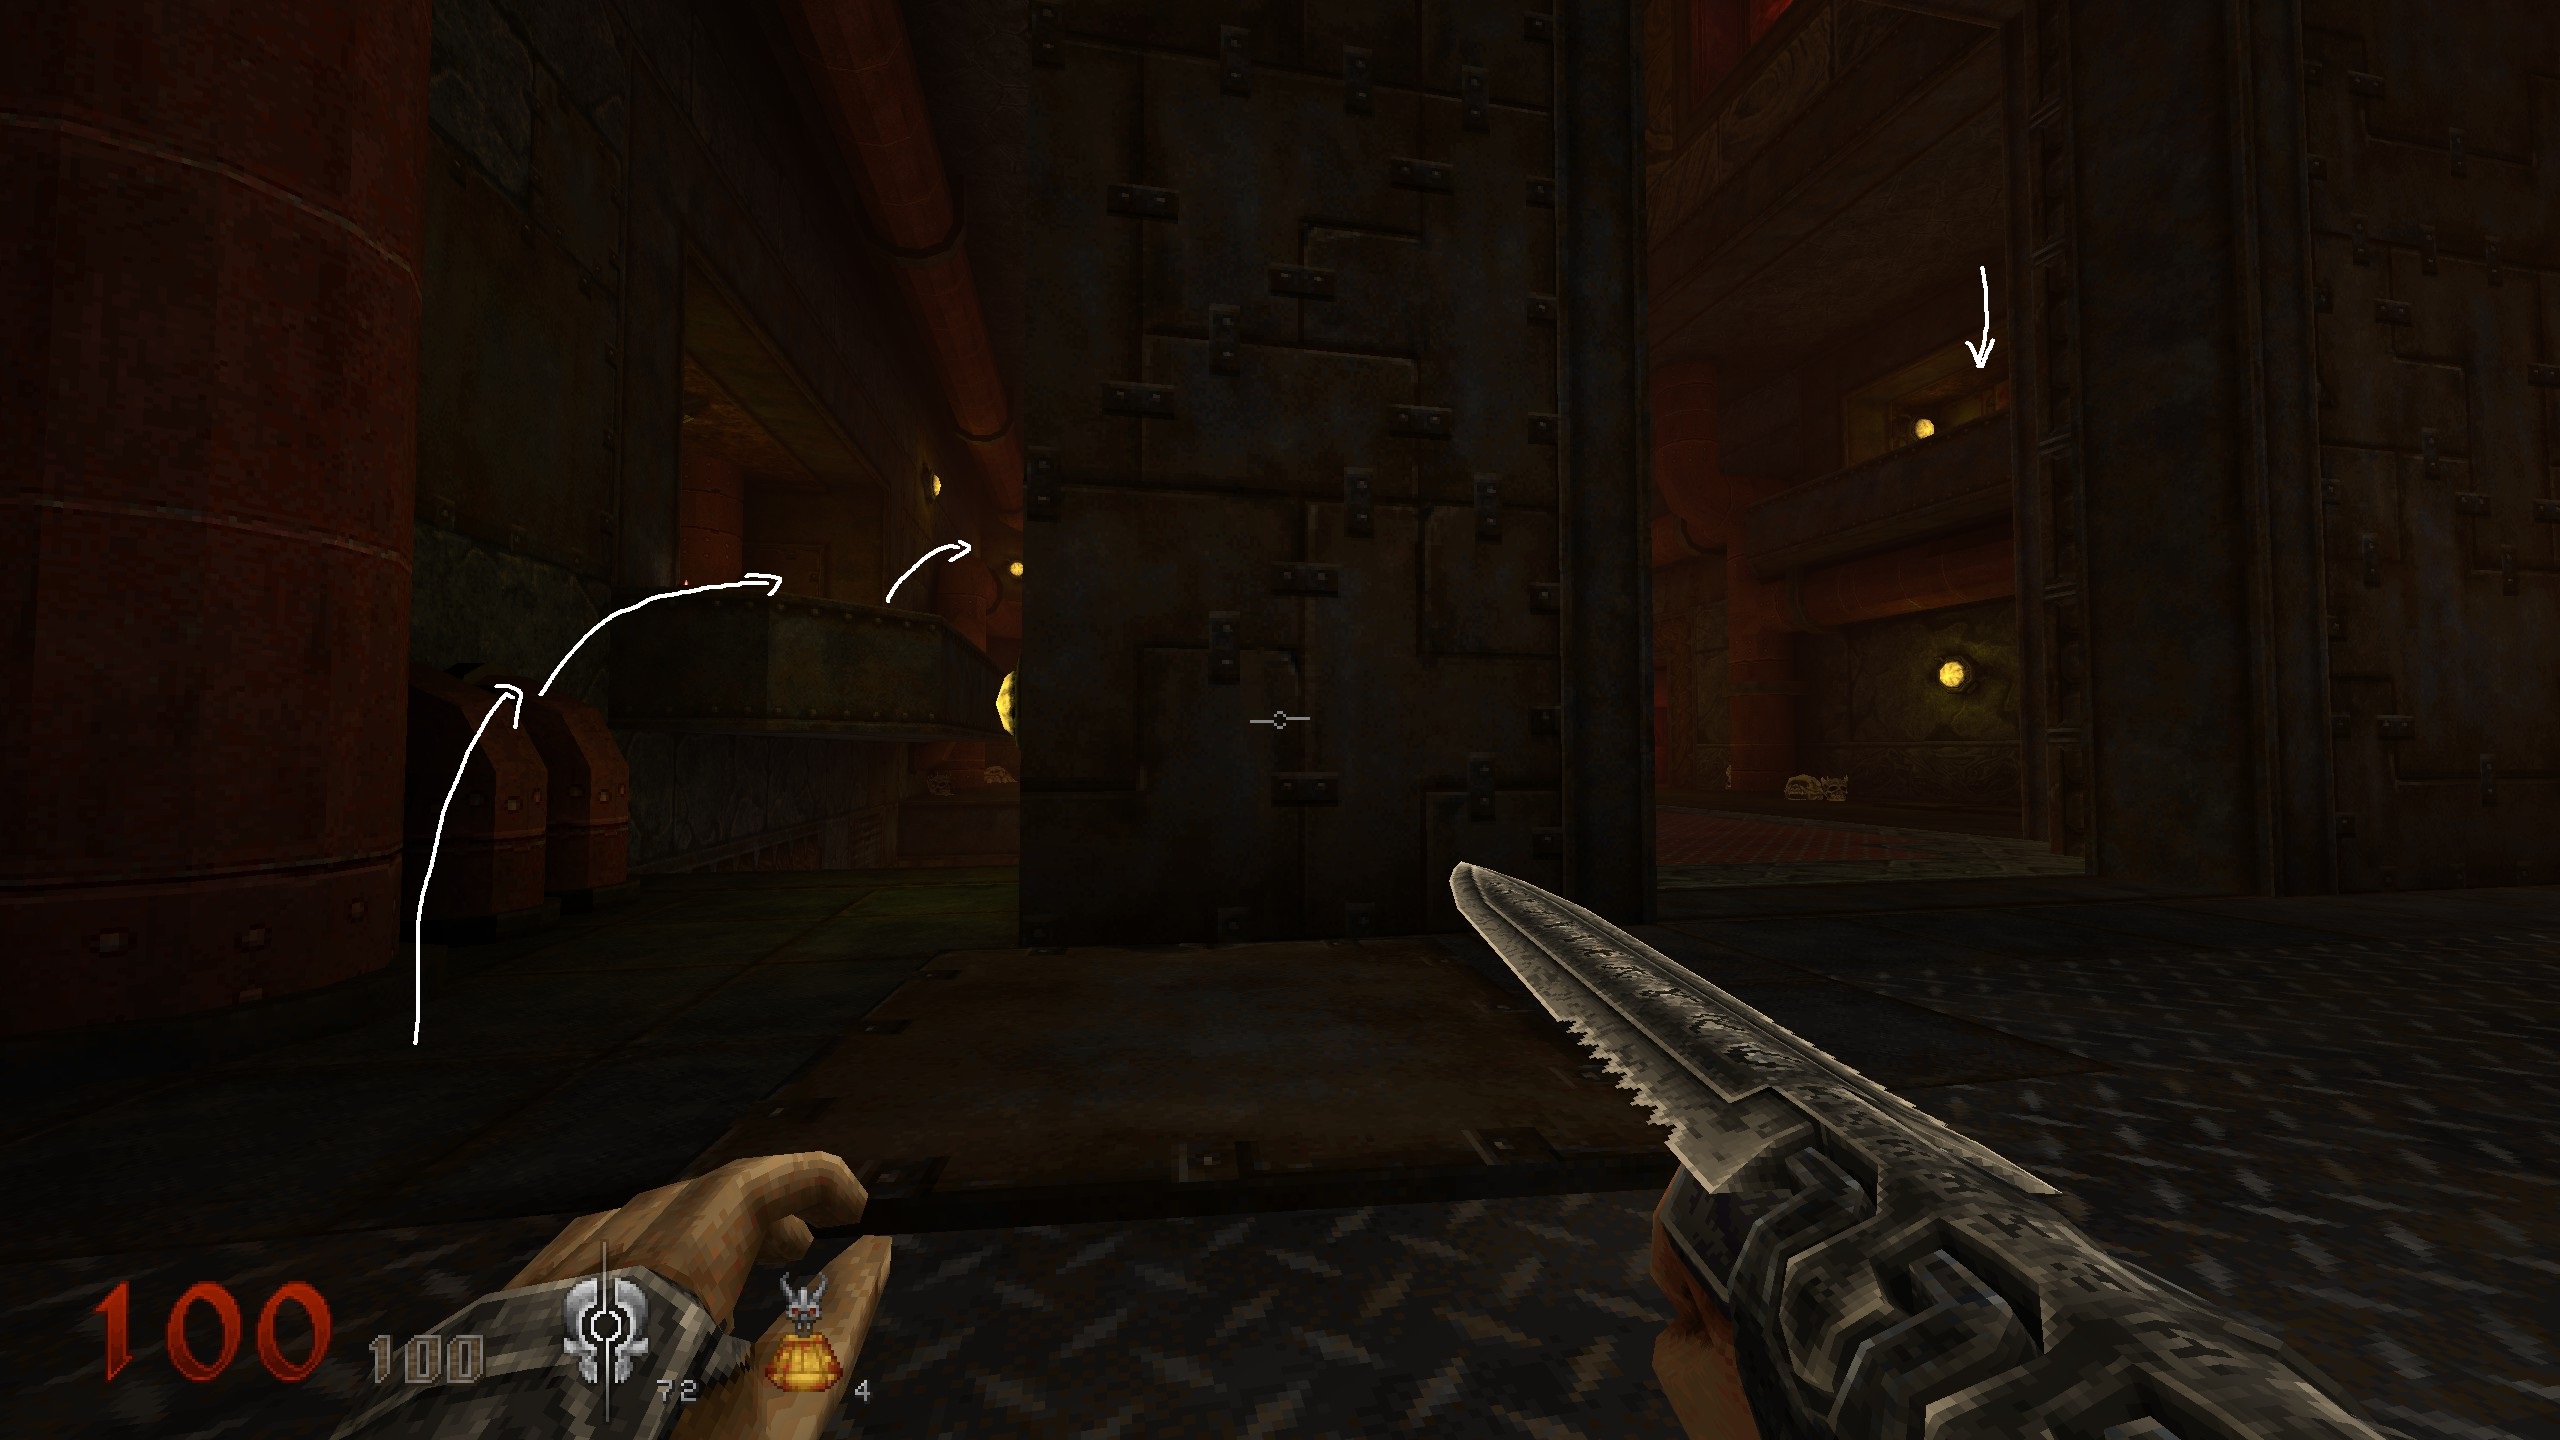
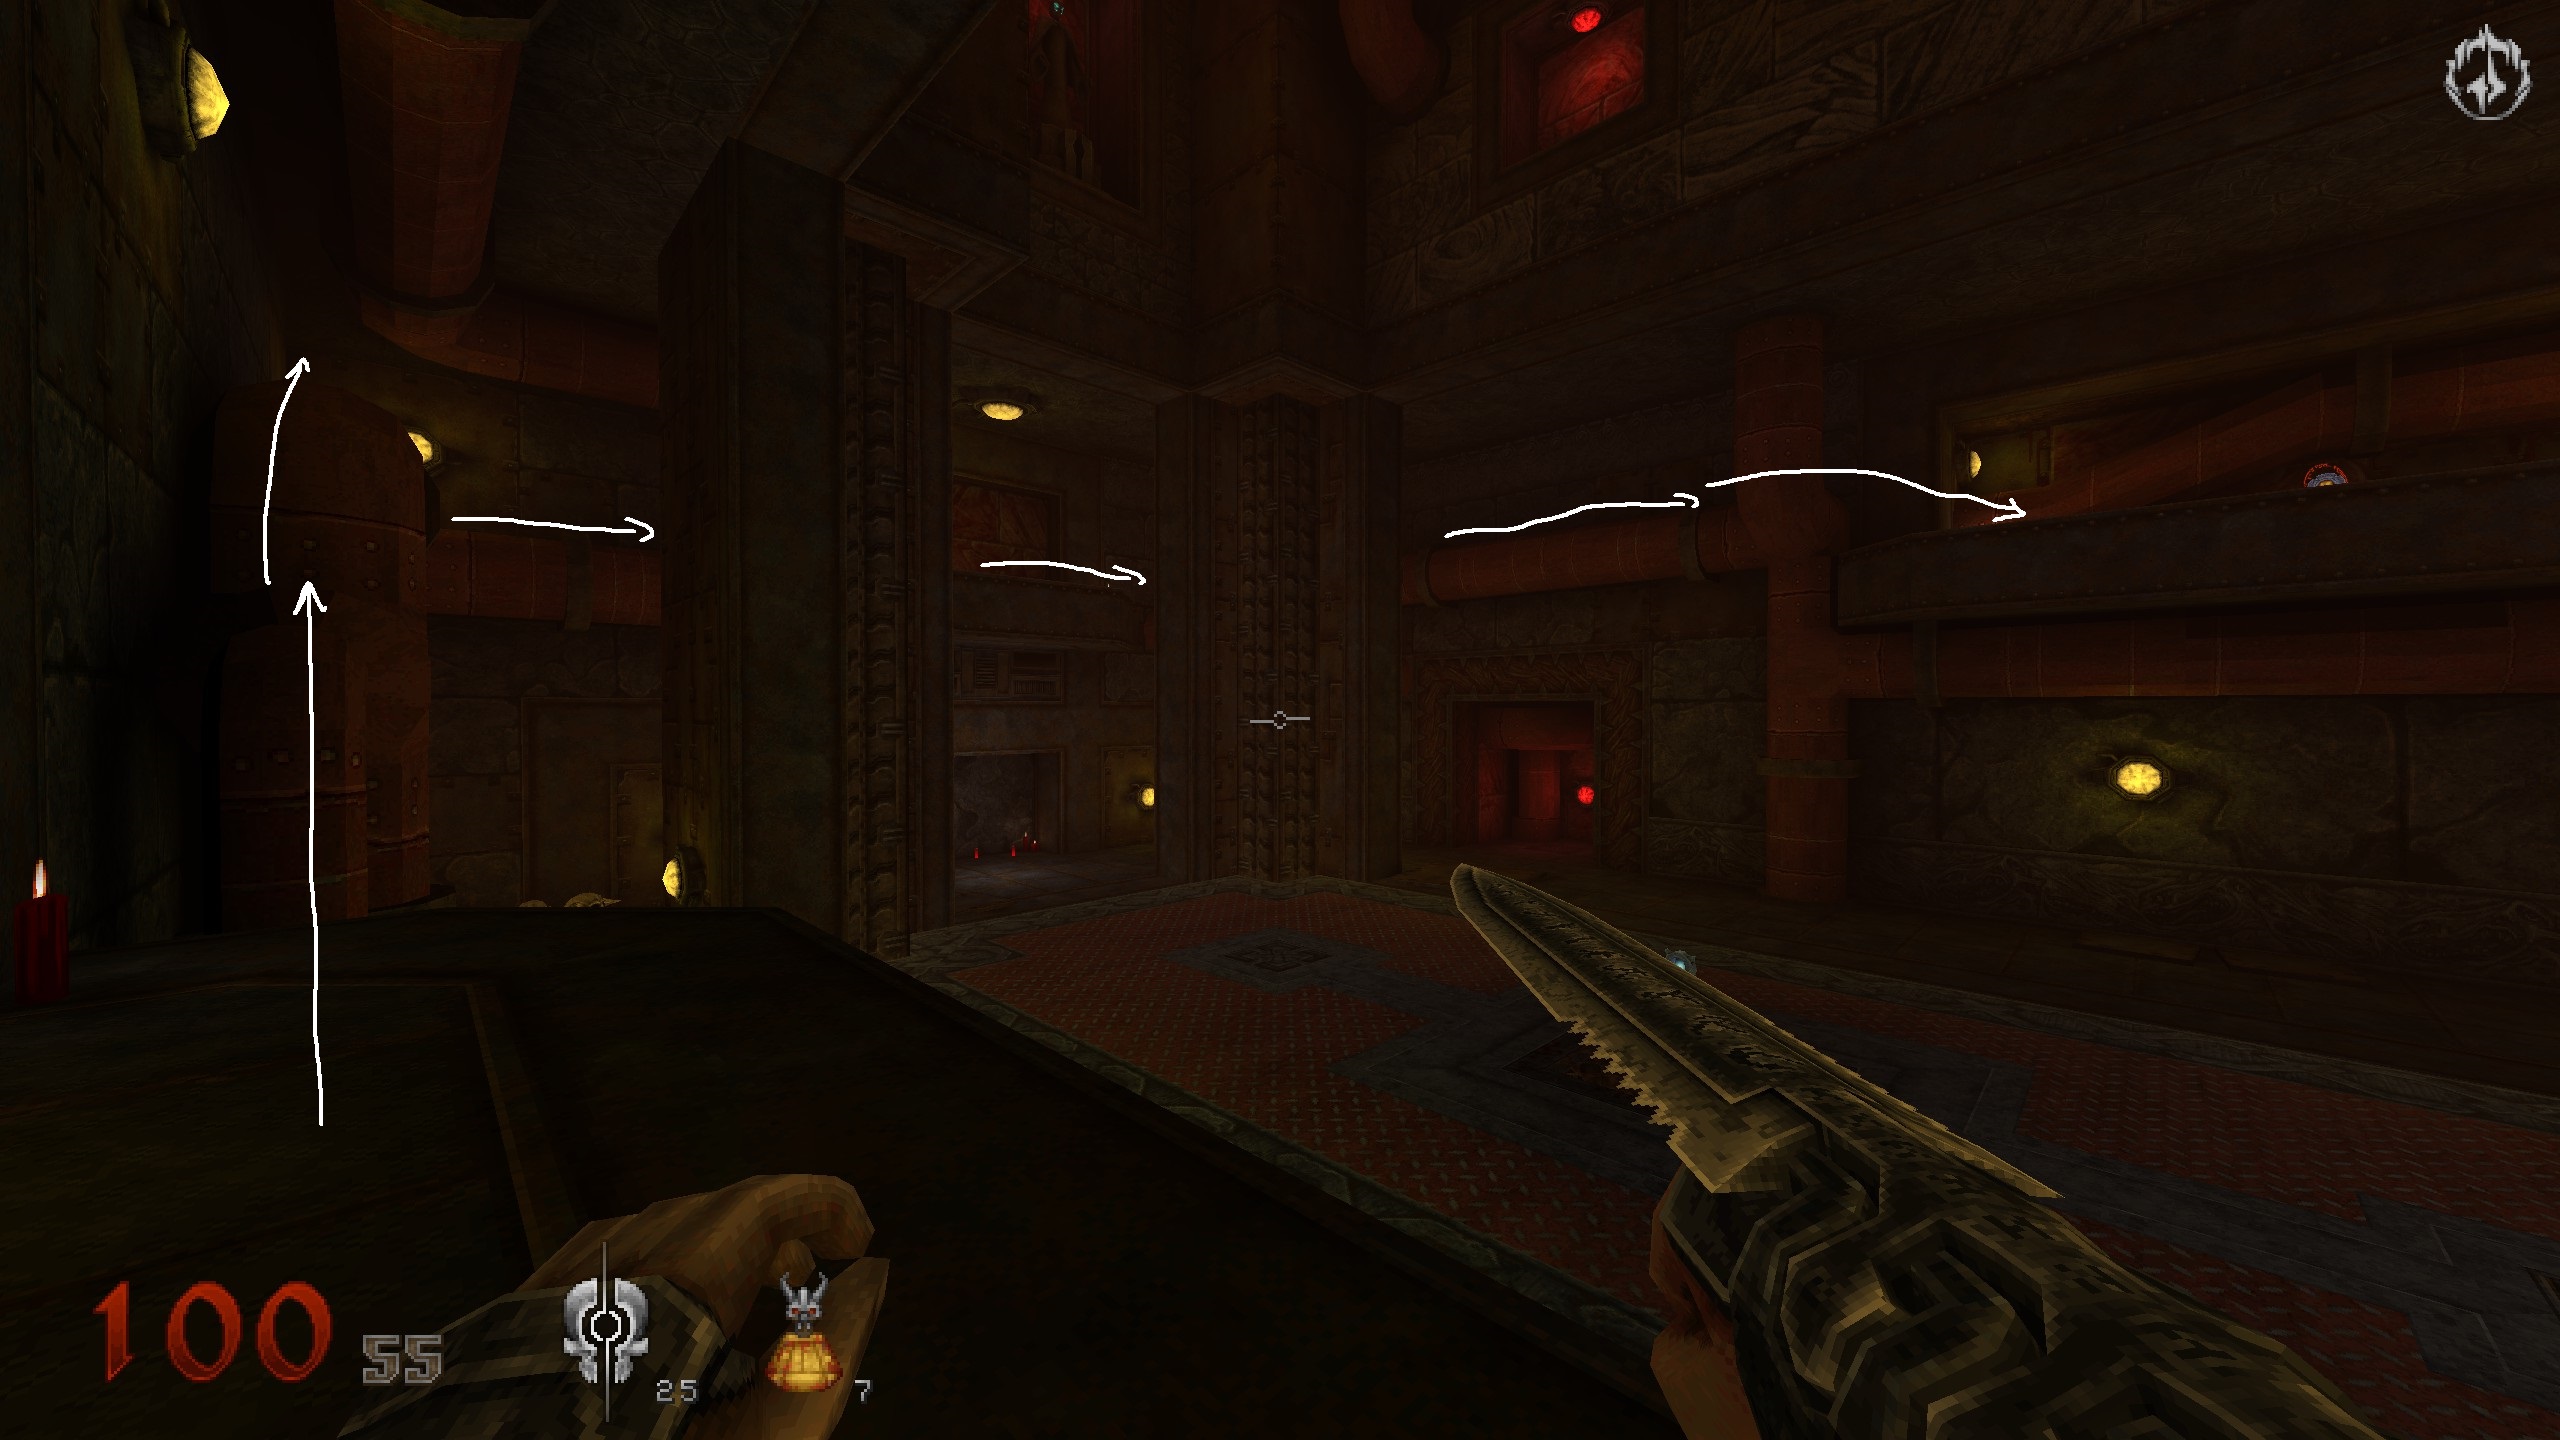
S9
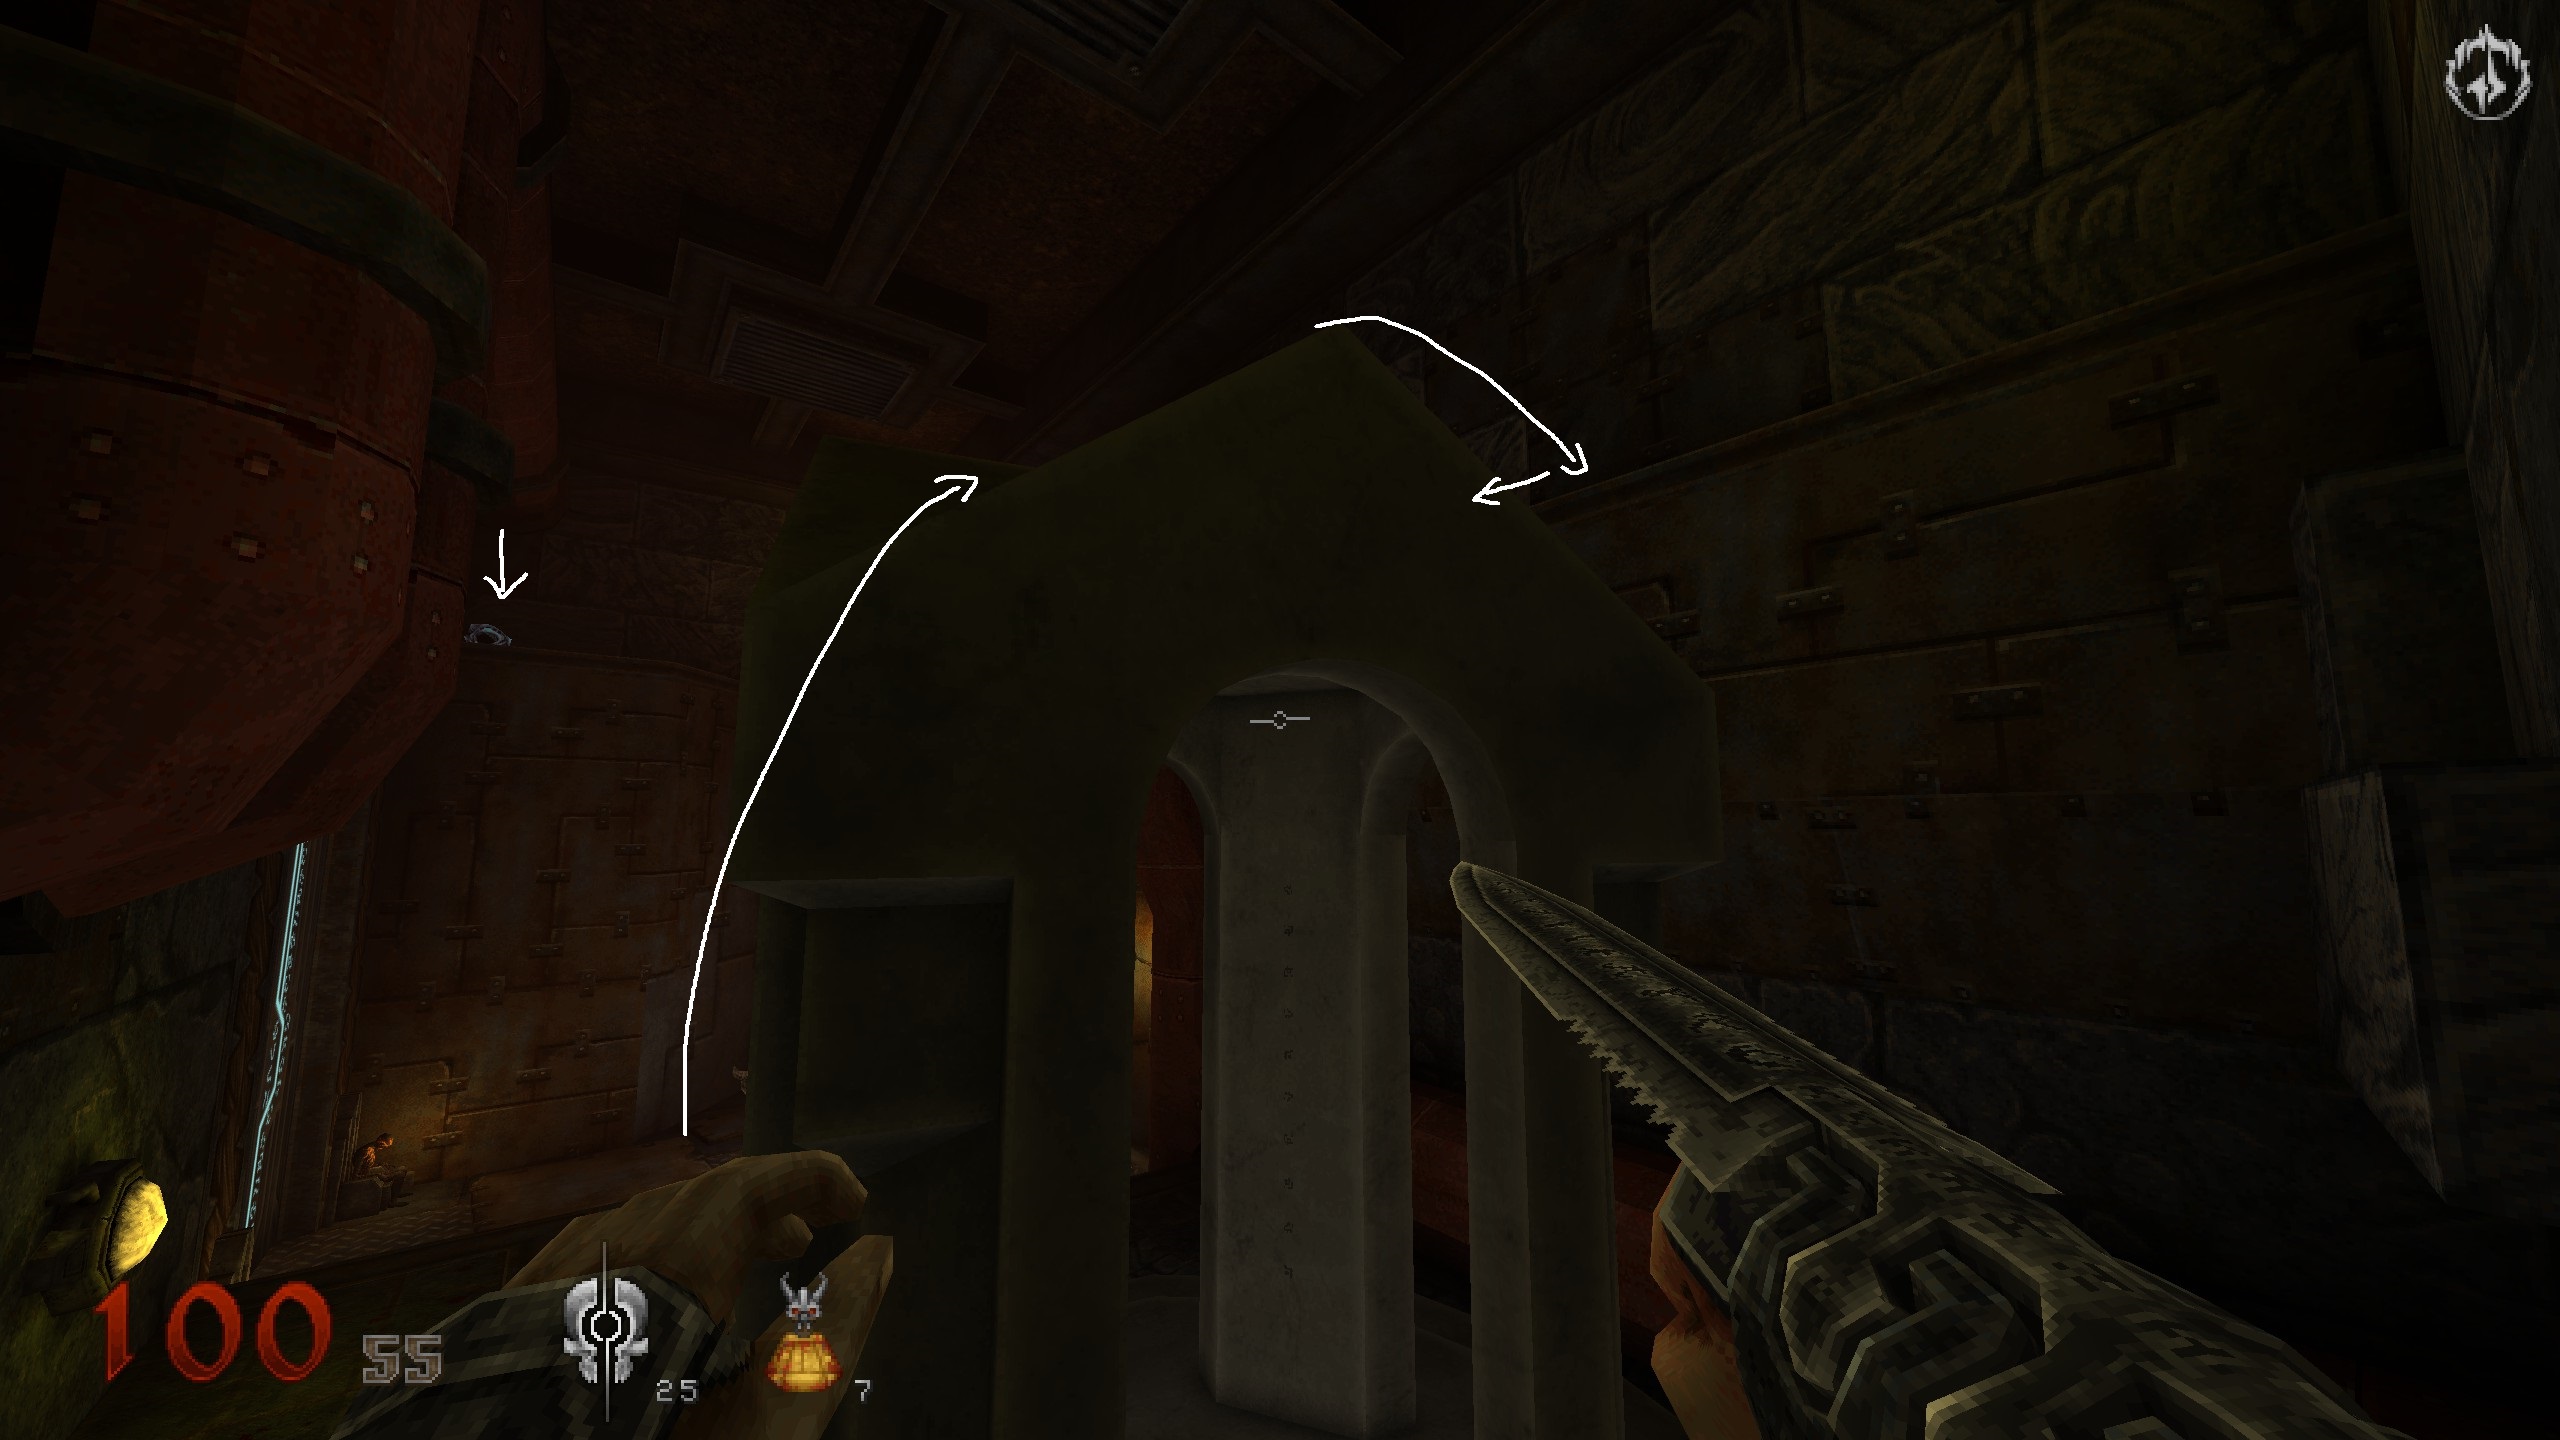
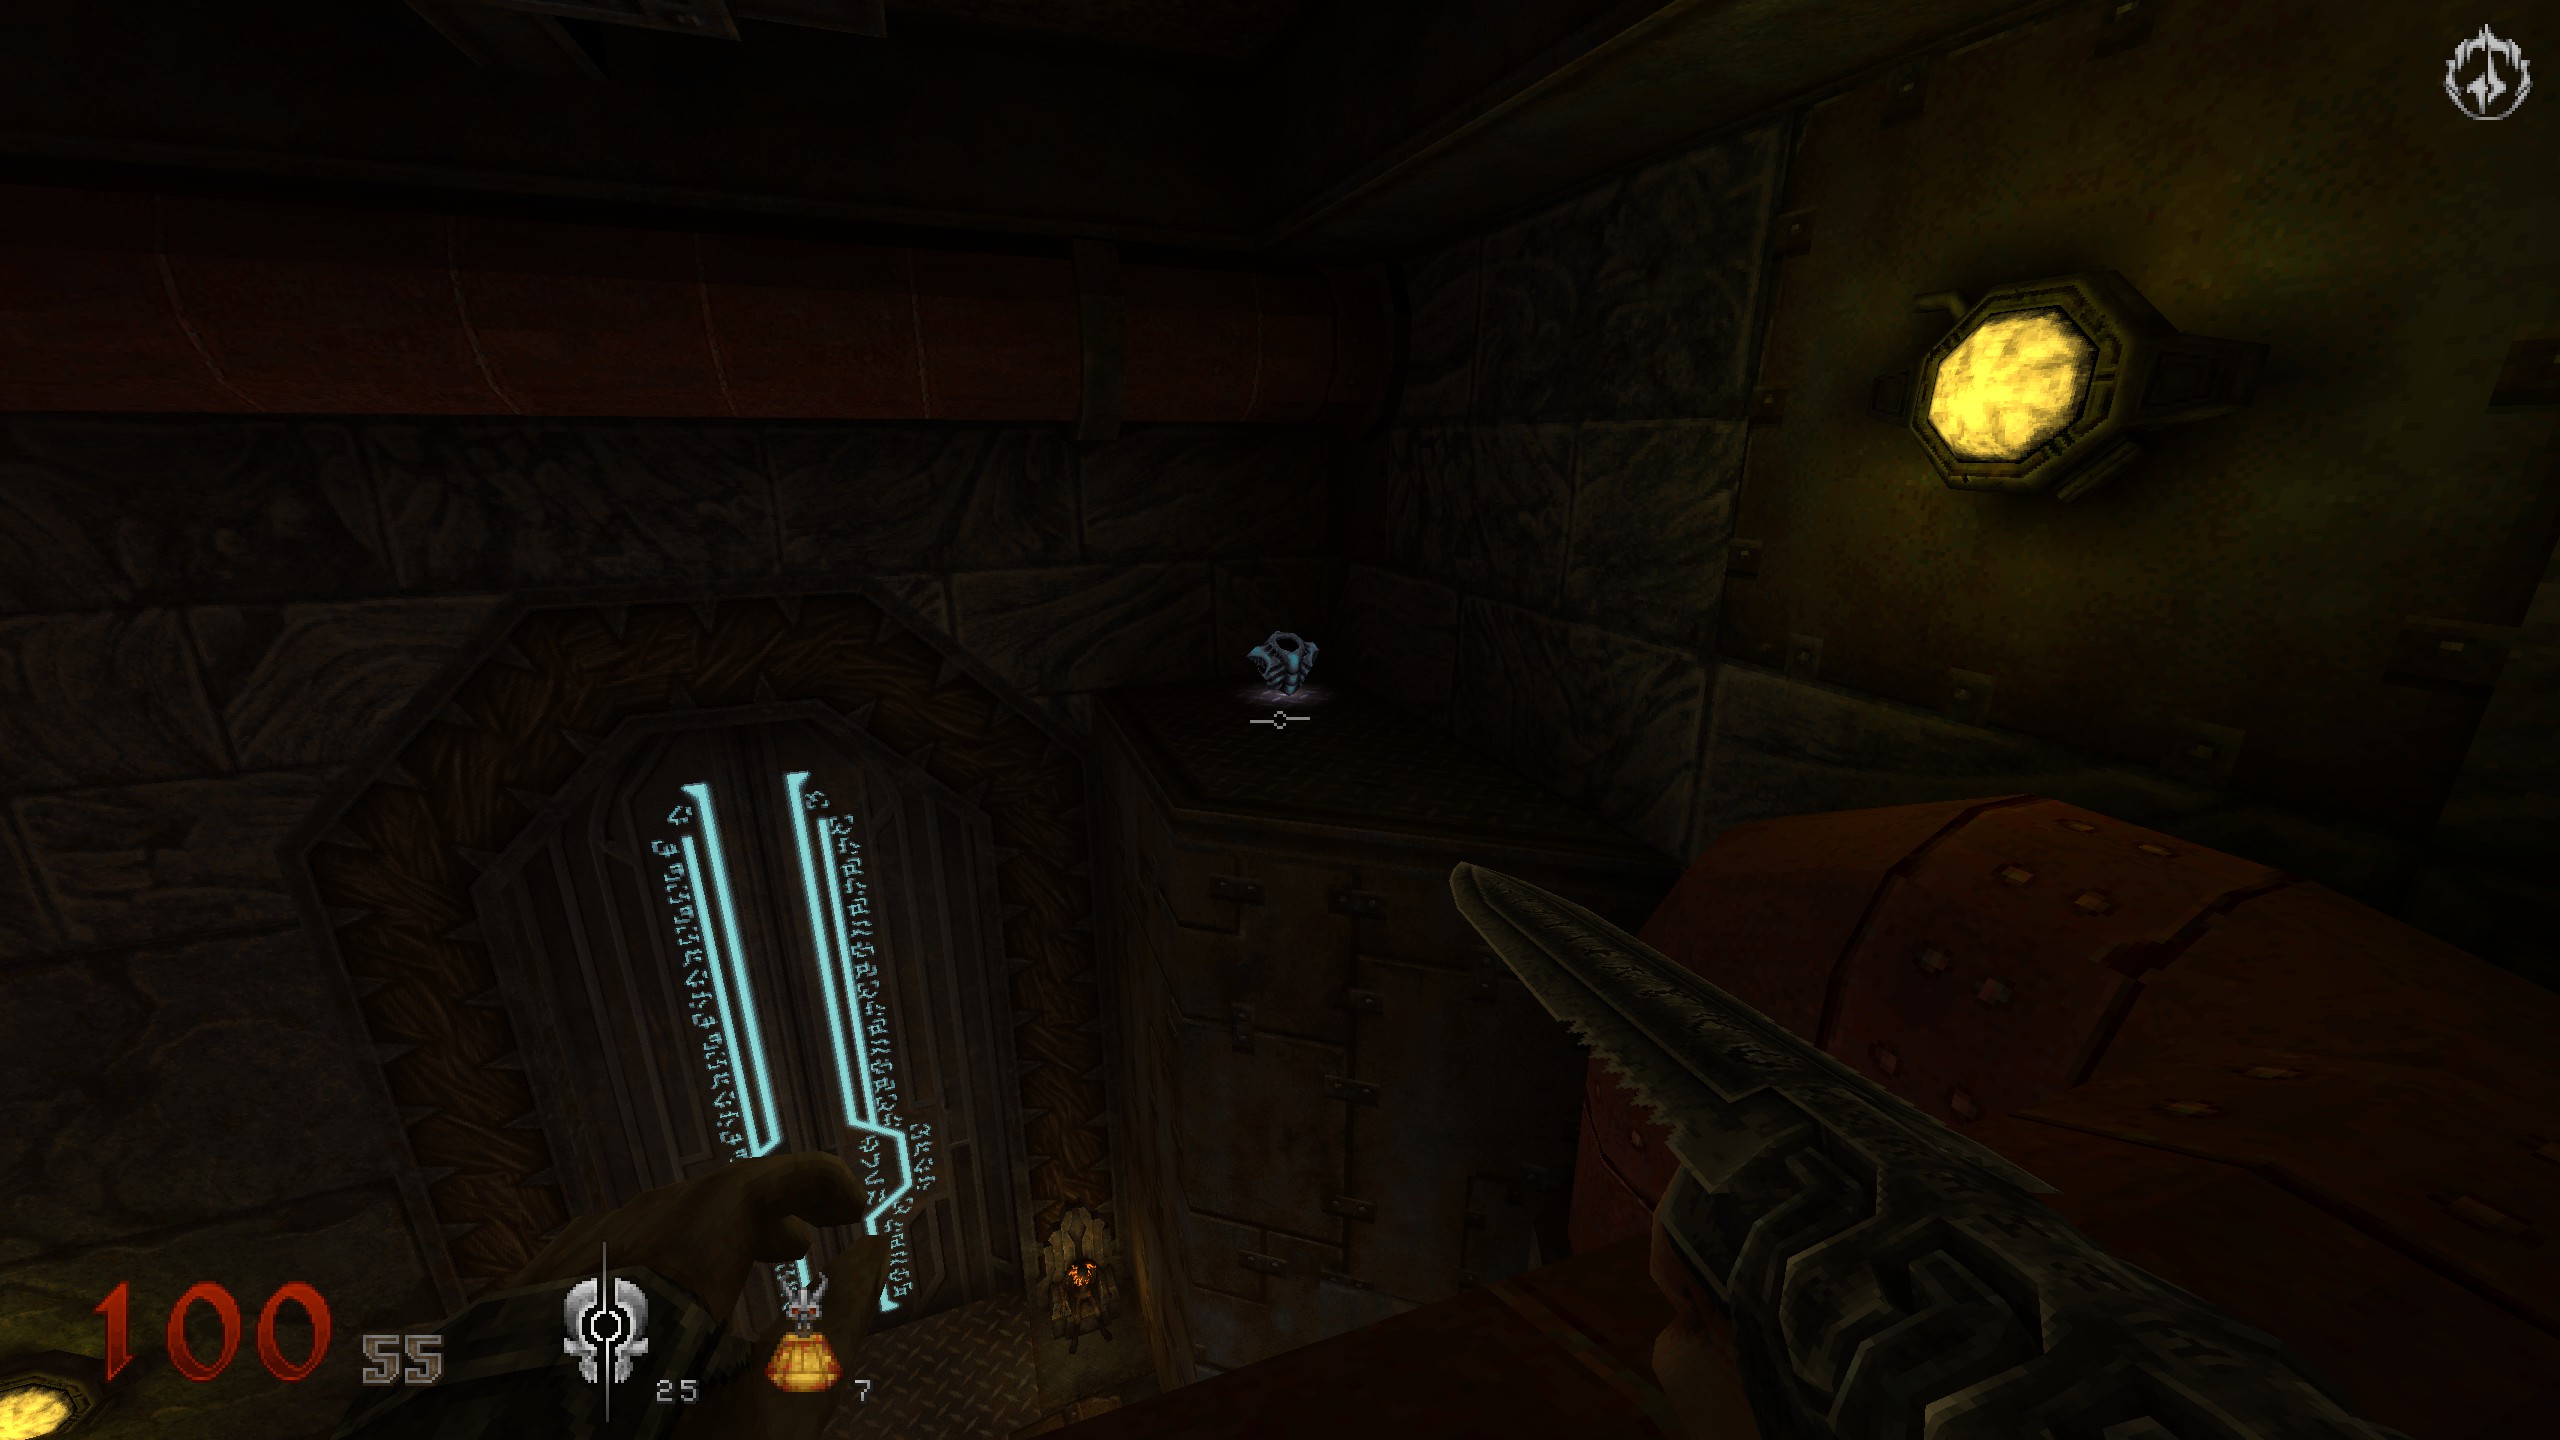
At the shrine, use the stones, top of shelter and a pipe to get up and to a black armor. Now proceed through the blue door.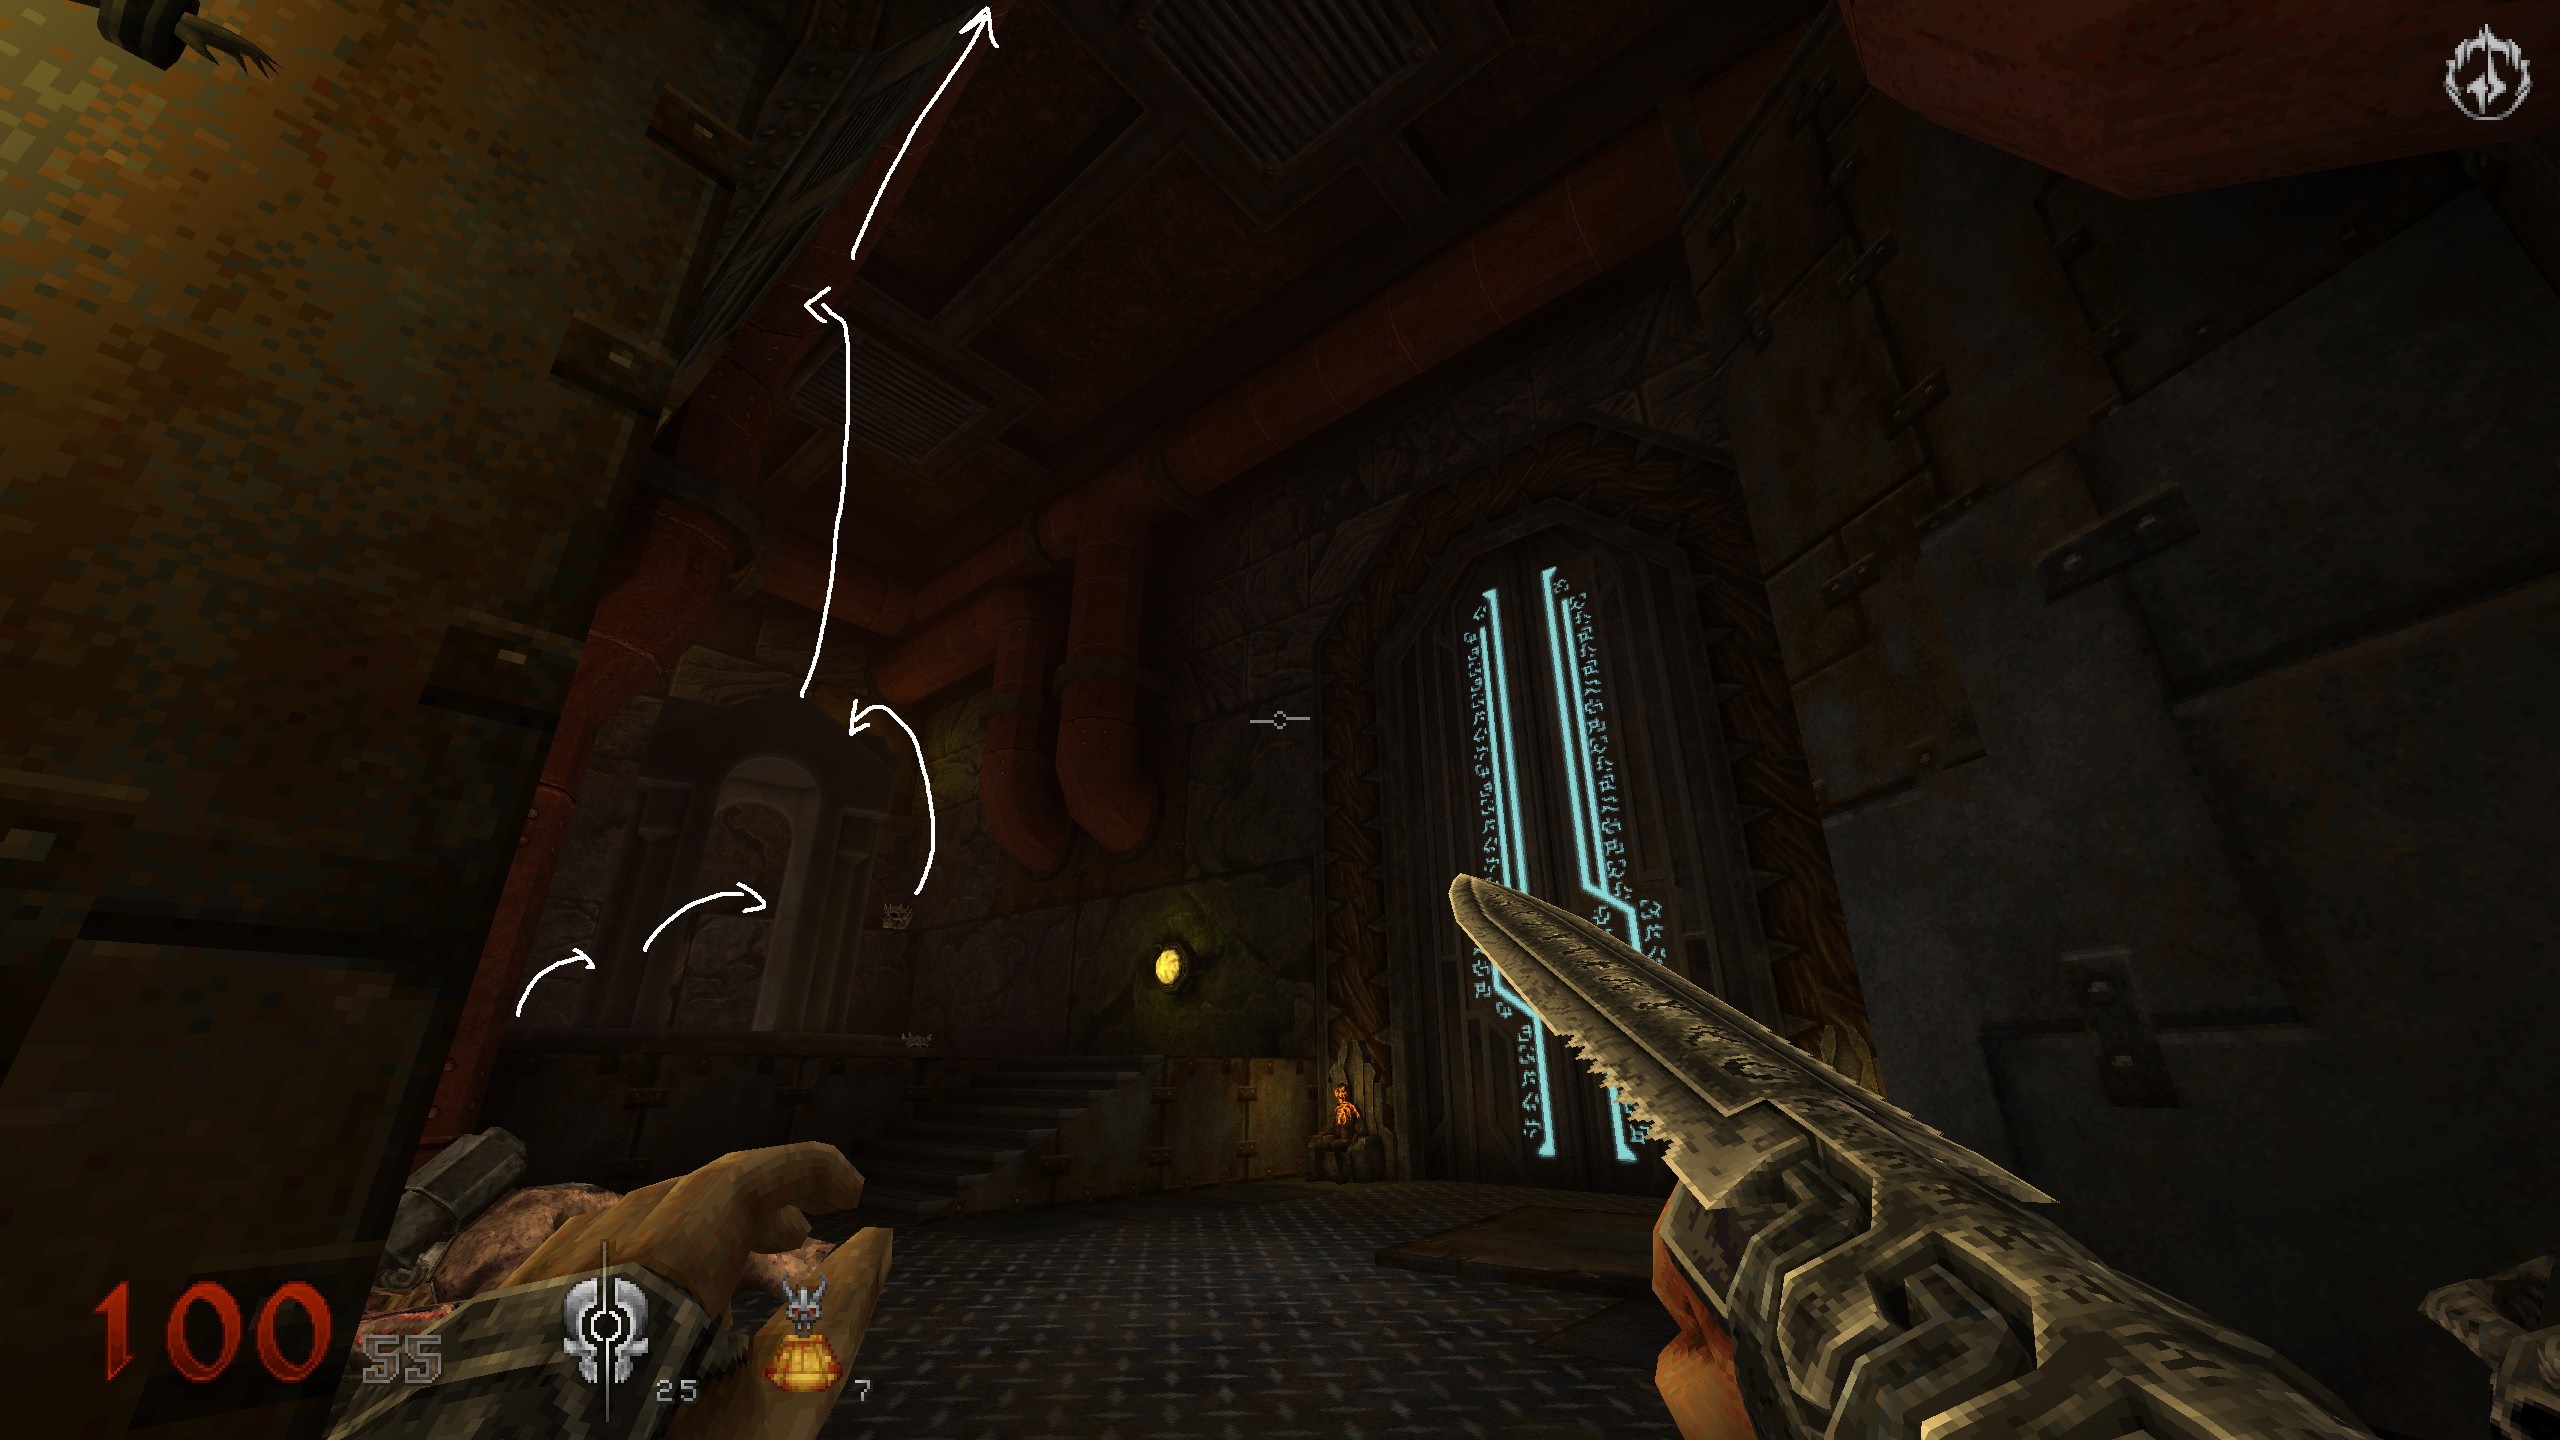
Scroll
You just entered a huge room which as the yellow key in it. Right above where you entered is the scroll. Head all around the room and use the stone pillars to jump to the scrole. Now head down and use the switch.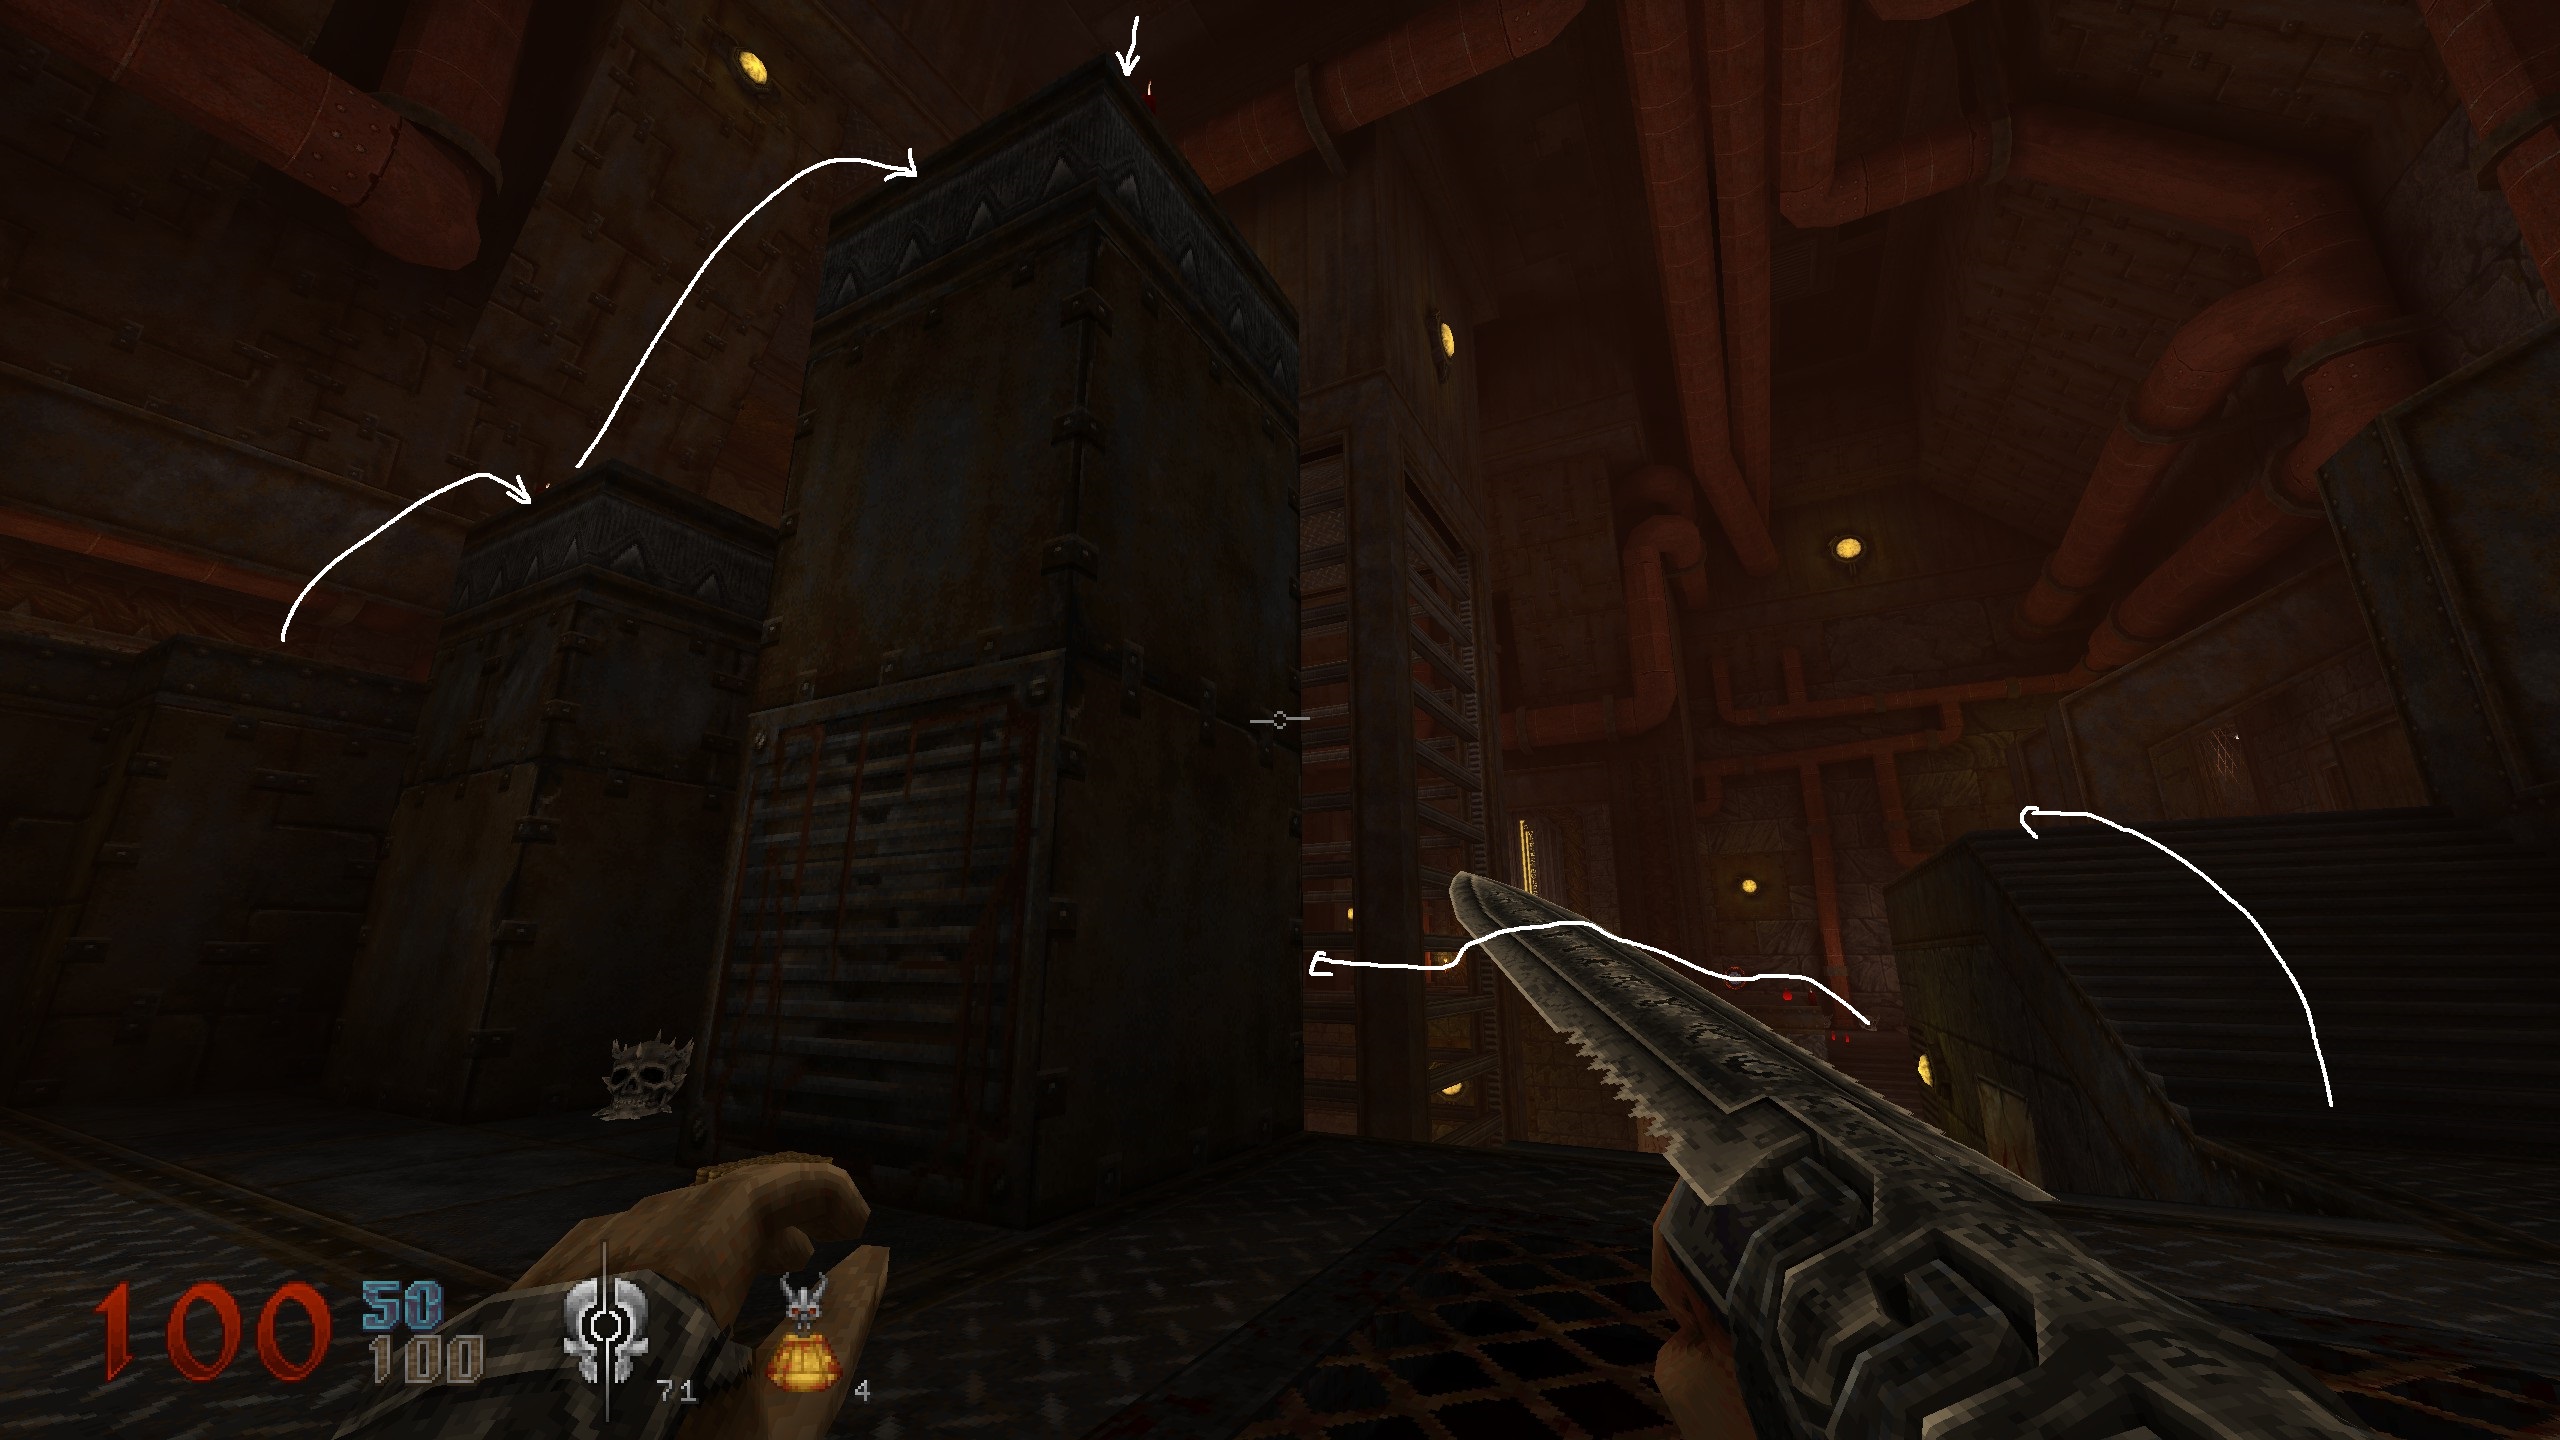
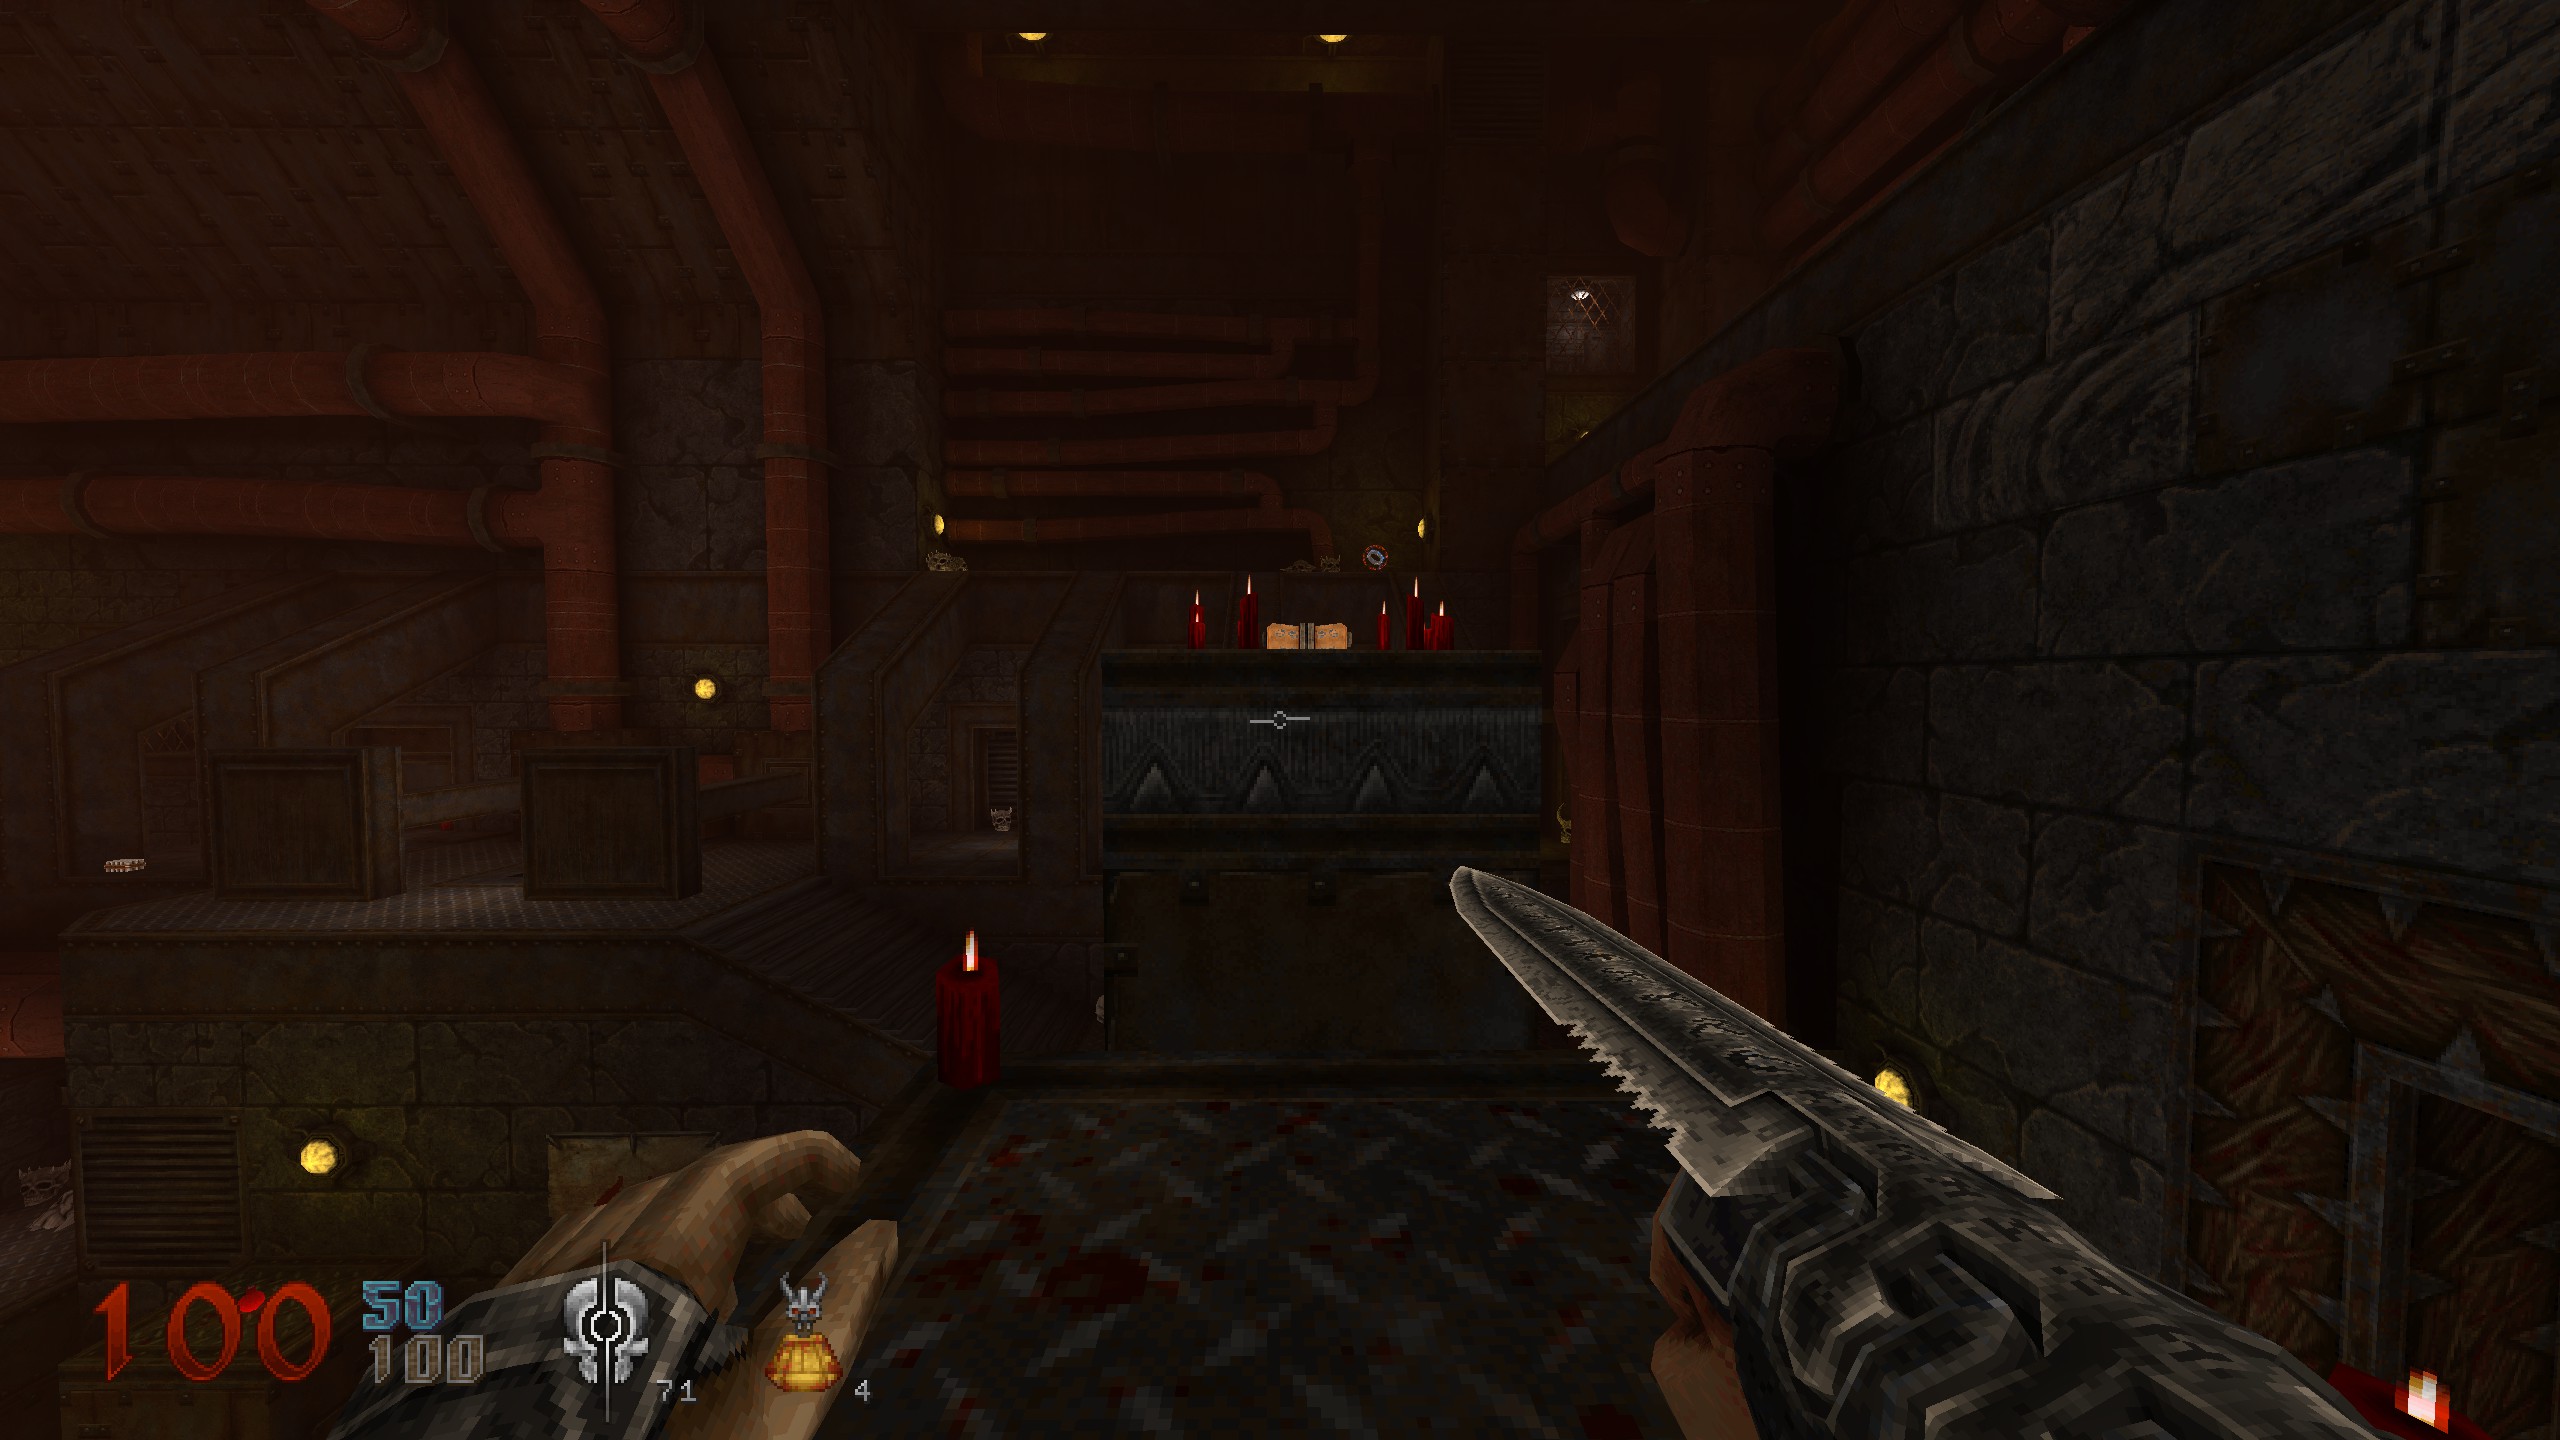
S10
You used the switch, the yellow key moves up. Leave the aera and come across a vertical crushers. Get on top of crusher when it is on the ground and ride up for a secret. Get down and move on.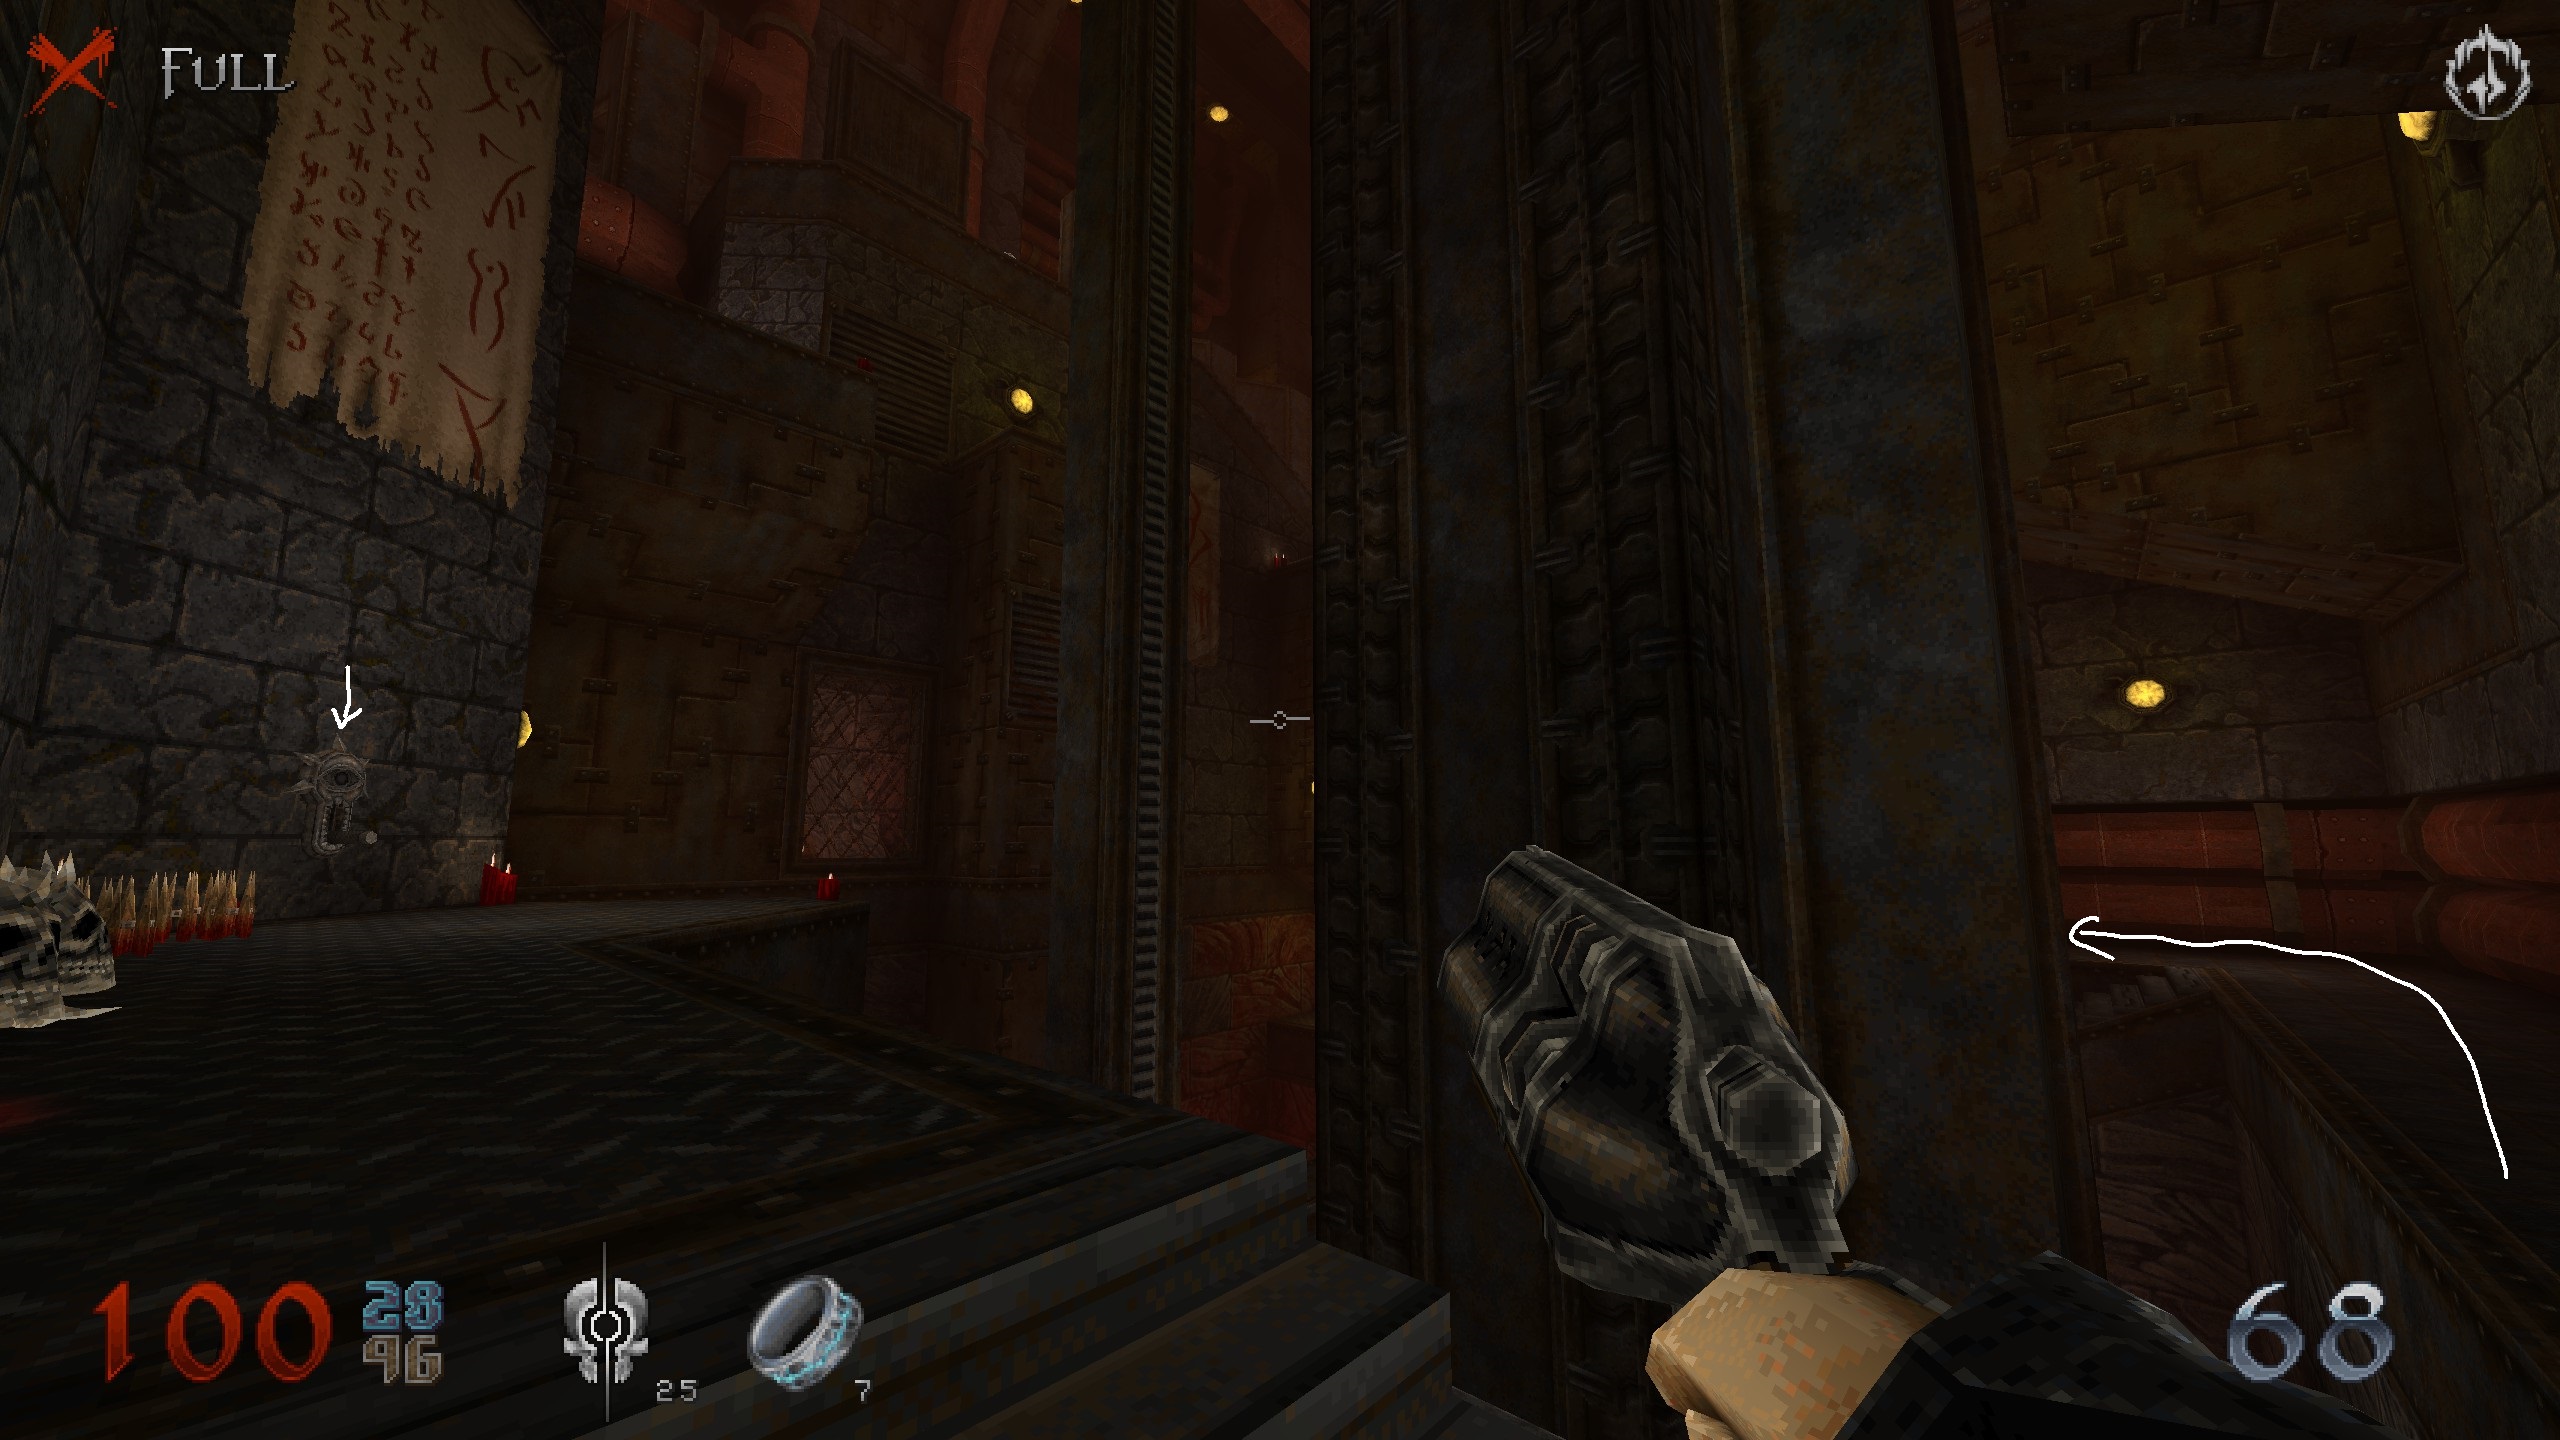
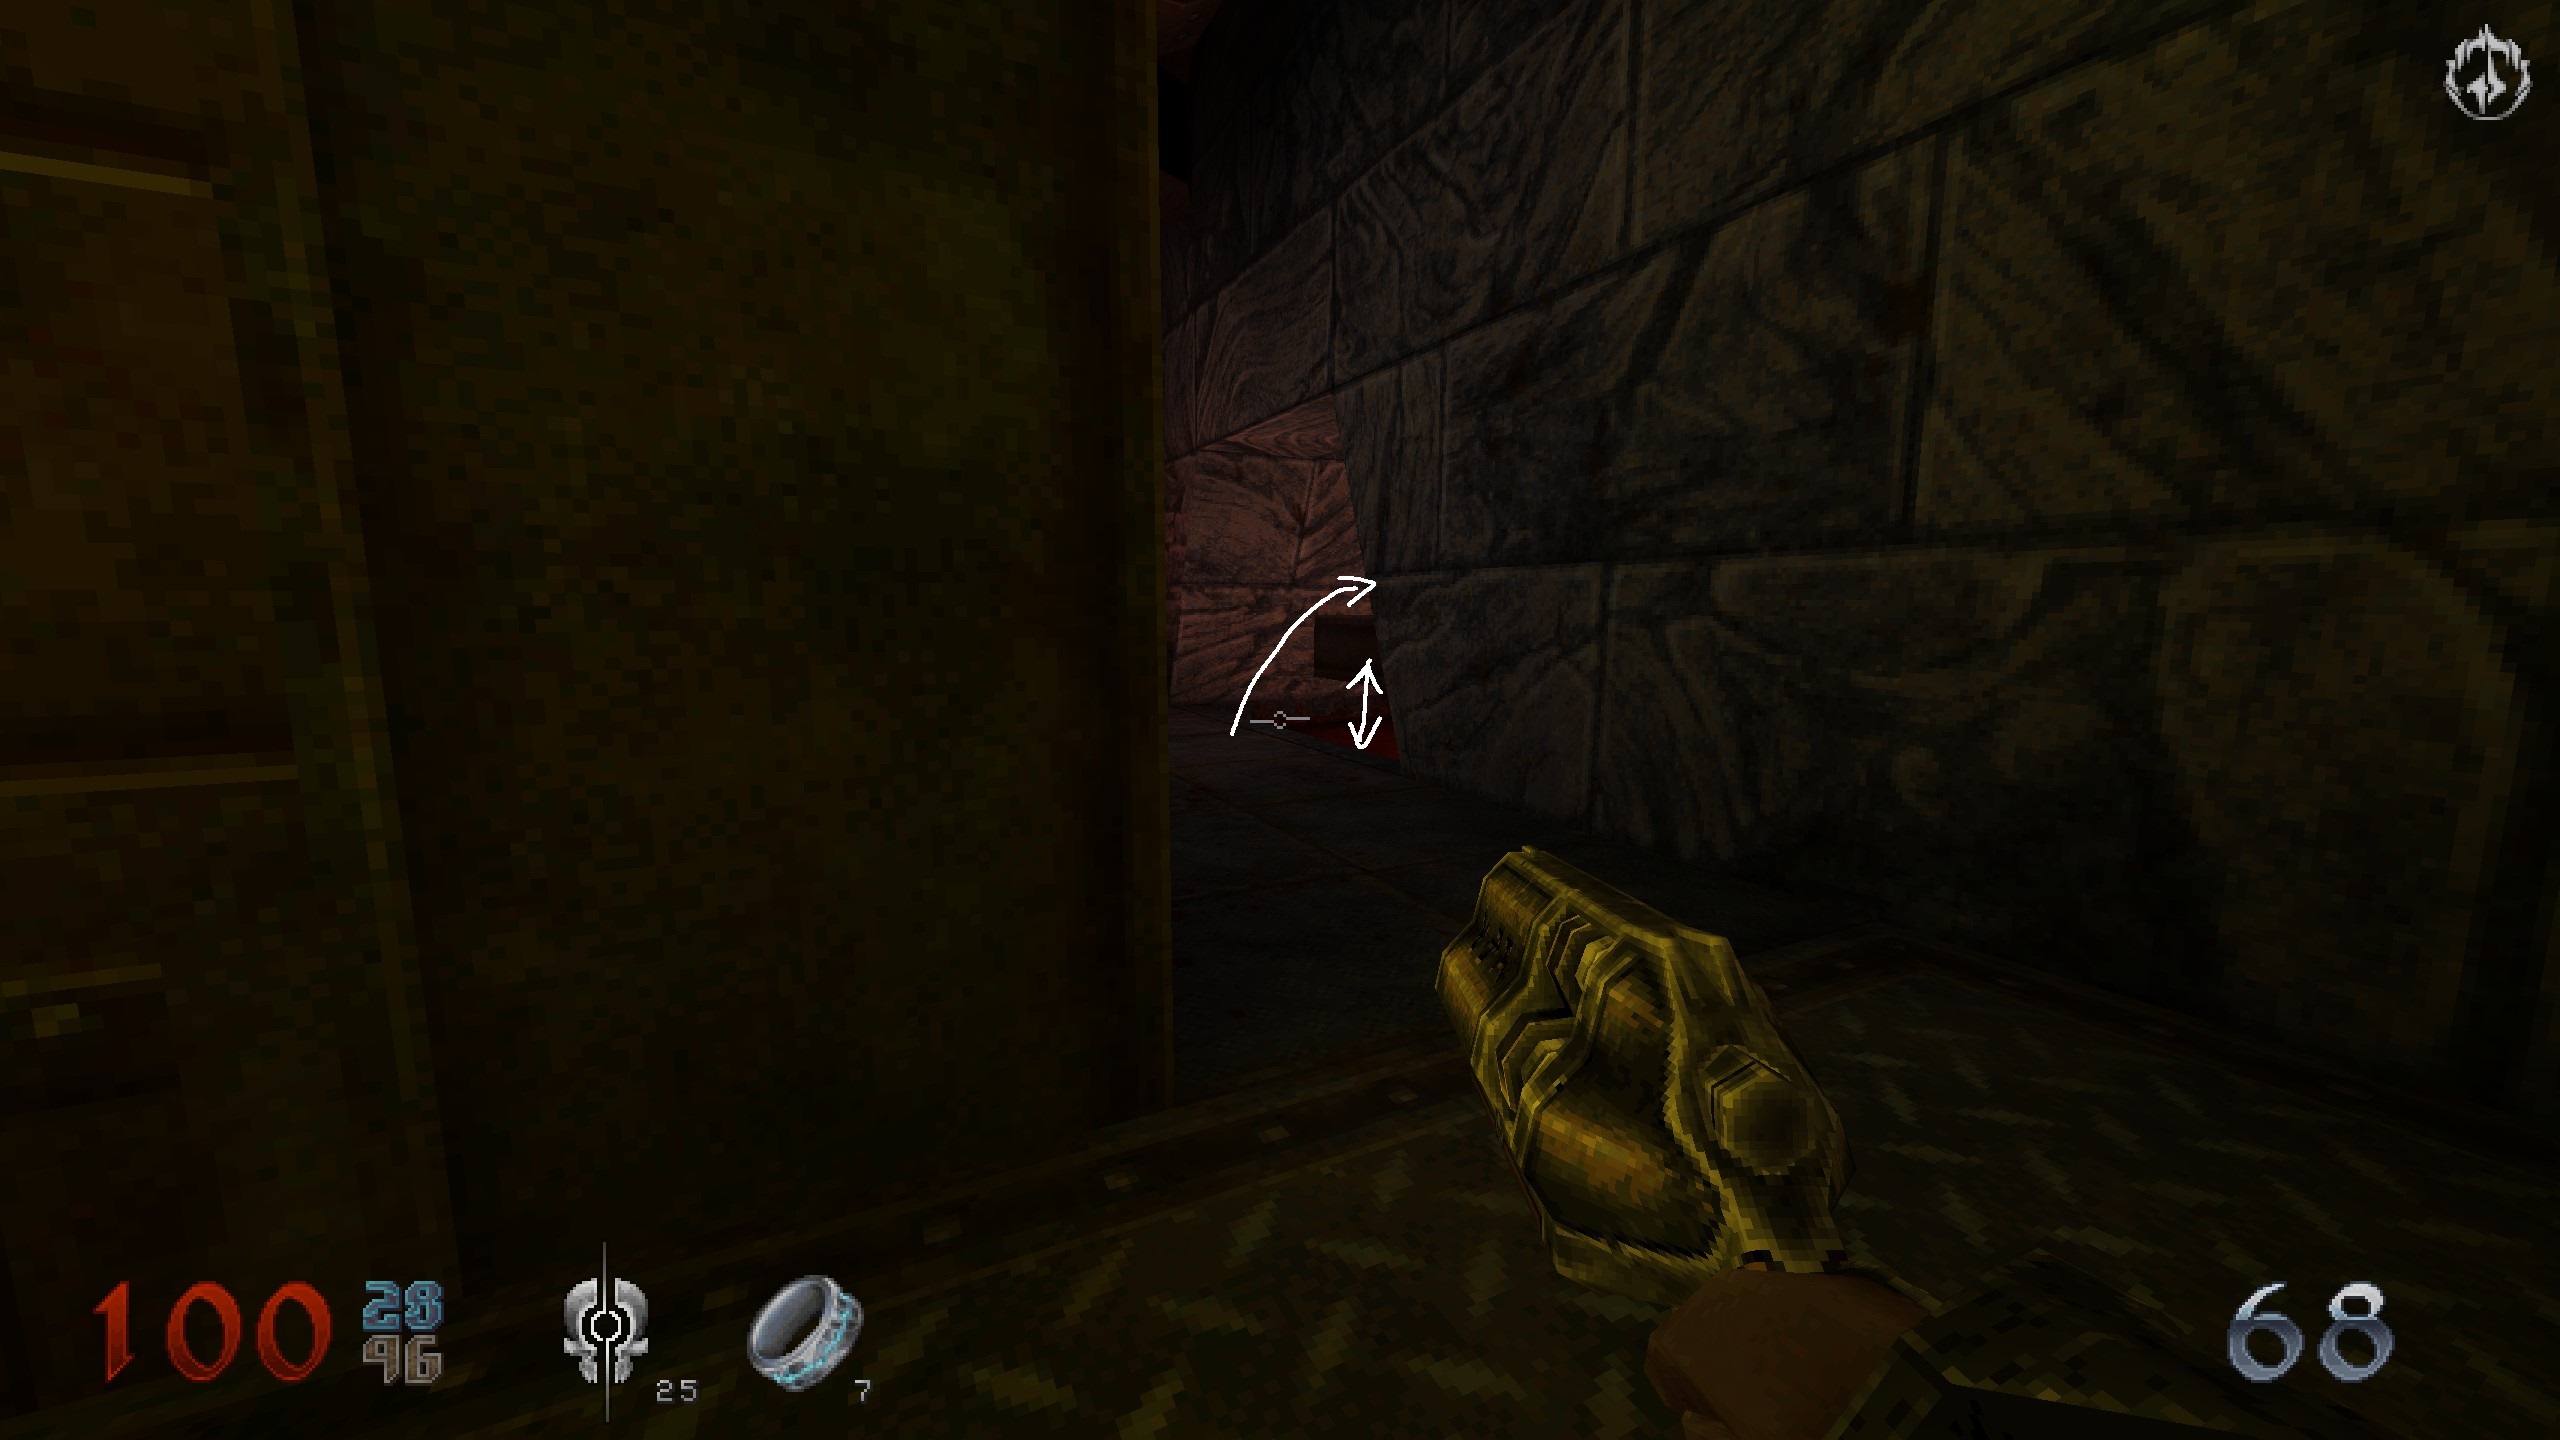
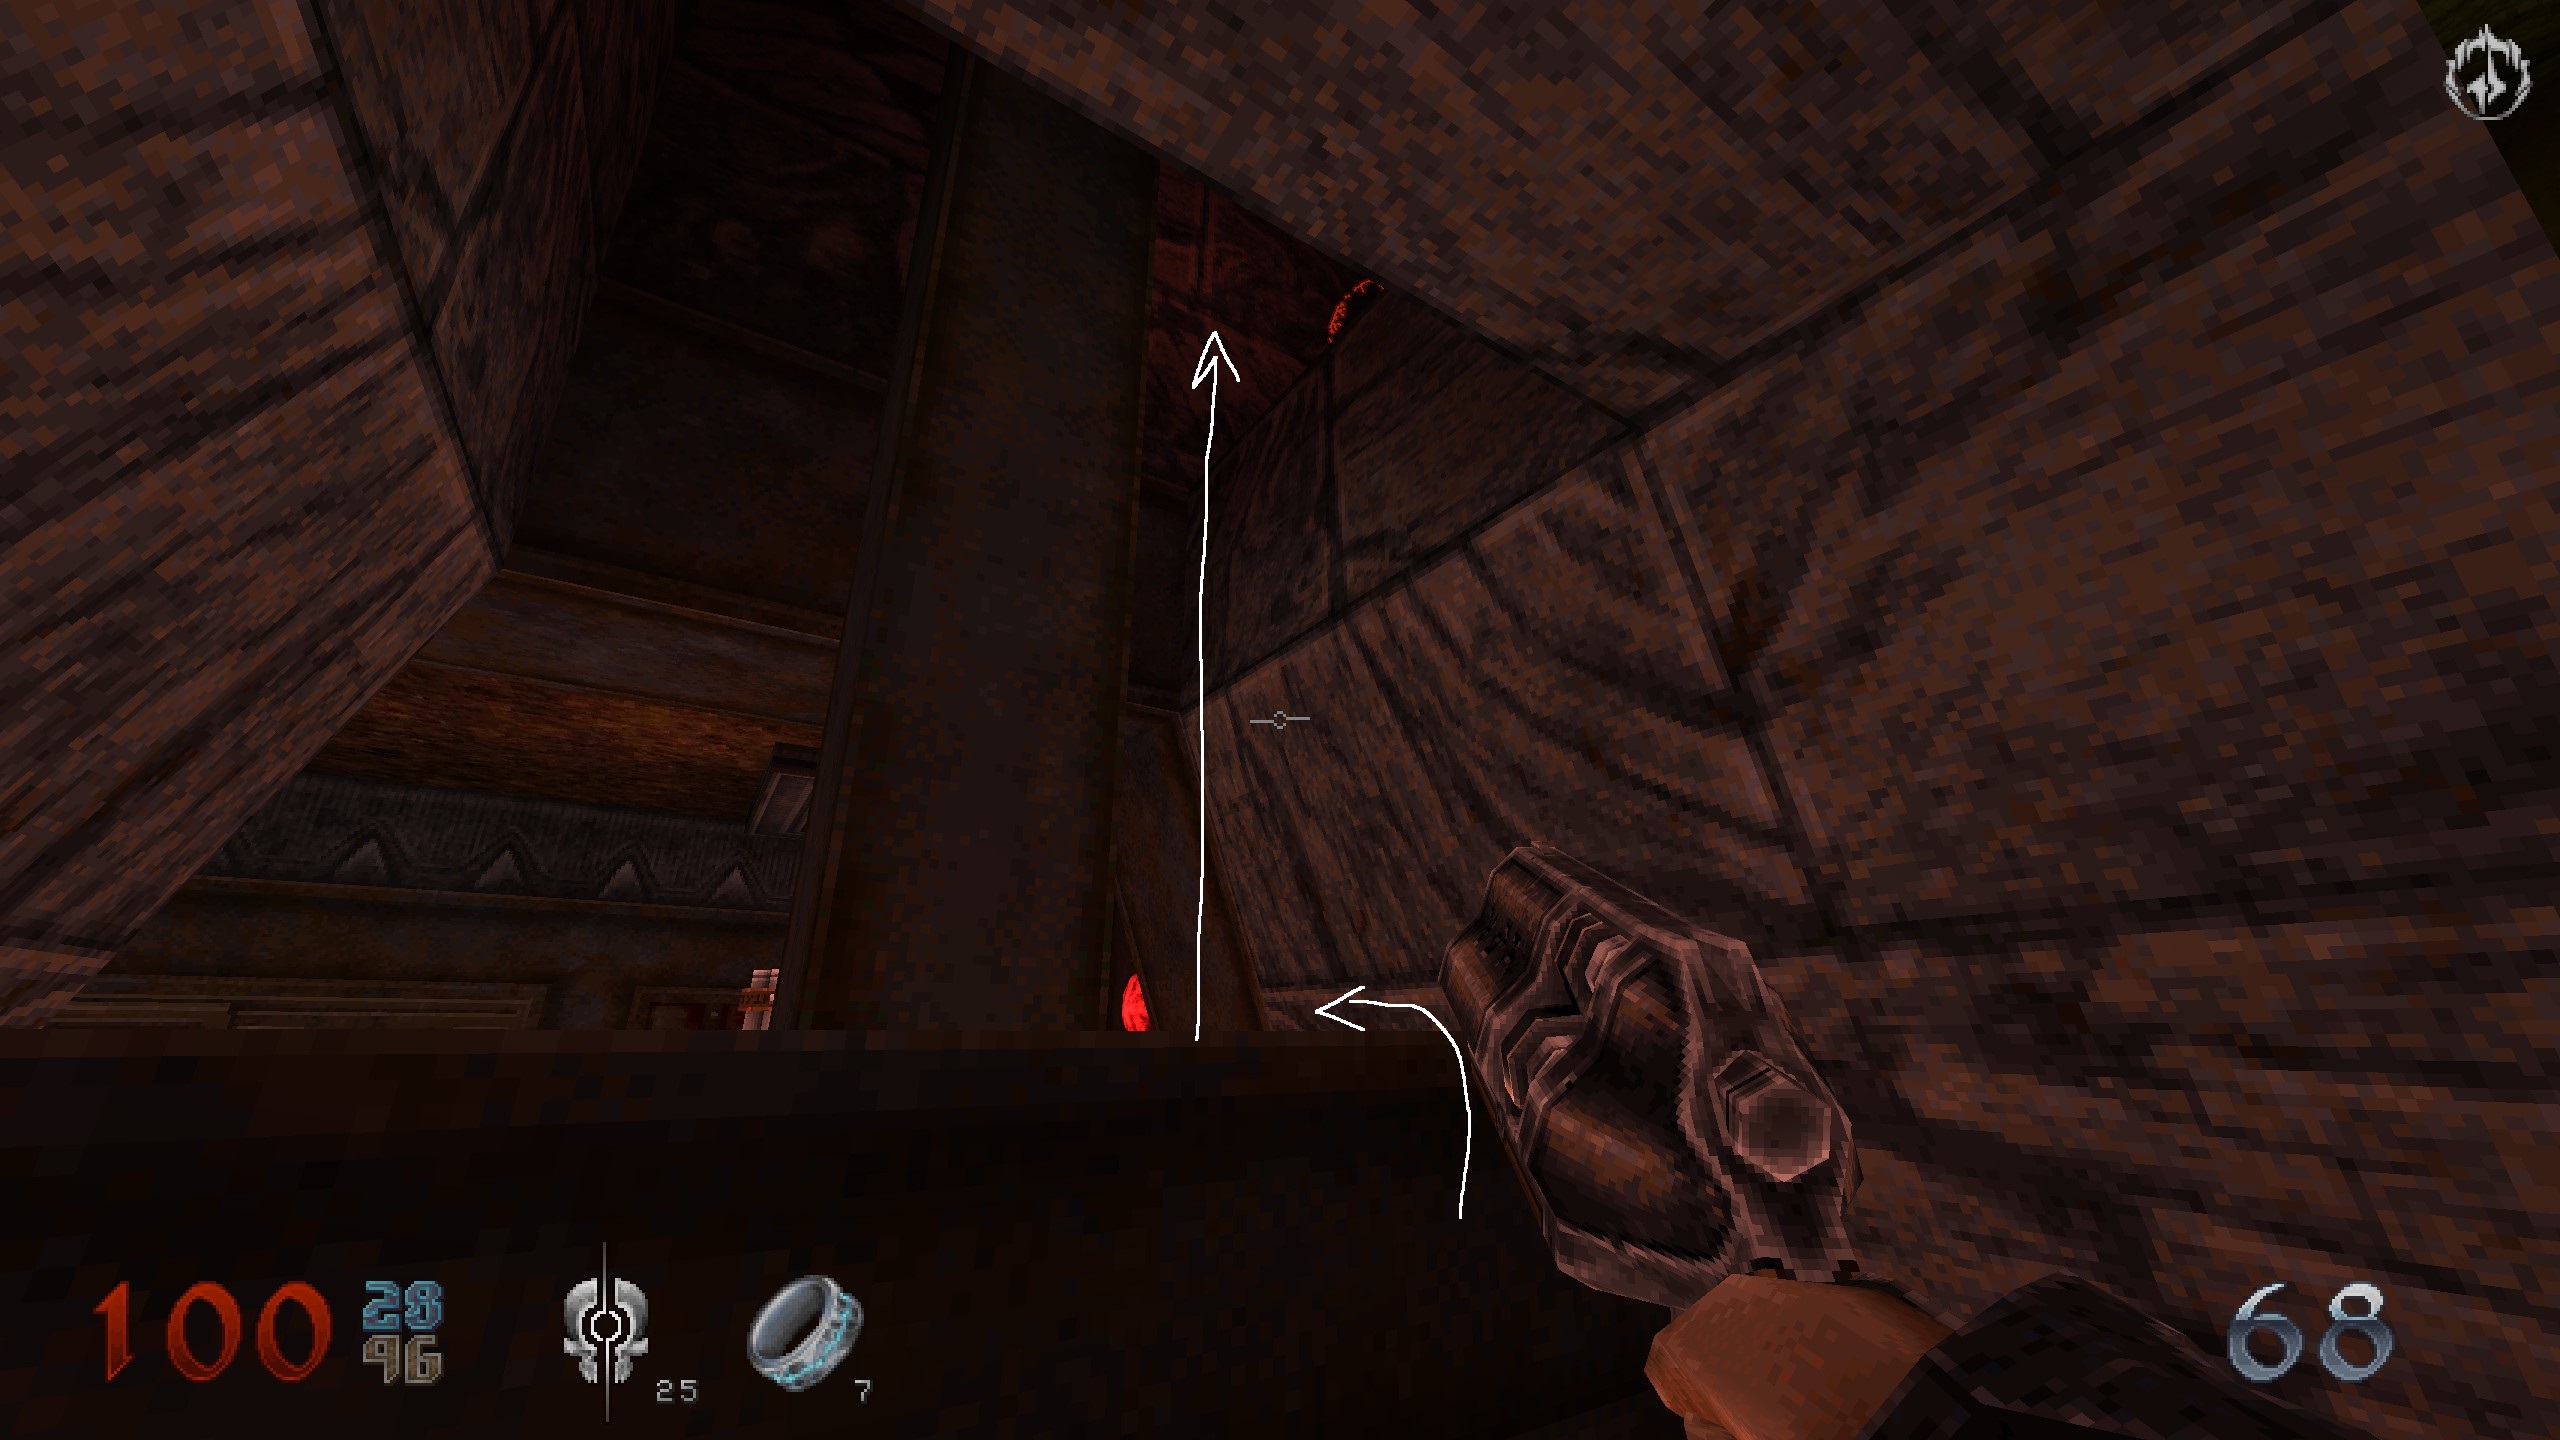
S11
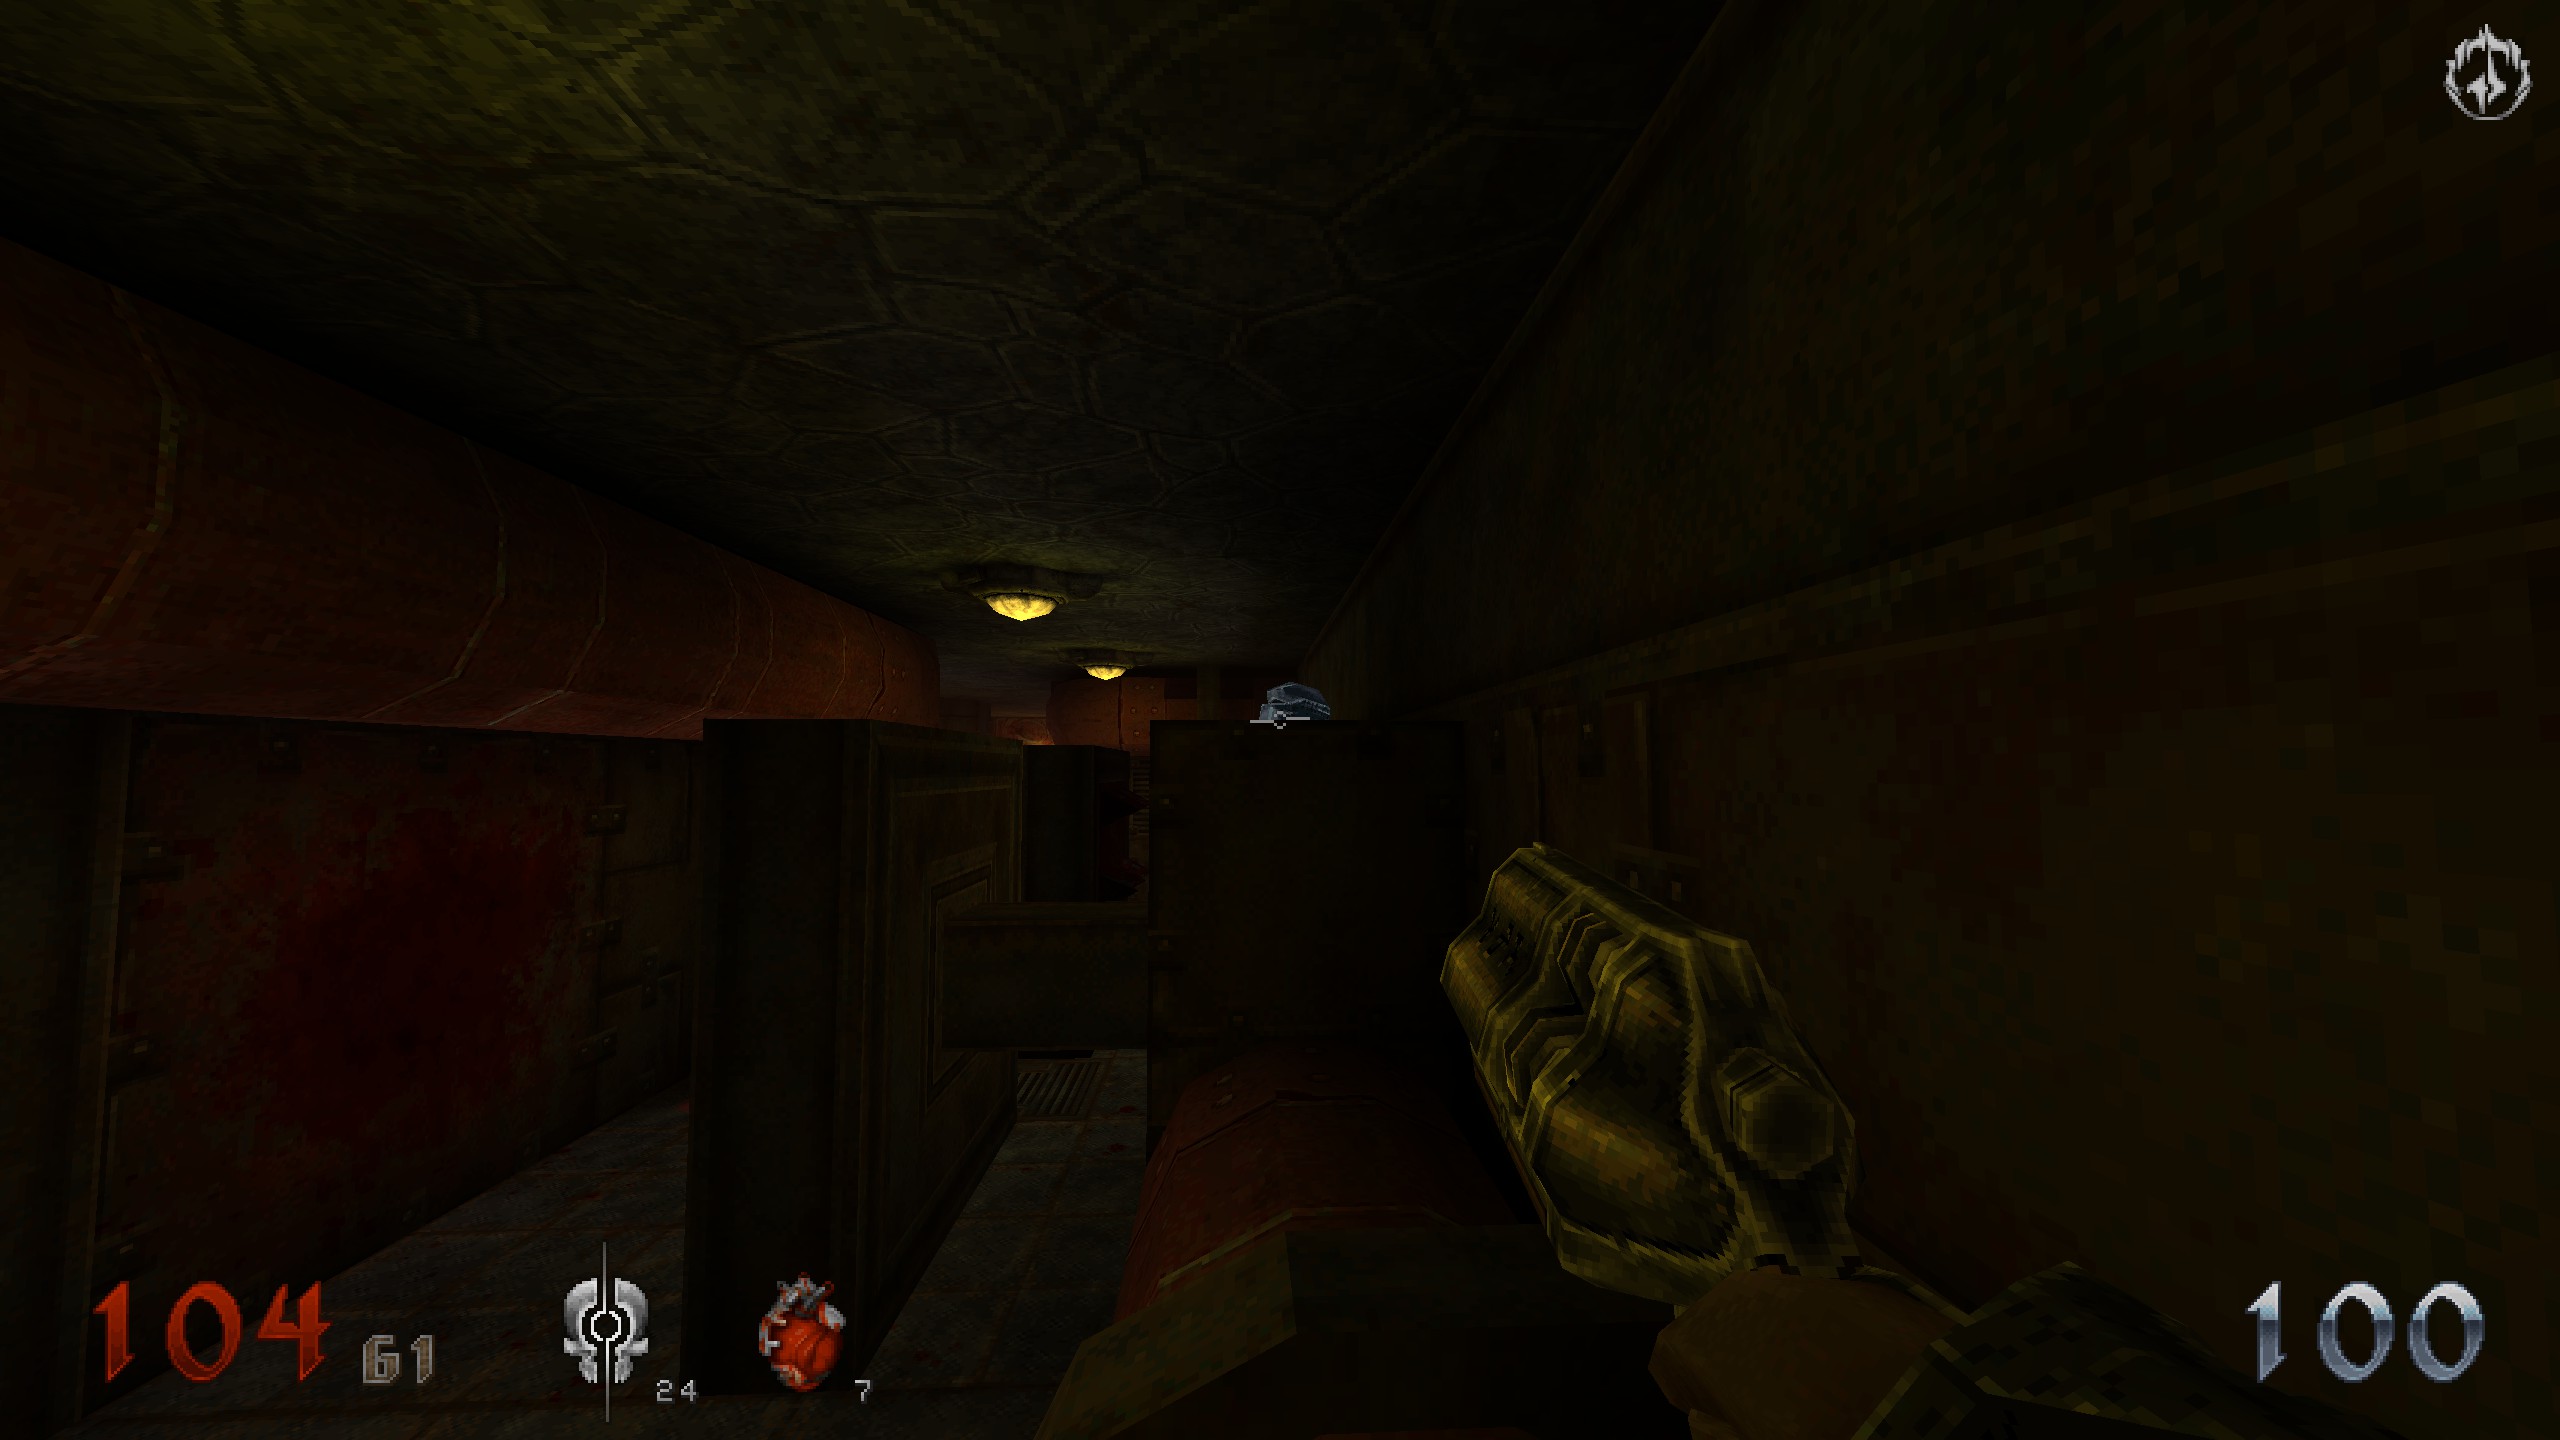
You are past the crushers from S10 and come across another pair of crushers, this time horizontal. Use the pipe to get on top of first crusher for some black armor. Proceed with mission.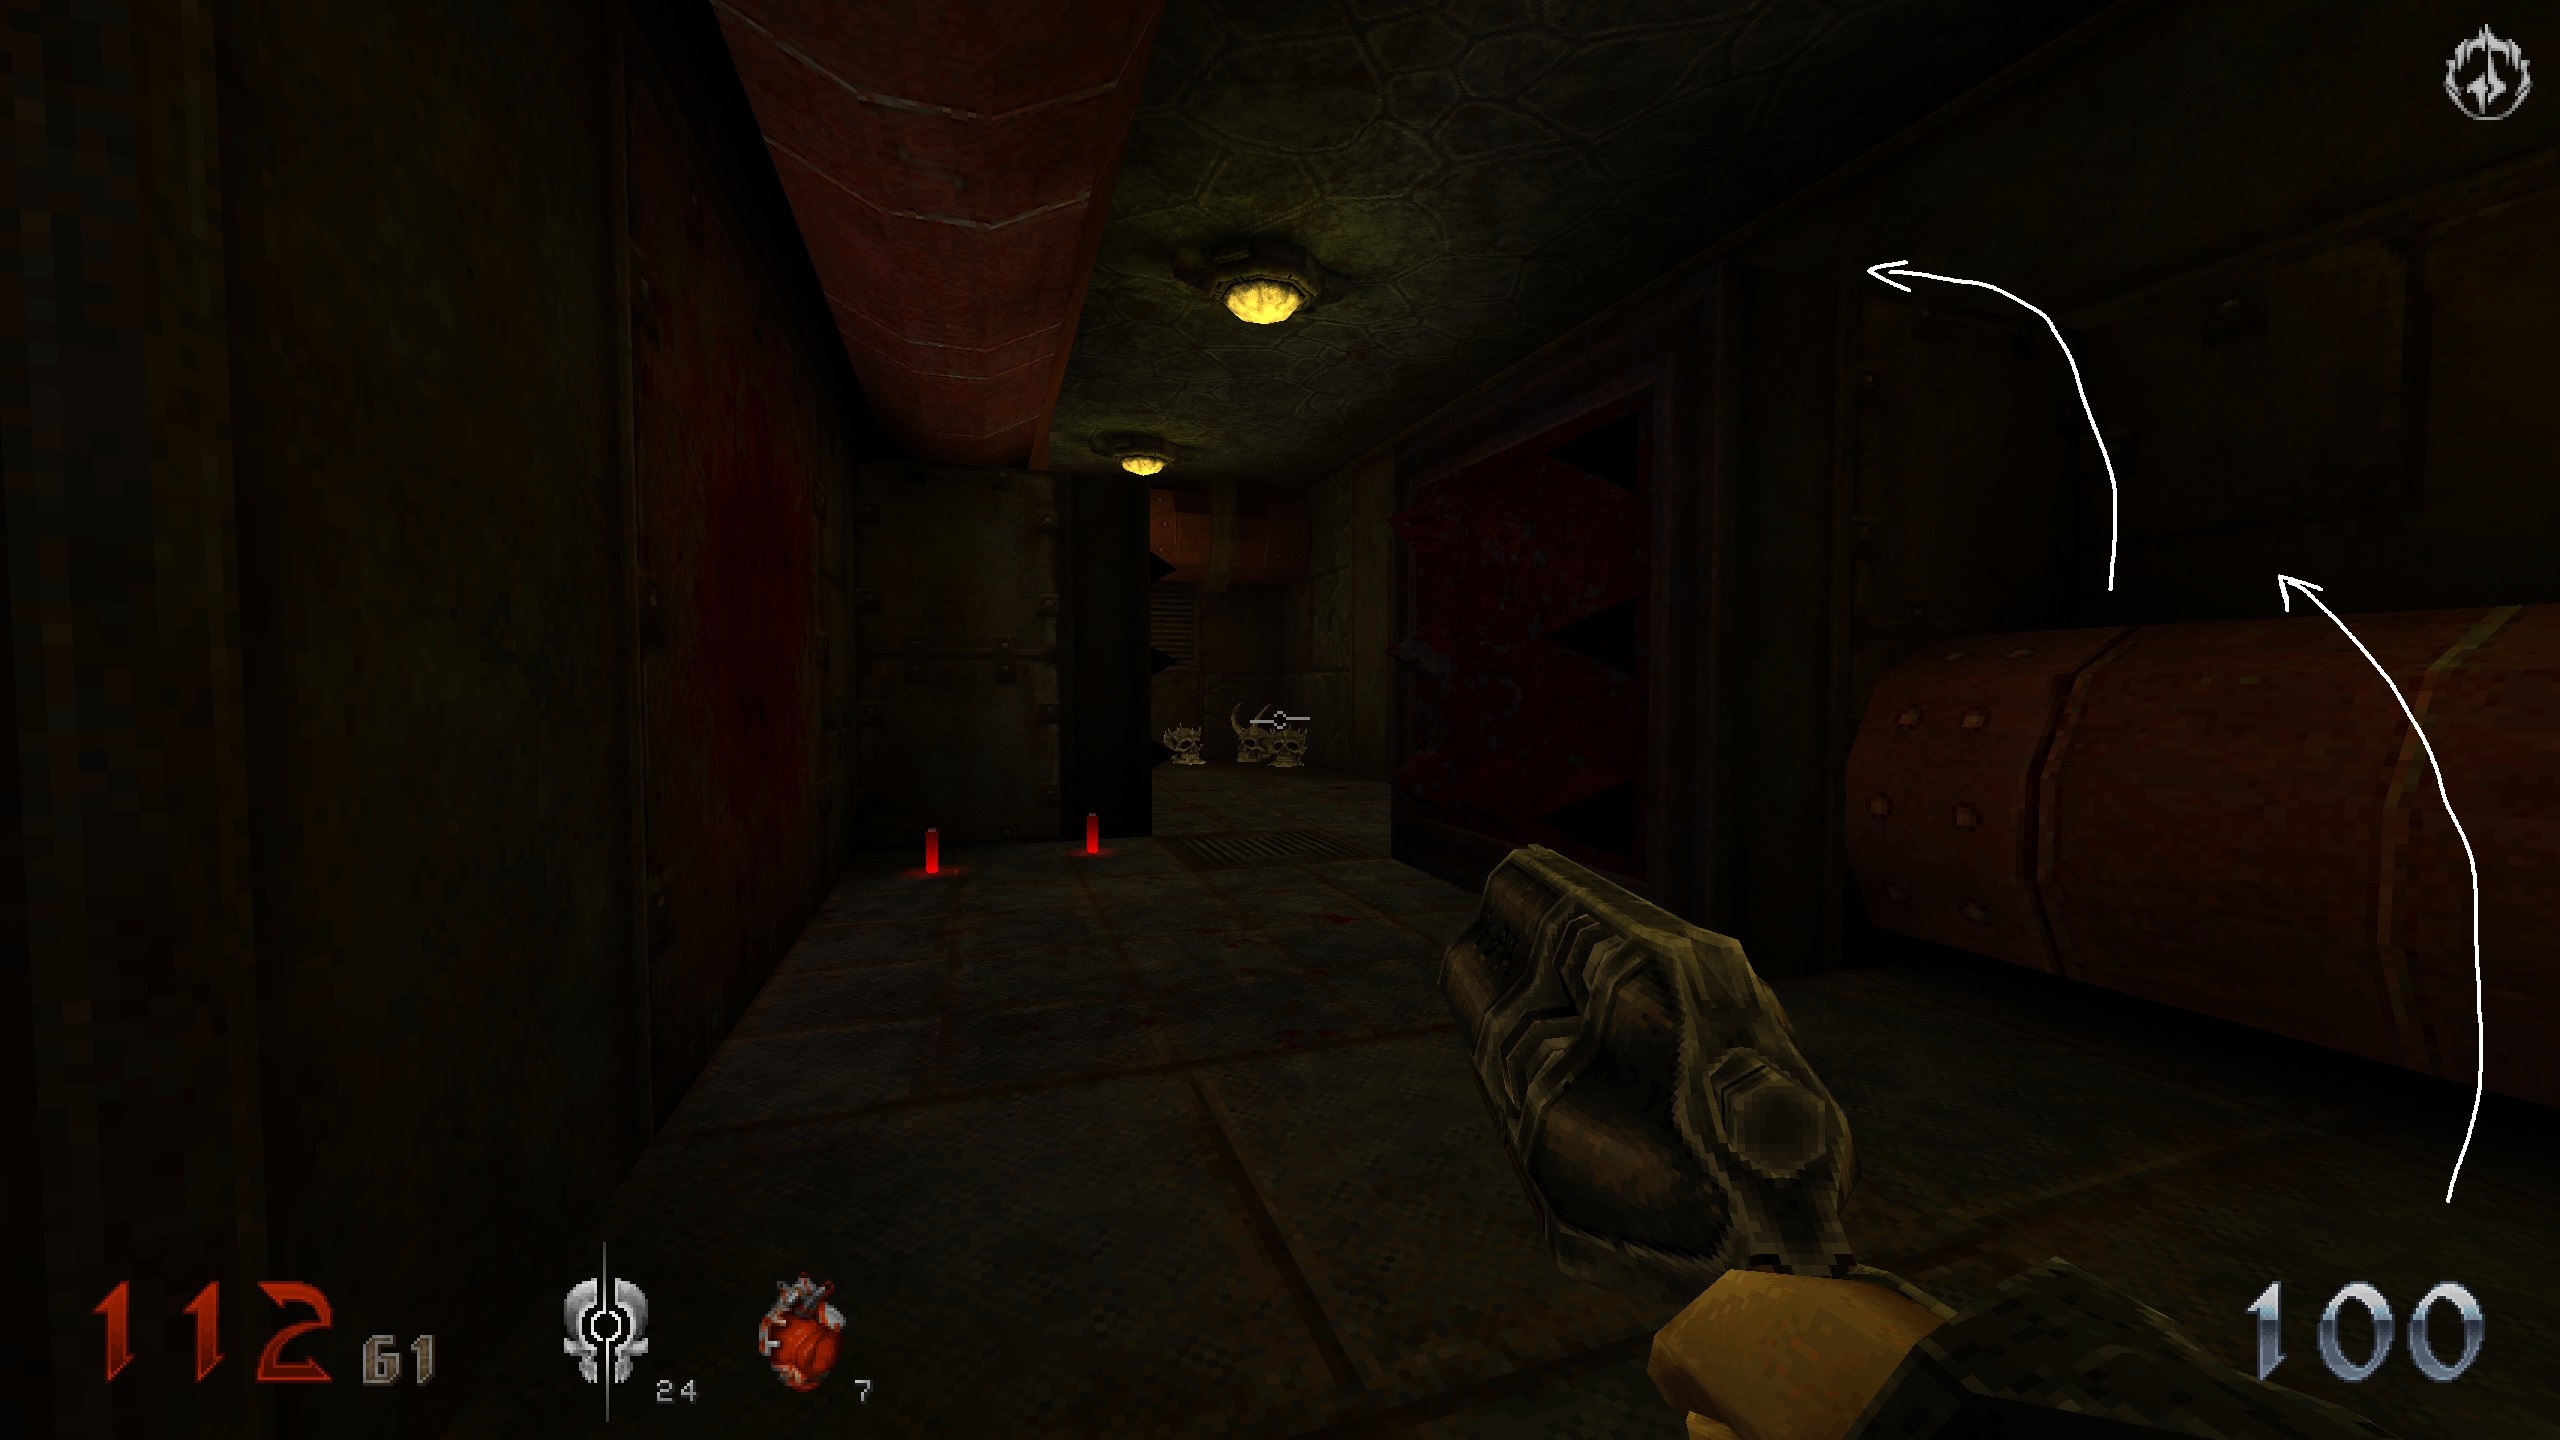
S12 & S13 / Key & Crate
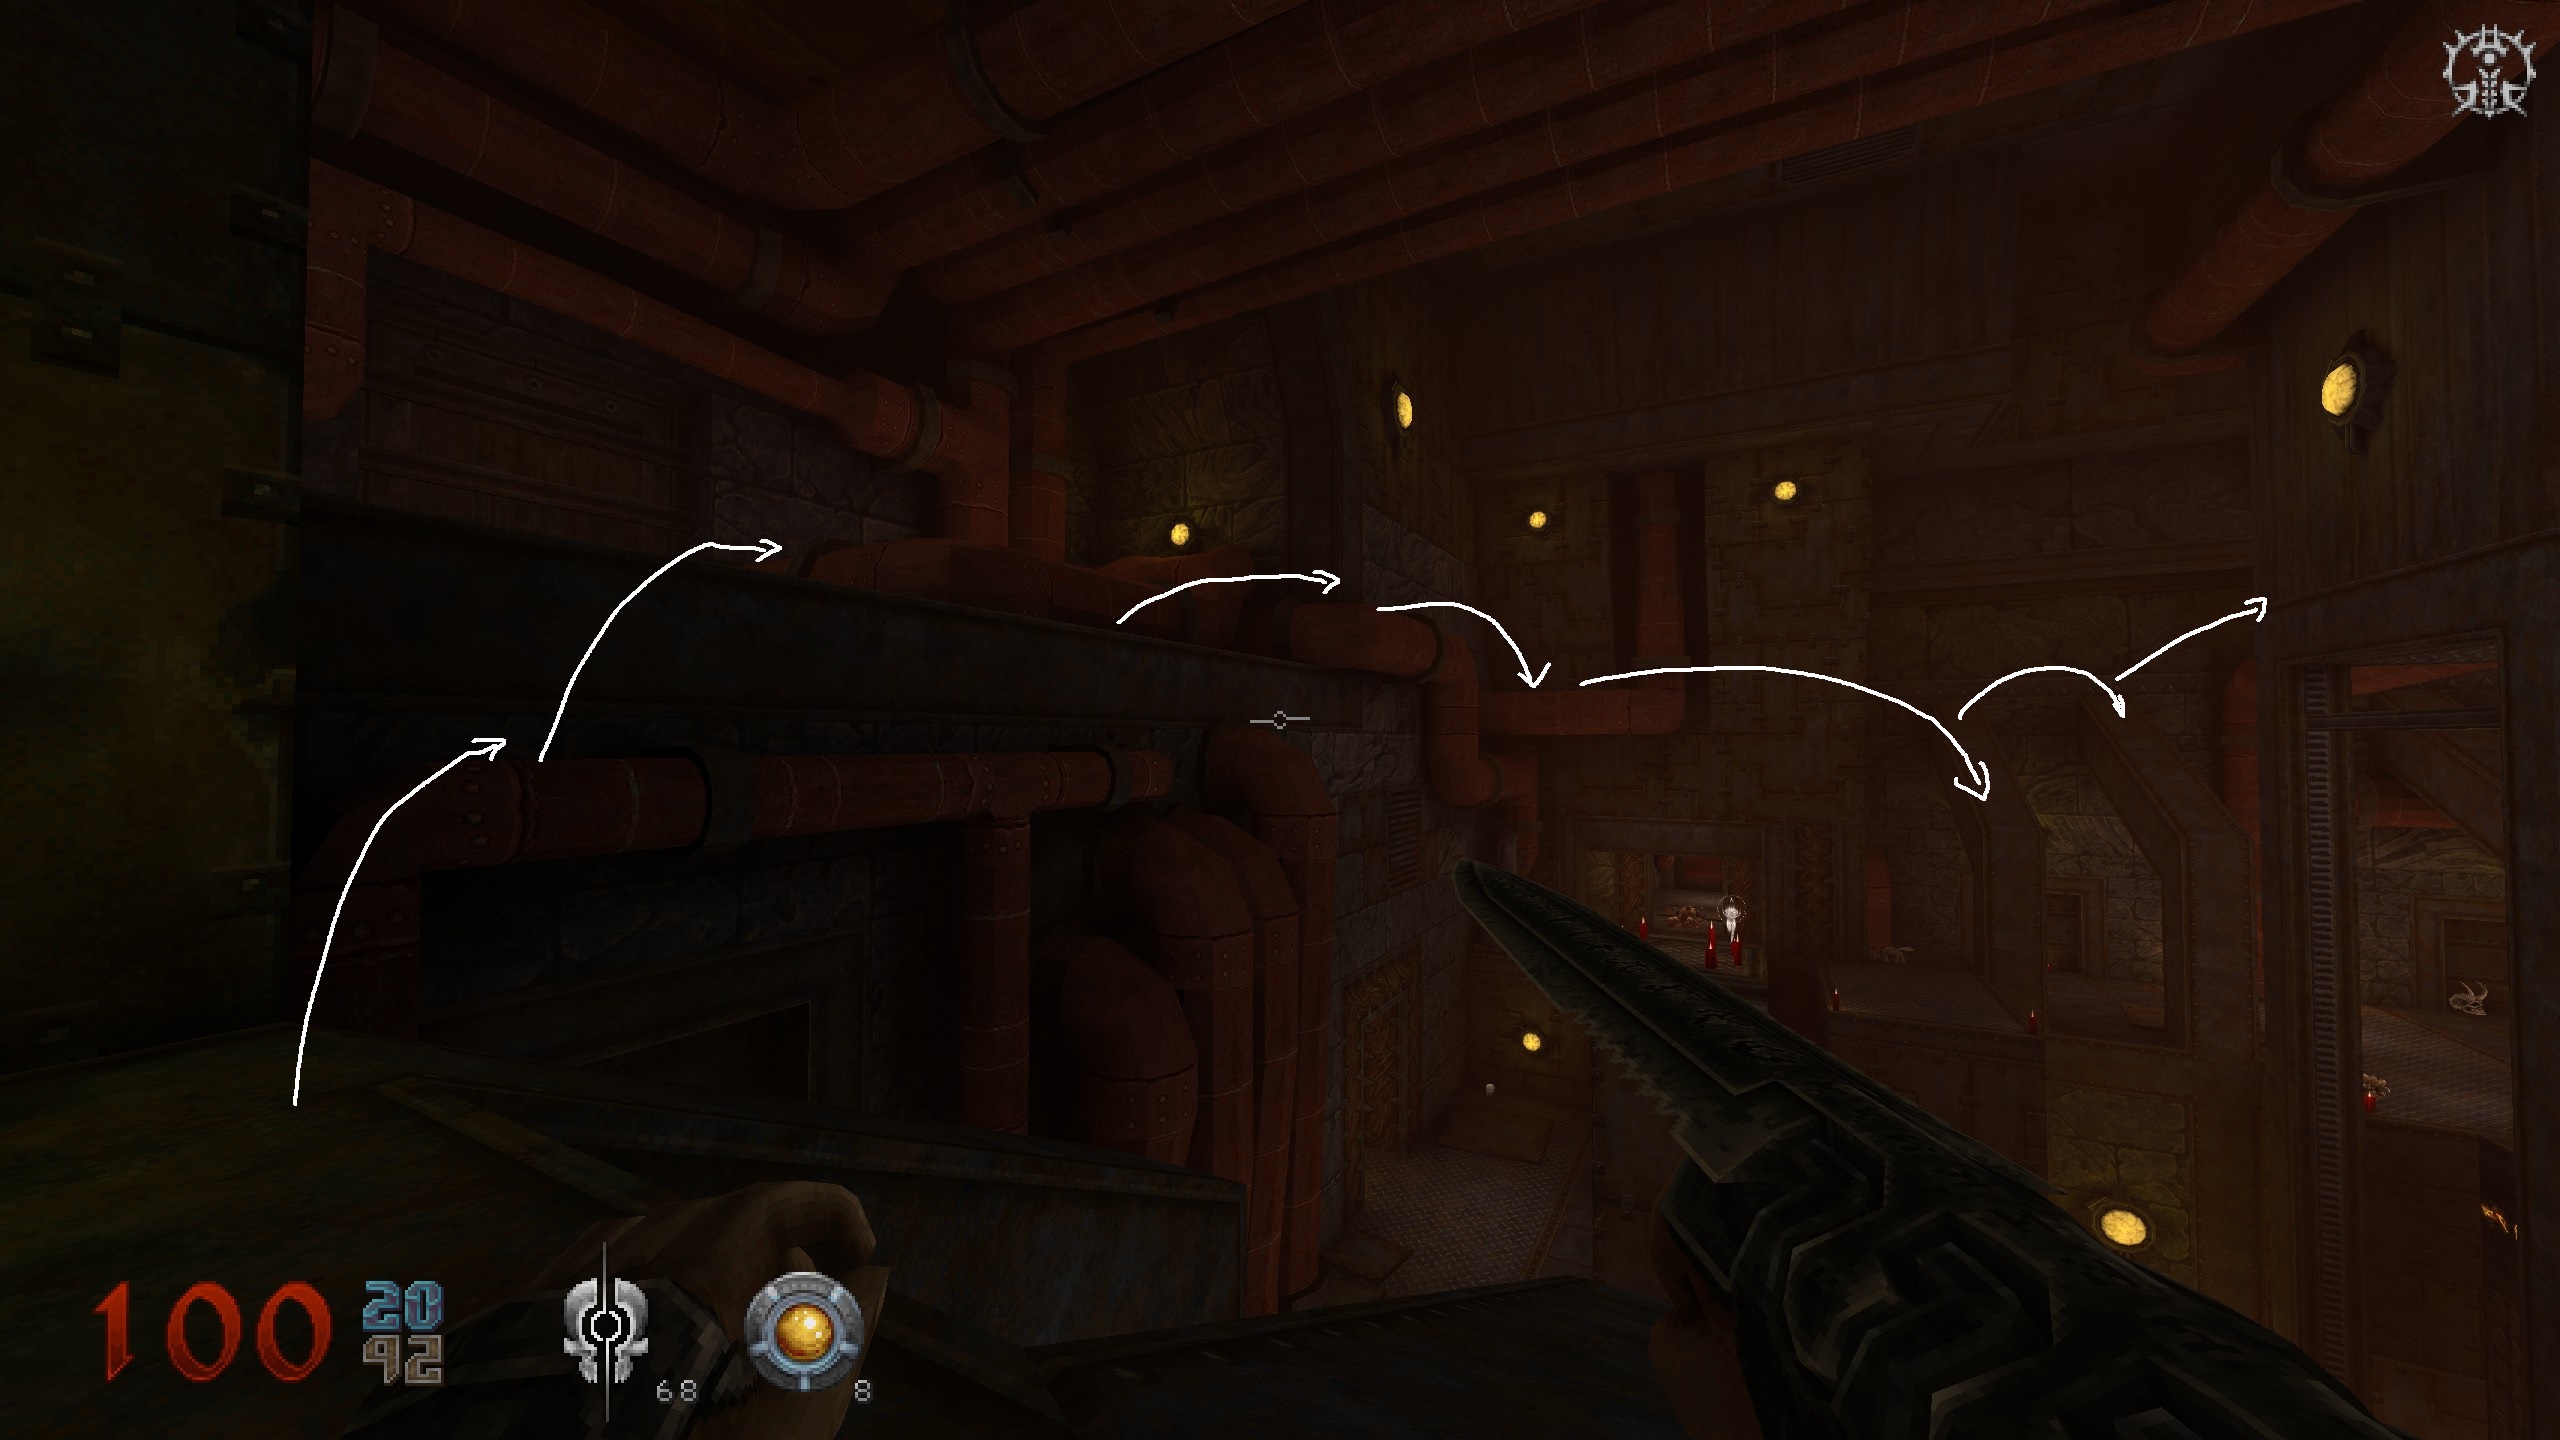
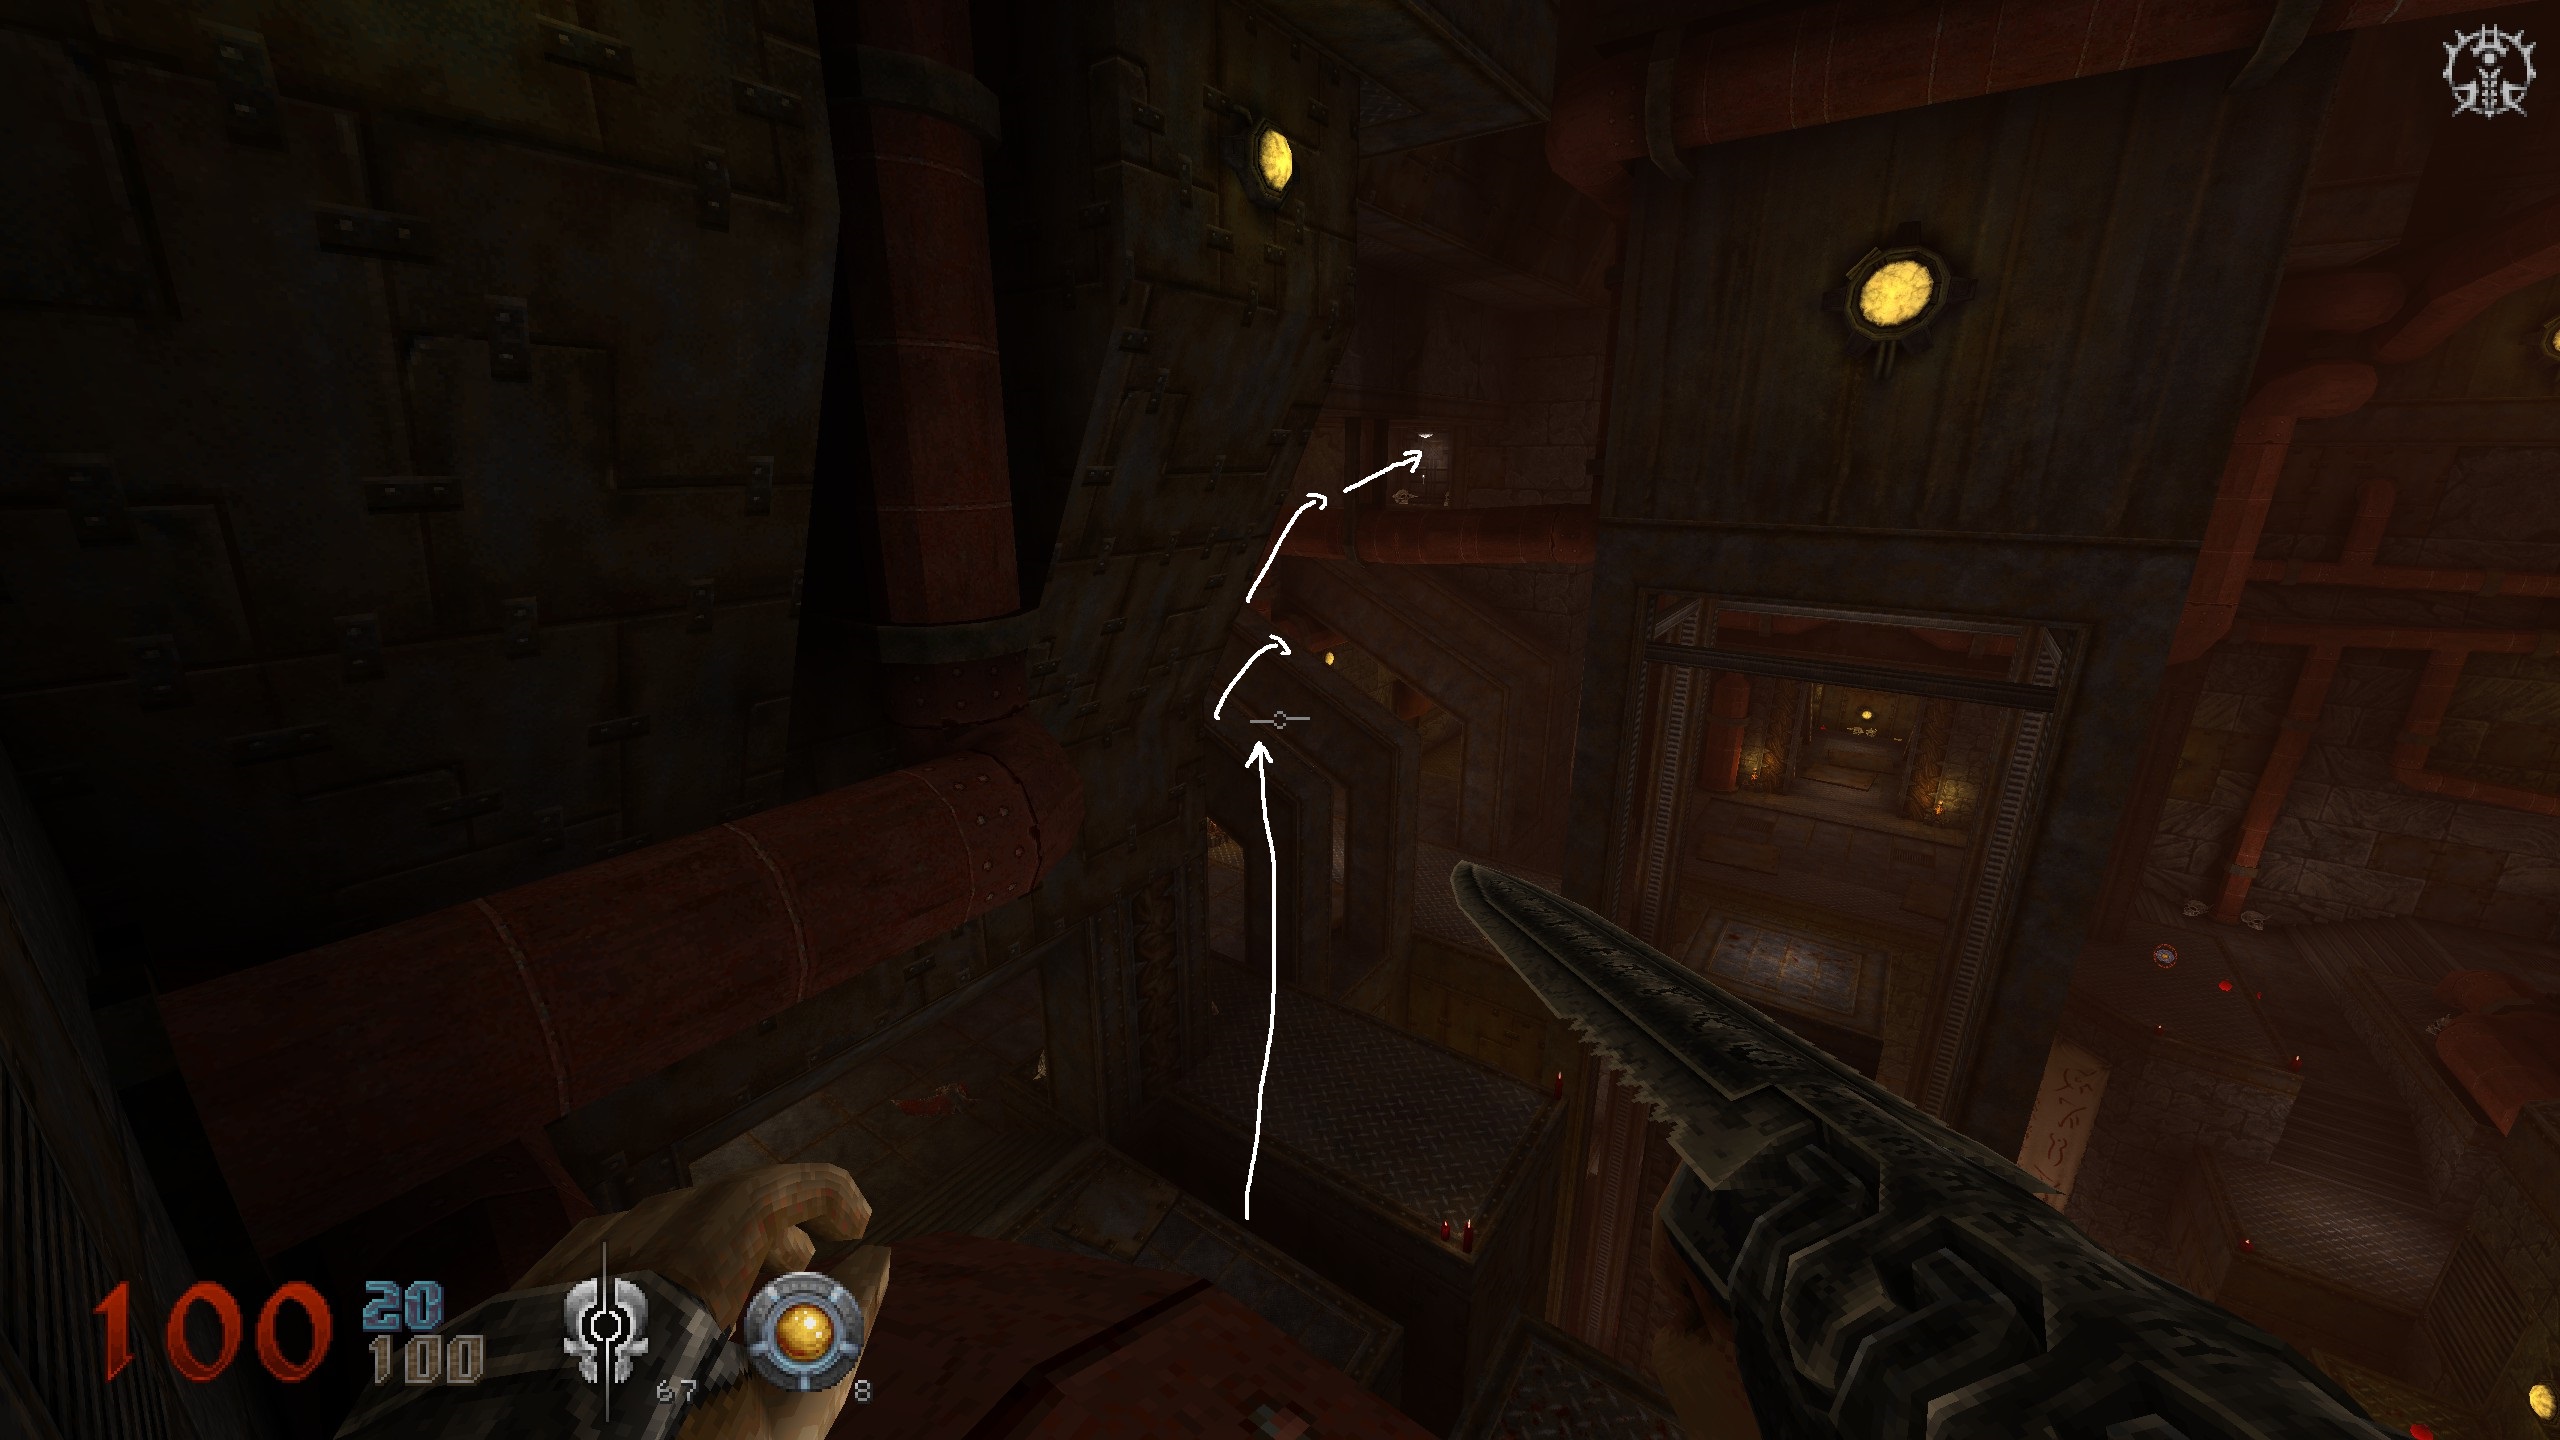
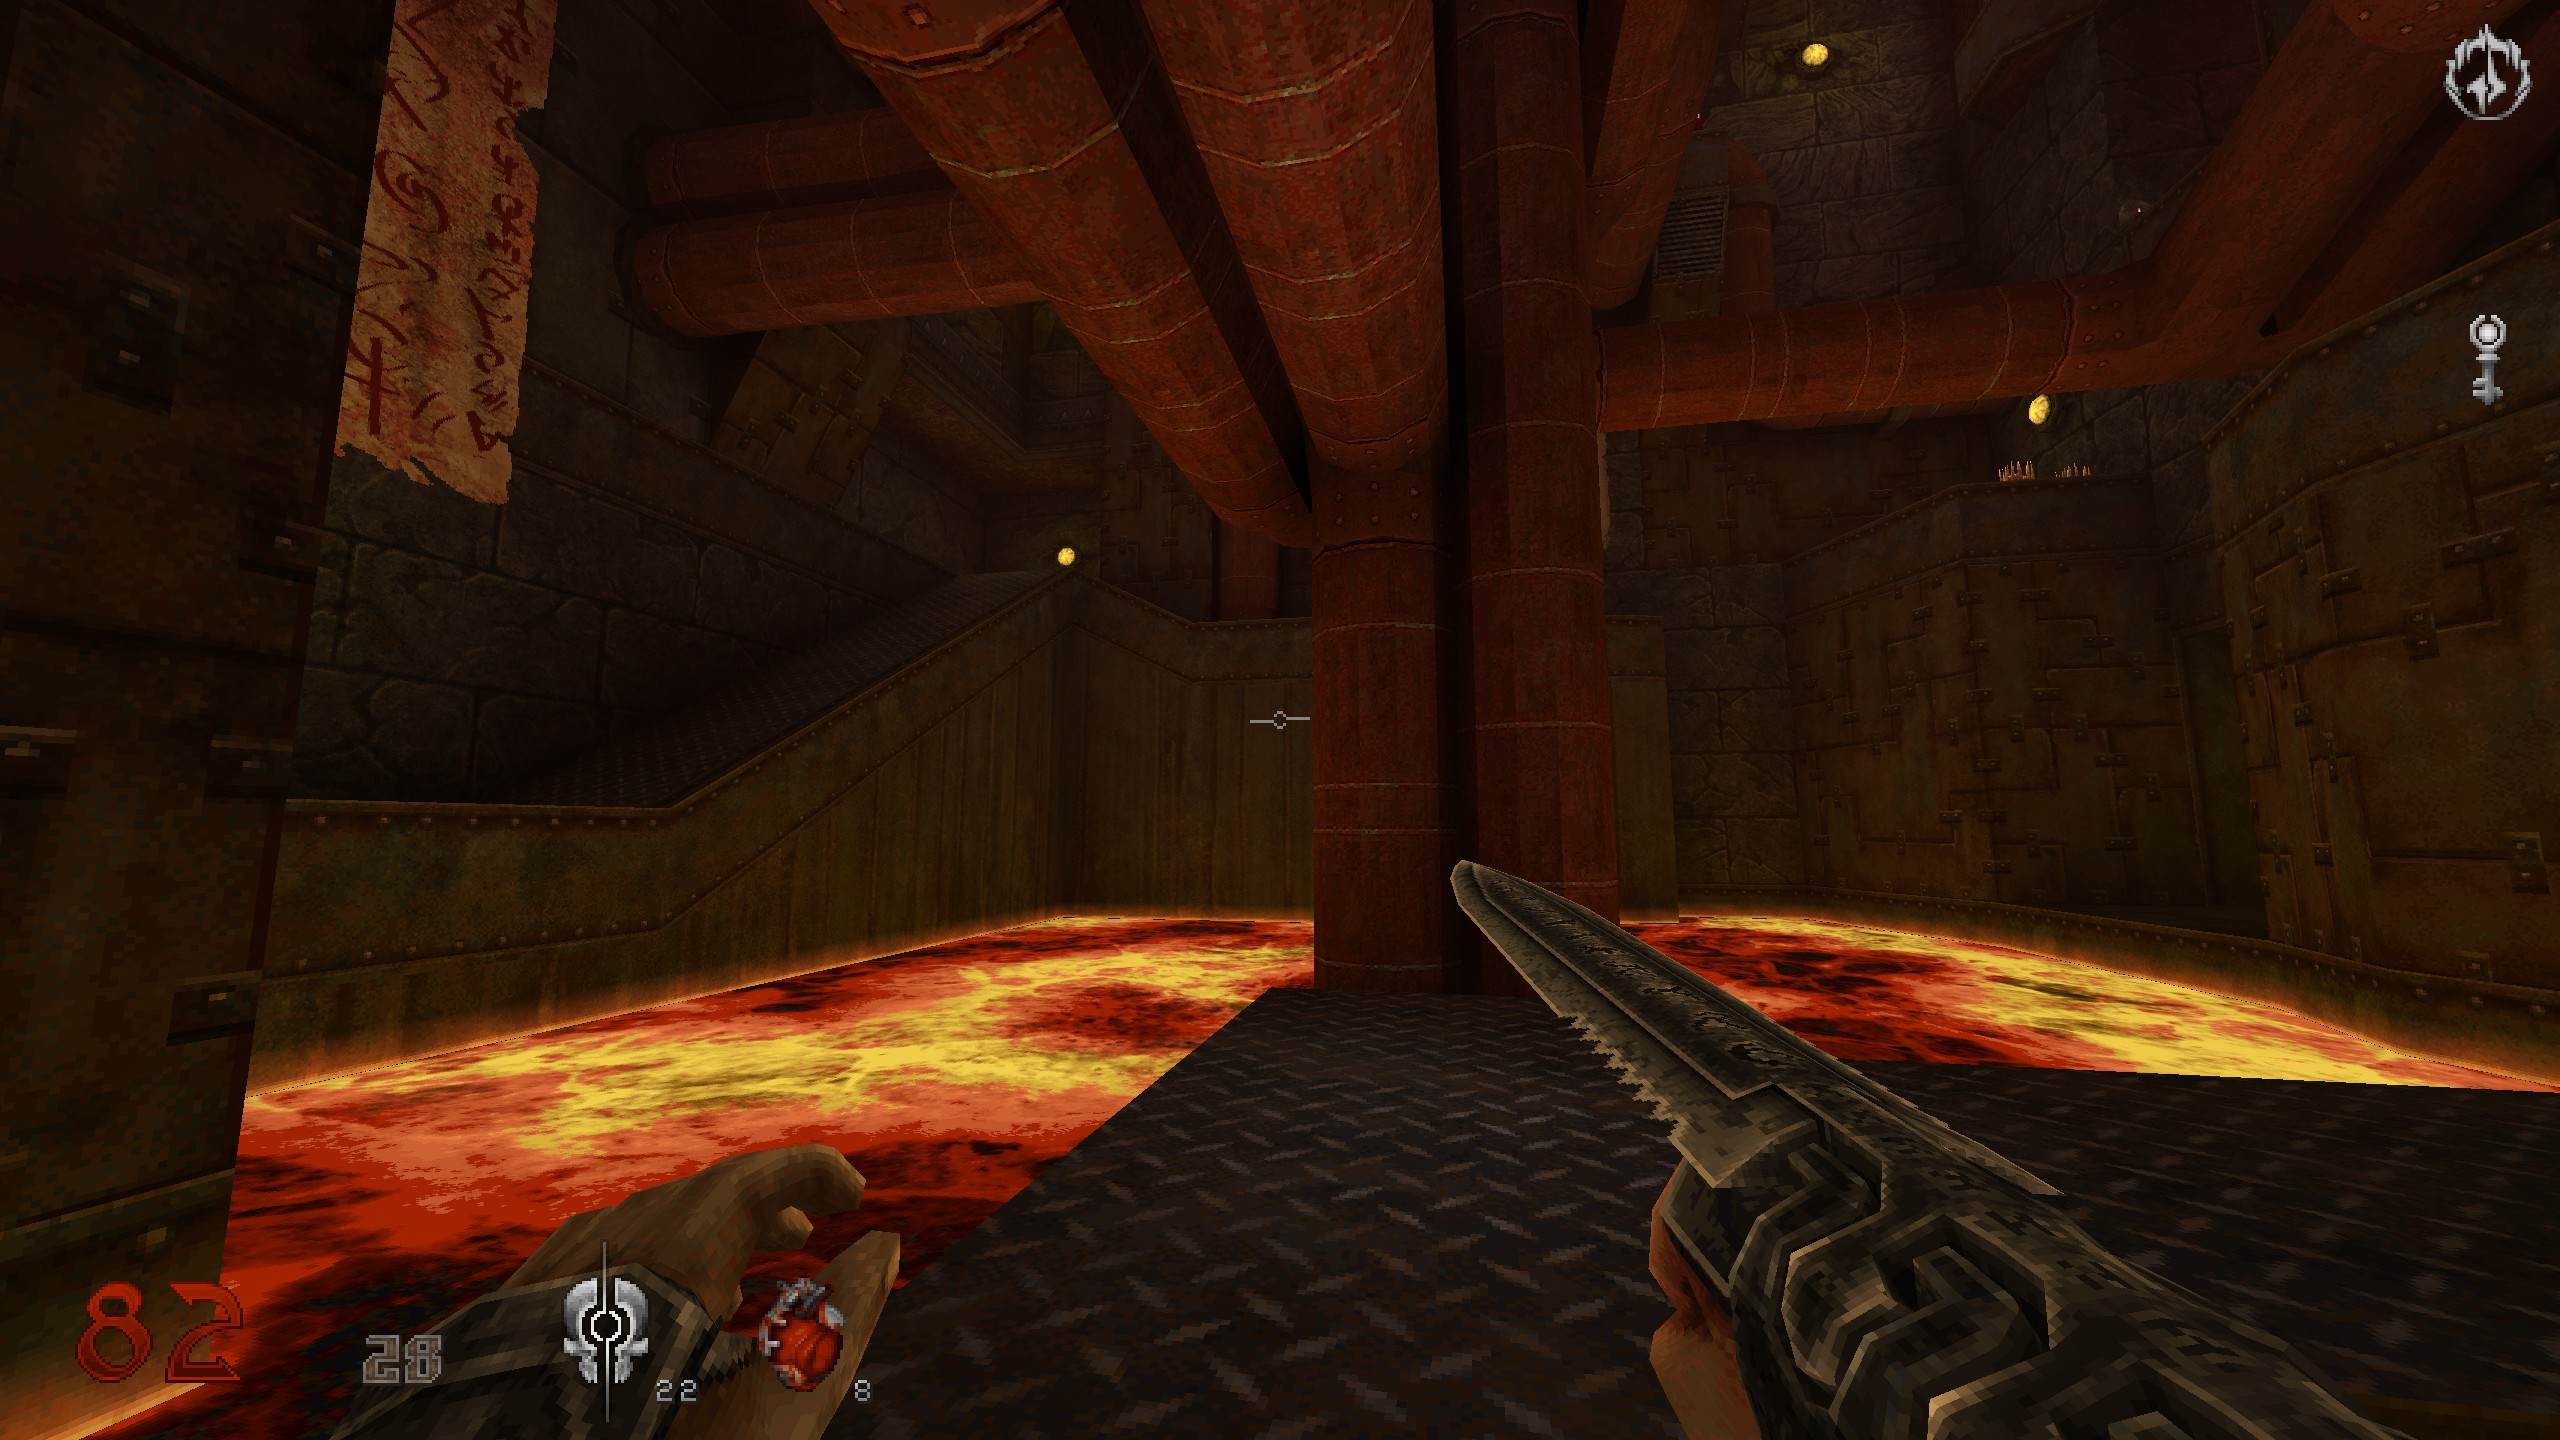
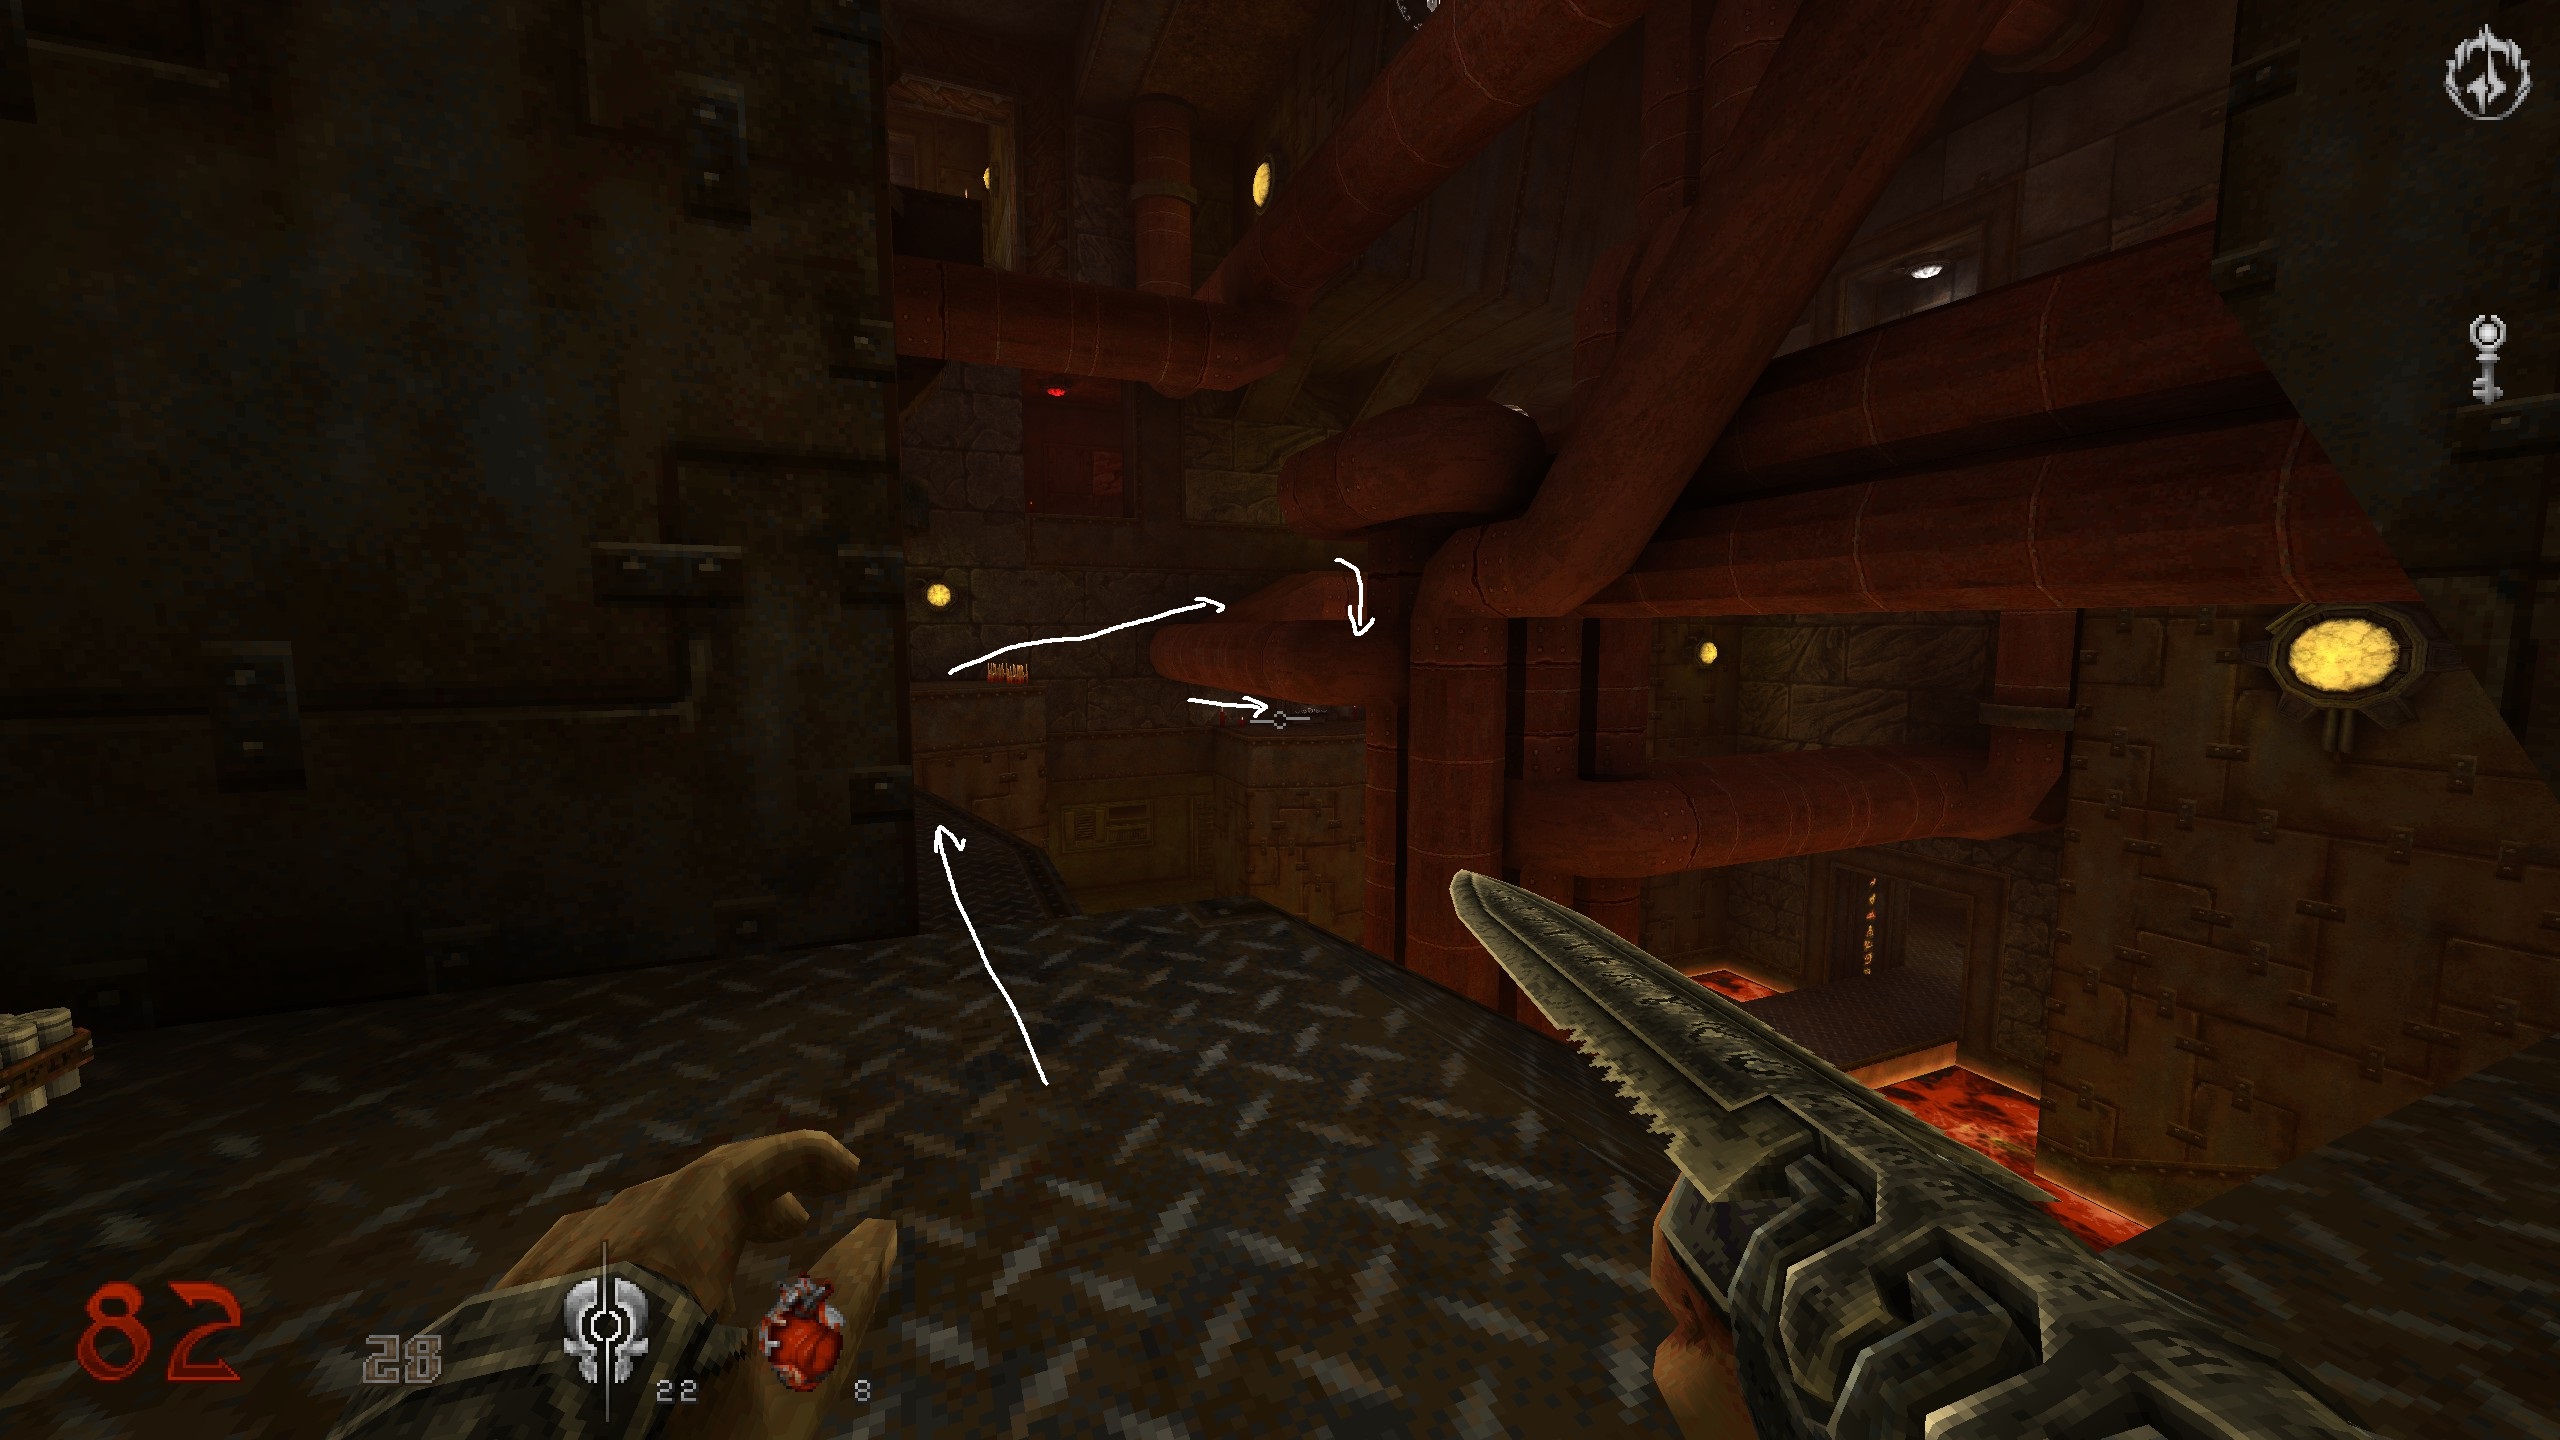
You exit where the scroll was. Again use those pillars, this time to jump across to the item you can see. Stay up there, jump one higher and use the pipes as shown. Then jump over to the stones bars. From one to another, on the pipe and into the opening with the key. Get back through yellow door, up that ramp and over to the crate. Proceed with mission.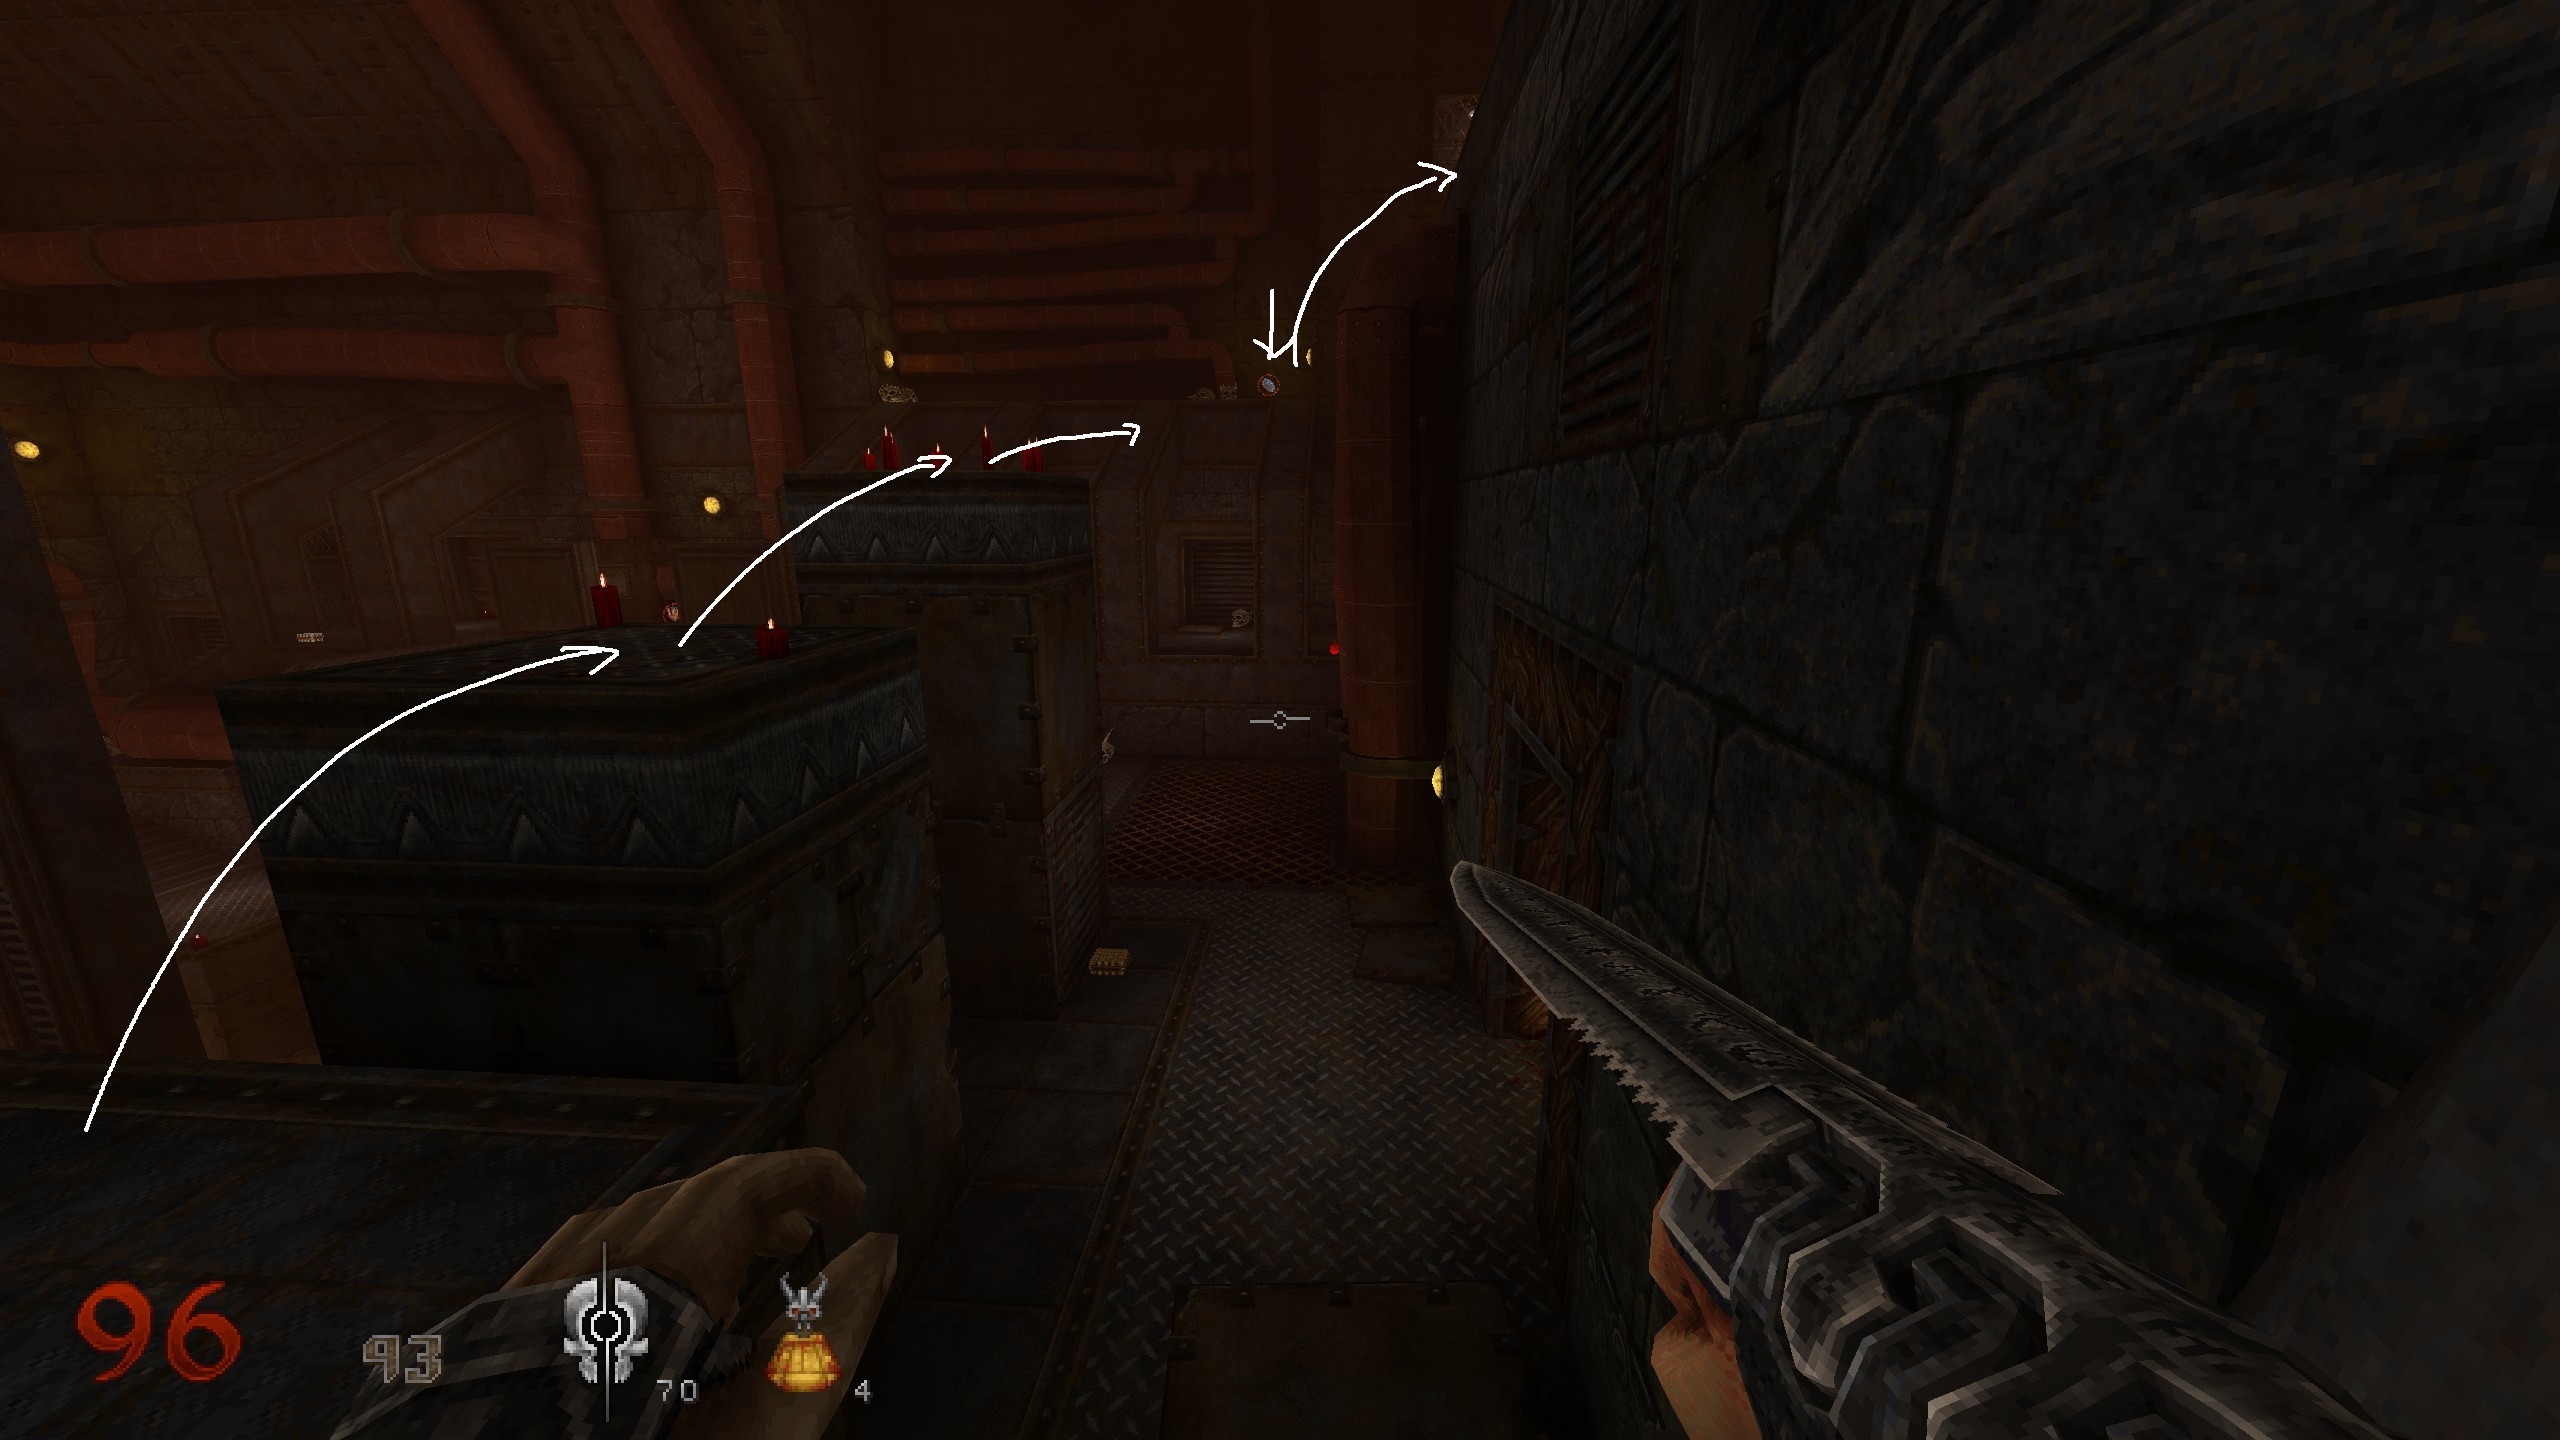
S14
You have just pressed many switches in a stair maze like room and now have access to the relic. Use the pipe to jump over on the stone balcony and move along there and left around the corner for some black armor.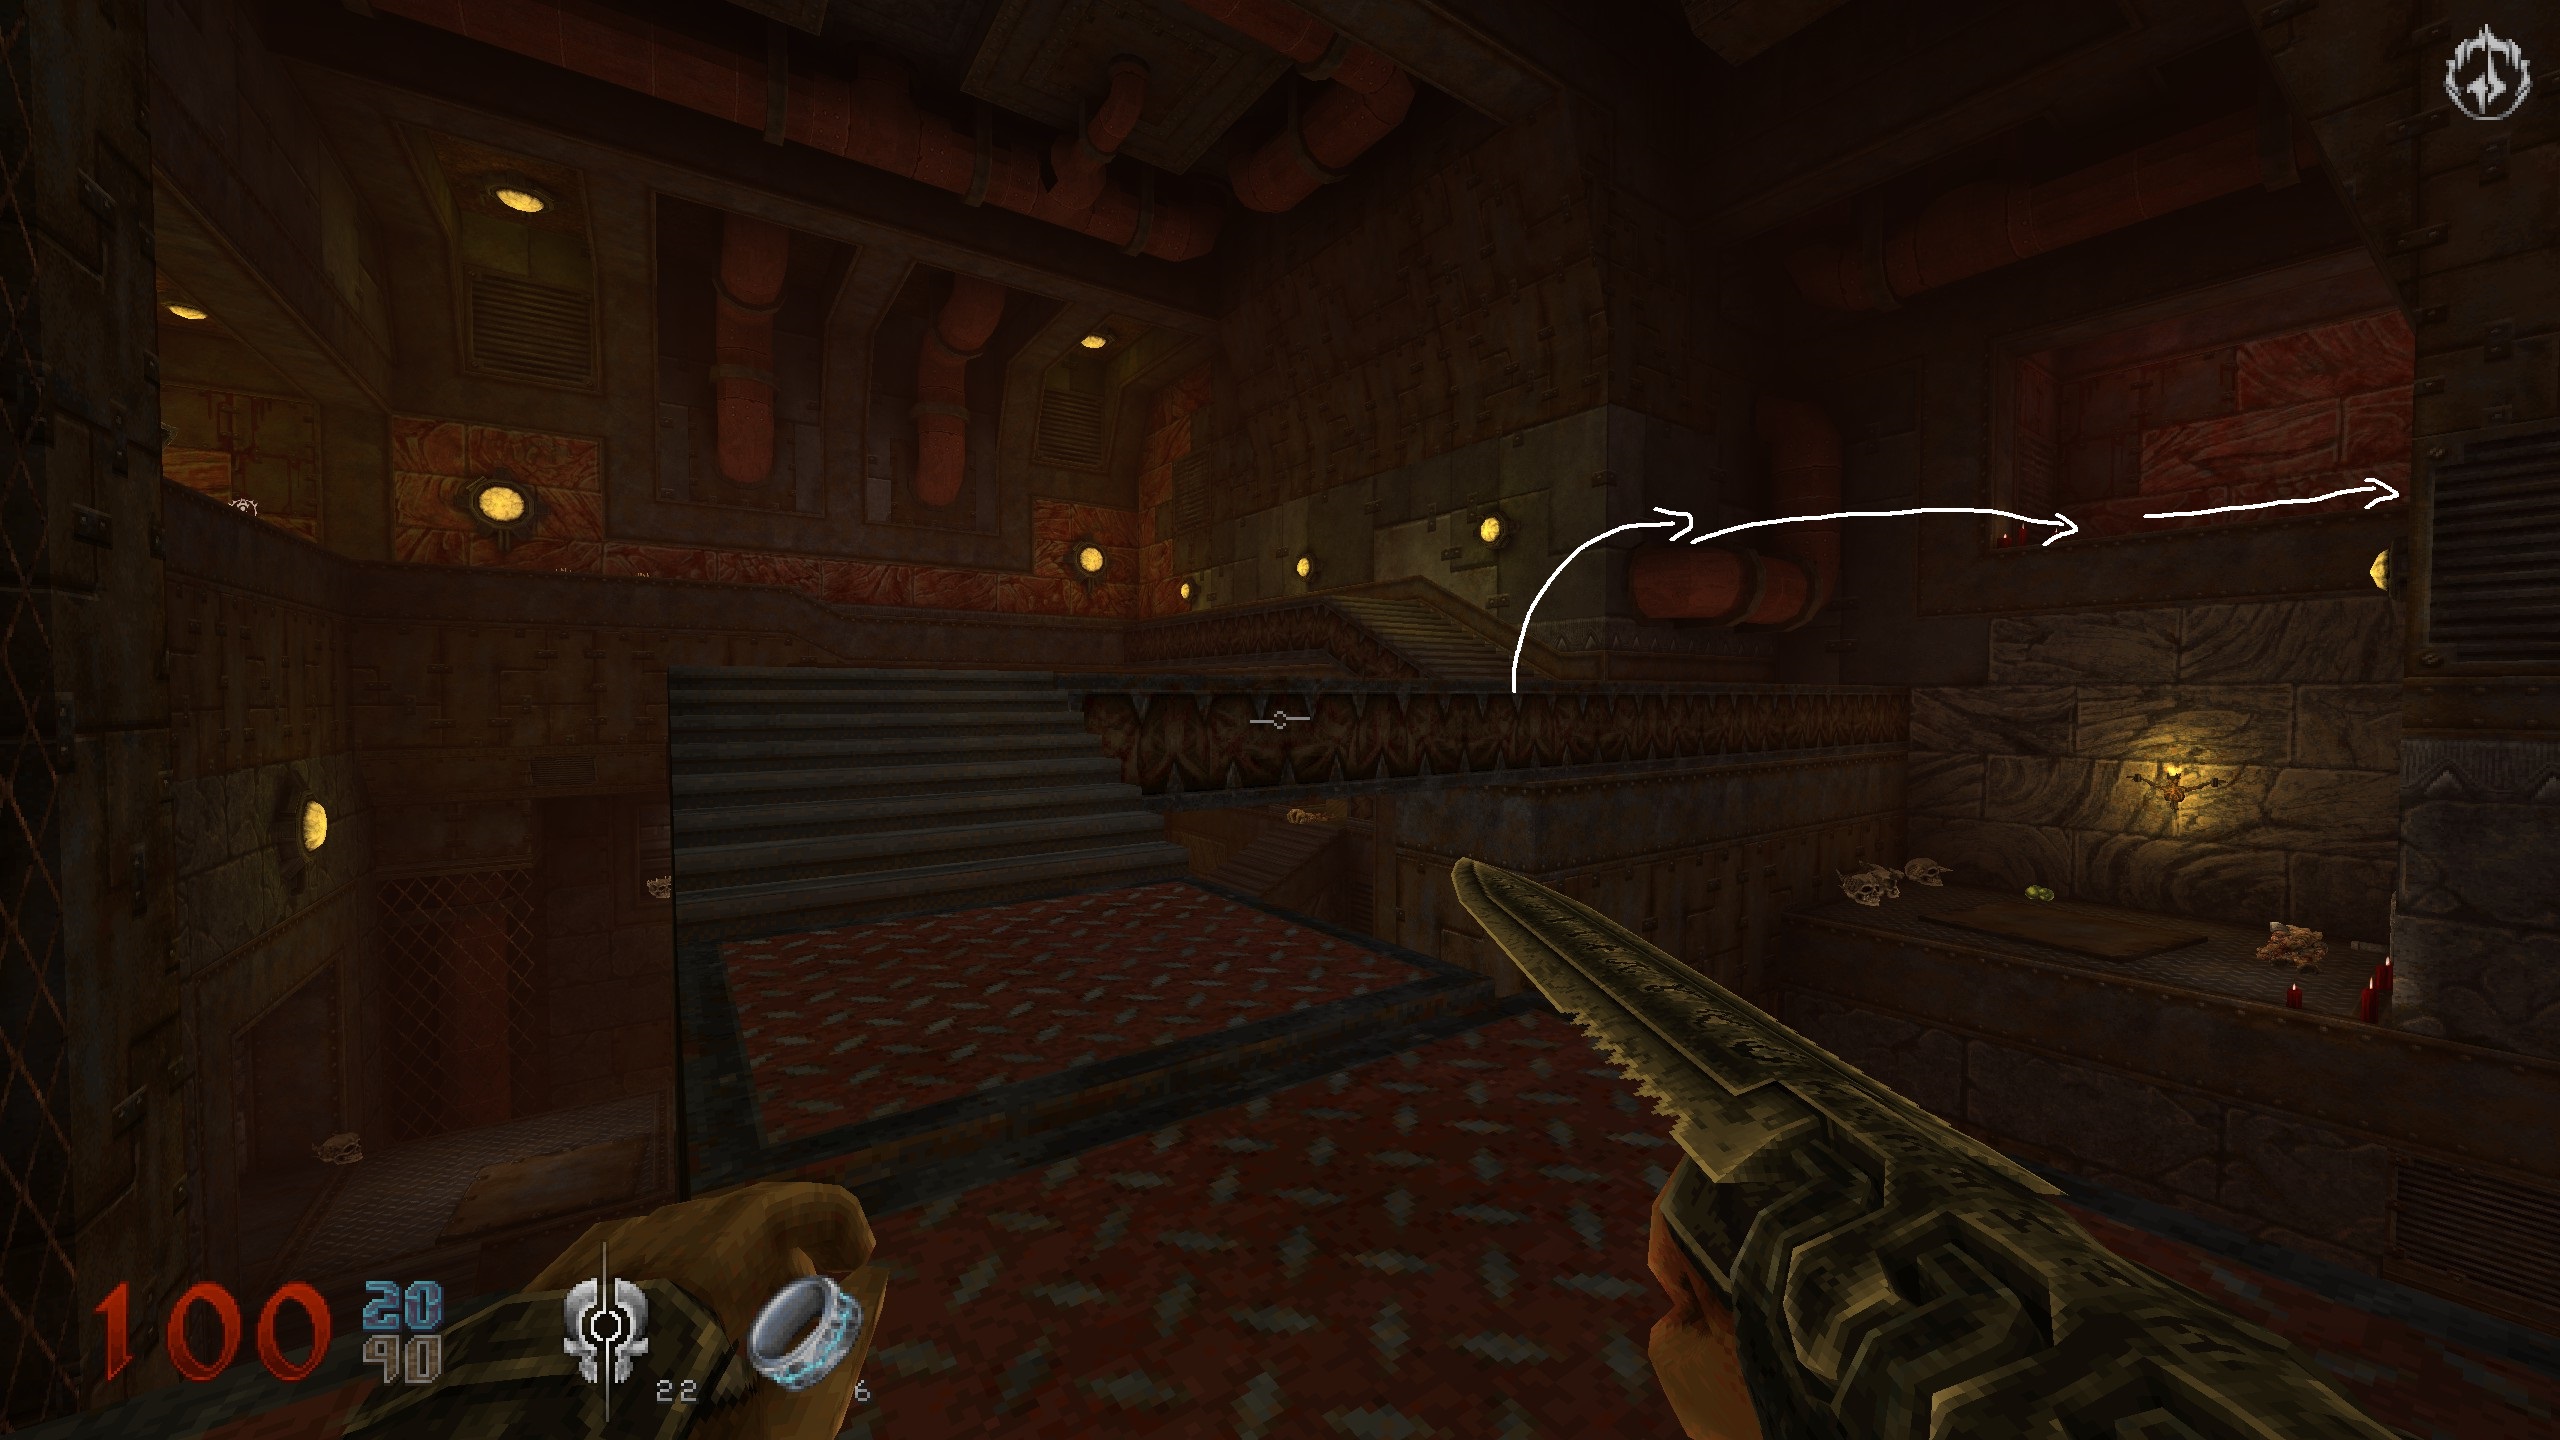
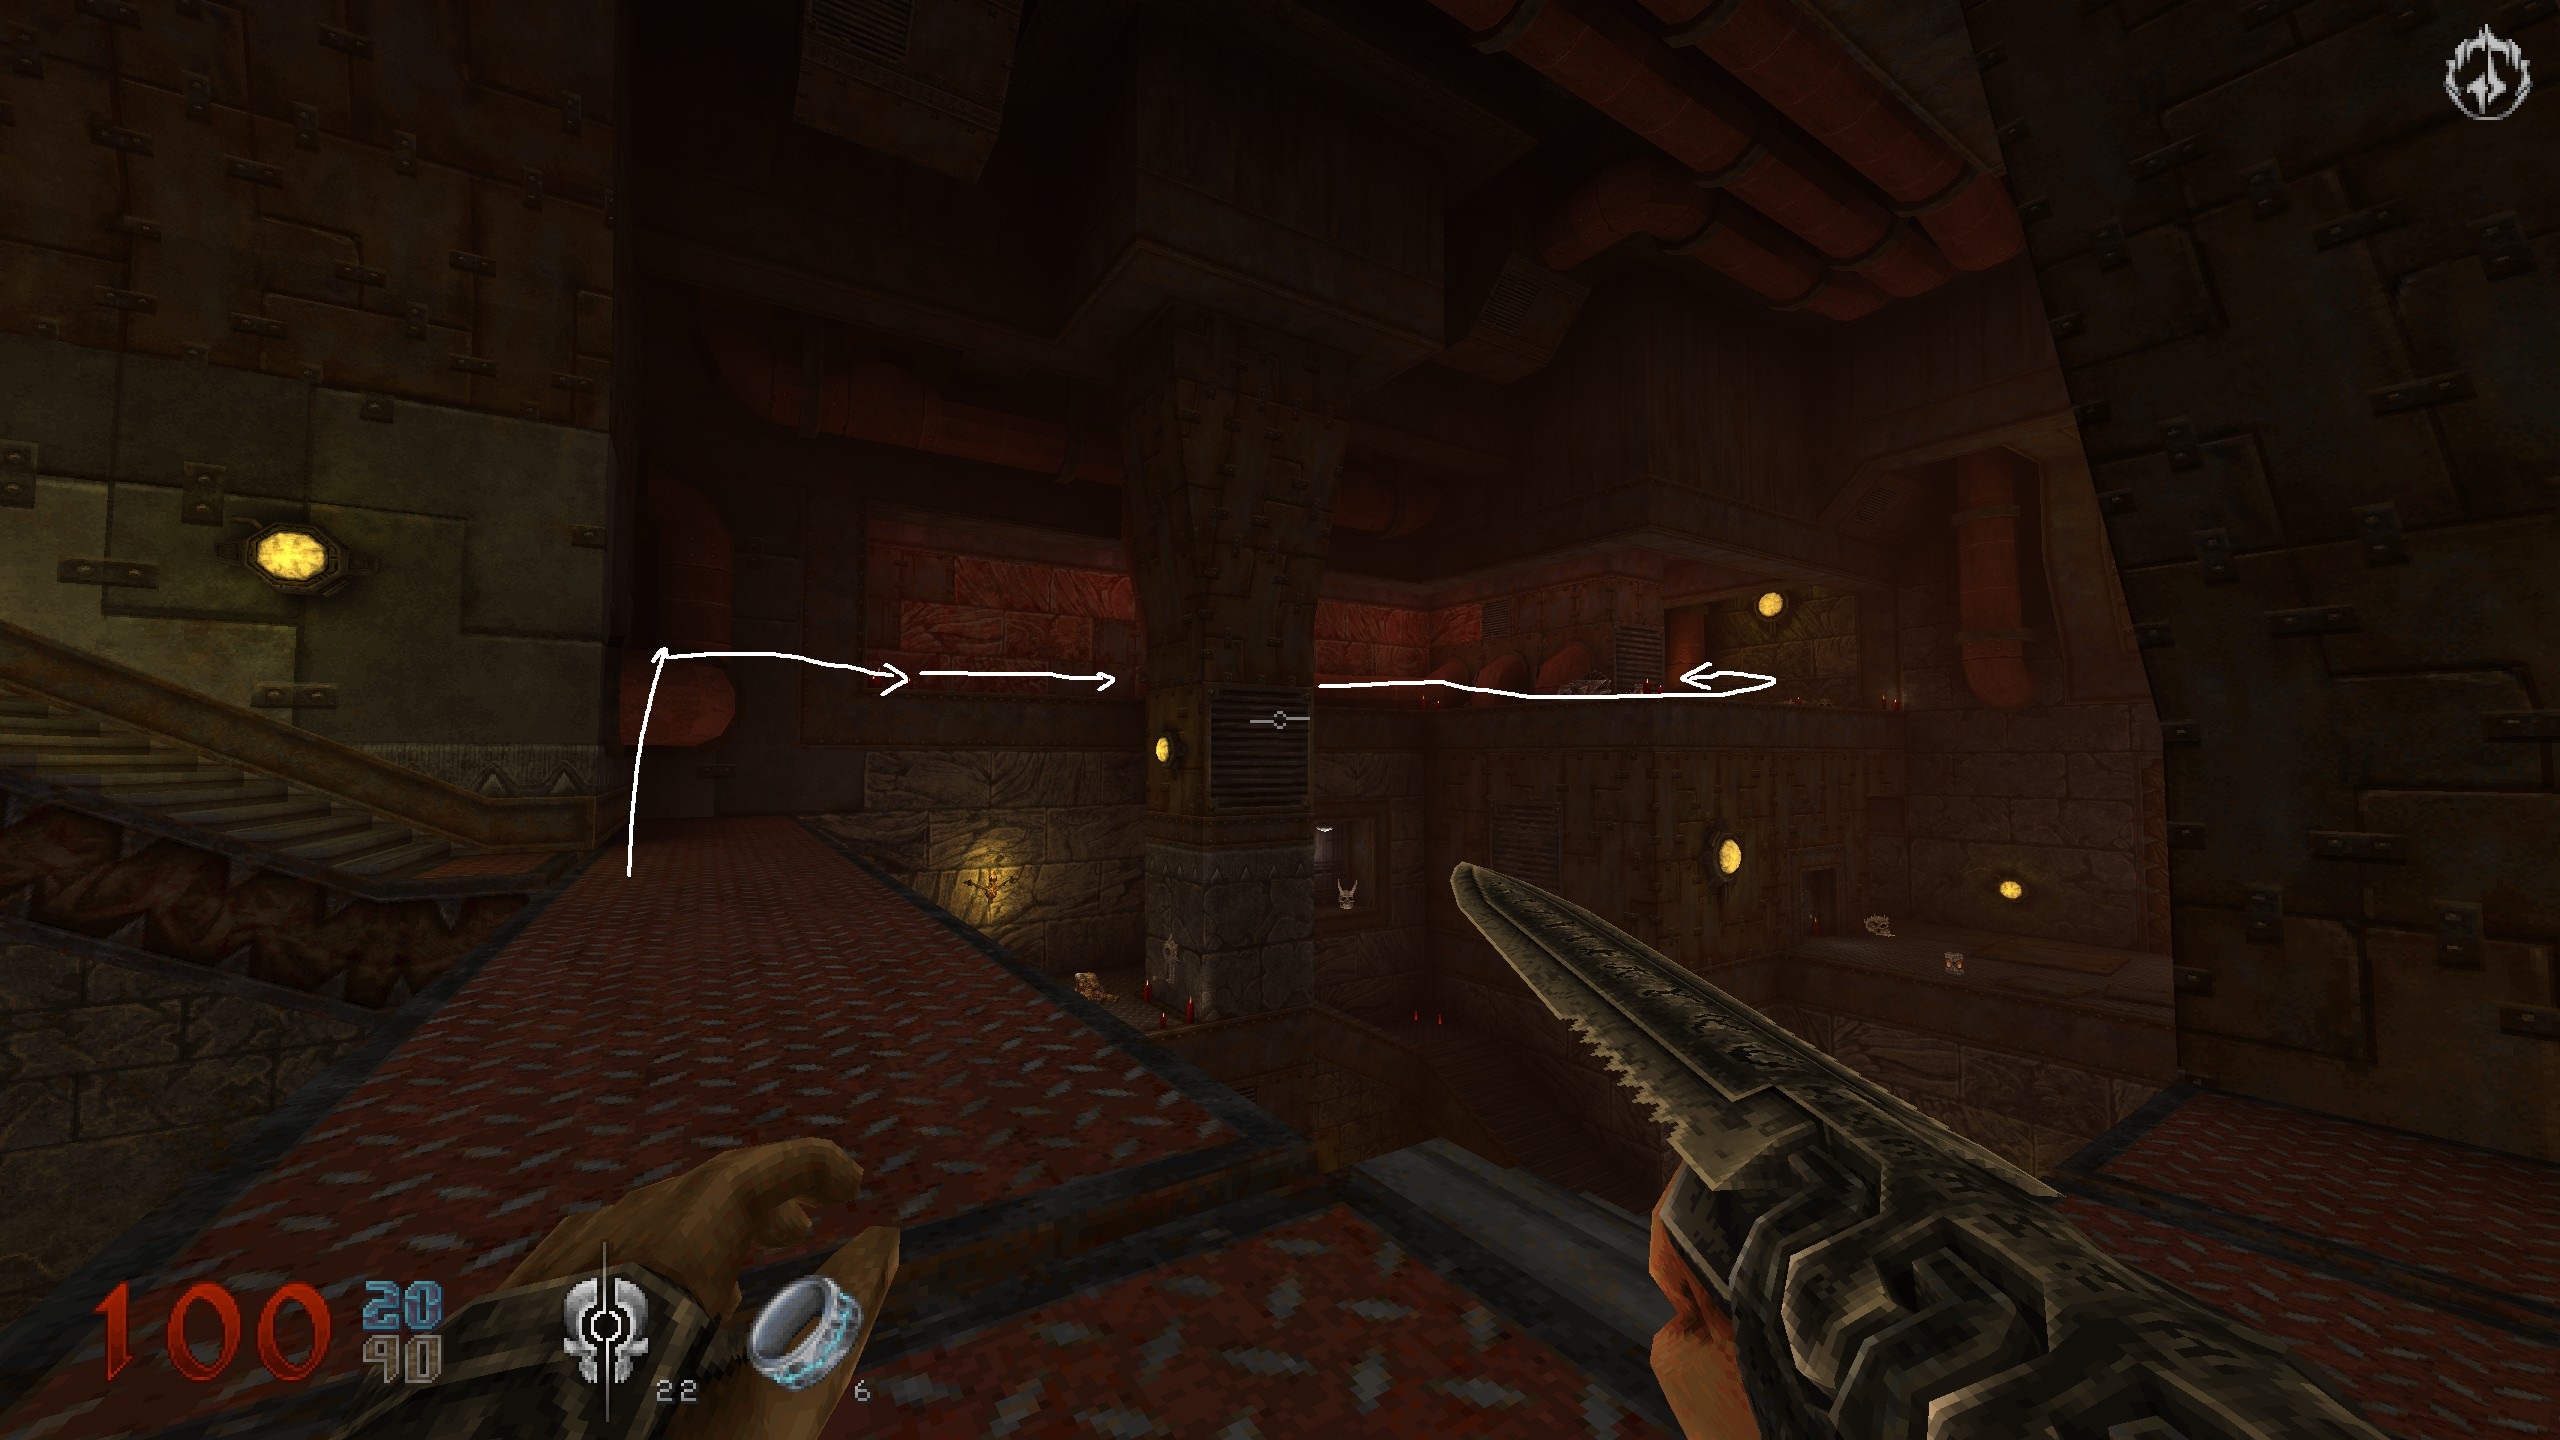
E3 – The Crucible of Souls – Part 1
After opening the blue door and going down the stairs, take a left and head where the enemy smashed through the wall. Use the small stone ledges to jump up into the opening for some black armor. Drop down and head all the way over to the other side .
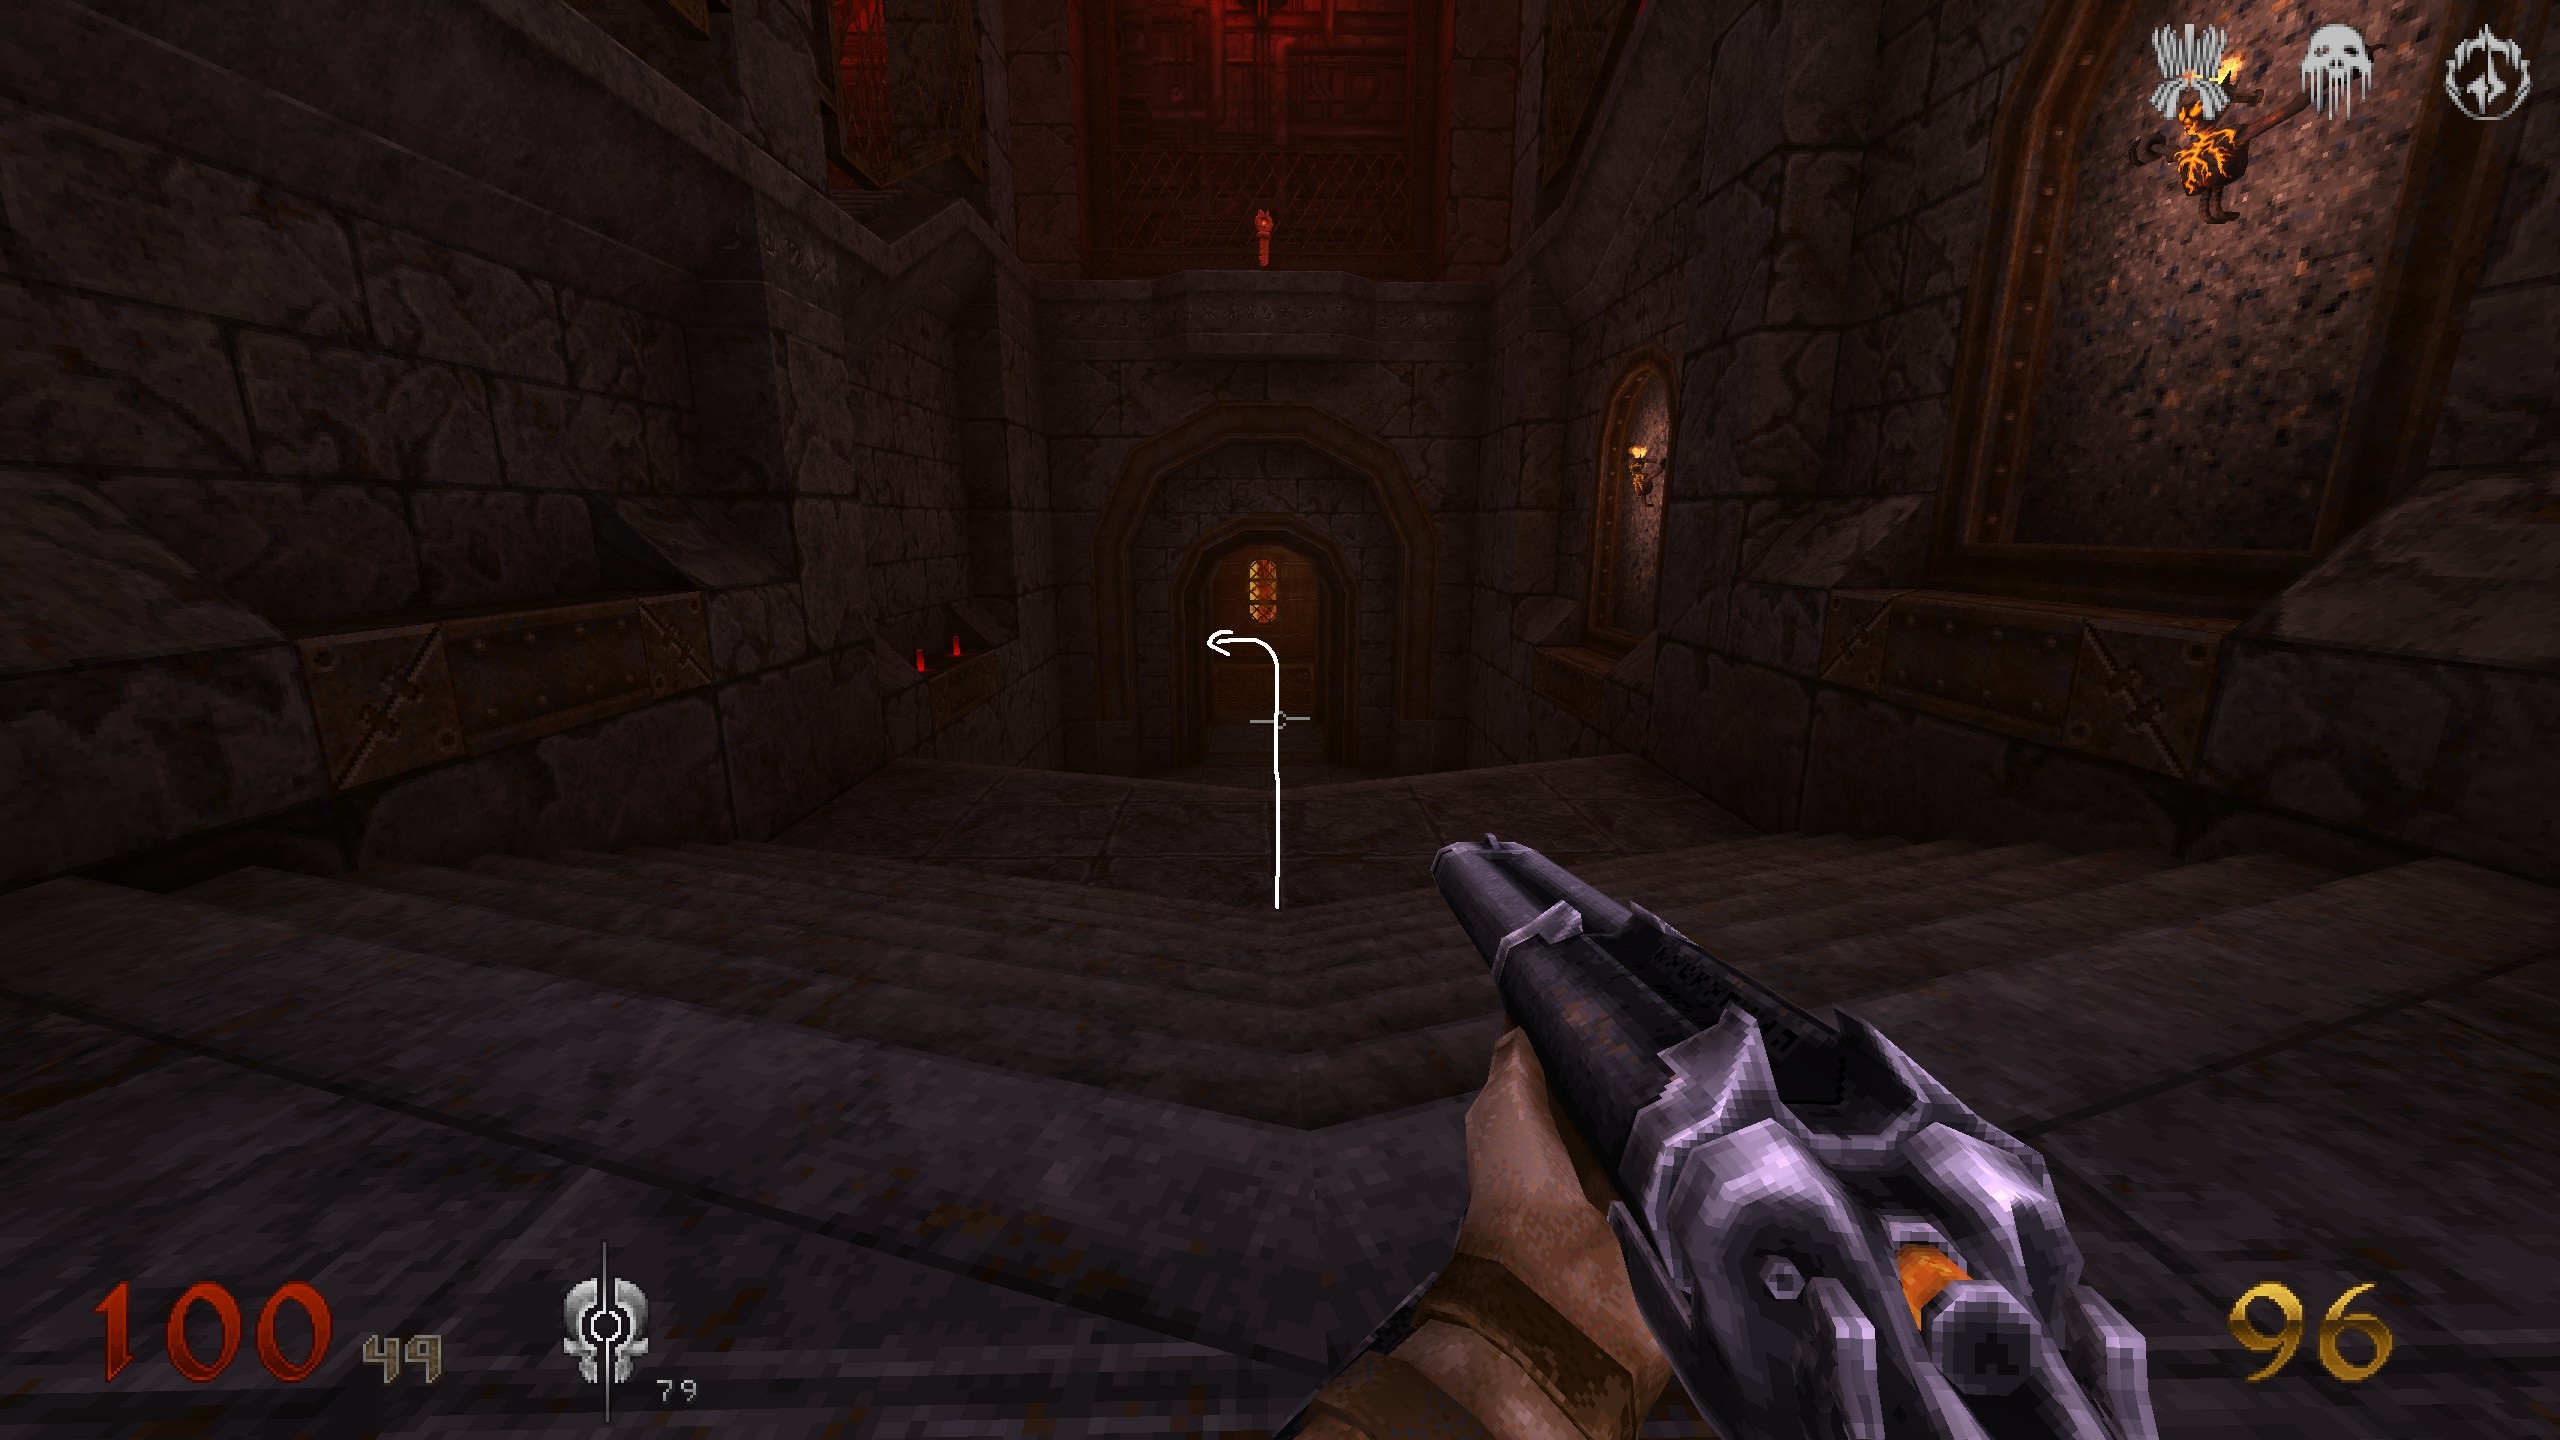
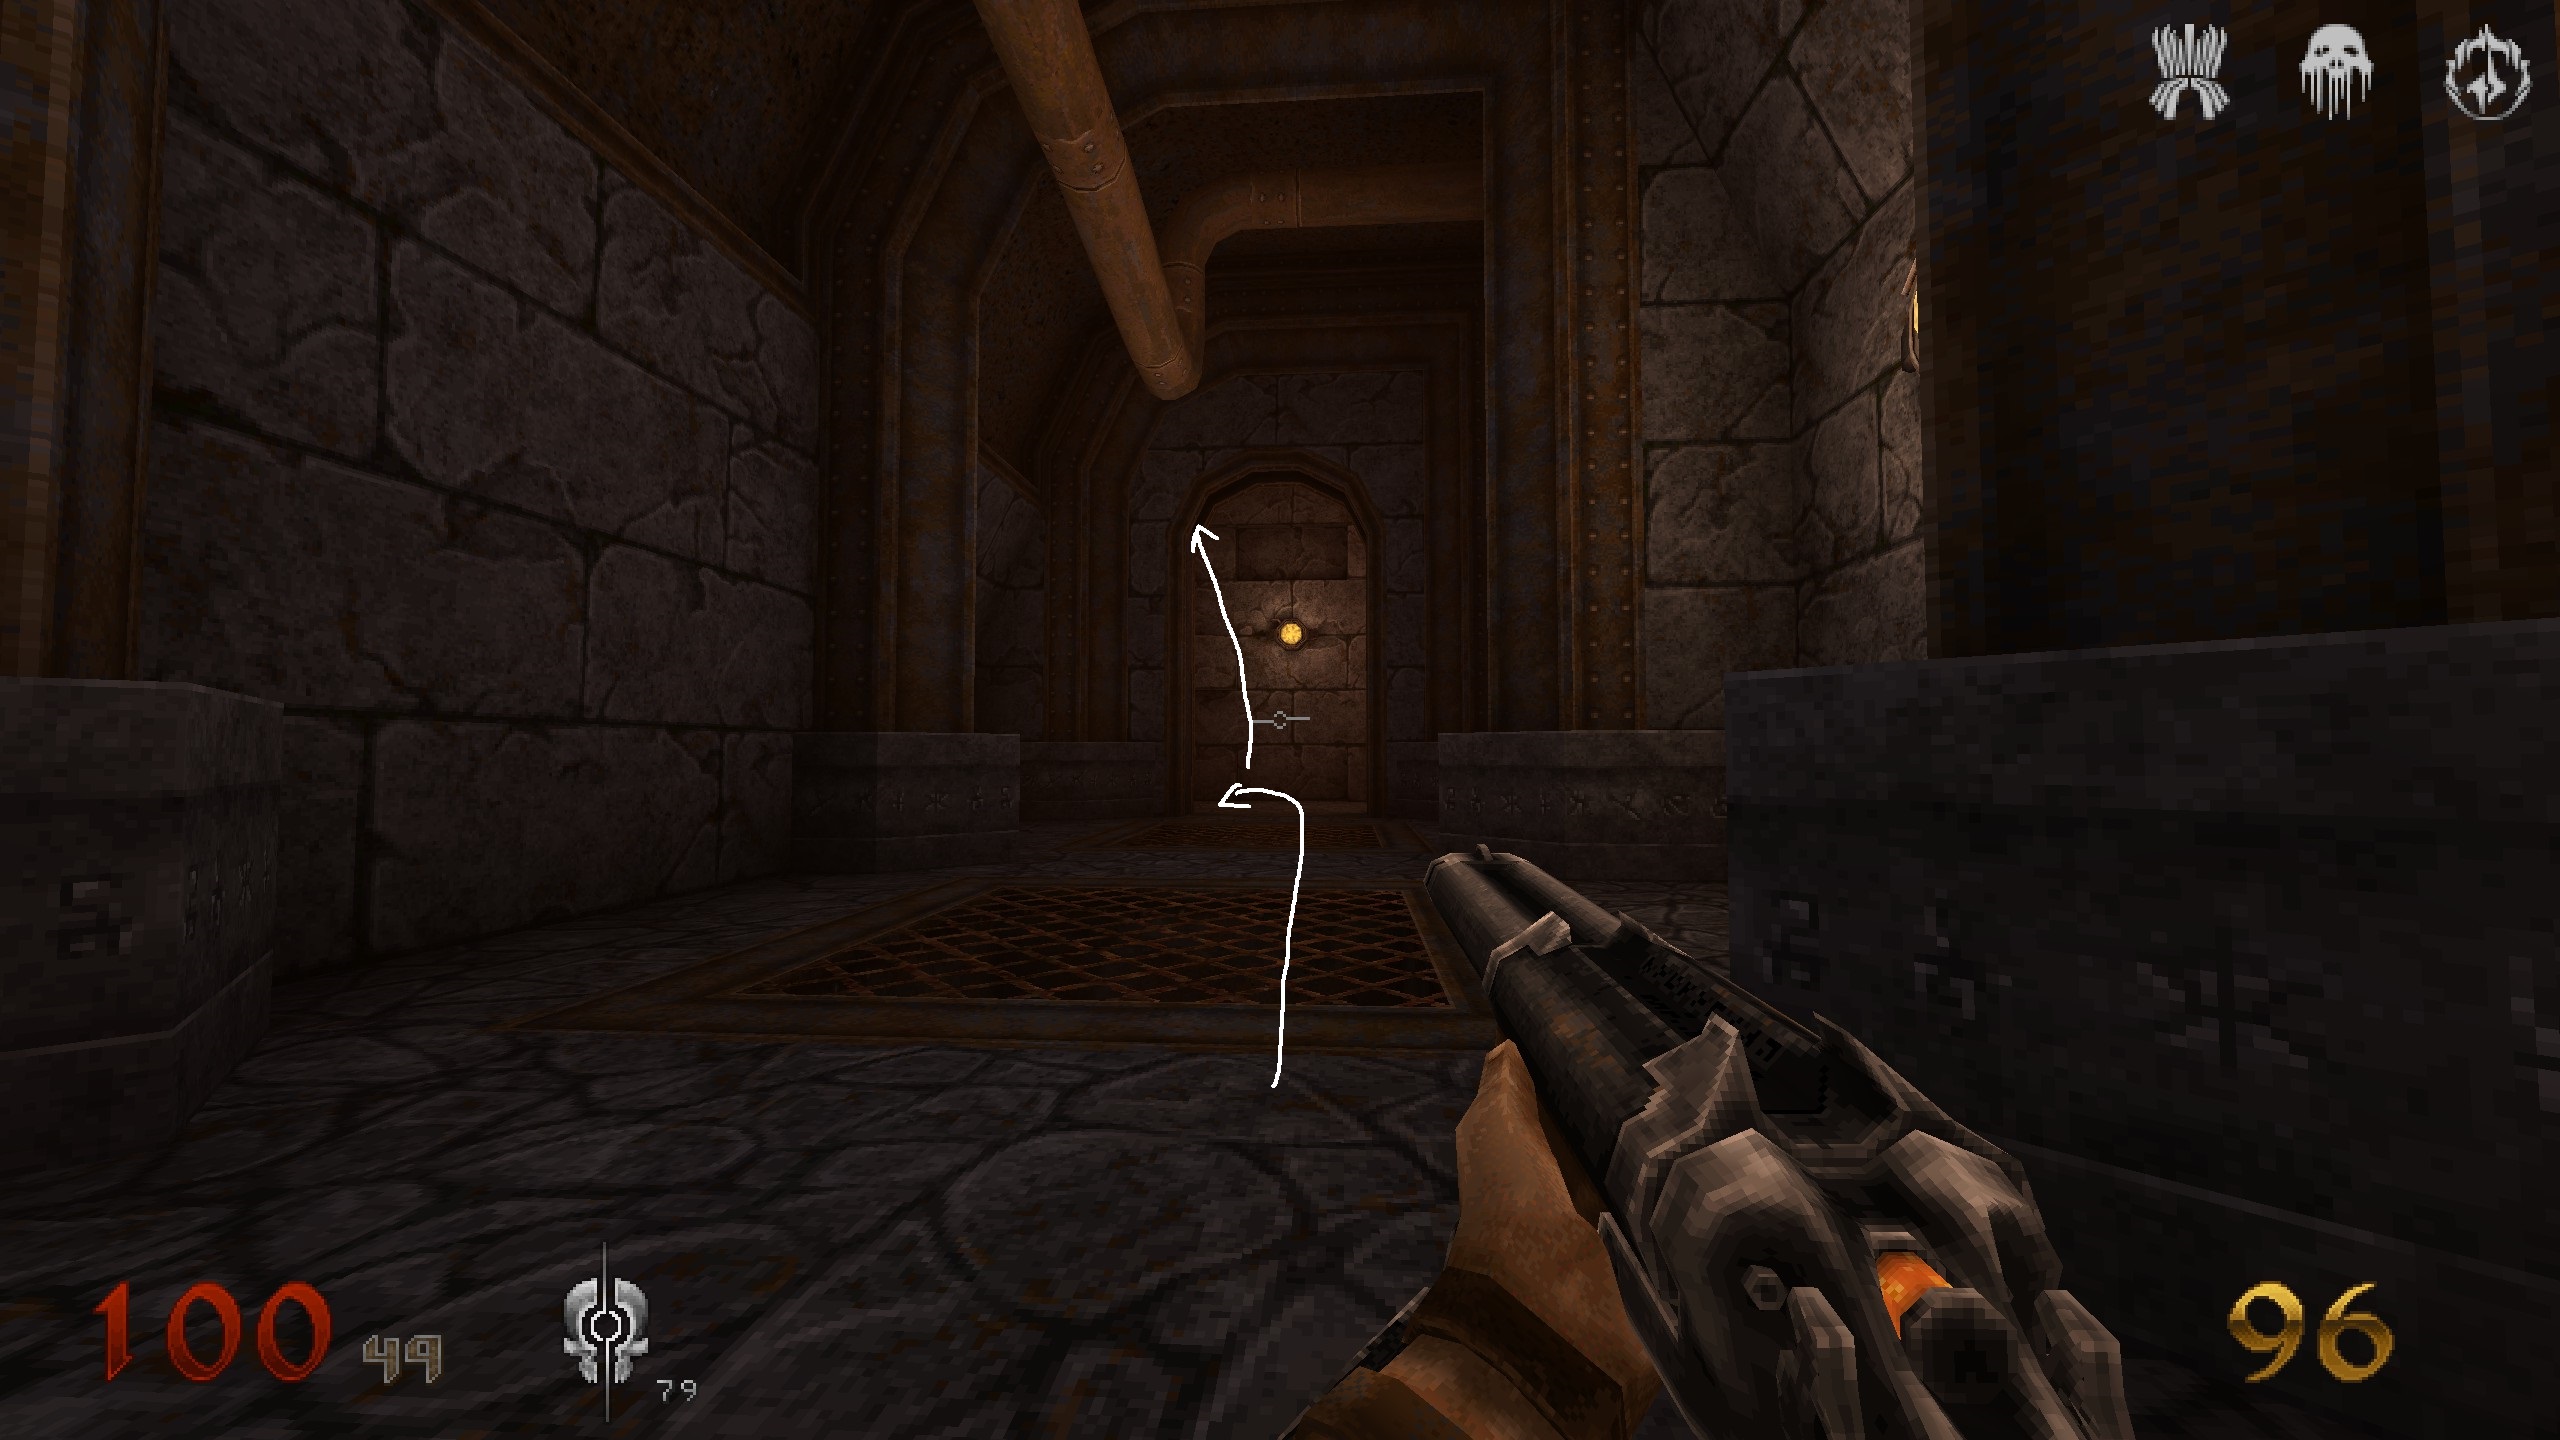
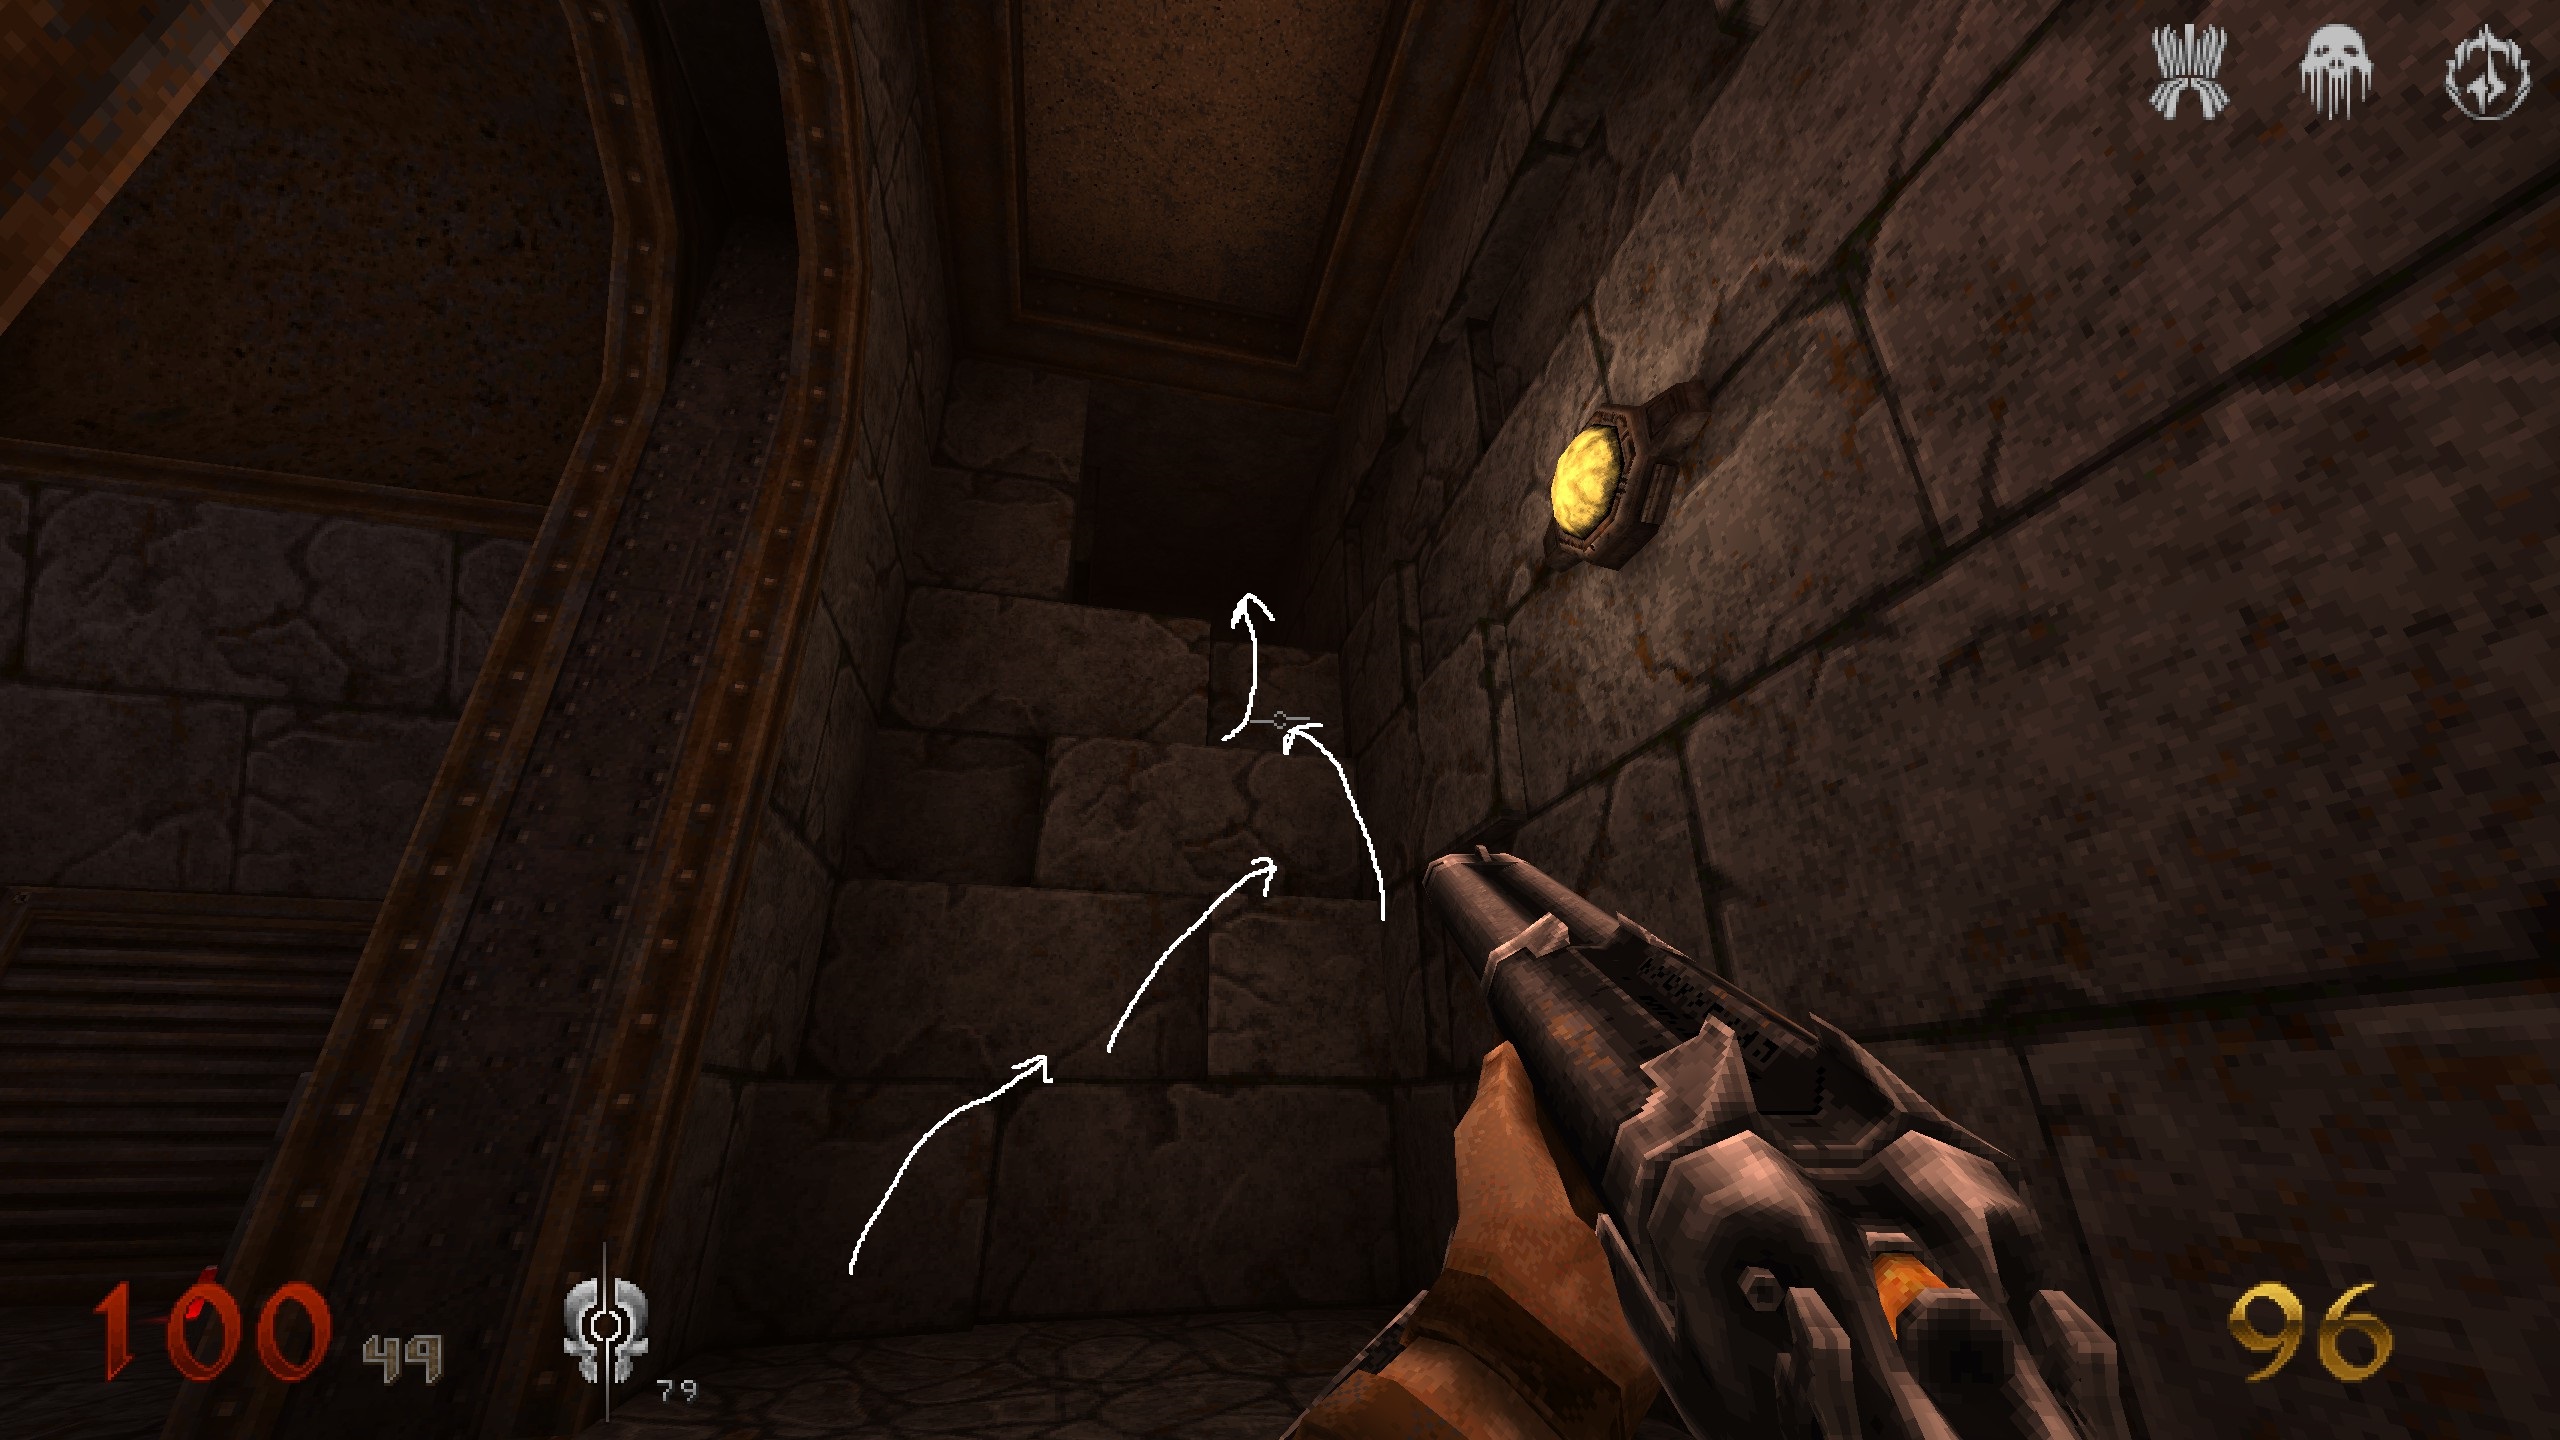
S2
You will come into a huge room with lots of pipes. Take the stairs to 2nd pipe and look behind it for some secret ammo.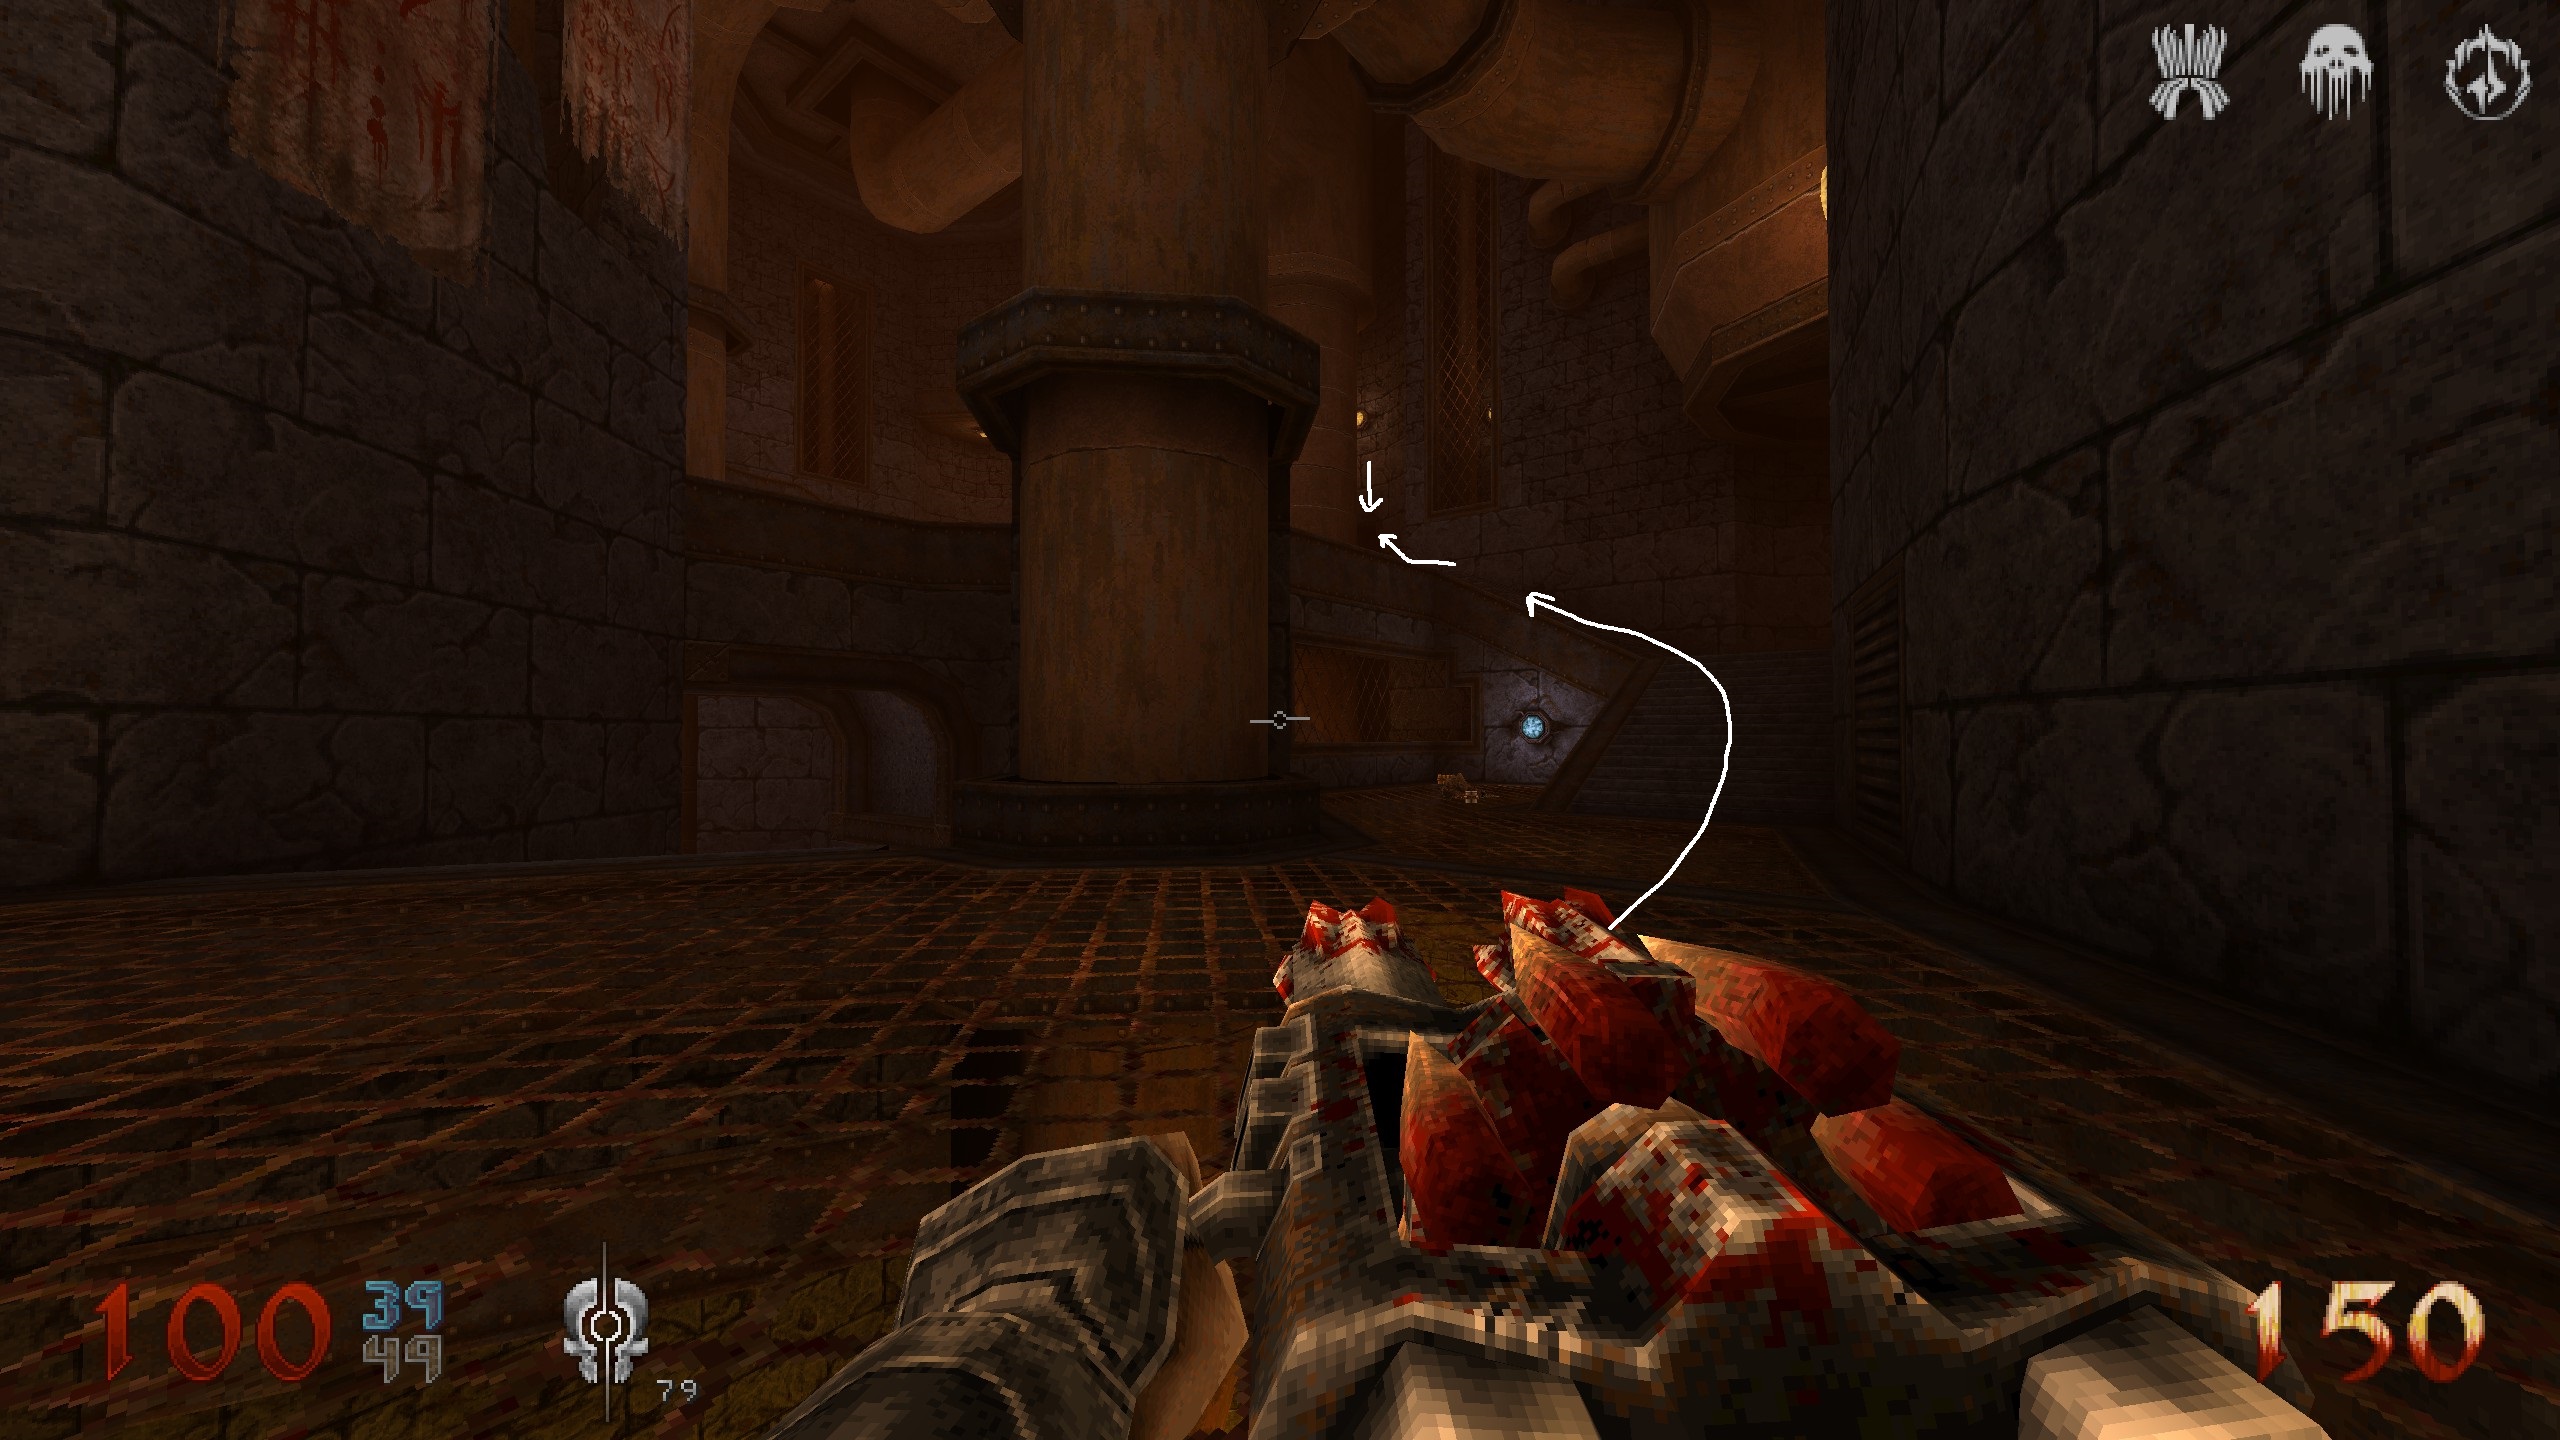
S3
From S2 proceed with the mission until you reach another big room with a switch. From here you can get to 2 secrets.
First notice the bloody plate at the wall. Very suspicious. Destroy it and drop down for a secret. At the secret drop down and get back to the huge room with all the vertical pipes where S2 was located. Head back into the room with the switch where the bloody plate was.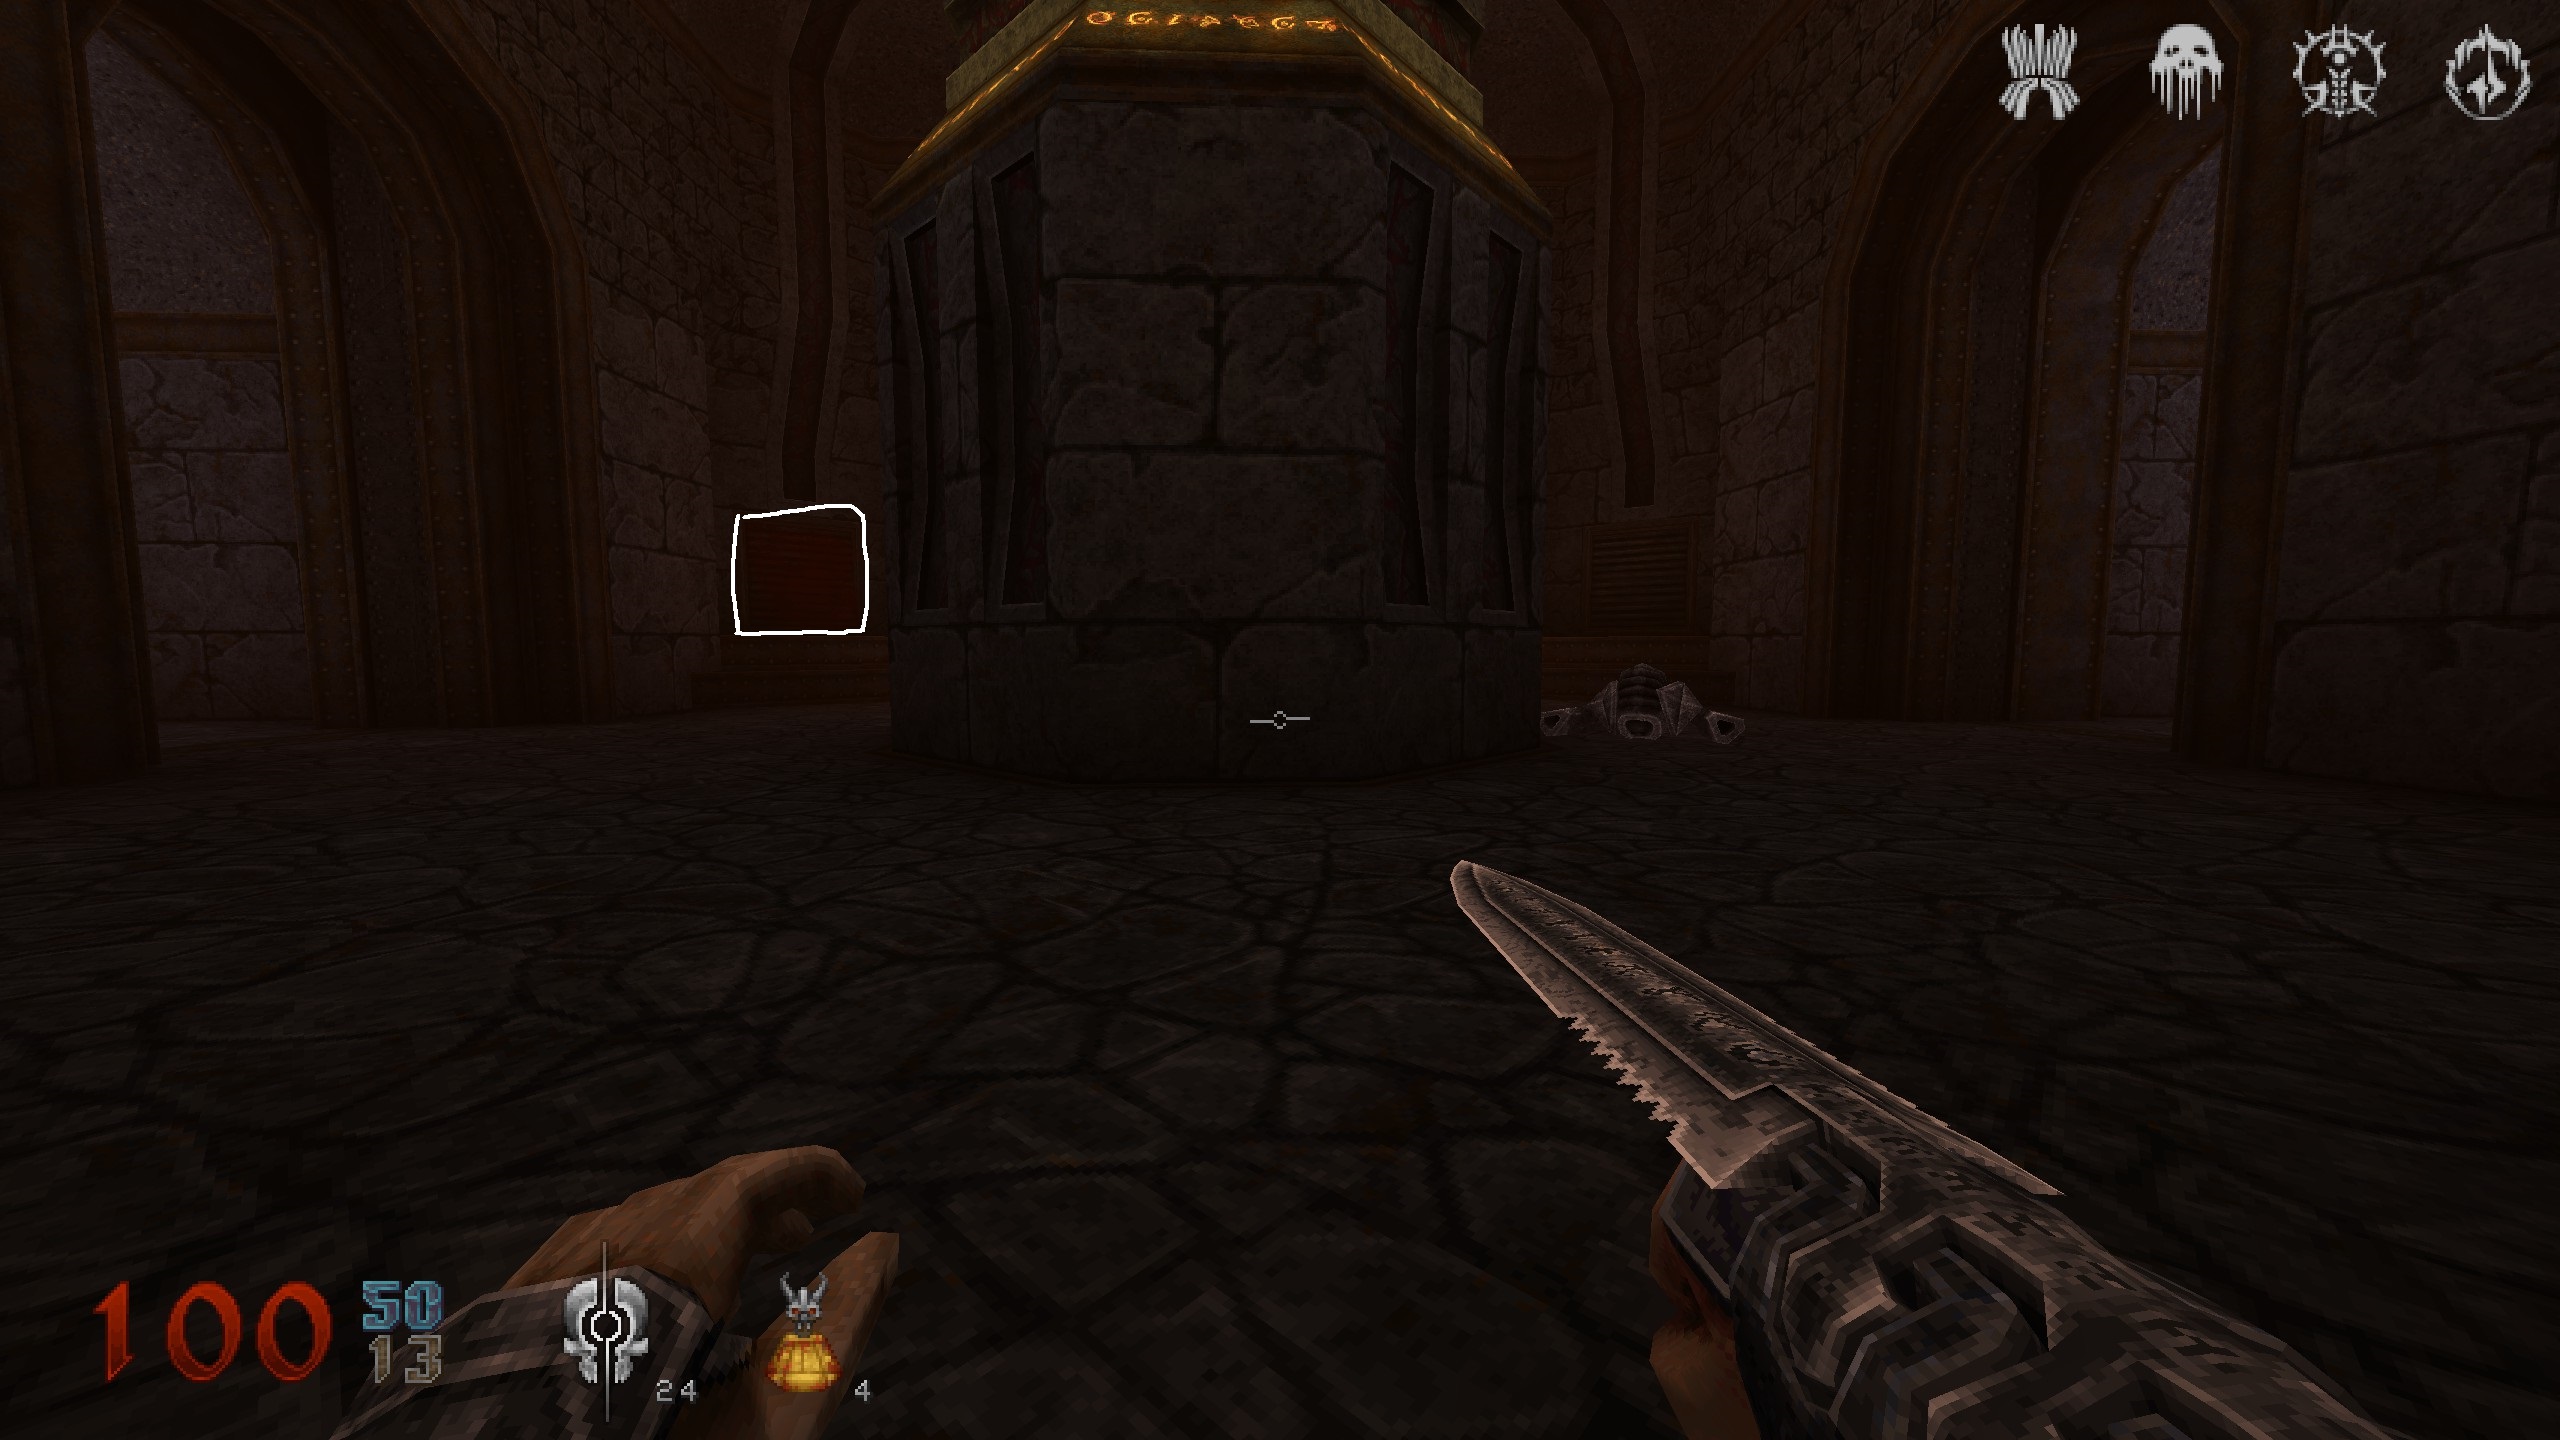
S4
In the same room where the bloody plate was, after using the switch, a stone wall will also open and reveal an enemy. At the spot, let yourself fall down over the edge and jump into the opening below for some black armor. Back to the room with the switch and on with the mission.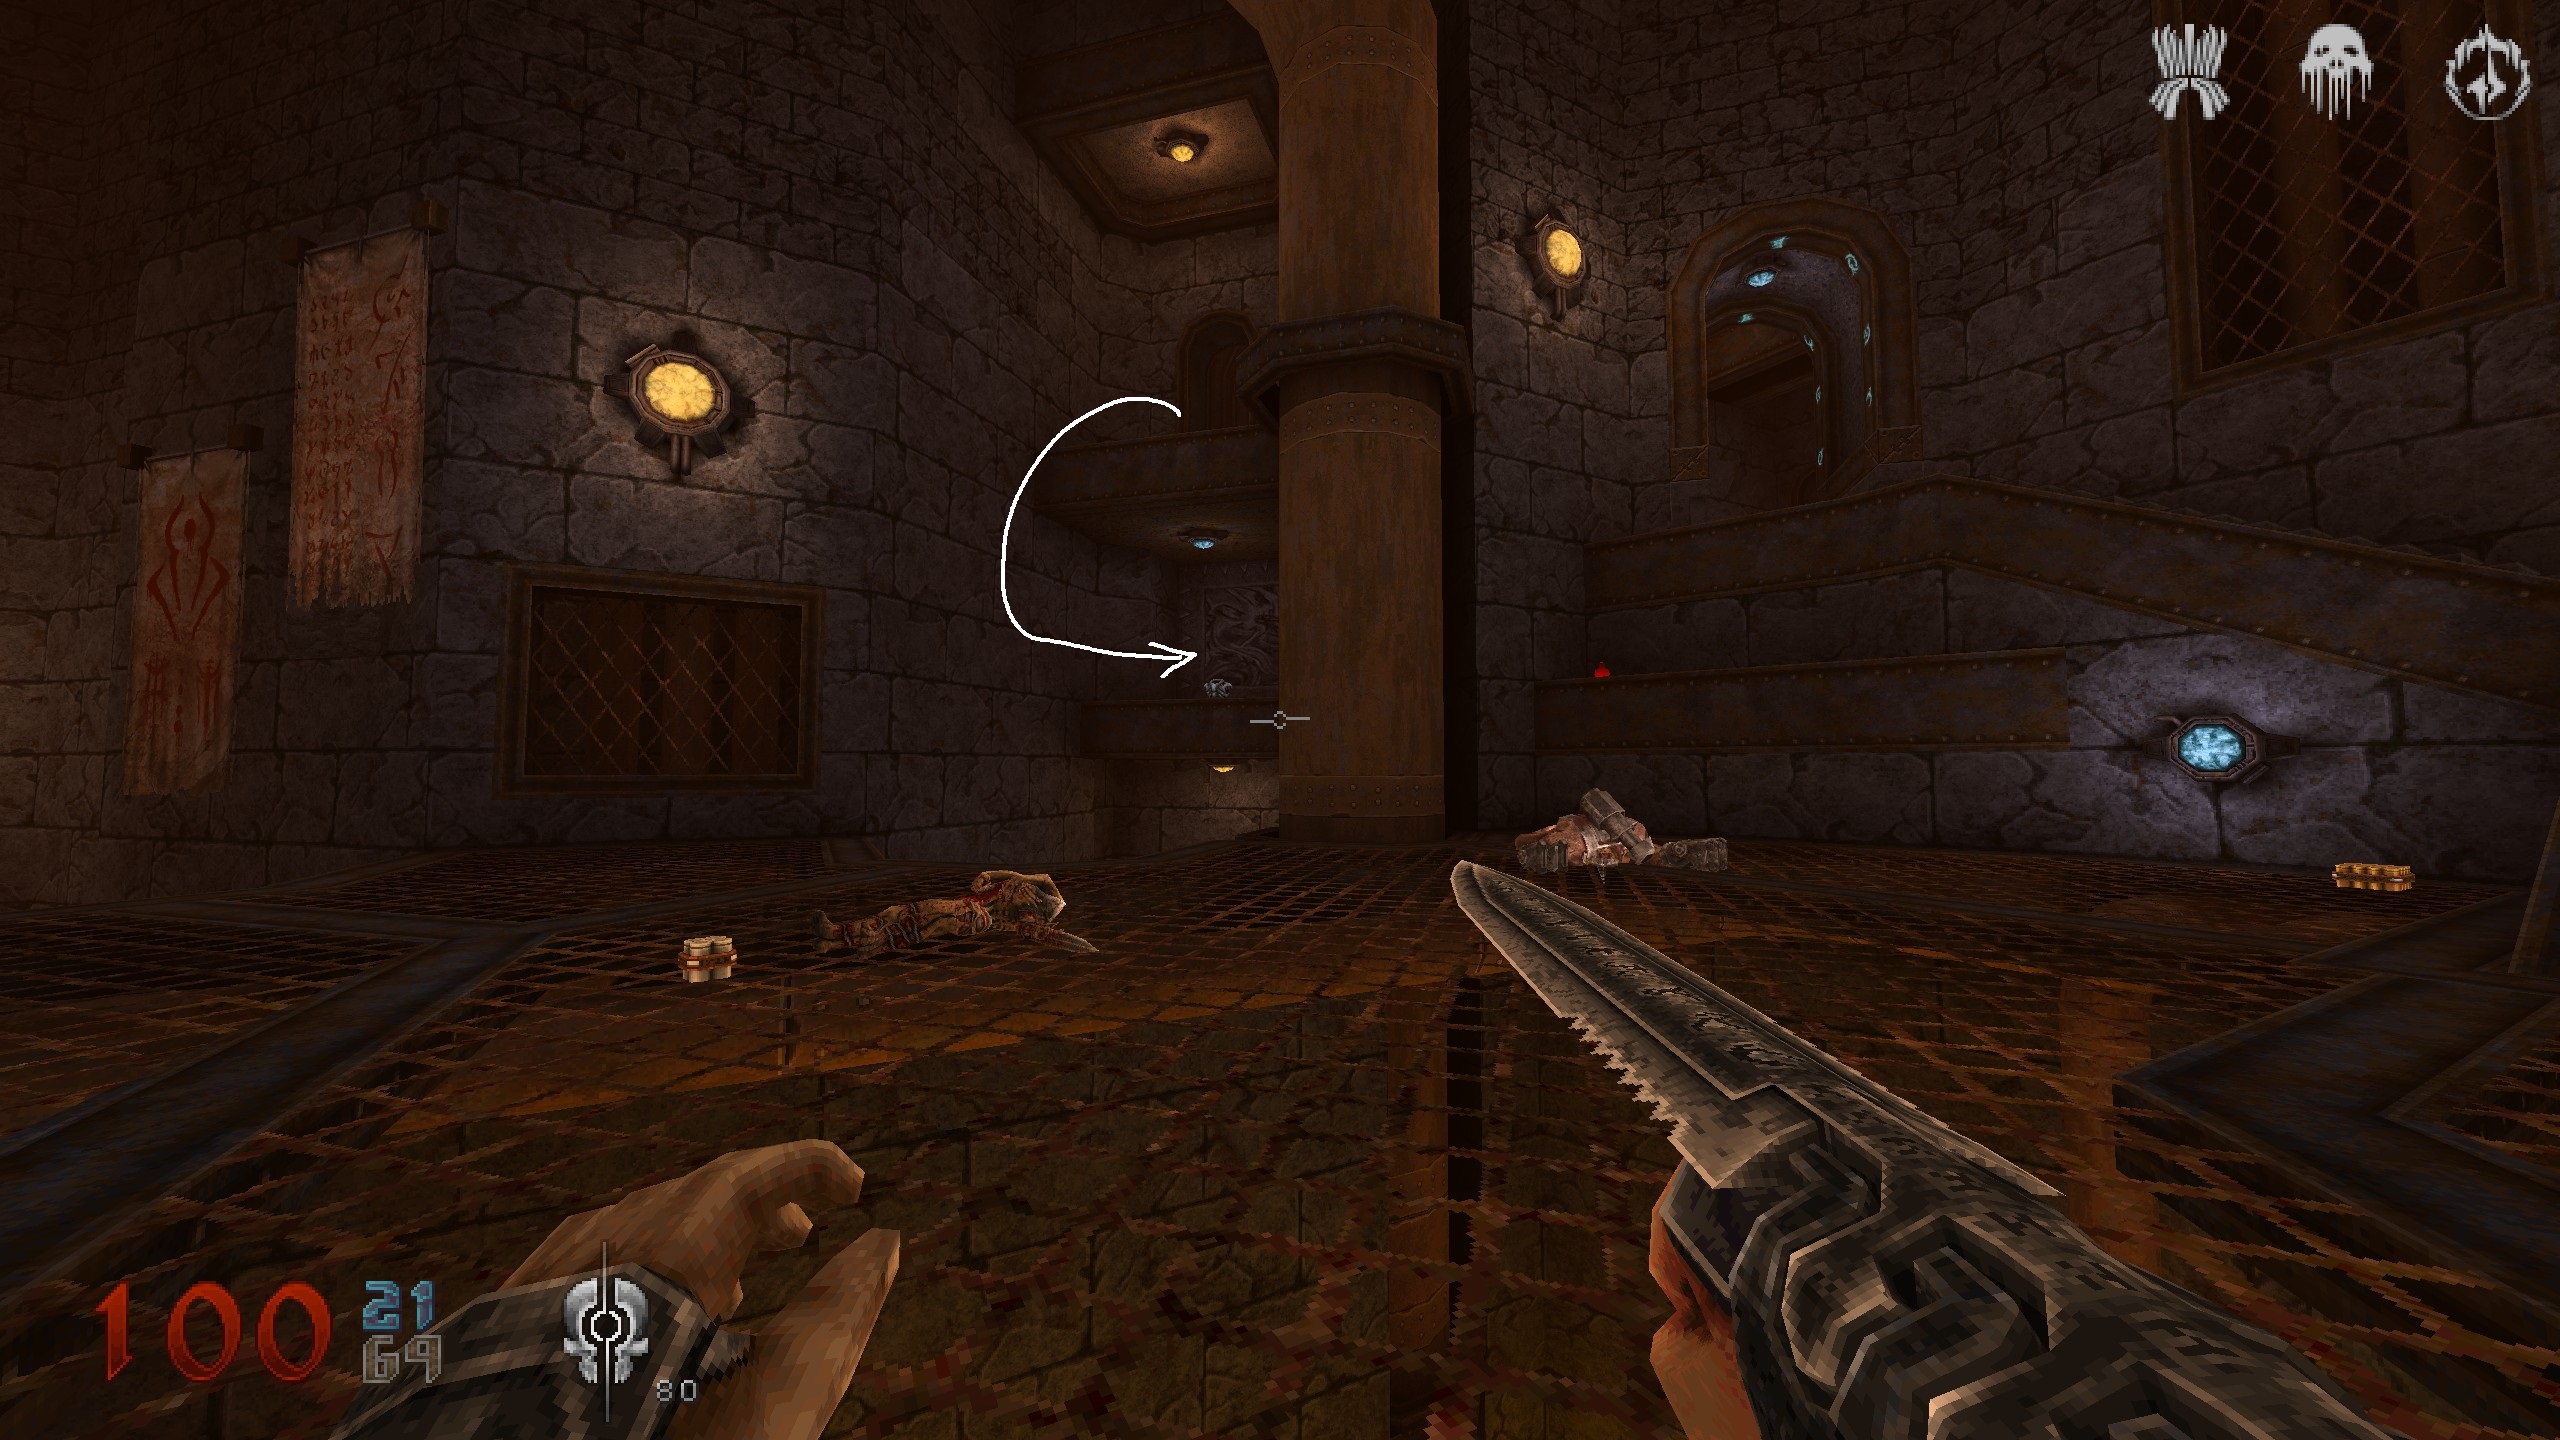
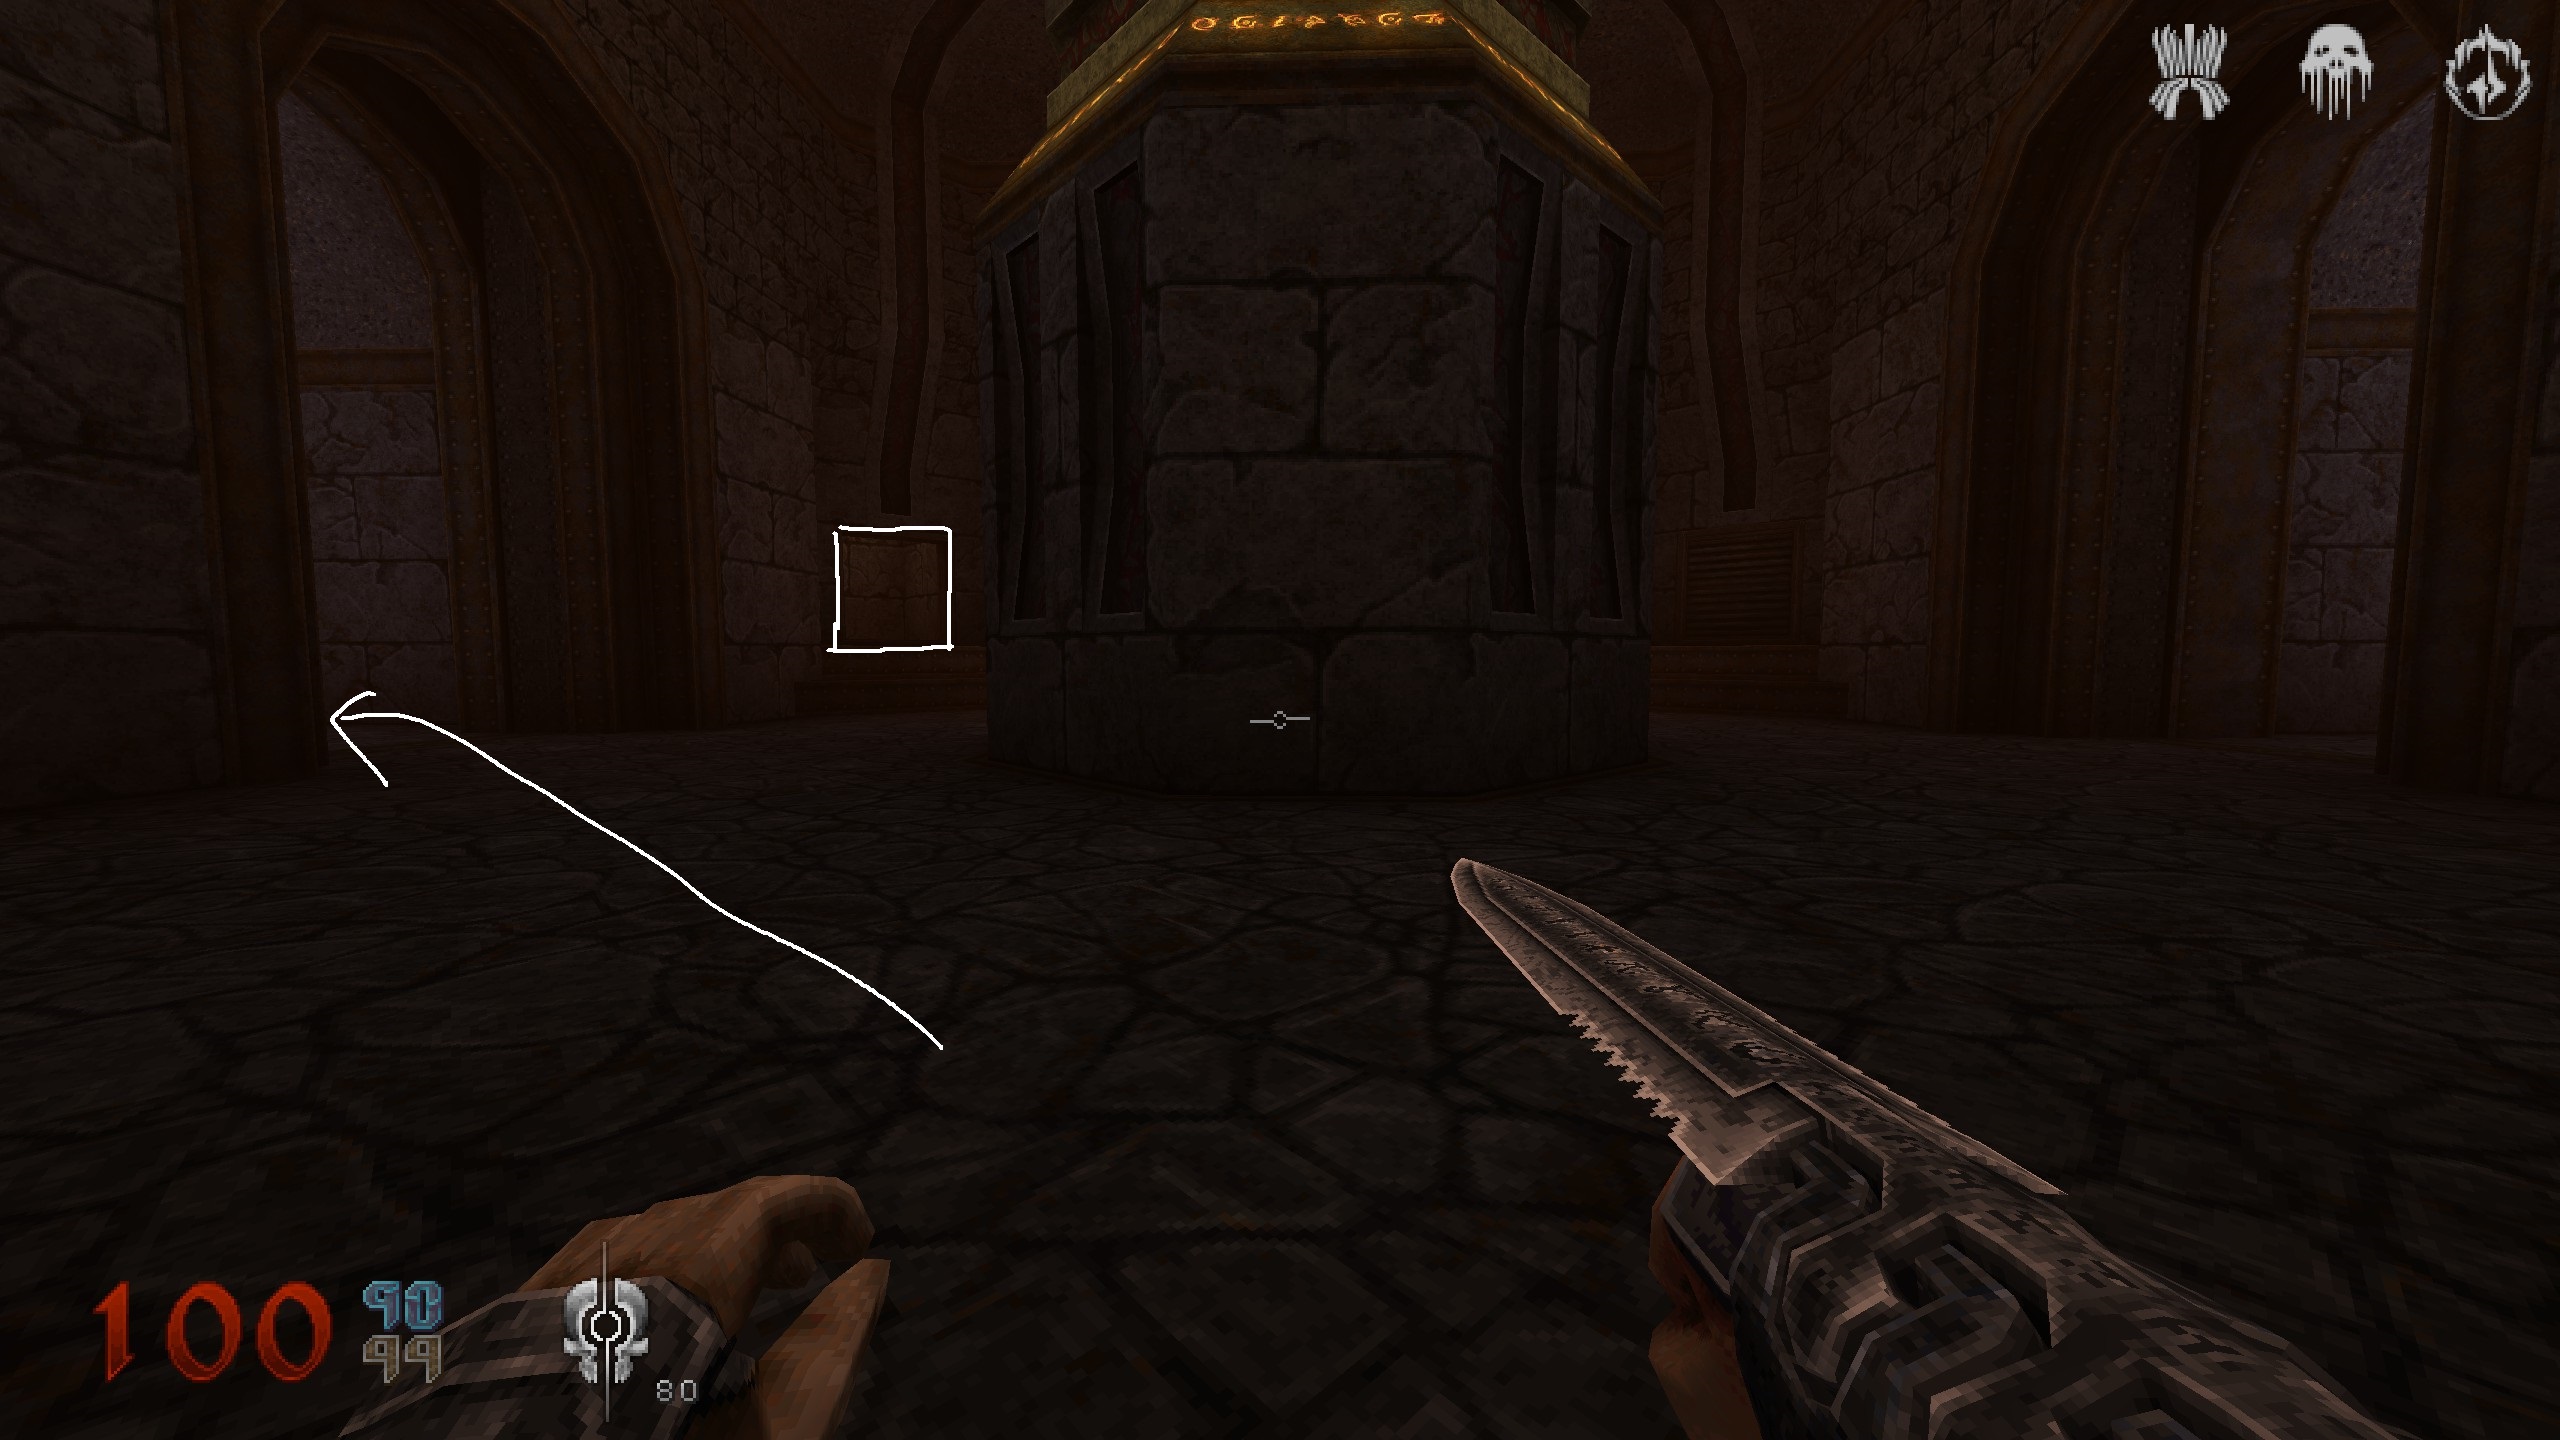
S5
In the next room from S4, you can go left over a bridge or right where lots of lavafalls are coming down. Go right first. There is a niche in the stones close to where the stairs start. Drop down for a secret and take the teleporter. You will exit in the same room where you started.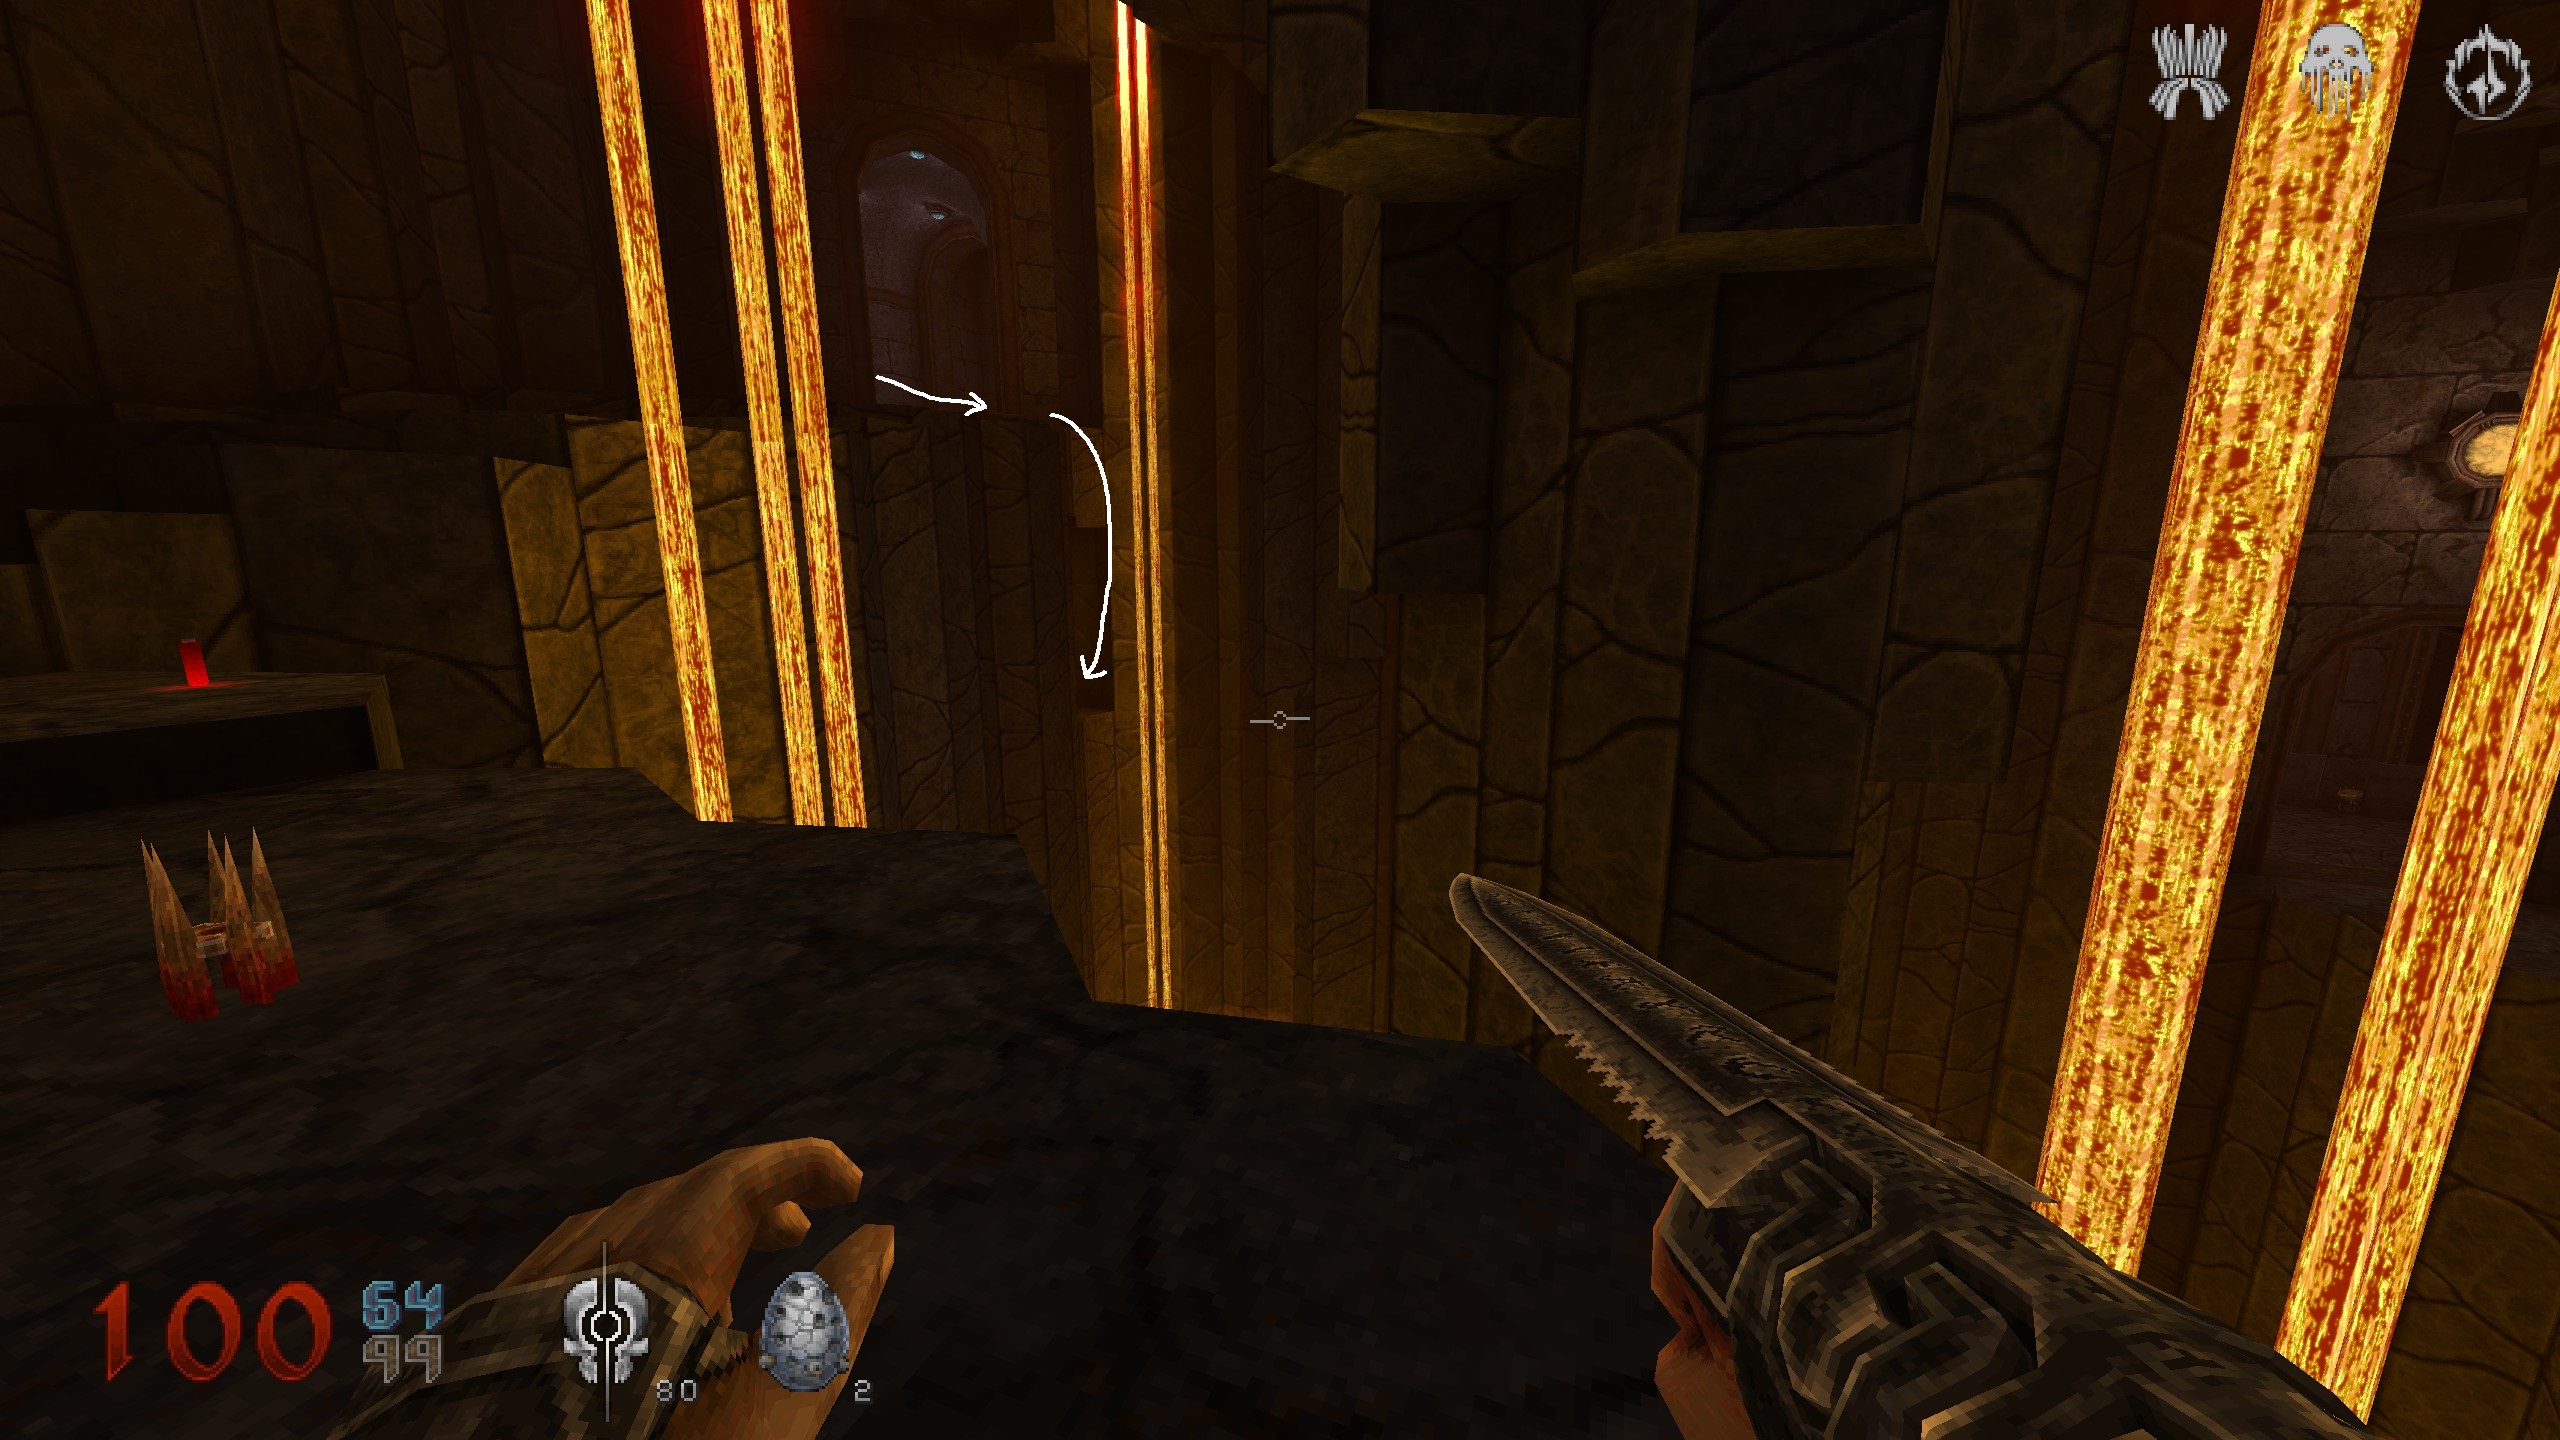
S6
When you come back with the teleporter, get on the bridge. Directly where it starts, drop down below the bridge into another opening for S6 and again take the teleporter to get back and cross the bridge. Stop at the end of it.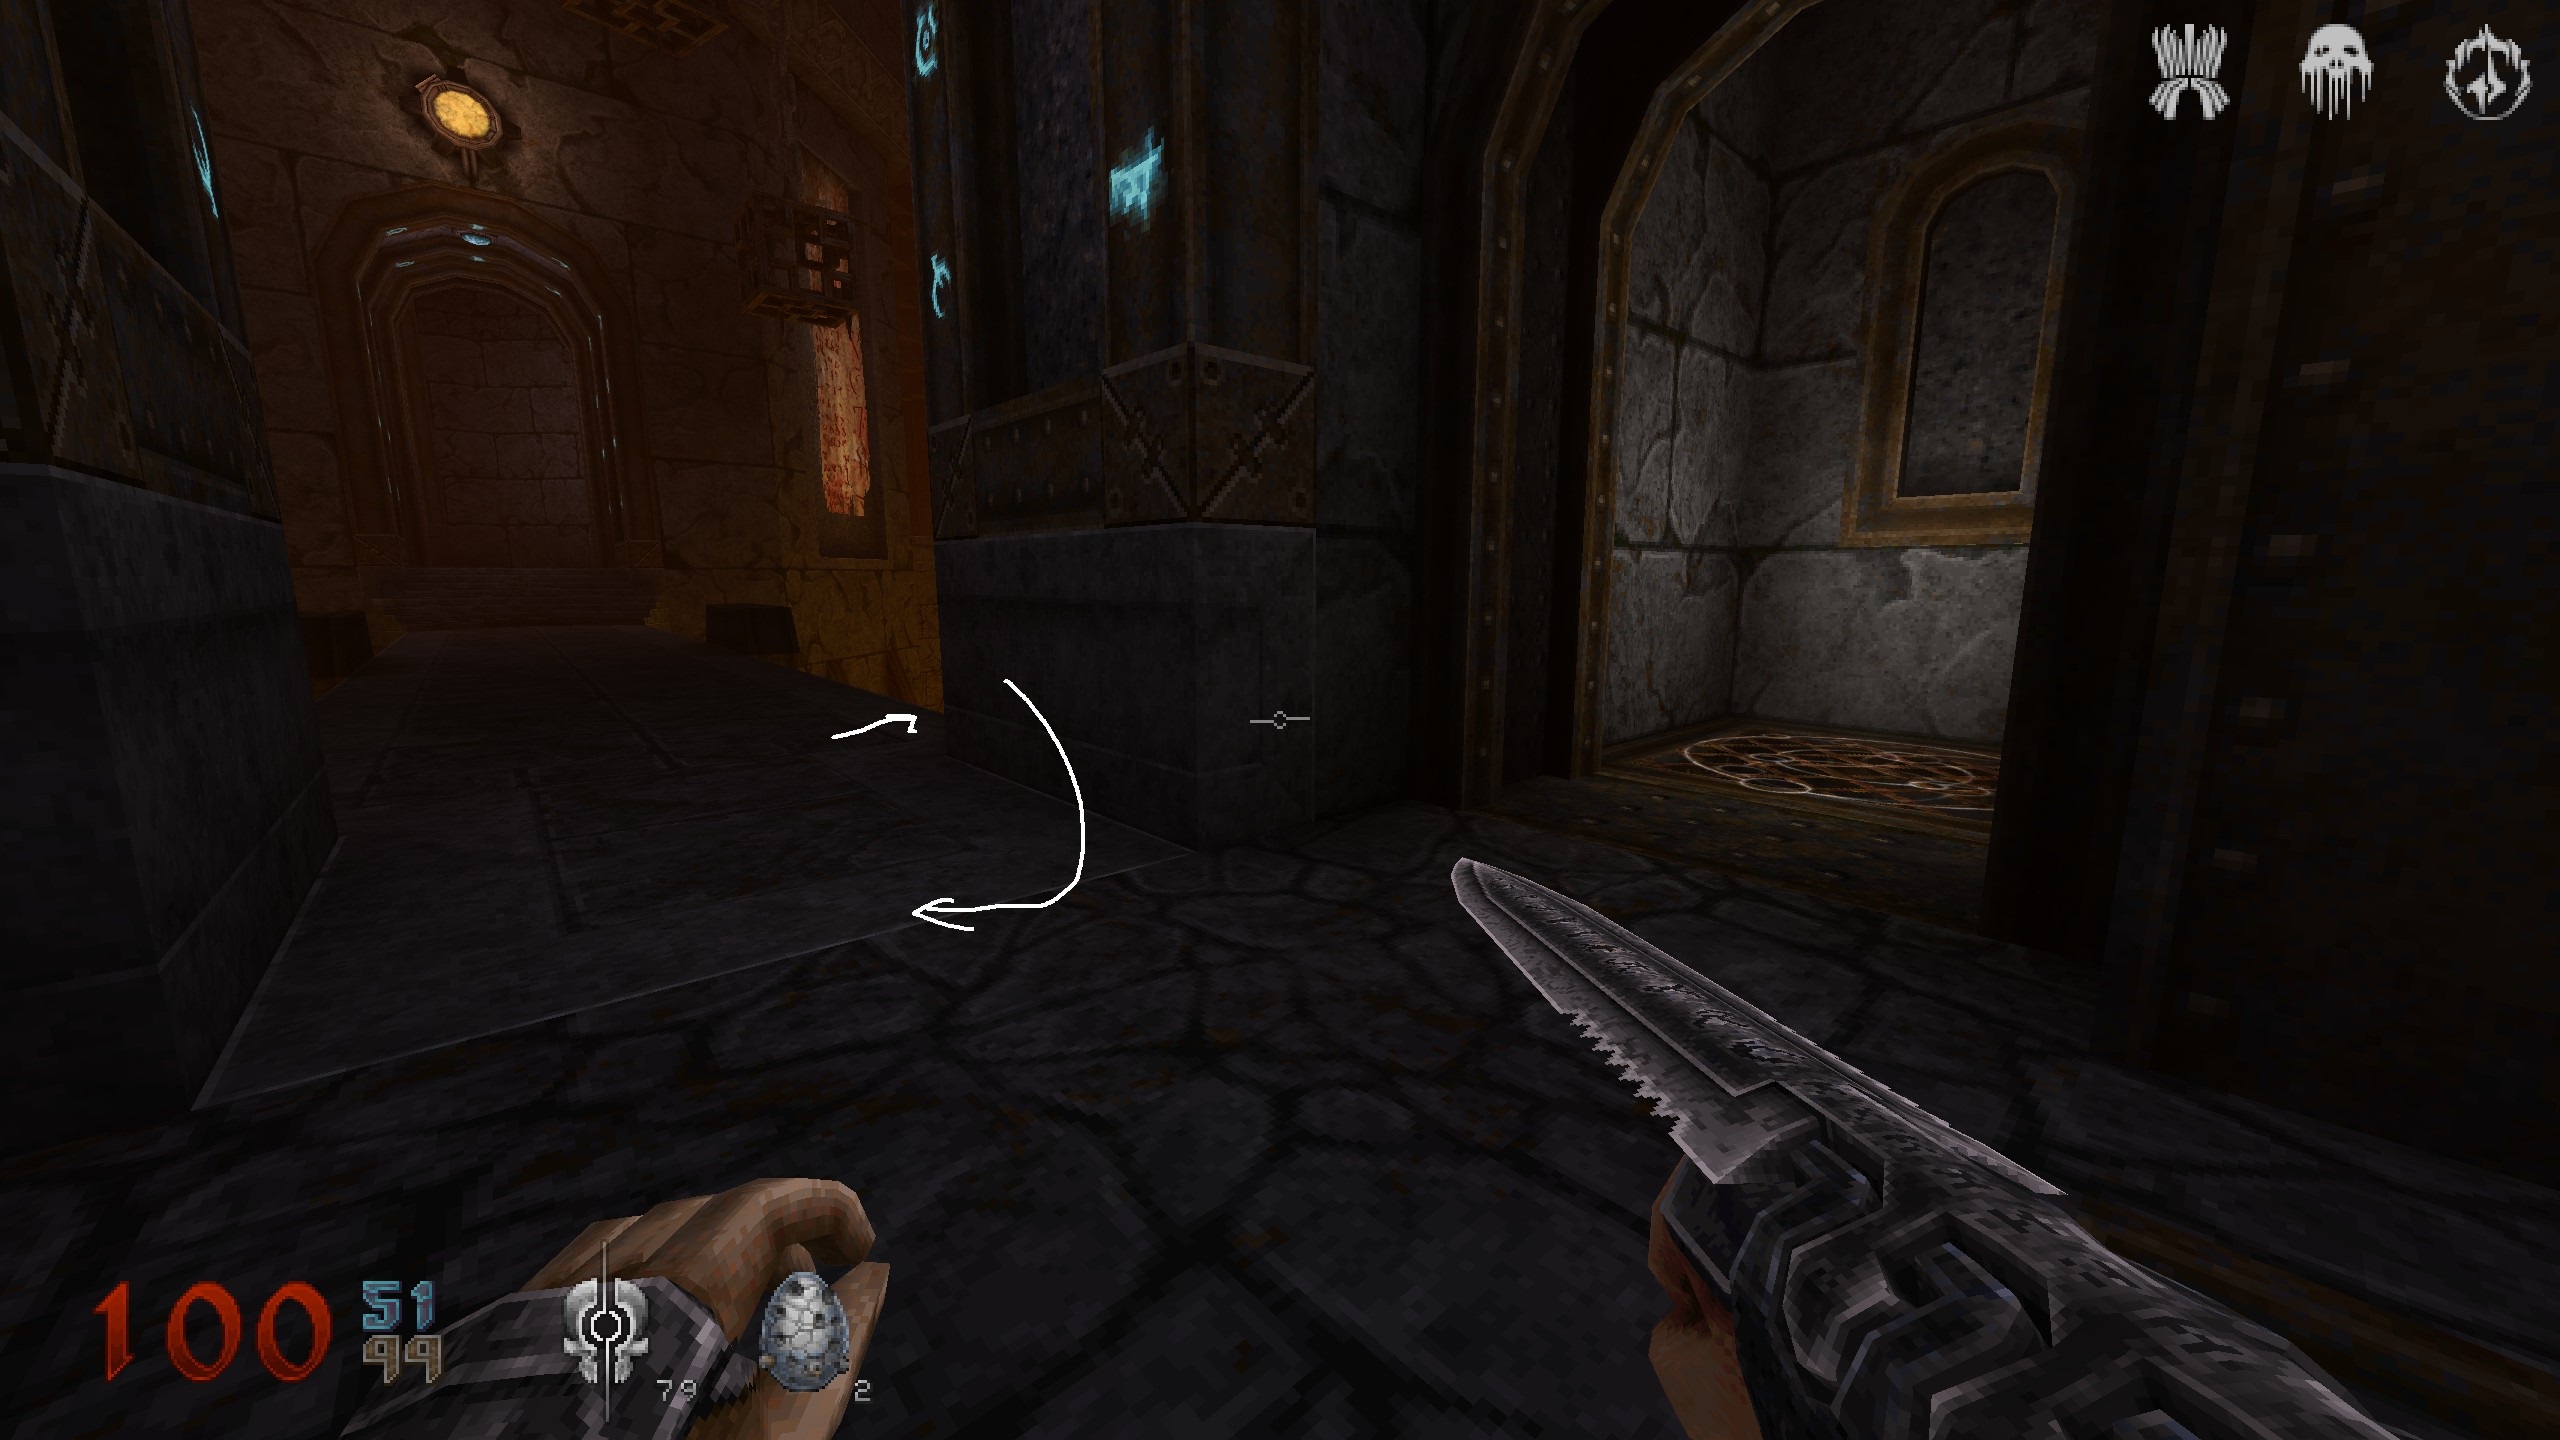
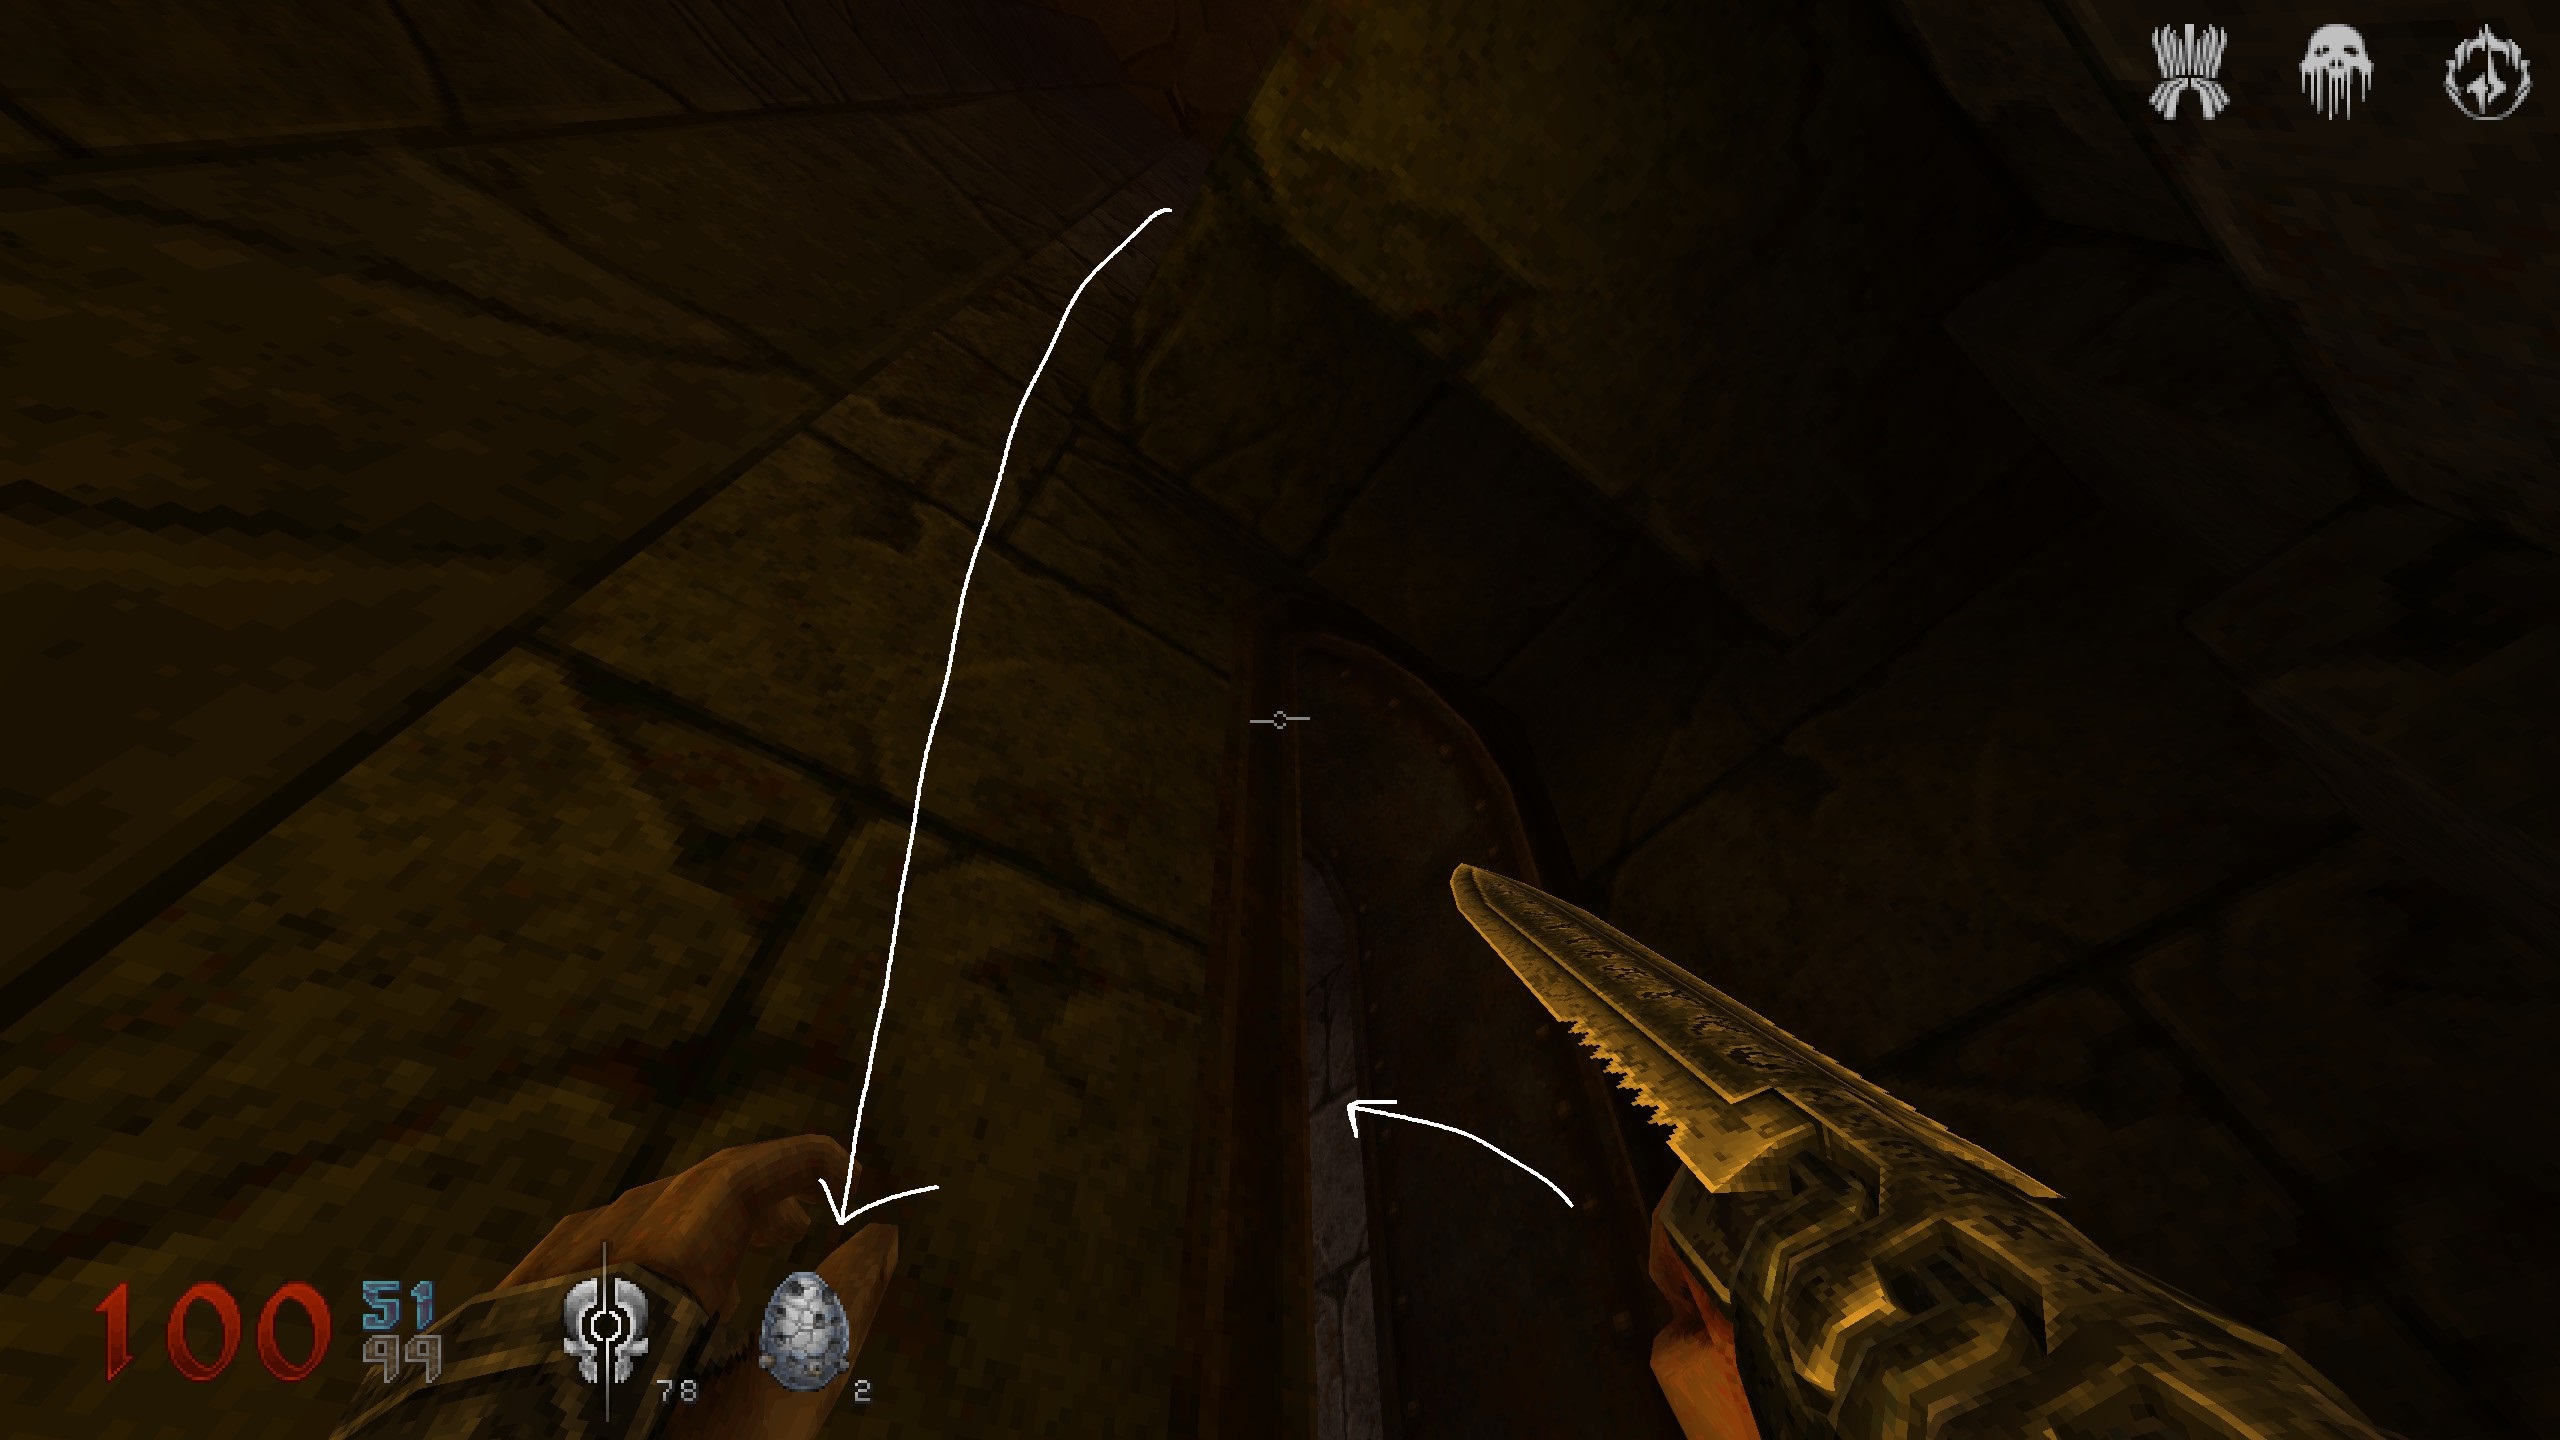
S7
You are at the end of said bridge, now look left. Jump over to that armor for another secret. Use the switch, jump over for another item and then backtrack to bridge.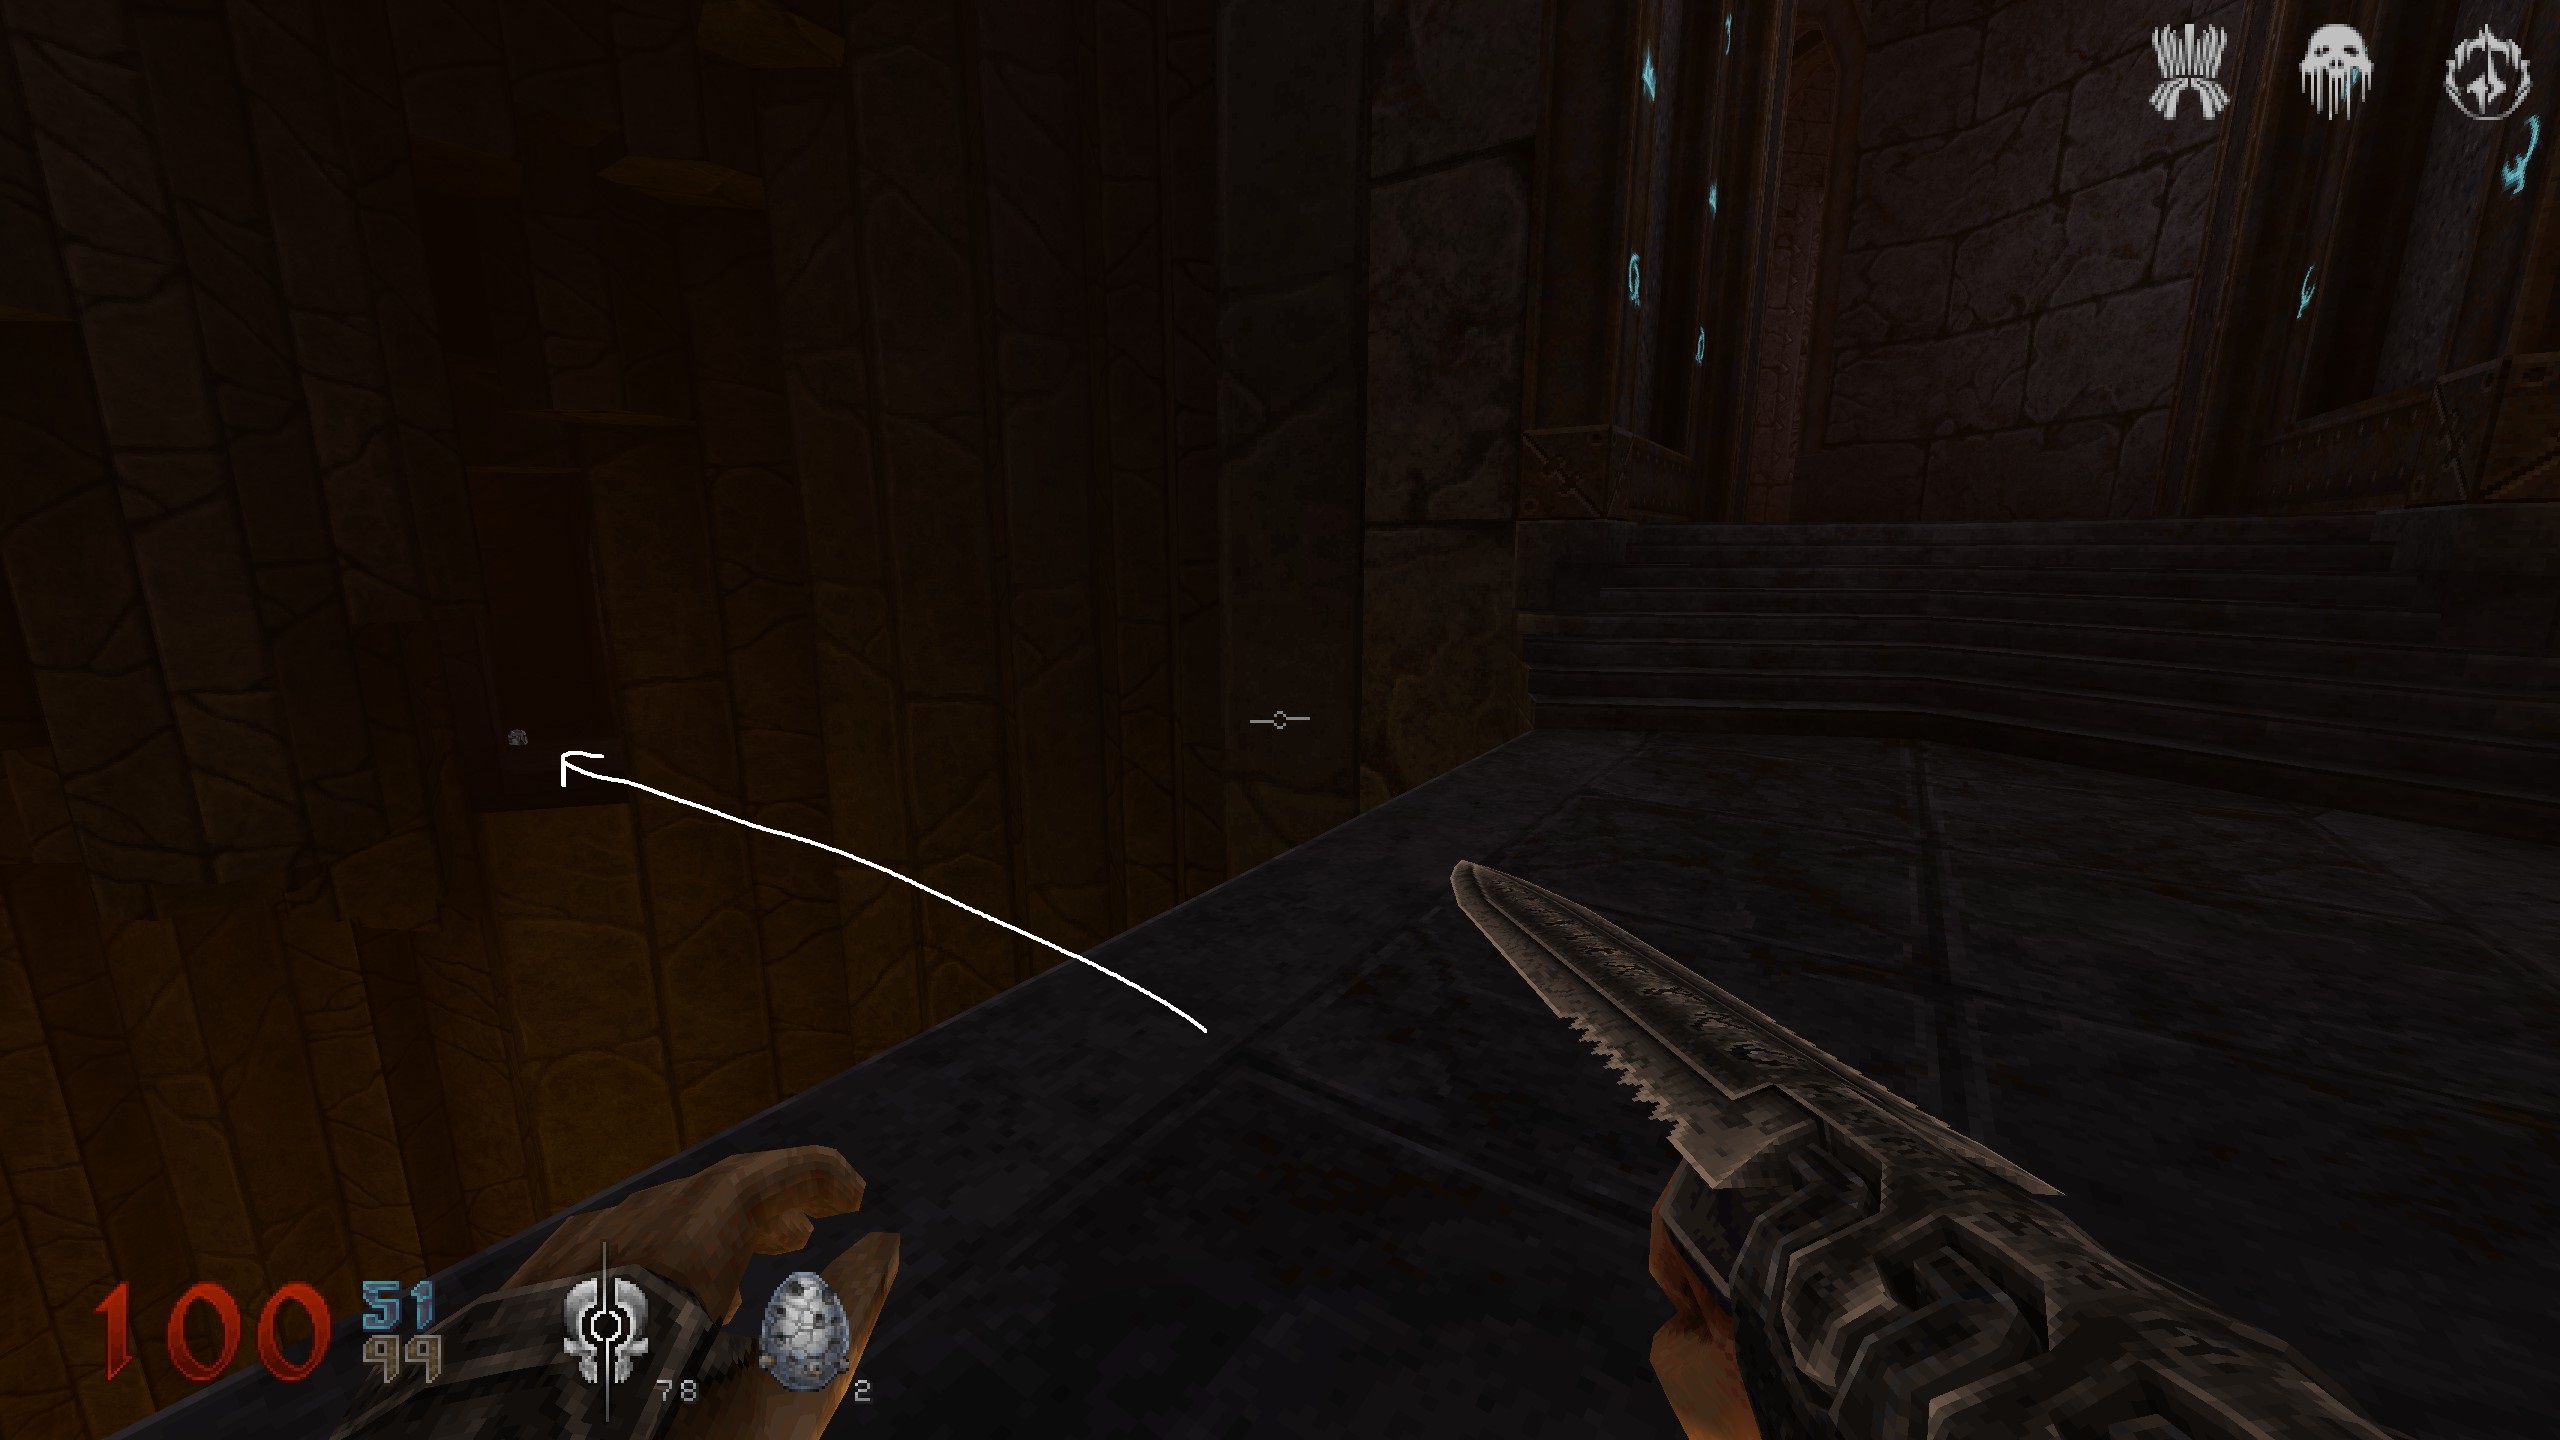
S8
You crossed the bridge and wanna go right and right again. You see another bridge, a broken one. Check left side, the hanging chage. Jump over there and use the holes in the chage to get to item.
This will reward you “Kell’s Chage”. Drop down on stones to your left.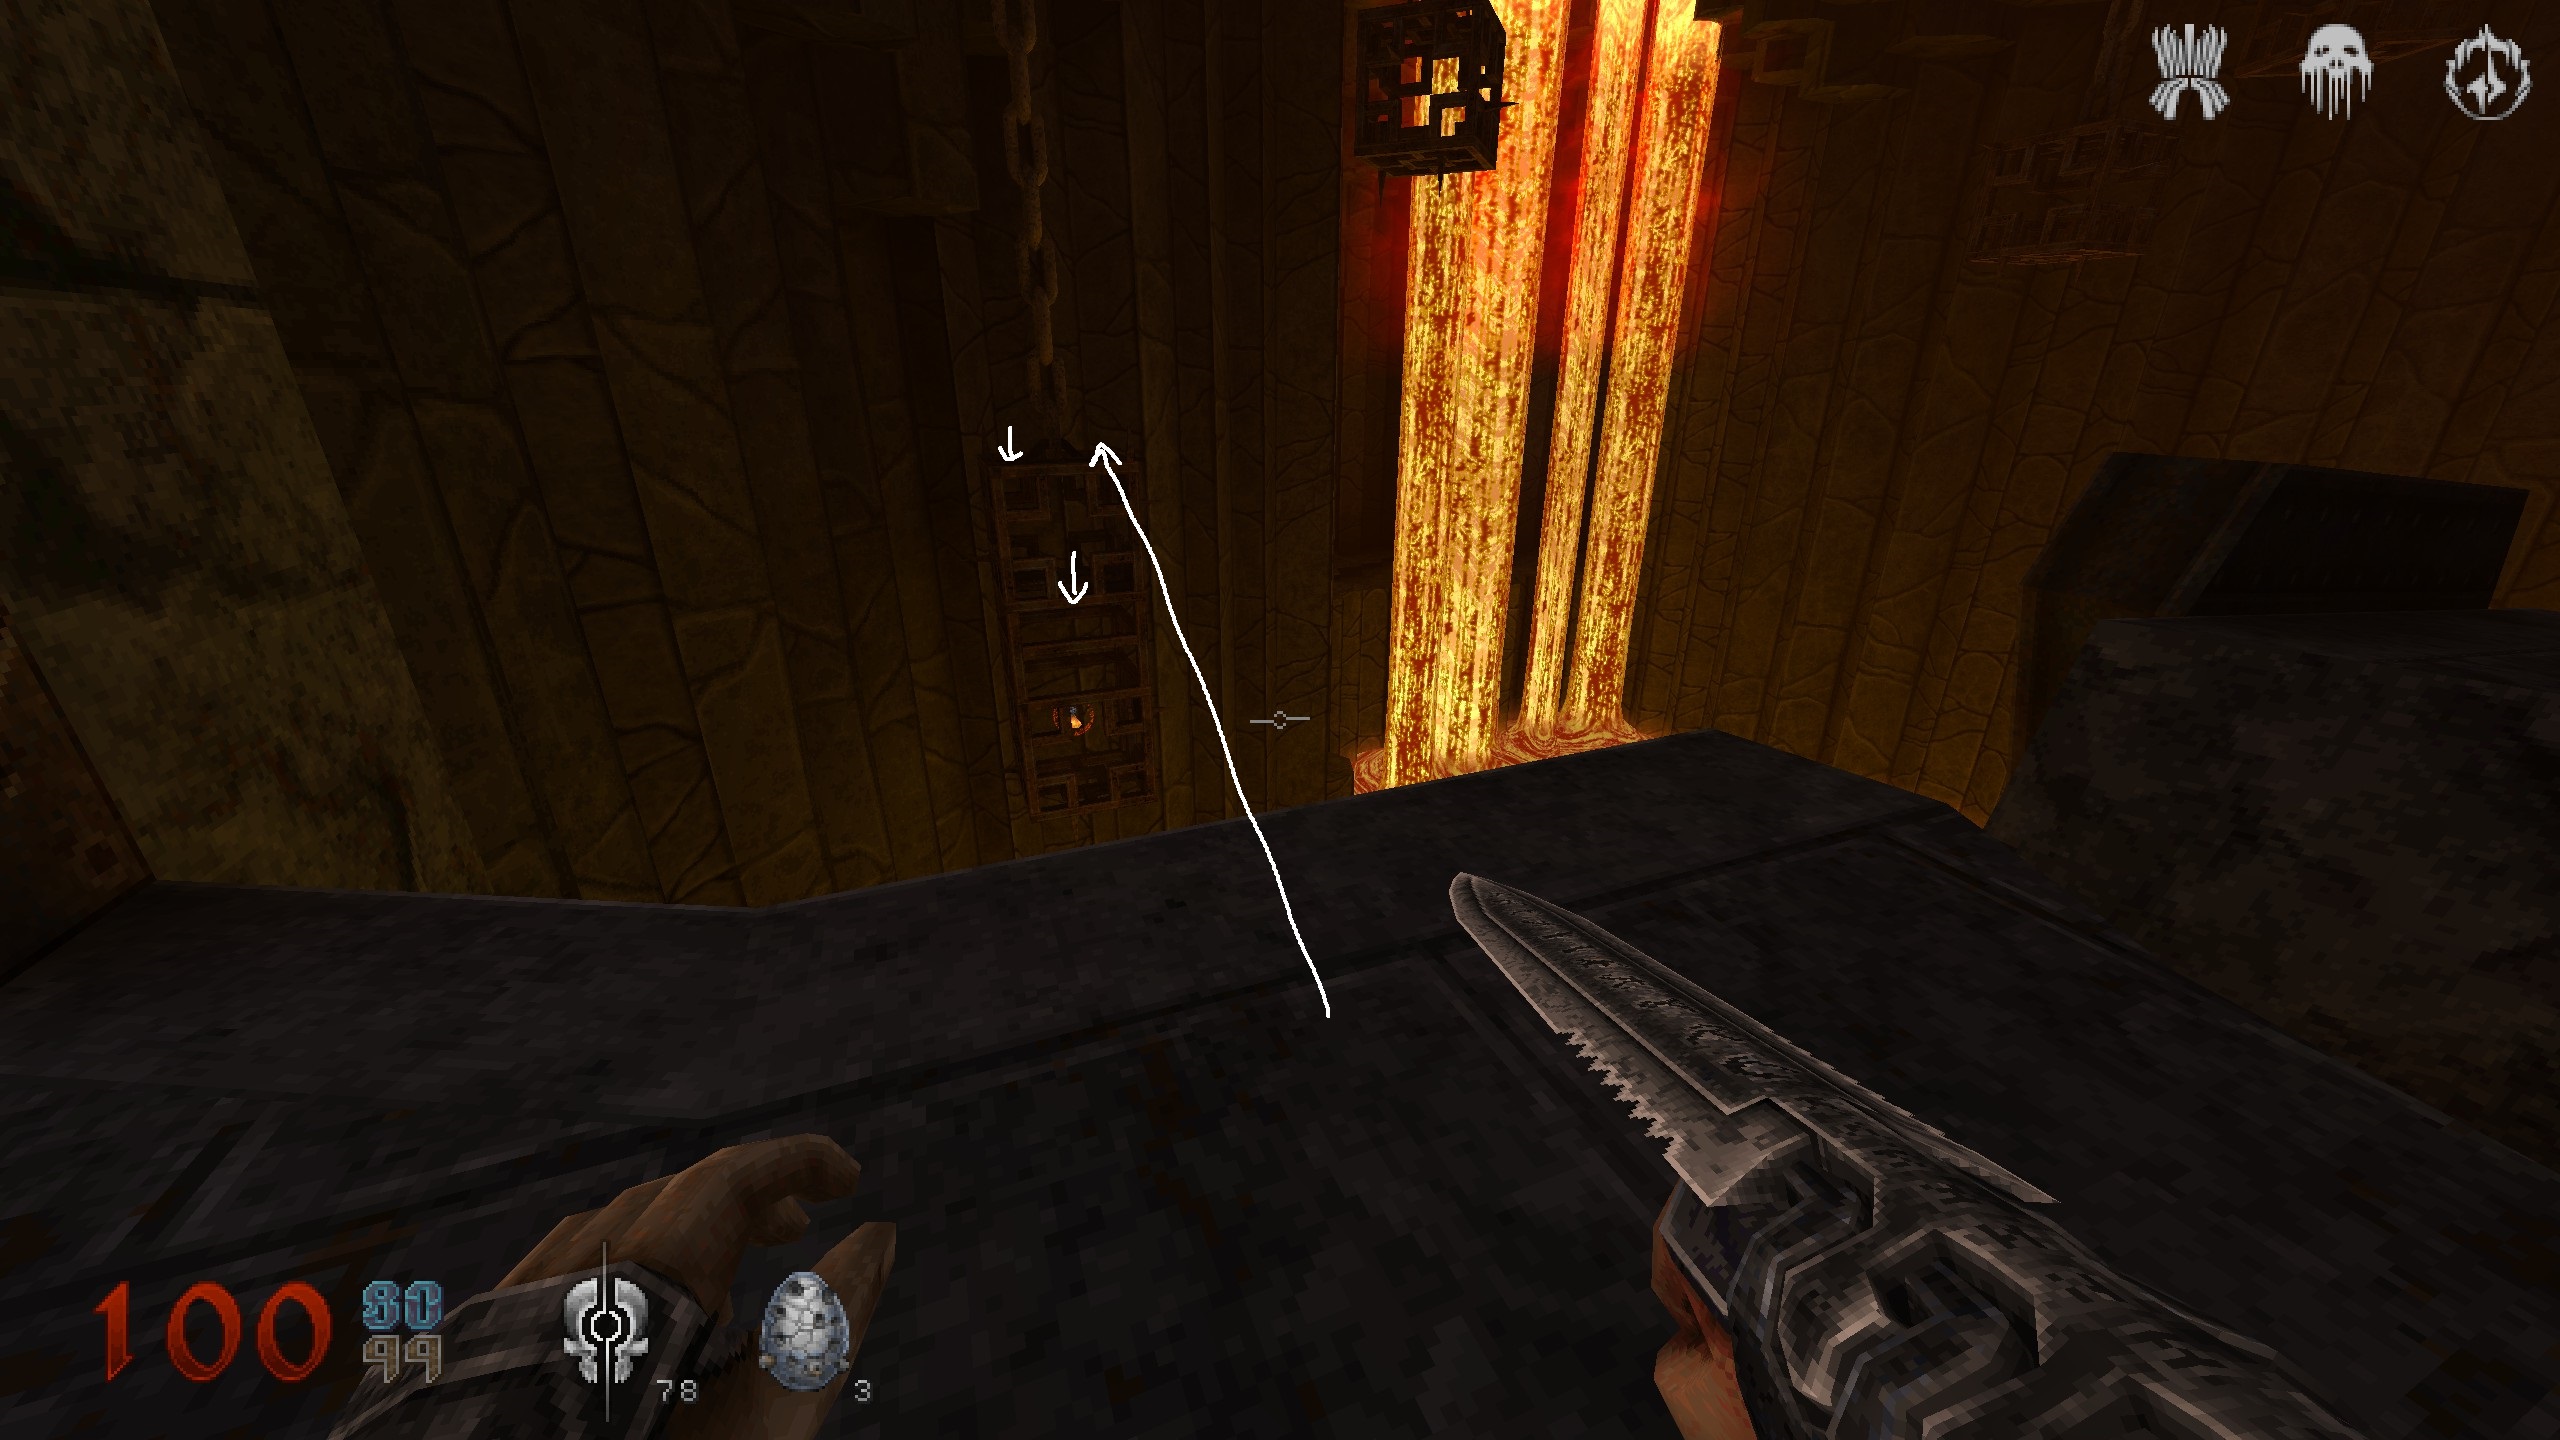
S9
From those stones you just dropped down on make a jump left around the corner to get into another opening. Get into cave for secret. Get out of cave and jump back on stones where you came from.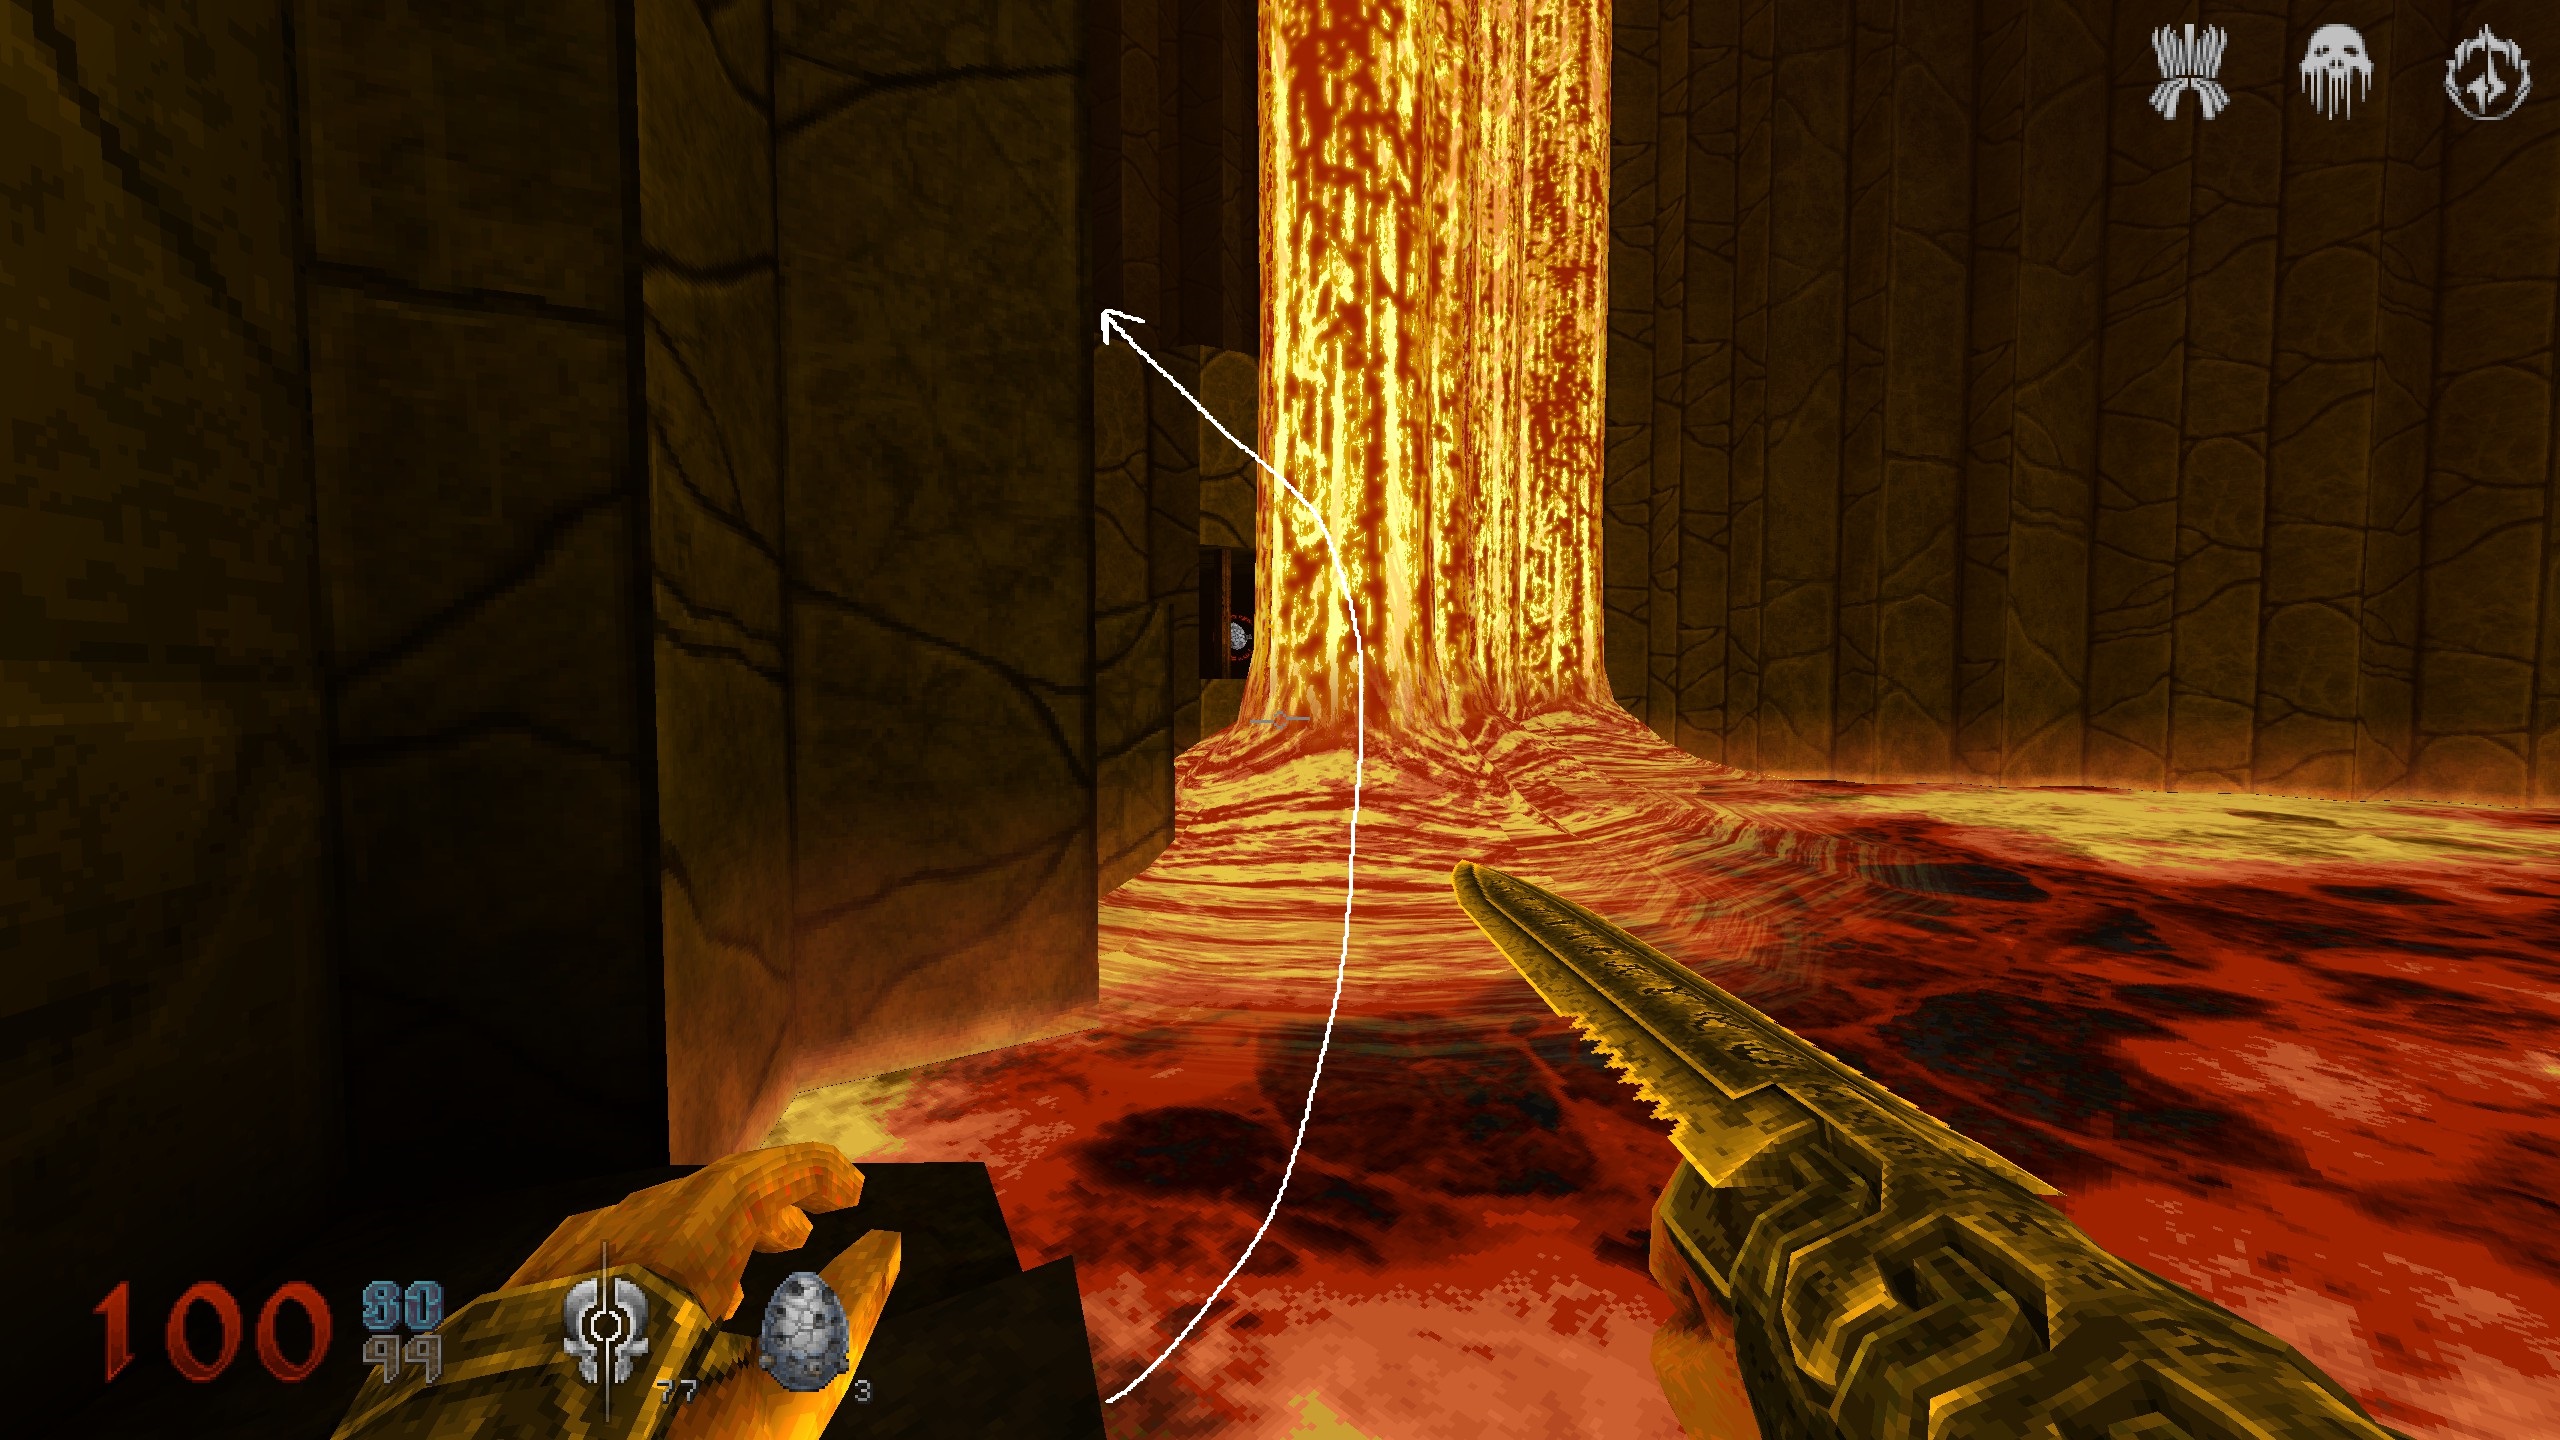
S10
From the stones, stay on the right side and proceed towards the item on the pillar. On the right side you will again see a bloody plate. You know what to do. From that secret, still stick right until you reach inside again and get all the way back to the “broken bridge”.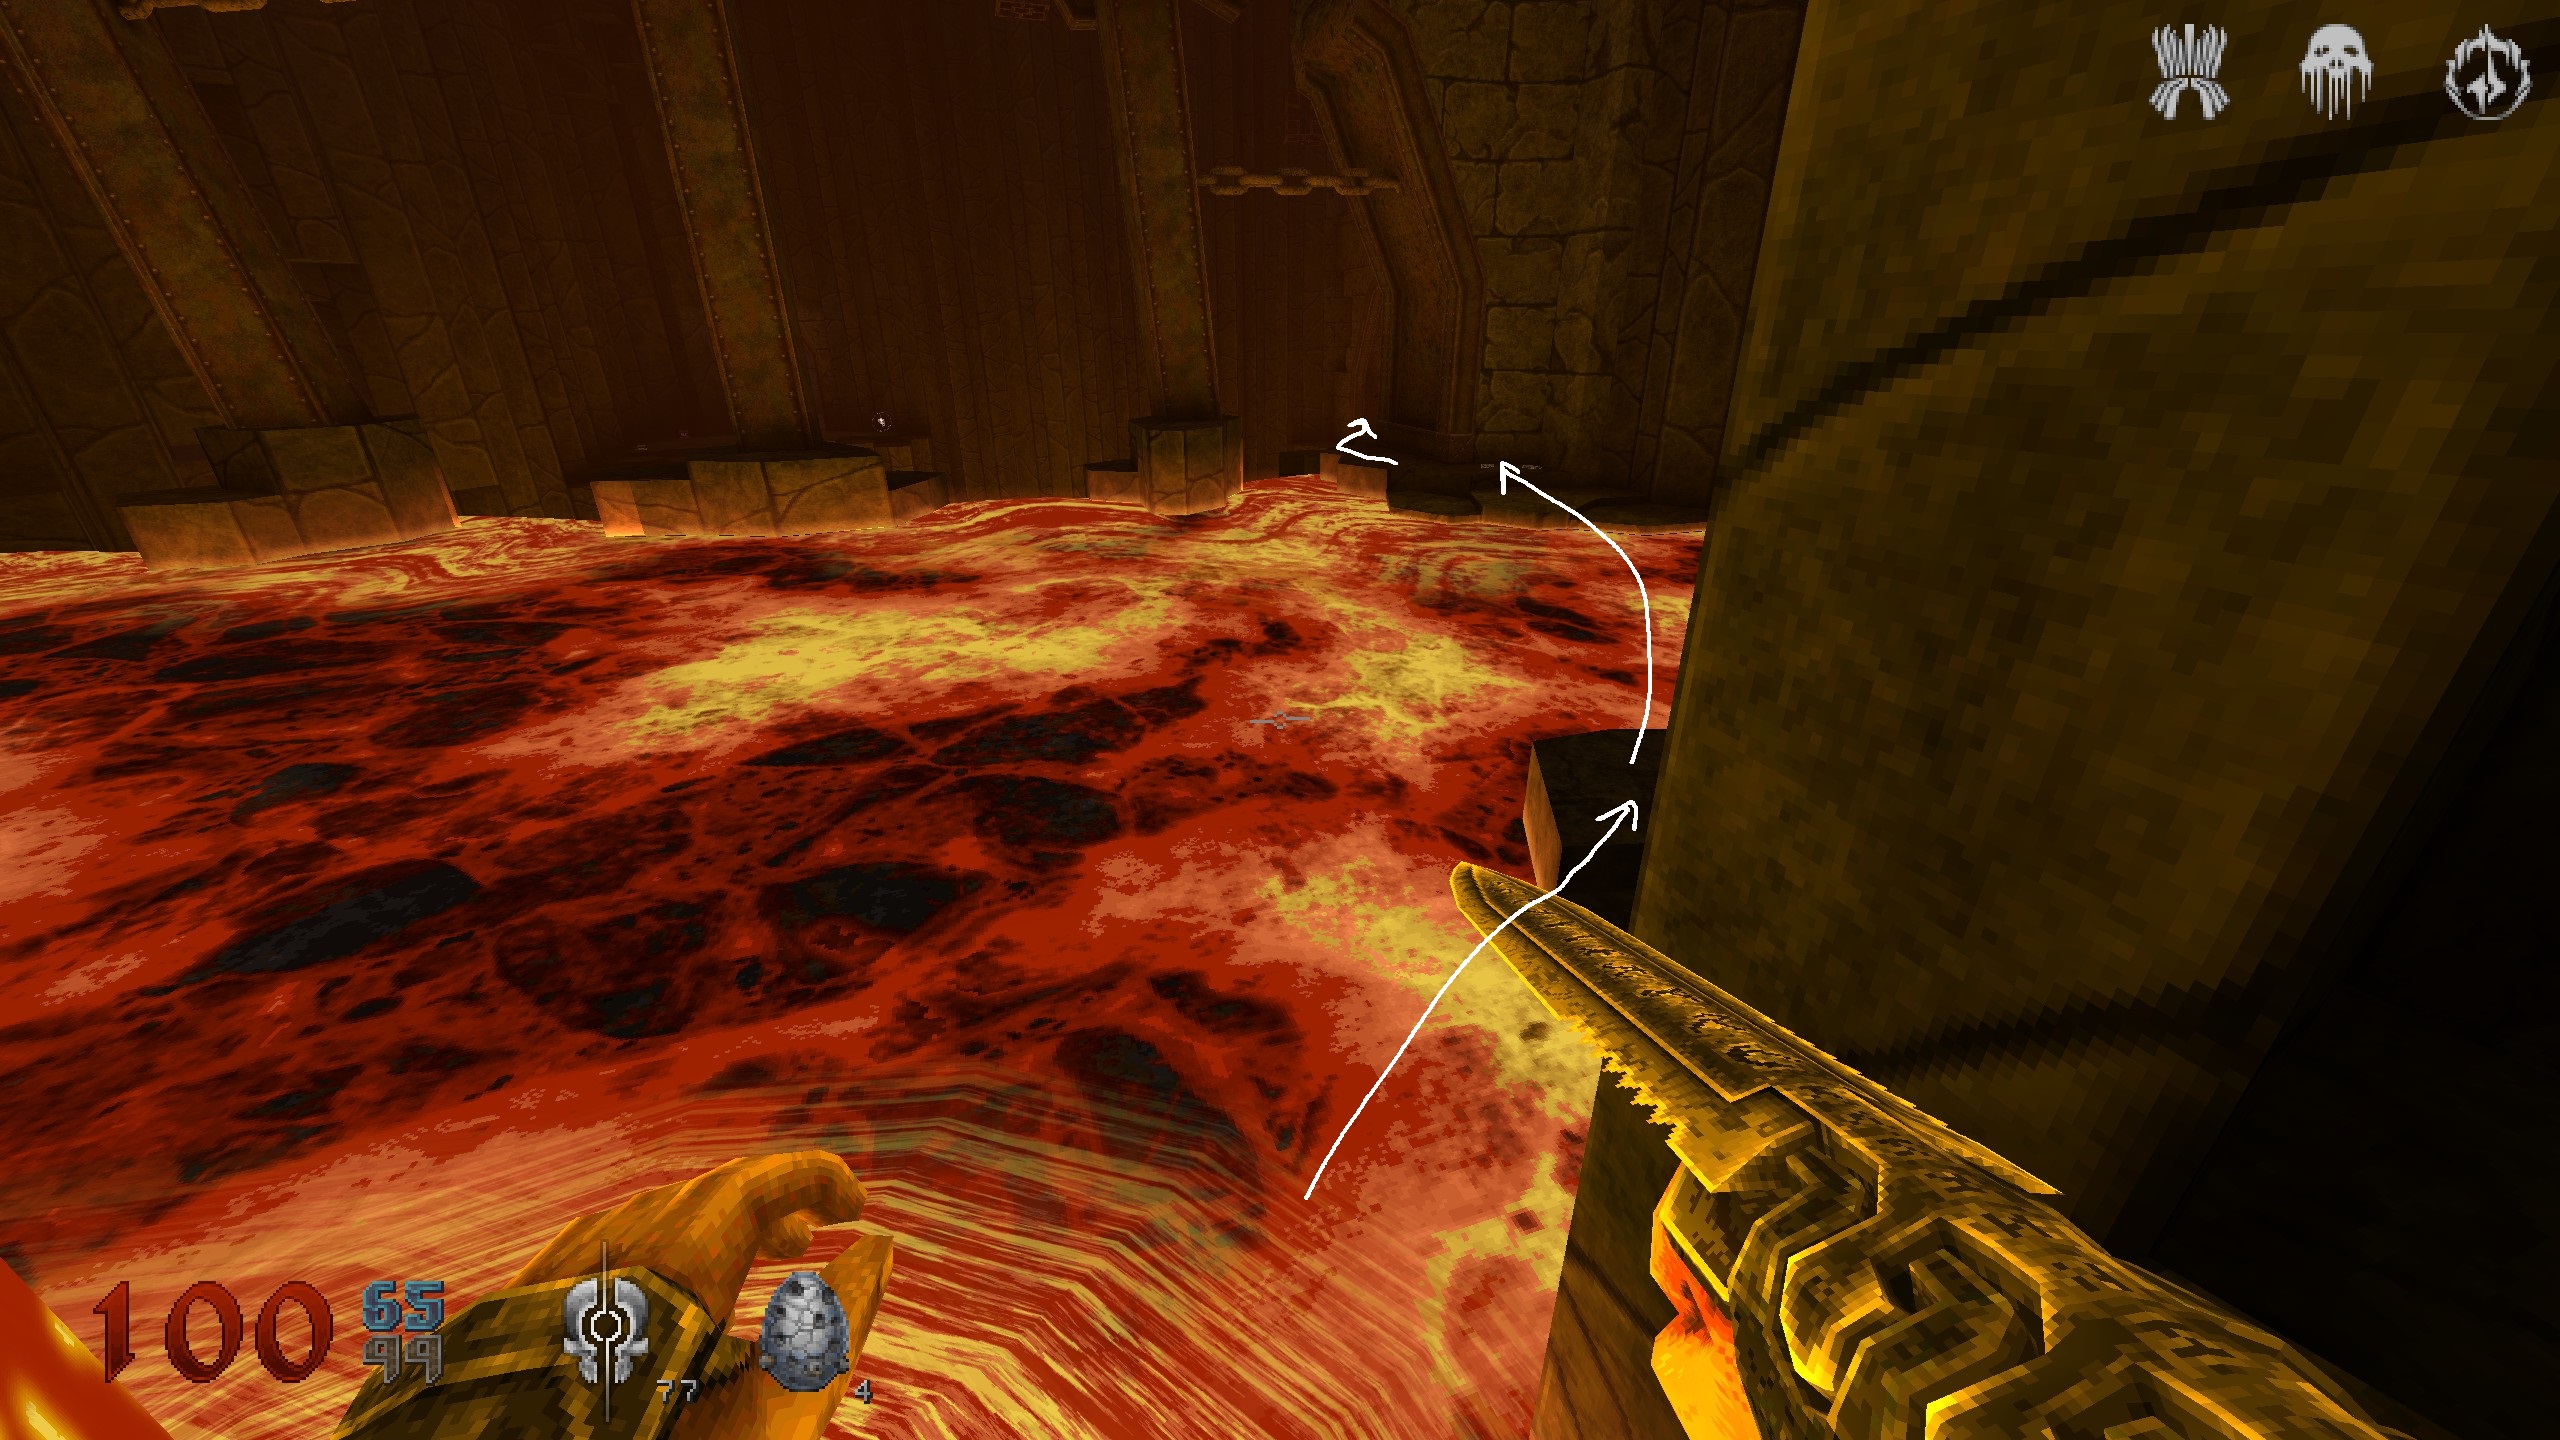
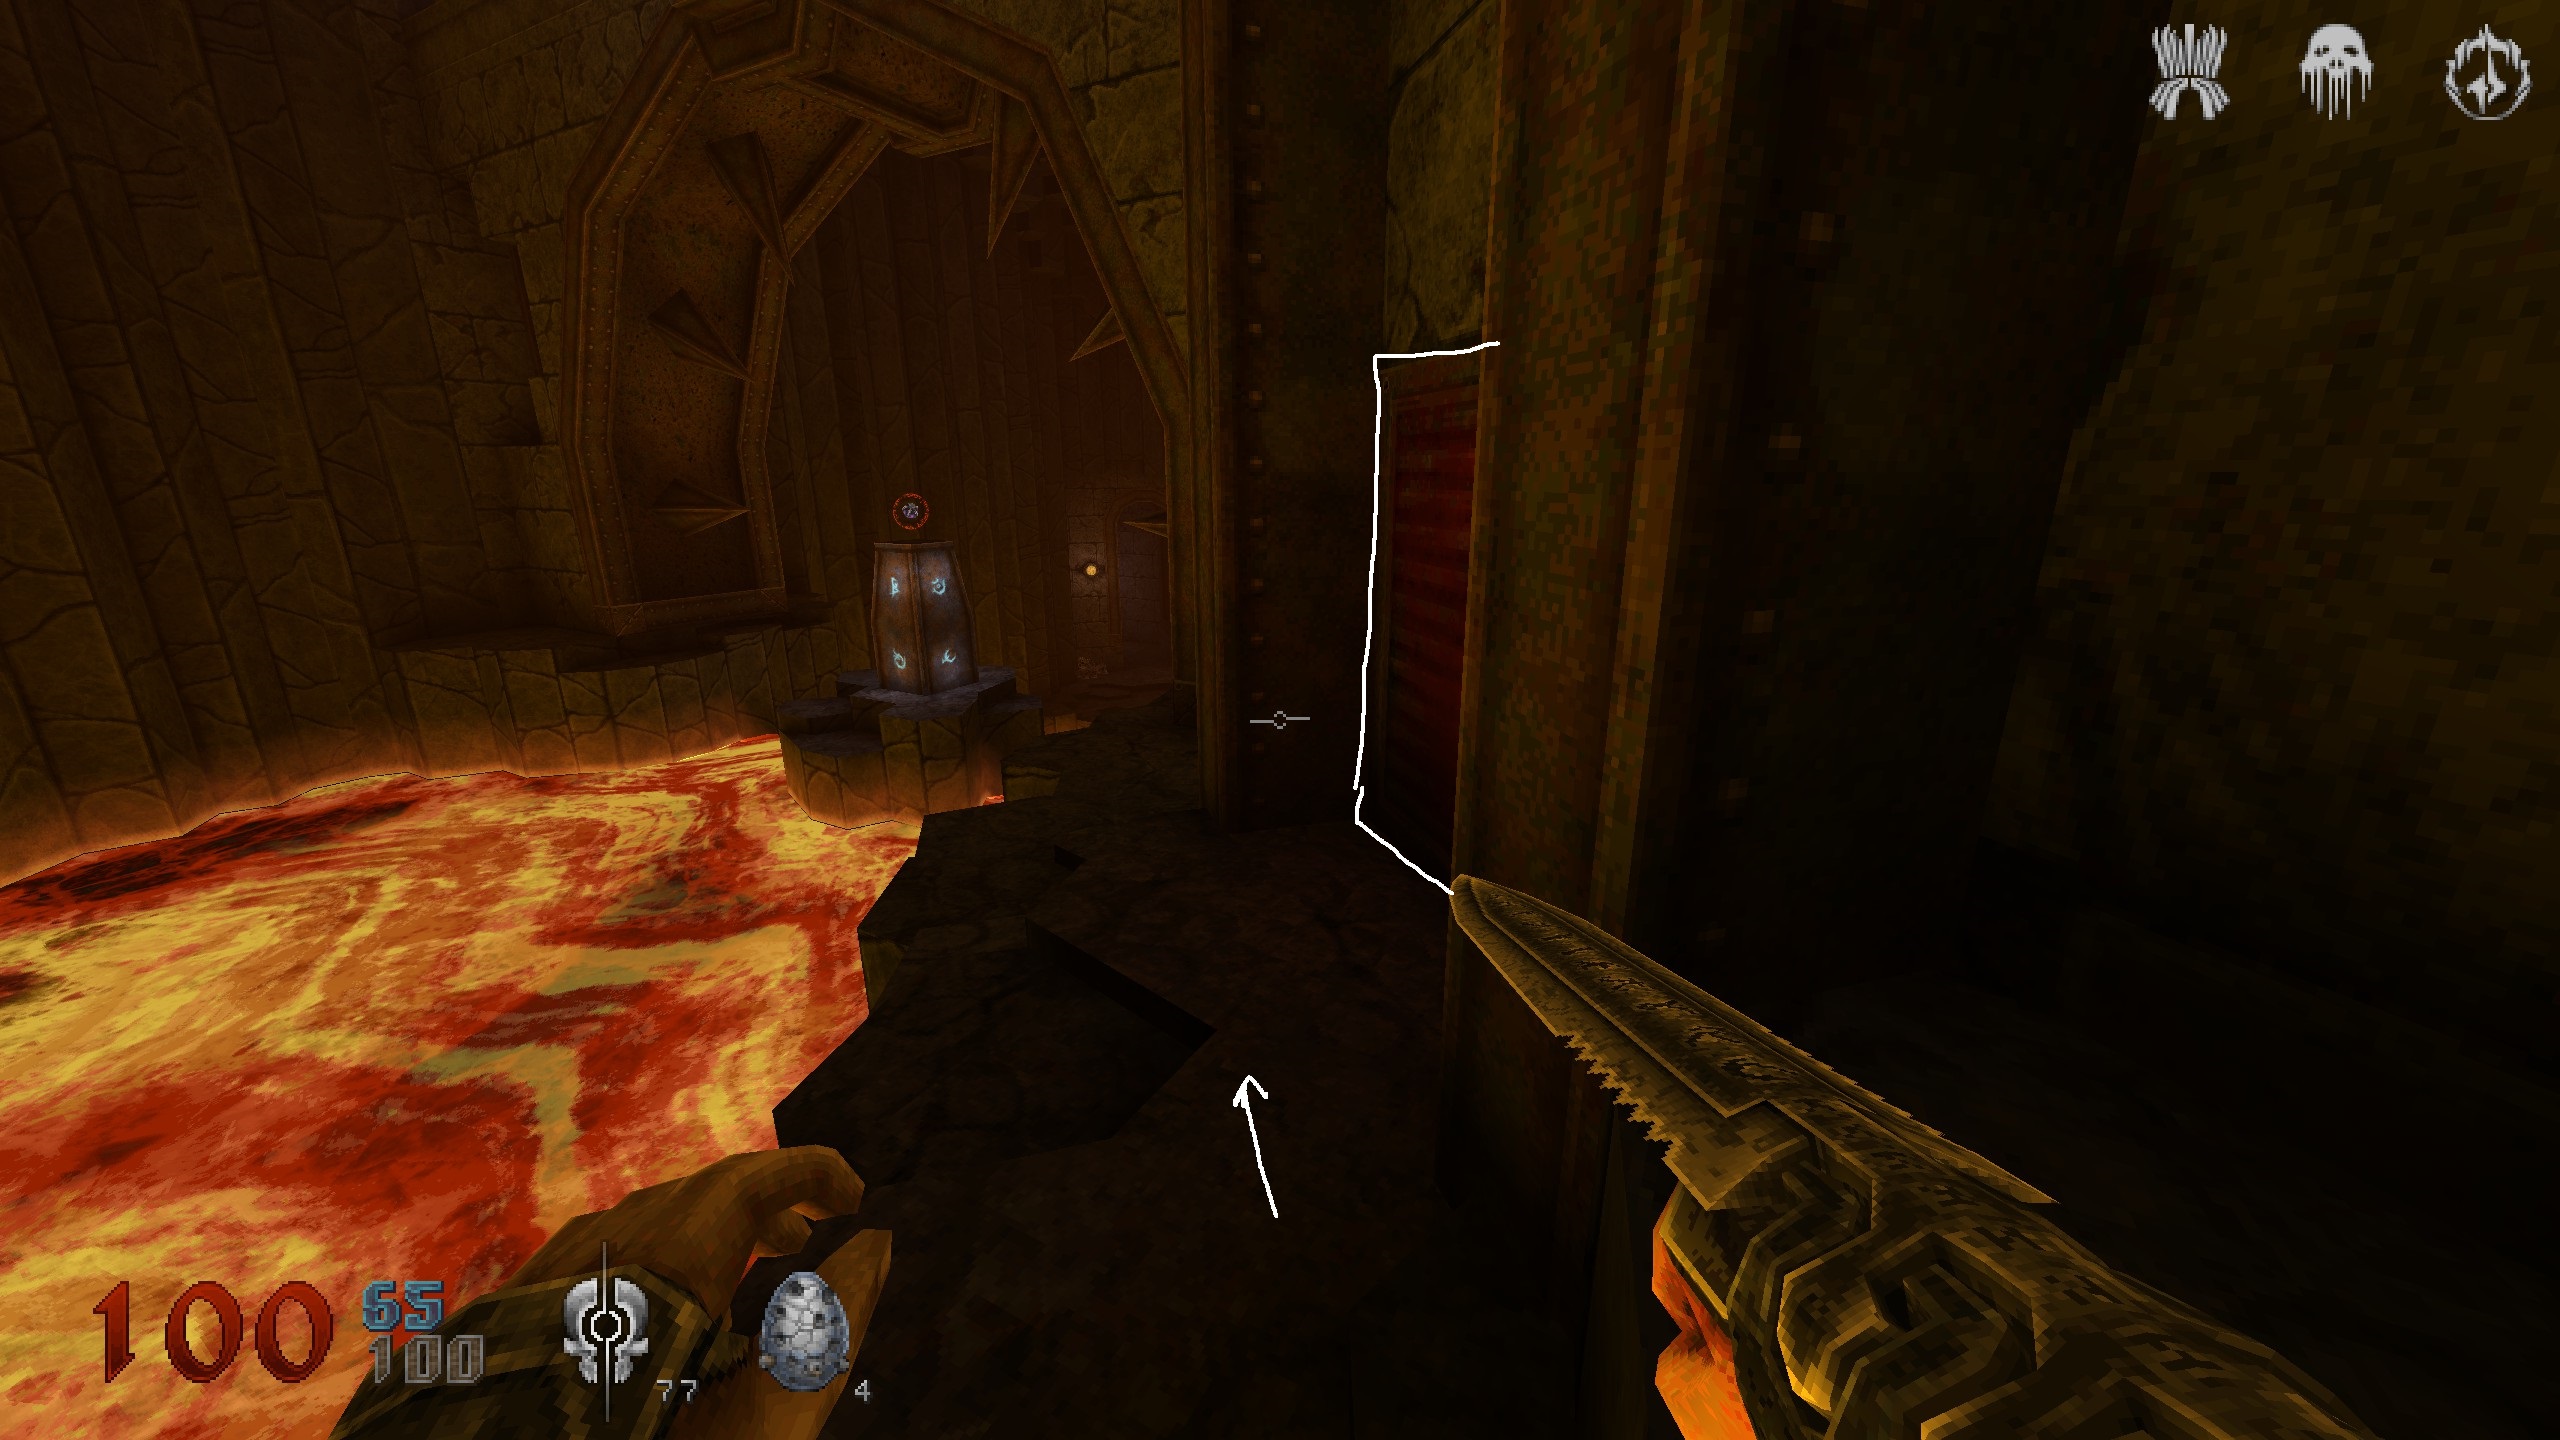
S11
From the broken bridge, turn right and jump all the way over there. A lot of bigger doors will follow that all open on themself, revealing enemies. Follow the circular path to get to a “dead end”. Jump on the stones to get to armor. Take the huge staircase back up and you will come to a familiar area. Again backtrack to that broken bridge.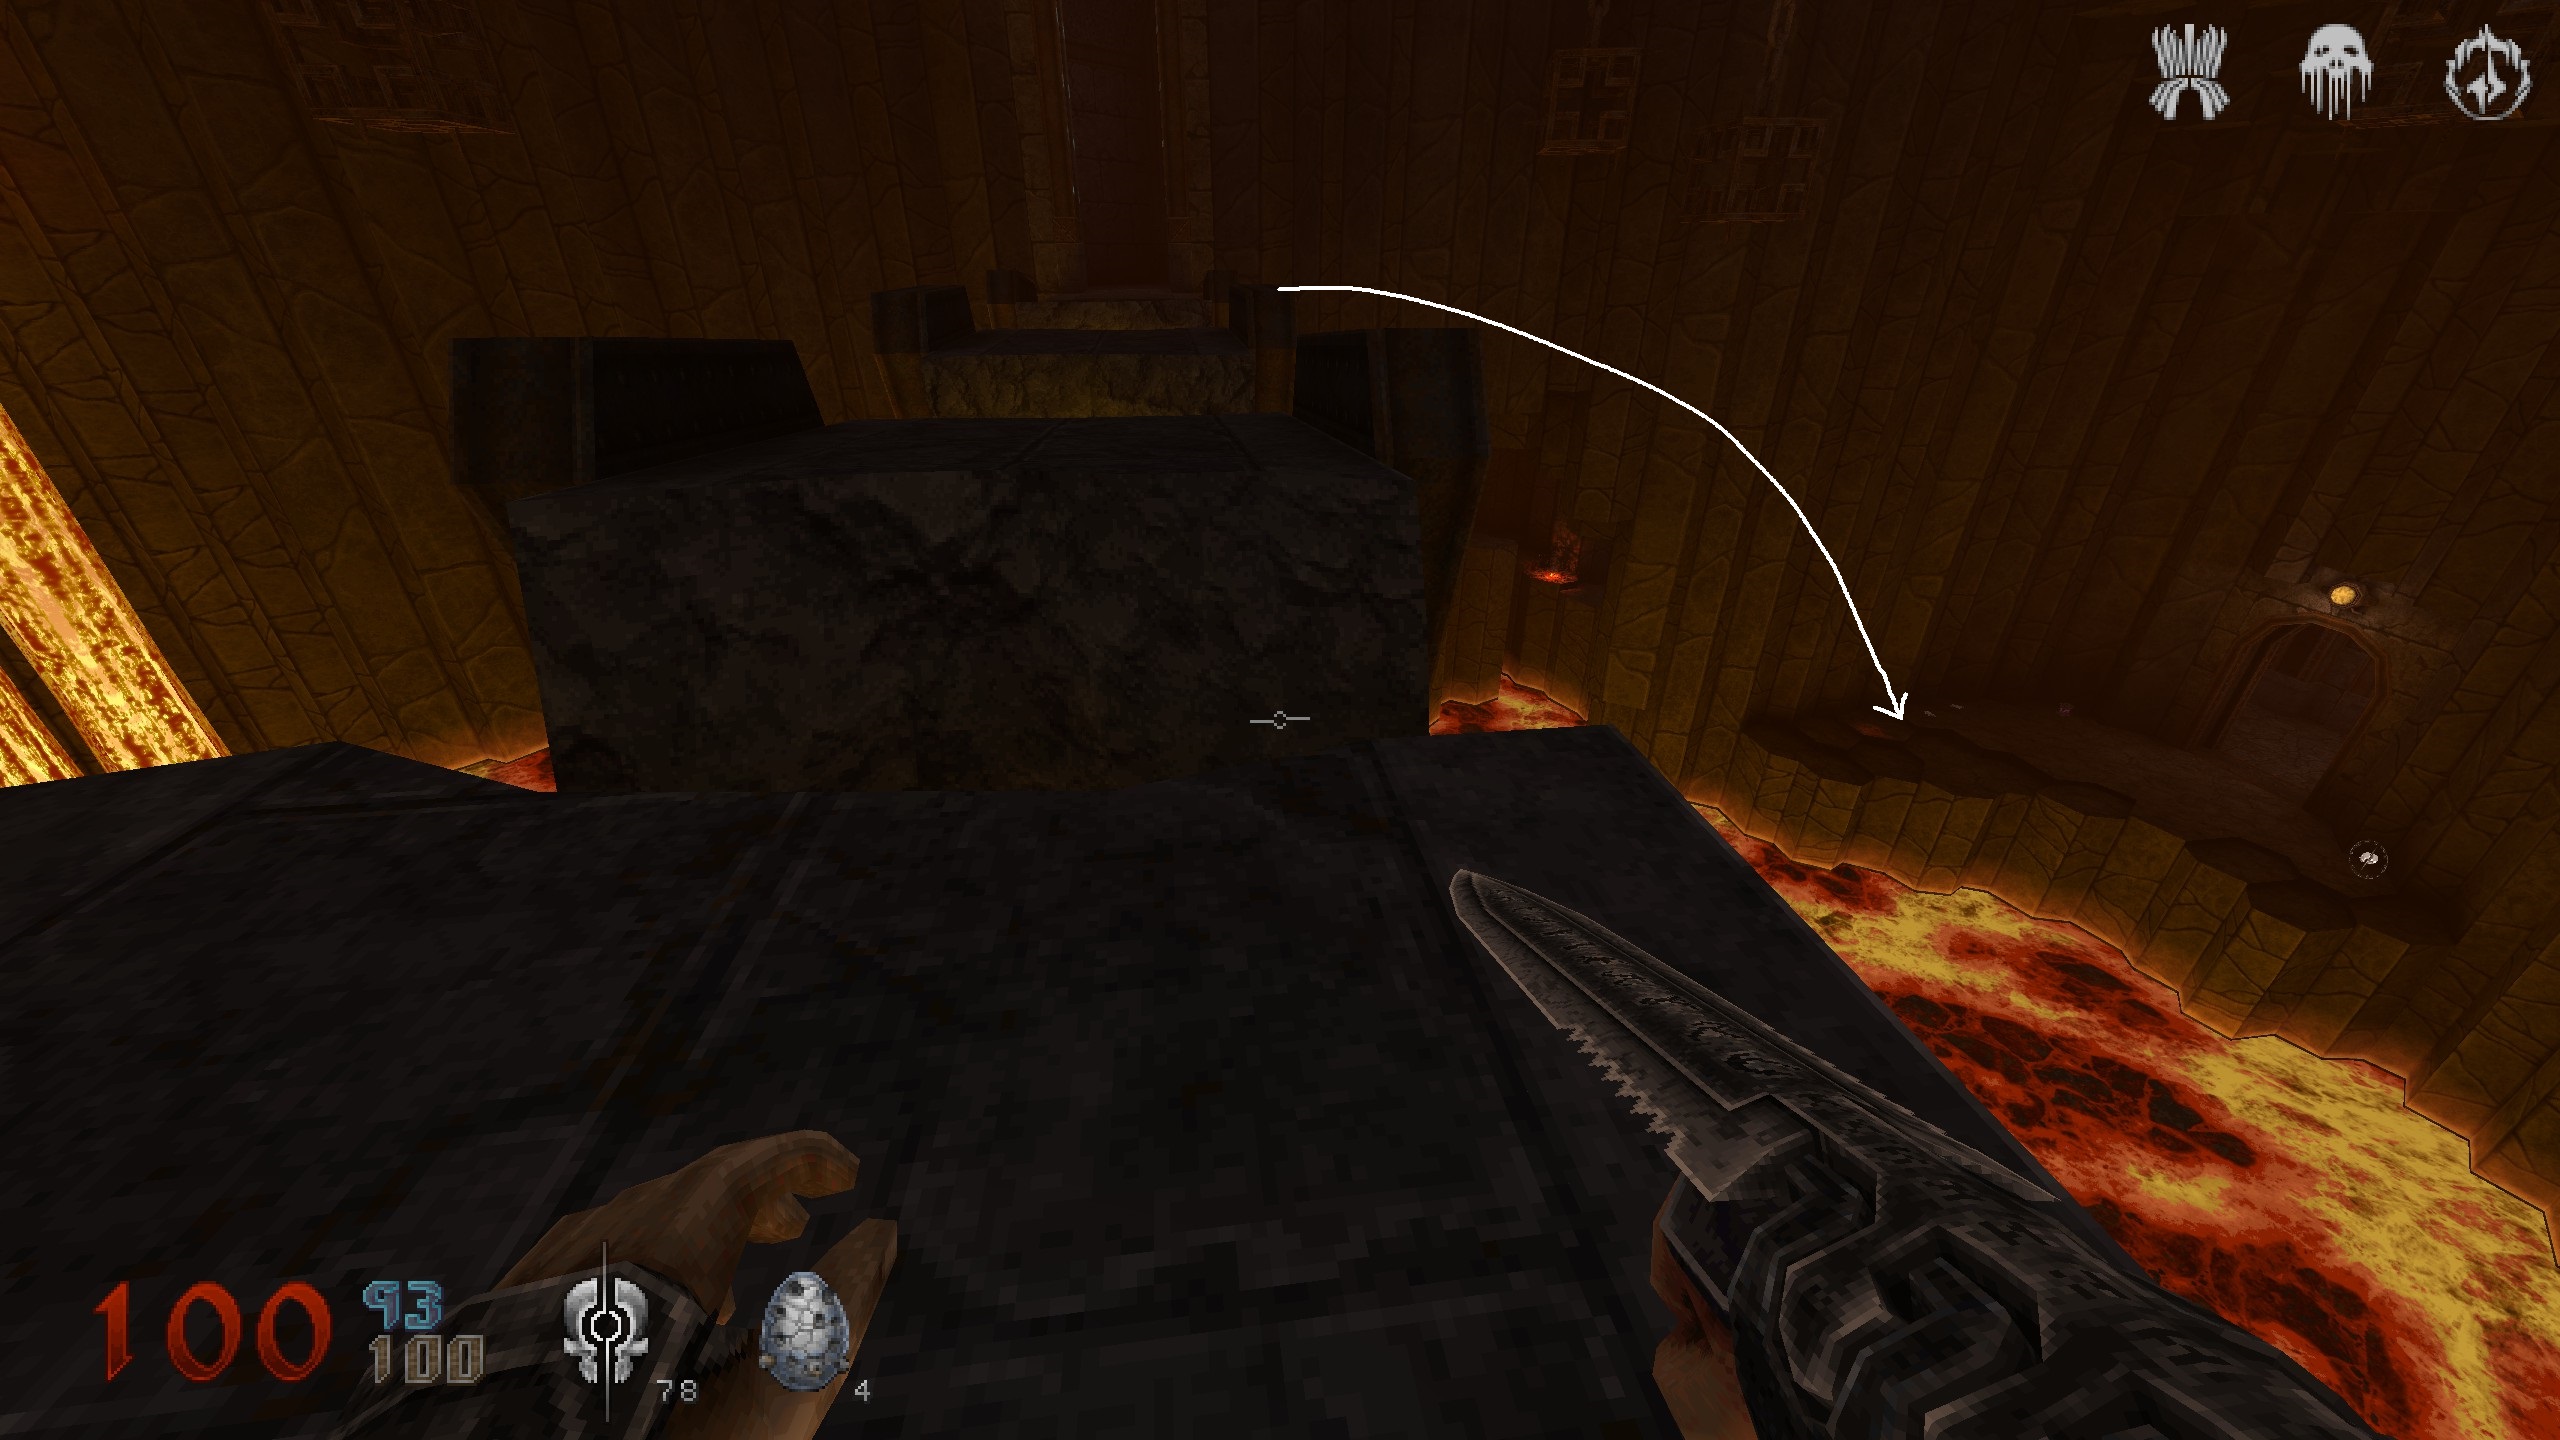
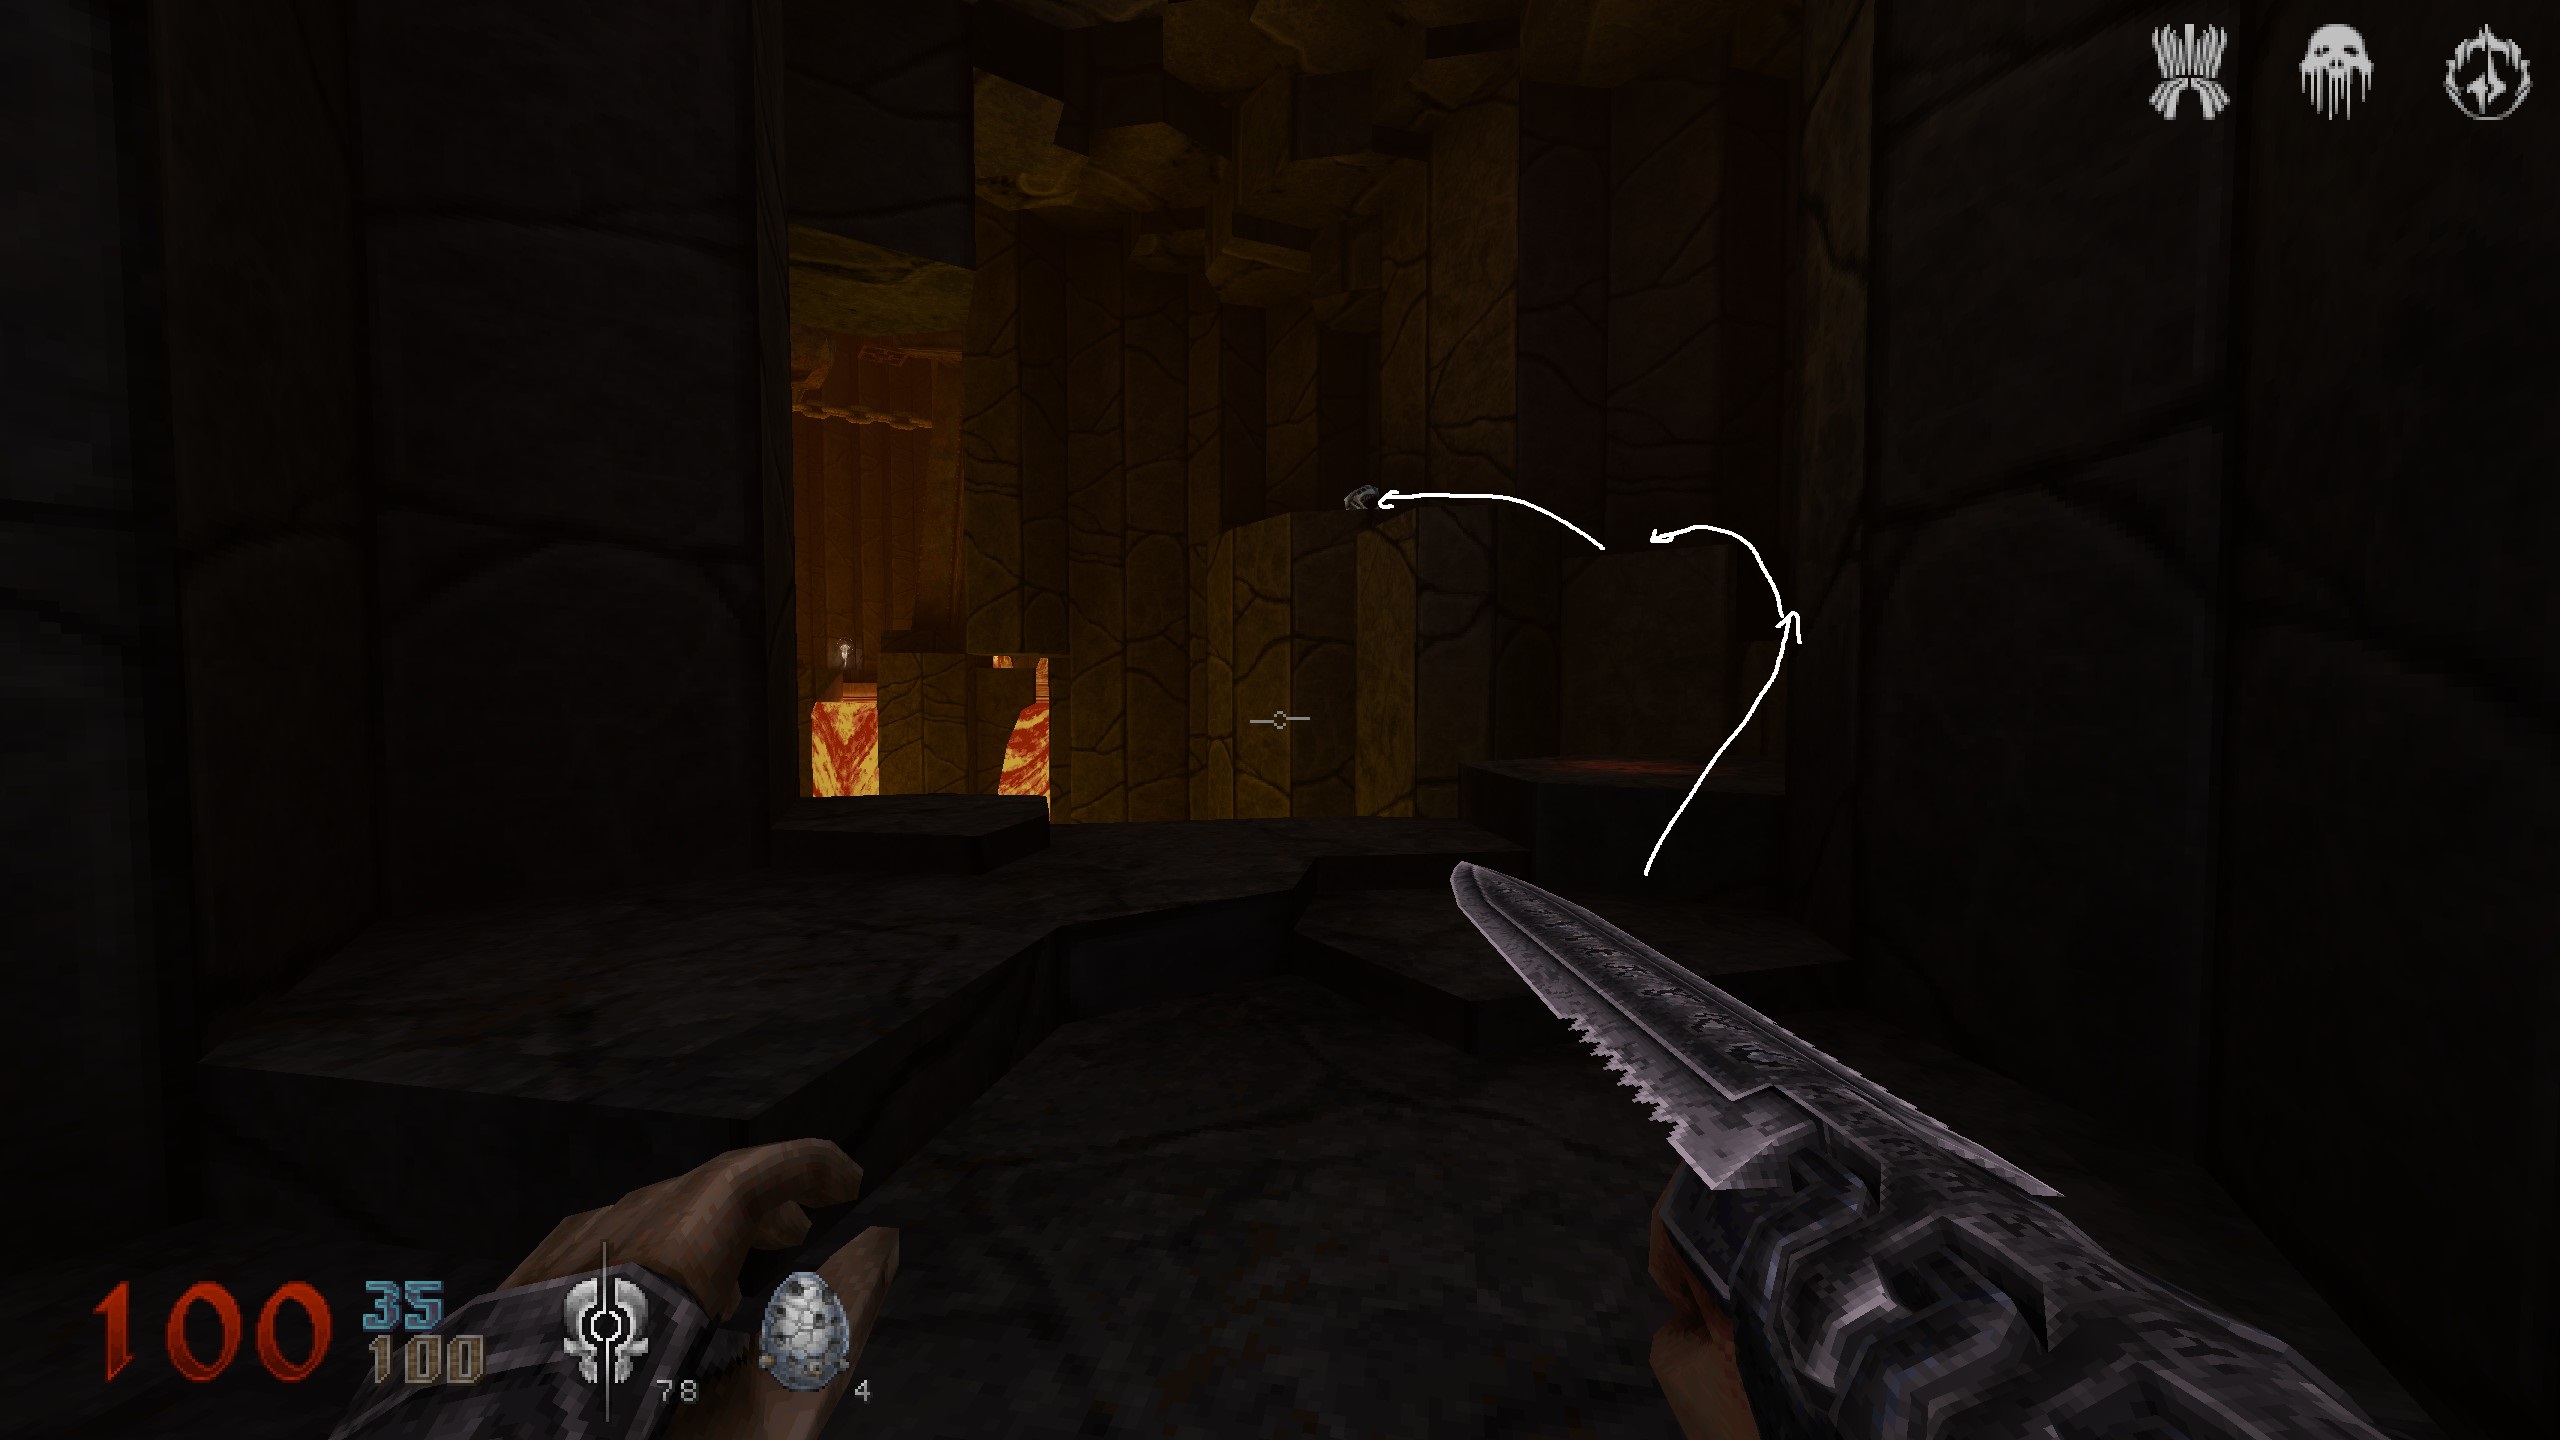
S12
You crossed the broken bridge, followed the path and are in a big room with 3 huge vertical pipes. At the pipe, closest to the stairs, you can drop down on the pipes below. THen follow those and stick the the left to find a secret.
You will get up above the shrine. If you want, there is some ammo on those pipes above the shrine. No secret. Drop down and proceed with mission.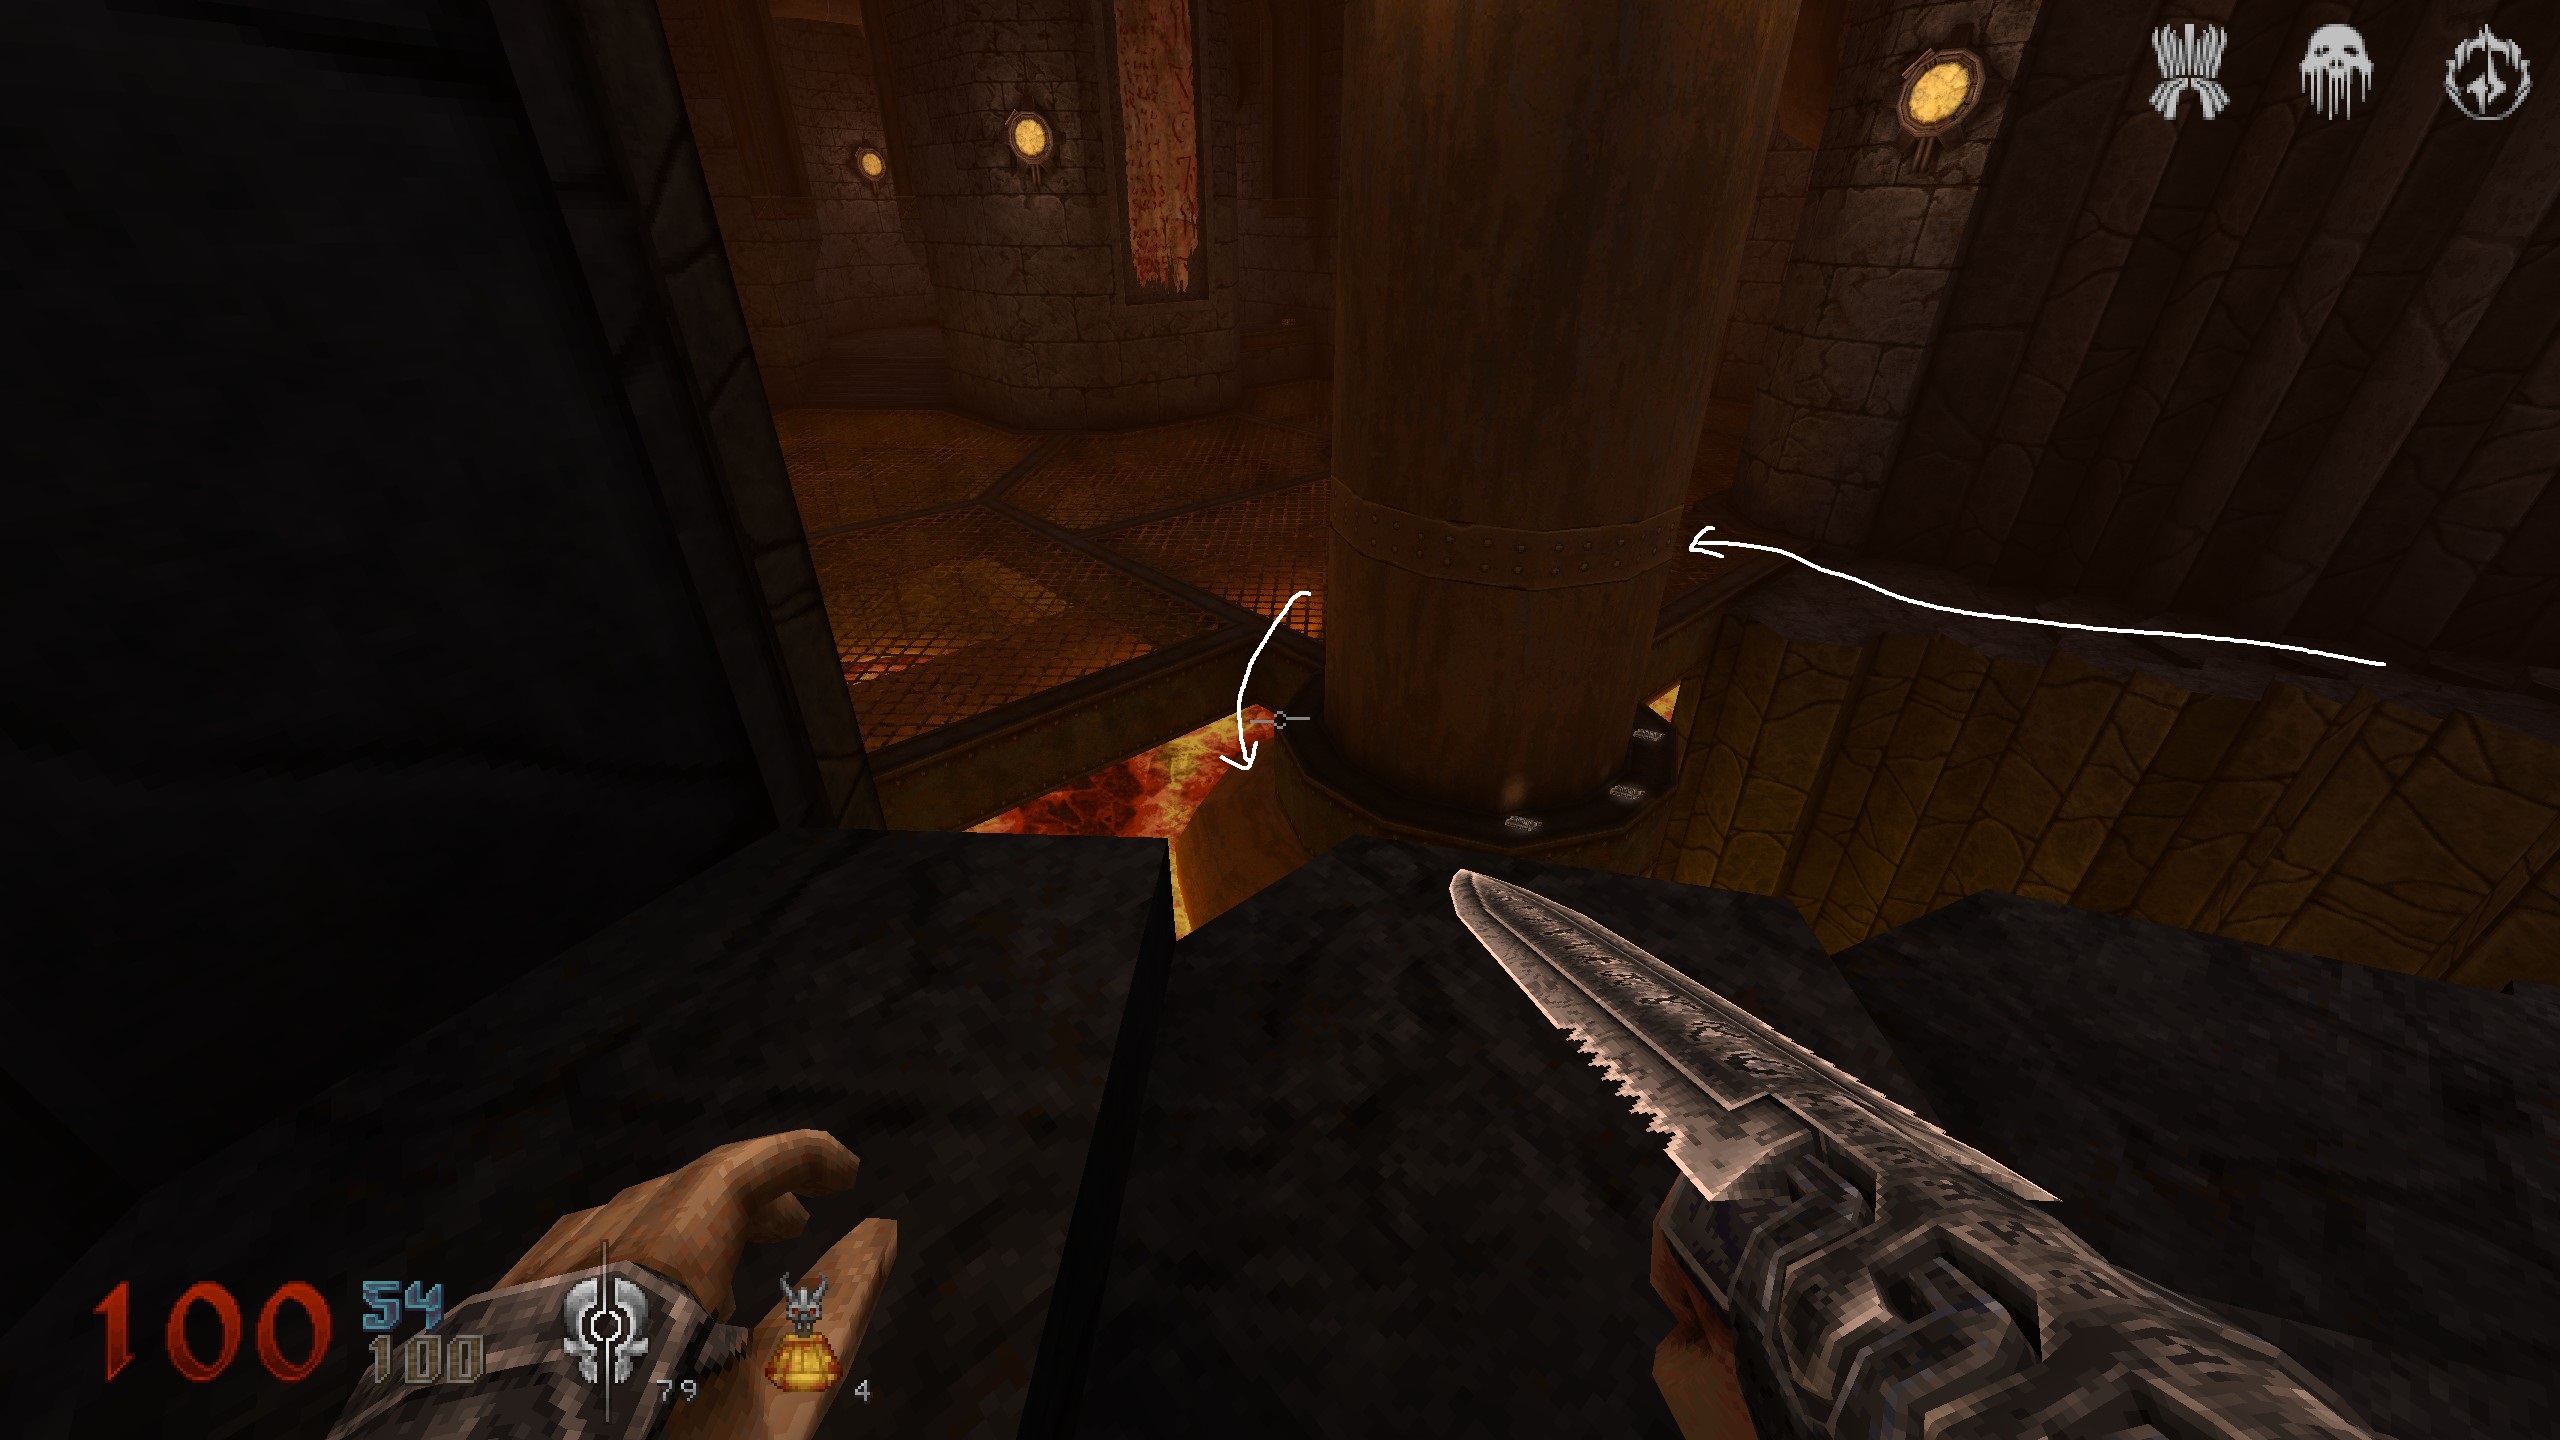
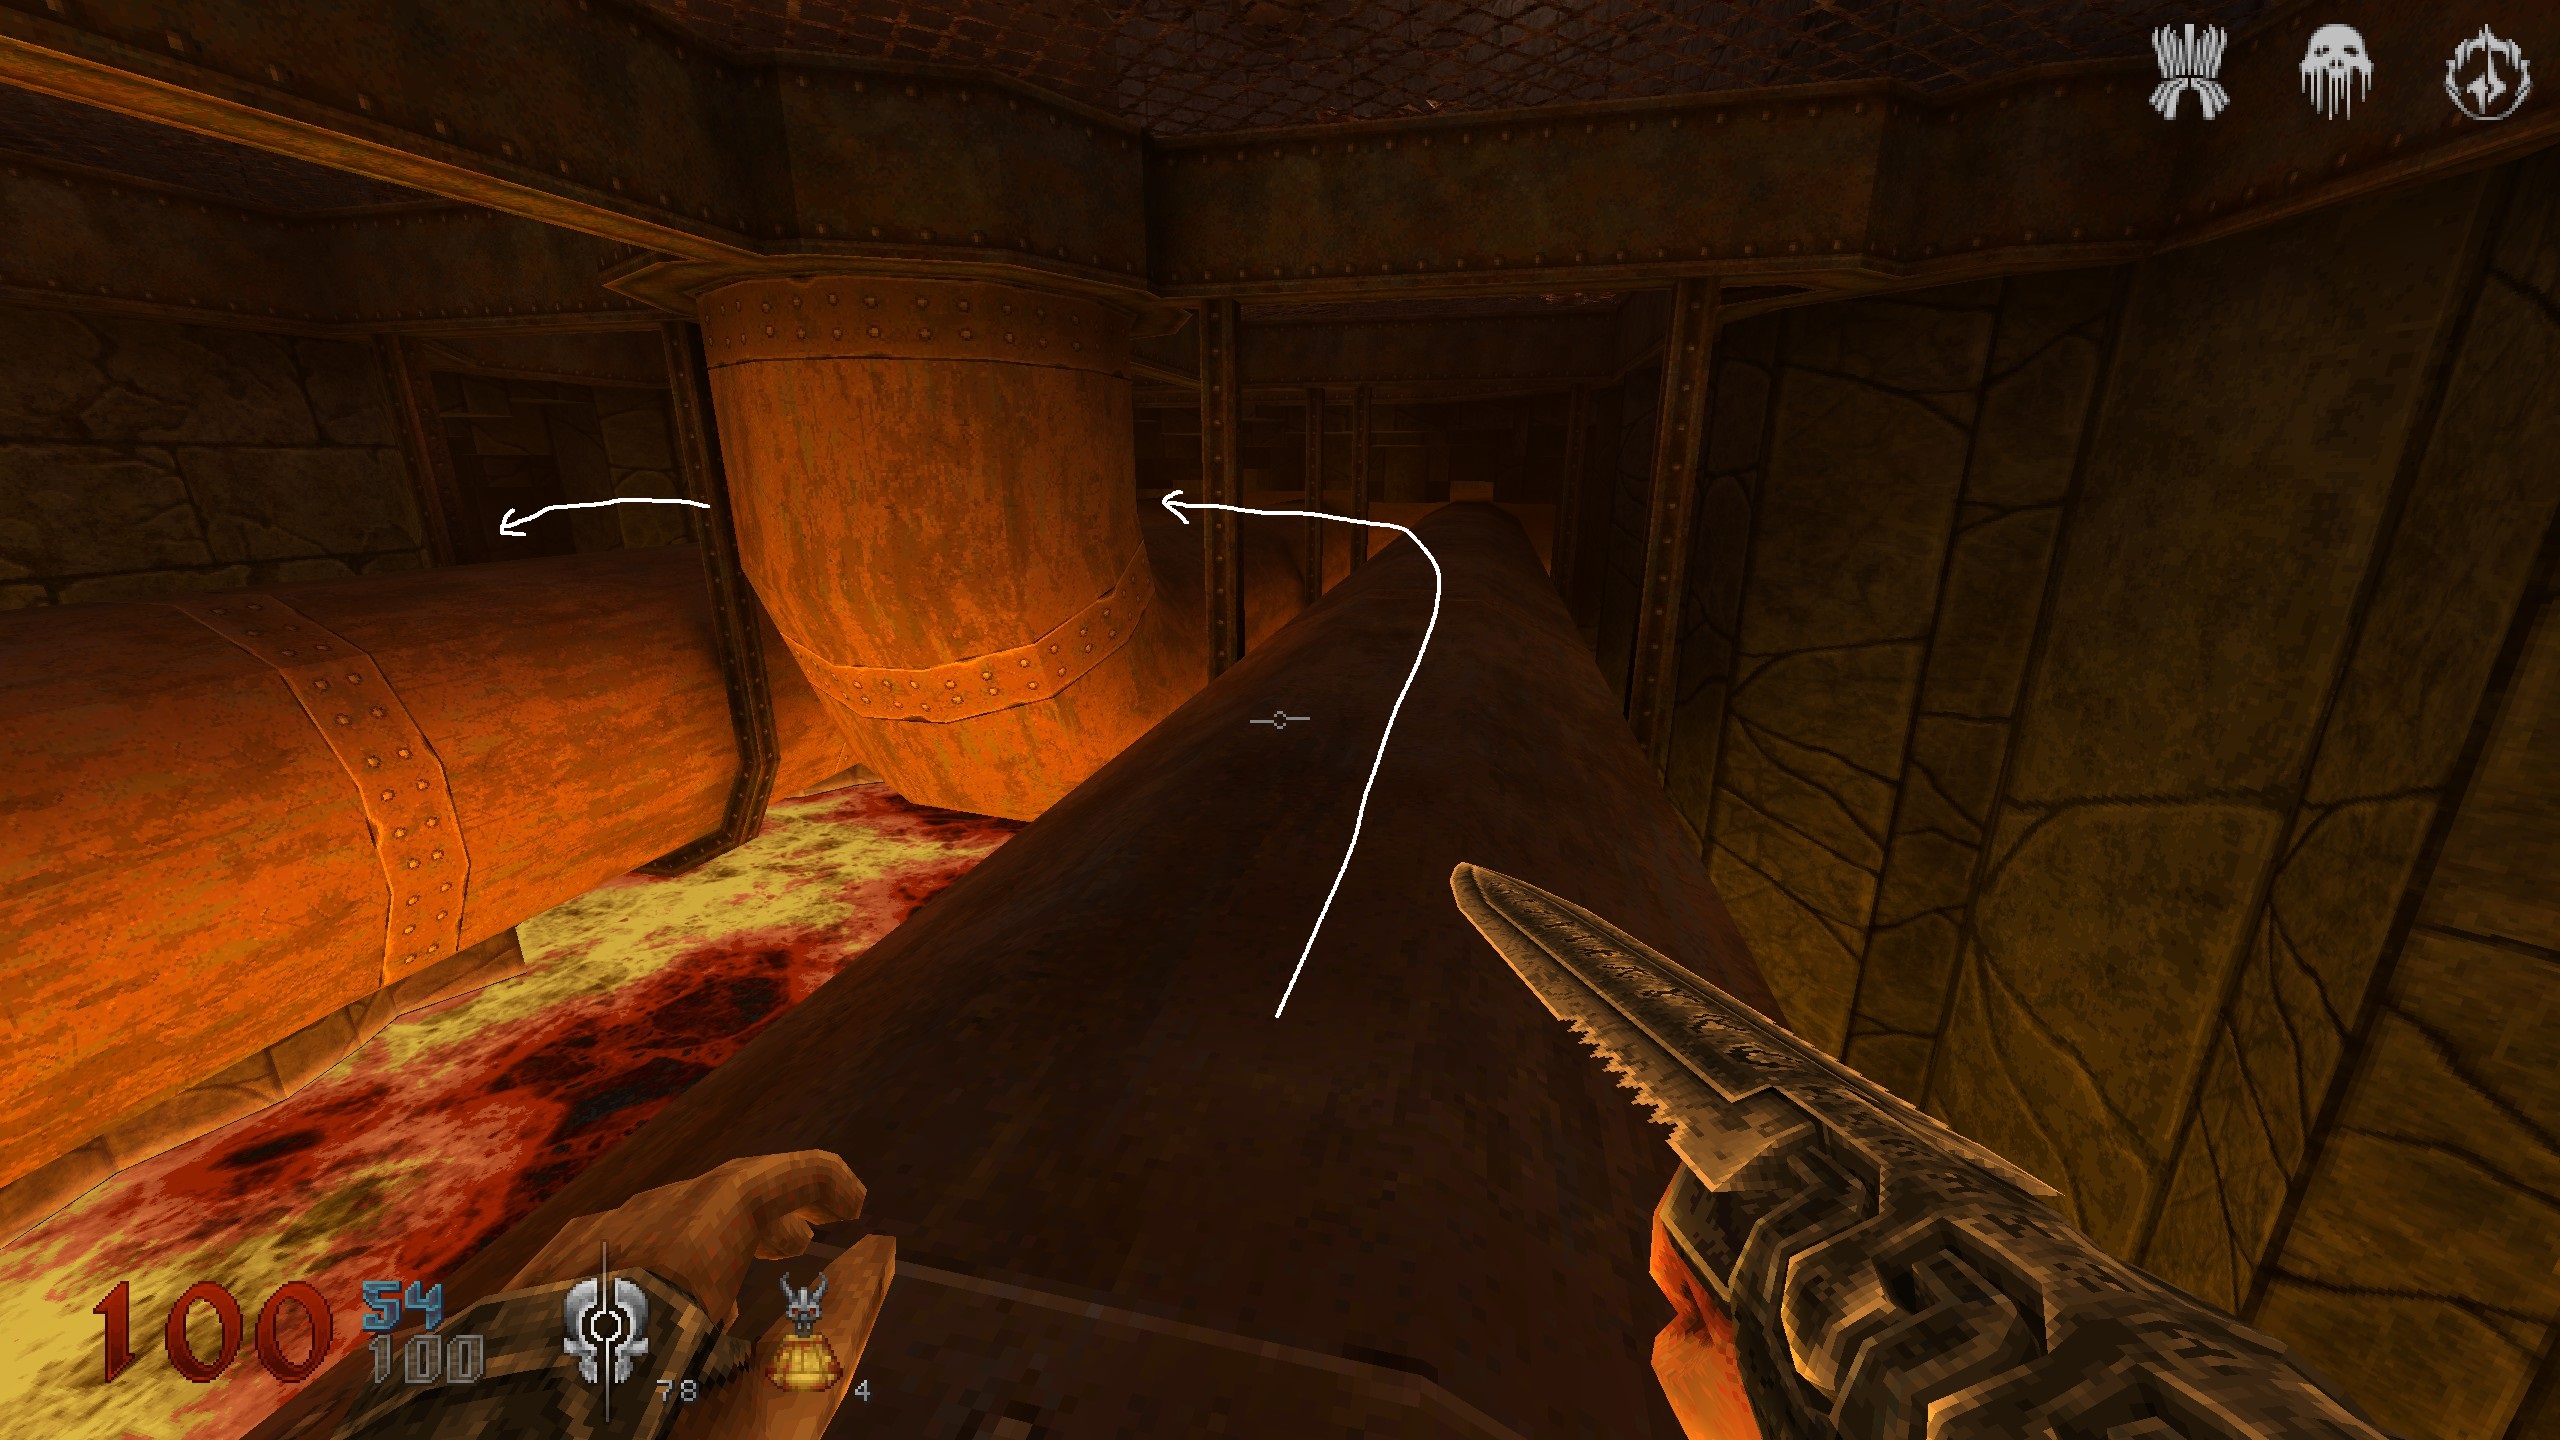
S13
You passed some lava falls on your left, through a narrow path and come into a huge room with a Devestation Mace in the middle. You can see an item to your right. Get over there.
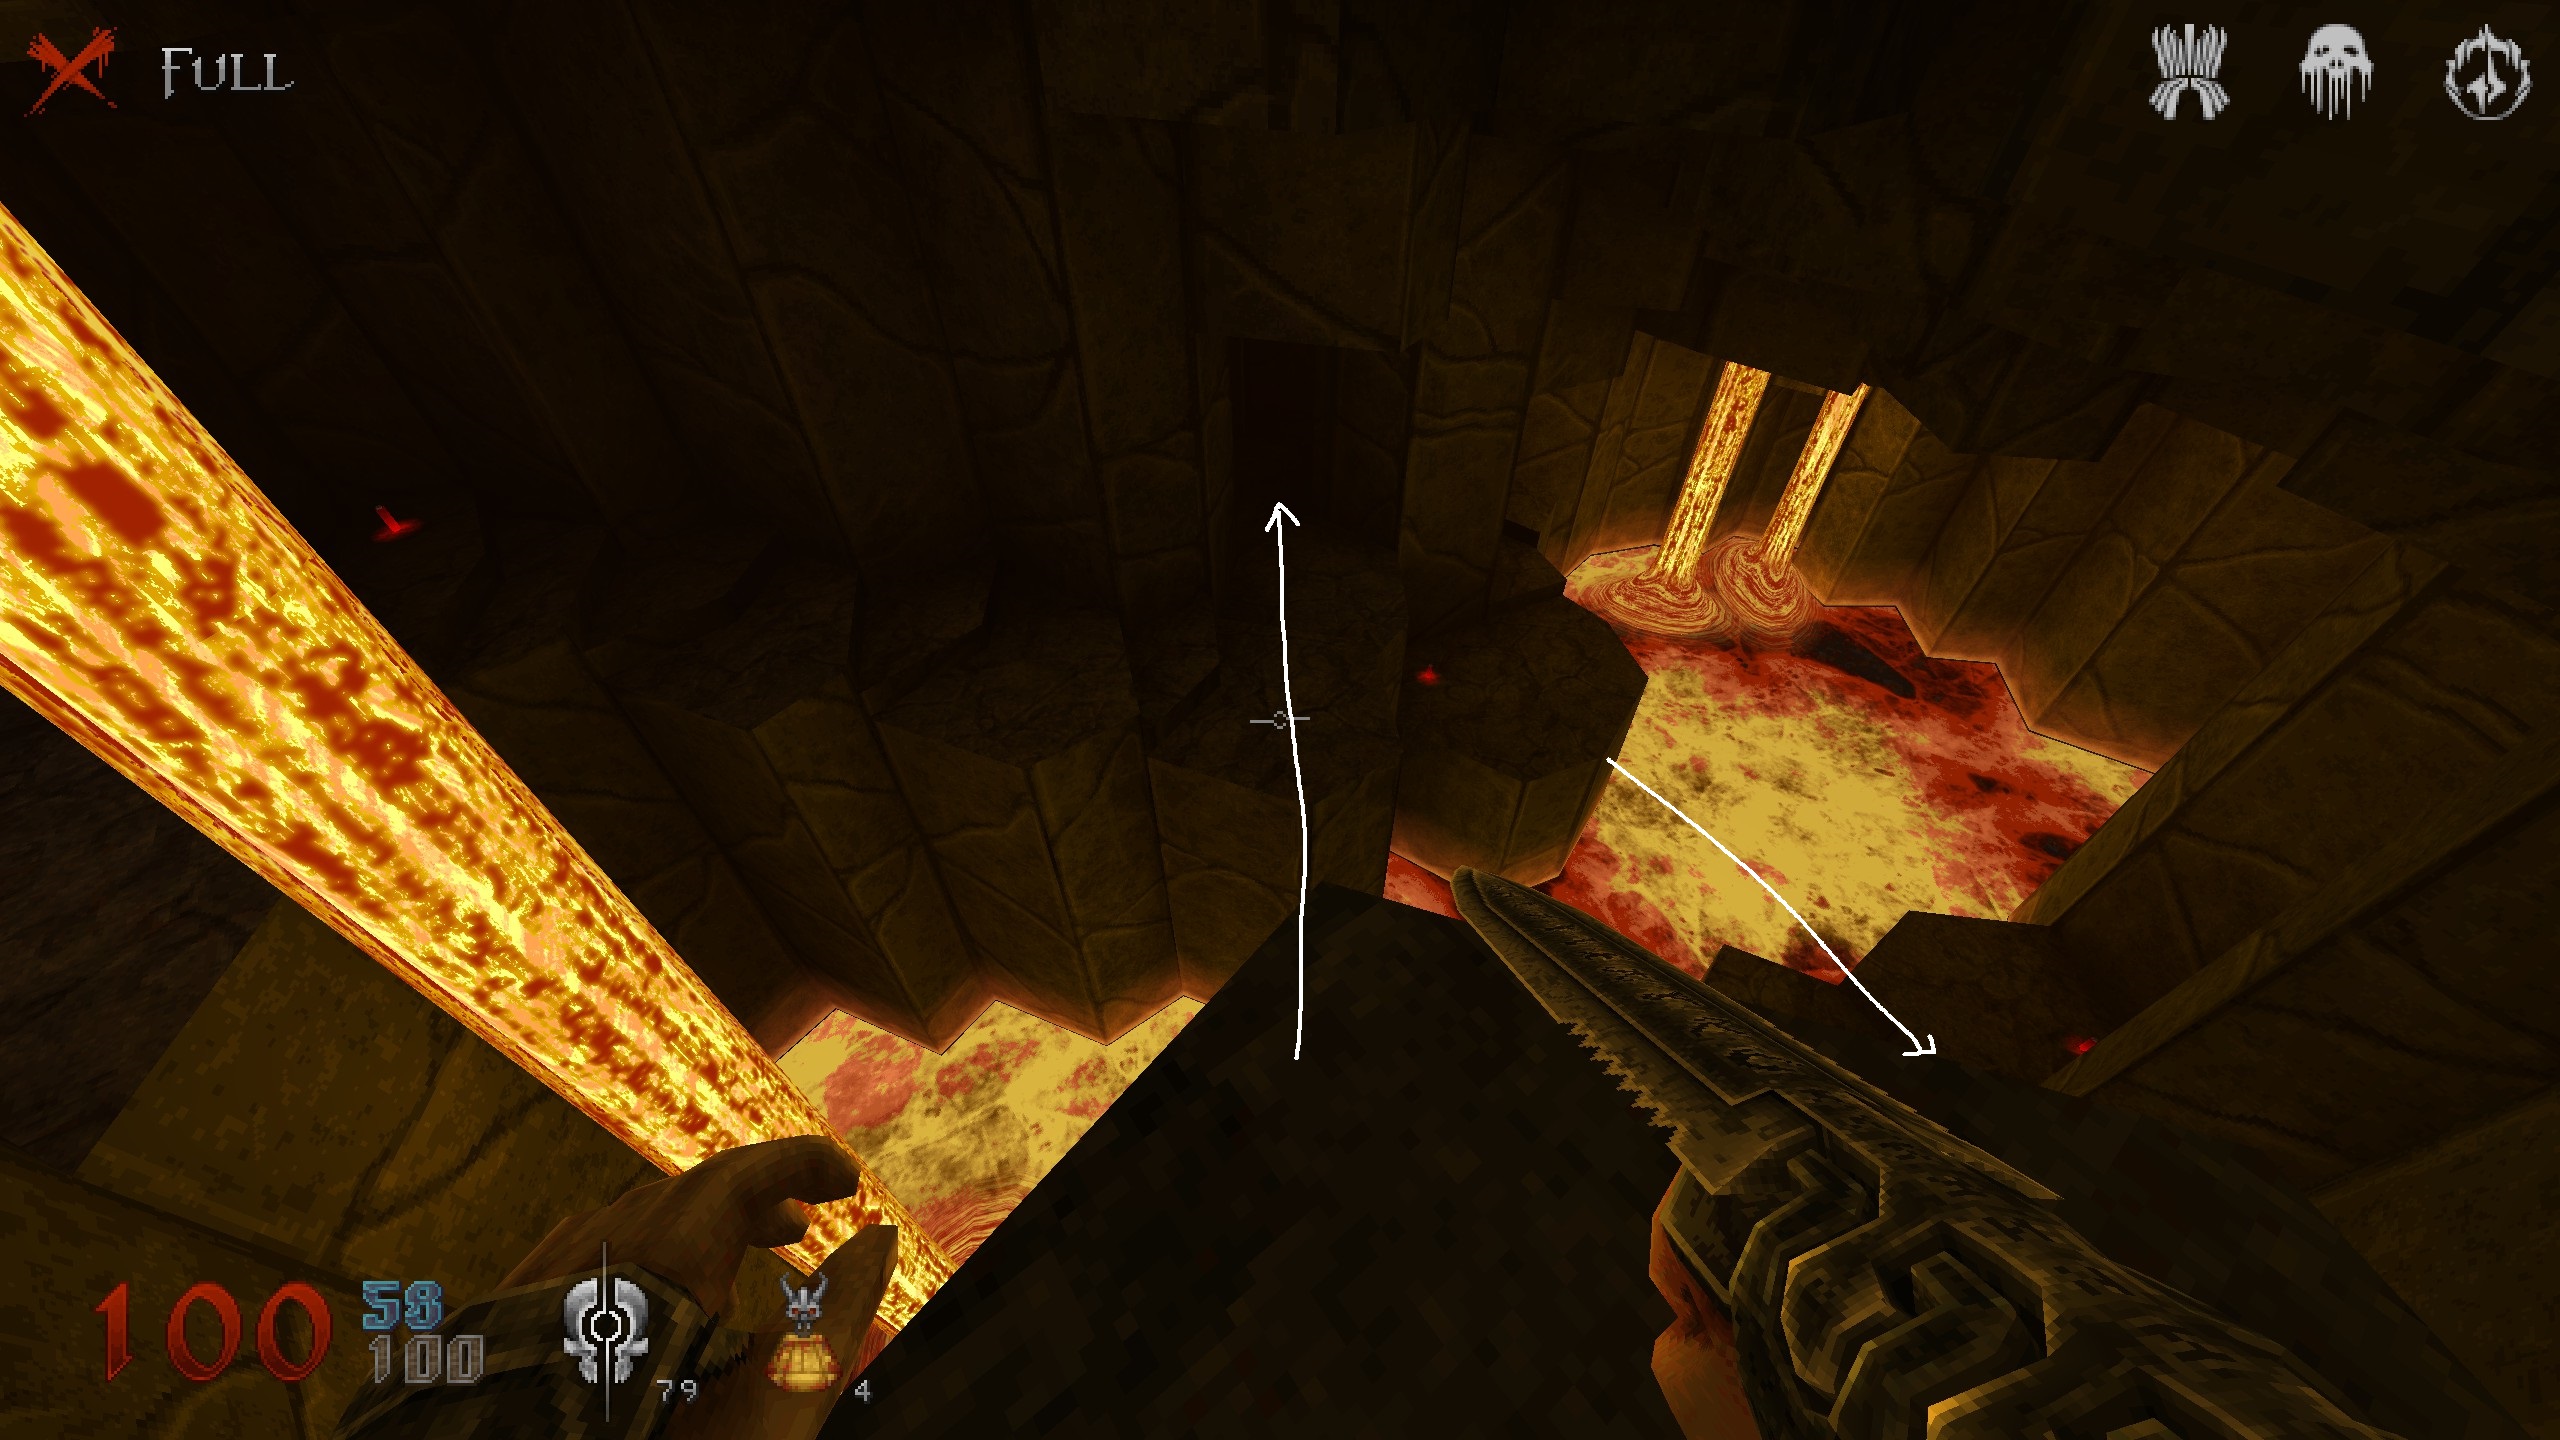
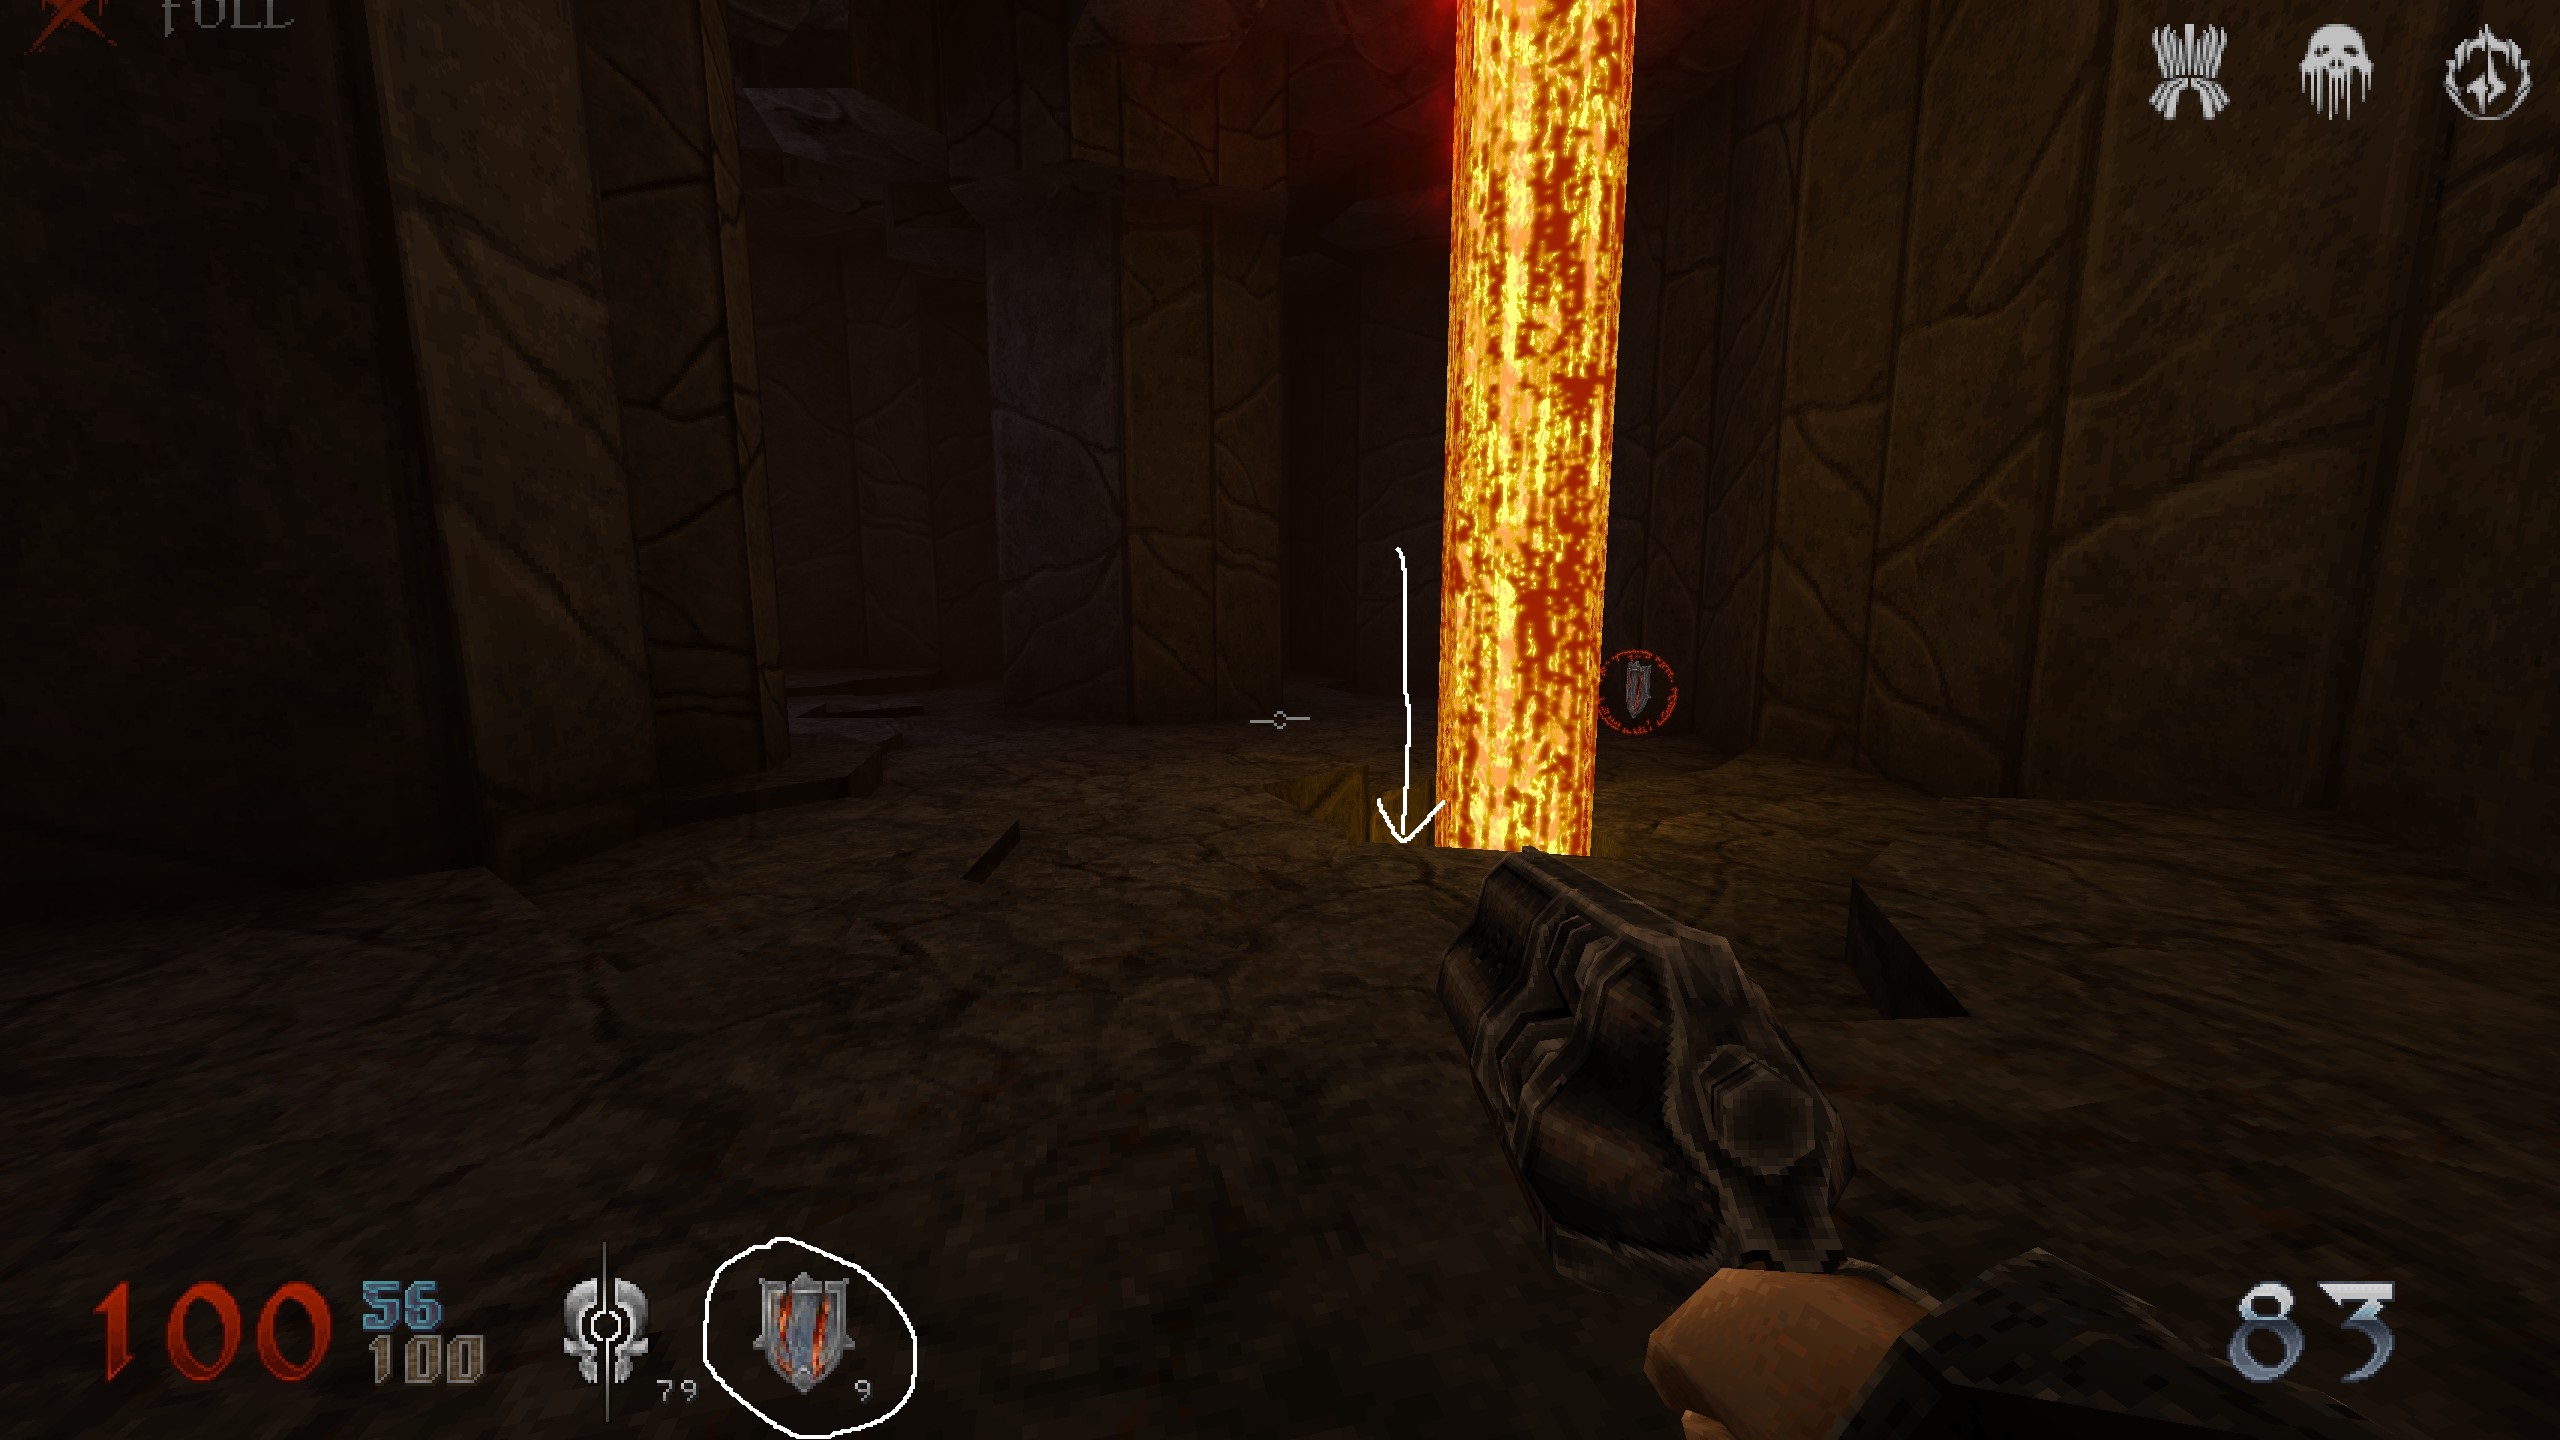
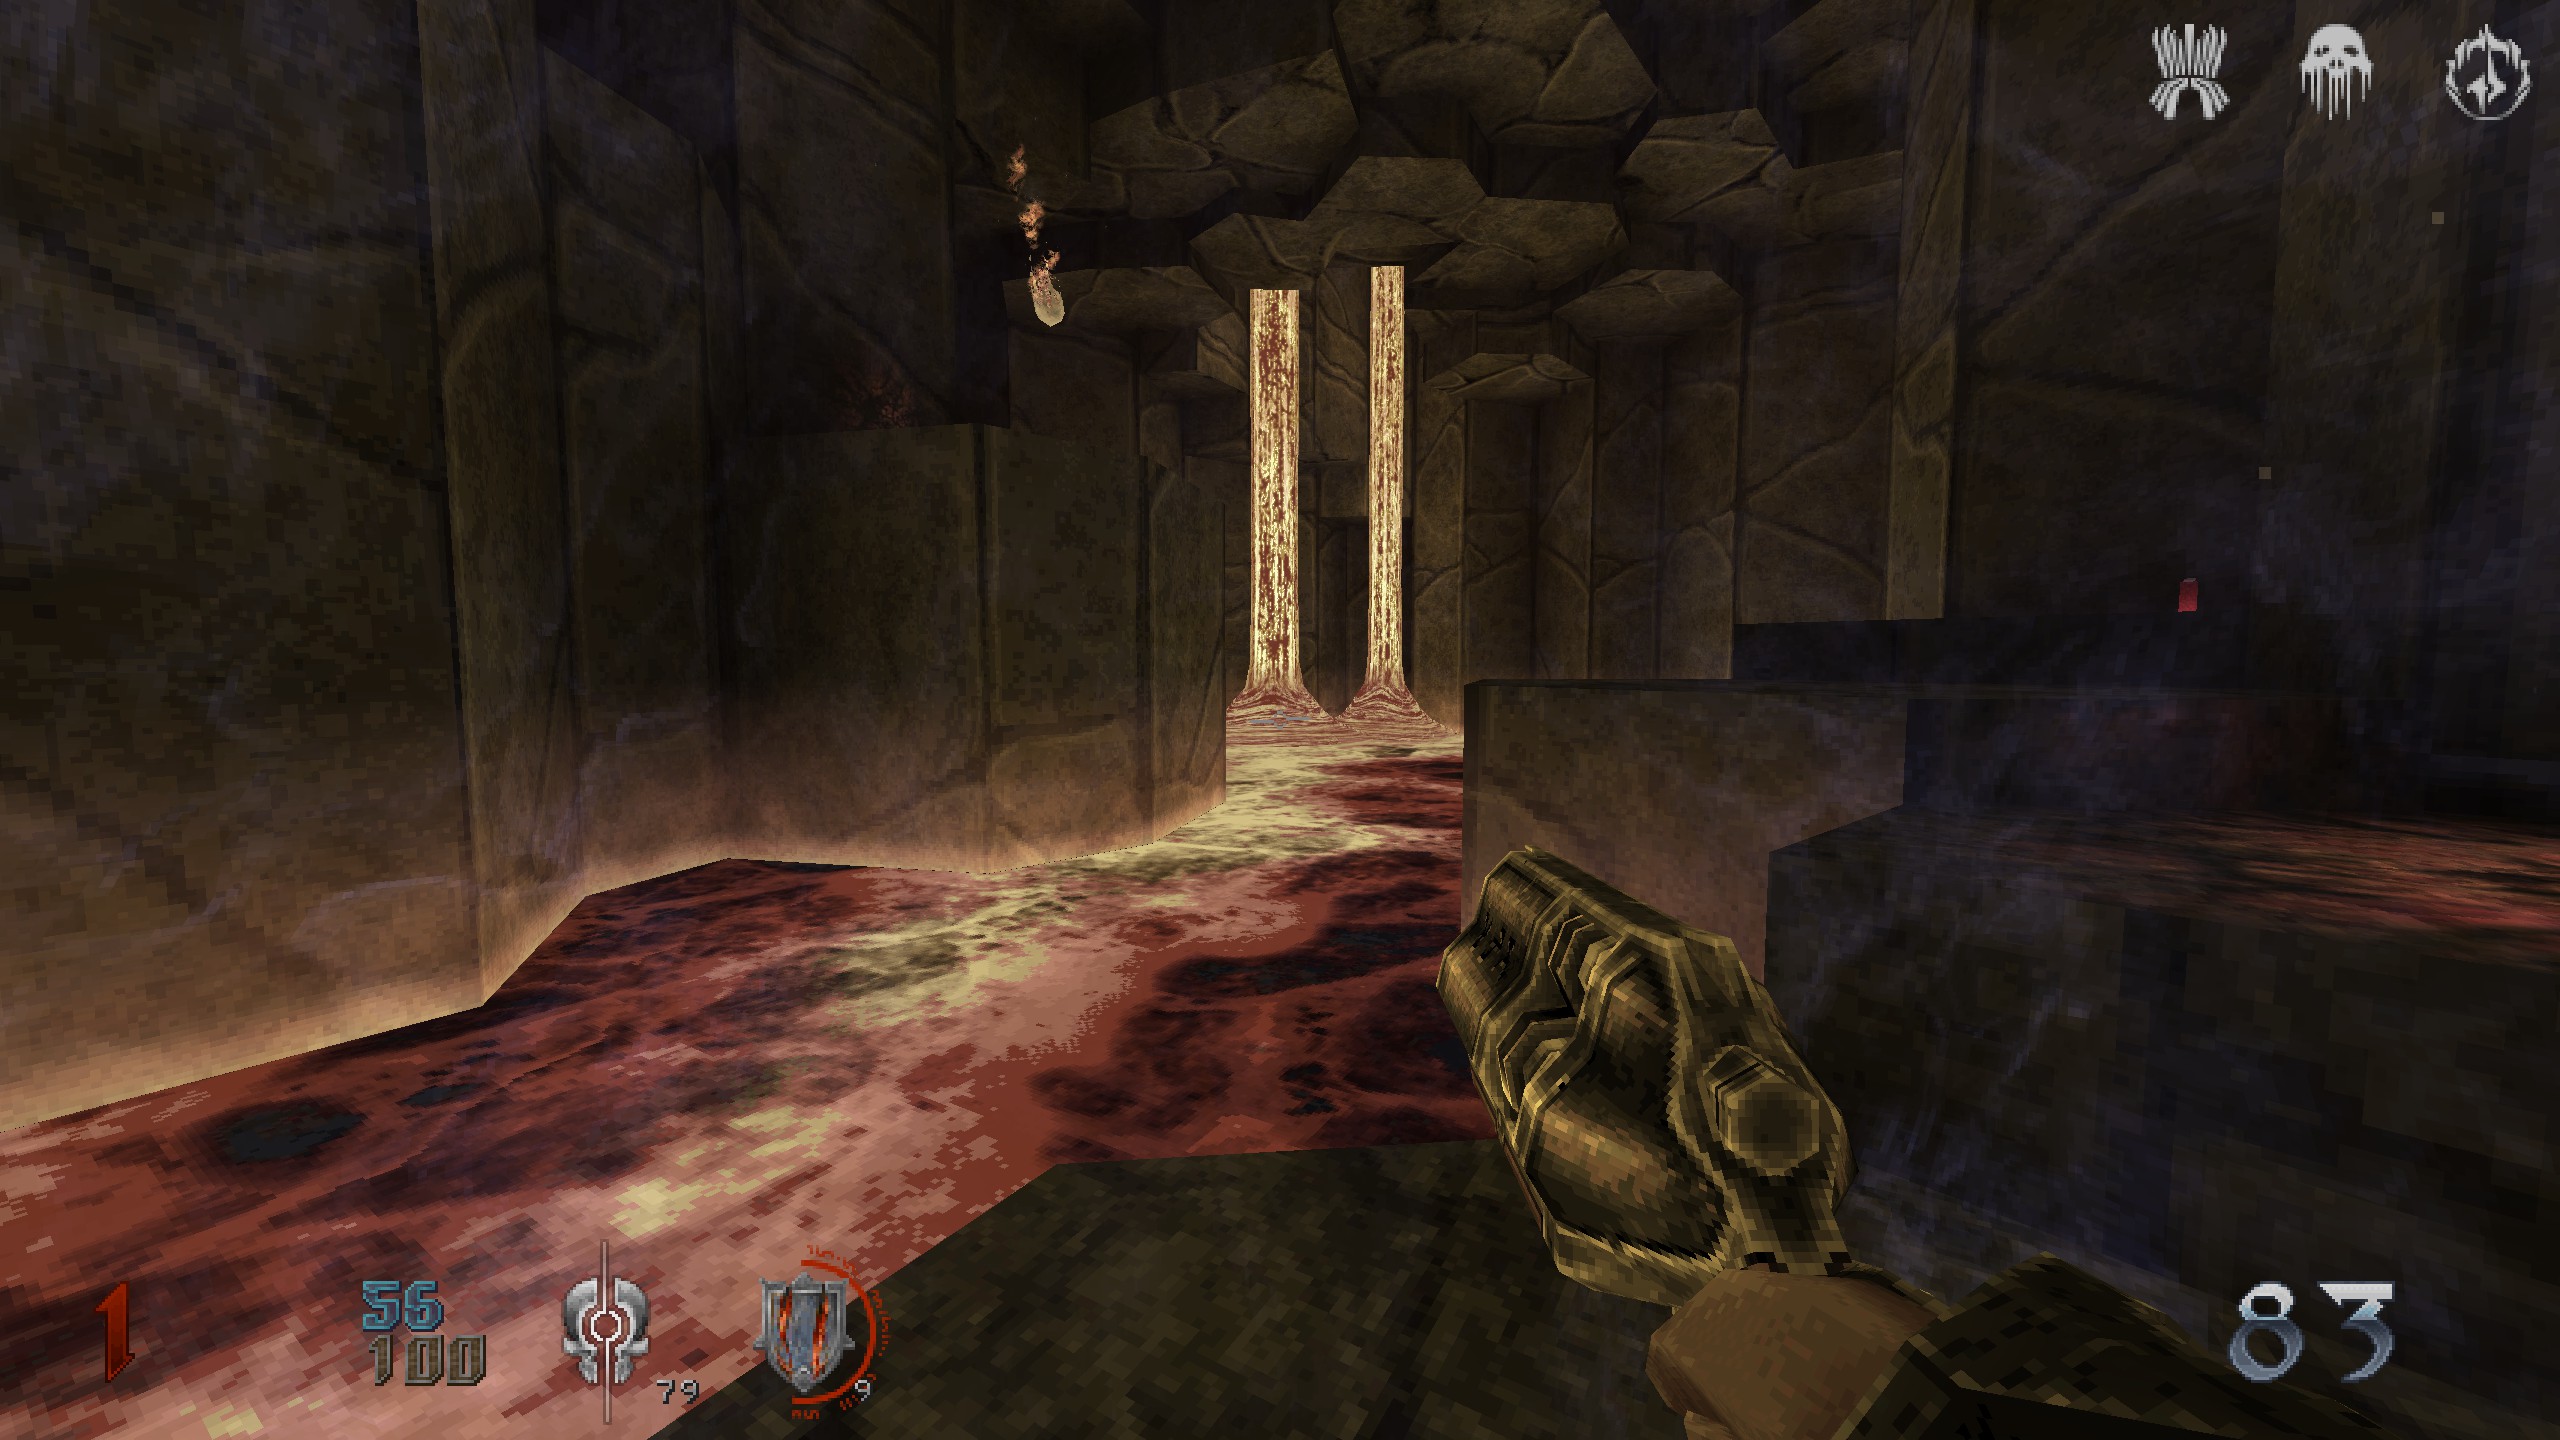
2 ways to get secret.
Option 1: Canon jump up to that item, from there go down all the way and grab items and until secret triggers. Get back up using the stones.
Option 2: There is also a Cruel Aegis close by, near 2 lava falls. Now why would that be there? Equipe it, activate it and drop down into the lava. You land in the lava in the same spot just not from above. You will get enough hp while going up to have 100 again.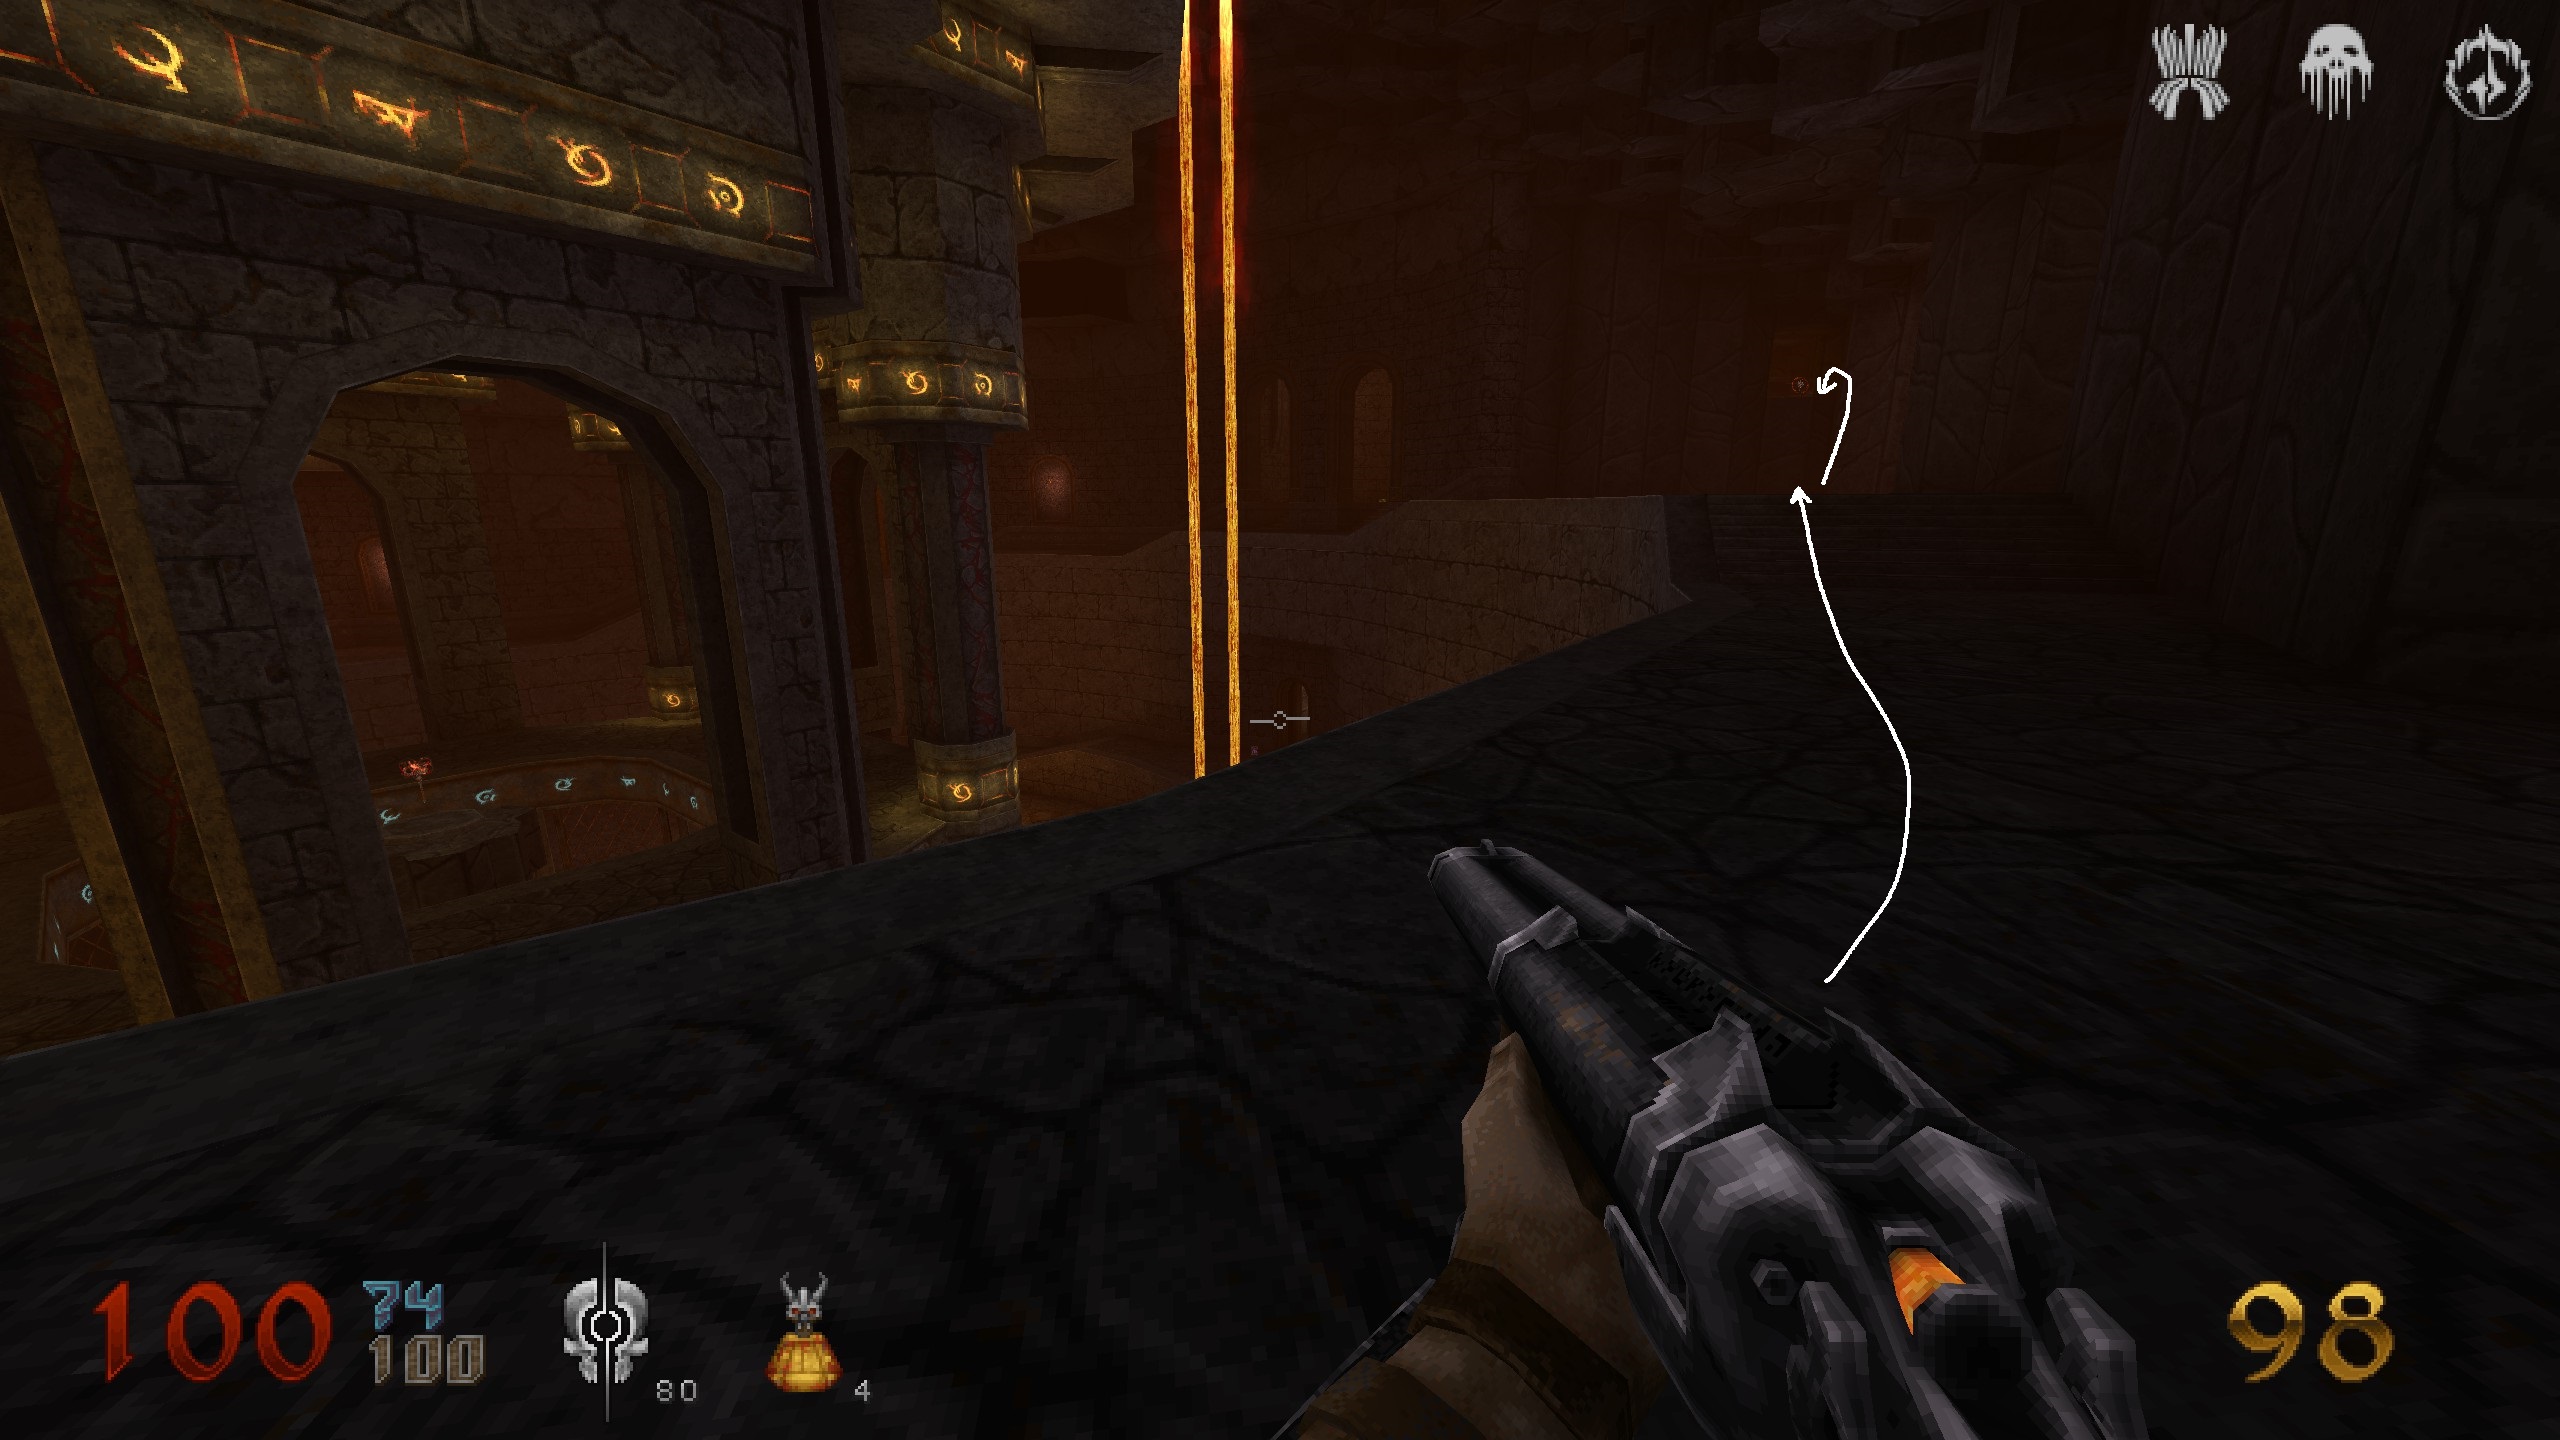
Scroll
Proceed on the circular path in the huge room and take the 3rd right. Left and right again and you can see the scrole on a floating stone platform. Get it and back to mission.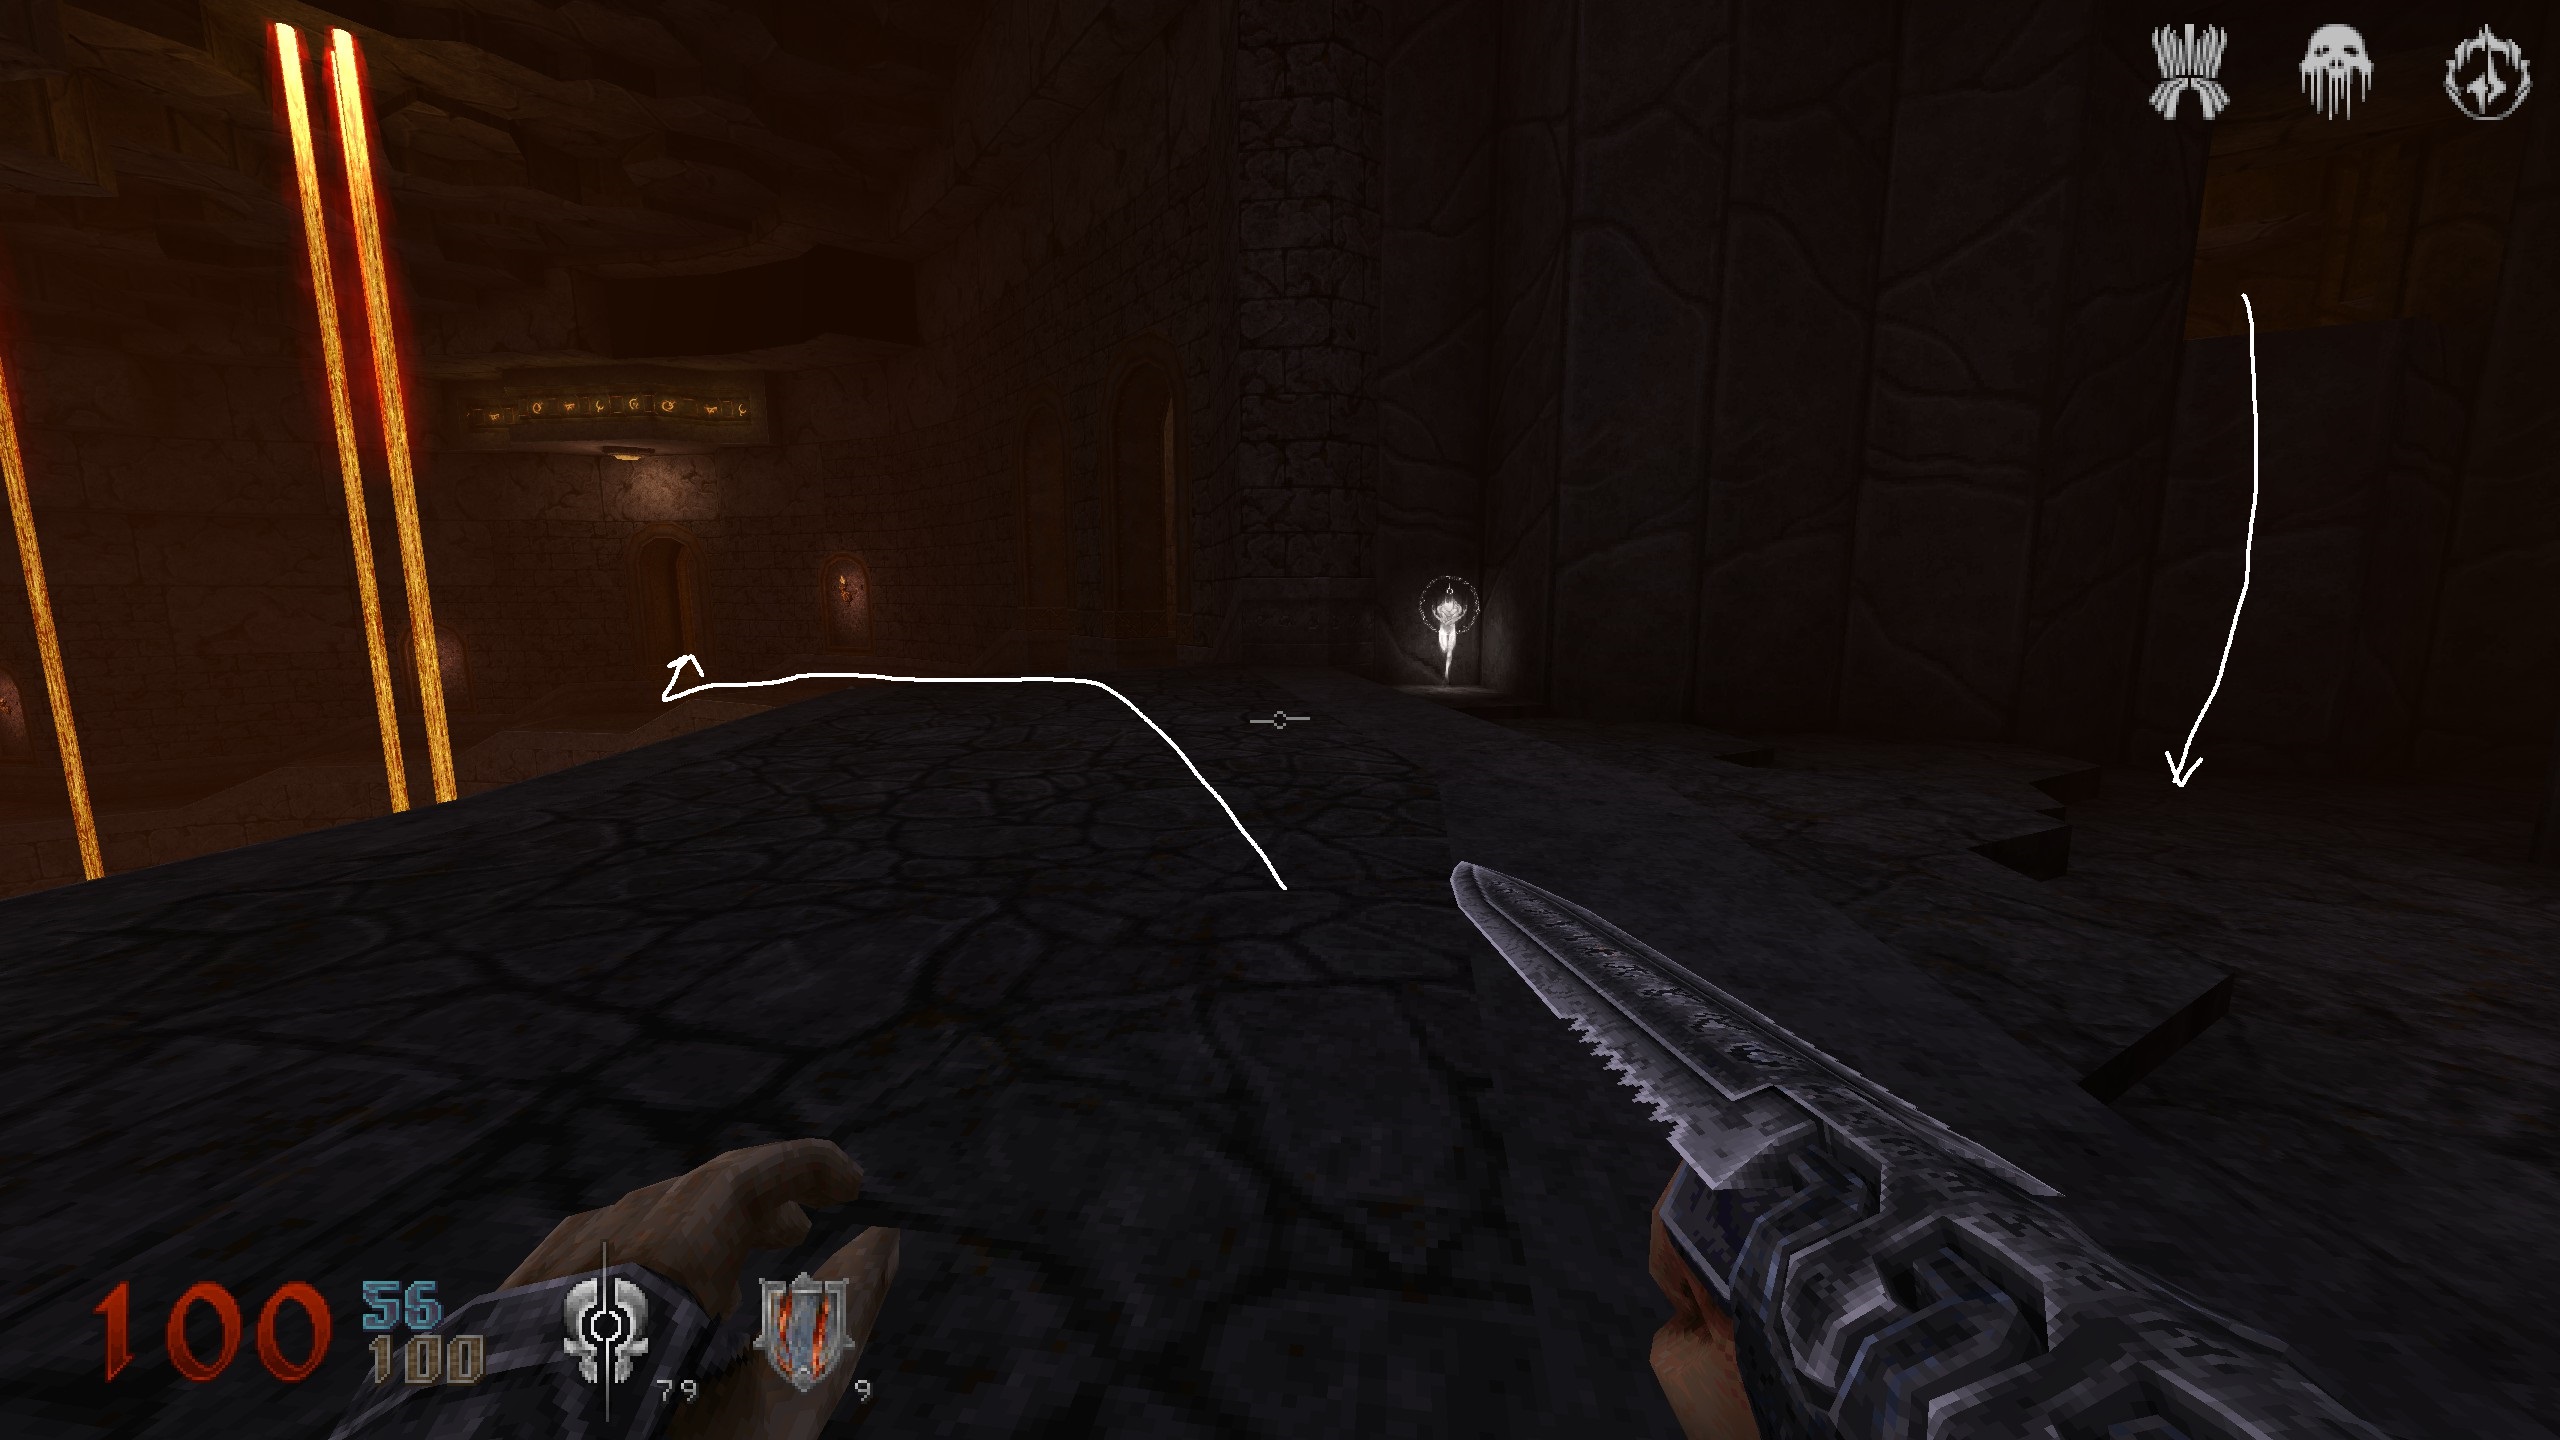
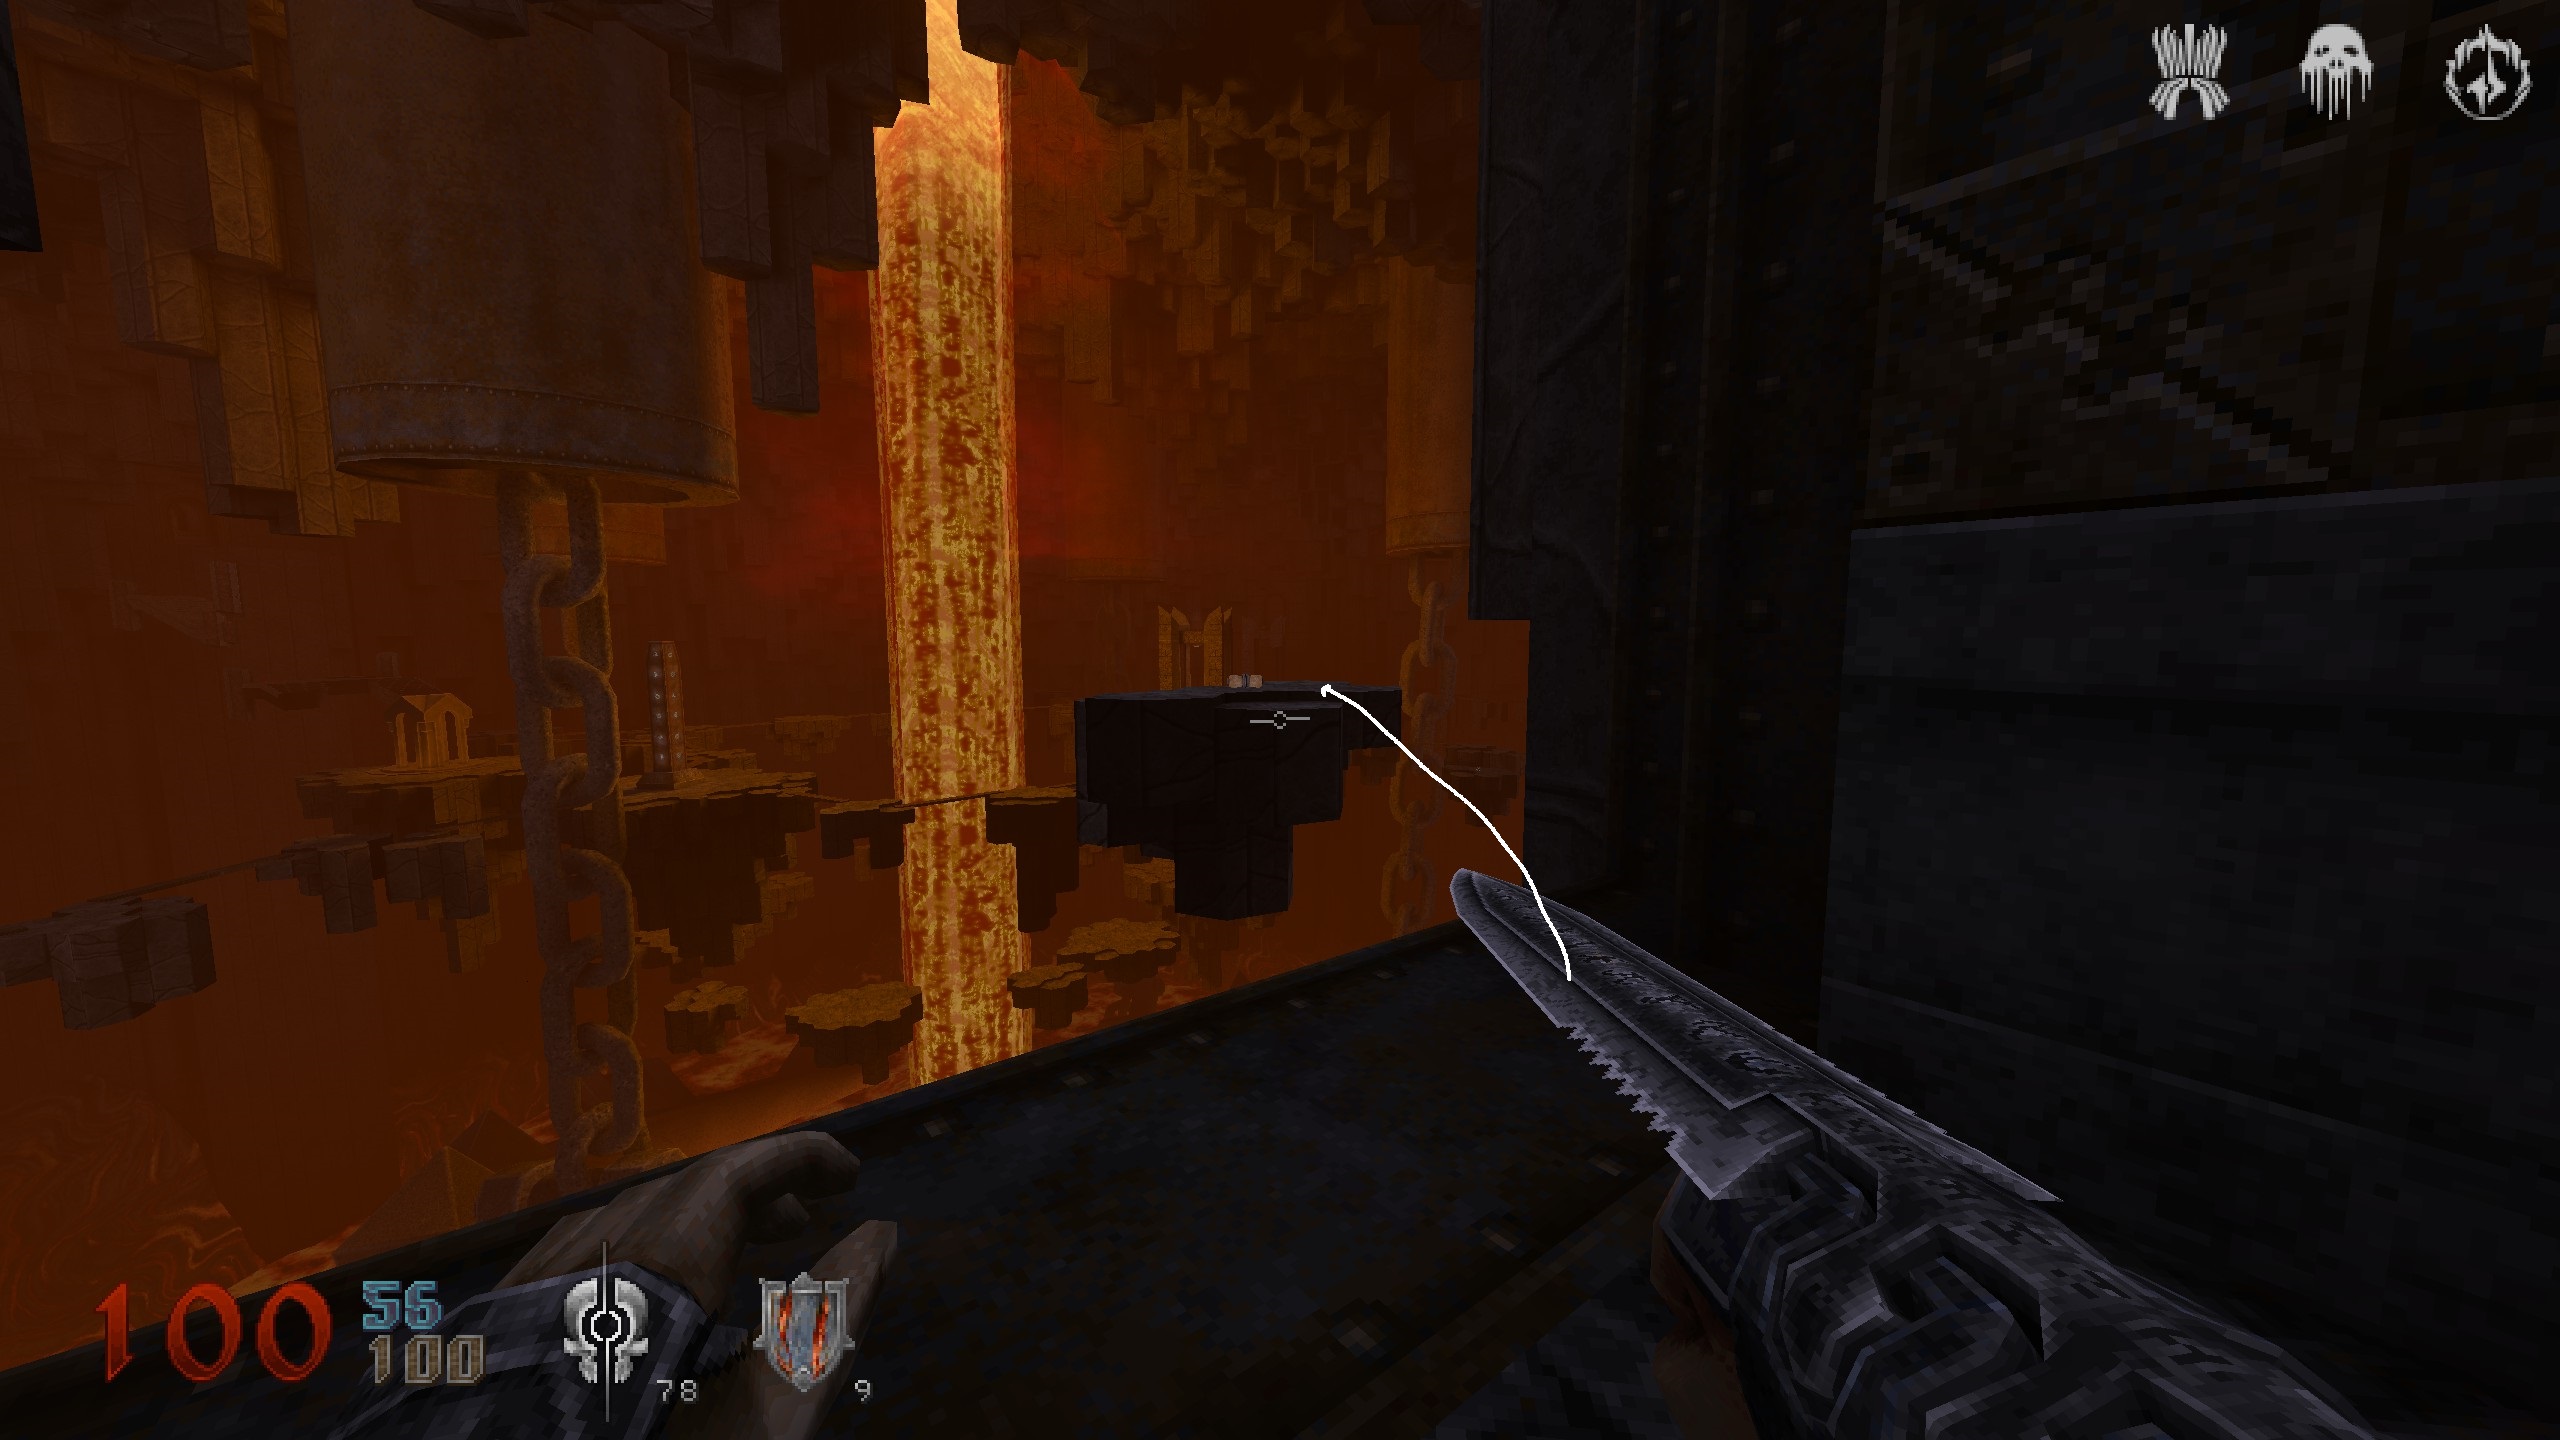
Key & Crate
You need to use the sigil now. It will make 4 parts of the wall infront visible that you can destroy. Concentrate on the ones on the right side, they contain the key and crate. The ones on the left, only enemies. Pick up key and open crate. There is a teleporter in that room, use it to get back up on the circular path in the same room just 1st floor. 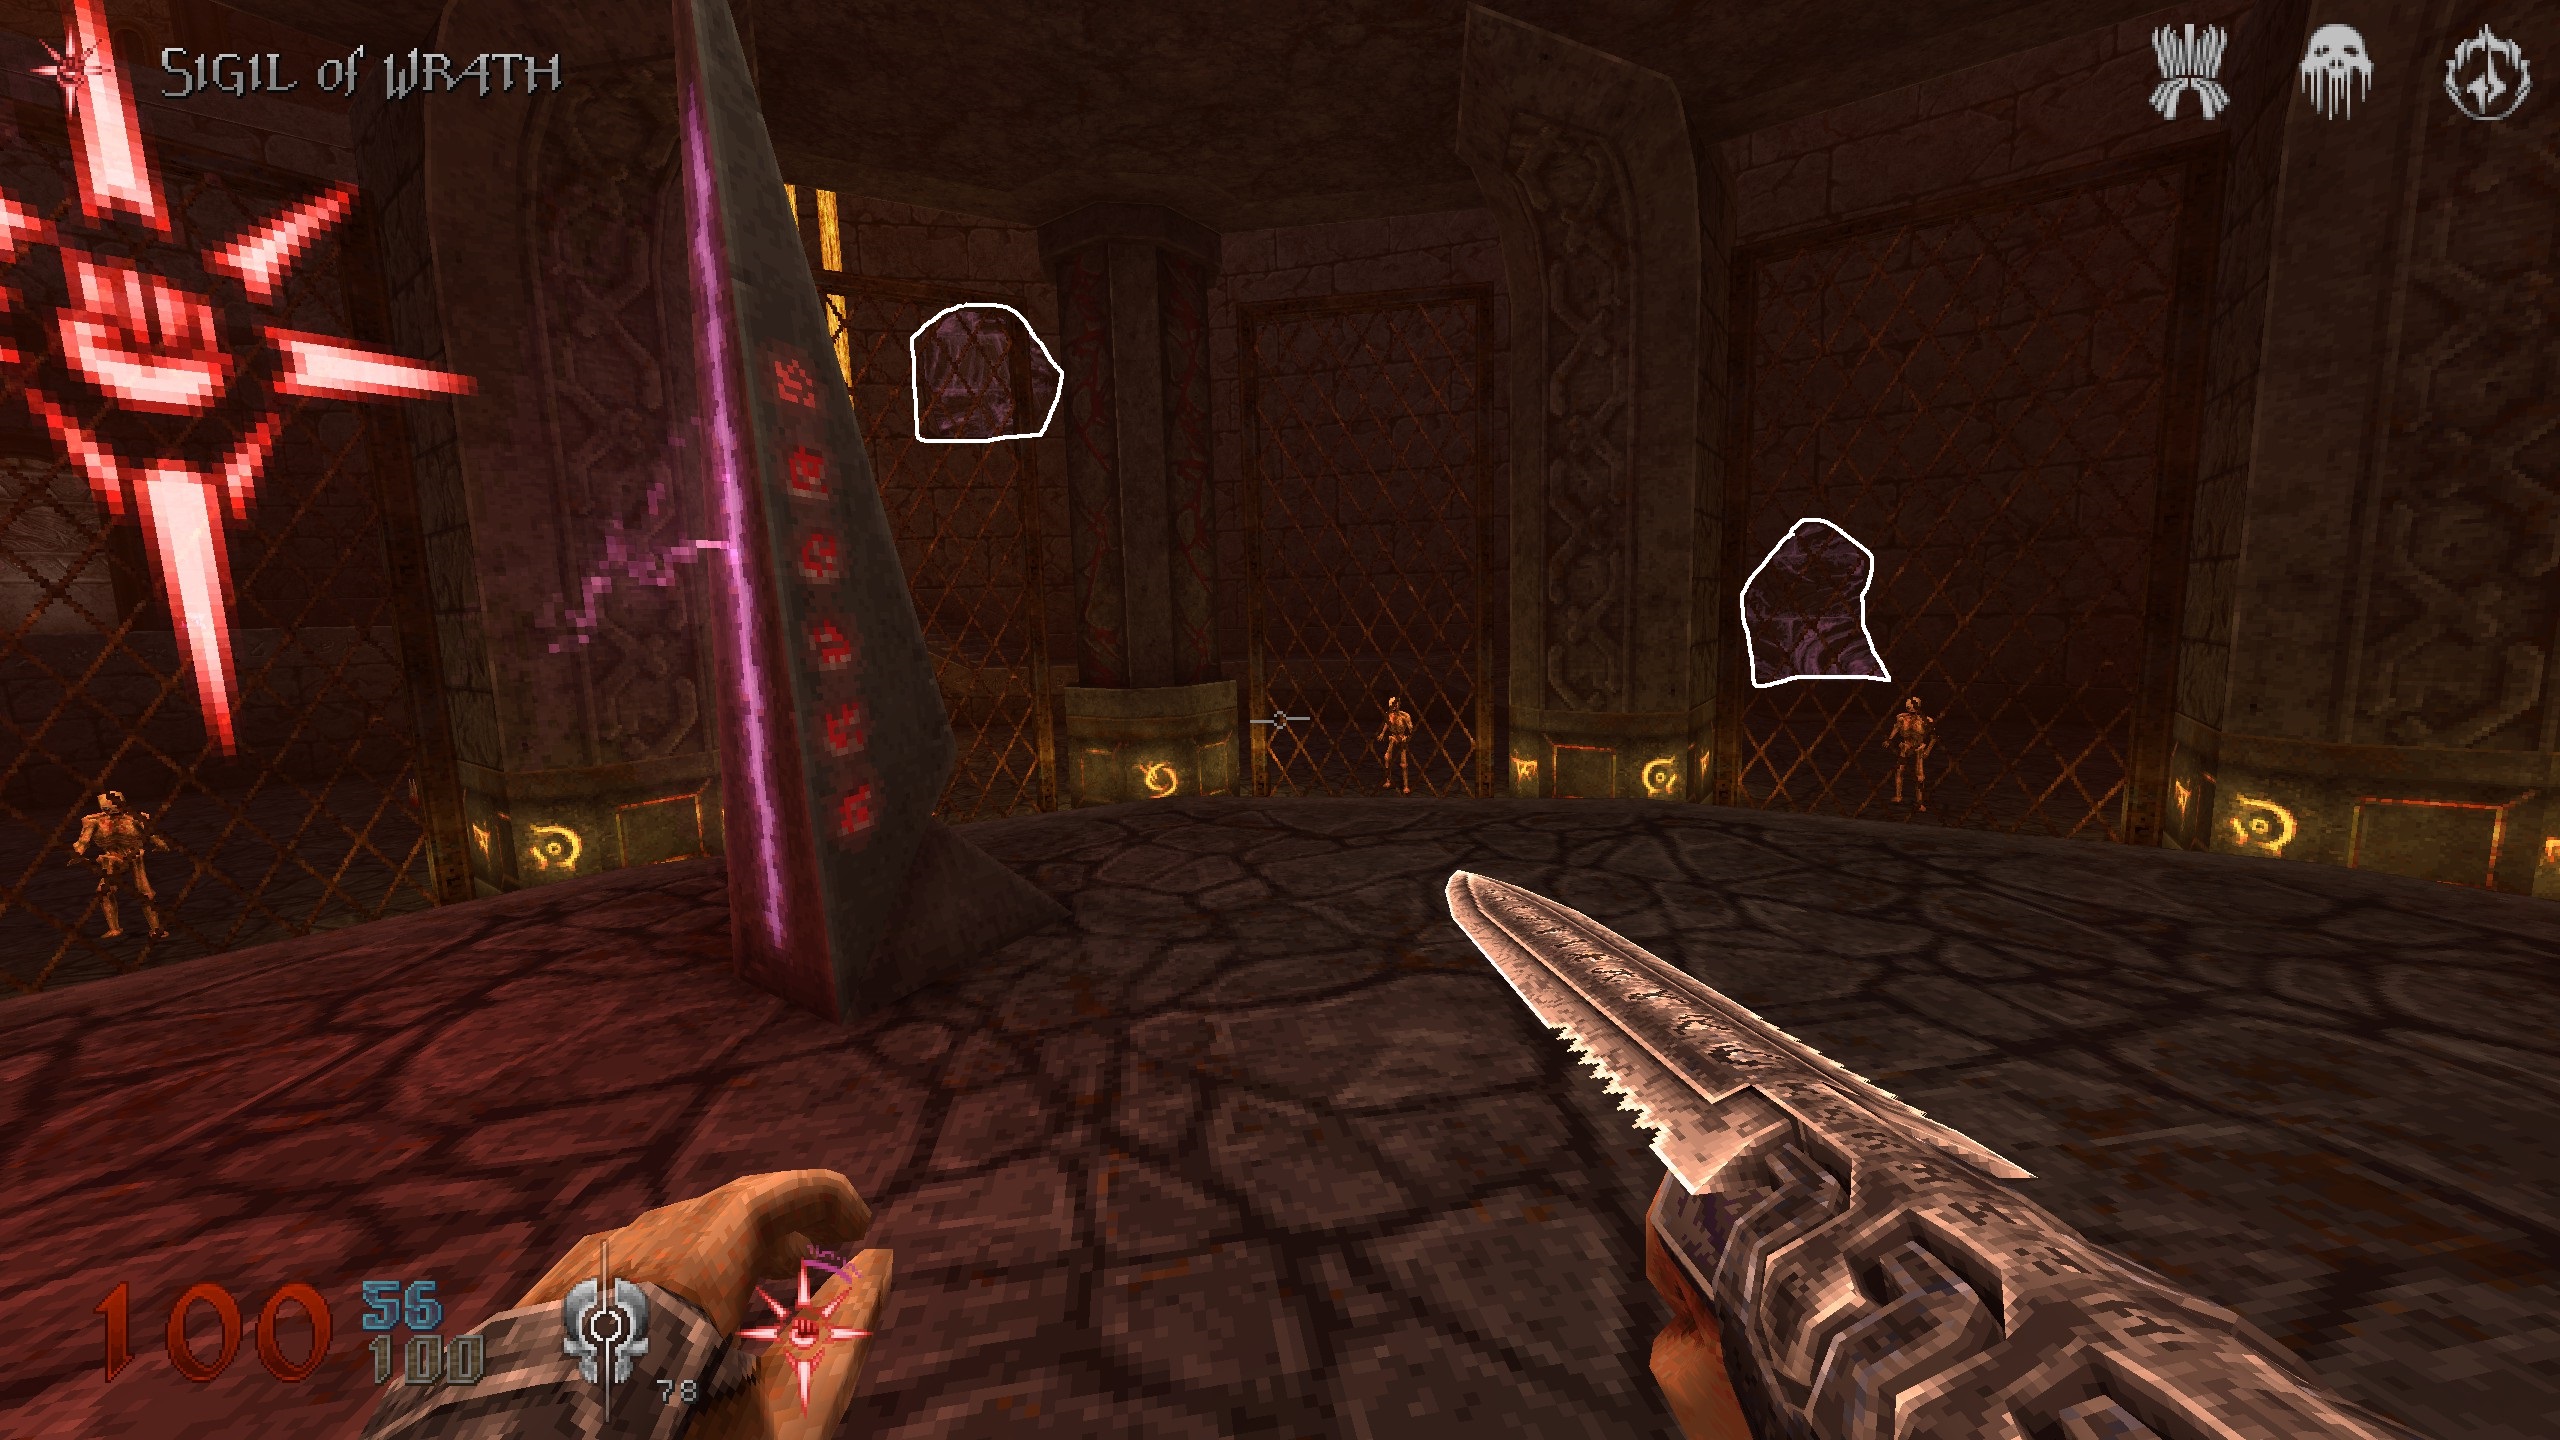
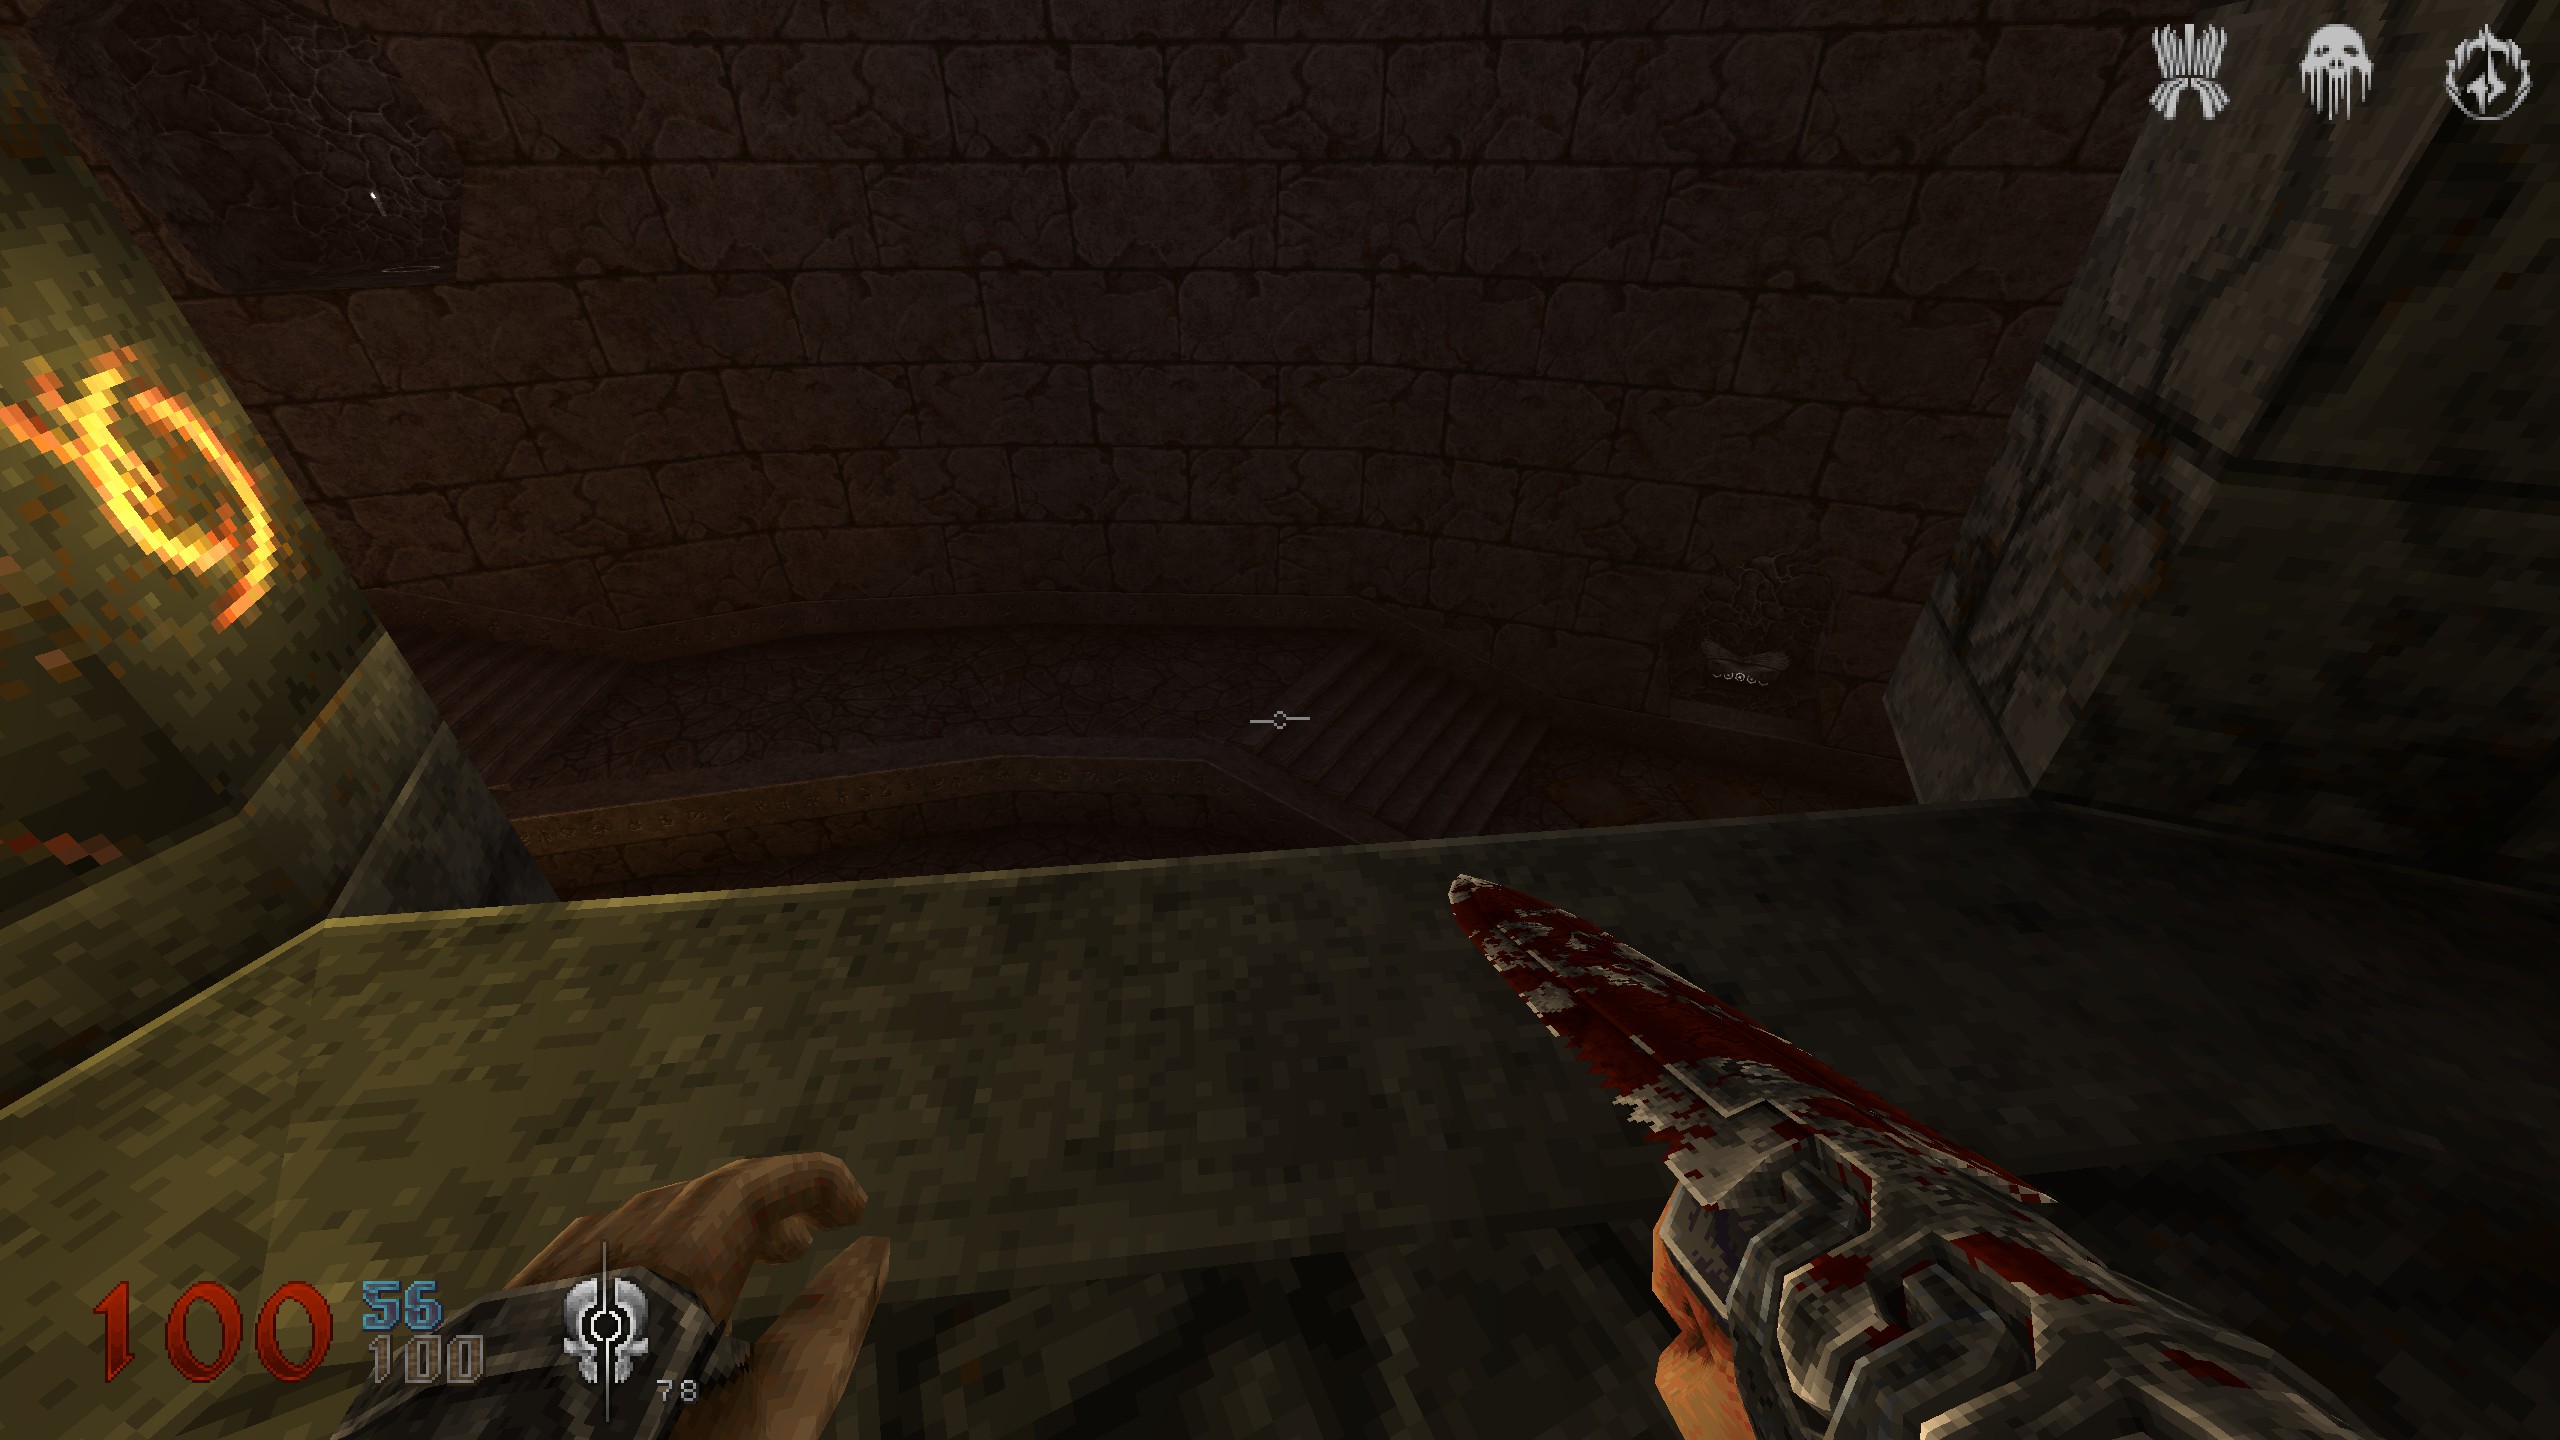
S14
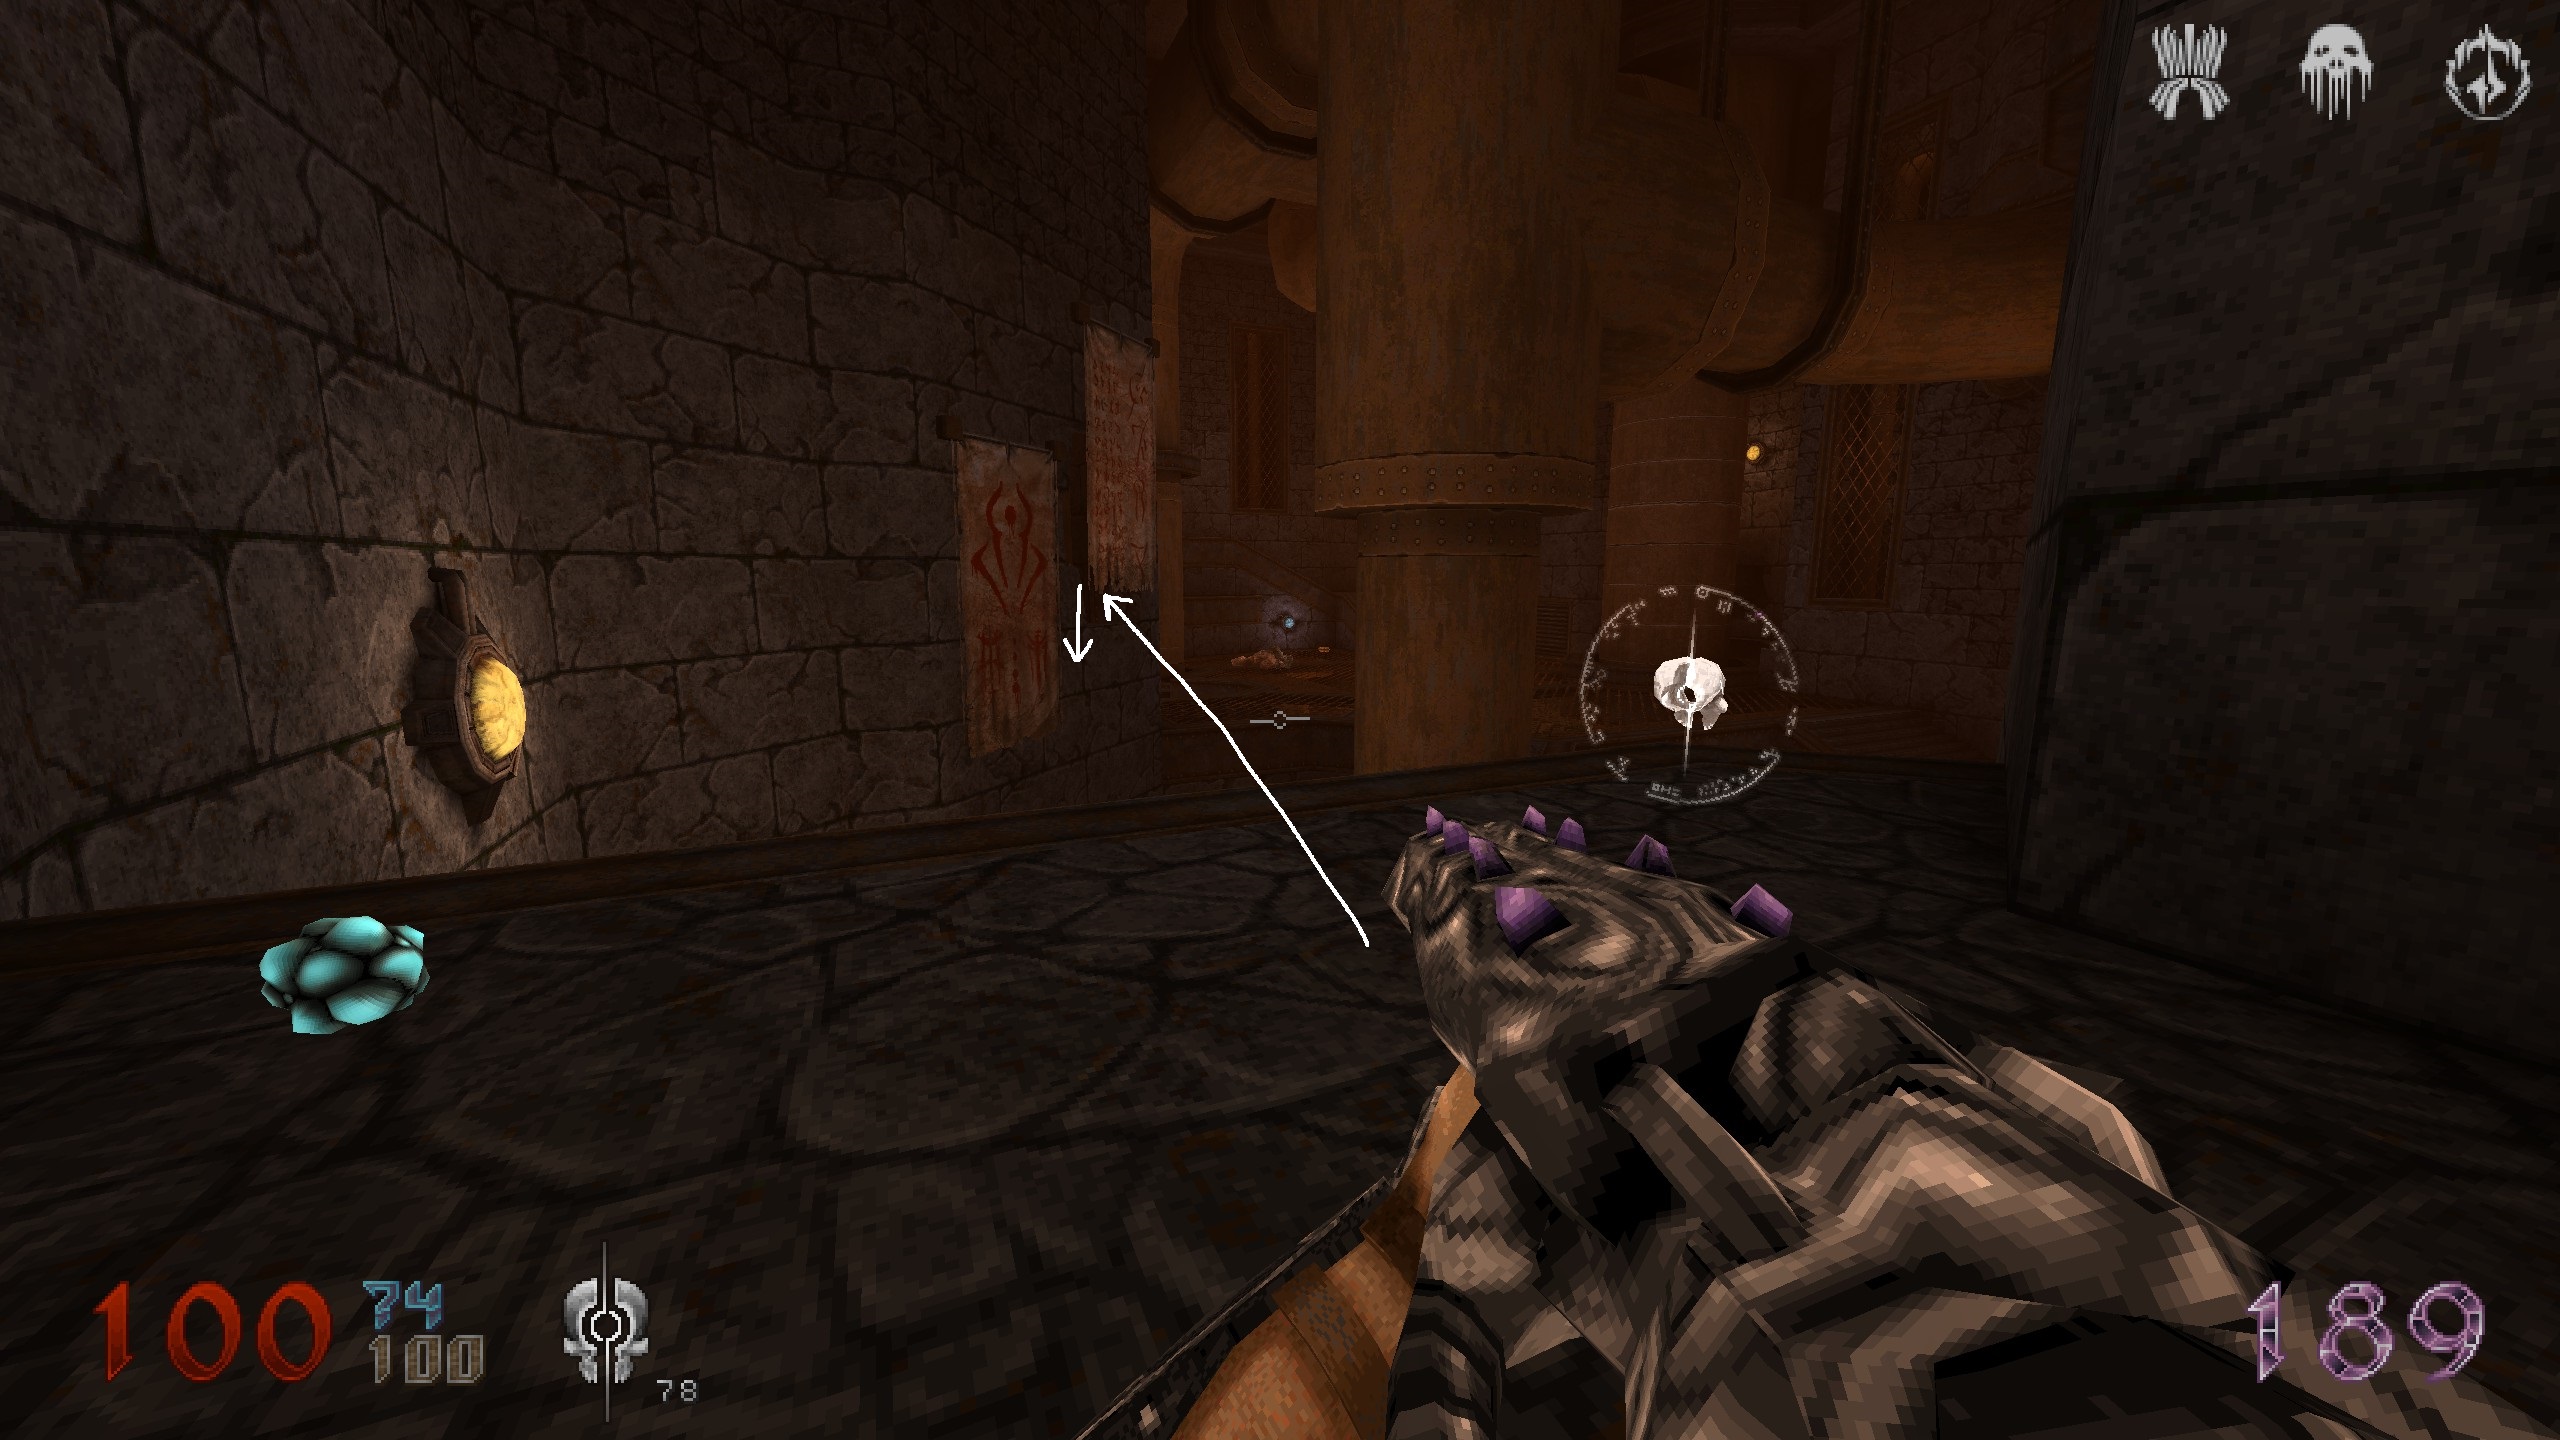
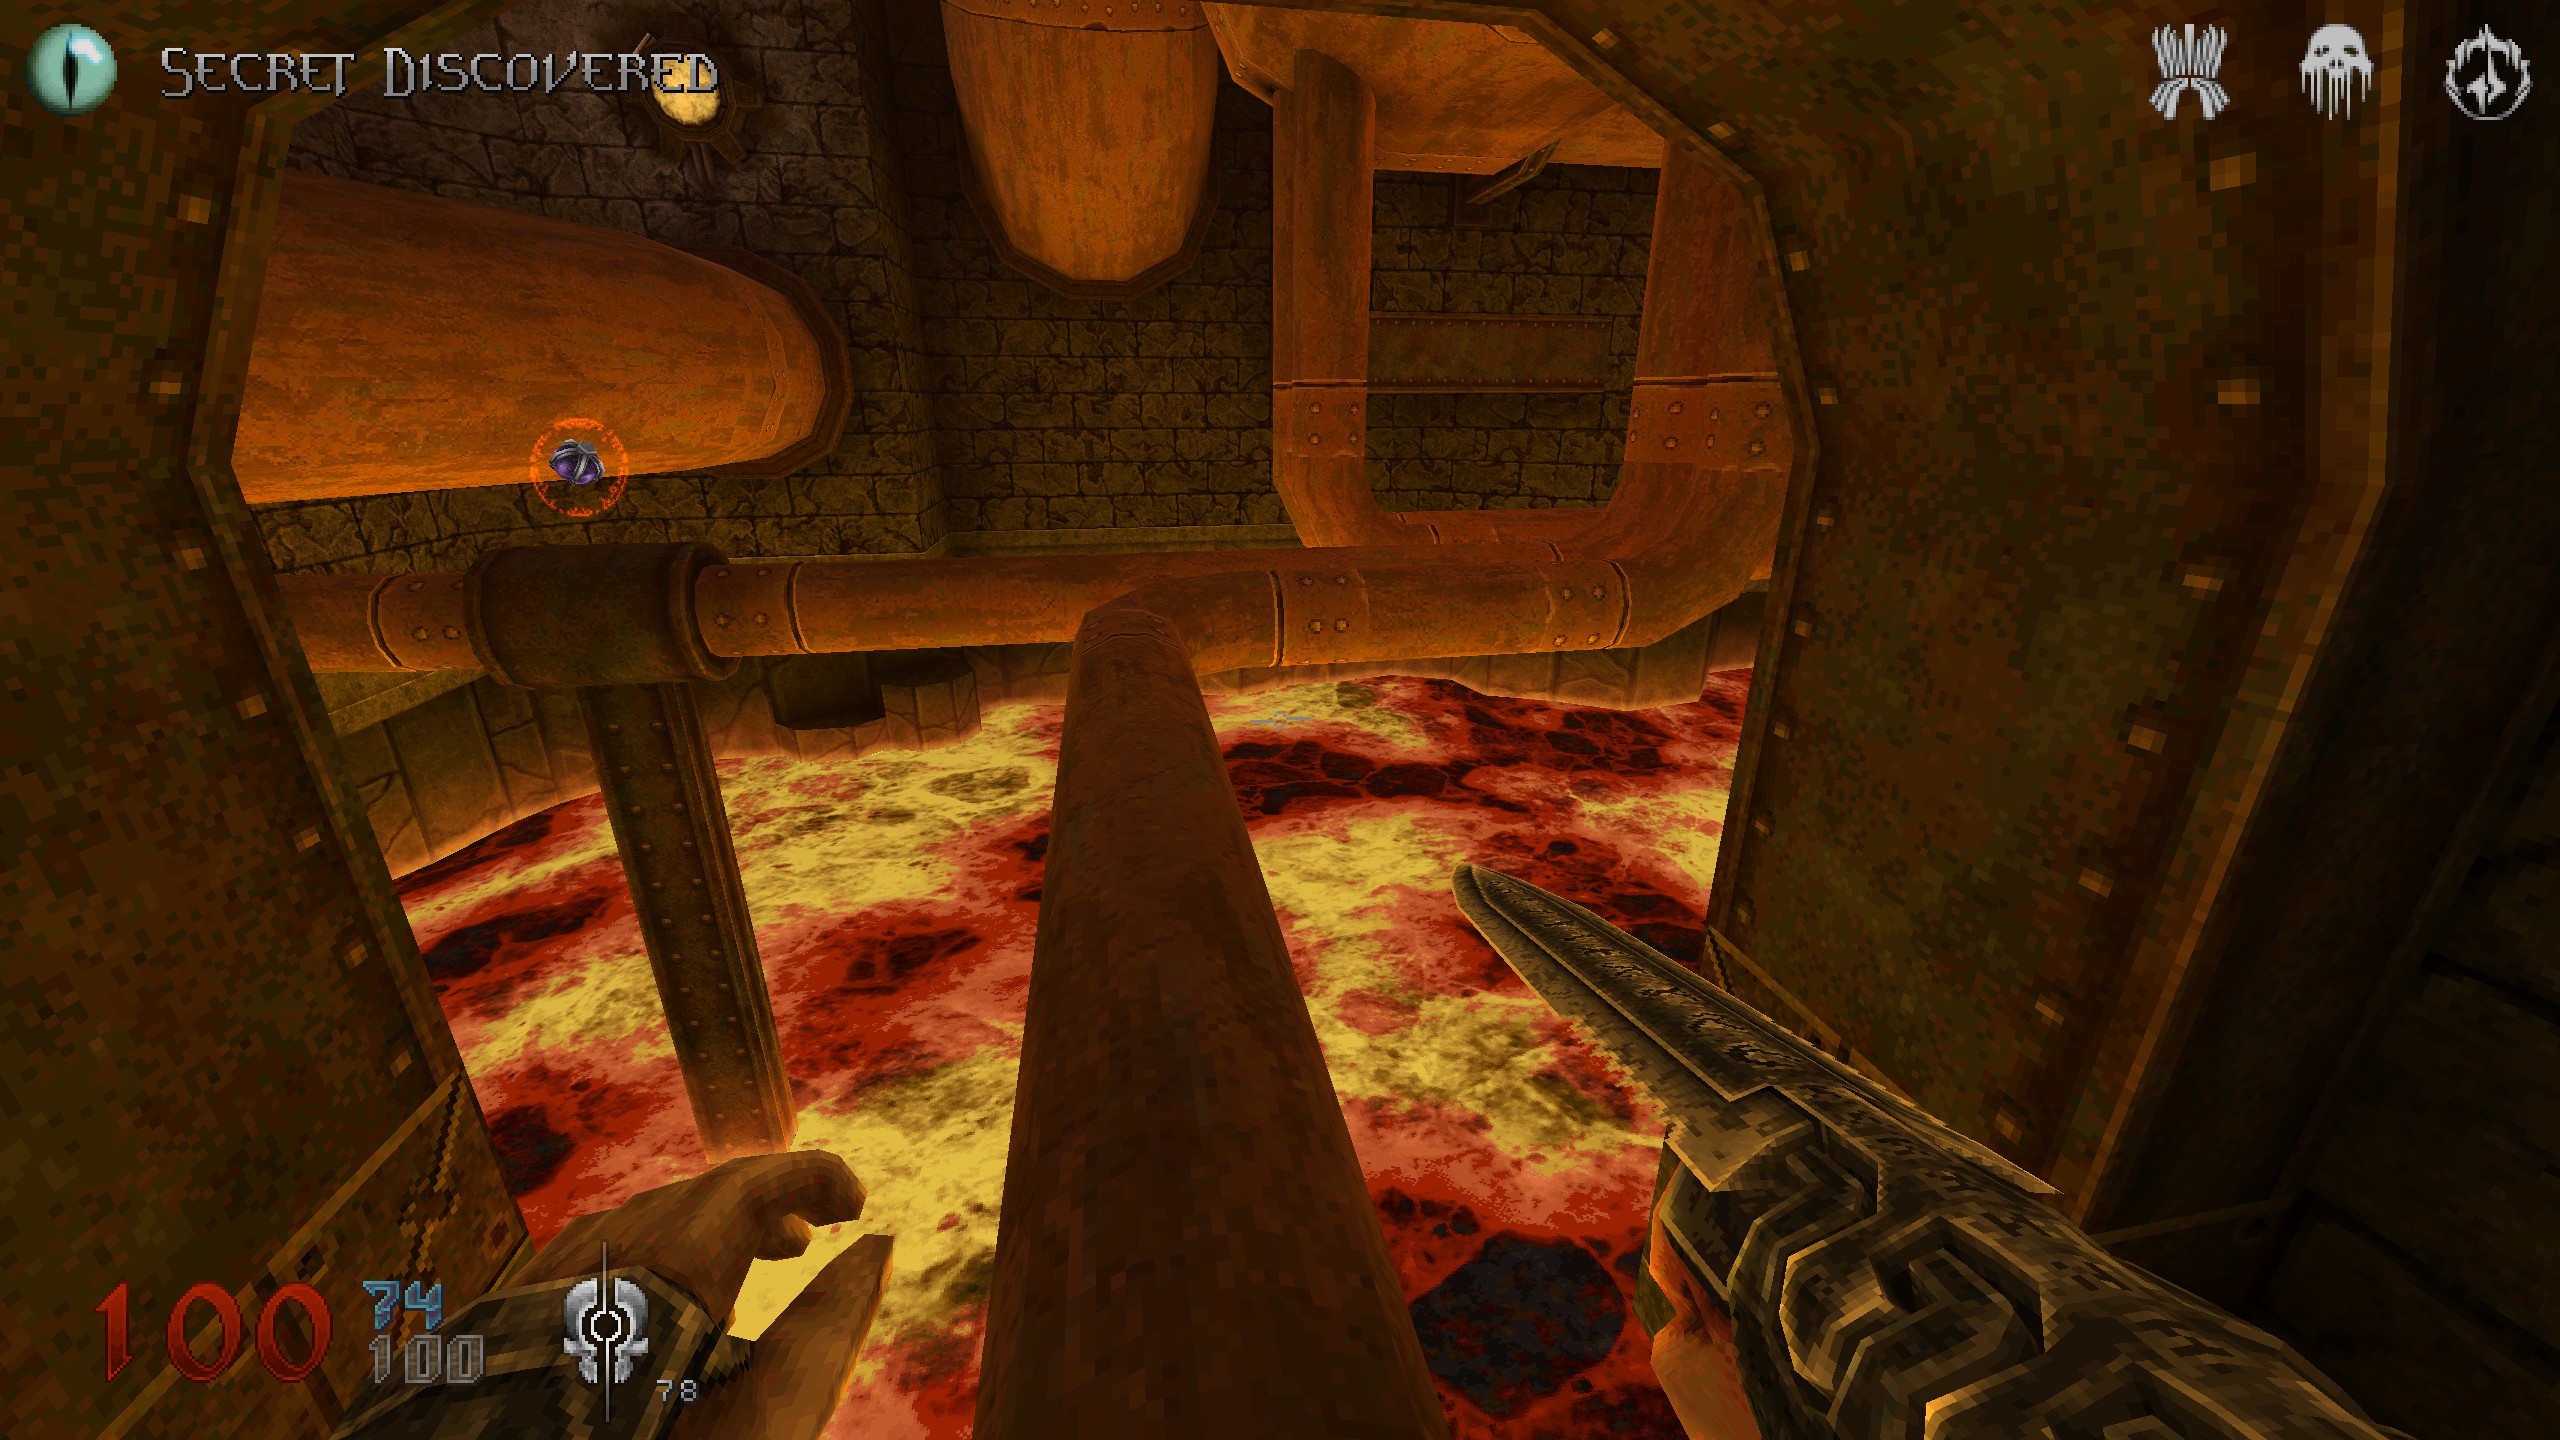
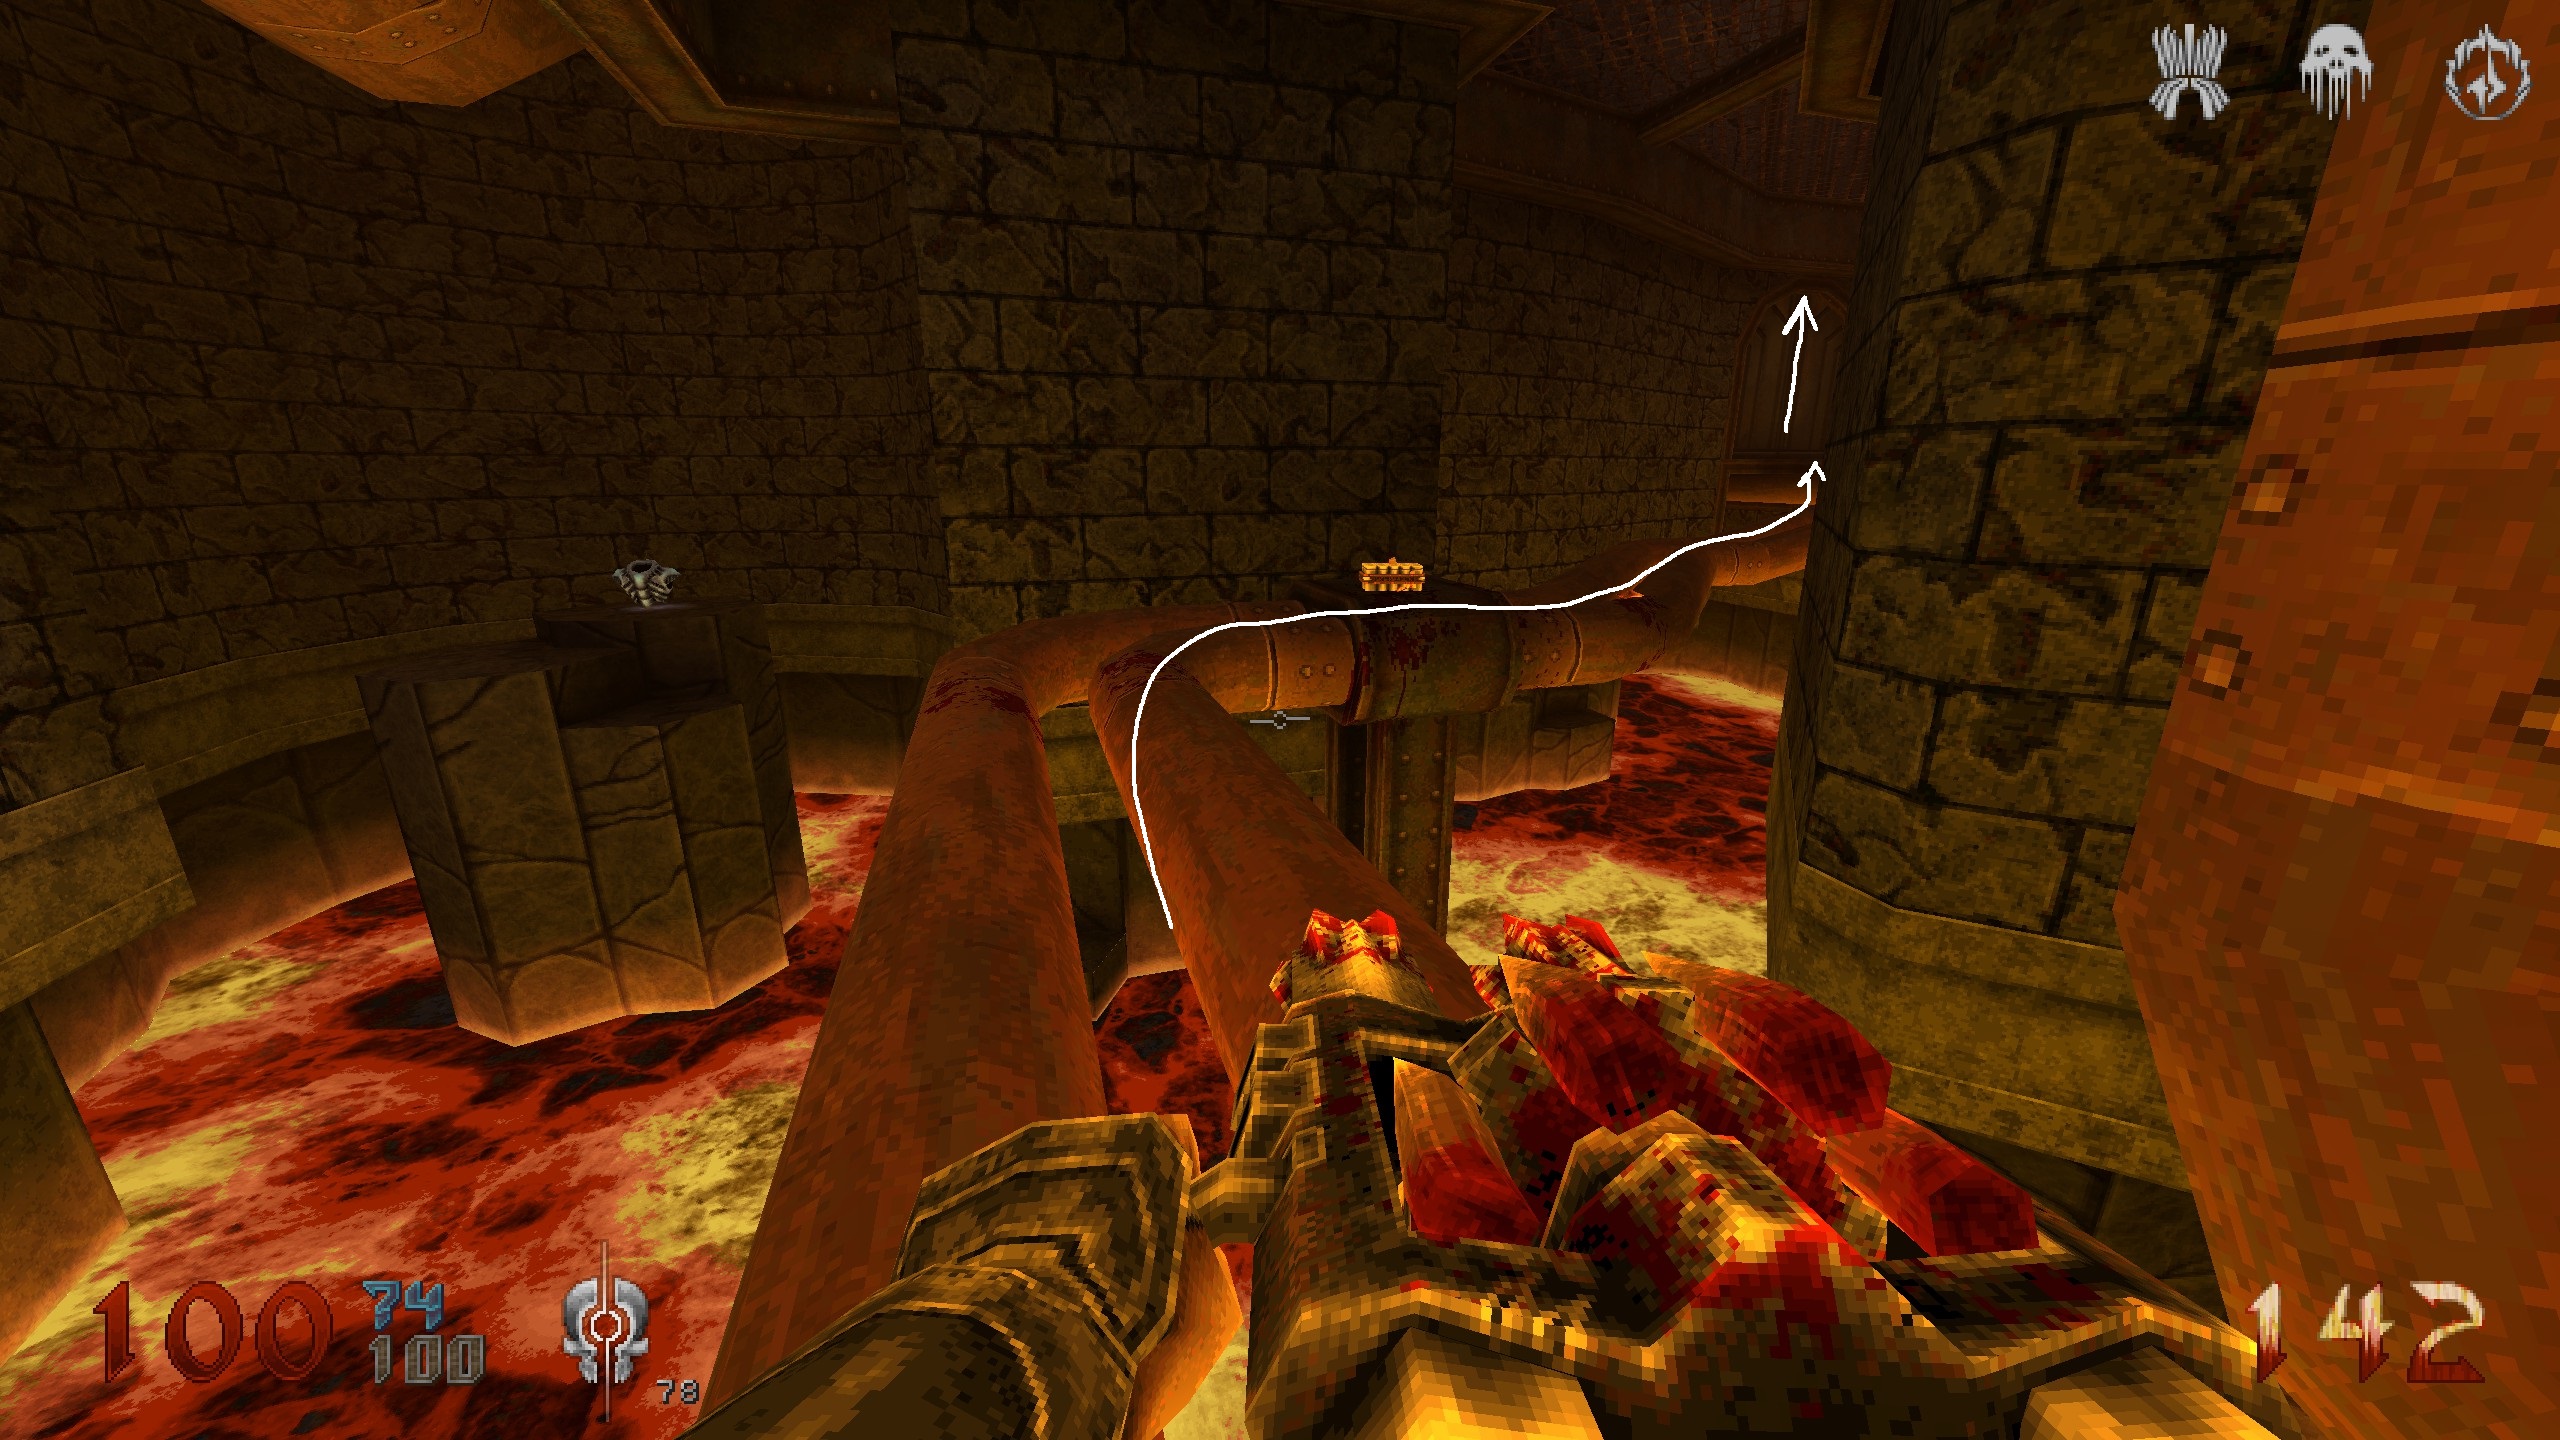
On that circular path again, take it all the way to the end and head right through the door. You end up in the room with the red key. Dont pick it up yet, pass it and go through the door on the same floor. You end up on a plateu overlooking the room with 3 huge vertical pipes. On the left side, you can see 2 flags. You can jump through the one that is furthest away and then you will fall down. Follow on the pipes and collect all the times. There will be a door you can open and an
elevator you can take back up. Fasted way to get back on track is to find the room with the sigil and teleporter. Use teleporter to get back up and continue on through the last door on the right side of the circular path.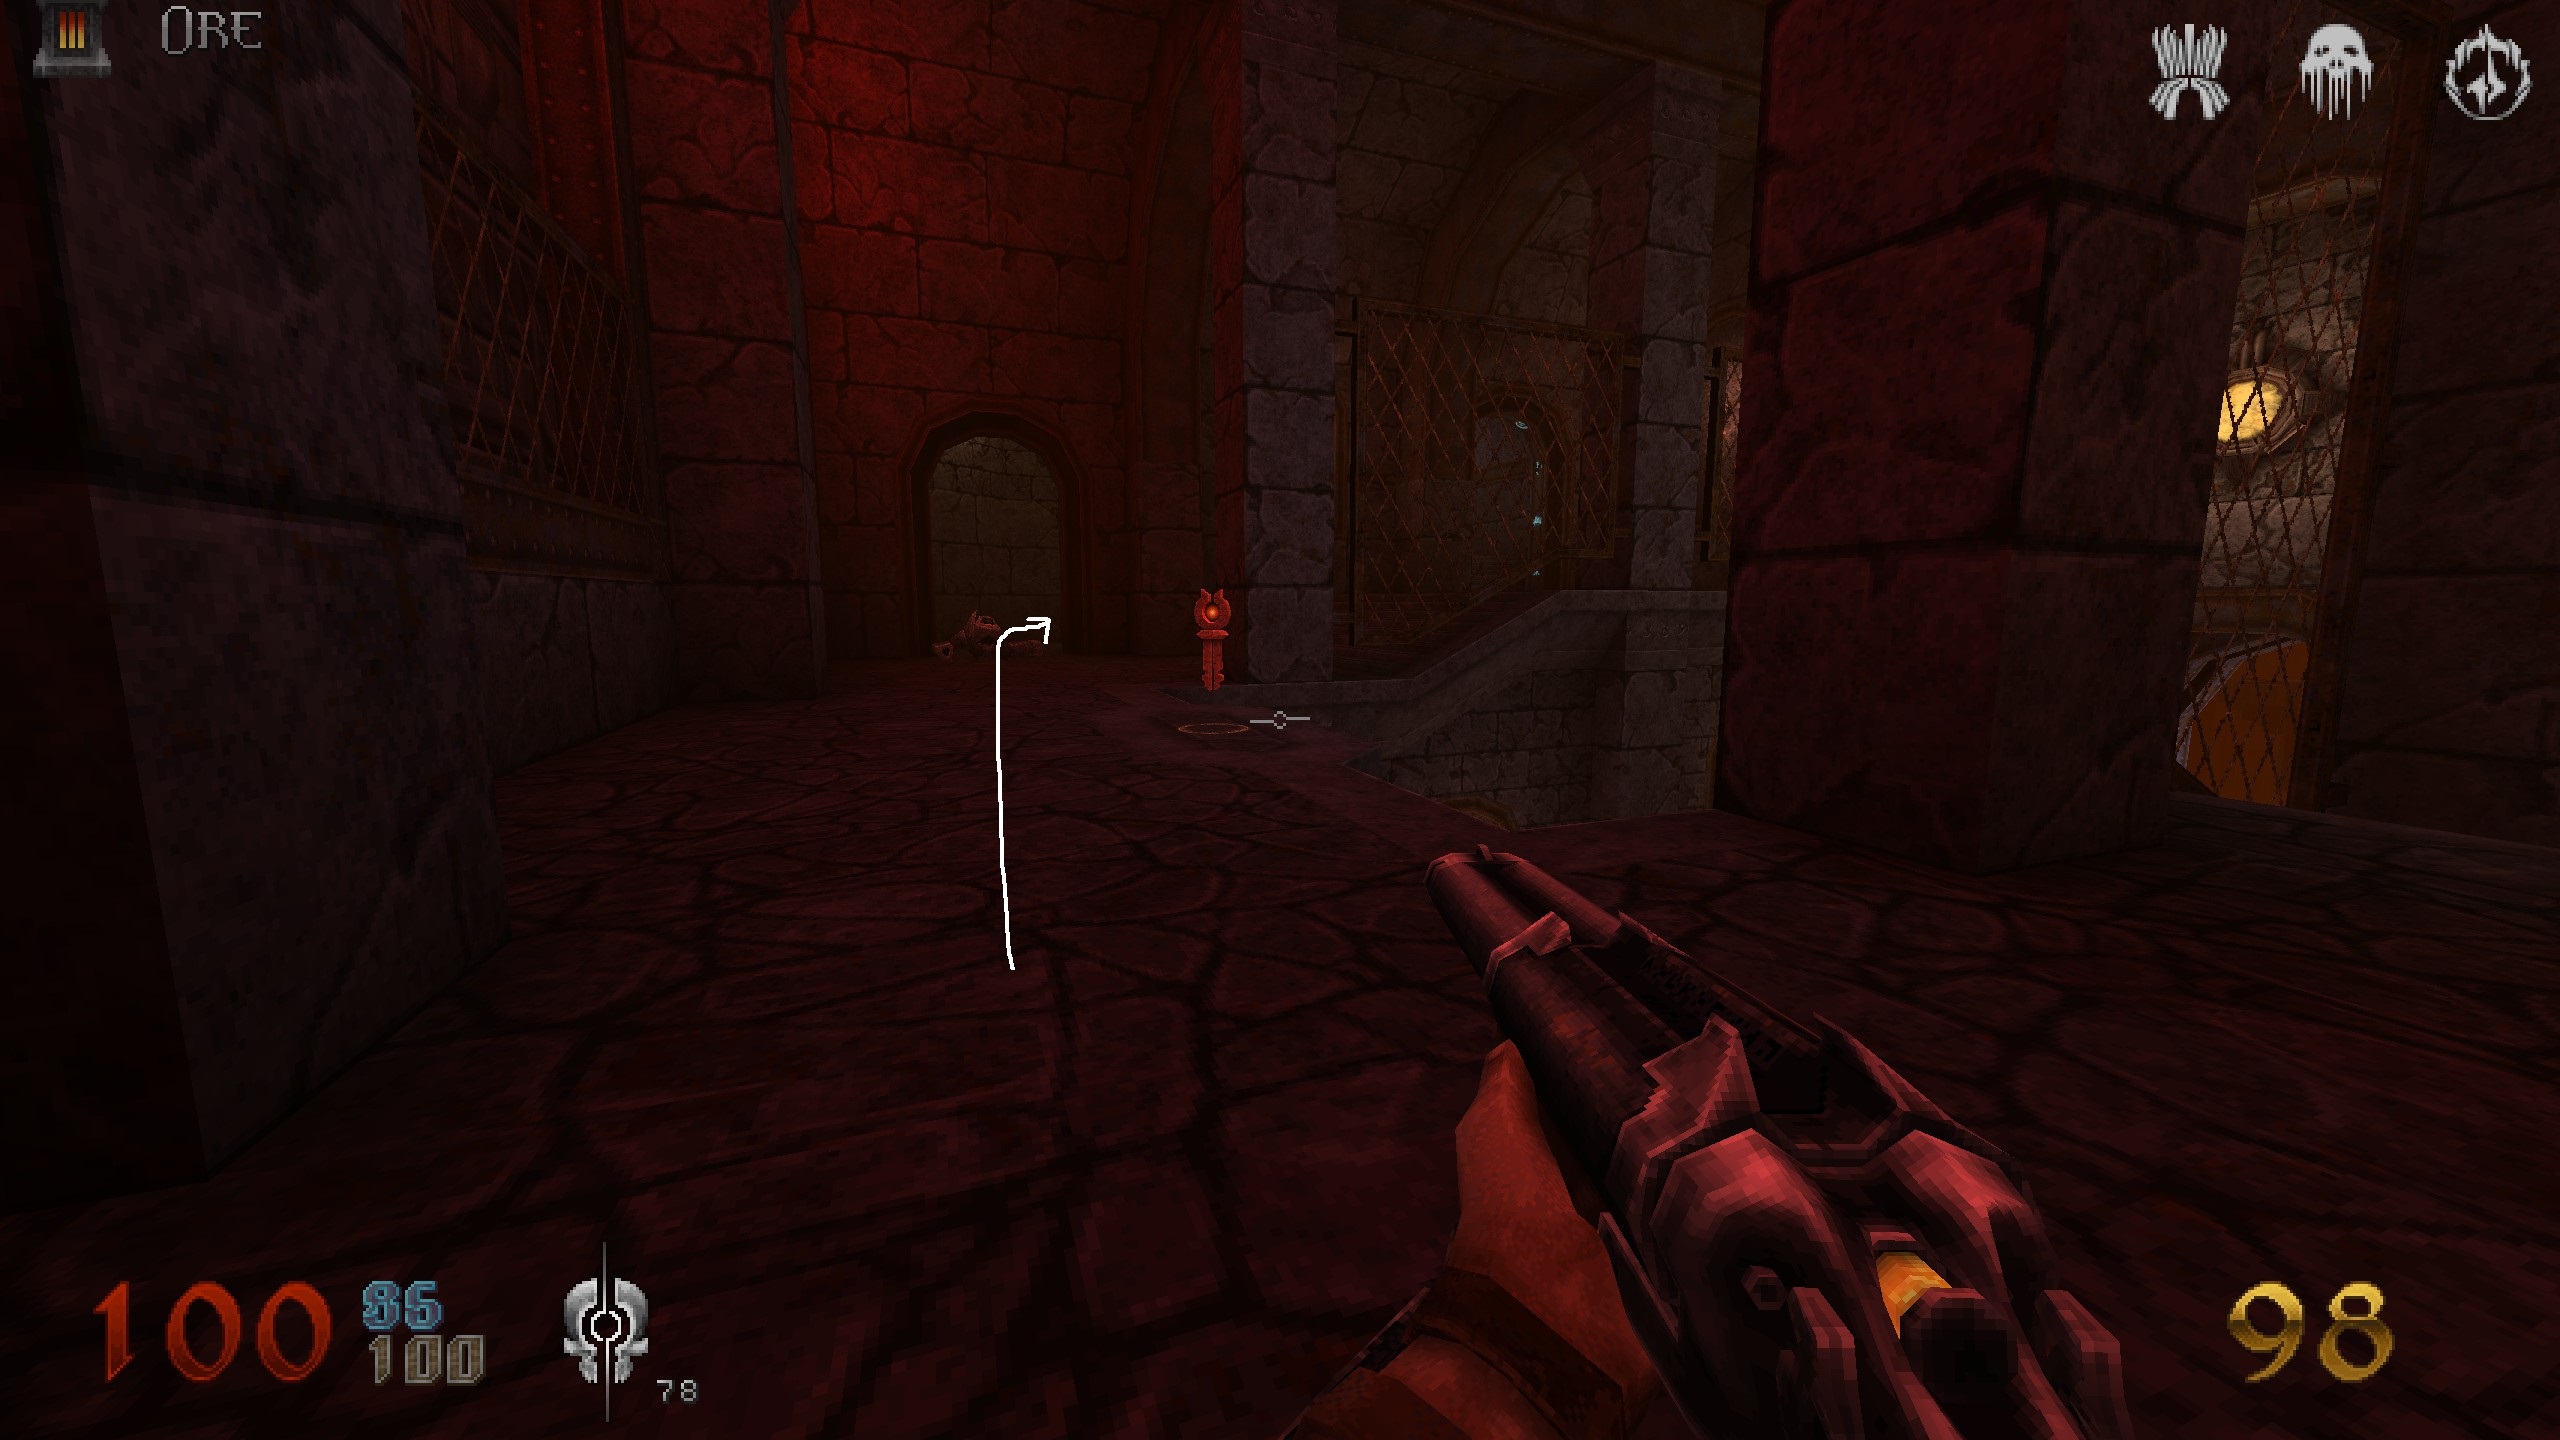
S15 & Key
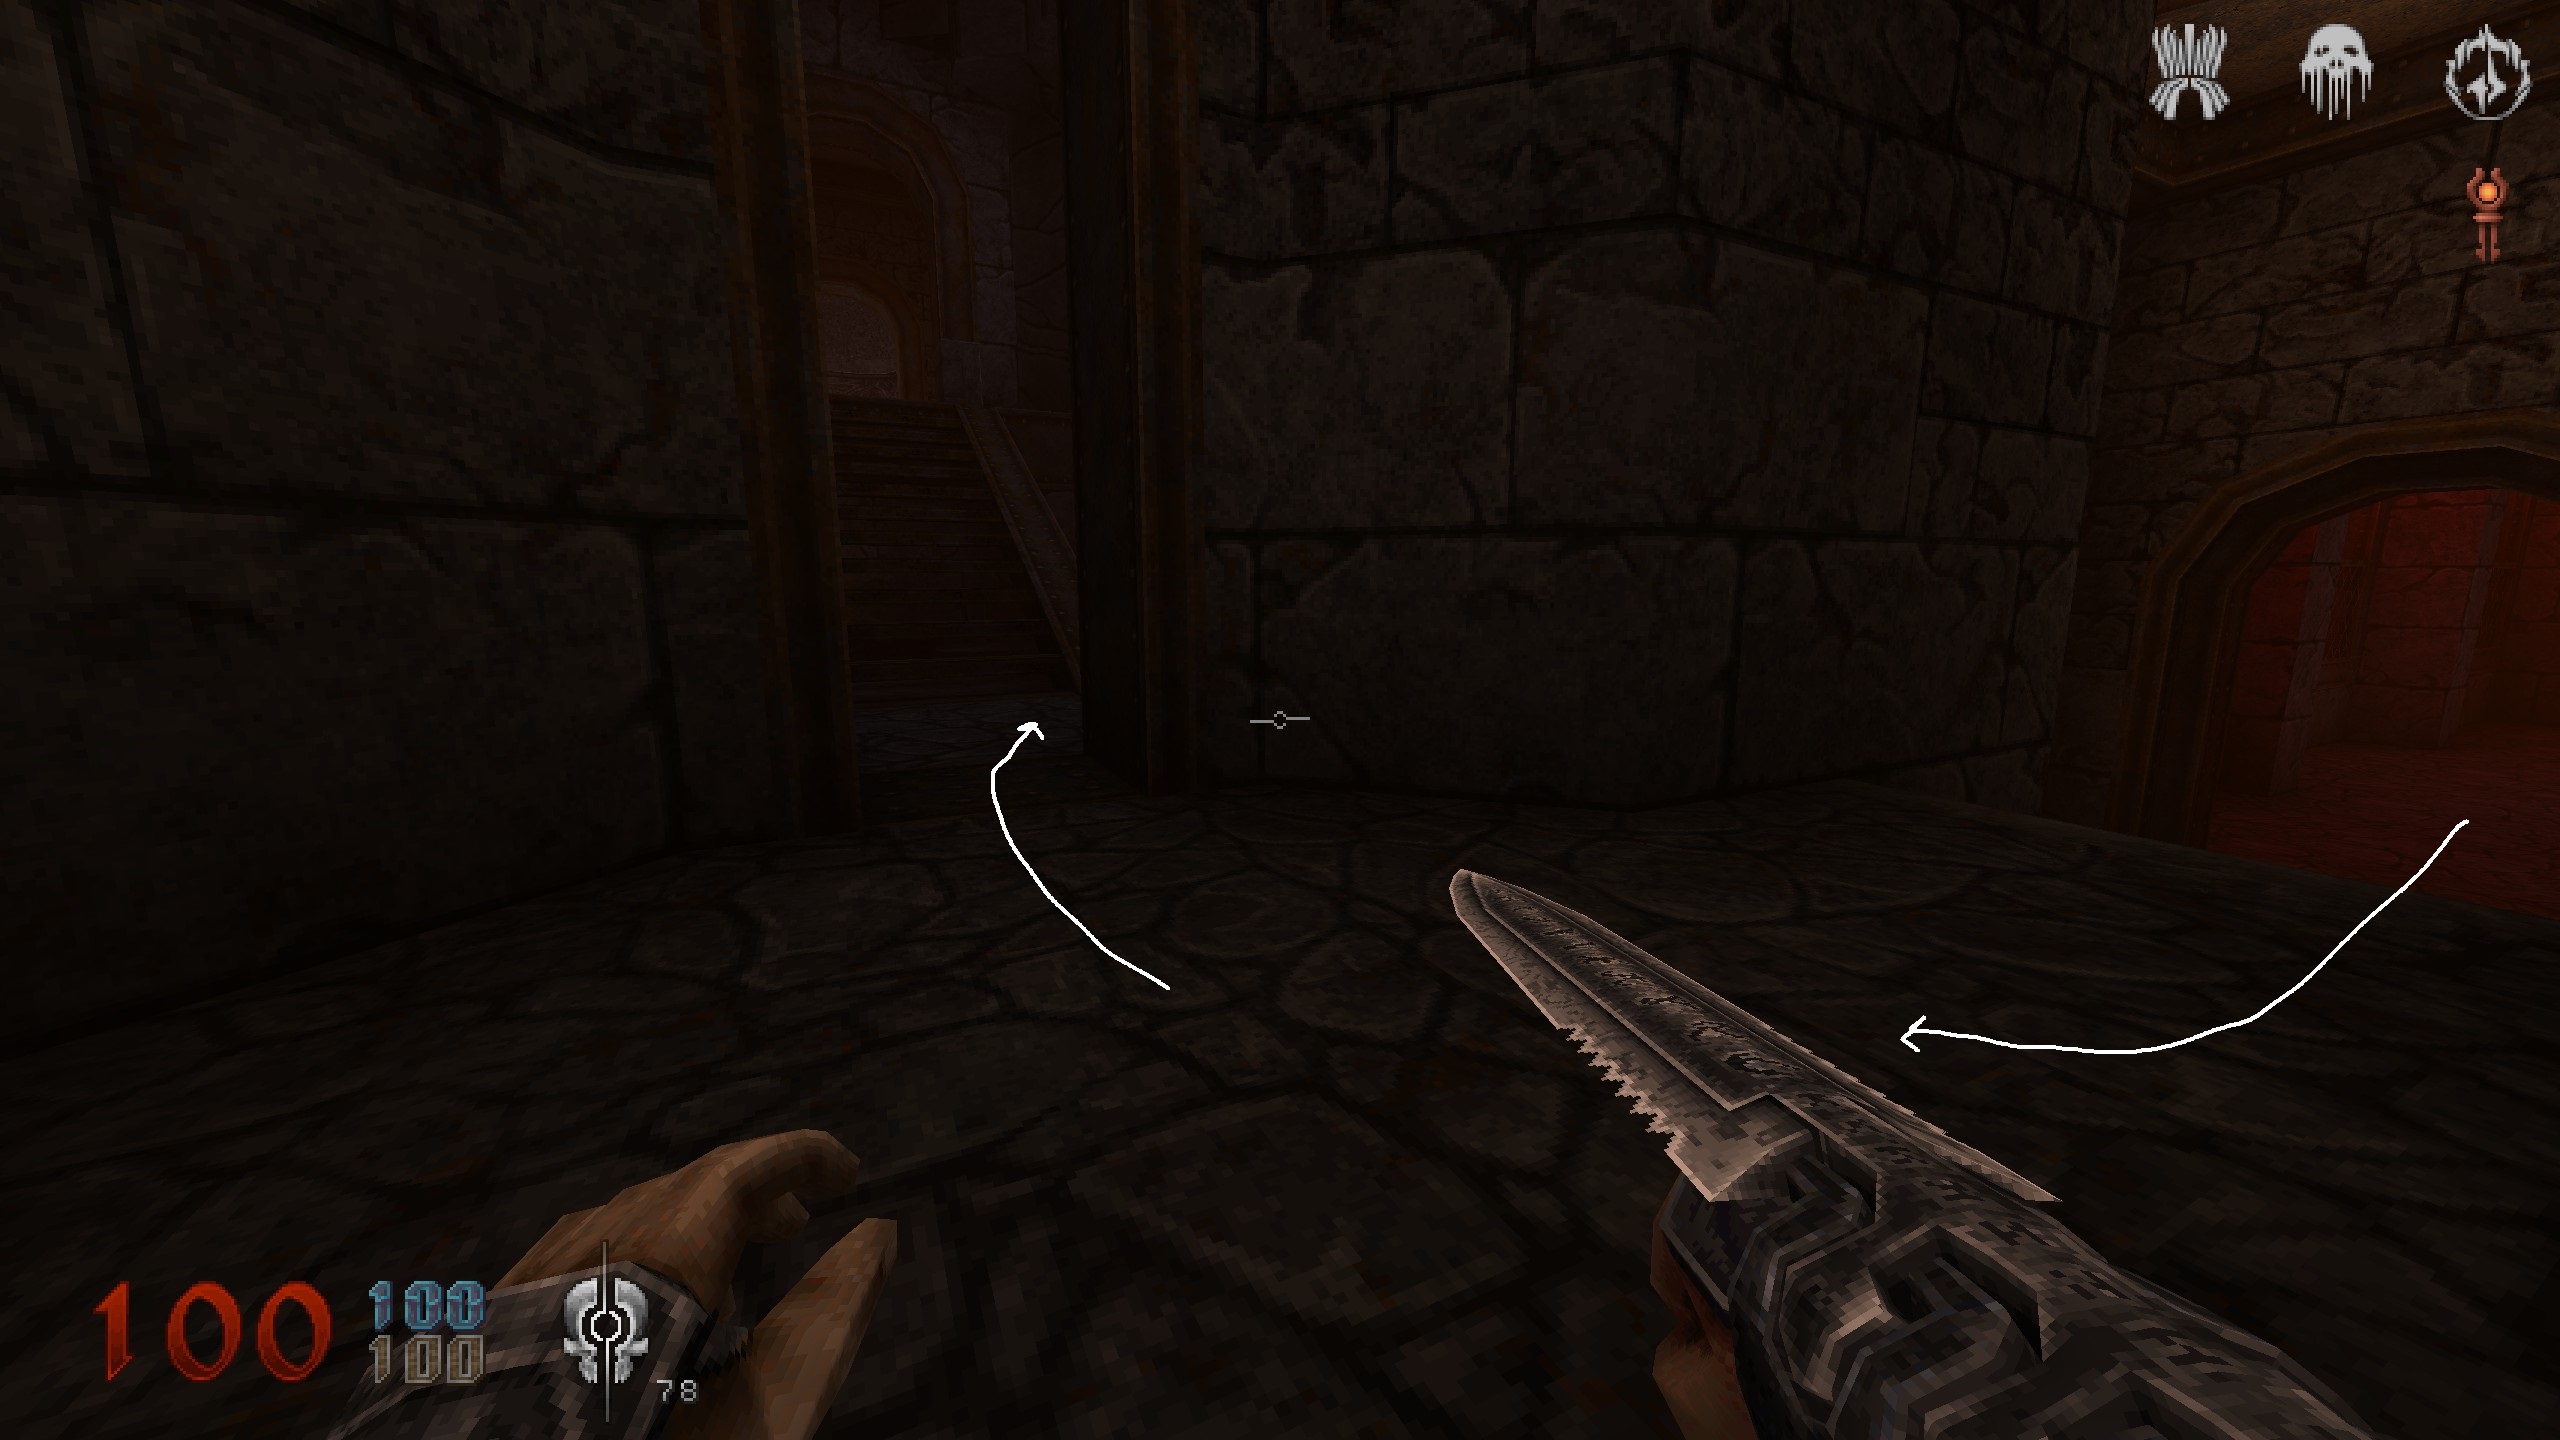
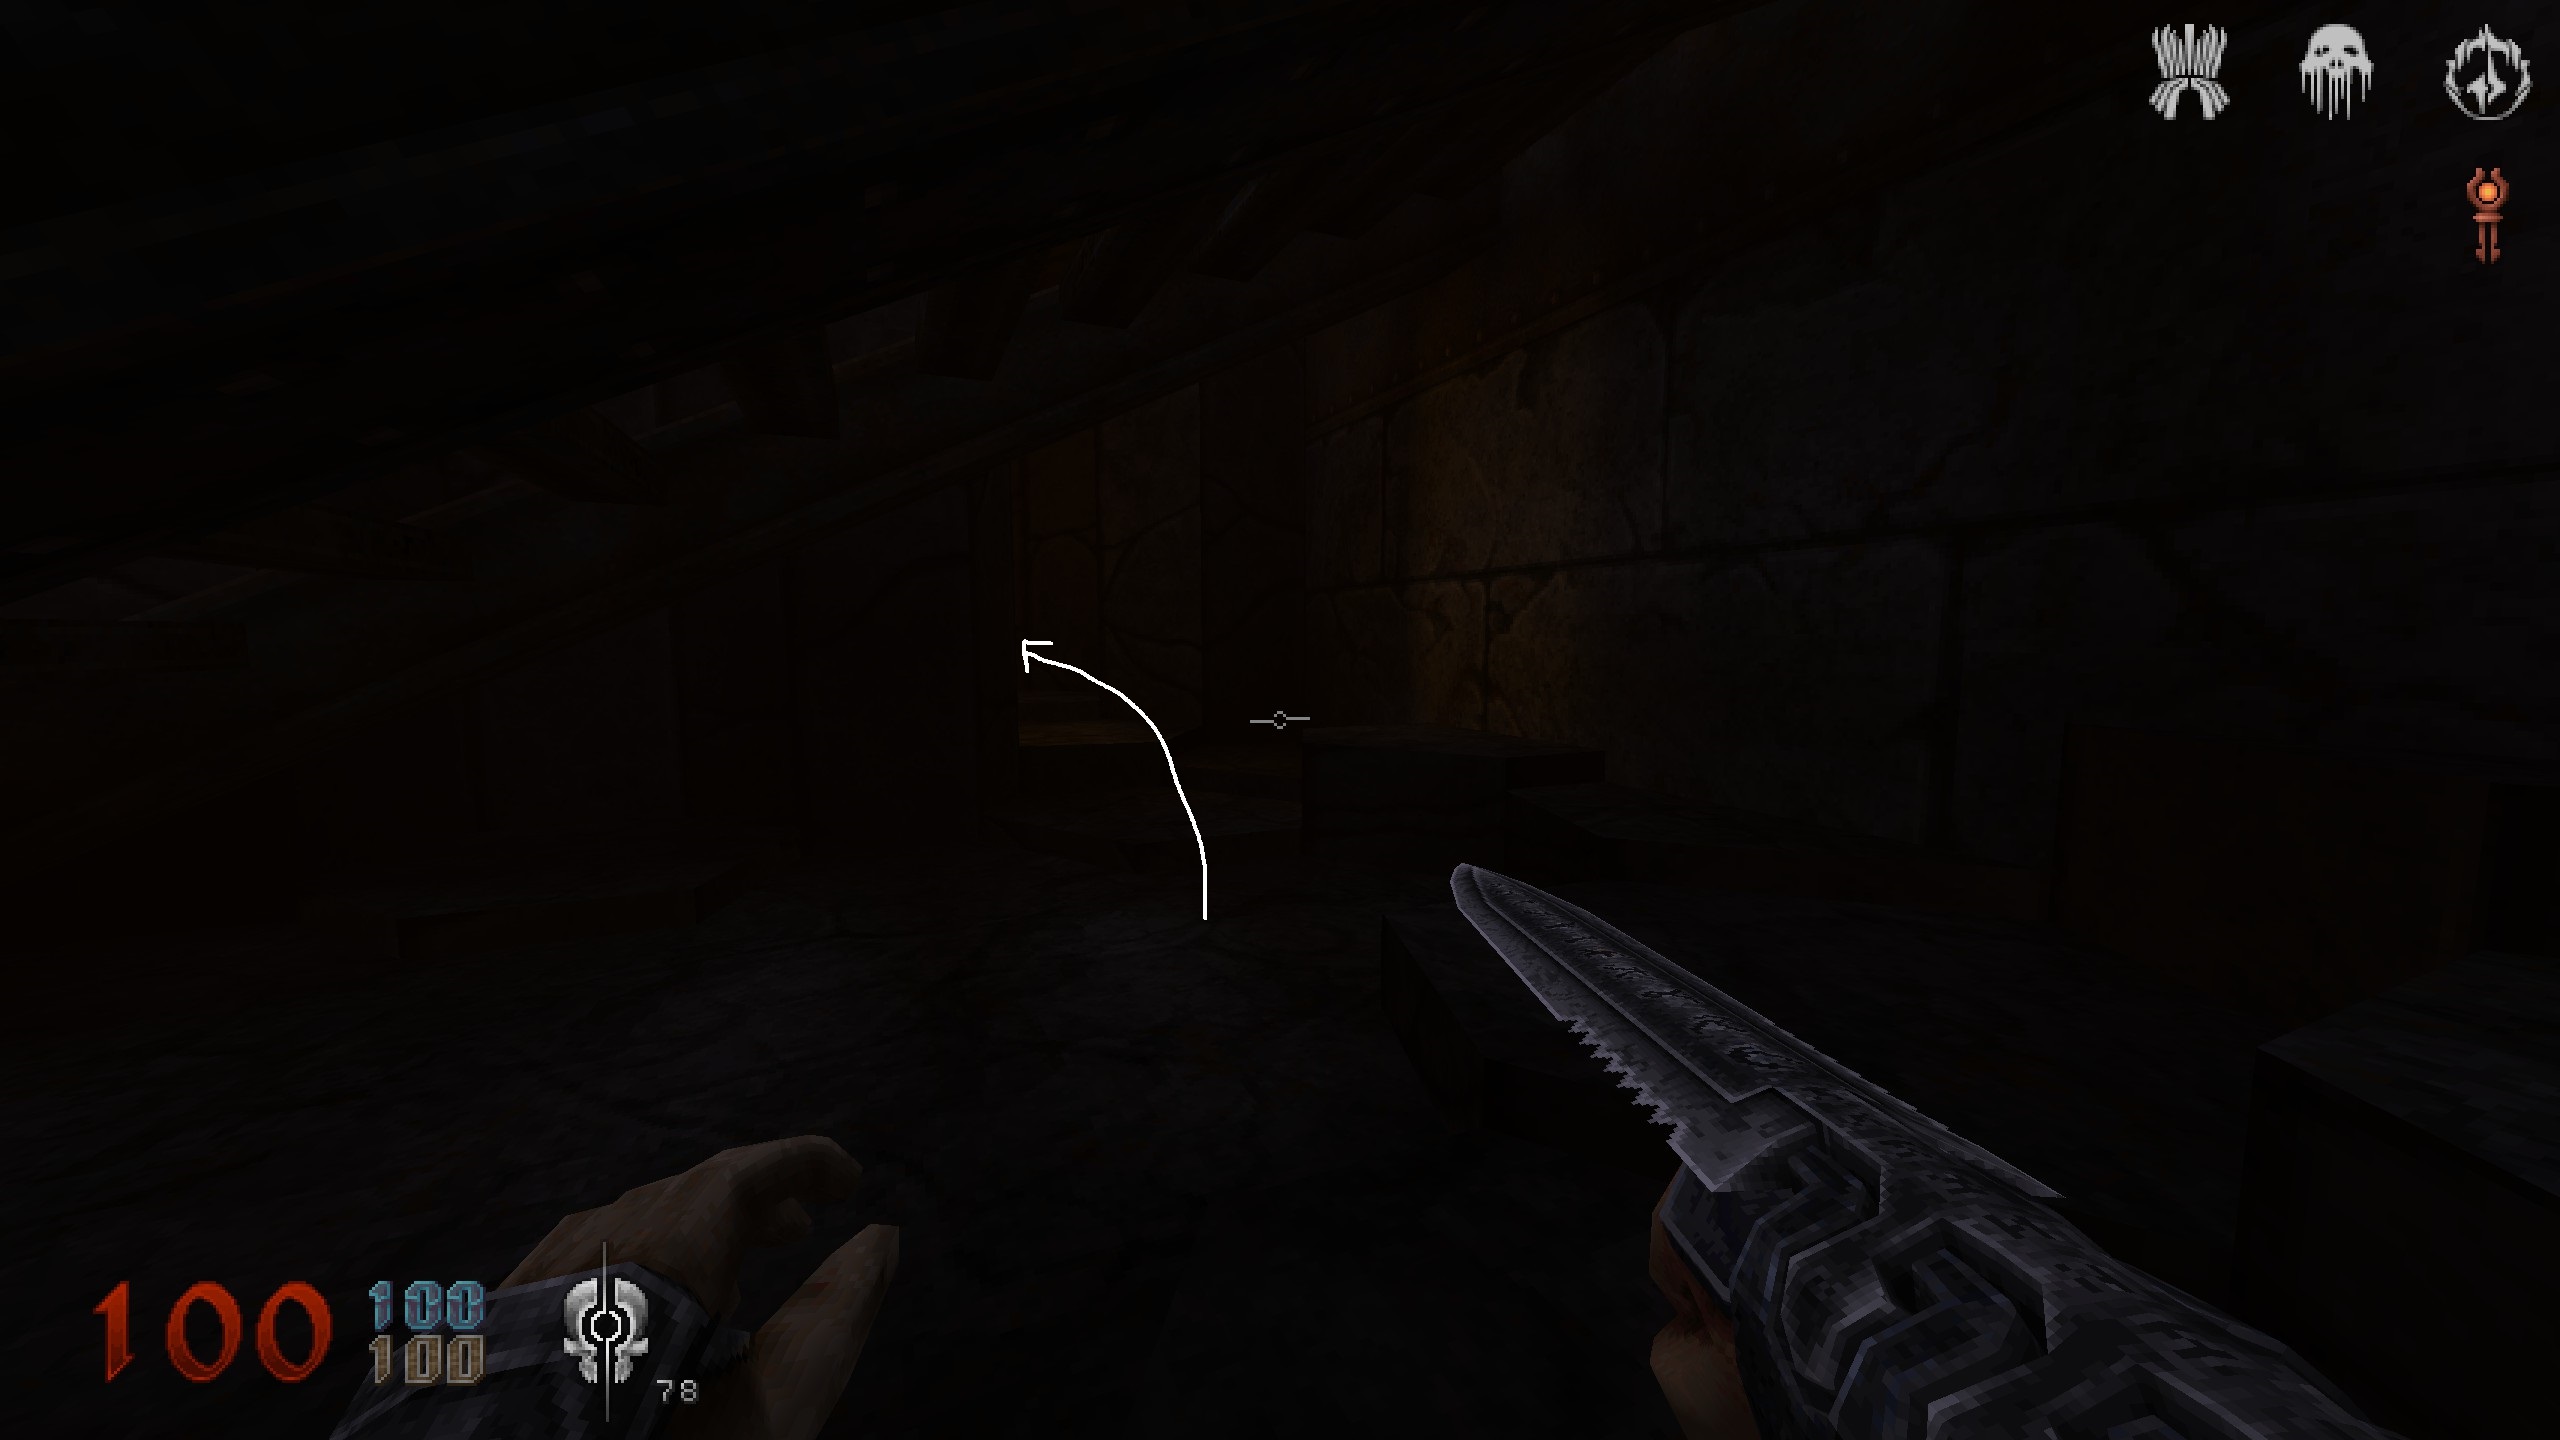
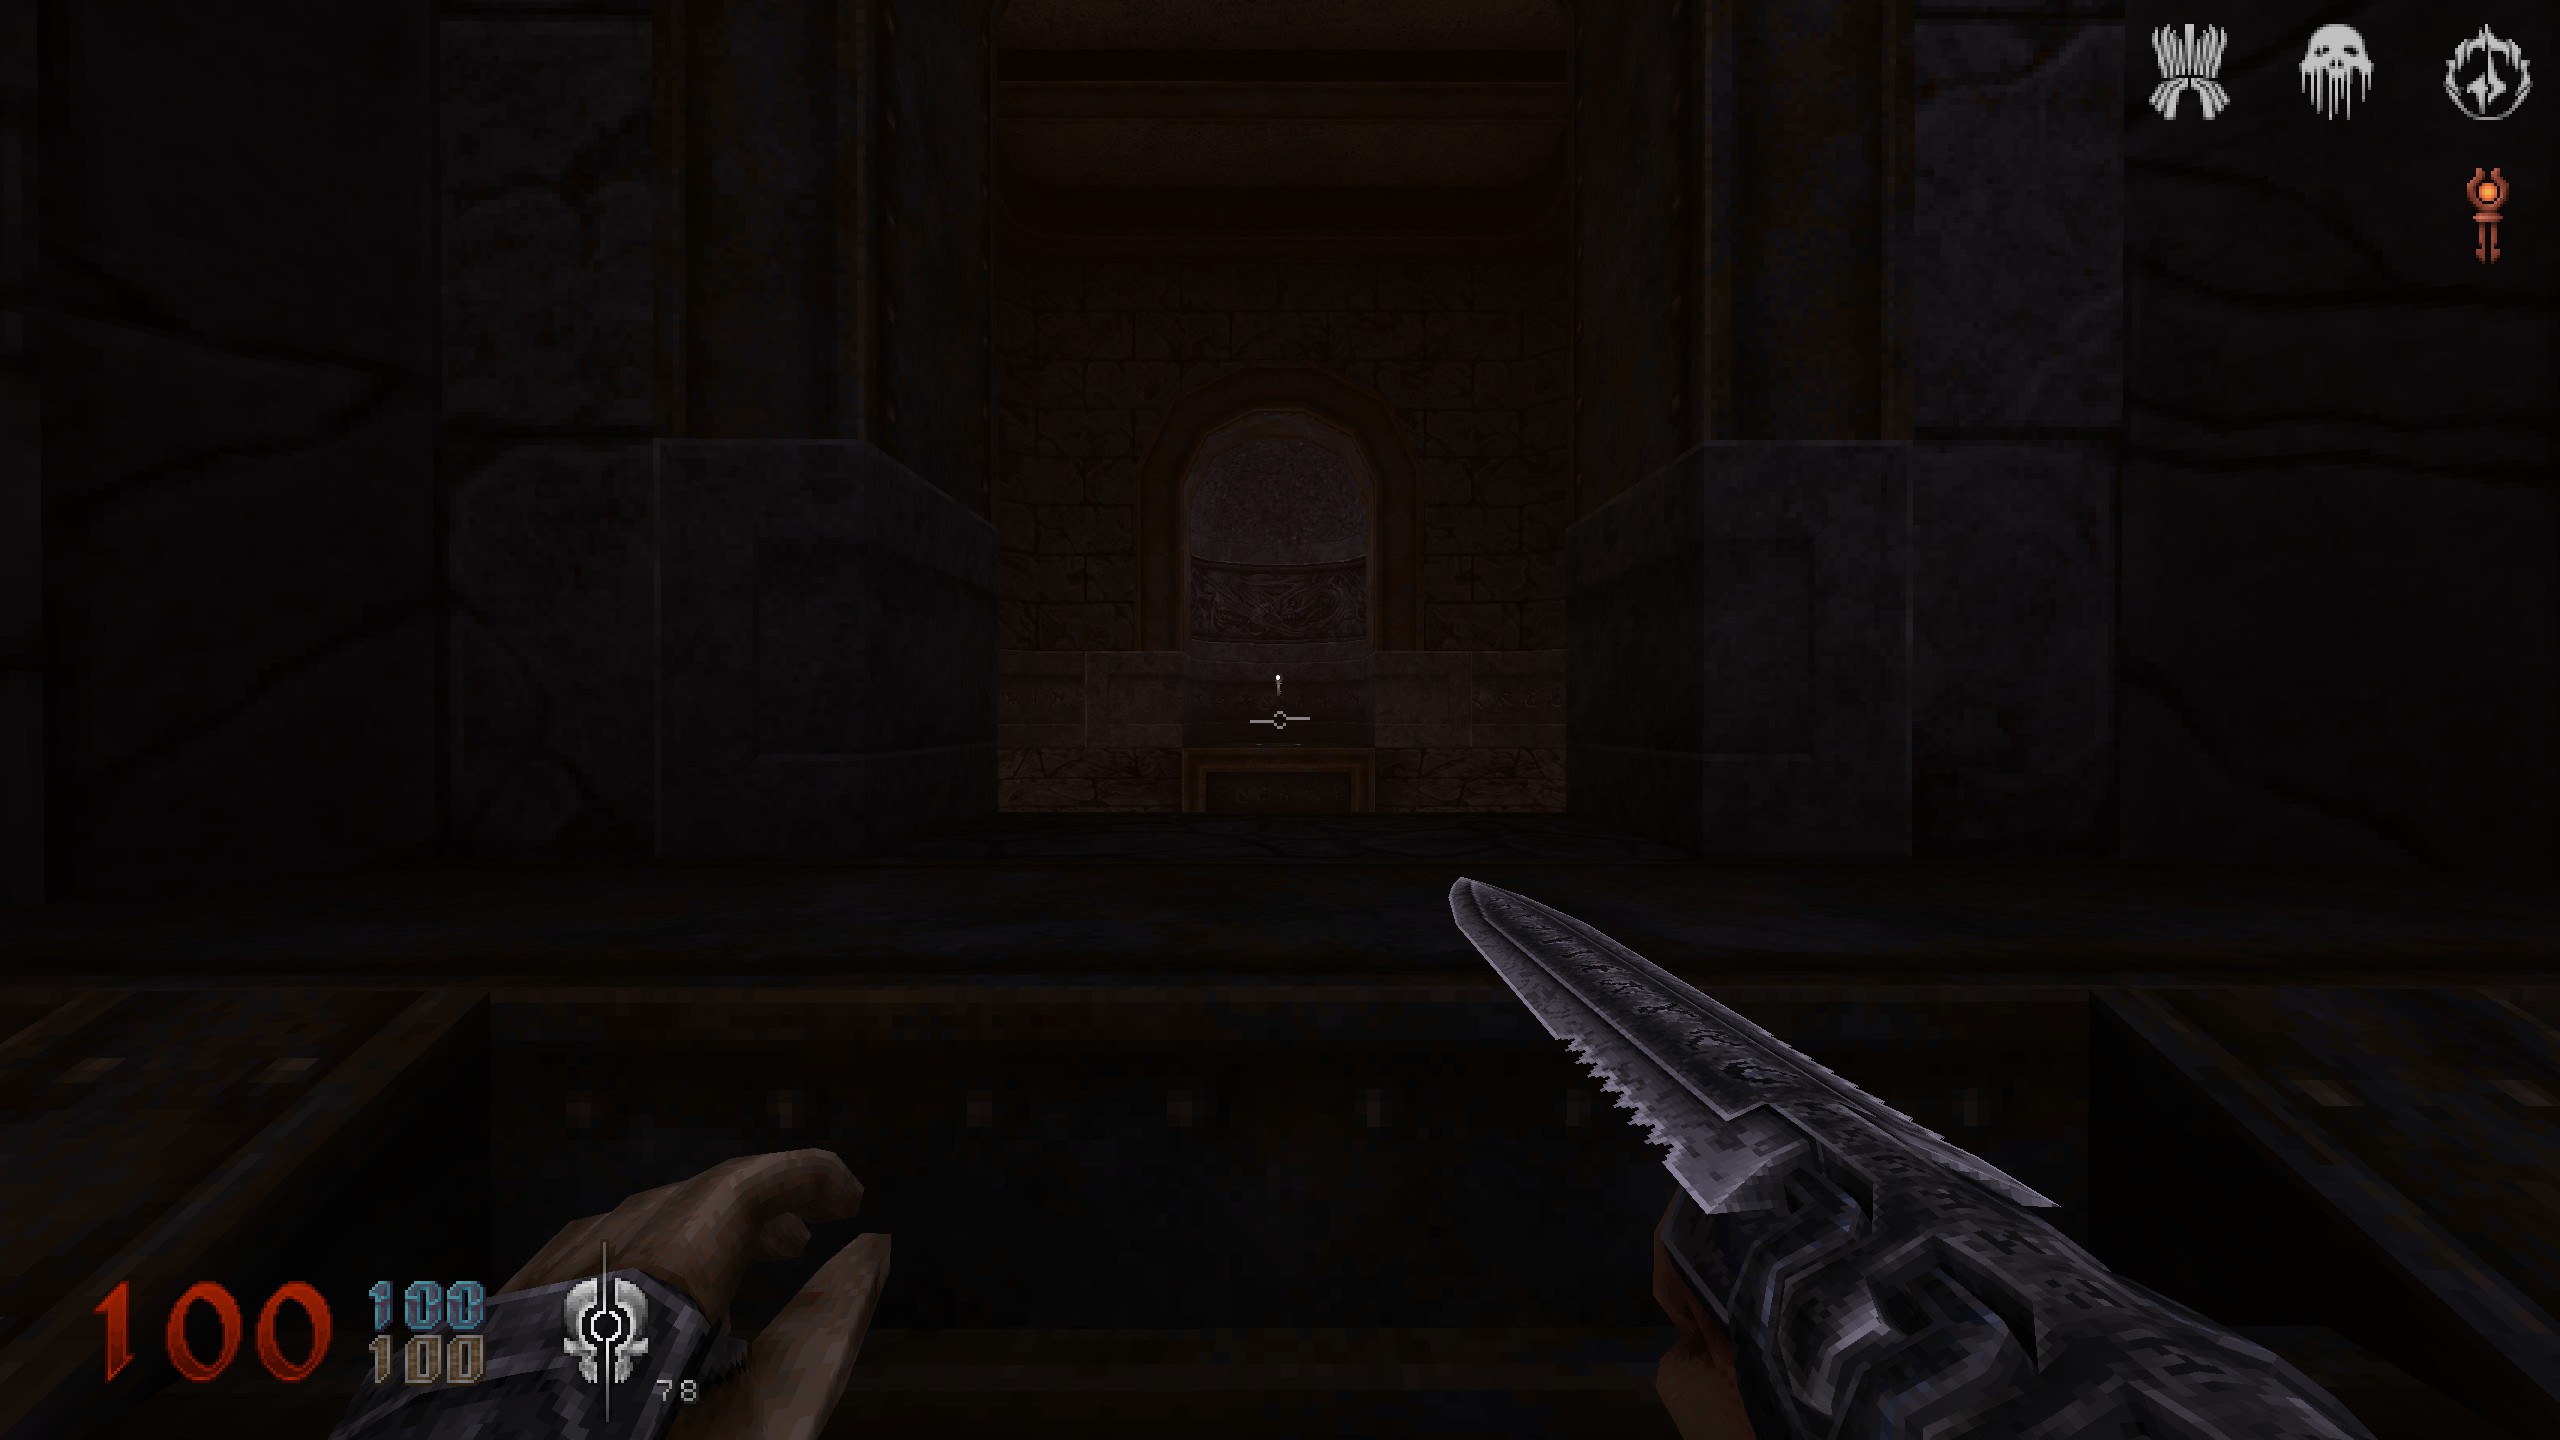
You are back in the room with the red key. This time grab it and take a right. Follow the stairs until you see a closed doorway and a small opening on hte right side leading into a room with steel stairs. Get below the stairs and into the left corner for another secret. Head up the steel stairs and jump over for a key.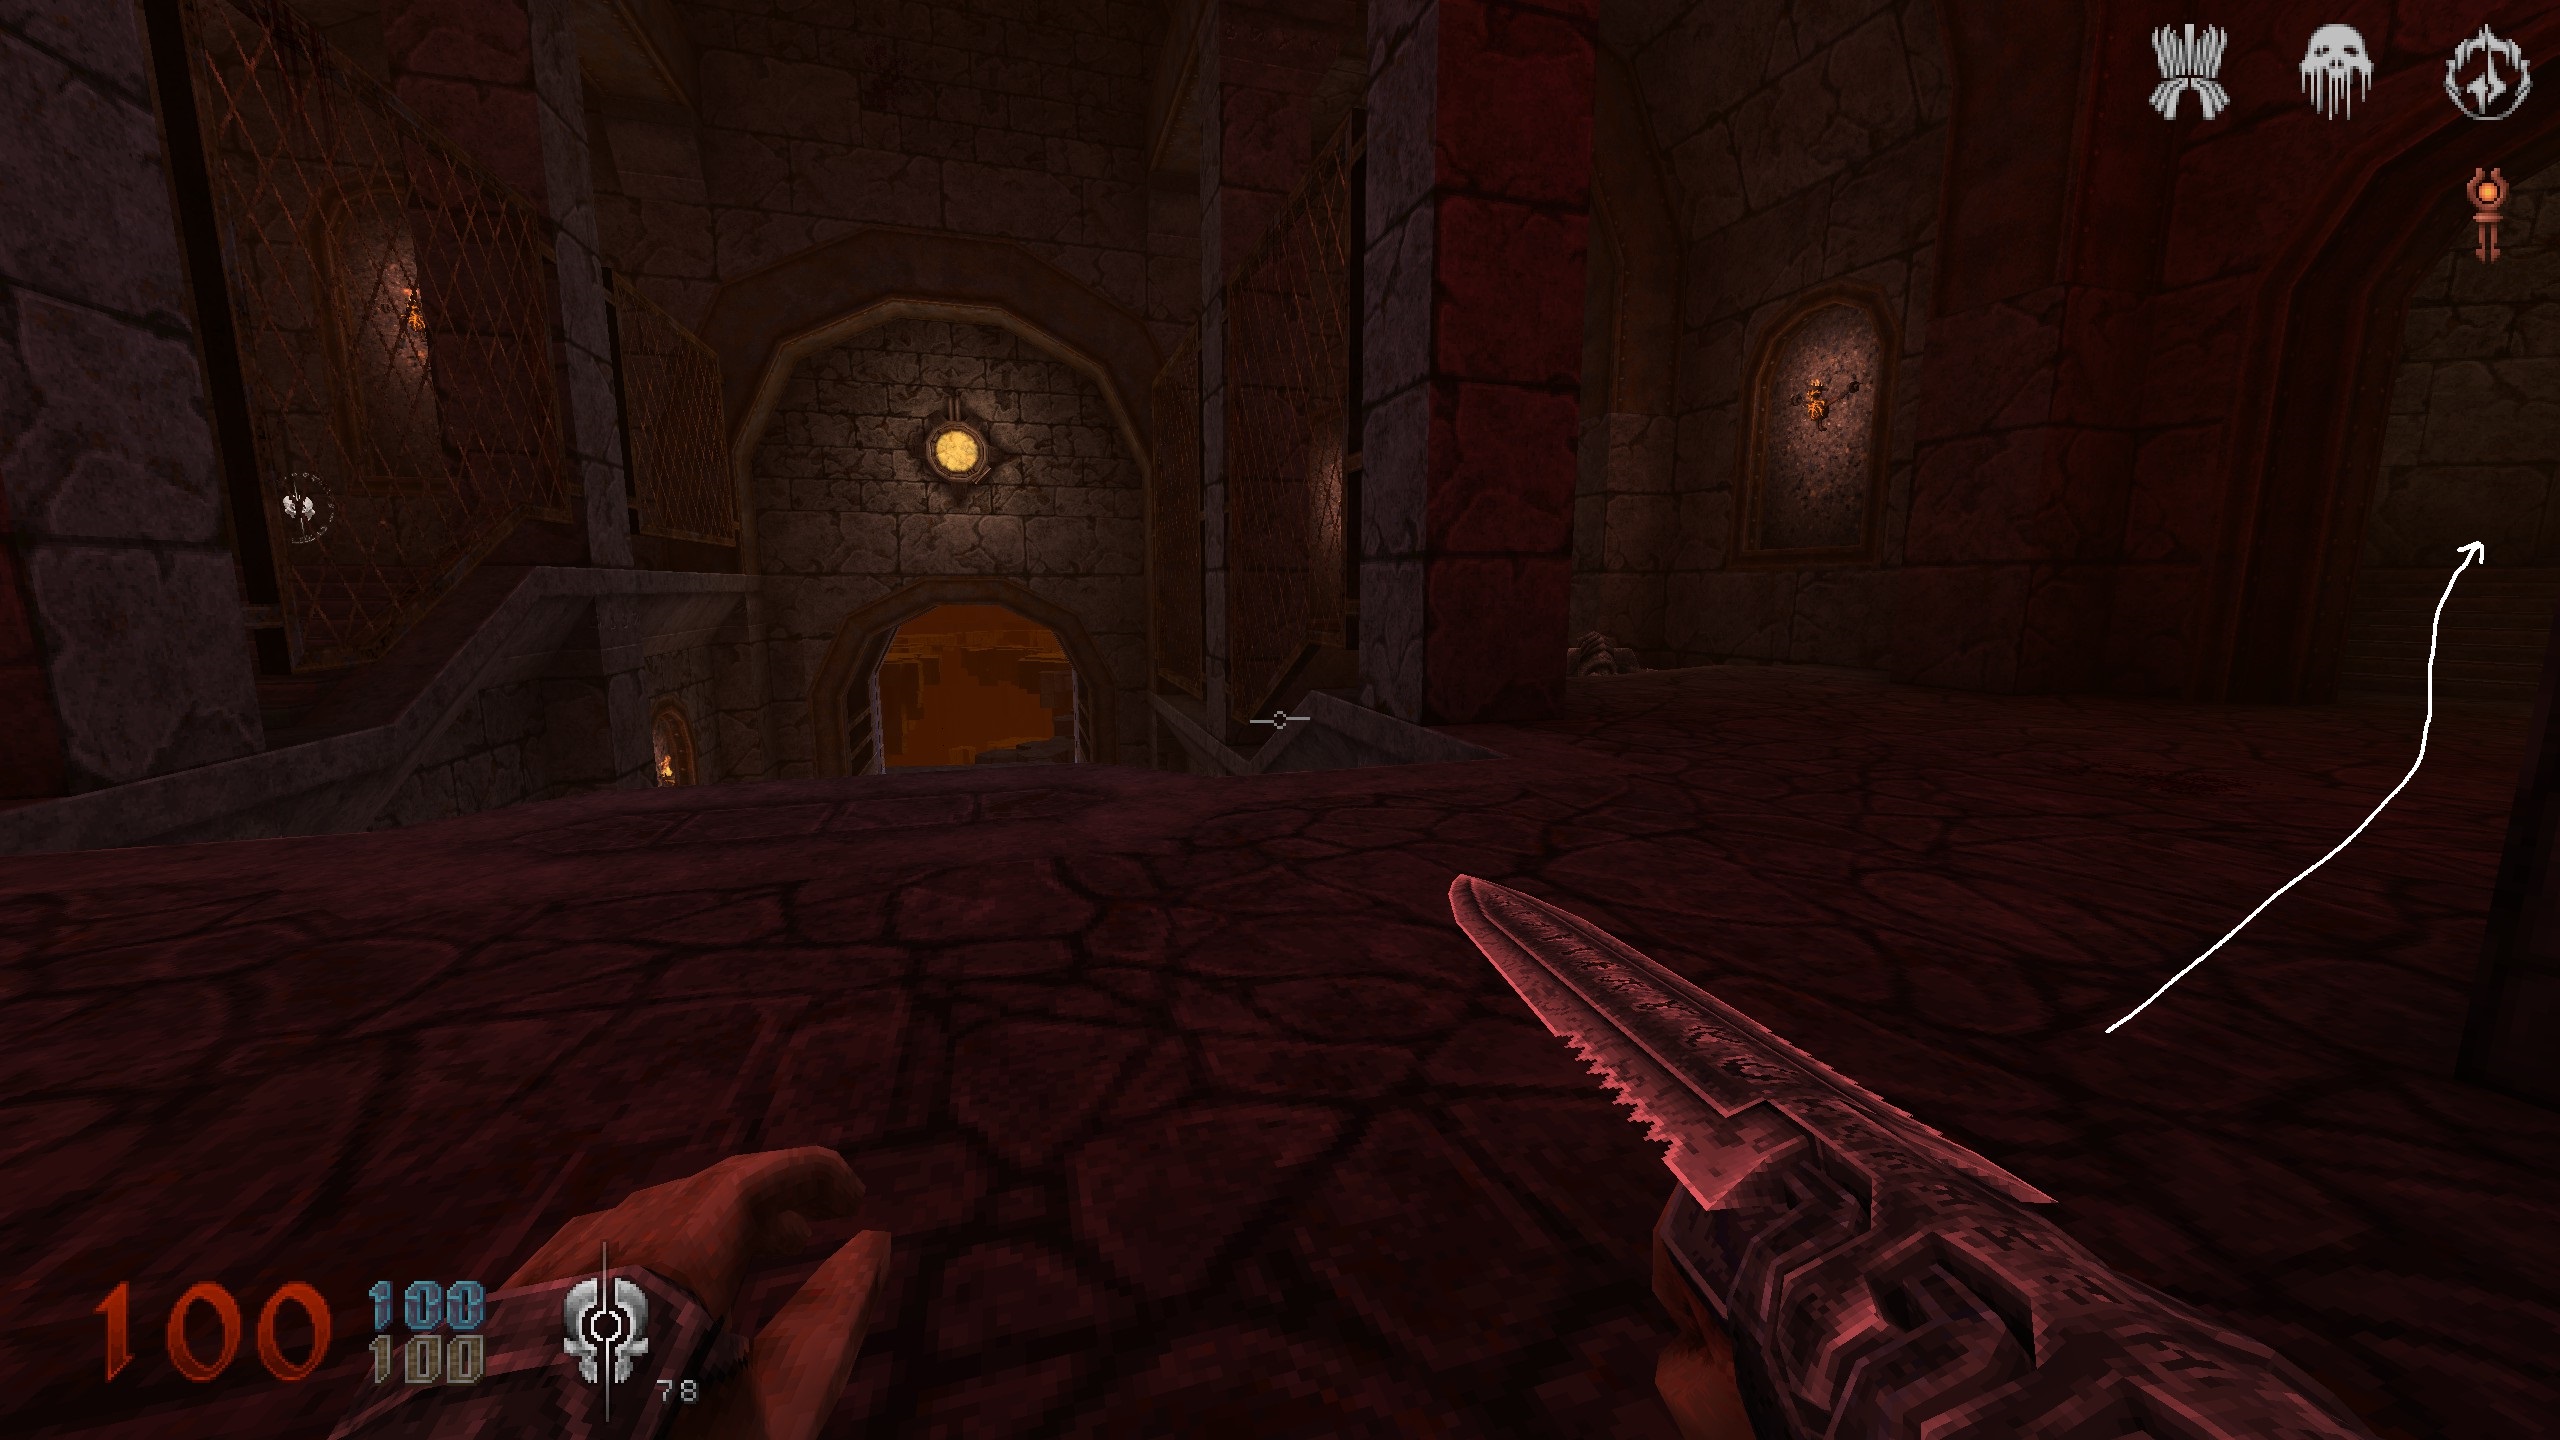
E3 – The Crucible of Souls – Part 2
From the steel stairs, go through the door on the right side then straight and up the stairs. You will see a big skull and lava falls in front. Jump through the lava falls, the crate is on the other side. Jump through the falls again, and back into the room the red key was in. From there into huge cave with coloured doors and over to the red door.
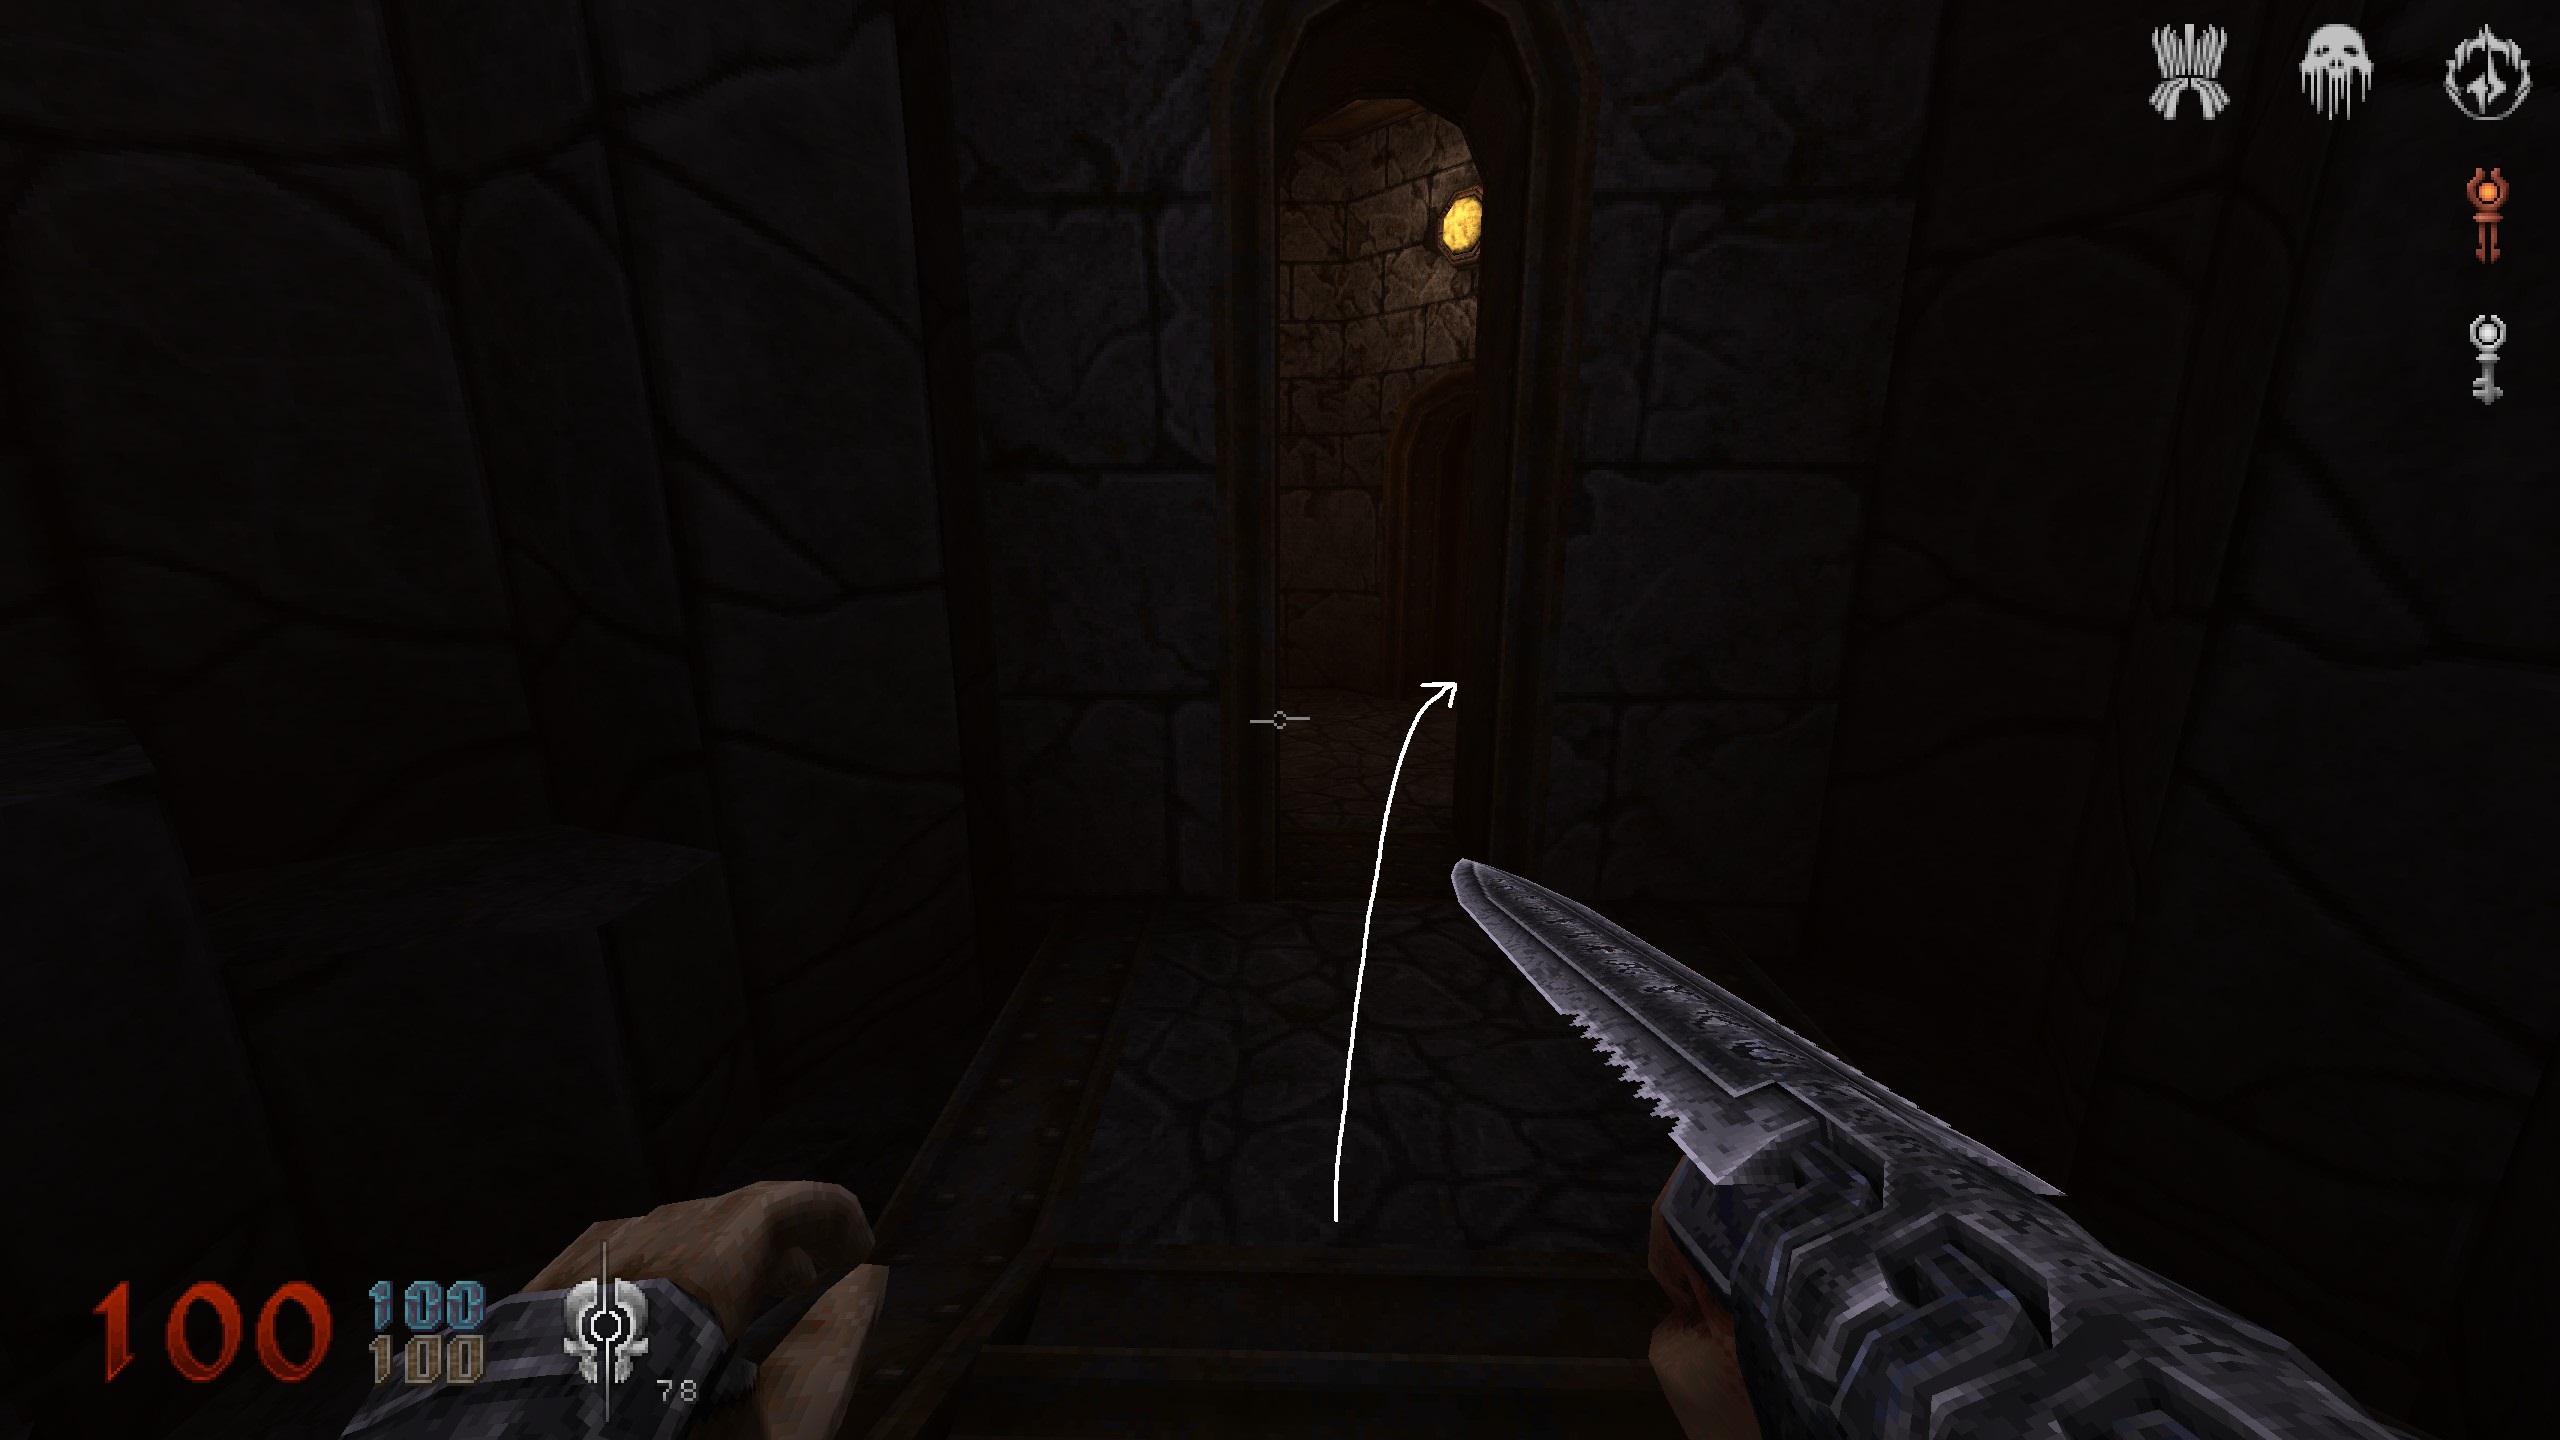
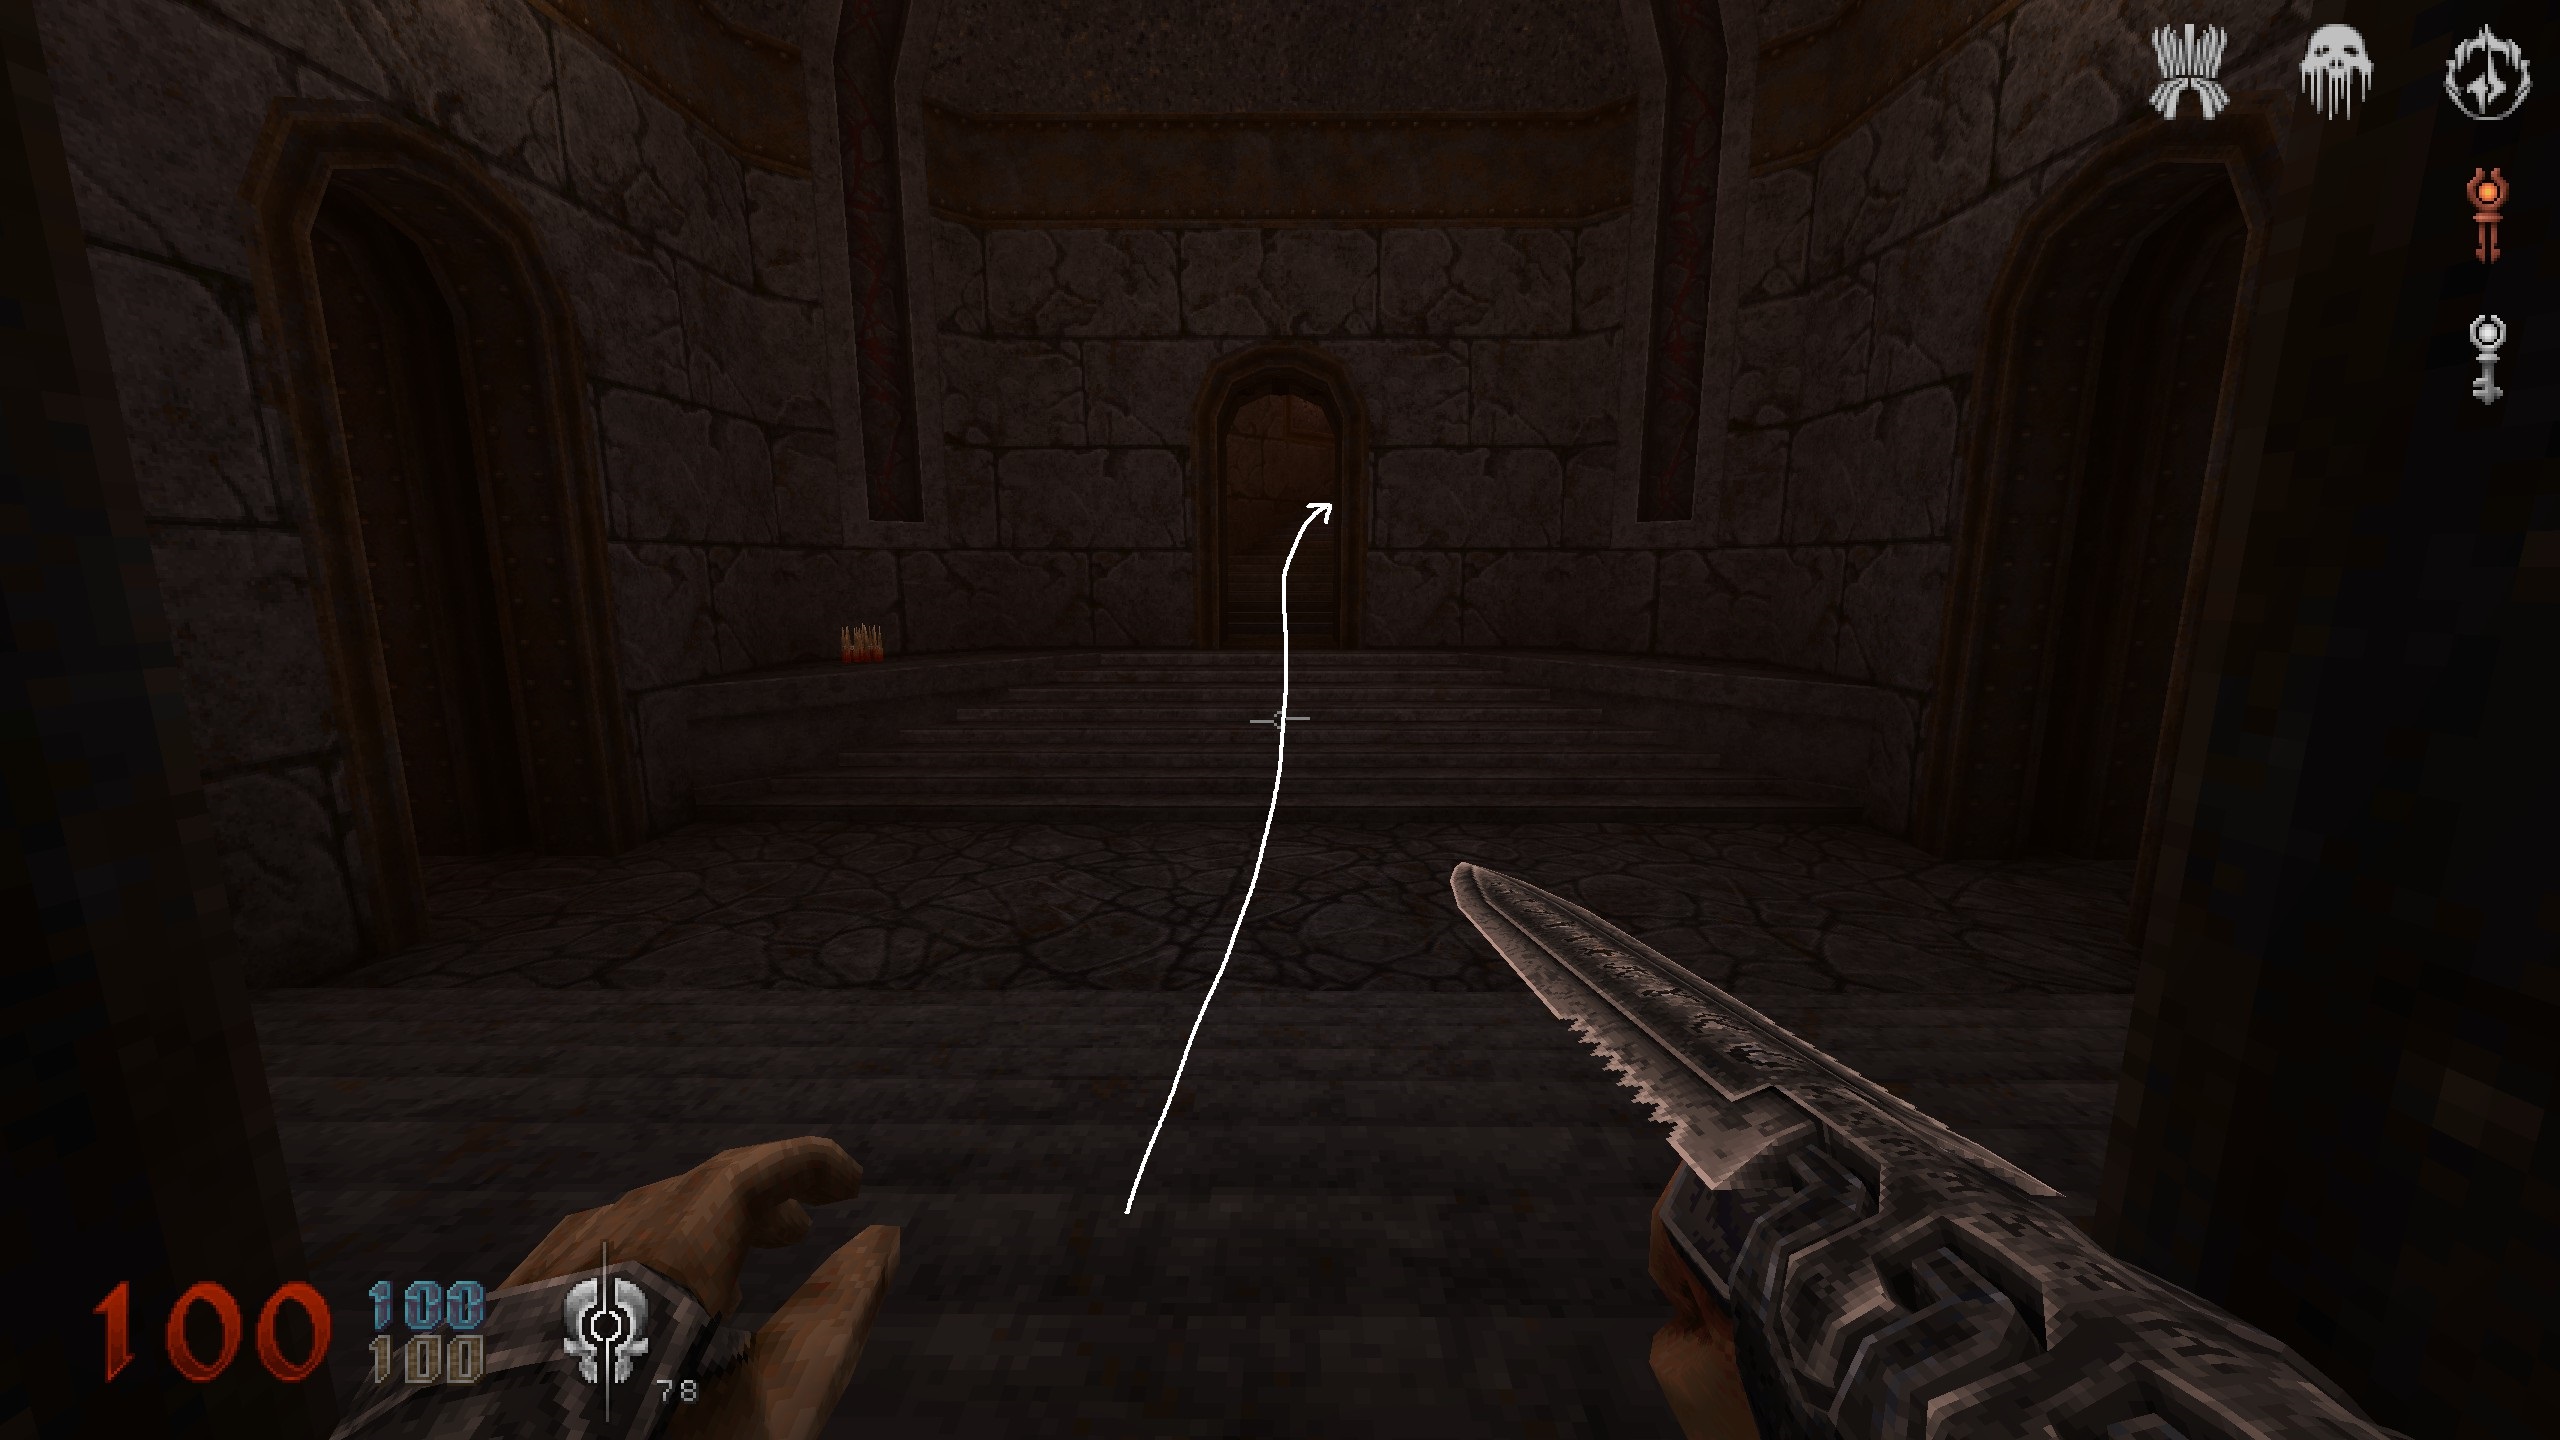
S16
After the red door, take a left and follow the path until you reach a room with a soul tether and a laval fall coming down a wall. Use door and elevator to get back up.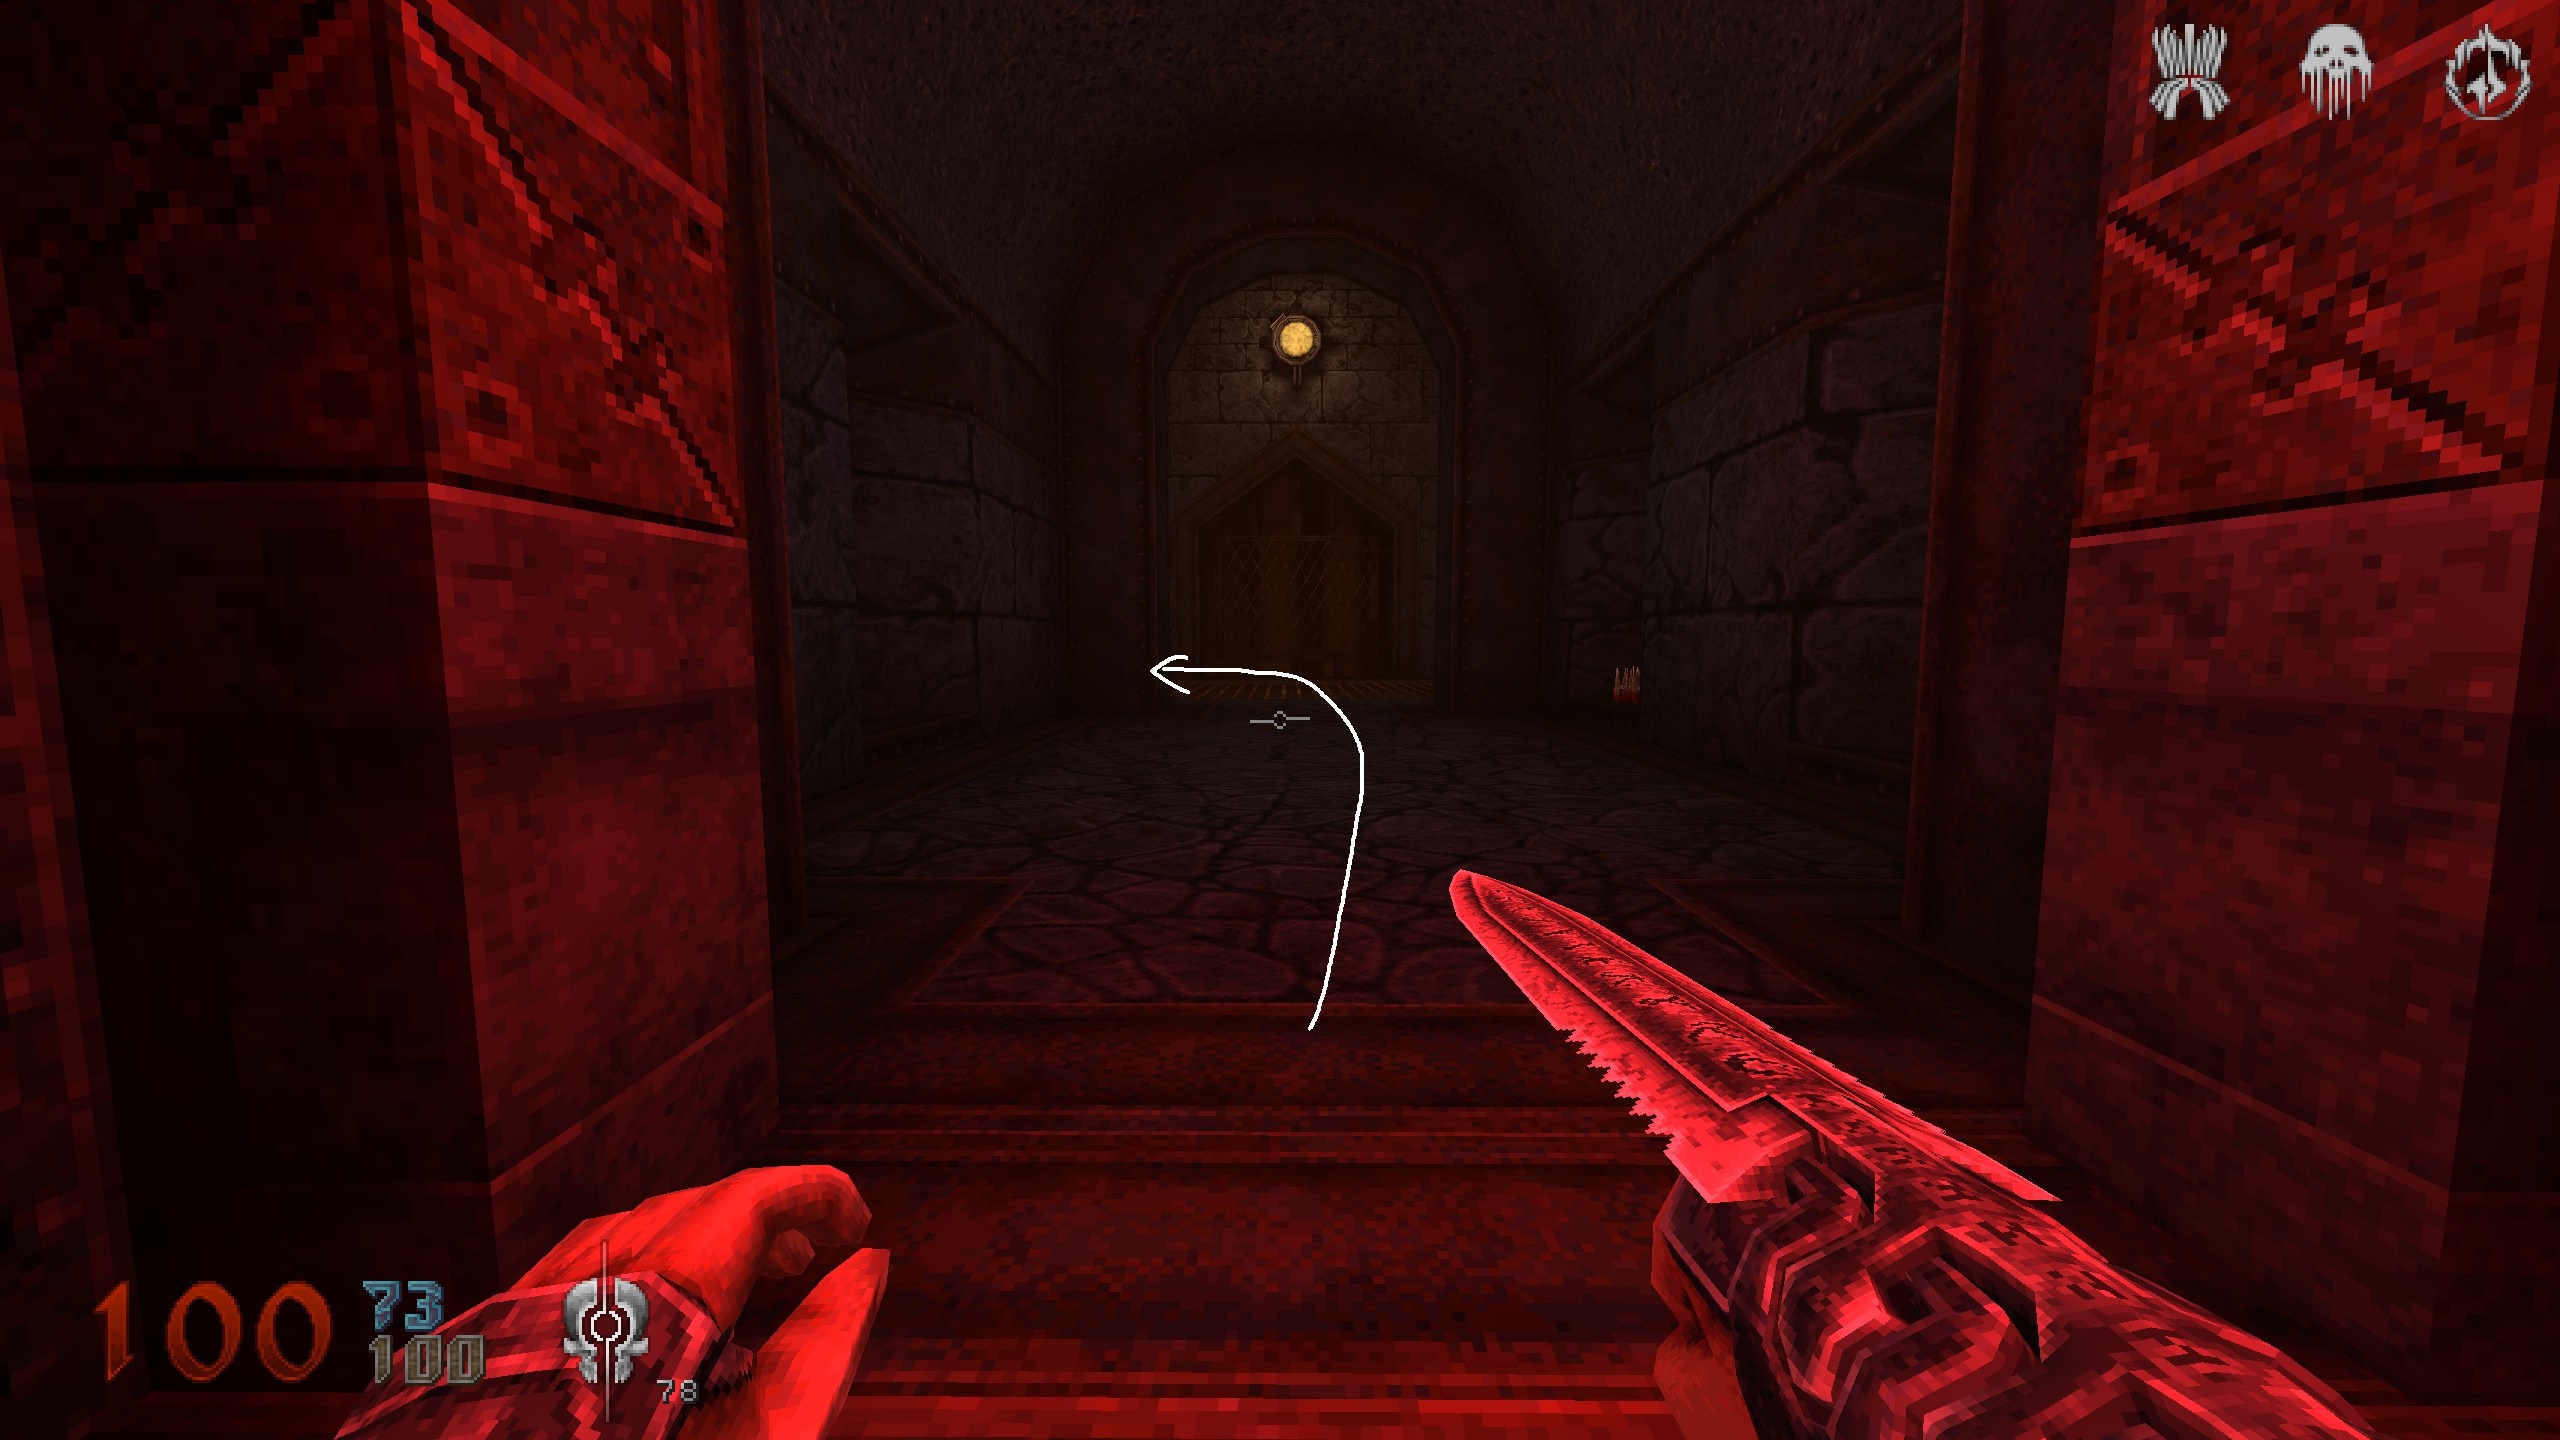
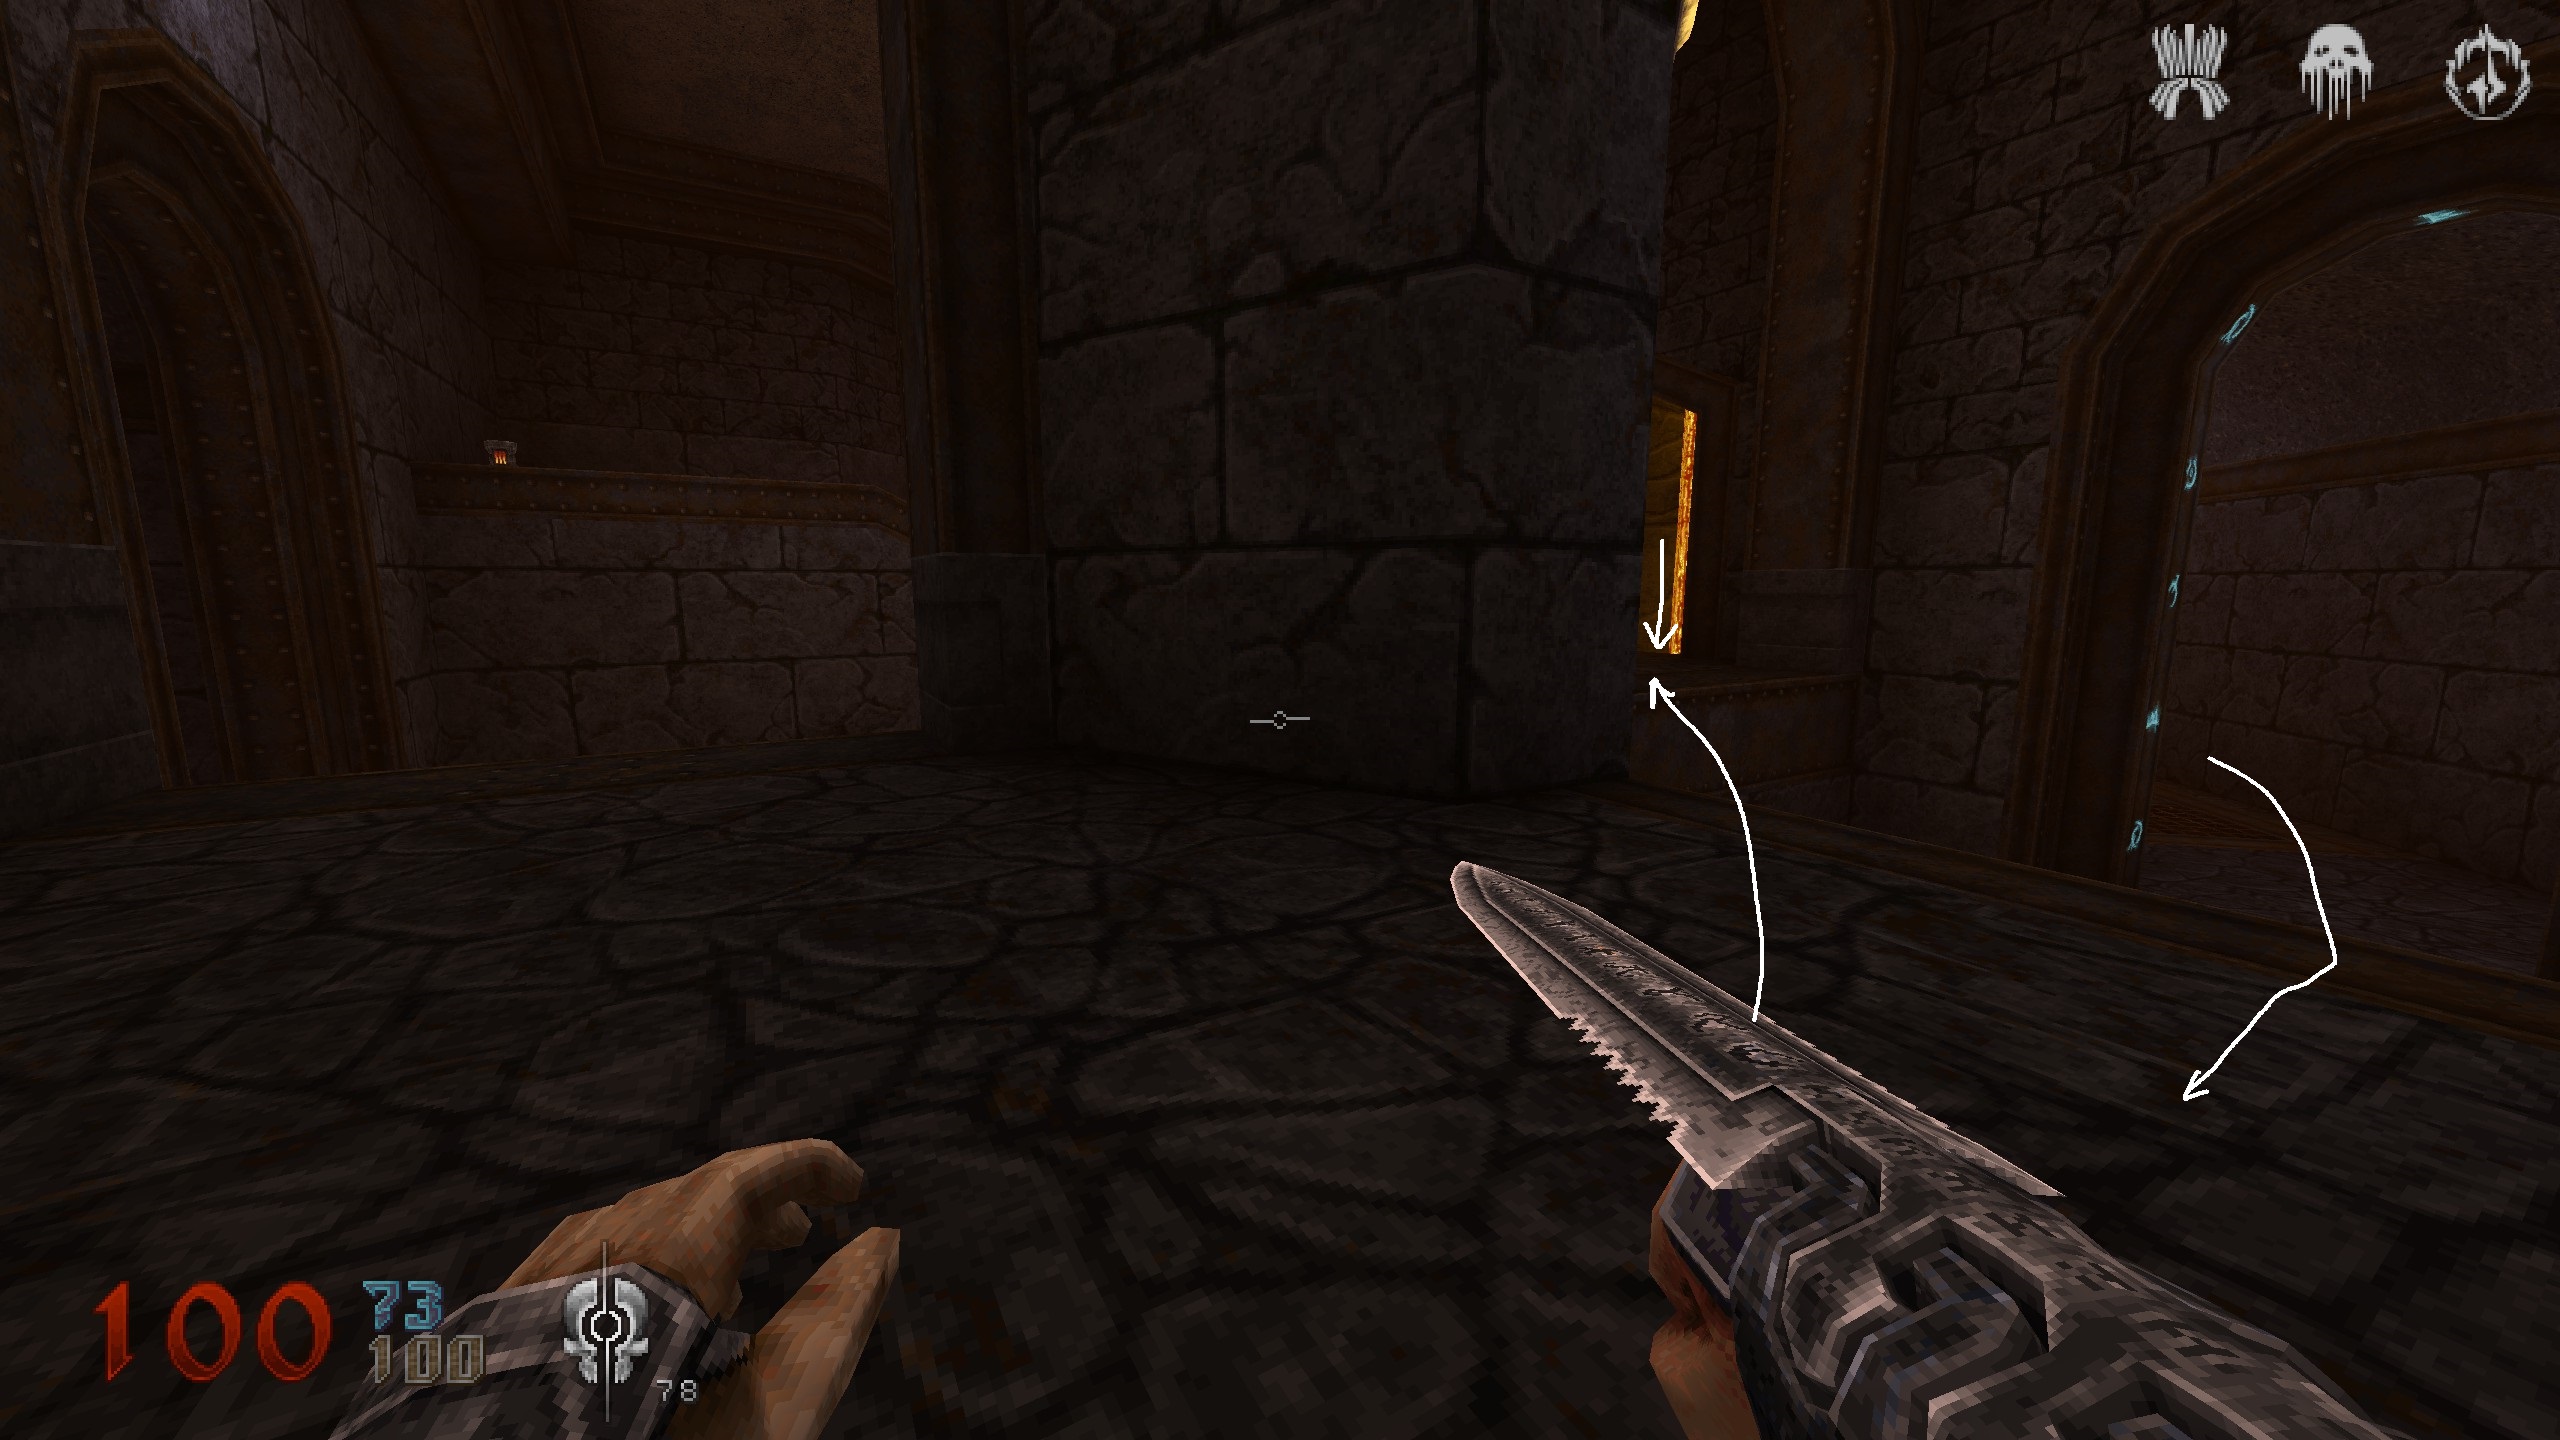
S17
You have gone on for a while and enter a bigger room where you can already see a bloody plate on the wall. Follow the path as you should, get past the yellow key on your right and you will end up on a bigger stone plateu. Since there are 2 plates, drop down left or right side and you are on level with the bloody plate. Do your thing, get back out and up again to use switch and proceed.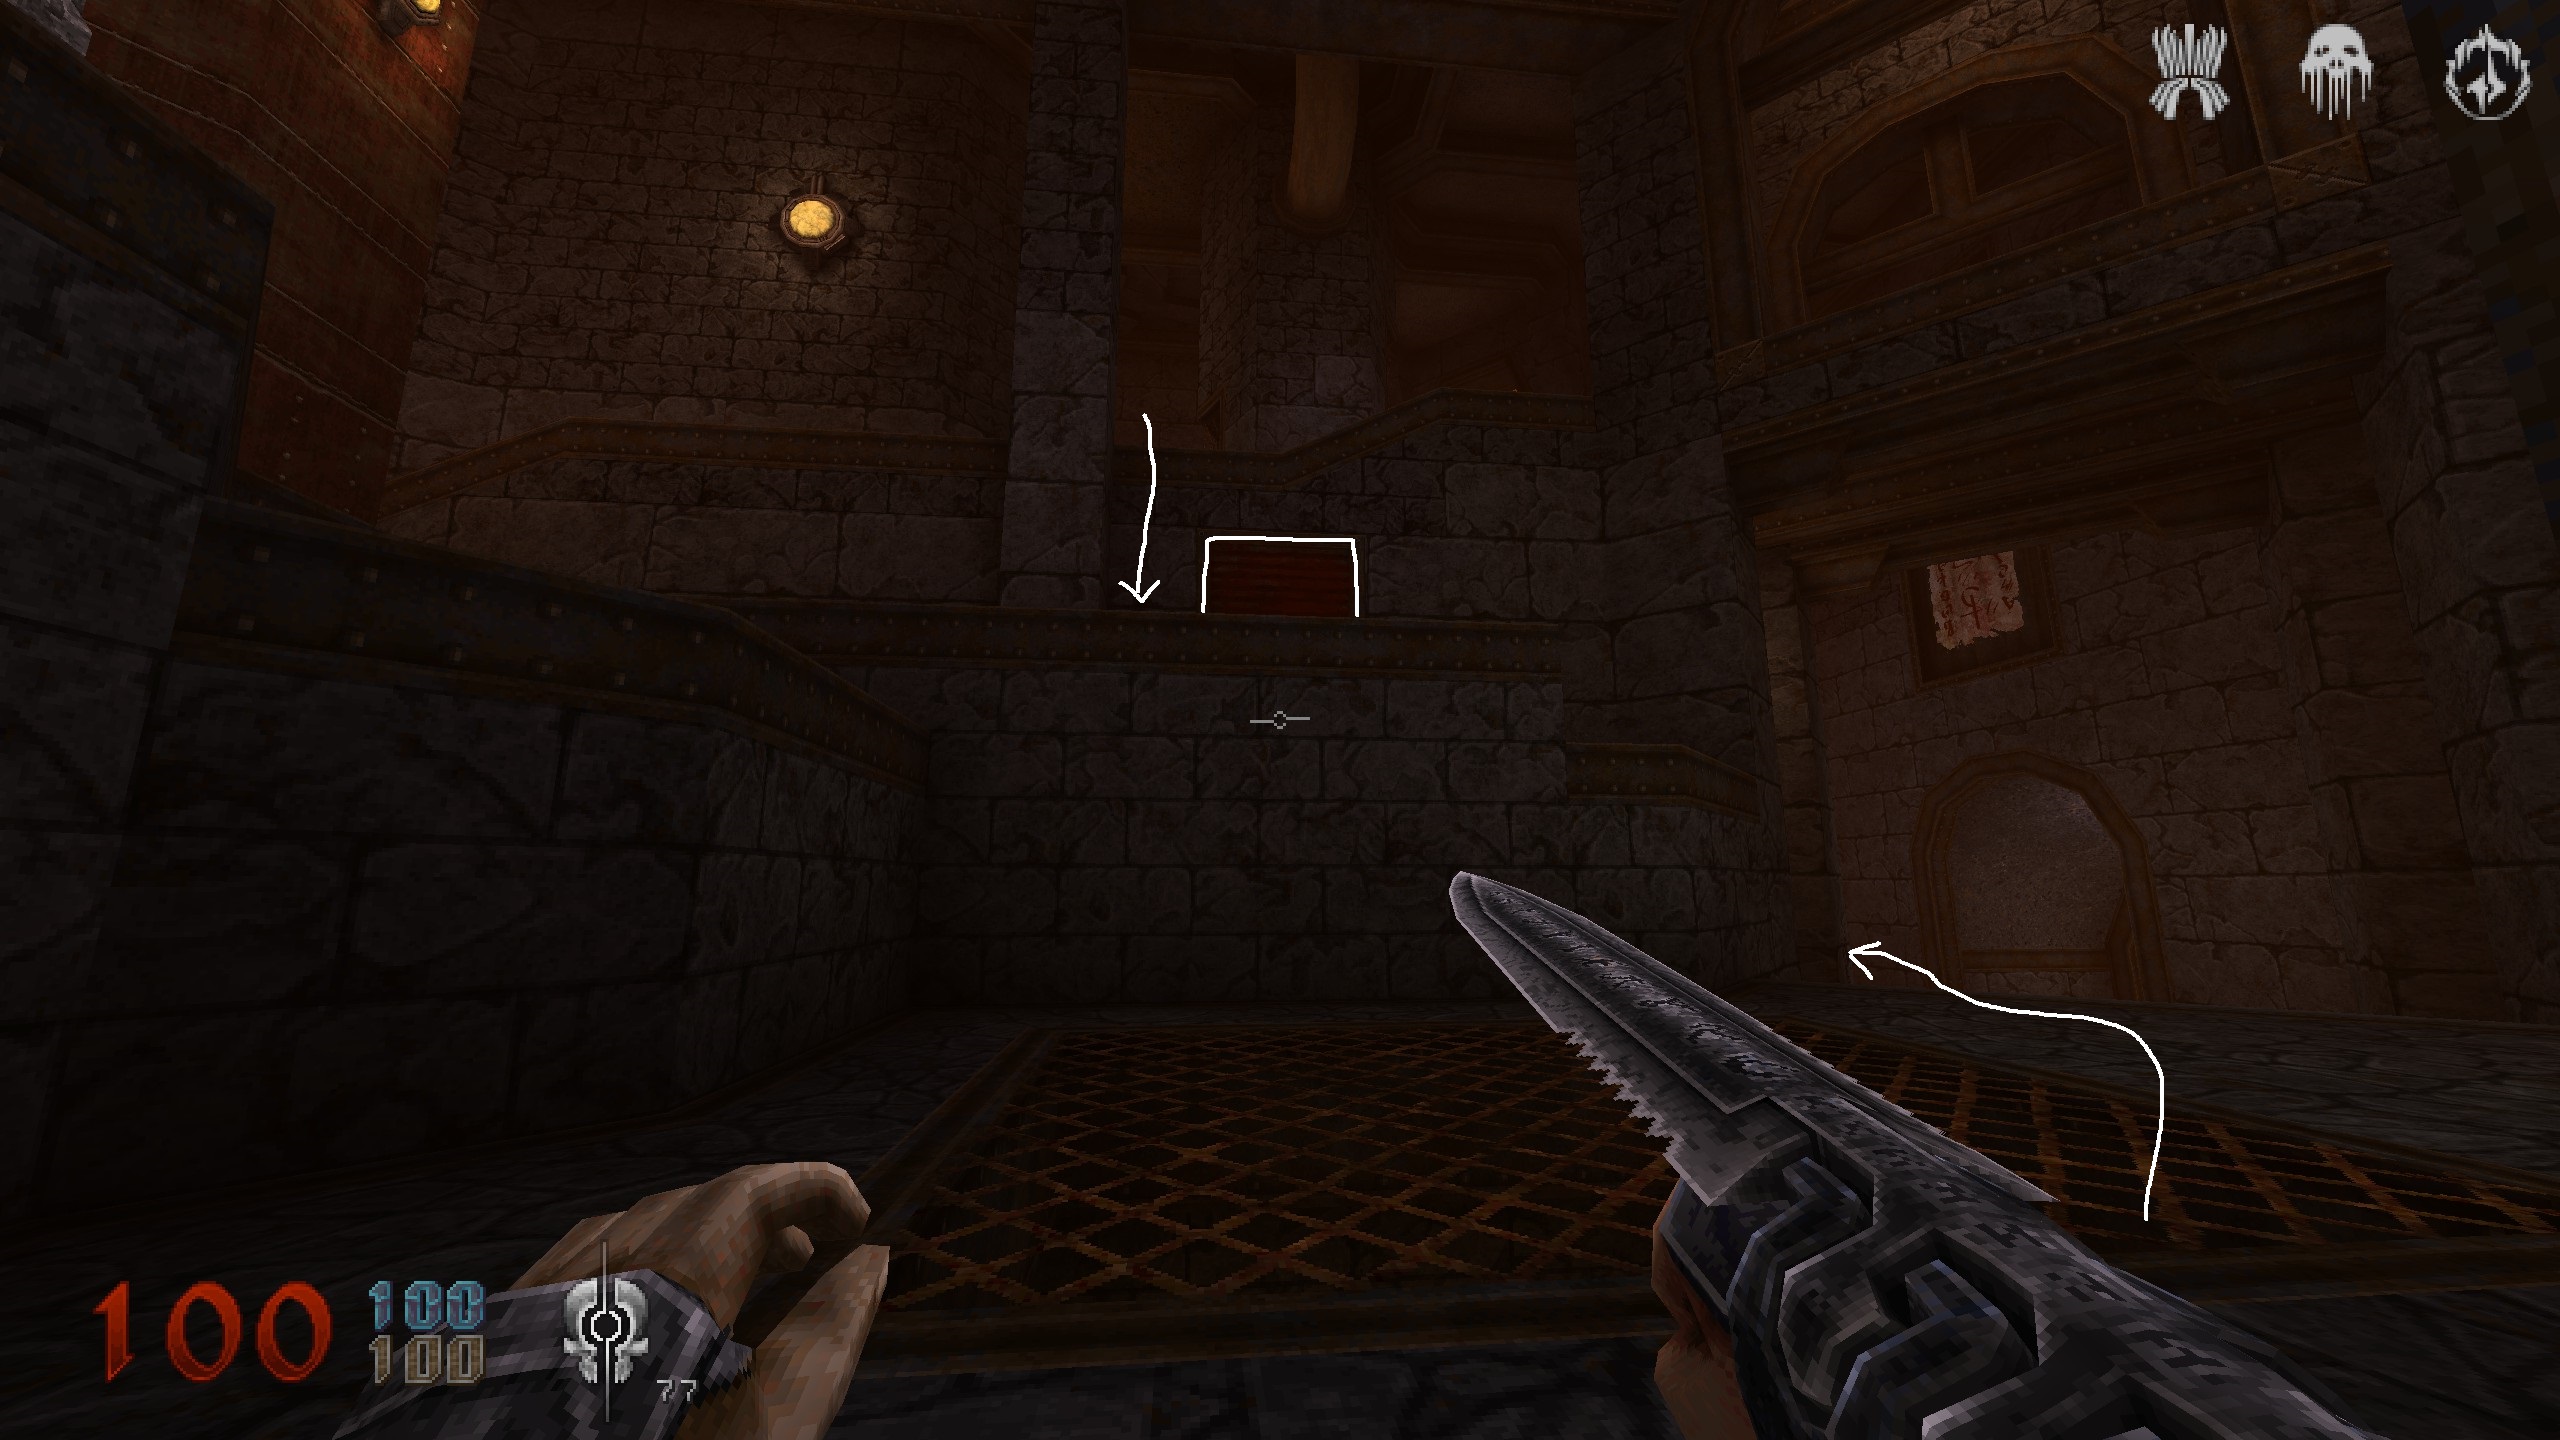
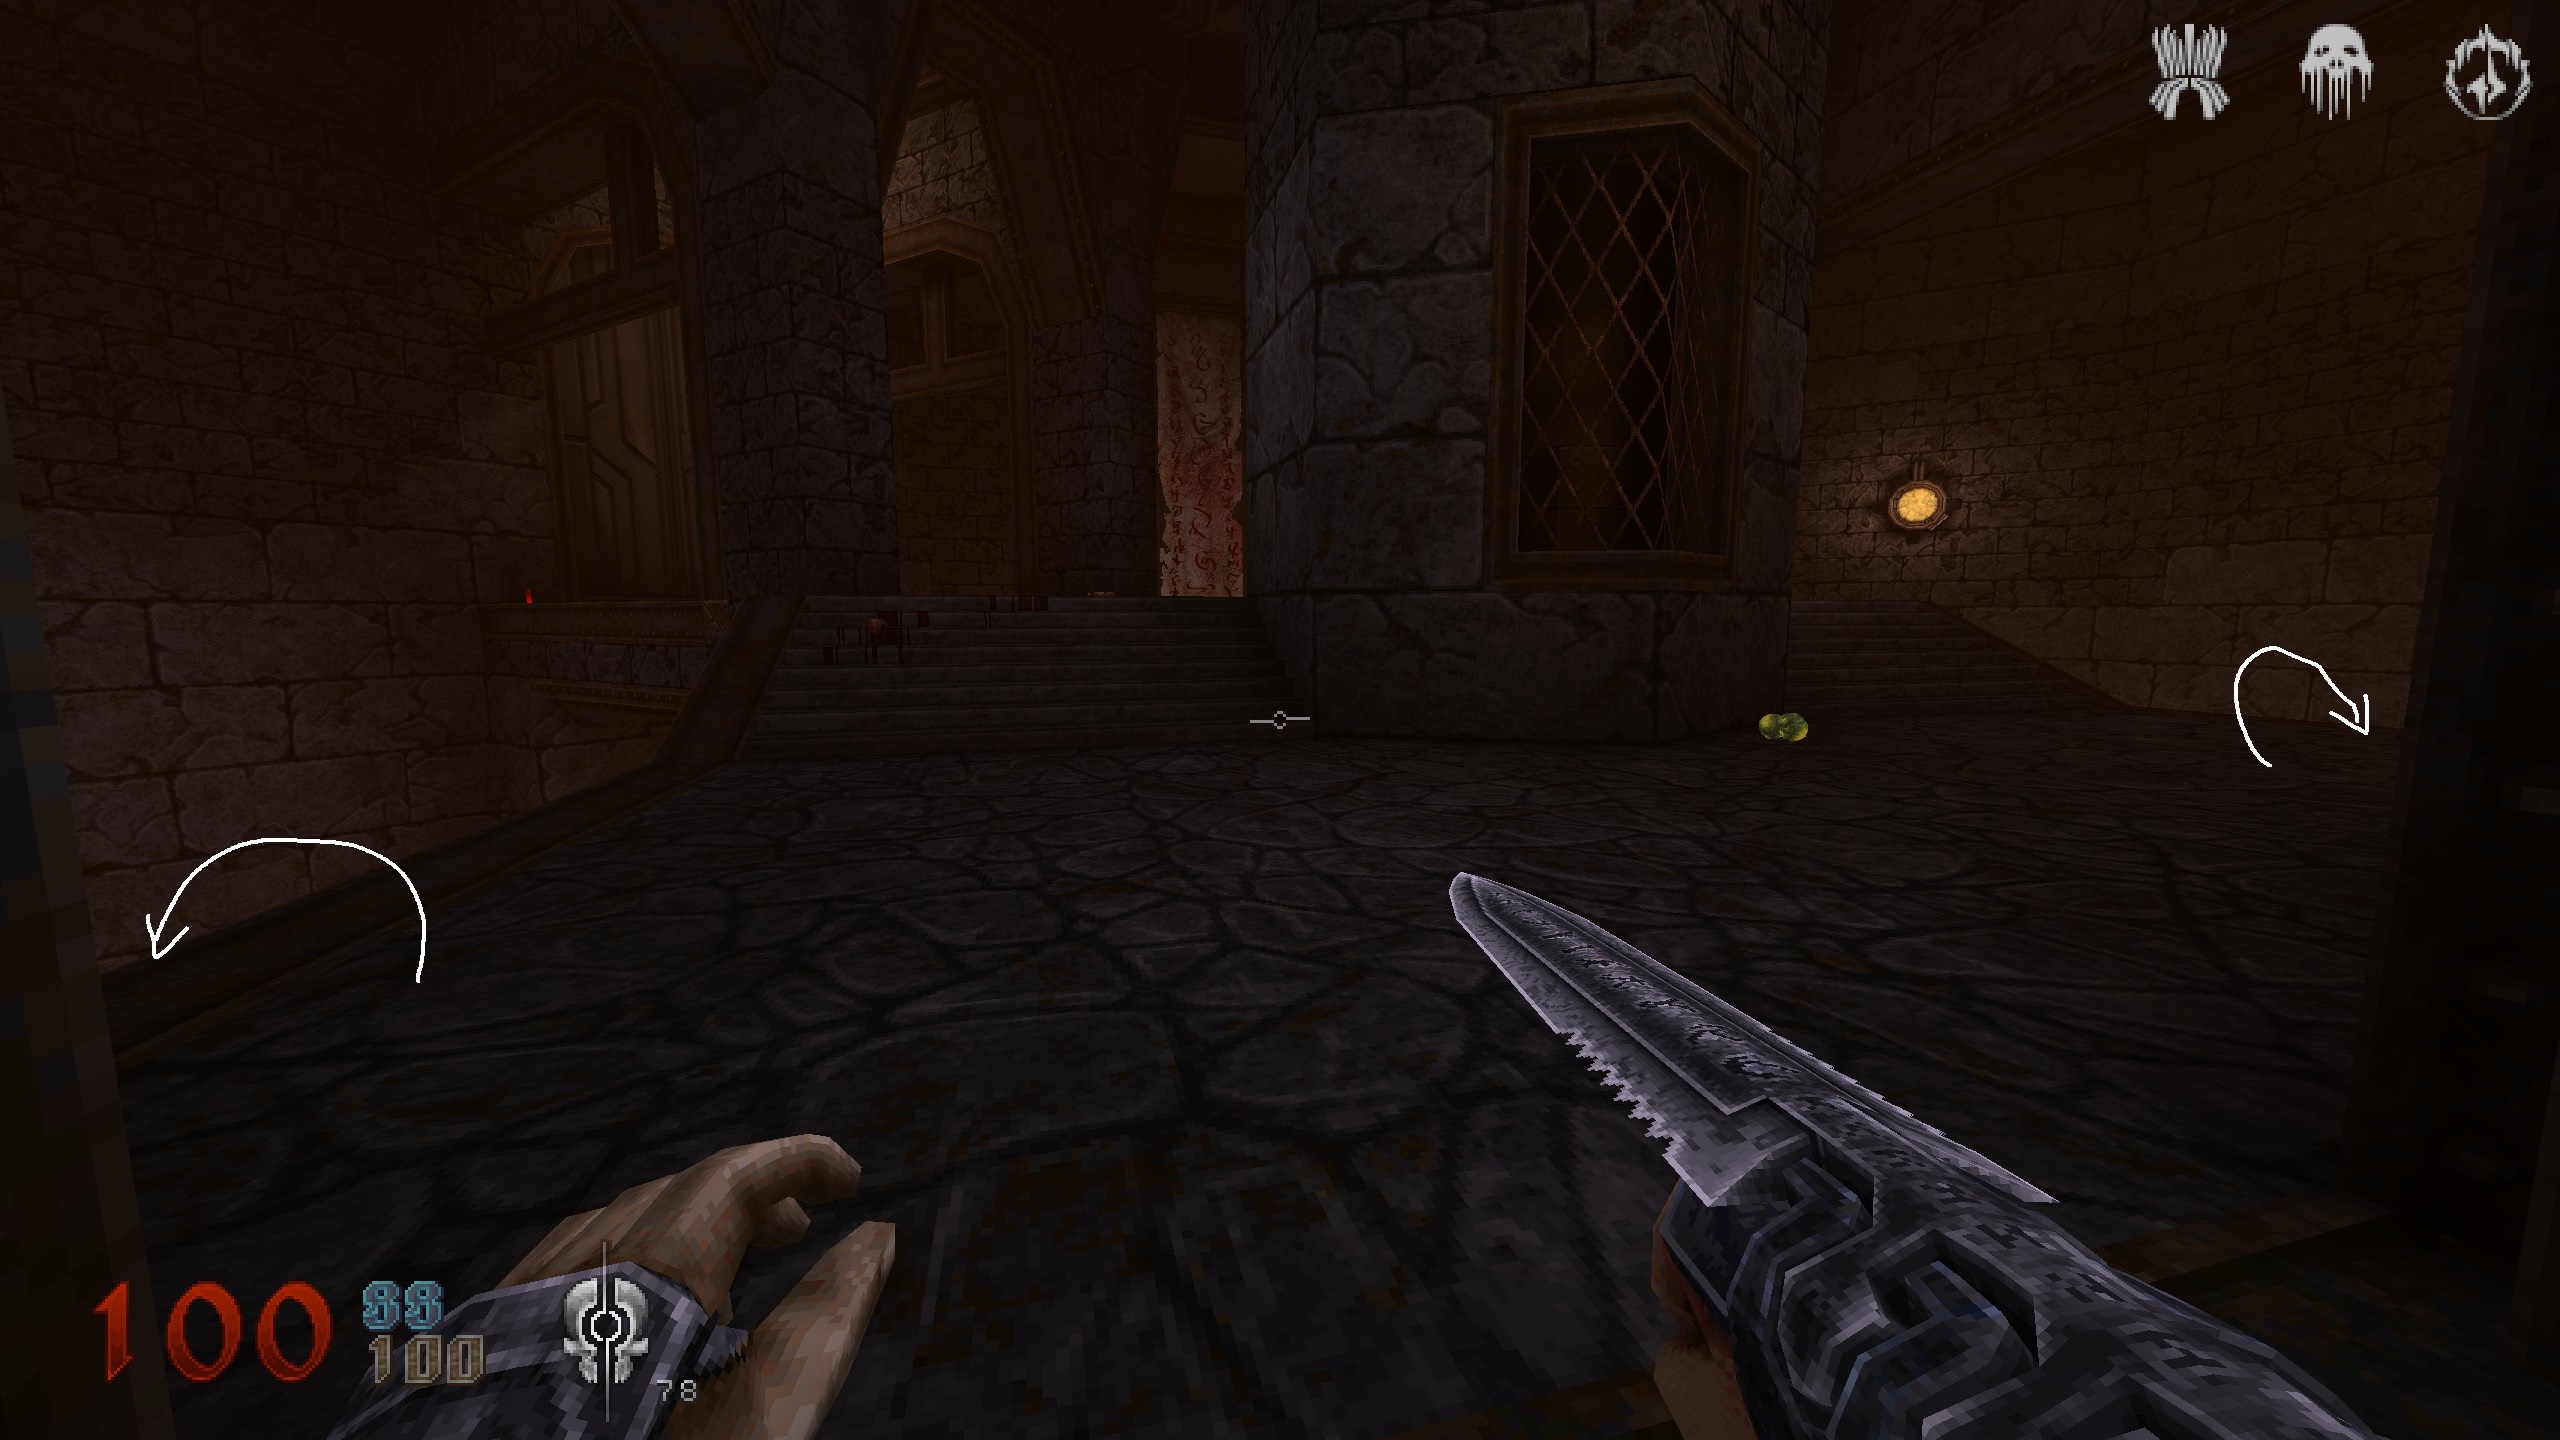
S18
After using the switch and going through the door you come to an area that looks identical to another one you have already been to. This time, it lead to a secret. Use those stairs and plateu to jump inot the door across and follow till u can see a chalise. Dont jump over to the chalise, instead jump left around the corner into a small niche with some ammo. Get back on main path and proceed until you have the yellow key.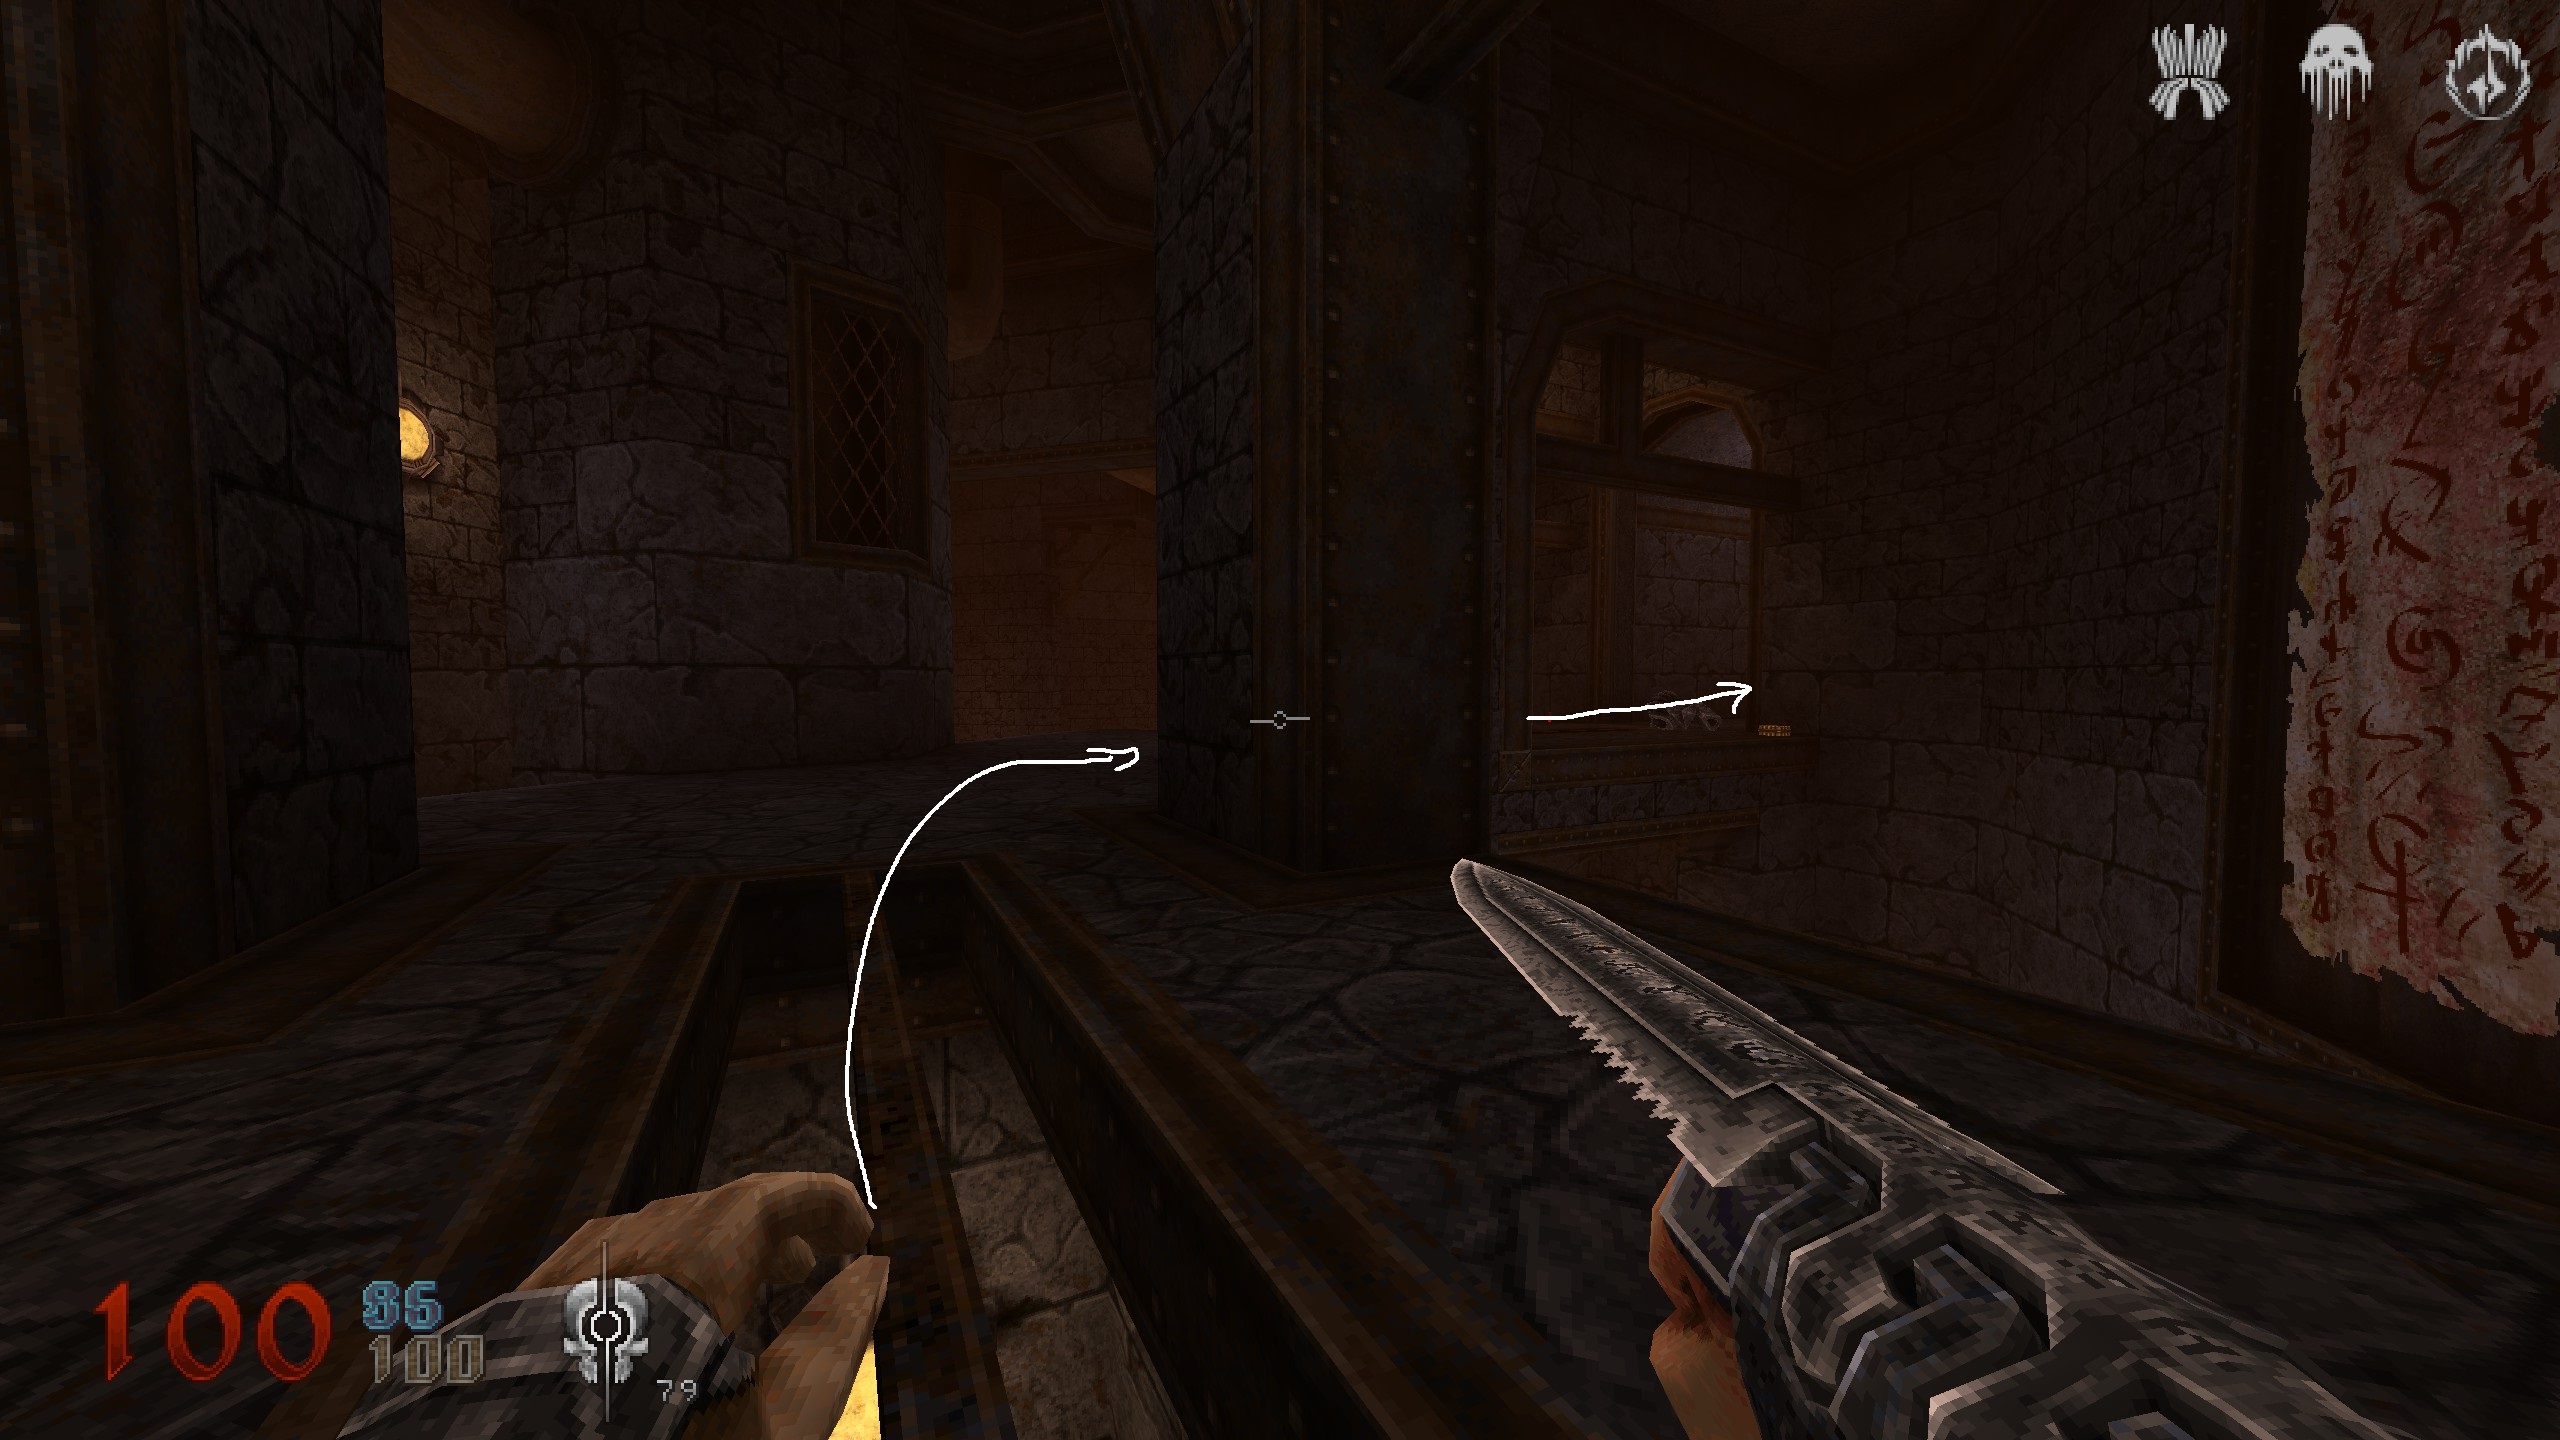
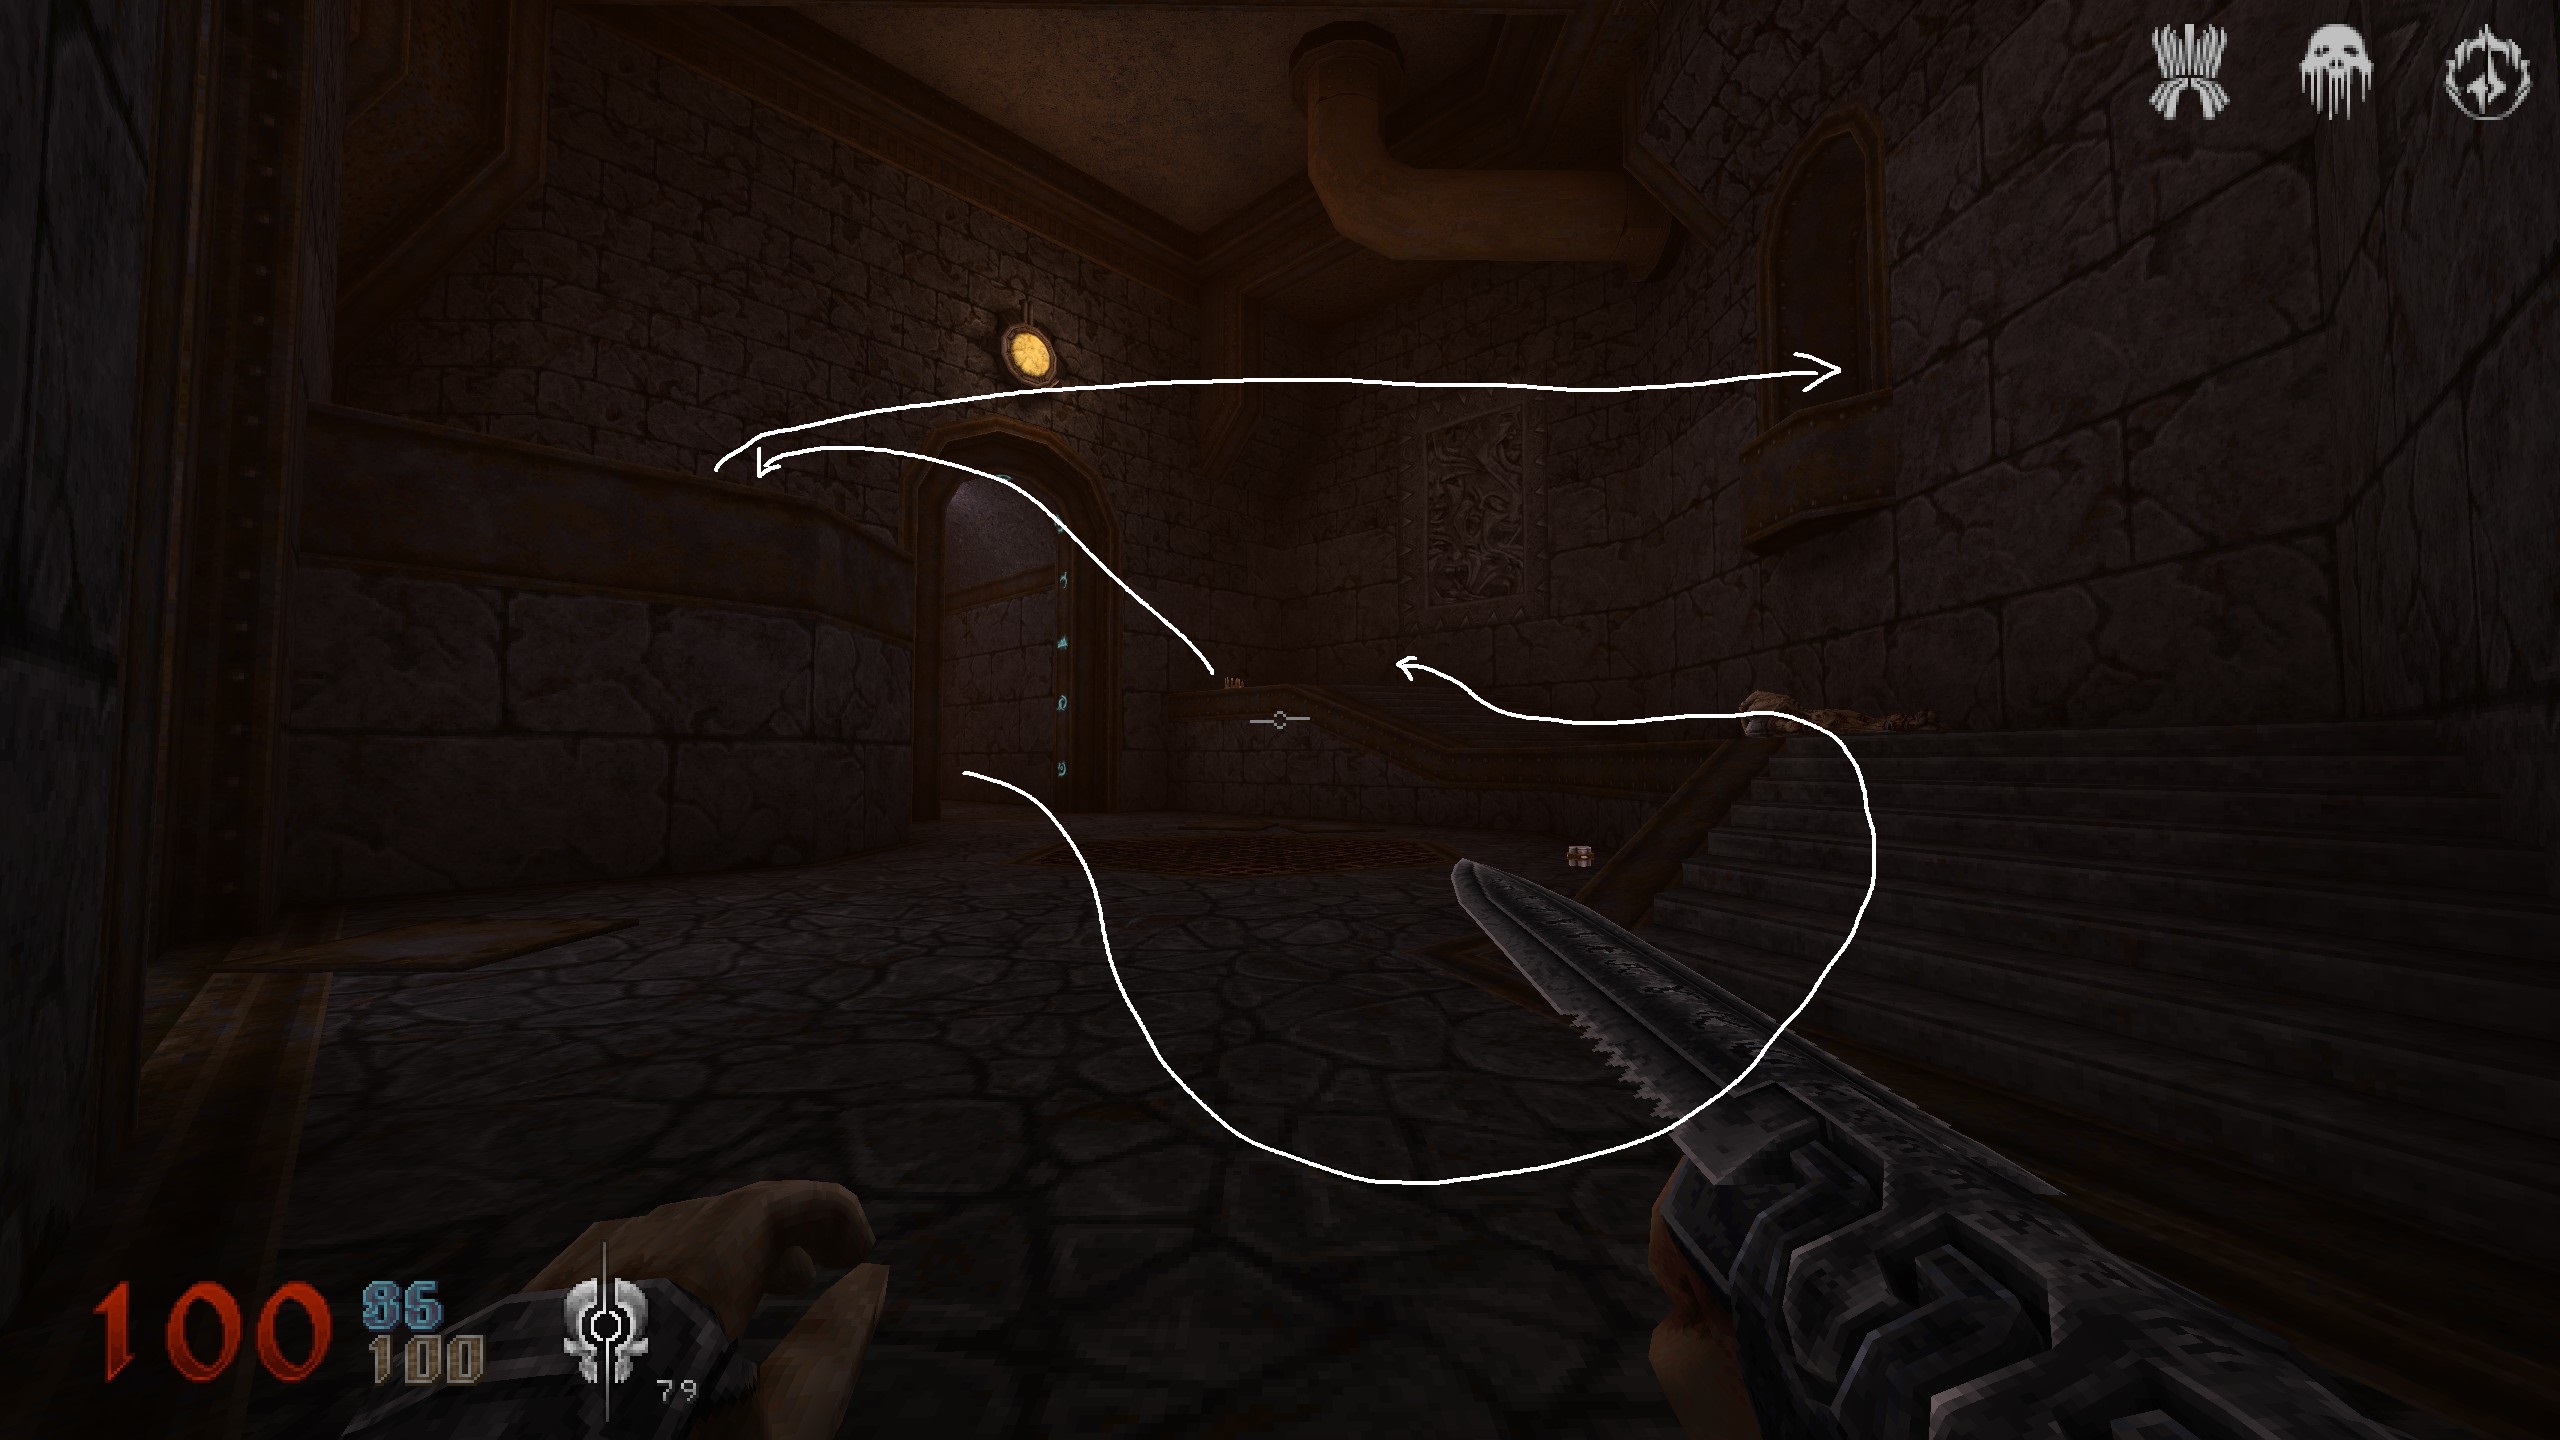
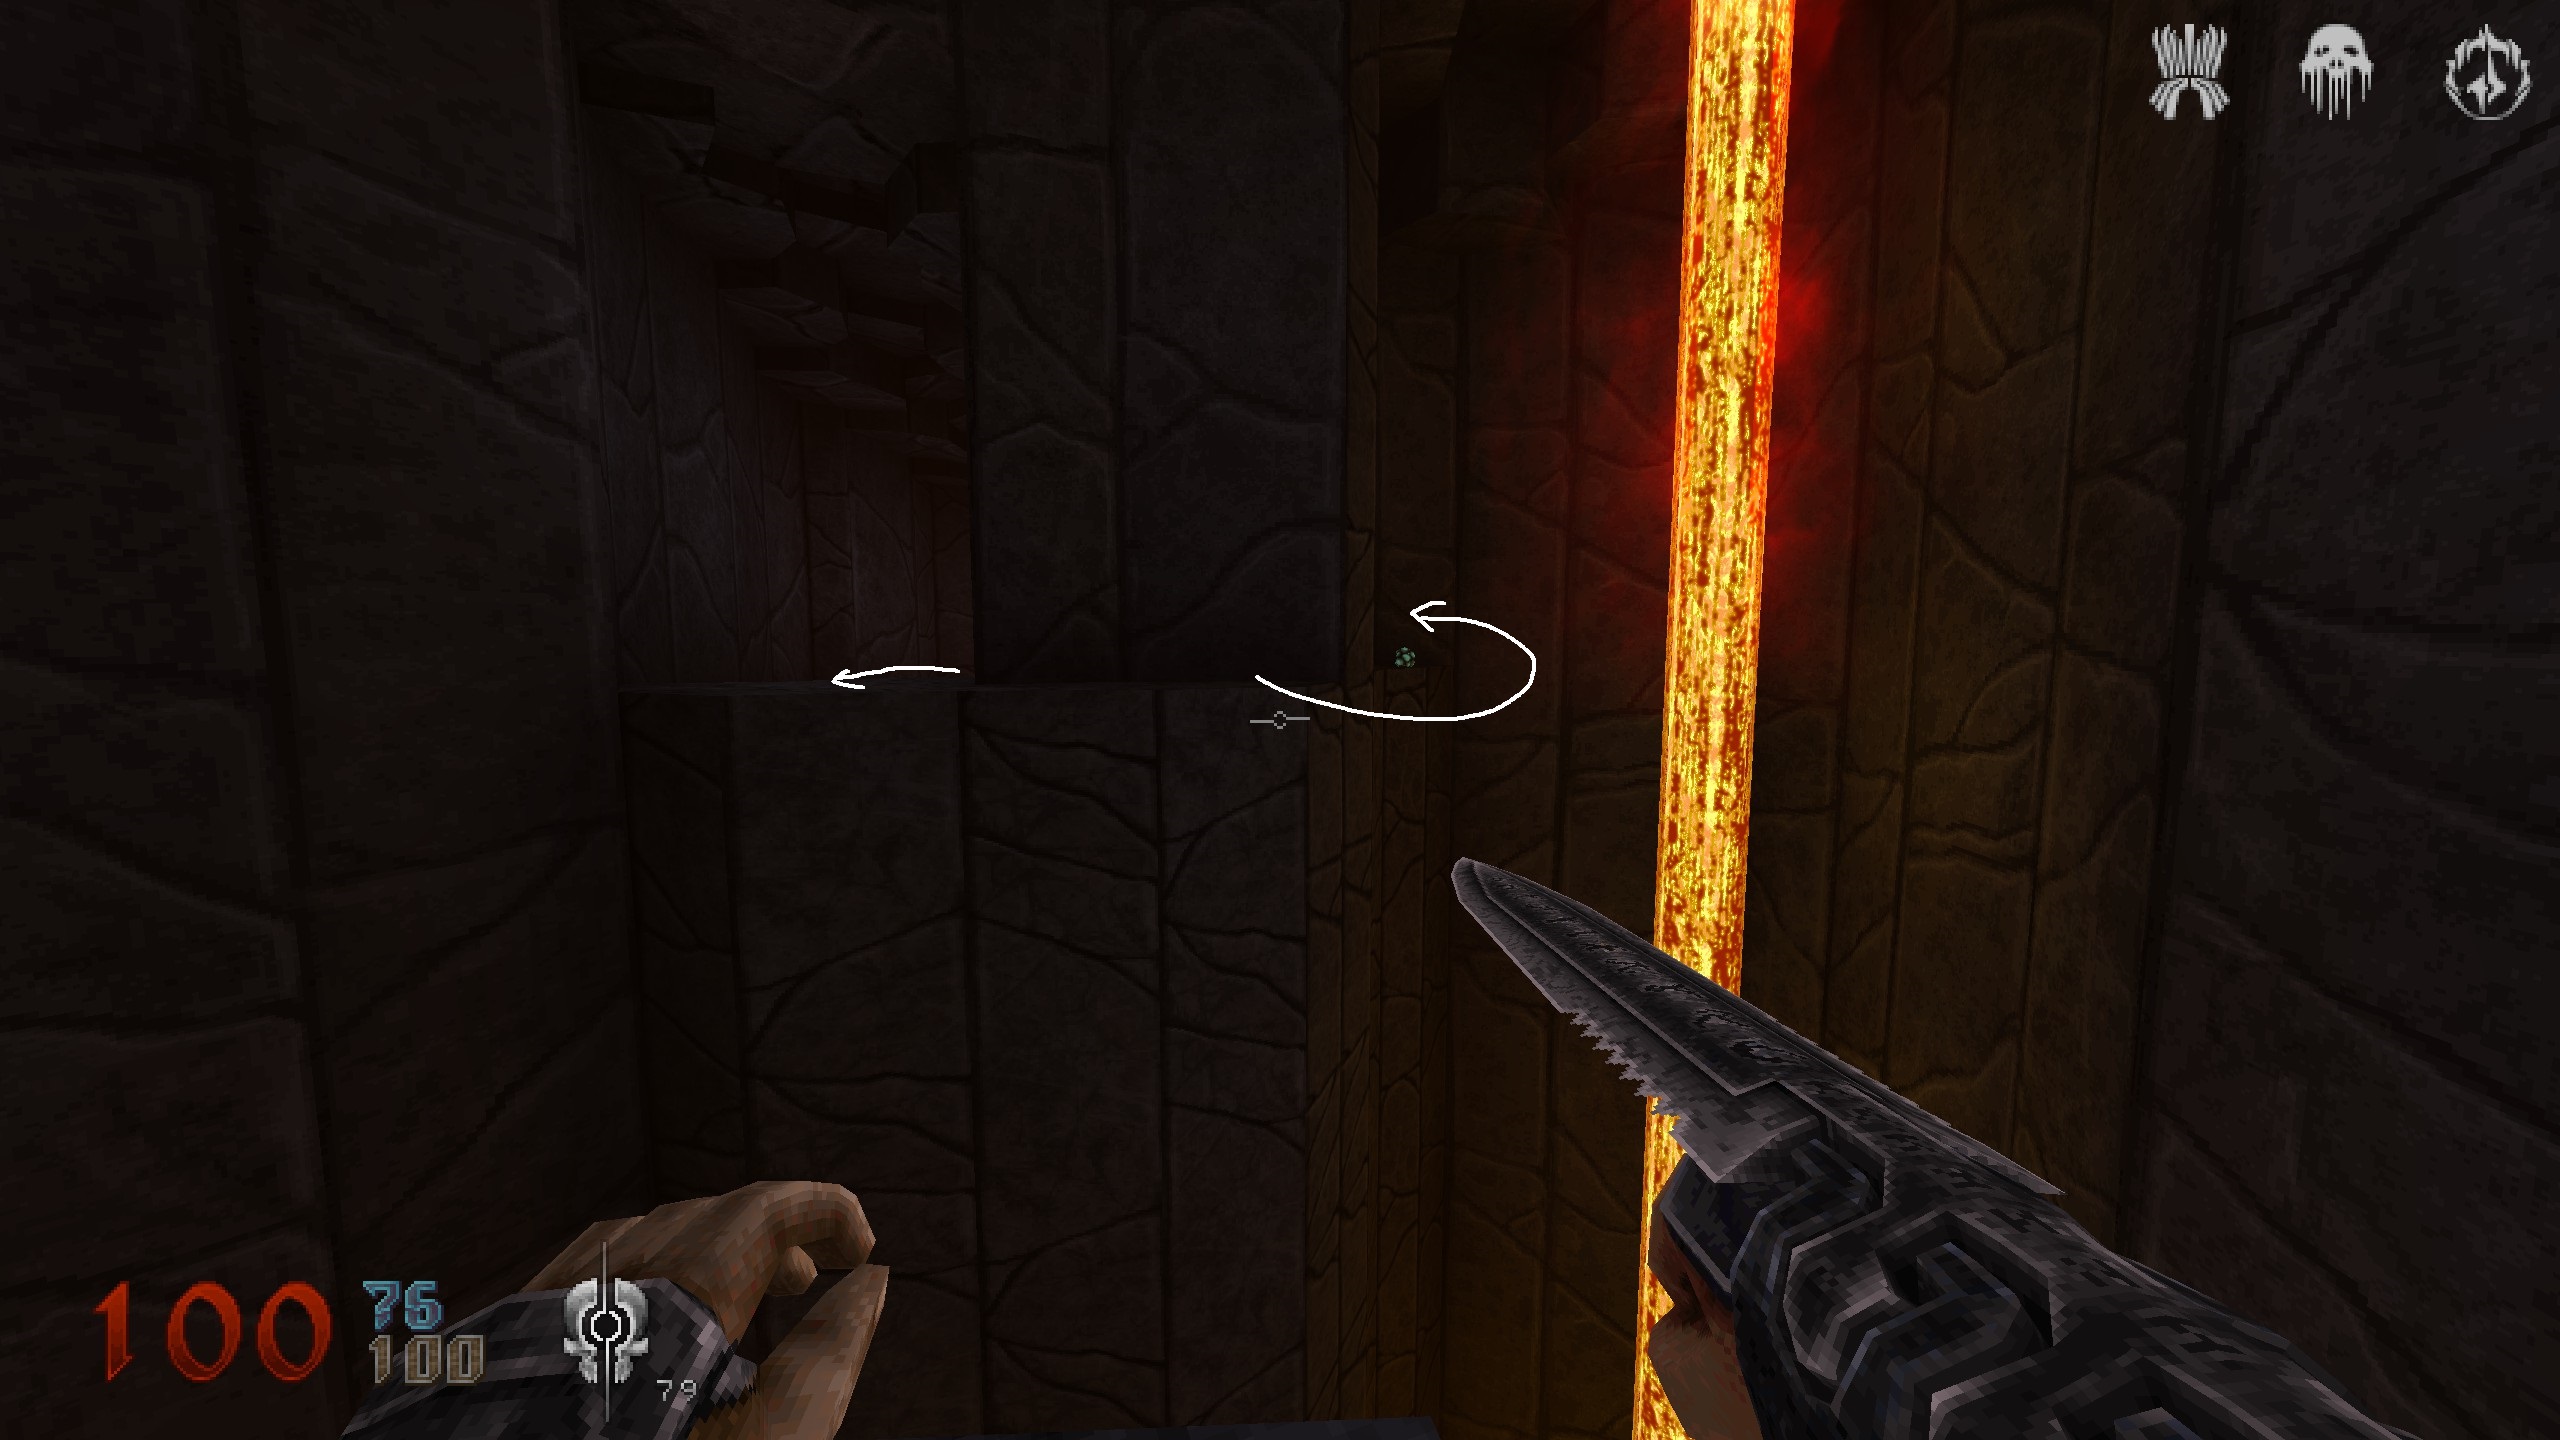
S19 & Key
In the area with the yellow key, activate 3 switches/pols on the ground to activate the crushers. From the yellow key position you need to check the right side where the crushers are. On the wall behind the middle crushers is a bloody plate. Get in there and grad item. From the secret head left past the last crusher and grad the key. Now check the other side where those crushers are.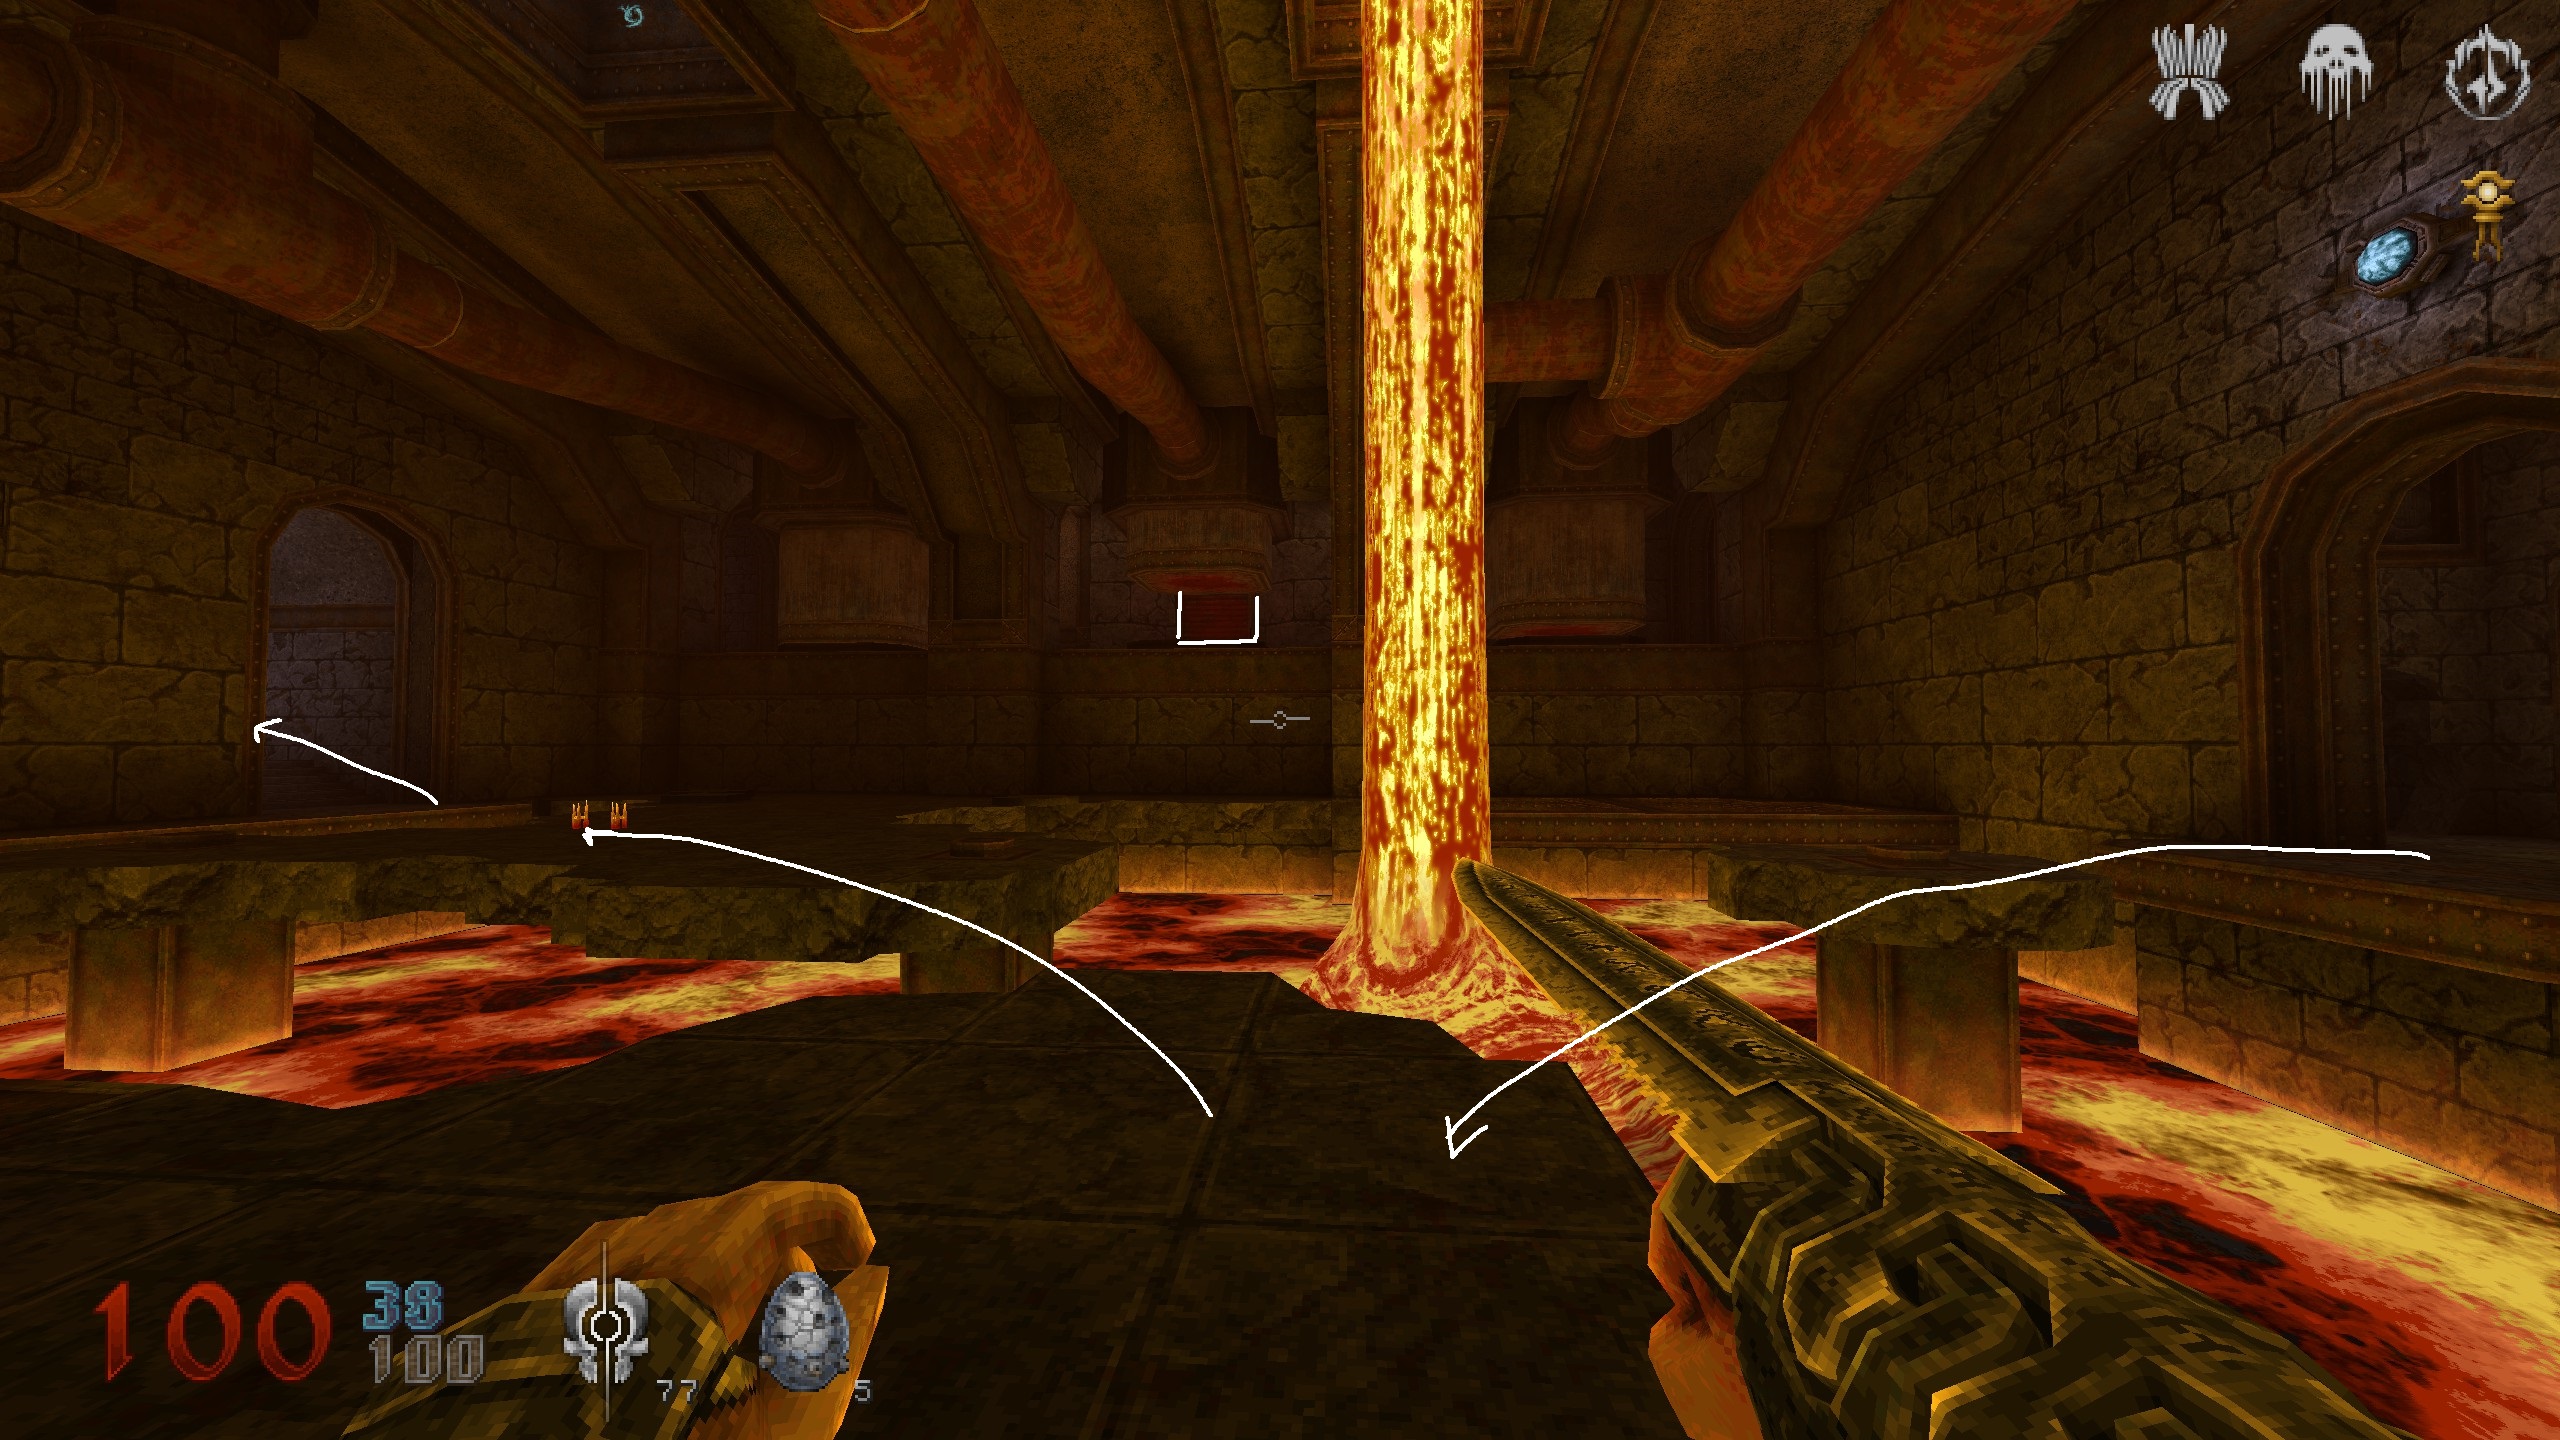
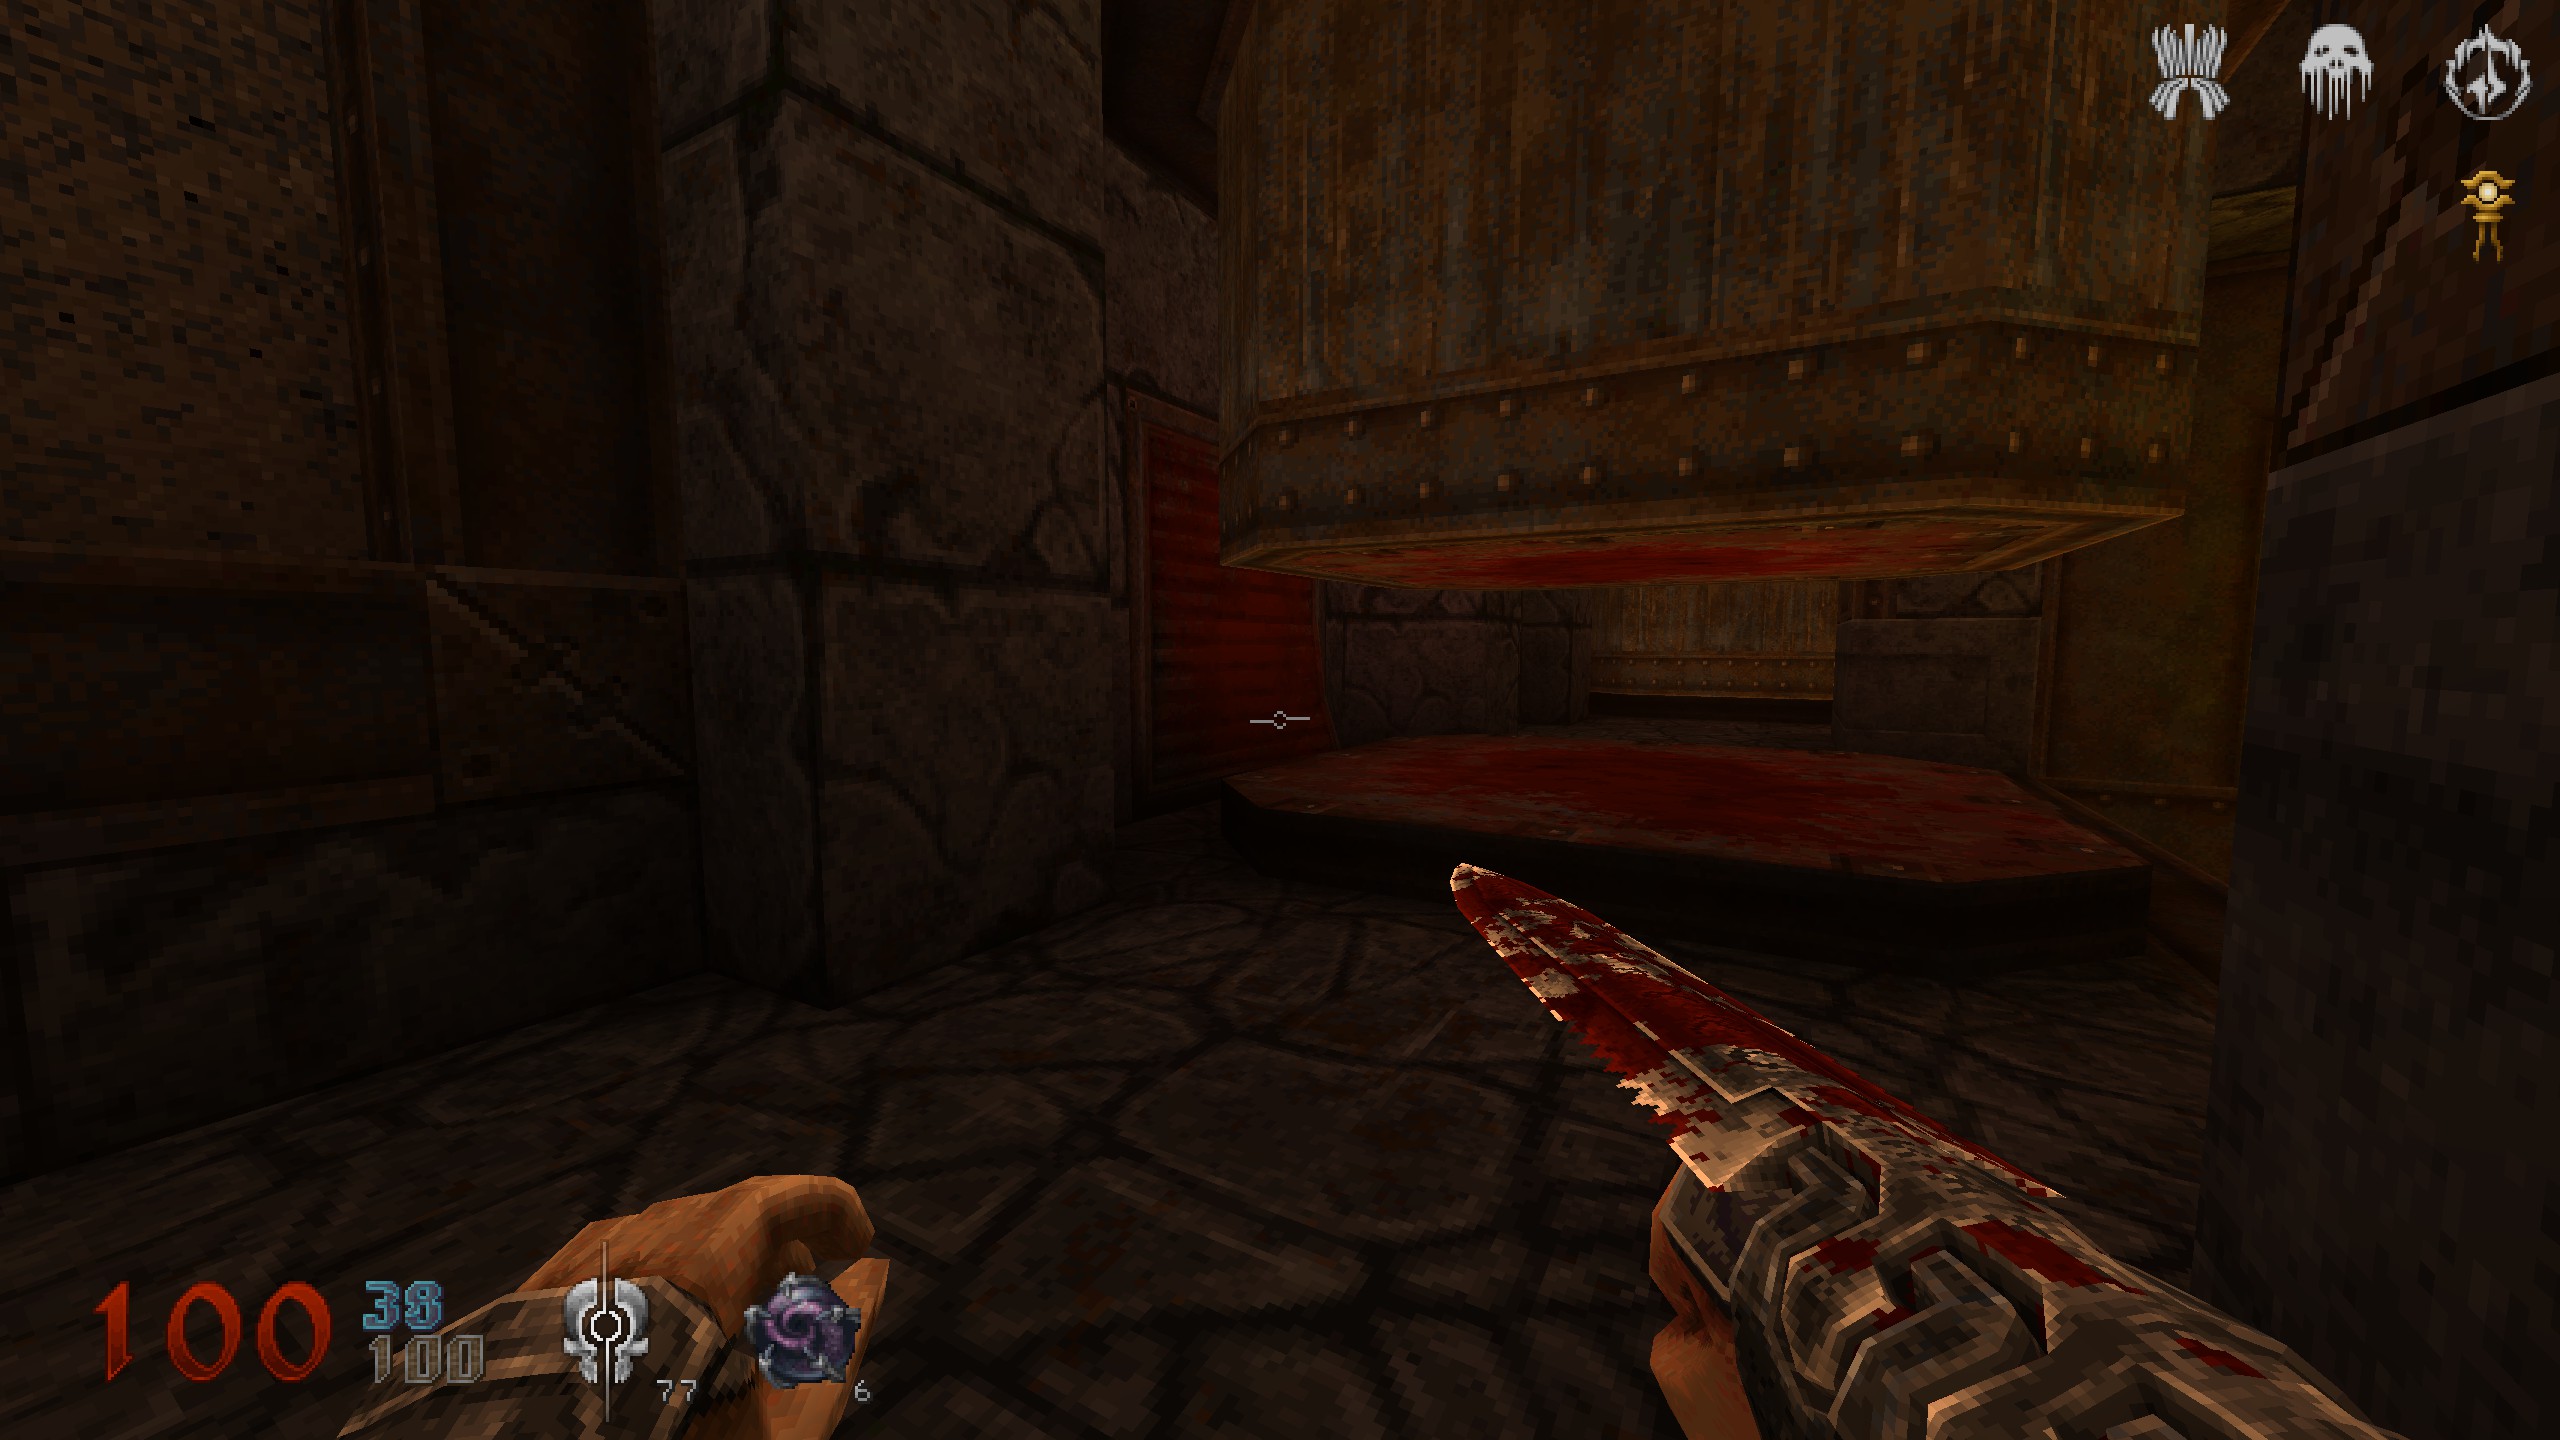
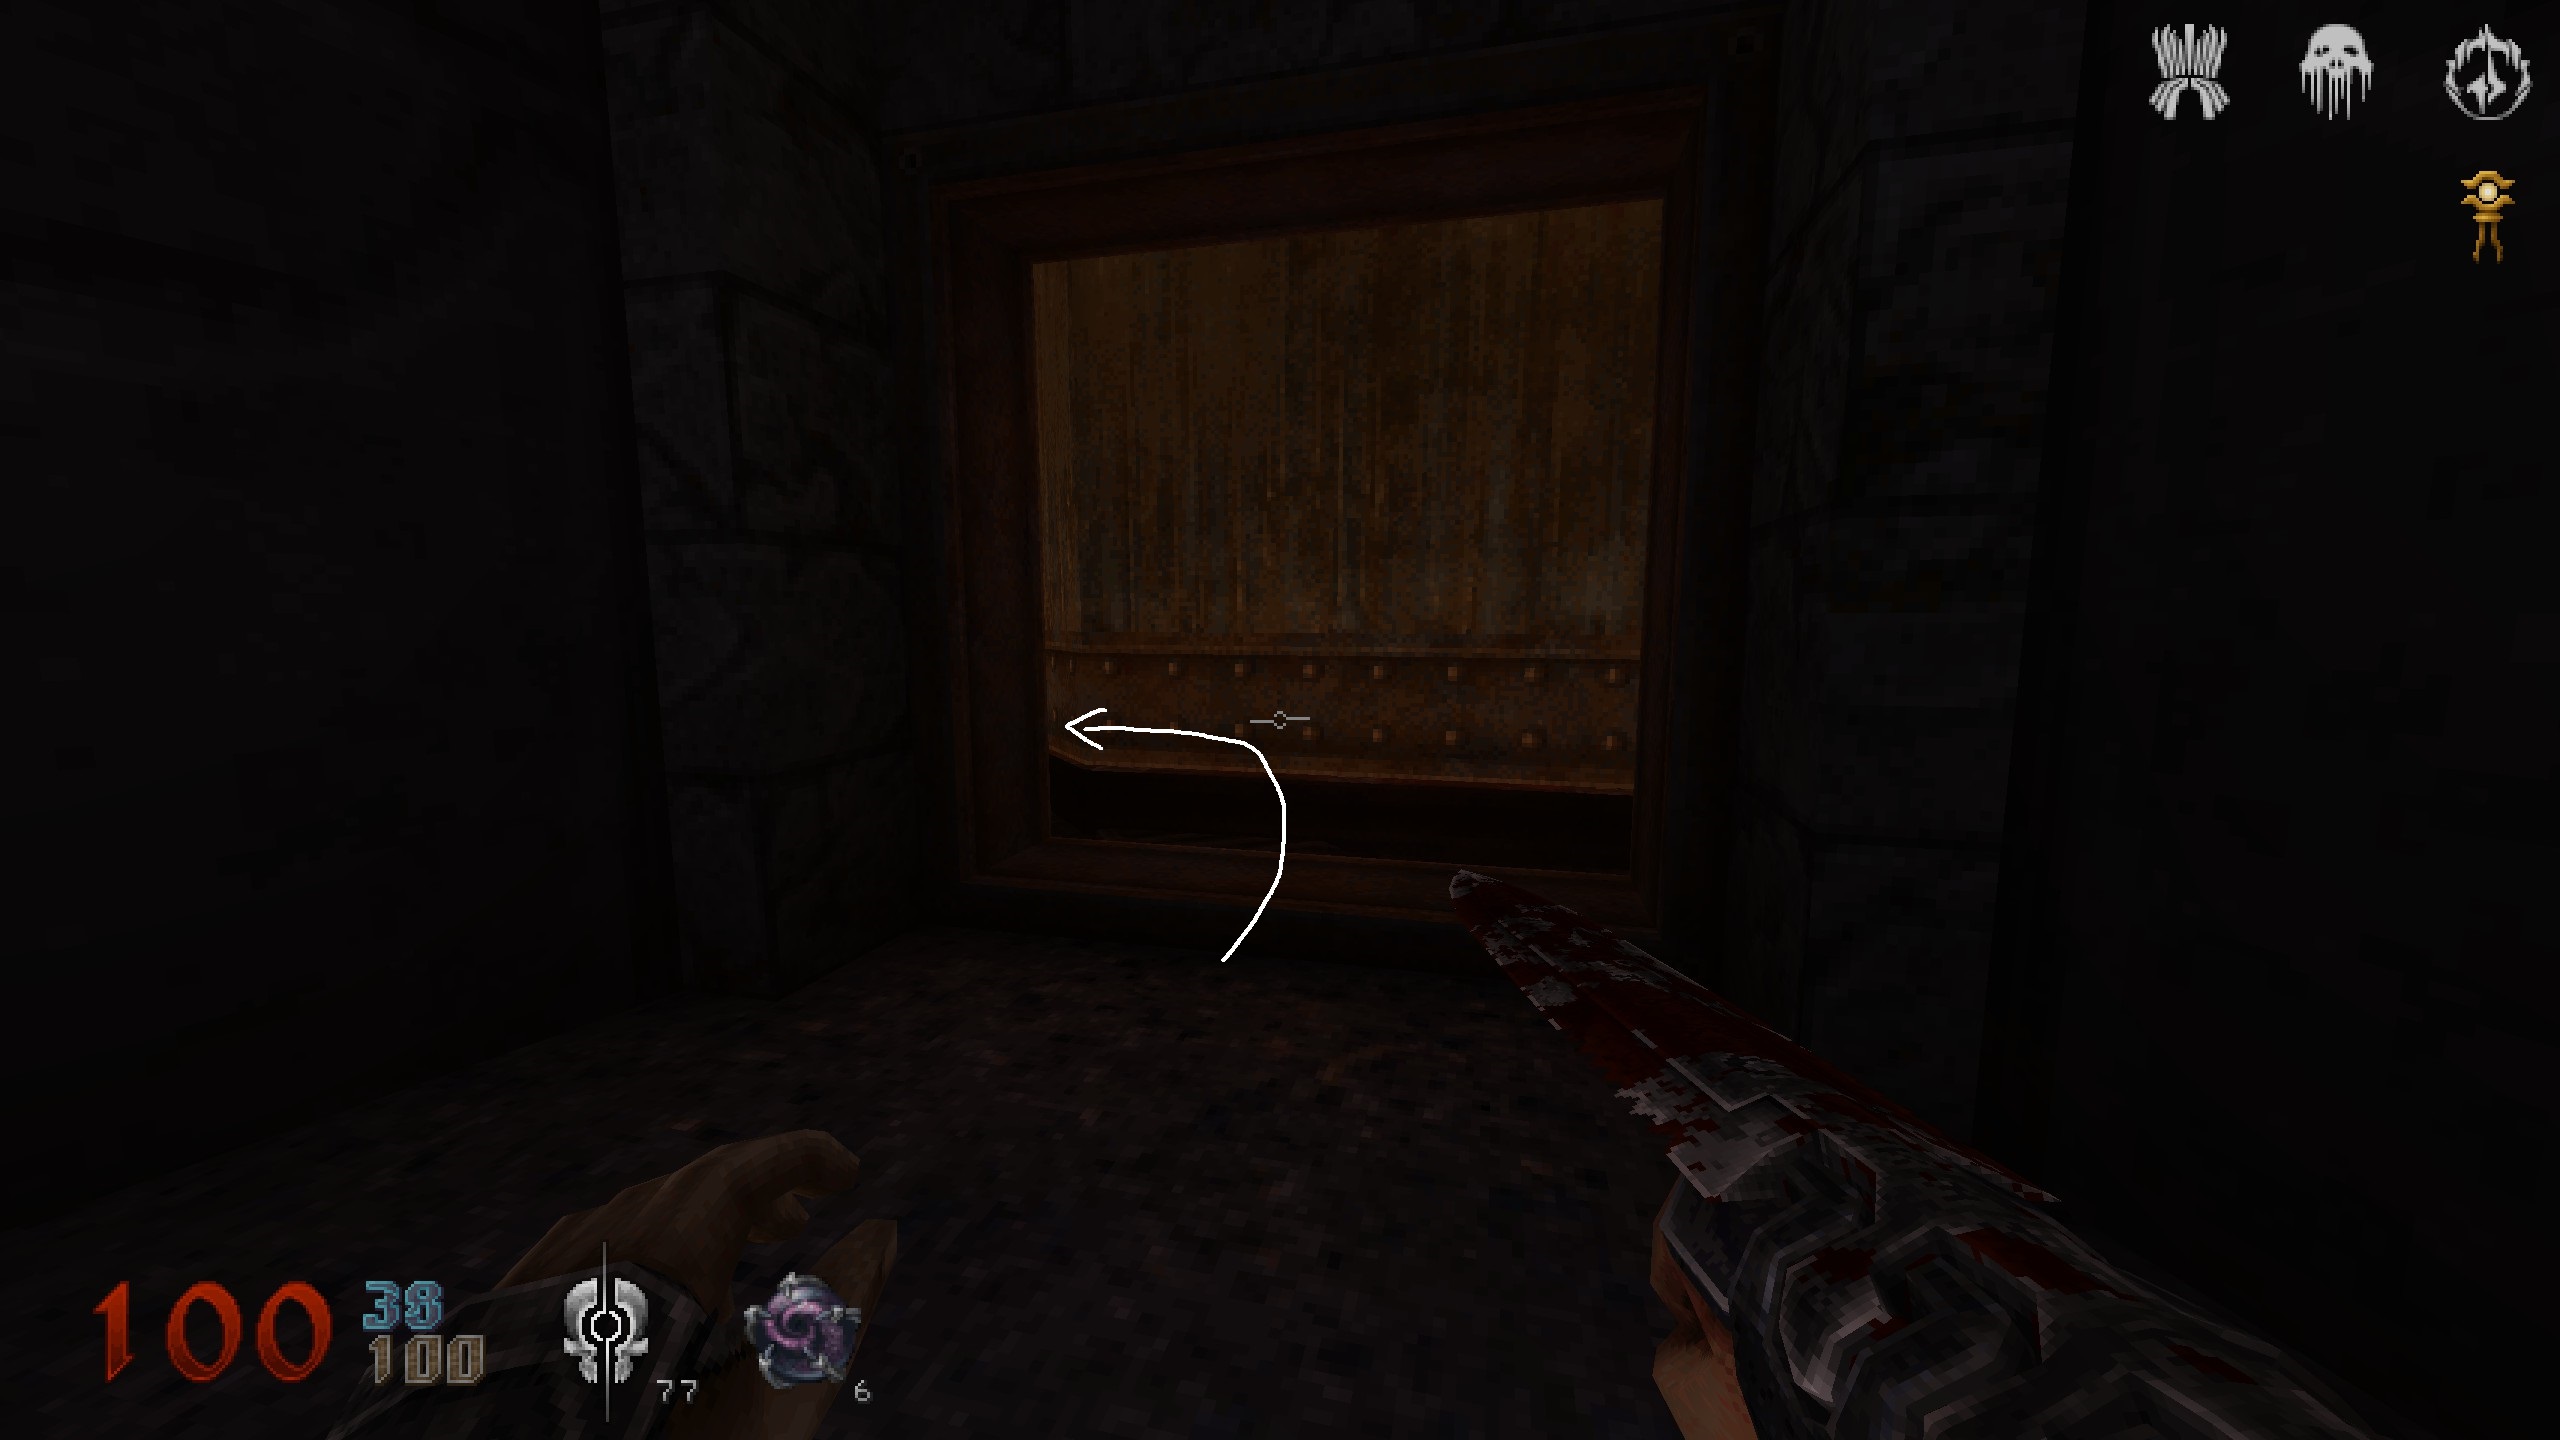
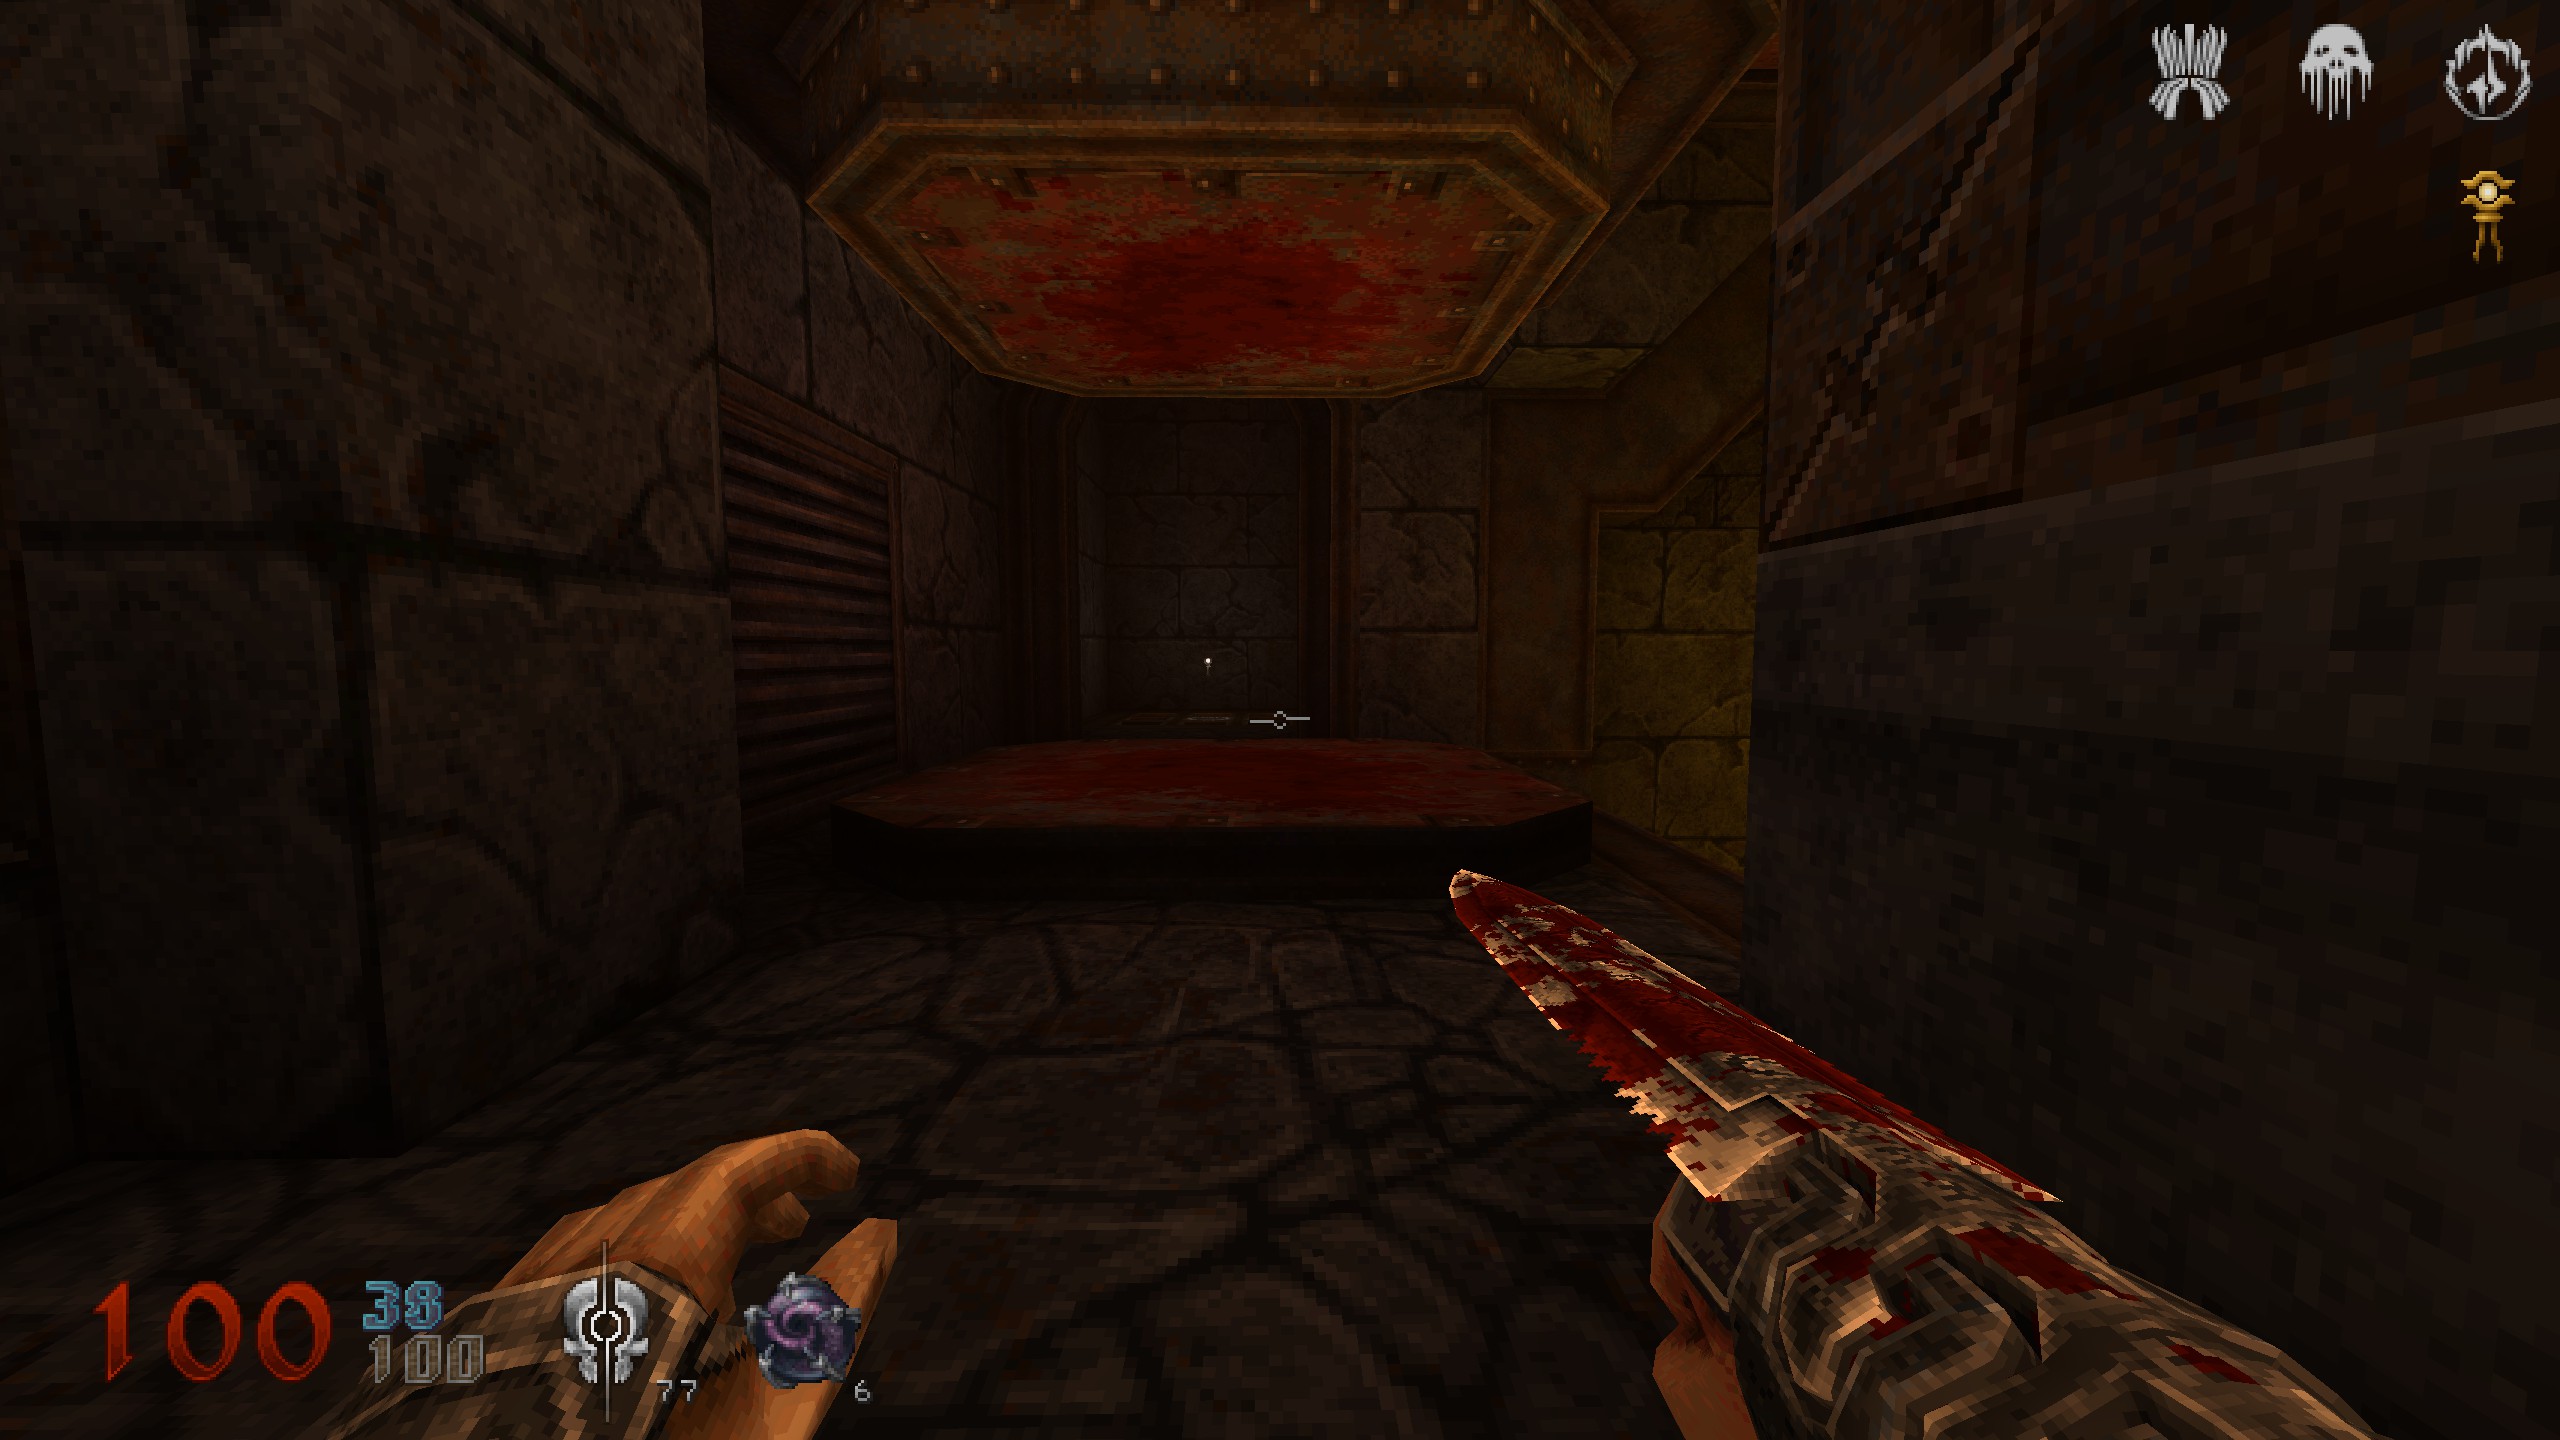
S20
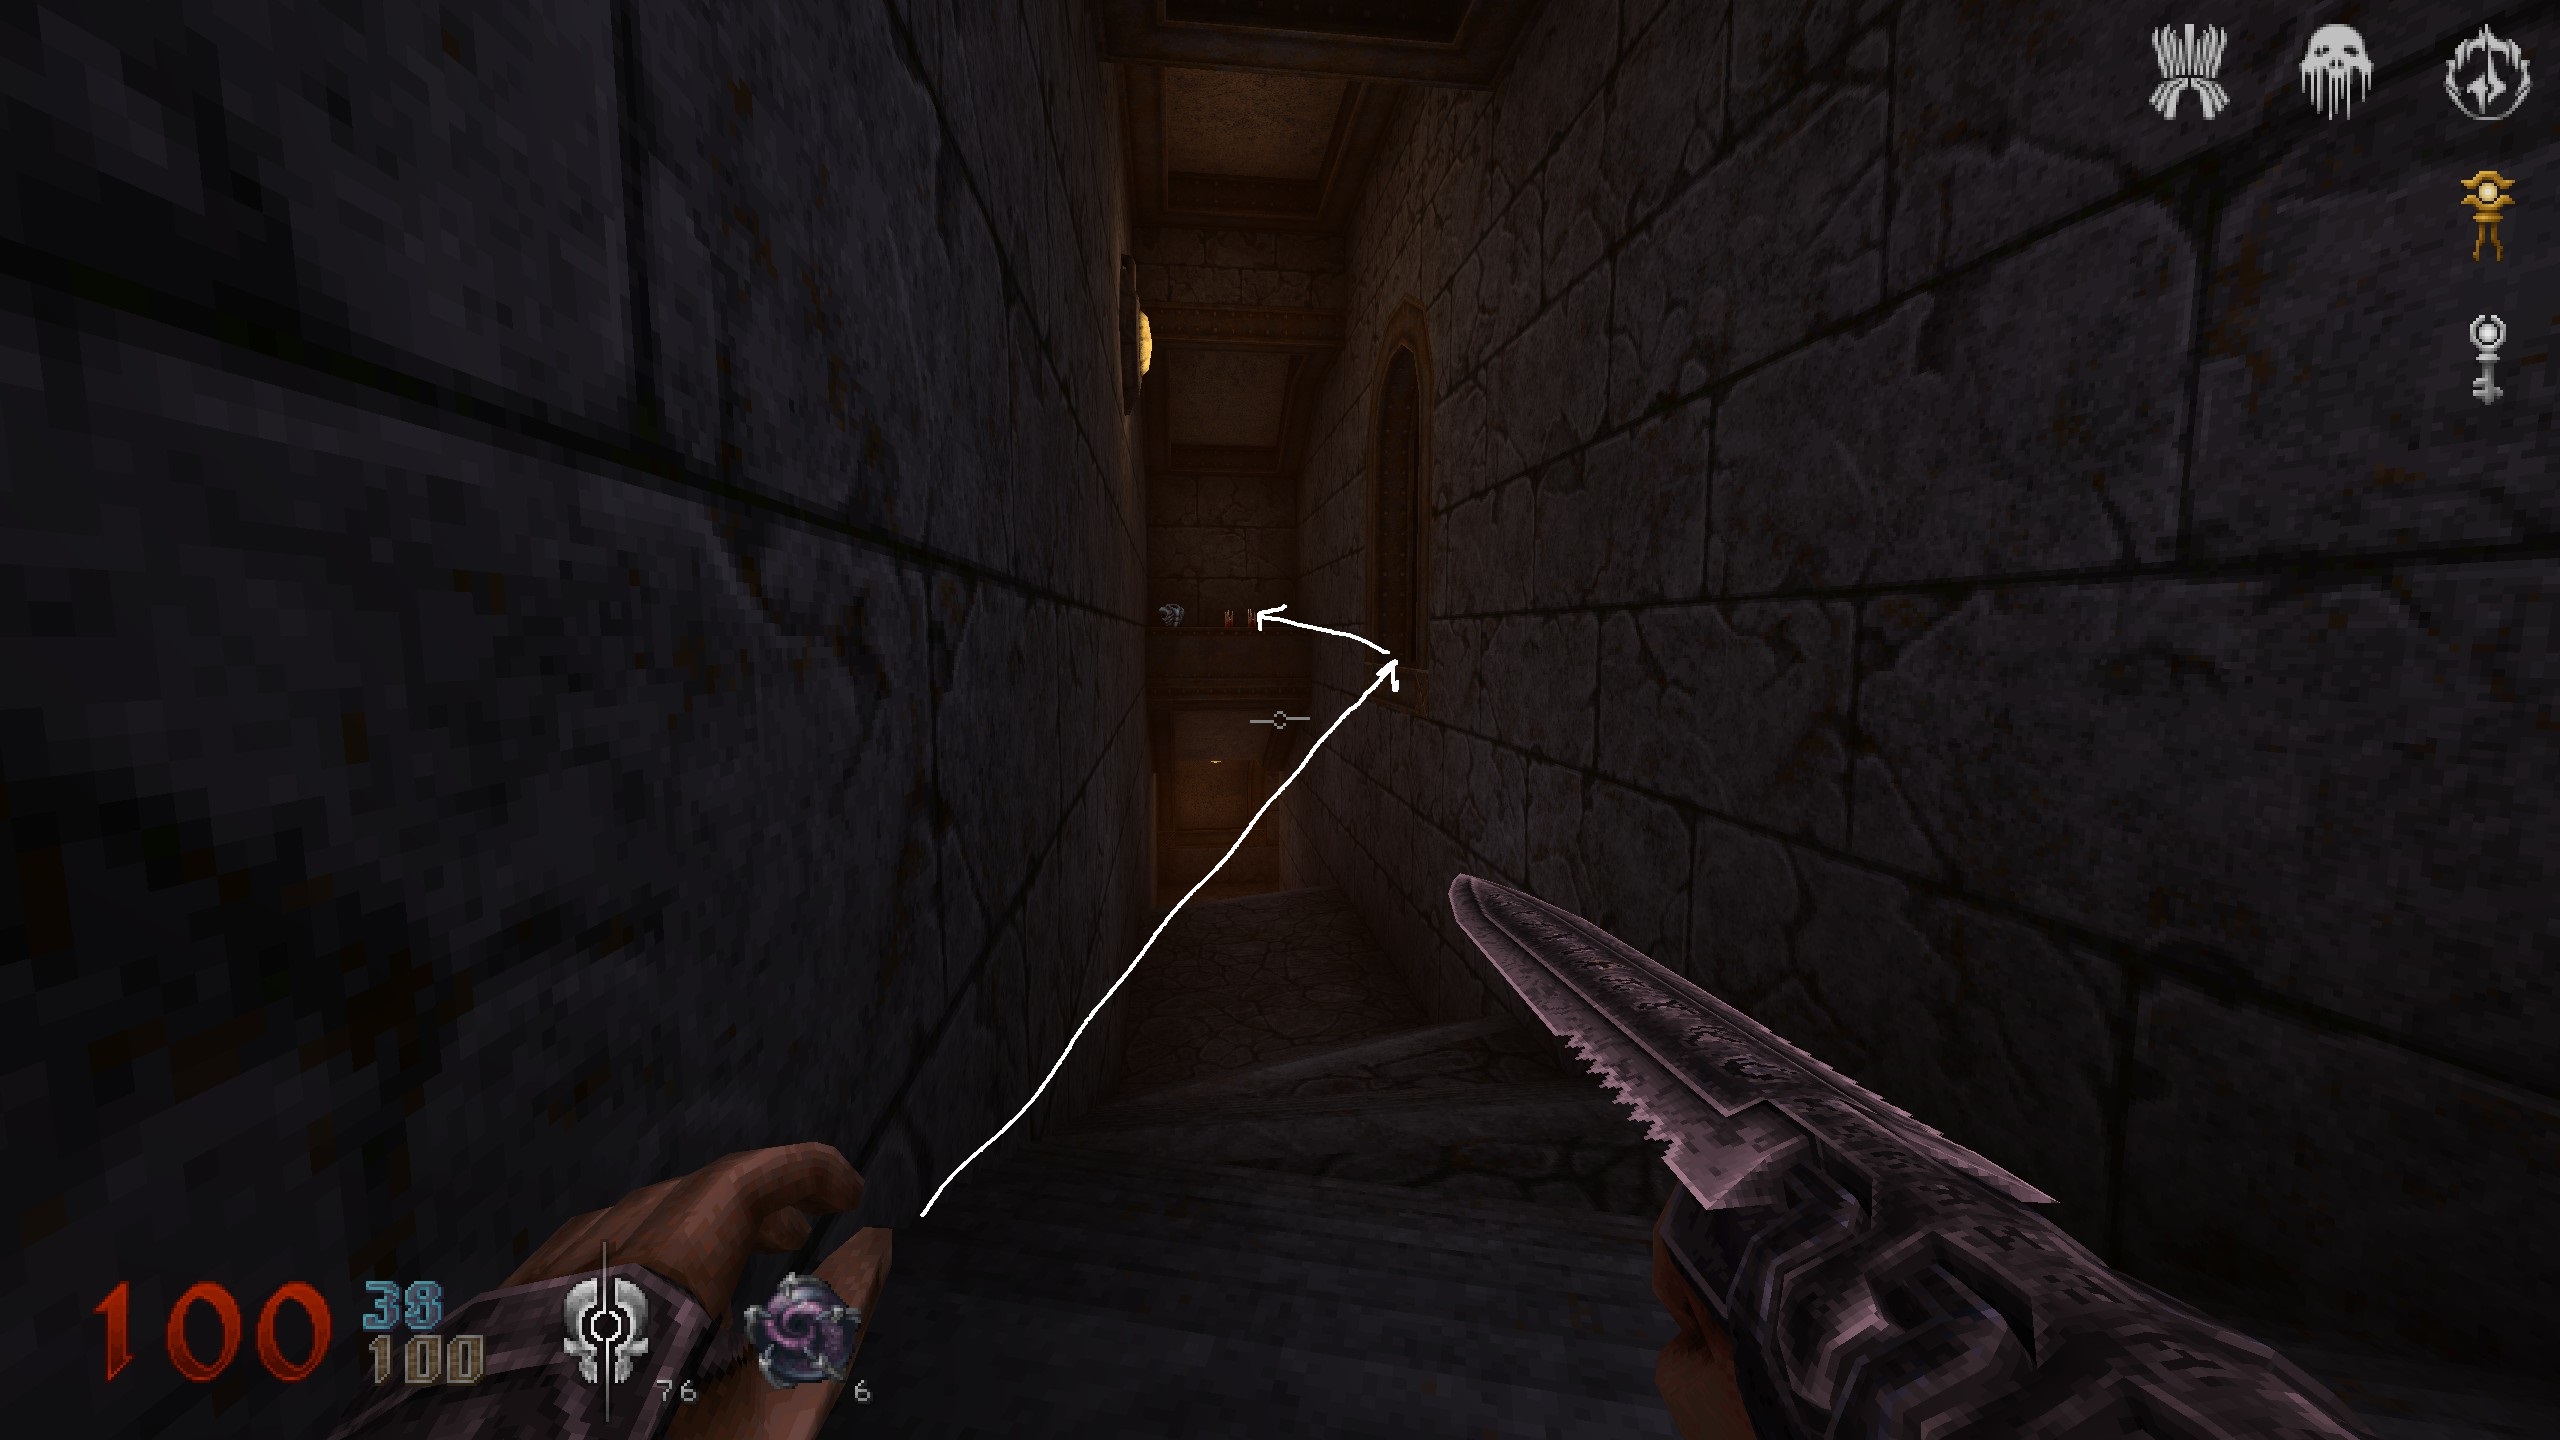
You just passed the 3 crushers and went up some stairs. At the top, turn around. Use window to jump up there. Back down and proceed. You will ride down an elevator and have access to the huge cave with the coloured doors again.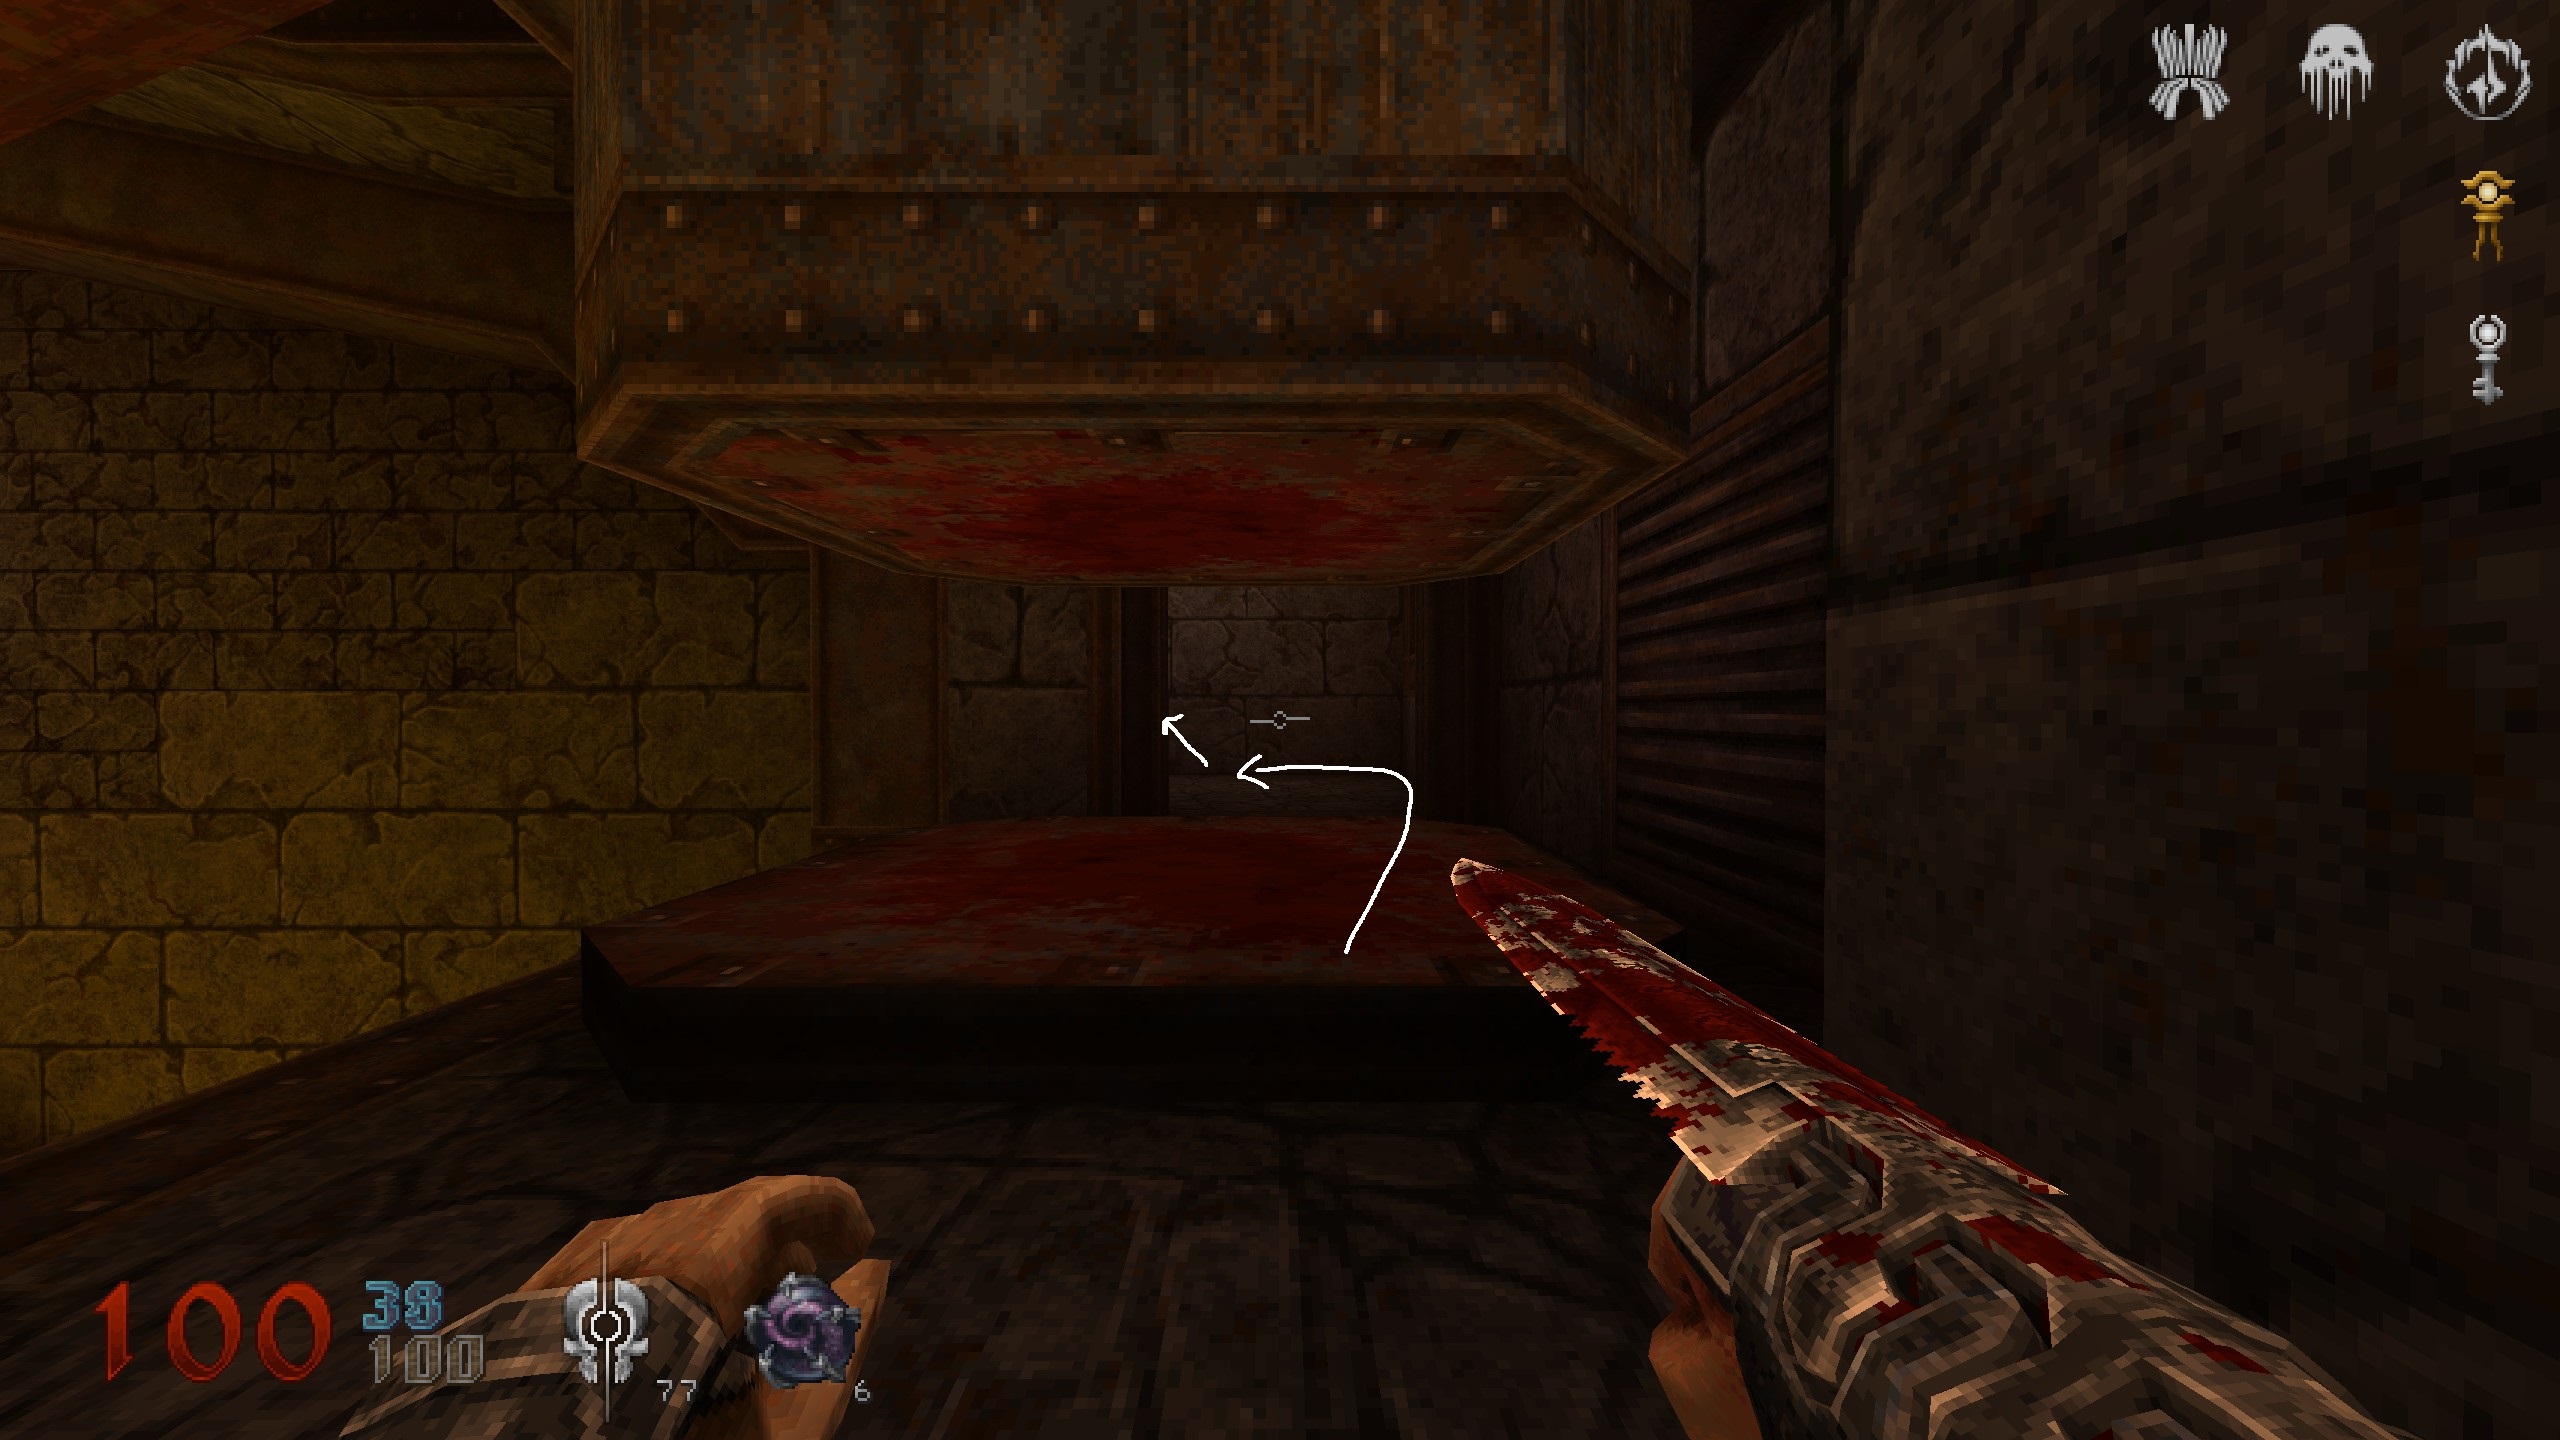
Crate
Remeber the crate where the blue key was. Get over there and then continue towards the yellow door.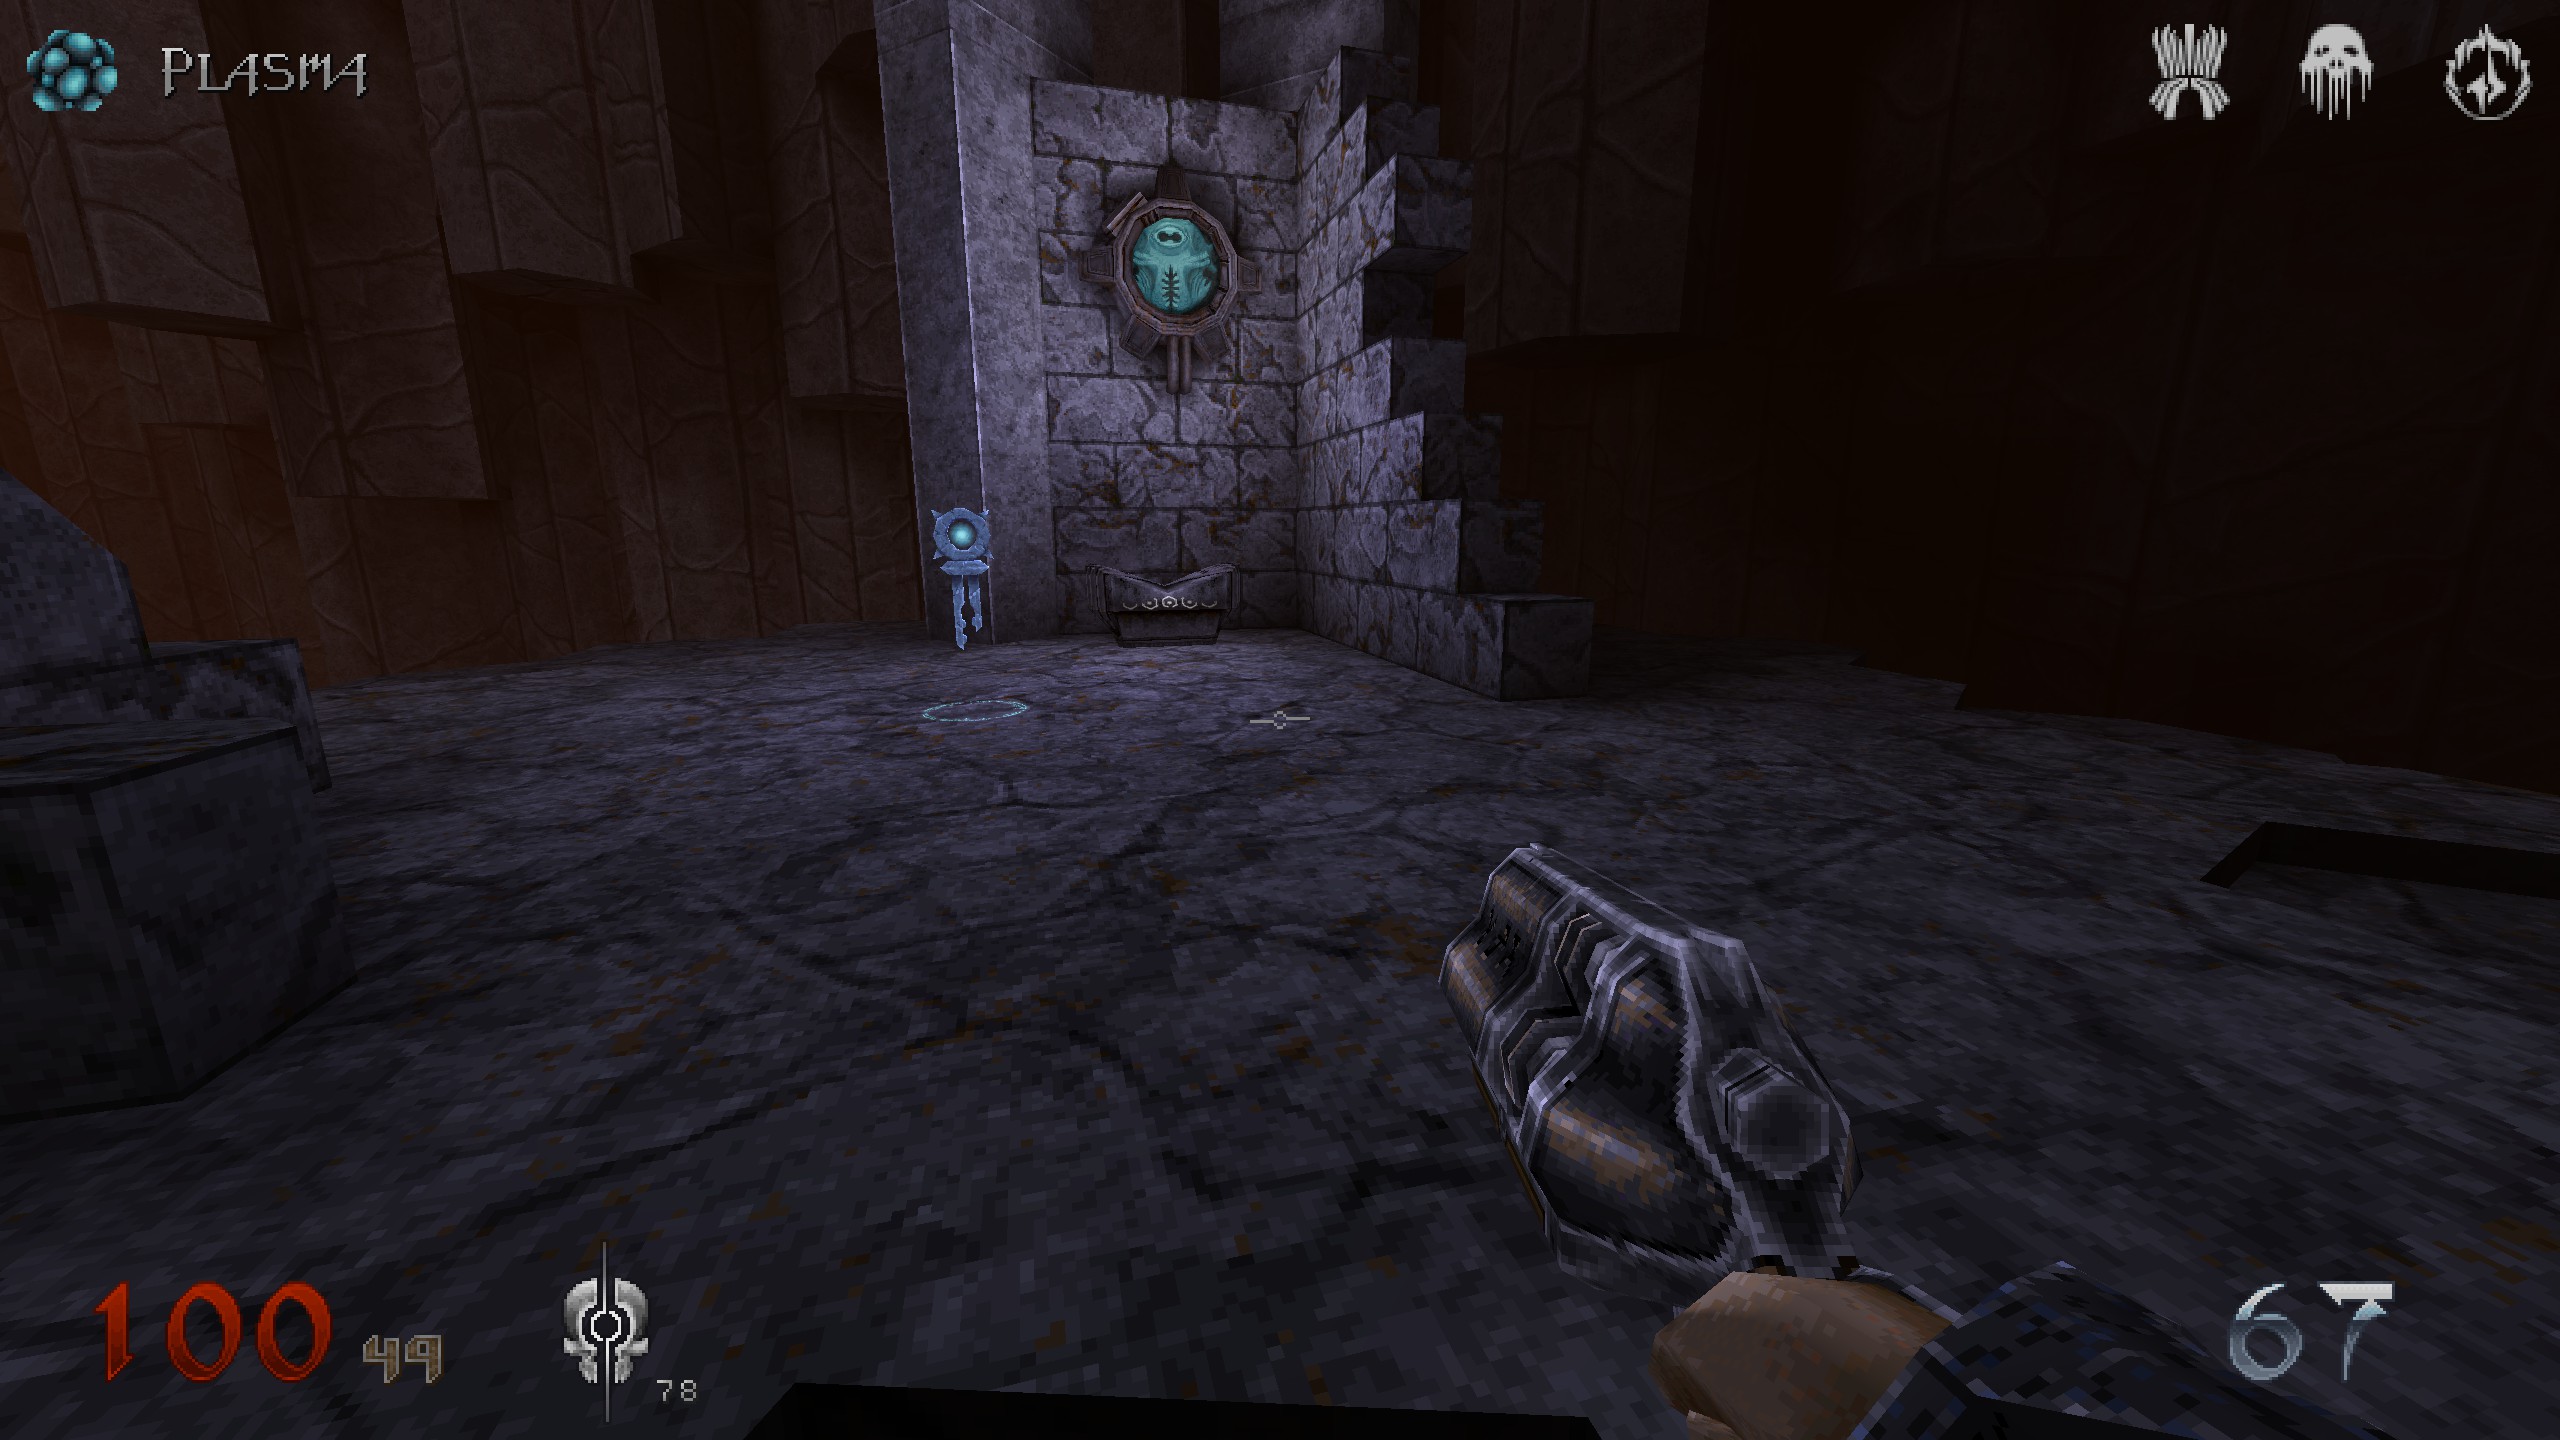
S21 & S22
After going through the yellow door, go right and up the path into the door. Procced unitl steel bars opne in front of you and a teleporter appears. Just it and when you spawn again, jump over to the left. Follow the stairs and you will come across another bloody plate. Destroy it and get in there. Get through the hole in the wall and up the stairs. When you can see a lava fall on your left, stop. Turn left and pump over there and up till you reach the item. Drop down where the stairs are and go up. At the junction, jump into the one with the teleporter – right side. After teleporter, jump straight ahead, then drop down and go right up the stairs, back on track for mission heading for a huge room with 2 lava falls and lots of pipes running along the walls.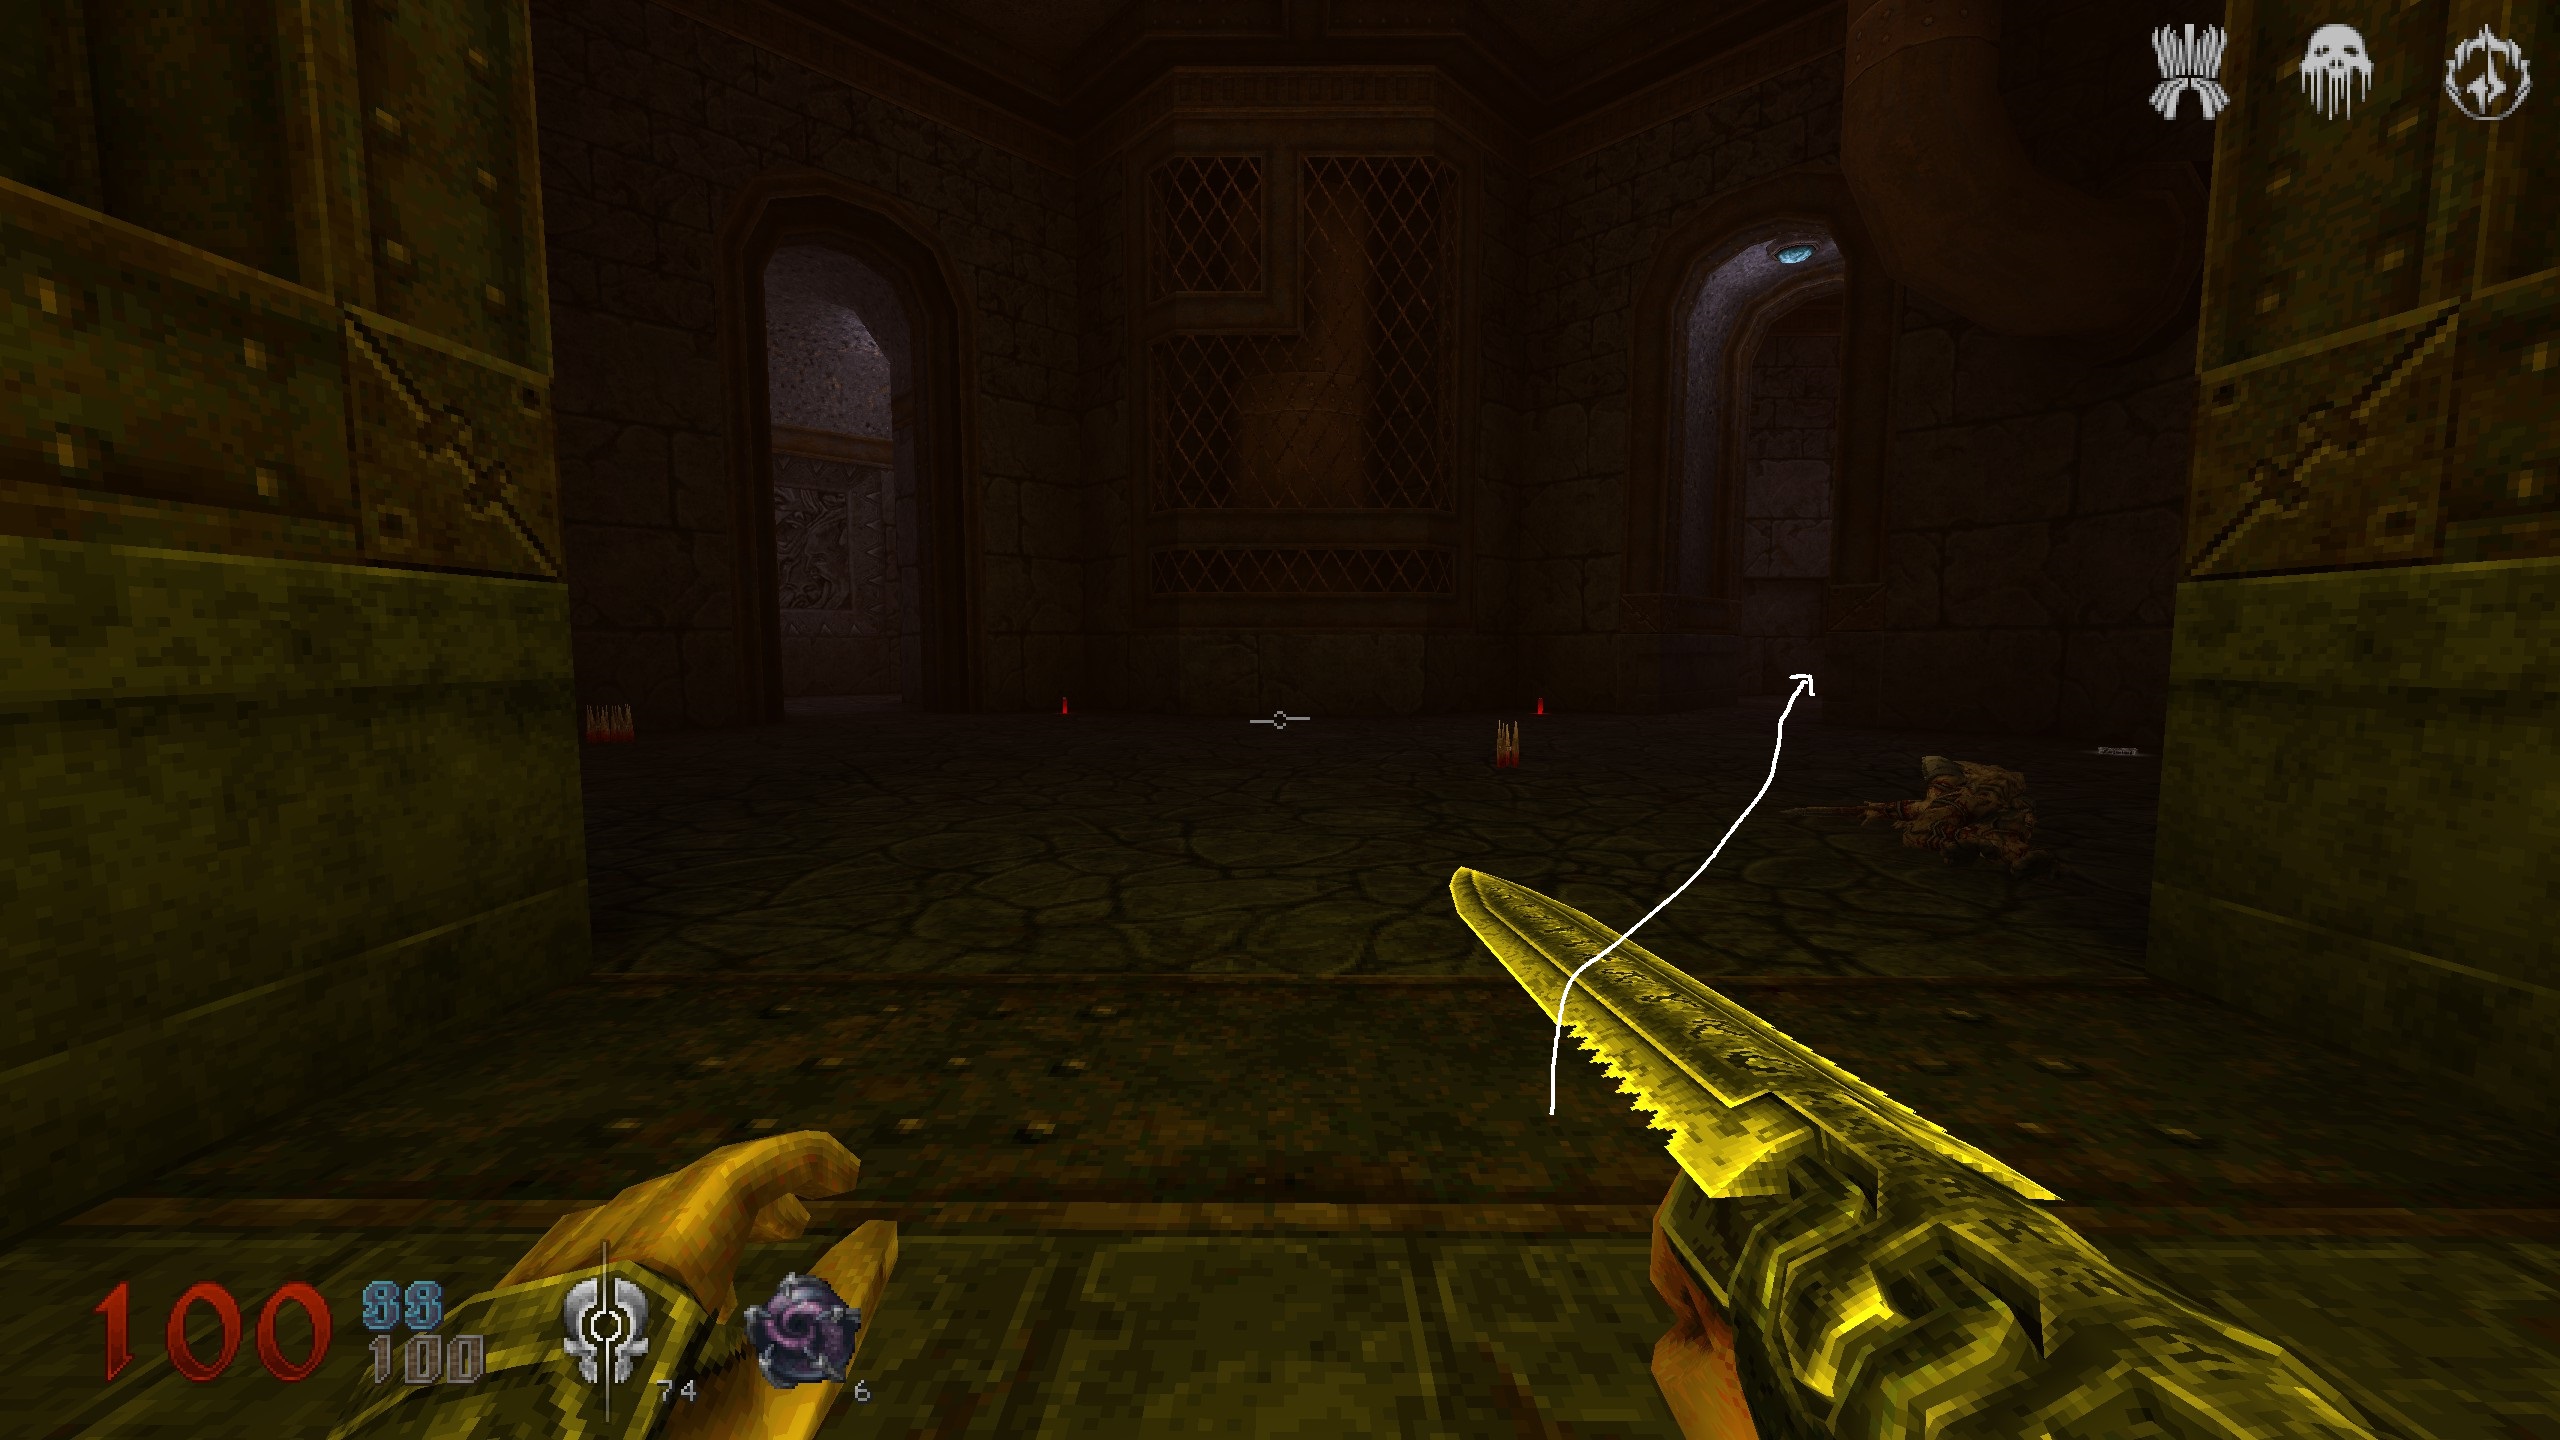
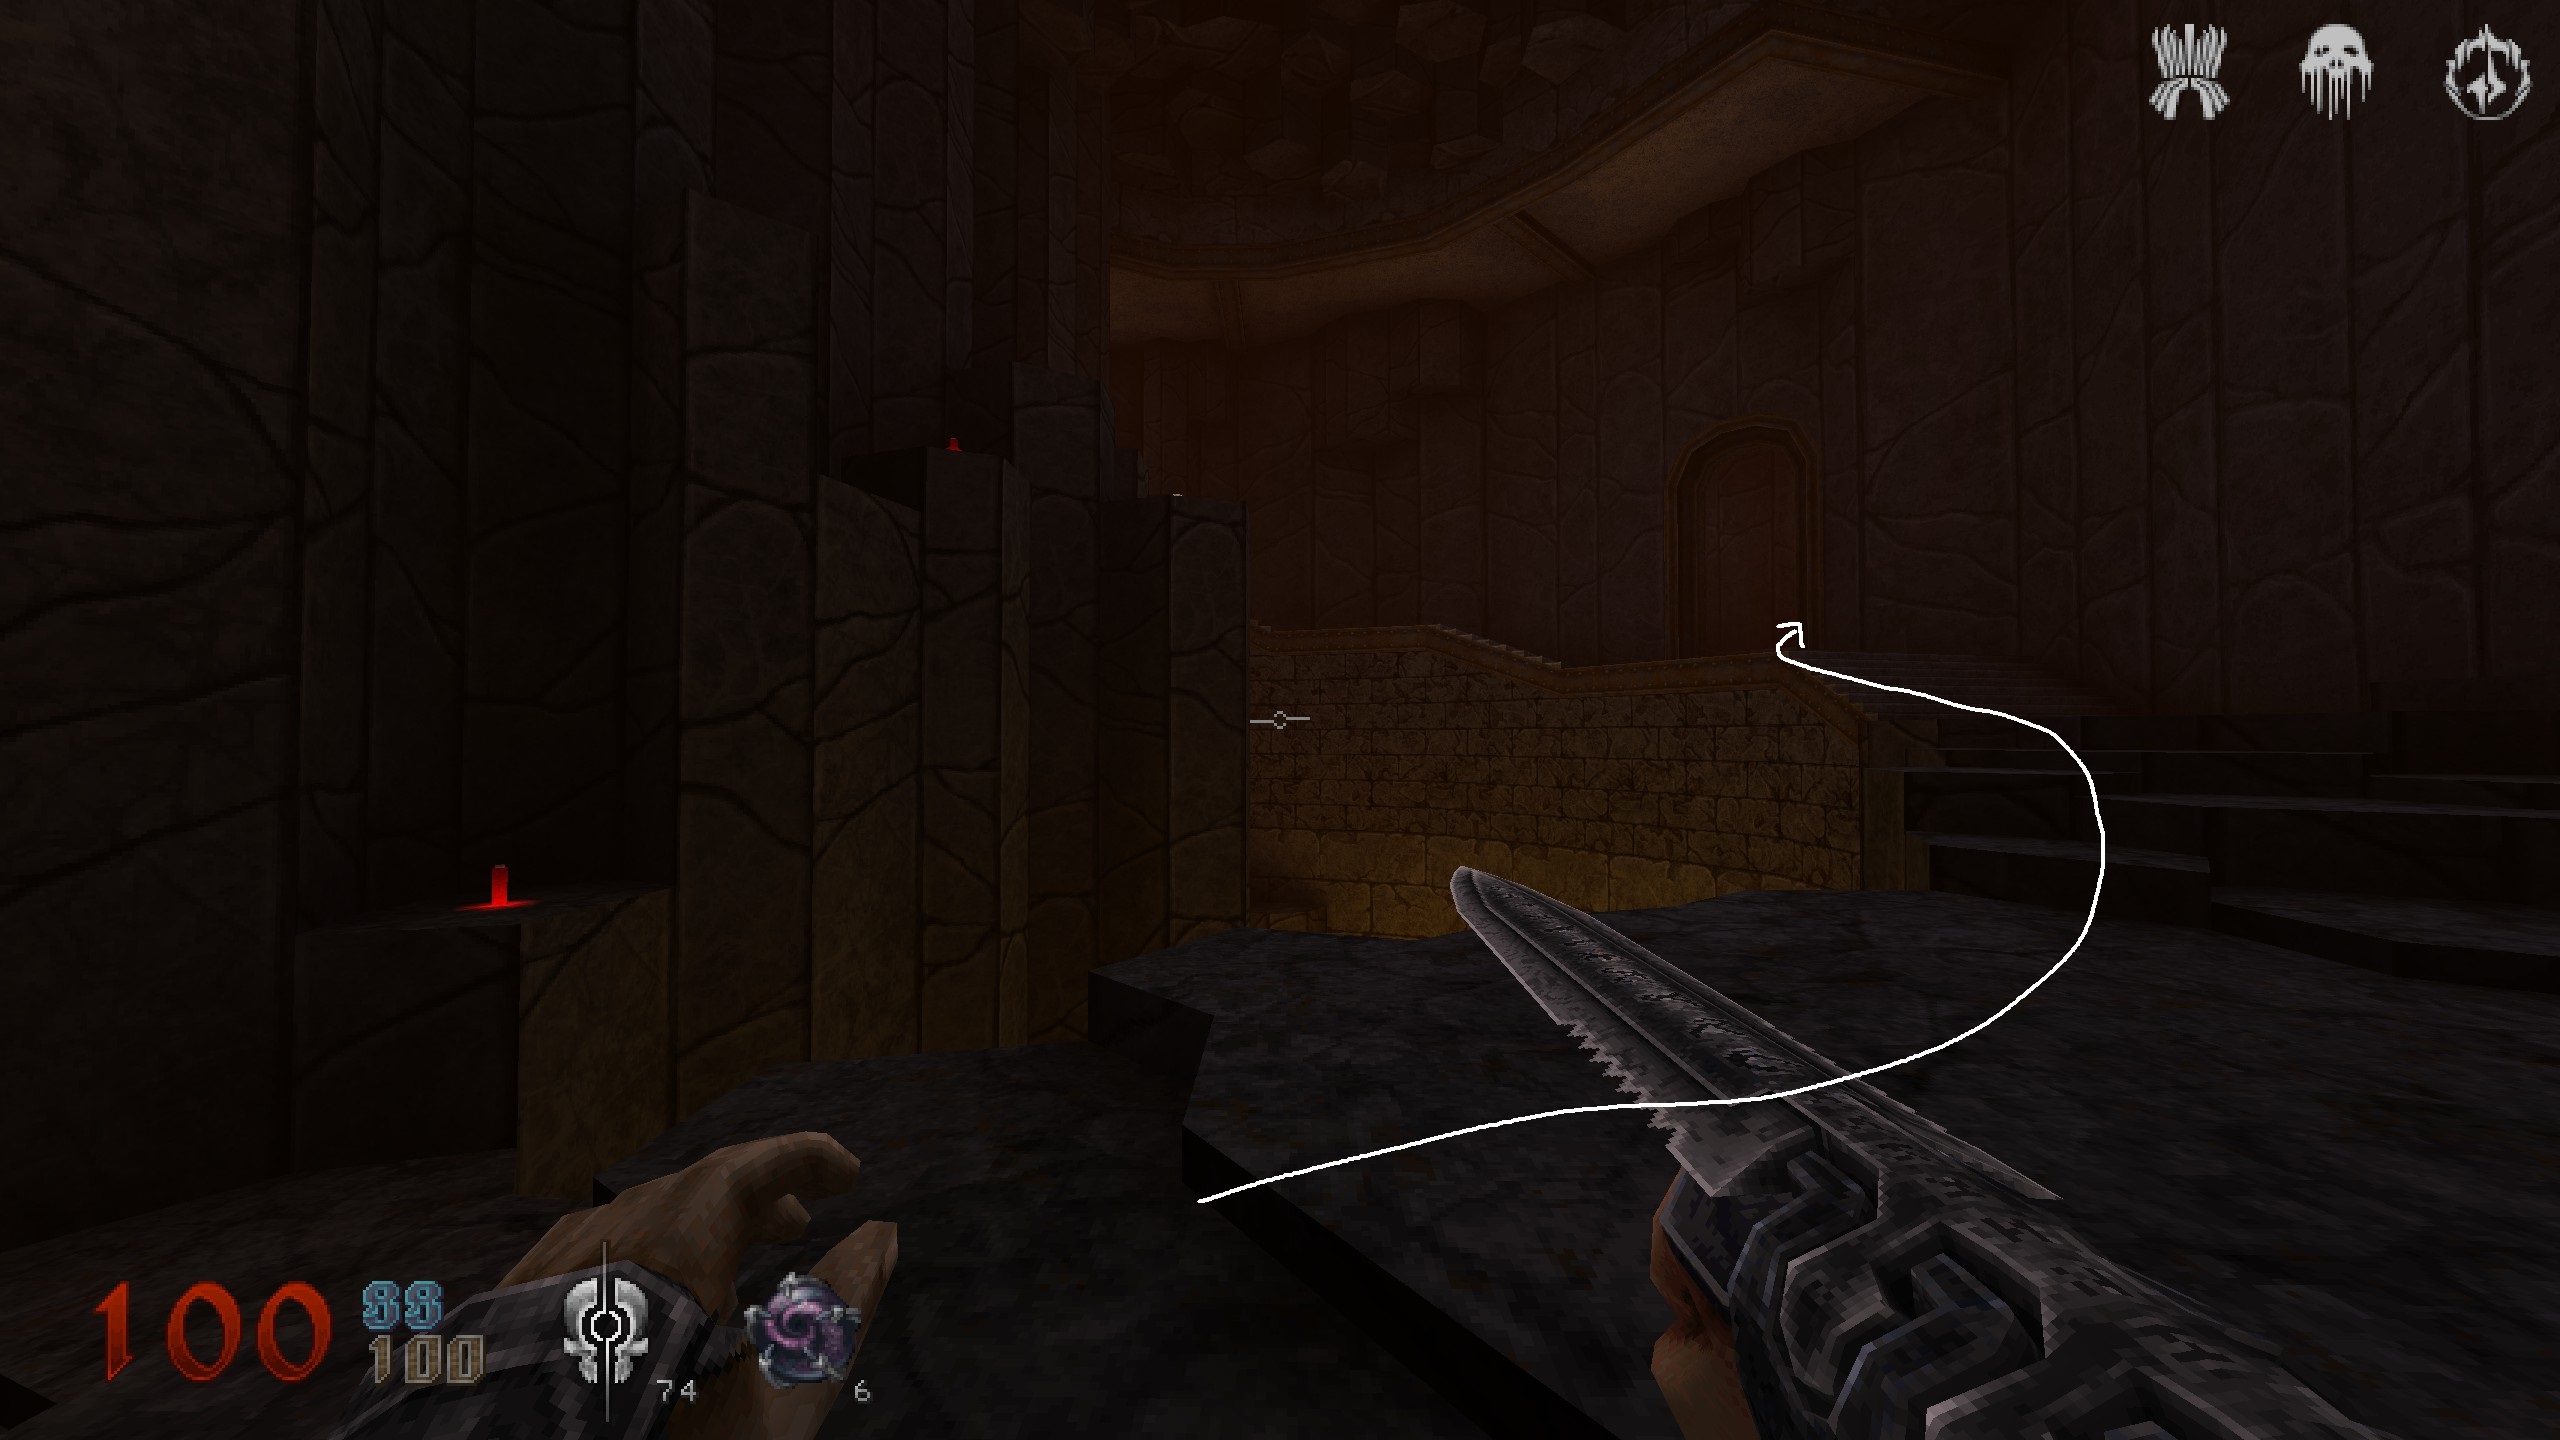
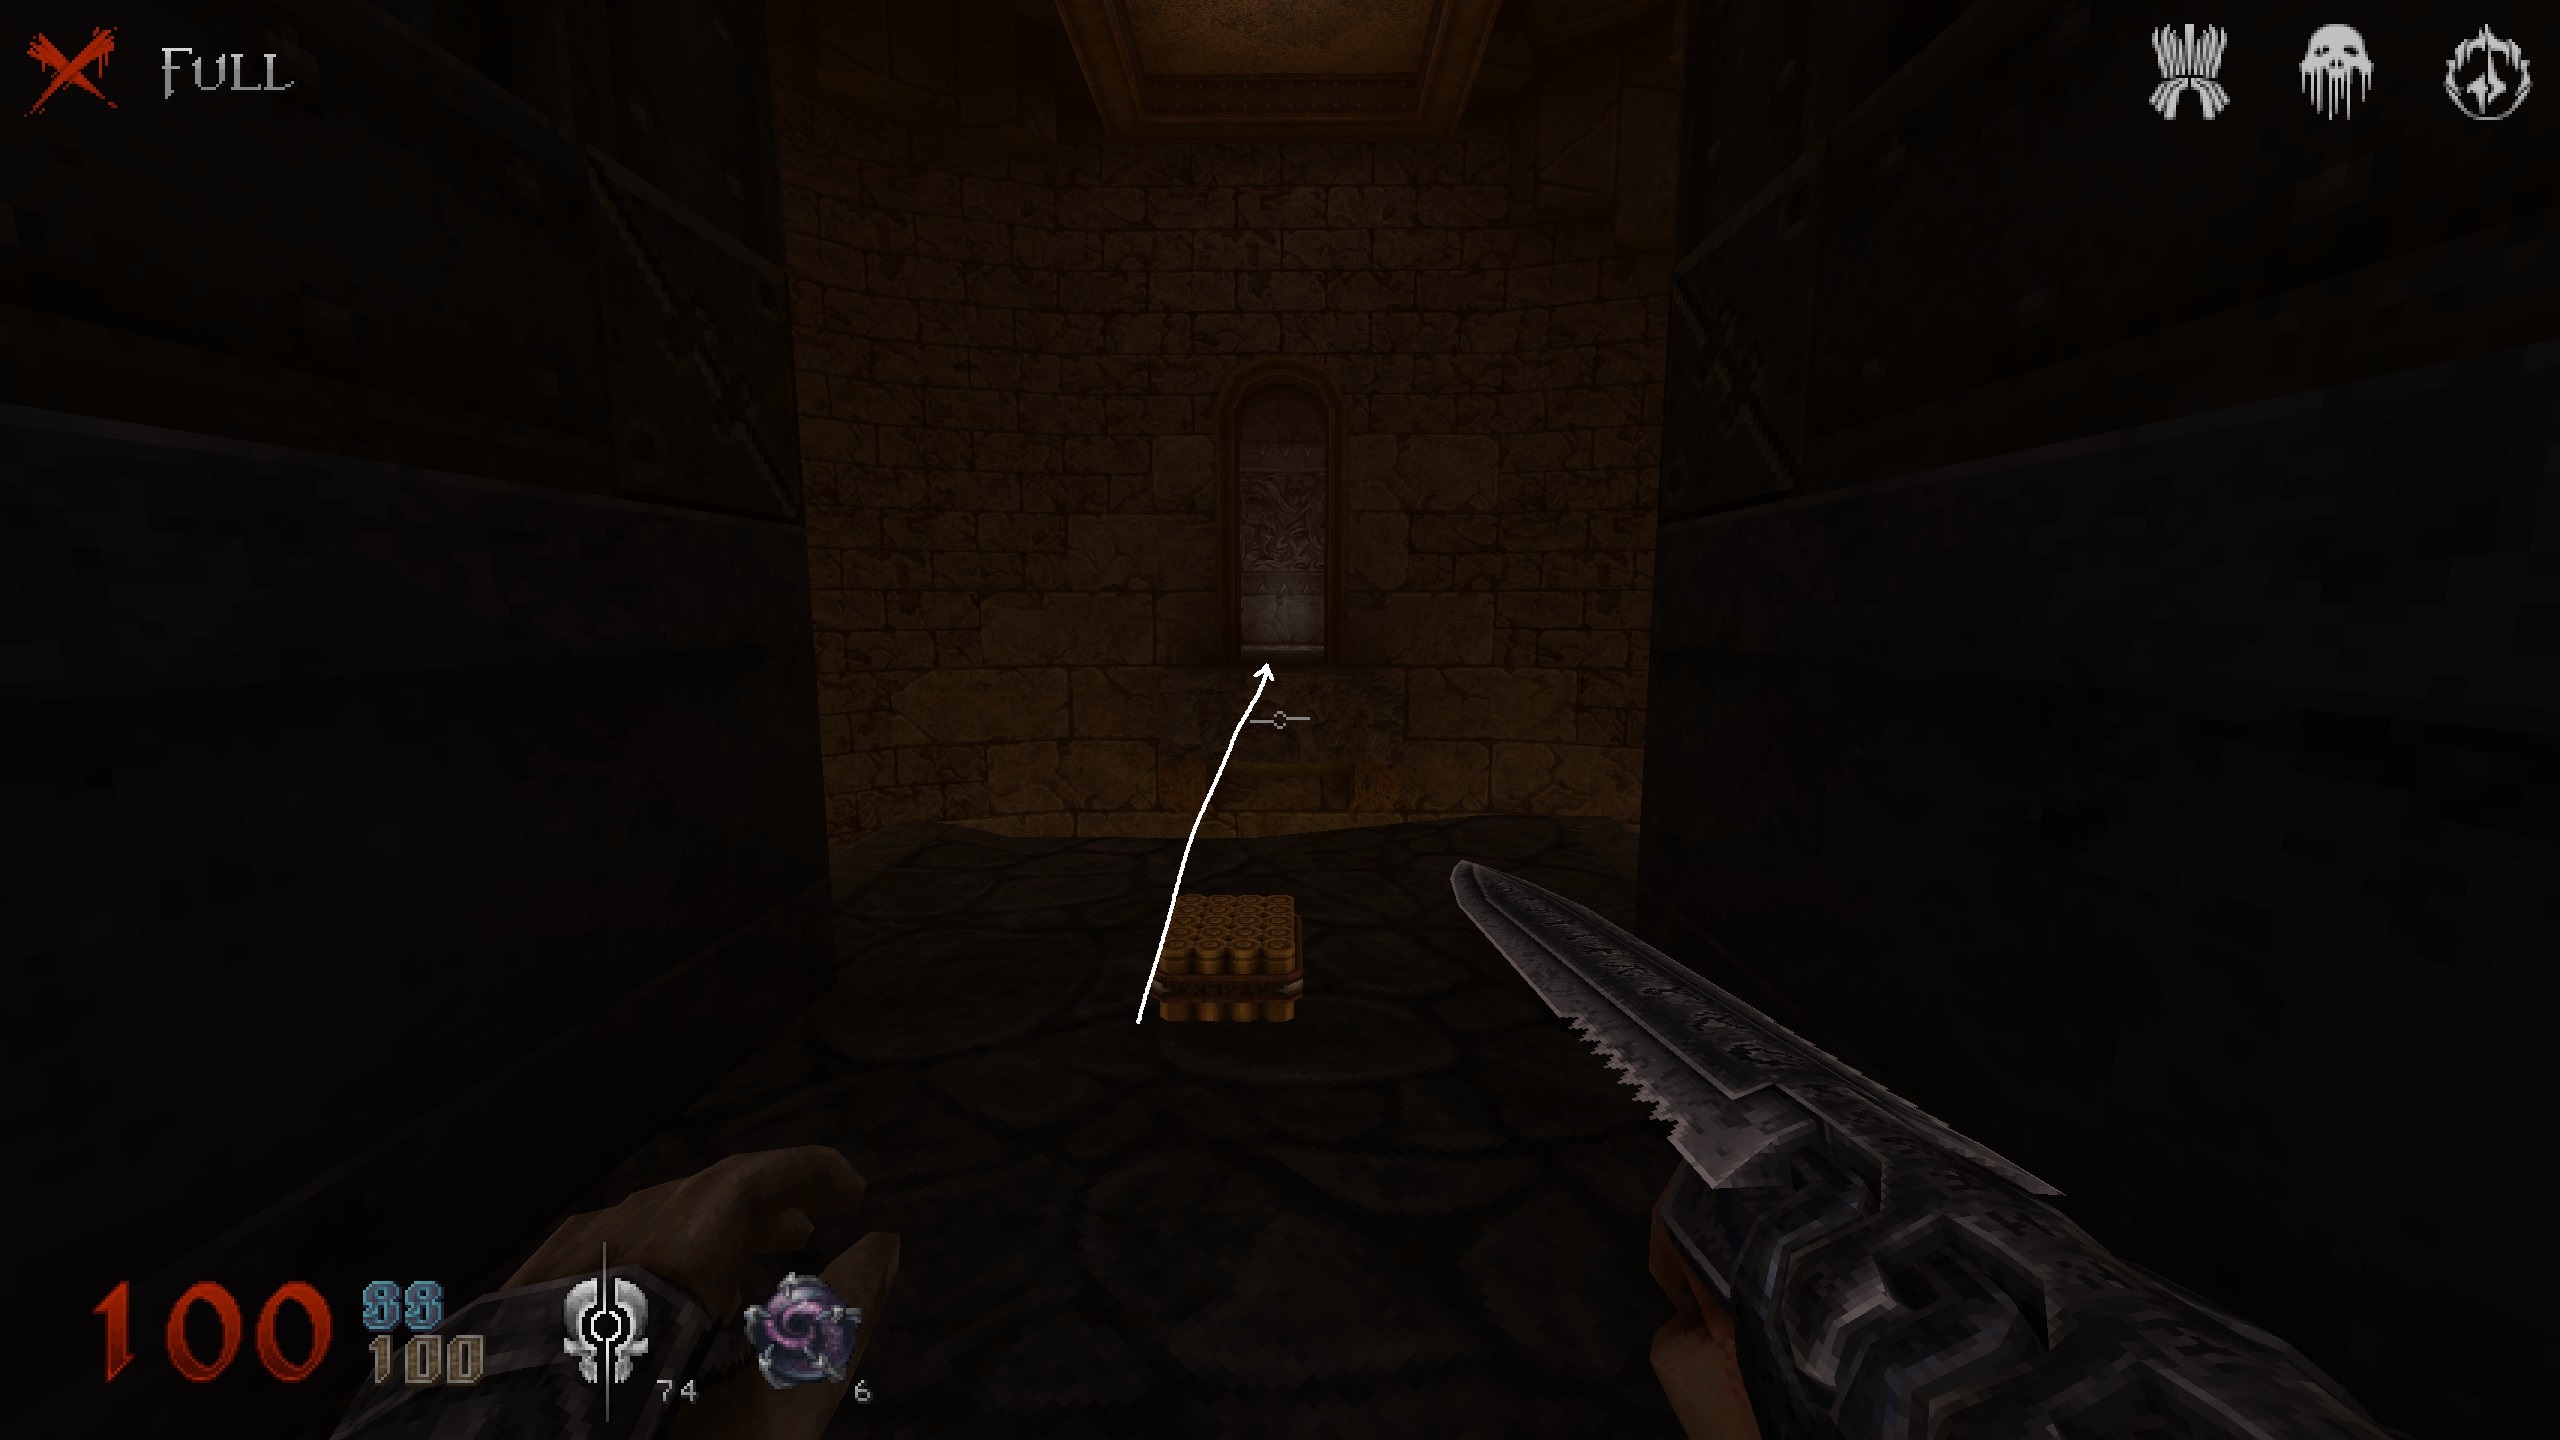
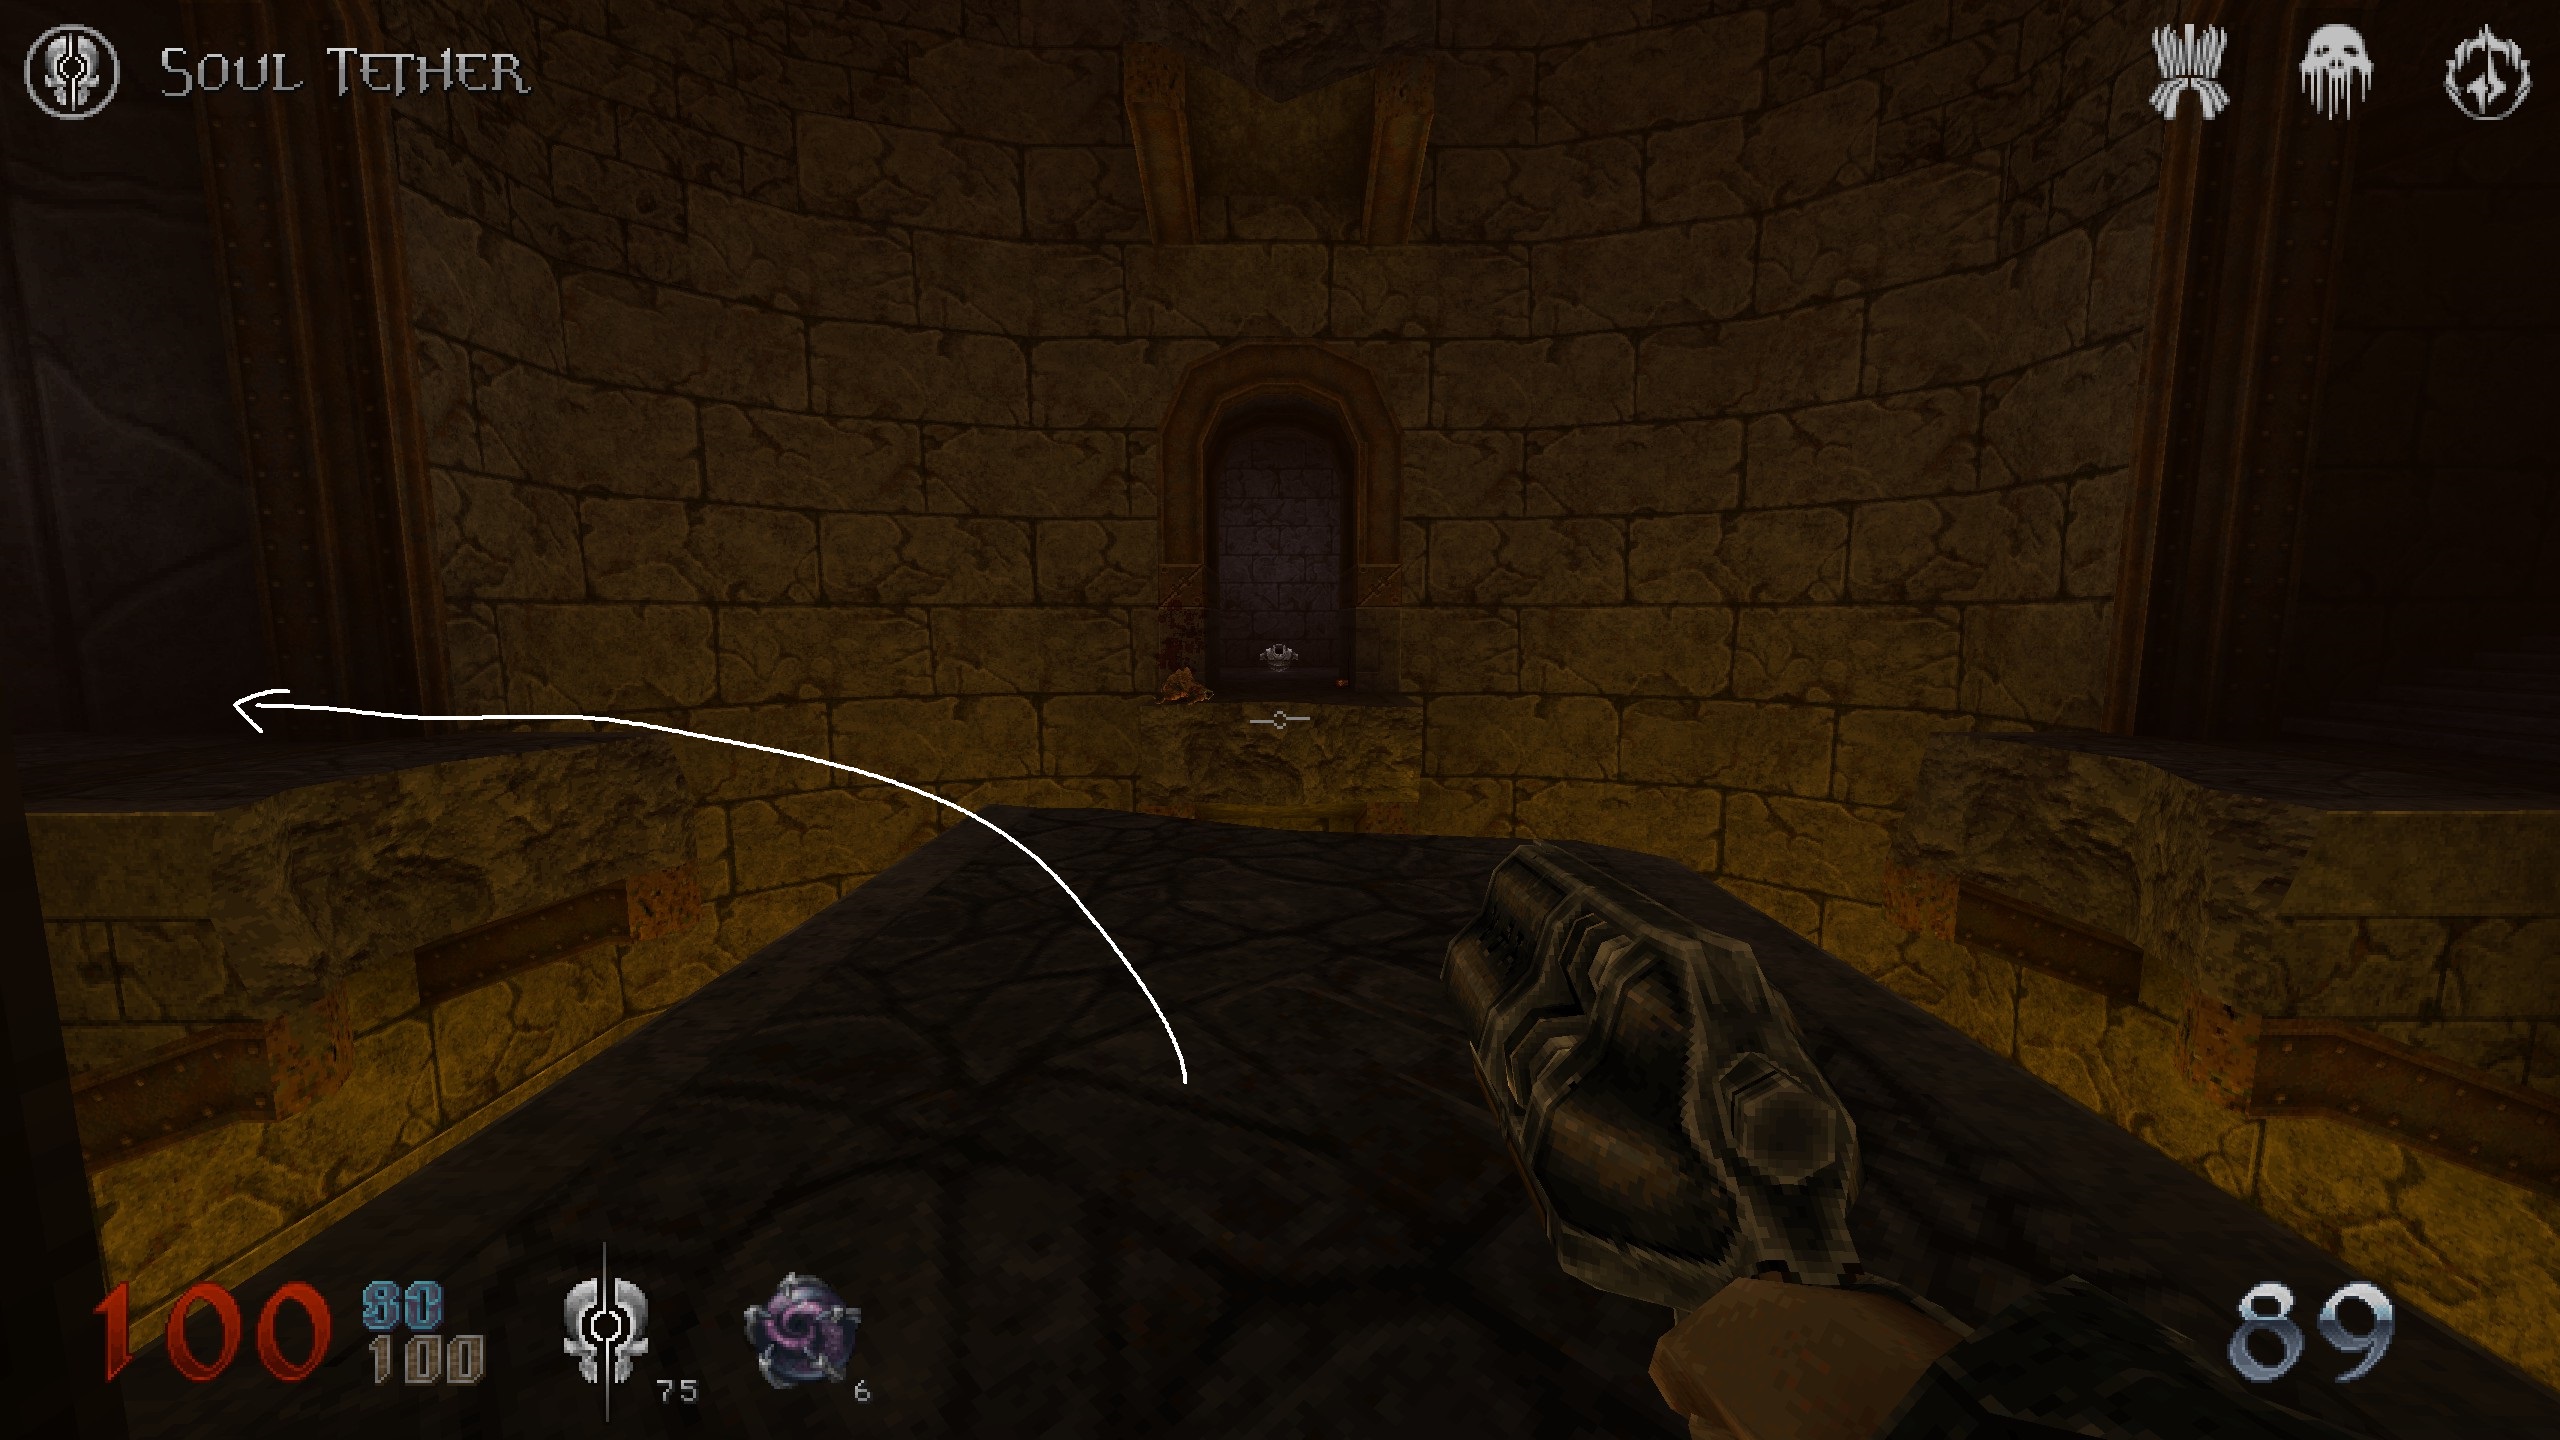
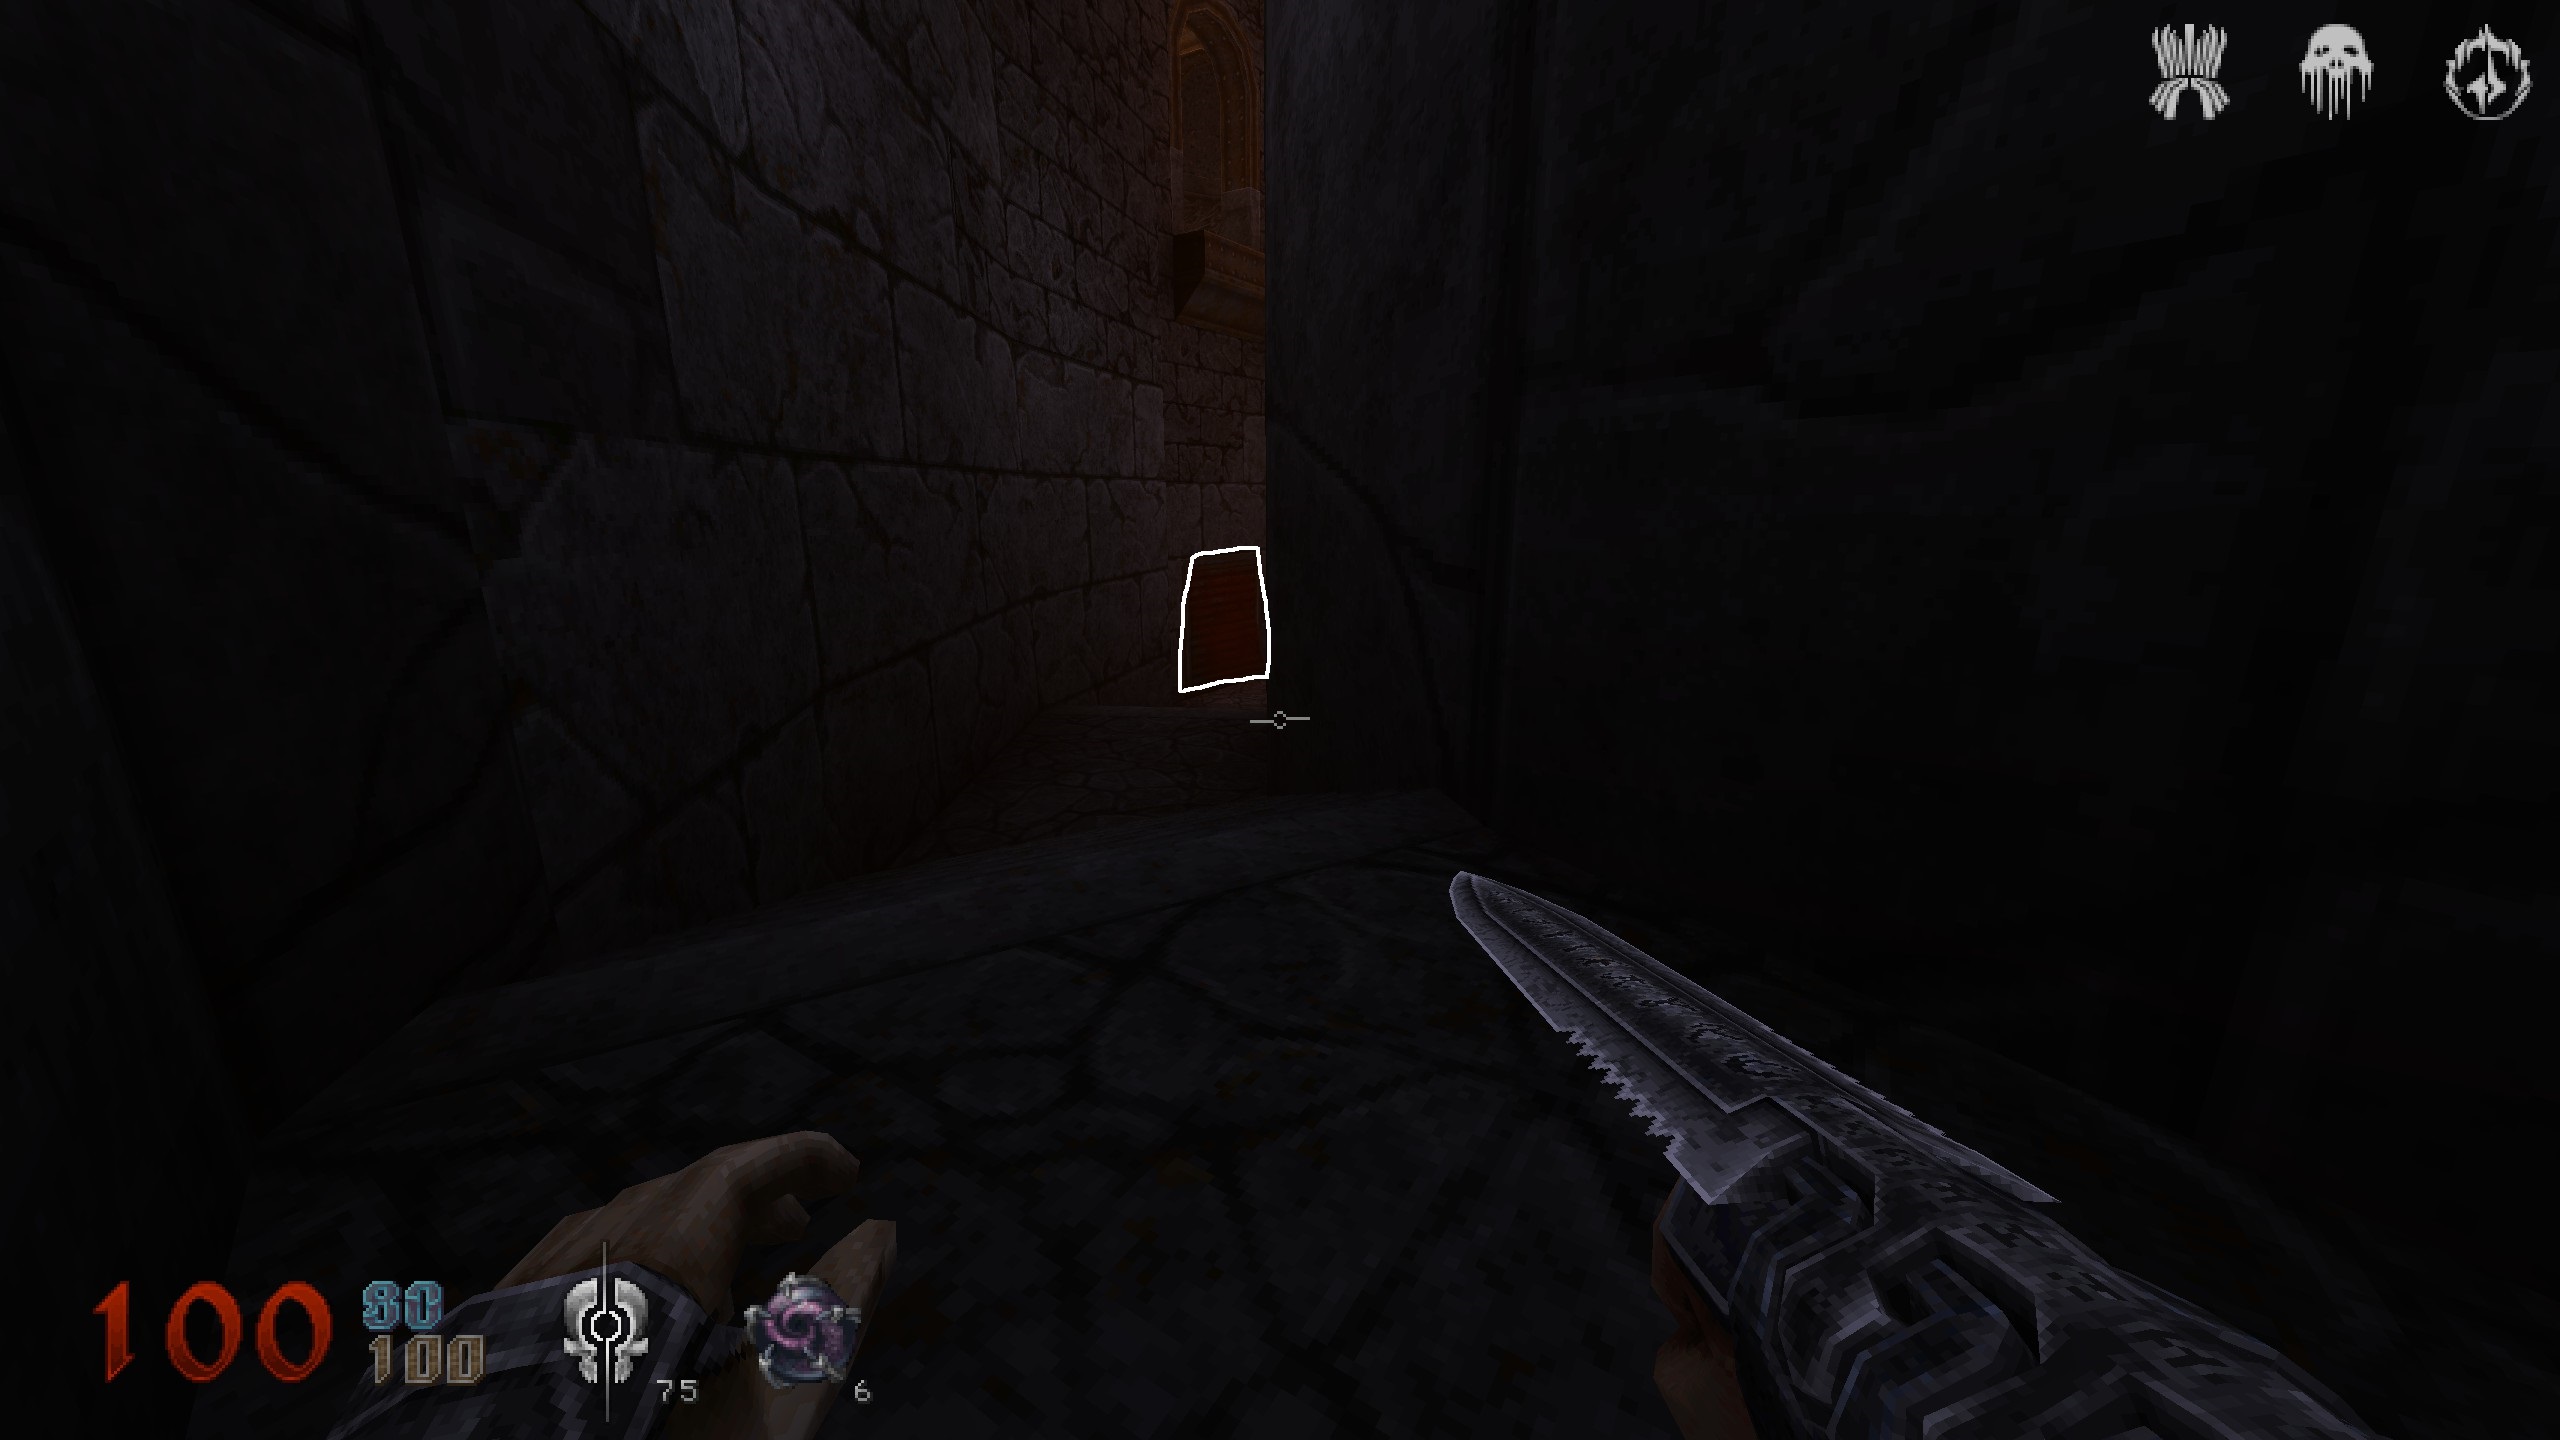
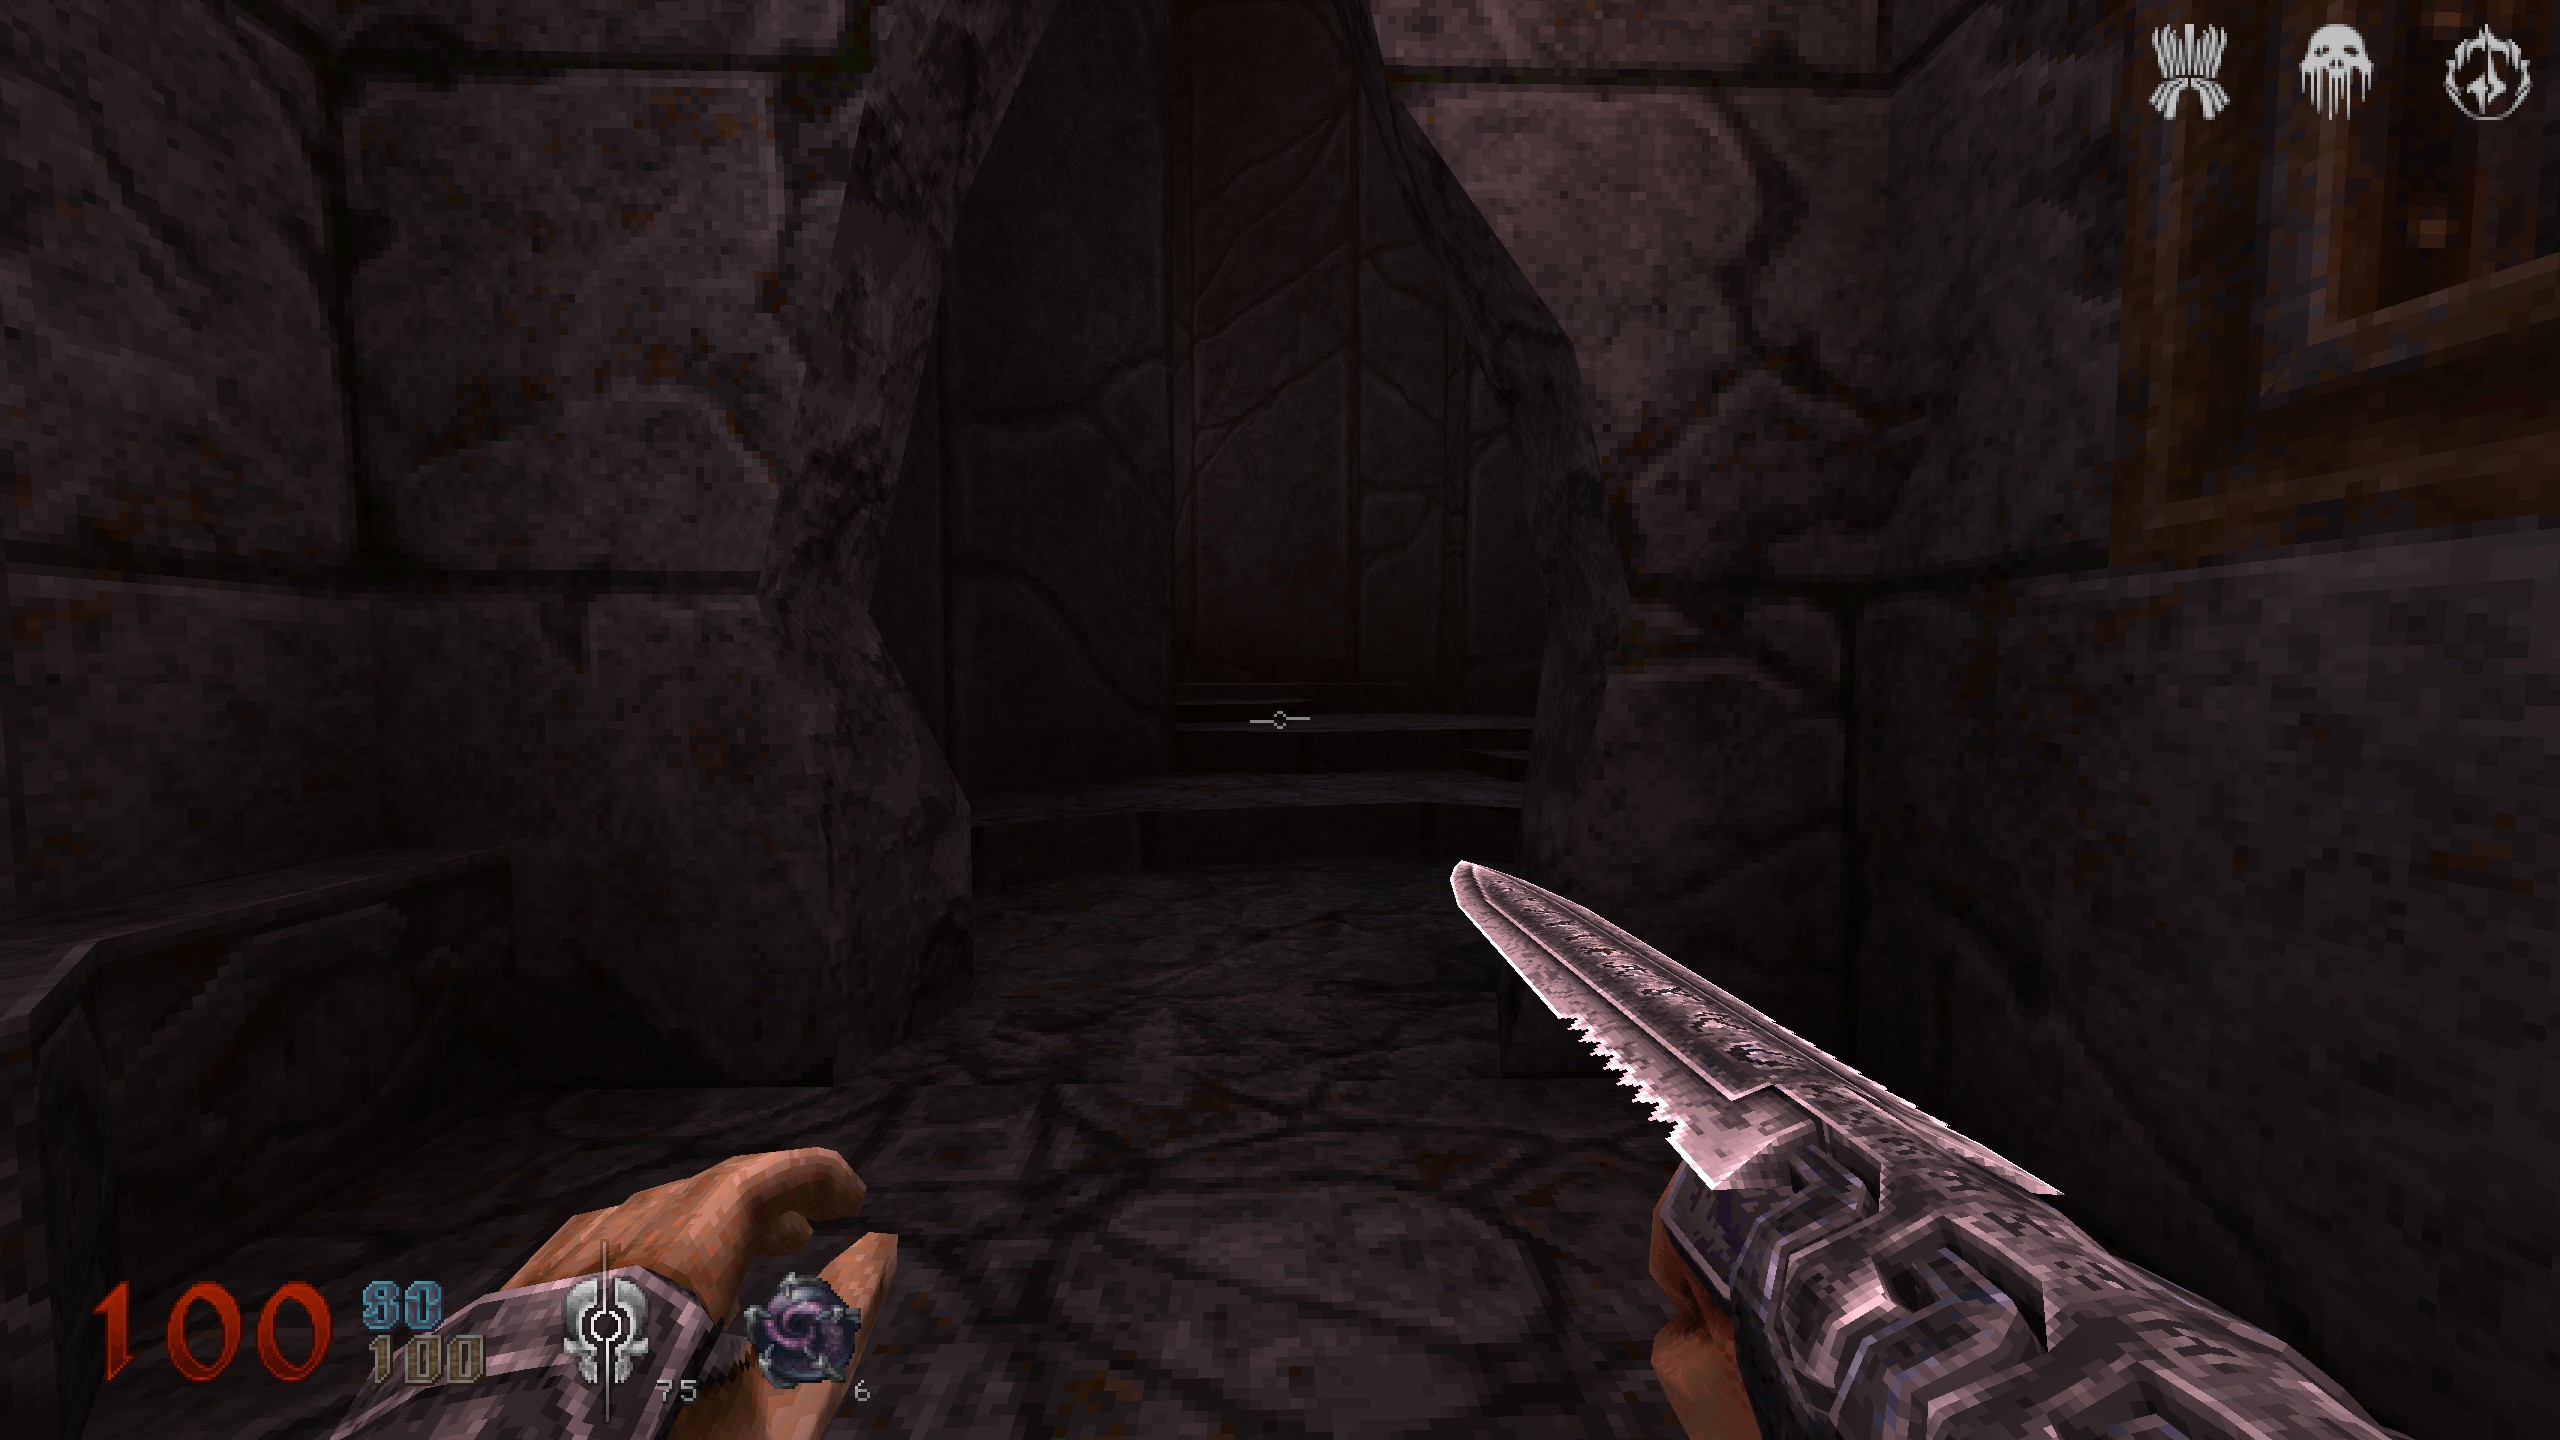
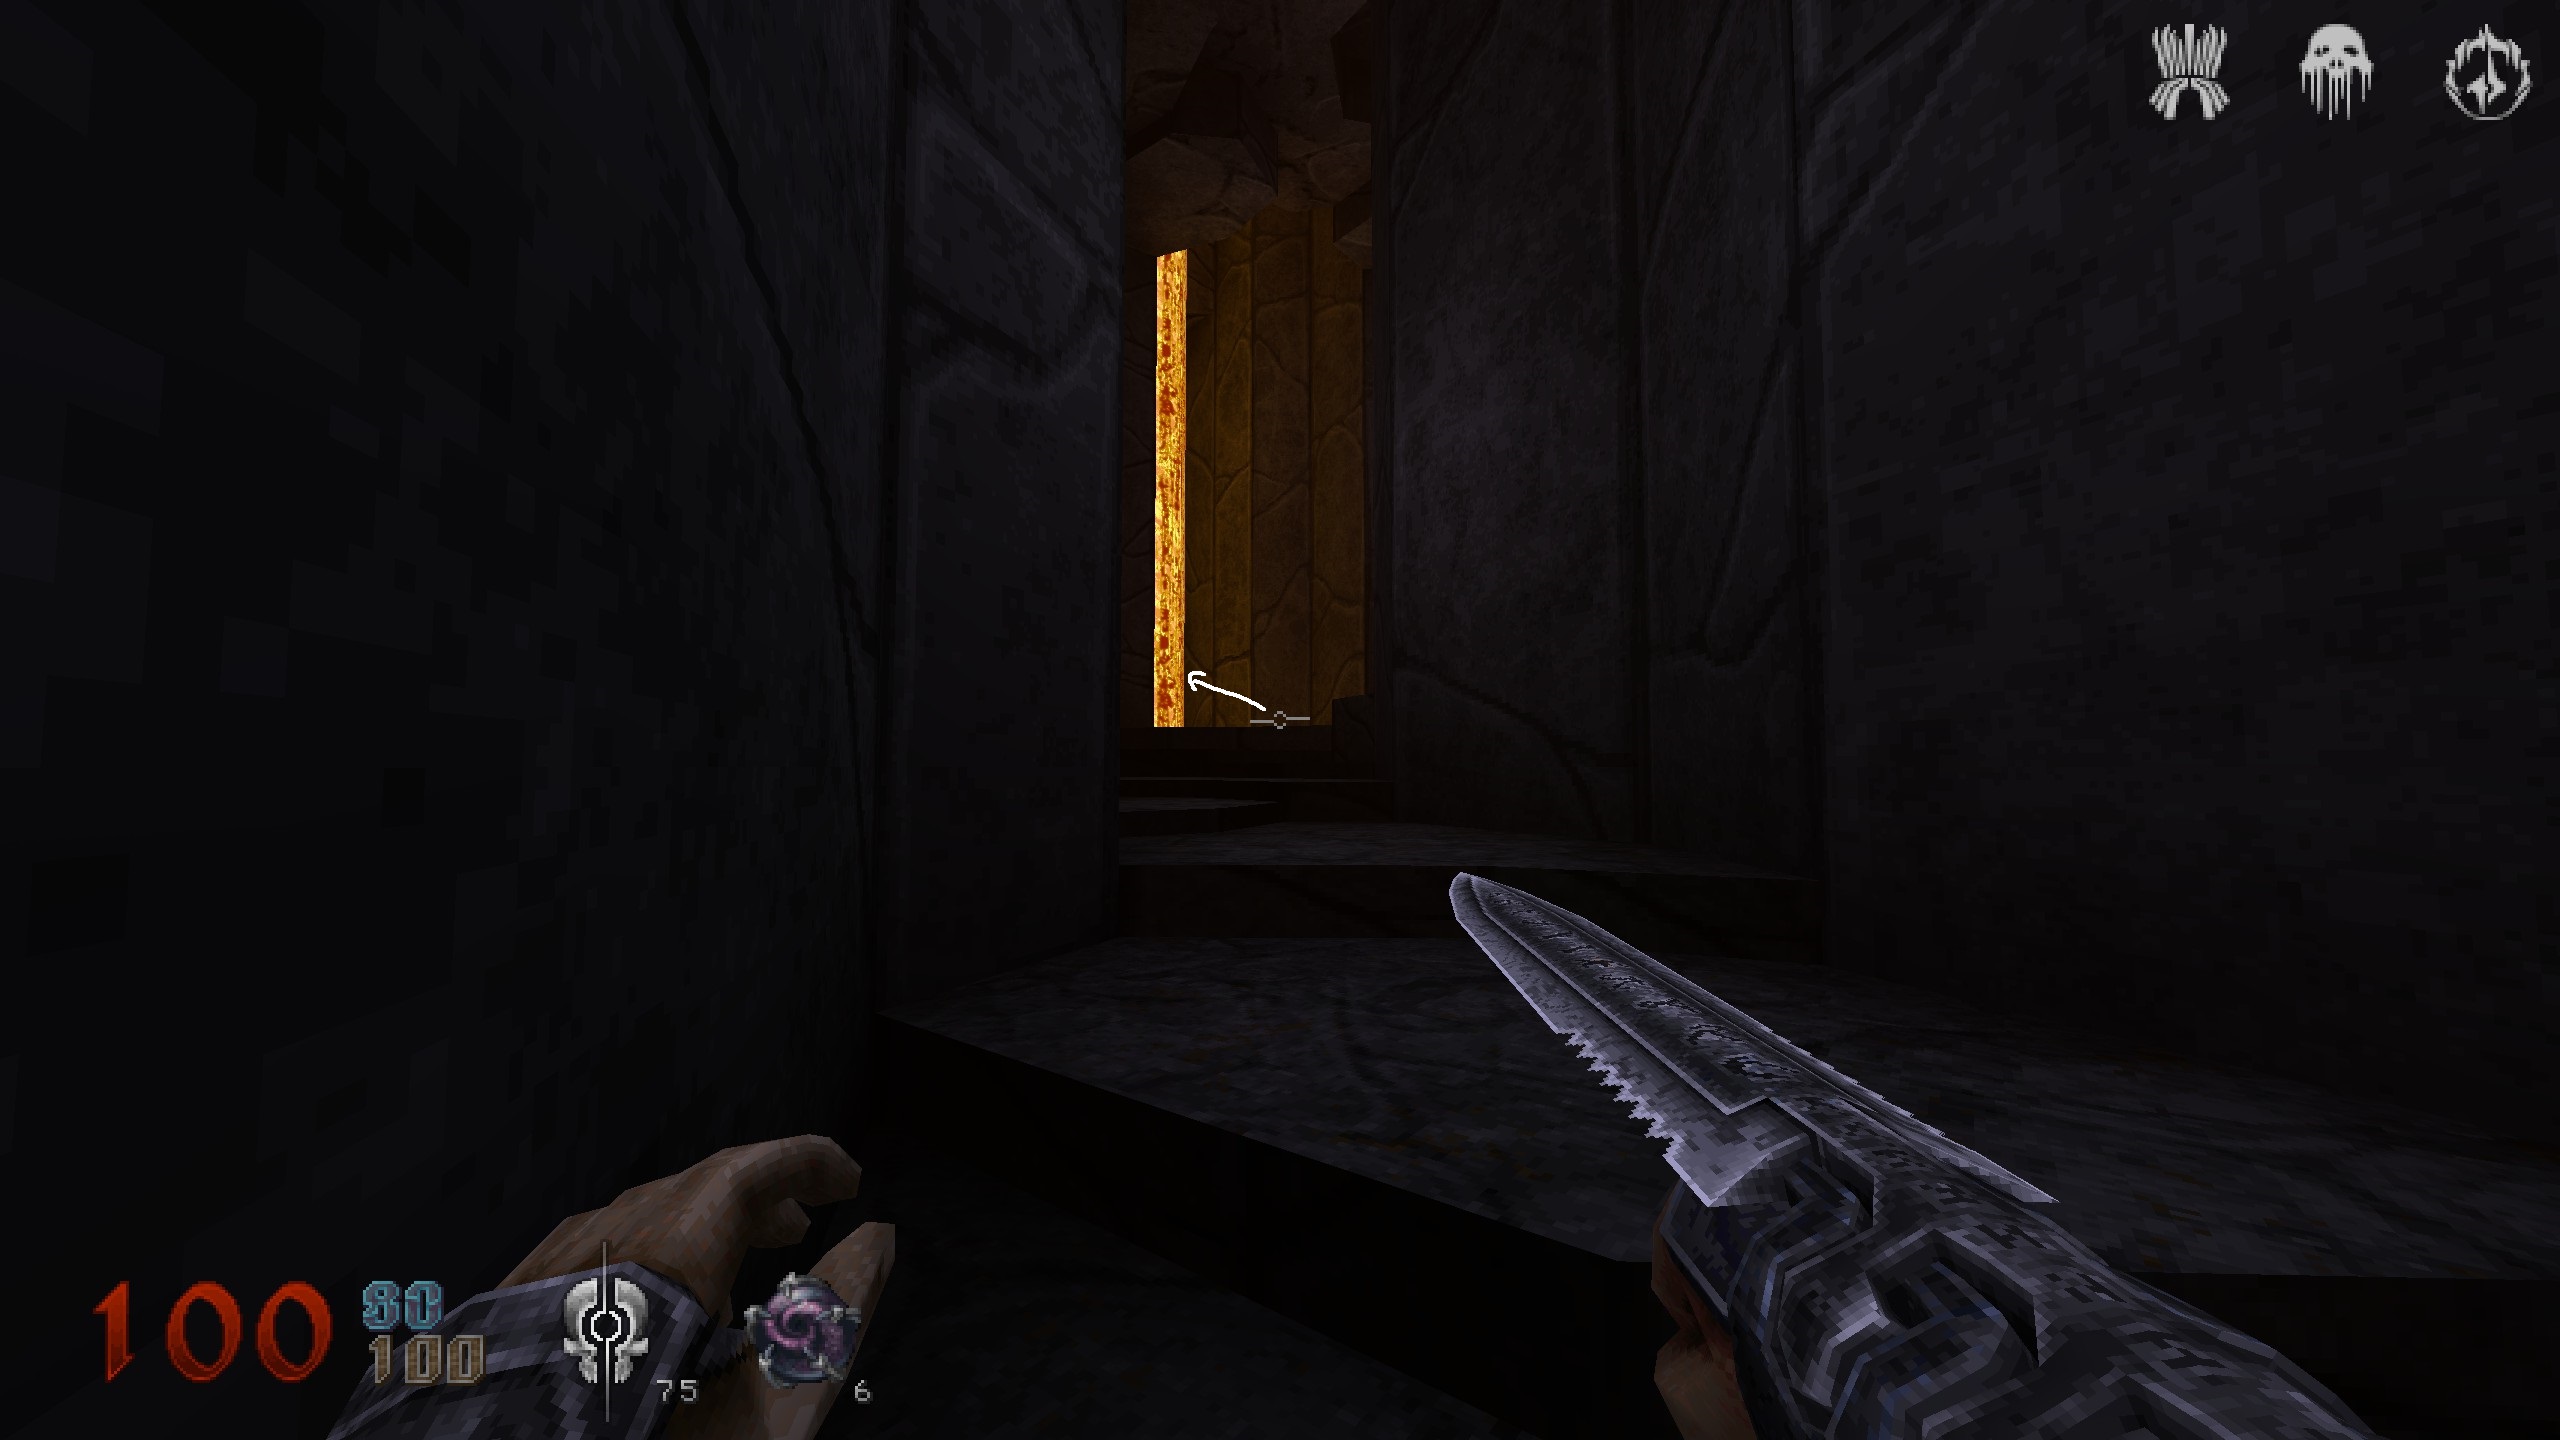
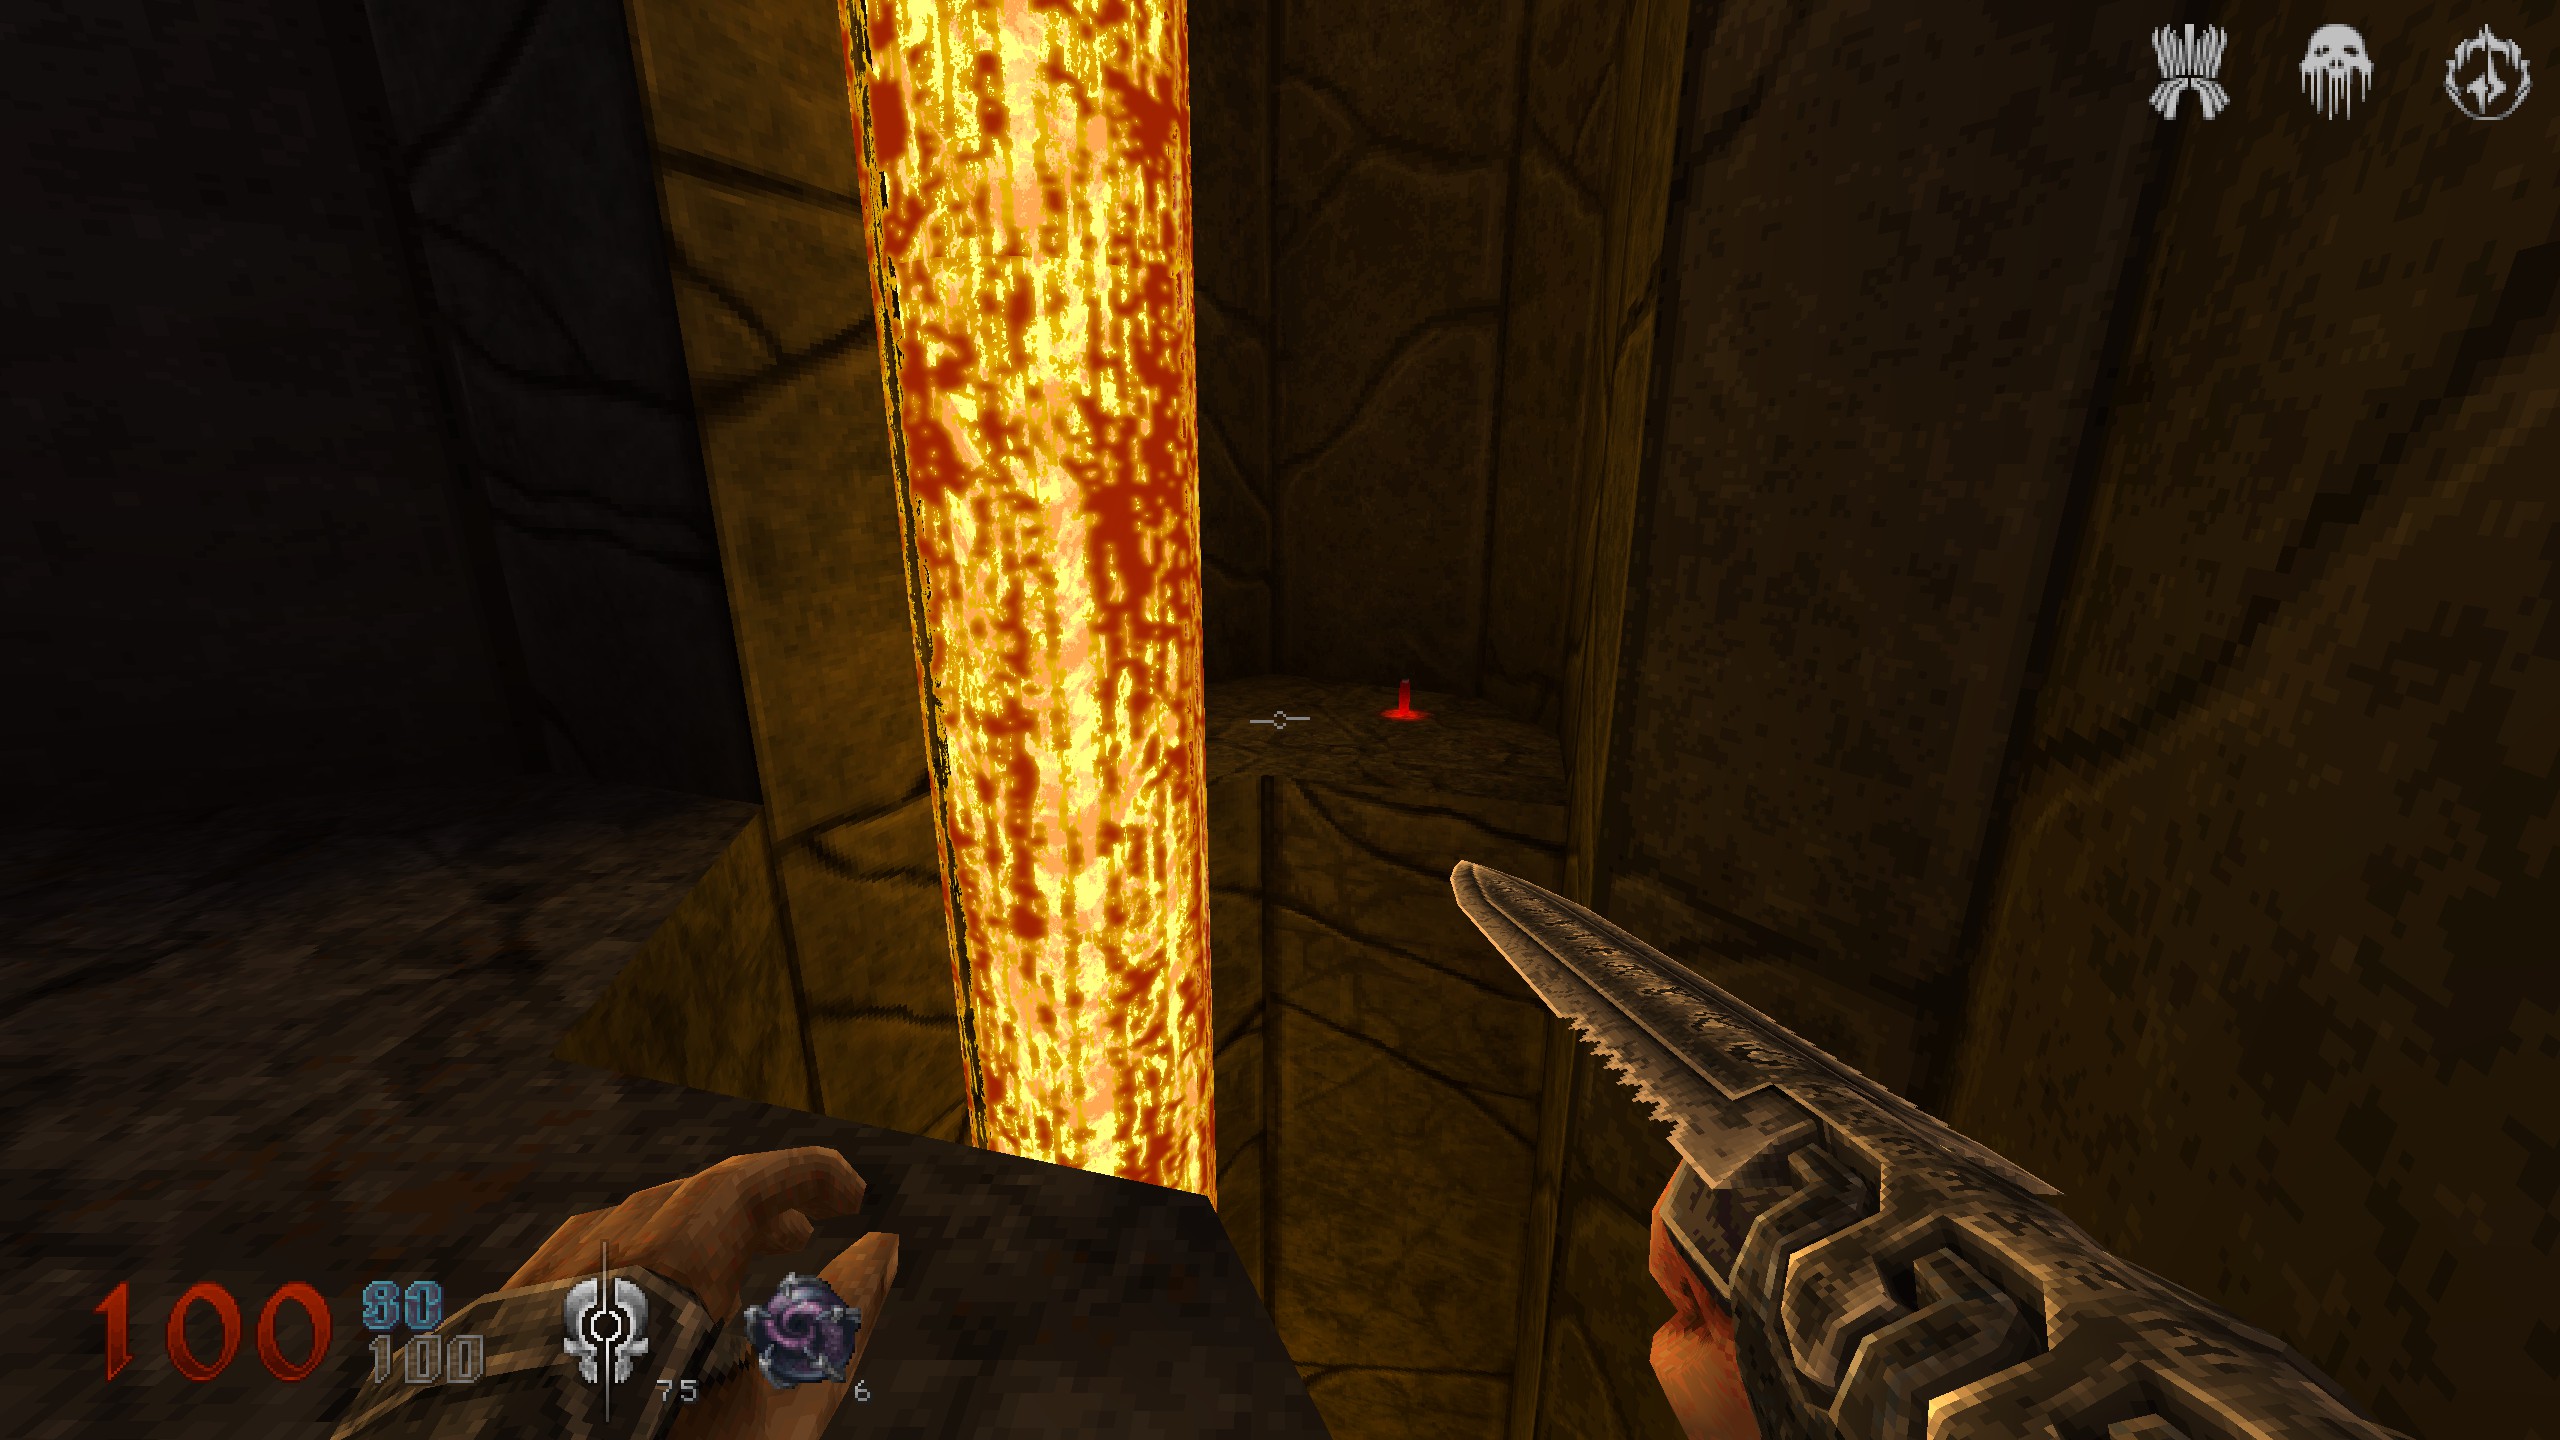
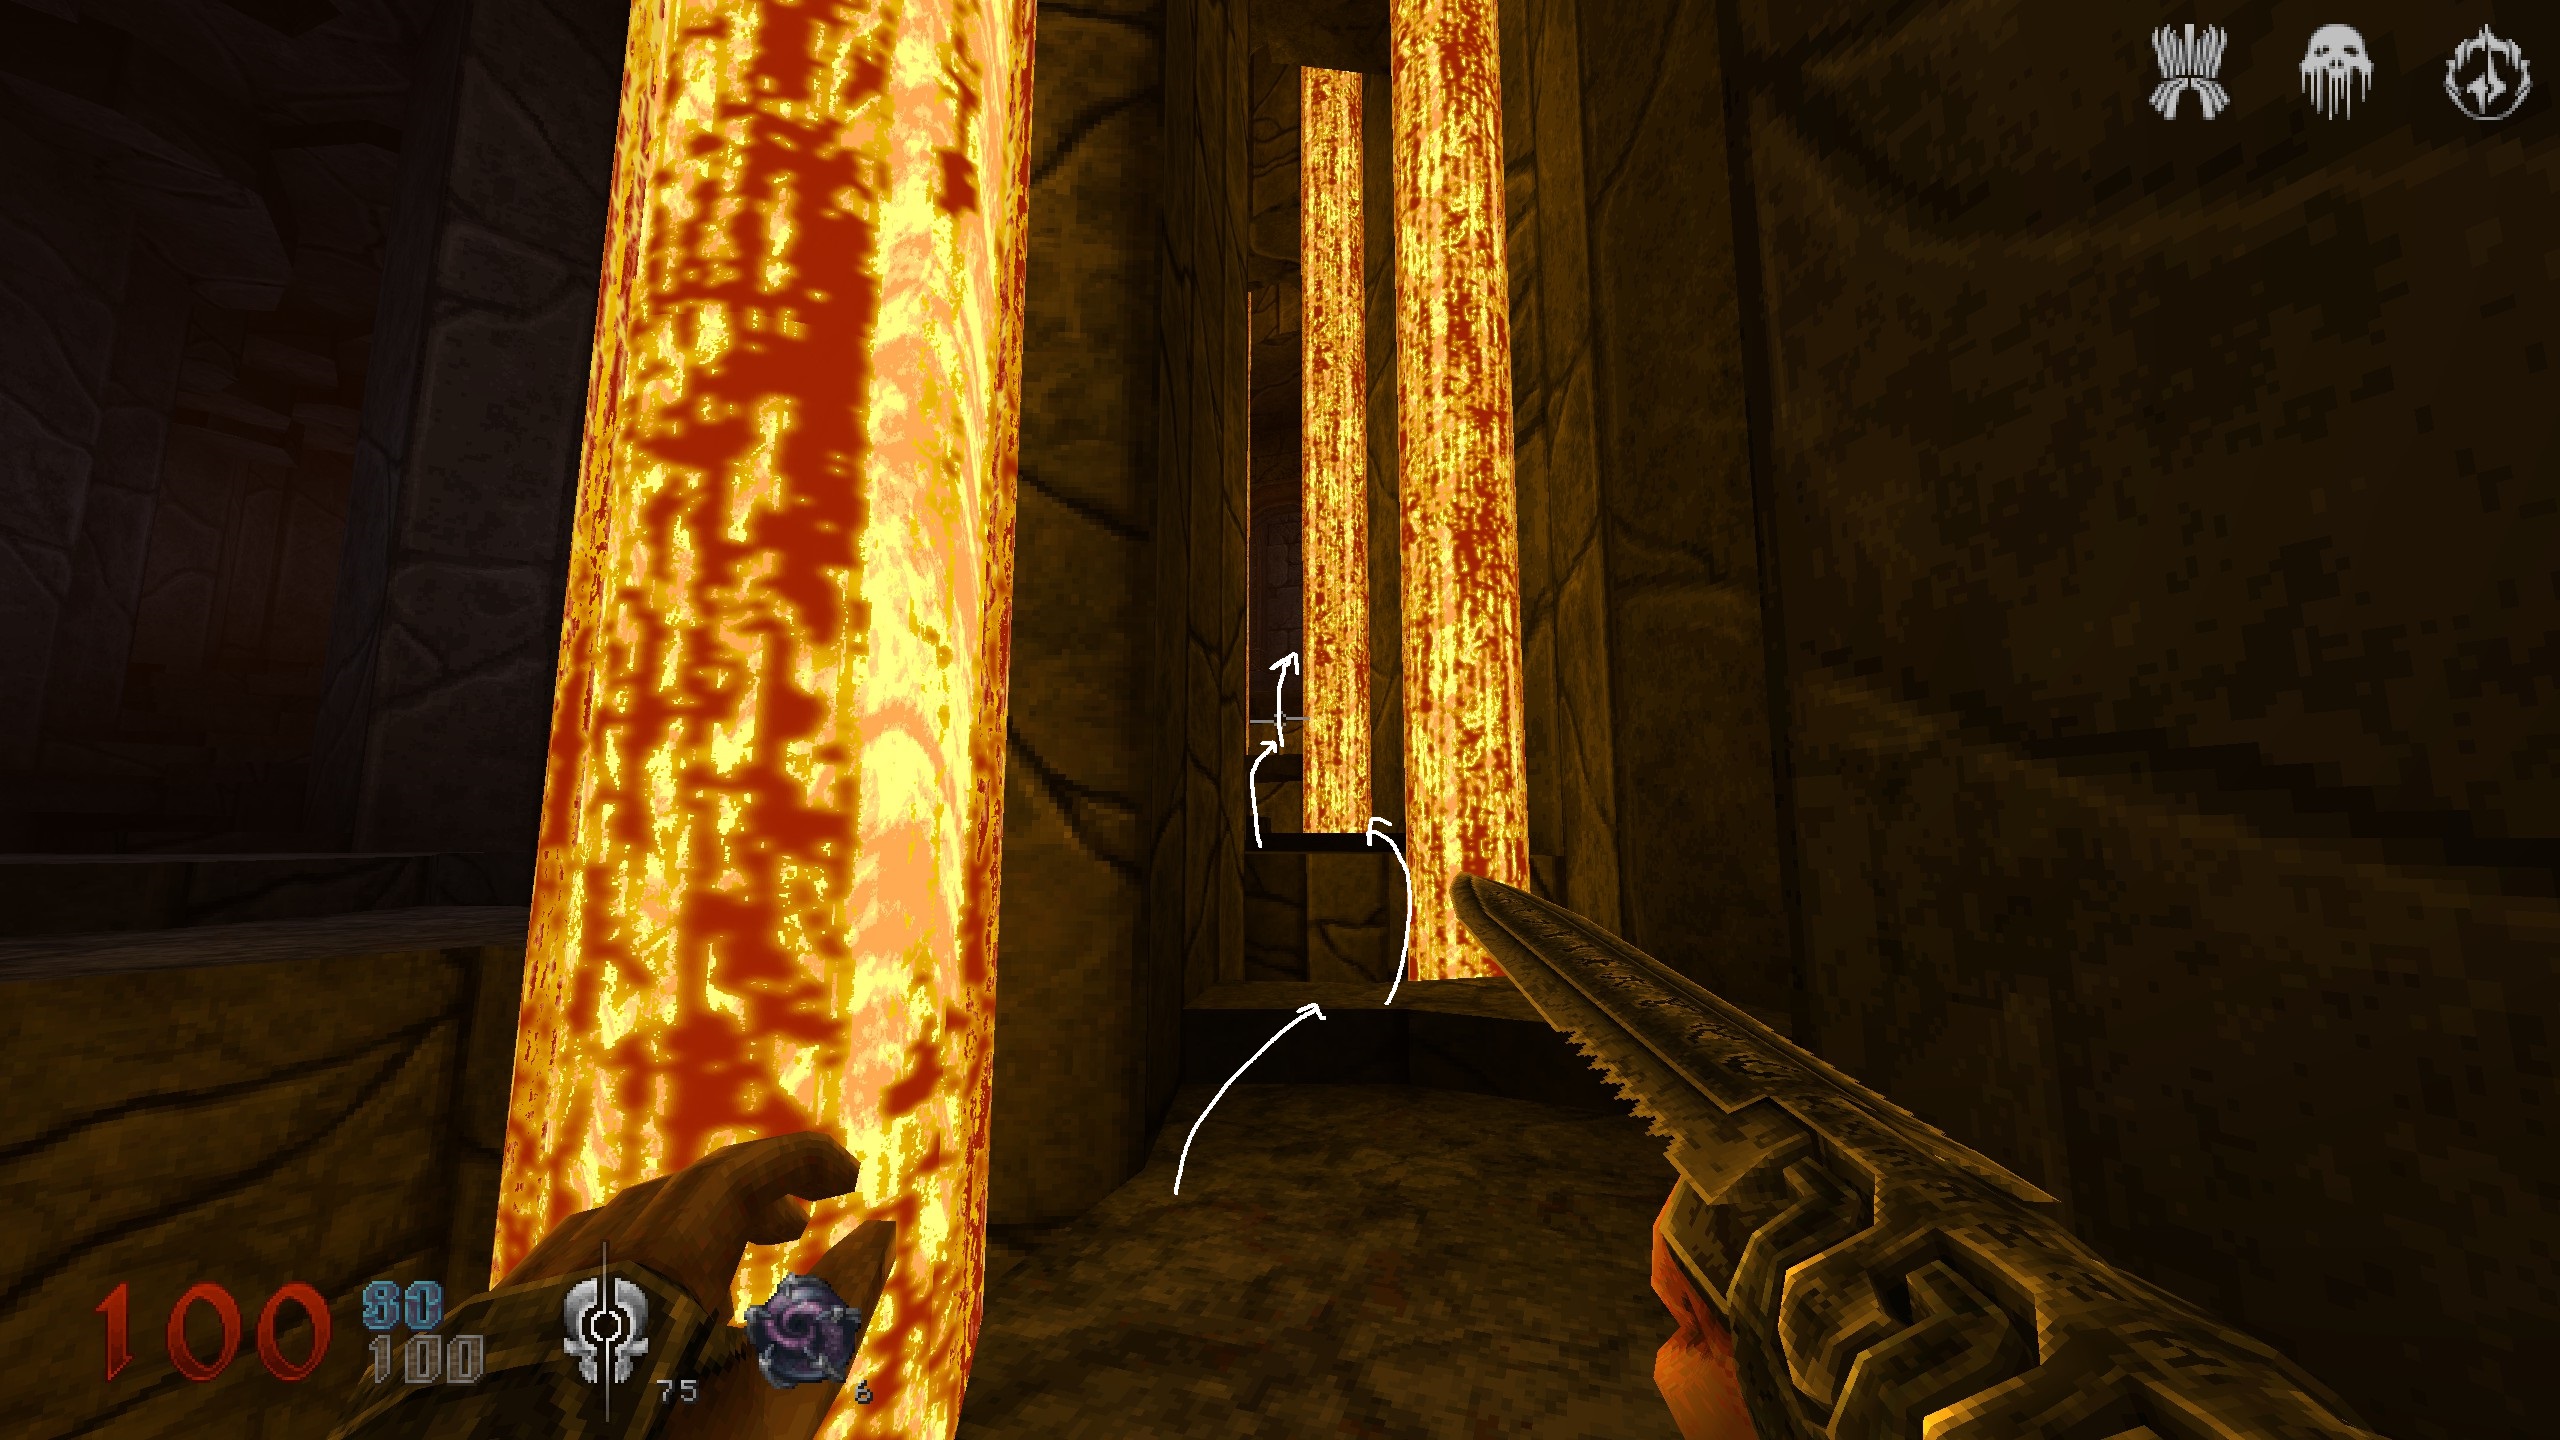
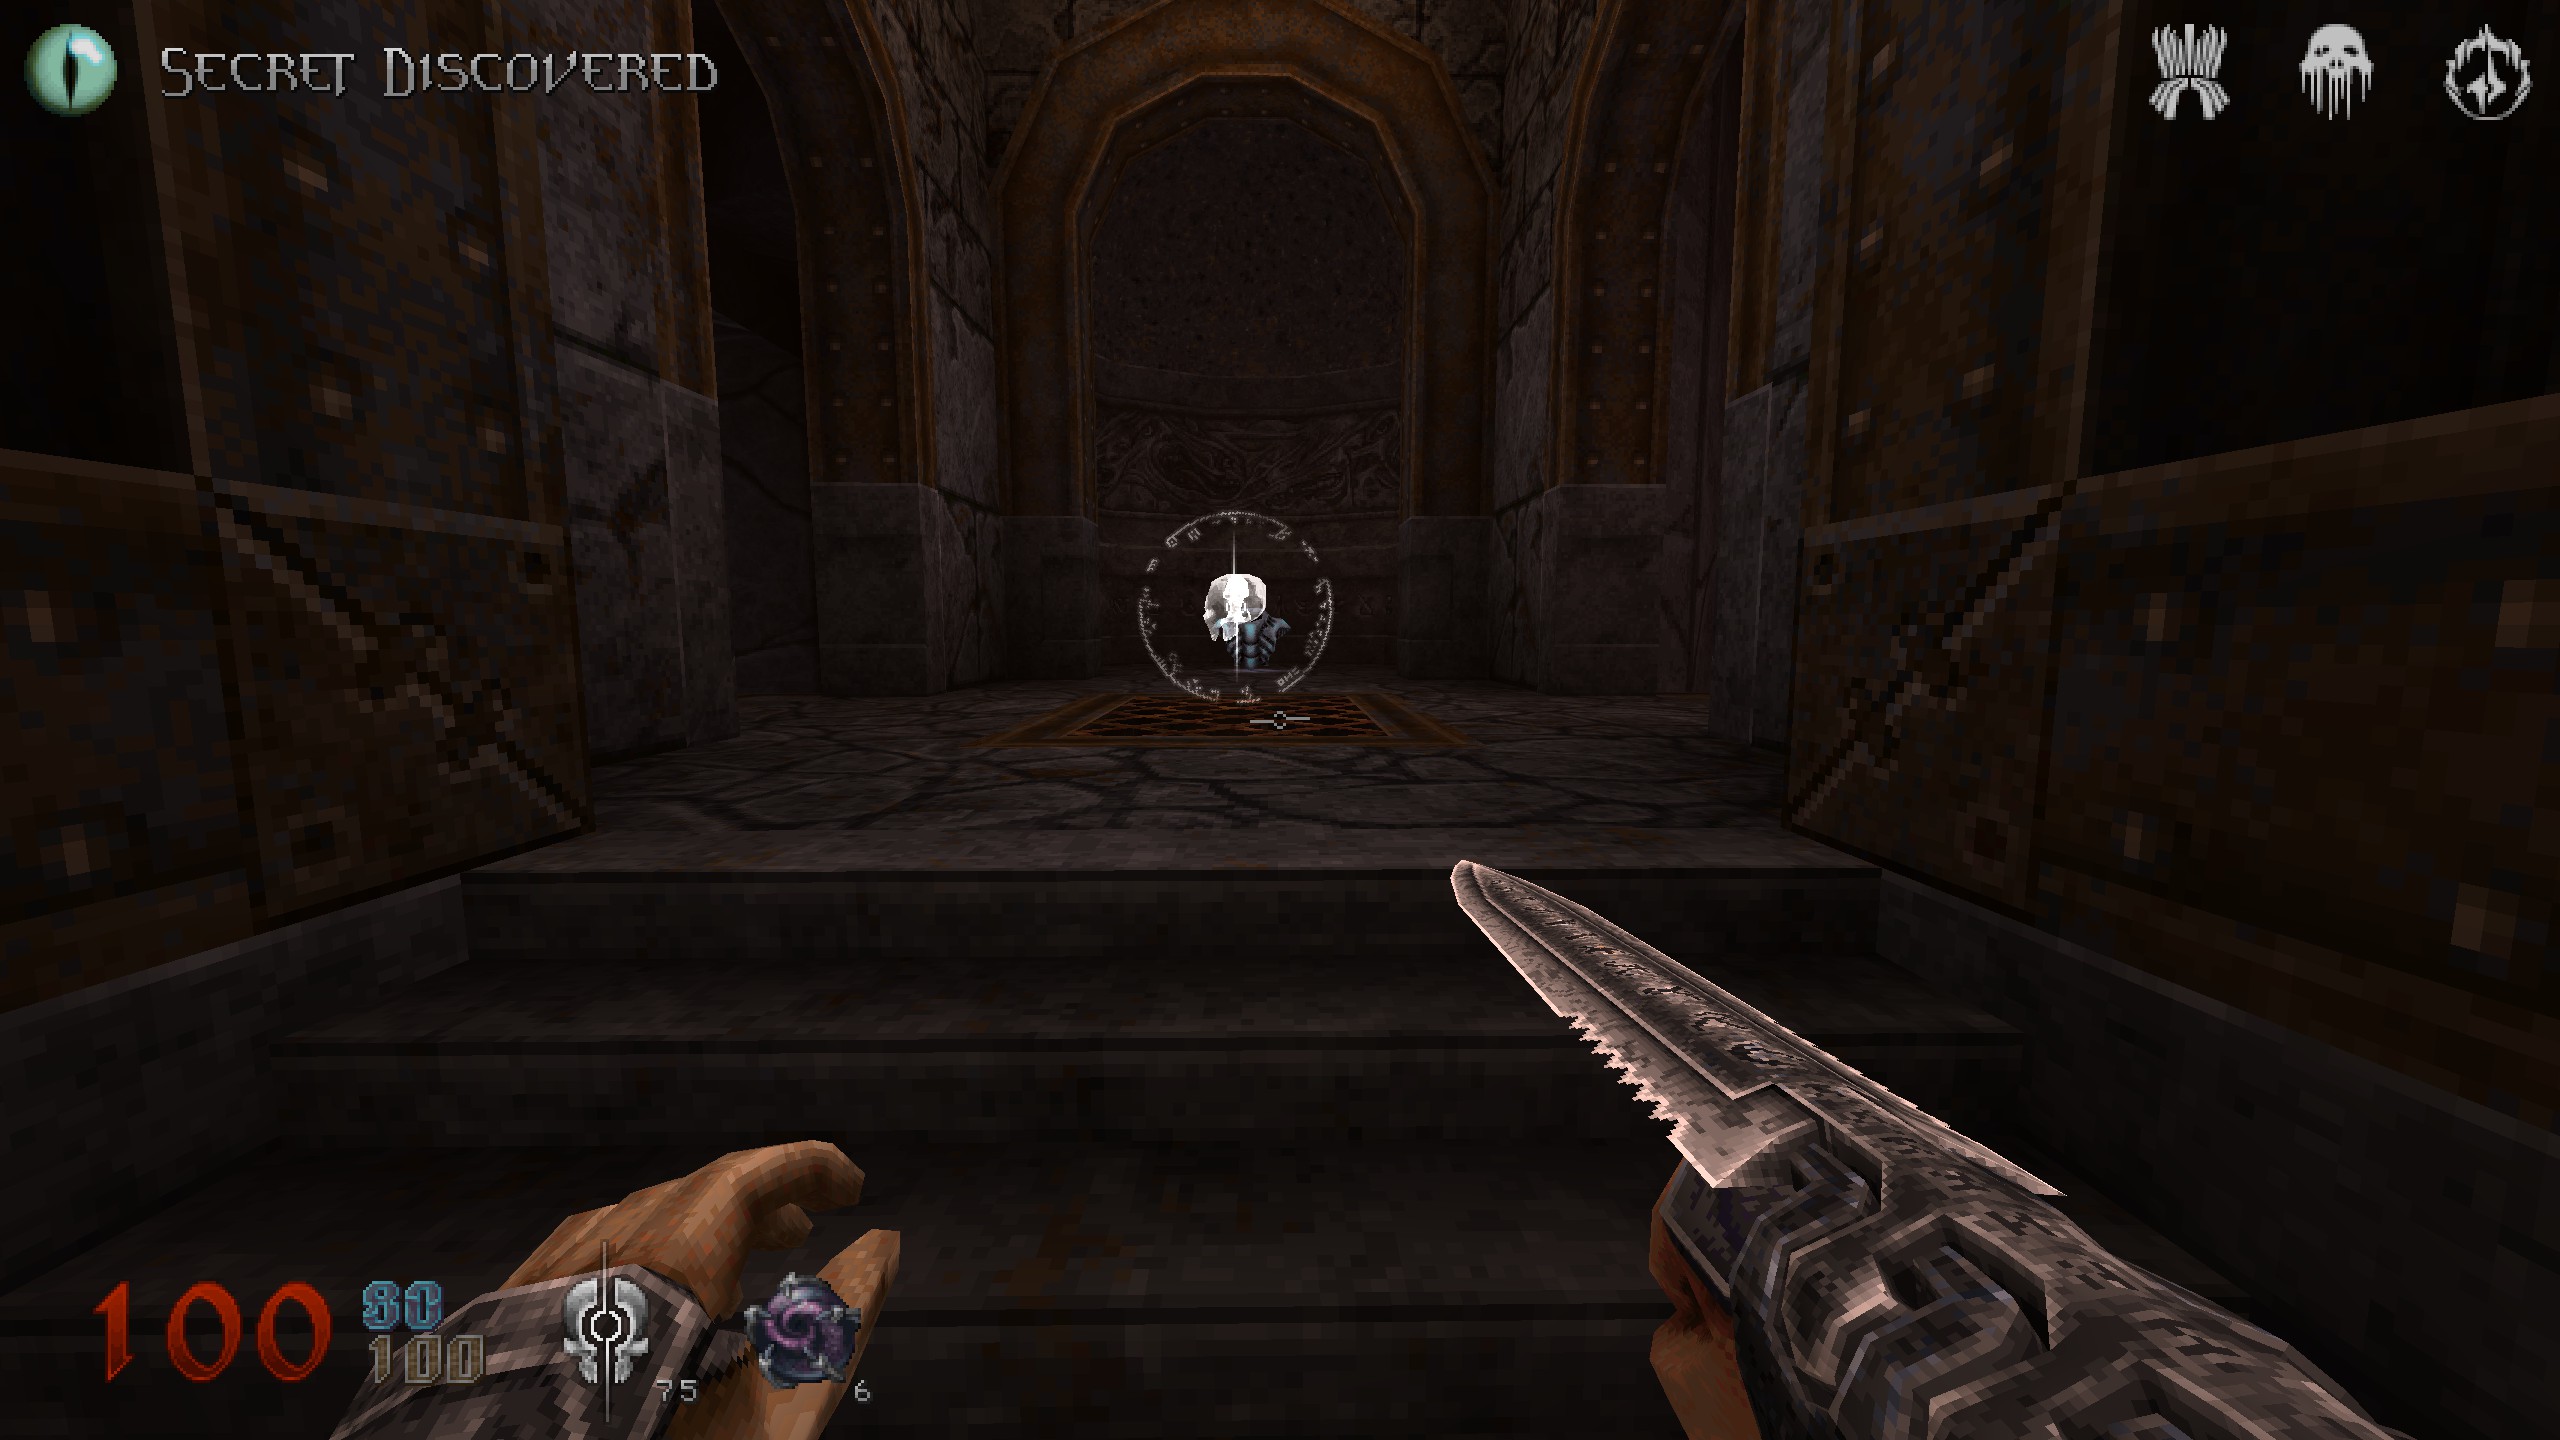
S23
You just dropped down in that big room and used a switch. Turn around and go into next room. Use the stones on right and left side, to jump on the big pipe. On the pipes, check across for some black armor. That was the last secret of this level, now finish it.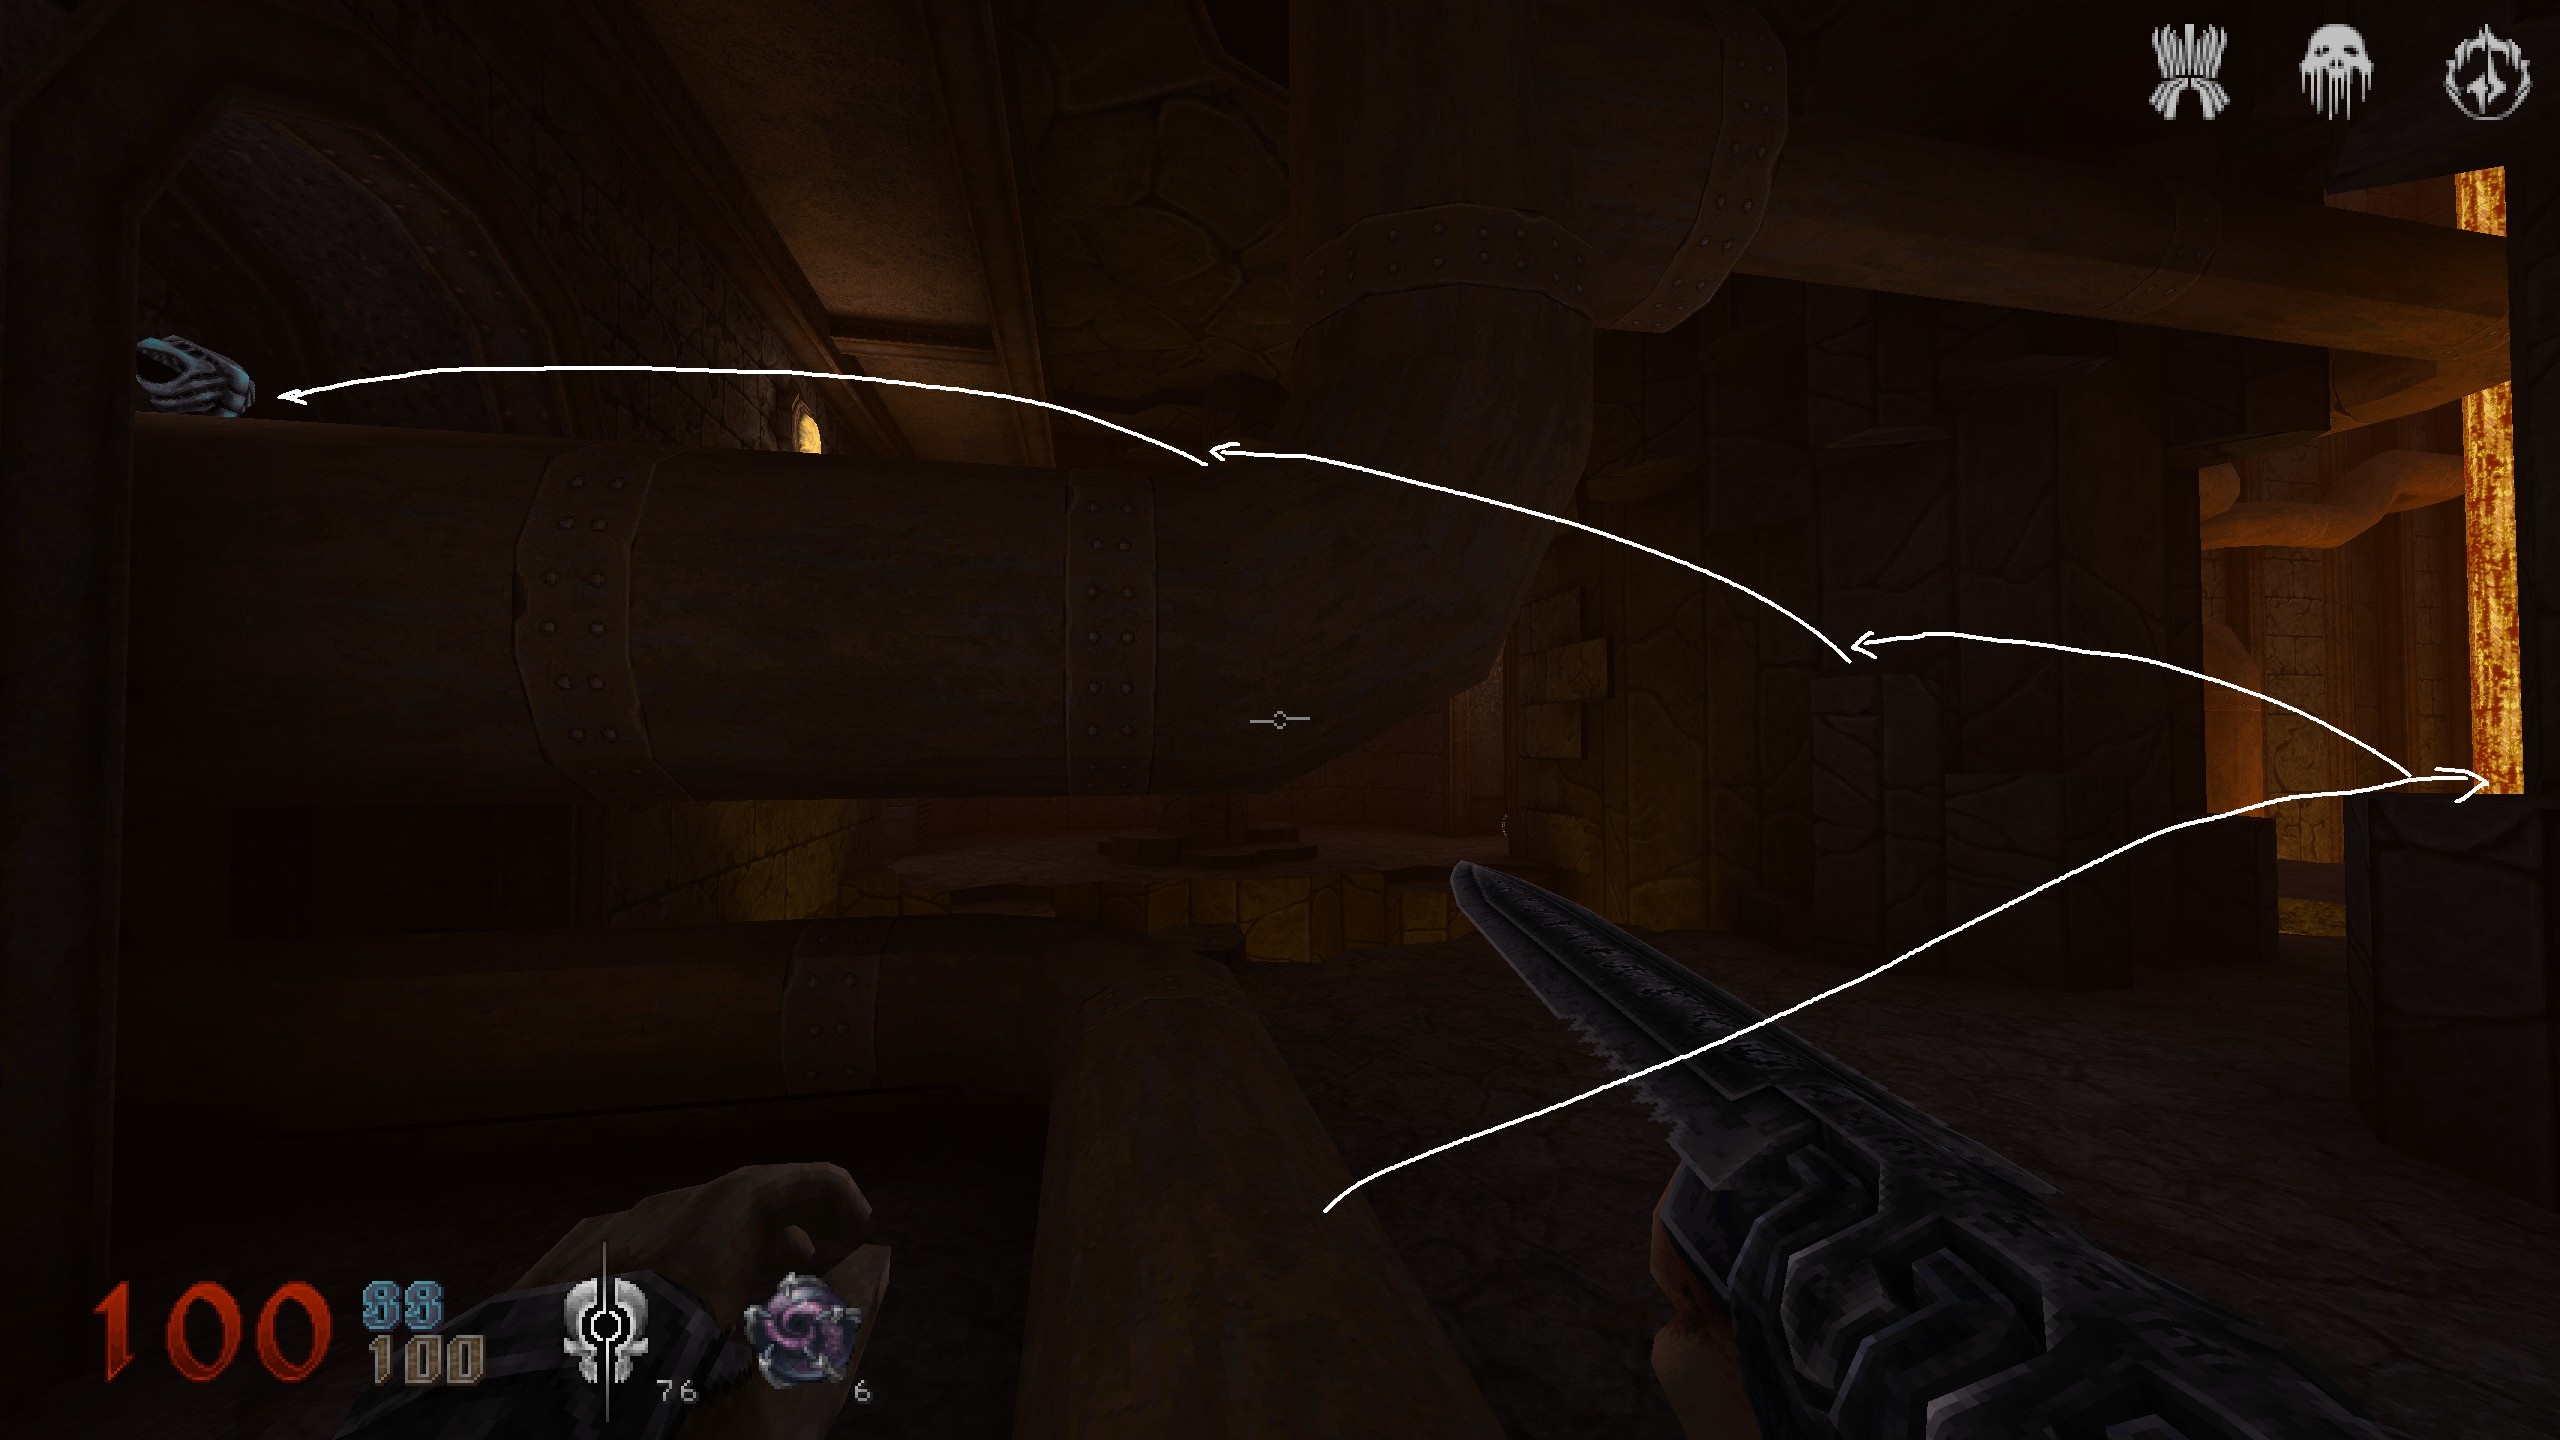
E3 – The Red Throne
Right at the start, use the stones on the left to jump over to the stones on the right. From there left around the corner and down on the stone plateu with the item on it. Proceed
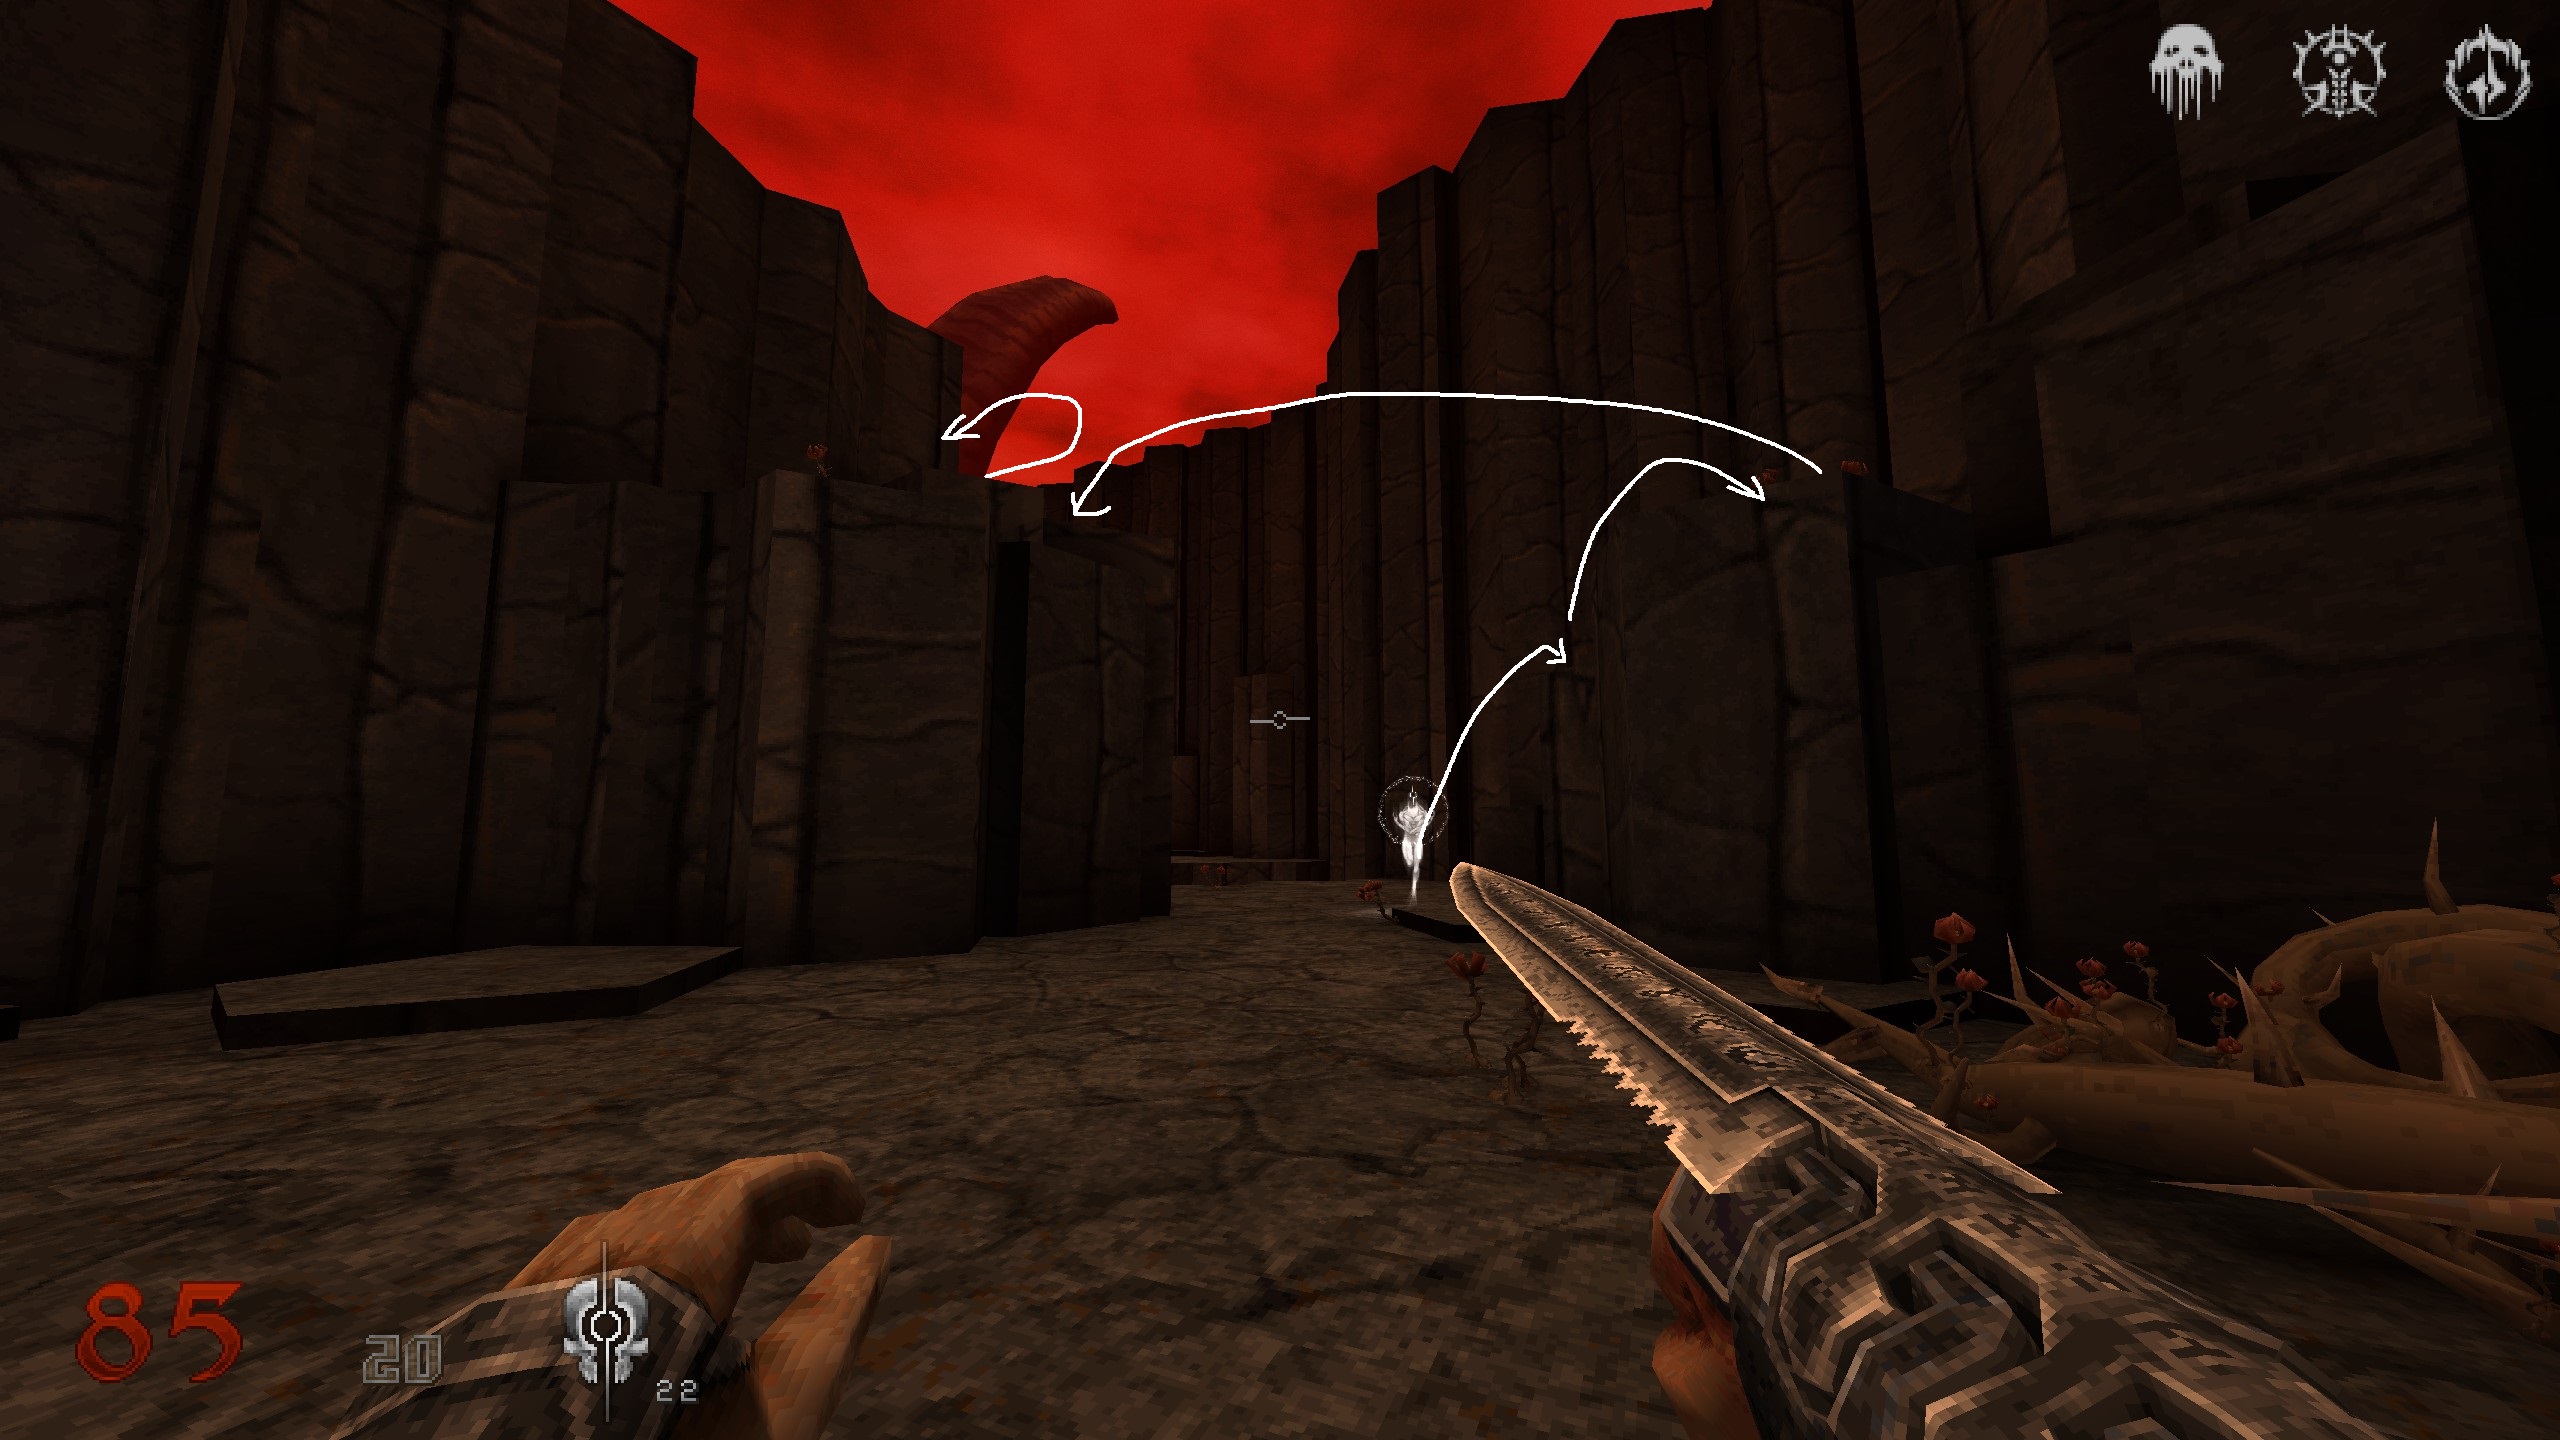
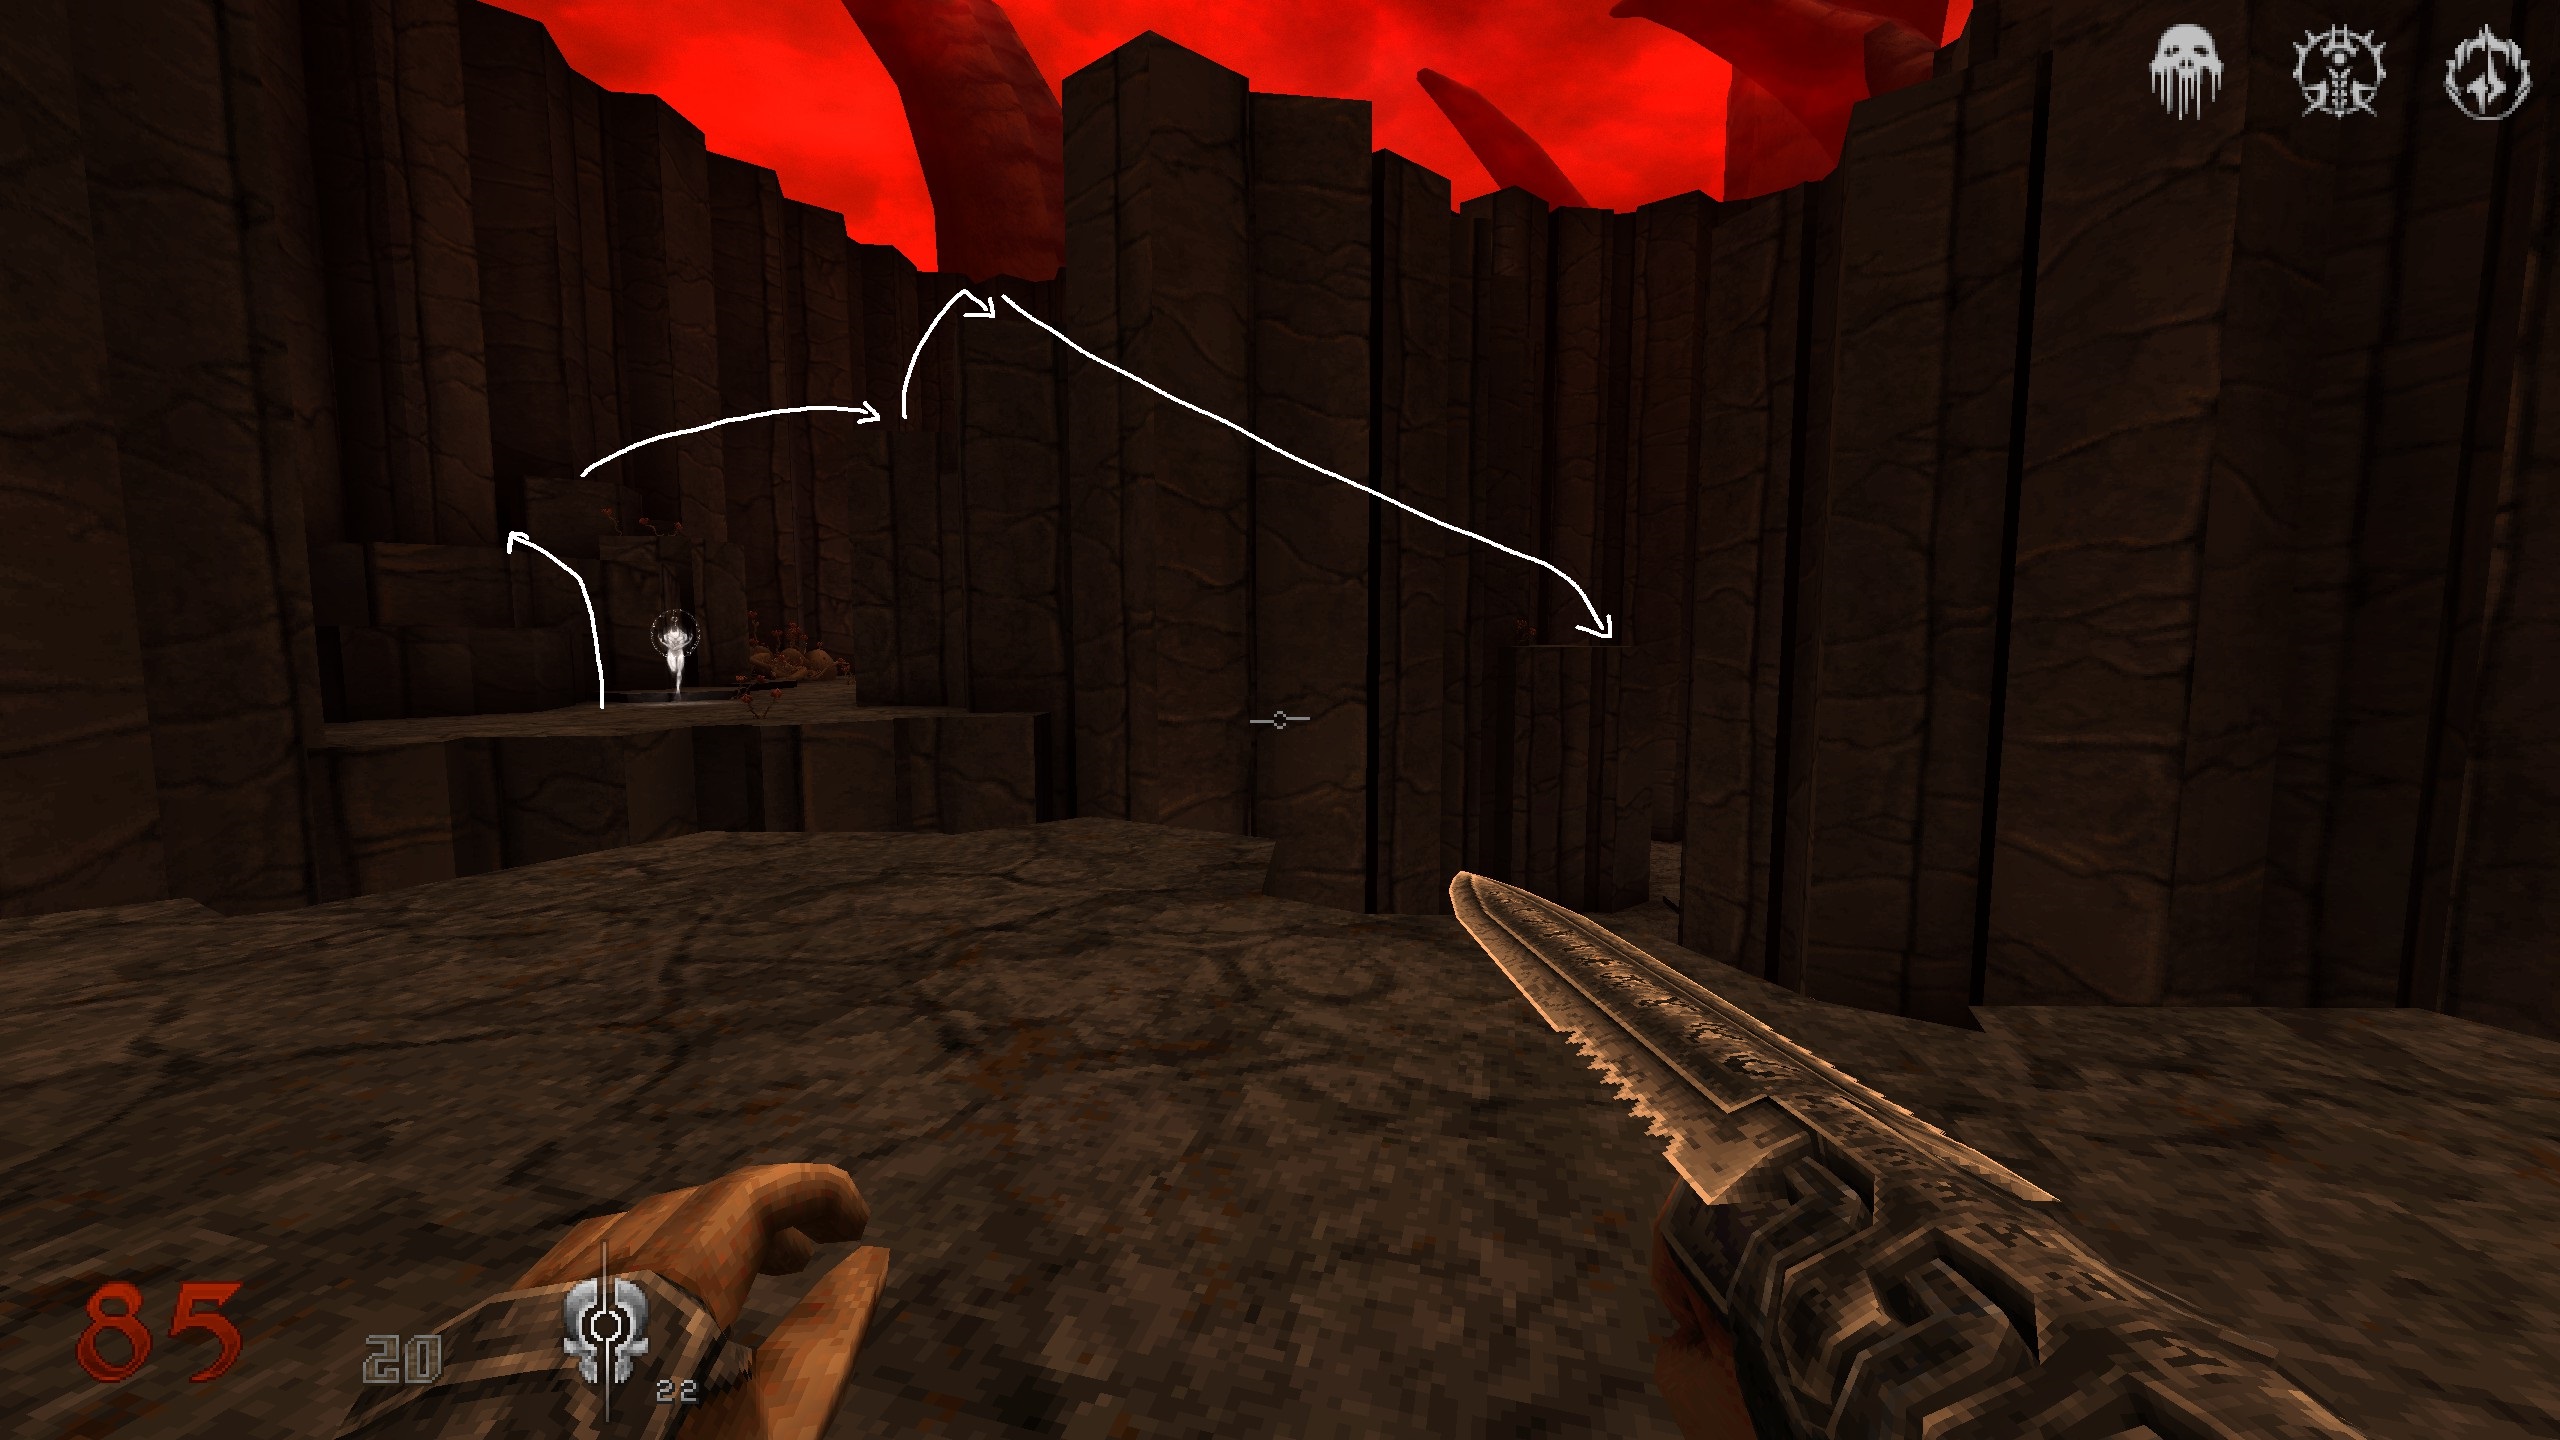
Scroll
You have gone on for a while now, passed the red door, opened a couple of doors using switches and come to a big room that looks like this with a chalise in the middle. Next to the chalise is the scroll.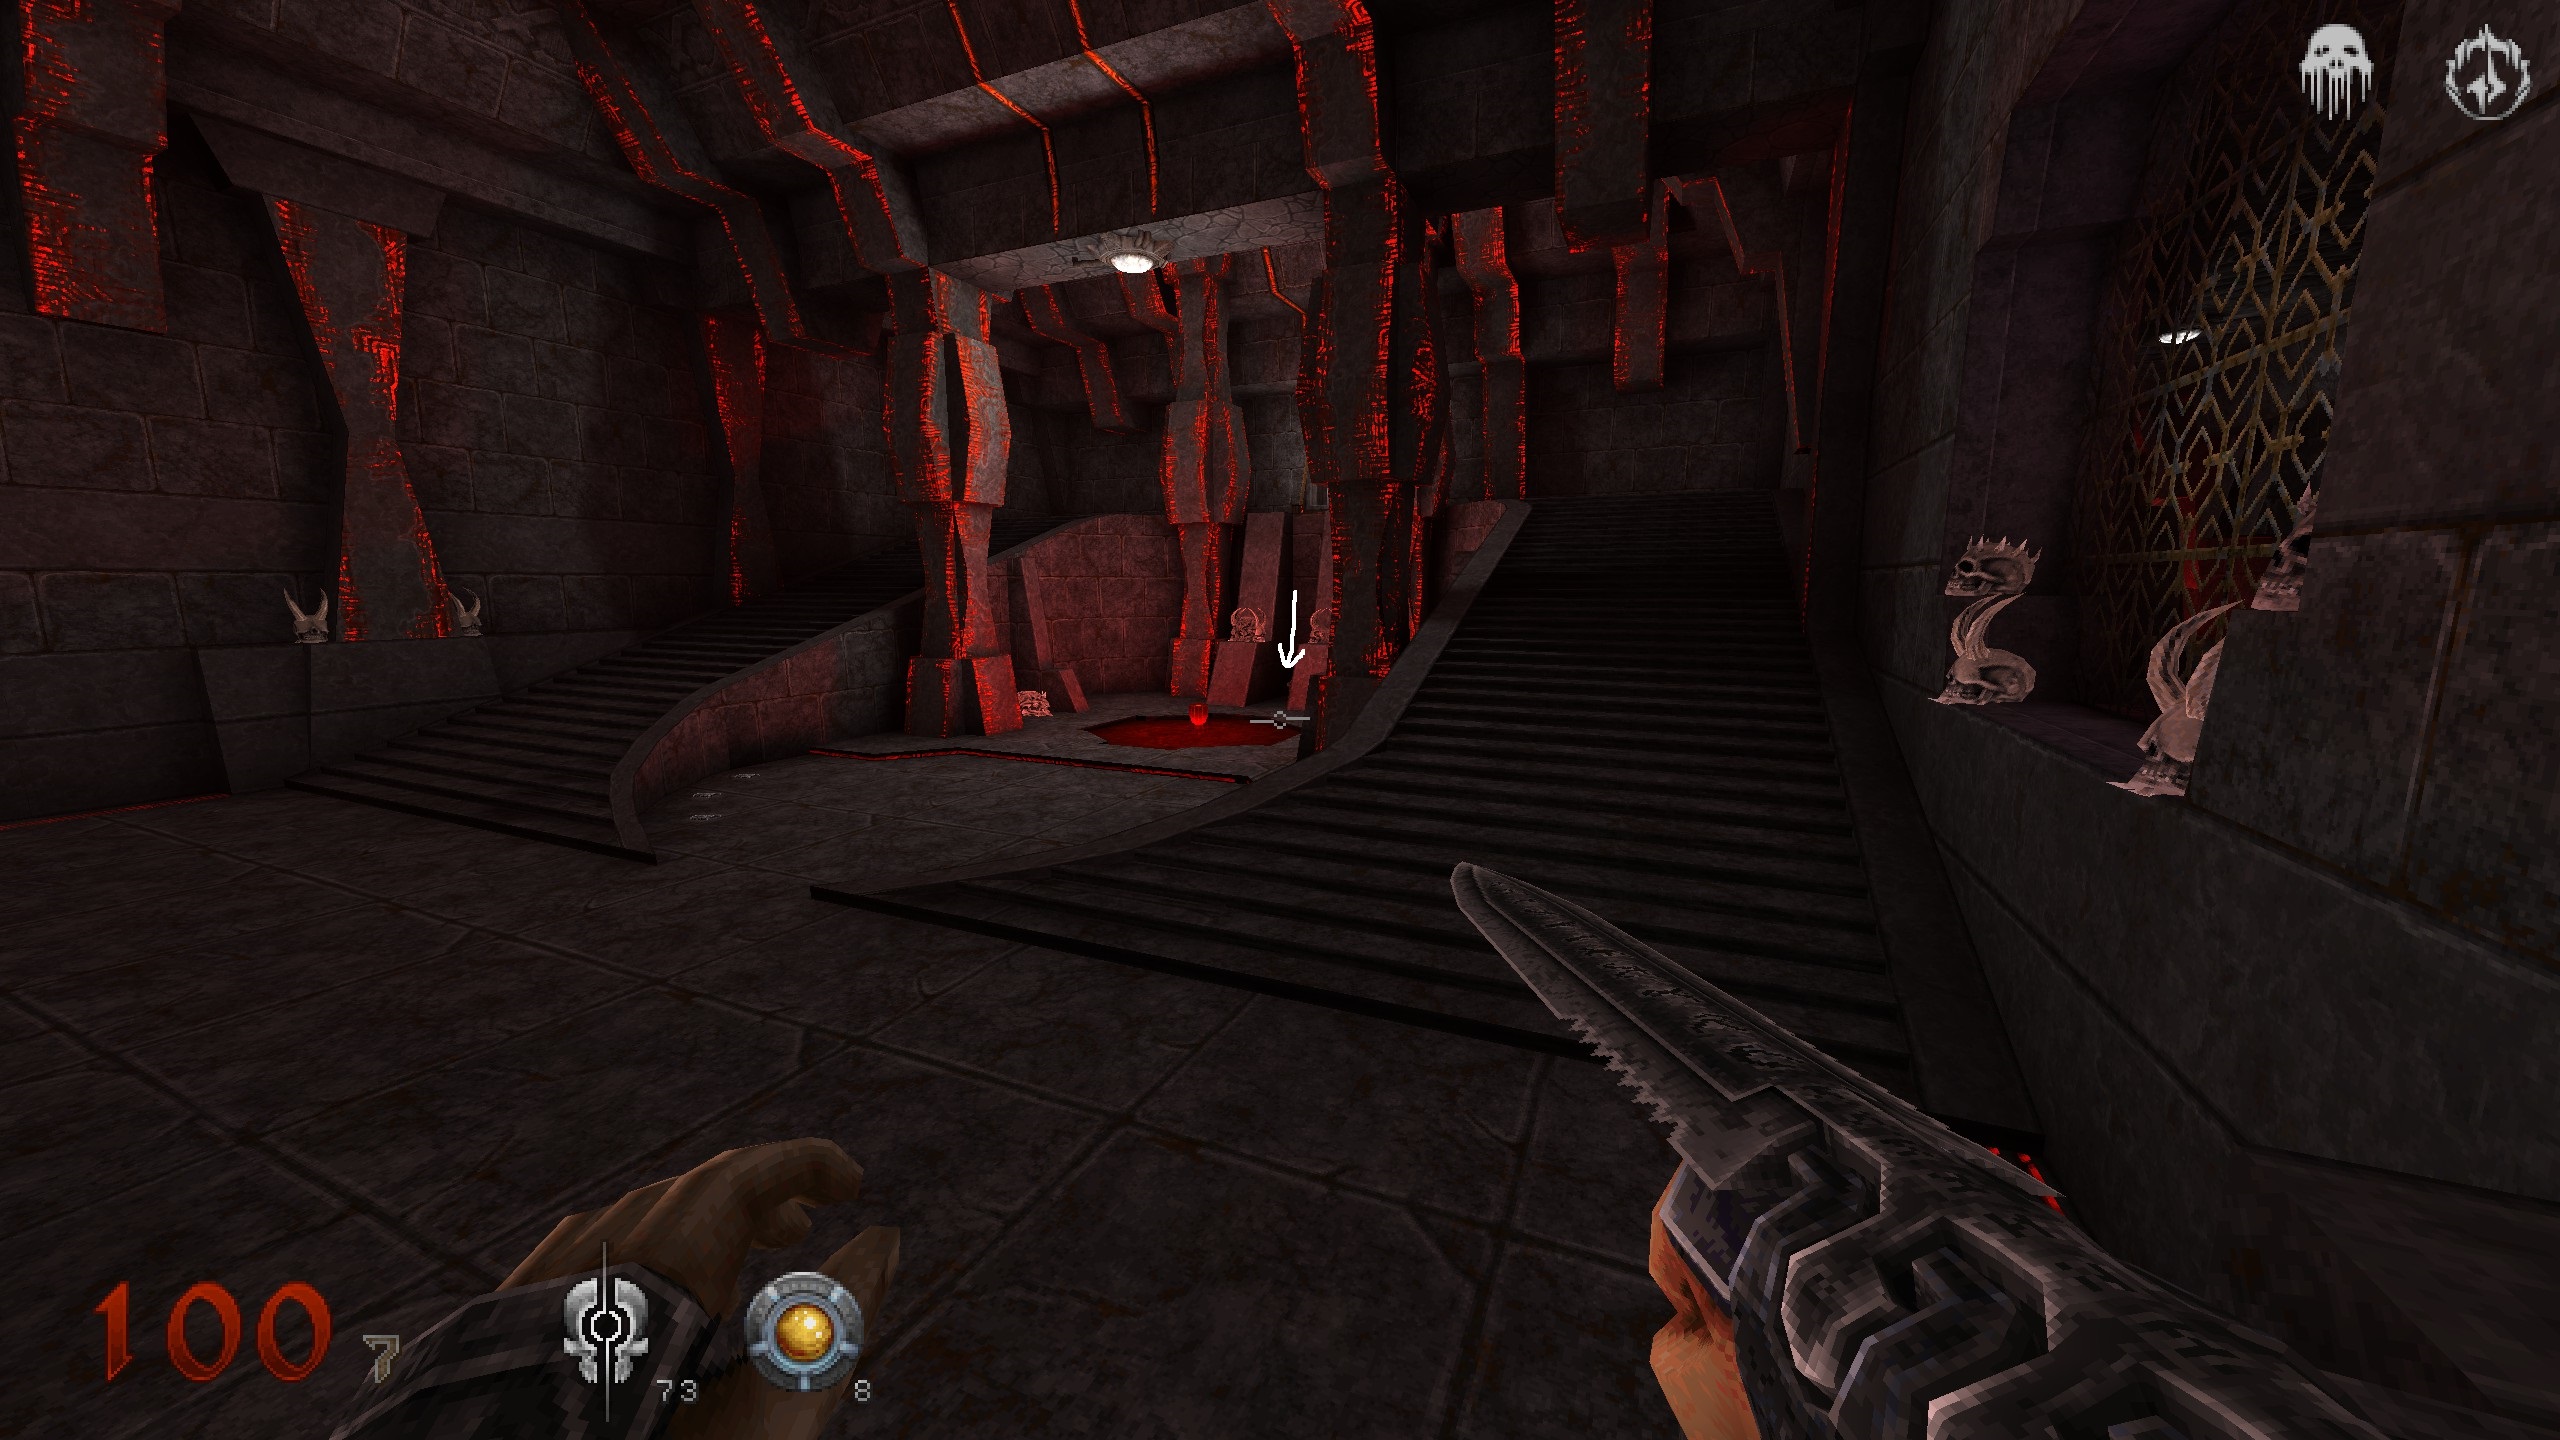
Key
After using the switch in the room with the scroll, take the left through the broken wall and procced for a while until you come to a dark, red narrow area with a blood stream running down. Take the left where the hole in the wall is and follow the path till you reach key. Proceed upwards the blood stream.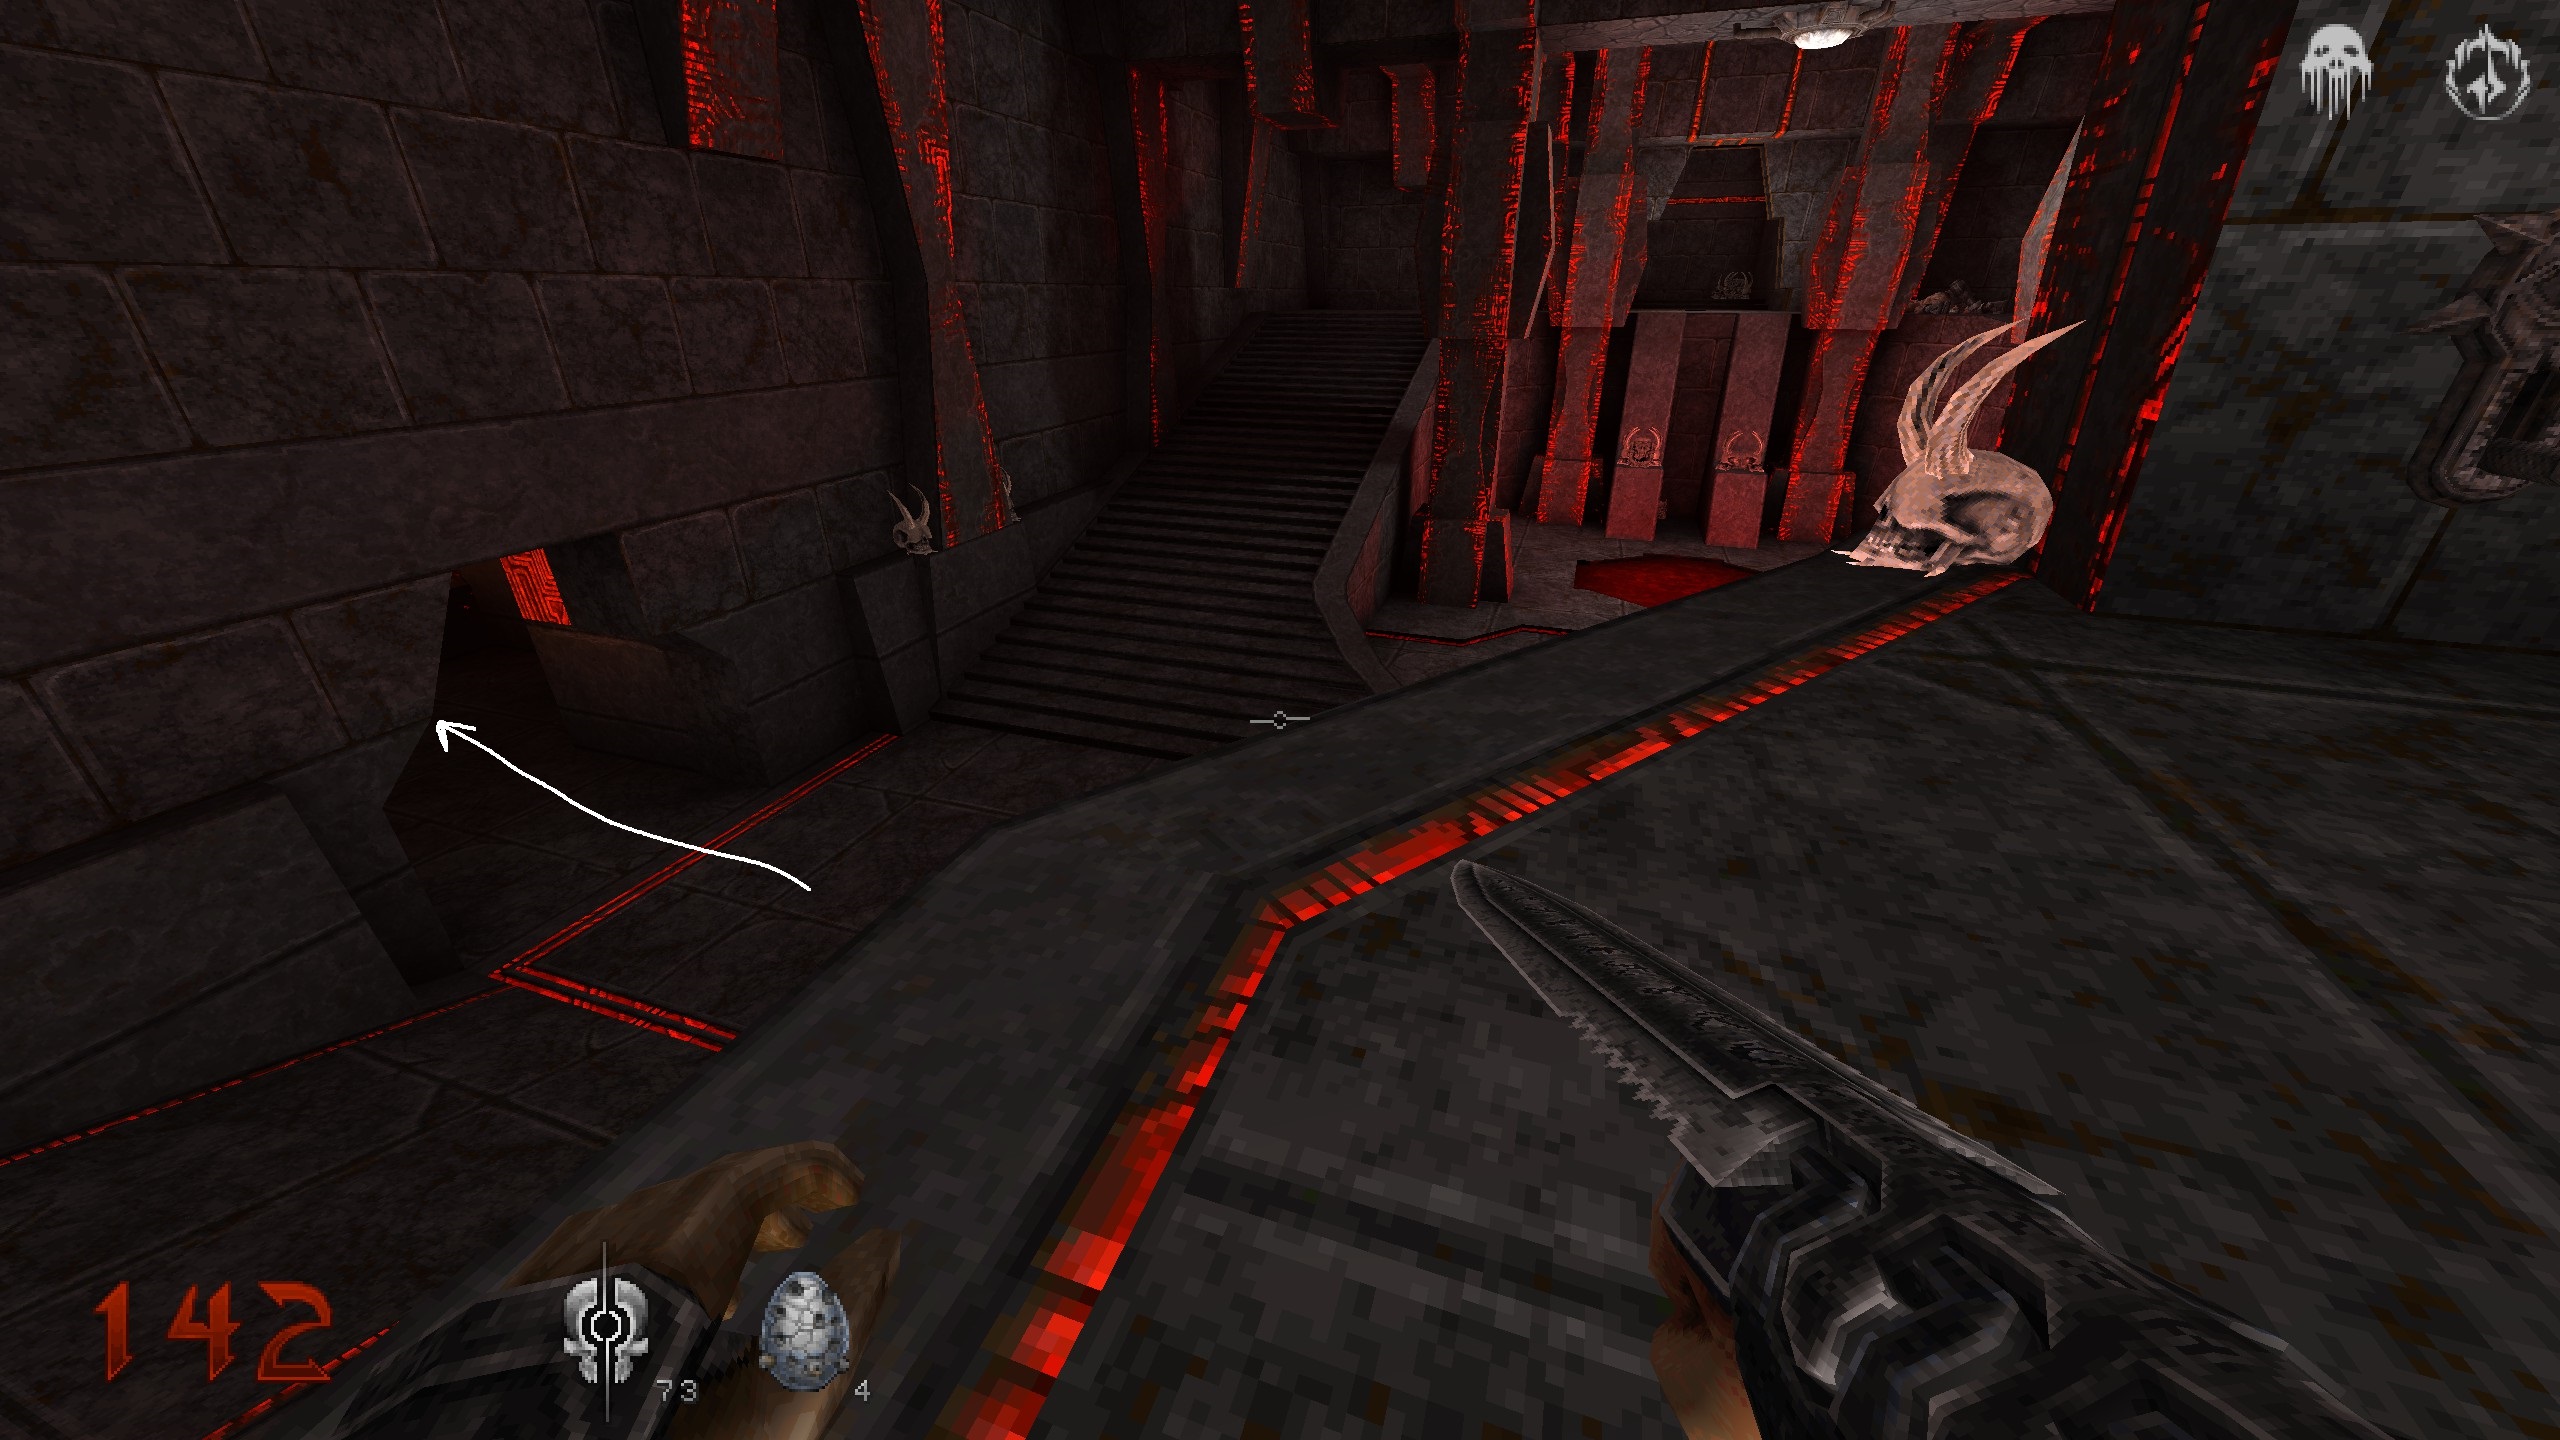
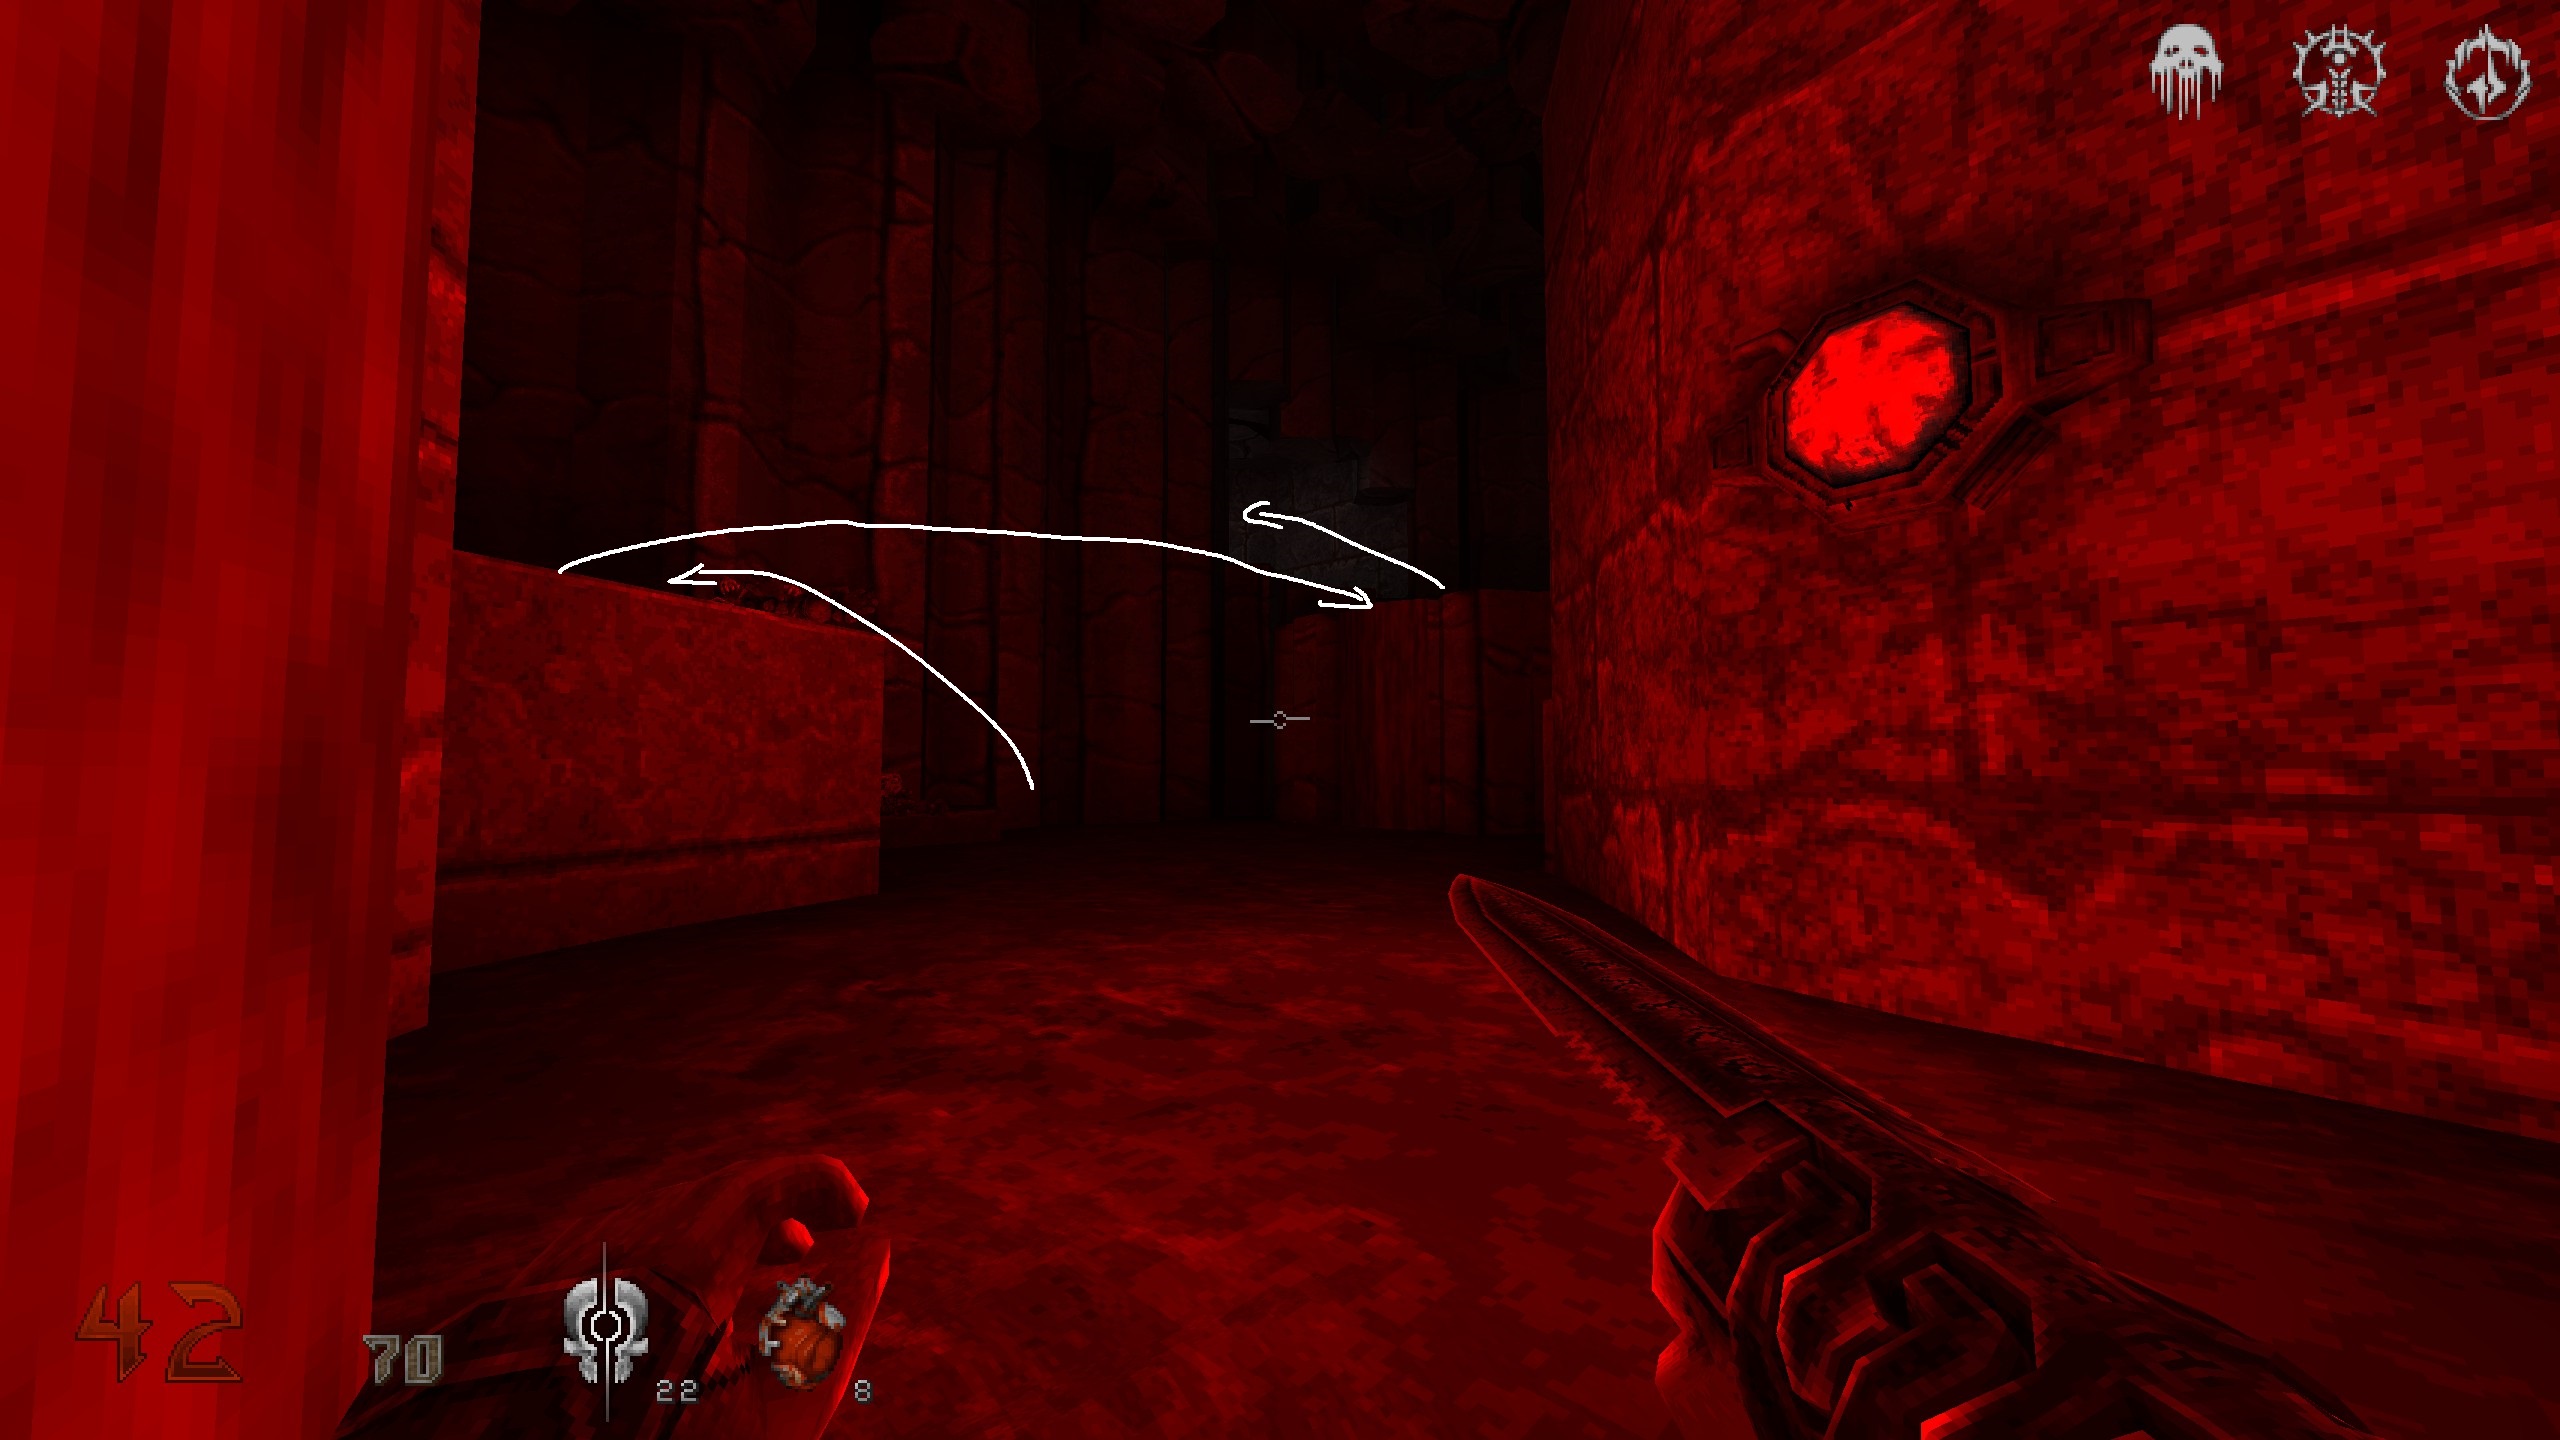
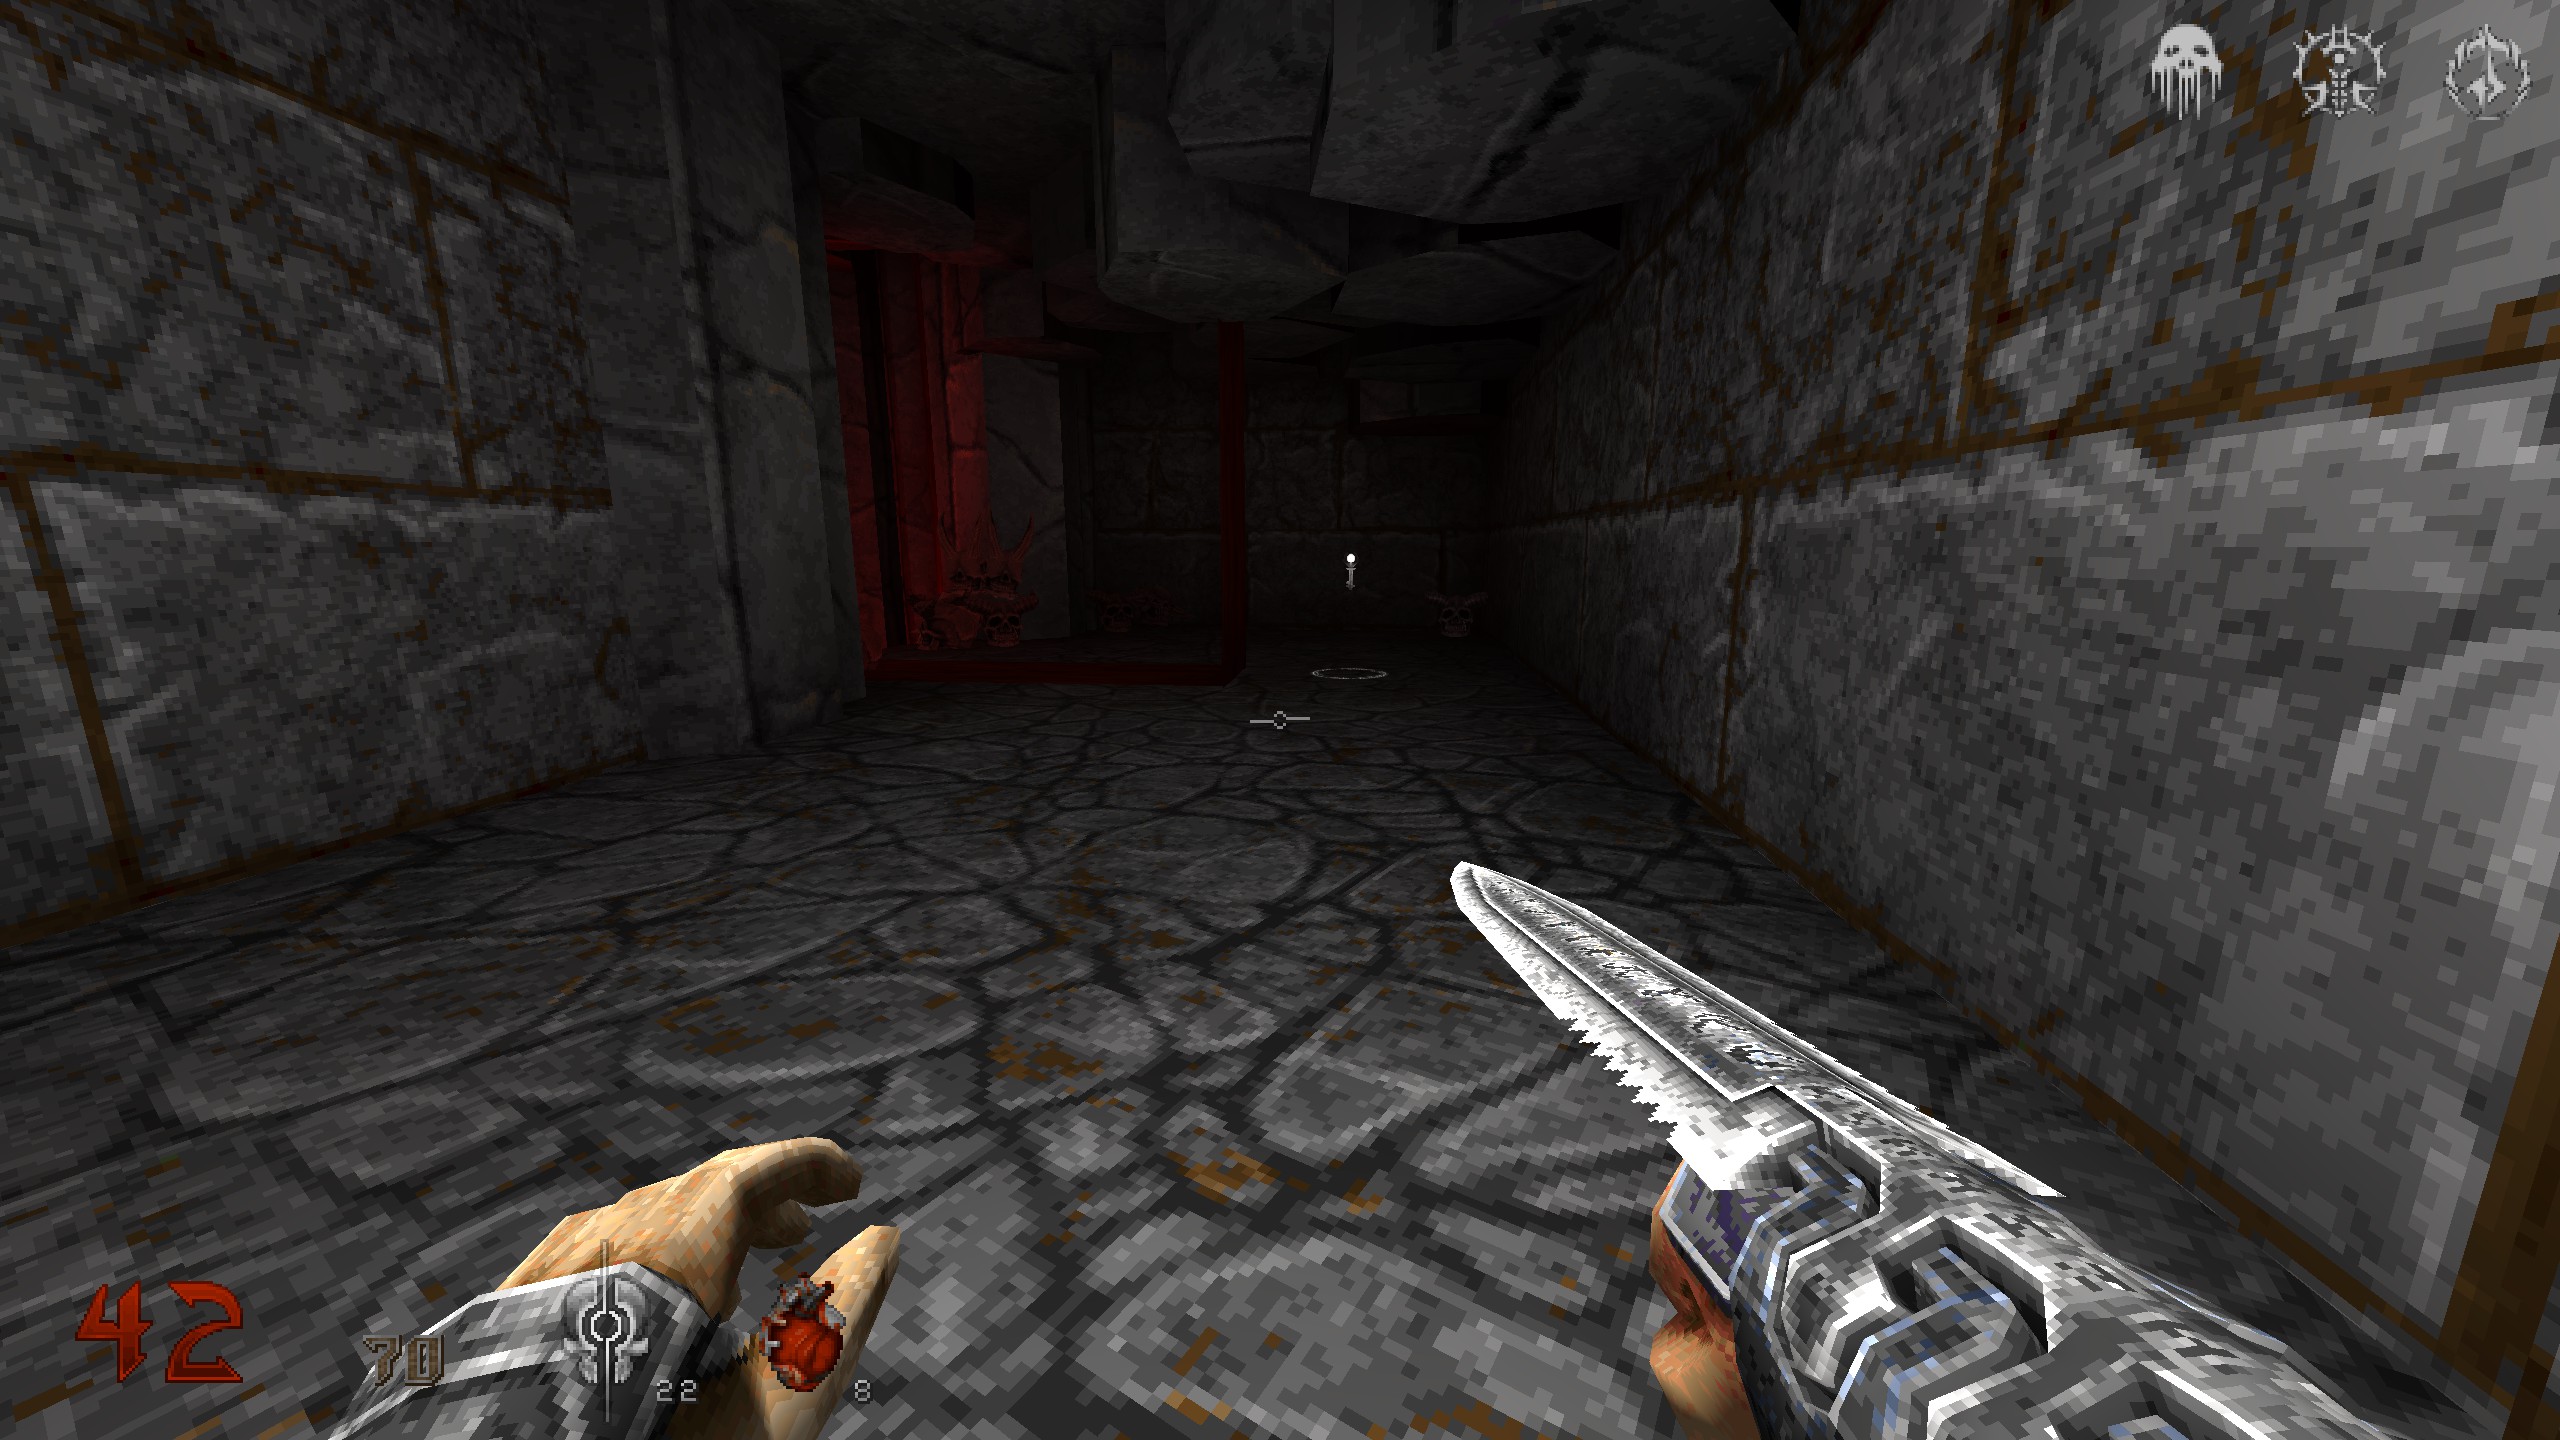
S2
Shortly after you leave the blood stream you enter a big room with lots of pillars and a shelter in it. Take a right and instead of going downn the stairs, jump on the stone plateu to your left which has a soul tether on it. From there jump over to the other palteu across to collect the items. Turn around, back into the huge room with the shelter and proceed from there.
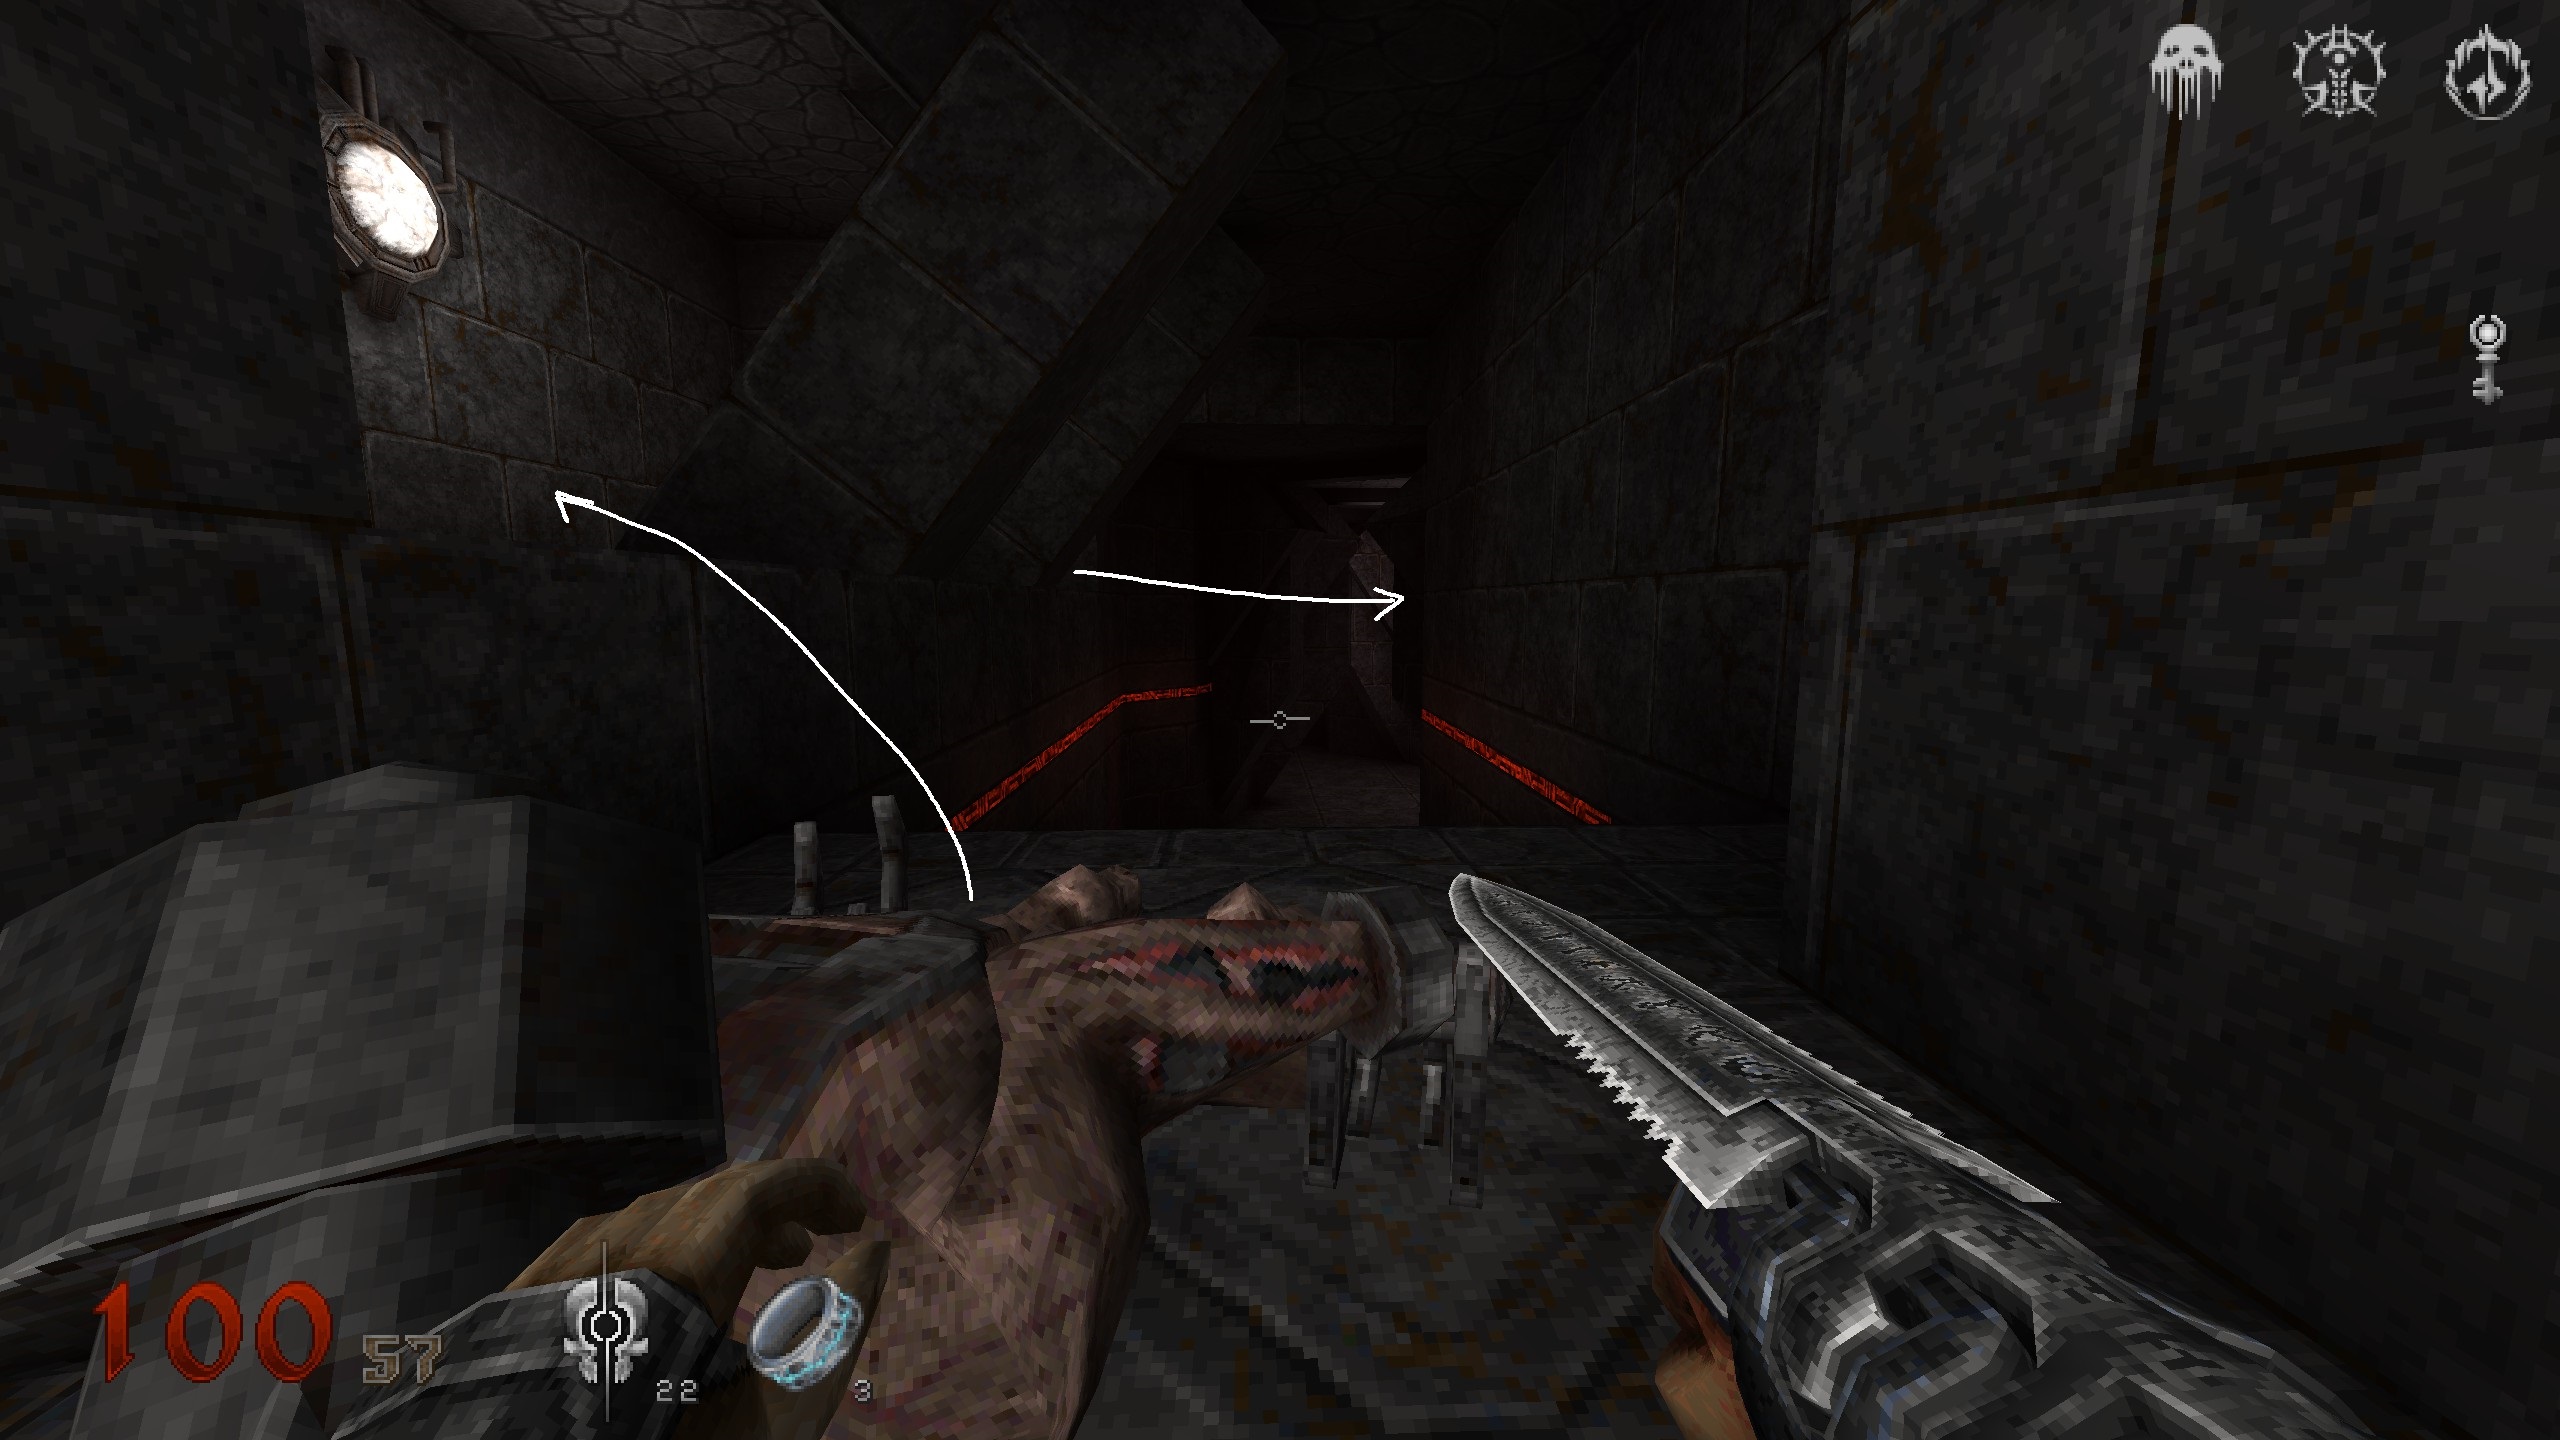
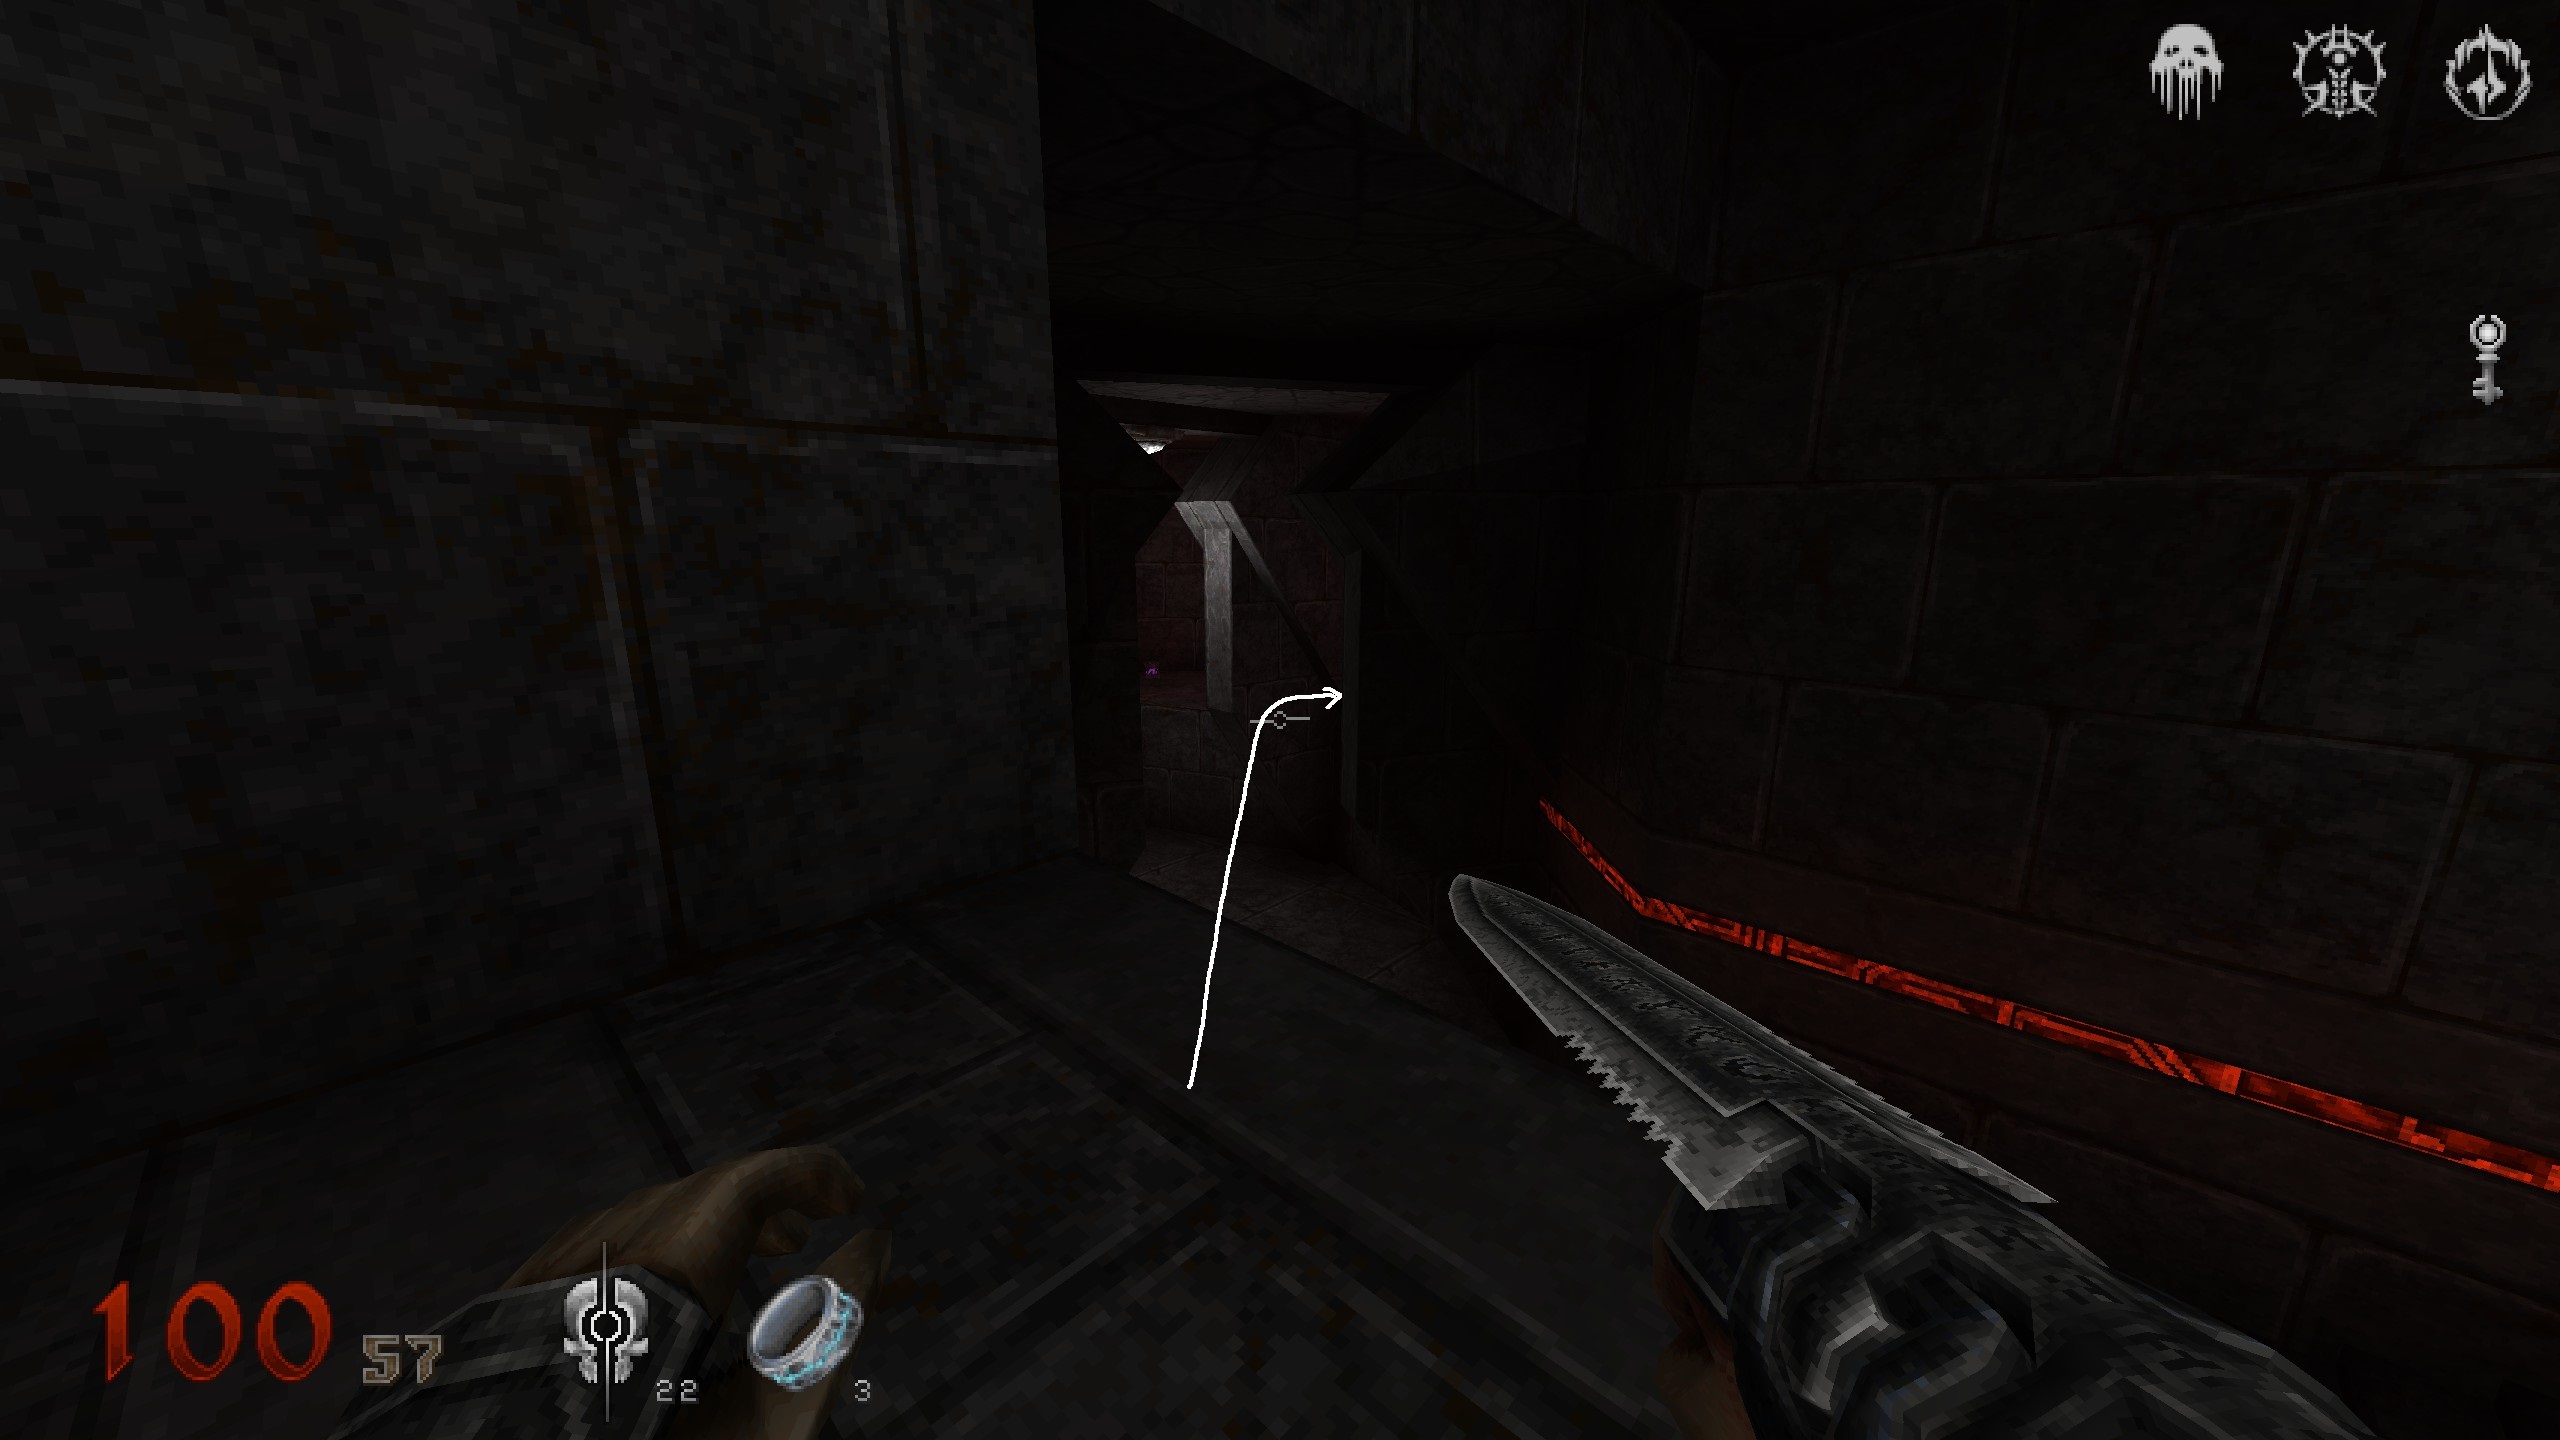
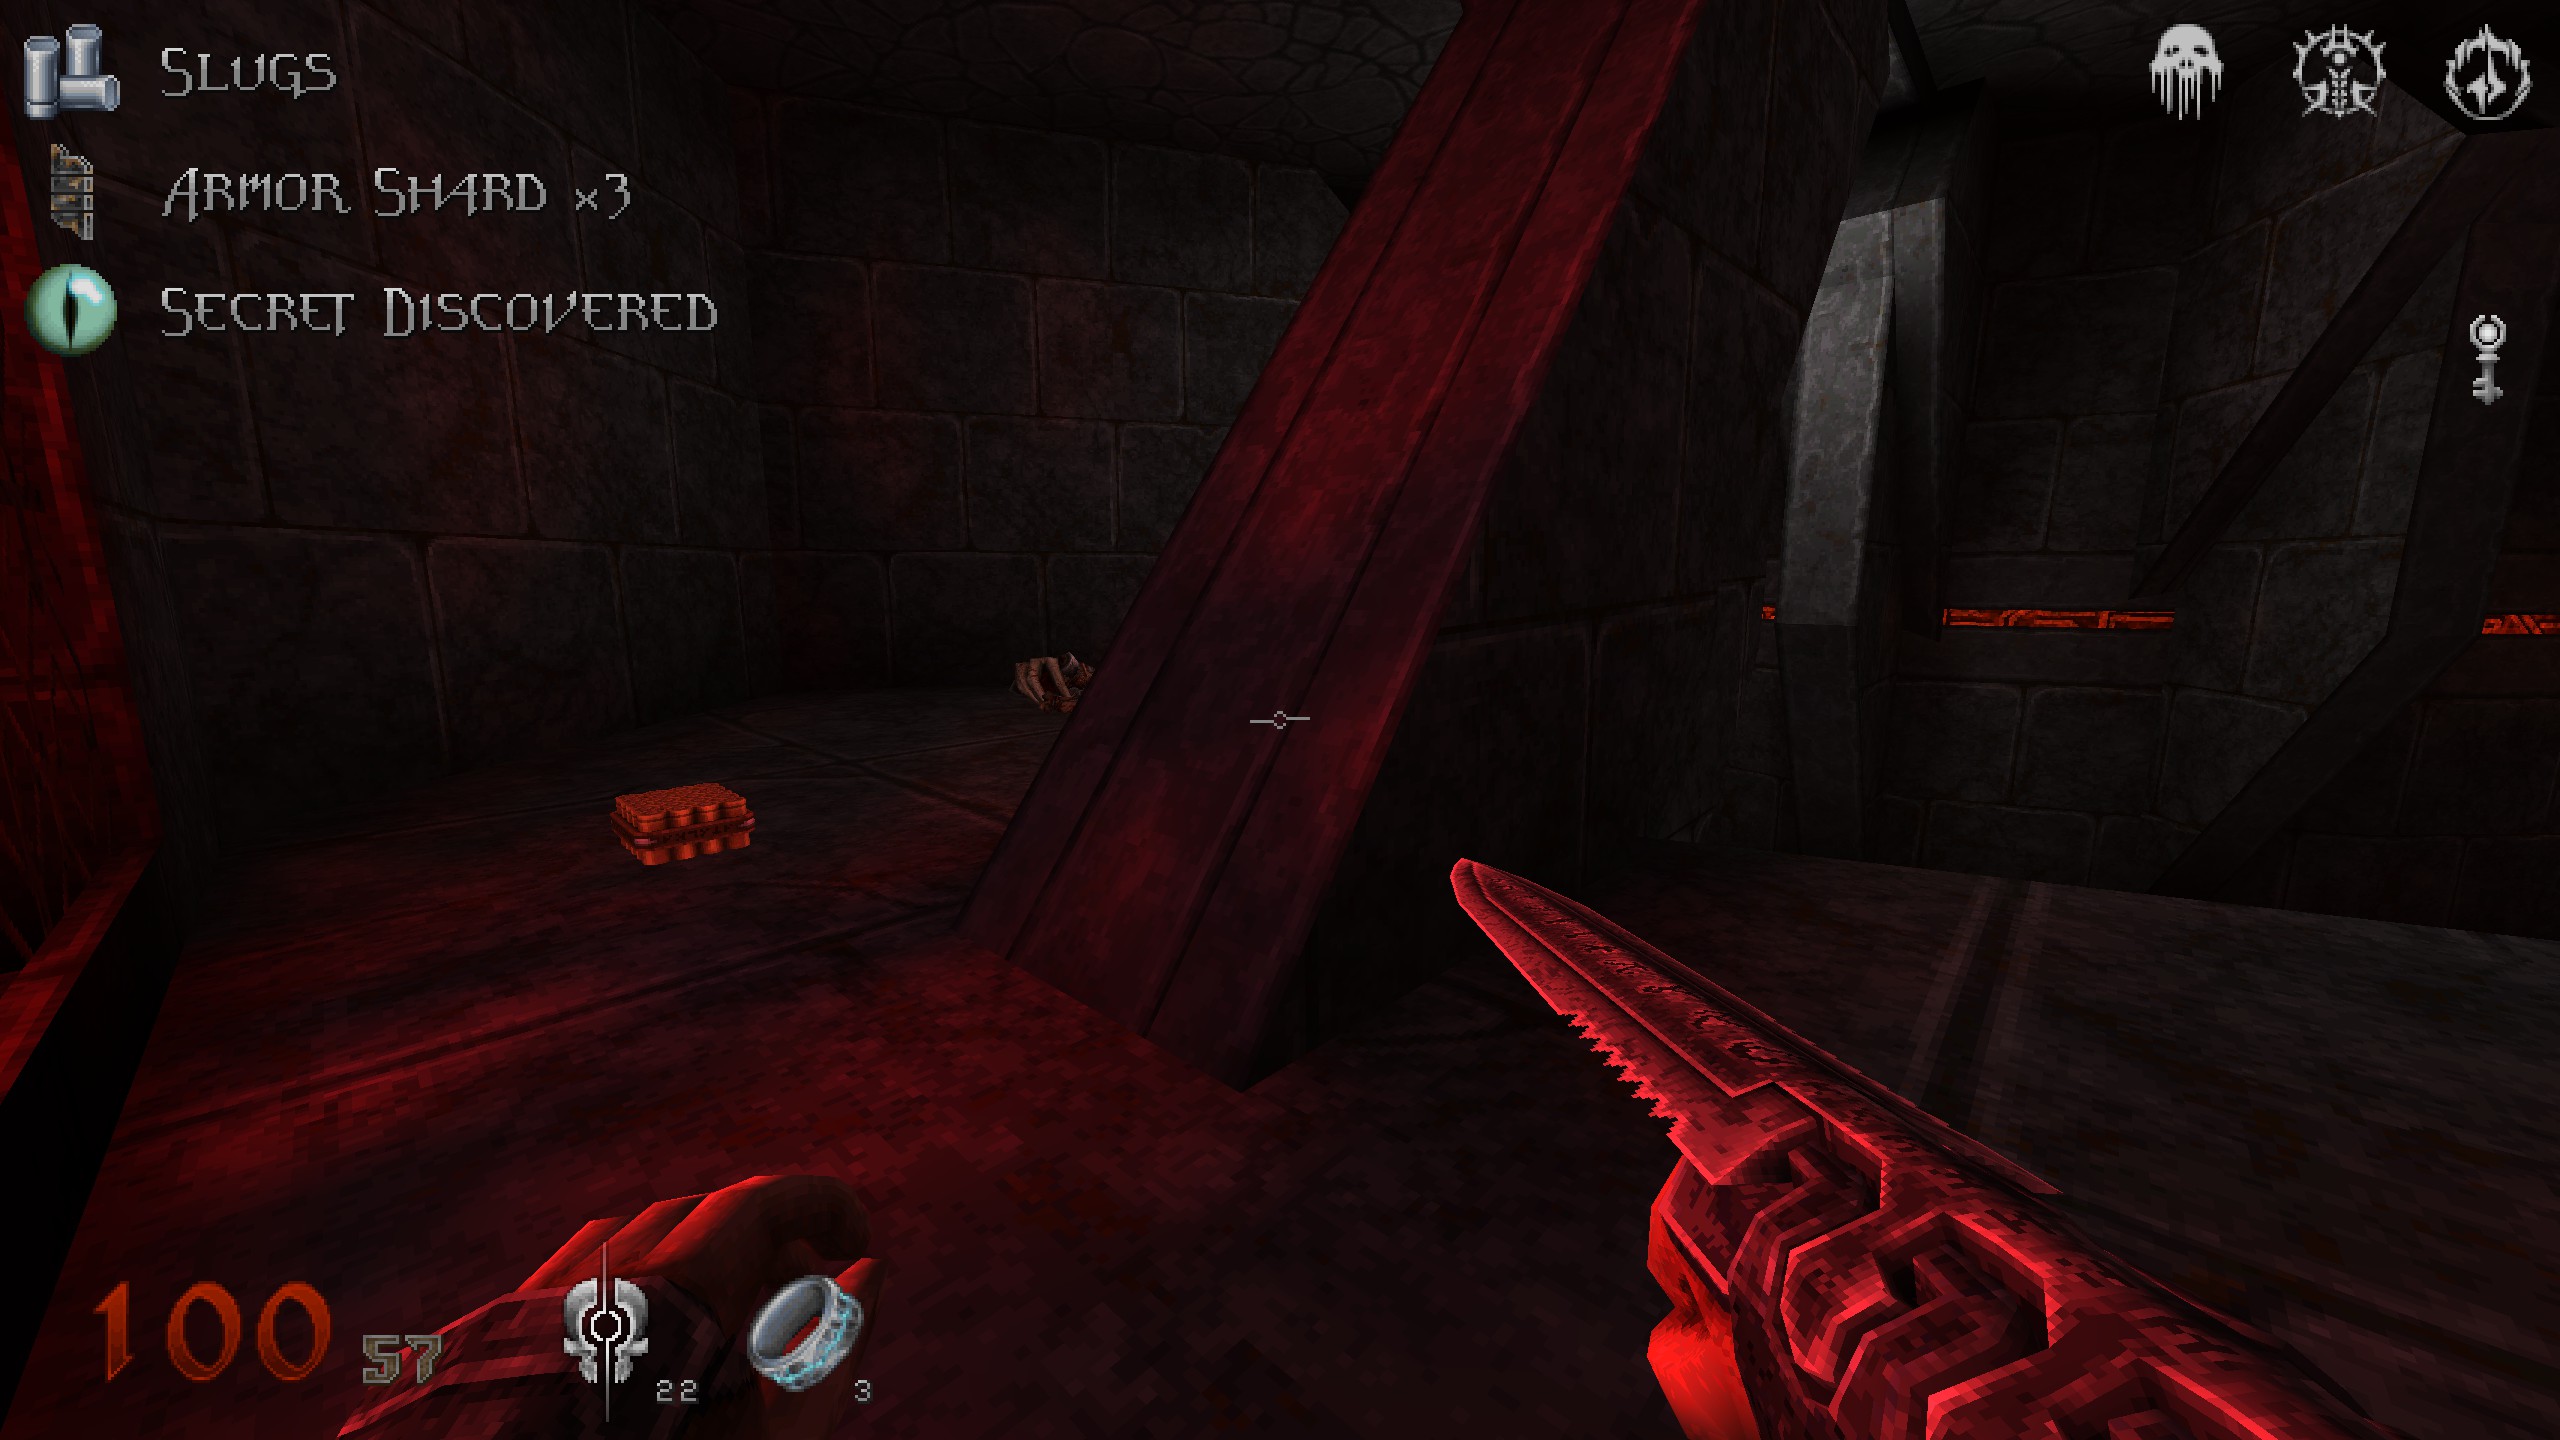
S3 & Key
You are in the area where you can see the blue key up front ahead. Take a left and follow the path all the way till you stand and a stone plateu overlooking the area. Turn left first and check around the corner for a key. From the key jump directly across on the small stone plateu. Collet items to get secret.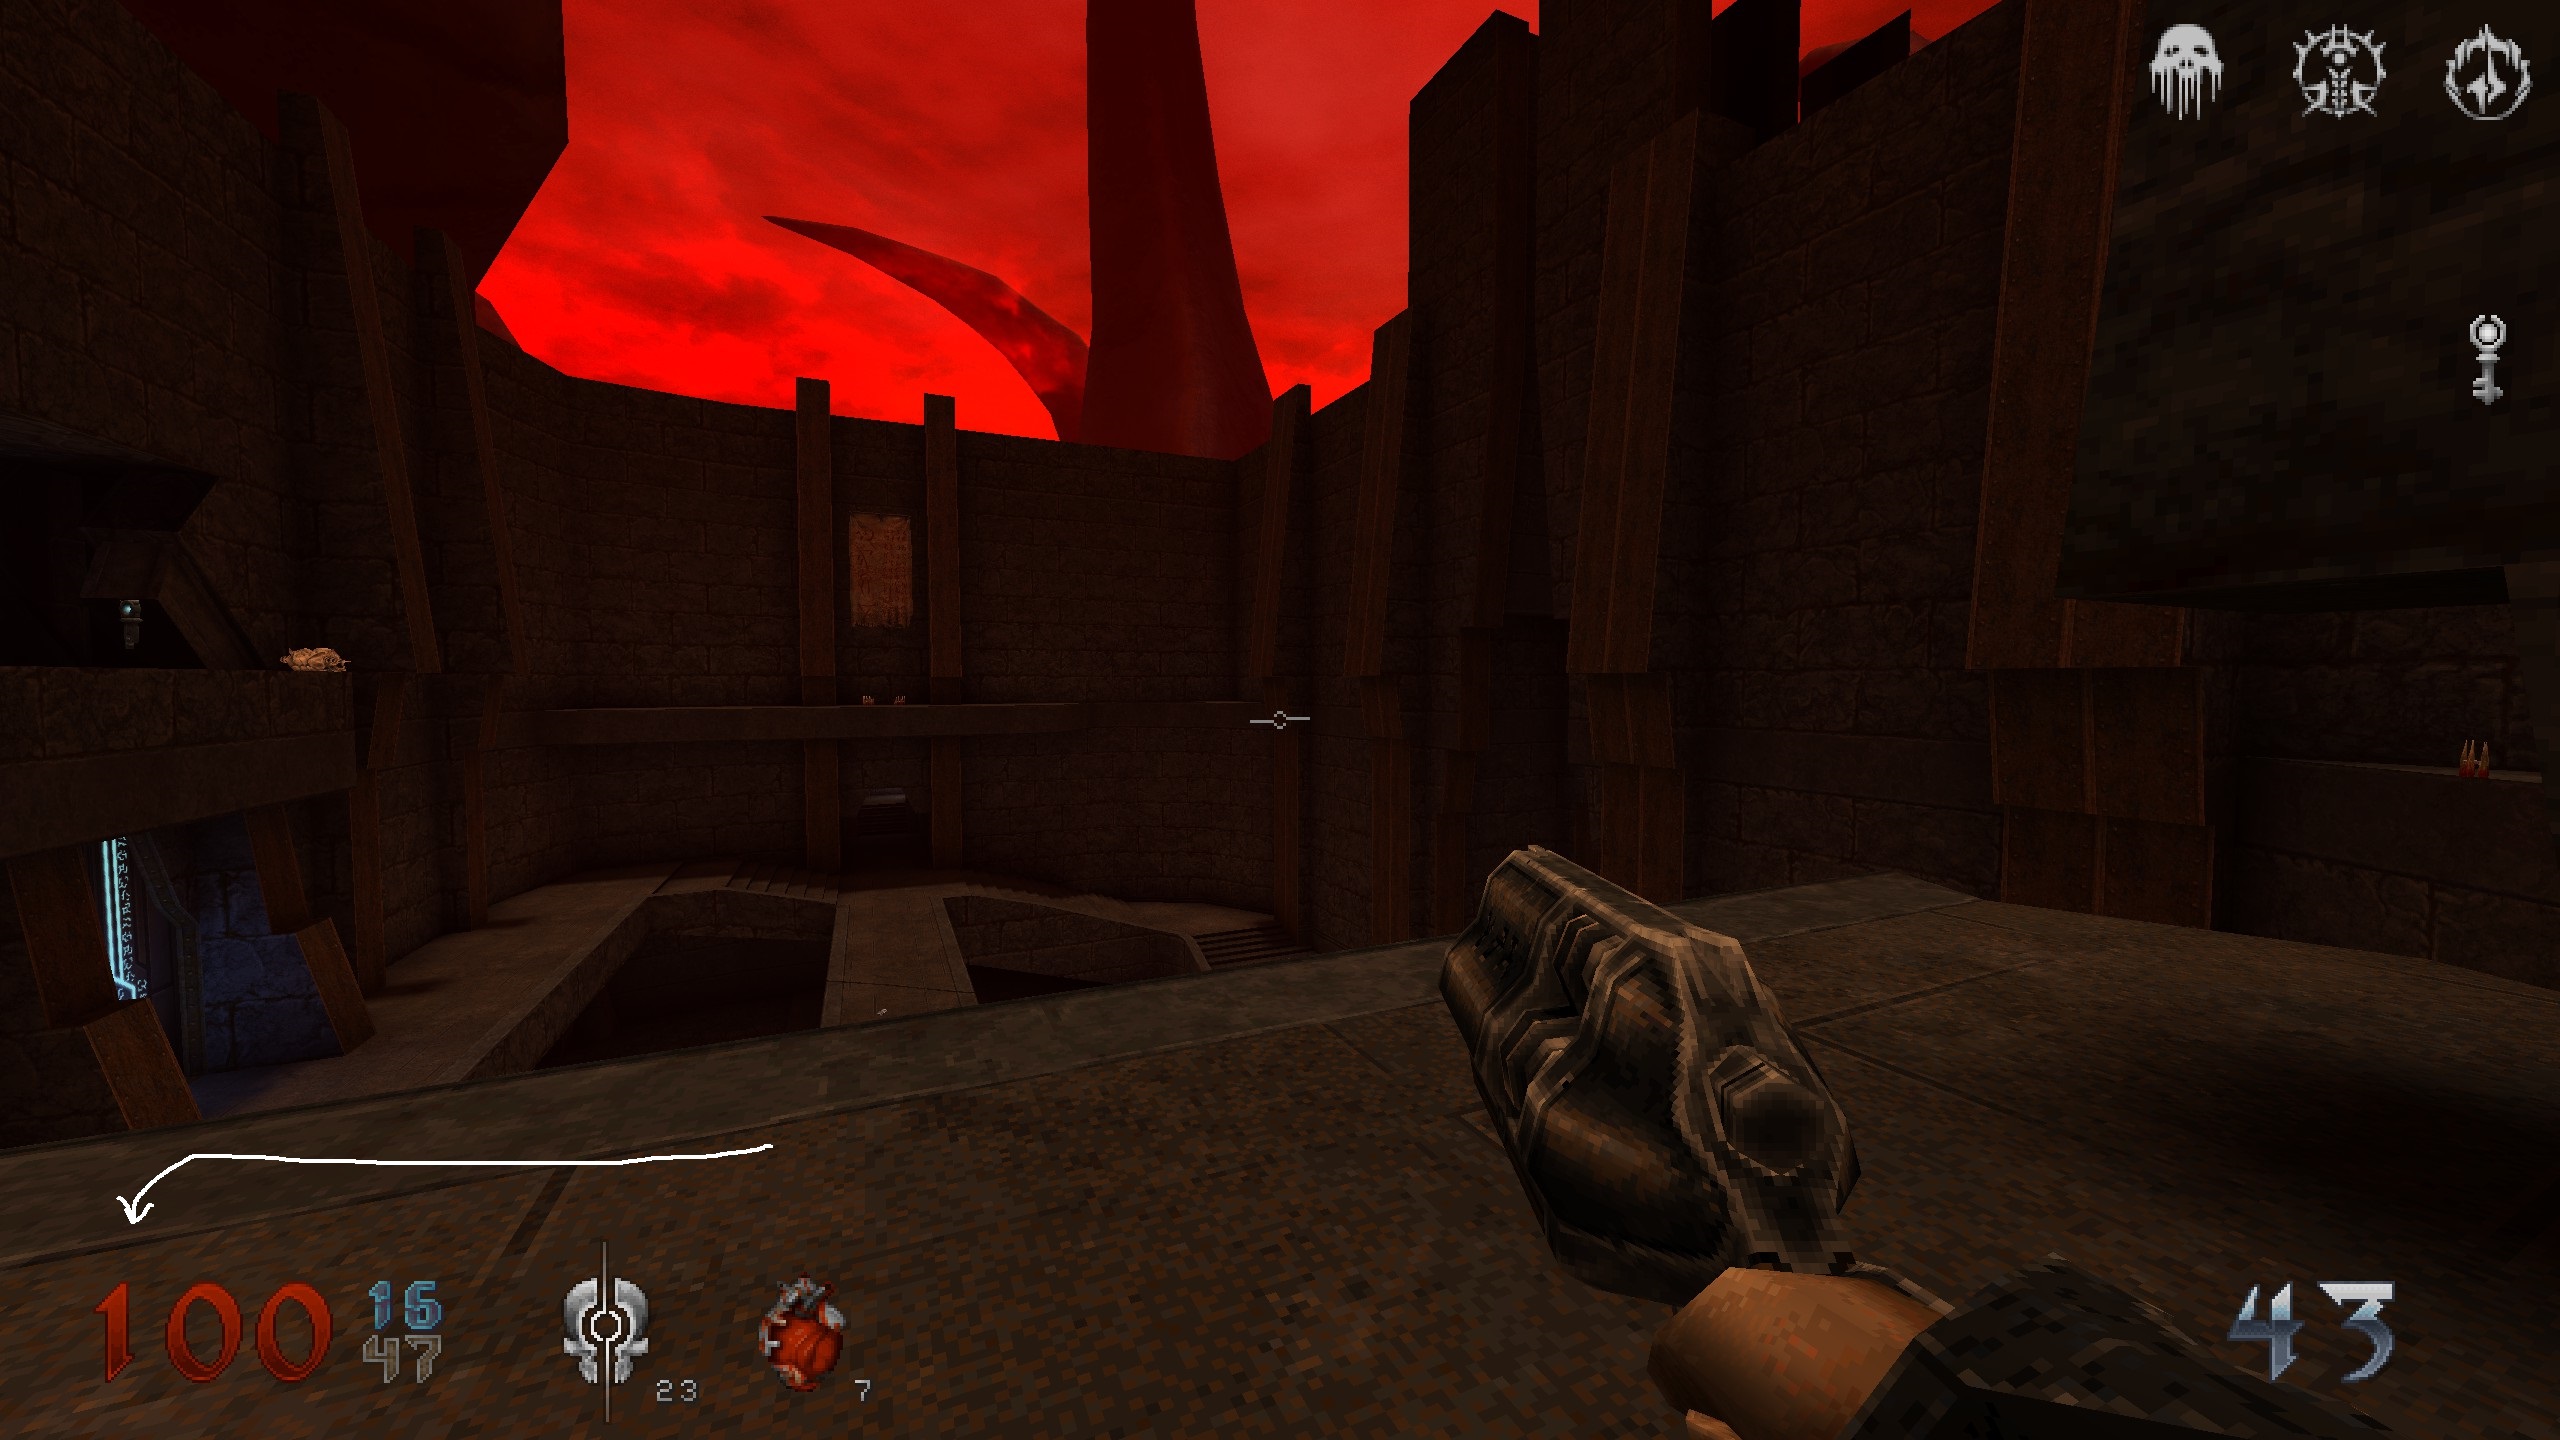

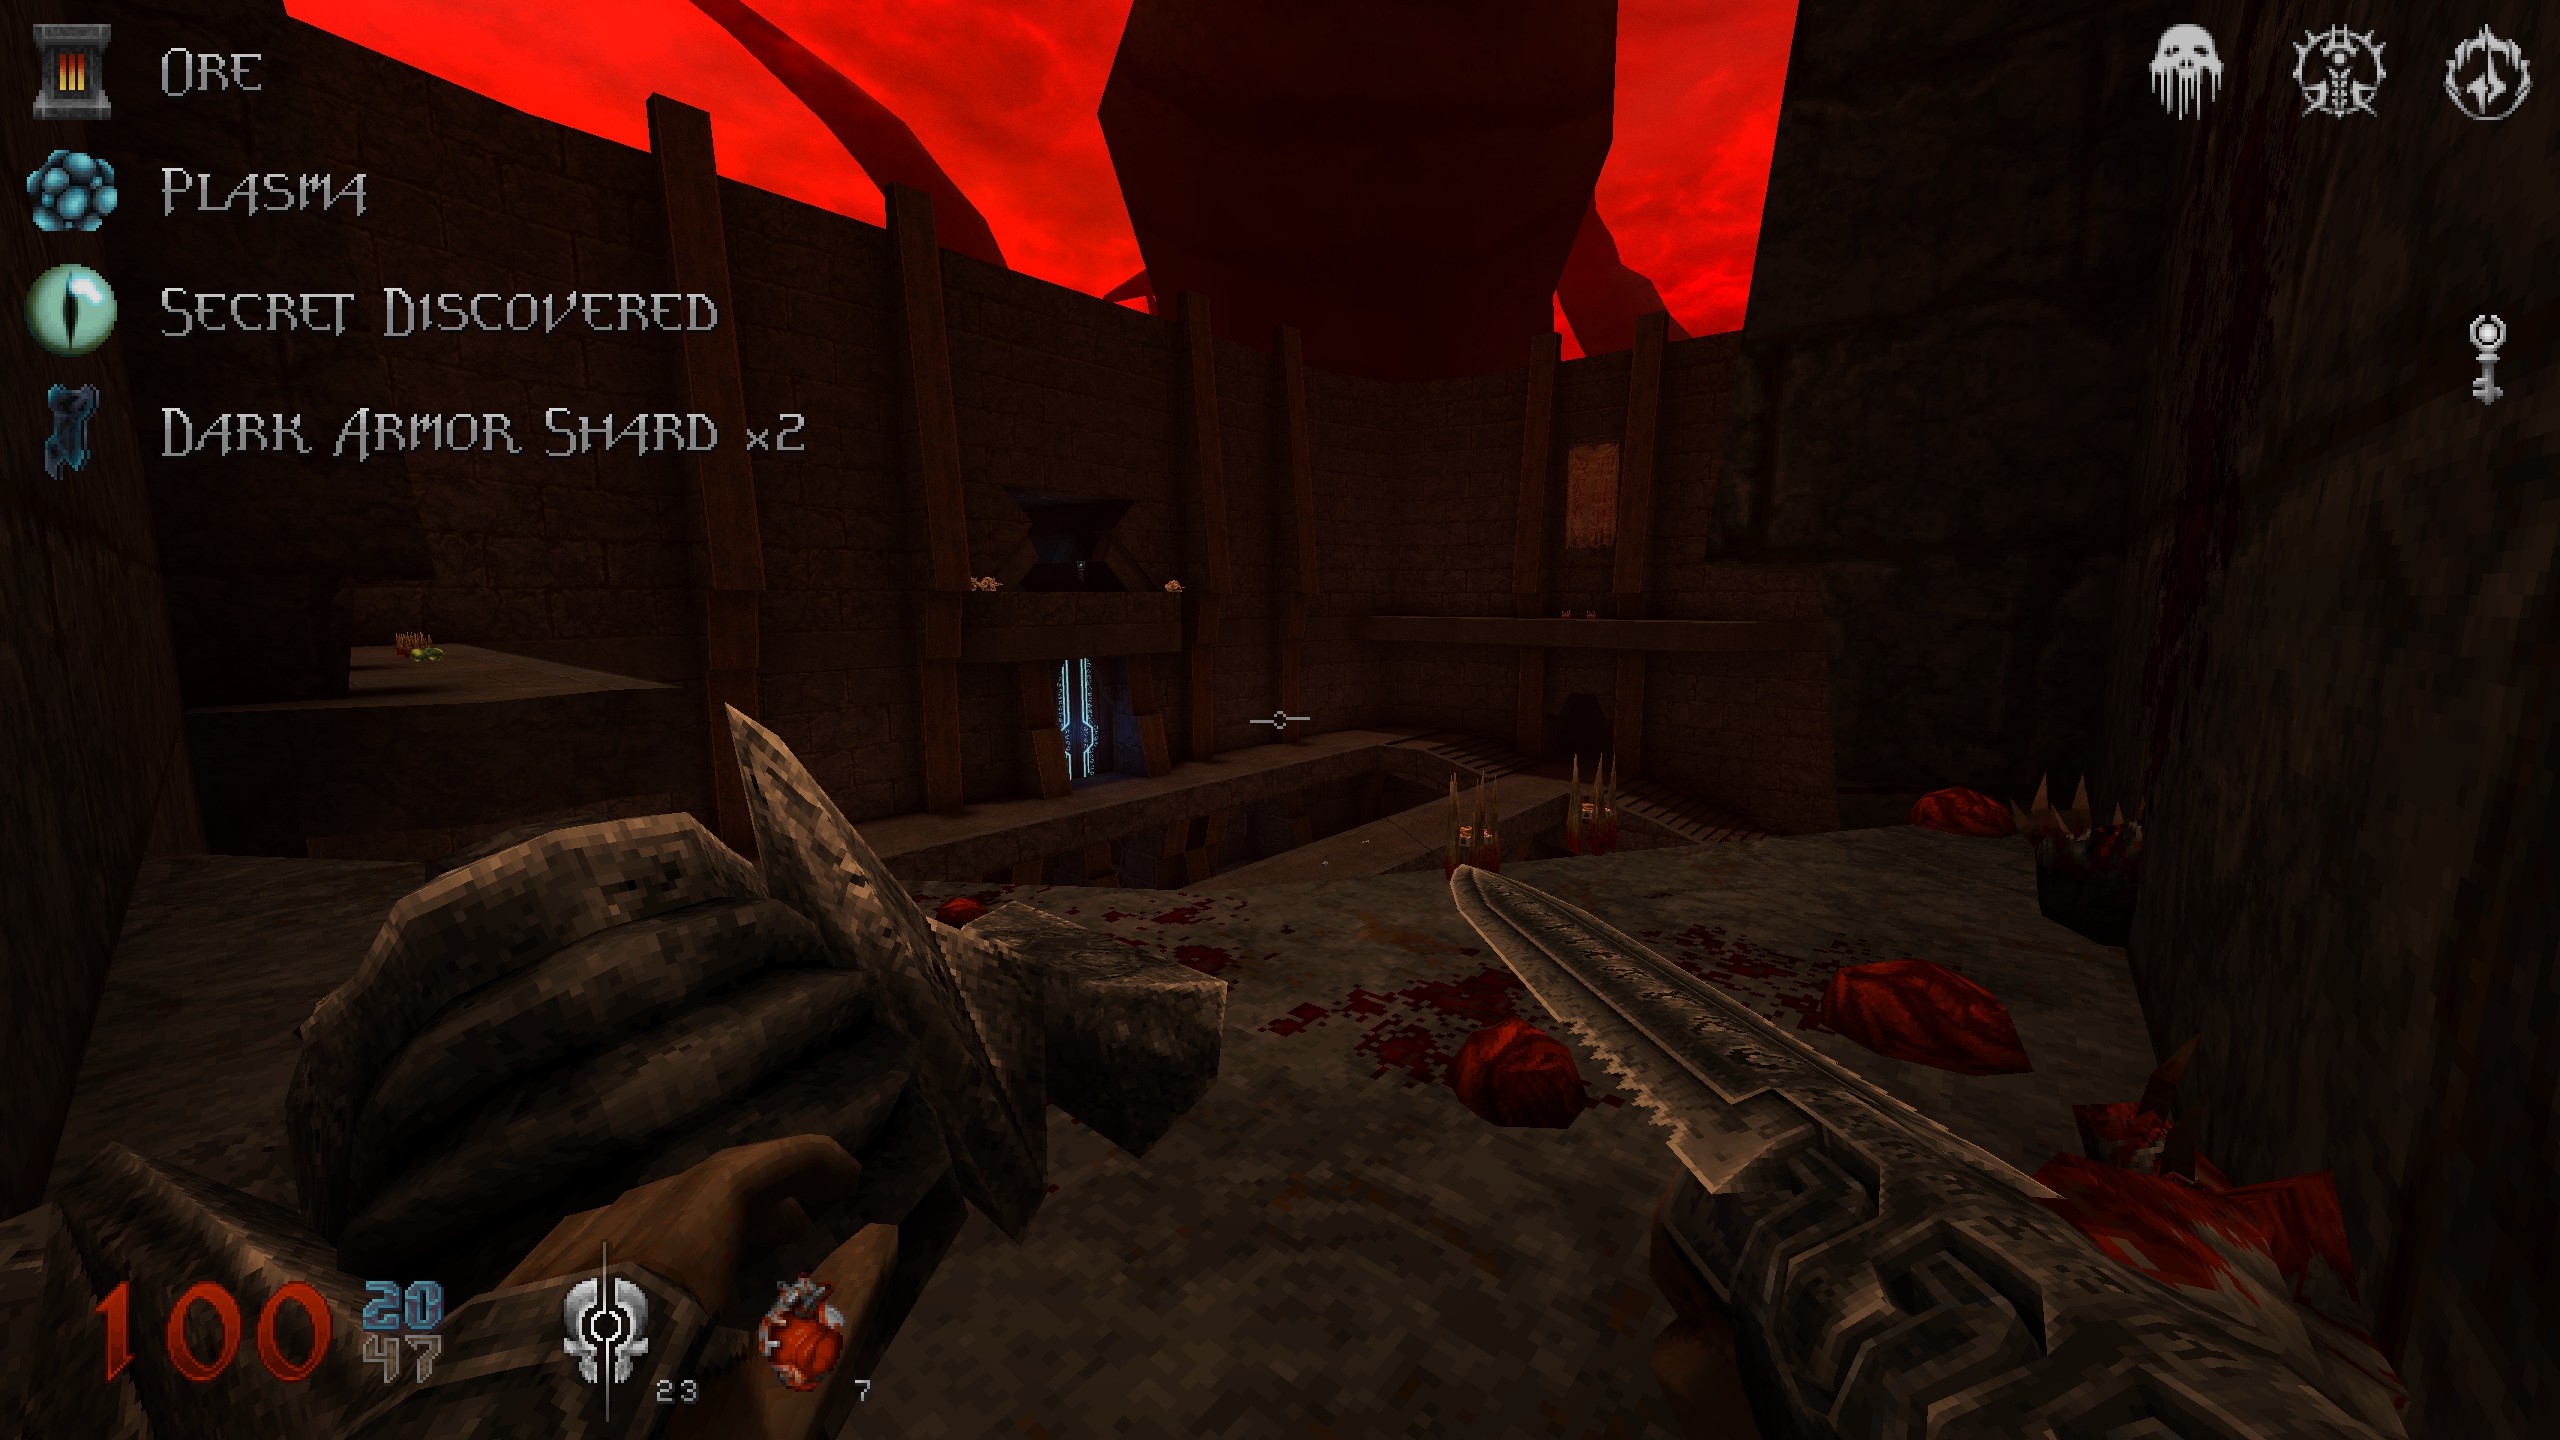
Crate & Key
When you use the sigil, you can destroy the different parts of the wall. The one in the middle has the crate in it. Check around those pillars and also find another key.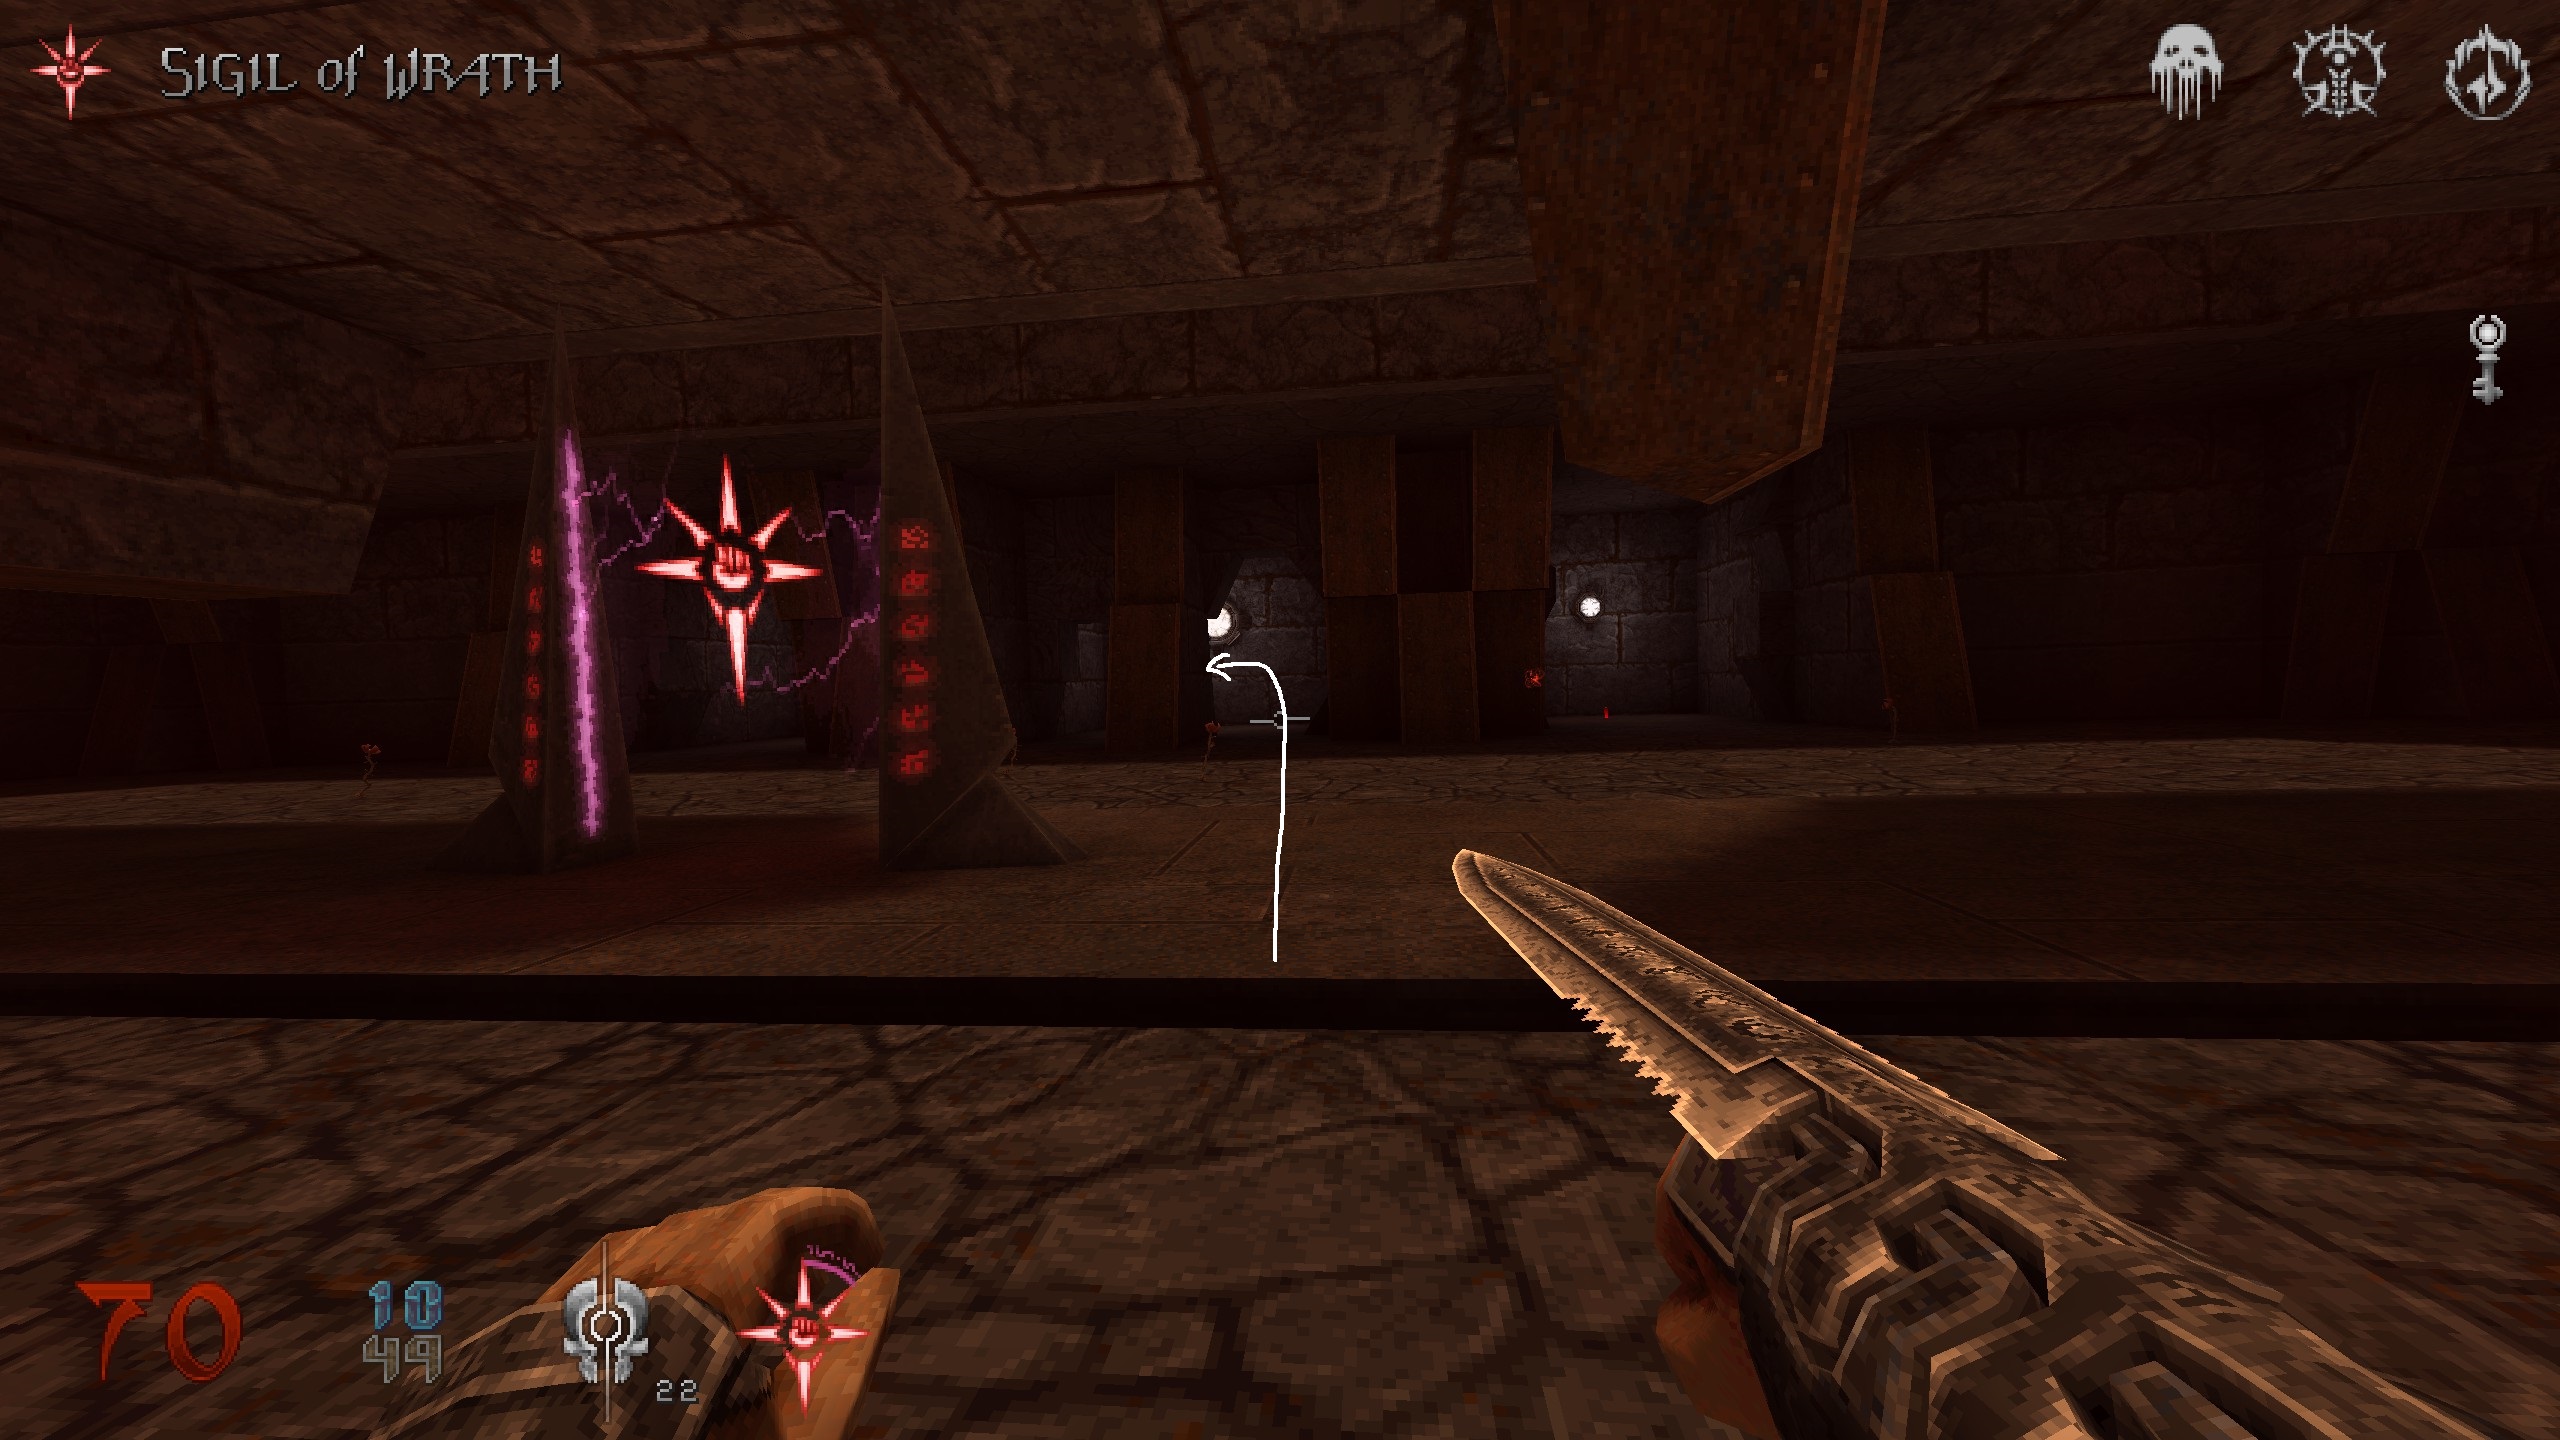
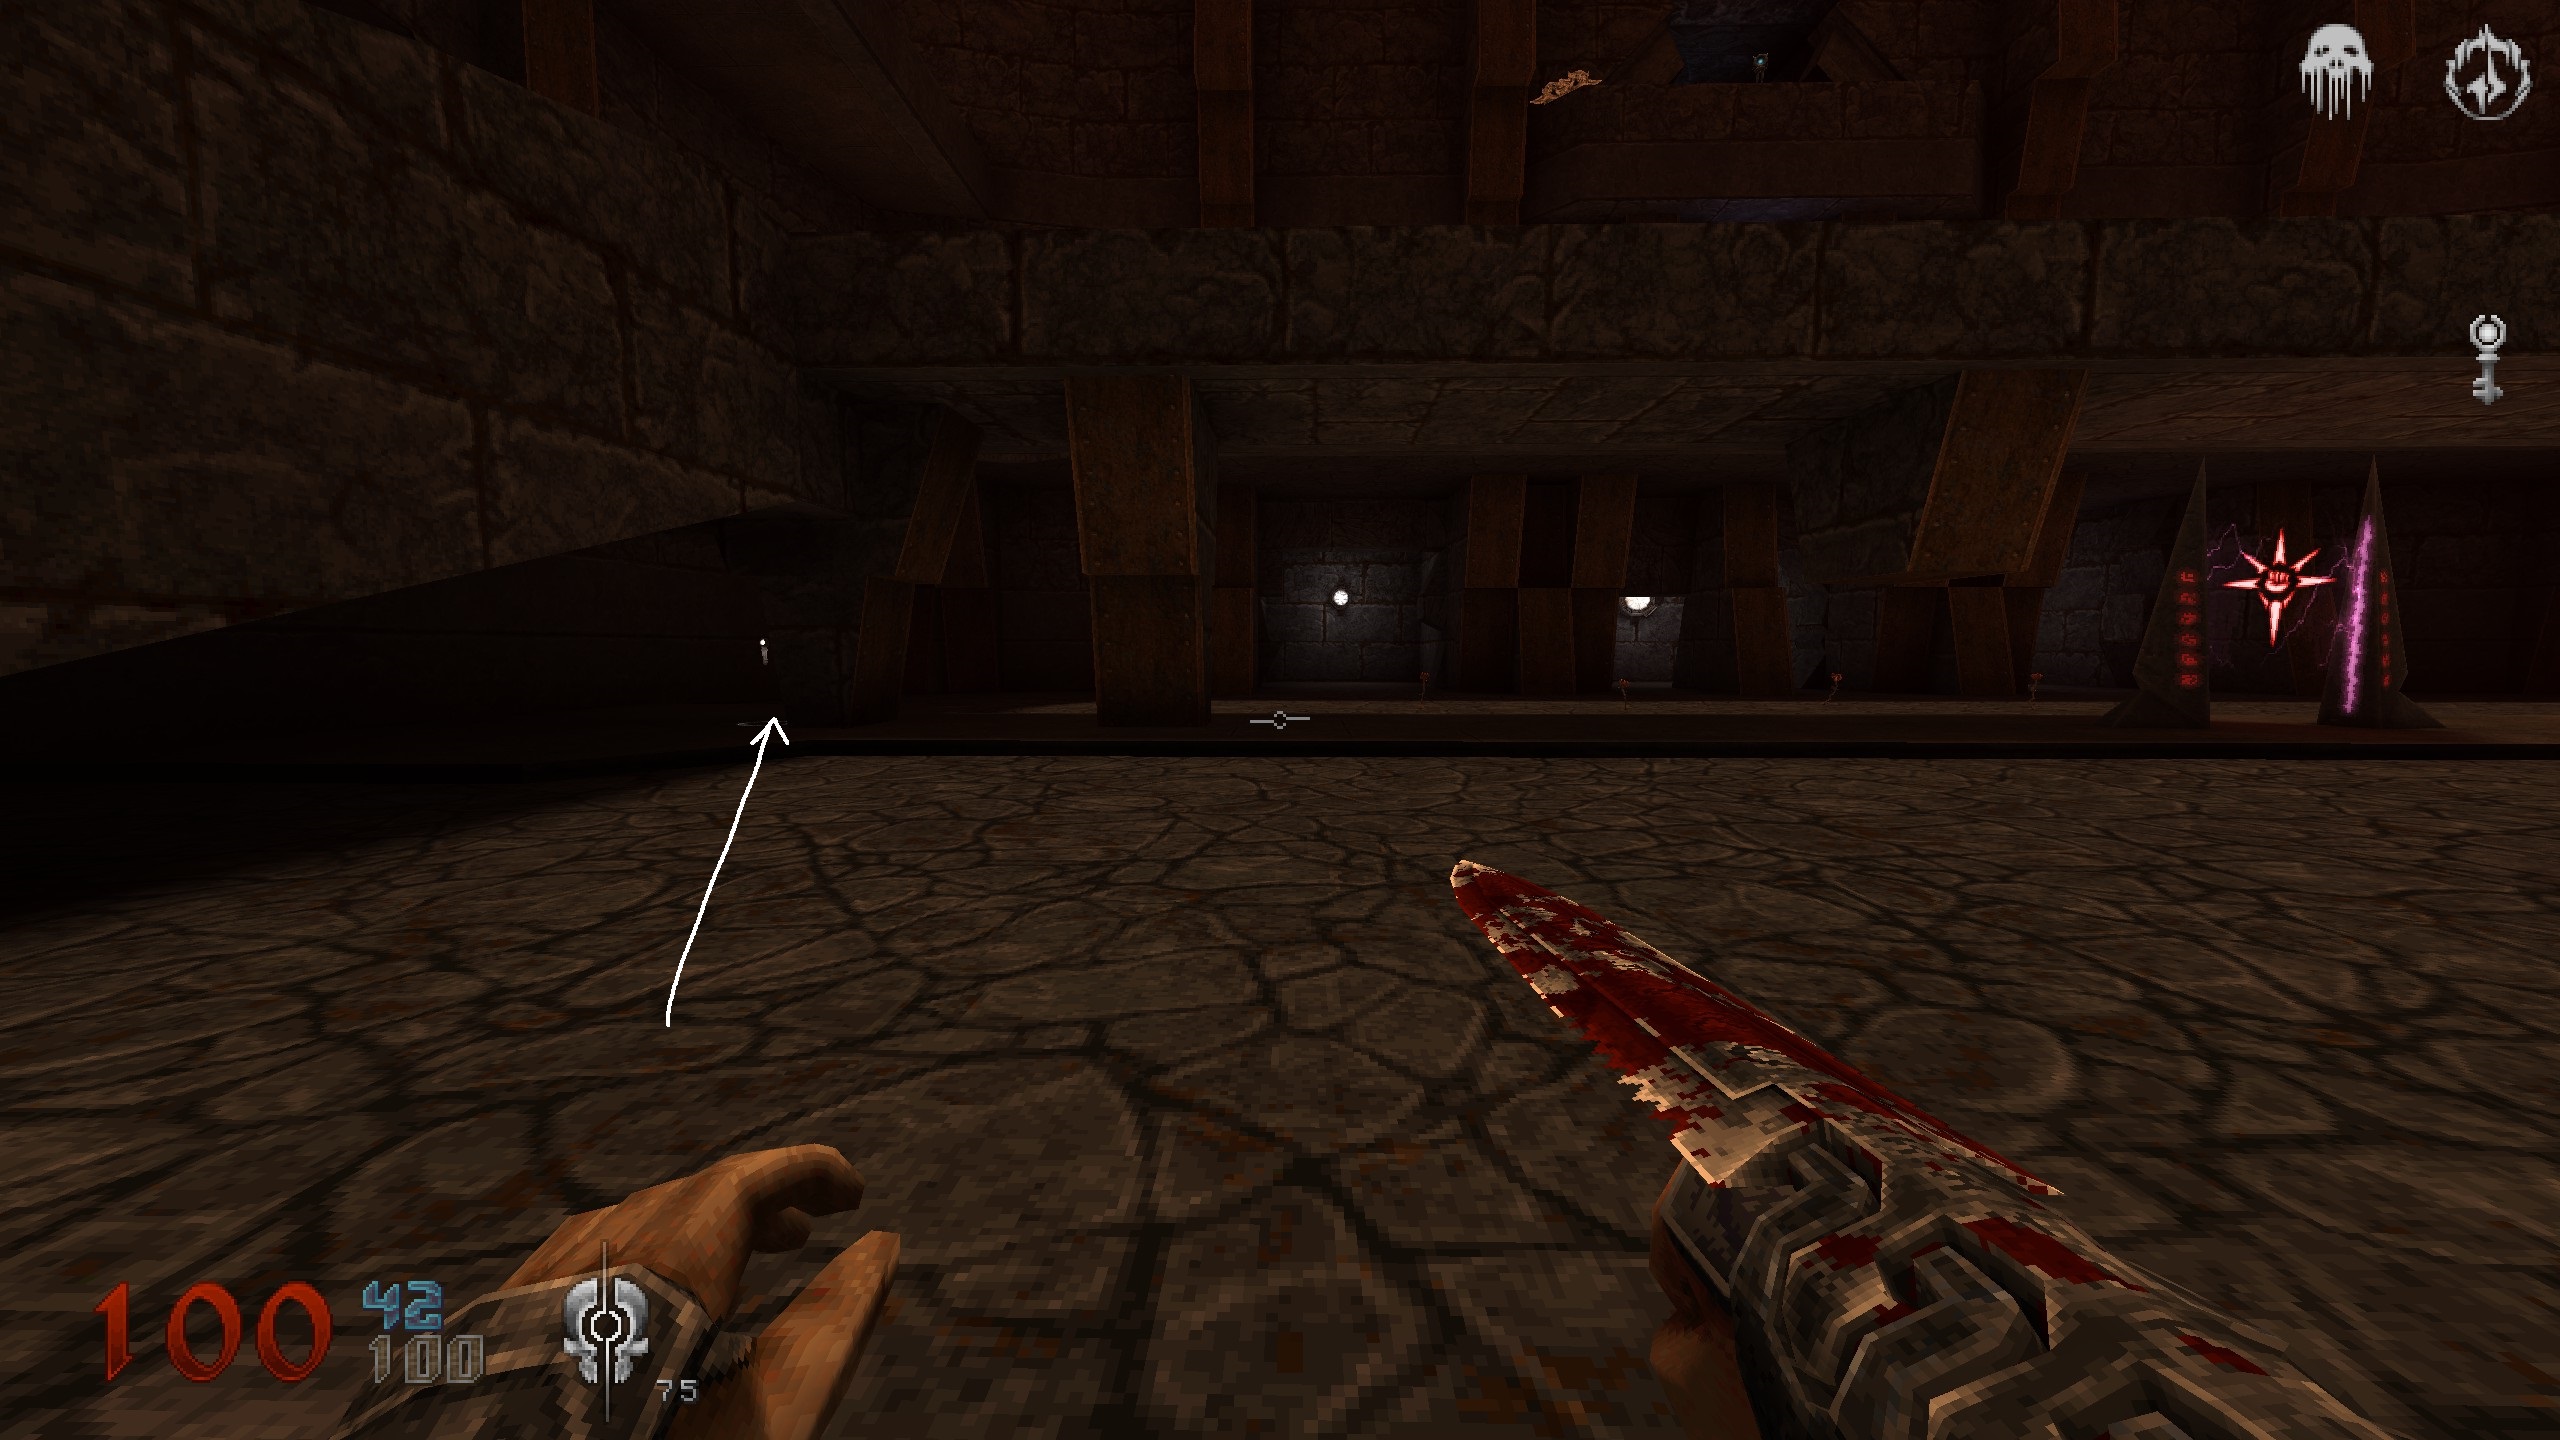
Crate
After some horizontal crushers you are in a room where you can you up a path. Check the left wall in this room. An enemy should have smashed it, revealing the crate in there. Go for blue key and continue.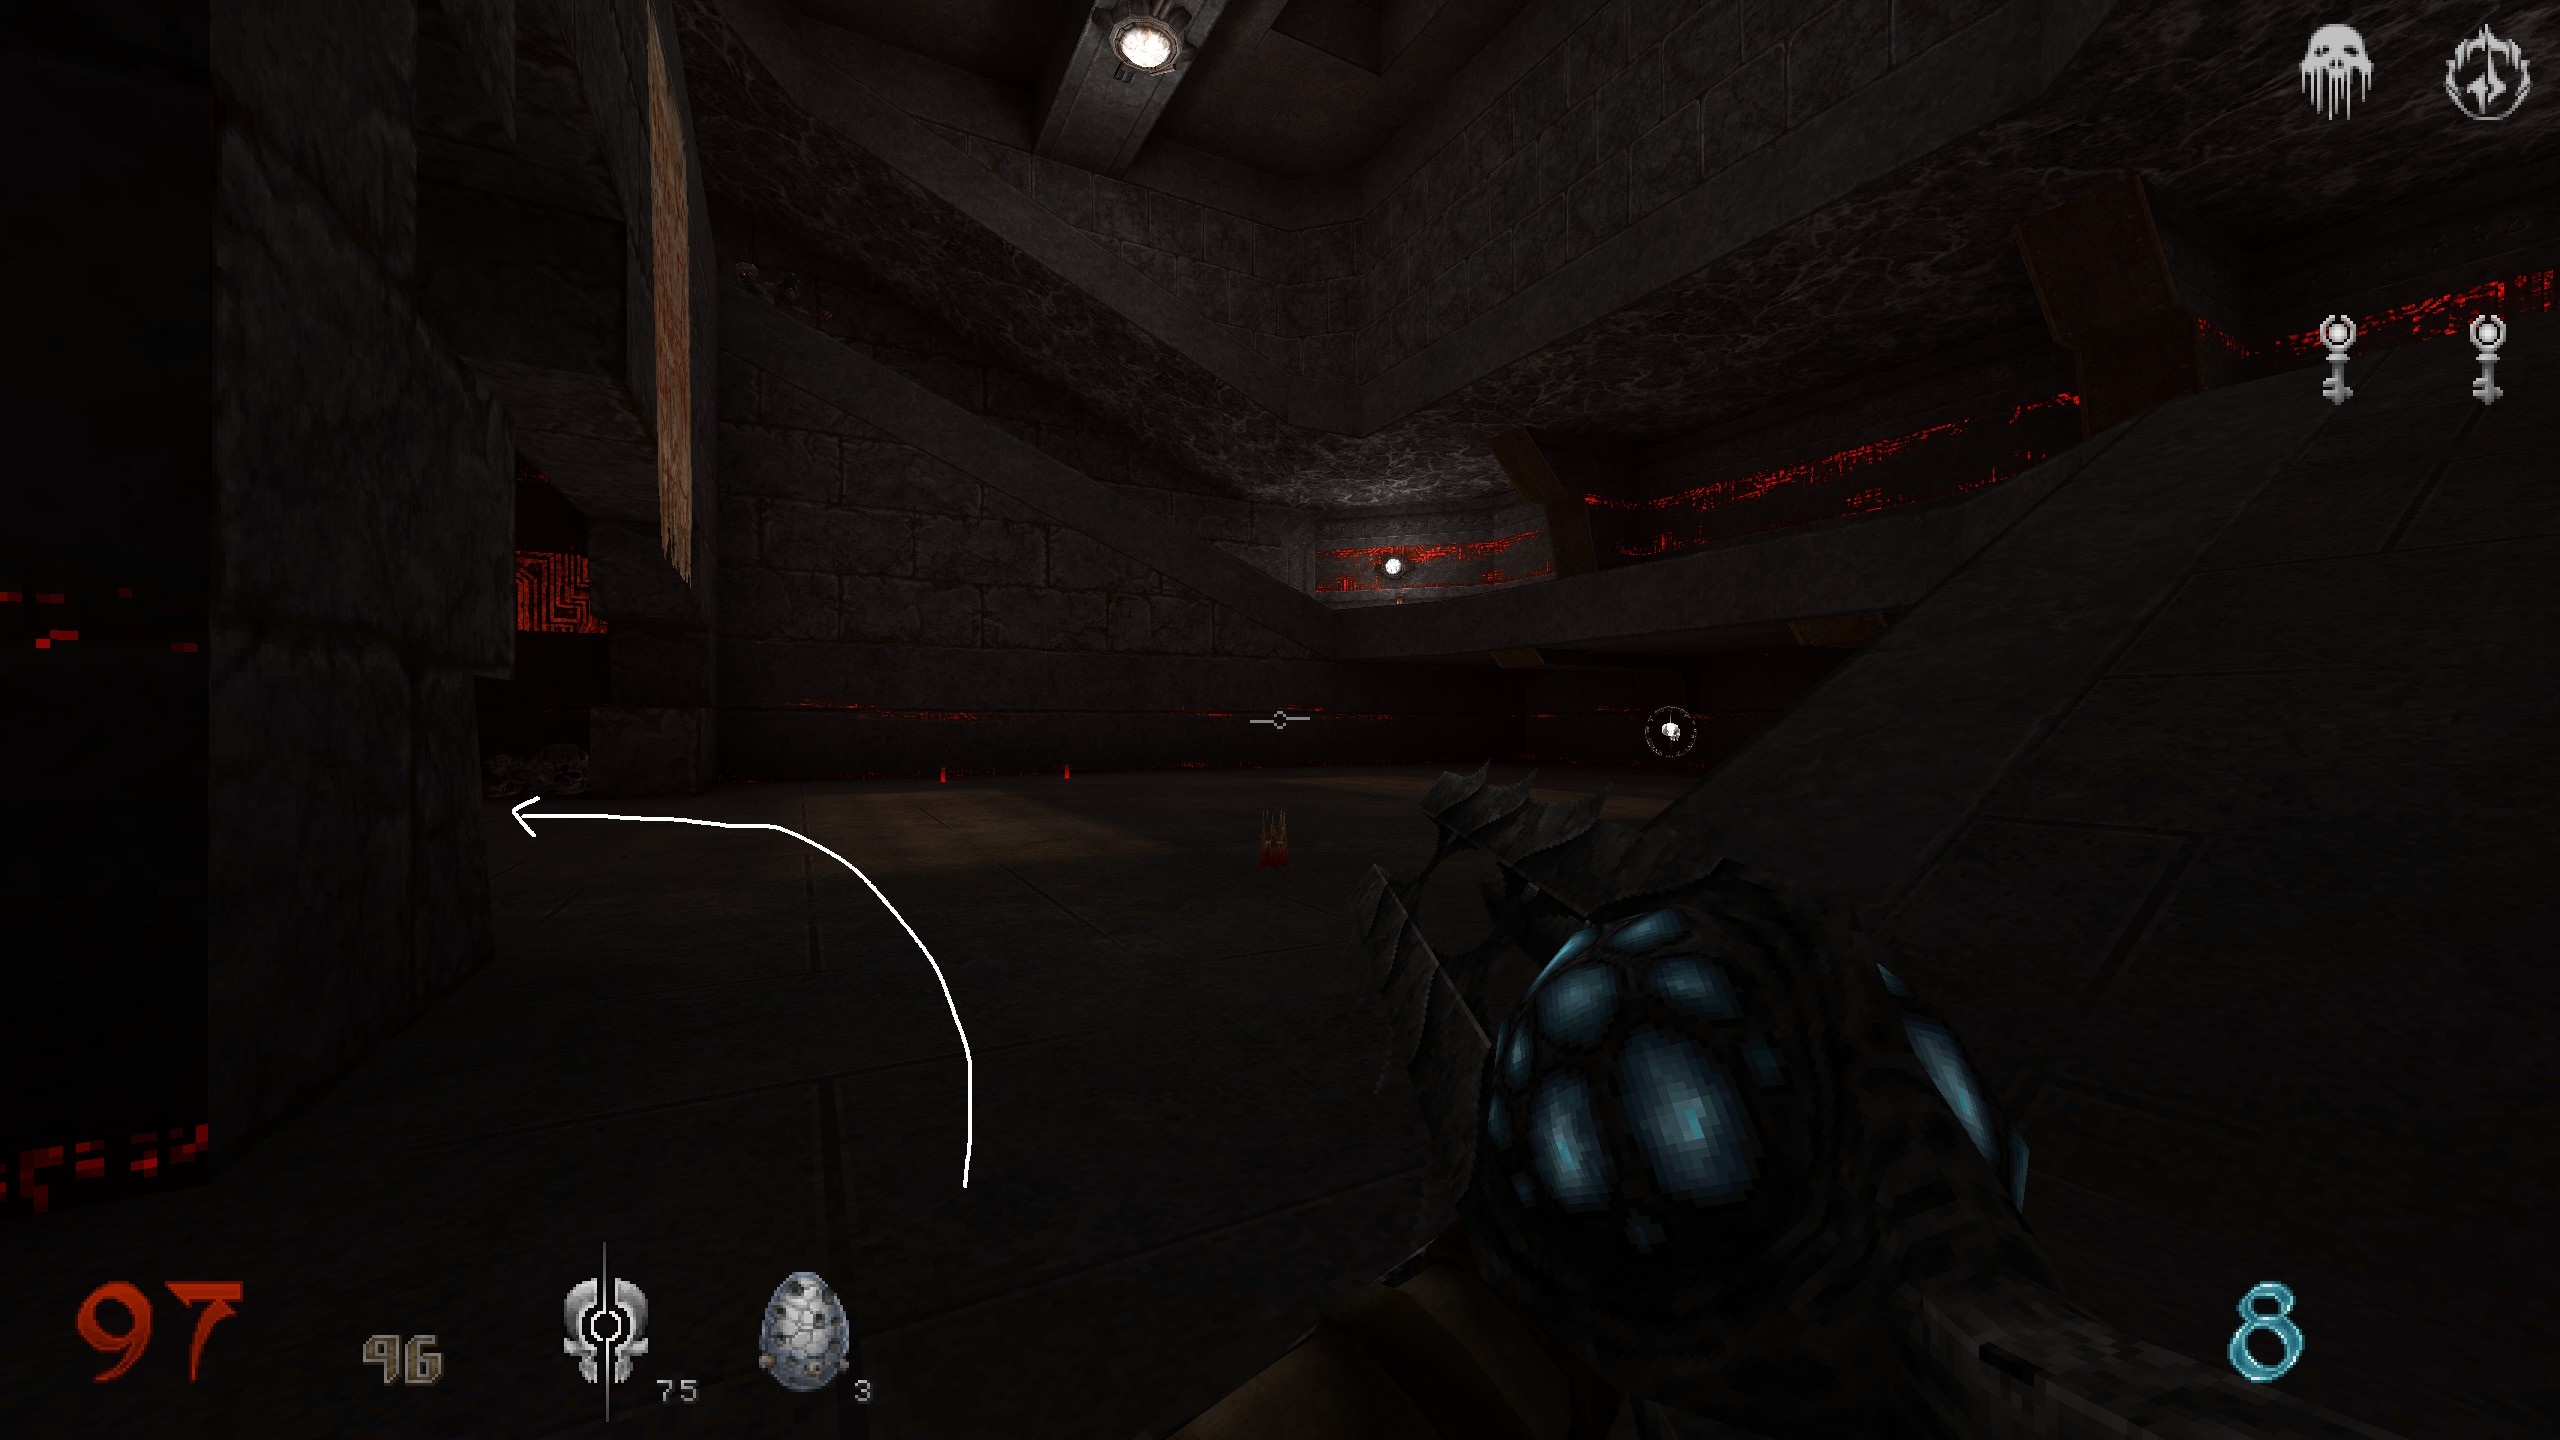
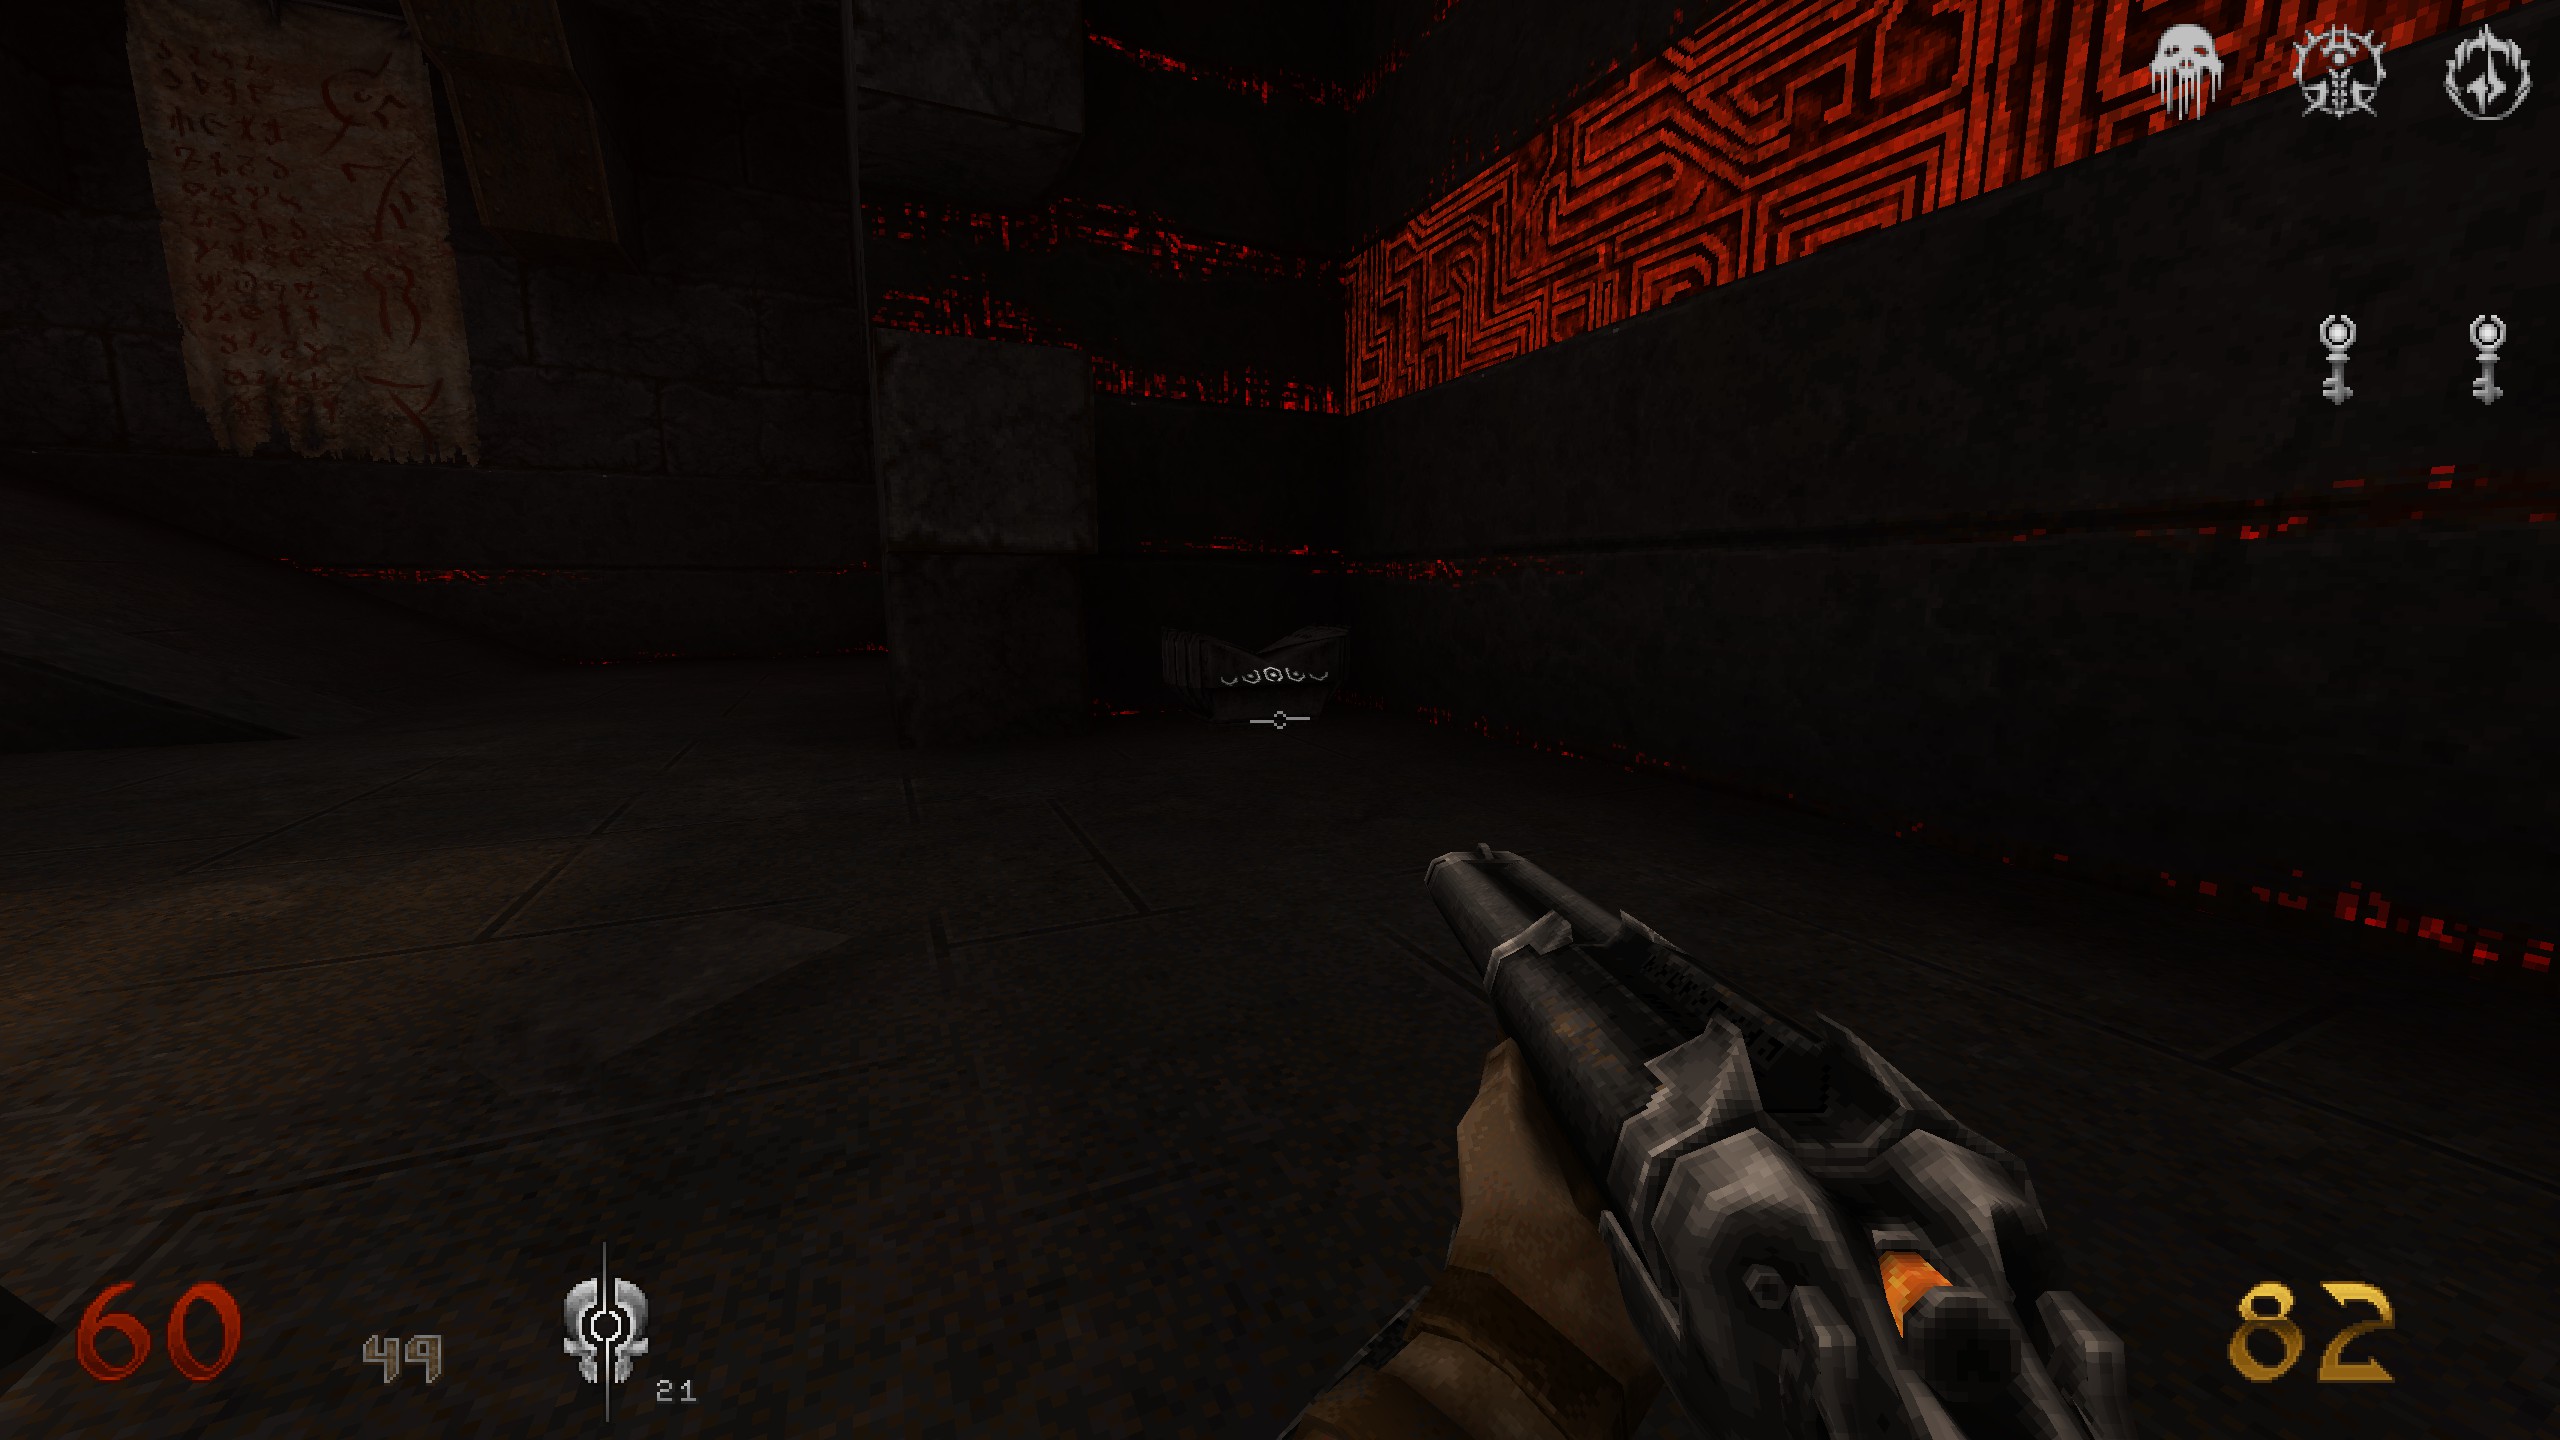
Crate
You are in a huge room with a shrine and a sigil. Take the stairs left to the shelter and follow the stairs to find a crate.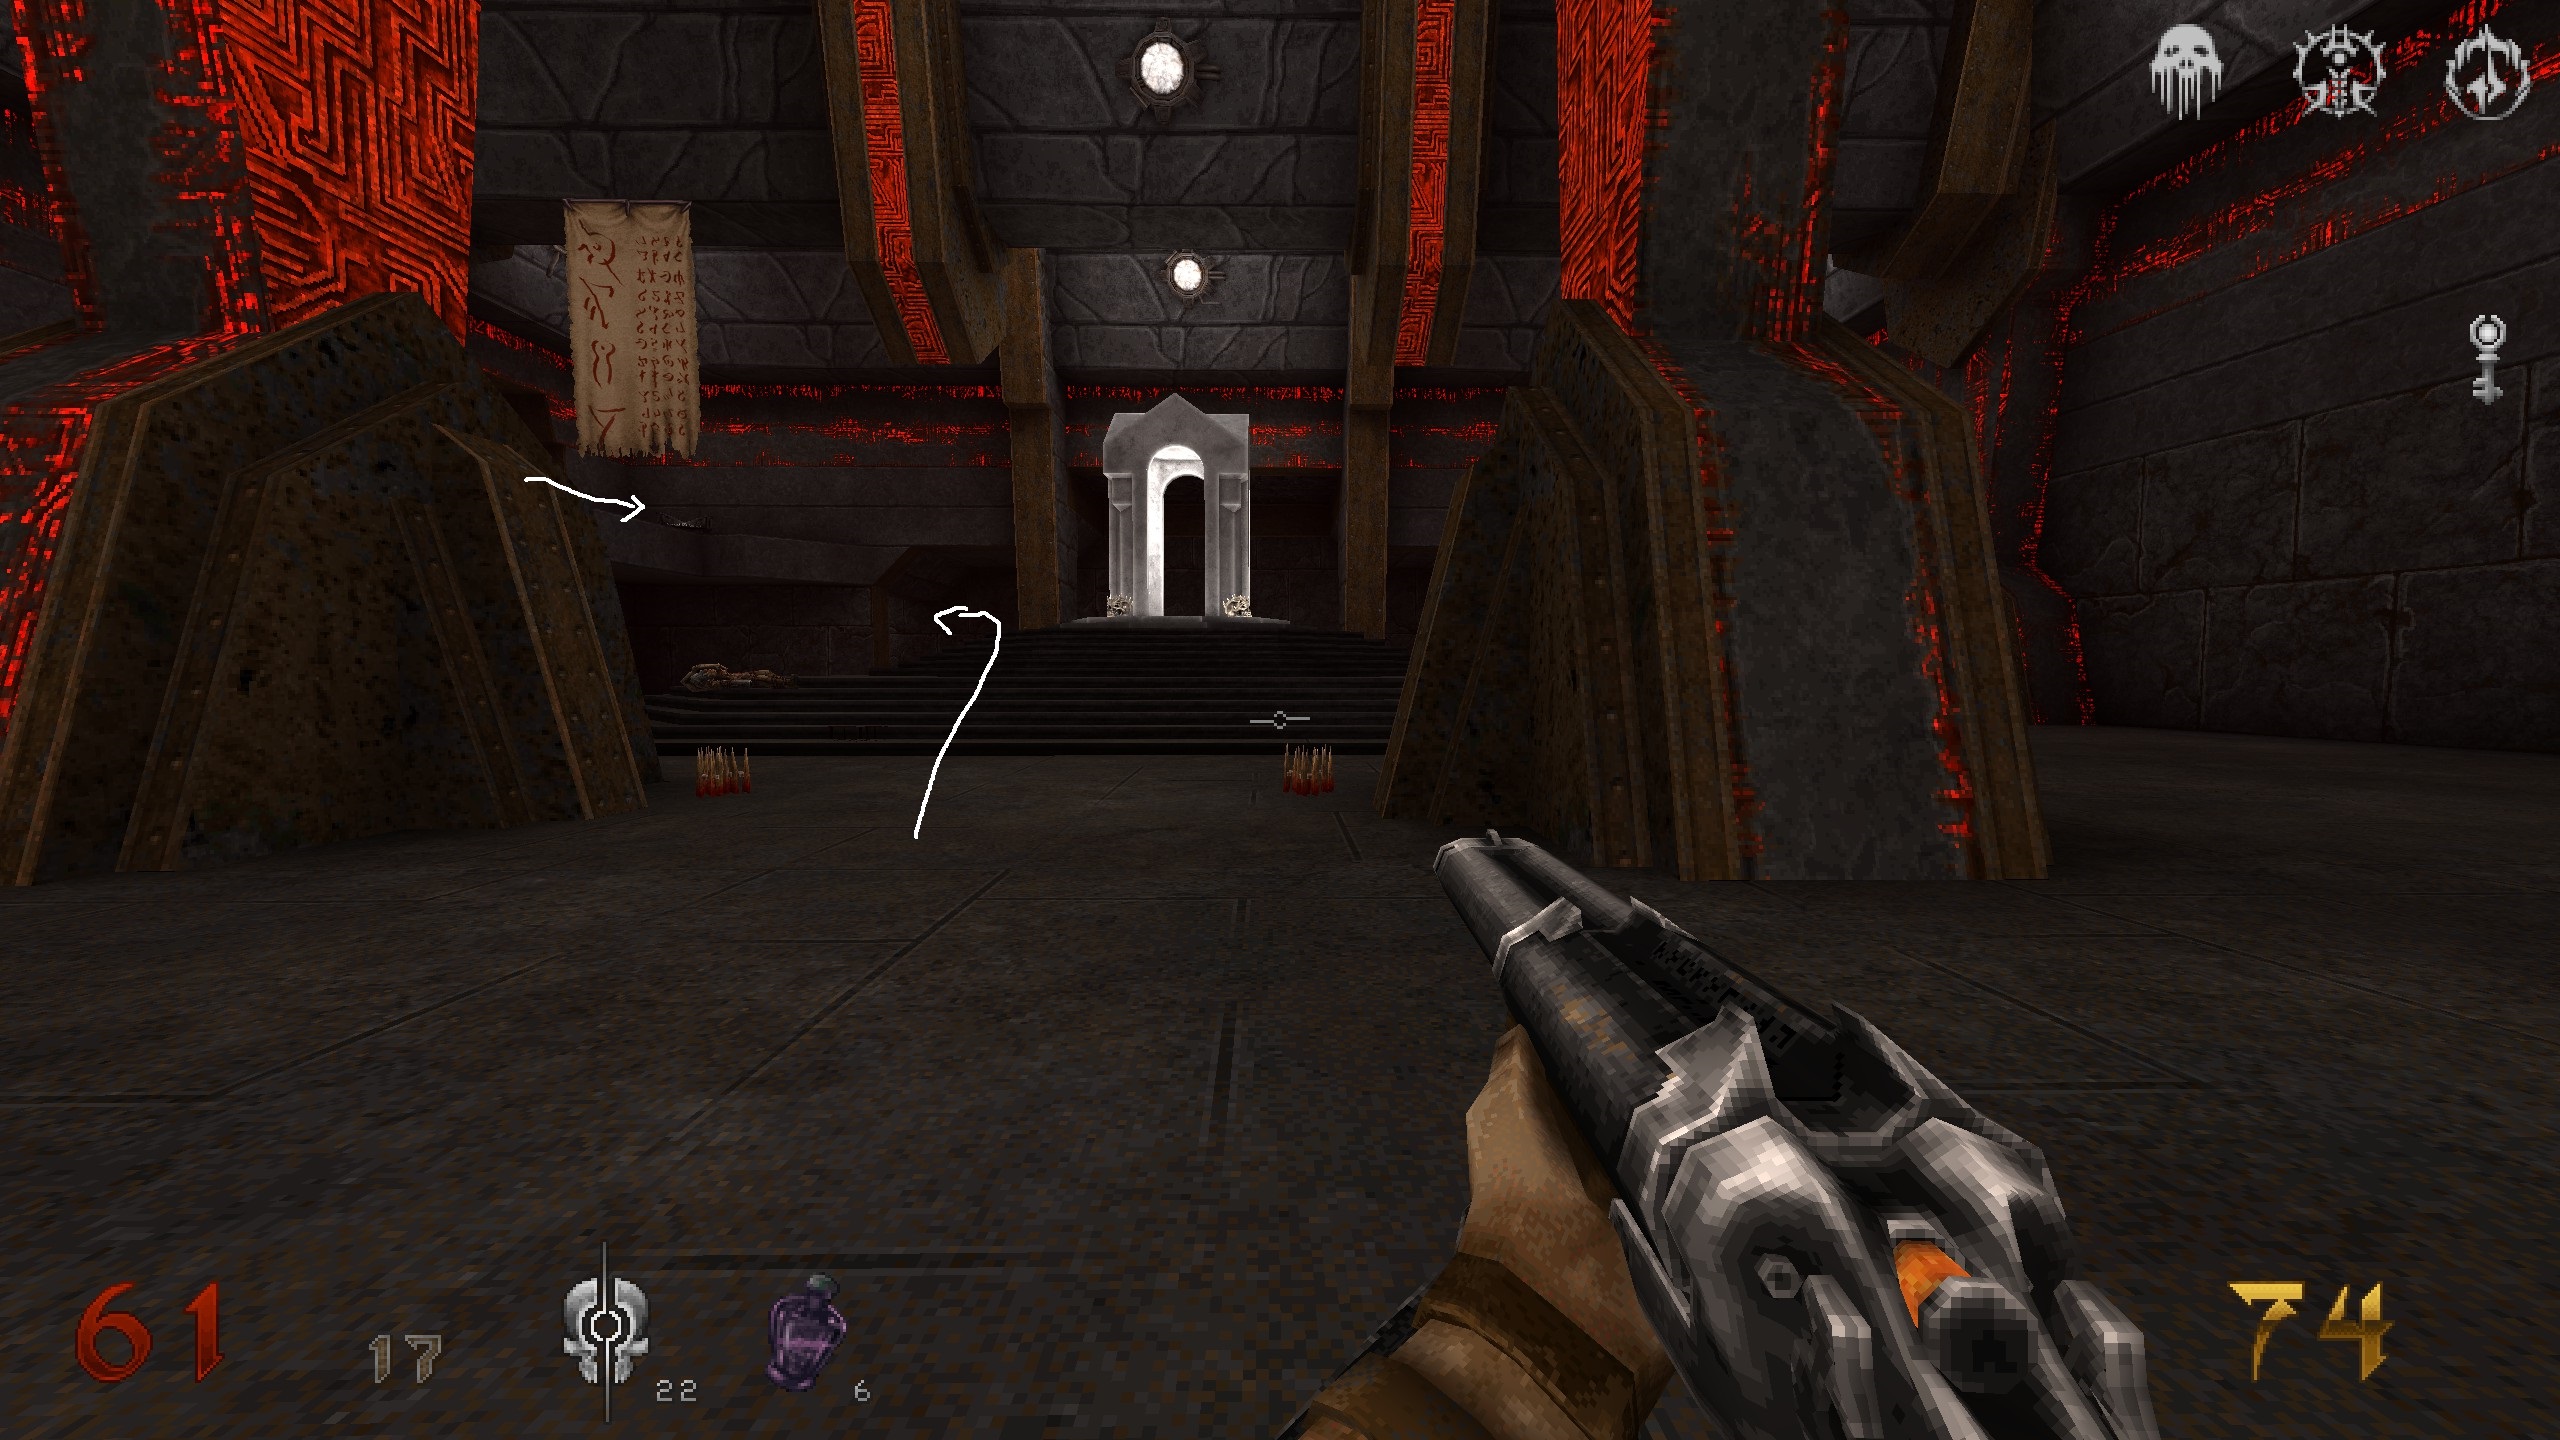
S4
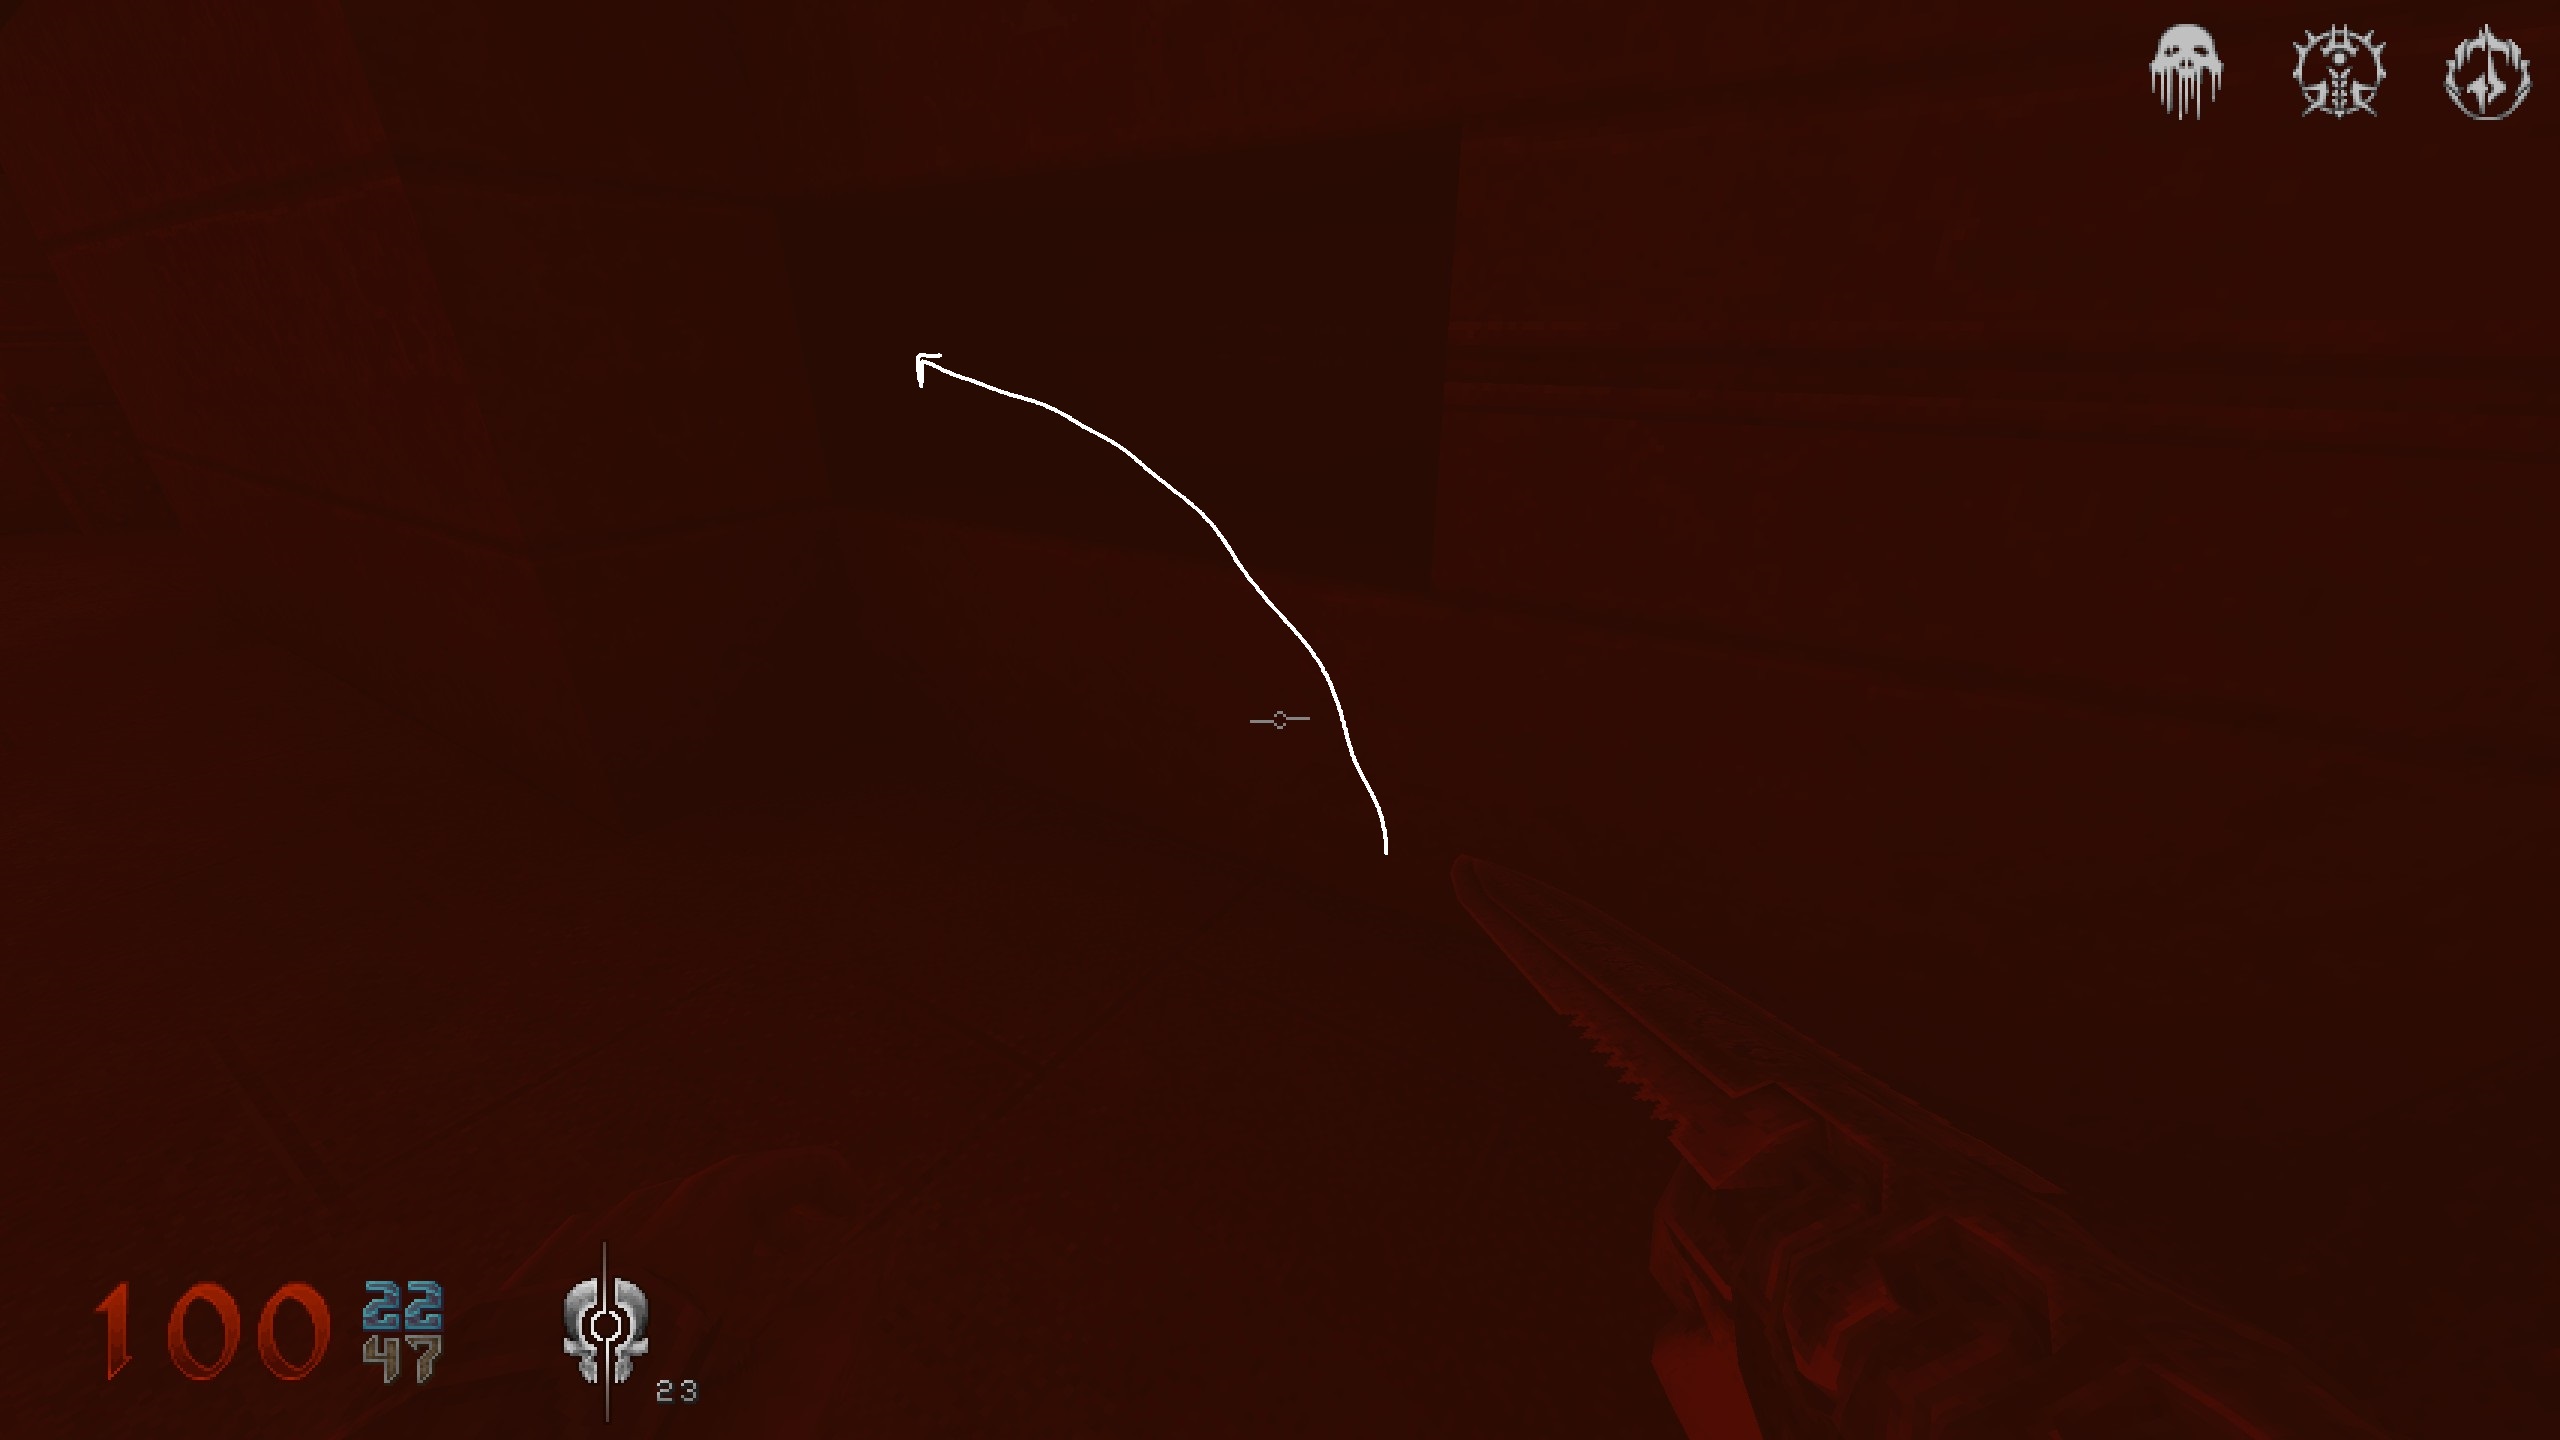
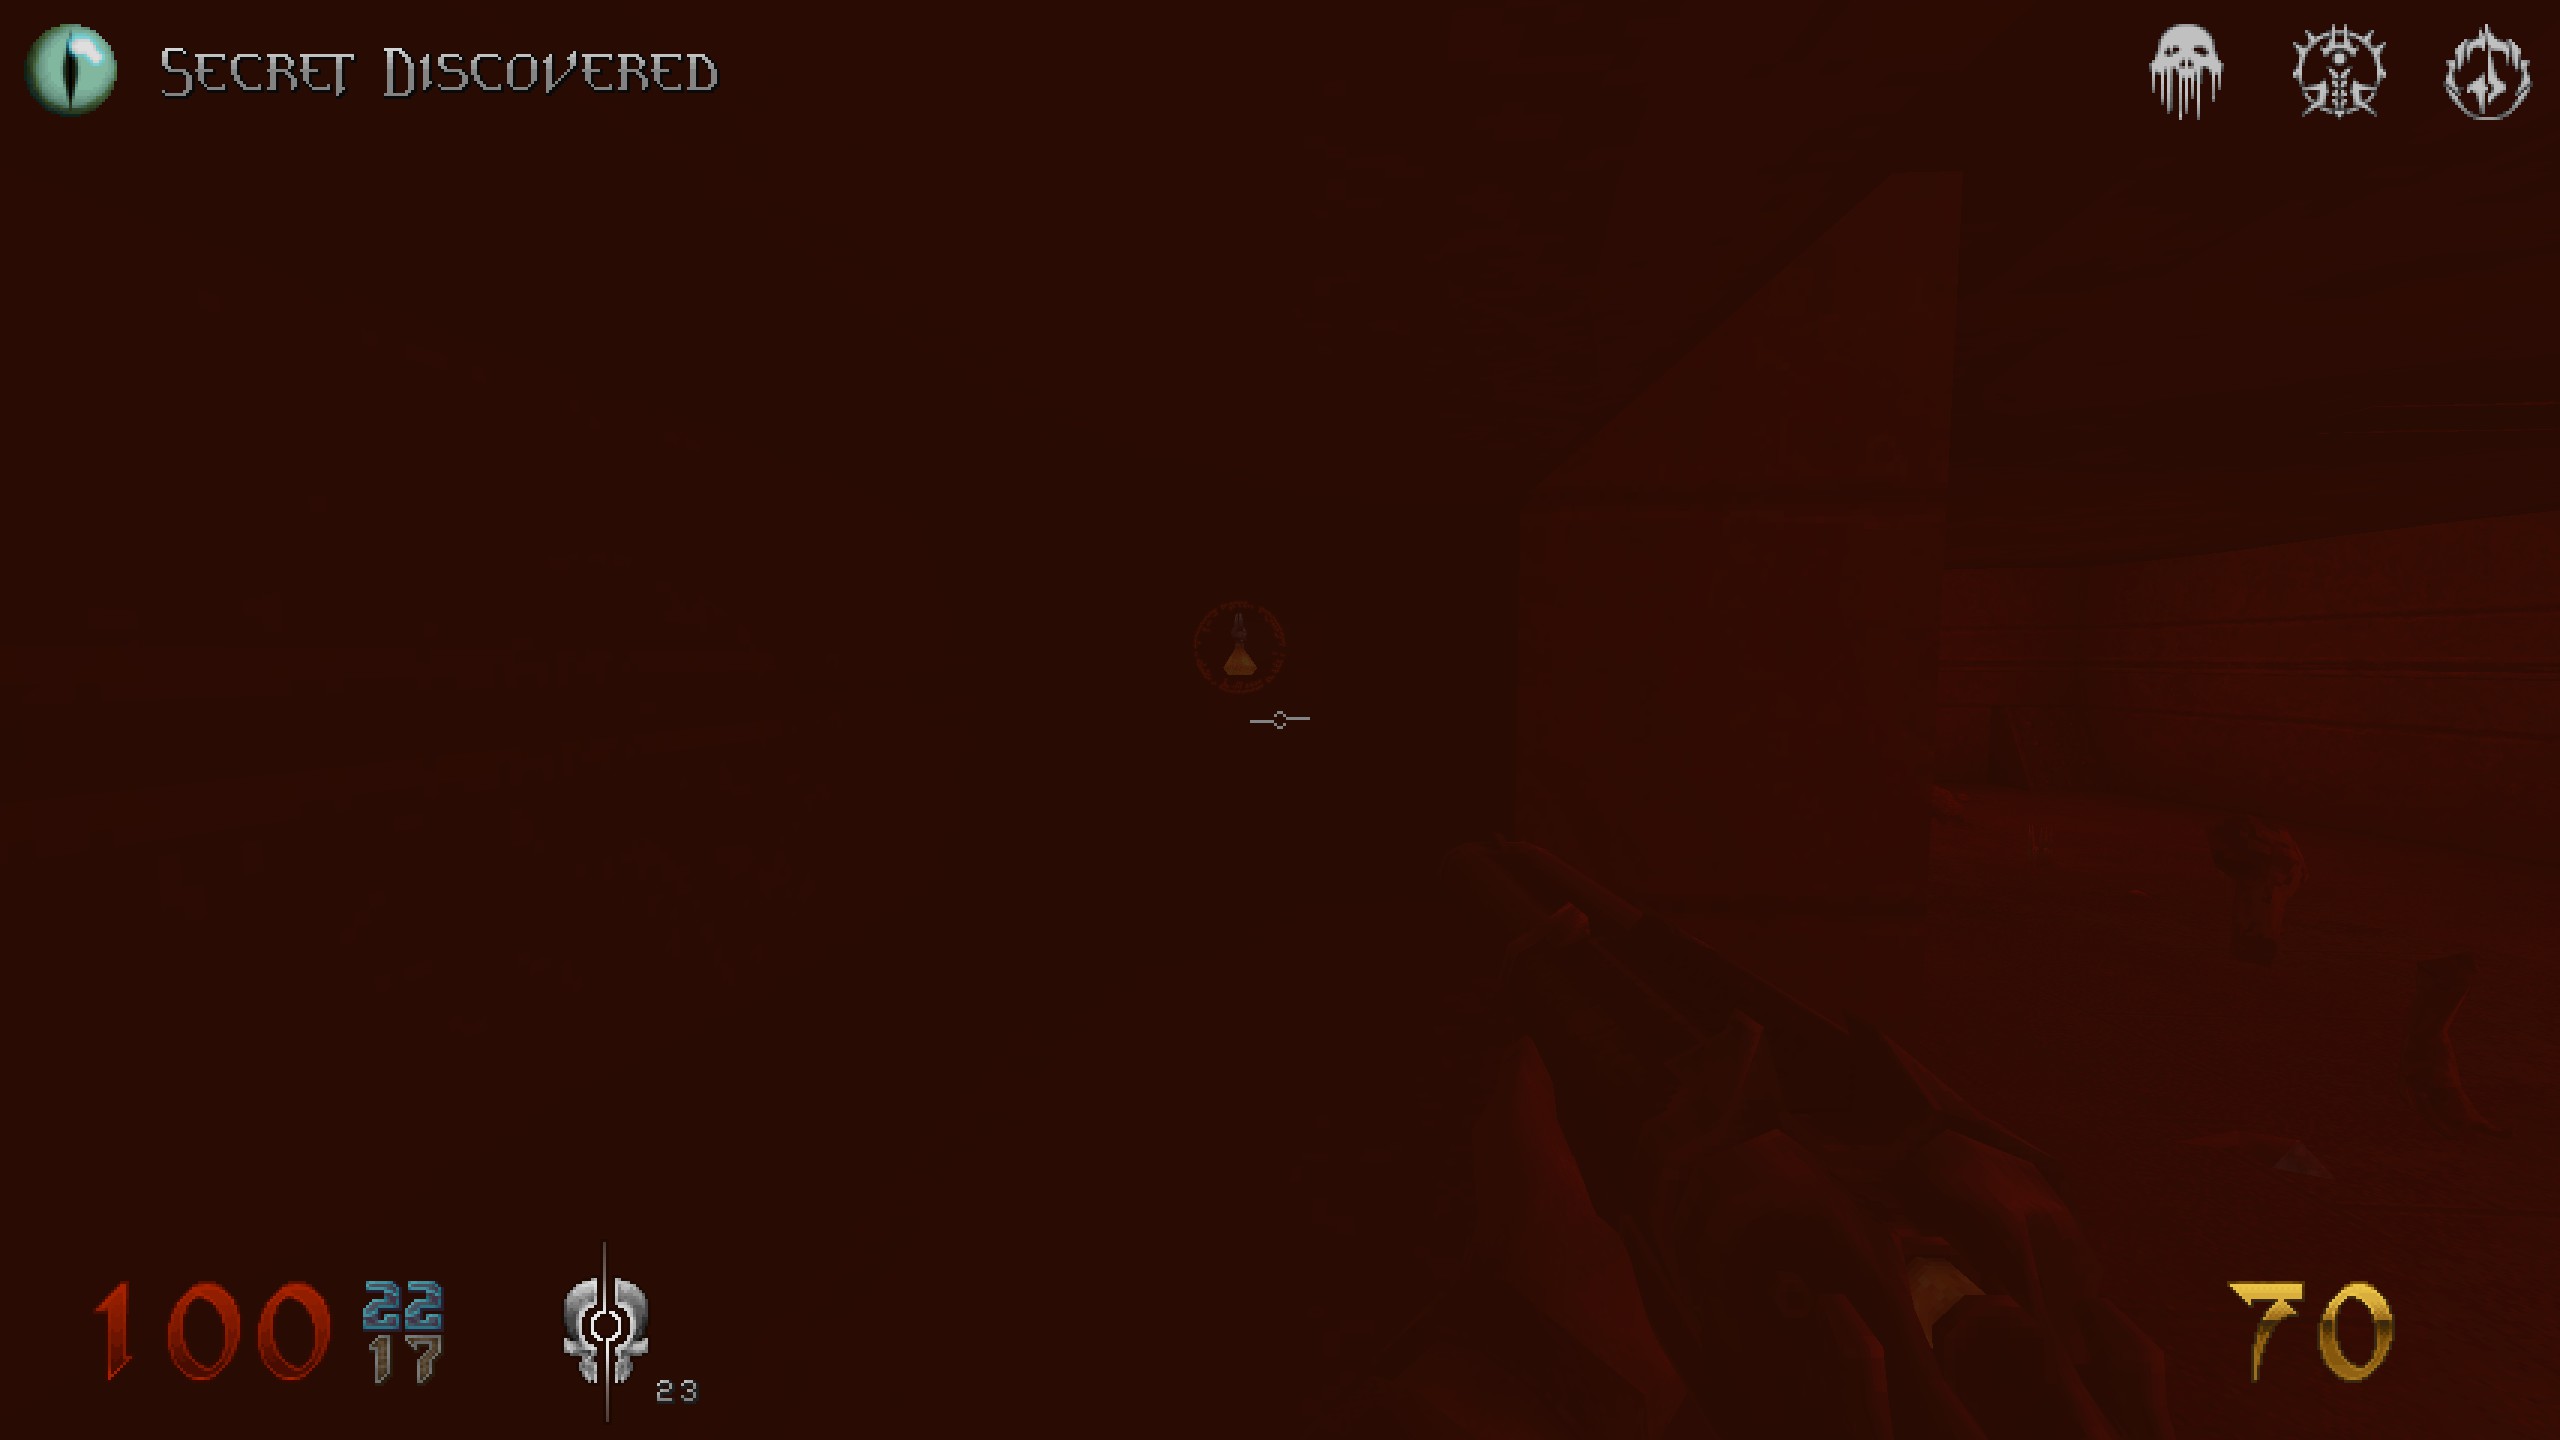
You just used a sigil and destroyed a wall, facing some skull and a blood pool. Dive into that pool and check the back wall for an opening with an item in it. Finish level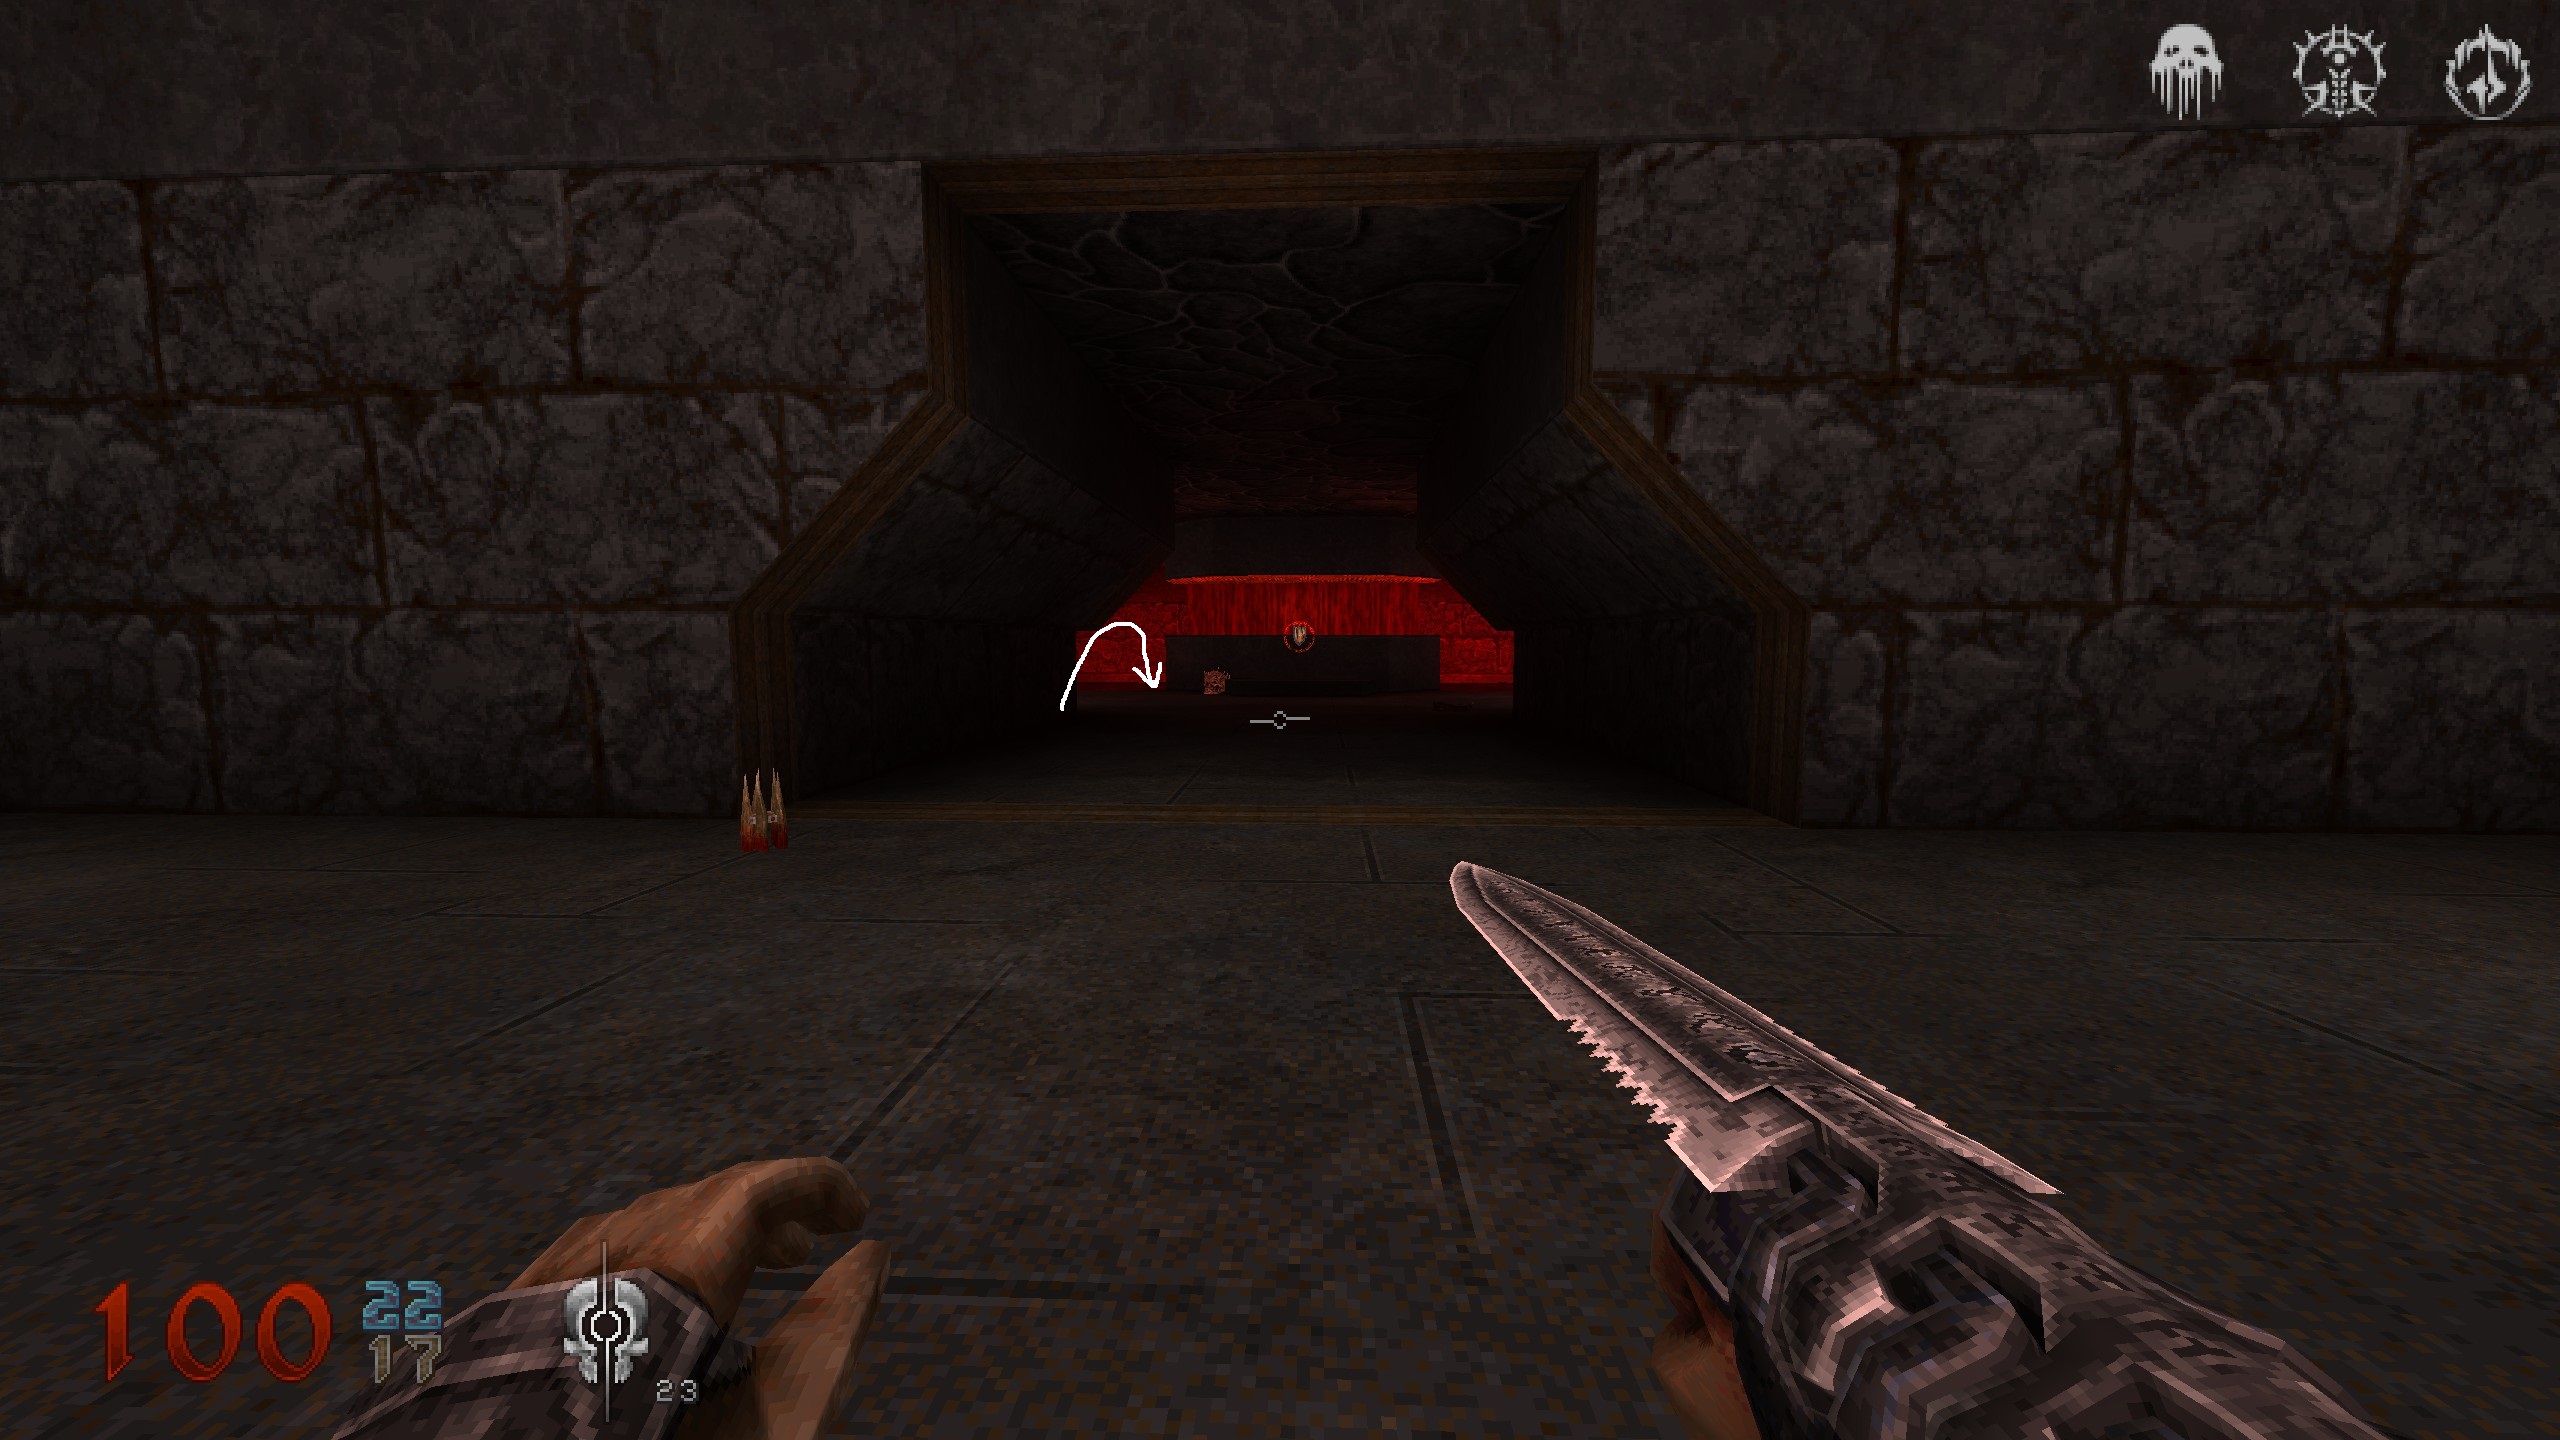
E3 – Boss – The Dreadful One
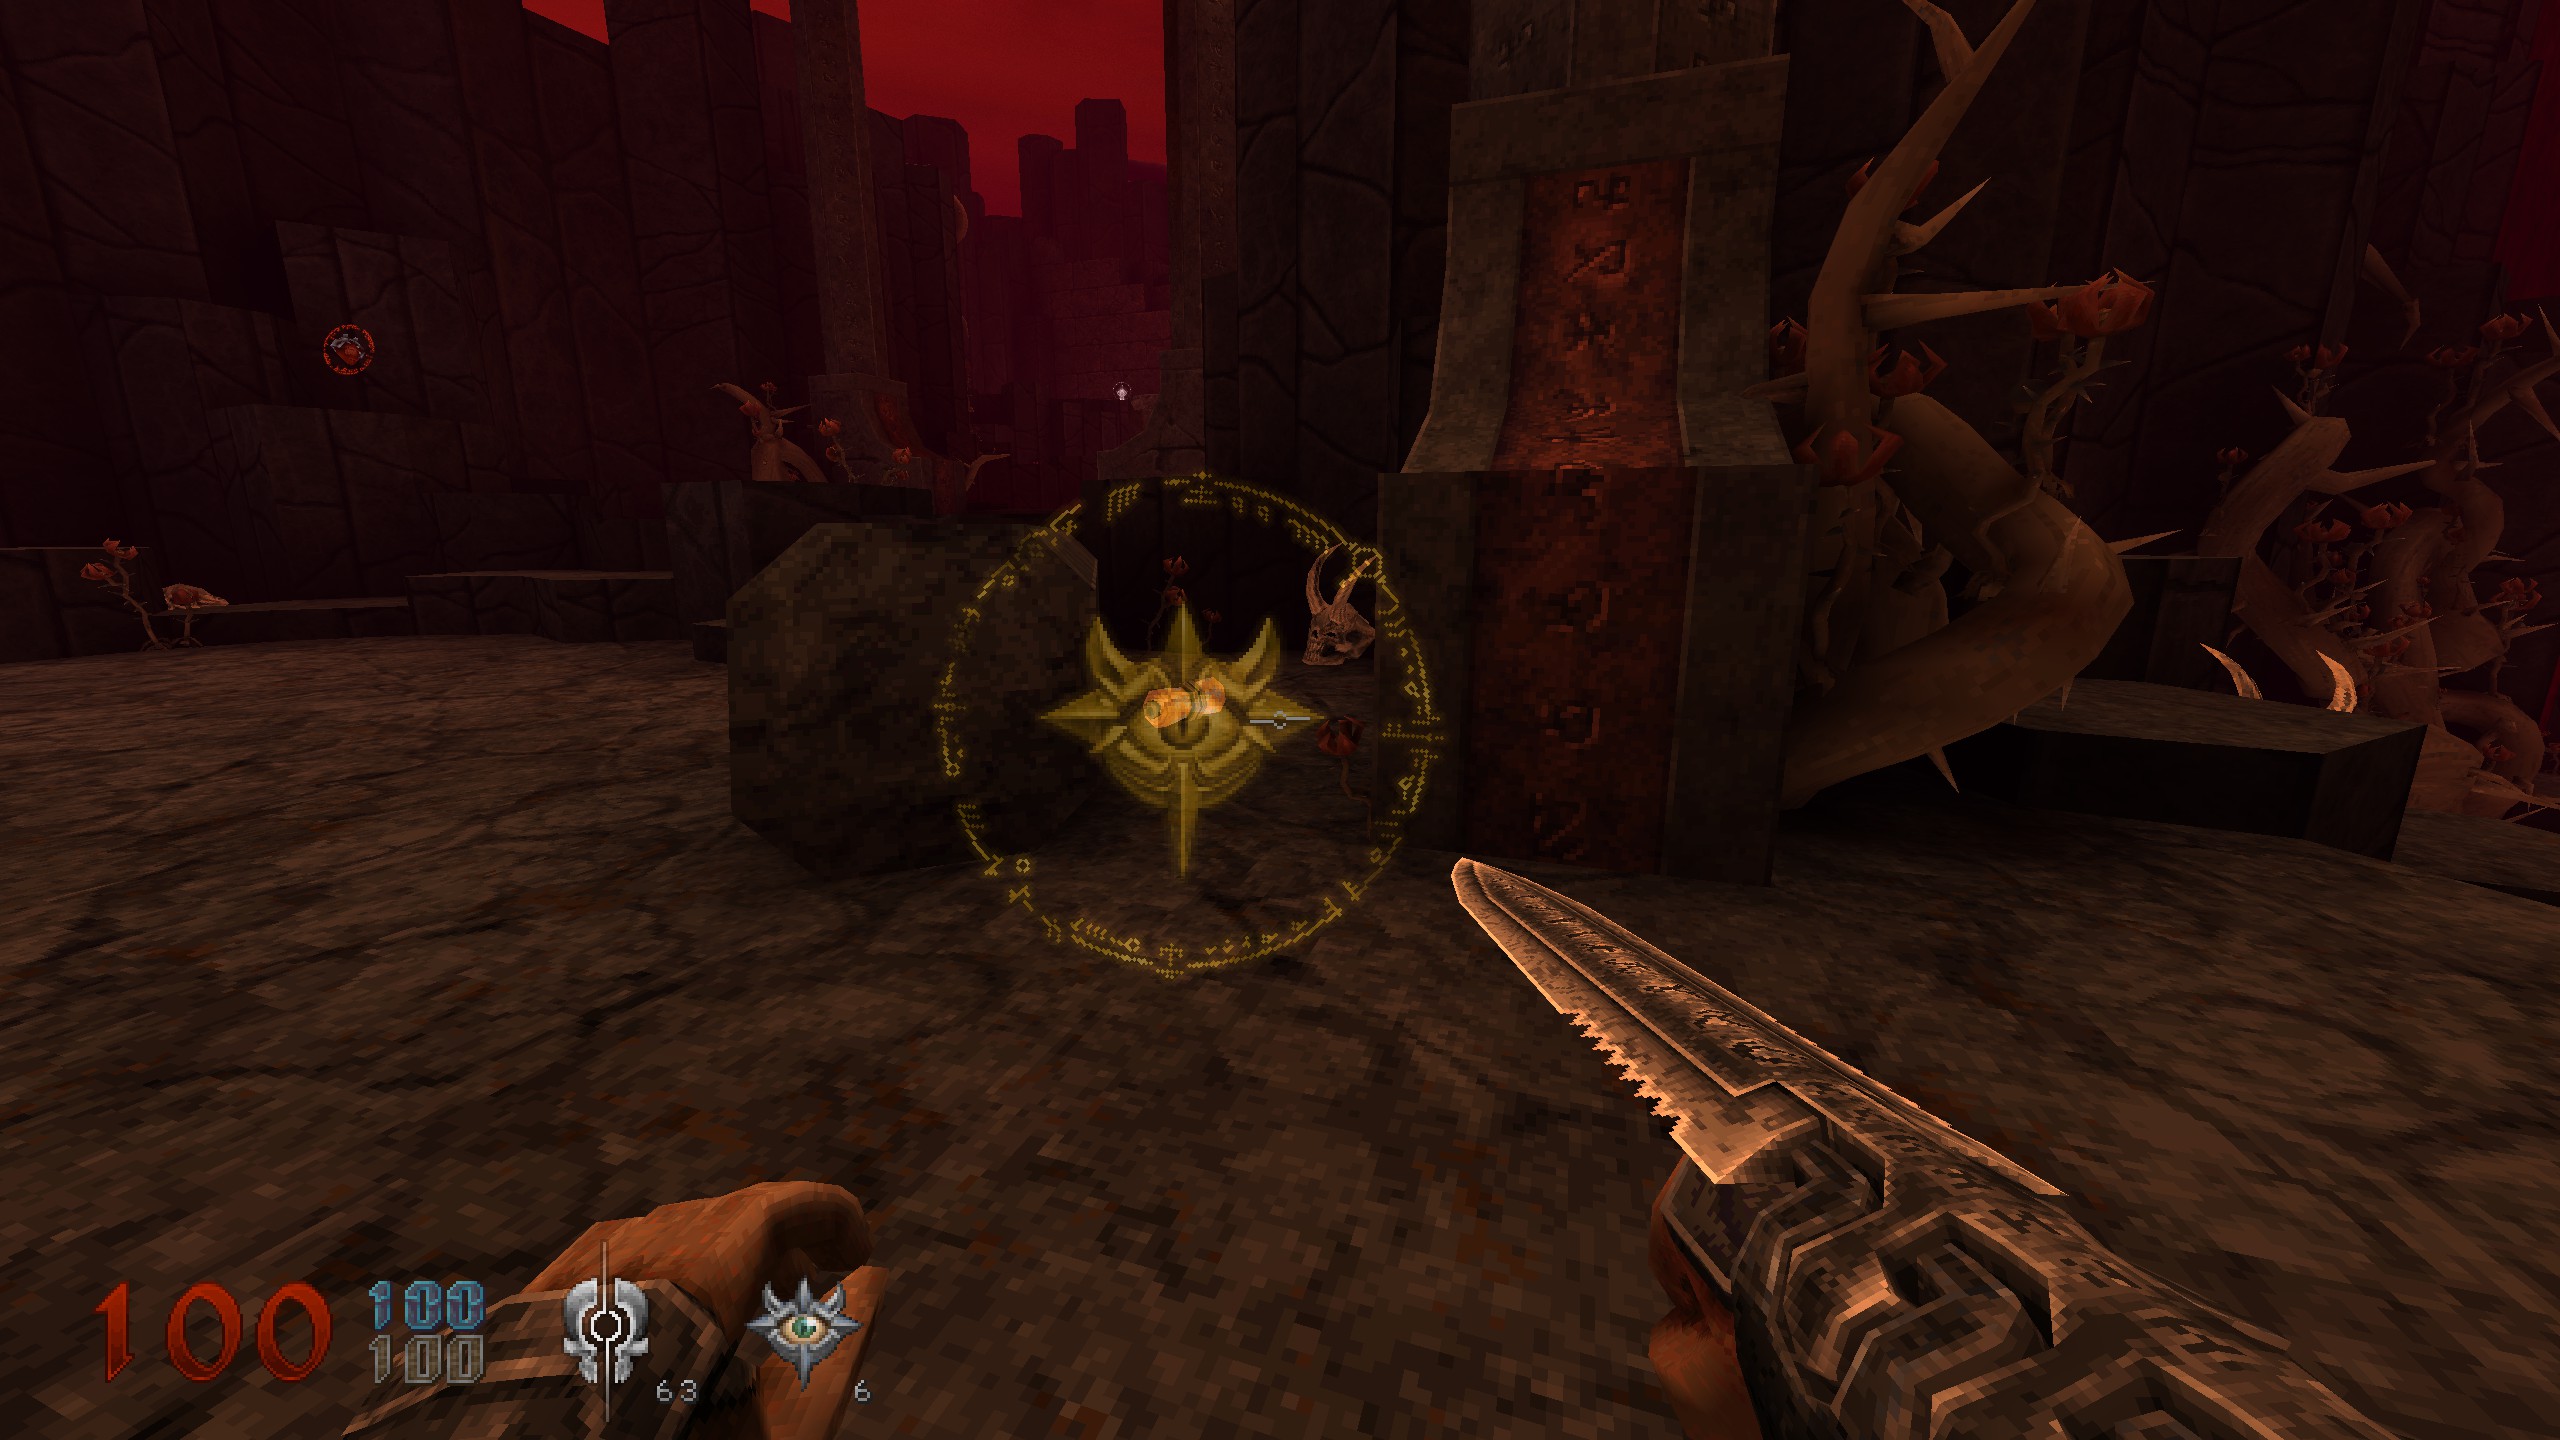
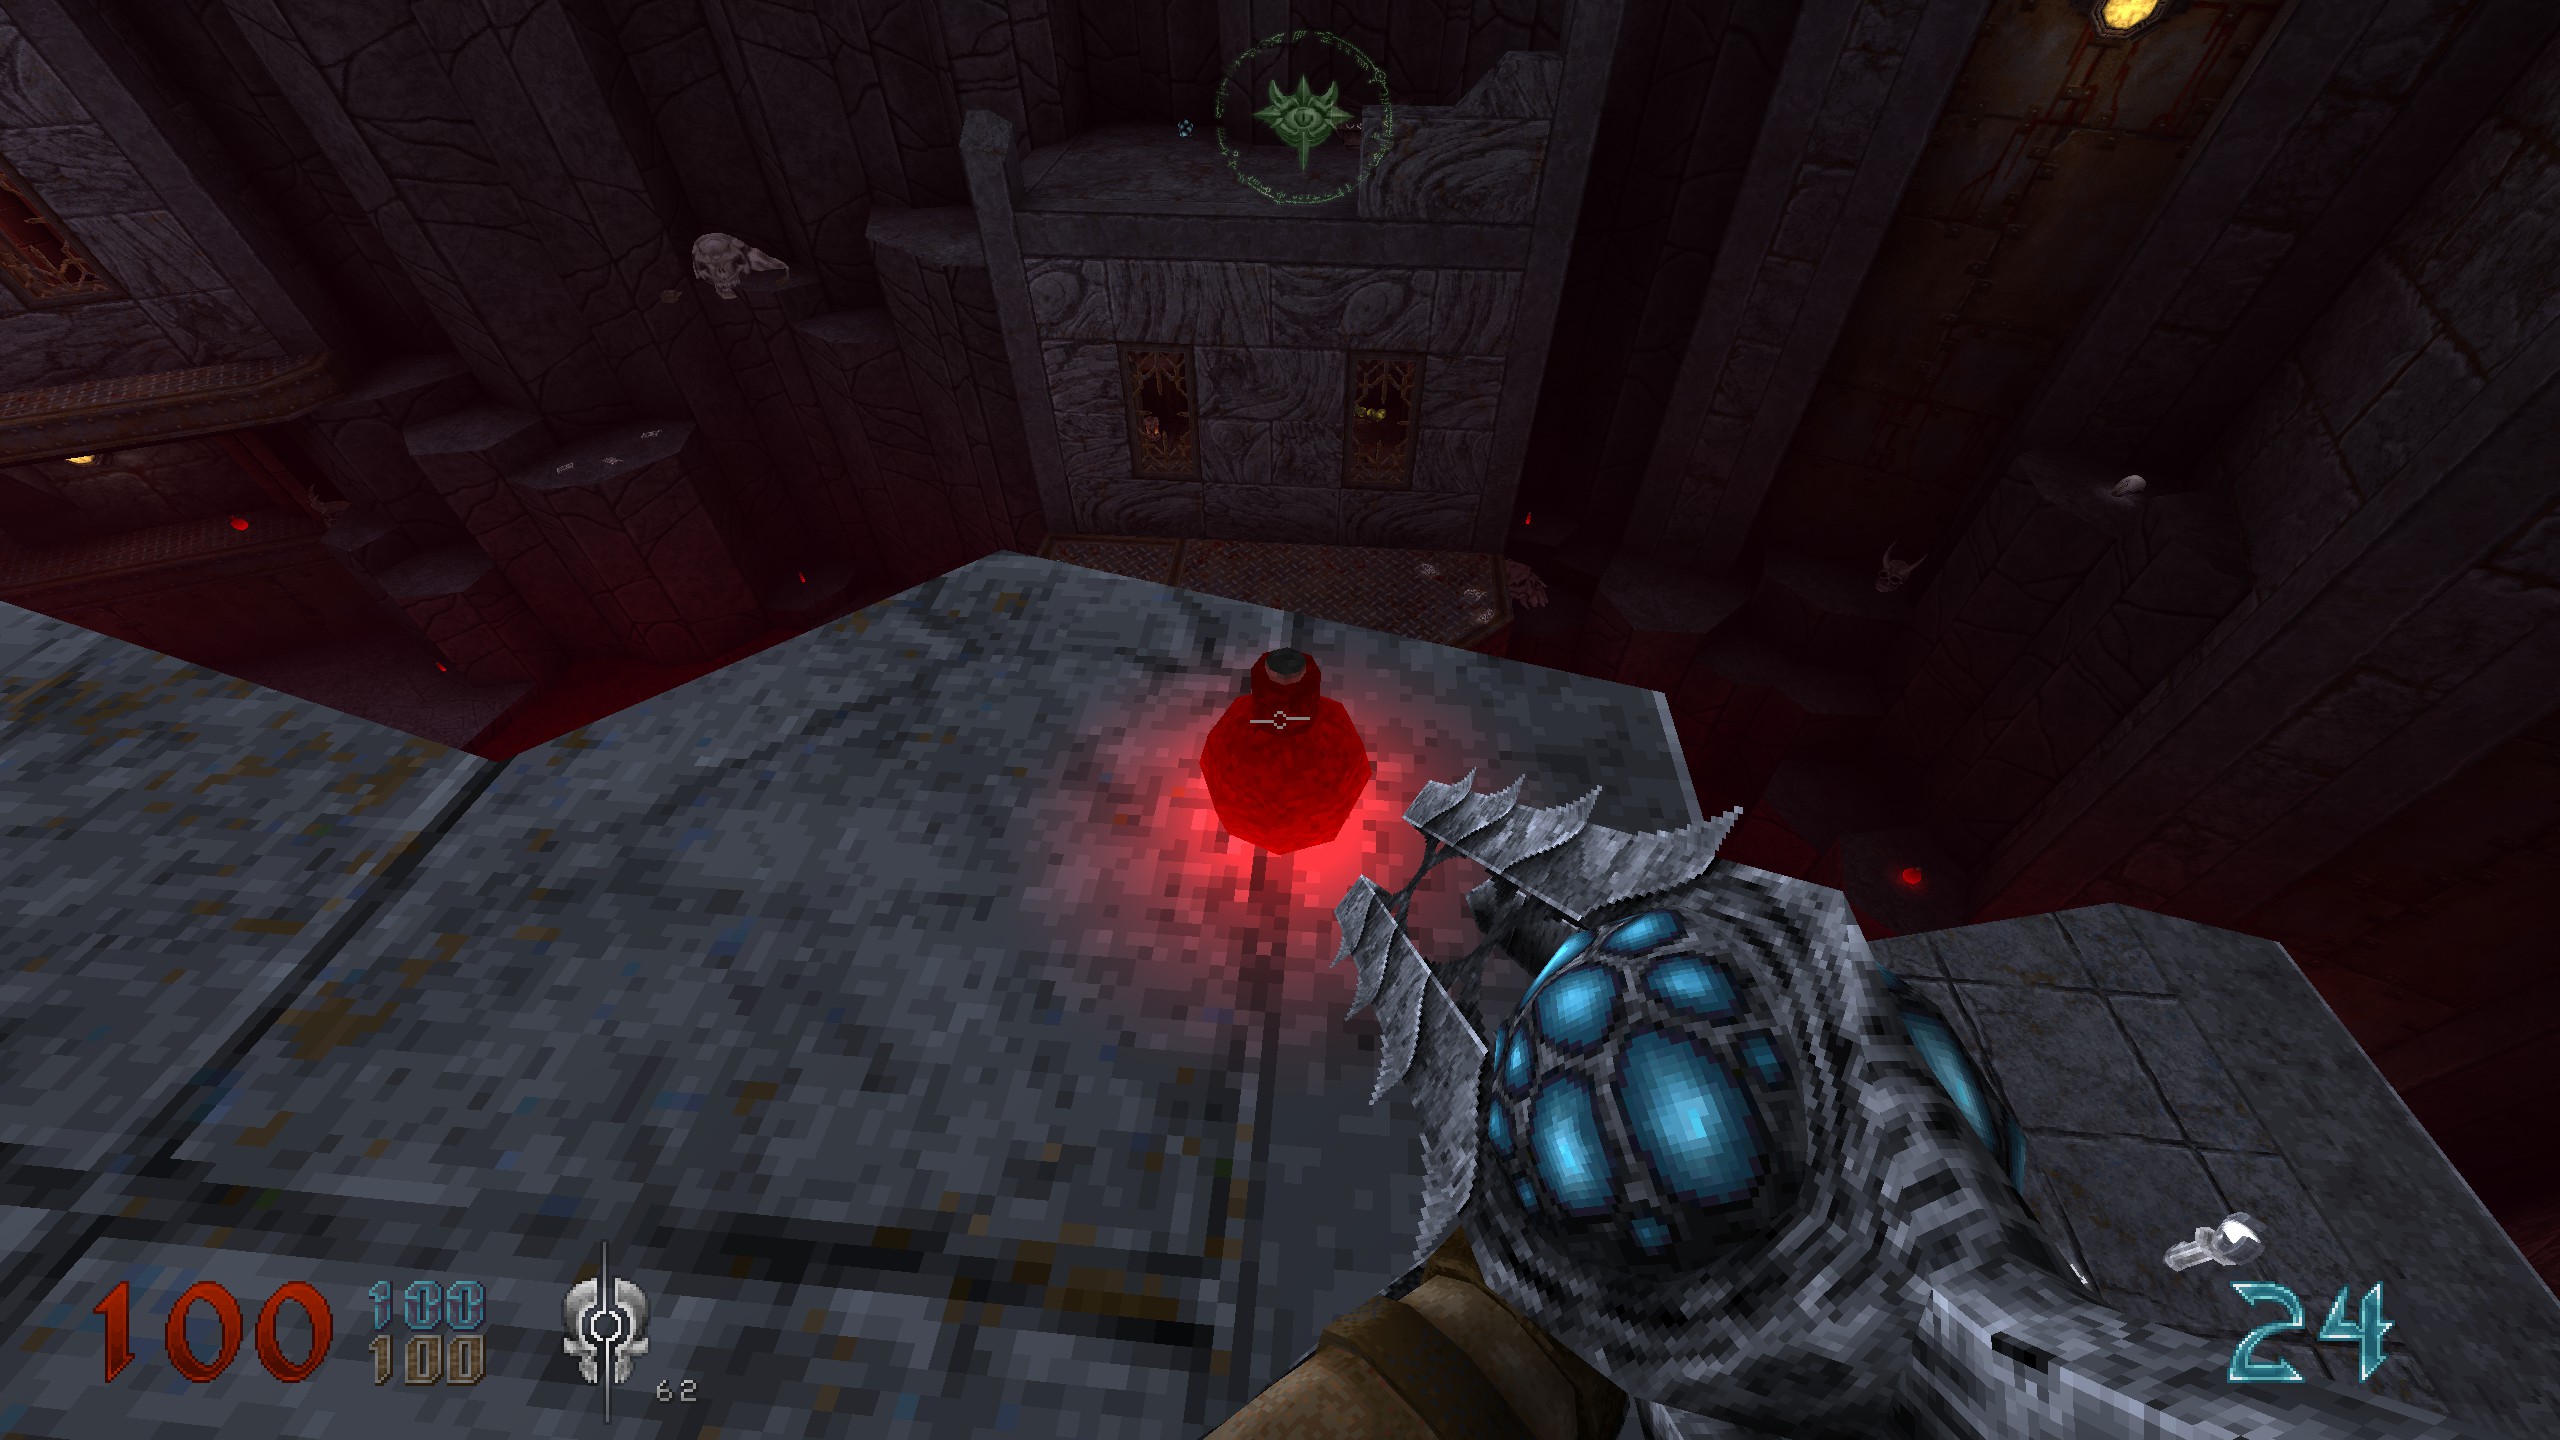
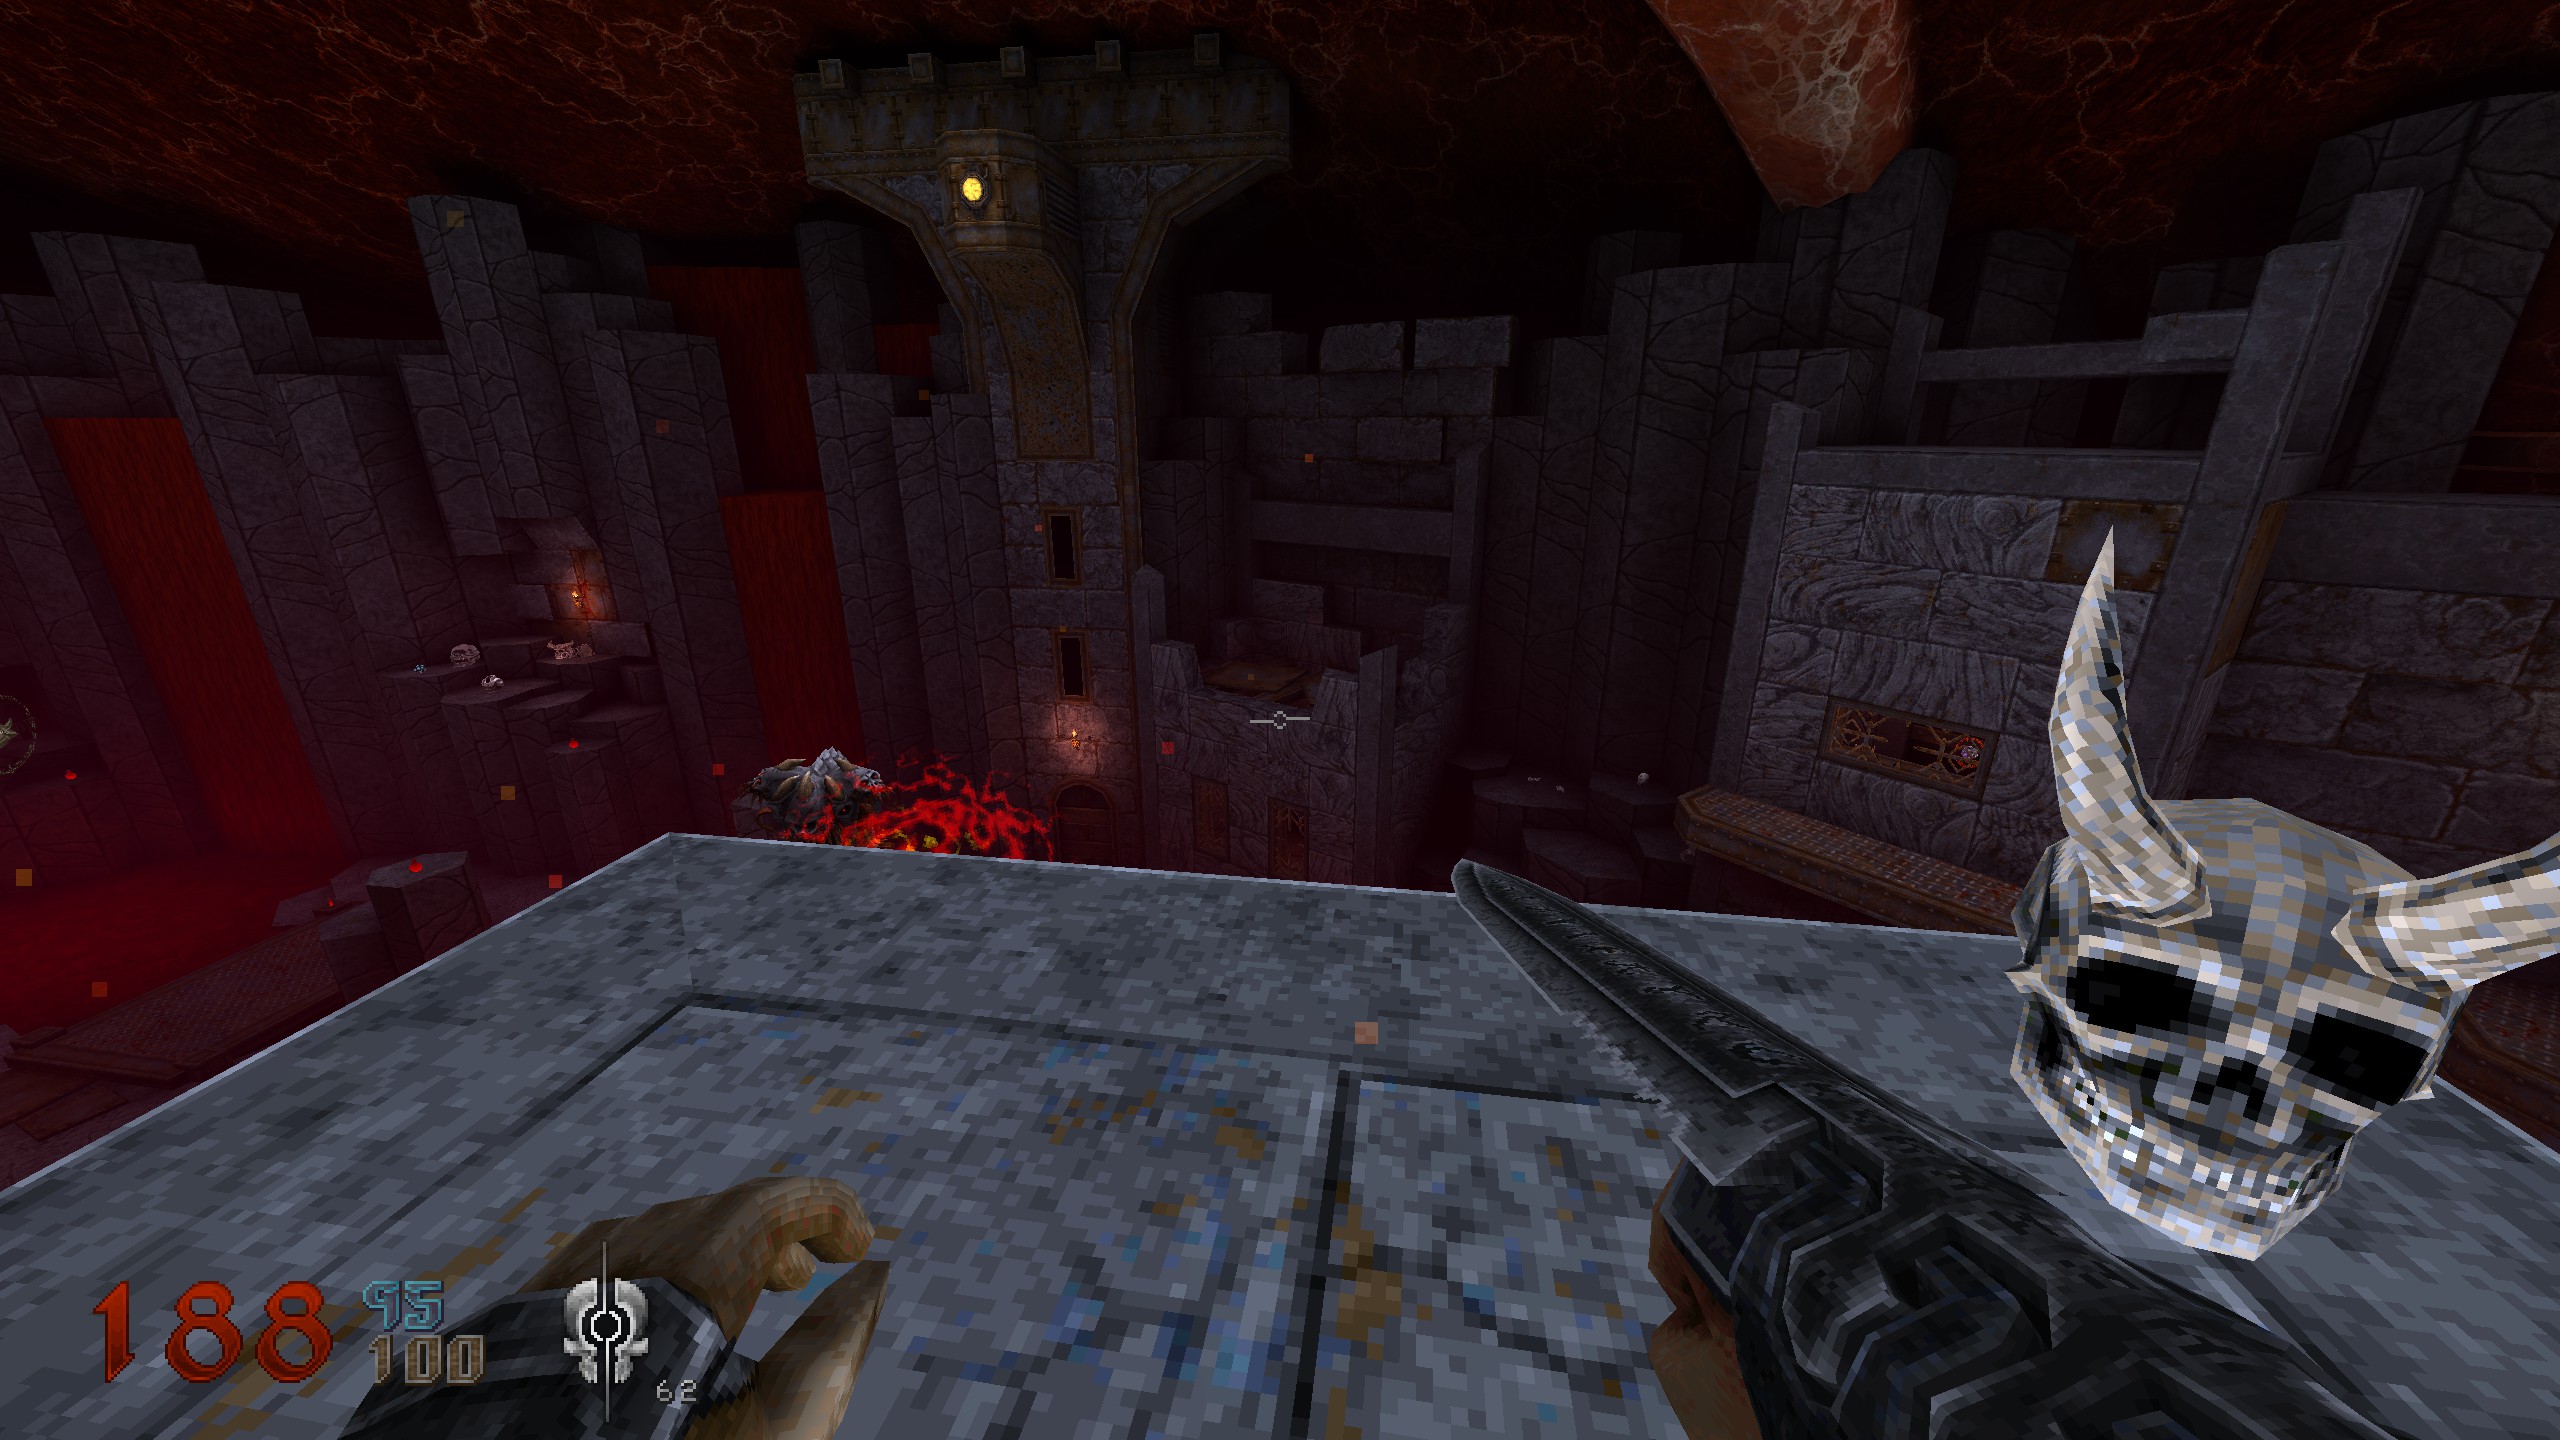
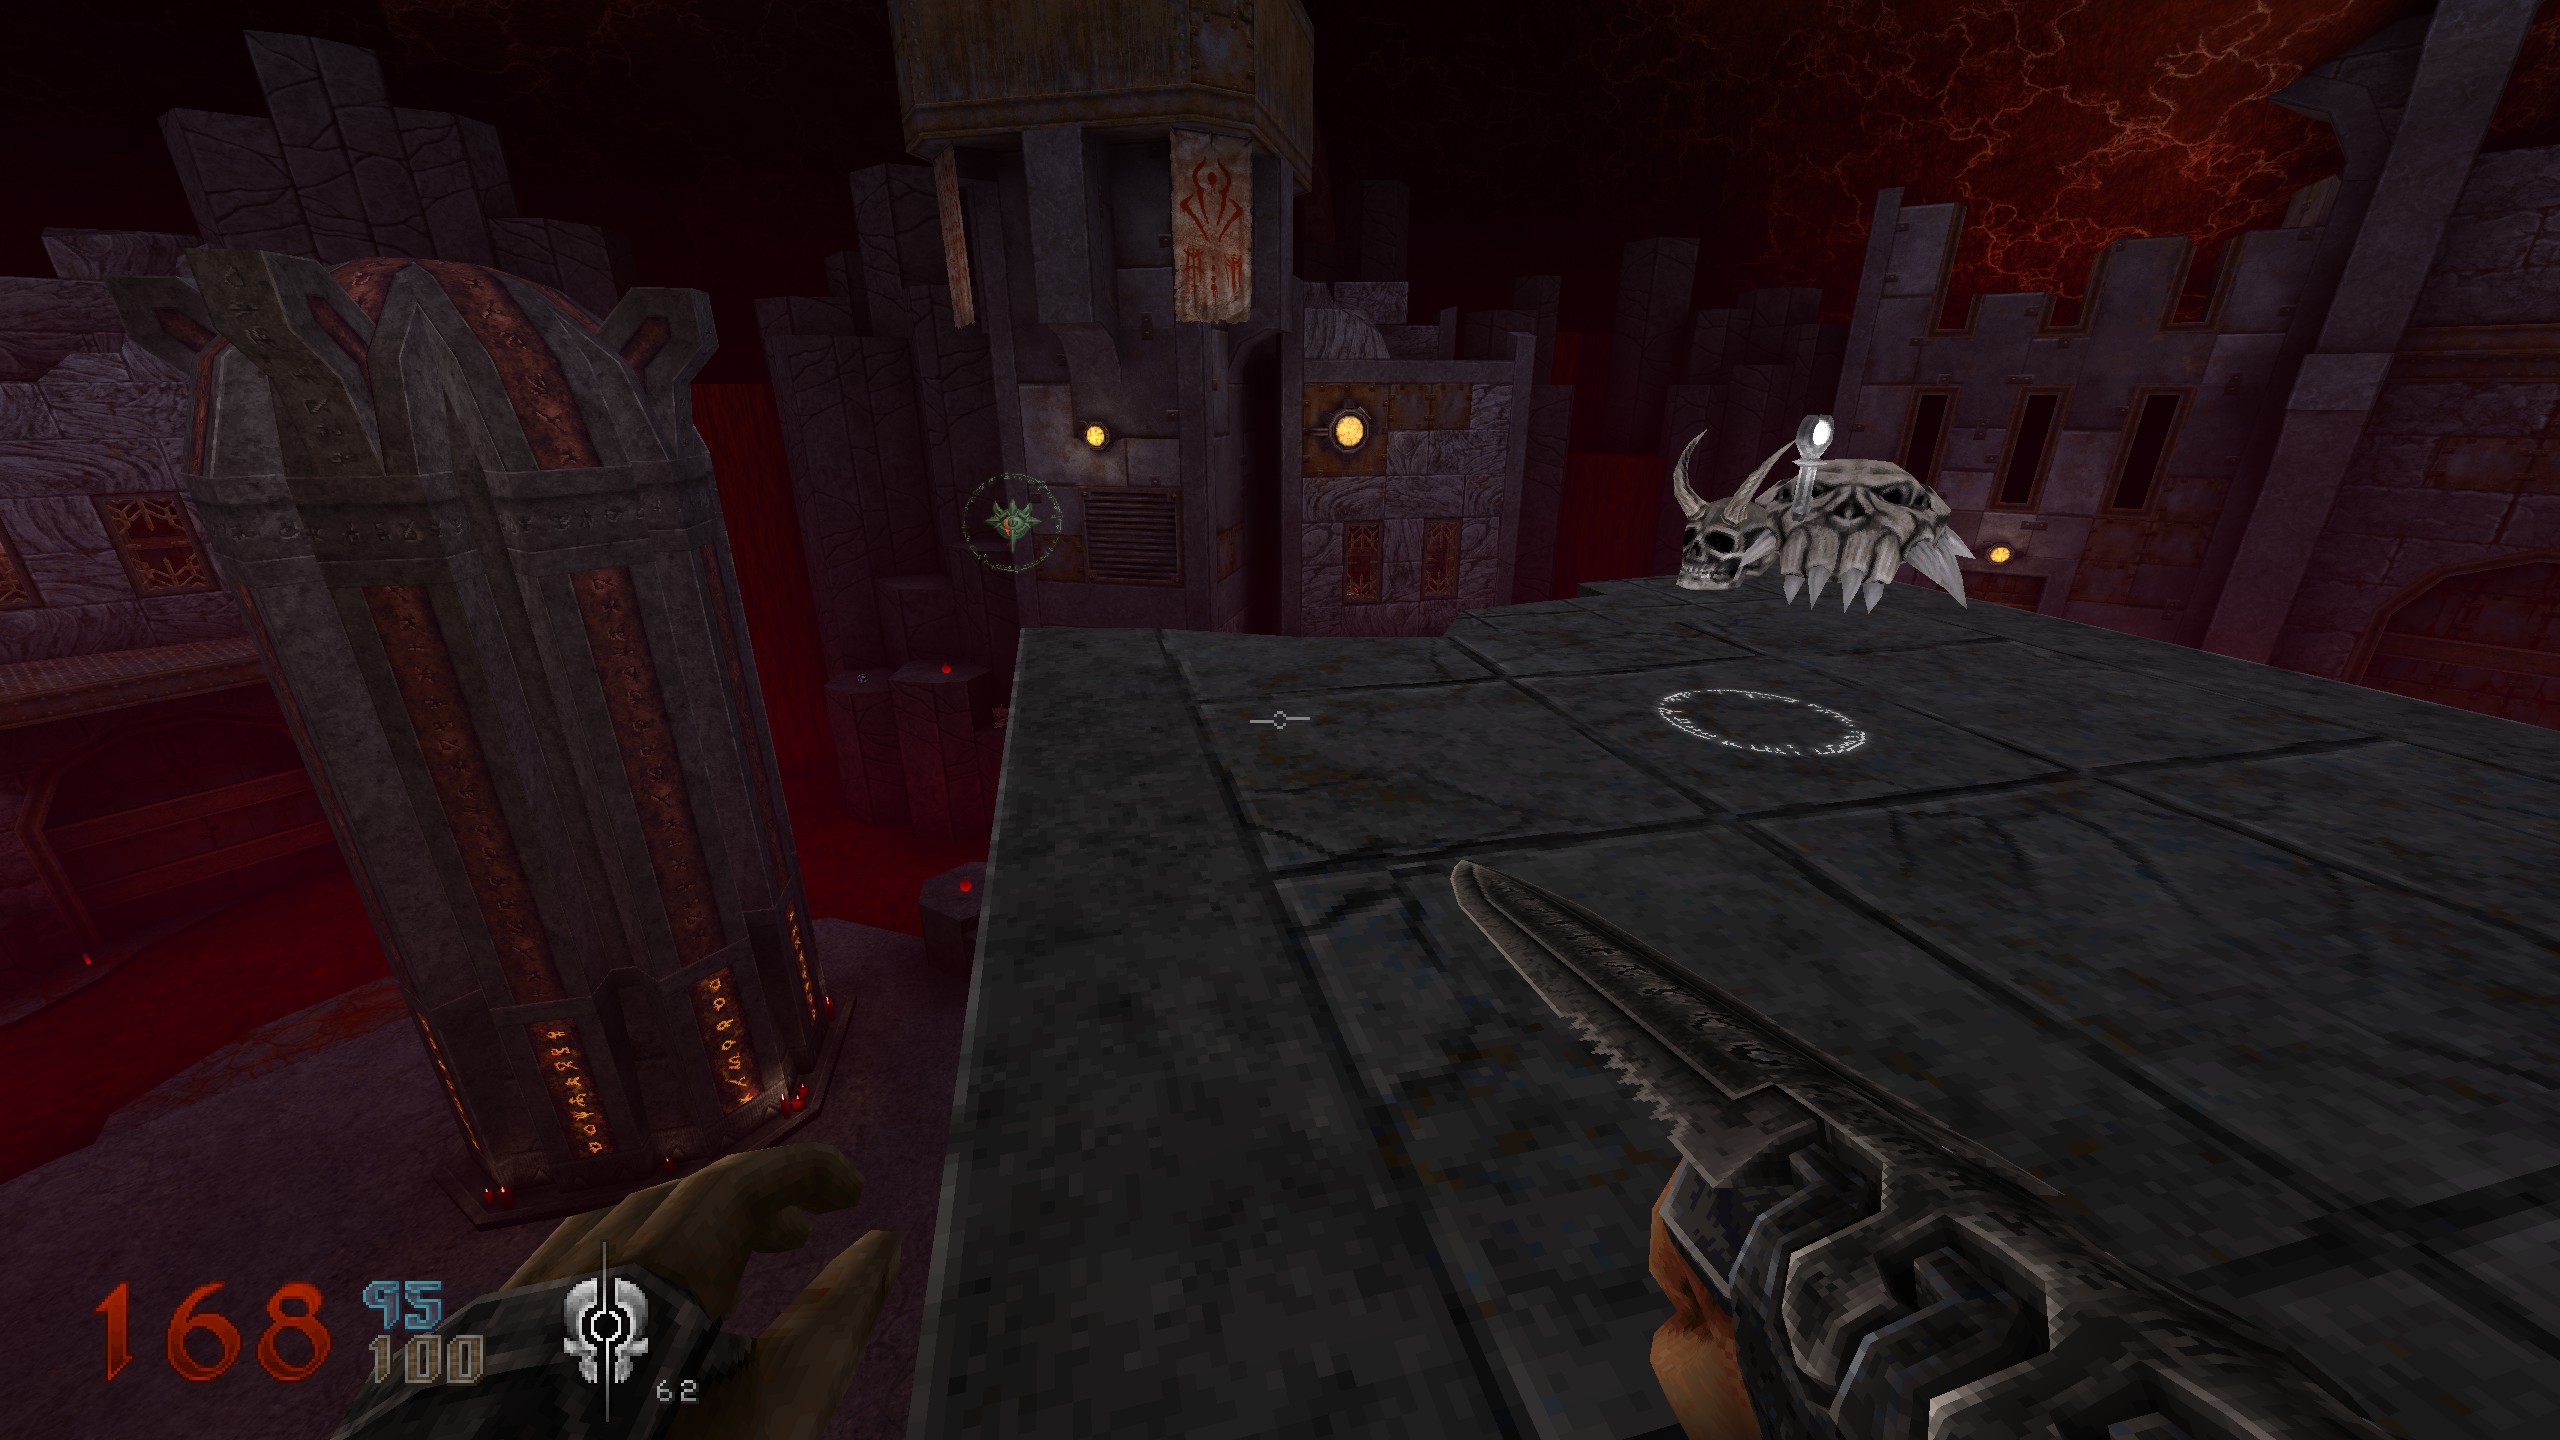
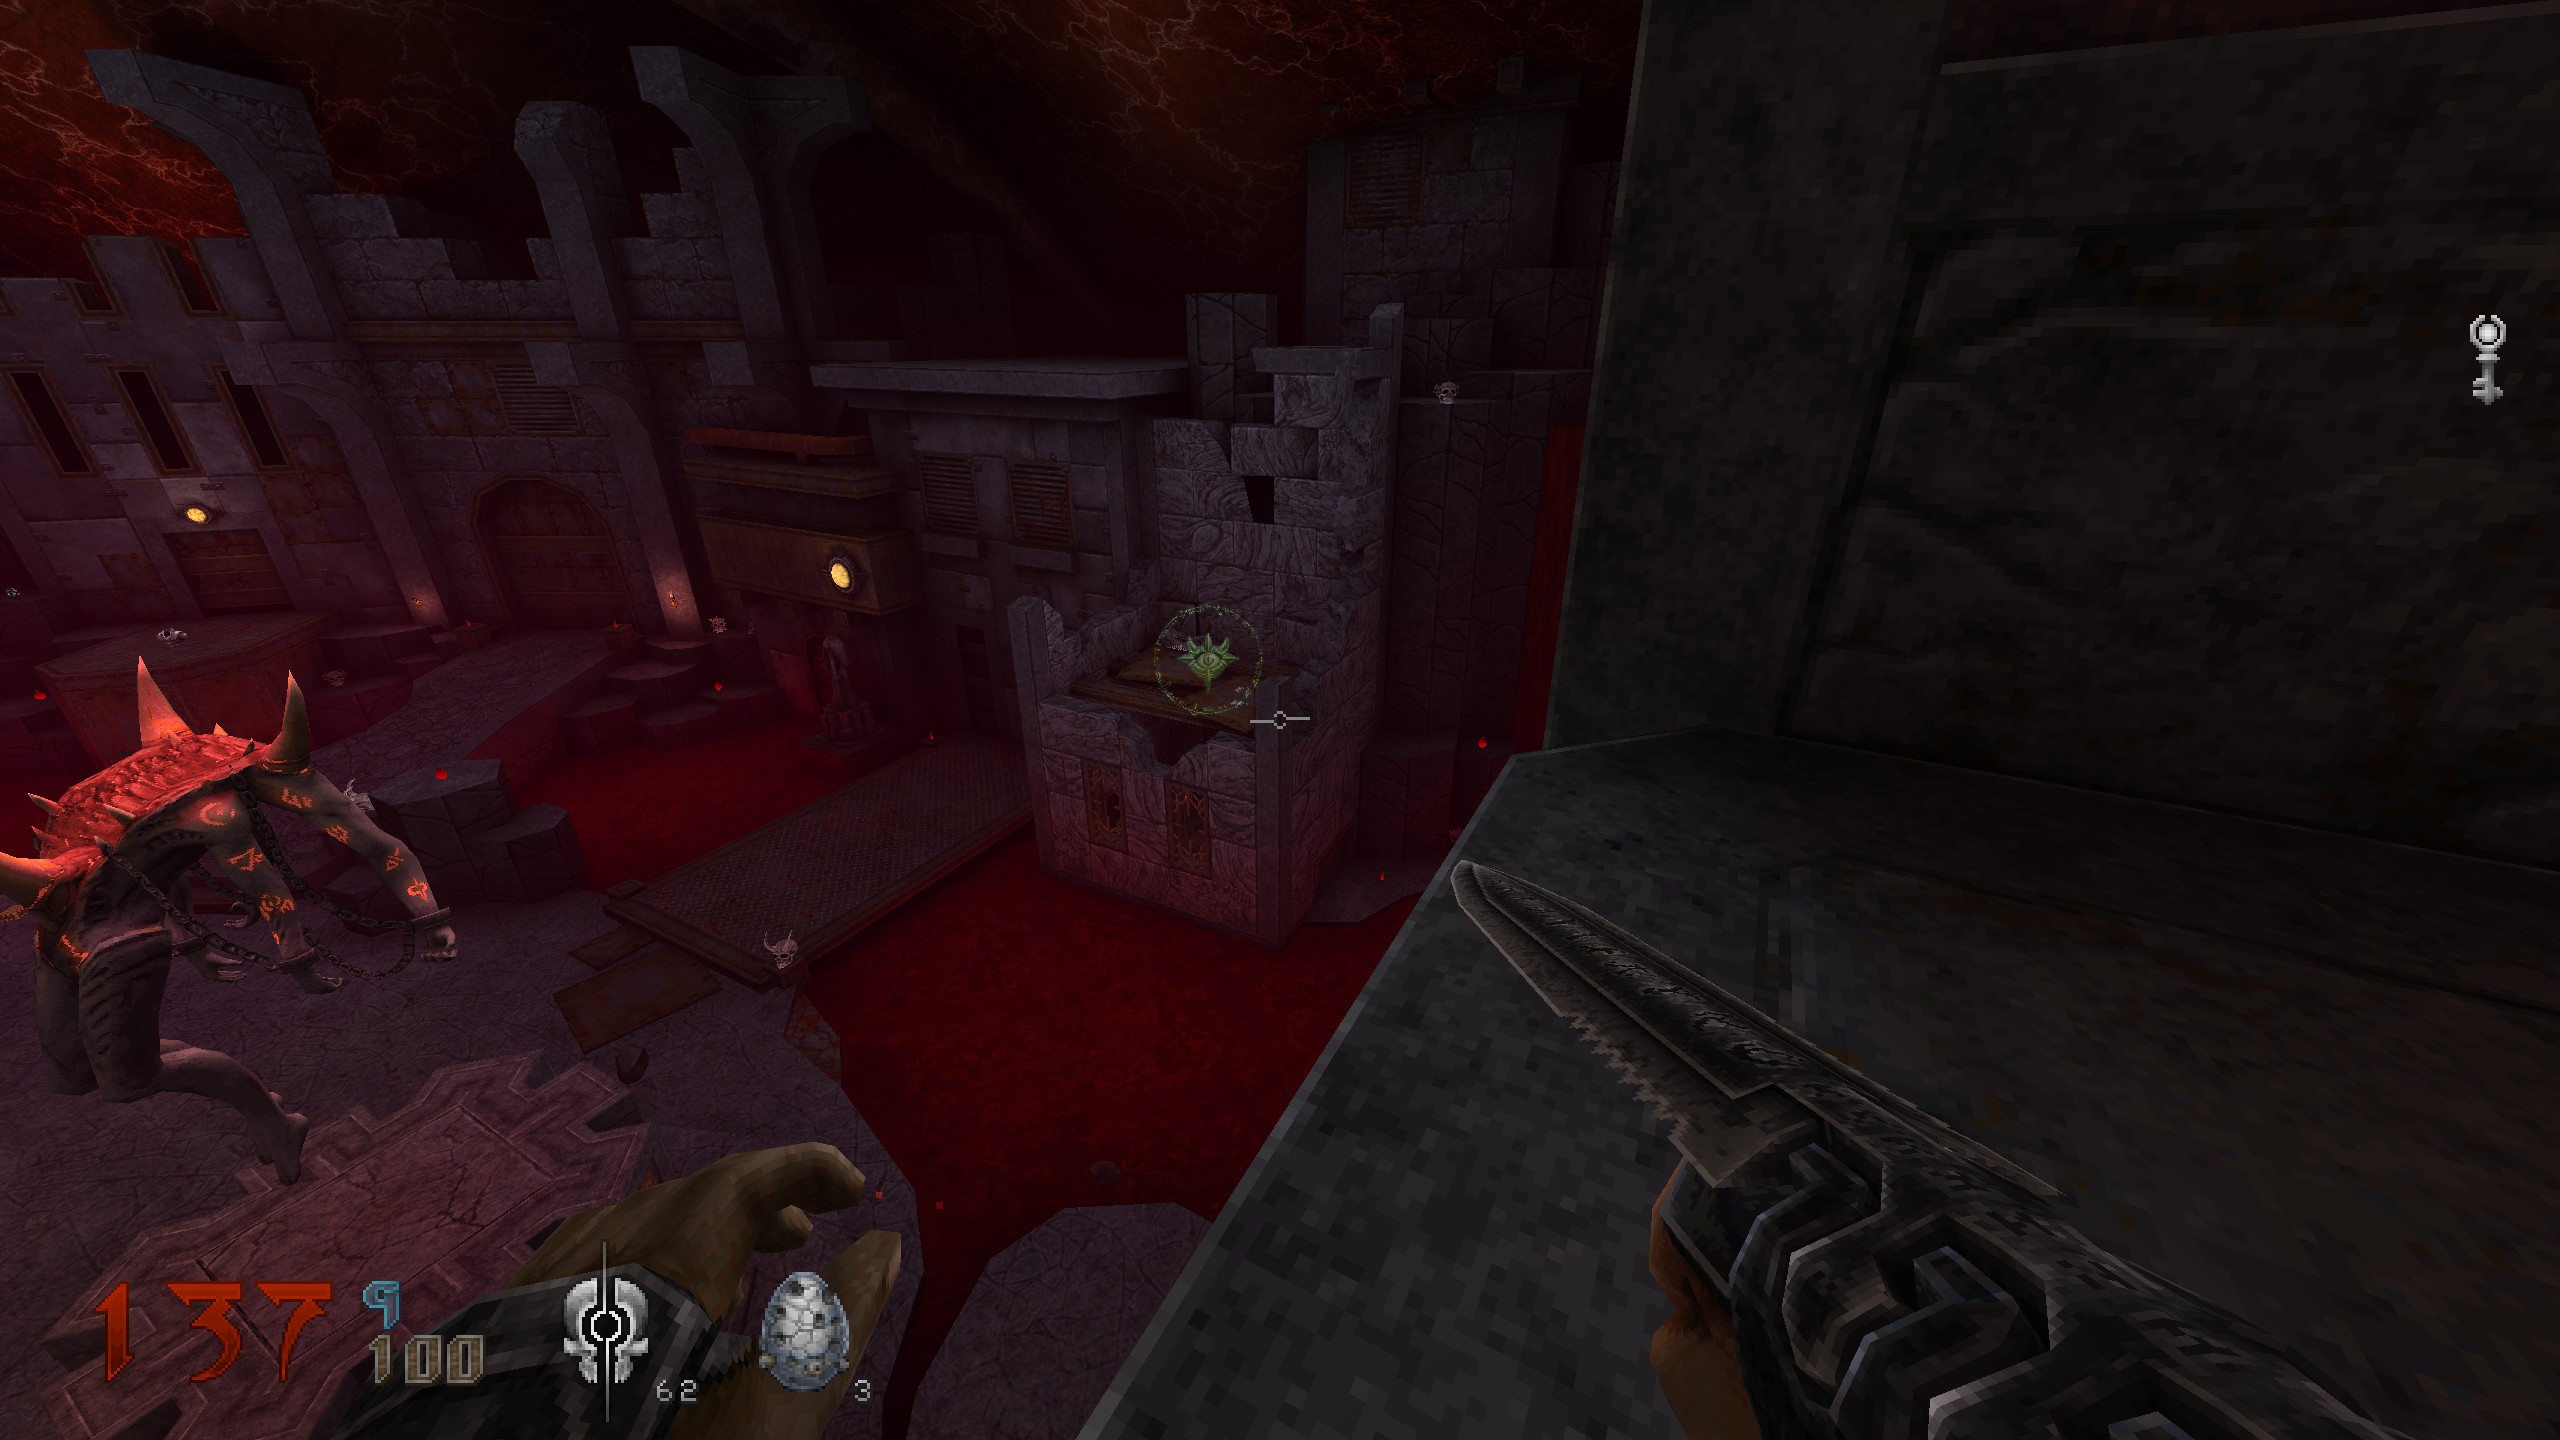
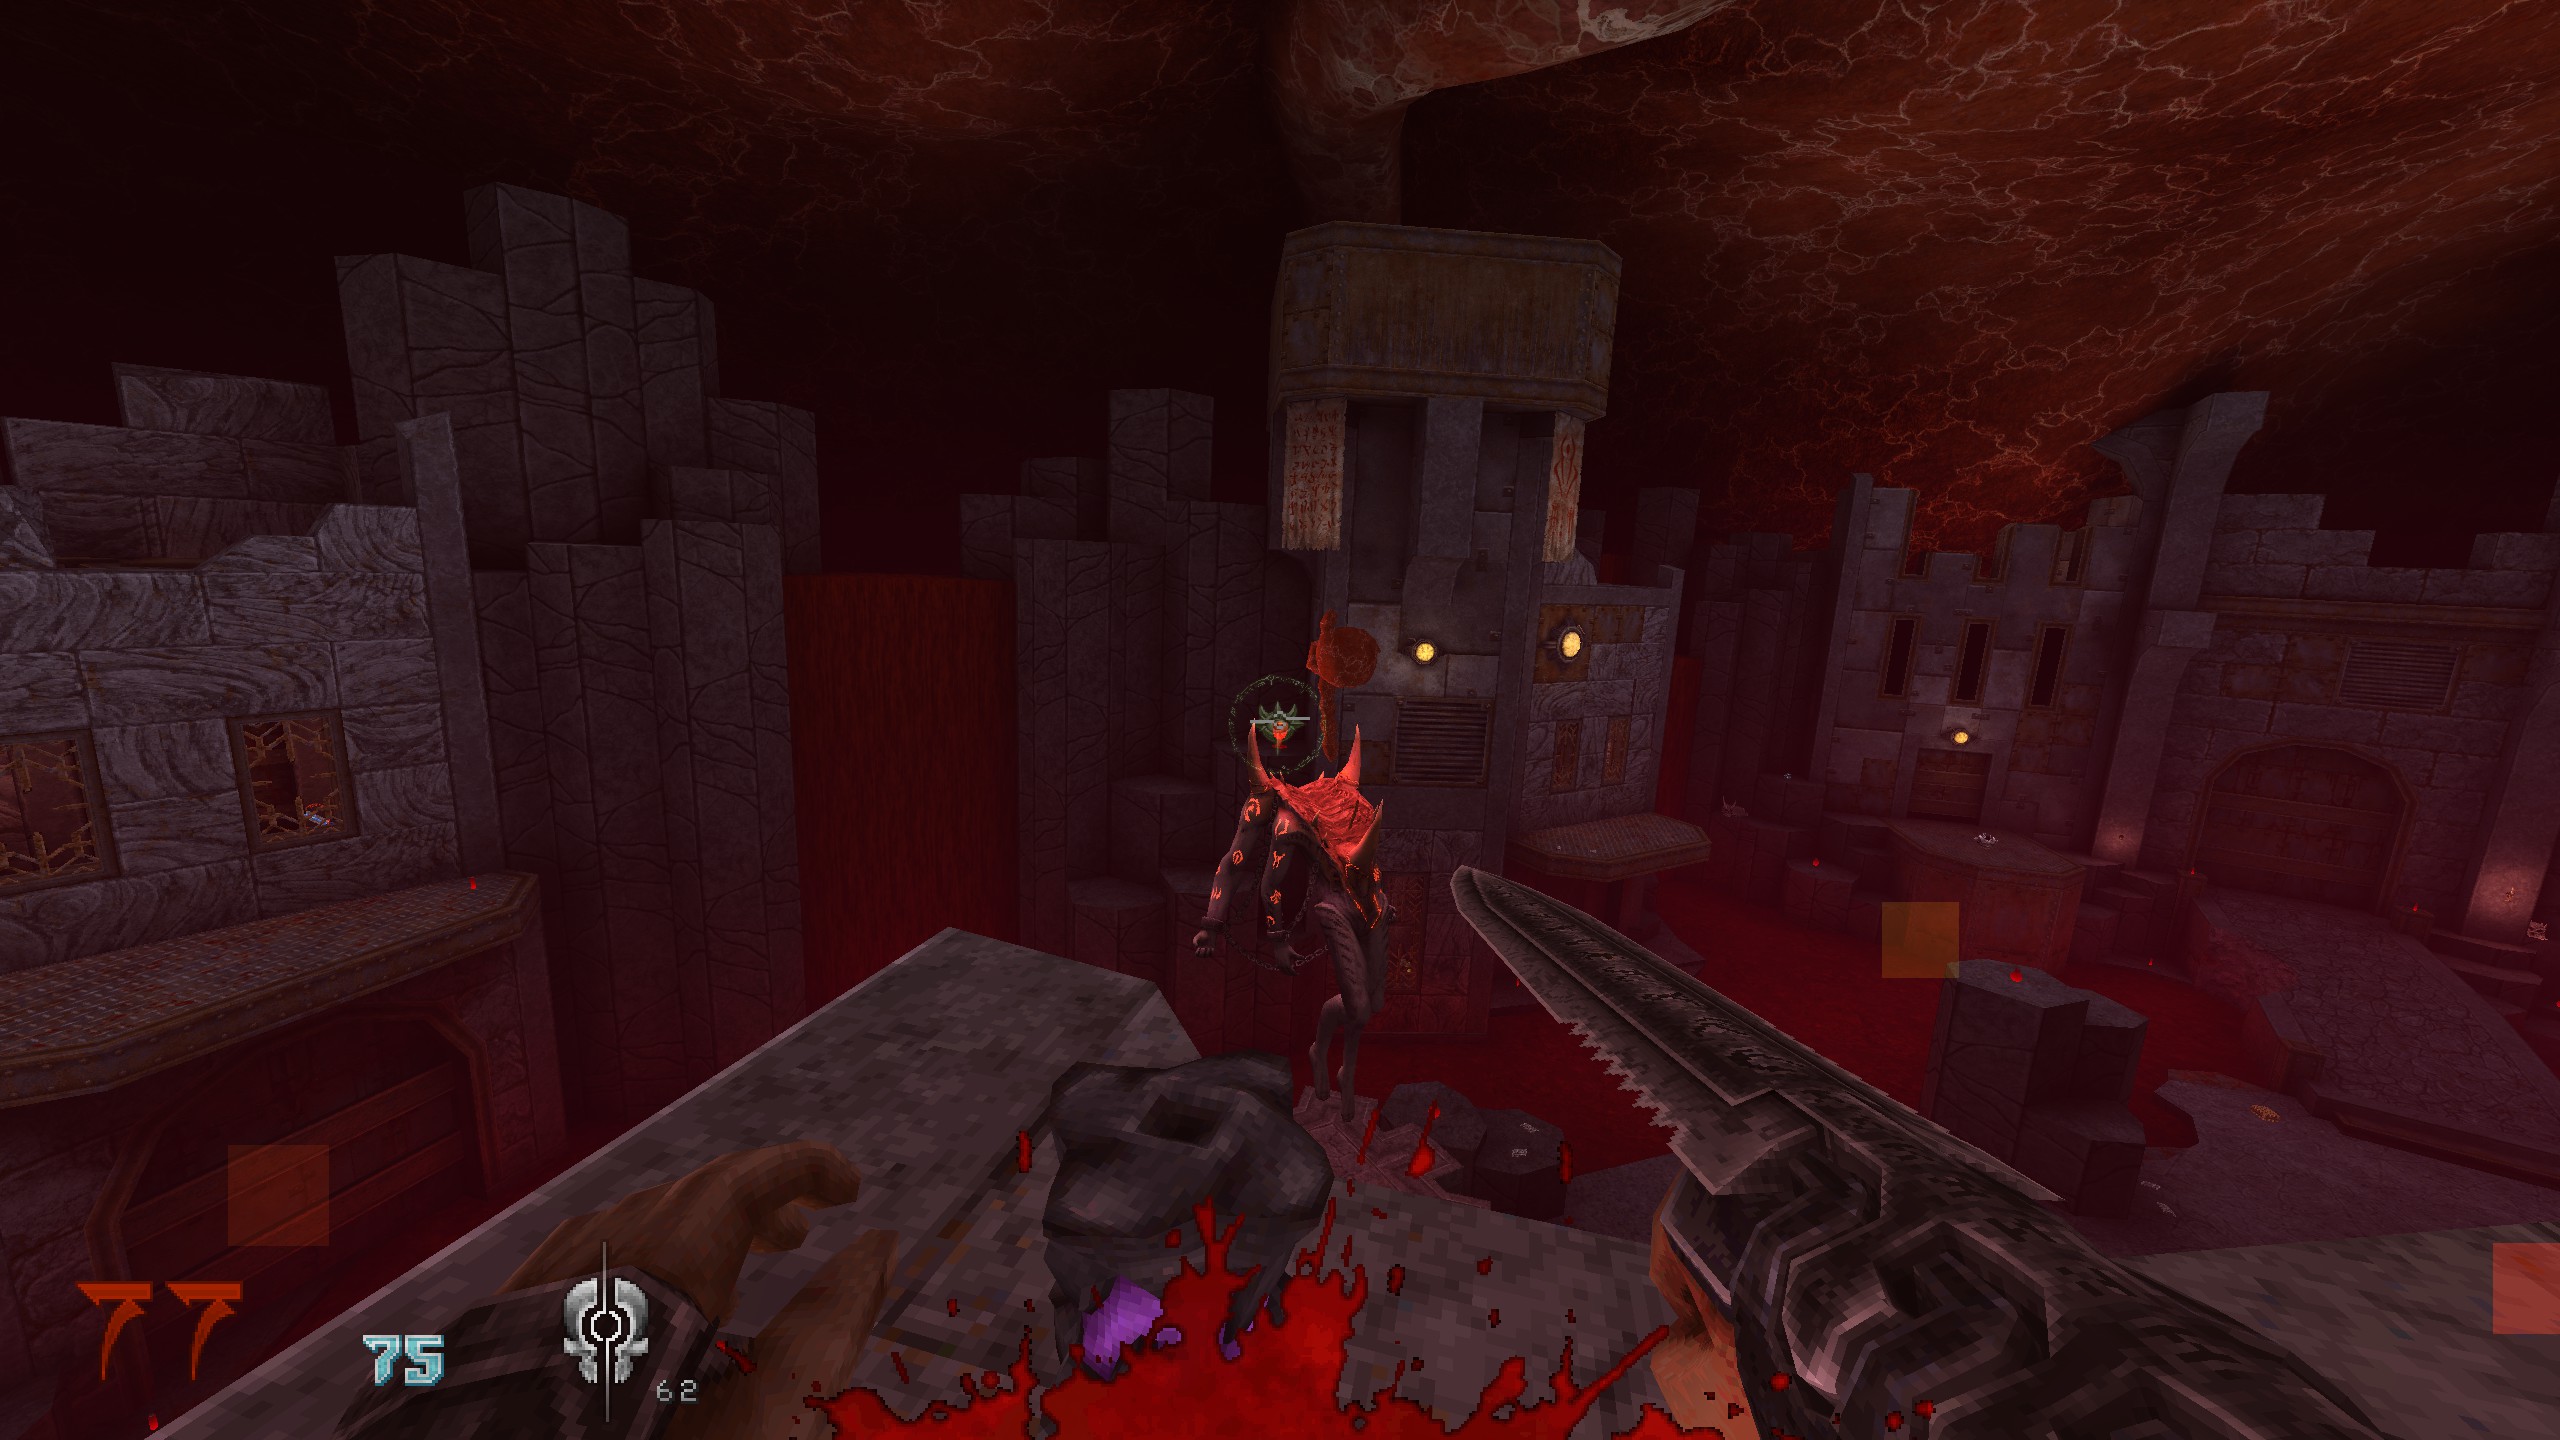
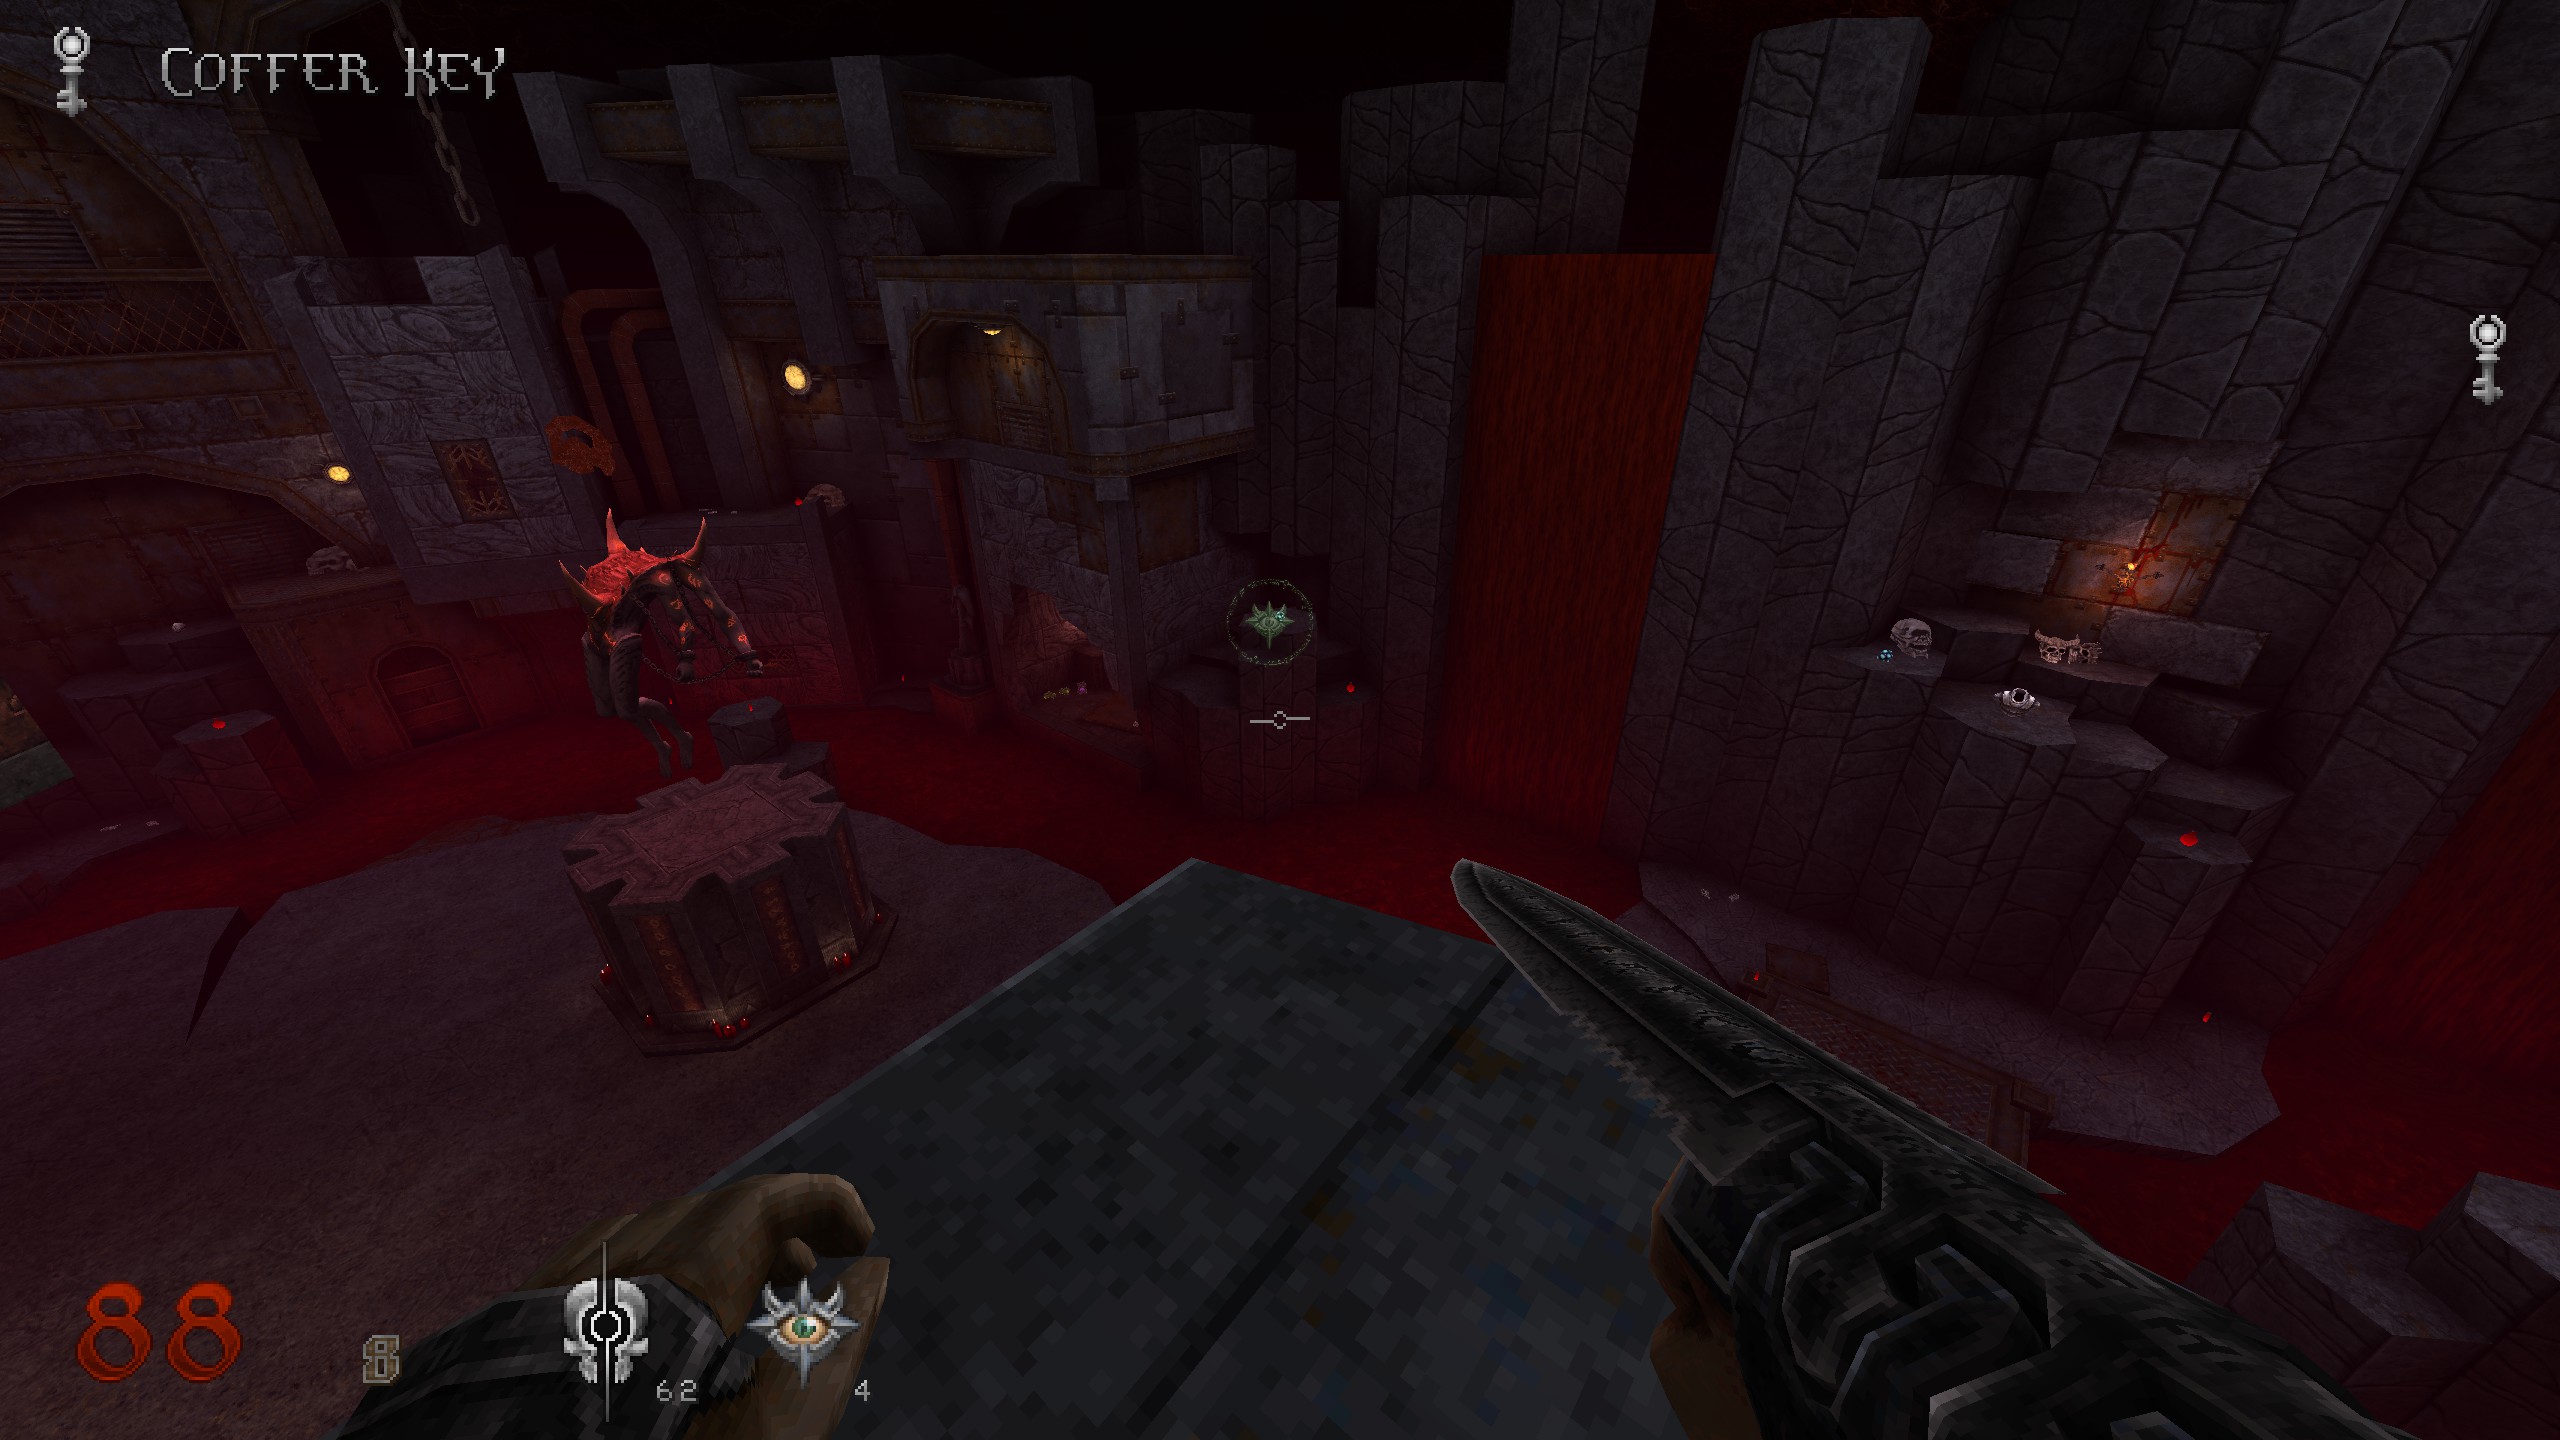
Lets try this last level just with pictures and “Reveal” activated!
Scroll
Shortly after the start, behind a stone pillar on the left side.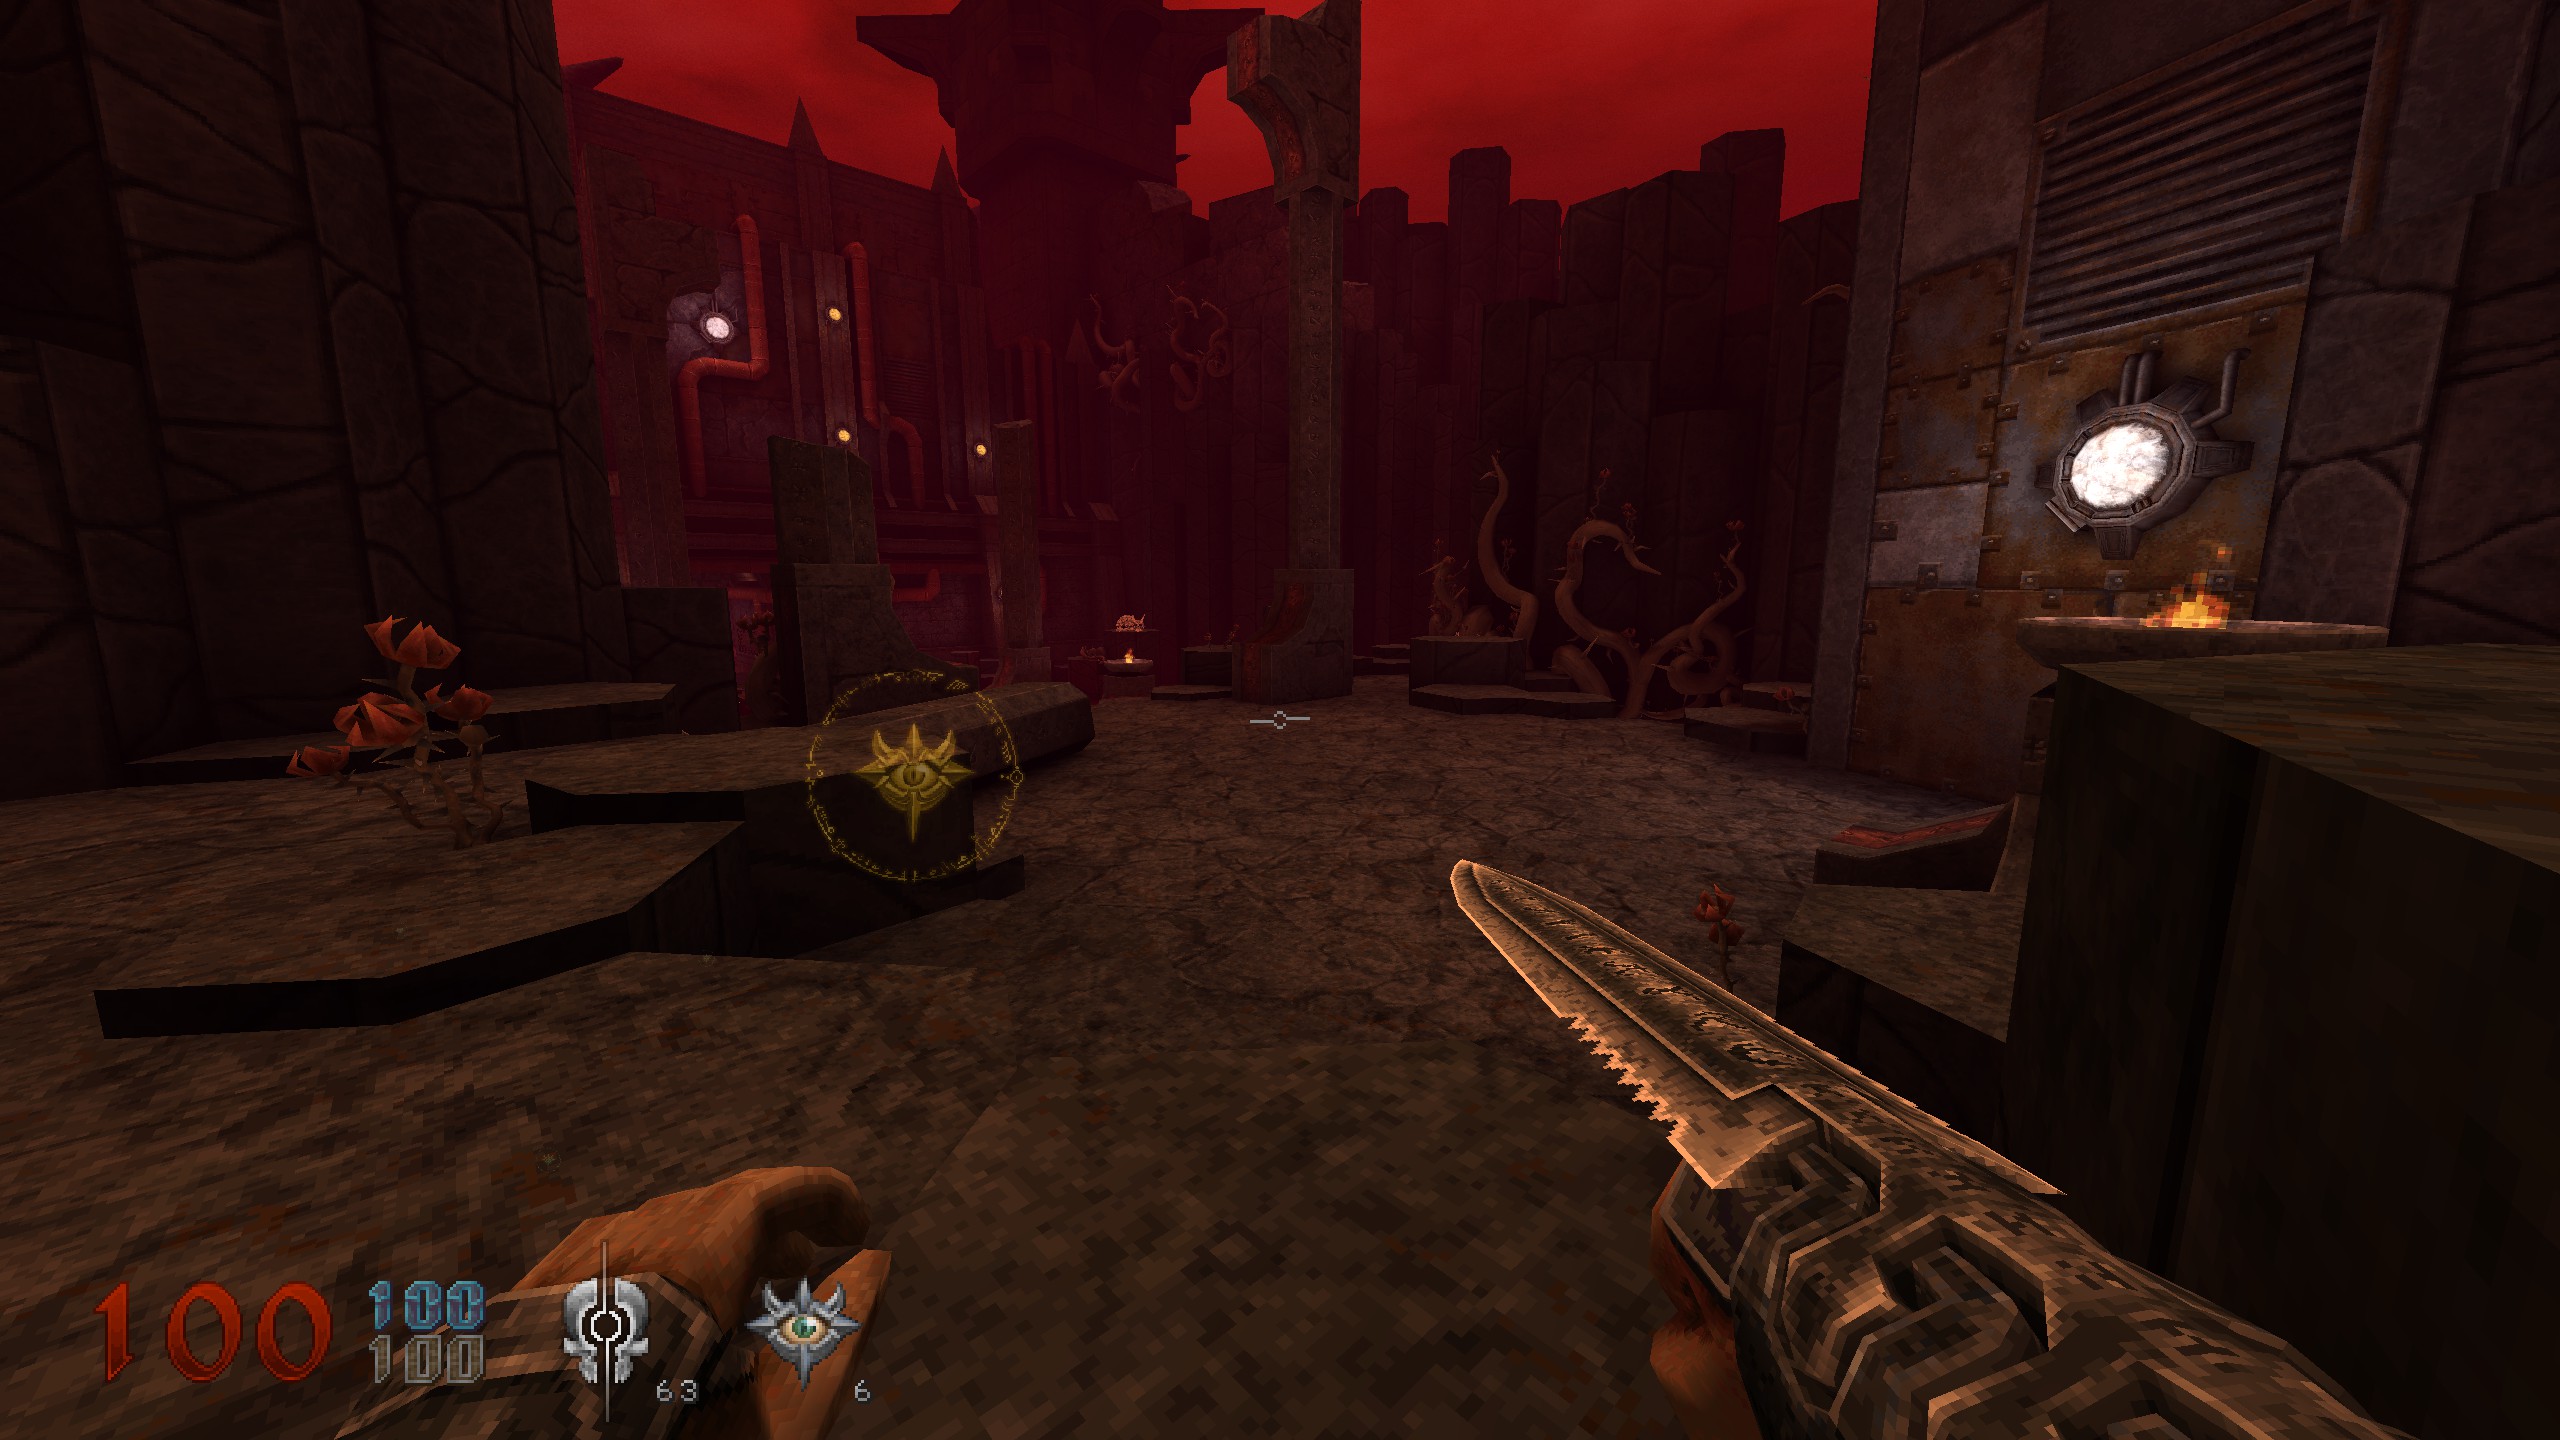
S1 – S5
3 of the secrets are crates. The keys are all in the boss area, none of them are a secret.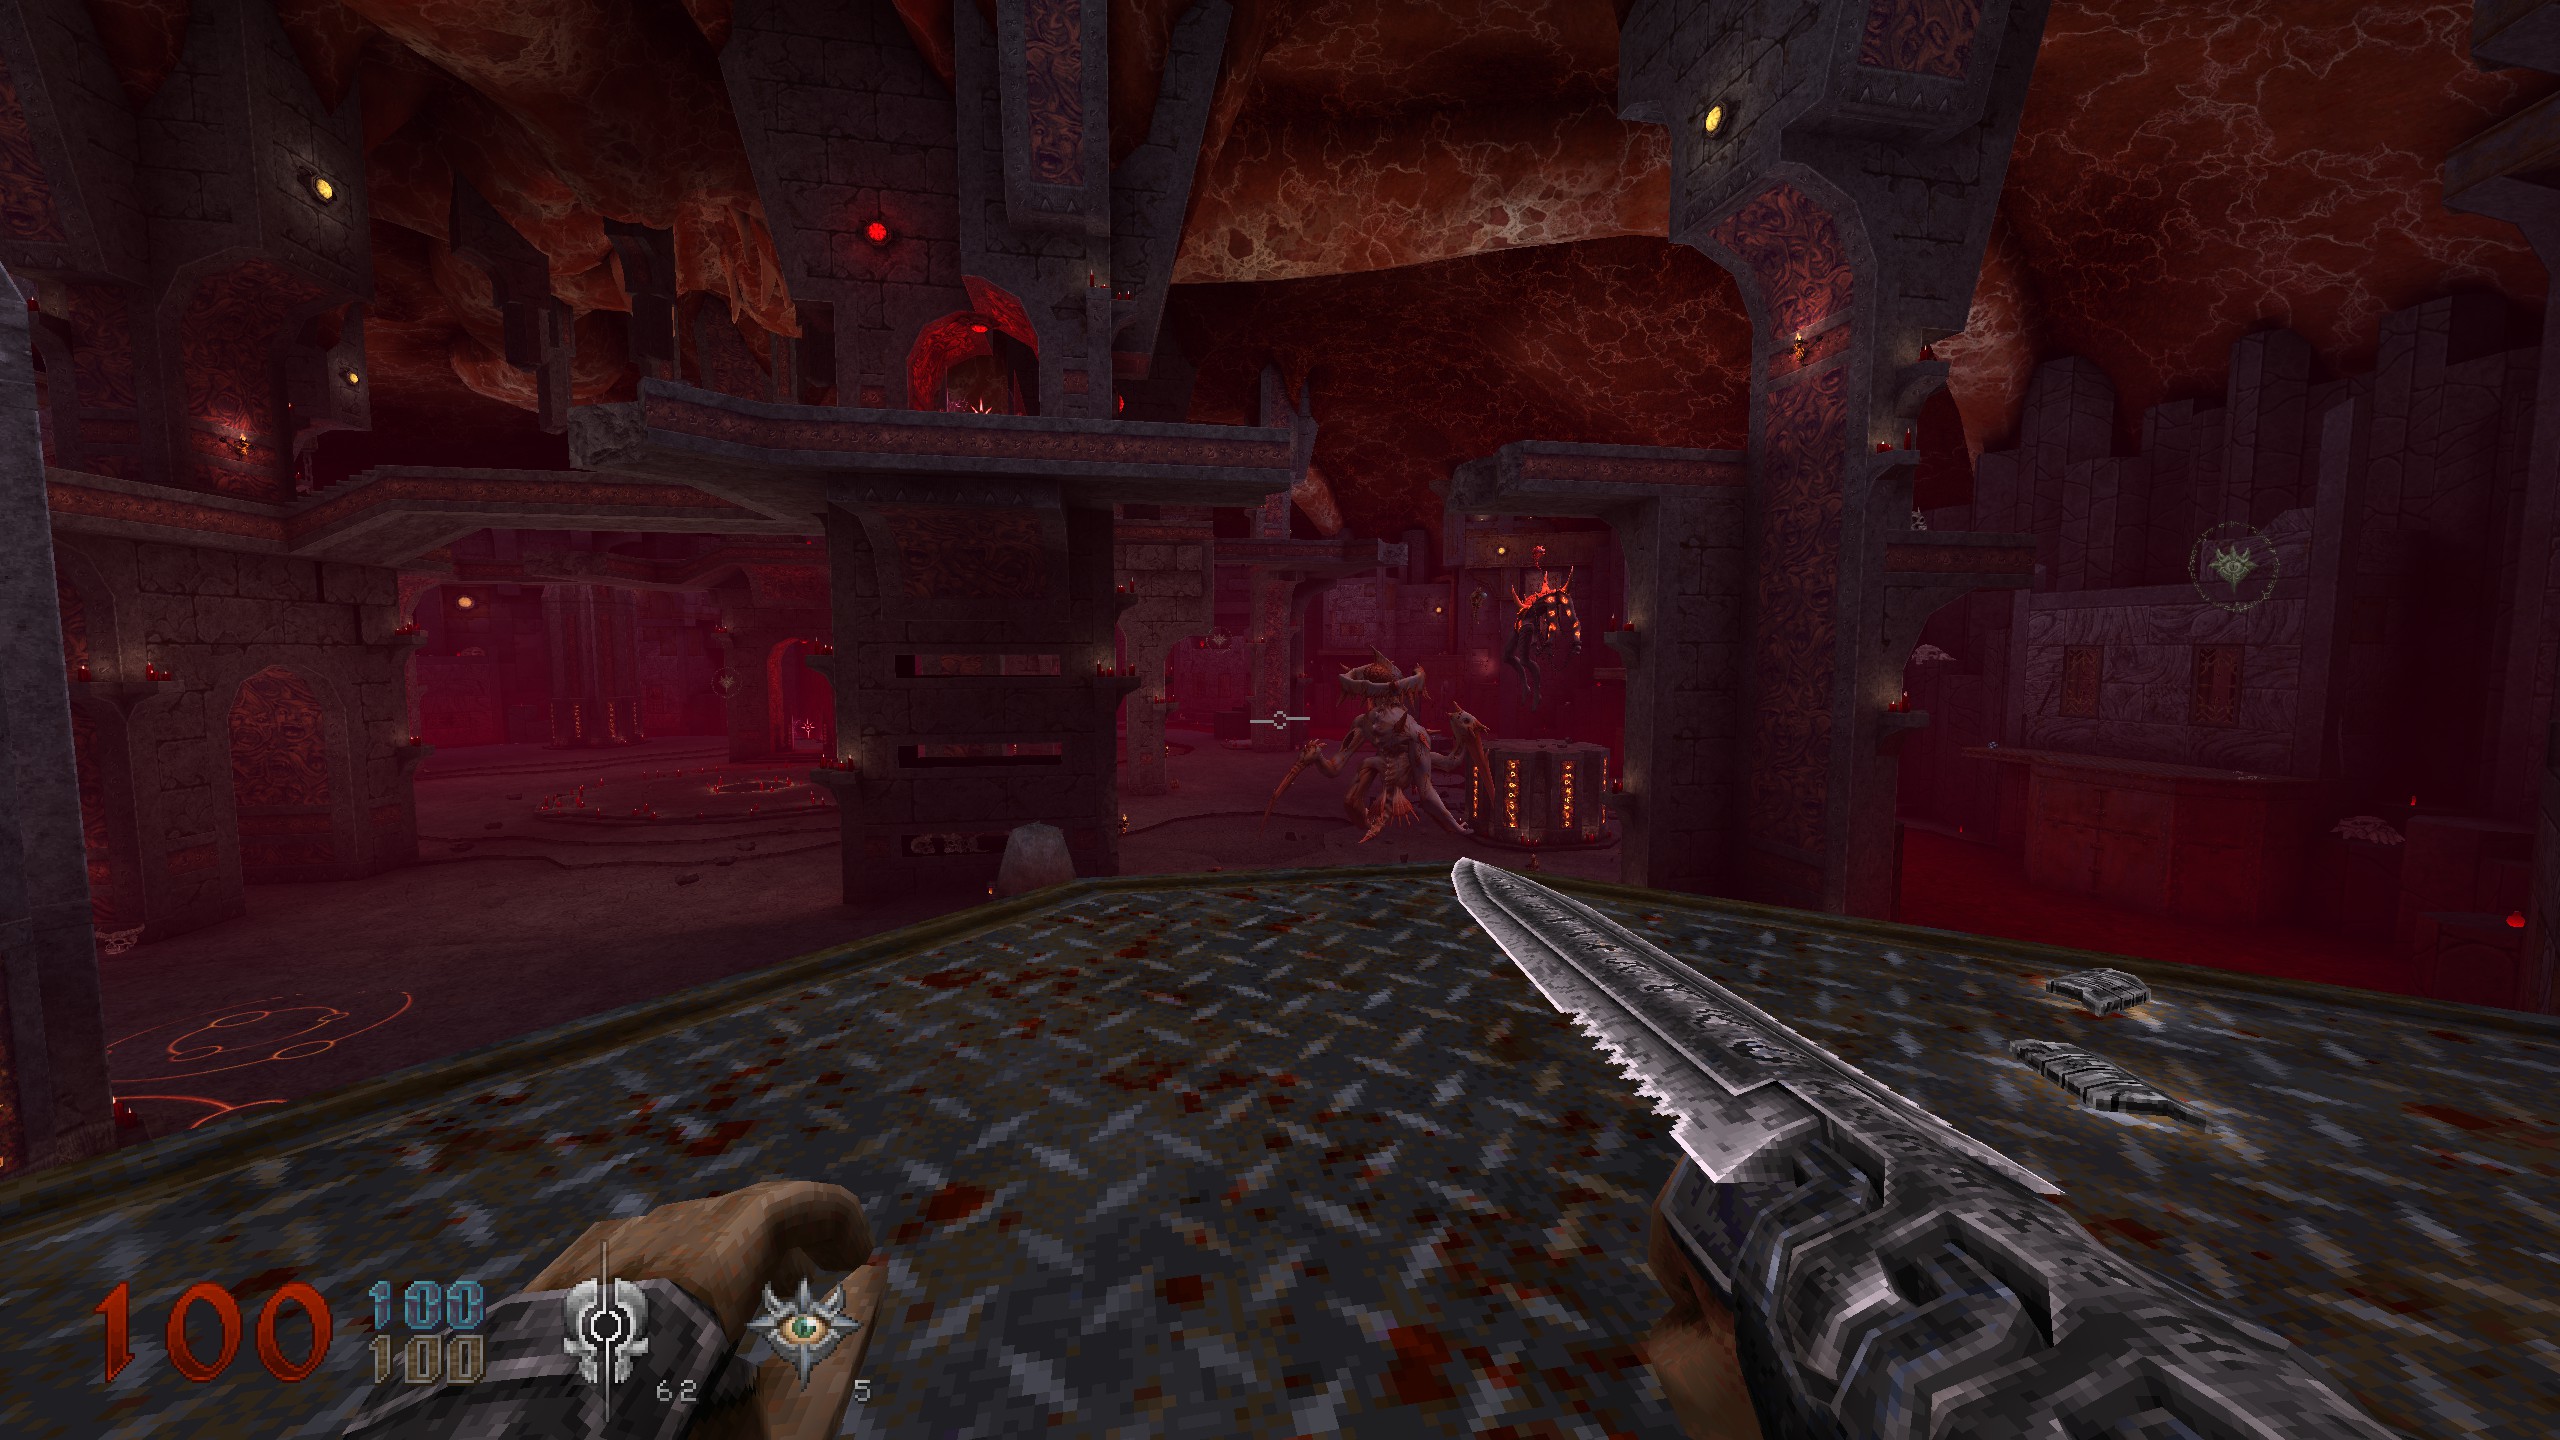
And that wraps up our share on WRATH: Aeon of Ruin: Picture guide – All Secrets – Episode 3. If you have any additional insights or tips to contribute, don’t hesitate to drop a comment below. For a more in-depth read, you can refer to the original article here by DemonEyesKyo, who deserves all the credit. Happy gaming!
