Welcome to our gaming guide article on Barotrauma! In this guide, I will be sharing with you how to easily set up binds for switching between bots in multiplayer mode without the use of mods or cheats. Keep reading to learn how to make your Barotrauma gameplay smoother and more efficient.
Introduction
In the game, when playing in multiplayer, it is impossible to switch and play as a bot as you can in a single-player. This limitation can be a significant problem and inconvenience, especially when playing with a small team of 3-4 people. Eventually, you may find yourself needing bots to operate a larger ship or requiring specific classes and skills that are not available within your team. For instance, if there is no medic on your team and you need someone to work with genes, or if you require a mechanic to recycle resources effectively.
However, there is a command that is NOT considered a cheat allowing you to still get achievements which enables you to manually switch to a bot! But it does require writing out the full command each time, so we will bind this command to the keyboard or mouse side buttons. This way, you can switch to the desired bot at any time during the game without needing to install mods or activate cheats.
Setclientcharacter command
Let’s start by understanding how the command for switching to a bot works. Here it is:
setclientcharacter [player name] [character name]

As you can see, the function contains two arguments: [player name] and [character name].
[player name] – in this argument, you need to enter the name of your Steam profile.
[character name] – this argument requires the name of your in-game character in Barotrauma.
Now, let’s test this command in practice. We’ll start the server and attempt to switch to the bot by double-clicking on its name.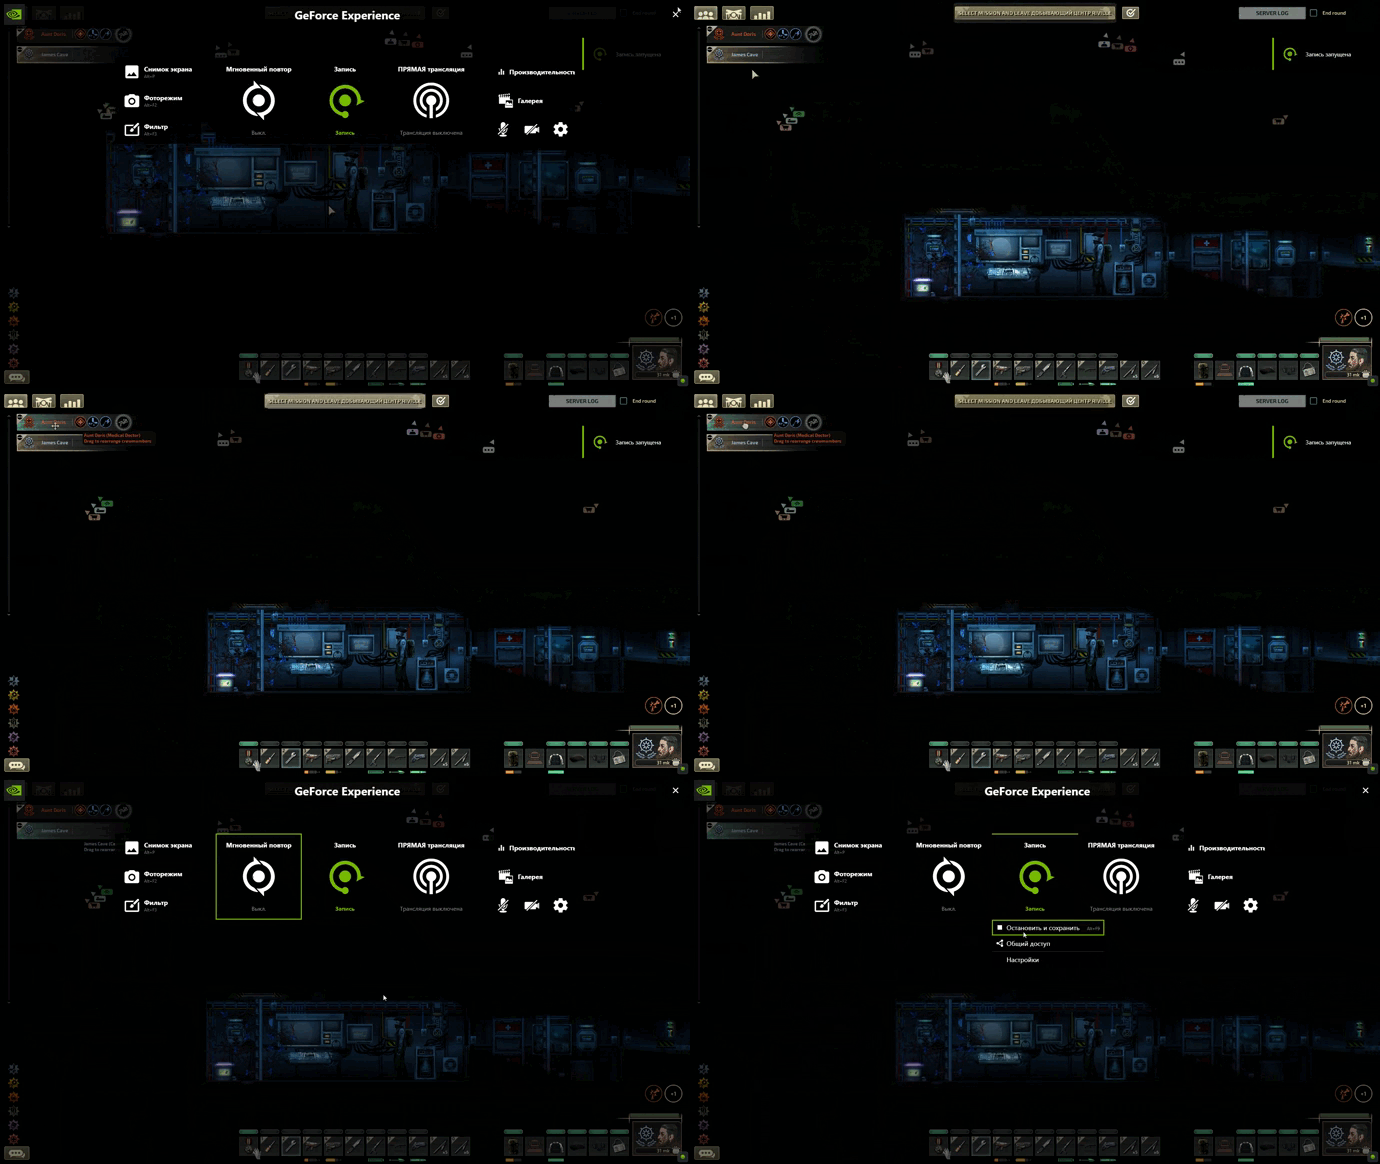 As you can see, it is not possible to switch.
Open the console by pressing F3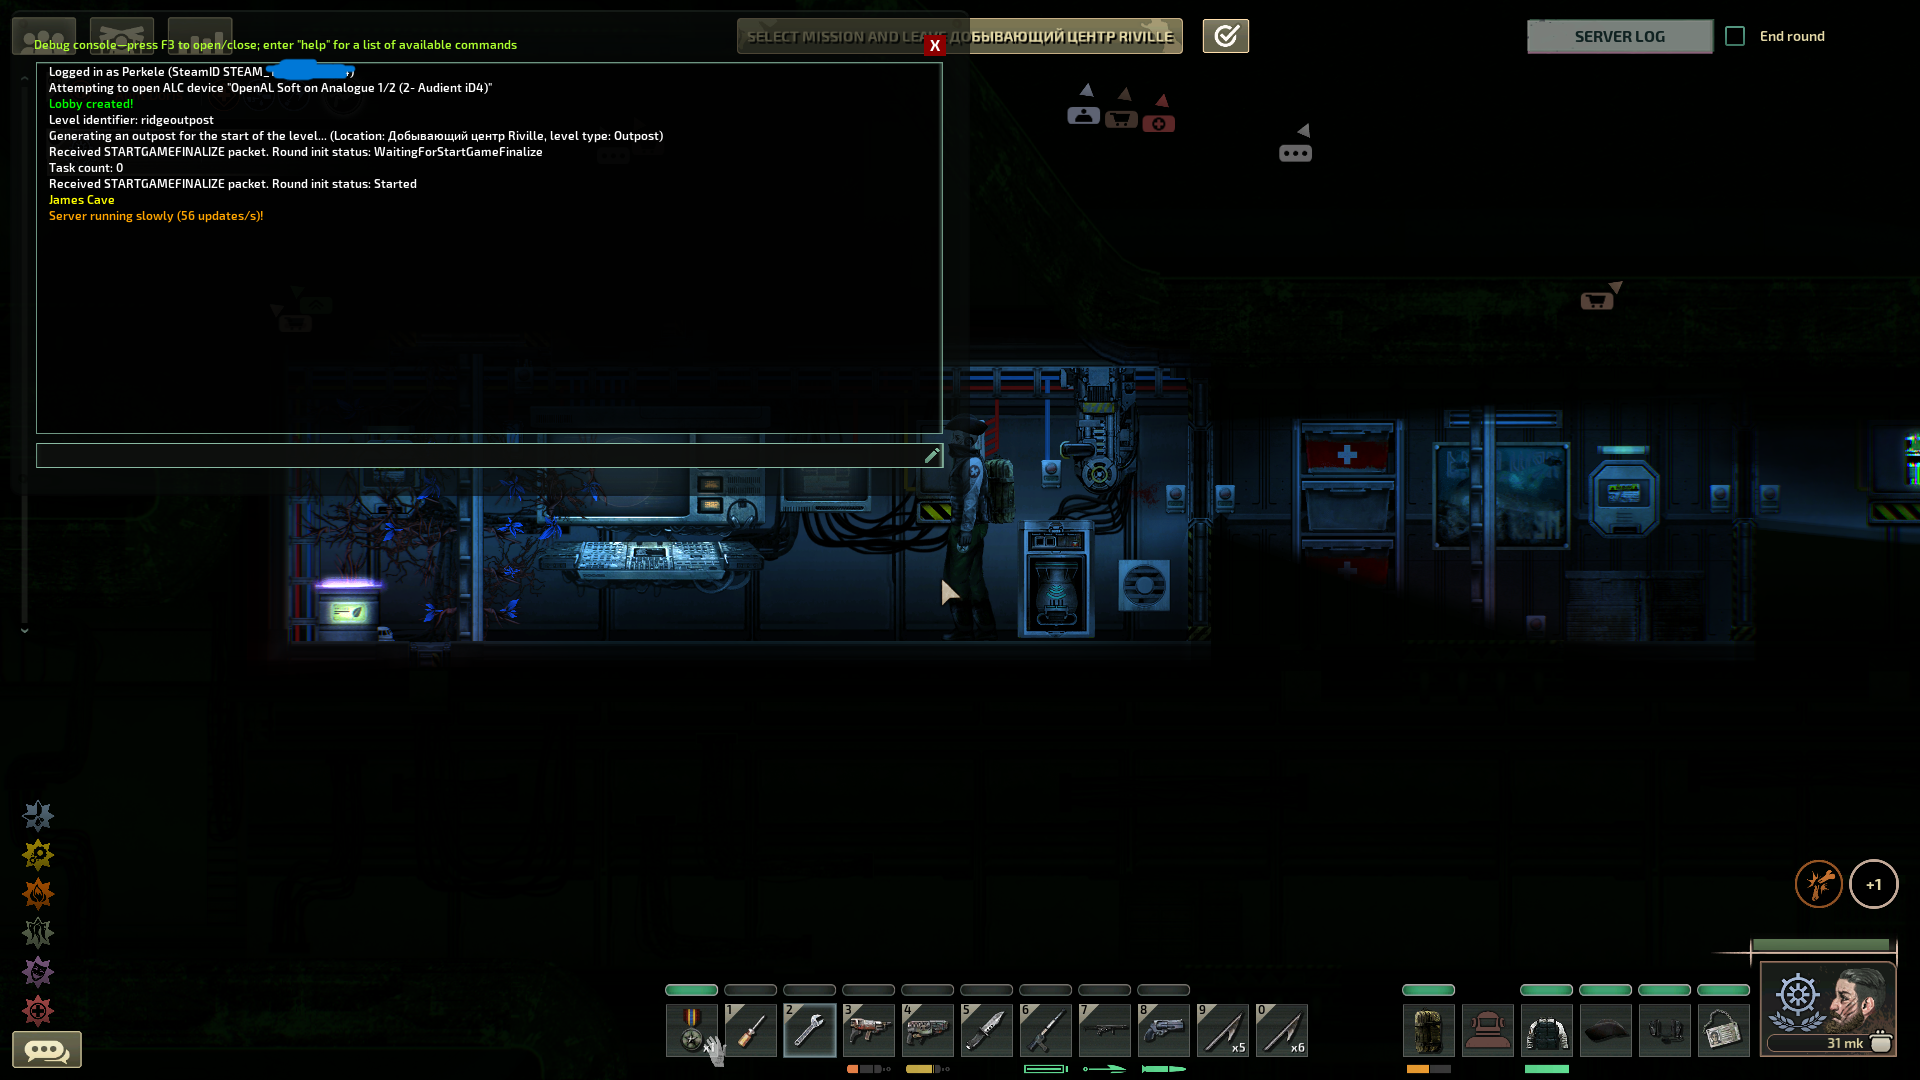
Copy and paste the command
setclientcharacter [player name] [character name]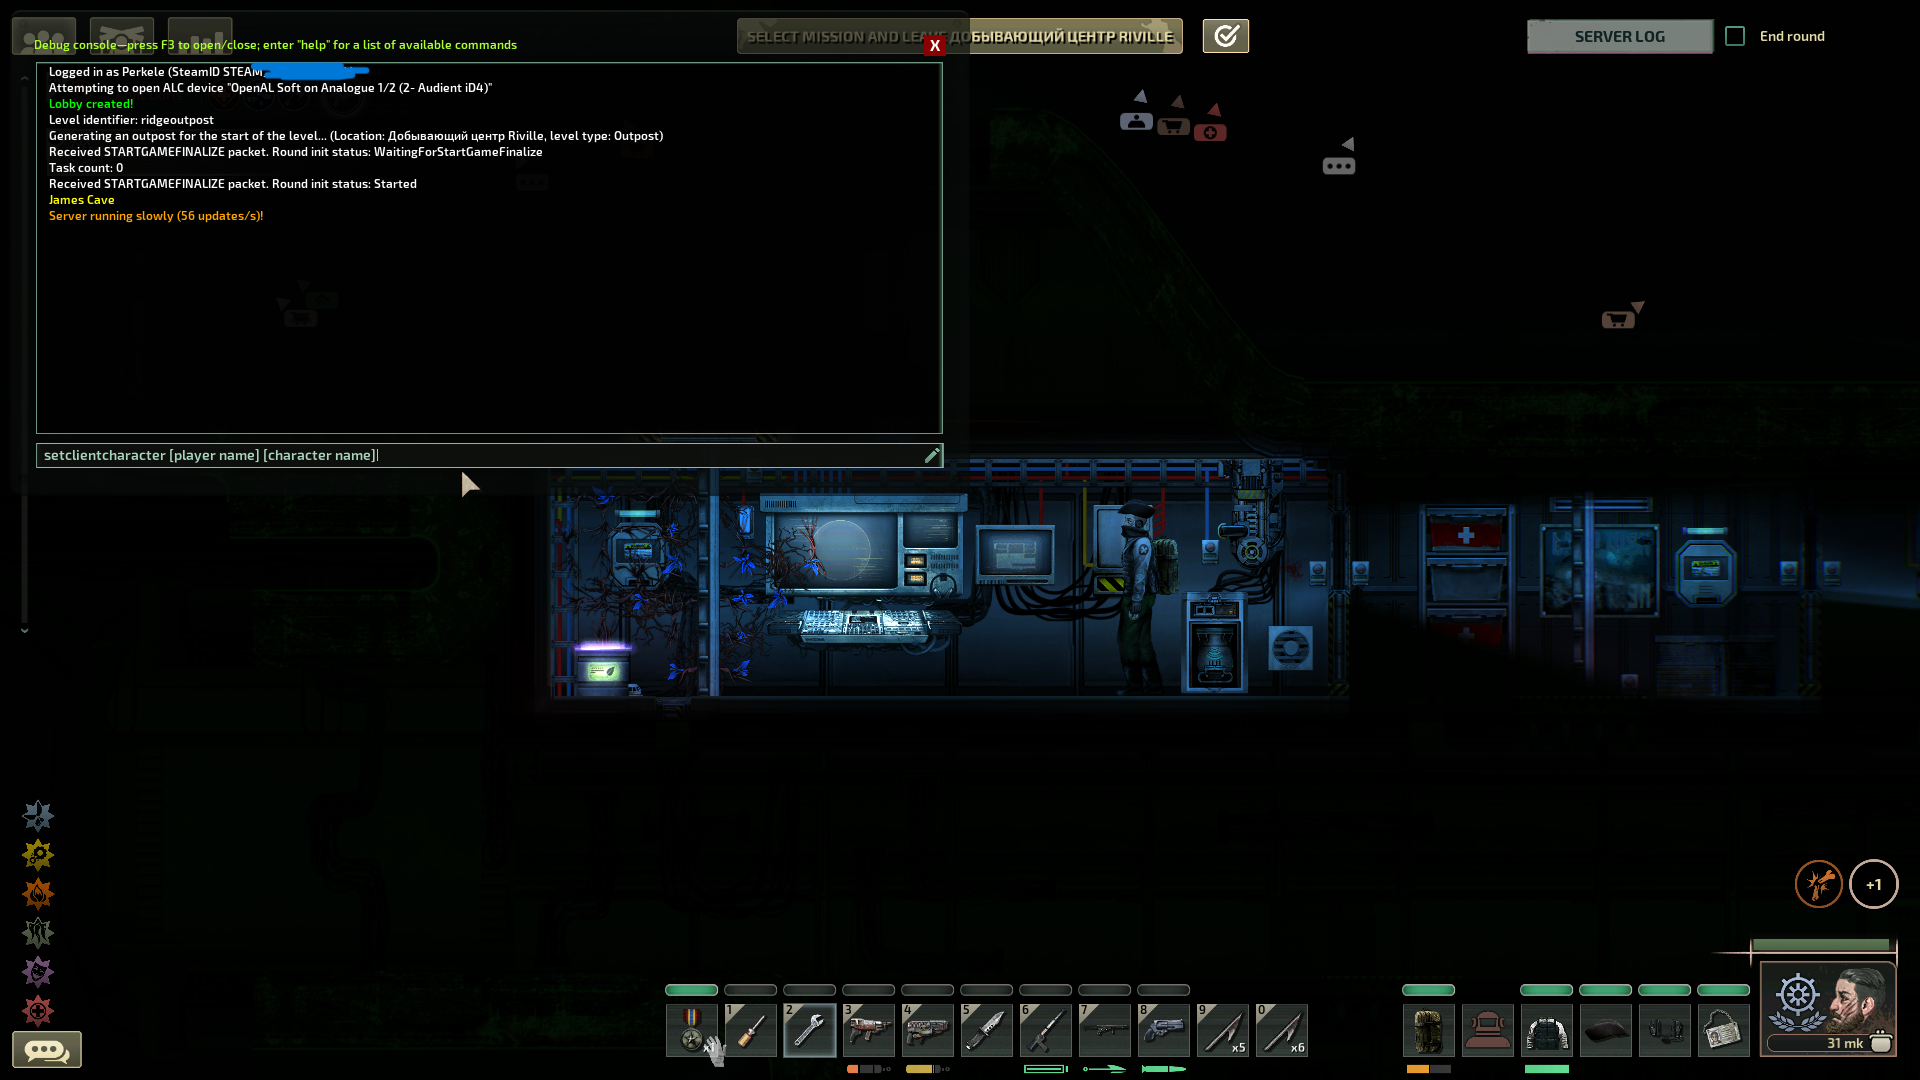
Let’s determine which arguments to pass as [player name] and [character name].
Open the list of players three sticks on the top right. Here you will see your Steam nickname, which will be the [player name] argument. In my case it’s Tangerine. Then click on your nickname once, and a window will open in the top right where you can see the name of your character, which will be the [character name] argument. I also have a bot on my team named Aunt Doris, so it will be [character name] argument if we want to switch to her.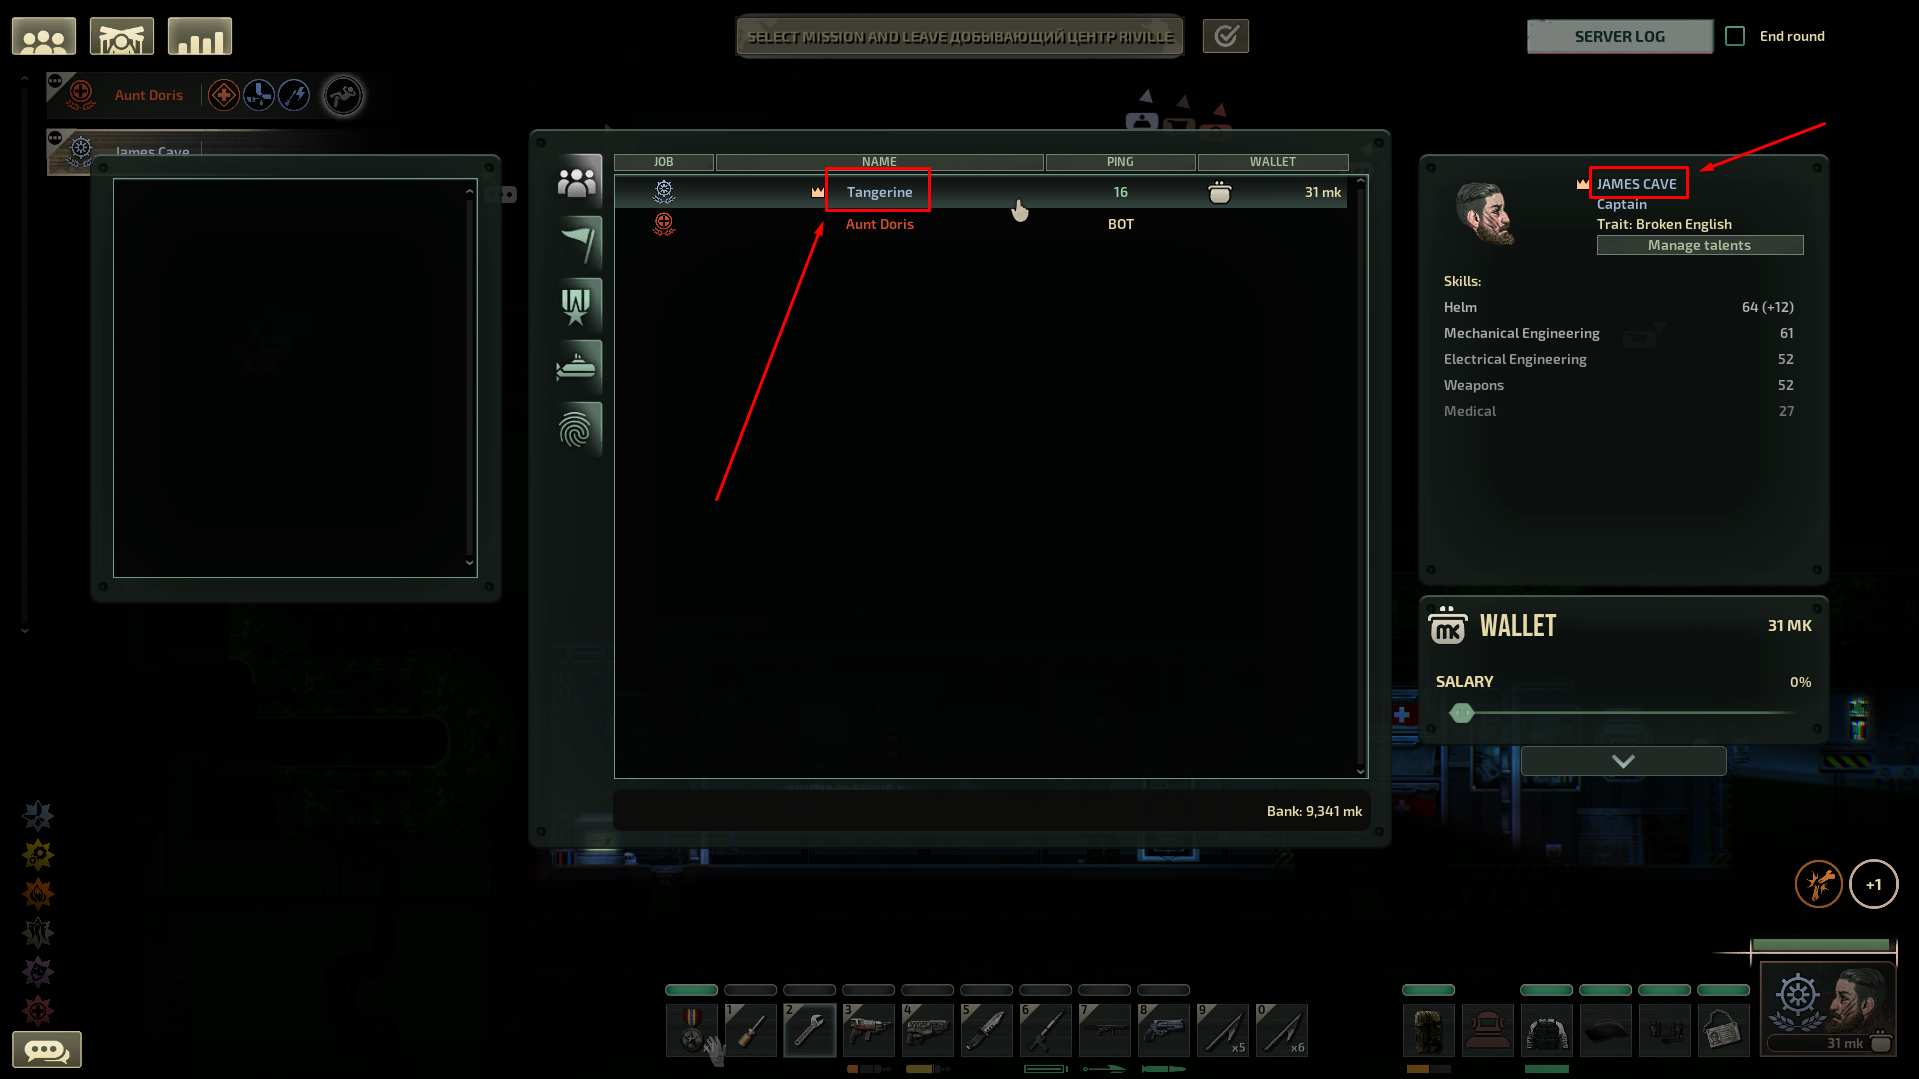
Now, go back to the console and replace the arguments [player name] with Tangerine and [character name] with Aunt Doris. The final command will look like this:
setclientcharacter Tangerine Aunt Doris.
Press Enter and control of the bot will switch to you!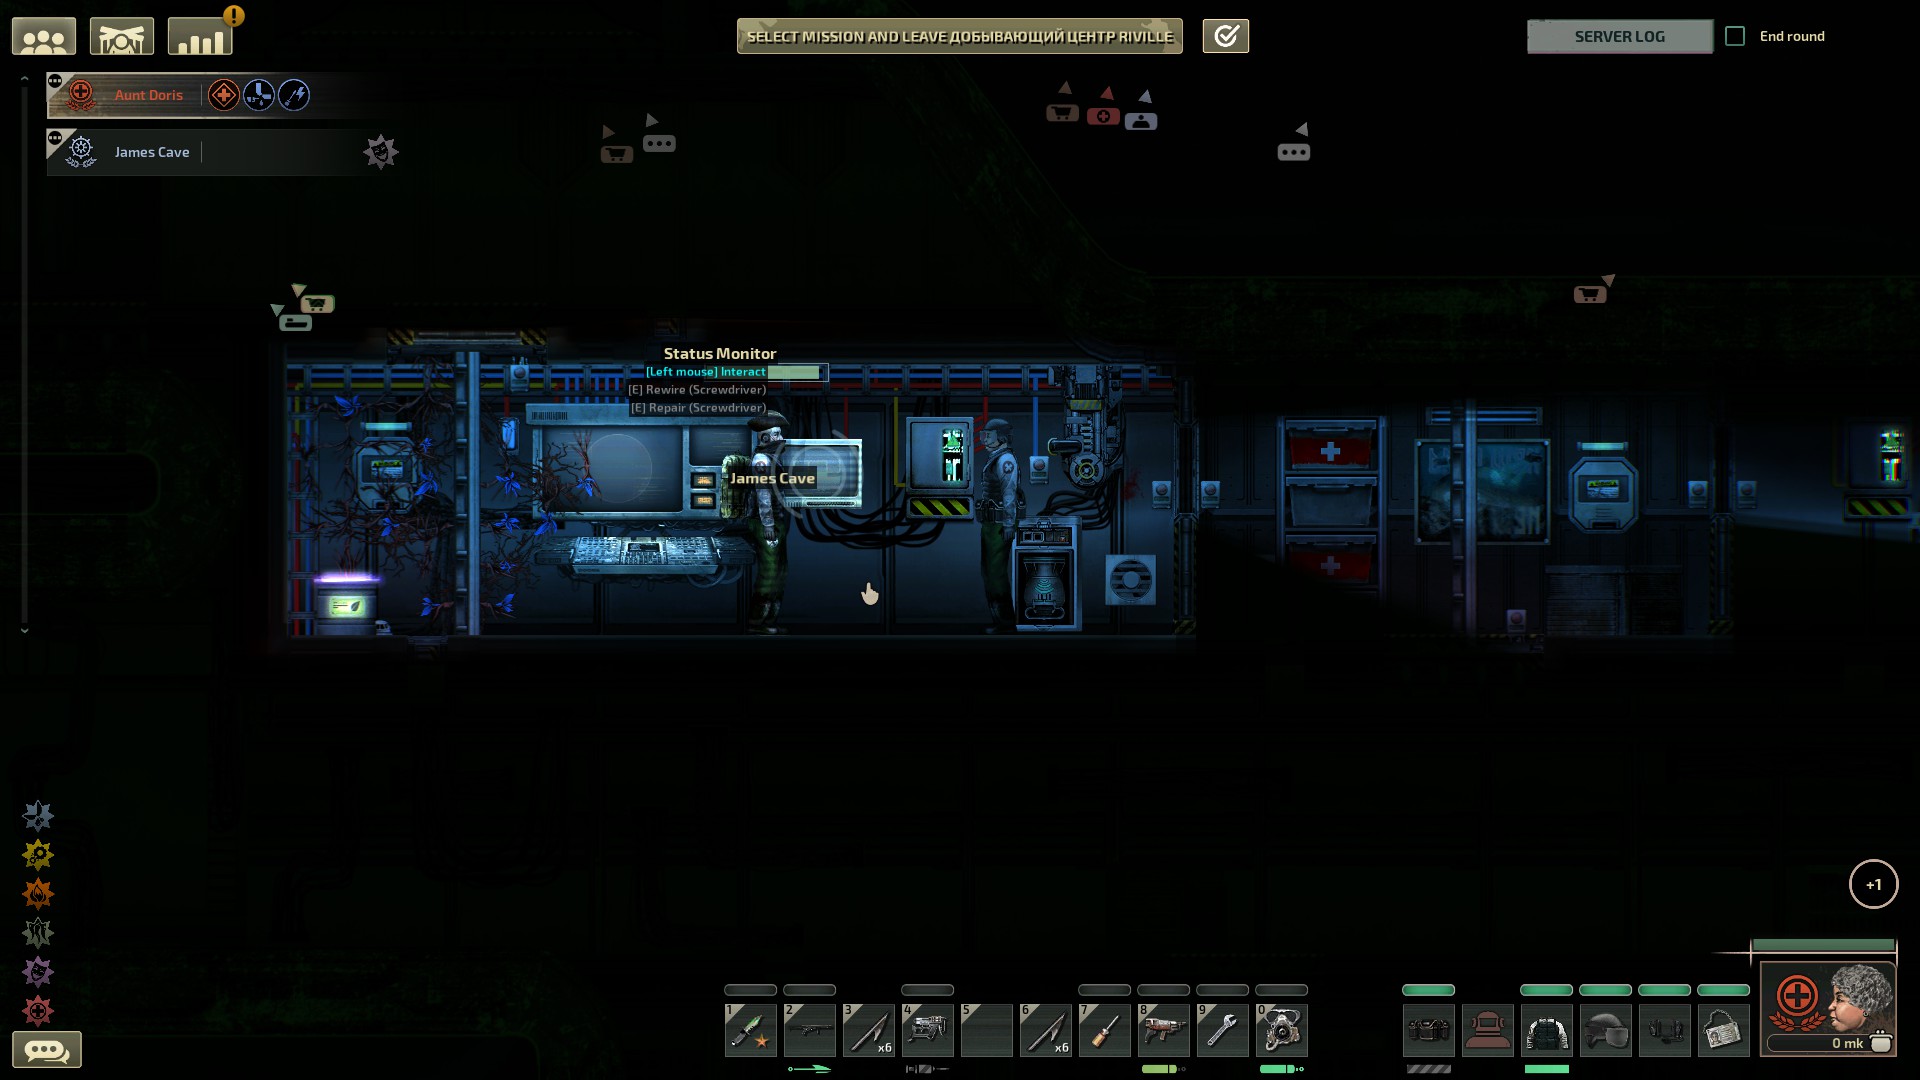
Now let’s switch back to our character using the following command in my case:
SetClientCharacter Tangerine James Cave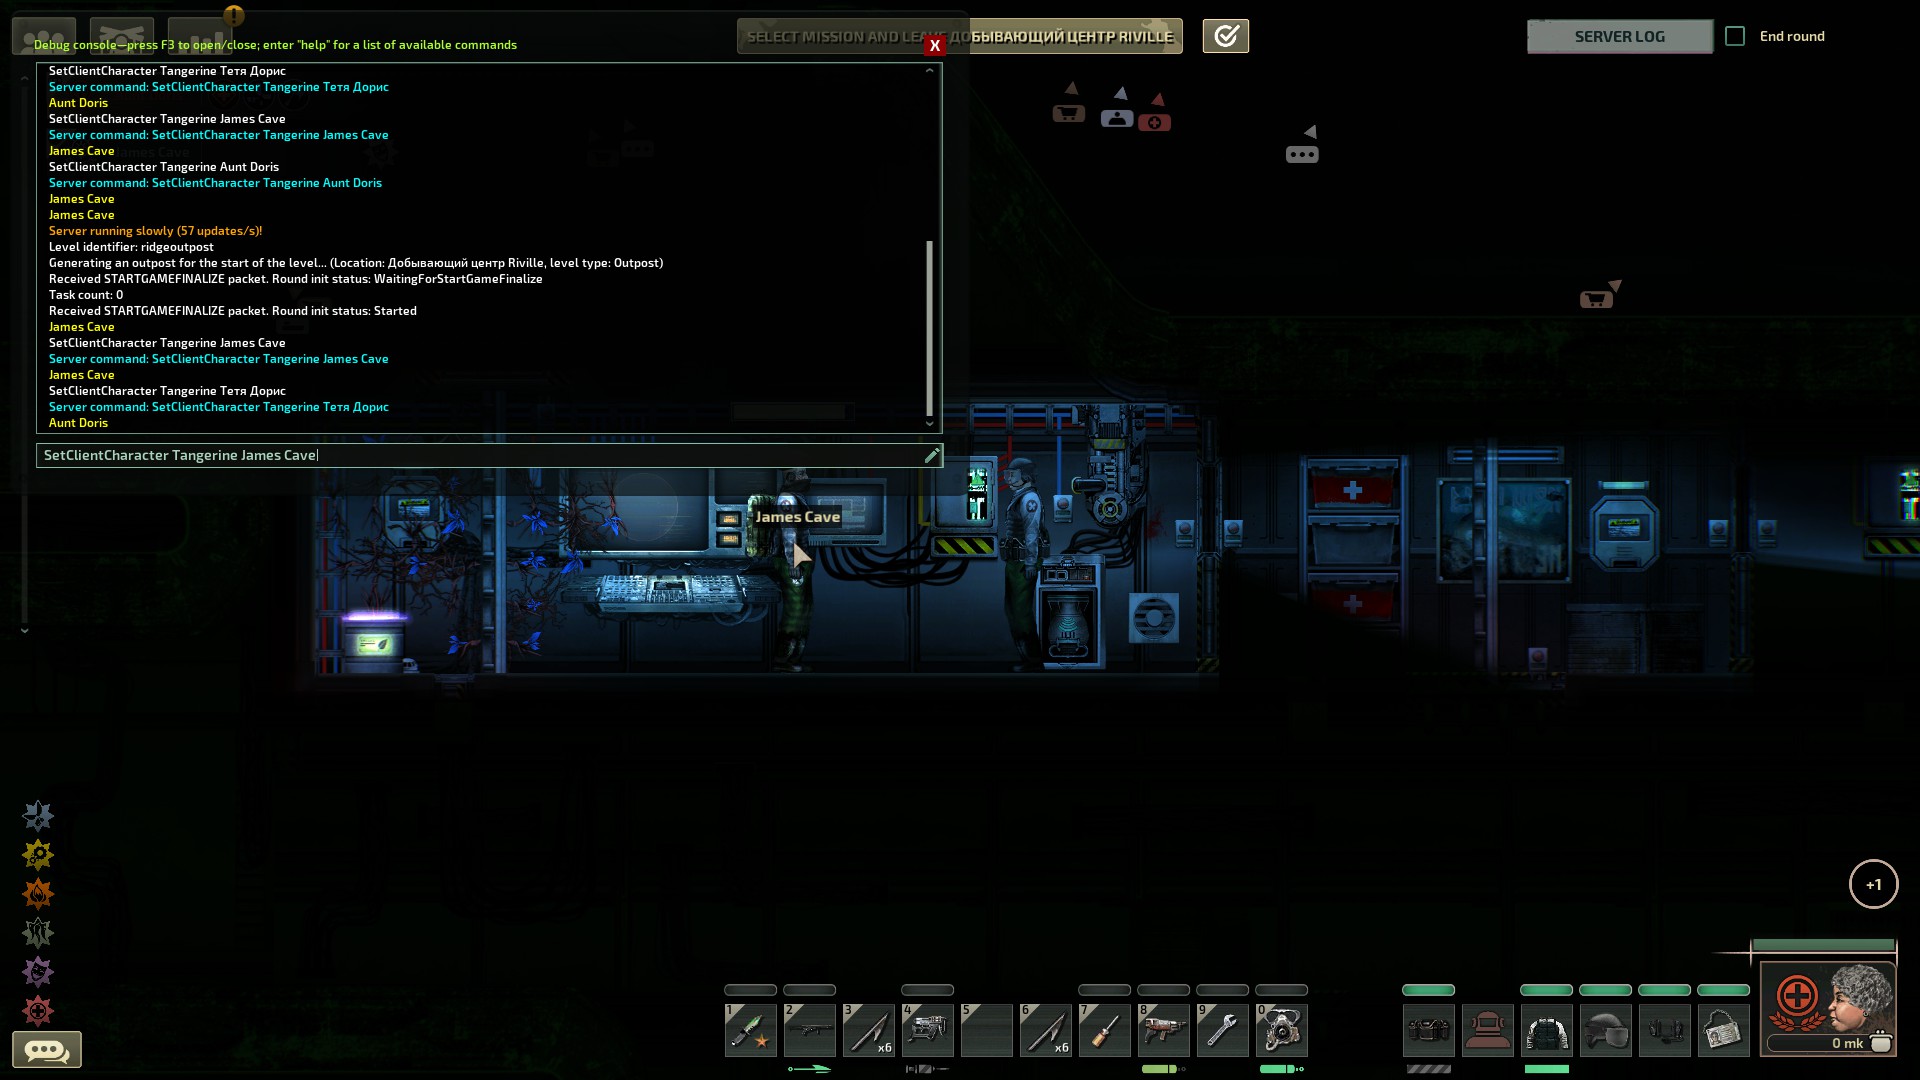
As you can see, we have regained control of our character.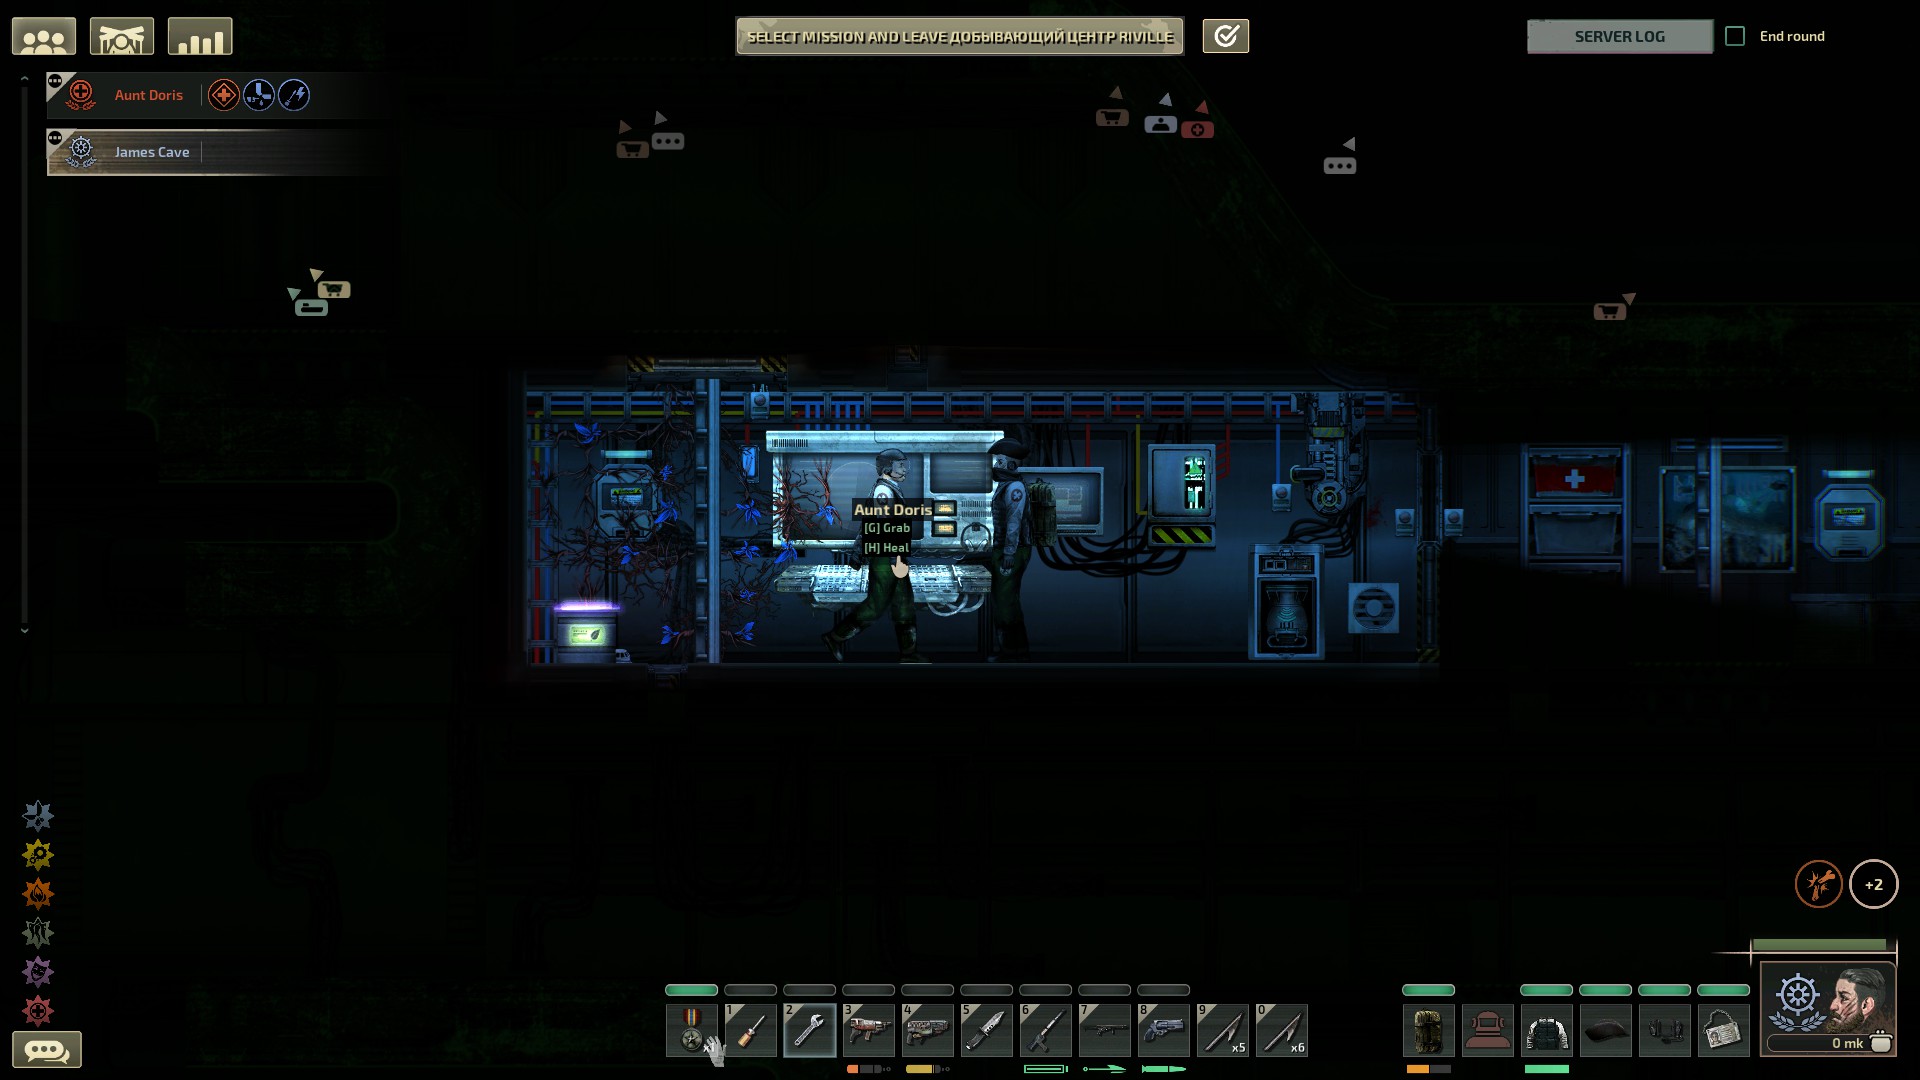
Bindkey command
Let’s examine the command:
bindkey [key] [command]
Once again, we have 2 arguments: [key] and [command].
[key] – the actual key itself that we want to bind.
[command] – the command we want to bind.
When using a regular keyboard button like A, B, or C as a bind, everything is clear. But what about the side keys on the mouse or the numpad? To determine the name of your key, first go to the settings, then navigate to the controls and change any key to the button you want to use as a bind. In my case, this is the side button on the mouse.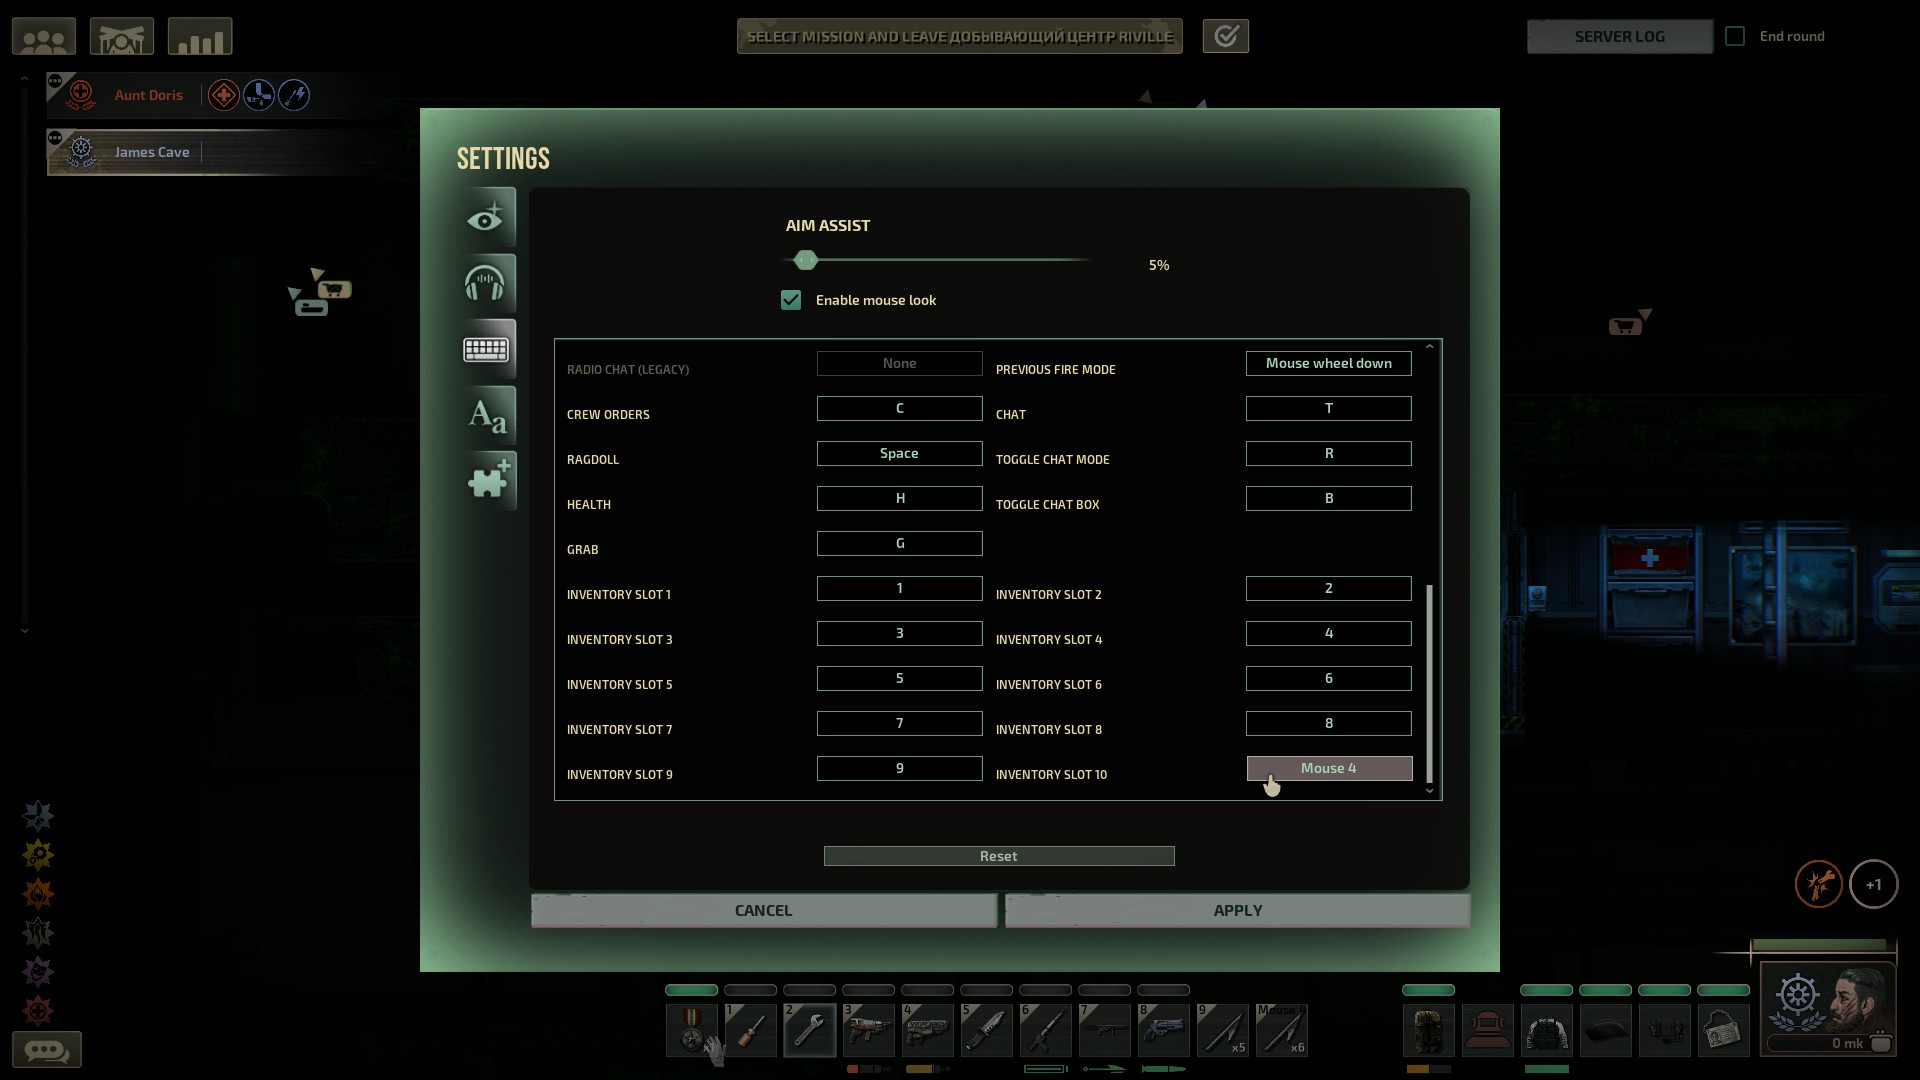
Now, navigate to the game files right-click on the game in the library to view local files and find the config_player.xml file in the opened folder. You can open it through the Notepad or any other text editor.
Scroll to the very bottom of the file where, all the control binds are located, and find the line with the button that you changed earlier.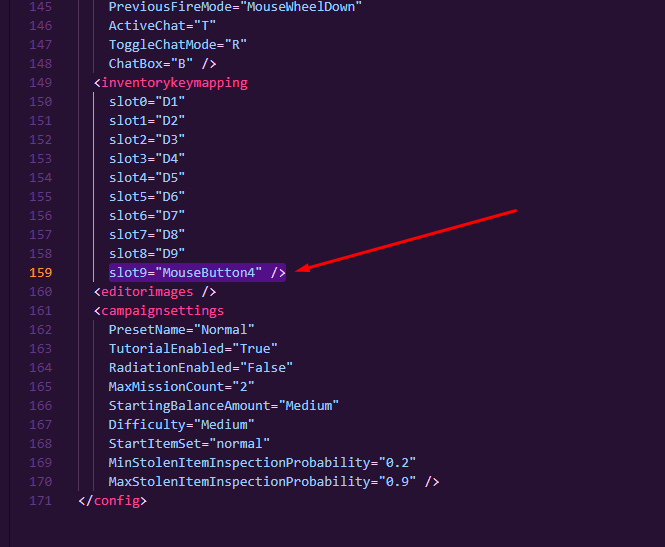 Great, now we know that the name of my side button as a bind is MouseButton4.
Return to the game and remember to change back the button that you modified in the controls!
Open the console again by pressing F3.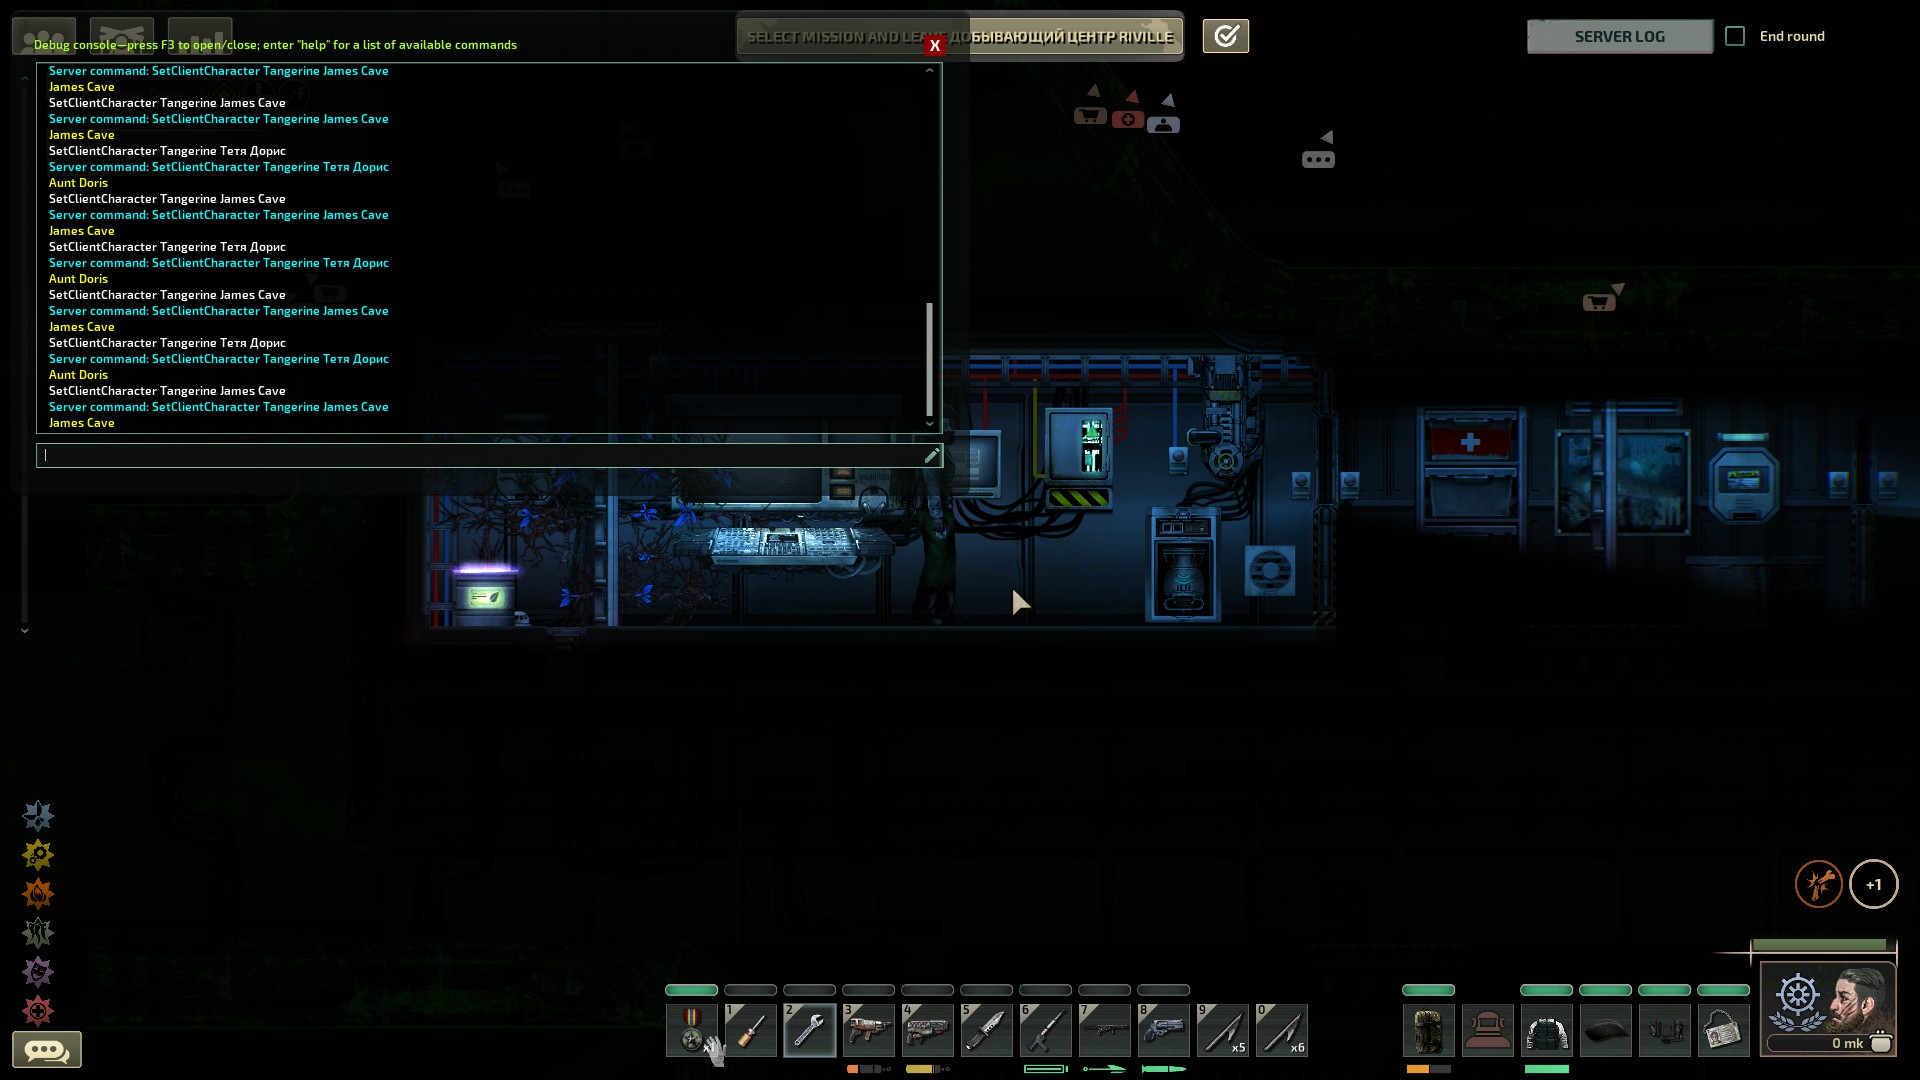
Copy and paste the following command:
bindkey [key] [command]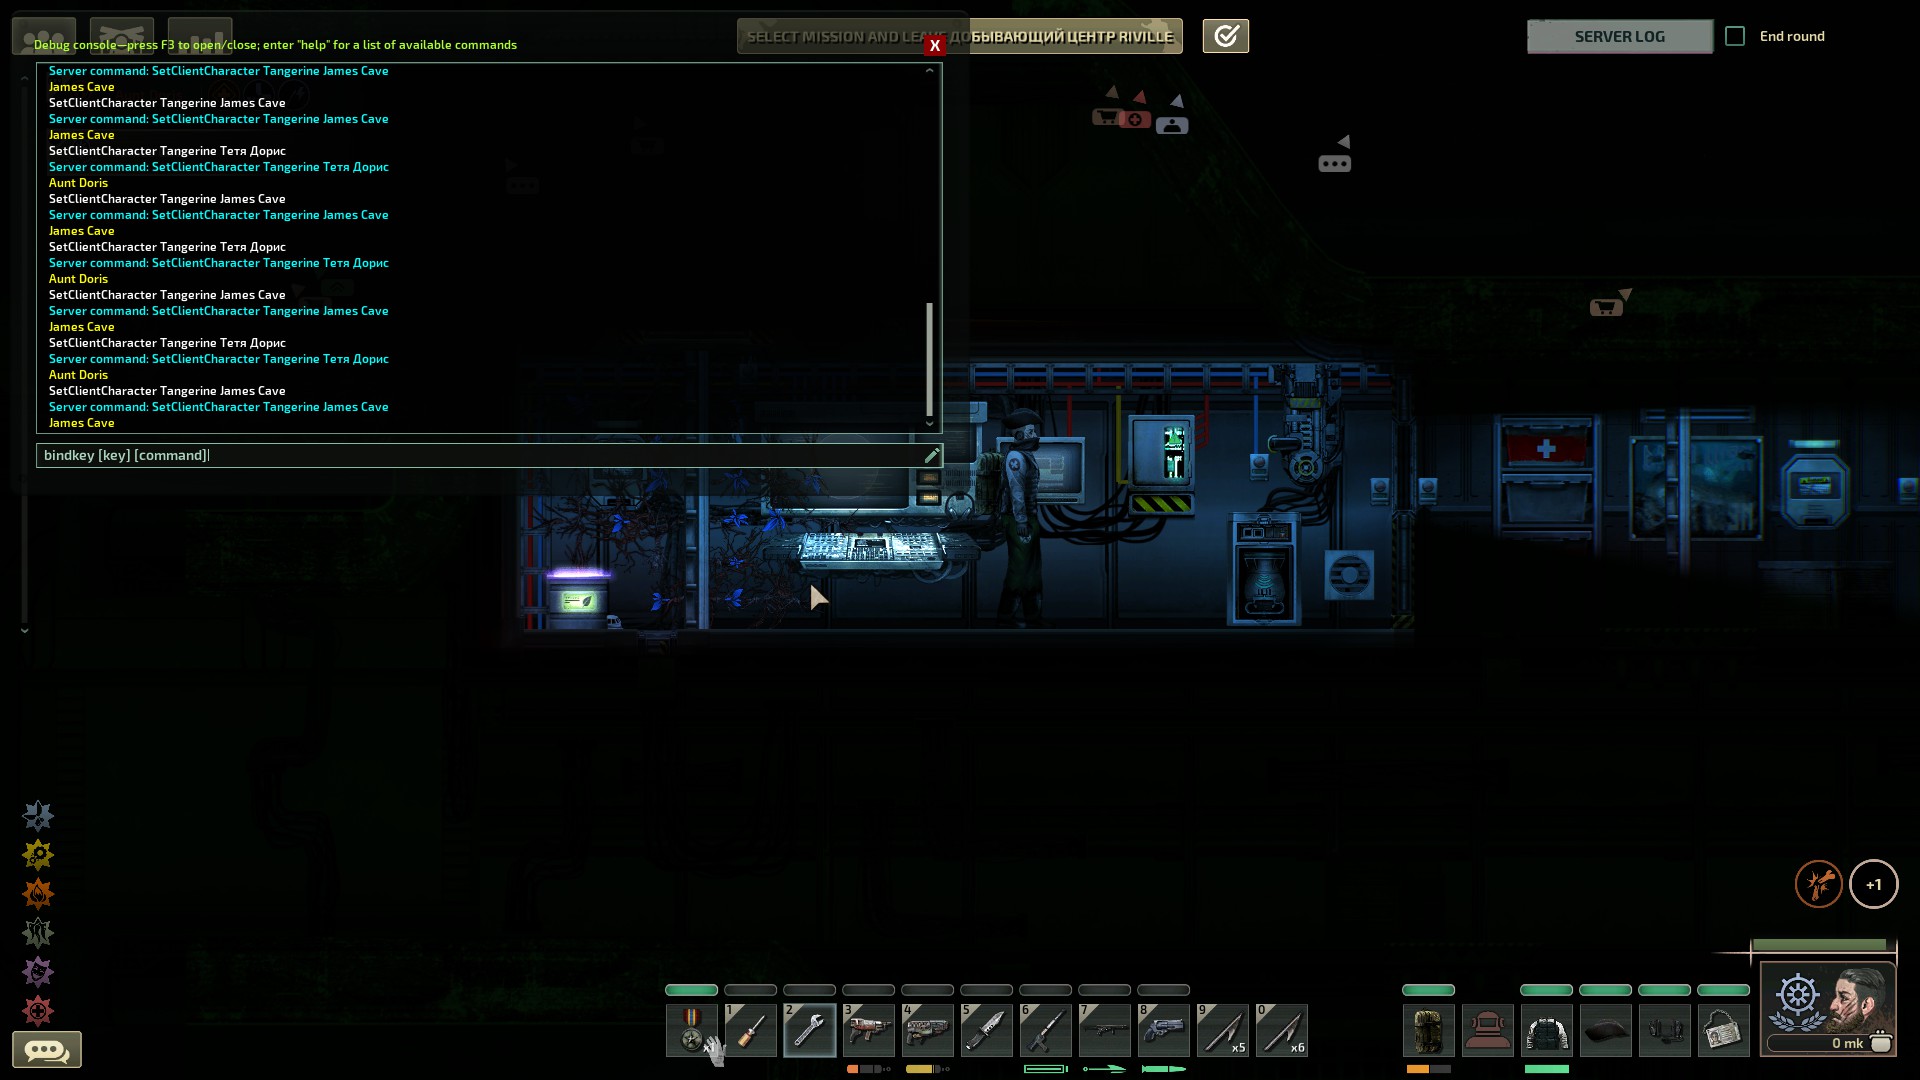
Use MouseButton4 as the [key] argument, which we obtained earlier, and use the [command] argument to insert the previously used command to switch to the bot:
“setclientcharacter Tangerine Aunt Doris”.
Make sure to enclose the command in double quotes (“”), or the bind will not work!
The final command will look like this:
bindkey MouseButton4 “setclientcharacter Tangerine Aunt Doris”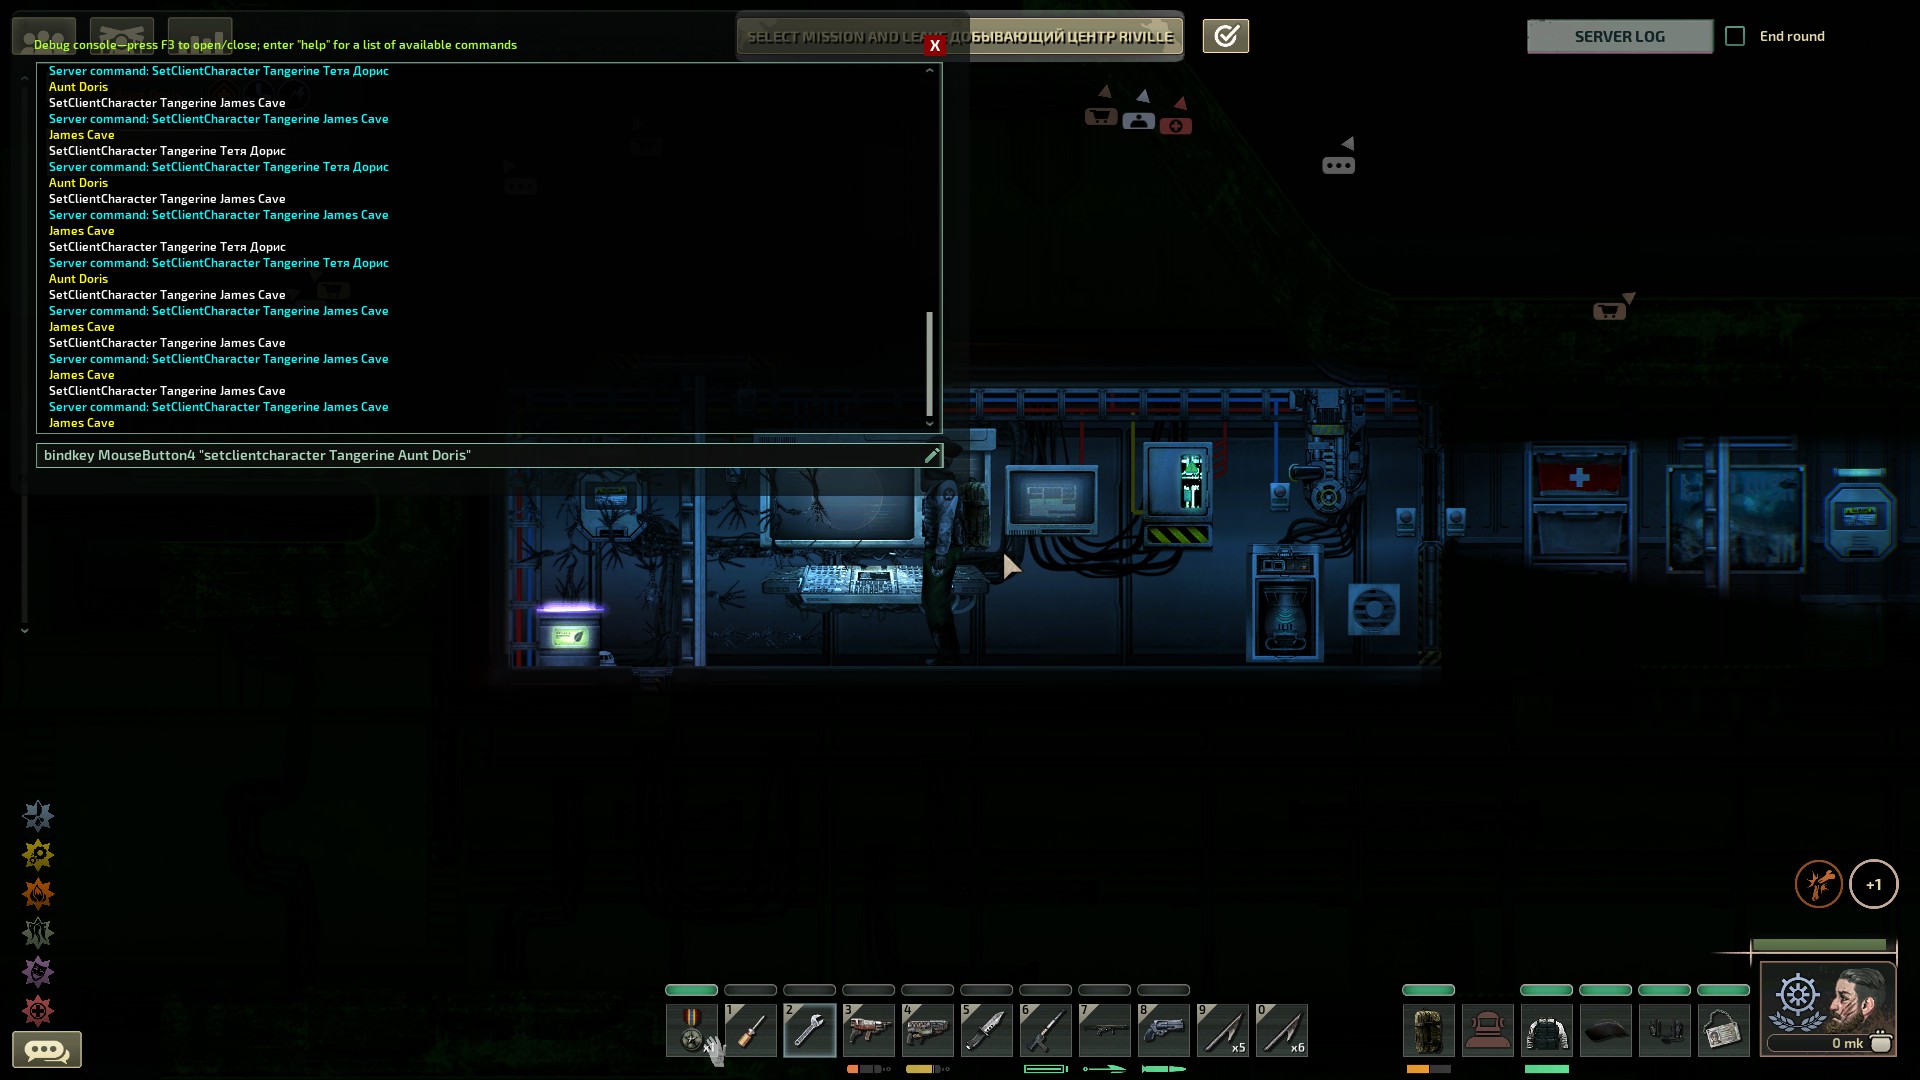
Press Enter to execute and check the bind!
Now, similarly, create a bind for the second side mouse button to return control over your character. The command will look like this:
bindkey MouseButton5 “setclientcharacter Tangerine James Cave”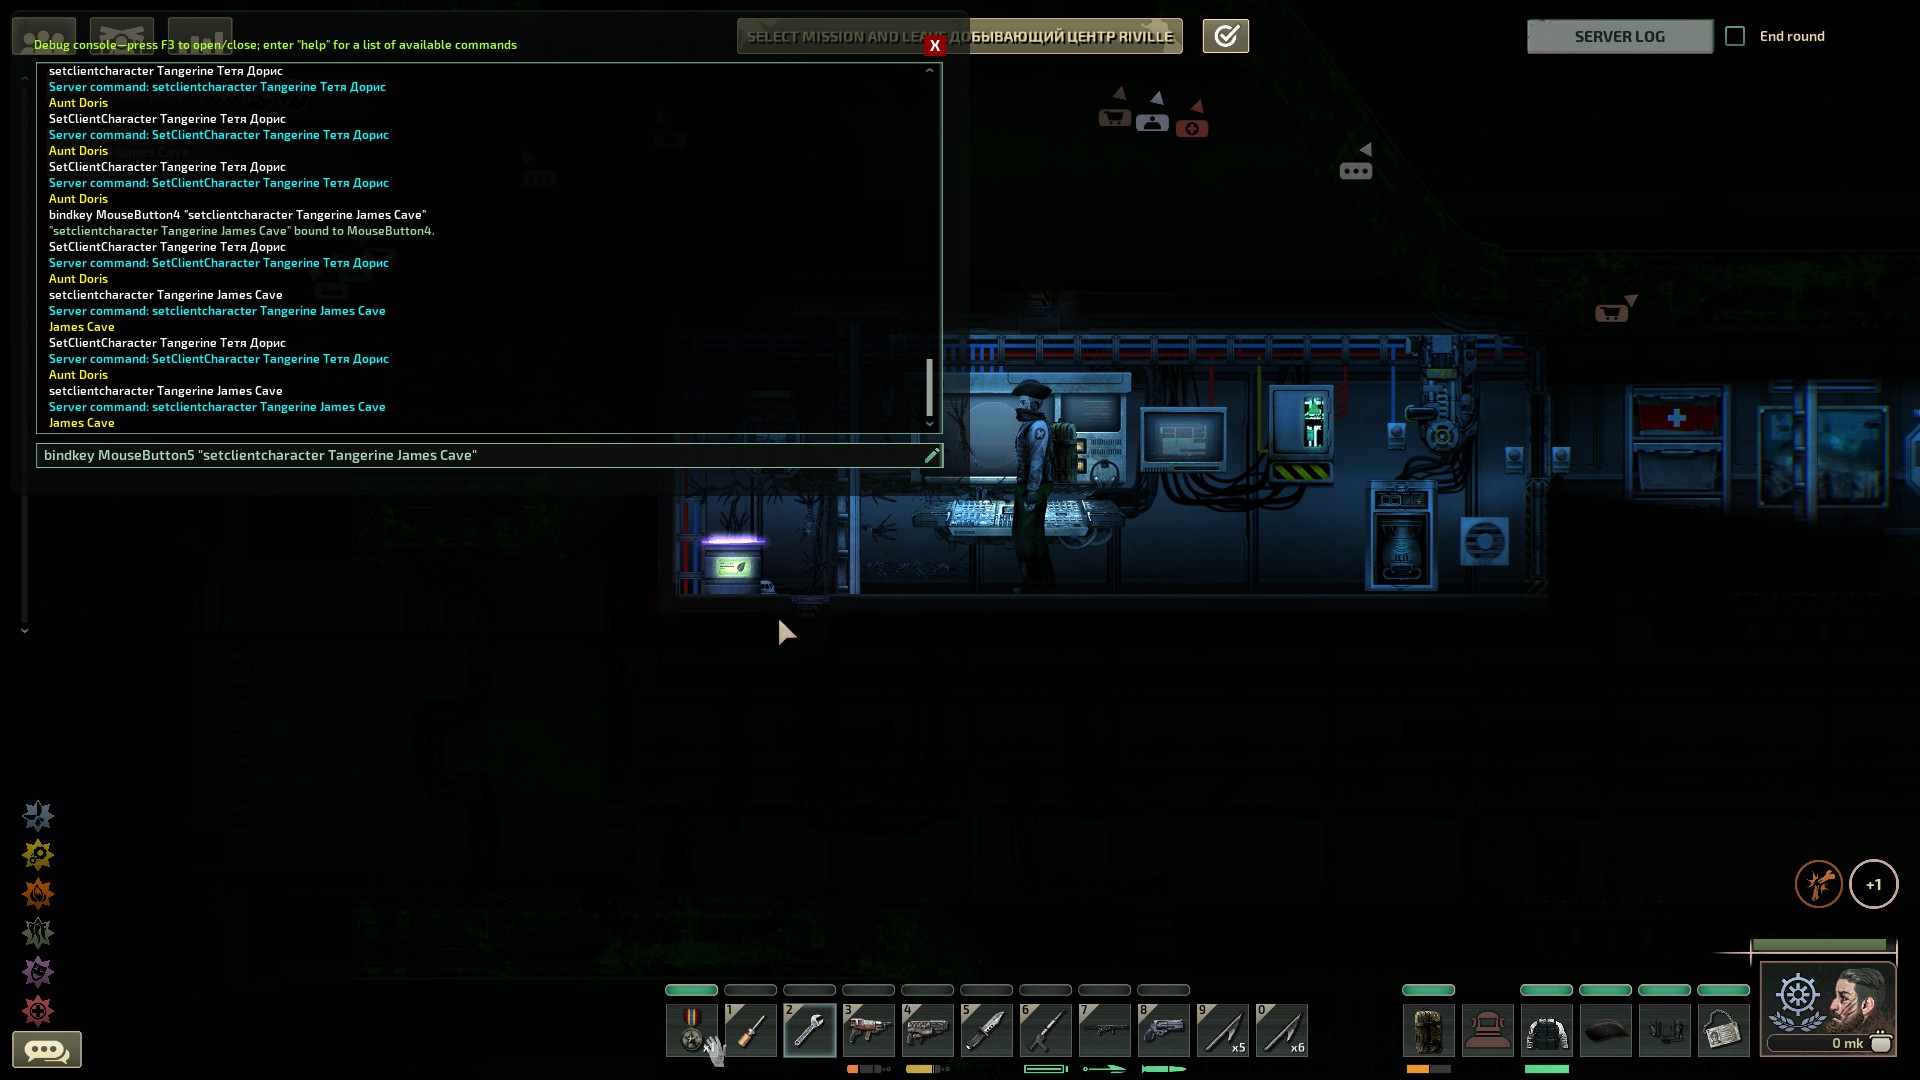
Press Enter to execute and check the bind!
Result
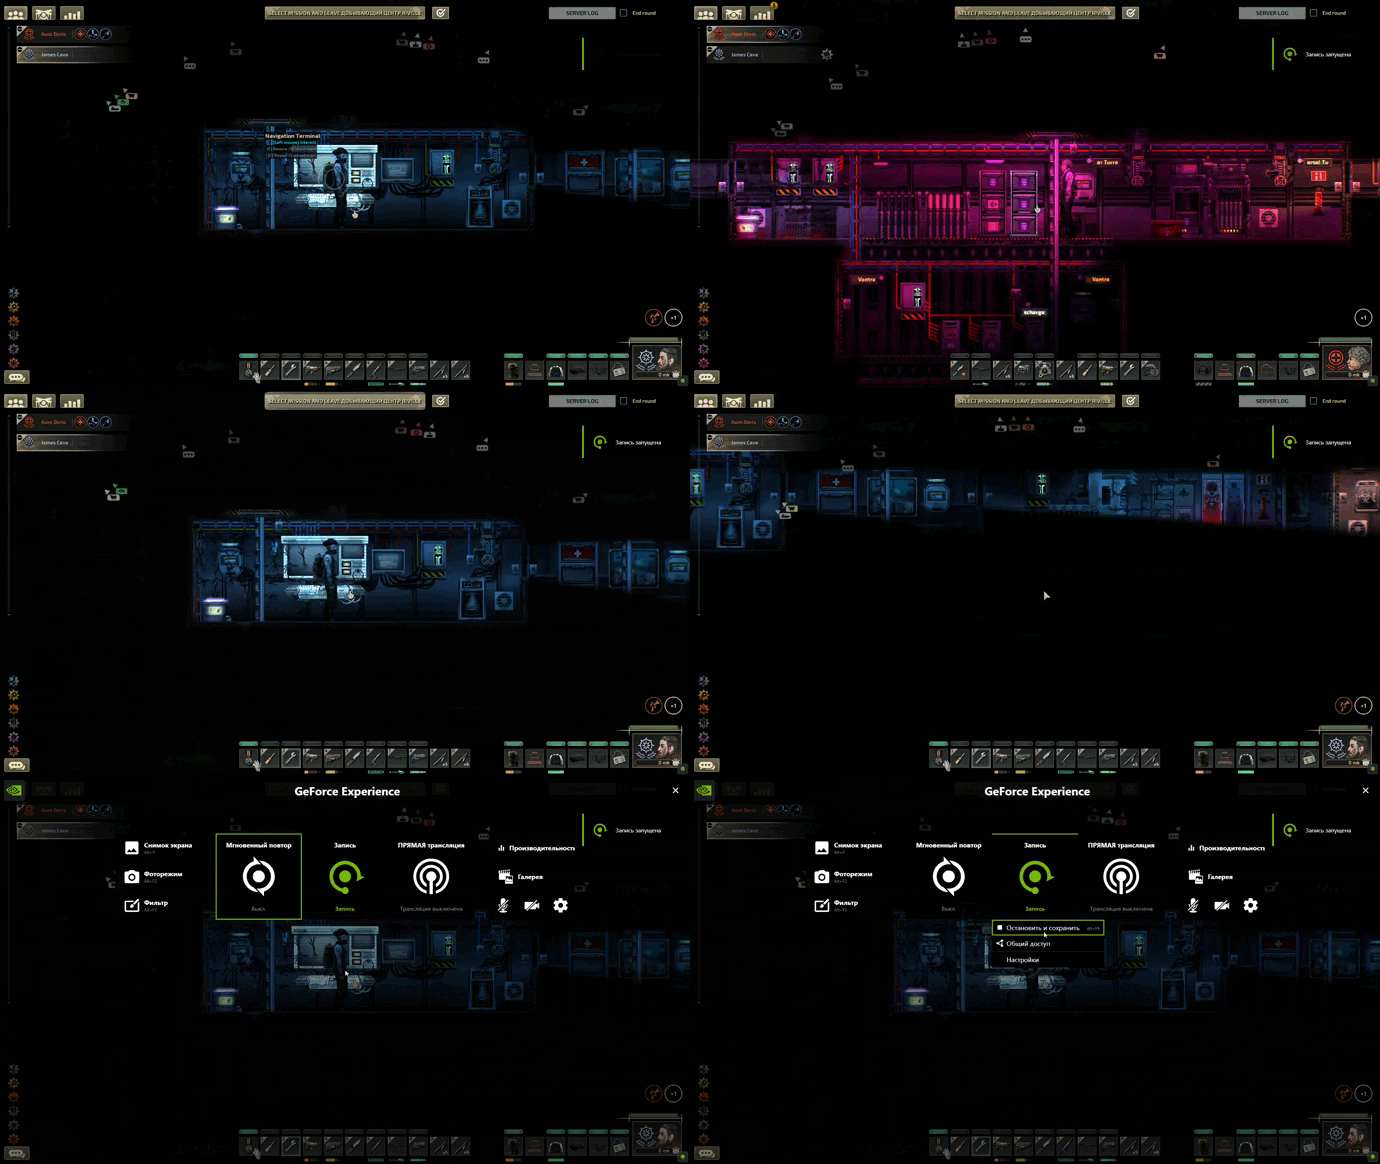
Similarly, you can create several bindings at once to switch to different bots. For example, you can assign commands to switch them using the numpad.
Ending

And that wraps up our share on Barotrauma: Convenient Bot Controls in Multiplayer (No Mods, No Cheats). If you have any additional insights or tips to contribute, don’t hesitate to drop a comment below. For a more in-depth read, you can refer to the original article here by Perkele, who deserves all the credit. Happy gaming!
