Welcome to our gaming guide for Space Engineers’ Escape from Mars scenario! In this article, we will provide you with a quick start guide to completing the scenario in the 2023 version. This guide is perfect for those who prefer to play alone with one player and one rover. Let’s get started!
Introduction
https://steamcommunity.com/sharedfiles/filedetails/?id=1653185489
More details about the scenario are written in its description in the workshop, and this guide will help you start the game as quickly as possible and build a rover on which you can go through the entire scenario from beginning to end, if, of course, you learn how to masterfully control it and win victories over the forces of the evil corporation Umbrella GCorp.
https://www.youtube.com/watch?v=SsaYKeTx6ZI
There are also several links in the description to video guides on YouTube for completing the scenario in different languages, but I strongly do not recommend watching them to feel interested in the game. For my part, I will also not talk in detail about the walkthrough, but will only help you build a gaming rover without spending a lot of time on it. This will allow you to quickly figure out the routine of initial survival and start playing.
EMF Gameplay
The main source of ingots in EMF is the assembler, with which you can disassemble some components into ingots and assemble others that are necessary for the construction of the necessary blocks. As in normal survival, the main problem is nickel and cobalt. The first can be obtained from motors, energy cells and ammunition, and the second can be obtained from metal gratings. You will not have either of these at the start in the required quantities, so first you will need to find blocks from the scenario content that contain the necessary components and build a vehicle.
After starting to load the world from the workshop and start the game, I recommend slightly changing the basic speed settings. For this you will need to save at the very start, go to the main menu, then load the list of saved games and set three values to the maximum:
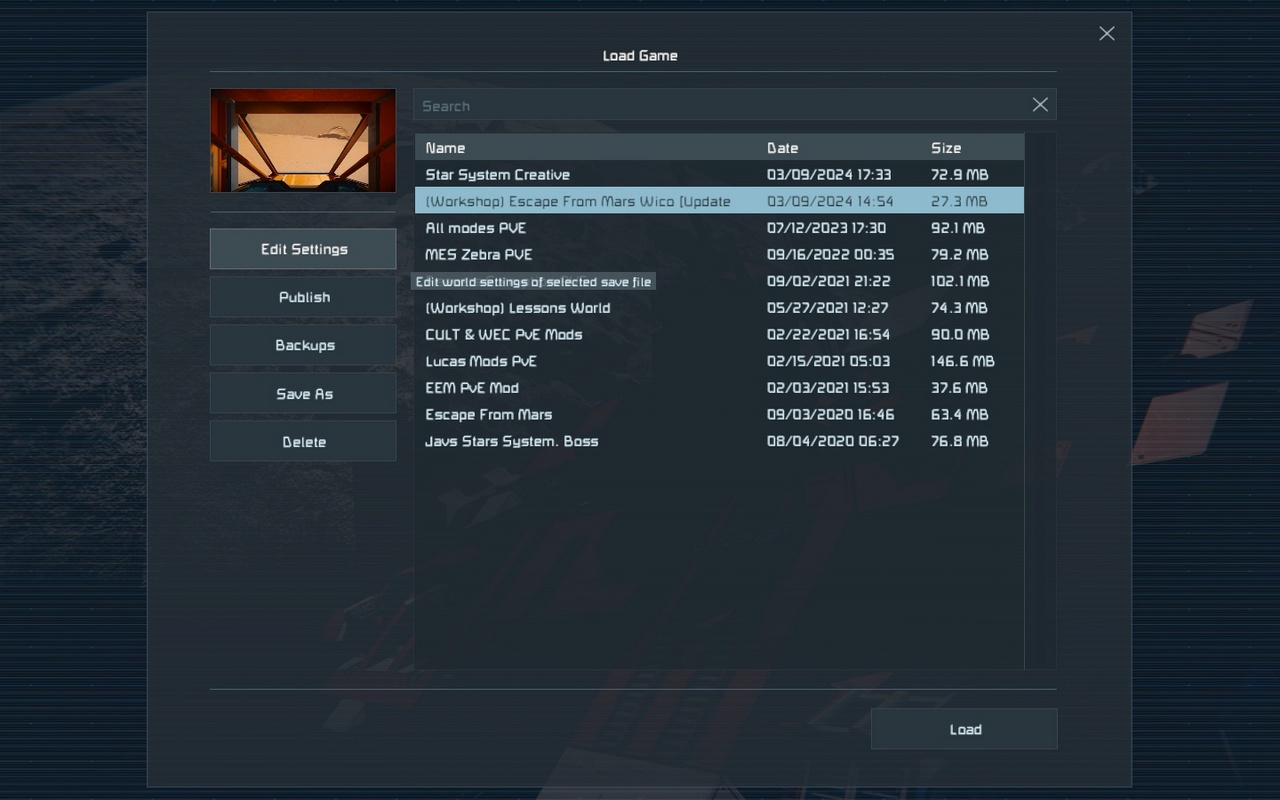
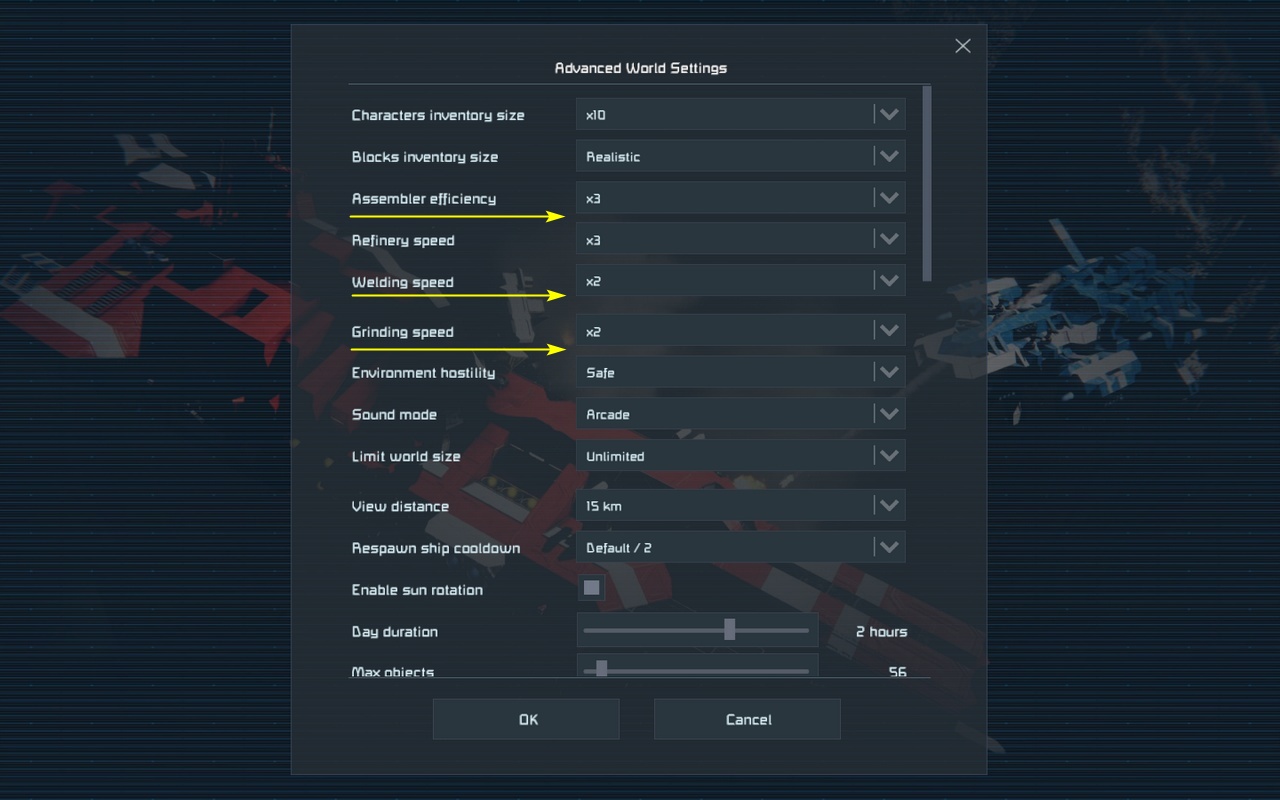
You can also turn off unknown signals that will only interfere, as well as the weather, if you do not have a very powerful computer. There is no need to change the rest — the basic game settings are also part of the scenario. Then download the game from the list and begin your escape from Mars.
GCorp Ice Mine
I don’t recommend doing this because a small grid rover will not be enough to complete the scenario since you will have to deal with a lot of well-armed NPC drones and large grid turrets on GCorp bases, which are built in such a way that the favorite option is to break through to them with a manual the cutter is practically excluded. So there is no need to be heroic, but we need to build a big rover with big guns, and first I propose to remove all unnecessary things from the shuttle and build the very small base.
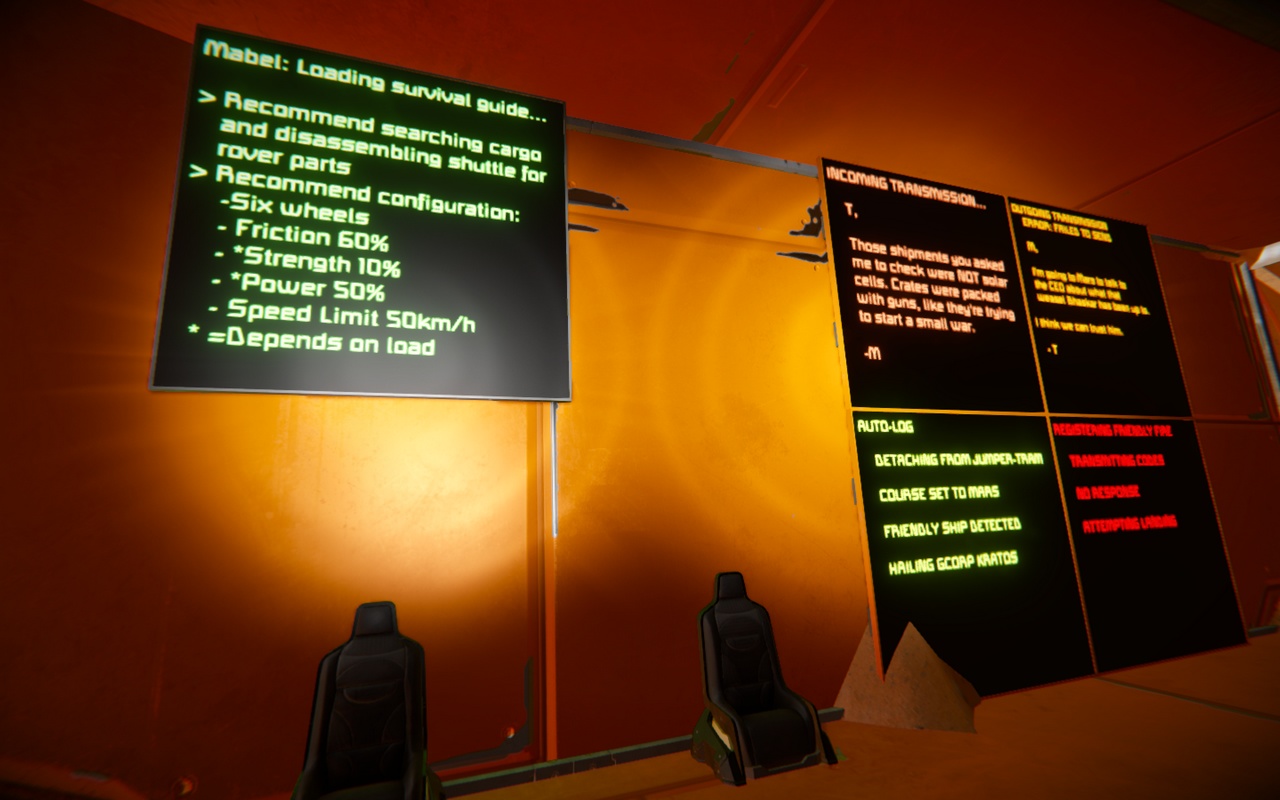
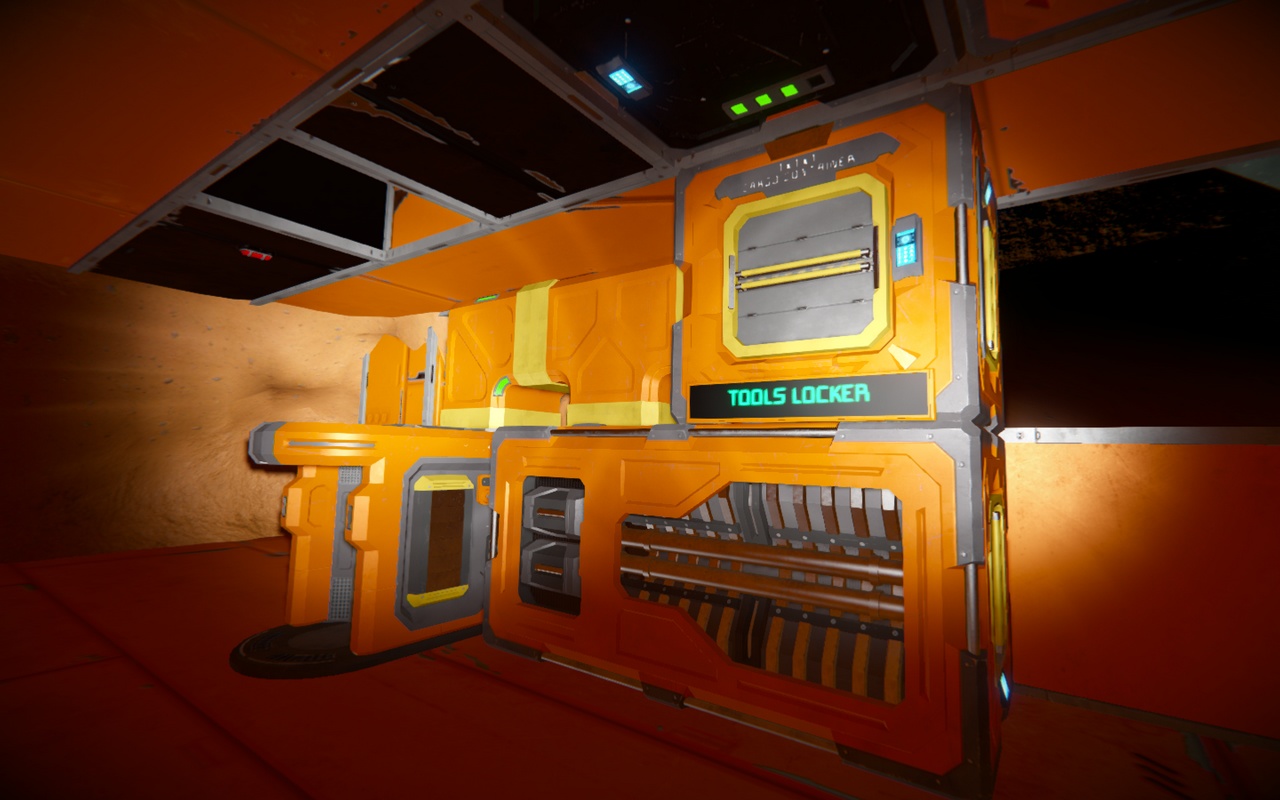
The main goal is to build an assembler. This will require 160 computer components, and after you clear them all there will be no more than 90. The only friendly mark on the screen will be GCorp Ice Mine, which is where I advise you to go. At the same time, as you might guess, you will find ice there, which is not enough for high-speed travel on a jetpack. Walking on Mars is not very good for your health.
Hint: do not take anything with you except gas ballons and tools. You will find everything you need on site.
The mine is located 1.7 km from the shuttle crash site. This is approximately 20 seconds of flight on a jetpack. Not for long, but you will have to fly often — there is no faster way to move almost two full small containers of a large grid from place to place in the game.
So, you will need anything that contains computers to build an assembler, as well as anything that contains nickel and cobalt. This would have to be cut down by hand, lifted out of the shaft to the surface and carried onto the shuttle. So, if you are not used to it, your head may spin, but after a couple of hours of playing you will have everything you need to build a large rover and hit the road.
Big Crash Rover
Since the game settings allow the conversion of a station into a ship, and the respawn point can only be the medical room of a large grid, the obvious solution seems to be to carry it with you so as not to fly several kilometers after another death in the hope of having time to retrieve lost things from your backpack. To do this, it is enough to simply place everything that is already installed on a large rover, which is easy to assemble right here.
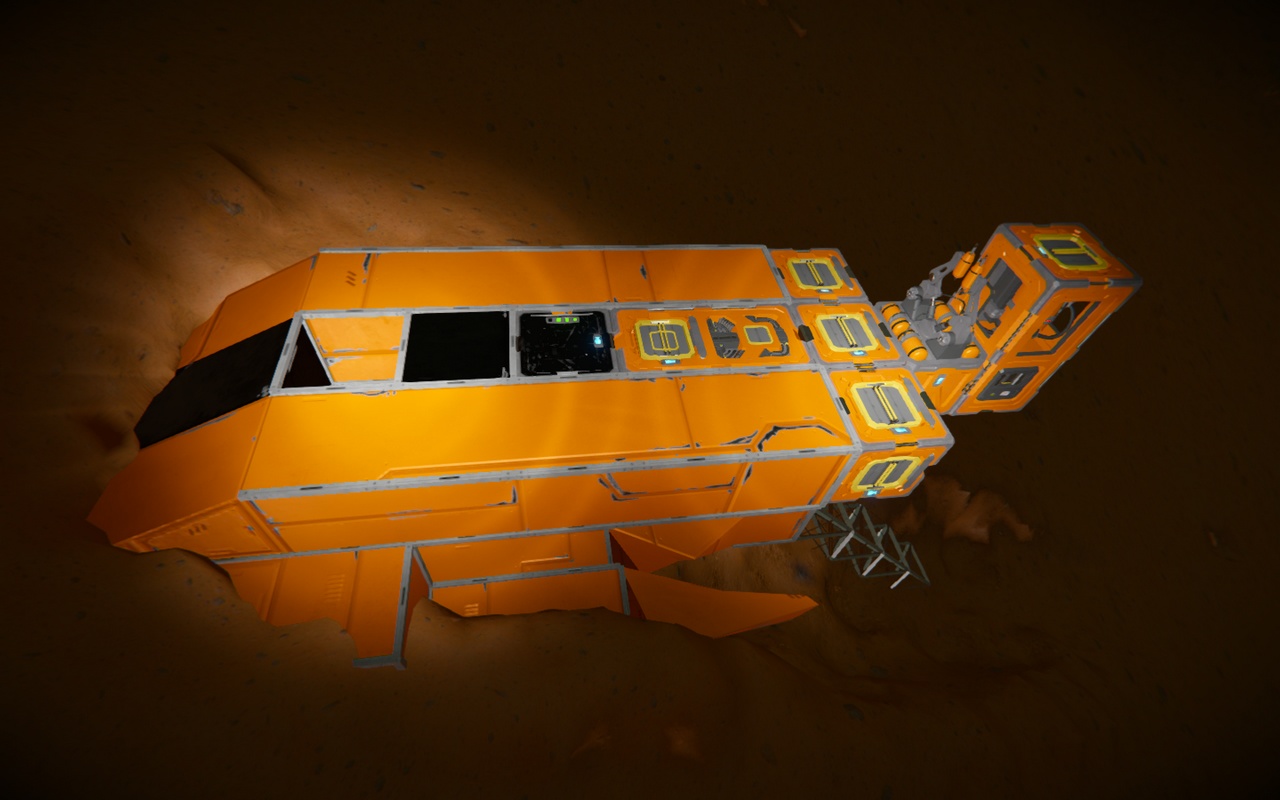 Install assembler, 3 small cargo containers, welder and O2\H2 Generator
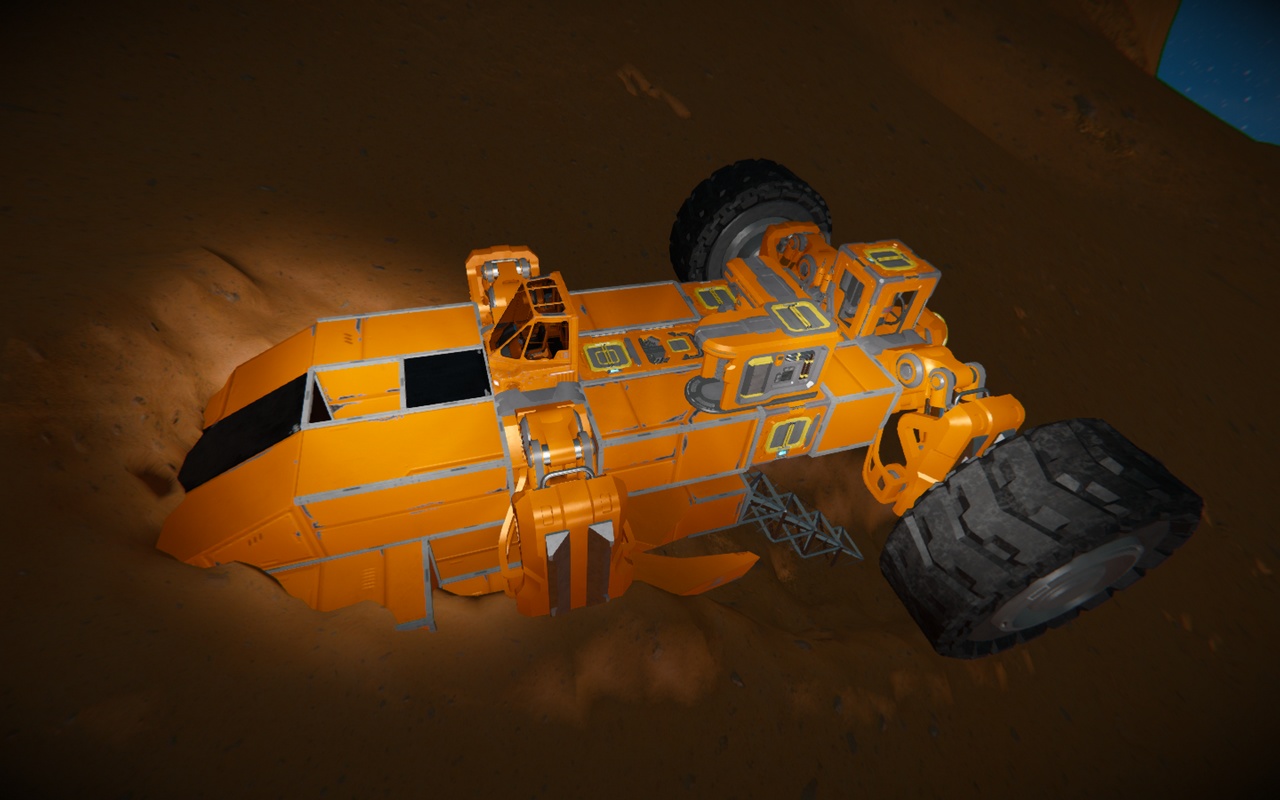 Medical room and cockpit set above and add beacon, speed module for assembler and suspension
Note: a small mistake in the second screenshot — the medical room needs to be moved one block to the right wheels — this has been corrected in the following screenshots.
If you’re good at driving the rover in combat, this is the only time in the game you’ll need a hand drill. With its help, you need to remove the soil under the wheel suspension so that you can install them on the rover. Otherwise, you will have to do the same thing every time an enemy drone tears off your wheel.
All that remains is to remove the blocks that connect the rover to the surface and build an overpass for safe descent back. Then transform the station into a ship and move down.
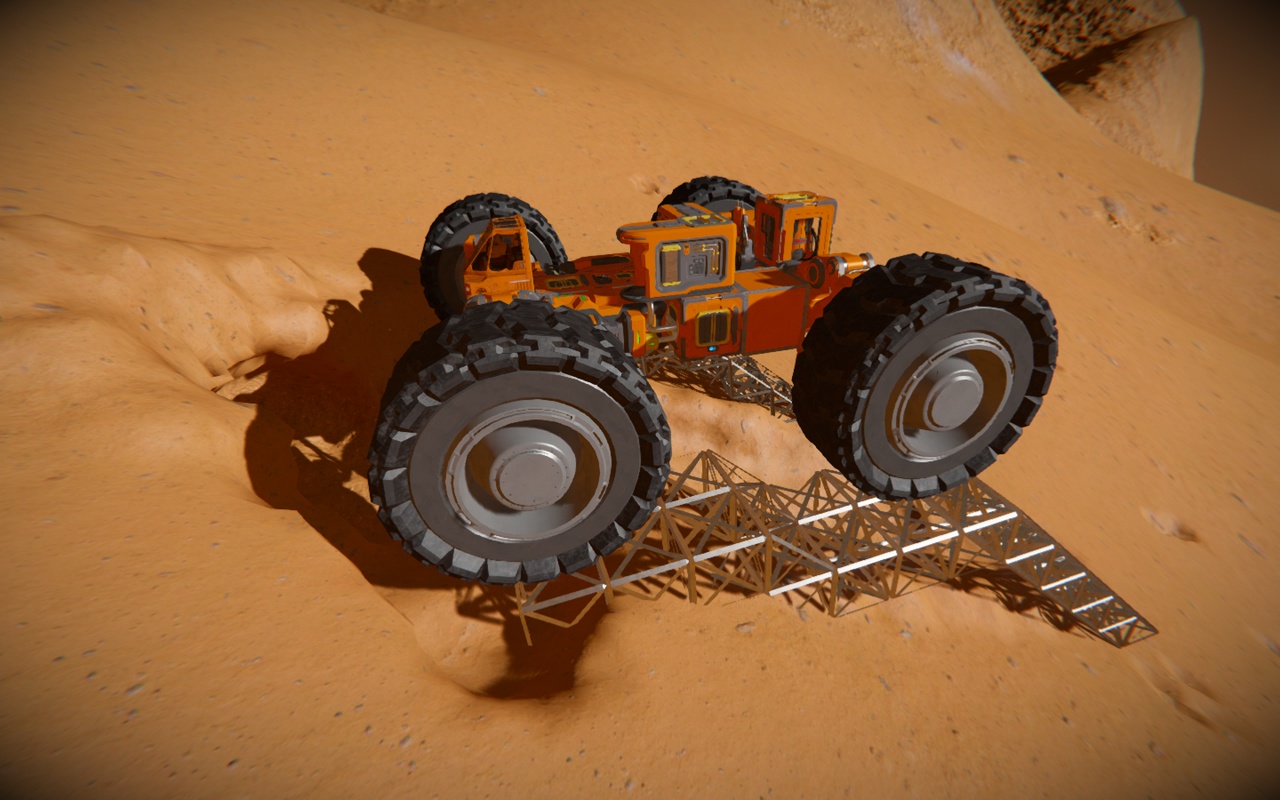
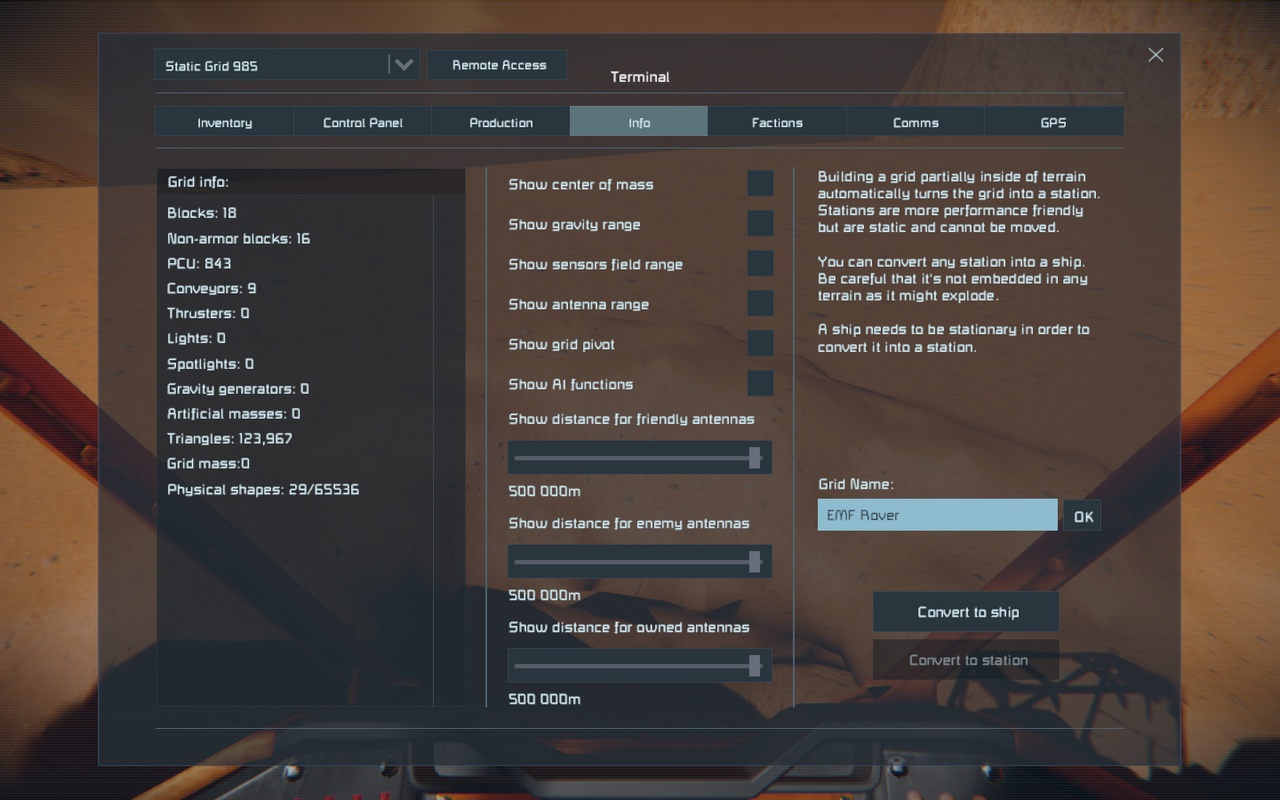
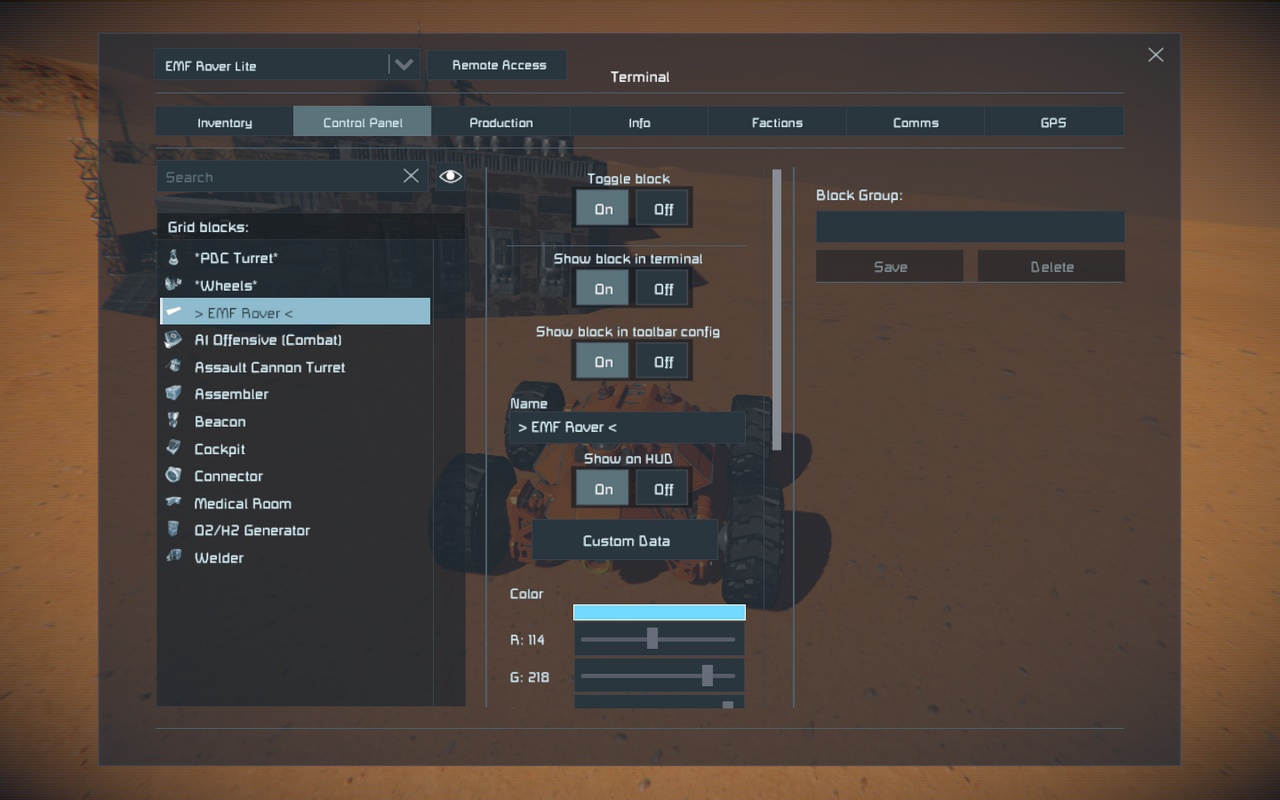
It would also be a good idea to rename the rover so that it does not suffer the same fate as the shuttle — EMF Rover would be better, but that is up to you to decide.
Now all that remains is to install the armor and weapons. We install an assault turret back, and an AI Offensive Combat block inside to increase its range to 1400 meters. In front there is space for two interior turrets, which we install on the corridors. The corridors are not much inferior to heavy armor, but they are much lighter, and they can be repaired from the inside right during the battle, since drone turrets attack first and the blocks on which they are installed will also get hit.
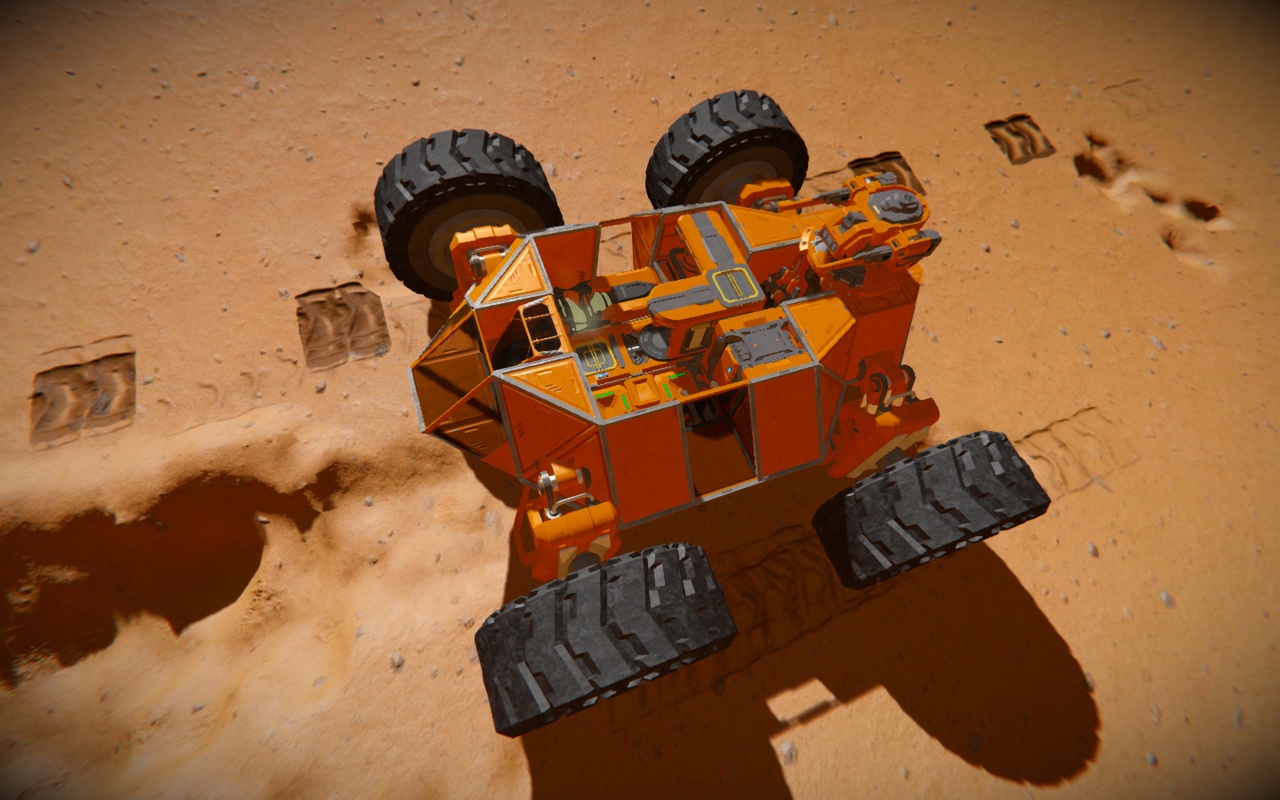
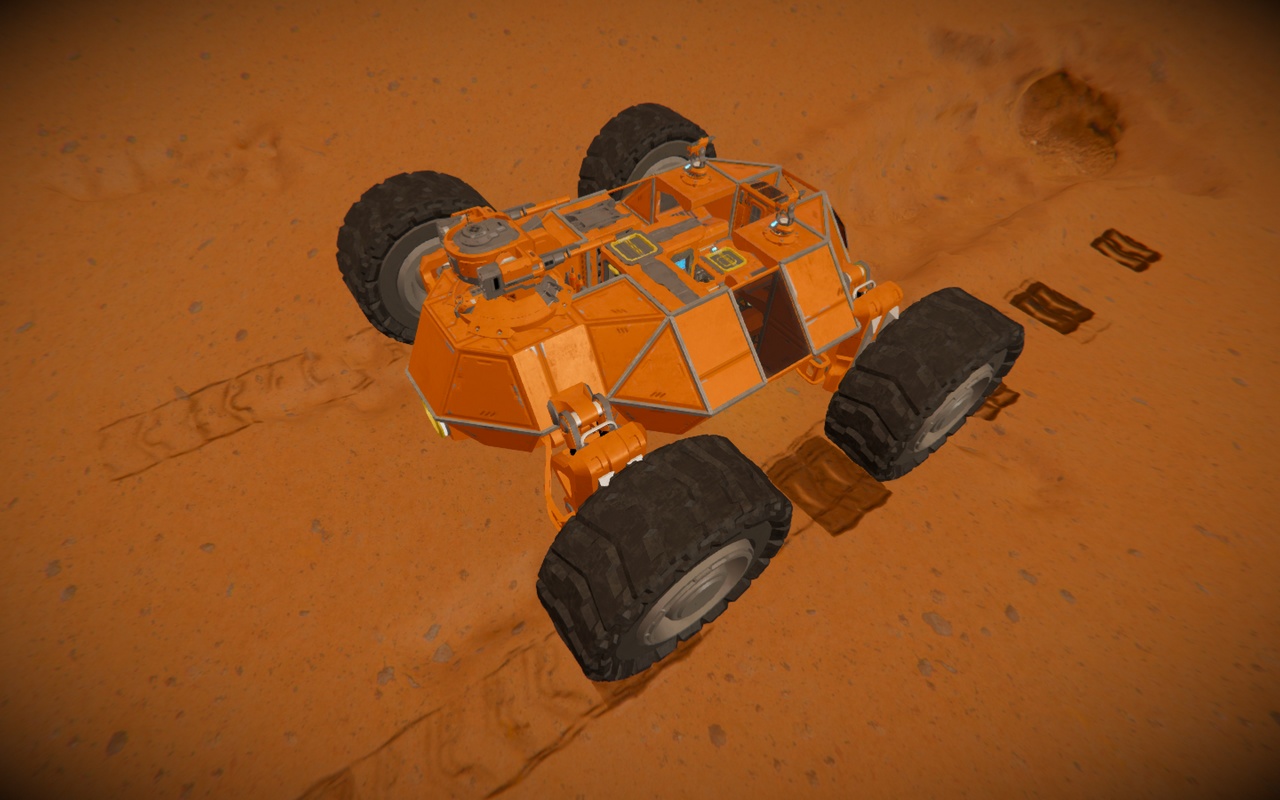
Since there are few metal grid, for now we will cover only the top of the rover with heavy armor and make a quick entrance through the top; otherwise, why would we need a jetpack? The result was a rover that was quite ready for combat and had a few components left over. Excess internal plates and unnecessary components containing nickel and magnesium will be sent to the assembler for disassembly — the assault cannon needs shells.
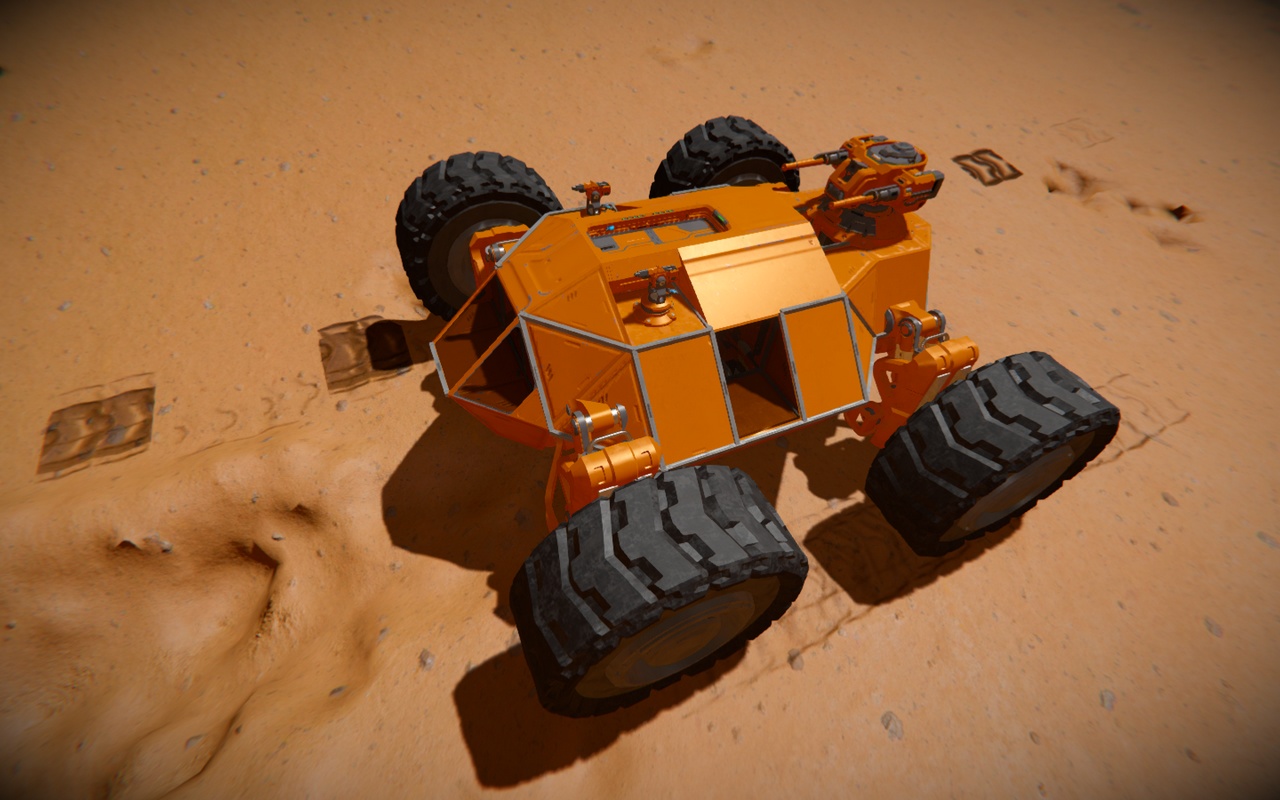
Don’t forget to manually charge the interior turrets. I recommend that all turrets be set to damage enemy weapons at once, so as not to waste shells. Now you are ready to begin your dangerous journey across the orange sand of Mars in the orange rover.
Note: The main feature of the design is the welder. He alone protects all the most important modules — the medical room, the oxygen generator and the main turret, which in turn protects it from damage from above.
Heavy armor
Both of these options are not suitable: a large grid rover does not drive well in the mountains of Mars, and you can wait a long time for a convoy, so I propose a third option — go down to the plain and try to find something there. But first, I recommend one trick: mark the rover with a white mark so that it can be easily found among other marks. To do this, just install any lamp, name it as needed and change the visibility on HUD.
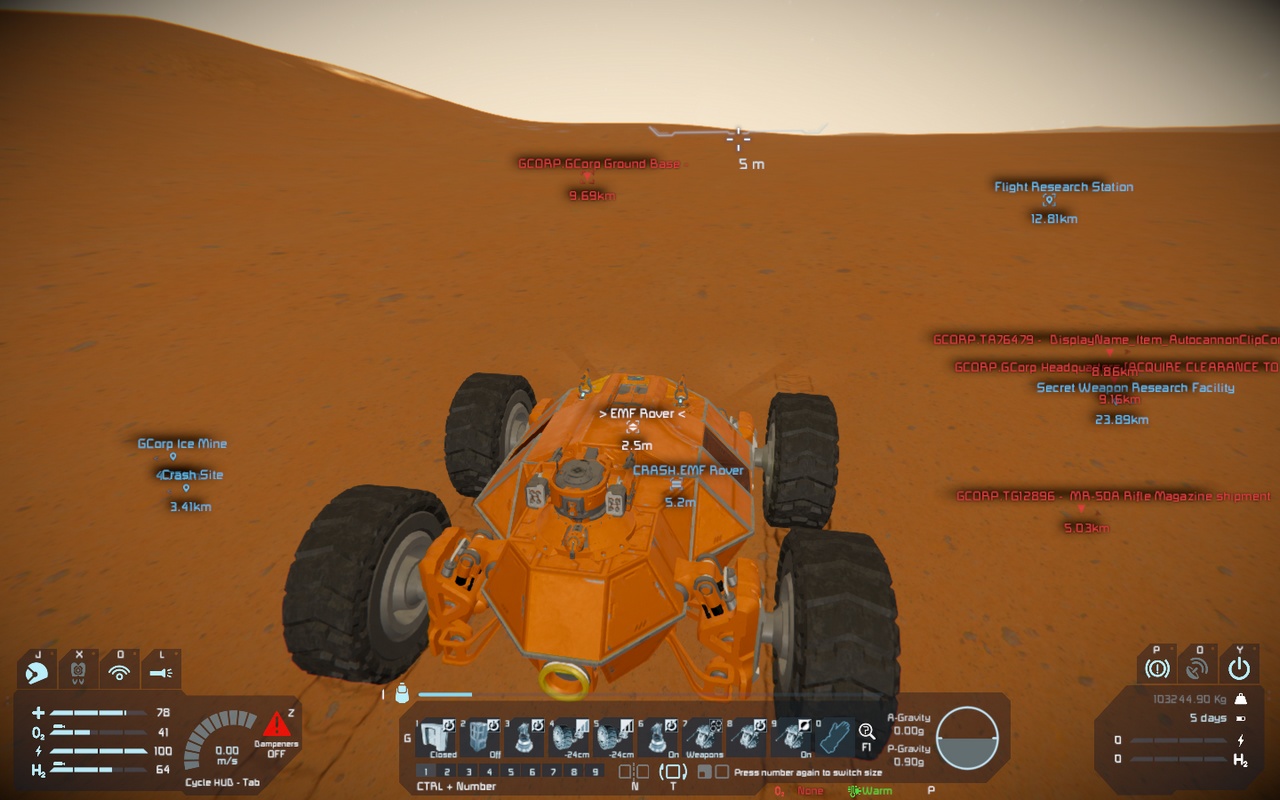
As soon as you go to the plain, the scenario will offer several paths of development at once, or rather, it will reveal almost all game options. Purple tags contain the word “Research” in their name, which indicates that here you can reveal additional branches of progress. “GCorp Headquad” apparently refers to the corporation’s main base. “Ground base” — the base from which convoys are sent. I recommend starting with it simply because, logically, there should be warehouses there.
On the way to the base, one of the most impressive, in my opinion, parts of the game content will be waiting for you — a workshop for processing scrap metal. If you took it with you from the crash site, then here you can exchange it for a number of random components, but even more interesting is the smelting furnace, where you can dump drone debris and get ingots from modules installed on the drone. You may like this option, but you won’t quickly acquire heavy armor.
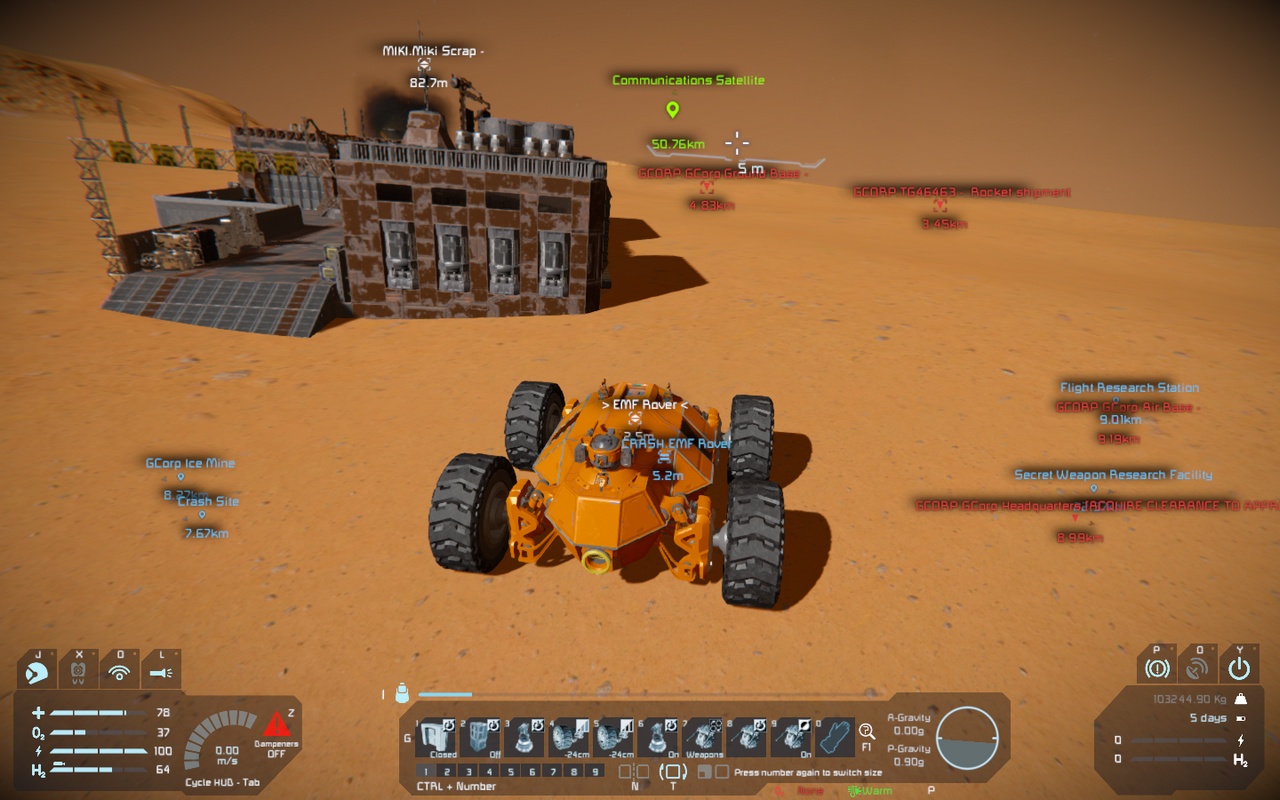
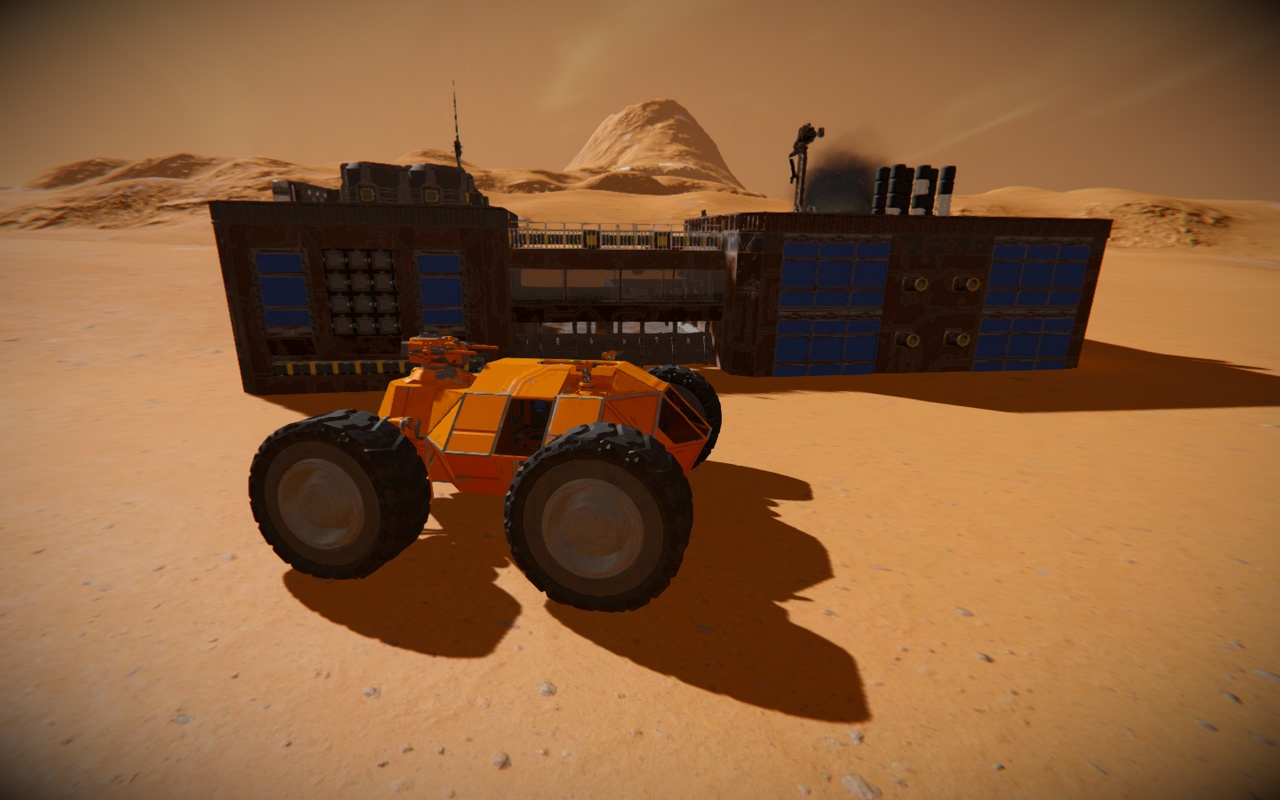
As a bonus, you can charge the rover’s battery using the workshop connector. I wonder if this was a hint from the developers towards a large grid rover or just such a design?
The base is located on a plain and is well protected along the perimeter, so it is difficult to get close to it without coming under fire. As additional protection, the base periodically calls in a combat drone for assistance. Before the Warfare II update, this was a very difficult target, and when I completed EMF for the first time in 2020, I had to try really hard.
However, even now there are nuances that will not allow you to quickly cope with the defense, especially if you are not very experienced in battles on the surface. So this goal can be considered a good simulator for future battles.
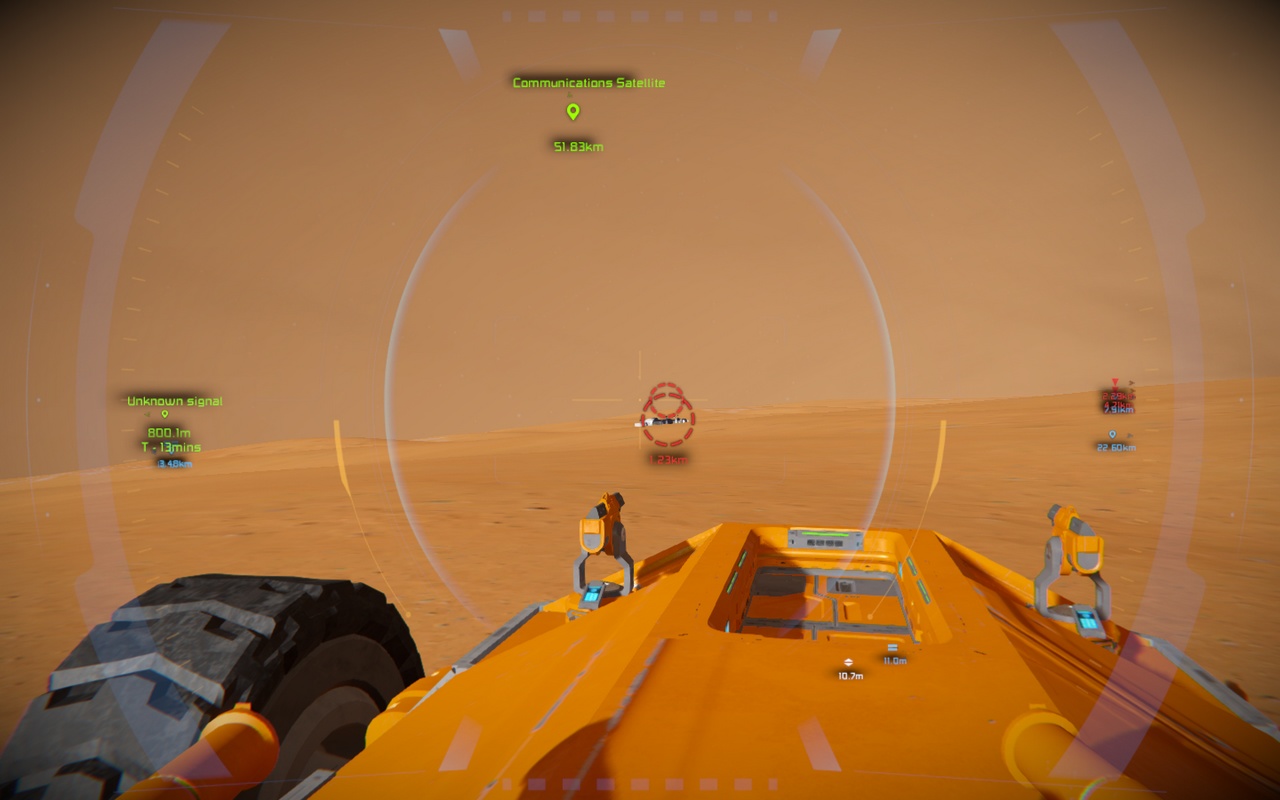
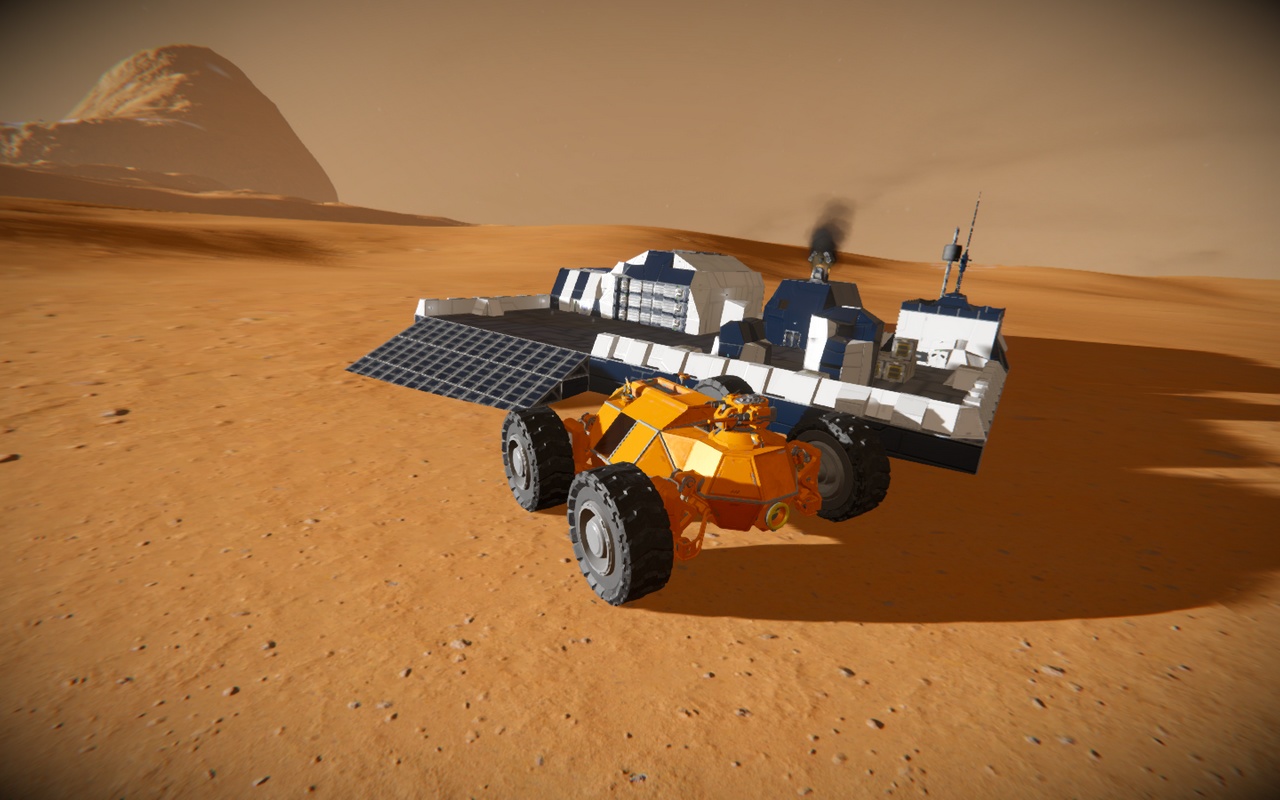
In the base’s warehouses you will find everything you need and can get heavy armor for the rover. All that remains is to disassemble the unnecessary components into ingots using an assembler in order to prepare for further play.
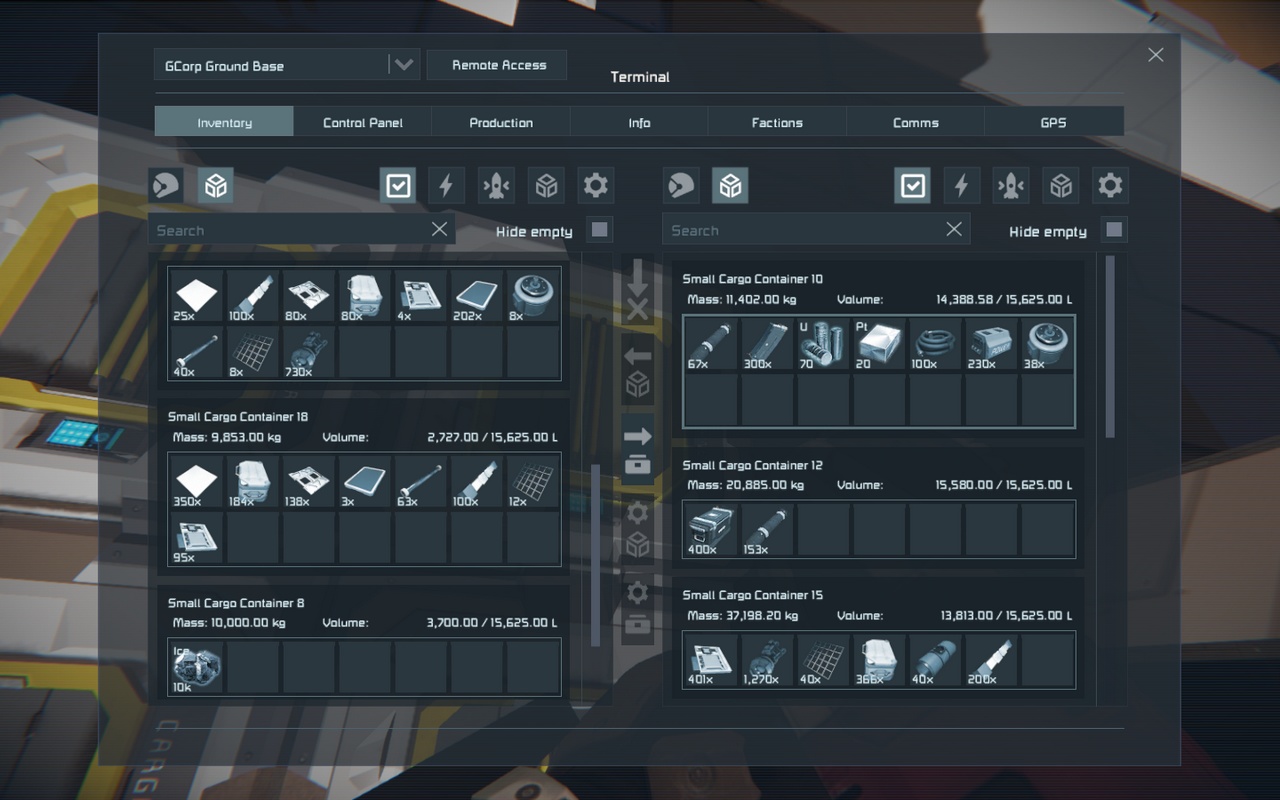
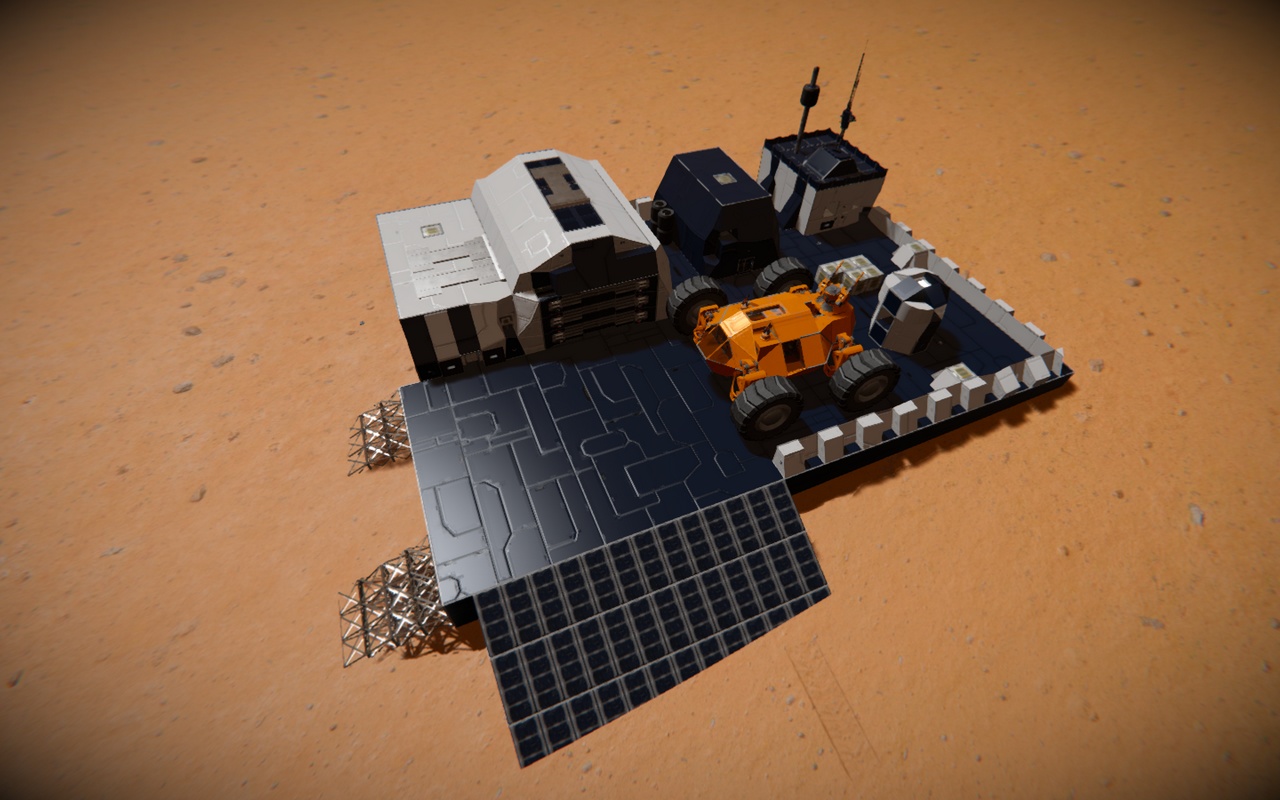
Note: there are several tips in the pictures that can help you cope with the defense of the base and practice shooting the assault cannon in gravity manually — this will come in handy in the future.
EFM Rover
This way you can access to cargo containers, recharge ballons and get oxygen inside the cockpit when the oxygen generator is running. Additionally, you can install a reactor to forget about problems with charging the rover’s batteries.
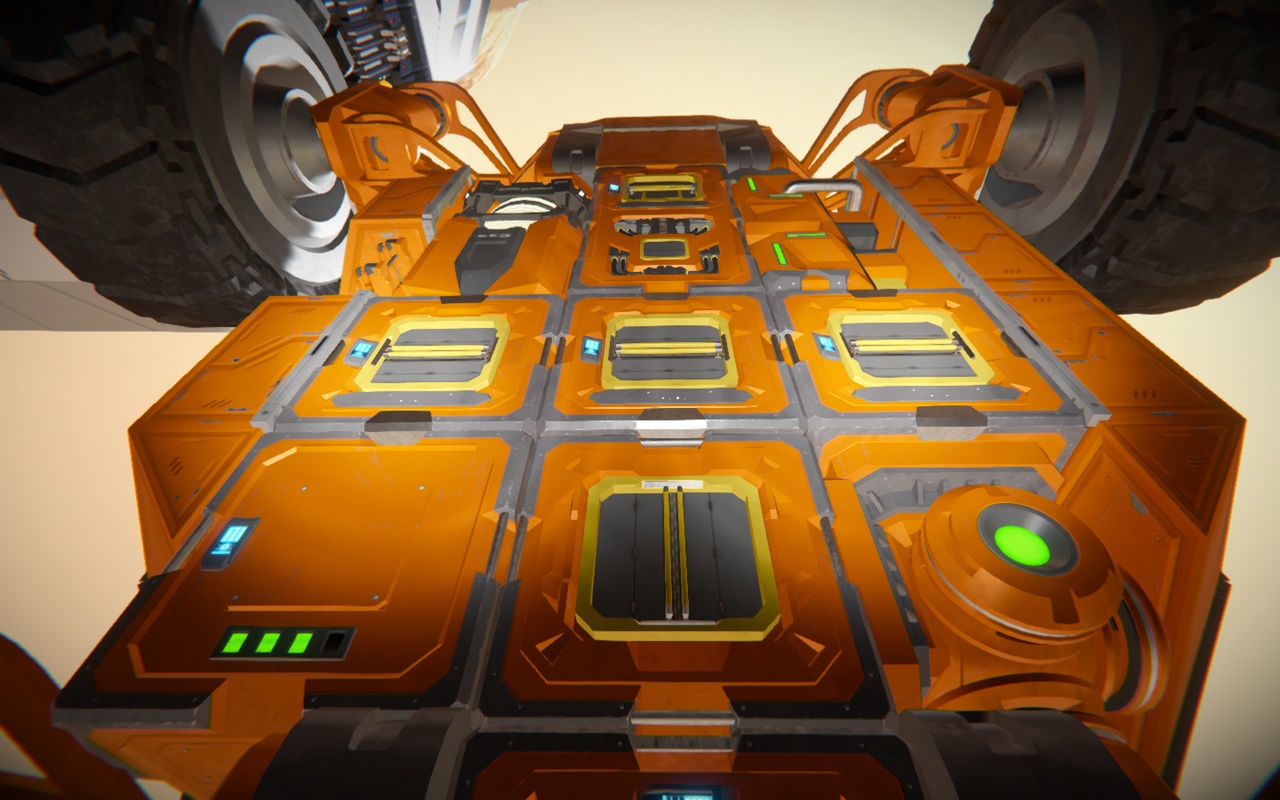
Additionally, you can protect the bottom of the rover with plates of light armor, but this is not necessary and do not cover all the conveyor ports in order to have quick access when repairing the rover after the battle.
https://steamcommunity.com/sharedfiles/filedetails/?id=3178237747
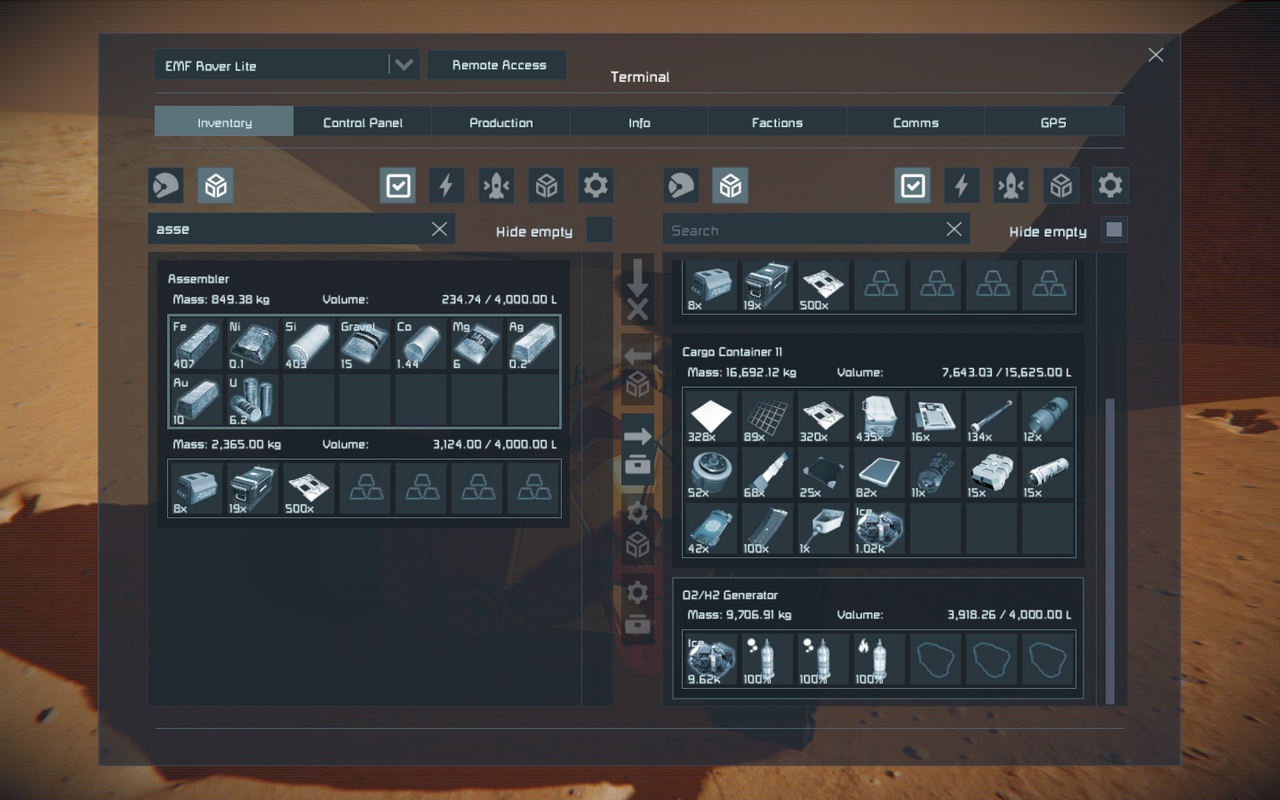
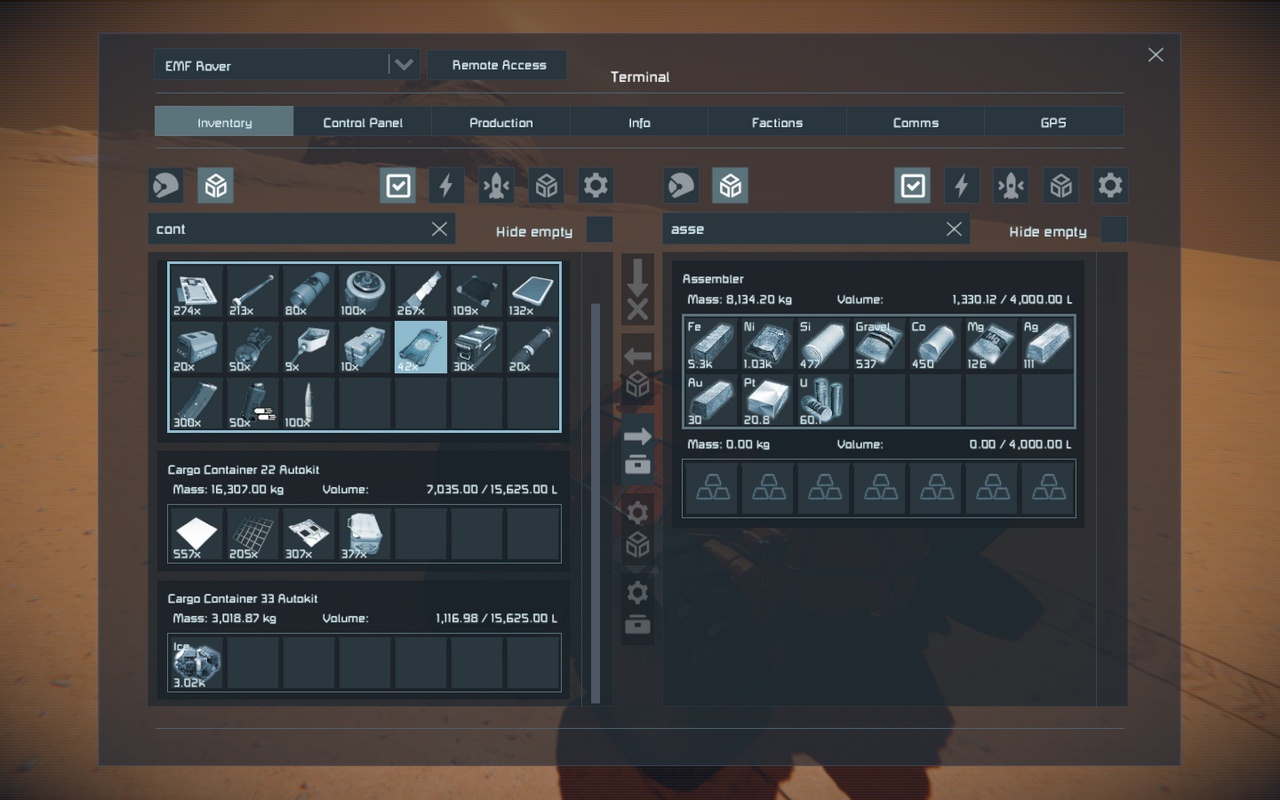
It is desirable that the mass of the equipped rover does not exceed 160 tons. I needed about 7 tons of ice to keep the ballons charged for the entire duration of the game, a certain number of components to repair the rover, and shells for the turrets. The main cargo is best placed in a central container to balance the rover at its center of mass.
The second picture shows the optimal inventory that needs to be maintained in order not to experience problems in battles. Since scripts are allowed in the world settings, I used my own script to automatically maintain the rest of the components, although this possibility was probably not provided by the developers. Shells tend to run out at the most inopportune moment.
https://steamcommunity.com/sharedfiles/filedetails/?id=2577438671
The final version of the EFM Rover has been published in the workshop, but you will not be able to use its blueprint during the game as the projectors are also disabled in the progress tree. However, you can see all my weapon and suspension settings, which help to fight more effectively.
Wicorel is currently working on a major upgrade of the world to take into account all the changes associated with the latest SE updates and write a continuation of the scenario, so this may not be the final version of the rover. I wish him luck and look forward to the sequel to this great idea.
And that wraps up our share on Space Engineers: Escape from Mars: Quick start. If you have any additional insights or tips to contribute, don’t hesitate to drop a comment below. For a more in-depth read, you can refer to the original article here by Survival Ready, who deserves all the credit. Happy gaming!
