Welcome to “Brick Rigs: Vehicle Weaponry & Armour Guide”! If you’re looking to enhance the combat capabilities of your Brick Rigs vehicles, this guide is for you. We’ll be covering the basics of designing armour for your vehicles, giving you the knowledge and tools to dominate the battlefield. Let’s get started!
Introduction
How do you even make good armour?
Well do not worry. This guide will show you what is needed to protect your expensive box from the enemy.
This guide will only go over standard/armour piercing rounds. As long as you can resist armour piercing, you can probably resist explosive weapons.
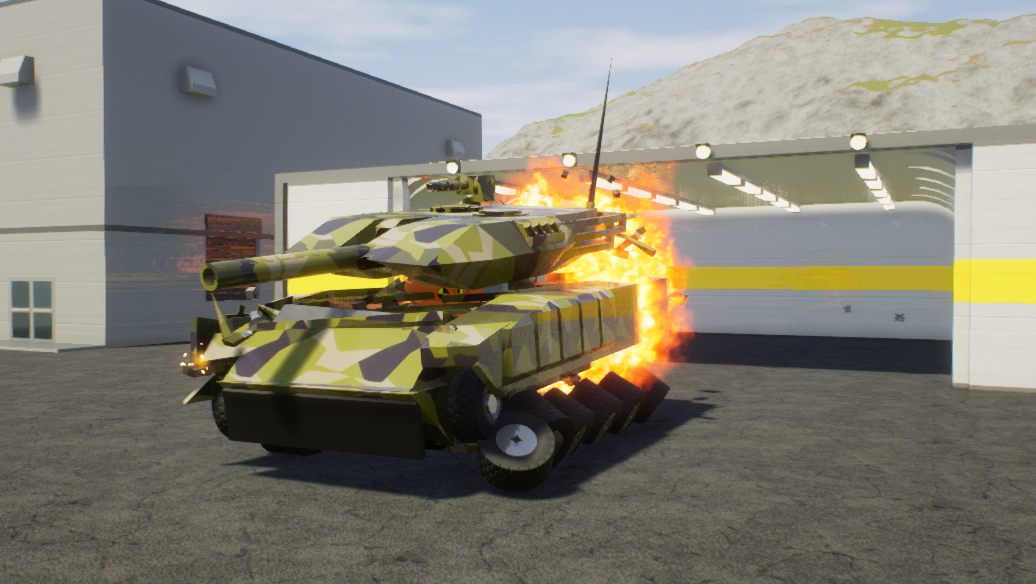 What bad armour does to a man… or 4
Weapons and Armor
Much like guns, armour can also be stacked to enhance its effect, which is necessary to protect against stacked guns.
A quick rundown of ammunition types:
Incendiary sets flammable materials on fire.
Explosive destroys the connections between bricks and deals AOE damage.
Standard (armour piercing) penetrates through bricks and breaks connections.

The following section is on standard (armour piercing) ammo.
TOTAL PENETRATION = PENETRATION * AMOUNT OF GUNS STACKED
Penetration is based off 2 main values.
1) Each gun has a certain amount of base penetration.
2) Penetration increases based on speed, which can be increased by adding barrels. 3 barrels seems to be the maximum you can use to increase penetration.
The following penetration values will be based off the arbitrary units scalable blocks use in the editor.

Side note (metres aren’t used in this guide): 1 = 0.3m (e.g. 1x1x1 = 0.3m * 0.3m * 0.3m)
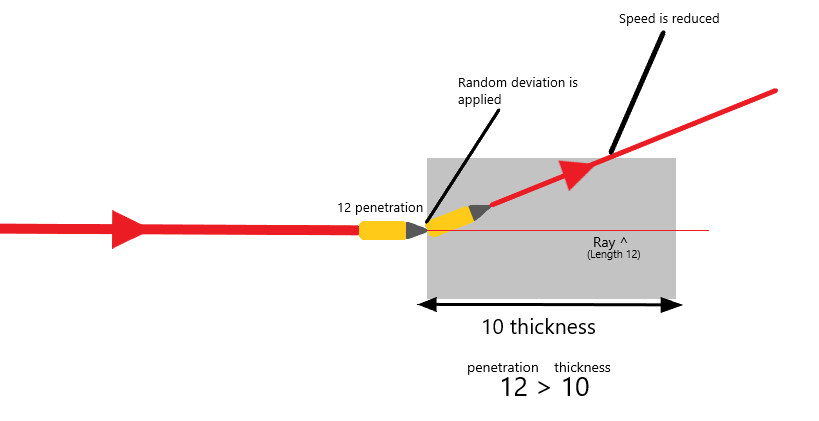
Whether or not a round penetrates is based off the line-of-sight thickness of the armour. Here is what I think happens: when a round impacts armour, the game fires a ray (raycasting) from the impact point and uses this to determine the thickness of the armour.
Remember that sloping your armour is almost always better than not! However, you must make sure that your armour piece maintains uniform thickness throughout, otherwise it will be penetrated in certain spots!
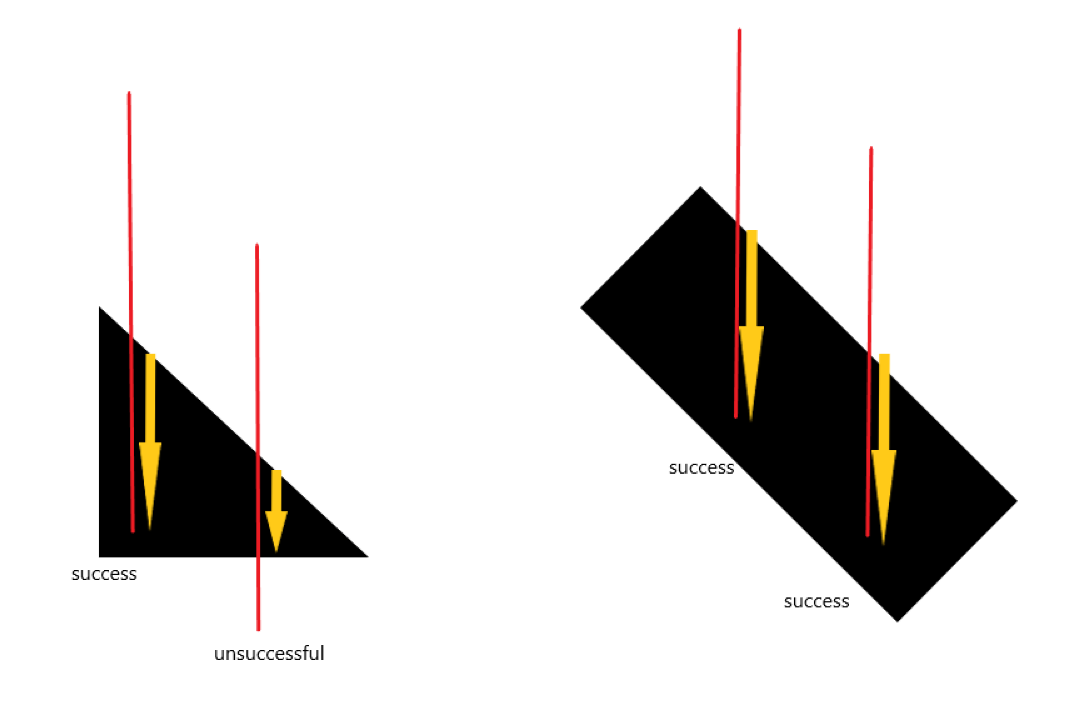 Notice how the wedge’s thickness decreases as you move along, while the rotated rectangle’s thickness stays uniform!
In Brick Rigs, there are 2 main ways that projectiles can react to armor.
If the thickness is greater than the penetration, the round is deleted and the connections to the armour are damaged.
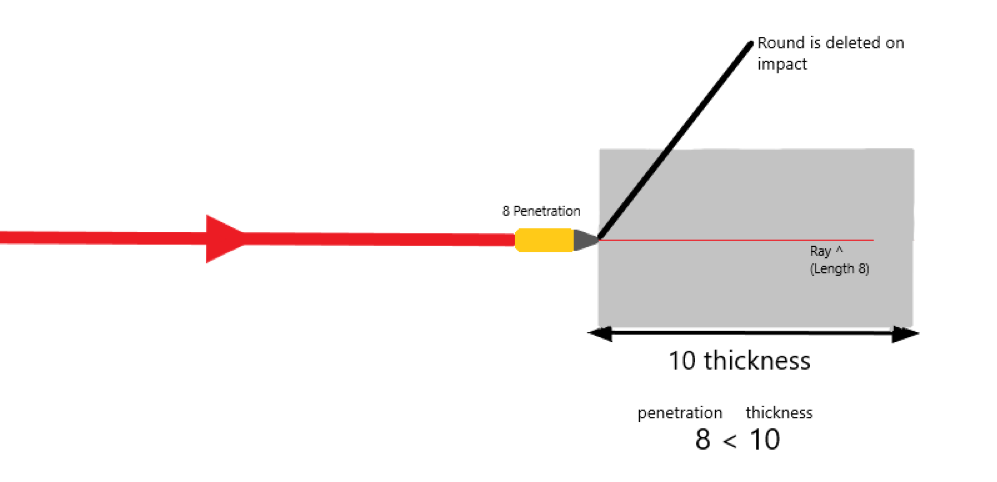
If the thickness is less than the penetration, the round will penetrate, lose some speed, and be given a random deviation from its course, which is given to the round at the impact point.
Experimentation
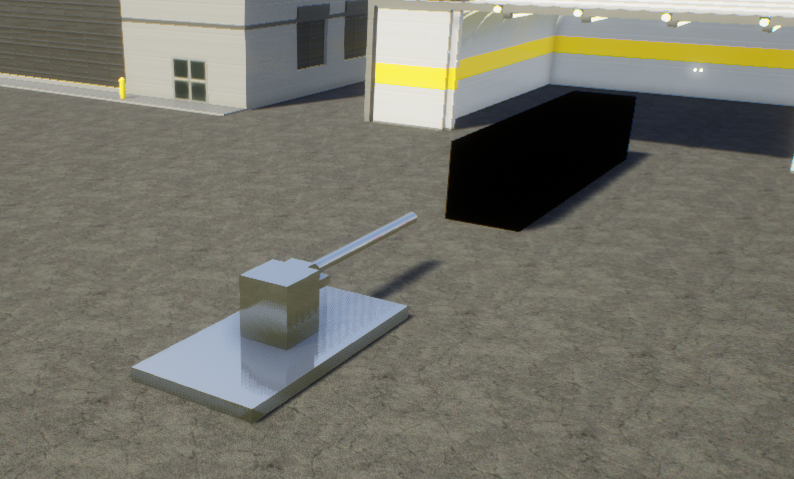
The testing rig ^
Here are some penetration stats, the guns are using standard (armour piercing) ammo and the materials tested are steel and tungsten hitting at a 90* angle (perpendicular).
THESE VALUES ARE NOT IN METRES
If you want to resist penetration from these weapons, I recommend making your armour thicker than these values. Multiply these values by the amount of stacked guns you want to design your vehicle to protect against to find out how thick your armour needs to be. These values represent what thickness of armour can stop penetration. Keep in mind that not all creations use 3 or 4 barrels, so that may affect the outcome.
And most importantly, do your own testing! Don’t rely on everything in this guide; make sure you try things out yourself to see what works best!
The Mystery of “Connections”
One day, I was browsing the discussions tab for Brick Rigs because I had no idea why my builds kept falling apart whenever I shot at them. I found out that whether they fall apart depends on the number of connections.
First, I assumed it was how many of those little circle things were in contact with another brick, but apparently that was wrong. It seems to be based on how many parts are in contact with the one getting hit, along with something called strength.
Each material has a value called “strength“, which seems to affect the connection strength and whether your build falls apart when you hit it. I ran some very arbitrary and very bad tests to figure out this stuff. For the test, I used a 30 stacked 2x2x2 gun (AP) being fired at a connection between tungsten and steel. After the misery that was setting this up and performing trial and error, I found that (for reliable prevention of disassembly) you need 170 steel parts connected to 1 tungsten.
 Not enough connections
 Enough connections
I did some basic math and found that the total strength to reliably stay together was 3430 when hit by 30x AP. If we divide that by 30 (the number of cannons), we find that we need a total strength of ~115 to resist 1 AP cannon.
When I tested my conclusion, I found that ~150 strength was needed. So, my calculations weren’t too wrong.
Explosive Reactive Armour
I’m sure you’ve seen those strange bricks on some modern tanks. Those are Explosive Reactive Armour pieces!
These protect vehicles by exploding and launching a metal plate towards any projectile that hits it. This metal plate impacts the projectile and damages it, reducing its penetration.
Unfortunately… this does not work in Brick Rigs. However, you can create a crude model of E.R.A that does actually provide protection!
1) Start off by grabbing a small actuator and making it out of either steel or tungsten (also make sure that what you’re mounting this to is structurally strong as well).
Ensure that the actuator mode is set to “static”.
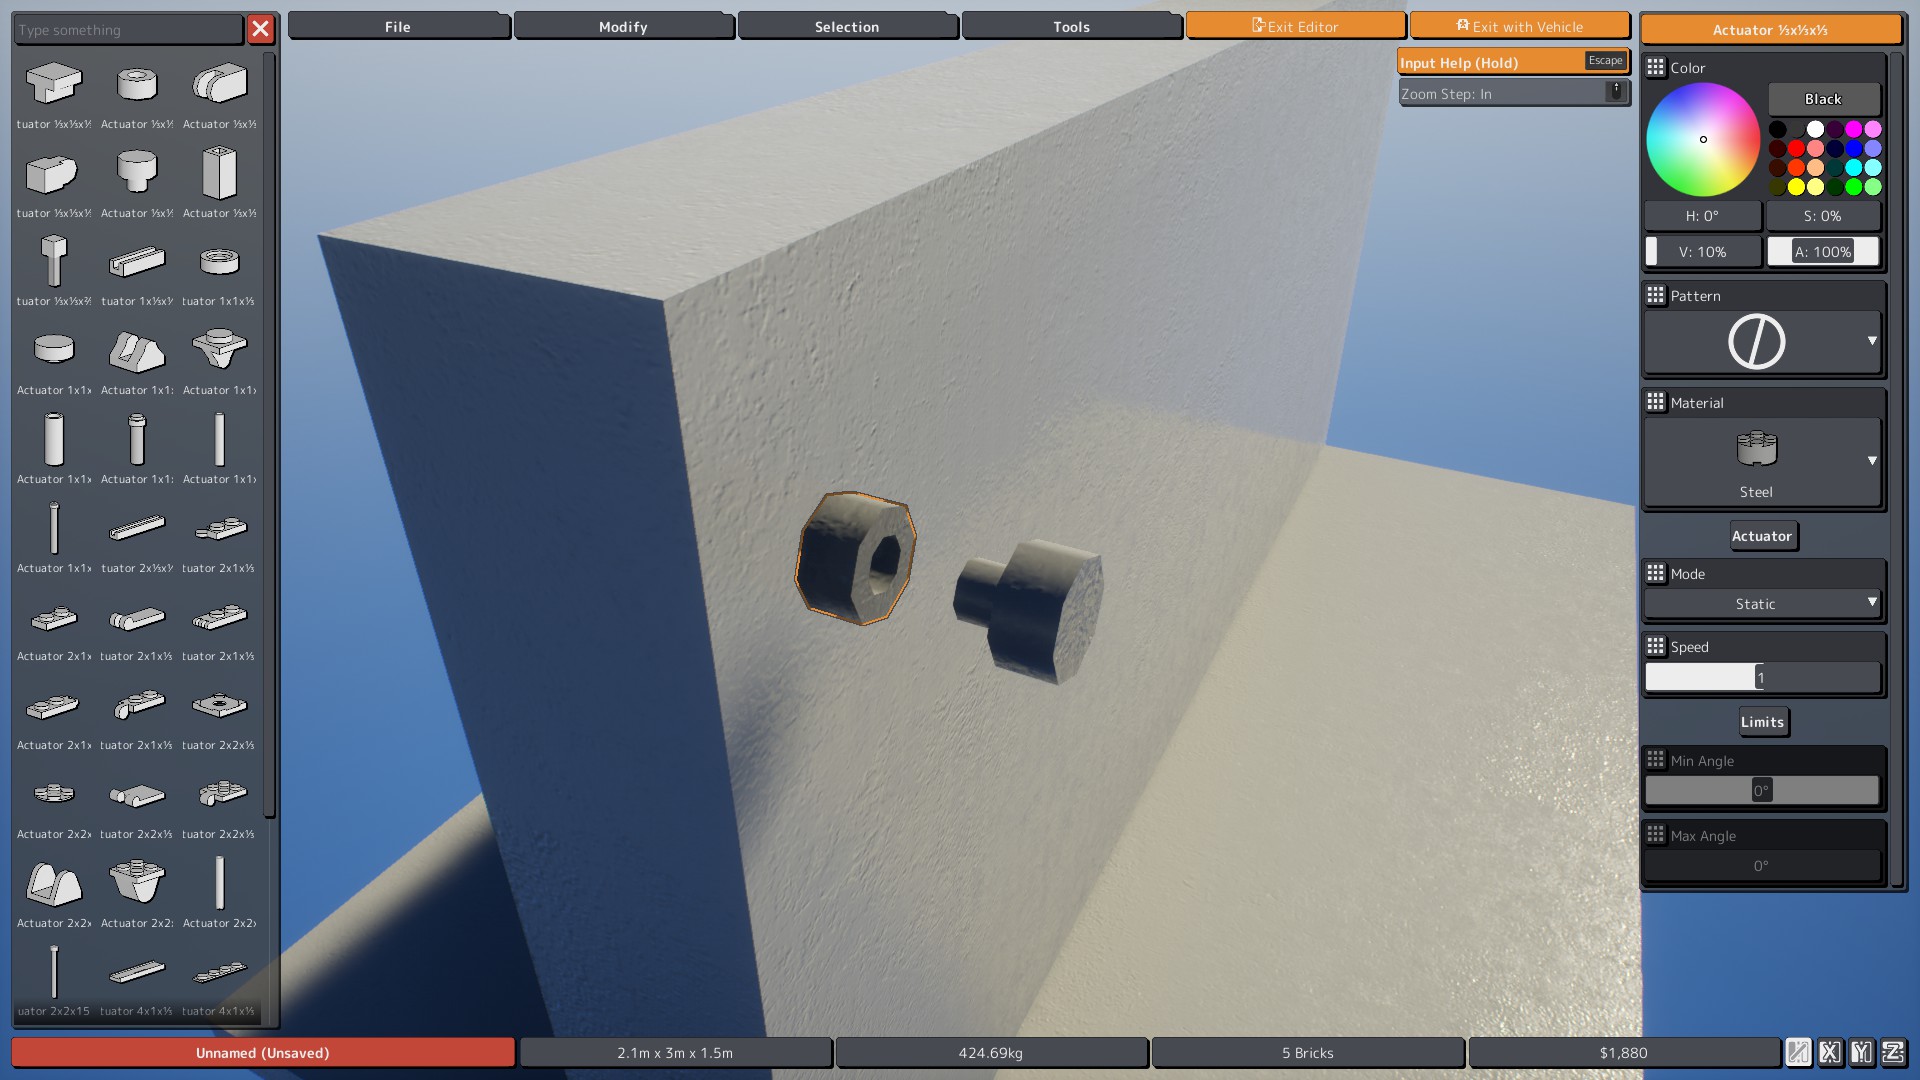 2) Then, place a steel plate of your desired size onto the actuator. Set all connectable sides except for the one touching the actuator to “none”.
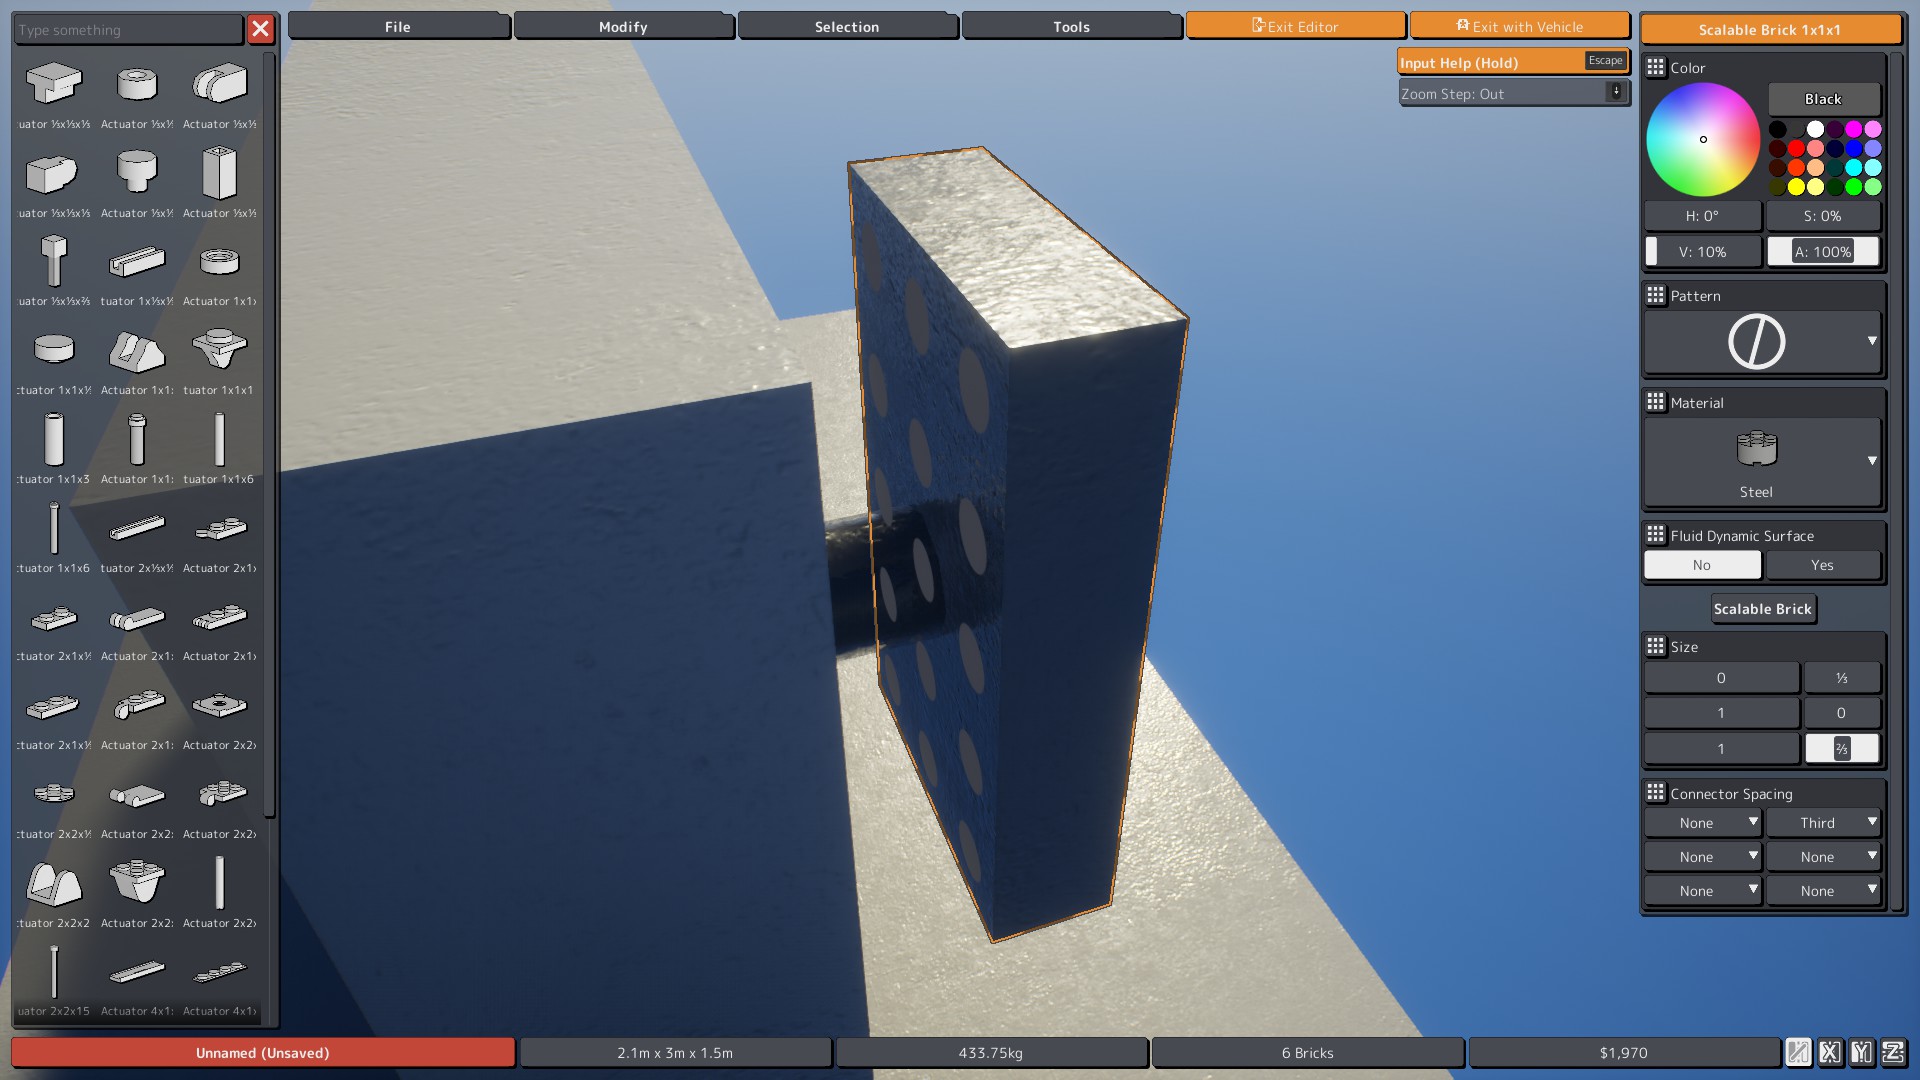 3) Copy the previous steel plate, rotate it 180 degrees and attach it to the previous steel plate.
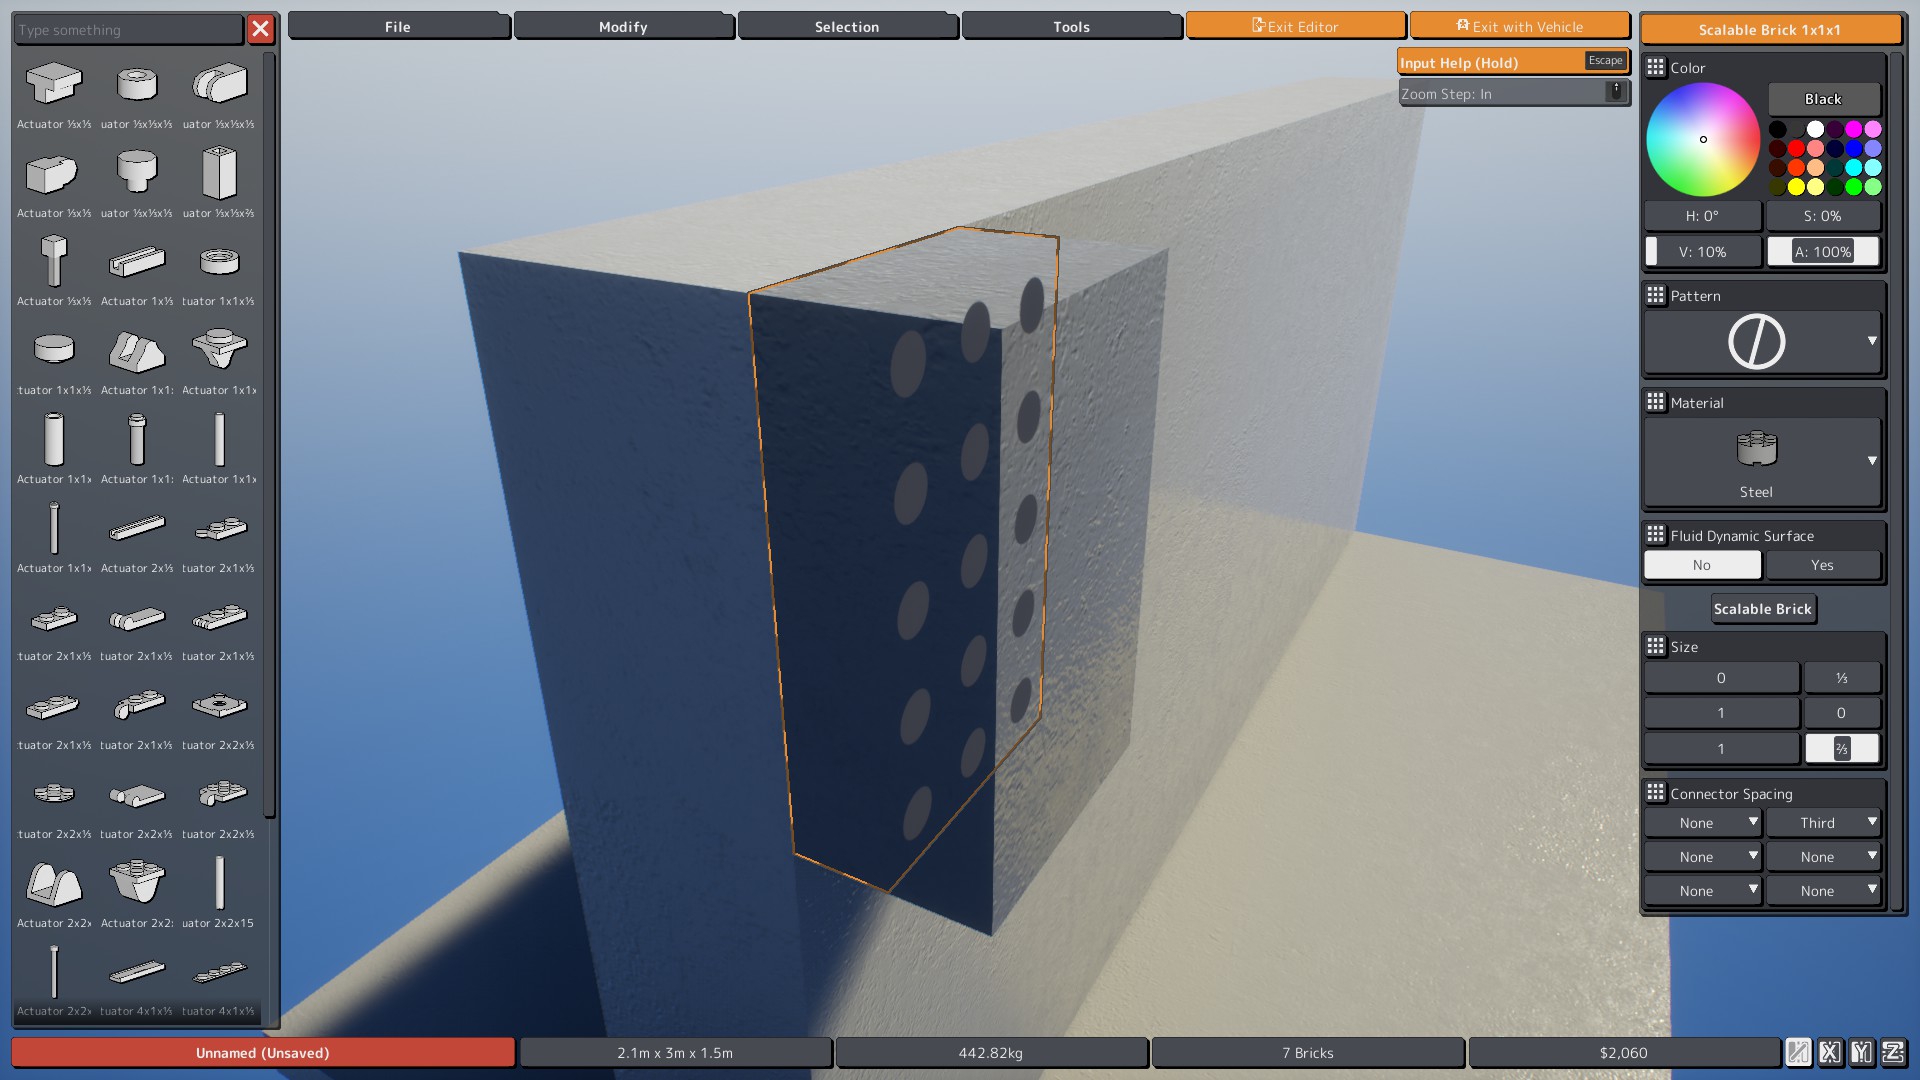 4) Now you have completed your E.R.A. You can now copy and place this onto your vehicle.
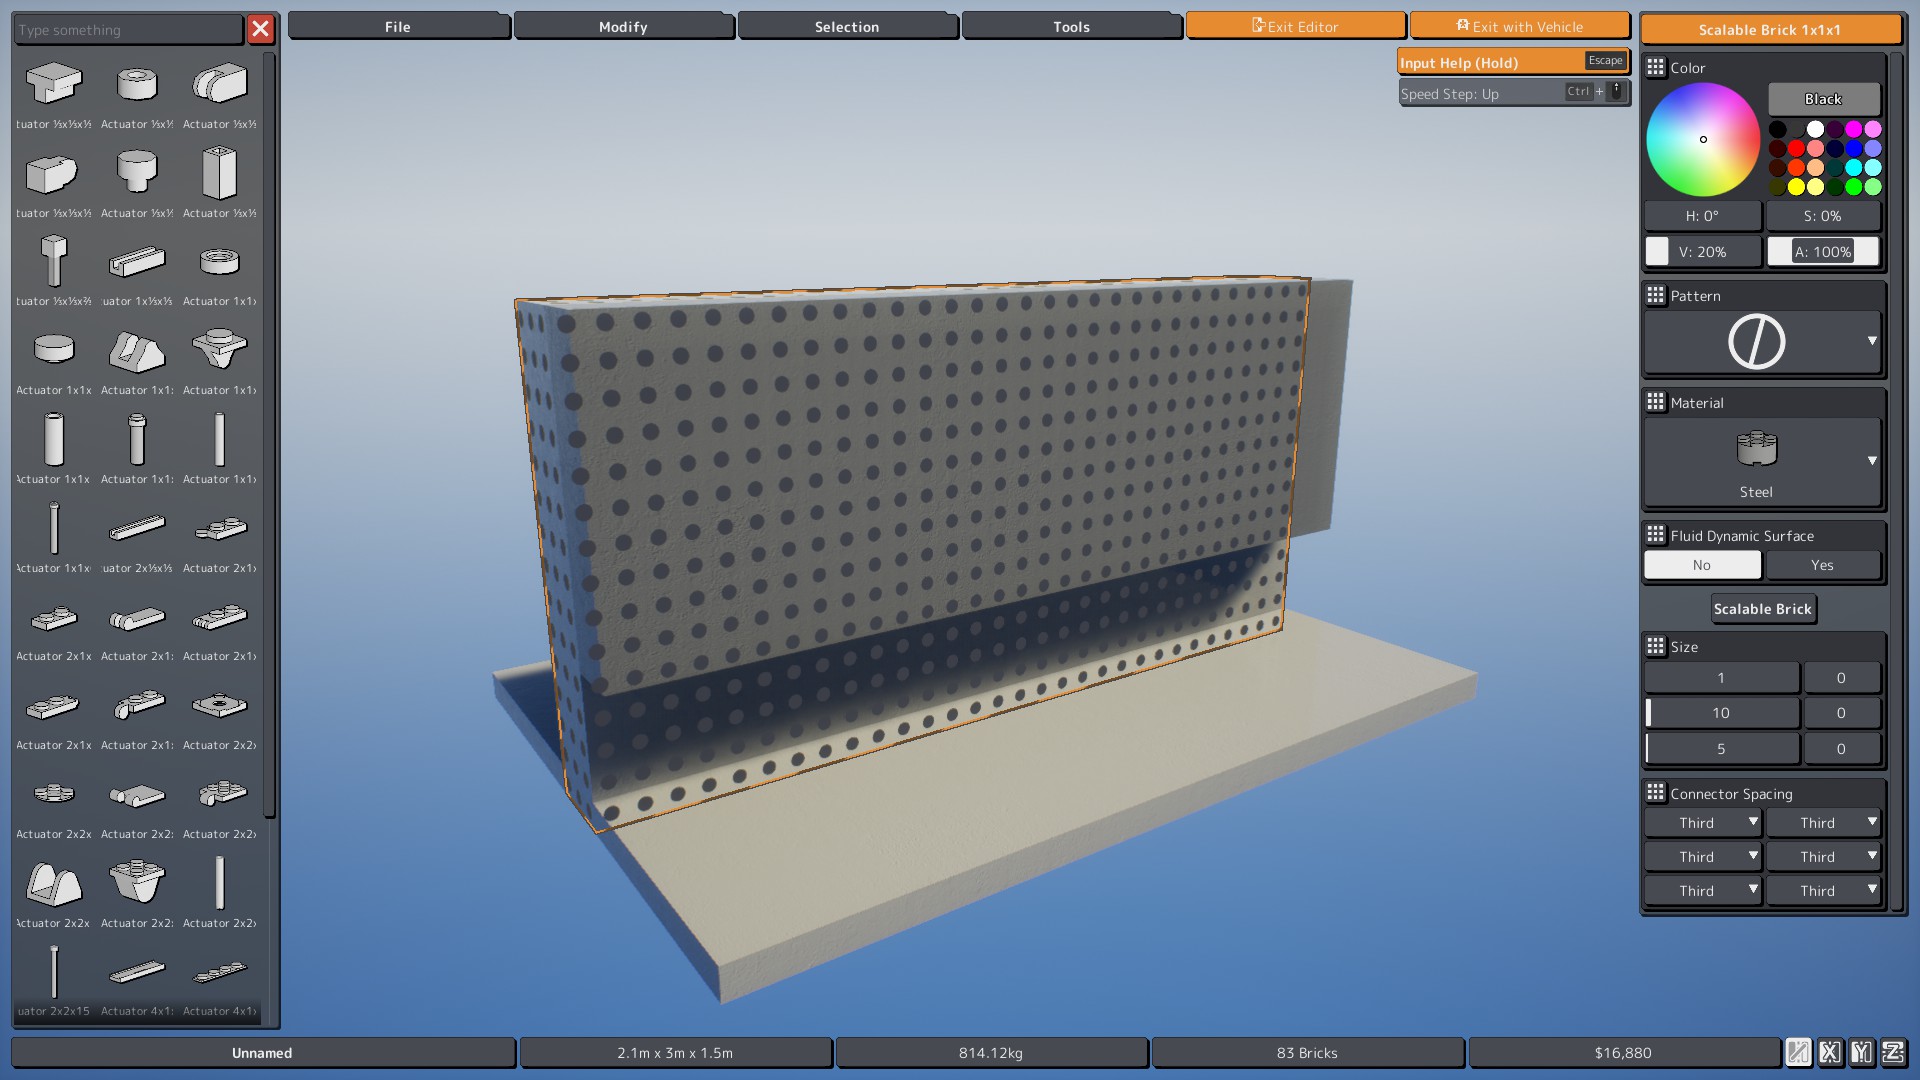 5) Now you are protected! The E.R.A can absorb rocket launcher rounds, HE rounds and provide minimal protection from kinetic rounds.
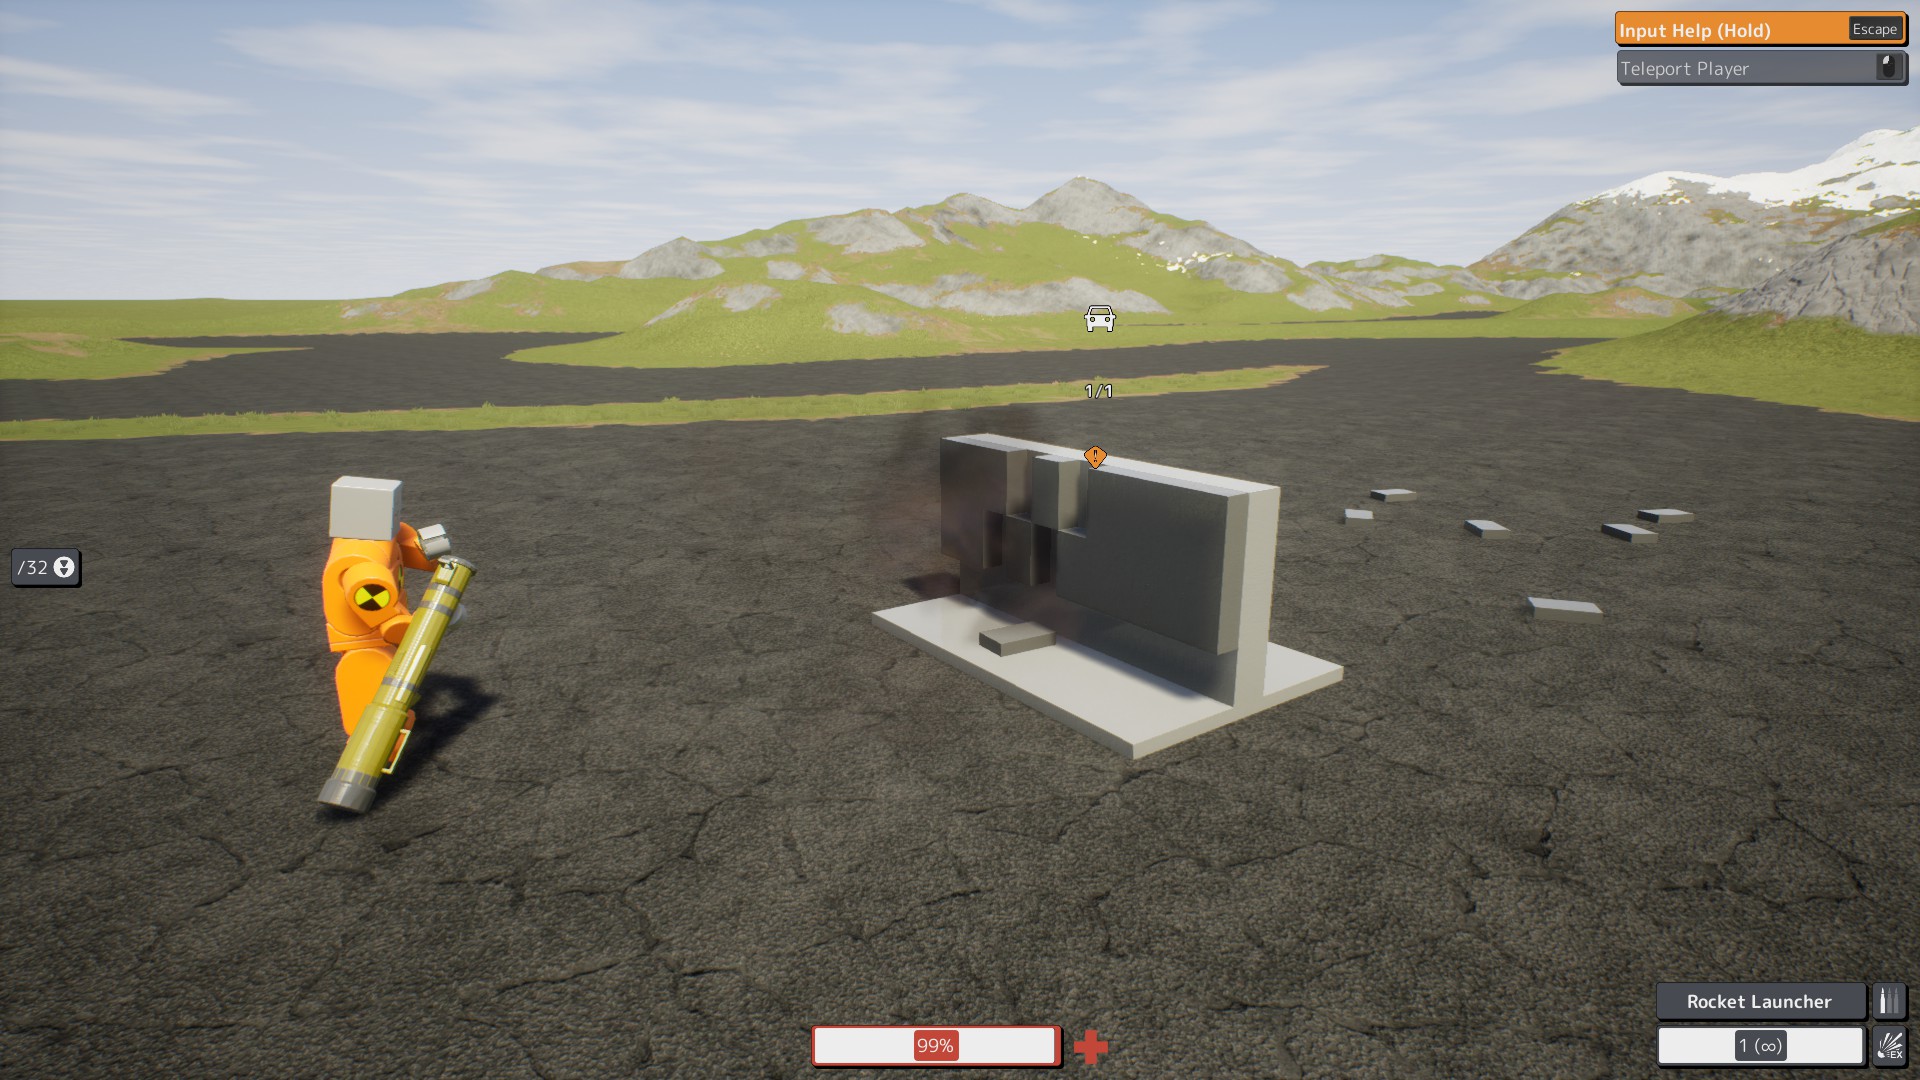 6) Experiment! There are many ways to design E.R.A in Brick Rigs, the only rule you need to follow is make sure that only the actuator(s) is in contact with the vehicle. Otherwise, it may not work!
Conclusion
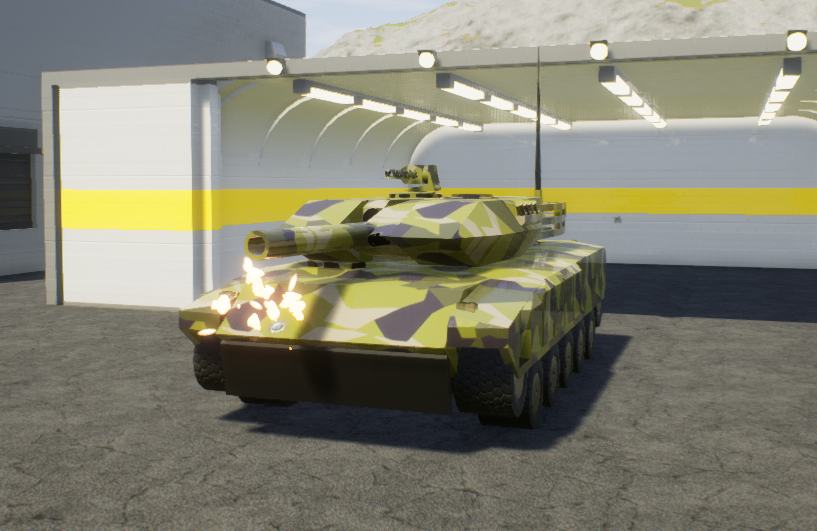
And that wraps up our share on “Brick Rigs: Vehicle Weaponry & Armour Guide”. If you have any additional insights or tips to contribute, don’t hesitate to drop a comment below. For a more in-depth read, you can refer to the original article here by Redstone814, who deserves all the credit. Happy gaming!
