Welcome to this gaming guide on Boxes! In this article, we will provide a complete and detailed text walkthrough for this game, along with pictures to assist you. Whether you are a beginner or a seasoned player, we hope this guide will be helpful in your gaming journey. Let’s get started!
TUTORIAL
The game starts with a mask in a glass case and a black box.
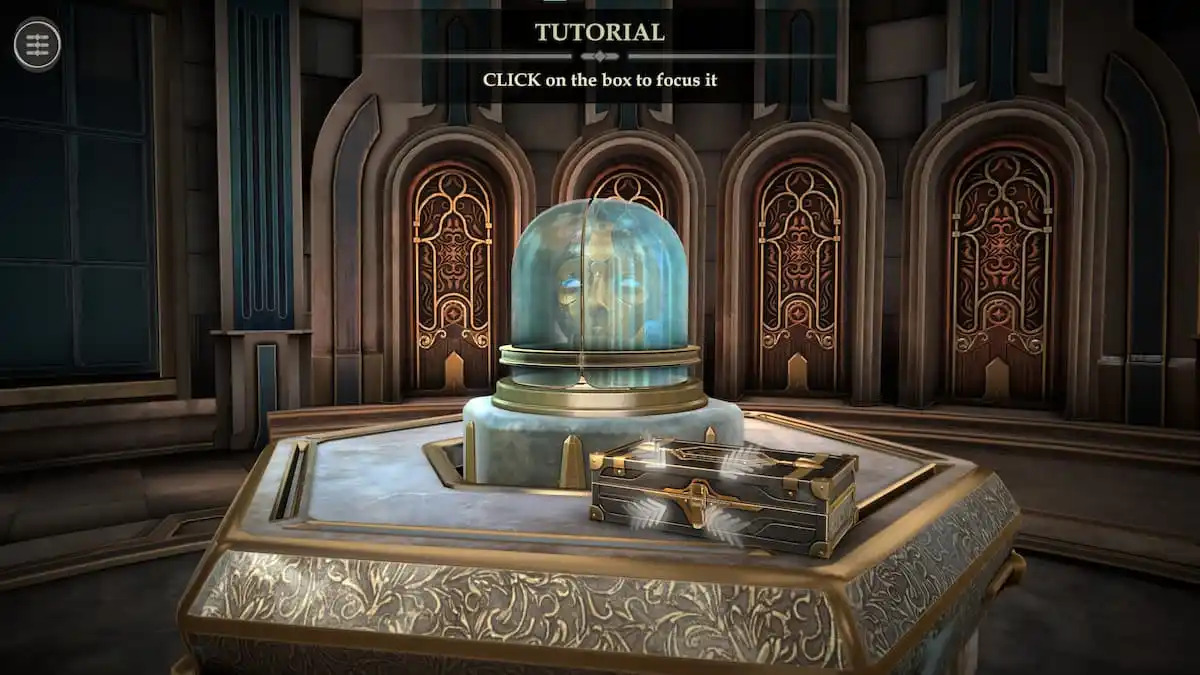
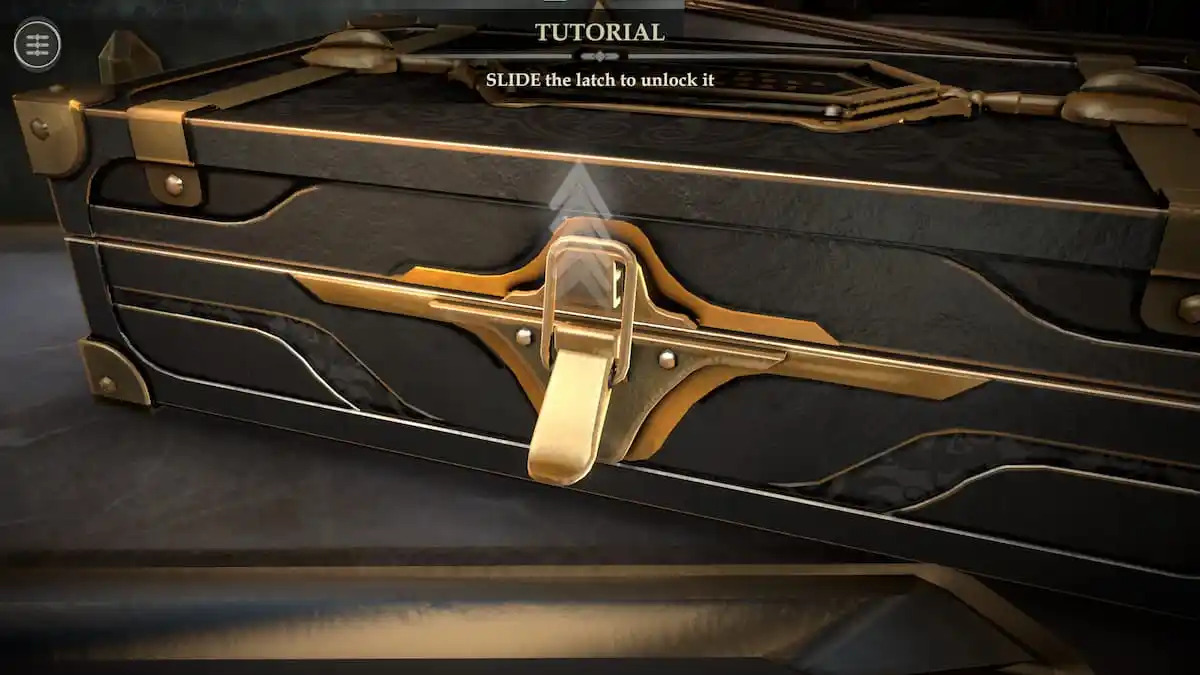
Following the tutorial, focus in on the black box and lift the latch to open it.
Tapping on the Folded Key in the box will place it in your inventory on the right. Tap it again to look at it.
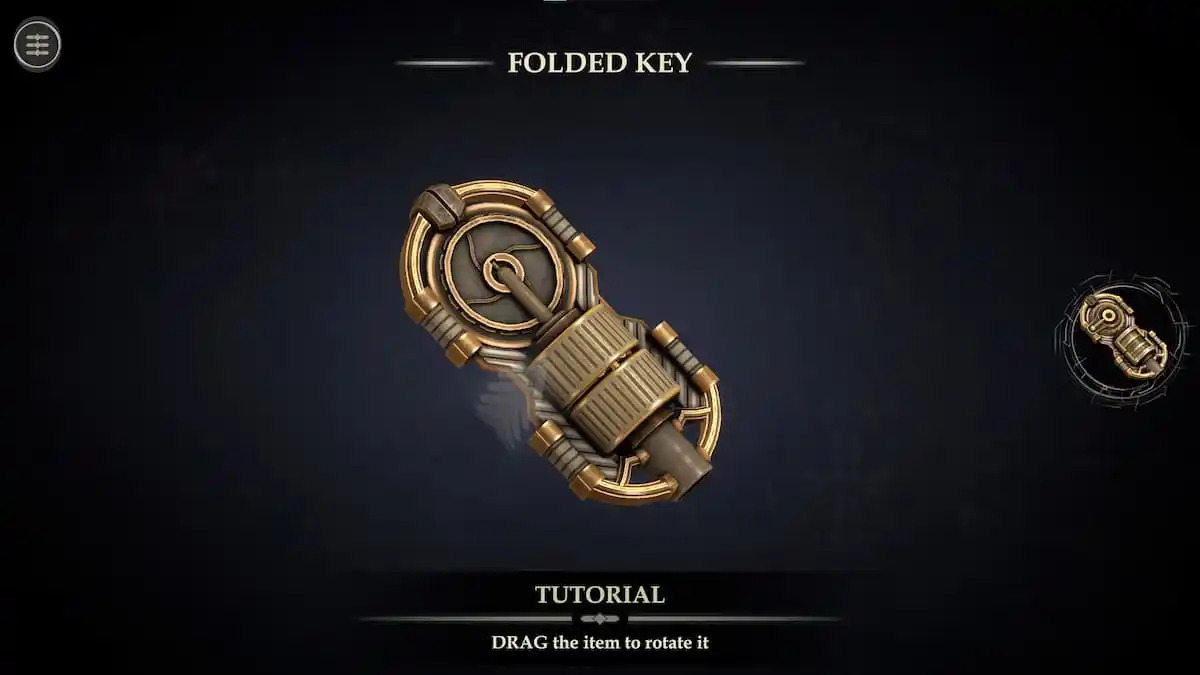
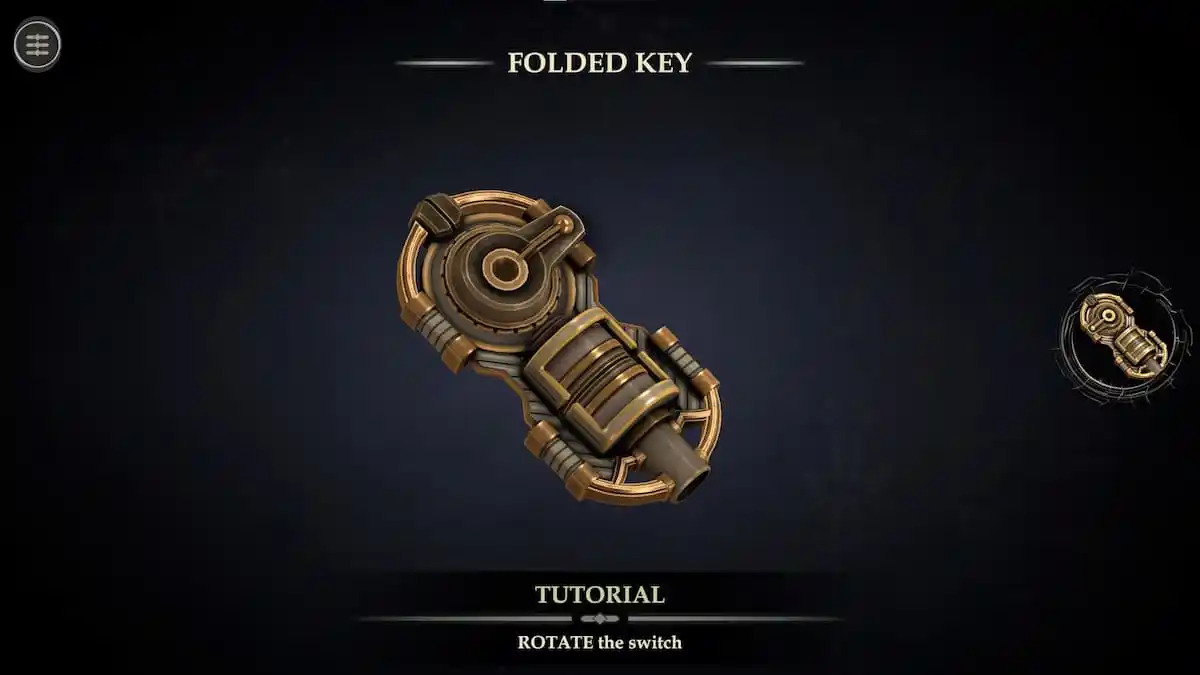
Flip the key to look at the back and rotate the handle at its top to transform it into a key.
Read the Letter and after you read the Letter Zoom out
Glass case puzzle
Rotate the screen until you’re facing the back of the glass case to reveal a puzzle.
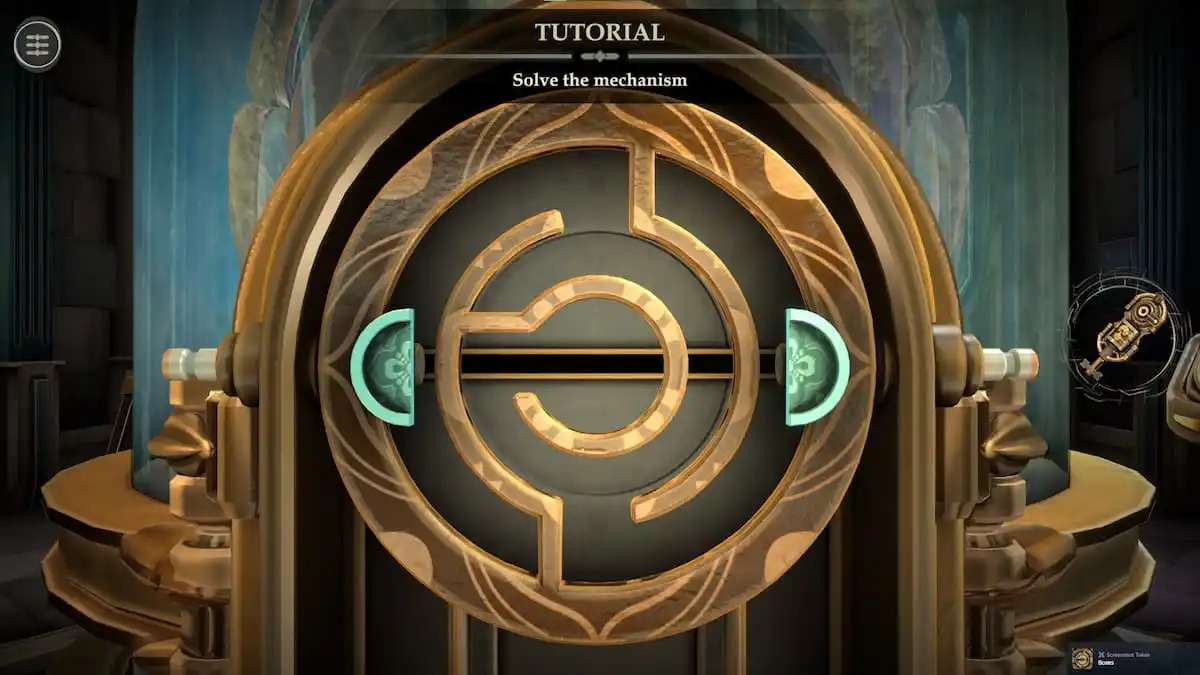
Rotate the mechanism in the center until both of the blue sliders can move forward a space.
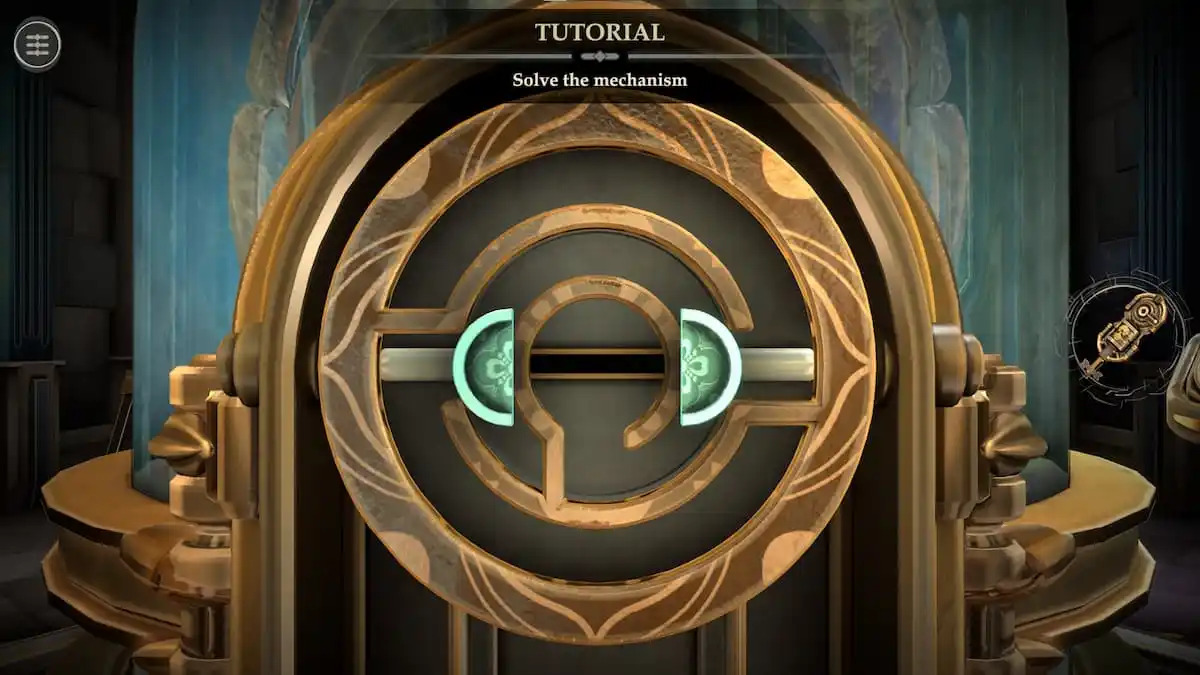
Then rotate the mechanism until one of the blue sliders can be pushed into the center of the puzzle.
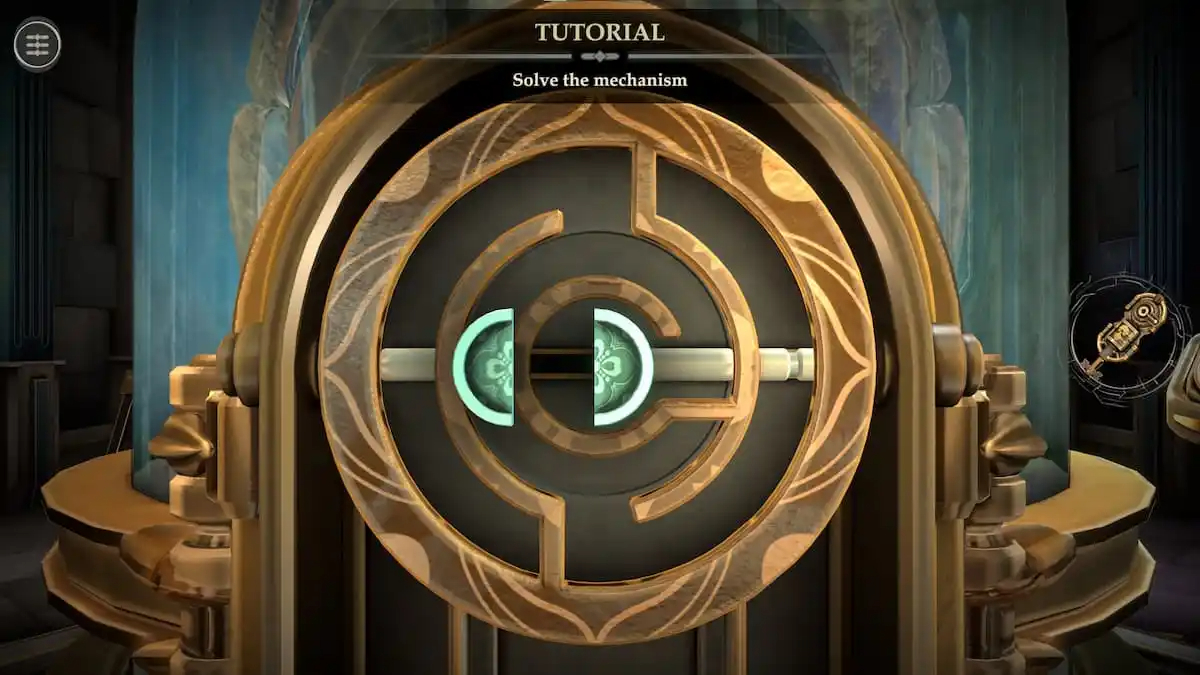
Repeating the last step with the other blue slider reveals a keyhole.
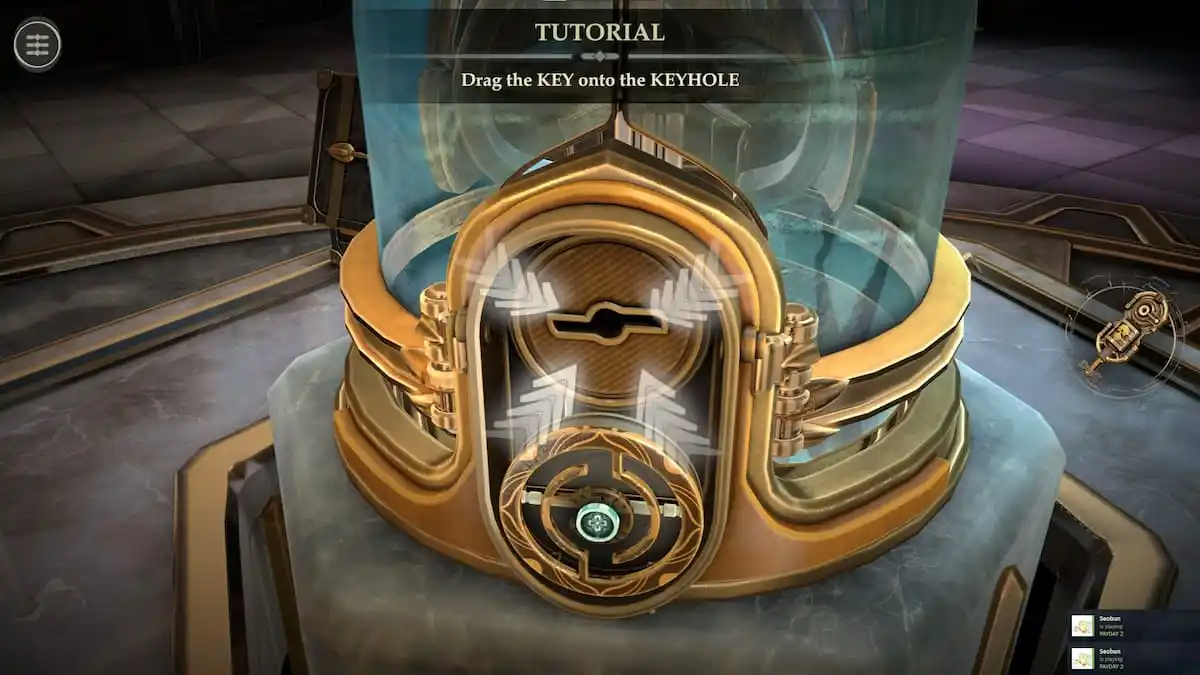
Insert it and rotate it 360 degrees to open the case. This will prompt a cutscene, after which you will get the instructions to explore.
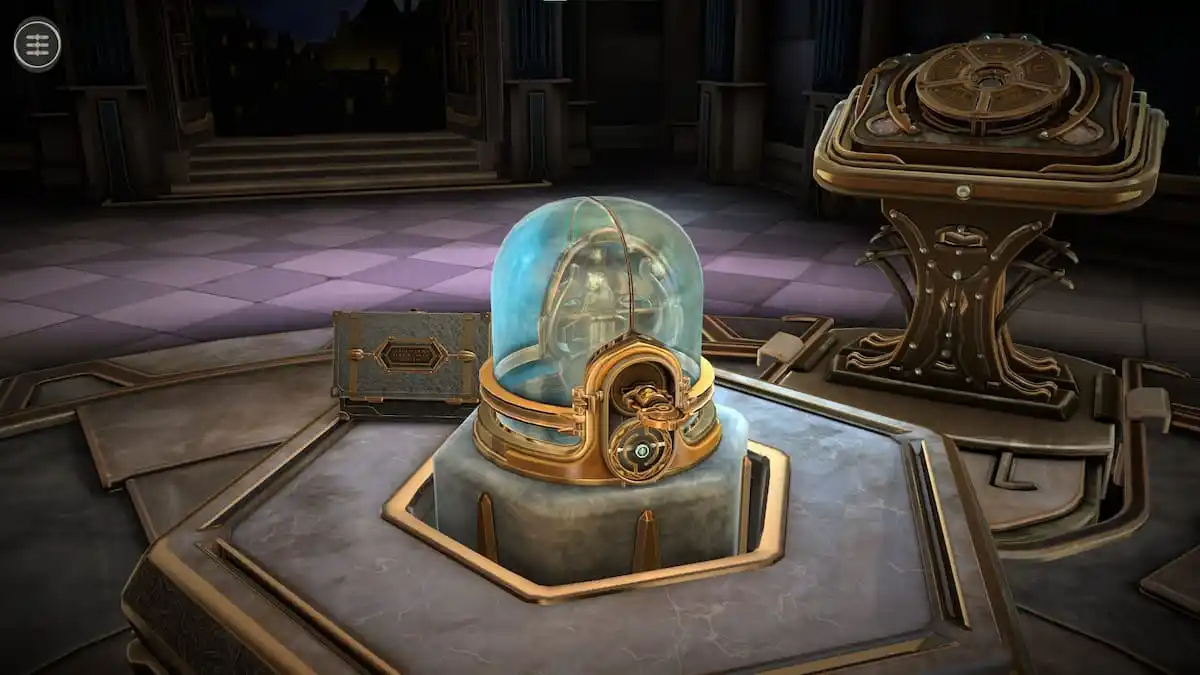
Unlocking Chapter 1
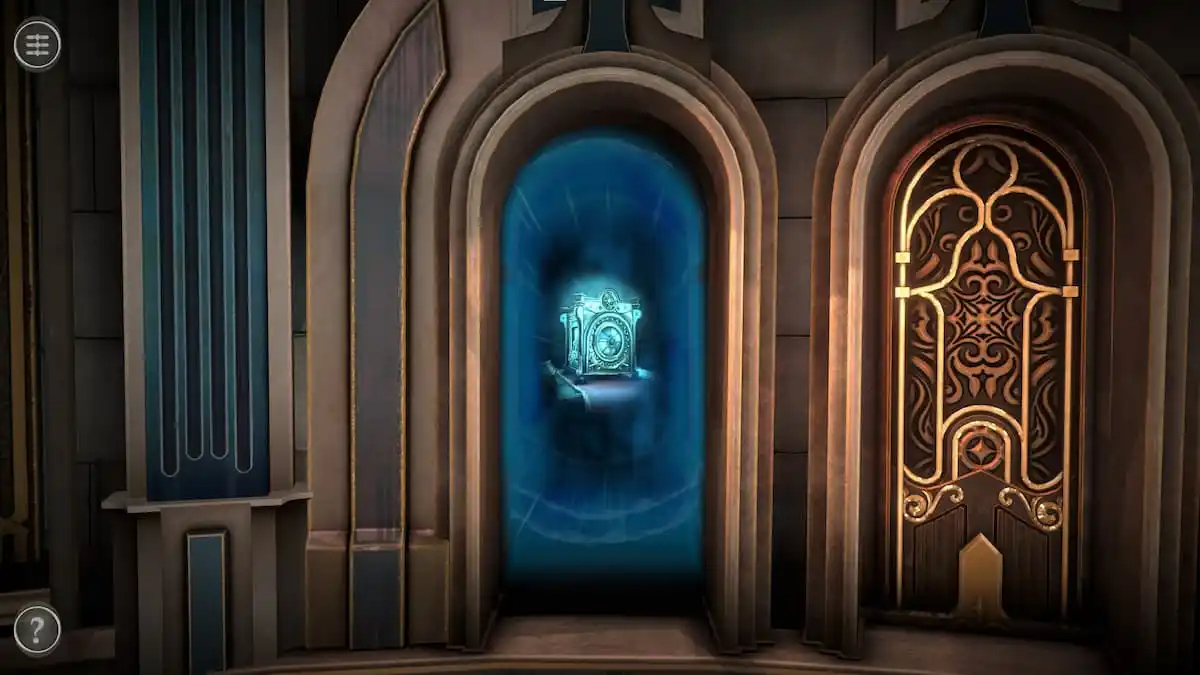
Look around until you see a side room. The side room contains three sections—a clock on the left, a suit of armor in the center, and a device with a magical blue light on the right. You’ll want to head to the device on the right.
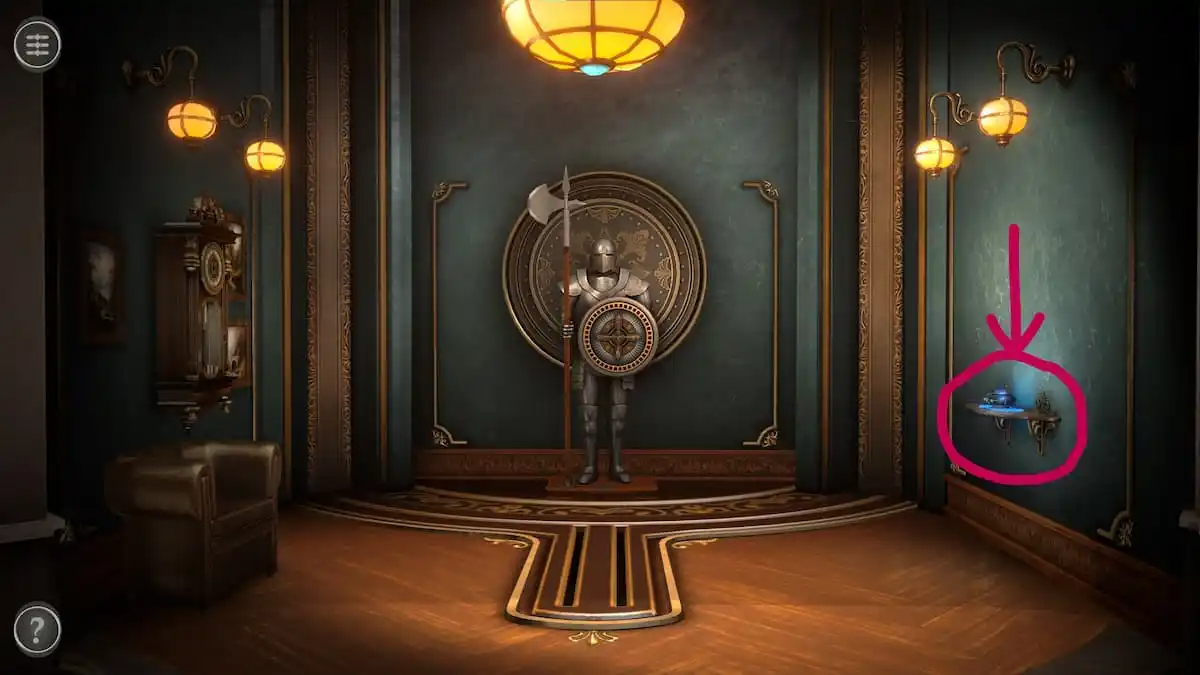
Tapping on the device will open it in your inventory.
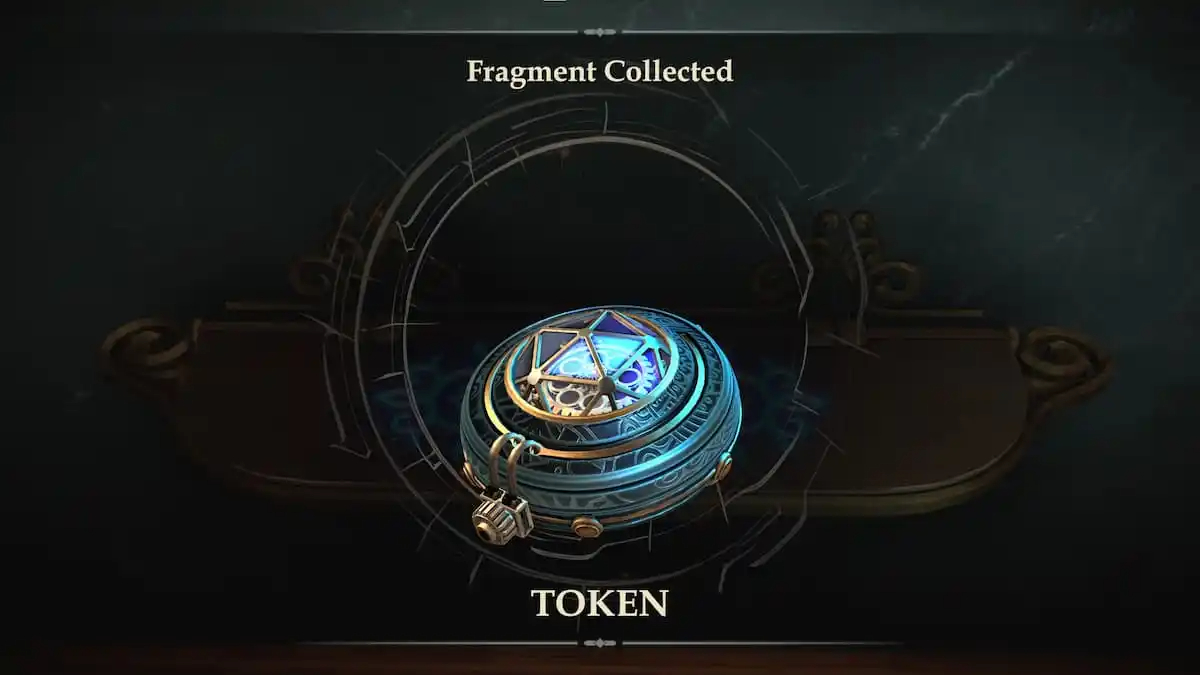
Once it expands, tap the token in the center to grab it.
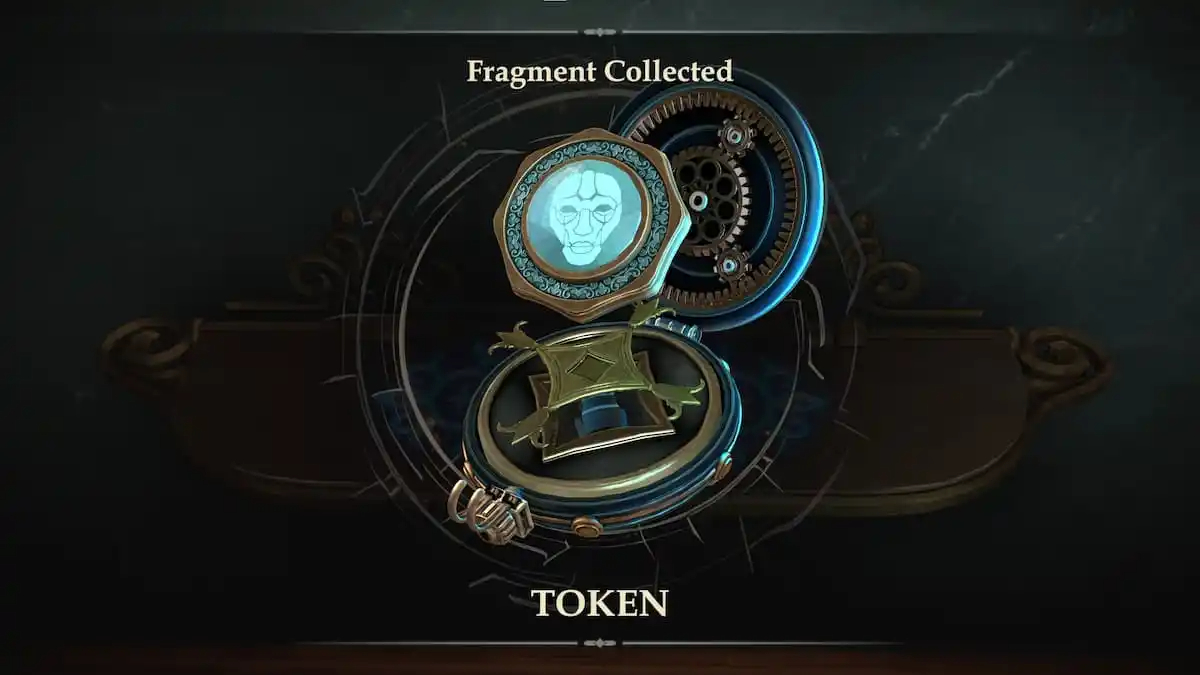
Add this token to the center of the pedestal in the main room.
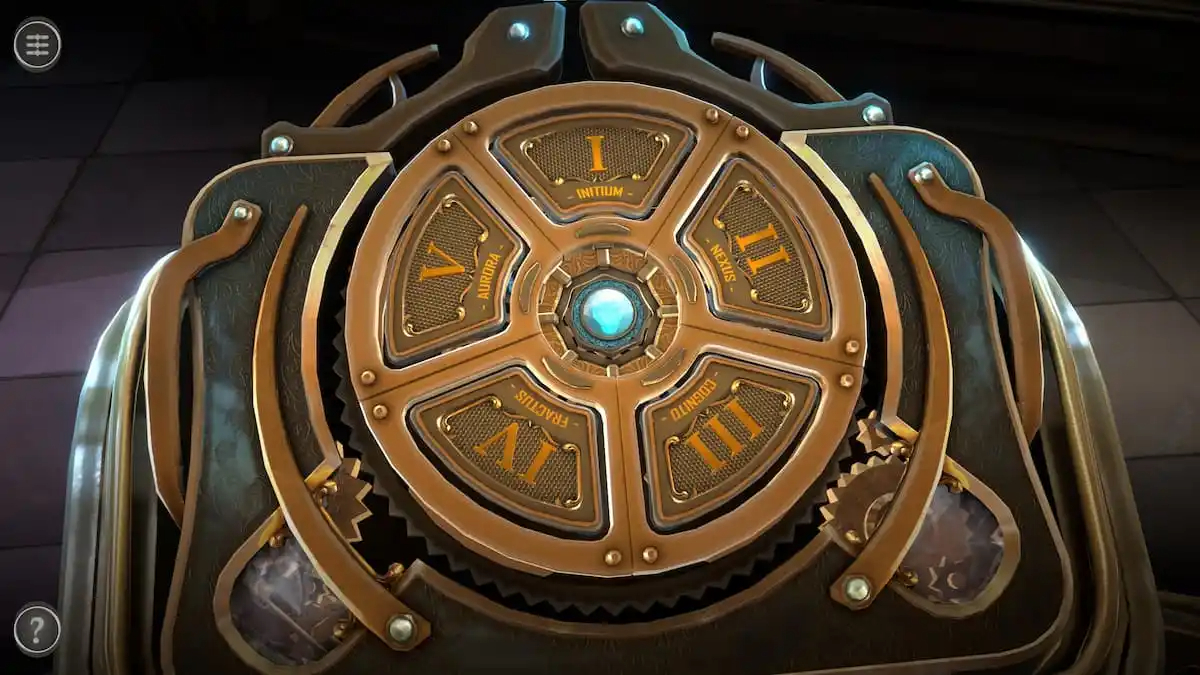
This will open one of the strange doors, allowing you to enter Chapter 1, titled “Initium”.
THE TUTORIAL IN BOXES LOST FRAGMENTS IS NOW COMPLETE AND FINISH
CHAPTER 1
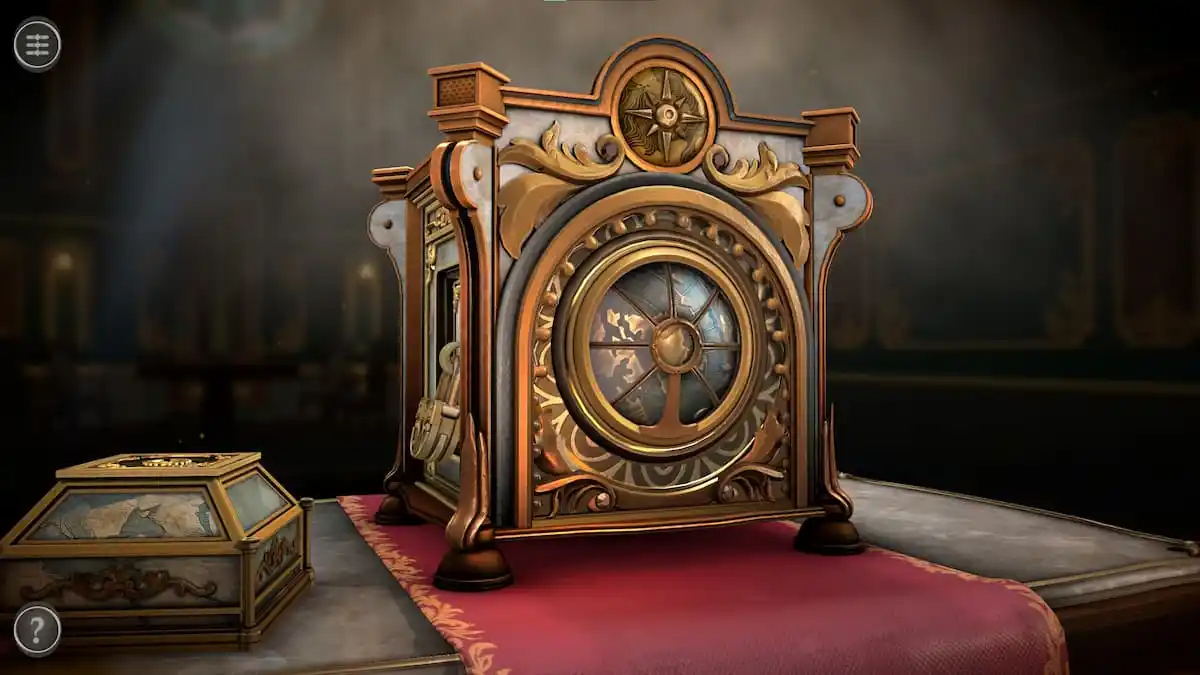
First room puzzles
Box slider puzzle
Entering Chapter 1 places you in a room with two boxes on a table.
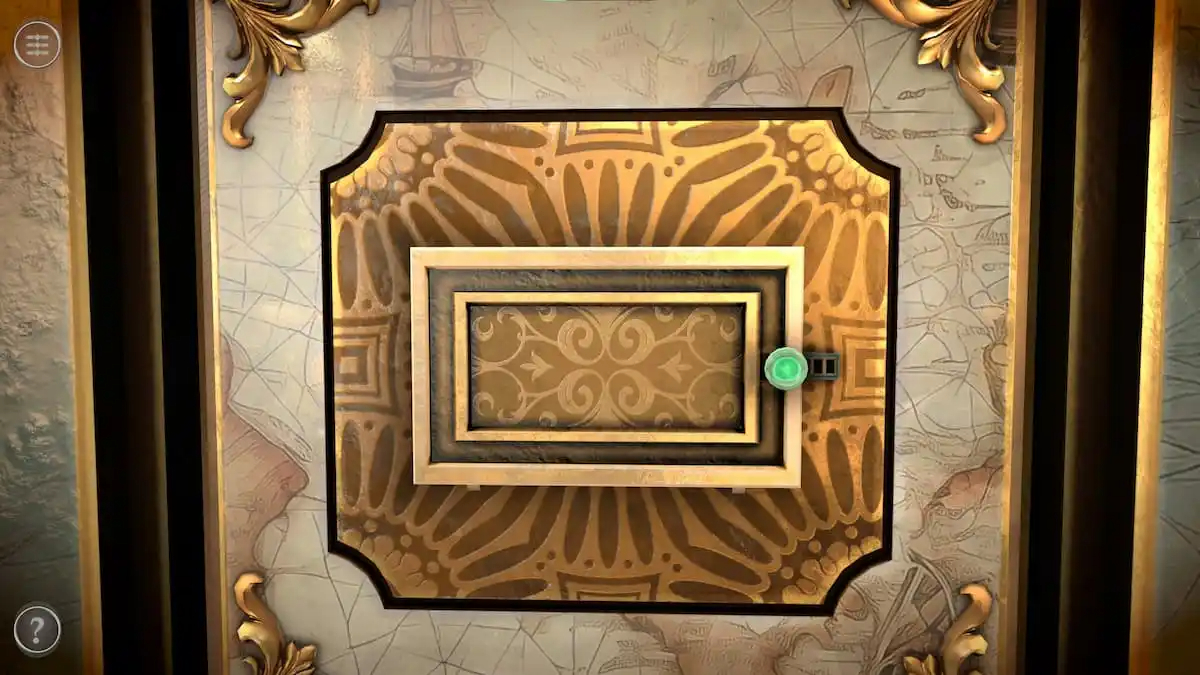
Rotate the screen to see a green slider on the right side of the box.
Push the slider to the right to unlock a small compartment.
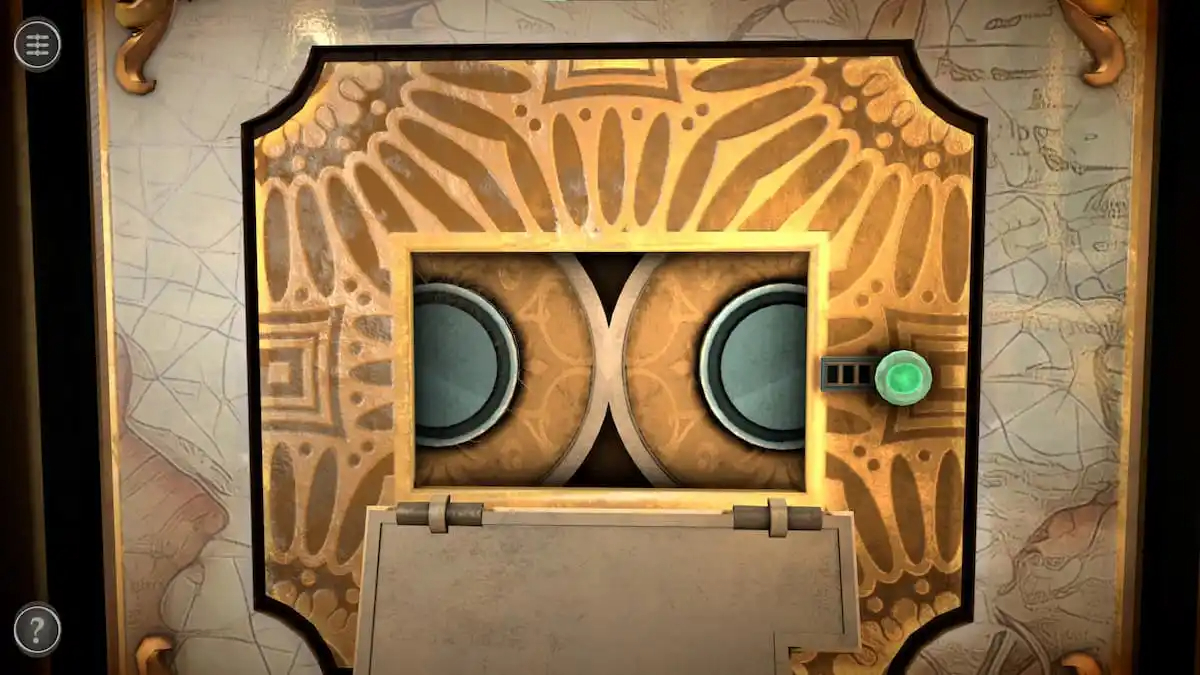
Rotate each of the circles inside the compartment until their gaps align, revealing a second slider.
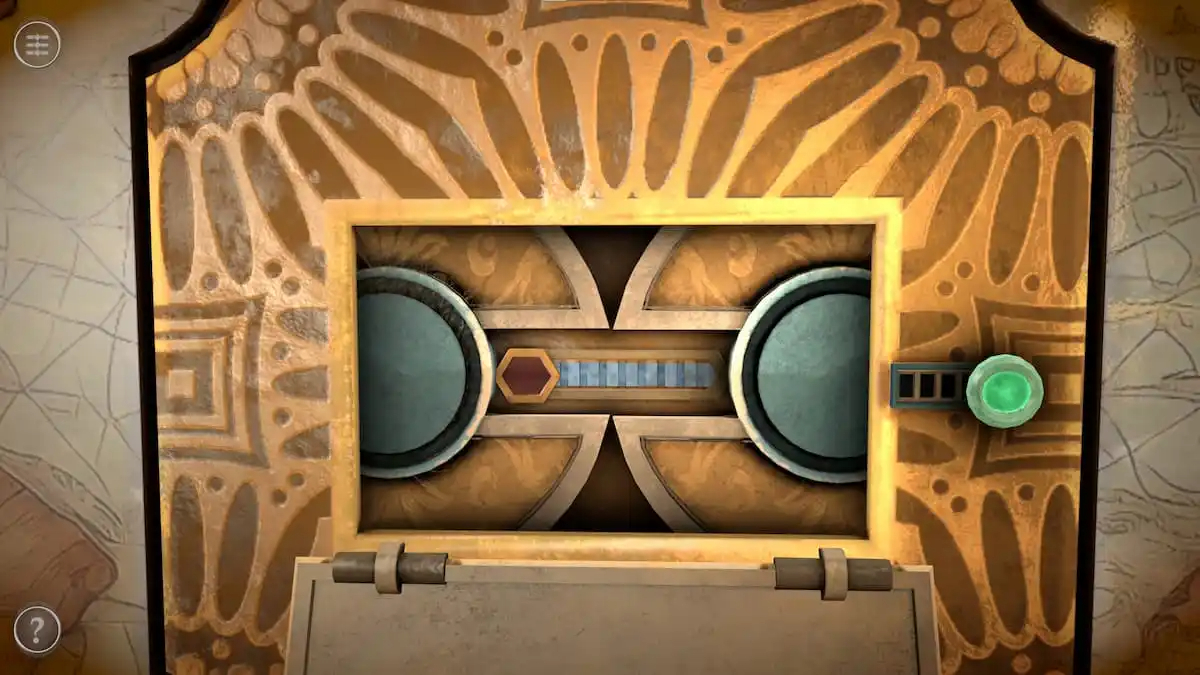
Pulling that slider extends the right side of the box, revealing a third slider on its side.
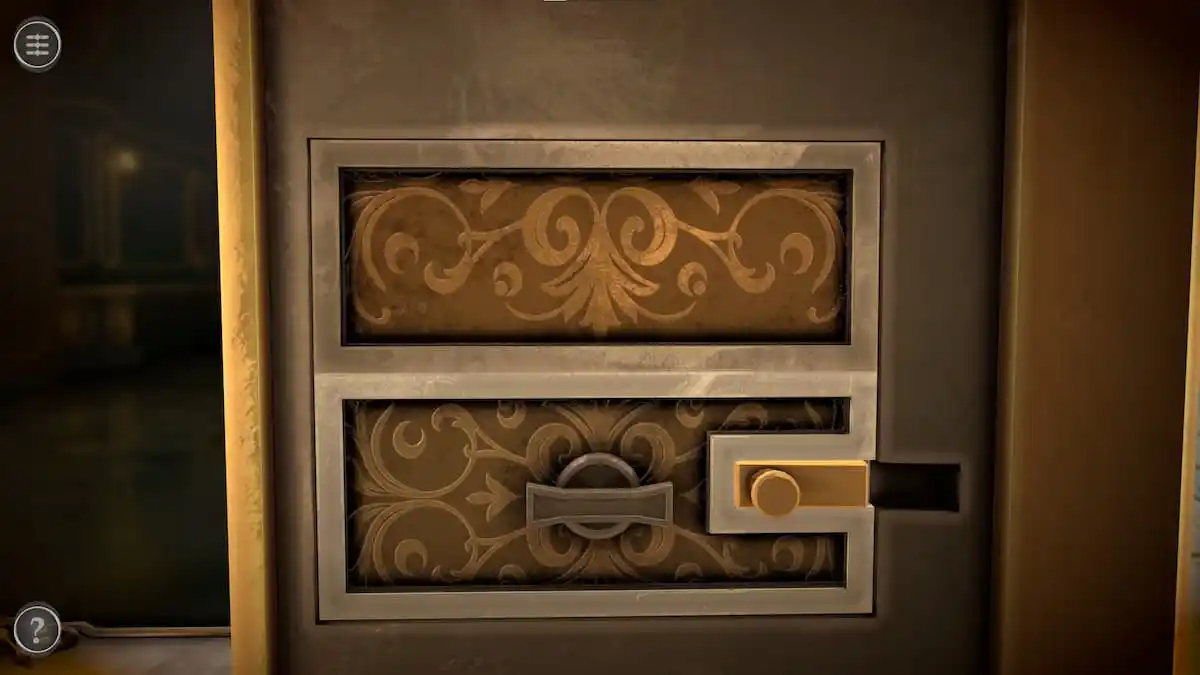
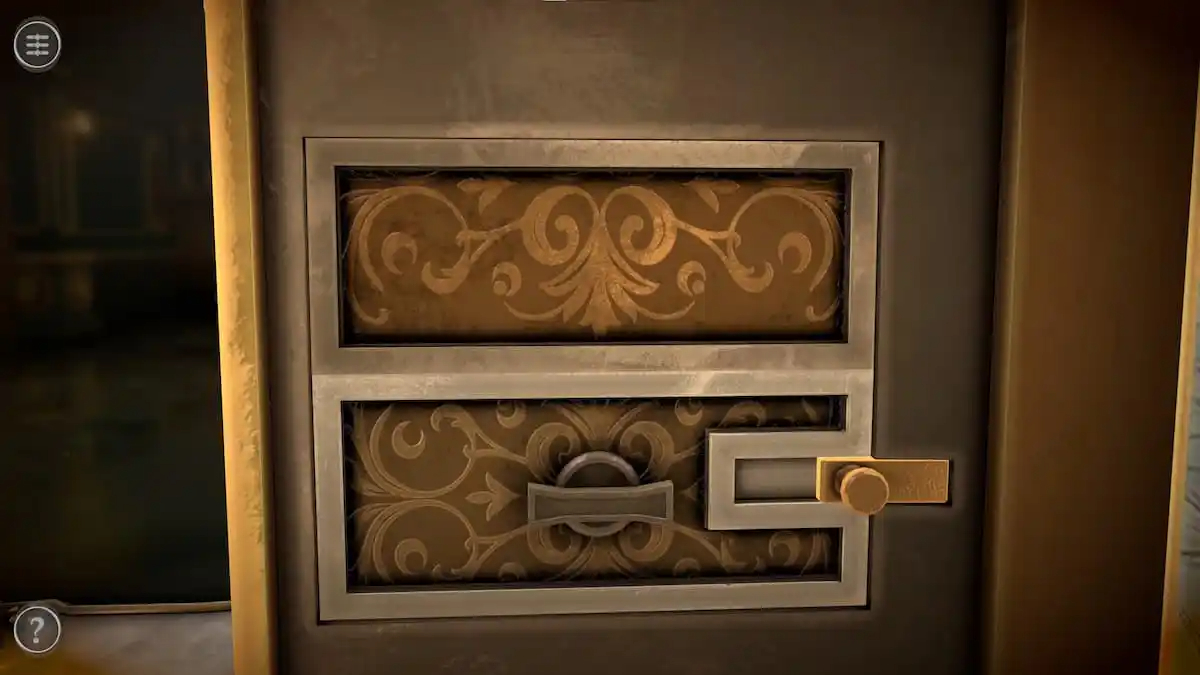
Push the gold slider on the bottom to the left.
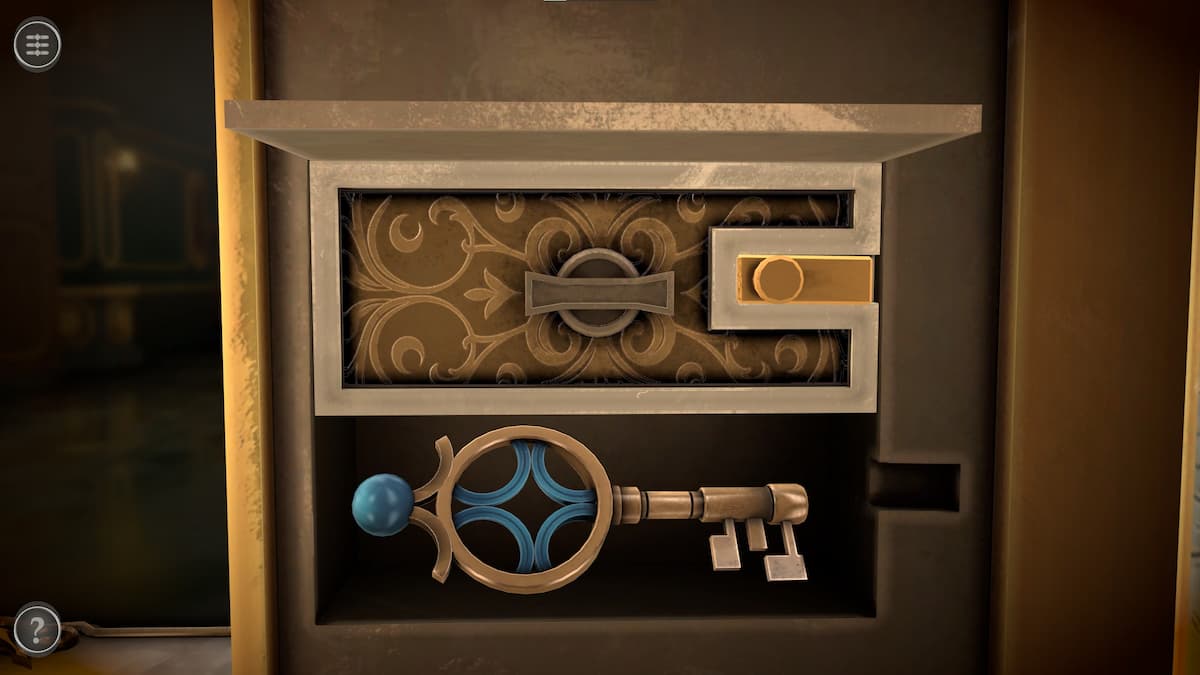
Slide the brown drawer on the bottom up to get a key.
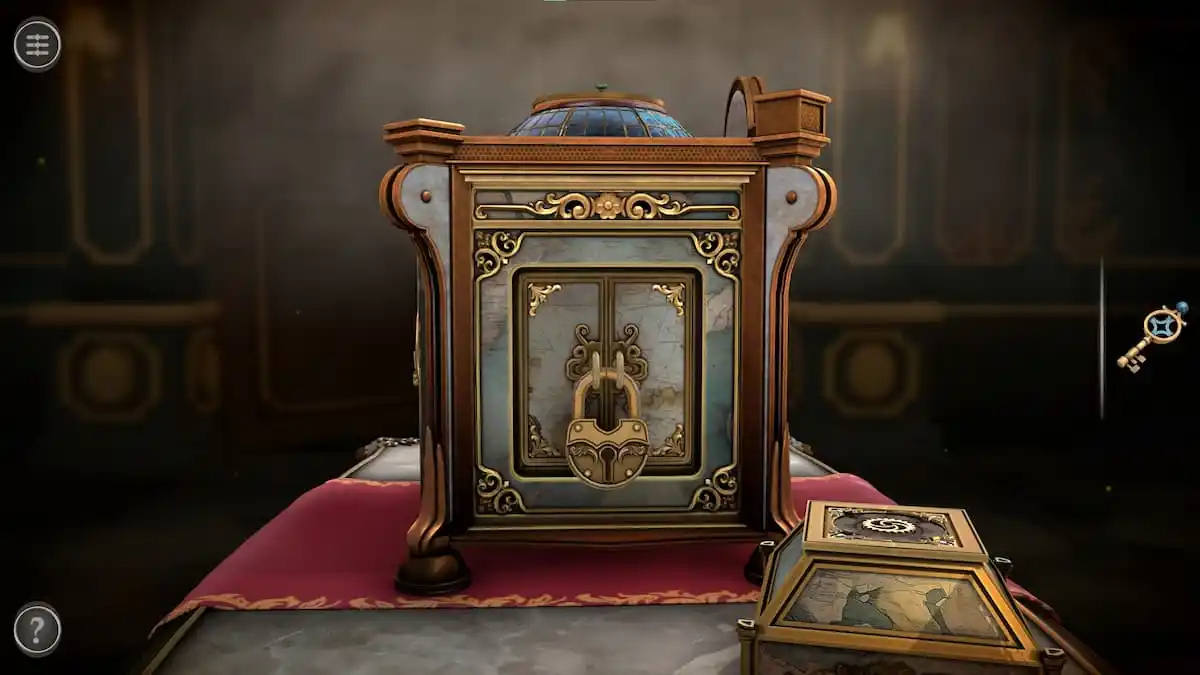
Key lock puzzle
With the key in your inventory, head to the left side of the big box.
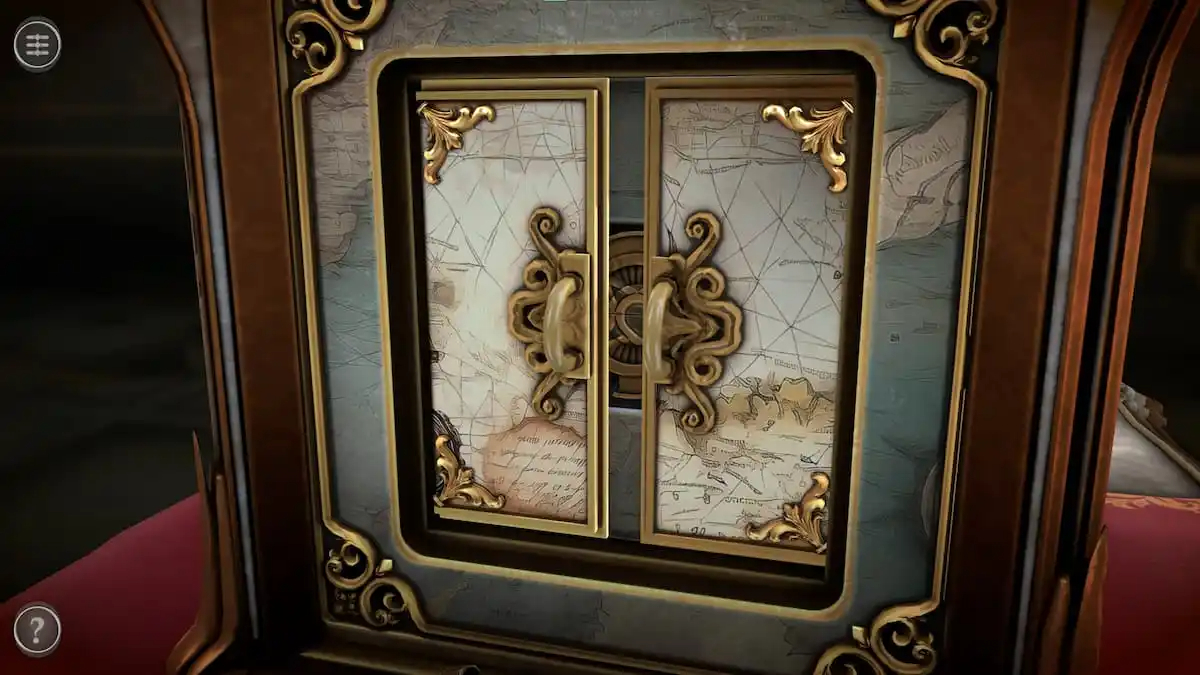
Inserting and rotating the key will remove the lock.
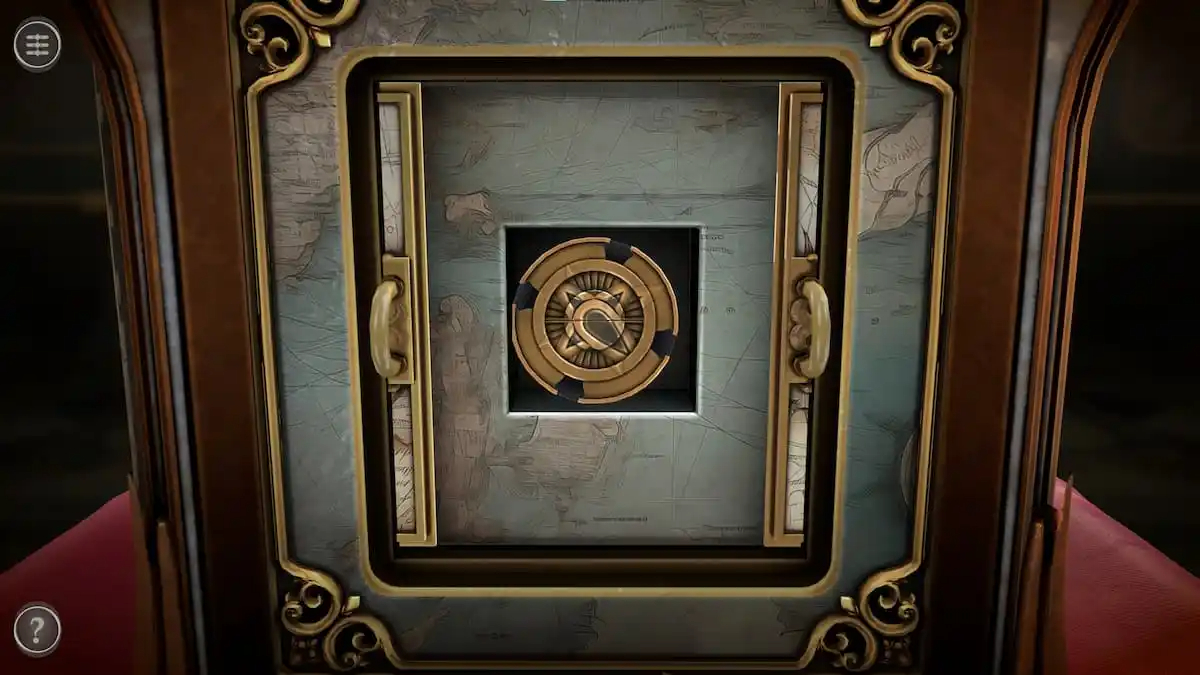
Open the doors to get a Mechanical Disk.
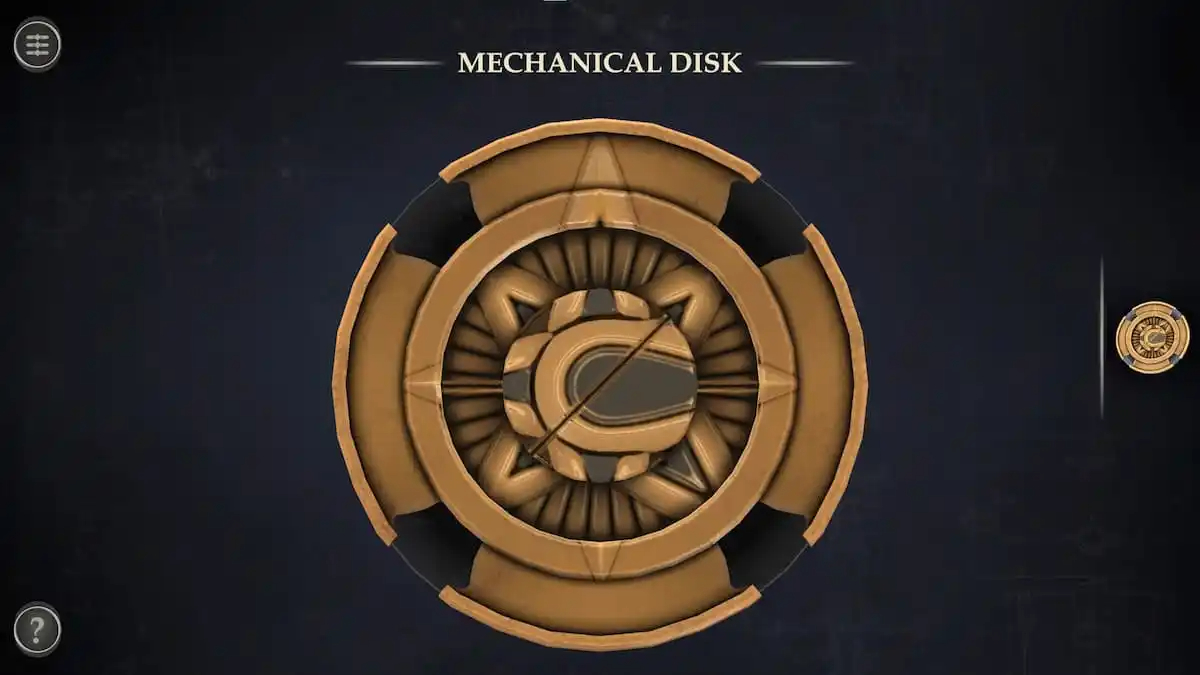
Mechanical Disk puzzle
Open the Mechanical Disk in your inventory.
Tap each section to rotate them until they look like the image below.
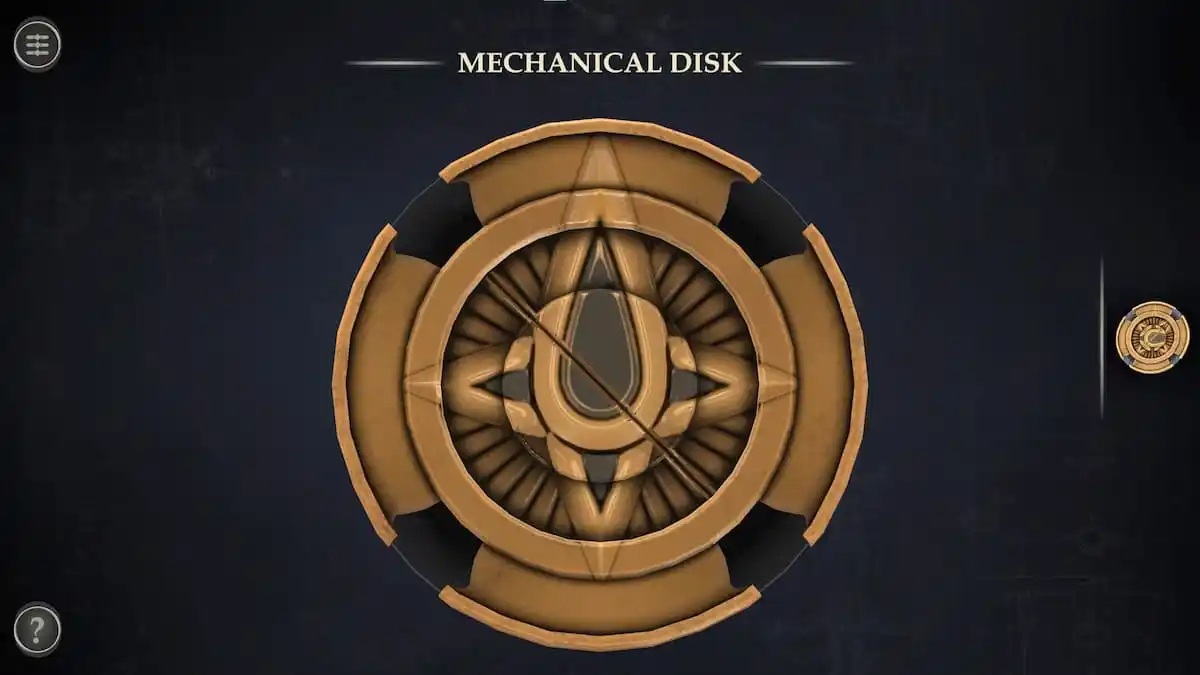
MECHANICAL DISK PUZZLE IS NOW COMPLETE
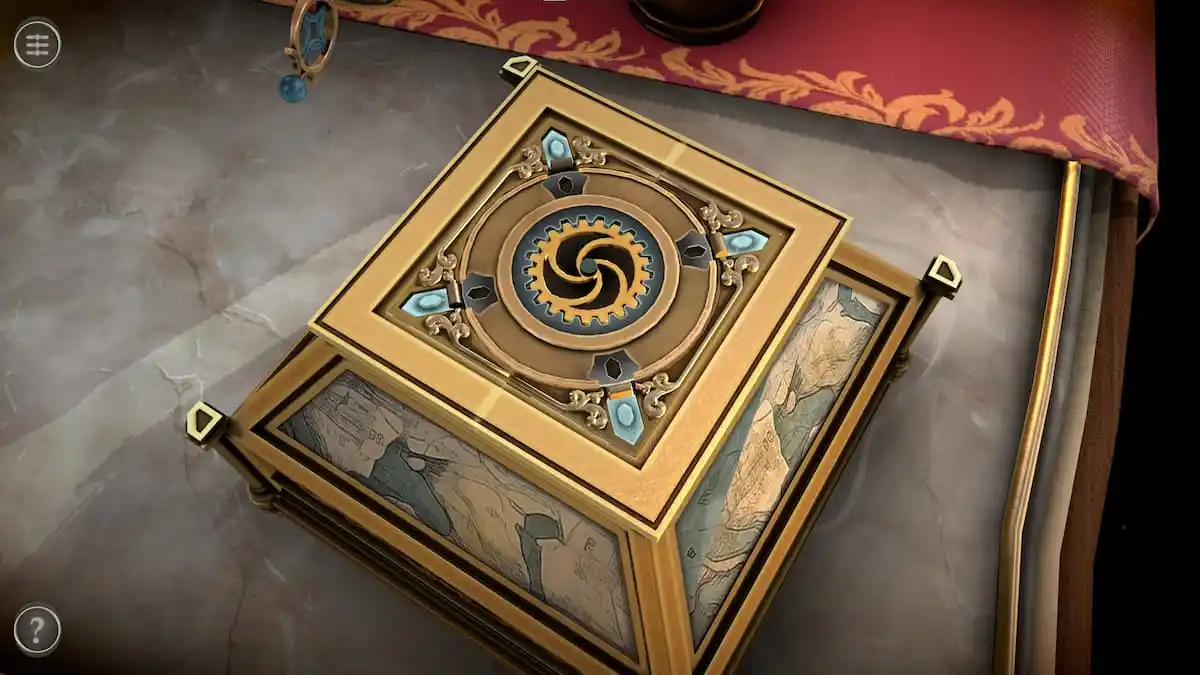
Small metal box puzzle
Focus on the top of the smaller metal box on the table’s left side.
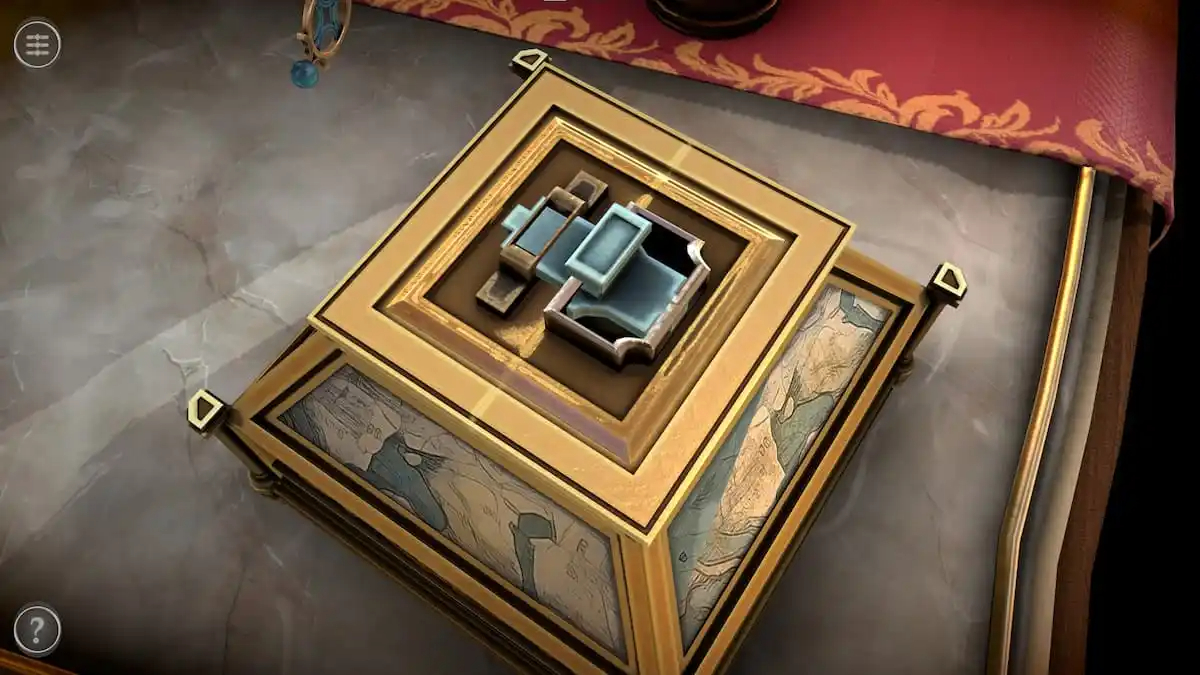
This will flip the top, unlocking a gray handle.
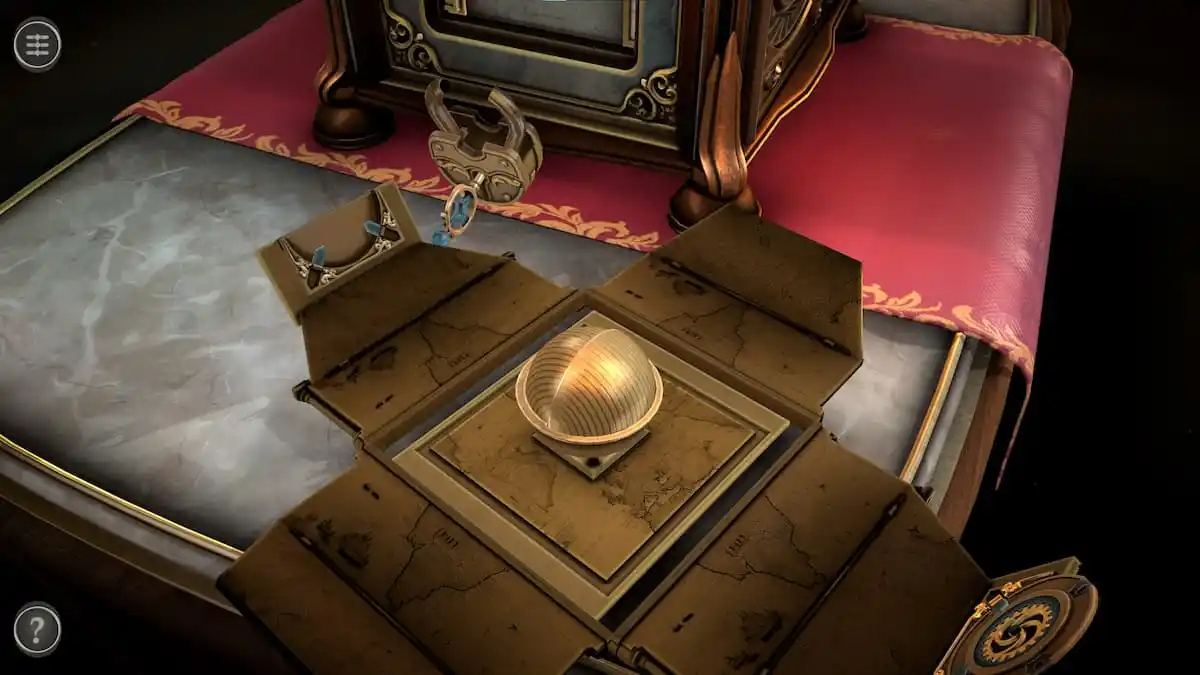
Pull the grey handle to the front to open the box, which contains a Sphere. Tap it to place it in your inventory.
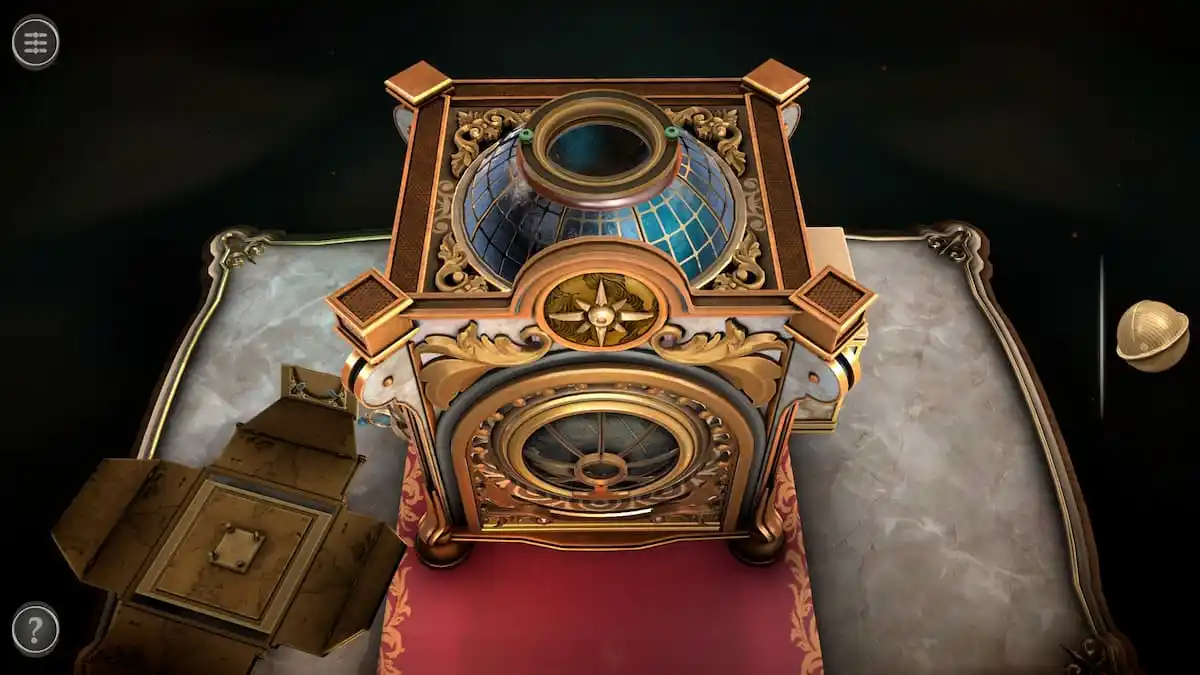
Top of the box
At the top of the box is a spherical hole surrounded by a gold rim with two green sliders.
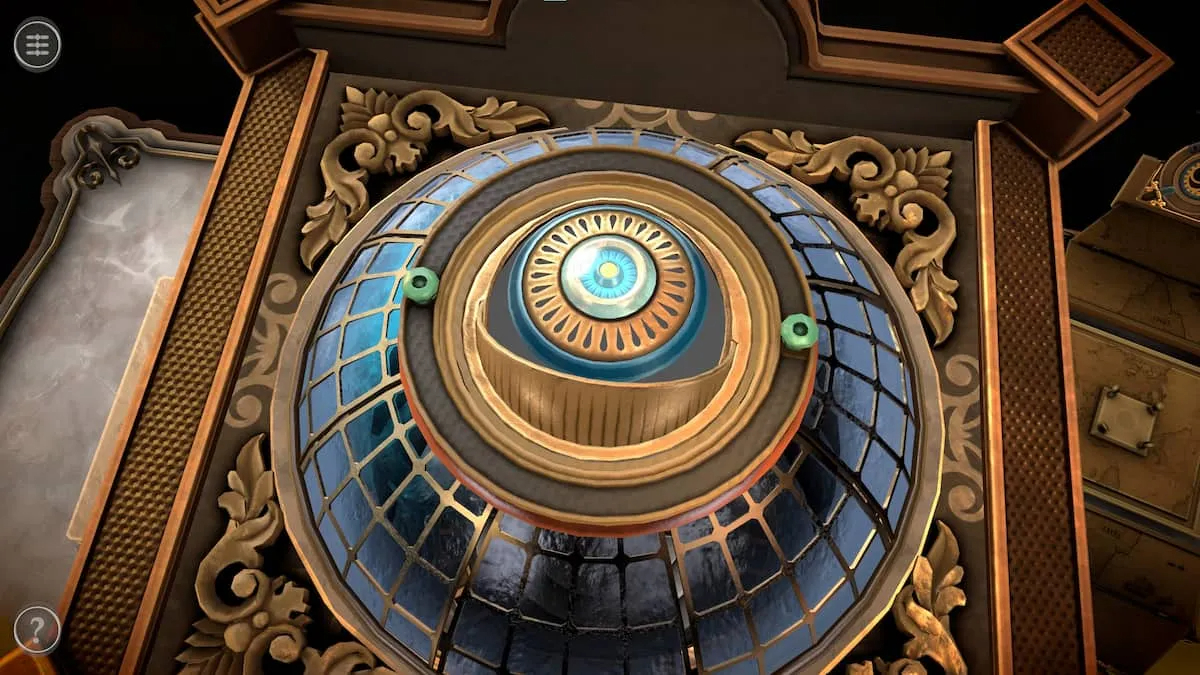
Place the Sphere into the center
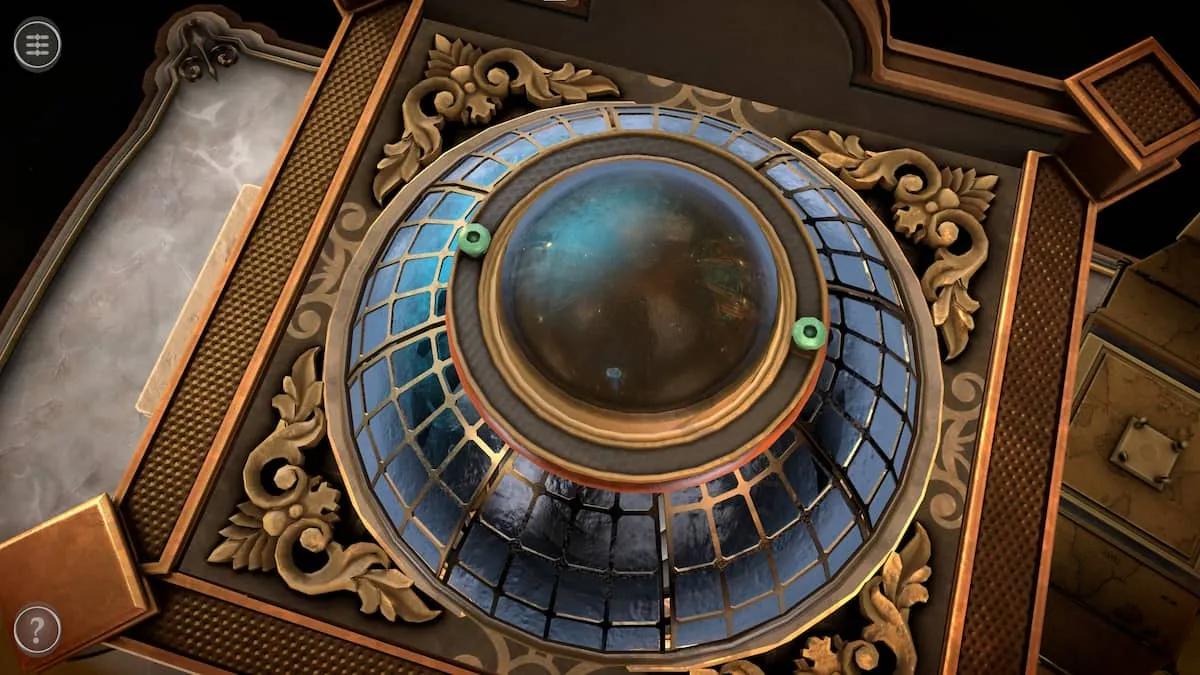
Rotate the eye so that it faces the inside of the box.
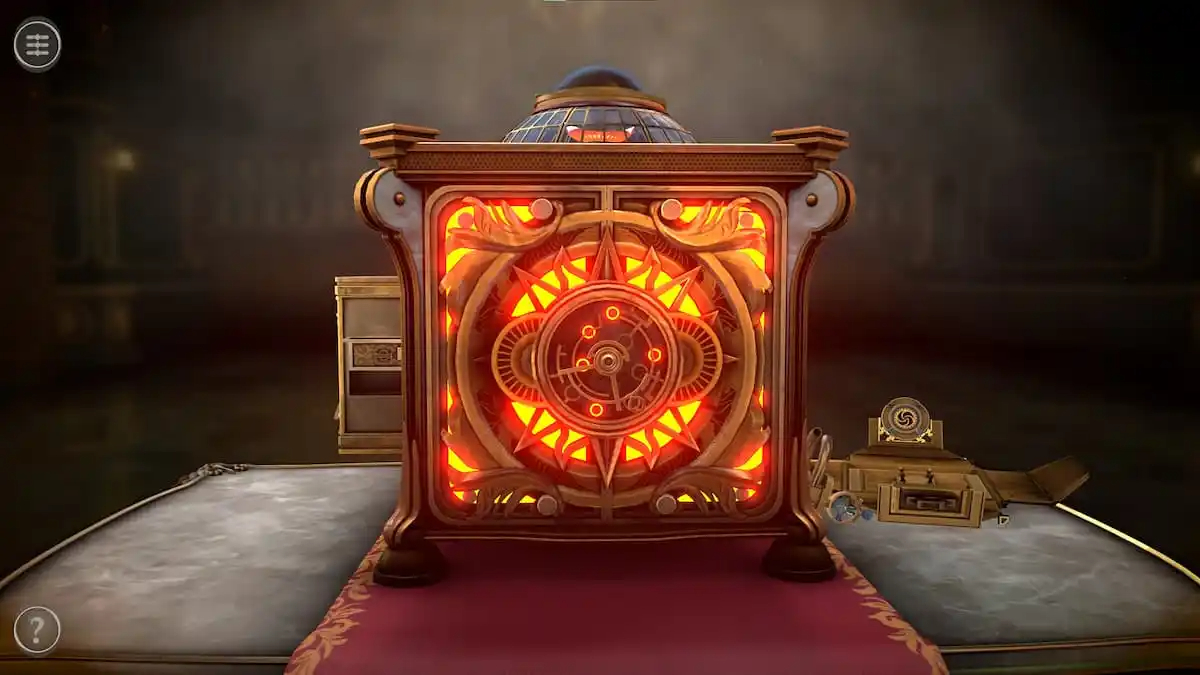
Clockface puzzle
With the eye rotated inwards, look at the back of the clock.
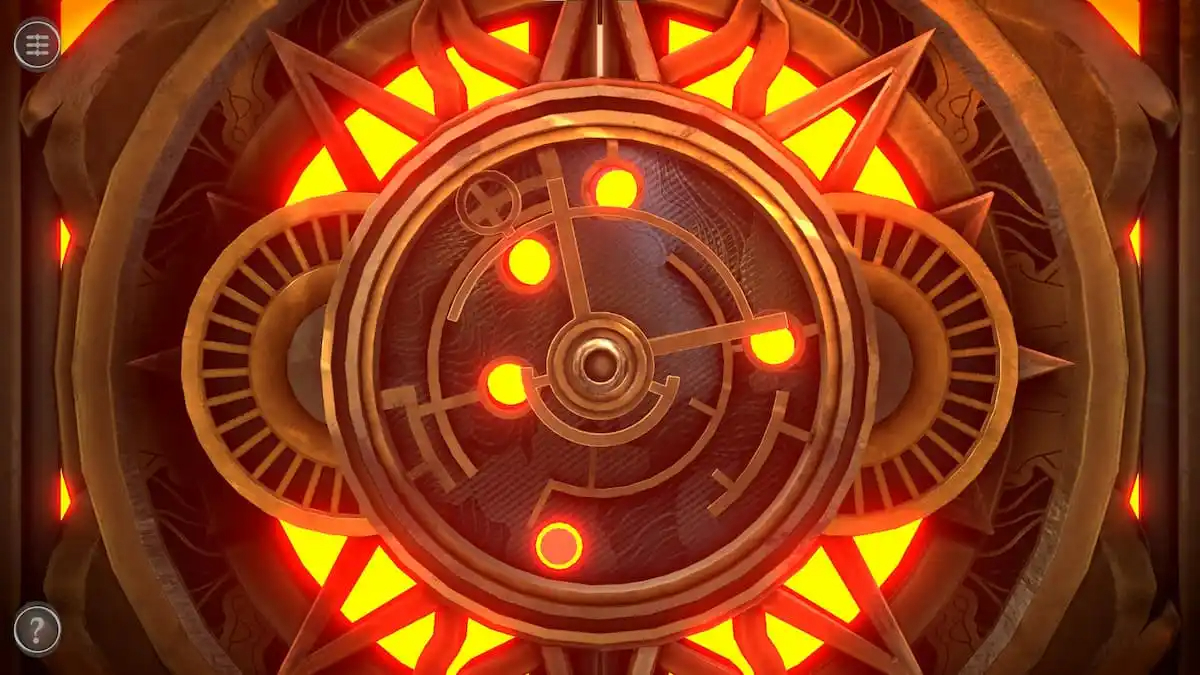
Rotate the left dial until its four circles cover the red glowing circles on the clock. You’ll know it’s correct when the red circles glow yellow on the inside.
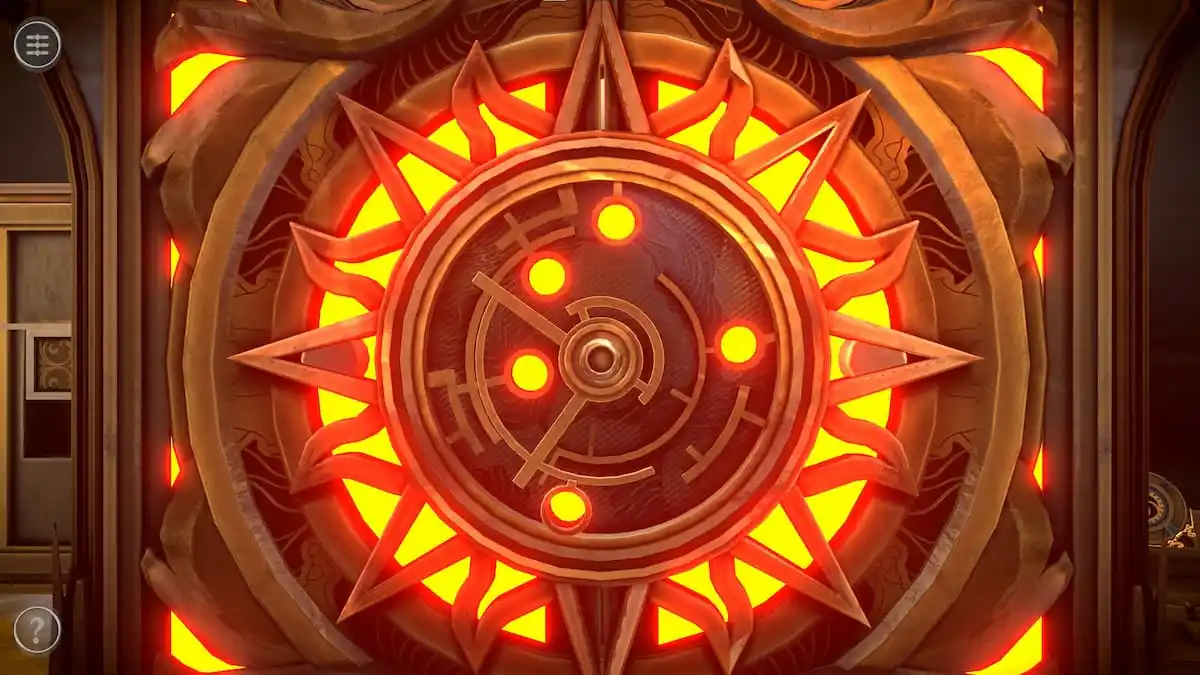
Rotate the right dial so that its circle covers the final red circle at the bottom.
This will open the clockface, revealing a small door in the center.
Door puzzle
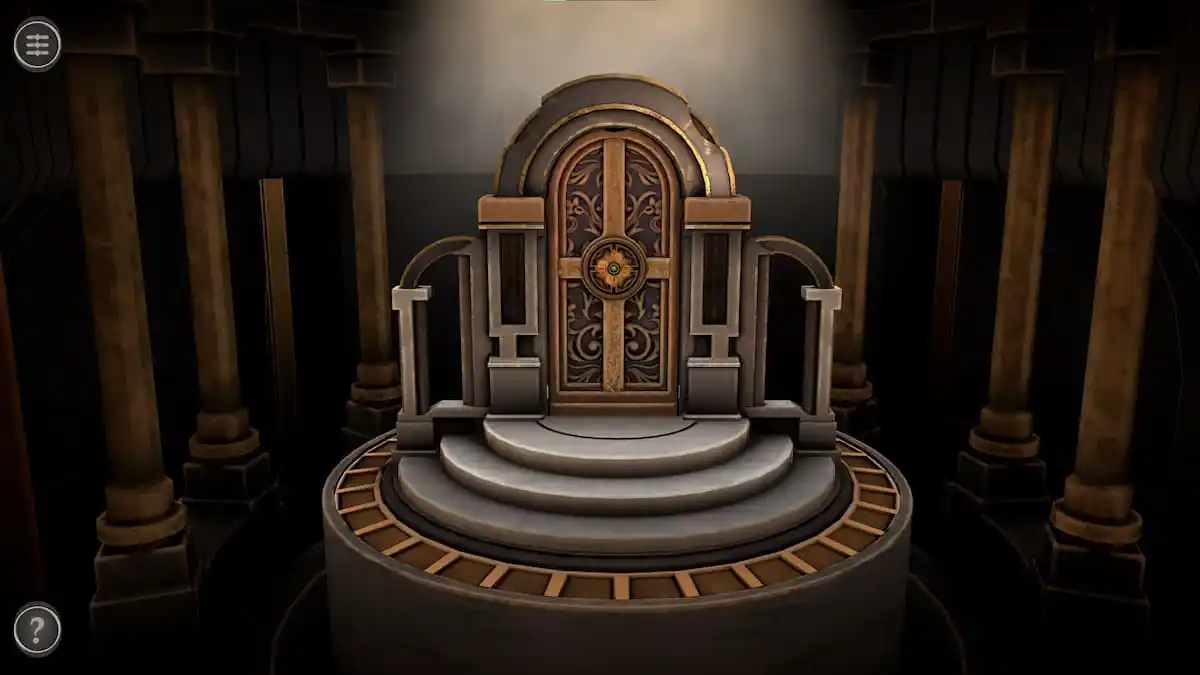
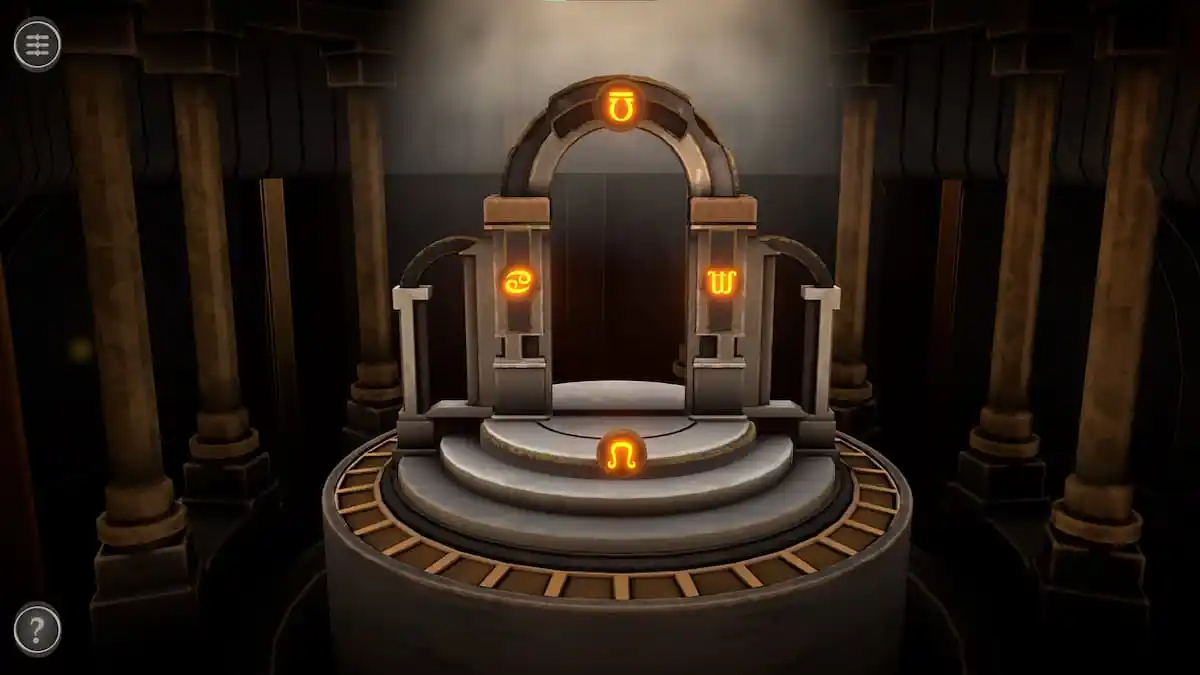
Before starting on the puzzle, rotate the platform the door is on. The symbols on the back of the door show where the symbols on the front should be.
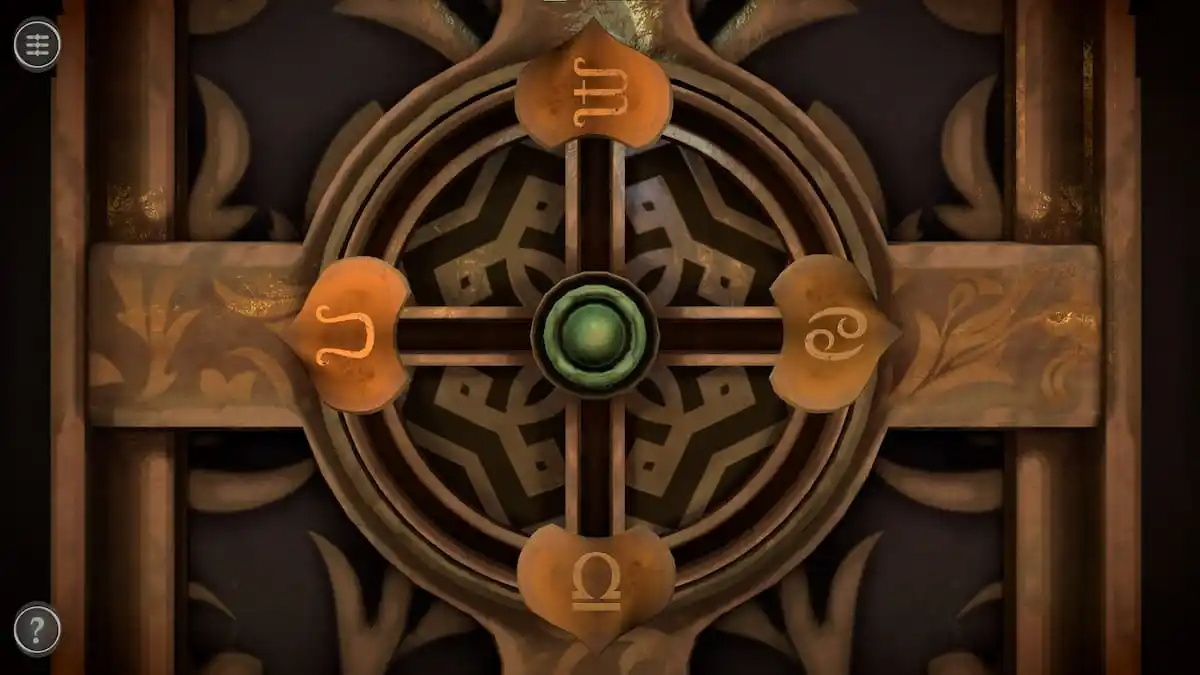
On the front door, push all of the sliders towards the outside. Pressing the green button will rotate each one clockwise one space.
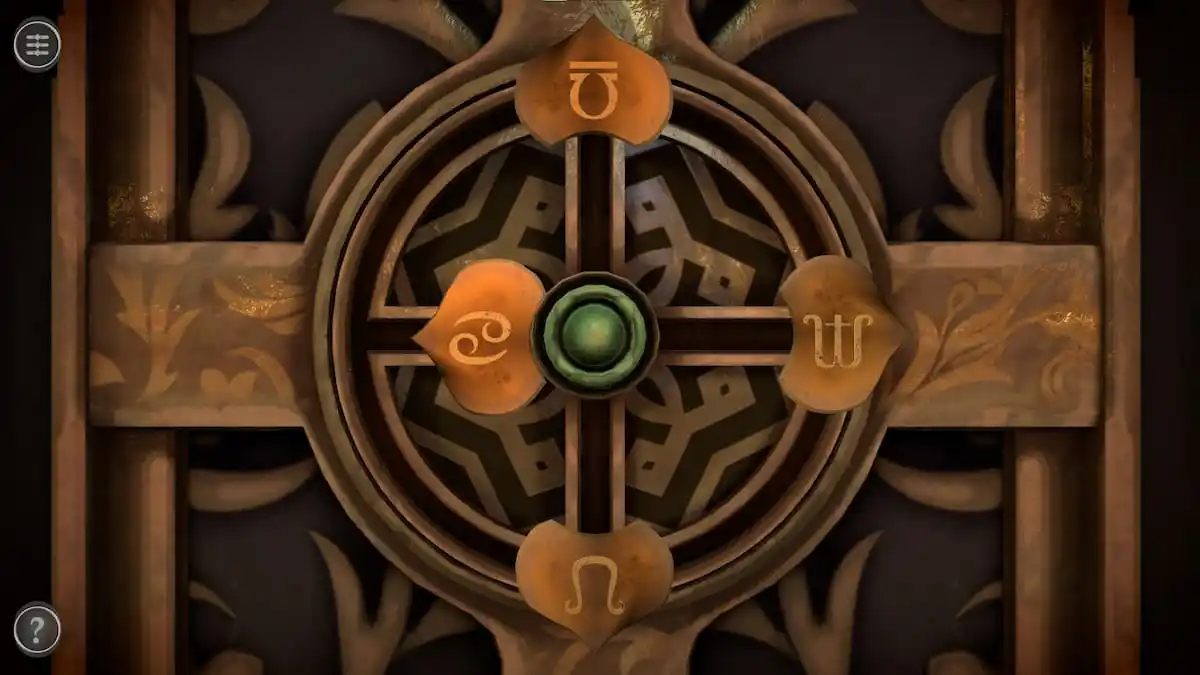
When a slider is in the correct place, slide it inside to lock it in place.
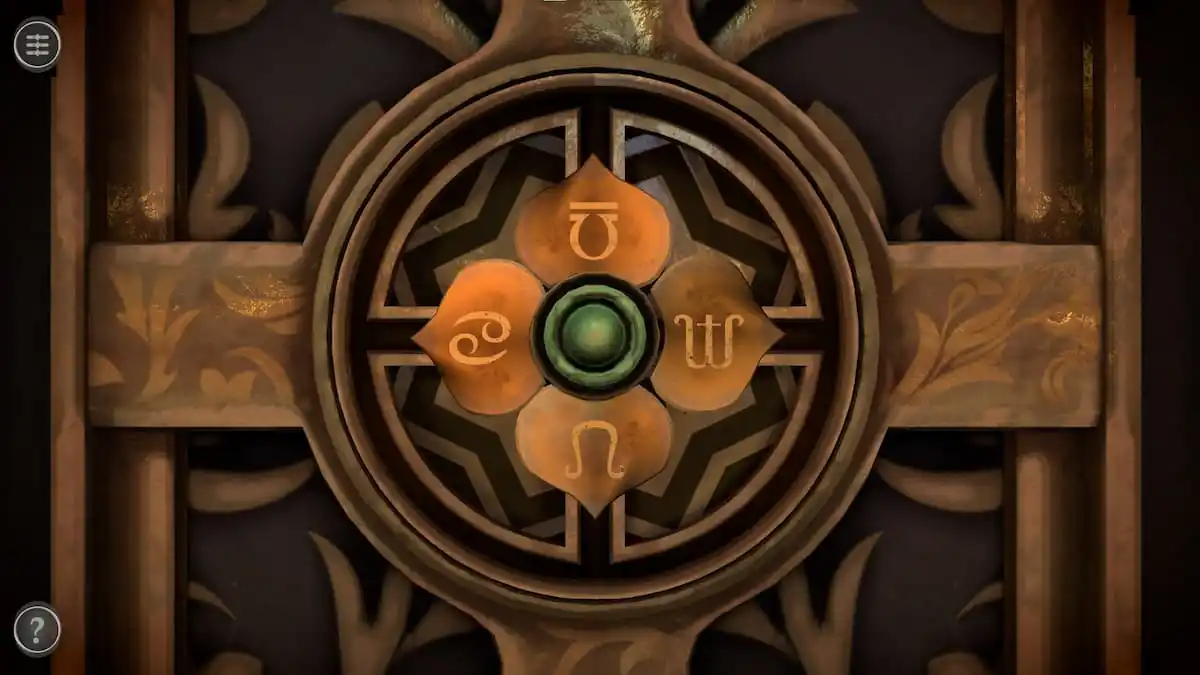
When the sliders are in the same places designated on the back, push them all in place to complete the puzzle.
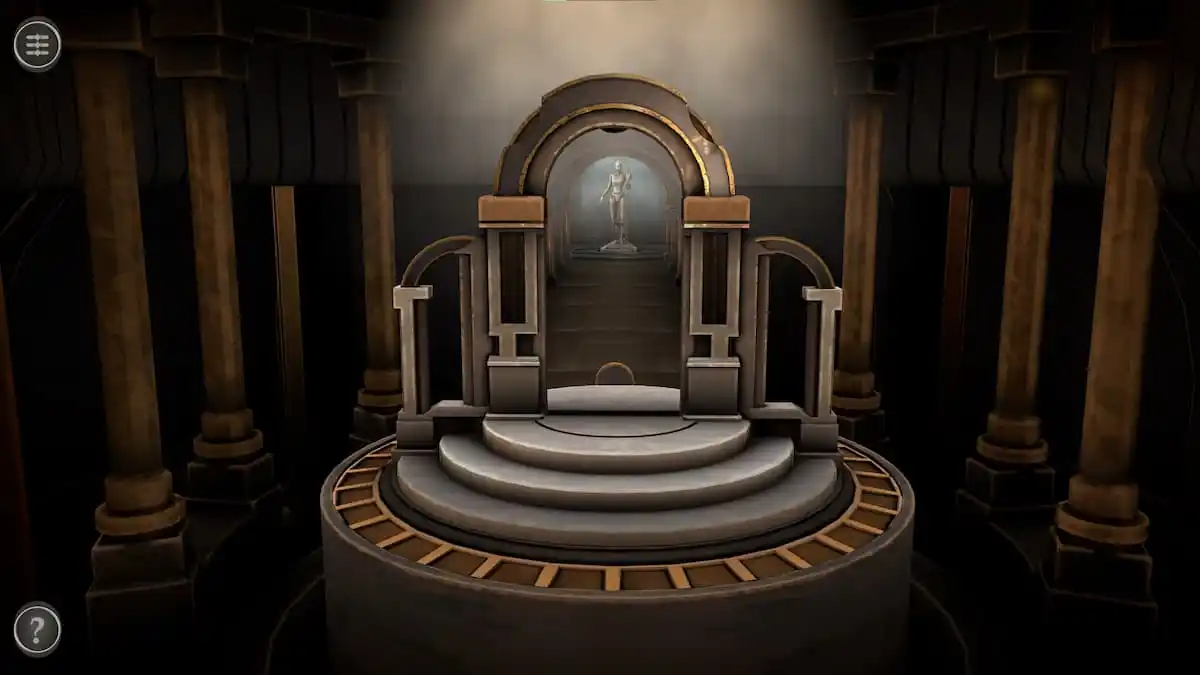
Completing the puzzle opens up the door, revealing a new puzzle.
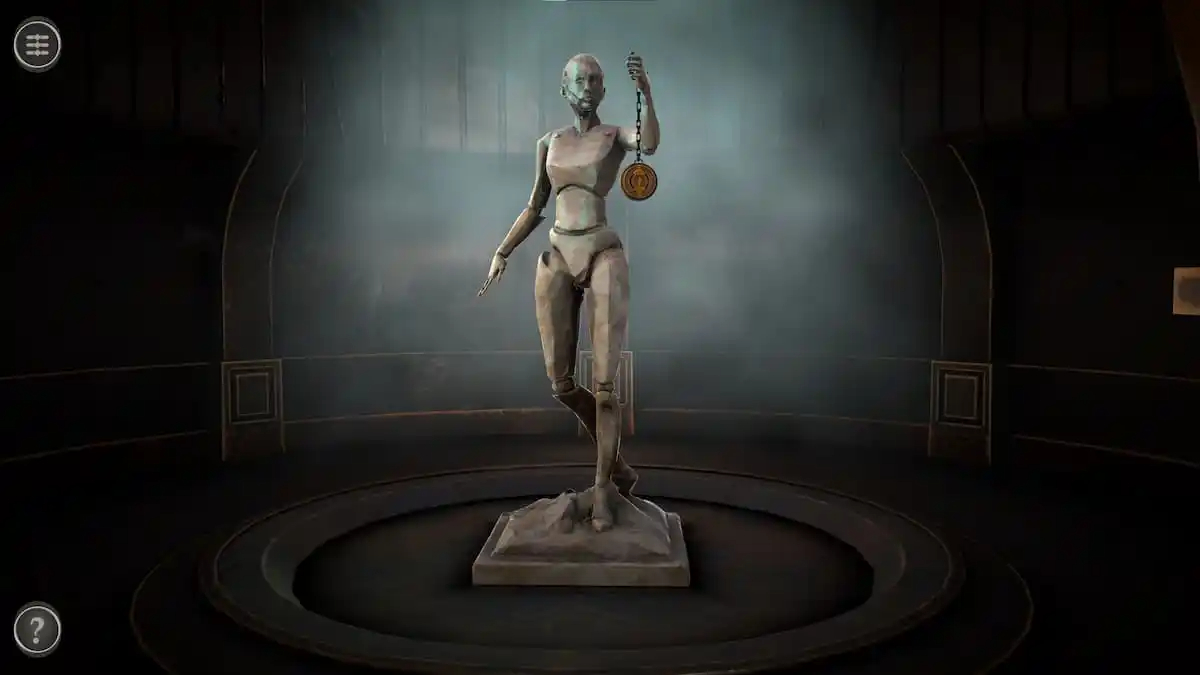
Mannequin room puzzle
Inside the magical door is a mannequin holding a locket on a chain.
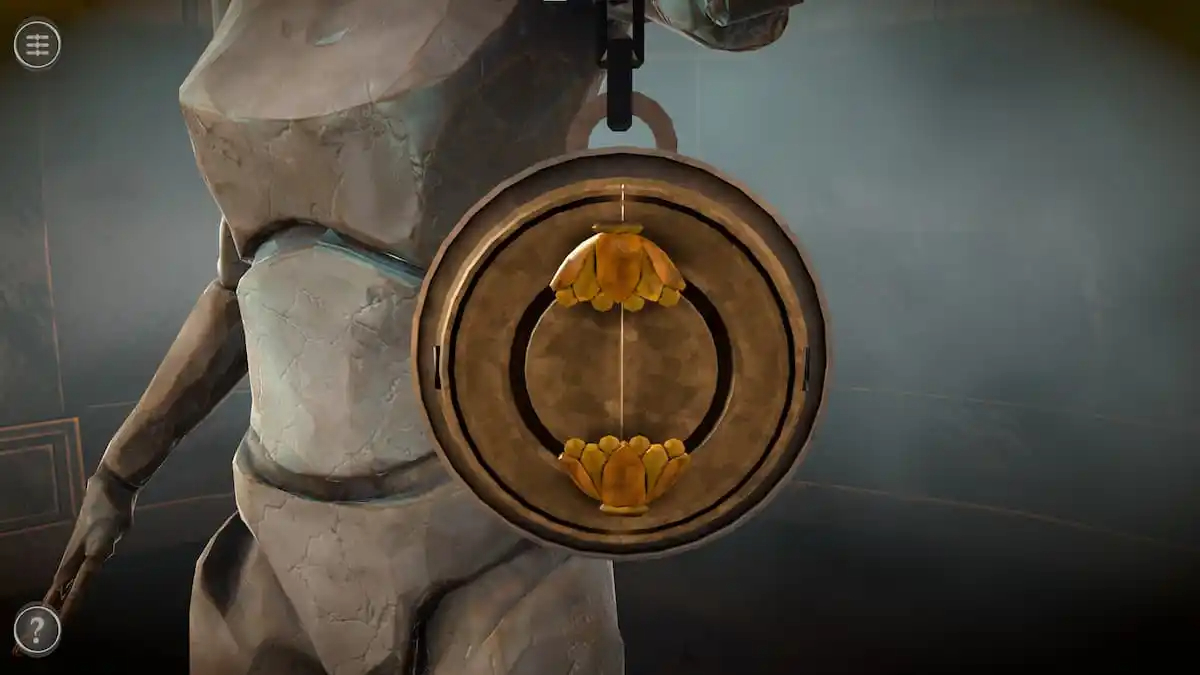
Focus on the locket to see two flower-shaped sliders.
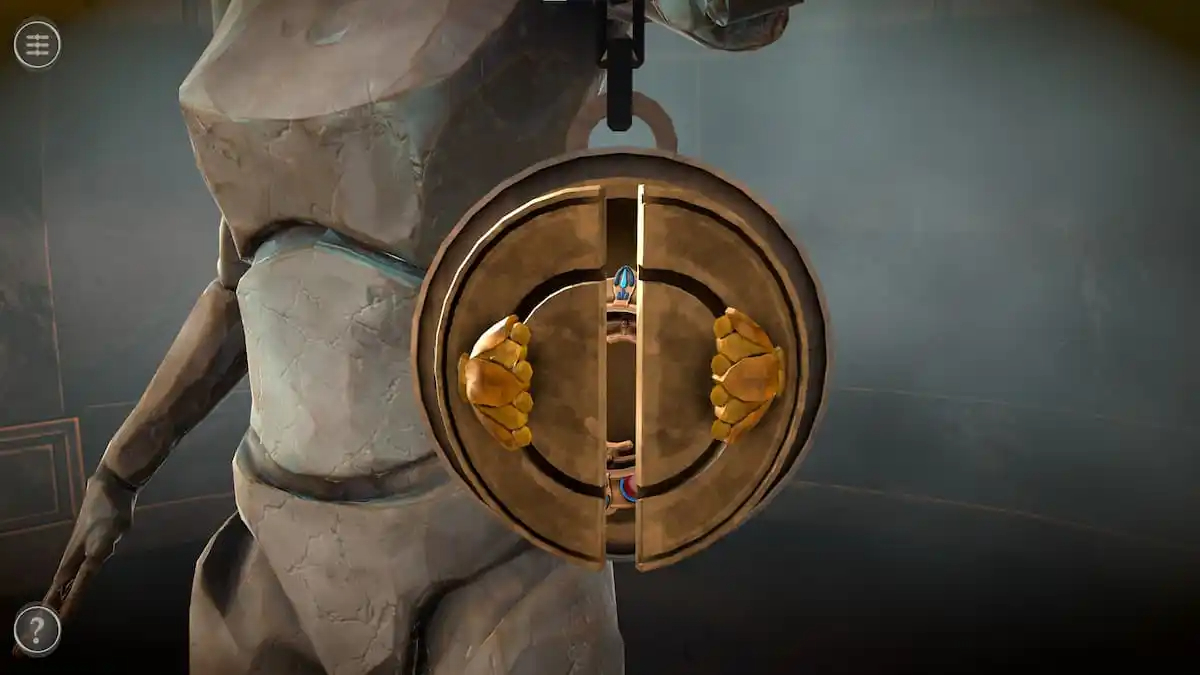
Push one slider to the left and one to the right to unlock the locket. Opening it up will give you a Strange Compass.
ZOOM OUT 2 TIMES
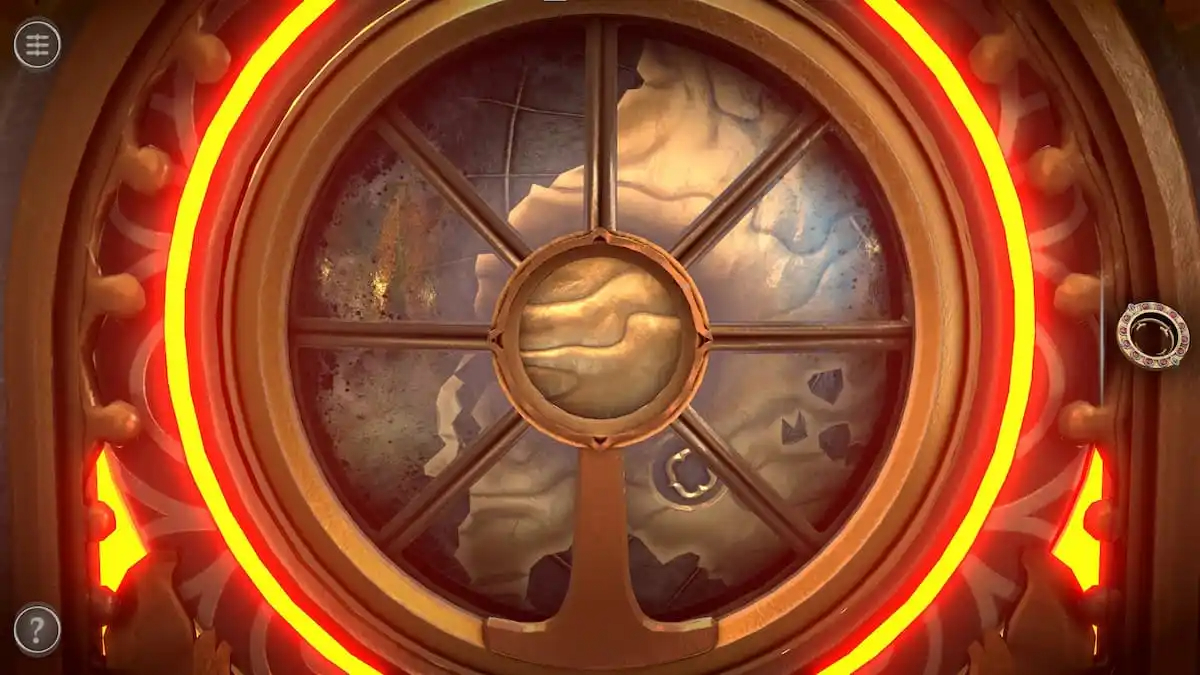
Compass puzzle
Focus on the front of the box.
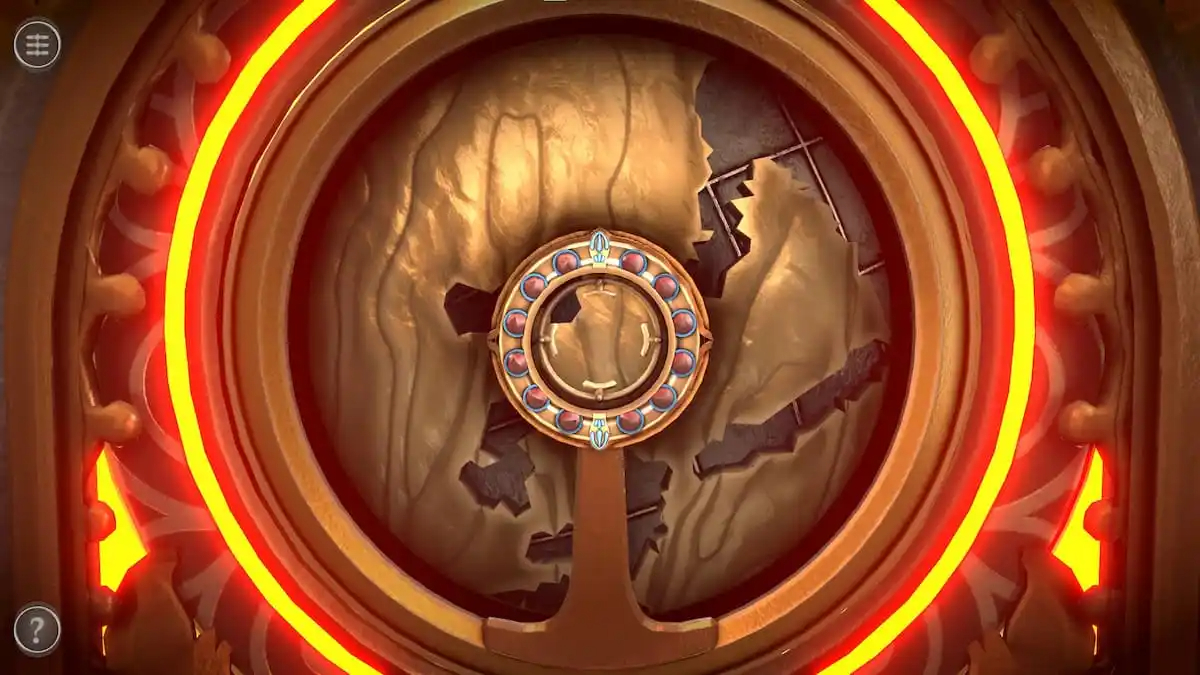
Add the Strange Compass to its center to unlock the map.
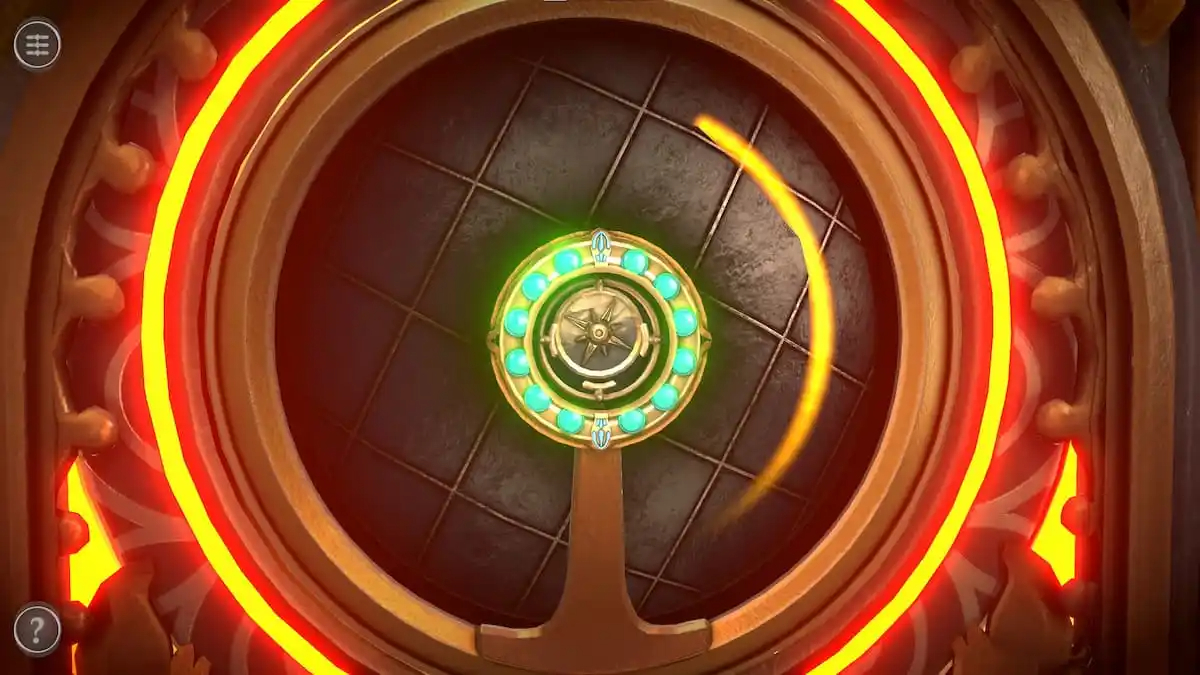
To solve the puzzle, you need to move the globe around until the compass surrounds a circular sun symbol. To help you find it, the lights on the compass will turn green as you get closer.
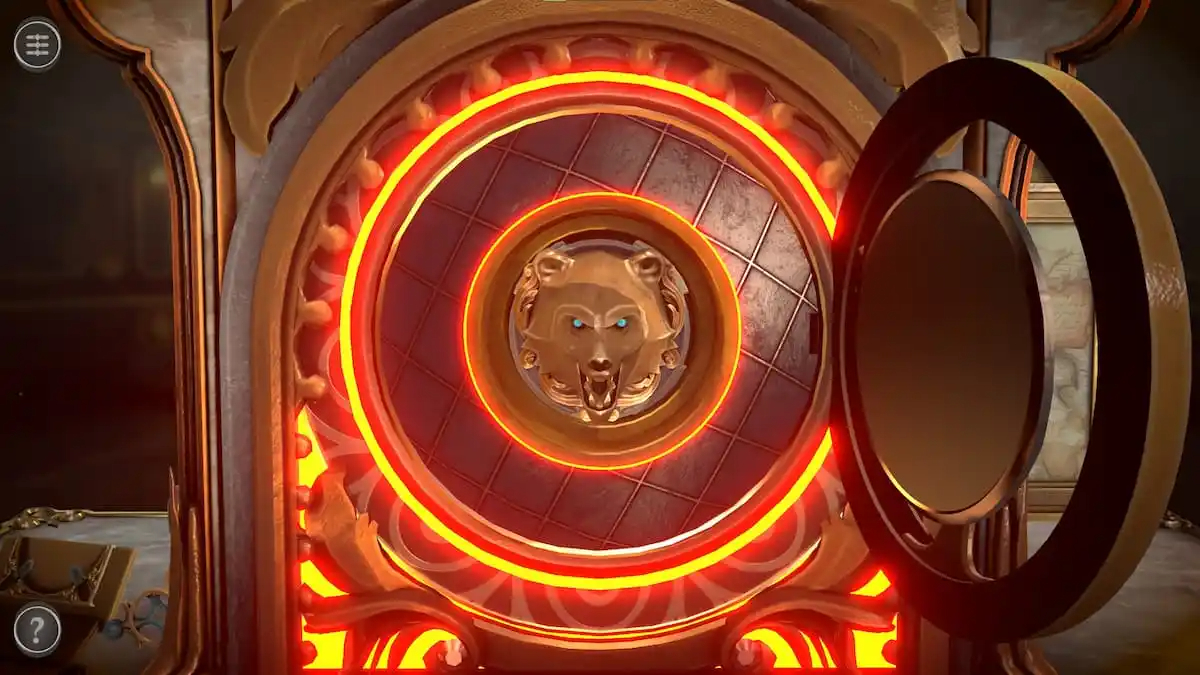
This opens the map, giving you a Strange Bear Sigil.
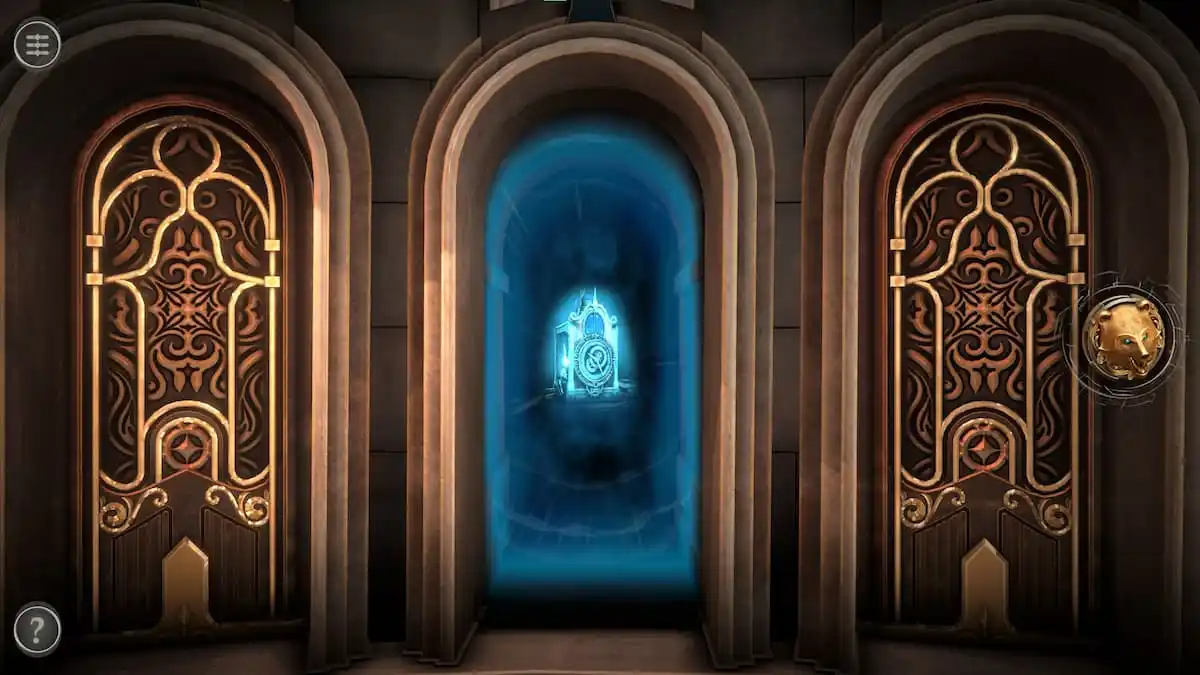
Grabbing the sigil will return you to the main room. The first door will close, but the second will open.
THE FIRST PUZZLE BOX IS NOW COMLETE AND FINISH PLUS YOU JUST COLLECTED THE BEAR SIGIL. THE BEAR SIGIL WILL BE NEEDED AFTER YOU SOLVED AND COMPLETE THE FINAL PUZZLE BOX IN CHAPTER 1 OF BOXES LOST FRAGMENTS FOR THE PC.
SECOND PUZZLE BOX IN CHAPTER 1
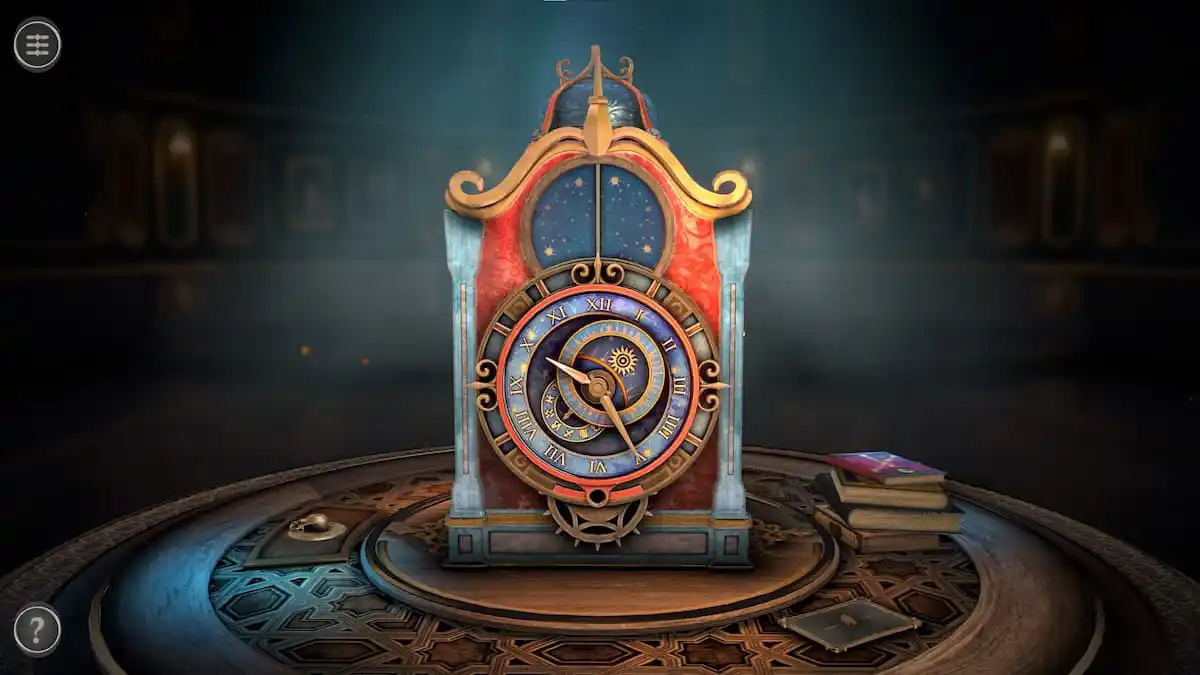
Room 2 puzzles
Box back slider puzzle
Entering the second door reveals a starry-themed clock.
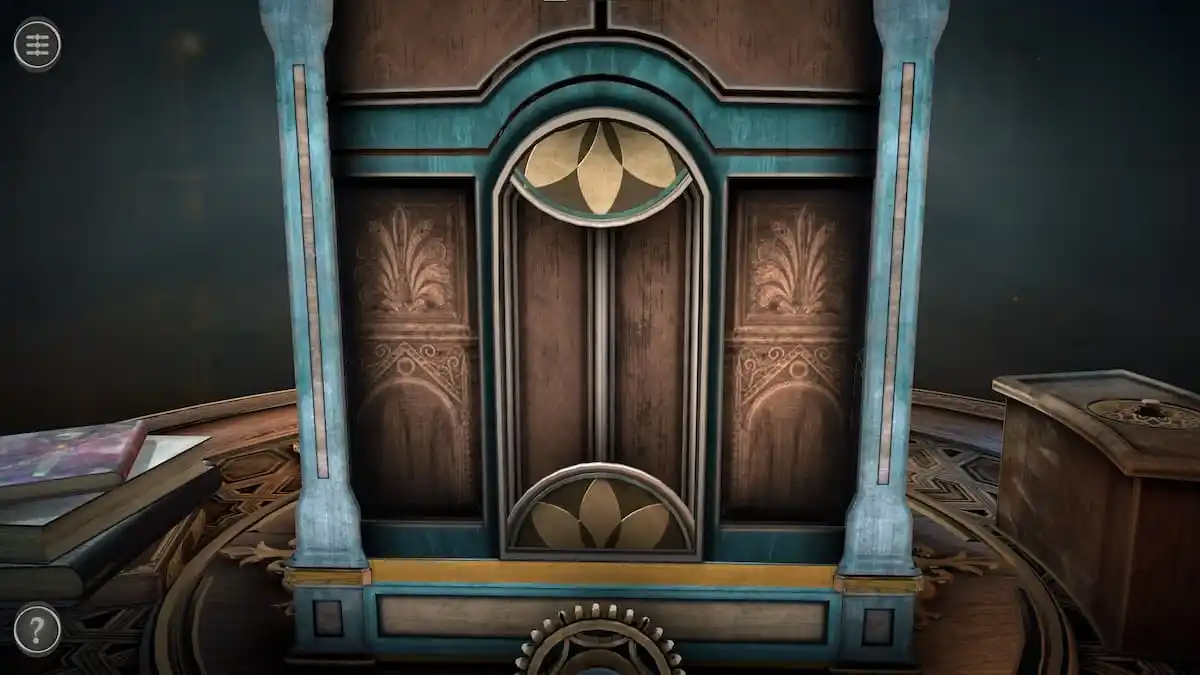
On the back of the clock is a simple rotating puzzle.
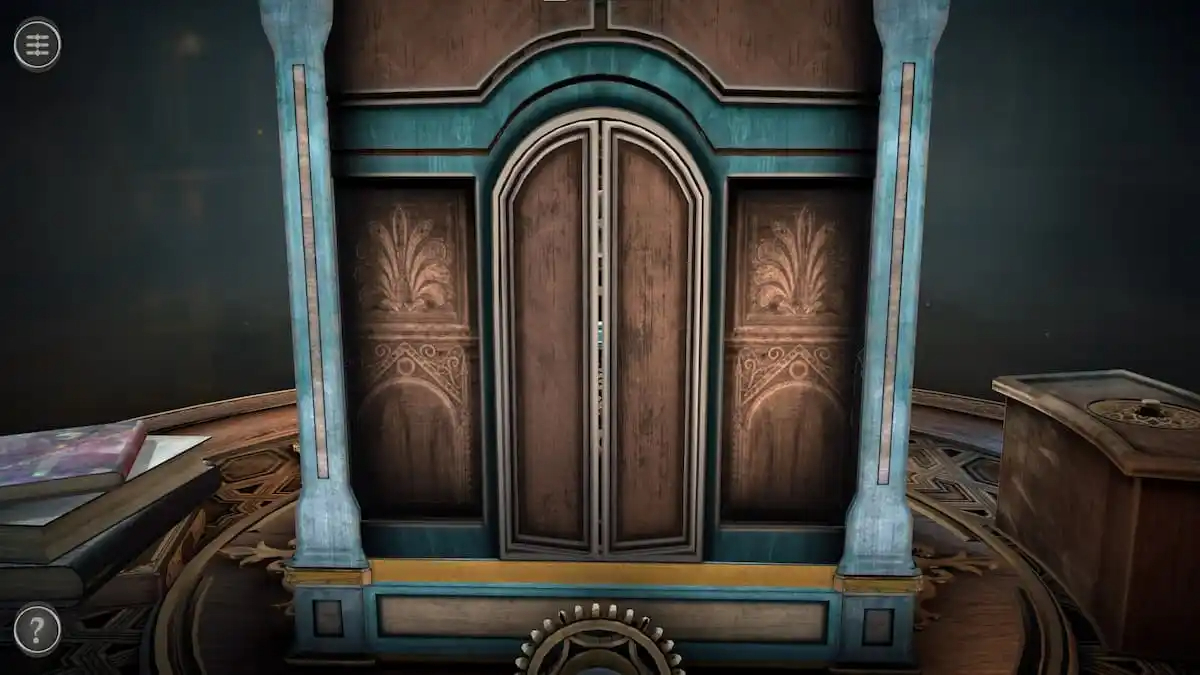
Rotate the disks at the top and bottom until they cannot be seen.
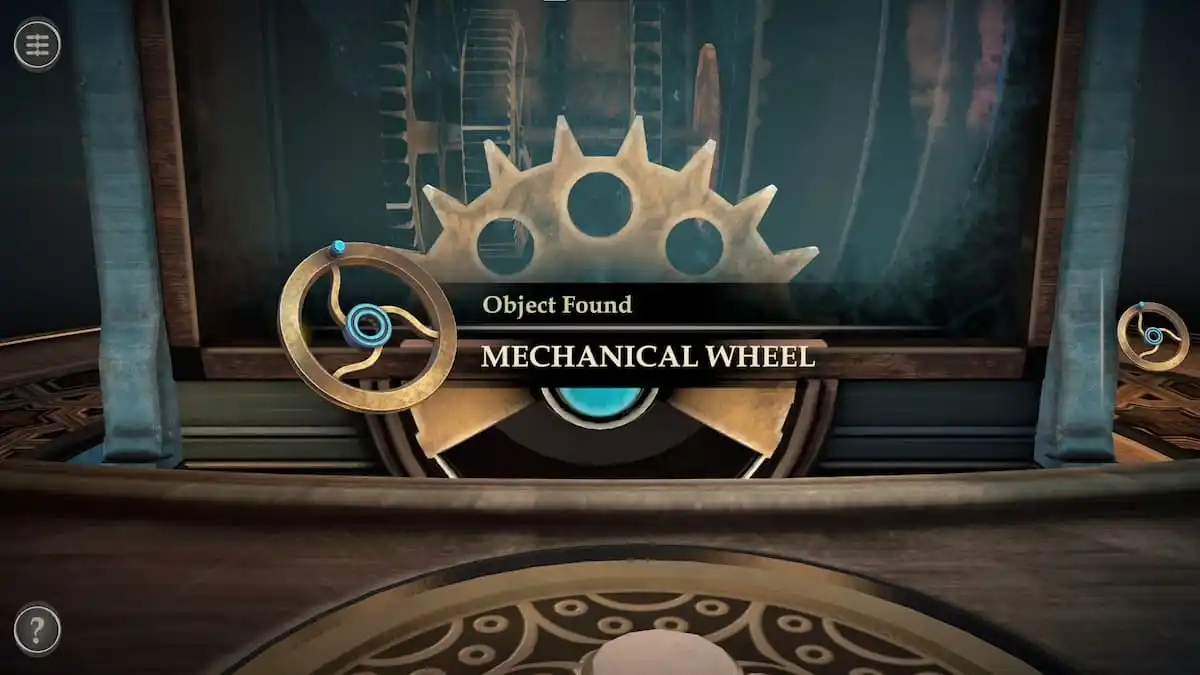
Left drawer puzzle
On the left side of the clock, stop the gear when it faces the top. This allows you to grab a Mechanical Wheel on the bottom.
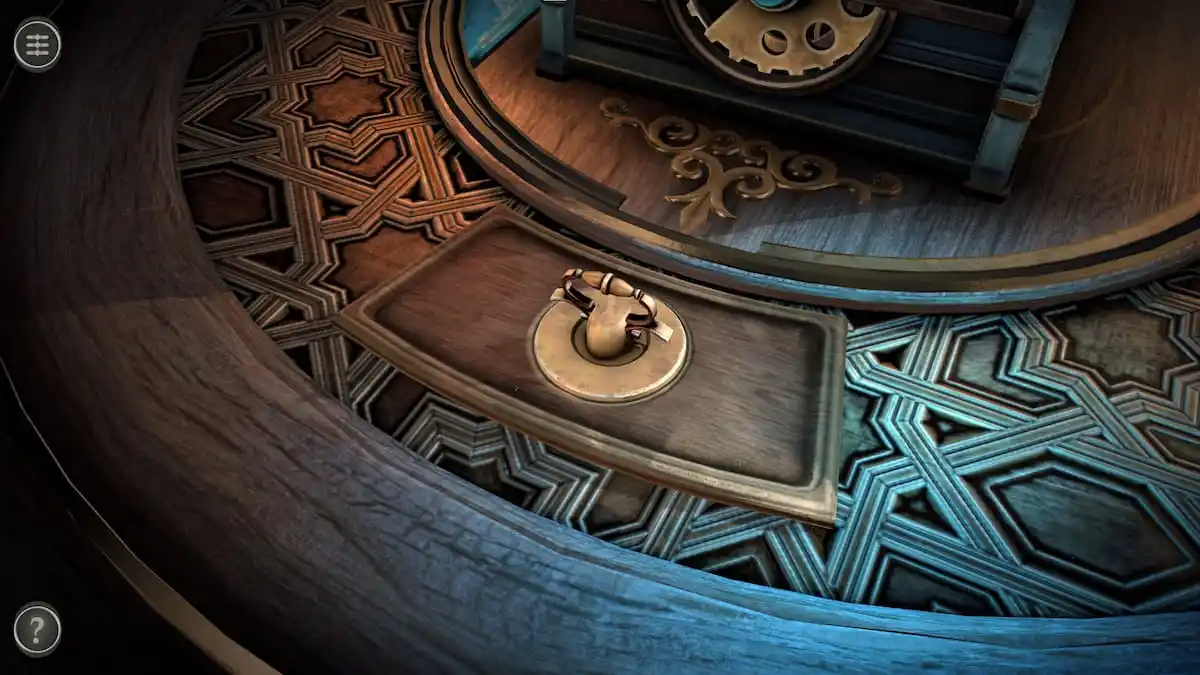
Now look at the handle to the left of the clock.
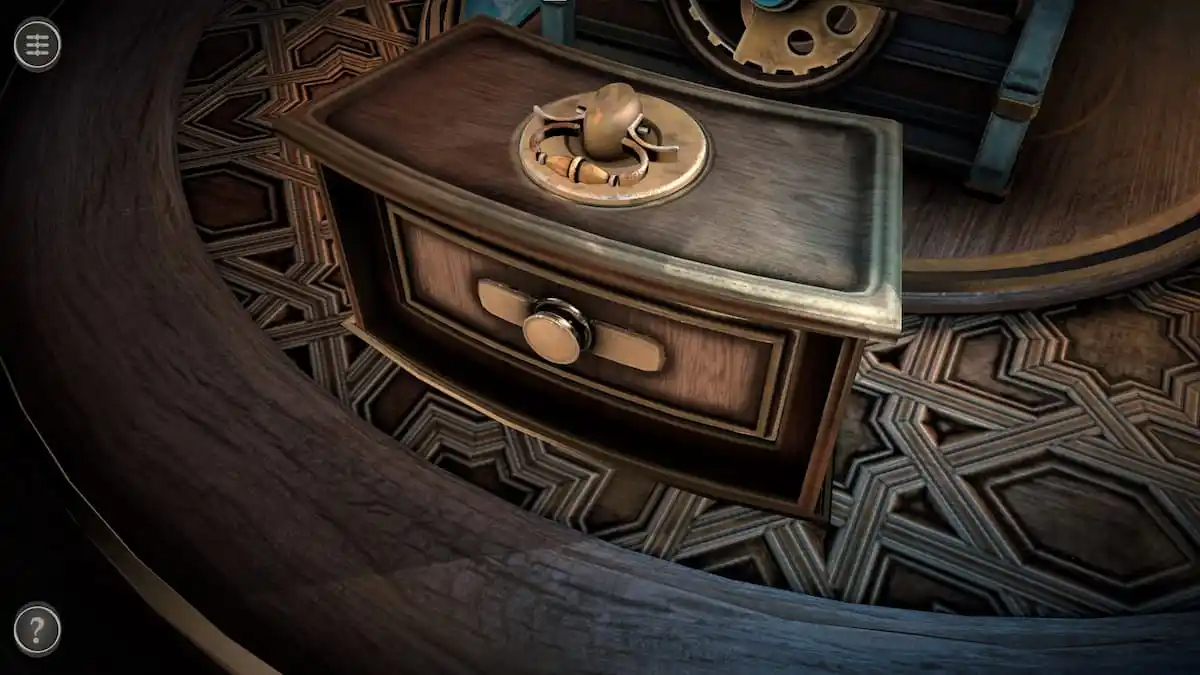
Pull up the handle to lift up the compartment, revealing a drawer.
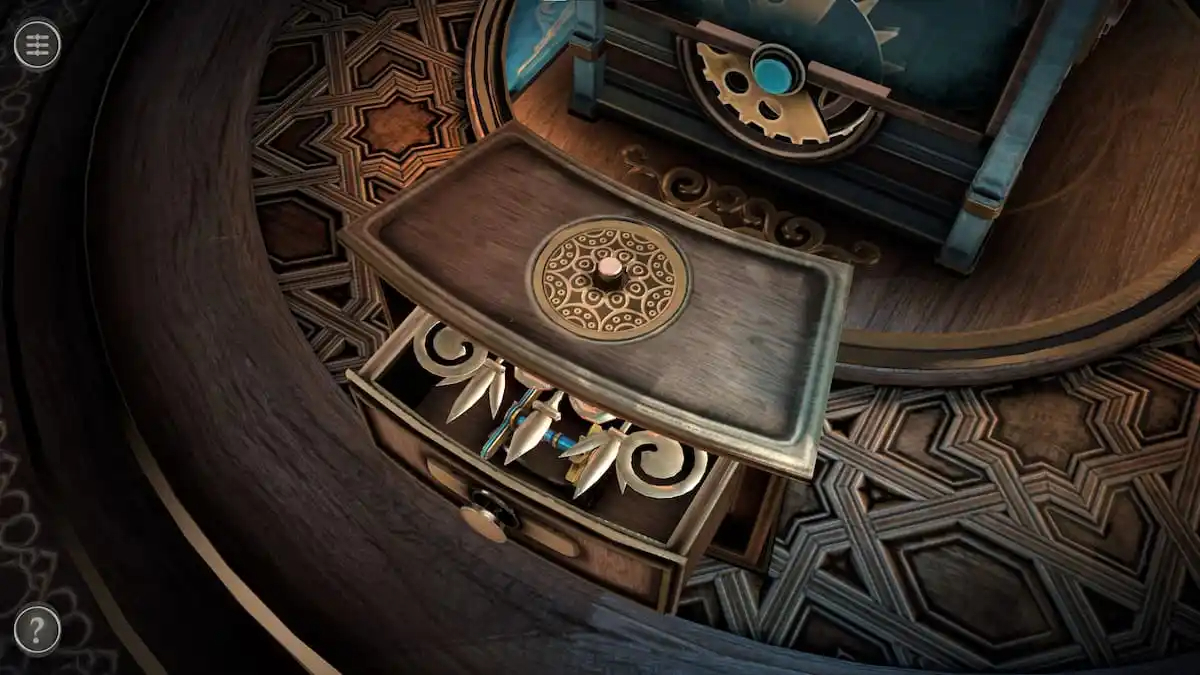
Open the drawer to reveal a strange contraption.
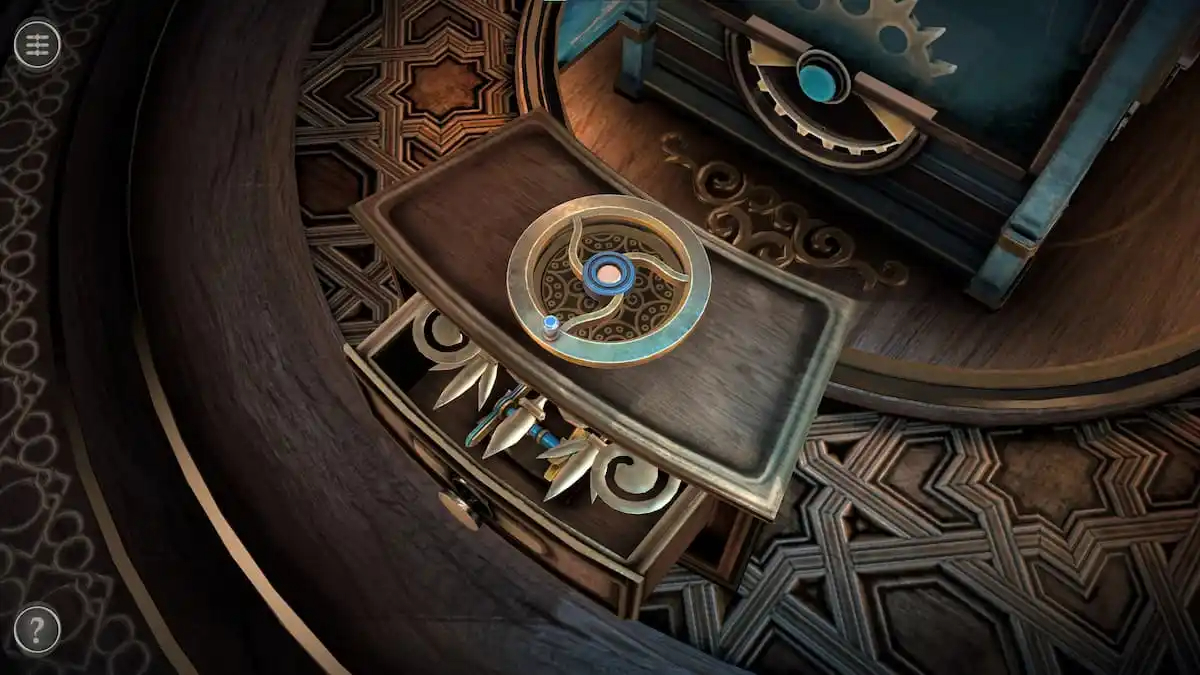
Place the Mechanical Wheel on top of the drawer.
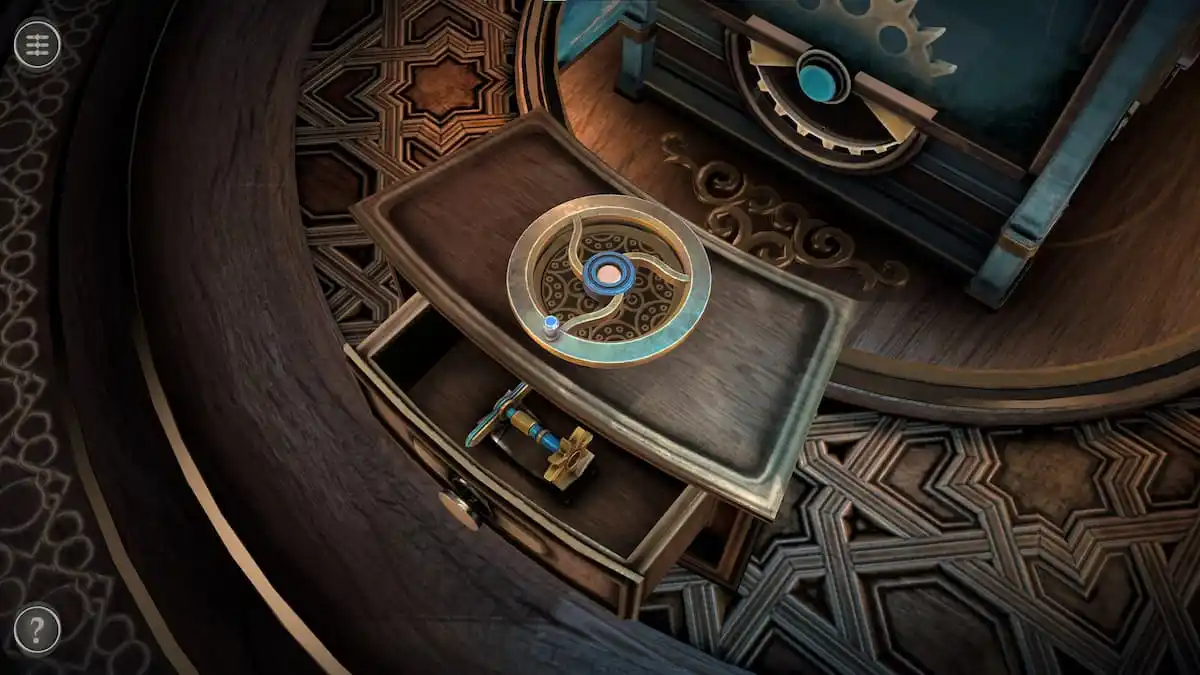
Rotate the Mechanical wheel to remove the contraption from the door, allowing you to grab a Handle.
Right box puzzle
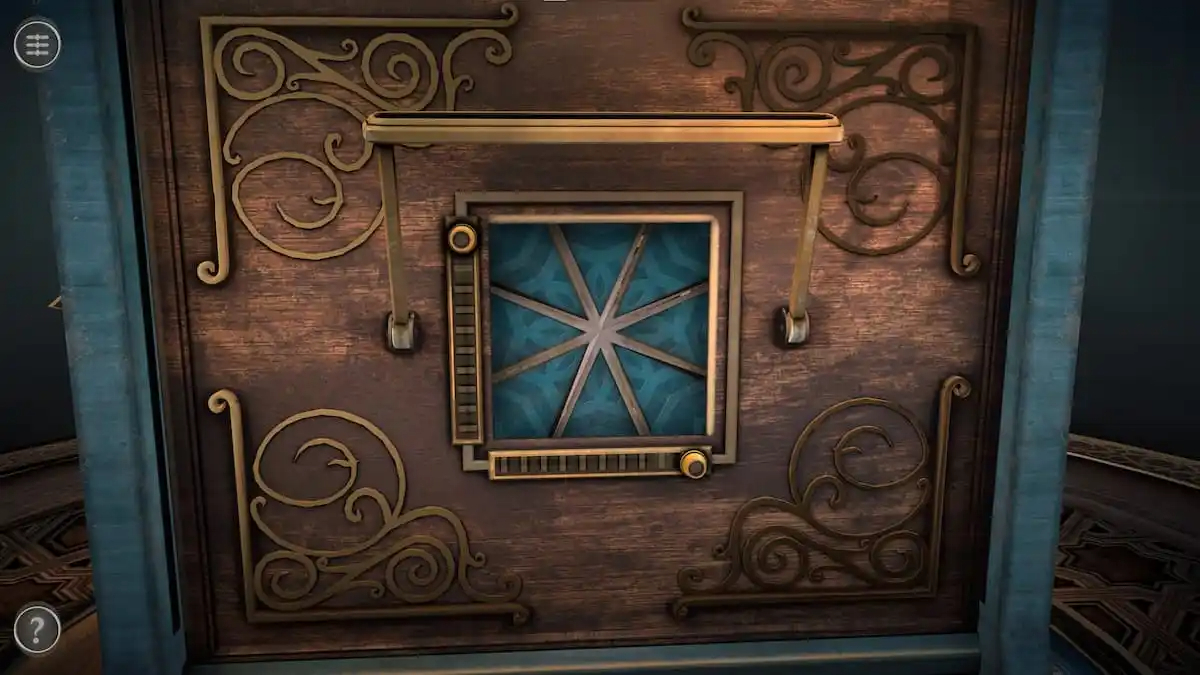
On the right side of the puzzle is a square puzzle with a handle above it and two small sliders on either side.
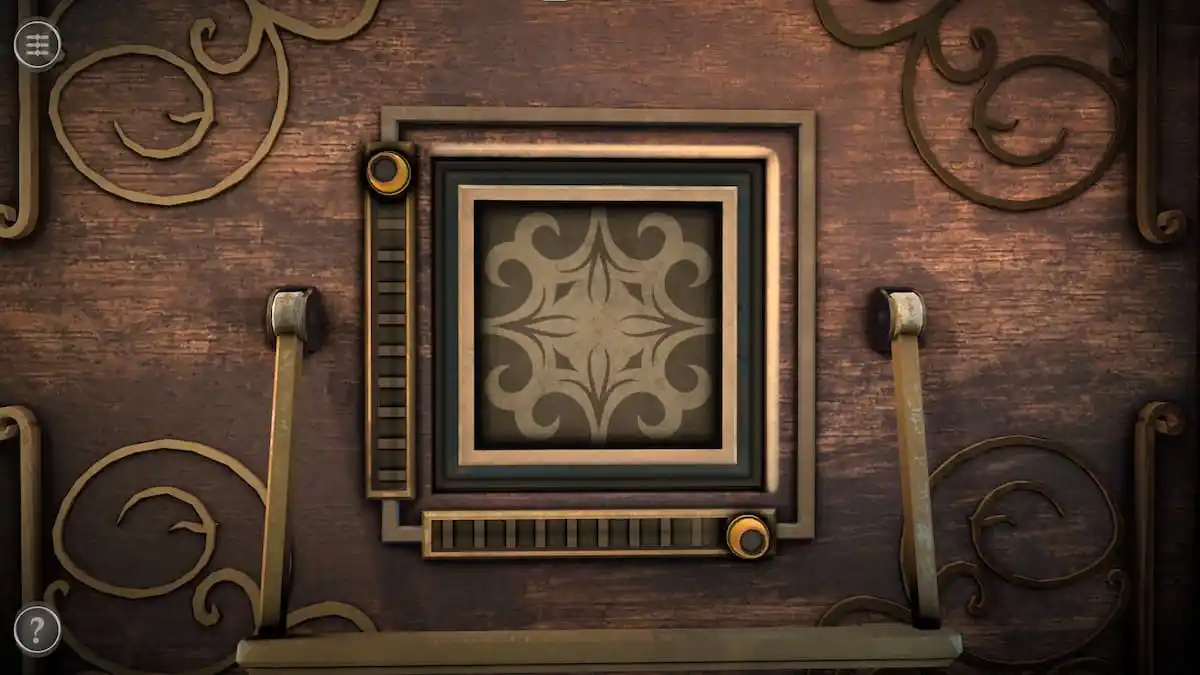
Pull the handle to open up the puzzle. Before going on, you’ll need to get two Small Handles to make the sliders functional.
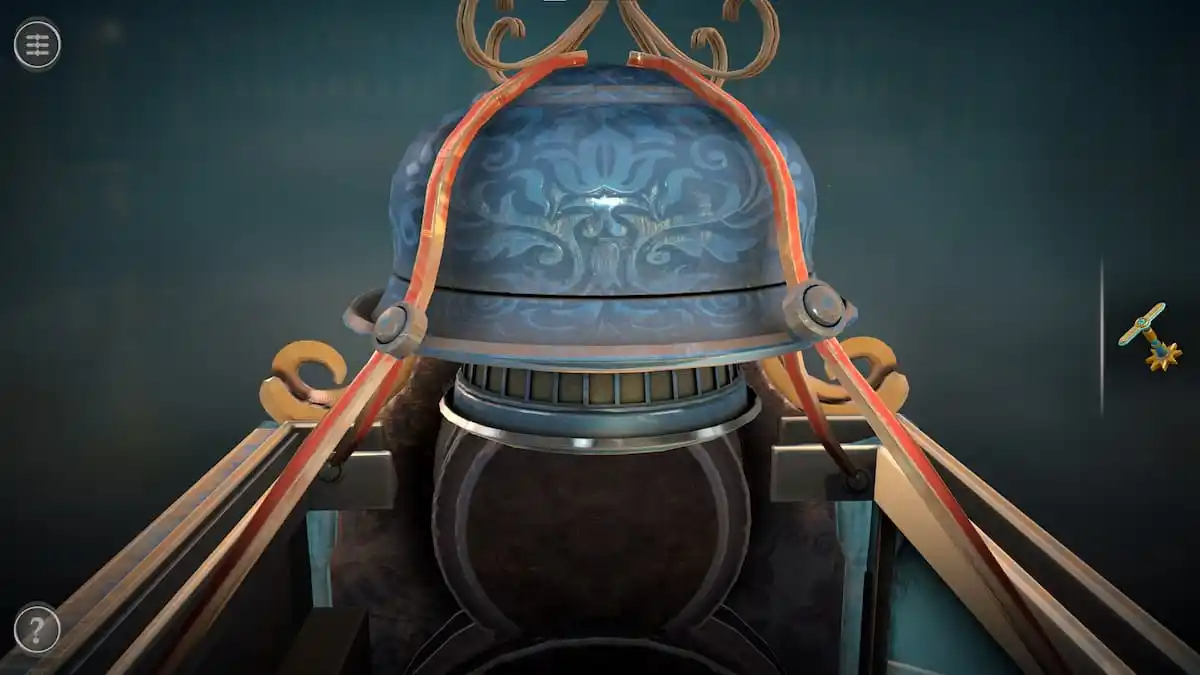
To get the first Small Handle, look towards the top of the box.
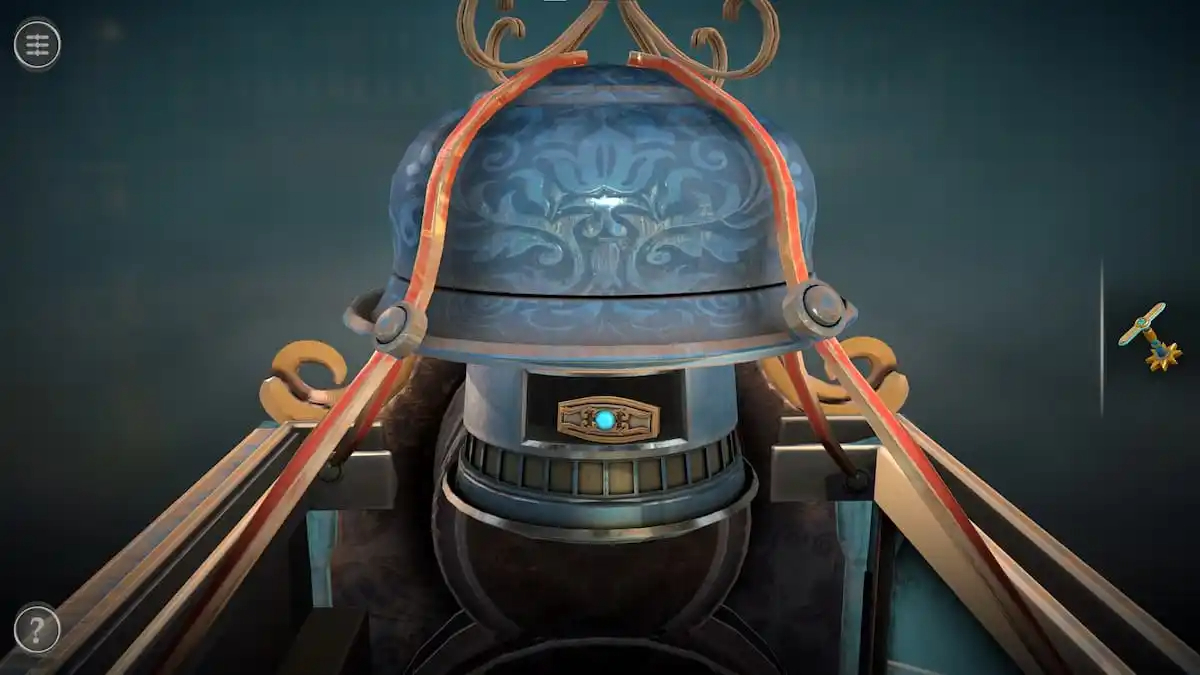
Rotate the gear beneath the blue lid to unlock a compartment containing the Small Handle.
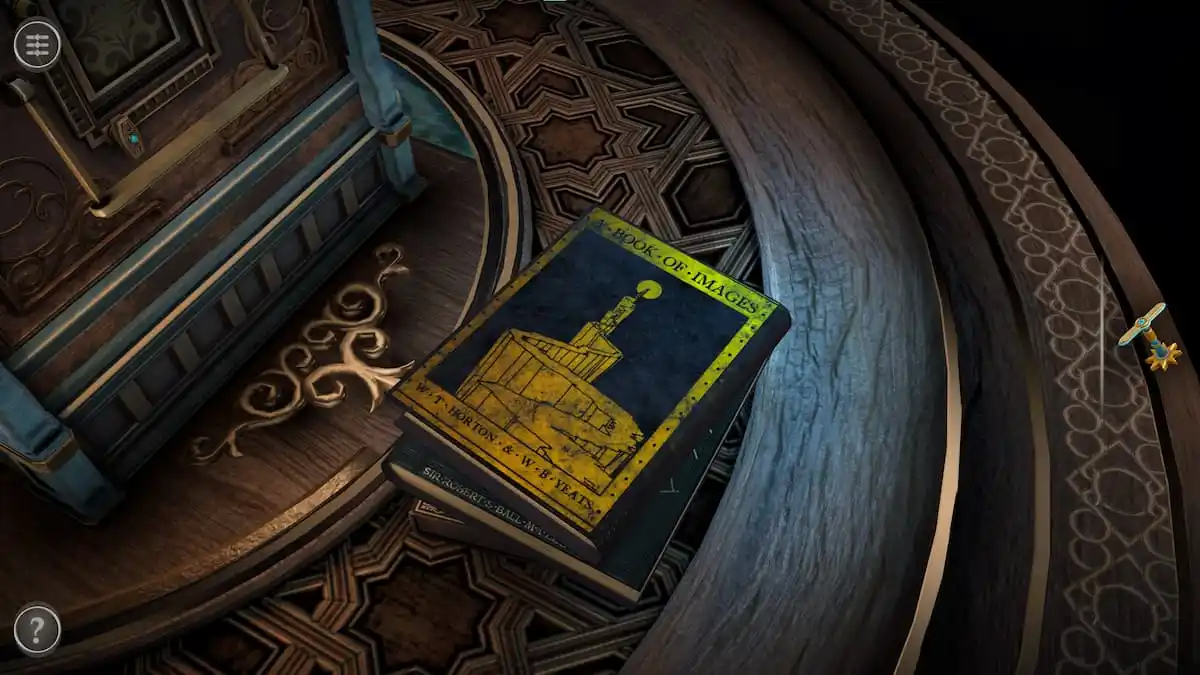
The next Small Handle is hidden in the stack of books on the table. Tap on a book to throw it to the side.
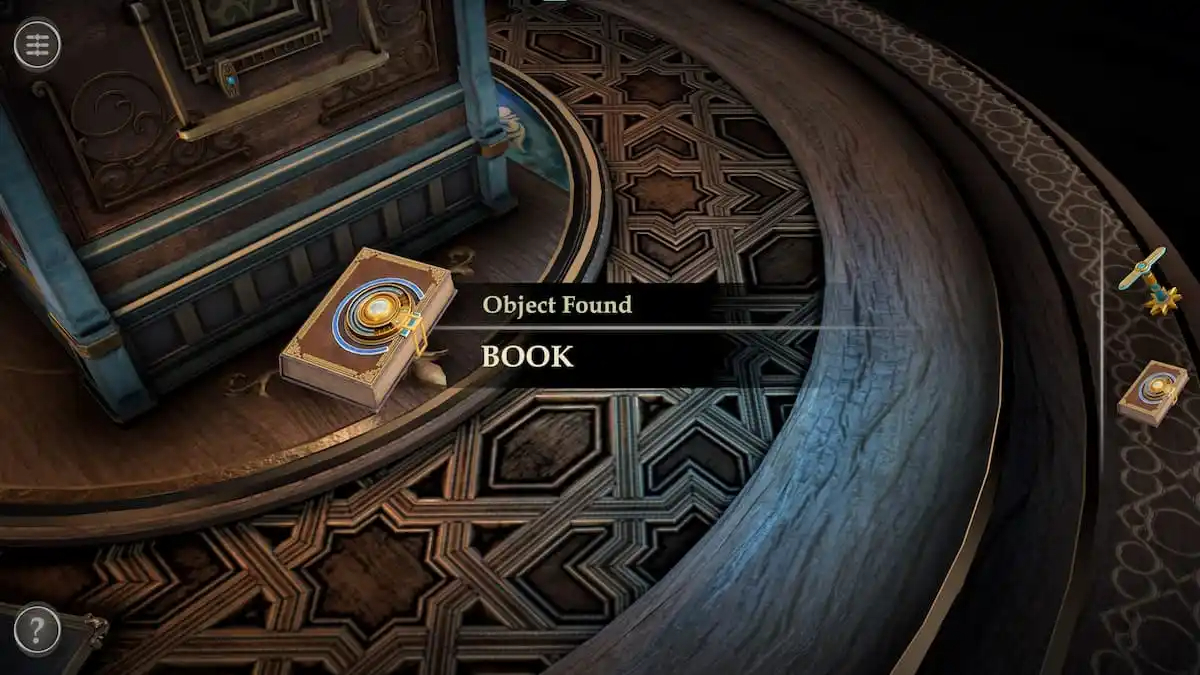
At the bottom of the stack is a locked Book item.
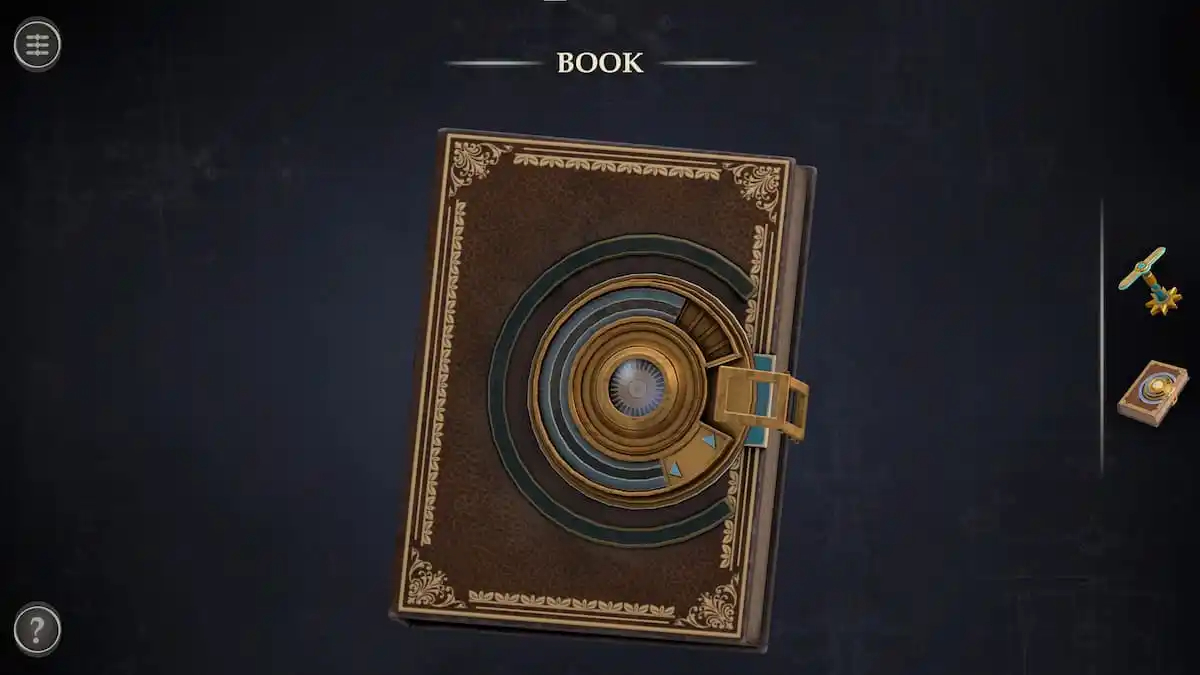
Open the Book in your inventory. Move the slider to the left edge, which will allow you to move the golden lock.
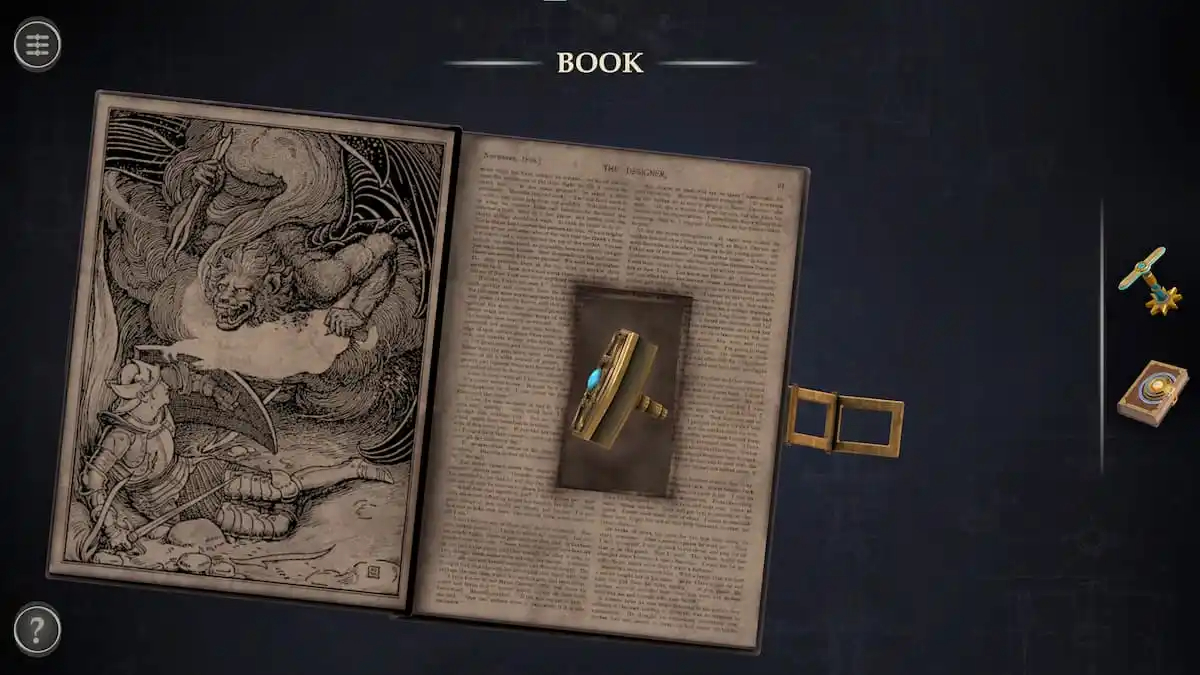
Opening the book reveals a Small Handle hidden within it.
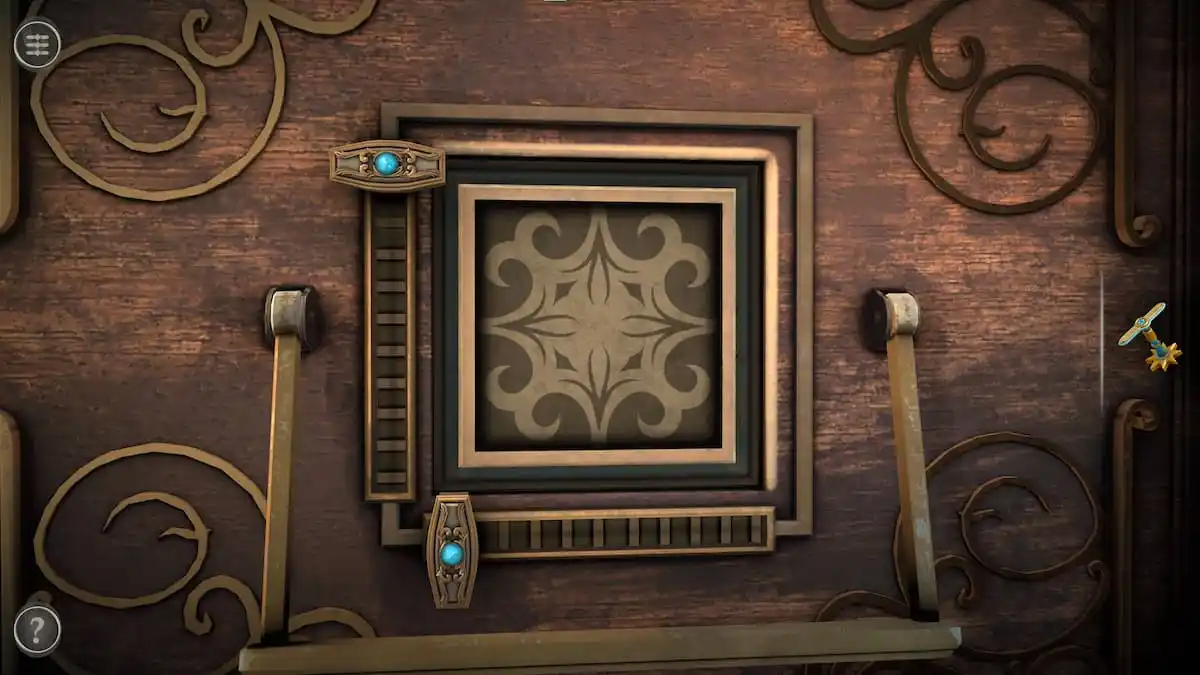
Now the two Small Handles can be added to the sliders on the puzzle.
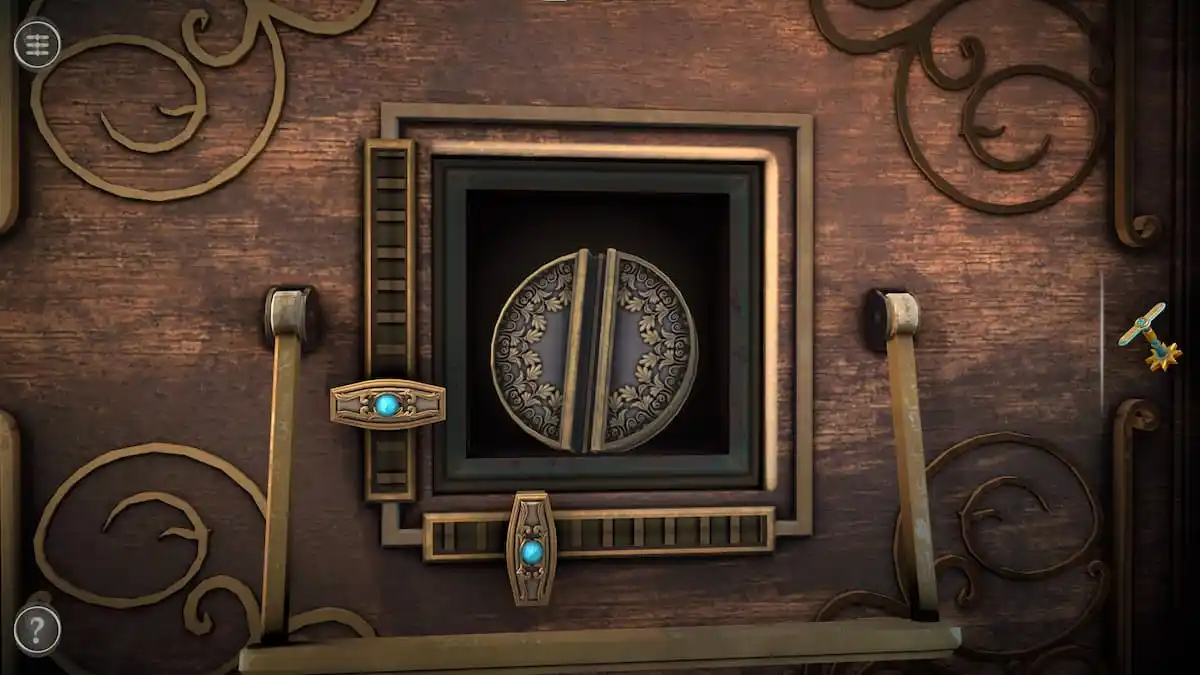
The left slider should be one to two spaces from the bottom while the right slider should be two to three spaces from the left. This unlocks a compartment containing a Metal Disk.
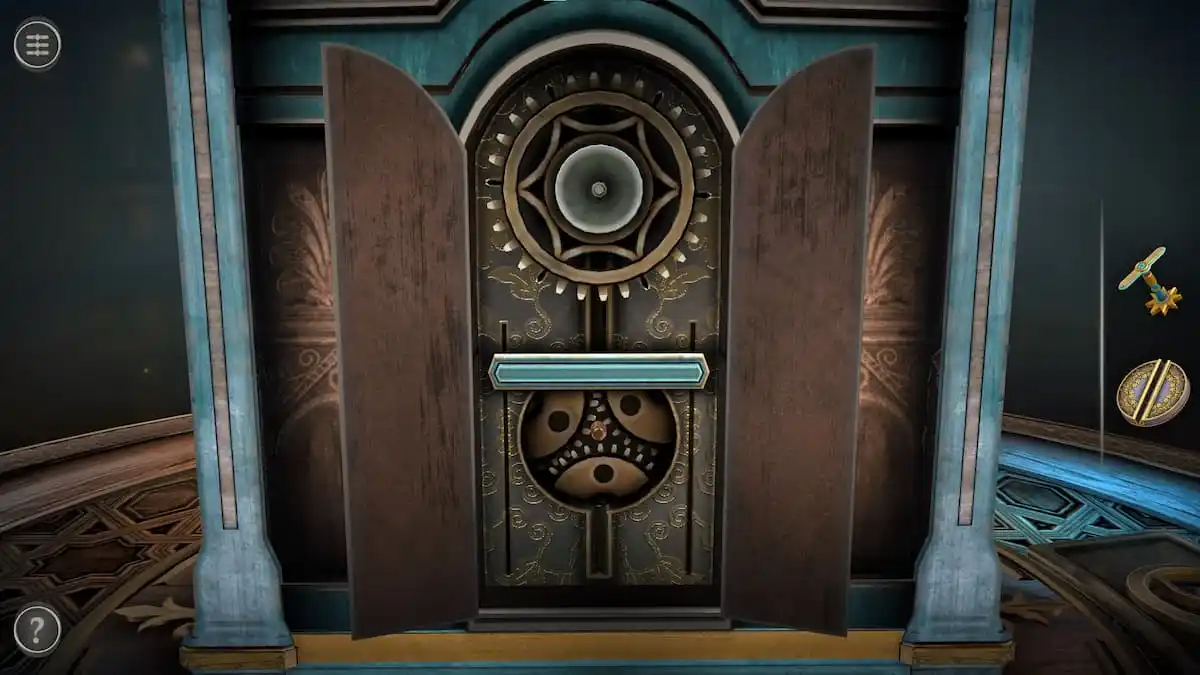
Back gear puzzle
Return to the back of the box.
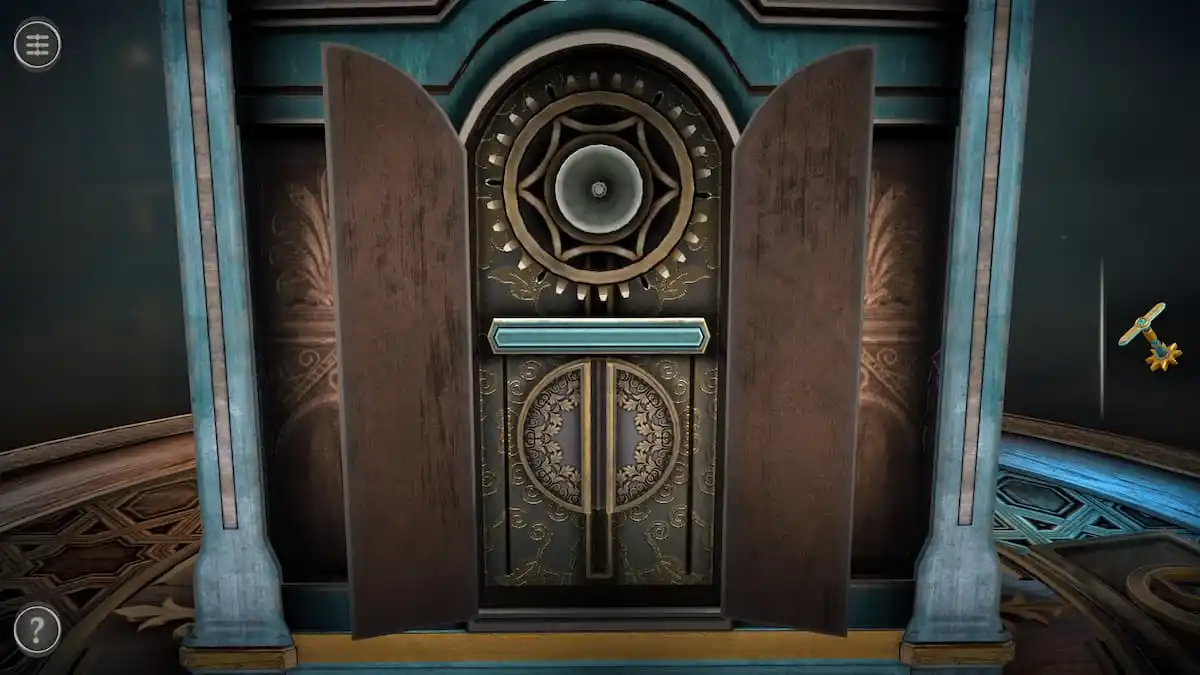
Add the Metal Disk to the lower circular gap.
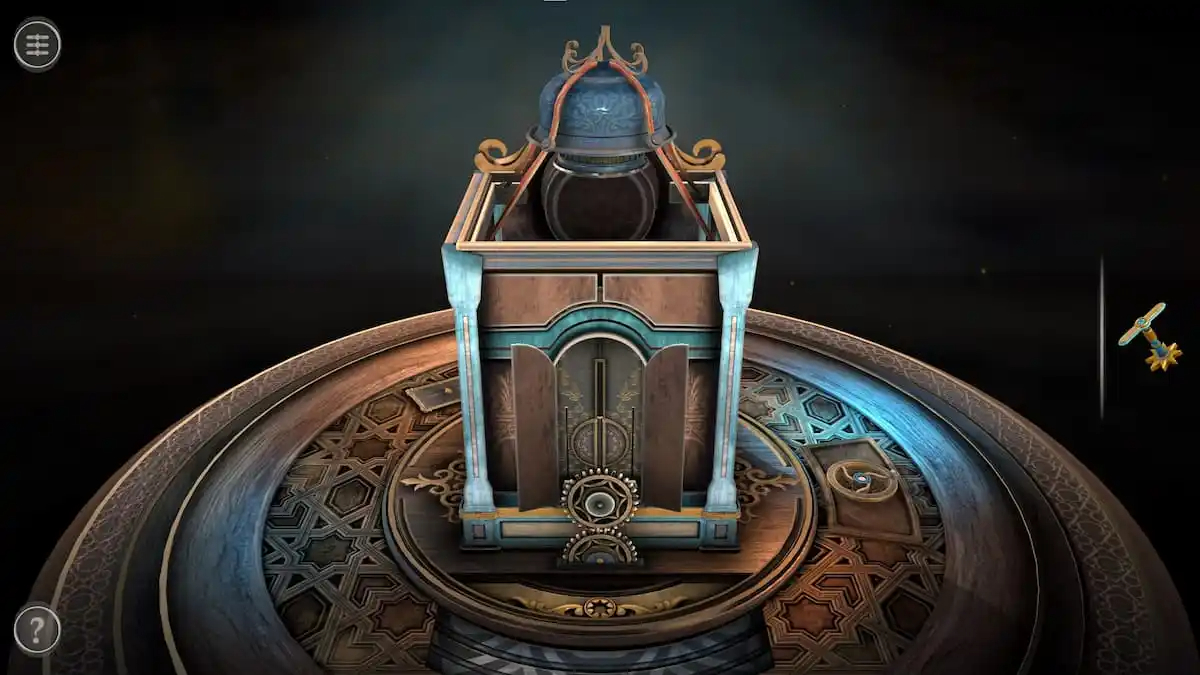
Pull the handle down to slide the gear to the bottom. This will open up a section at the base of the box.
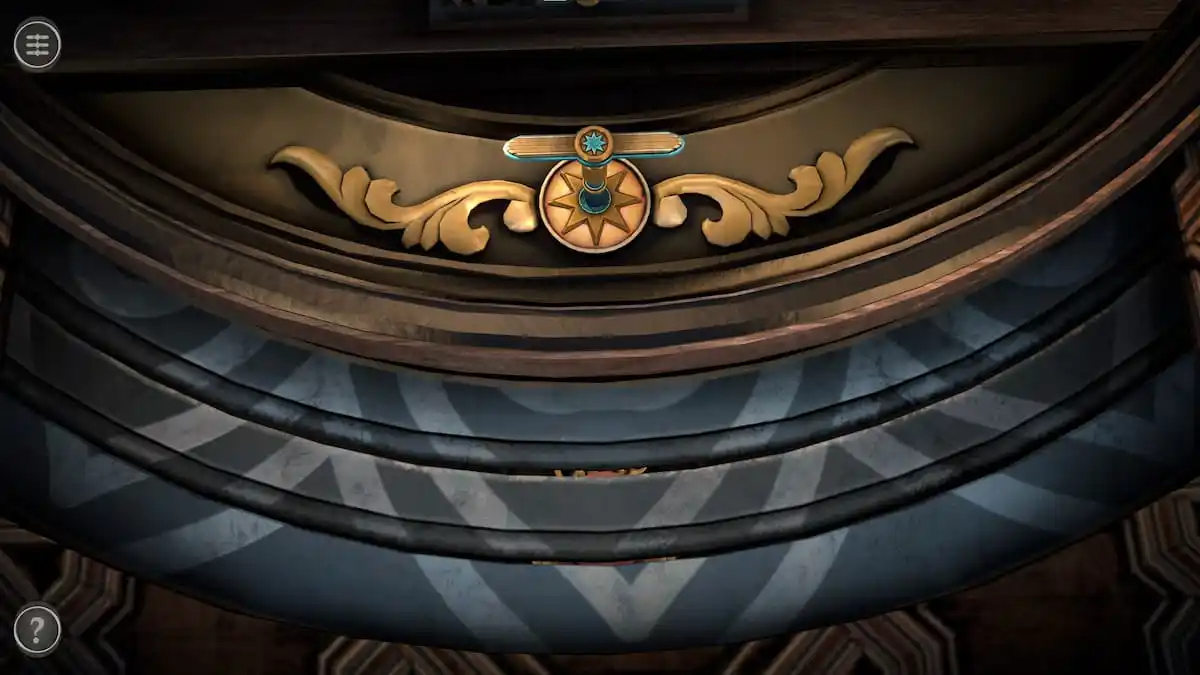
Place the Handle into the circular hole at the top of the section.
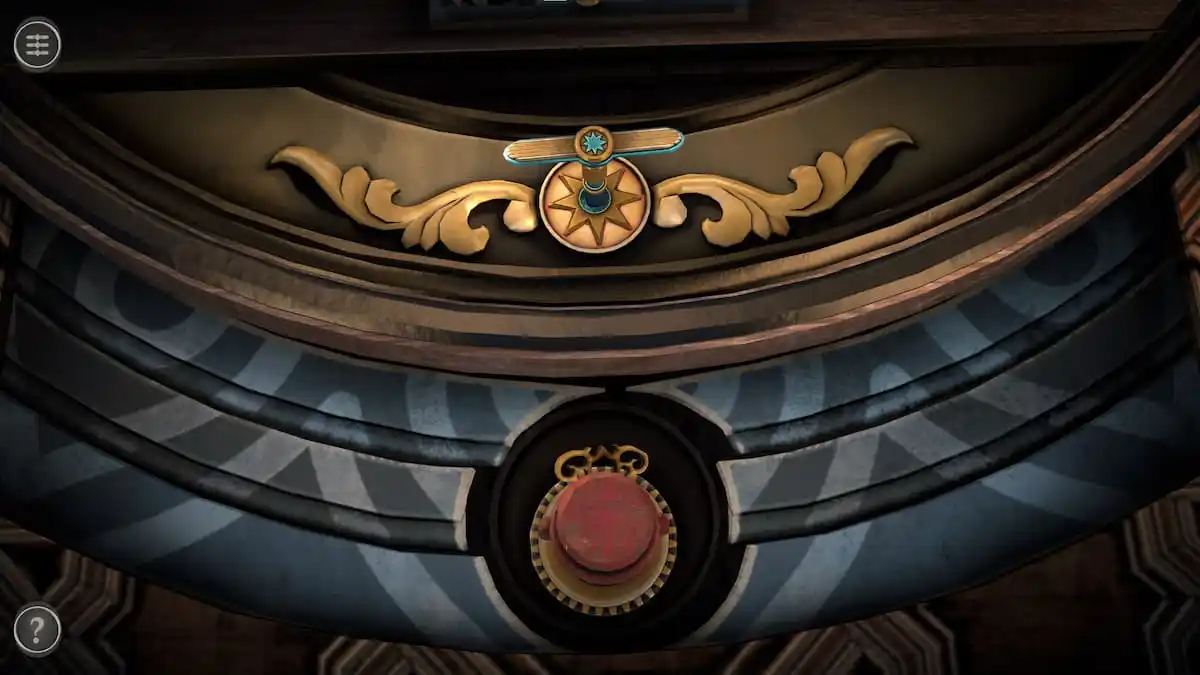
Rotate the handle until the gaps in the three sections align above a red object.
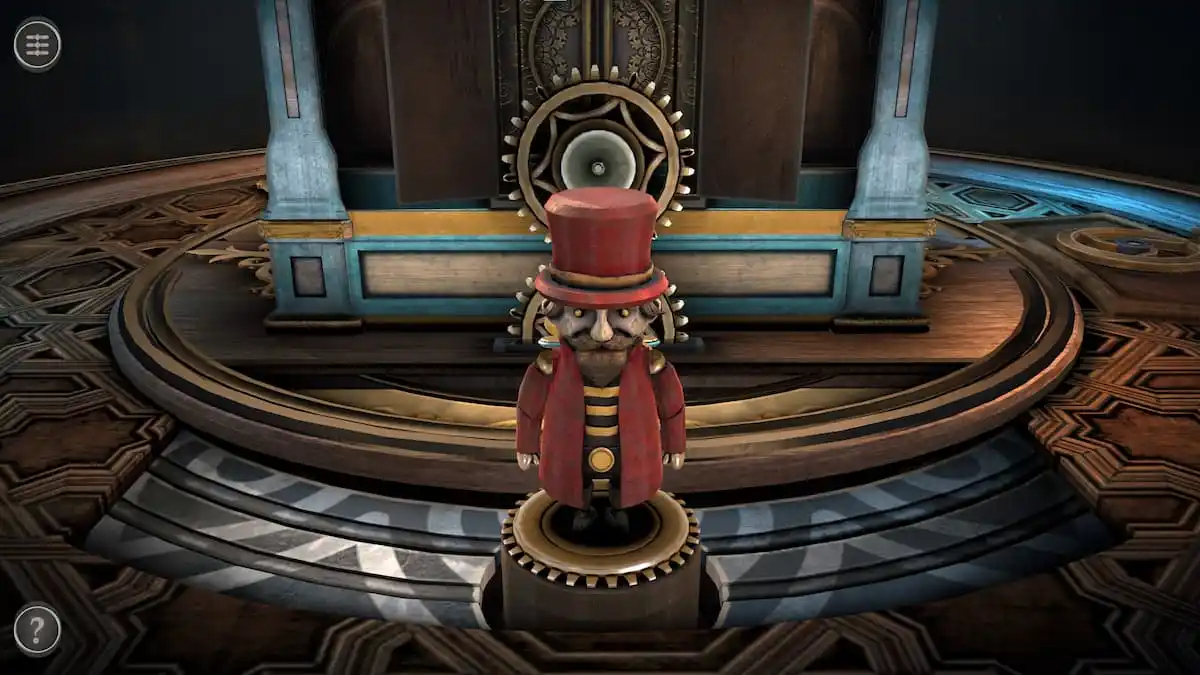
A strange doll will rise from the table.
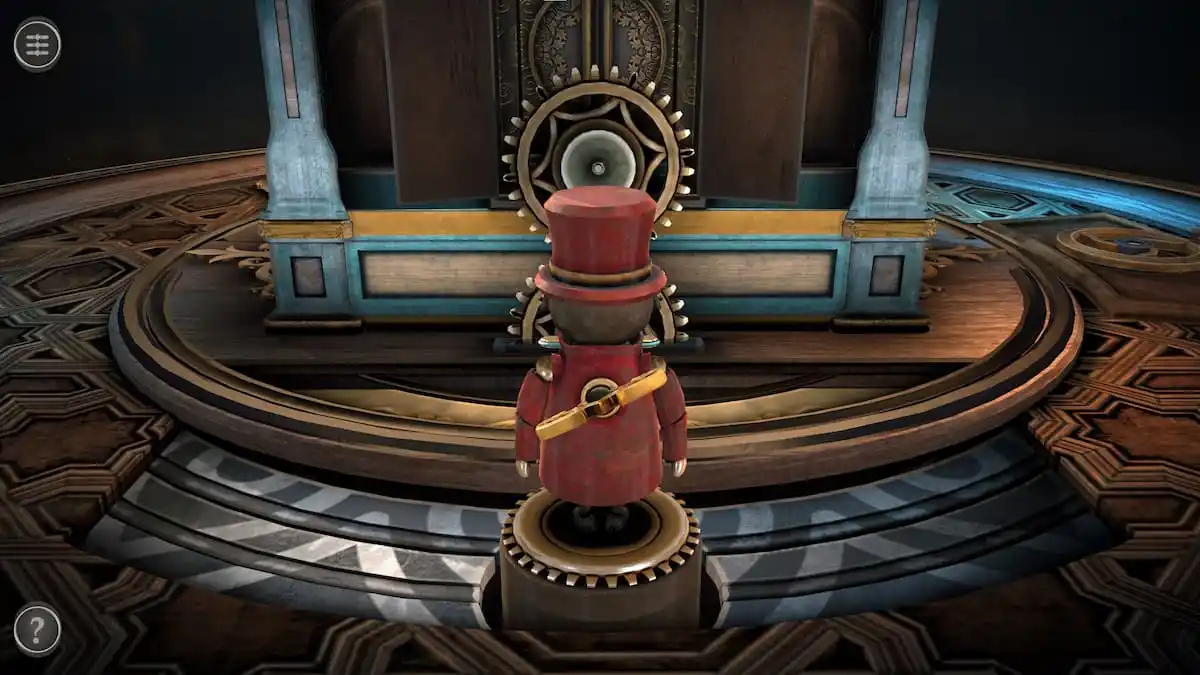
Spin the doll around and grab the Small Key from its back.
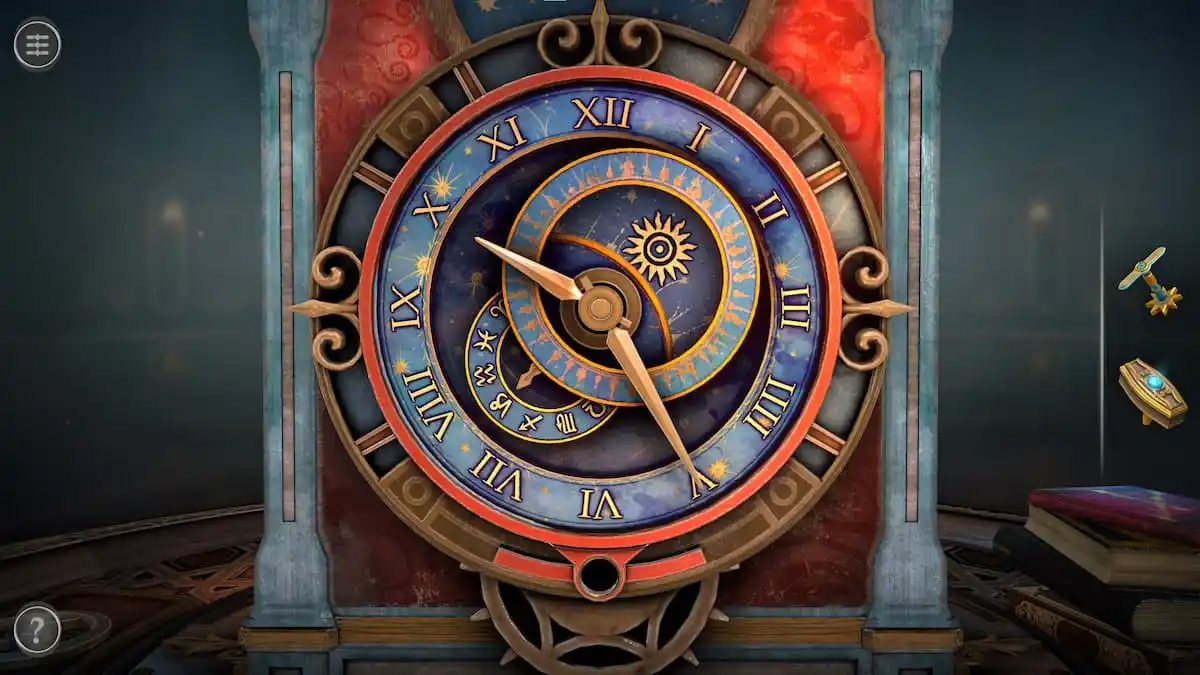
Hammer puzzle behind clockface
Focus on the clockface at the front of the box.
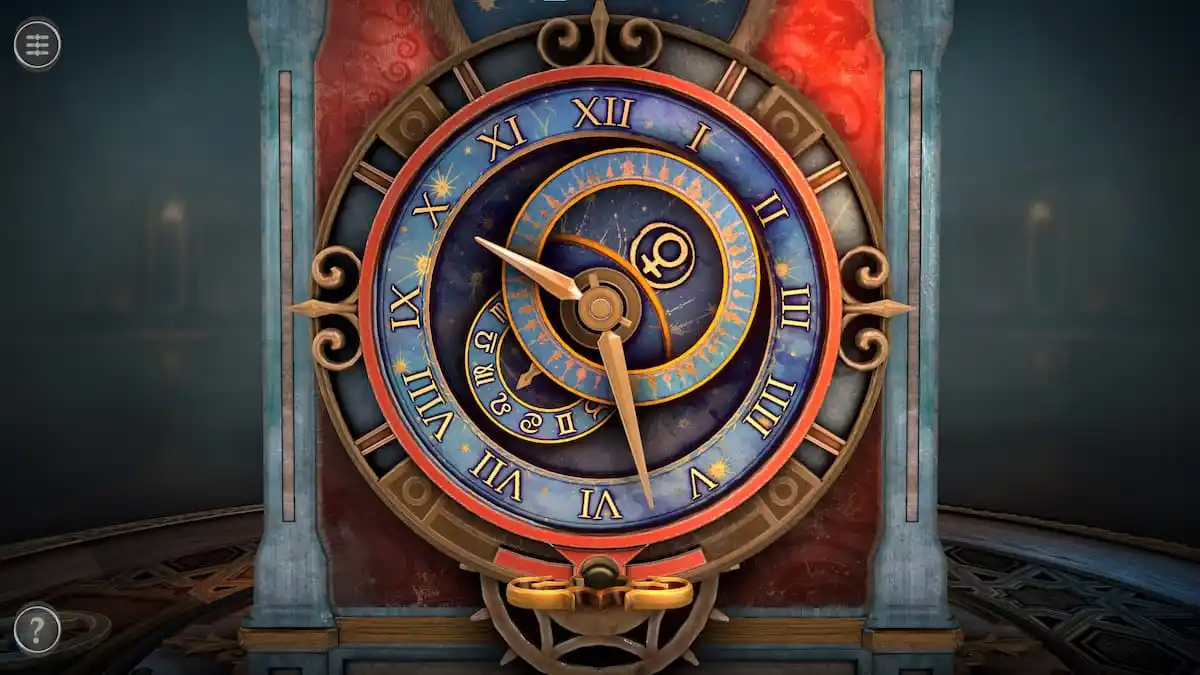
Add the Small Key to the hole at the bottom of the clock face.
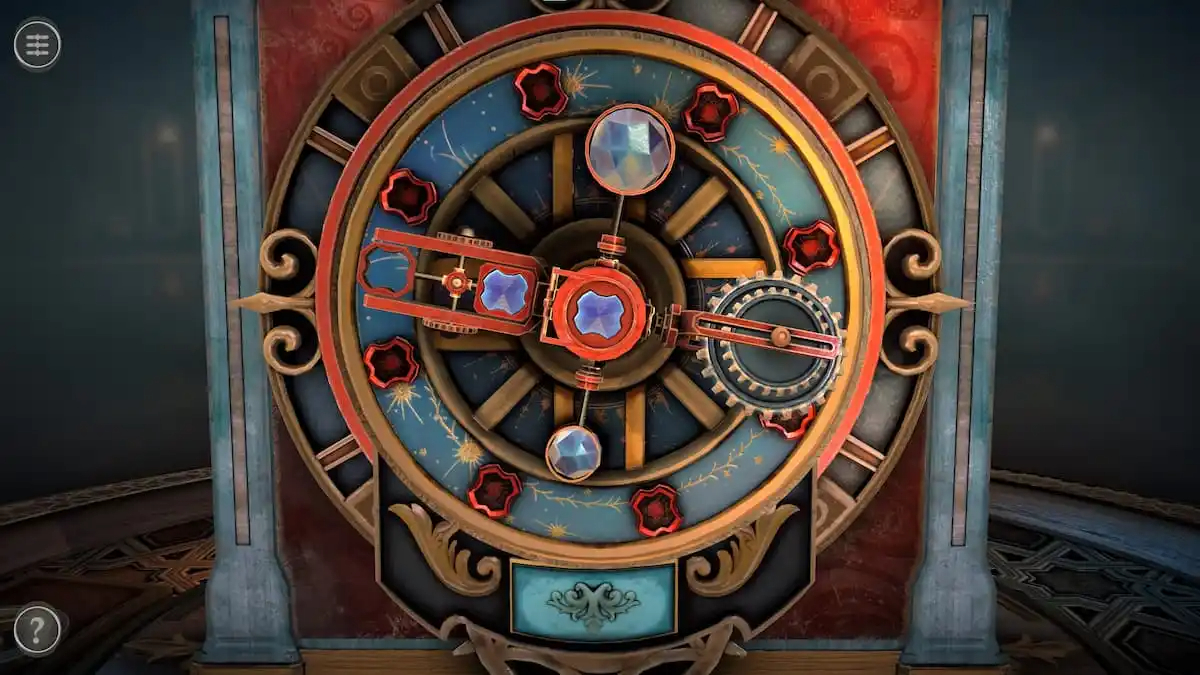
This flips the clock face, revealing a puzzle similar to whack-a-mole. The goal is to tap the blue button at the bottom when the red segment of the mechanism aligns with one of the red symbols on the clock. When the hammer hits them properly, the symbols will be filled with blue gem-like material.
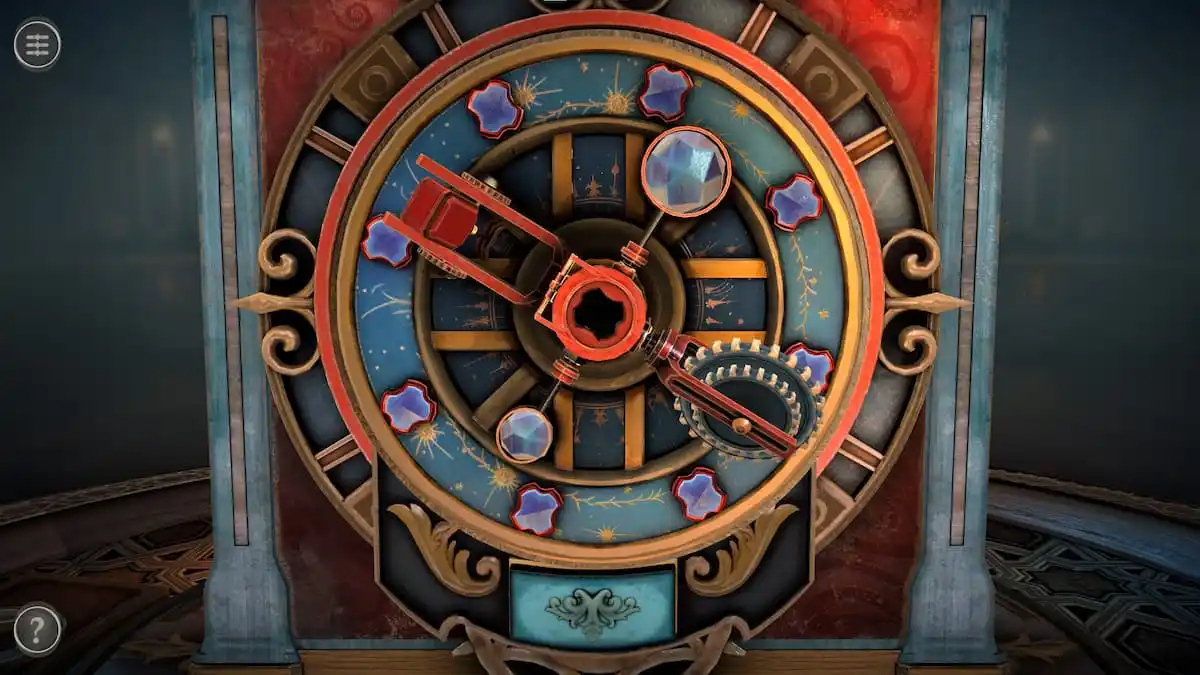
When all of the symbols are filled with blue, the puzzle will be completed.
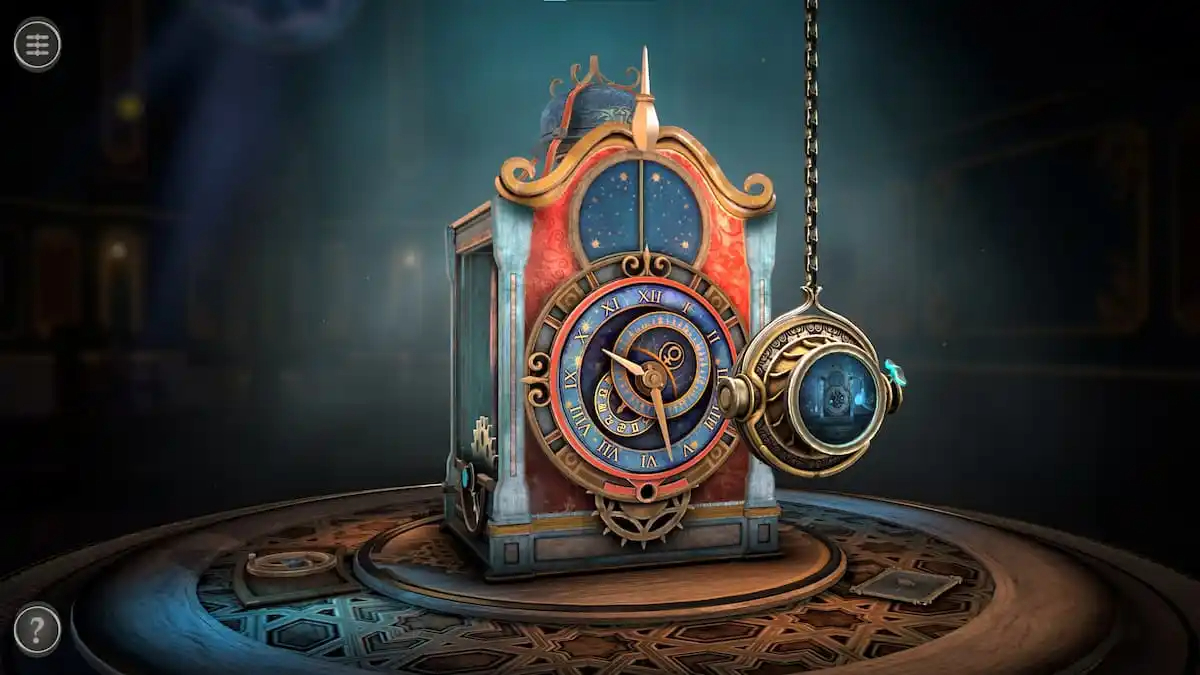
Completing the puzzle causes a spyglass to drop from the ceiling.
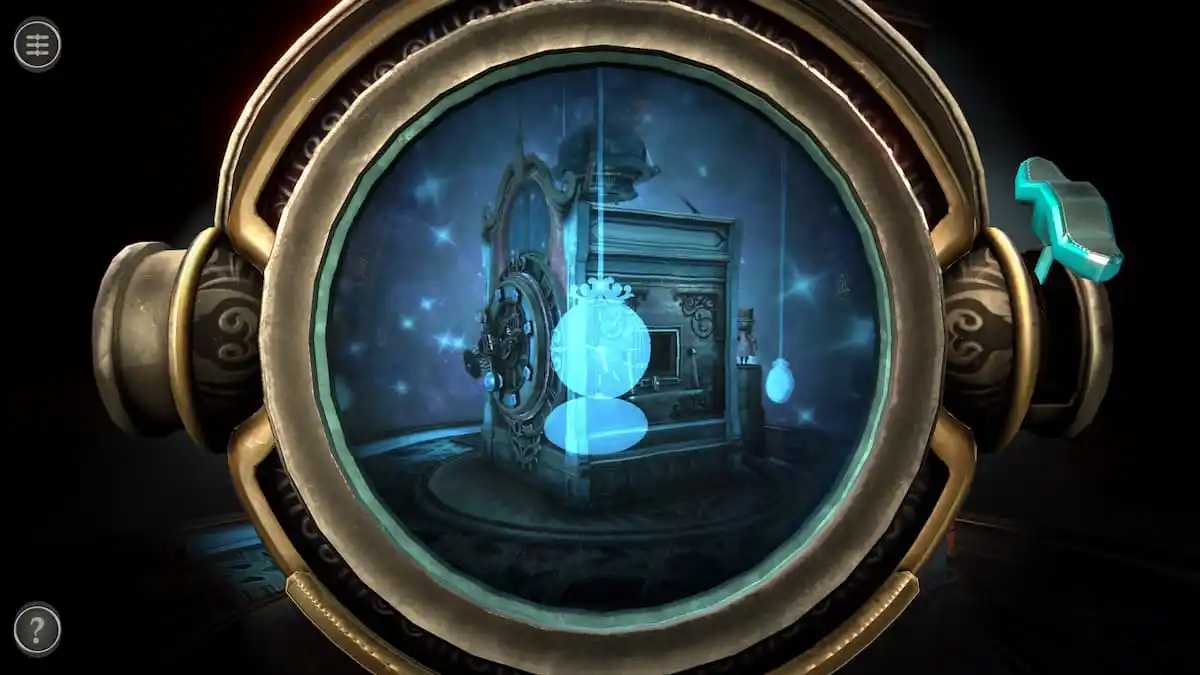
Clockface puzzle
Begin by using the spyglass to look around the room. The hint for the clock hands is found on the floating pocket watch near the front of the box.
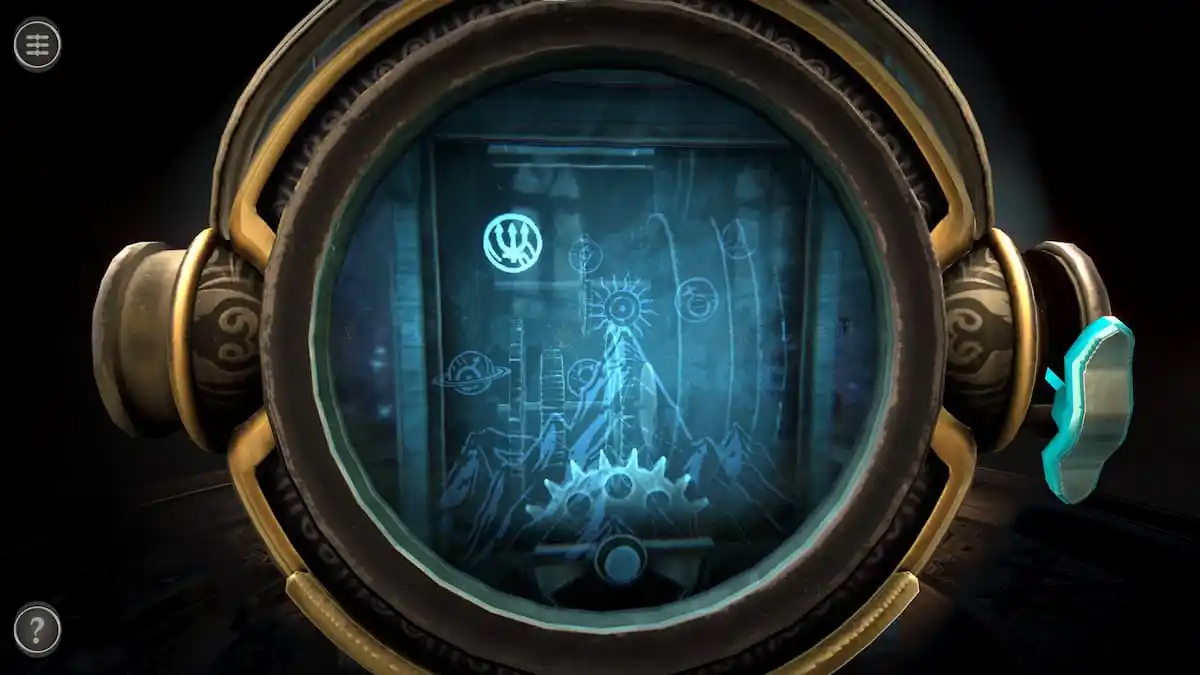
On the left side of the box, a glowing symbol like a trident can be seen floating around in circles.
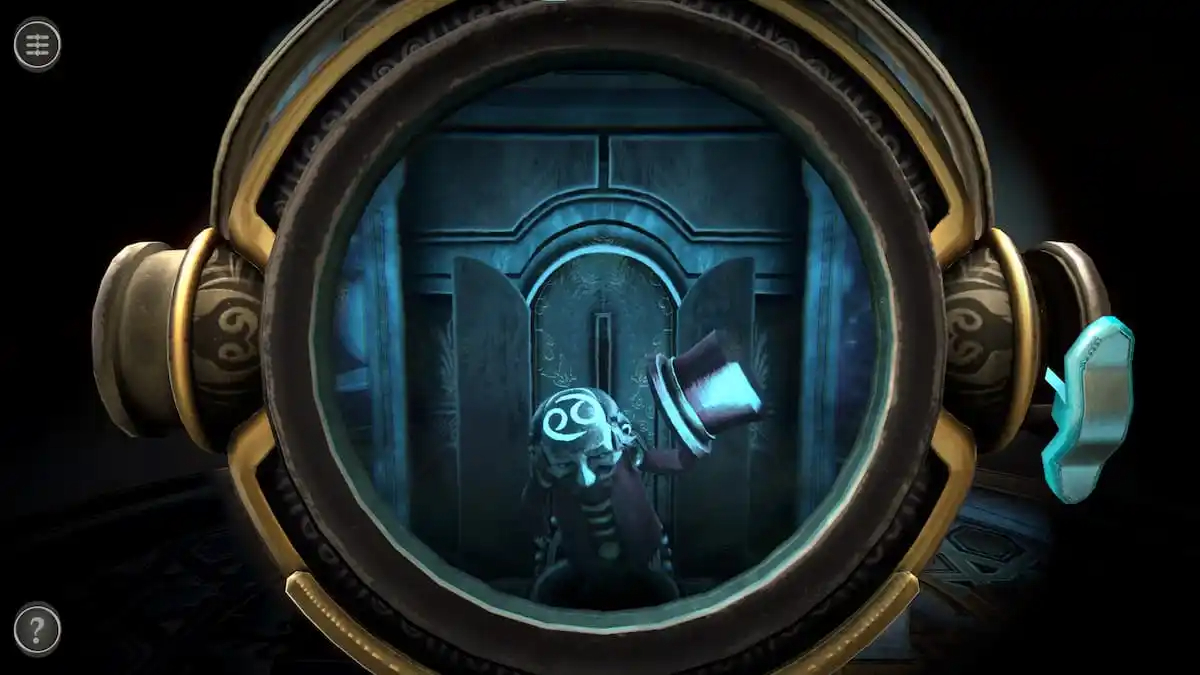
The last hint is the Cancer symbol, which can only be seen when the doll in the back moves and removes its hat.
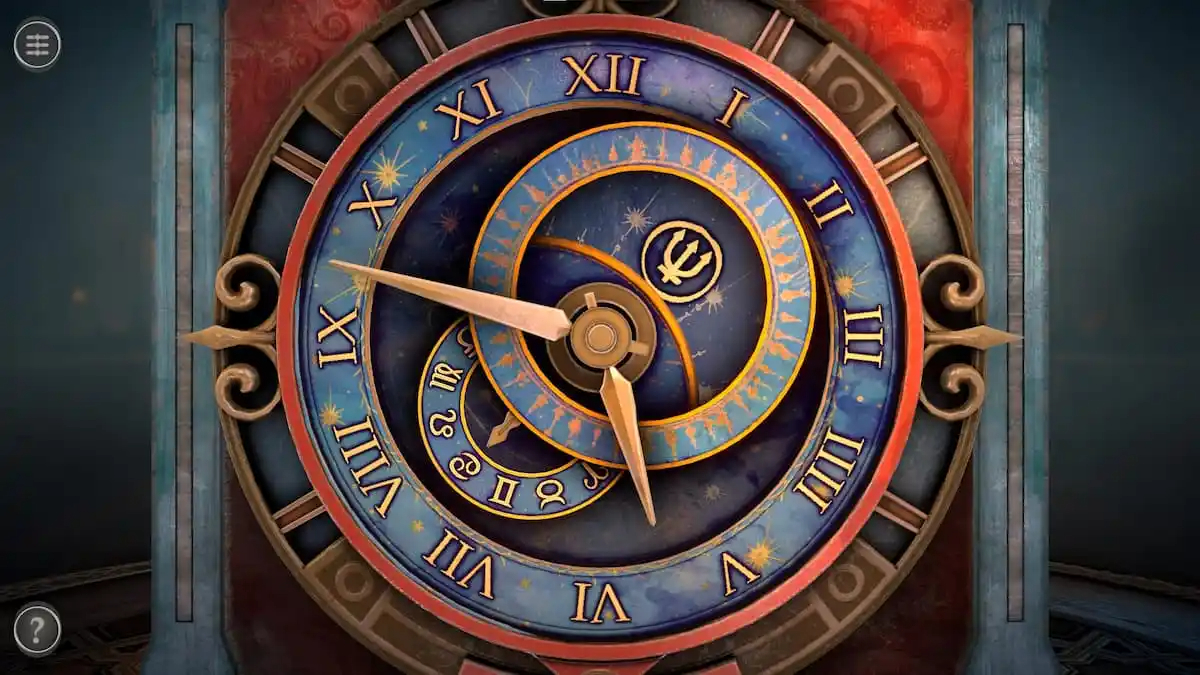
Return to the clock face. Move the clock hands to mimic the pocket watch, rotate the circle to the upper right of the hands to show the trident symbol, and rotate the bottom left circle so that the arrow points at the Cancer symbol.
PUT THE BIG CLOCK HAND BETWEEN 9’oclock AND 10’oclock AND PUT THE SMALL CLOCK HAND BETWEEN 5’oclock AND 6’oclock
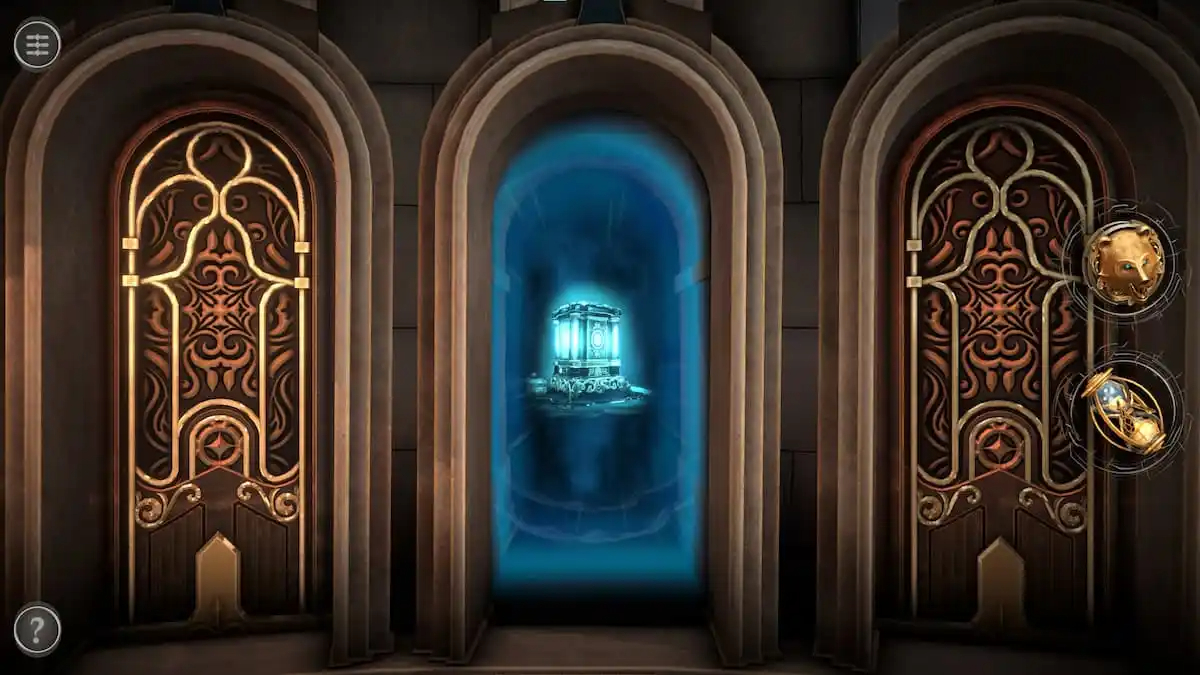
This will remove you from the second room and unlock the third room of the first chapter.
SECOND PUZZLE BOX IS COMPLETE AND FINISH AND YOUR THIRD PUZZLE BOX IS NOW UNLOCKED
THIRD PUZZLE BOX IN CHAPTER 1
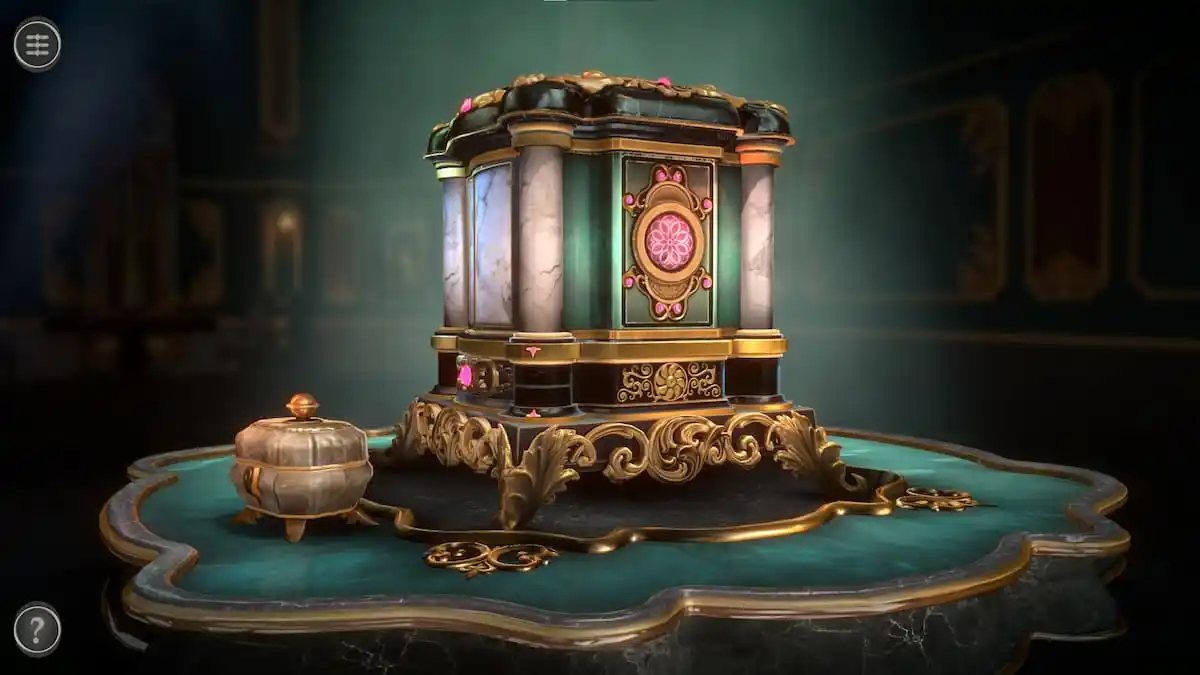
Third room puzzles
The third room of the first chapter has a small trinket box and a larger ornate box.
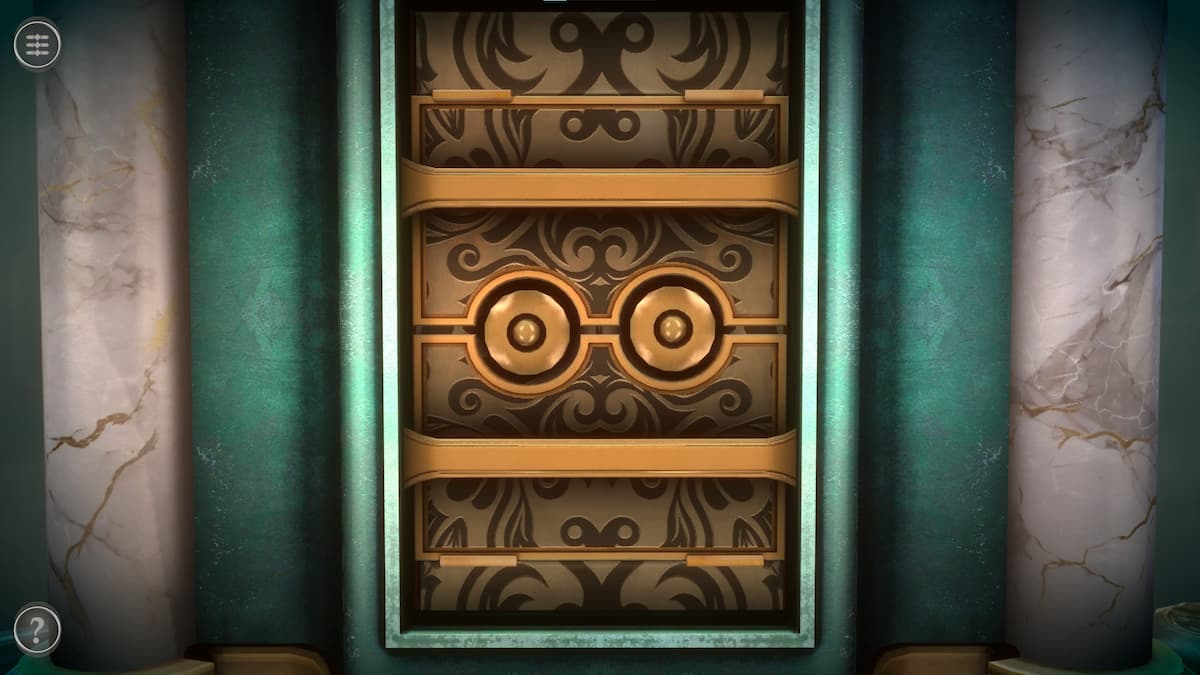
Back of the box
Rotate the camera to face the back of the box. This puzzle is a series of objects that can be slid around to open.
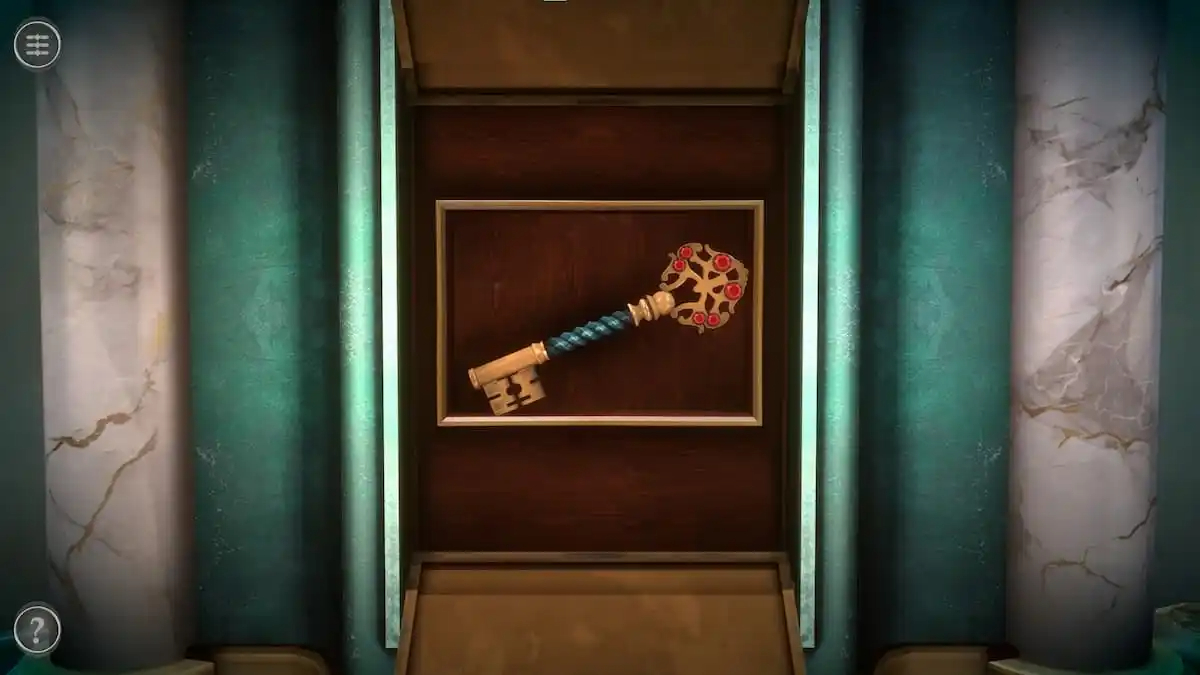
Opening all of the doors reveals a compartment with a key.
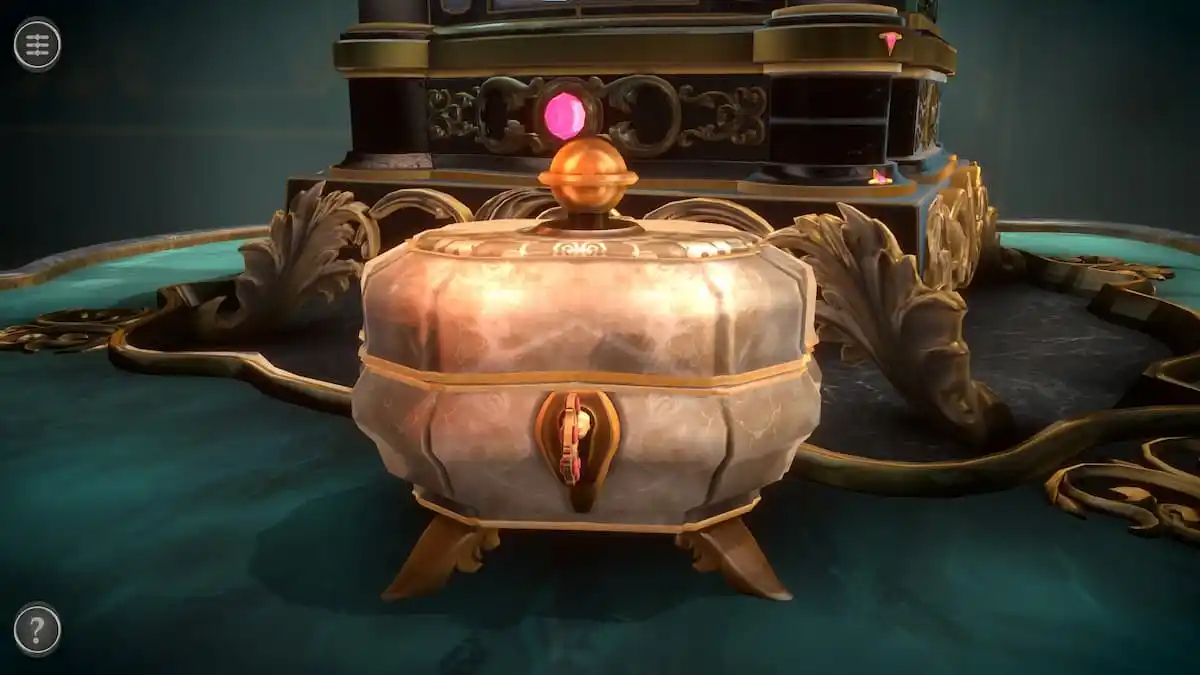
This key can be inserted into the trinket box to get an Ornate Sphere.
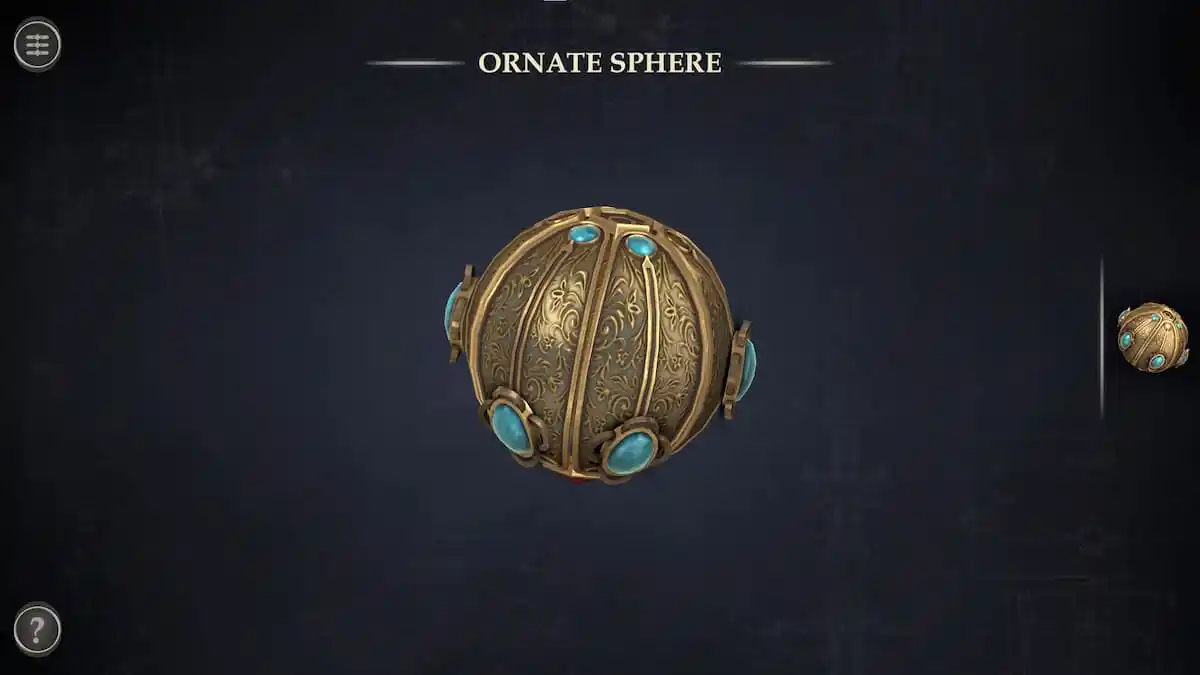
Ornate Sphere puzzle
Open the Ornate Sphere in your inventory.
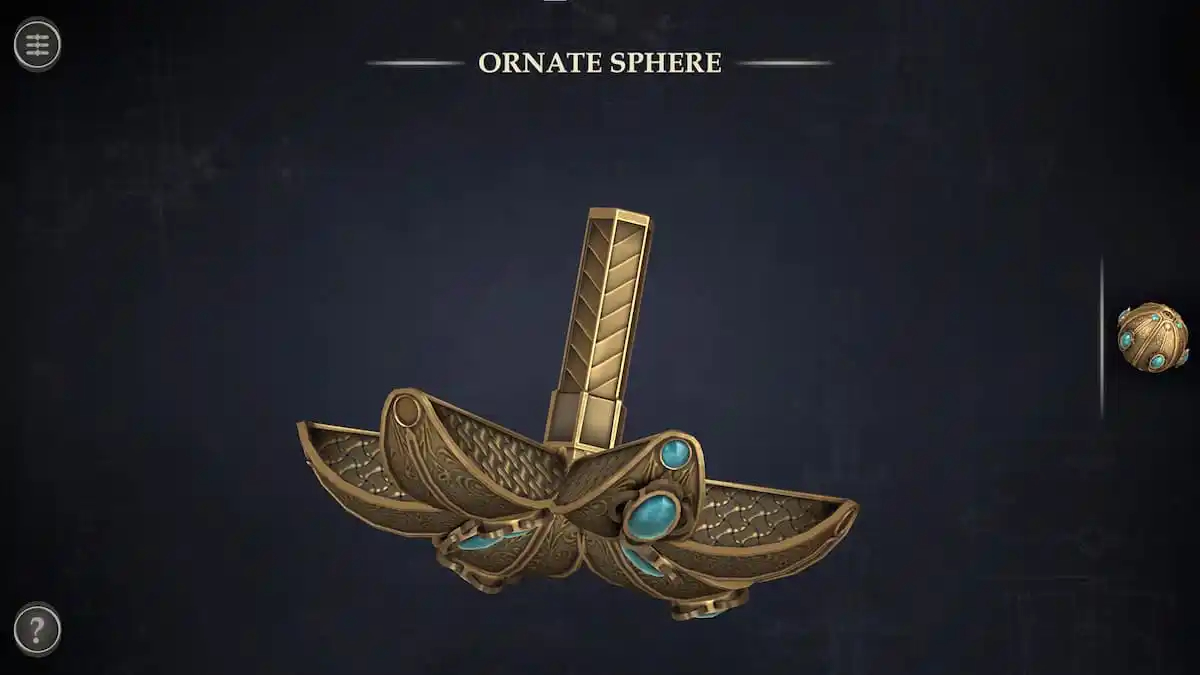
Pull each of the sliders on the sphere towards the green gem on their row to unlock the sphere. This will turn it into a Tool.
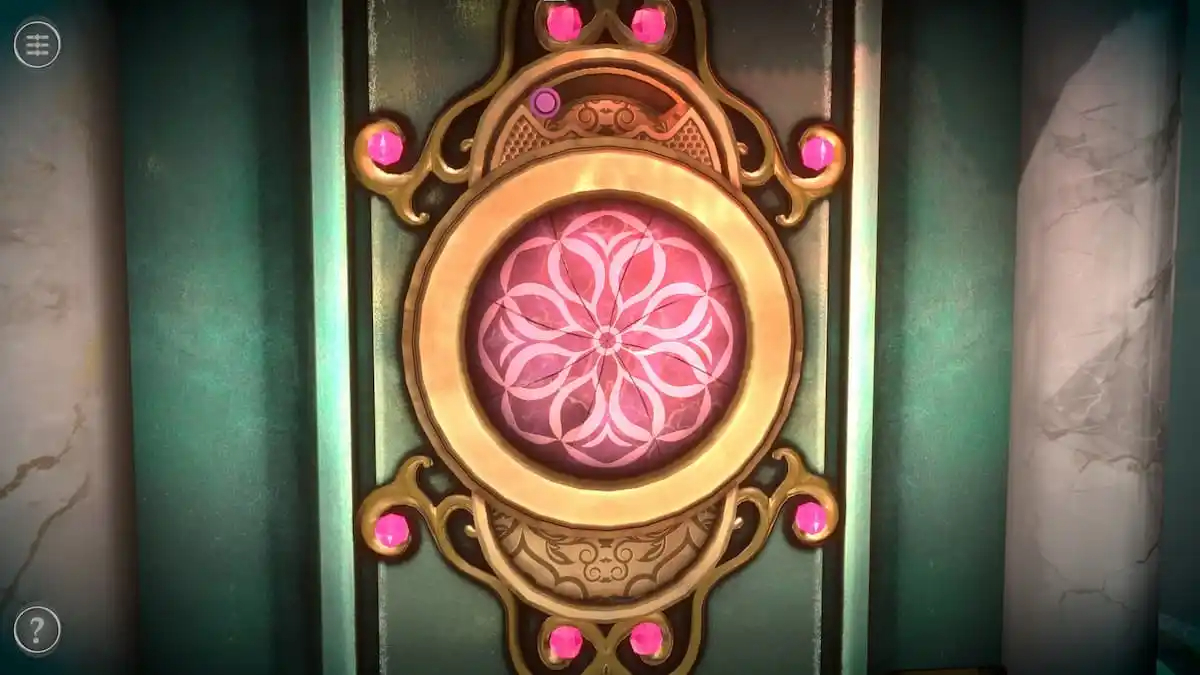
Flower puzzle
The pink flower at the box’s center is a slider puzzle. Rotate the half-circle on top to reveal a pink slider.
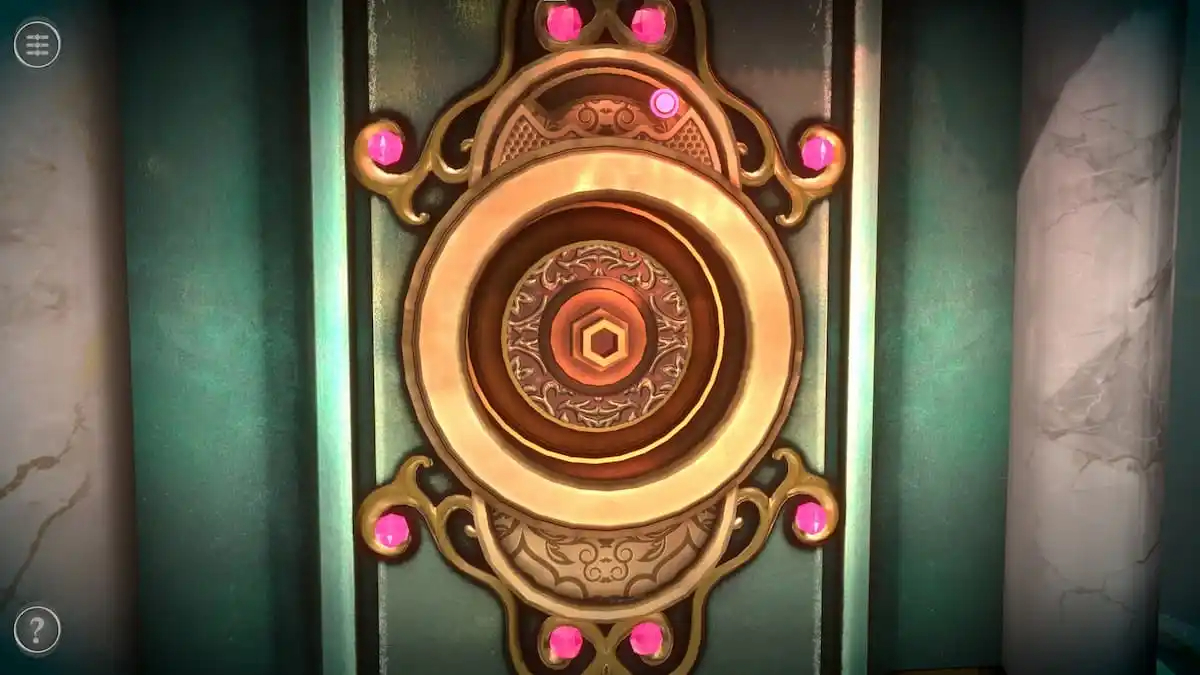
Move the slider to reveal a small knob.
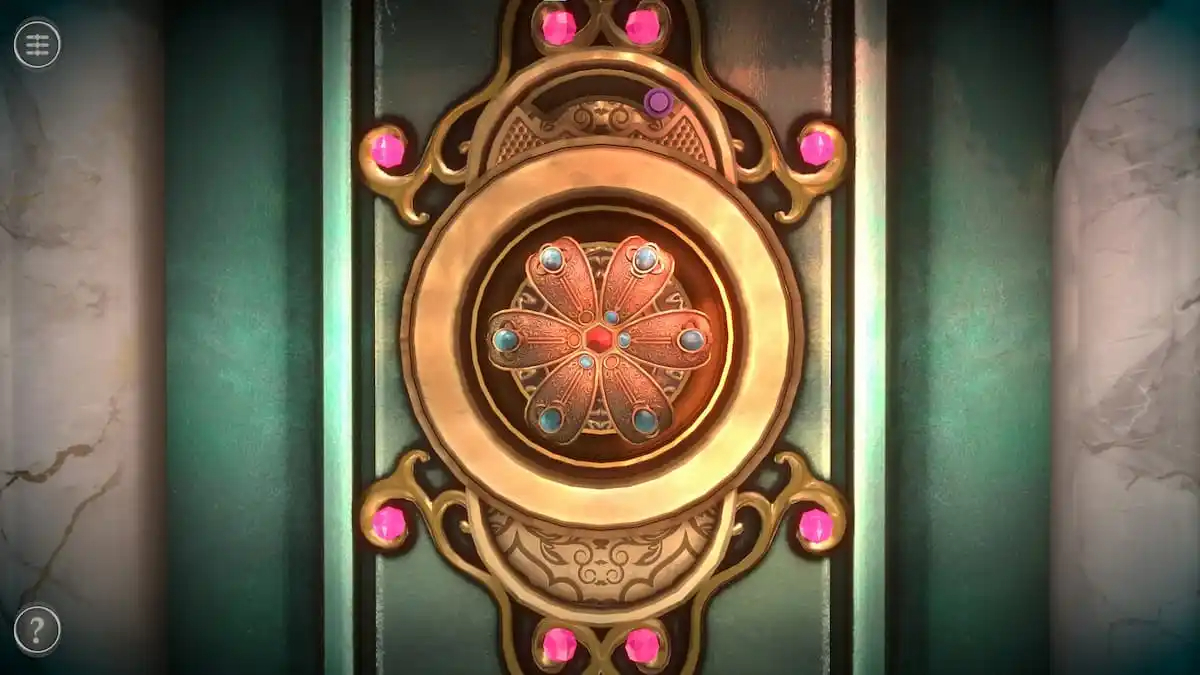
Place the Tool onto this knob.
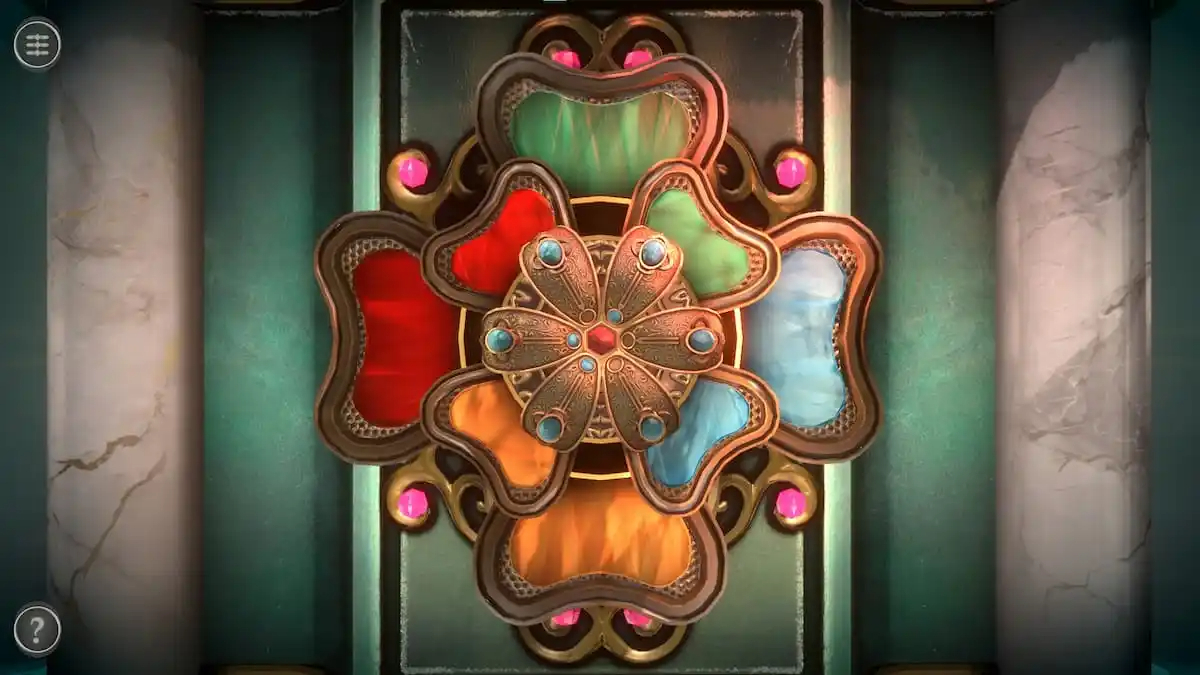
This will make two rows of petals appear around the Tool.
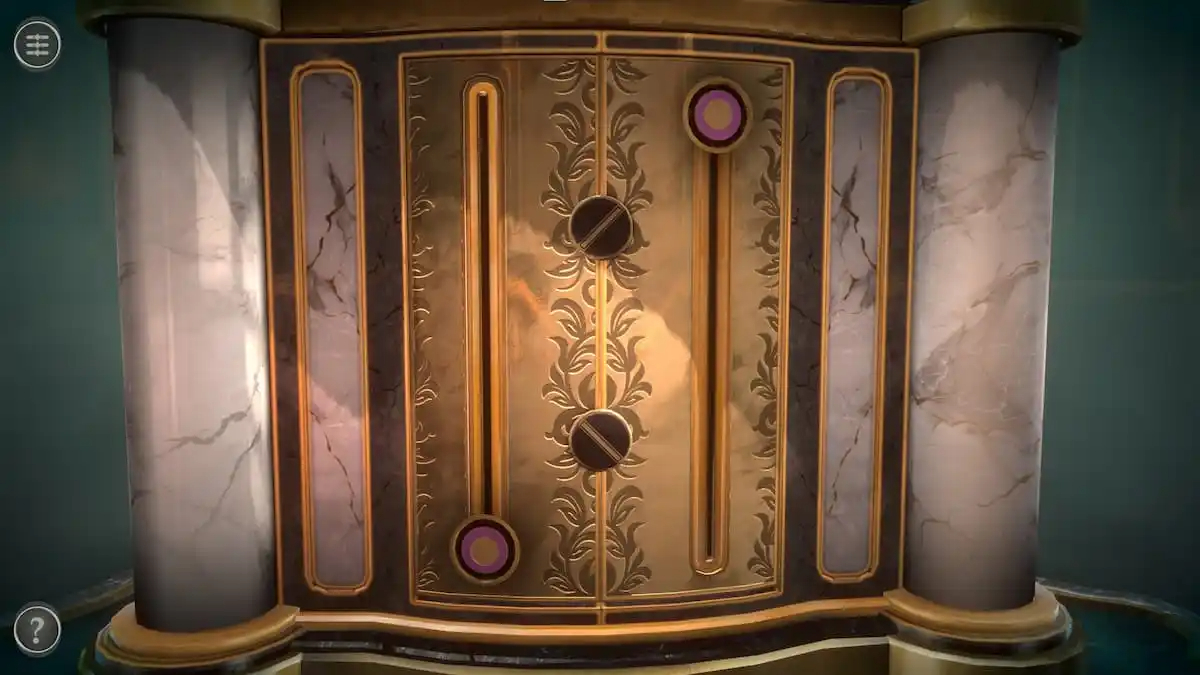
To solve this puzzle, you need to solve the puzzle on the right to figure out where each colored petal goes.
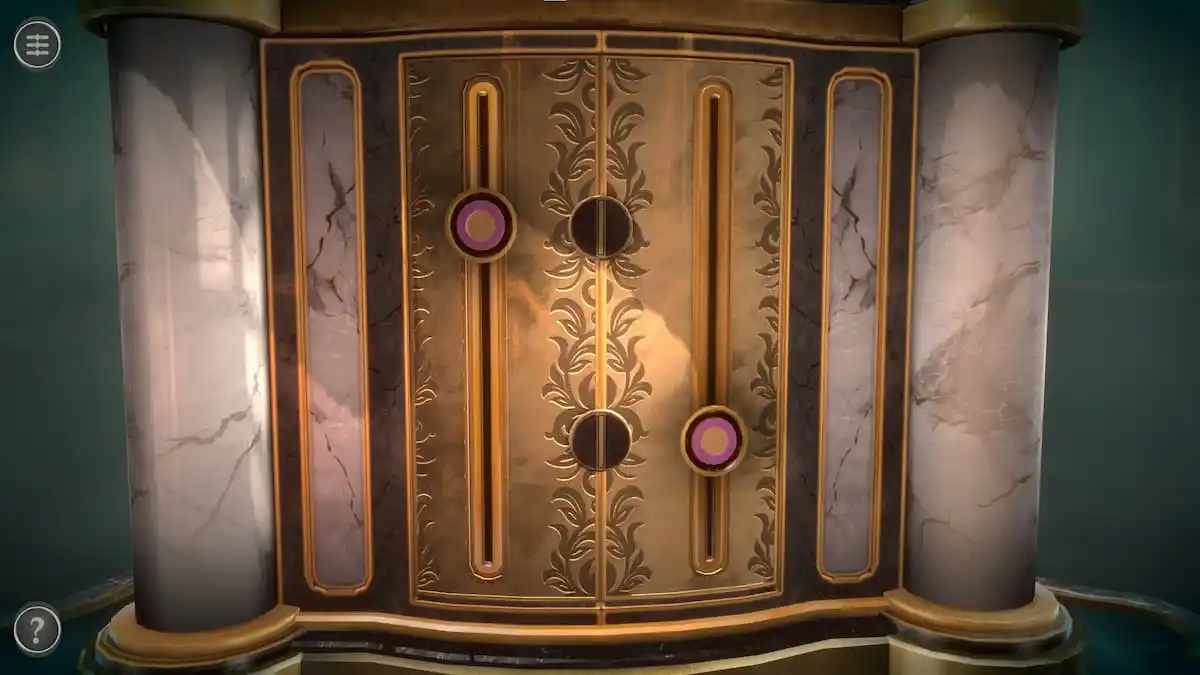
Move the sliders so that each circle in the center has a straight vertical line.
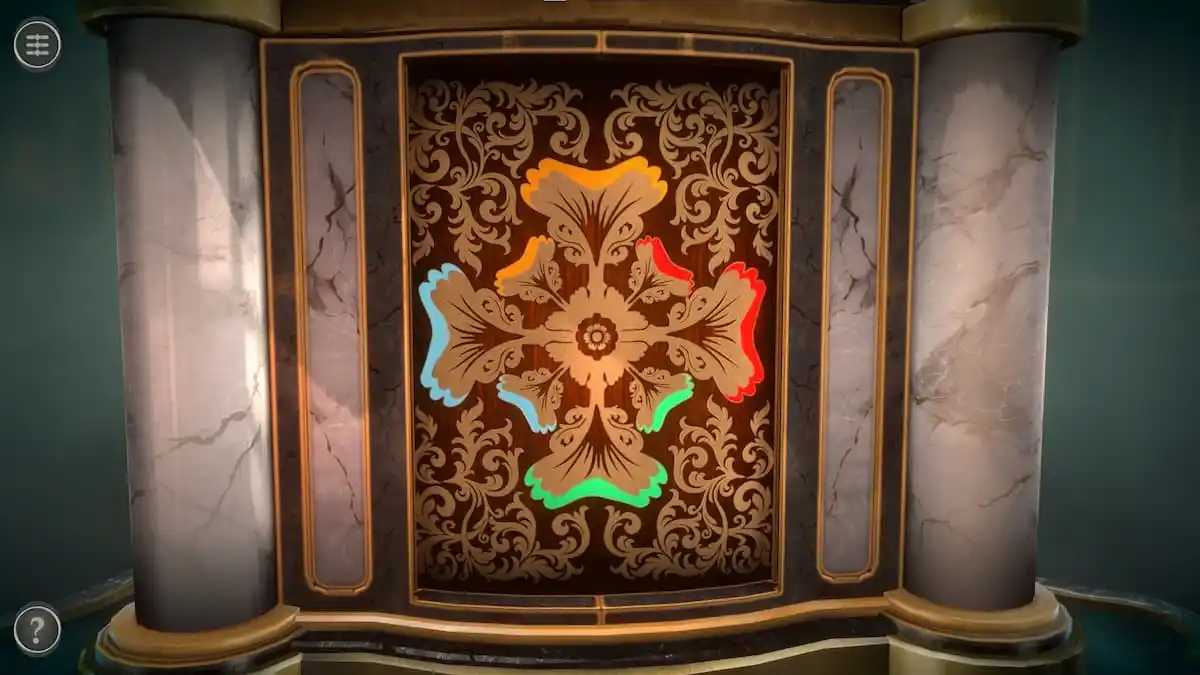
This reveals where each colored petal should be placed on the first puzzle.
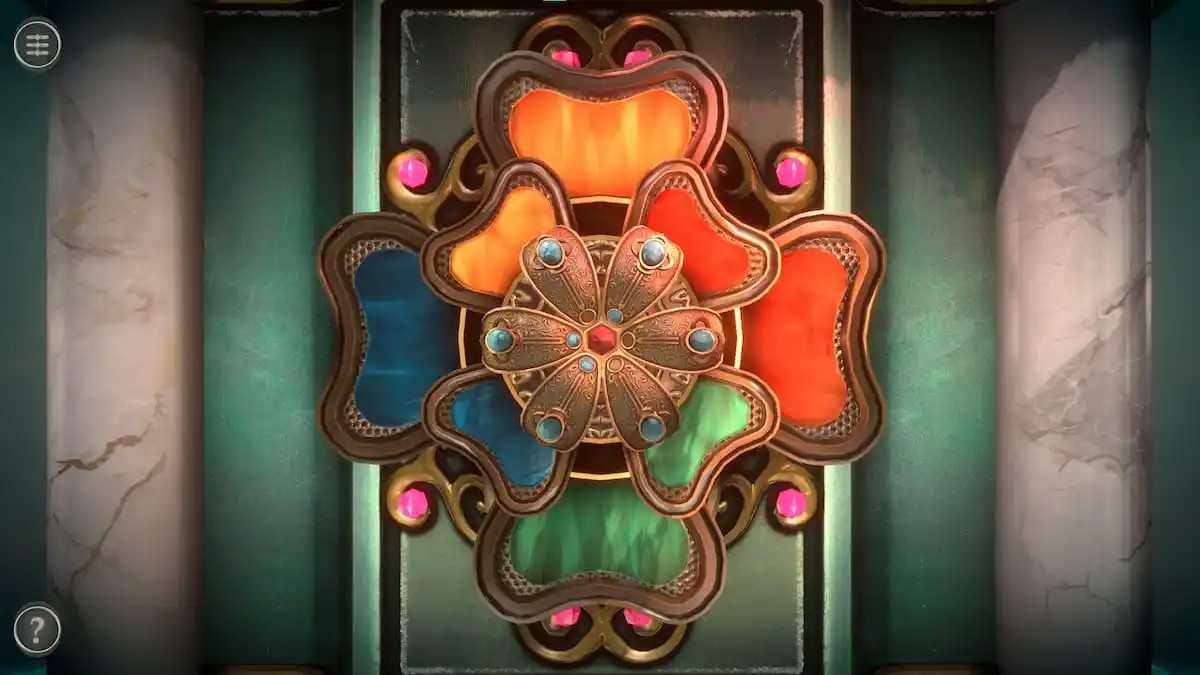
The completion of this puzzle gives you a Small Shield.
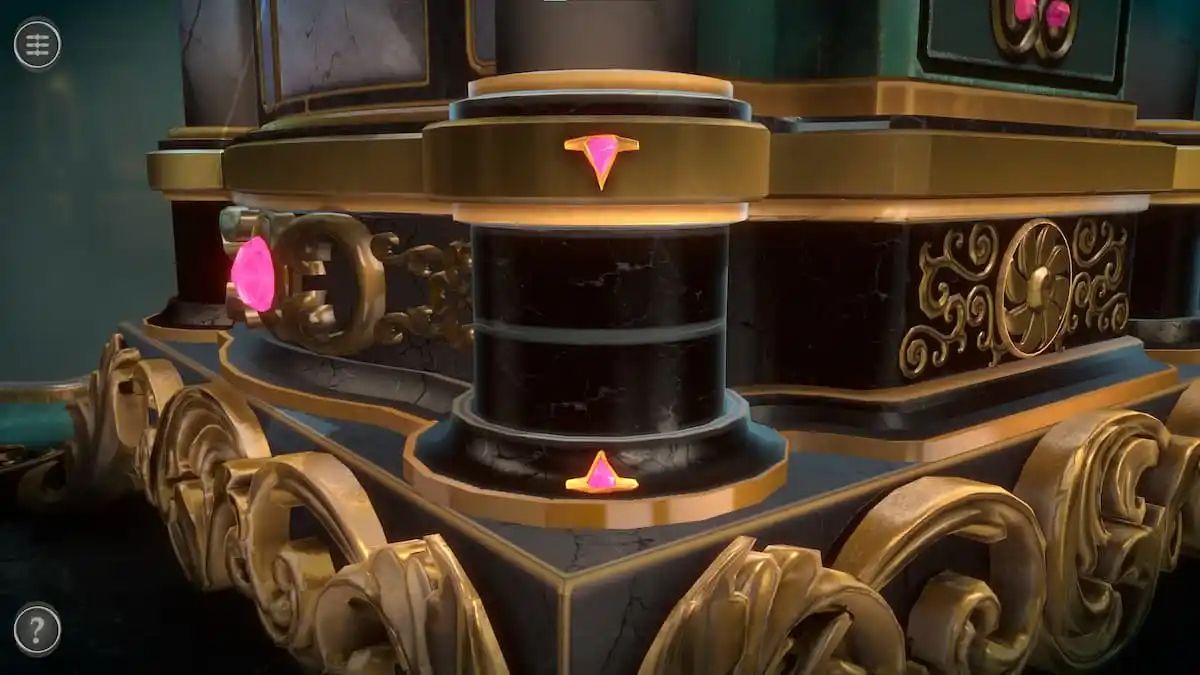
Box left leg puzzle
On the front of the box, the leg on the left side has two pink arrows on it.
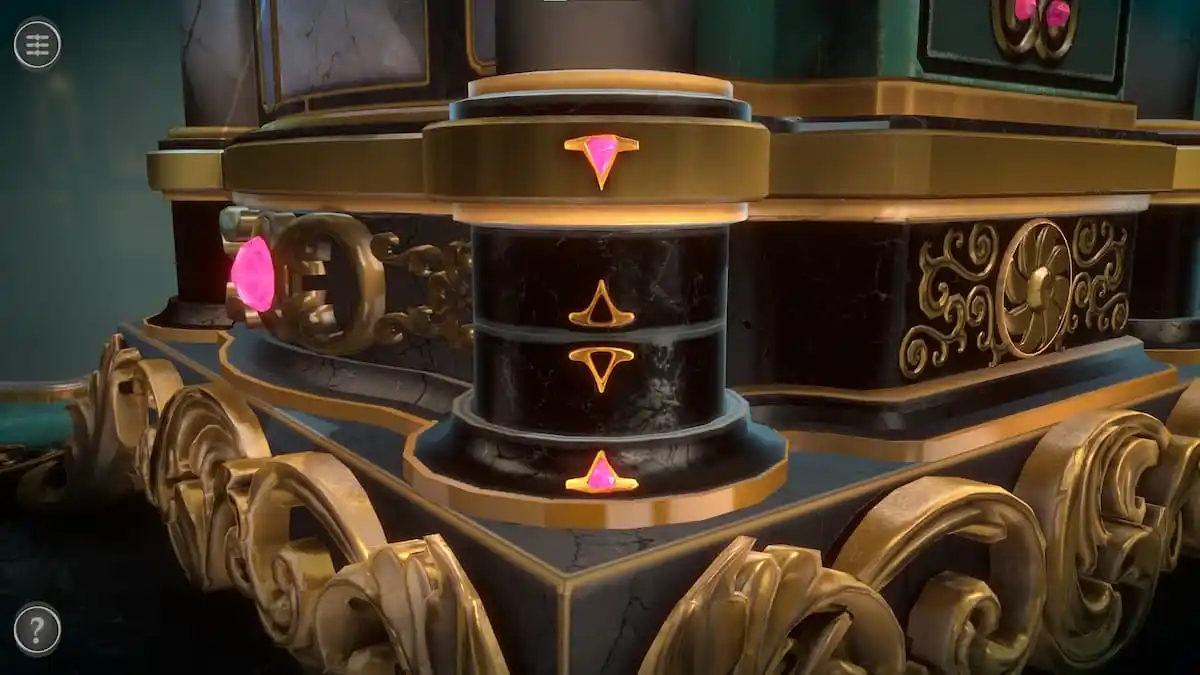
Rotate the top and bottom center sections until their arrows align with the pink ones.
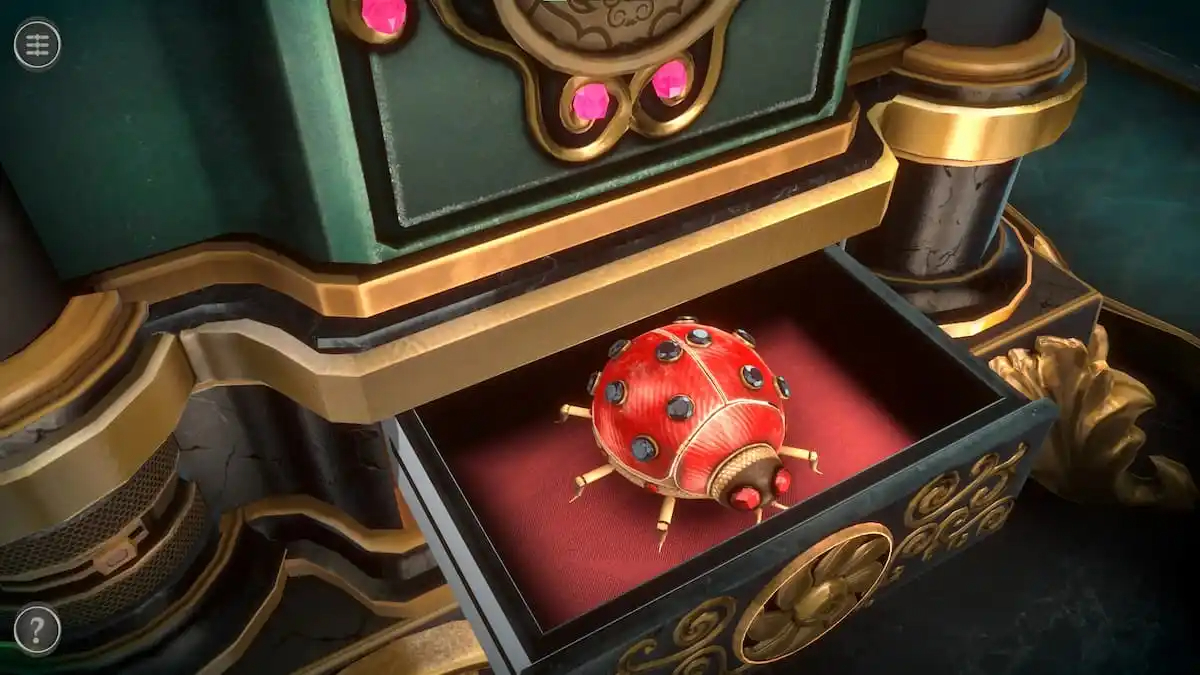
The leg will open, revealing a slider. Pull the slider to open a compartment containing the Mechanical Ladybug.
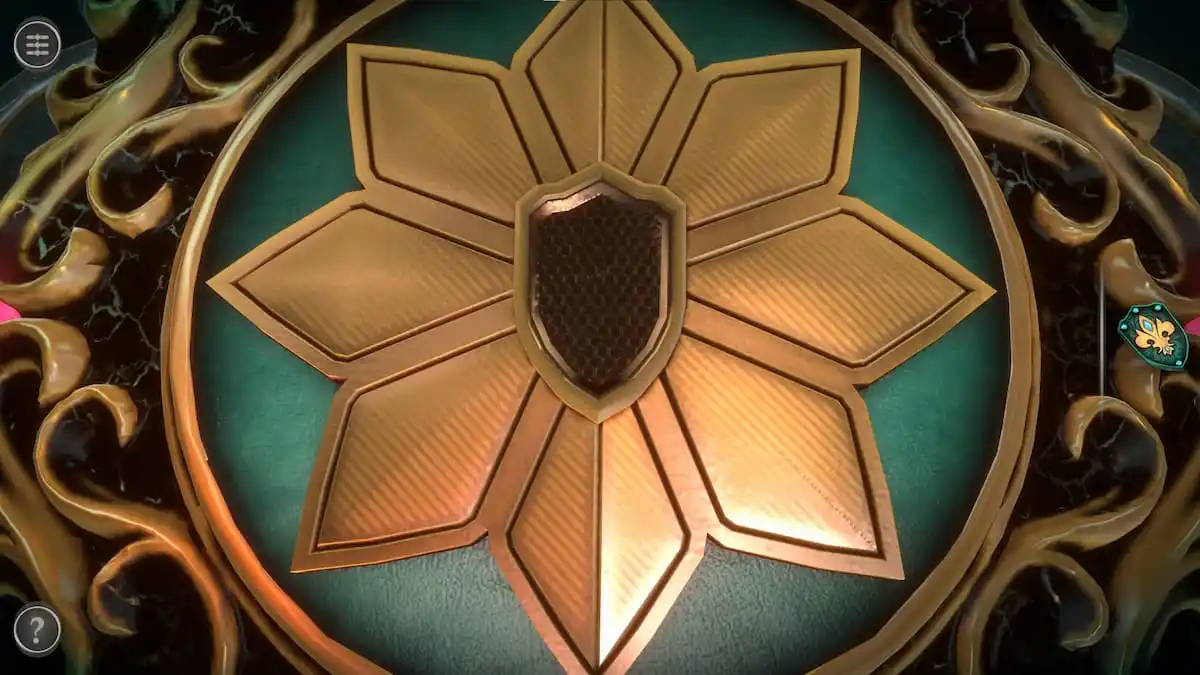
Top-of-the-box puzzles
Look at the top of the box.
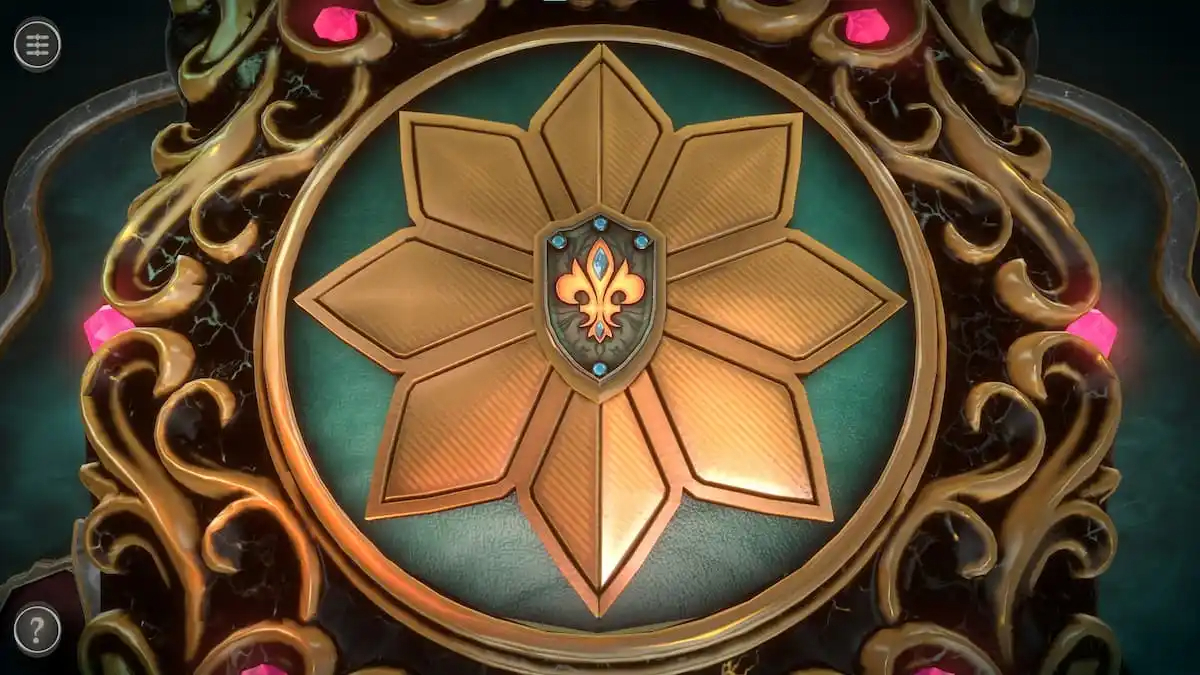
Place the Small Shield into the gap in the center.
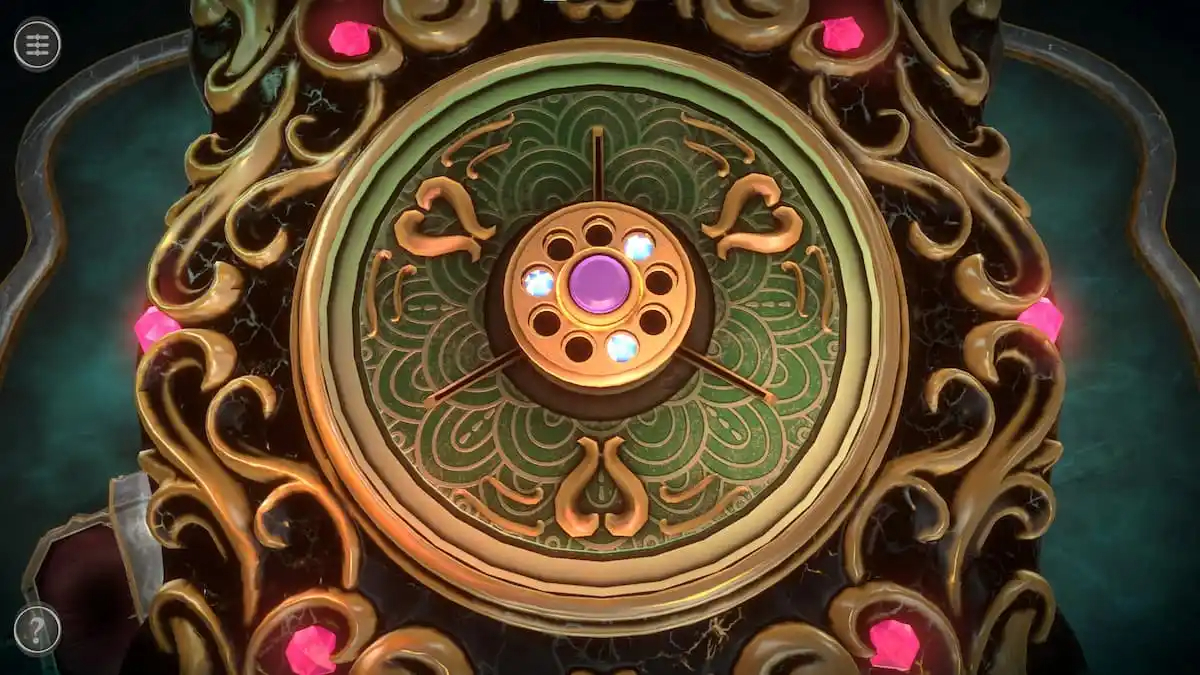
This opens up the top to reveal a gemstone puzzle.
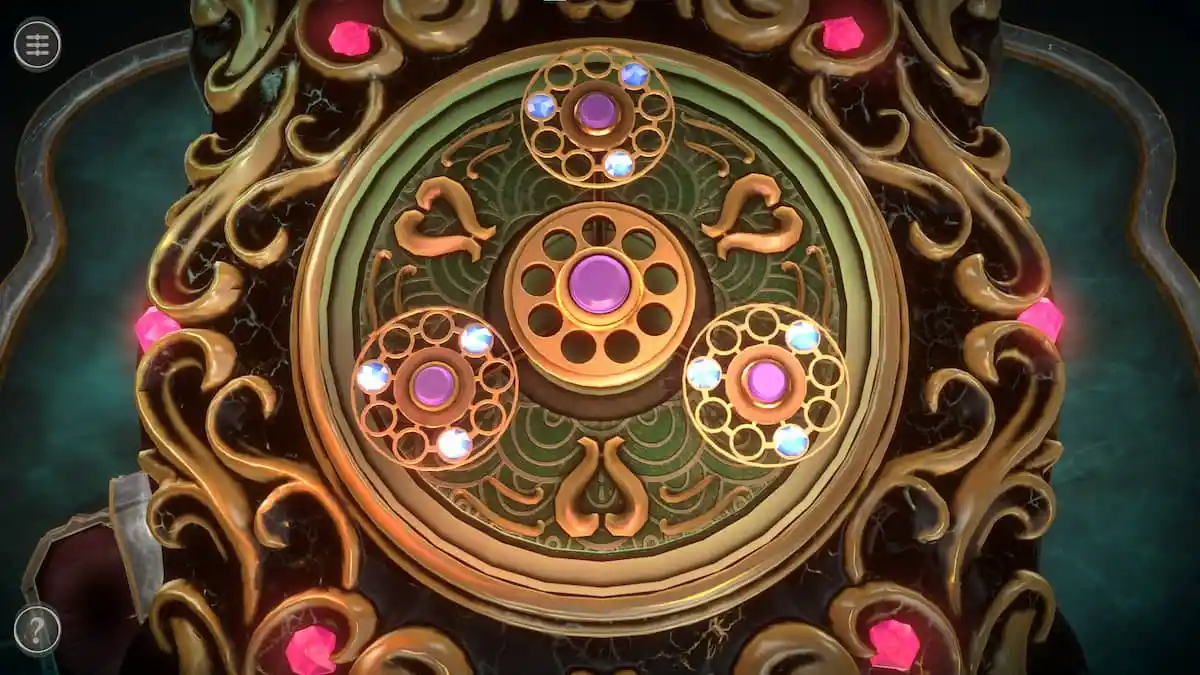
Tap on the pink button in the center to move the three discs containing gems away from the center disc.
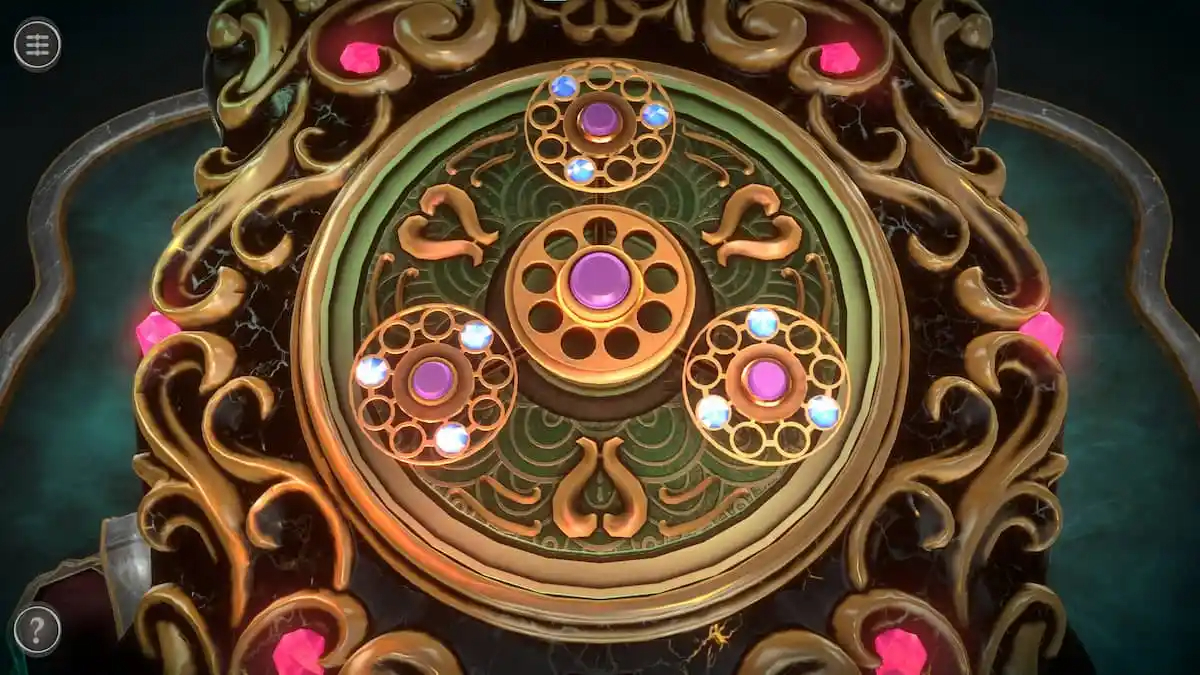
Move the top circle clockwise once and the bottom right circle clockwise twice.
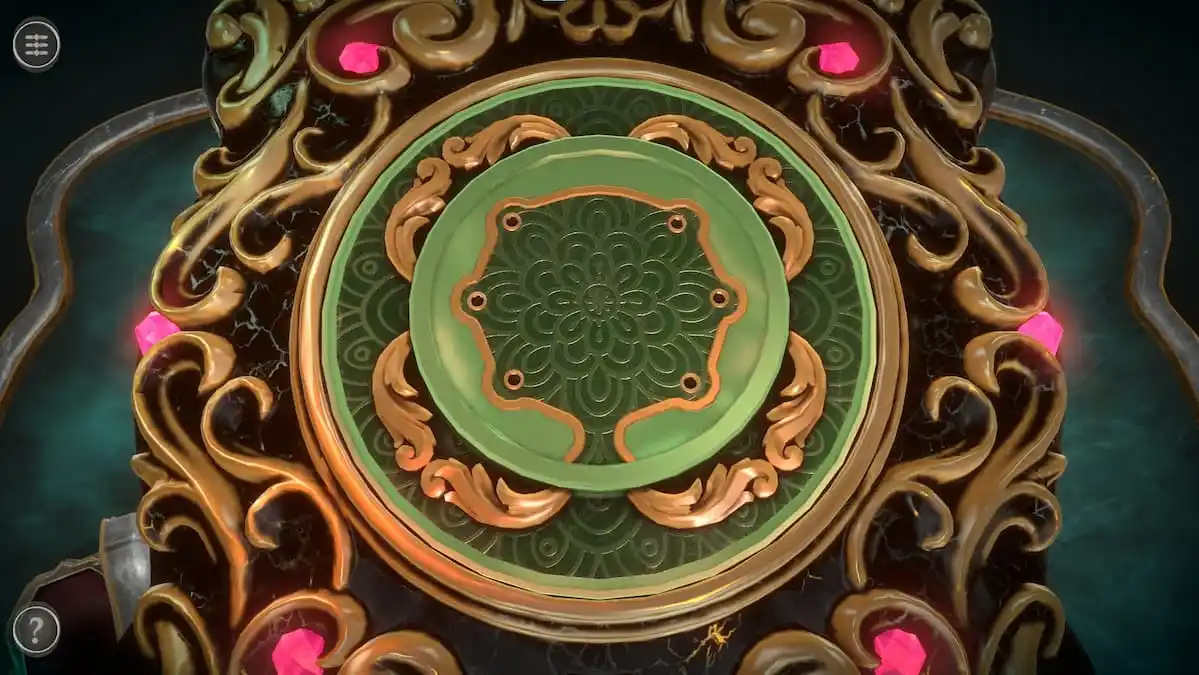
Press the pink button again to combine the discs. If they are placed properly, the top will flip over to reveal a green base with six holes.
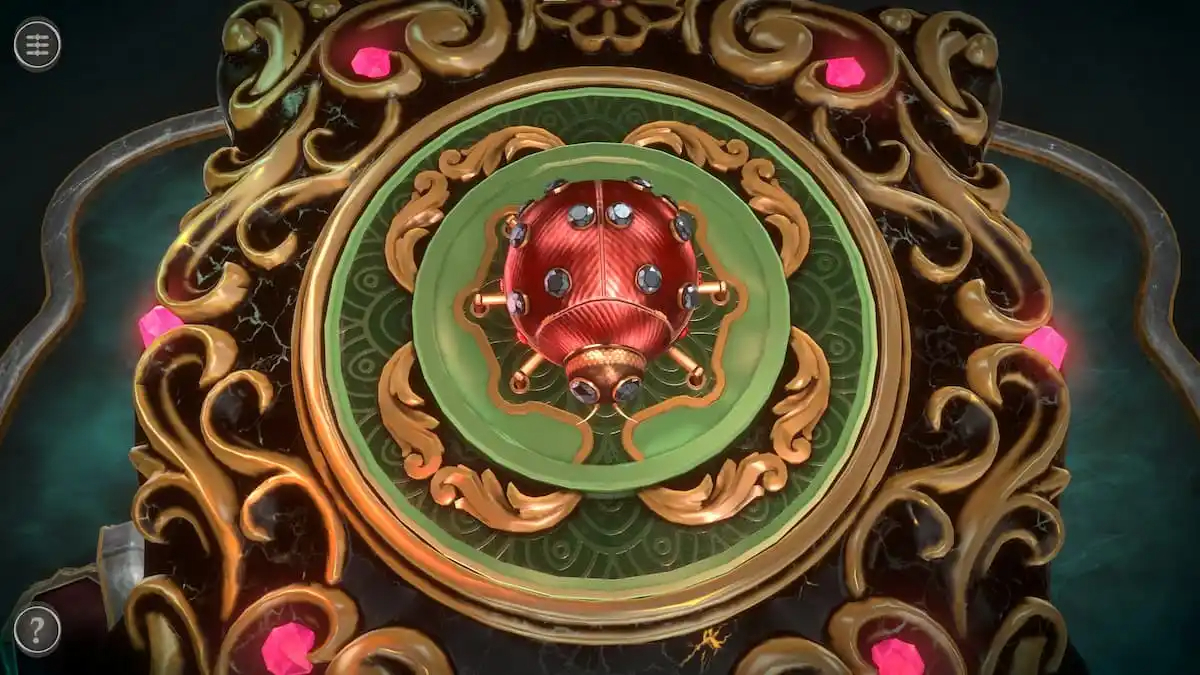
Place the Mechanical Ladybug on top to open up the sides of the box. This will start a new puzzle featuring the Mechanical Ladybug.
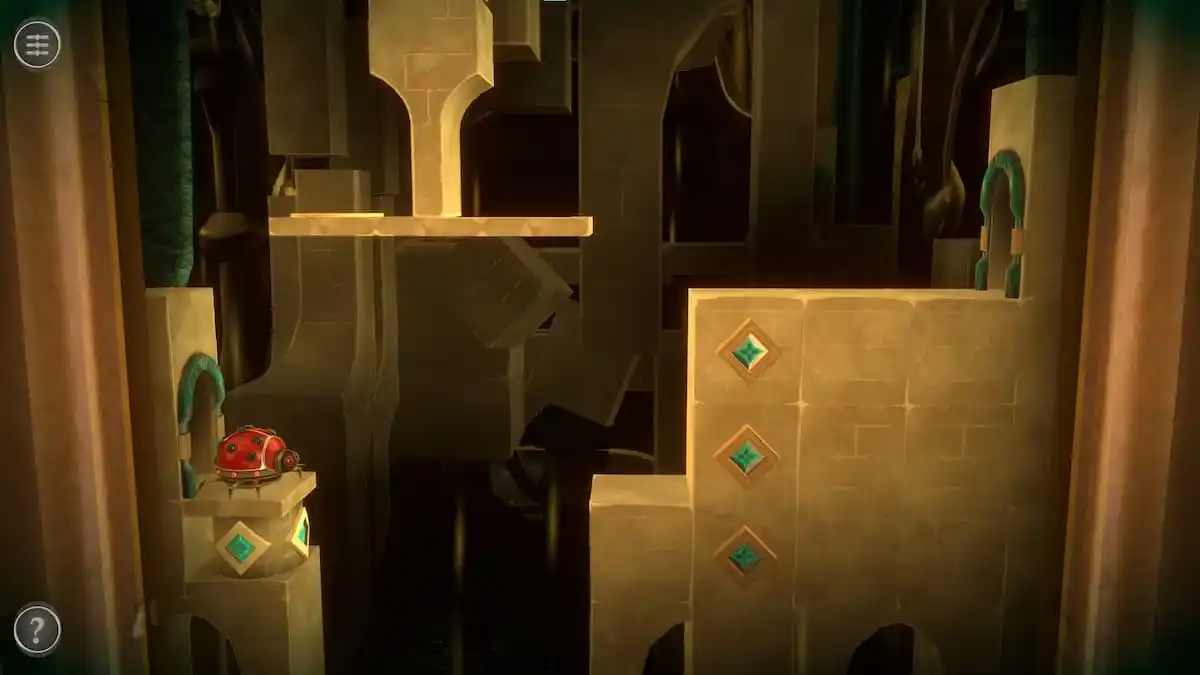
Mechanical Ladybug puzzle
The game will bring you directly to this ladybug puzzle once the Mechanical Ladybug has been added to the top of the box.
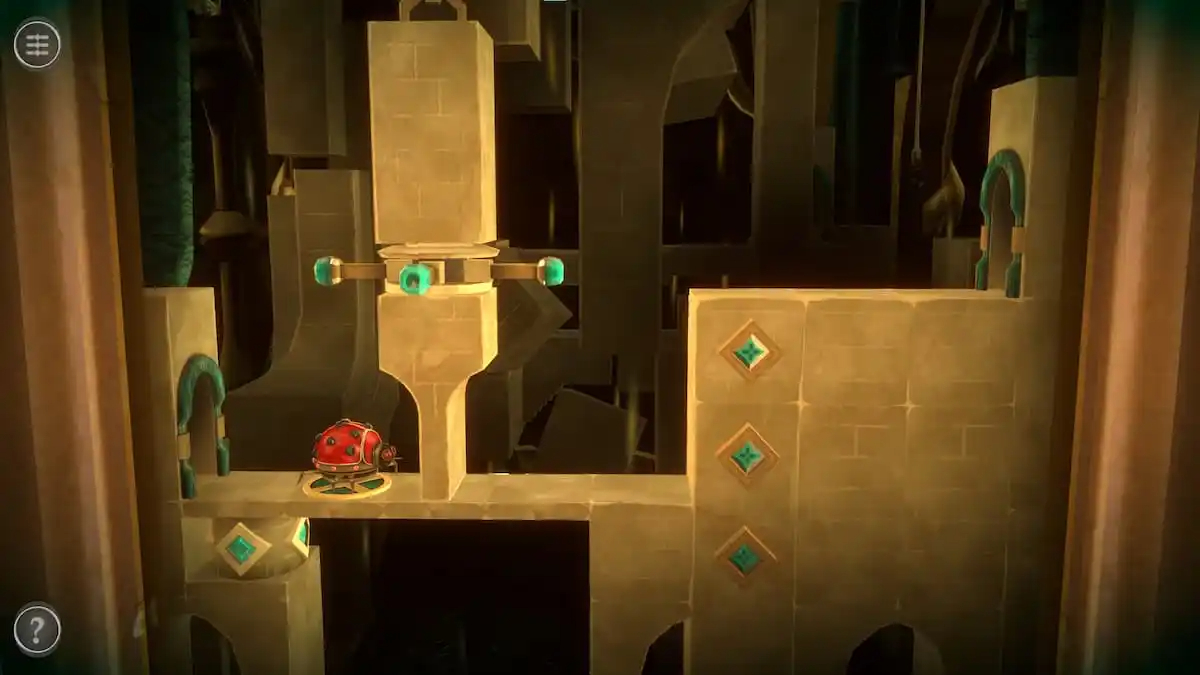
Rotate the green gear beneath the ladybug until the next segment of the path aligns with the ladybug’s current path.
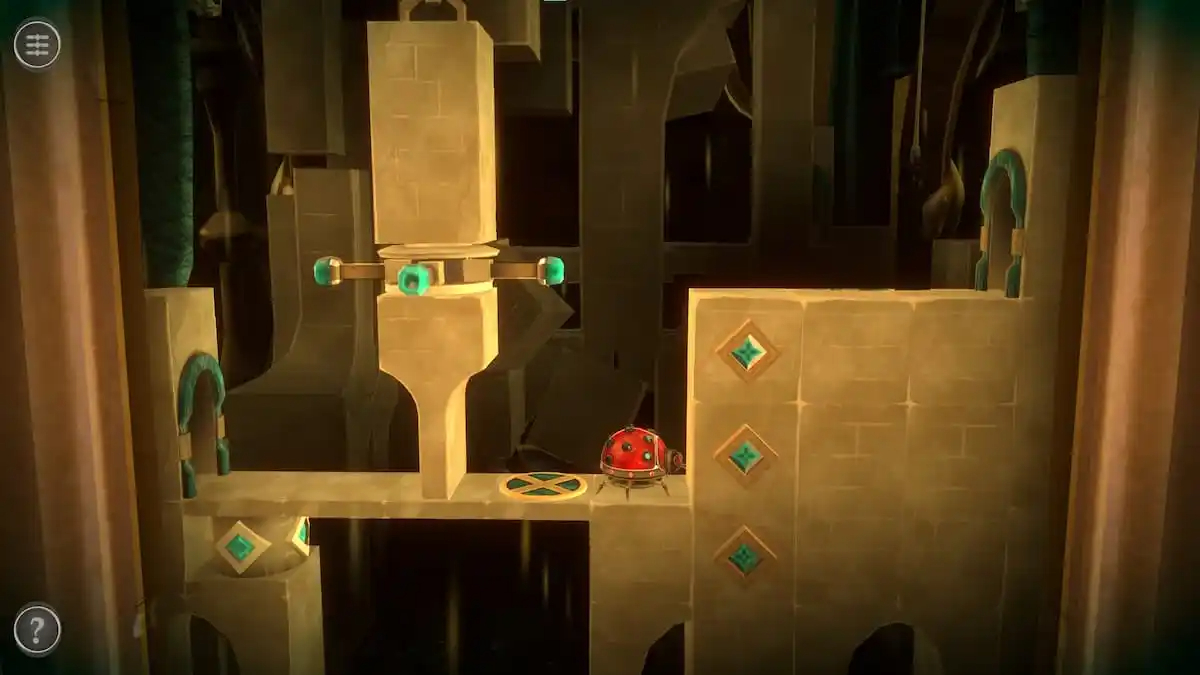
Touch the left handle on the wall blocking the ladybug and pull it to the right to rotate the platform. This will put the ladybug on the other side.
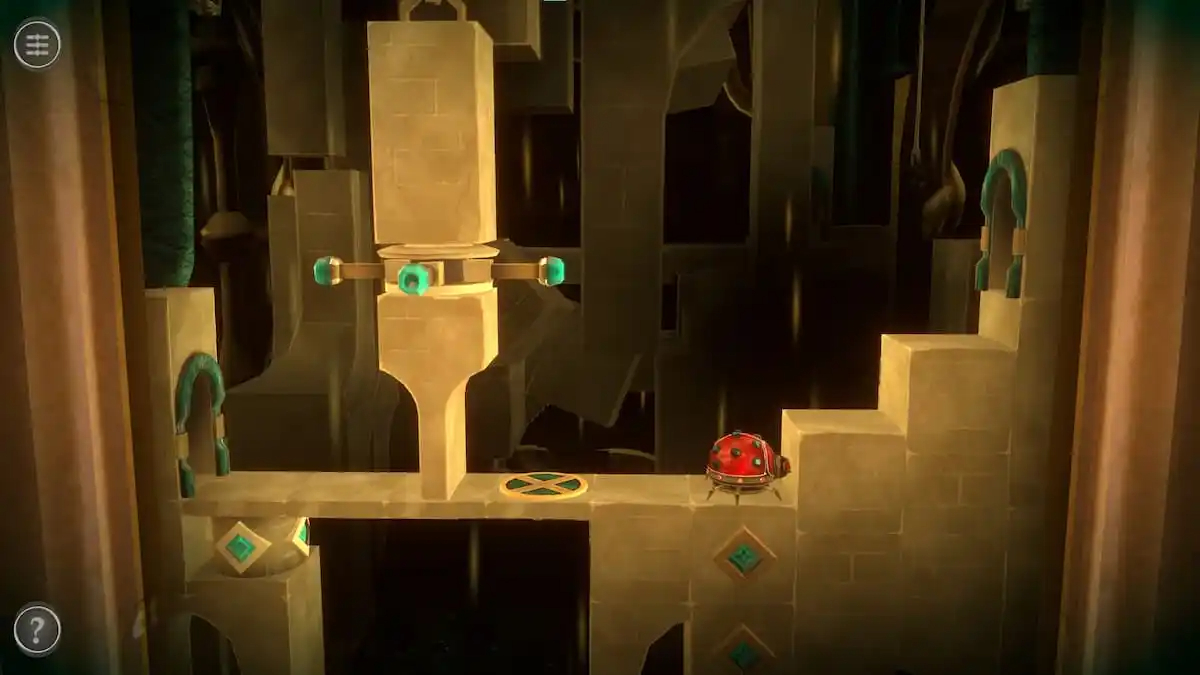
Pull the first column down to create a makeshift staircase.
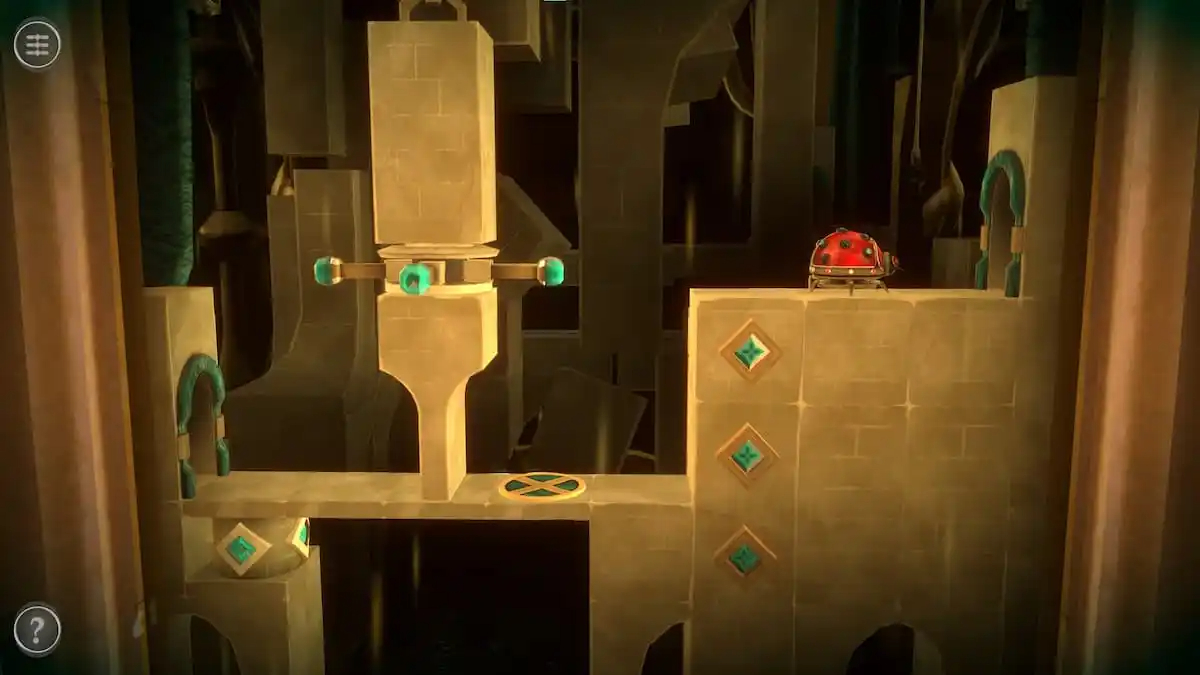
Push the column back up to align with the exit door.
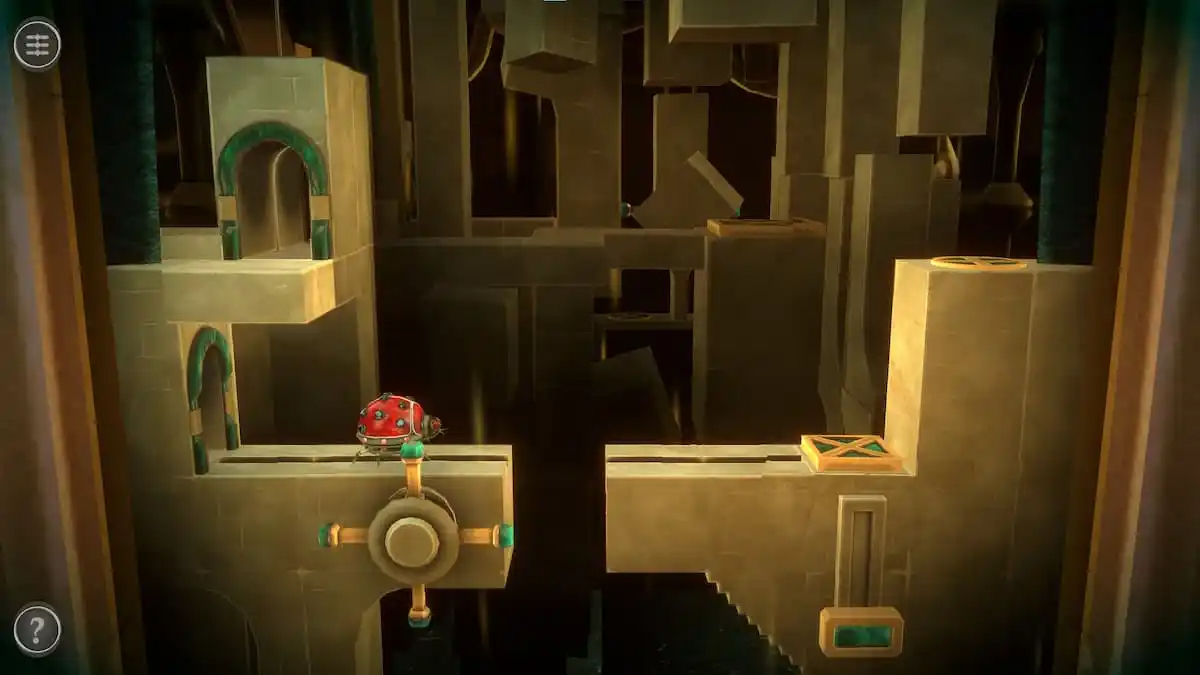
The ladybug will receive an Owl Figure in the next room, passing through it with no help. It will then enter the third room.
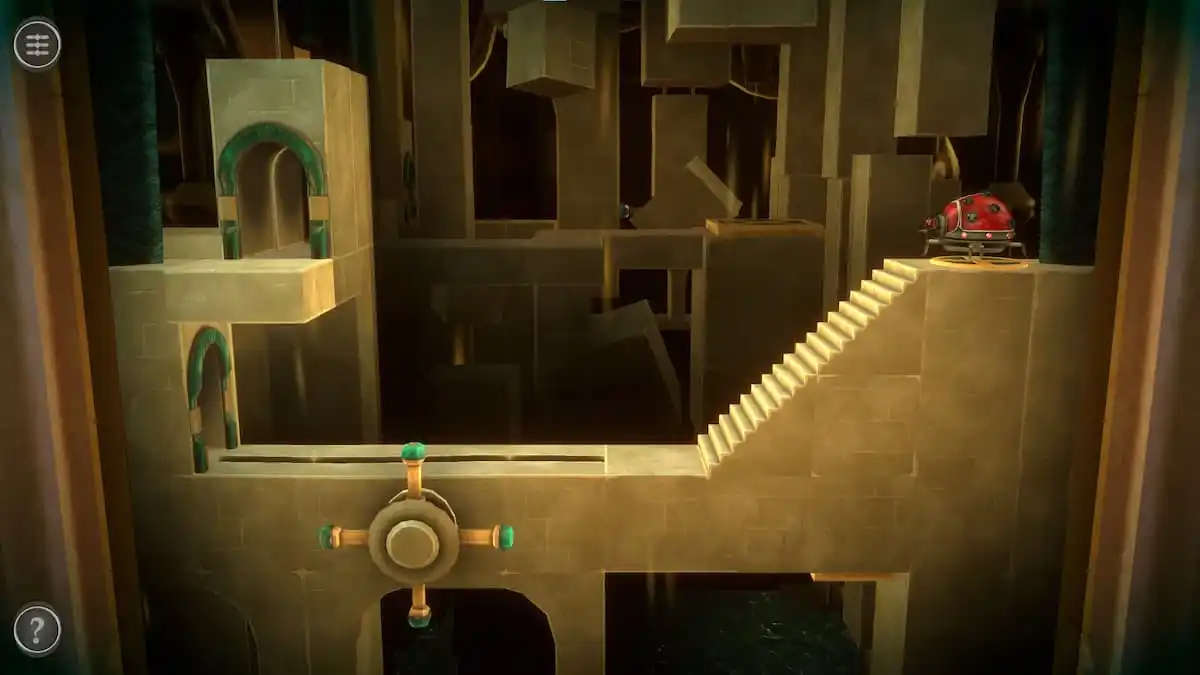
Rotate the mechanism beneath the ladybug to connect the two sides and flip the right section upside down to reveal a set of stairs.
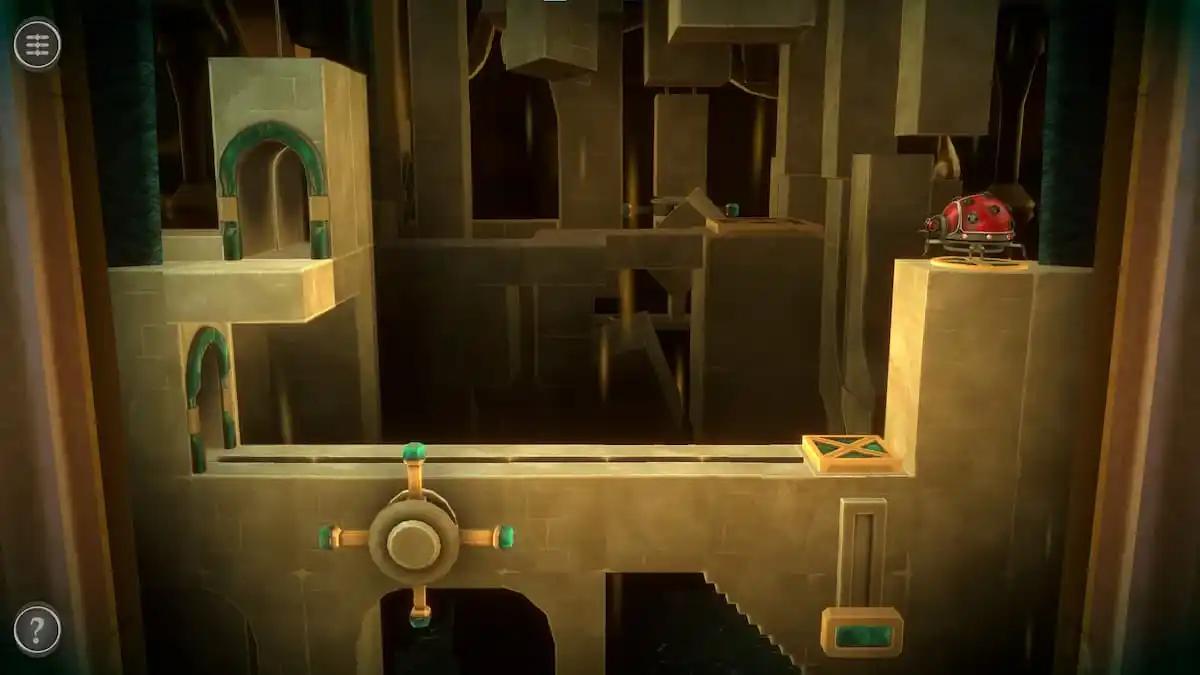
Rotate the original mechanism again to flip the right side back to its original state.
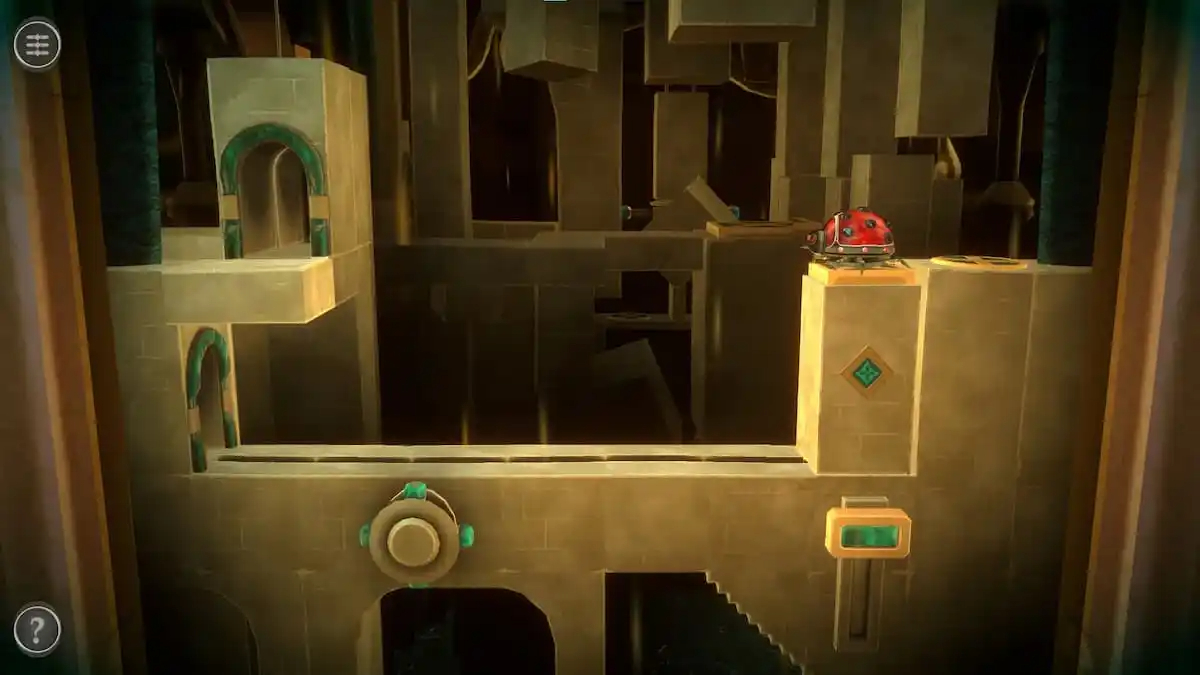
Pull the slider up to unlock a moving column, which the ladybug will climb onto.
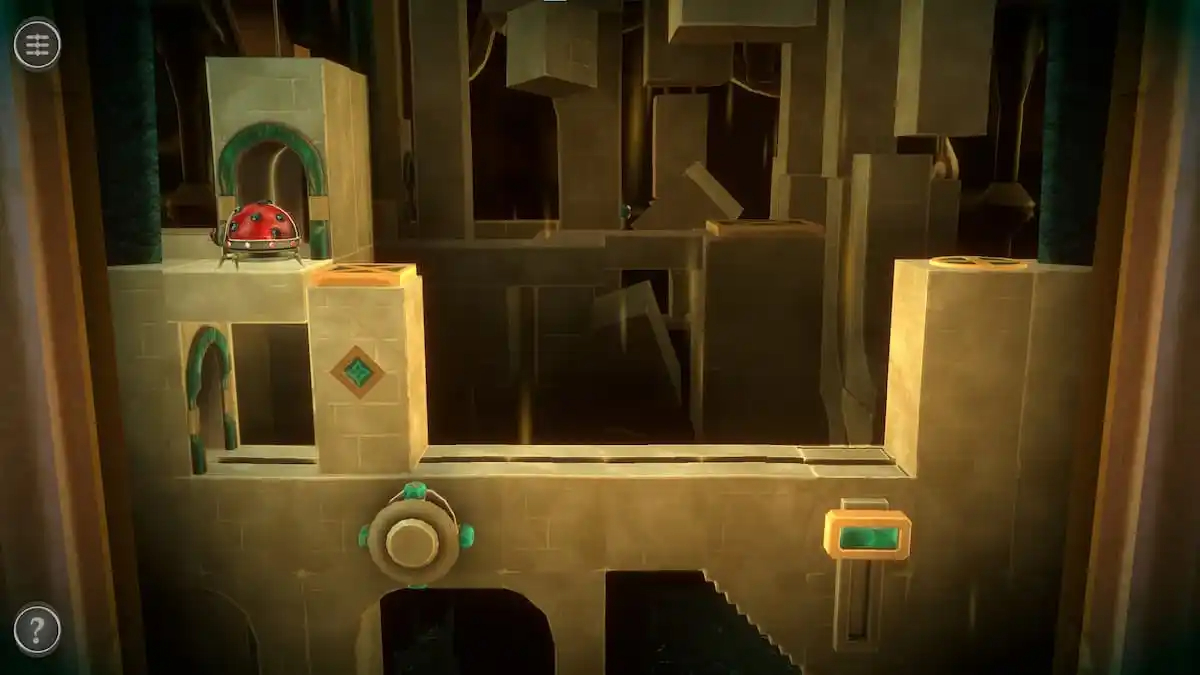
Click on the center of the column and slide it over to the left side.
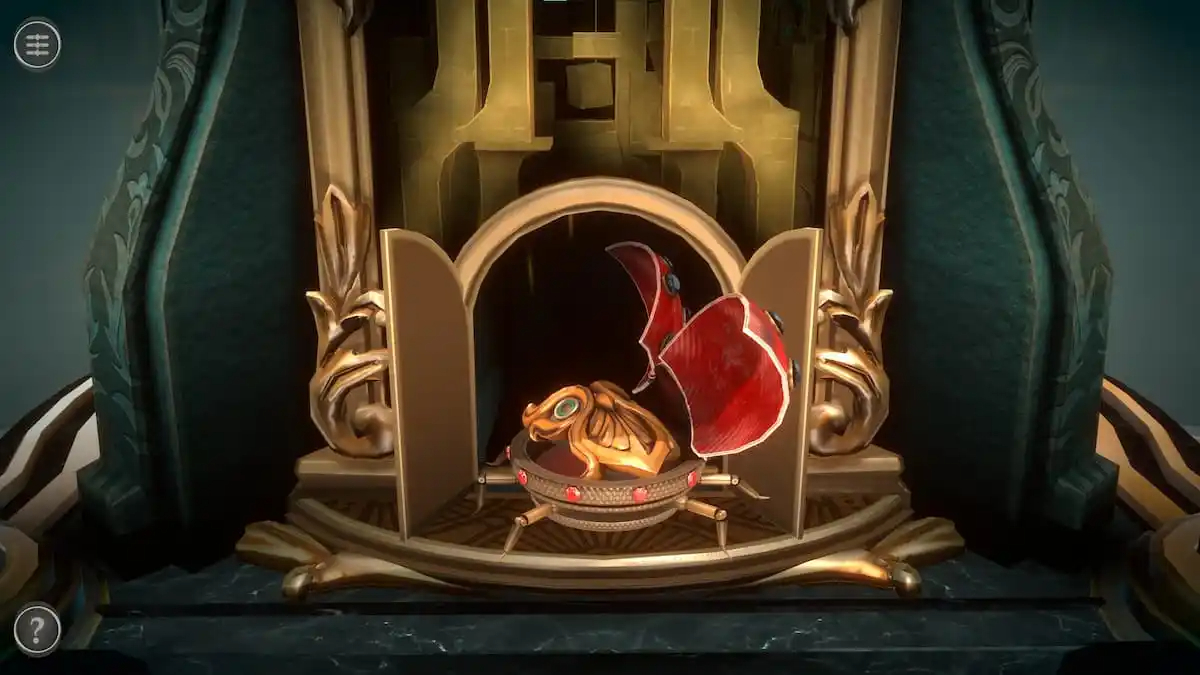
The ladybug will exit the clock, giving you the Owl Figure.
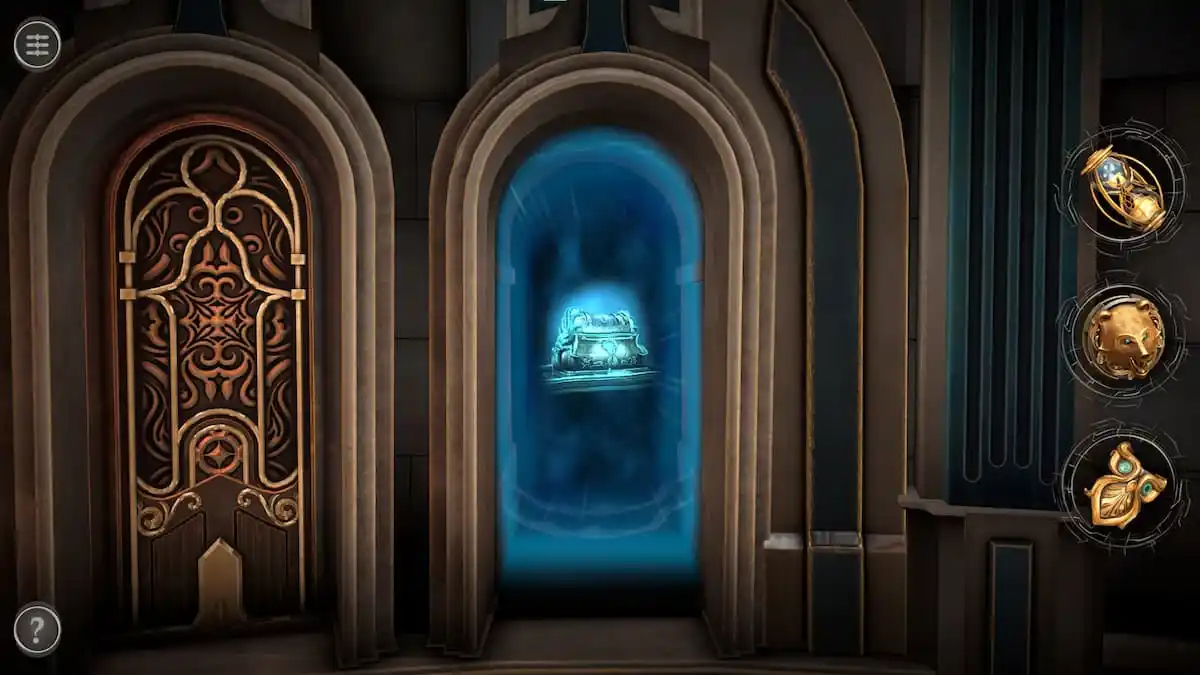
Grabbing the Owl Figure removes you from the third room, unlocking the final room in Chapter 1.
THIRD PUZZLE BOX IS COMPLETE AND FINISH YOUR FINAL PUZZLE BOX IS NOW UNLOCKED IN CHAPTER 1
FINAL PUZZLE BOX IN CHAPTER 1
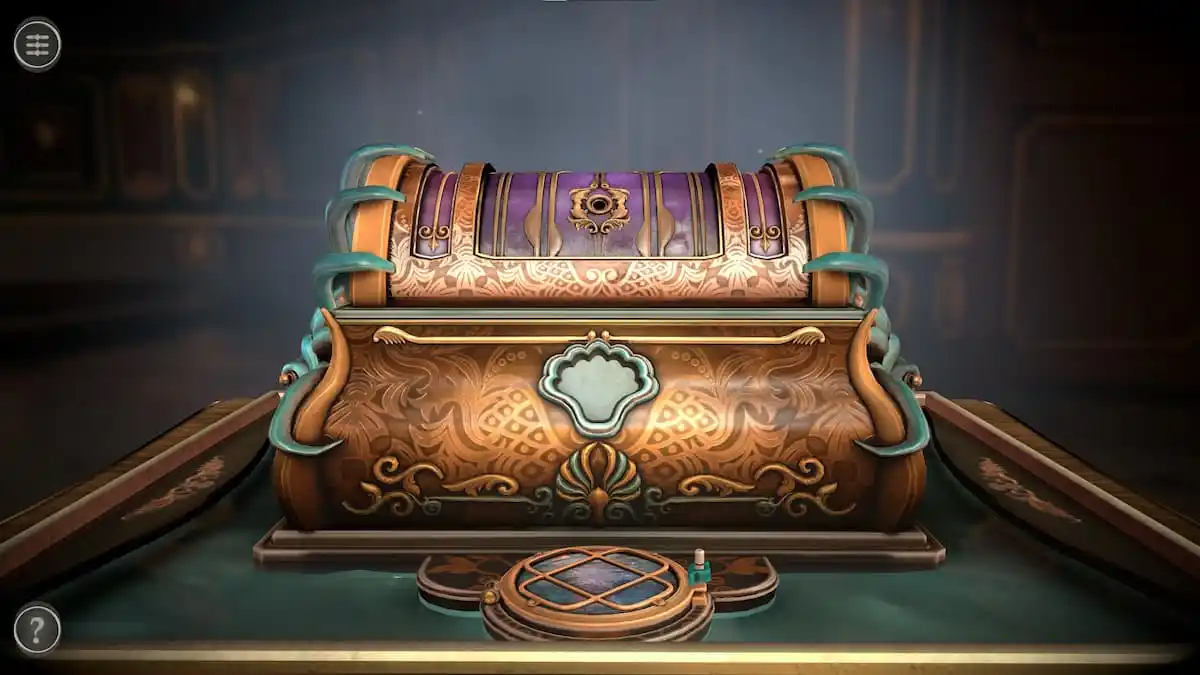
Room 4 puzzles
The fourth room features a treasure chest floating atop a pool of water.
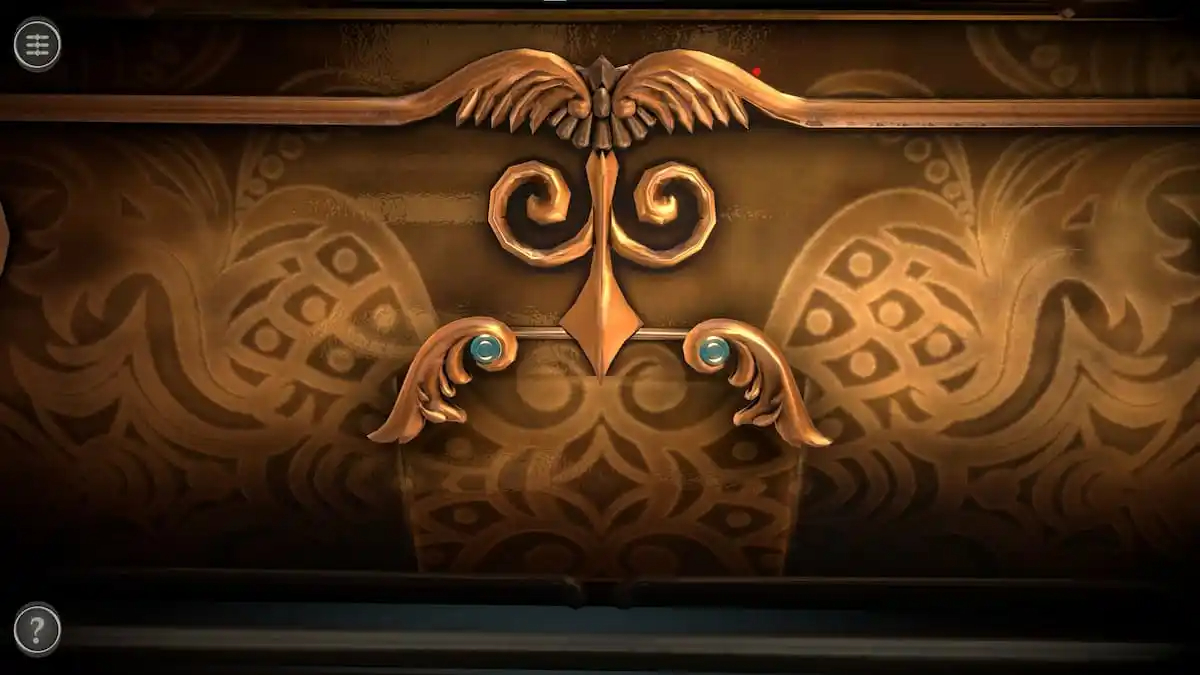
Begin the chest puzzles by rotating the camera and viewing the compartment at the back of the chest.
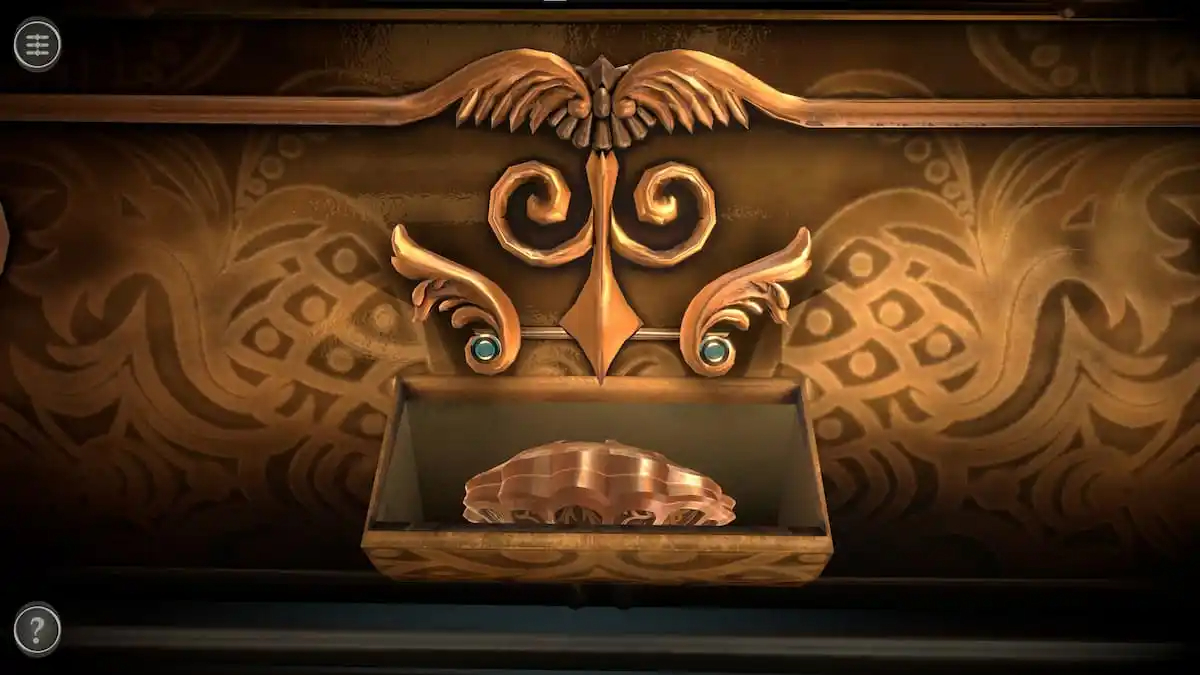
Flip each wing up and pull the compartment down to get a Clam Shell.
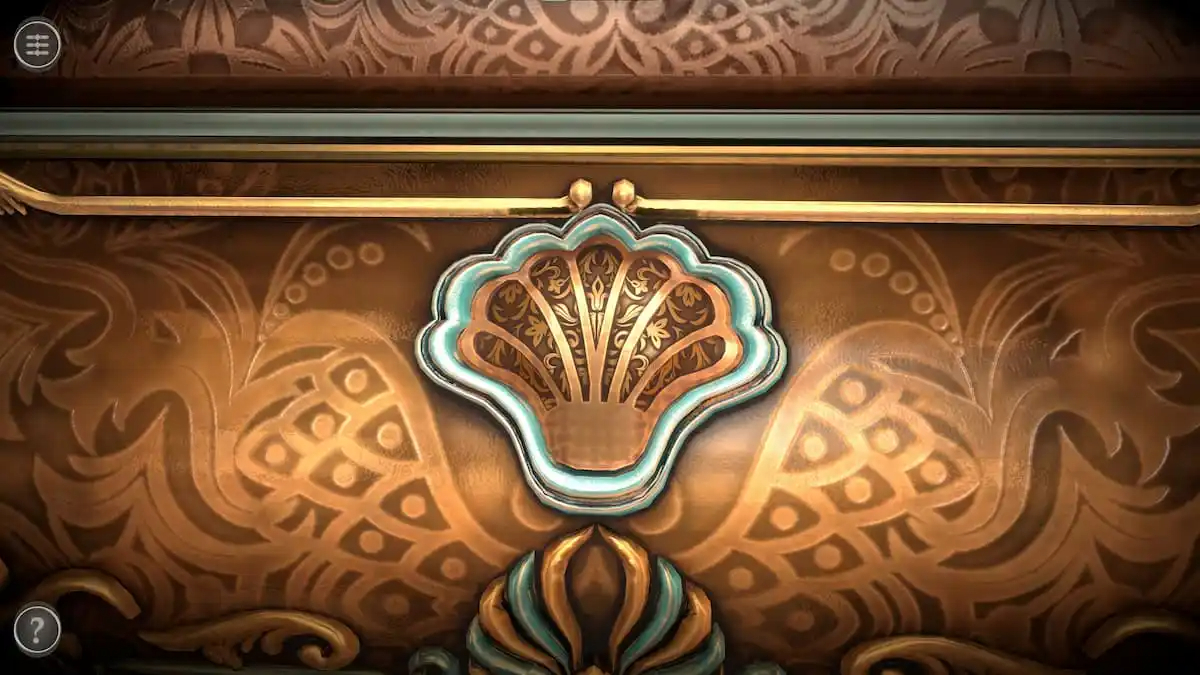
Place the Clam Shell into the matching hole at the front of the chest. The Clam Shell will open up, giving you a Pearl.
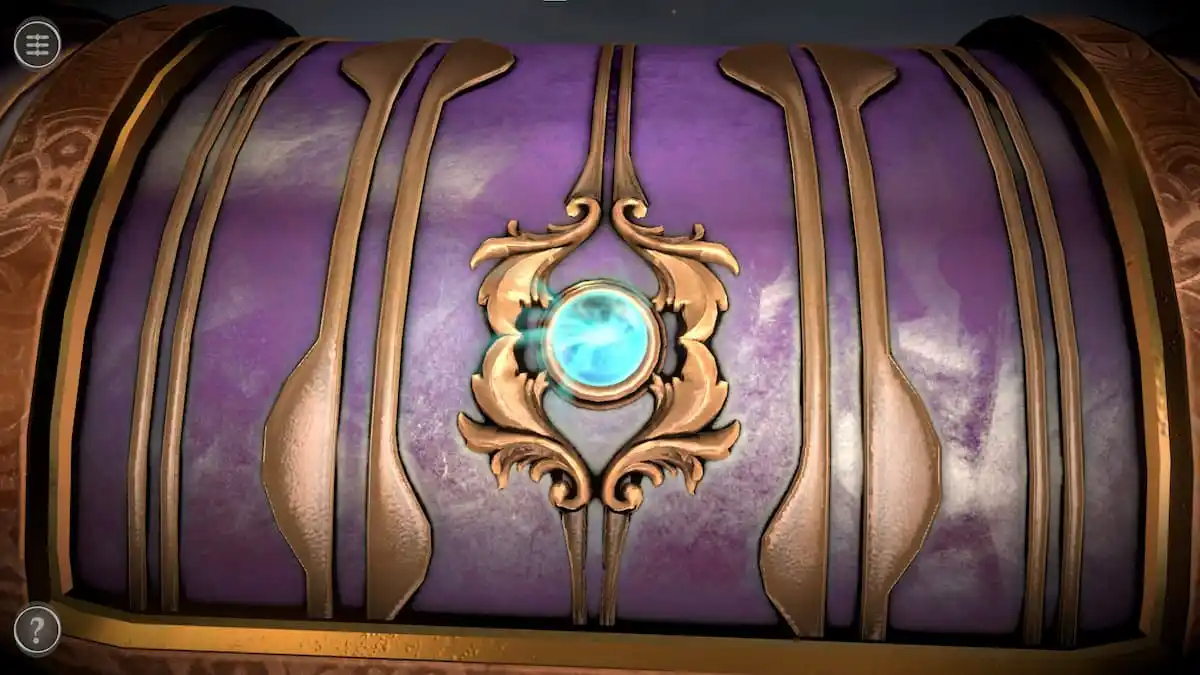
Place the Pearl in the round hole at the top of the chest to unlock a slider puzzle.
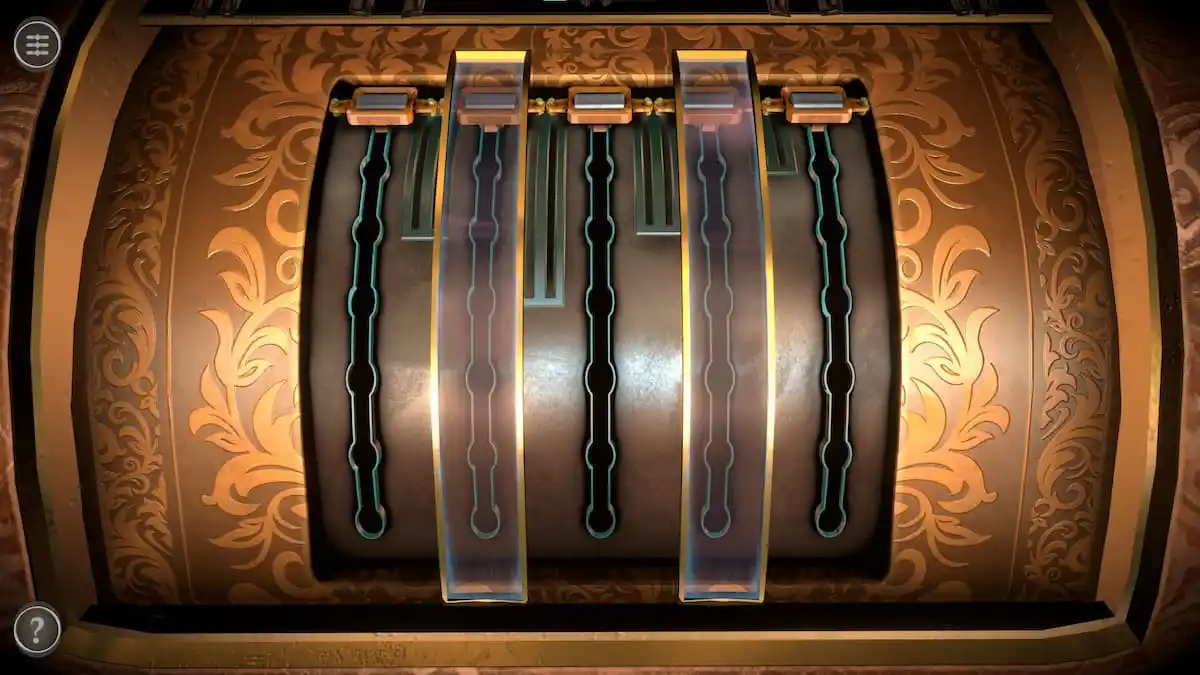
Pearl slider puzzle
Placing the Pearl unlocks a slider puzzle on top of the chest.
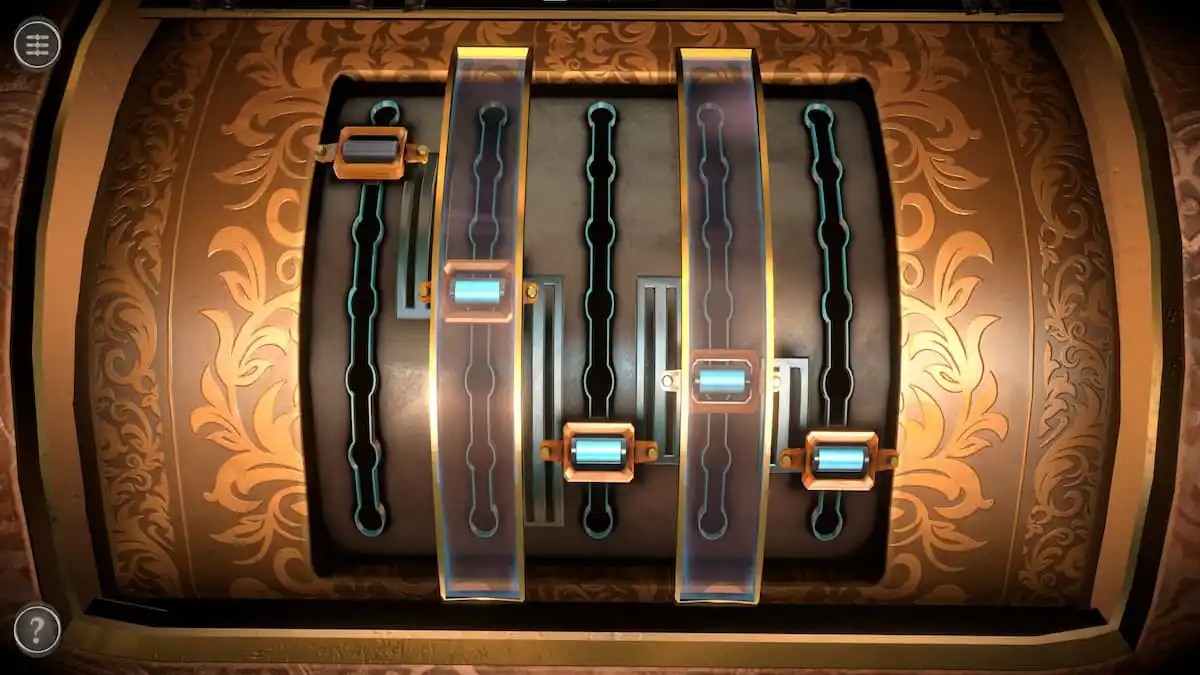
When a slider is in the correct position, it will light up blue. The three uncovered sliders are attached to the two covered ones by metal strips. They will move the uncovered ones when they move past the bottom or top of the metal strip.
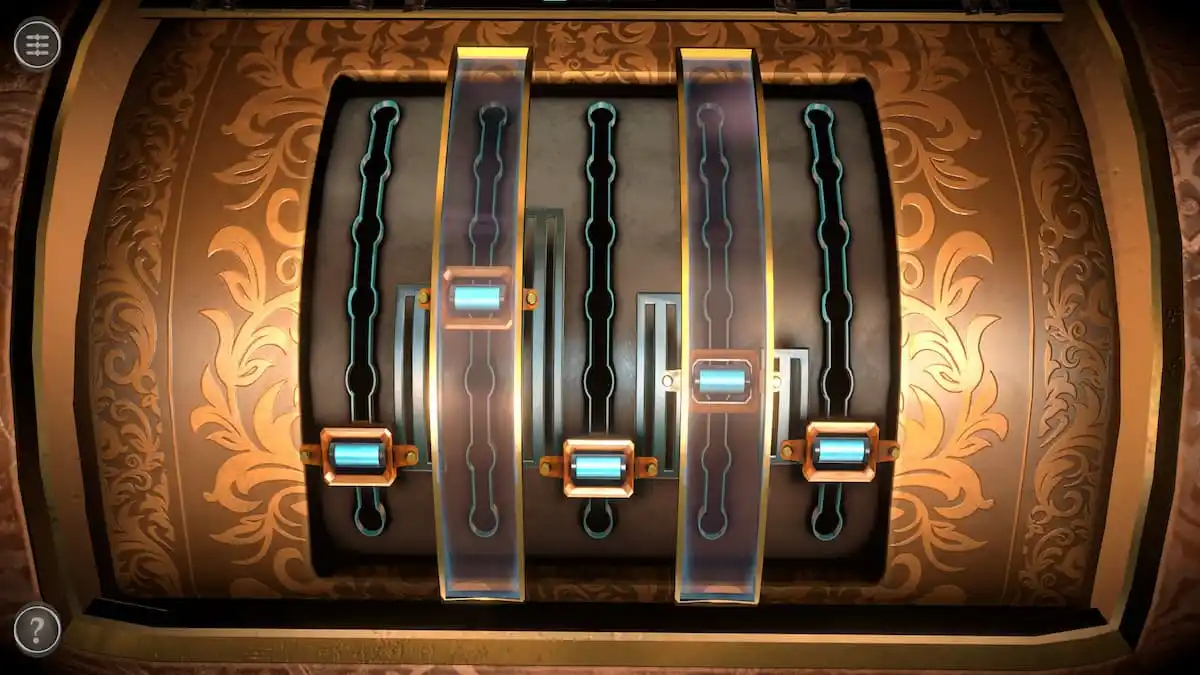
When all of the switches are blue, the puzzle is complete.
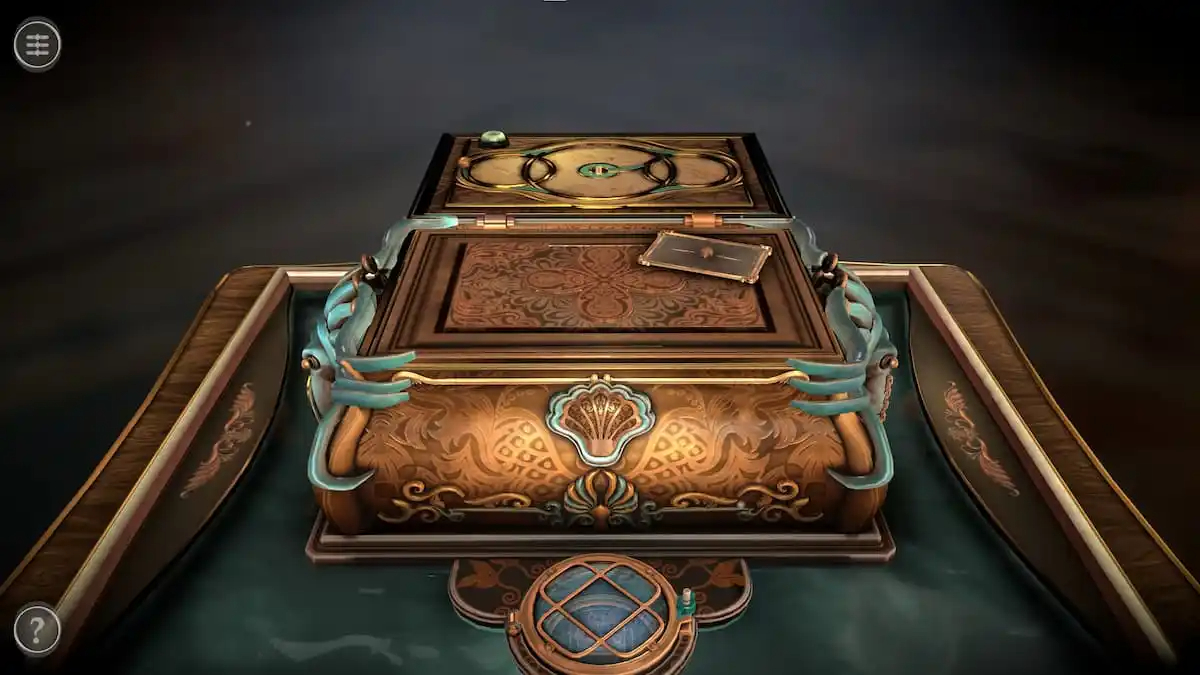
Finishing the puzzle moves the octopus’s tentacles on either side of the chest, unlocking it and opening the top. The small brown card with an image of the mask provides a hint about the story of the game.
Octopi and center compartment puzzles
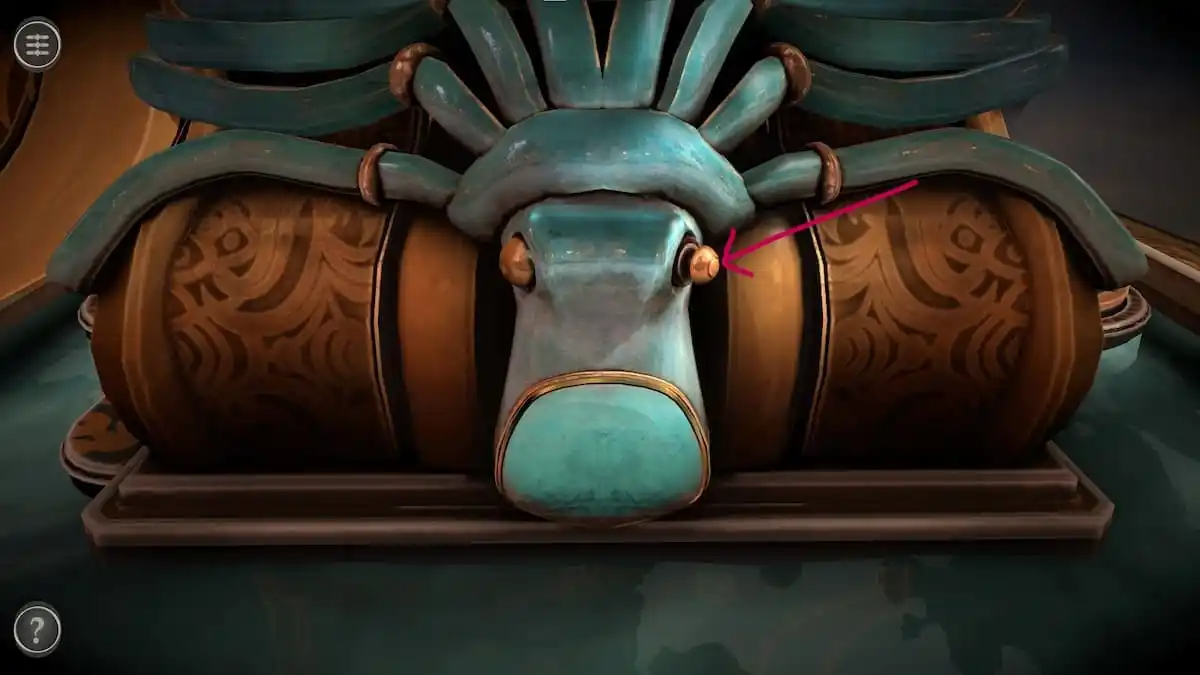
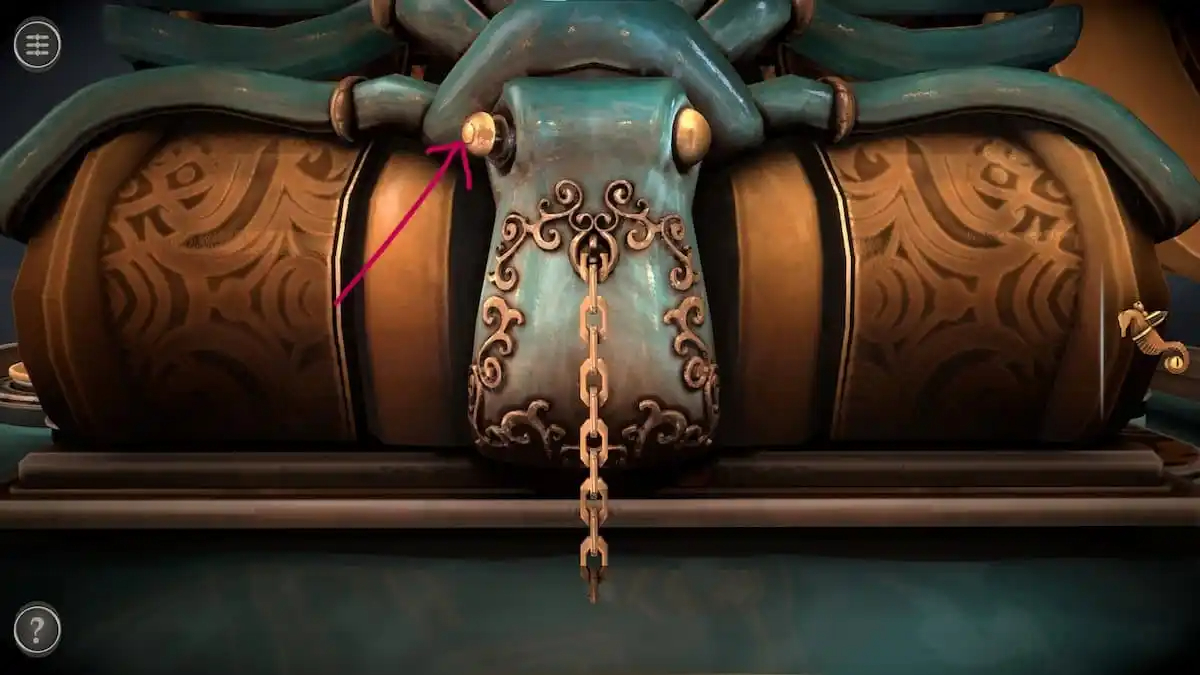
Look at the octopus on the left of the chest. Push its right eye into place to get a Metal Figure.
Look at the octopus on the right. Push in its left eye to receive an Anchor.
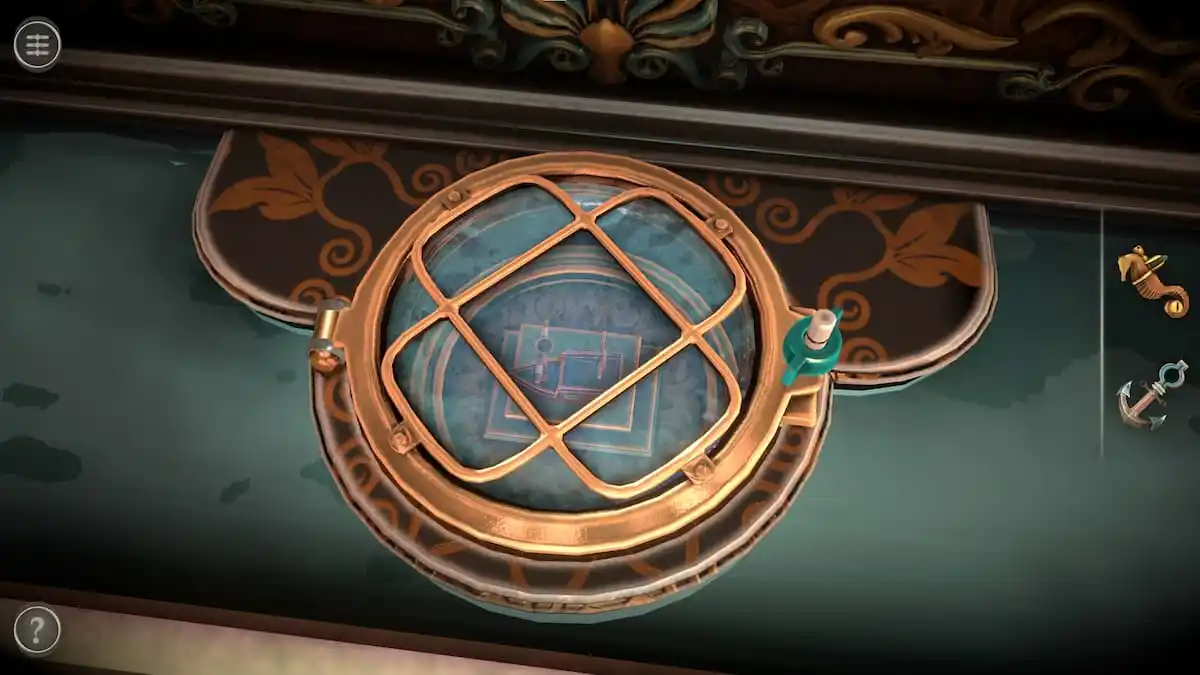
Focus on the compartment in front of the chest.
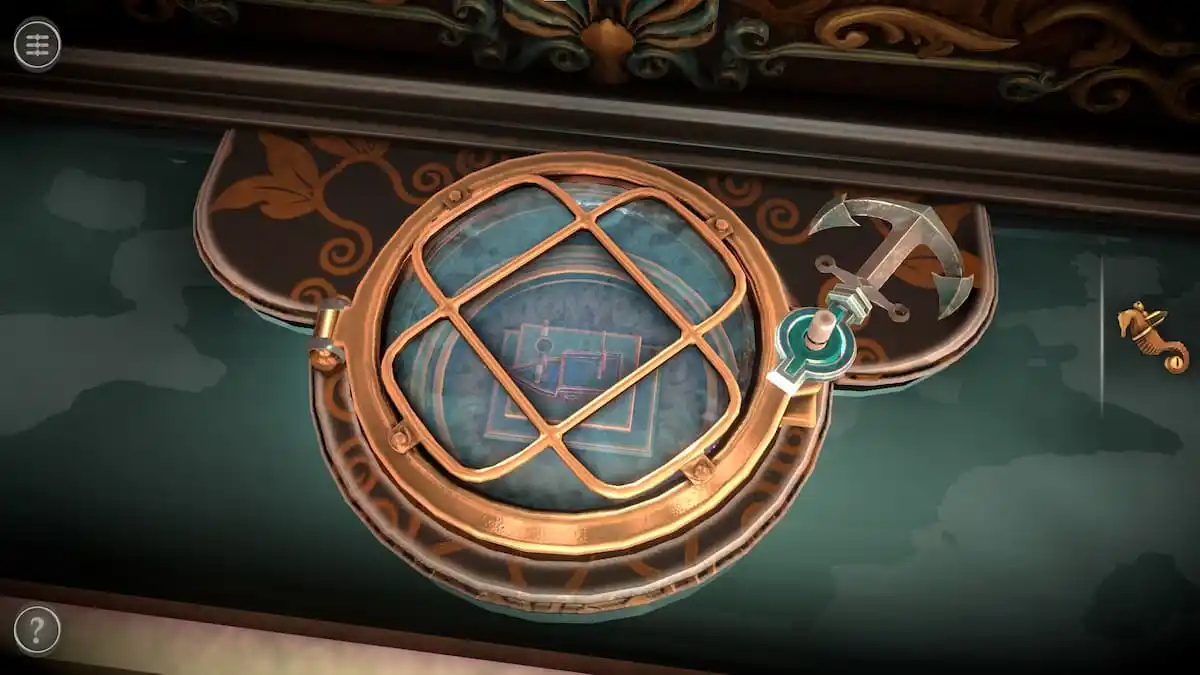
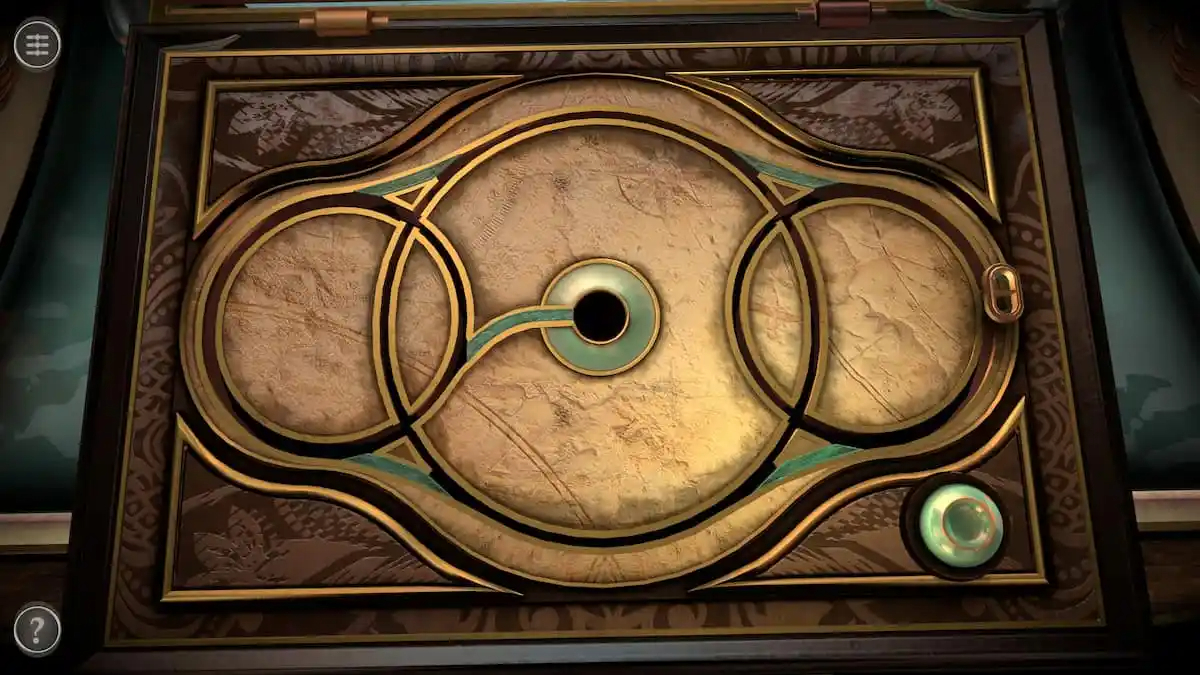
Place the anchor on the peg to the right, rotate it, and open the compartment to get a Model Ship.
Pathway puzzle
The pathway puzzle at the top of the box is the next, but you’ll notice that part of the slider is missing.
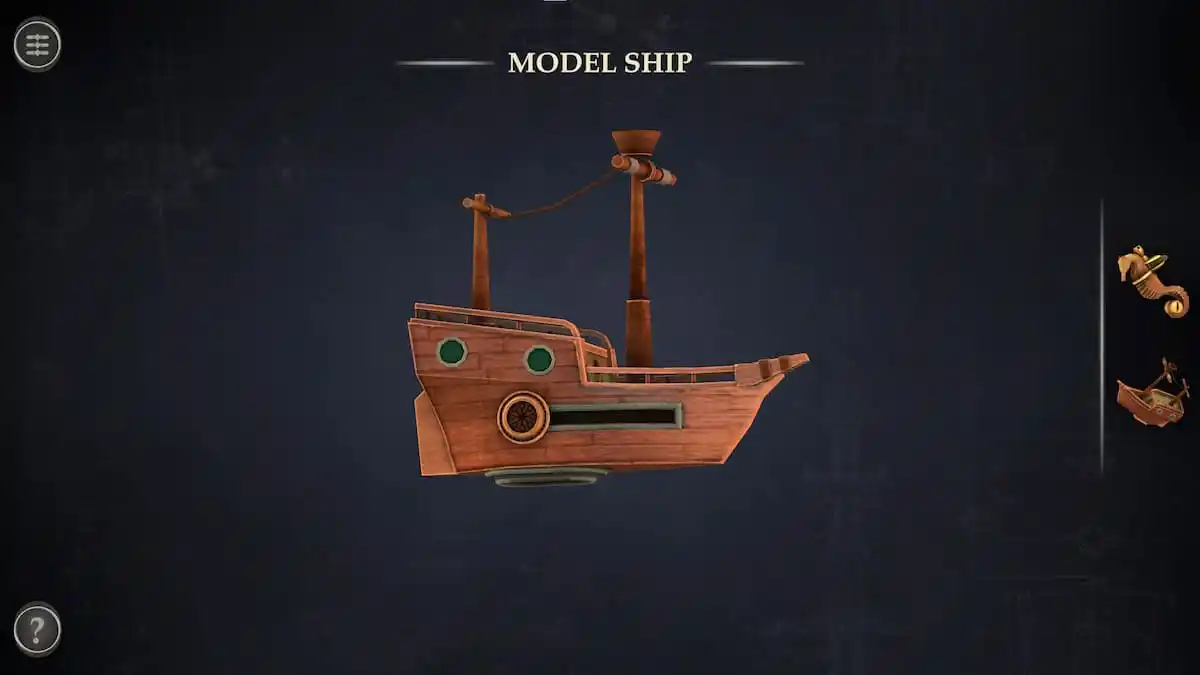
Open the Model Ship in your inventory and rotate it to reveal a hidden slider.
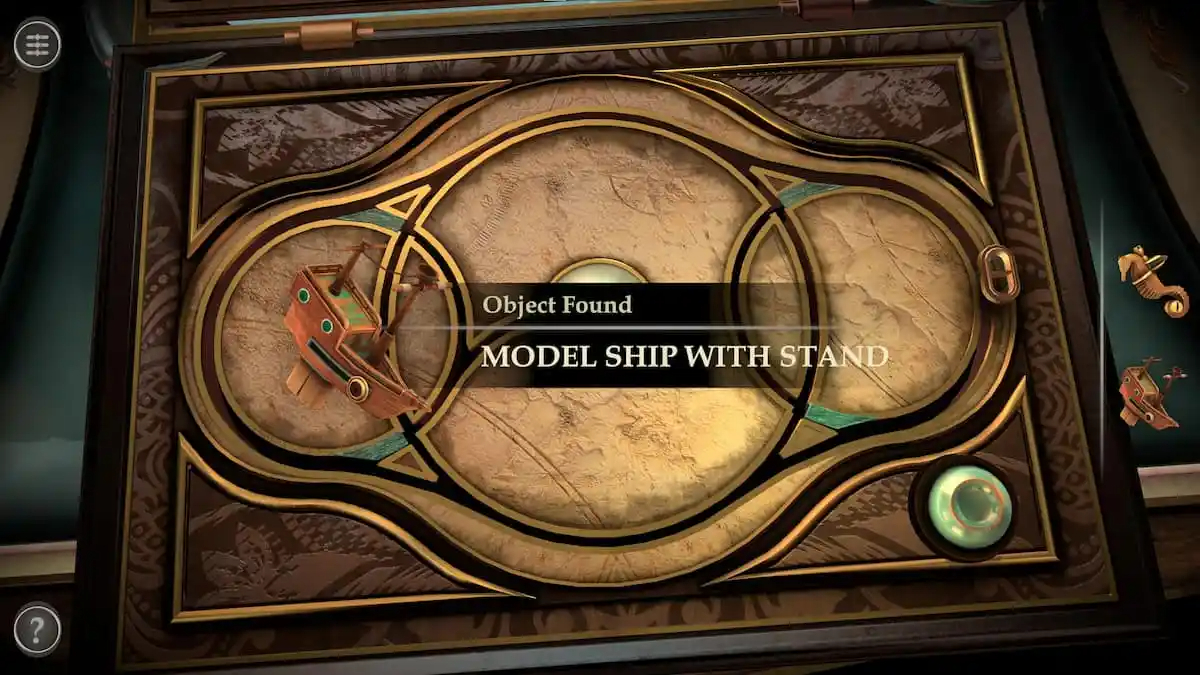
Moving the slider extends a piece from the bottom of the ship.
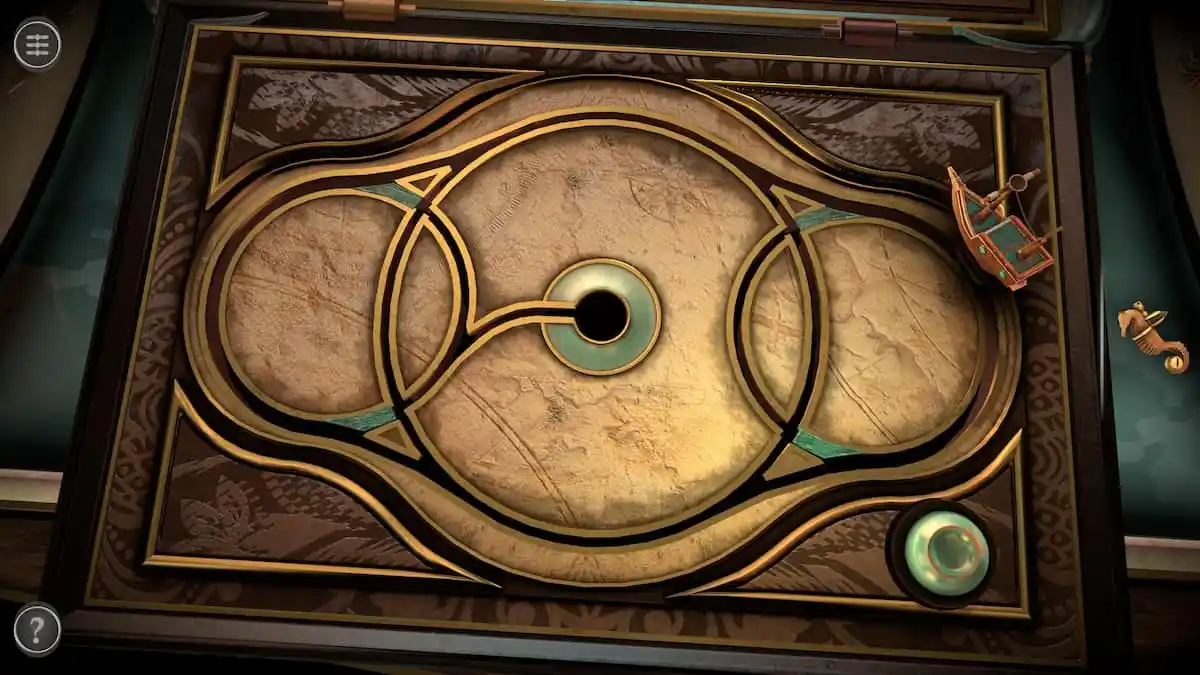
The ship can be placed on the slider, causing it to start moving around the pathways.
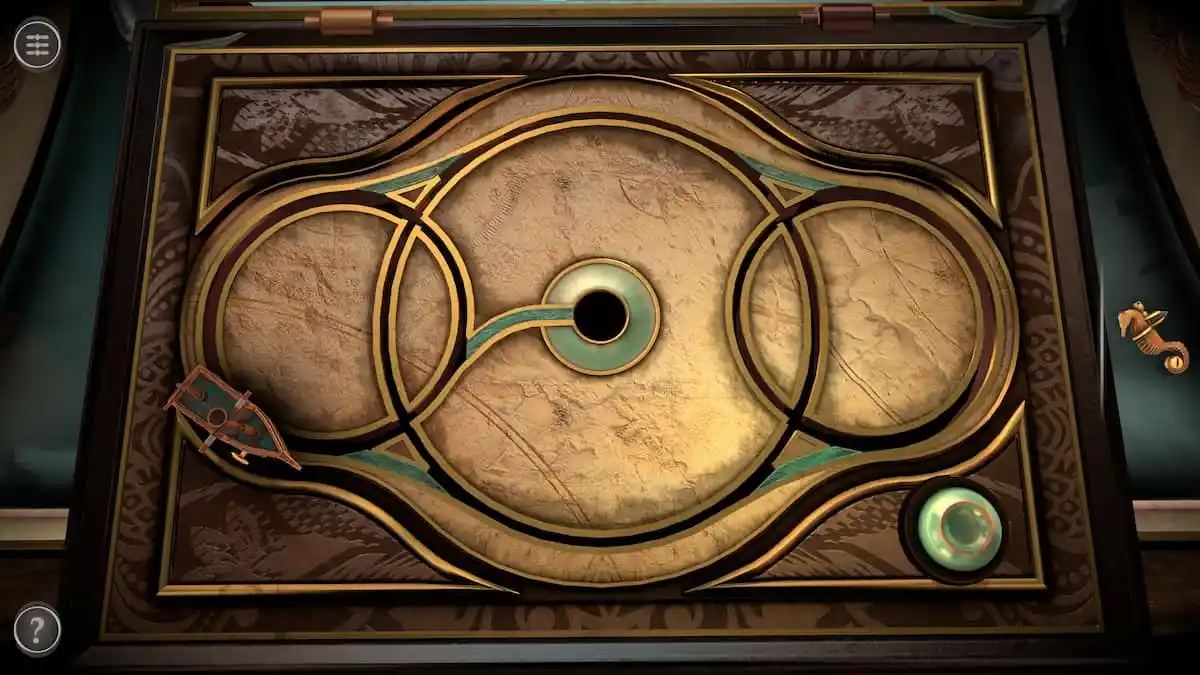
The button on the lower left can be tapped to block different pathways. To get the ship to the center, you’ll first need to get it in the circle on the left side.
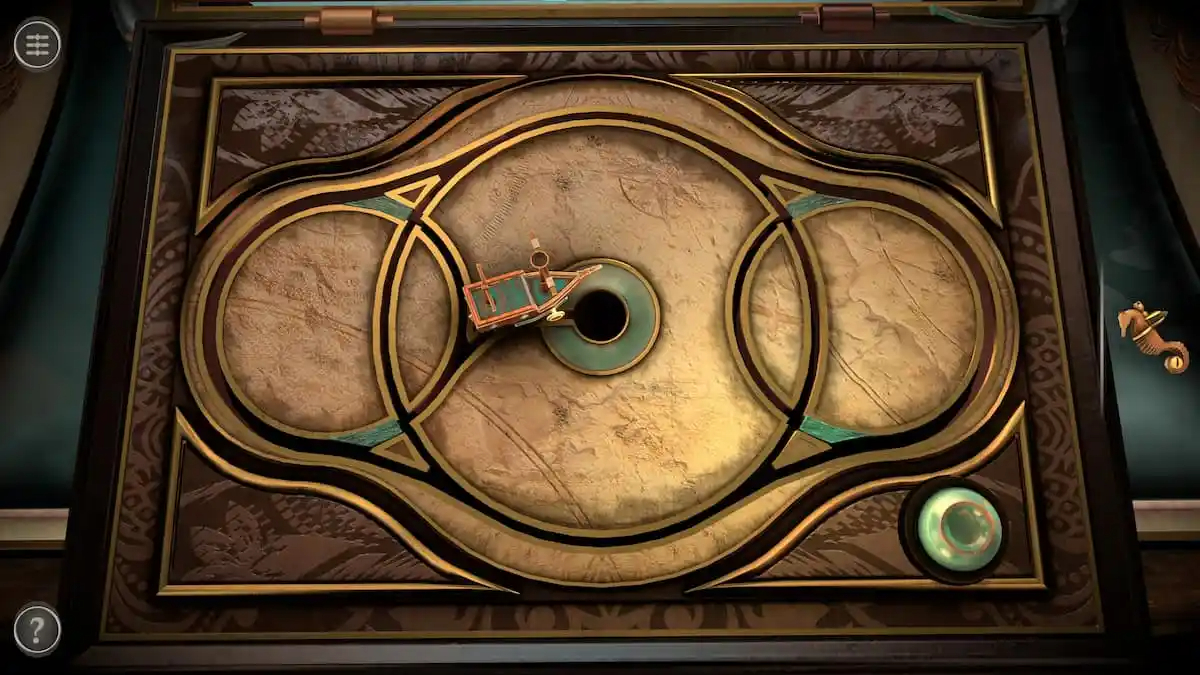
You’ll then need to use the button to block the other paths, forcing the ship into the center. Completing this will cause a wood and glass case containing a large model ship to rise from the other side of the chest.
Seahorse puzzle
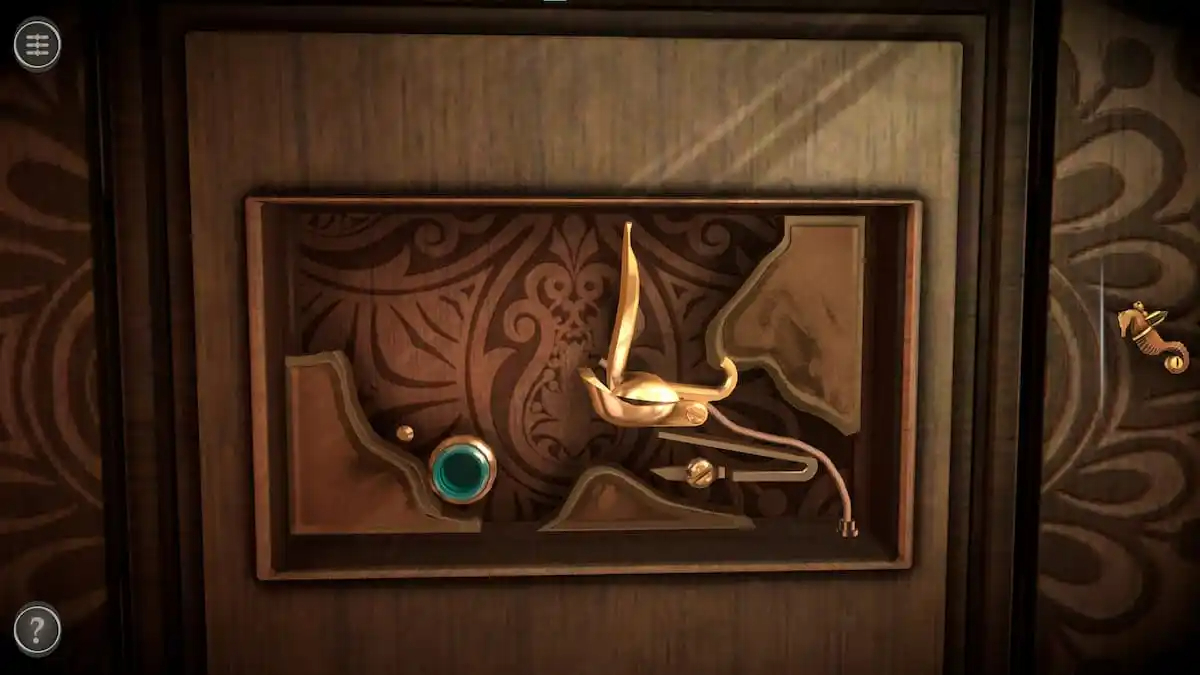
When looking at the larger model ship in the wood and glass case, look at the side of the box near the back of the ship.
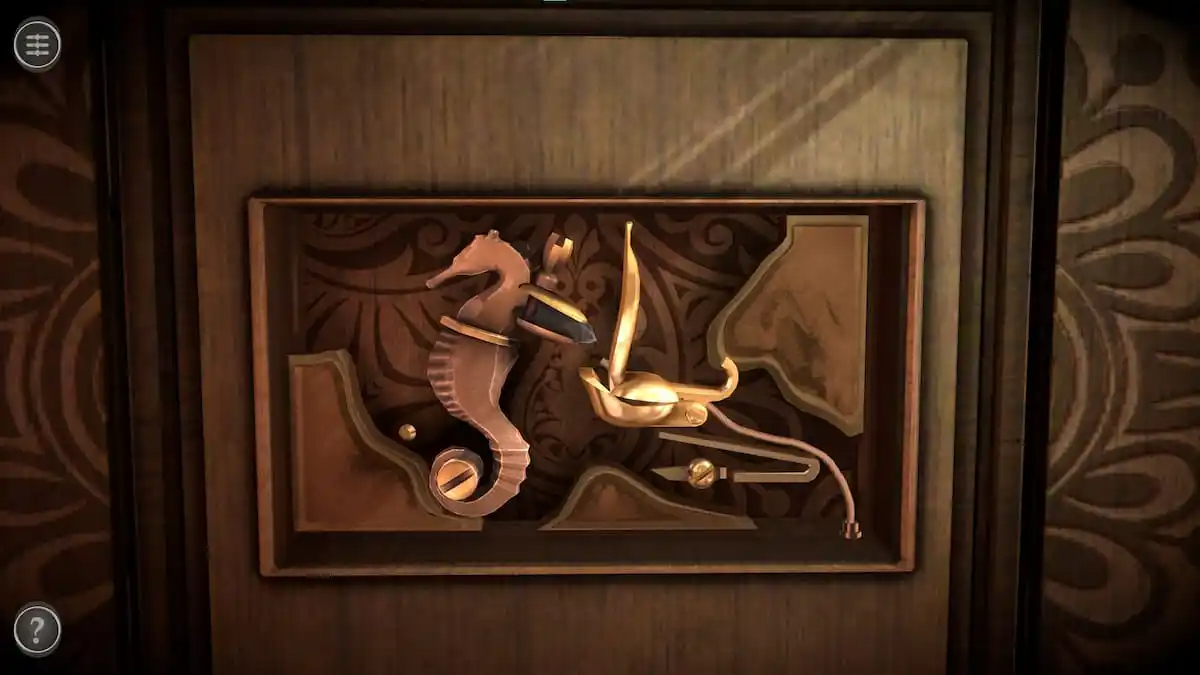
Place the Metal Figure on the blue-green peg.
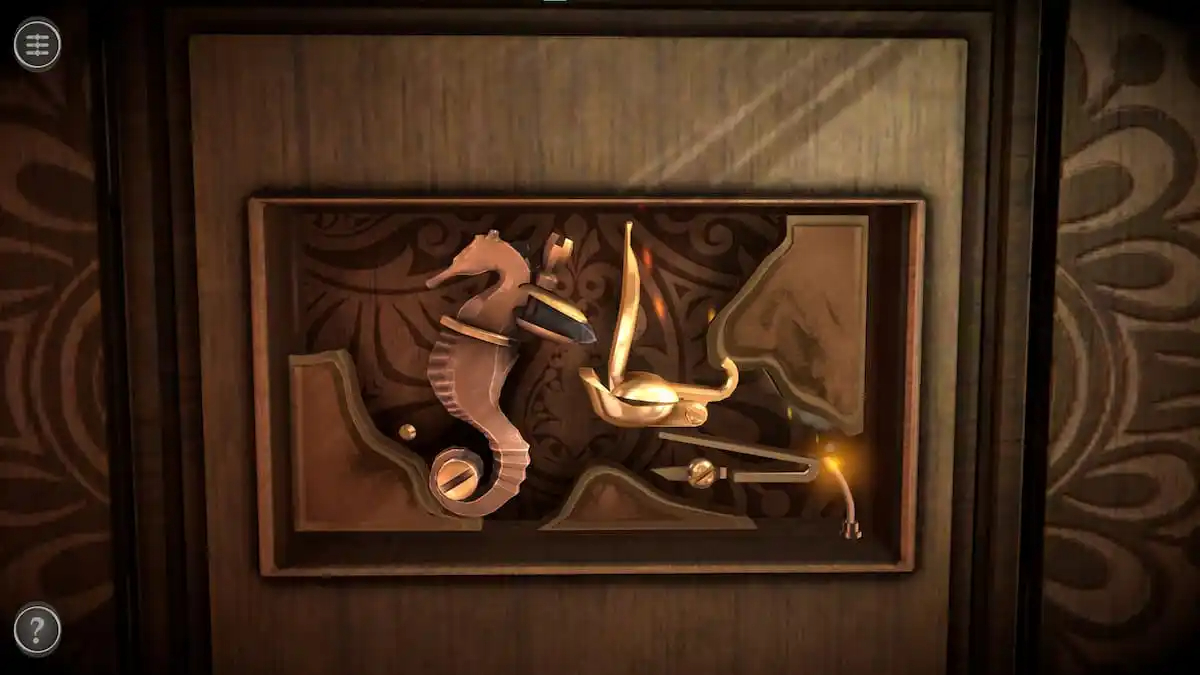
Pull the seahorse to the left, letting it swing back to hit the golden figure. This will light the string to the right of the figure, which leads towards the ship. It will set the cannons off, breaking the glass around the ship.
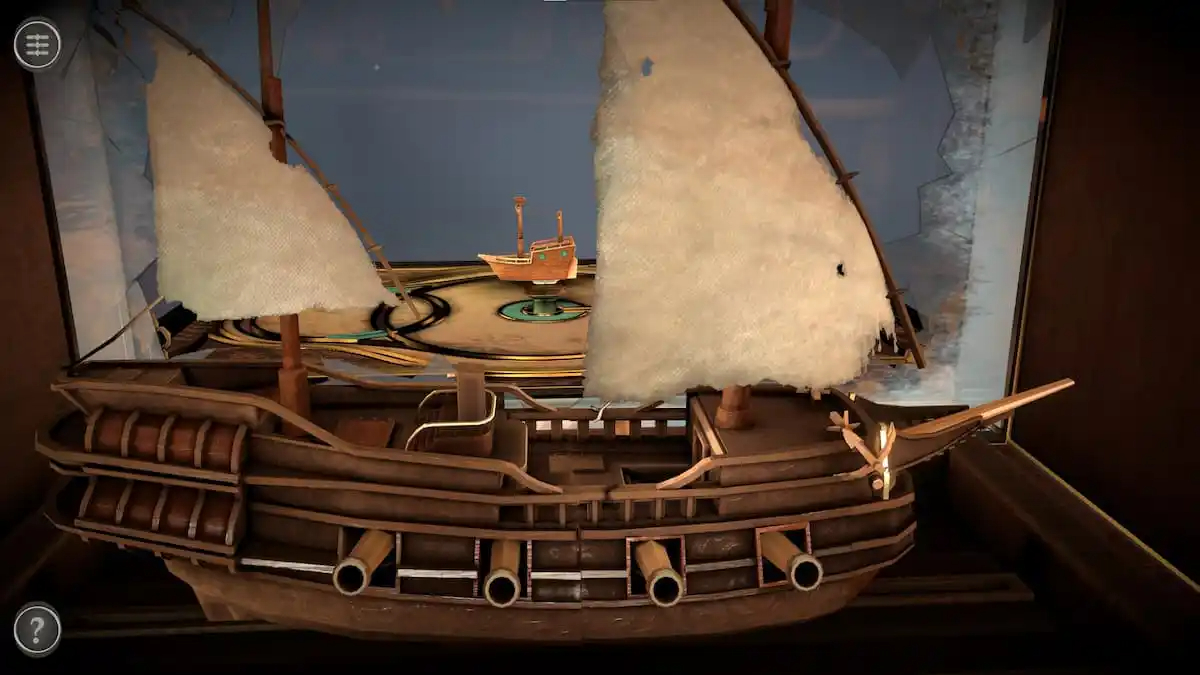
Ship model
Tapping on the larger ship model allows you to zoom in on it.
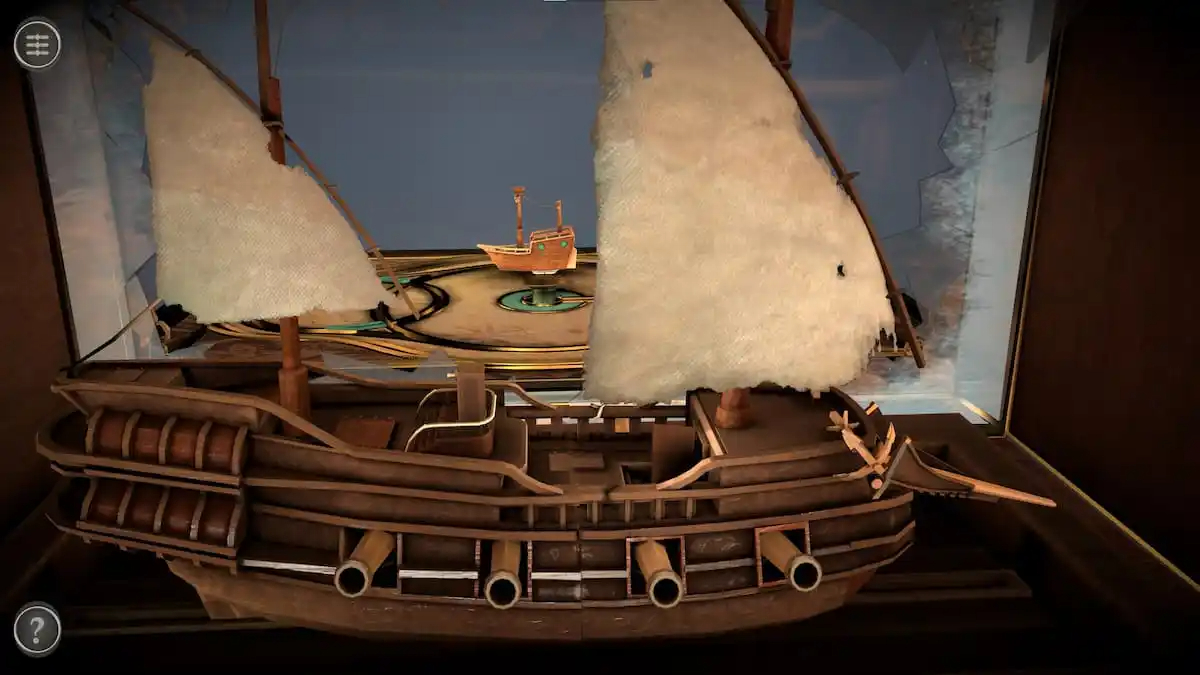
Pull the front of the ship down to open up the door beneath the front mast.
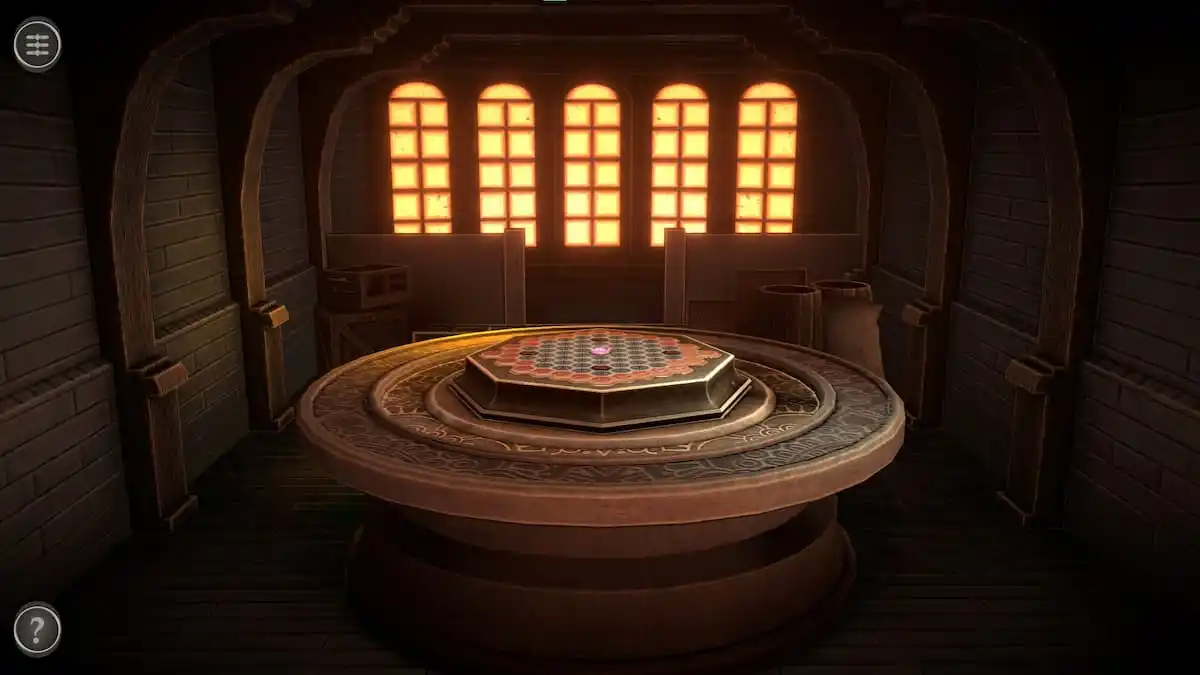
Ship table
Entering the doorway reveals a small room with a table in the center.
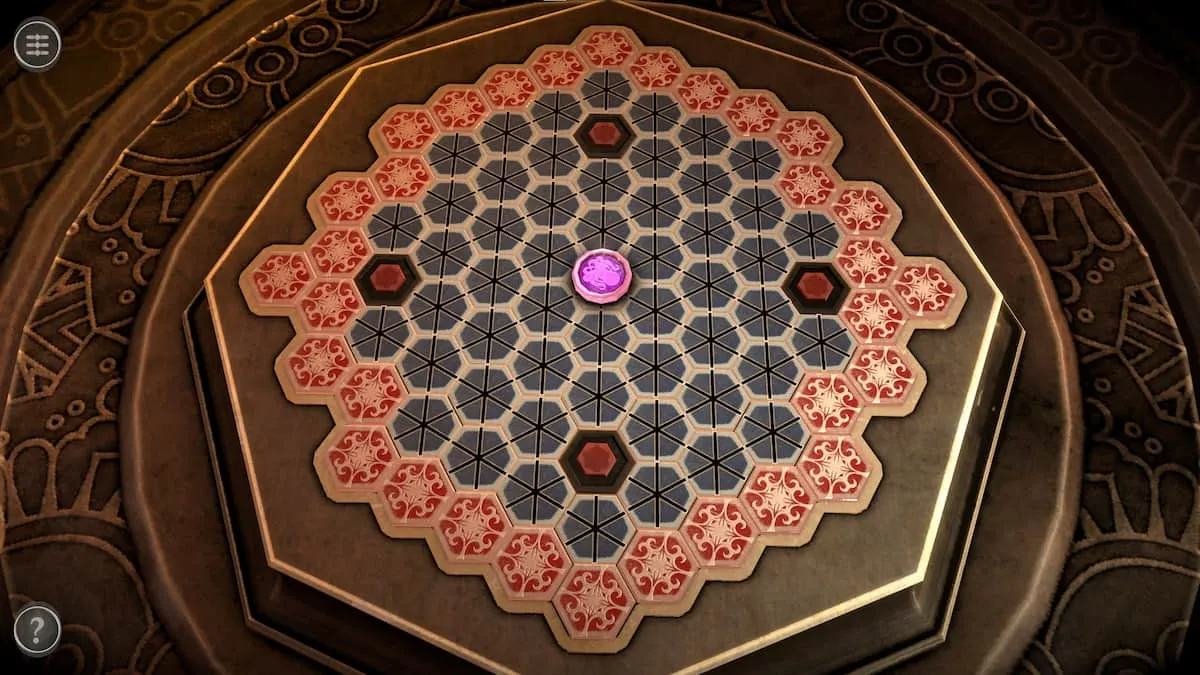
The table has one pink token in the center surrounded by grey squares with red and gold squares on the edges. Tapping on a grey square flips it over, turning it into one of the black squares with red hexagons on top. The goal of the puzzle is to trap the pink token in a ring of black and red squares to prevent it from escaping onto one of the red and gold tiles.
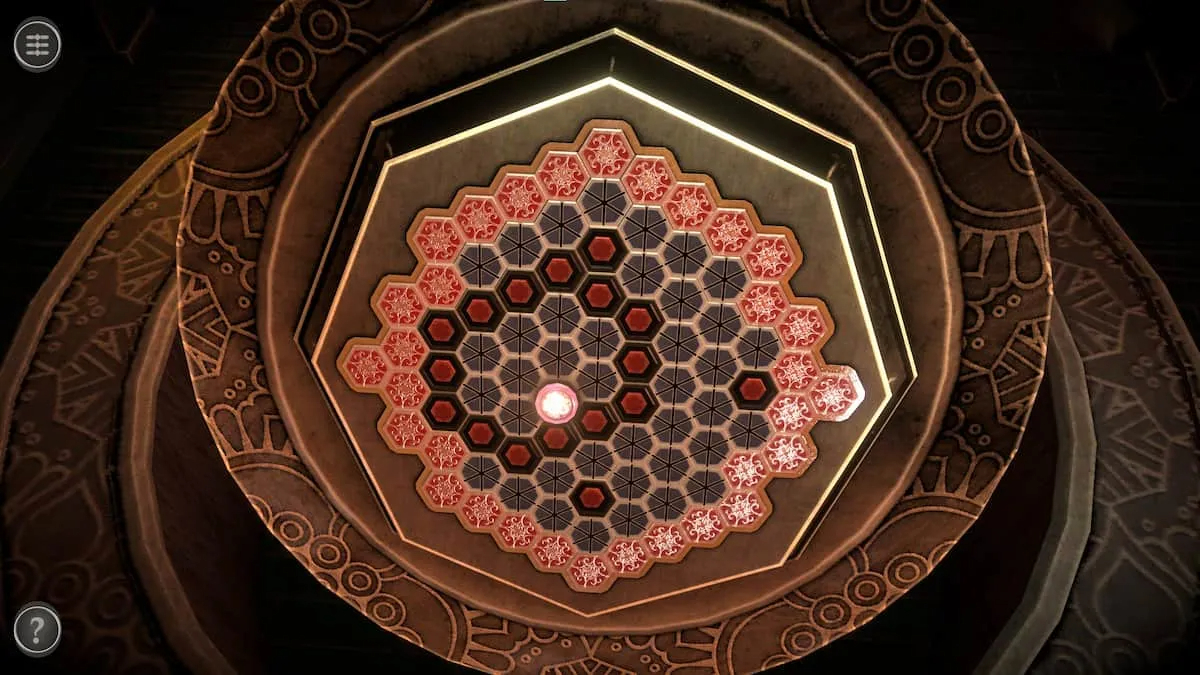
Trapping the pink token flips the table, giving you a Steering Wheel.
ZOOM OUT COMPLETELY
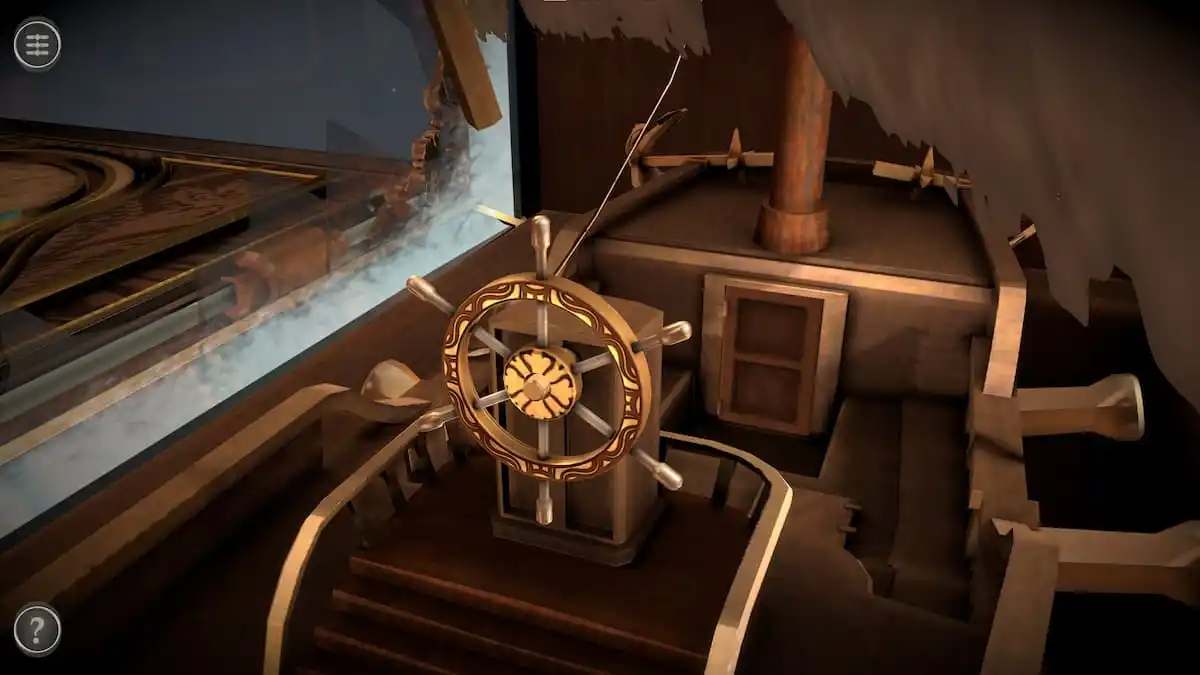
The Steering Wheel can be placed on the post on the back of the ship.
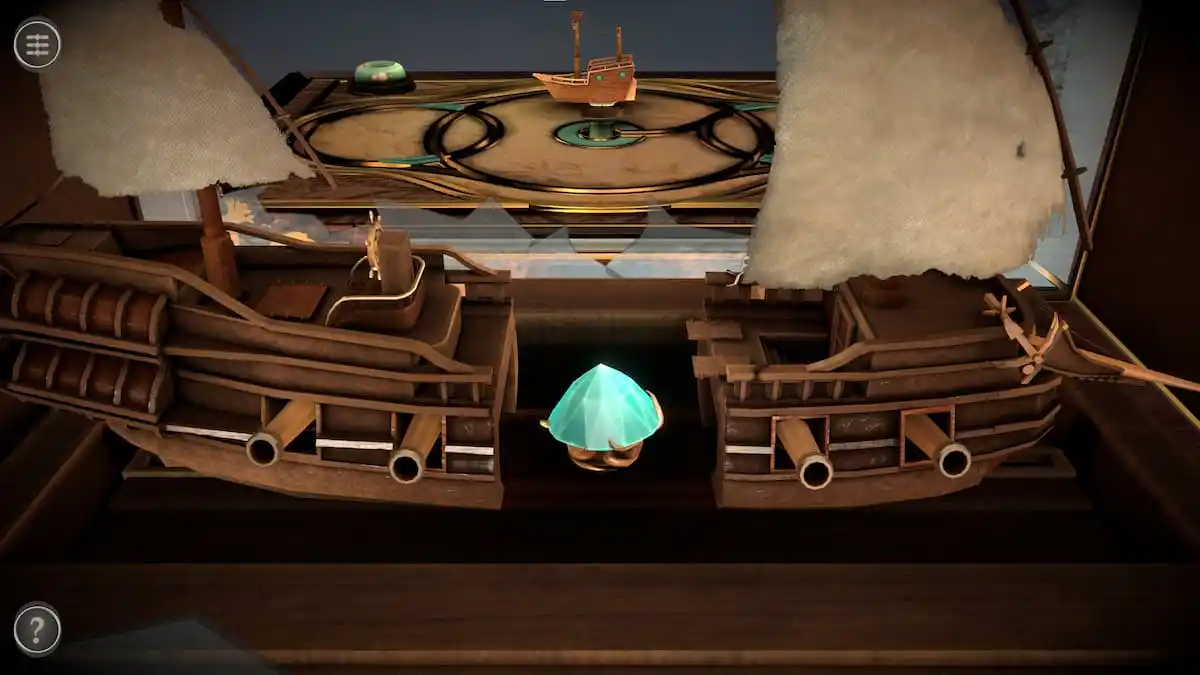
Spin it to get a Prism and return to the main room.
FINAL PUZZLE BOX IS NOW COMPLETE AND FINISH
FINAL PART OF CHAPTER 1
Finishing main room
Suit of armor
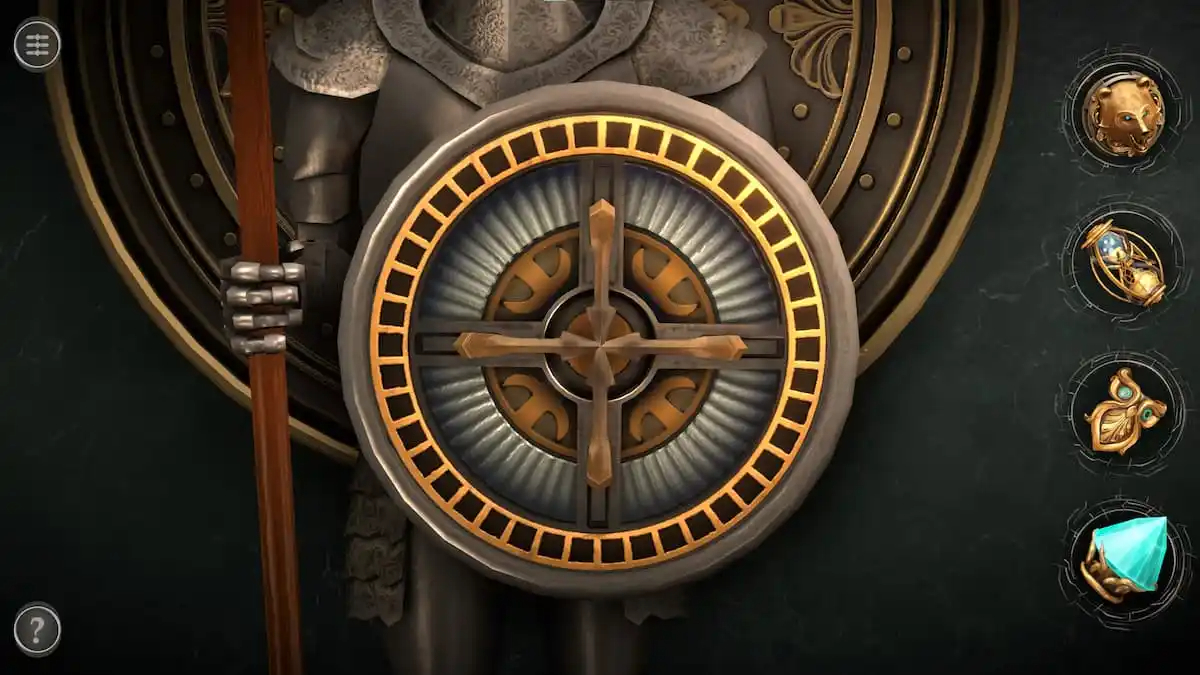
Head to the side room and zoom in on the suit of armor’s shield.
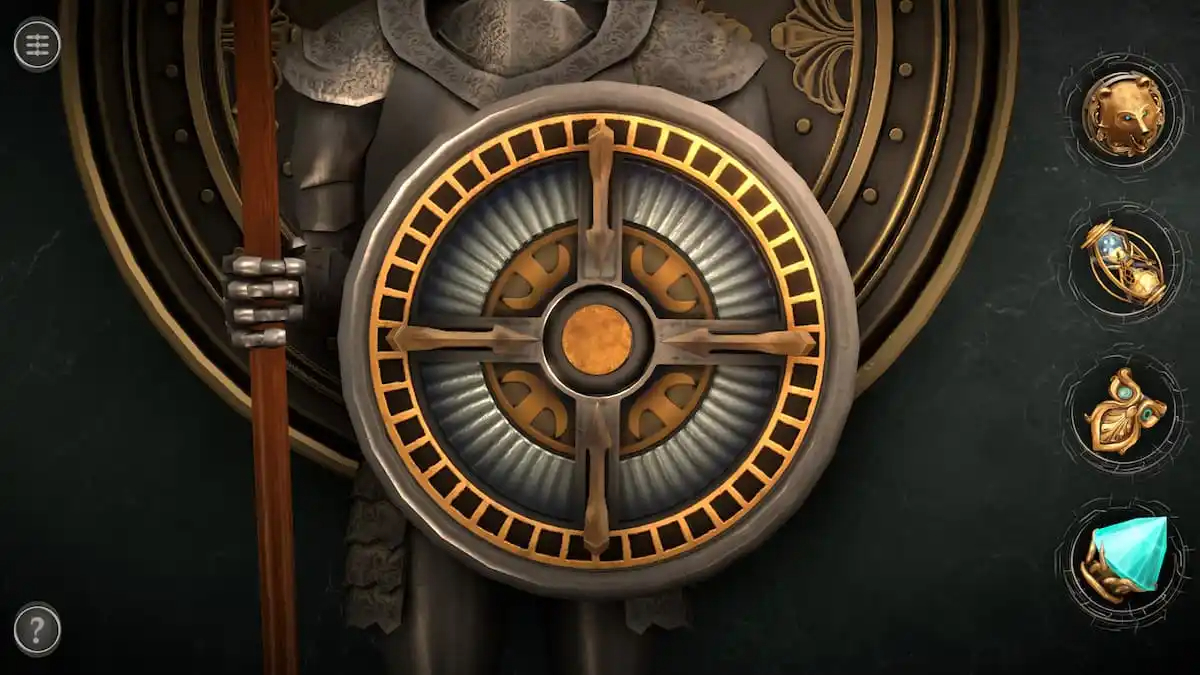
Rotate the gear around it to reveal a circular space.
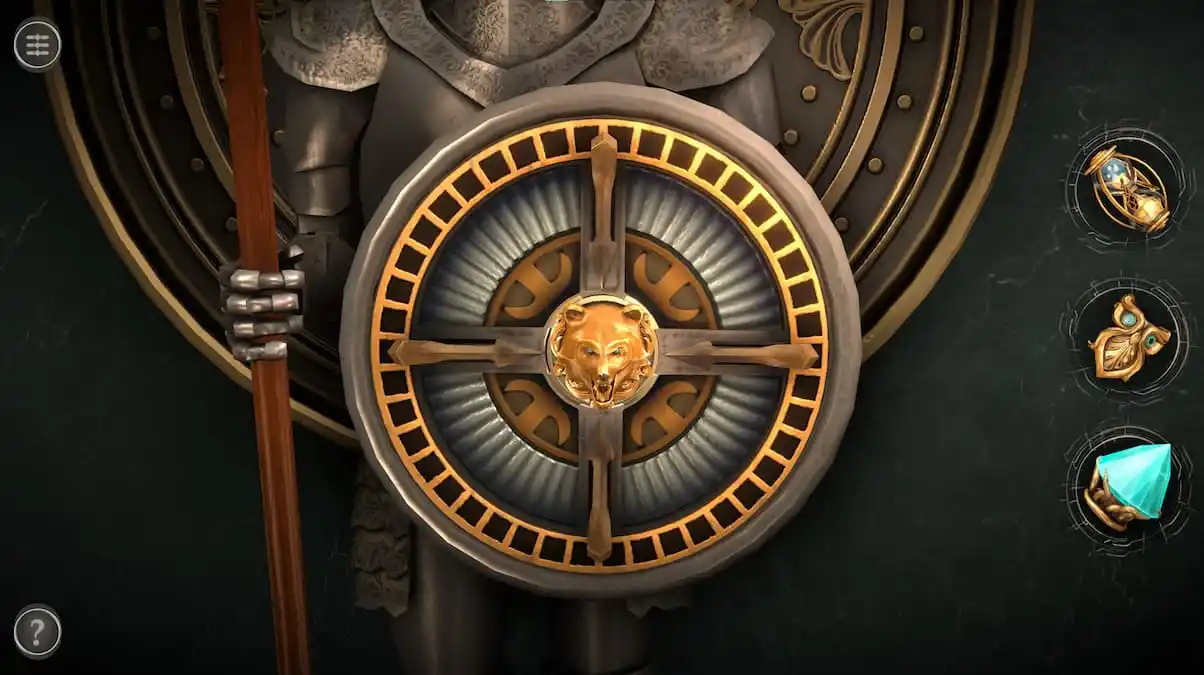
Place the object shaped like a bear head here.
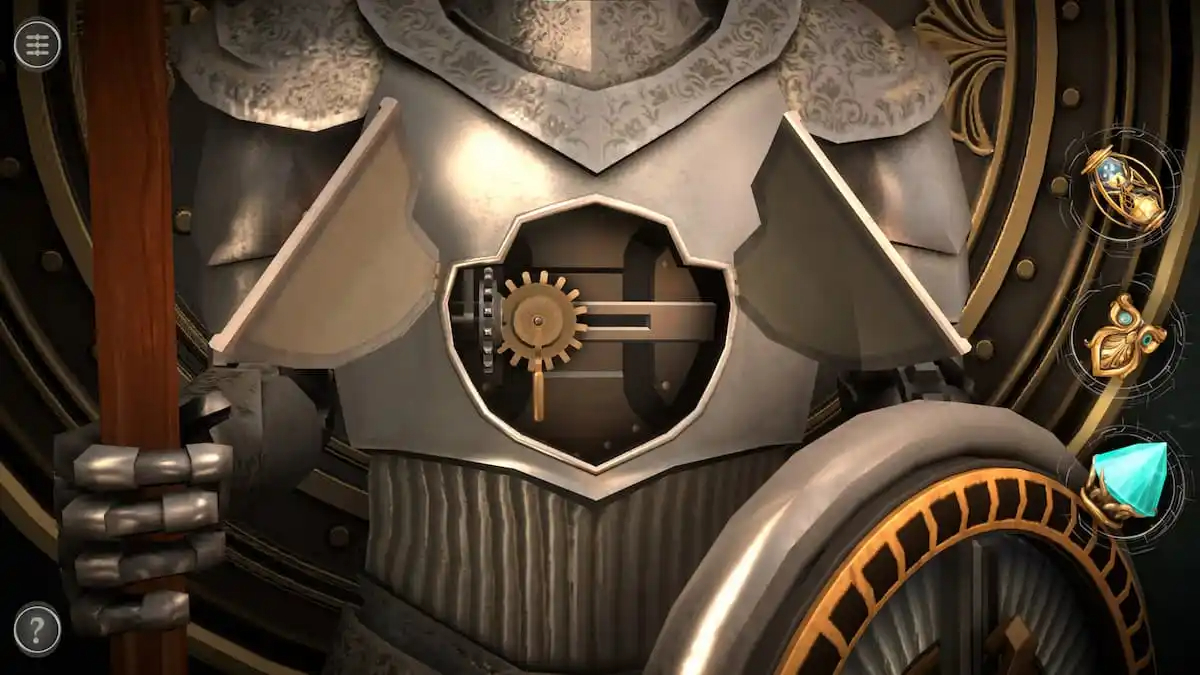
Doing so will reveal a compartment on the armor itself. Open the two doors and slide the gear over to complete the suit of armor. This will cause it to move its weapon down, rotating the wall to put a painting in its place.
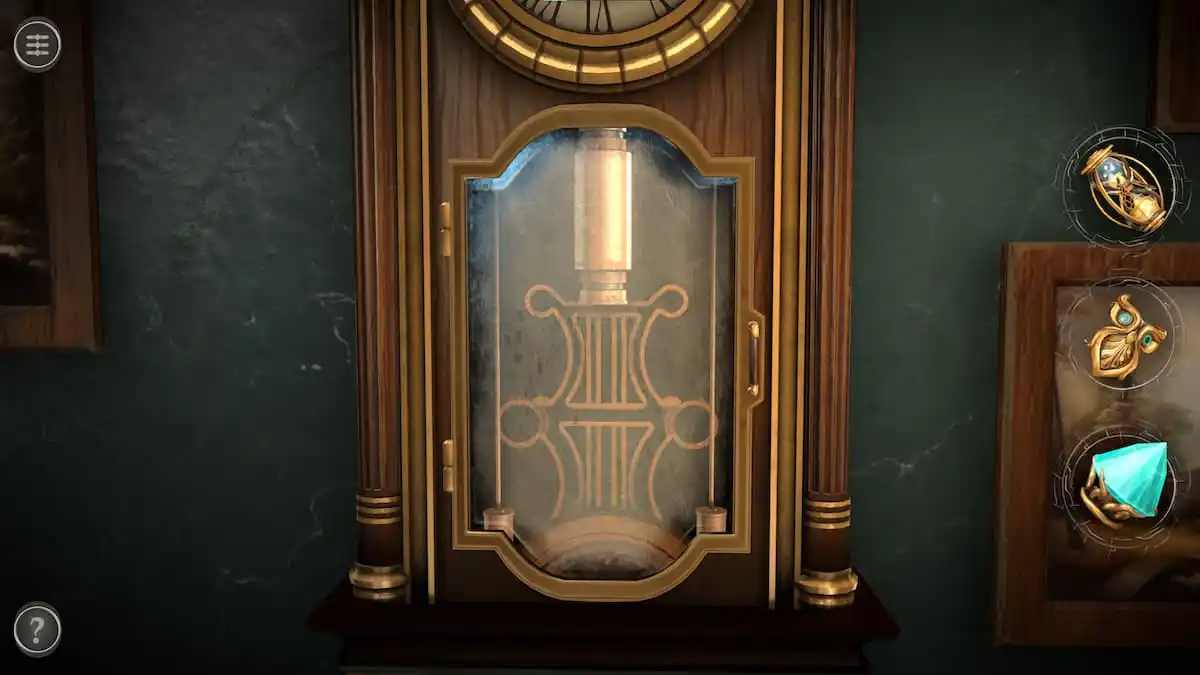
Clock puzzle
Look at the clock on the left.
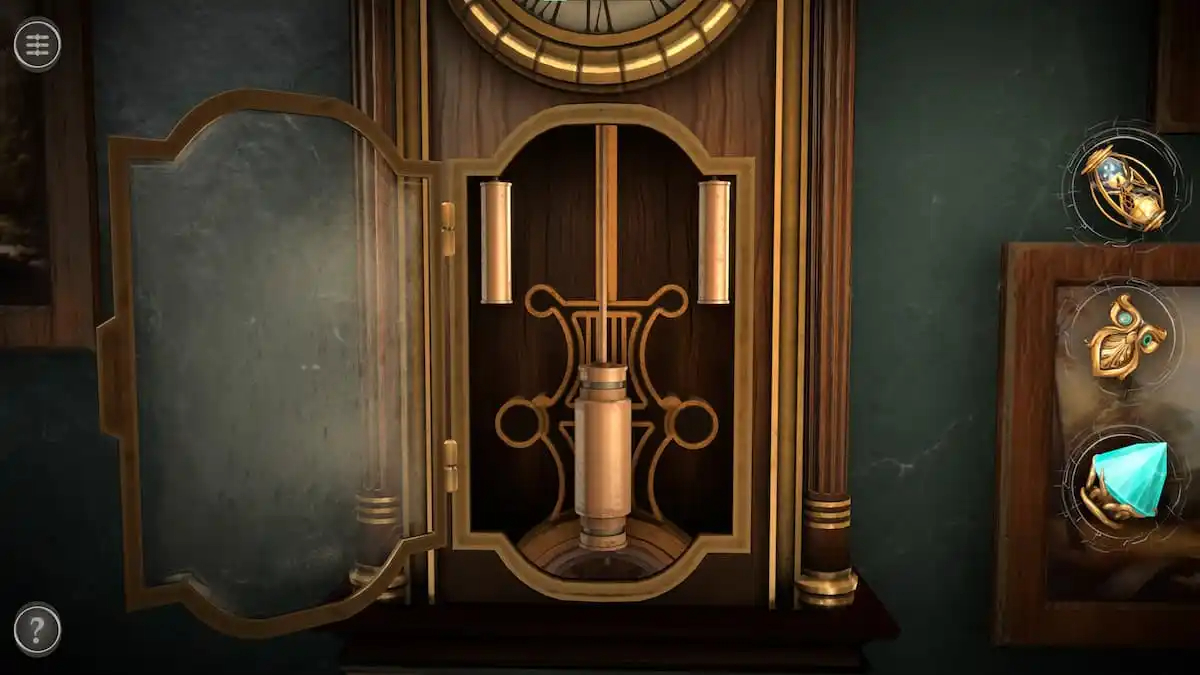
Pull the door open and pull the golden cylinder in the center to the bottom.
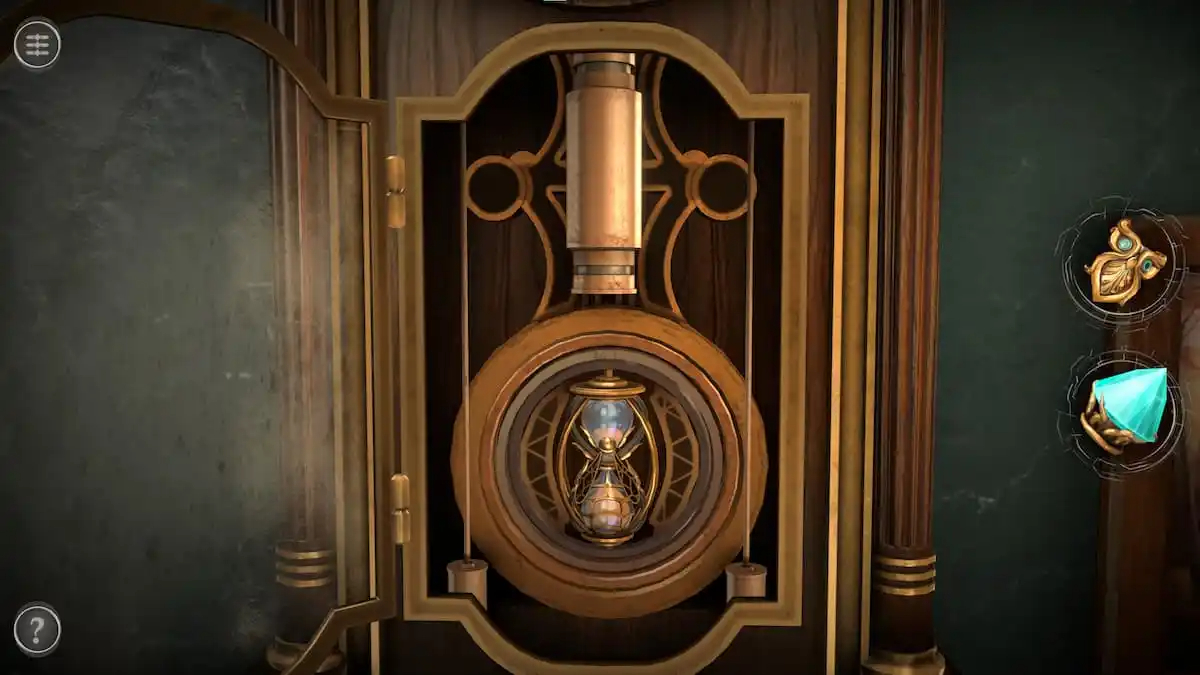
This will unlock a cylindrical space. Place the hourglass into it to turn the clock on, which will make a new puzzle appear to the right of the painting.
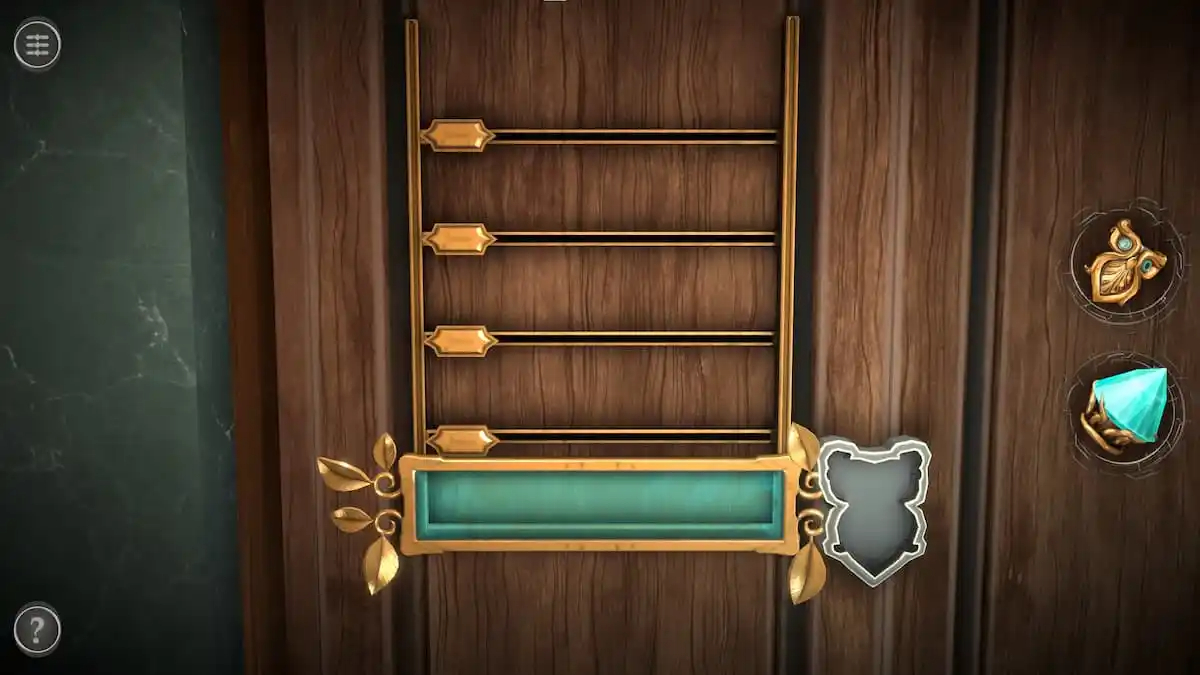
Owl puzzle
The puzzle unlocked by the clock has an owl-shaped hole in the bottom corner.
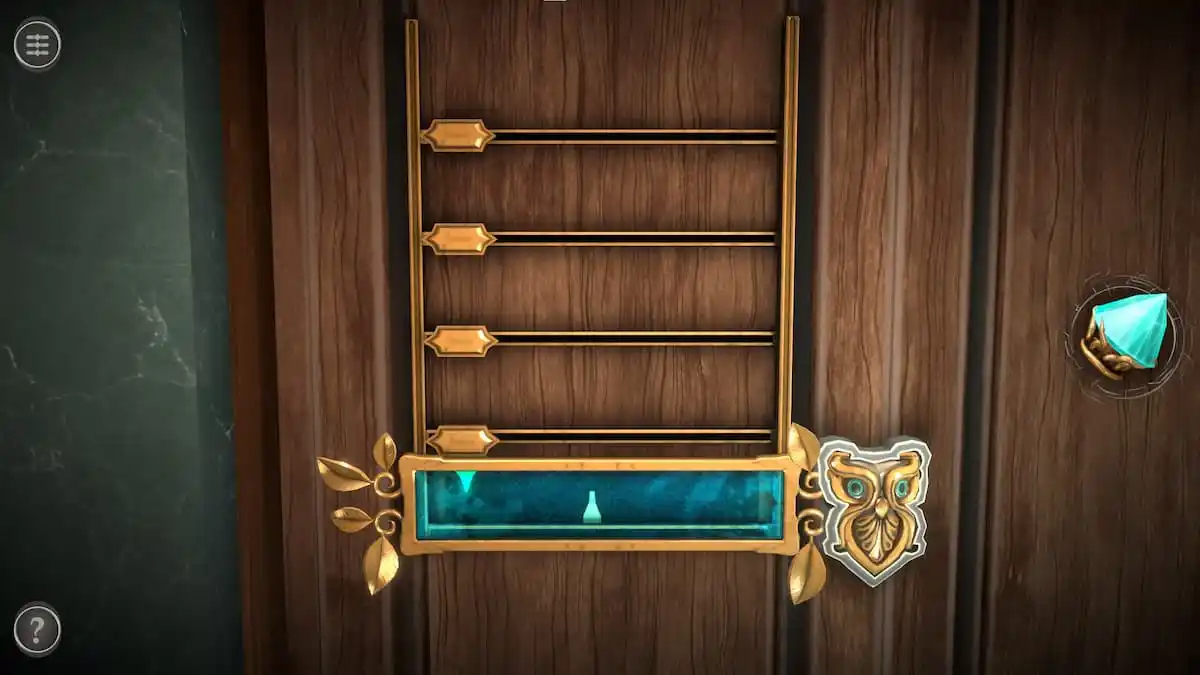
Place the owl-shaped piece in the hole. This will make the blue bar to its left show where each slider needs to be positioned.
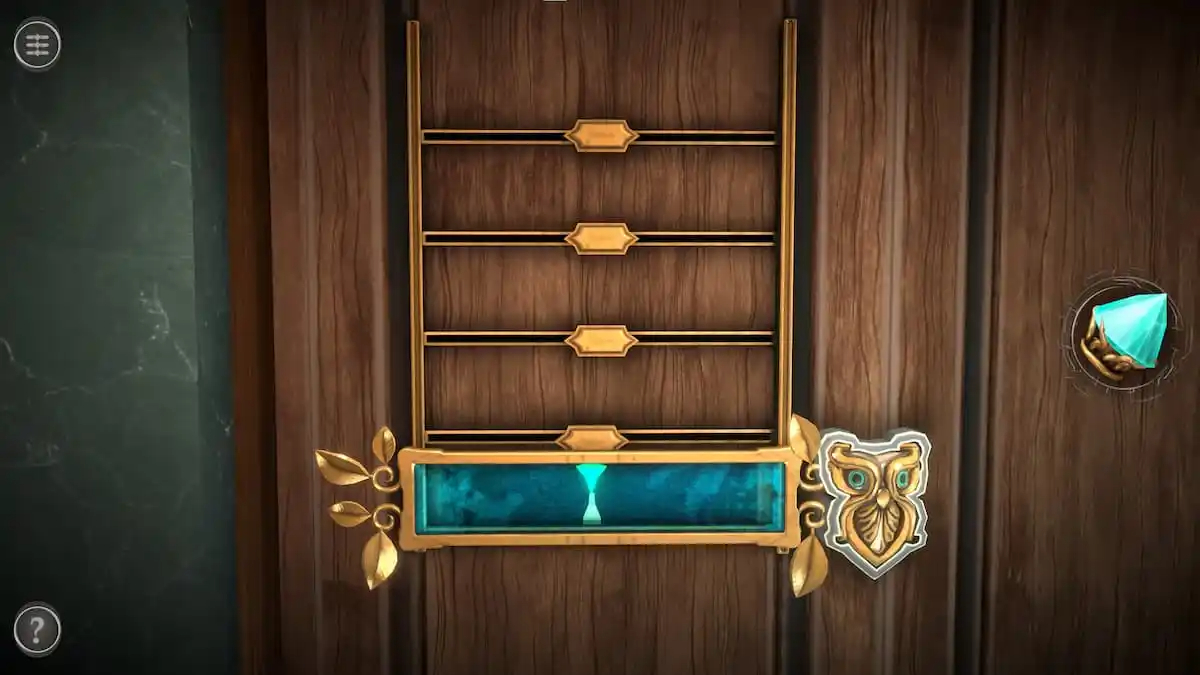
Line up the arrow connected to the slider with the arrow on the blue bar.
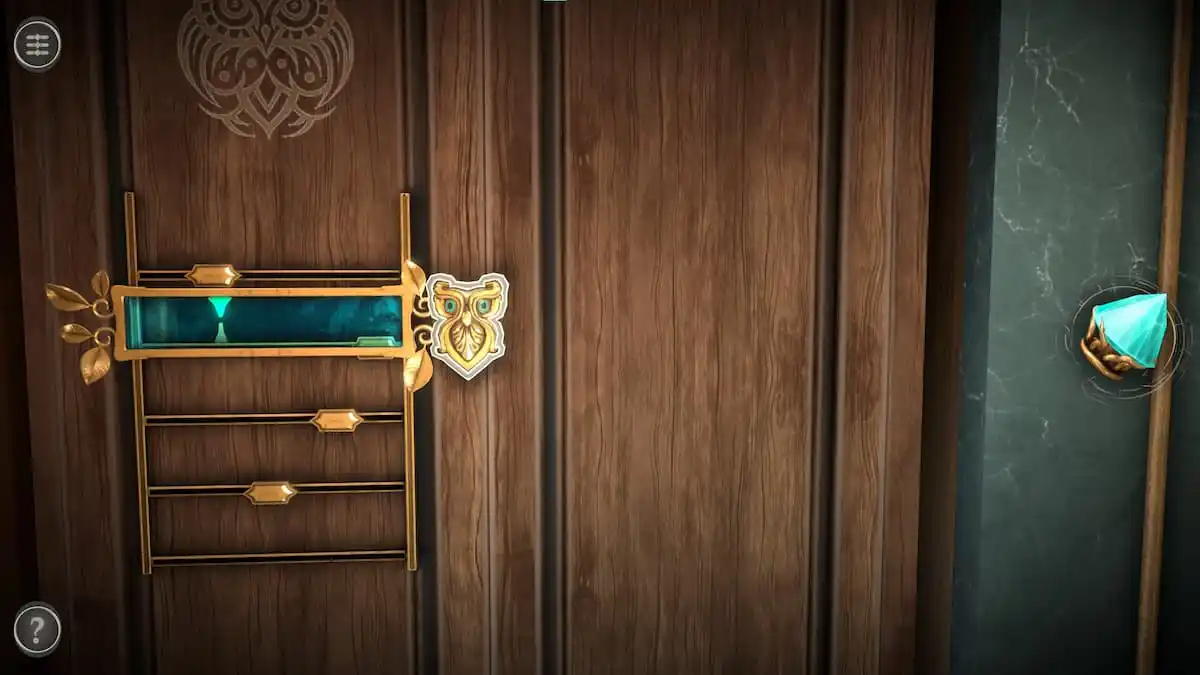
Move the blue bar up and repeat the process to complete the puzzle.
Prism puzzle
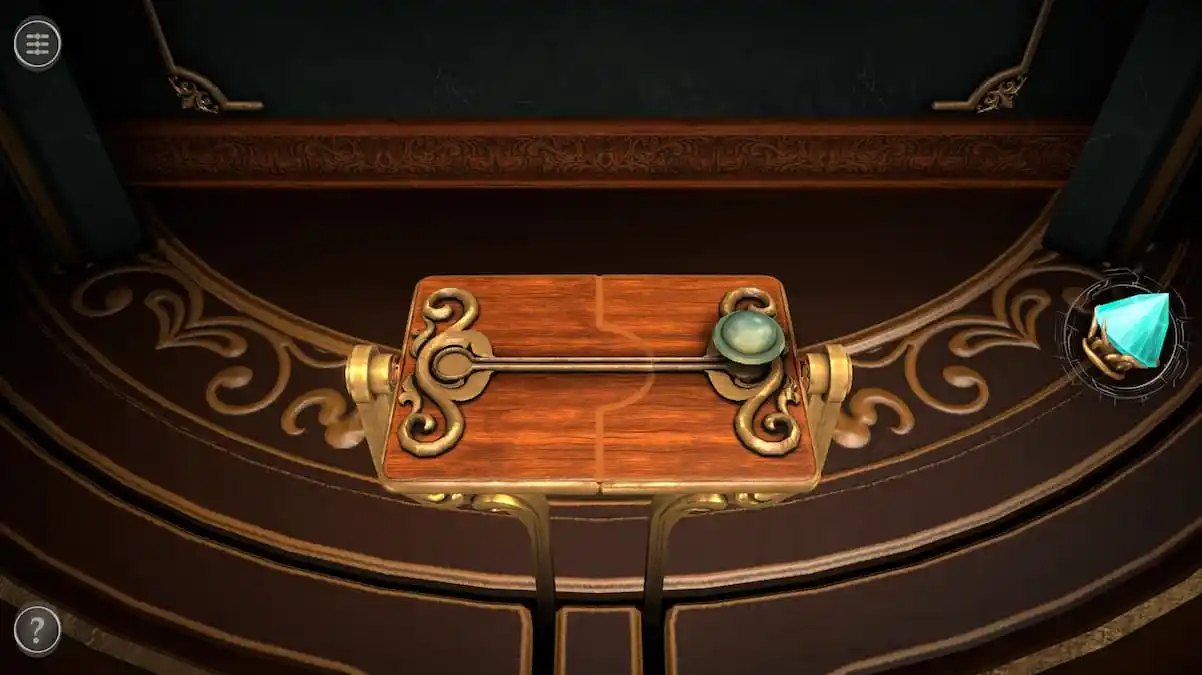
Completing the Owl Puzzle reveals a small table in front of the painting, Slide the object on the right to the left side of the table to flip it over.
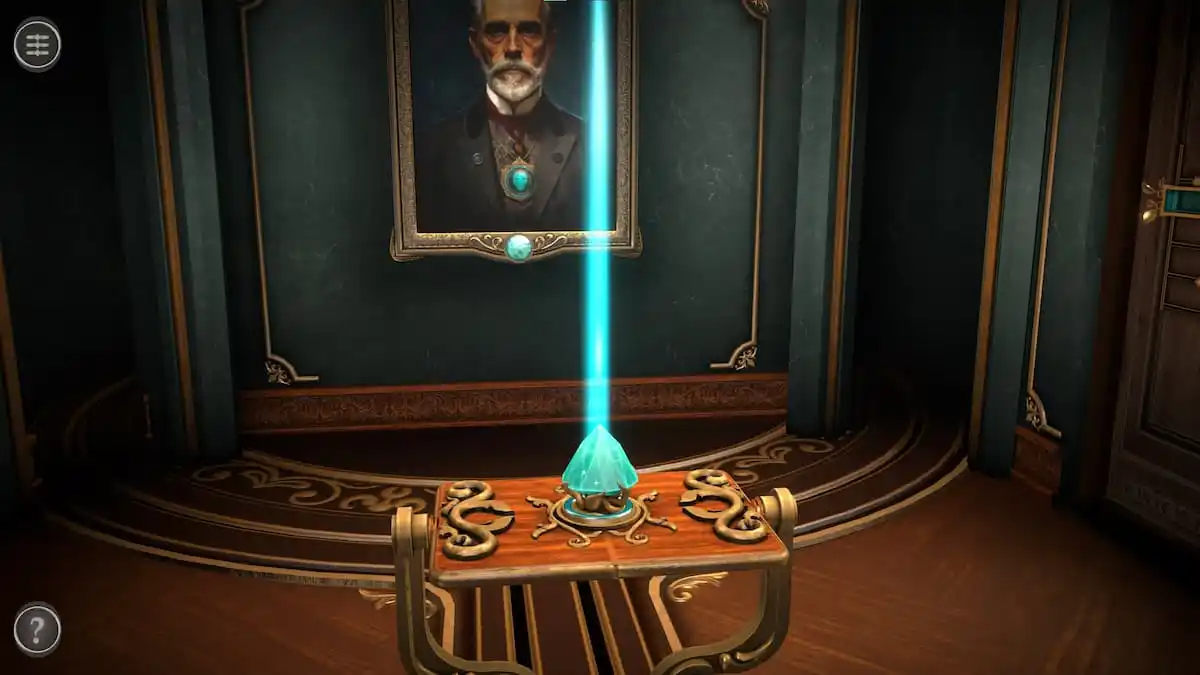
Place the prism into the center of the newly flipped table.
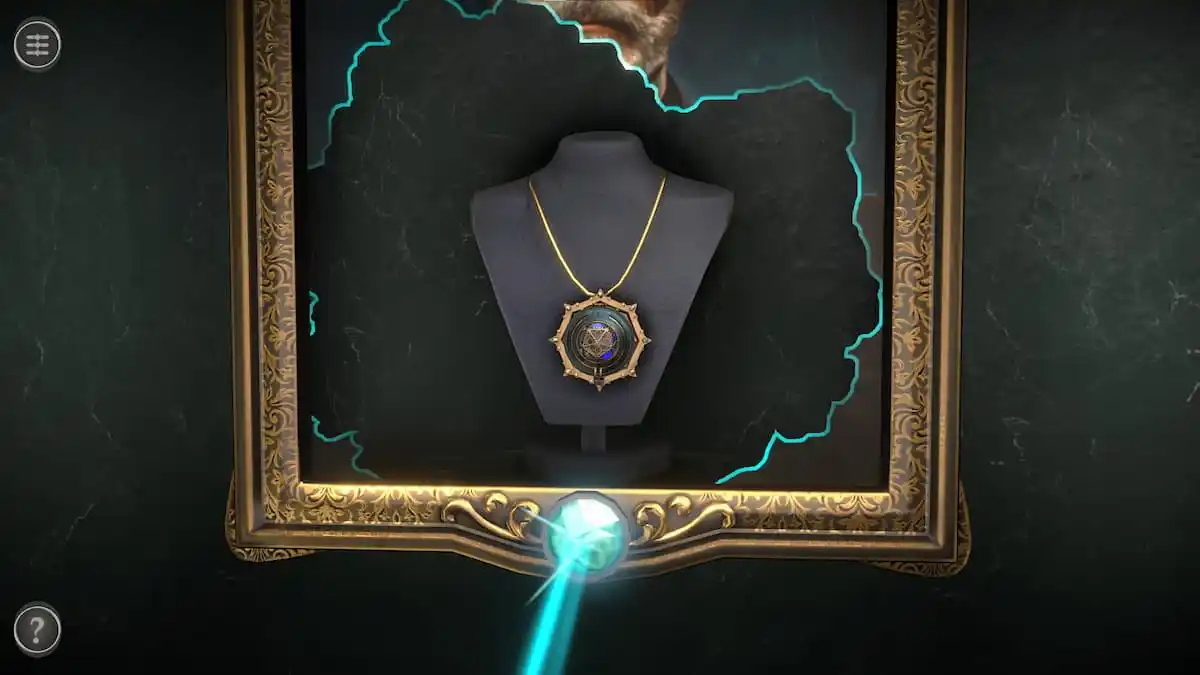
This shoots a beam into the painting, revealing a large locket.
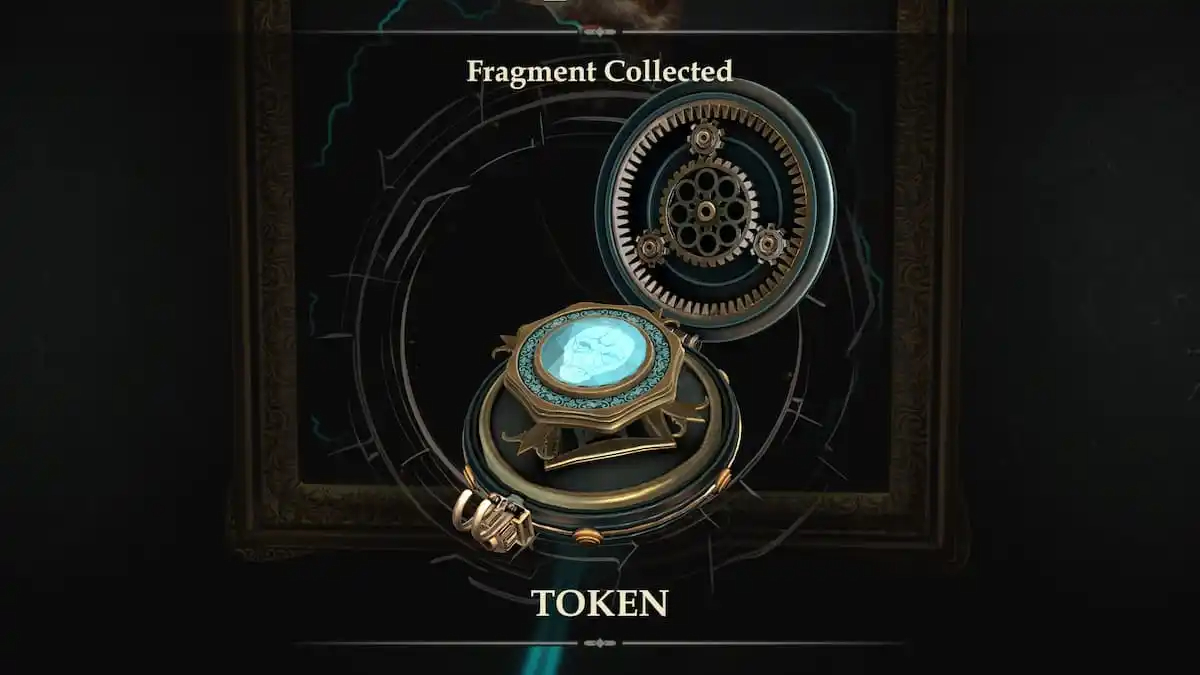
The locket will open, revealing a second Token.
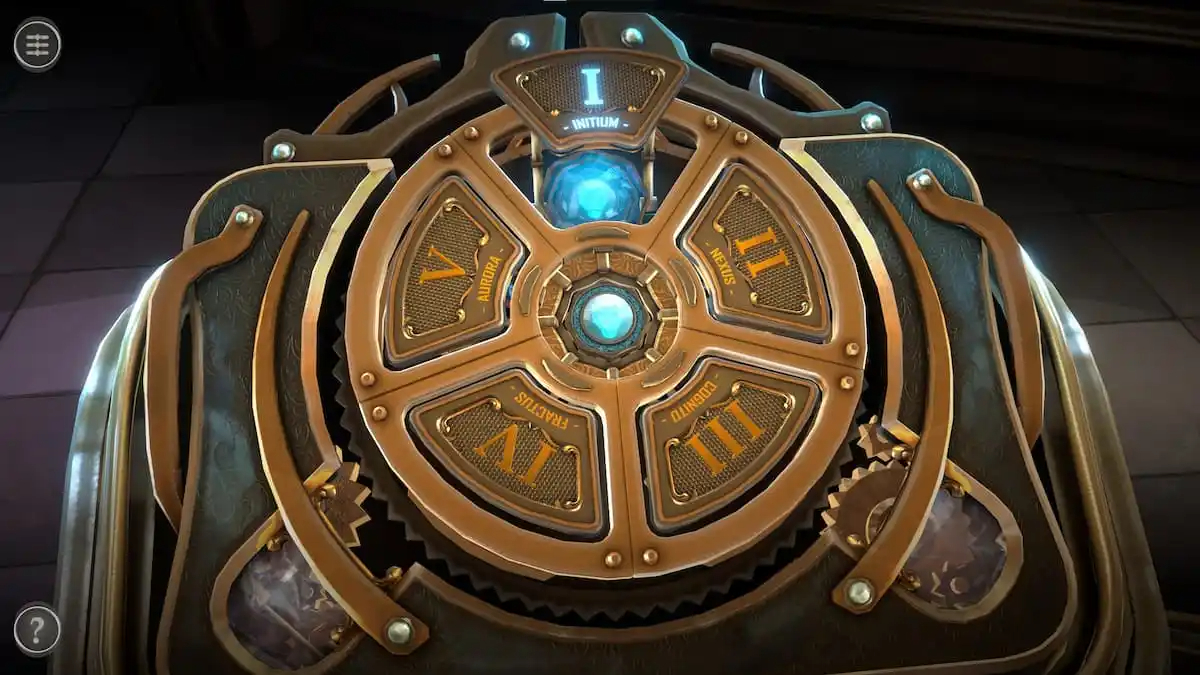
Place the Token into the pedestal to begin Chapter 2.
THIS IS THE END OF CHAPTER 1. CHAPTER 1 IS NOW COMPLETE
CHAPTER 2 IS NOW UNLOCKED
CHAPTER 2
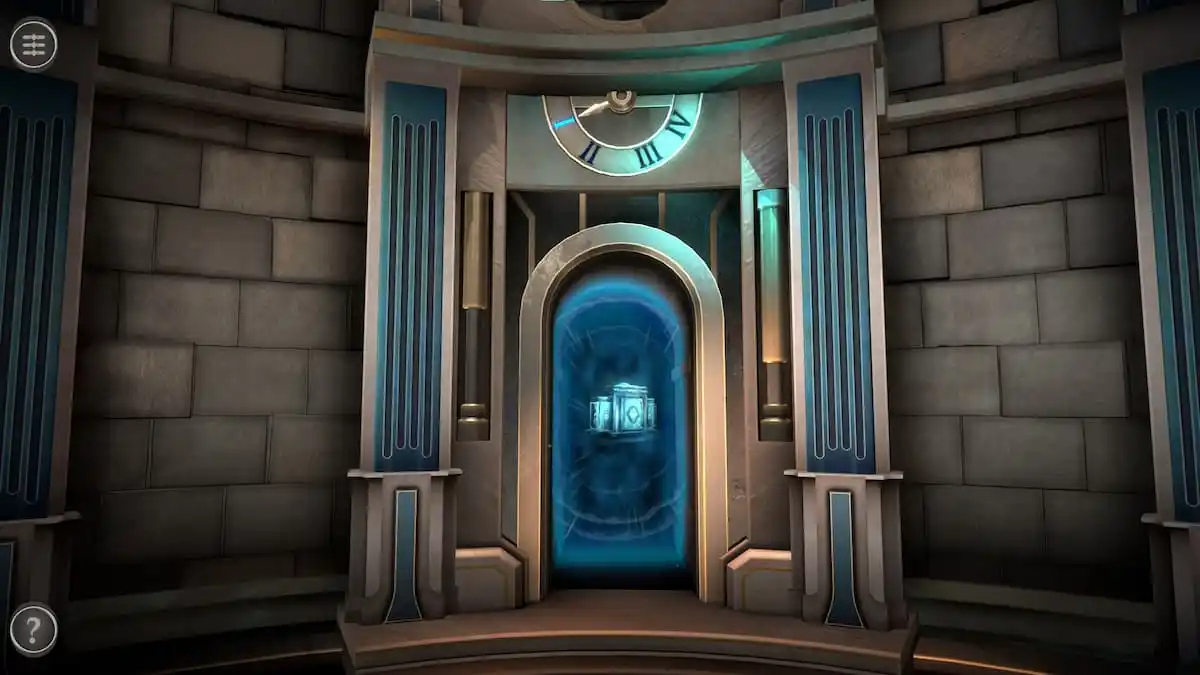
First room
When Chapter 2 starts, ignore the rest of the room for now and focus on the doorway with the clock image above it.
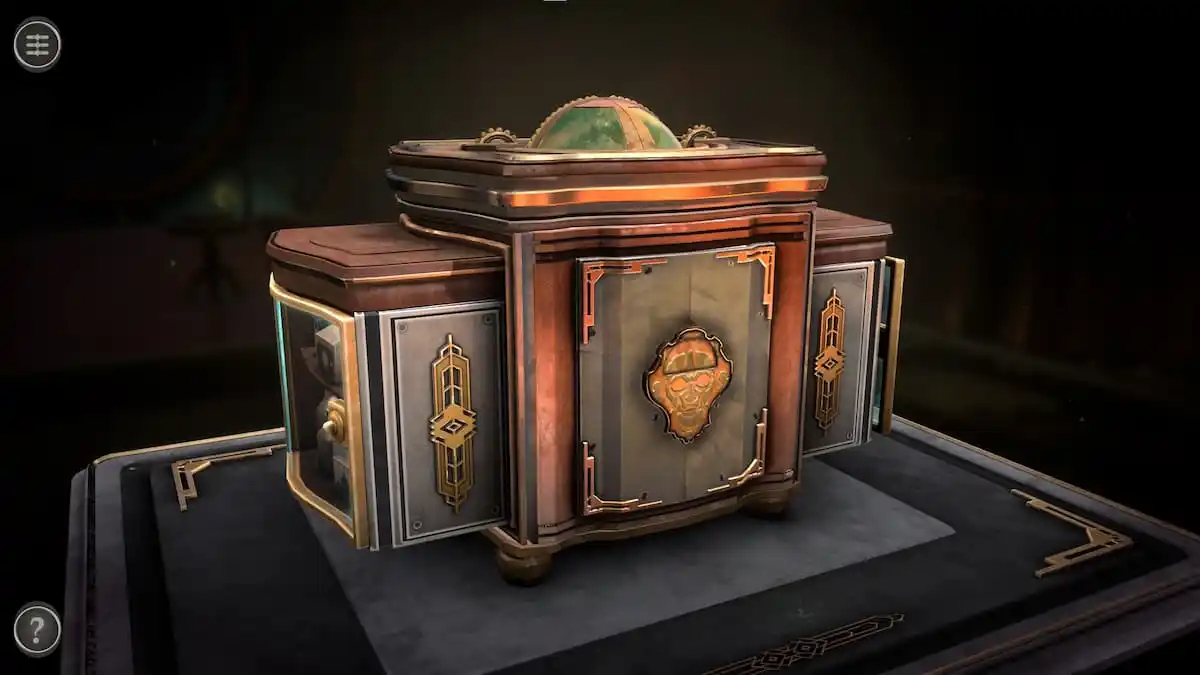
Entering the room reveals one wide box in the center.
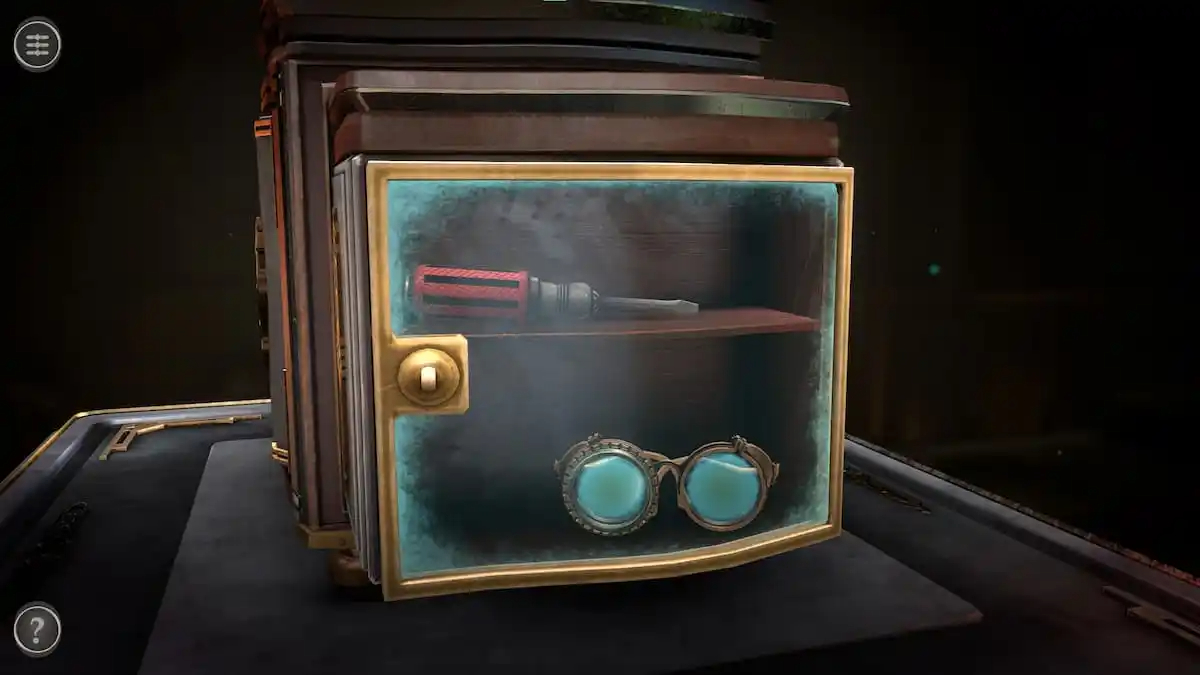
Look at the right side of the box. Open the glass door to get a Screwdriver and a pair of Glasses.
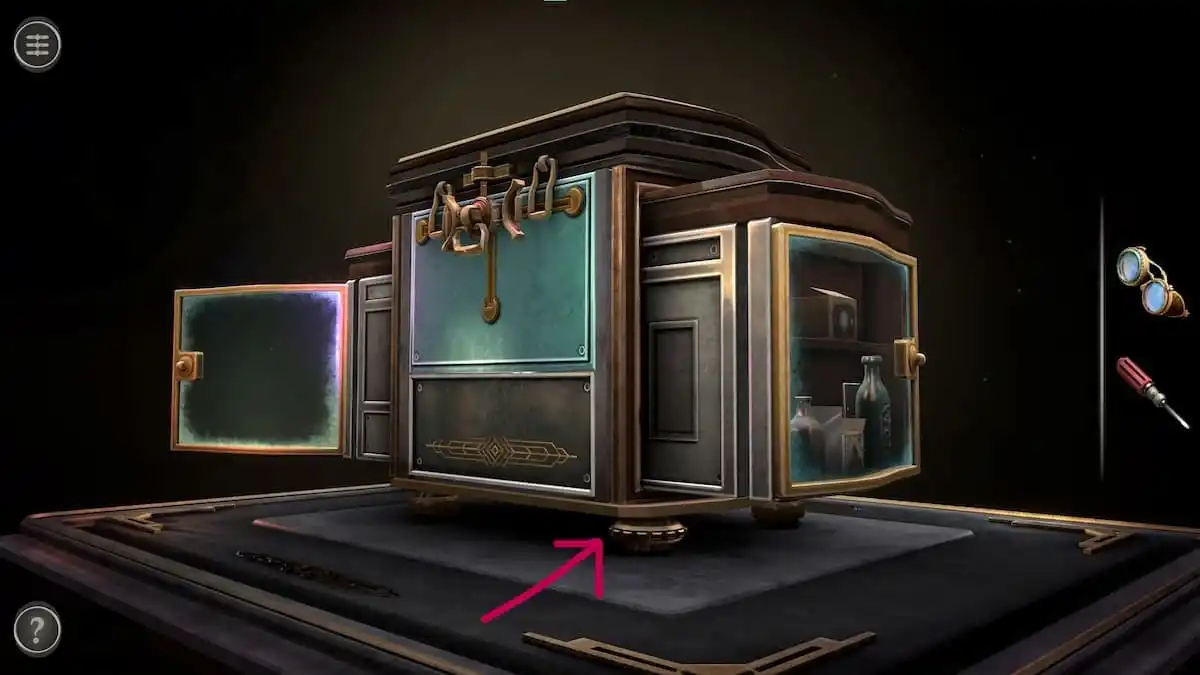
Left glass door puzzle
To unlock the left glass door, you need to interact with the gear on the bottom leg of the box.
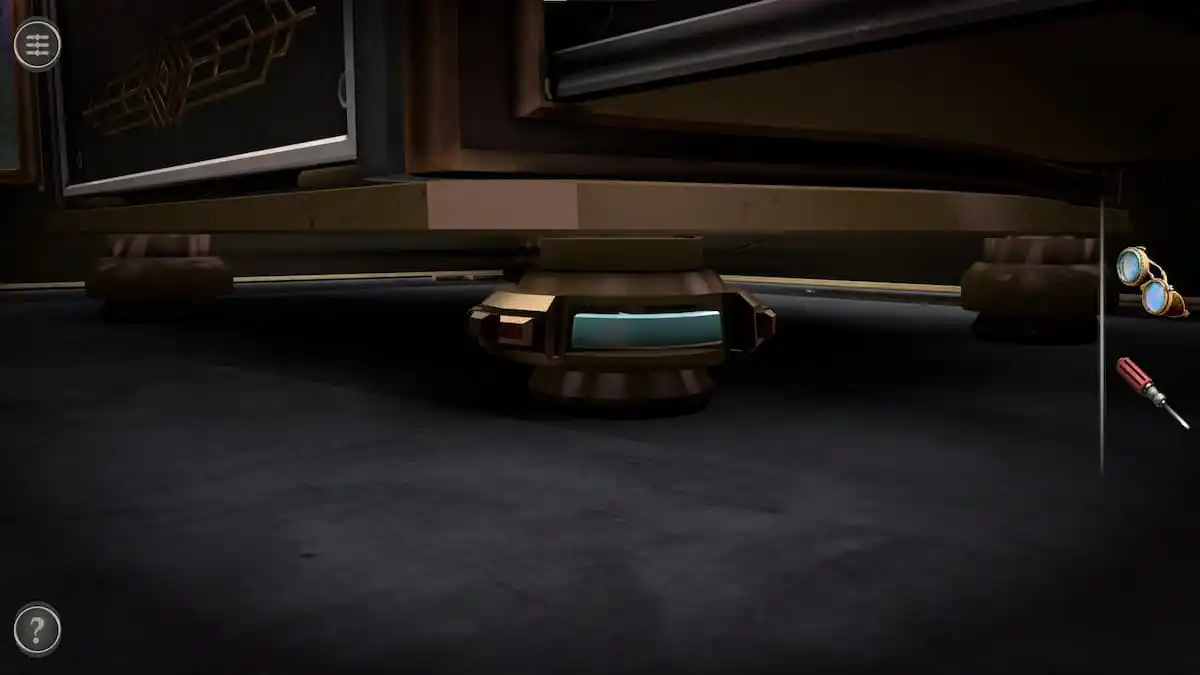
Rotate the gear on the legs to reveal a blue handle. Pull it to unlock the glass door.
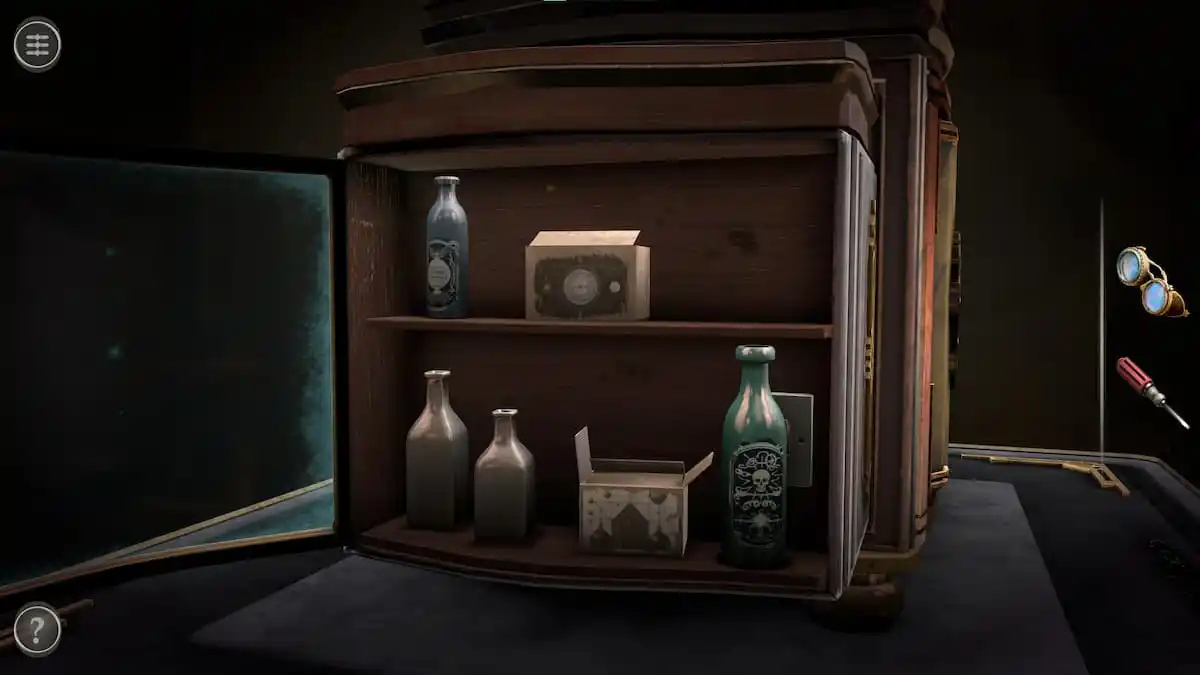
The shelf is filled with bottles and boxes. Tap each one to throw it out of the cabinet, revealing a light switch.
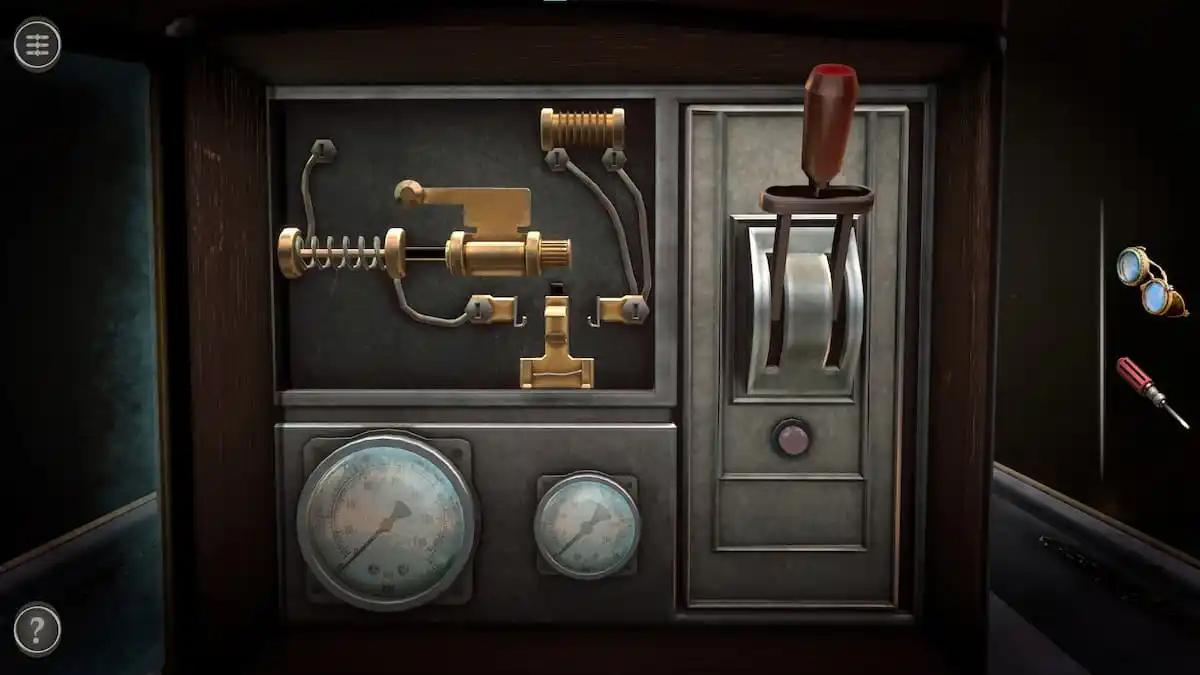
Flip the switch to unlock a second puzzle.
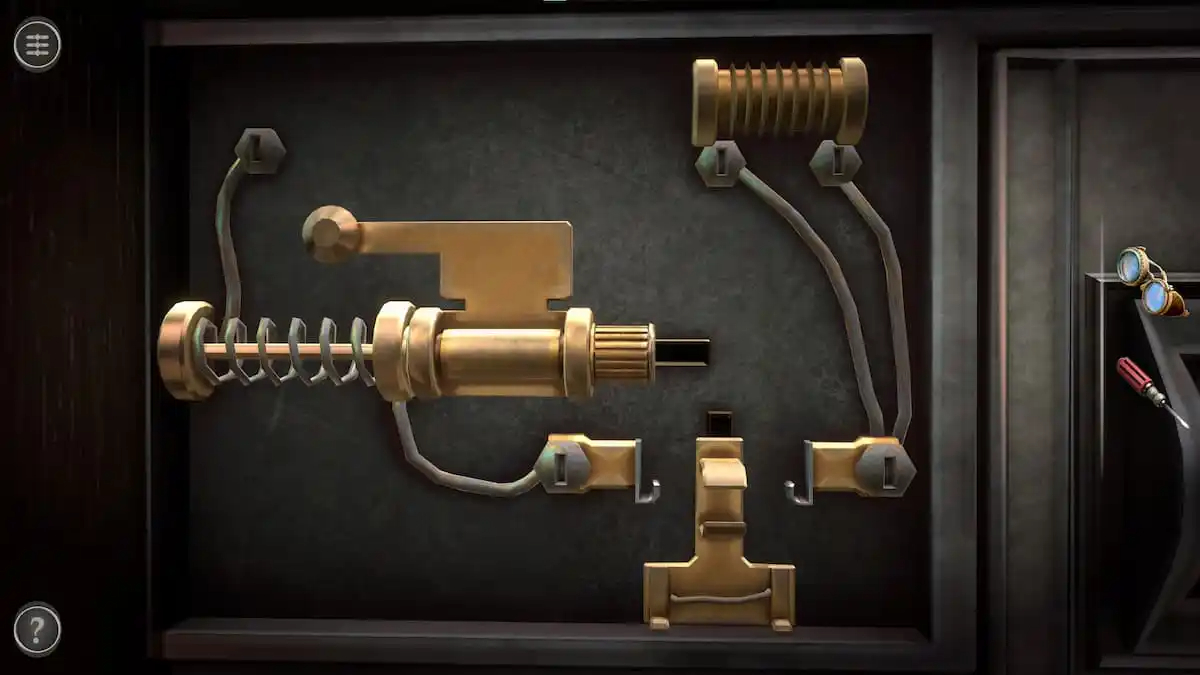
Start by pulling the gold cylindrical piece to the left so that it presses against the spring.
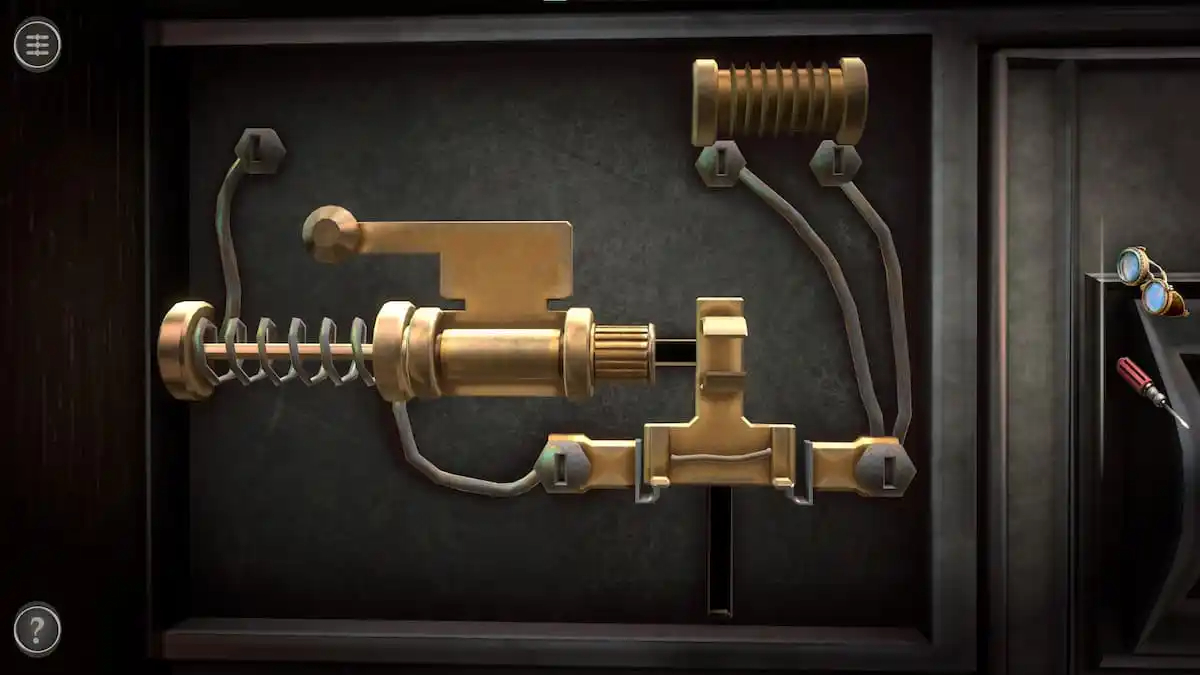
Pull the gold piece shaped like an upside-down “T” upwards until electricity sparks.
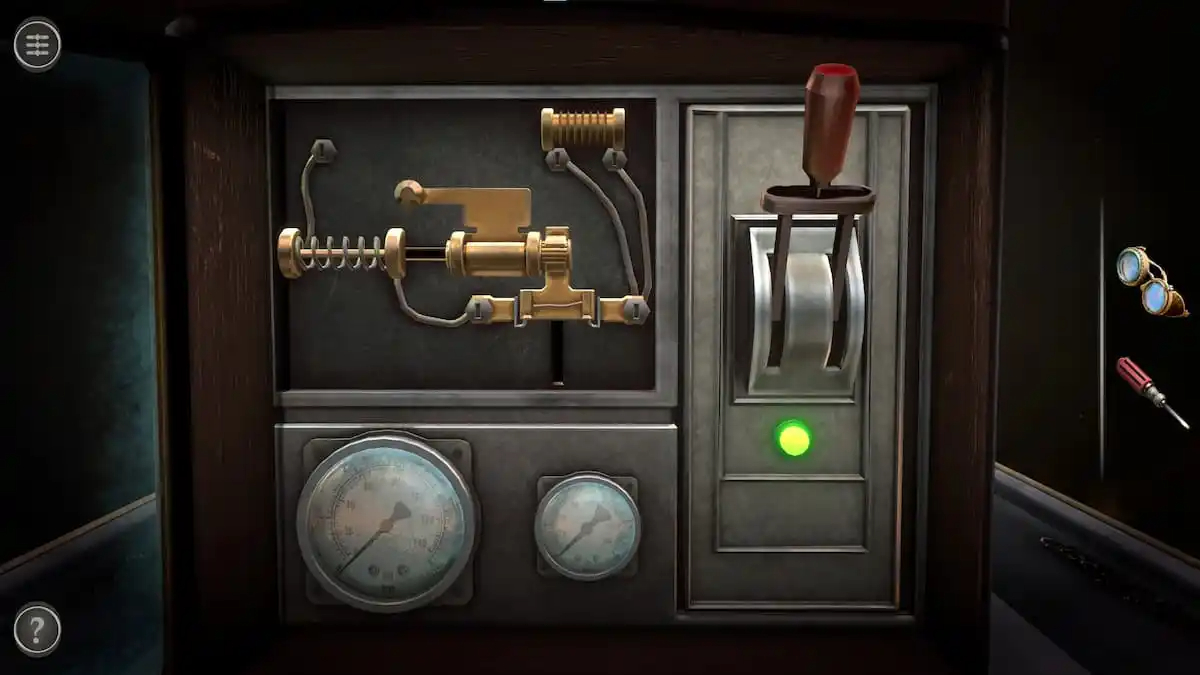
Push the gold cylinder back into place to provide power to the lever.
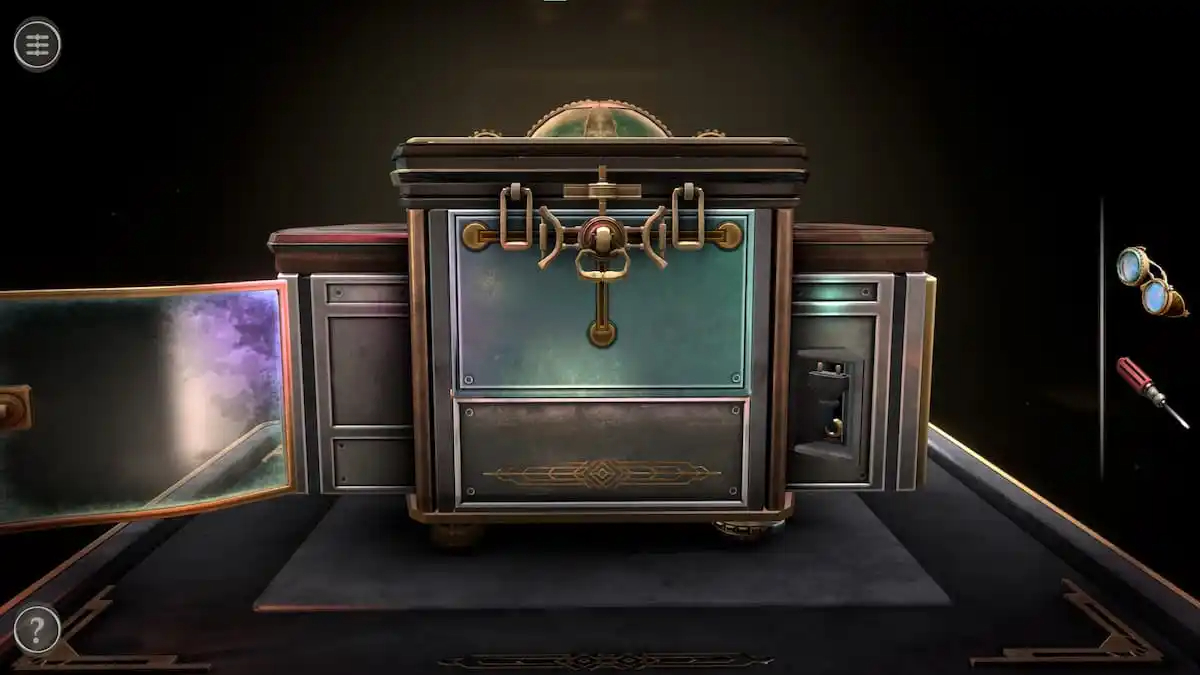
Pull the lever to unlock a compartment containing a power cord on the back of the box.
Back of the box puzzles
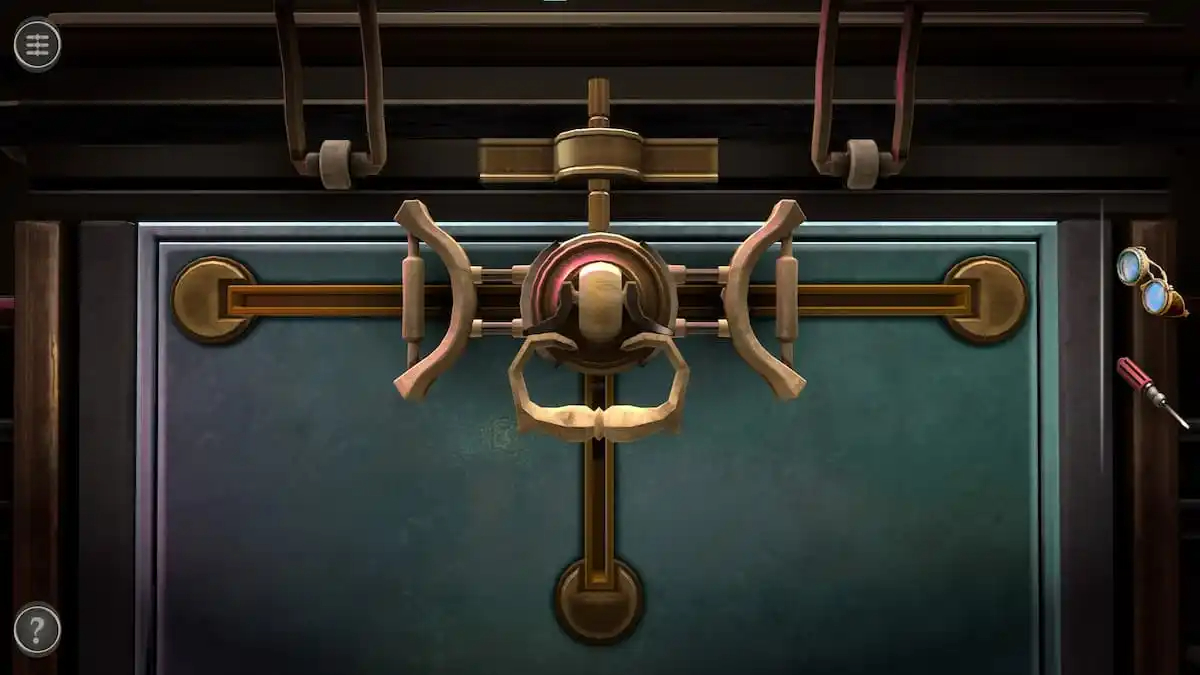
To unlock the back compartment, start by lifting the two latches.
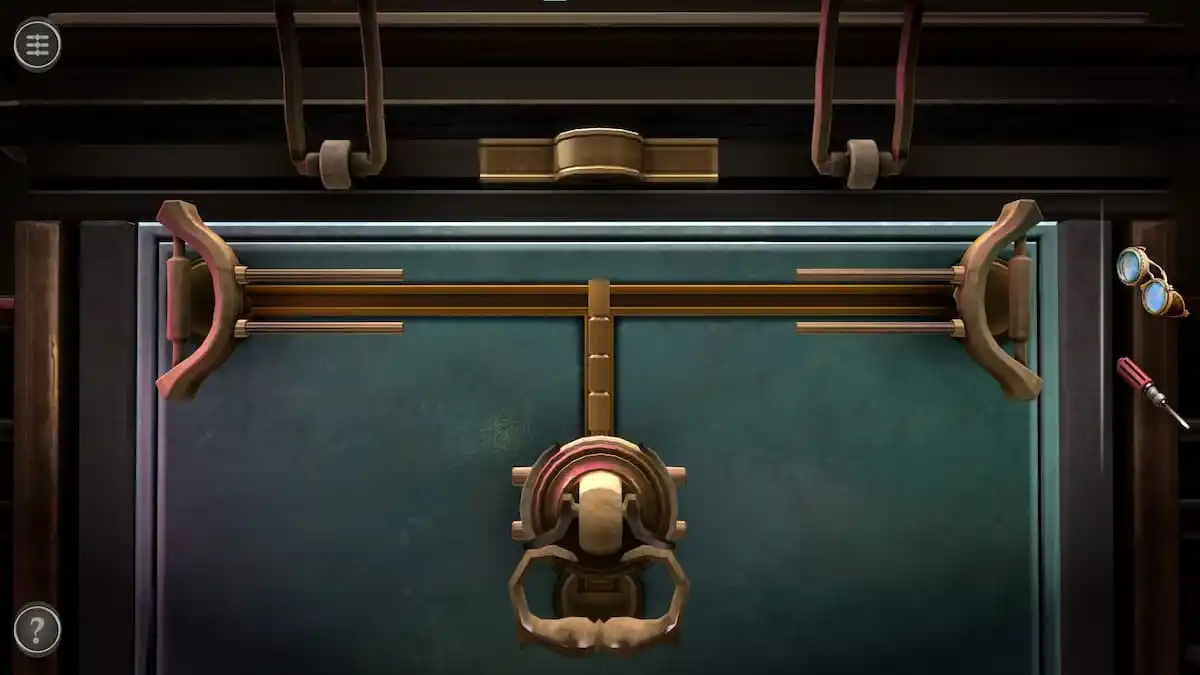
Then slide each of the three handles to the ends of their rows.
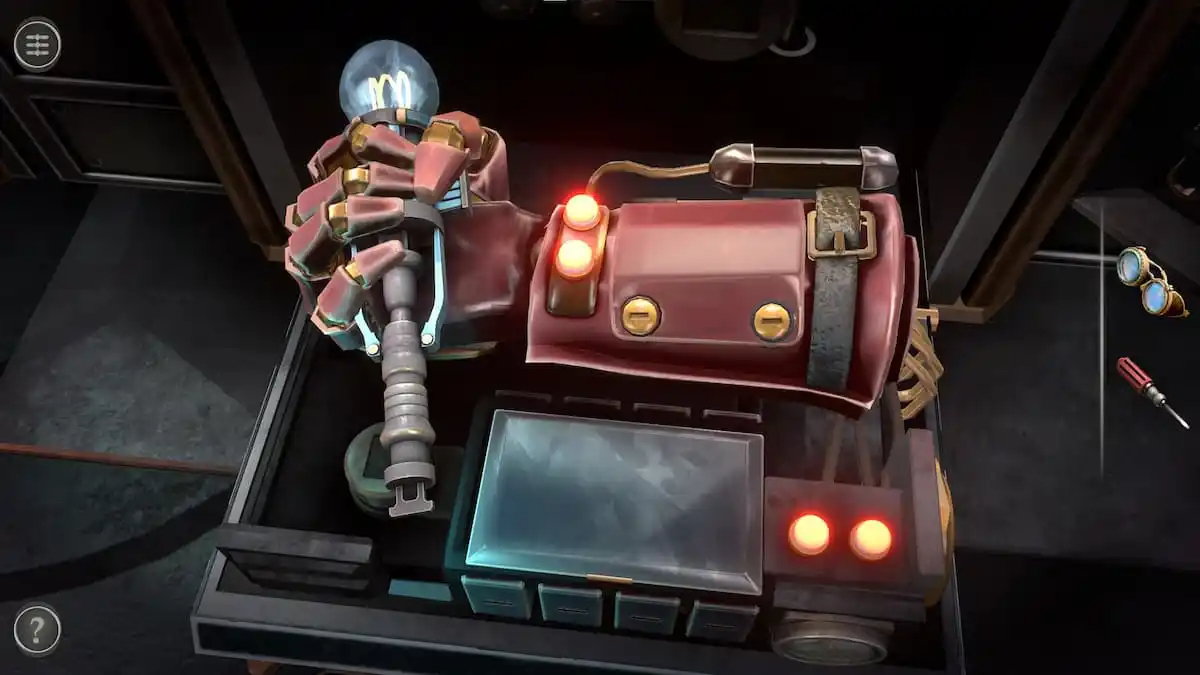
This unlocks a strange puzzle including a mechanical hand holding onto a staff.
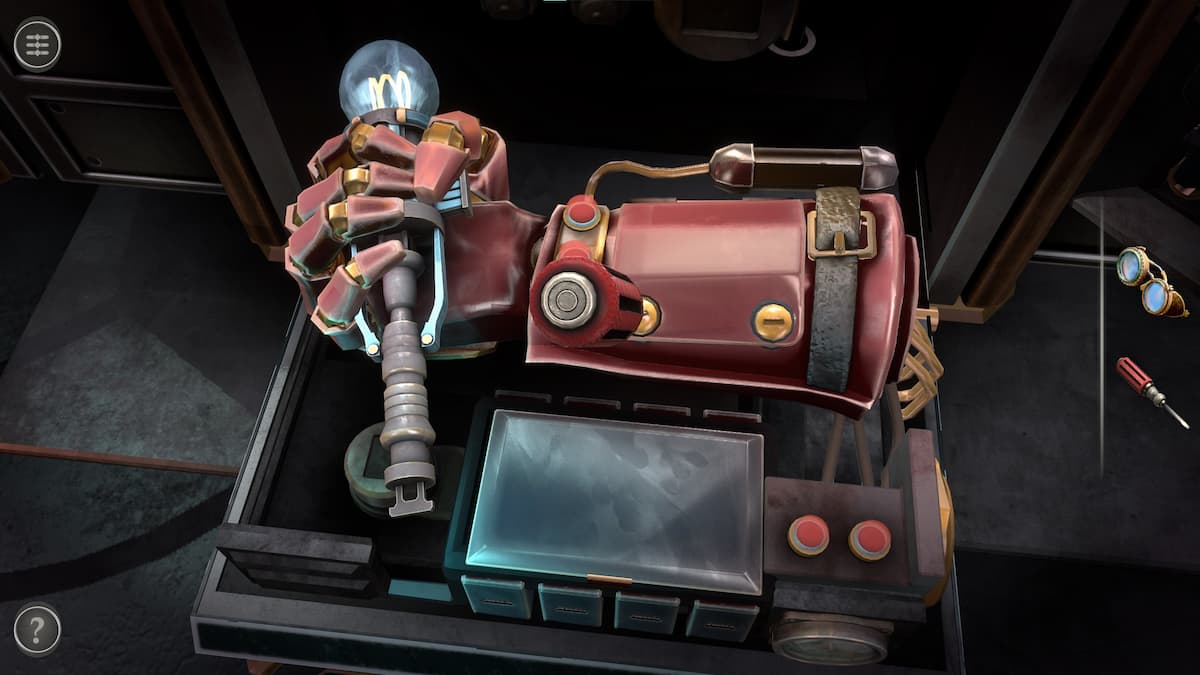
Use the screwdriver on the two golden screws on the hand to get a Broken Mechanism.
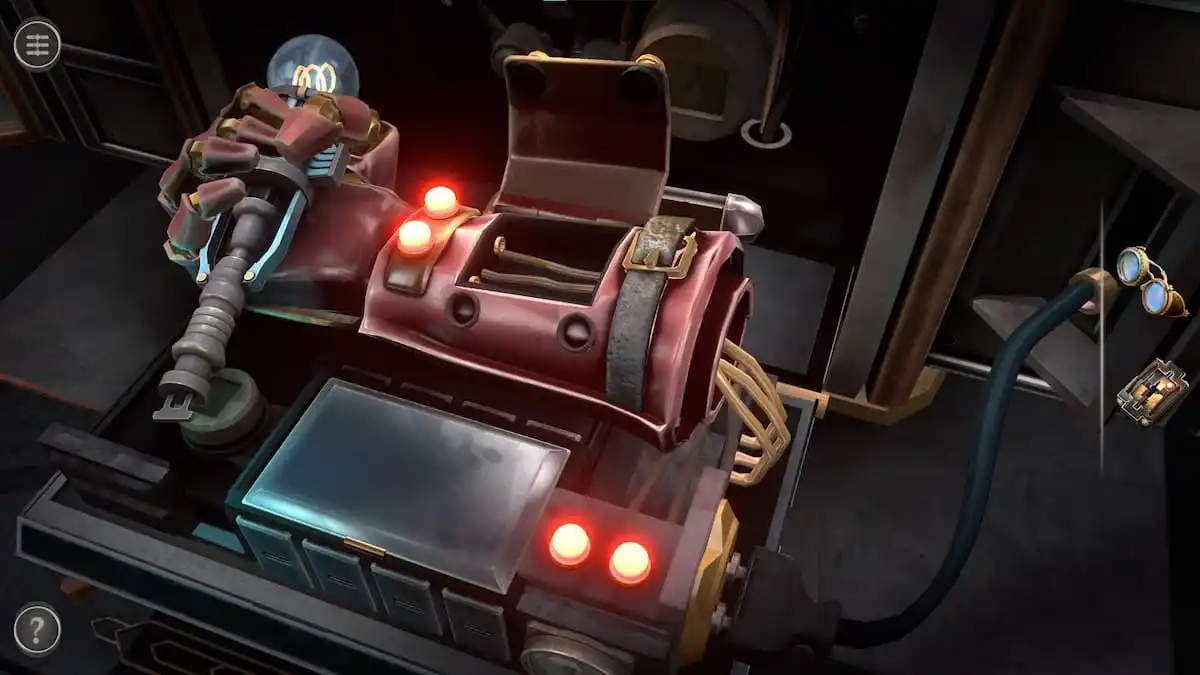
Then plug the power cord on the right into the plug on the mechanism.
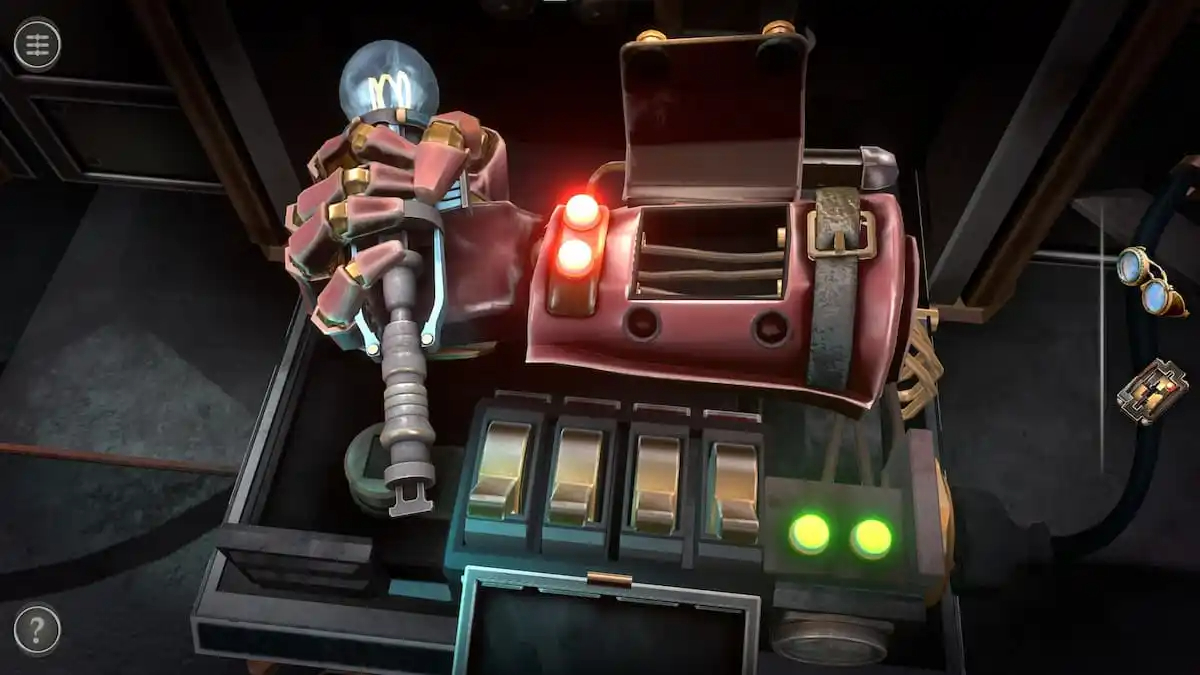
This opens the lower compartment, revealing a set of four switches.
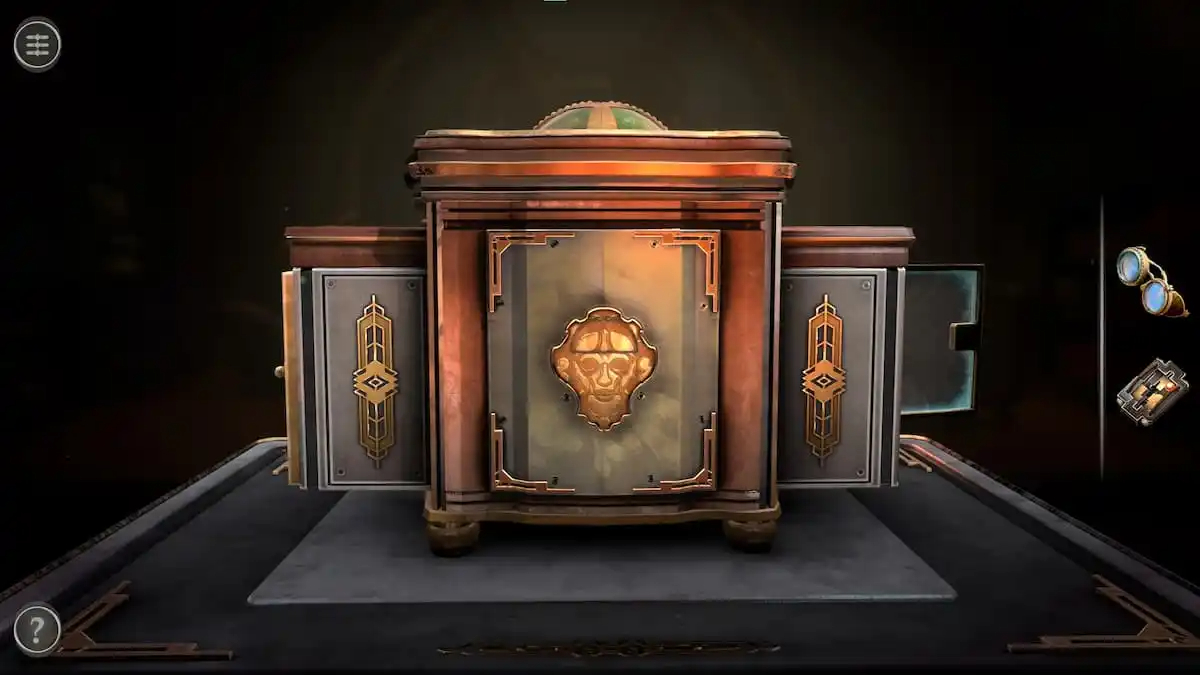
Front rotating mask puzzle
Before continuing with the puzzles on the back, we need to do the puzzle on the front.
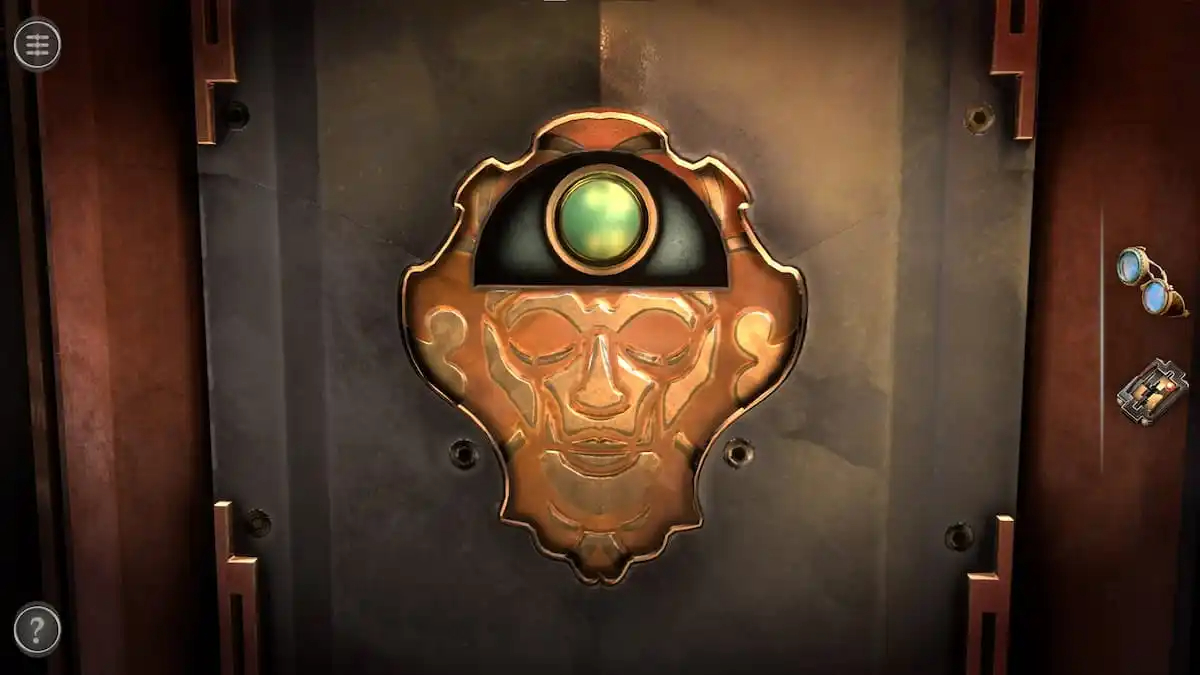
Rotate the top portion of the skull to reveal a green button.
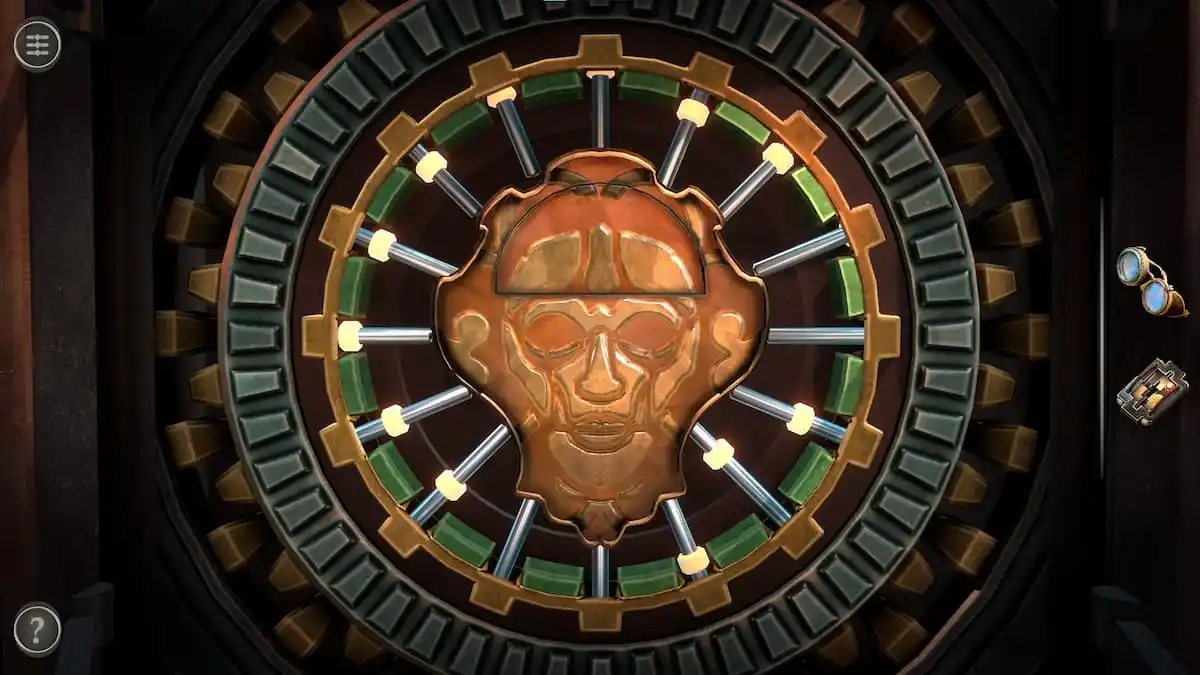
Pressing the green button transforms the puzzle. In this part, the mask-shaped center needs to be rotated until all of the white beads align with the puzzle’s green rim.
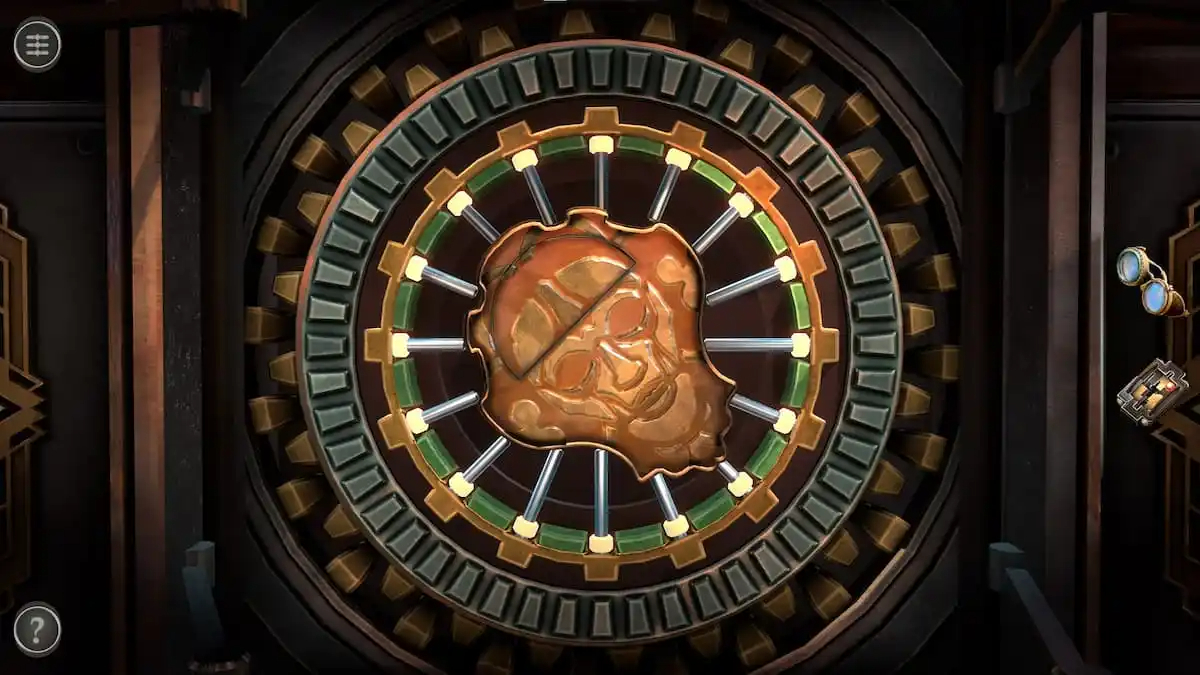
When the chin of the mash points to the bottom right corner, all of the white beads should be aligned and the puzzle will be solved. Completing this puzzle opens up a compartment on top of the box.
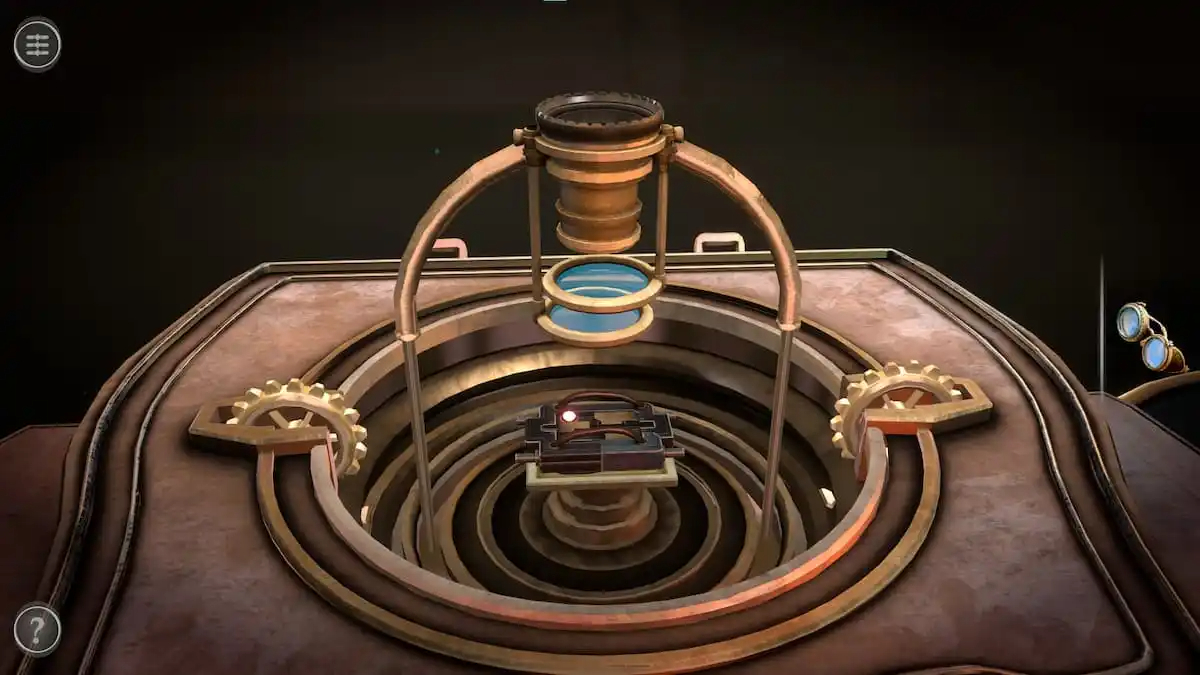
Fixing the broken mechanism
Place the Broken Mechanism into the square frame beneath the two lenses.
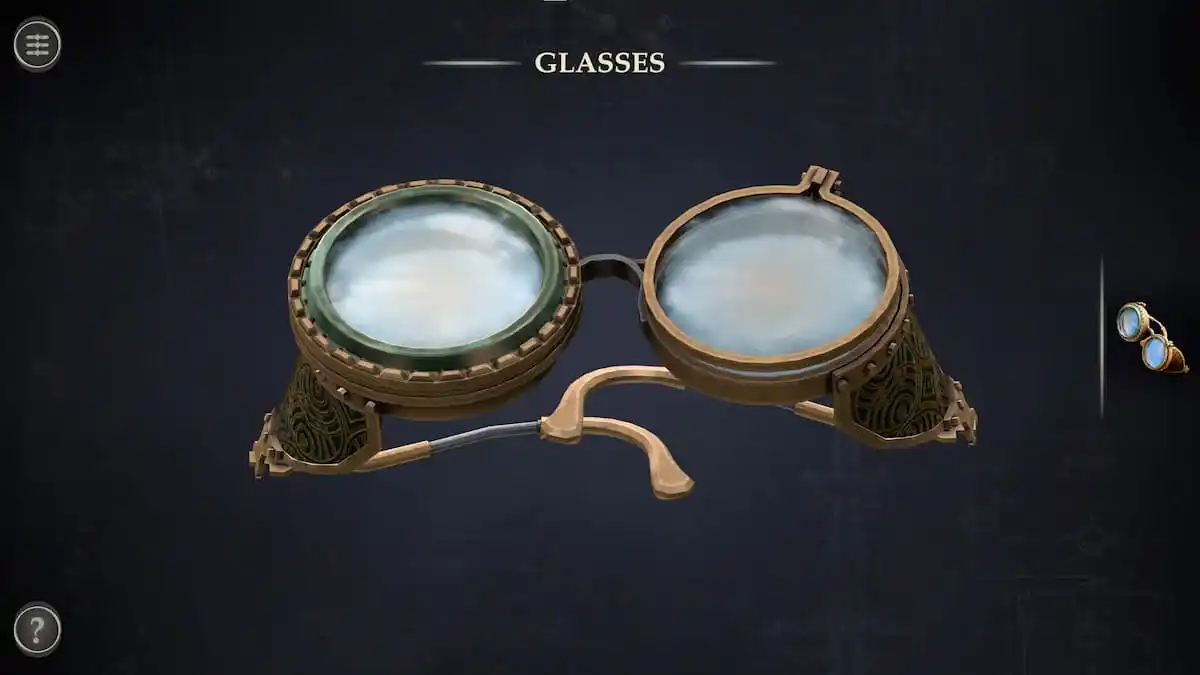
Before going further, open the Glasses in your inventory. You’ll notice that the left lens has a gear around it.
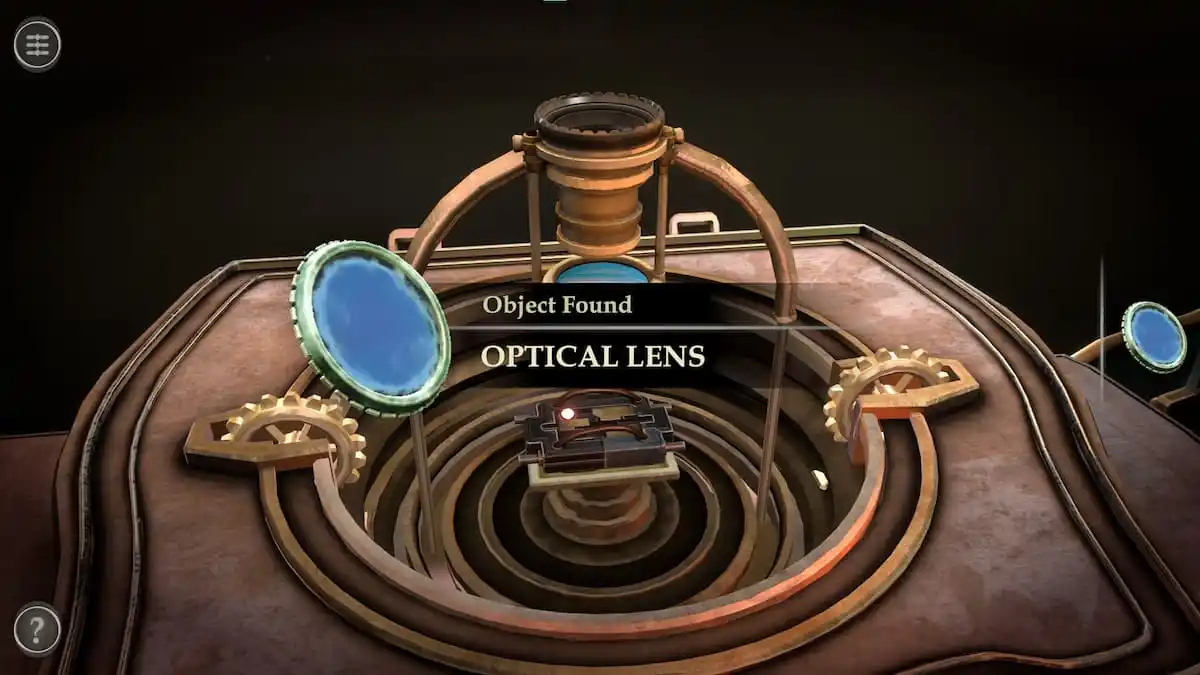
Rotate that gear to gain an Optical Lens.
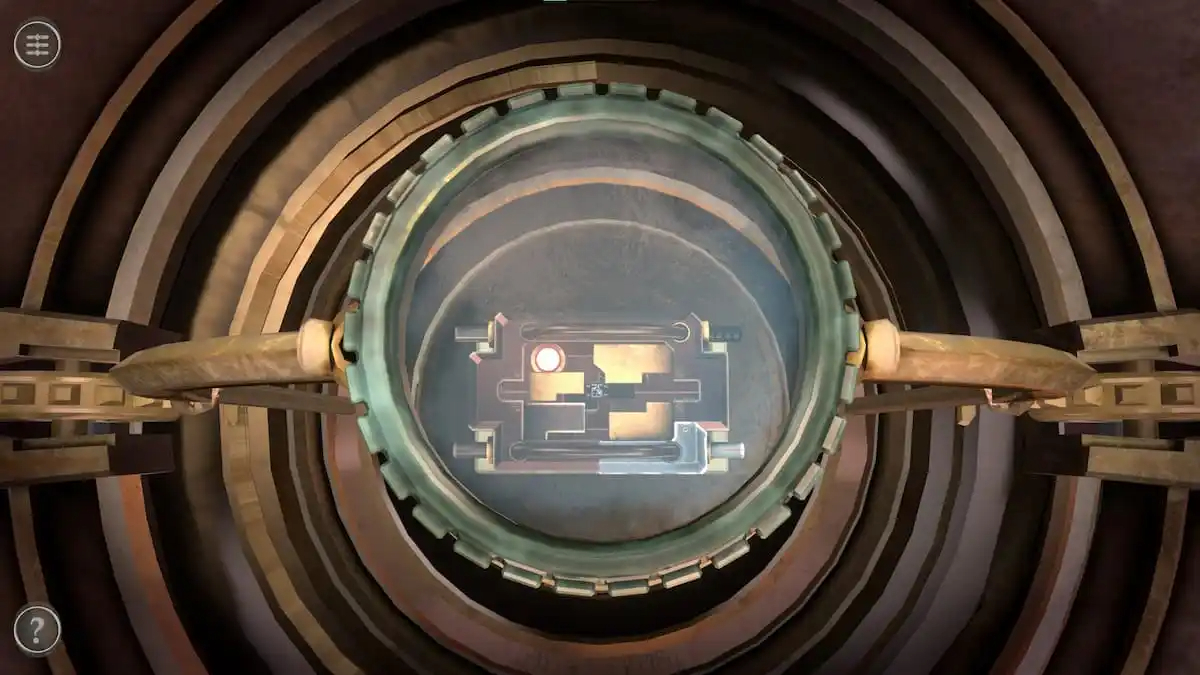
Place the Optical Lens on top of the center mechanism.
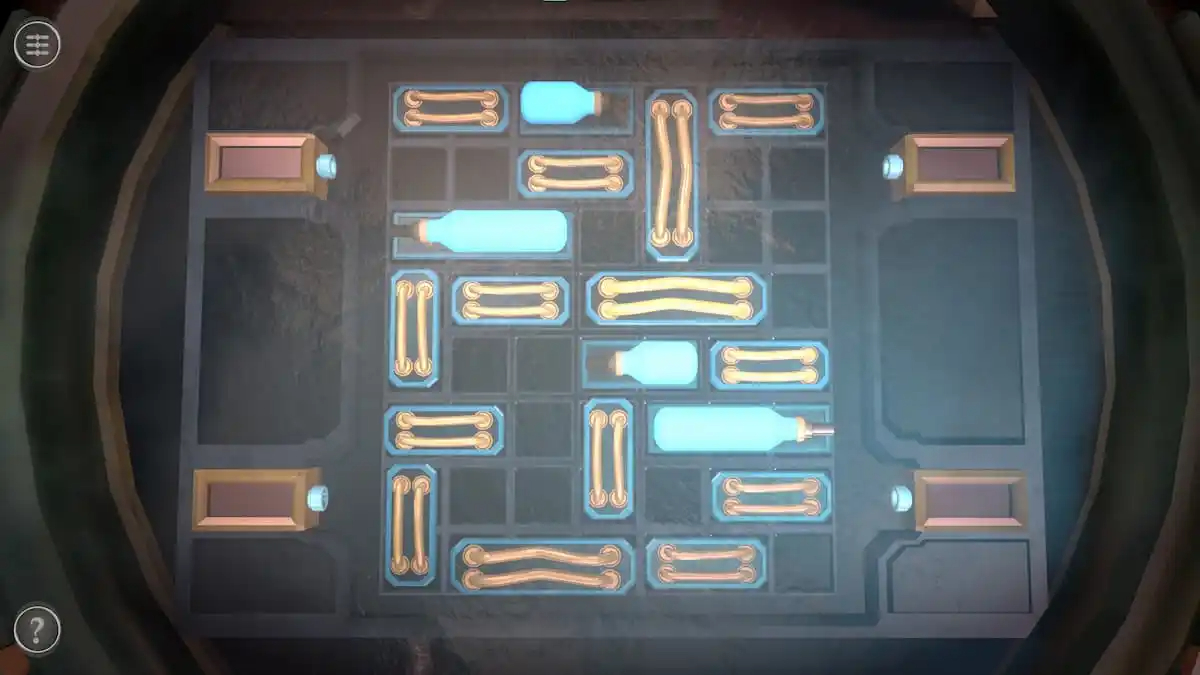
Rotating the gear on the Lens zooms into the Broken Mechanism, revealing a puzzle hidden within it.
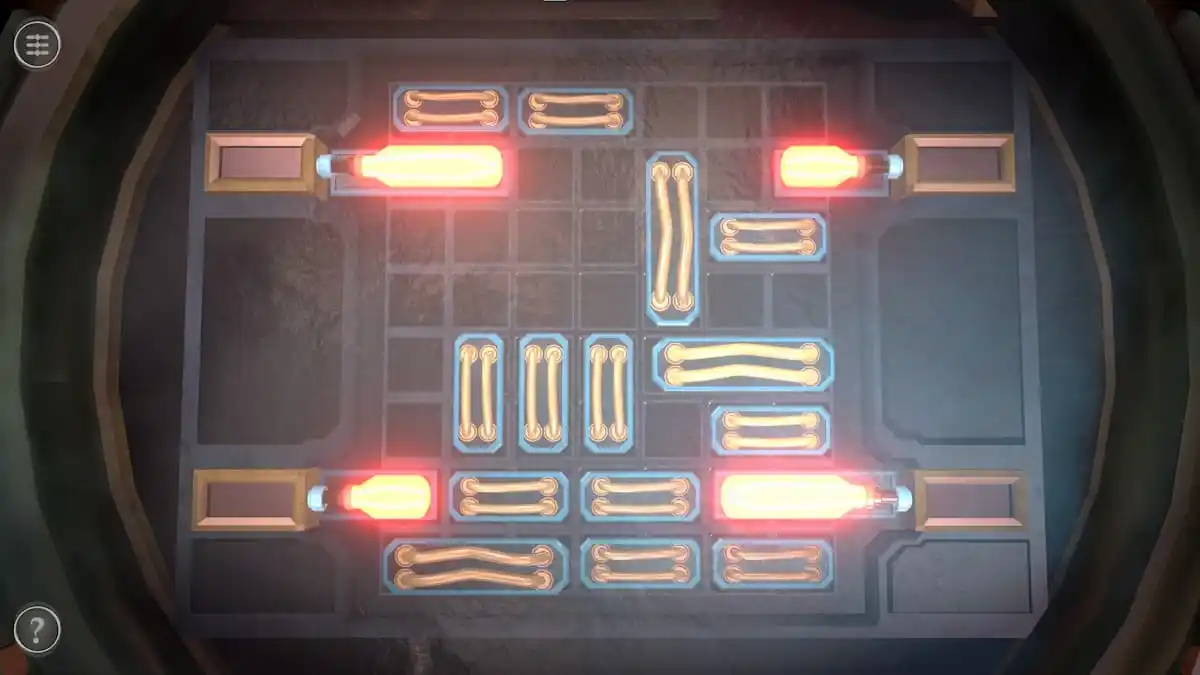
Connect the bottles to each of the rectangular slots to solve the puzzle.
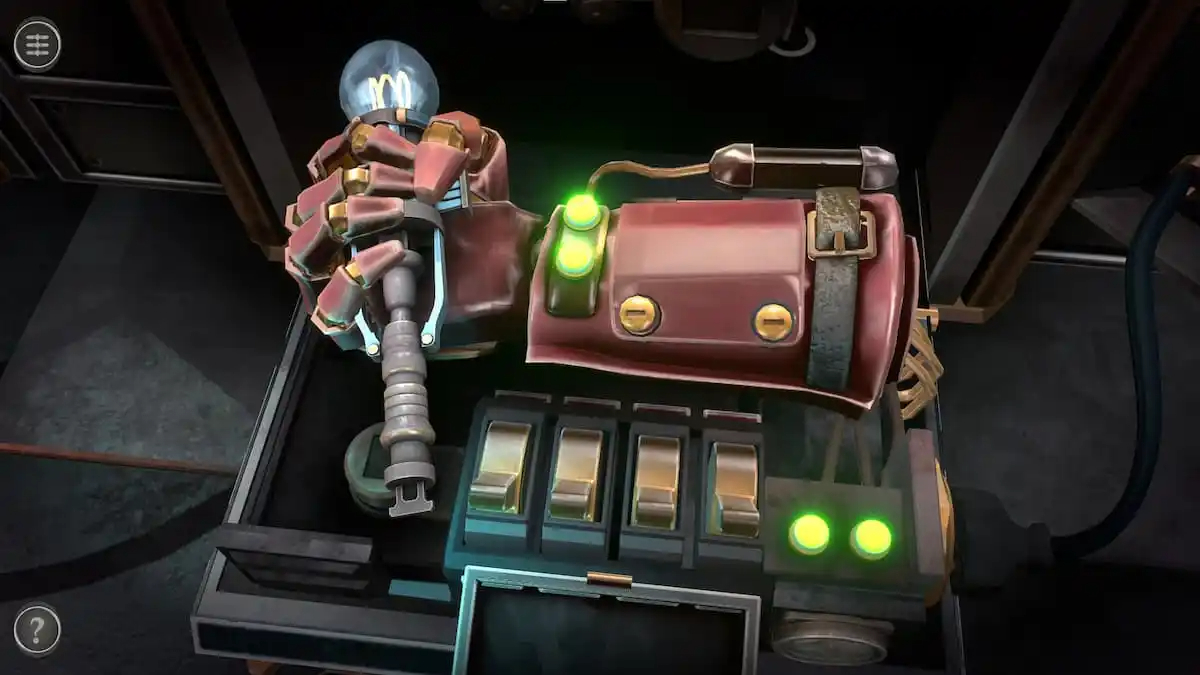
Glove puzzle
Placing the fixed Mechanism into the glove completes the preparation for its puzzle. Now, tapping each switch will move certain fingers:
The first switch (on the left) moves the thumb and the pinkie.
The second switch moves the index and ring fingers.
The third switch moves the pinkie and index fingers.
The fourth switch (on the right) moves the middle finger.
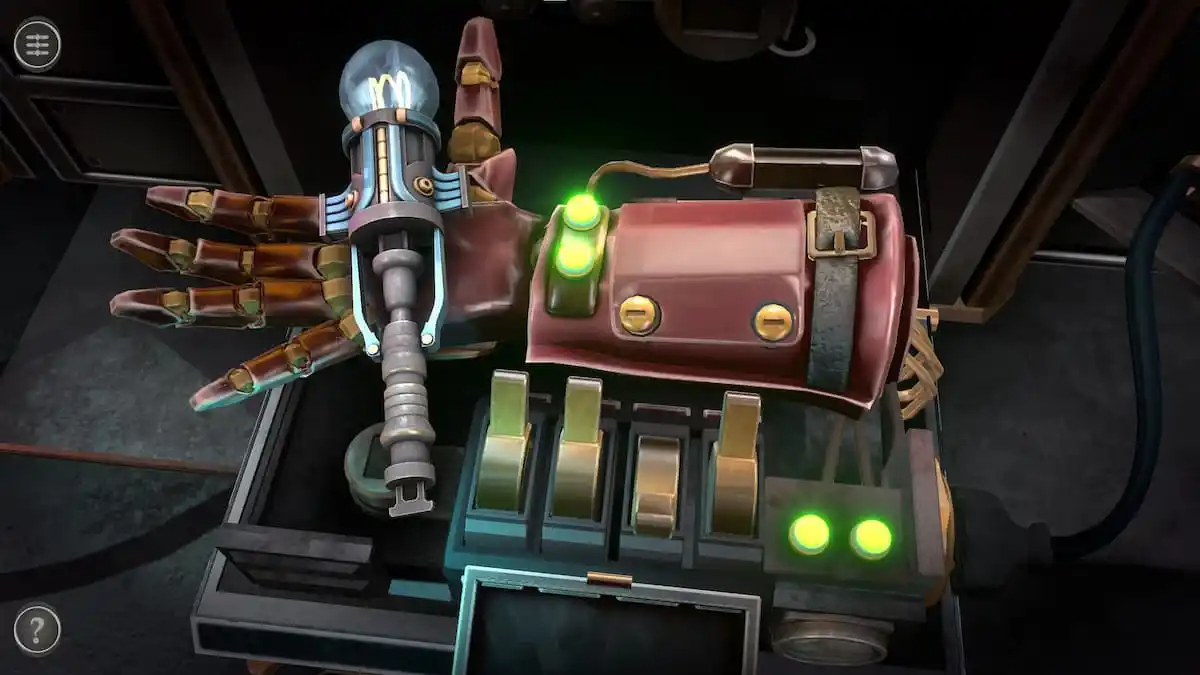
Pressing the first, second, and fourth switches will solve the puzzle.
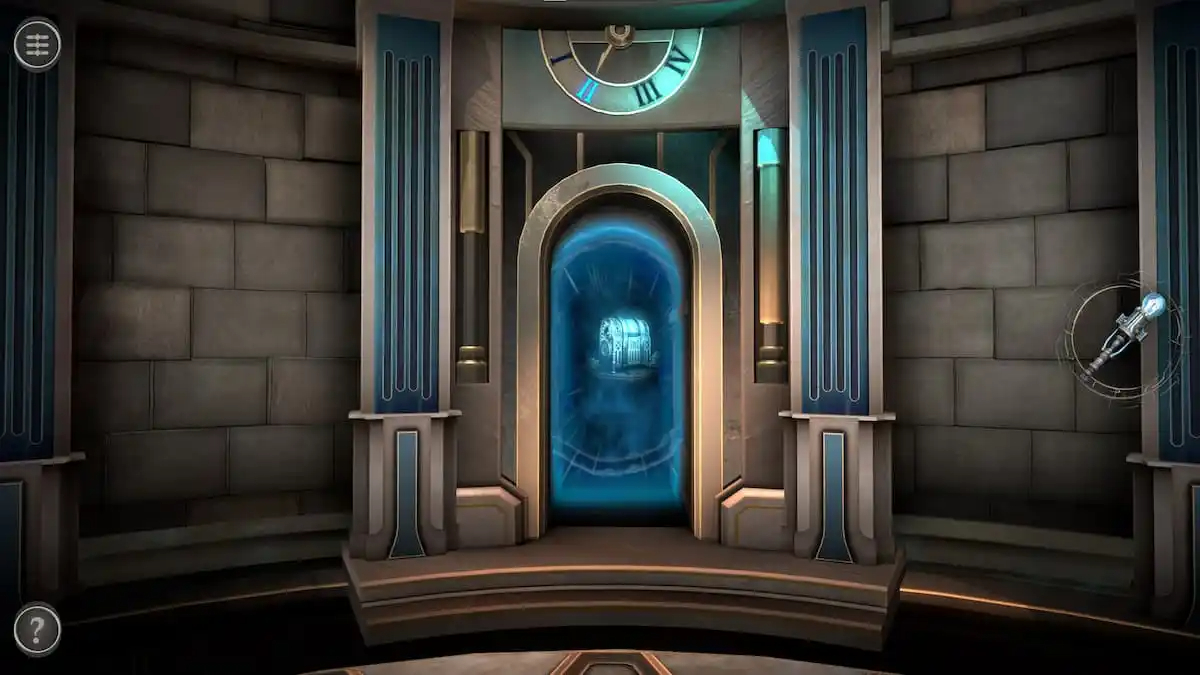
Grabbing the Electrical Key removes you from the first room and unlocks the second one.
FIRST PUZZLE BOX IN CHAPTER 2 IS NOW COMPLETE AND FINISH AND PUZZLE BOX 2 IN CHAPTER 2 OF BOXES LOST FRAGMENTS IS NOW UNLOCKED
SECOND PUZZLE BOX IN CHAPTER 2
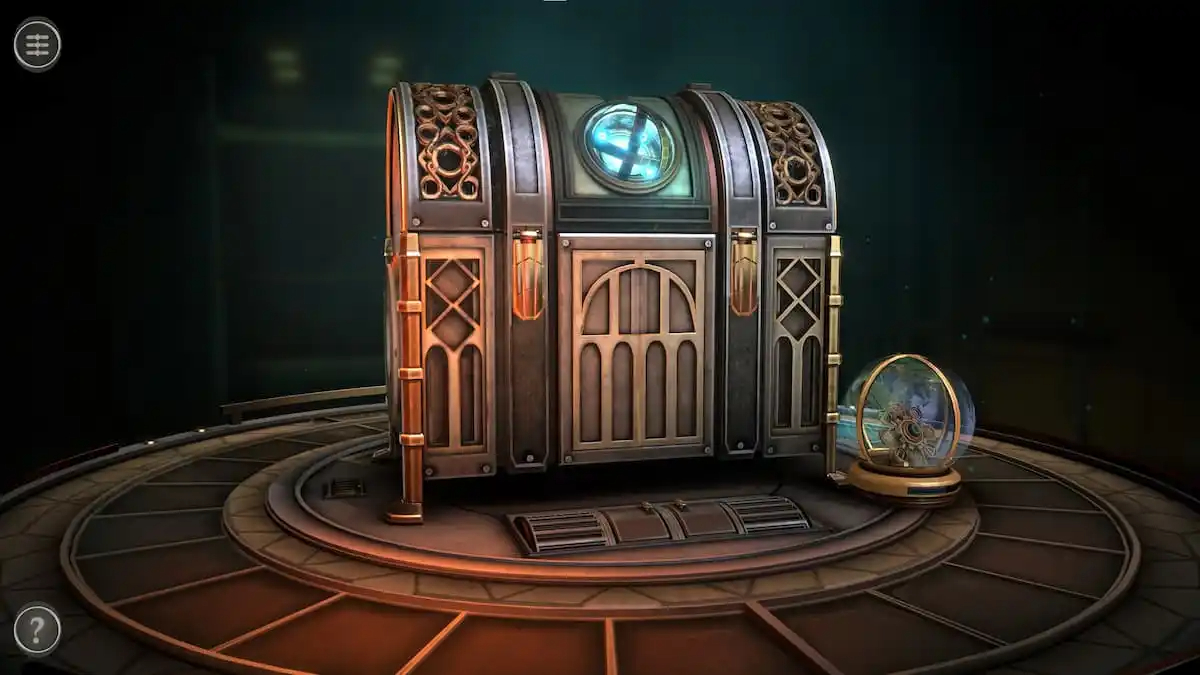
Room 2 puzzles
The second room contains a table holding a treasure chest-shaped box. The small Crystal Globe next to it can be picked up.
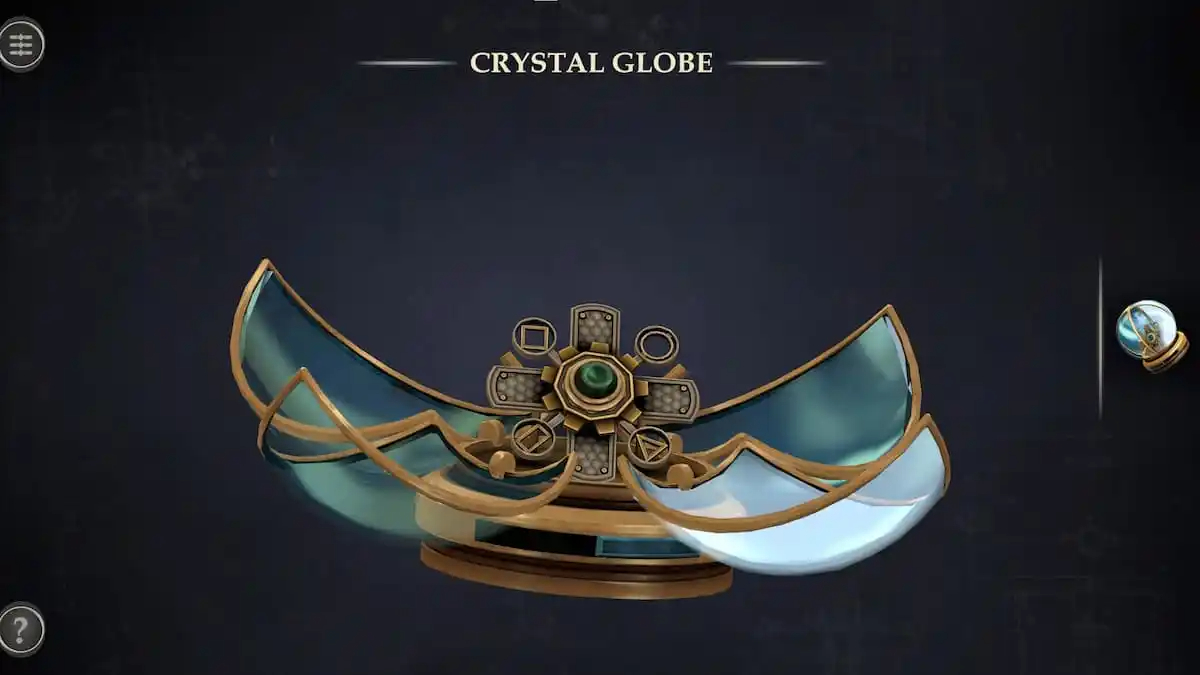
Open the Crystal Globe in your inventory and move the slider to get an Intricate Mechanism.
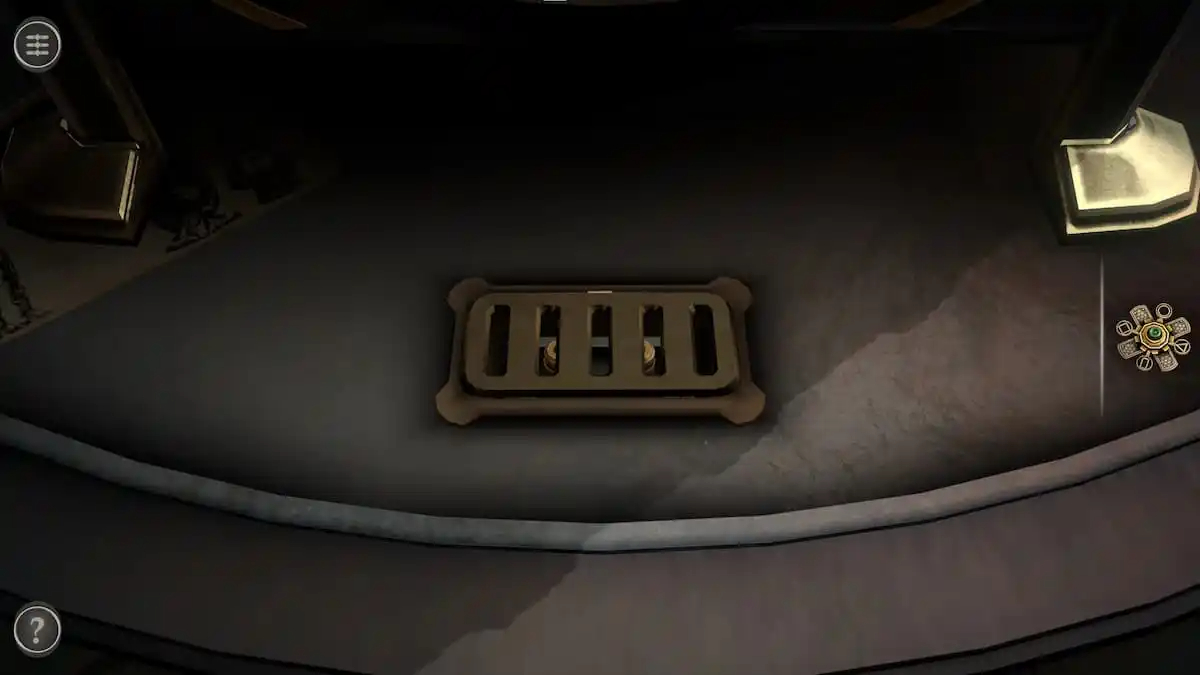
Take a moment to find the slotted compartment to the left of the box. Flip the compartment’s lid up to get a Battery.
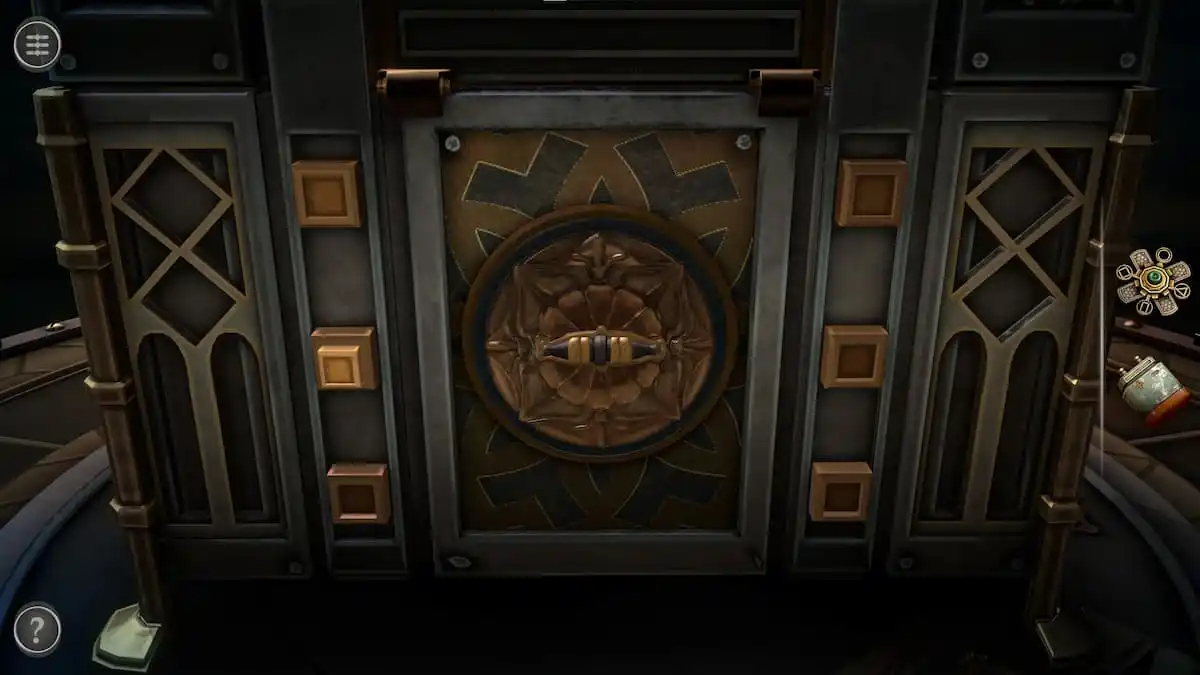
Then look at the back of the box. The button in the center-left looks suspiciously light-colored in comparison to the rest. Push it down to unlock the handle.
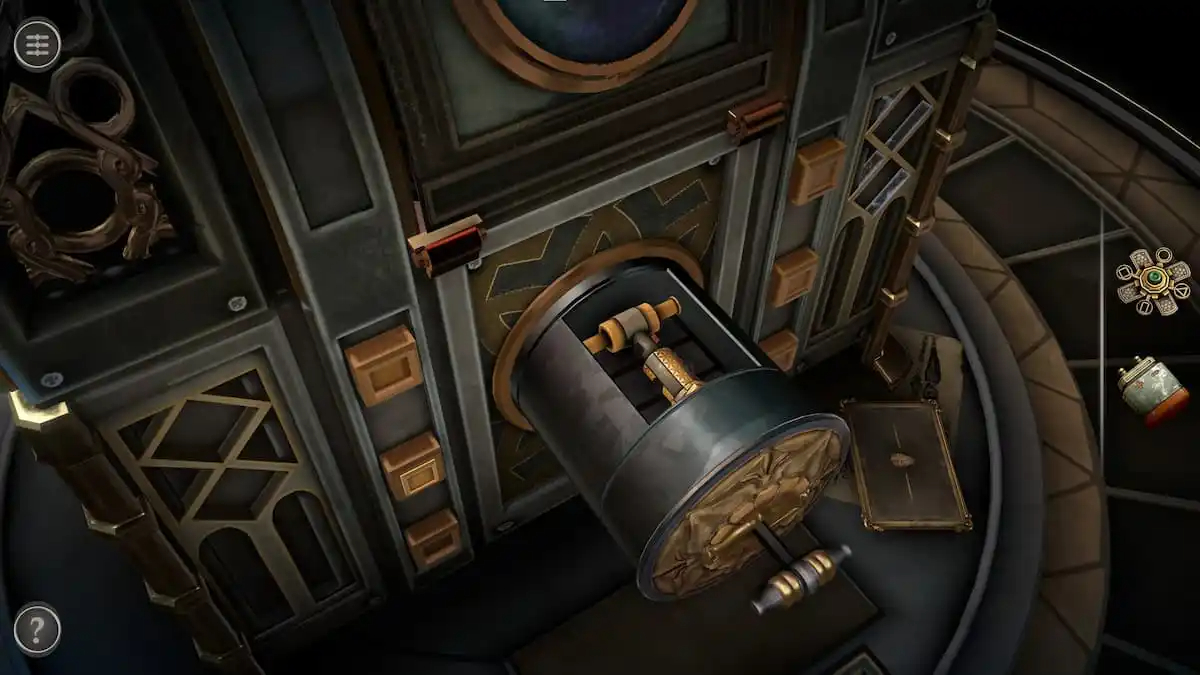
Pull the handle to find a Tool.
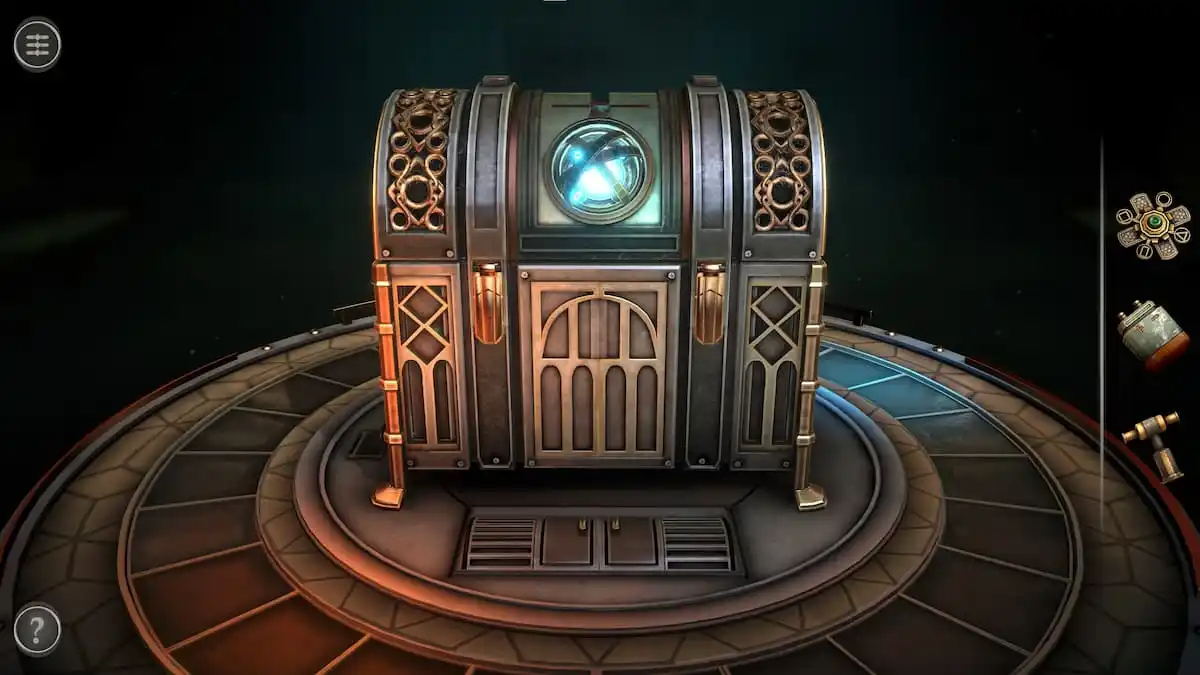
Battery puzzle
Return to the front of the chest, paying close attention to the tiny doors on the platform in front of it.
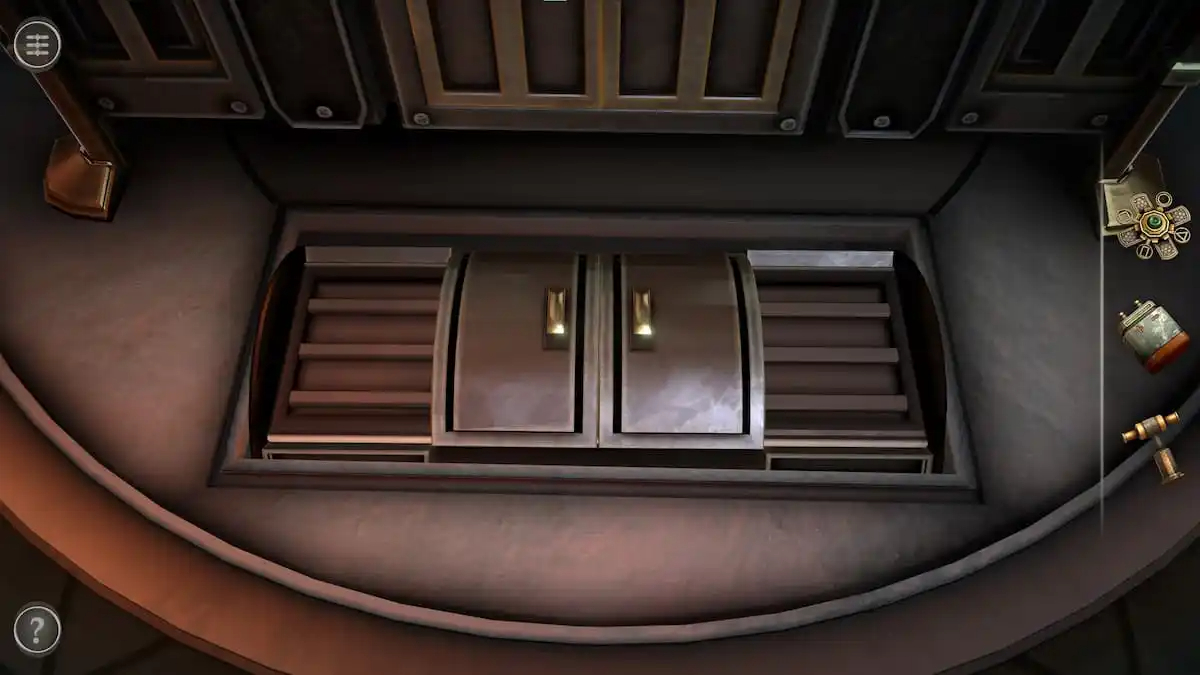
Rotate the gears on the side of either door until both sides are hollow.
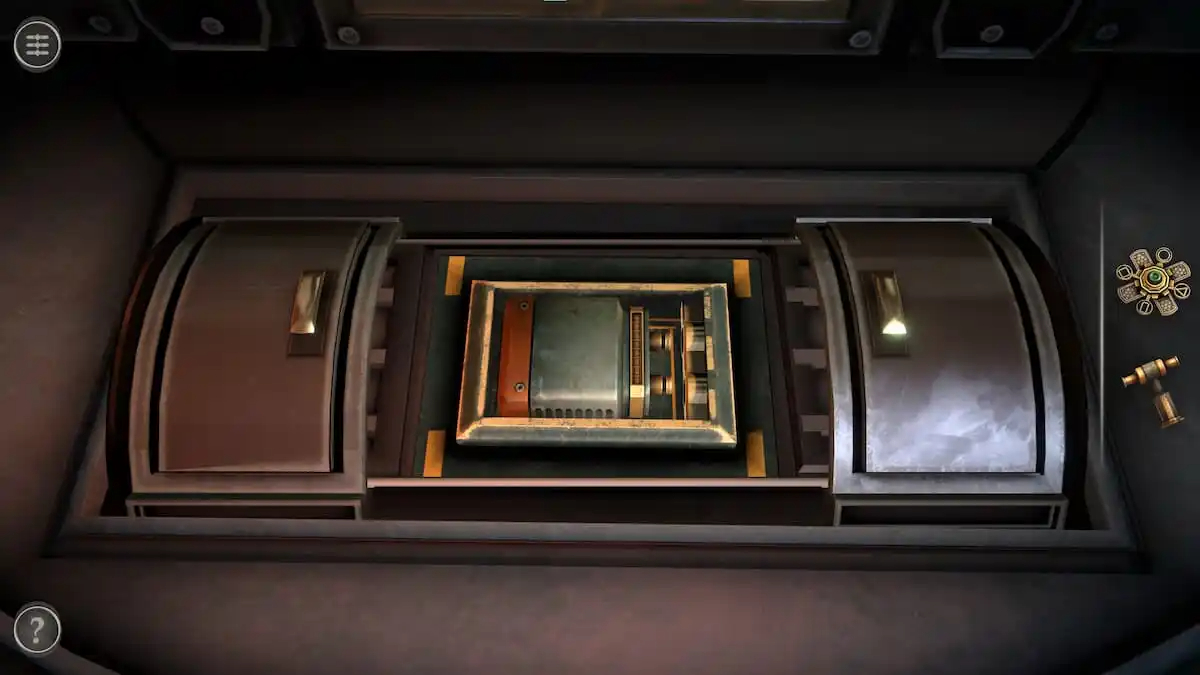
Then slide the doors open to reveal a small compartment. Place the Battery into this compartment.
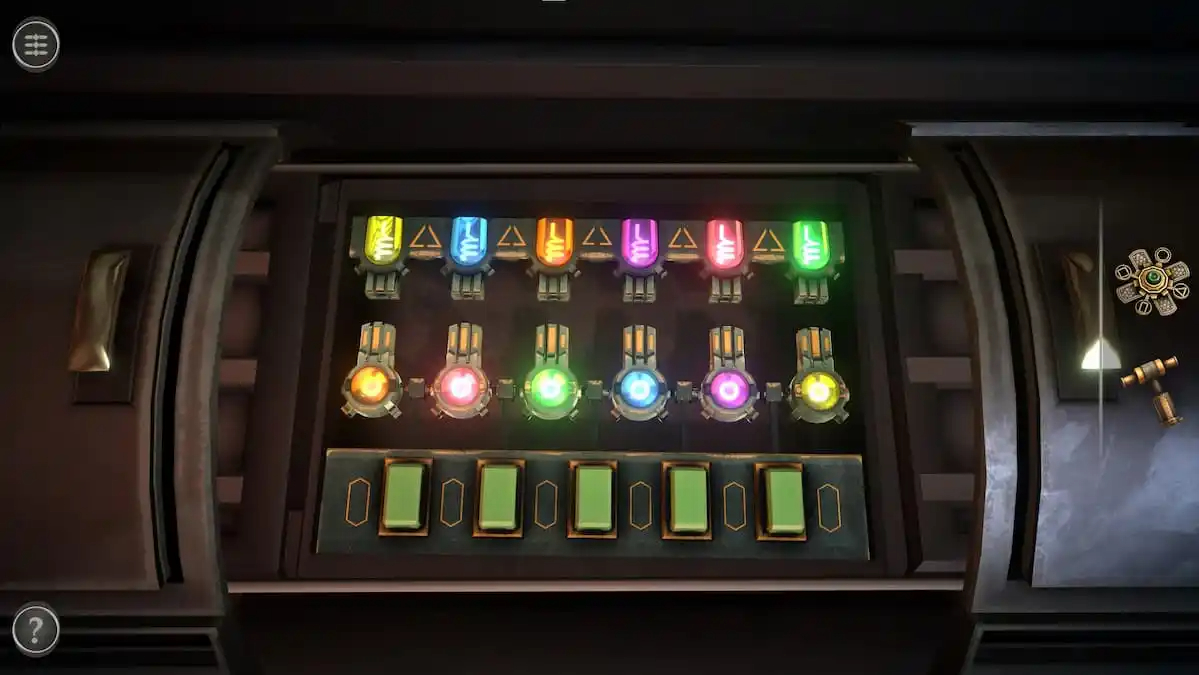
This will unlock a puzzle with five green switches and two rows of colored switches. Touch the green switches to flip the two switches they are between.
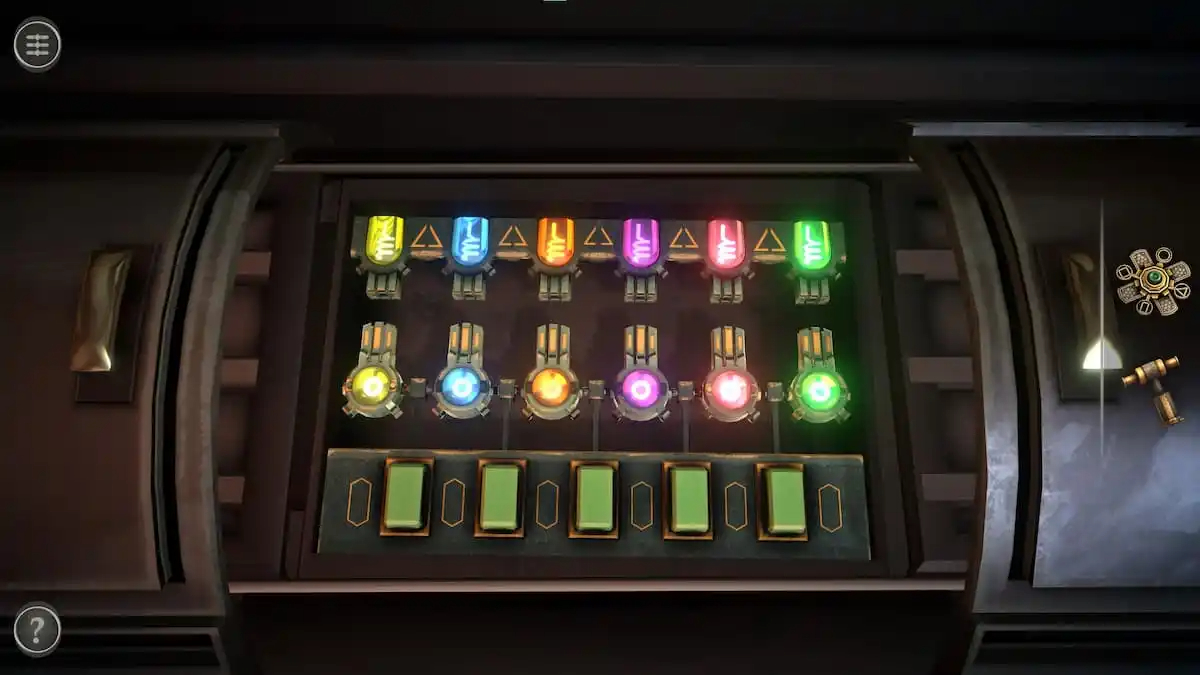
The puzzle is completed when the colored switches on the bottom row are moved to match the colored switches on the top row.
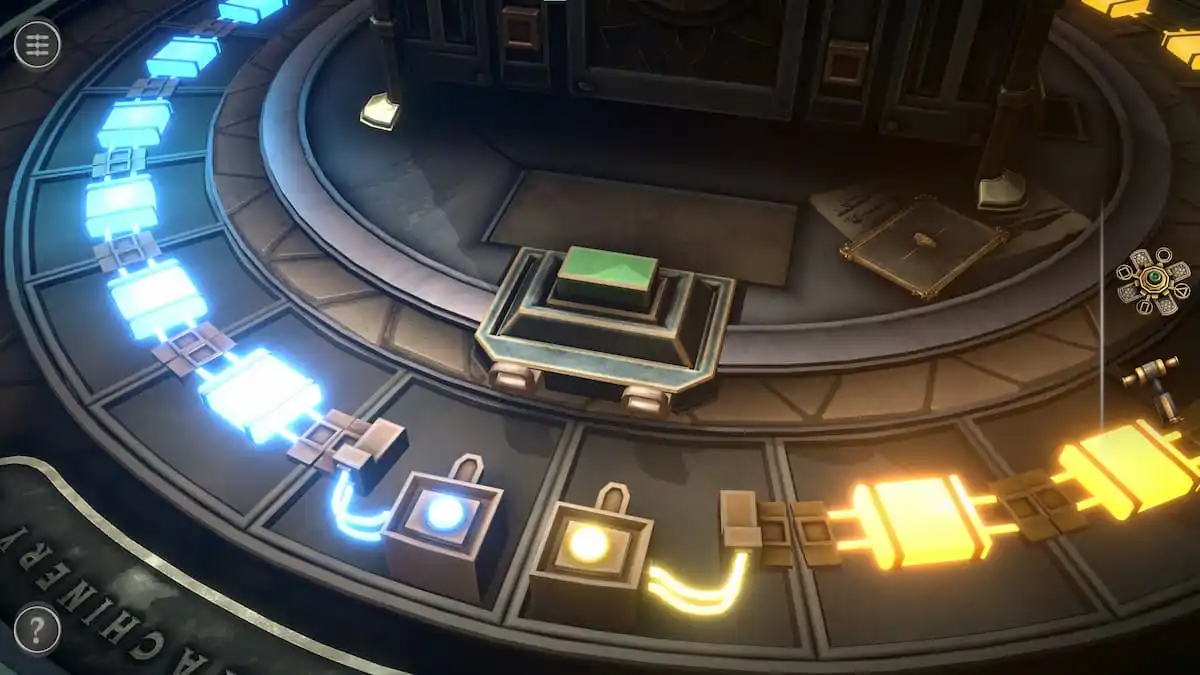
Completing the colored light puzzle unlocks a series of colored lights all around the table.
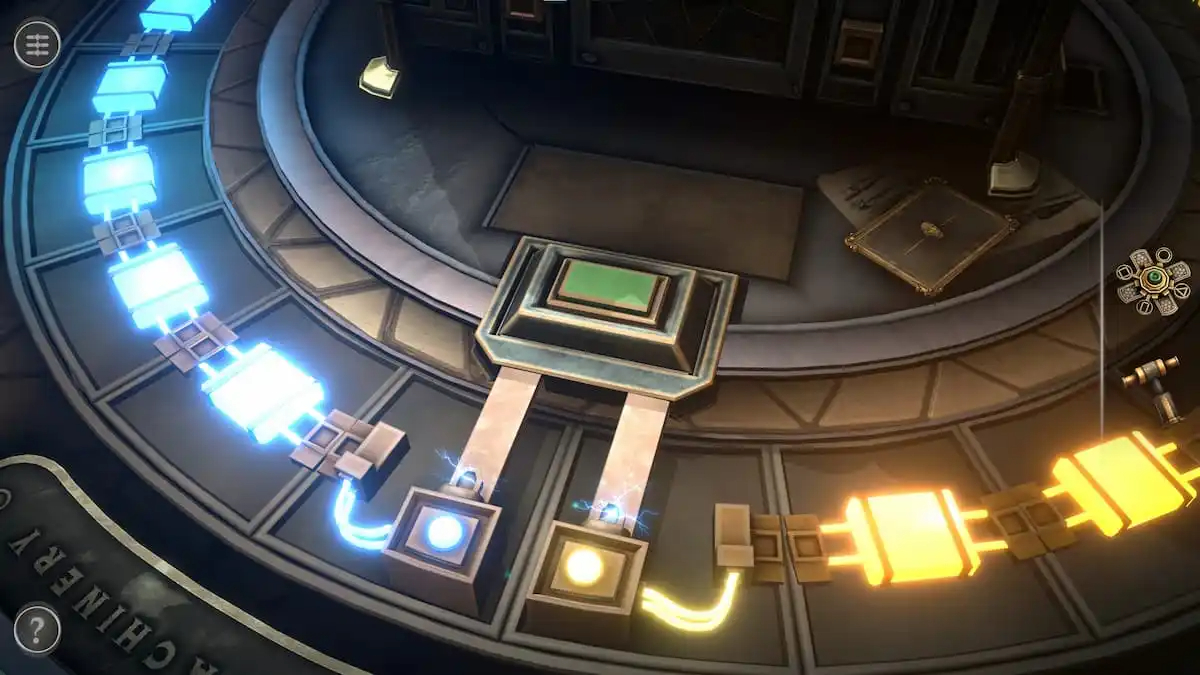
Tap the green button on the back will open a compartment containing a Metal Lever.
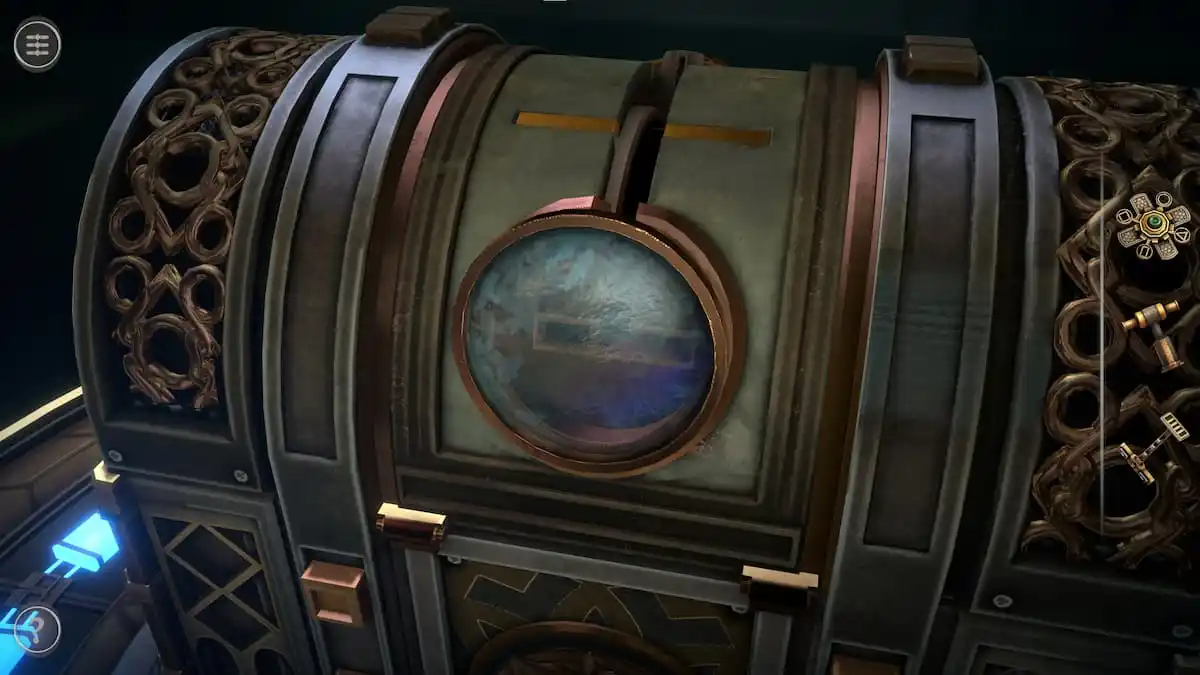
Metal Lever puzzle
The Metal Lever puzzle begins at this glass orb.
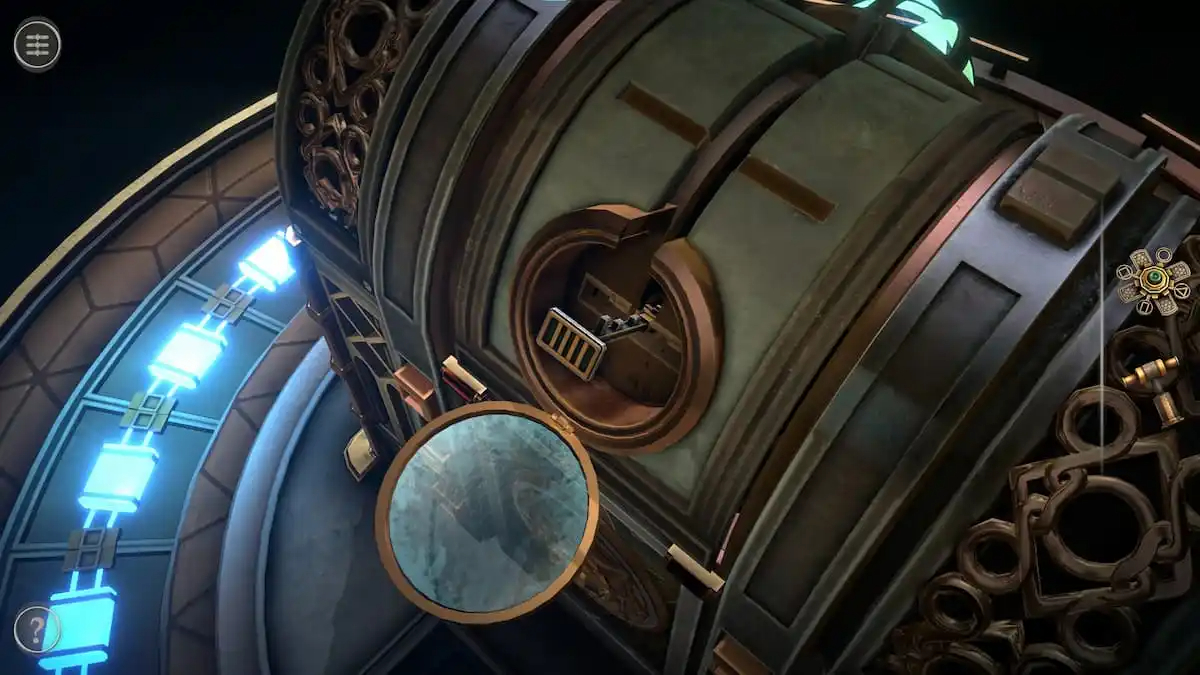
Flip the glass cover and insert the Metal Lever into the hole.
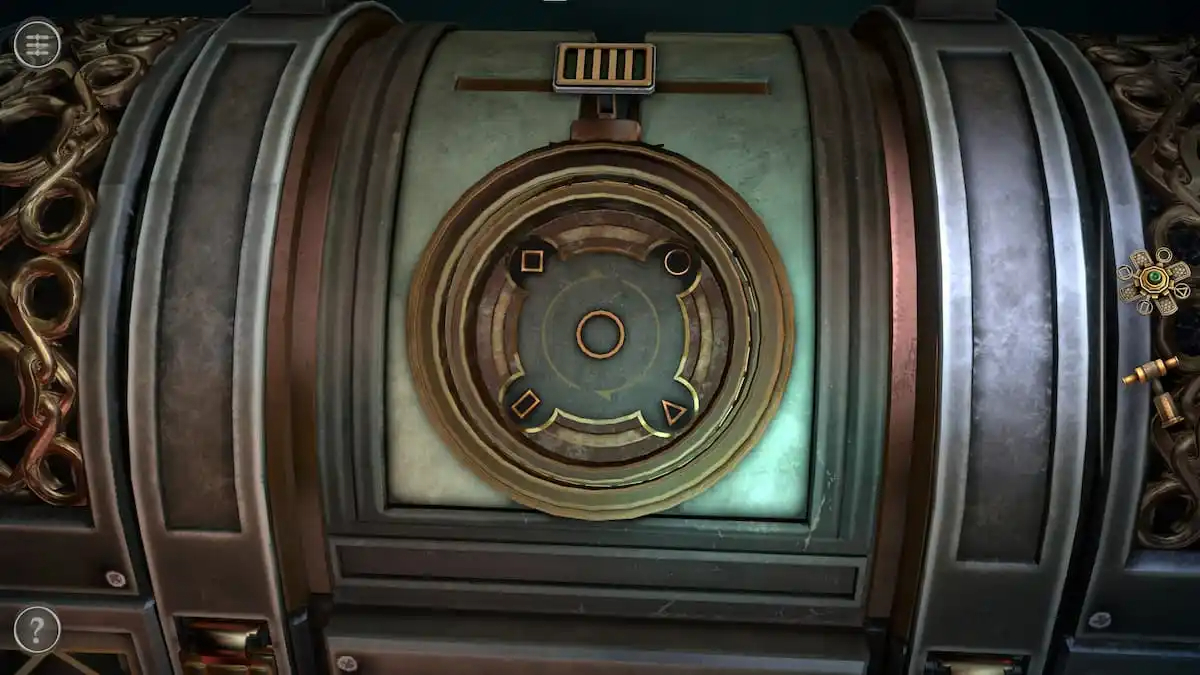
Pull the Metal Lever up to unlock a second puzzle.
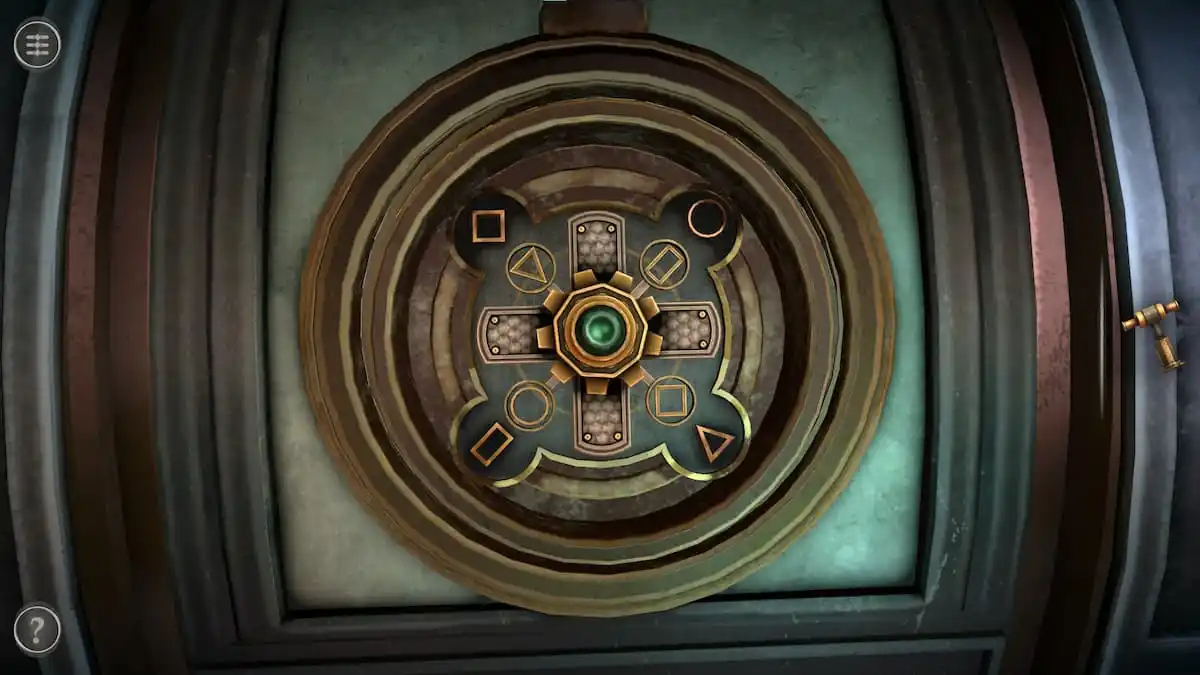
Place the Intricate Mechanism in the center of the puzzle.
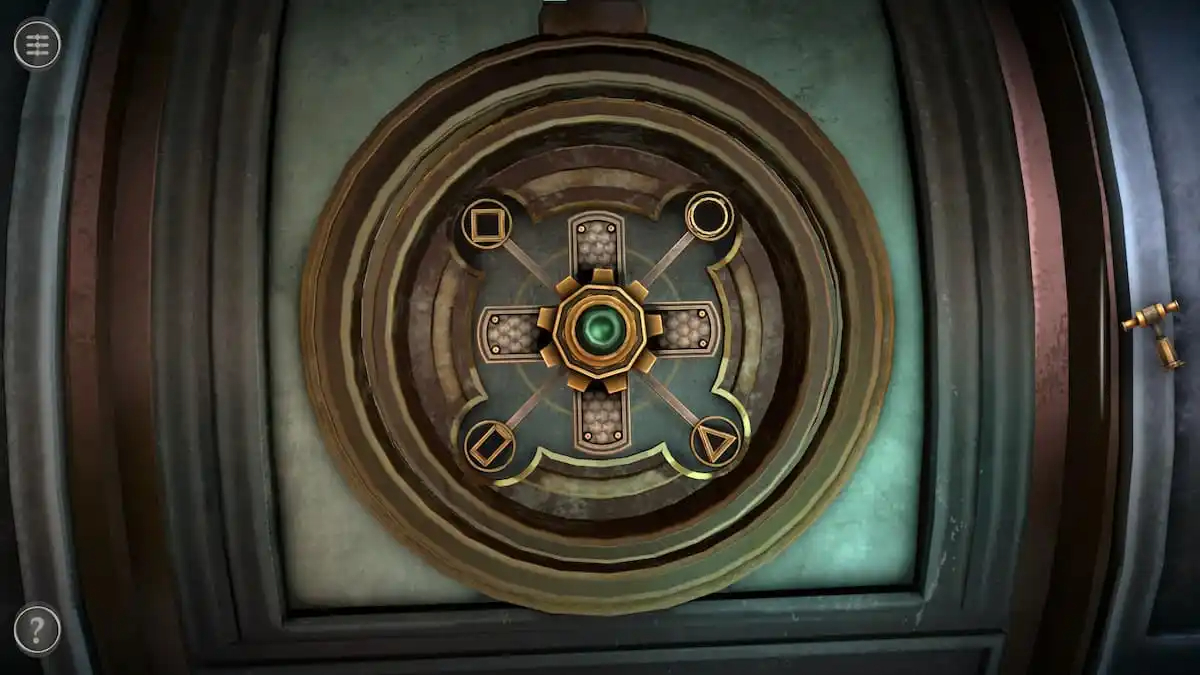
Rotate the Intricate Mechanism until its symbols align with those on the puzzle and press the green button.
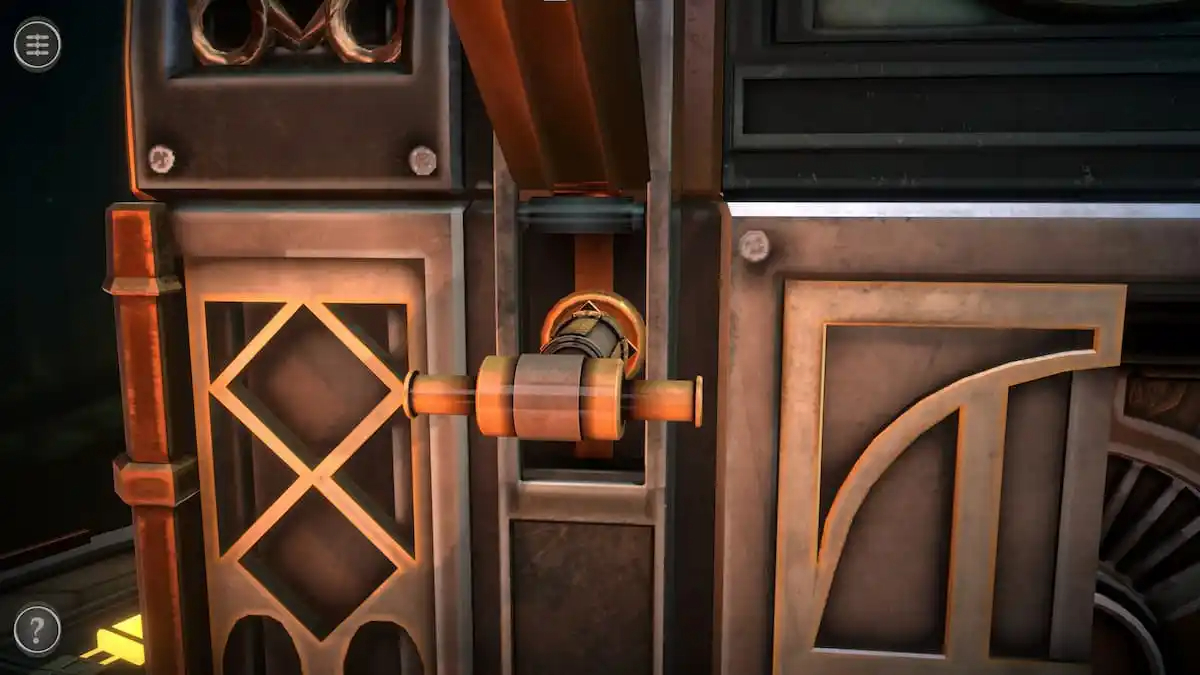
This will unlock two segments on the front door. Use the Tool item to twist each segment and open up the front doors.
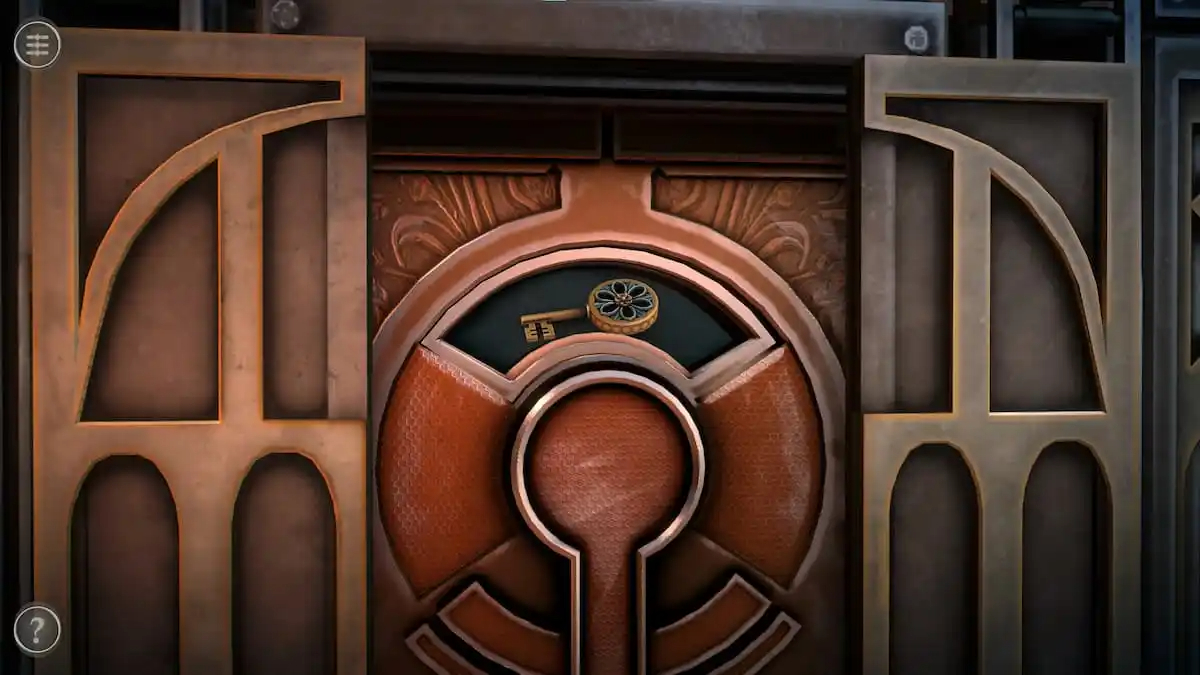
The top of the door contains a gear, which can be rotated to reveal a Key.
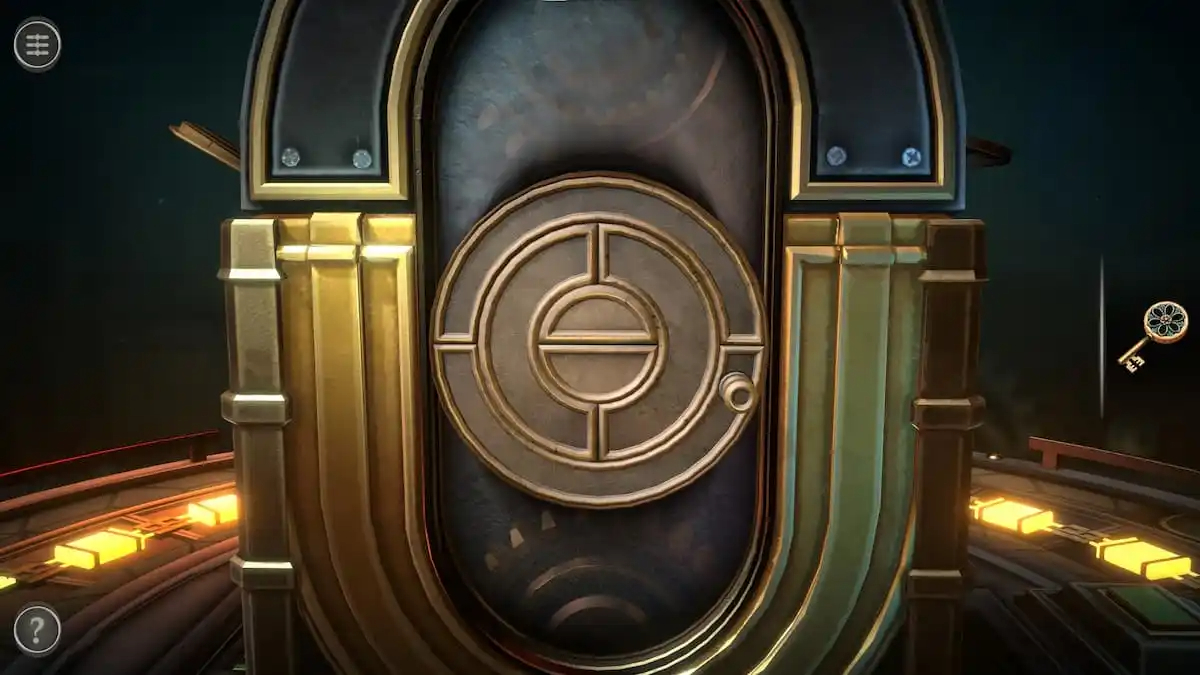
Right-side rotating puzzle
With the Key in your inventory, look at the puzzle on the right side of the box.
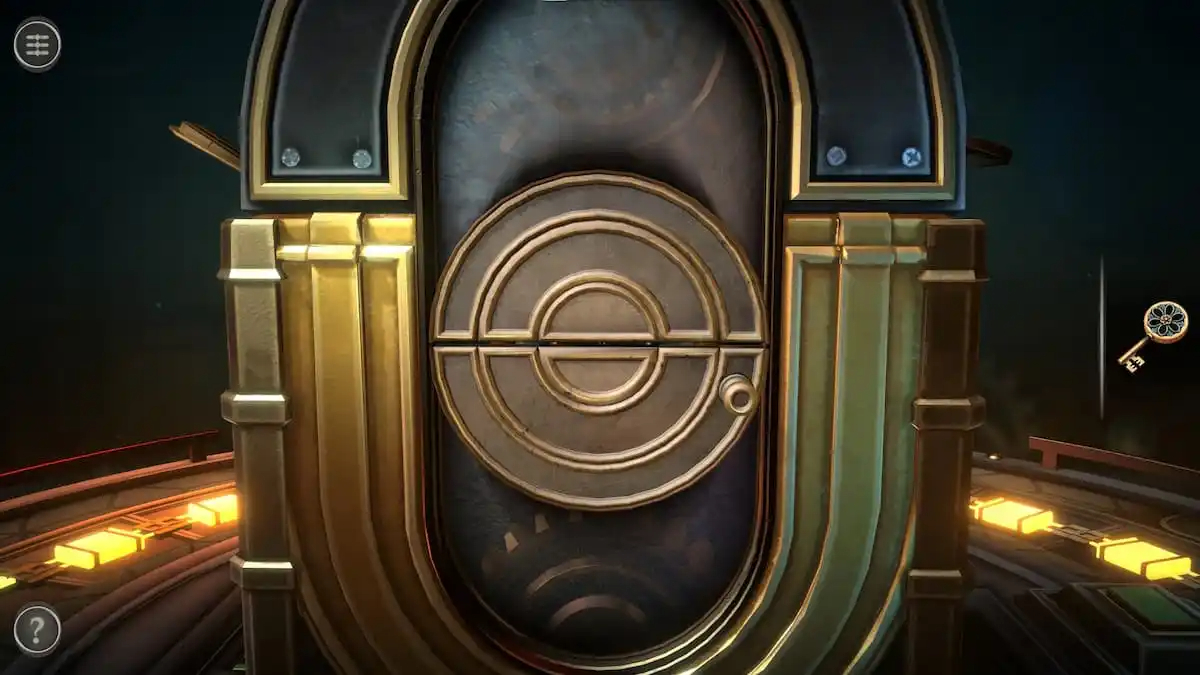
Rotate the puzzle until a horizontal line cuts through its center.
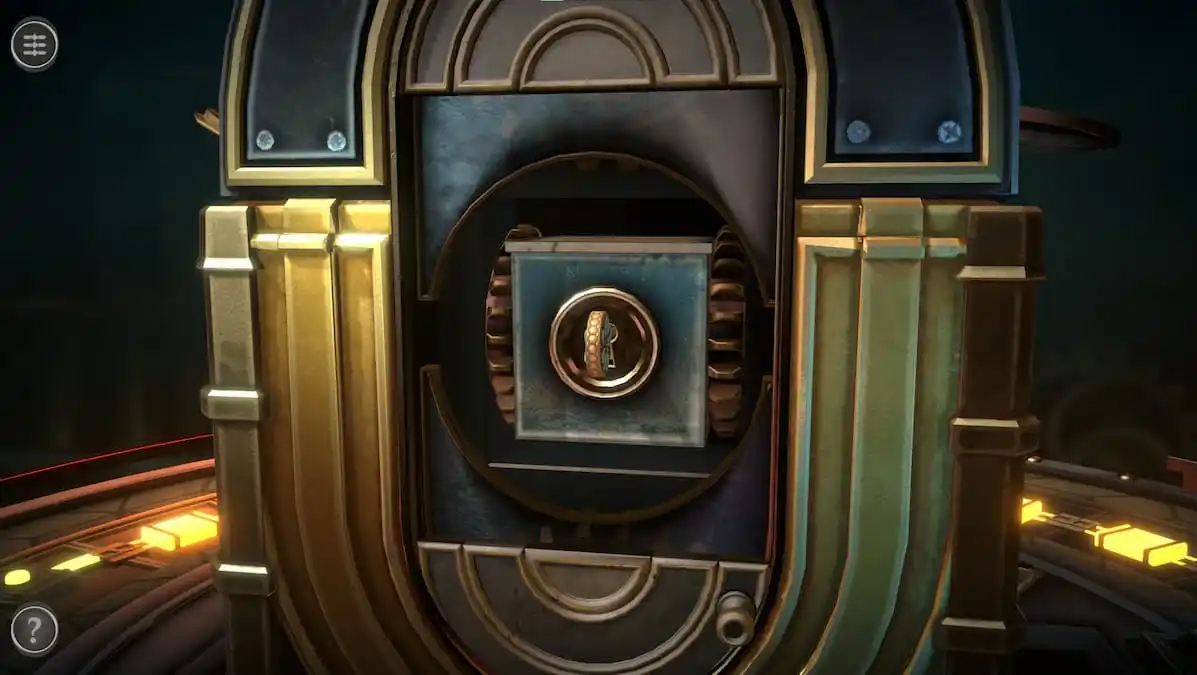
Insert the Key into the new keyhole and rotate it to get a Mechanical Part.
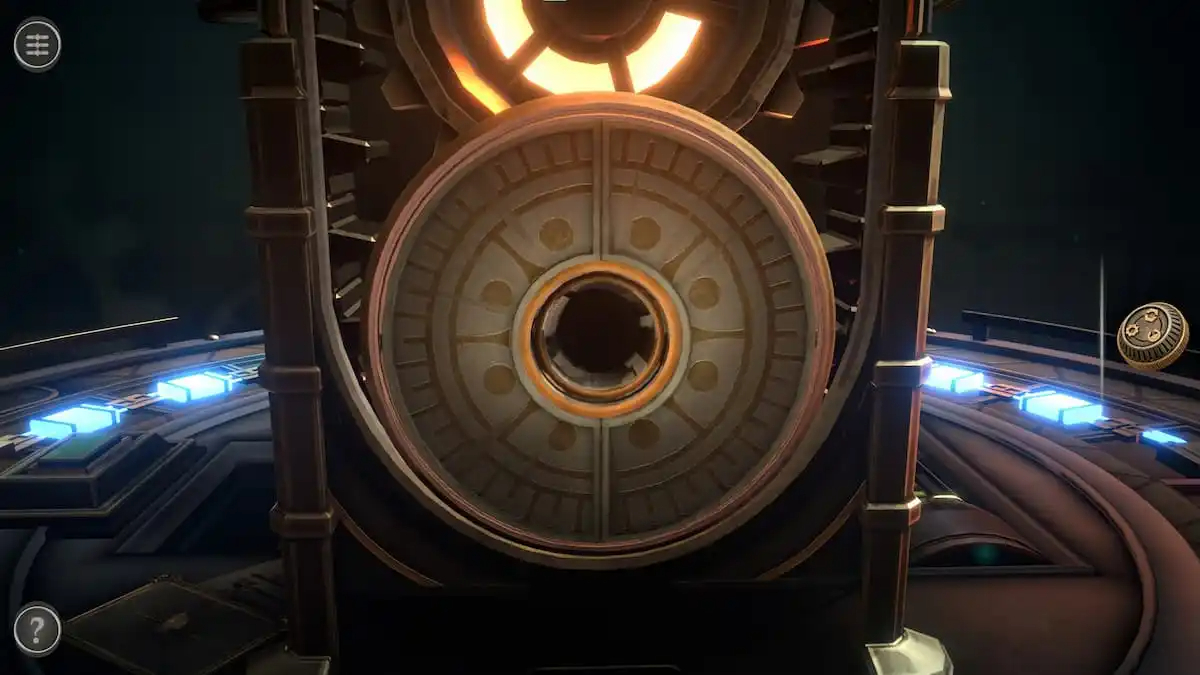
Rotating symbol puzzle
Head over to the left side of the box.
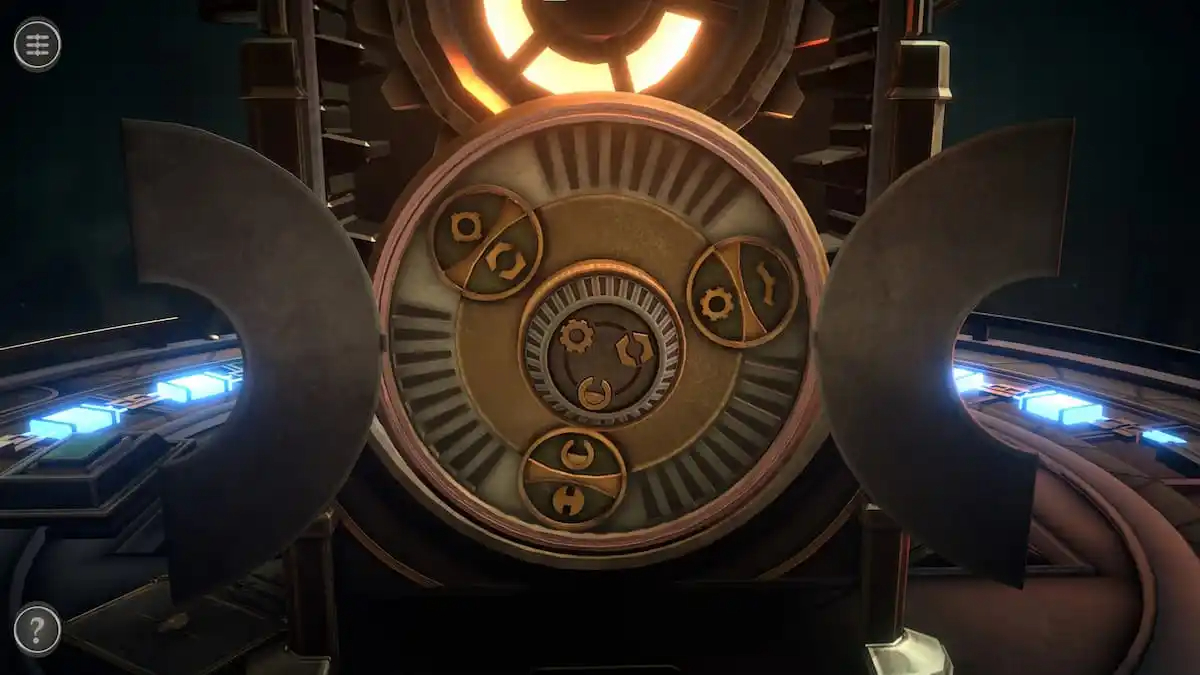
Add the Mechanical Part to the center of the puzzle.
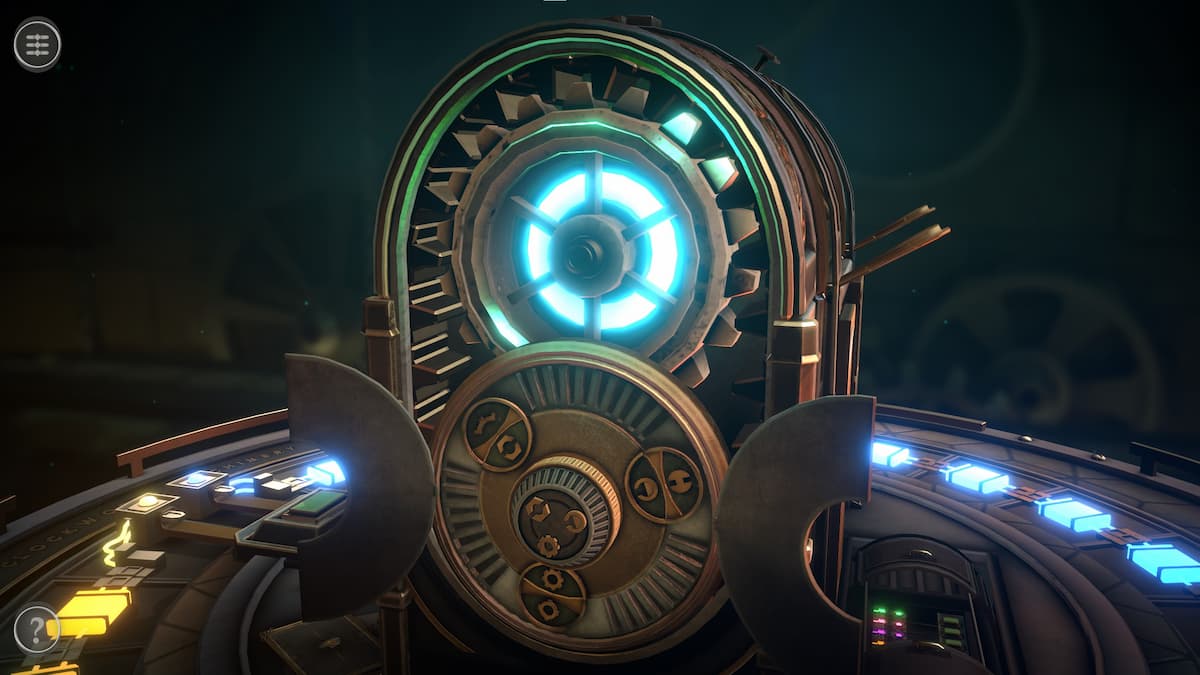
Rotate the symbols until the three on the inner ring match those on the Mechanical Part.
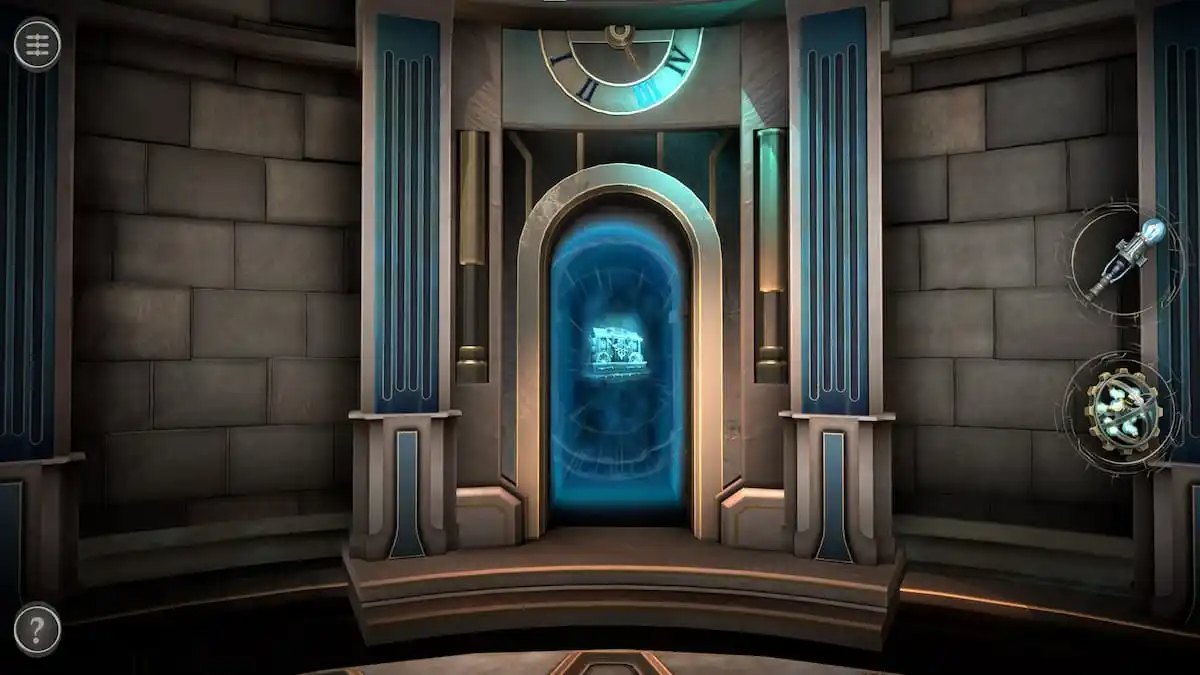
Grabbing the Mechanical Sphere displayed here will close the second room and unlock the third.
THE SECOND PUZZLE BOX IS NOW COMPLETE AND FINISH AND YOUR THIRD PUZZLE BOX IS NOW UNLOCKED IN CHAPTER 2 OF BOXES LOST FRAGMENTS
THIRD PUZZLE BOX IN CHAPTER 2
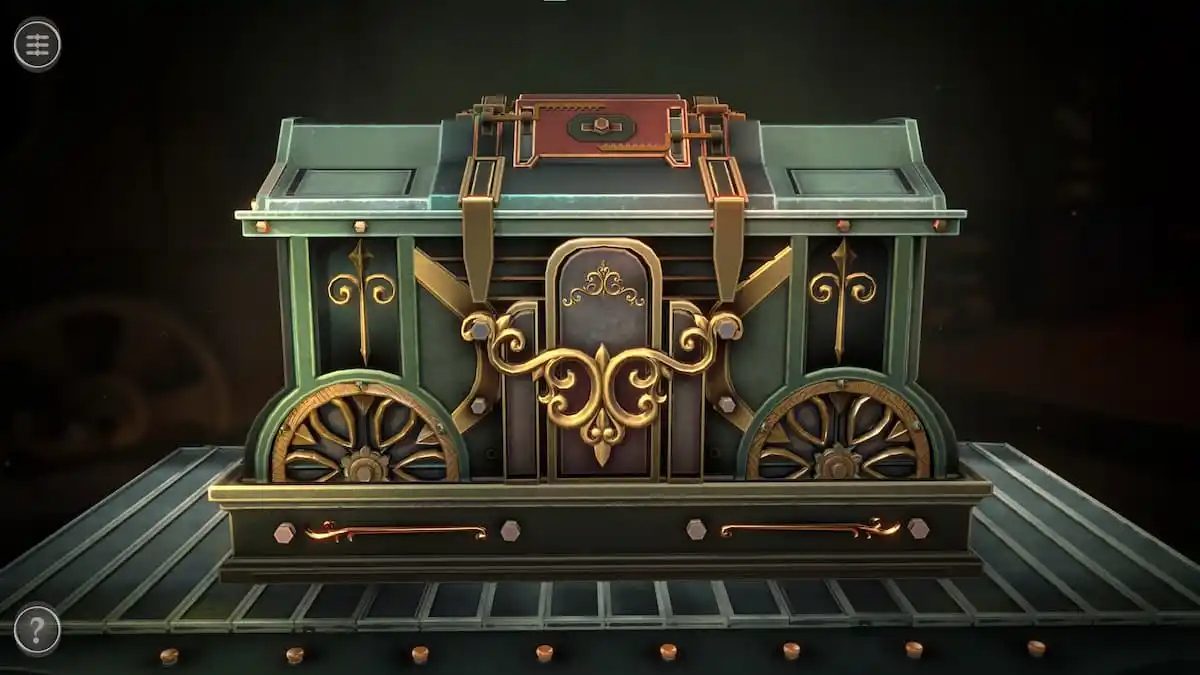
Third room puzzles
The third room contains a green chest with gold details.
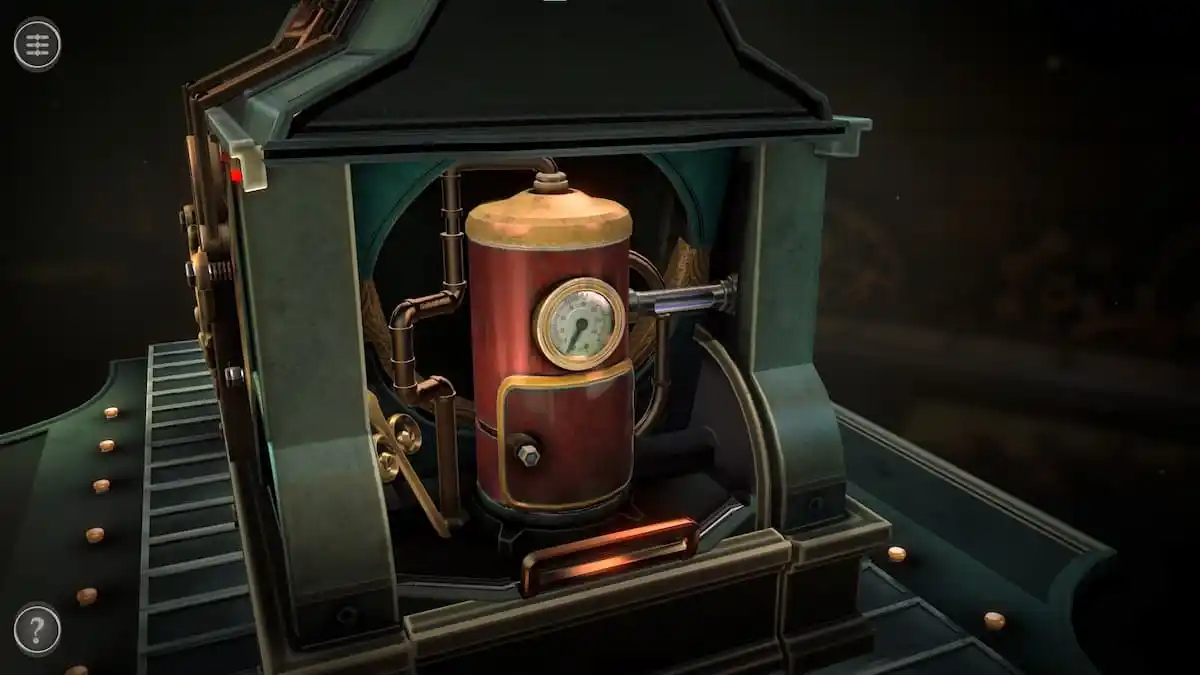
Start by pulling the handle on the right side of the box. There will be an Ornament Piece in the left corner. Tap it and place it in your inventory.
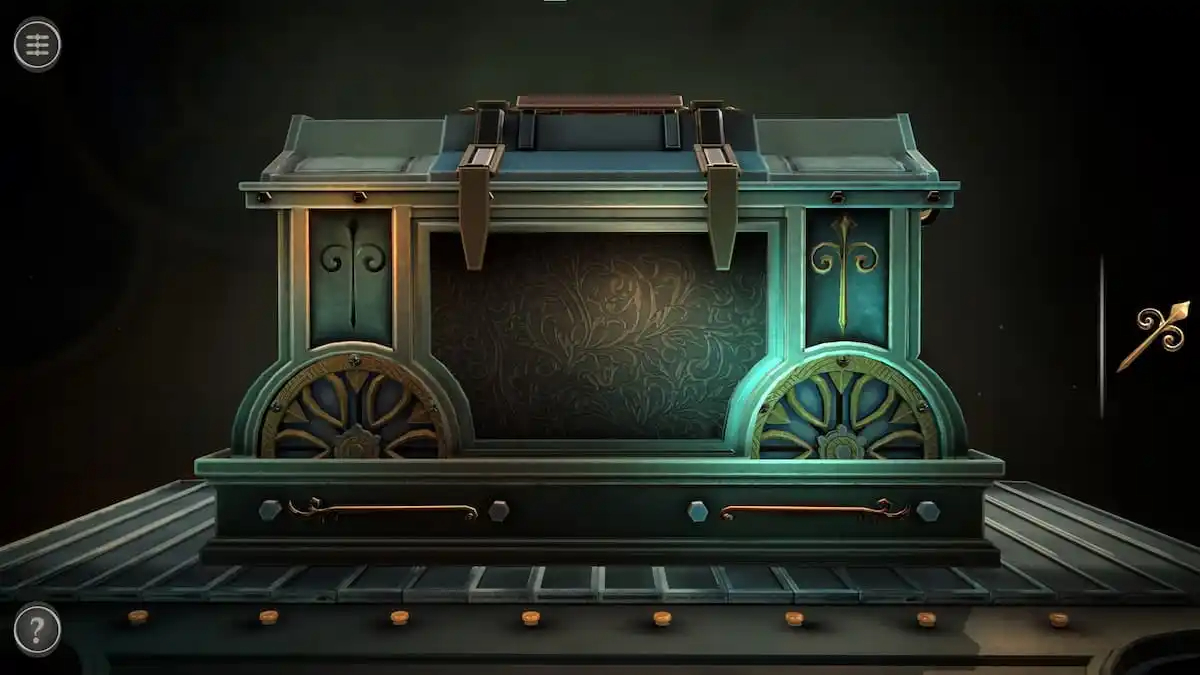
Rotate the camera to view the back of the chest. Looking closely shows that the golden decoration on the left side is missing.
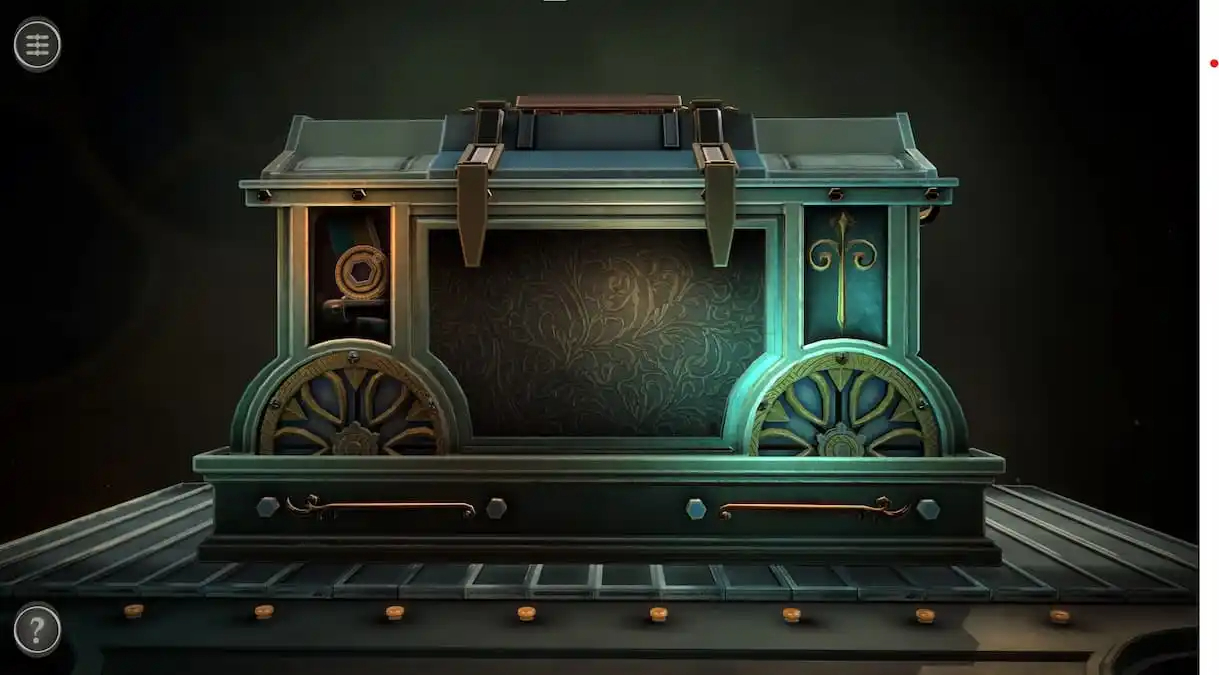
Placing the Ornament Piece here will give you a Mechanical Item.
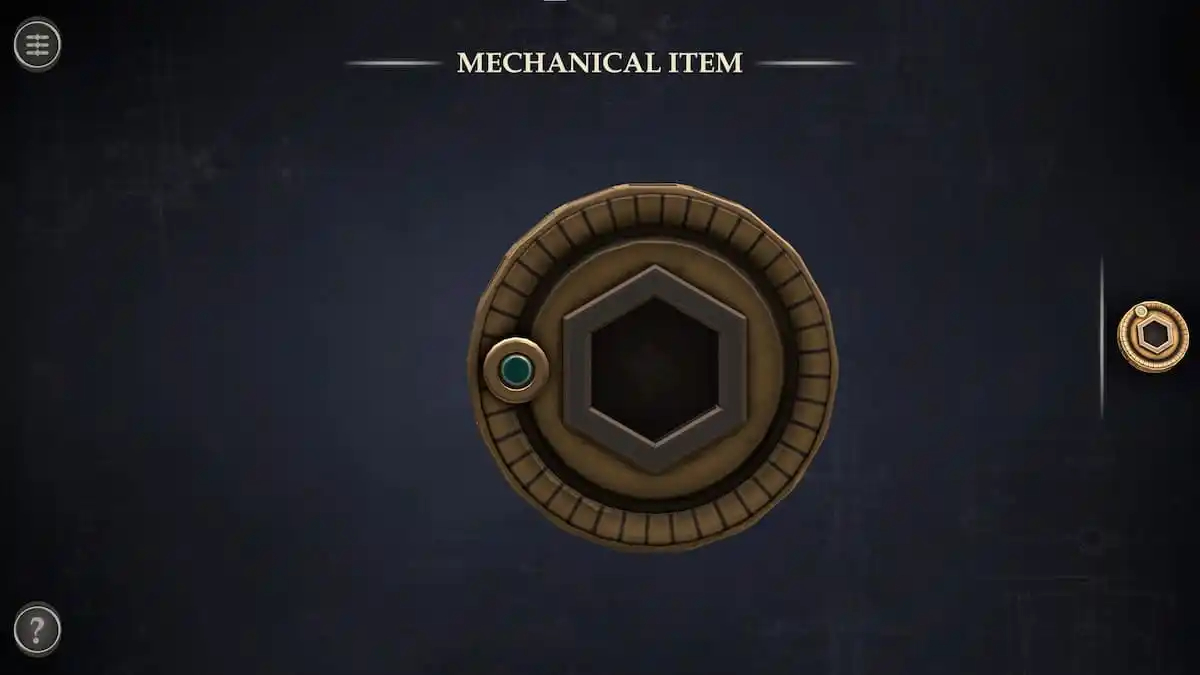
Mechanical Item puzzle
Open the Mechanical Item in your inventory.
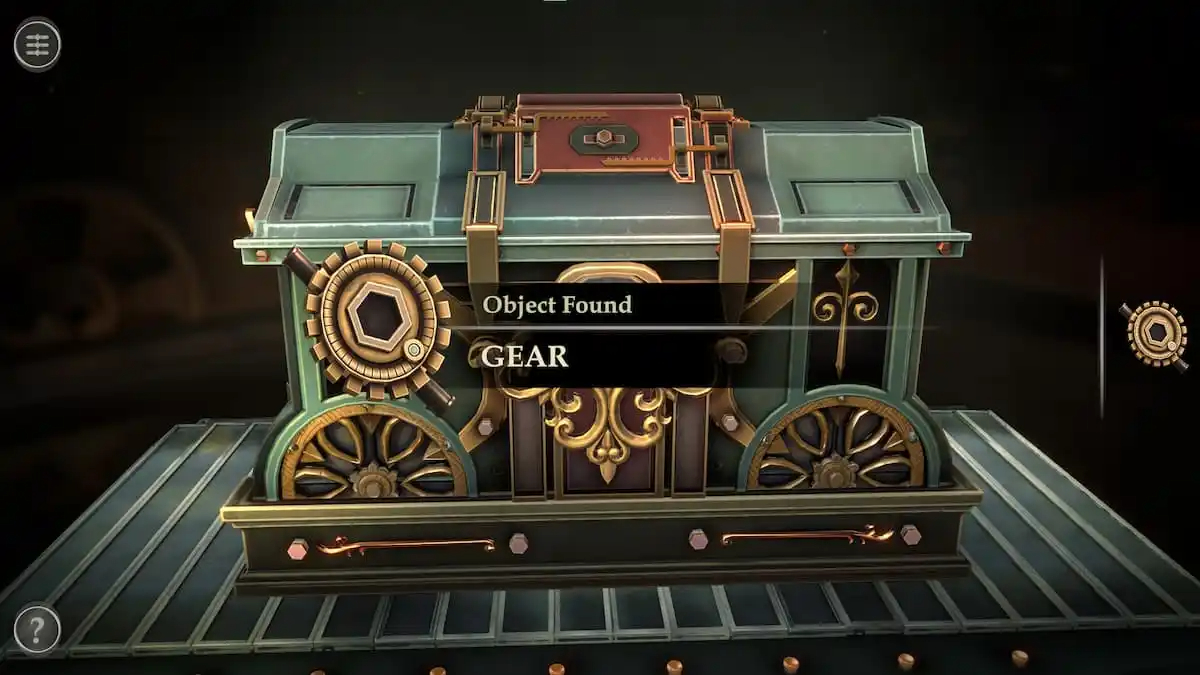
Pull the green sider around the circular track it’s on to turn the Mechanical Item into a Gear.
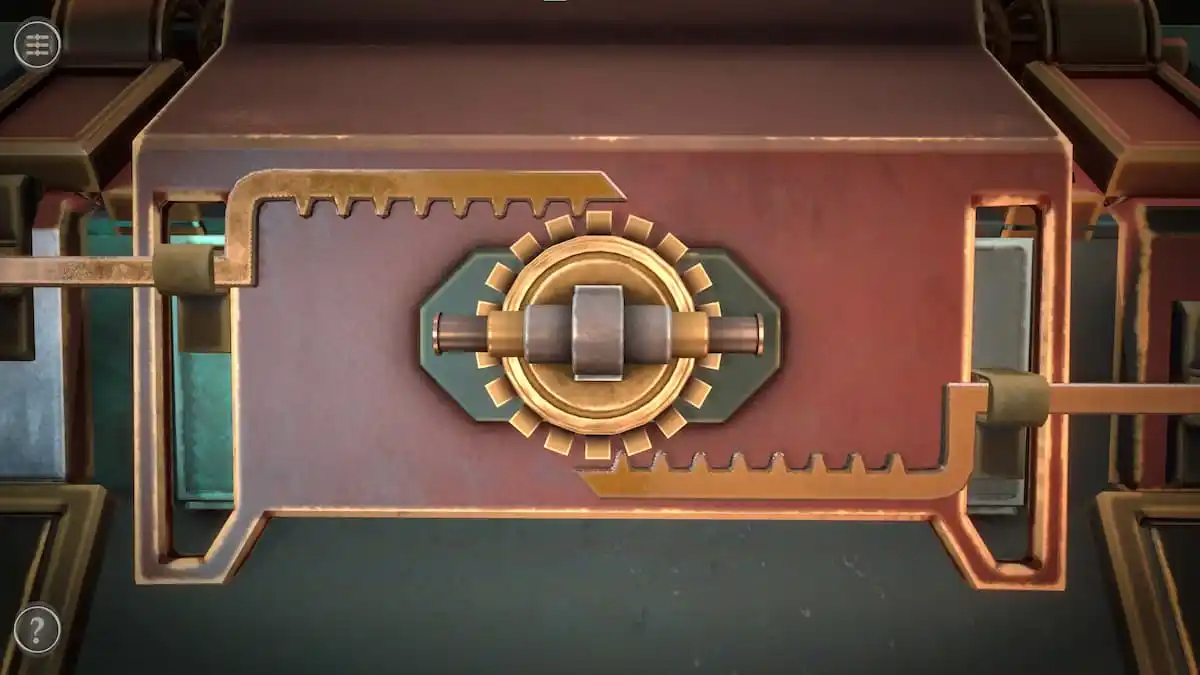
Place the Gear on the top portion of the center of the box, between the two spiked golden locks.
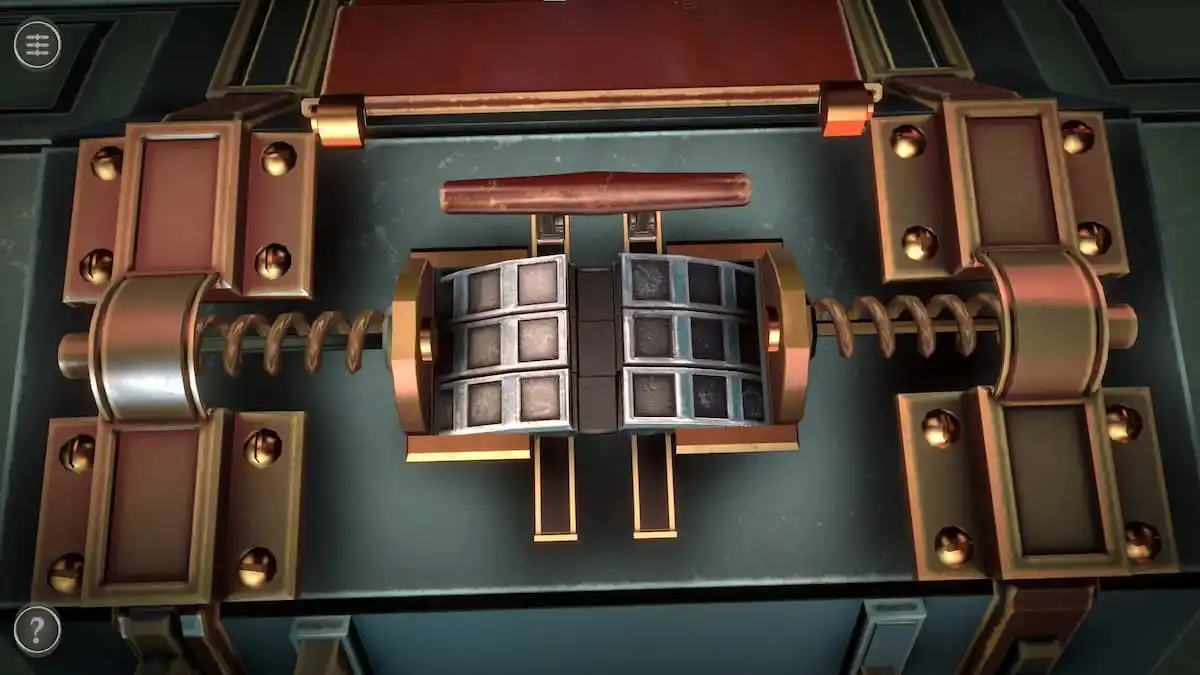
This unlocks a puzzle consisting of a handle and three rotatable rows.
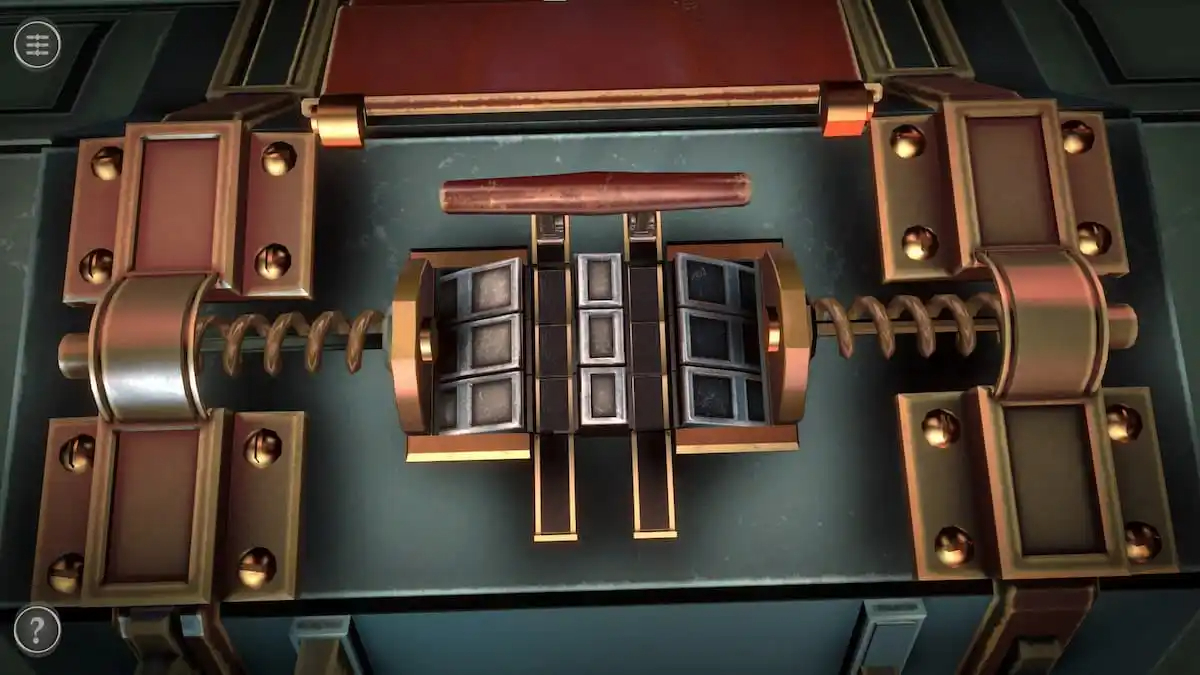
Rotate each row until they have two empty spaces where each bar of the handle is, allowing it to freely slide passed them.
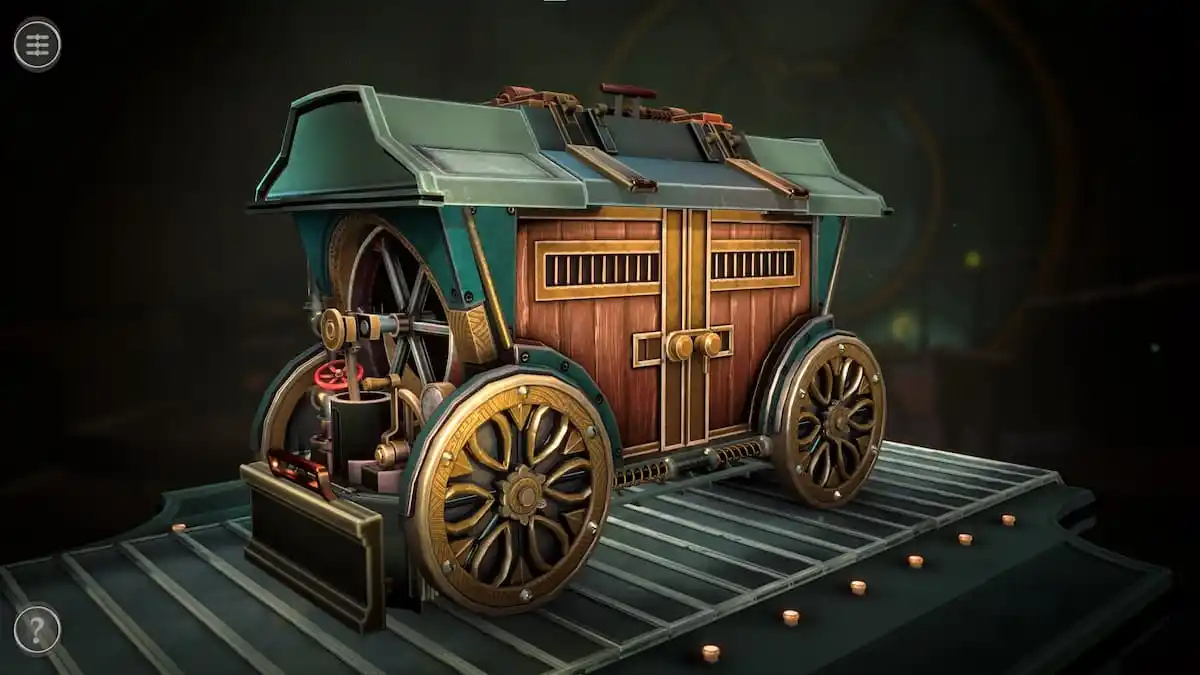
Doing so will drop the front and back walls of the box, turning it into a circus cart. I used the handle on the left wall to lower it here as well.
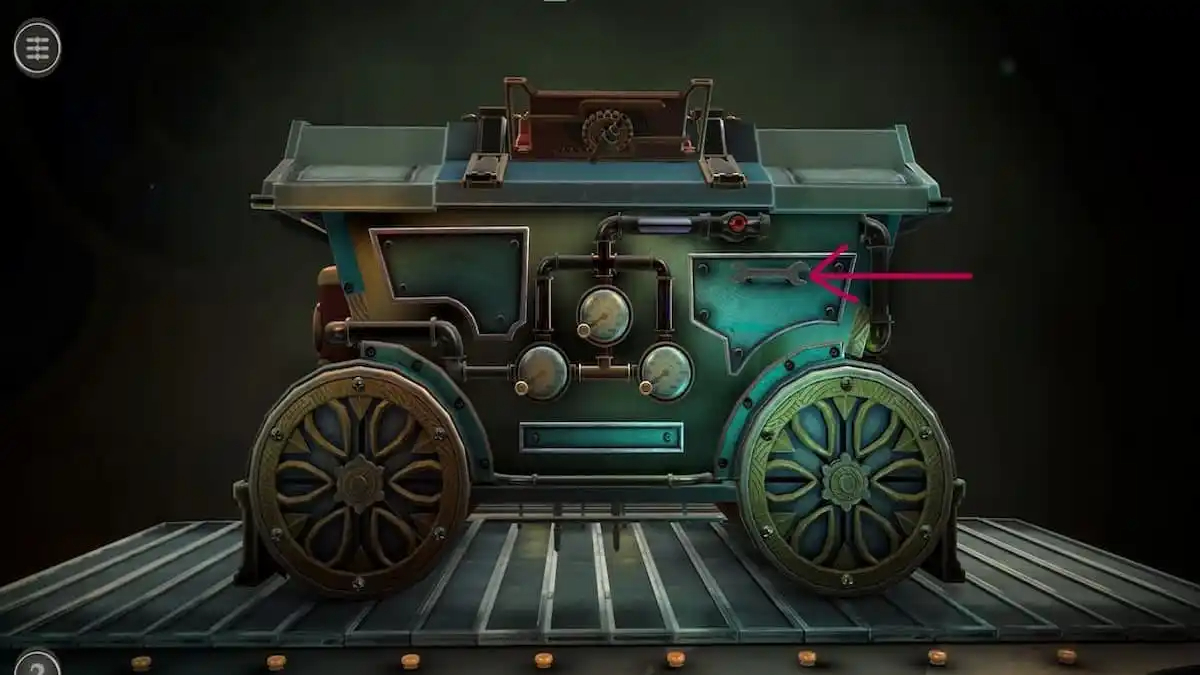
Red canister colored ball puzzle
Before starting the puzzle, grab the wrench on the back of the box.
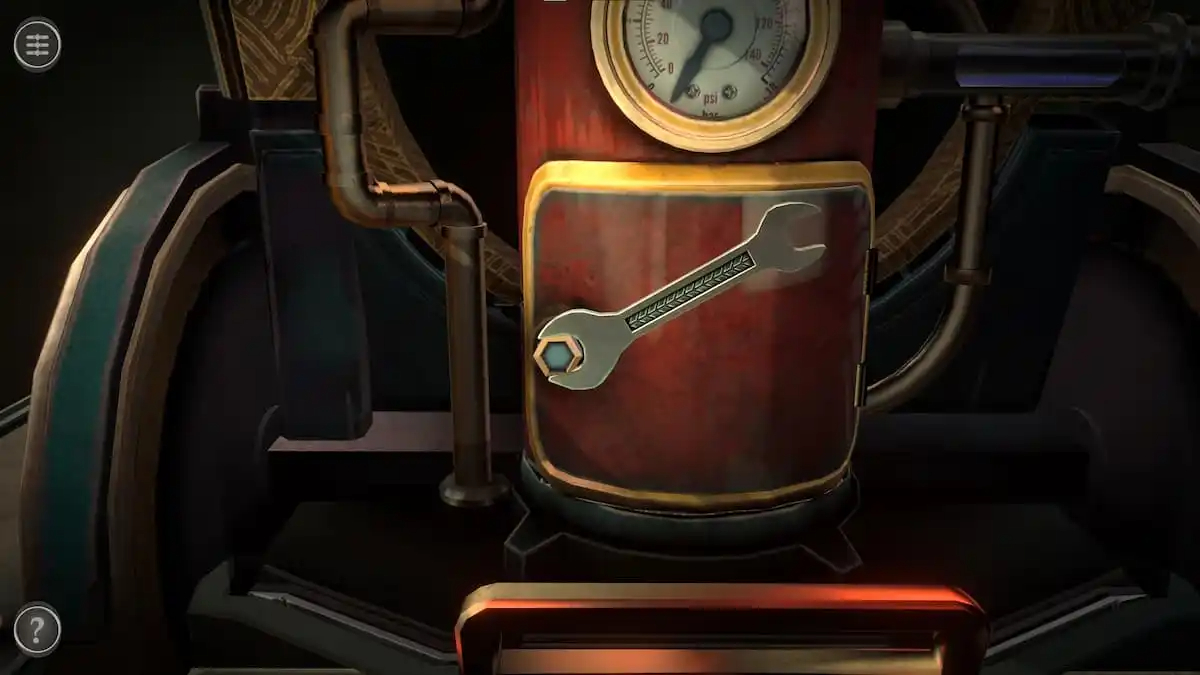
Use the wrench on the green nut to open the red capsule’s door.
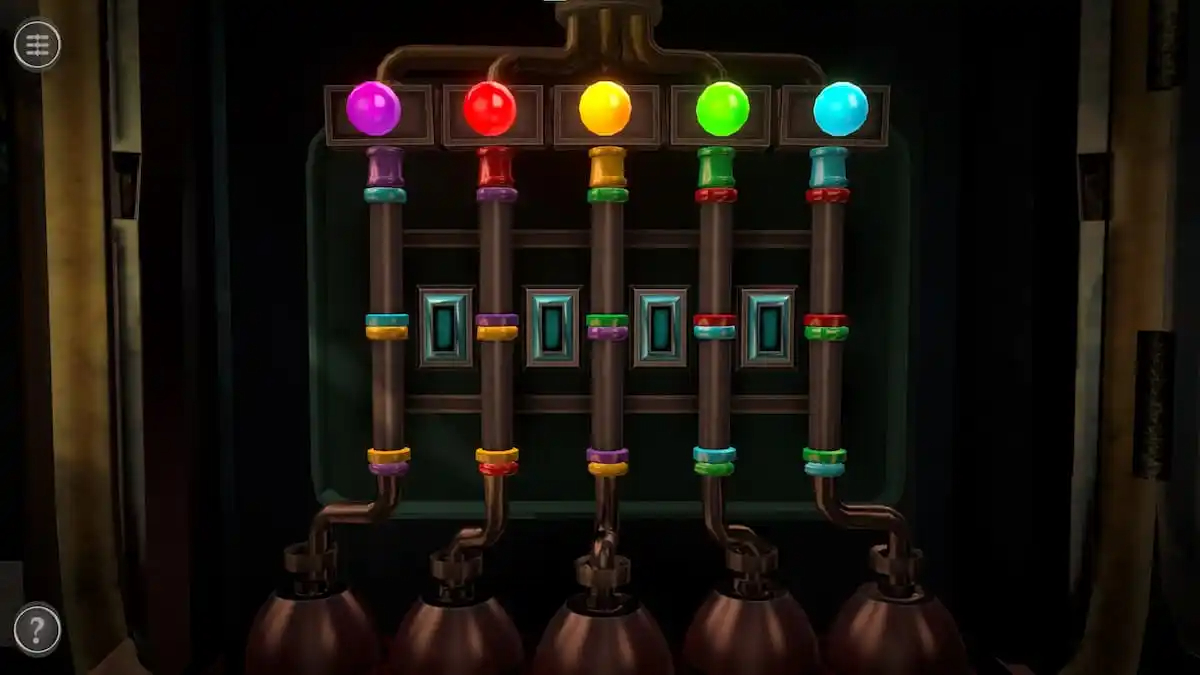
This reveals a puzzle containing five colored balls, each with two segments of pipe beneath them with two colored rings on each segment.
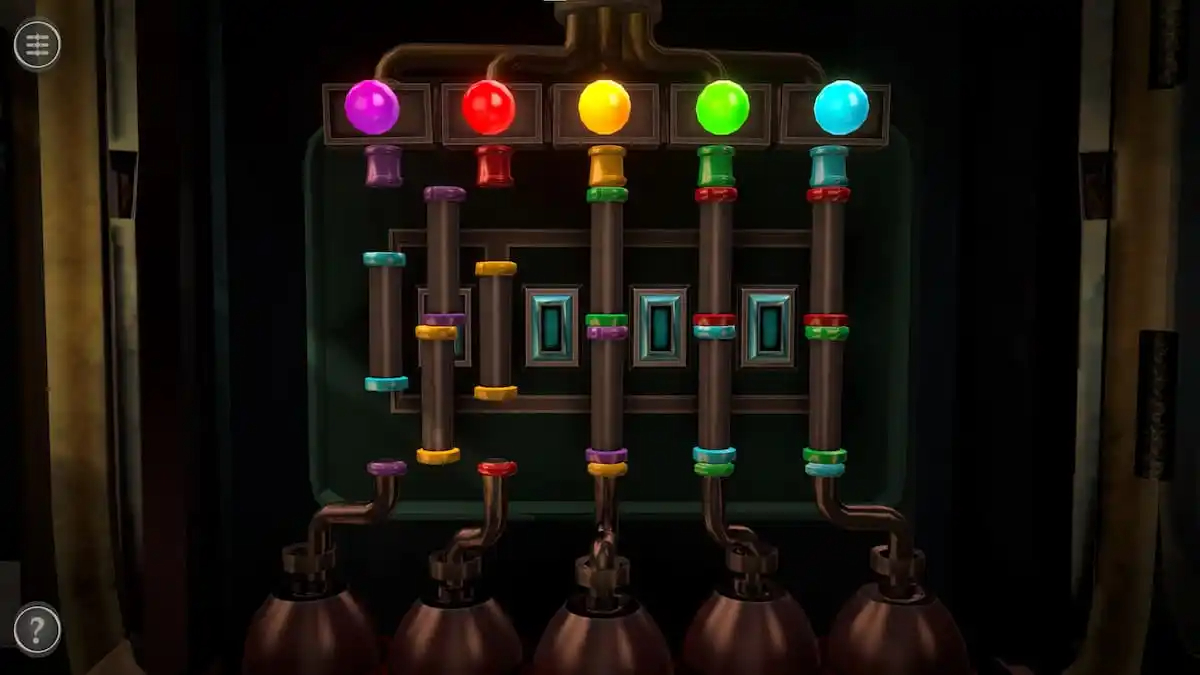
Pressing a button rotates the four pipe segments around it.
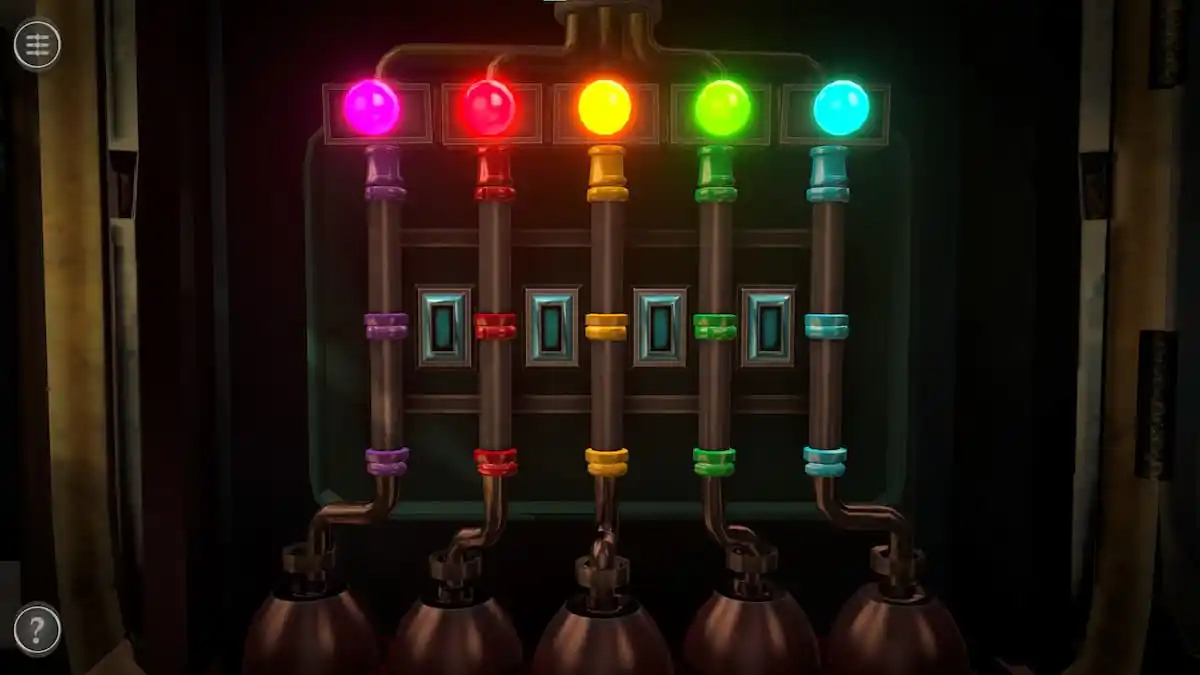
When all of the sections of piping match the color of the ball they’re underneath, the ball will glow. When all of the balls glow, the puzzle will be completed.
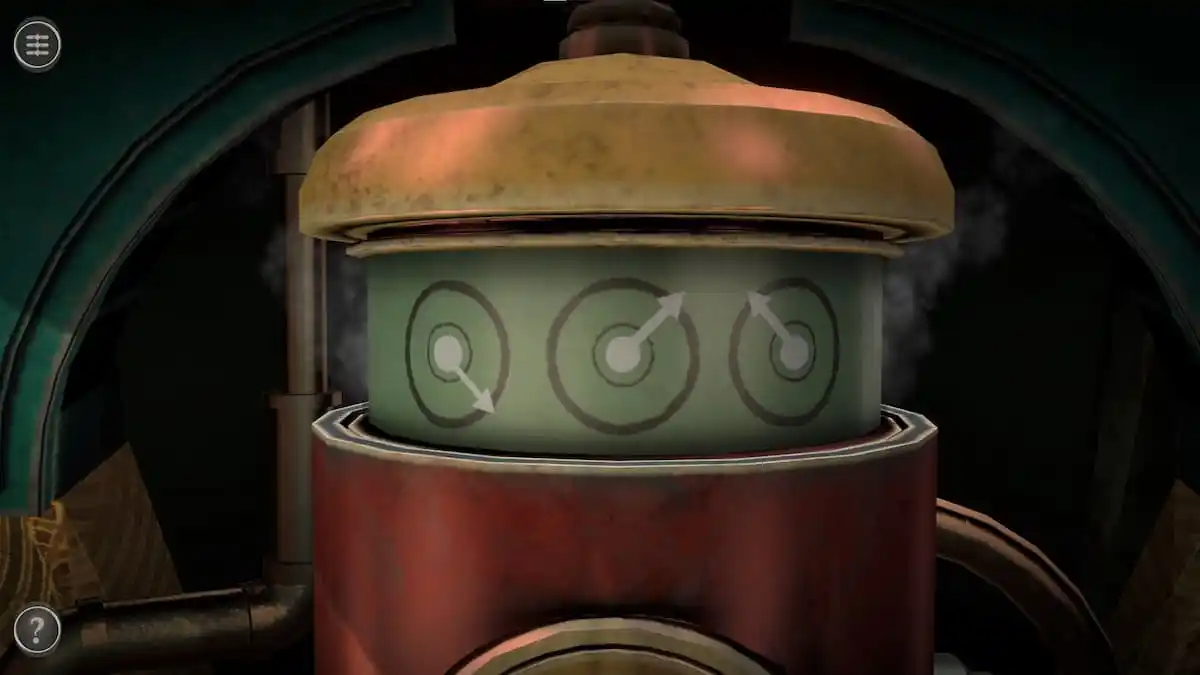
Completing this puzzle gives you a hint for the gauges puzzle.
Gauges puzzle
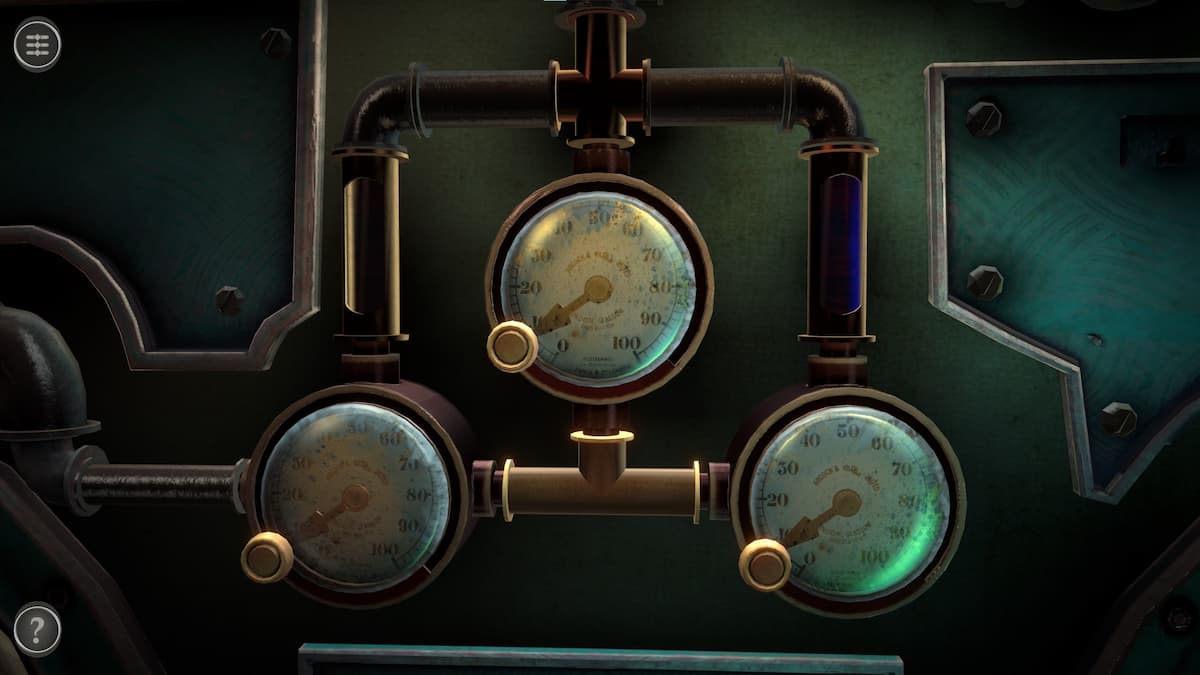
This puzzle consists of three gauges found on the back of the chest.
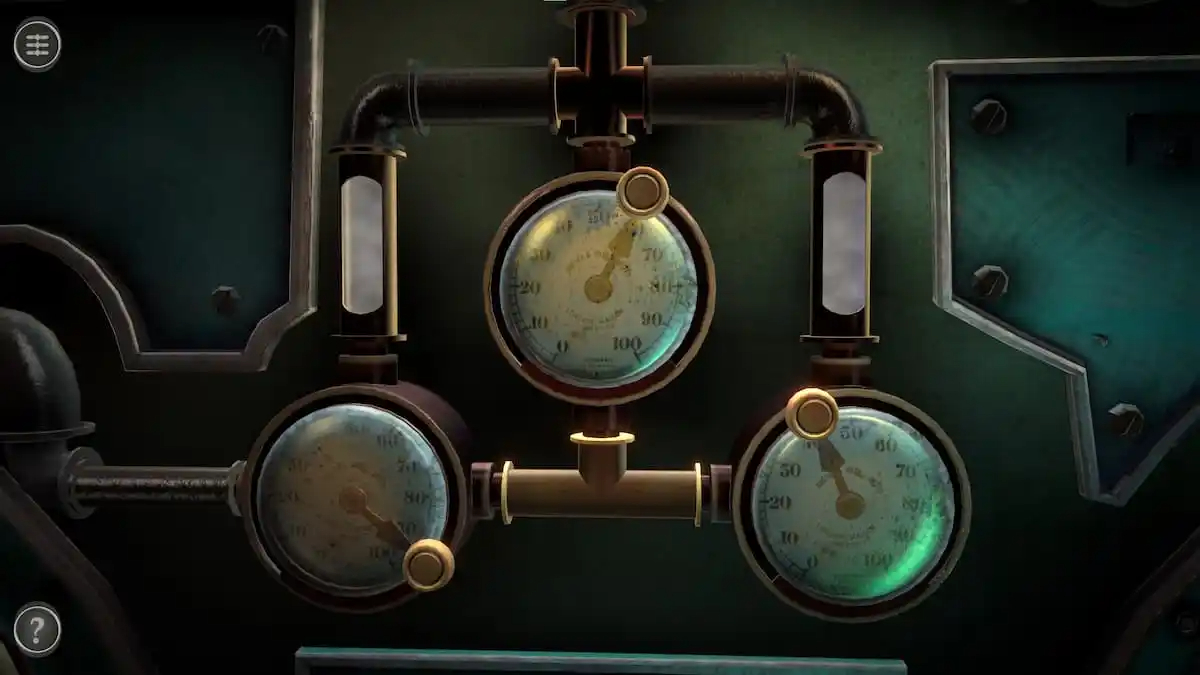
Make the gauges match the clue from the colored ball puzzle to complete their puzzle.
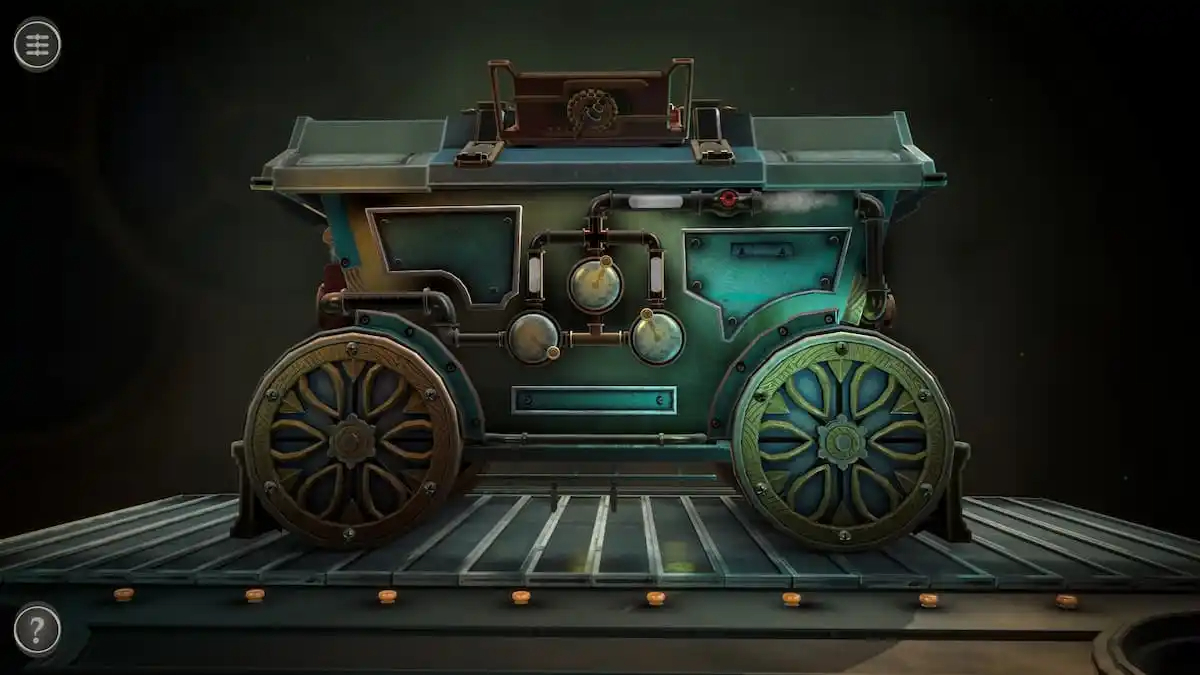
Doing so will fill the pipes with steam. However, part of the pipe on the top right is missing, preventing it from going any further.
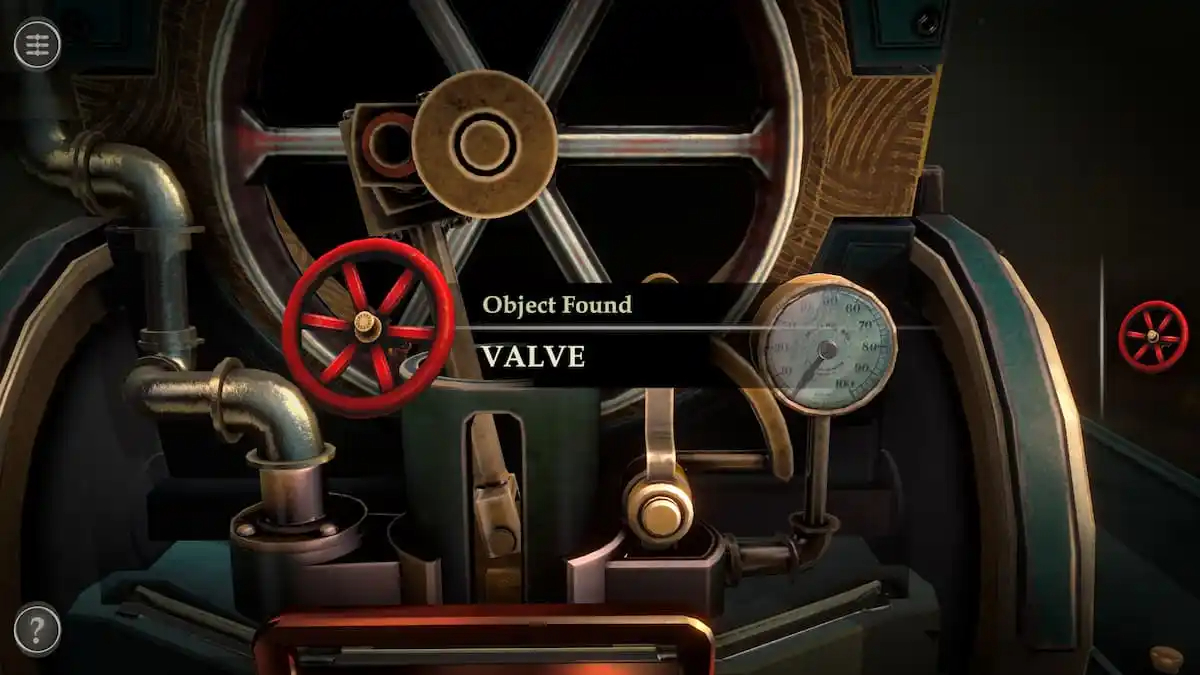
Checking the left side will allow you to pick up a small red Valve.
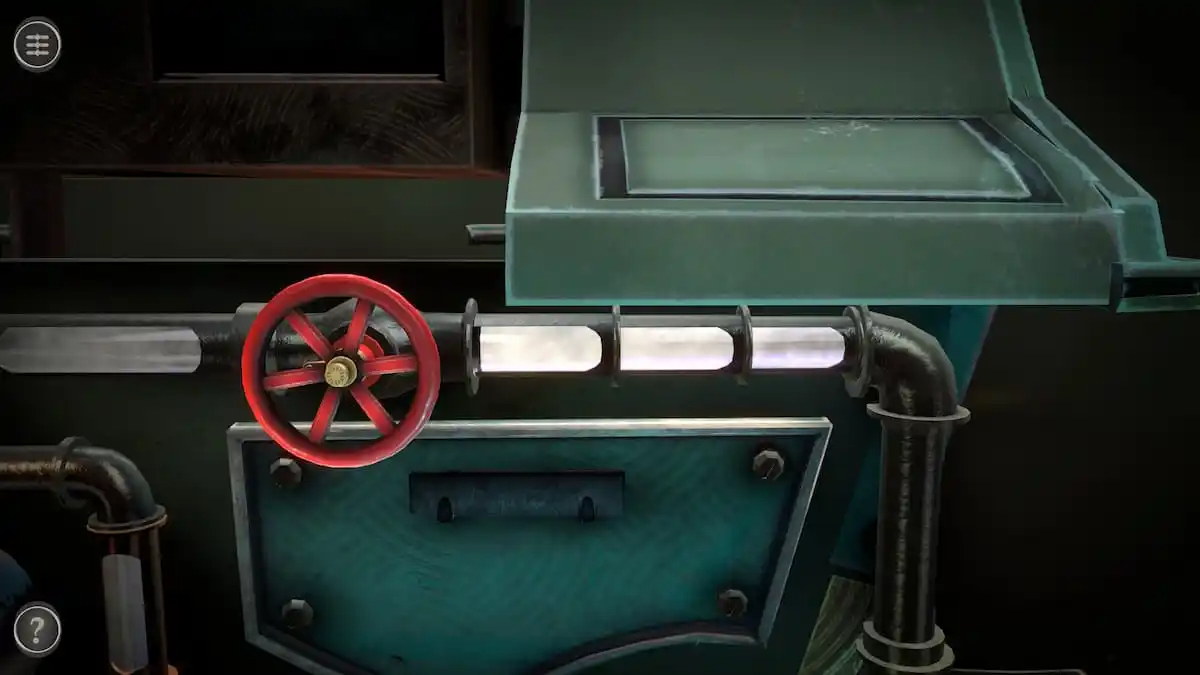
This valve can be placed onto the red num and rotated to extend the pipe until it connects with the other pipe on the corner.
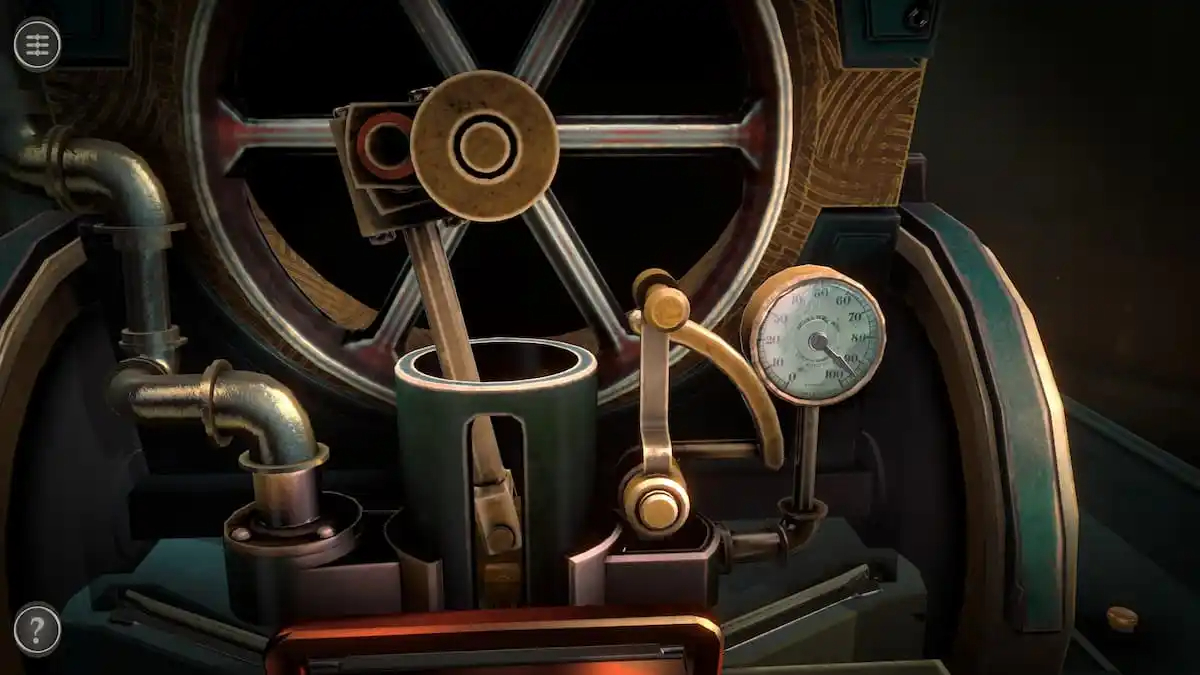
Doing so will lead you back to the left side to watch the pressure gauge rise.
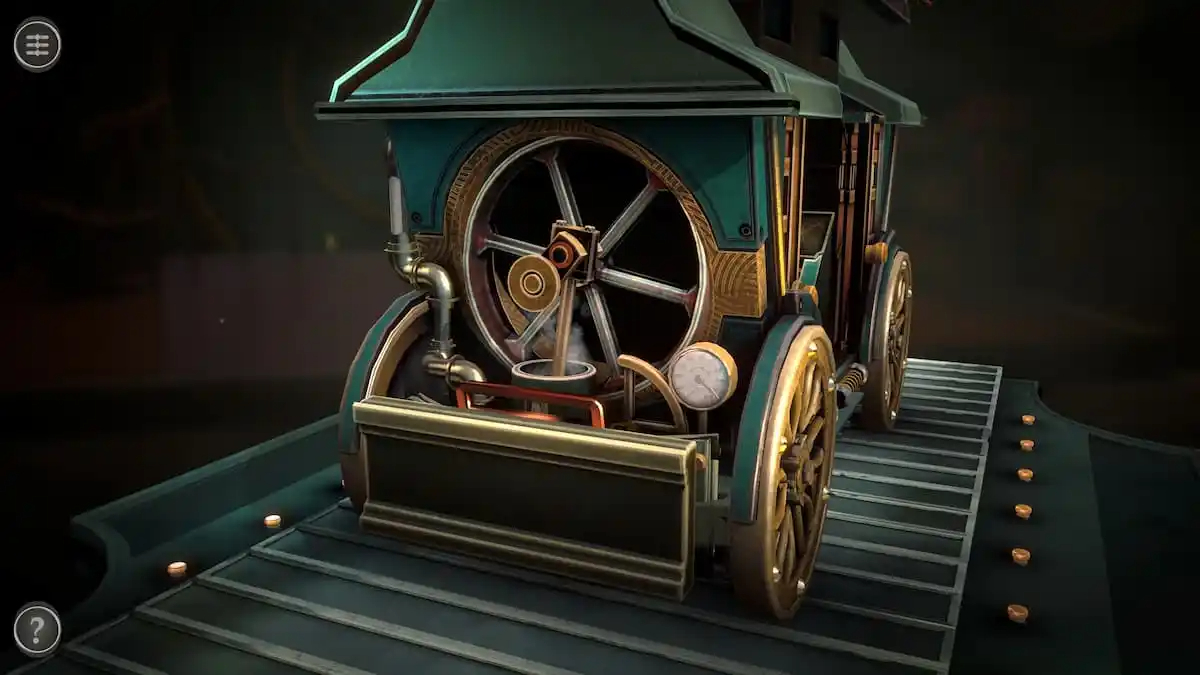
Pull the golden handle next to the gauge to turn the table into a set of tracks and put the box in motion.
Mechanical claw puzzle
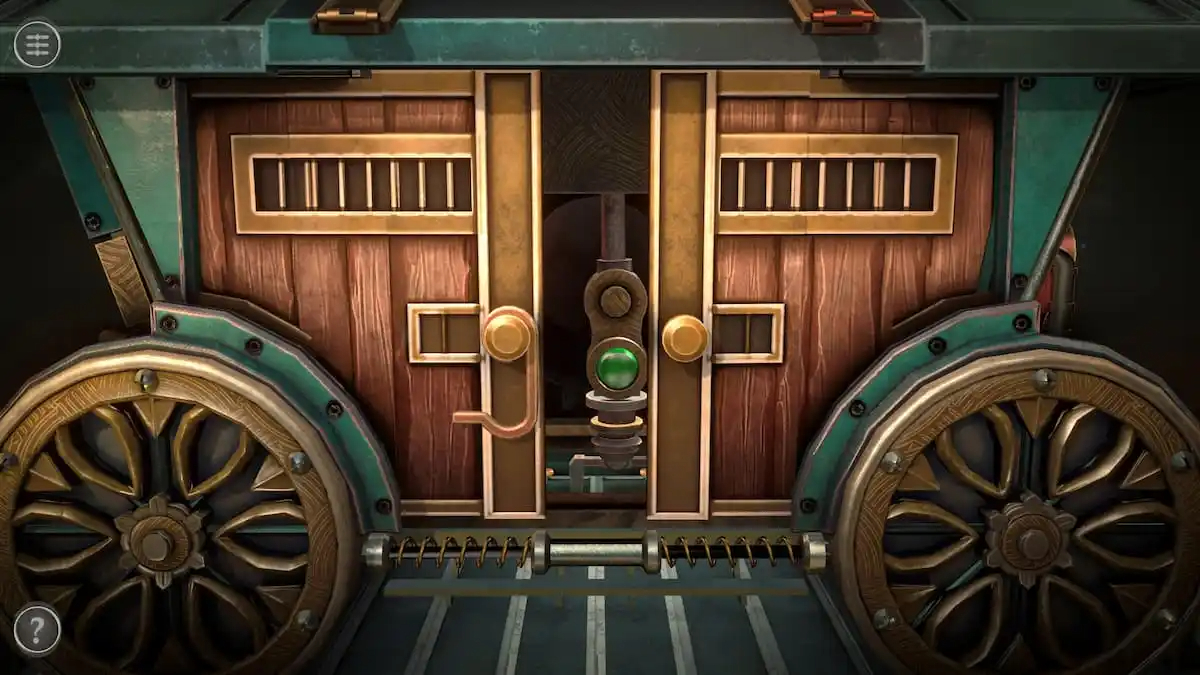
The final puzzle is hidden behind the front doors of the cart. Flip the lock and pull each door to the side to look into the room.
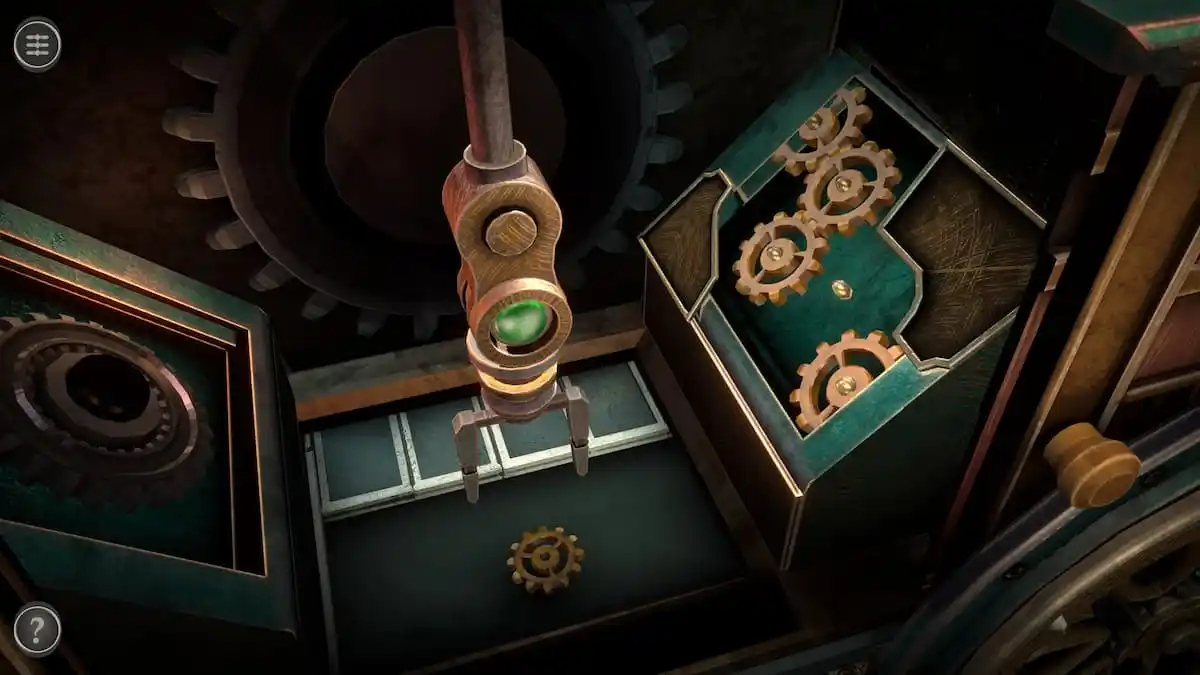
This room has a claw in the center and spaces for three missing gears on the right side of the room. The goal of the puzzle is to place the missing three gears into their places. Each gear is in a hidden compartment beneath the floor that appears for a short window of time as the conveyor belt rotates. To grab a gear, you need to tap the green button on the claw so that it can move down and pick up the gear before the compartment closes.
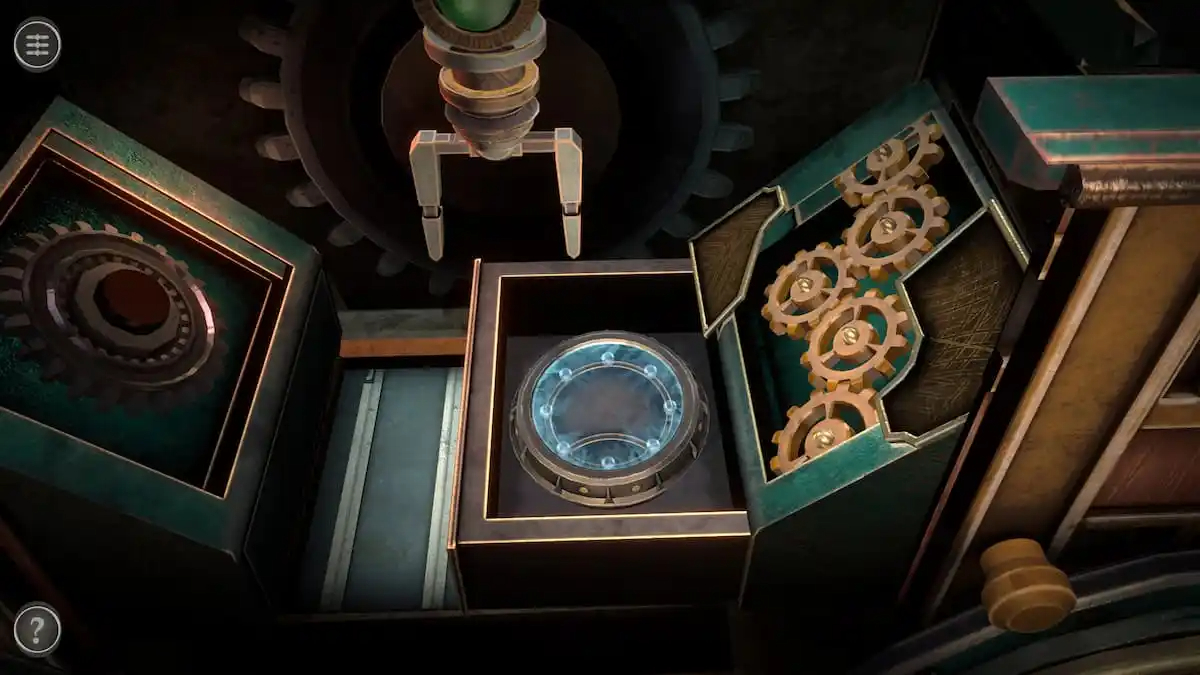
When all three gears are added, a compartment will open containing the Mechanical Console.
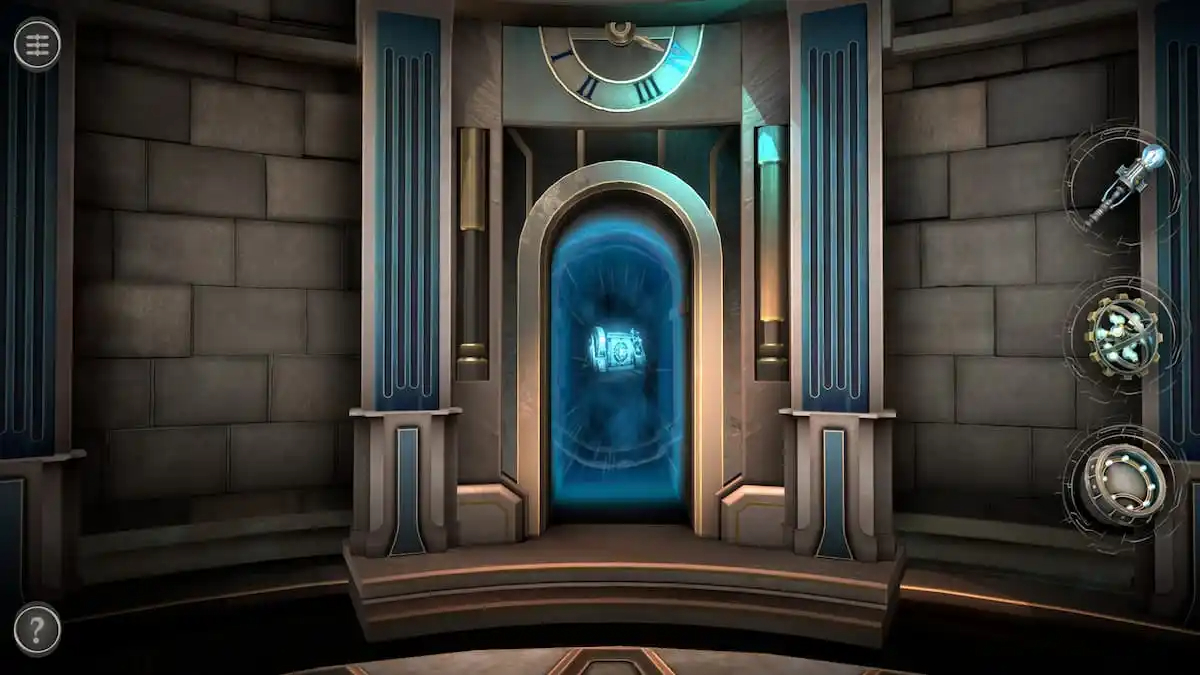
Picking up the Mechanical Console removes you from the third room, then unlocks the fourth one.
THE THIRD PUZZLE BOX IS NOW COMPLETE AND FINISH AND YOUR FINAL PUZZLE BOX IN CHAPTER 2 OF BOXES LOST FRAGMENTS IS NOW UNLOCKED
FINAL PUZZLE BOX IN CHAPTER 2
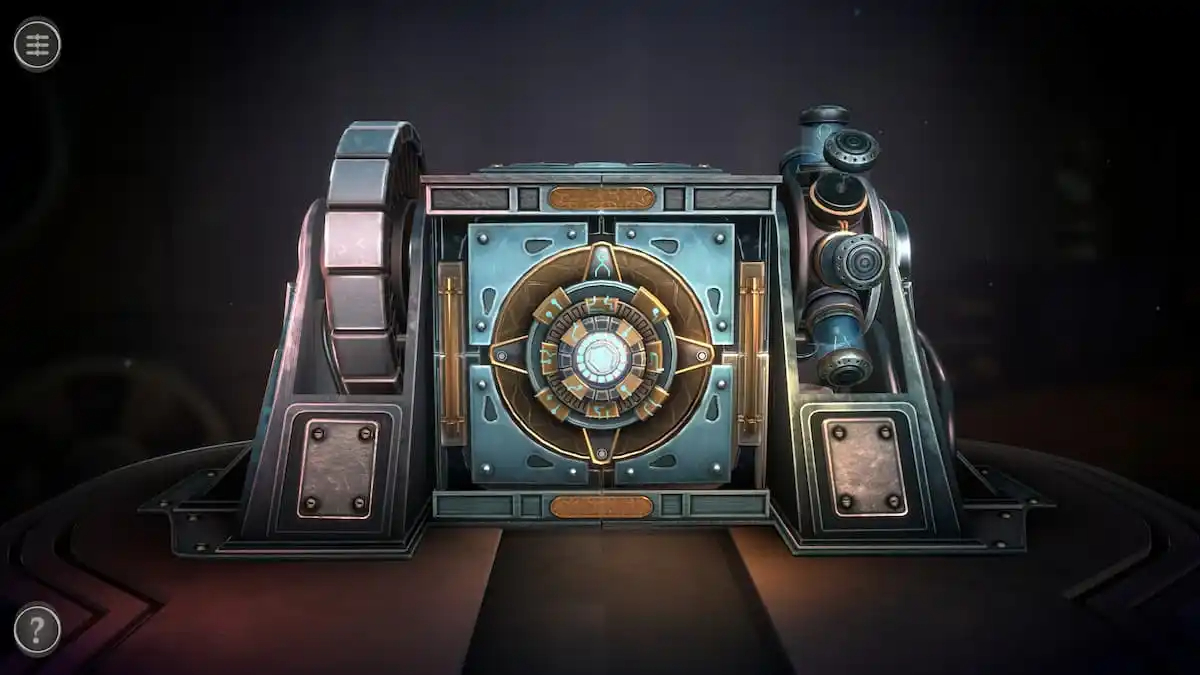
Fourth room puzzles
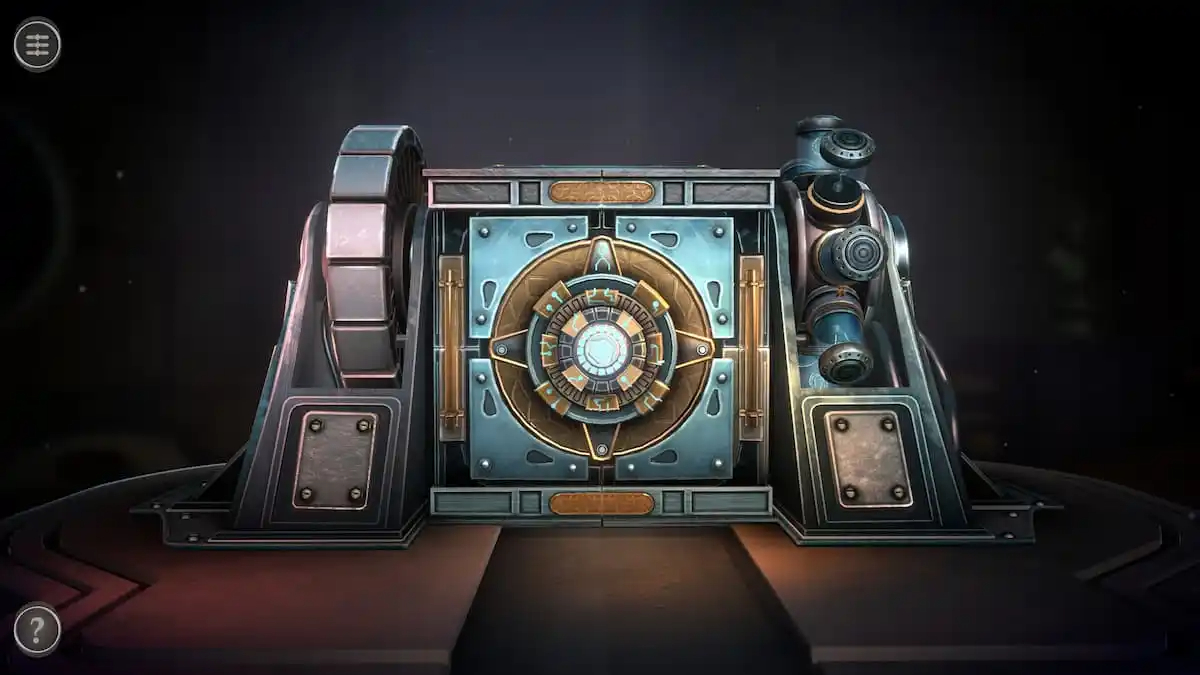
The fourth room displays a scientific cube as a box.
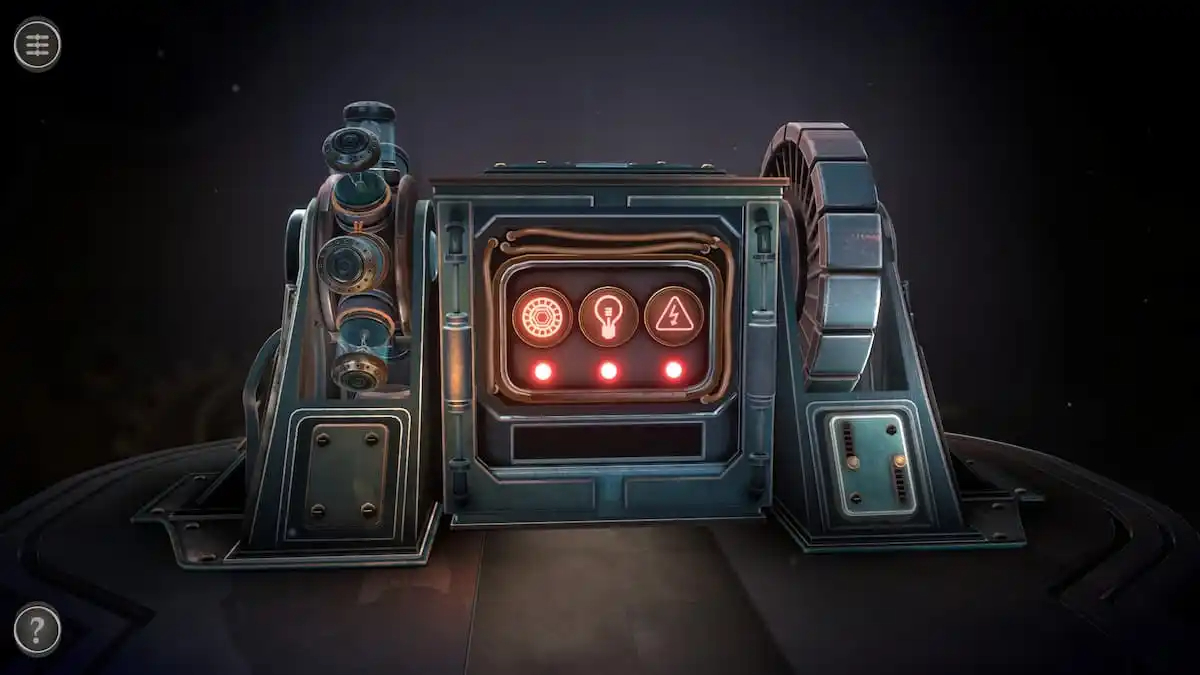
Looking at the back of it reveals three deactivated lights. You’ll need to turn each light green to continue on.
Lightbulb puzzle
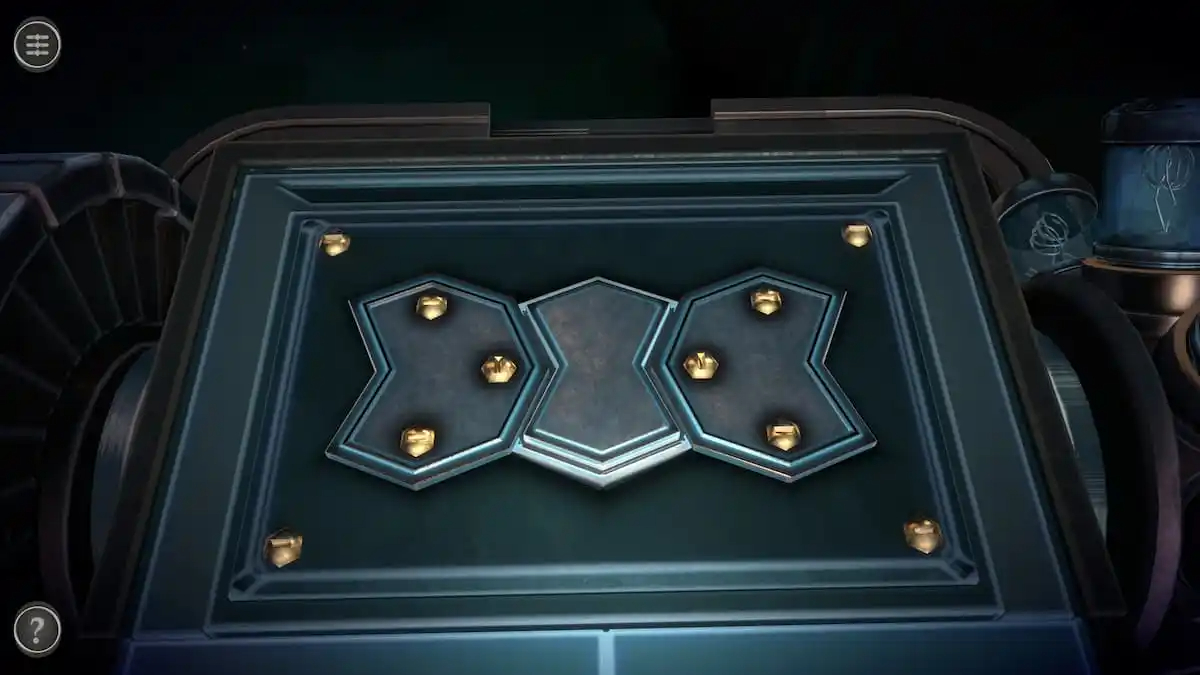
Before working with the actual lightbulbs, you need to complete the puzzle at the top of the box.
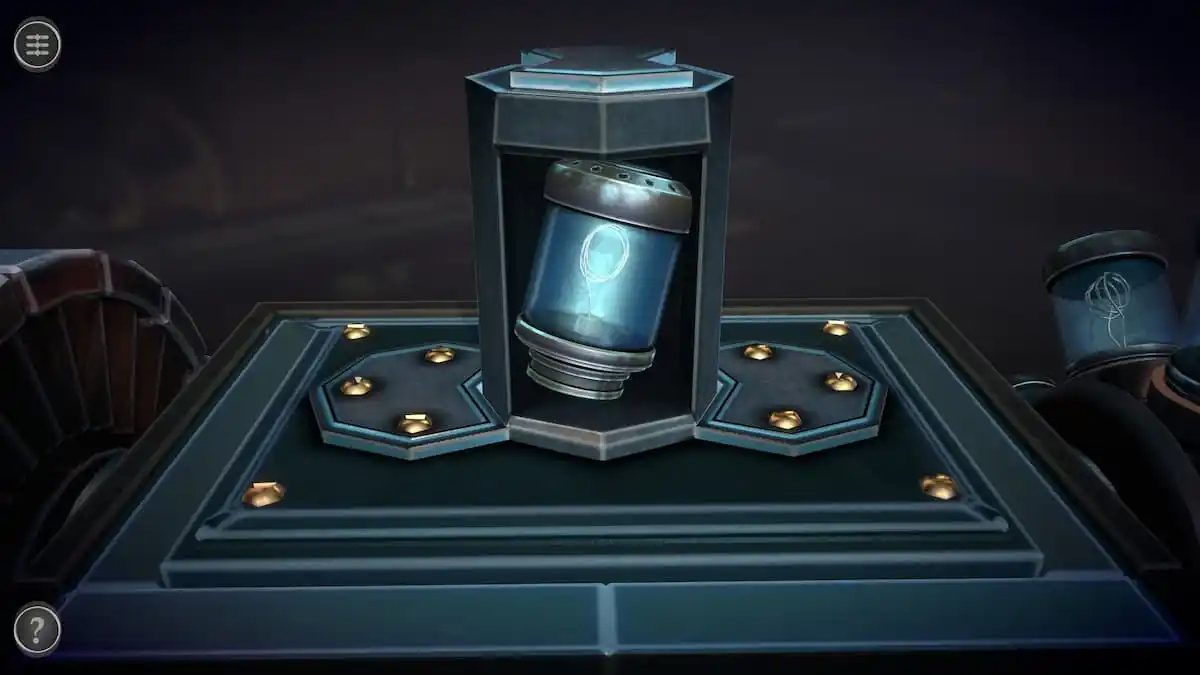
Rotate each of the outside shapes until their gaps face the inside. This will cause the hourglass in the center to rise, revealing a lightbulb matching those on the wheel to the right.
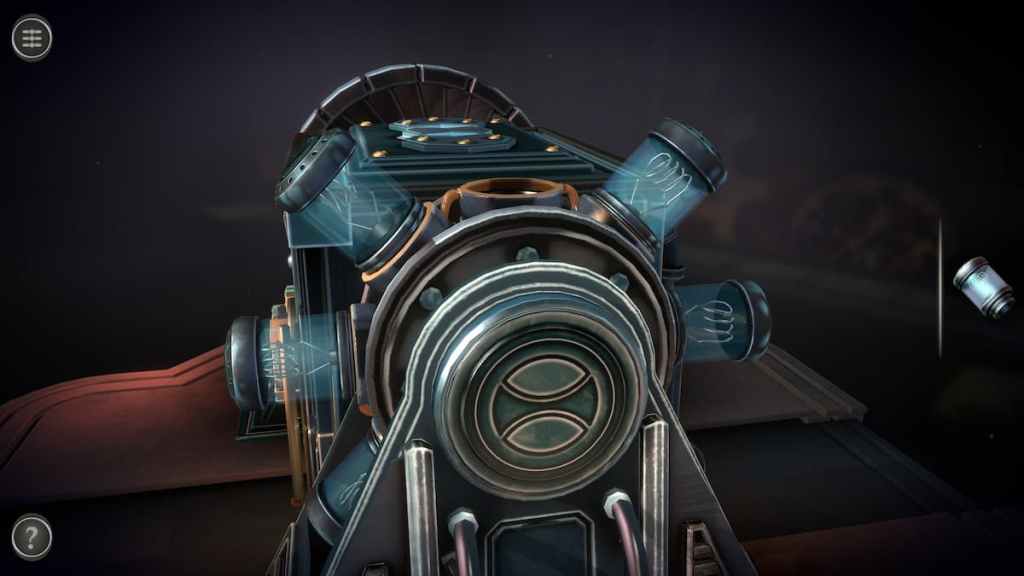
Rotating the wheel shows that one of the lightbulbs is missing.
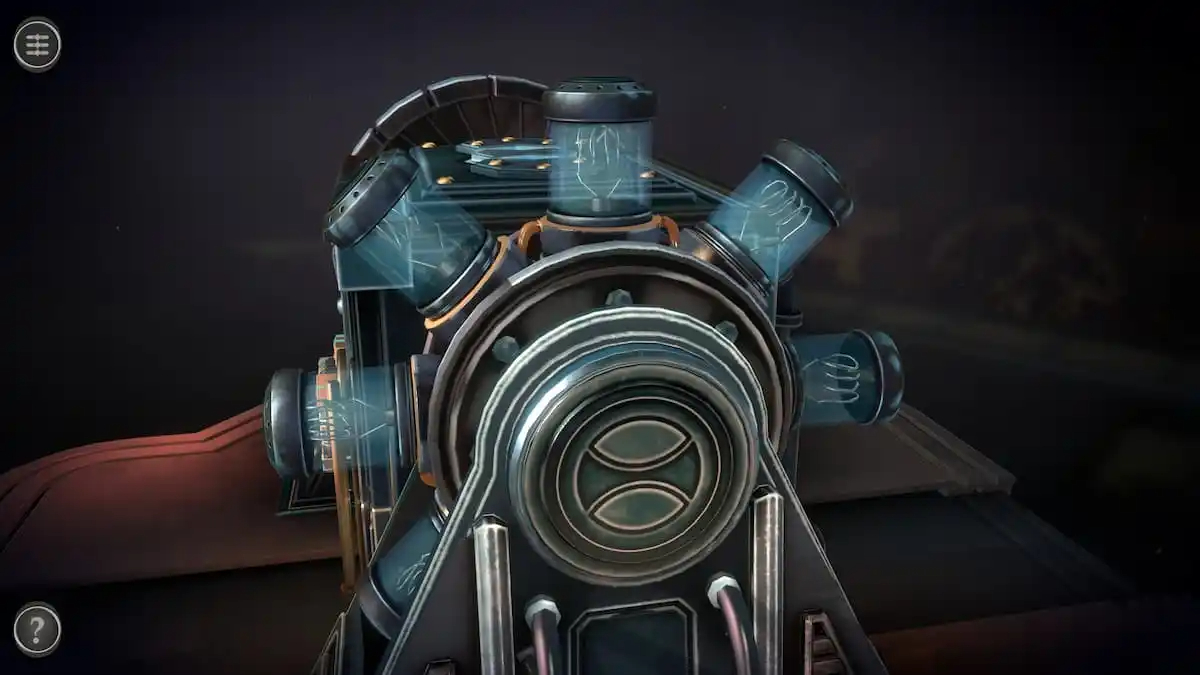
Place the Lightbulb item into this hole.
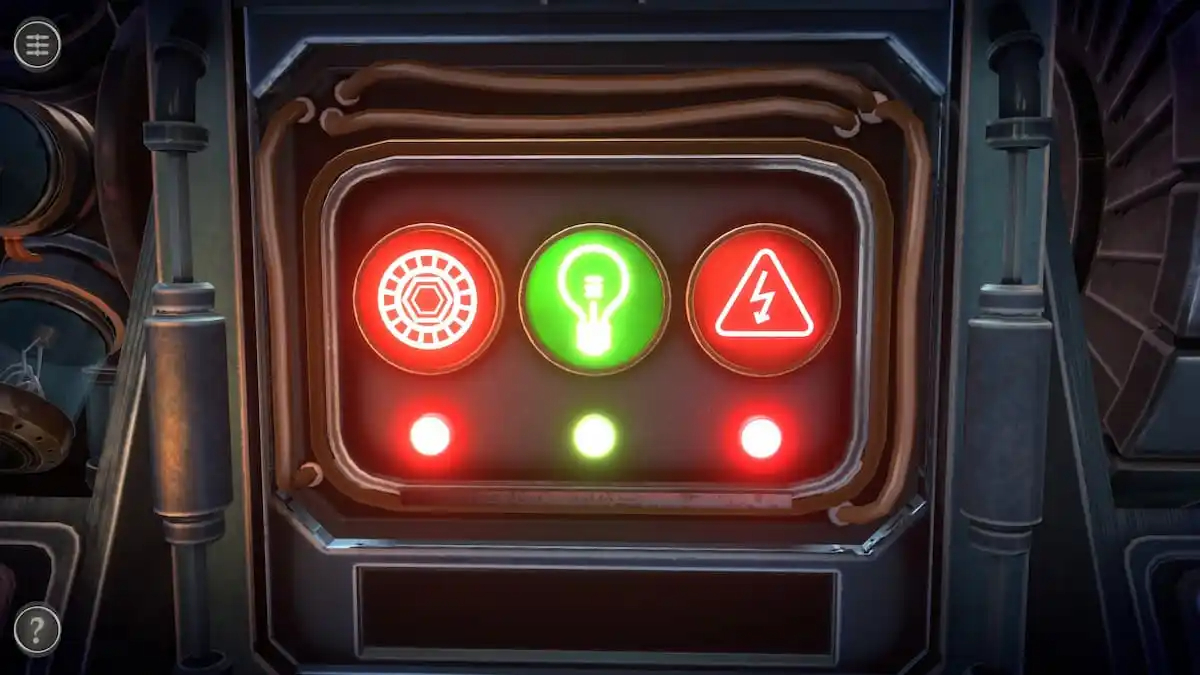
This will light up the lightbulb light in the center.
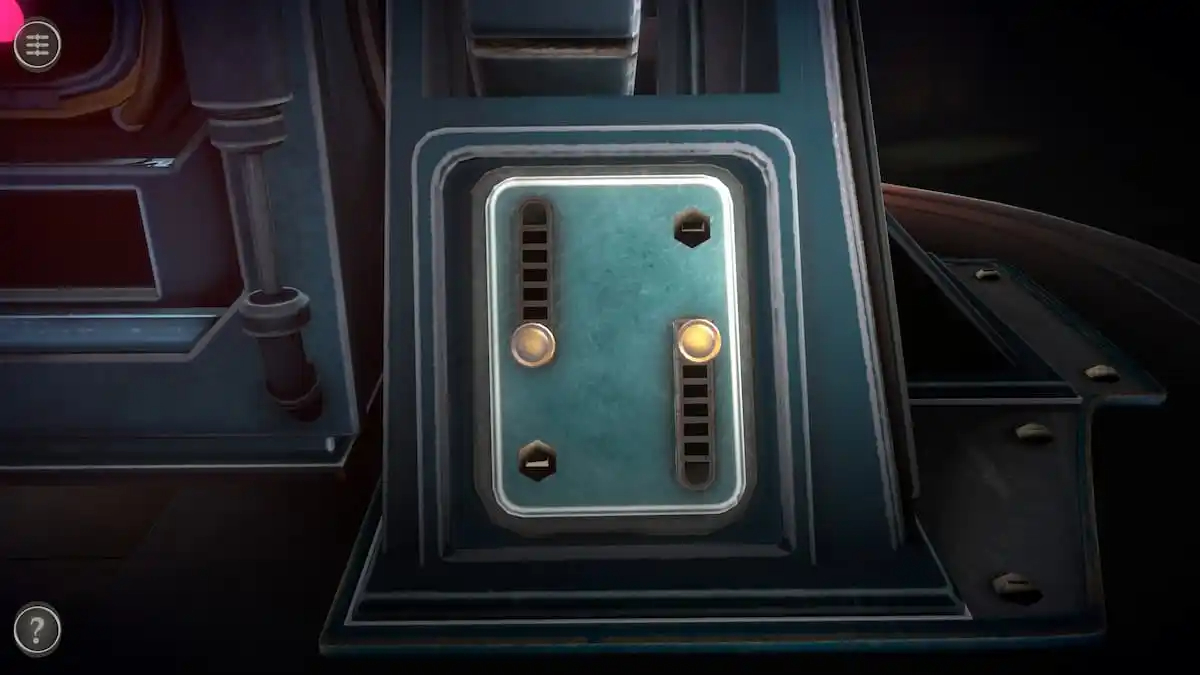
Power charge puzzle
The puzzle that activates the power light is on the back right corner of the box. Pull each of the sliders to open the compartment.
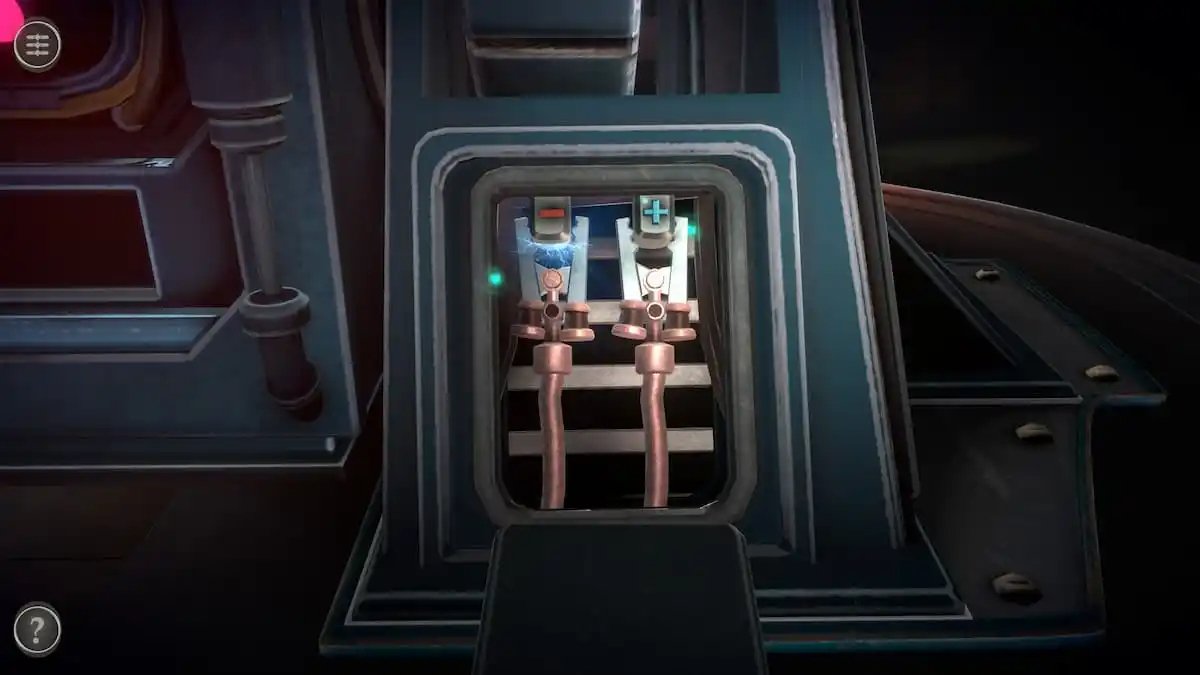
Connect each of the jumper cables to the electrical mechanisms directly above them.
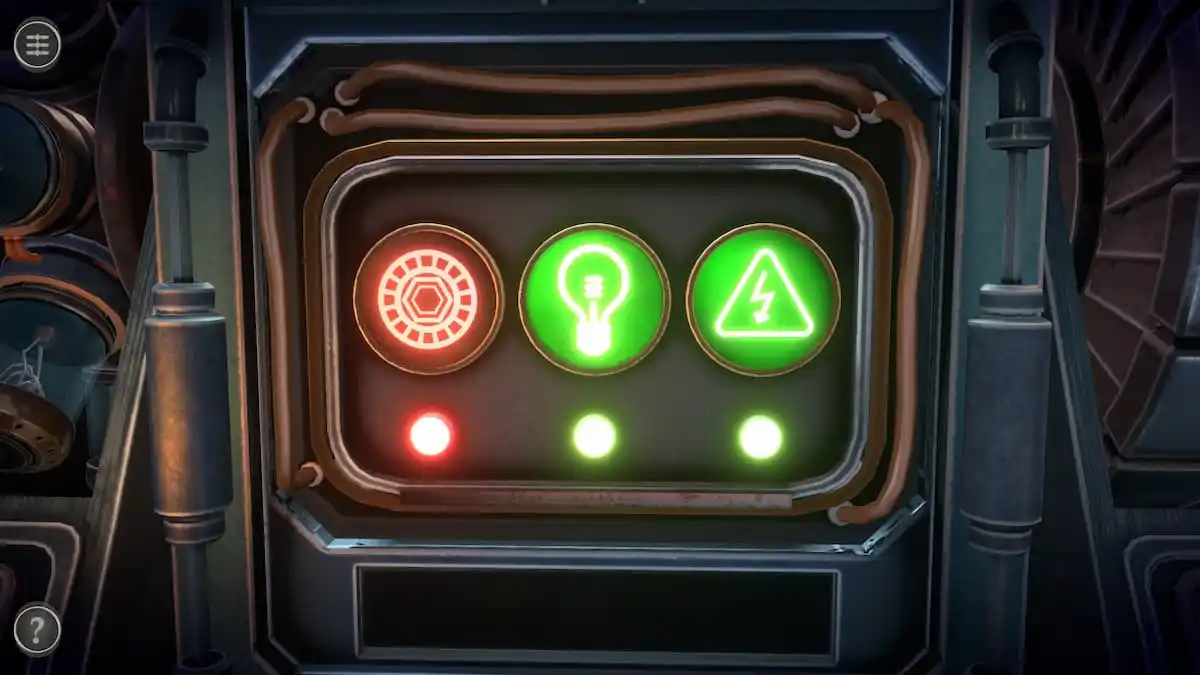
This will turn the light on the right green.
Electric pathway puzzle
To activate the final light, we need to do the puzzle on the front of the cube.
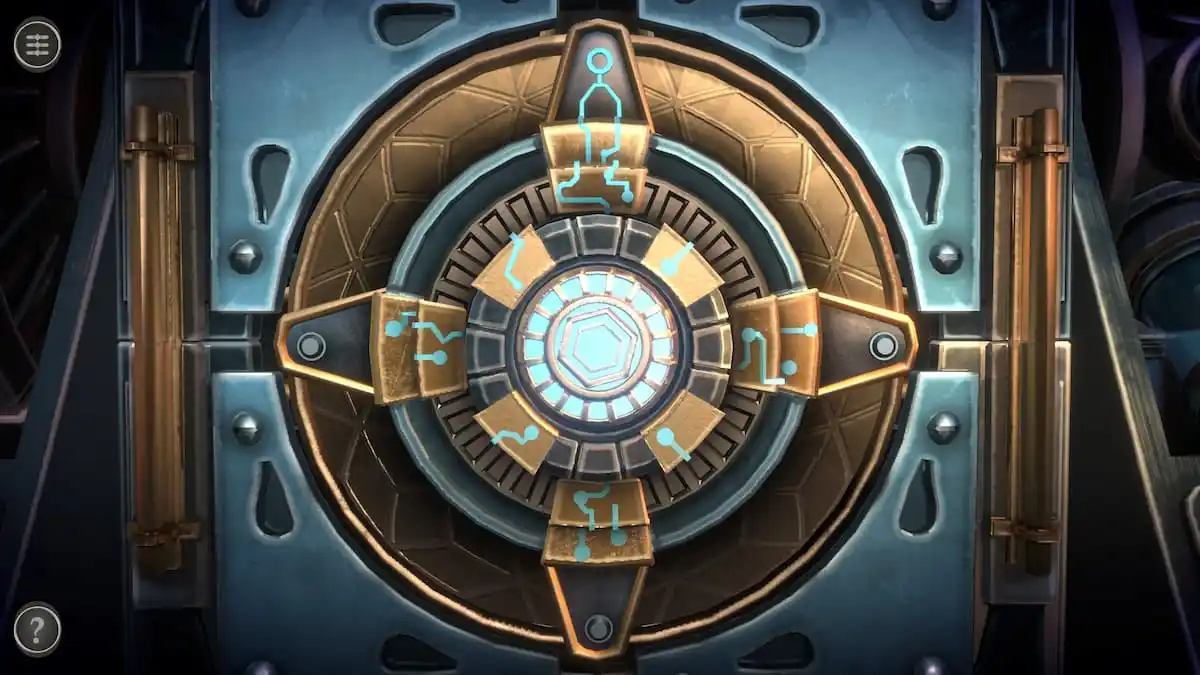
Start by aligning the outer row to the pathway at the top of the puzzle.
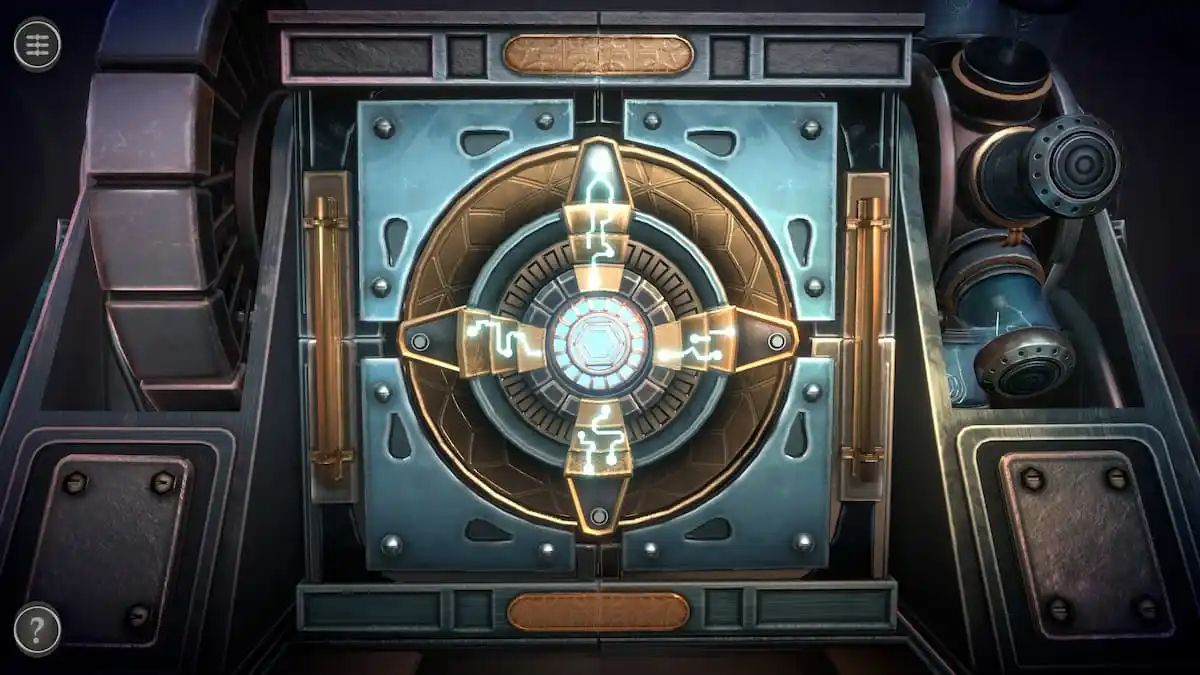
Then align the two inner rows.
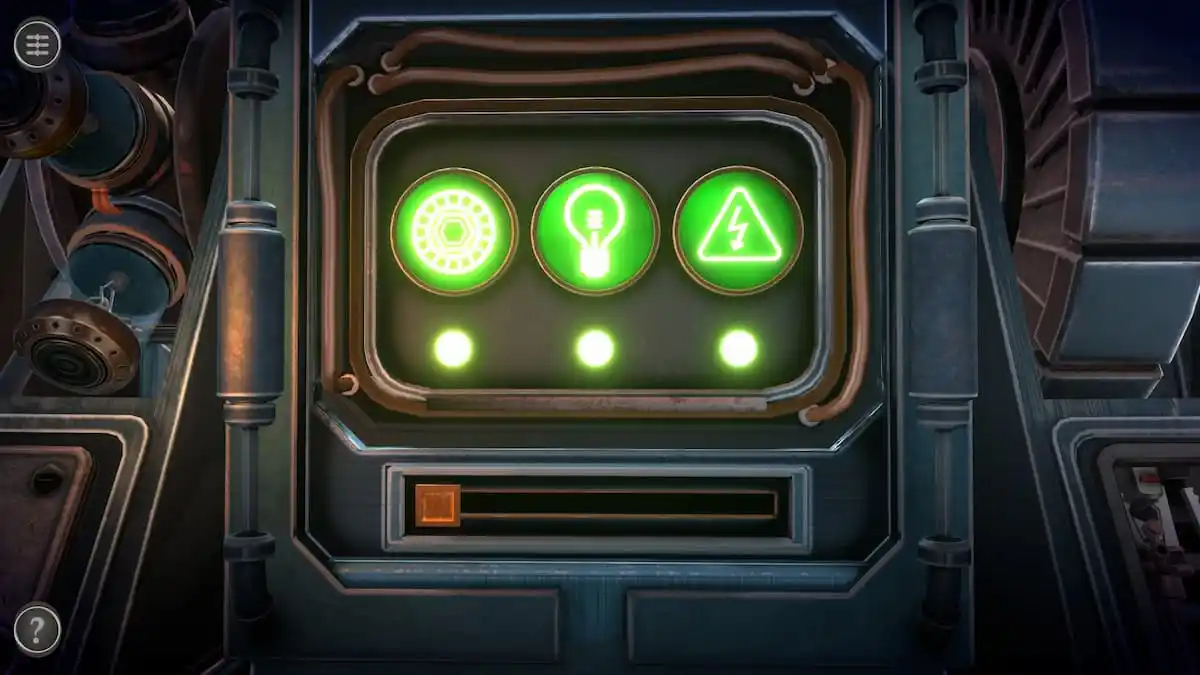
This turns the final light green and unlocks a slider beneath the lights. Slide it to start a sliding symbol puzzle.
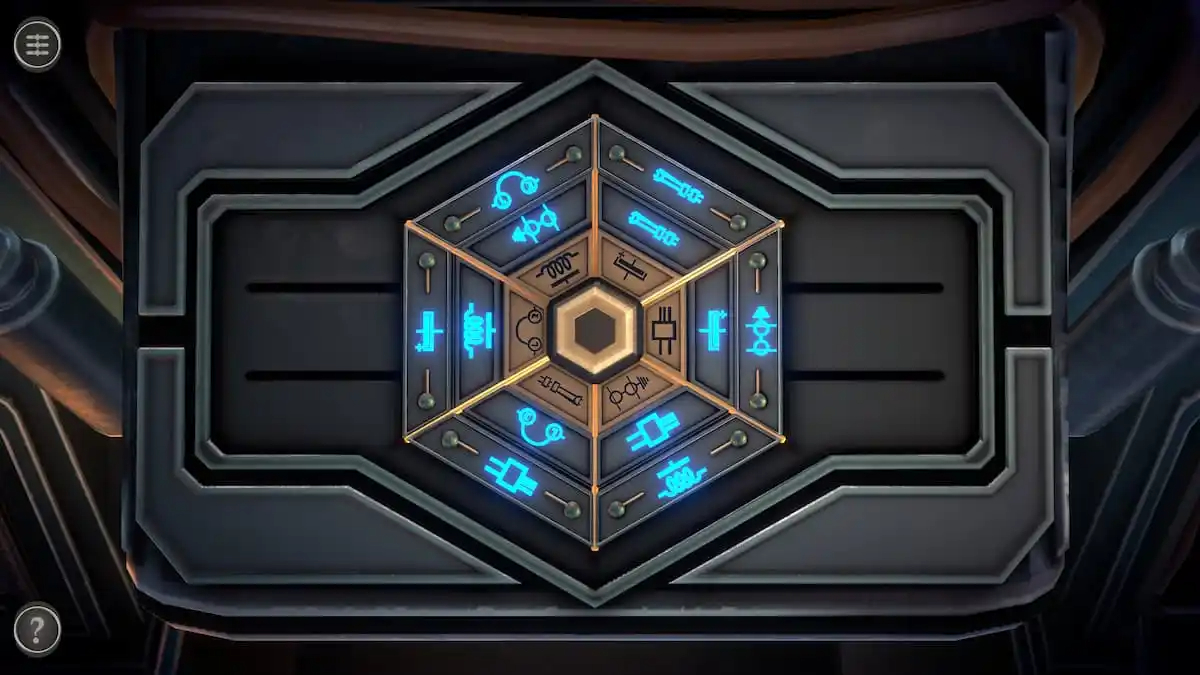
Sliding symbol puzzle
Turning all of the lights green unlocks this puzzle. The center has six symbols, with each symbol having a short piece and a long piece matching them.
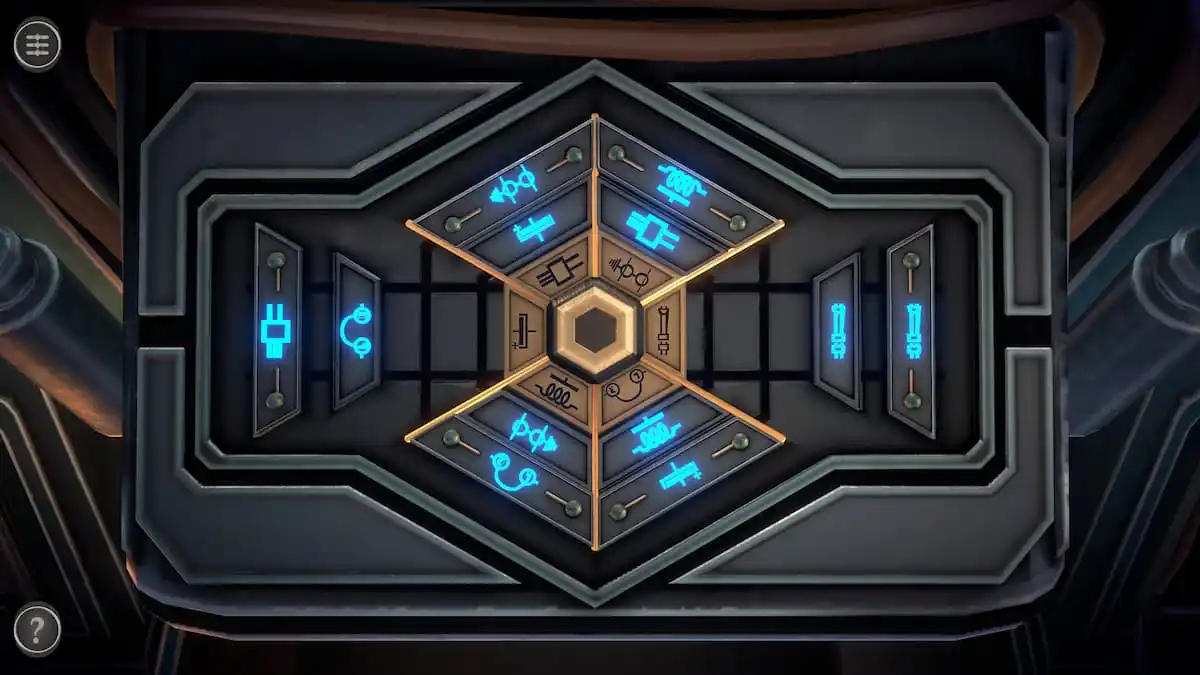
Two of these pieces can be stored on the left and right sides of the puzzle. There can be two small, two large, or one of each.
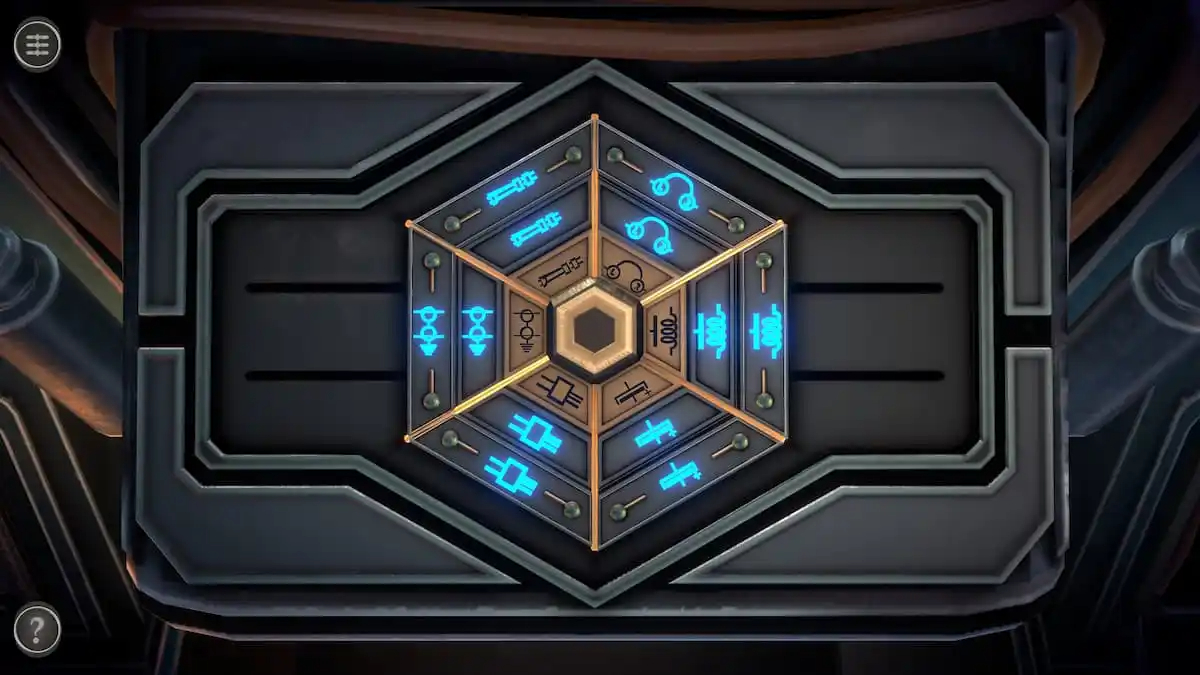
The goal of the puzzle is to get the two pieces in each row to match the piece in the center.
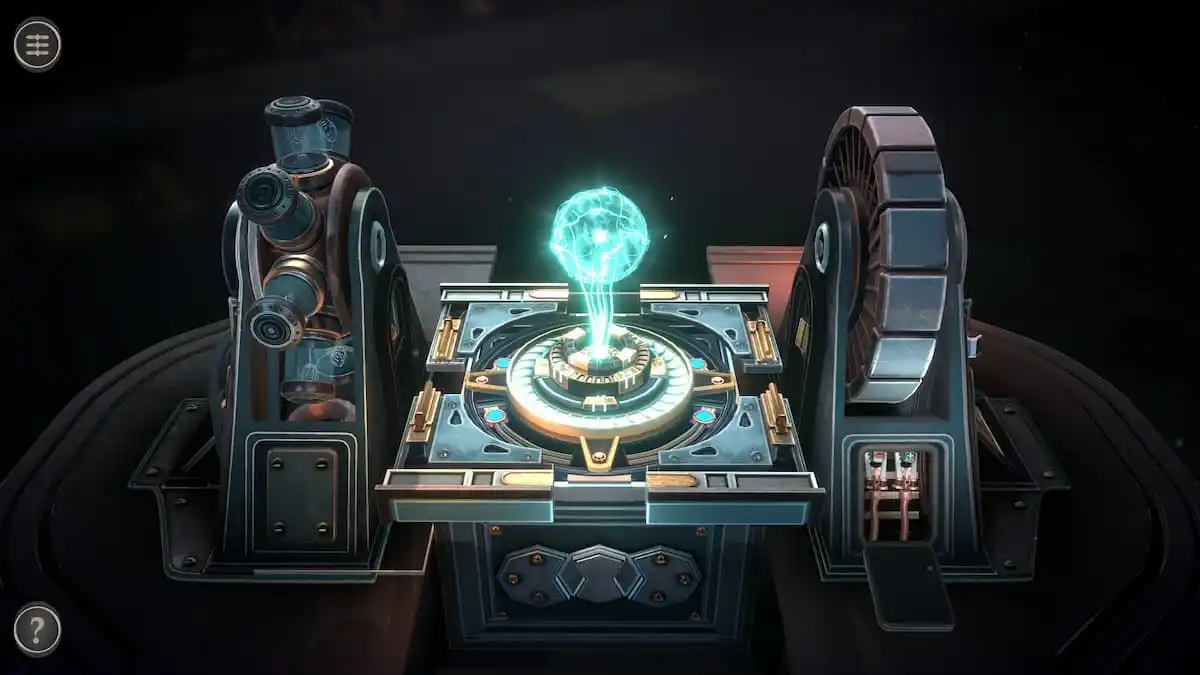
Once every piece is in its rightful place, the box will undergo a transformation.
Slider puzzle
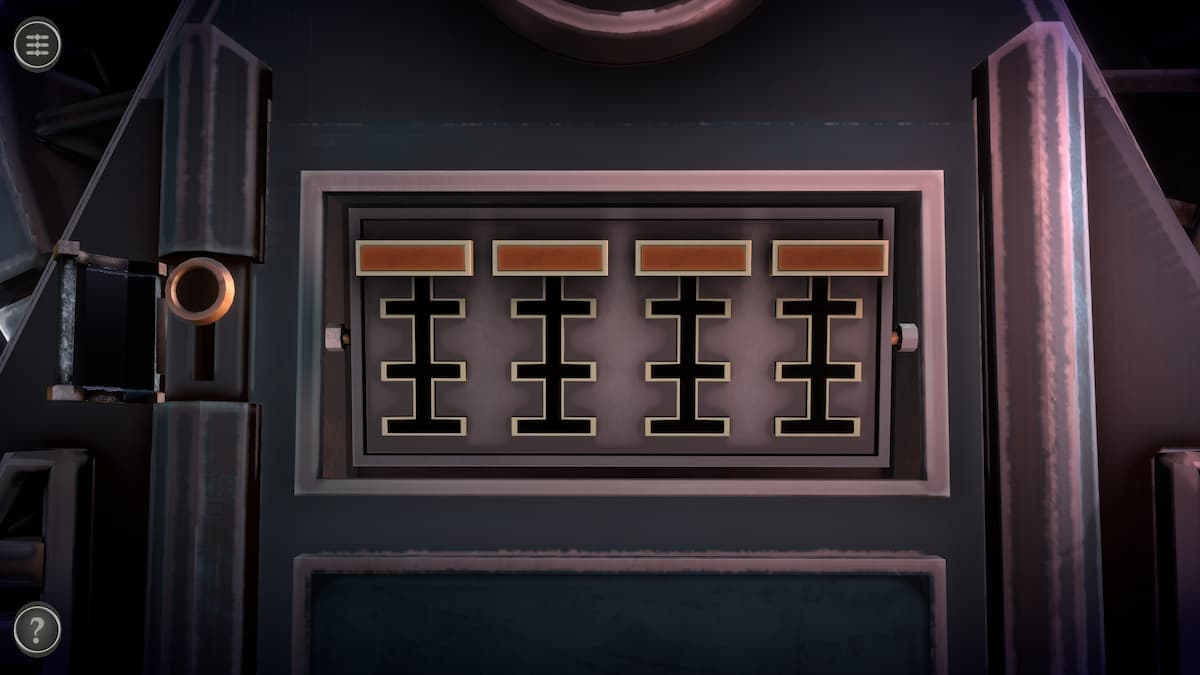
On the left side of the machine, a small puzzle containing four red sliders can be seen. Rotate the small mechanism on the left side of the puzzle to reveal a black button.
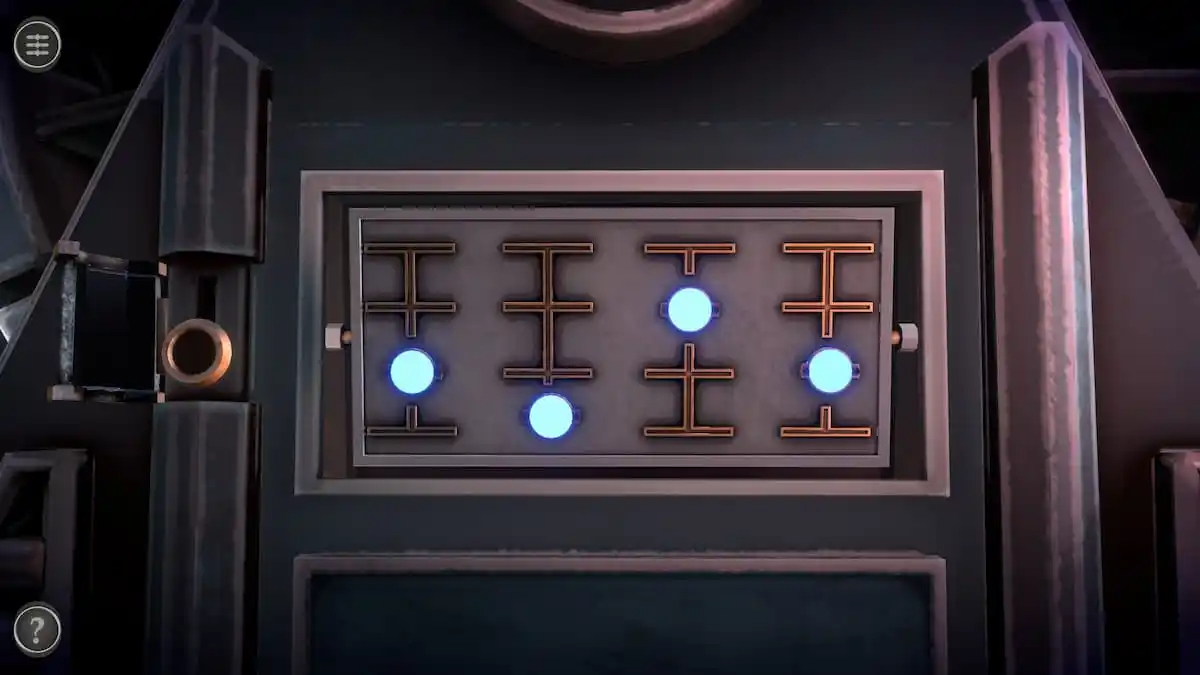
Press the button to flip the puzzle, which reveals the solution for it.
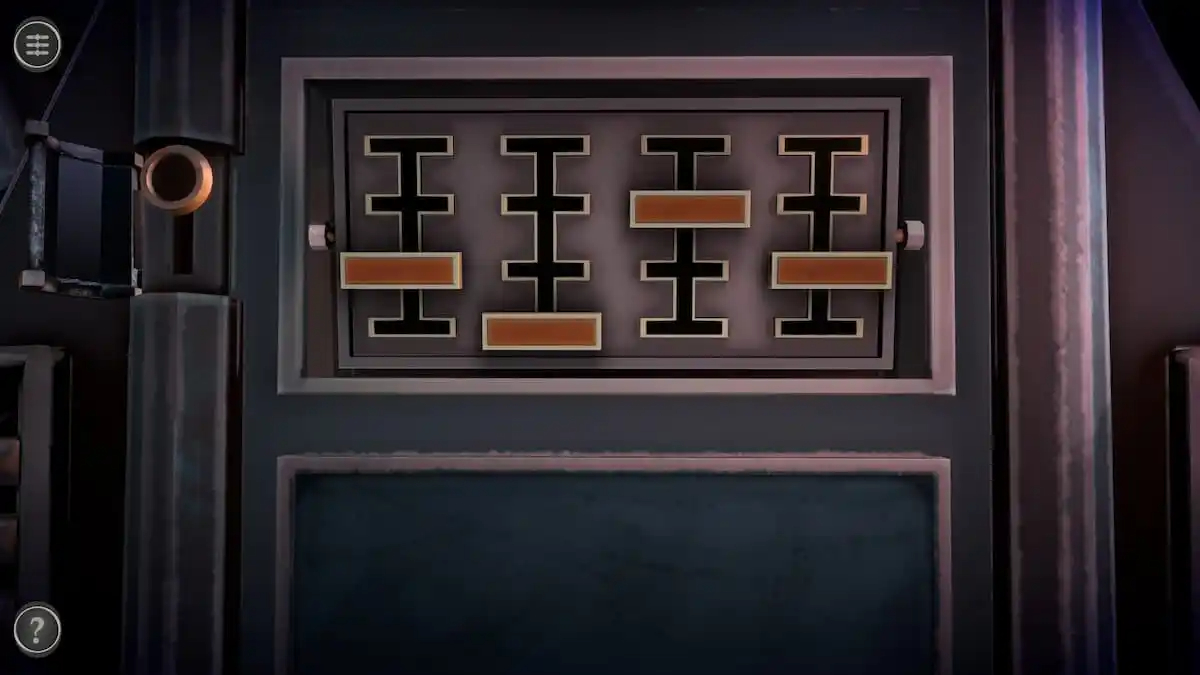
Press the button again and move the four sliders into position to open an electrical outlet puzzle beneath them.
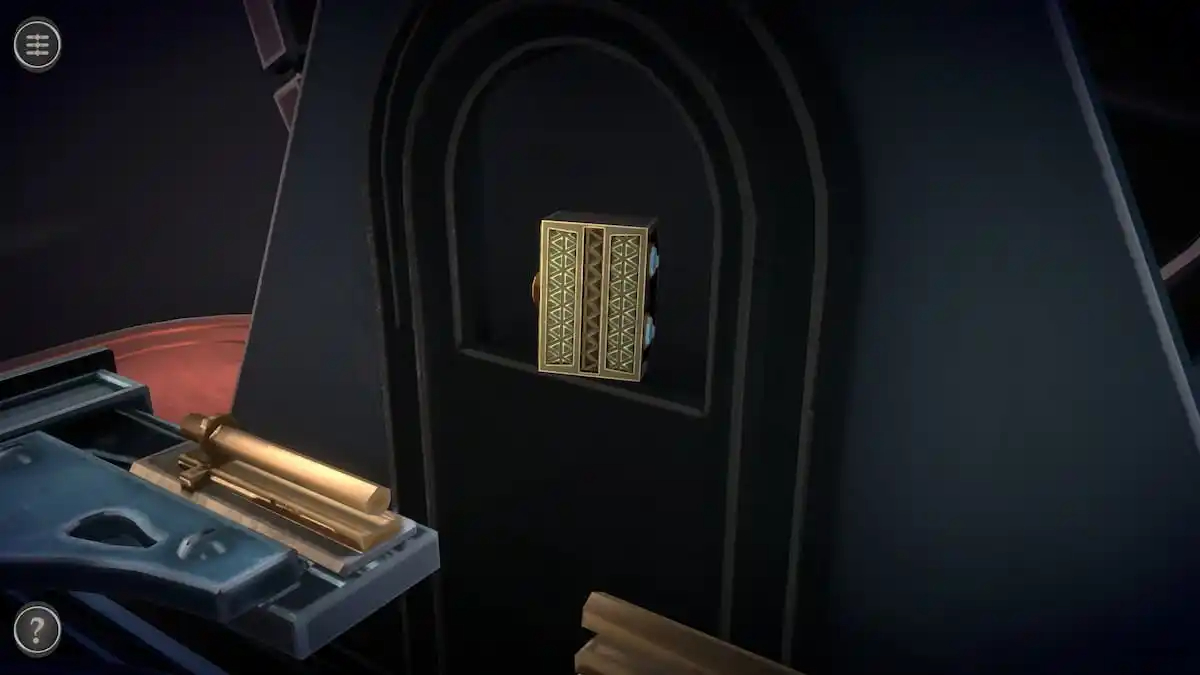
Before continuing on, return to the ball of plasma in the center. The Electric Plug can be found on one side of it.
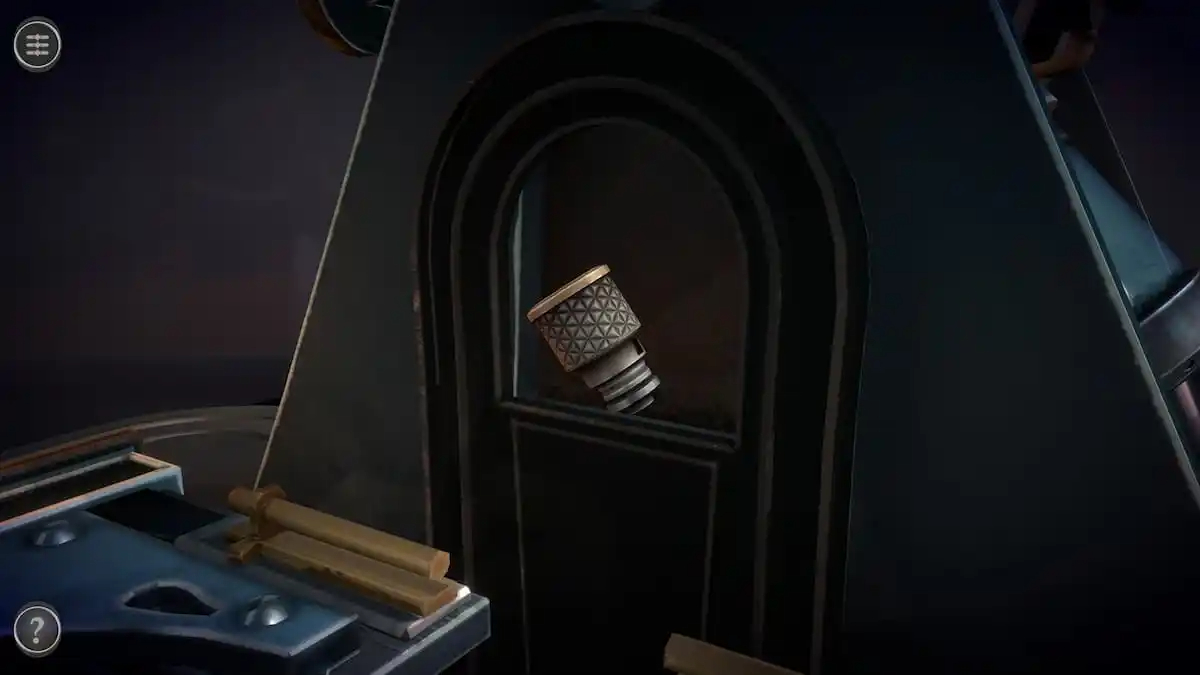
While you’re here, grab the Fuse from the other side.
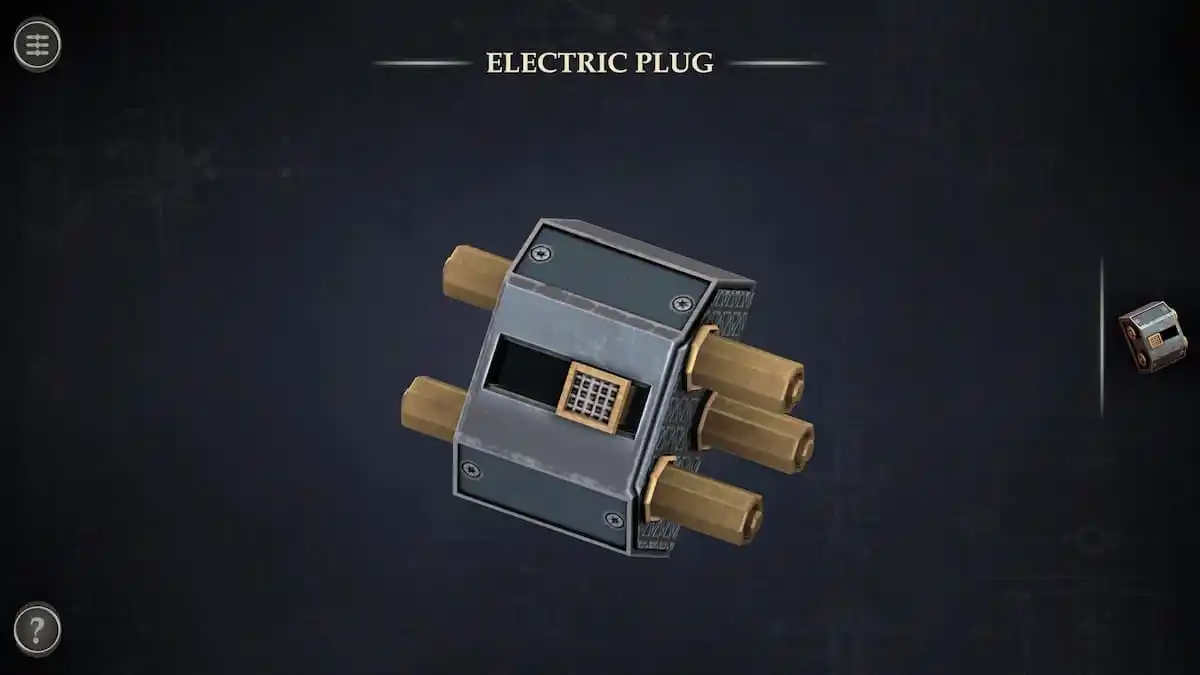
Open the Electric Plug in your inventory and push the slider to the right.
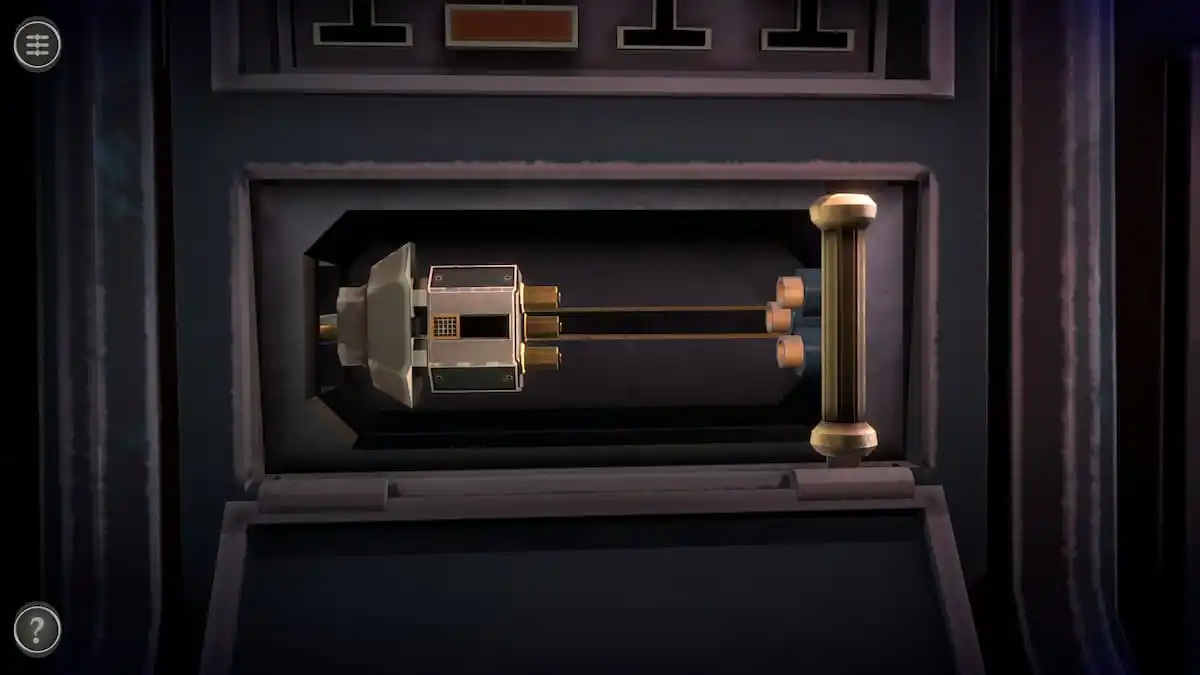
Now it can be added onto the left side of the electrical puzzle beneath the sliders.
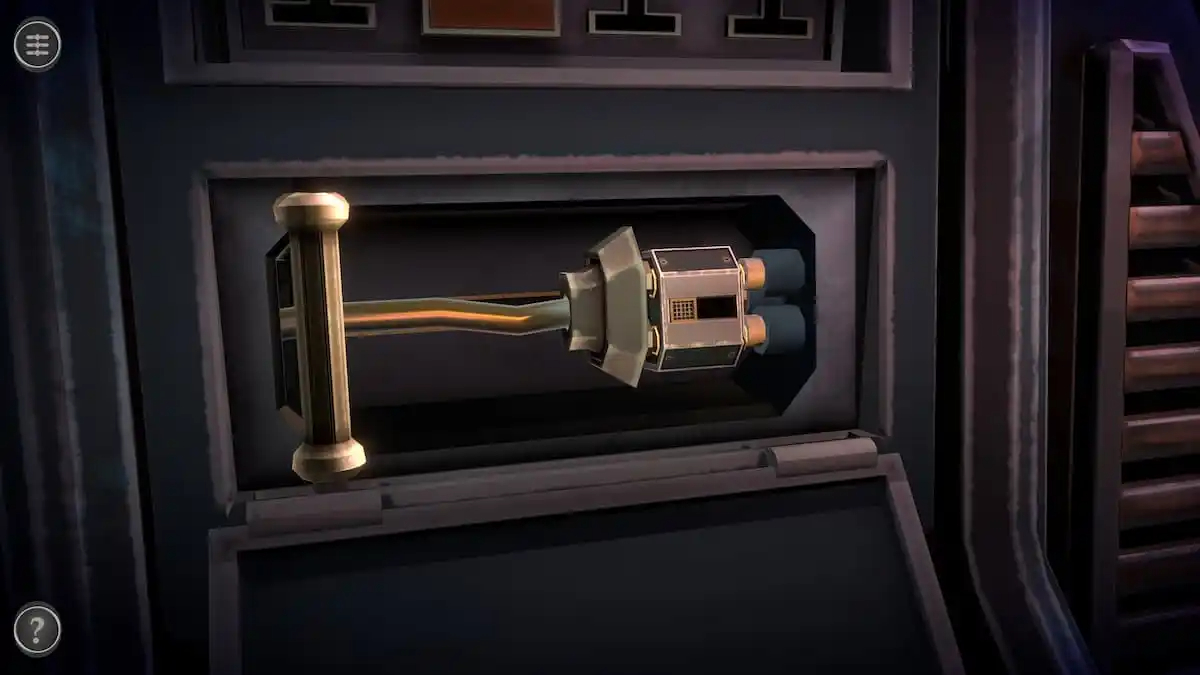
Pull the handle to the left to connect the plug and the outlet.
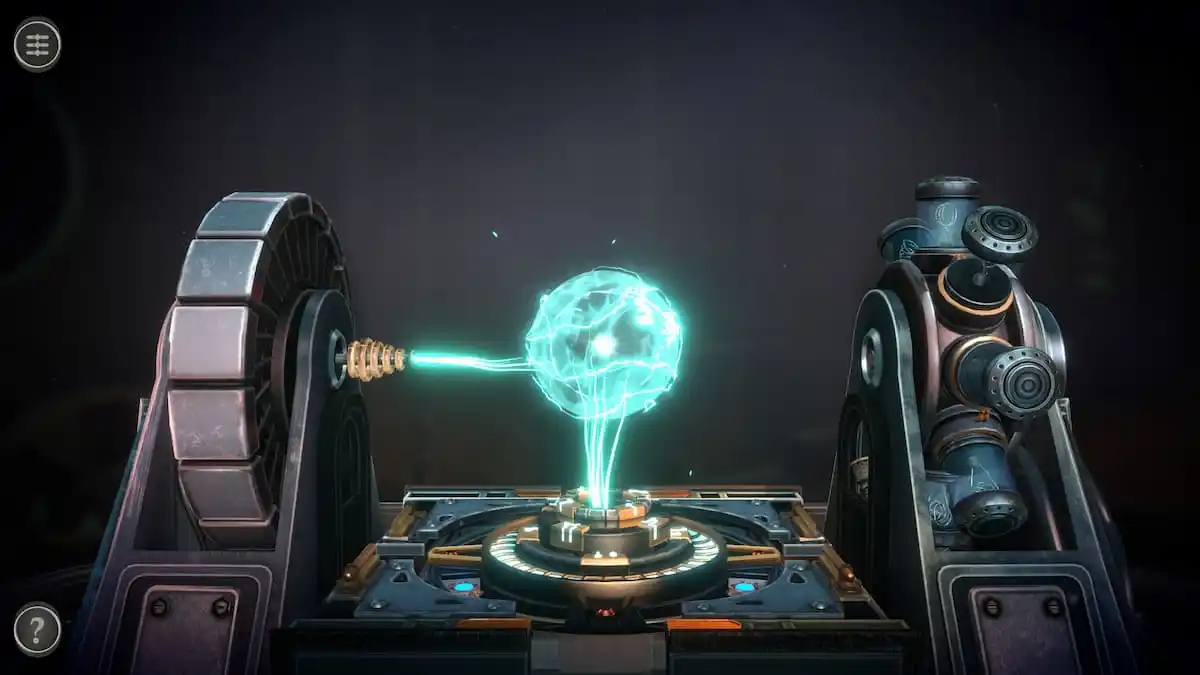
The left side will fire a plasma beam at the ball in the center.
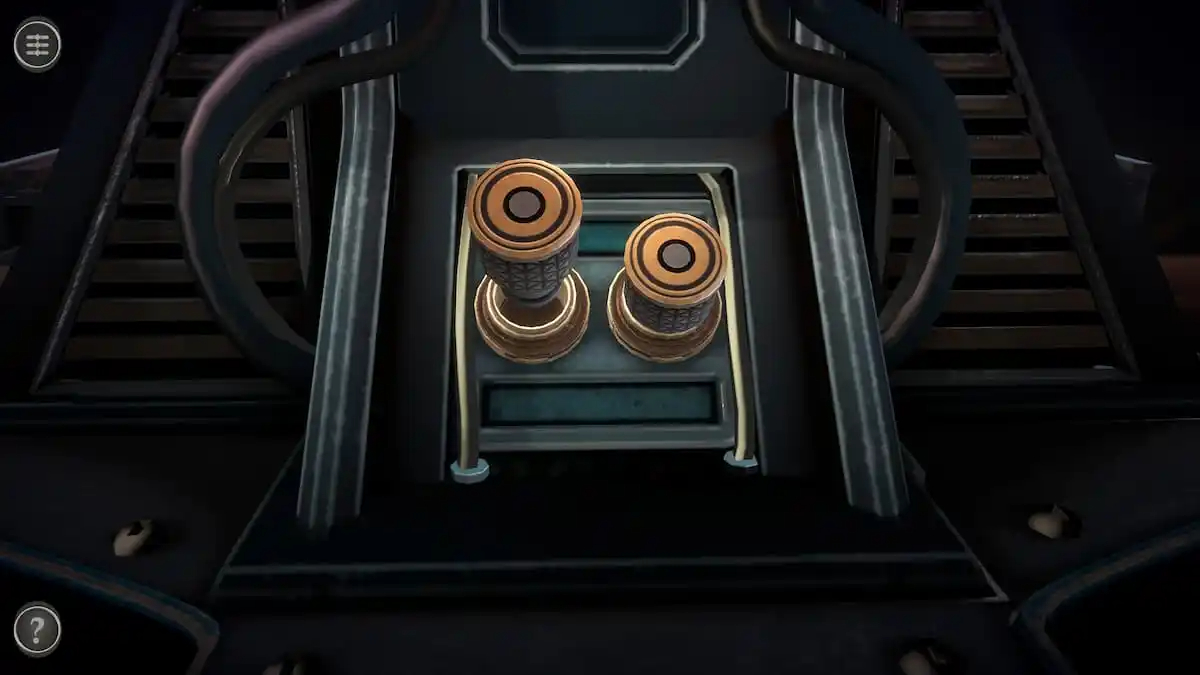
Plug puzzle
At the base of the right side of the box, there is a plug with an empty slot to its left. Place the Plug into the empty spot.
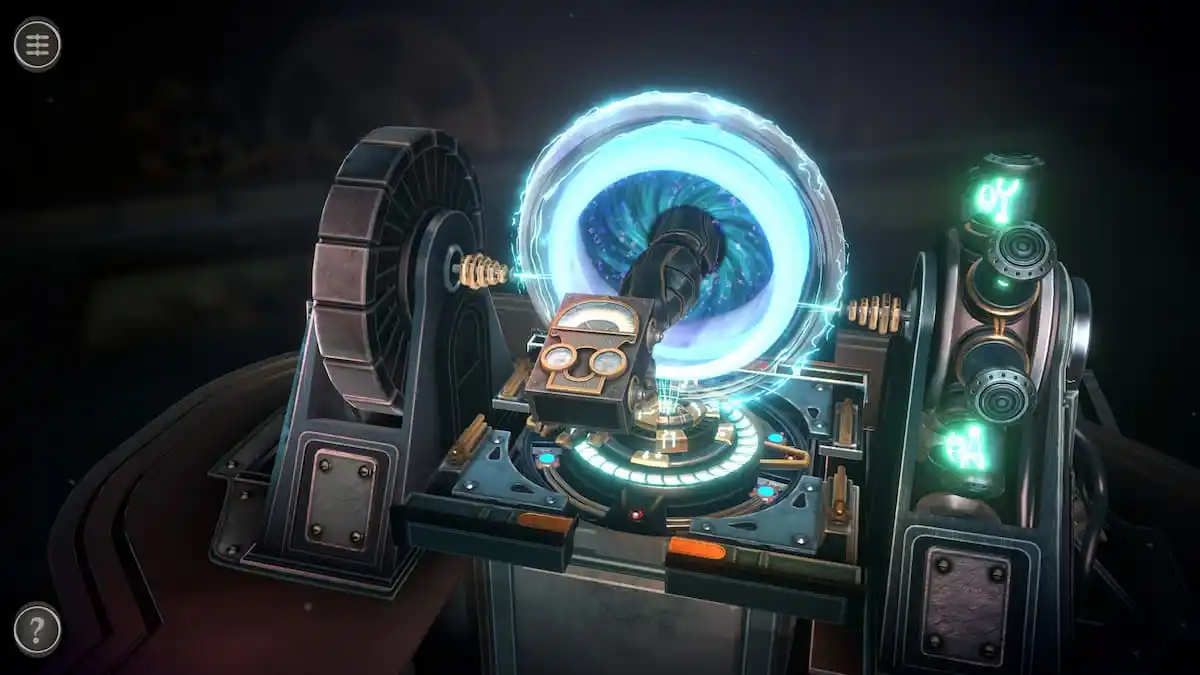
This makes the right side shoot a beam of plasma at the ball in the center, turning it into a portal. A helping hand reaches out of it, holding a Power Source. Take it to return to the main room.
THE FINAL PUZZLE BOX IS COMPLETE AND FINISH AND NOW YOU NEED TO PUT THE 4 DIFFERENT ITEMS IN THERE CORRECT SPOTS AND SOLVE COUPLE MORE PUZZLES BEFORE CHAPTER 2 IN BOXES LOST FRAGMENTS IS OVER
FINAL PART IN CHAPTER 2 OF BOXES LOST FRAGMENTS
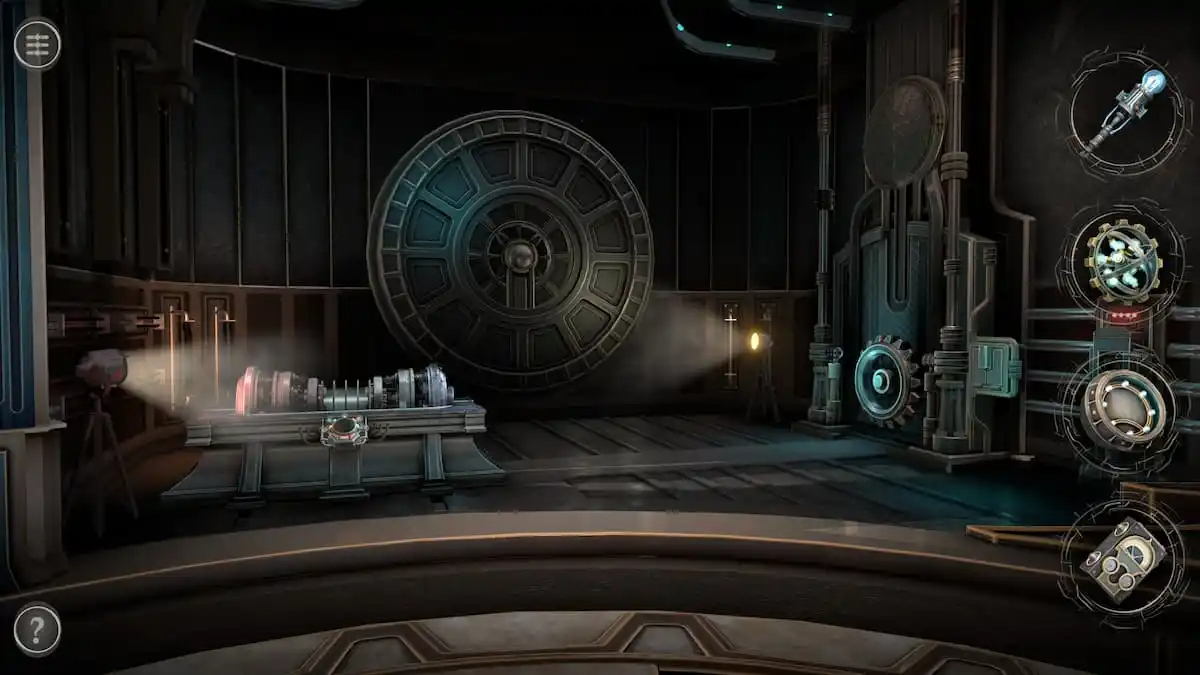
Completing the Chapter 2 main room
With all the smaller rooms completed, it’s time to turn your attention to the room within the main room.
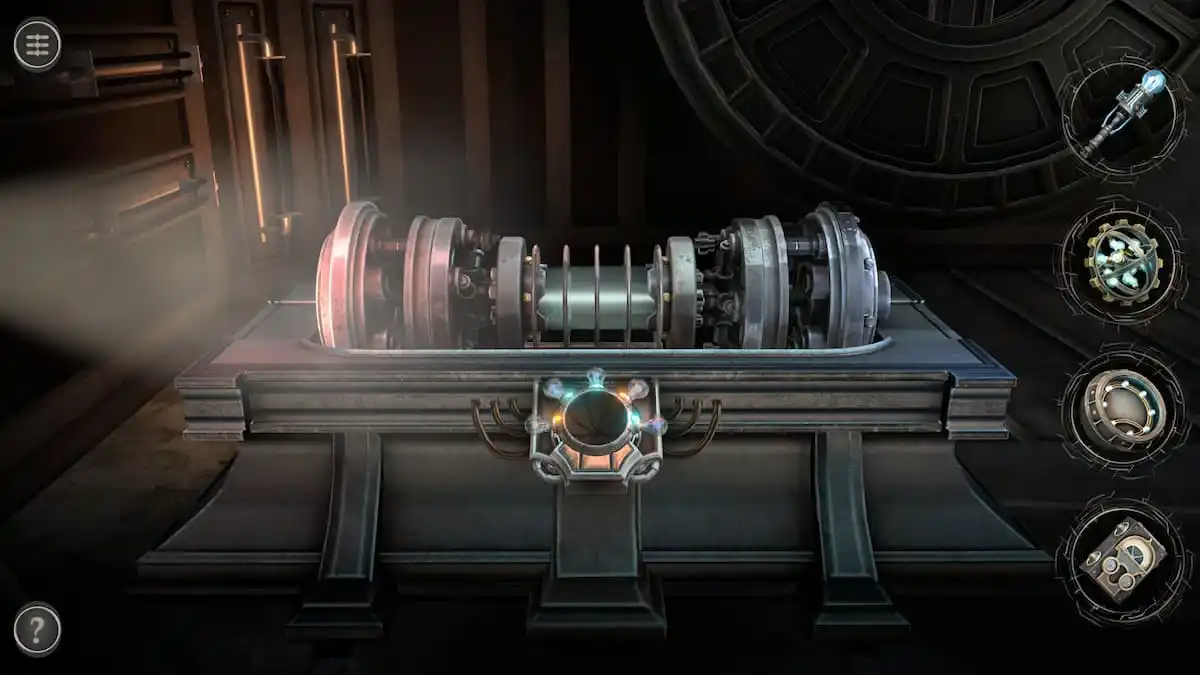
Engine puzzle
Start with the engine on the left.
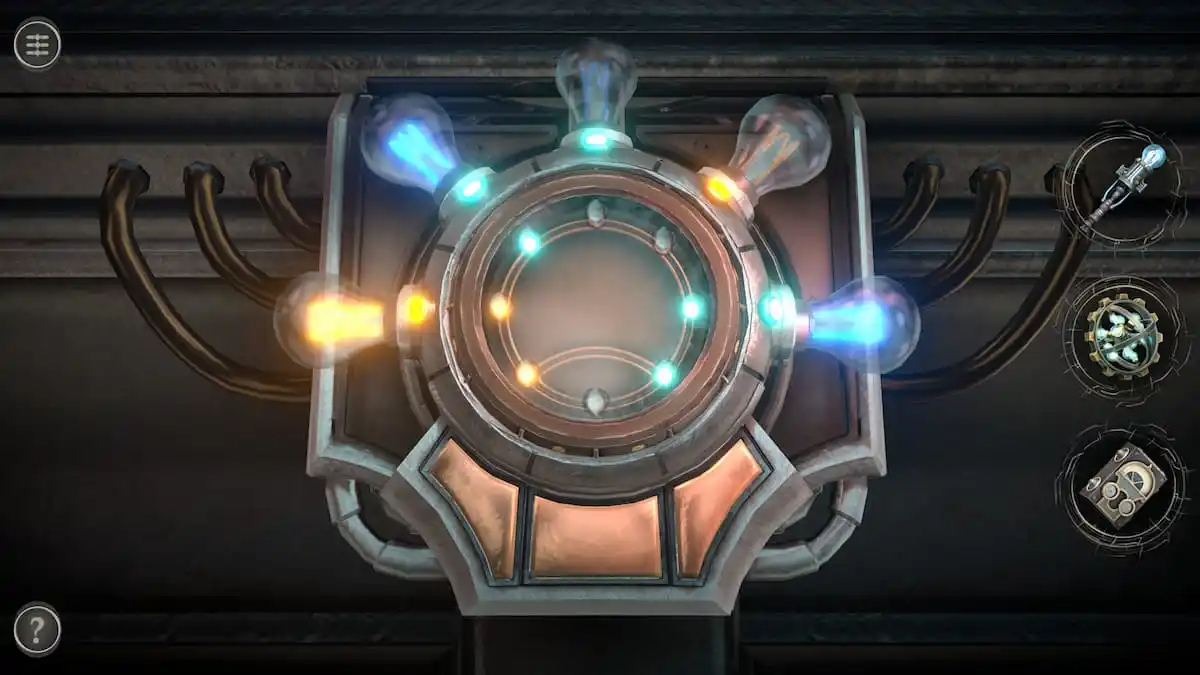
Place the Mechanical Console into the gap on the podium to begin the puzzle.
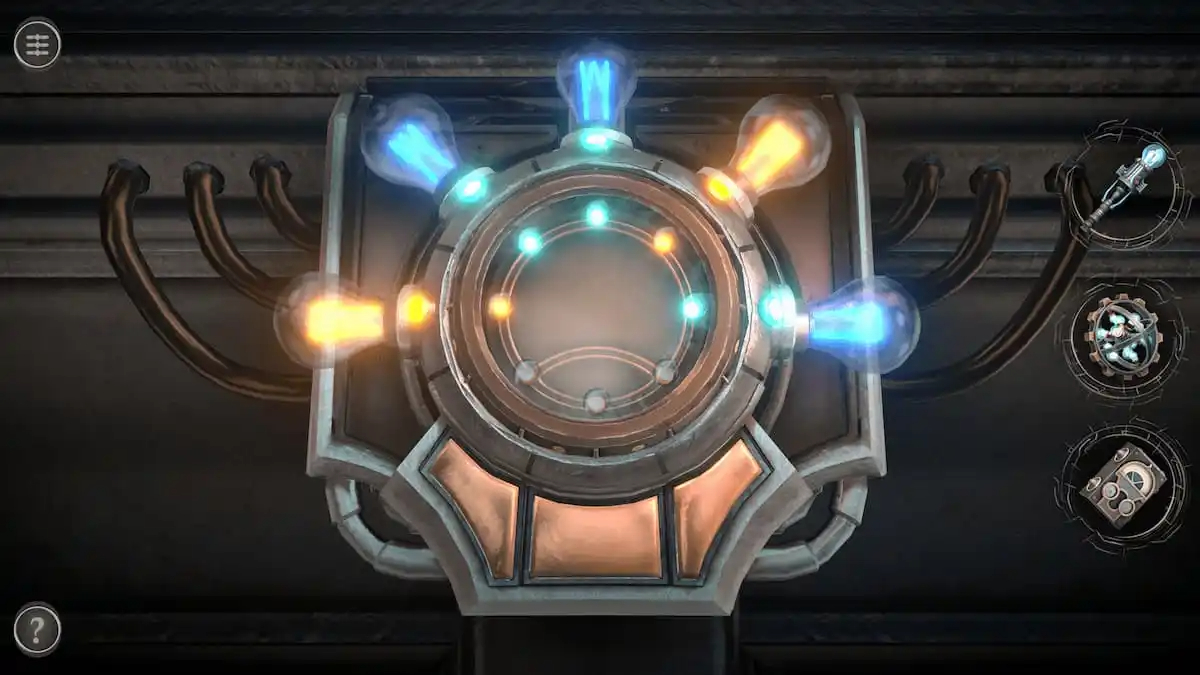
The left and right buttons on the bottom can be pressed to rotate the central lights clockwise and counterclockwise. The button in the center rotates the three bottom lights around. The goal of the puzzle is to have the lights in the center match the lightbulbs on the outside.
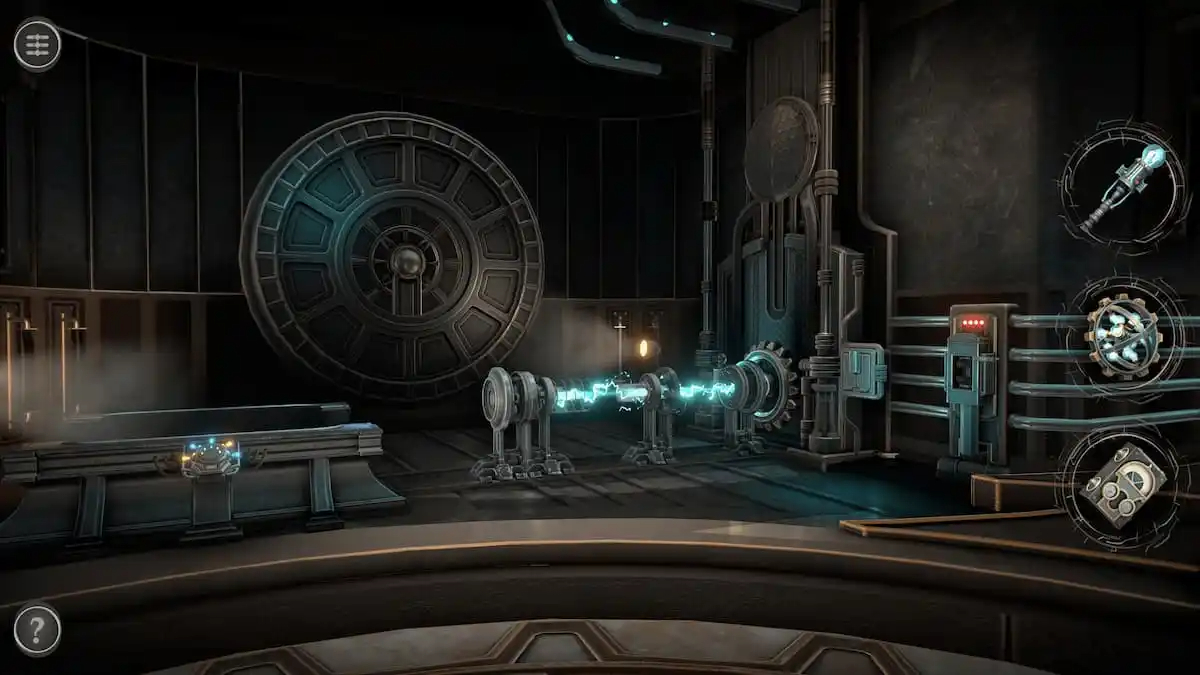
Doing so causes the engine to move and shoot a beam of plasma into the mechanism on the right wall.
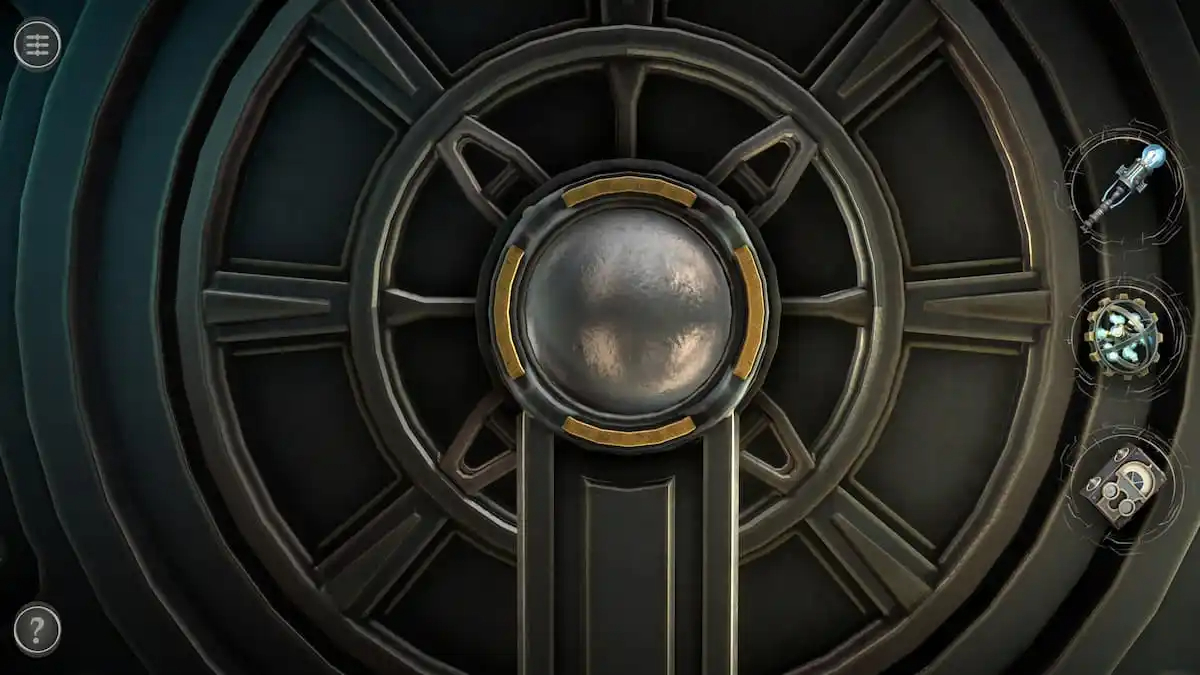
Circular wall puzzle
Focus on the puzzle on the wall.
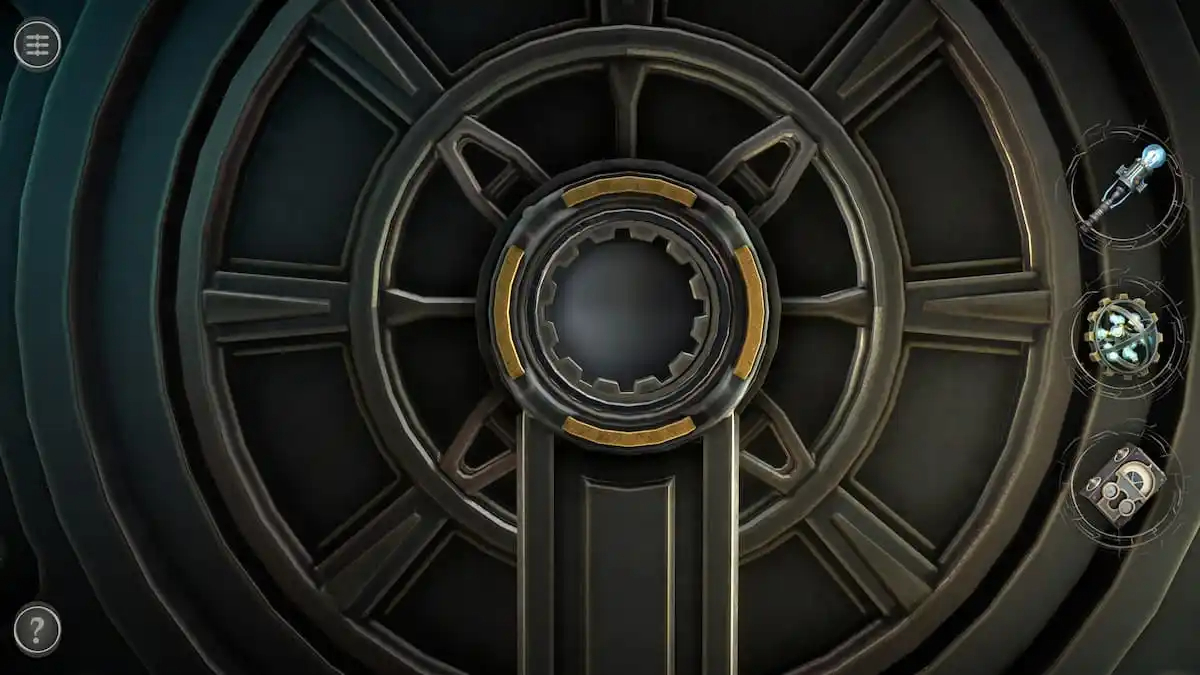
Rotate the gear around the sphere to reveal an empty space.
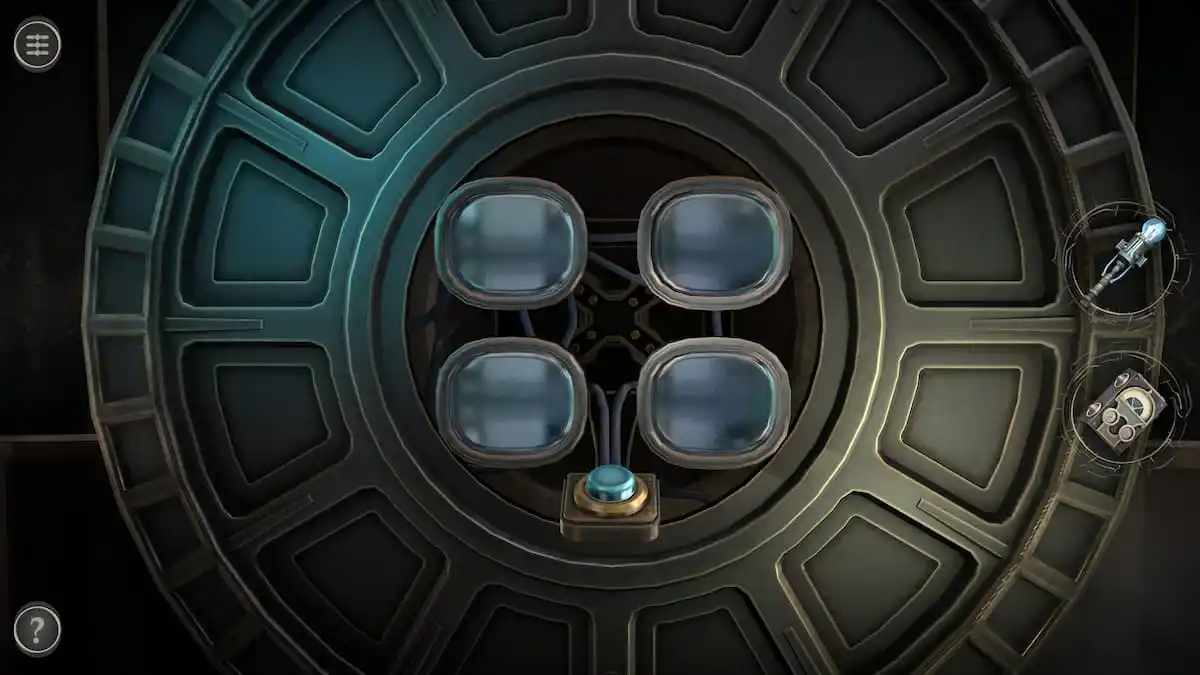
Place the Mechanical Sphere into this empty spot to release a set of four screens.
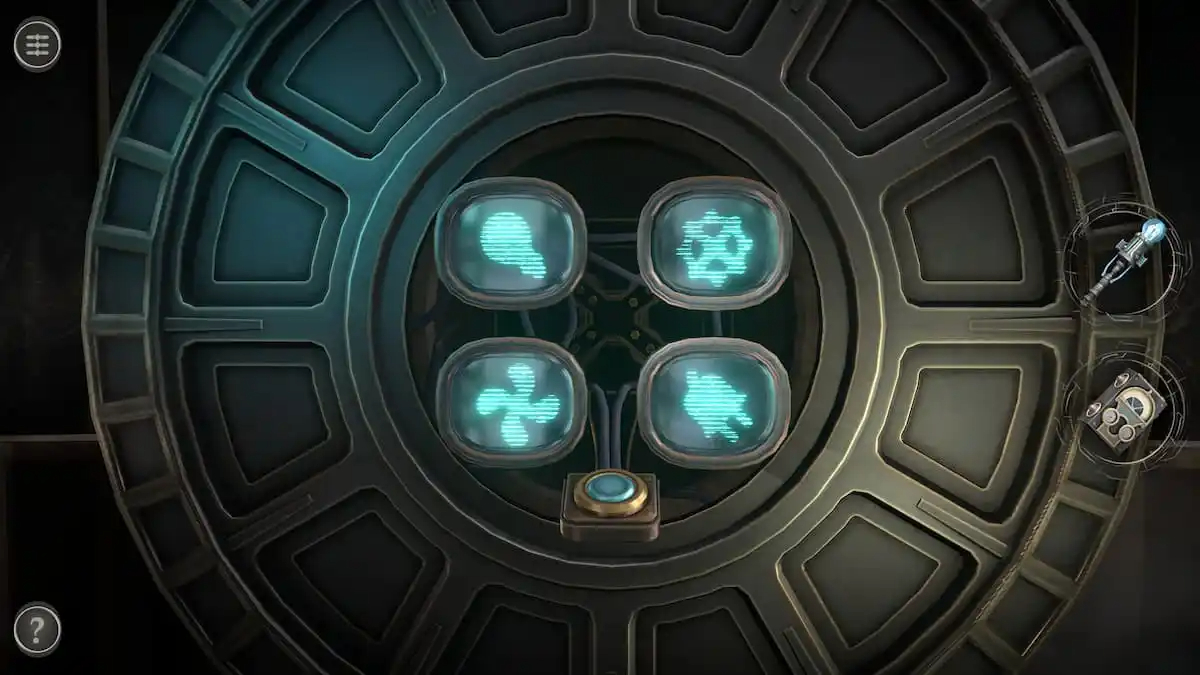
Click the green button beneath the screens to make a symbol pop up on each screen. This will be a hint for the next puzzle.
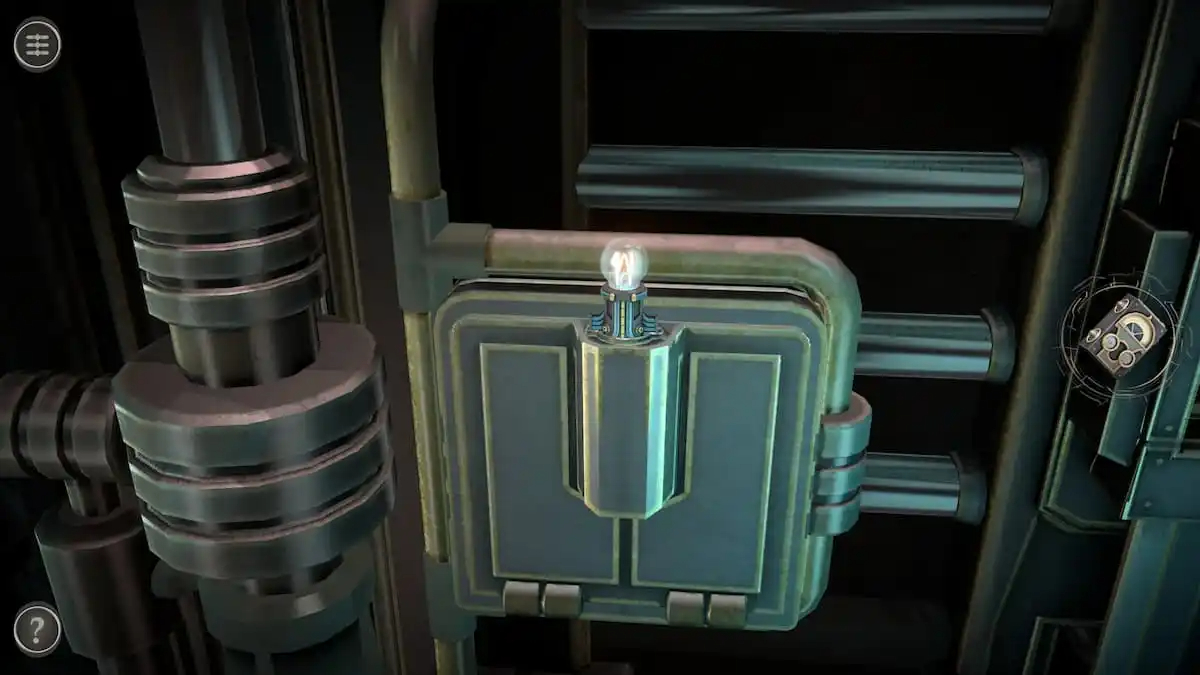
Electrical Key puzzle
Place the Electrical Key into the slot next to the fuse box.
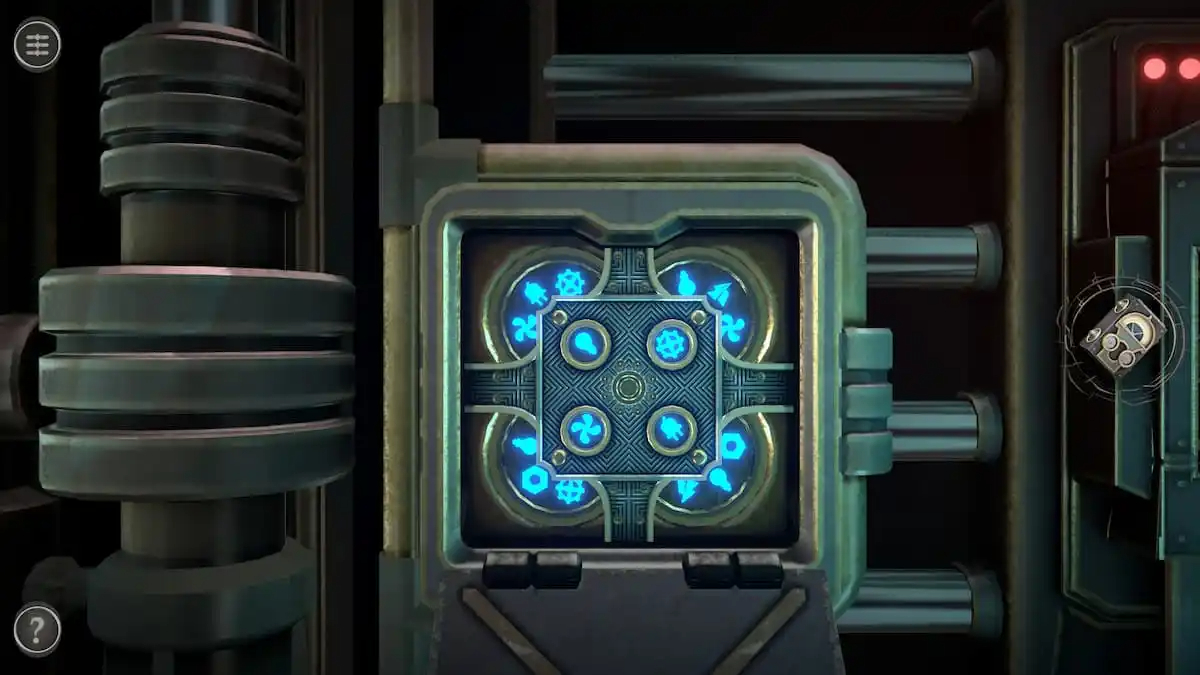
Rotate each of the circles until they match the screens from the previous puzzle.
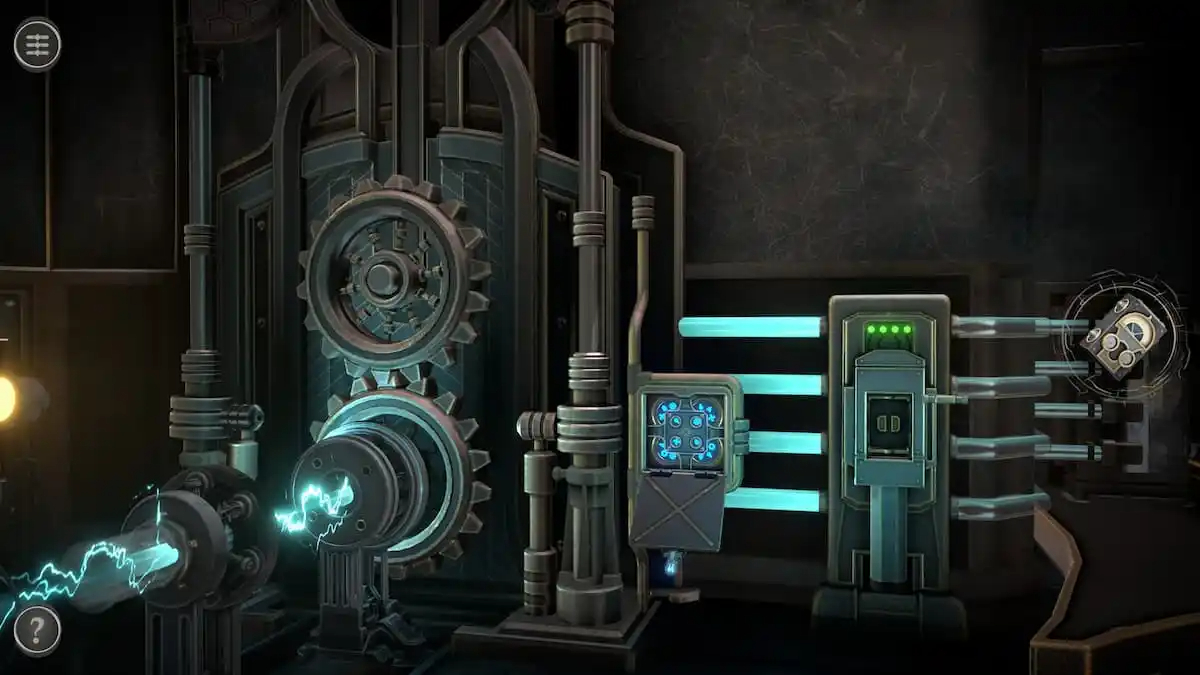
This brings a gear down from the ceiling, powering the fuse box.
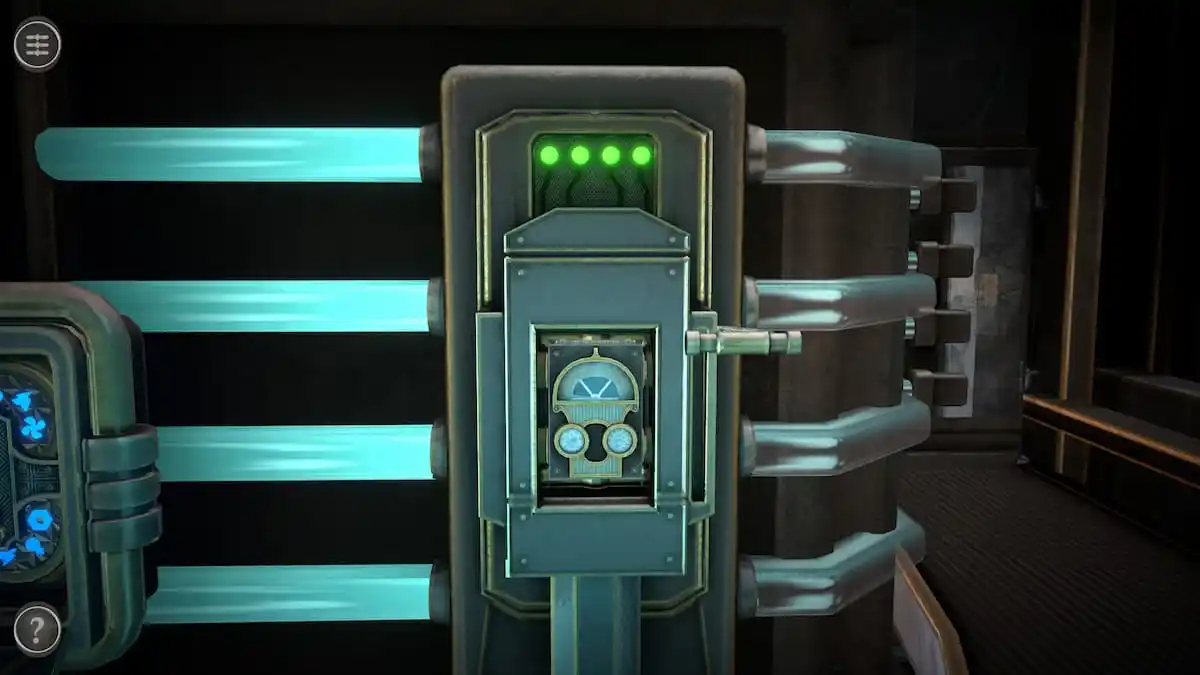
Fuse box
Place the Power Source into the fuse box.
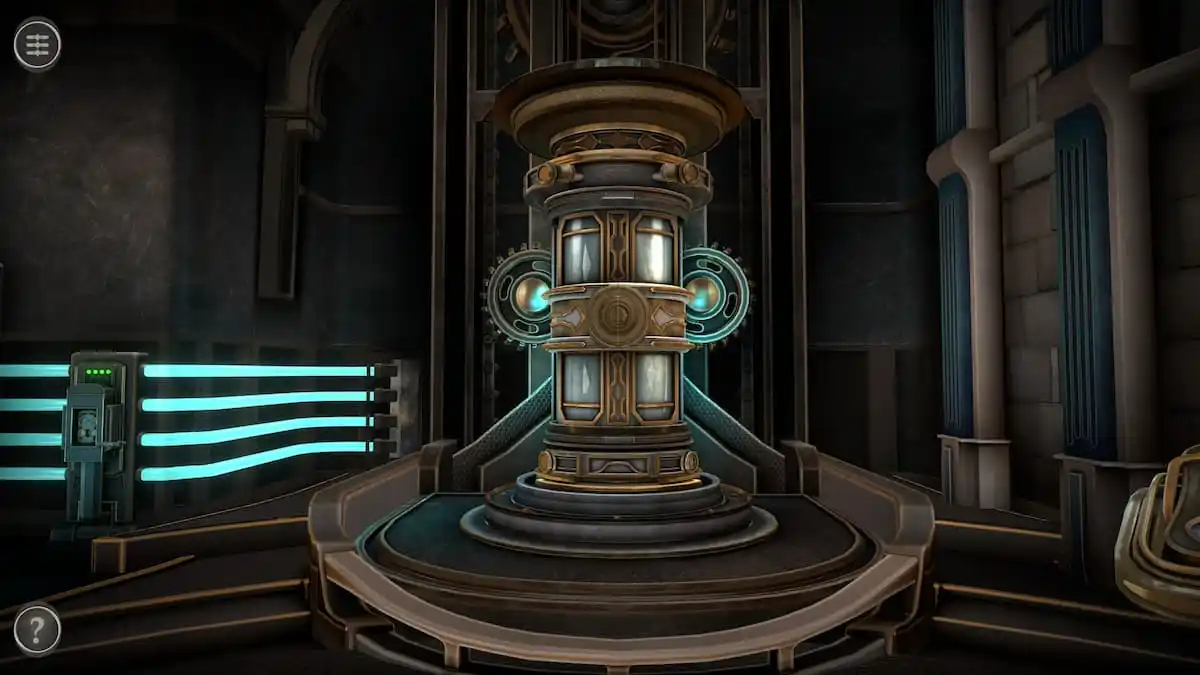
Pull the lever down to reveal a containment device.
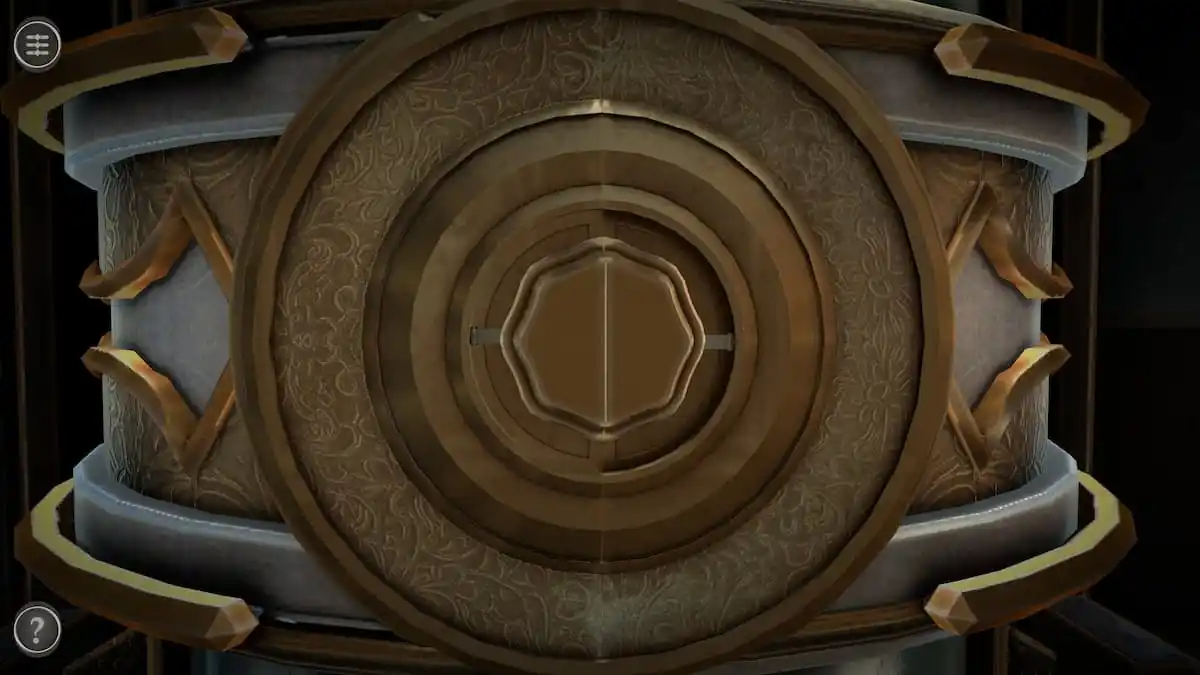
A small compartment can be seen on the front of the device.
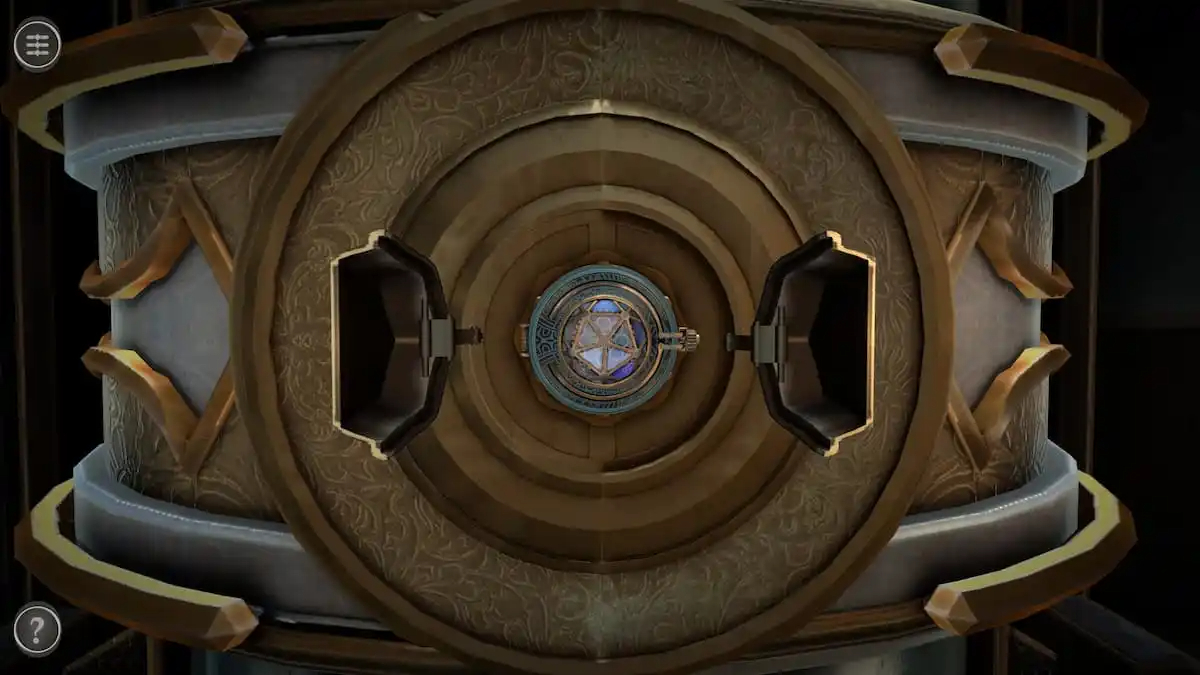
Open it to reveal a box identical to the previous two token holders.
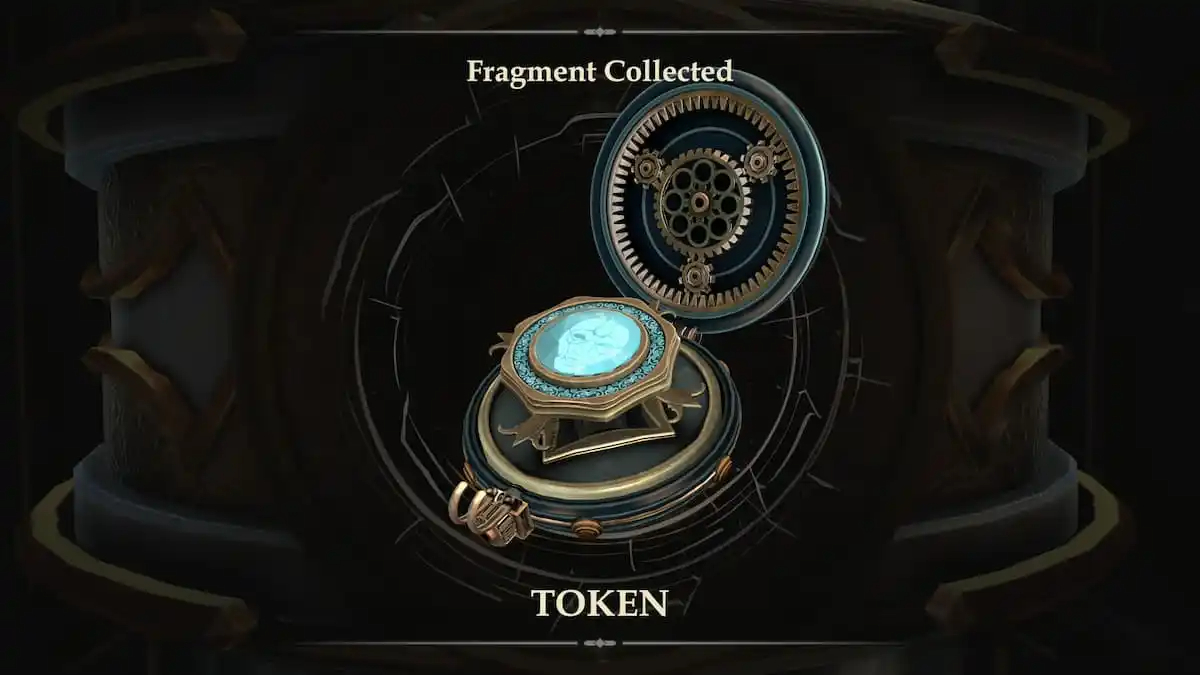
After the animation, take the token out of the box.
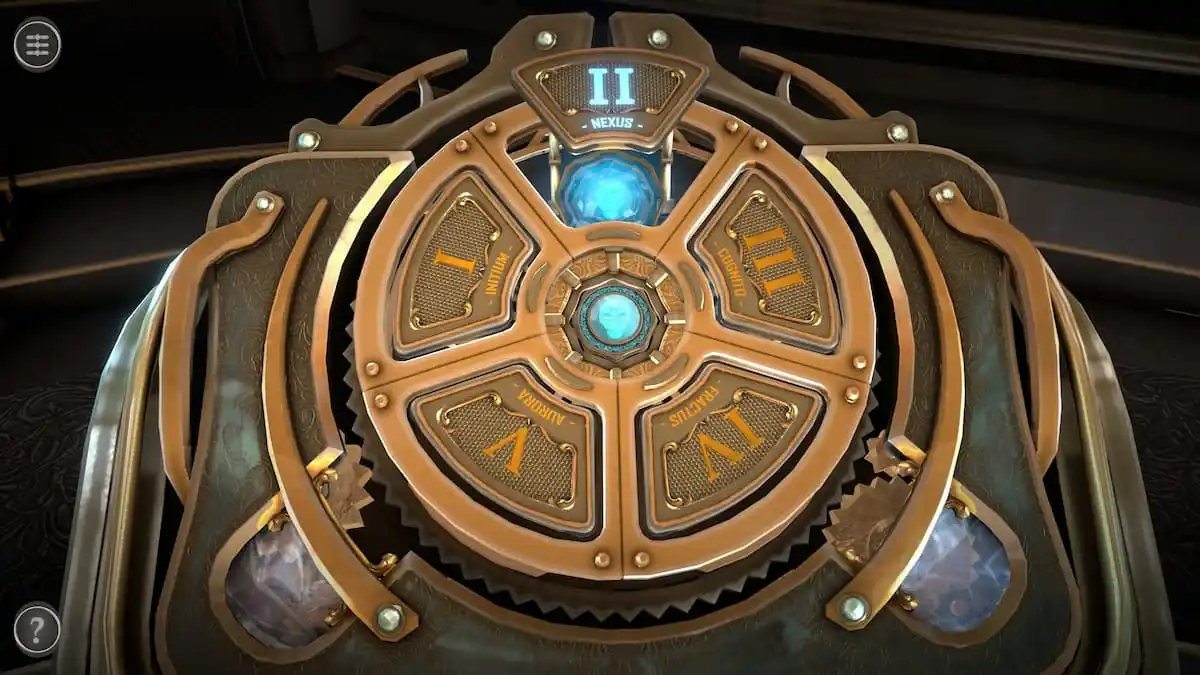
Place it into the pedestal to begin chapter 3.
CHAPTER 2 IS NOW COMPLETE AND FINISH AND CHAPTER 3 IS NOW UNLOCKED IN BOXES LOST FRAGMENTS
CHAPTER 3
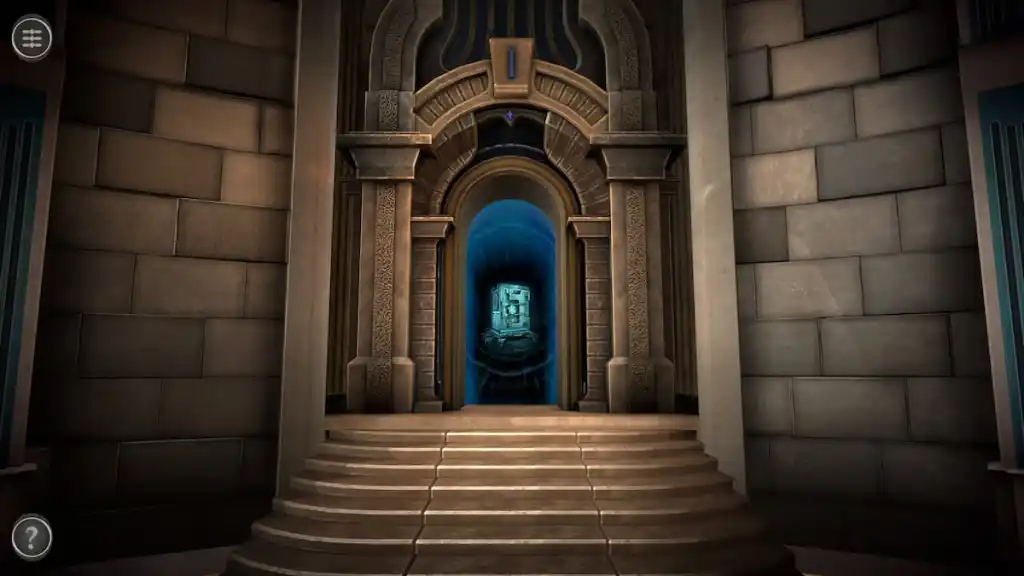
Room 1 puzzles
A looming door with golden stairs leads towards the first room of Chapter 3.
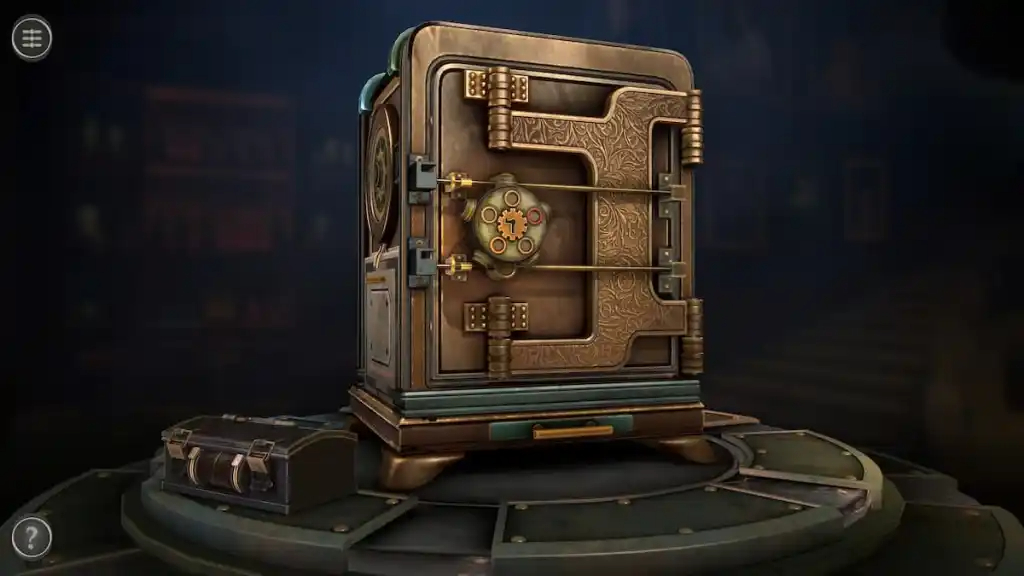
The first room has a book-shaped box in the center, plus a smaller one on the left.
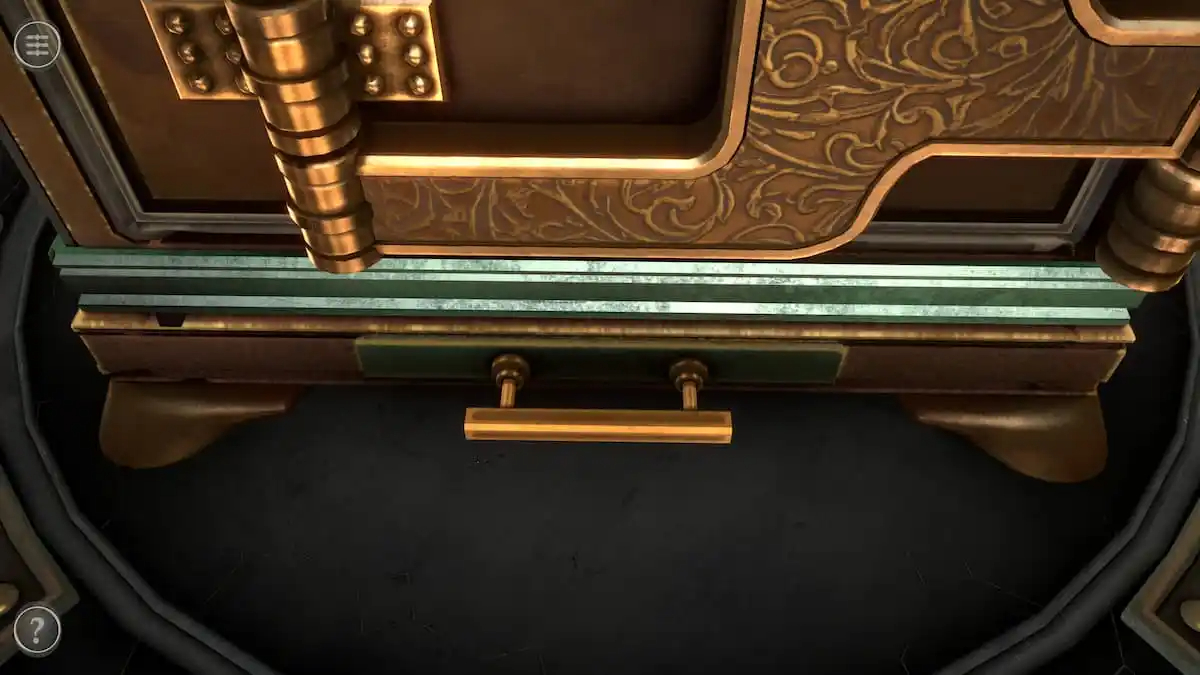
It has a small green drawer with a golden handle on the front.
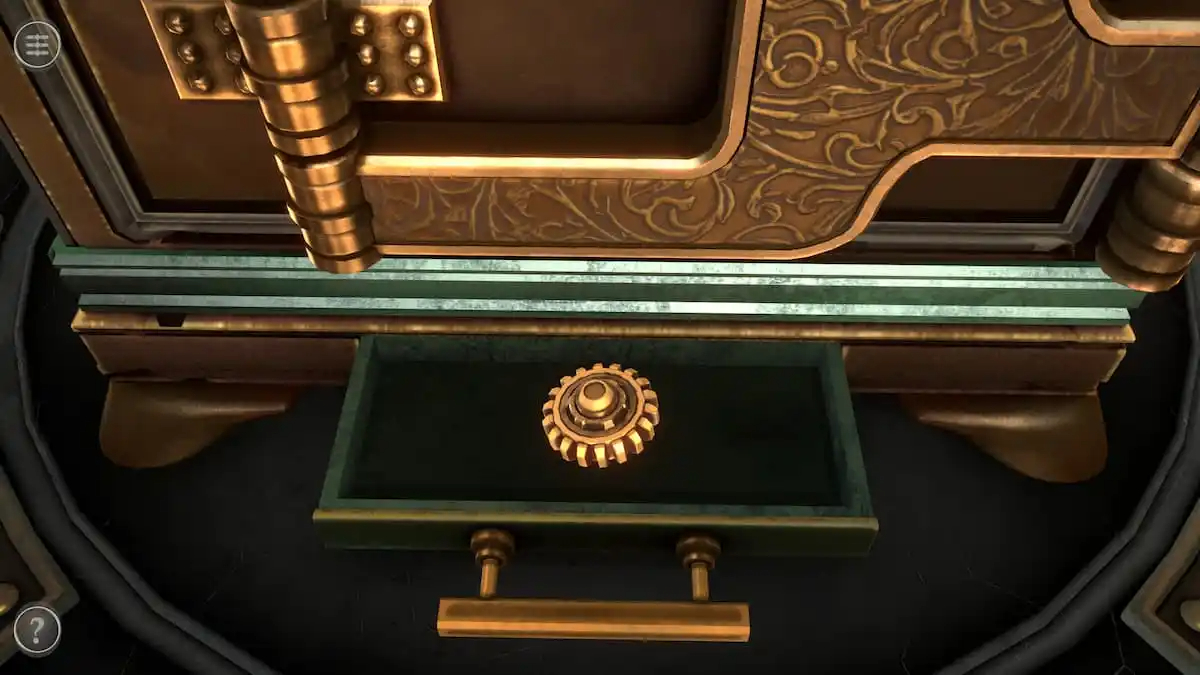
Pull it to get a Gear.
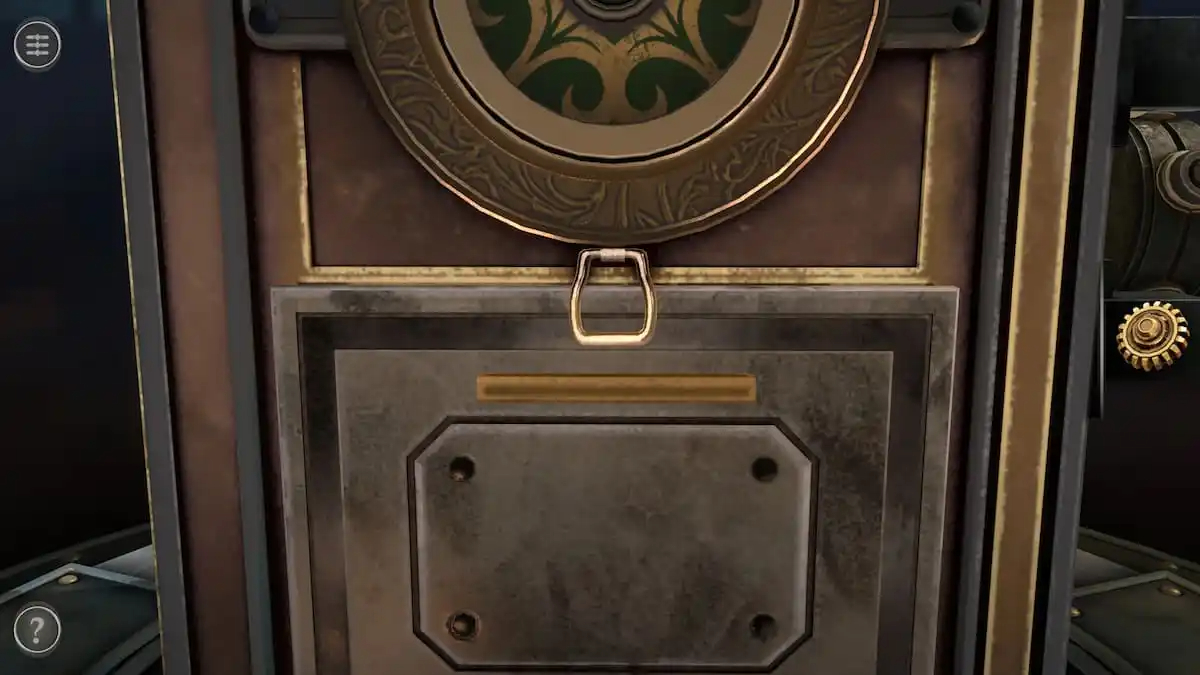
There is also a compartment on the left side.
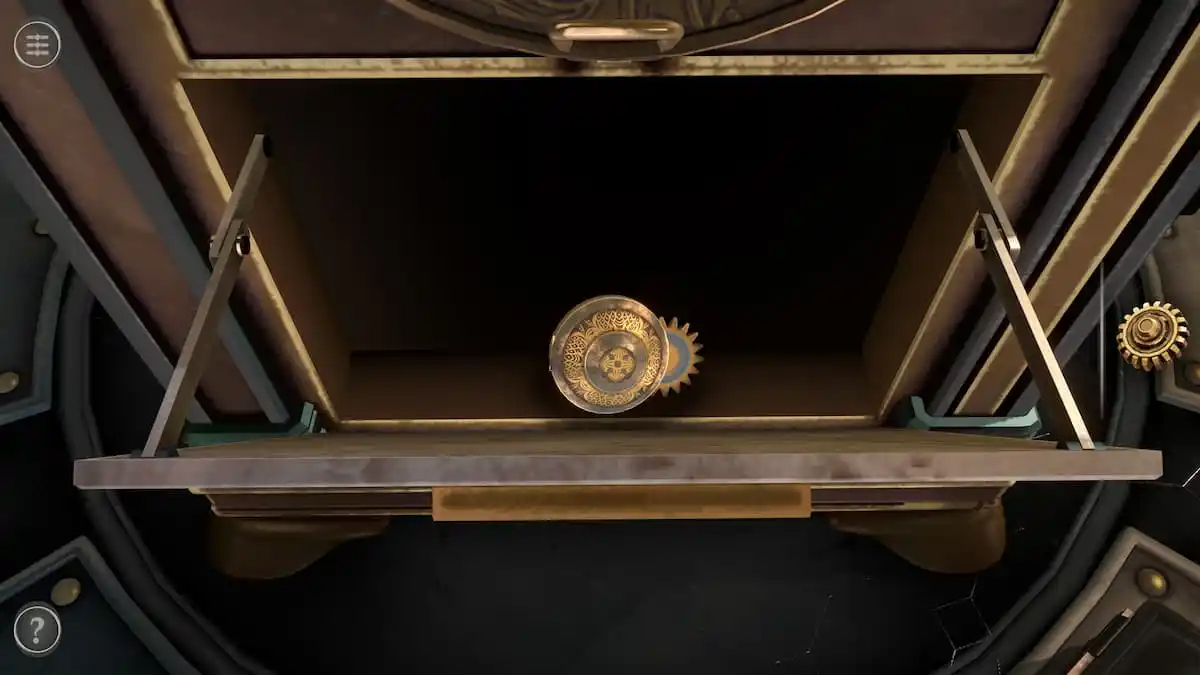
Pull the latch at the top to open it and get a Mechanical Container.
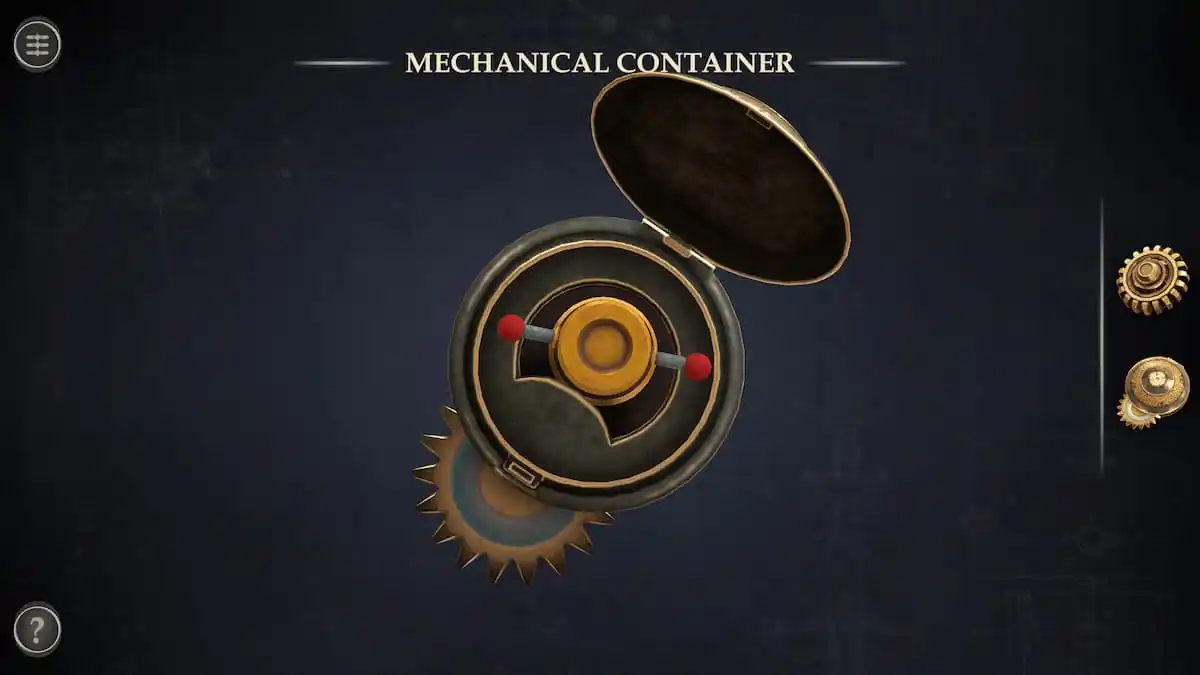
Open the Mechanical Container in your inventory. Rotate the small gear at the bottom left to open the container and get a Small Handle.
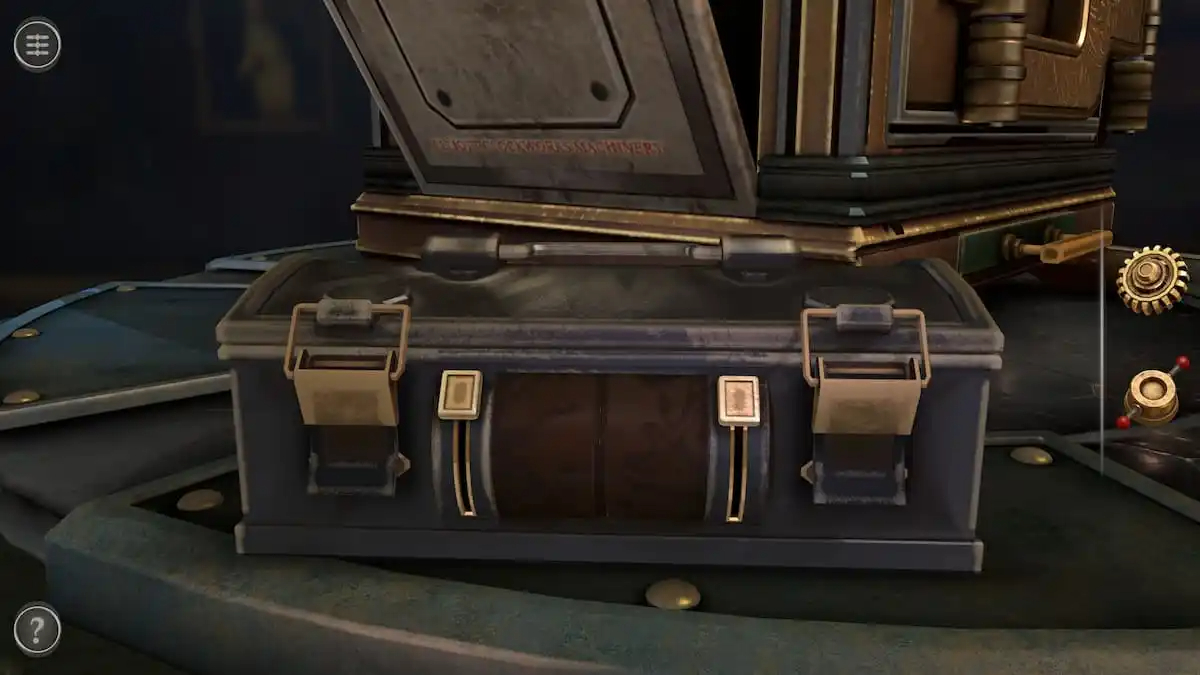
Small lockbox puzzle
With the Gear in your inventory, focus on the small lock box to the left of the larger chest.
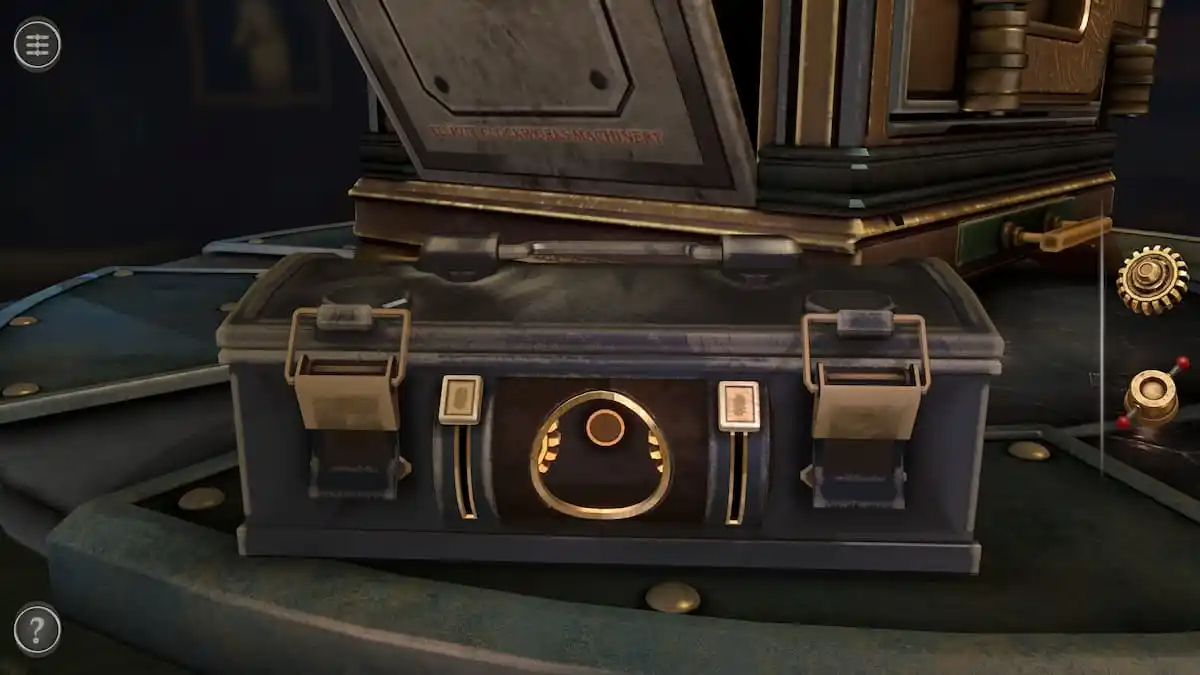
Use the sliders on the side to rotate each half of the door until a gold circle is formed.
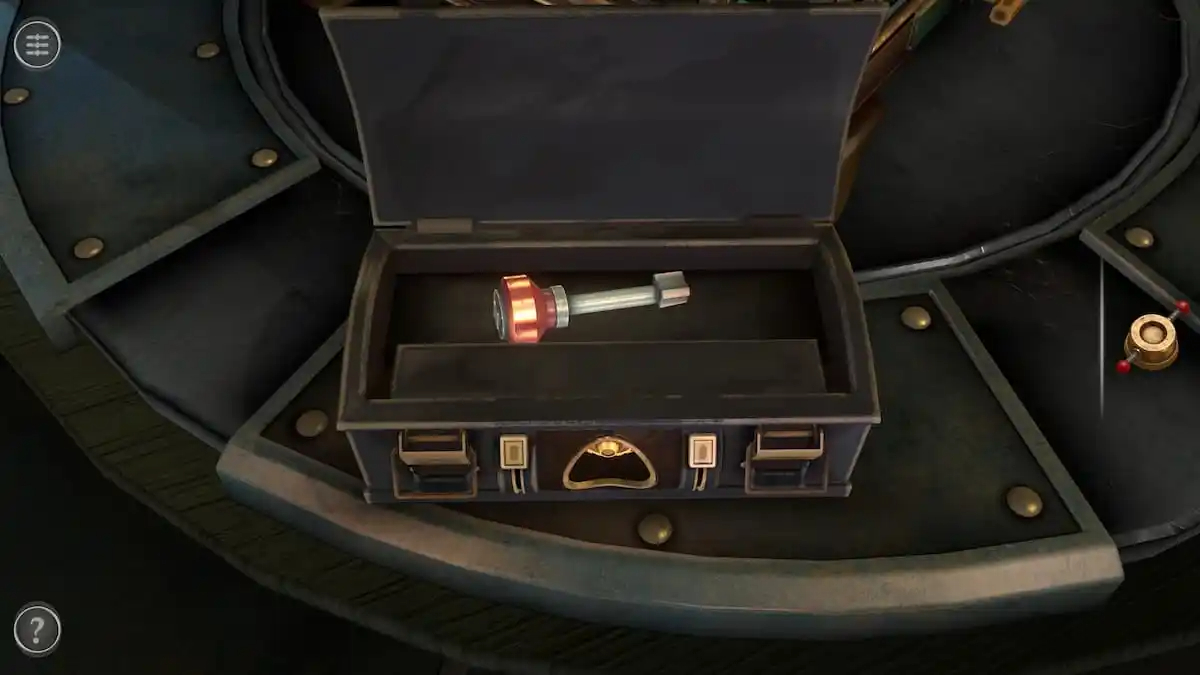
Place the Gear on the space within the circle to unlock the box. Lift the lid to get a Screwdriver.
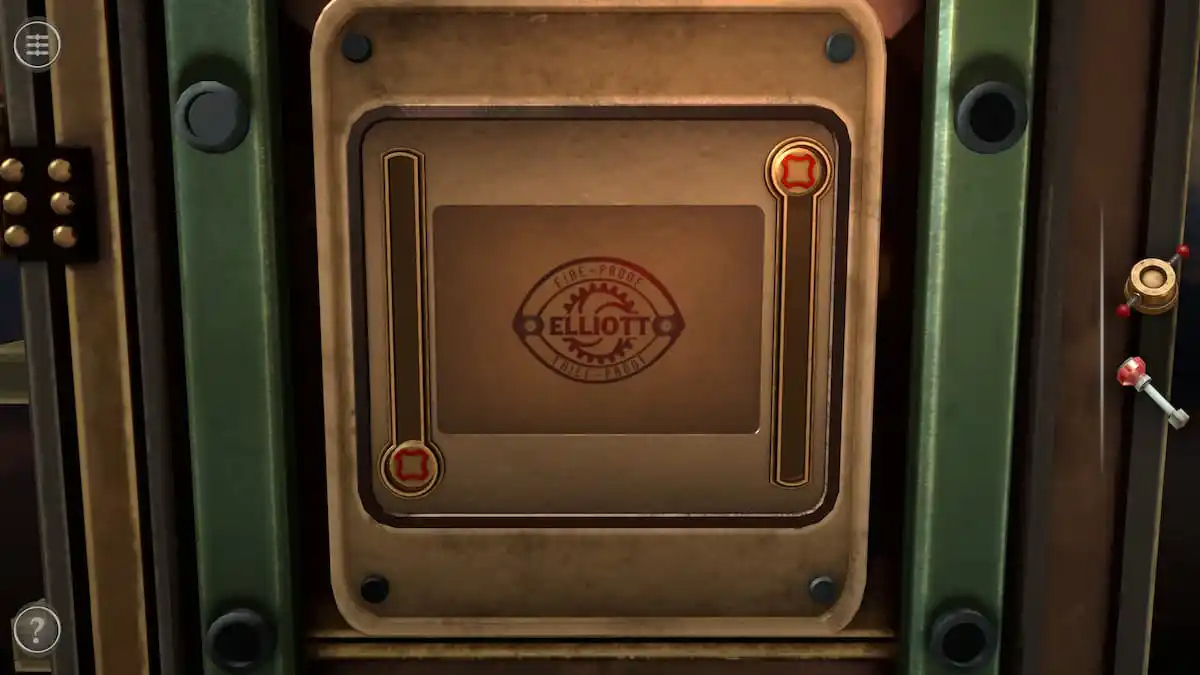
Rotating gears puzzle
Face the puzzle on the right side of the box.
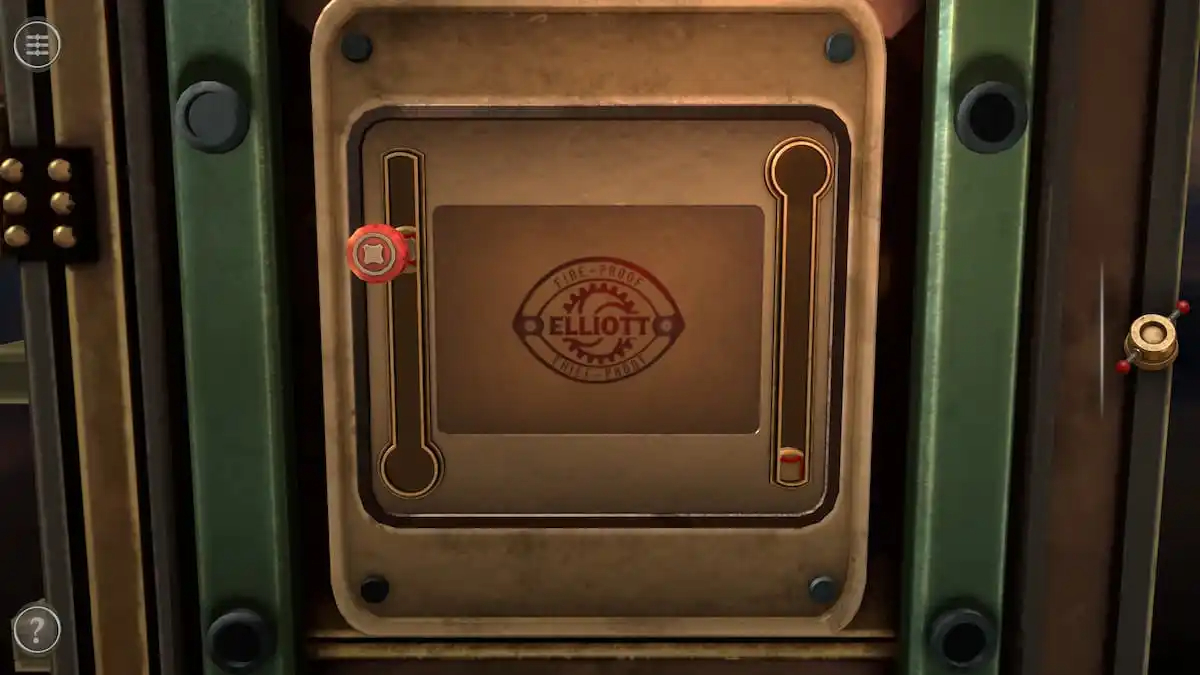
Use the screwdriver to loosen the screws on either end and slide them to the opposite side.
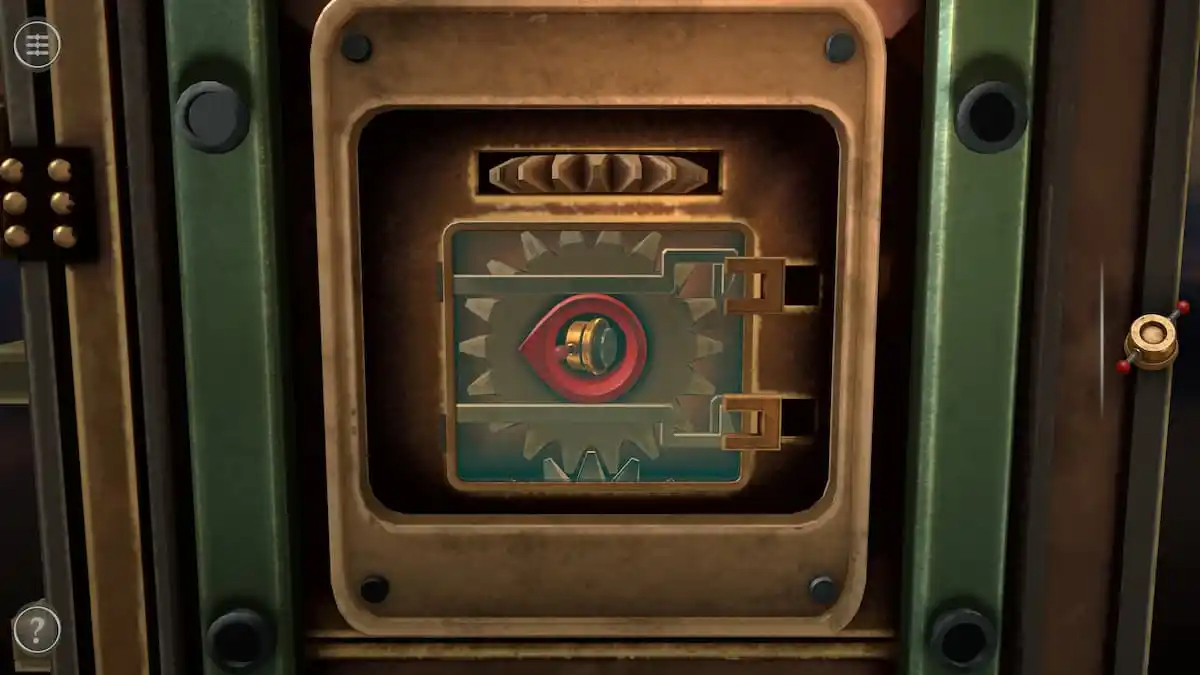
This will unlock the rotating gear puzzle.
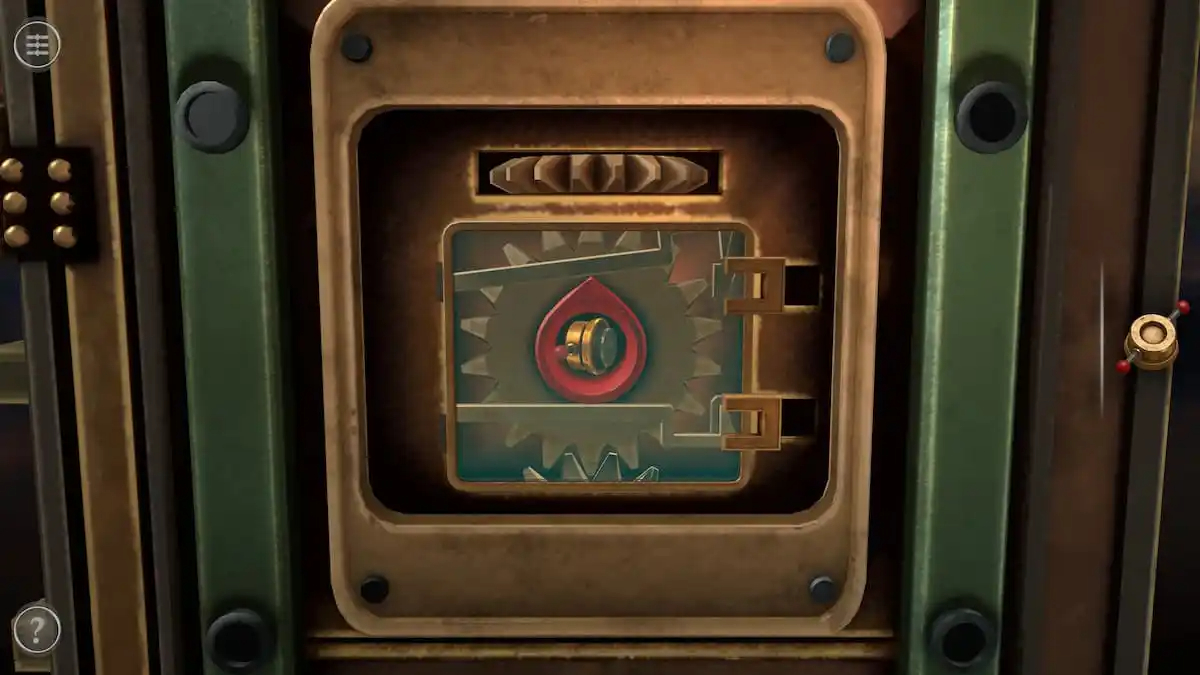
To solve it, rotate the gear so that the lock on the inside is not touching the golden lock on the outside. Here, we moved the gear so that this happened on the top lock.
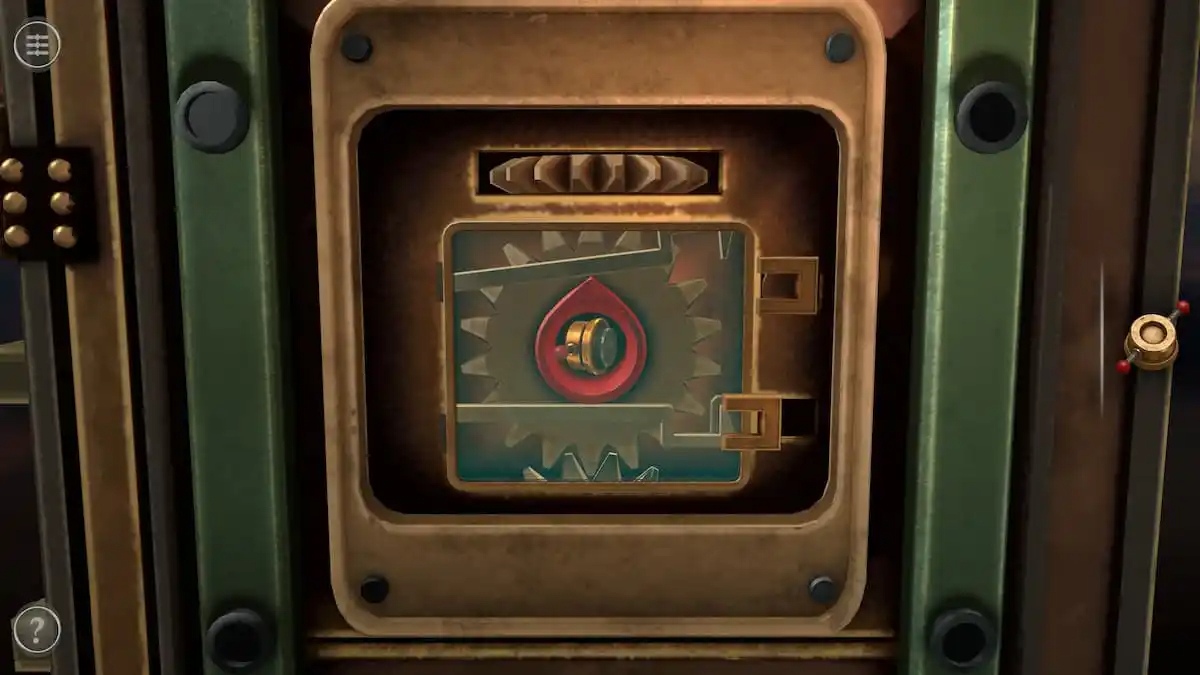
Moving the inner lock away allows you to pull the golden outer lock to the right.
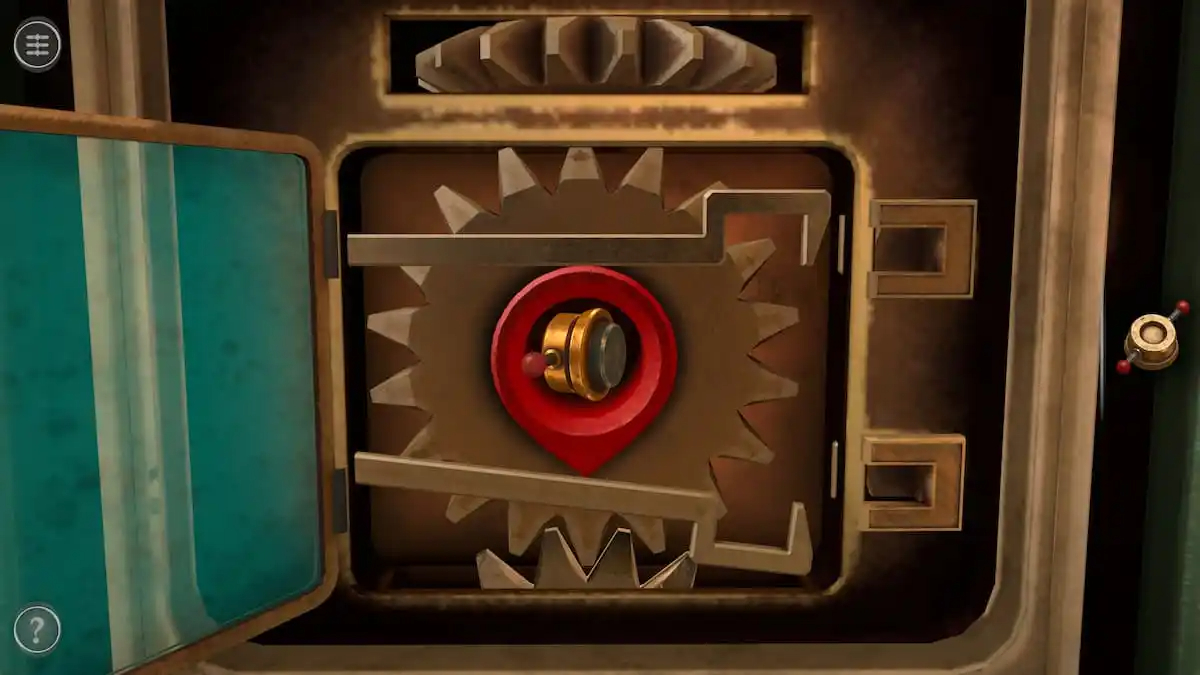
Repeat this process on the bottom lock to open the case, which contains a second Small Handle.
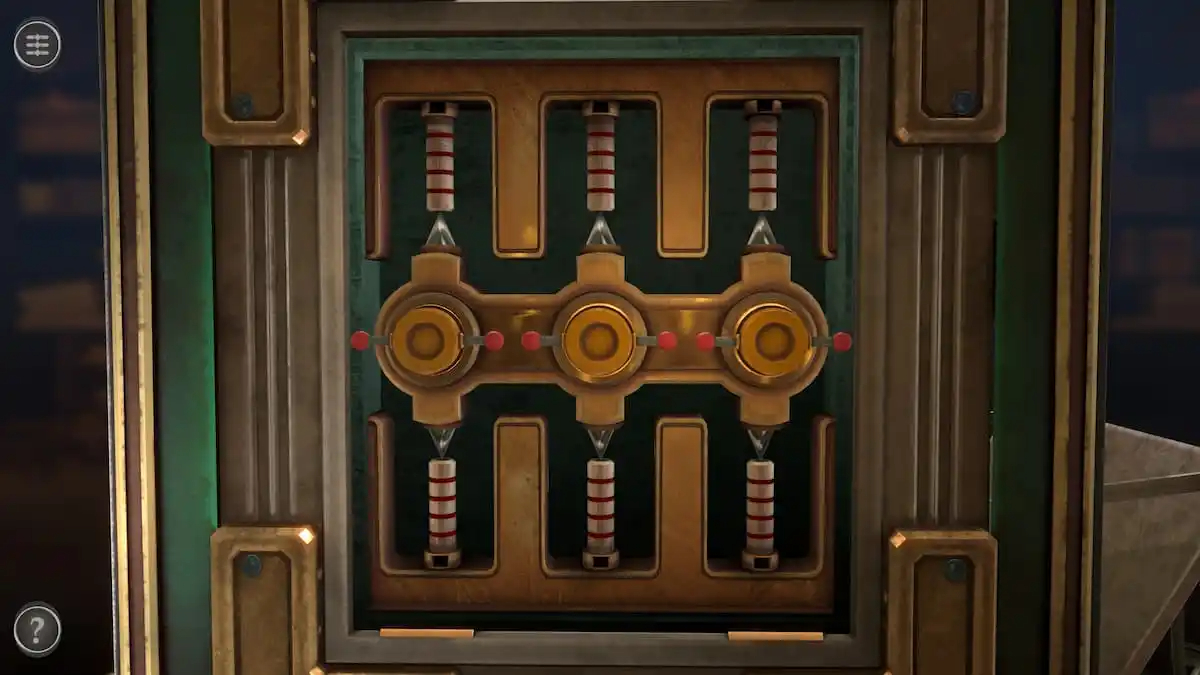
Small Handle puzzle
The puzzle on the back has one Small Handle in the center with an empty slot on the left and the right. Place the two Small Handles in your inventory into these two slots.
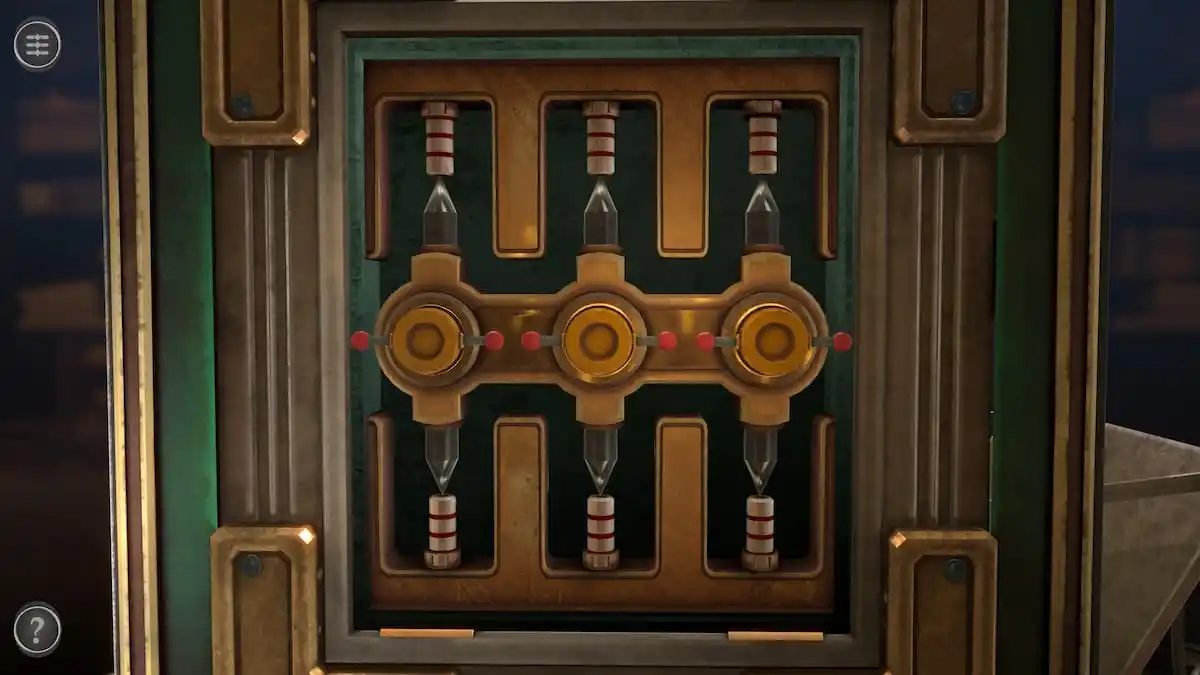
Now rotate each handle 360 degrees.
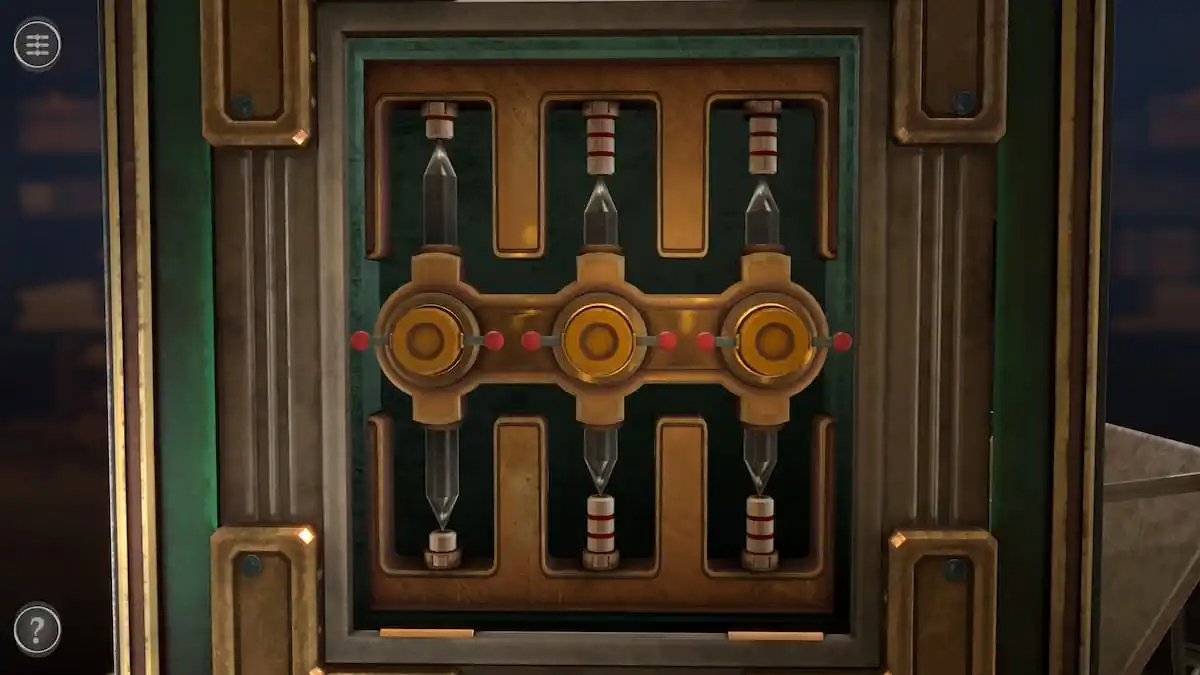
Rotate the left handle another 360 degrees.
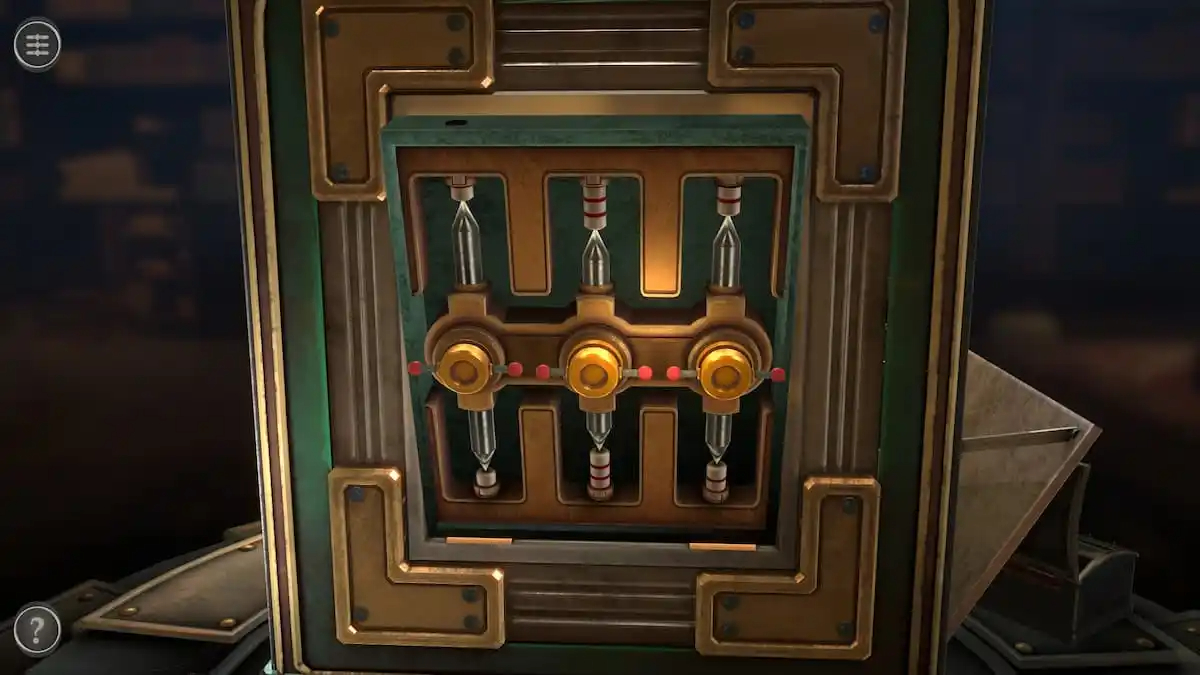
Rotate the right handle once to complete the puzzle and get an Intricate Key.
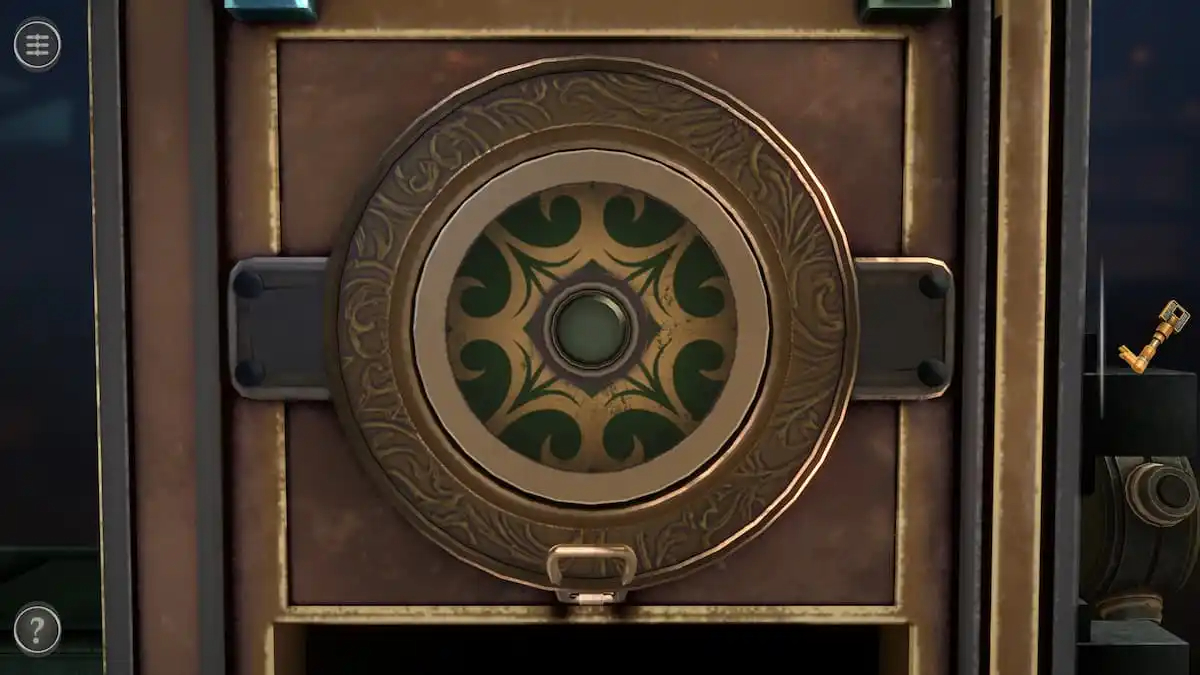
Left rotating puzzle hint
Before starting the Intricate Key puzzle, you need to solve the puzzle on the left side of the box.
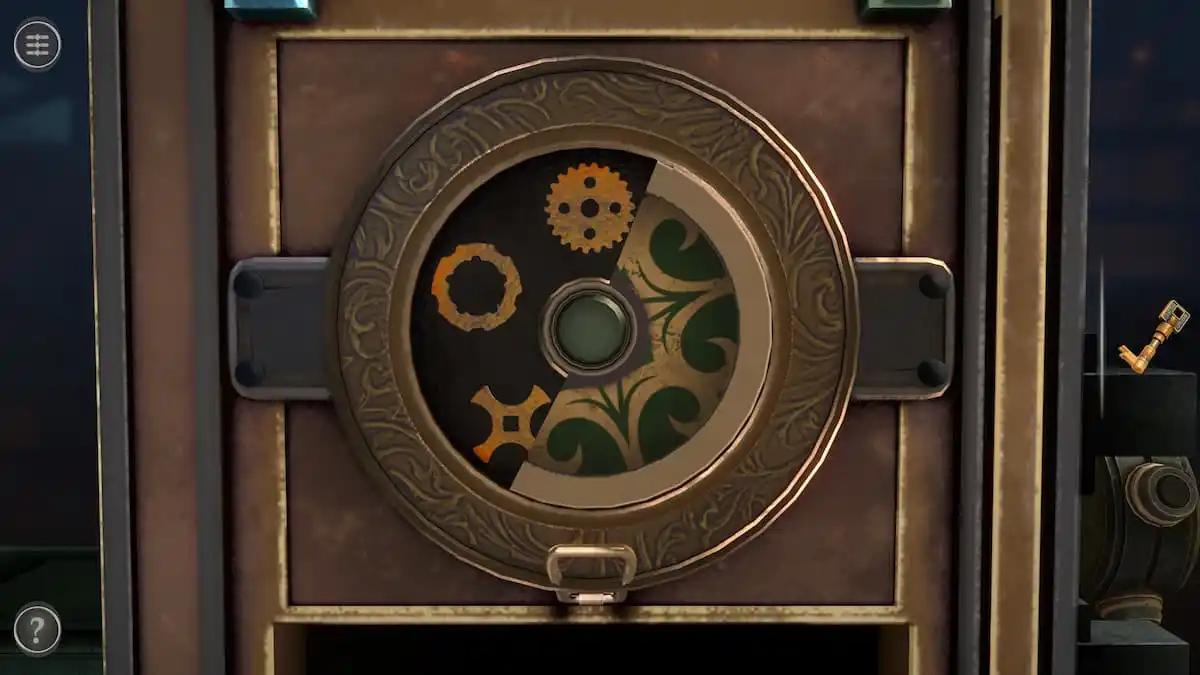
Press the button to make the two panels in the center rotate. As they move, they’ll reveal five symbols for the next puzzle.
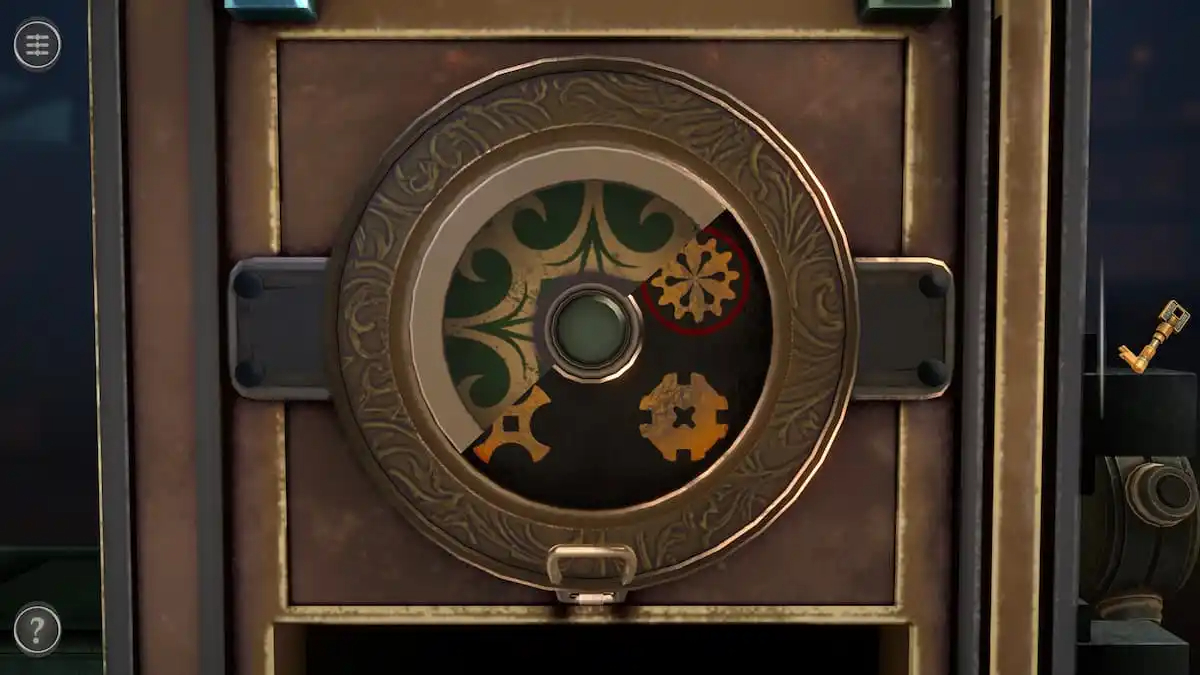
The button can be tapped repeatedly to swap the direction they rotate. Once you know all five symbols, continue to the next puzzle.
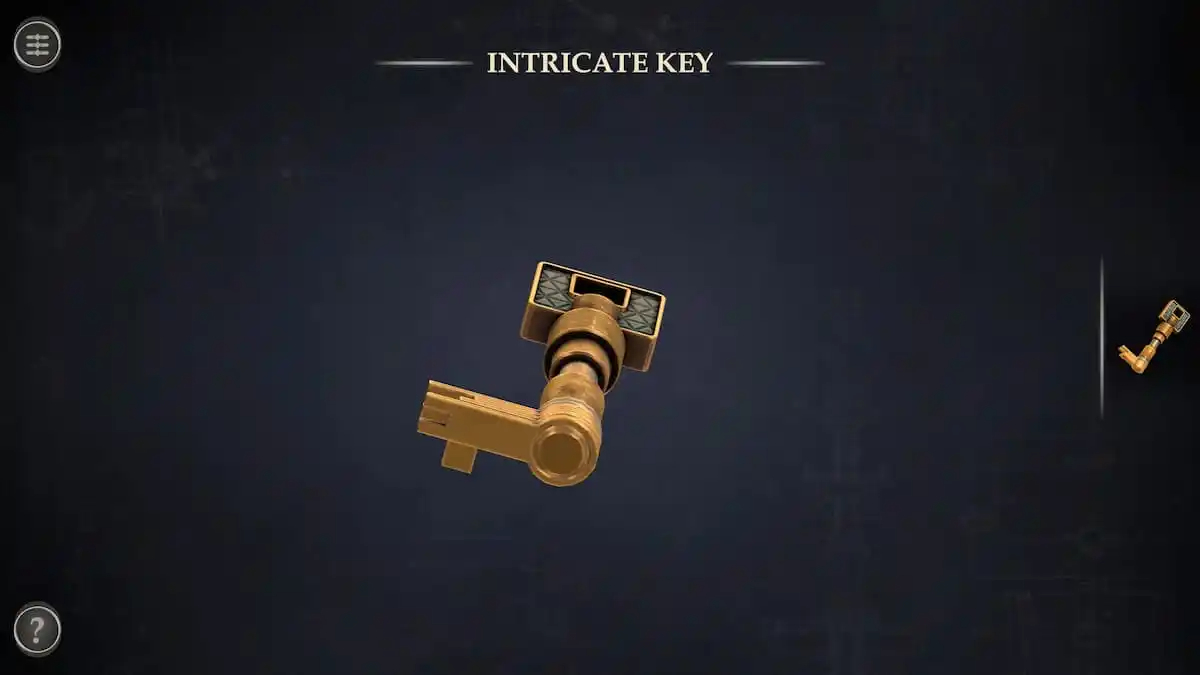
Intricate Key puzzle
First, open the Intricate Key in your inventory.
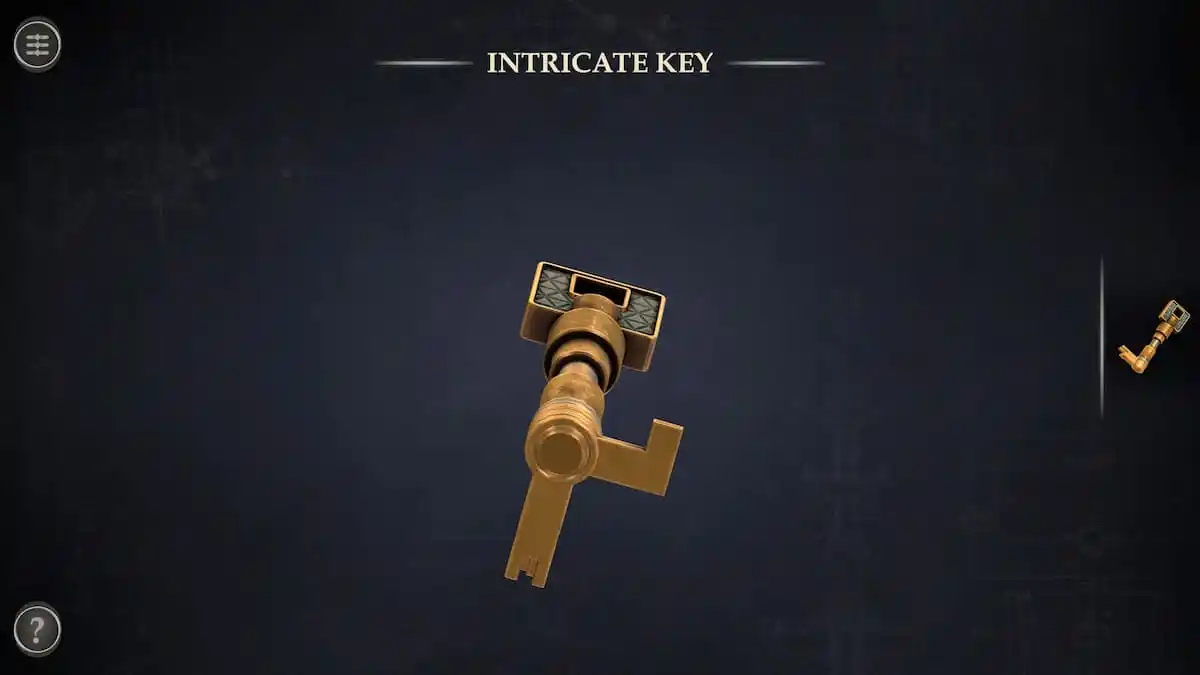
Move the pieces so that the “L” shaped key branches off to the right while the other three segments point downward.
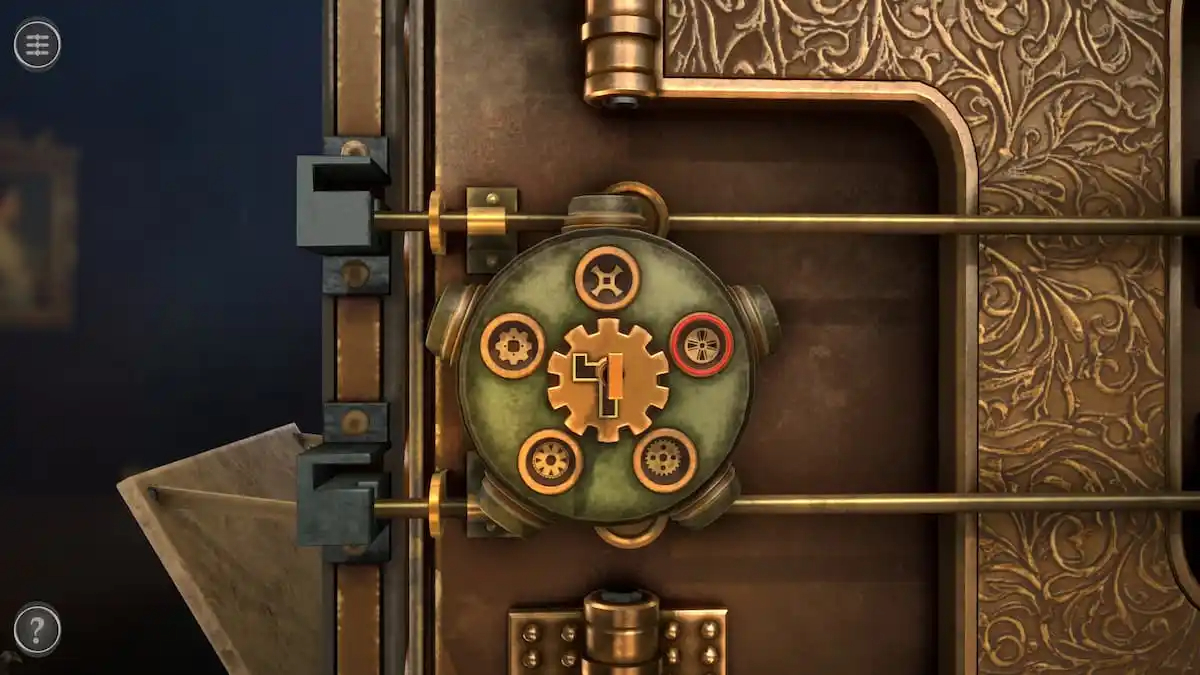
Rotating the key places symbols in each of the five circles. Tap the circles to change the symbols within them.
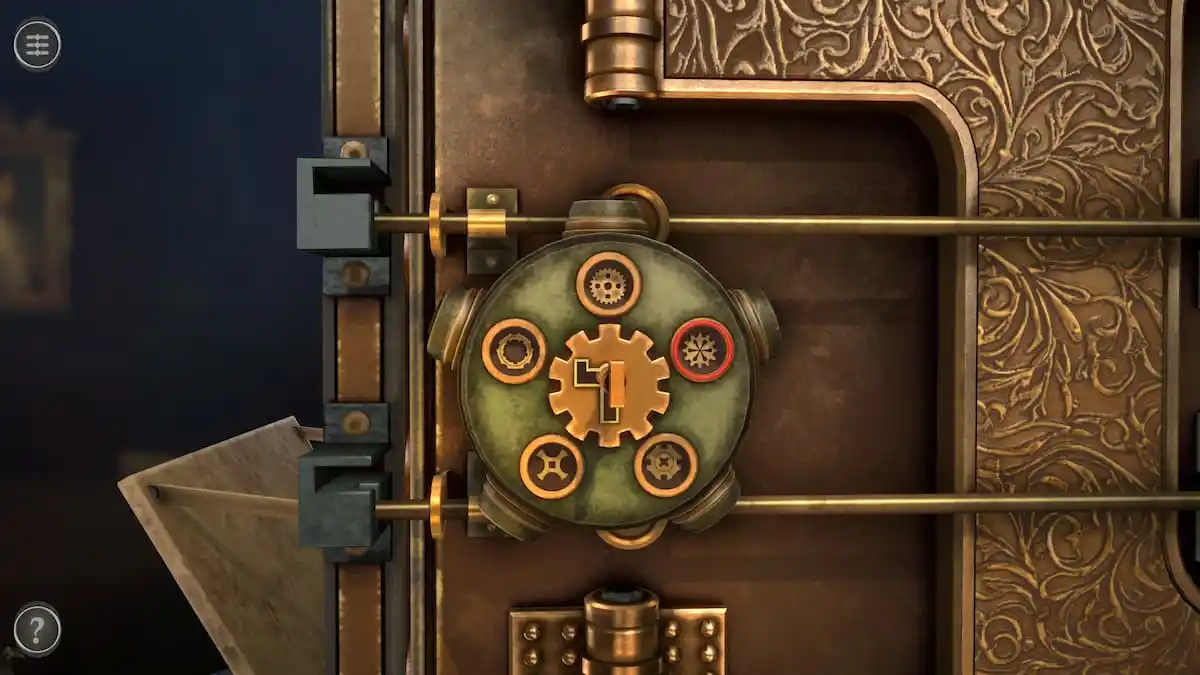
When all of the symbols match those in the previous puzzle, the puzzle will turn into a wheel. Spin it to open the box.
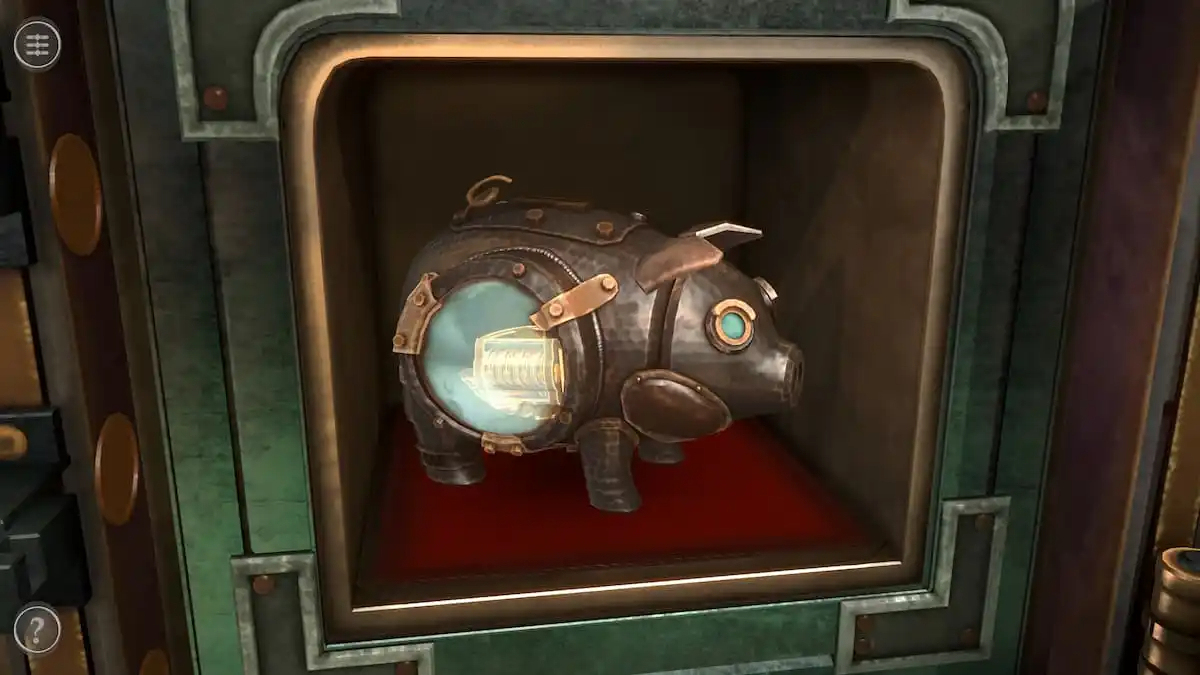
Piggy bank and unlocking symbol puzzles
The box contains a piggy bank. Tap it to place it in your inventory.
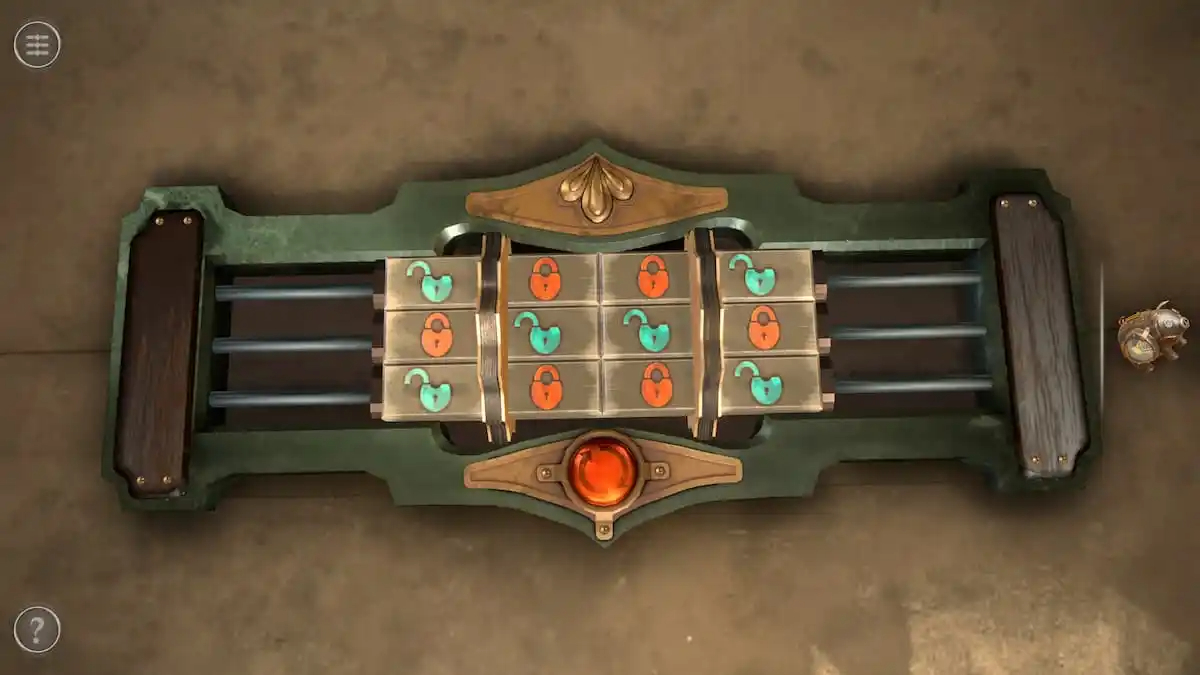
To get the item inside the piggy bank, we need to solve the puzzle at the top of the box.
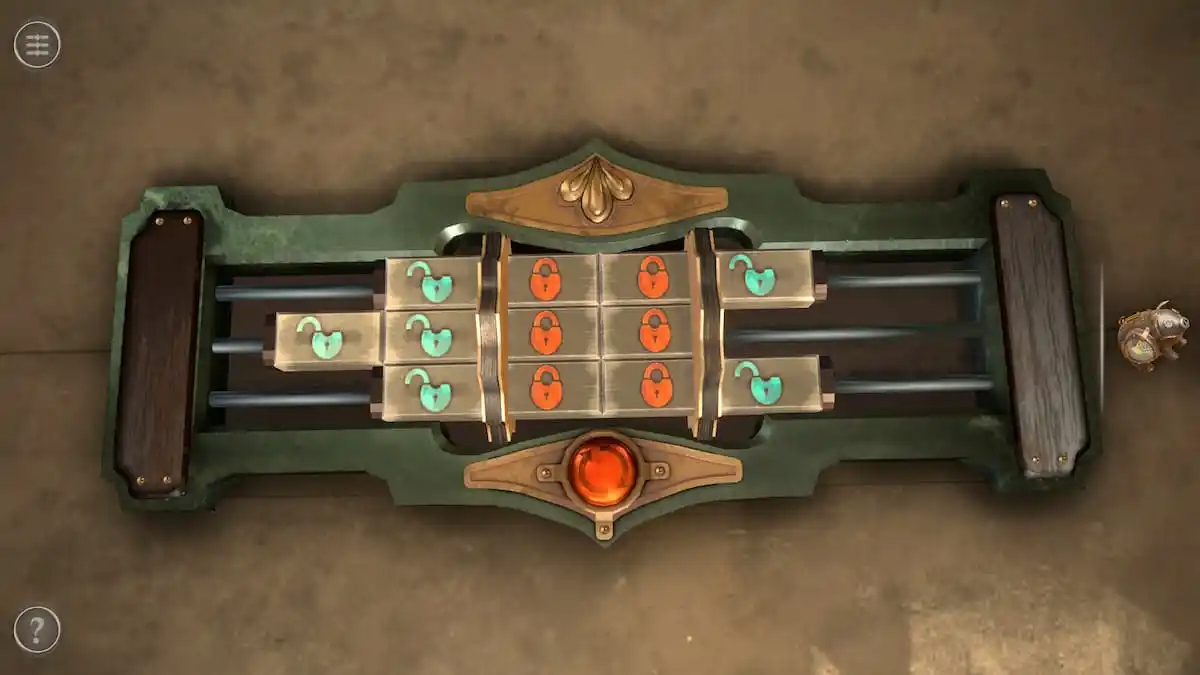
The three rows can be slid around and the red button can be pressed to rotate all six segments in the center. To turn all of the symbols to the unlocked version, all of the symbols on the side need to be the unlocked version while all six in the center need to be the locked version.
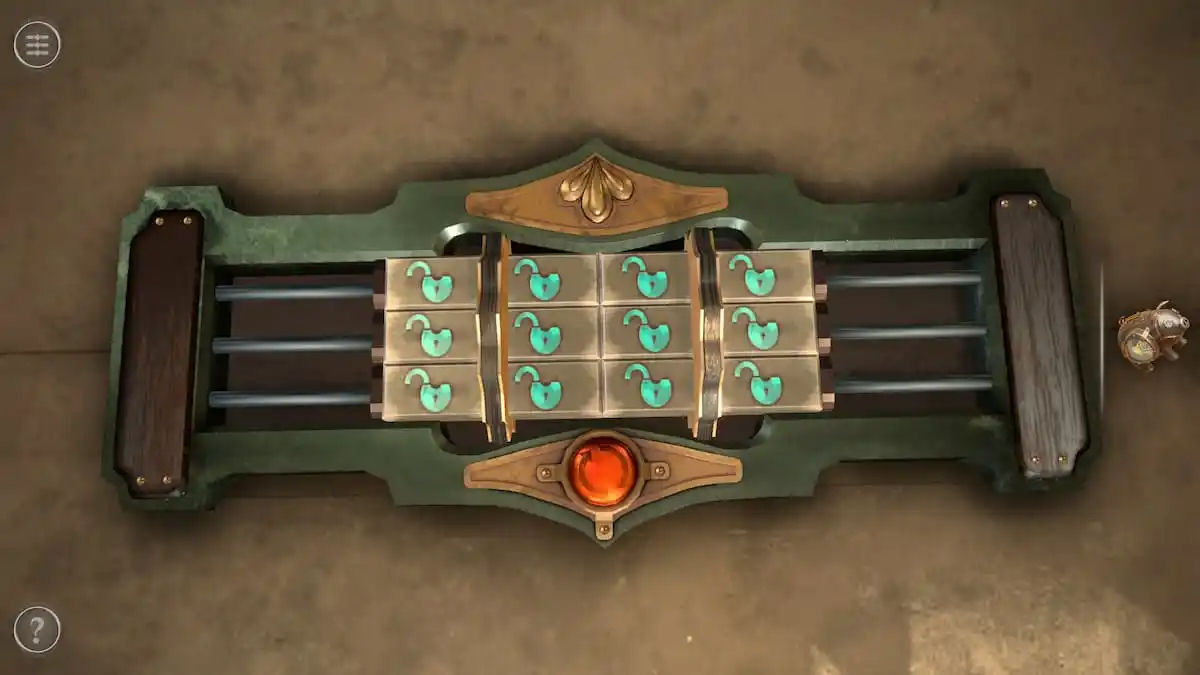
The center row can be pressed one time to complete the puzzle.
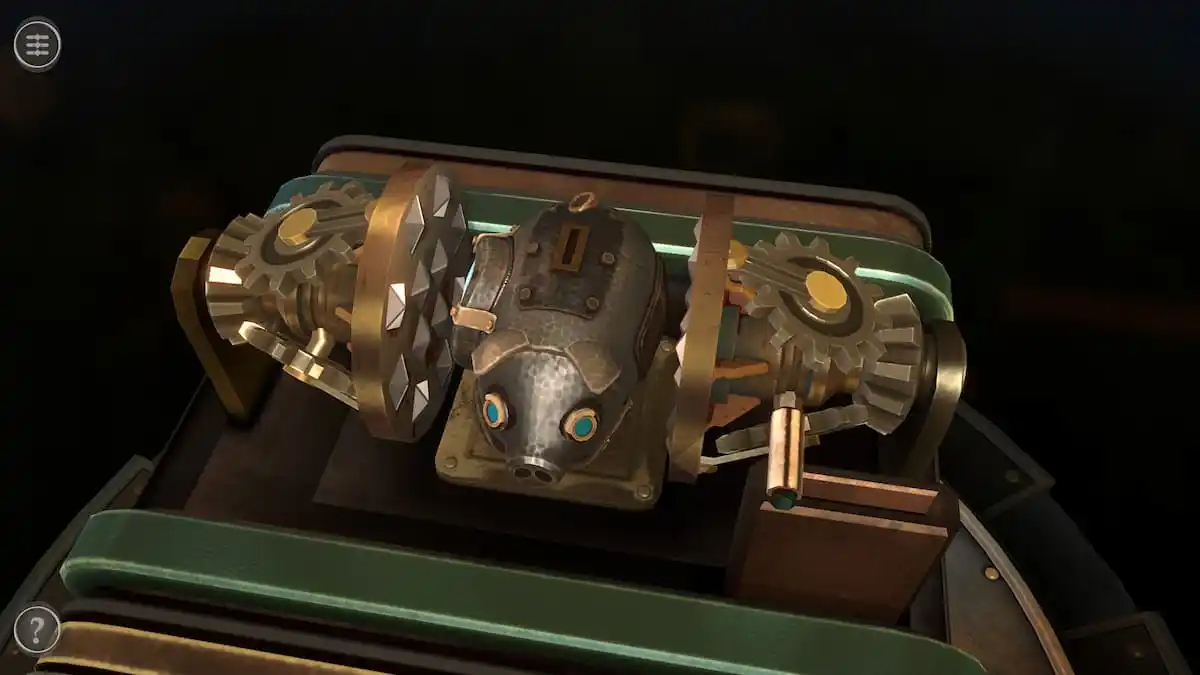
This opens up the top to reveal a crushing machine. Place the piggy bank in the center.
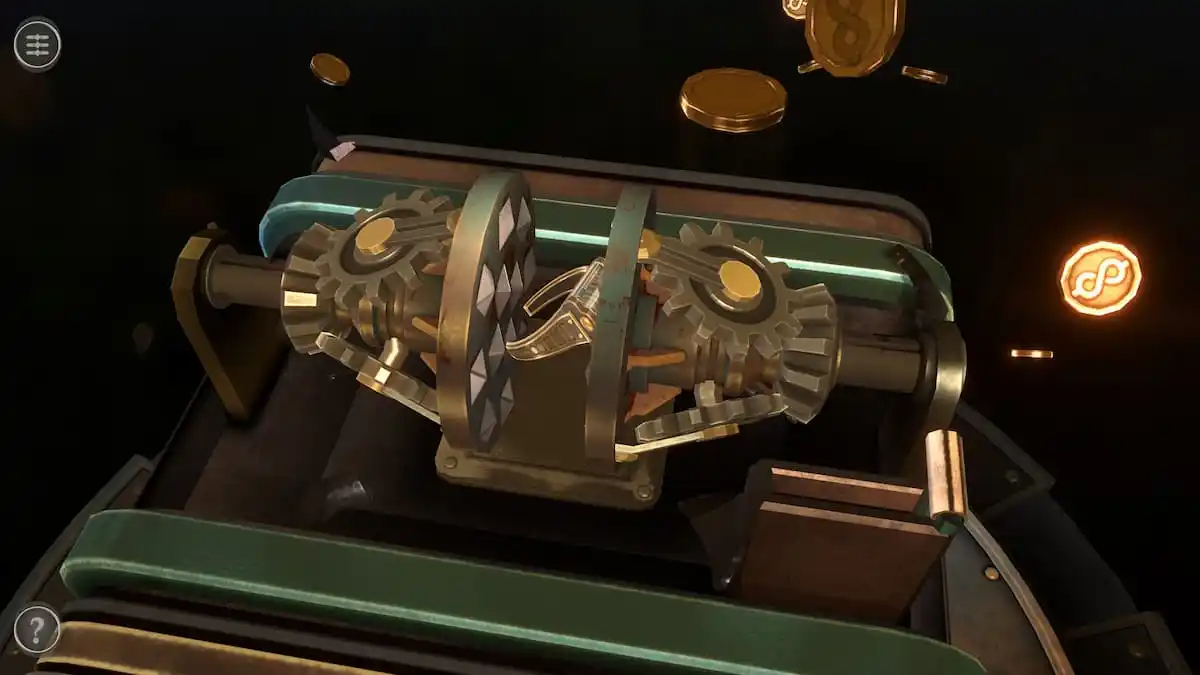
Pull the lever to crush the piggy bank and get the Intricate Mechanism.
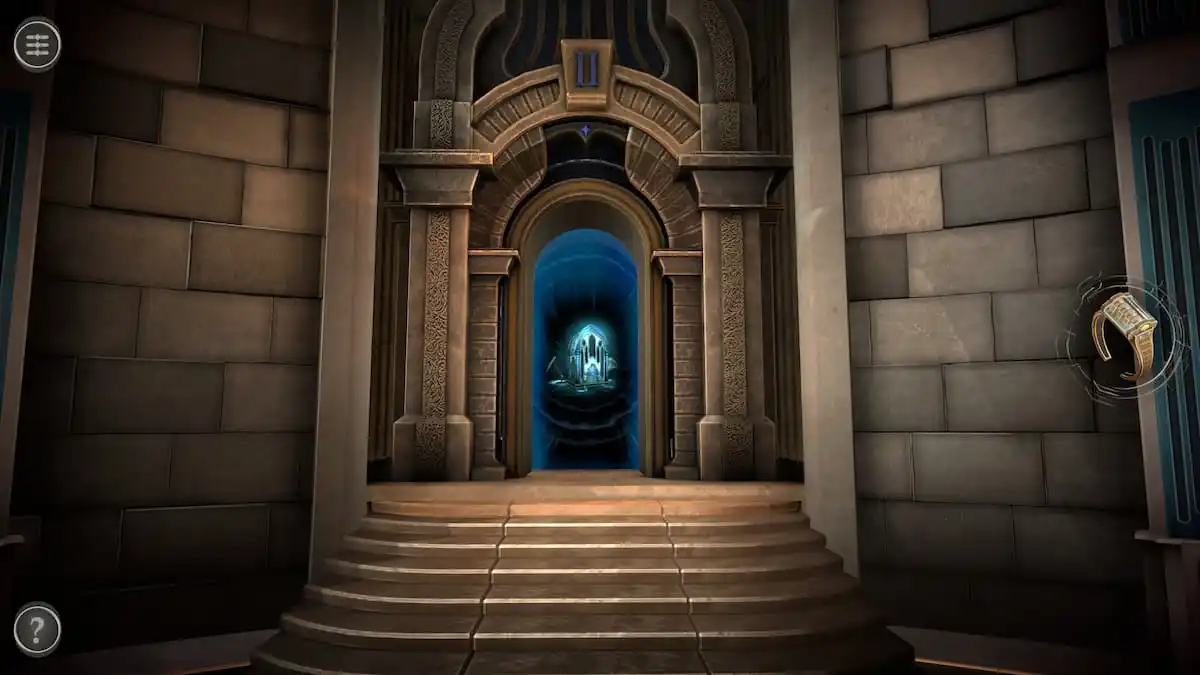
Grabbing the Intricate Mechanism removes you from the first room while opening up the second room to explore.
THE FIRST PUZZLE BOX IS NOW COMPLETE AND FINISH AND YOUR SECOND PUZZLE BOX IS NOW UNLOCKED IN CHAPTER 3 OF BOXES LOST FRAGMENTS
SECOND PUZZLE BOX IN CHAPTER 3
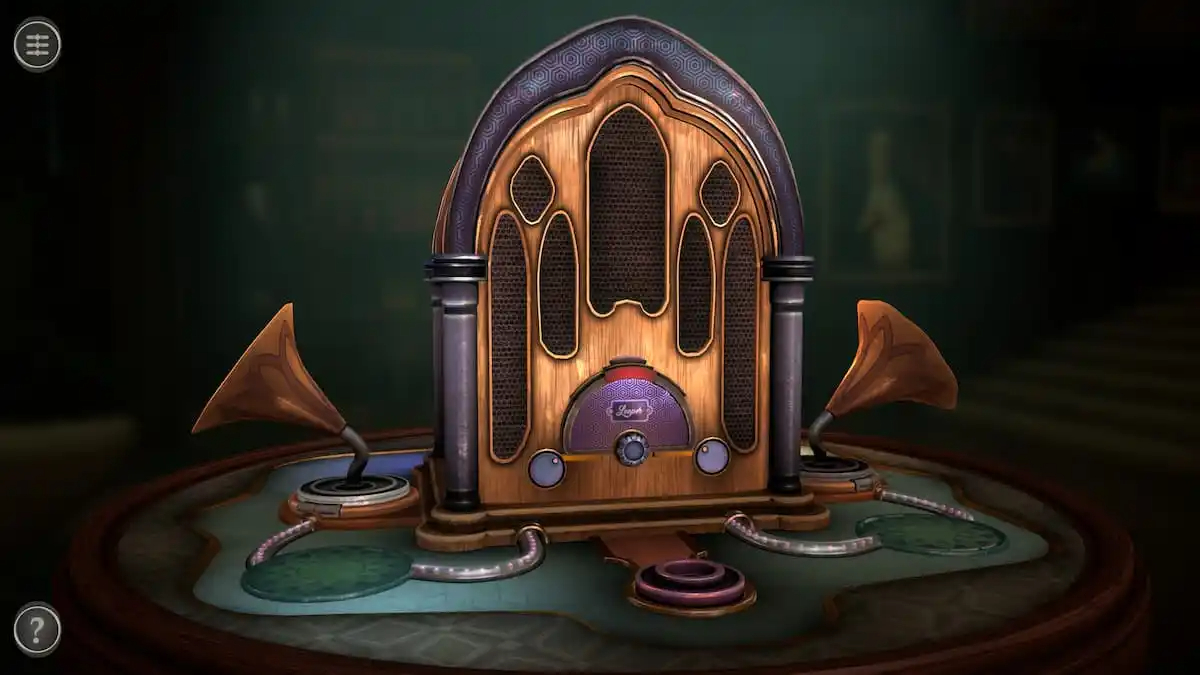
Room 2 puzzles
The second room of Chapter 2 has a jukebox as the central box.
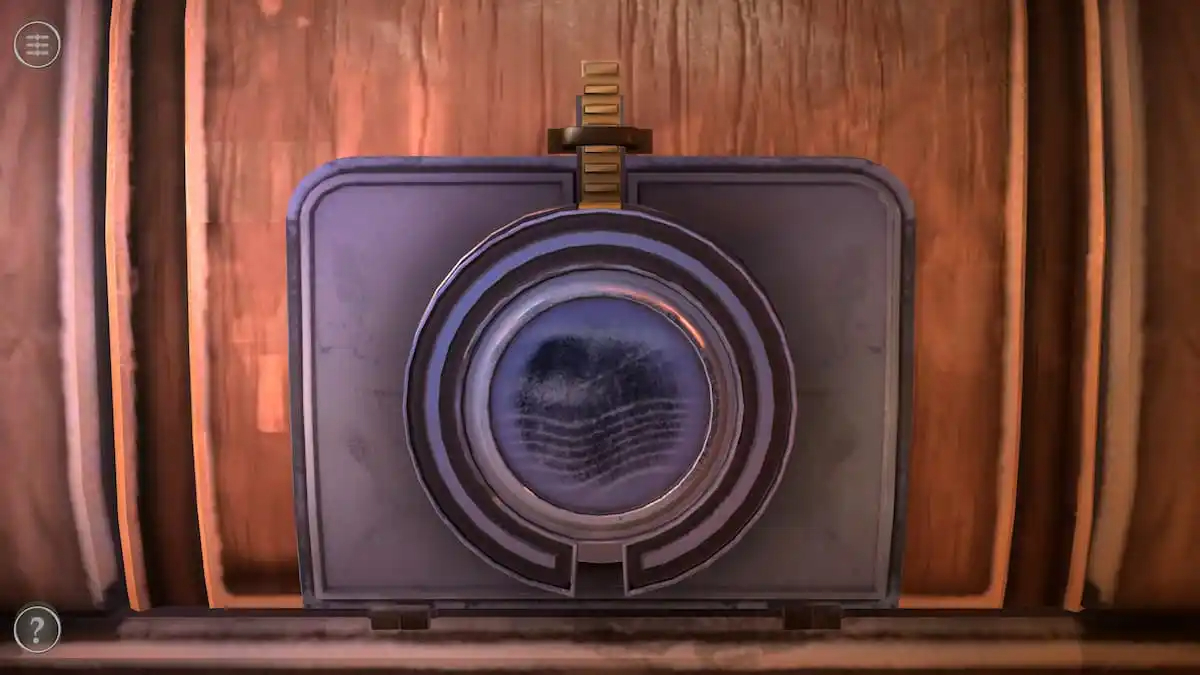
Begin with the puzzle at the top of the right side of the box.
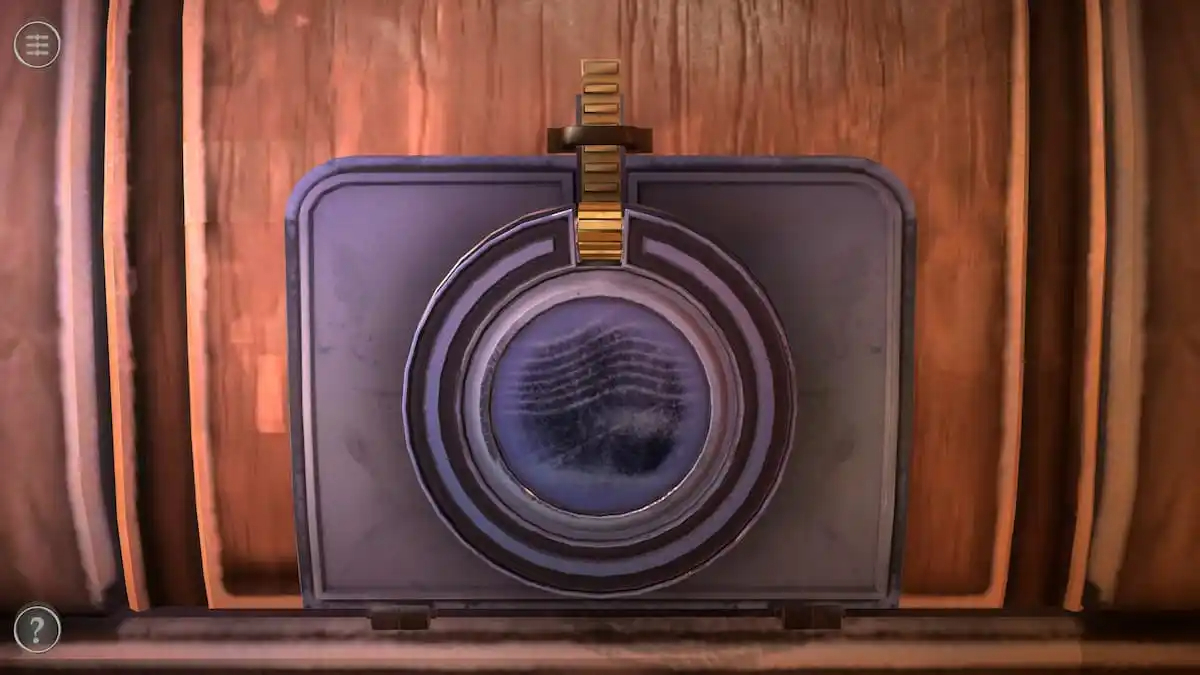
Rotate the puzzle until a golden piece appears at the top. Rotate this piece to unlock the puzzle.
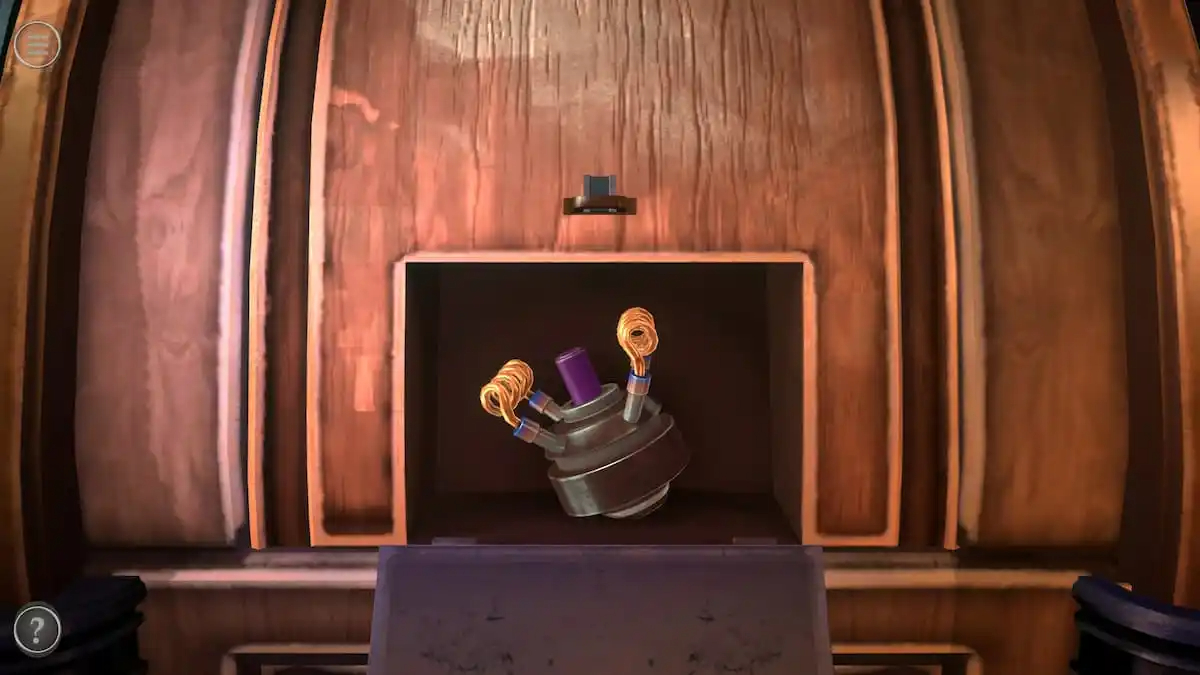
The unlocked compartment contains an Antenna.
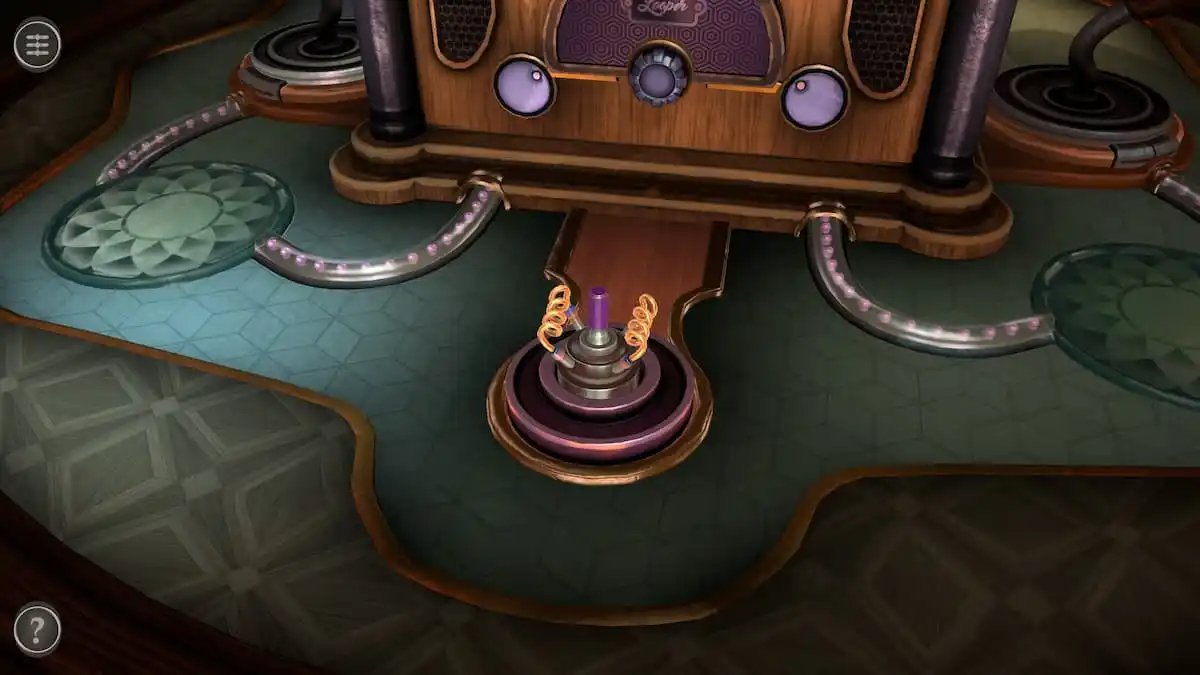
Place the Antenna into the hole in front of the jukebox to unlock the stereo puzzle.
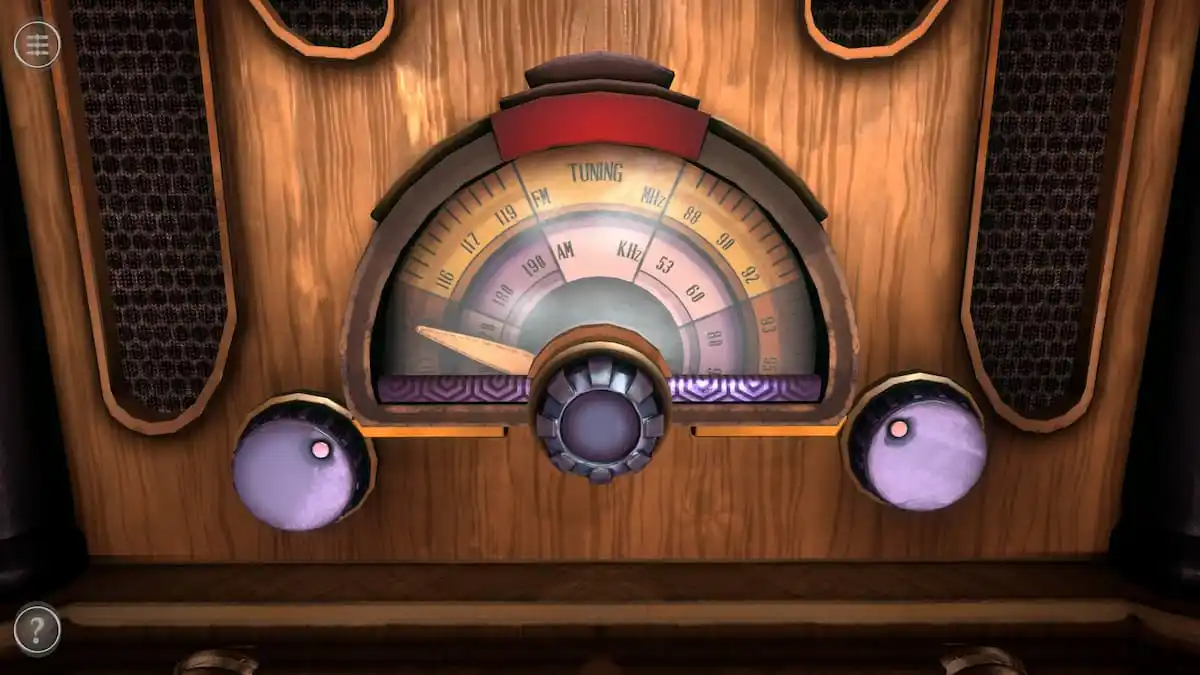
Stereo puzzle
This puzzle consists of two dials and a knob controlling the pointer in the center.
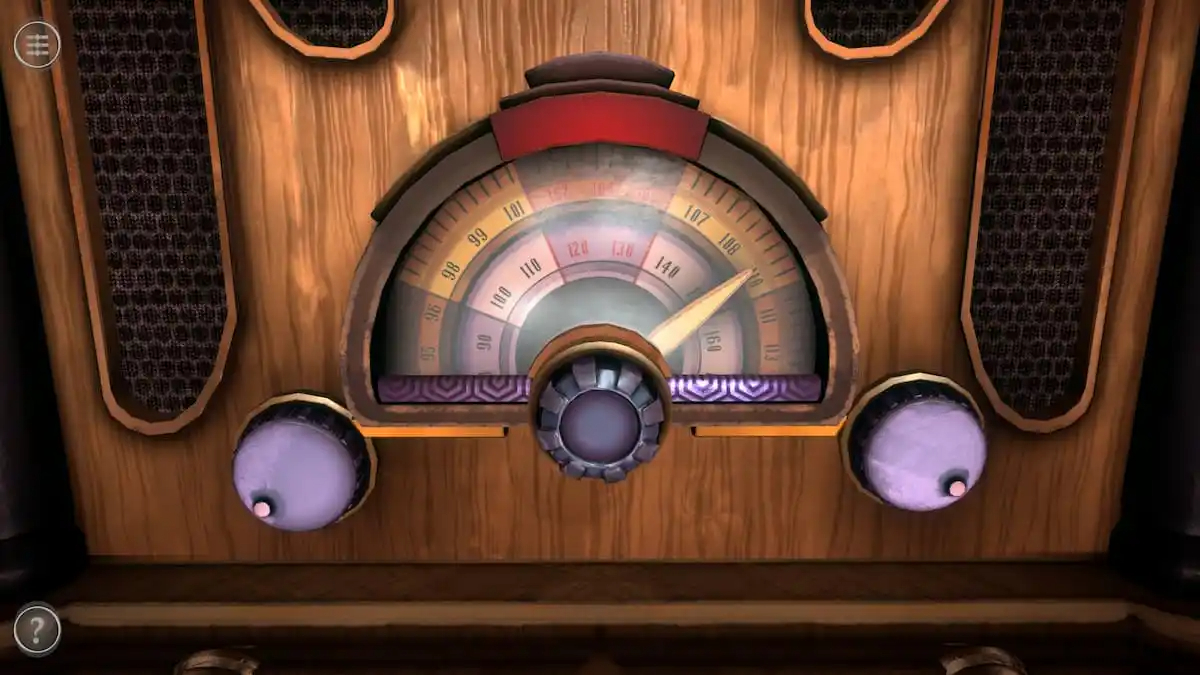
Move the pointer to the right and twist the left and right knobs so that red numbers are in the center.
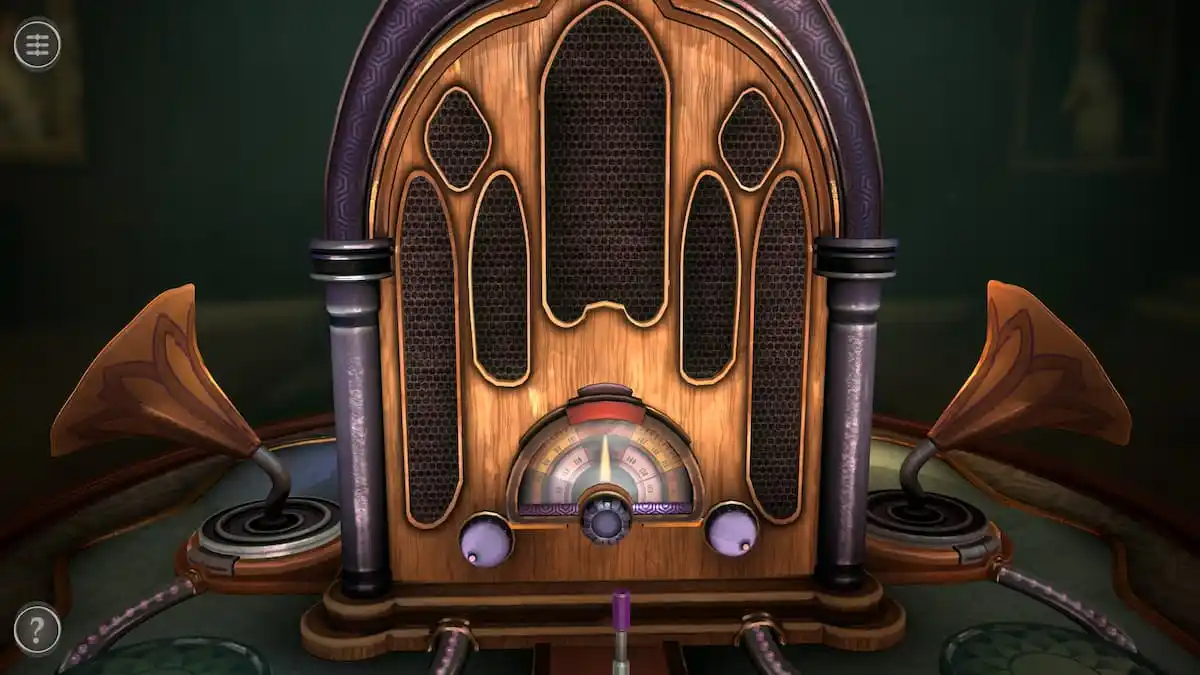
Turn the knob so that the pointer is pointing upwards to complete the puzzle.
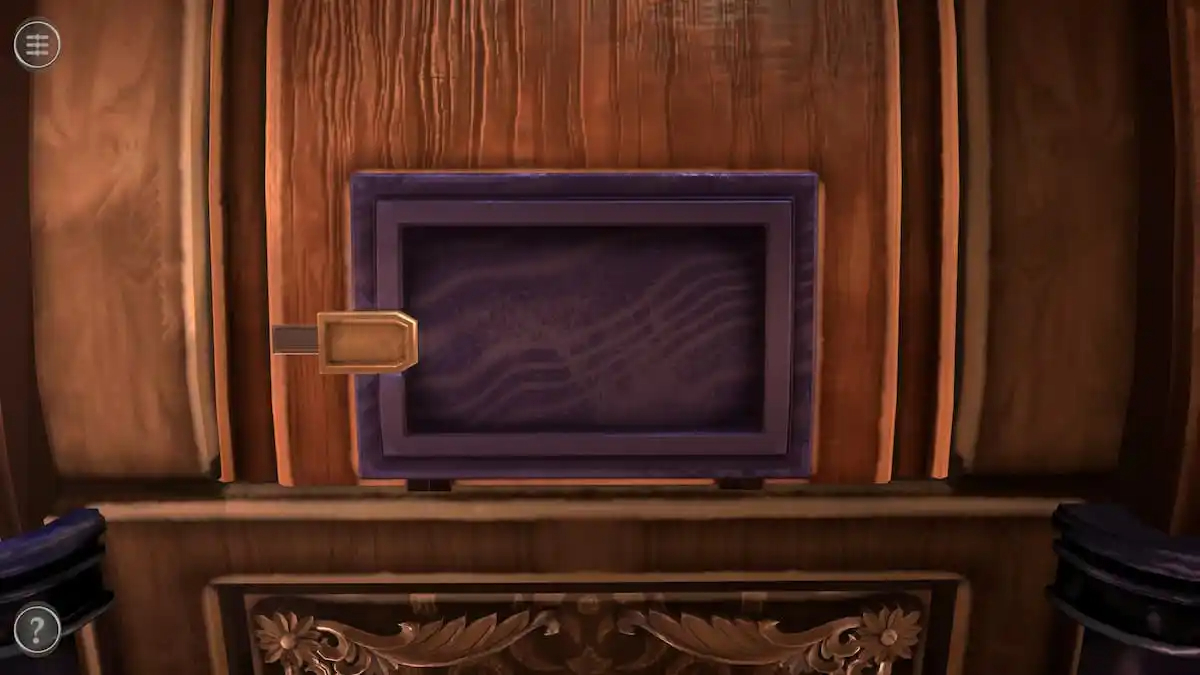
Slot machine puzzle
Before beginning the jukebox puzzle, a hint can be found on the left side of the box.
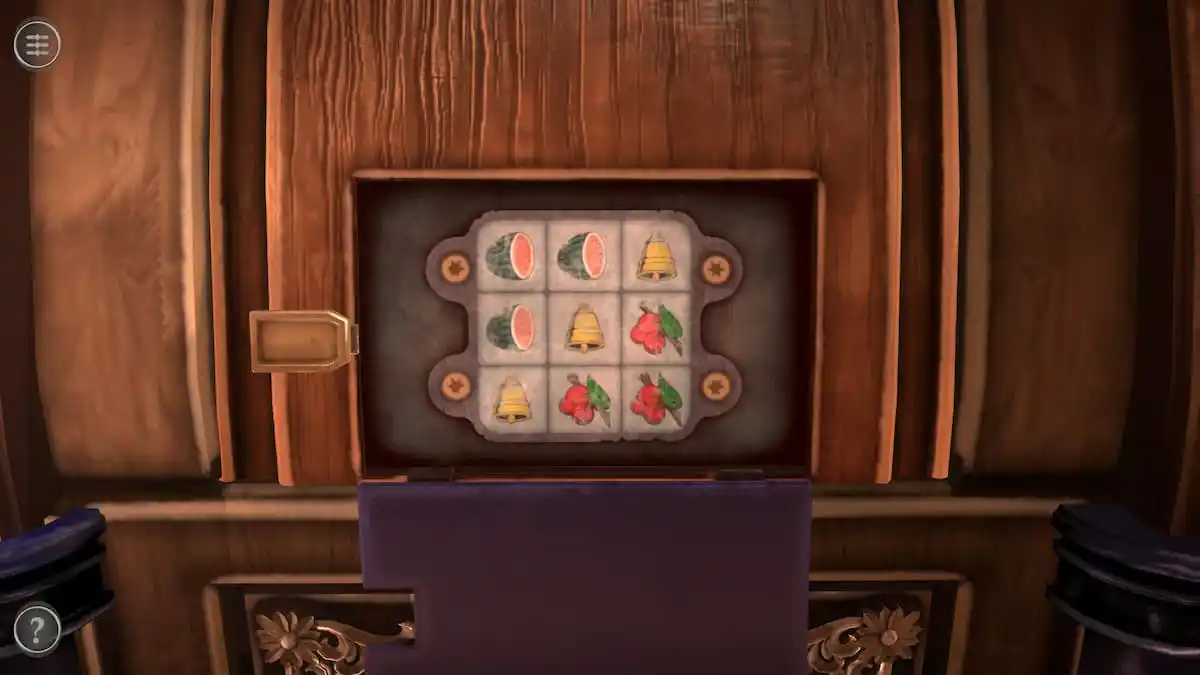
Push the slider to the left to unlock the solution for the jukebox puzzle.
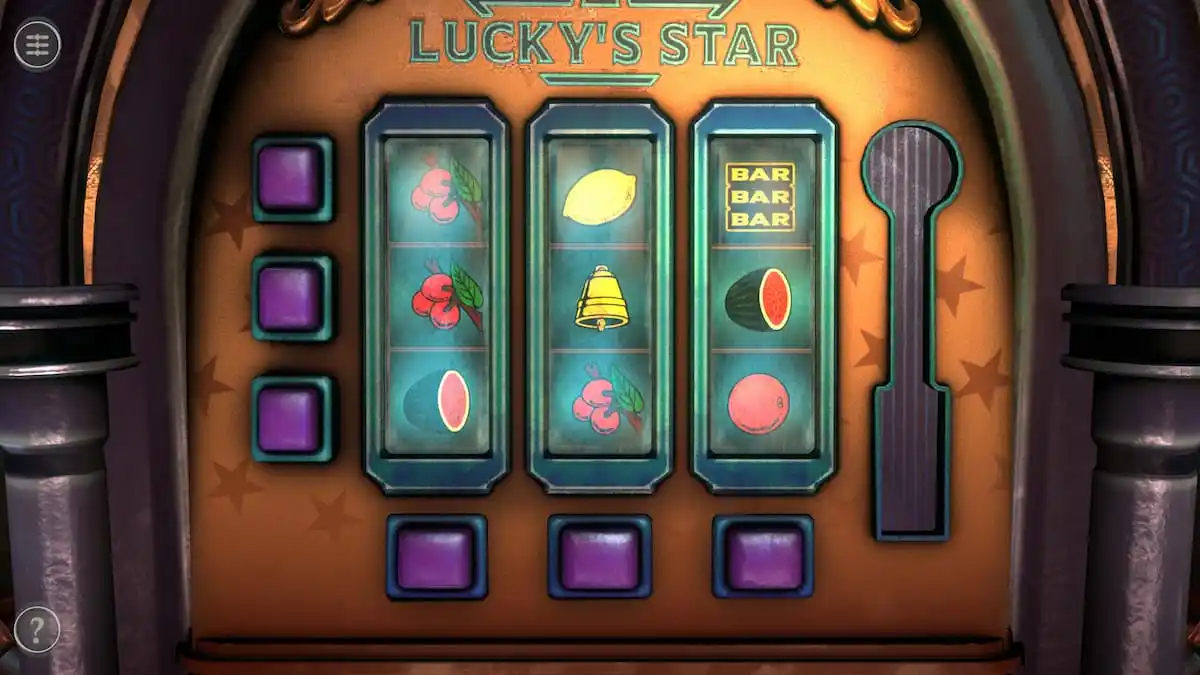
Now return to the jukebox puzzle. Pressing any of the buttons on the left side will change all of the symbols in their row while pressing any of the buttons on the bottom will change all of the symbols in their column.
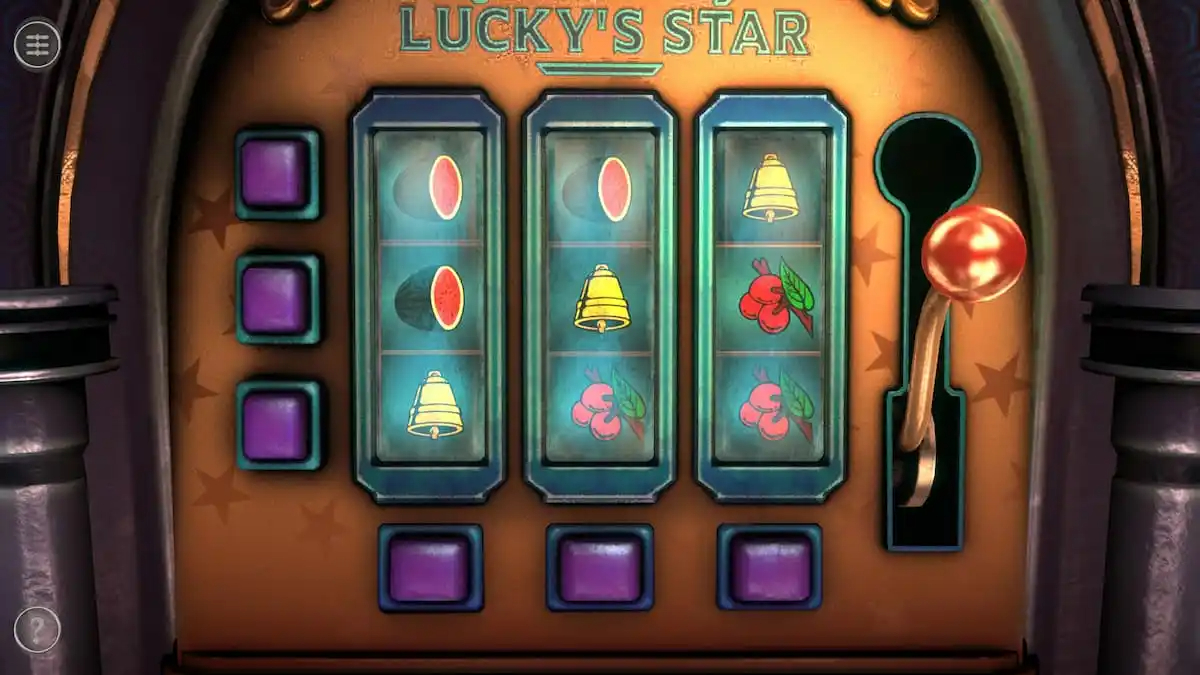
Completing the puzzle will extend a bar on the right side of the machine.
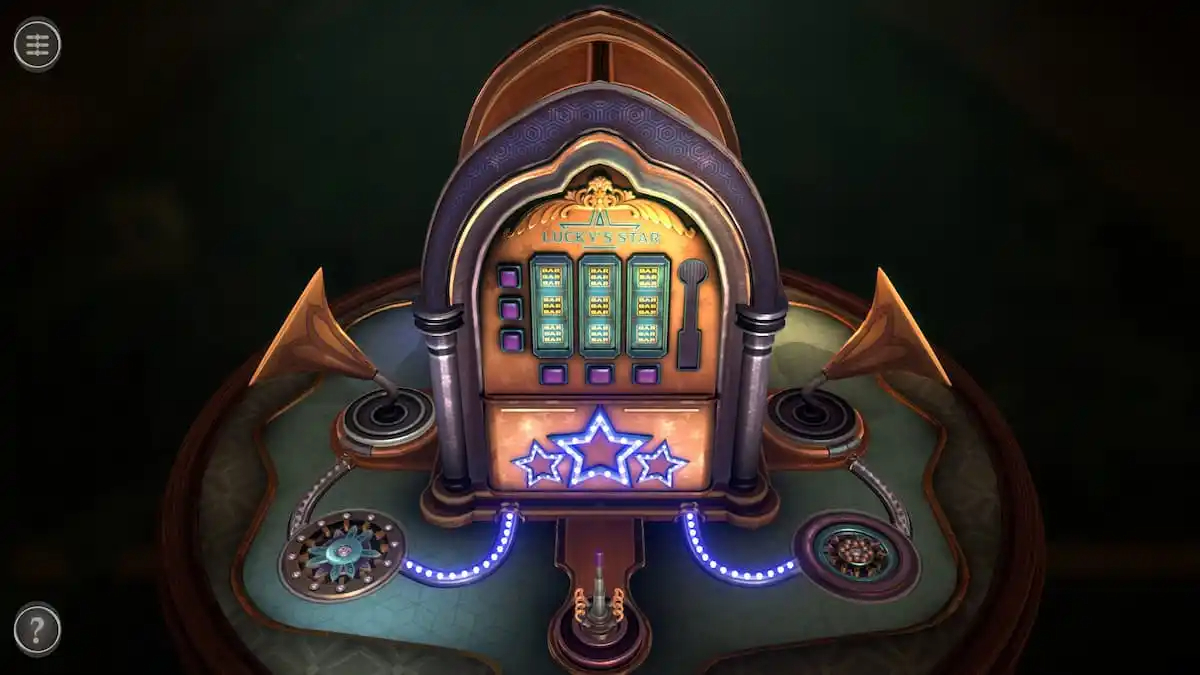
Pull it to unlock a new puzzle on either side of the machine.
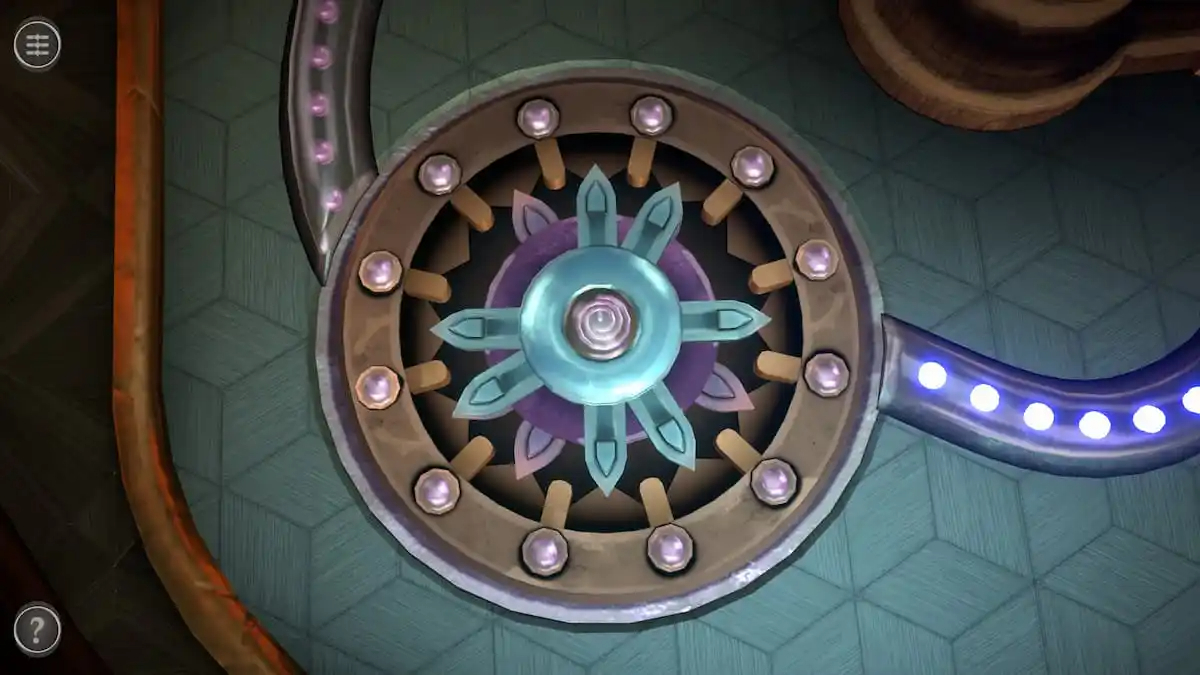
Flower puzzle
To the left of the machine is a flower-shaped puzzle.
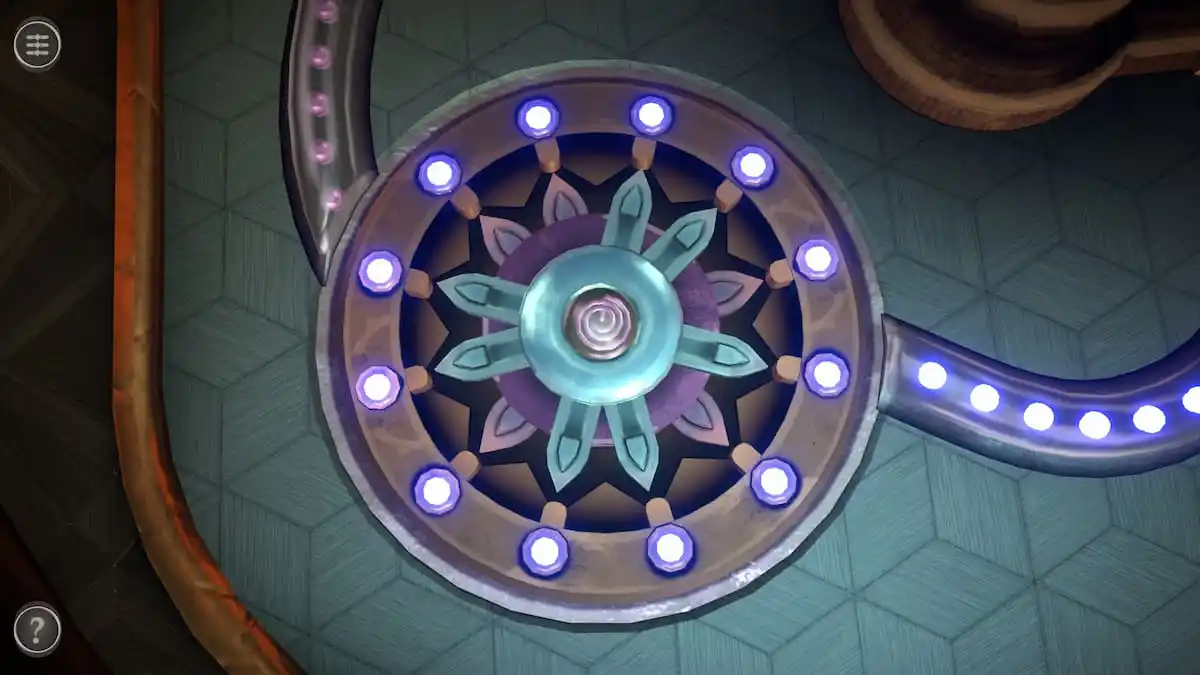
Rotate the two rows of petals until all of the lights are on.
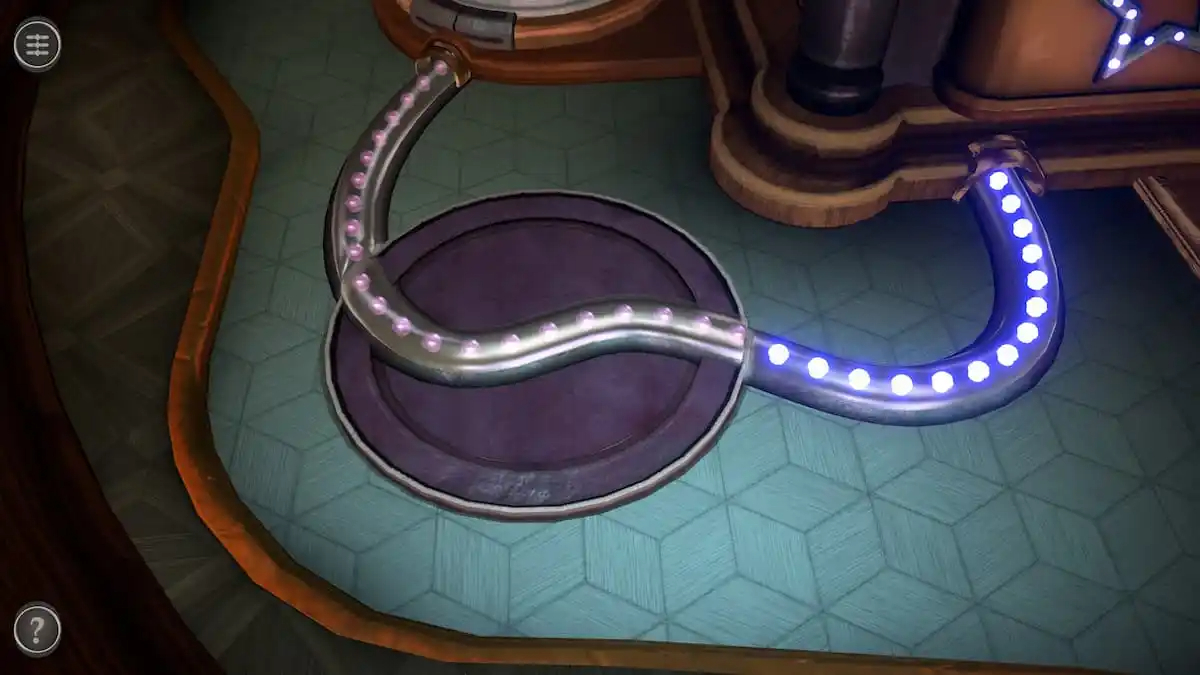
Then rotate the new part of the path to connect the paths on either side of it.
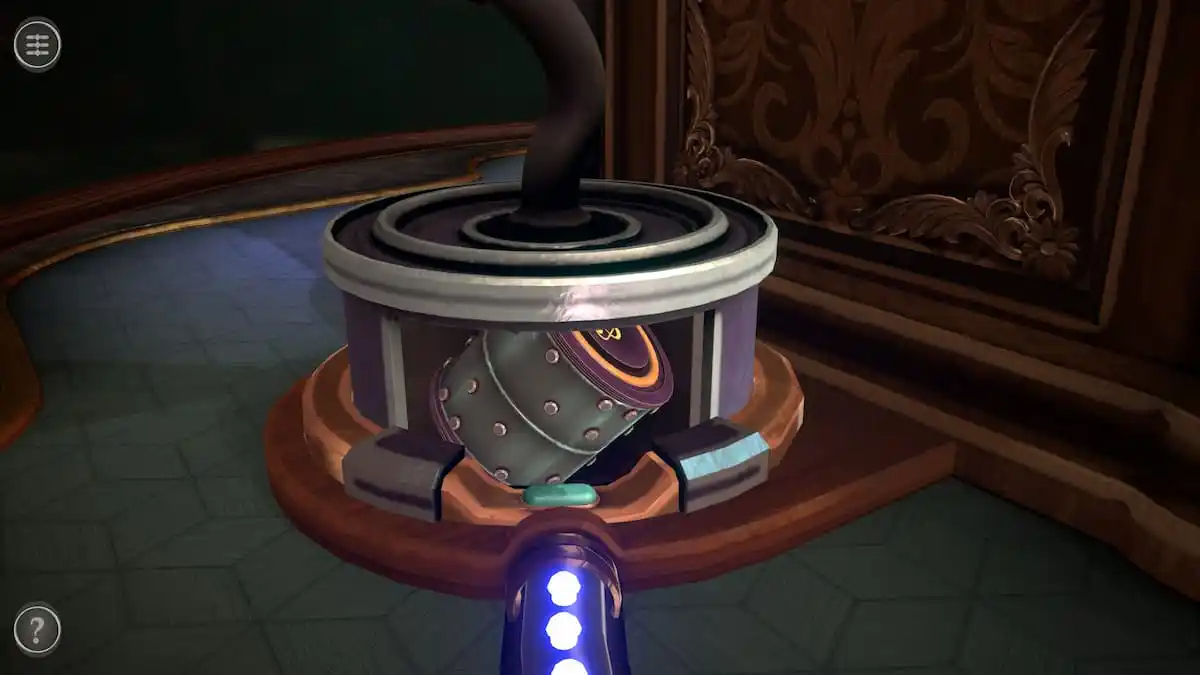
Finally, press the green button to unlock a compartment holding a Musical Cylinder.
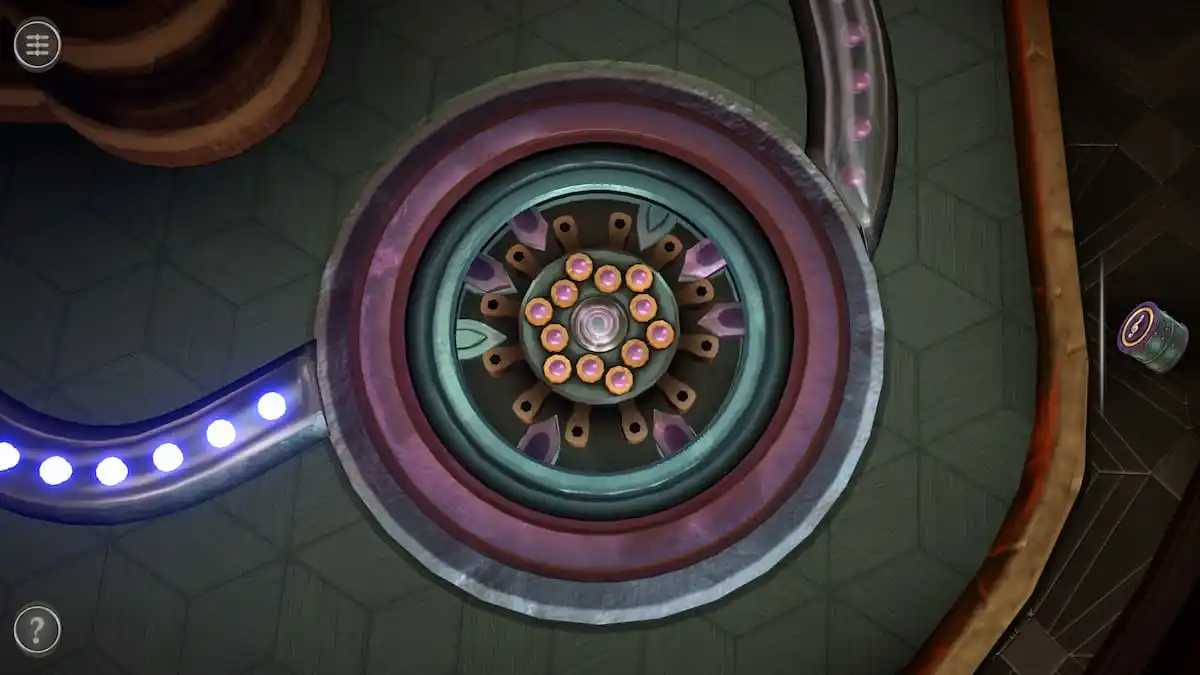
Light petal puzzle
Now turn to the puzzle on the right side of the jukebox.
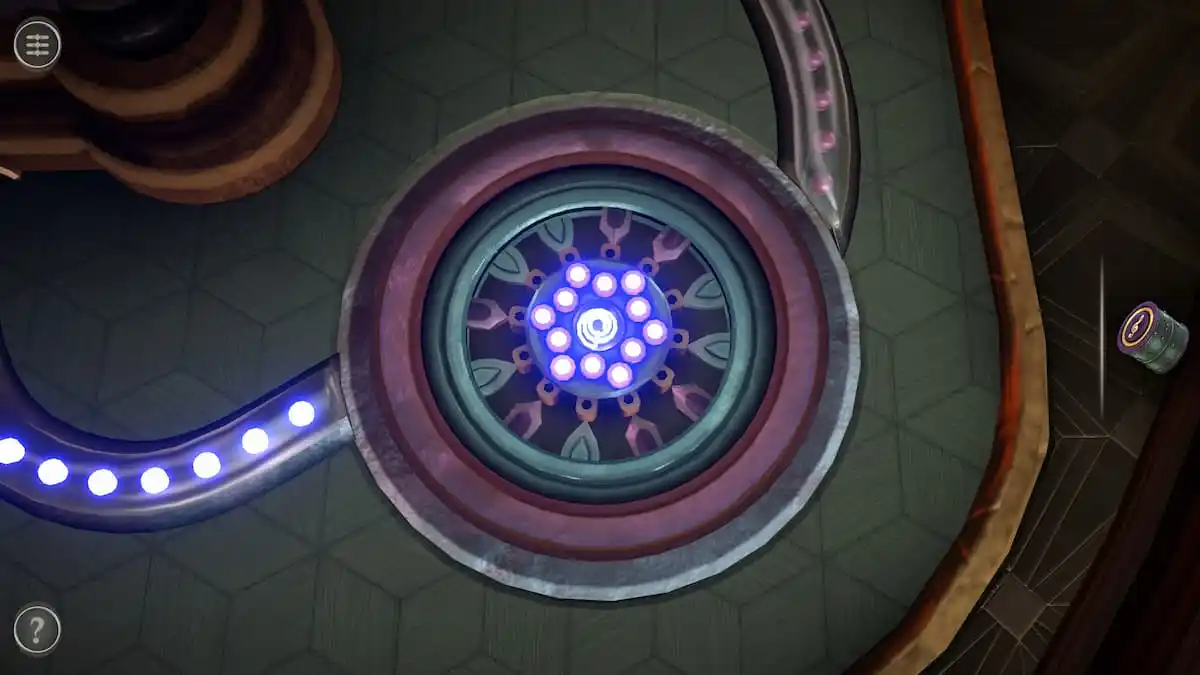
Move the petals around until all of the lights in the center are turned on.
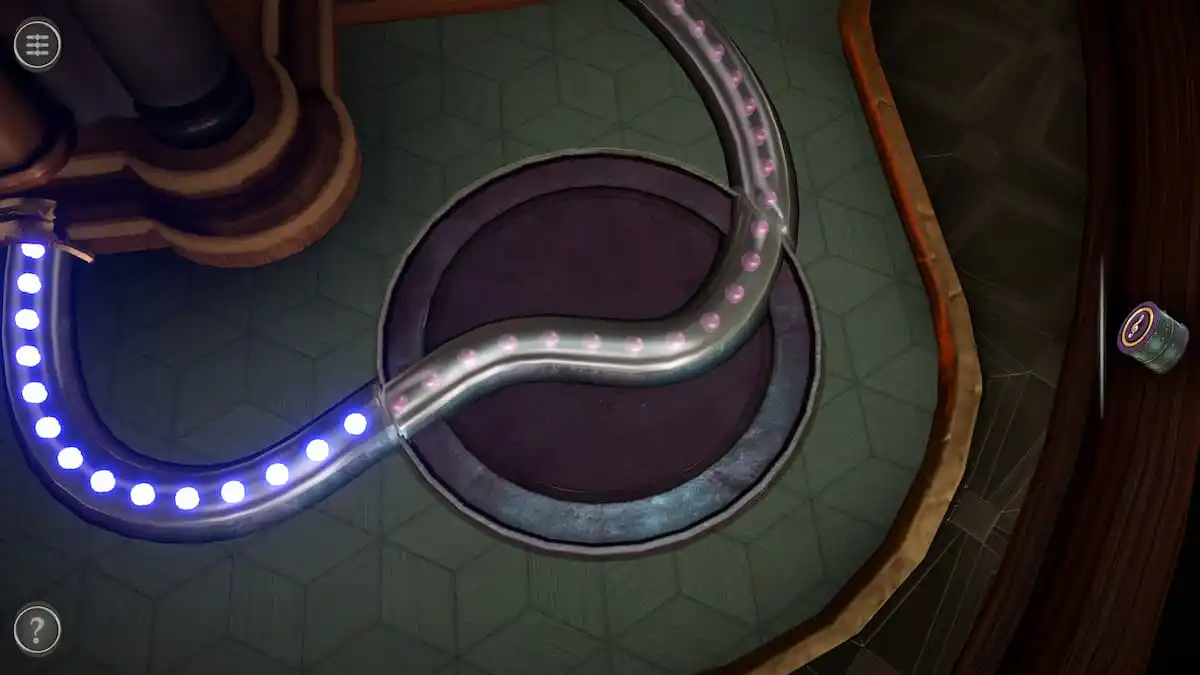
Rotate the pathway until it connects the two paths on either end of it.
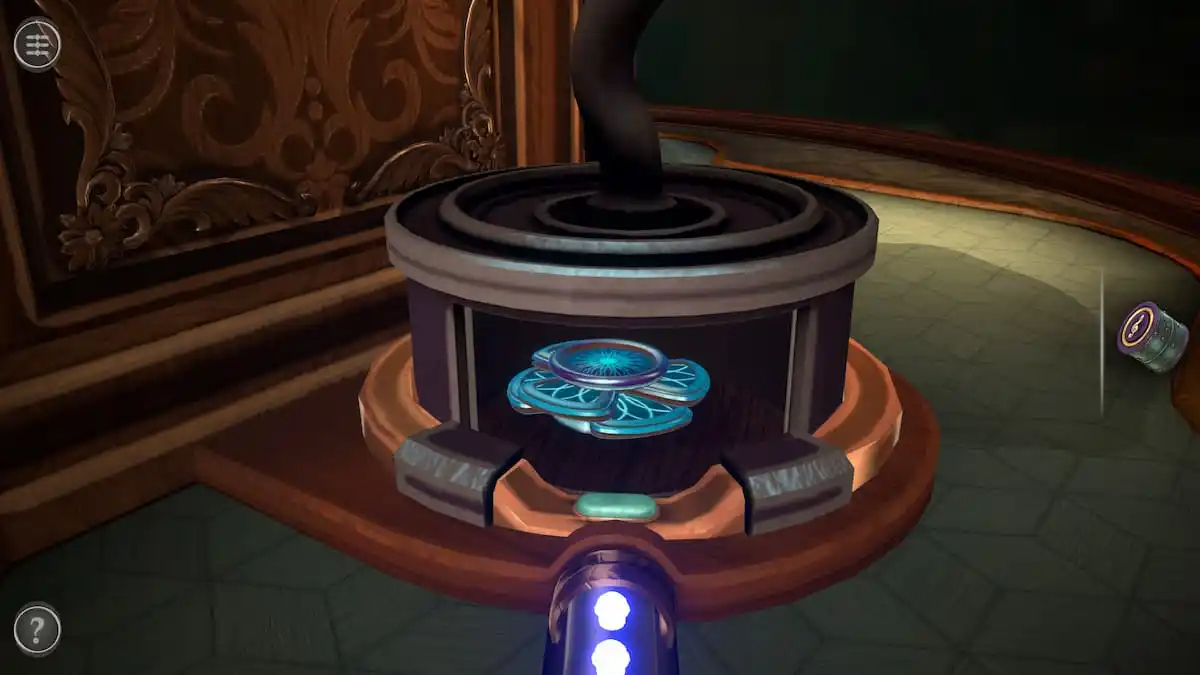
Press the green button to uncover a compartment containing a Mechanical Flower.
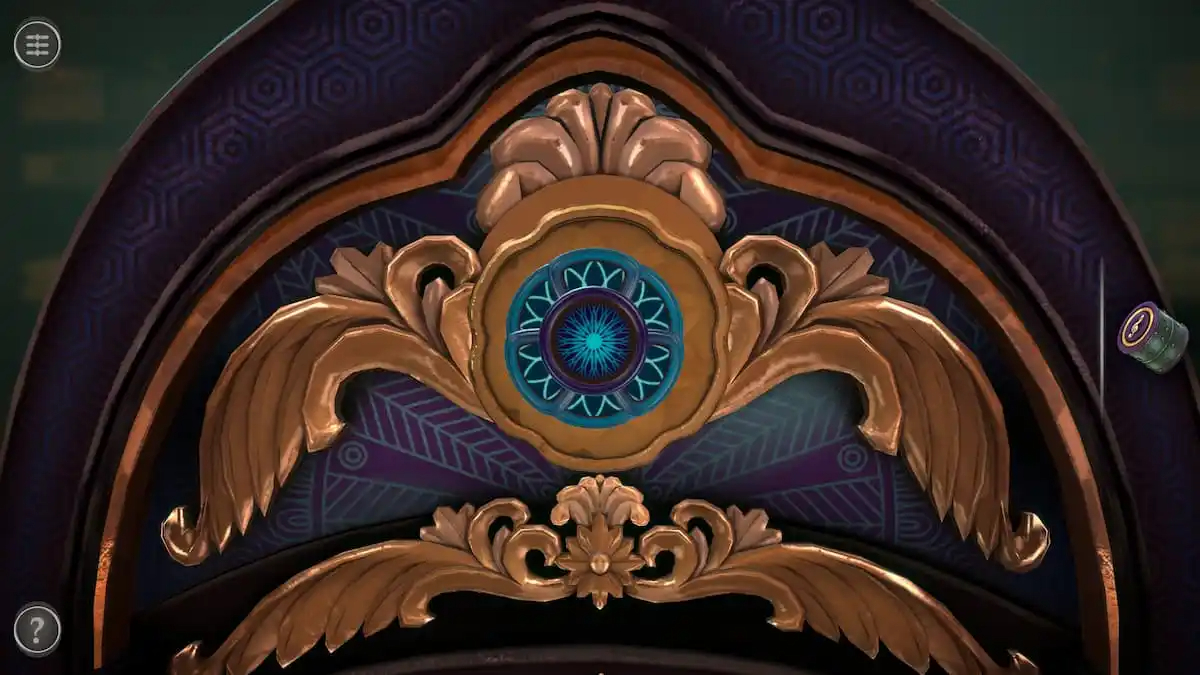
Mechanical Flower puzzle
Place the Mechanical Flower into the top slot at the back of the jukebox.
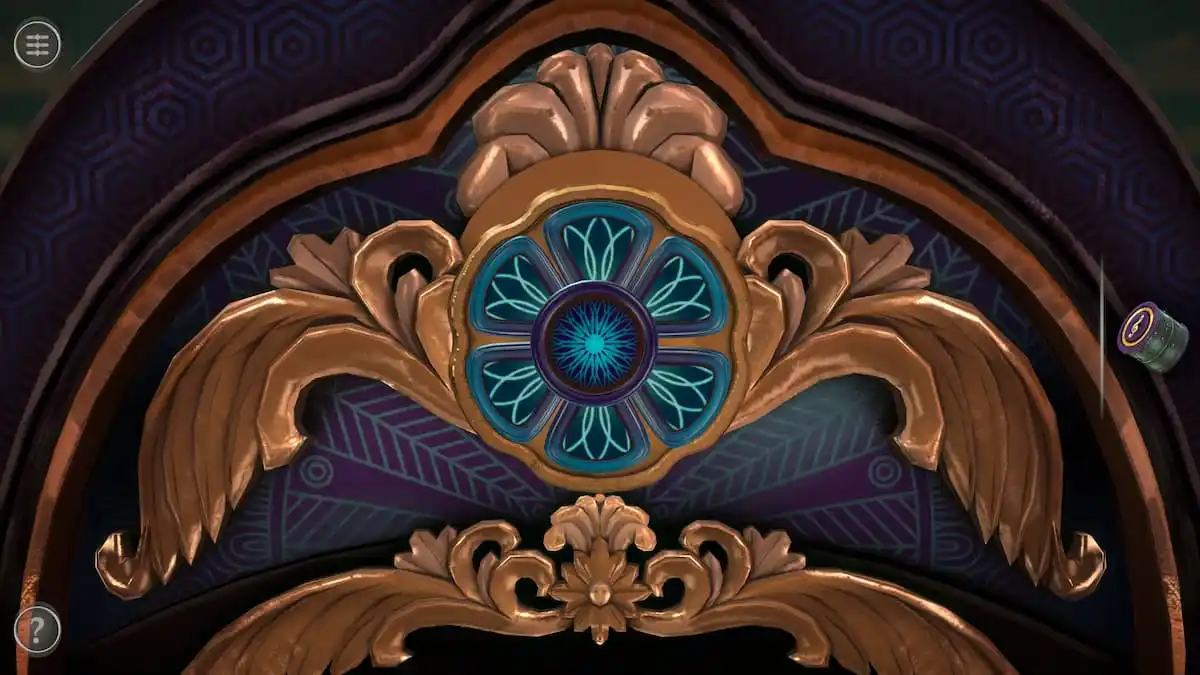
Each petal must be pulled out in a certain way to unlock the next puzzle. The order is as follows:
Top petal
lower right petal
lower left petal
upper right petal
upper left petal
bottom petal
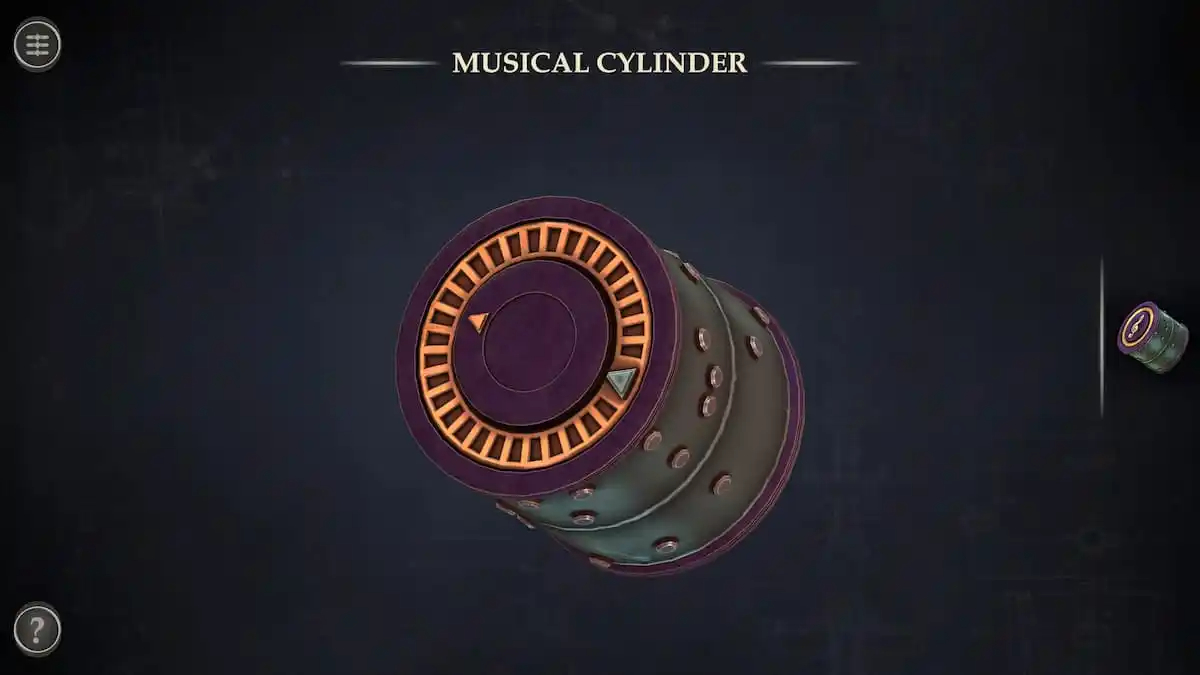
Musical Cylinder puzzle
Rotate the Musical Cylinder box in your inventory to find a hidden gear.
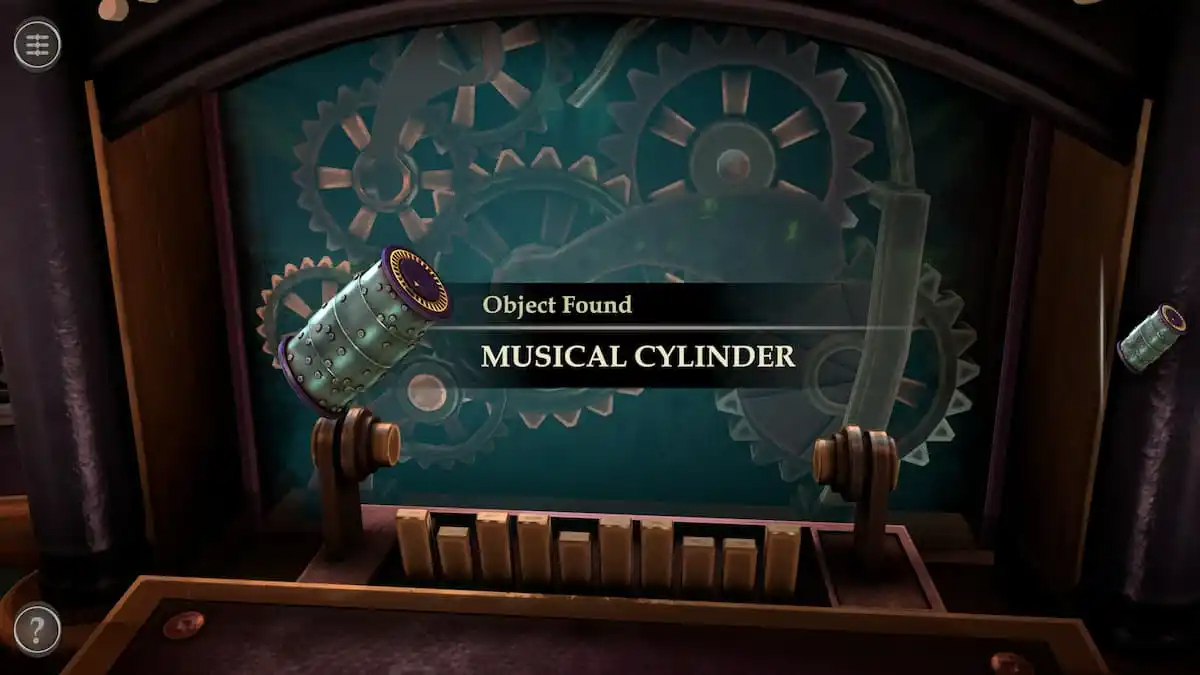
Spin the gear to fully open the Musical Cylinder.
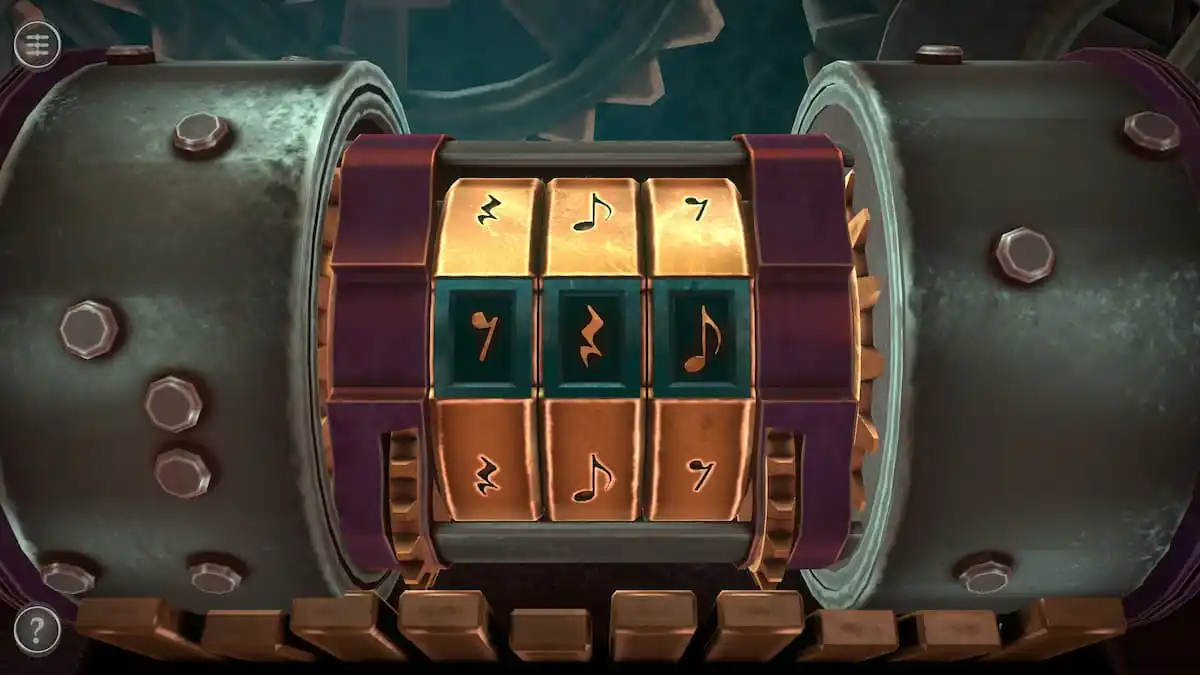
After extending it, the Musical Cylinder can be placed between the two mechanisms. This will open it up for a second puzzle.
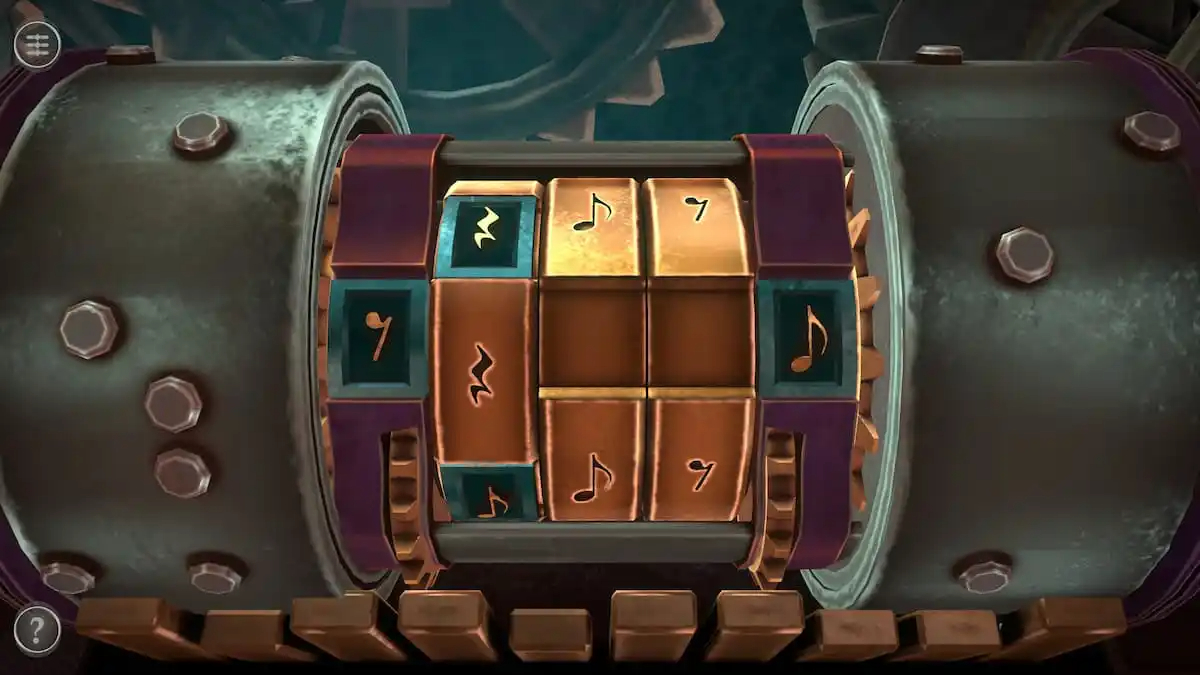
The goal of this puzzle is to place all of the green notes in the sections with the matching golden notes. There are two slots on the side where notes can be placed and each of the three columns can be rotated up and down.
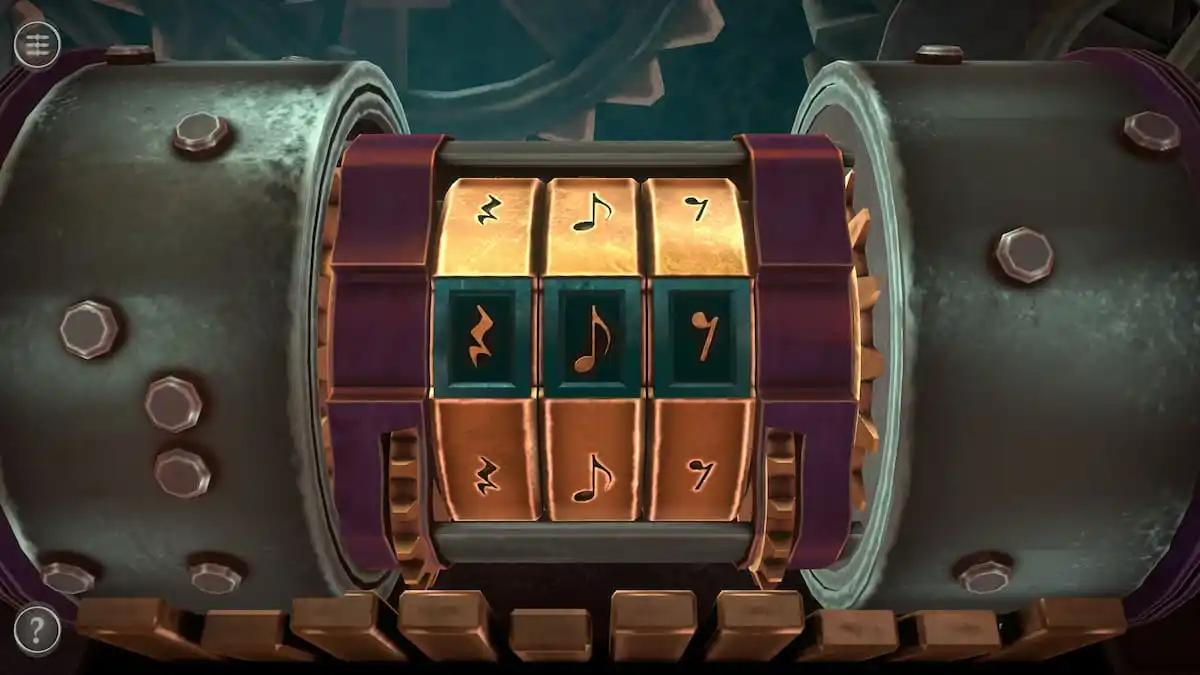
Once every note is in the right place, the puzzle will click and open the top of the box.
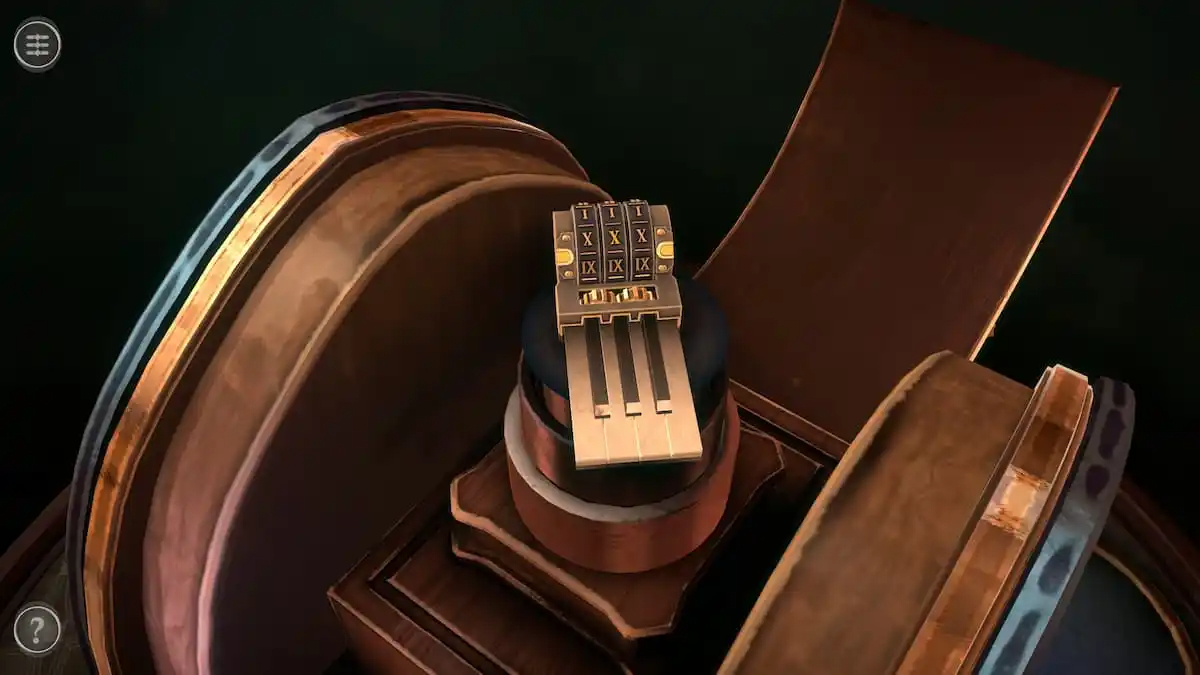
The Piano Keys can be grabbed from the top of the box to return you to the main room.
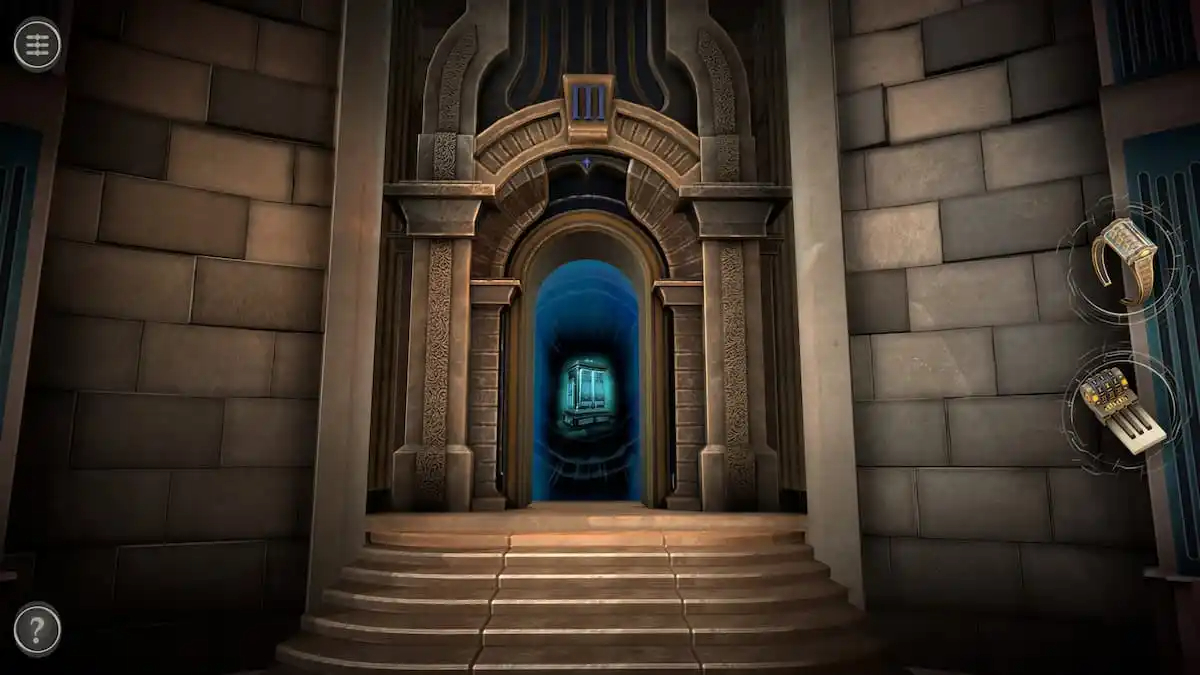
This will unlock the third room of the chapter.
THE SECOND PUZZLE BOX IS COMPLETE AND FINISH AND YOUR THIRD PUZZLE BOX IN CHAPTER 3 IN BOXES LOST FRAGMENTS IS NOW UNLOCKED
THIRD PUZZLE BOX IN CHAPTER 3
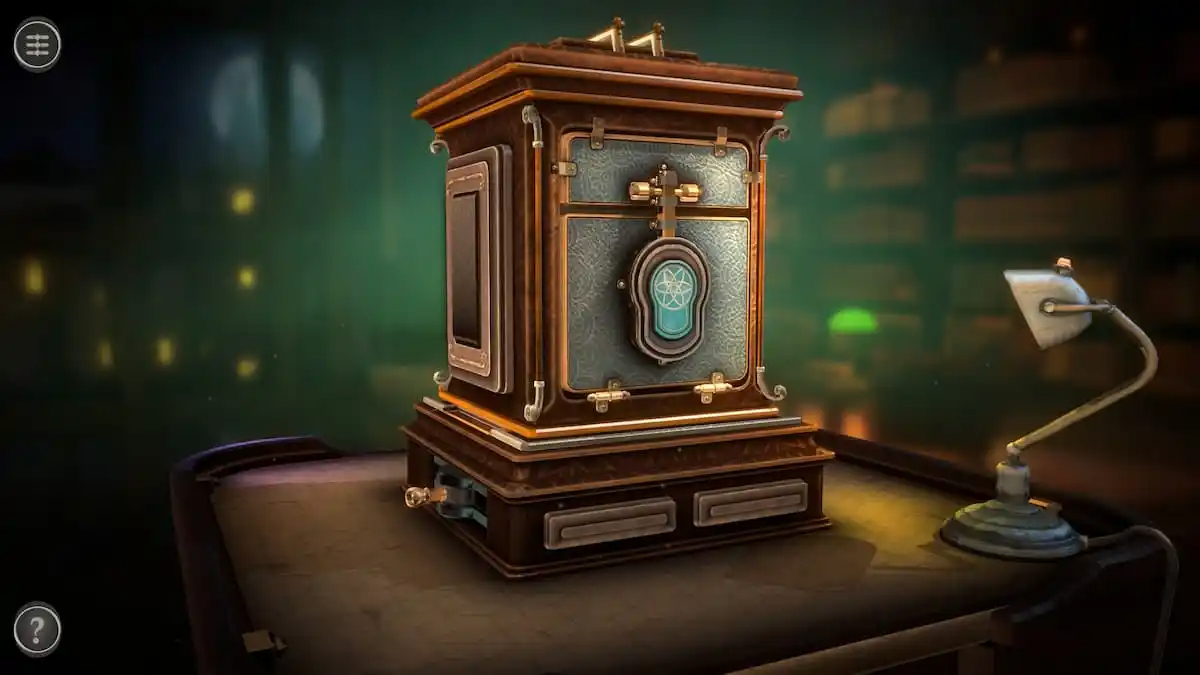
Room 3 puzzles
The third room contains a central box and a desk lamp.
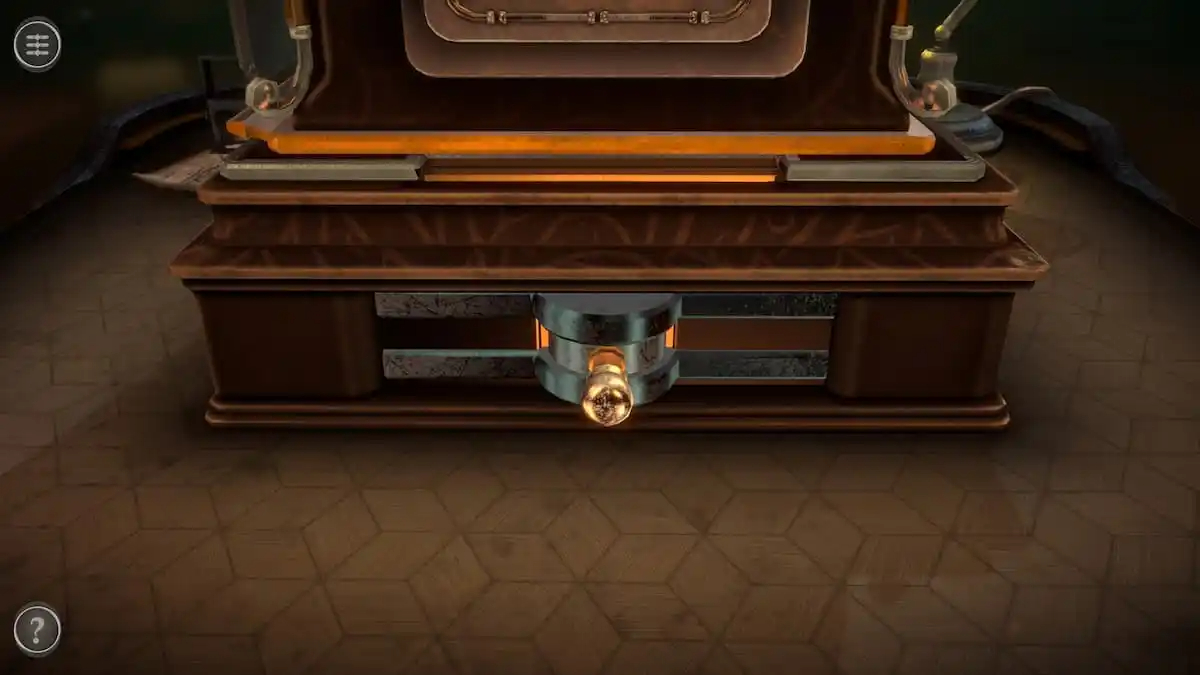
Rotating box puzzle
The first puzzle involves the handle on the bottom of the left side of the box.
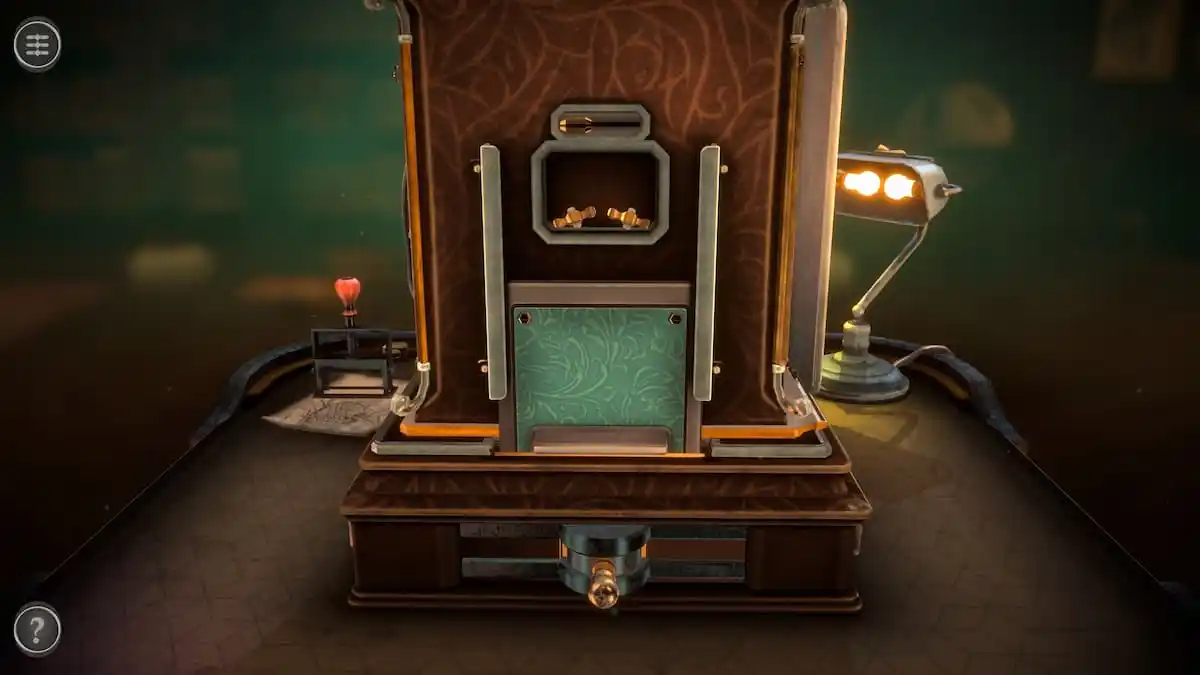
Push the handle to the left twice. The side it lands on will unlock, giving you two Small Knobs.
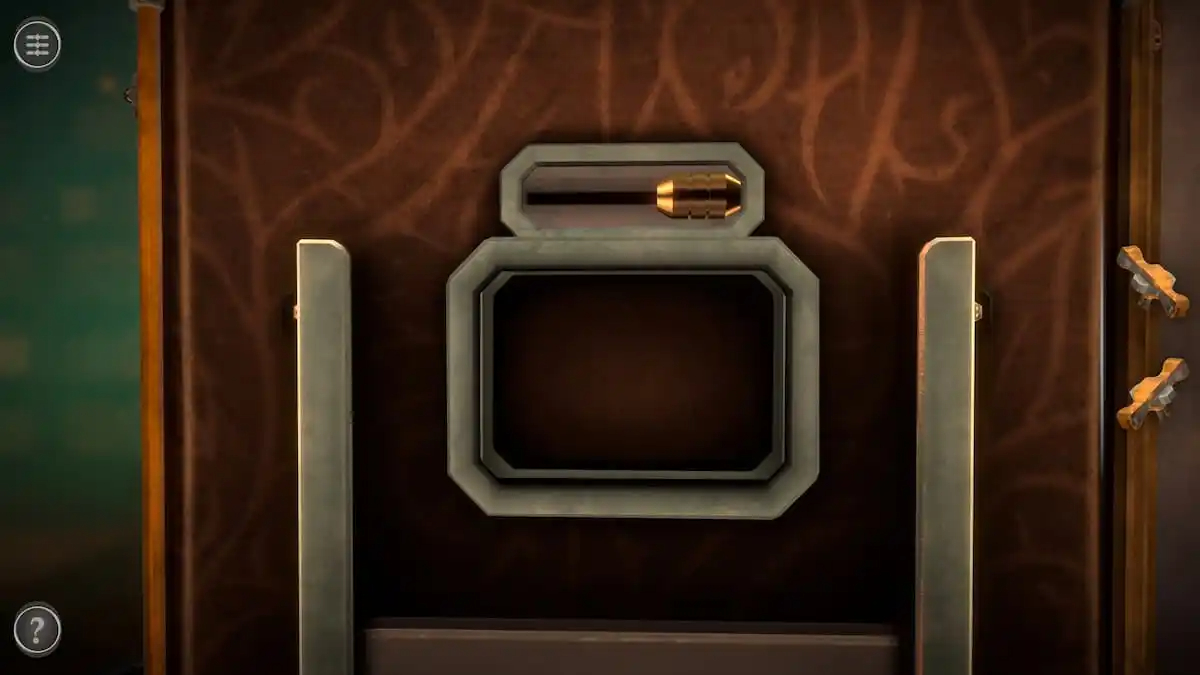
Next, move the slider to unlock the next puzzle.
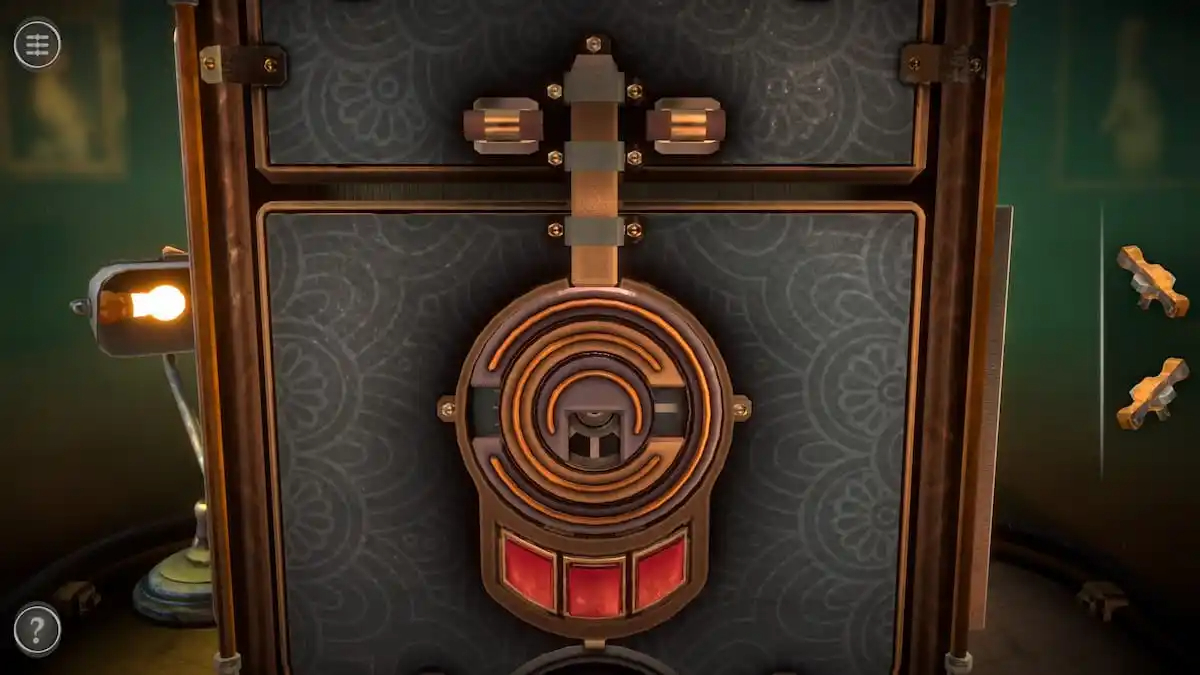
Rotating Circles puzzle
Pushing the slider on the left side unlocks this puzzle on the back.
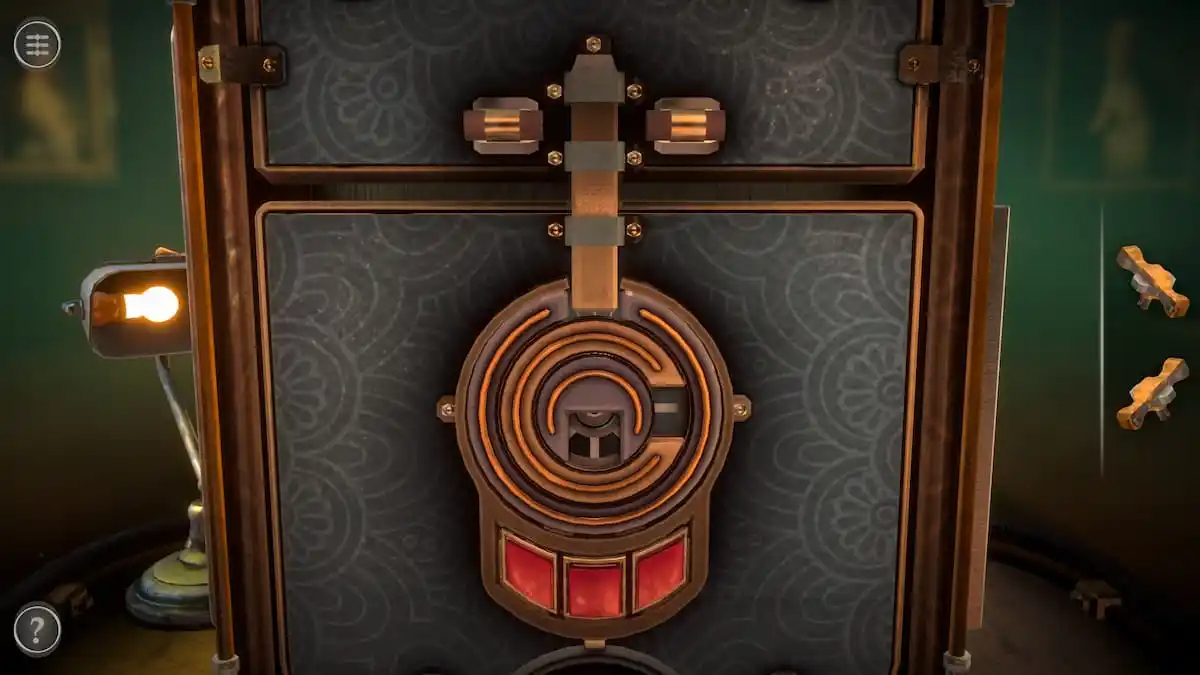
The left button controls the outer ring, the middle button controls the next ring, and the right button controls the smallest ring. Press the left button once to start spinning the outer ring. Press the button again to stop the outer ring when its gap faces the top.
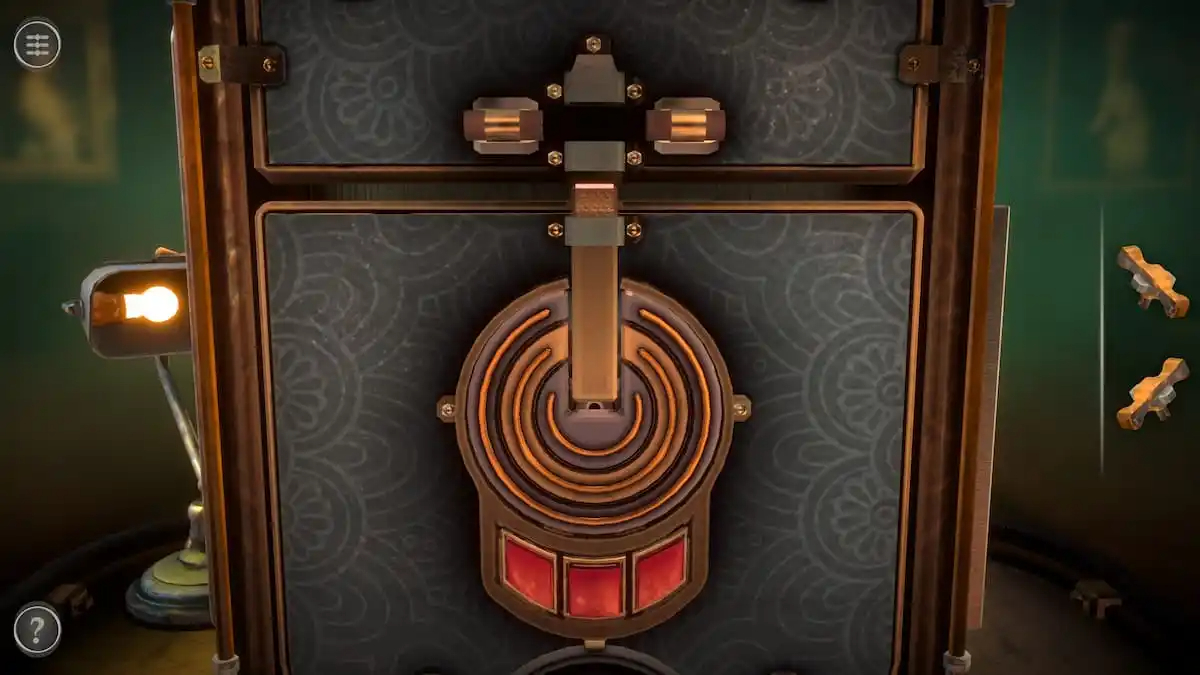
Repeat this process for the two smaller rings.
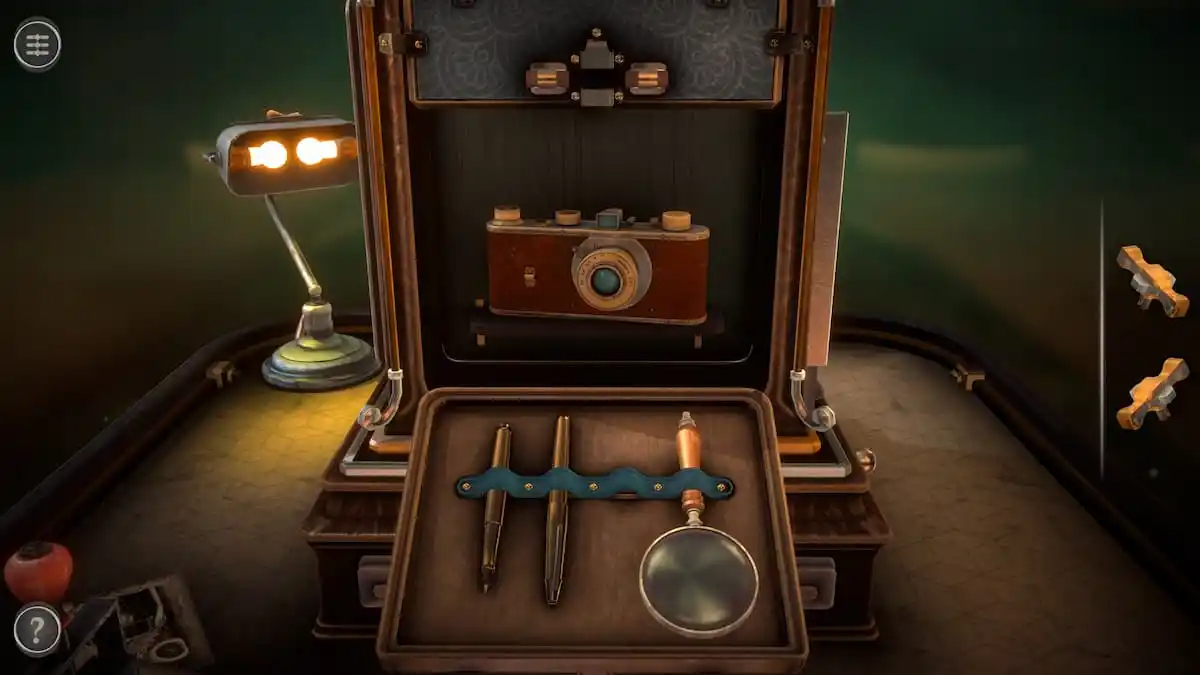
This unlocks a compartment containing a Camera and a Magnifier. Pick up both.
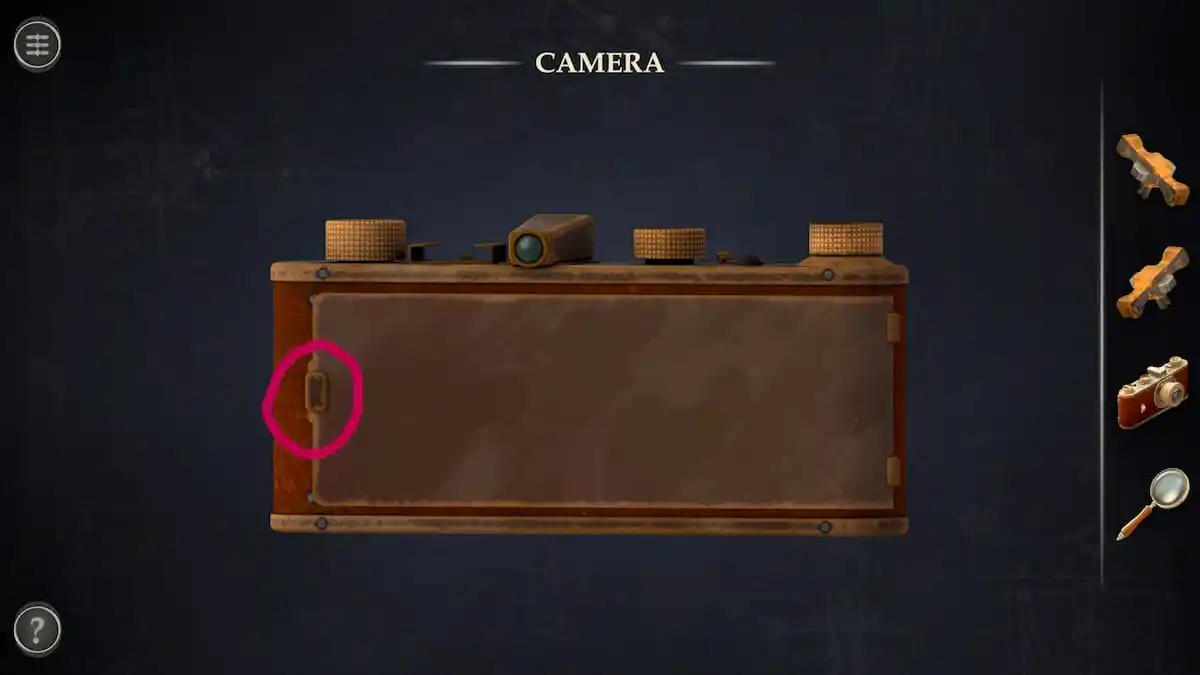
Camera puzzle
In your inventory, rotate the camera to view its back. Tap the small mechanism on the left side to unlock the back compartment.
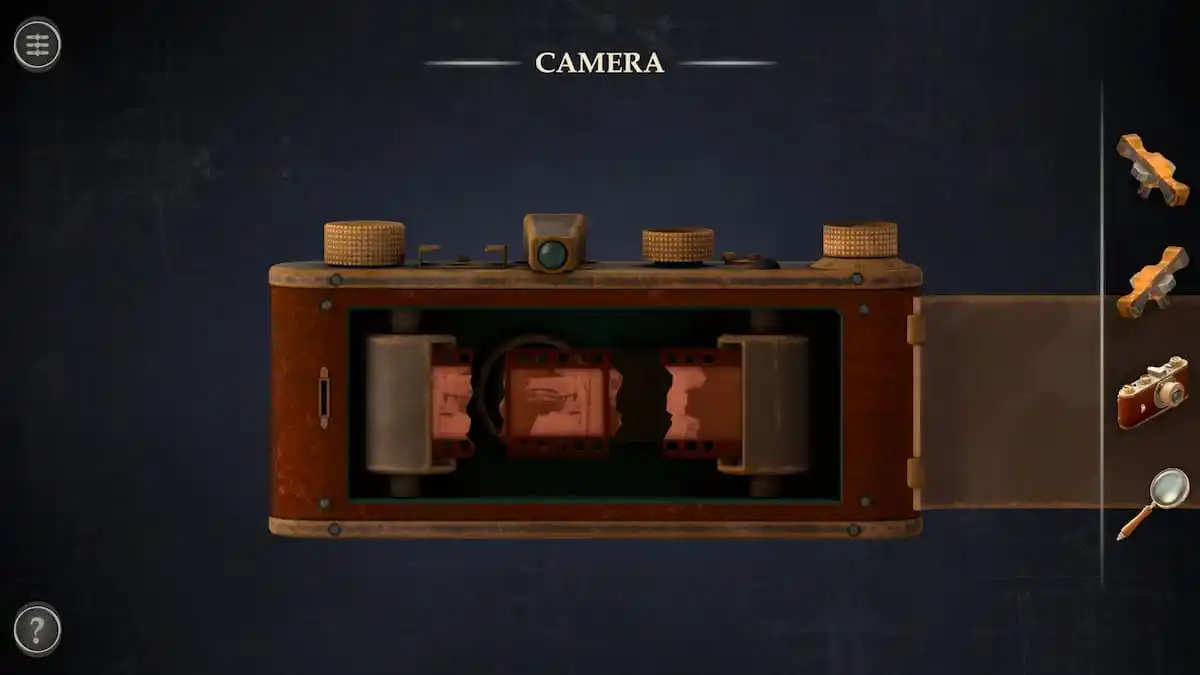
Grab the Film in the center to complete the camera.
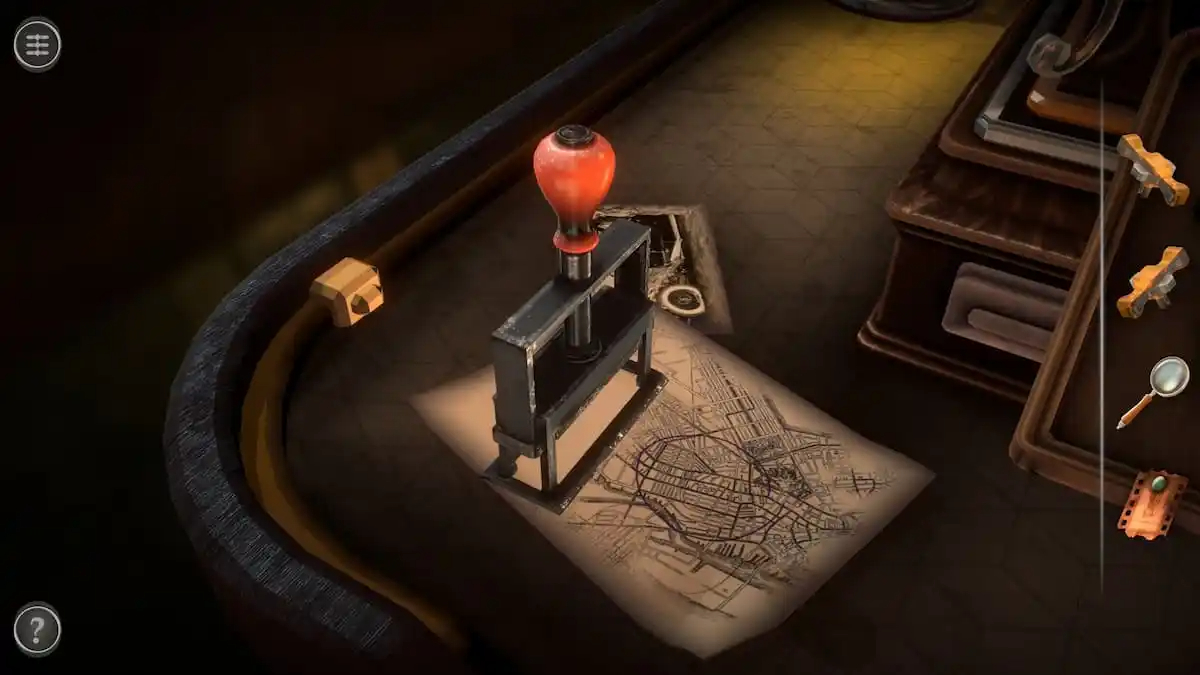
Stamp puzzle
Head to the stamp on the two documents.
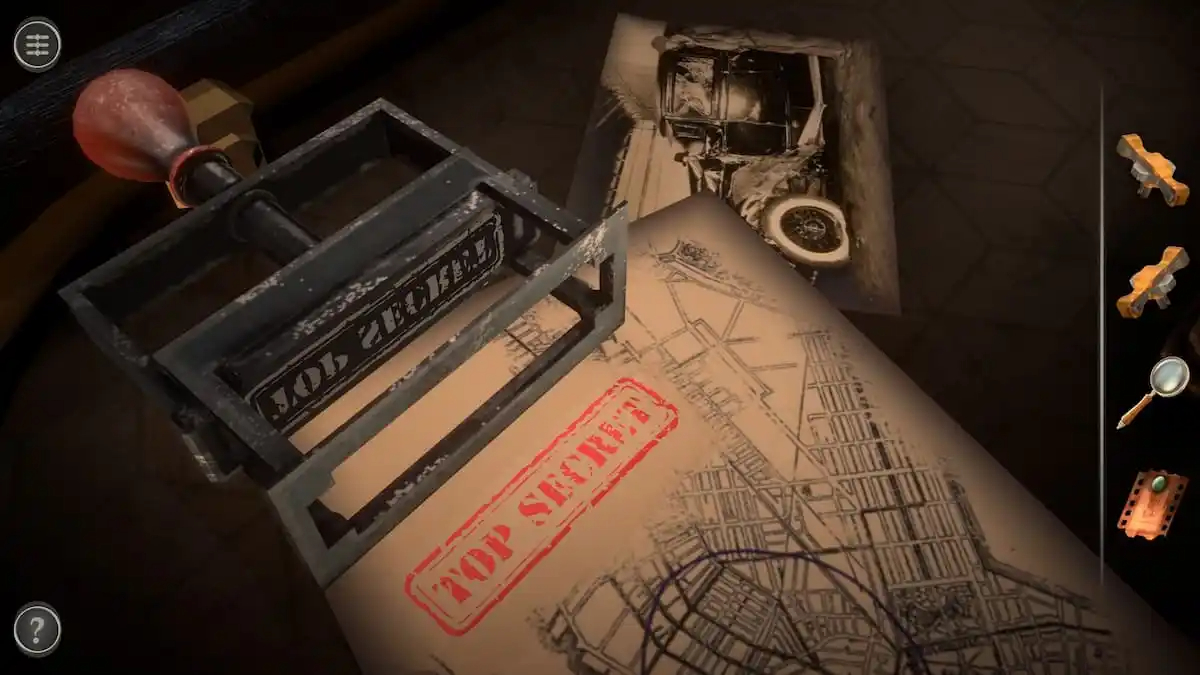
Press the red knob down to place a red “Top Secret” stamp on the papers.
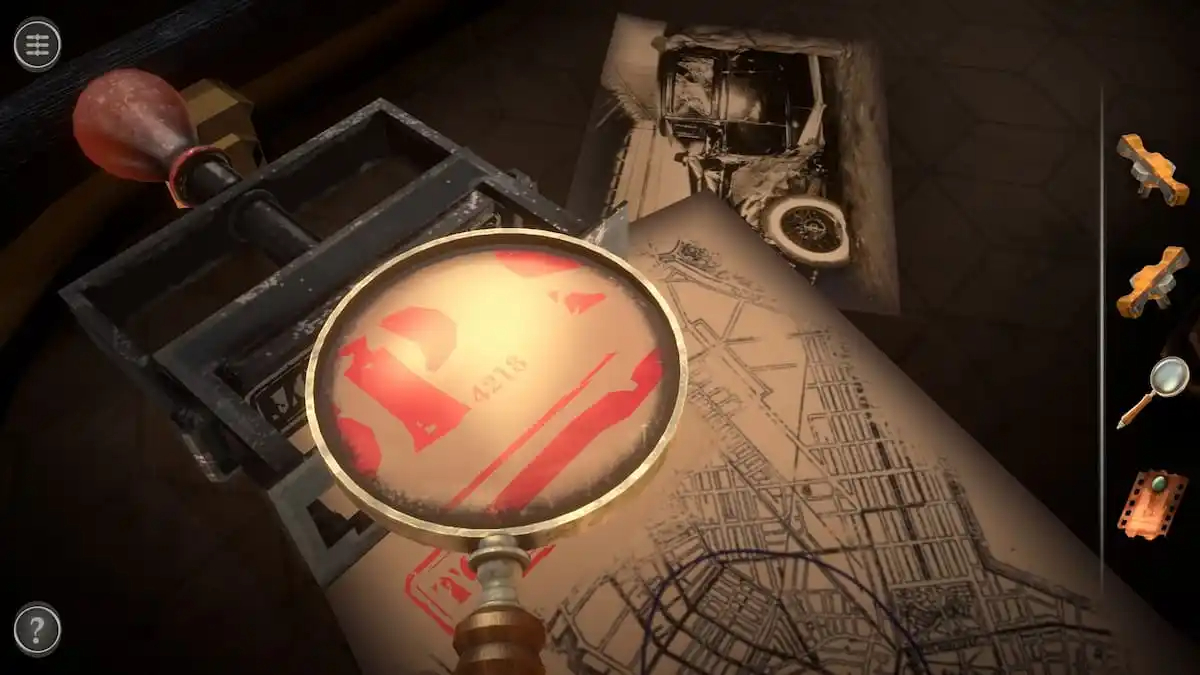
Use the Magnifier on the stamp to find the code “4218” next to the “P” in “Top”.
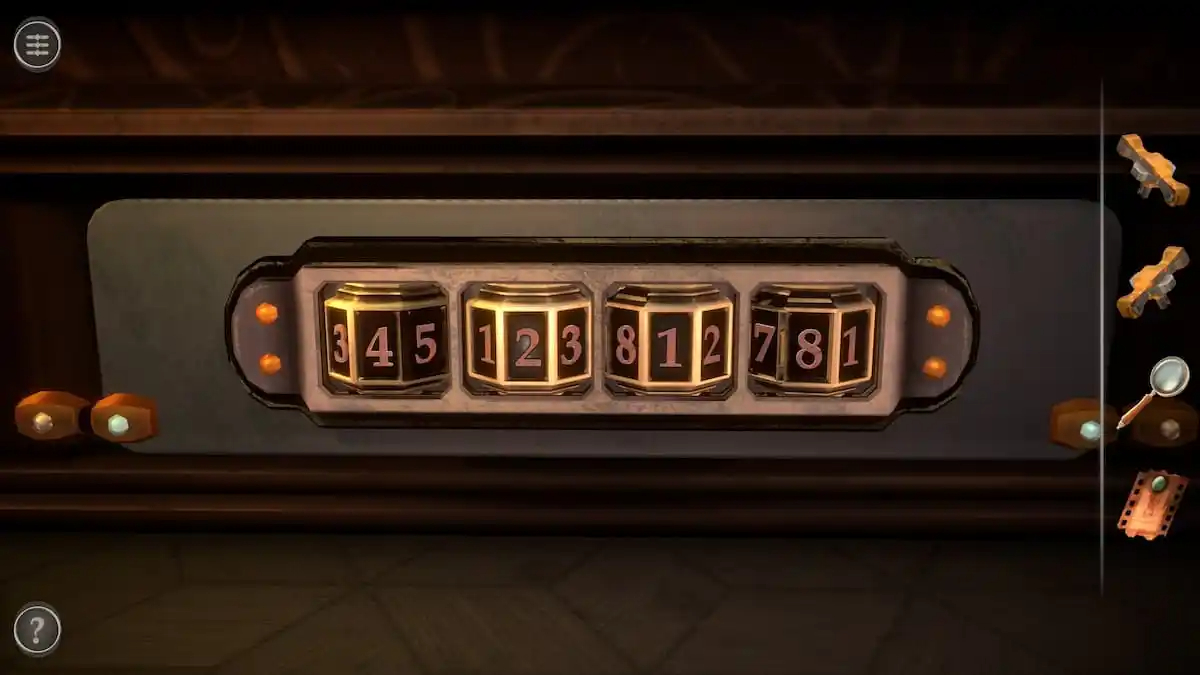
4-Digit code puzzle
Enter the code “4218” from the red stamp puzzle into the puzzle. This will open a small compartment holding another letter containing lore and a Key.
Small Slider puzzle
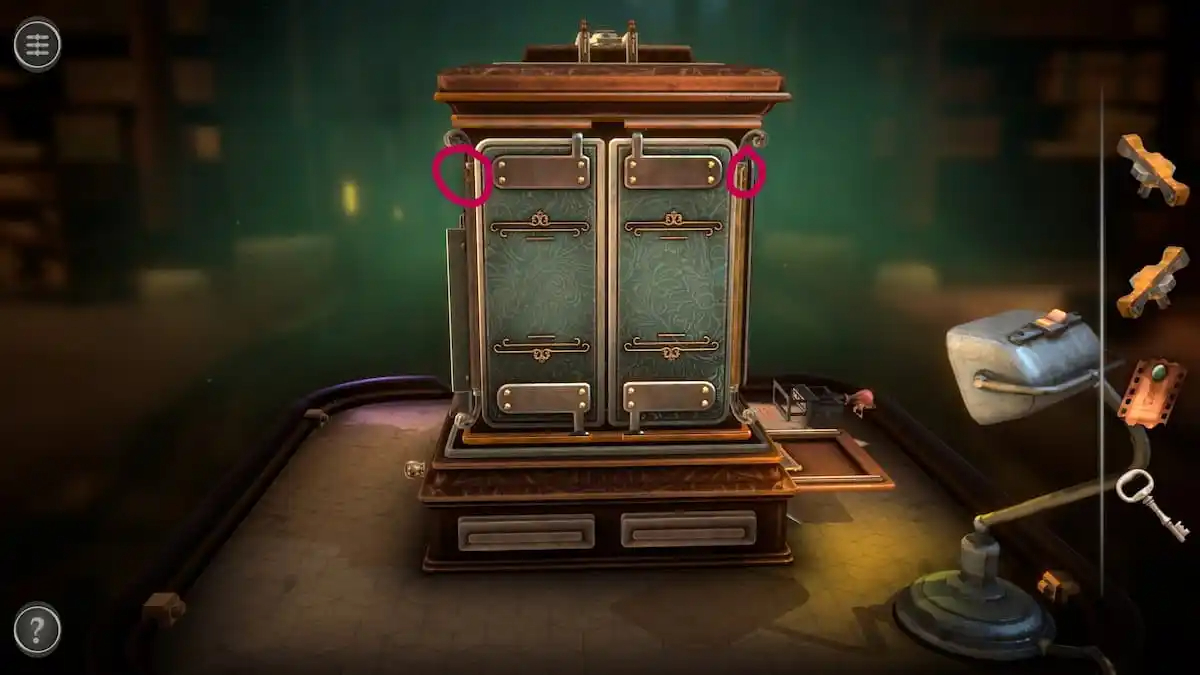
There are two well-hidden slider spots on the left and right sides of the front doors of the box.
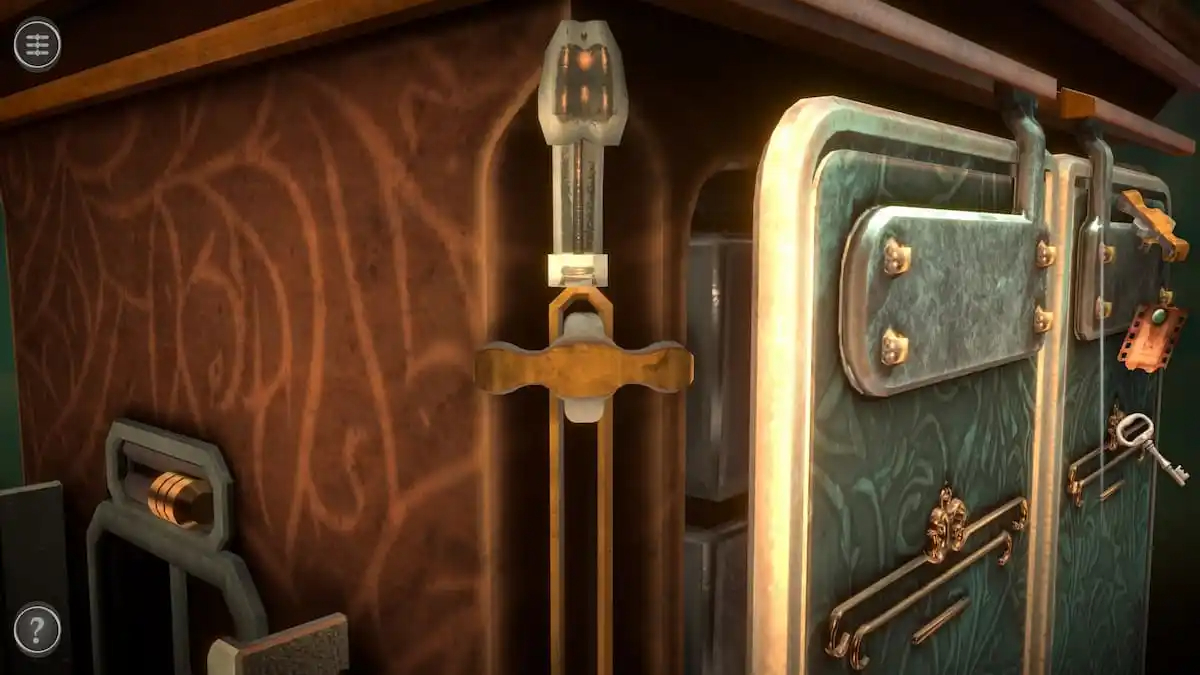
On each side, place a Small Slider in the slot and push it down to the bottom of the box.
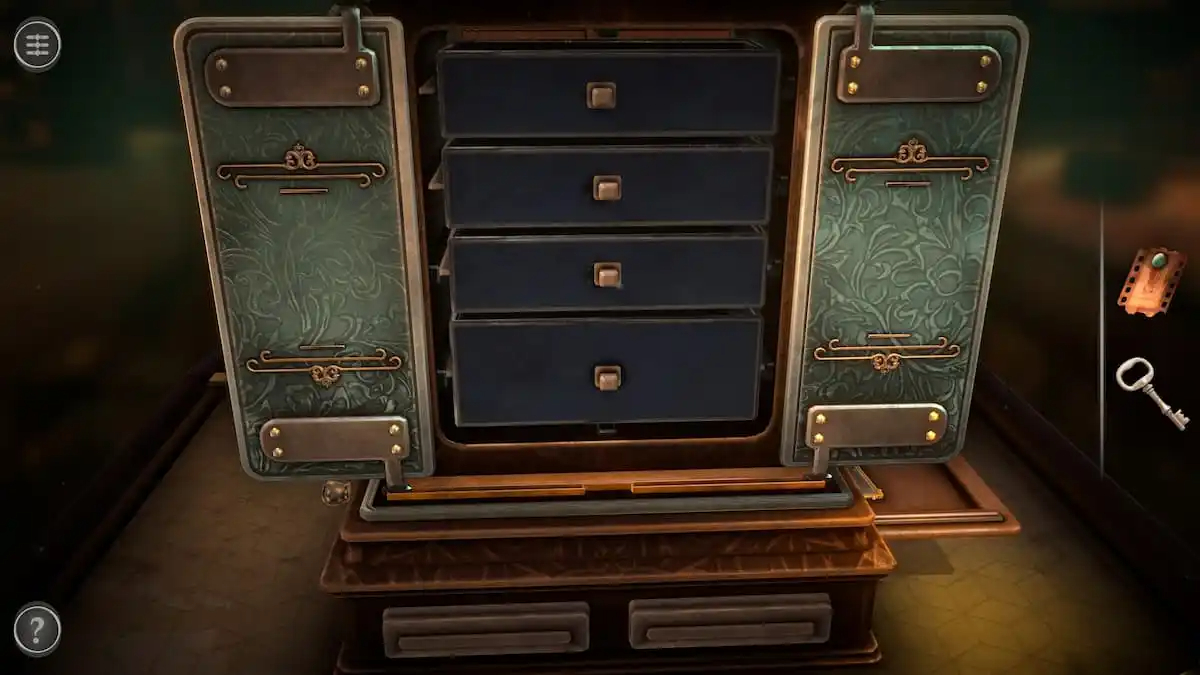
Moving both sliders will reveal a set of four drawers. Tap each drawer to send it flying out of the box, revealing a red box with a handle in the back.
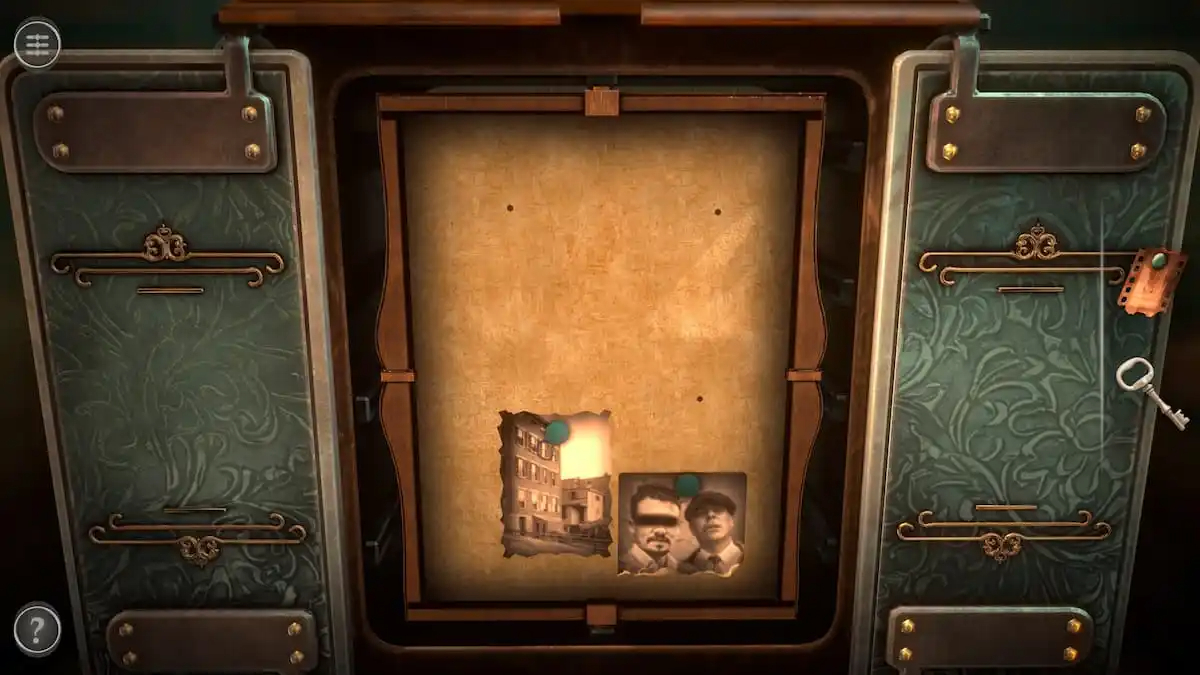
Pull the handle of the red box to reveal a picture puzzle.
Picture puzzle
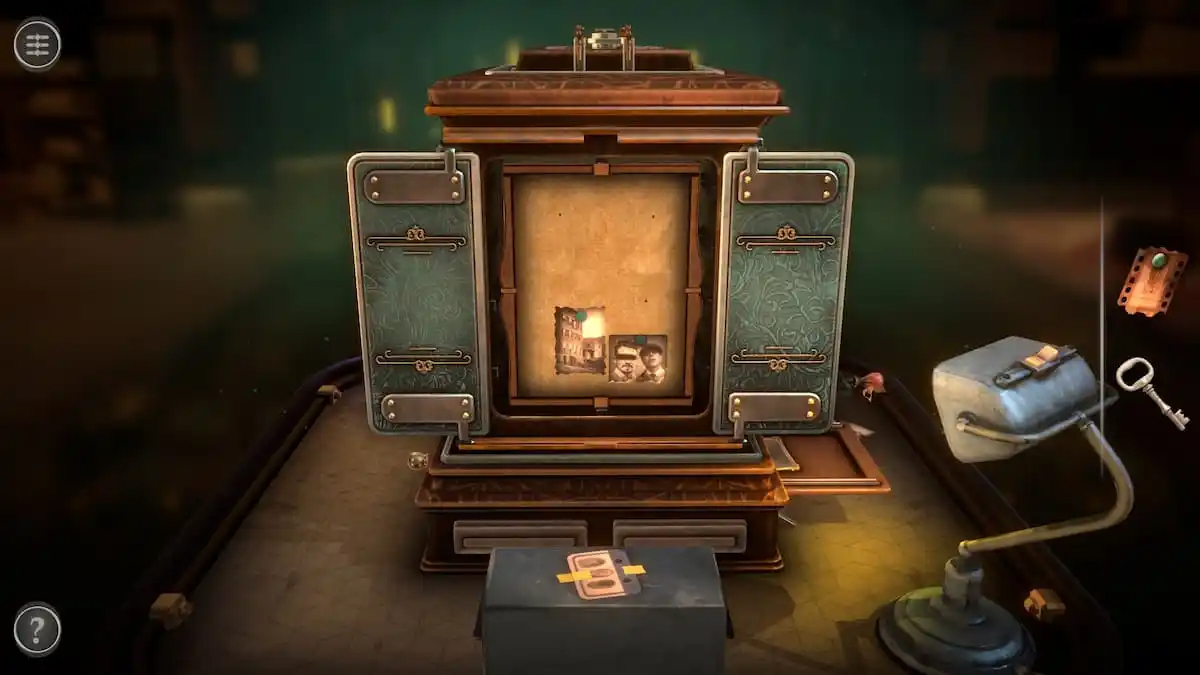
Before starting the puzzle, grab the last image from one of the drawers that was taken out. It’s lying on the front of the table now that the puzzle is revealed.
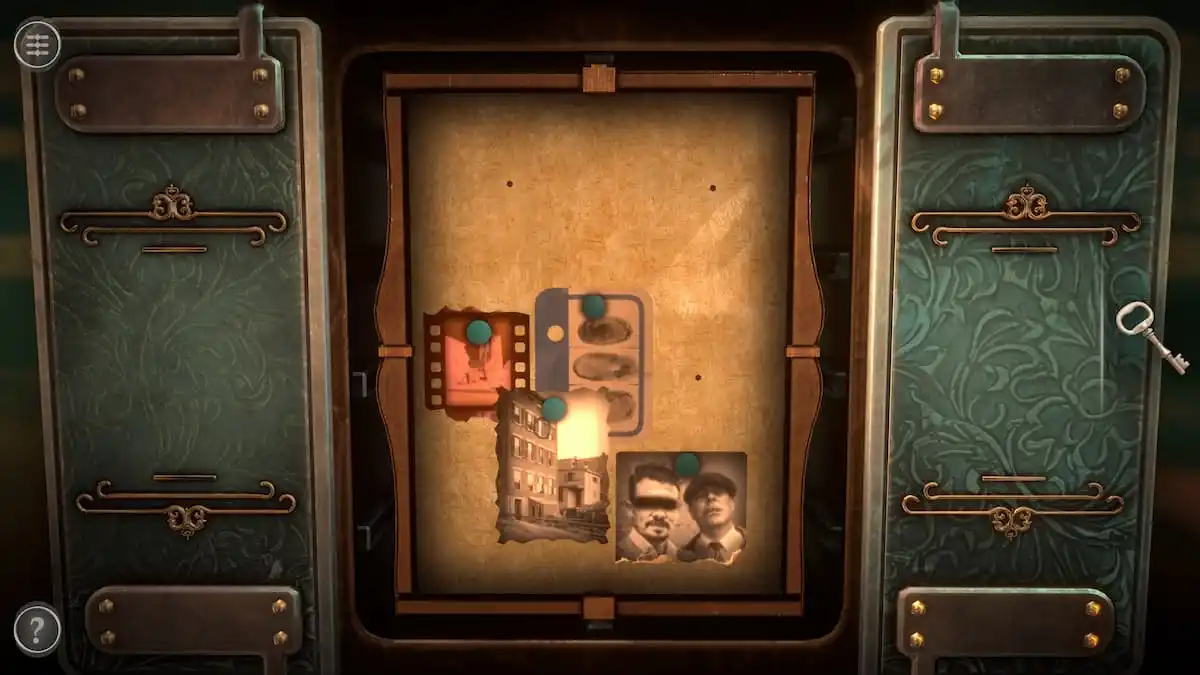
Place the new image and the Film onto the board.
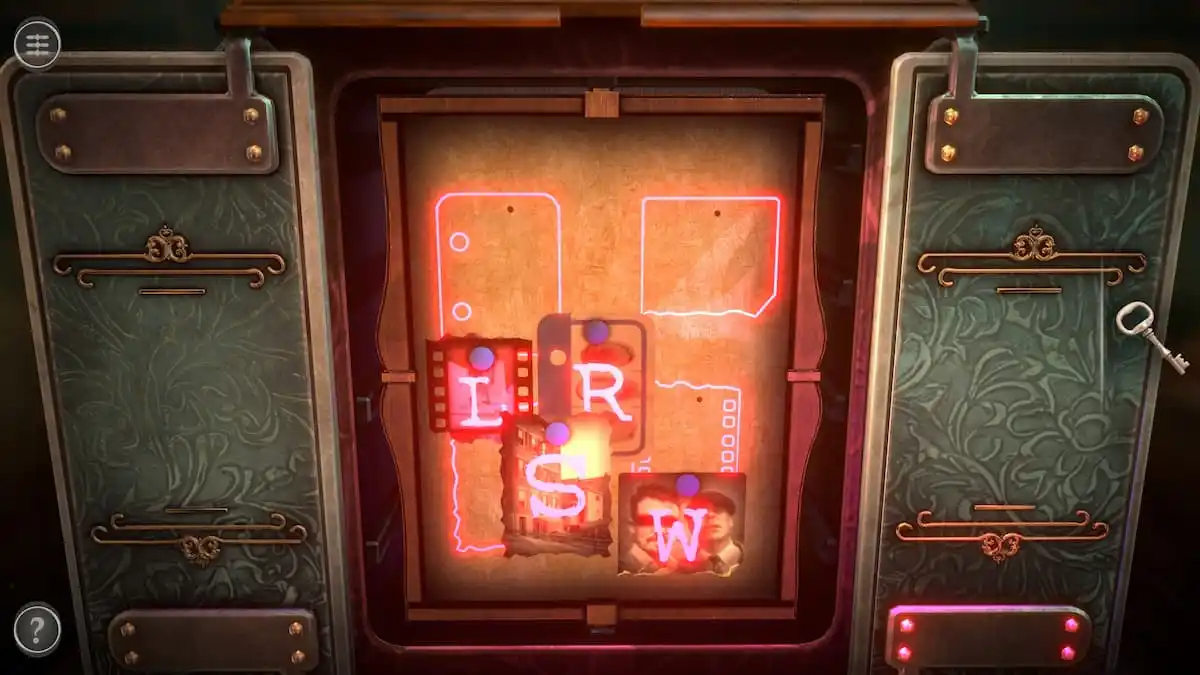
Now move the pictures around between the four holes in the board. When a picture is matched with a hole on the board, it will move itself to fit perfectly with that hole. If you’re having trouble matching them up, press the button on the lamp to turn it on. The pink light it emits will show the outline of each image around the hole it belongs to.
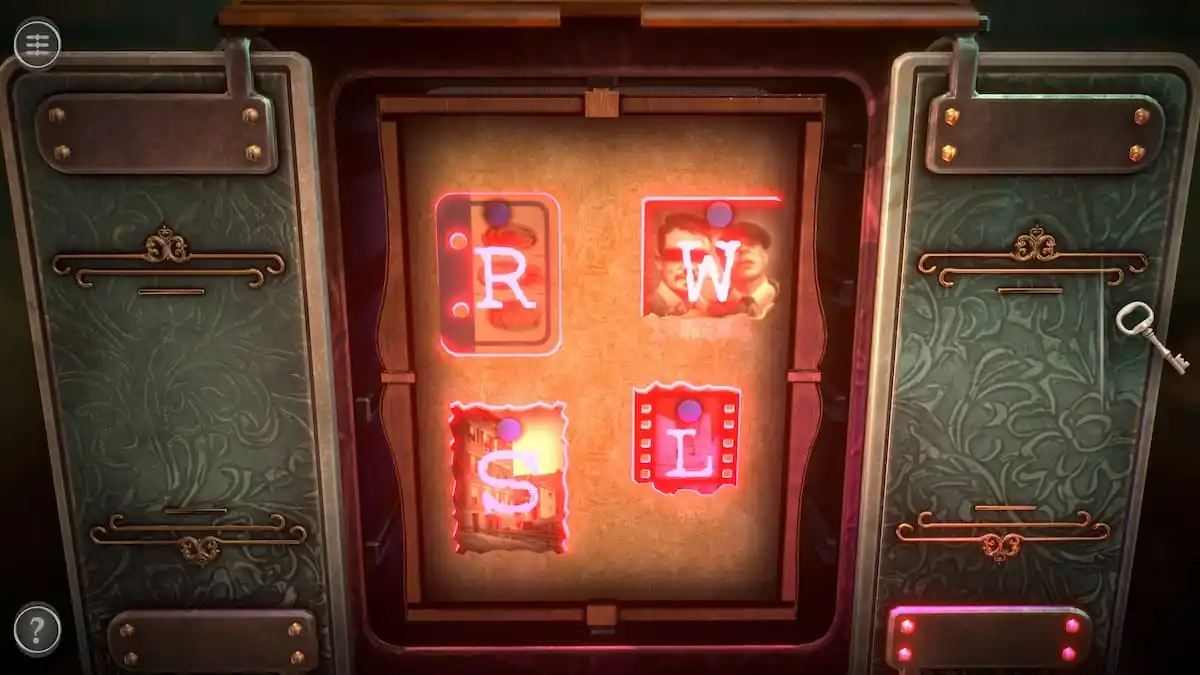
Once each picture is placed, the pink letters on all four will reveal the solution for the next puzzle. These letters can only be seen using the lamp, so leave it on so you can check them again.
Rotary puzzle
Go to the top of the box and insert the key into the keyhole.
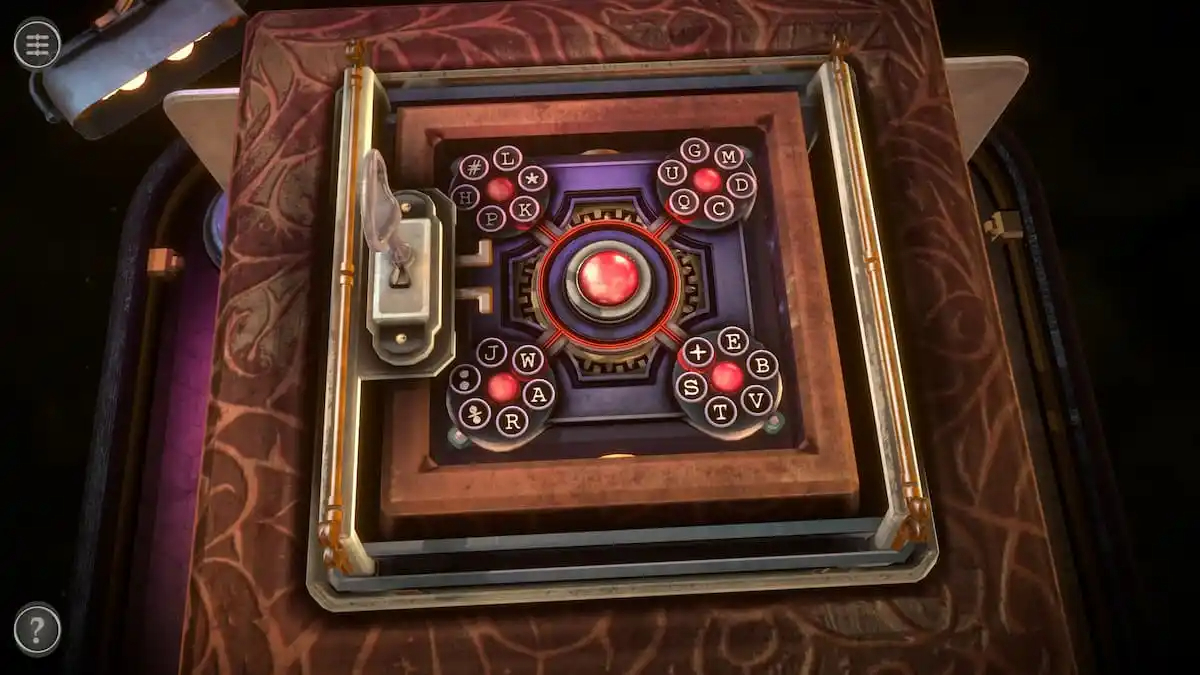
Twist it to unlock the top. Slide each of the golden locks to the side to interact with the rotary puzzle.
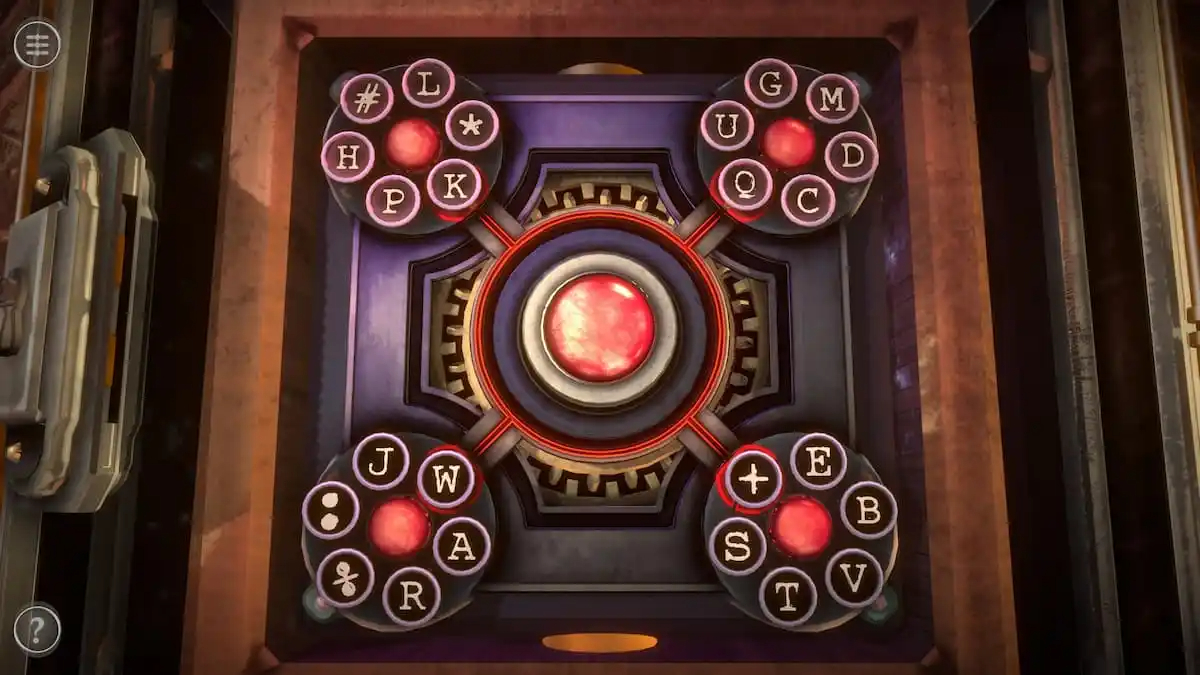
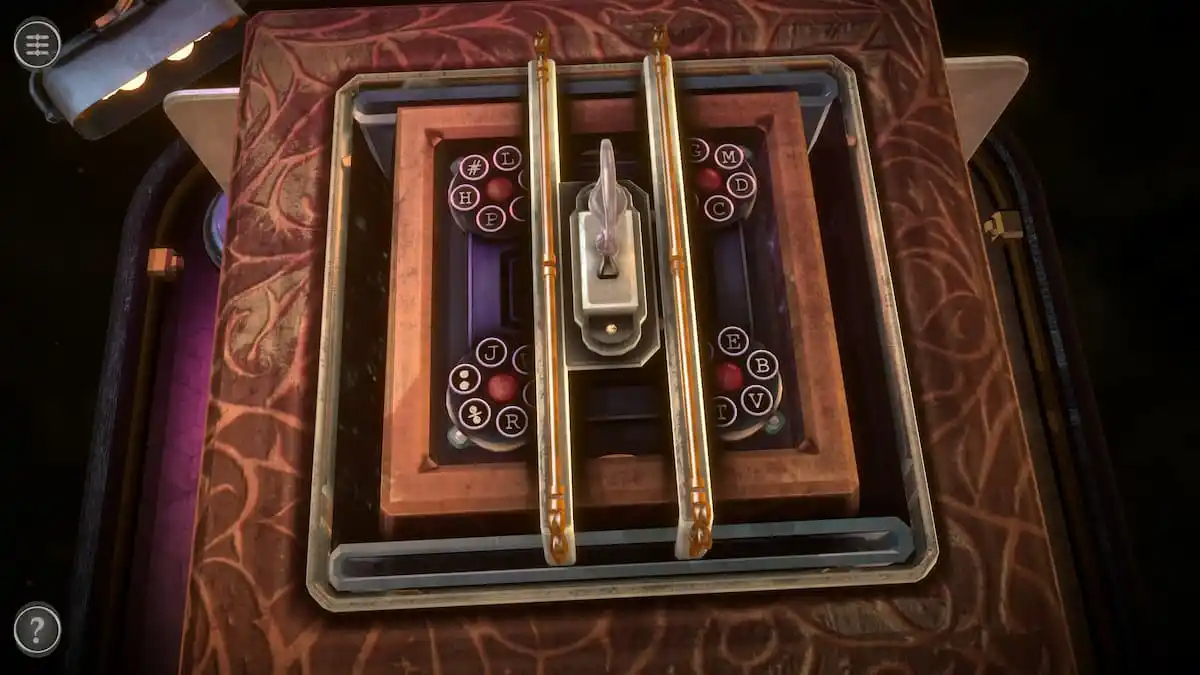
The rotary puzzle has one central red button and four smaller mechanisms. Each of the smaller mechanisms consists of six symbols surrounding a red button. The space closest to the larger red button has a red outline around it.
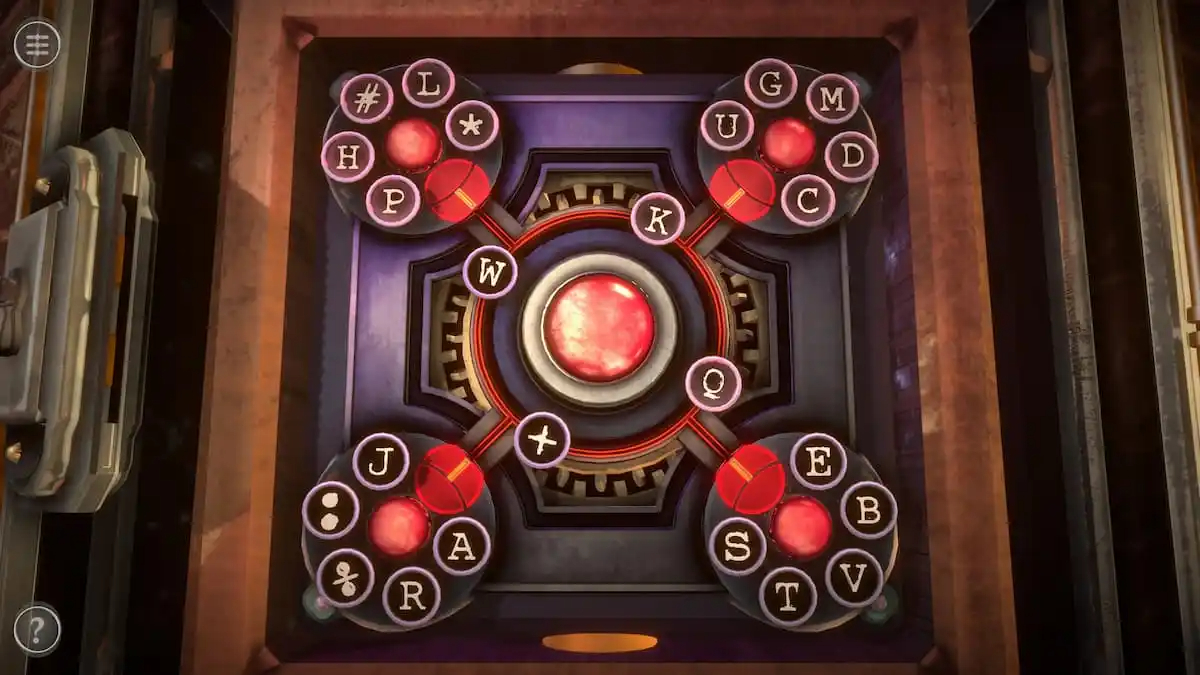
Pressing the central button rotates the four symbols in the red outlined spaces clockwise.
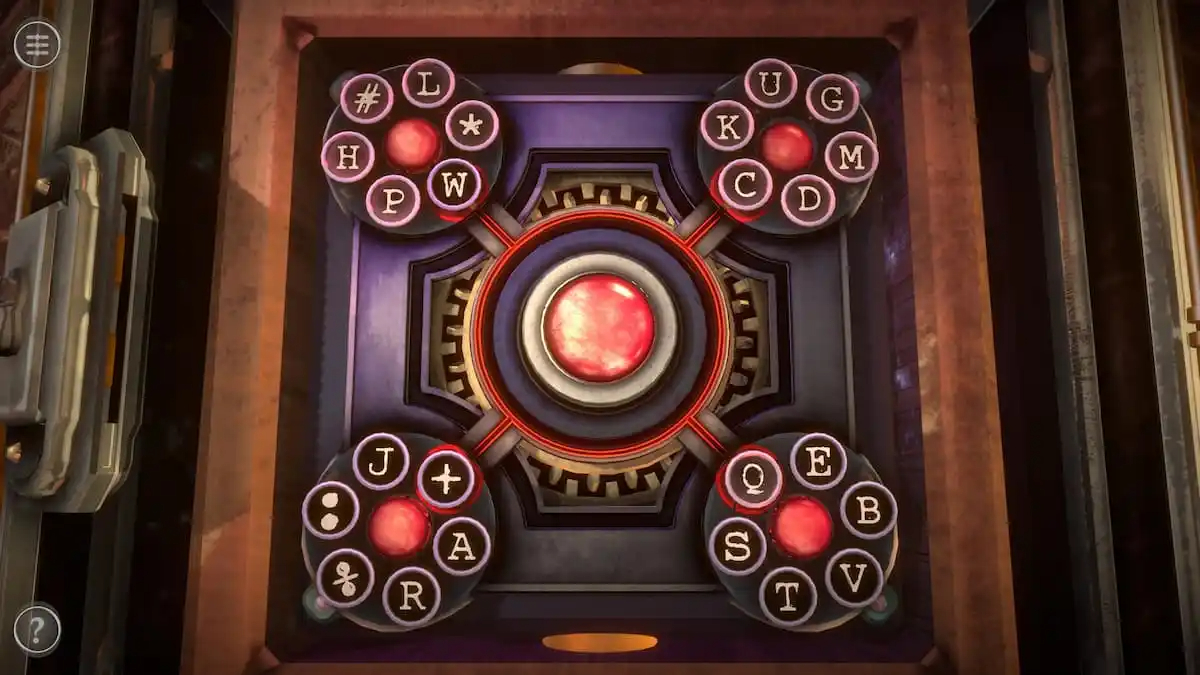
Pressing the smaller red buttons will rotate all of the symbols around them
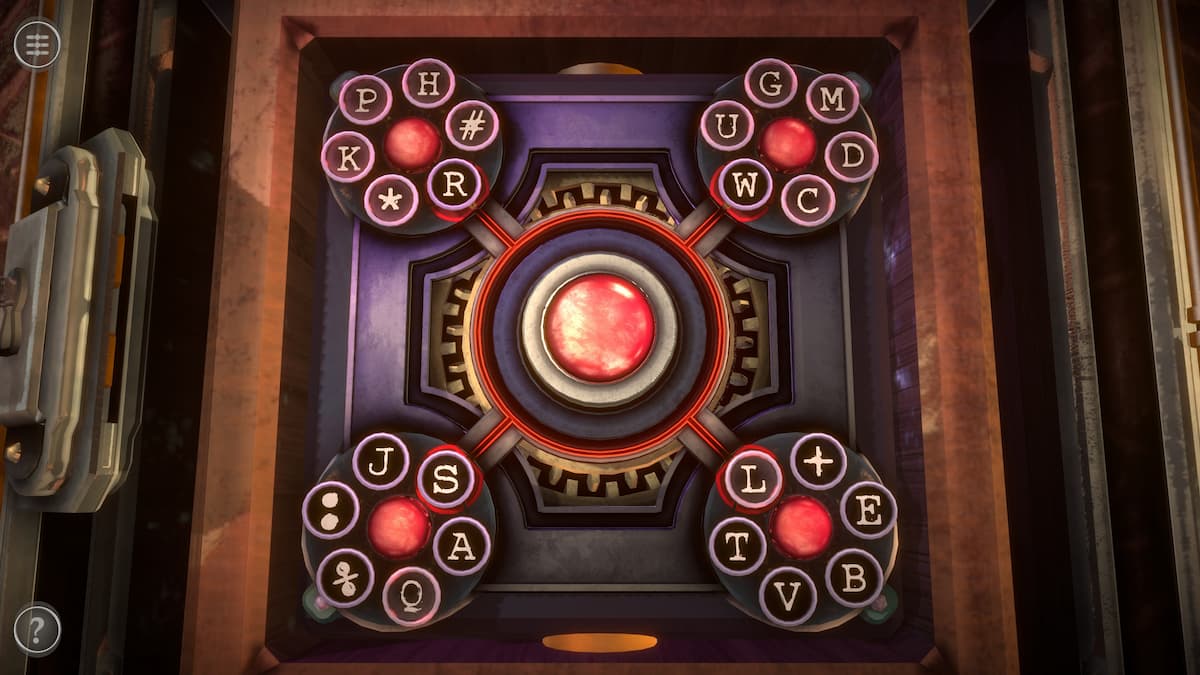
To complete the puzzle, the letters from the picture puzzle need to be placed in the right places in rotary puzzle. The “R” needs to be placed in the red outlined spot of the top left circle, the “W” in the top right, the “L” in the bottom right, and the “S” in the bottom left.
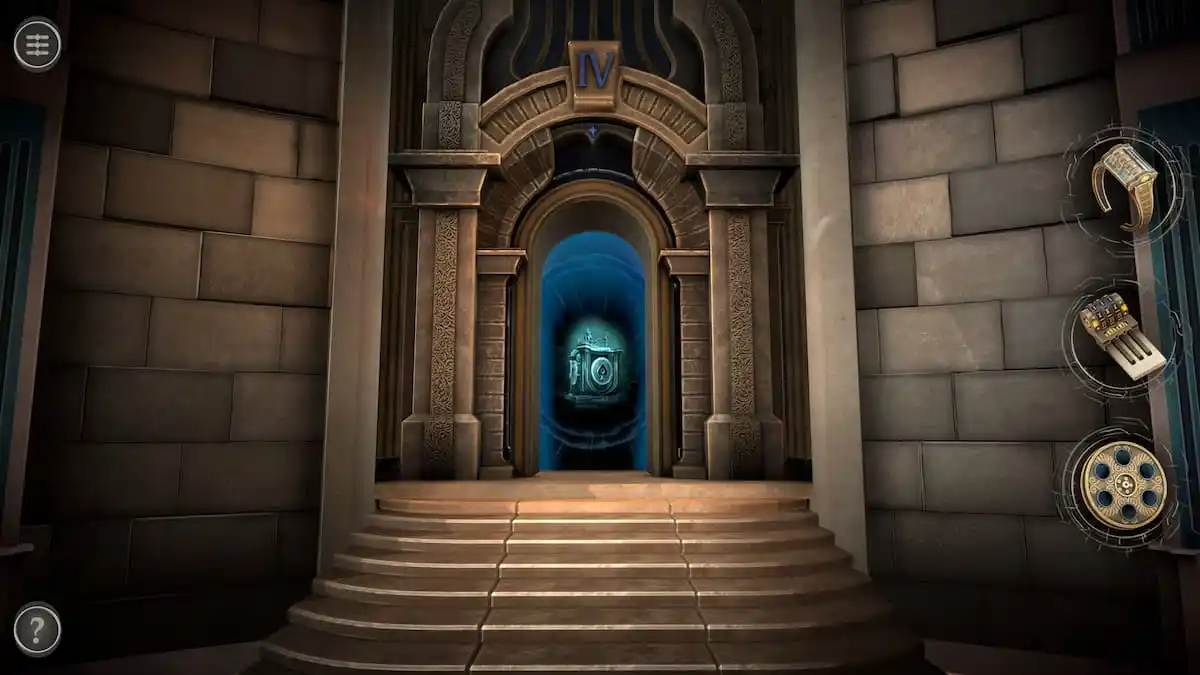
Completing the puzzle will give you the Film Reel, remove you from the third room, and open the final room of the floor.
THE THIRD PUZZLE BOX IS NOW COMPLETE AND FINISH AND YOUR FINAL PUZZLE BOX FOR CHAPTER 3 IS NOW UNLOCKED IN BOXES LOST FRAGMENTS
FINAL PUZZLE BOX IN CHAPTER 3
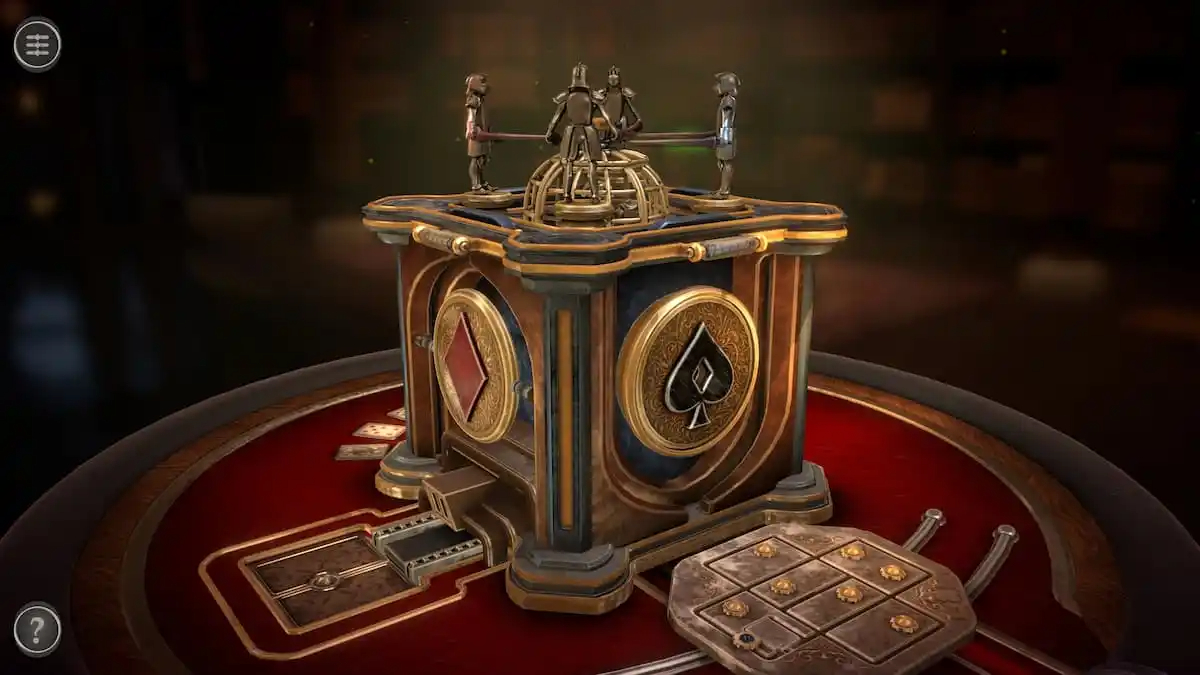
Room four puzzles
The box in room four uses imagery from a deck of cards and is surrounded by similarly-themed puzzles.
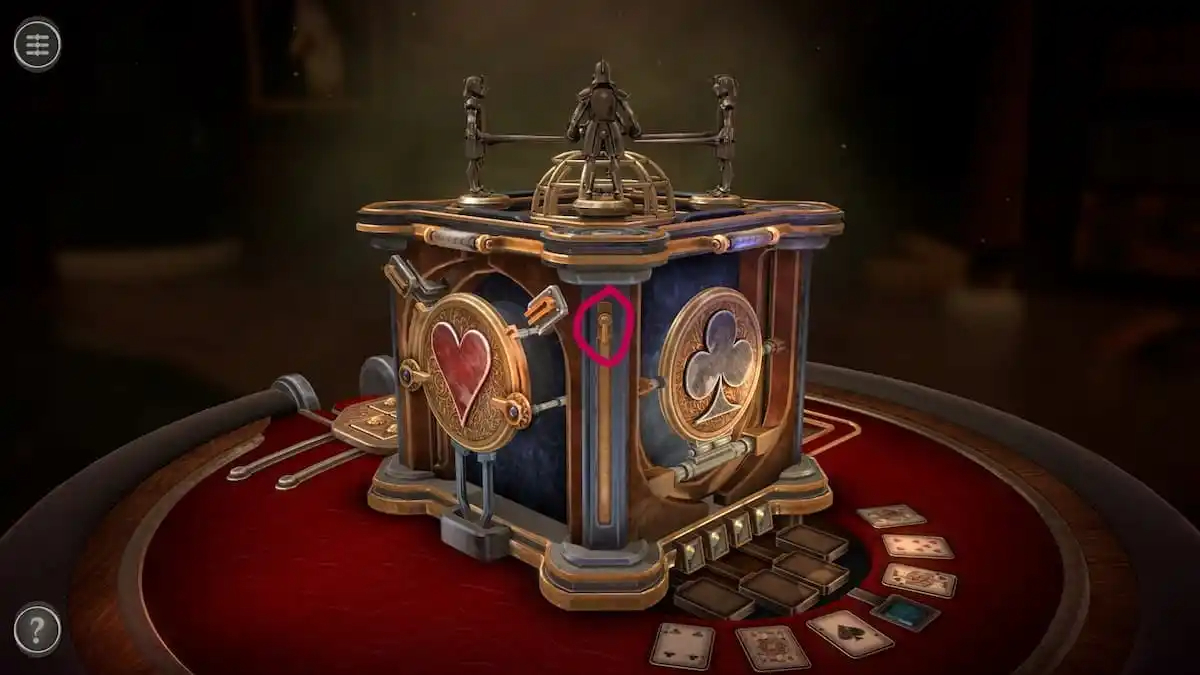
Before starting a puzzle, find the switch between the heart and club symbols.
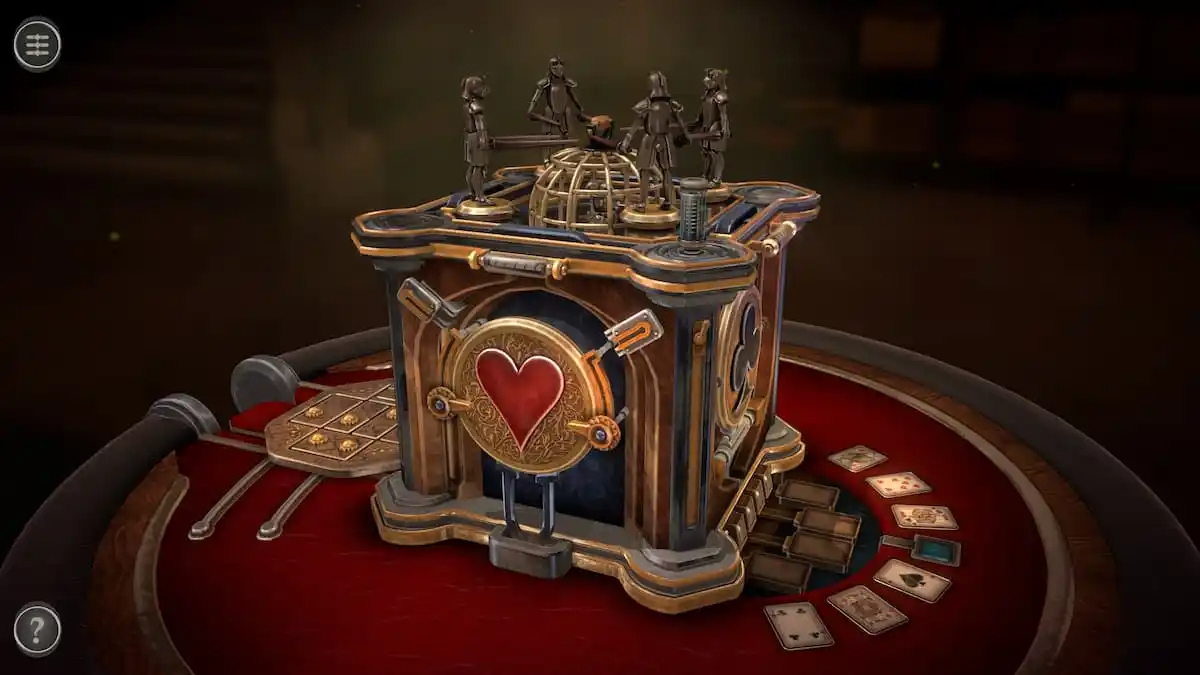
Flip the switch and pull the Power Source up to place it in your inventory.
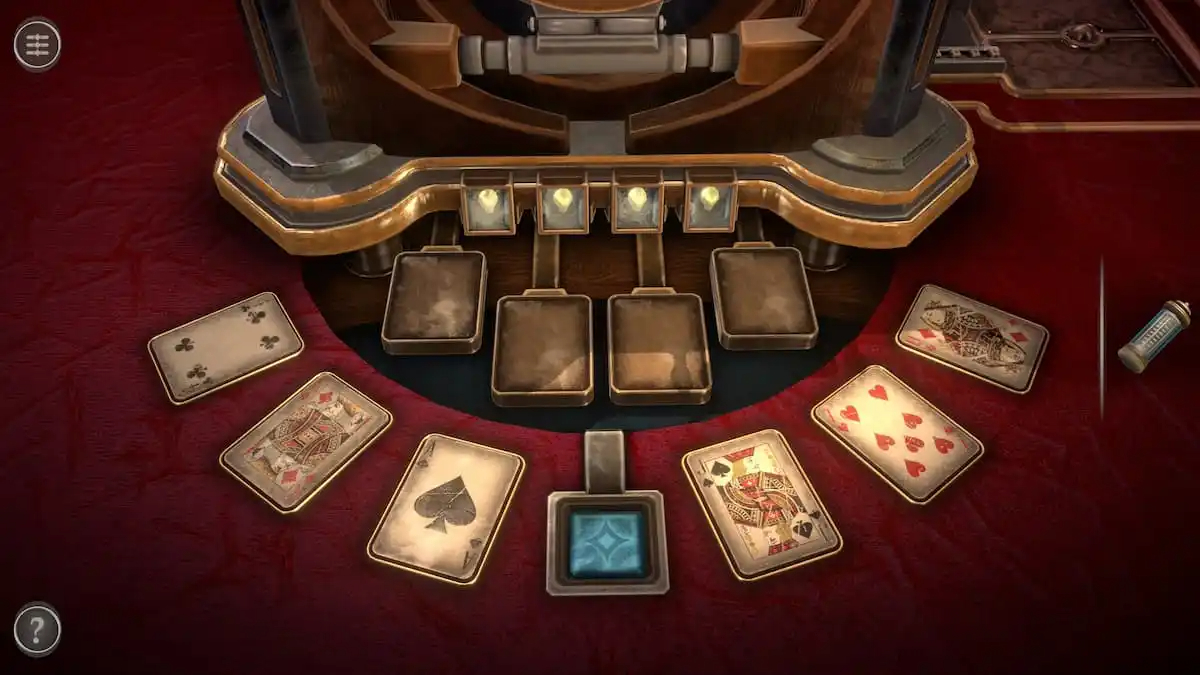
Card matching puzzle
This puzzle involves placing four cards into the slots they belong to.
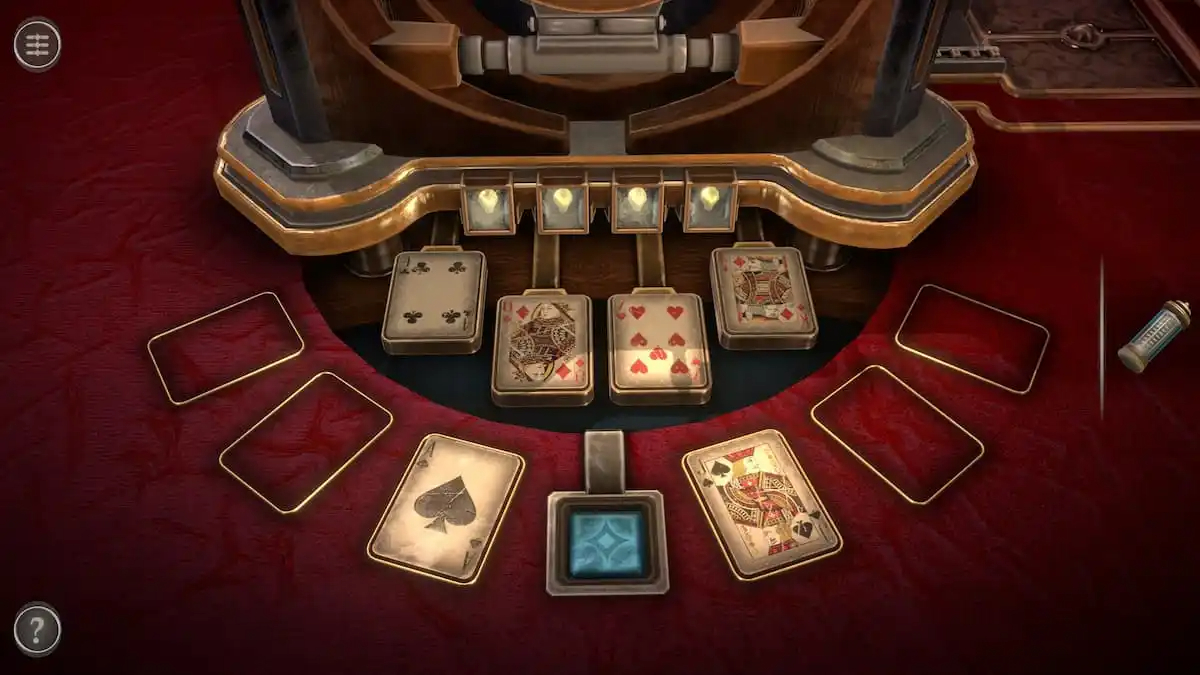
Start by placing four random cards into the four slots.
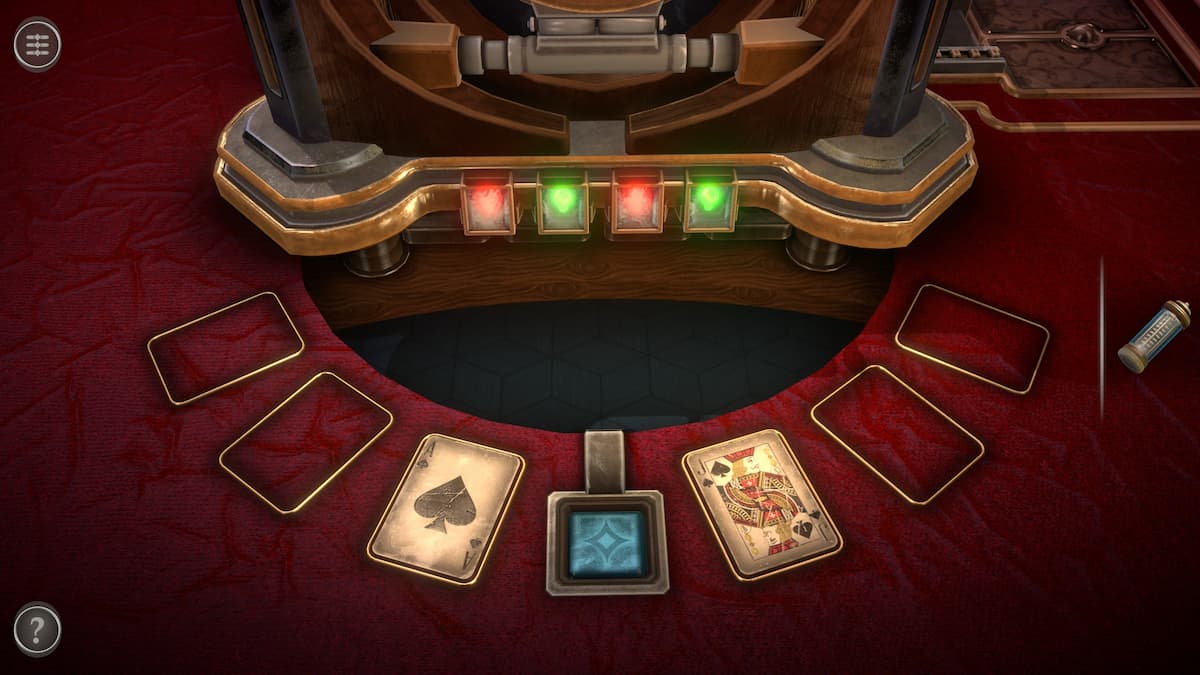
Correct cards will get a green light while incorrect cards will get a red light.
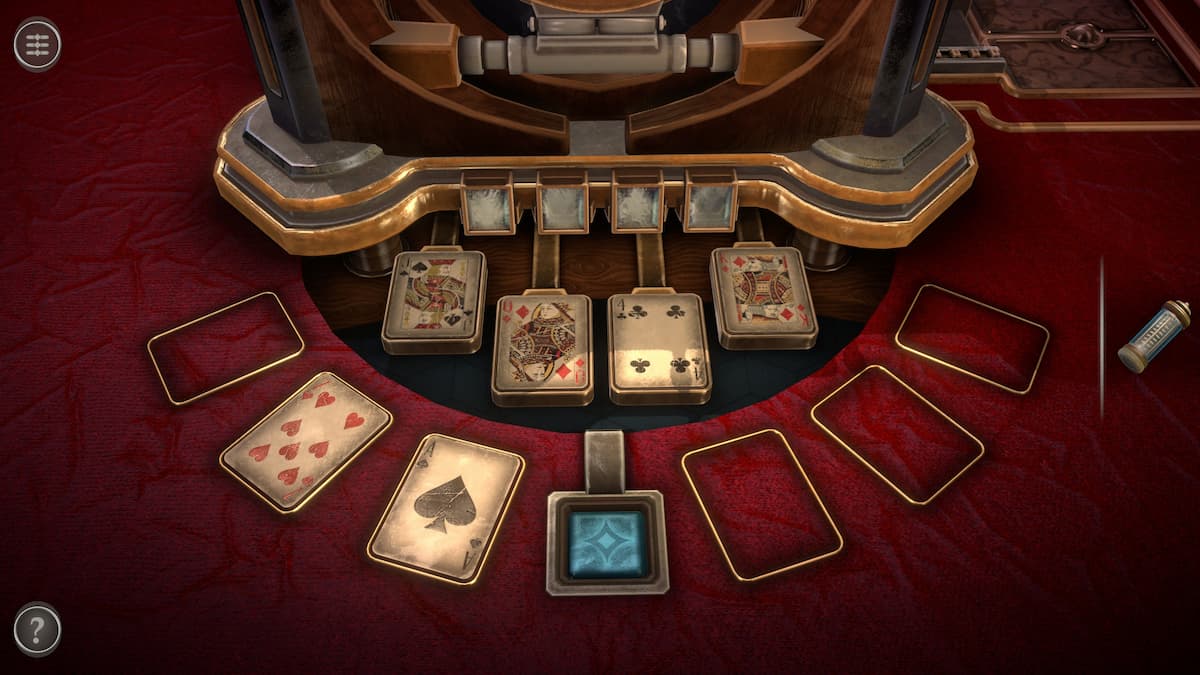
From left to right, the correct order of the cards is jack, queen, four of clubs, and king. Completing this puzzle gives you an Ace Card.
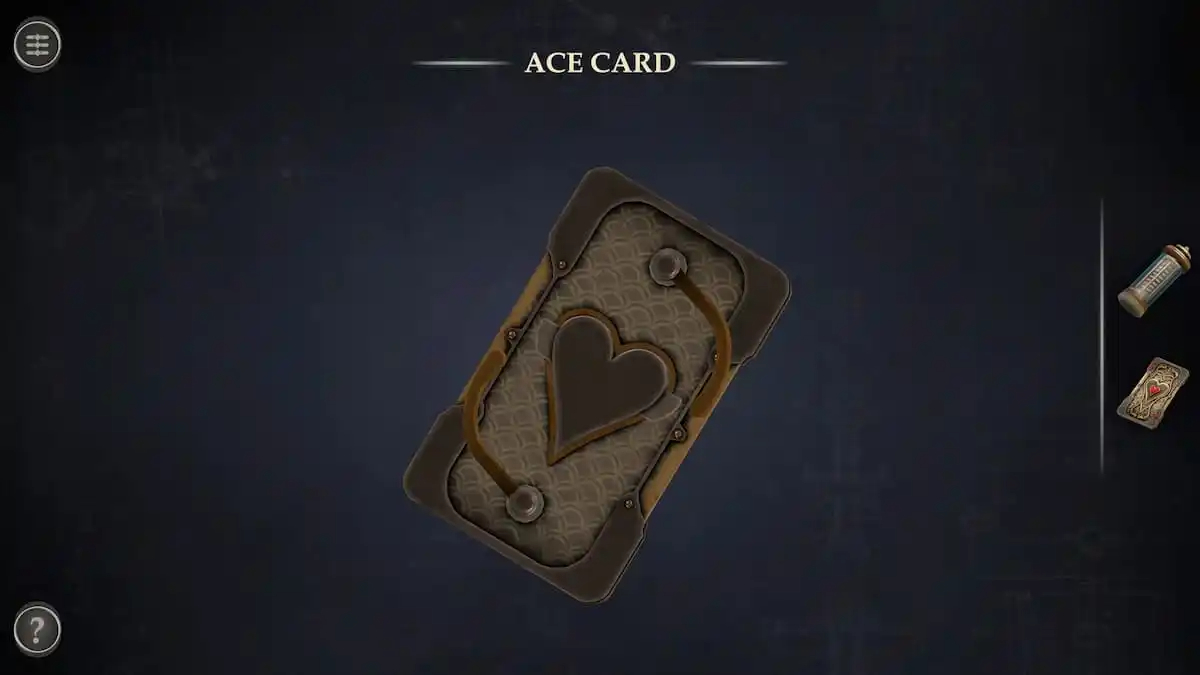
Ace Card puzzle
Open up the Ace Card in your inventory and rotate to view the back. Slide each of the handles off of the heart in the center and tap it to get a Heart Shape.
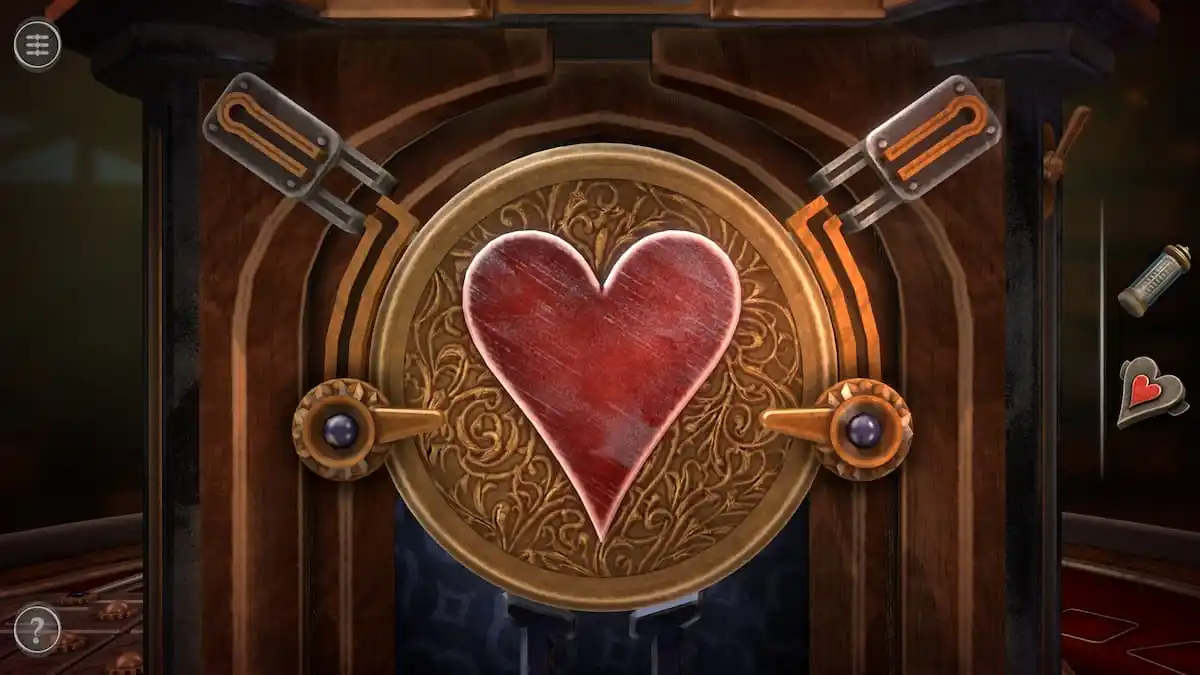
Heart puzzle
Rotate the camera to look at the heart shape on the box.
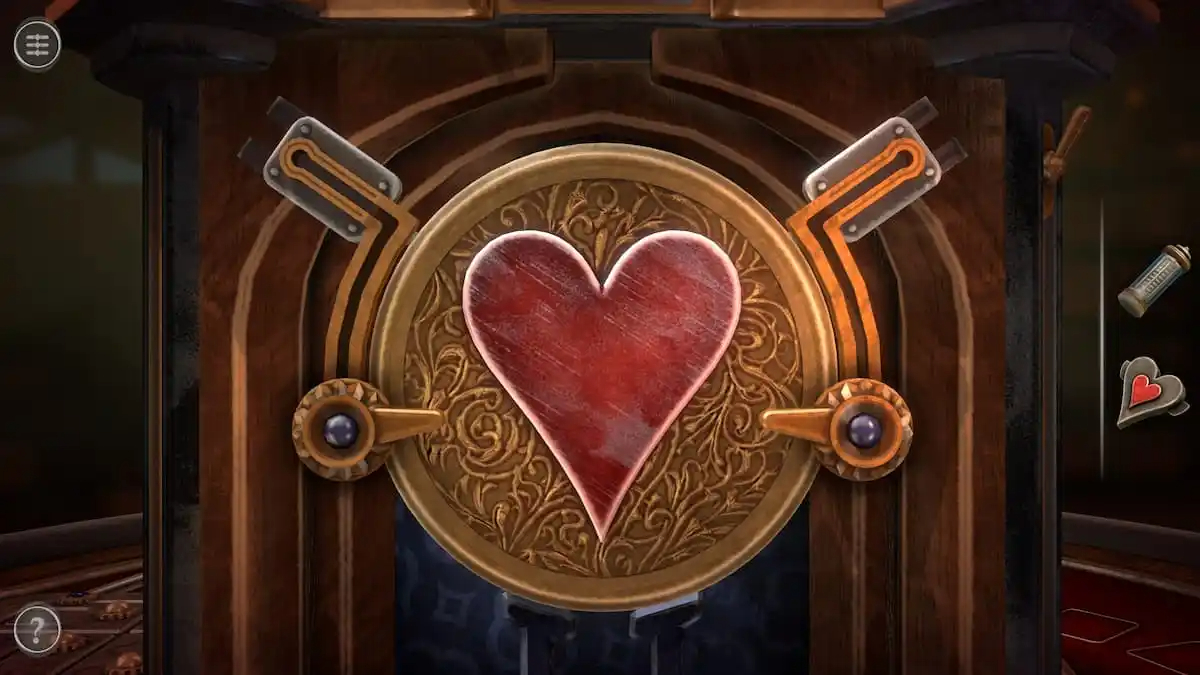
Pull the two top sliders down to connect with the rest of the pathway.
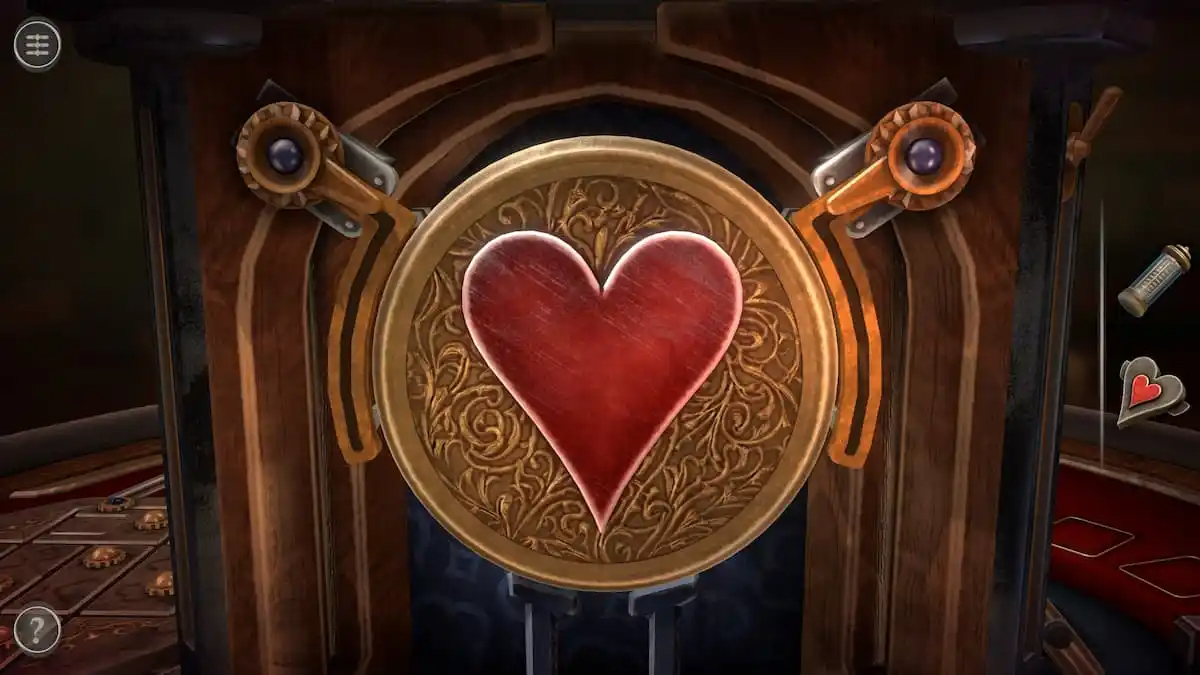
Push the two dial sliders to the top of the previously moved sliders.
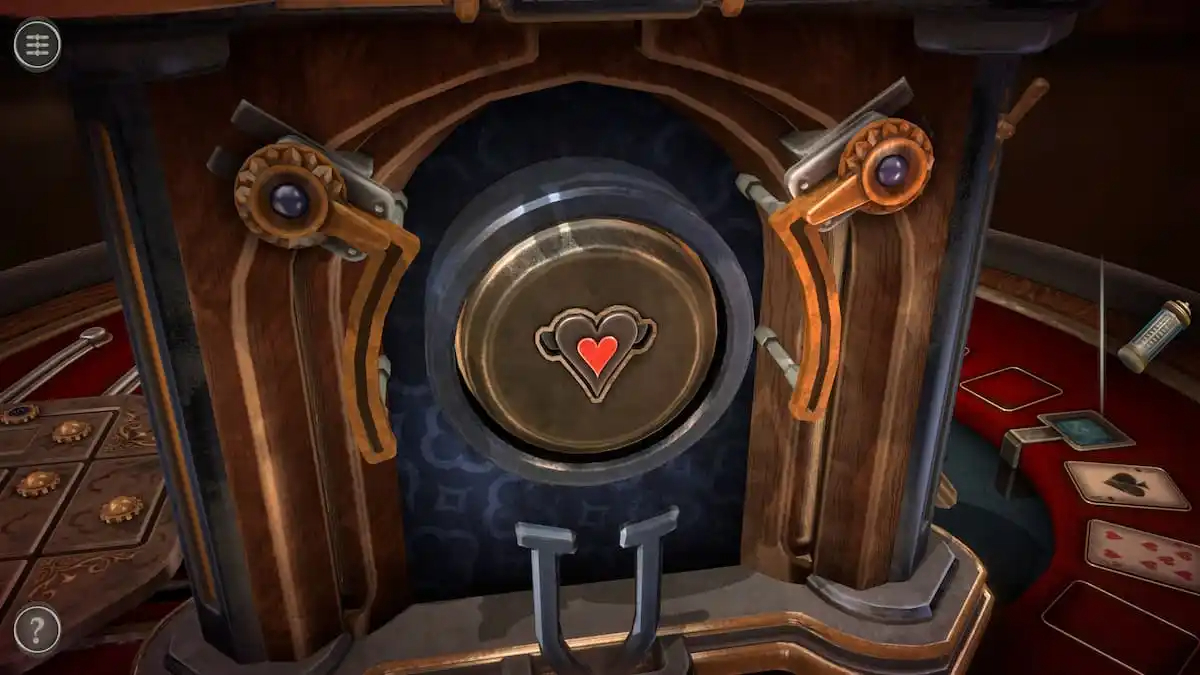
Place the Heart Shape into the empty space to unlock a compartment containing a Small Figure.
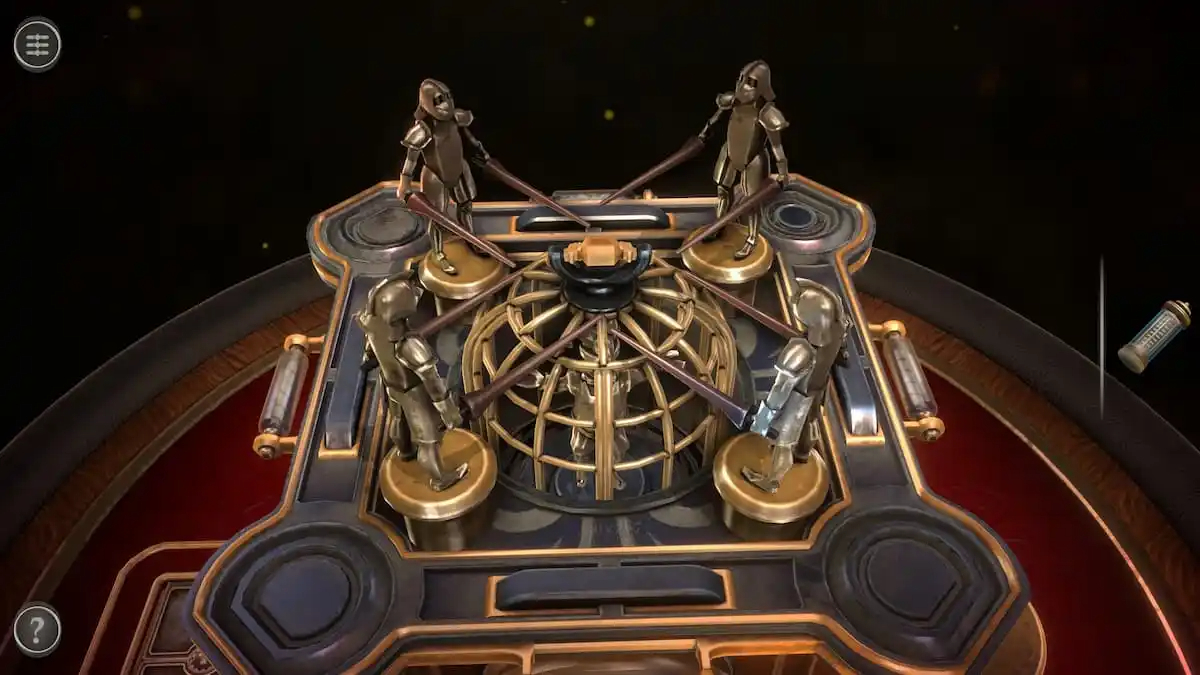
Knight lances puzzle
At the top of the box is a group of four knights using their lances to restrain the cage in the center.
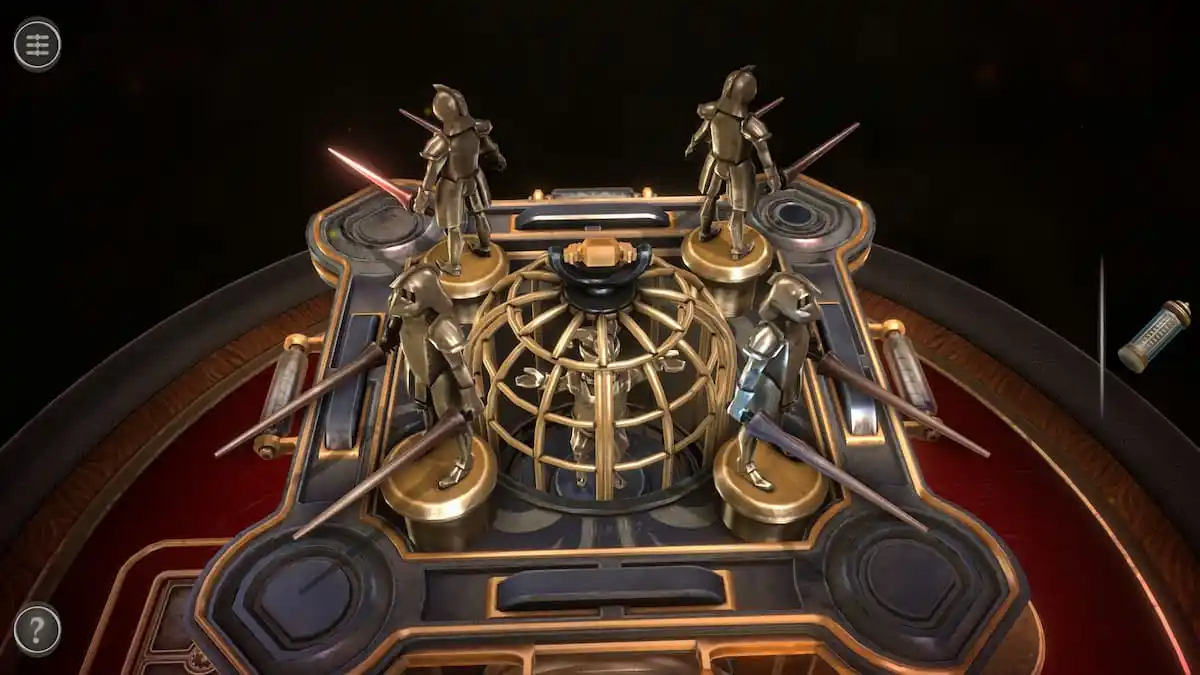
To open the cage, you need to make each knight face the outside. To do so quickly, tap them in the following order:
Front left knight.
Back right knight.
Front right knight.
Back left knight.
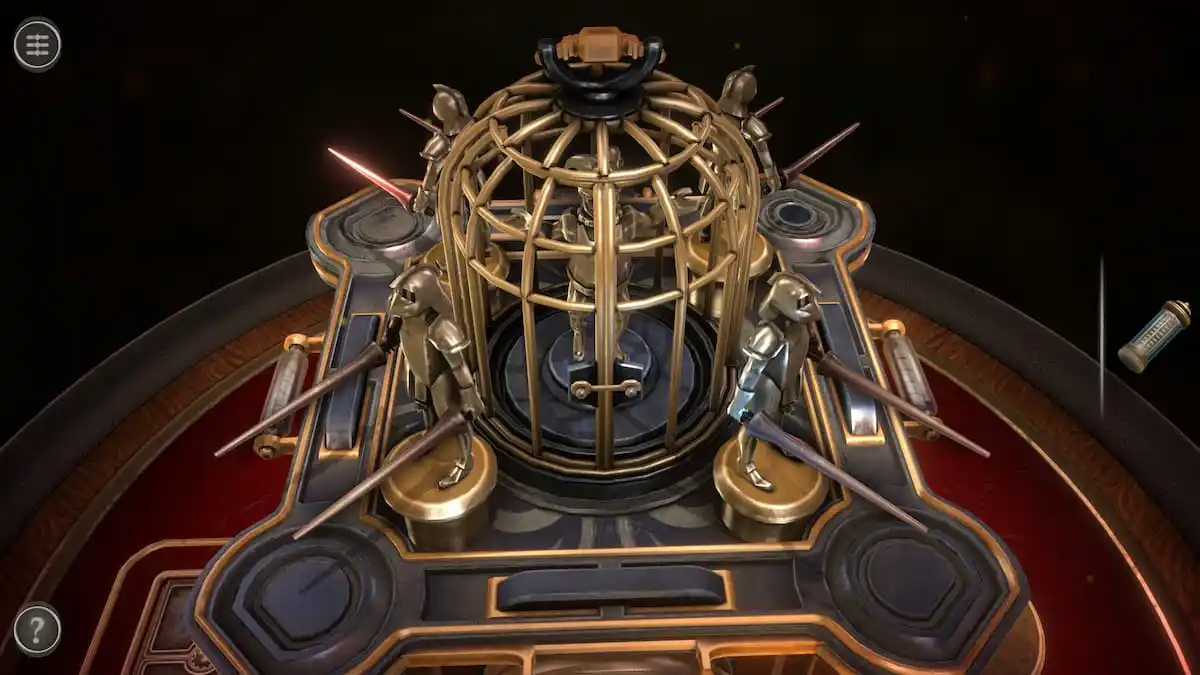
Pull the cage in the center upwards.
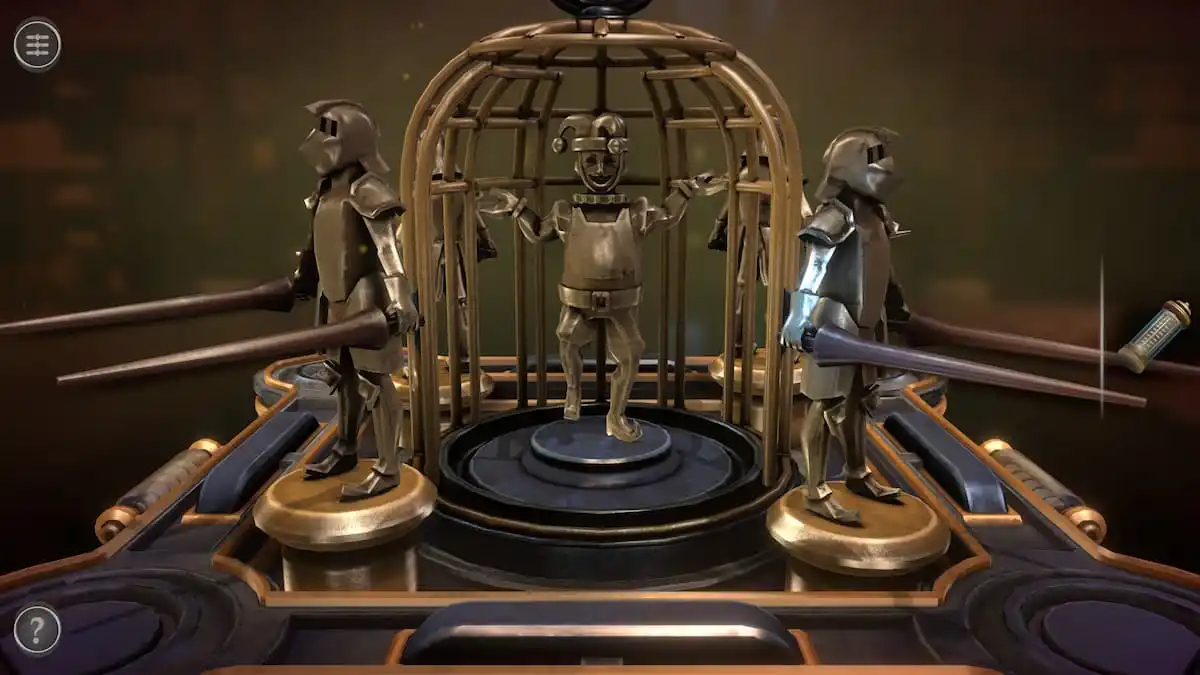
Unlatch the lock on the cage and pull each of the doors to the side to approach the jester statue in the center.
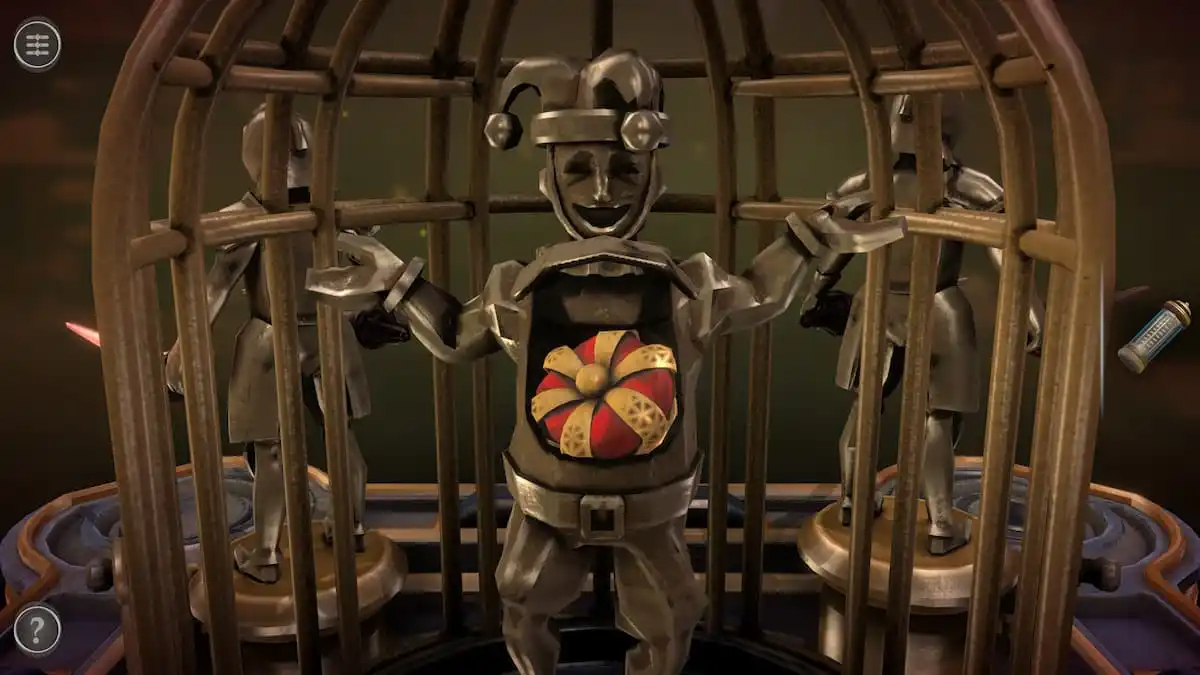
Rotate the gear on his neck to get a Small Crown.
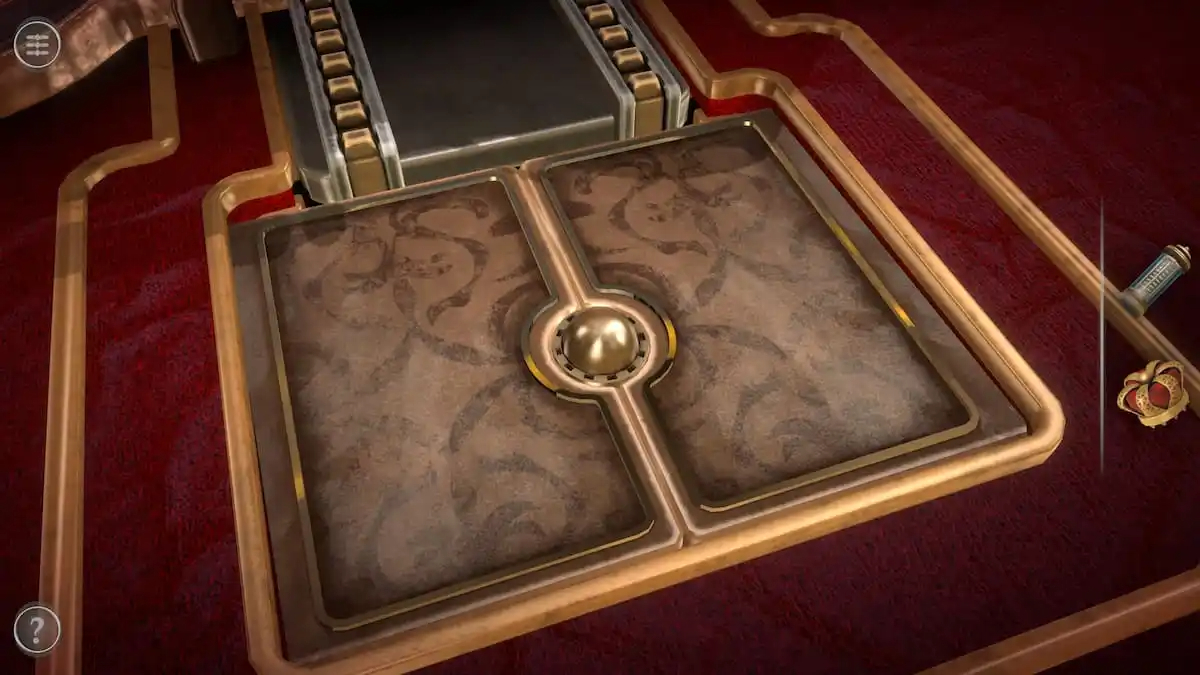
Small Crown puzzle
Look at the puzzle with the golden sphere in the center.
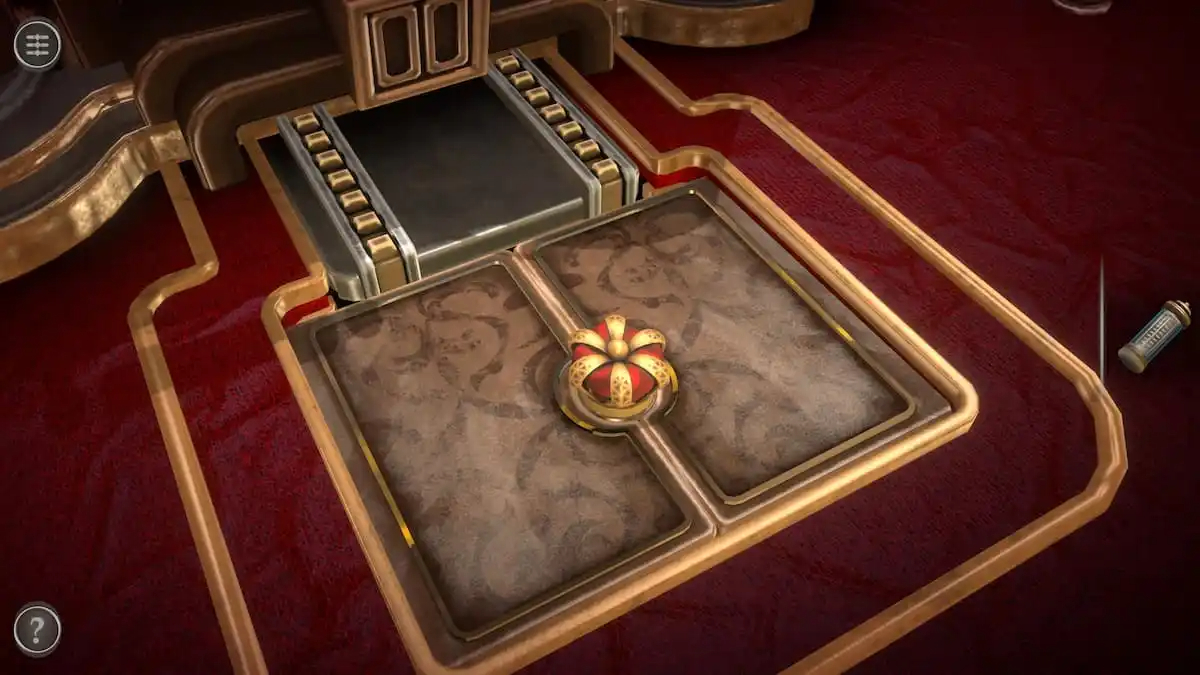
Place the Small Crown onto this gold sphere.
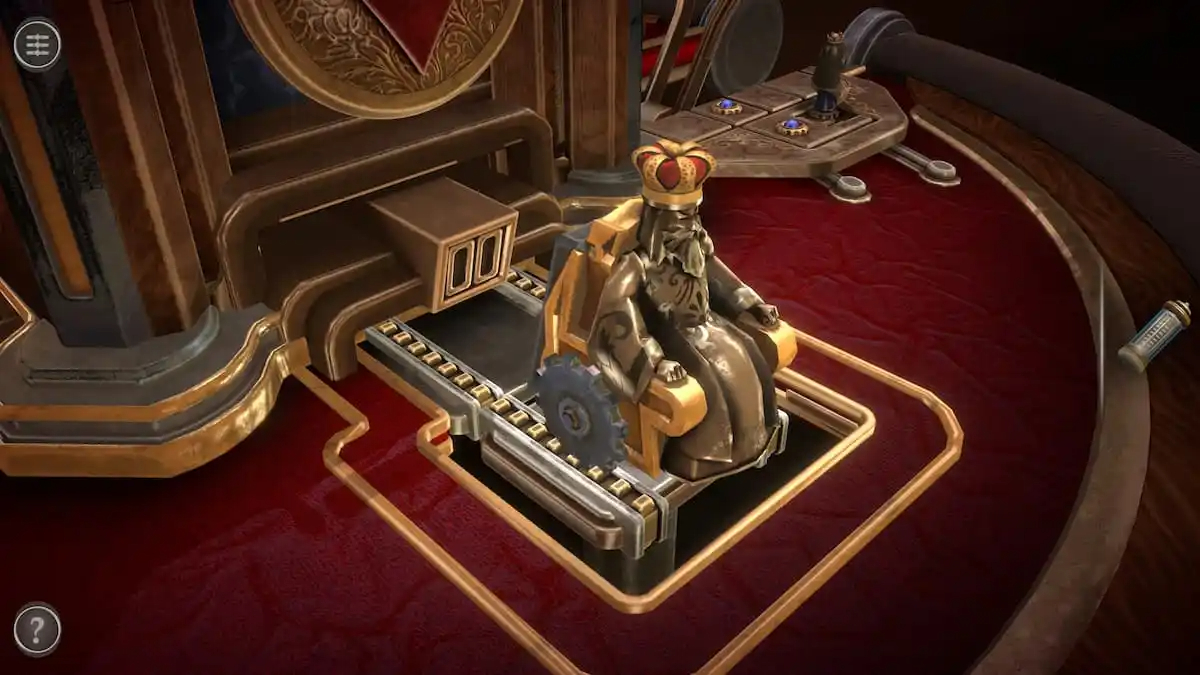
This will cause the statue of a king to rise up. It’s attached to the box by two rows of gears.
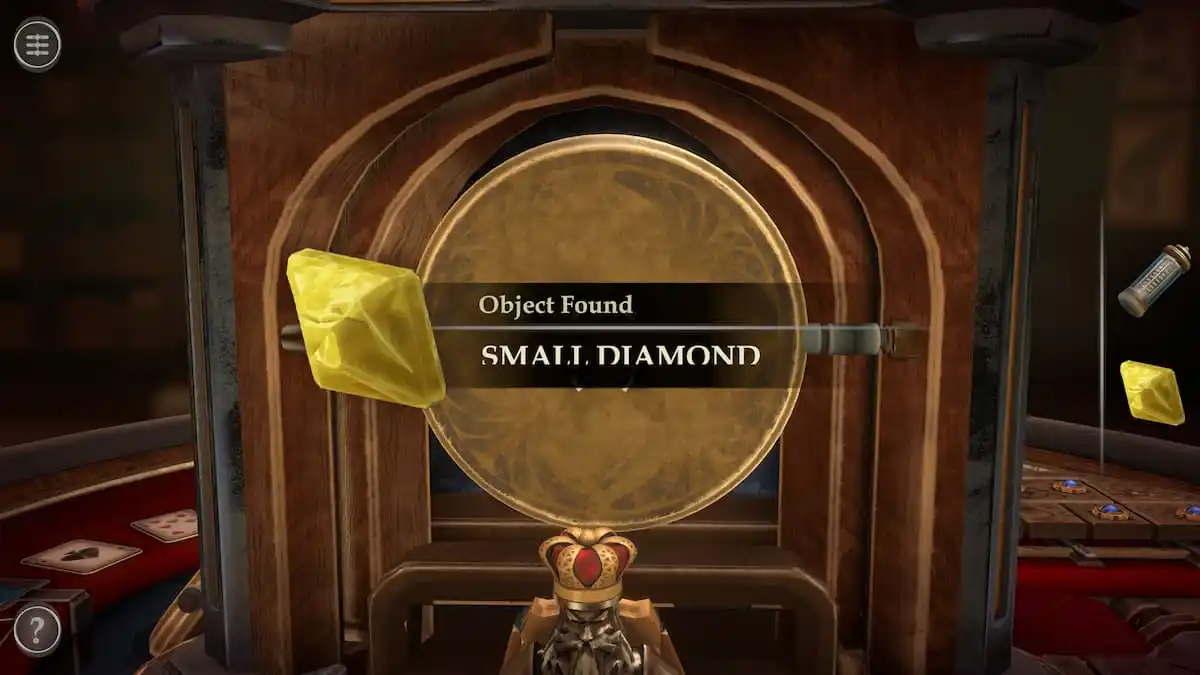
Pushing the king against the box will give you a Small Diamond.
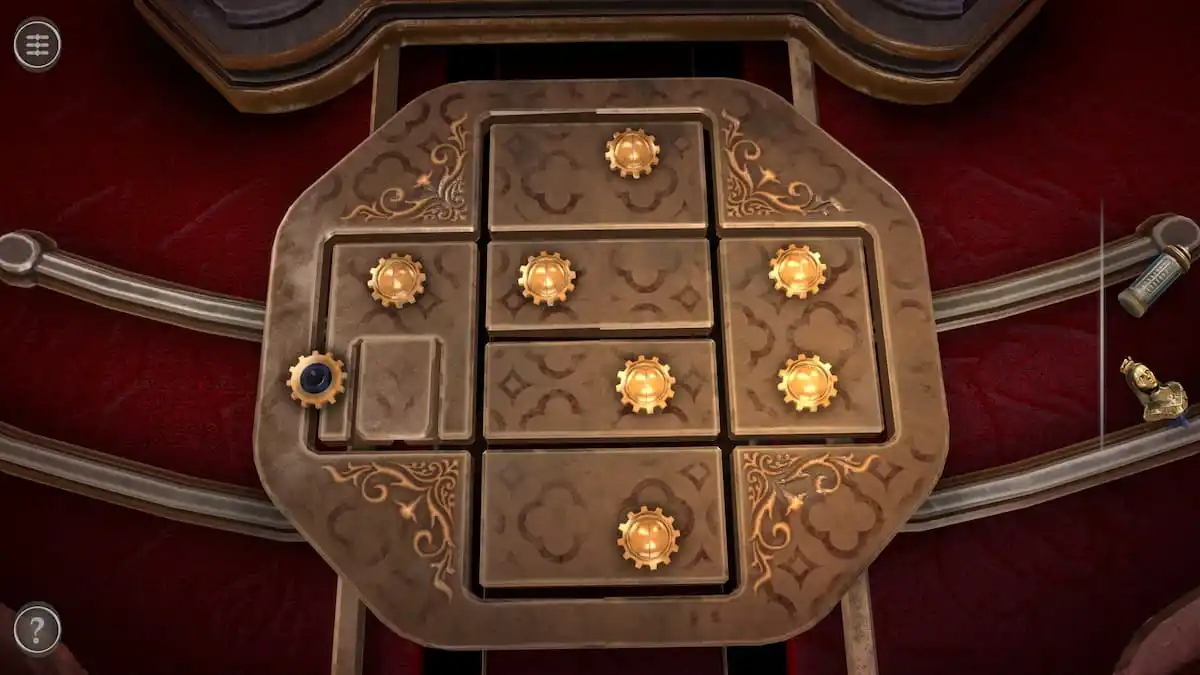
Small Statue puzzle
Before inserting the Small Diamond into the hole, solve the puzzle in front of it.
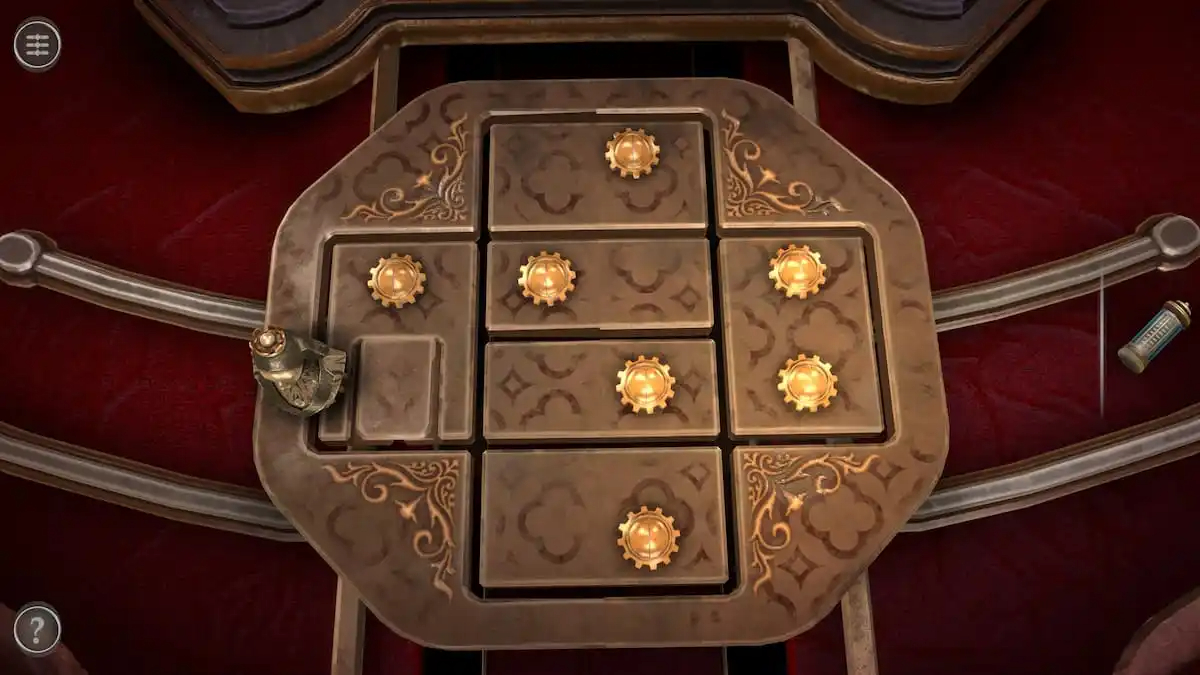
Place the Small Statue onto the gear on the left side.
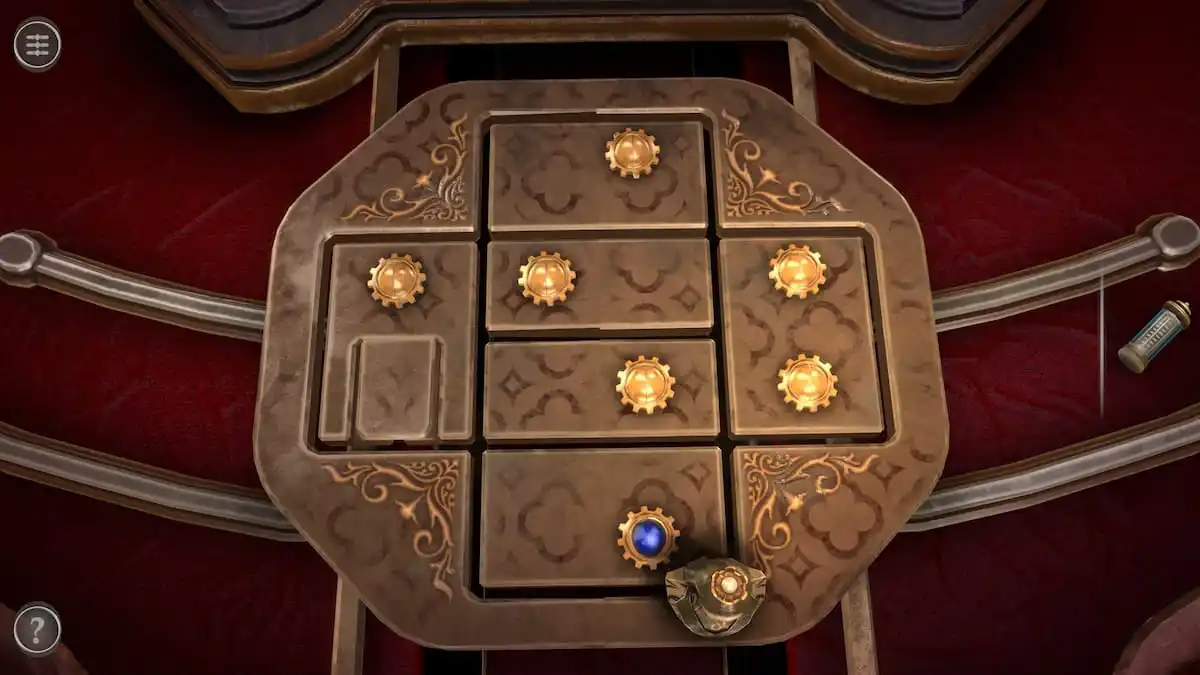
Moving the Small Statue past one of the golden pieces will open it up, turning it blue.
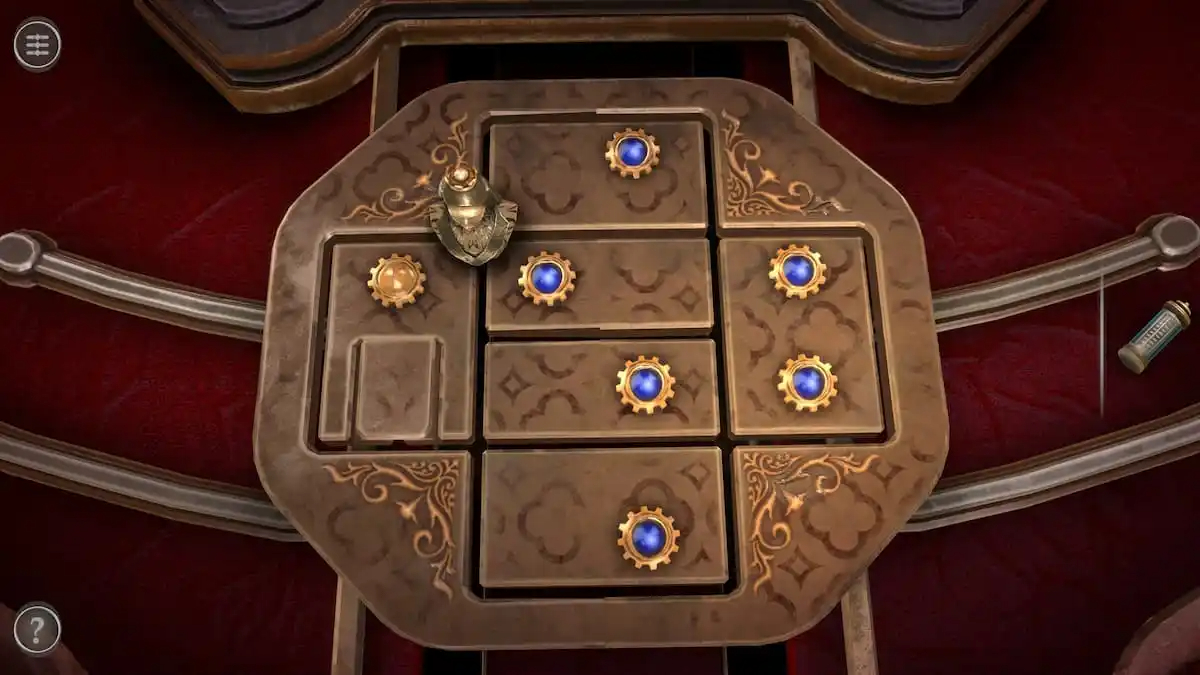
To solve the puzzle, you need to move the Small Statue passed each piece so that each one is blue. Passing a blue piece will revert it to gold, so you will need to tread carefully. Ideally, the last piece to turn blue would be the one on the far left.
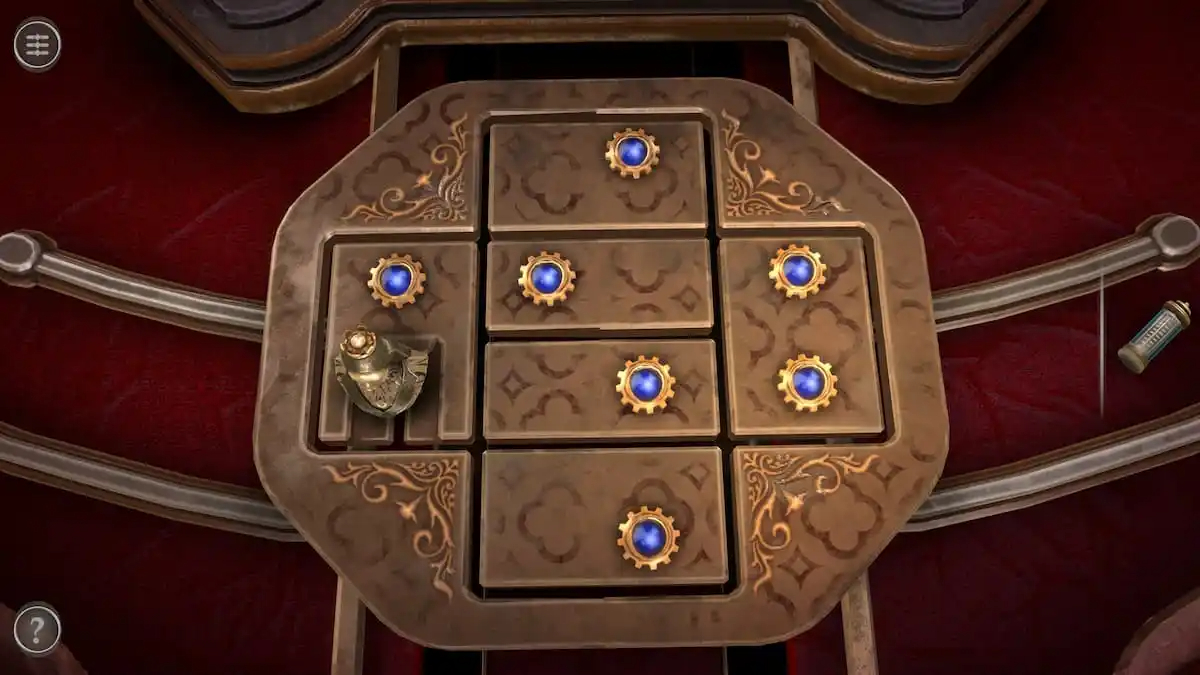
Turning the last golden slider blue will open up a new path. Push the Small Statue to the end of that path.
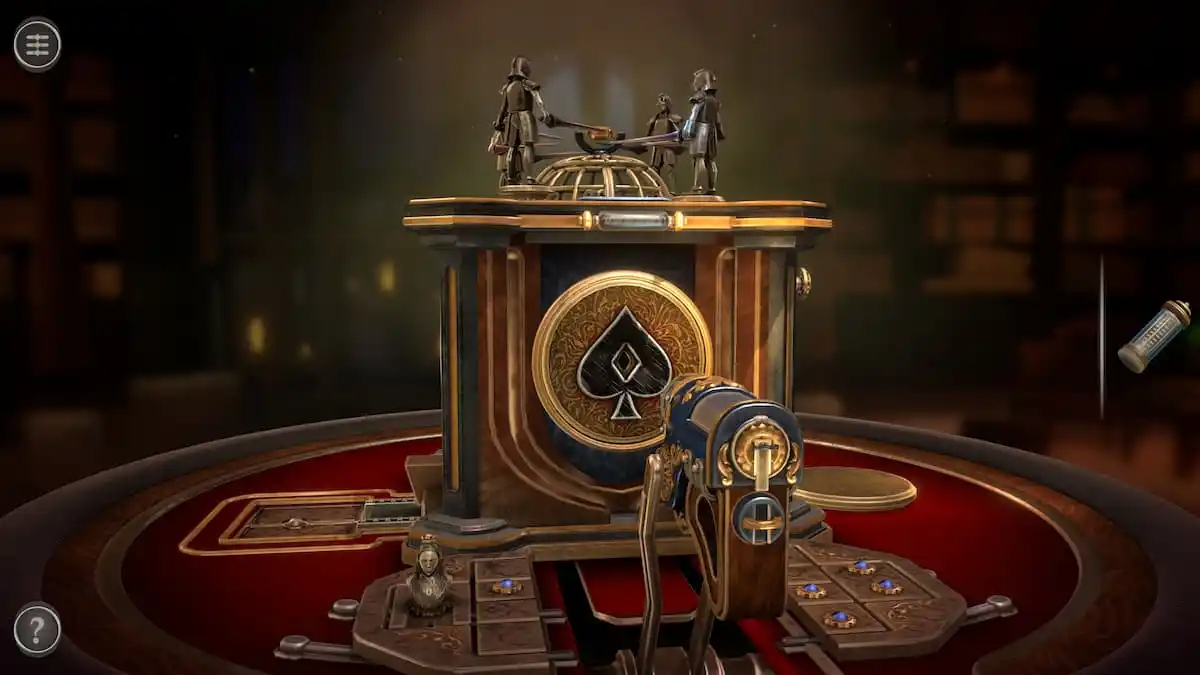
This will open up a new mechanism.
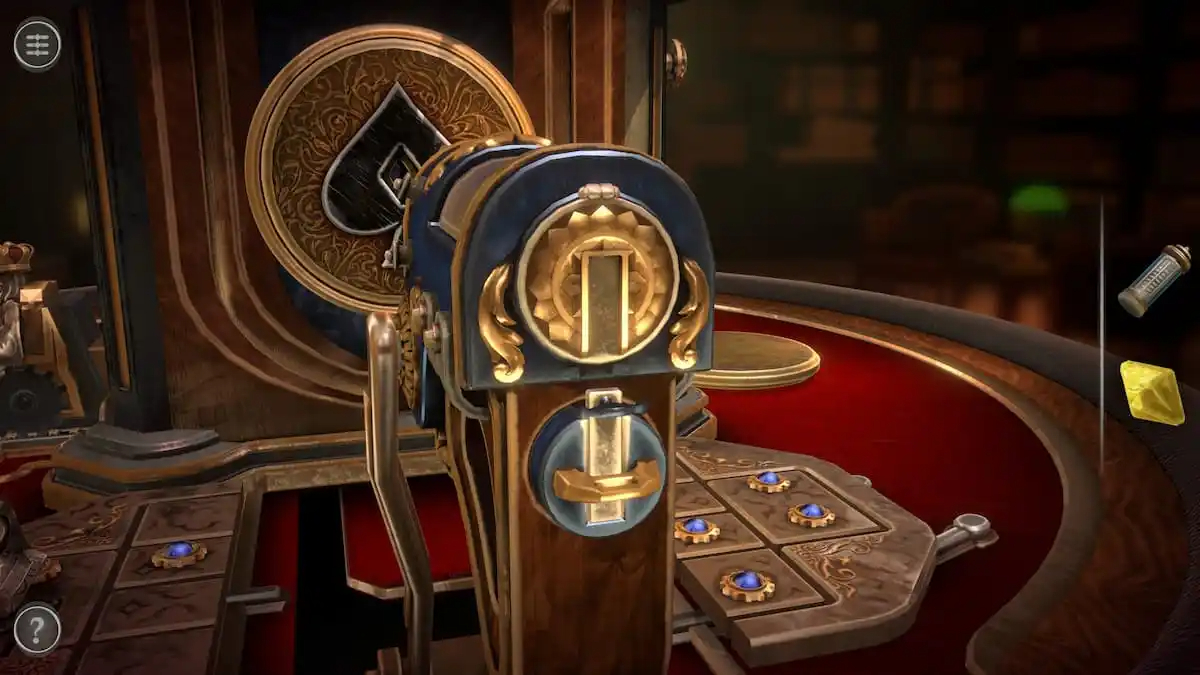
On the back of the mechanism, rotate the badge so that the open end of the path connects with the path at the top. Push the piece on the top down along the path.
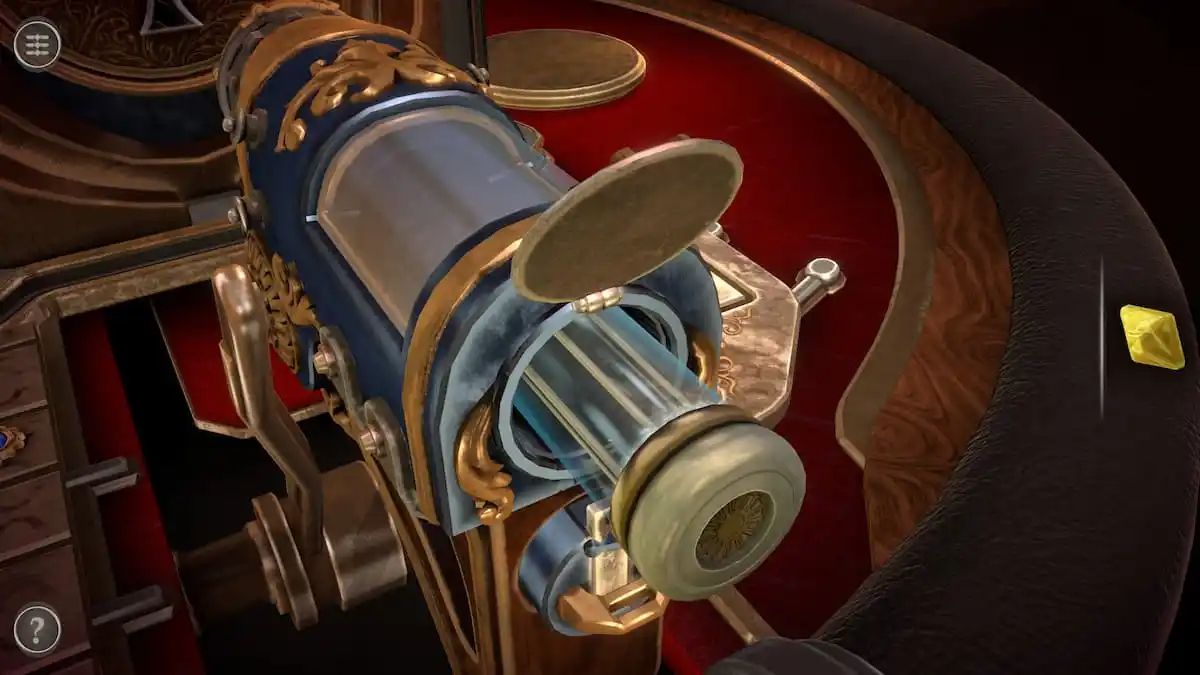
The compartment will open, and the Power Cell can be placed inside of it.
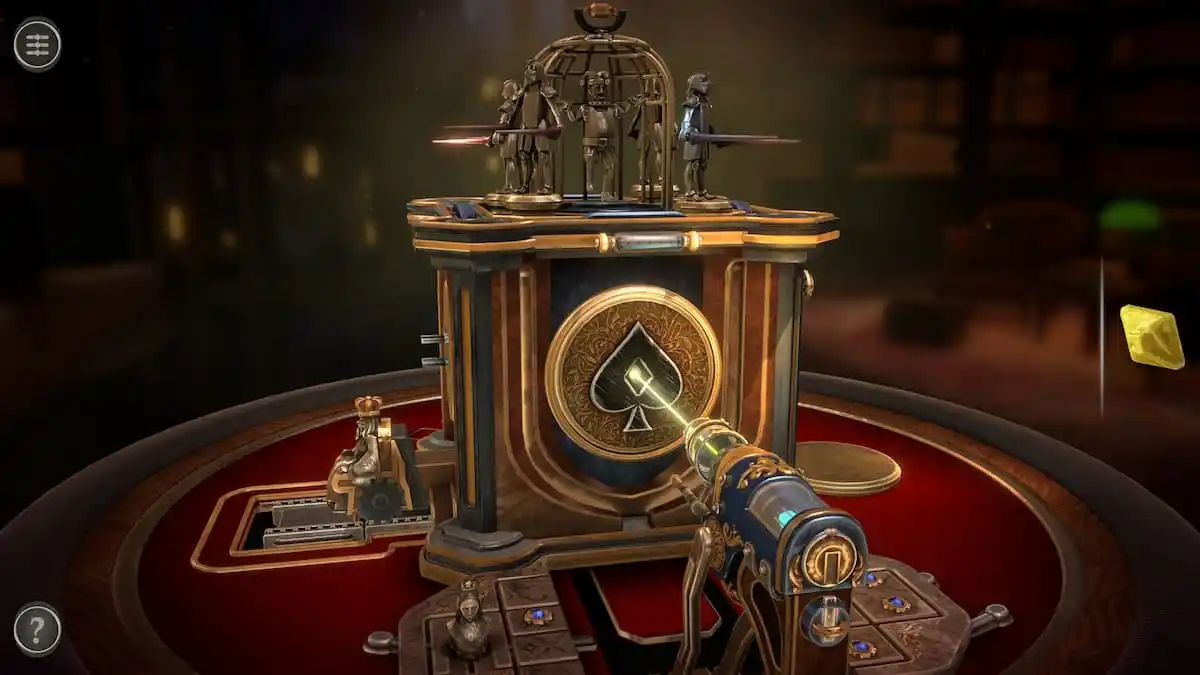
This will shoot a yellow laser towards the box.
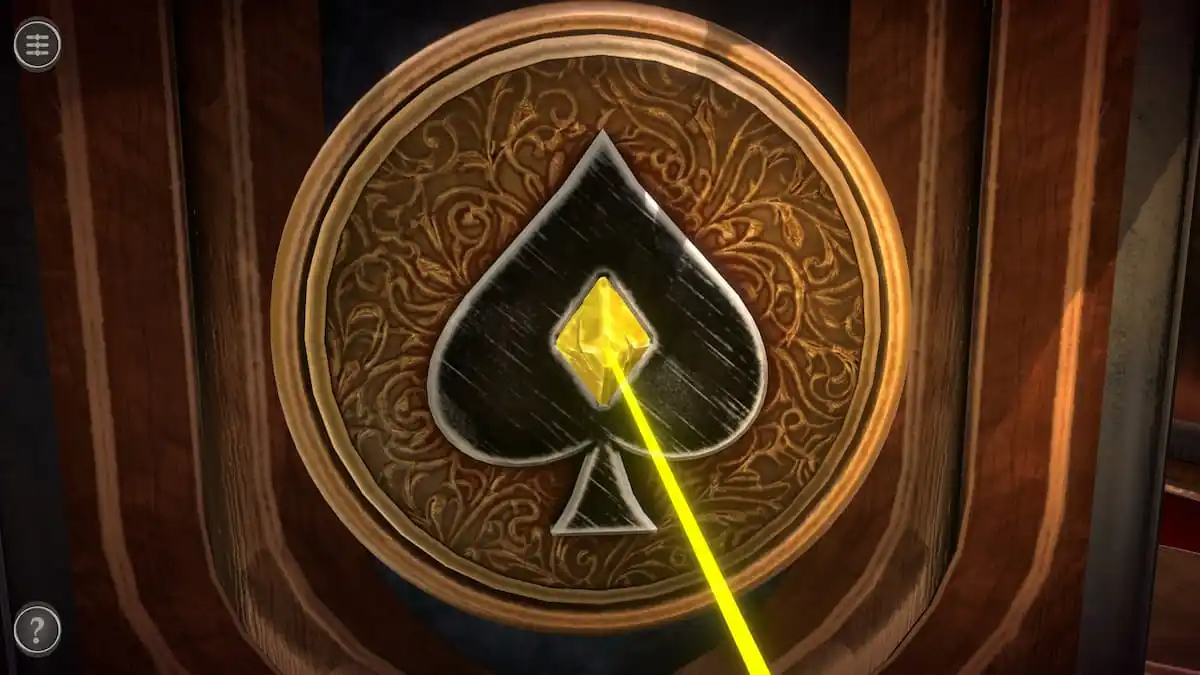
Small Diamond puzzle
Place the Small Diamond into the hole where the light shines.
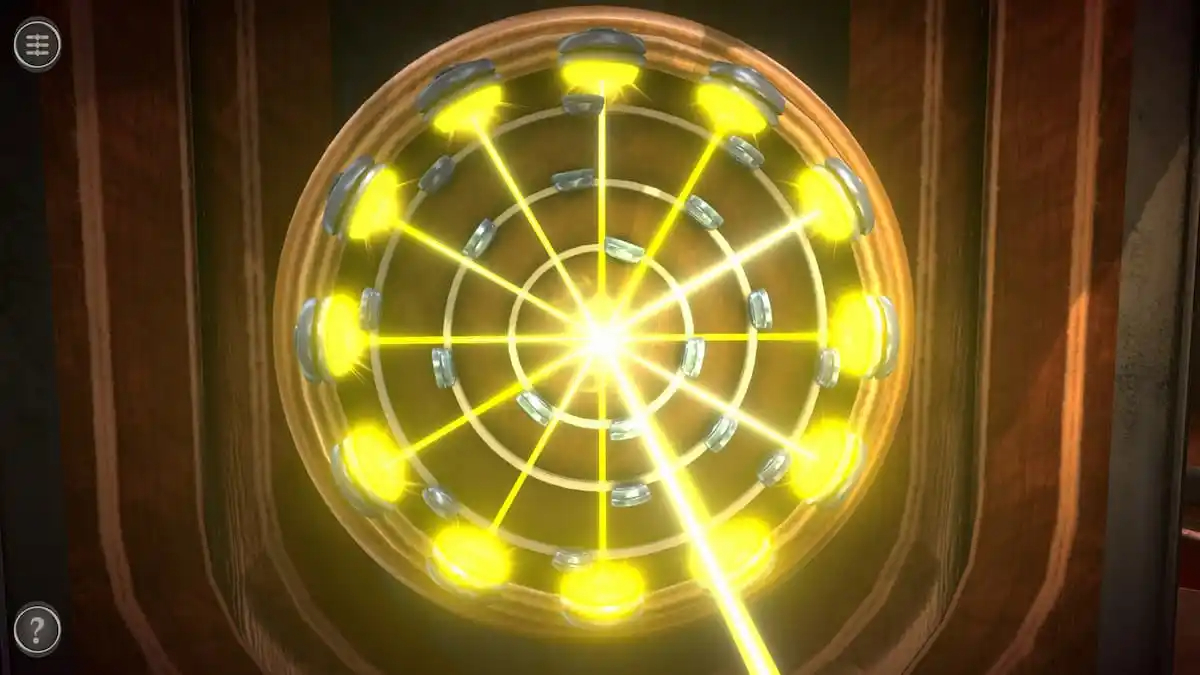
The goal of this puzzle is to rotate the three rows so that the light can touch all of the mechanisms on the edges.
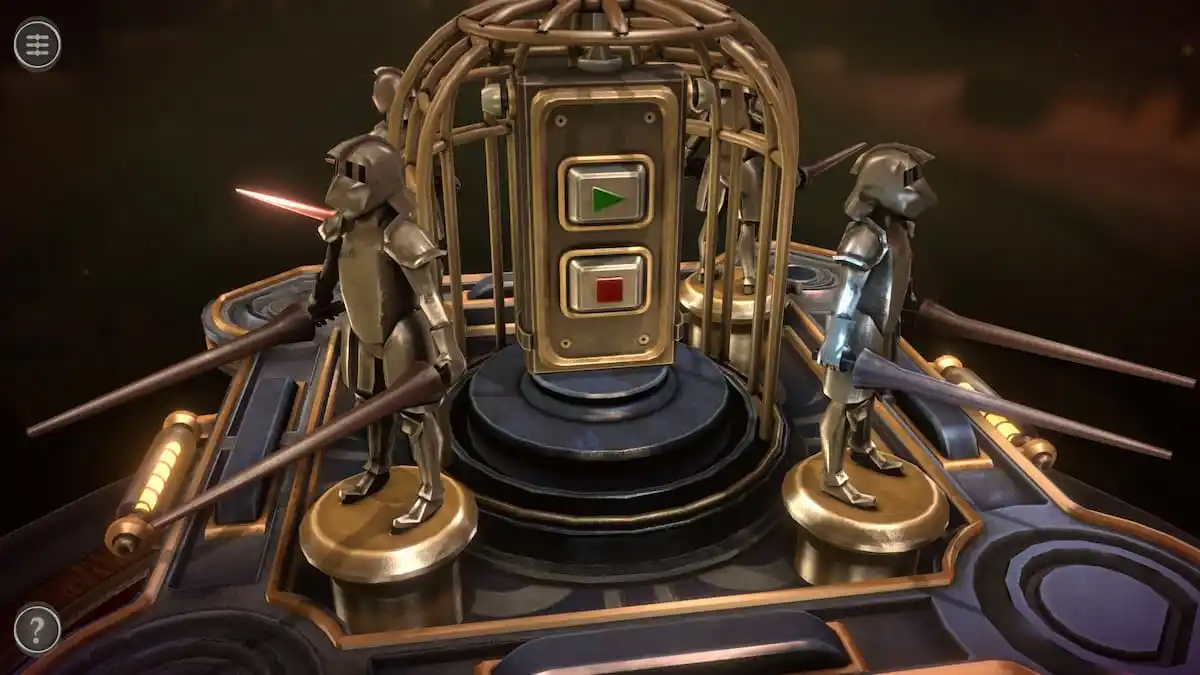
This will give you a Remote Control and return you to the main room.
THE FINAL PUZZLE BOX IS NOW COMPLETE AND FINISH AND IT IS TIME FOR THE COUPLE REMAINING PUZZLES IN CHAPTER 3 BEFORE CHAPTER 3 IS OVER IN BOXES LOST FRAGMENTS
FINAL PART IN CHAPTER 3 IN BOXES LOST FRAGMENTS
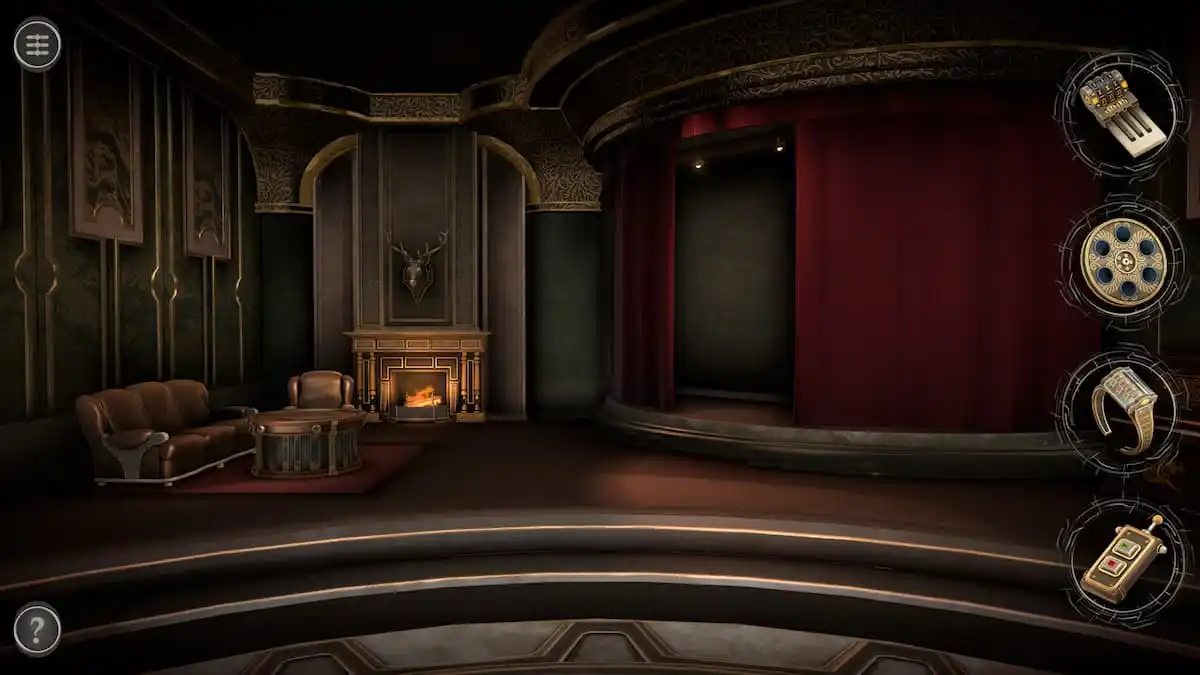
Main room final puzzles
The side room here features a cozy sitting area, a fireplace, and a red-curtained stage.
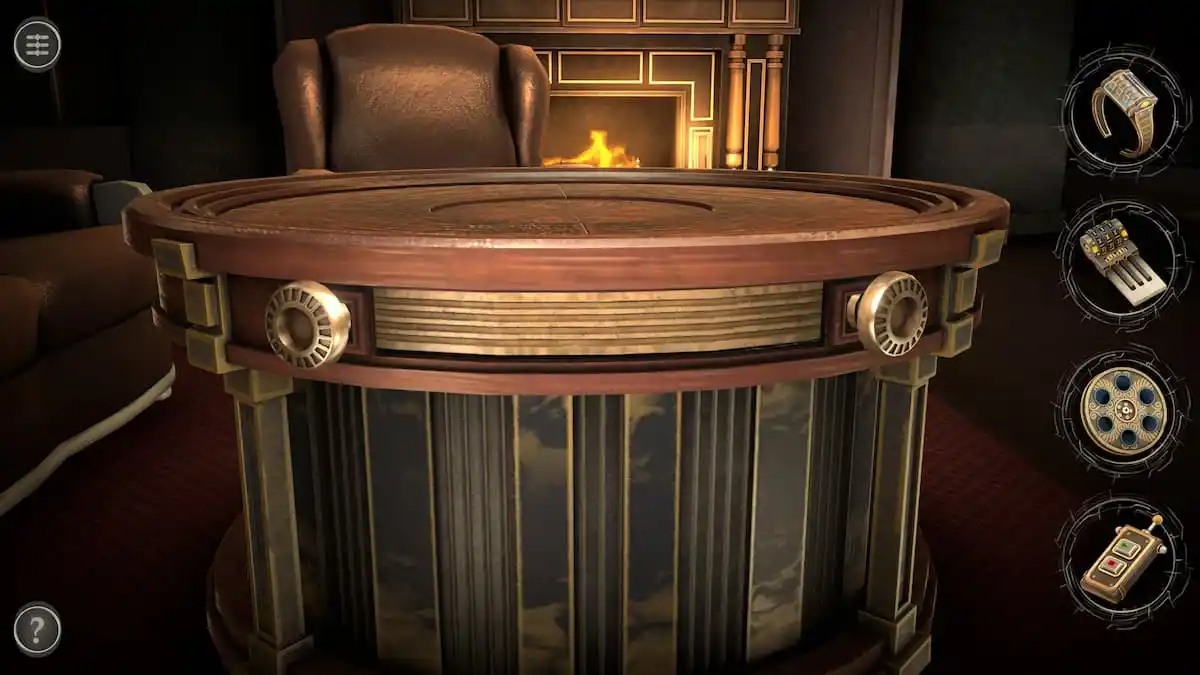
Coffee table puzzle
There are two gears at the front of the coffee table.
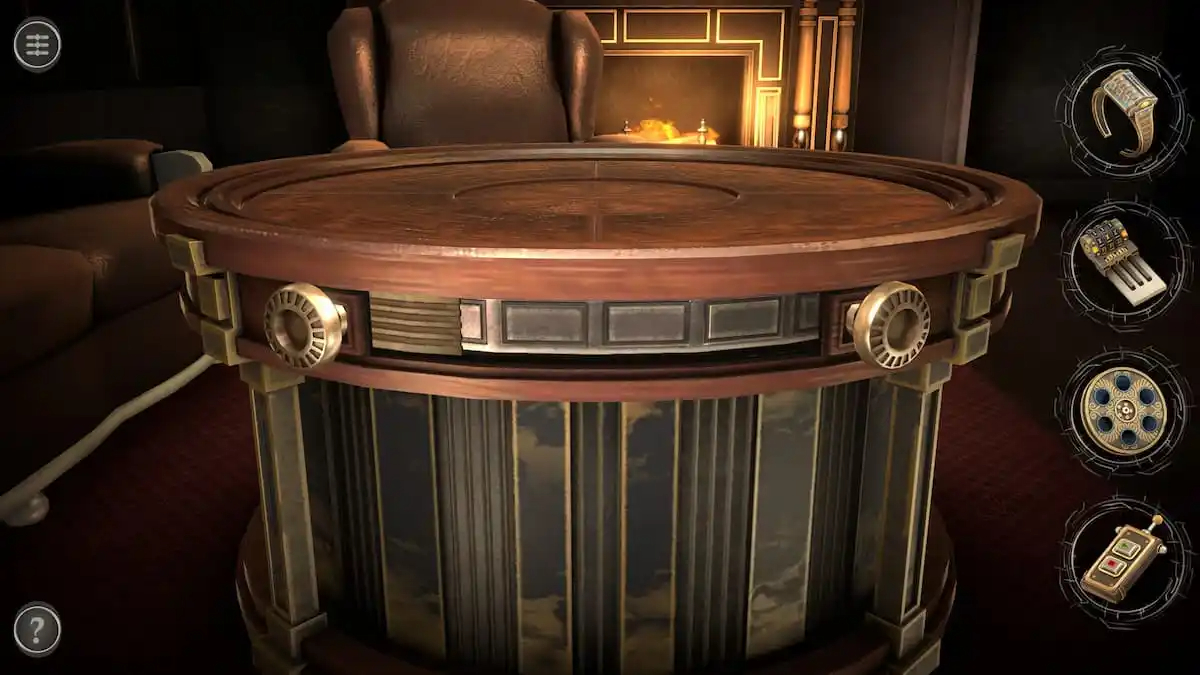
Spin the one on the left first to reveal a second panel with a square background behind the first.
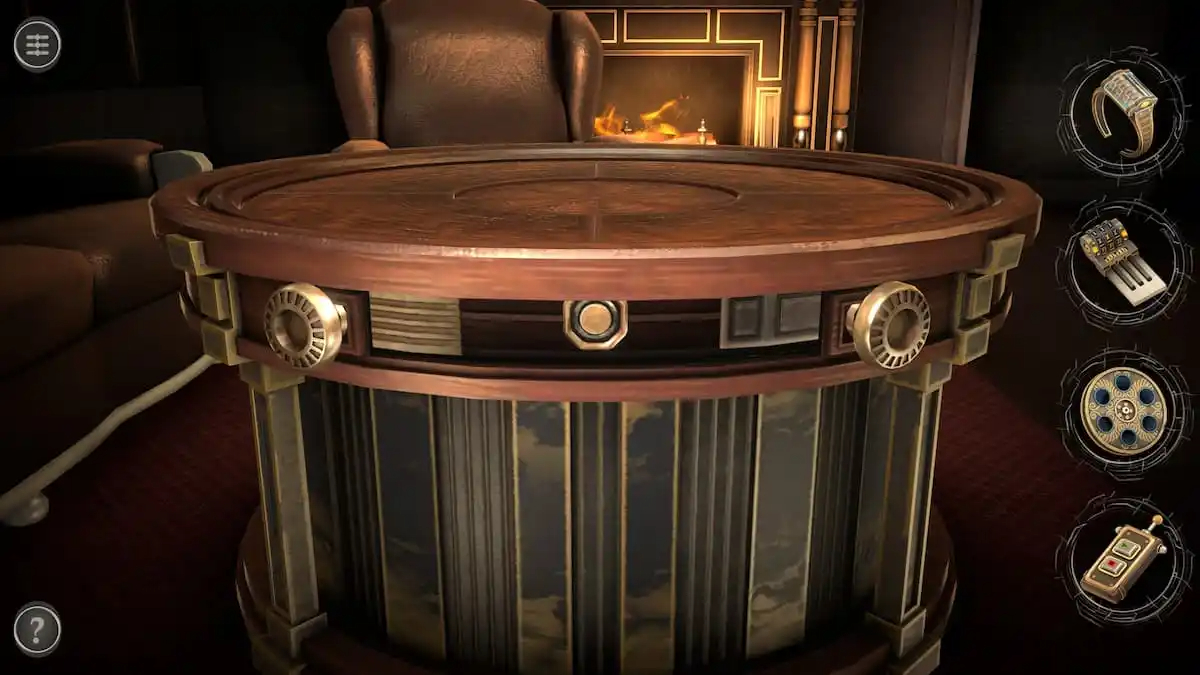
Rotate the right dial second to reveal a button hidden behind the second panel.
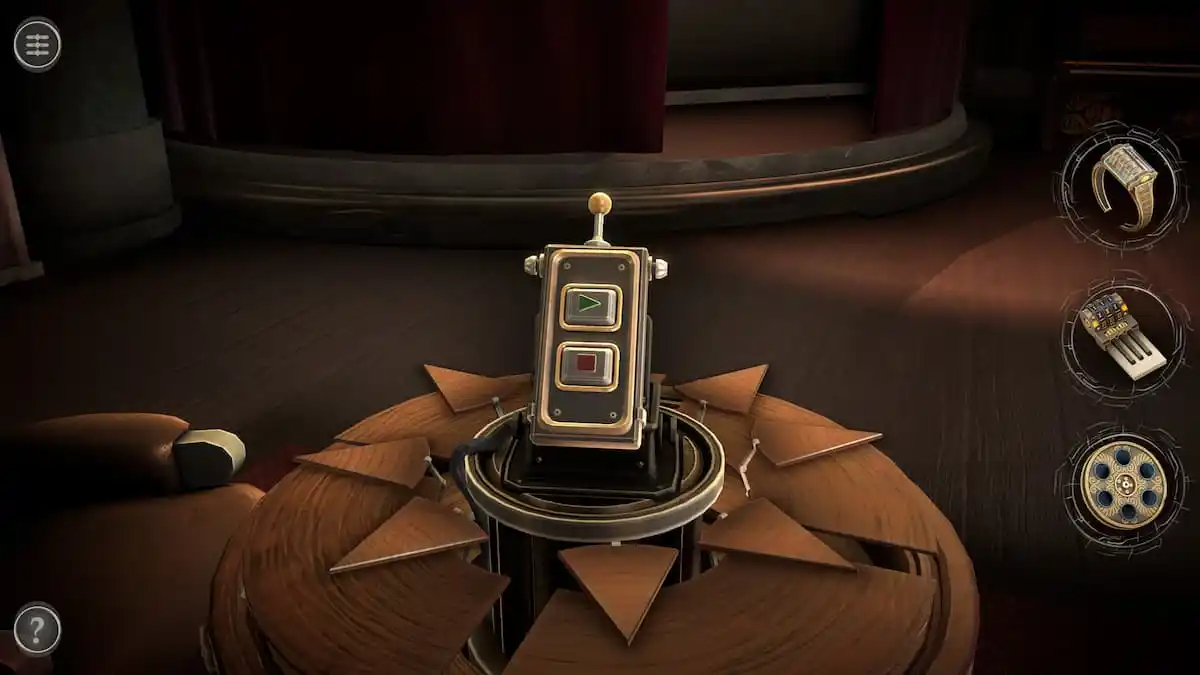
Press it to unlock a mechanism on the top of the table. Finish the puzzle by placing the Remote Control on the table.
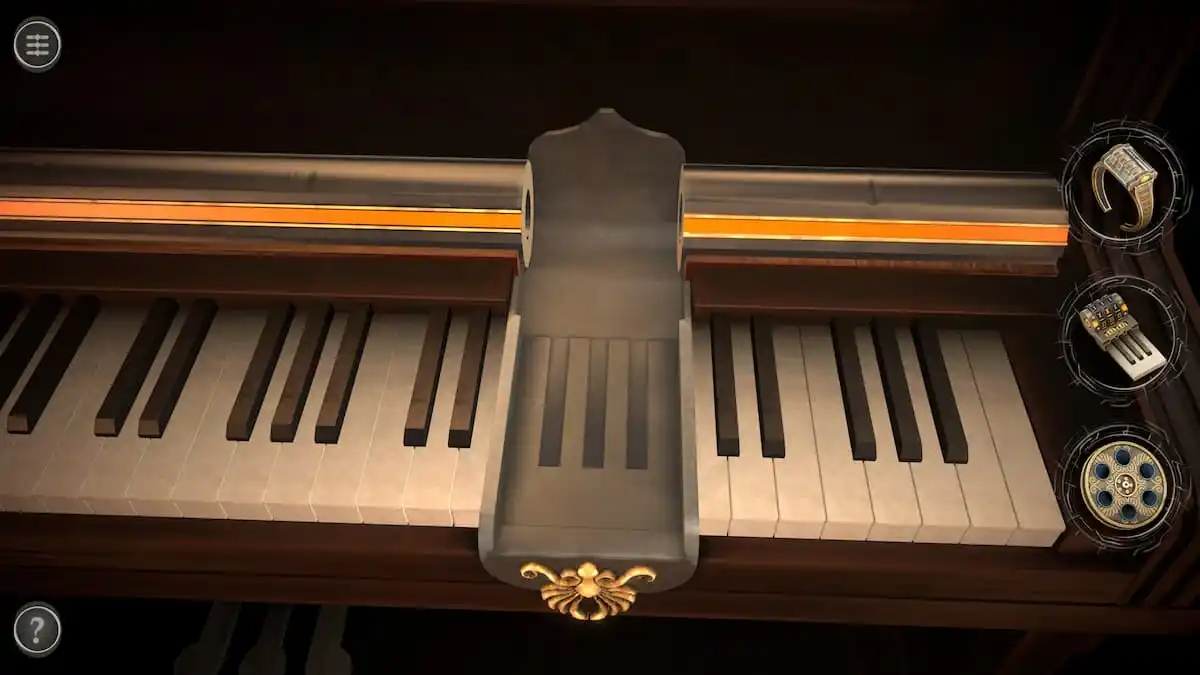
Piano puzzle
Look over to the piano to find a missing section.
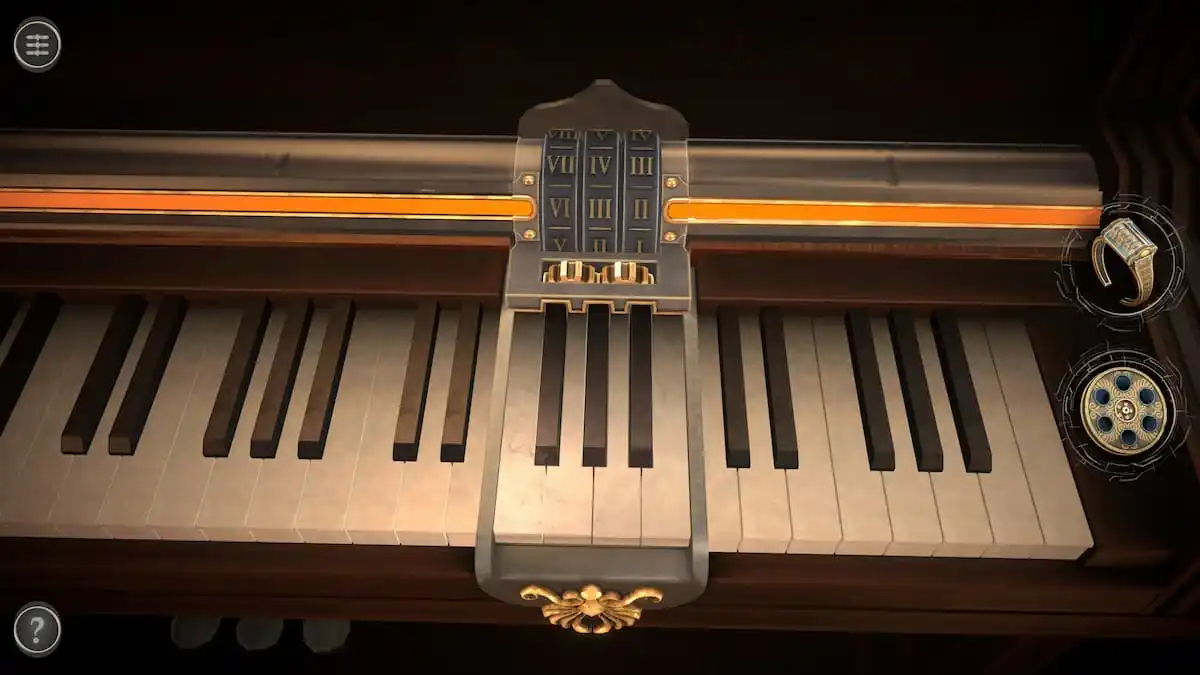
Place the Piano Keys item here.
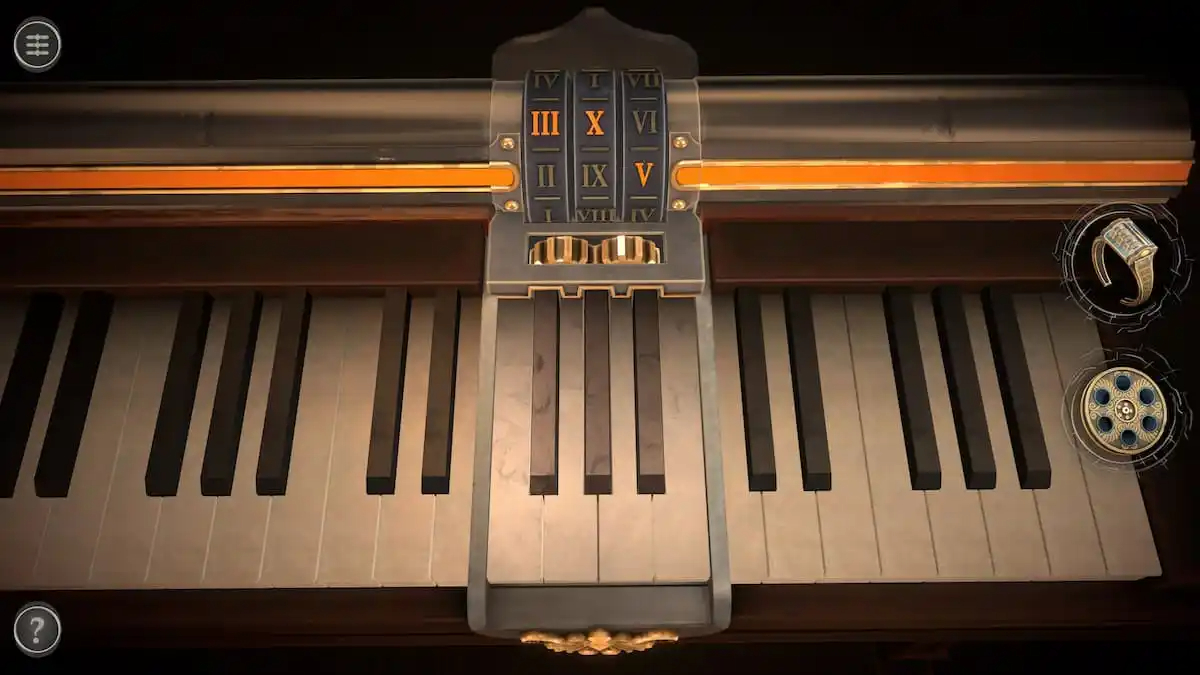
To solve this puzzle, you need to play the keys until all three golden symbols are in line with the orange line on the piano. An easy way to do this is by placing the left and center orange symbols next to each other. You can then use the right key to place the right symbol in place and the left key to place the two other symbols in place.
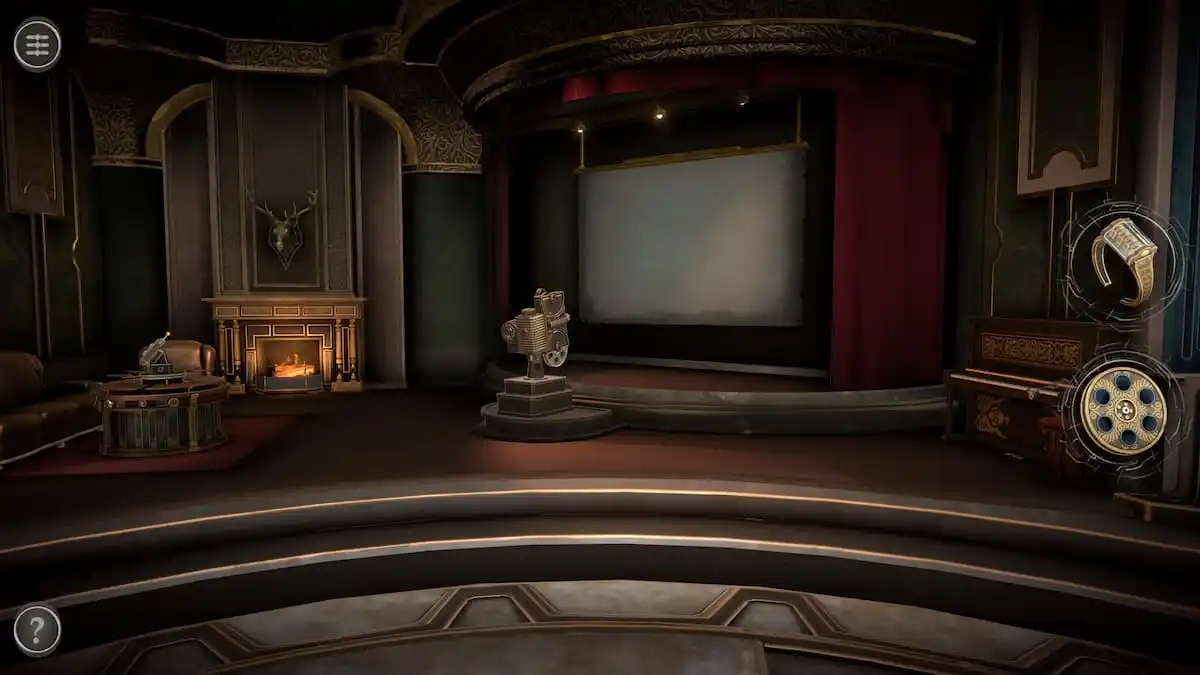
When the keys are aligned, the curtains will open to reveal a screen. A film player will rise from the floor as well.
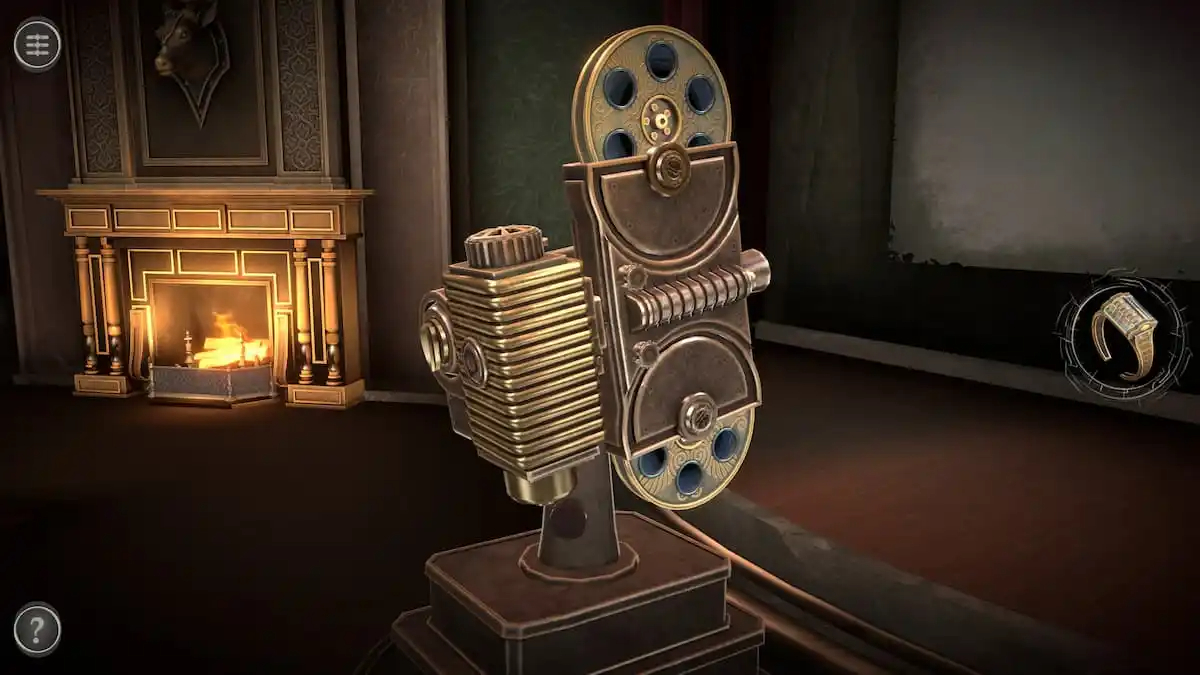
Film puzzle
Place the Film Strip into the top slot of the film player.
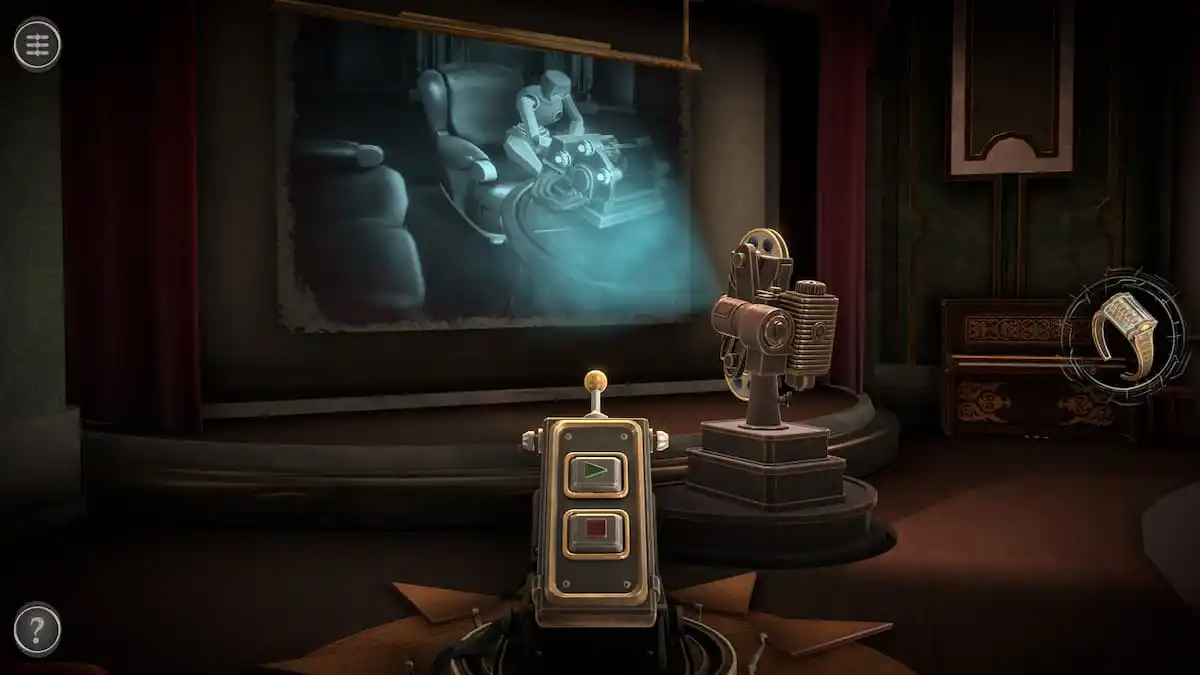
Return to the coffee table mechanism and press the green play button on the Remote Control.
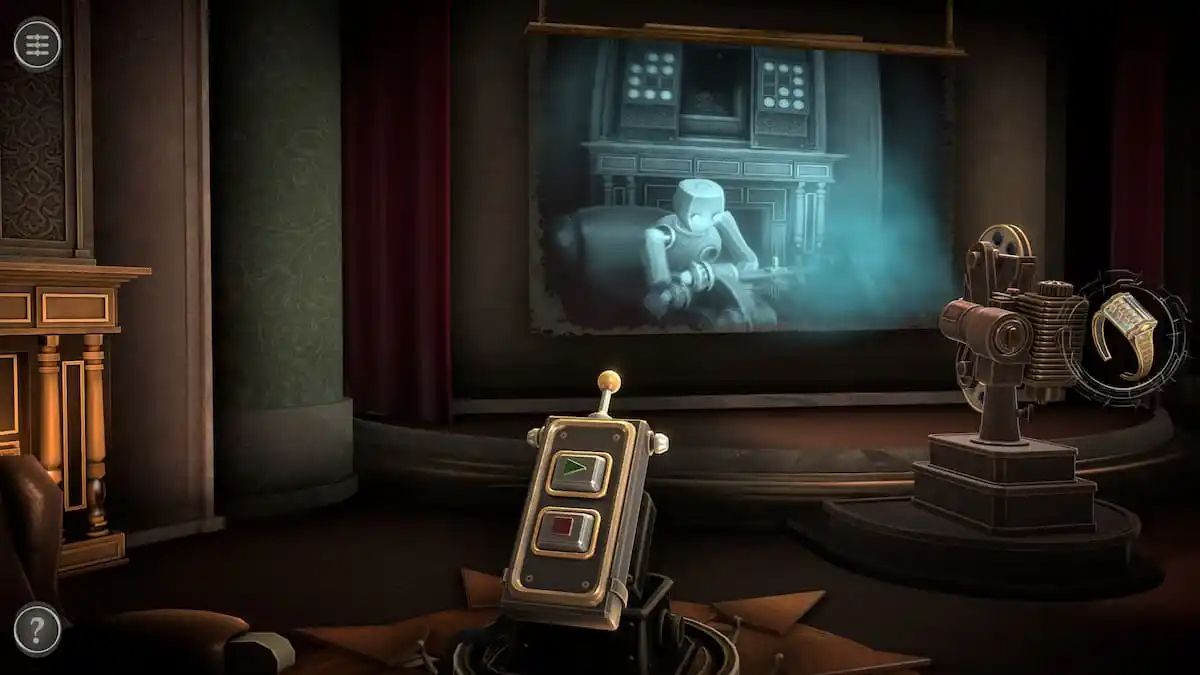
Watching the show for a bit reveals the solution to the next puzzle.
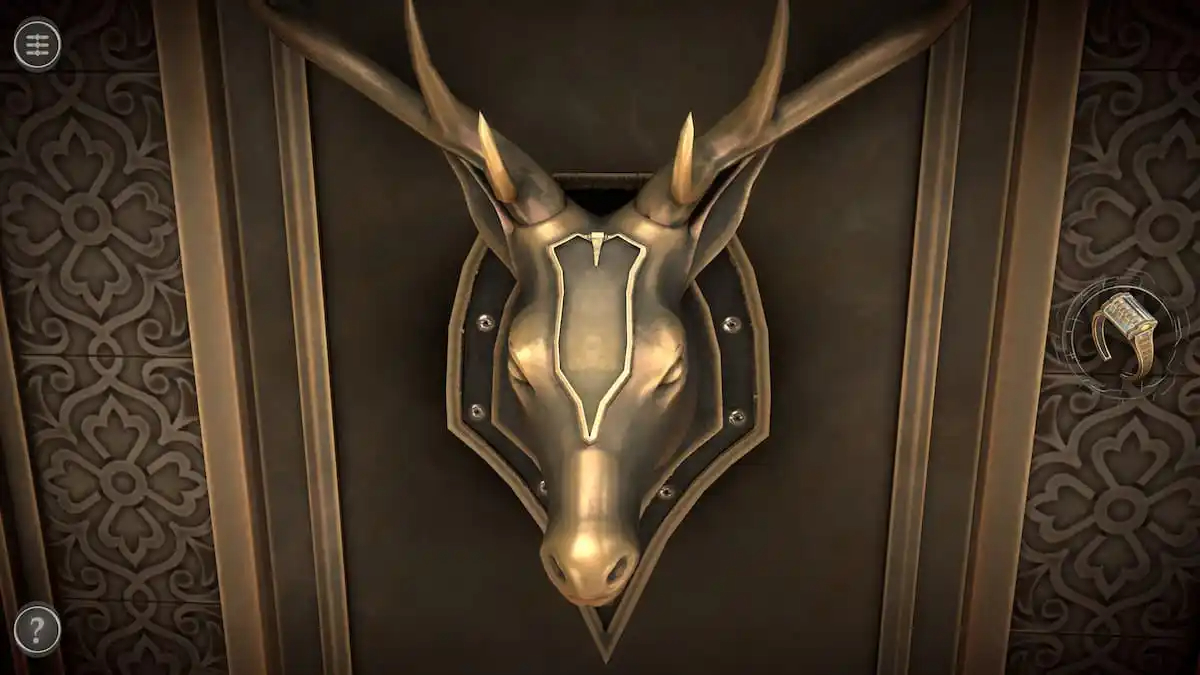
Deer head room
The deer head above the fireplace is the final puzzle.
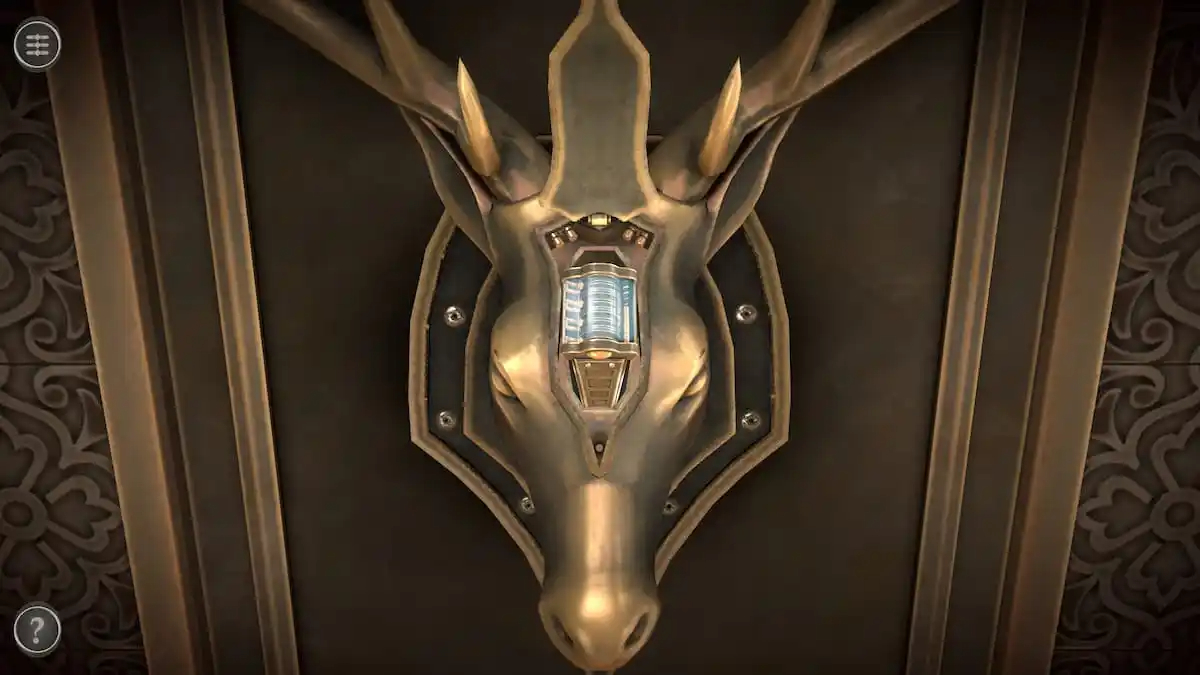
Pull the mechanism at the top of the forehead to open the head and place the final item into it.
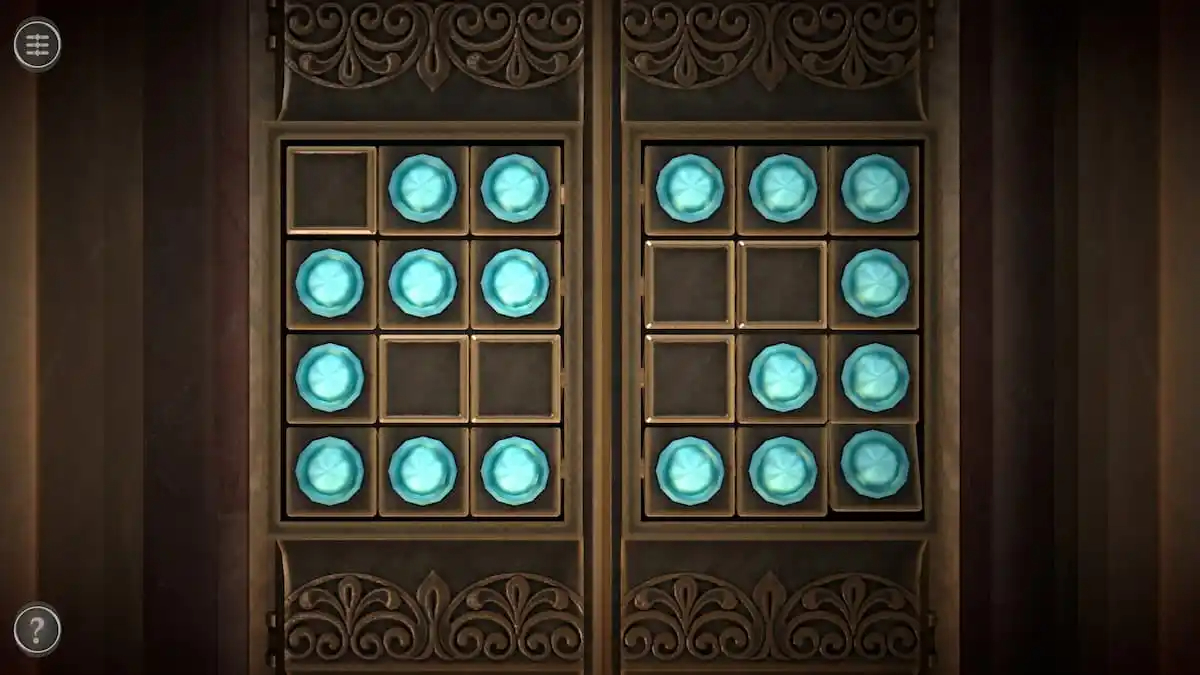
This puzzle can be solved by recreating the pattern from the film playing on the screen. Tap a box to flip it and turn it blue.
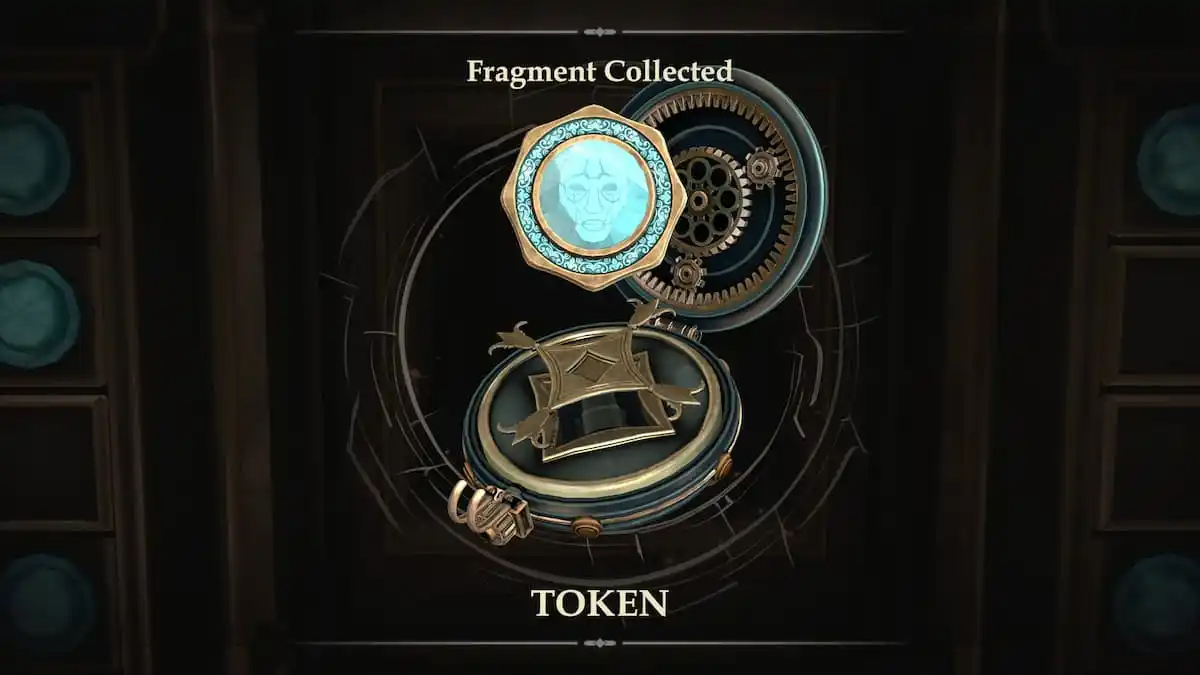
This will open a compartment containing one of the trinket boxes. Let its animation finish and tap the Token in the center to collect it.
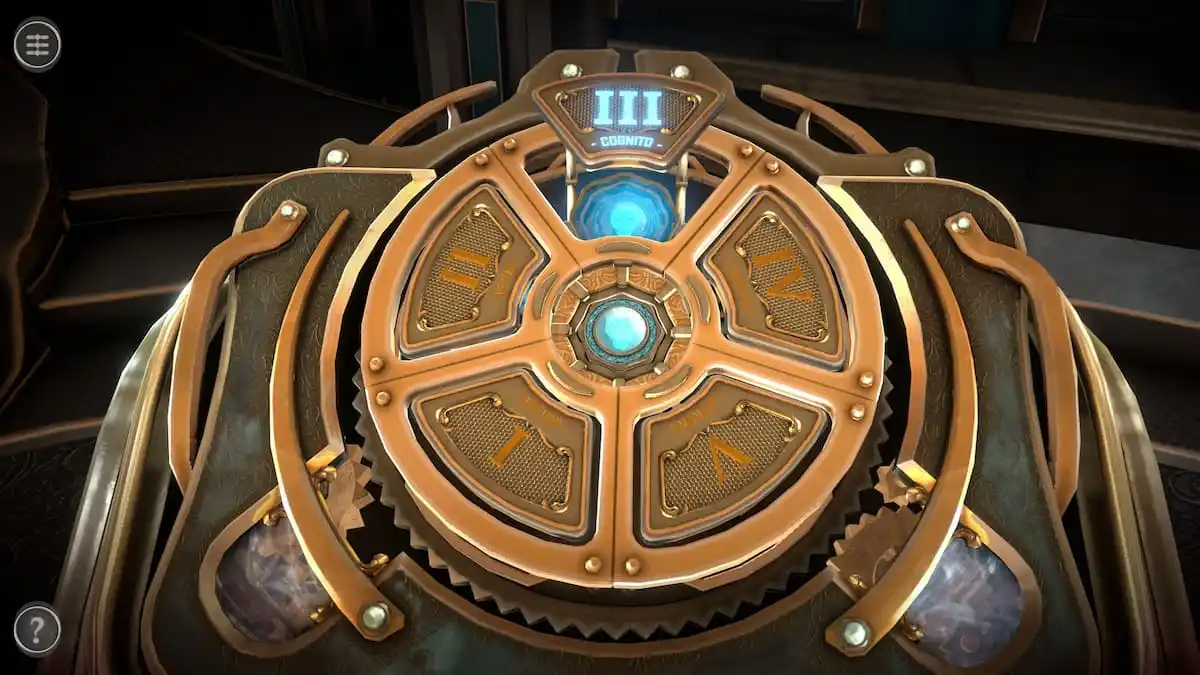
Place the Token into the center of the console to end Chapter 3.
ENTIRE CHAPTER 3 IS COMPLETE AND FINISH AND CHAPTER 4 IS NOW UNLOCKED IN BOXES LOST FRAGMENTS
CHAPTER 4
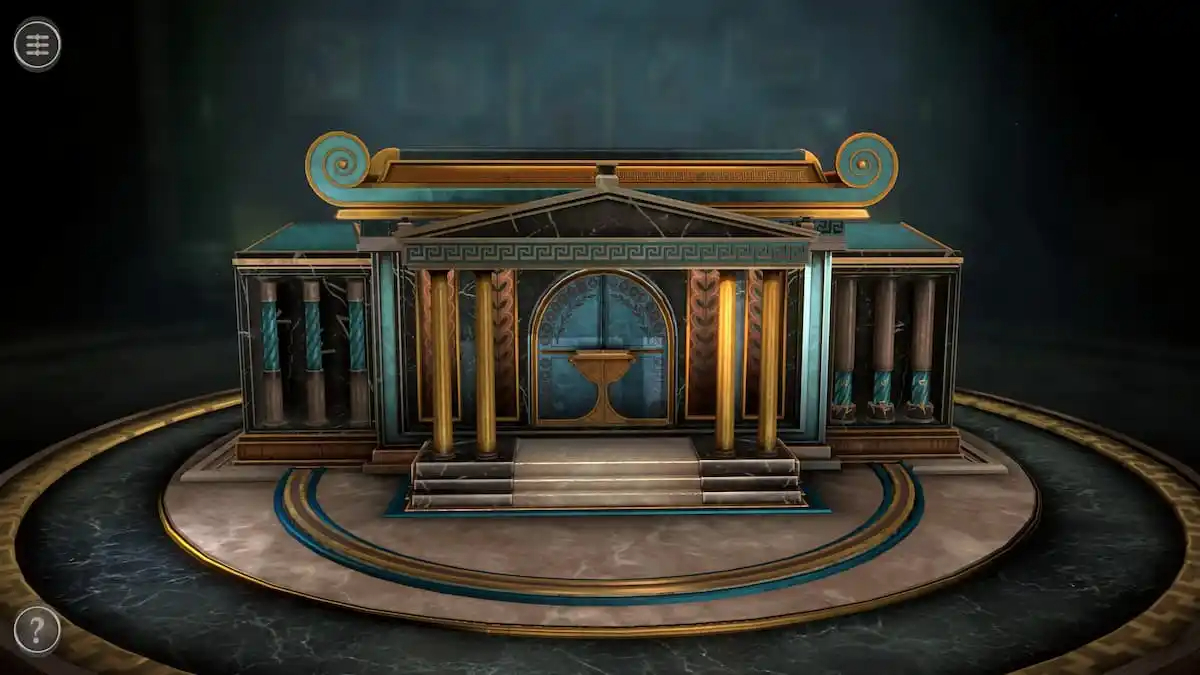
Room one puzzles
The box in the first room has the appearance of an ancient temple.
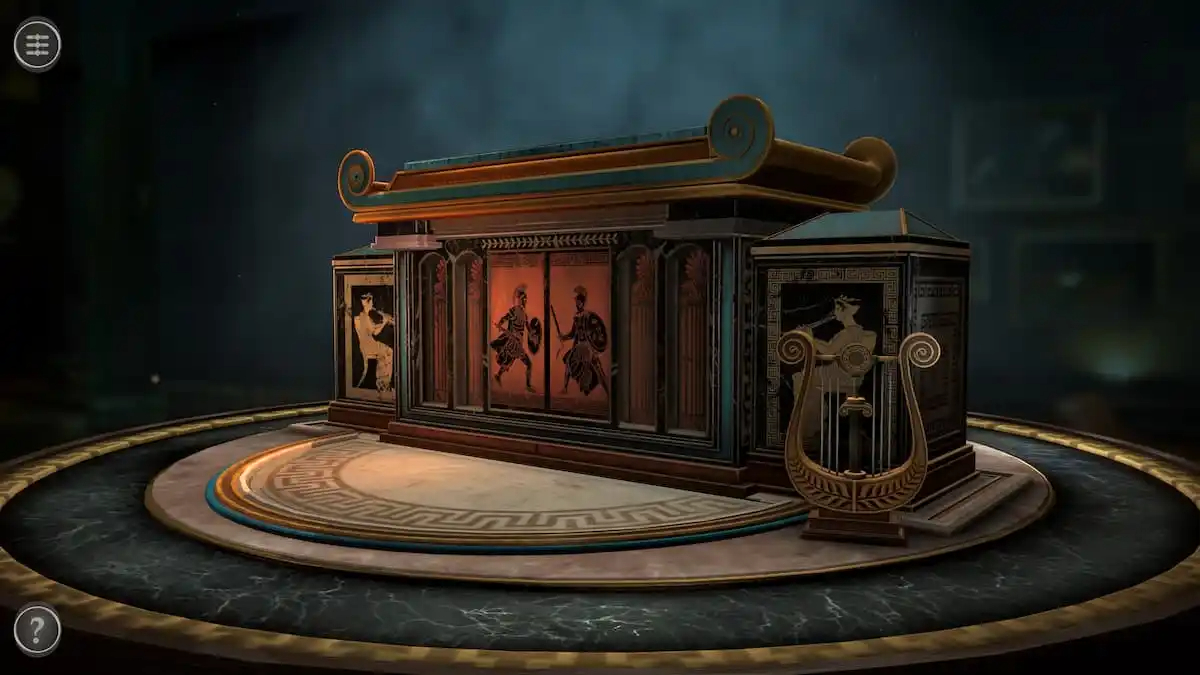
Turn the camera to face the back of the temple and grab the Lyre.
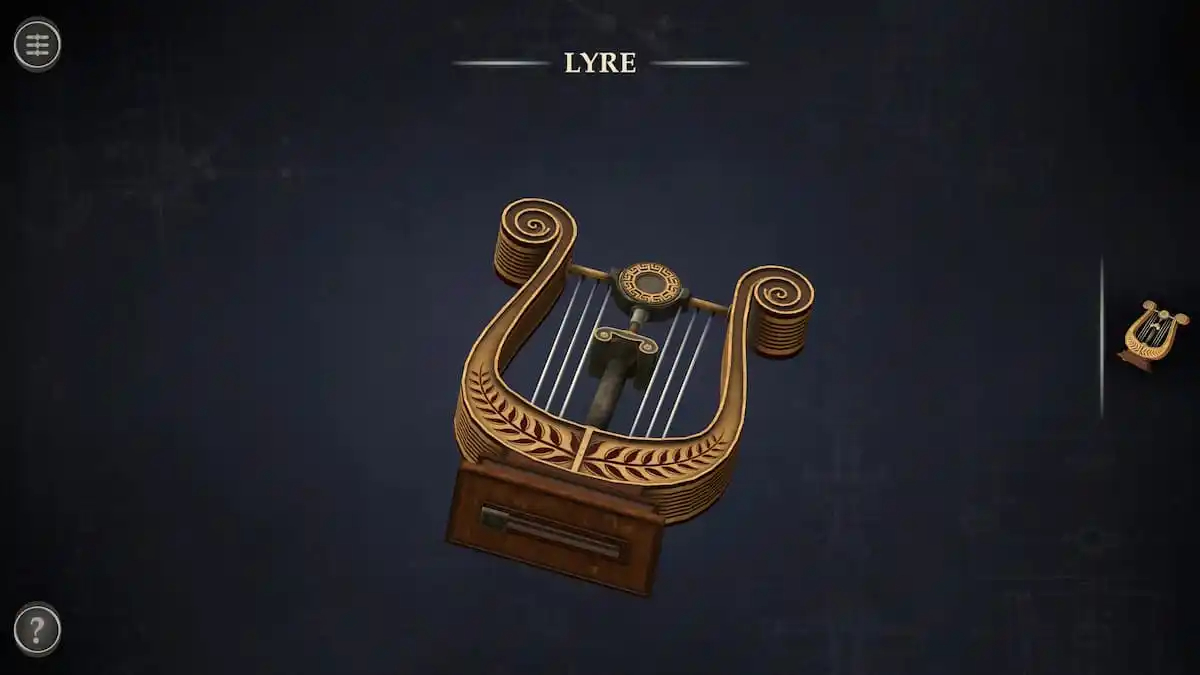
Lyre puzzle
Open the Lyre in your inventory and rotate to view a slider on the bottom.
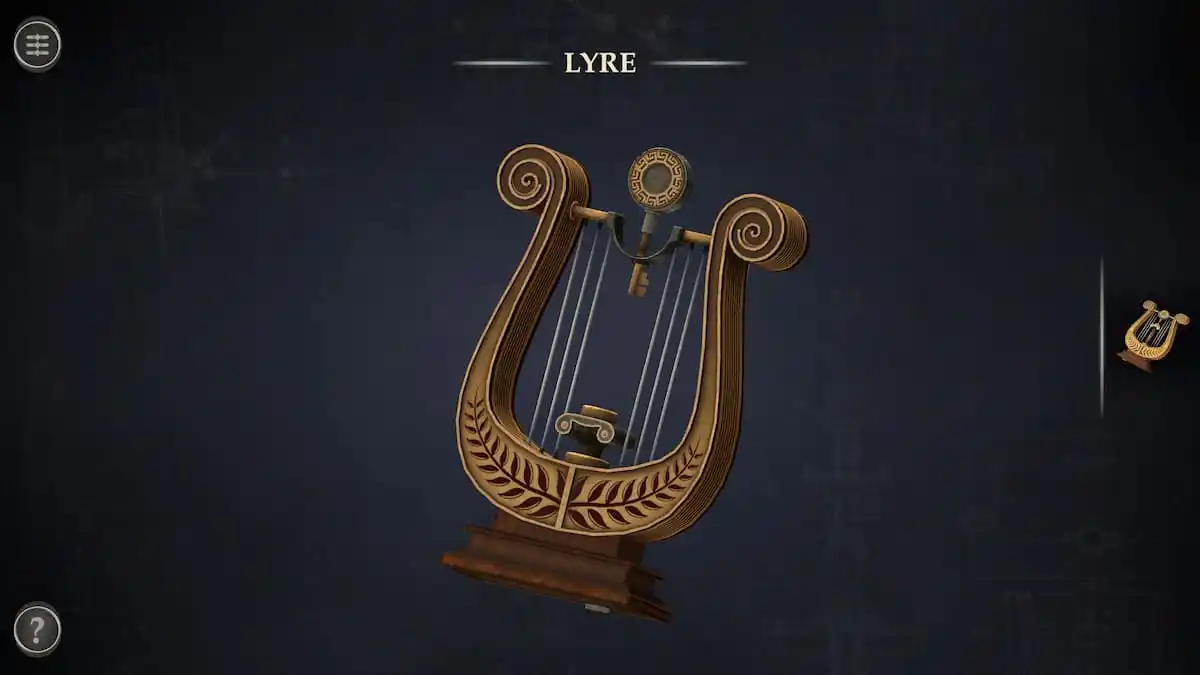
Push the slider to unlock the top piece of the Lyre, which is a key. Pull it up to grab it.
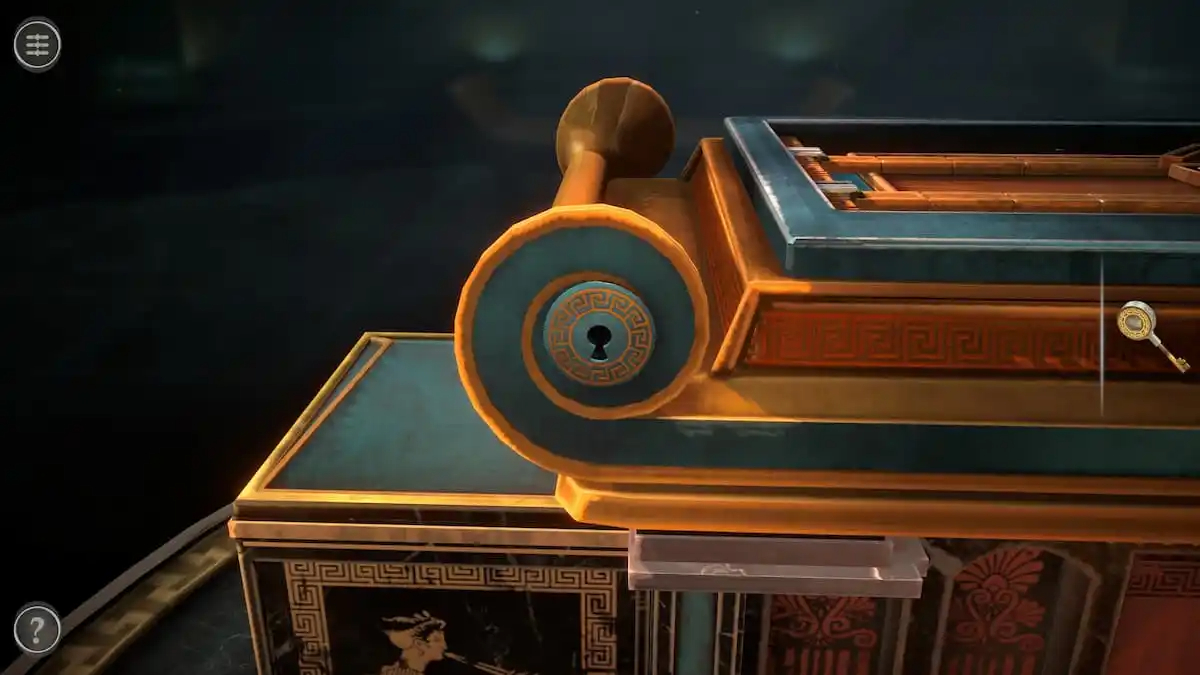
Key puzzle
Looking around the castle reveals a keyhole in one of its top decorations.
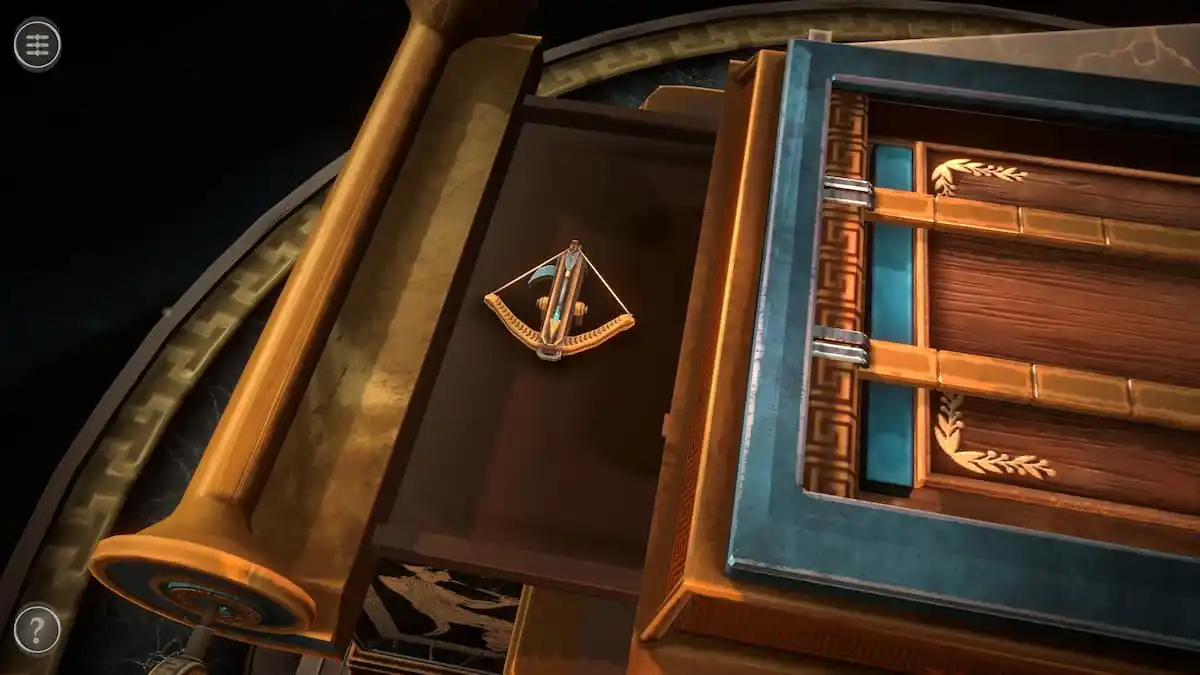
Use the small key to open it, unlocking a slender compartment containing a tiny Crossbow.
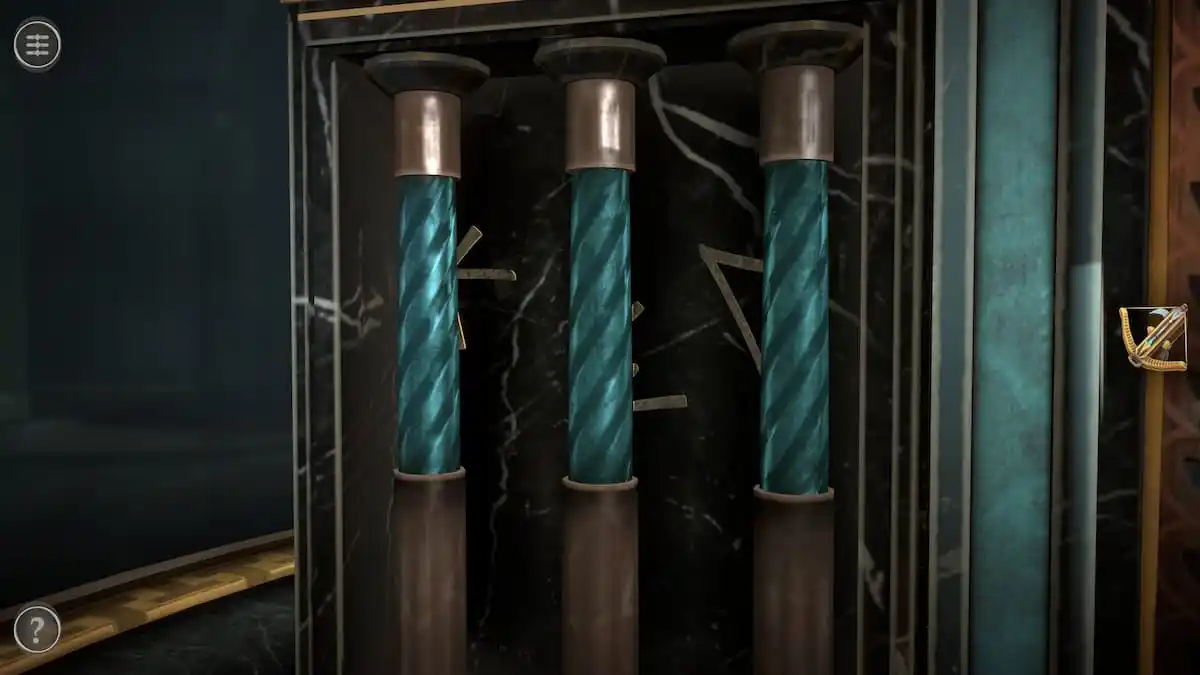
Columns puzzle
First, look at the set of columns on the left.
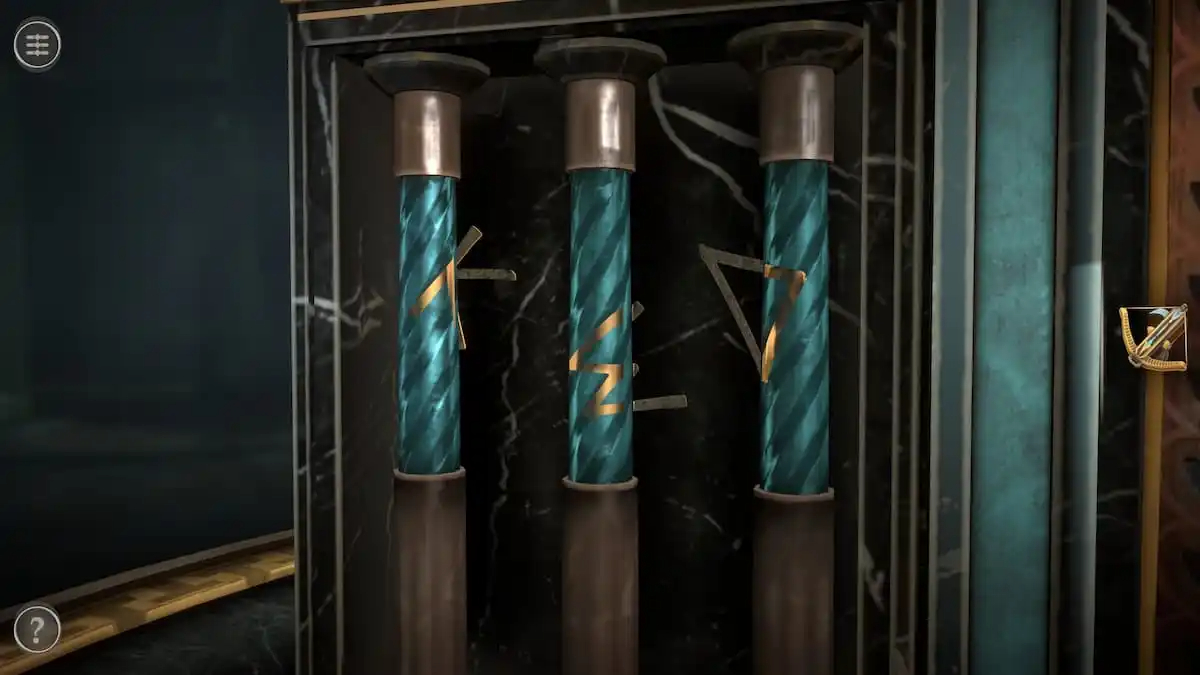
Rotate each column until the golden marking is visible on the front. These three markings show the solution for the second set of columns.
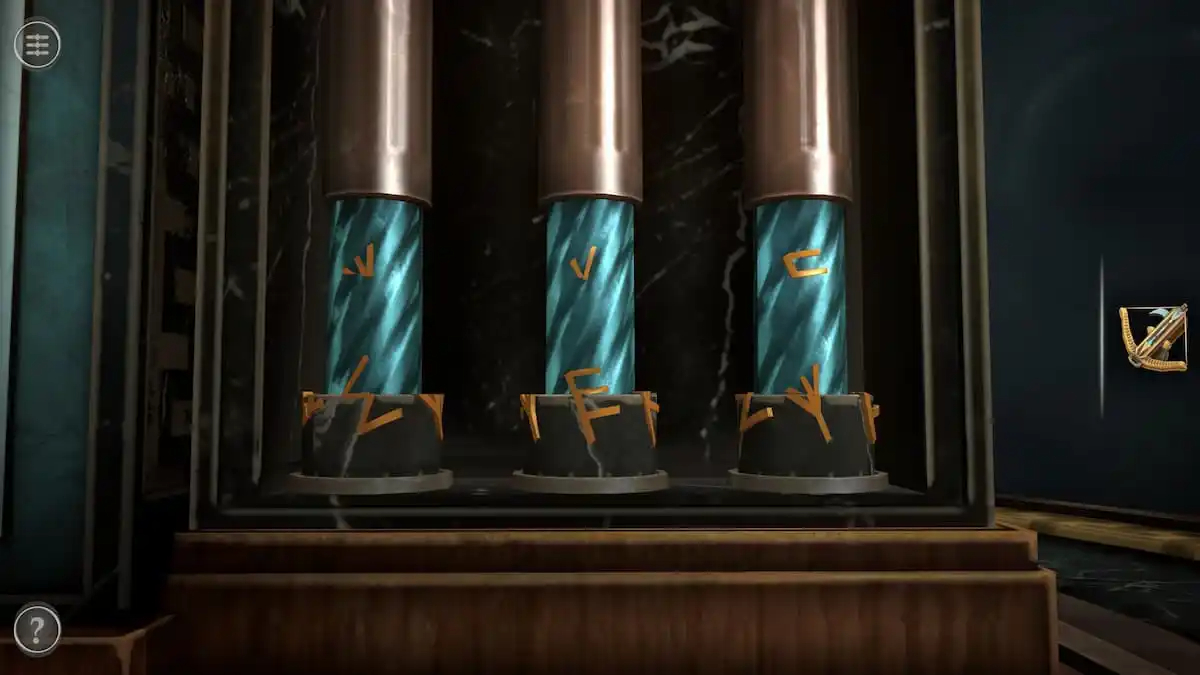
Turn your attention to the second set of columns on the right.
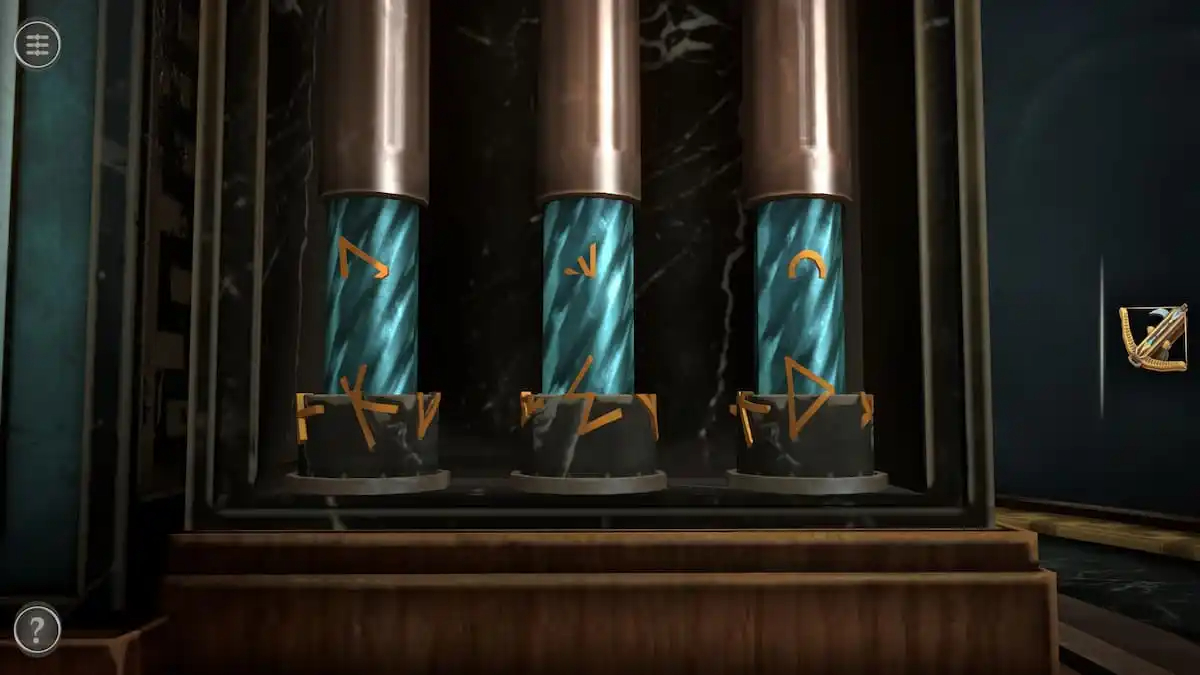
Rotate their bases until their symbols match those on the other side. The one on the left should be similar to a “K”, the one in the center a sideways “M”, and the one on the right is a pointed “D”. Completing this puzzle gives you a Small Handle.
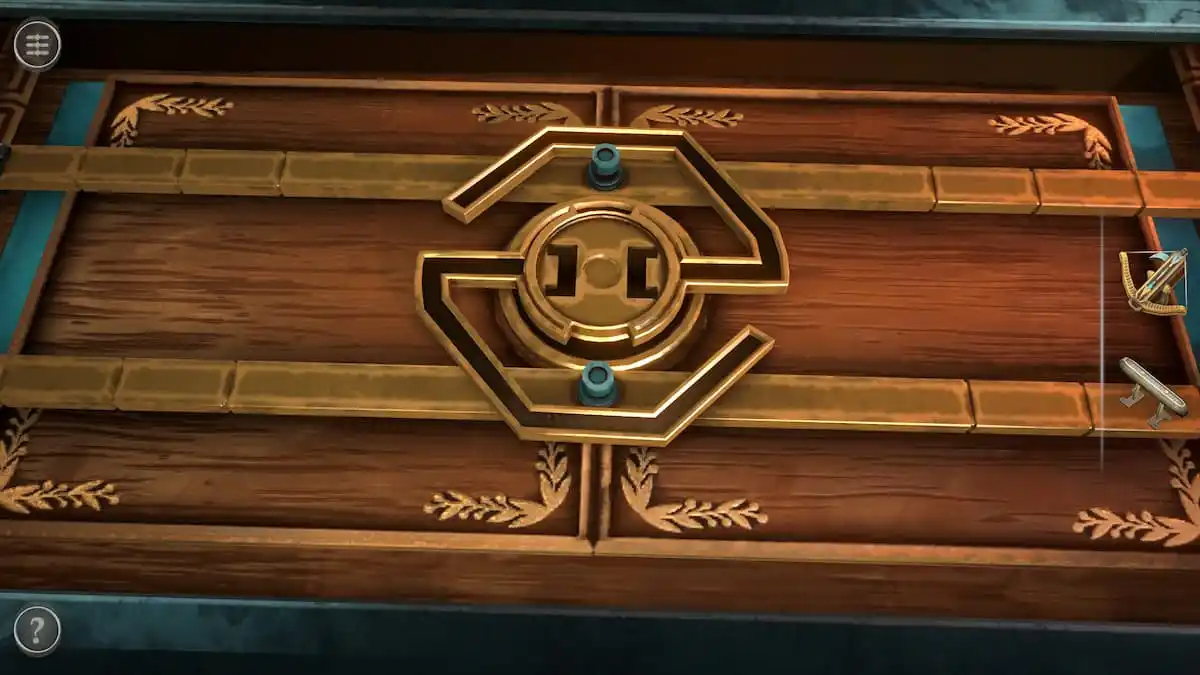
Top door puzzle
On top of the box is a uniquely shaped lock.
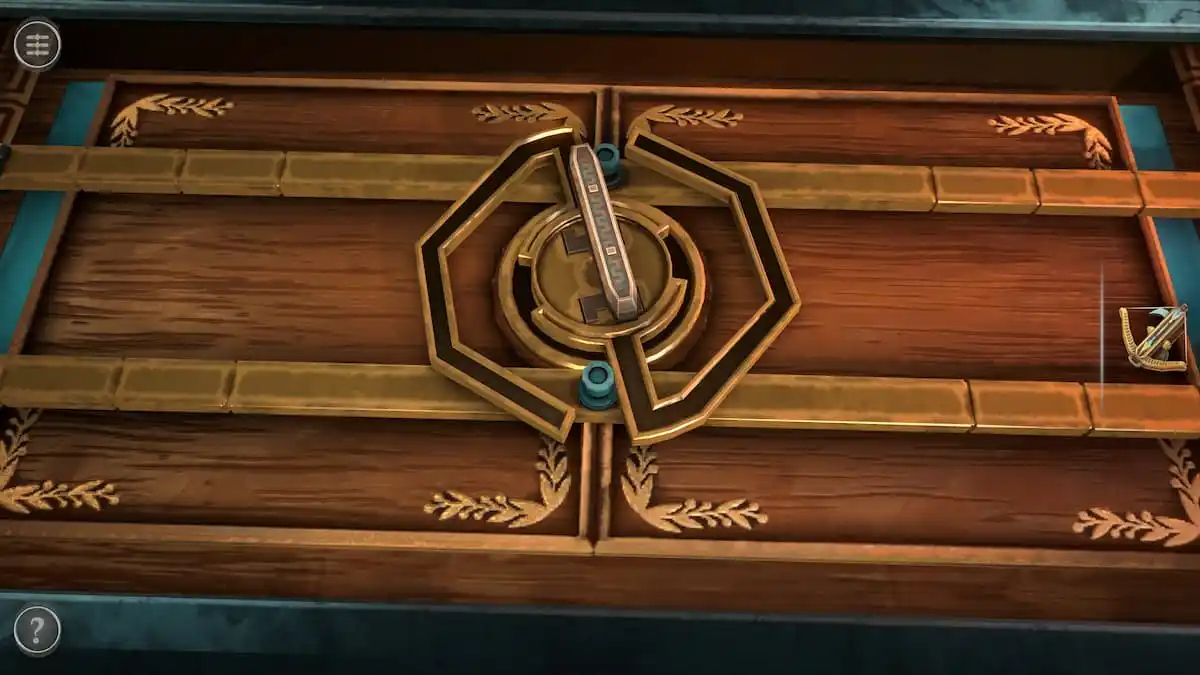
Place the Small Handle into the lock and rotate it.
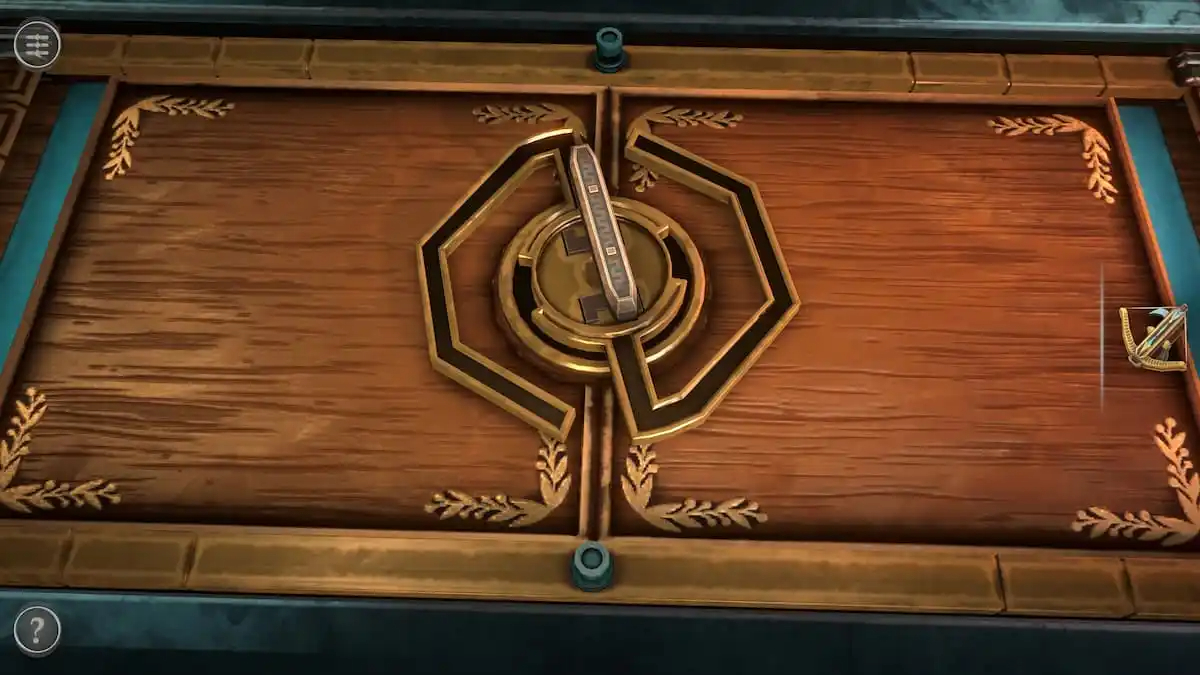
This unlocks the two larger bars, allowing them to be slid away to open up the box.
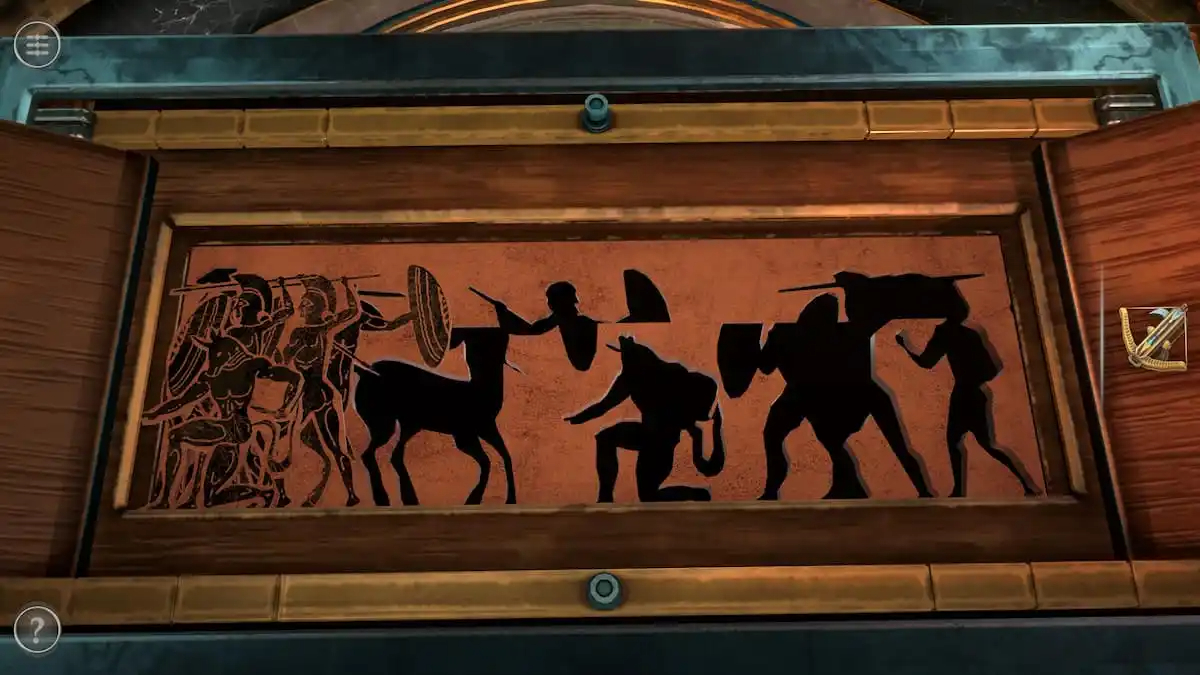
Painting puzzle
Start this puzzle by moving all of the pieces to the left.
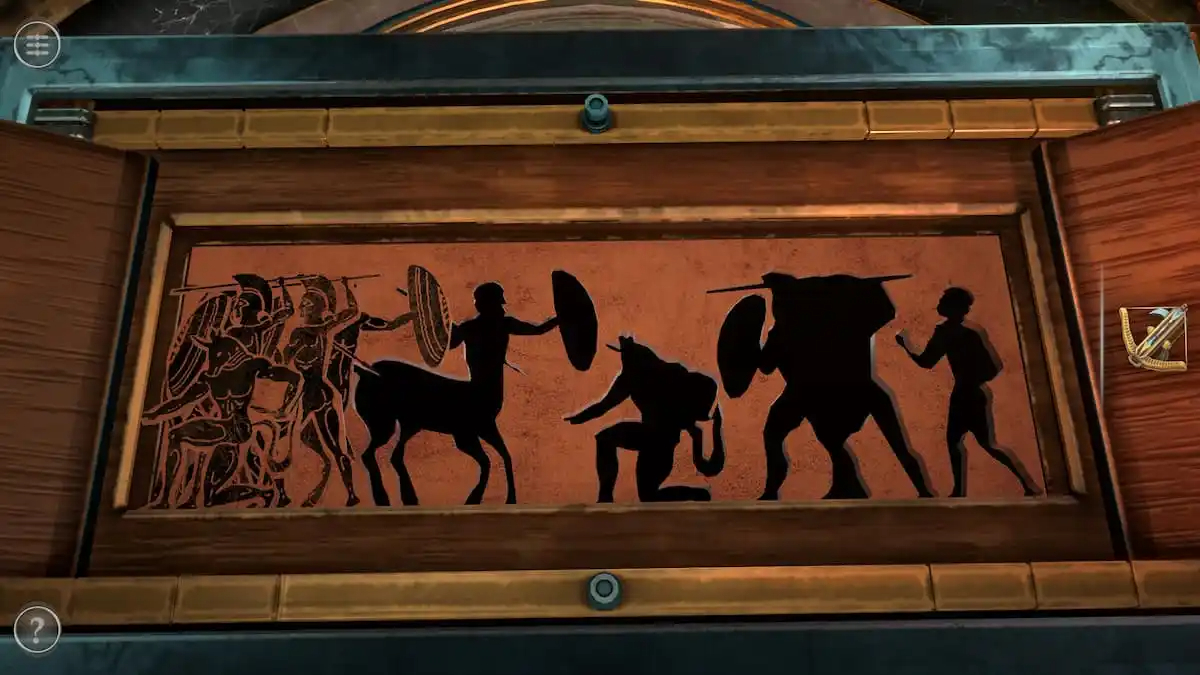
Then the top row of the puzzle can be pushed to the left so that all the heads align with their bodies.
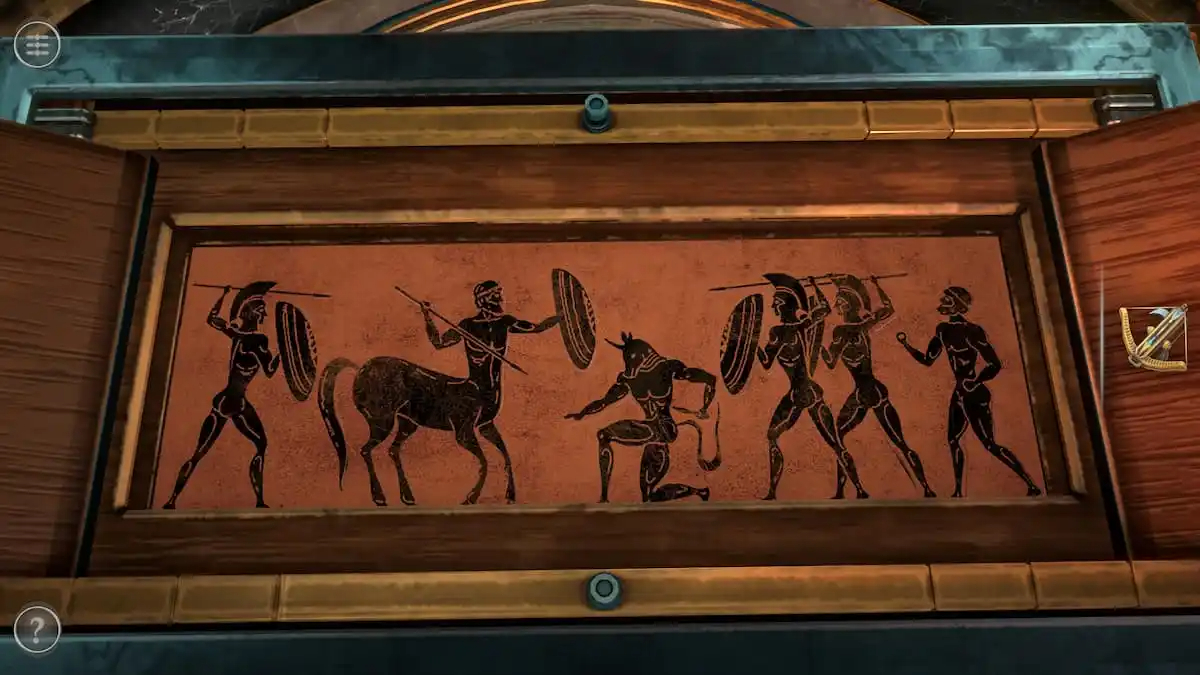
Place every piece into place to complete the puzzle, unlocking a new one on the back.
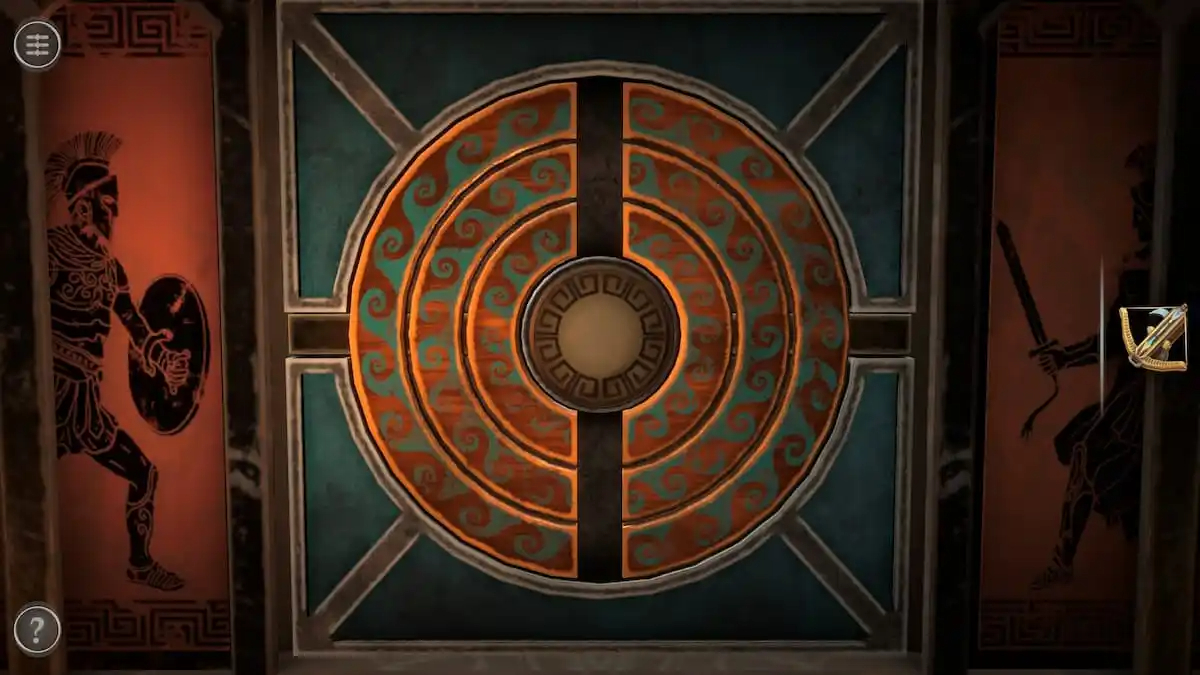
Rotating door puzzle
This puzzle involves pressing and holding the central button to rotate the three rings. Once the outer ring is aligned properly, the button will move to control the middle and then the inner ring.
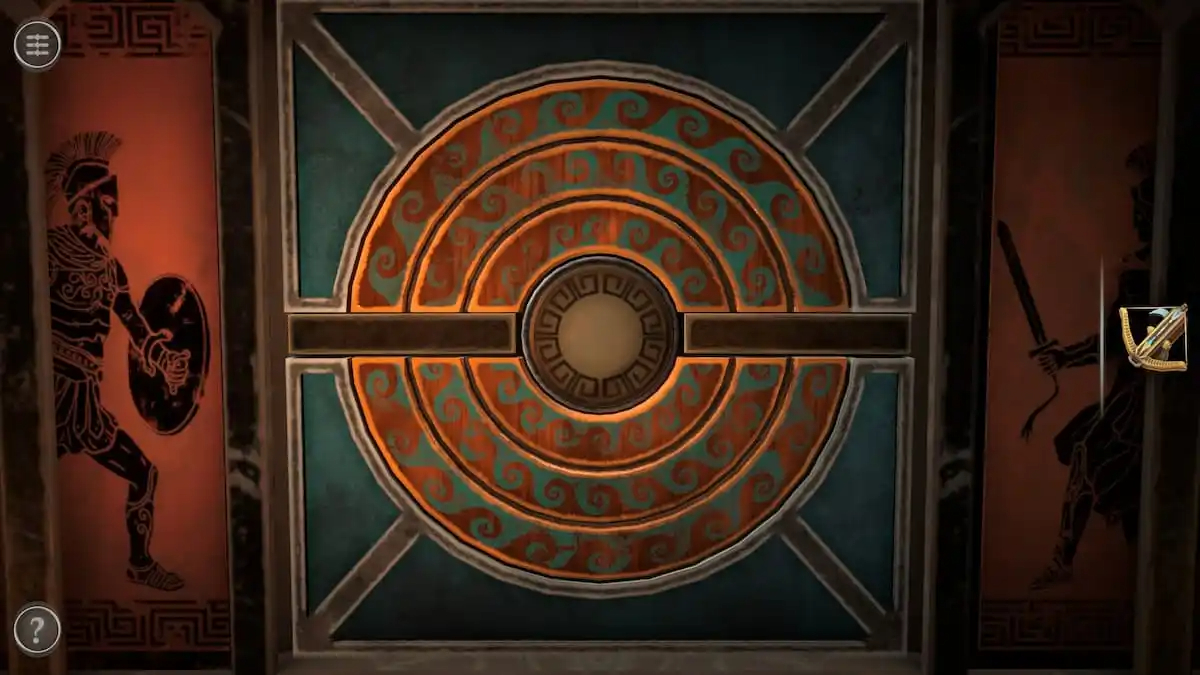
When all of the rings are aligned horizontally, the puzzle is completed.
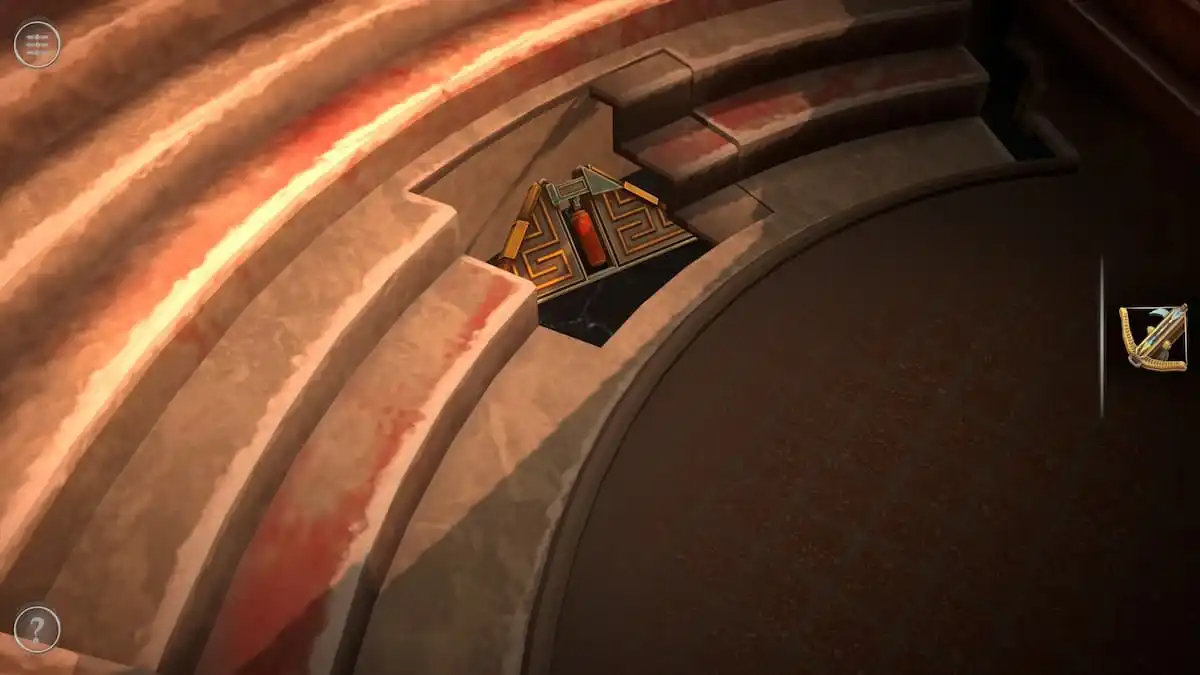
Hidden seat compartment
One of the seats on the left side of the stands is a secret compartment. Slide it to the right to find a Mechanism Part.
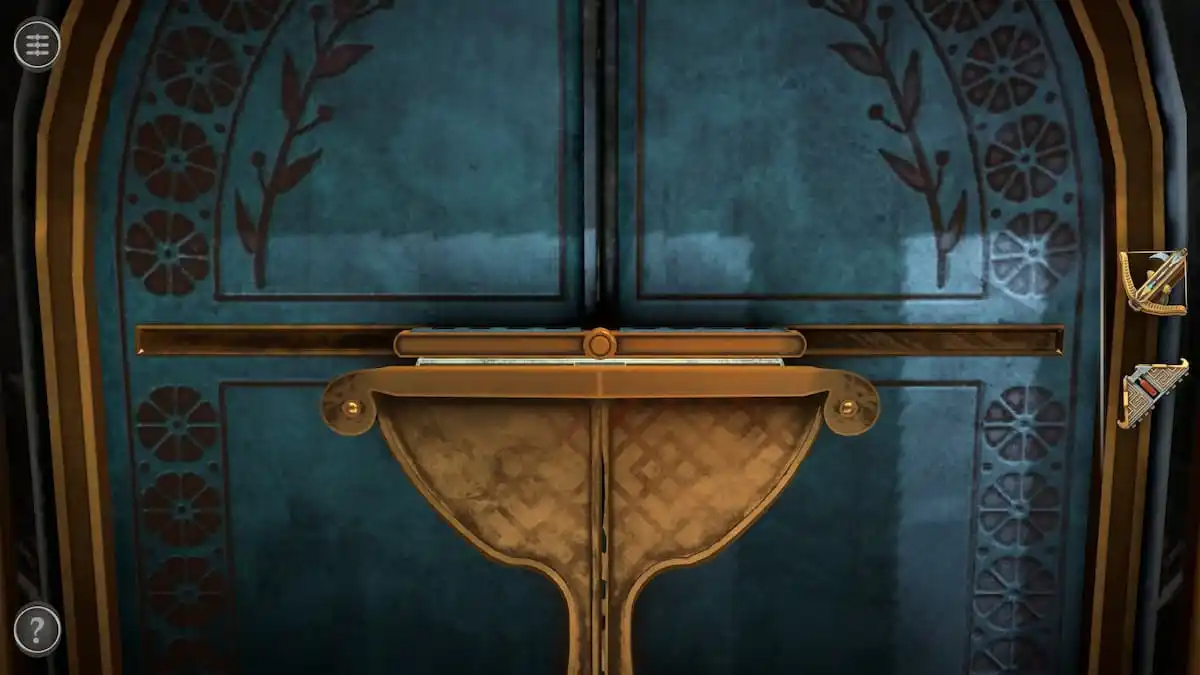
Front door puzzle
Focus on the gold lock on the front door.
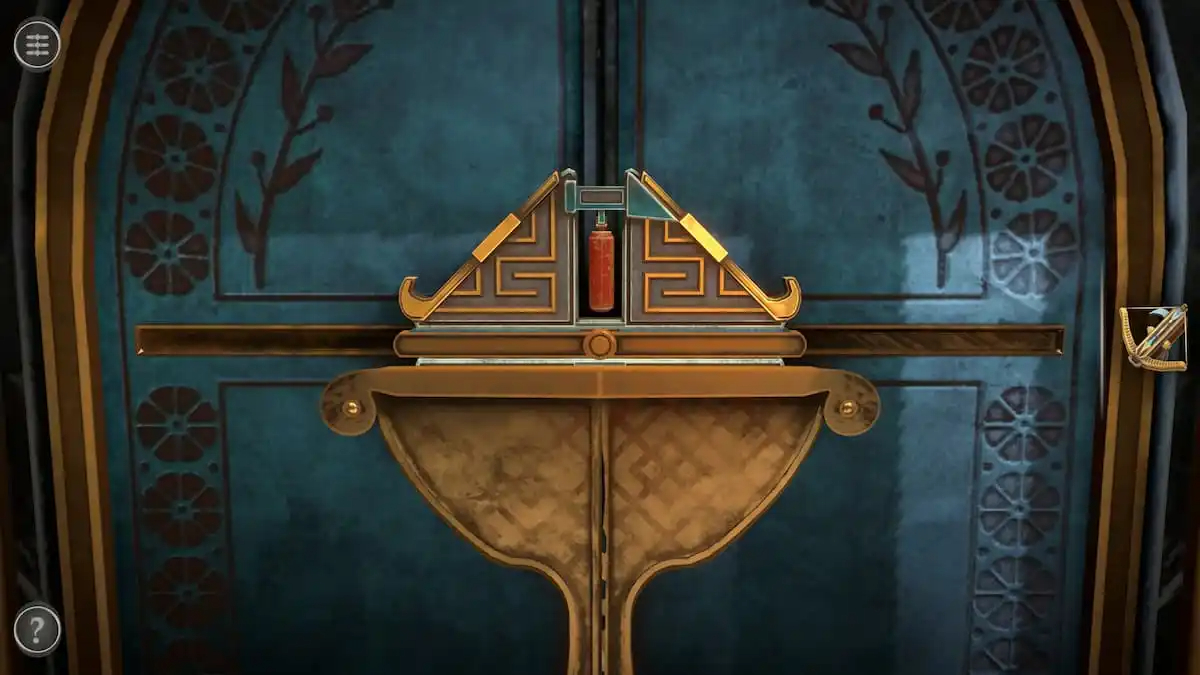
Add the Mechanical Part on top of it.
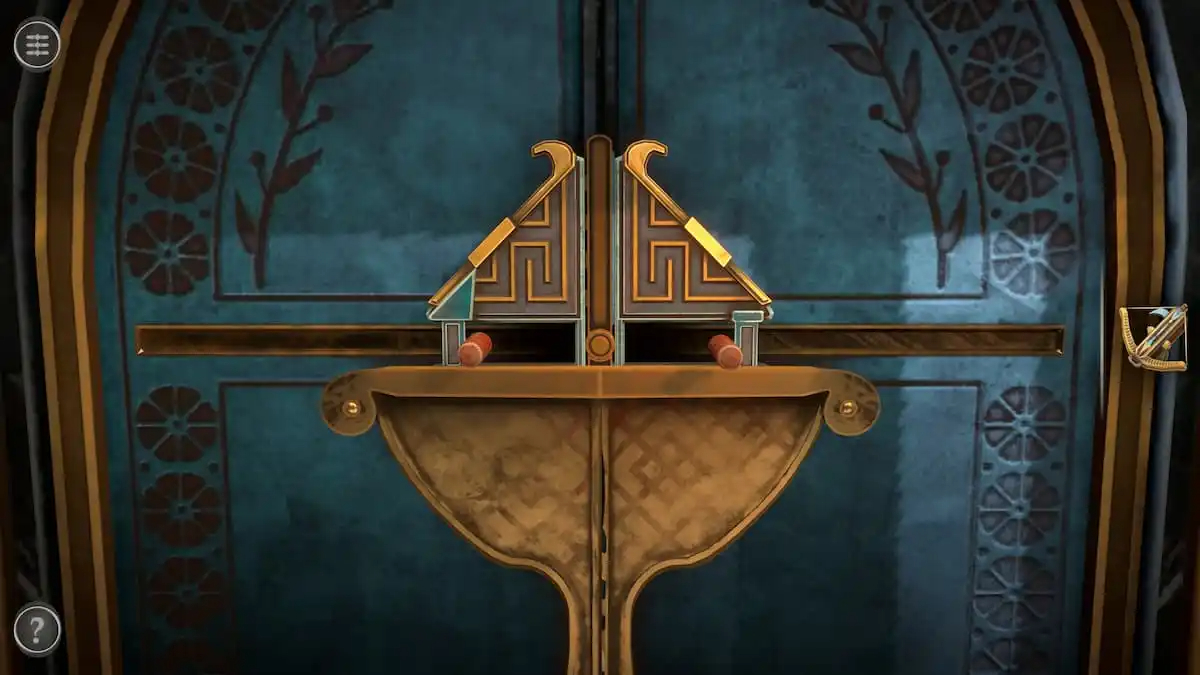
Rotate the Mechanical Part 90 degrees.
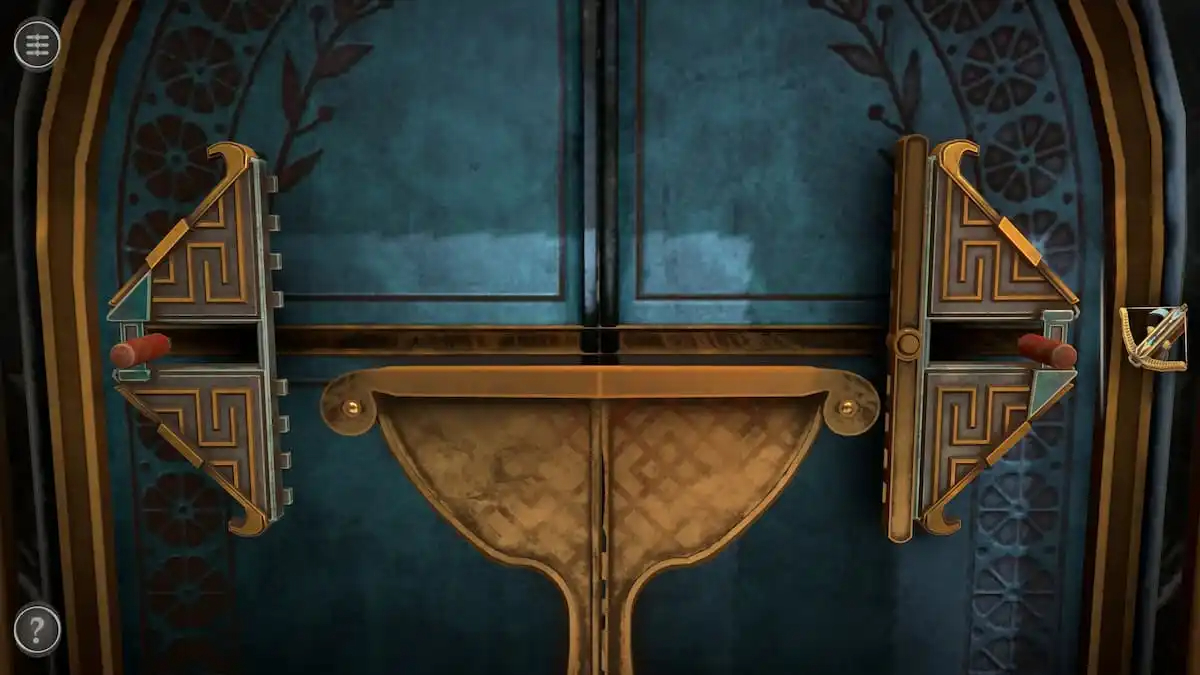
Pull each half of the Mechanical Part to the side to unlock the door.
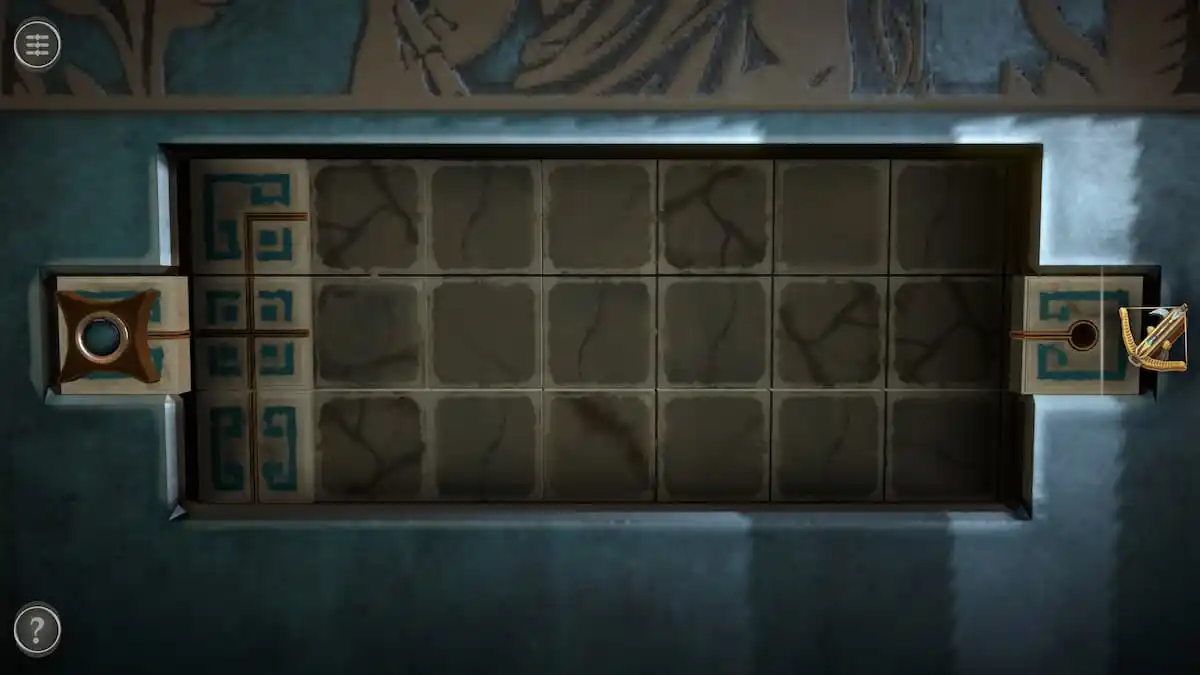
Pathway puzzle
This puzzle involves moving the slider on the left side to the hole on the right side.
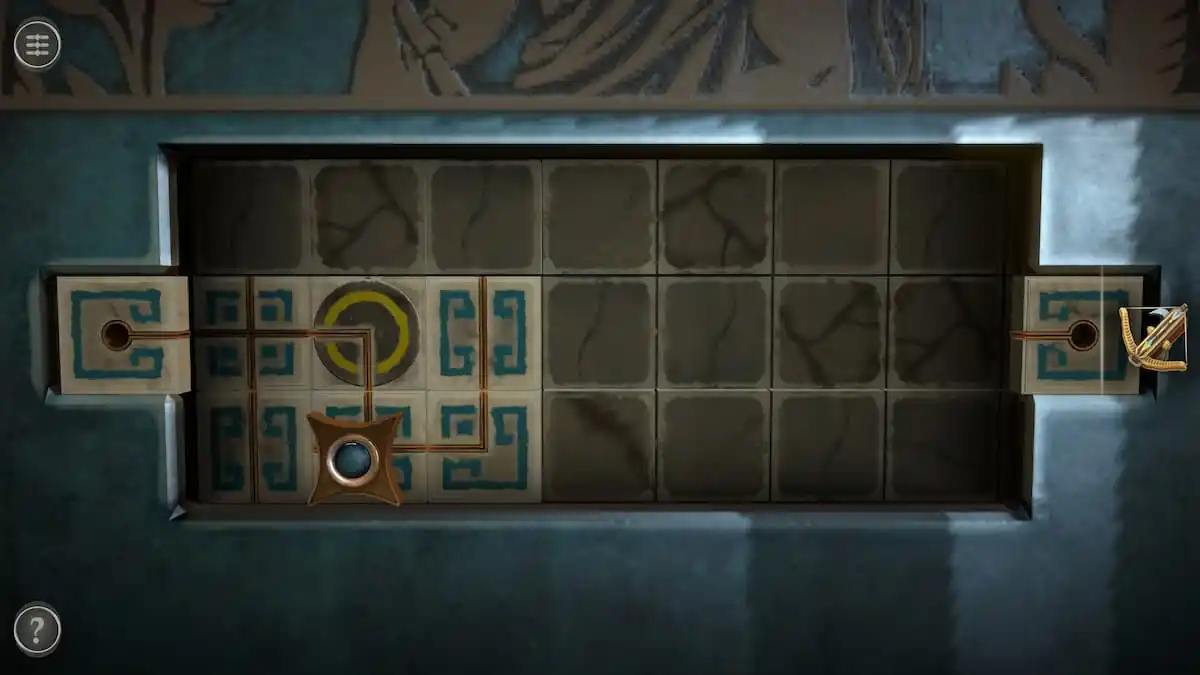
Start by moving the slider to the right. Tap the circle until it connects the block your on to the block beneath it and travel to that one.
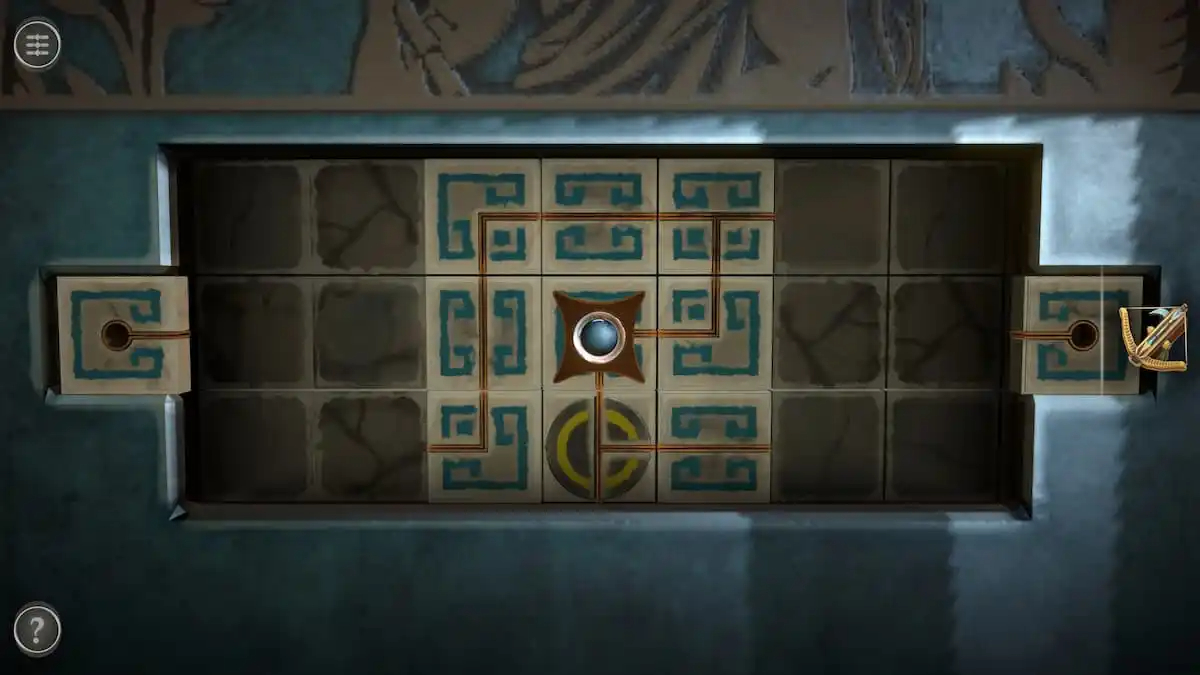
Follow the path right one block, up three, and right two. From there, go down and to the left. Tap the brown circle beneath it until it connects your block to the block to its right.
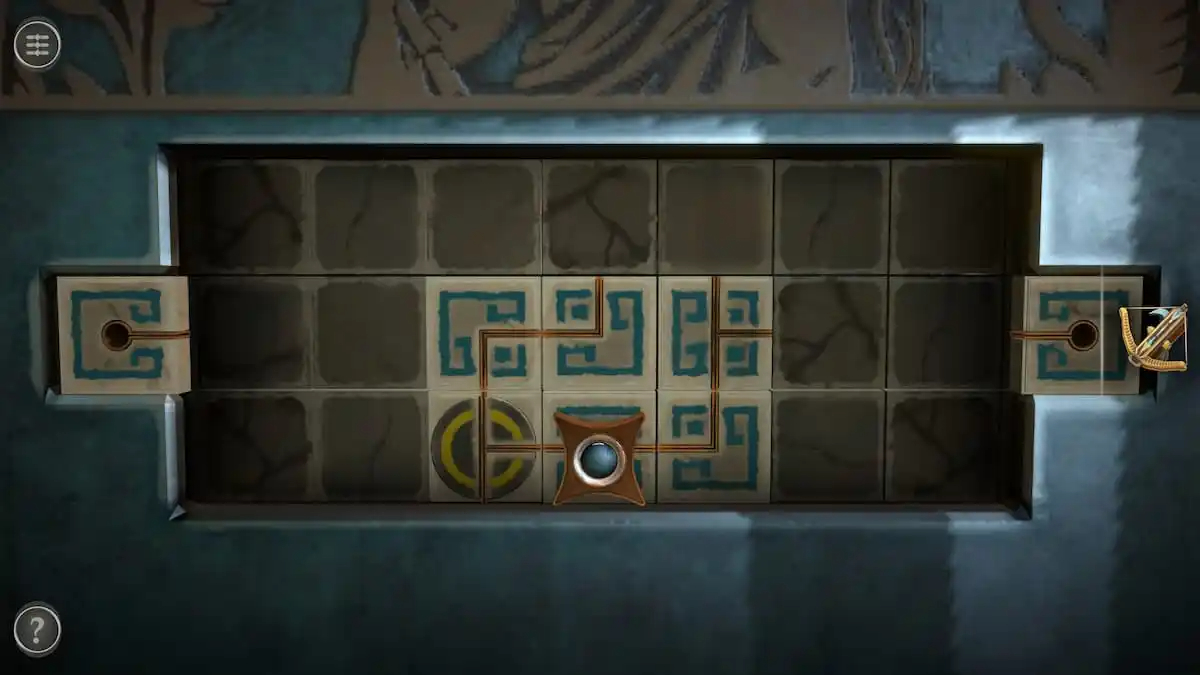
Move the slider down once and right once.
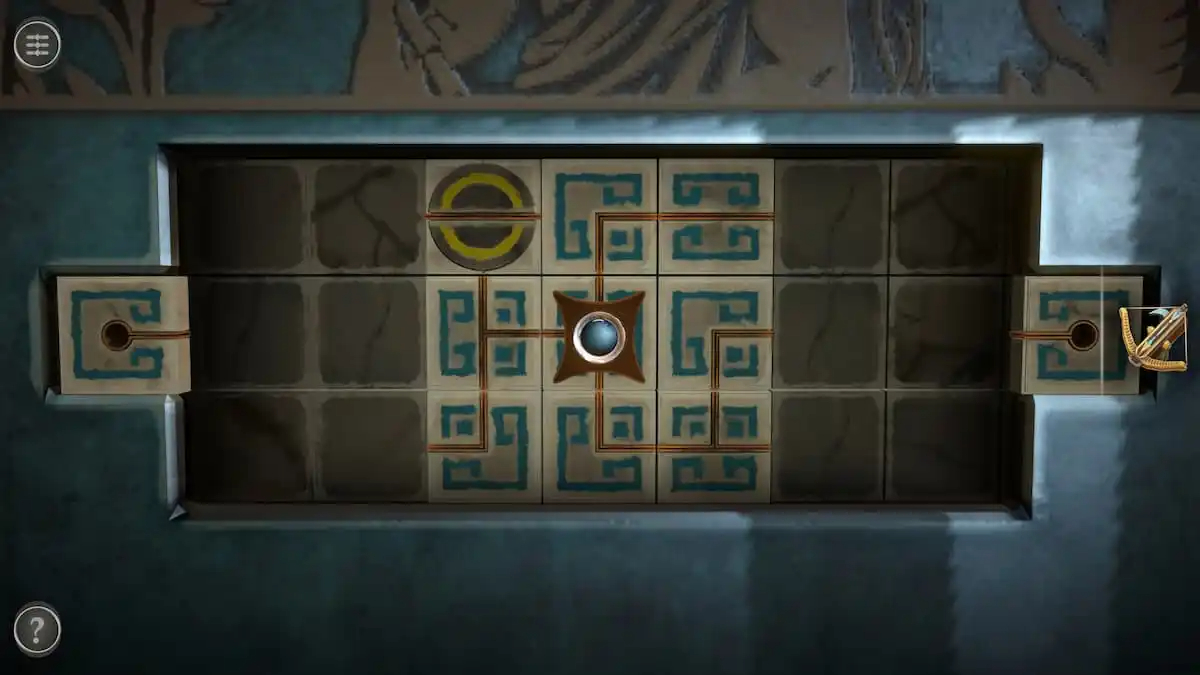
Now move it right, then up, then right one more time.
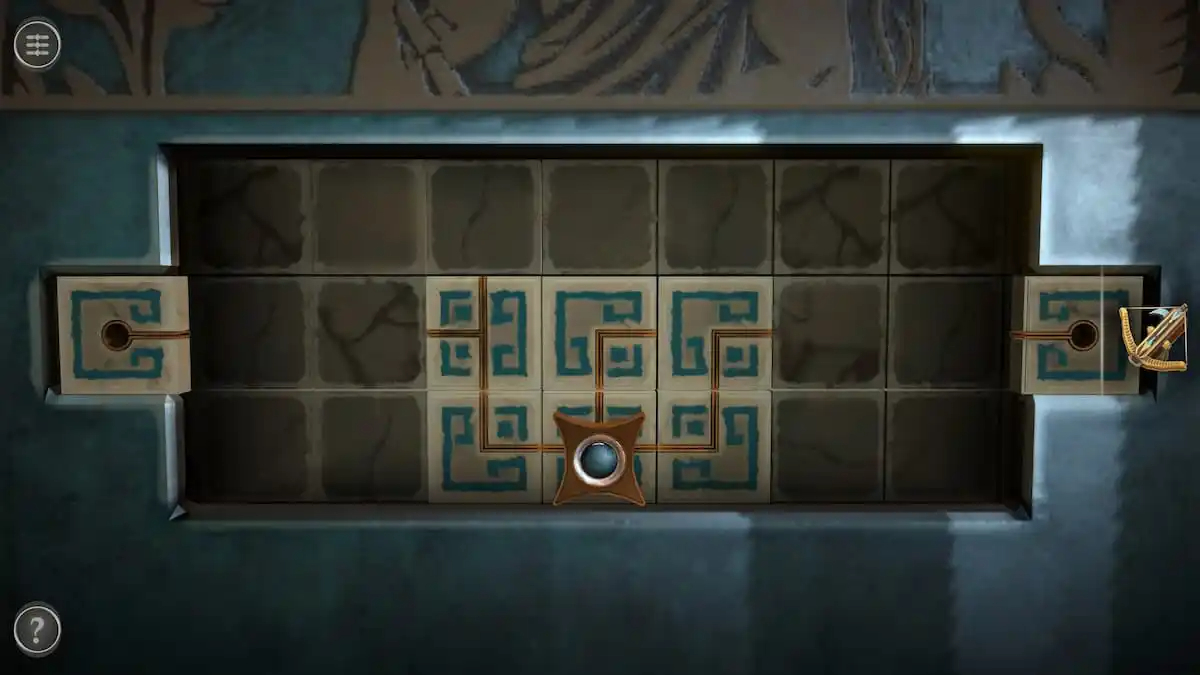
Push the slider down one and right once.
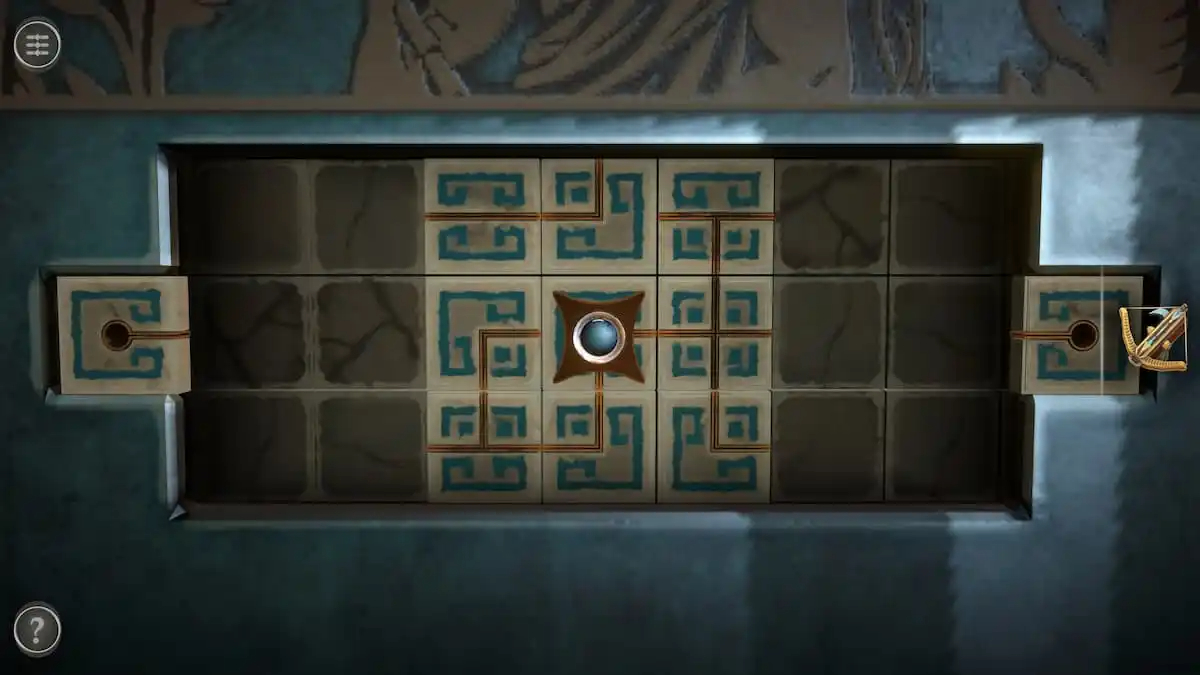
Push the slider down one and right once.
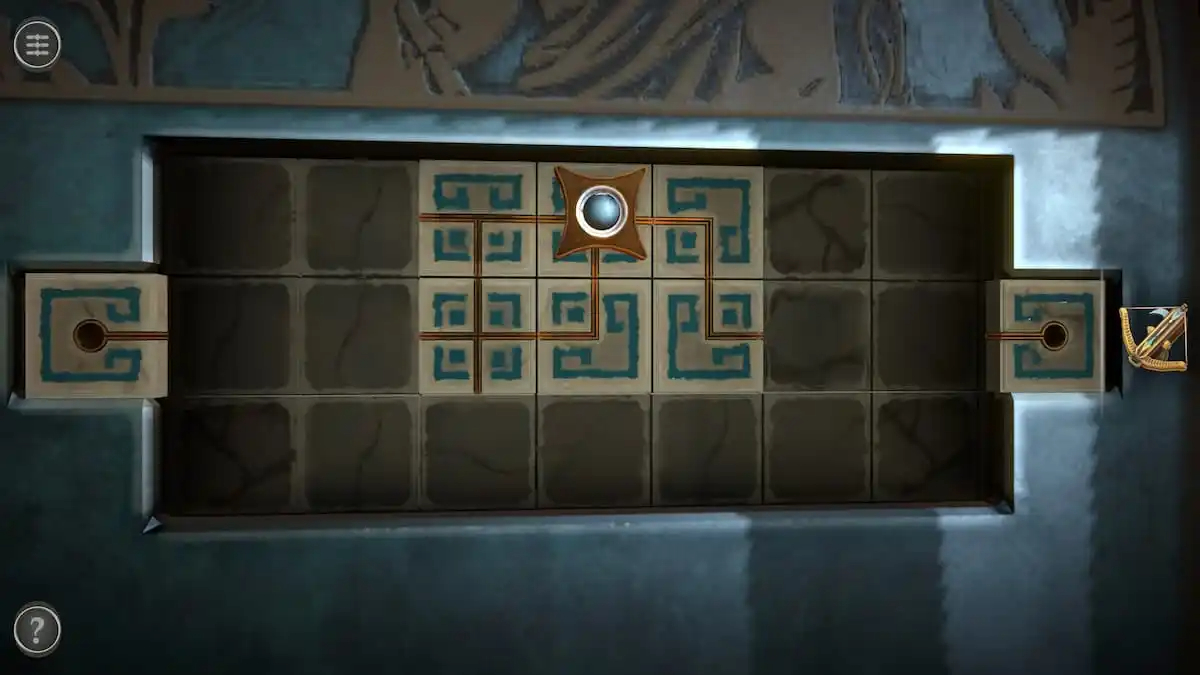
Push the slider right twice and up once.
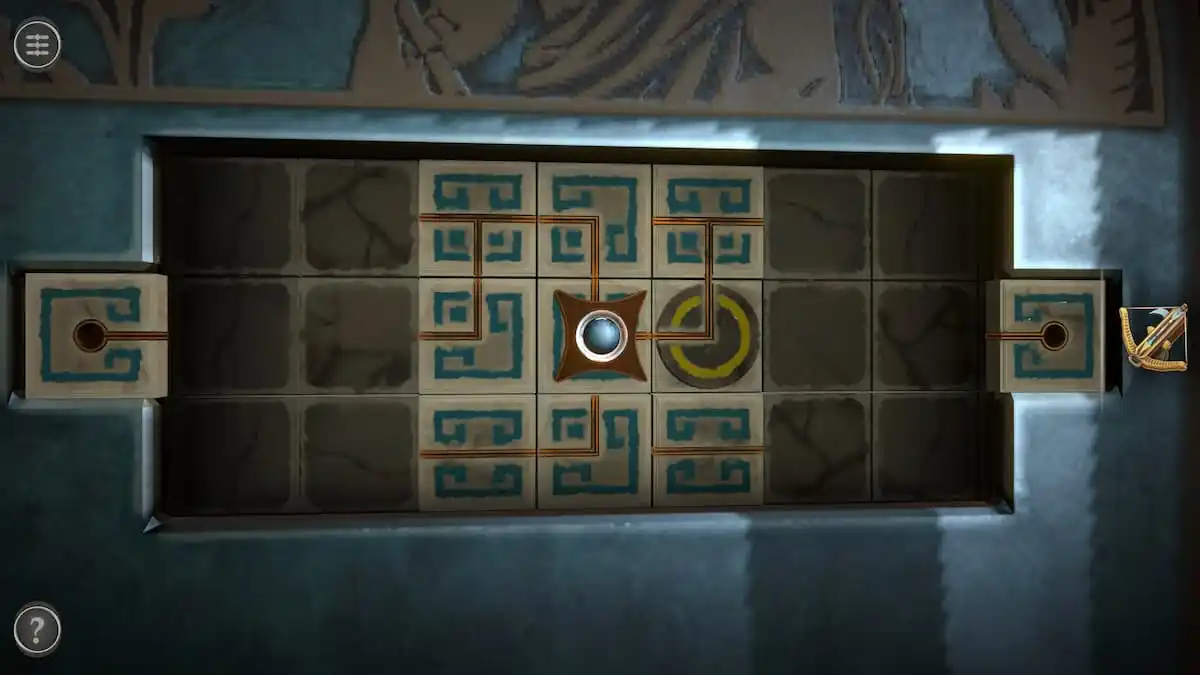
Now move the slider right once and then down. Rotate the circle so that it connects the block you’re on to the one above it.
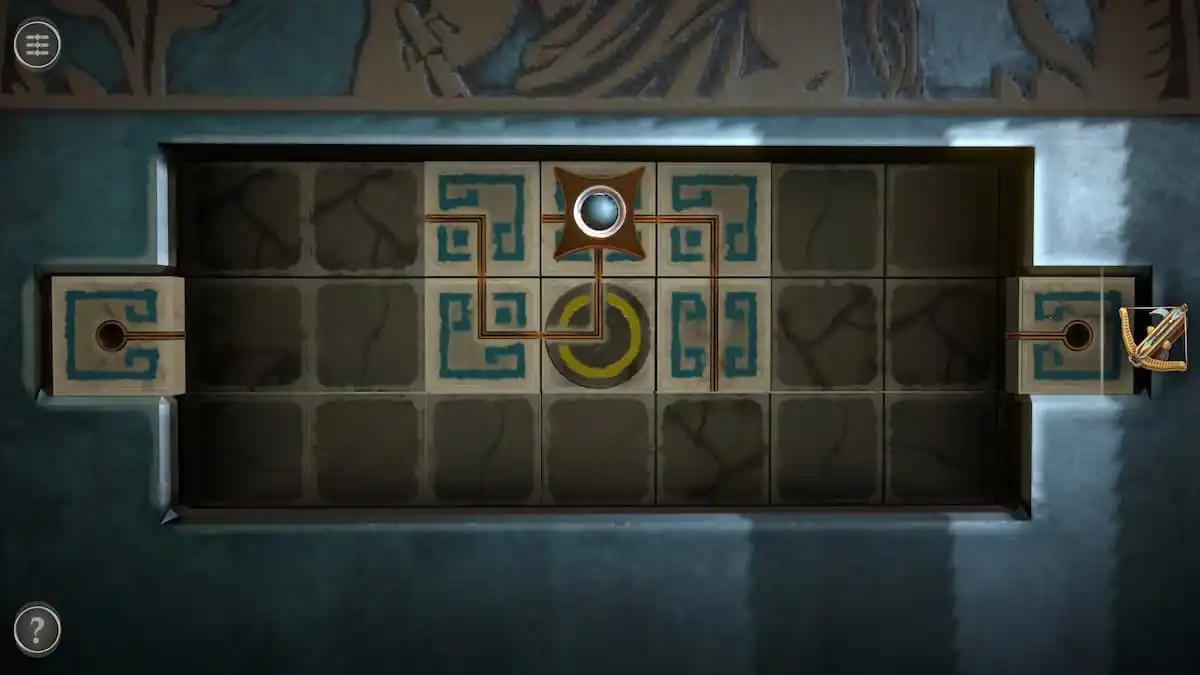
Slide the slider to the block above the brown circle by moving right and up.
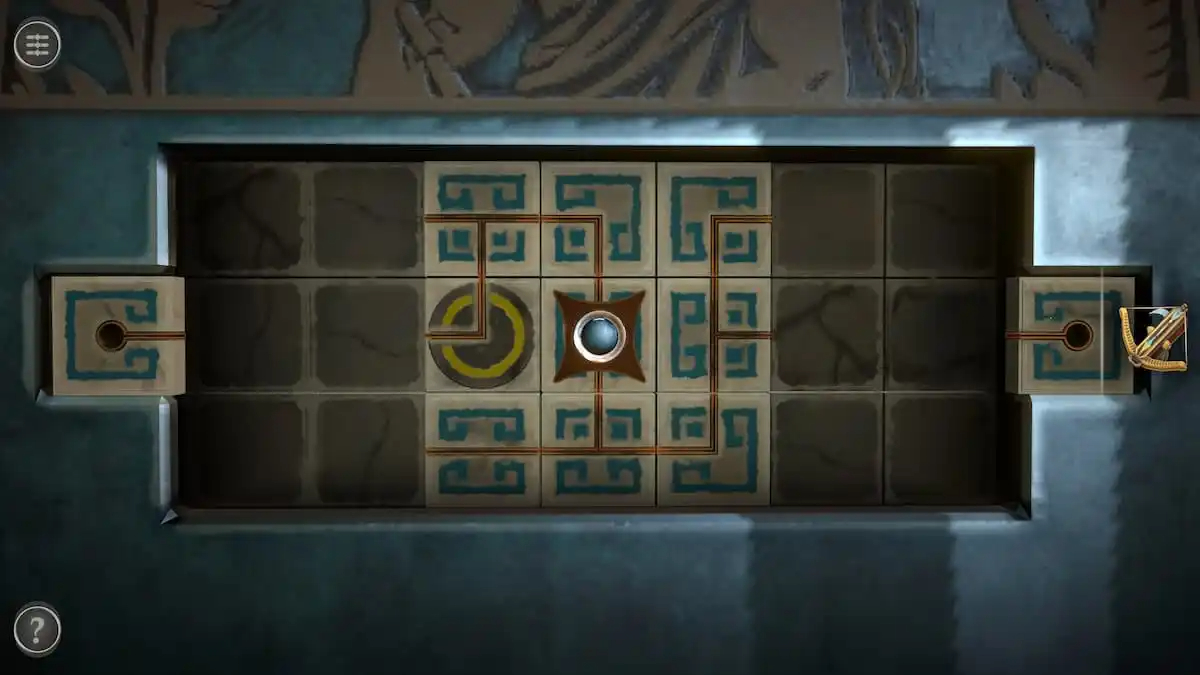
Push the slider right one and down one.
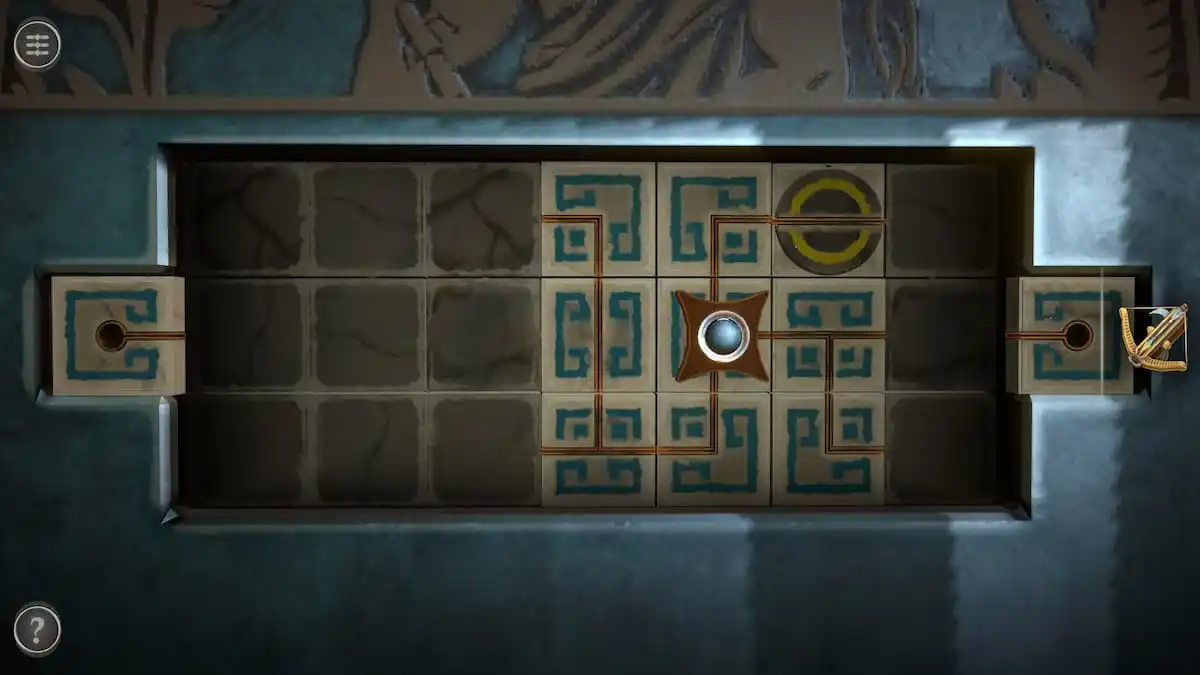
Move the slider down, then right, and then up. Tap the circular brown block at the top right to make it horizontal.
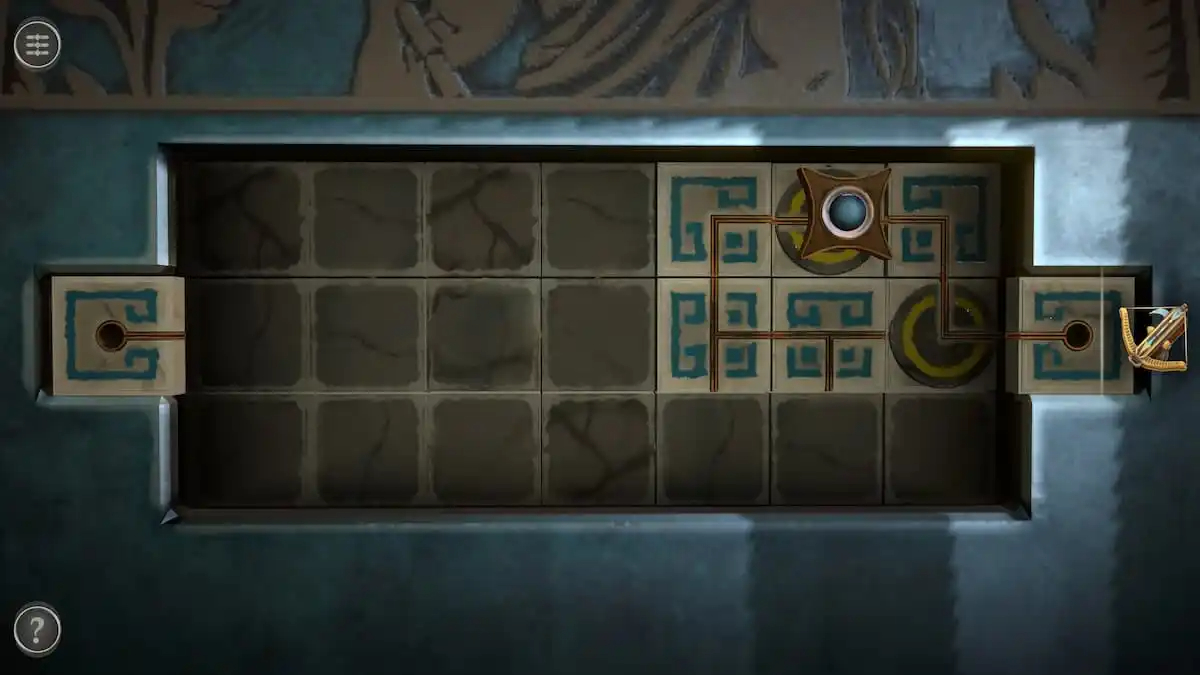
Now move the slider onto the brown block. Flip the final circular brown block so that it connects the block in front of you to the end.
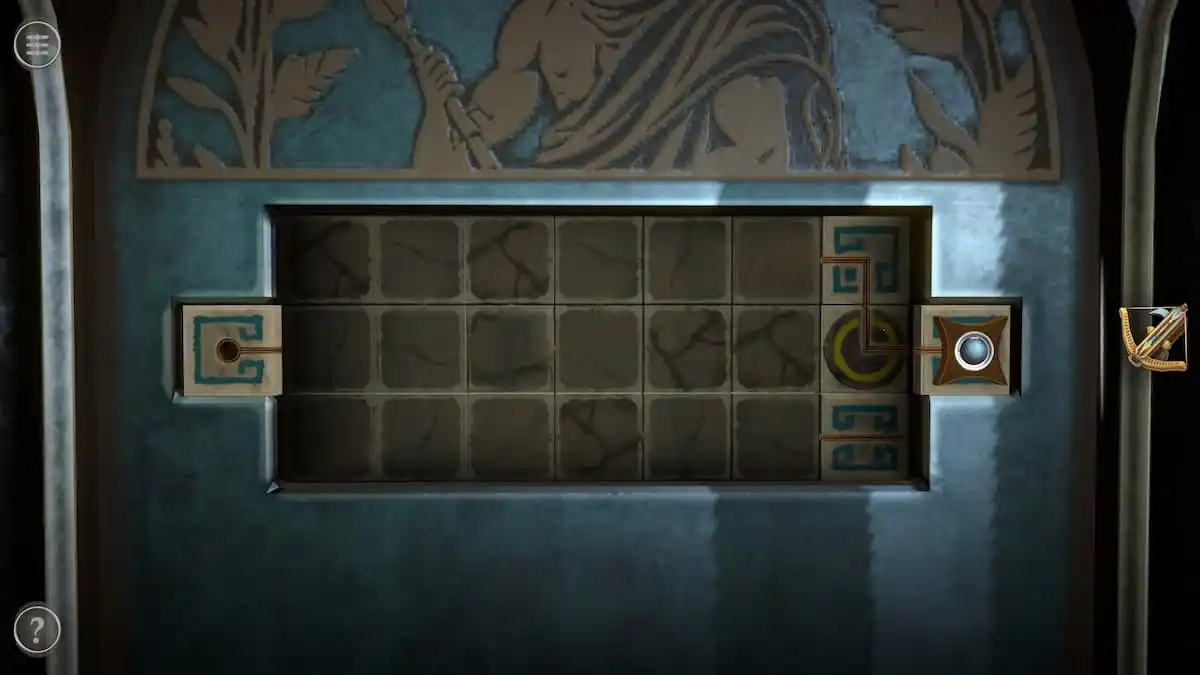
Finish the puzzle by moving the slider to the end.
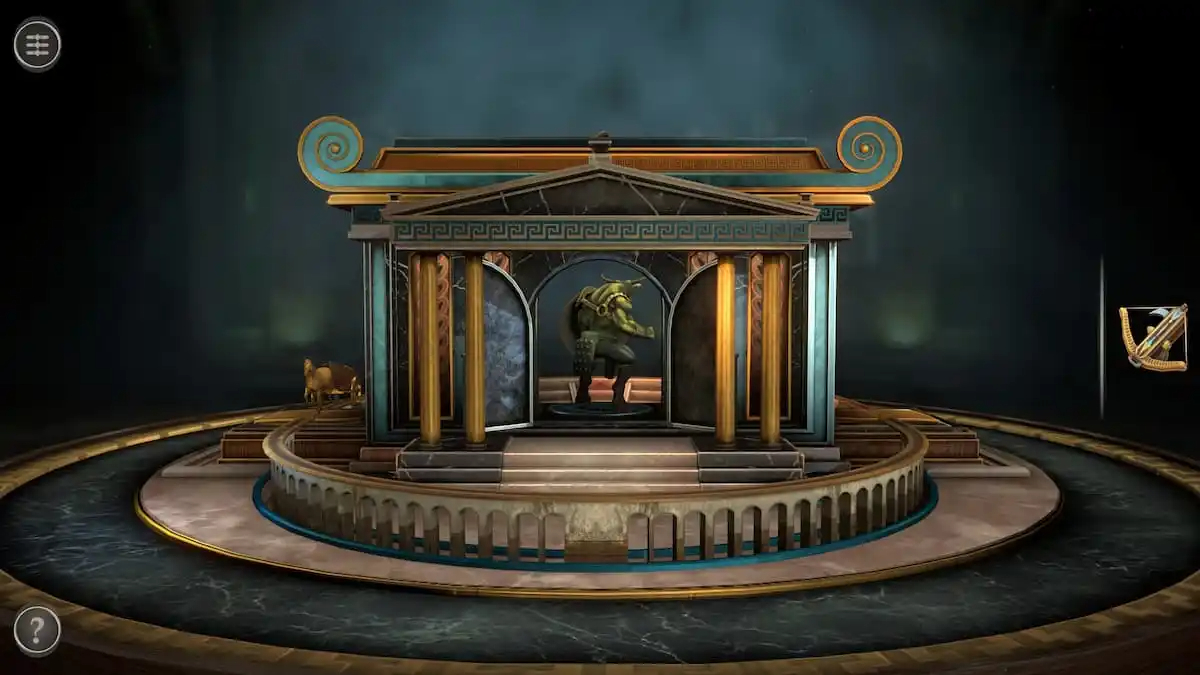
This will open the back wall, allowing you to see the gladiator from the back.
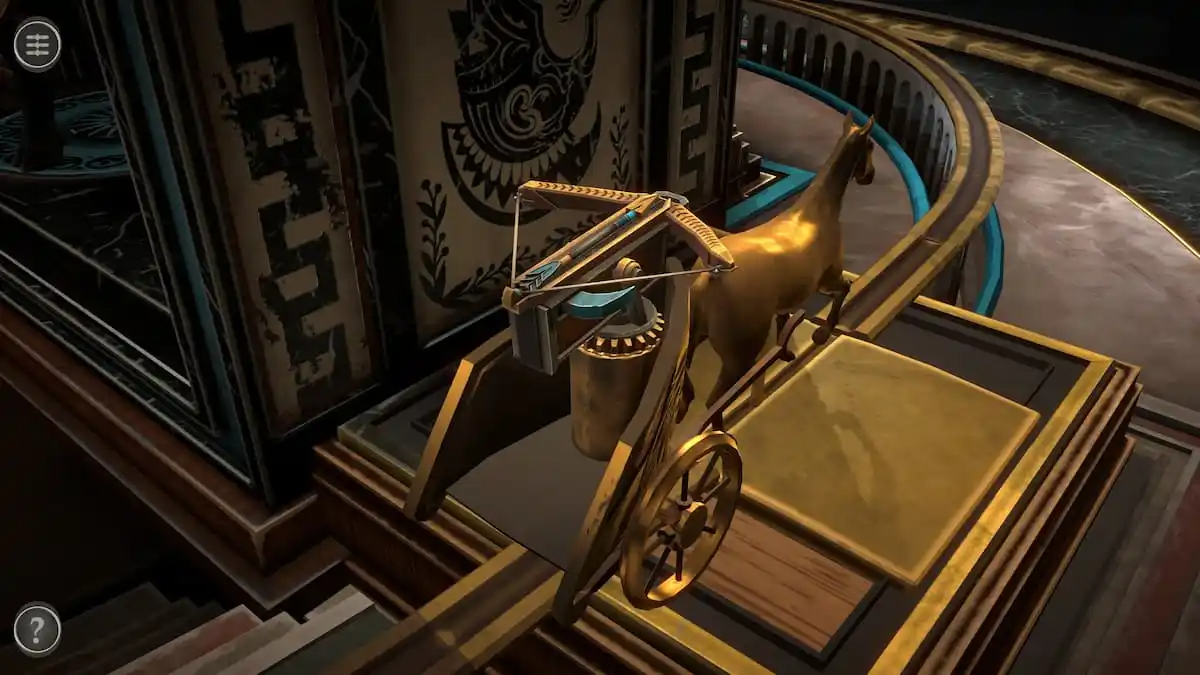
Crossbow puzzle
Place the crossbow on the back of the cart being pulled by a horse.
PART 2 OF FIRST PUZZLE BOX IN CHAPTER 4
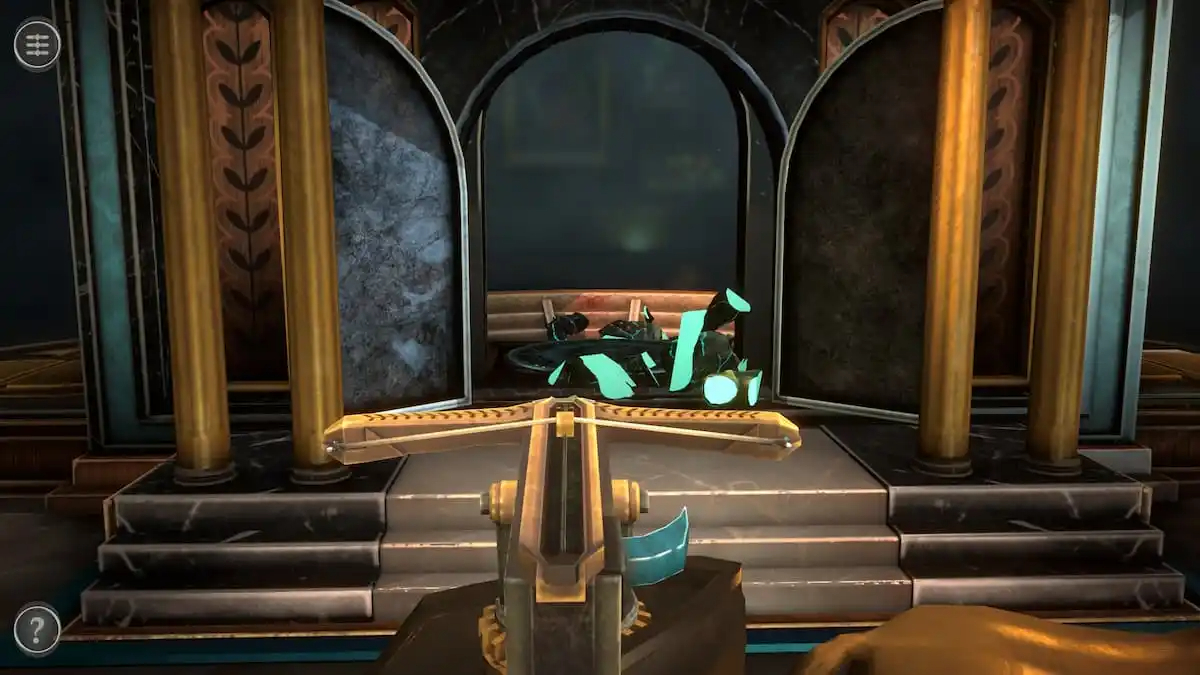
This will make you enter the cart. Move your mouse to aim the crossbow, tapping the blue handle on the right side of the crossbow to fire when the gladiator’s back is in front of you.
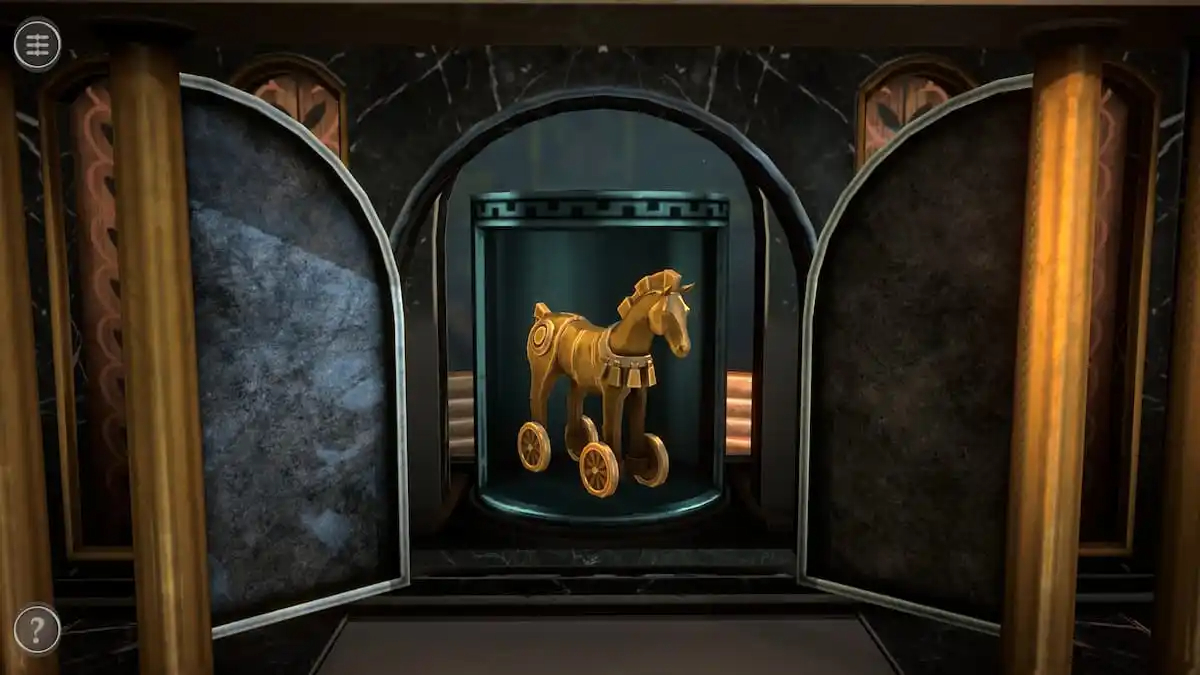
This will give you a Horse Figure, ending the first room and opening up the second room.
THE FIRST PUZZLE BOX IN CHAPTER 4 OF BOXES LOST FRAGMENTS IS NOW COMPLETE AND FINISH AND YOUR SECOND PUZZLE BOX IS NOW UNLOCKED IN BOXES LOST FRAGMENTS
SECOND PUZZLE BOX IN CHAPTER 4
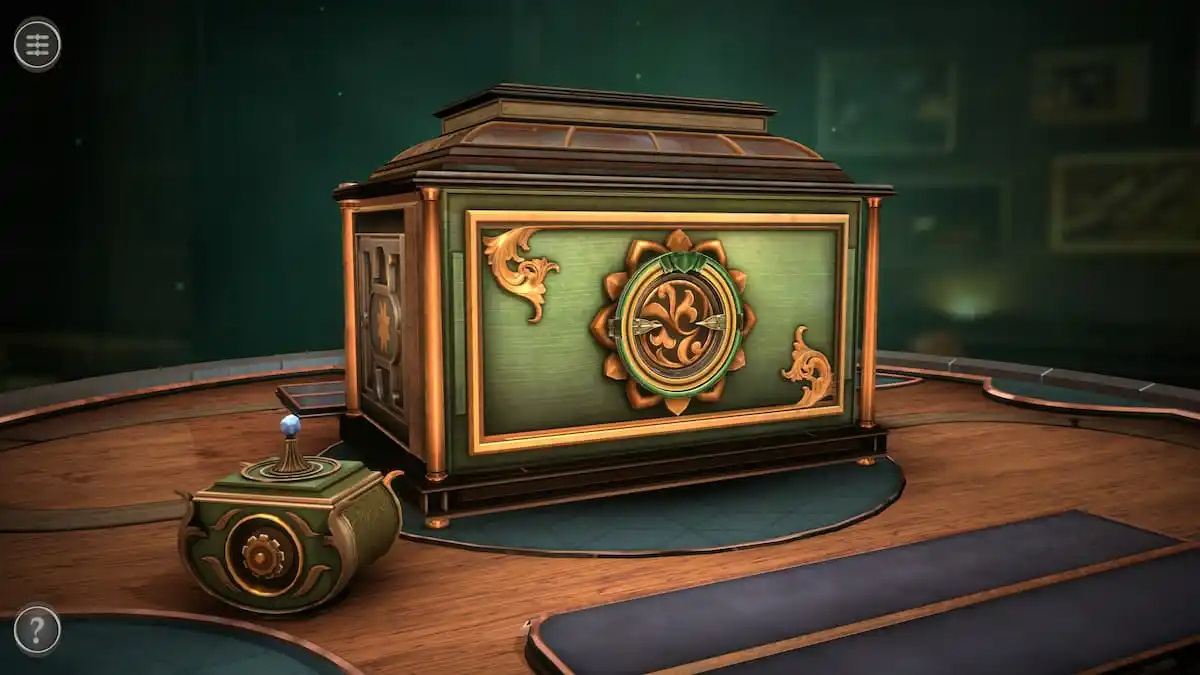
Second room puzzles
The second room of Chapter 4 contains a central box and a smaller container on the left.
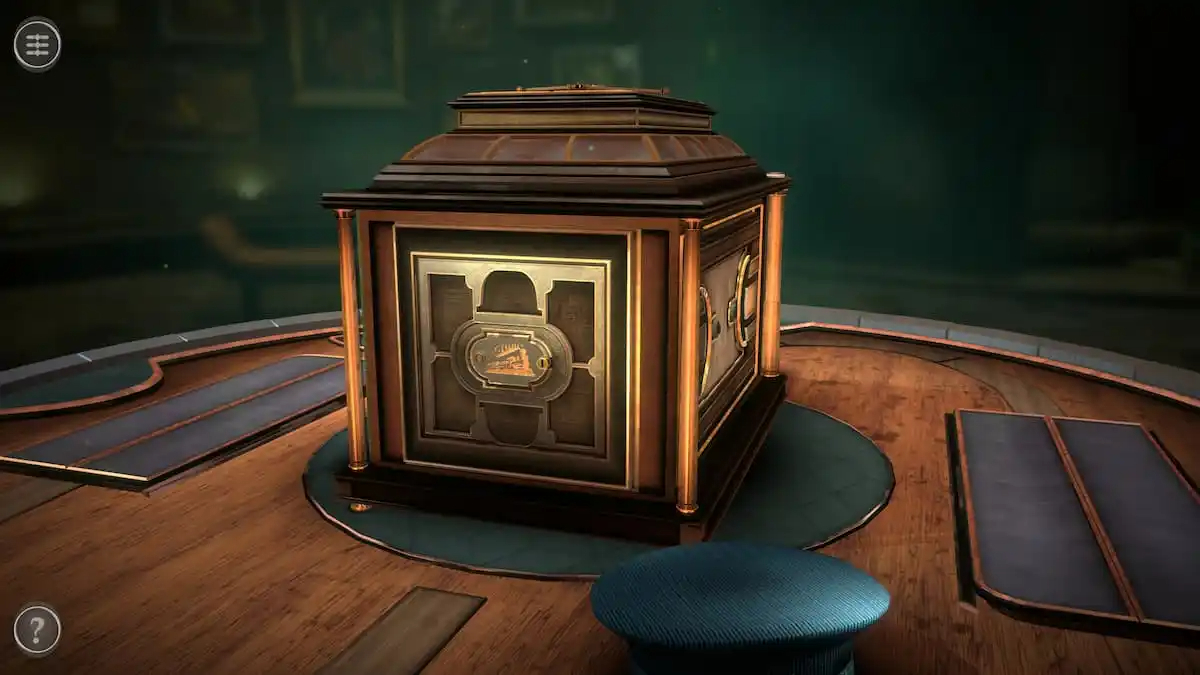
Rotate the camera to pick up a Conductor’s Hat on the back of the table.
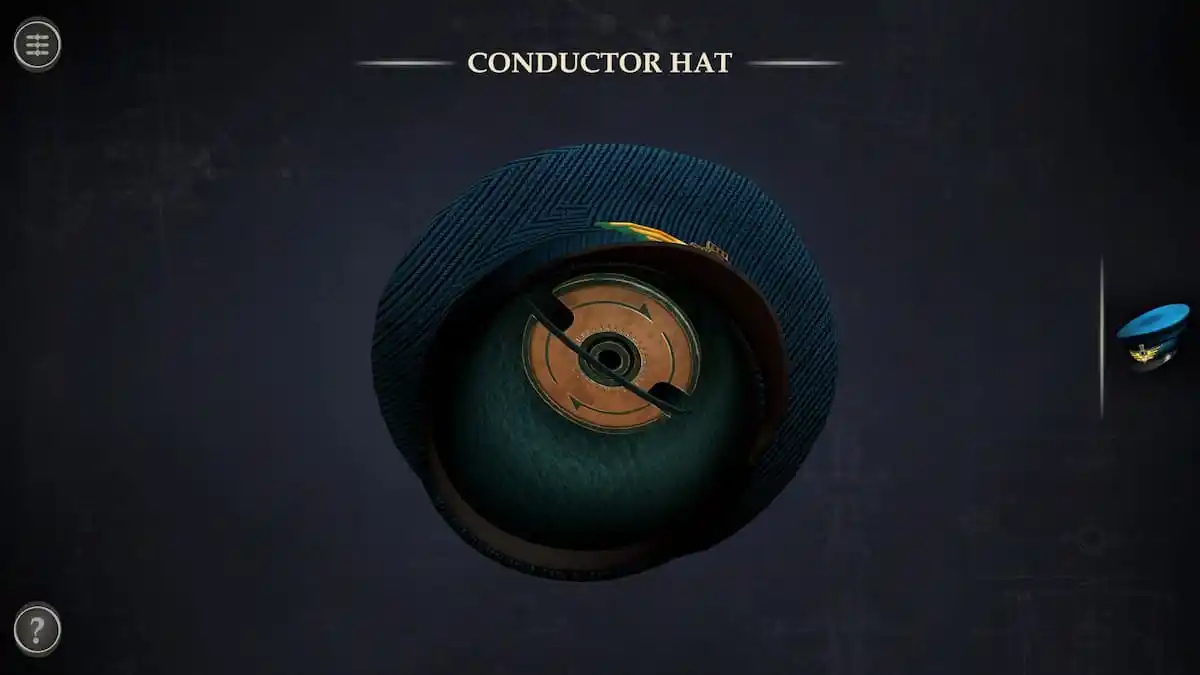
Open the Conductor Hat in your inventory. Look inside of it to find a Metal Disc.
Pillar puzzle
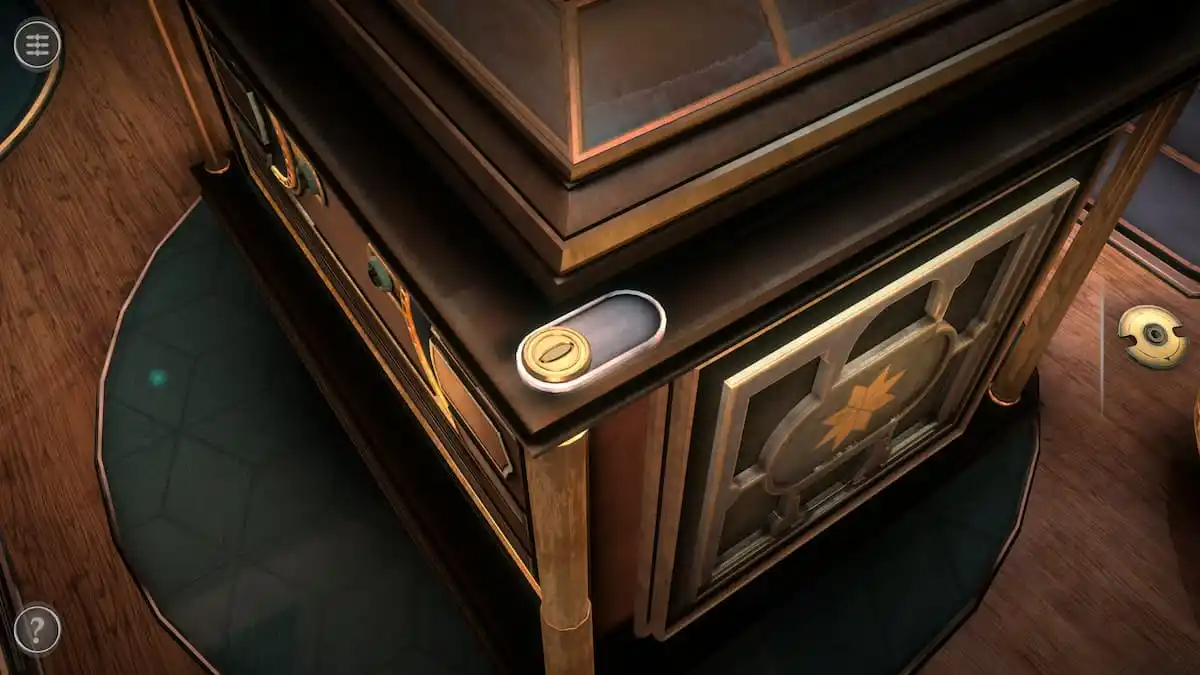
A small slider is hidden above one of the box’s pillars. Slide it to the right and press the button hidden beneath it.
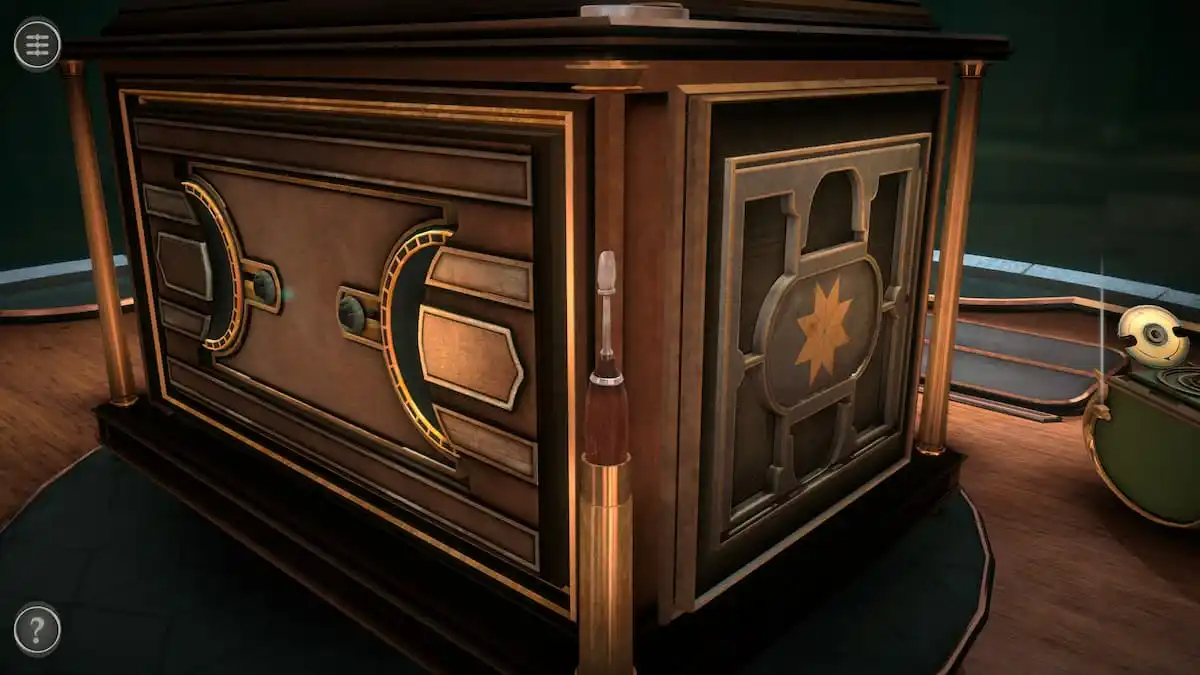
This will reveal a Screwdriver.
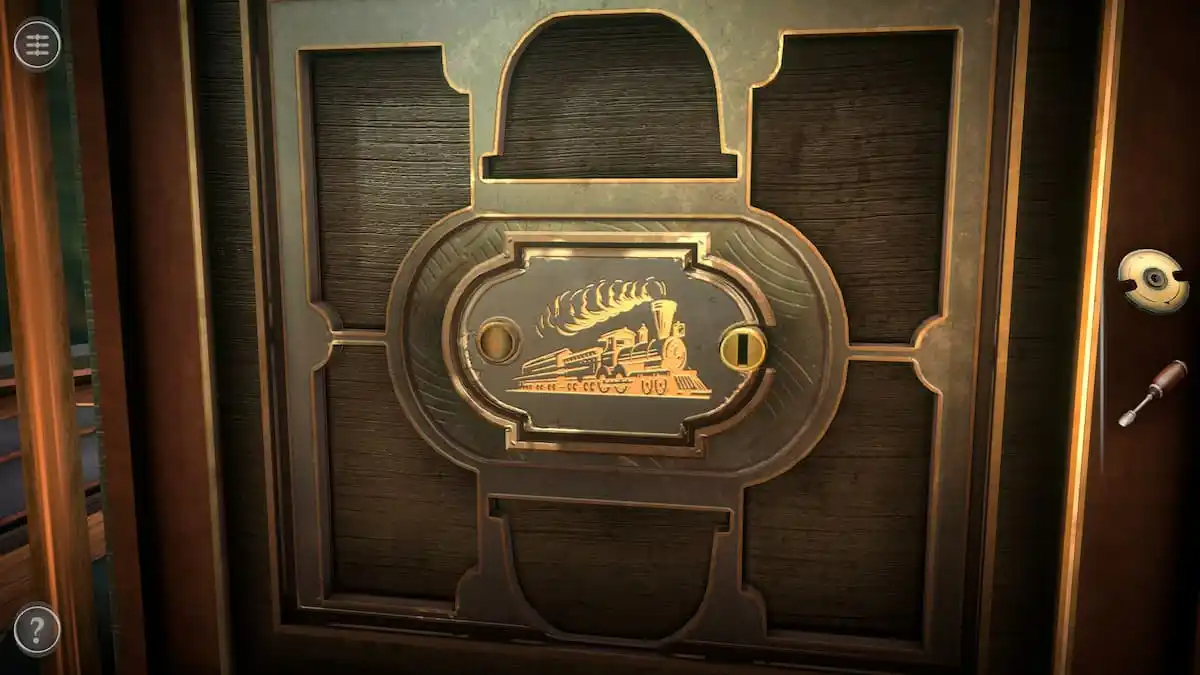
Screwdriver puzzle
Look at the compartment on the right side of the box with the train image on it.
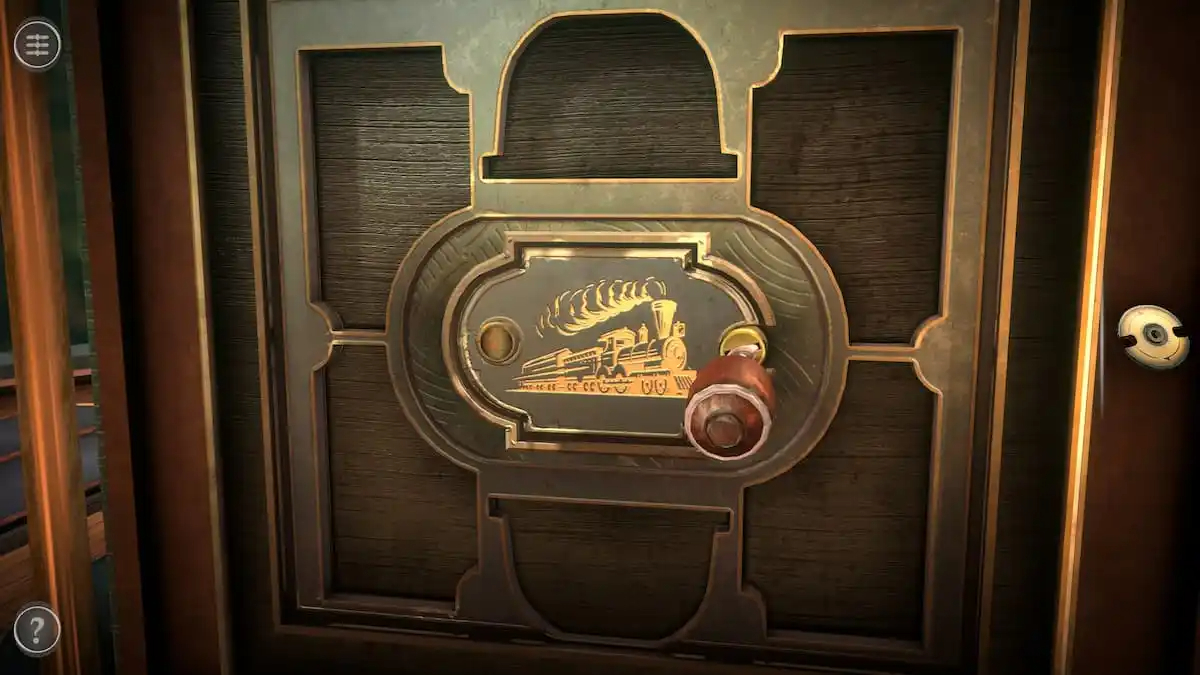
Use the Screwdriver on the screw to open the compartment and get a Small Badge.
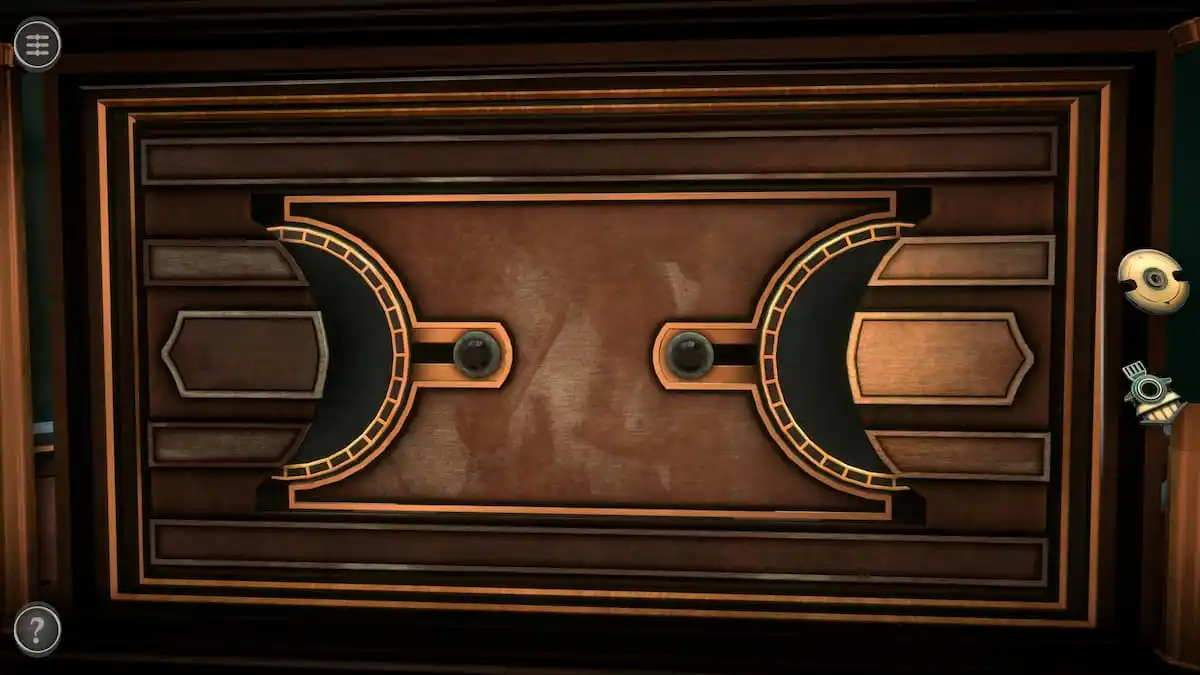
Black rotating puzzle
There is a puzzle on the back of the box consisting of two rotating sections and two sliders.
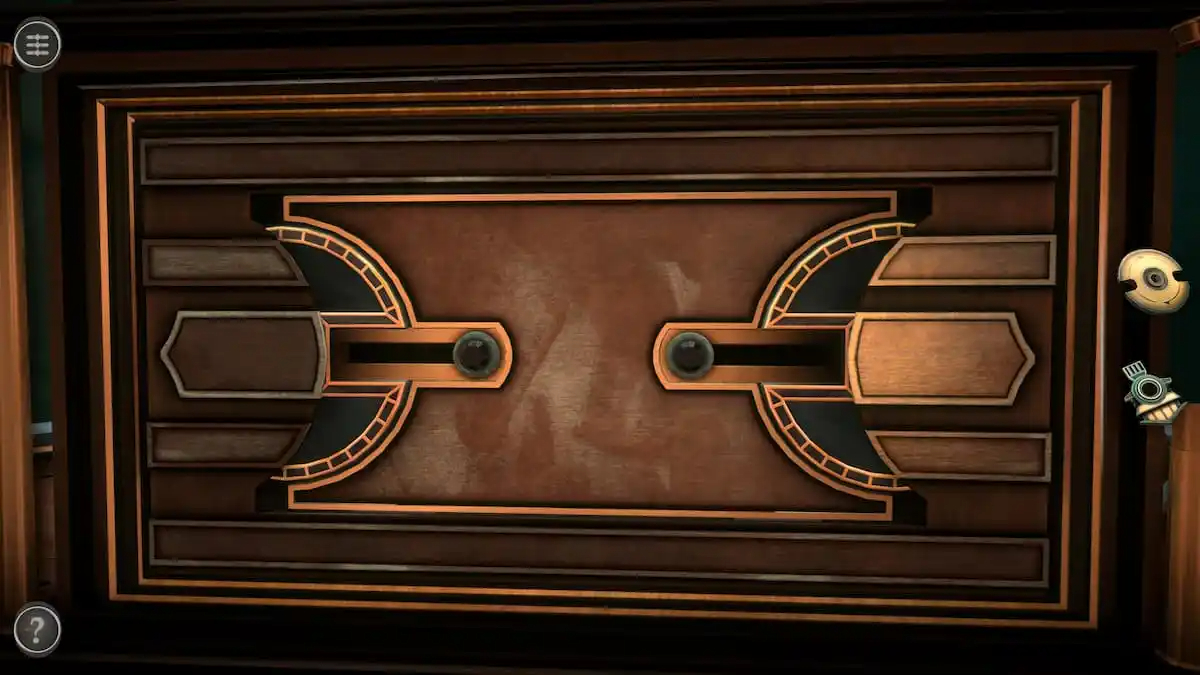
Rotate each of the black sections to make a longer path for the slider.
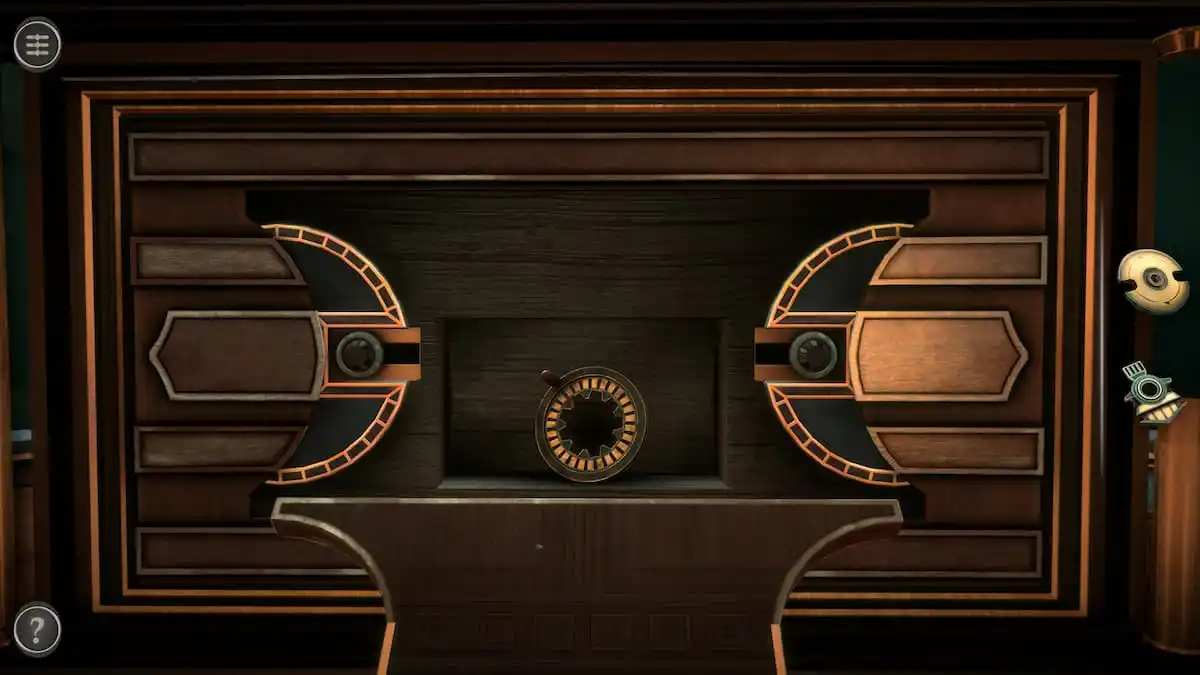
Move each slider to unlock a compartment containing a Mechanical Wheel.
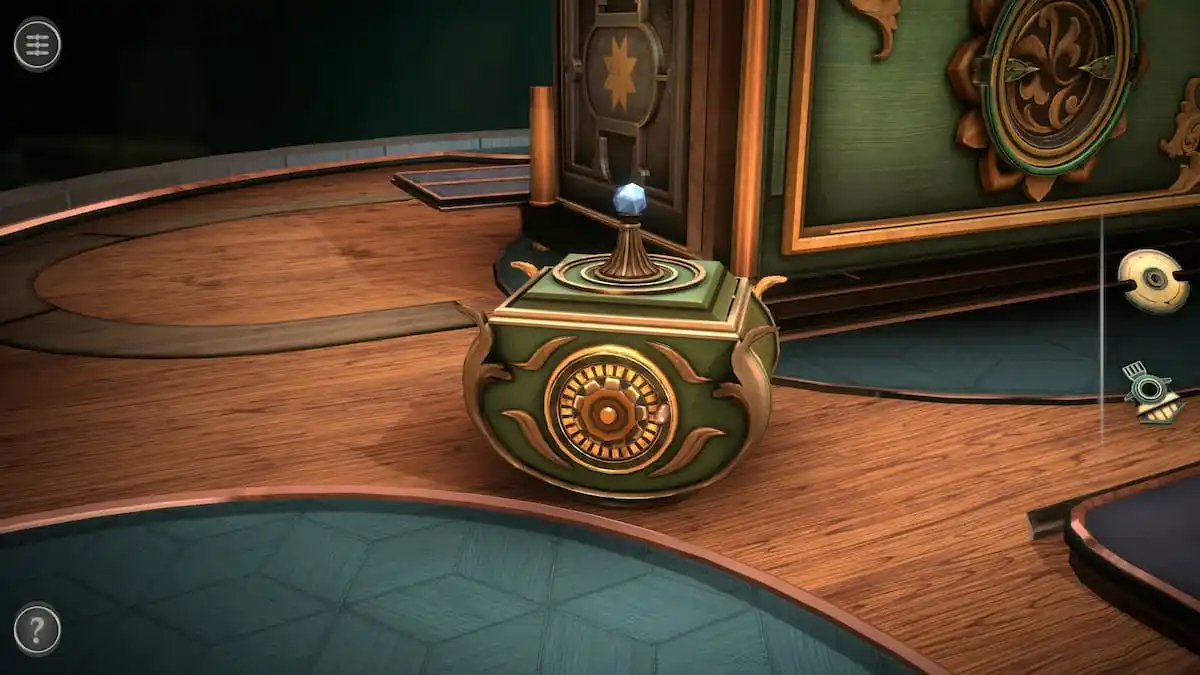
Mechanical Wheel puzzle
Place the Mechanical Wheel on the front of the smaller container.
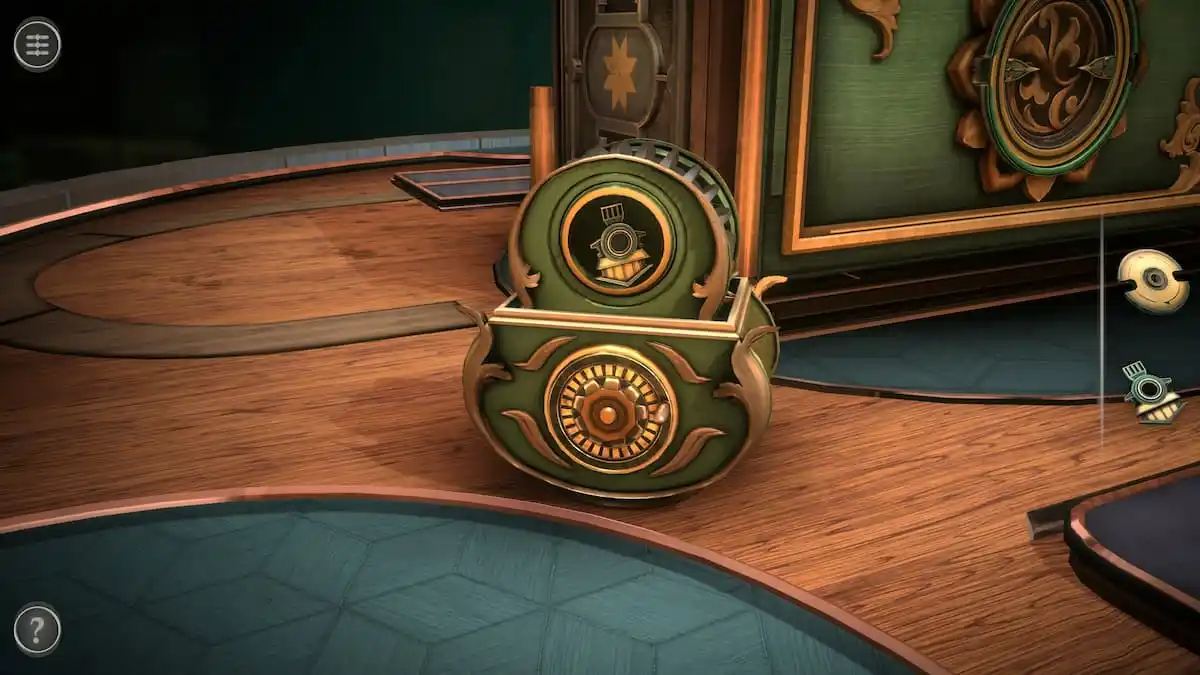
Rotate the wheel to get a second Small Badge.
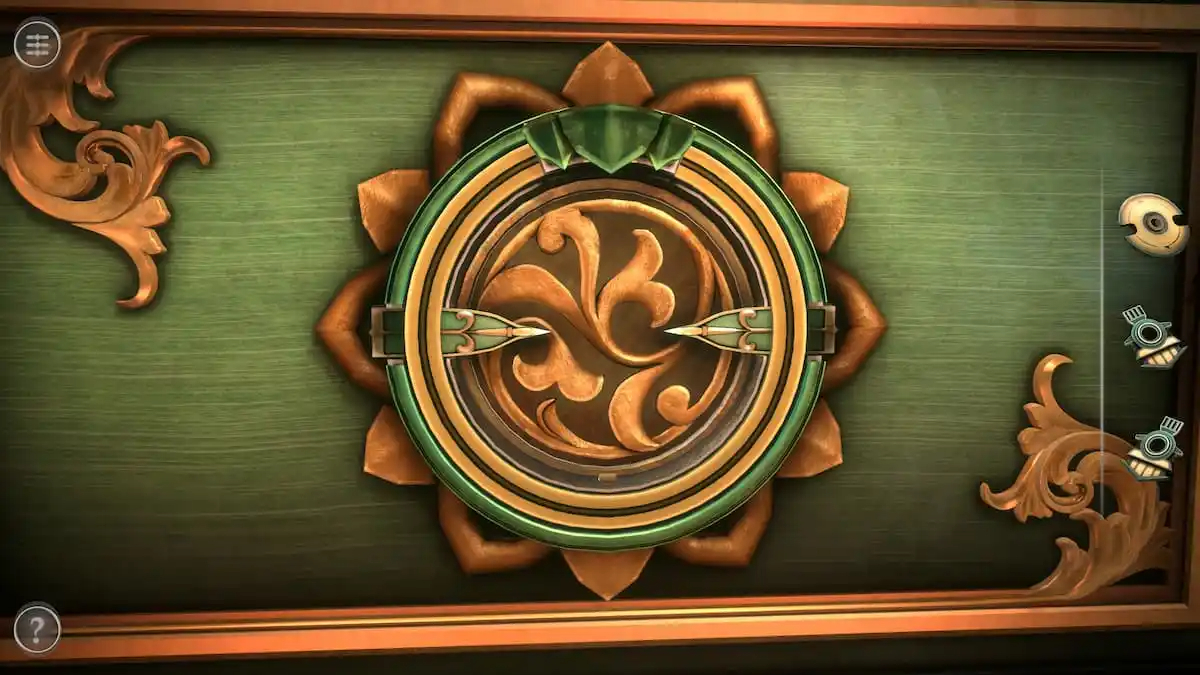
Front door puzzle
The front door puzzle consists of two green locks and a rotating ring.
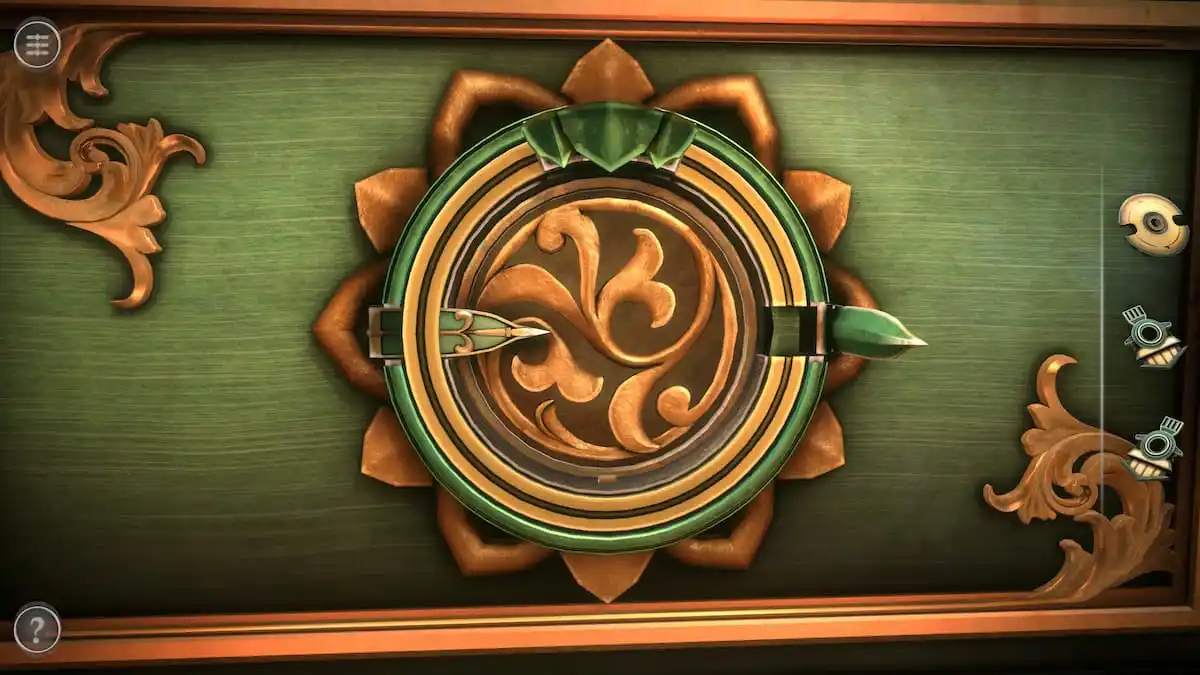
Rotate the ring until the gap aligns with one of the locks and flip that lock open.
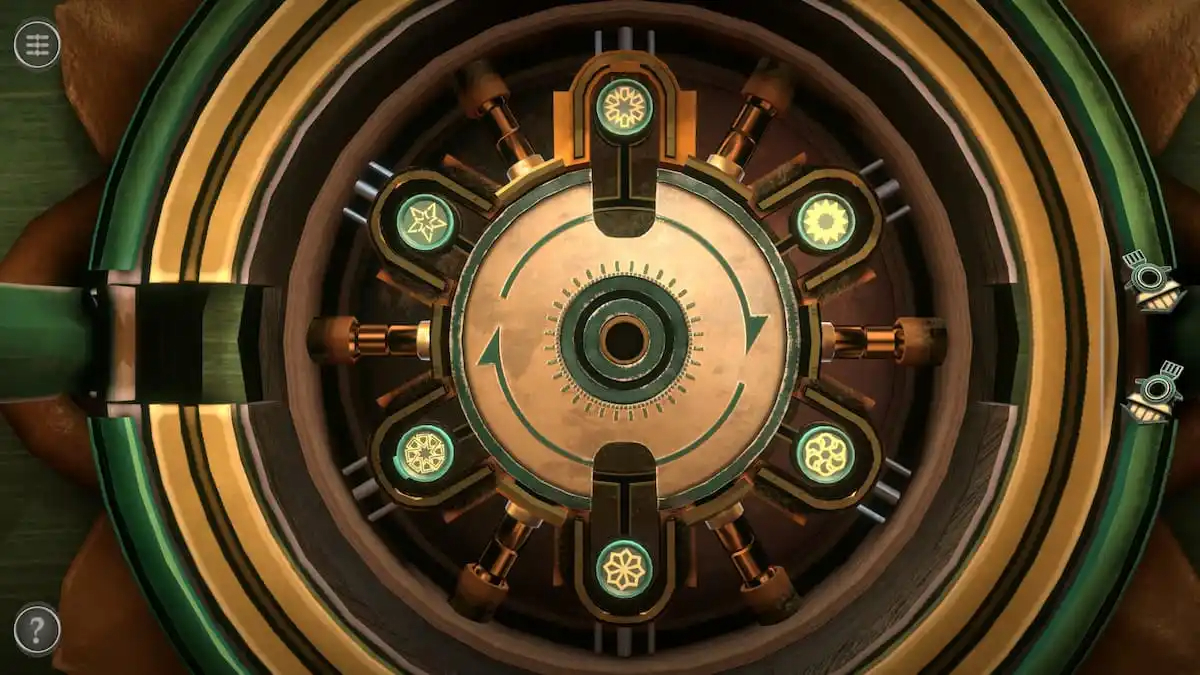
Repeat on the other side to unlock the next puzzle. Place the Metal Disc here to start the puzzle.
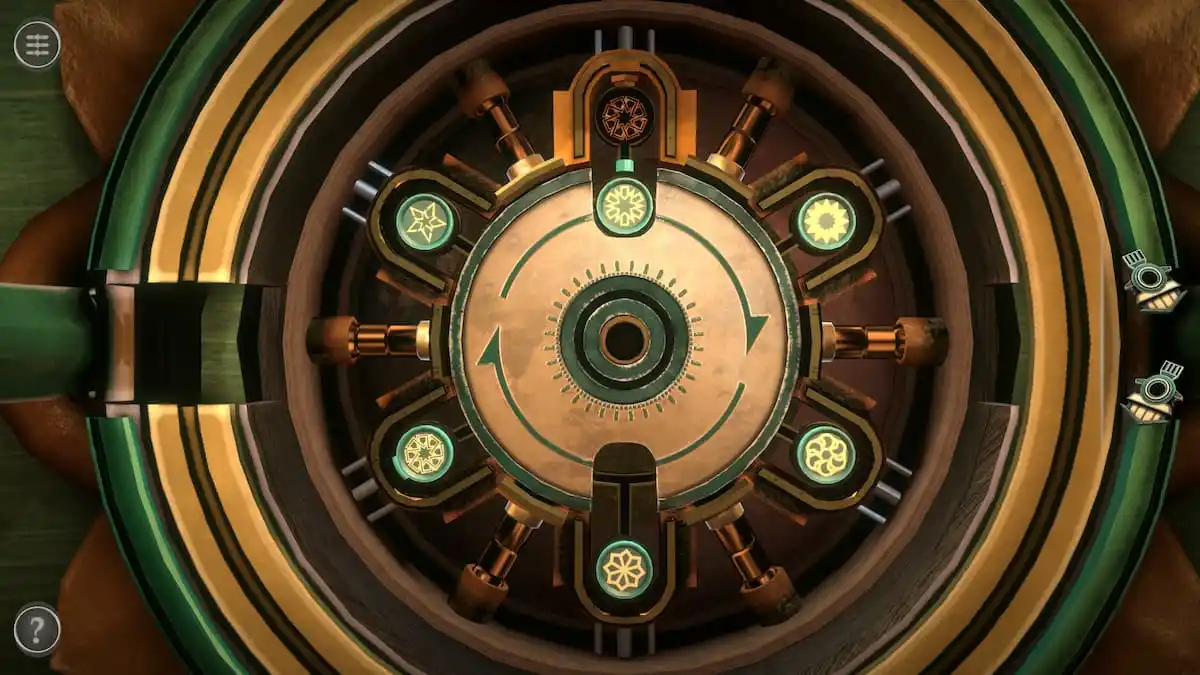
Rotating symbols puzzle
To solve this puzzle, begin by moving the top piece into the Metal Disc. This will reveal a carving in the empty slot that shows the piece that needs to be placed there.
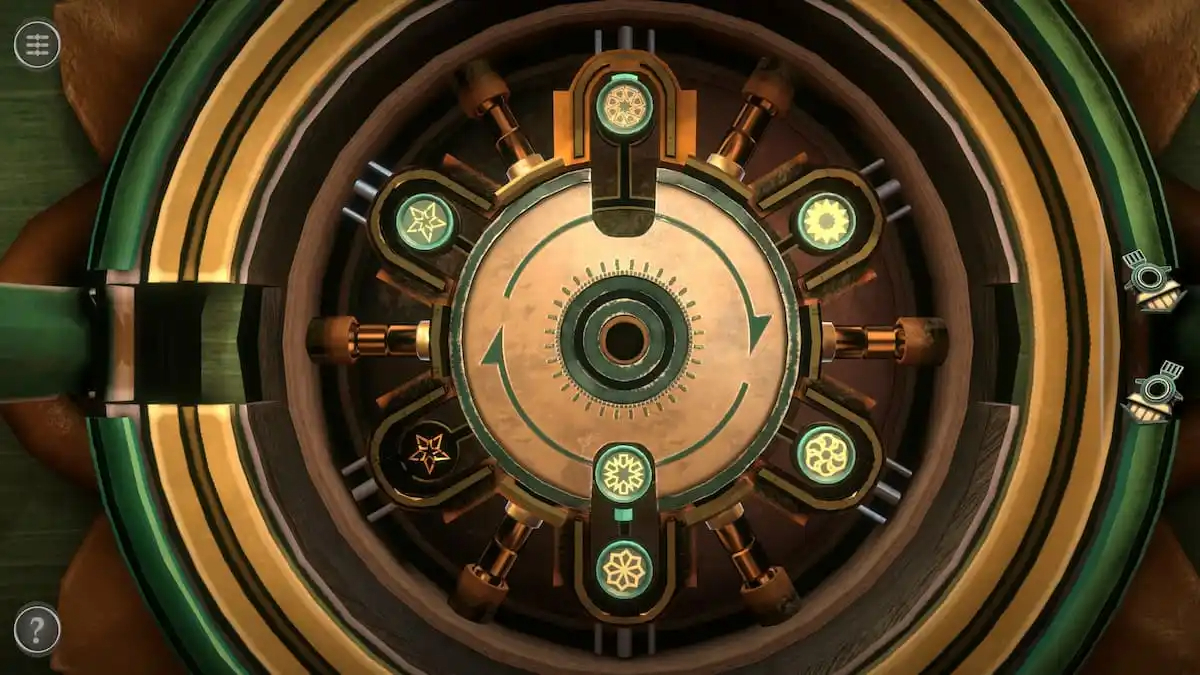
Pick up the piece matching the carving on the other side of the Metal Disc and place it into the slot.
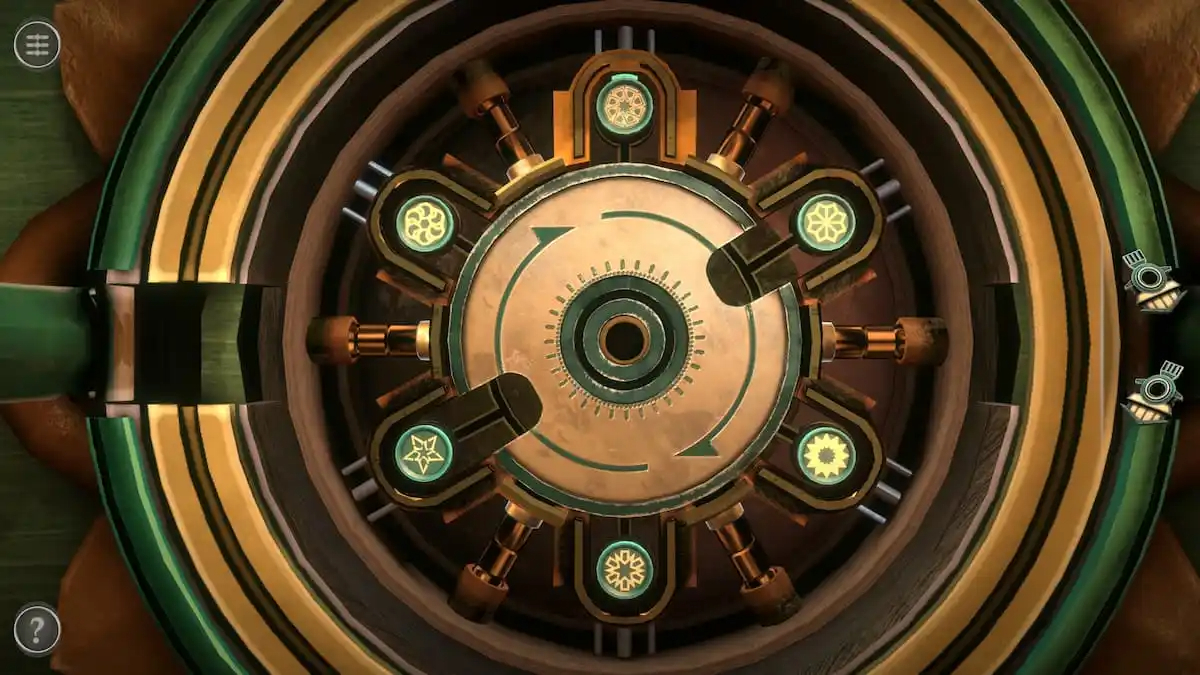
Repeat this process until you’ve placed each piece into its slot.
PART 2 IN SECOND PUZZLE BOX IN CHAPTER 4
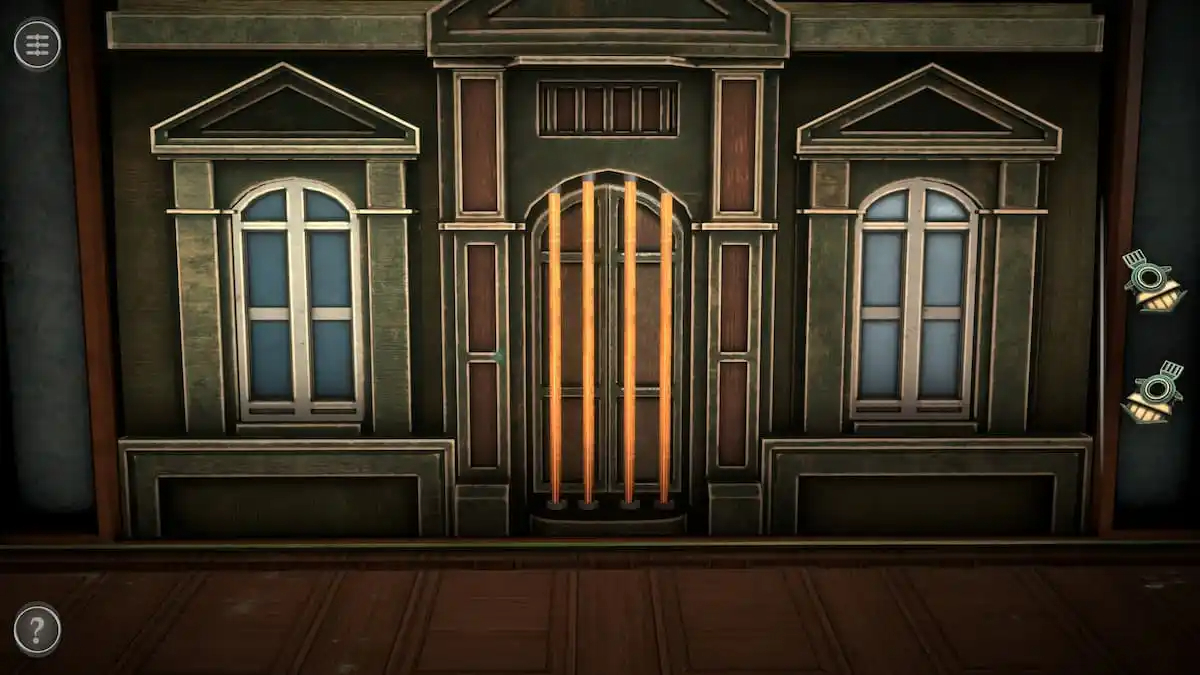
Building window puzzle
Unlocking the front door turns the box into a building.
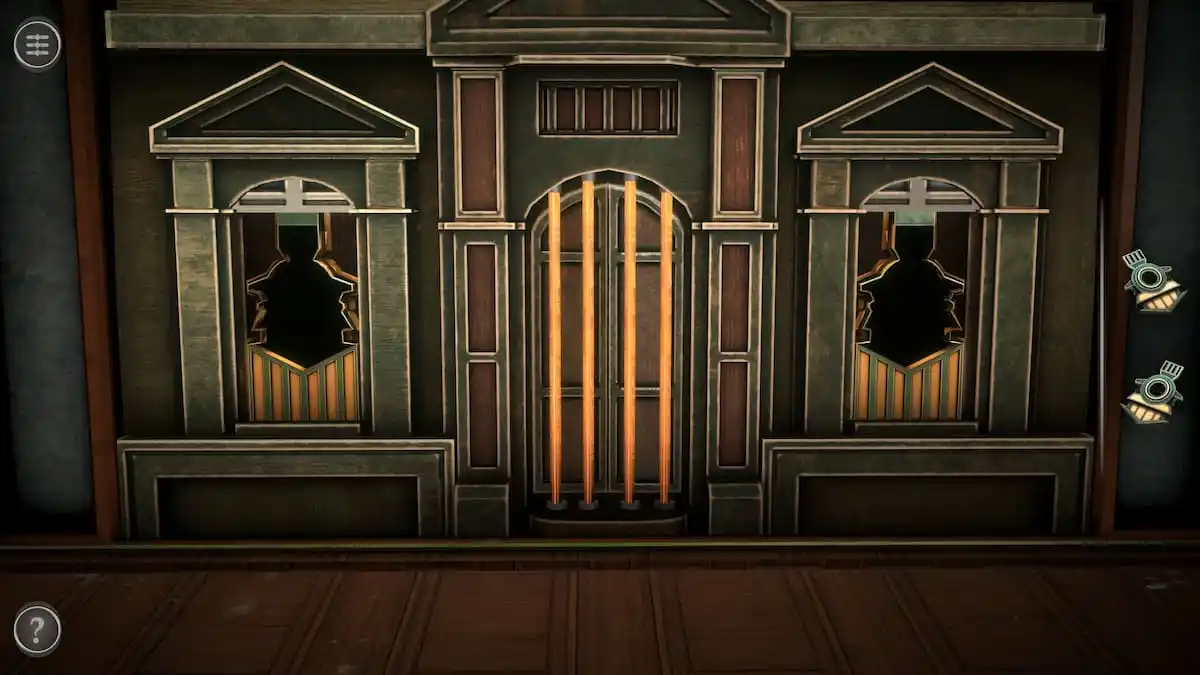
Pull up on each of the building’s windows to reveal a space for an item in each.
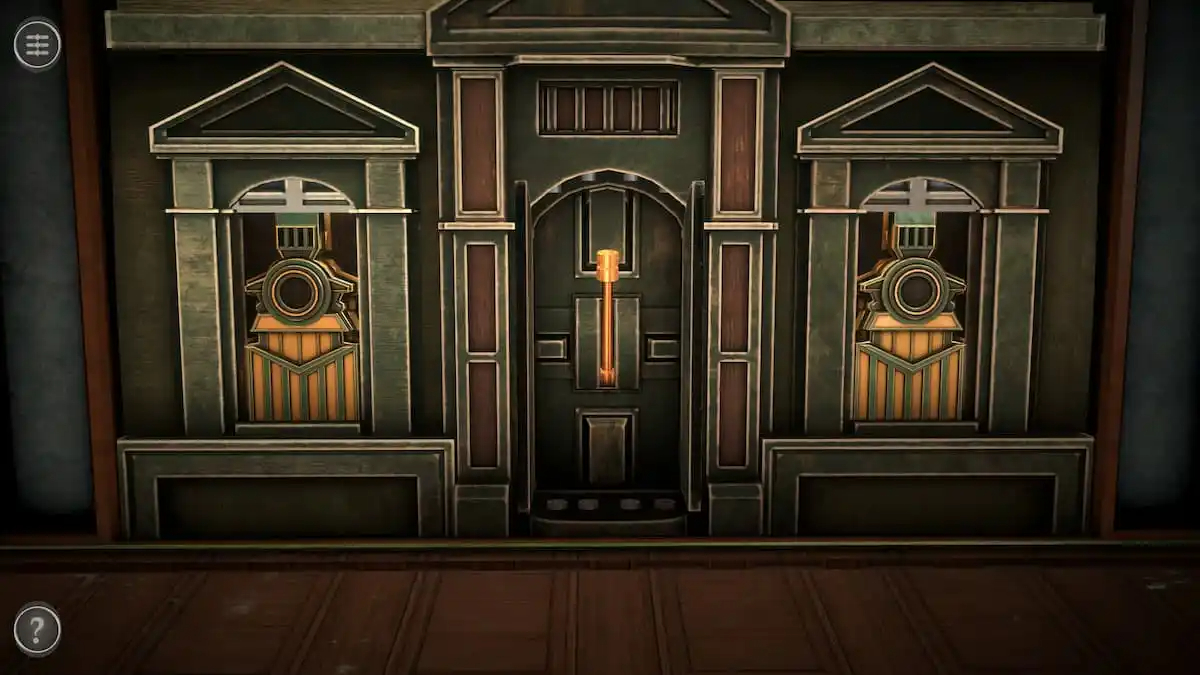
Place the two Small Badges into the two slots. Pull the lever that appears beneath them to turn the building into a functional train station.
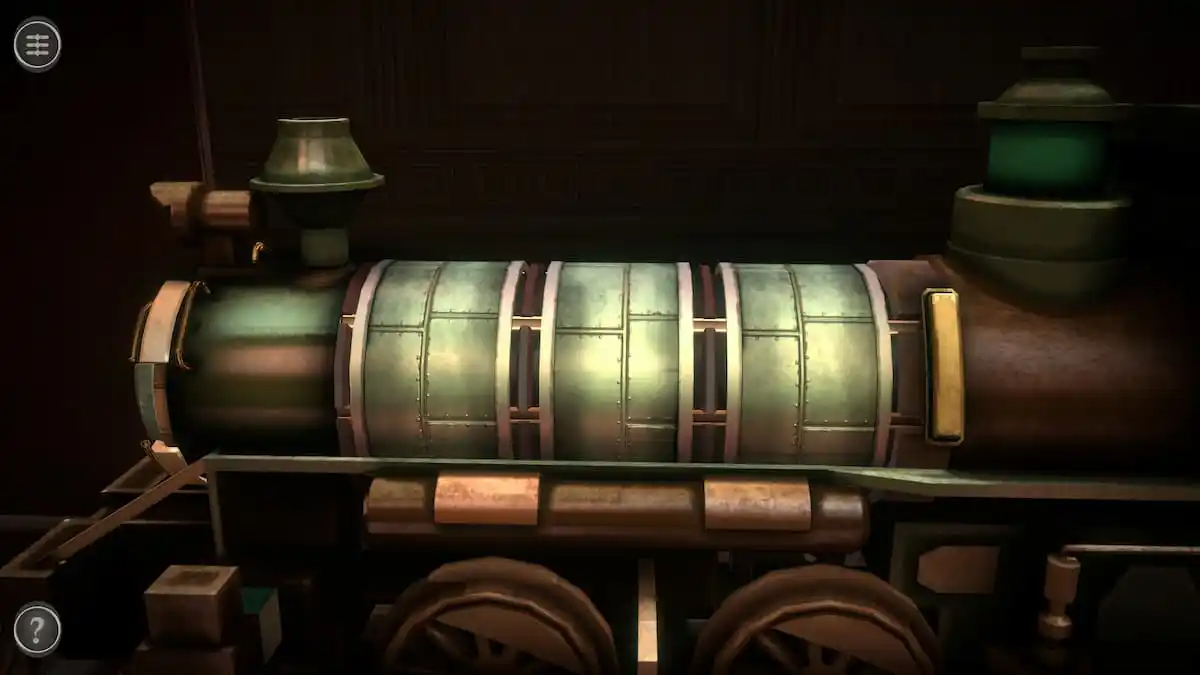
Train engine puzzles
The first puzzle on the train involves a handle and three rotating sections.
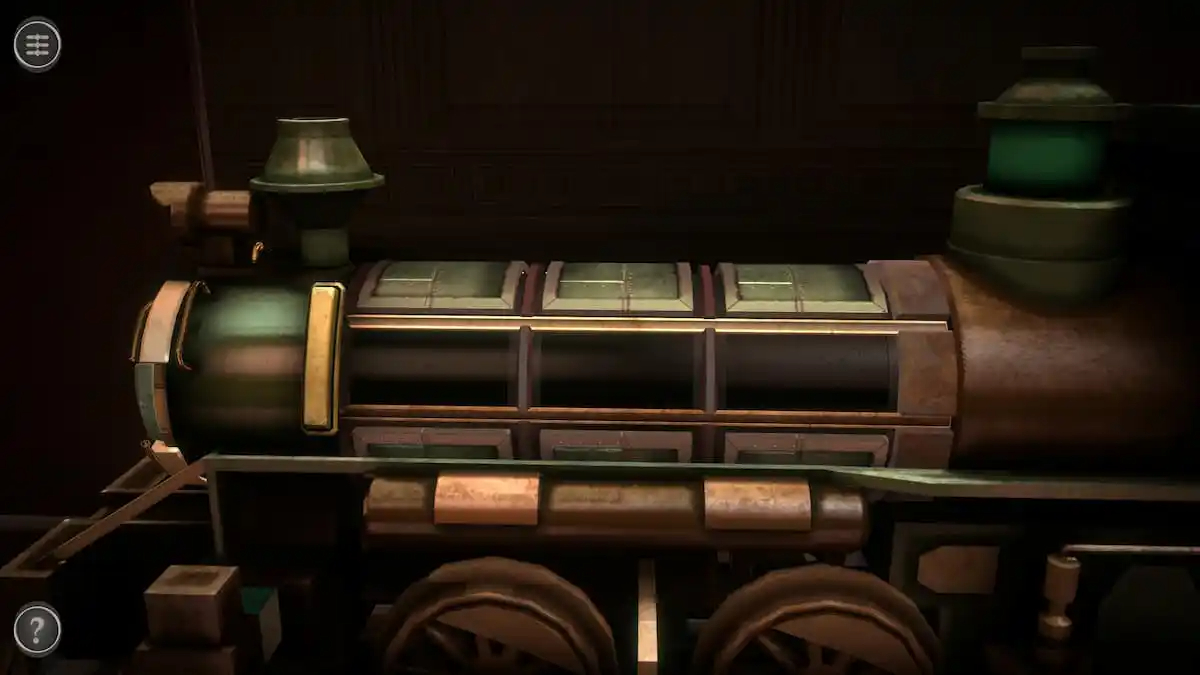
Rotate each of the green rows until the handle can safely pass through them.
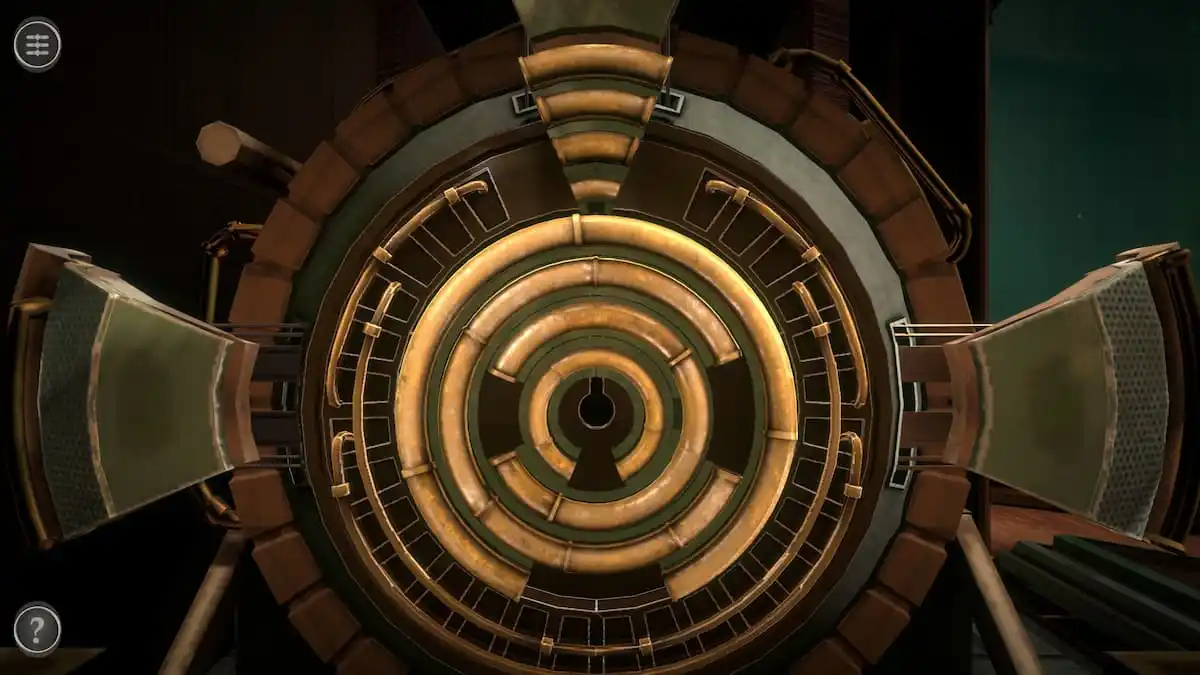
This will unlock a puzzle at the center of the train.
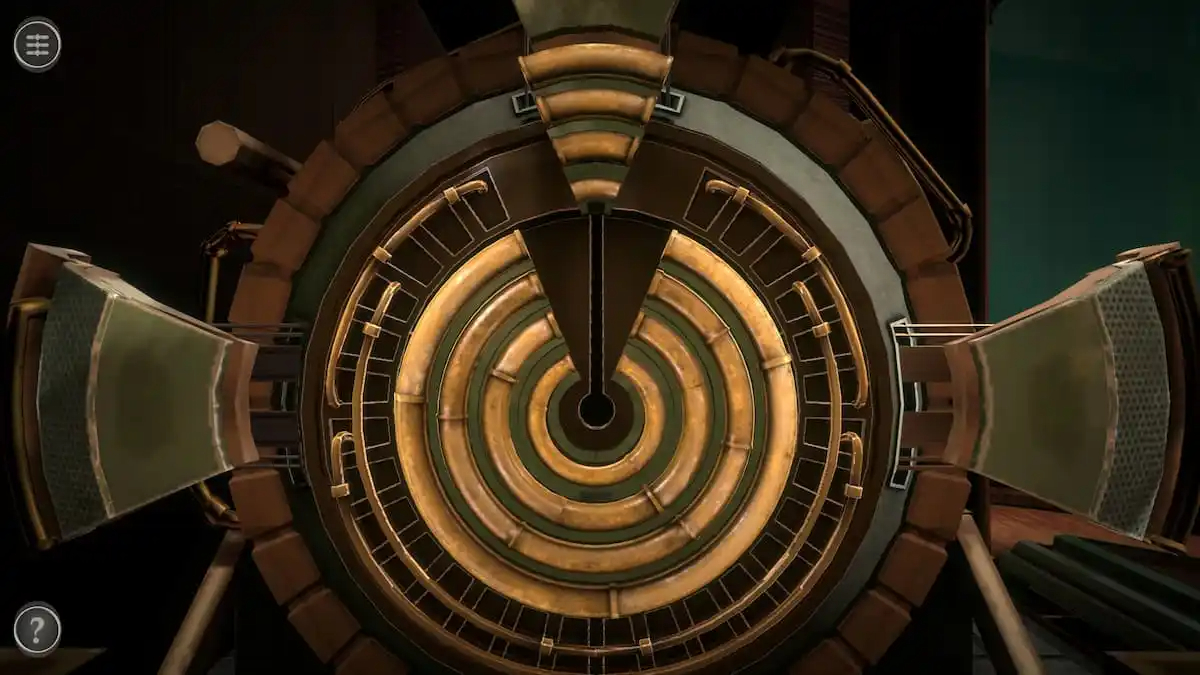
Rotate the circles around until their empty spaces line up at the top of the ring.
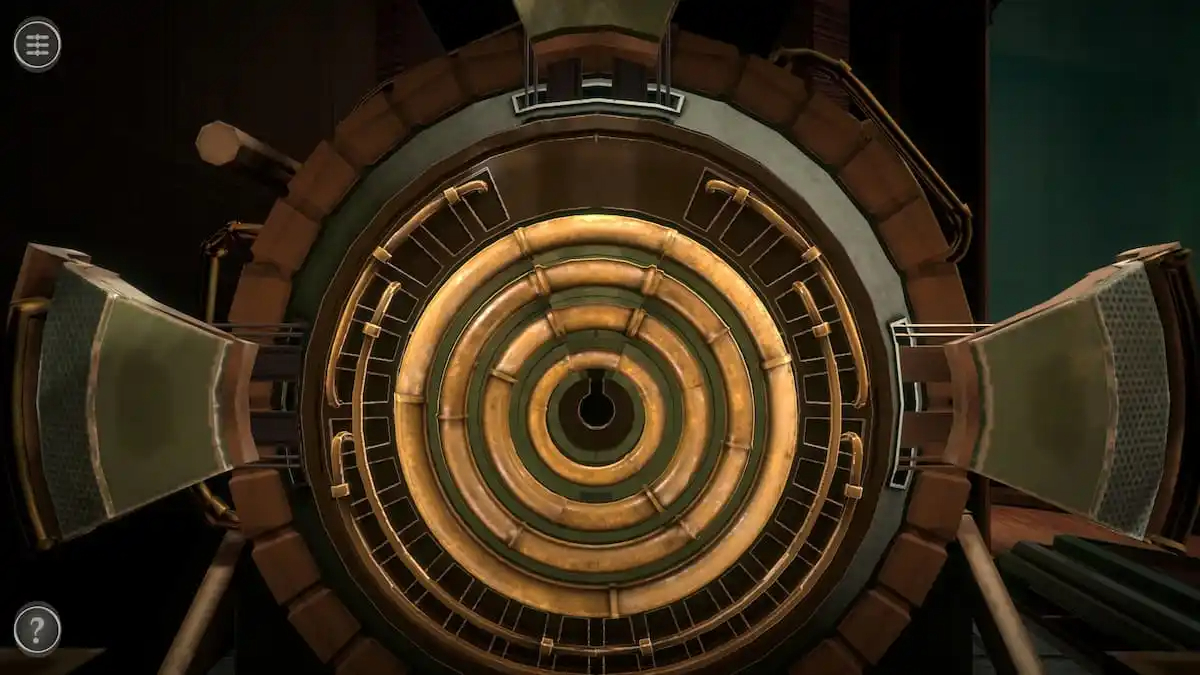
Push the final part into the puzzle to start the train.
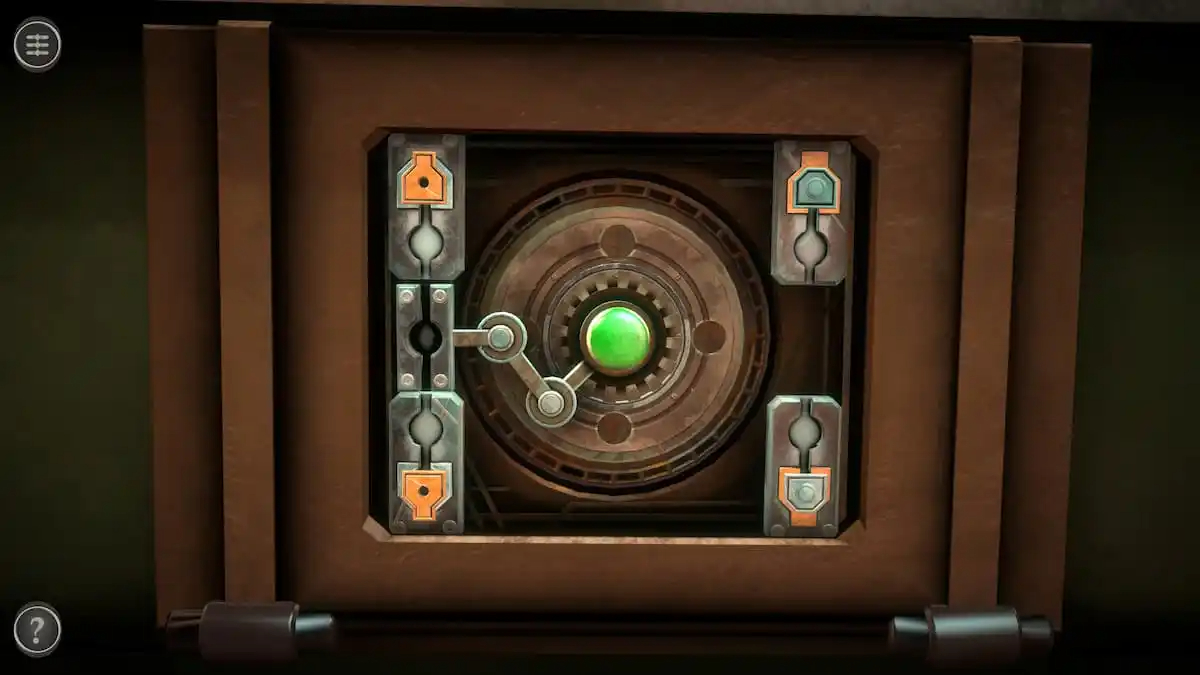
Train car puzzle
The train car puzzle is the final one of the room.
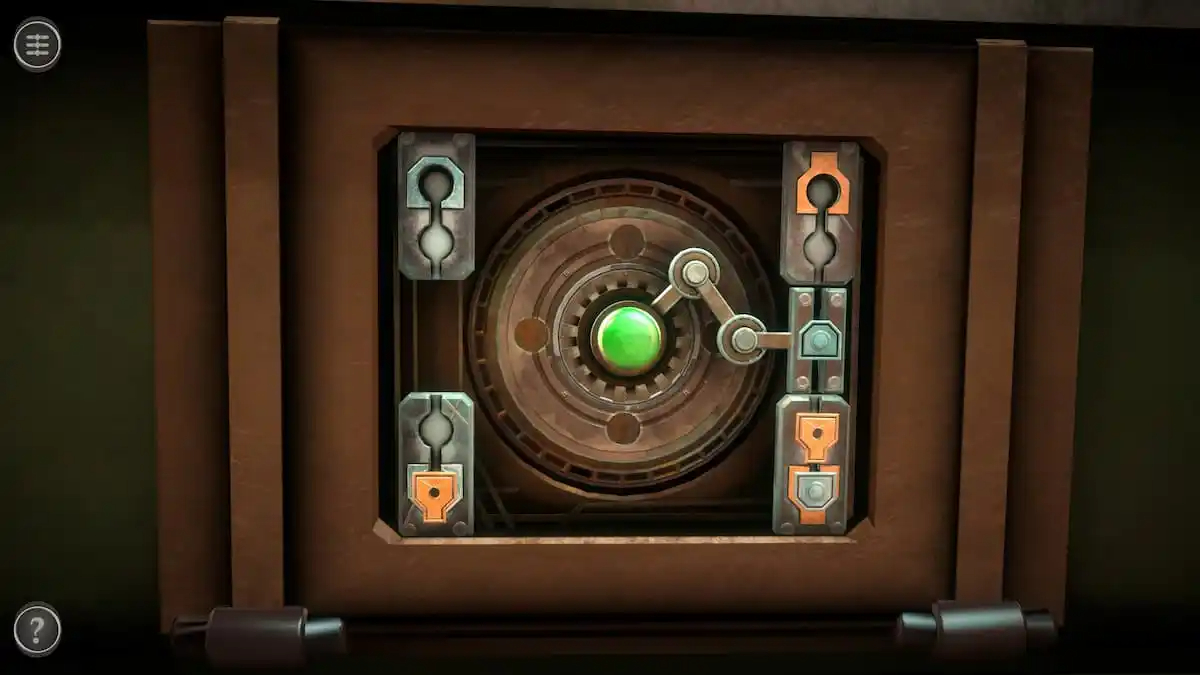
To solve it, you need to use the mechanism in the center to move the gold and blue pieces so that they are on the section that matches them exactly. Press the green button in the center to move the central piece between the left and right sides.
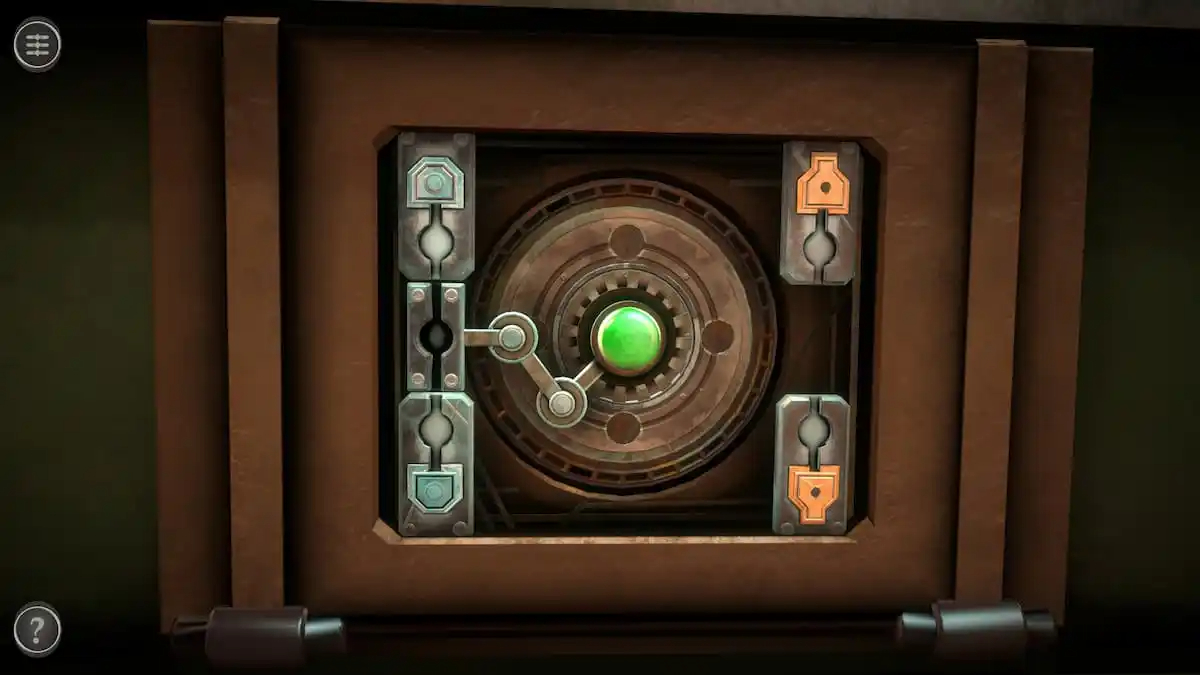
Completing the puzzle gives you the Model Figure and unlocks the third room.
THE SECOND PUZZLE BOX IS NOW COMPLETE AND FINISH AND YOUR THIRD PUZZLE BOX IN CHAPTER 4 IS NOW UNLOCKED IN BOXES LOST FRAGMENTS
THIRD PUZZLE BOX IN CHAPTER 4
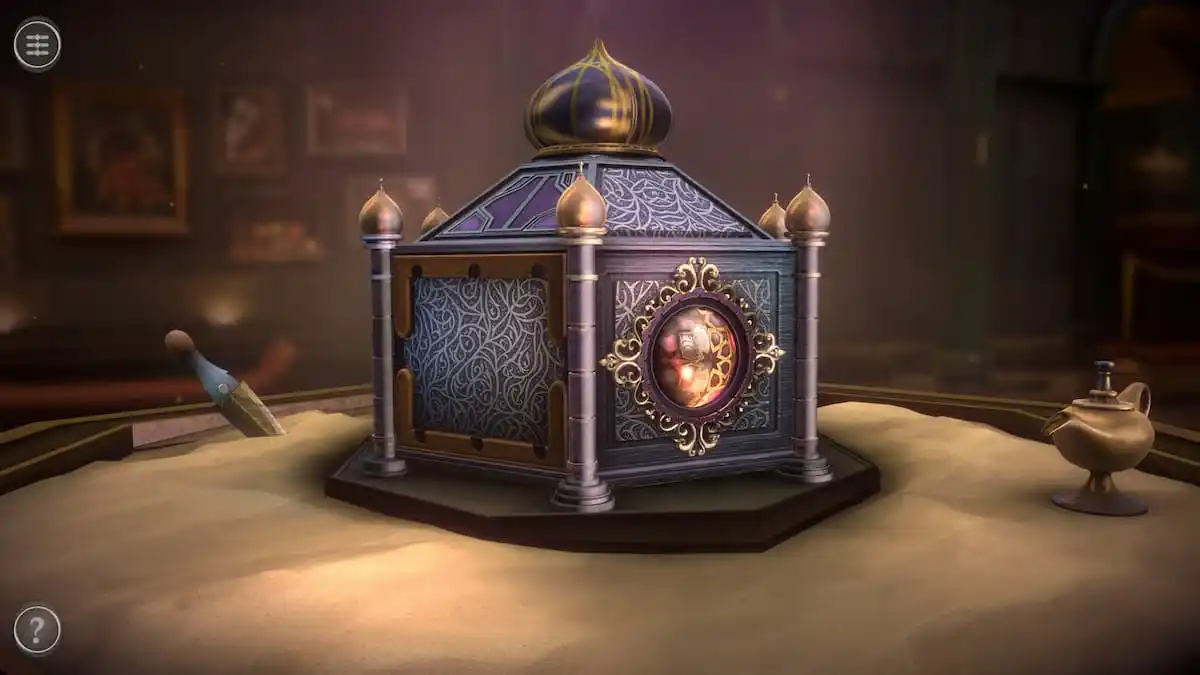
Room three puzzles
The third room has a desert theme, with a box in the center, plus a lamp, a knife, and a lantern around it. Pick up the Oil Lamp and pull the Knife from the ground to add them to your inventory.
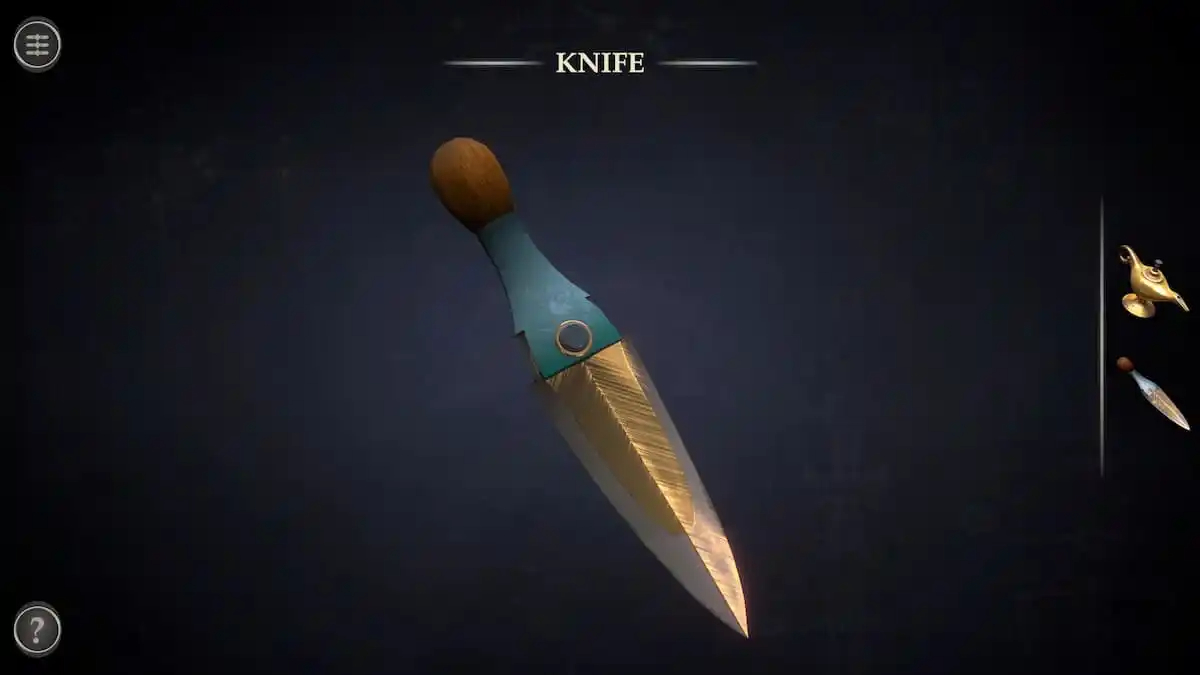
Knife puzzle
Open the Knife in your inventory. Press the black button on it to get a key.
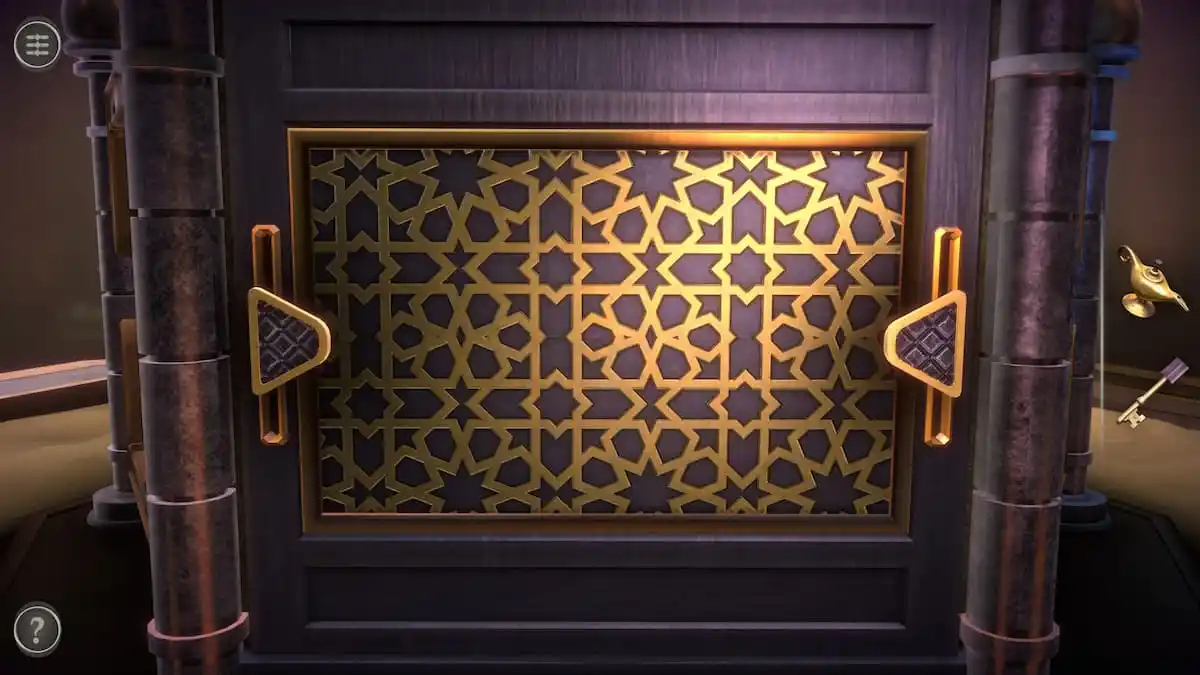
Slider and symbol-matching puzzle
Begin with this slider puzzle on the side of the box.
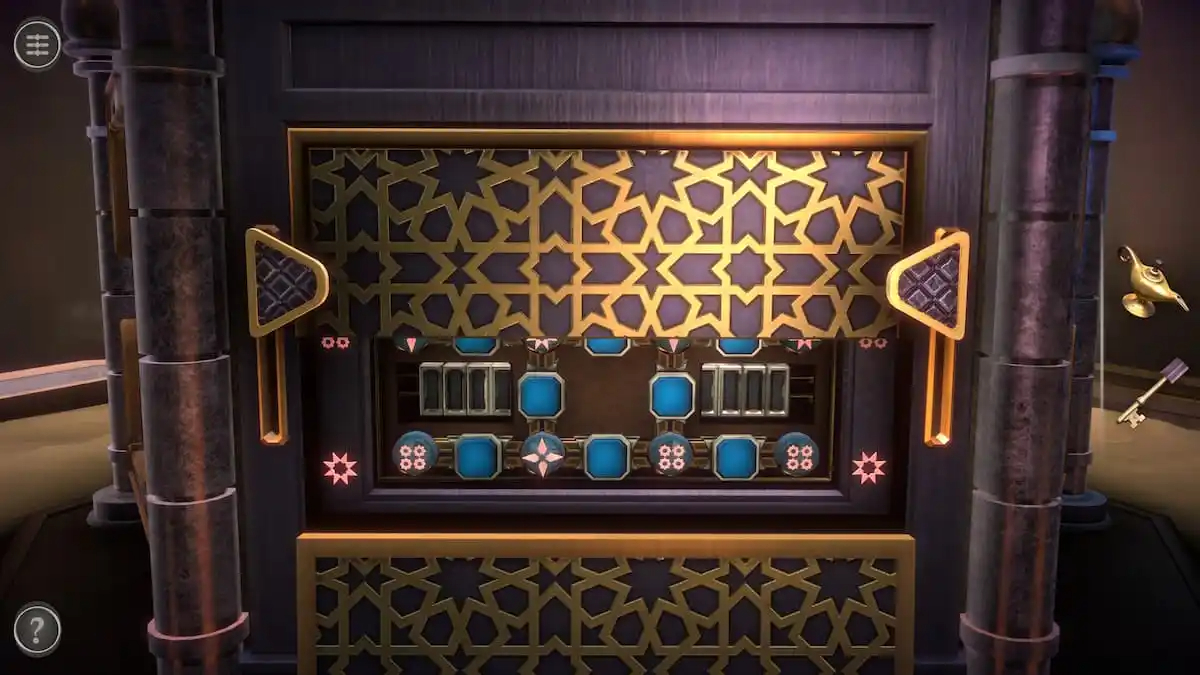
Move both sliders to the top to open up the bottom panel.
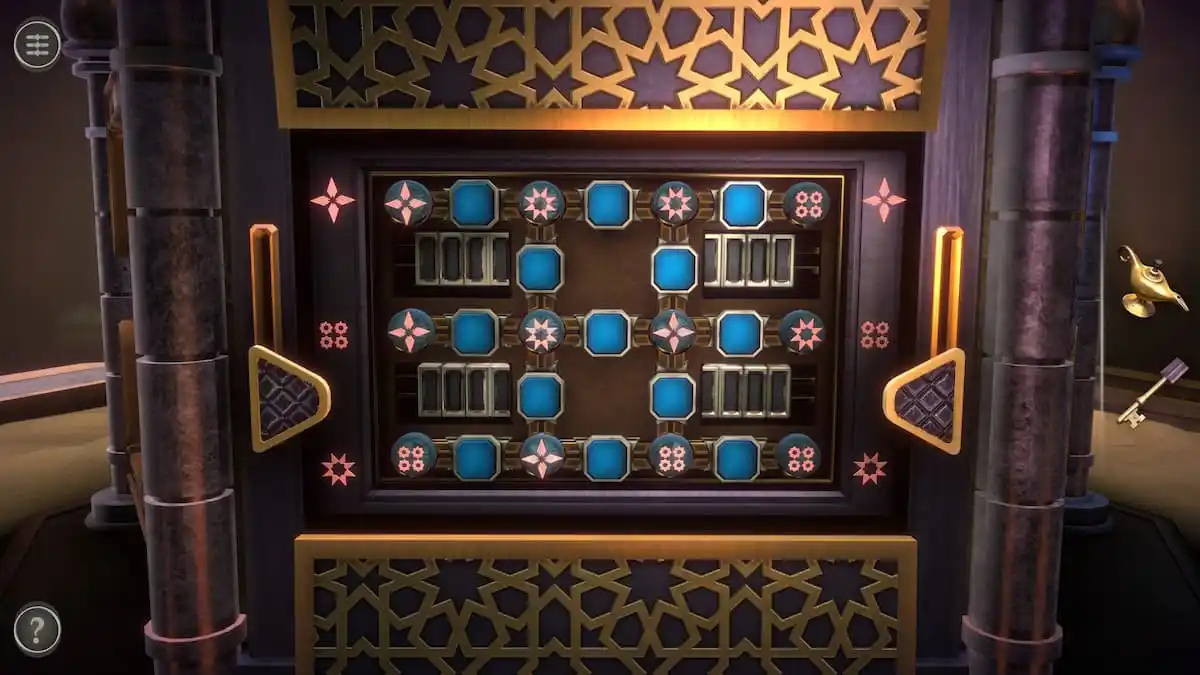
Move both sliders to the bottom to unlock the top panel and reveal a symbol-matching puzzle.
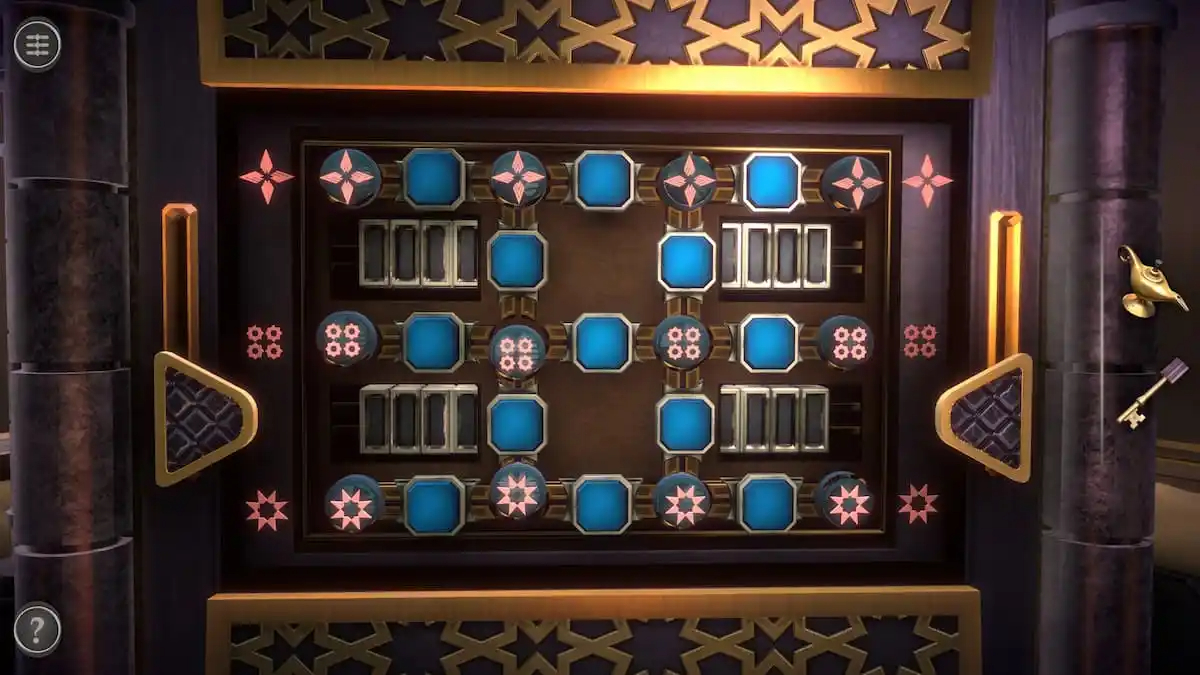
The goal of this puzzle is to fill each row with pieces containing the symbol on either end of it. The blue buttons in the row swap the pieces they are between horizontally, while the blue buttons outside of the rows swap the pieces between them vertically. I found that the easiest way to do this puzzle was to fill in the top row corners first, then the top row centerpieces, and repeat this process on the middle and bottom rows.
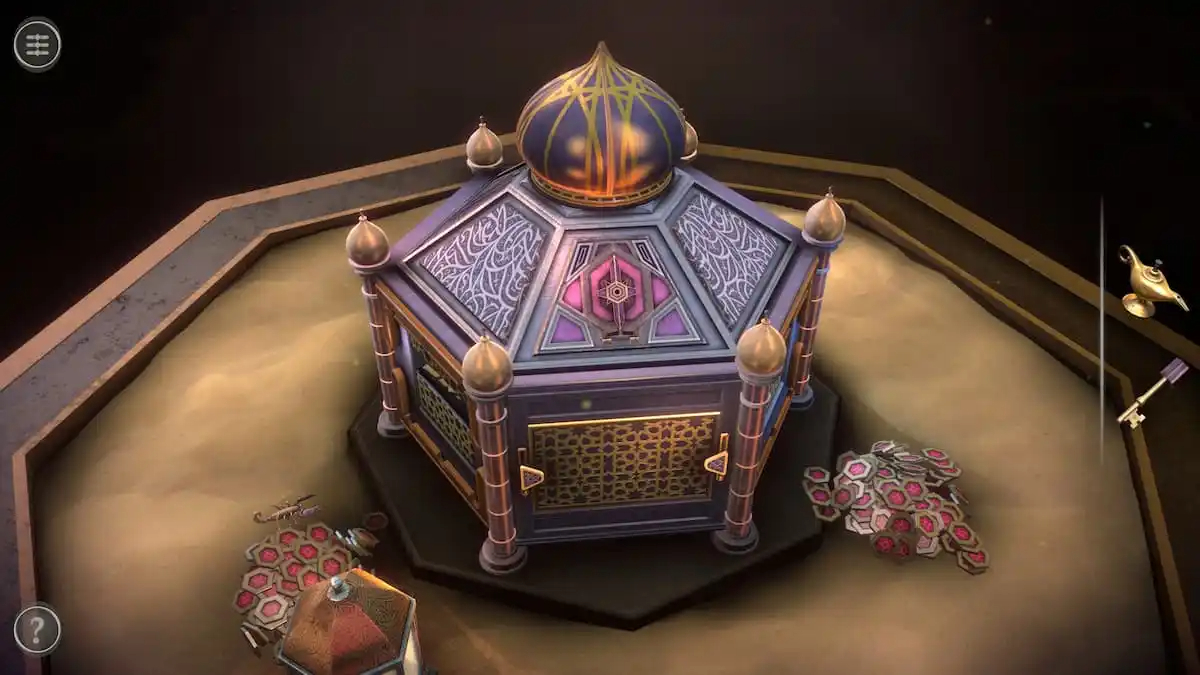
Completing the matching puzzle will pour out two piles of treasure. One contains a Scorpion Figure while the other contains a Coin.
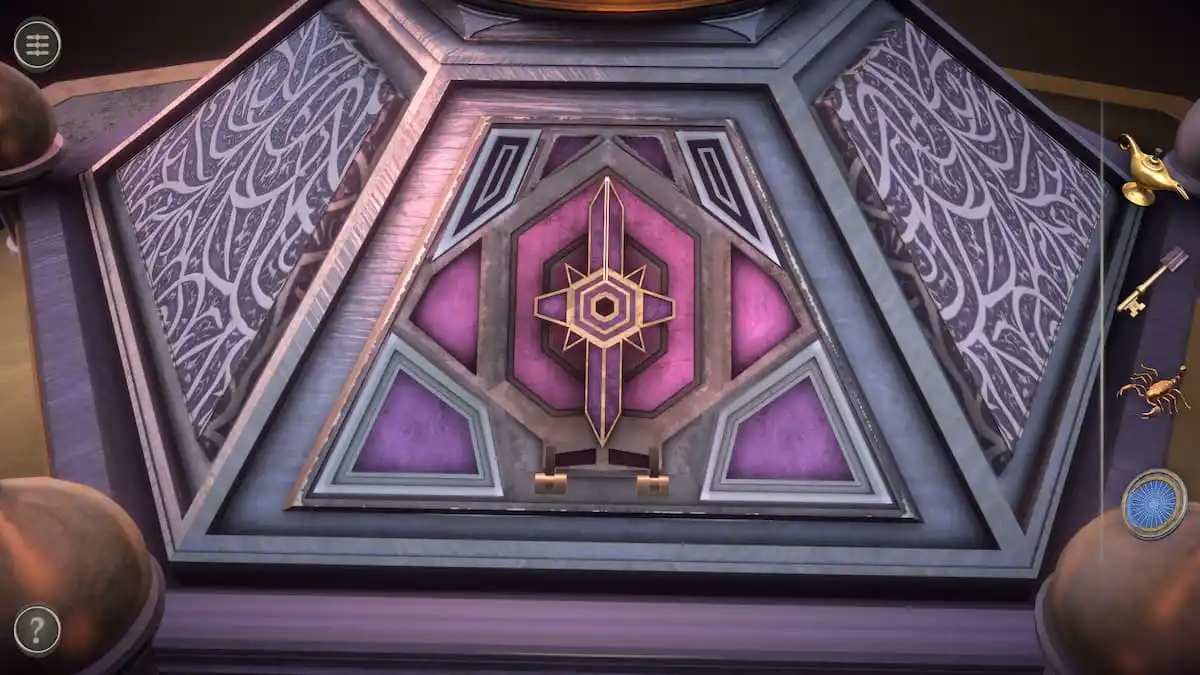
Scorpion roof puzzle
This purple roof puzzle has a hexagon space in its center.
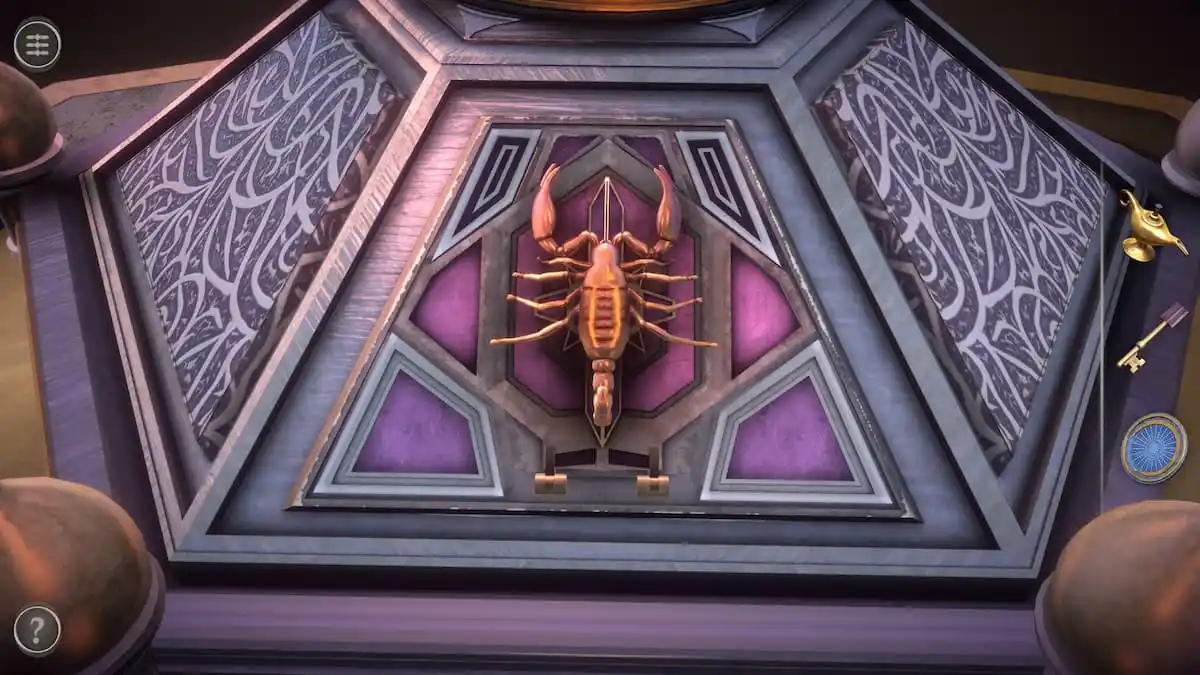
Looking at the Scorpion Figure in your inventory reveals a hexagon peg on its stomach. Place it here and slide it upwards to unlock a gear.
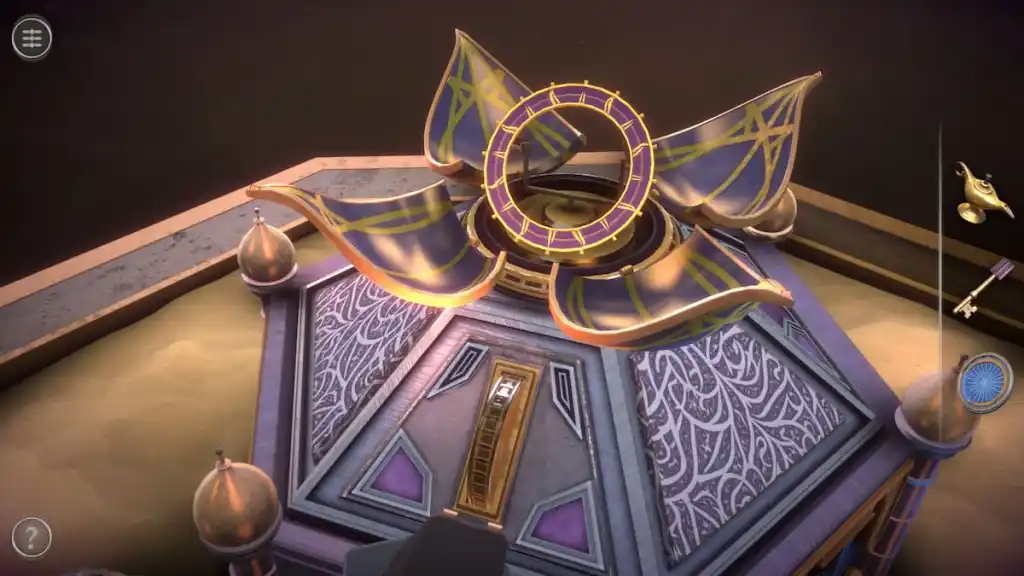
Spin the gear to open the top of the box, which contains a Metal Ring.
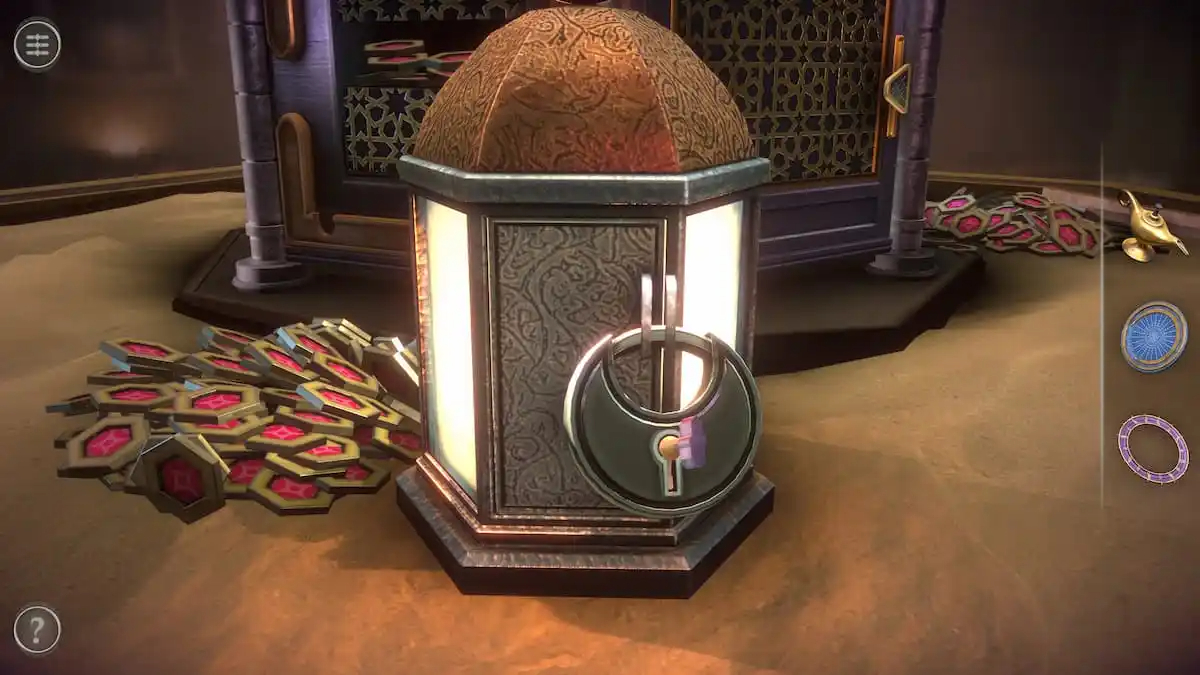
Lantern lock puzzle
The Key from the Knife can be placed into the lantern’s lock.
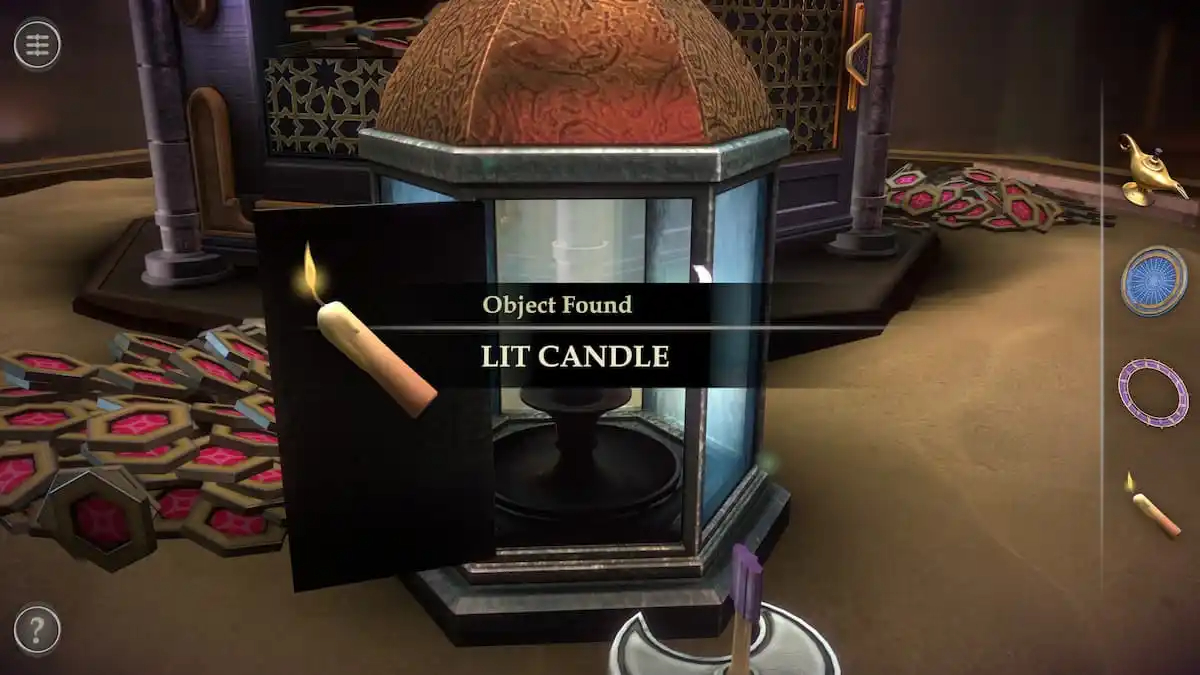
Rotate it and open the lantern door to get a Lit Candle.
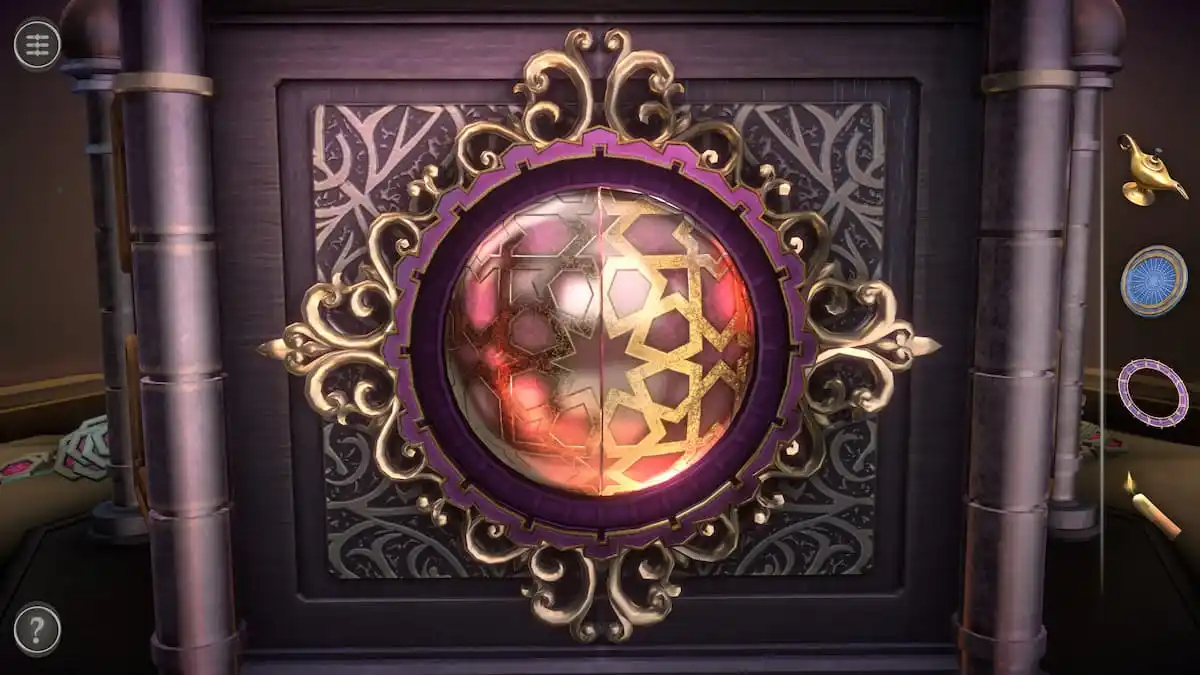
Front gravity puzzle
Focus on the red ball at the front of the box.
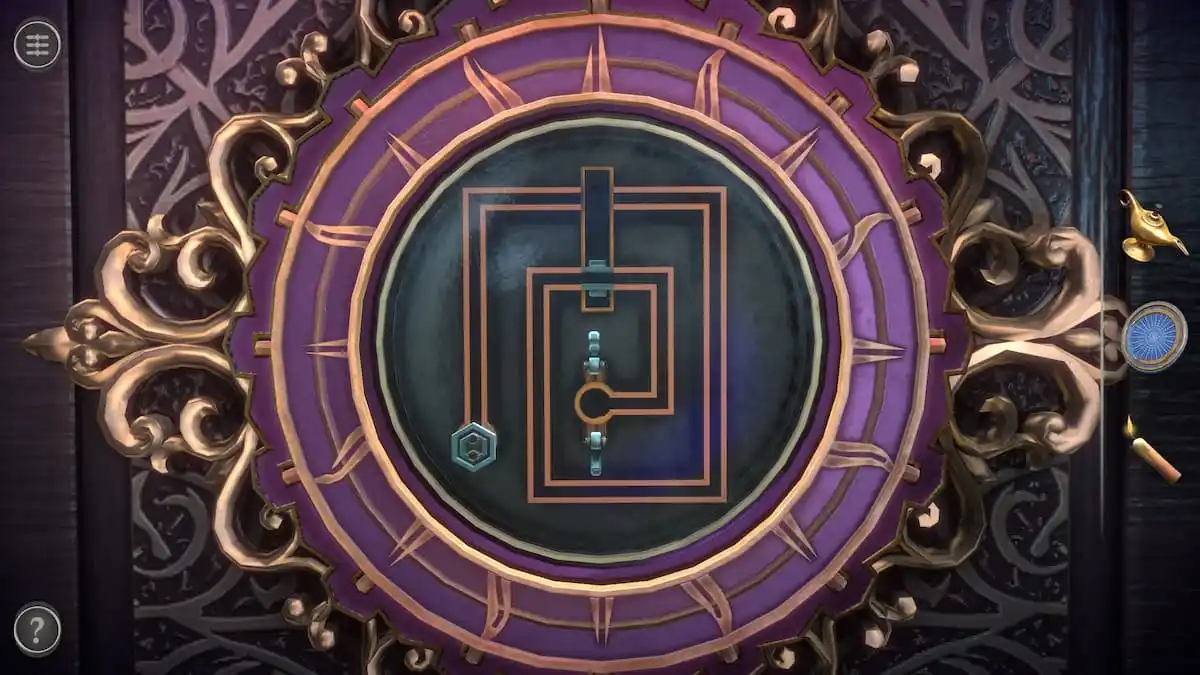
Place the Metal Ring around it to reveal a gravity puzzle.
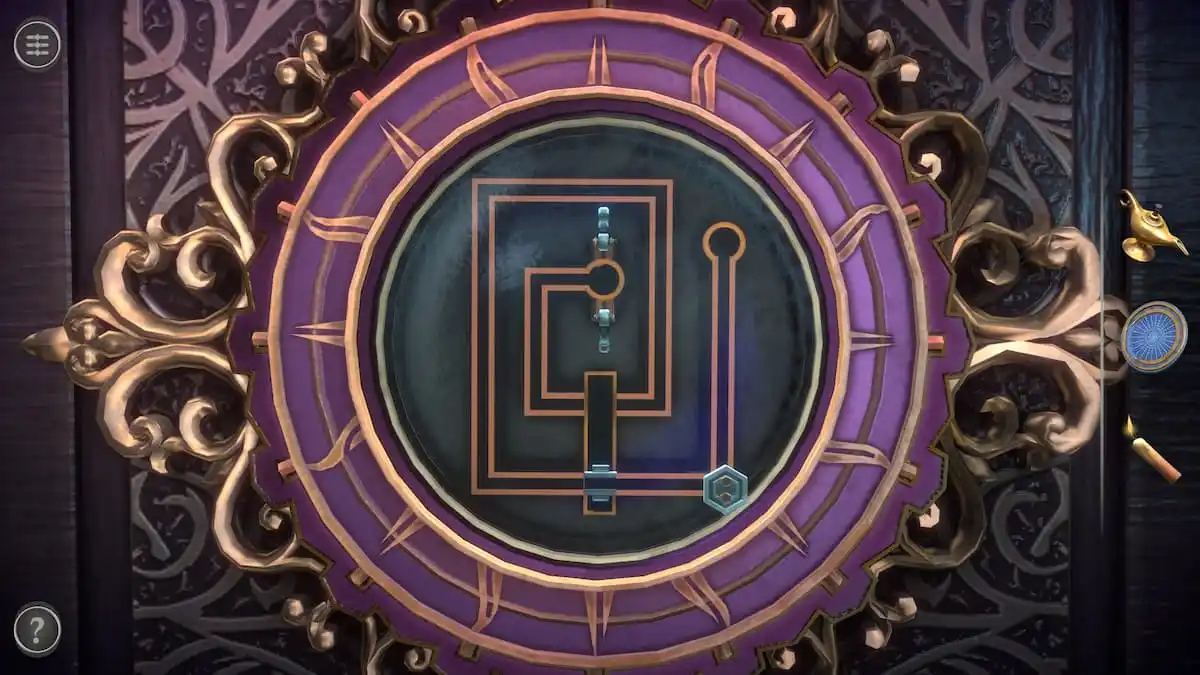
The gear at the start needs to be moved to the center by rotating the puzzle so that it falls down the path.
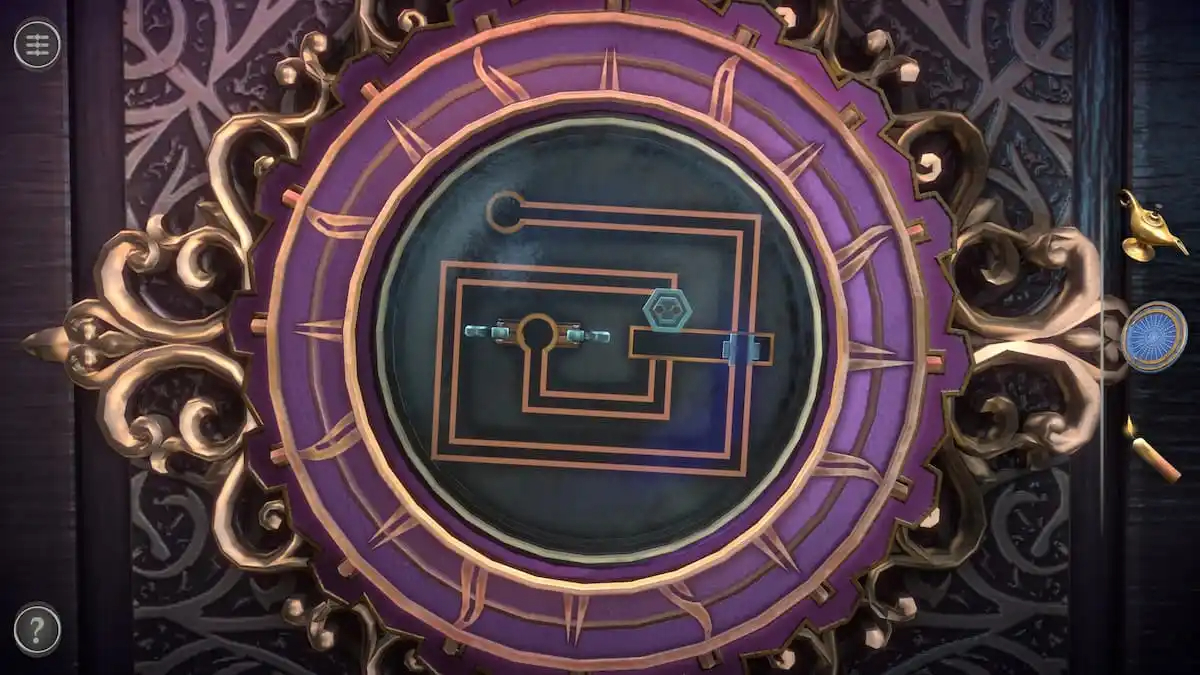
The tricky part comes when you’re ready to push it towards the center, but the blue mobile pathway is still at the start. To get past this section, start by dropping the gear as far down as it can go.
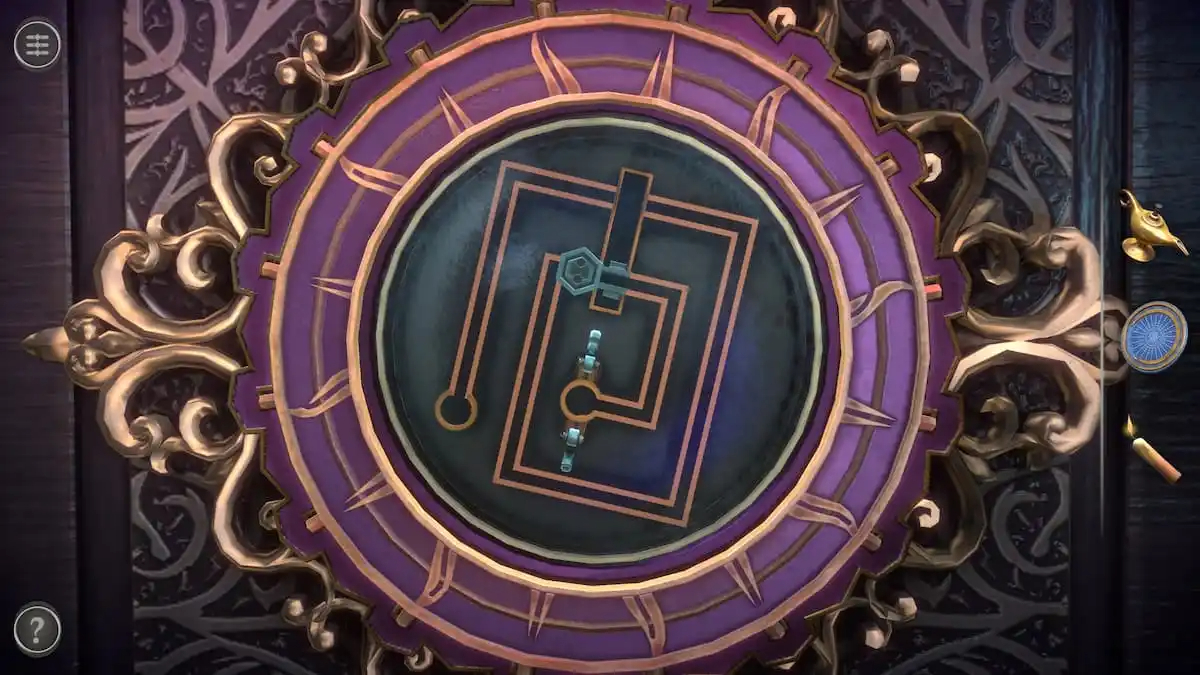
Then, rotate the puzzle so that the pathway falls into place. The gear should be held in place by the nearby wall.
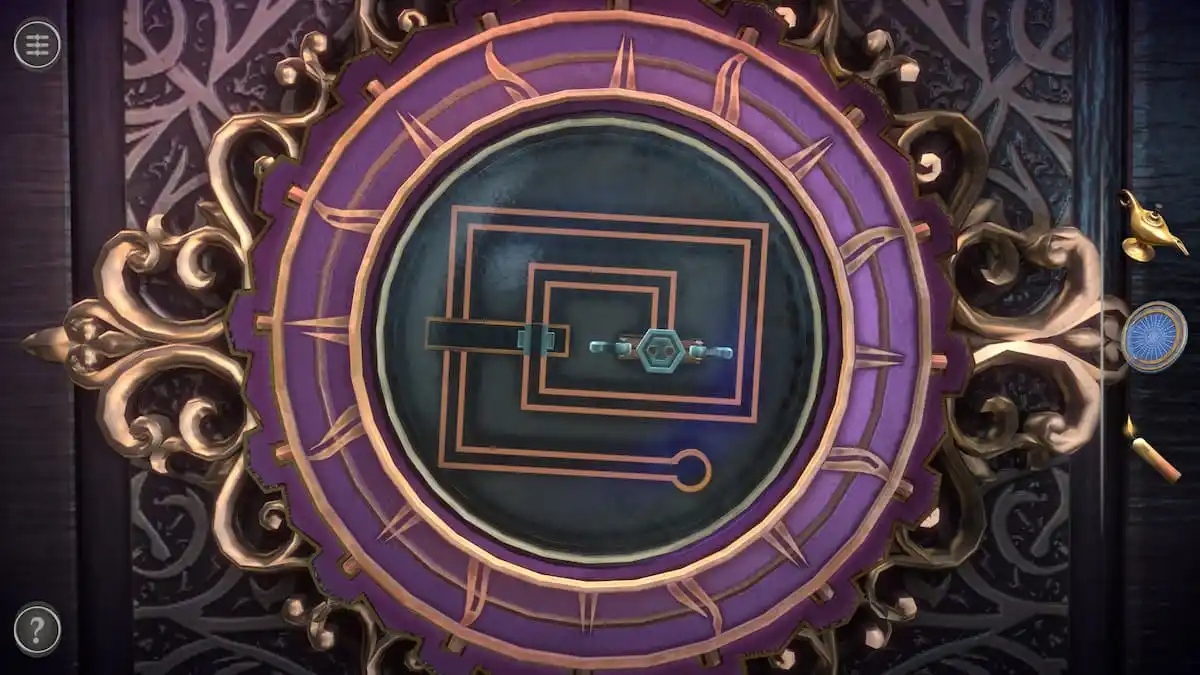
Now the gear can be moved easily into the center of the puzzle.
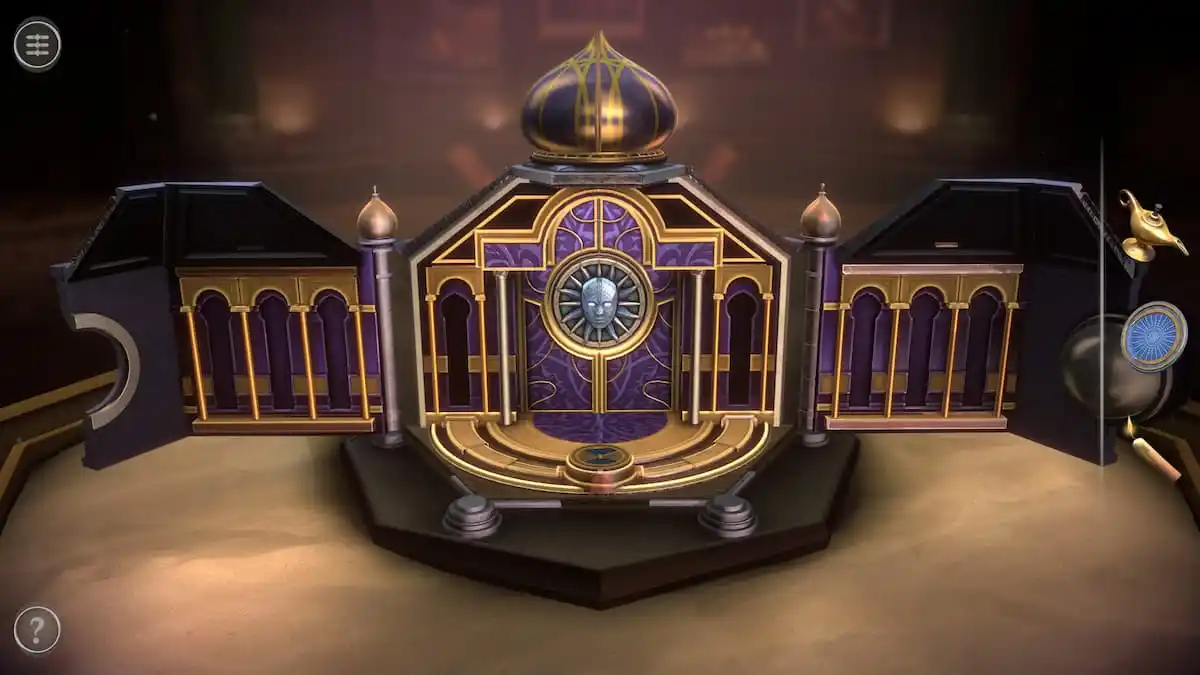
This will unlock the box, transforming it into a temple-like structure.
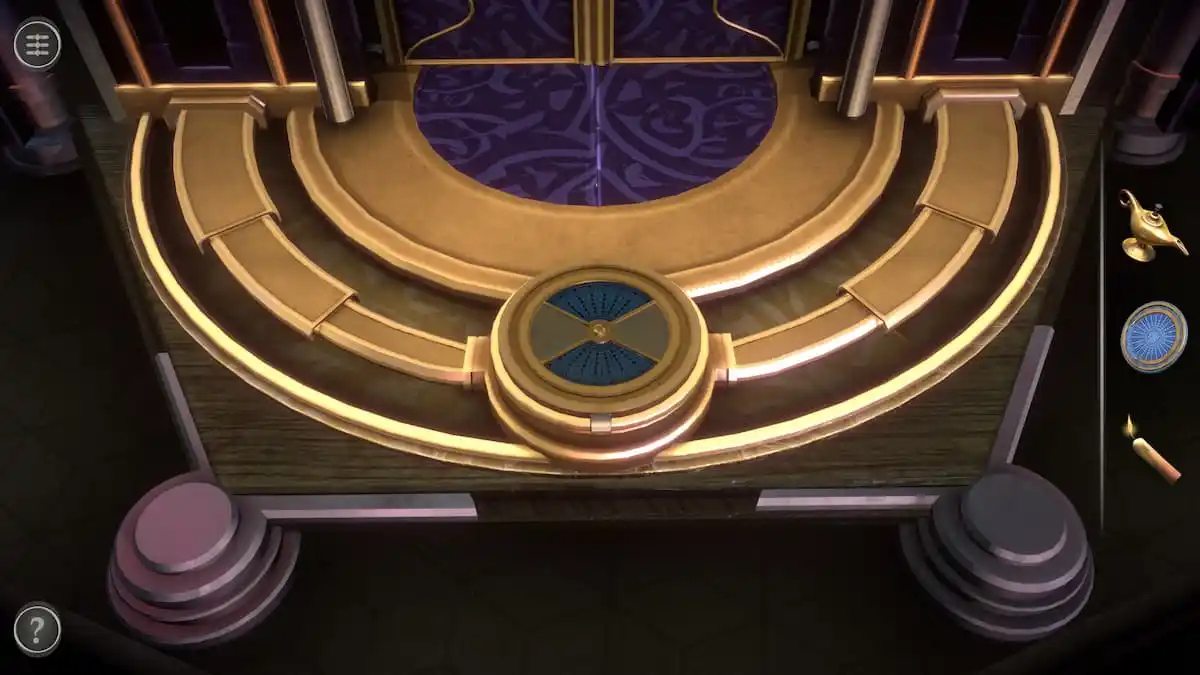
Circular platform puzzle
Focus on the circular platform in front of the mask.
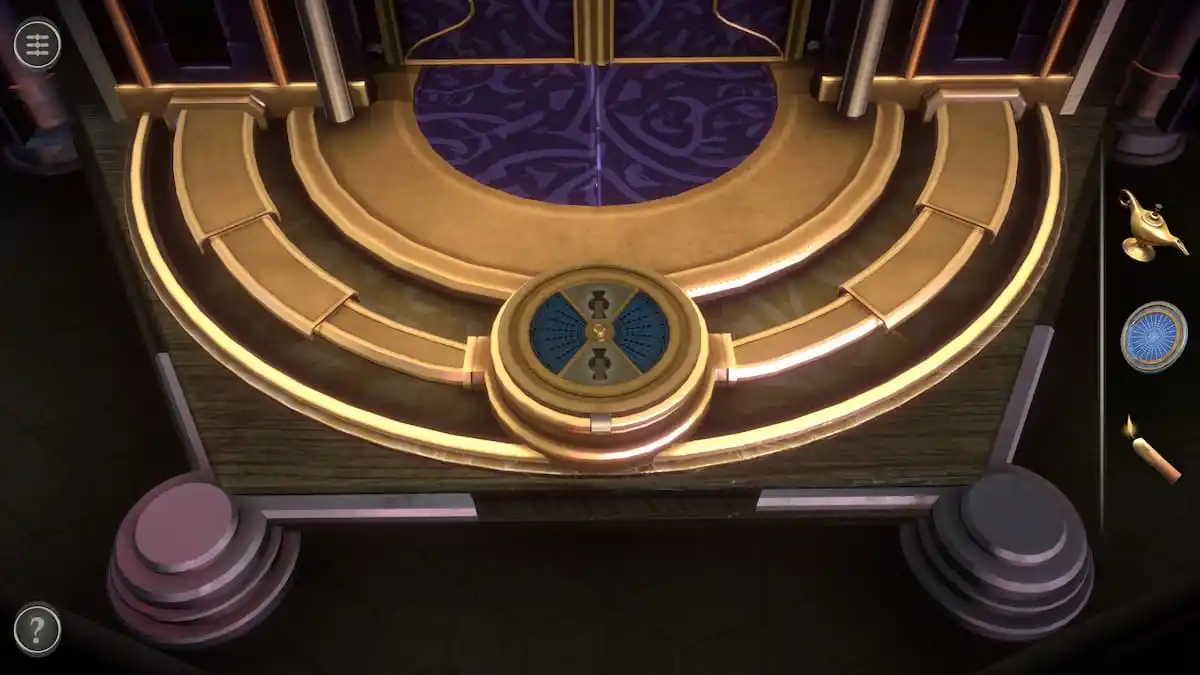
Rotate it so that the blue triangles are on the left and right.
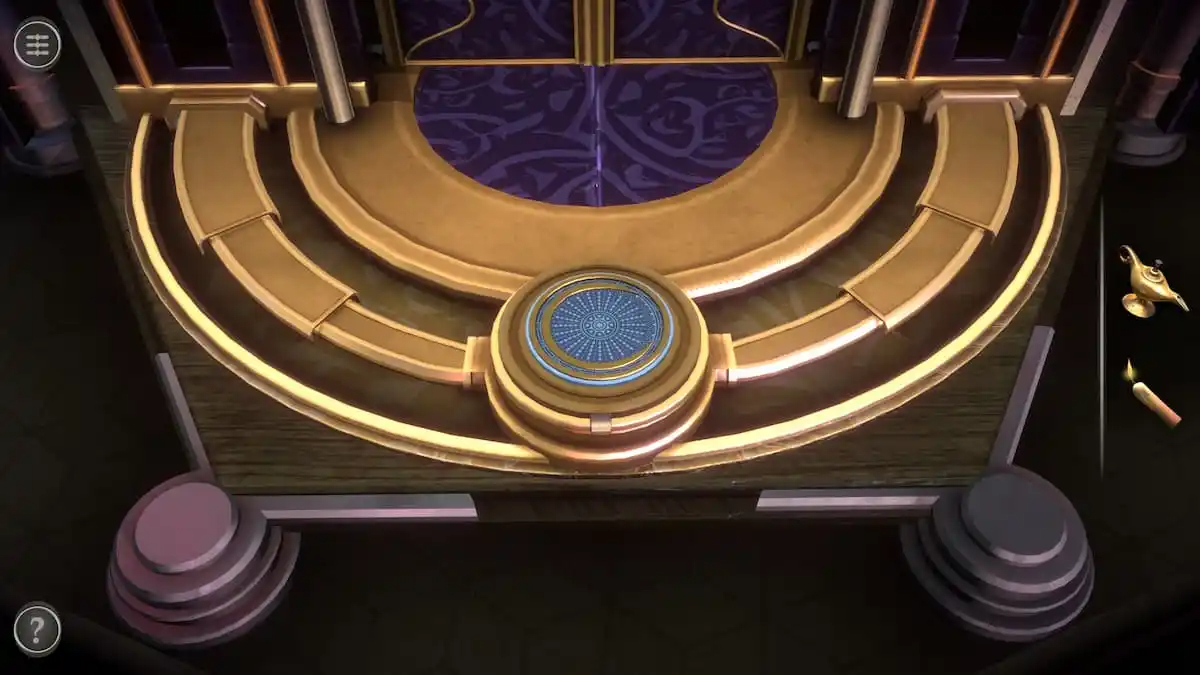
Place the Coin on top of it to open up the section.
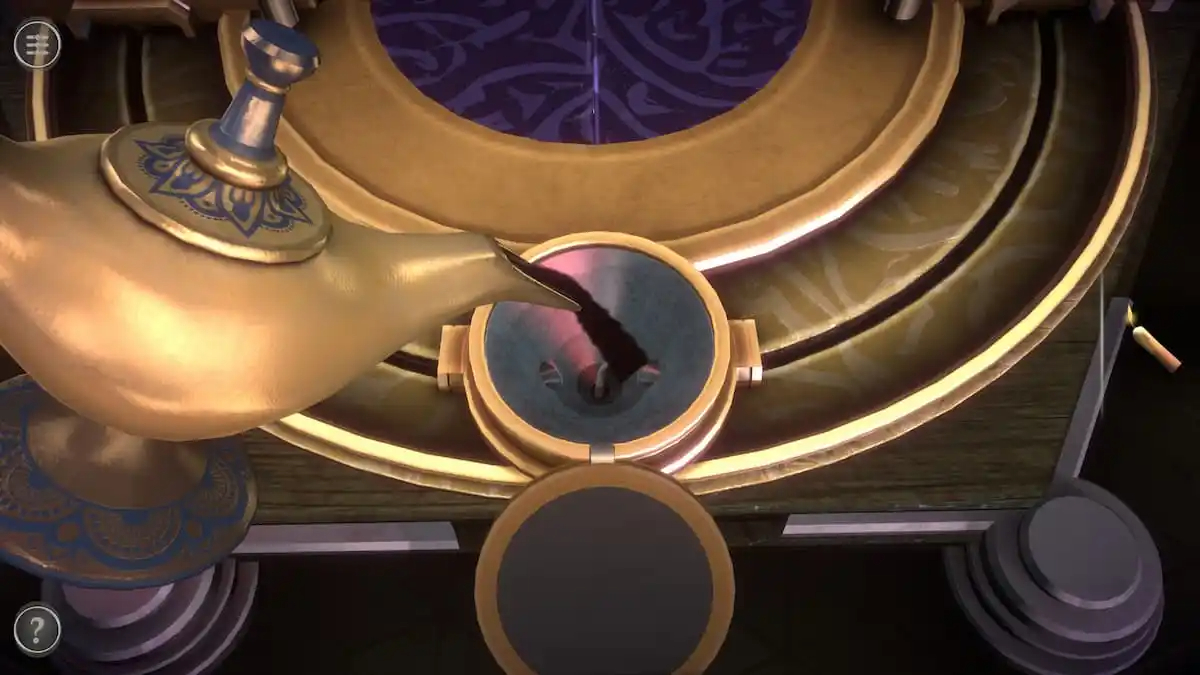
Use the Oil Lamp to fill the container with oil.
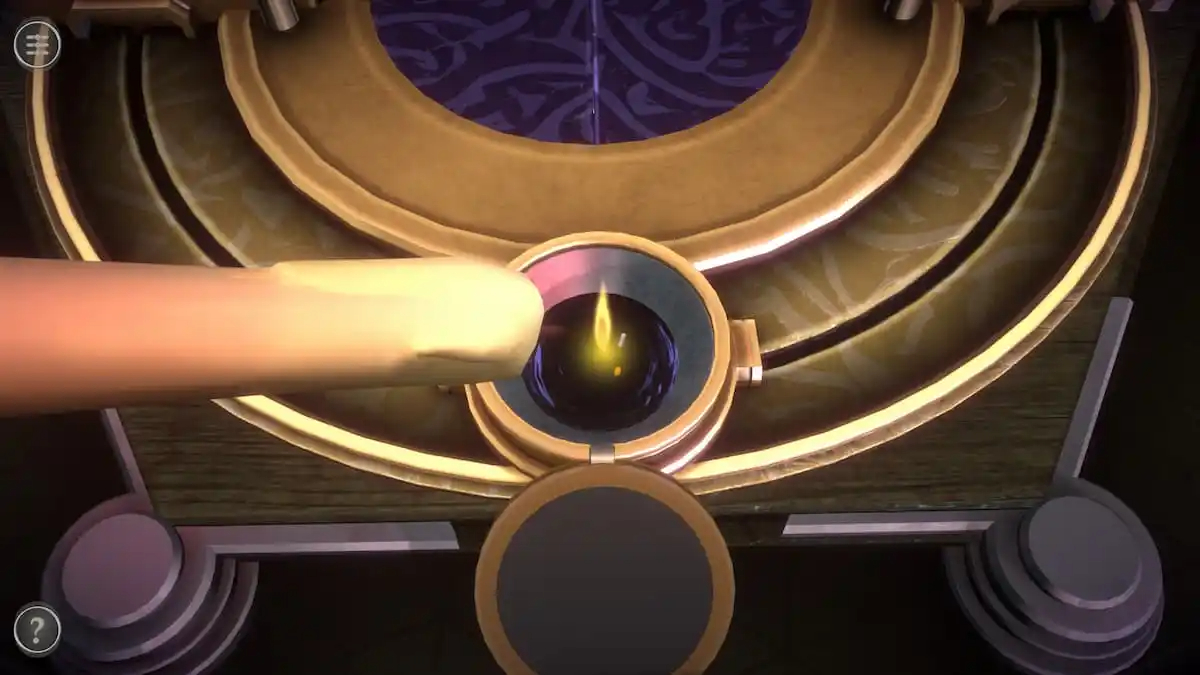
Light the oil with the Lit Candle.
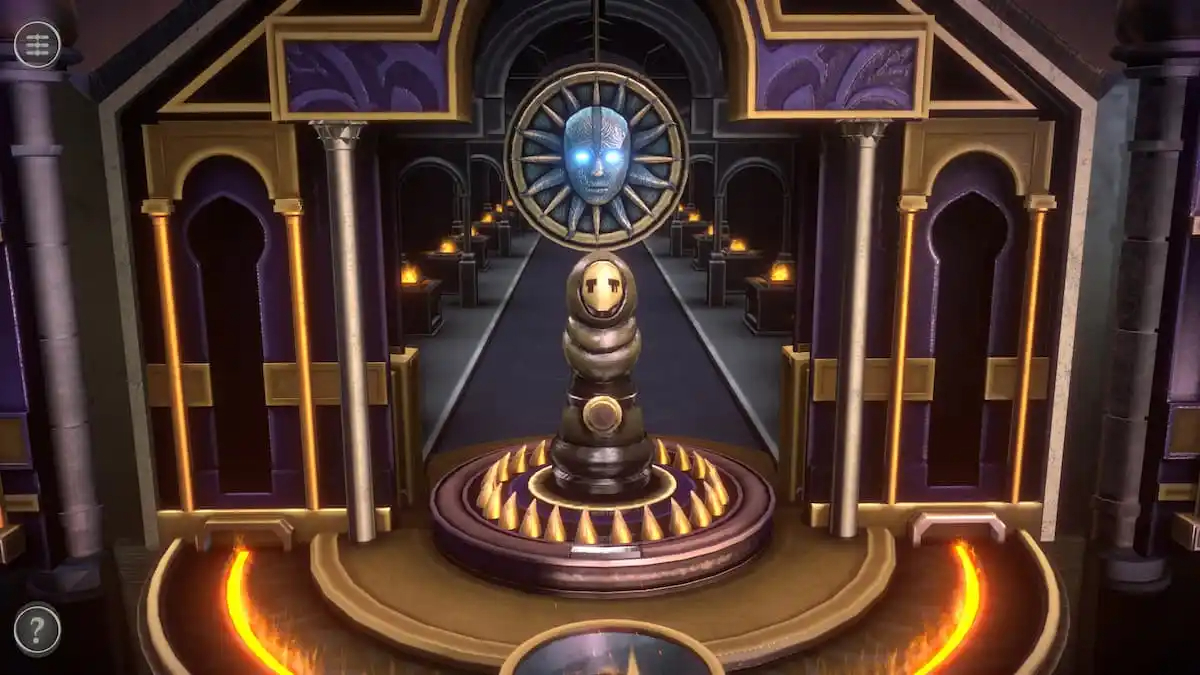
Tiny statue puzzle
Lighting the fire opens up a hallway behind the mask and displays a tiny statue on a toothed platform. This puzzle is unlike any other in the game, acting as an intense game of red light, green light.
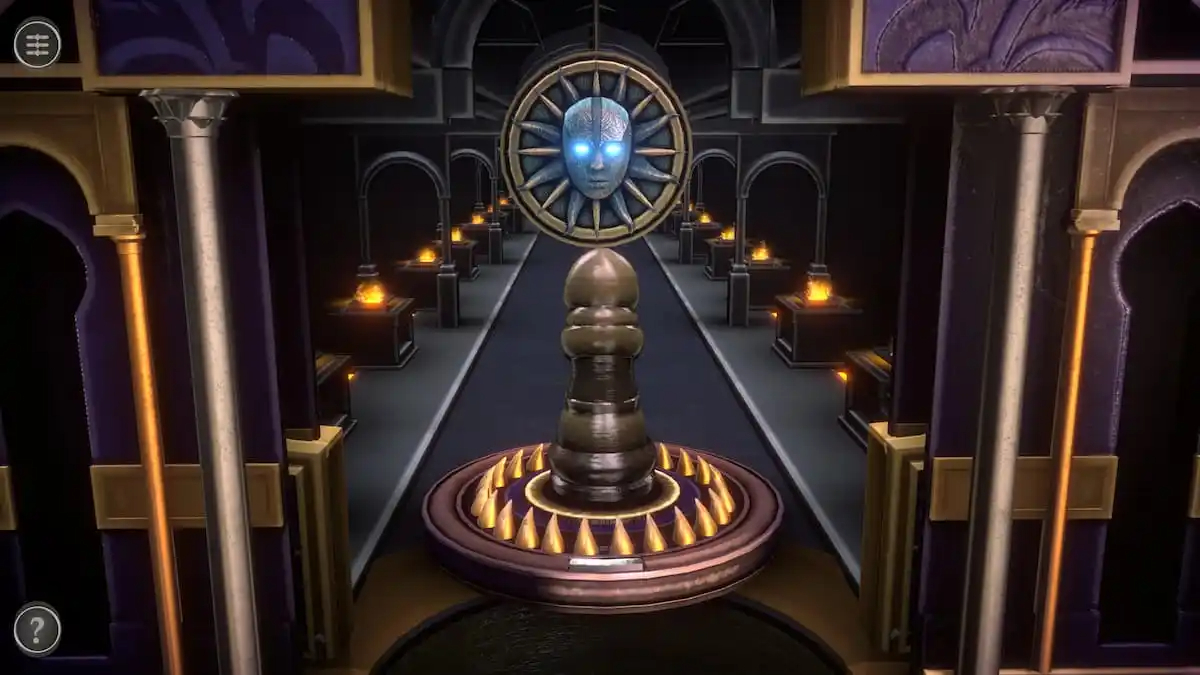
Hold the left mouse button on the statue to help him walk down the hallway.
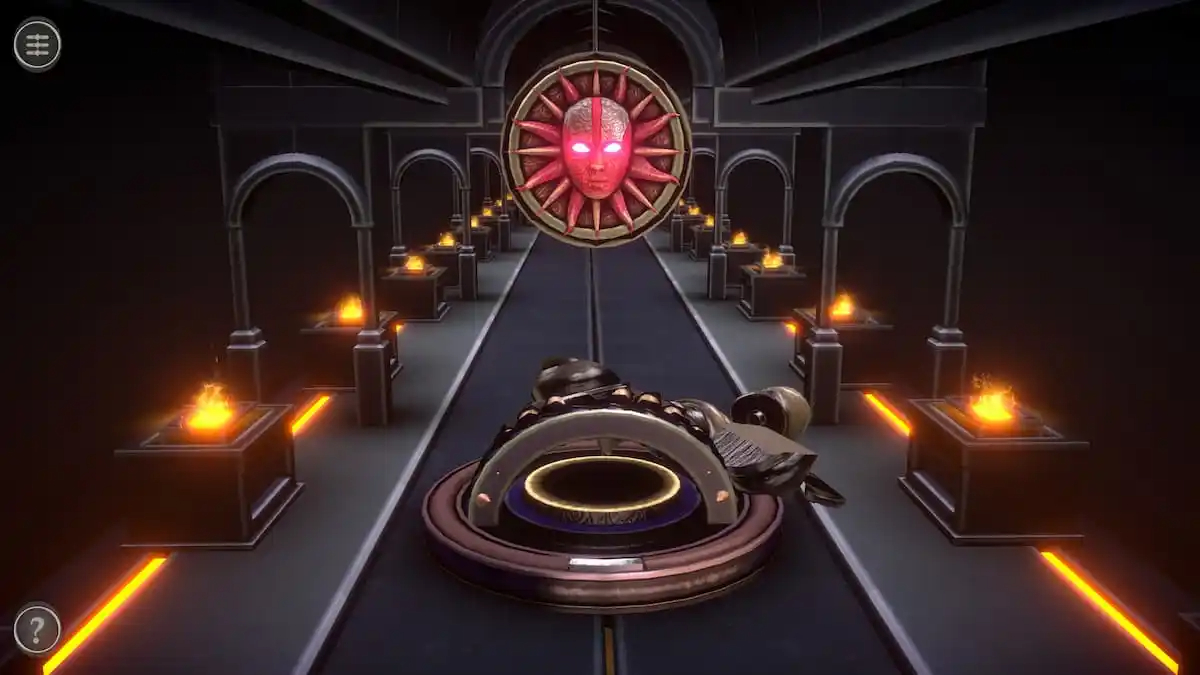
When the mask flips and turns red, stop moving. If you don’t, you’ll be smashed to pieces and have to restart the puzzle. The easiest way to avoid this fate is to let go as soon as the spin is halfway through.
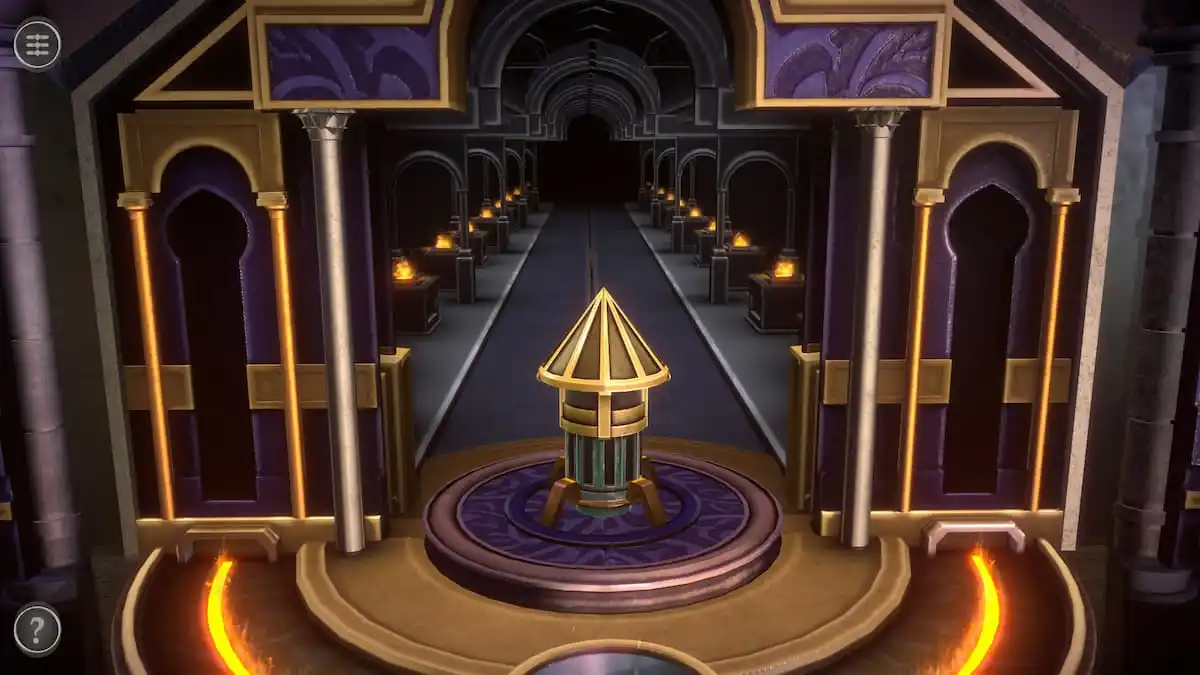
Completing this puzzle gives you a Model Tower and returns you to the main room. The fourth room will now be unlocked.
THE THIRD PUZZLE BOX IN CHAPTER 4 IS COMPLETE AND FINISH AND YOUR FINAL PUZZLE BOX IN CHAPTER 4 IN BOXES LOST FRAGMENTS IS NOW UNLOCKED
FINAL PUZZLE BOX IN CHAPTER 4
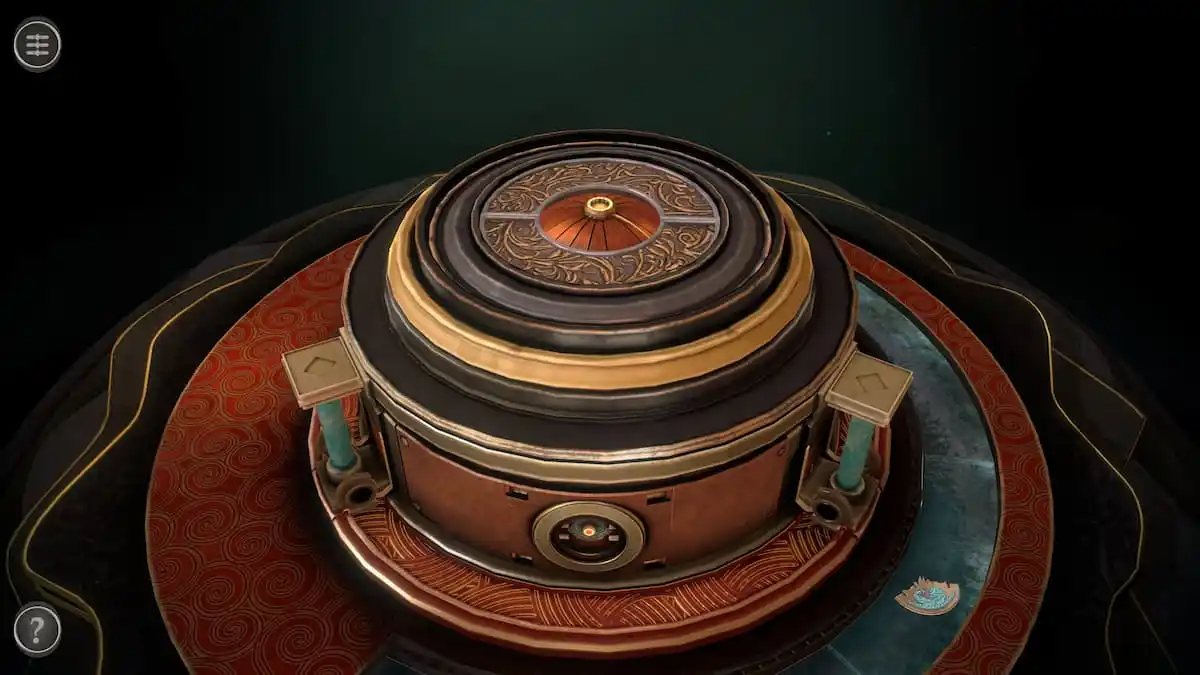
Room four puzzles
The fourth room has a circular box on top of a table. Rotate the camera to find a letter containing lore behind the box.
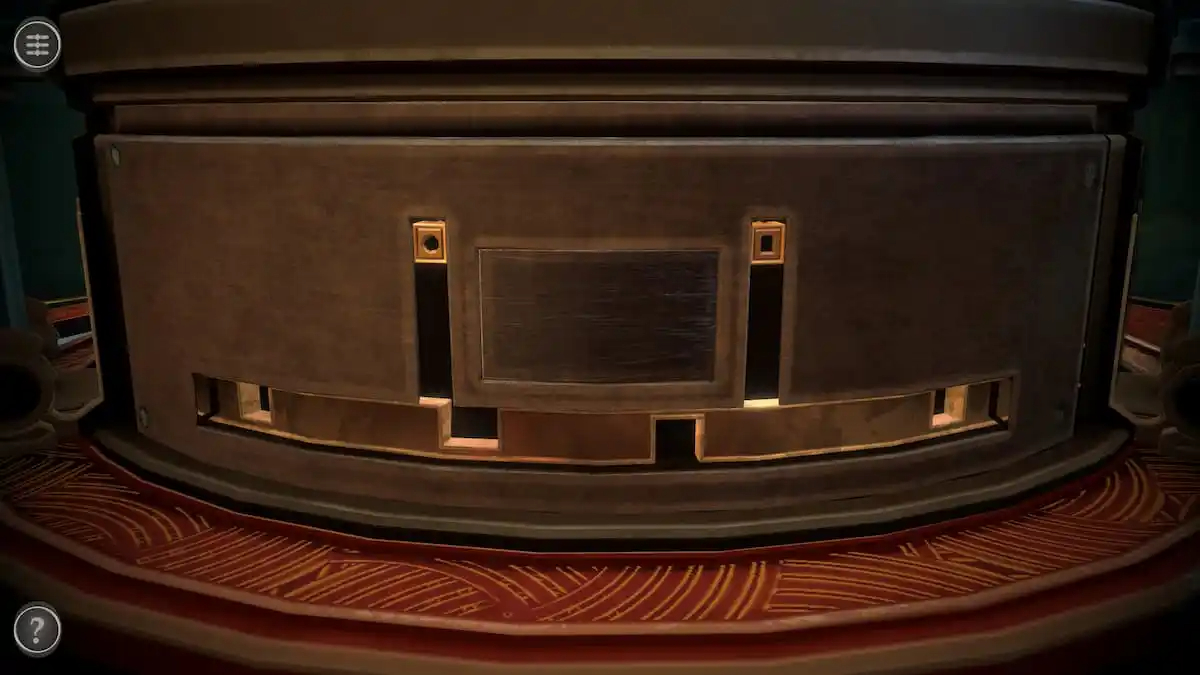
Rotating two slider puzzle
Rotate the camera to the right of the front puzzle to view a puzzle with two sliders.
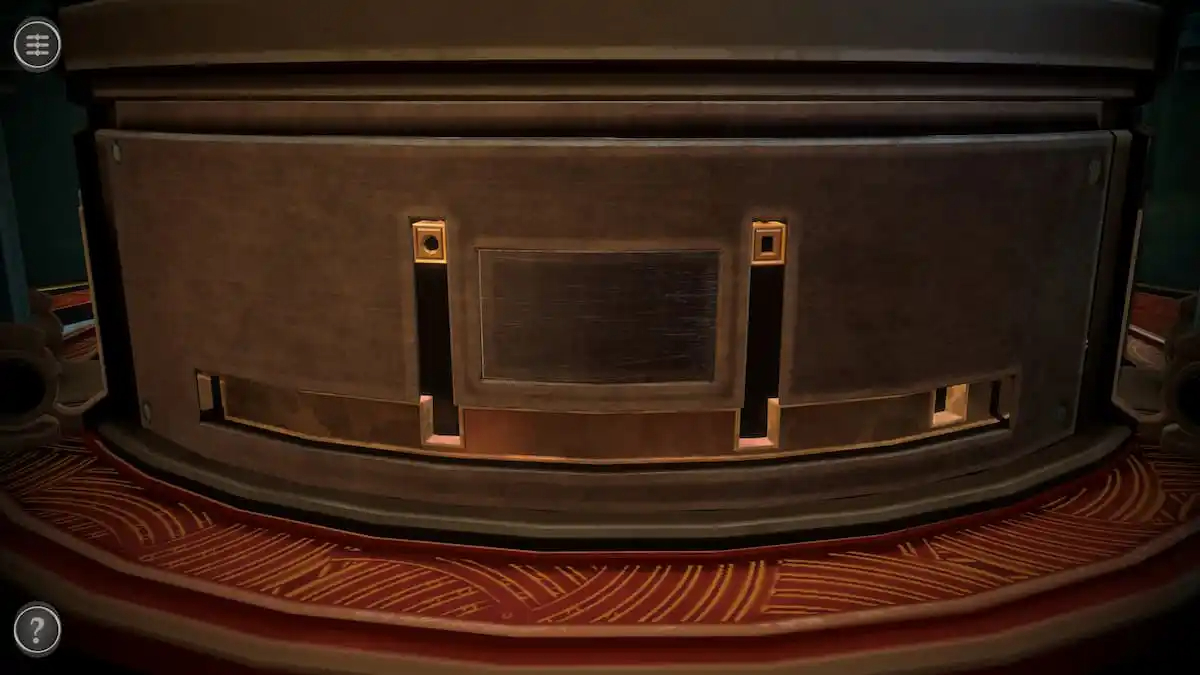
Rotate the lower section until two slots line up with the sliders.
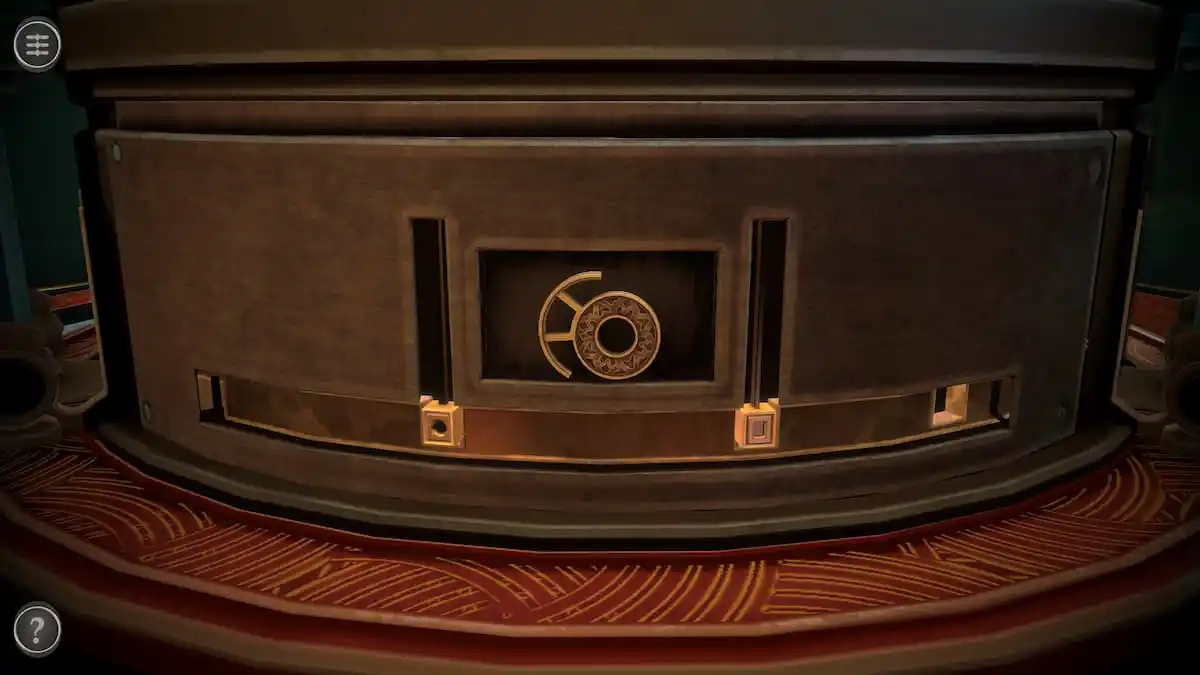
Push both sliders down to unlock the center compartment and get a Wheel.
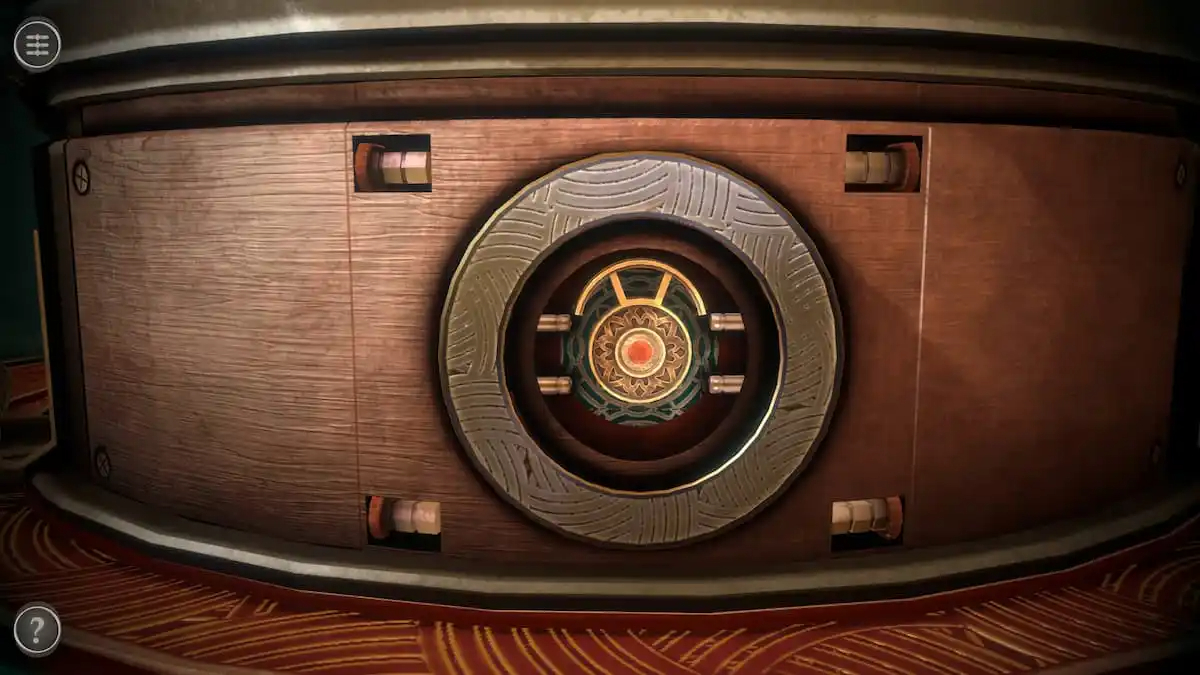
Wheel puzzle
Place the Wheel on the center of the front puzzle.
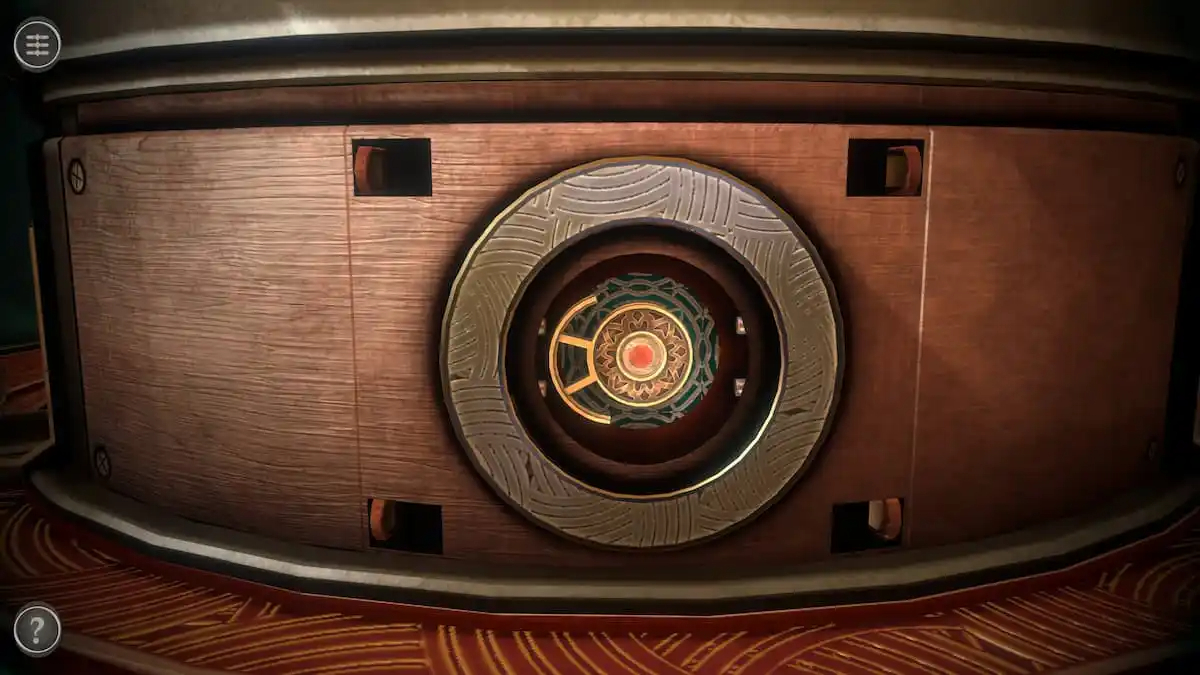
Rotate the Wheel to push all four pegs in. This will unlock the next puzzle.
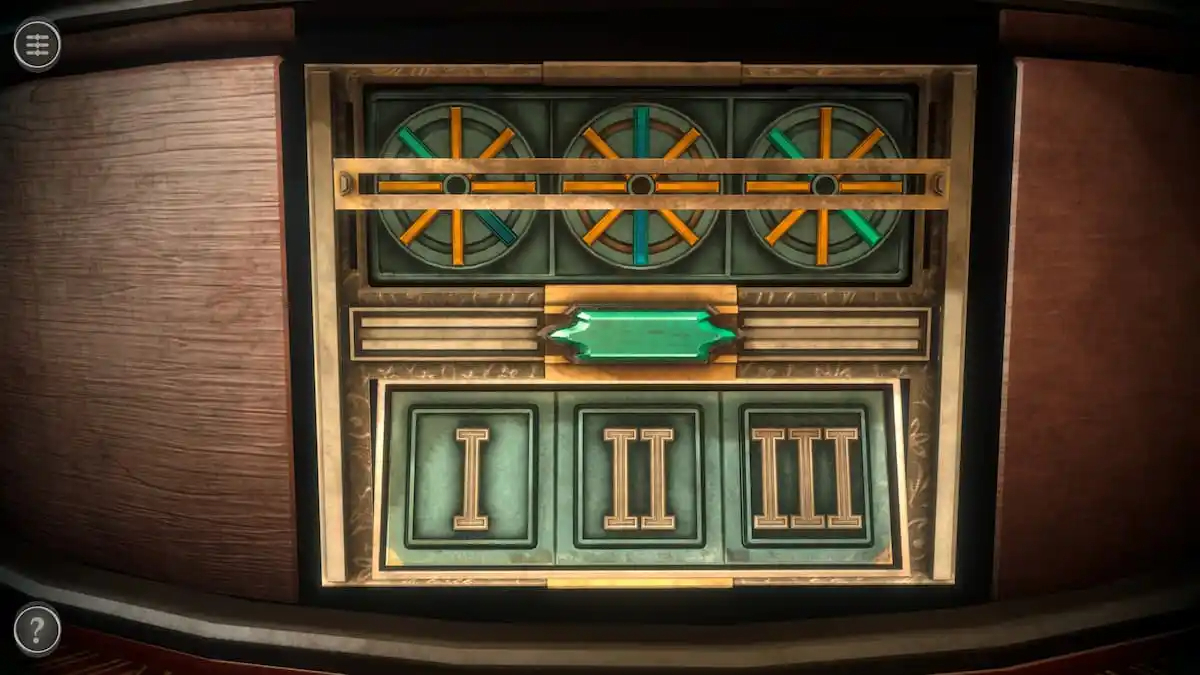
Numeral puzzle
This puzzle involves clicking the metal button to rotate the three rings at the top and rearranging the numerals at the bottom over a few rounds. The goal is to have all of the blue bars in a horizontal line through the center. The numeral beneath the block determines how many times it will move when the button is pressed.
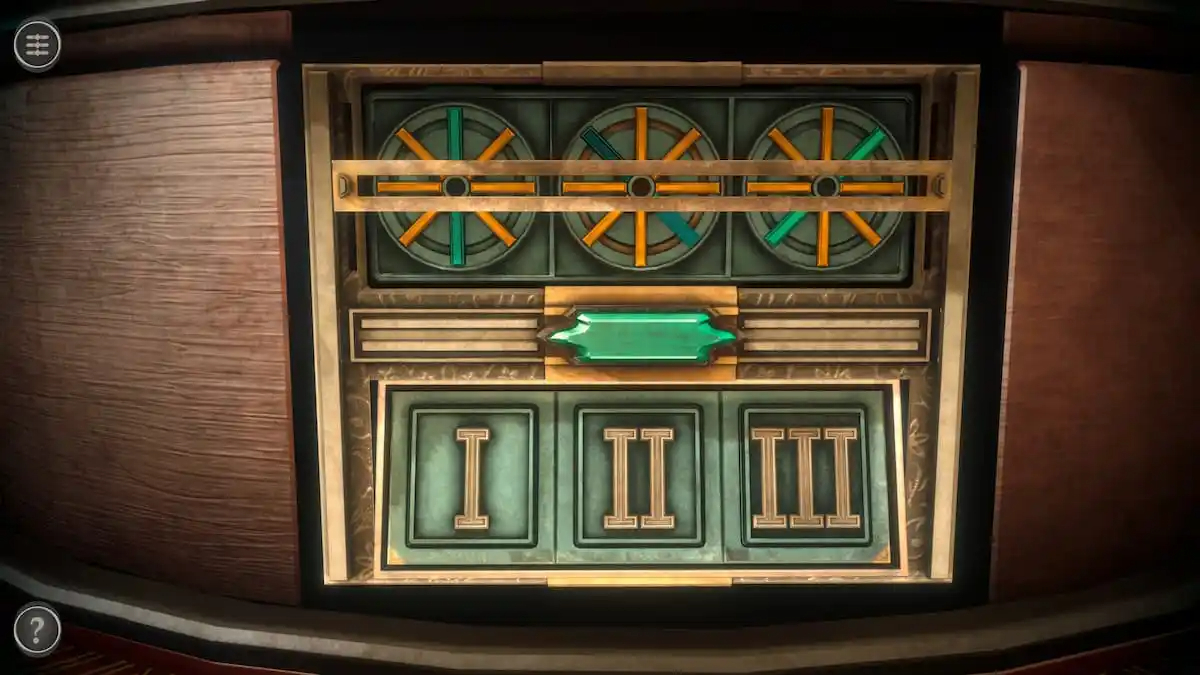
For example, in the image below, the left ring is two moves away, the center ring is three moves away, and the right ring is one move away.
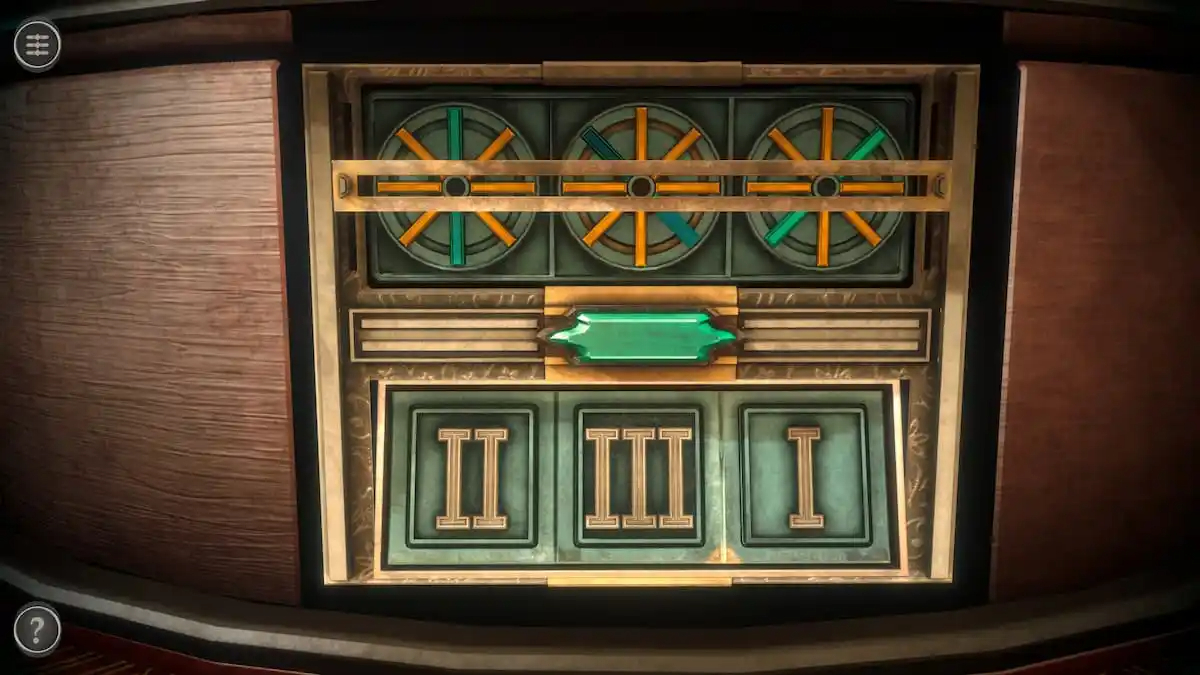
Rearrange the numerals so that the amount of the numeral is the same as the number of movements the ring needs to make. Clicking the metal button now will align the blue segments. This causes the puzzle to rotate, beginning a second round.
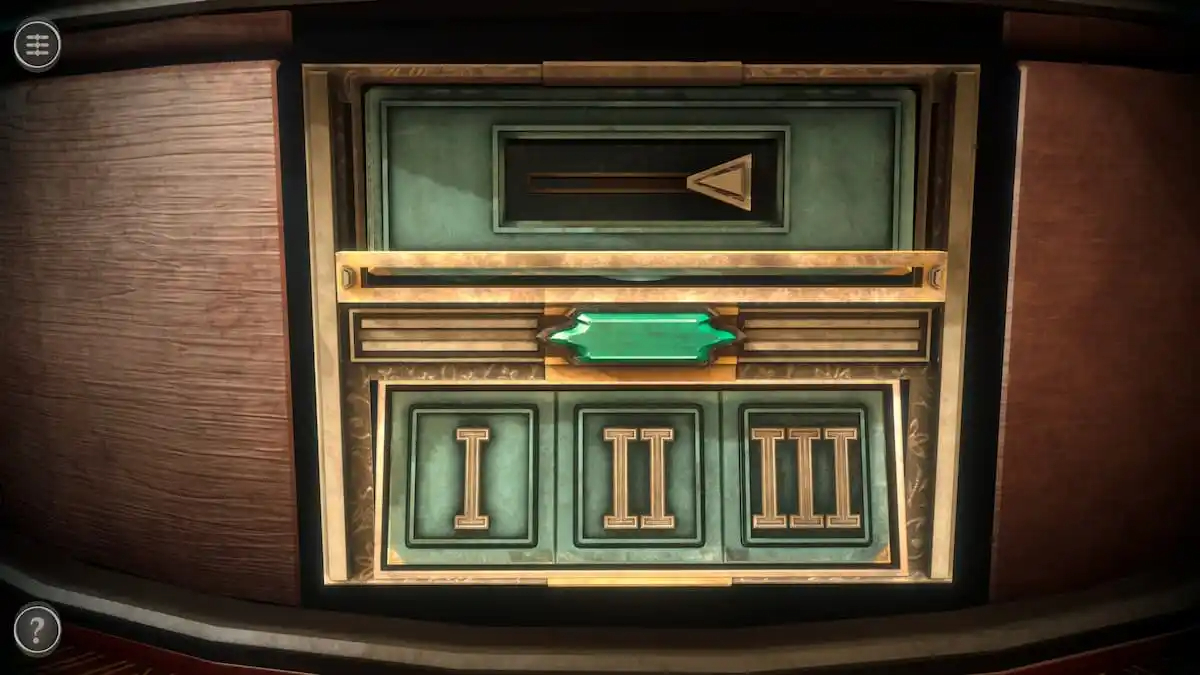
Completing the second round unlocks a slider.
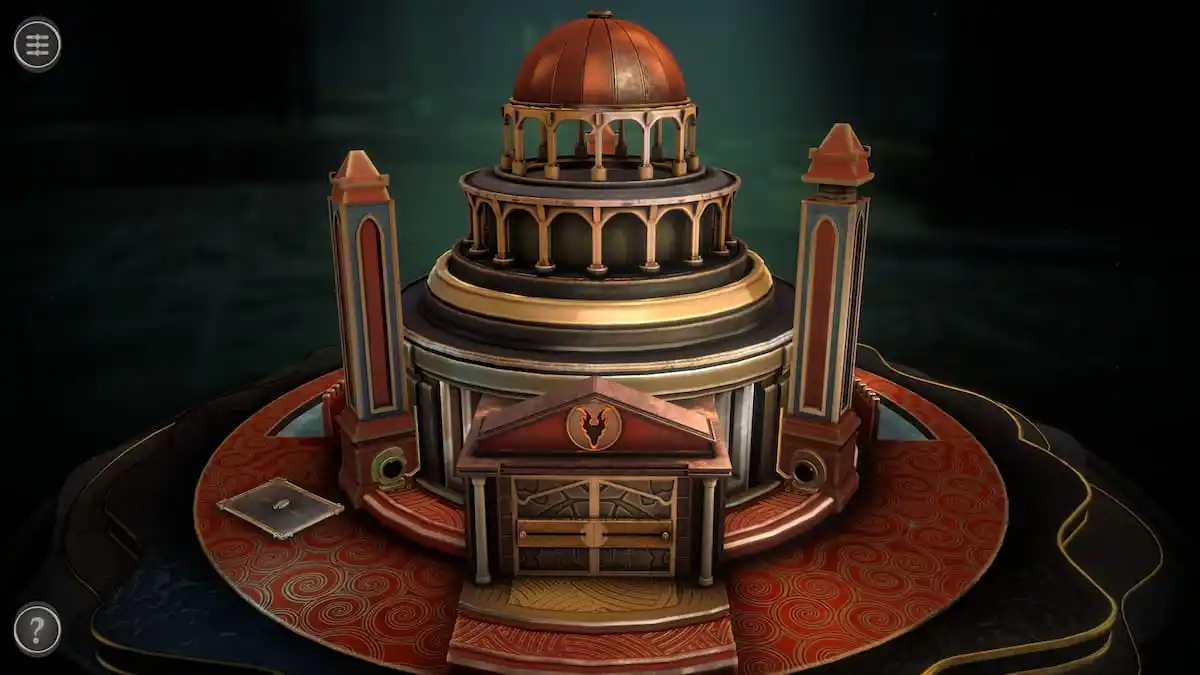
Slider it to transform the box into a tall building.
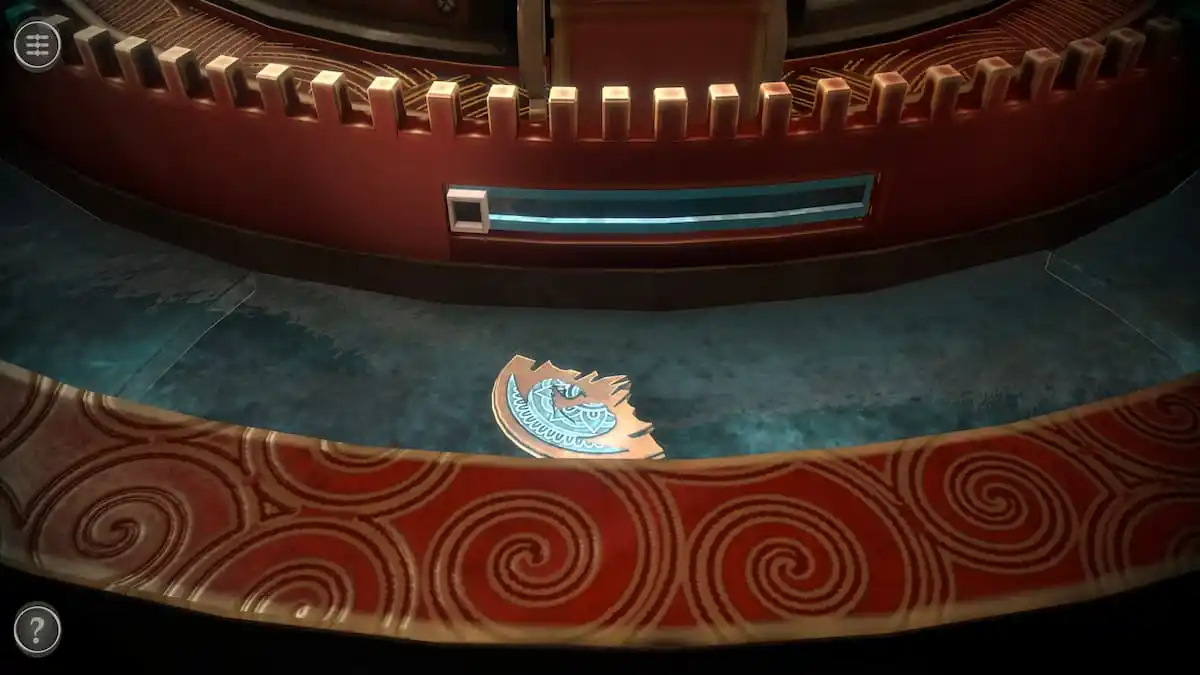
First Ornament Piece
Rotate the camera to view the back of the table. There is a small slider next to an item stuck beneath the glass. Pull the slider to move the glass and get an Ornament Piece.
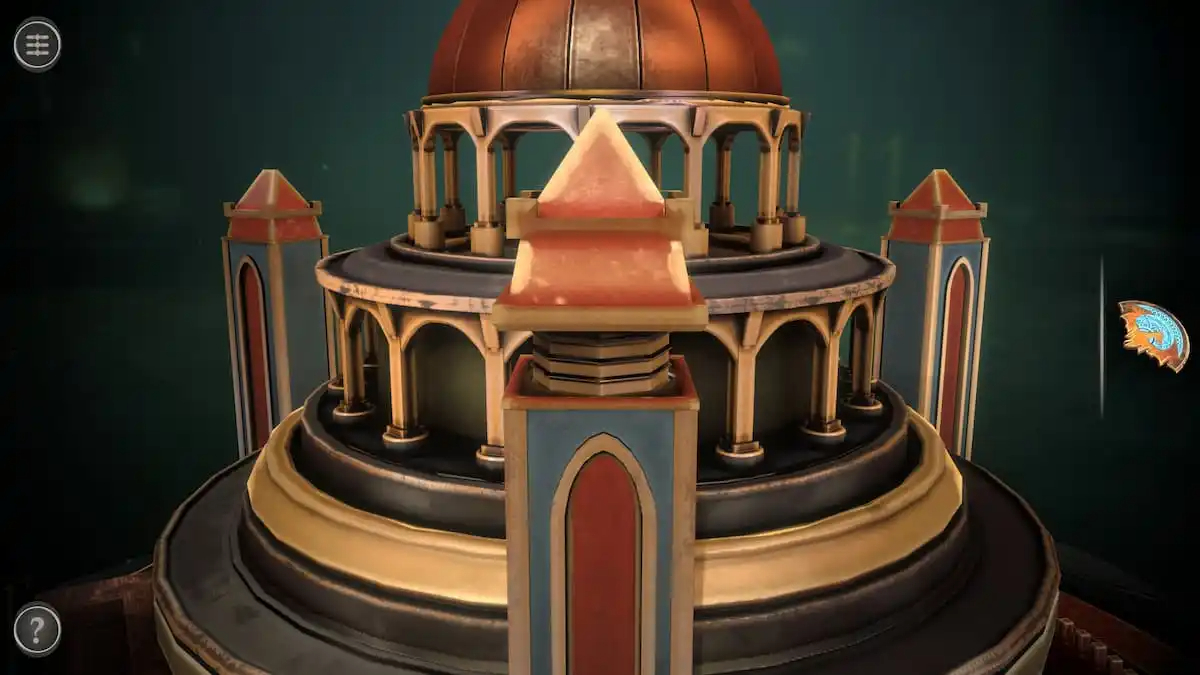
Tower and roof puzzles
One of the building’s towers is not screwed into its base. Rotate the gear to tighten it and get a Crank Handle.
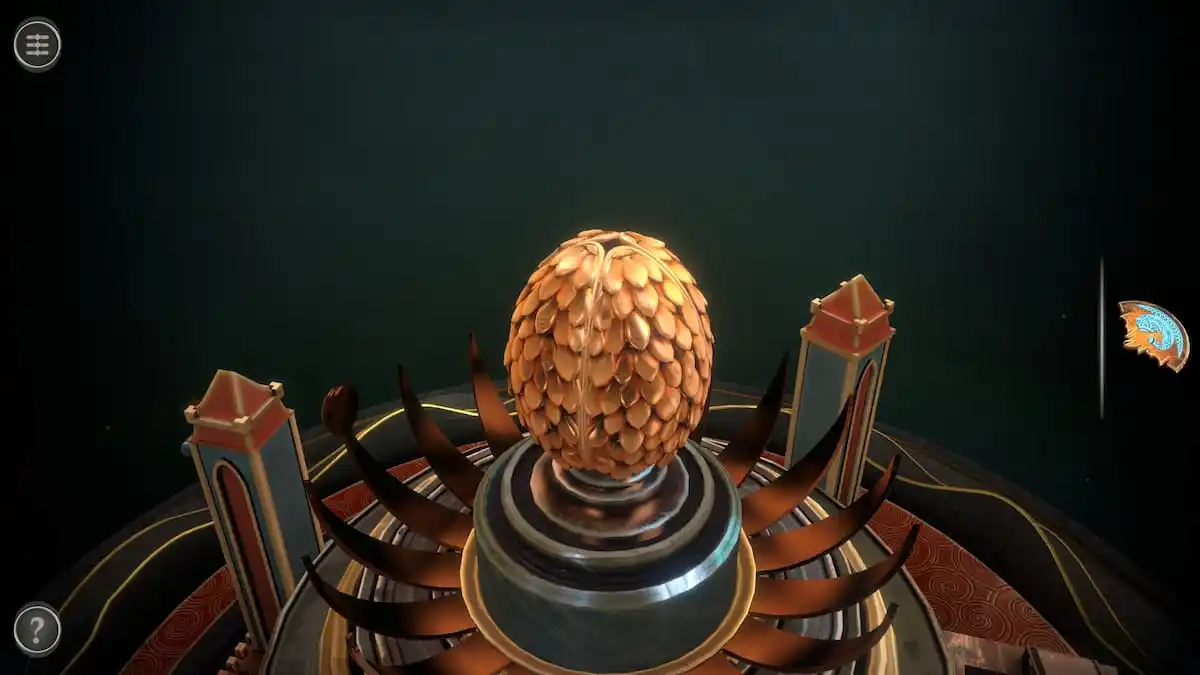
The Crank Handle can be placed onto the top of the building and rotated to reveal a giant gold egg.
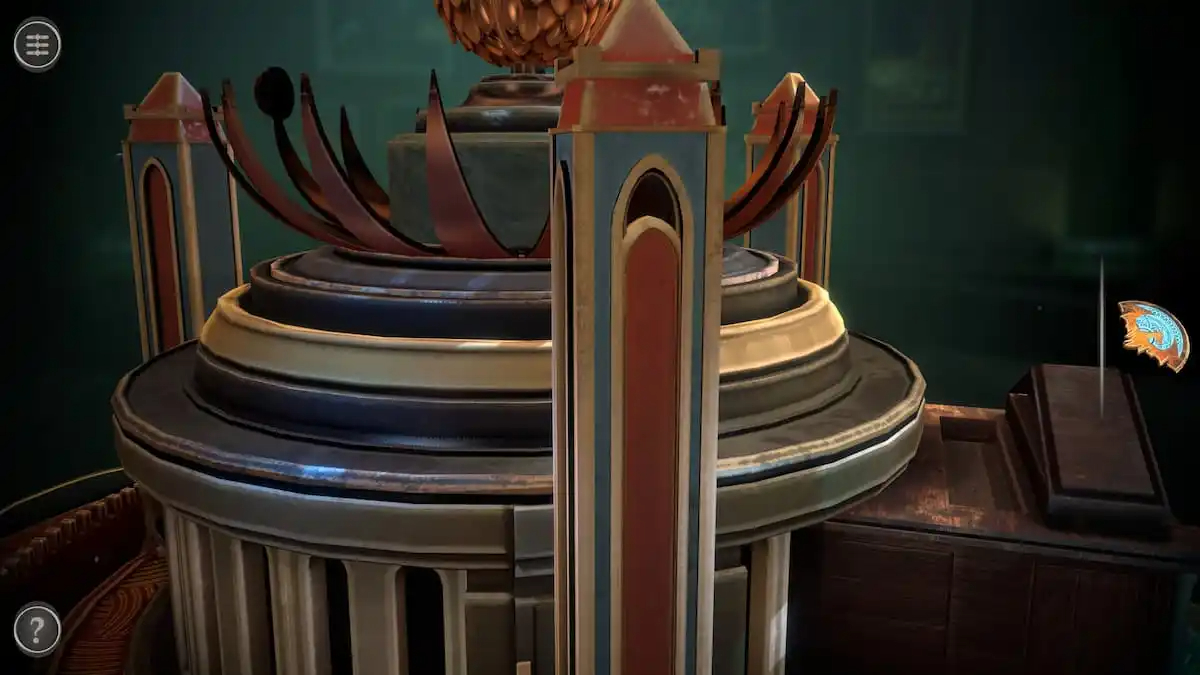
The tower to the left of the main entrance has a panel that can be pulled down.
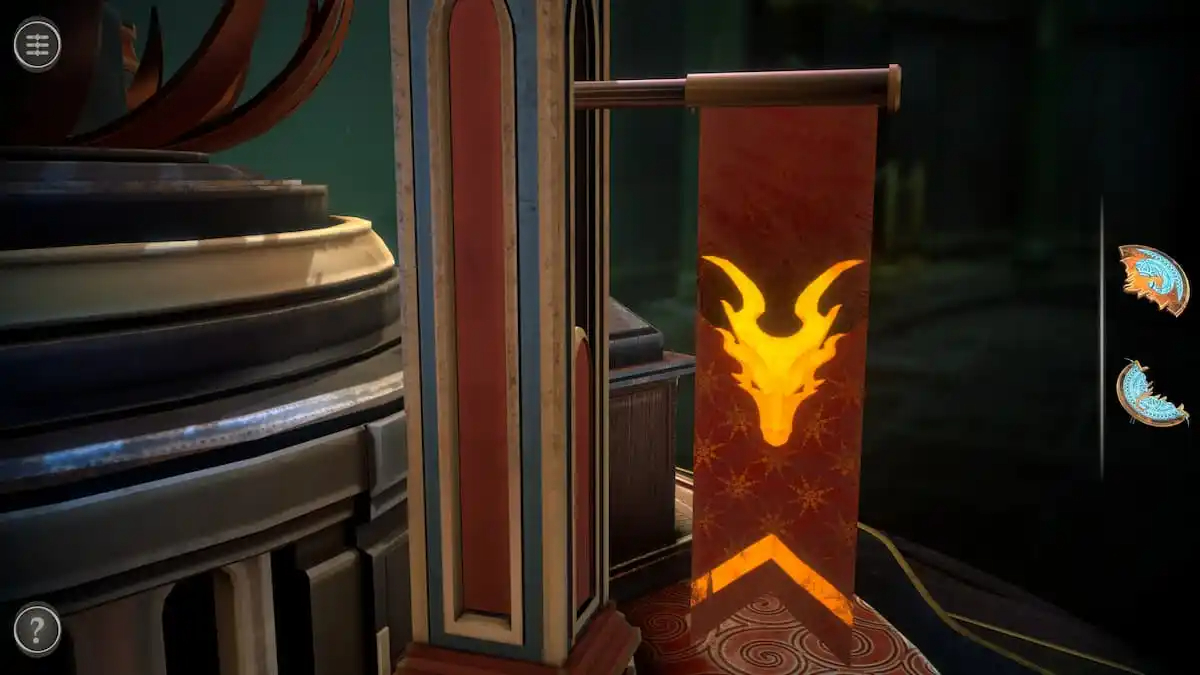
This reveals a red flag, which can be pulled down as well.
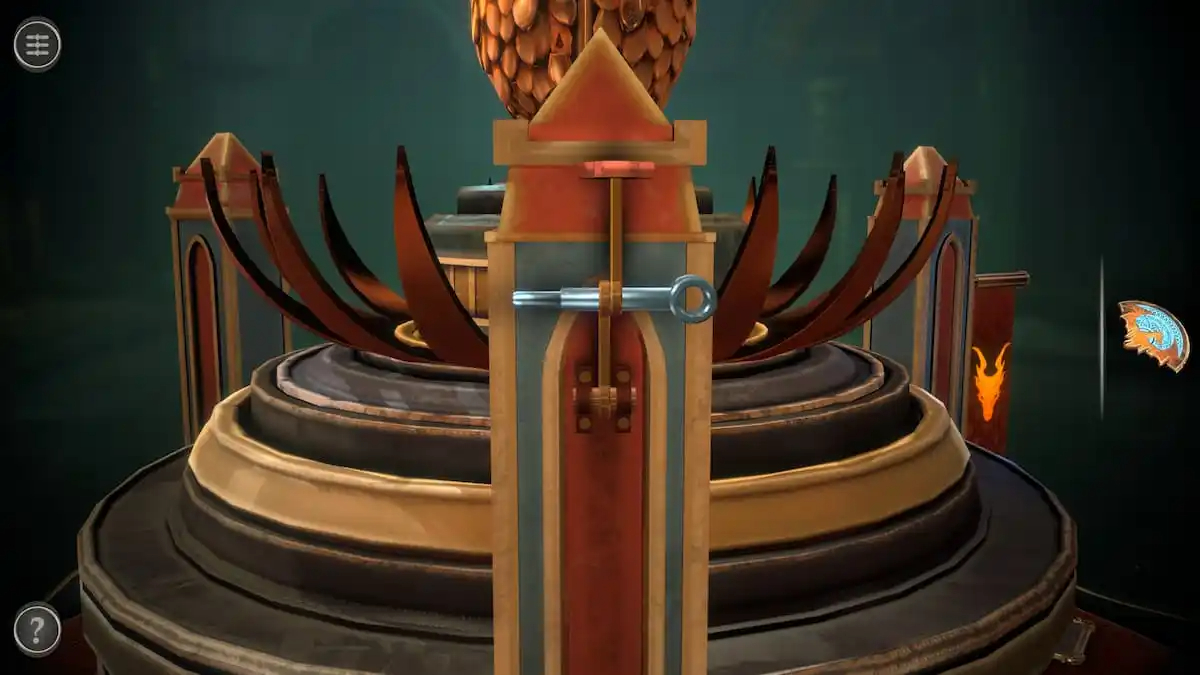
The final tower has a small lock on it. Pull the blue pin out to release the lock and get a second Ornament Piece.
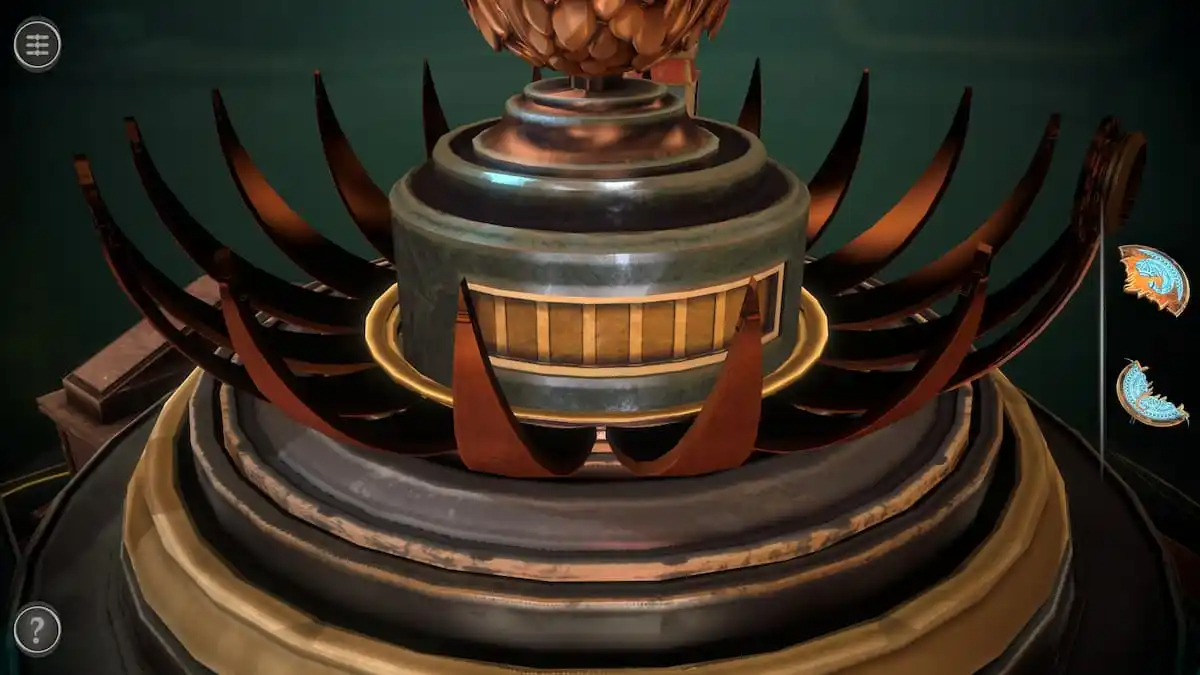
There is a small gear on the platform the egg is on.
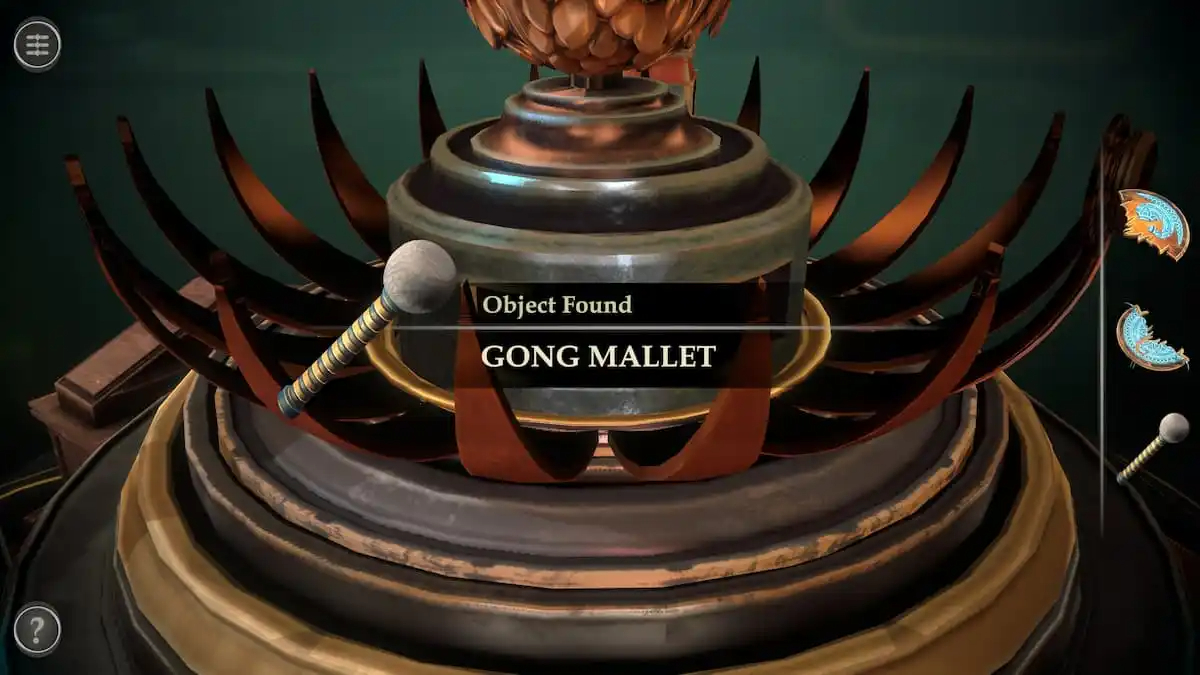
Rotate it to get a Gong Mallet.
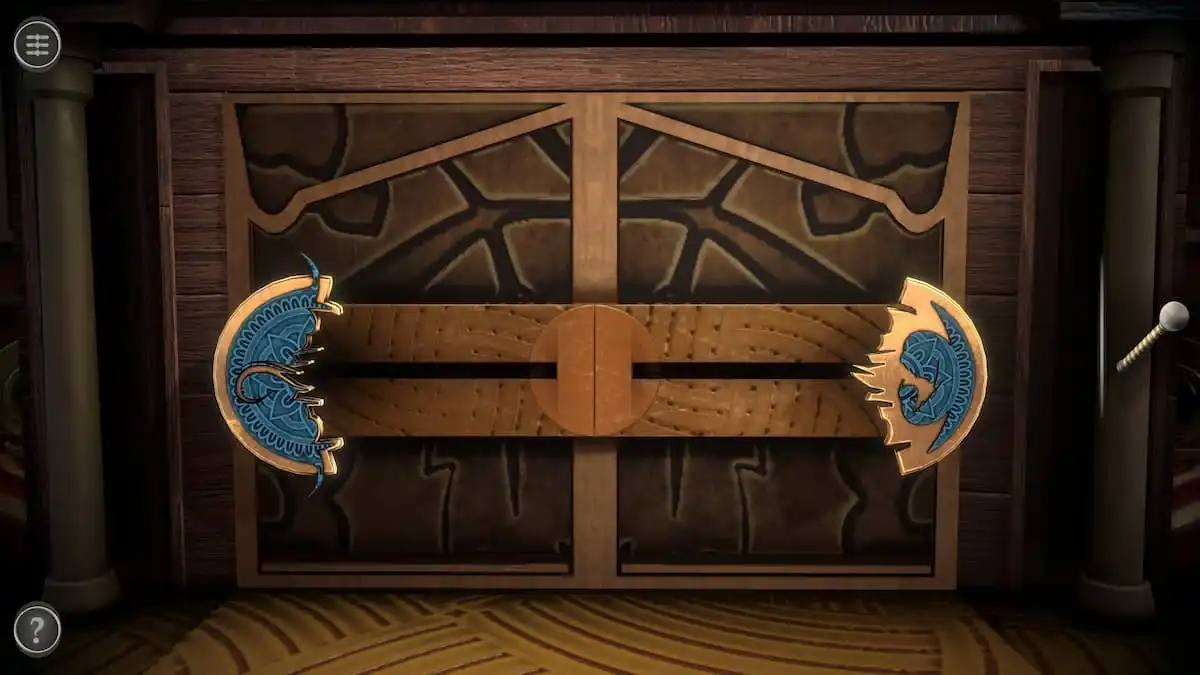
Front door puzzle
Add the two Ornament Pieces to the front door.
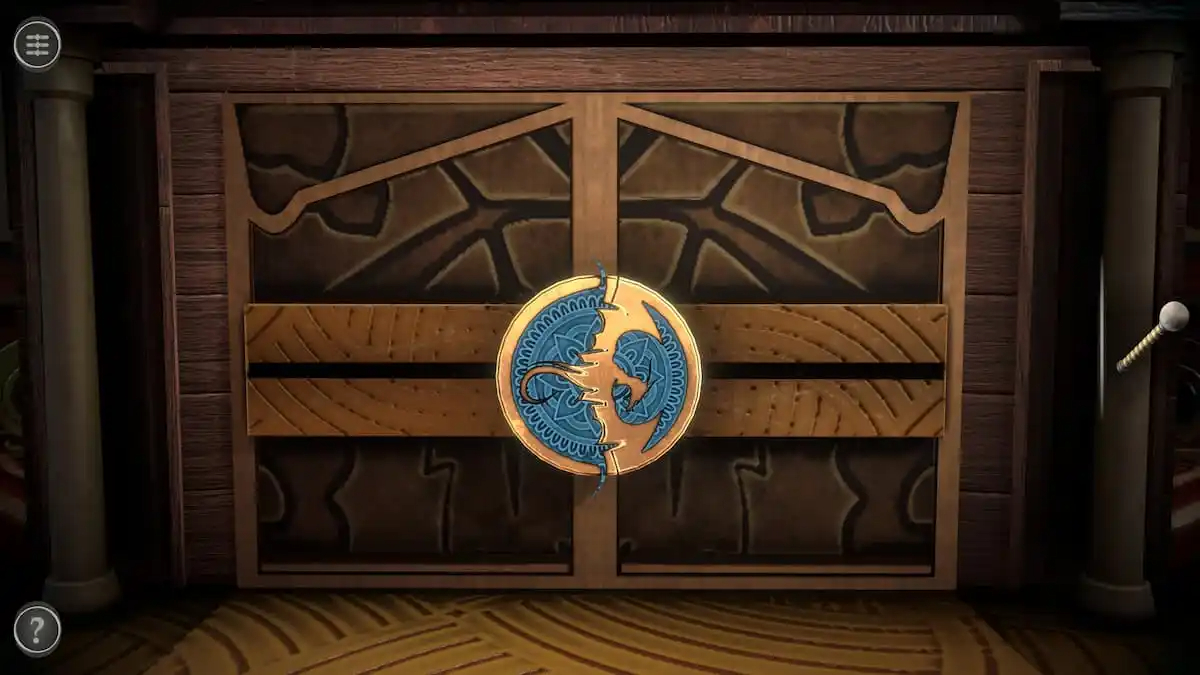
Slide them together to open the door.
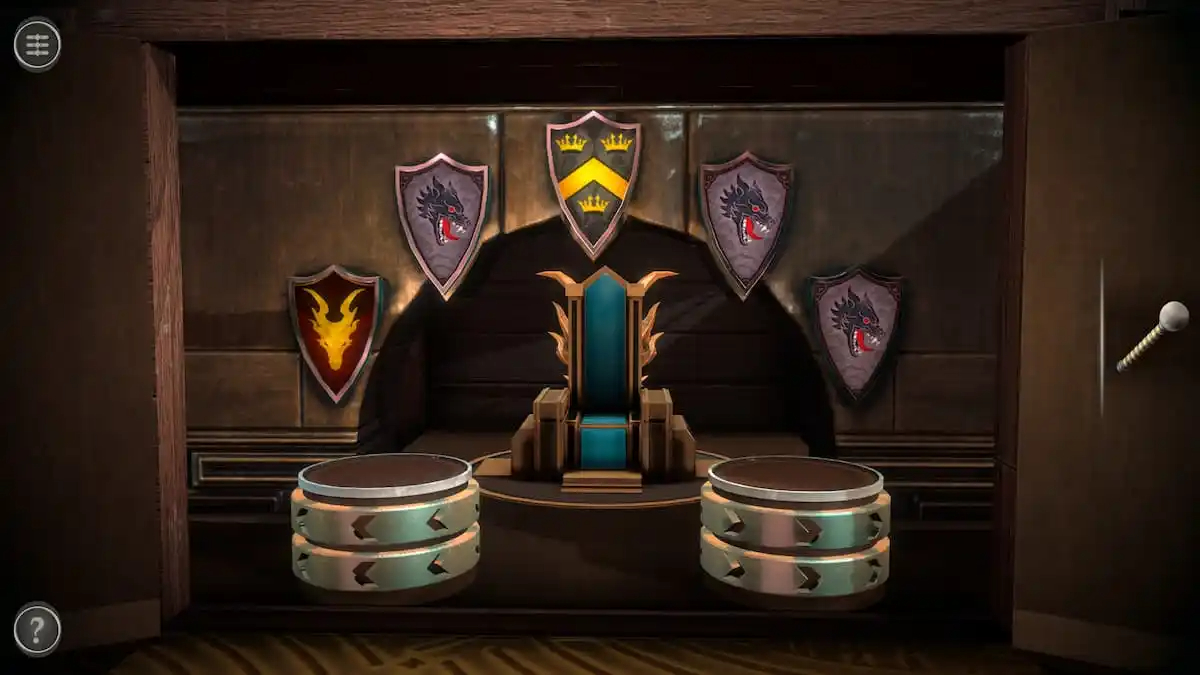
Flag puzzle
This puzzle involves rotating the five flags on the wall so that they match the flag outside with the red dragon design. The four gears on the two columns at the front can be used to rotate the flags.
The top gear on the left pillar moves the left flag and the center flag.
The lower gear on the left pillar moves the left flag and the upper left flag.
The top gear on the right pillar moves the right flag and the center flag.
The lower gear on the right pillar moves the right flag and the upper right flag.
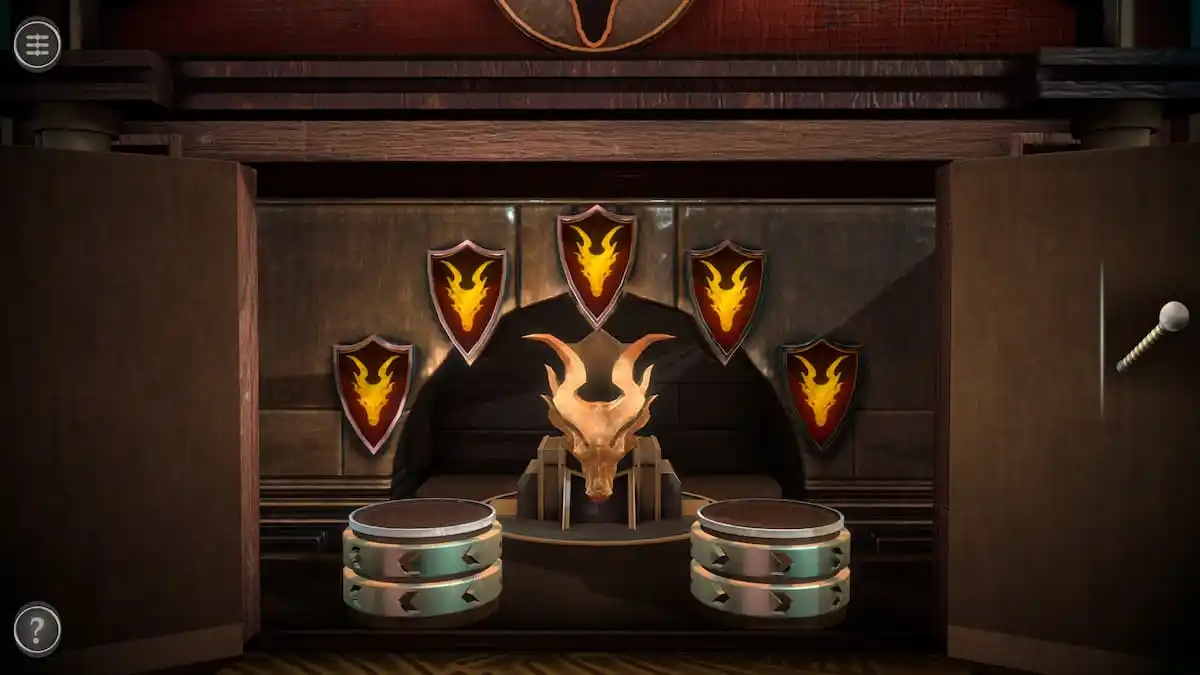
When all of the flags display the red dragon pattern, the throne in the back will rotate and give you a Dragon Medallion.
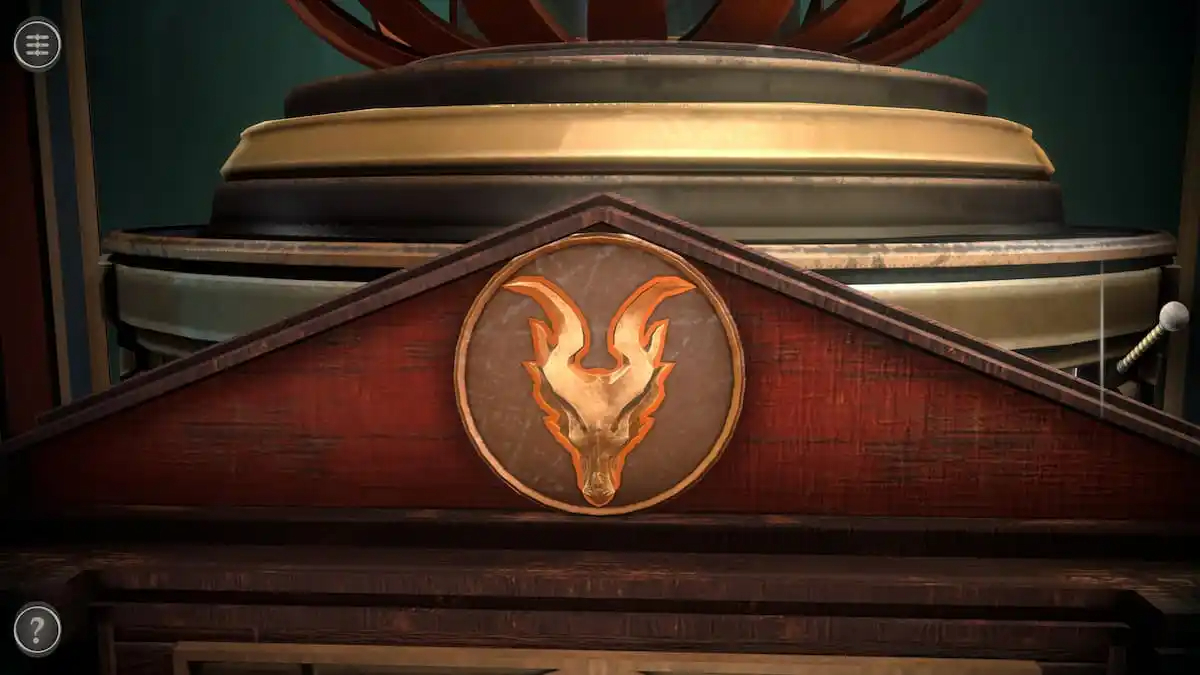
Gong puzzle
Place the Dragon Medallion into the slot above the door.
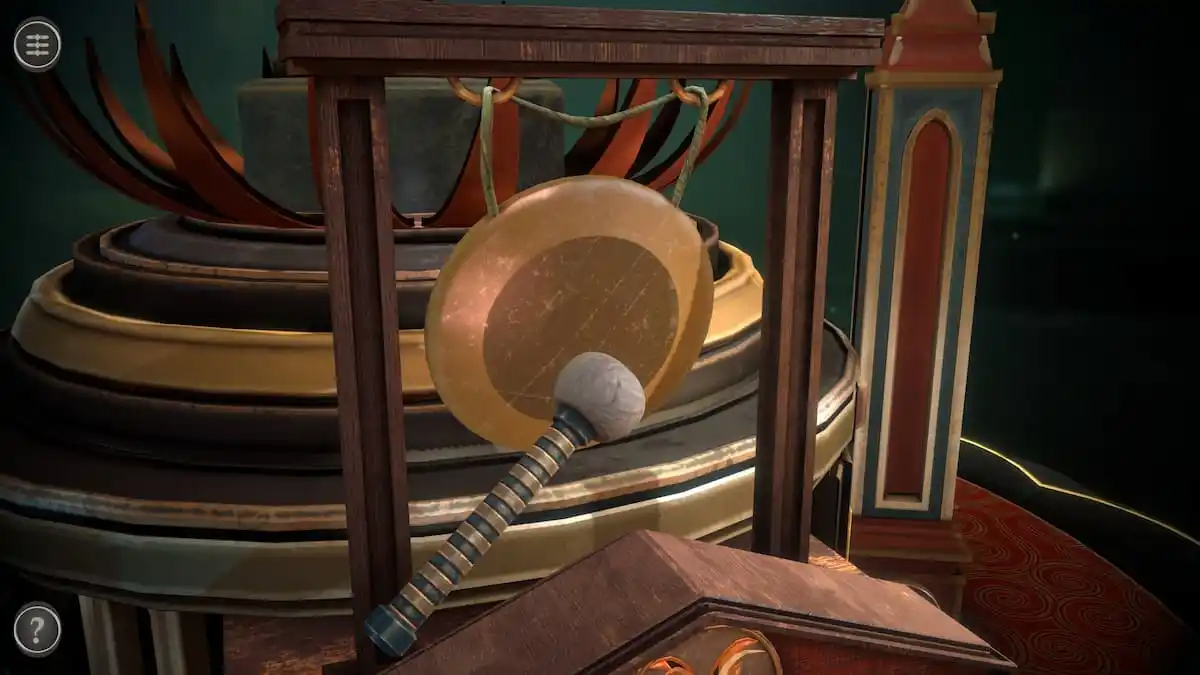
This will make a gong rise from the roof. Hit it with the Gong Mallet.
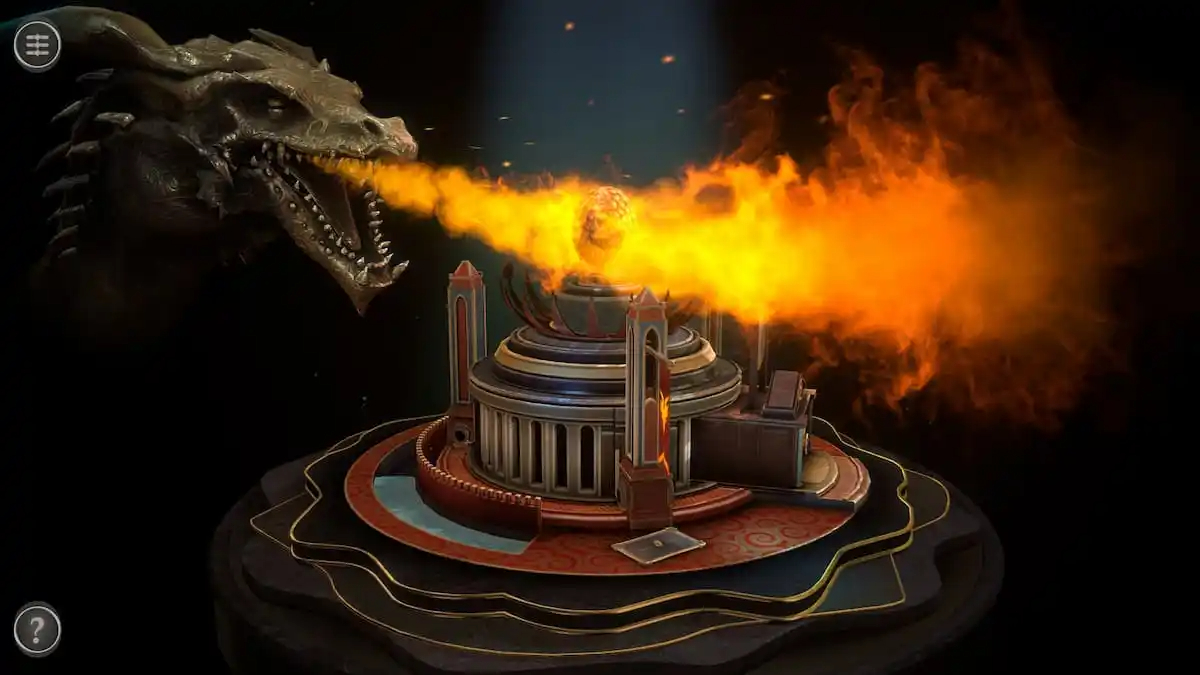
This makes a dragon head appear, using fire on the golden egg.
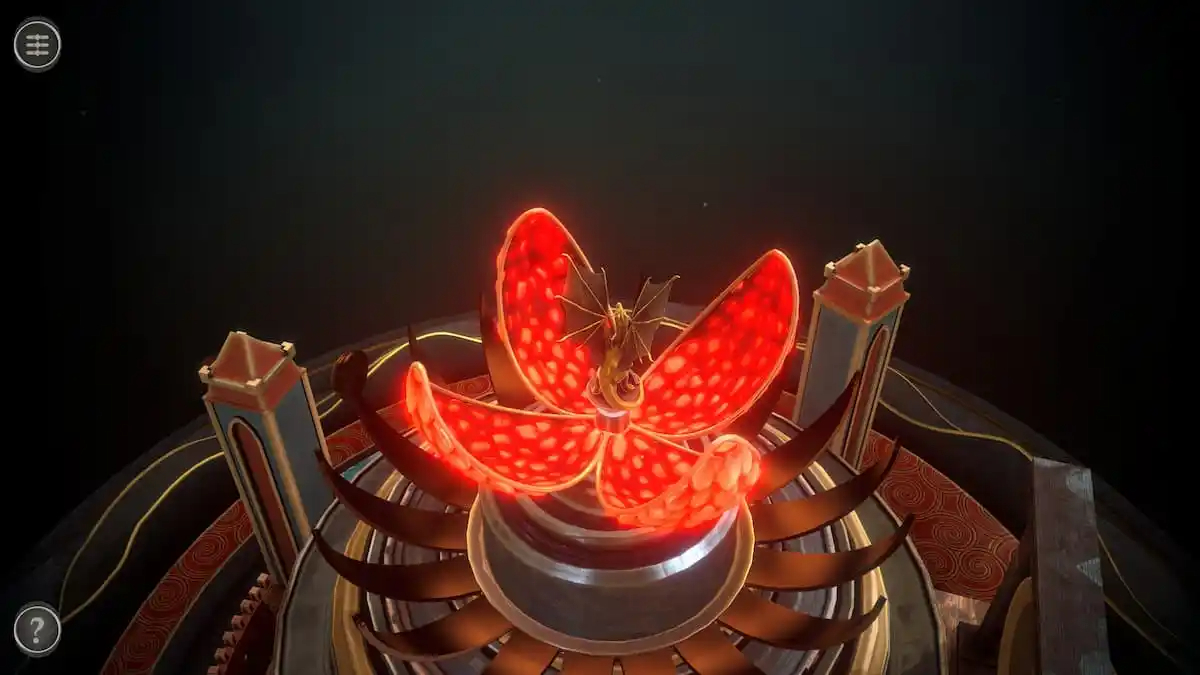
The egg will open, giving you a Dragon Figure and ending the fourth room.
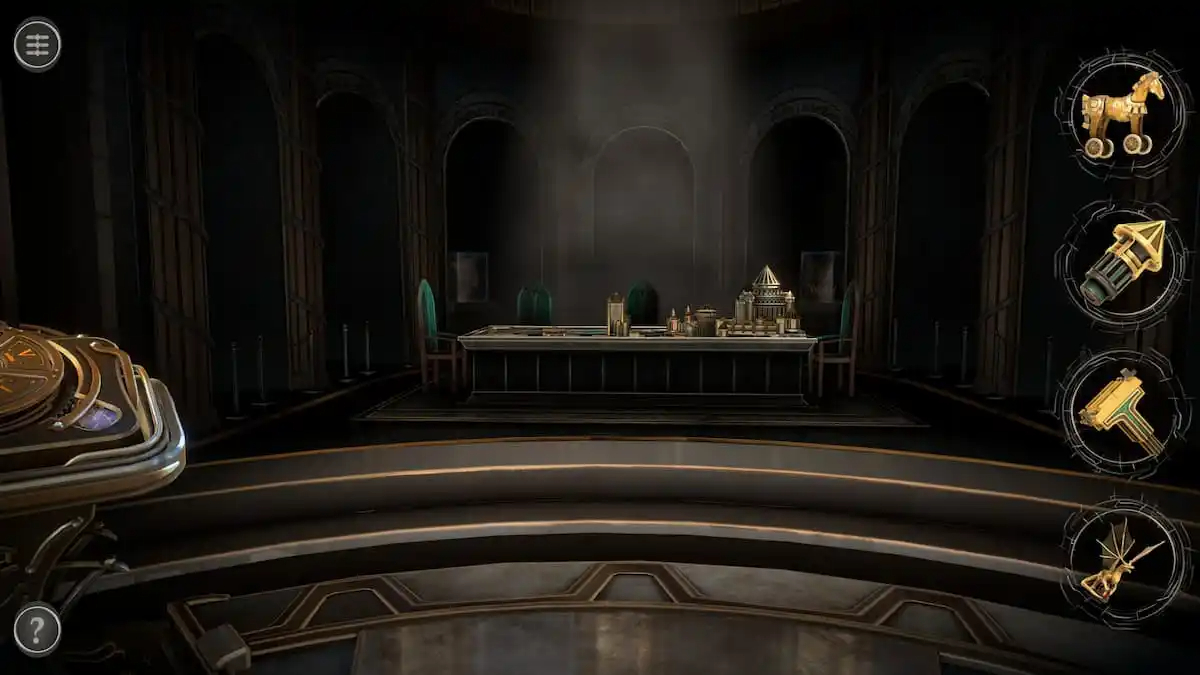
Completing the main room
The side room of this chapter features a table covered in a mechanical medieval diorama. It consists of a few different sections designed to move you from the front of the table towards the castle at the back.
THE FOURTH PUZZLE BOX IN CHAPTER 4 OF BOXES LOST FRAGMENTS IS NOW COMPLETE AND FINISH AND NOW YOU HAVE ALL 4 ITEMS IT IS TIME TO SOLVED COUPLE MORE PUZZLES BEFORE CHAPTER 4 IS OVER AND COMPLETED IN BOXES LOST FRAGMENTS
FINAL PART IN CHAPTER 4
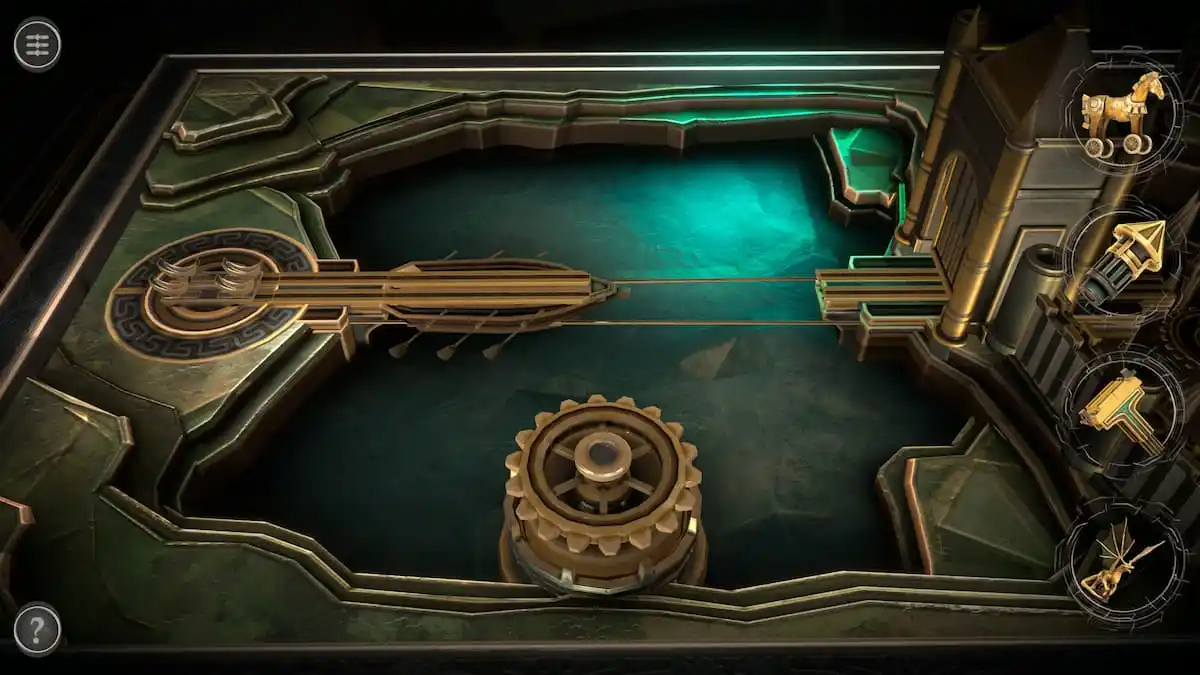
Boat pathway
Rotate the large gear at the edge to push the boat against the left shore. This will cause the platform on the left to flip.
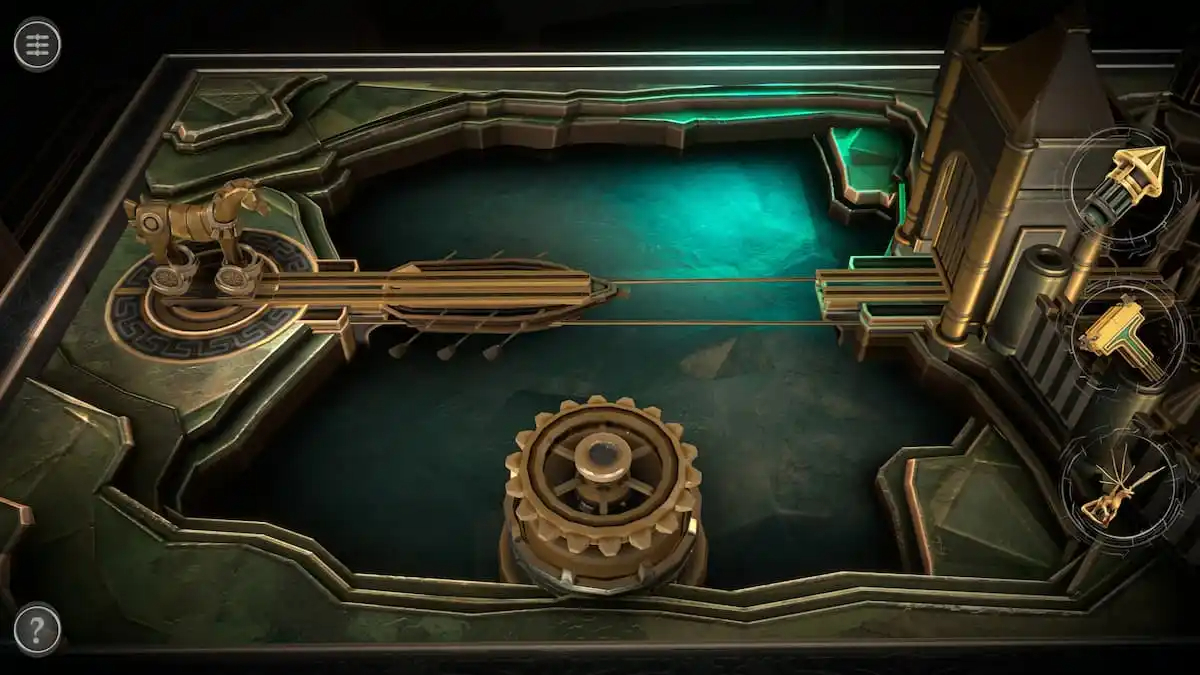
Place the Horse Figure on this platform.
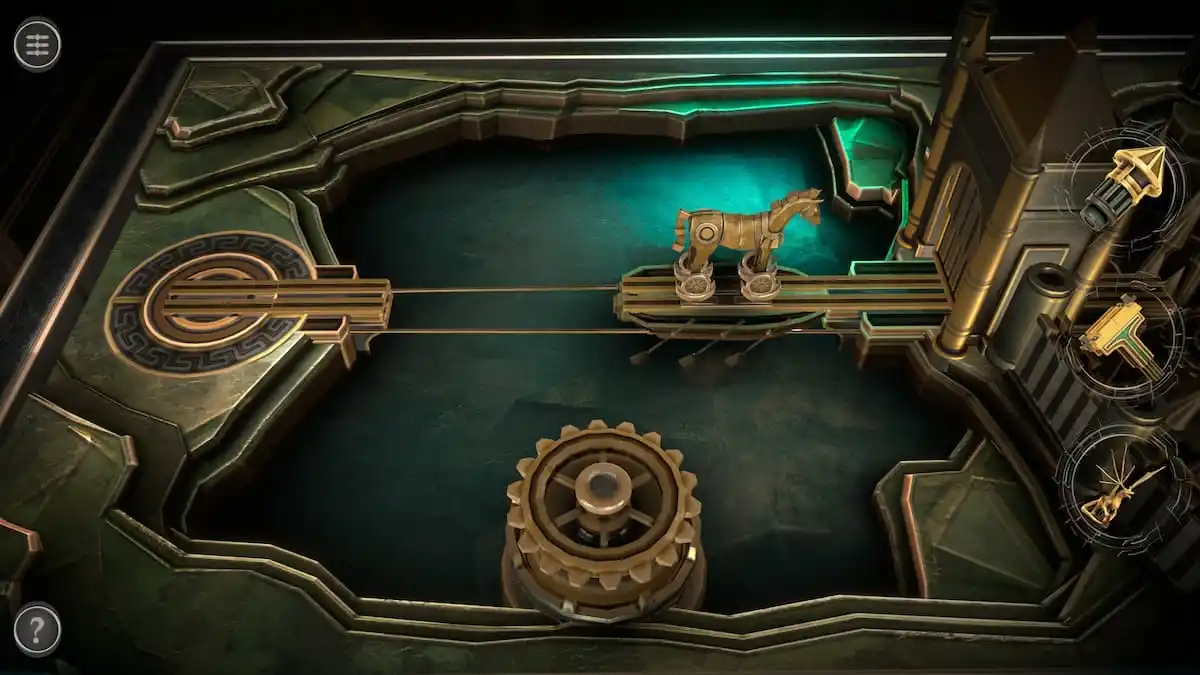
Click on the horse figure to push it onto the boat. Rotate the gear to move the boat to the gate, then click on the horse figure and push it again to send it through the gate.
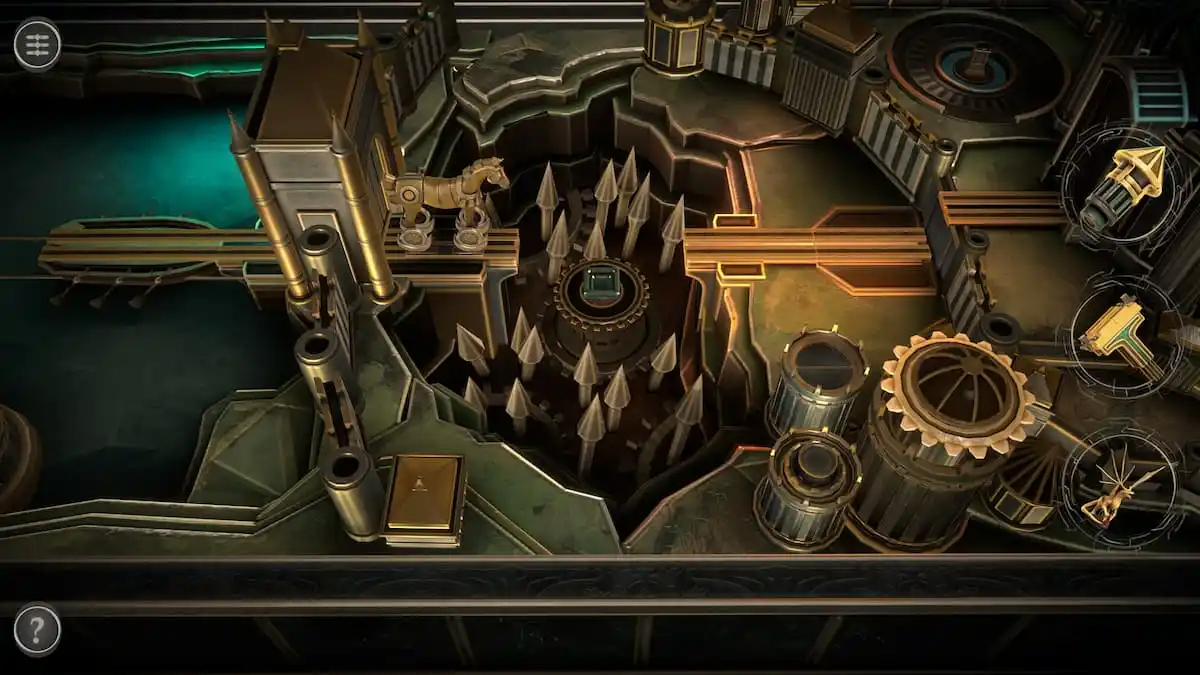
Spiky pit puzzle
The next obstacle is a large spiky pit.
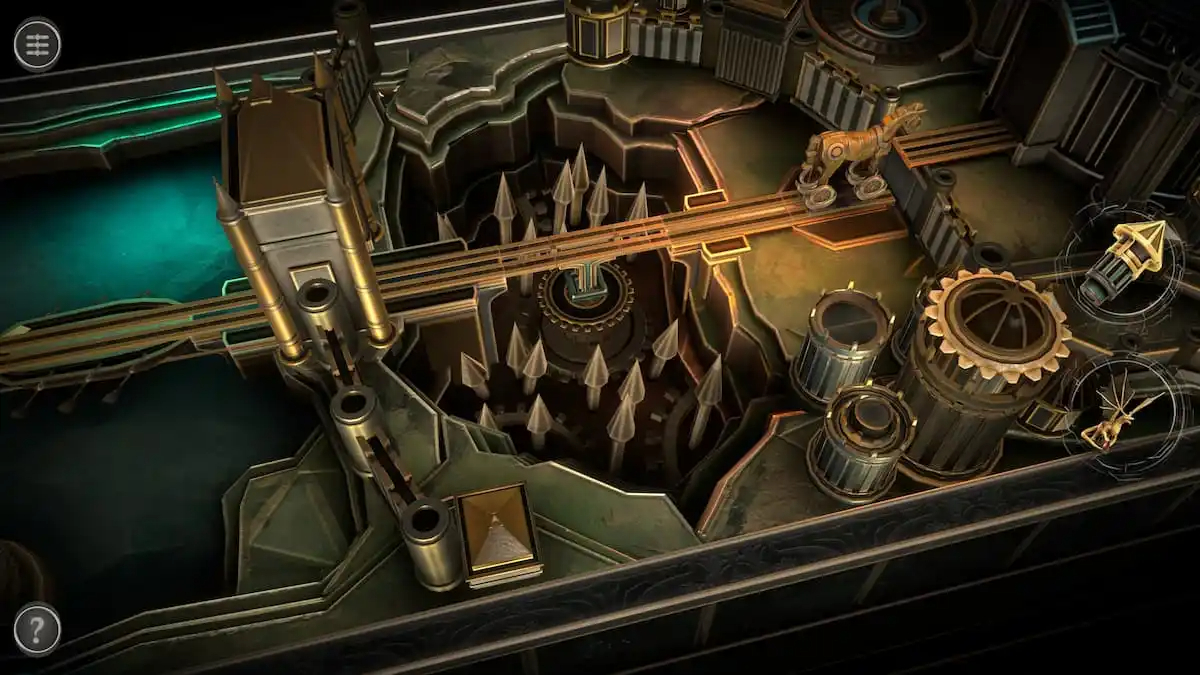
Place the Model Figure into the center and push the horse up to the castle.
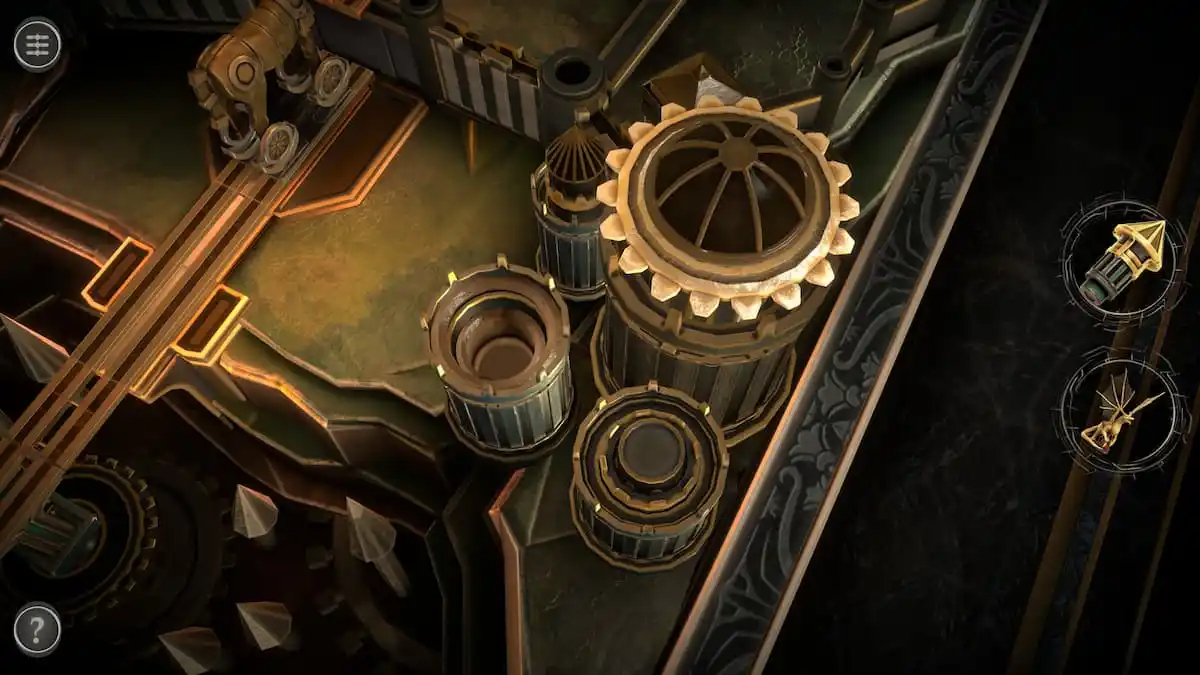
Model Tower puzzle
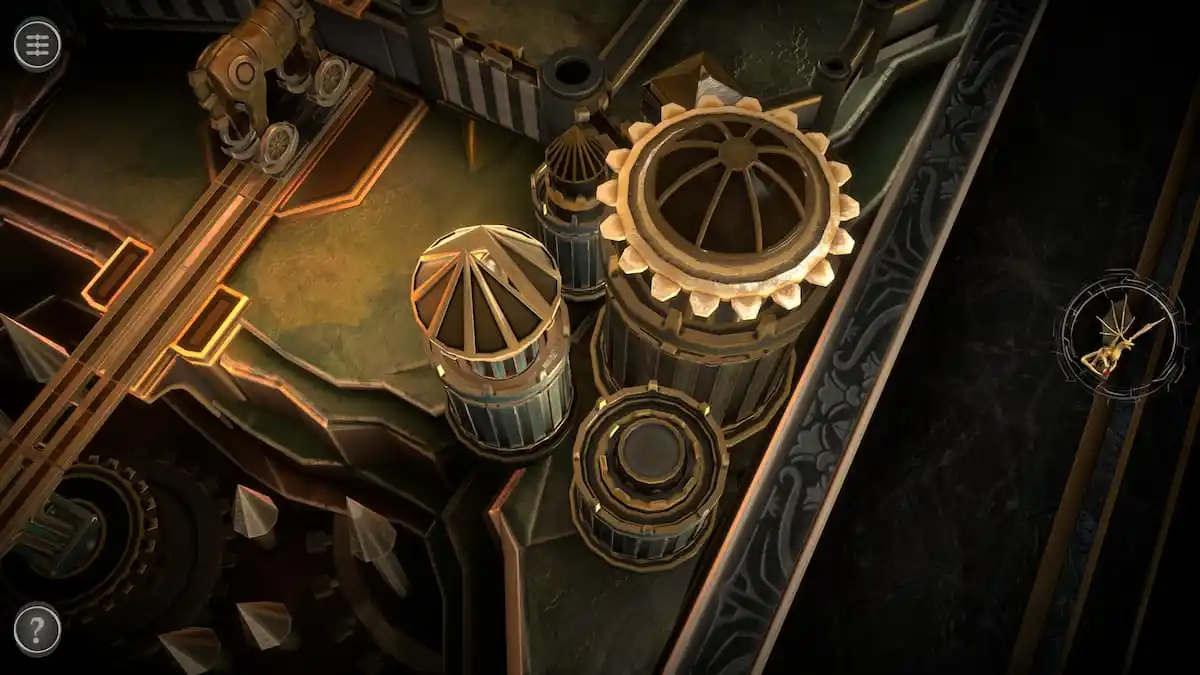
To the right of the horse is a large tower with a gear on it. Spin it to open the top of one of the smaller towers around it.
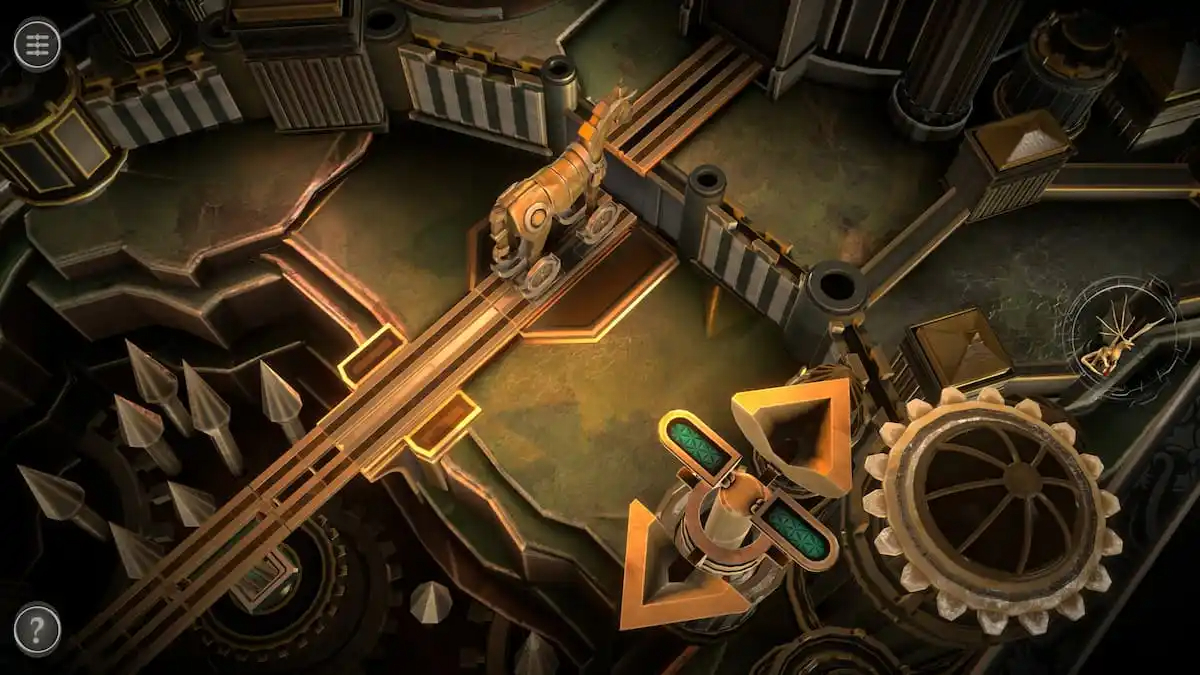
Place the Model Tower onto the newly opened tower.
This will turn the Model Tower into a green handle.
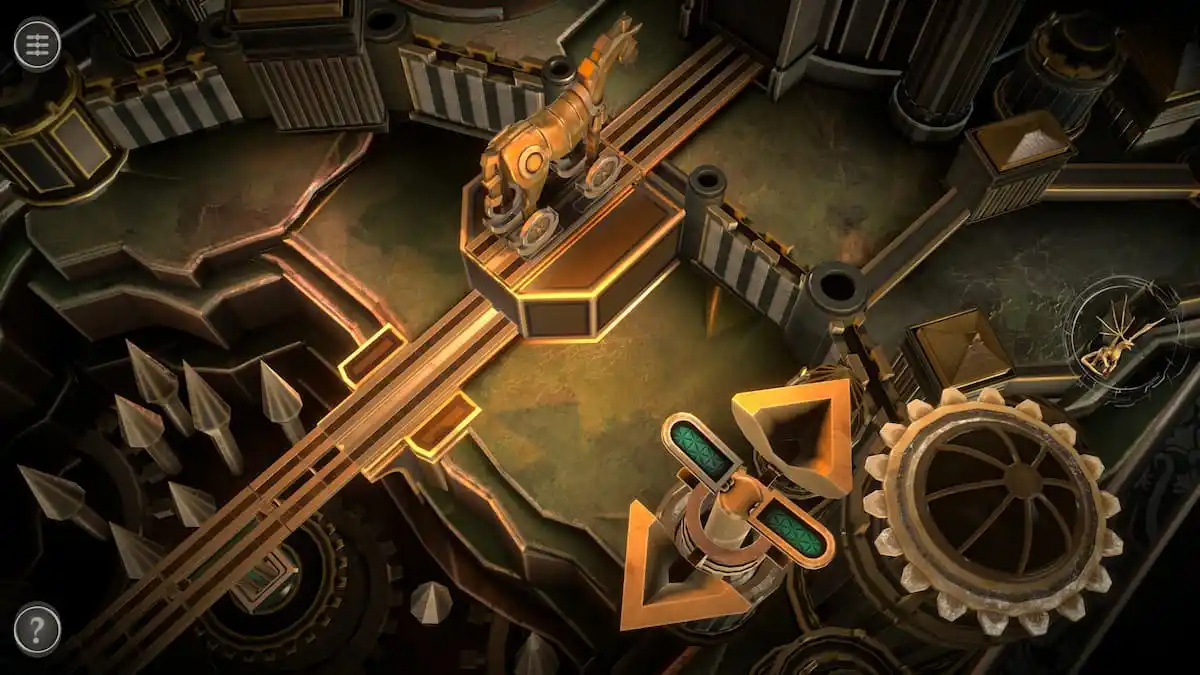
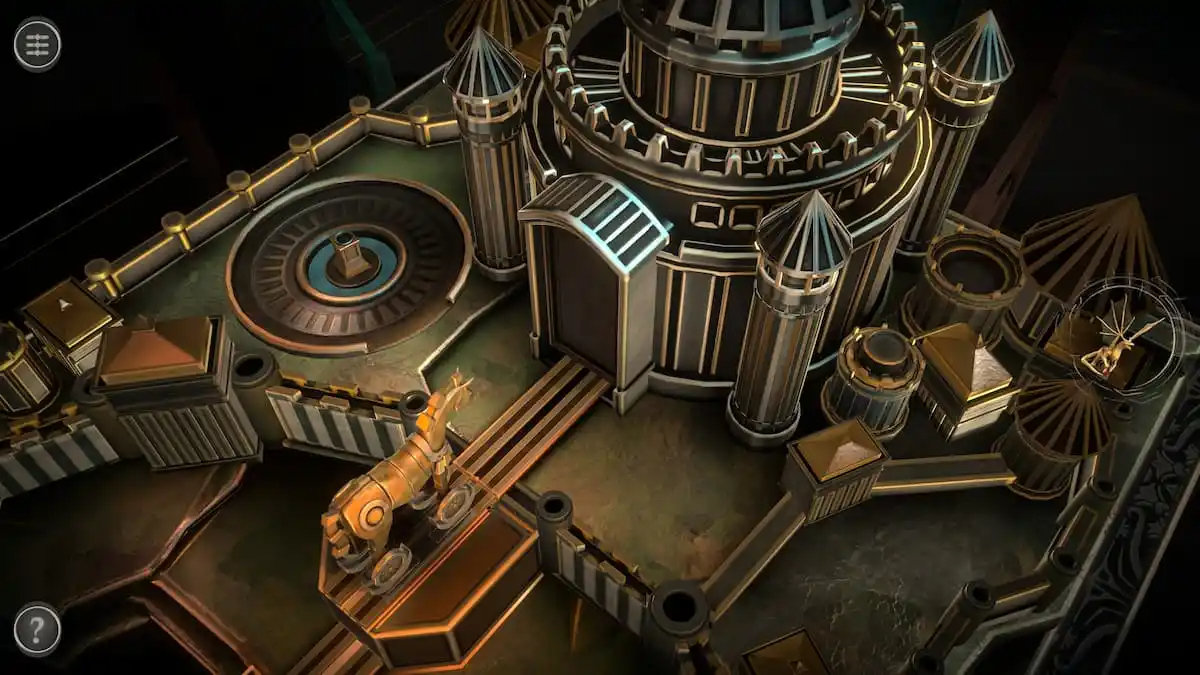
Twist the handle to raise the base that the horse is on.
Dragon puzzle
When the horse is facing the castle, there is a notable space on the left.
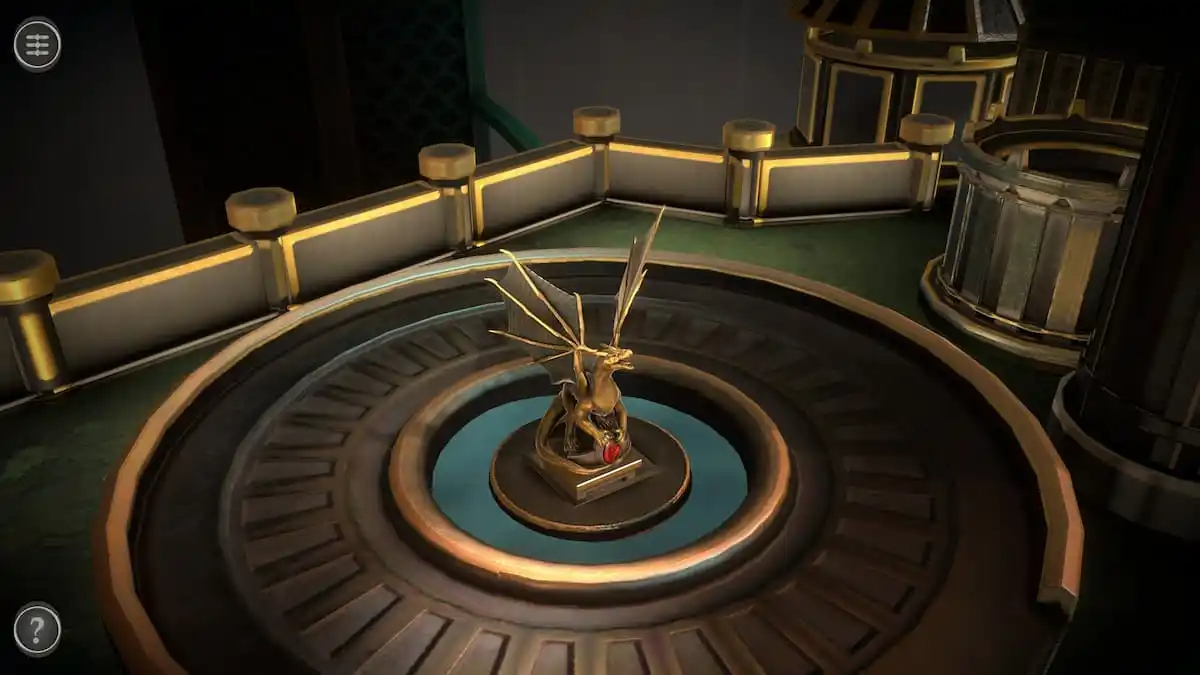
Place the Dragon Figure into the center of this space.
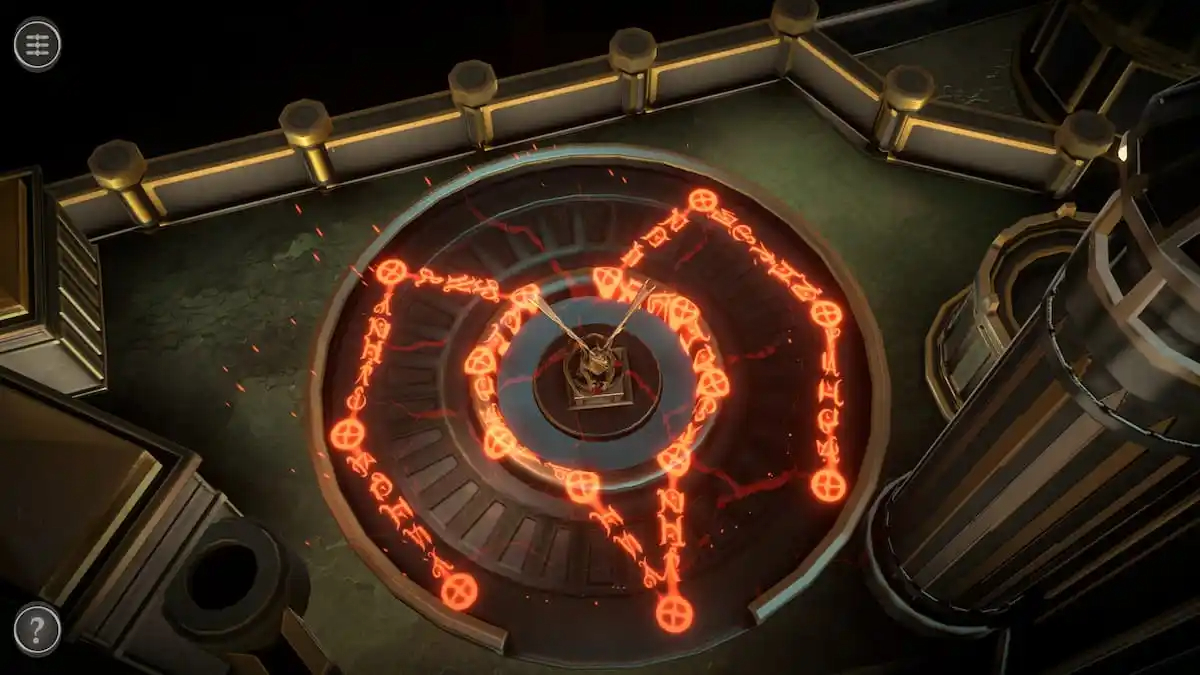
It will create a symbol that can be used for completing the next puzzle.
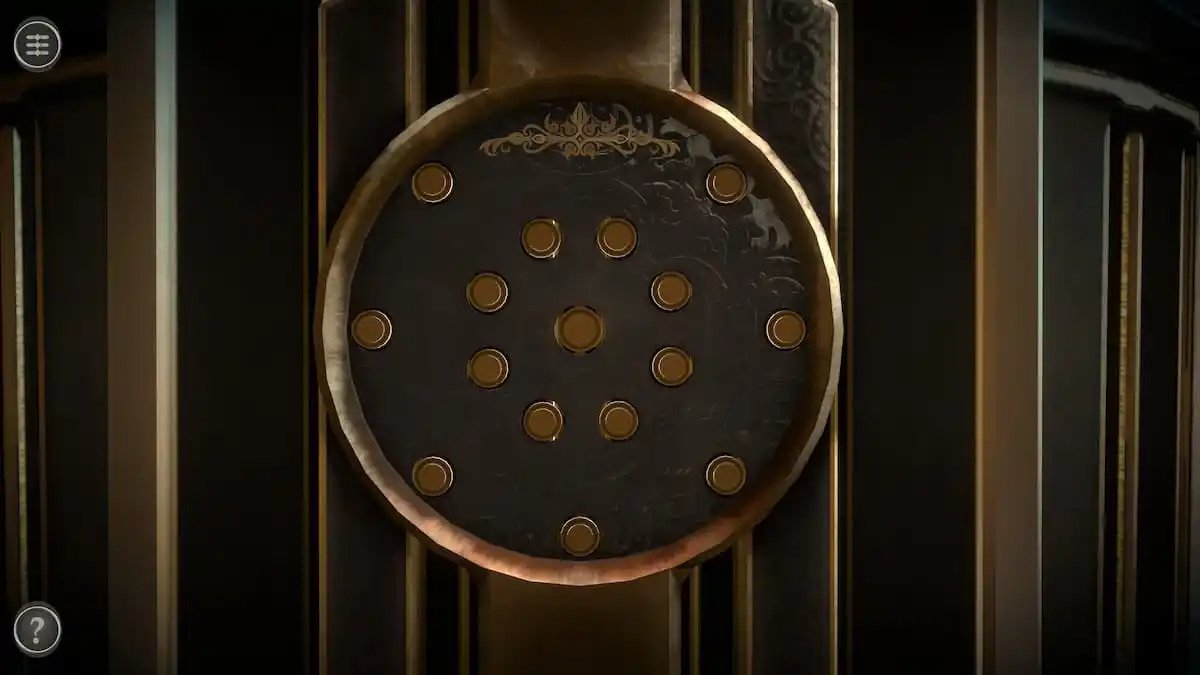
Castle door puzzle
Placing the dragon unlocks a puzzle on the castle door.
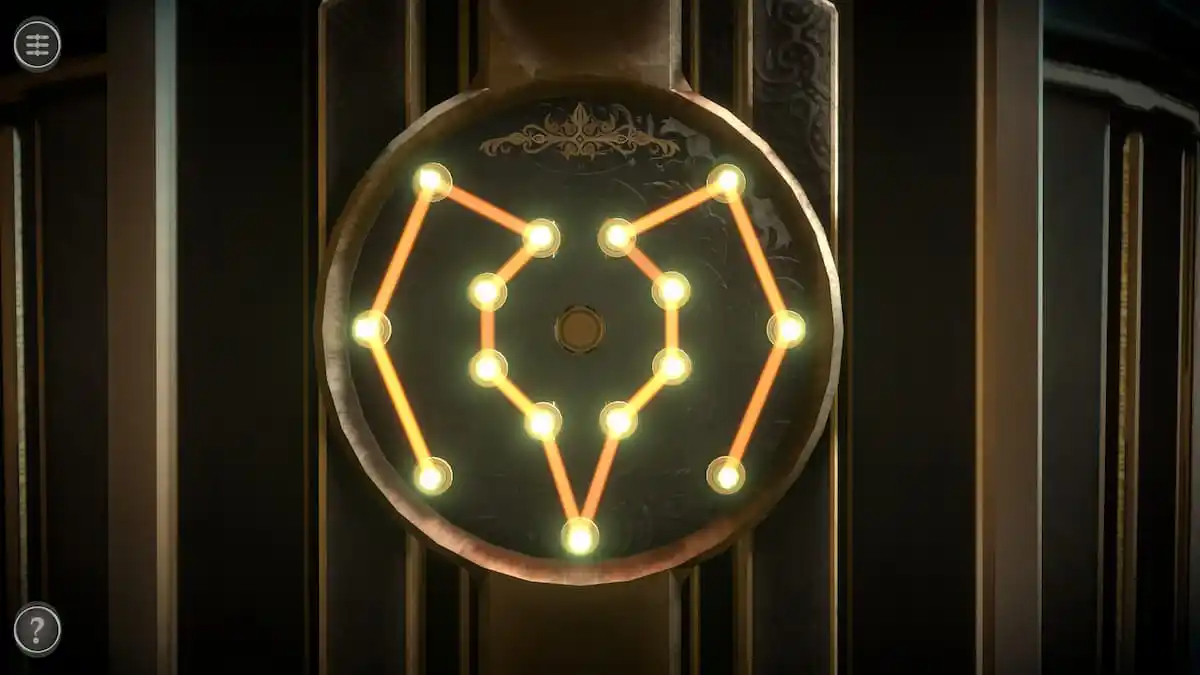
Starting from the bottom left dot, recreate the pattern around the Dragon Figure.
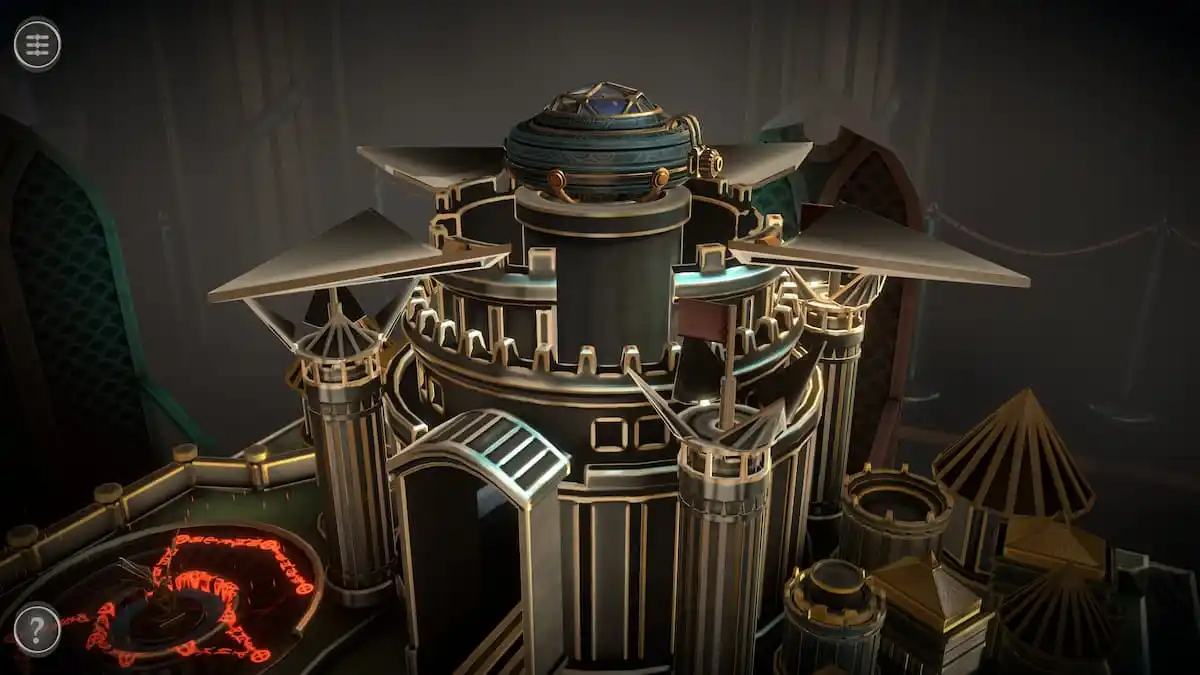
This will cause some noise, after which the box containing the Token will rise from the top.
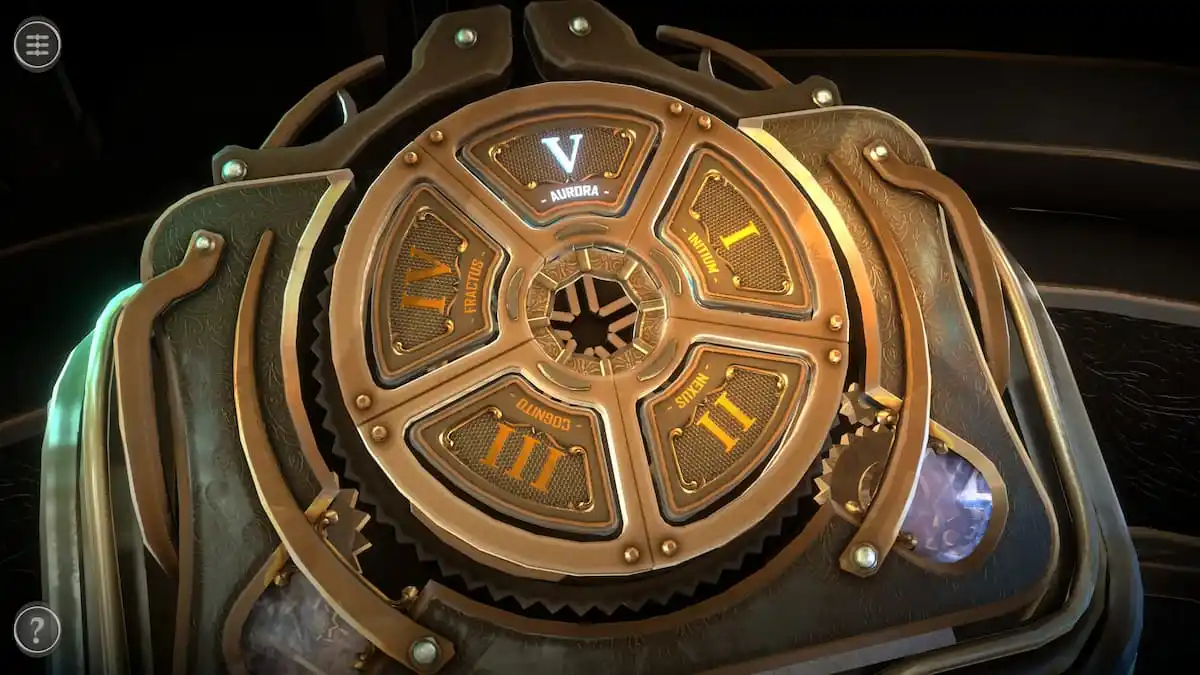
Place the Token into the podium to unlock Chapter 5, titled “Aurora”.
CHAPTER 4 IS NOW COMPLETE AND FINISH AND YOU JUST UNLOCKED CHAPTER 5 THE FINAL CHAPTER IN THE ENTIRE GAME. CHAPTER 5 IS NOW UNLOCKED IN BOXES LOST FRAGMENTS
CHAPTER 5
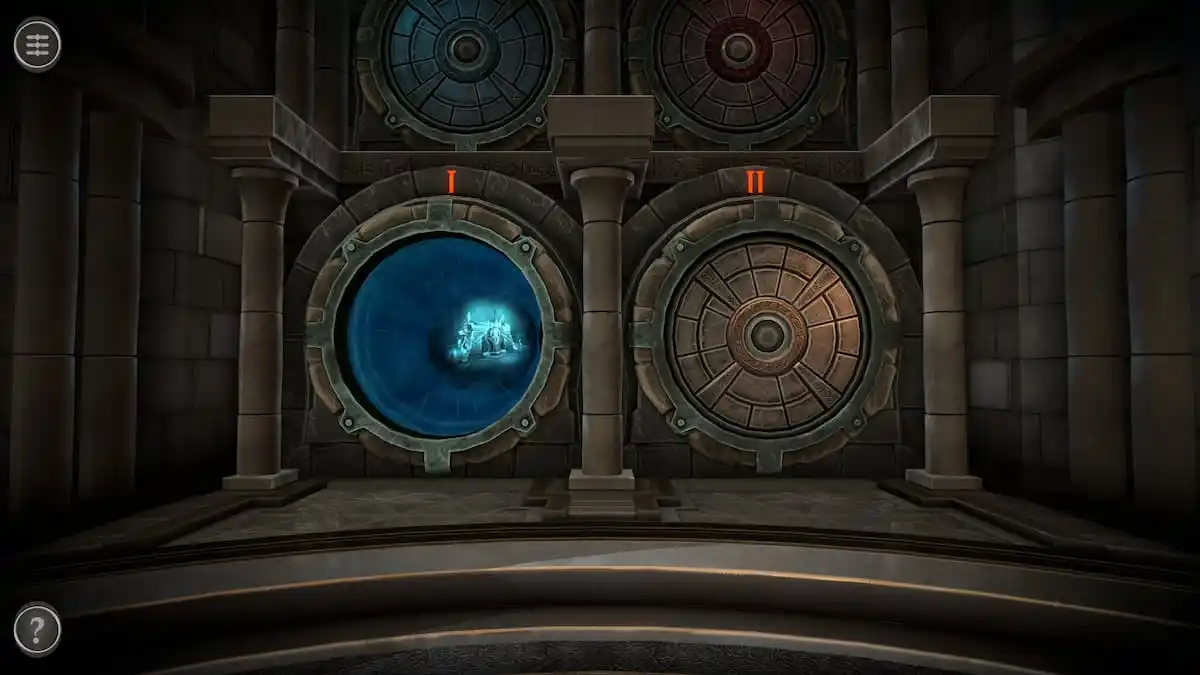
Room one puzzles
Unlike the last few chapters, you remain on the same floor as the fourth chapter. A new section is revealed containing all four doors for the chapter. Enter the first one.
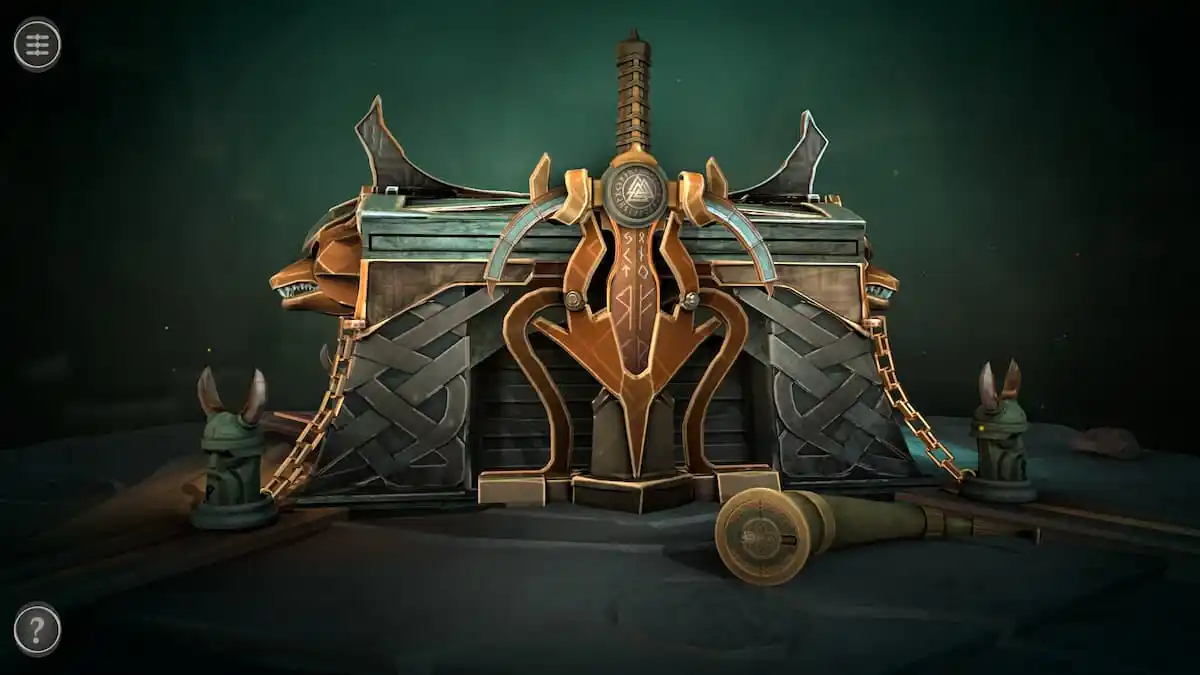
This box has a Viking theme complete with weapons, Viking heads, and wolf heads on the sides. A letter containing lore can be found on the backside of the box.
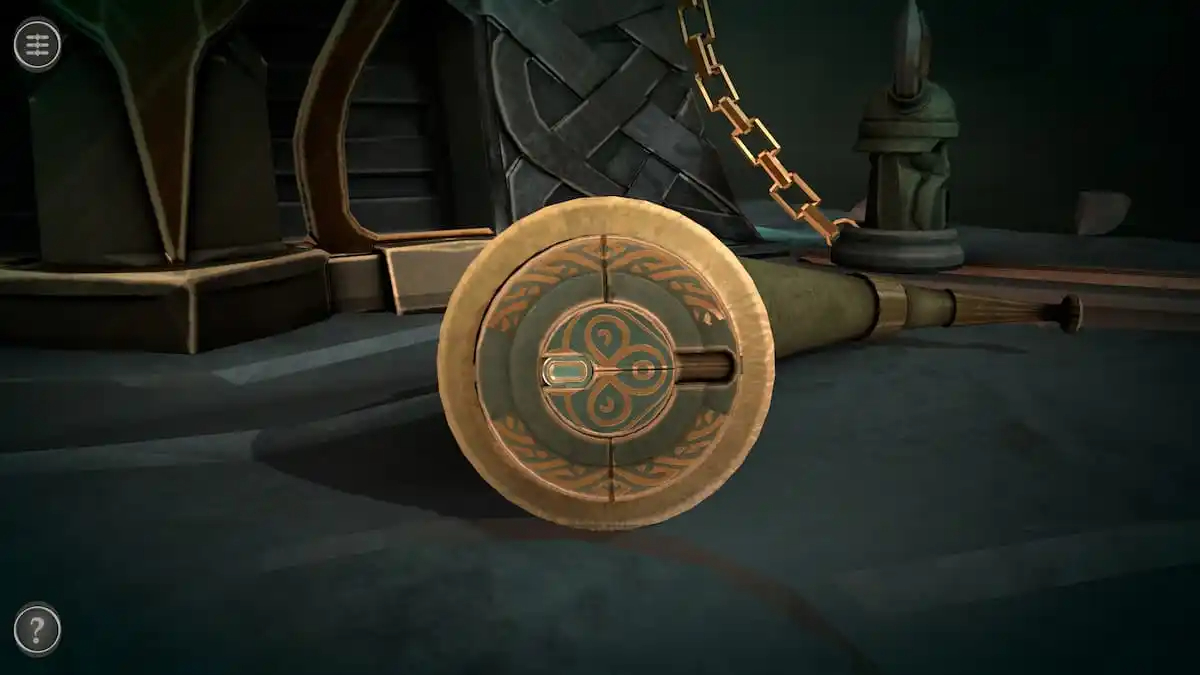
Horn puzzle
Focus on the horn in front of the chest.
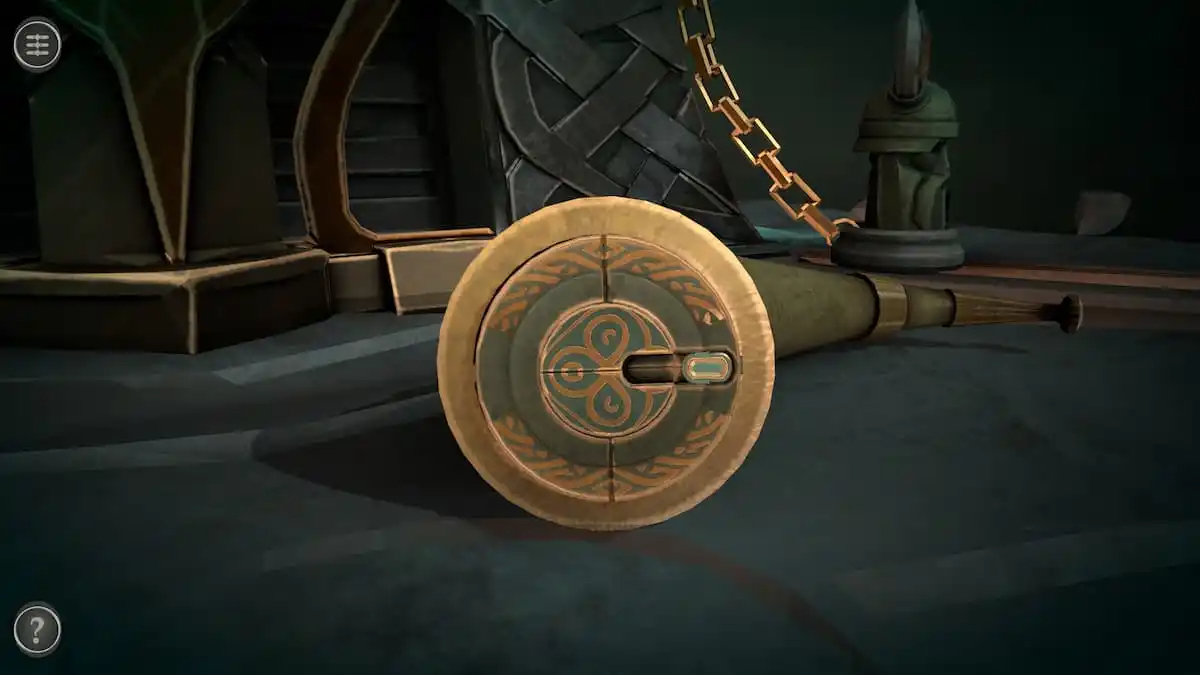
Rotate the center until the slider can be moved to the gap on the right. Then rotate the center once more so that the gap faces the bottom of the puzzle to unlock it and get a Handle.
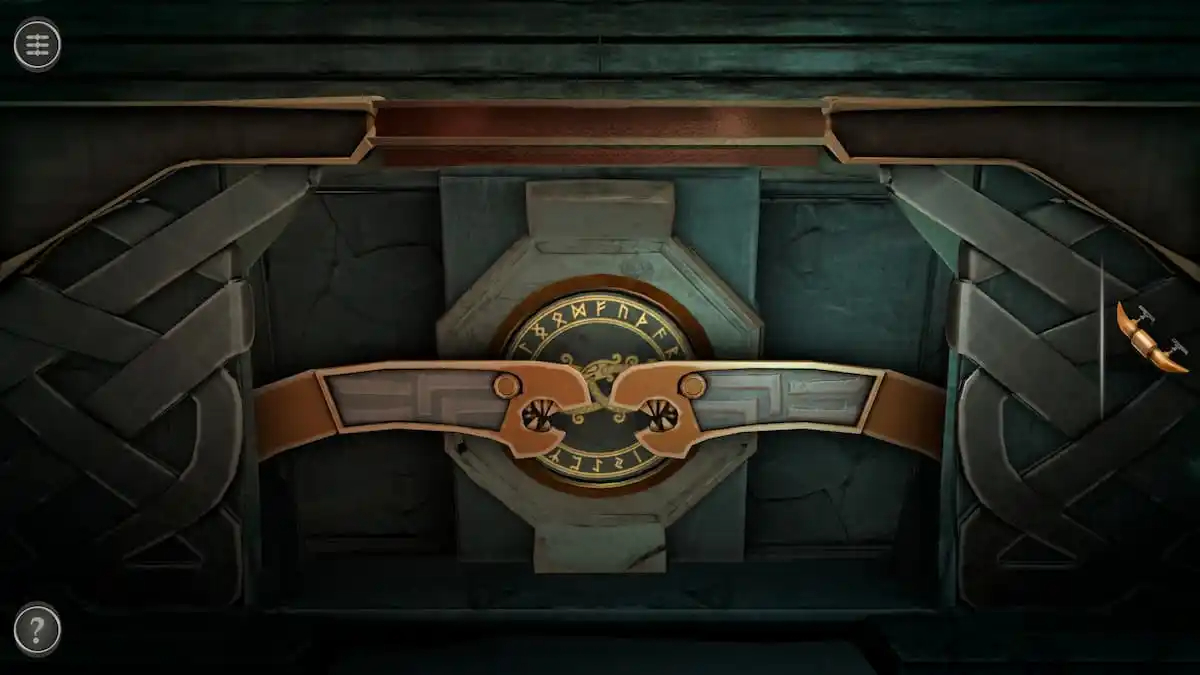
Ouroboros puzzle
The back of the box has an Ouroboros-shaped lock.
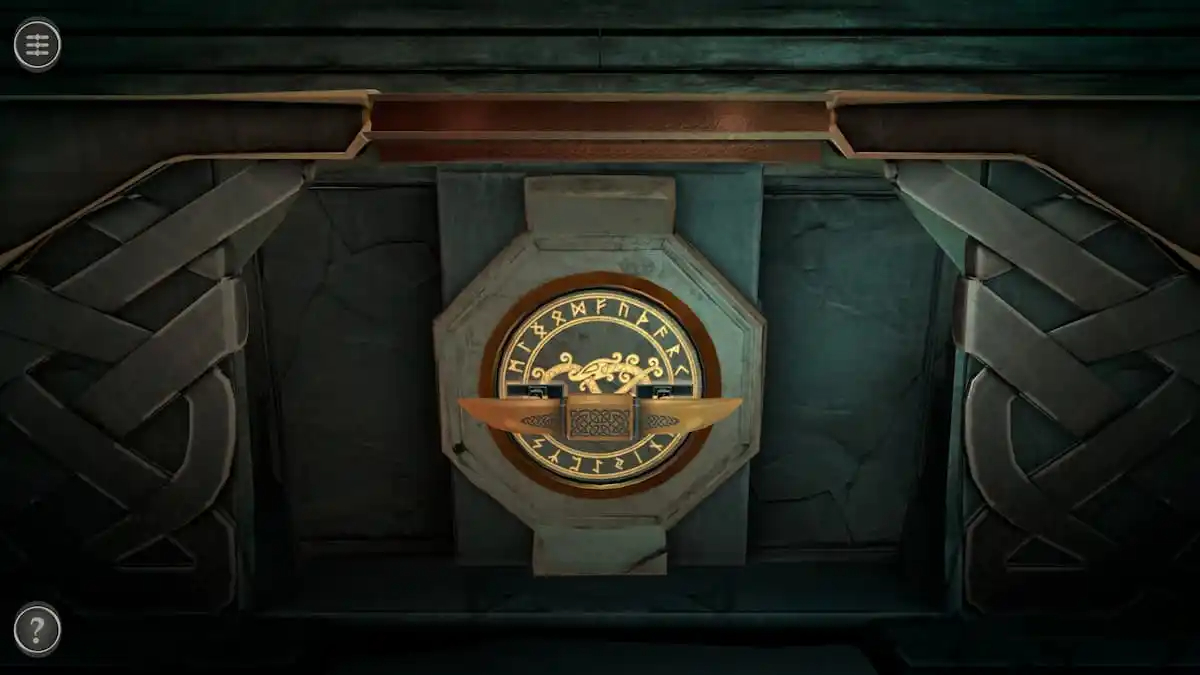
Slide each head to the side closest to it and add the Handle to the center. Rotate it to unlock the pathway puzzle.
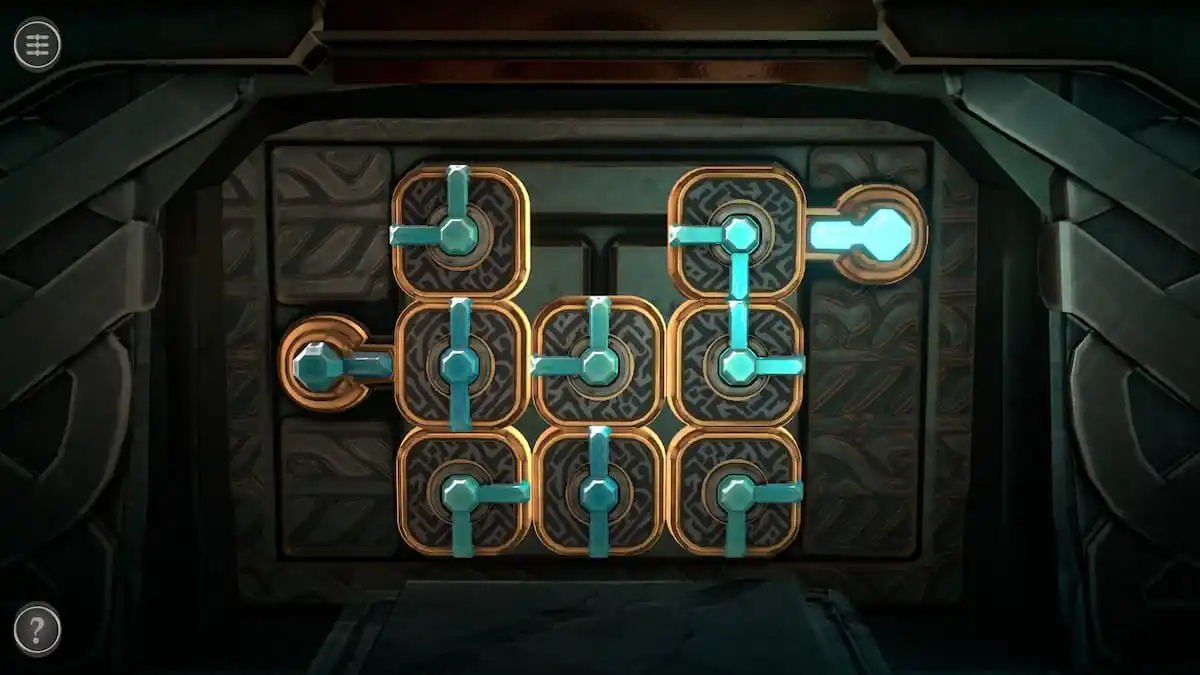
Blue pathway puzzle
This puzzle requires you to move the puzzle pieces around until they make a complete path from the top right square to the center-left square.
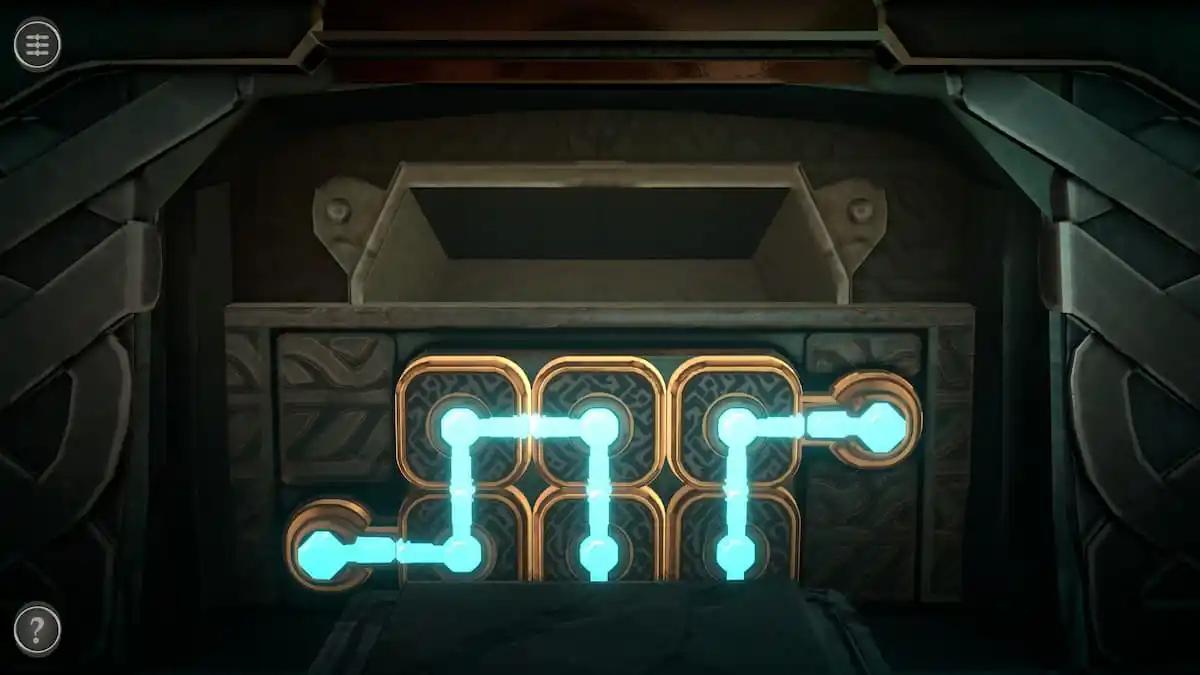
Once the path is complete, the puzzle will sink into the box and give you a Puzzle Box.
Puzzle Box puzzle
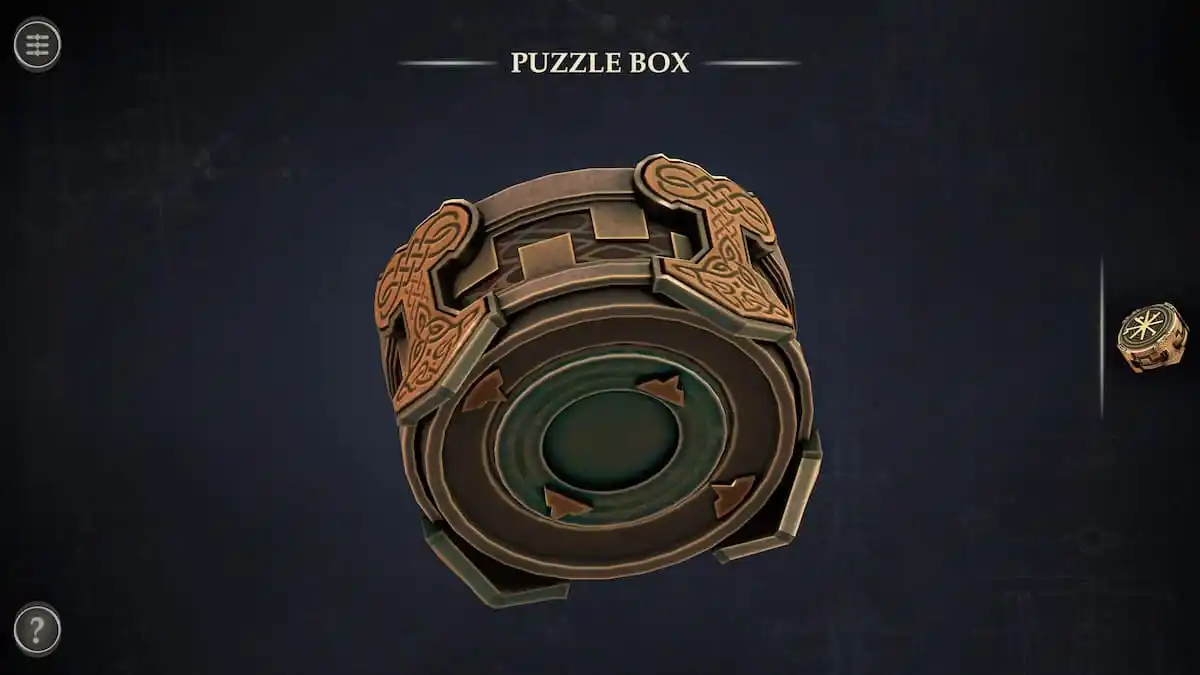
Tap the Puzzle Box in your inventory and rotate it to view the bottom.
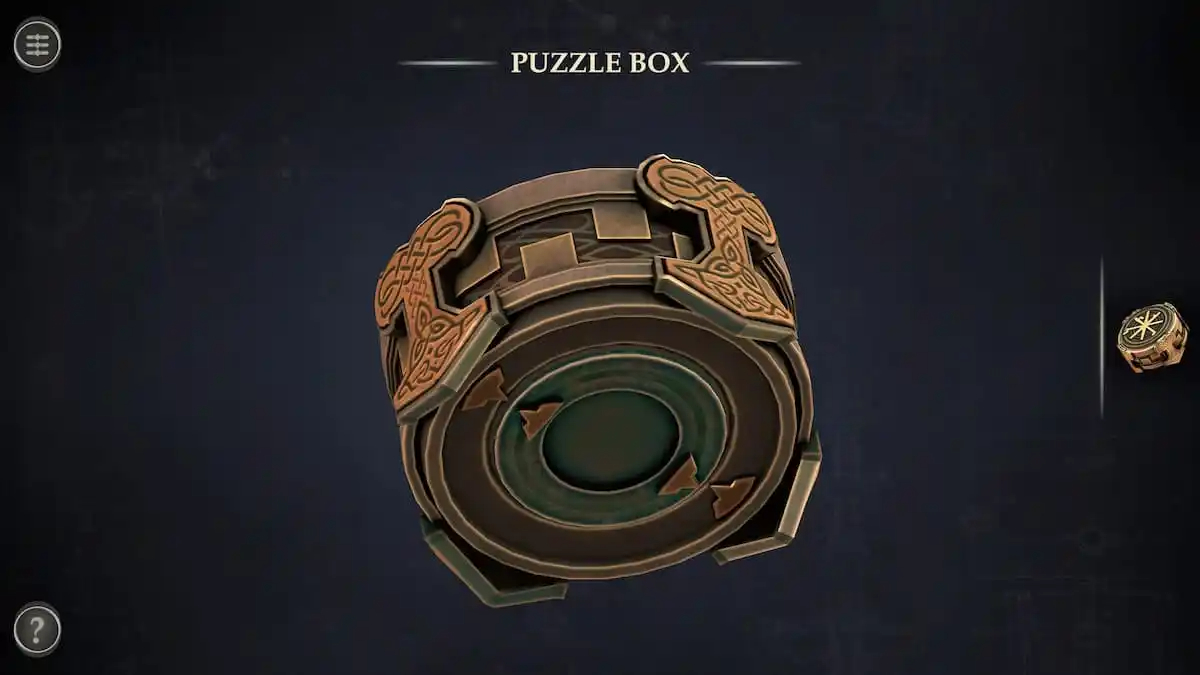
Rotate the inner ring to align the arrows to open the box and get a Celtic Knot.
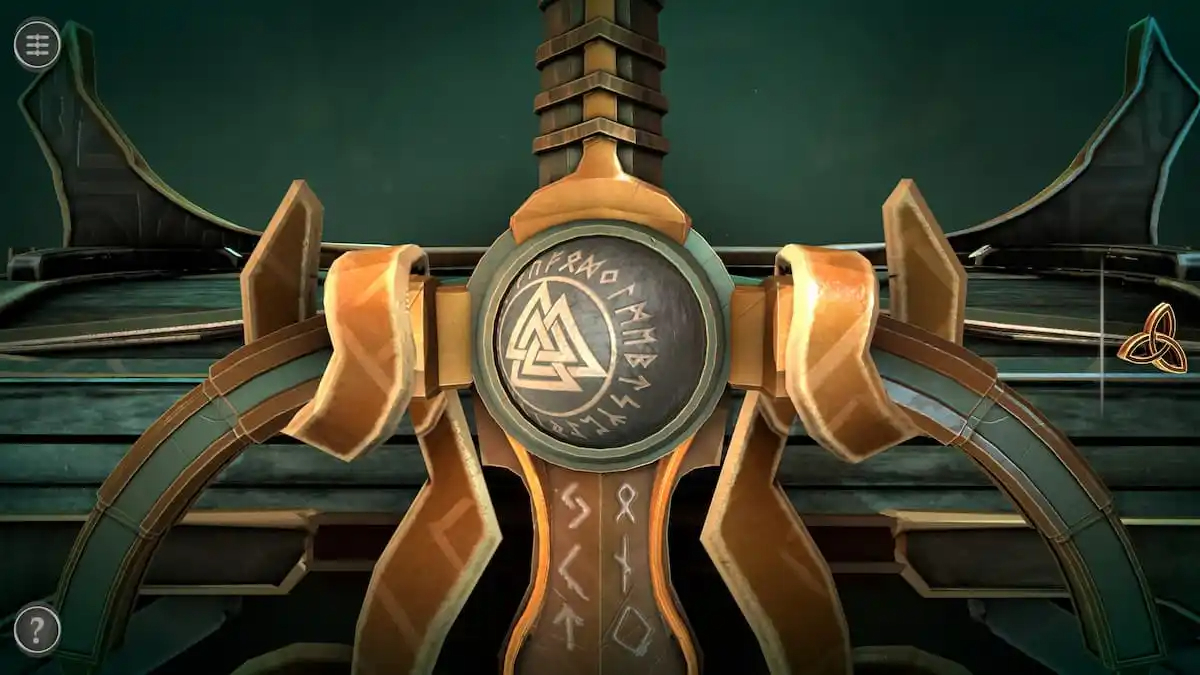
Short sword puzzle
The ball on the handle of the short sword can be rotated.
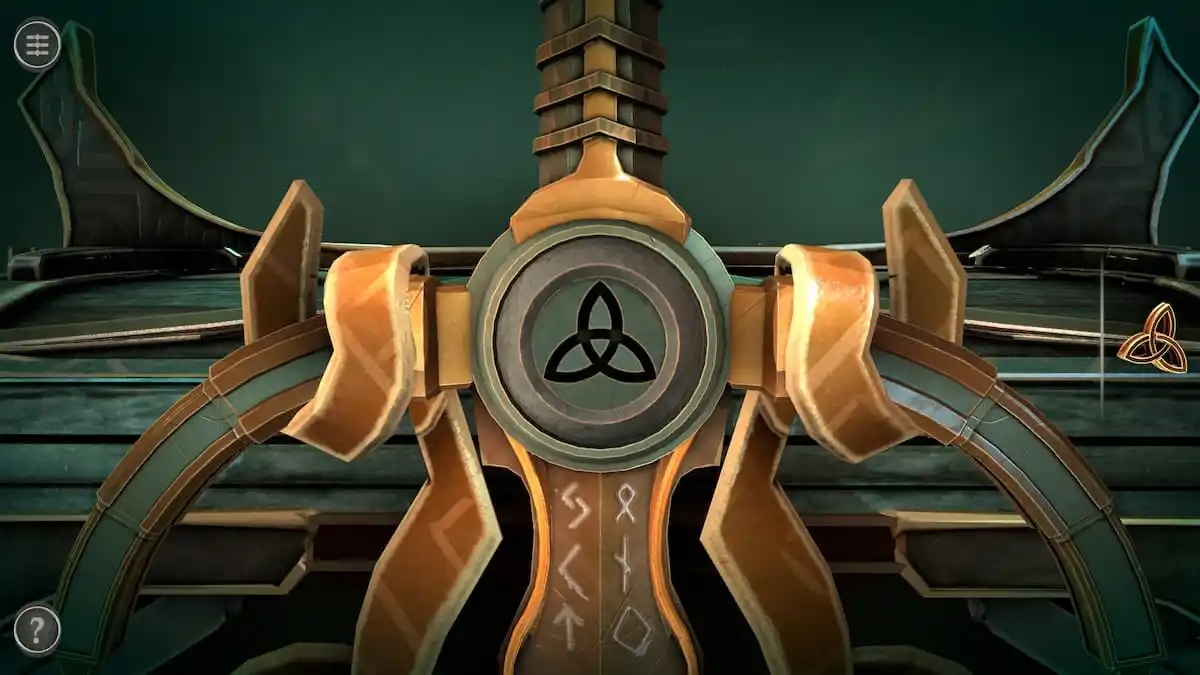
Completely rotating it reveals a hidden slot matching the Celtic Knot.
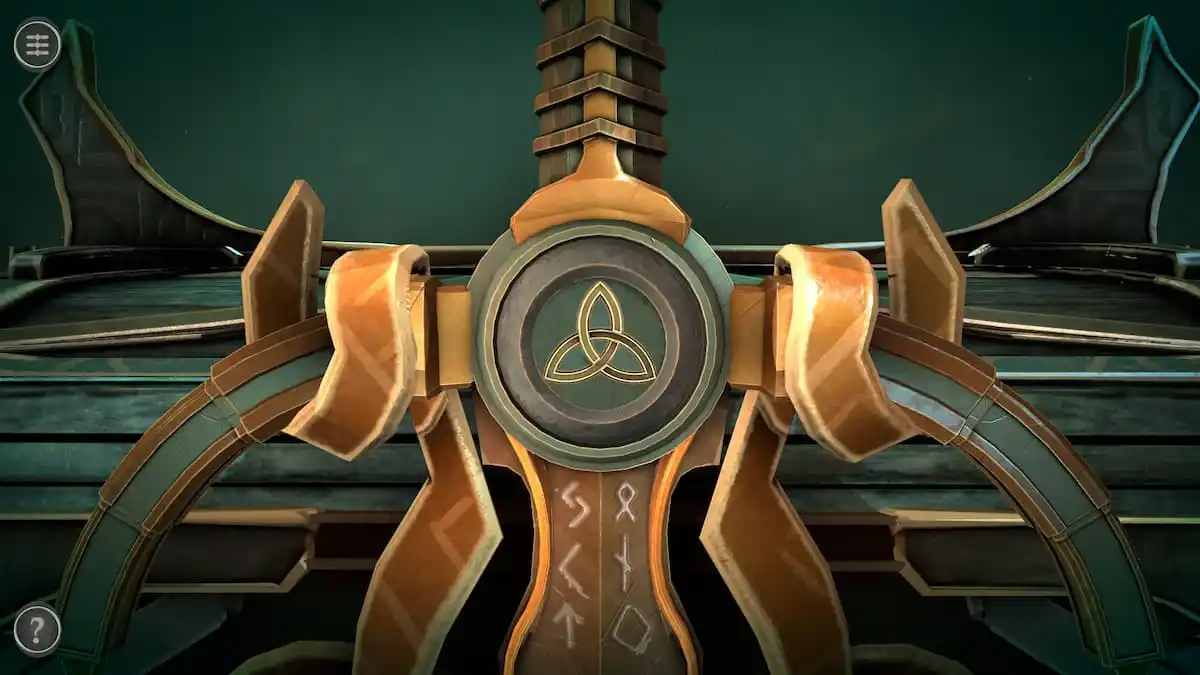
Place the Celtic Knot into the slot.
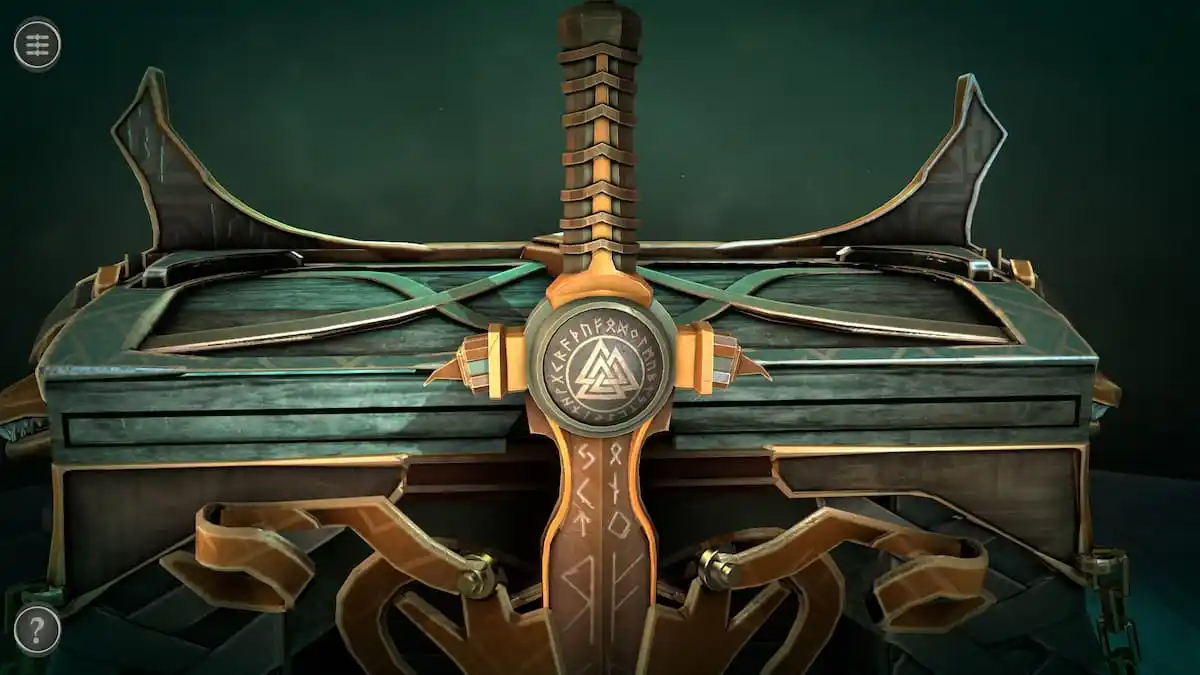
Afterward, each of the handles on either side of the sword can be moved down. Pull the sword up to place the Short Sword in your inventory.
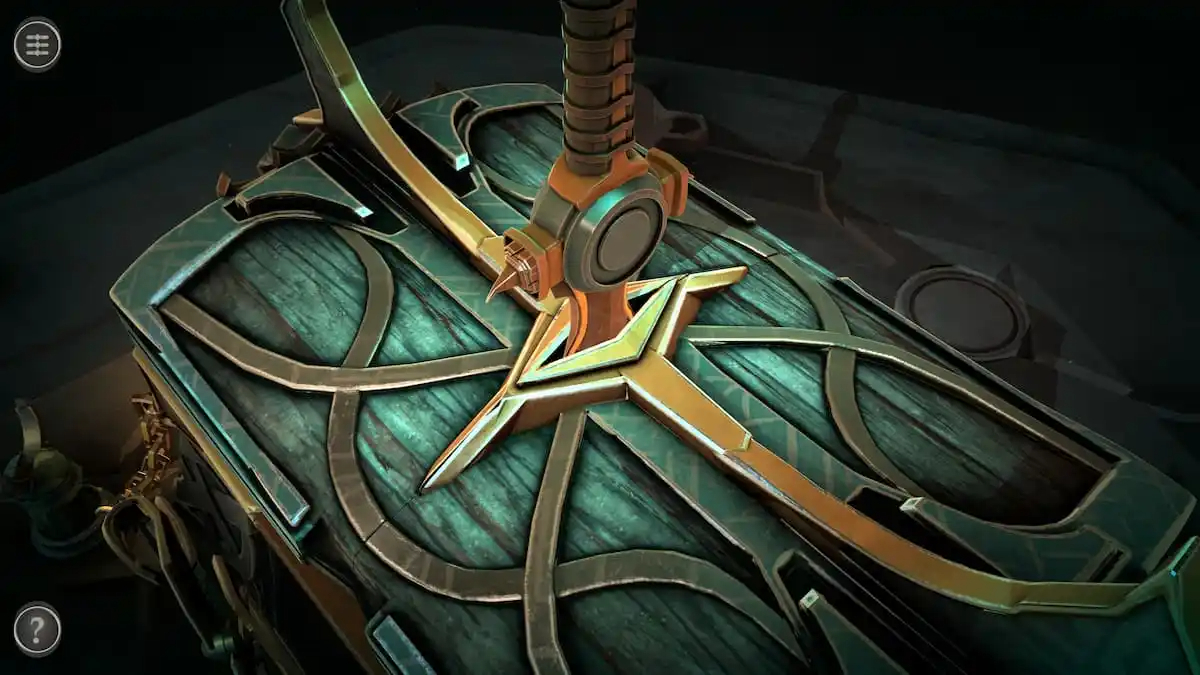
Place the Short Sword into the slot at the top of the box to unlock a puzzle beneath each of the wolf heads on the box’s sides.
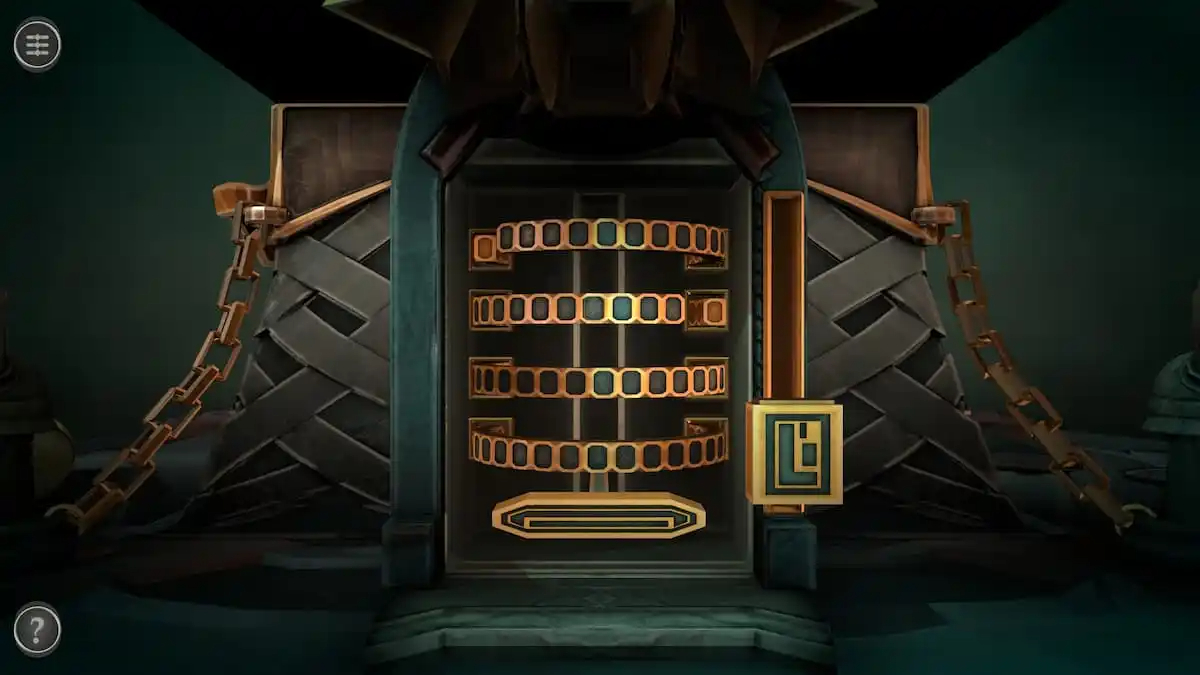
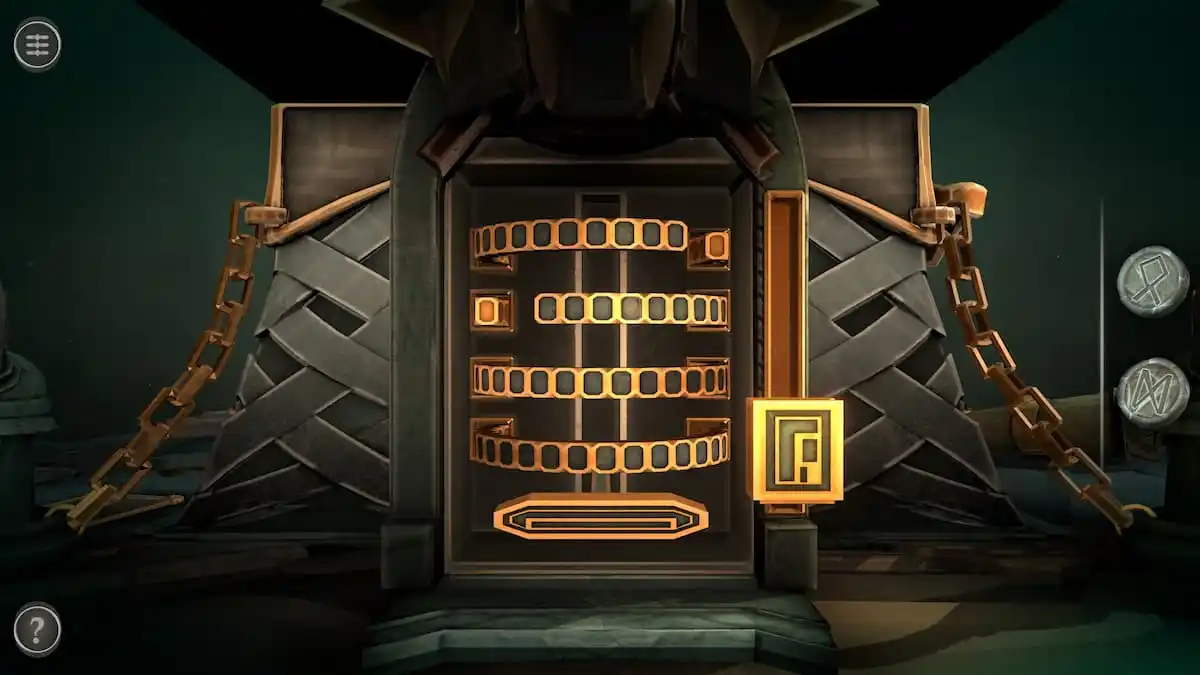
Right wolf head puzzle
This puzzle features a slider on the right and a handle at the bottom.
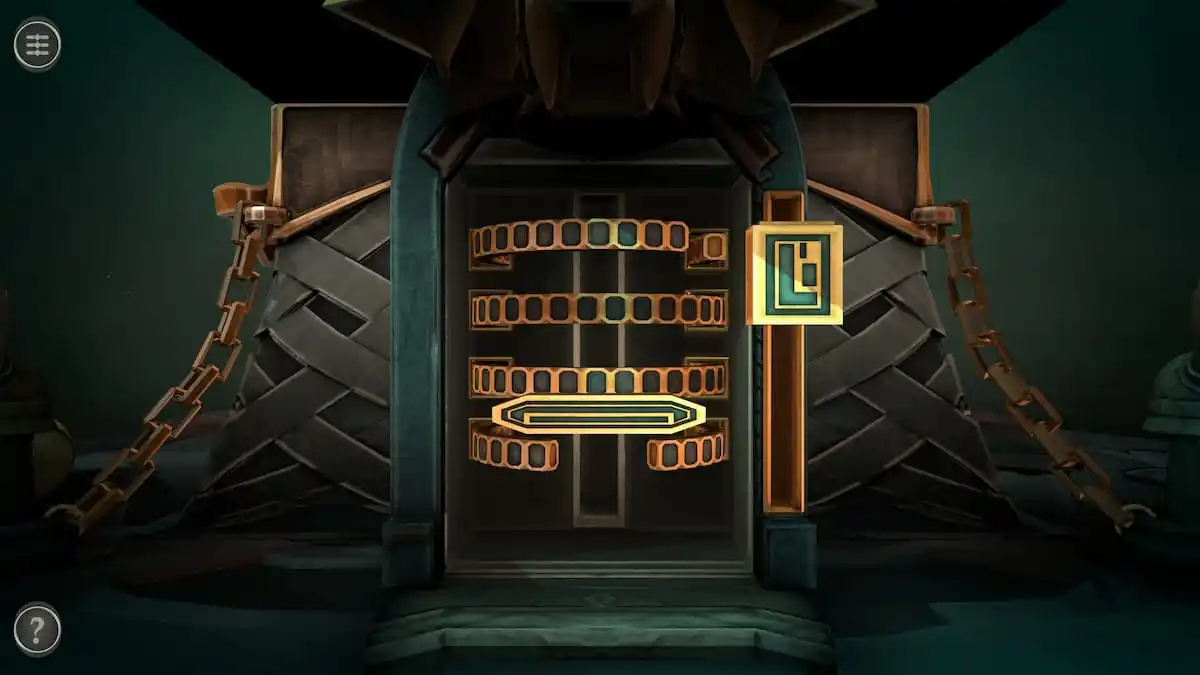
Move the slider until the row above the handle has a gap. The handle can then be moved above that row and below the next one.
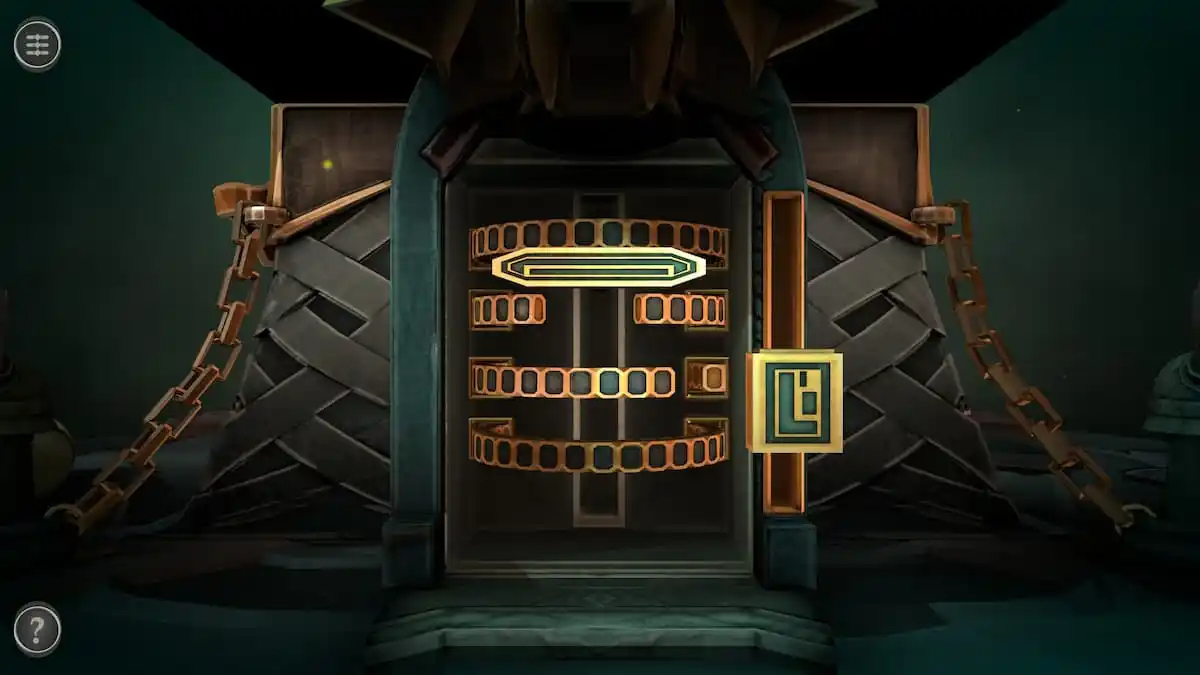
Repeat this process with every row in the puzzle.
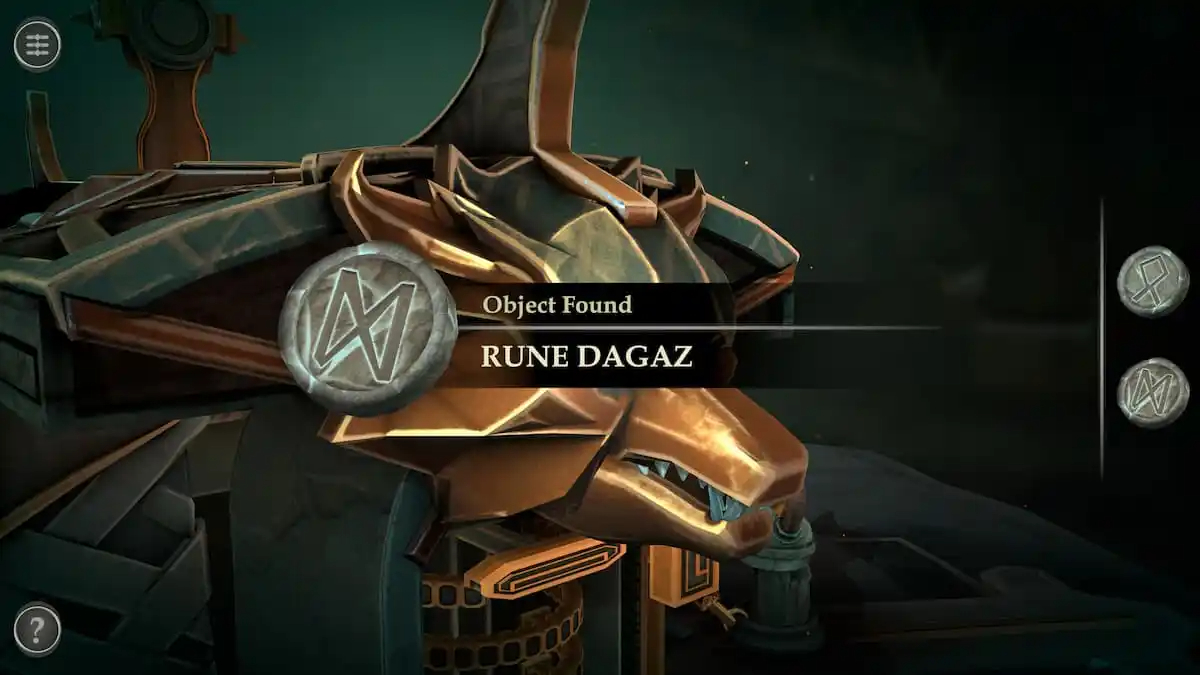
When you reach the end, the wolf head will give you the Rune Othala and the Rune Dagaz.
Left wolf head puzzle
The wolf head on the left side of the box is done in the same way as the right wolf head.
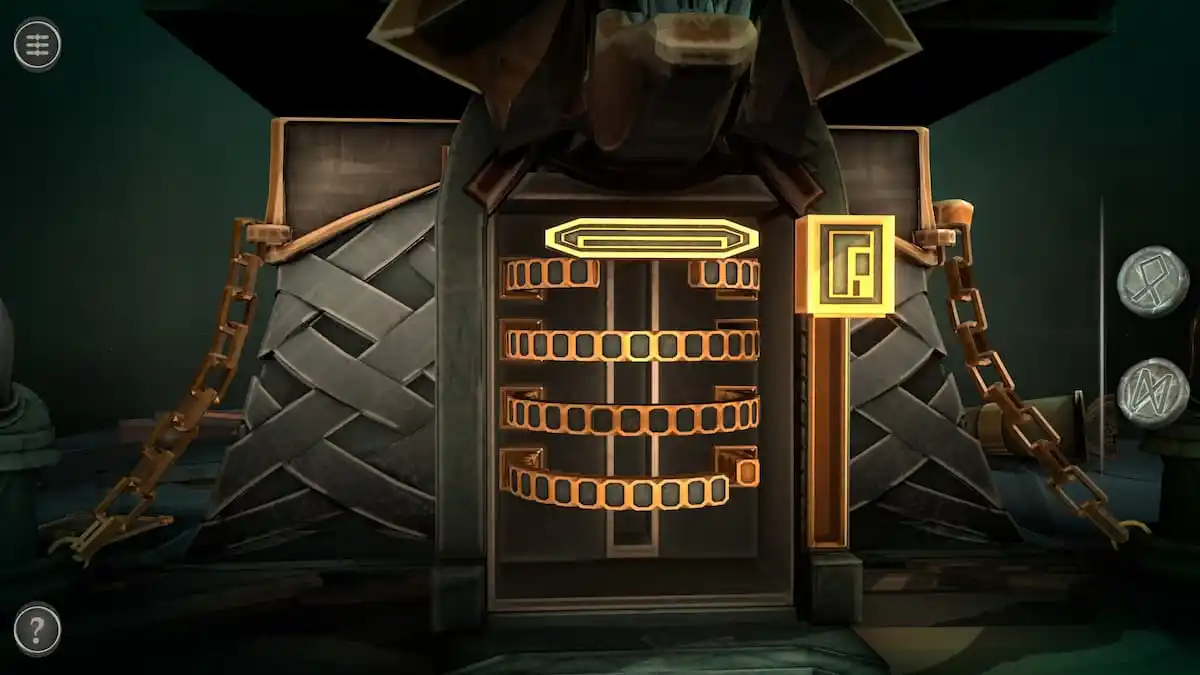
Once the handle is at the top of the puzzle, the wolf’s mouth will open.
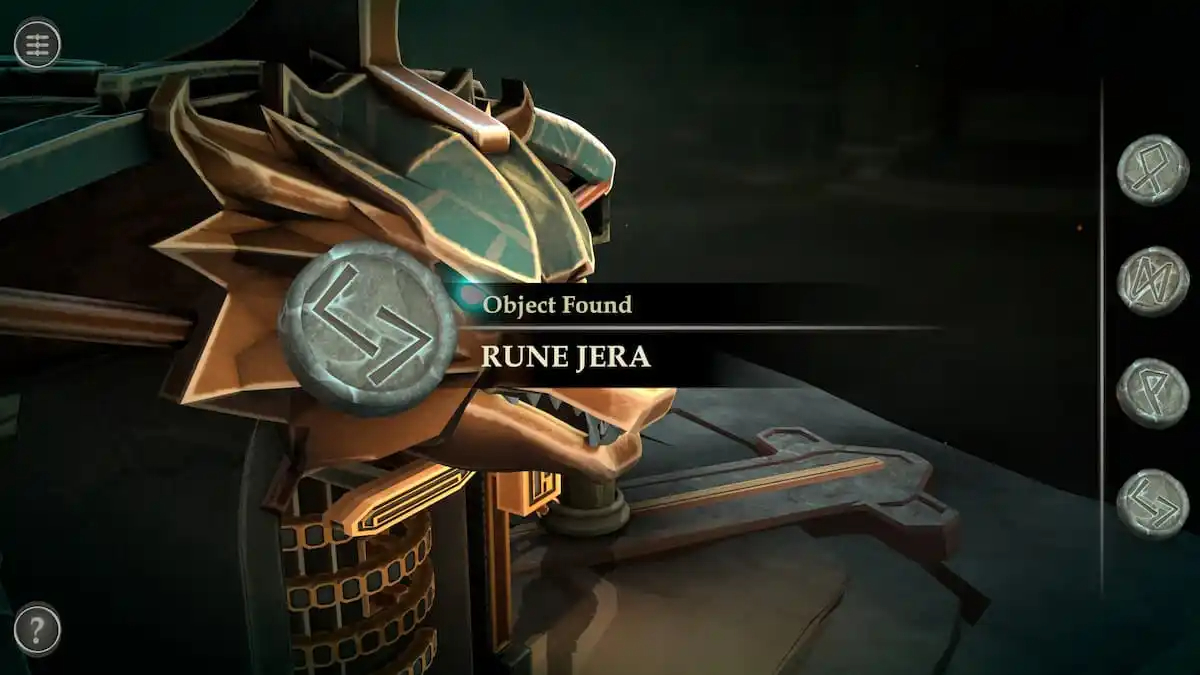
The wolf’s mouth contains the Rune Wunjo and the Rune Jera.
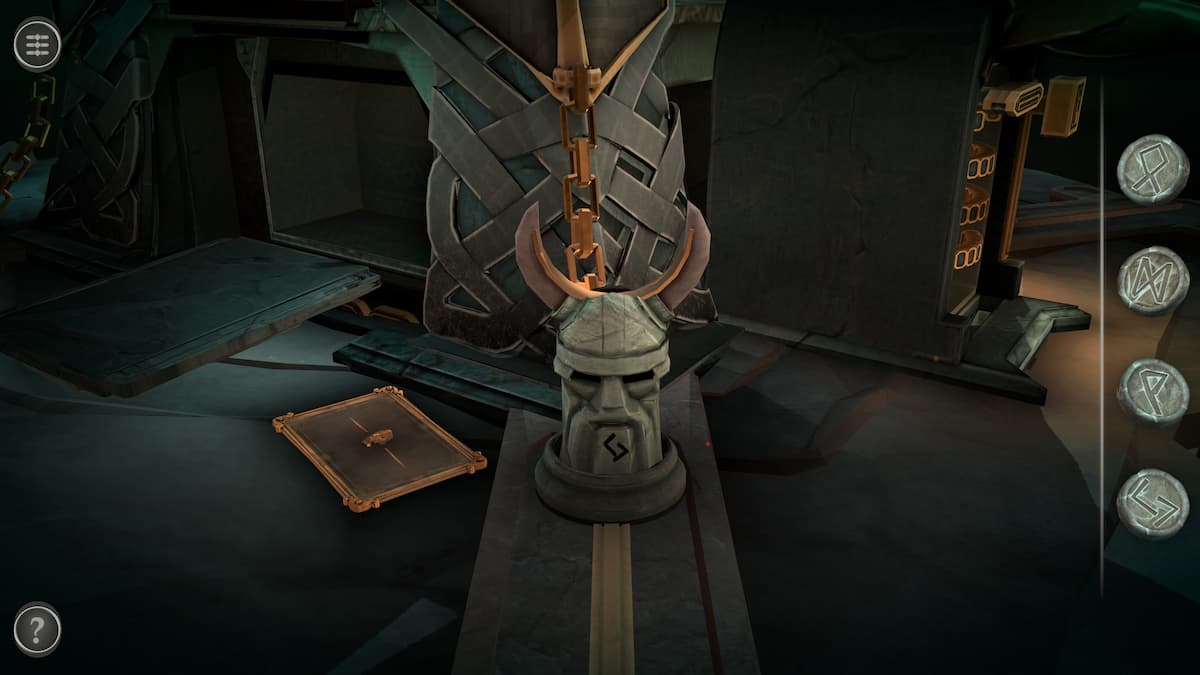
Viking head puzzle
First, look at the Viking head behind the left wolf head.
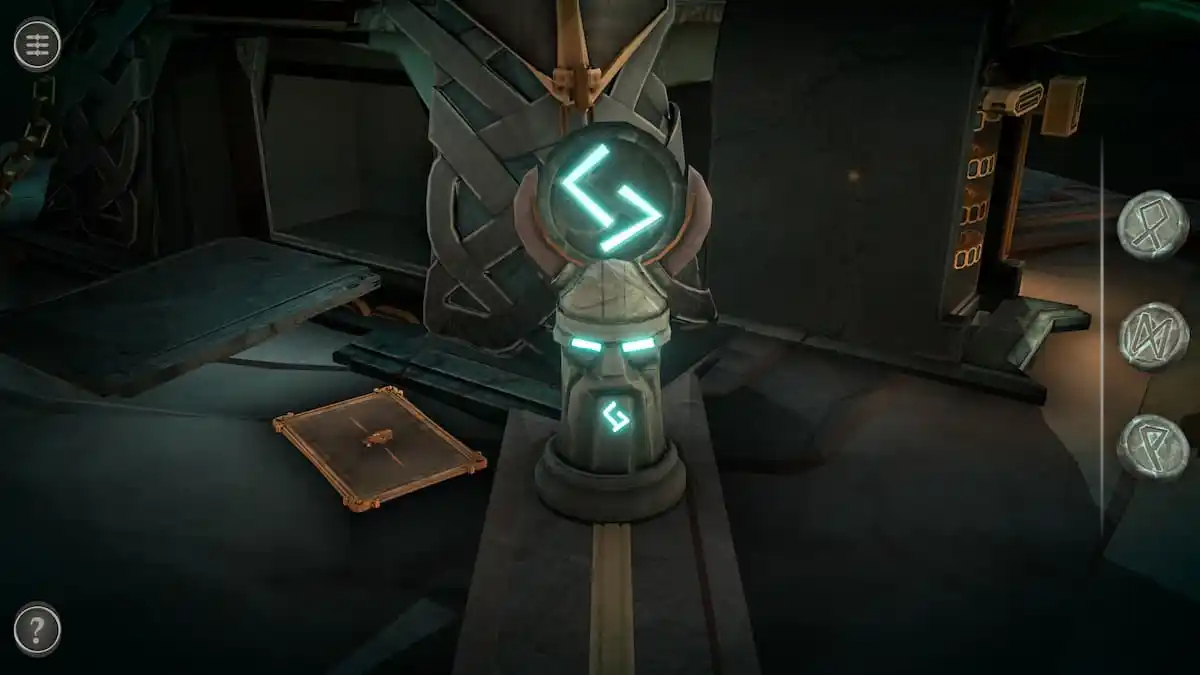
The symbol on it matches the symbol on the Rune Jera. Place the Rune Jera on its head to activate the head.
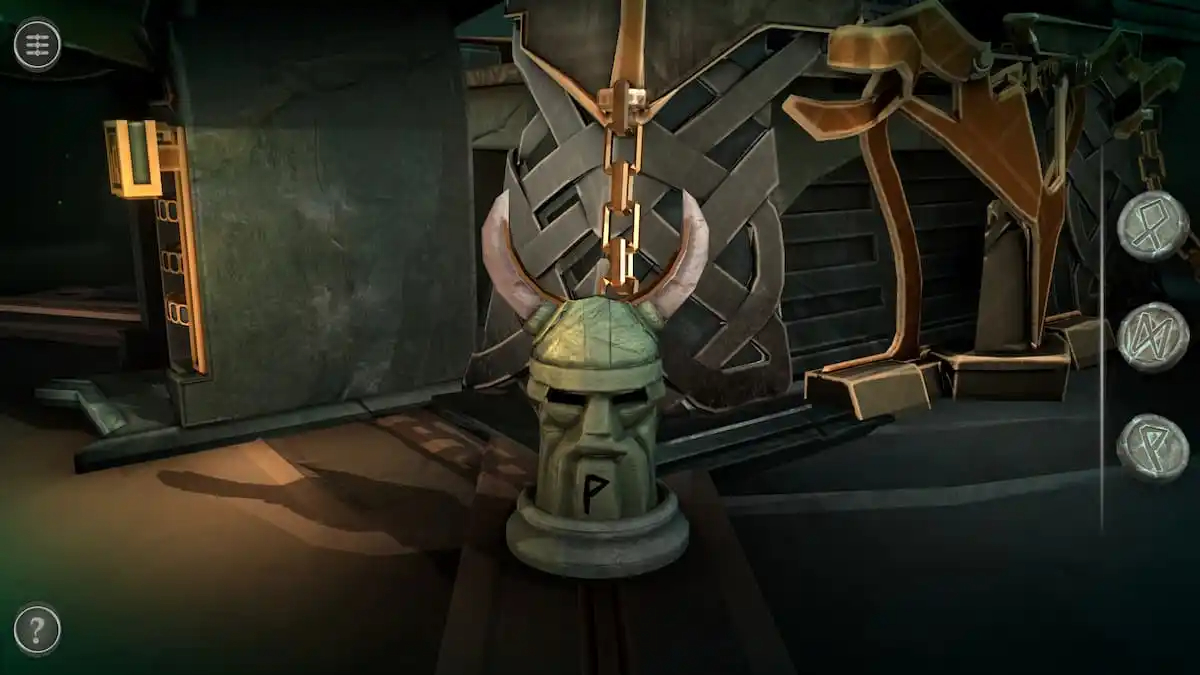
Rotate to view the Viking head in front of the left wolf head.
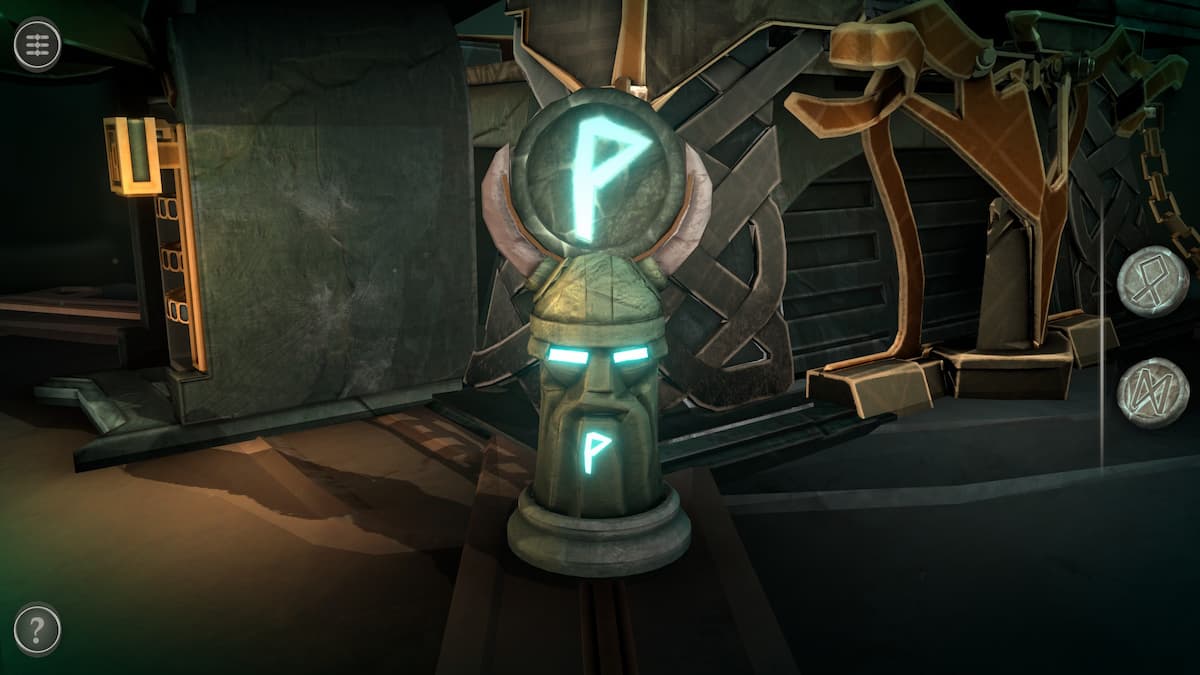
Placed the Rune Wunjo on top of it to activate it.
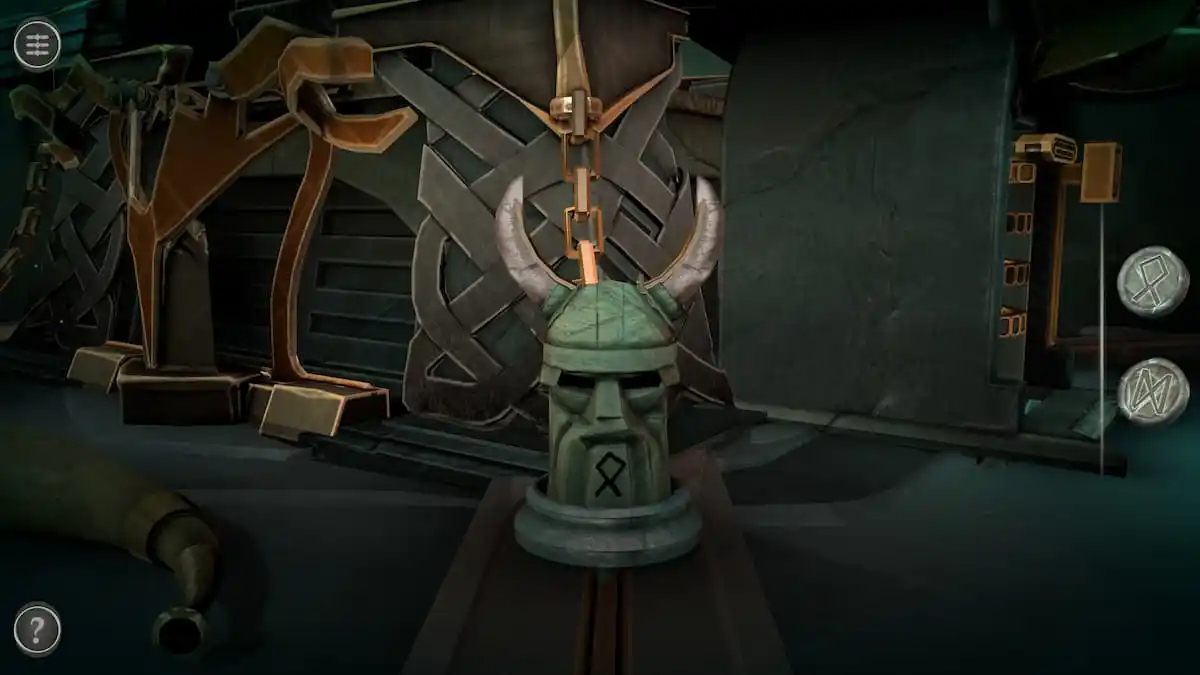
Move the camera to view the Viking head in front of the right wolf head.
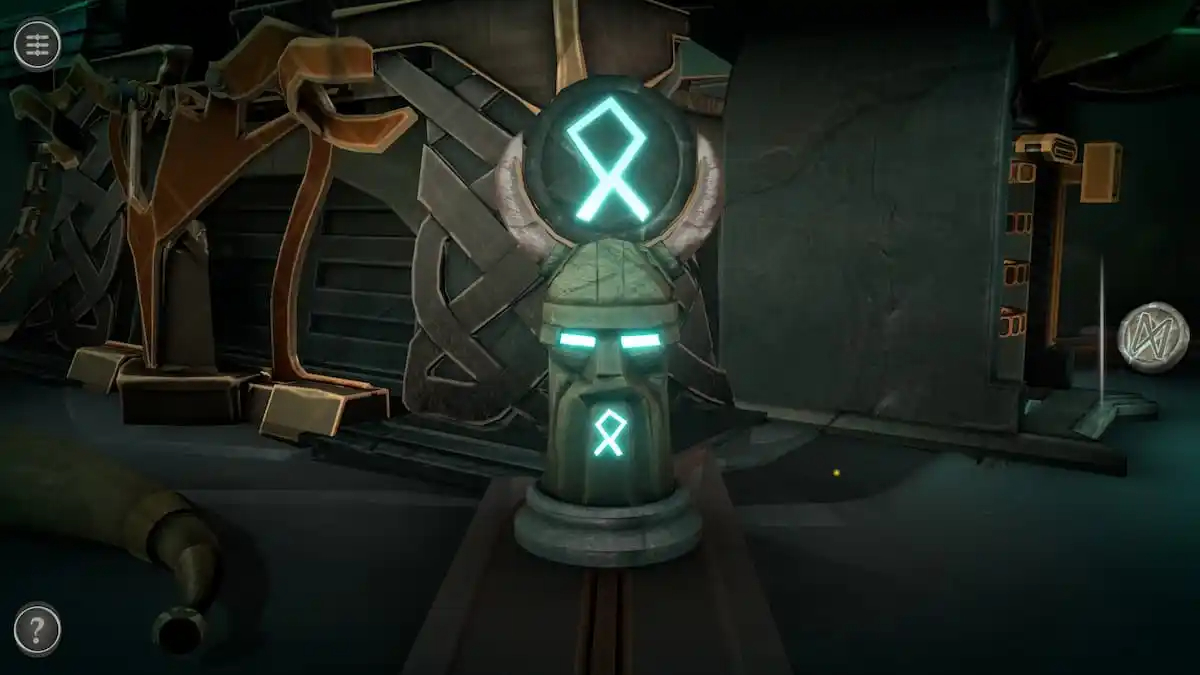
Place the Rune Othala on top of it to activate the head.
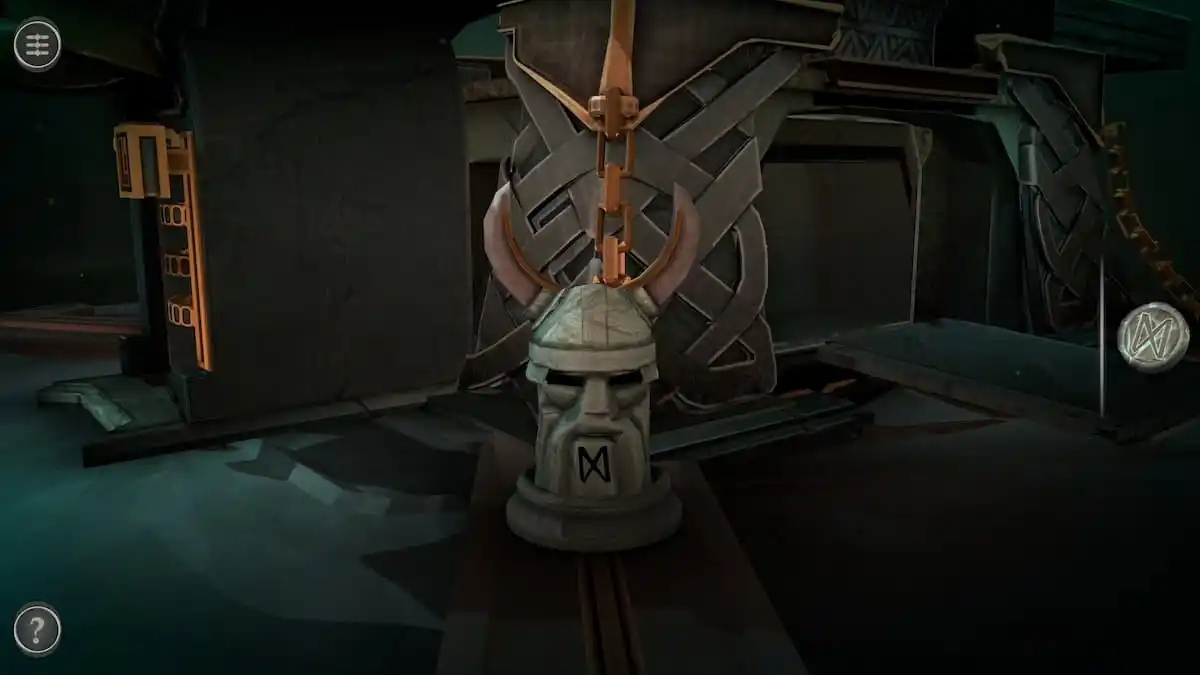
View the final Viking head.
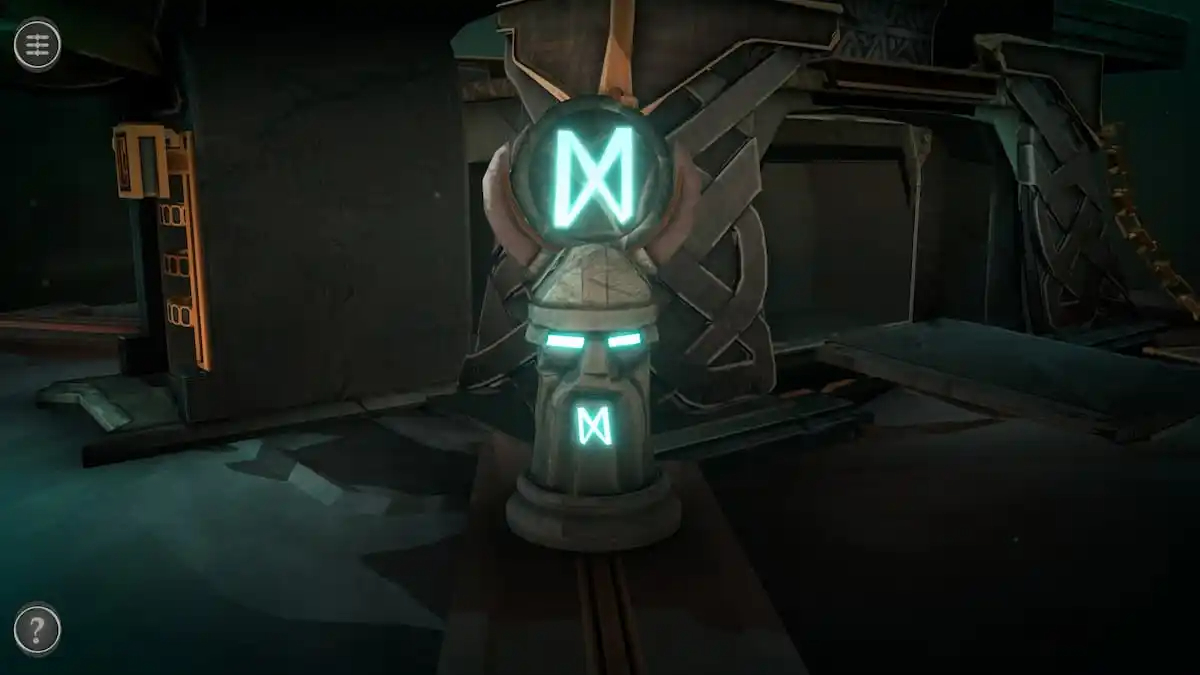
Place the Rune Dagaz onto it to activate it.
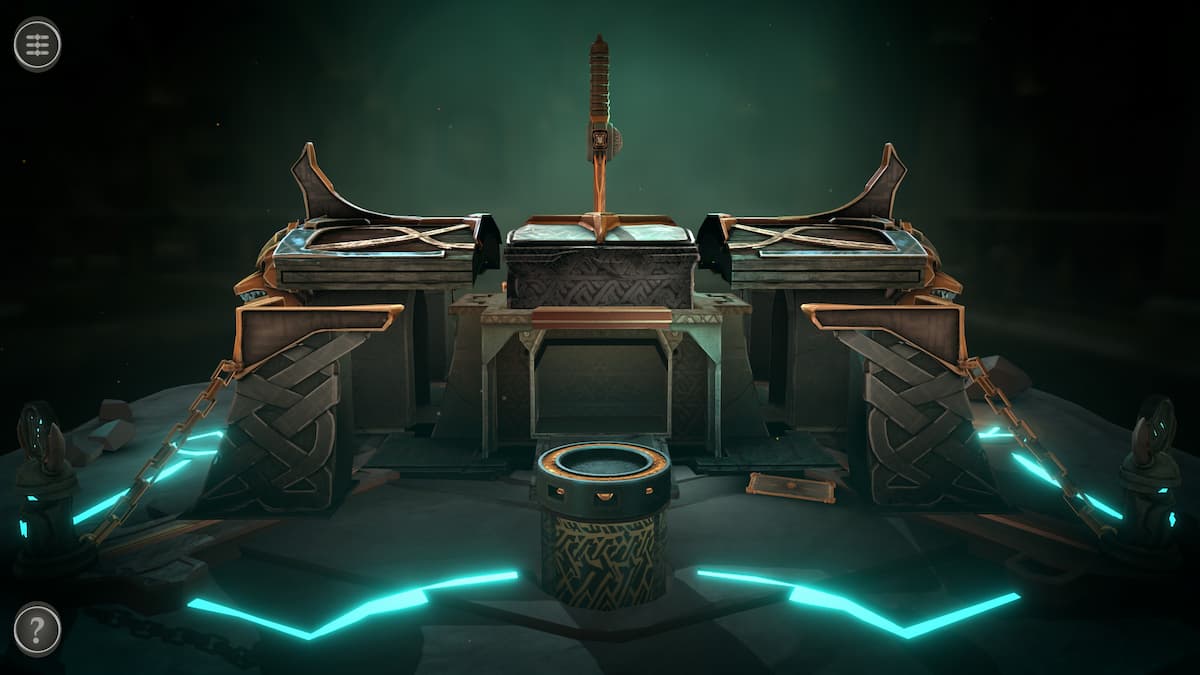
This will transform the box by pulling all of the chained sections out.
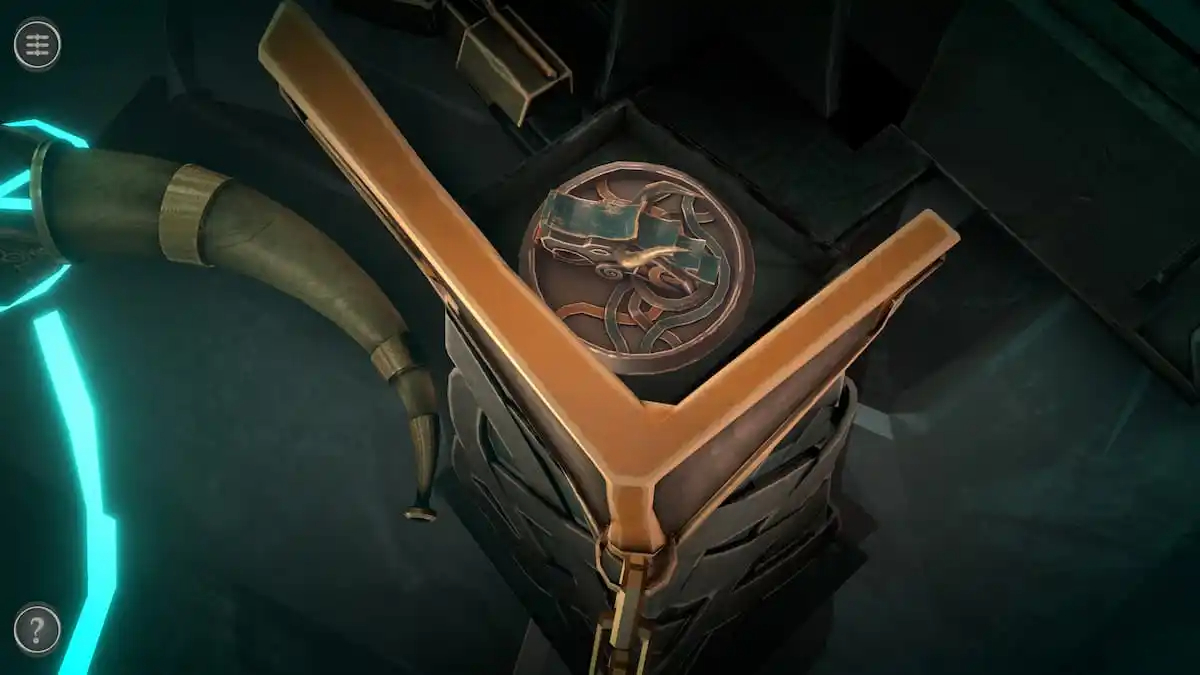
Dragon Token puzzle
The Dragon Token can be found on top of the removed piece near the horn at the front of the box.
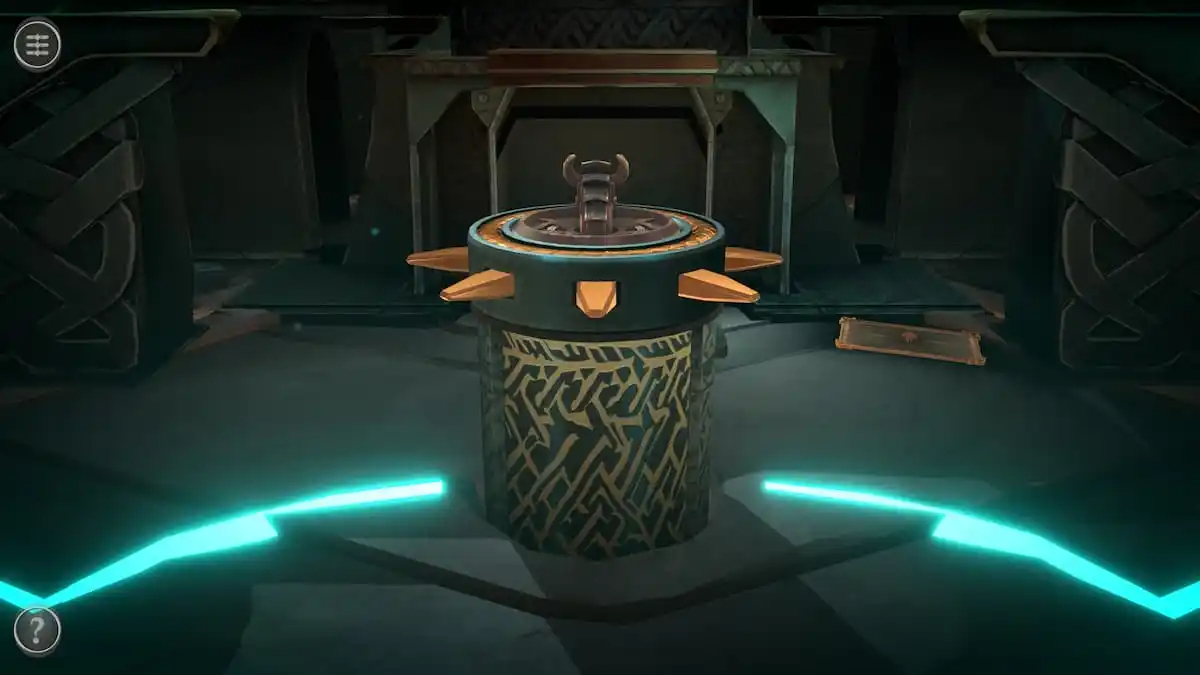
Place the Dragon Token on the pillar at the back and rotate it until the dragon’s head is facing the box.
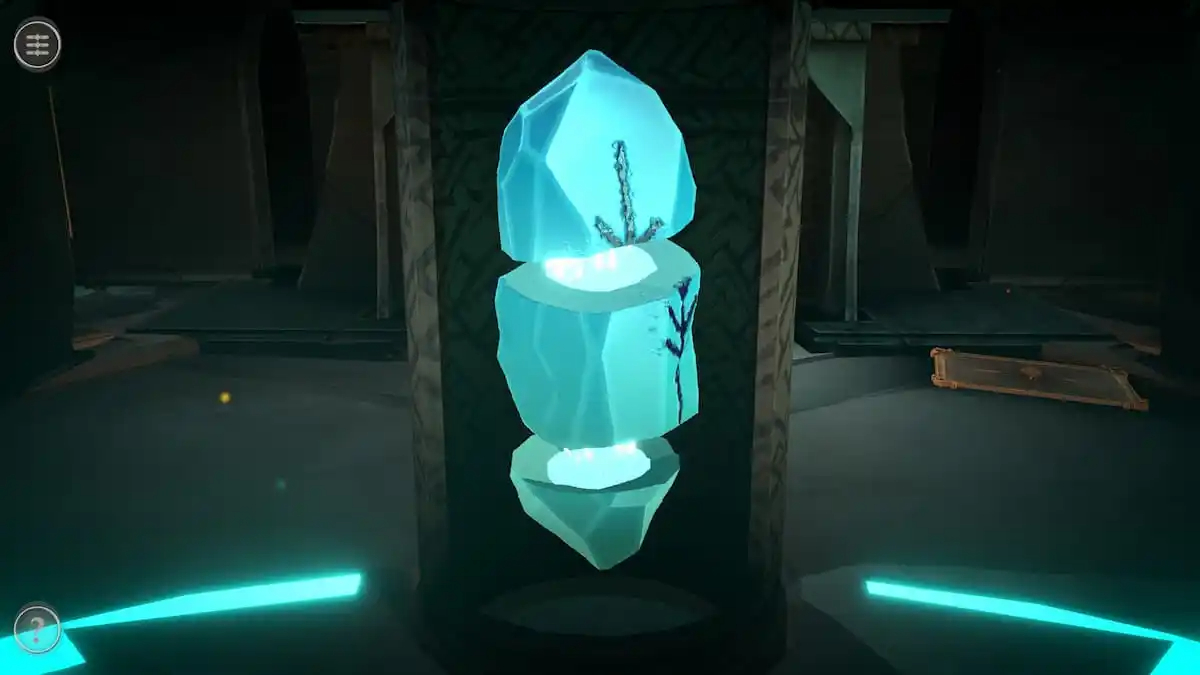
Crystal puzzle
This will reveal a crystal split into three separate pieces.
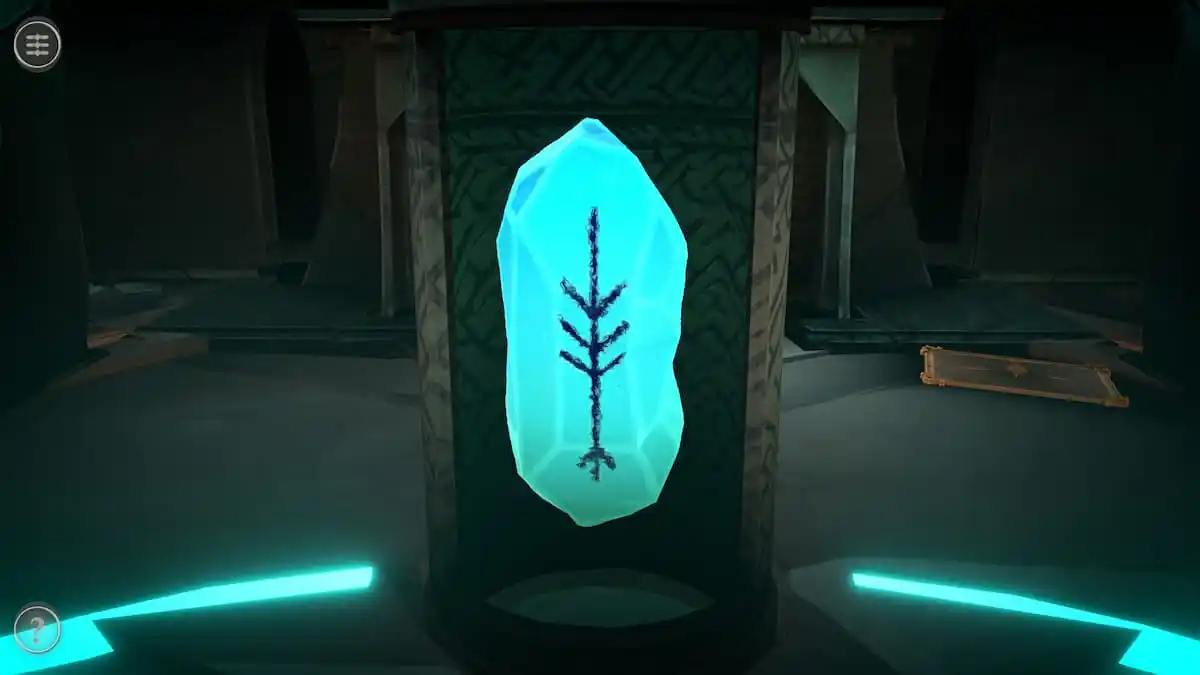
Rotate each piece until the black symbol on the front is complete. The pieces will connect and summon a mystical dragon to destroy the box.
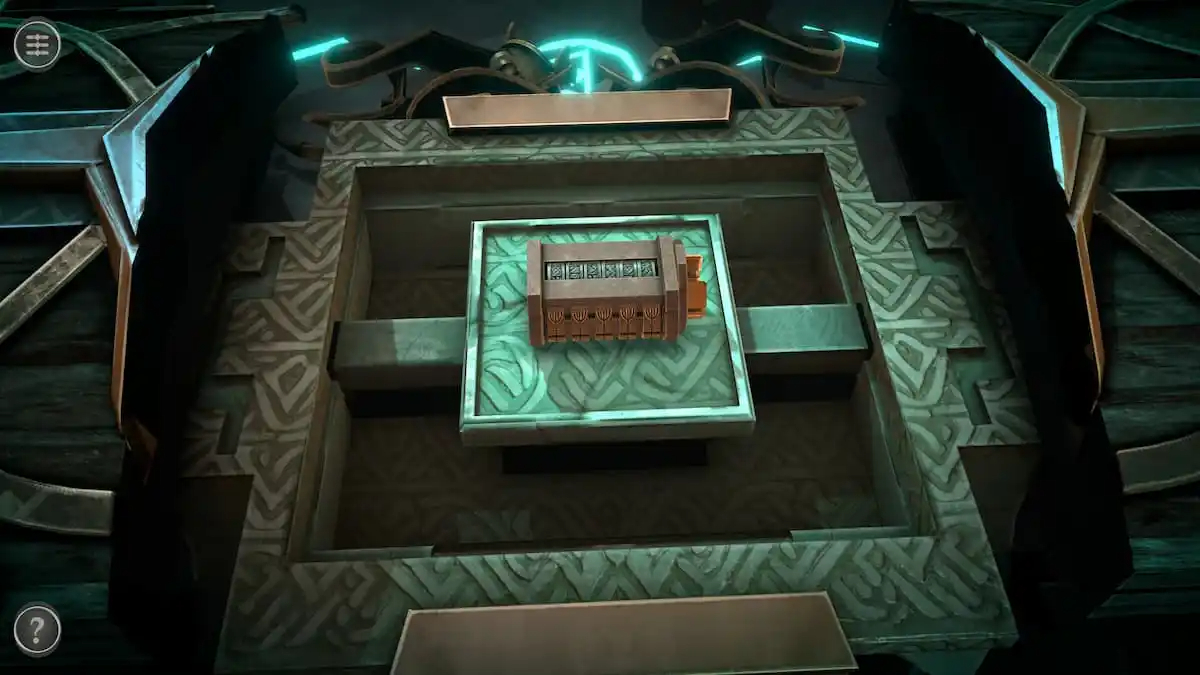
You’ll be able to grab a Cryptex. Doing so will return you to the main room.
FIRST PUZZLE BOX IN FINAL CHAPTER OF THE GAME CALLED CHAPTER 5 IN BOXES LOST FRAGMENTS AND SECOND PUZZLE BOX IS NOW UNLOCKED IN CHAPTER 5 IN BOXES LOST FRAGMENTS
SECOND PUZZLE BOX IN CHAPTER 5
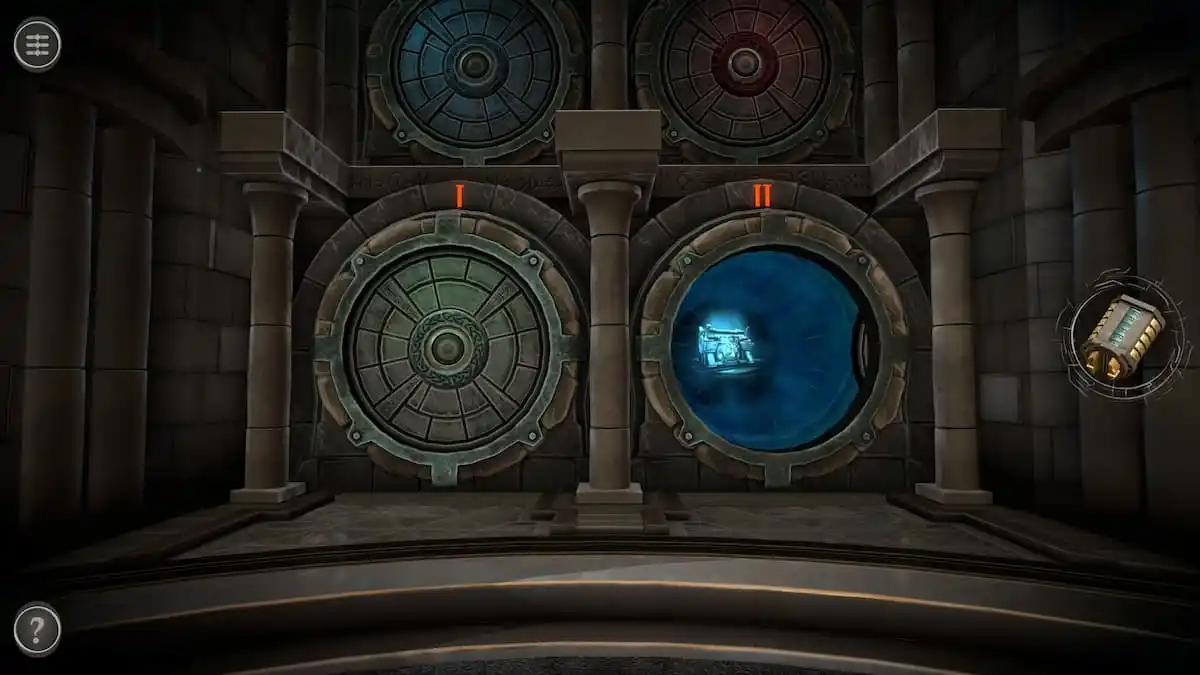
Room two puzzles
Enter the second room.
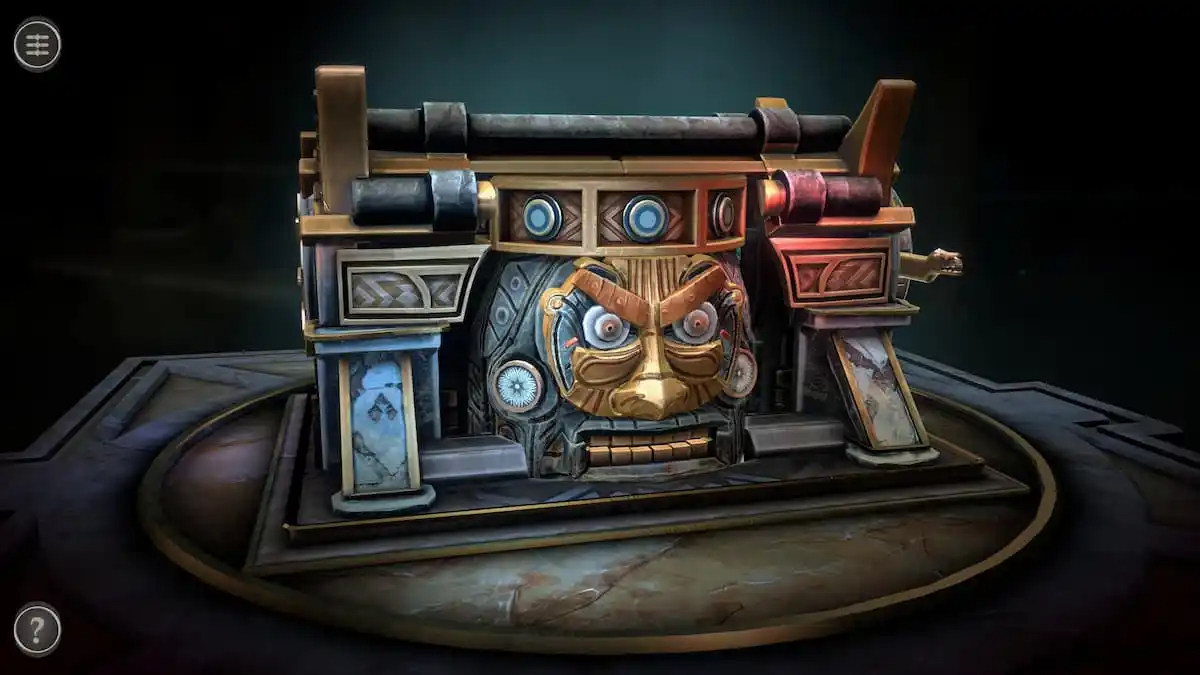
The front of the box in this room is reminiscent of a Tiki statue.
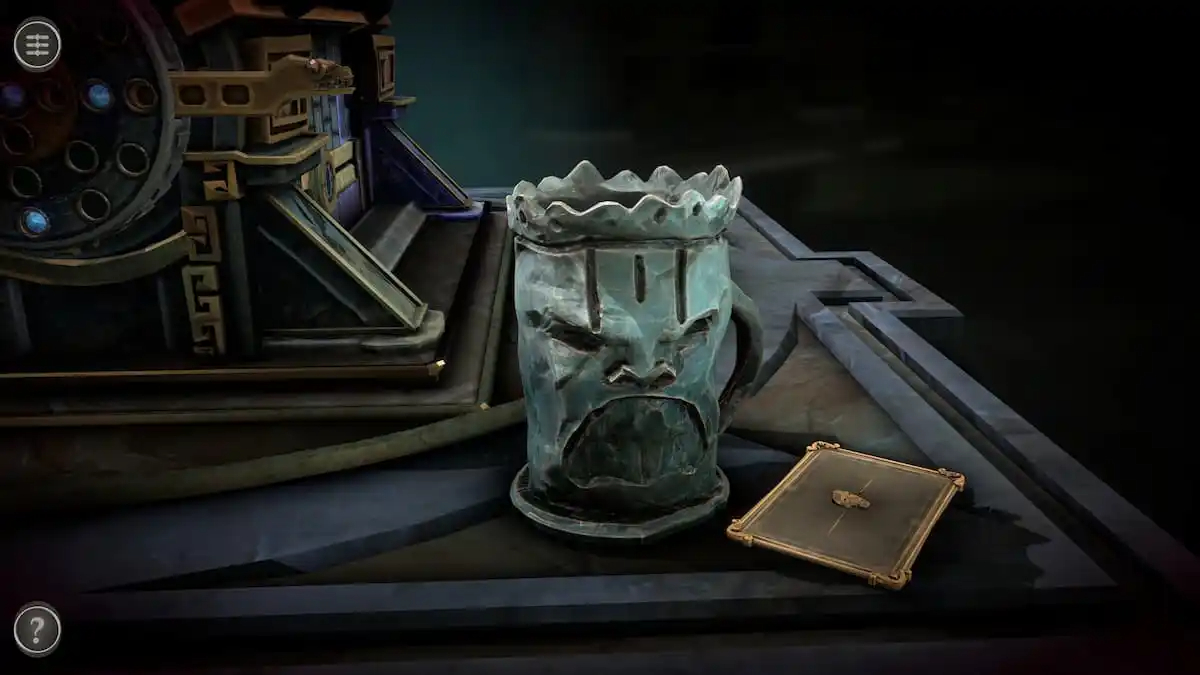
Behind the box, grab the Aztec Mug on the table. There will be a lore letter next to it.
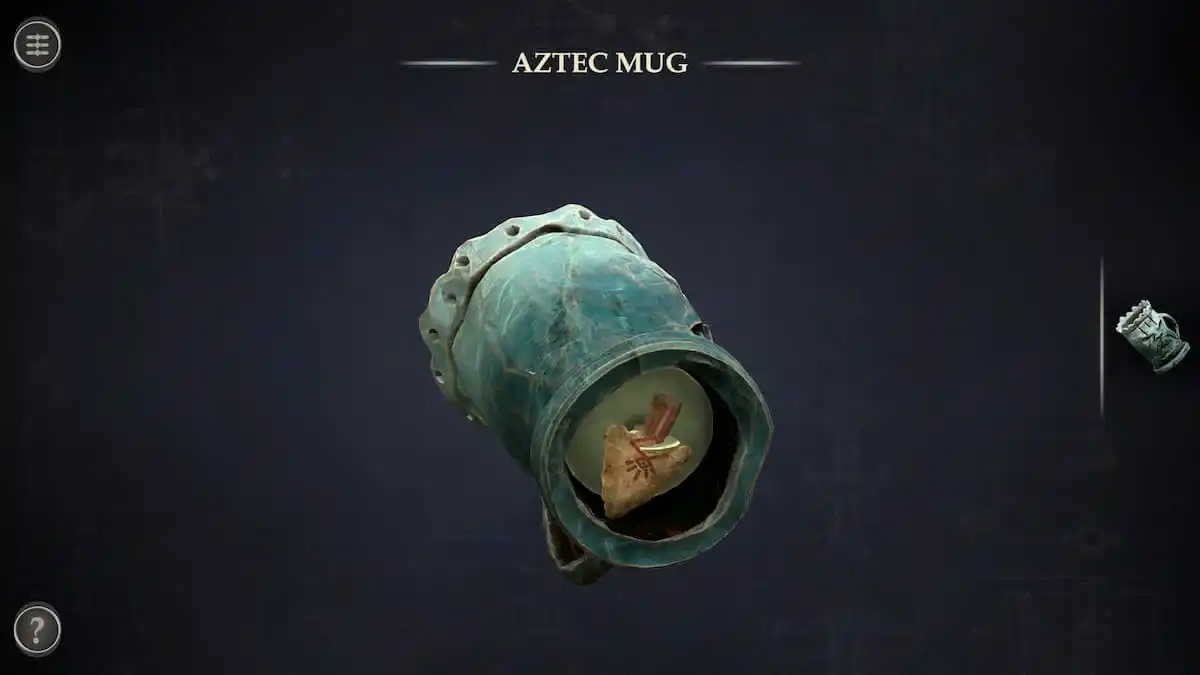
Select the Aztec Mug in your inventory. Rotate it to view the bottom and grab an Old Arrow Head.
Slider puzzle at the back of the box
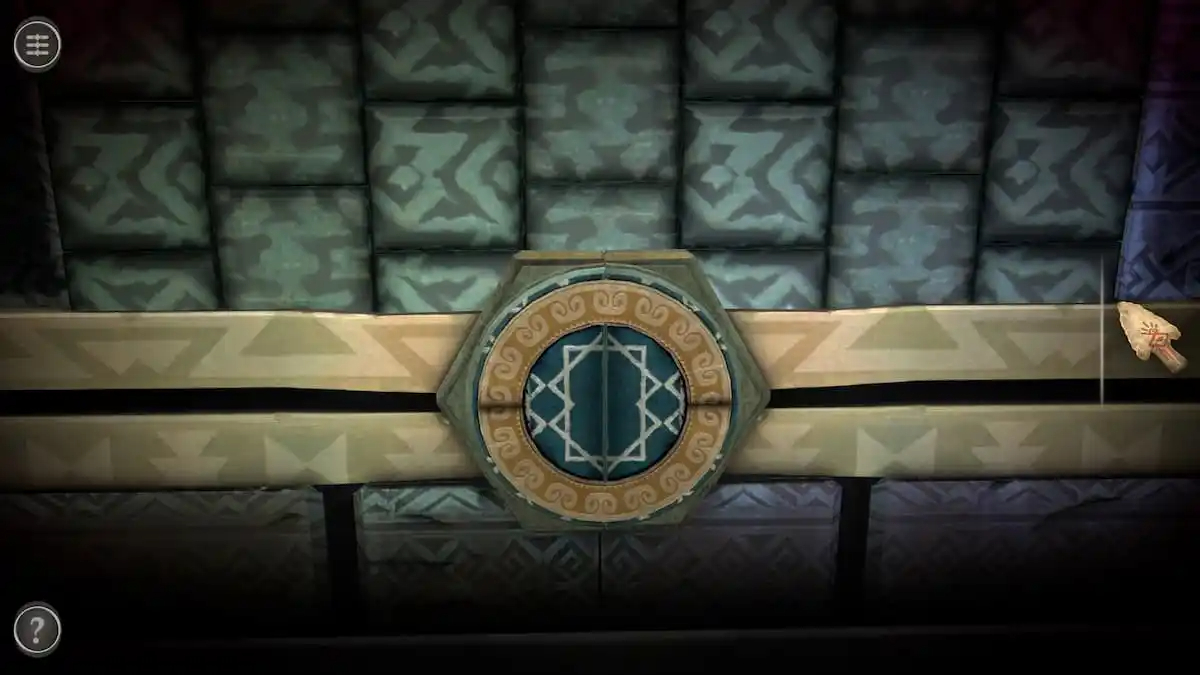
View the slider puzzle with the circular lock at the back of the box.
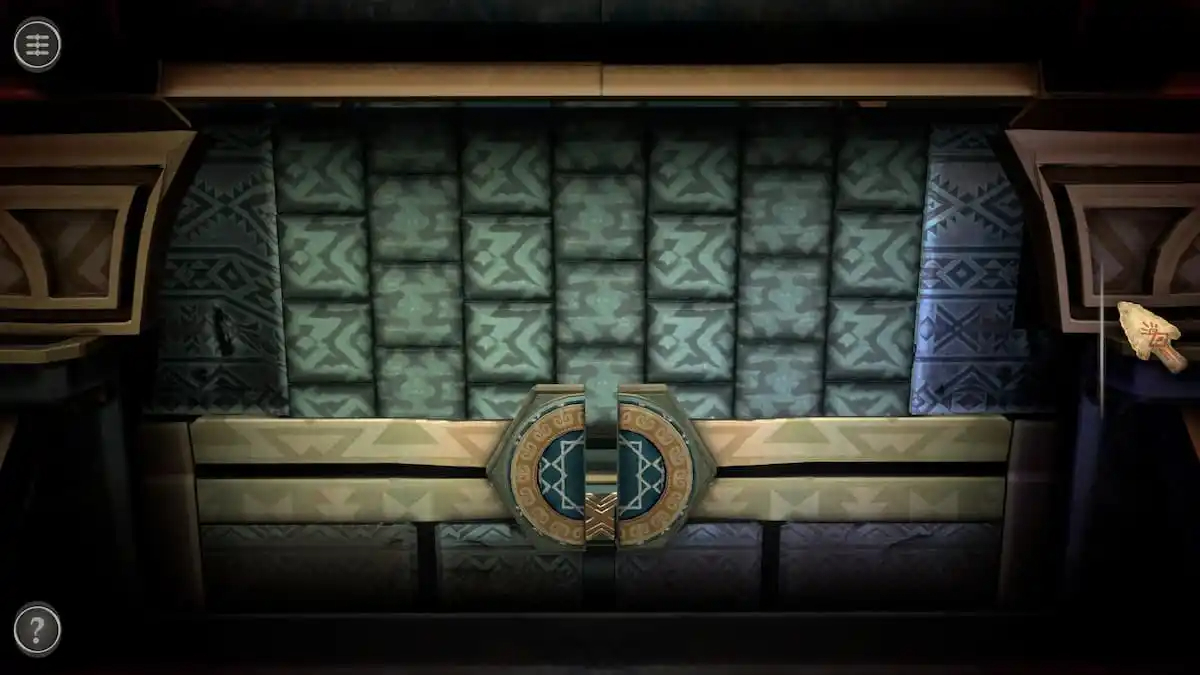
Rotate the gold ring until the two lines in it are at the top and the bottom. This will allow you to pull them to the side, revealing the puzzle behind the lock.
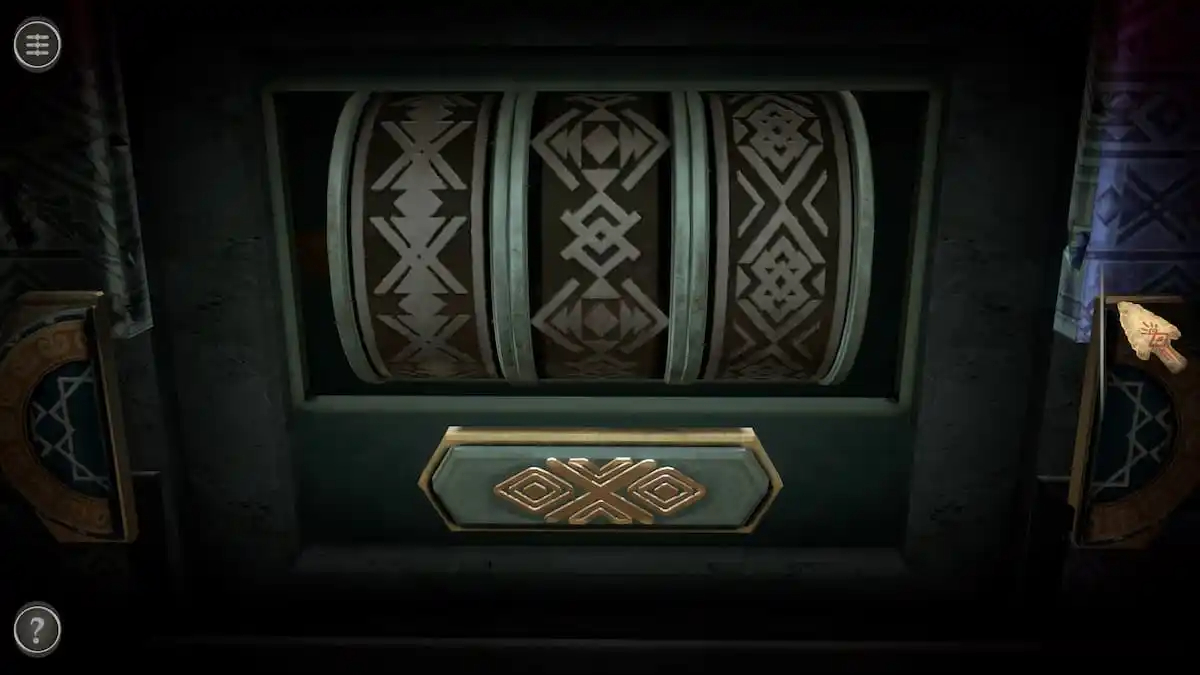
This puzzle involves pressing the button to rotate the panels until the gap in each one is at the front.
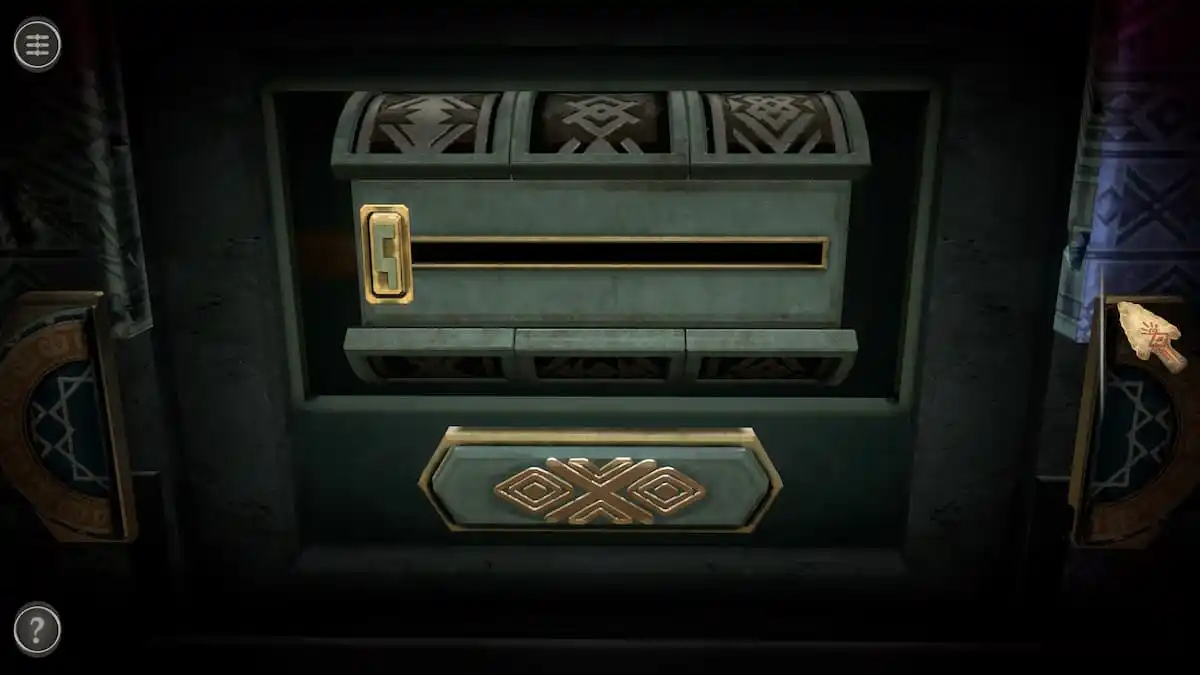
Rotating the circles until all of their gaps are at the front allows a slider to be pulled.
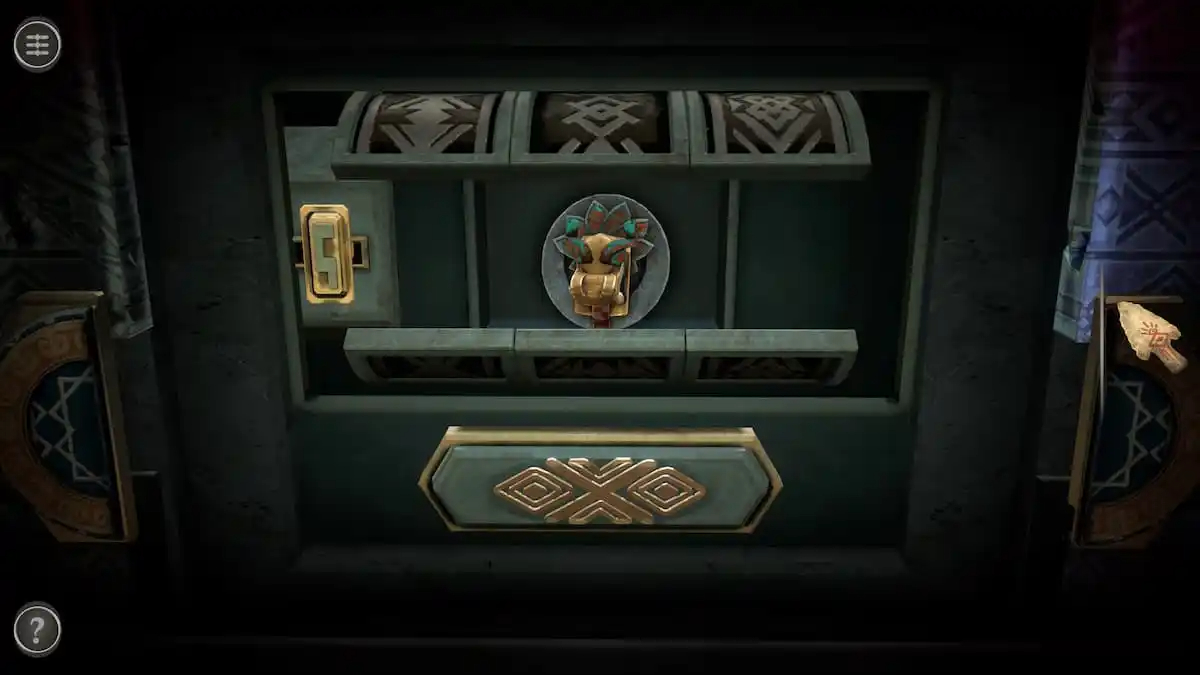
Pull the slider to get a Small Figure.
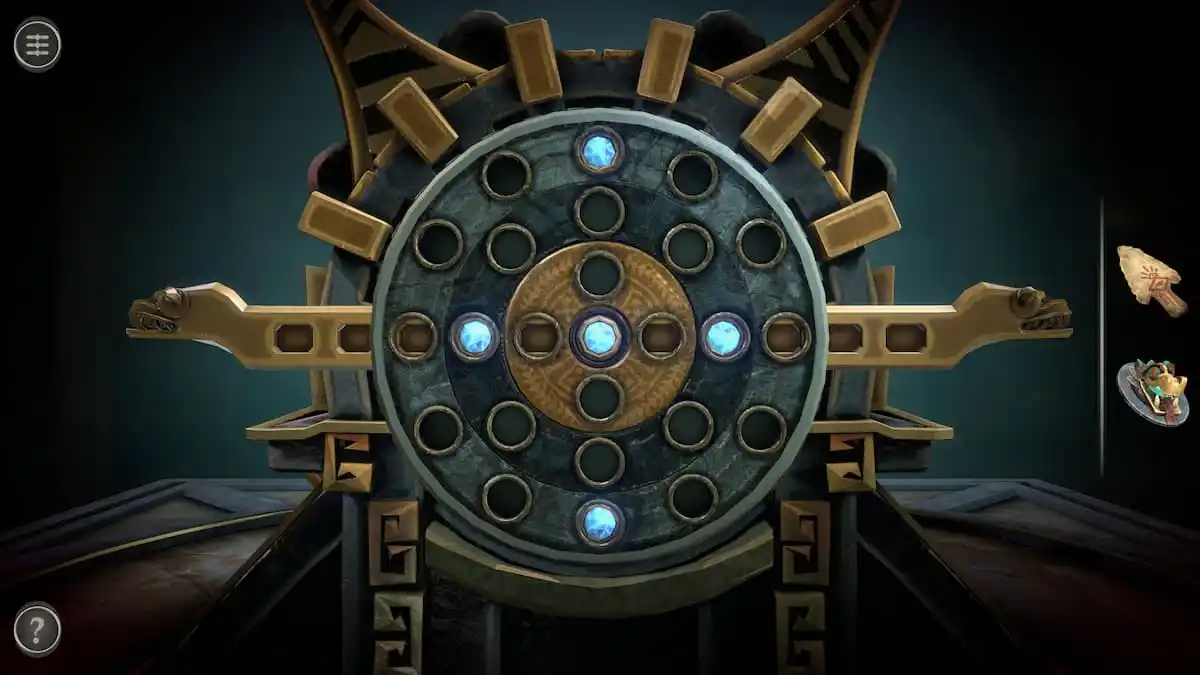
Right side rotating puzzle
This puzzle has four components, including three rotating rings and one golden slider in the center. The rings can all be rotated independently and the slider can be moved back and forth through the center of the puzzle.
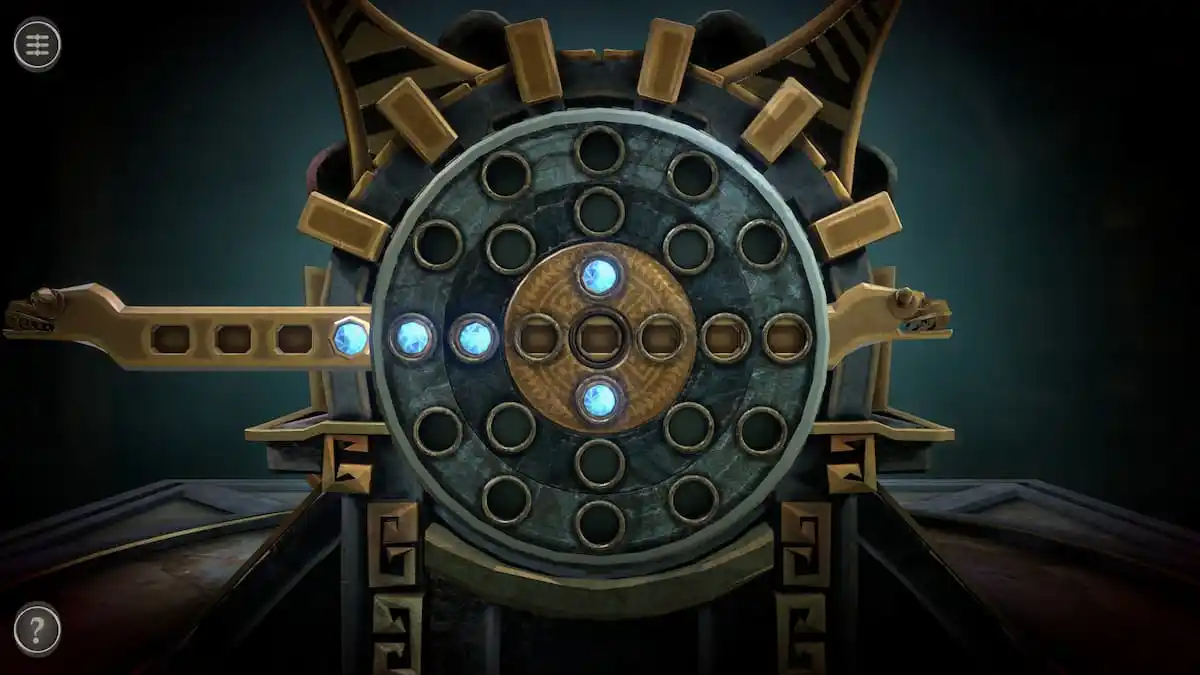
The goal of the puzzle is to get all of the blue gems in the center ring. I found it easiest to place the gems at the top and bottom of the ring, then use the other two rings to line up the remaining three gems in the center, pushing them into place with the slider once they are aligned.
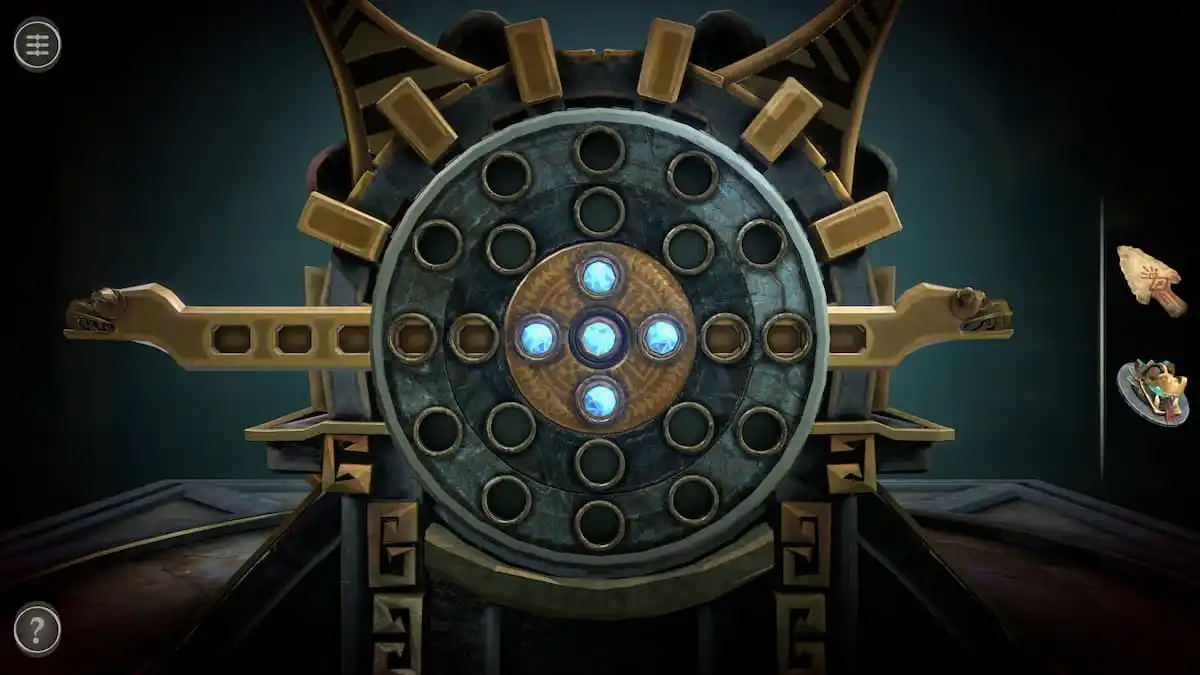
Completing this puzzle gives you a Crystal Skull.
Left side Small Figure puzzle
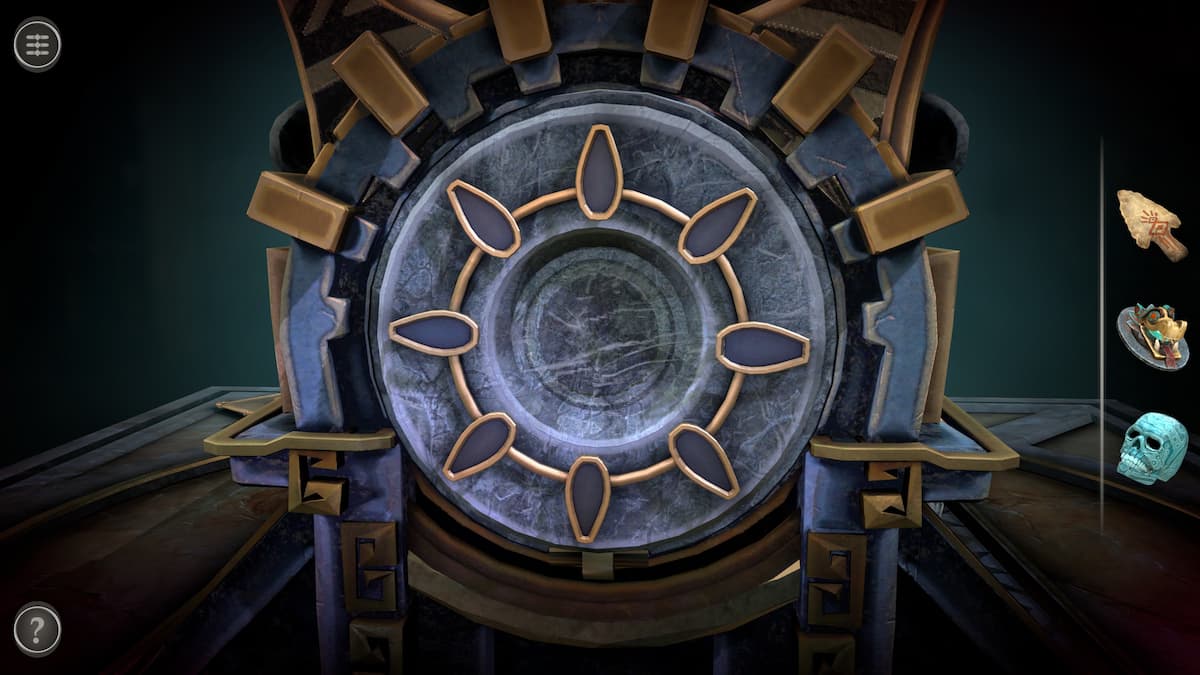
The left side of the box has a circular space surrounded by eight petal shapes.
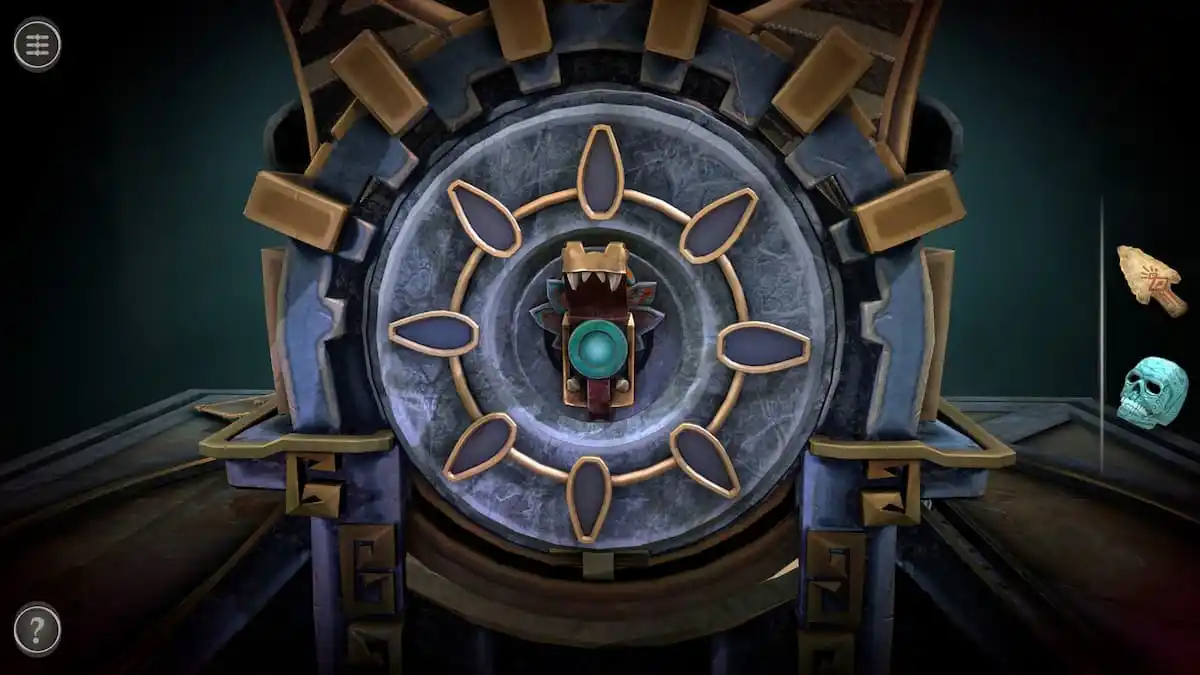
Place the Small Figure into the space and press the button on its mouth to enter the next puzzle.
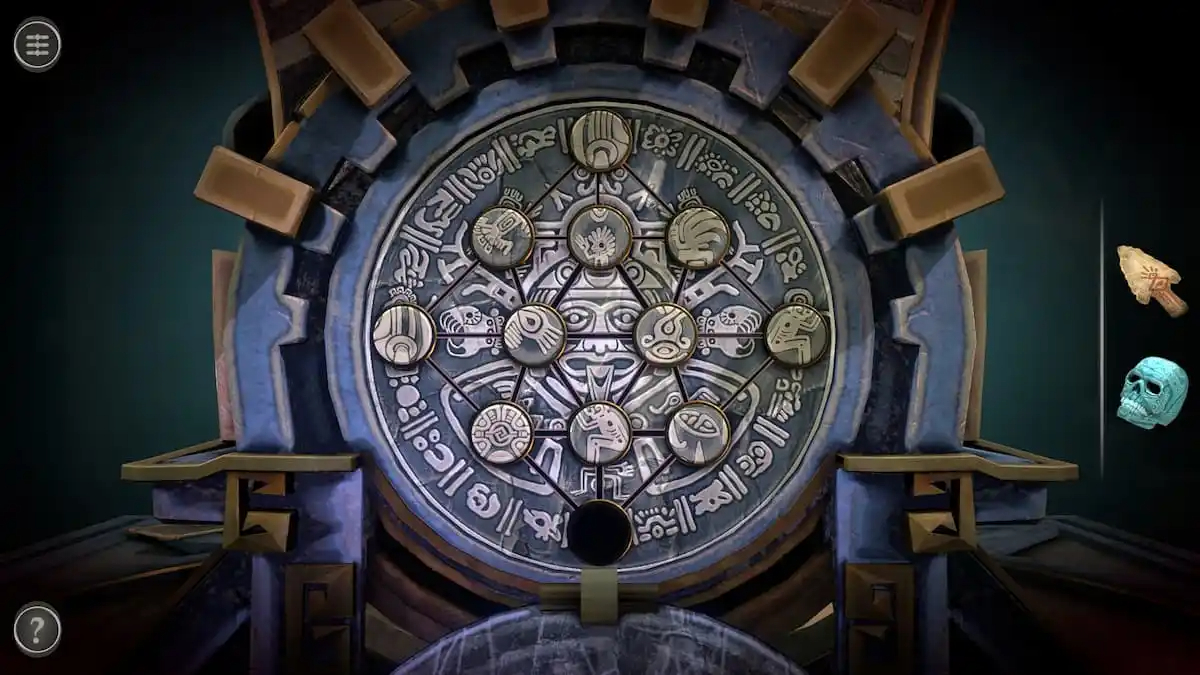
Moving symbol puzzle
This puzzle involves moving symbols around to complete the image behind them.
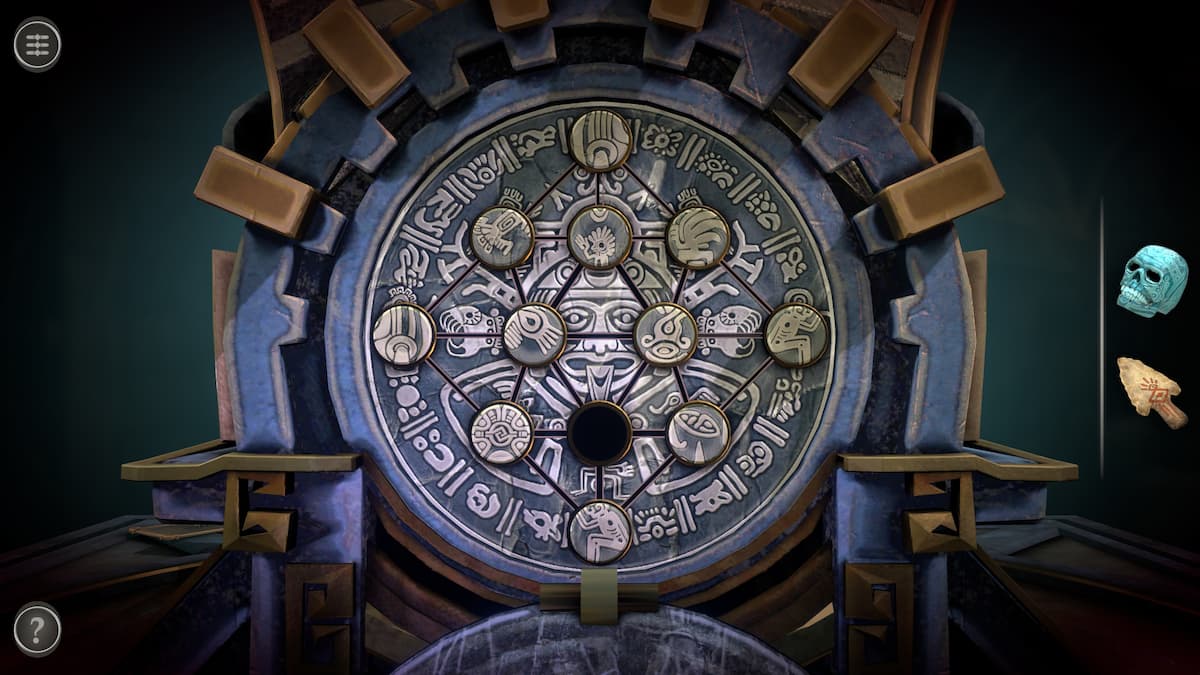
Tap an object adjacent to the empty space to move it to that space.
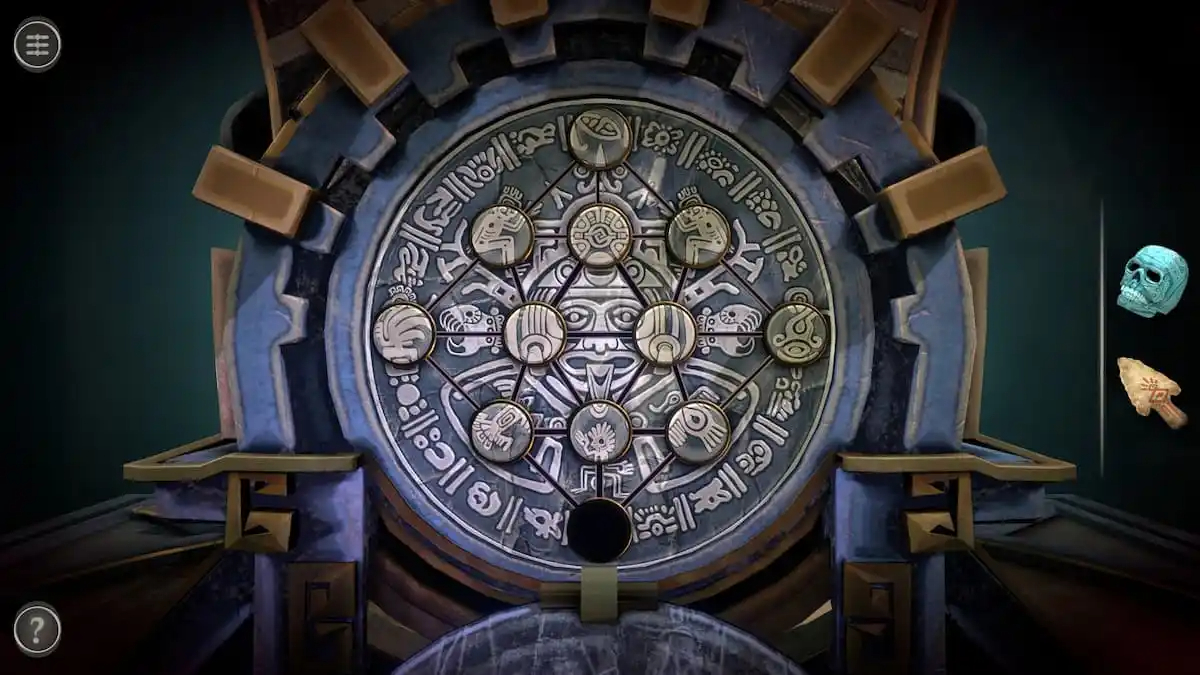
When the puzzle is completed, the space at the bottom should be empty. The mechanism will open, giving you an Aztec Artifact.
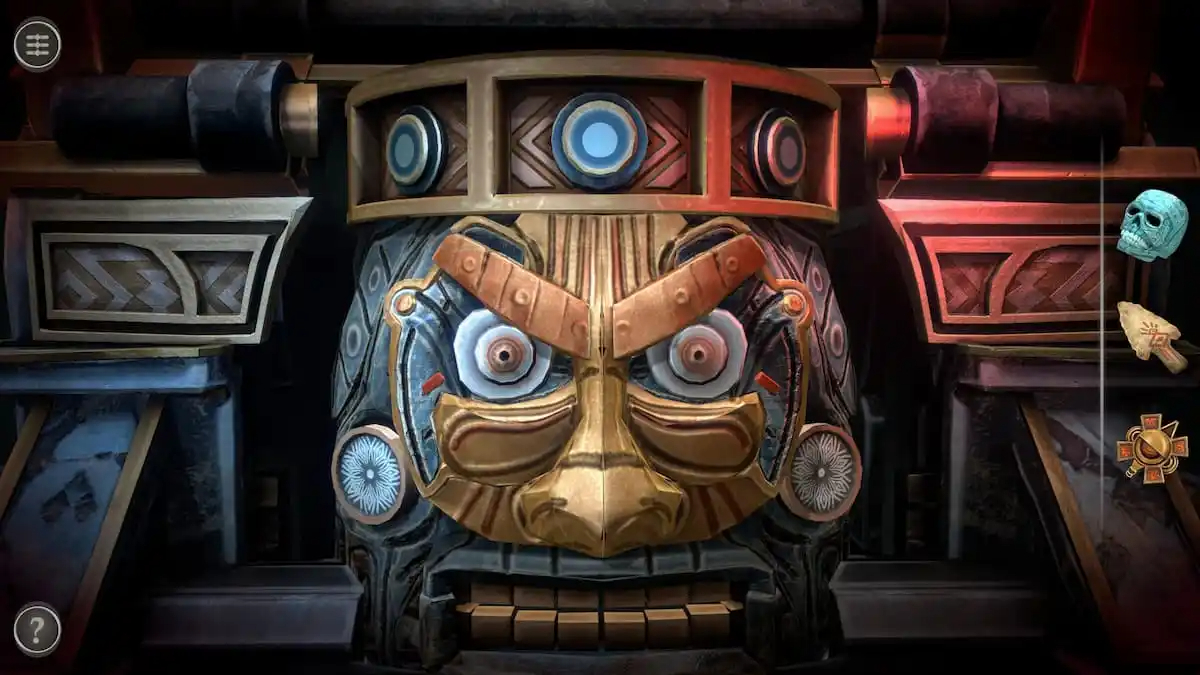
Tiki head puzzle
Focus on the Tiki Head at the front of the box.
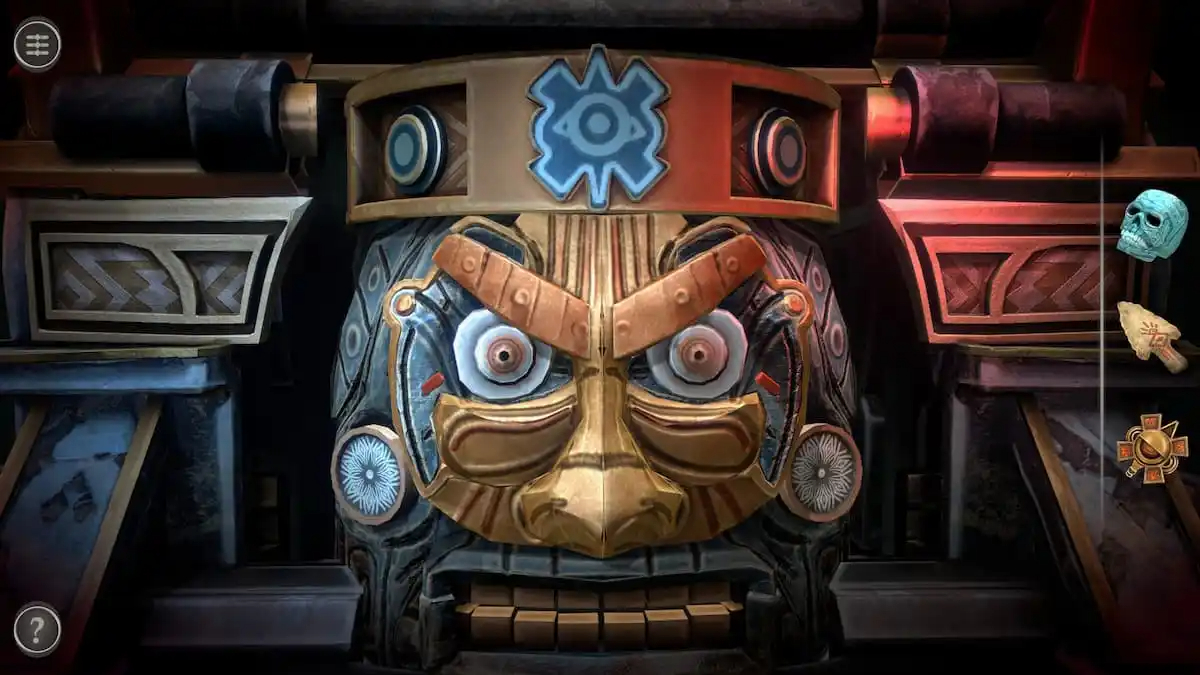
Rotate the mechanism at the top of the head until the eye-shape is at the top.
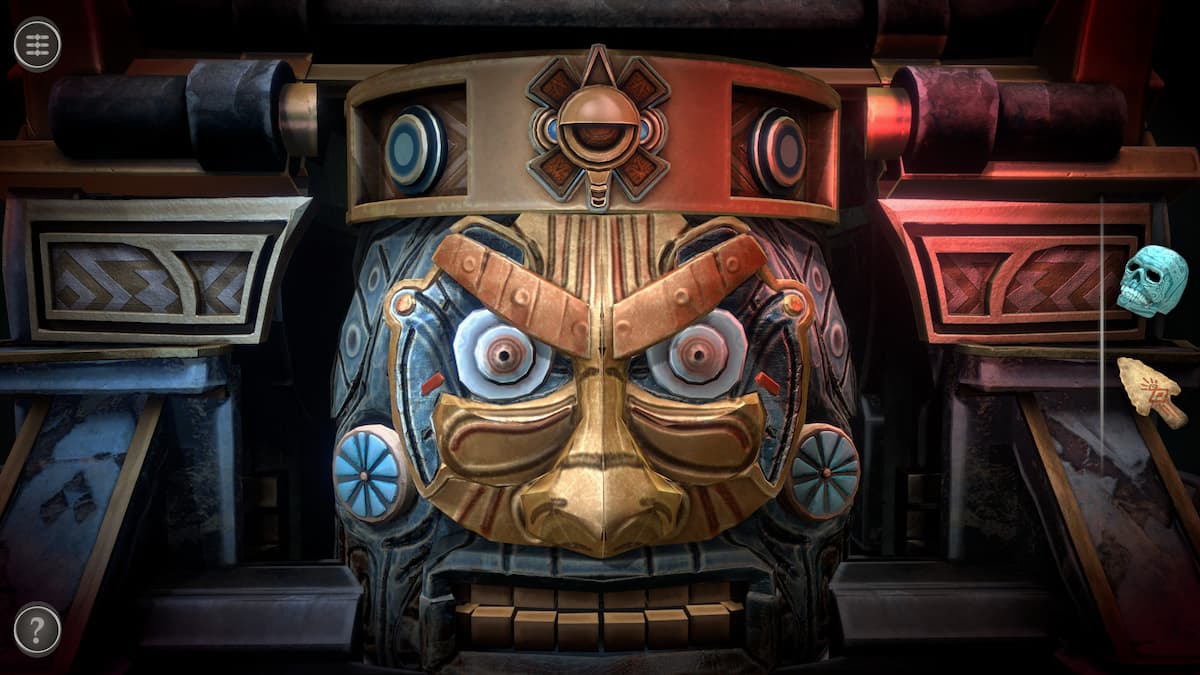
Place the Aztec Artifact onto the eye.
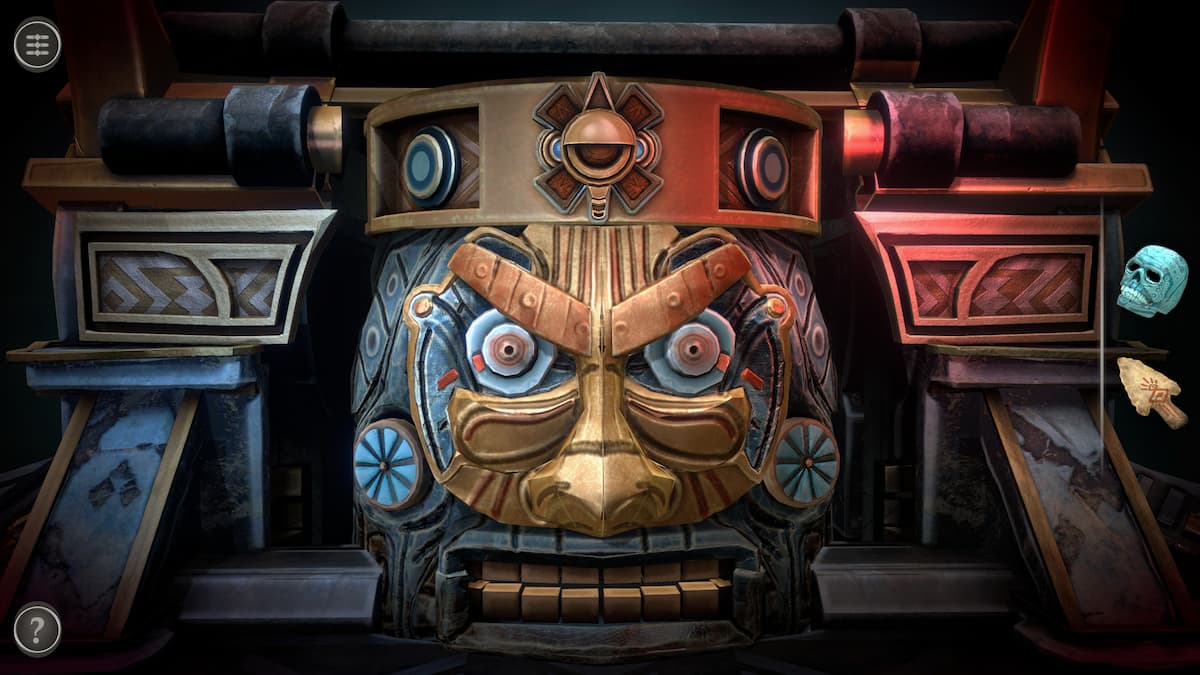
Rotate the earrings until the red marks on the eyes line up with the red marks on the cheeks.
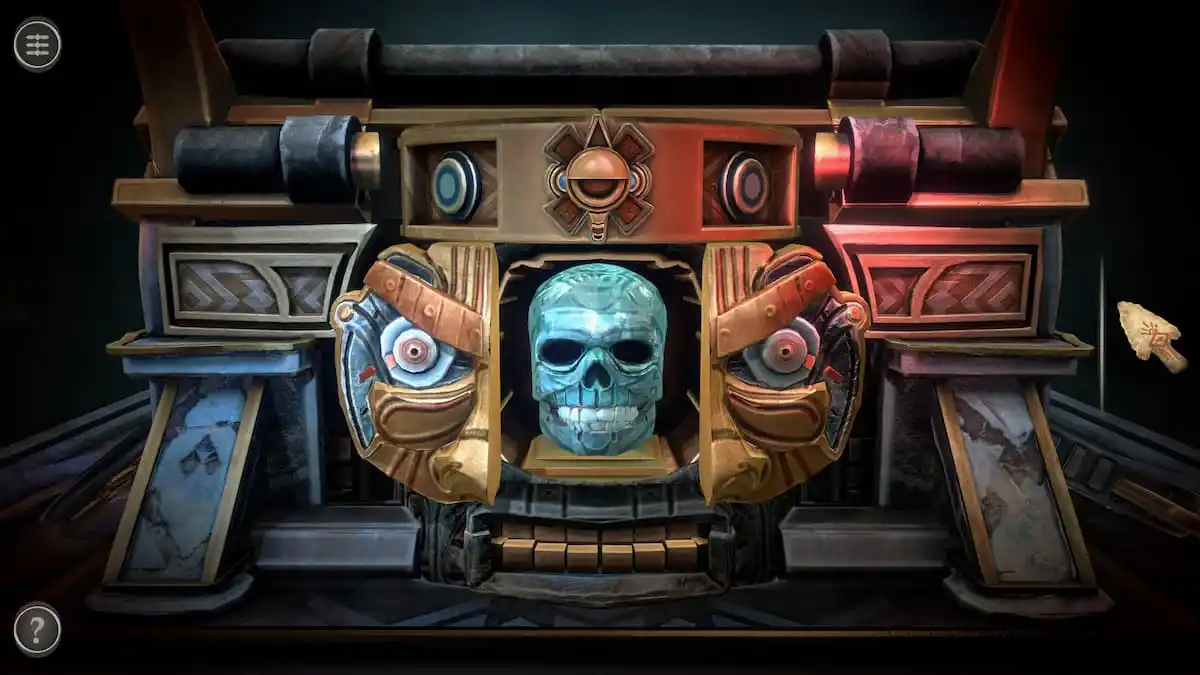
Place the Crystal Skull into the opening of the Tiki head to make the box transform.
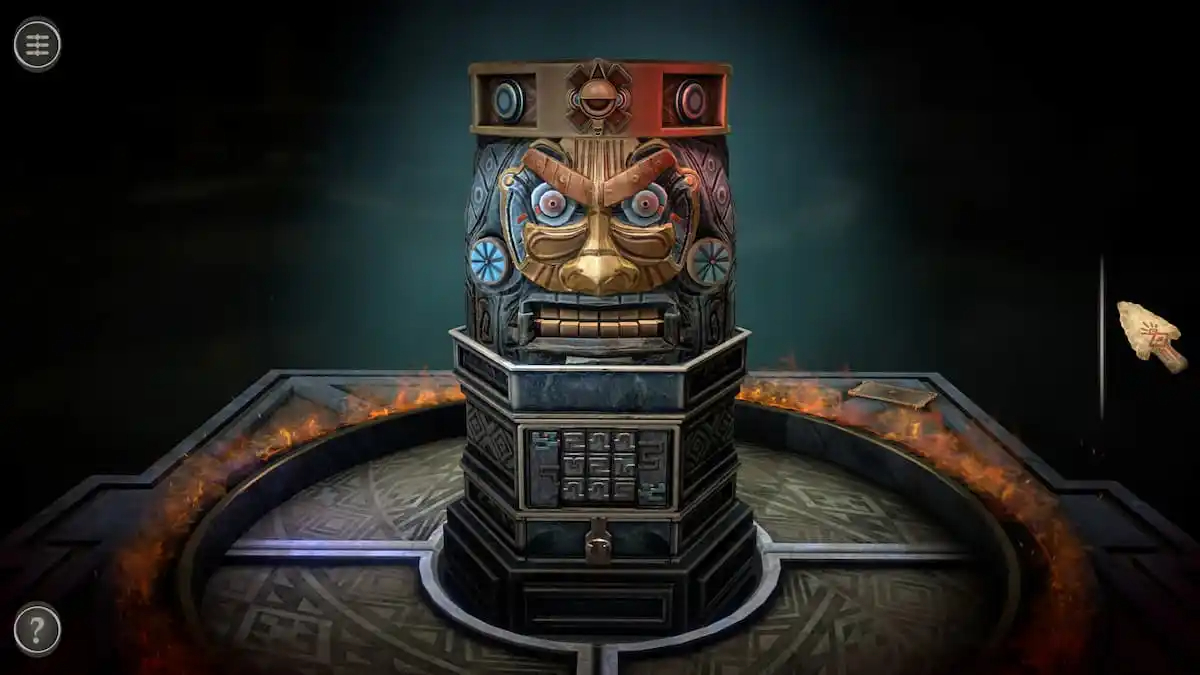
Tiki Tower puzzles
After placing the Crystal Skull, the Tiki statue turns into a tower.
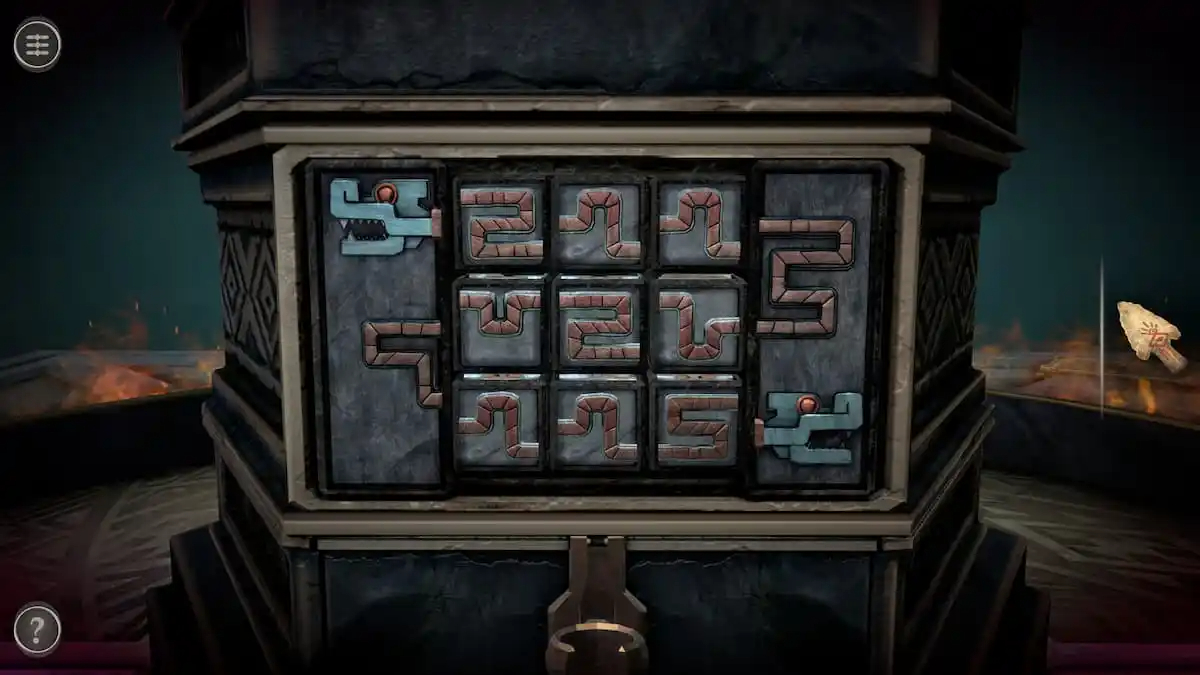
This Ouroboros puzzle requires you to flip the tiles to connect the two heads.
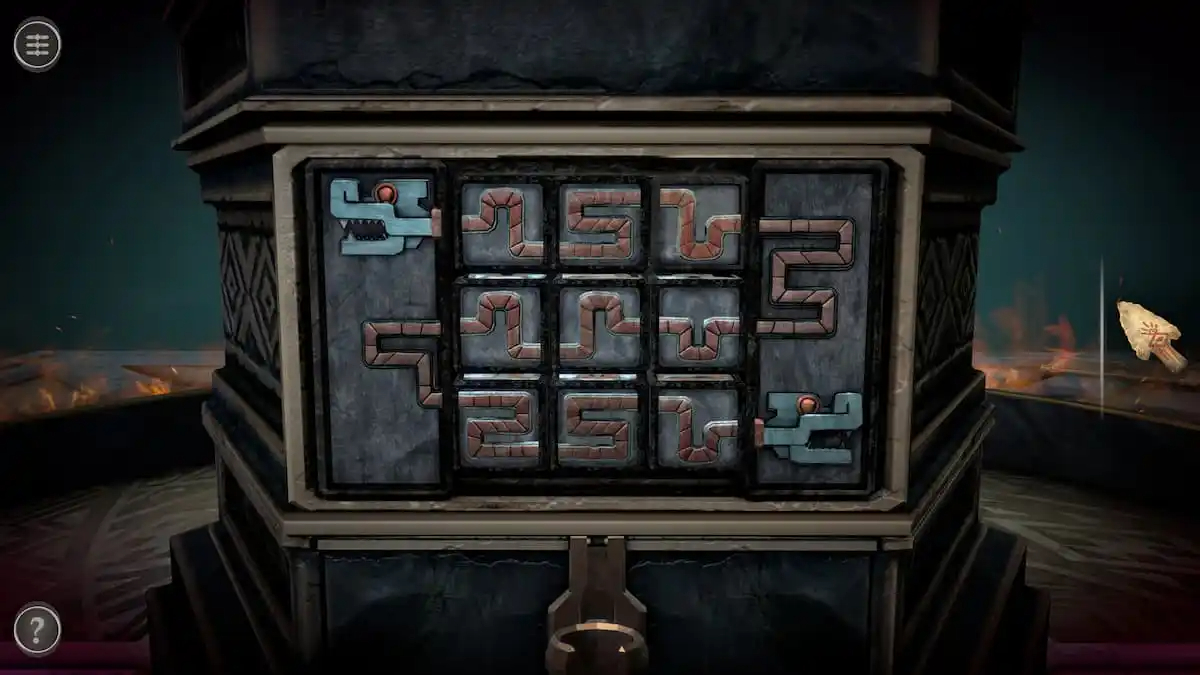
I found it easiest to match the pieces to the outer sides first and fill in the center. A few pieces have two potential matches, but it is easy to check which is correct.
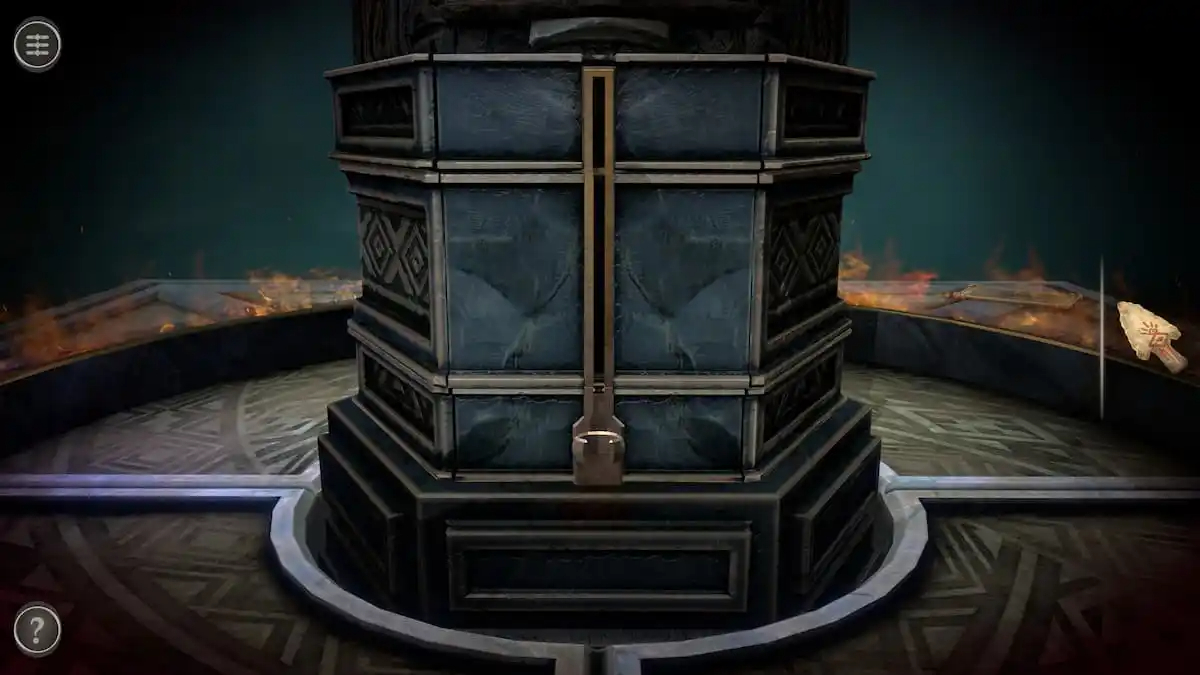
Completing the puzzle unlocks a long slider.
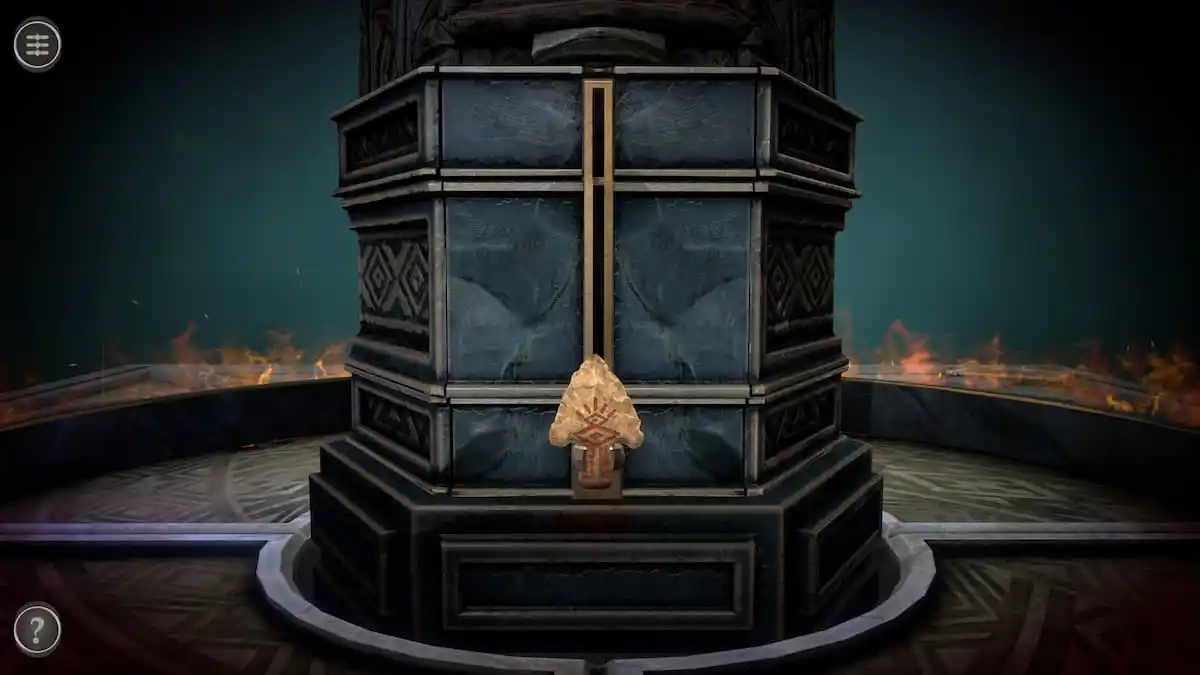
Place the Old Arrow Head into the slider slot.
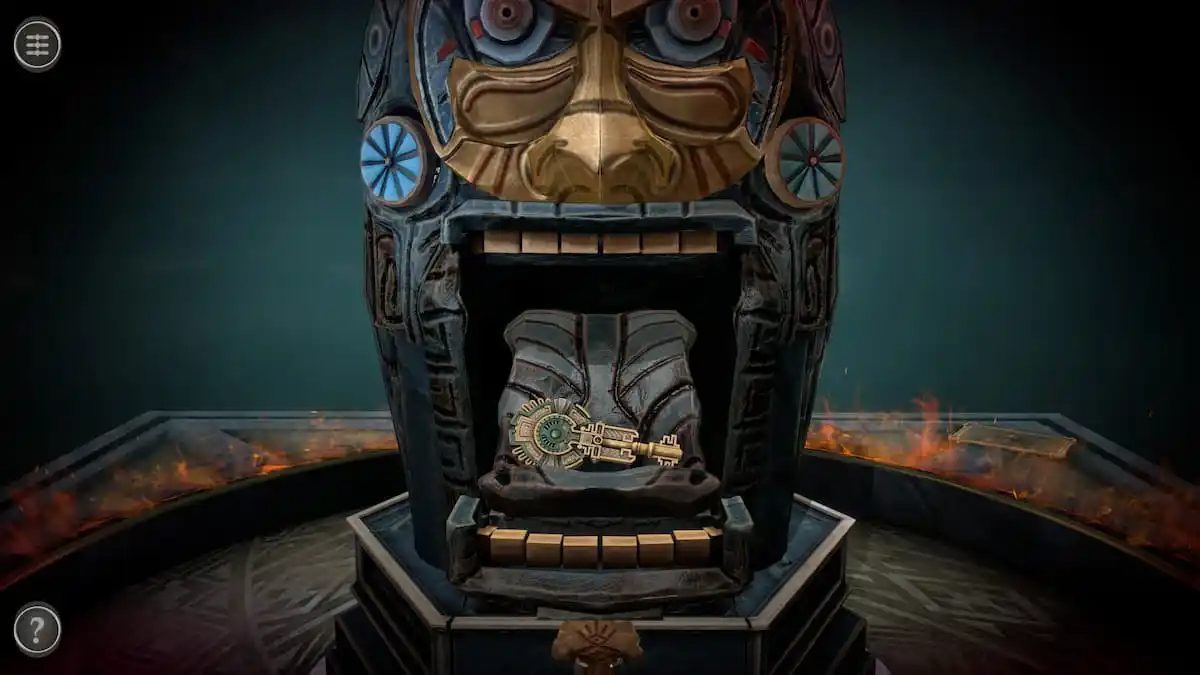
Push the Old Arrow Head into the Tiki’s chin to open its mouth and get an Ancient Key. This completes the second room and sends you back to the main one.
THE SECOND PUZZLE BOX IN THE FINAL CHAPTER CALLED CHAPTER 5 IN BOXES LOST FRAGMENTS IS NOW COMPLETE AND FINISH AND YOUR THIRD PUZZLE BOX IS NOW UNLOCKED IN CHAPTER 5 IN BOXES LOST FRAGMENTS
THIRD PUZZLE BOX IN CHAPTER 5
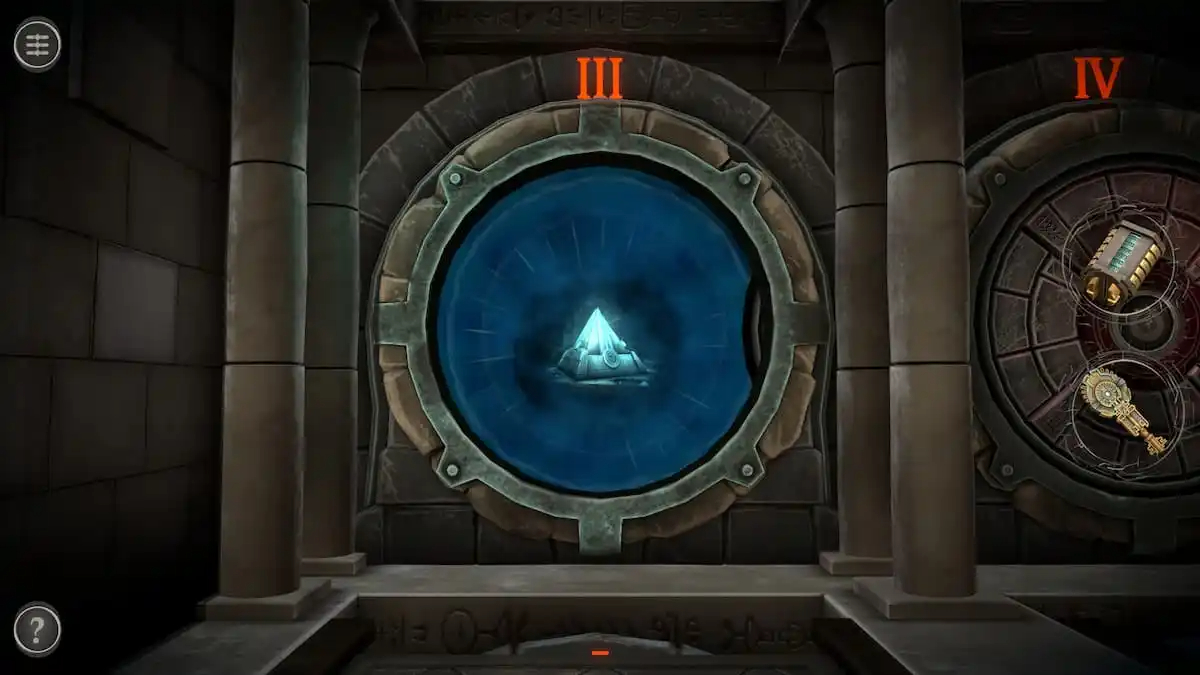
Third room puzzles
The door for the third room will become available.
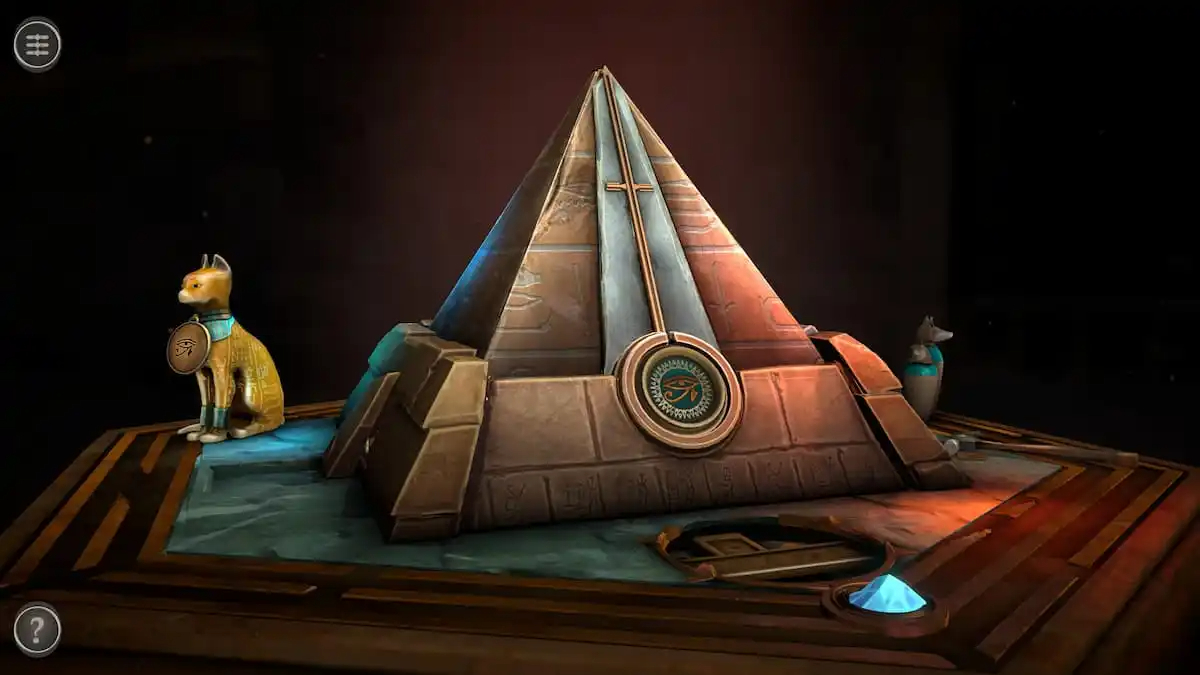
Entering it reveals an Egyptian-themed room.
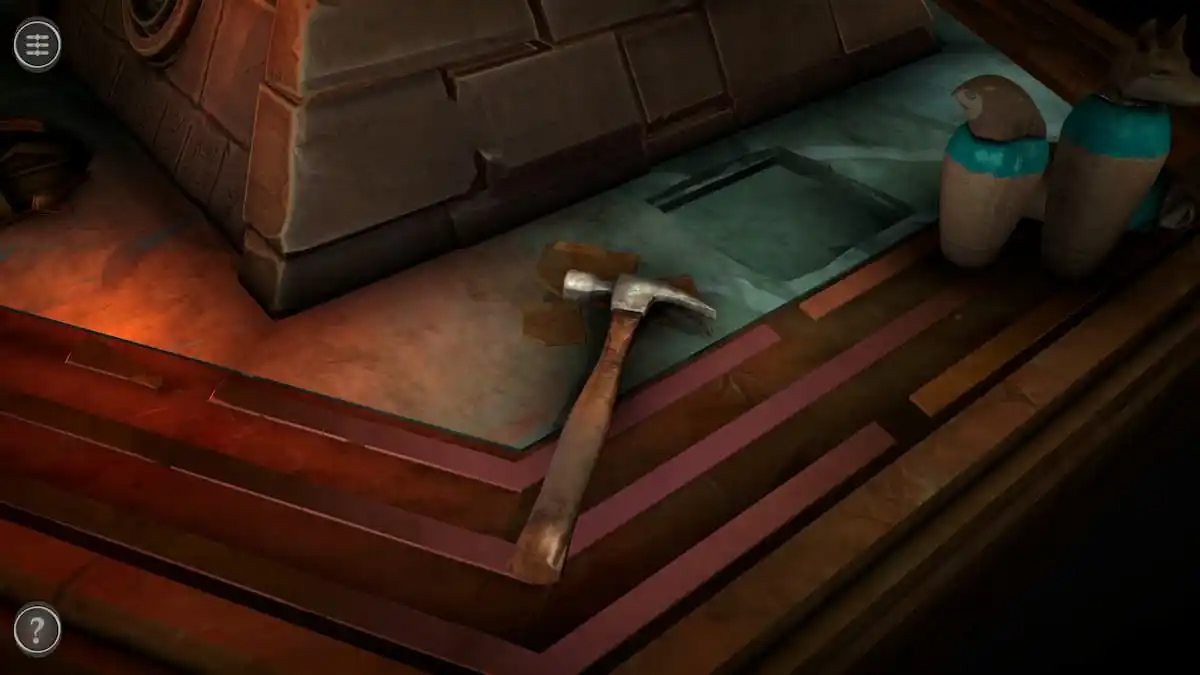
Grab the Hammer from the side of the table.
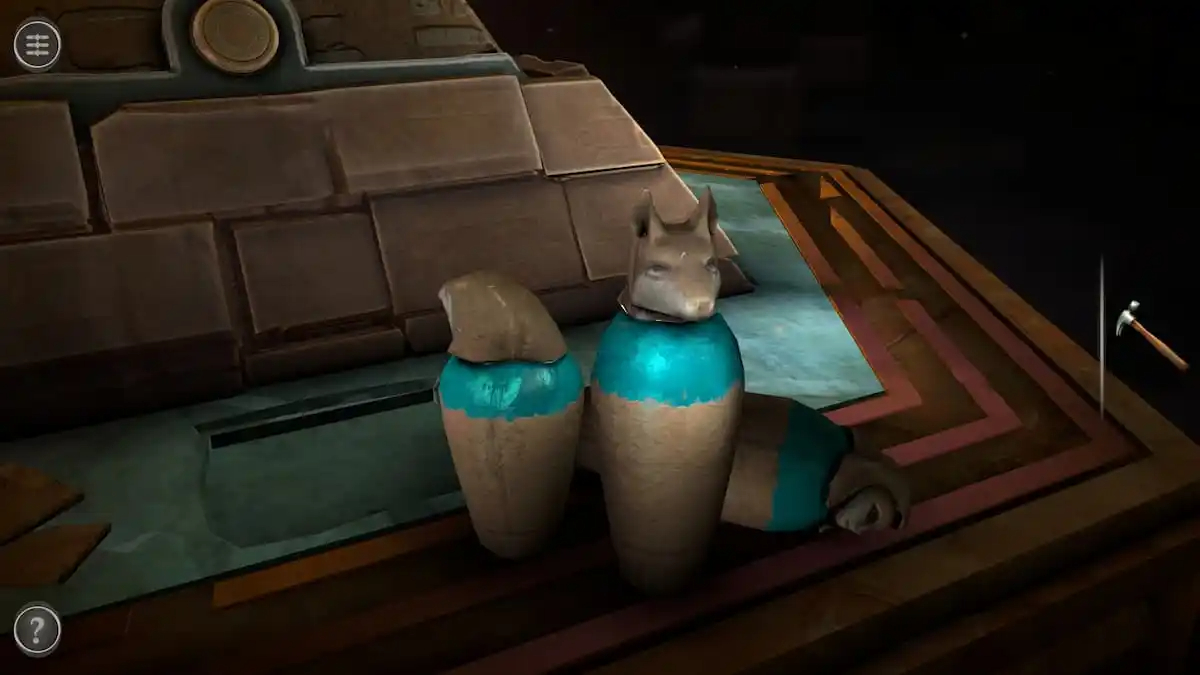
Three pots puzzle
A set of three pots rests next to the pyramid.
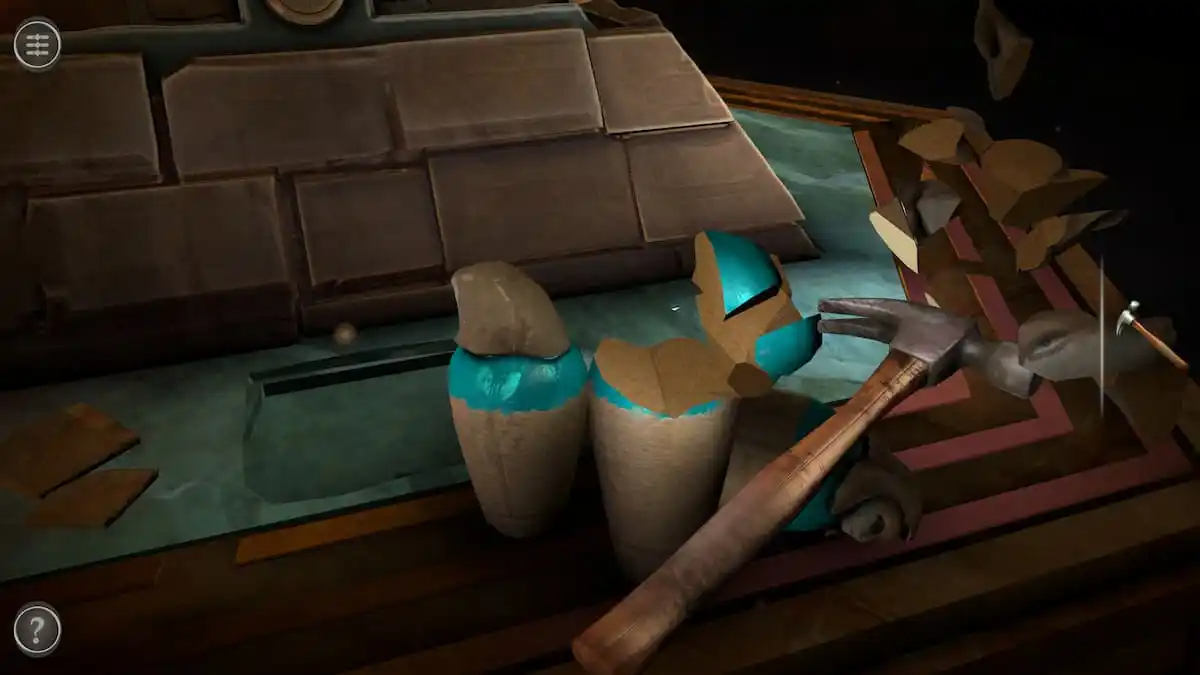
Use the Hammer to smash through the pots.
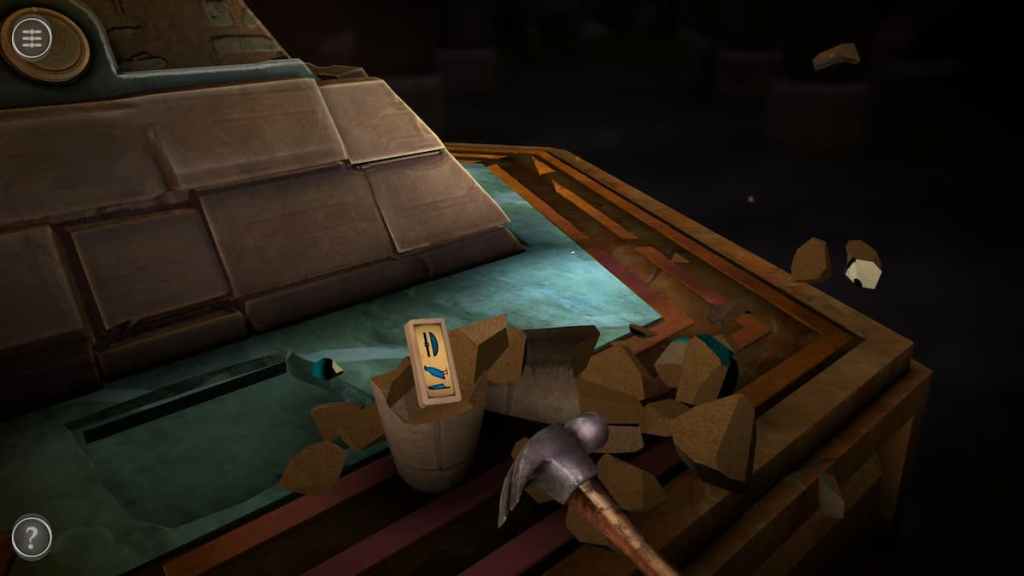
Once the pots have been smashed, you’ll find a Puzzle Piece.
Eye light puzzle
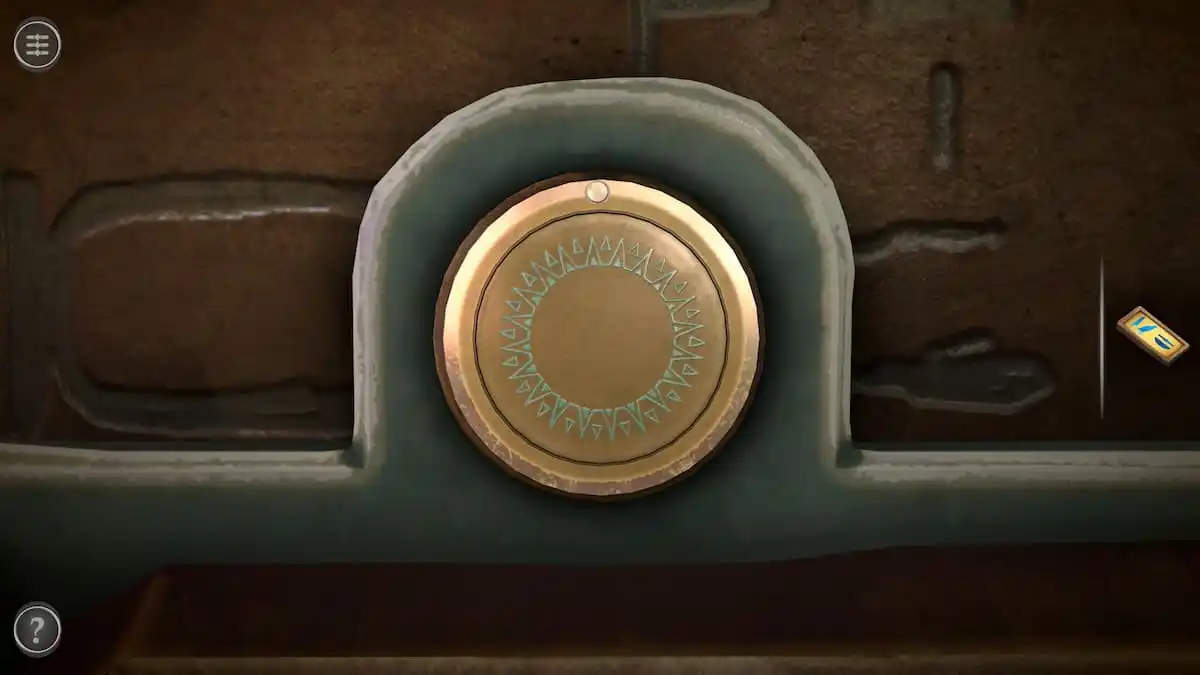
The right side of the pyramid has a small gold medallion. Rotate it to remove the lid.
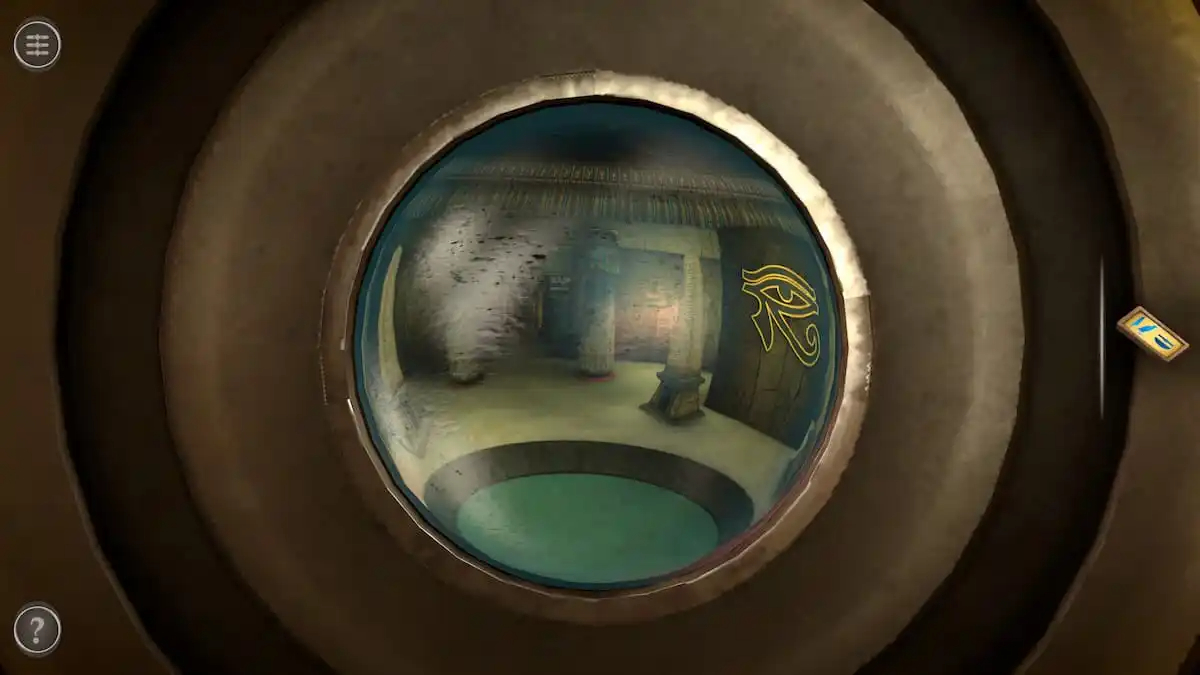
Opening the medallion allows you to look into a room with a red light that moves as you scroll the camera. Move the camera around until you find an identical golden mark on the wall.
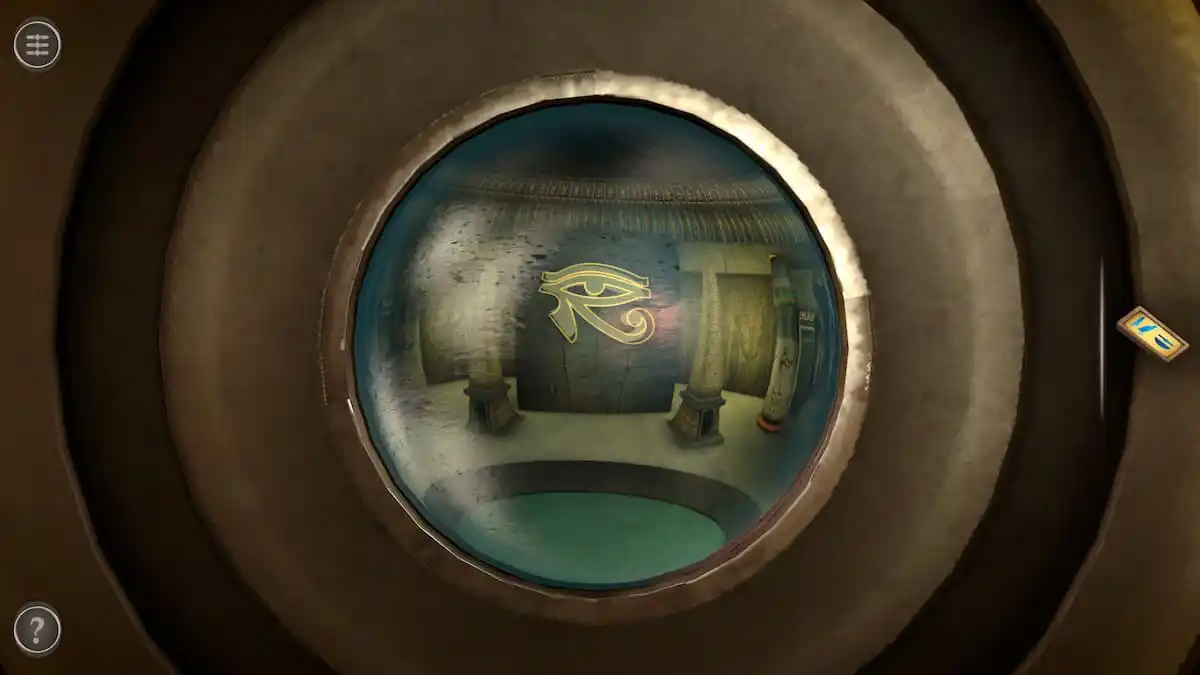
Move the camera around until the light fits into the marking on the wall.
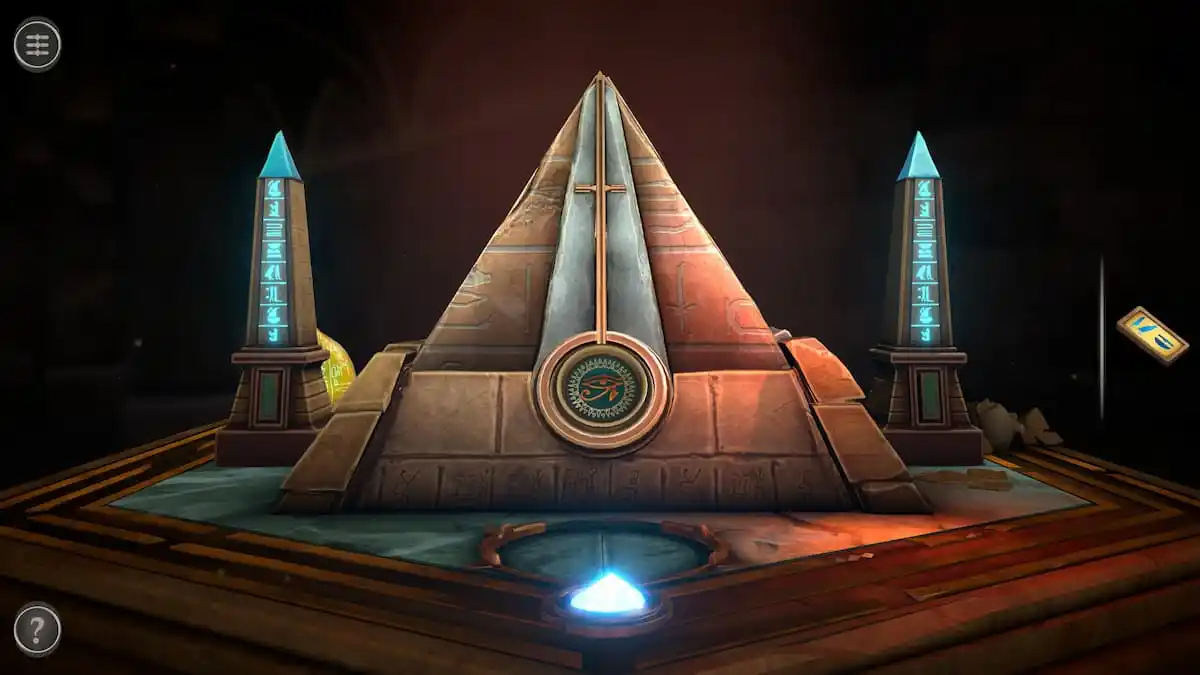
Doing so will make two towers rise on either side of the pyramid, causing a light and platform to appear at the base as well.
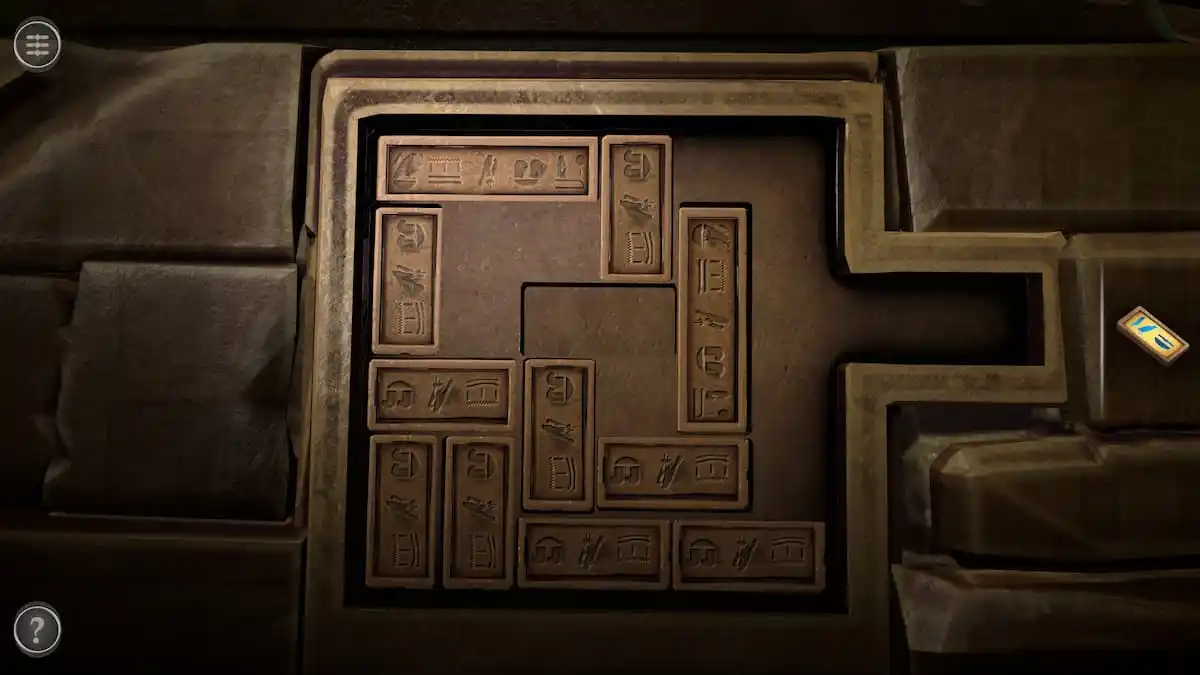
Hieroglyph slider puzzle
The hieroglyph puzzle is found at the back of the pyramid.
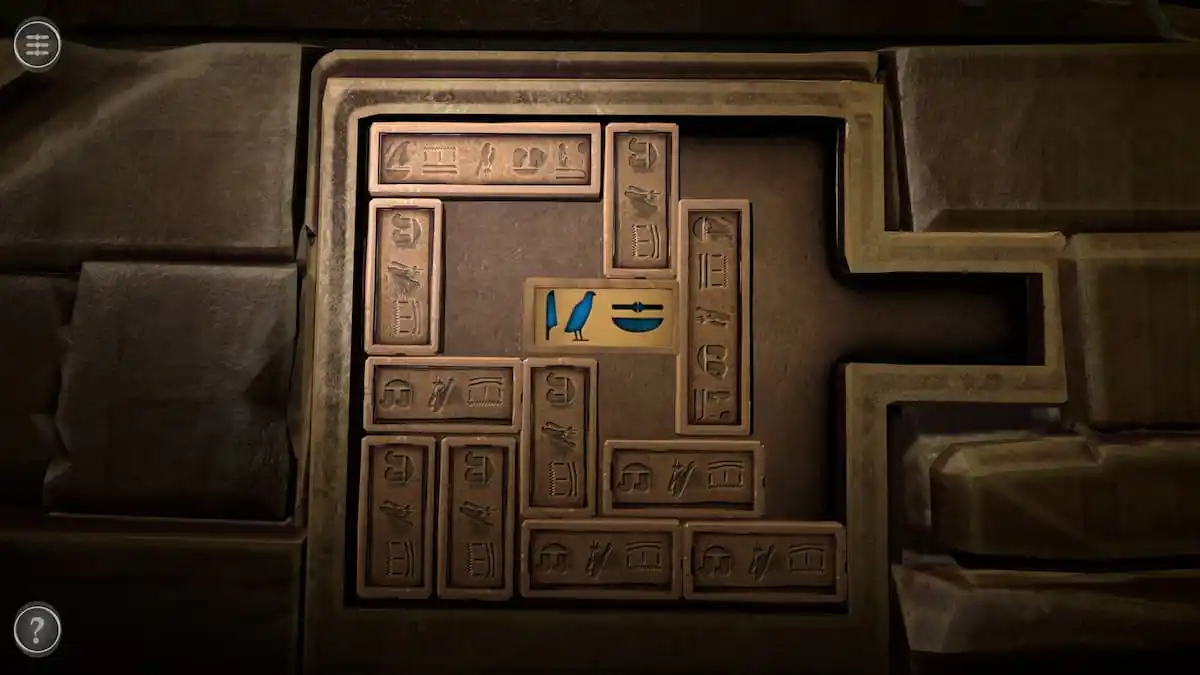
Place the Puzzle Piece into the slot at the center of the puzzle.
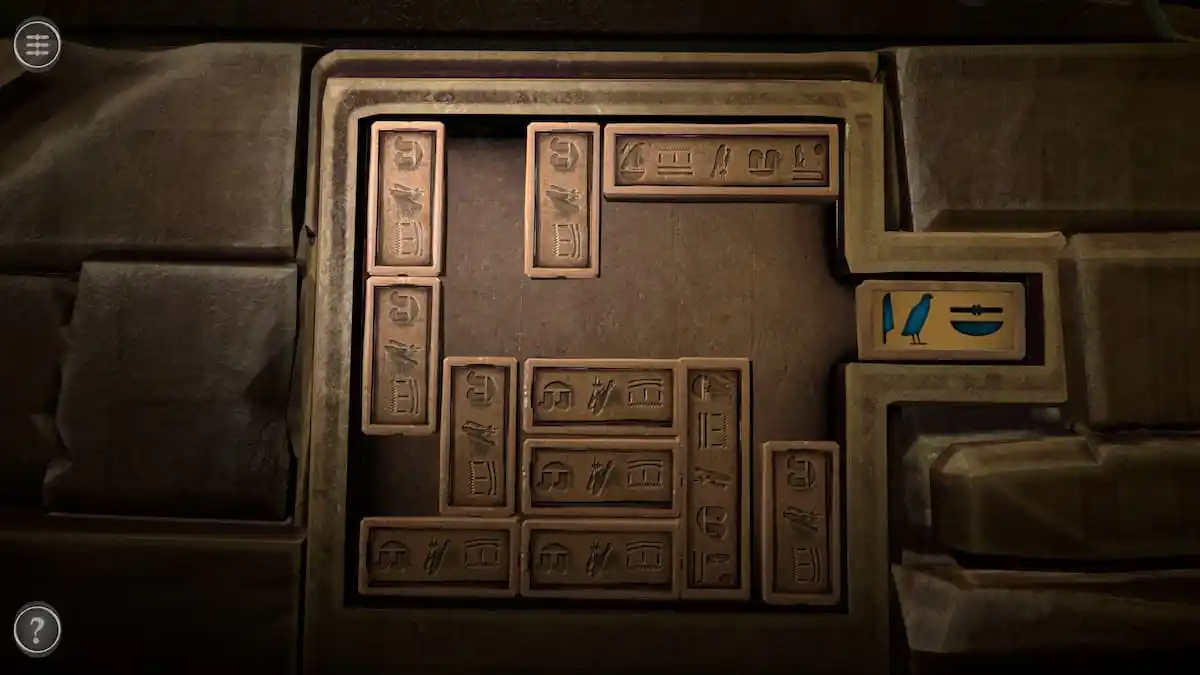
Move the pieces around until the Puzzle Piece is at the end to get a Beetle Cocoon.
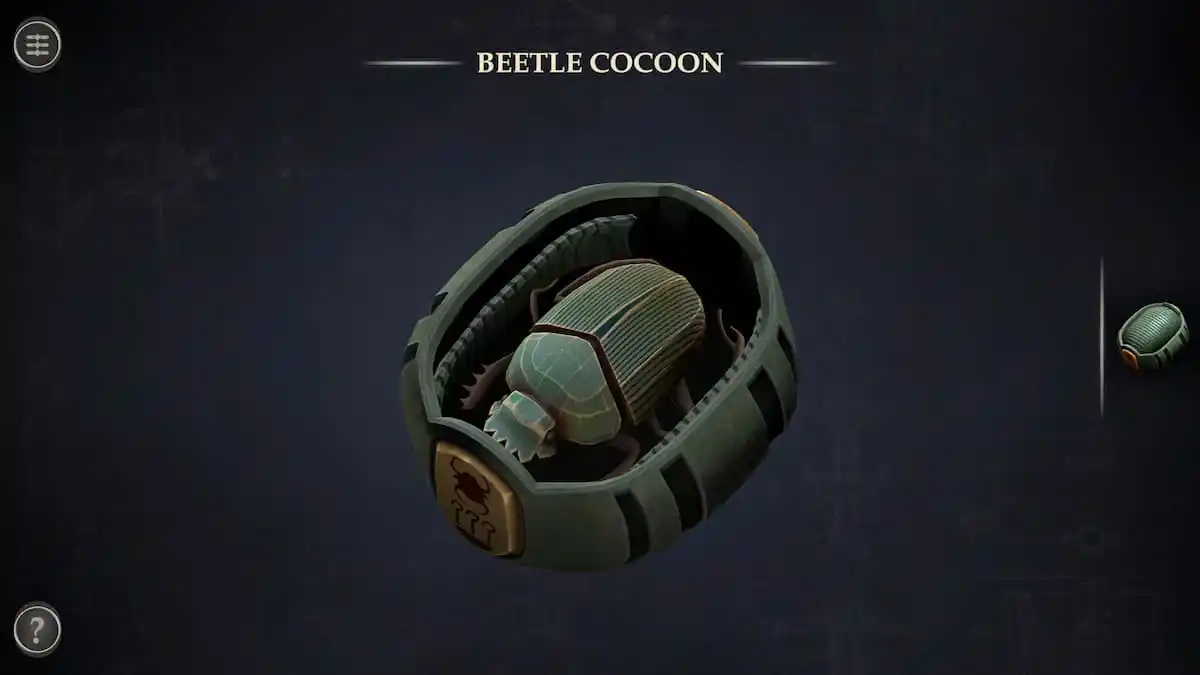
Beetle Cocoon Puzzle
Pull apart the top of the Beetle Cocoon. Inside of it is a Scarab.
Medallion puzzle
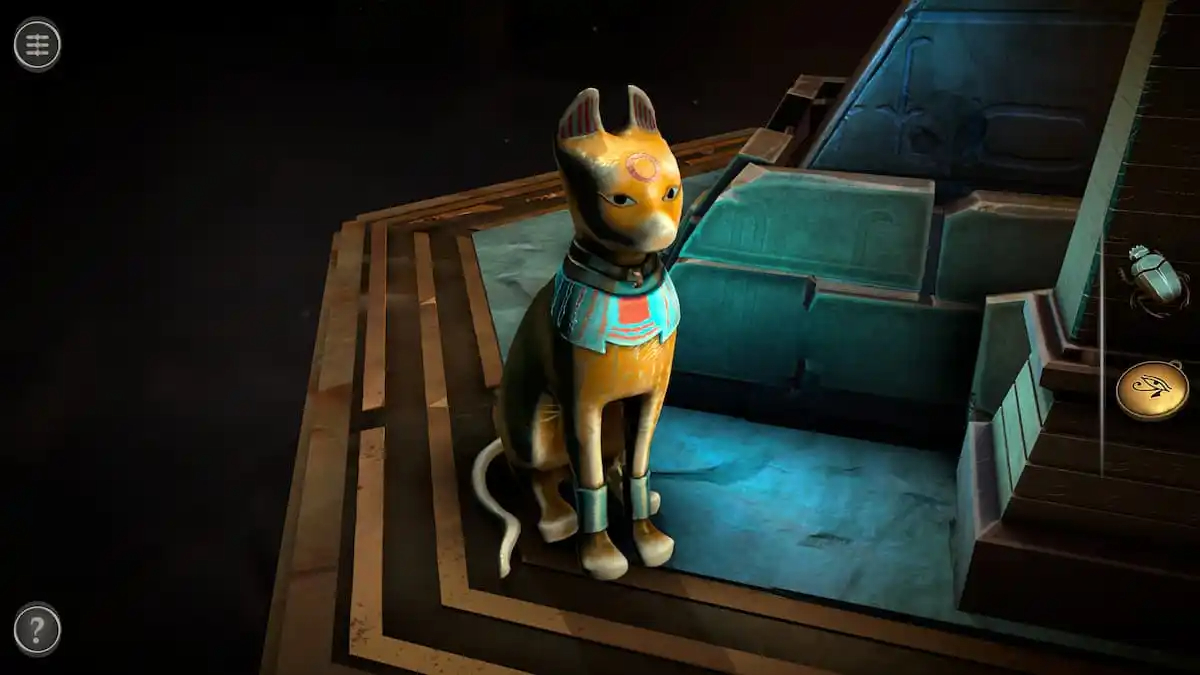
The cat statue by the period has a Medallion on its collar. Grab it now.
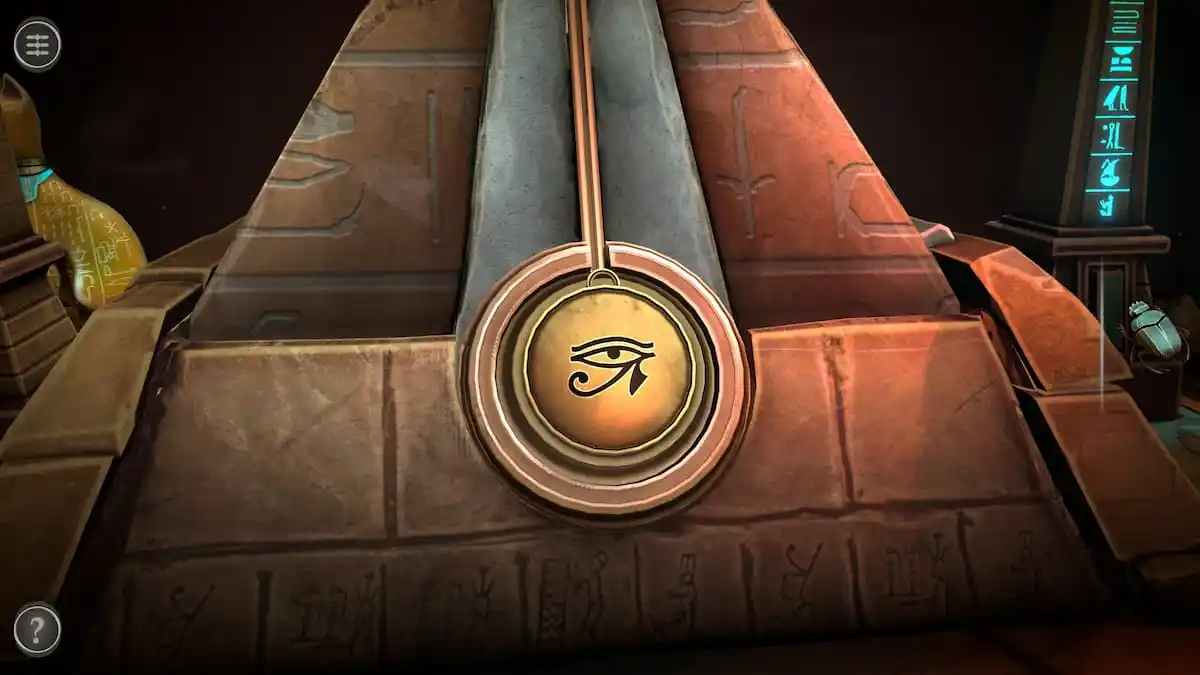
Front of the pyramid
Place the Medallion in the circle at the front of the period.
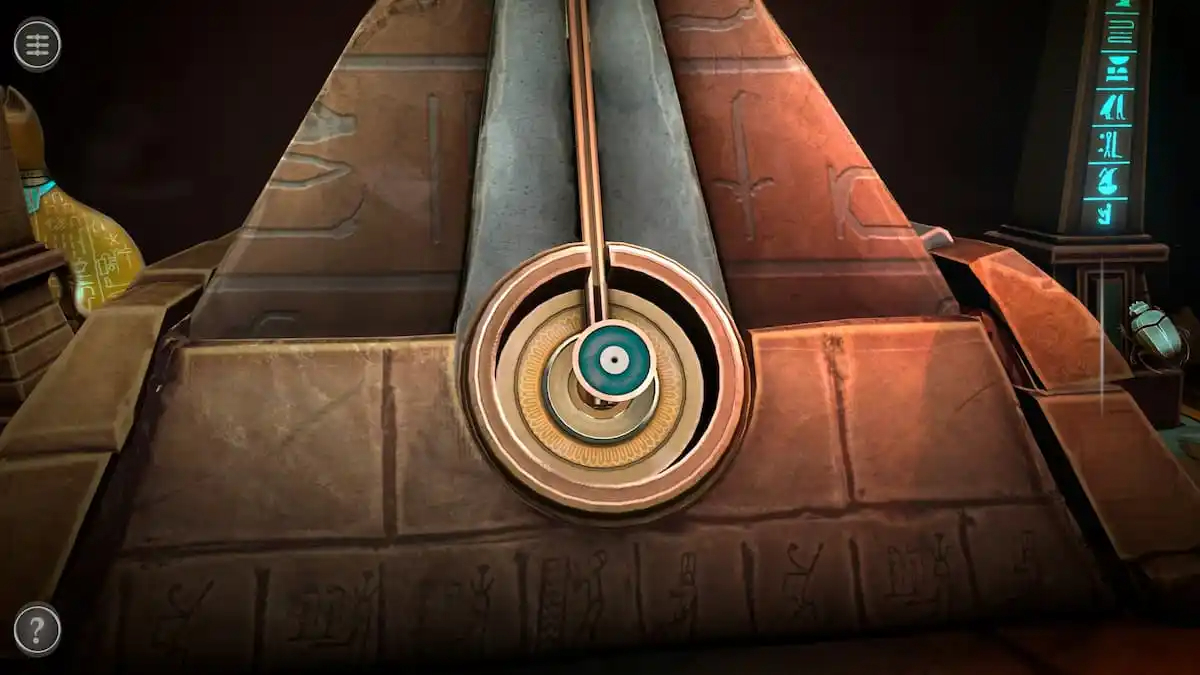
This flips the center, revealing the base for a slider.
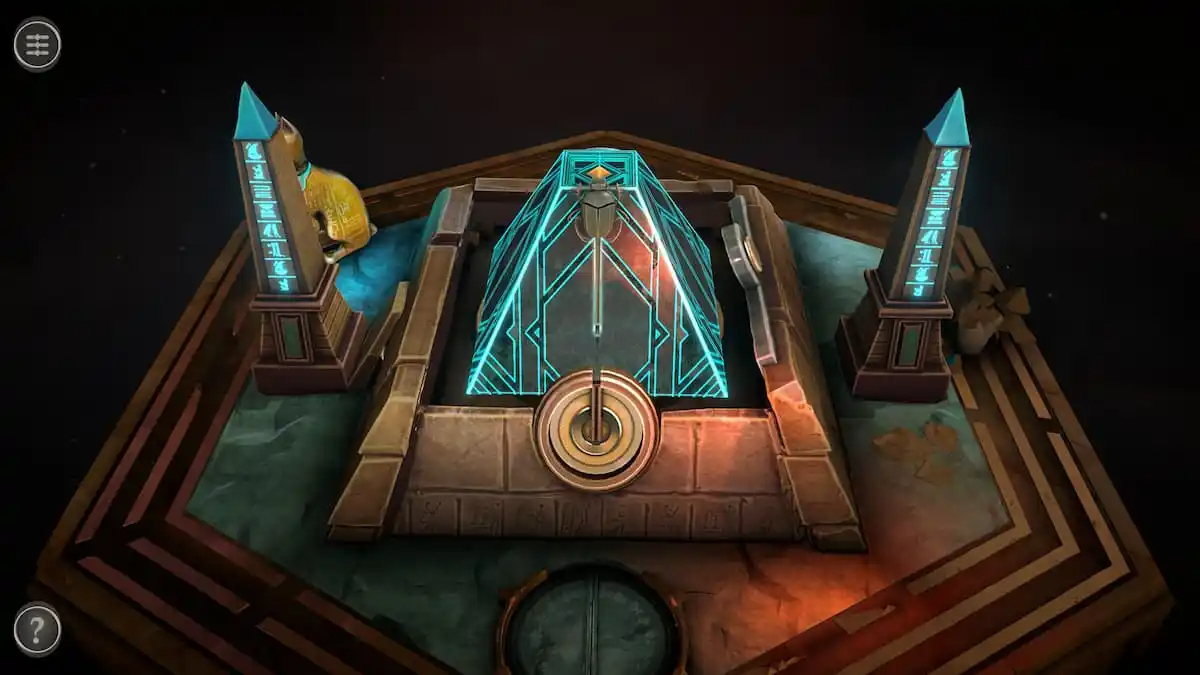
Place the Scarab onto the slider and push it up to remove the outer layer of the pyramid.
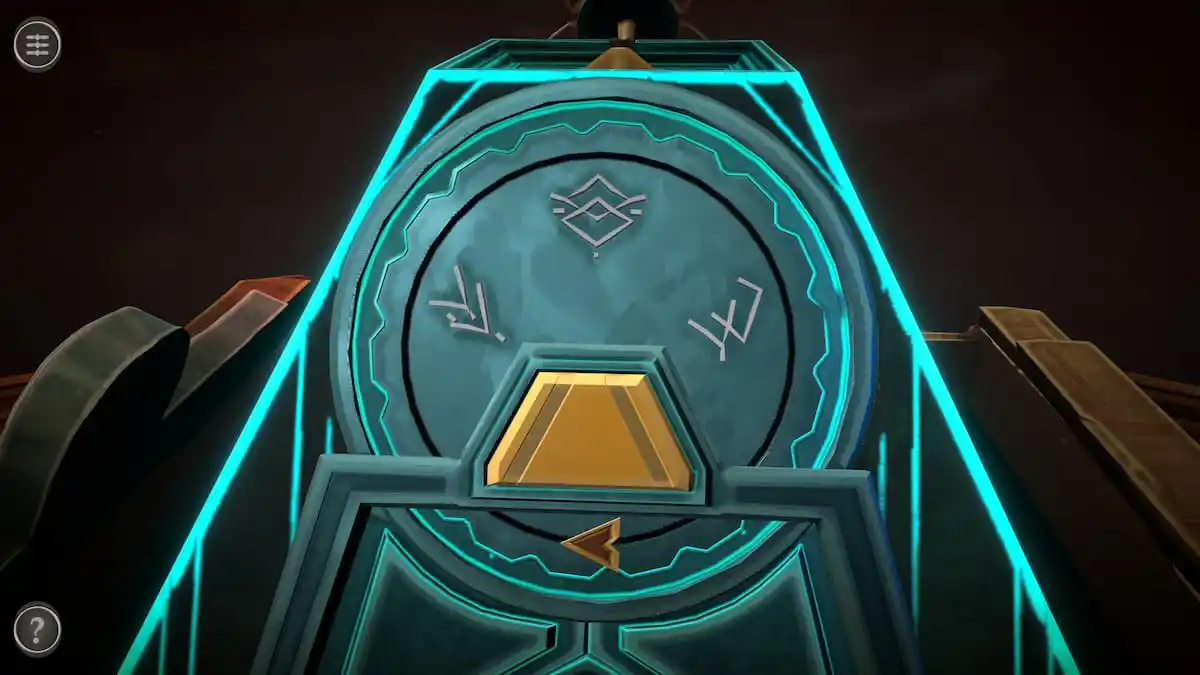
Flying symbol puzzle
In this puzzle, press the button once to send it flying and press it again to stop it in front of one of the symbols.
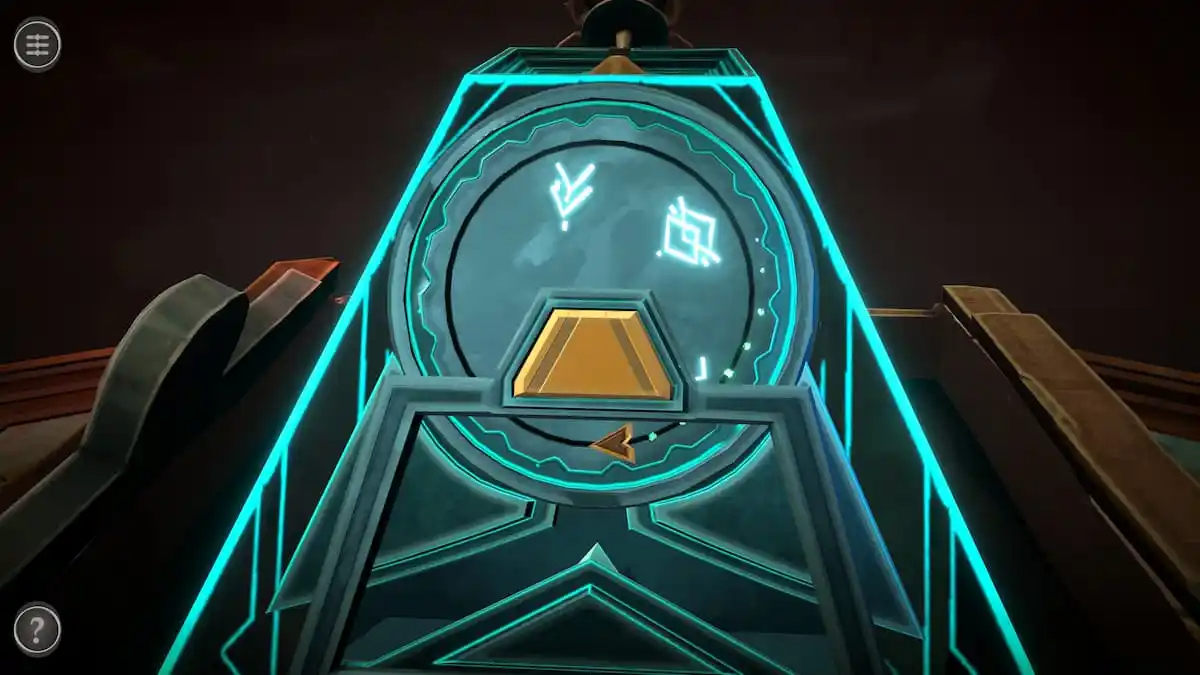
Do this for each symbol to light them all up. Once lit, the puzzle will move to give you a Small Crystal.
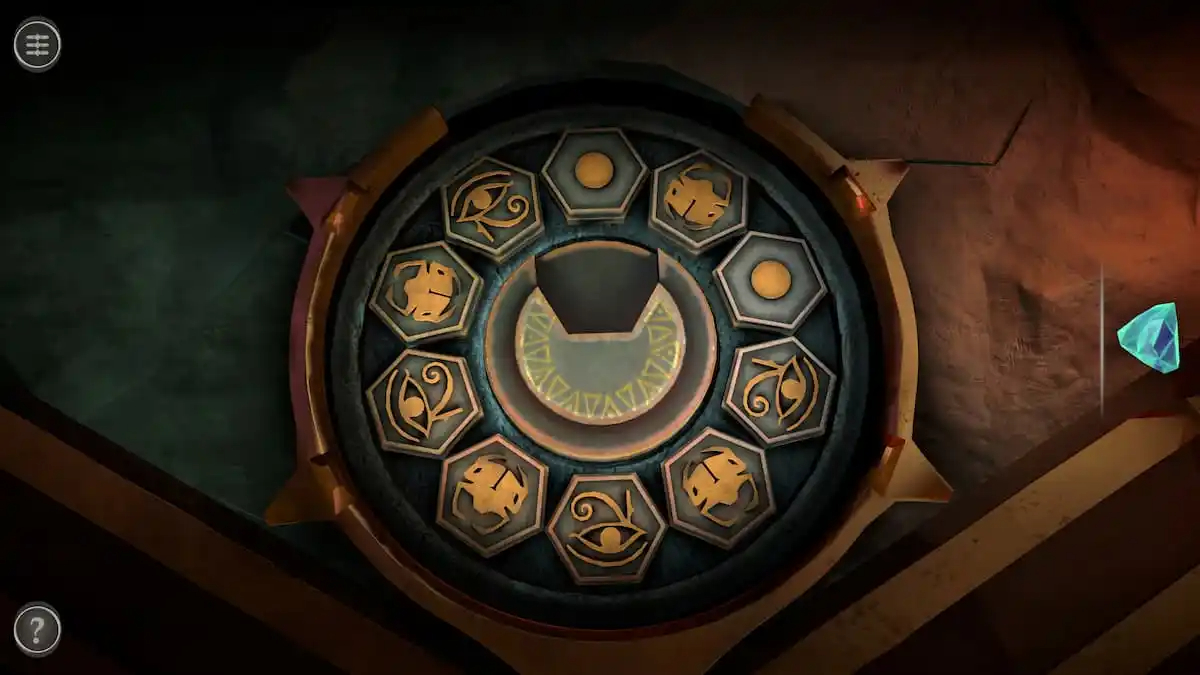
Symbol bubble shooter puzzle
Move the two panels off of the circle in front of the pyramid to reveal a puzzle.
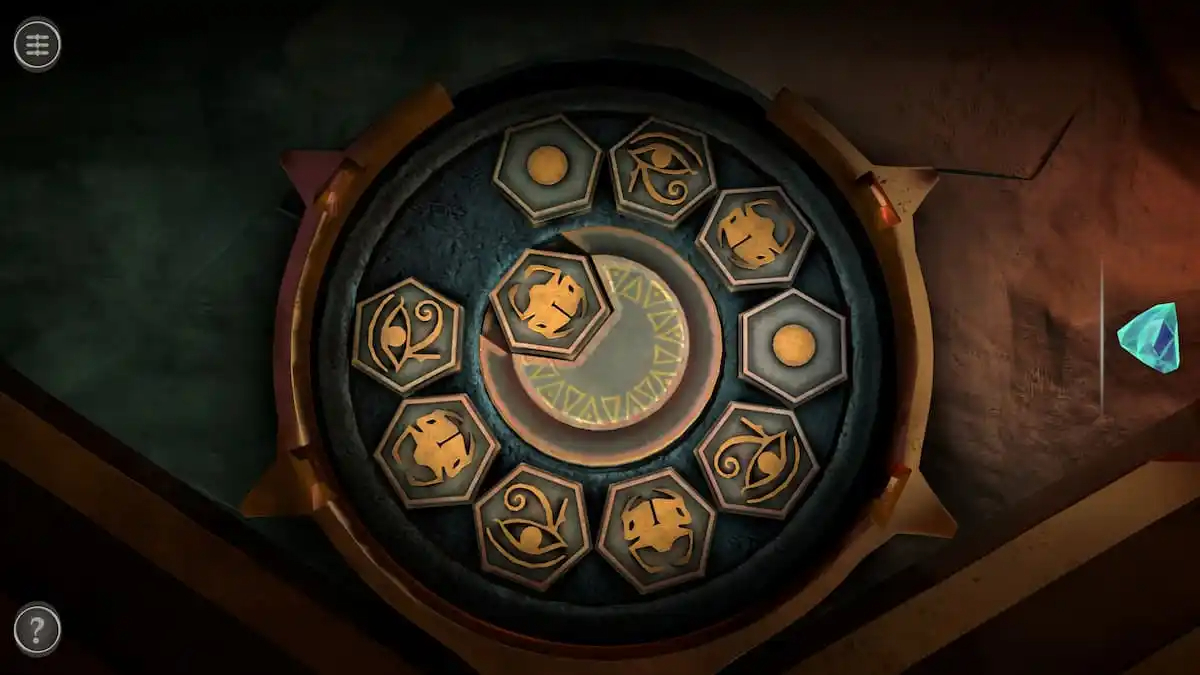
This puzzle acts similarly to those online bubble shooter games. Begin by rotating the center and sliding a piece into it.
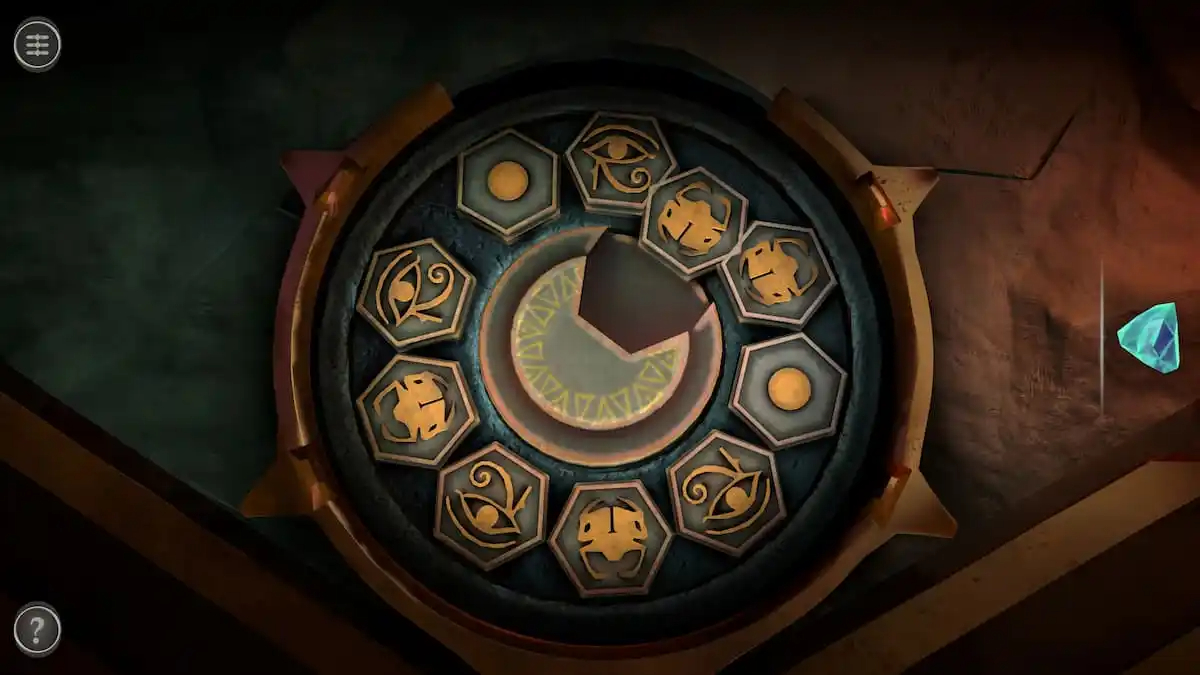
Then, “shoot” the piece out of the center by rotating the center to face where you want it to go and sliding the piece out of it.
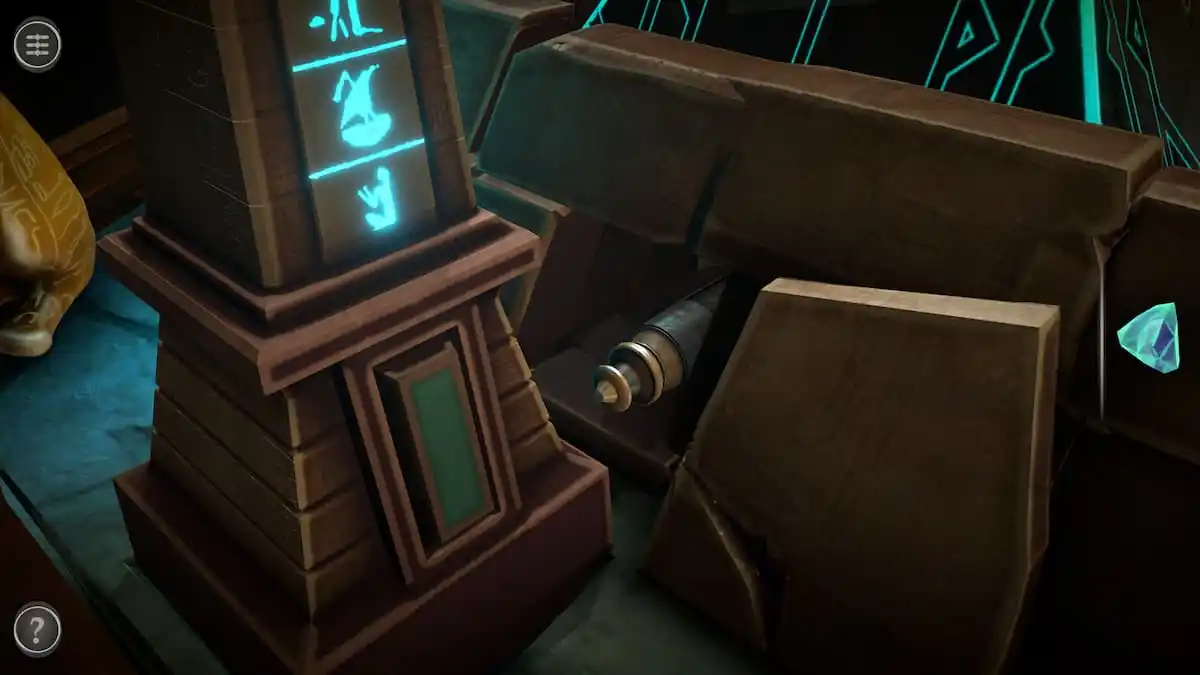
To solve this puzzle, you need to grab a scroll hidden in the left side of the pyramid.
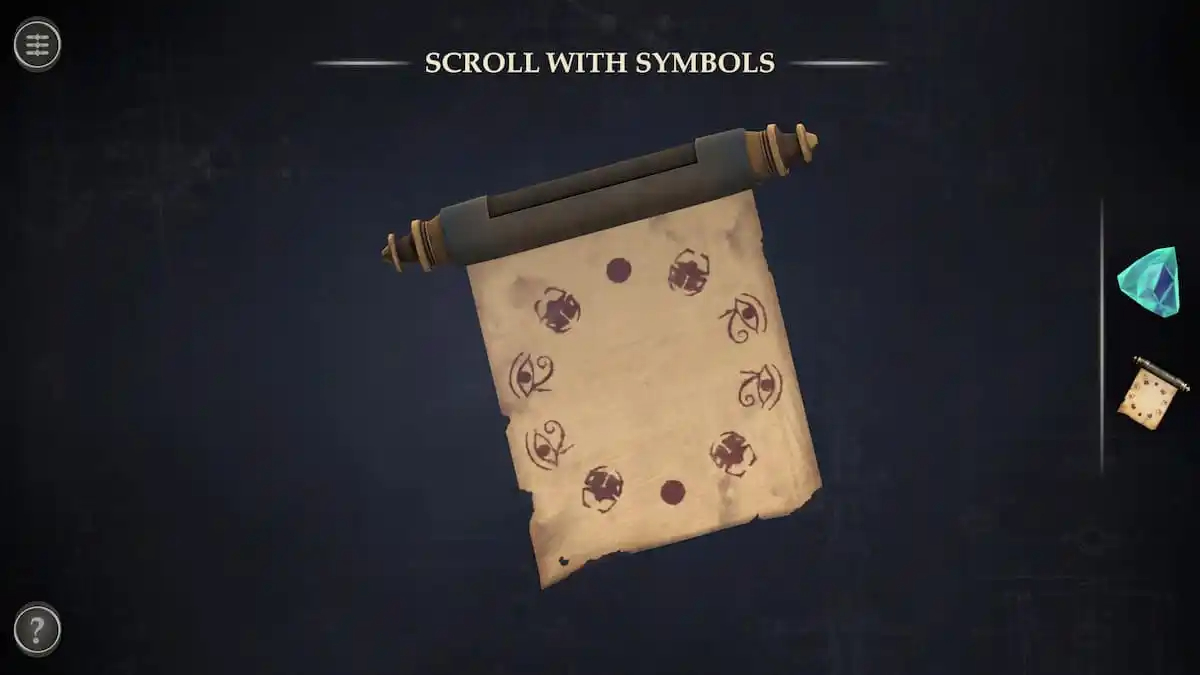
Open the Scroll in your inventory and unravel it to create a Scroll with Symbols. The symbols on the scroll reveal the order the pieces need to be in.
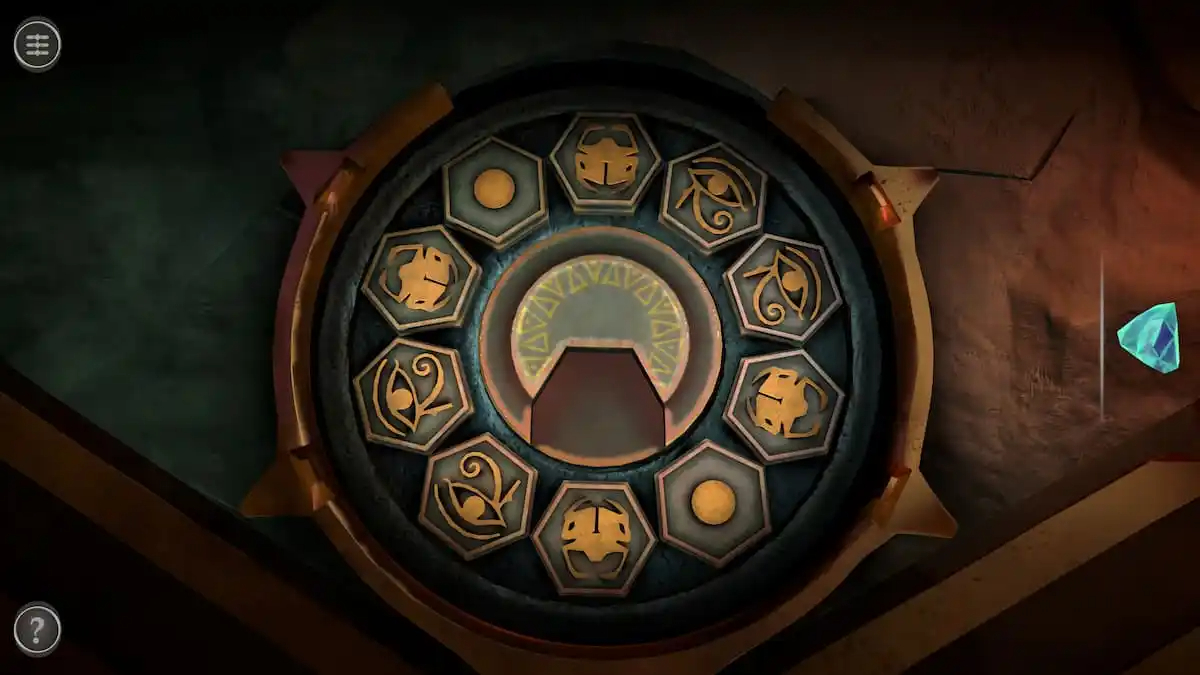
Completing the puzzle gives you a Strange Pyramid.
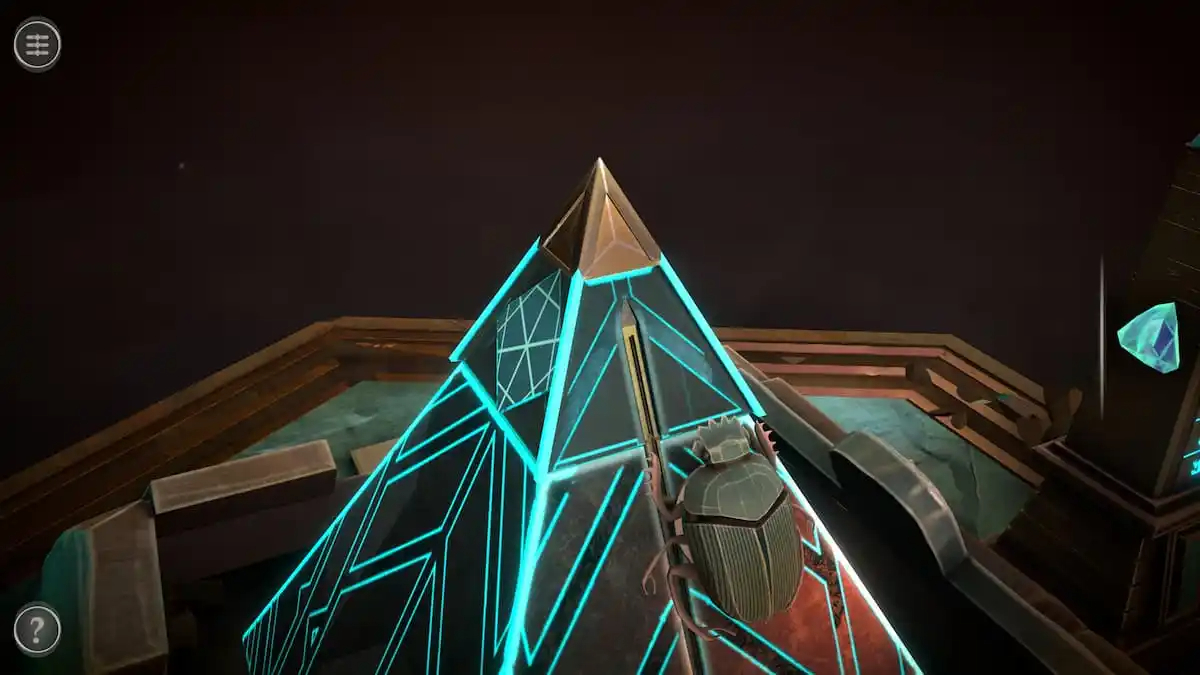
Strange Pyramid puzzle
Place the Strange Pyramid on top of the pyramid.
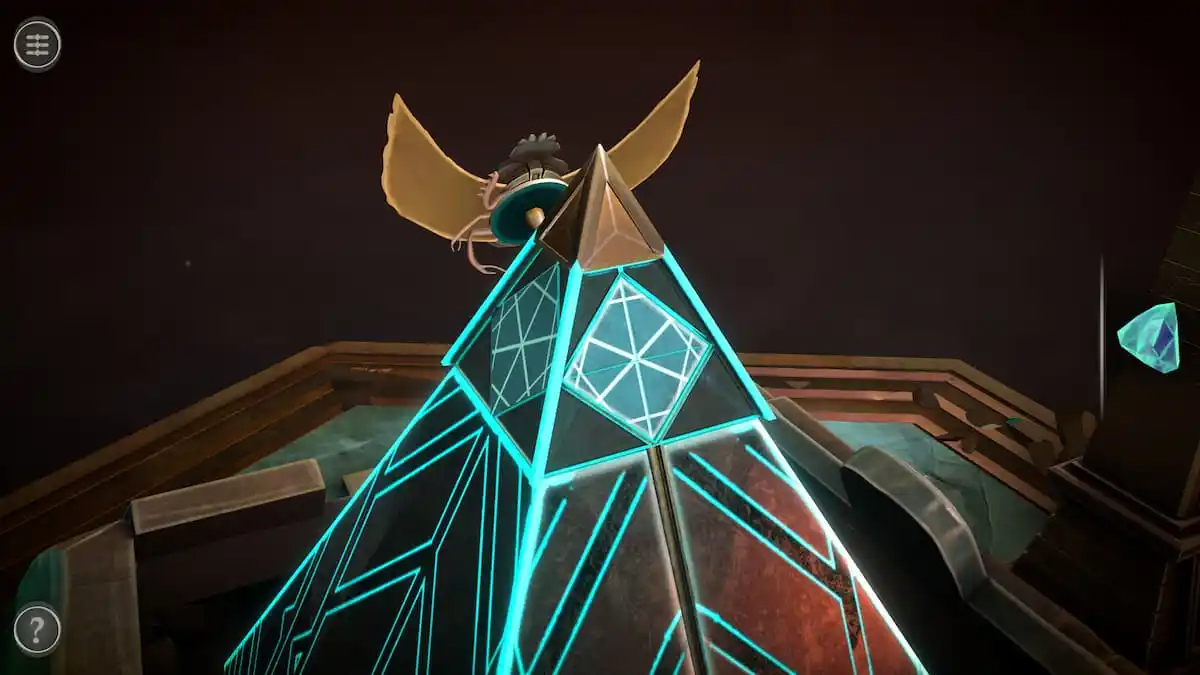
Push the Scarab to the top to open a small compartment at the top of the pyramid.
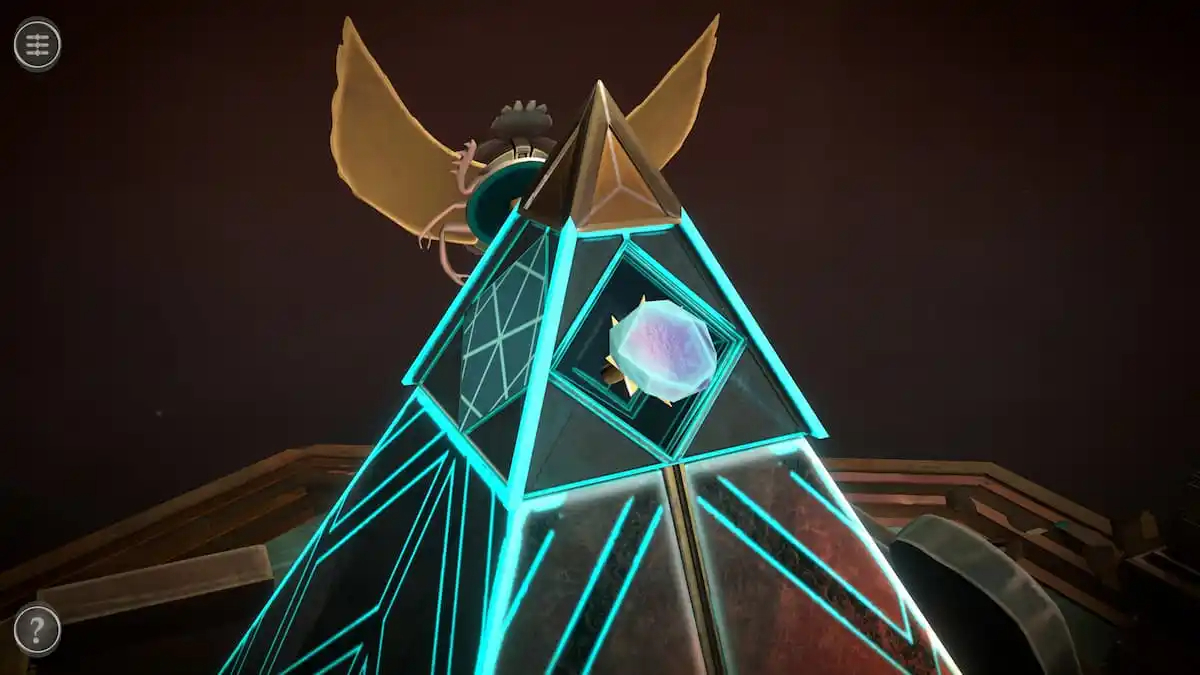
Place the Small Crystal into the compartment to finish the puzzle.
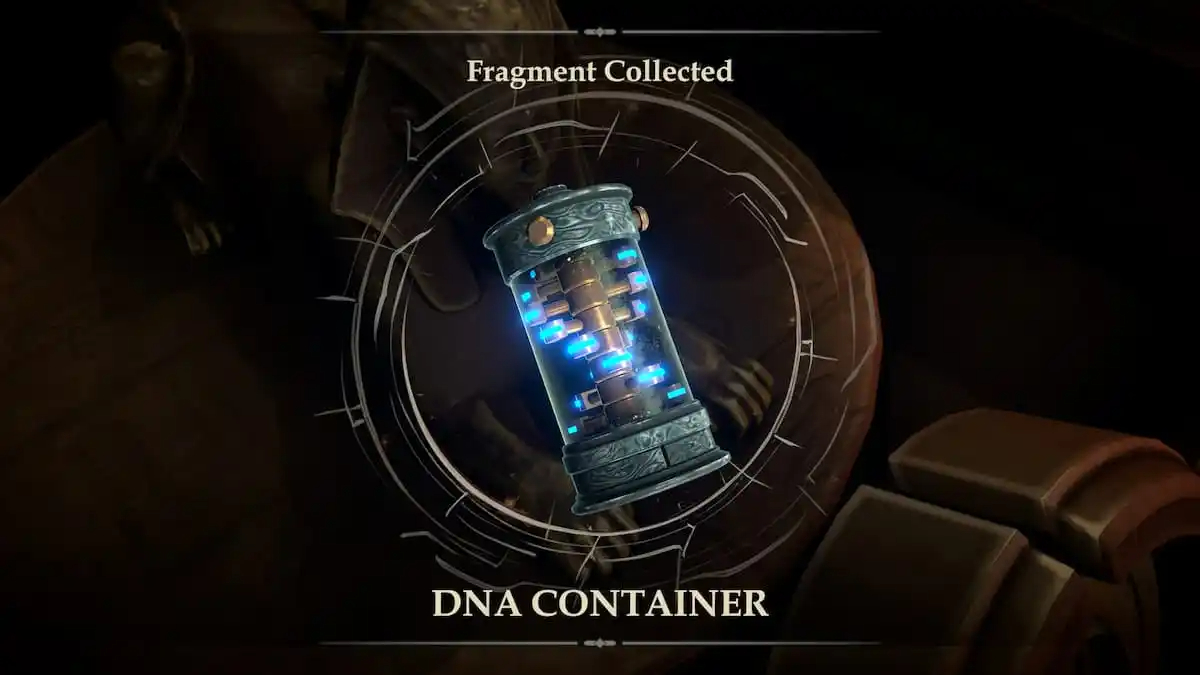
Afterward, the top of the pyramid will disappear. A sphinx holding the DNA container is found in the center. Grab it and exit the level.
THE THIRD PUZZLE BOX IN THE FINAL CHAPTER CALLED CHAPTER 5 IN BOXES LOST FRAGMENTS AND YOUR FINAL PUZZLE BOX IN CHAPTER 5 IS NOW UNLOCKED IN BOXES LOST FRAGMENTS
FINAL PUZZLE BOX IN CHAPTER 5
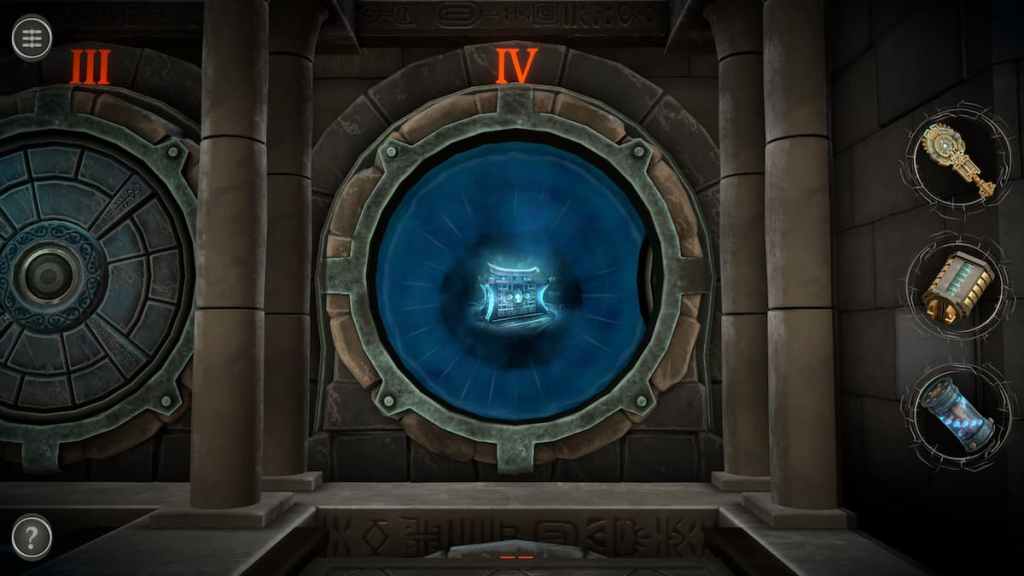
Room four puzzles
The door to the final room will be open.
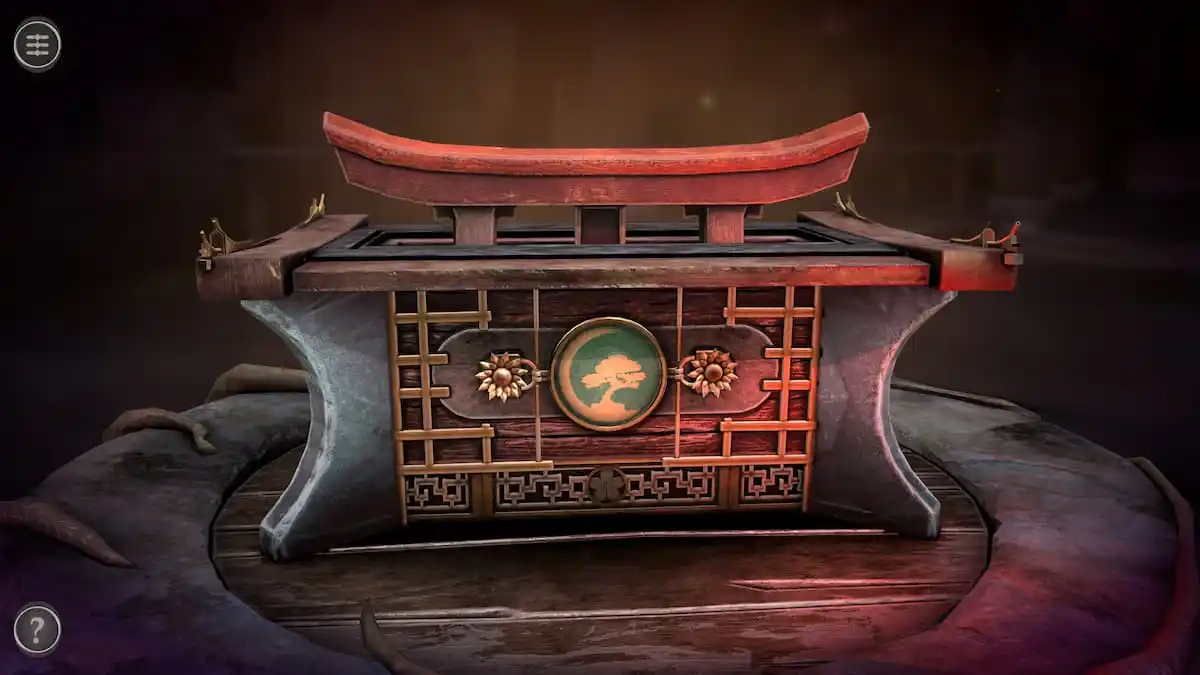
The box takes inspiration from Japanese architecture.
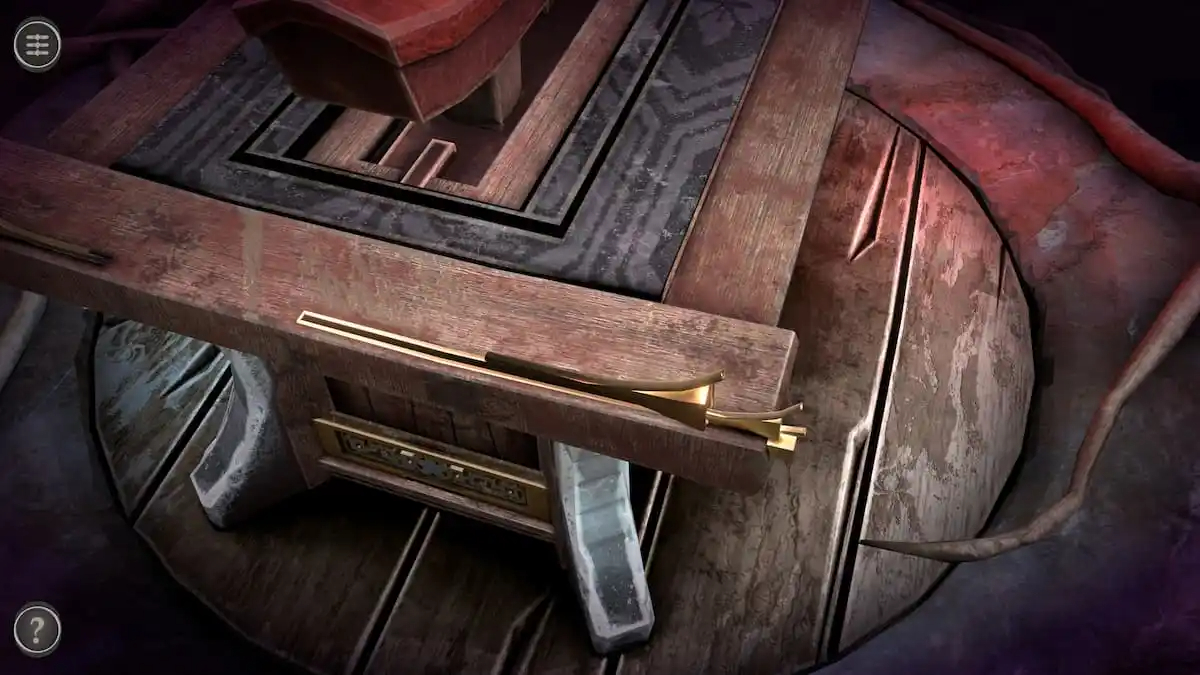
Painting puzzle
The gold decoration on the front left corner of the box’s roof is a slider. Move it to the left.
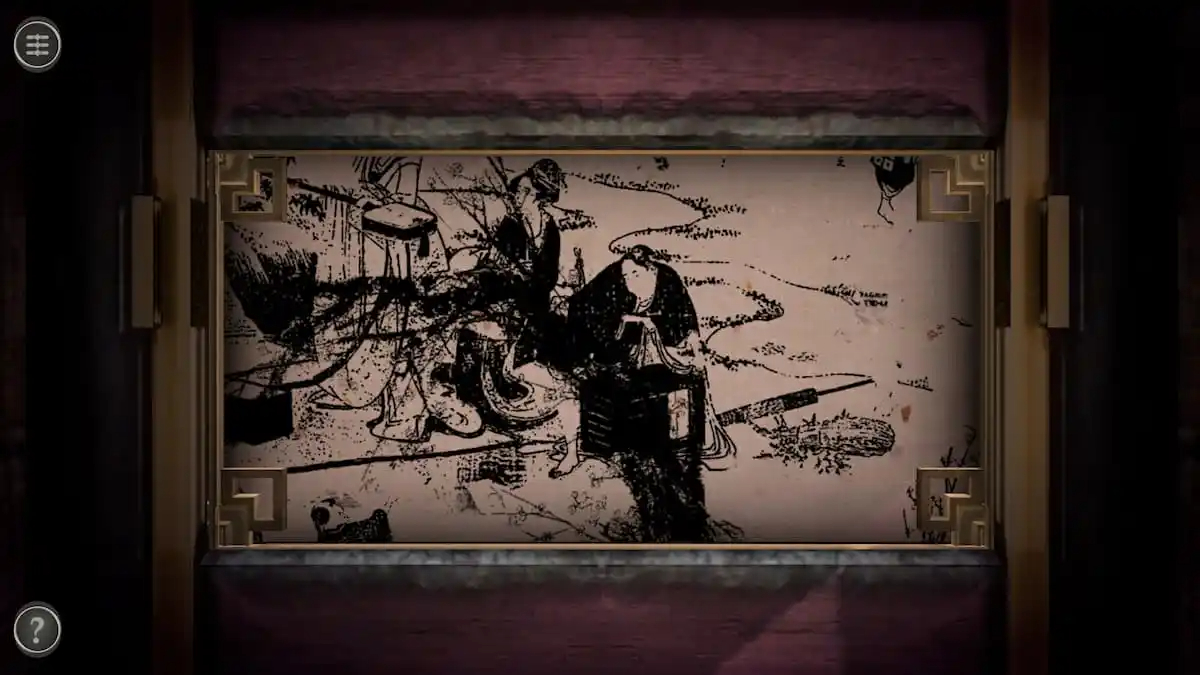
Using the slider unlocks a painting puzzle on the left side of the box.
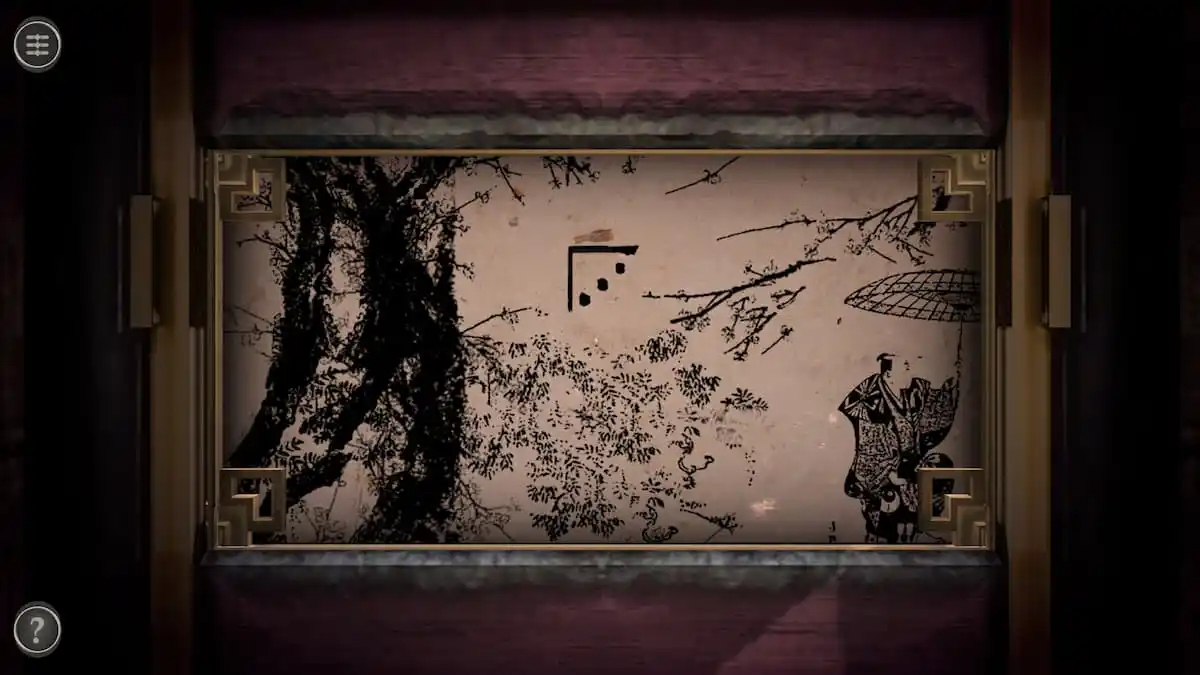
There are four depictions of dice in the puzzle that serve as hints for the next puzzle. Pay attention to the numbers on the dice as well as the lines painted around them. The image of the dice with the number 3 has the top and left borders painted, implying that it’s in the upper left corner of the next puzzle.
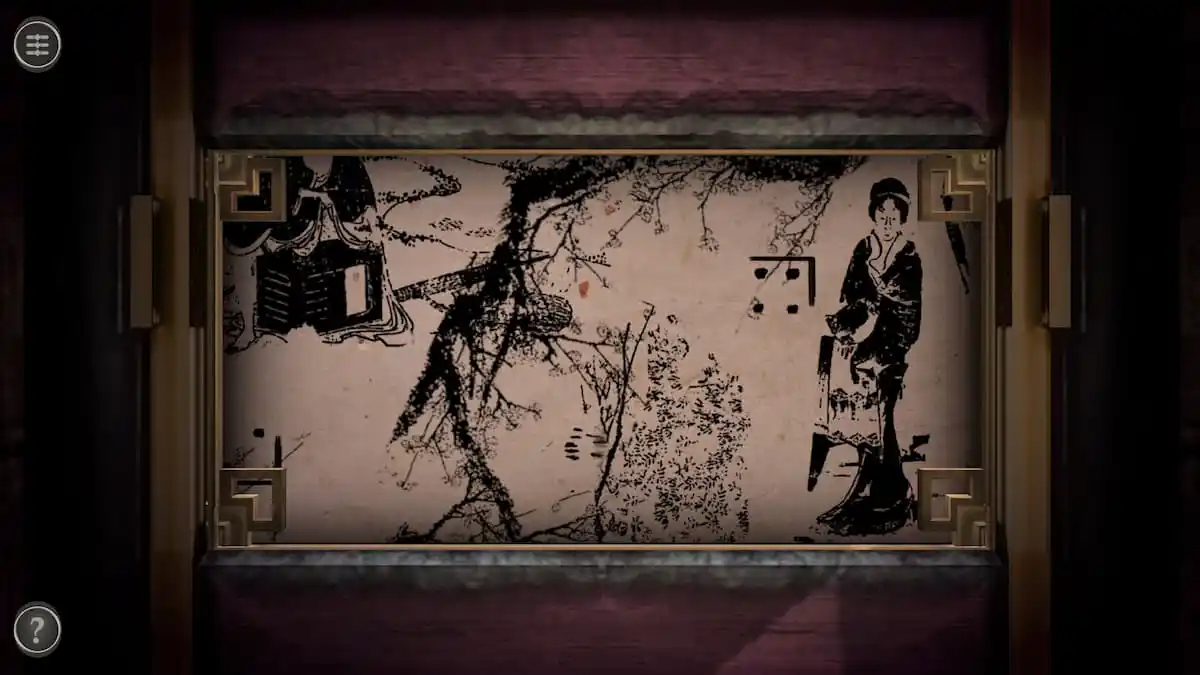
The dice with the number 4 has its top and right sides painted, placing it in the upper right corner.
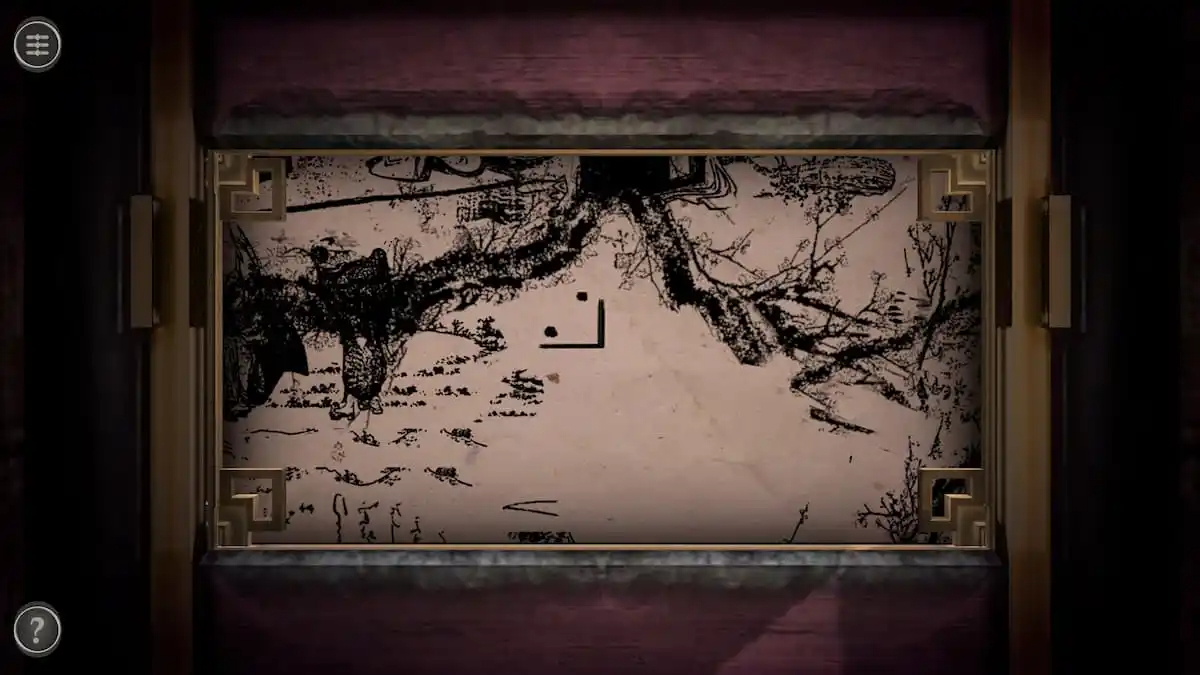
The dice with the number 2 has the bottom and right lines painted, so it will go into the bottom right corner.
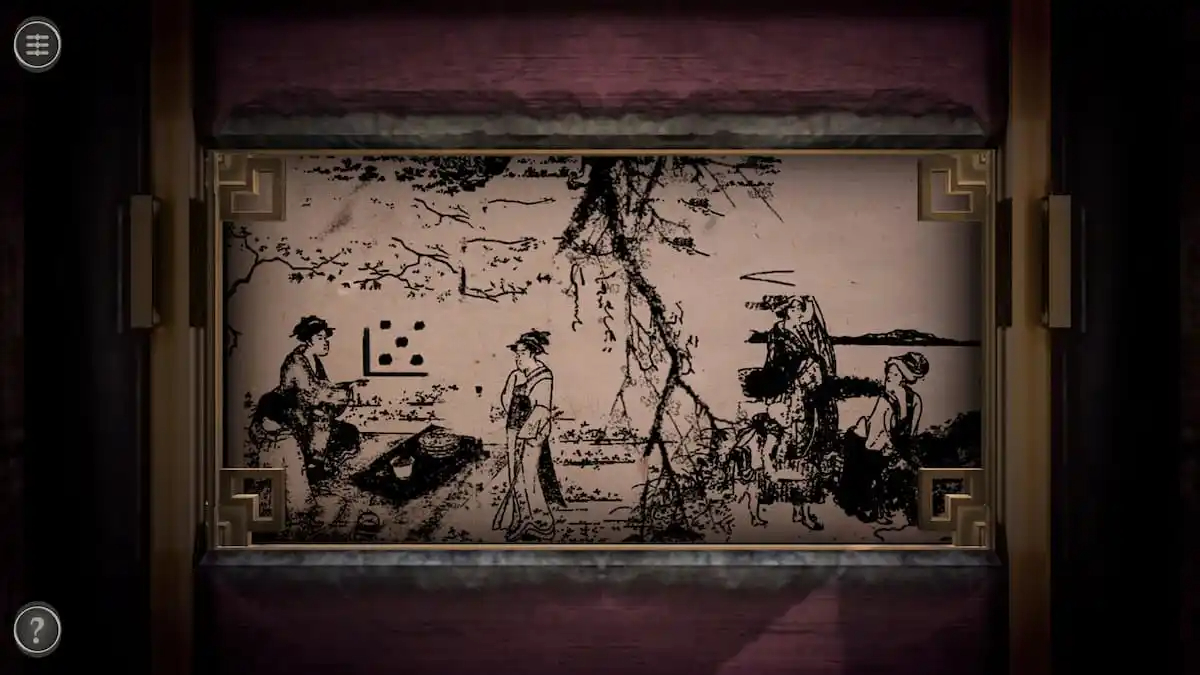
The final dice, number 5, has the left and bottom lines painted. This positions it in the lower left corner.
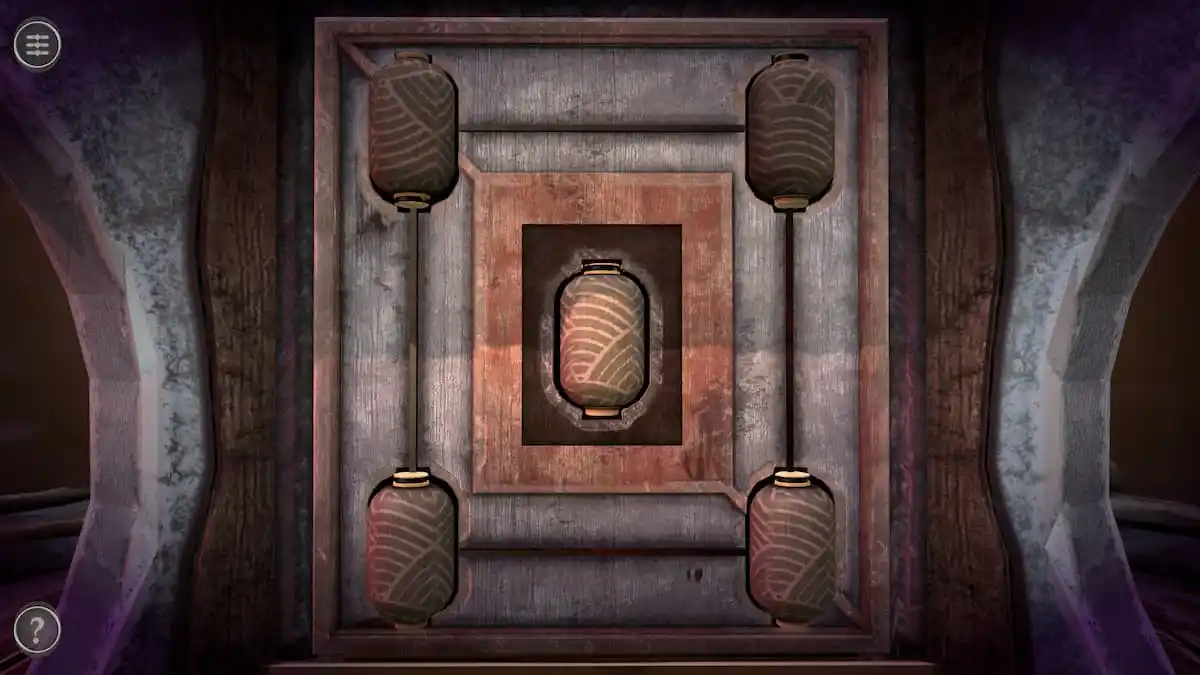
Rotating pots puzzle
The right side of the box has a puzzle with five spinnable pots.
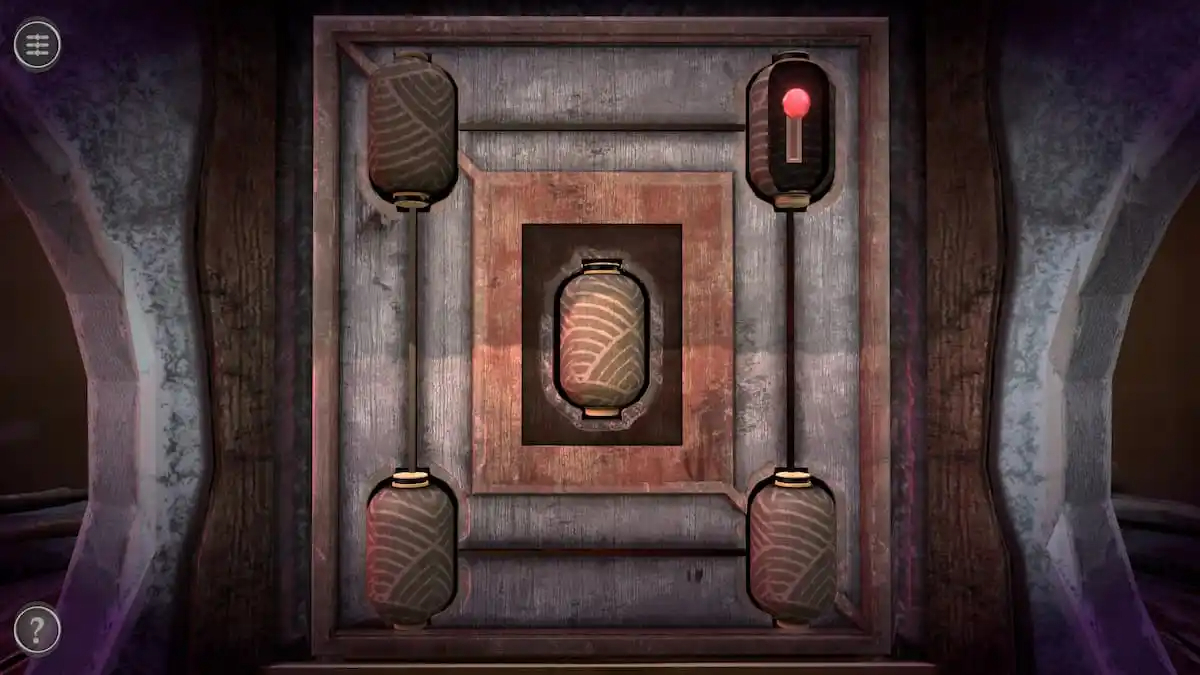
Rotate the upper left one to find a red switch. Pull it to reveal the next puzzle.
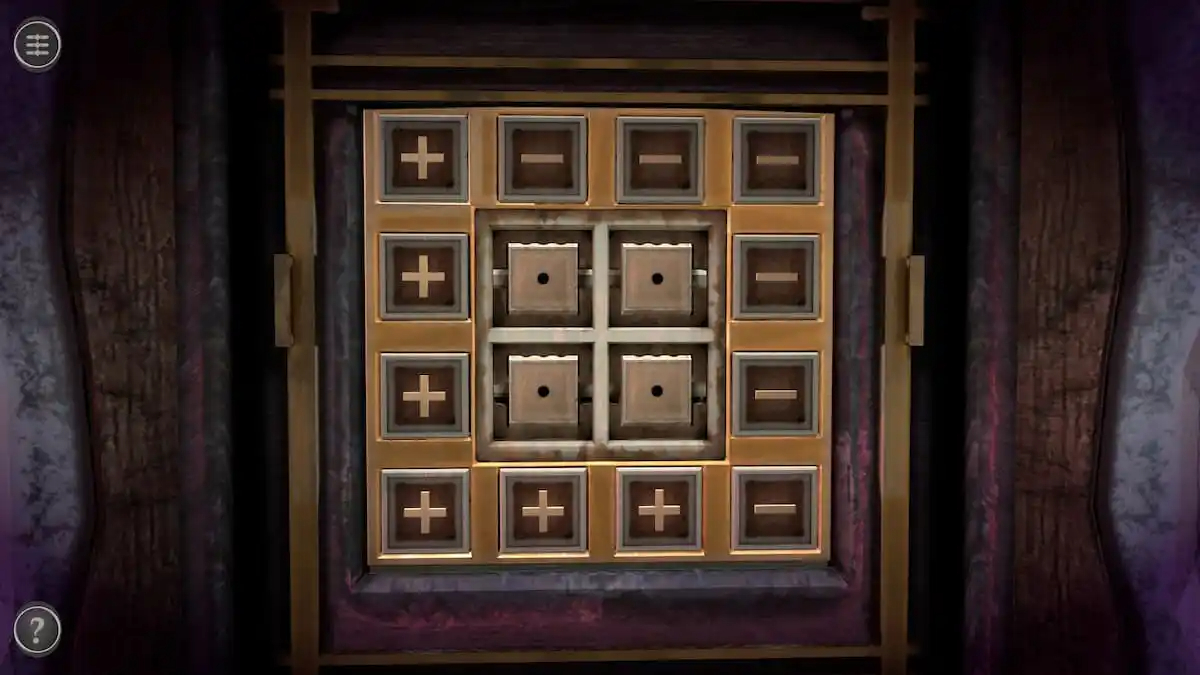
Dice puzzle
The goal of this puzzle is to get the numbers on the dice to match those on the painting.
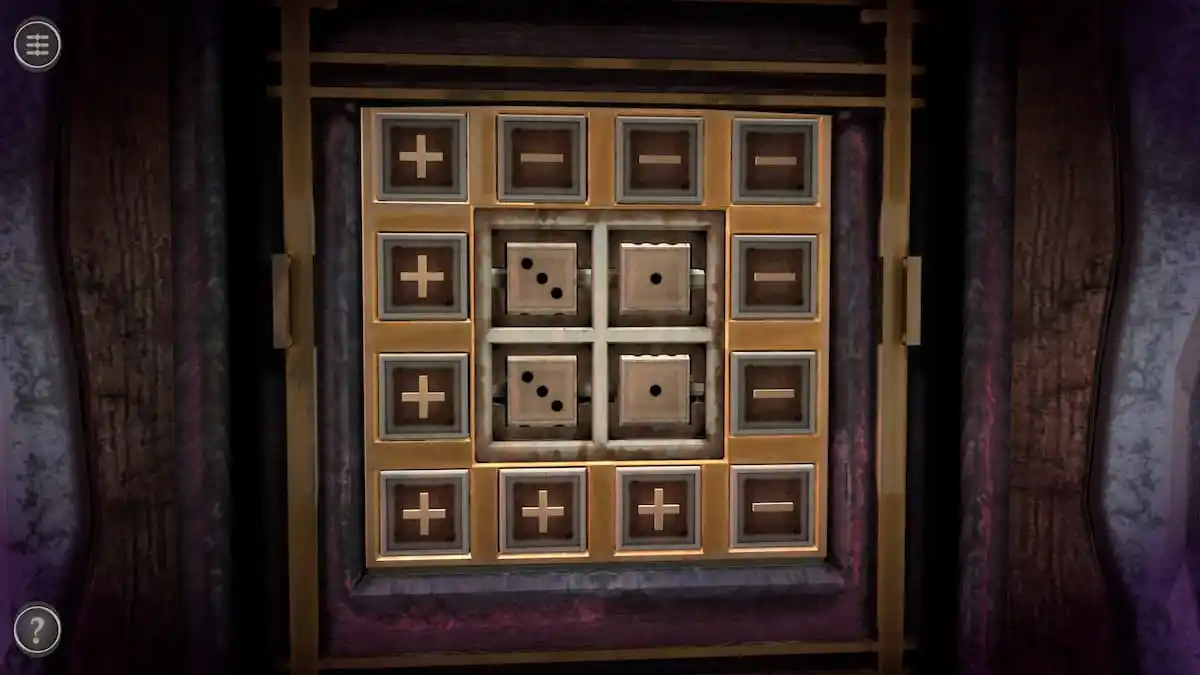
The upper left dice should be a 3, the upper right dice should be a 4, the lower right dice should be a 2, and the lower left dice should be a 5. Start by making adding two to the dice on the left using the plus sign beneath them, making each one worth three.
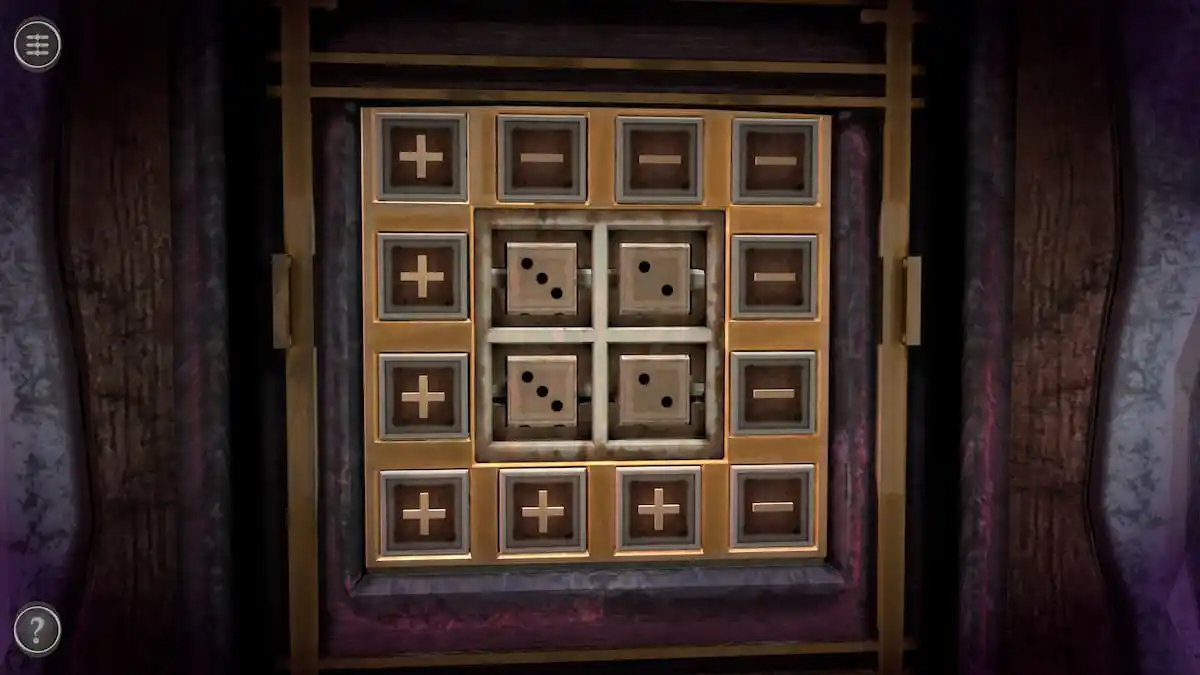
Repeat the process on the right two dice with the plus sign beneath them to make them equal two.
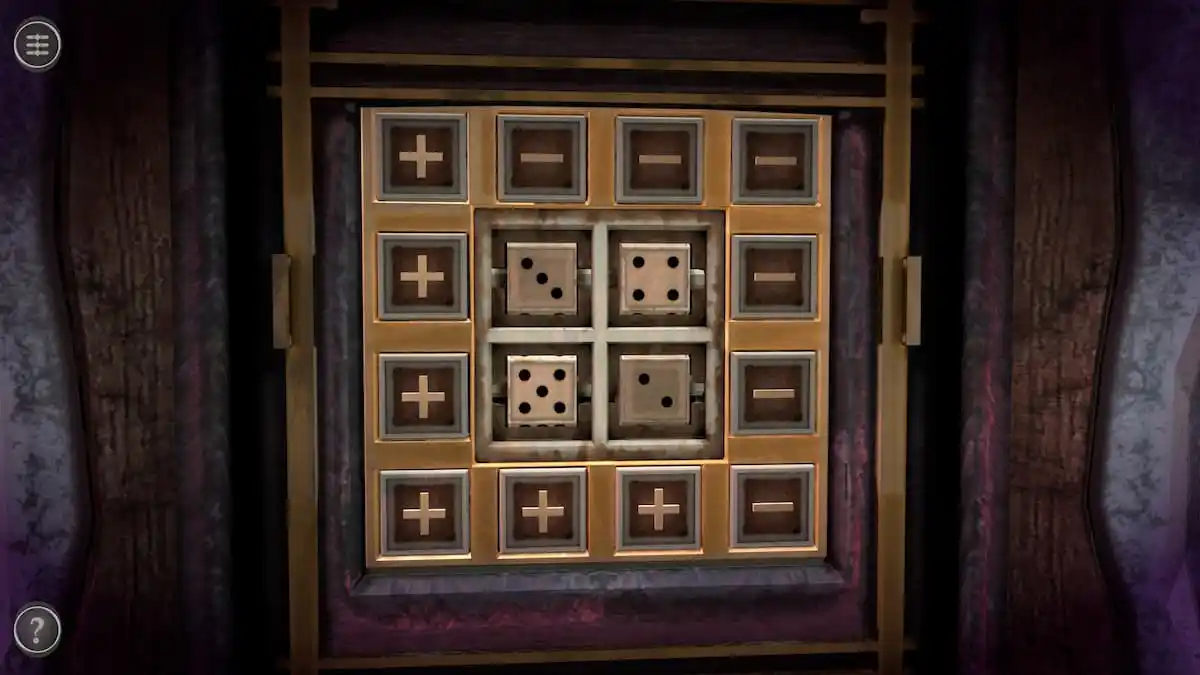
Complete the puzzle by tapping the plus sign in the lower left corner twice. The puzzle will be solved, giving you a Bronze Handle.
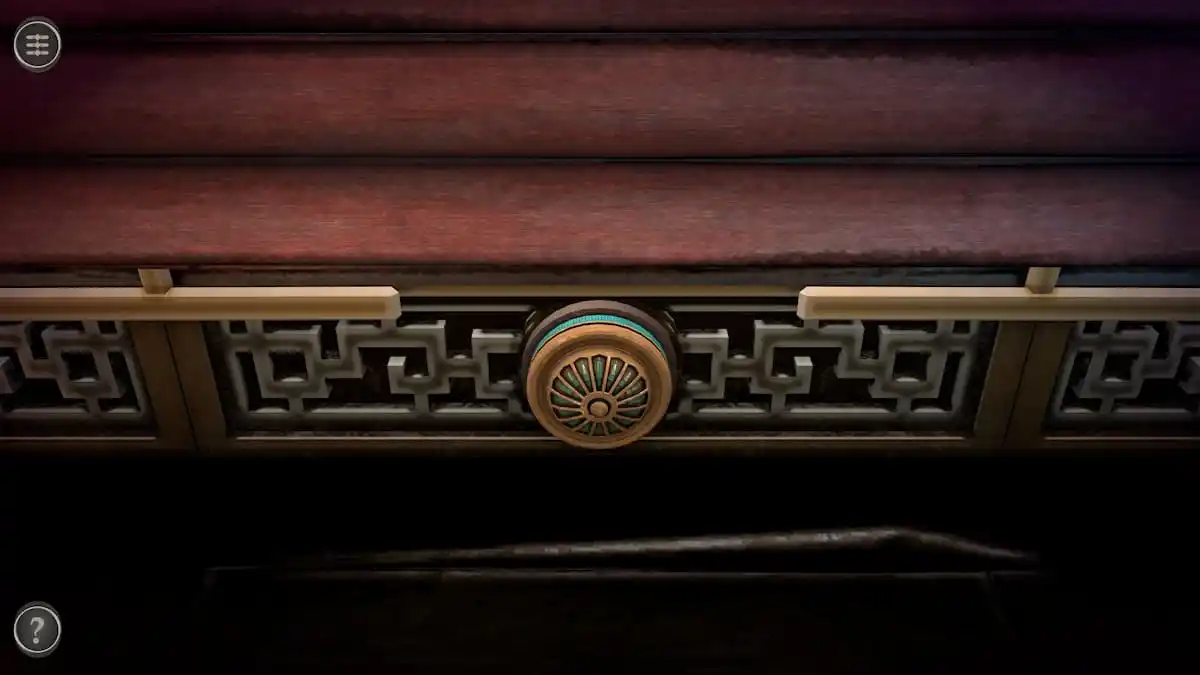
Bronze Handle puzzle
Add the Bronze Handle into the circular groove at the back of the box.
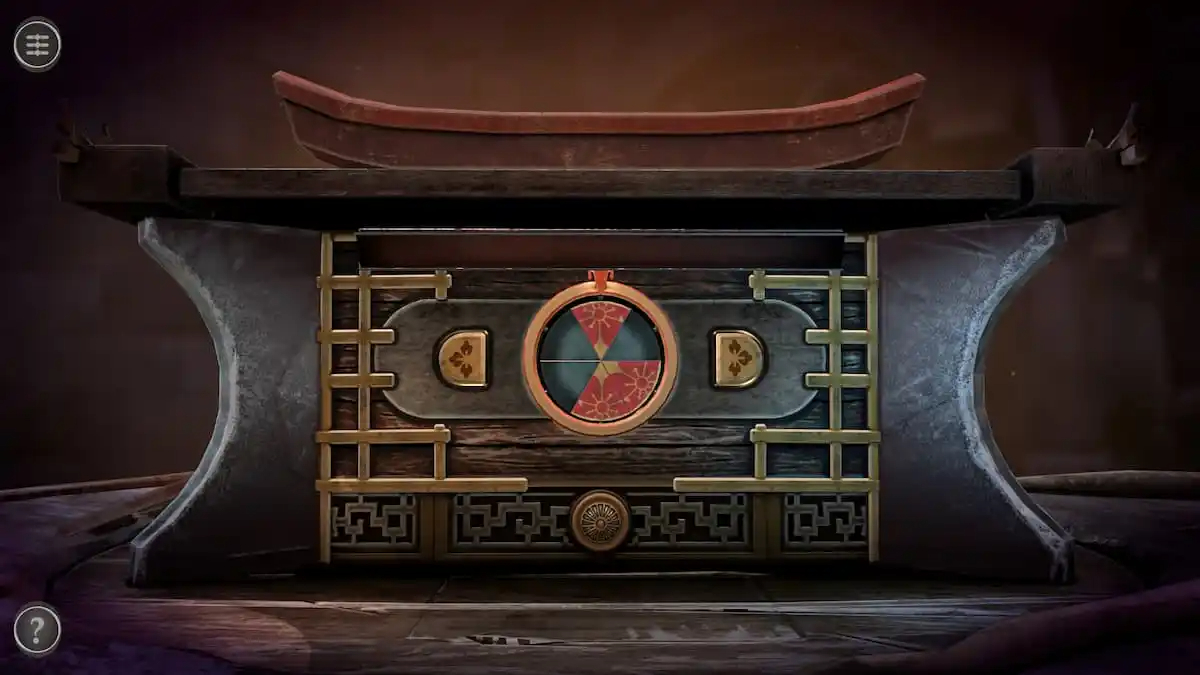
This removes the blinds covering the puzzle above it.
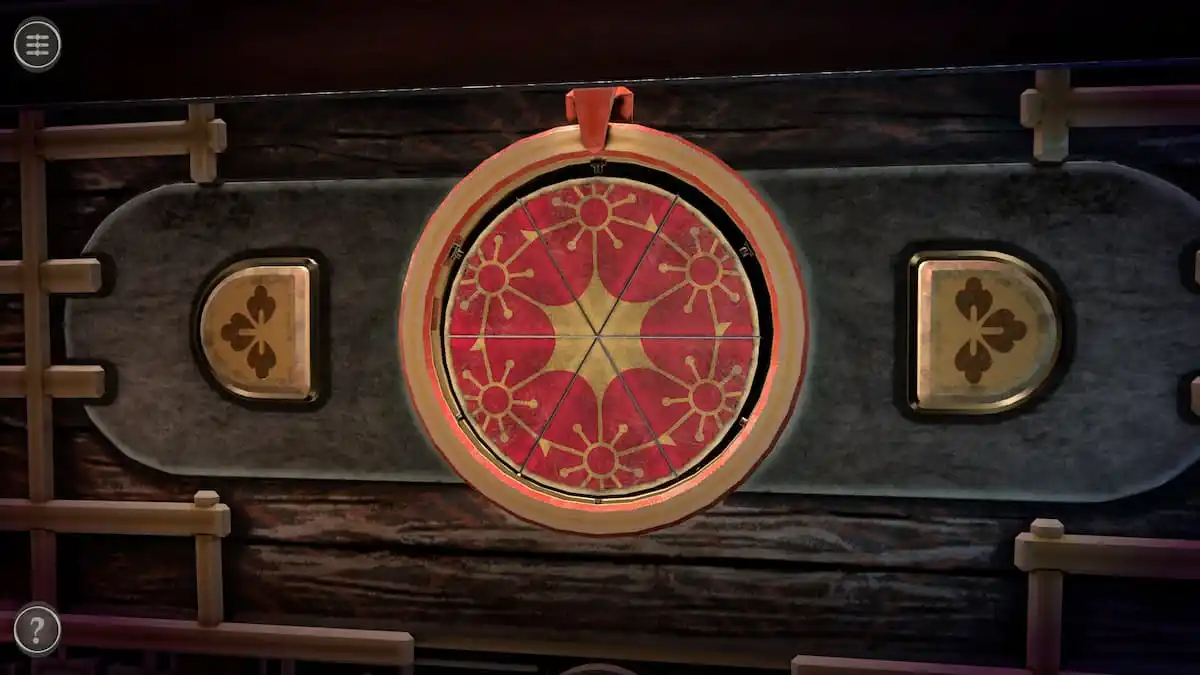
To solve this puzzle, use the left and right buttons to rotate the ring. Whatever piece lands underneath the red arrow will be flipped. The left button rotates the ring two pieces clockwise, while the right button rotates the ring three pieces clockwise. Turning all of the pieces red gives you a Mechanical Part.
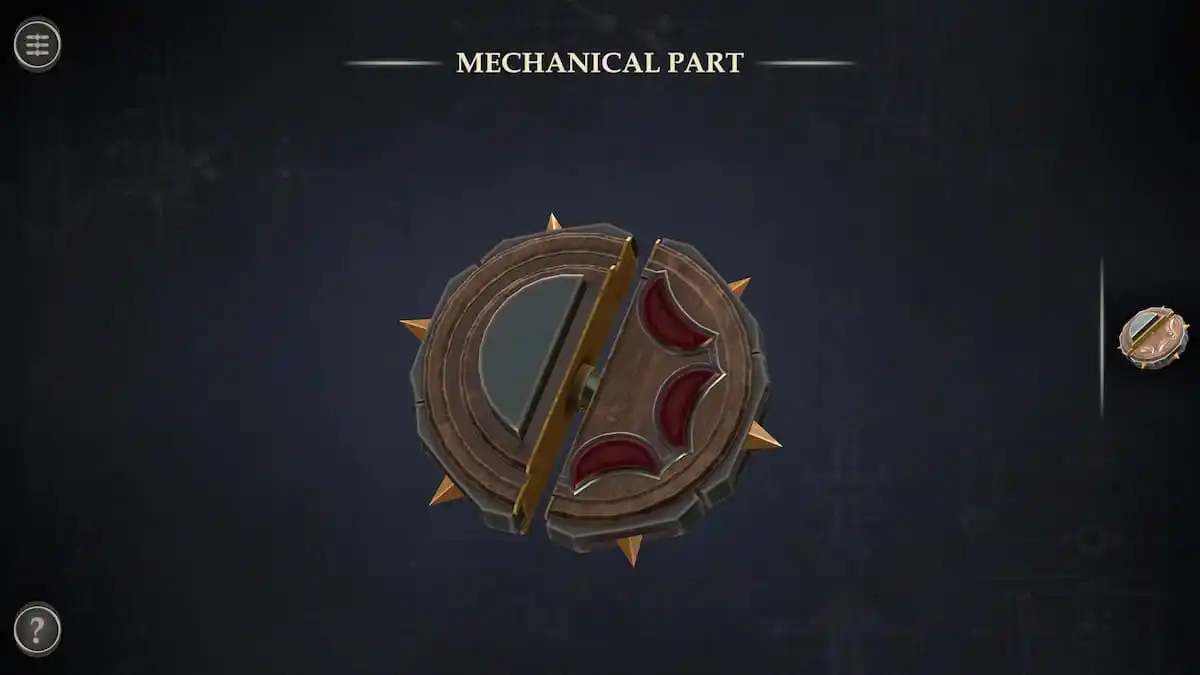
Mechanical Part puzzle
Open the Mechanical Part in your inventory.
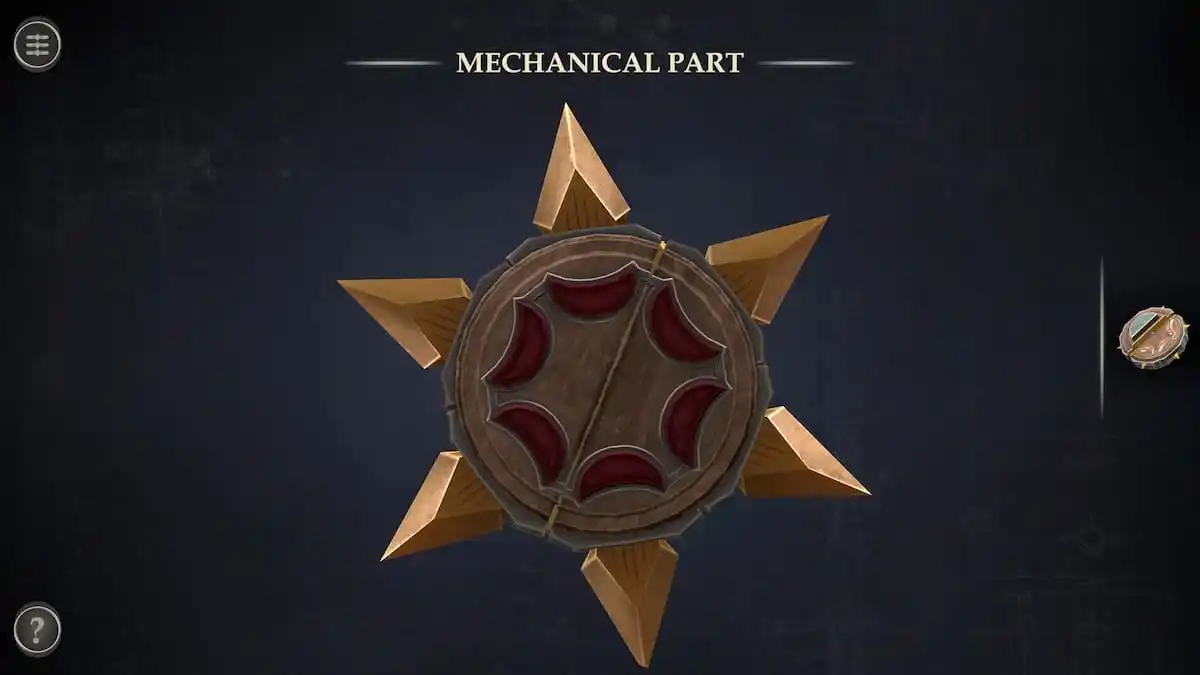
Rotate the left half until the pieces combine and the spikes pop out.
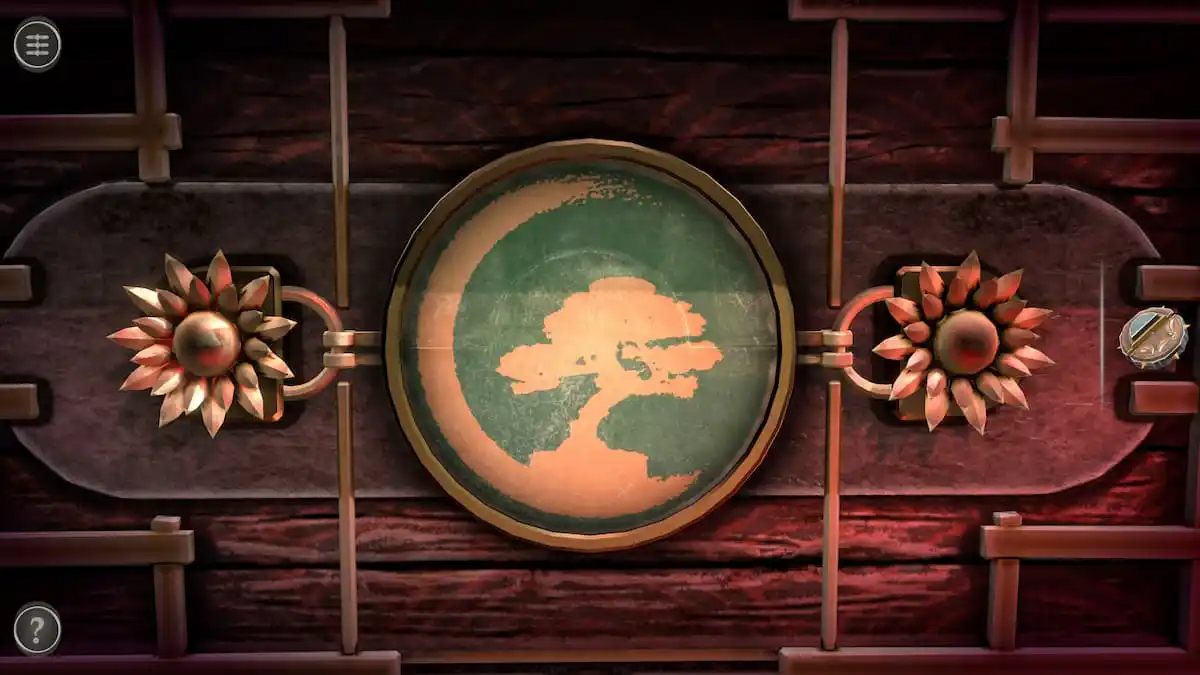
Front door puzzle
The next puzzle to work on is the front door.
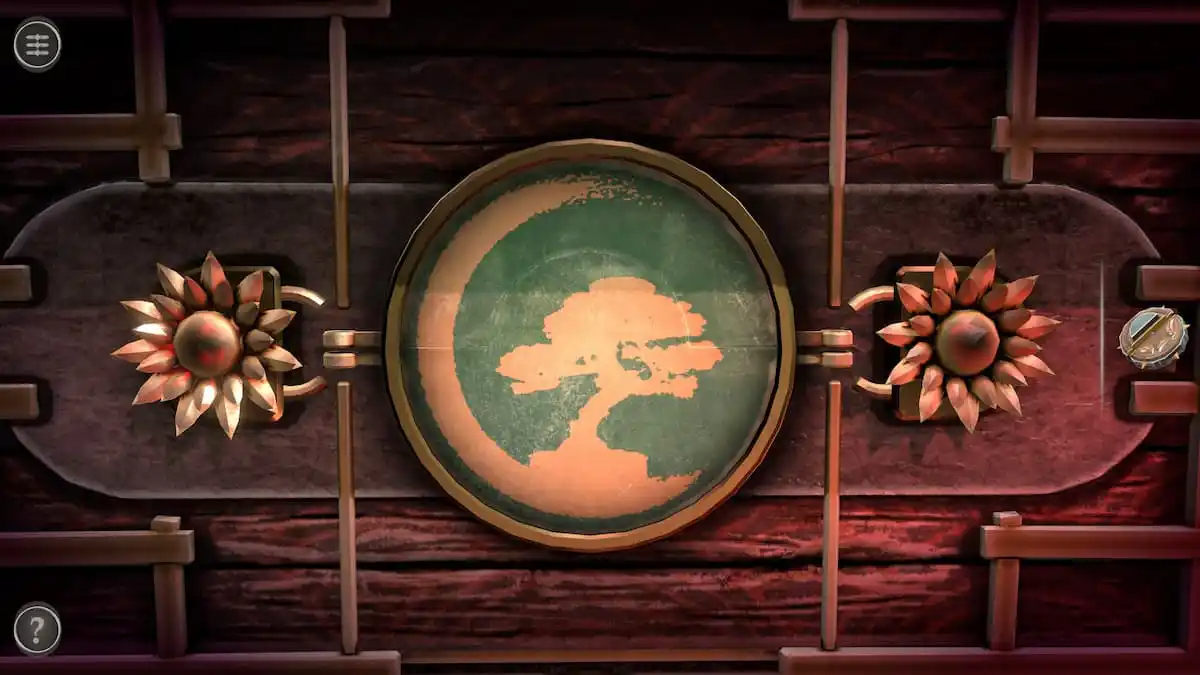
Spin each of the flowers until their locks are disconnected from the image of the bonsai.
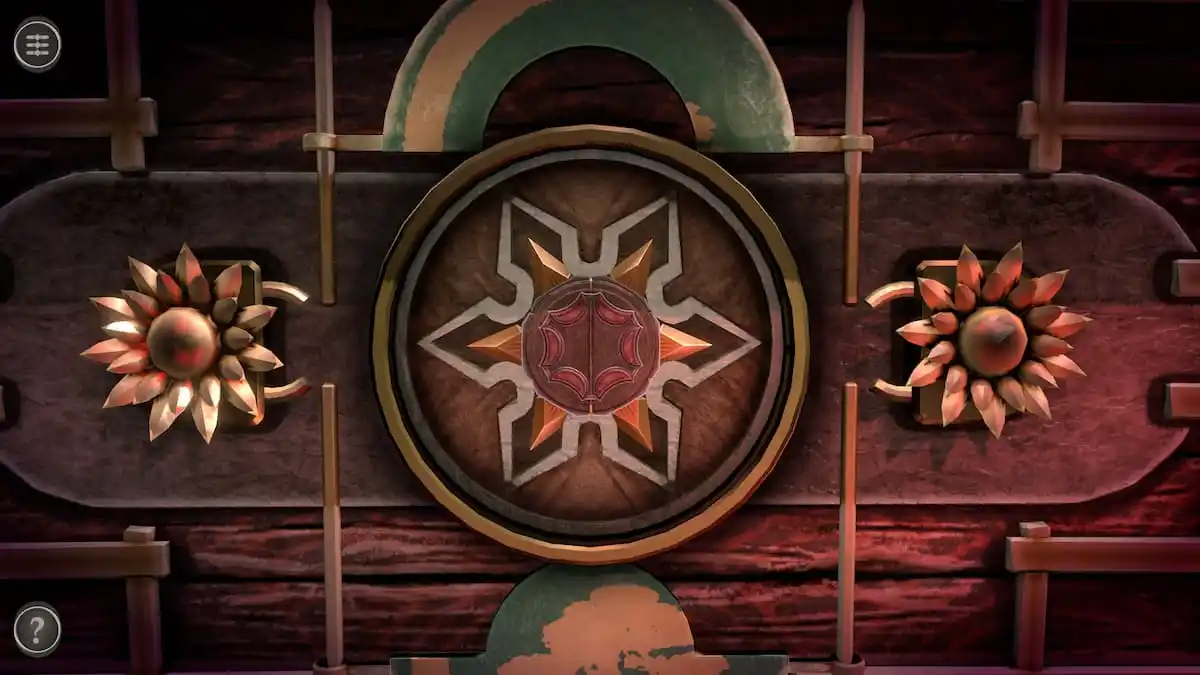
Pull the top of the bonsai image up and the bottom of it down to reveal a hole. Place the adjusted Mechanical Part here.
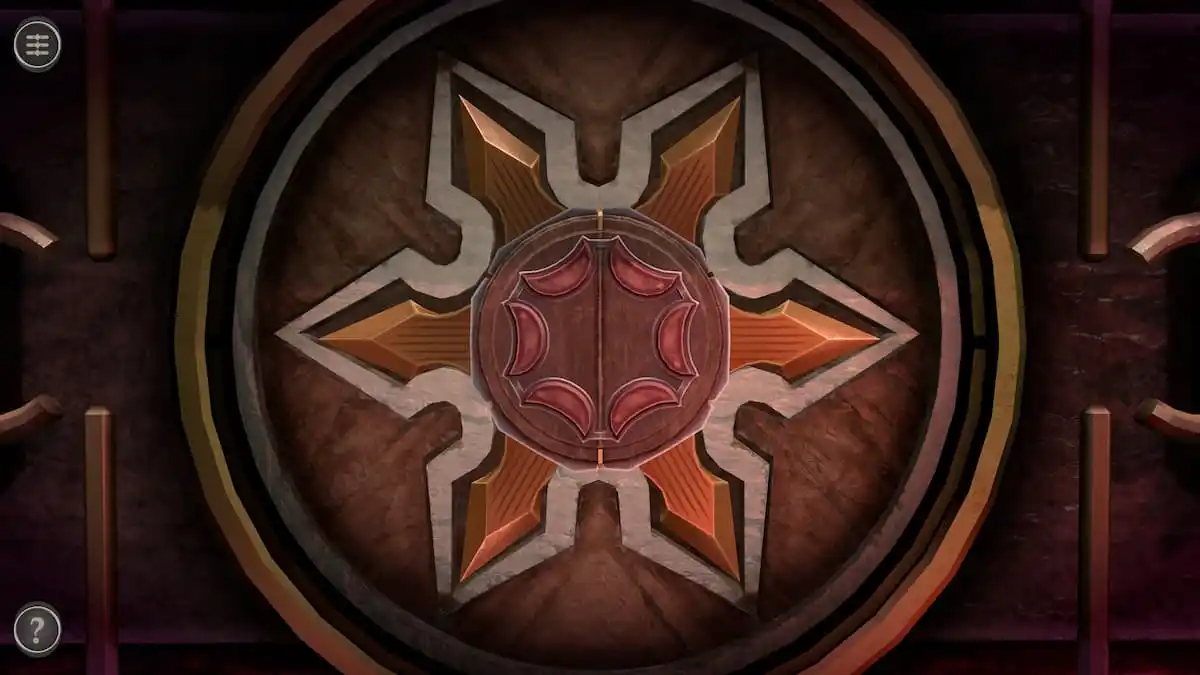
To unlock the door, you need to press the six red buttons on the Mechanical Part in a specific order. The order is:
Lower left
Lower right
Upper right
Right
Left
Upper Left
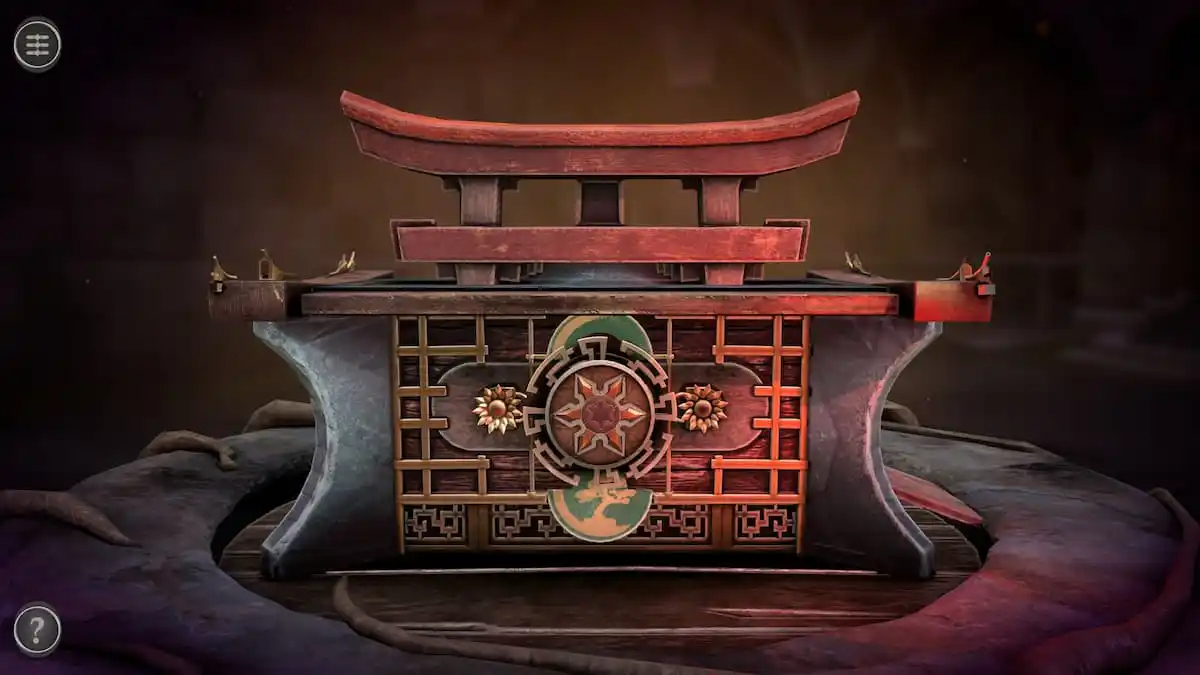
A wheel will appear behind the Mechanical Part.
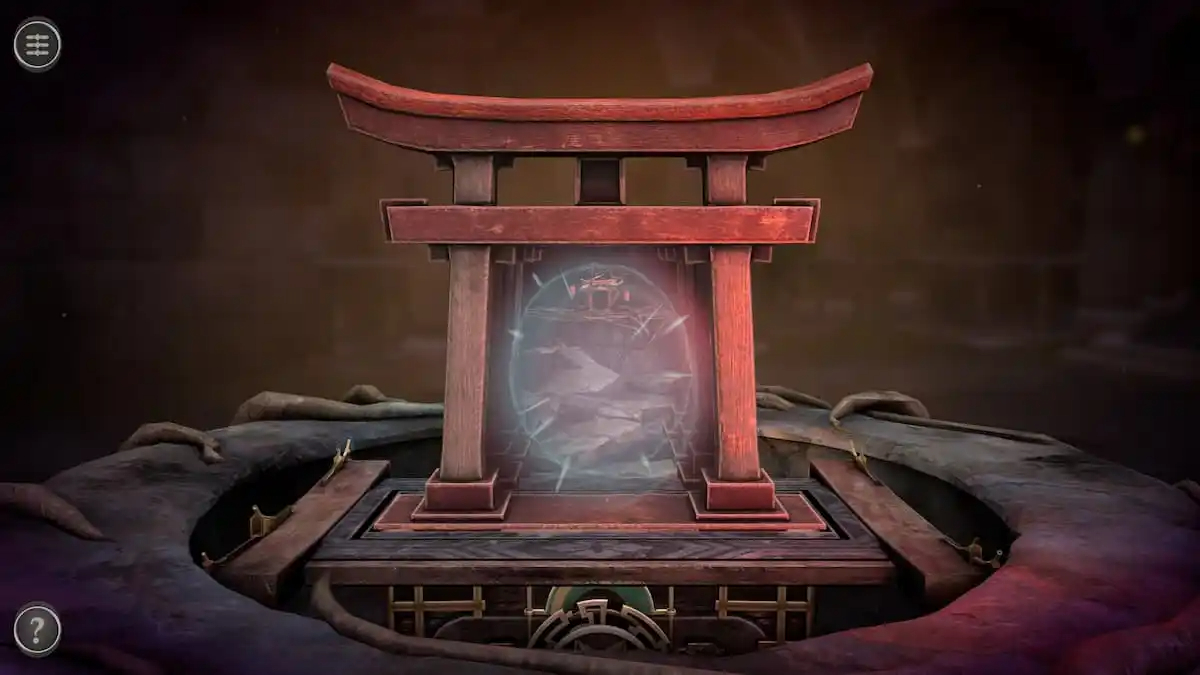
Spin the Mechanical Part and the attached wheel to reveal a portal.
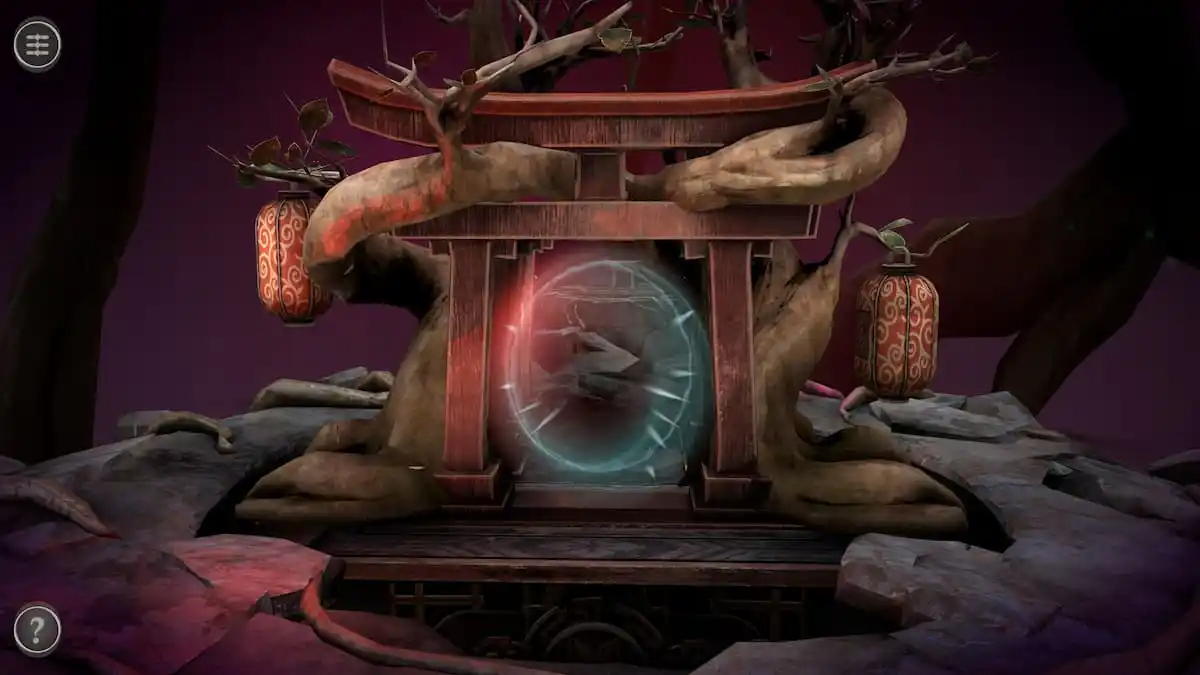
First portal lanterns
The first portal has two lanterns and a birdcage behind it.
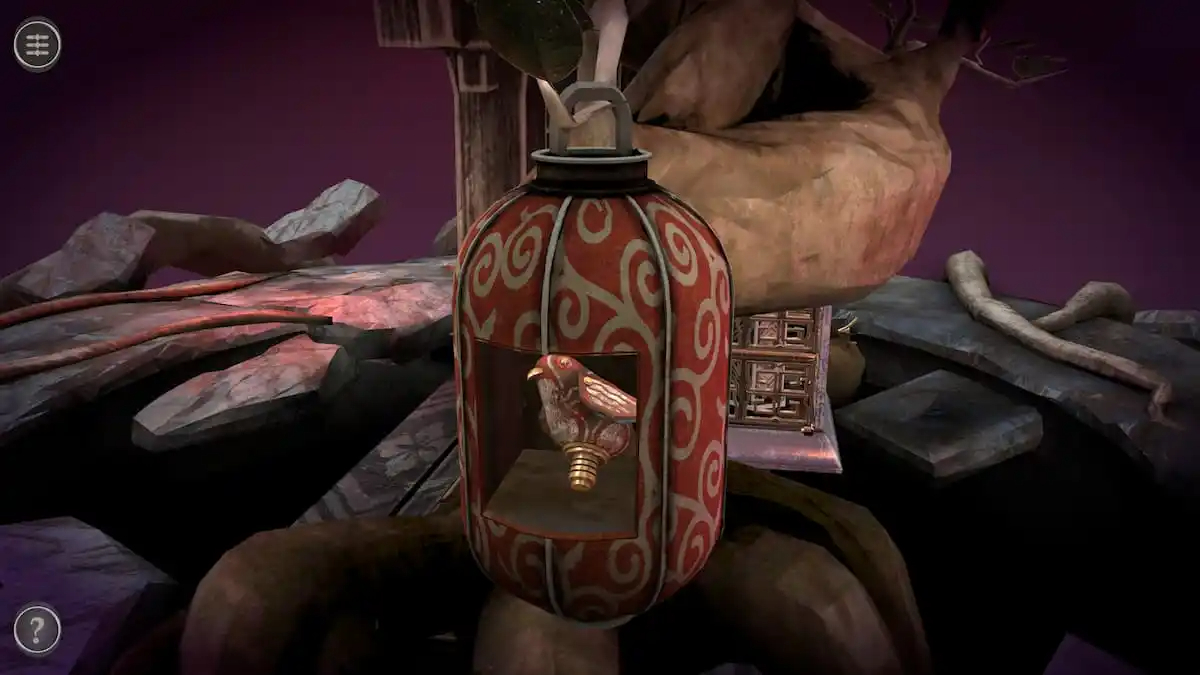
Rotate the lantern on the right and open its secret compartment to find a Bird Model.
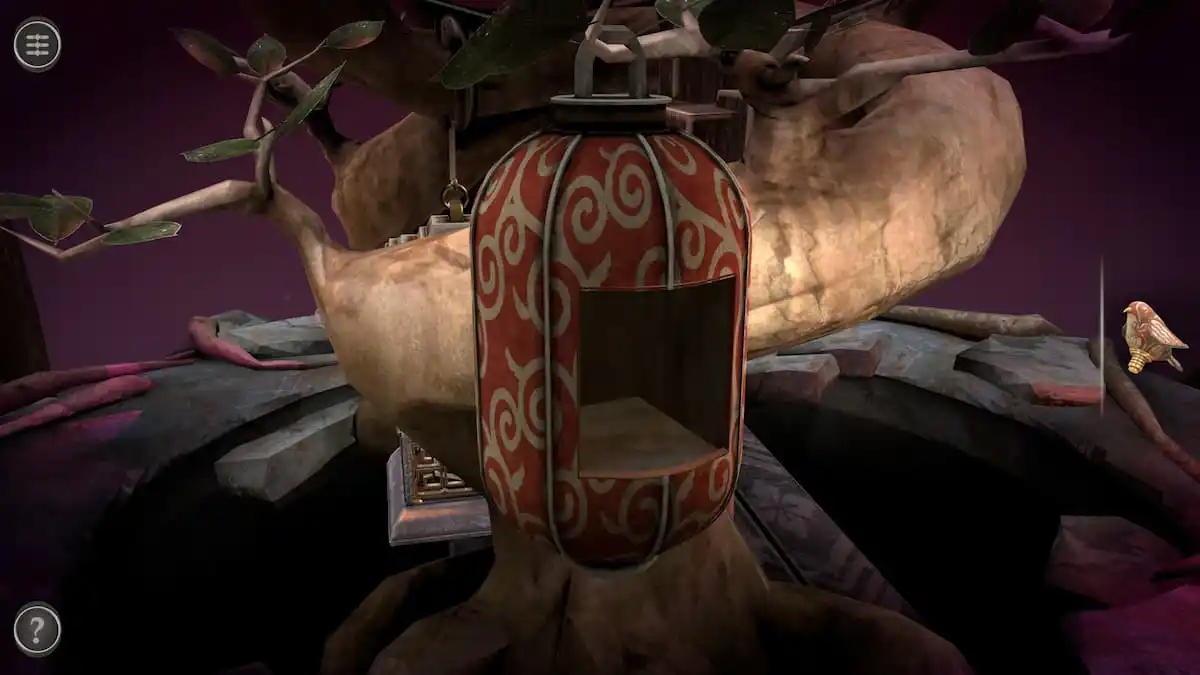
Opening the left lantern reveals that it is currently empty.
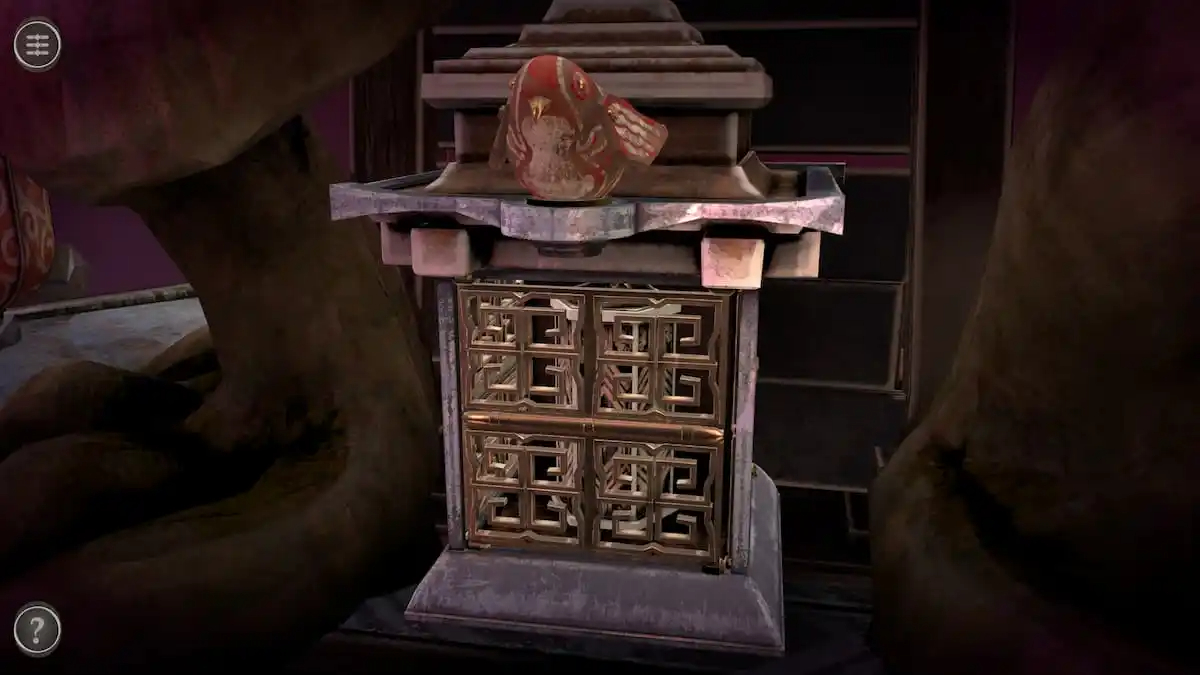
Screw the Bird Model into the hole on top of the birdcage.
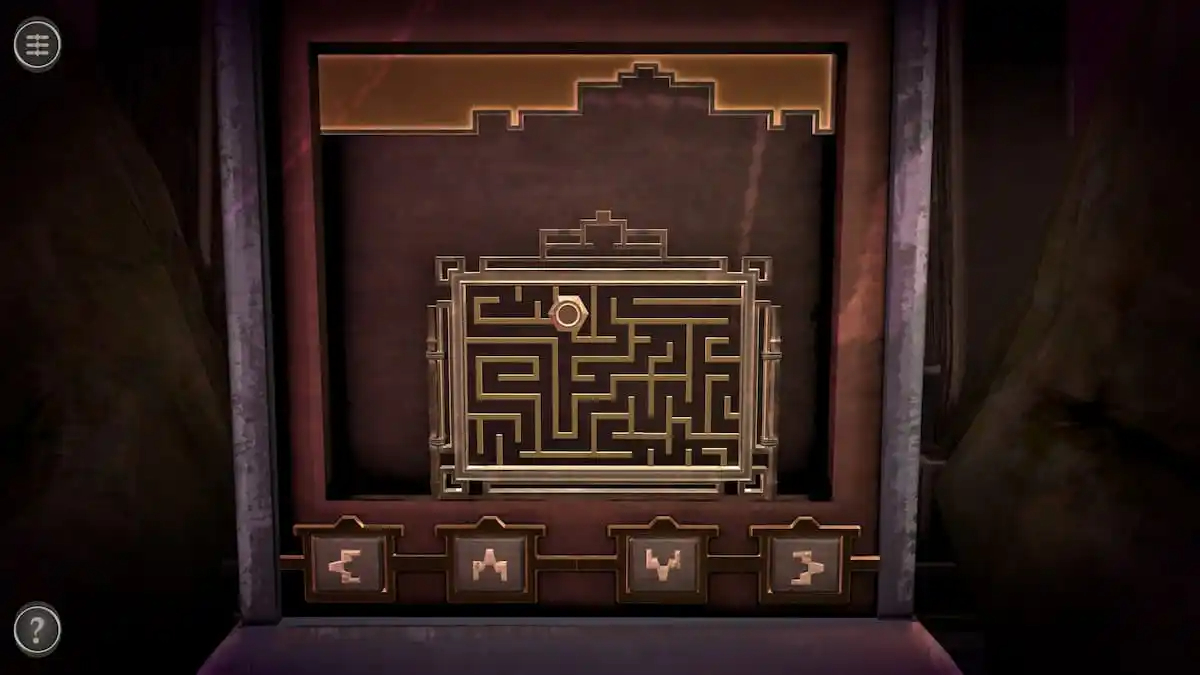
Birdcage slider puzzle
This puzzle requires moving the gear from the top of the maze to the bottom by using the four arrow keys on the bird cafe.
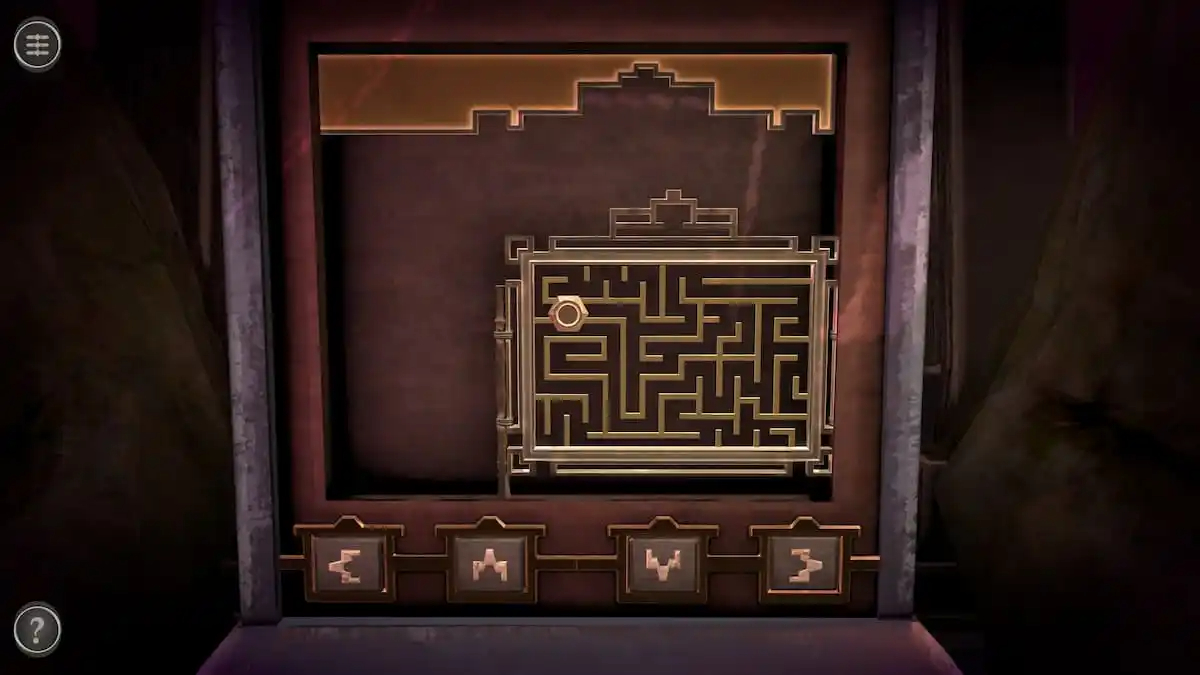
From left to right, the first key moves you left, the second up, the third down, and the fourth moves you to the right.
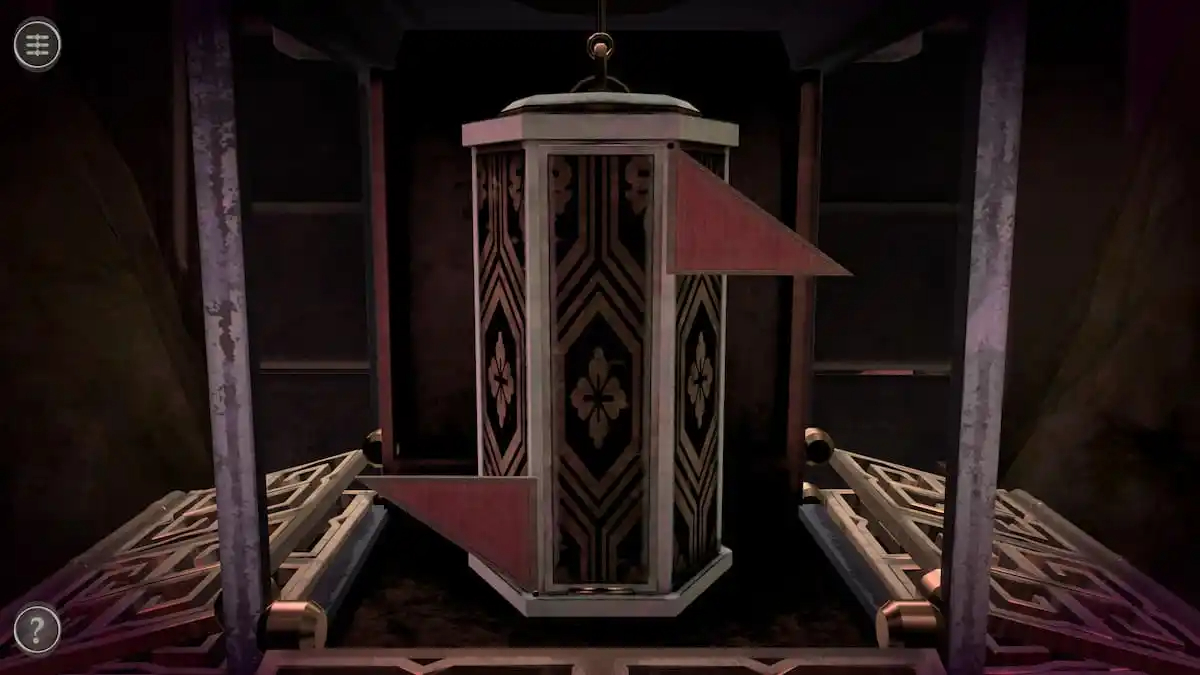
Getting the gear to the bottom reveals a black container in the cage. Rotate it until you see the side with the red triangles, then pull the red triangles to the side to get a Key.
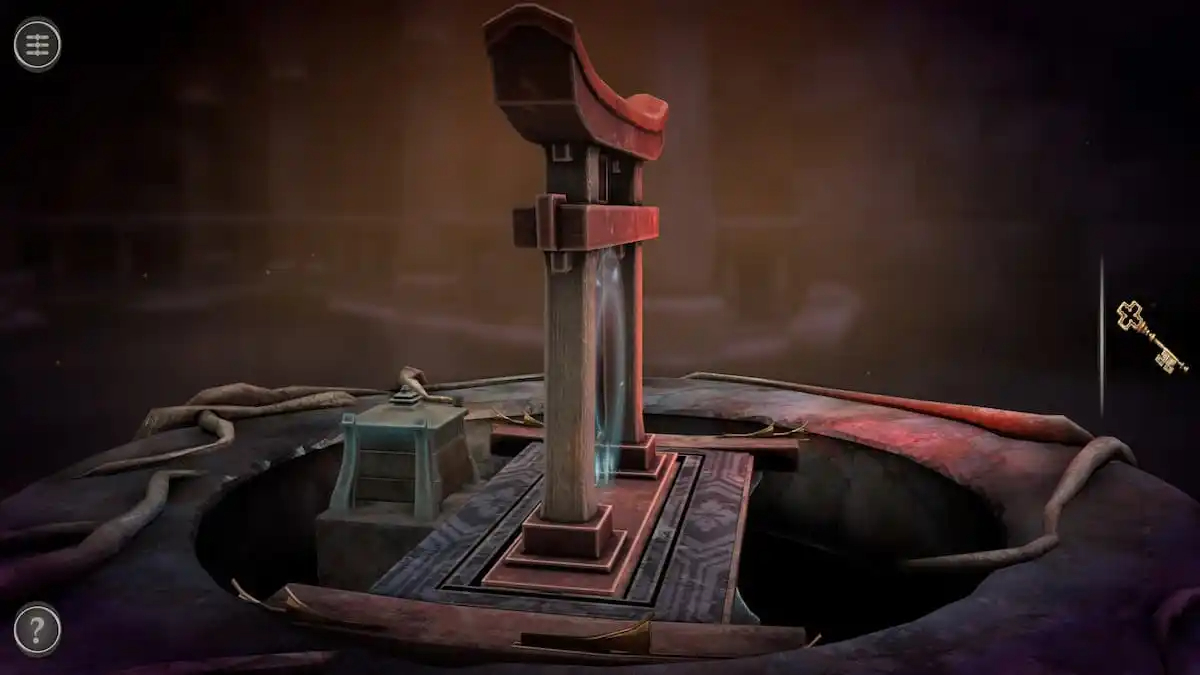
Second portal puzzle
Head through the first gate to the second portal location.
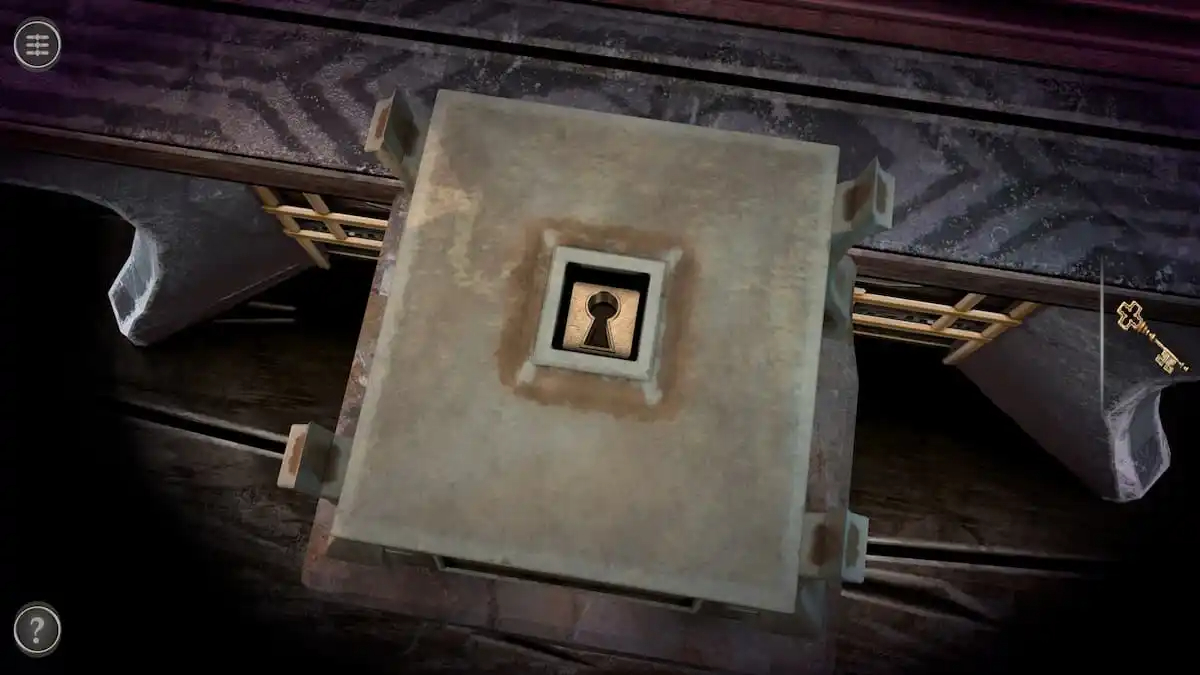
Look at the box behind the gate. Twist off the top to find a keyhole.
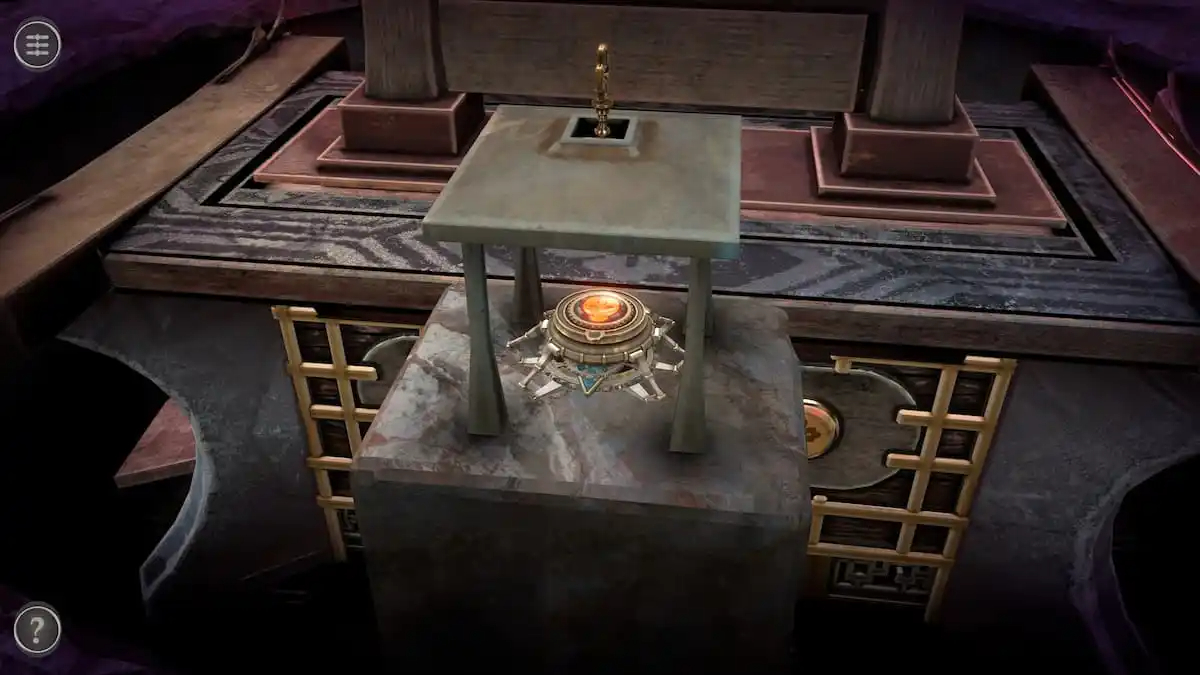
Insert the key into the box and rotate. This will give you a Power Source and return you to the main room.
THE FINAL PUZZLE BOX IS NOW COMPLETE AND FINISH IN THE FINAL CHAPTER OF THE GAME CALLED CHAPTER 5 IN BOXES LOST FRAGMENTS AND IT IS TIME TO SOLVE THE COUPLE REMAINING PUZZLES IN THE FINAL CHAPTER OF THE GAME IN BOXES LOST FRAGMENTS BEFORE CHAPTER 5 AND ENTIRE GAME IS 100% COMPLETE
FINAL PART OF CHAPTER 5 AND END OF GAME
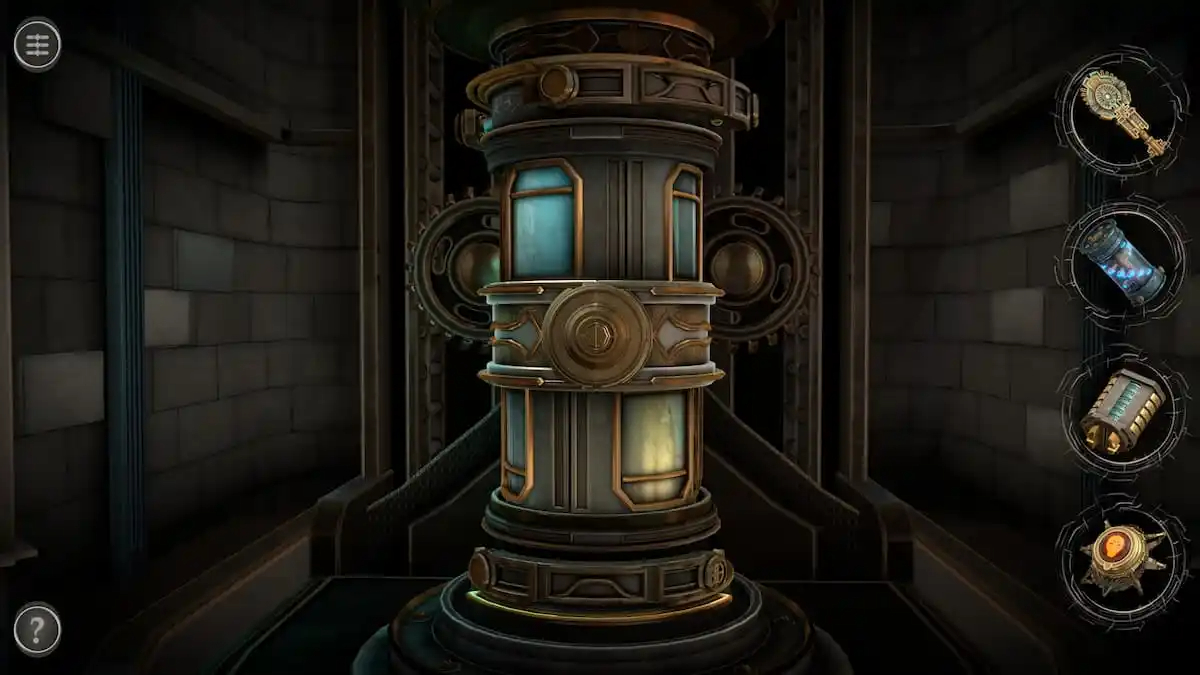
Final chamber puzzles
The Fragments from Chapter 5 will be used on this tube.
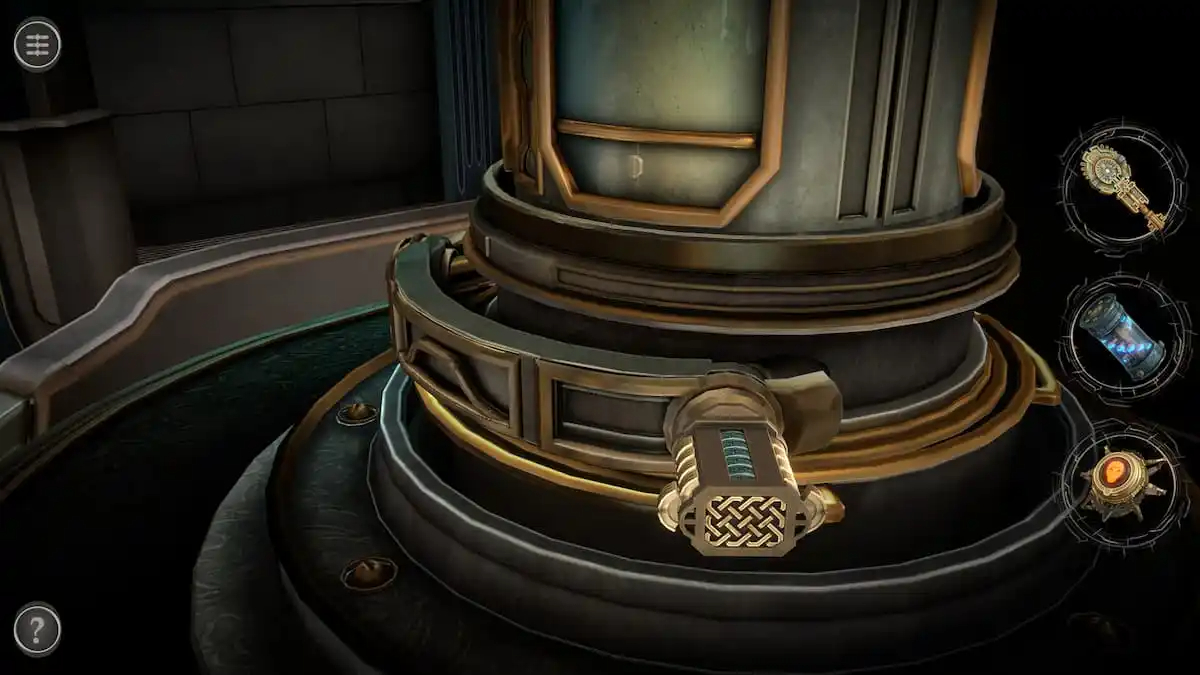
Add the Cryptex to the empty slot on the bottom right of the tube.
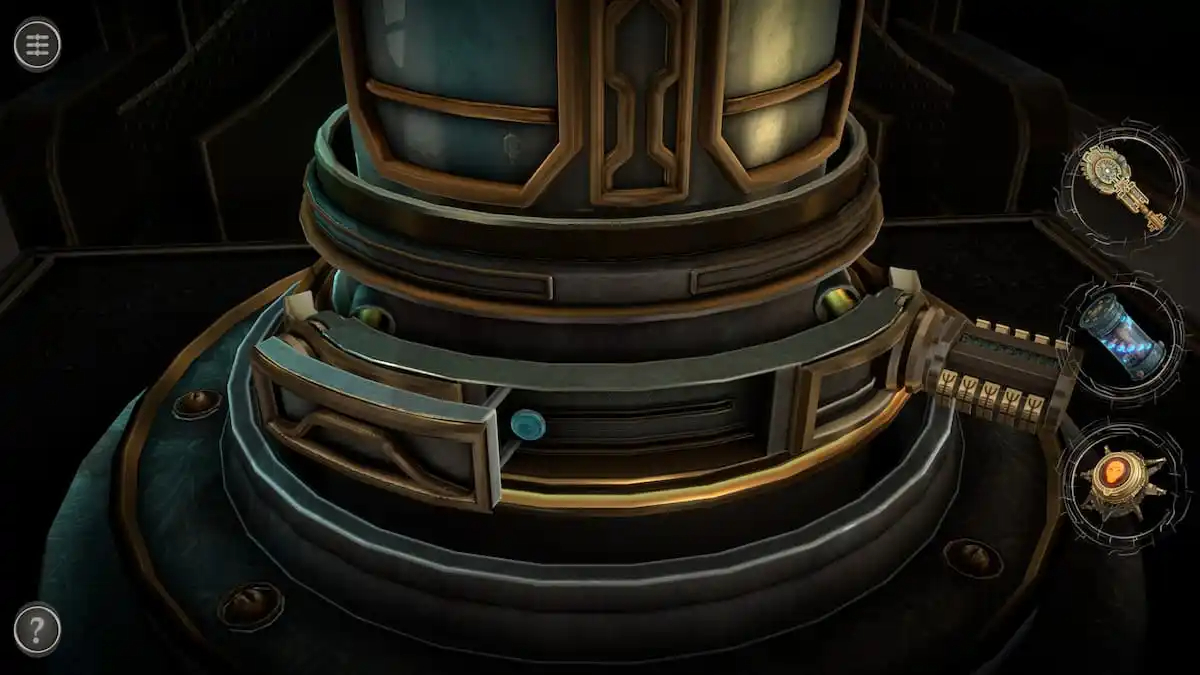
This pops one of the drawers out. Slide it to the right to reveal a slider.
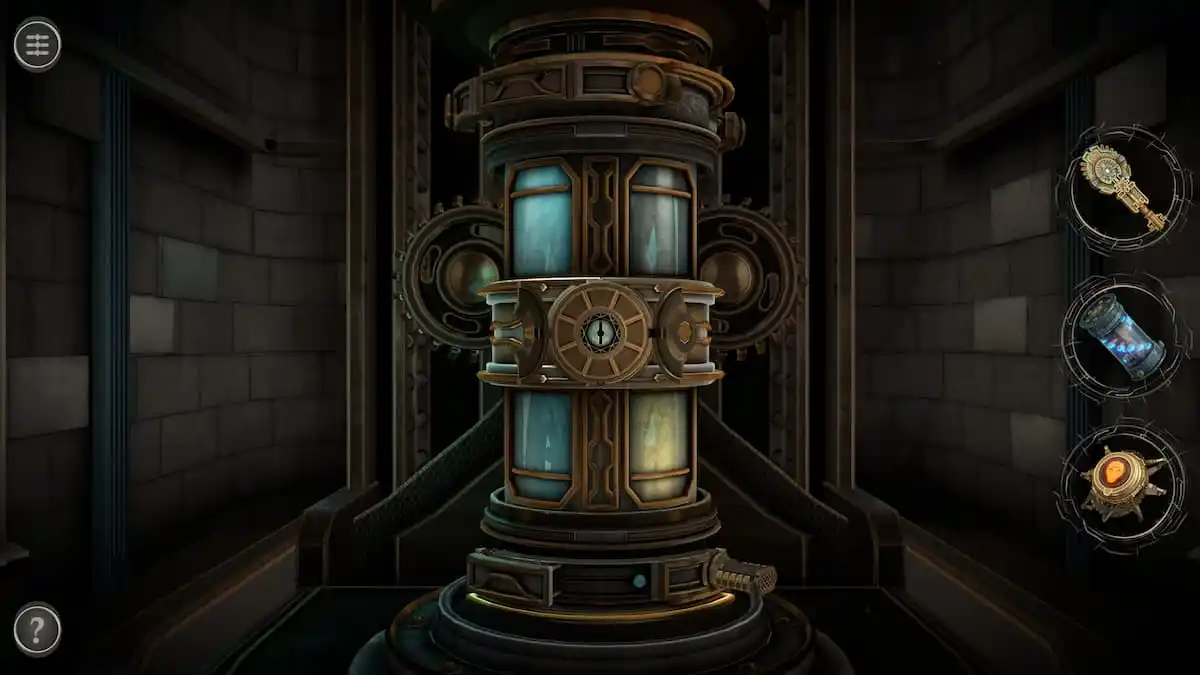
Pull the slider to open the panel in the center of the tube.
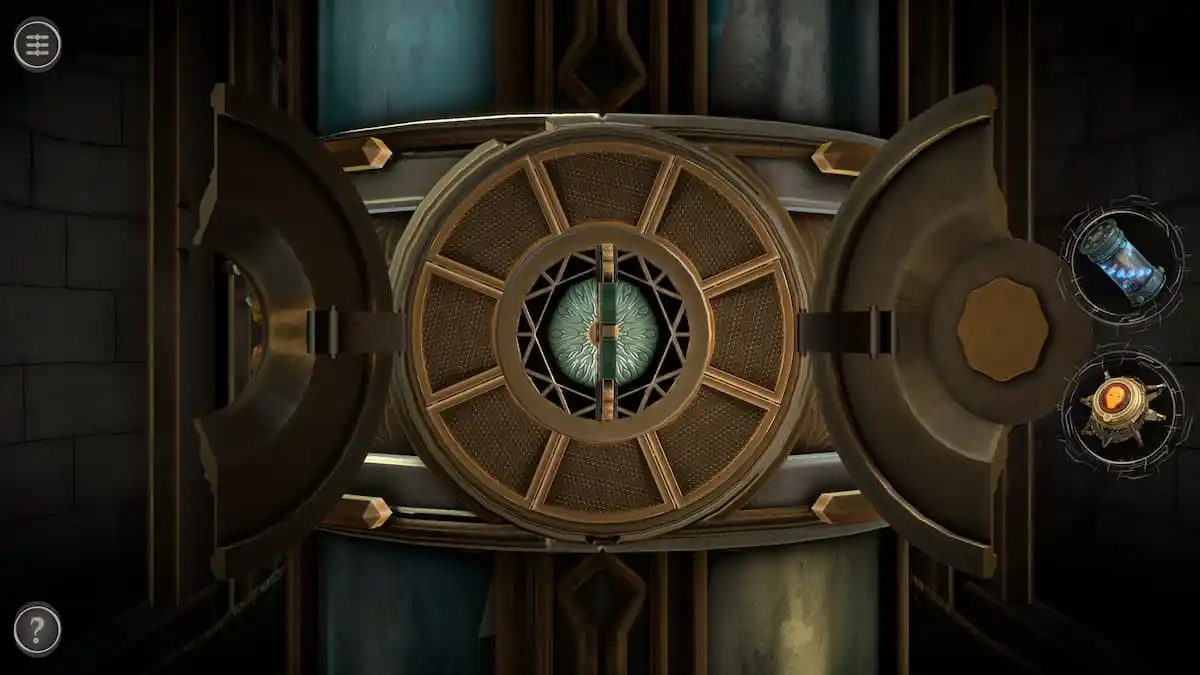
Ancient Key puzzle
Insert the Ancient Key into the new slot in the center.
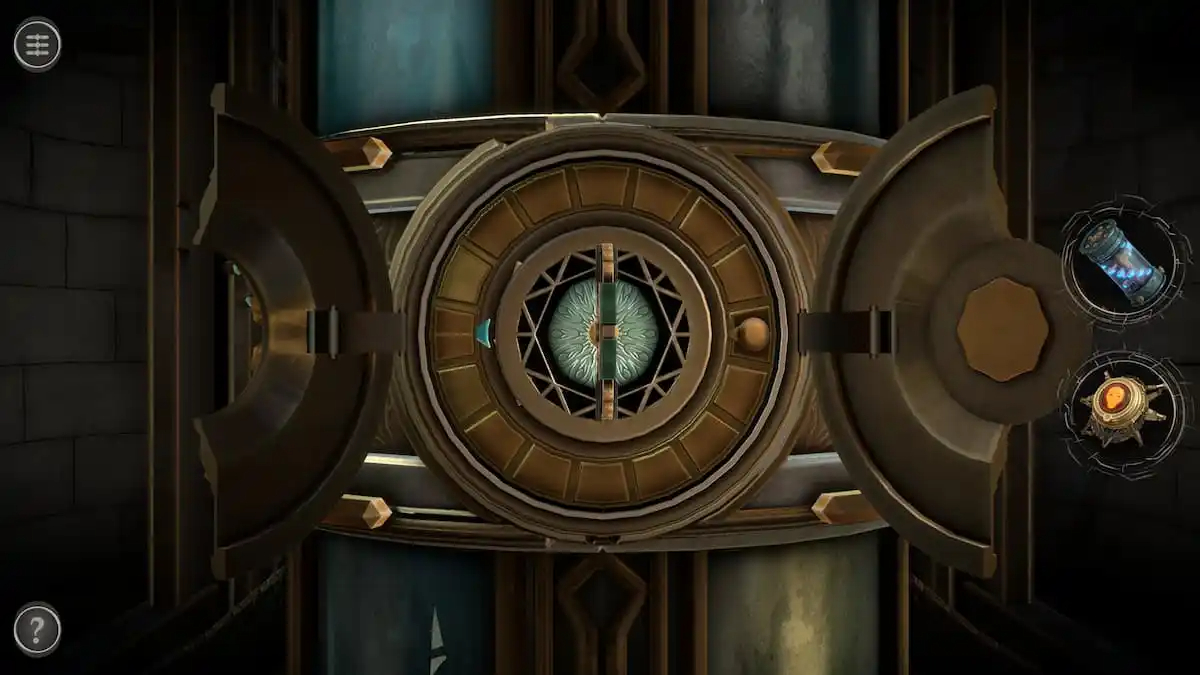
Rotate the key to reveal a slider puzzle around it.
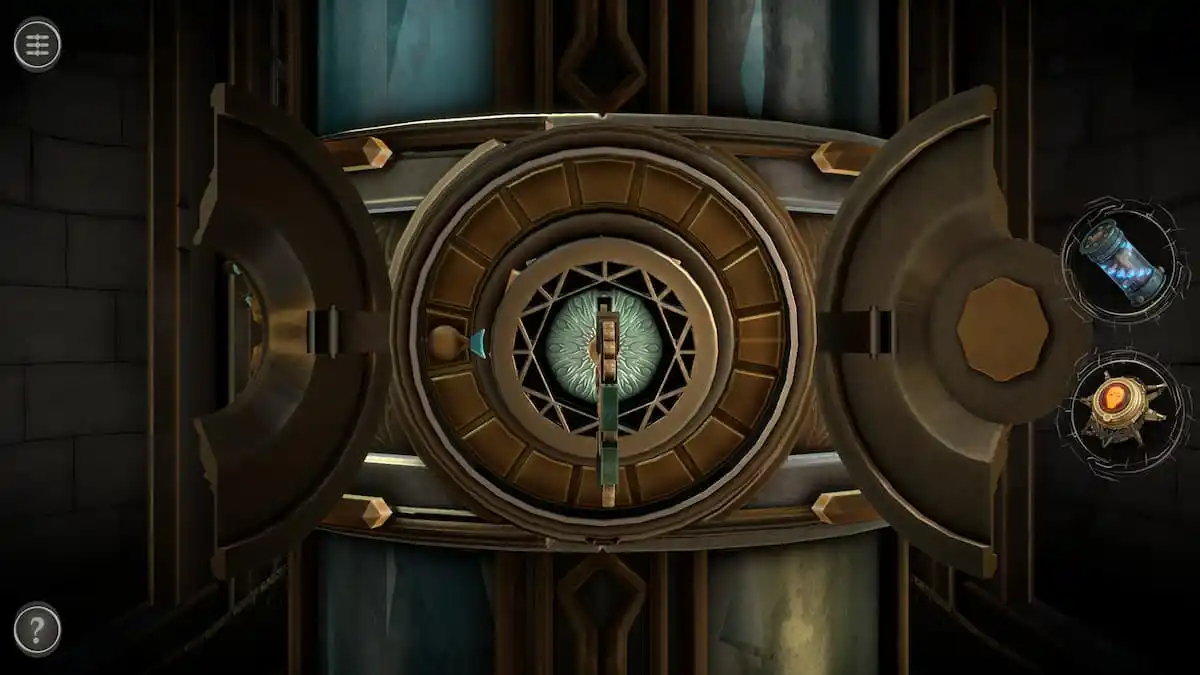
Rotate the outer ring until the brown pointer touches the blue one to complete this puzzle.
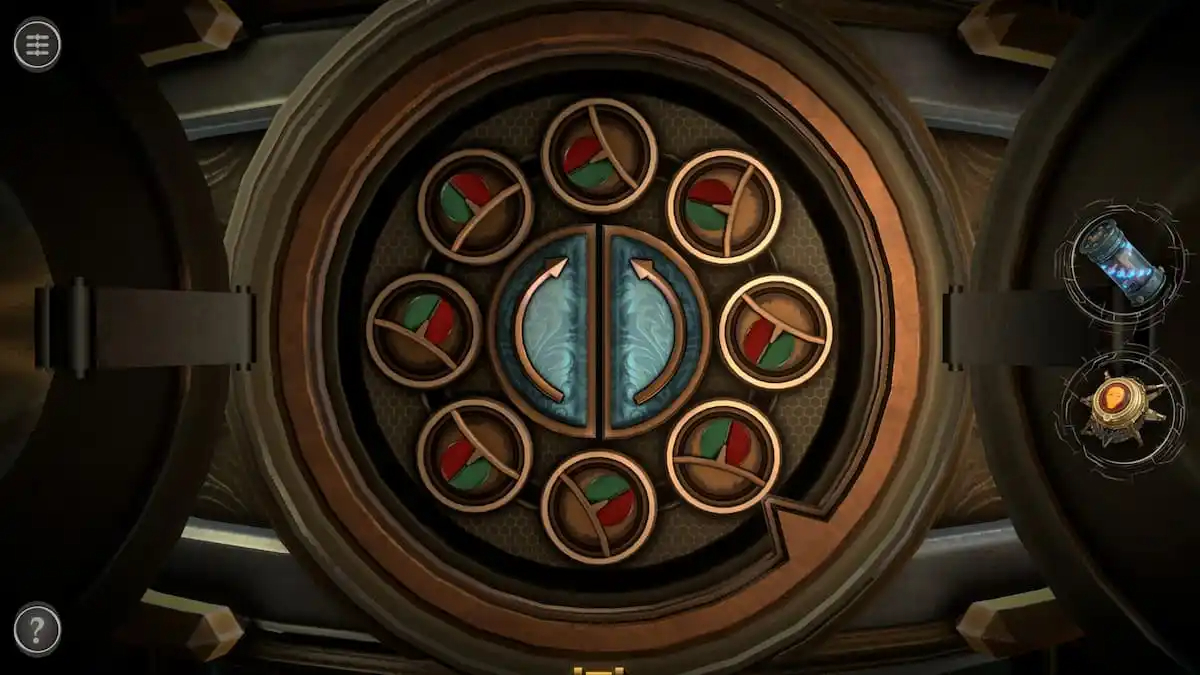
Red and green rotating puzzle
To solve this puzzle, tap the arrows in the center to move the pointer to the left or right. You can rotate the same point twice in a row by using the two arrows to touch it, leave, and come back.
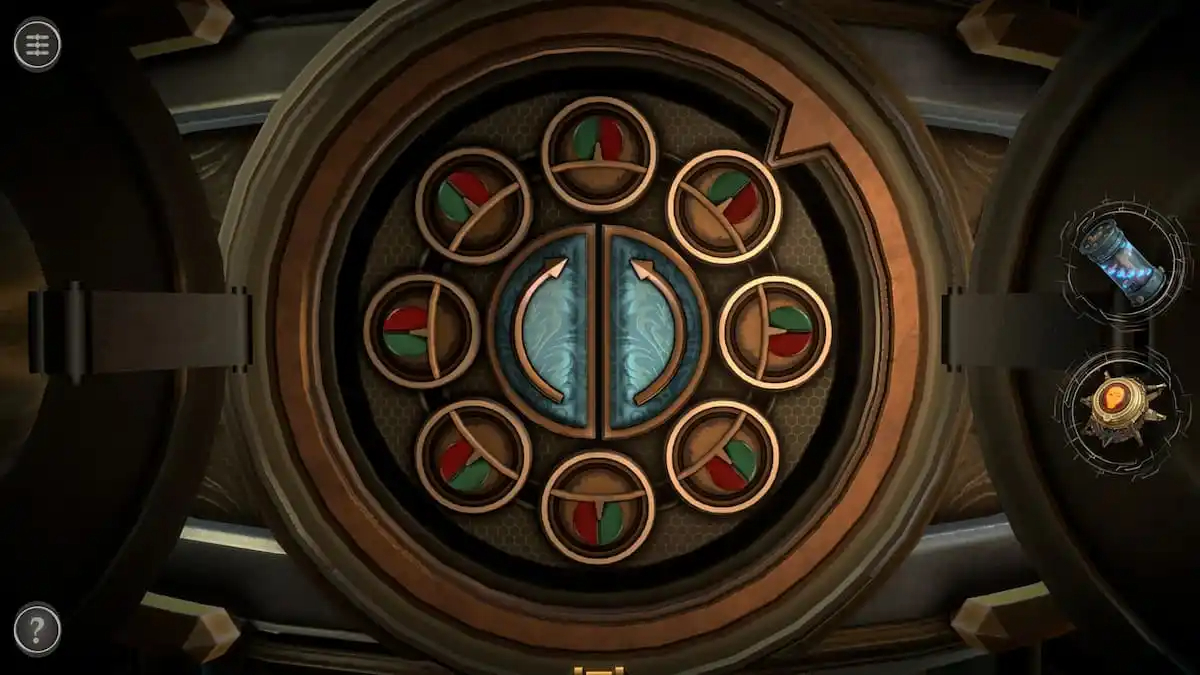
To complete the puzzle, rotate all of the badges so that a circle is formed around the center arrows.
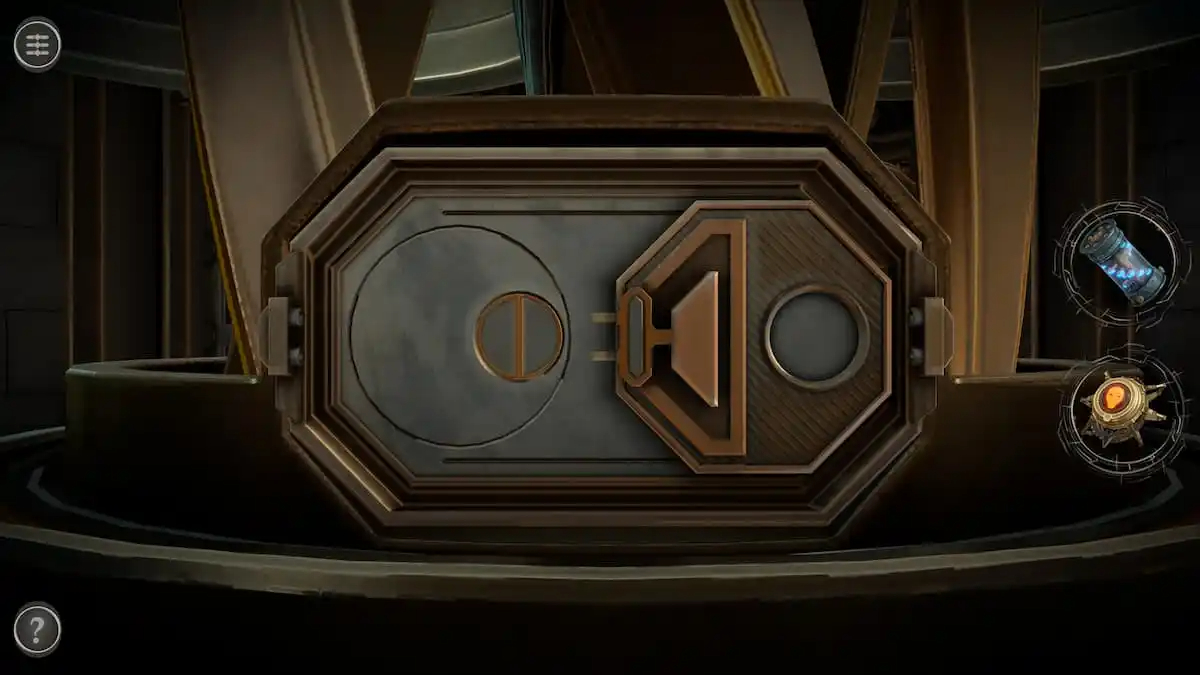
Electric puzzle
Go to the panel in front of Aurora.
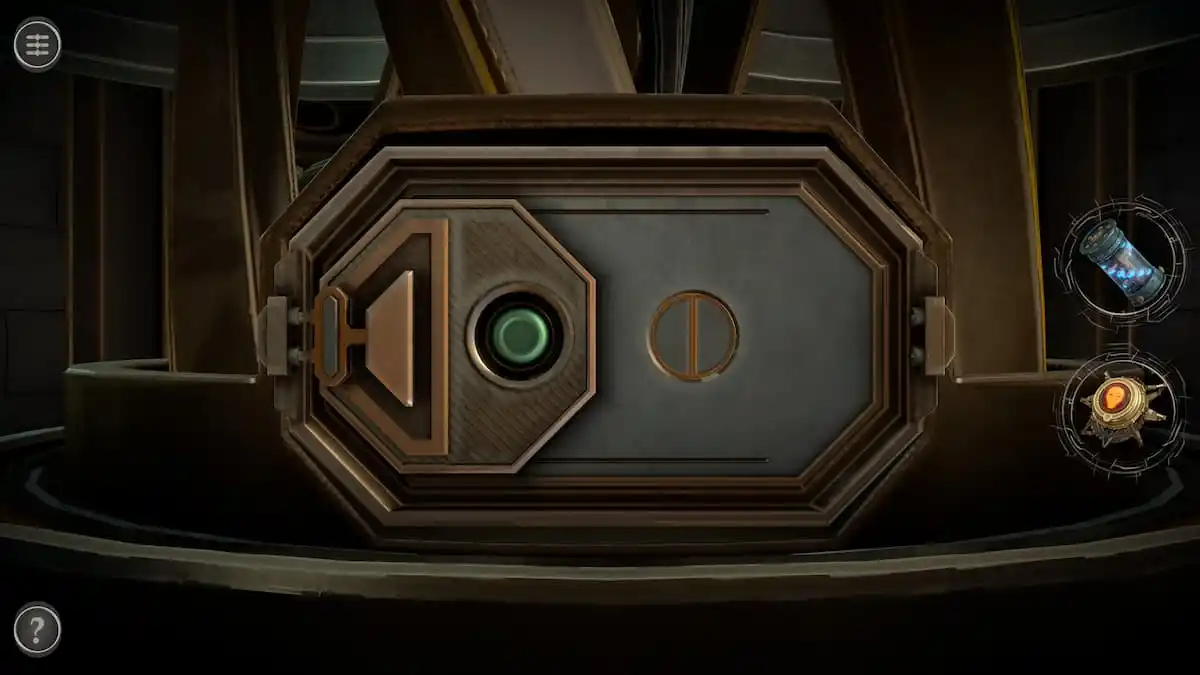
Use the handle to pull the hexagon to the left, giving it electricity. Press the green button to disconnect and rotate it.
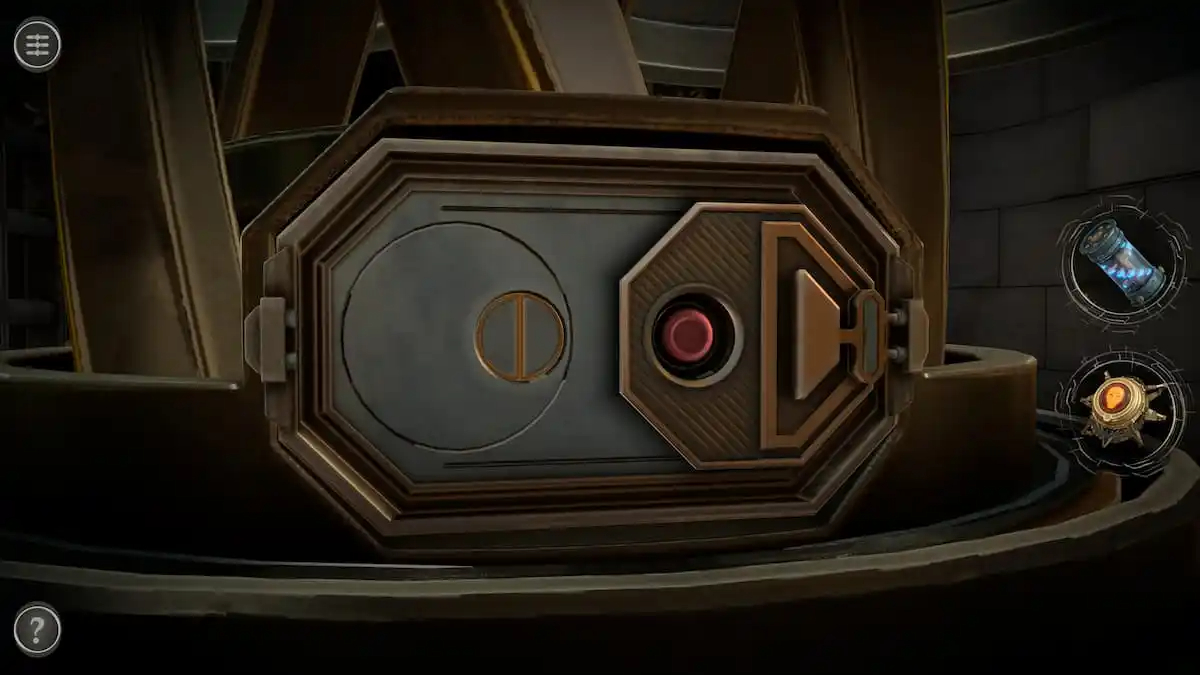
Pull the handle to the right and connect it to that plug. Press the red button to finish this puzzle.
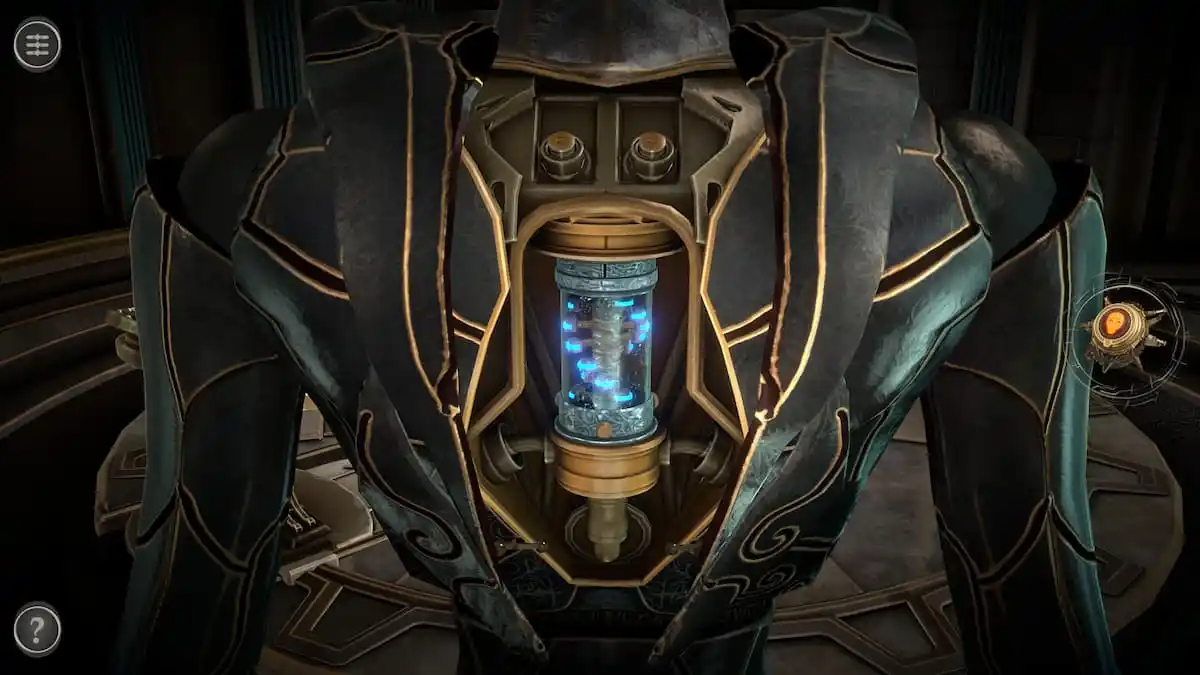
Aurora puzzles
Place the DNA Container into Aurora’s upper back.
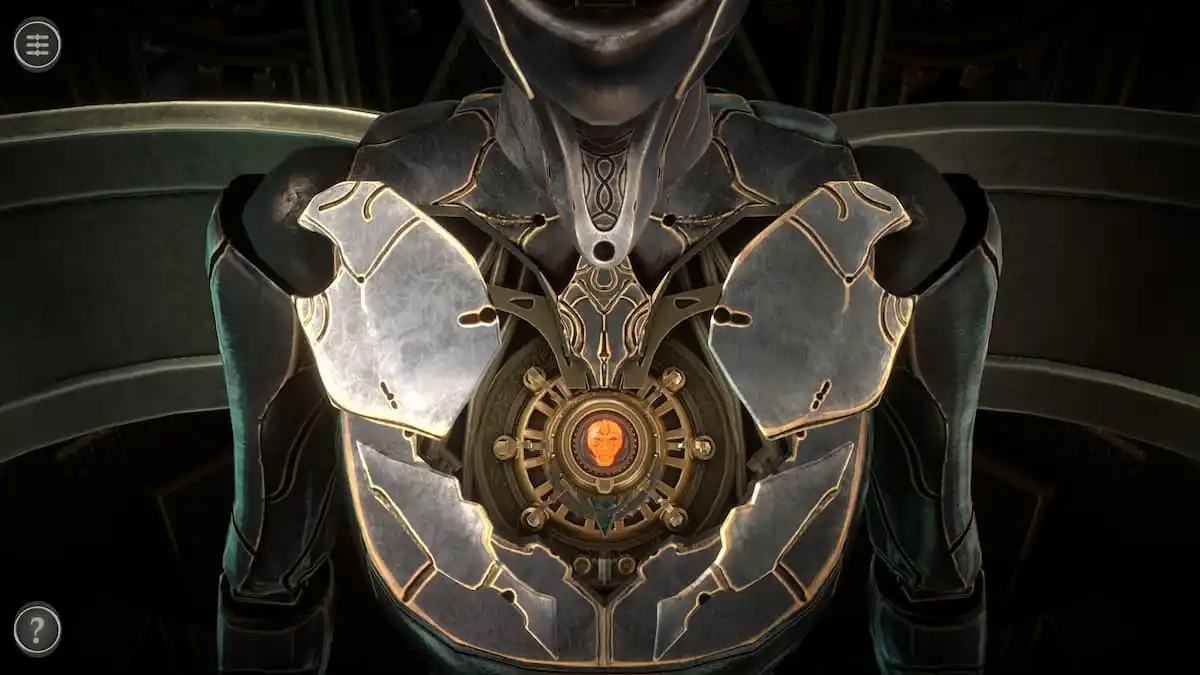
This unlocks her chest. Place the Power Source here.
Adding the Power Source leads you into the cutscene that ends the game.
THE GAME IS NOW 100 % COMPLETE AND FINISH AND THIS GAME IS TO BE CONTINUED STAY TUNE FOR THE SEQUEL OF BOXES LOST FRAGMENTS THAT WILL BE RELEASE ON STEAM AND iOS AND ANDROID DEVICES IN 2.5 YEARS TO BECOME AVAILABLE TO PURCHASE AND STAY TUNE FOR MY TEXT GAME WALKTHROUGH FOR THE SEQUEL OF THE BOXES LOST FRAGMENTS AND STAY TUNE FOR MY YOUTUBE VIDEOS GAME WALKTHROUGH FOR THE SEQUEL OF BOXES LOST FRAGMENTS AND THEY WILL BE AVAILABLE TO LOOK AT AND WATCH ON YOUTUBE WHEN THE SEQUEL OF BOXES LOST FRAGMENTS GET RELEASE IN 2.5 YEARS FROM NOW
And that wraps up our share on Boxes: BOXES LOST FRAGMENTS ENTIRE COMPLETE TEXT GAME WALKTHROUGH THIS GAME WALKTHROUGH HAS PICTURES AS WELL AND NO VIDEO. If you have any additional insights or tips to contribute, don’t hesitate to drop a comment below. For a more in-depth read, you can refer to the original article here by jpm, who deserves all the credit. Happy gaming!
