In this article, we’ll be discussing a 100% checklist for Seven: Enhanced Edition. This checklist was created during a recent playthrough and is not related to achievements. However, there is room for improvement so let’s dive in!
Checklist & Credits
https://docs.google.com/spreadsheets/d/1btzuXQA9XfgirjtPfKP4BCz7cMP97h-64I13gX8DXmY/edit?usp=sharing
I used some informations from gamepressure[www.gamepressure.com] and some from another steam guide (with the help of google trad..) : https://www.gamepressure.com/seven-the-days-long-gone/
Quests
- The job
- Arrival – 2 nectar at the beginning + 1 given during the quest
- Lost contact – 1 nectar in the chapel+ 1 in the safe in the same chapel
- Sanctuary
- Down the Rabbit Hole
- Breakout
- Memory Lane
- Keep it Secret, Keep it Safe
- An Unexpected Visitor – Start DLC Drowned Past questline
- Belly of the Beast
- The Vault
These side quests are classified according to the area where they are triggered.
- Tools Of The Trade – Automatic
- Thick As Thieves – Overhear a conversation between Kailin and Colm in Lewmer.
- Master Crafter – Speak with Master Crafter in Lewmer.
- Master Brewer – Speak with the Biomancer in Lewmer.
- Pulling Strings – Speak with Ramus in Lewmer. (one more task if you didn’t save the thug in the decon chamber at the very beginning)
- Valuable Experience – Speak with Devor, auryte collector, in Lewmer.
- The Birdcage – Speak with the arena’s owner near the Birdcage.
- Burden Of Leadership – Speak with sheriff Whitaker in Mortbane, overhear a conversation in Mortbane or find mayor Hucknell.
- Ancient Monolith – Get closer to the monolith in zone 2.
- Poor Sister of Mine – Speak with Lilly or with imprisoned Lucille. (diago stash is available only if you did not talk to Lilly before saving Lucille) – 1 nectar in Diago’s stash
- Hunting the treasure – Overhearing a conversation on the farm and finding all the notes. 1 nectar in the stash
- MDD – Speak with the technomagi in the visa control. (only if you lack visa 03)
- Double Cross Marks The Spot – Finding a note at the corpse of a bandit leader during the MDD quest or while stealing from the bandit in the camp just before ‘Our savior’ temple. – 1 nectar
- Taken – Examine the burned house in zone 3 or speak with Yana imprisoned in the Mire. – 1 nectar
- Stand On Ceremony – Speak with Mitar in zone 3.
- Power Underwhelming – Speak with Dvir in zone 3. – 1 nectar
- Butch’s Day Off – Speak with Dvir after completing Power Underwhelming quest or find Butch imprisoned in the Mire. – 1 nectar
- Deep In The Mire – Find one of the discovery logs in the Mire.
- You Skratch My Back… – Speak with Butch after saving him during Butch’s Day Off side quest.
- Blind Bessy – Speak with Dina in the slaughterhouse.
- The Path To Enlightenment – Speak with the quartermaster in Our Savior’s Temple. 1 nectar
- The Sozzled Mosquito – Speak with Mungo in The Sozzled Mosquito in Everglade Swaps.
- Cirrhoside – Speak with Cloyt in The Snozzled Mosquito in Everglade Swamps. – 1 nectar
- Fistlewick and Scotch – Reach the group of bandits near Fistlewick’s transport.
- The Saboteur – Find the message from the Consortium in Savaash’s hideout after completing Memory Lane main quest.
- Cures Abound – Speak with Kolbrek in Artee village after starting Belly Of The Beast main quest. – 1 nectar
- Veil Of Darkness – Speak with Kolbrek in Artee village after starting Belly Of The Beast main quest. – 1 nectar
- The Lost Disciple – Speaking with Irdis in Artee village after starting the Belly of the Beast main quest. – 1 nectar
- DIY – Speaking with Hinbrik in Artee village after starting the Belly of the Beast main quest.
- Petals And Promises – Speak with Abel on the farm near the security checkpoint 04.
- A Wanted Man – Find a wanted letter in bandits’ corpses or speak with Drax in junkyard.
- Judge, Jury, And Executioner – Complete A Wanted Man side quest.
- Very Old Friends – Complete A Wanted Man side quest.
- In The Land Of The Desperate – Overhearing a conversation between thugs in the Warden’s Hold, only possible during the main quest ‘Down the Rabbit Hole’. The thugs are in the crucible, in the stands, below the garden. You’ll have to pickpocket one of them and steal a note to start the quest.- 1 nectar
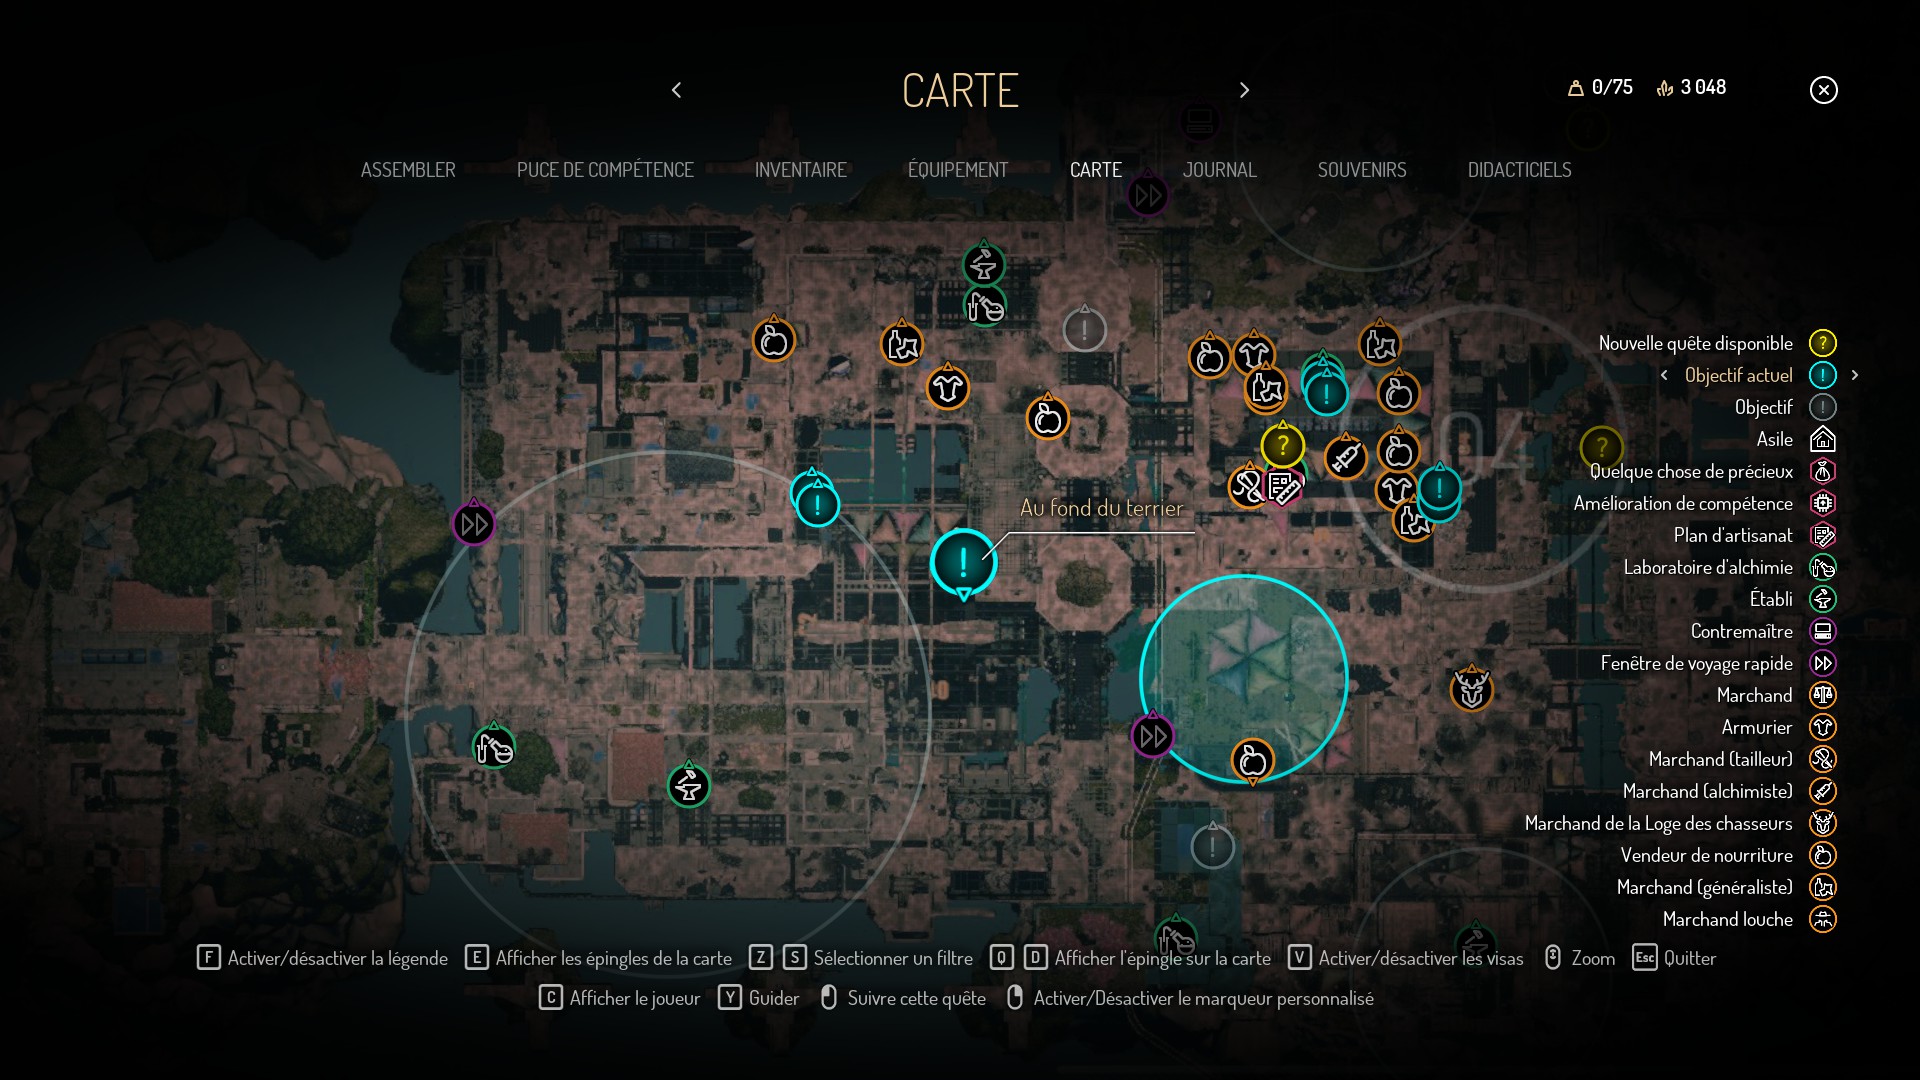
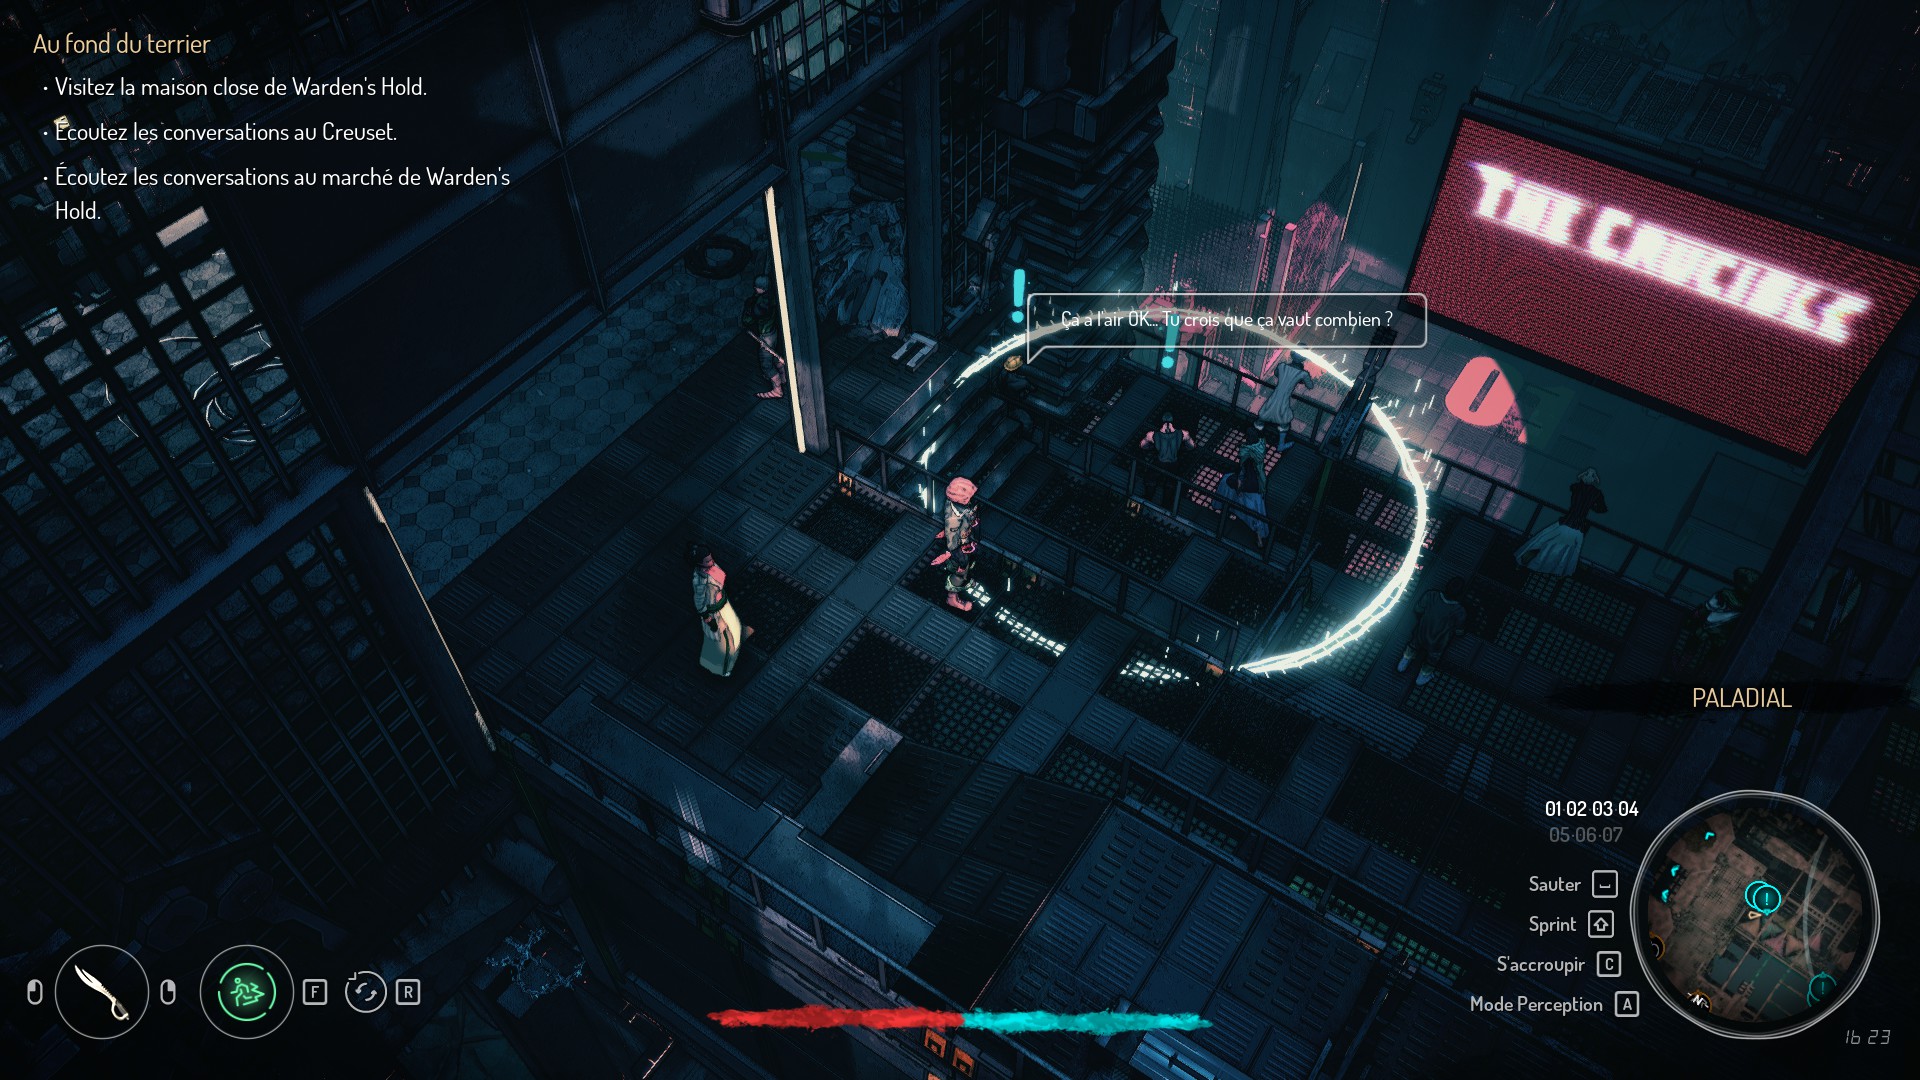
- Cinder Man – Speak with the guard in the Warden’s Hold. – 2 nectar if you don’t kill him
- What A Pair – Speak with Leutian in the Warden’s Hold. – 1 nectar
- For Whom The Disc Tells – Speak with Wave Witch near her home in the Warden’s Hold.
- Light Of The Firefly – Automatically after completing For Whom The Disc Tells side quest.
- Lady’s Plus One – Automatically after completing Light Of The Firefly side quest.
- Hide And Seek – Speak with Cremmel in Du Motier’s property during Lady’s Plus One side quest. – 1 nectar
- Fisticuffs – Speak with the rich man in Du Motier’s property during Lady’s Plus One side quest.
- Possession With Intent – Speak with Threston in Port Terminus.
- Forged In The Crucible – Speak with the Crucible Arena Keeper in the Warden’s Hold. – 2 nectars
- The Only Way Out – Speak with Thyra after winning two fights in the Crucible in the Warden’s Hold.
- Exorcism For Beginners – Speak with the biomant exorcist on a farm in zone 05.
- All Aflutter – Speak with Teargul in the hunter’s camp.
These quest are given by the Technomagi machines found in overseer stations.
- Heart of Madness – Reach any of the Technomagi contracts machines at any point of the game.
- Knowledge is Power – Reach any of the Technomagi contracts machines at any point of the game.
- Where the Wilder Things Are – Reach one of the contracts relocation machines.
- Now Who’s The Crazy One – Say that you want to help the Wildermage during your conversation with him (Where The Wilder Things Are quest).
- A Prickly Maneater – Reach any of the Technomagi contracts relocation machines at any point of the game.
- Scouting Pods Recovery – Reach any of the Technomagi contracts relocation machines after completing Memory Lane main quest.
- Graveyard of Giants and Men – Reach one of the contract machines after completing previous assignments.
These side quests are not set in a specific zone of Peh, but rather make you travel on the island.
- A Monolithic mission – Speak with Pilgrim Hydlar after completing Ancient Monolith mission. This quest starts in Zone 2, but will take you to various locations throughout Peh.
- Gold Rush – This quest is added to your journal after you get closer to one of the vessels for the first time. – 11 Nectar found in total
- Hunters Lodge quests : In order to join the Hunter’s Lodge, you must meet with Elias in the city of Warden’s Hold and then complete the three trials required to acquire the hunting license.
- Tick Tock Toff
- A Feather in Your Cap
- On the Rampage – 1 nectar
- The Huntress and the Hunted – Triggered after acquiring the hunter licence and meeting with evelyn.
- A Great Honour -Reach one of the contracts relocation machines. – 2 nectars
Quests (DLC)
- Let there Be Light – Speak with Rovan on the main deck of the Ma’Mon.
- Lies and Fabrications – Speak with Calithea on the Ma’Mon.
- What A Girl Wants – After Lies and Fabrications
- Velstet – Automatically acquired after ‘What a girl wants’
- The Plan Revealed – Automatically acquired after ‘Velstet’
- Free Will – Automatically acquired after ‘Free will’
- What Remains – Speak with the Ma’Mon during ‘Free will’
Nectar
11 came from the quest ‘Gold Rush’ :
- In the Mire (Zealot location)
- In the locked room near the wild mage hideout ( ‘Heart of Madness’ quest)
- Found in the techno zone south west of the temple in zone 3
- Found on the cliff between the Artee camp and the Everglade swamp (Zone 3)
- Found in the wild magi hideout in the Everglades swamp (‘Now Who’s The Crazy One’ quest)
- Found in a room in Du Motier’s mansion – * This one is not identified by the game as a nectar for the Gold Rush Quest, but in the inventory it seems to count as one.
- Found north of Warden’s Hole, in the technorot zone, juste beside the rune puzzle.
- Below the entry of the Repositorium
- Inside the Repositorium
- In Vaetic hideout, zone 3
- In a room last floor of ‘Our savior’ temple (south side)
The others 26 are given as rewards for or during following quests :
- Arrival (Main quest) : 2 nectars at the beginning + 1 given during the quest
- Lost contact (Main quest) : 1 nectar in the chapel+ 1 in the safe in the same chapel
- Poor Sister of Mine (zone 2) : diago stash available only if not talking to Lilly before saving Lucille – 1 nectar
- Hunting the treasure (zone 2) : 1 nectar in the stash
- Taken (zone 3) : 1 nectar
- Power Underwhelming (zone 3) : 1 nectar
- Butch’s Day Off (zone 3) : 1 nectar
- Cirrhoside (zone 3) : 1 nectar
- The Path To Enlightenment (zone 3) : 1 nectar
- Double Cross Marks The Spot (zone 3) : 1 nectar
- Cures Abound (zone 3) : 1 nectar
- Veil Of Darkness (zone 3) : 1 nectar
- The Lost Disciple (zone 3) : 1 nectar
- In The Land Of The Desperate (zone 4) : 1 nectar
- Cinder Man (zone 4) : 2 nectar if you don’t kill the cinderman
- Forged In The Crucible (zone 4) : 2 nectars
- What A Pair (zone 4) : 1 nectar
- Hide And Seek (zone 4) : 1 nectar.
- Hunters Lodge questline : 1 nectar
- A Great Honour : 2 nectars
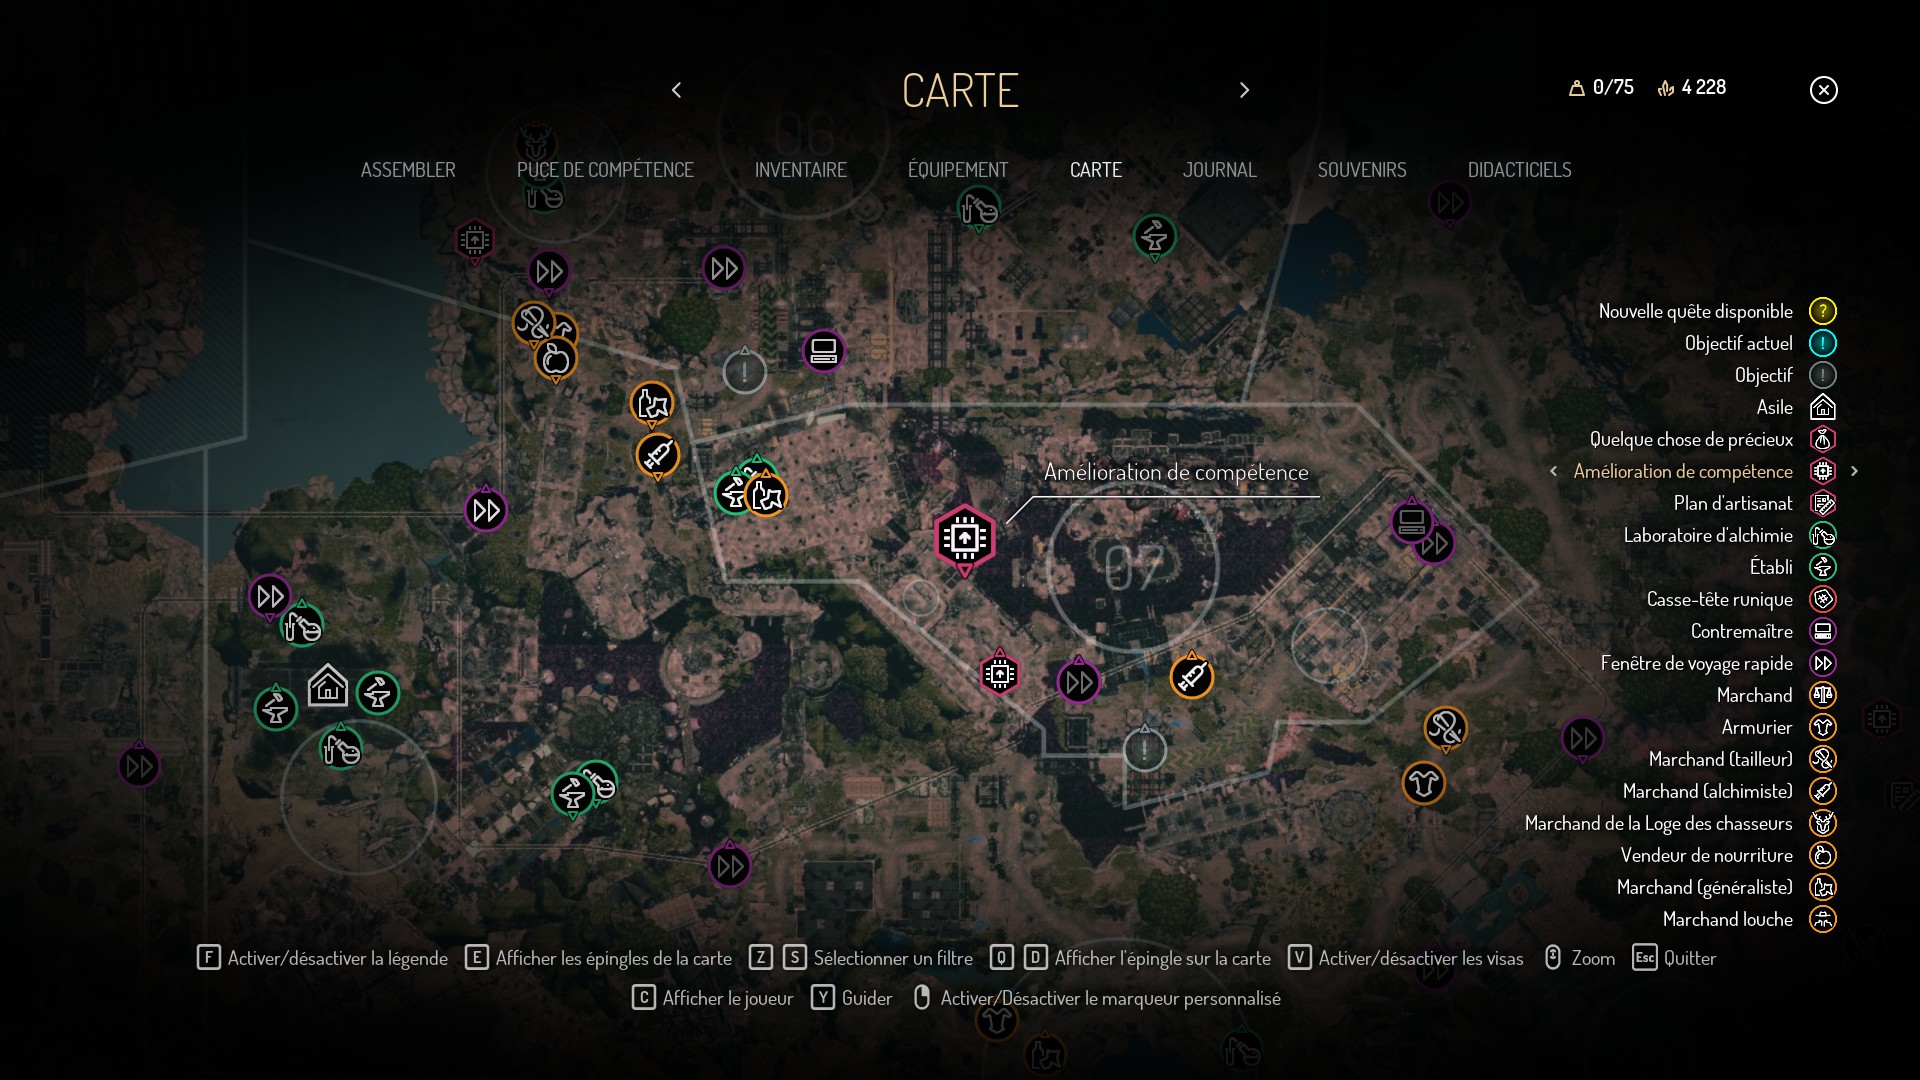
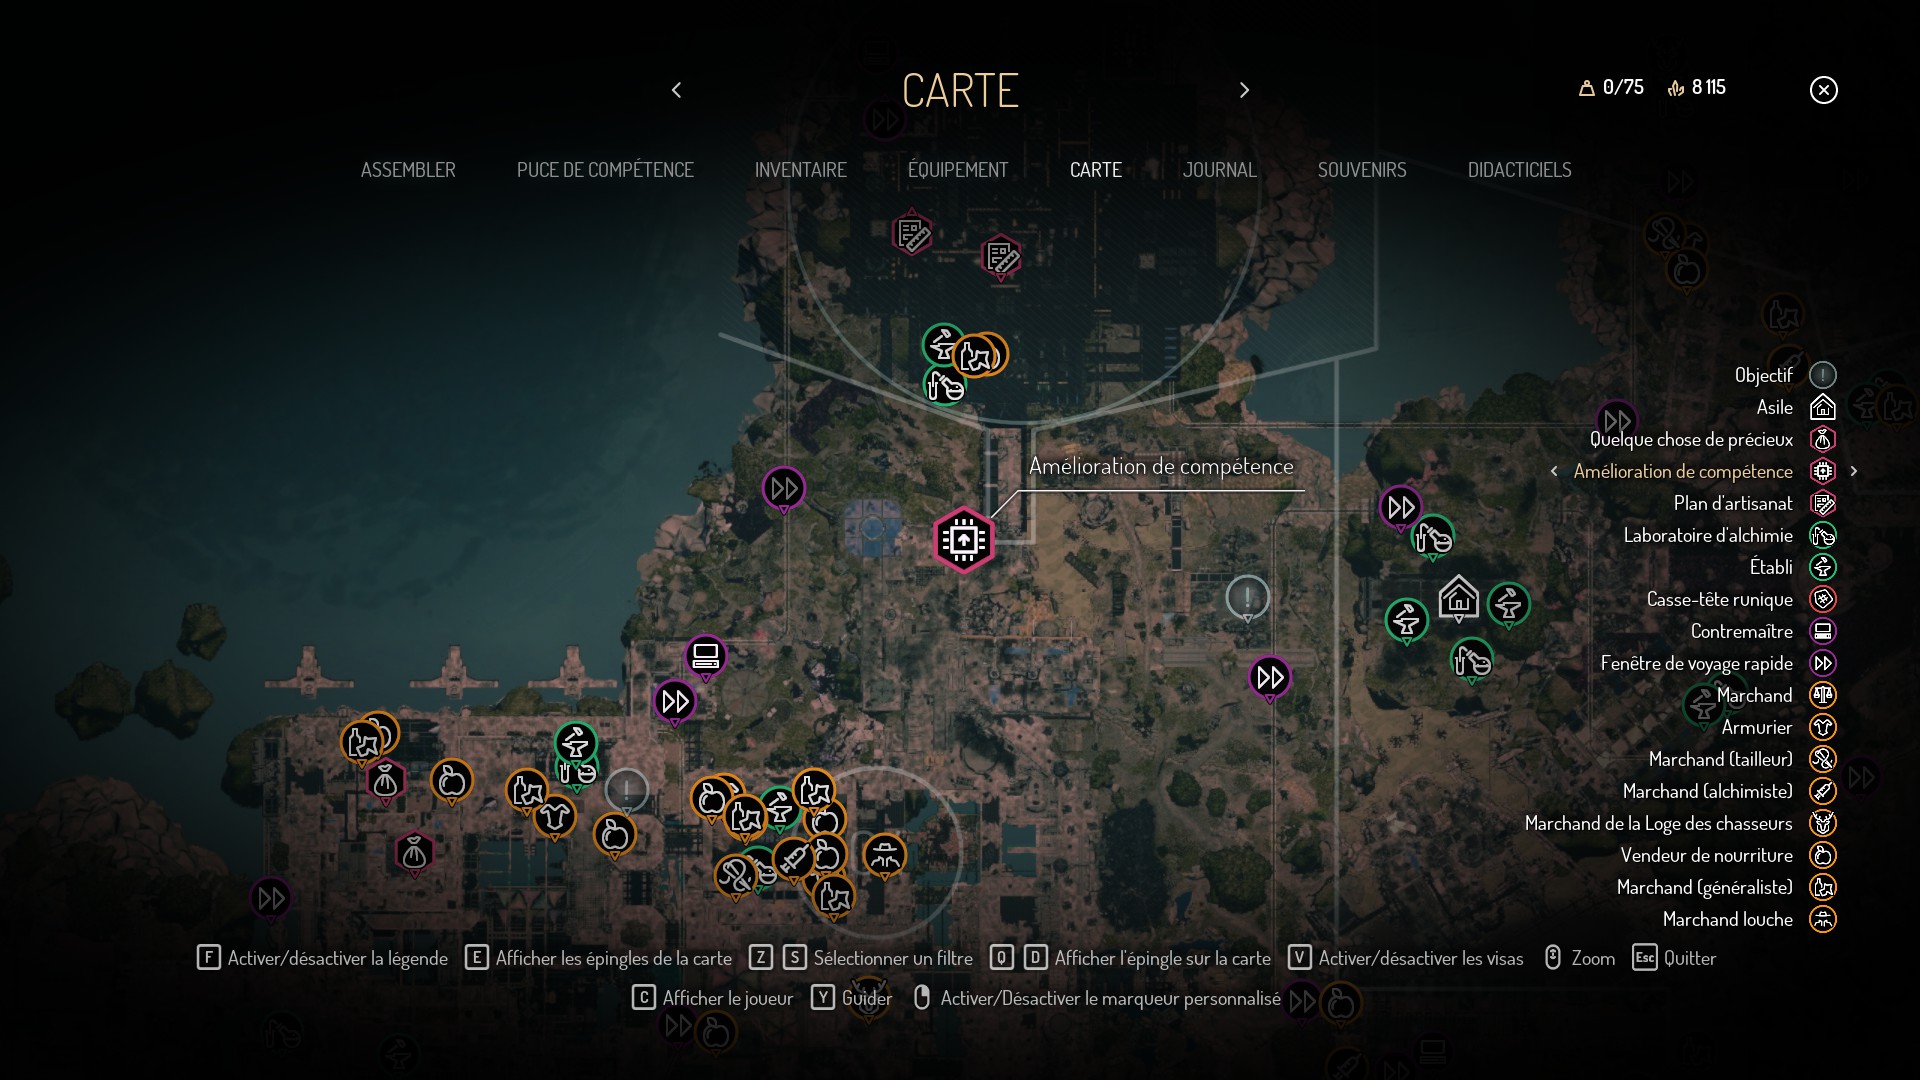
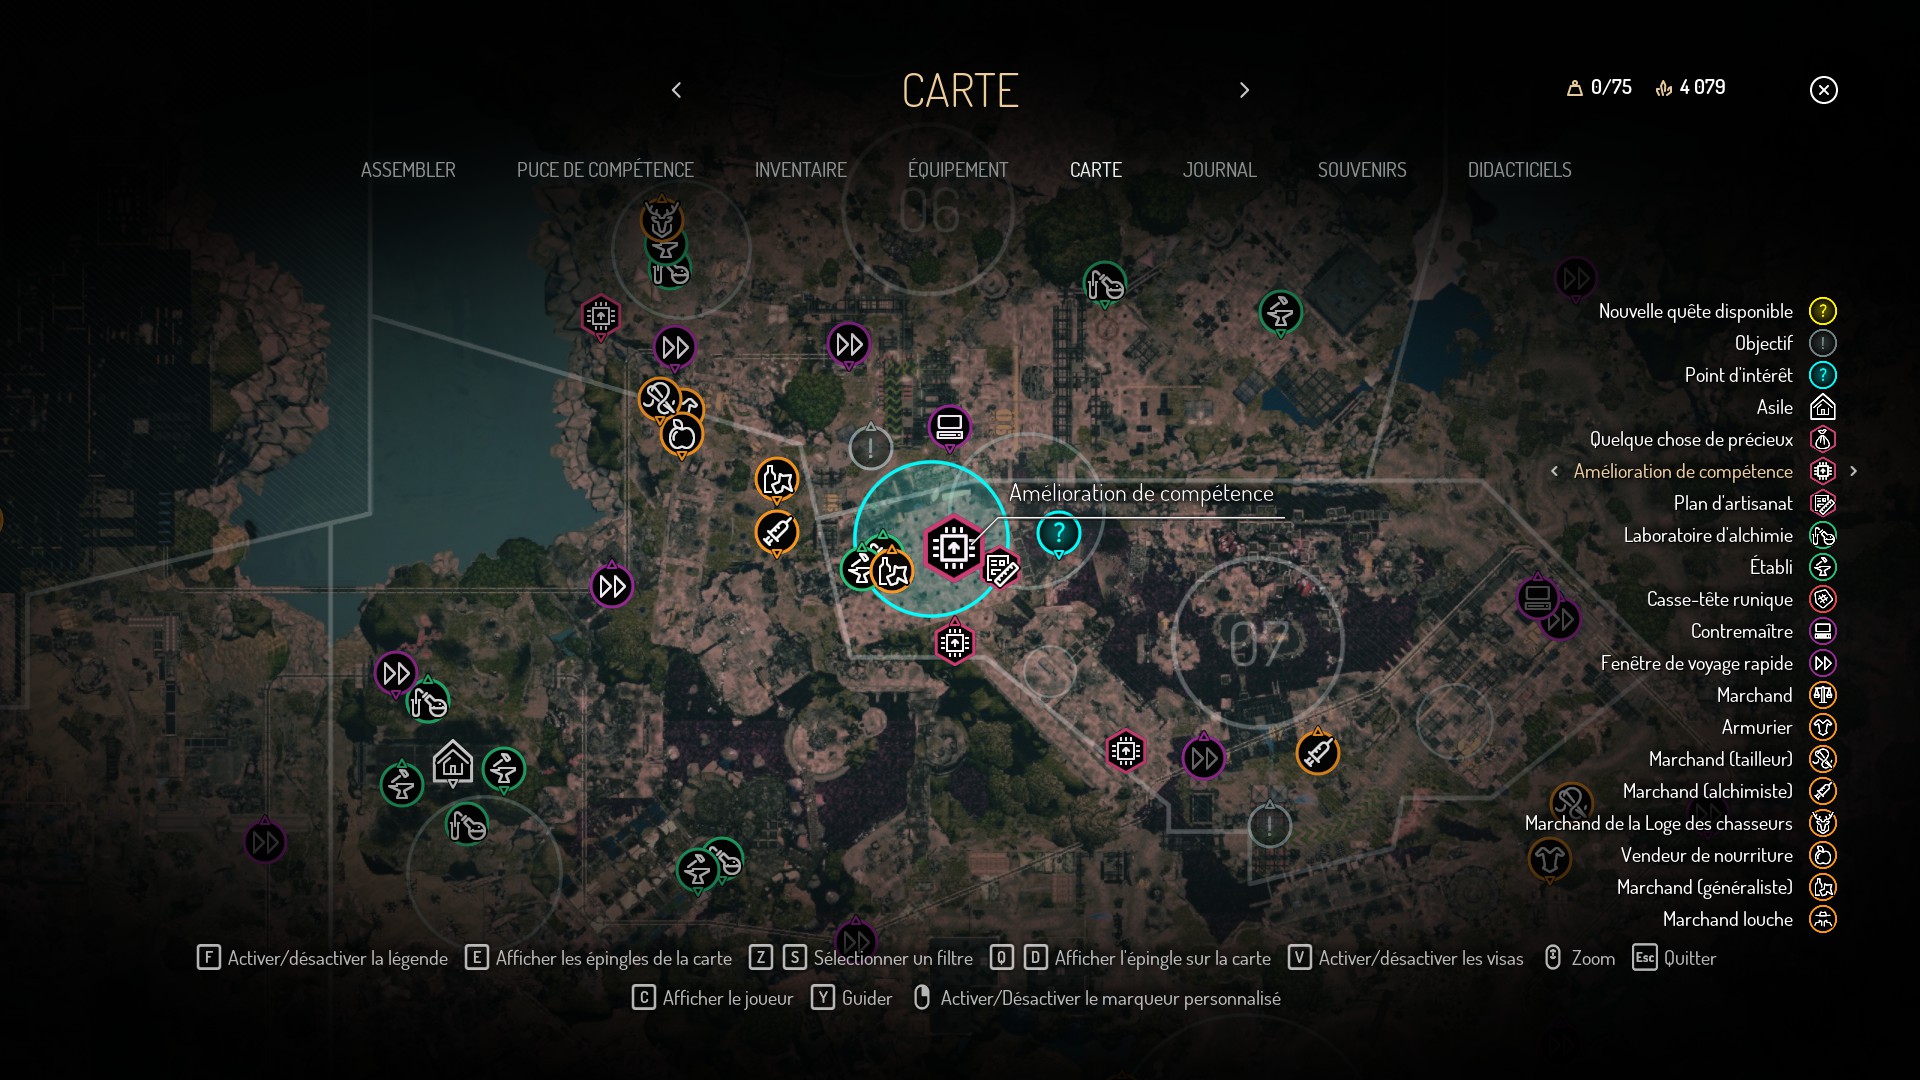
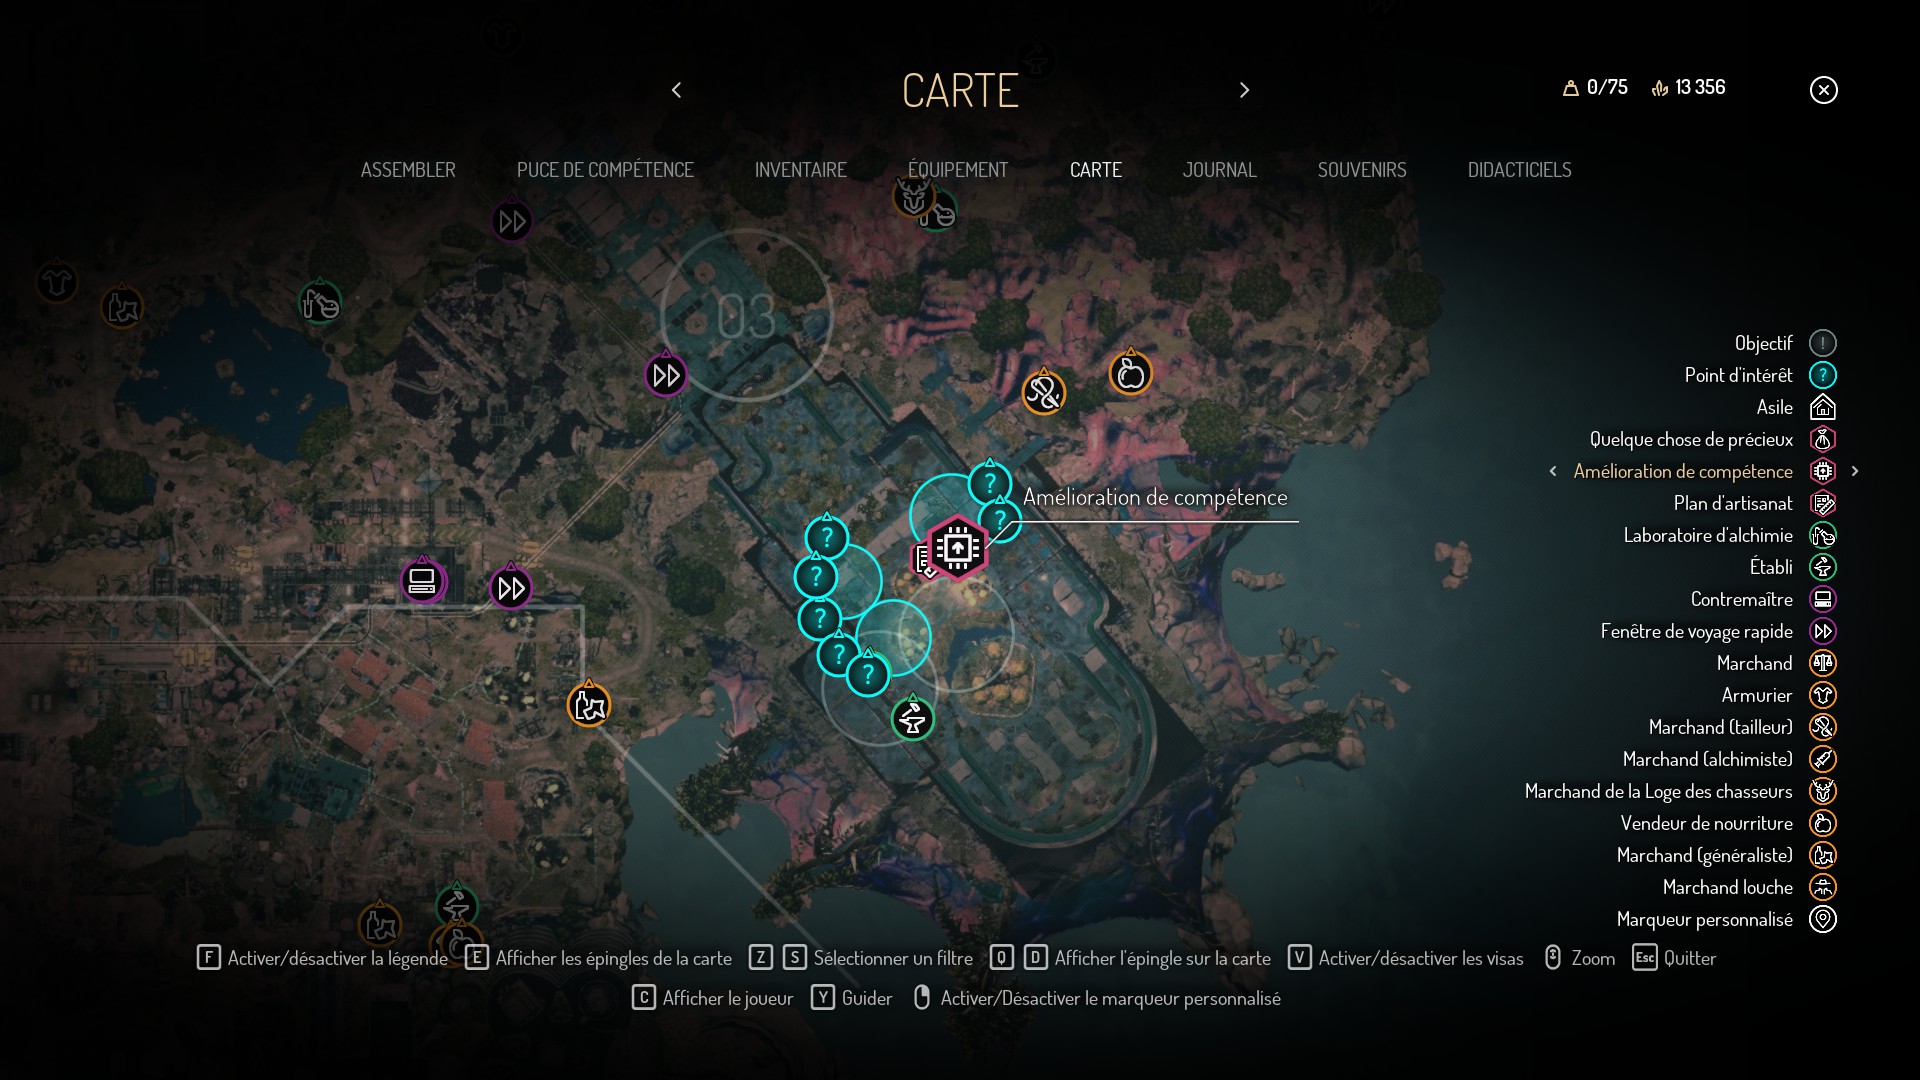
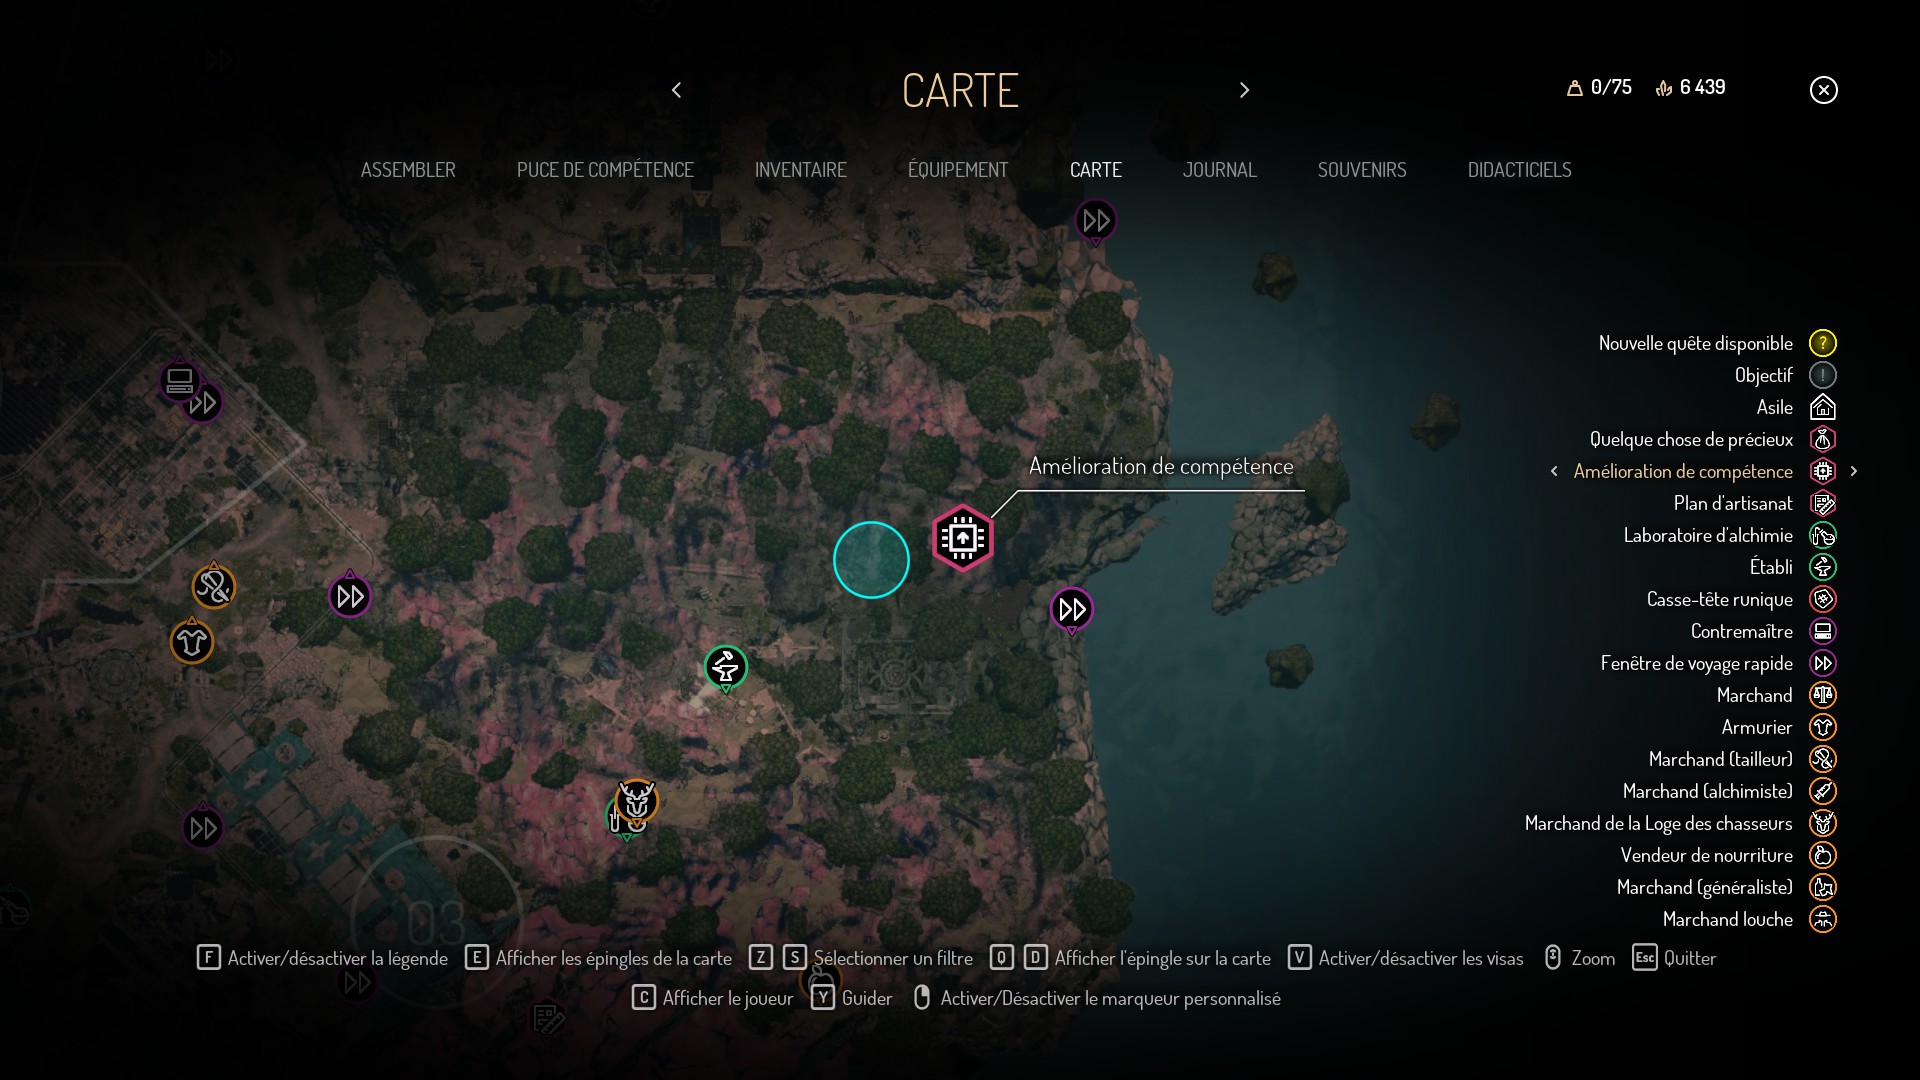
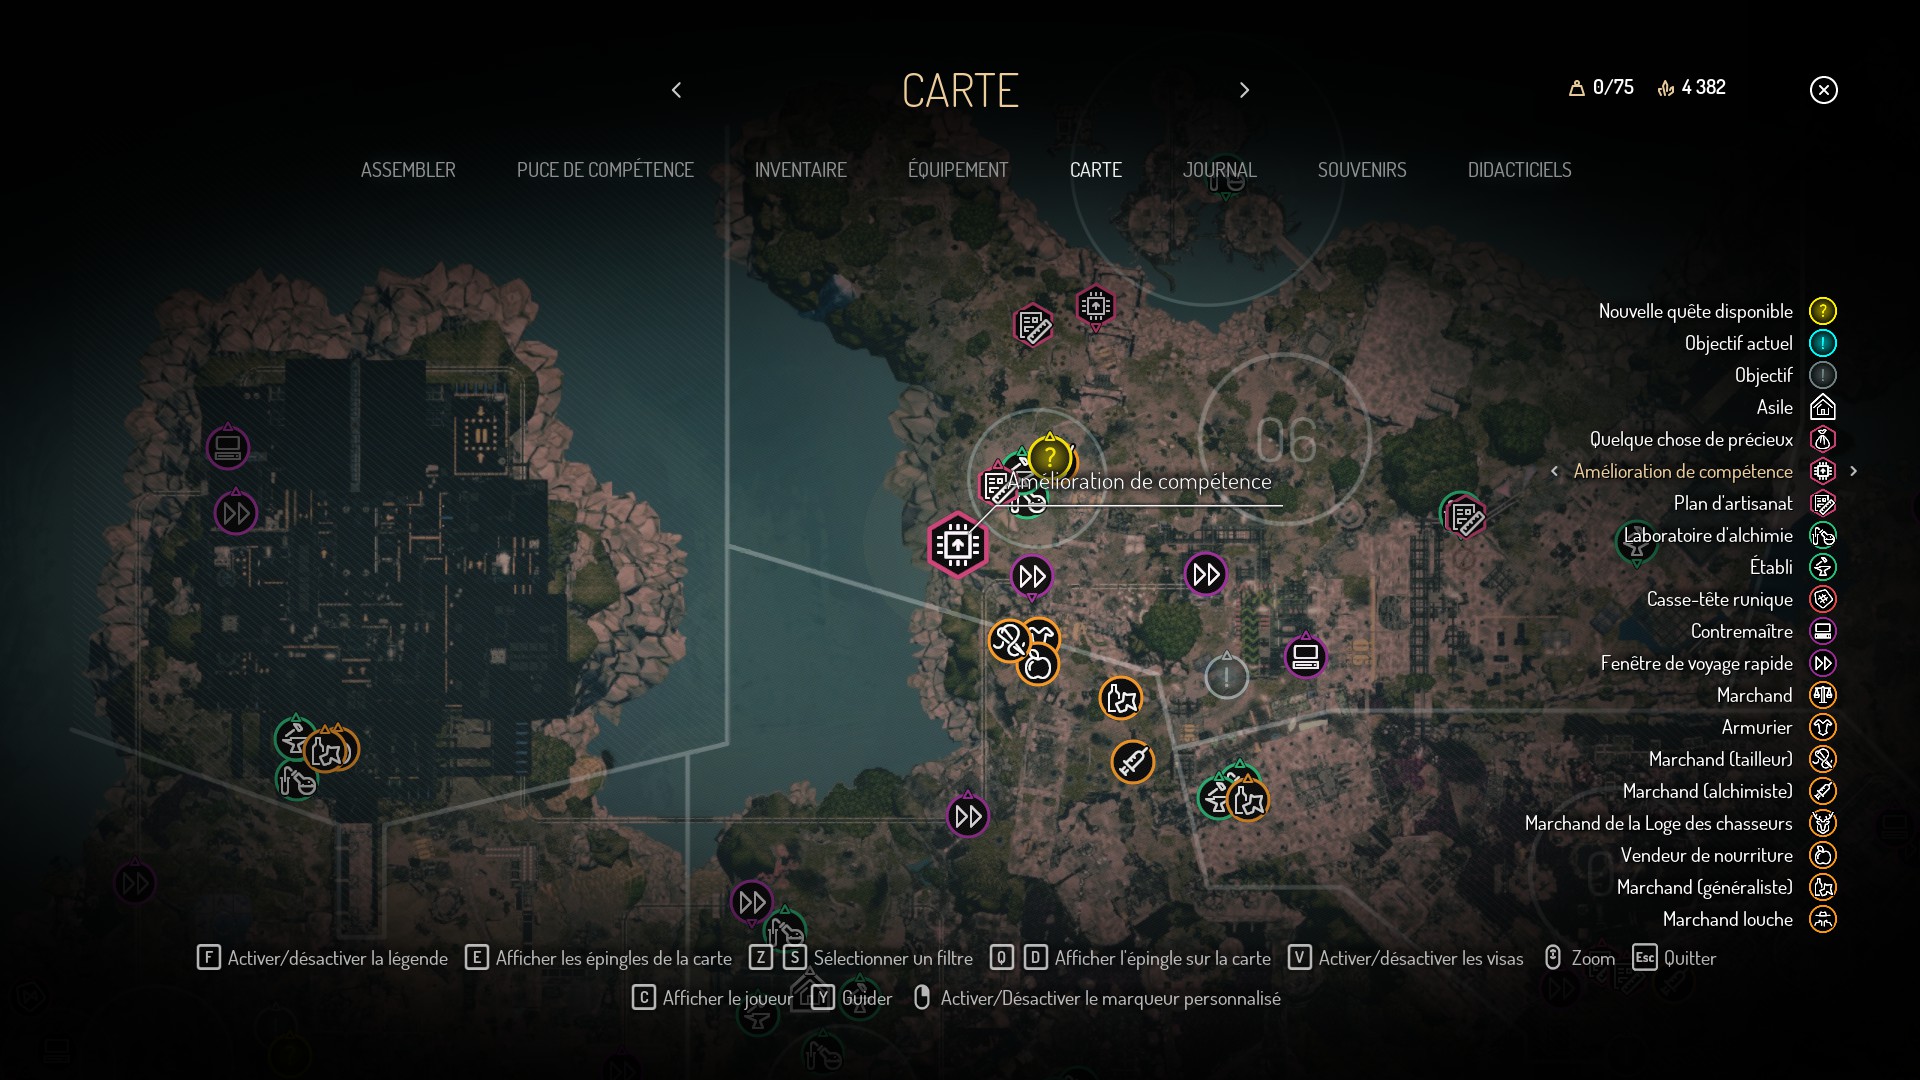
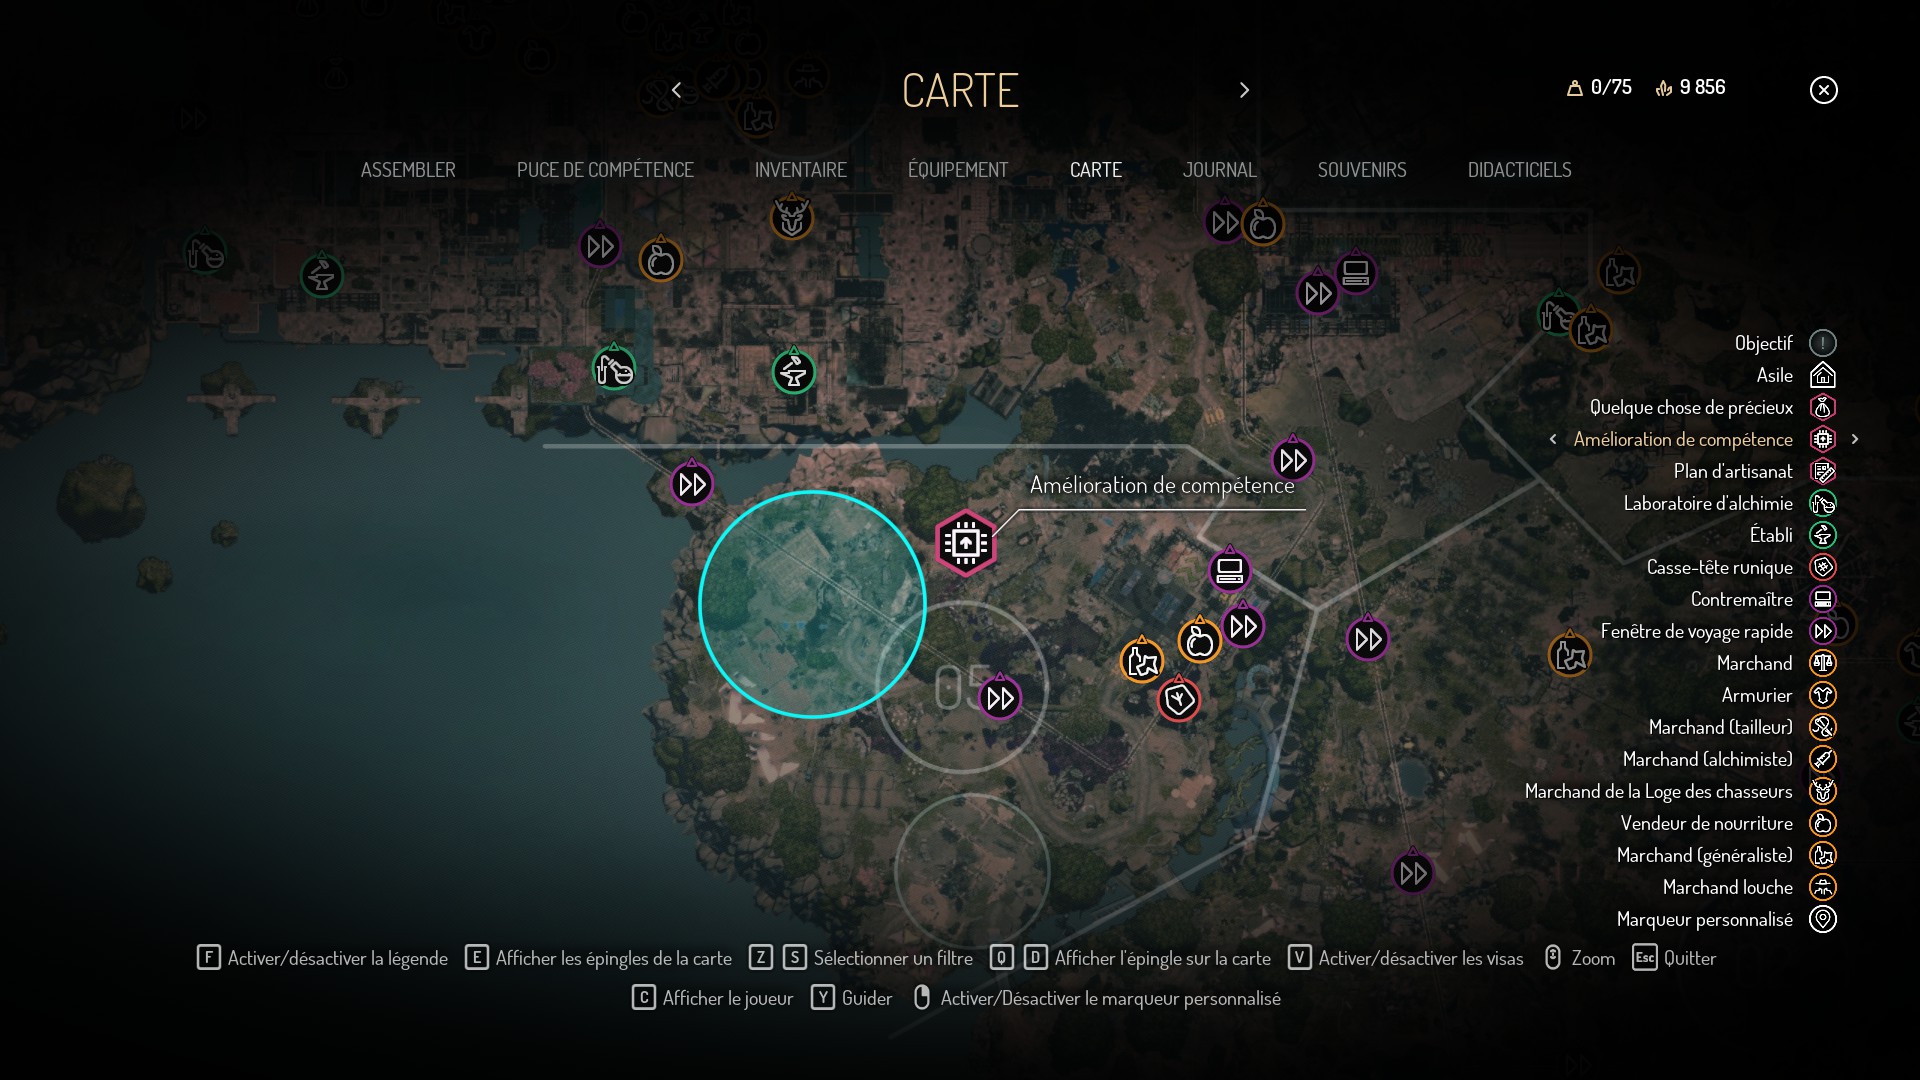
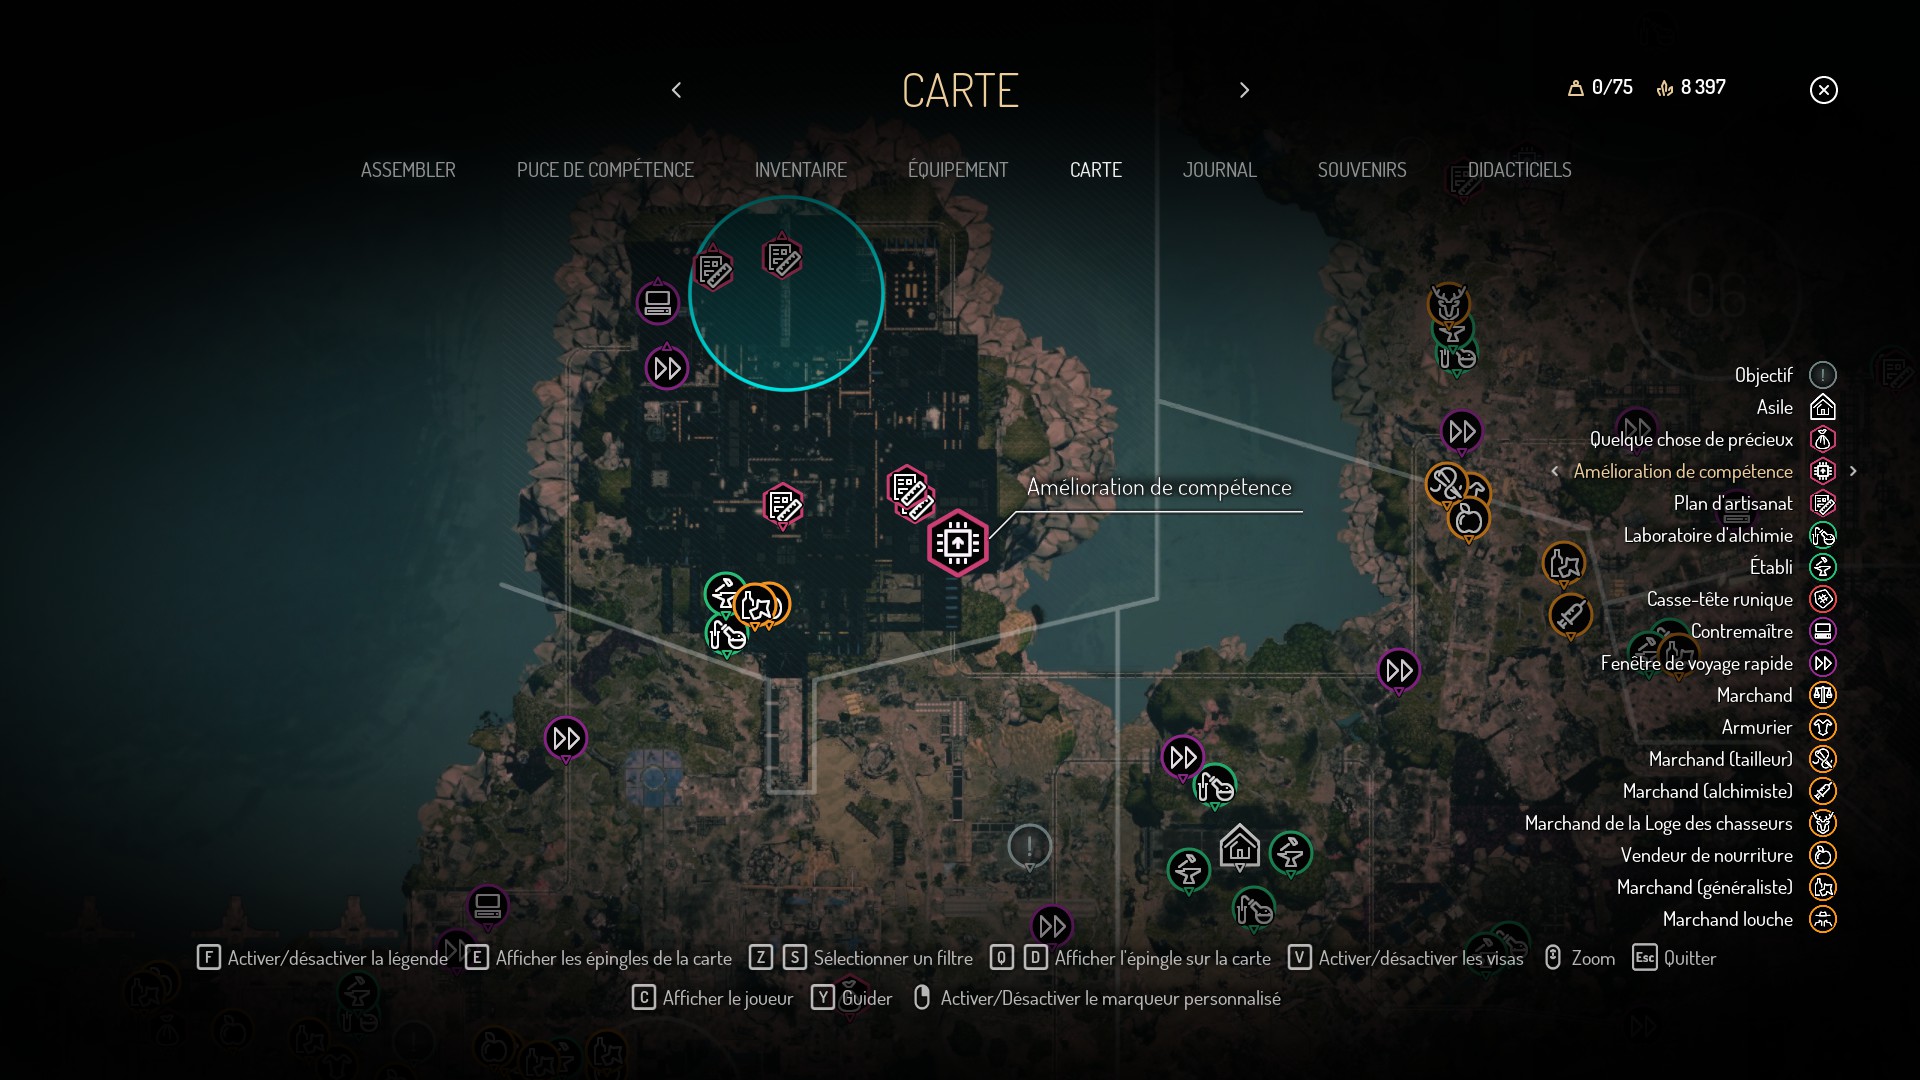
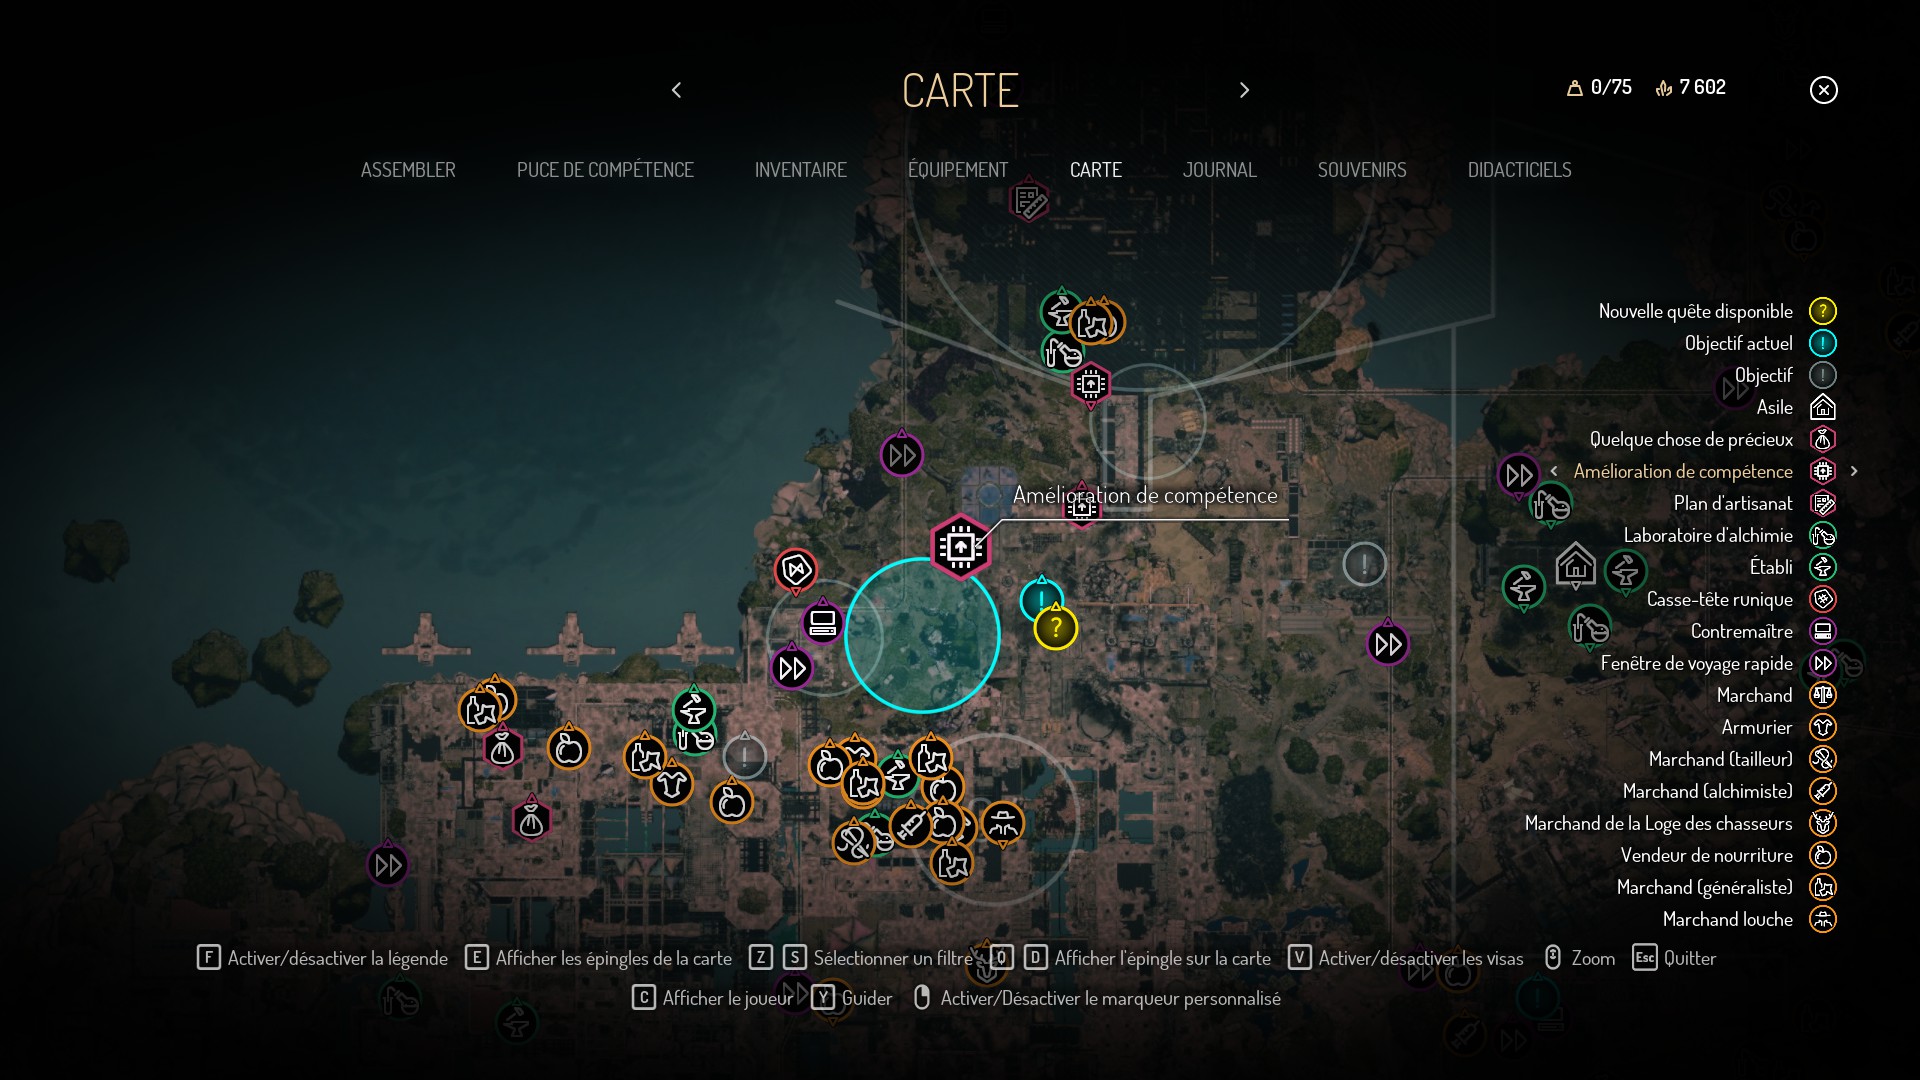
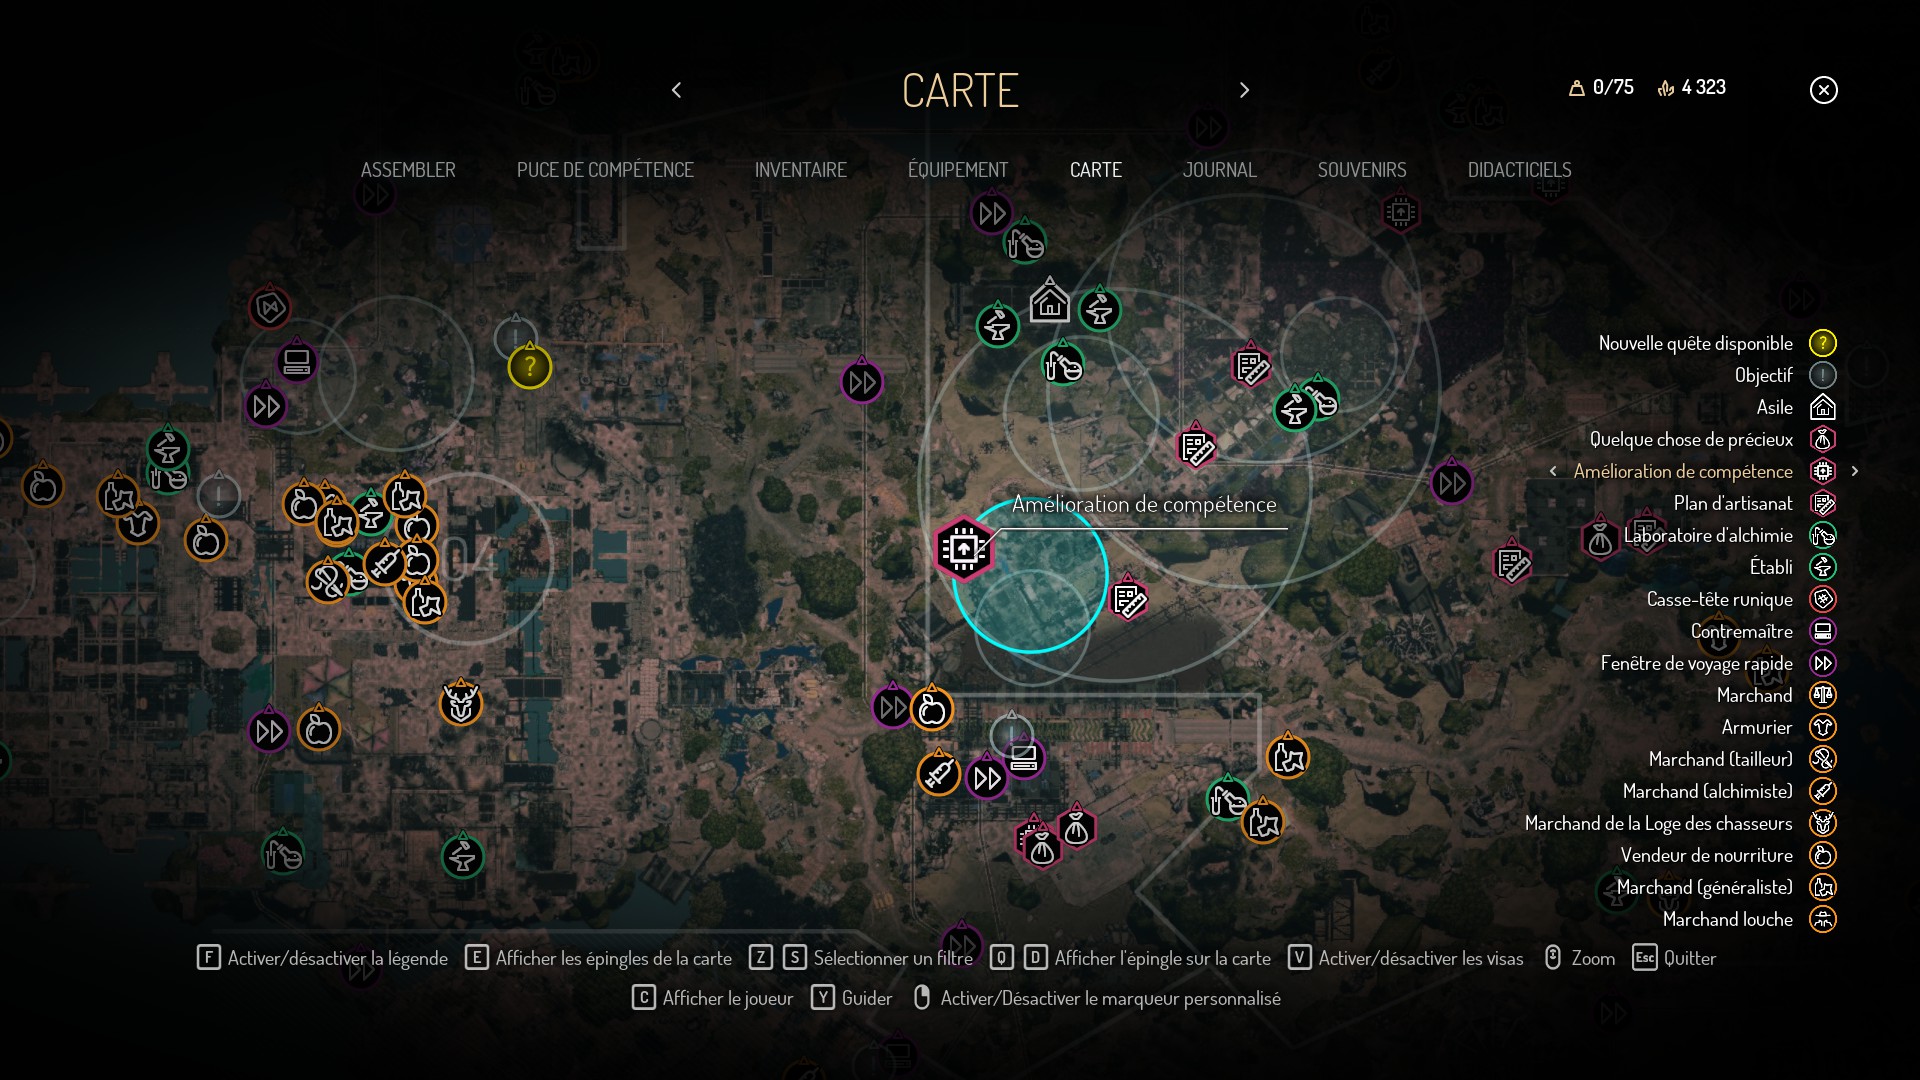
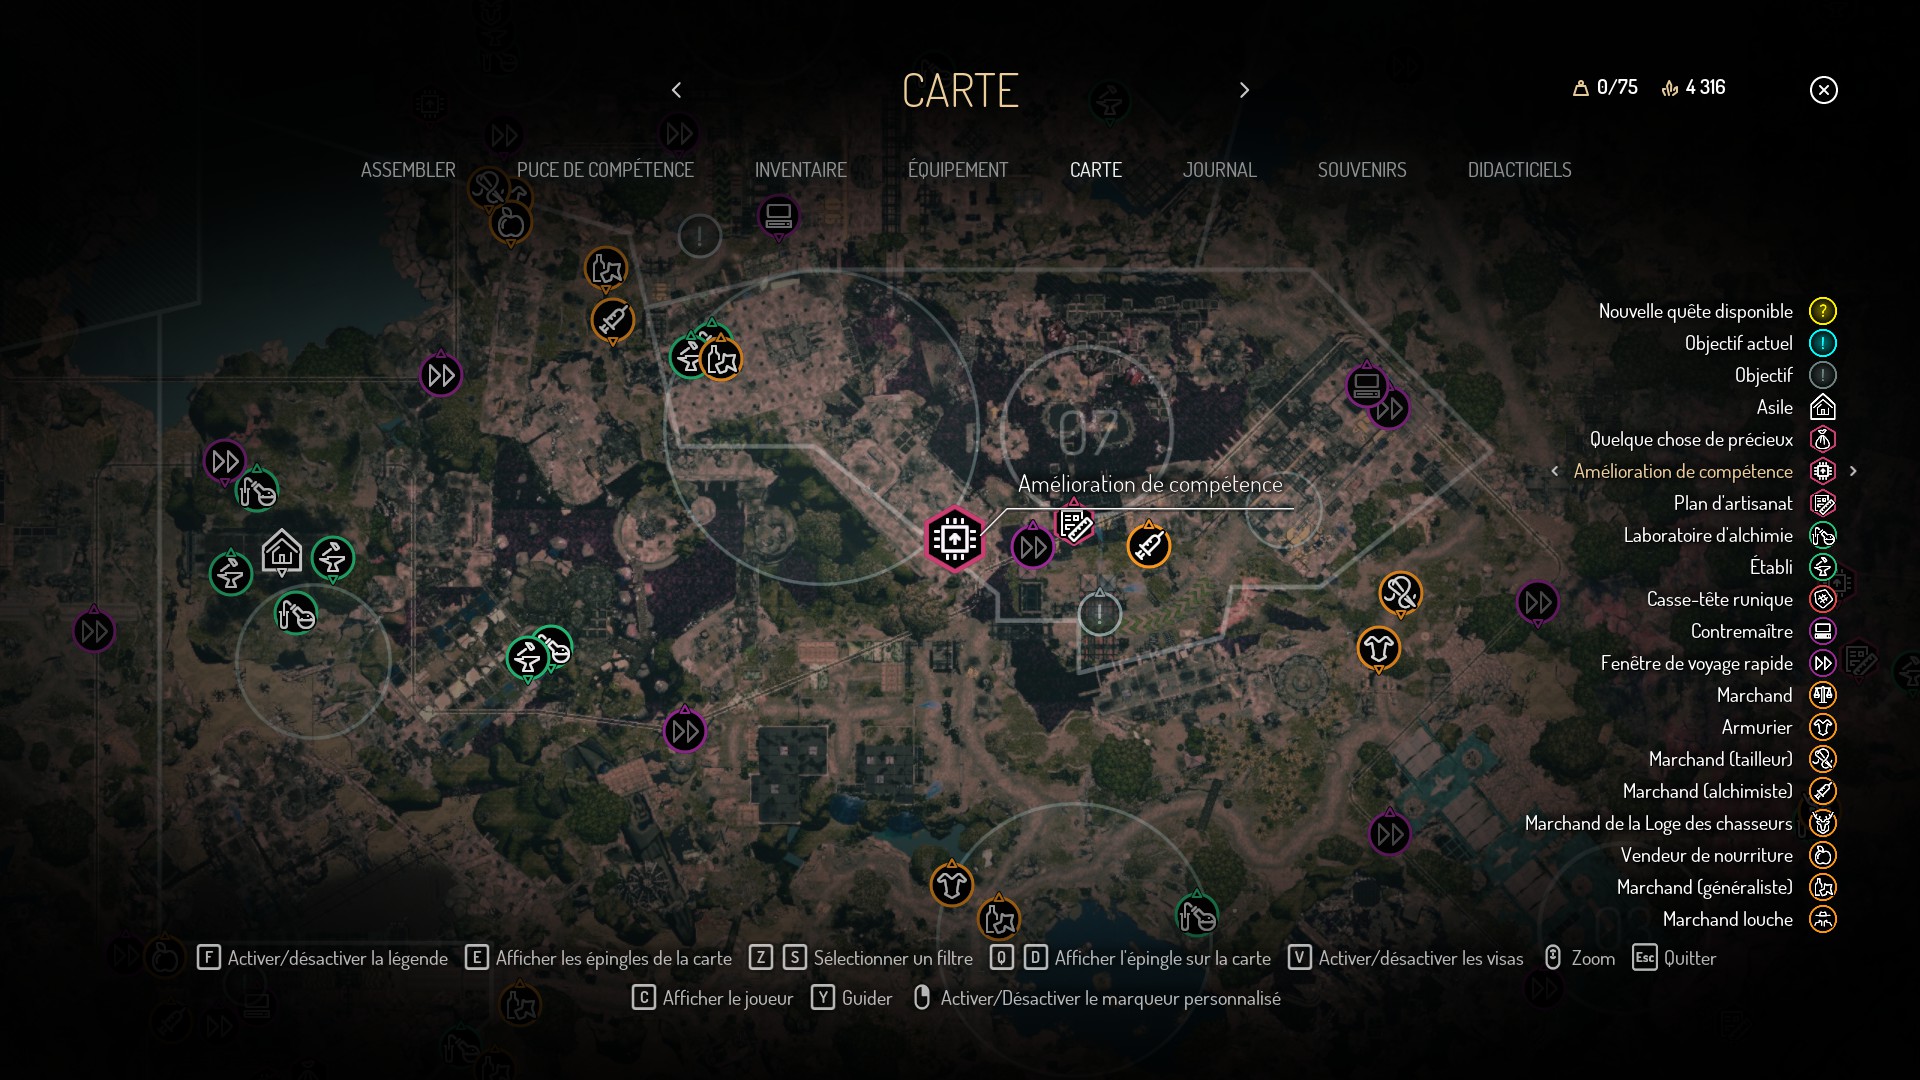
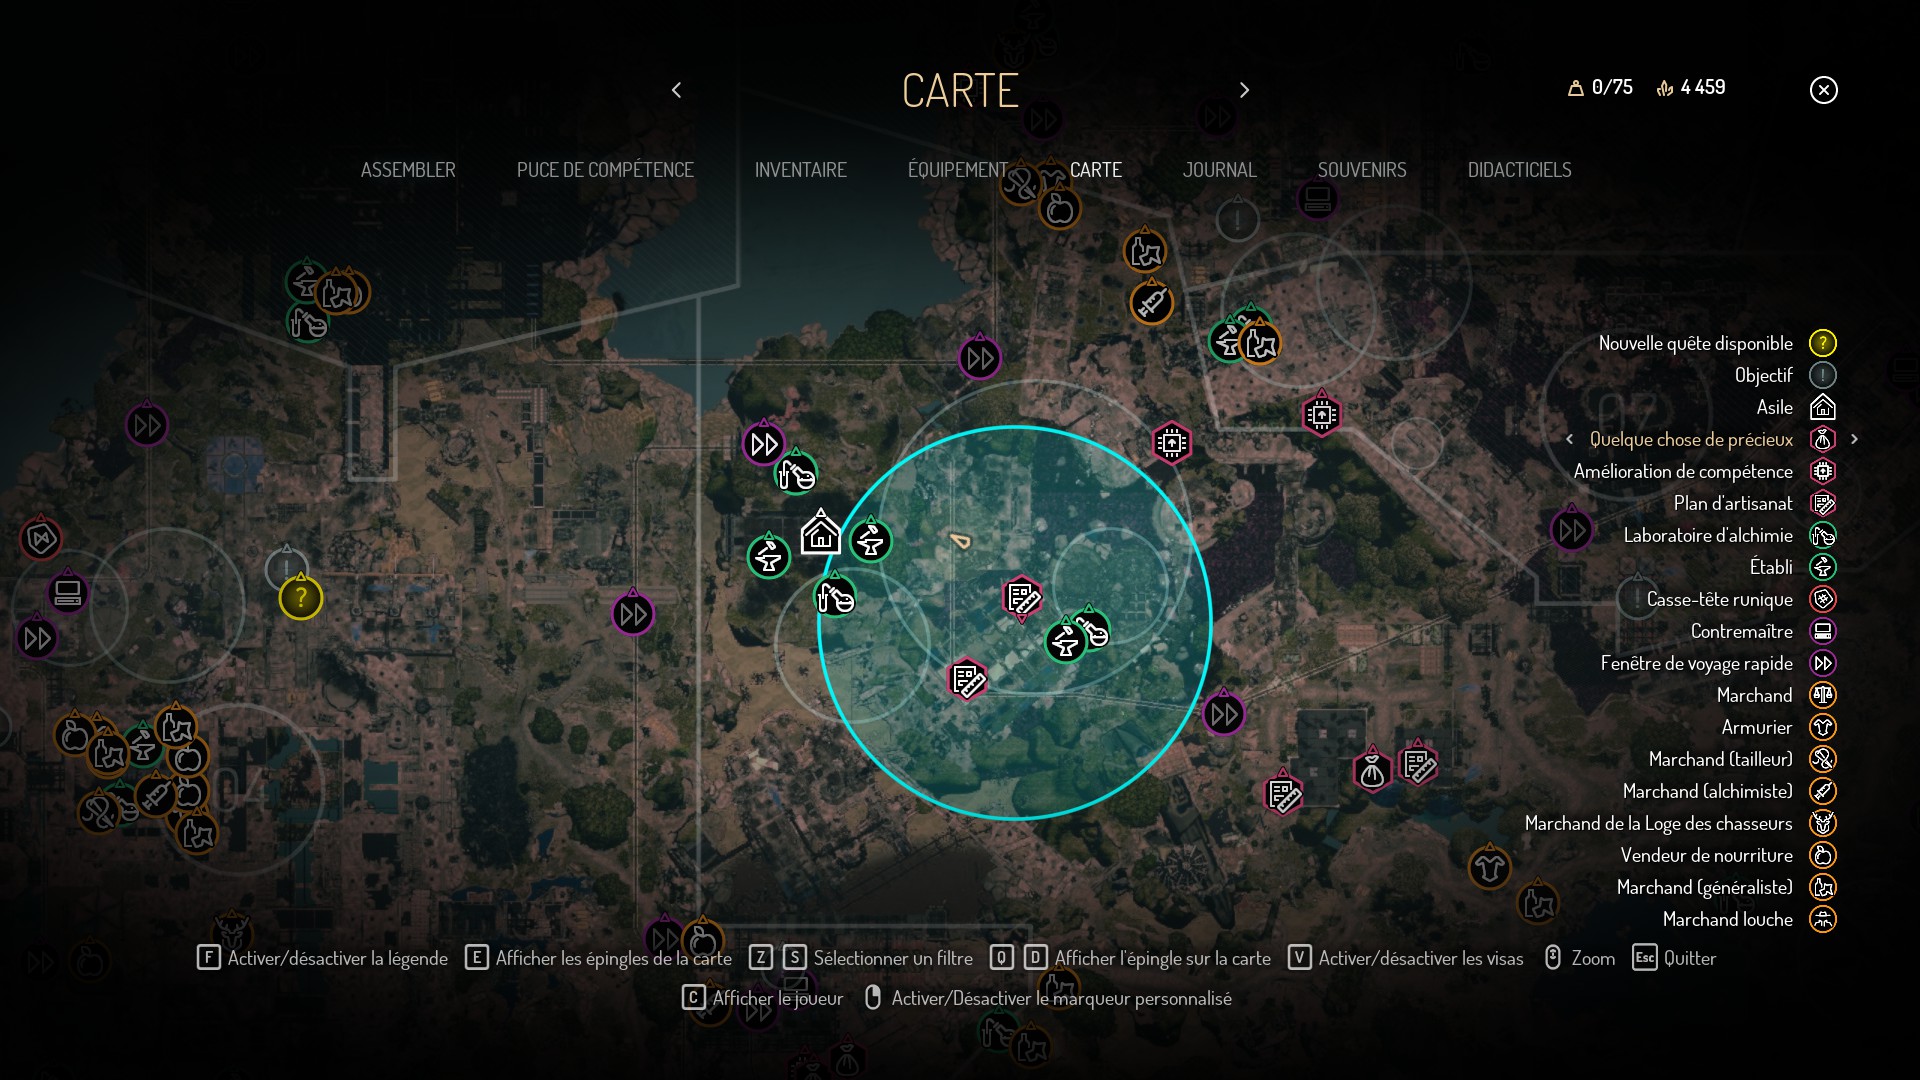
Skill Chips
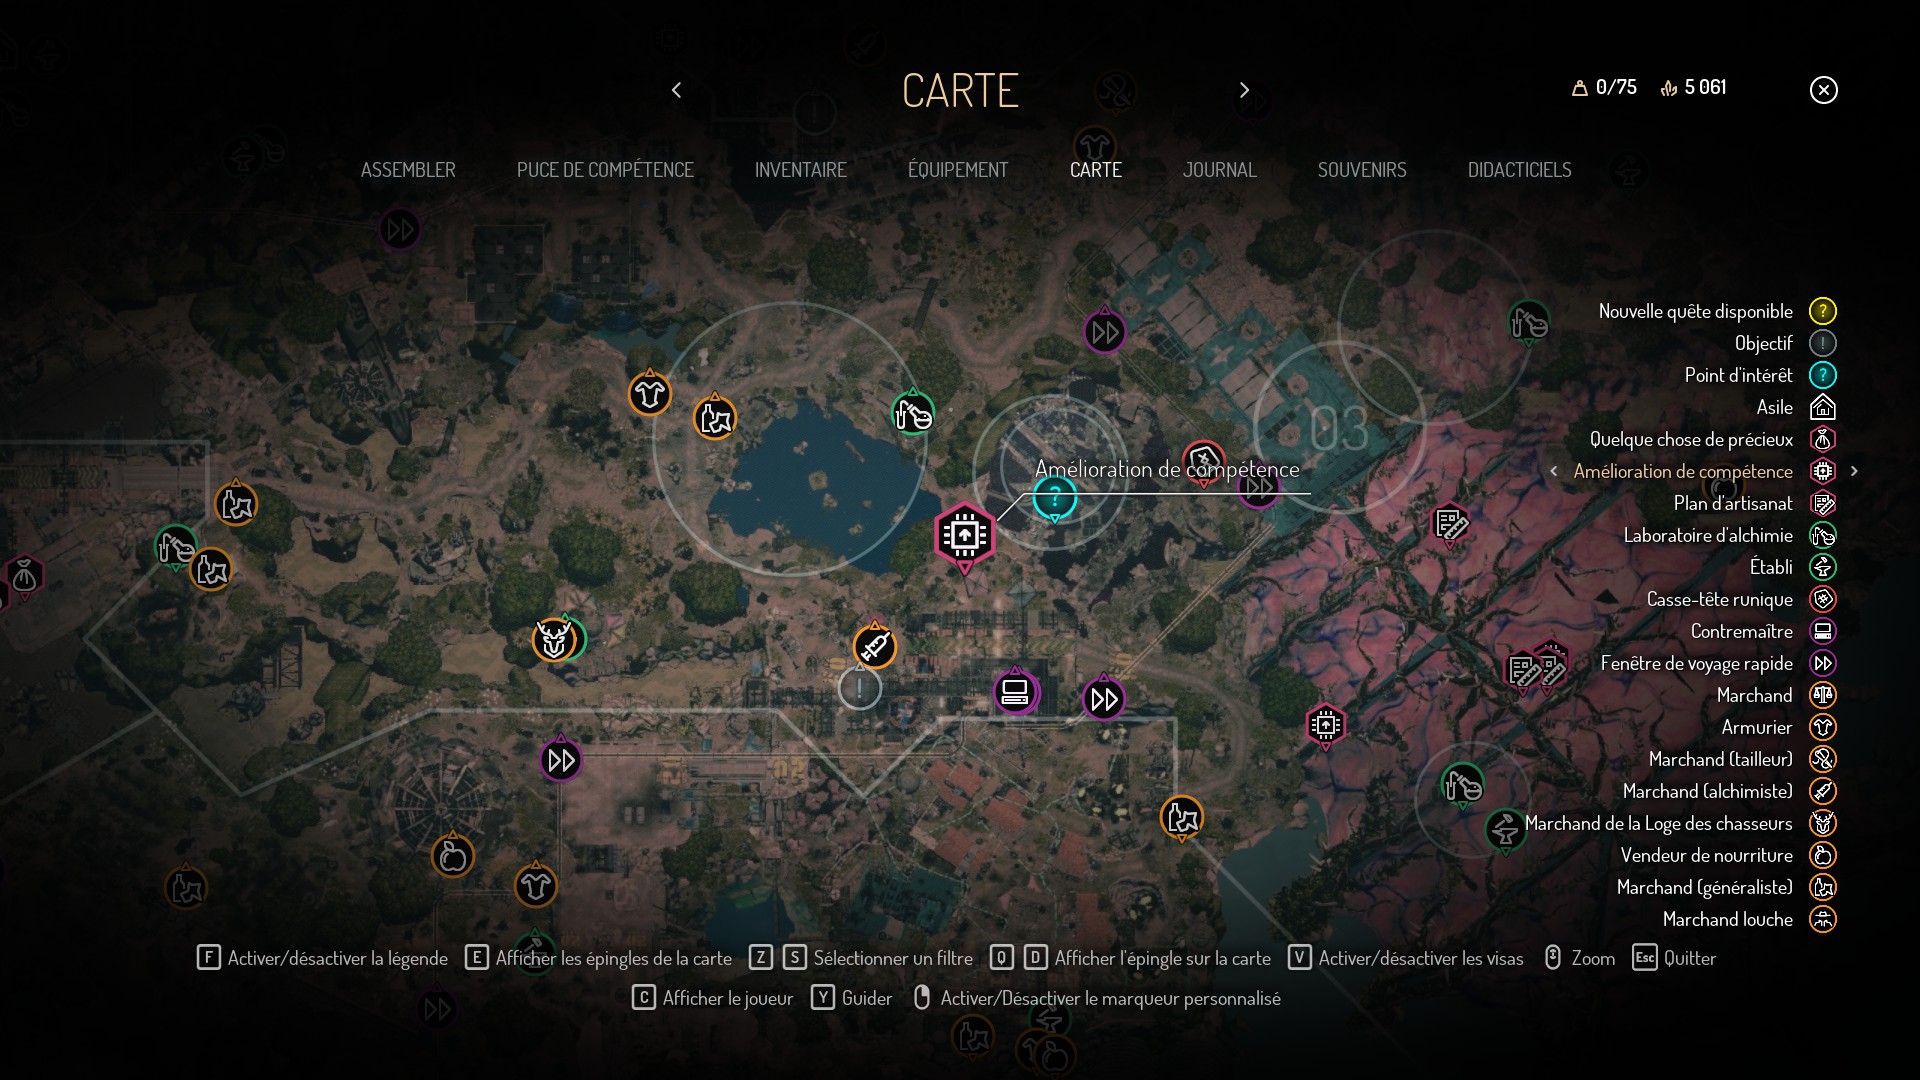
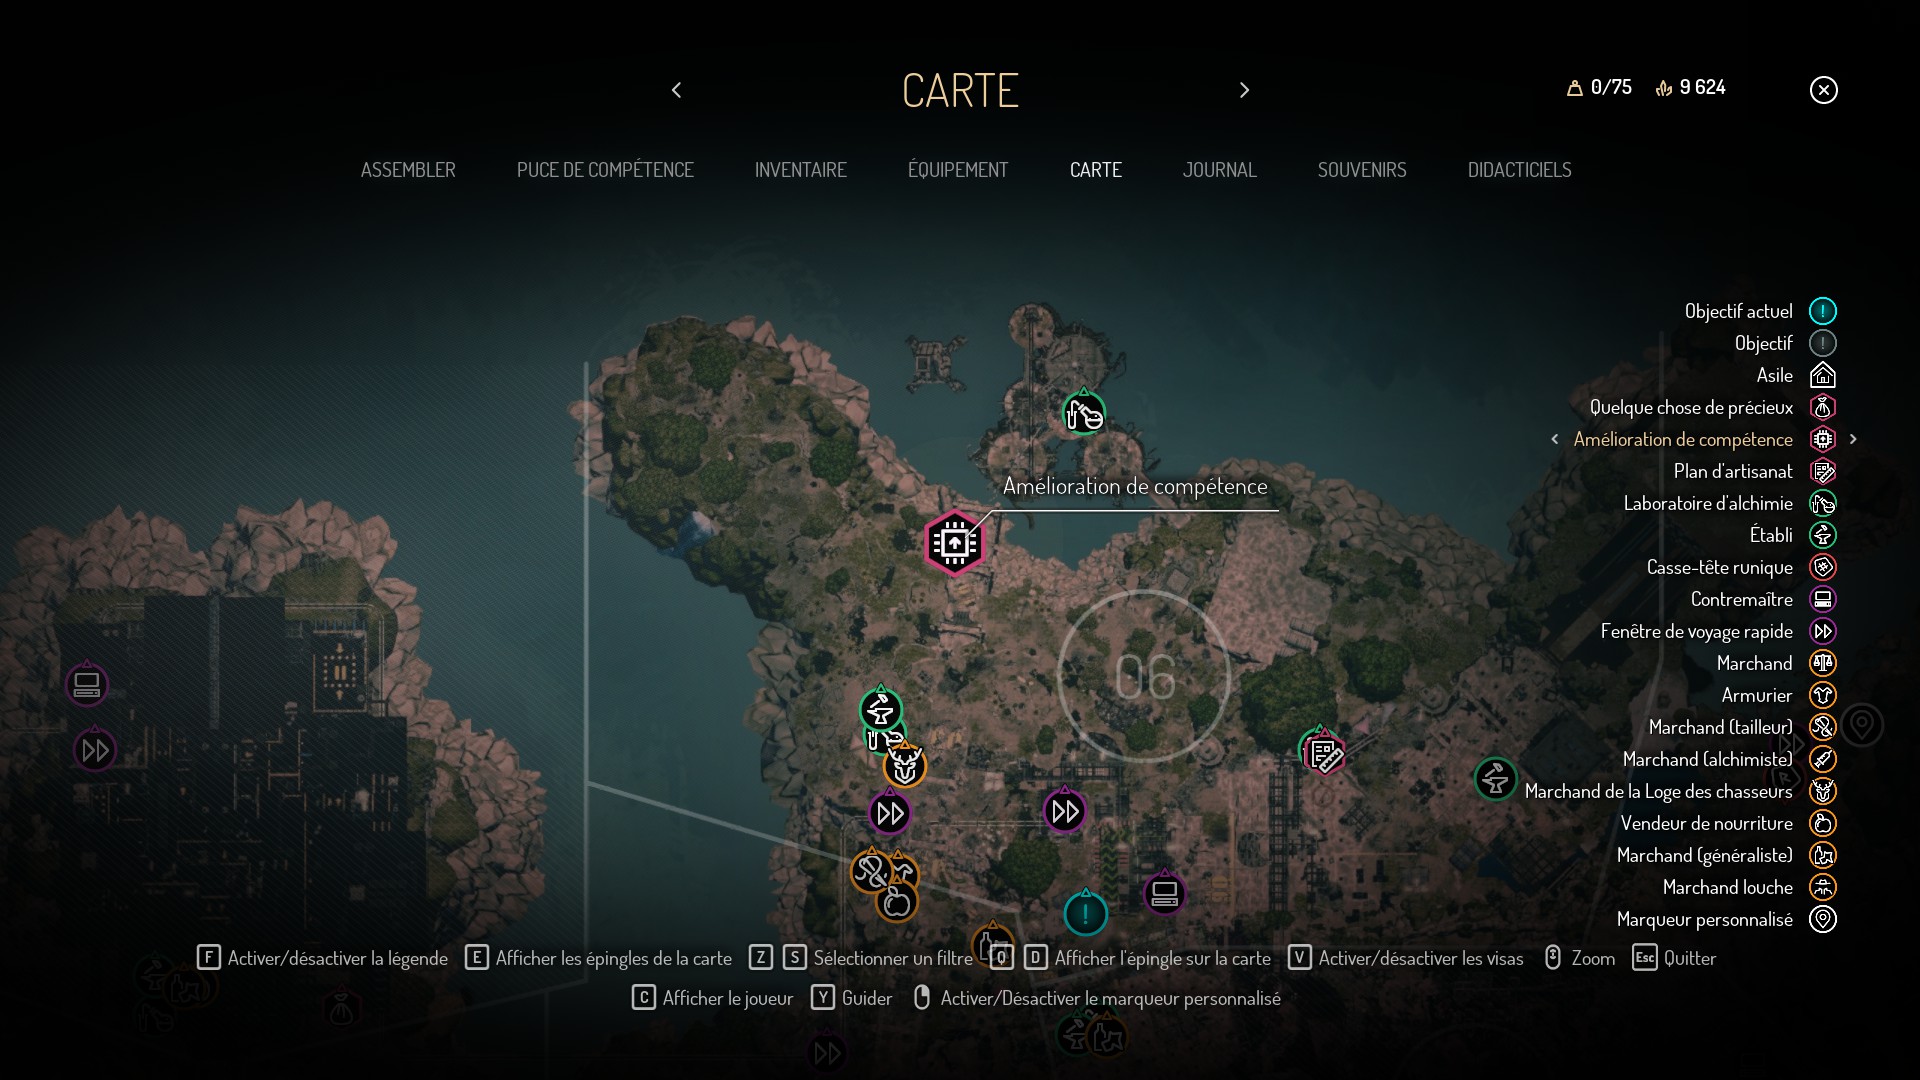
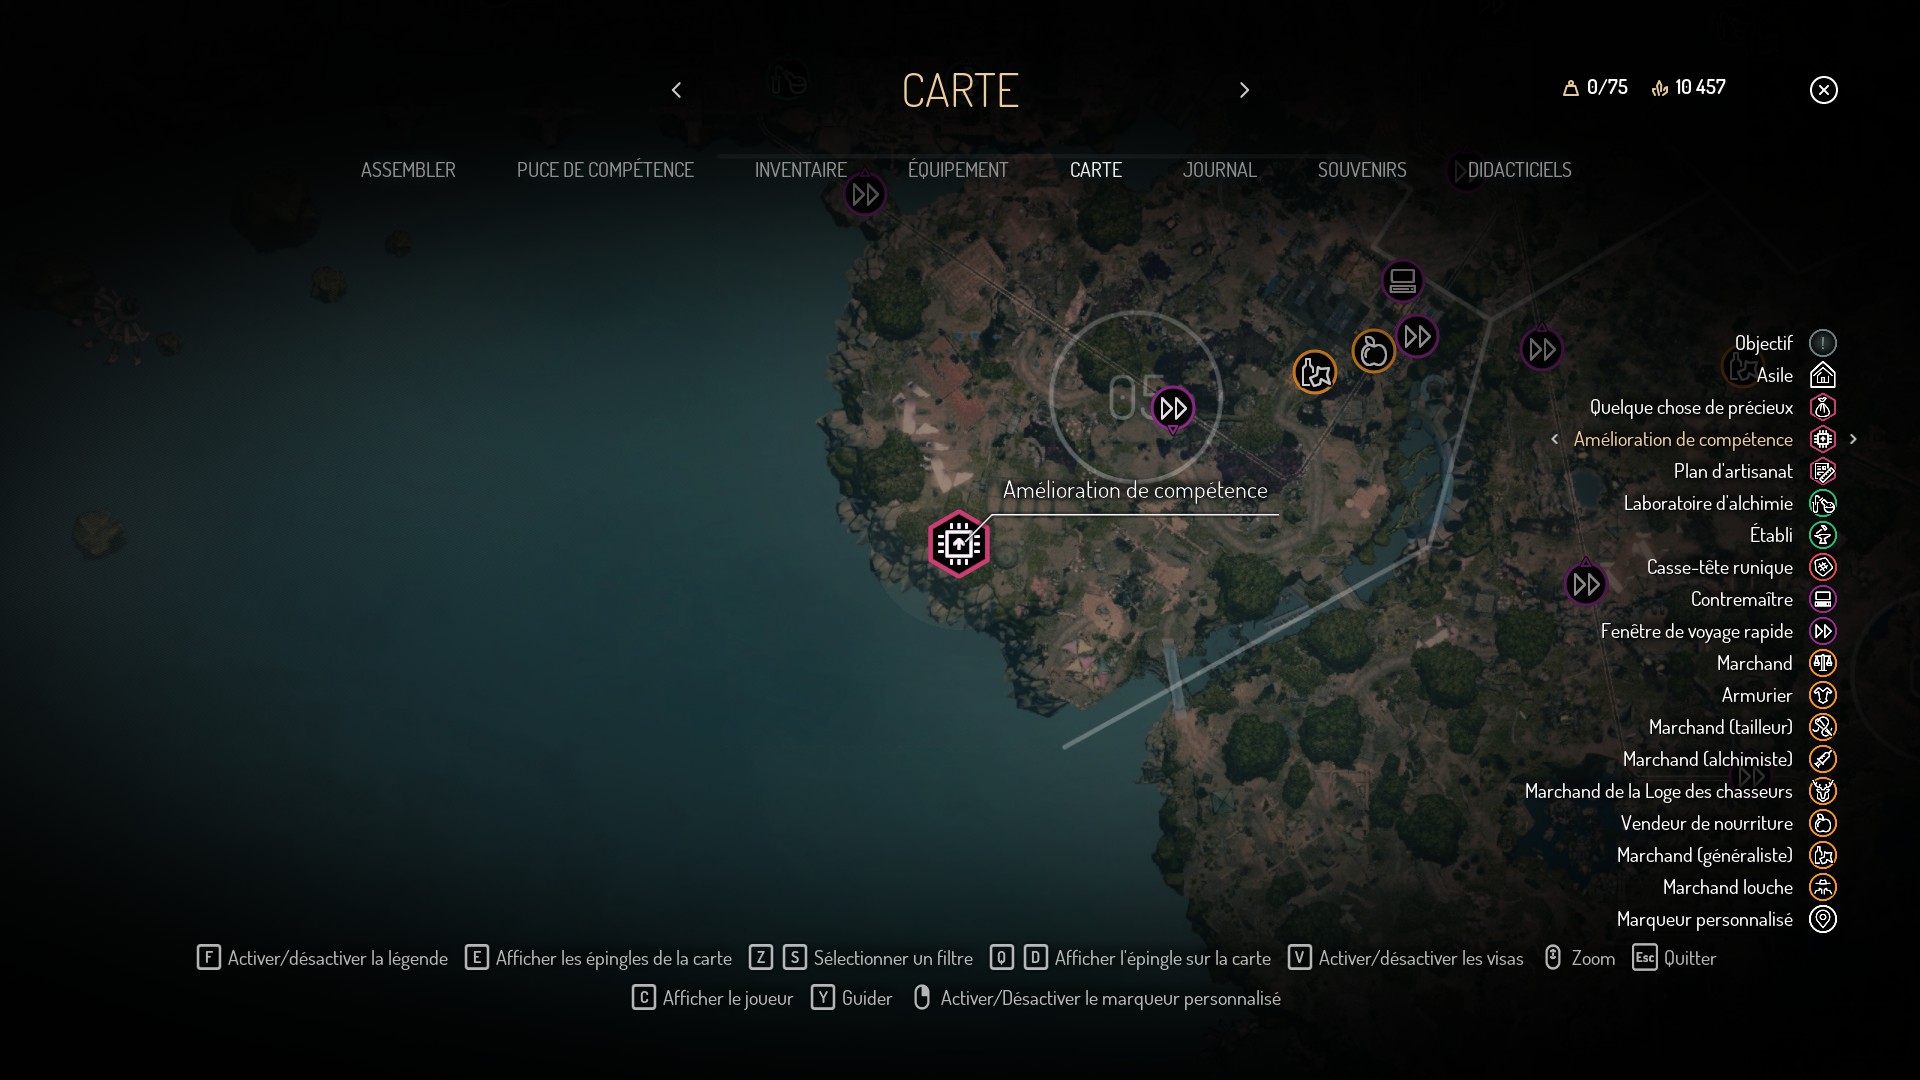
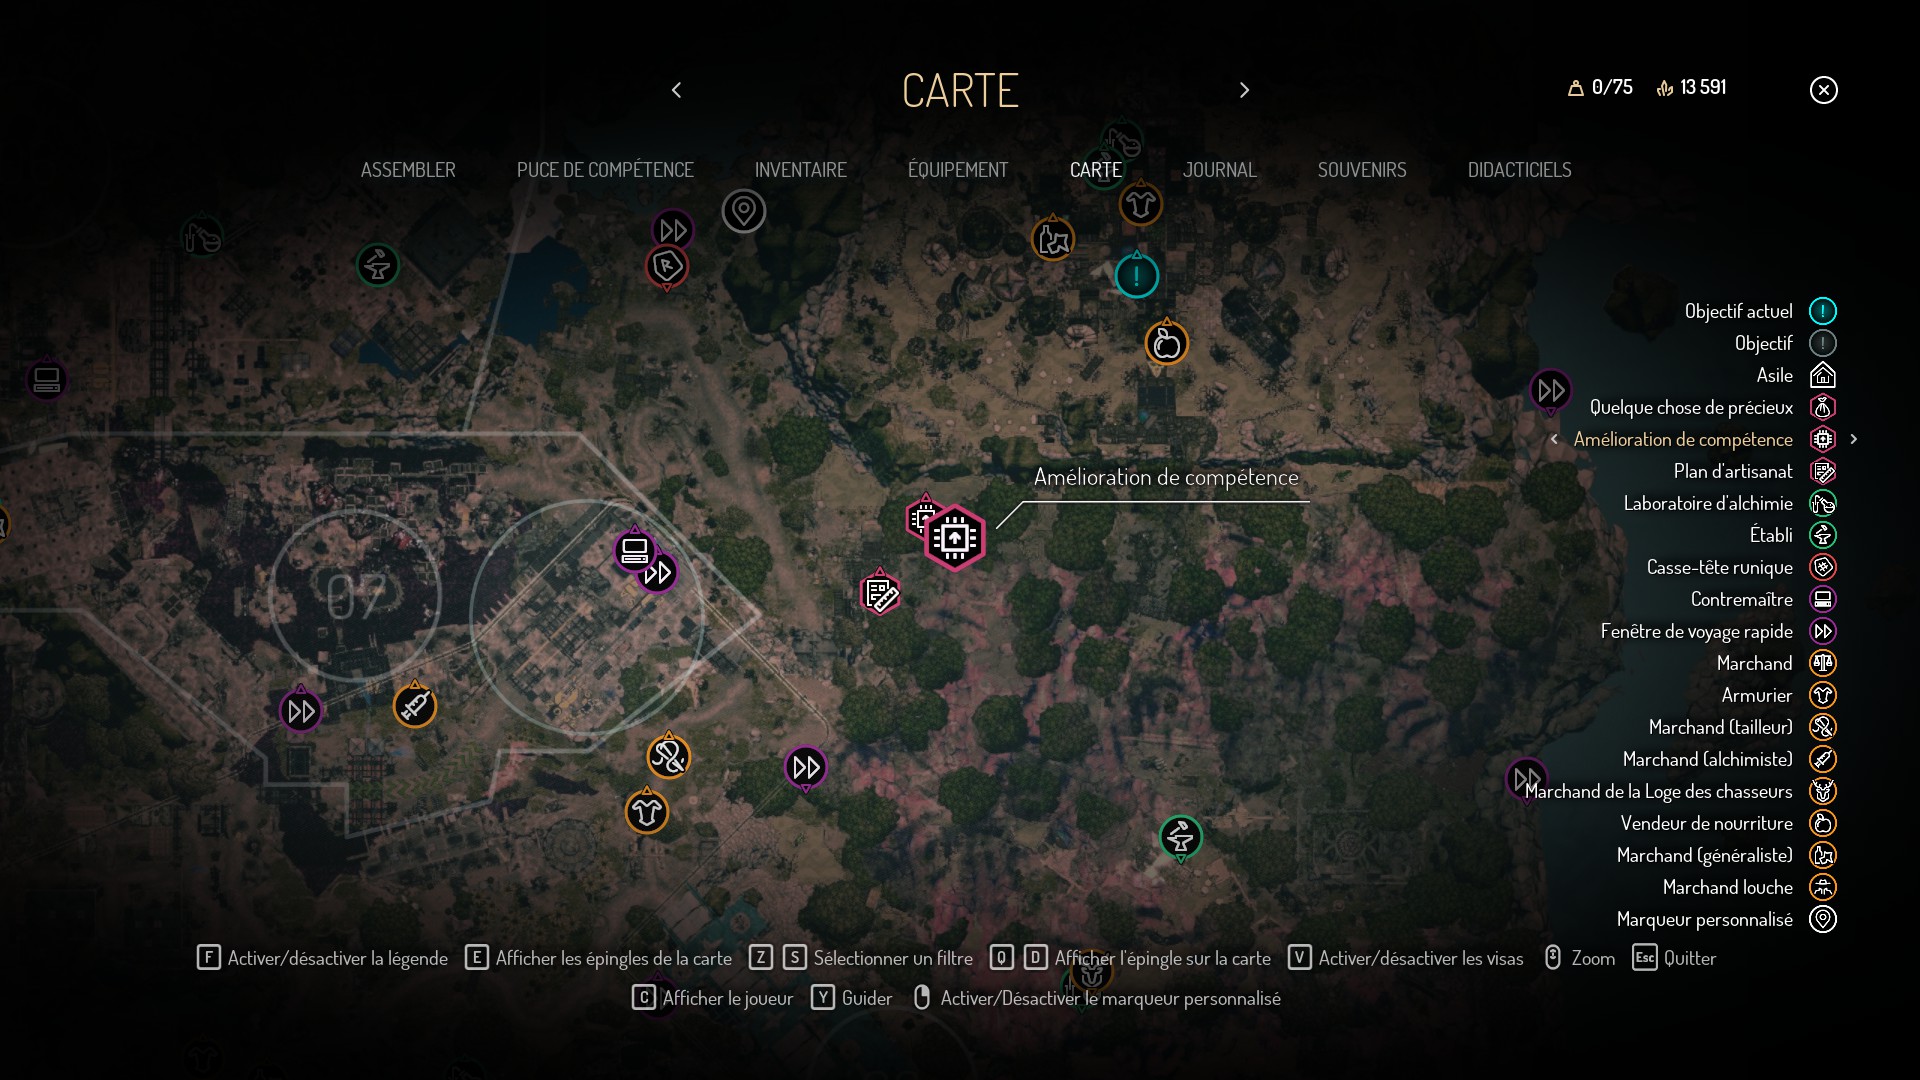
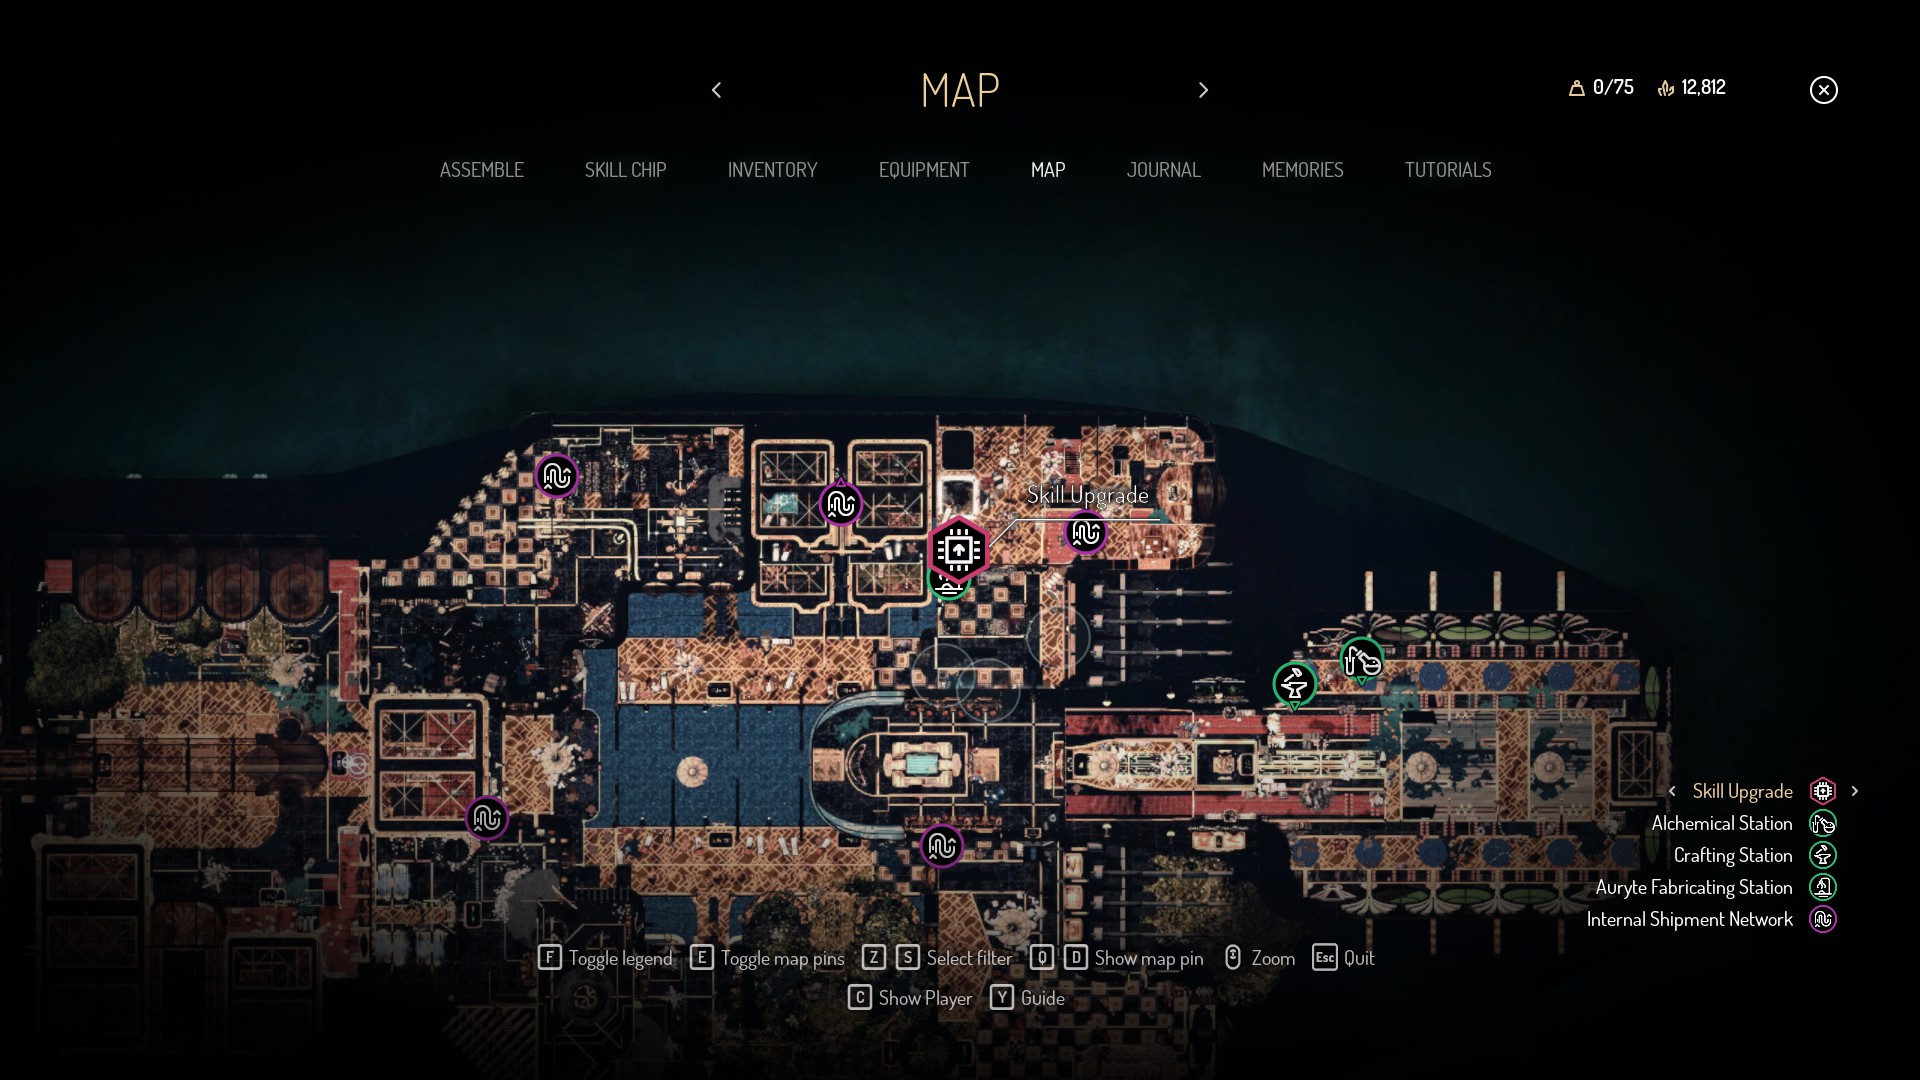
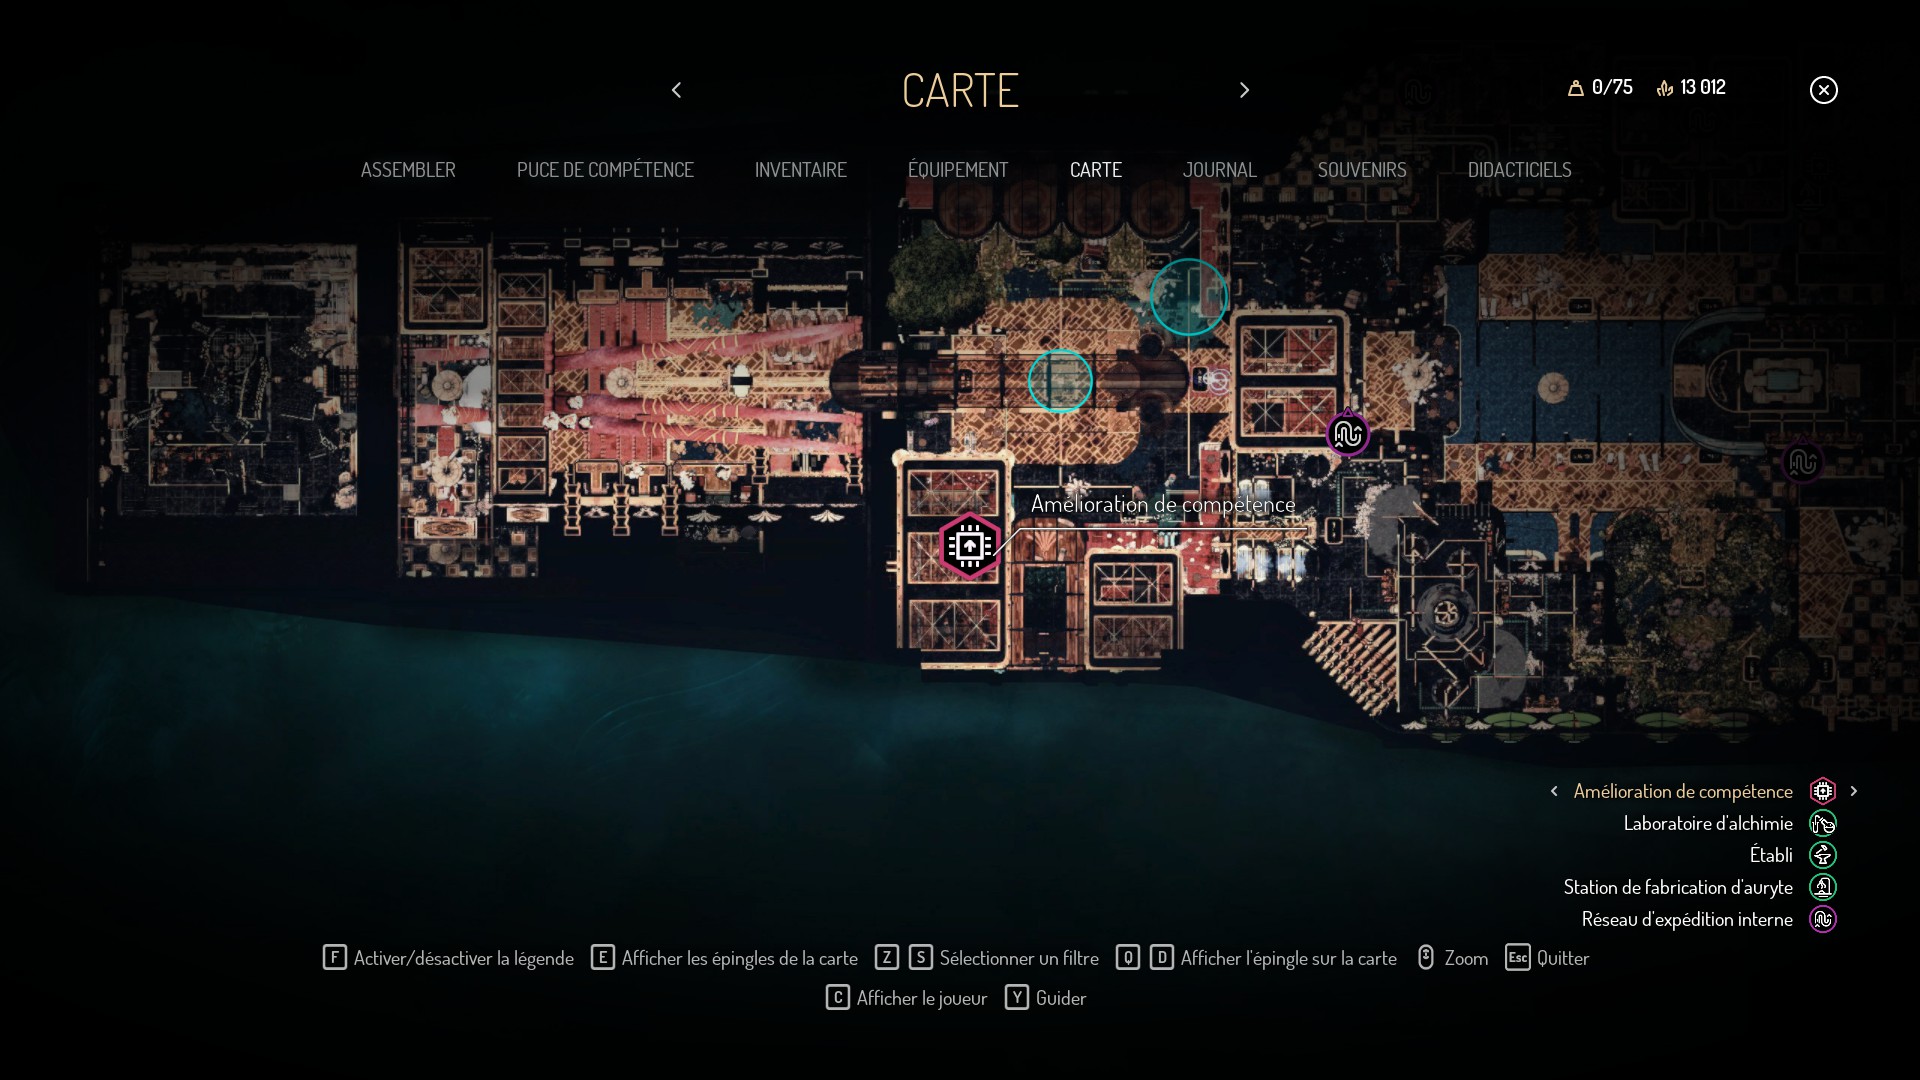
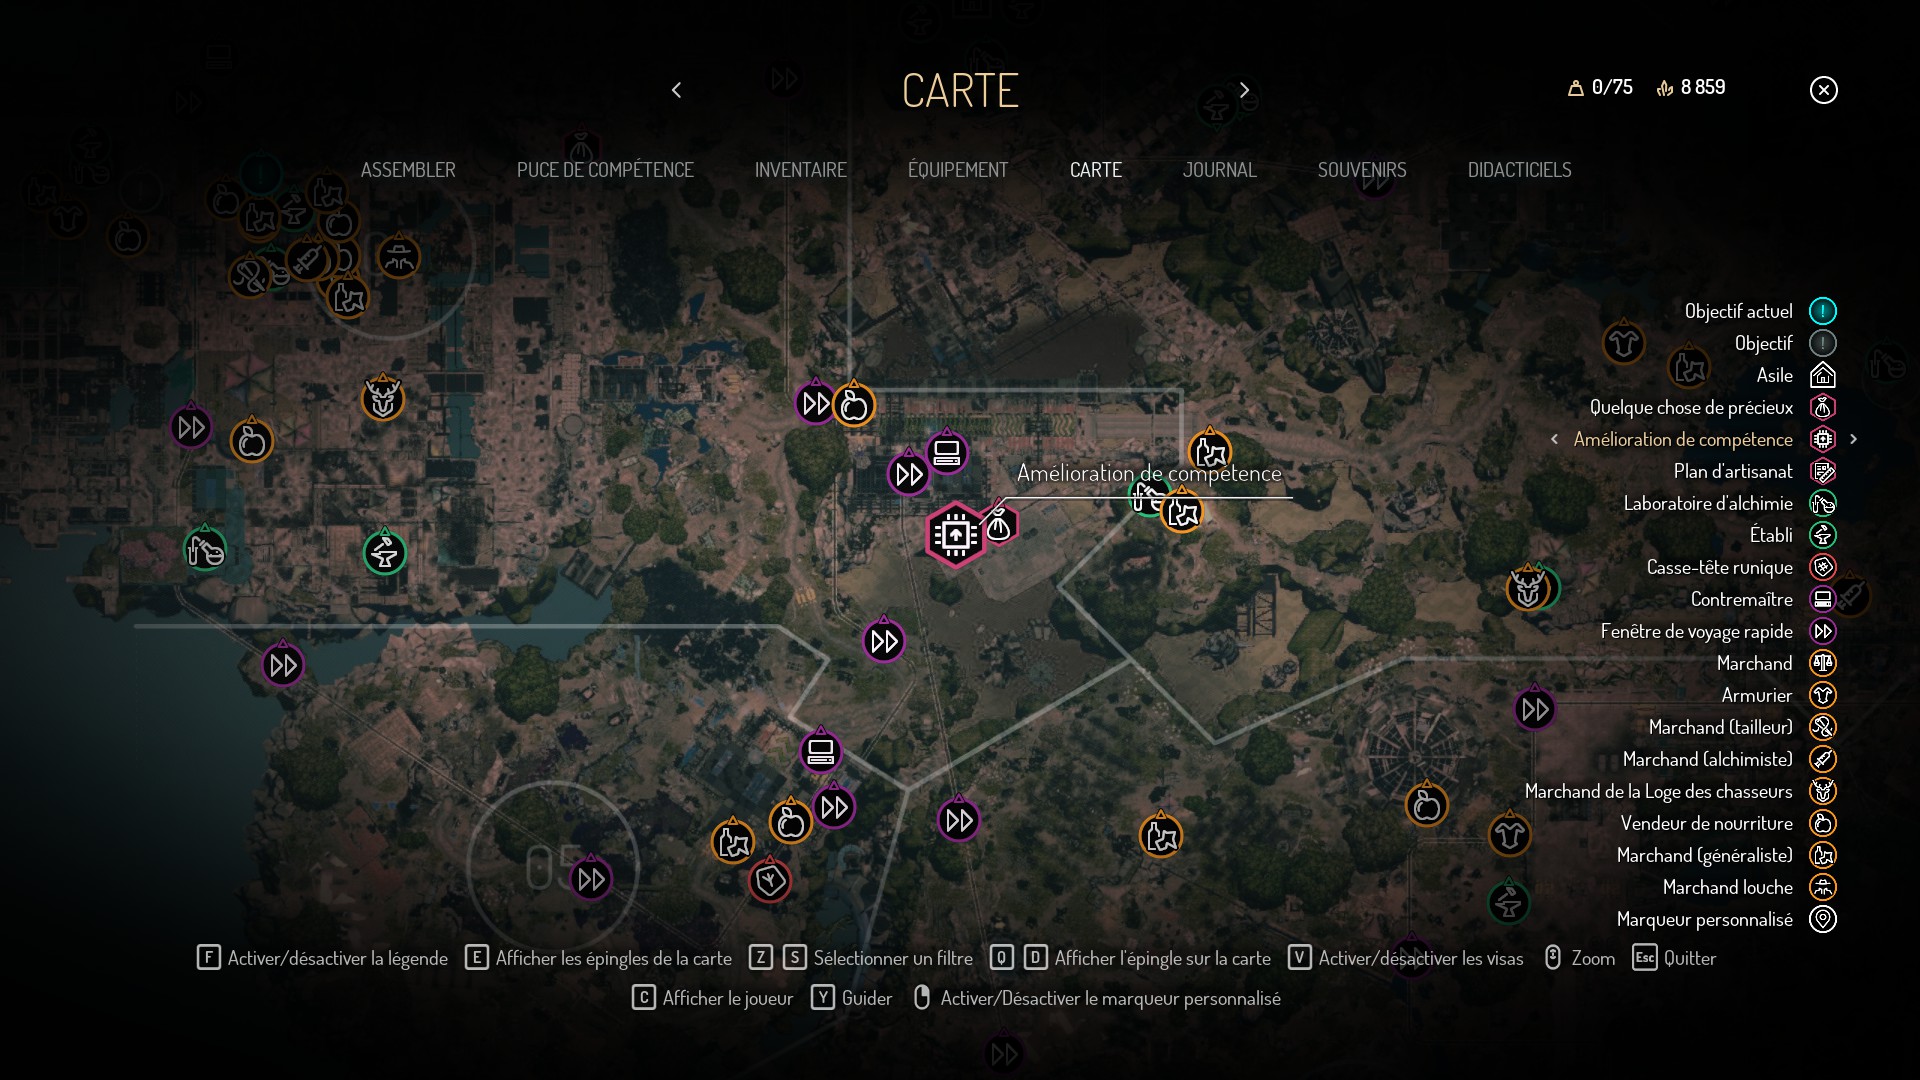
Here are the skill chip available in the game.
Active chip and Upgrades
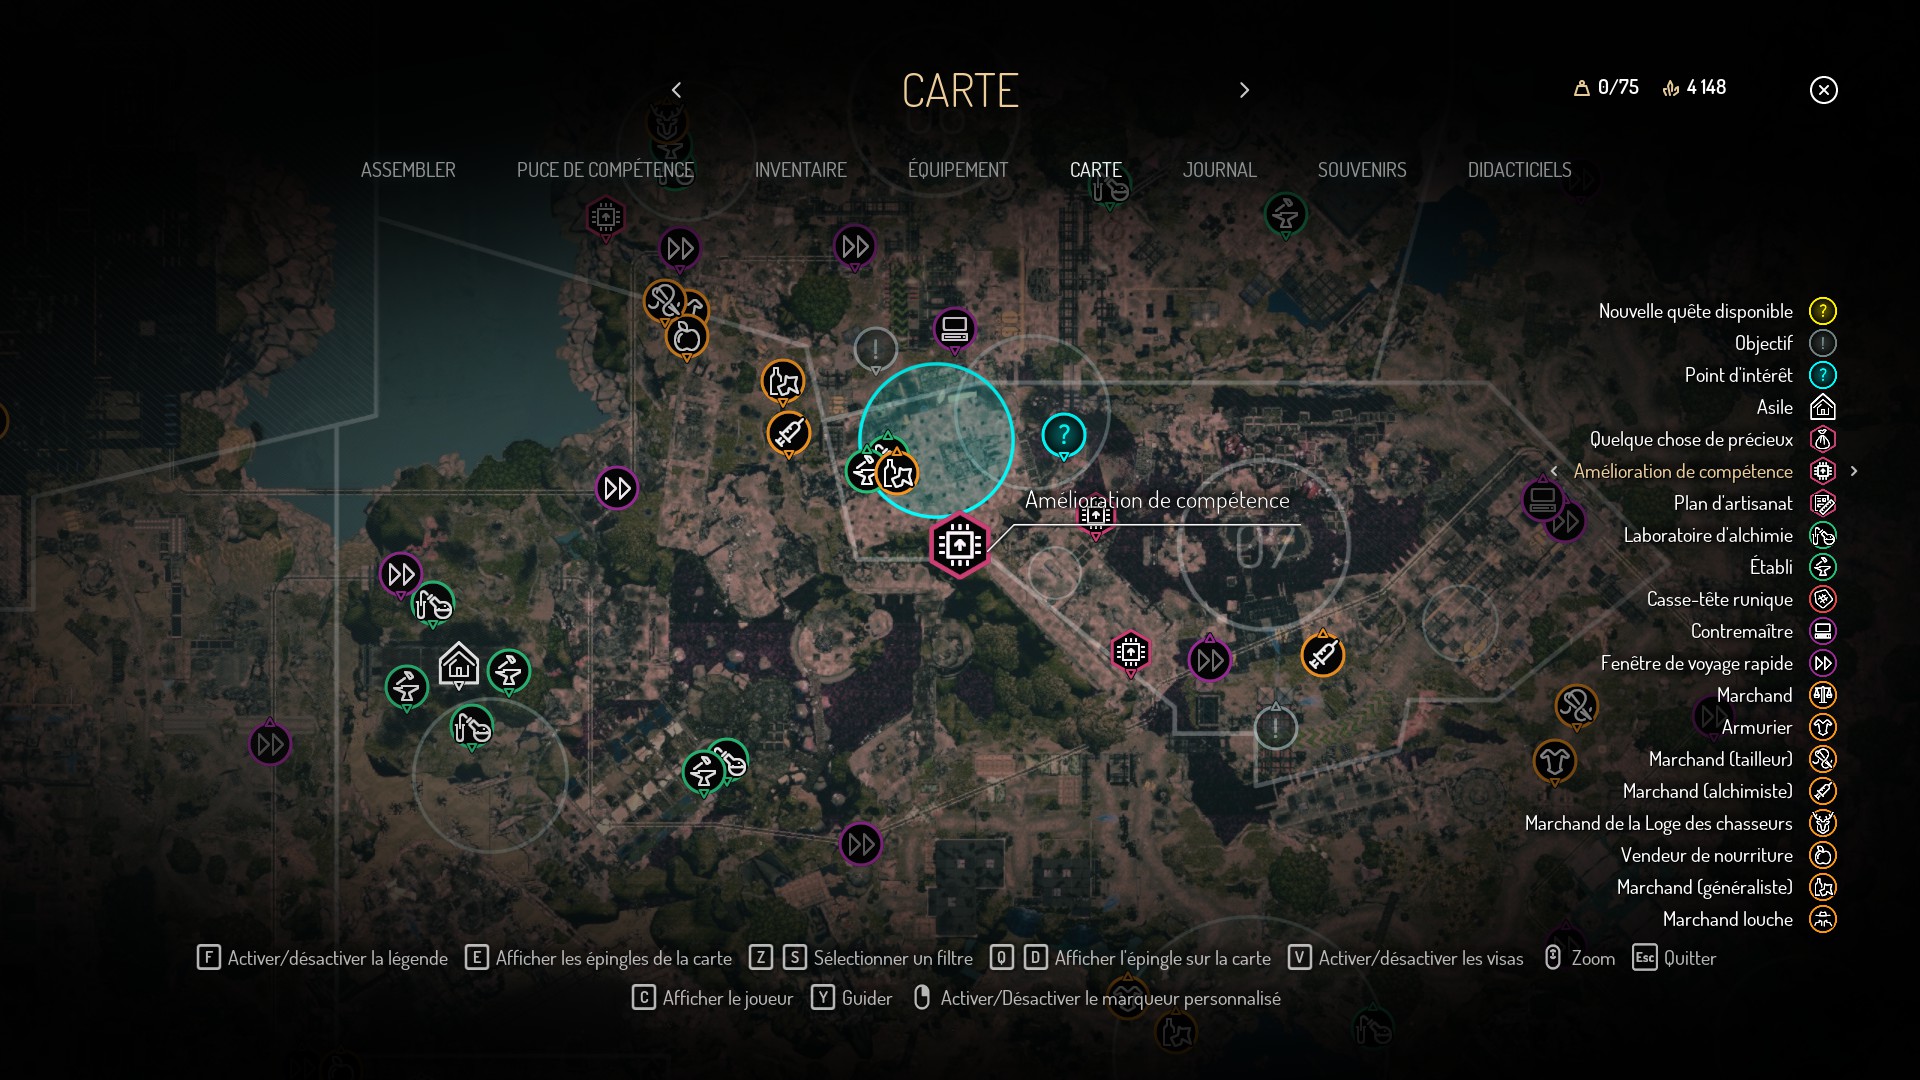
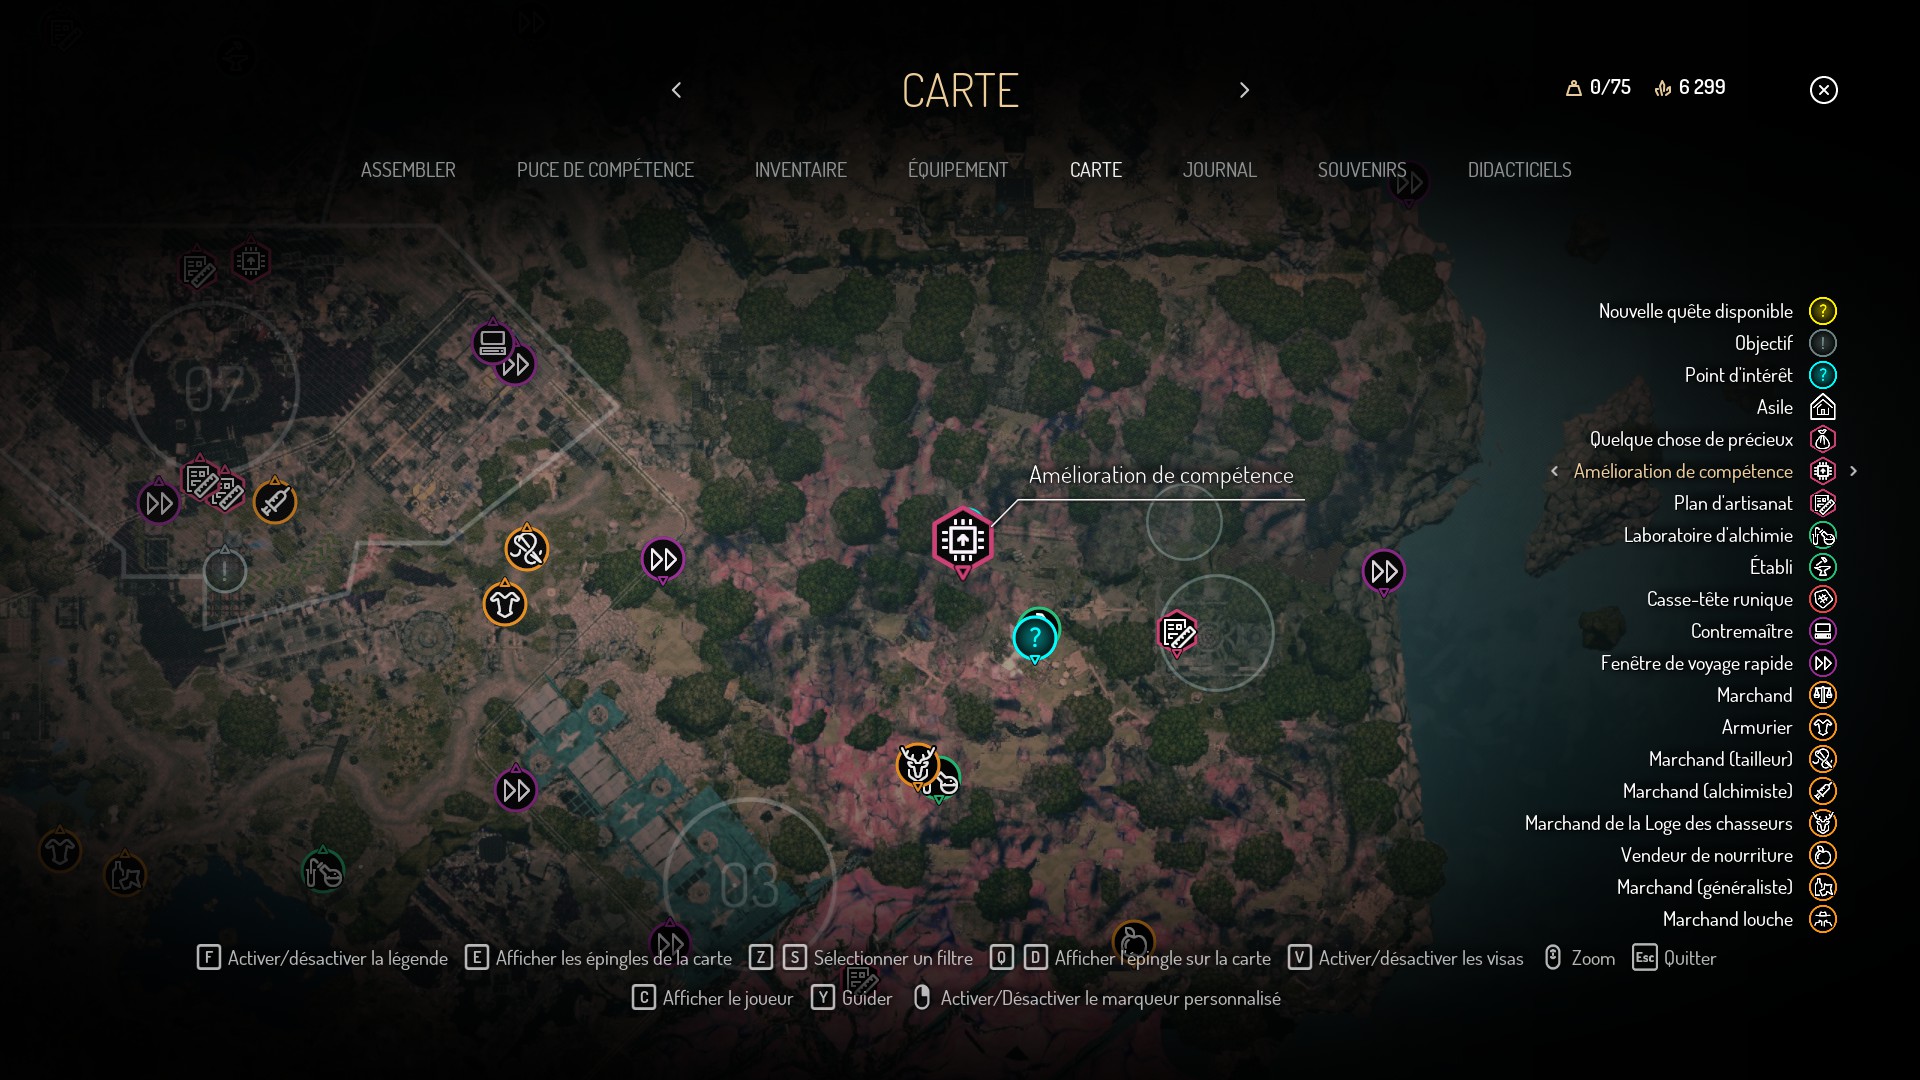
Passive chip and Upgrades – part I
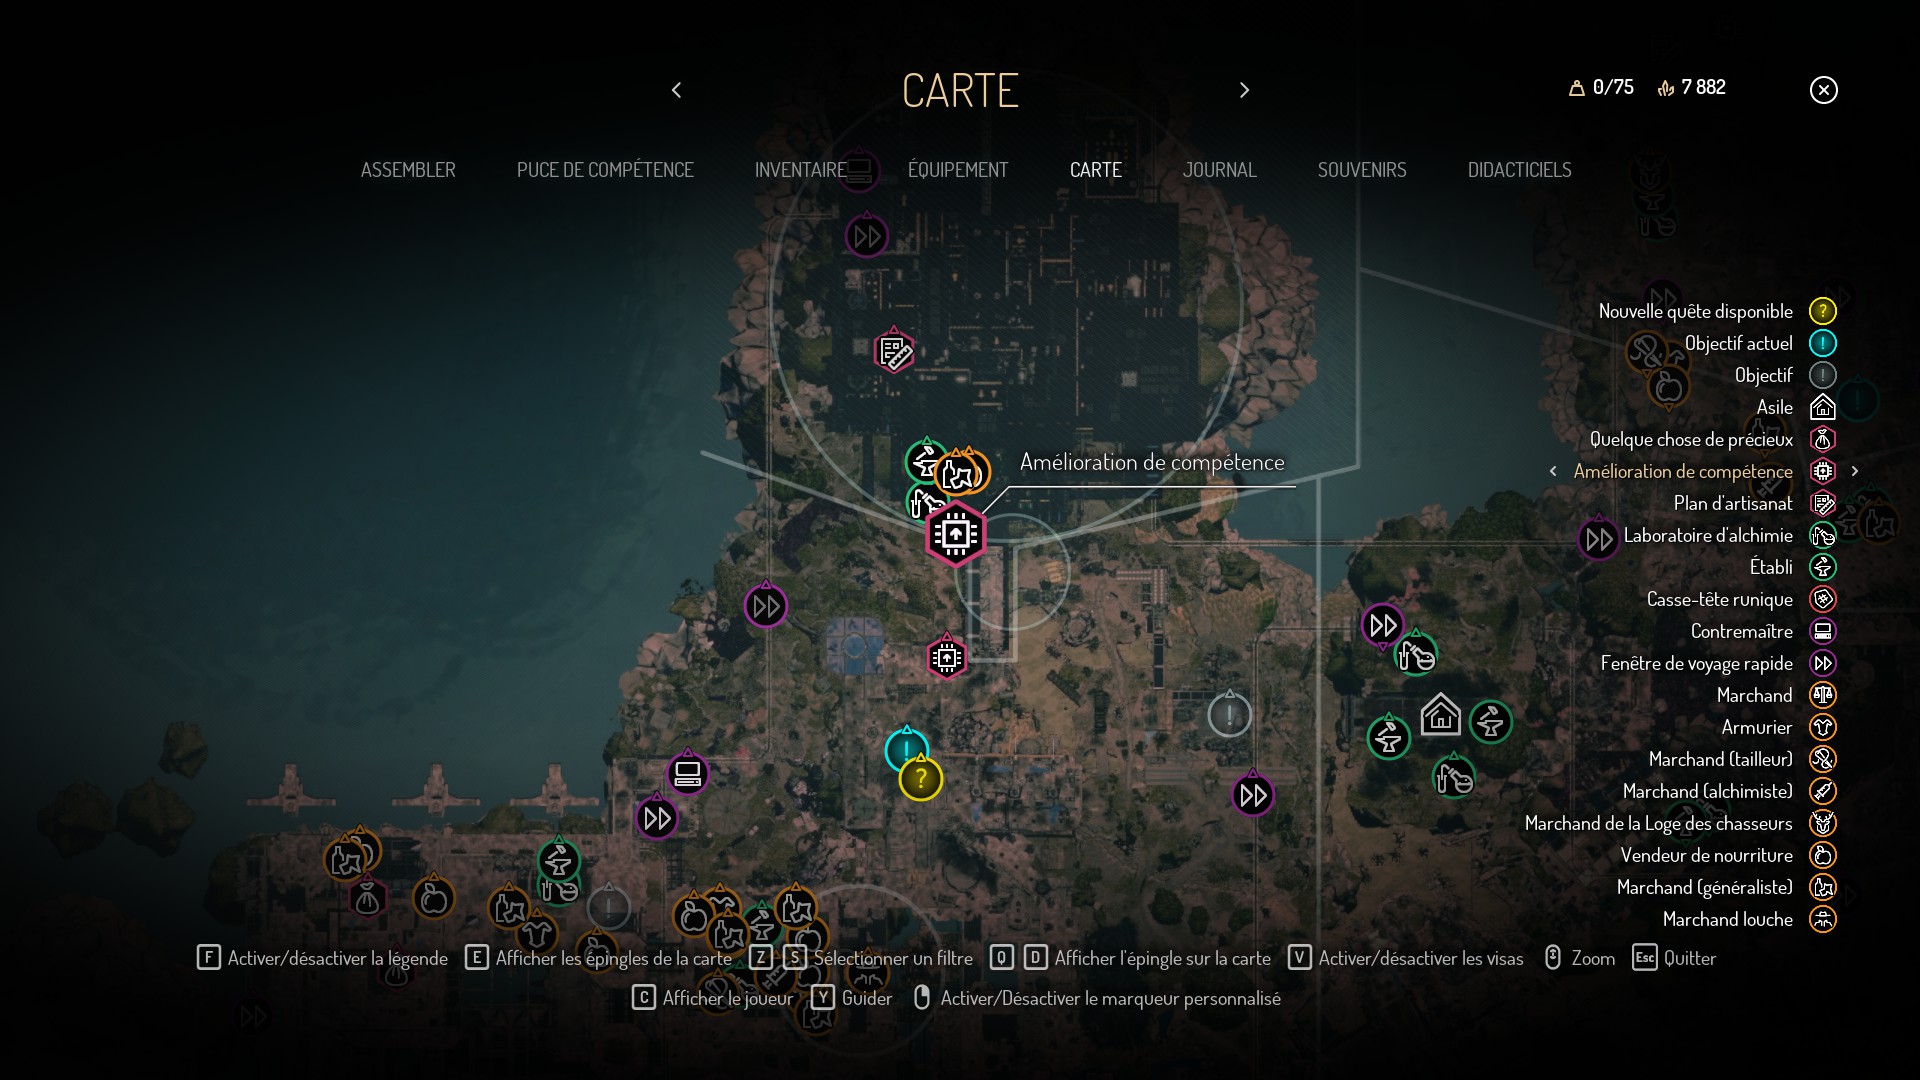
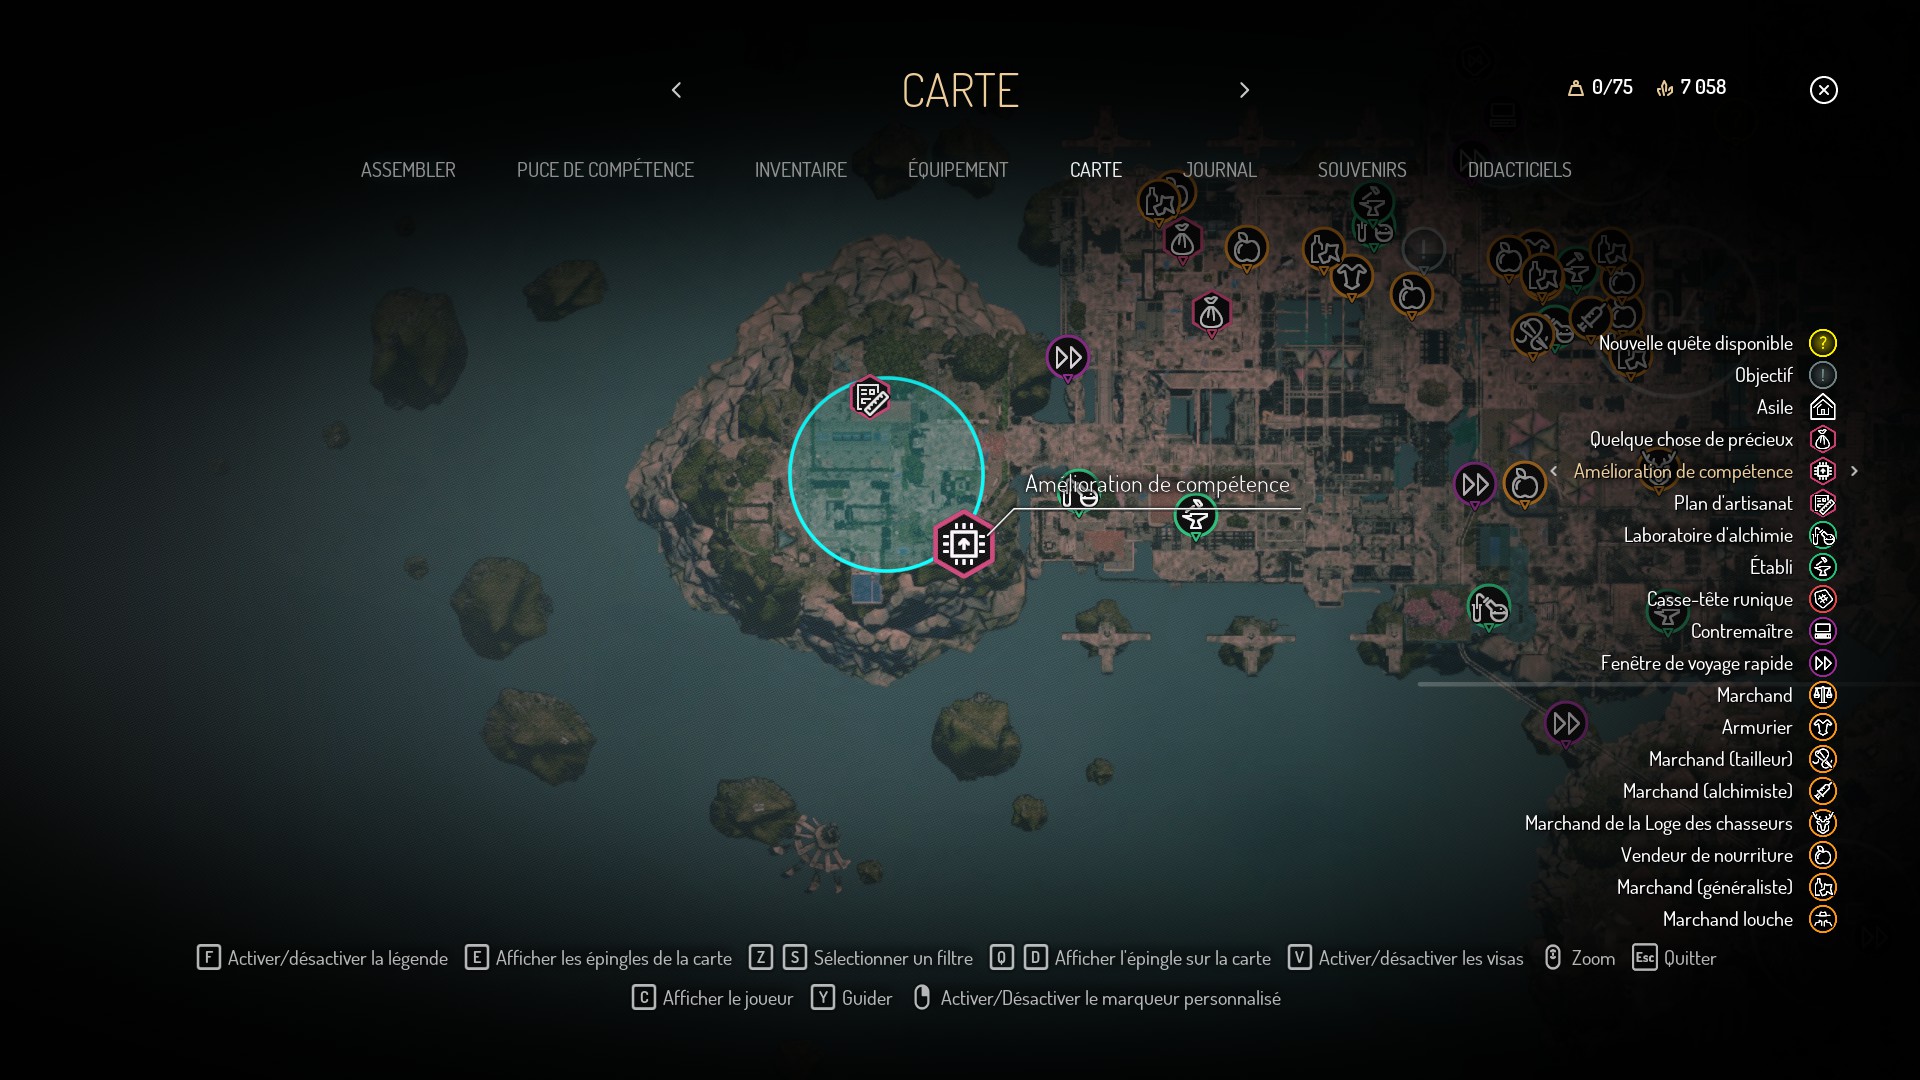
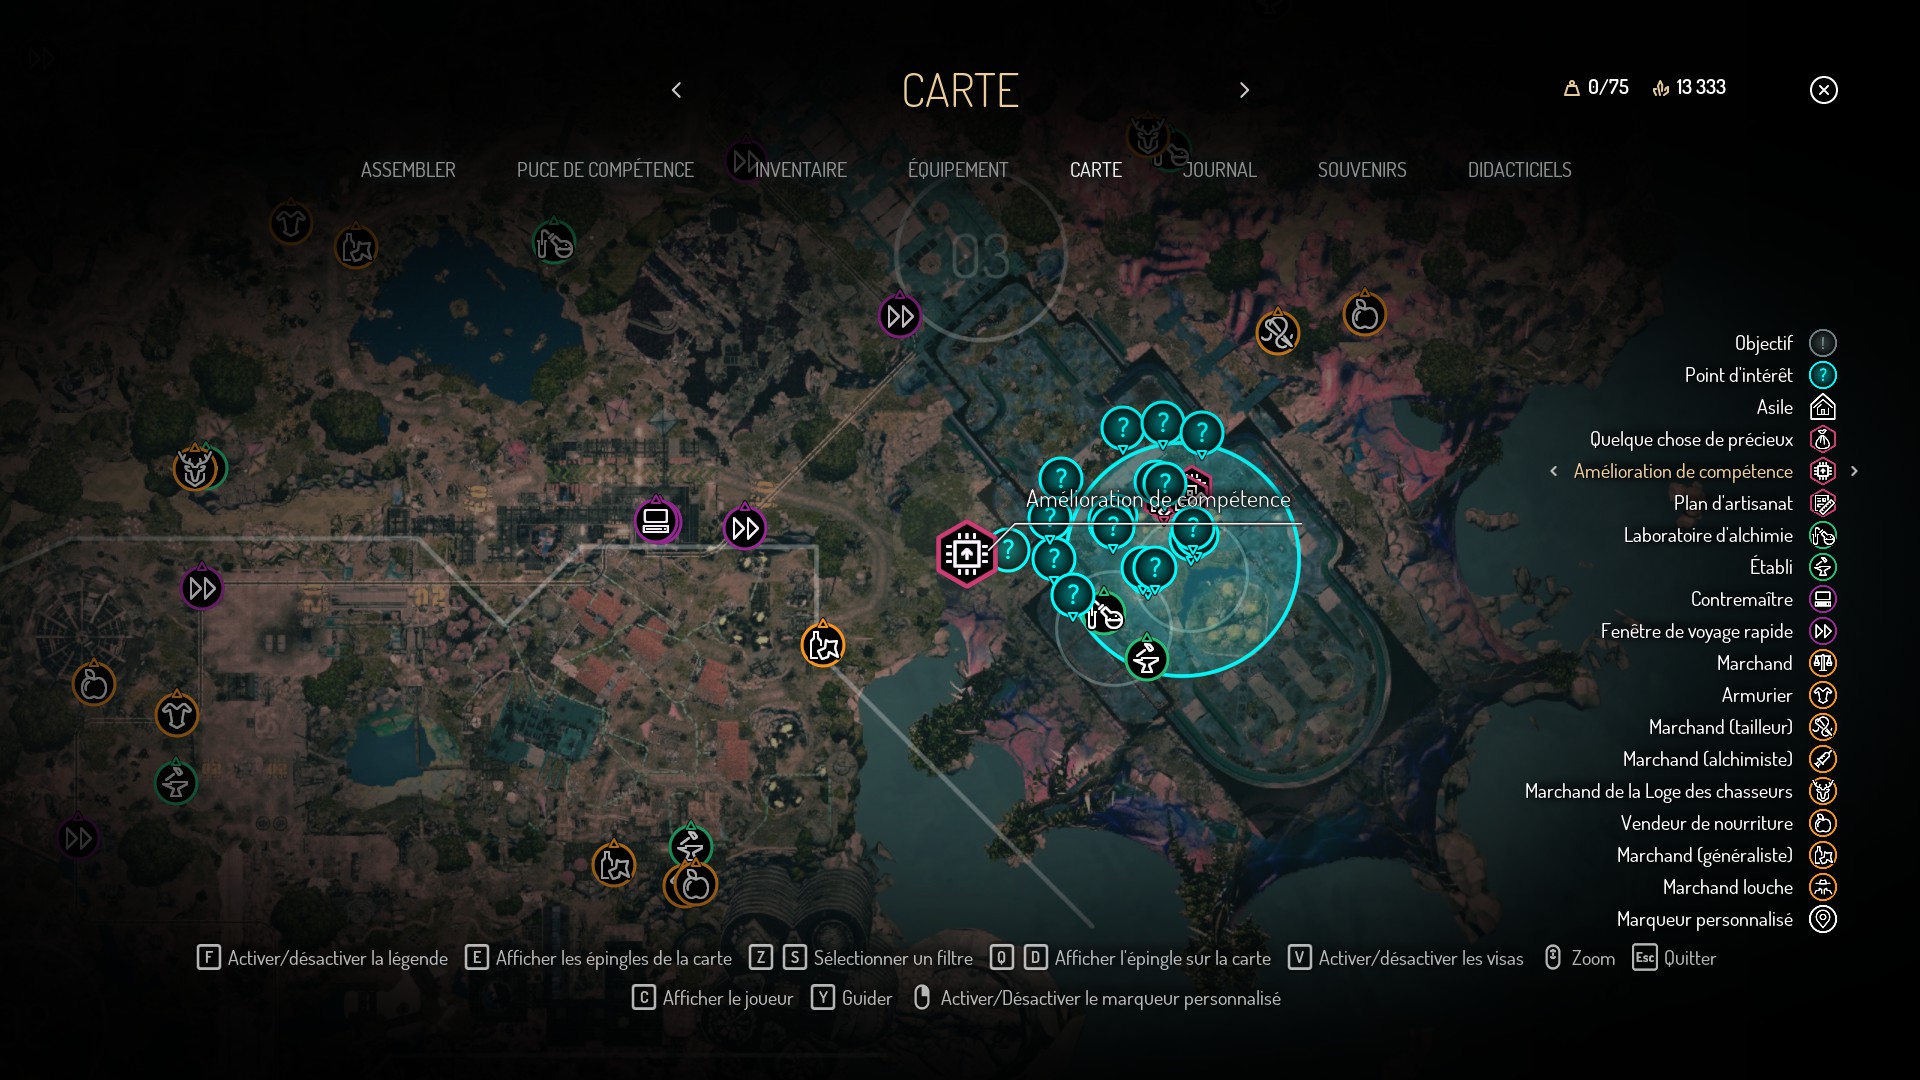
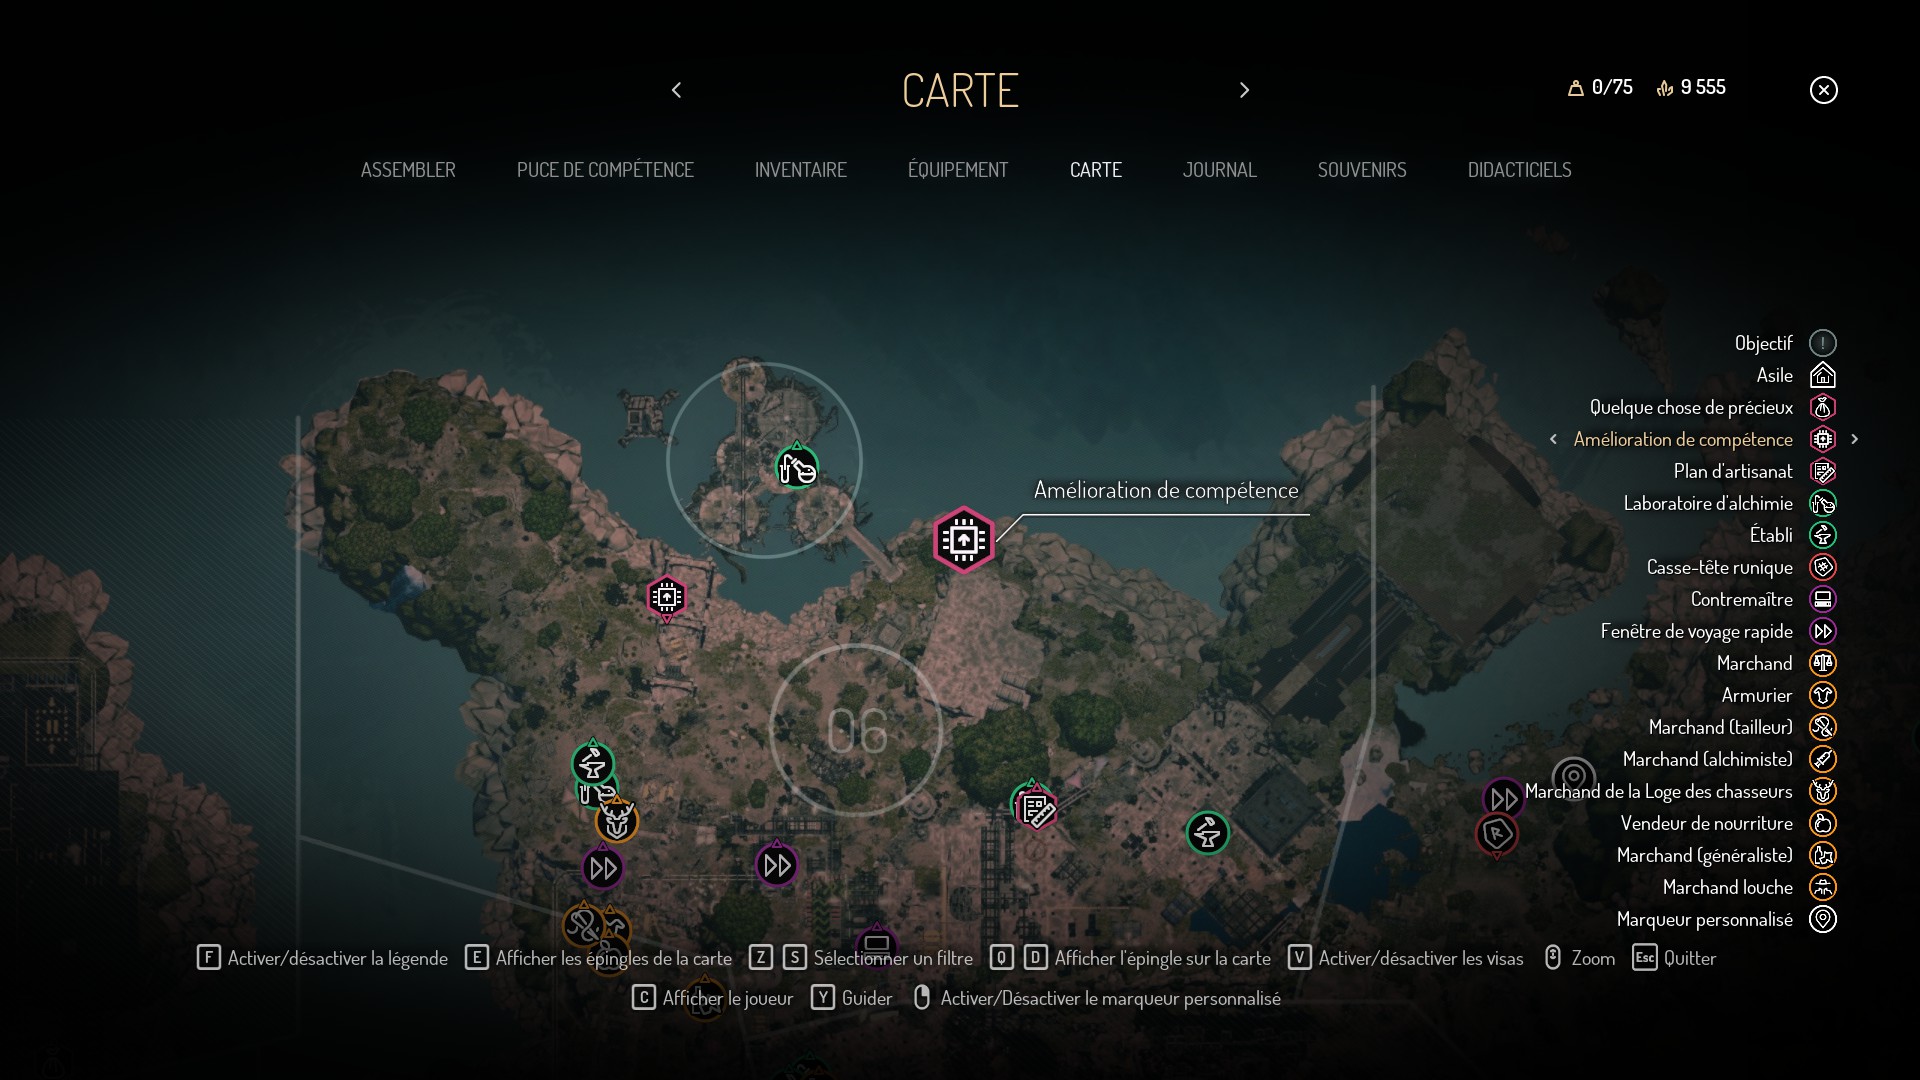
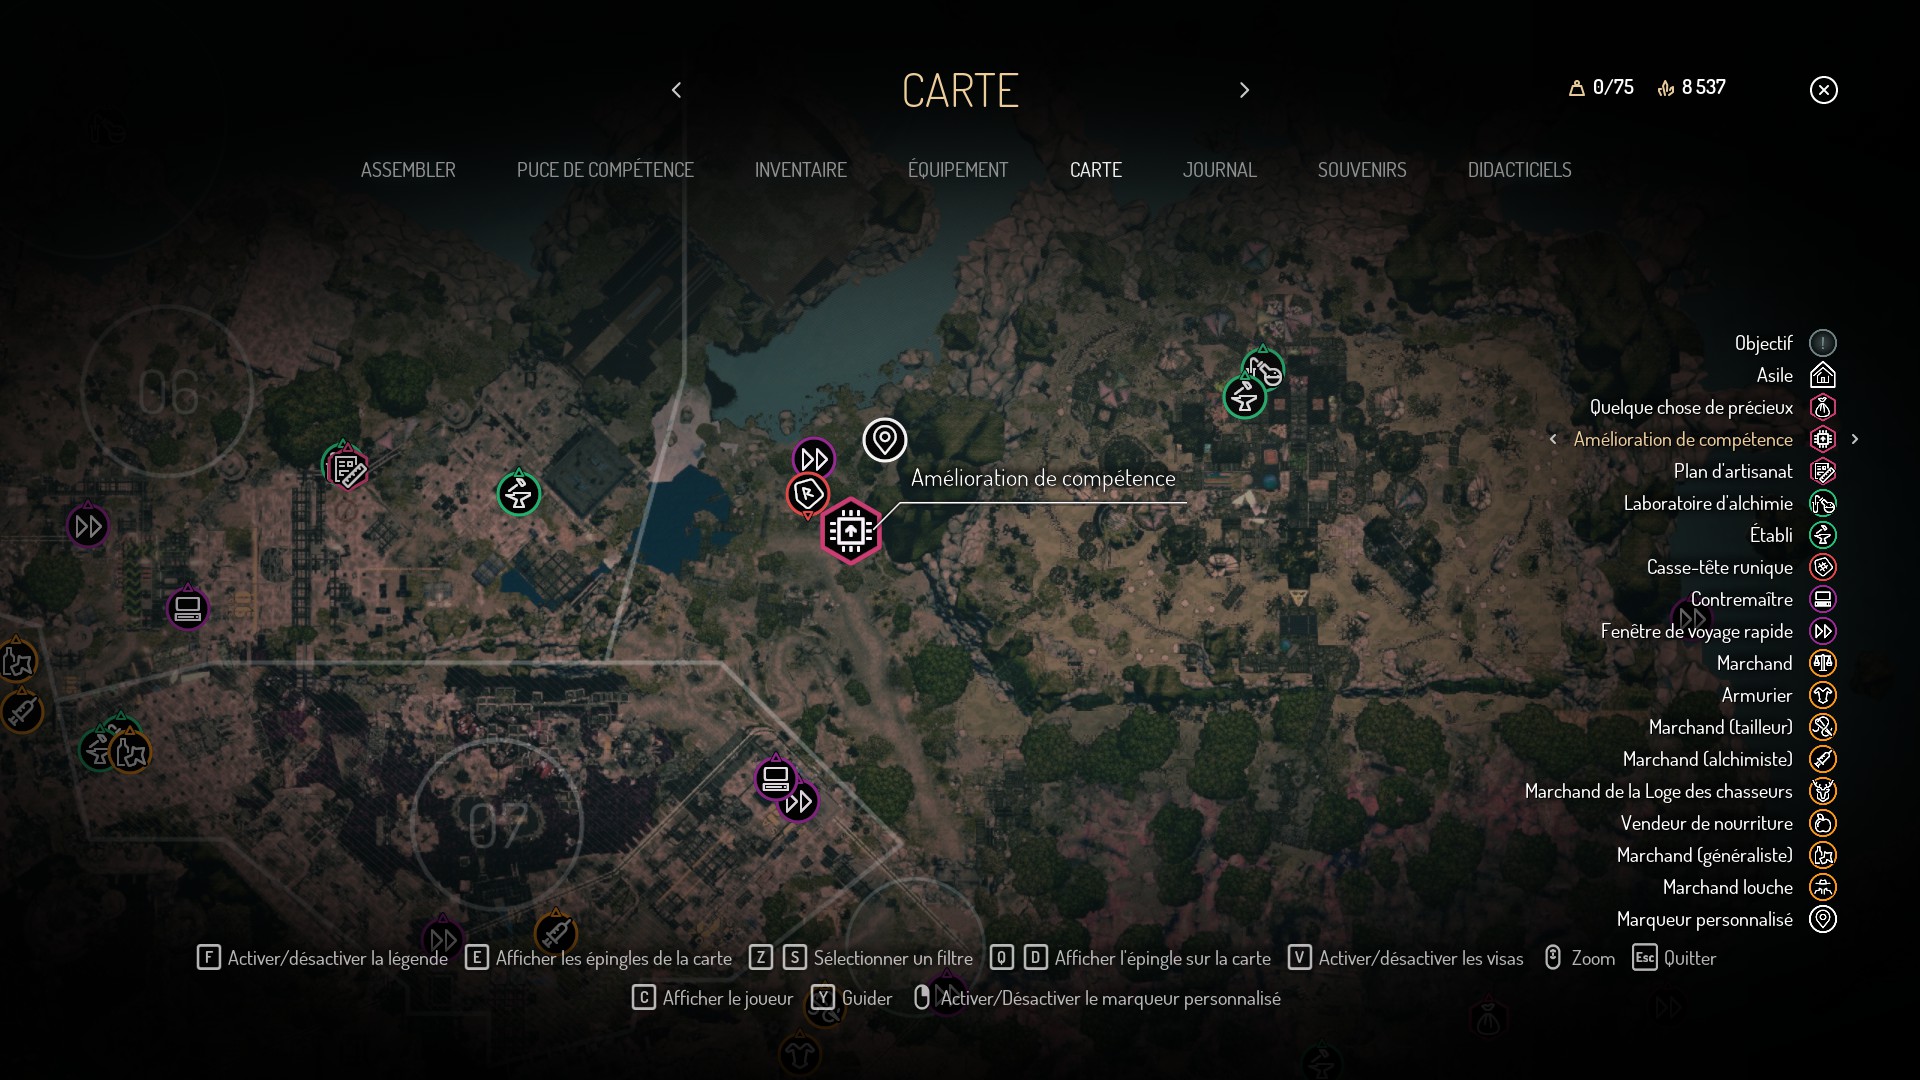
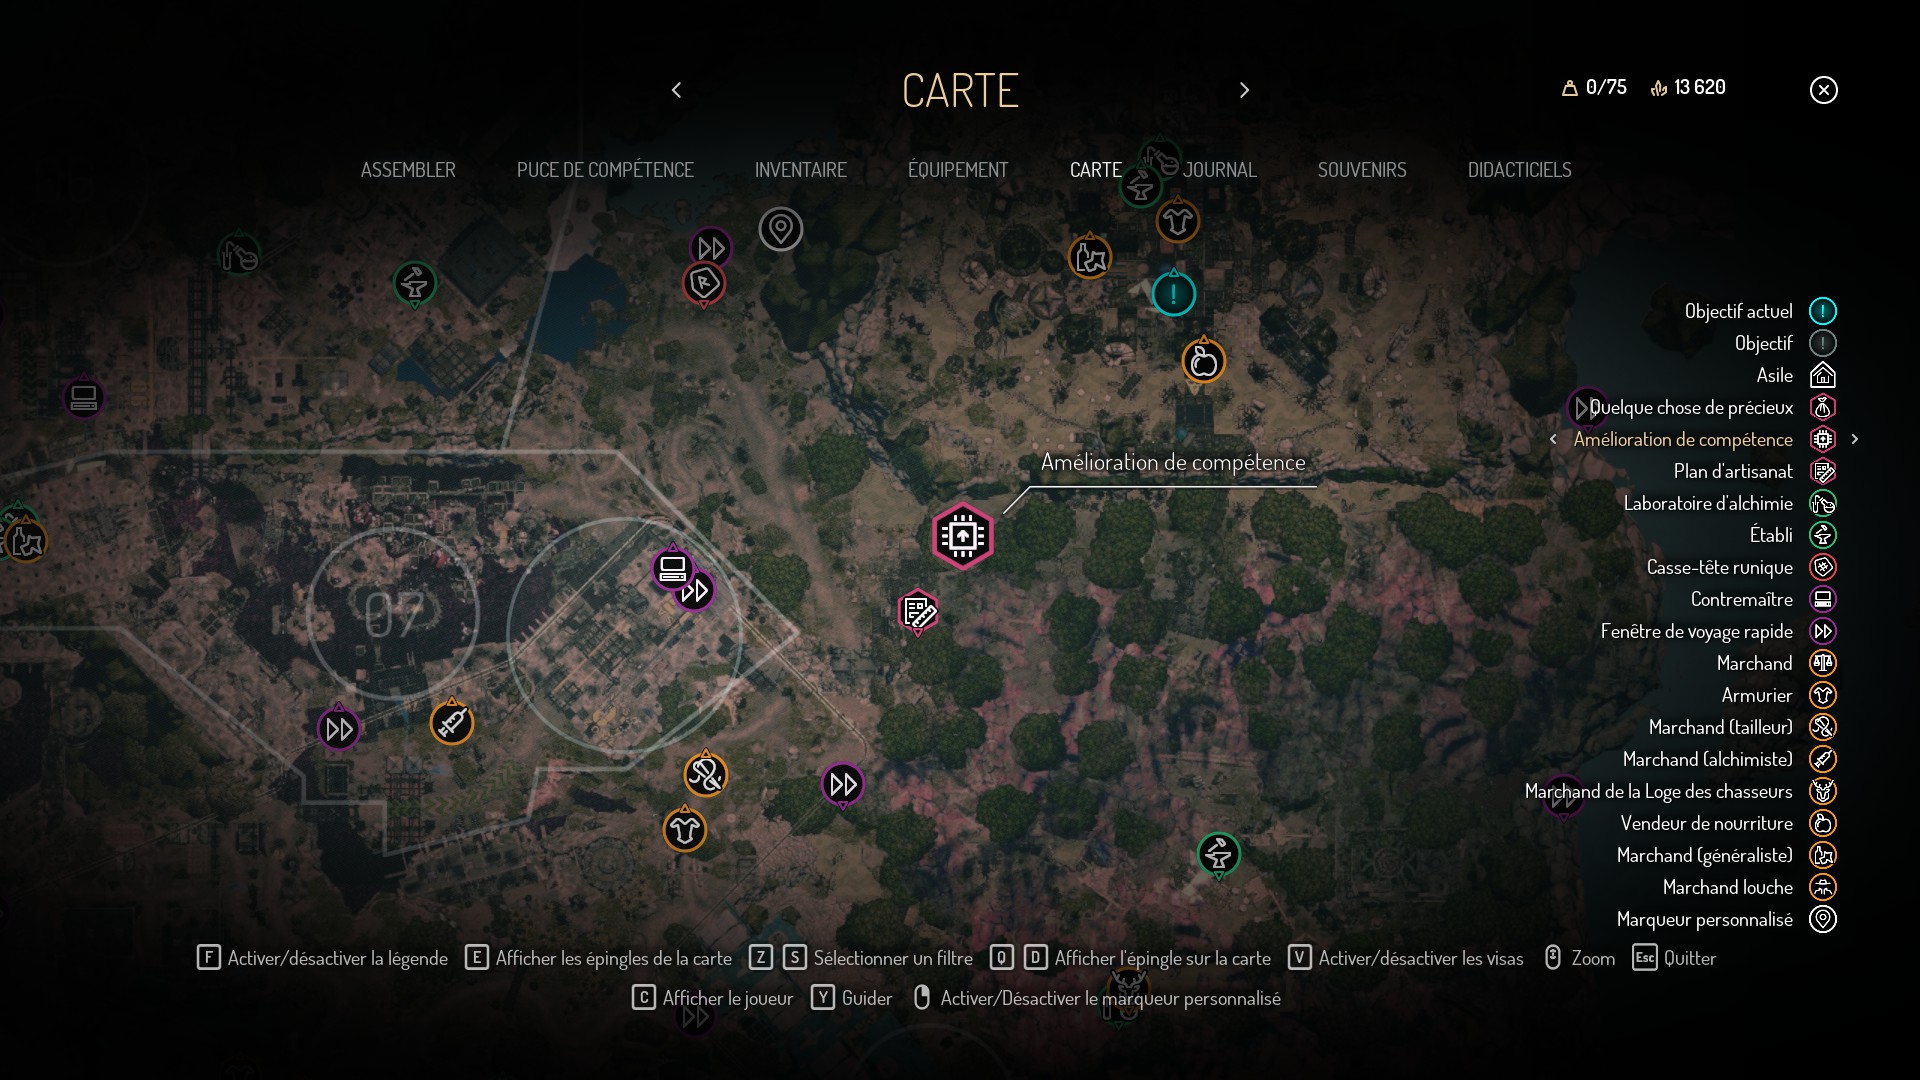
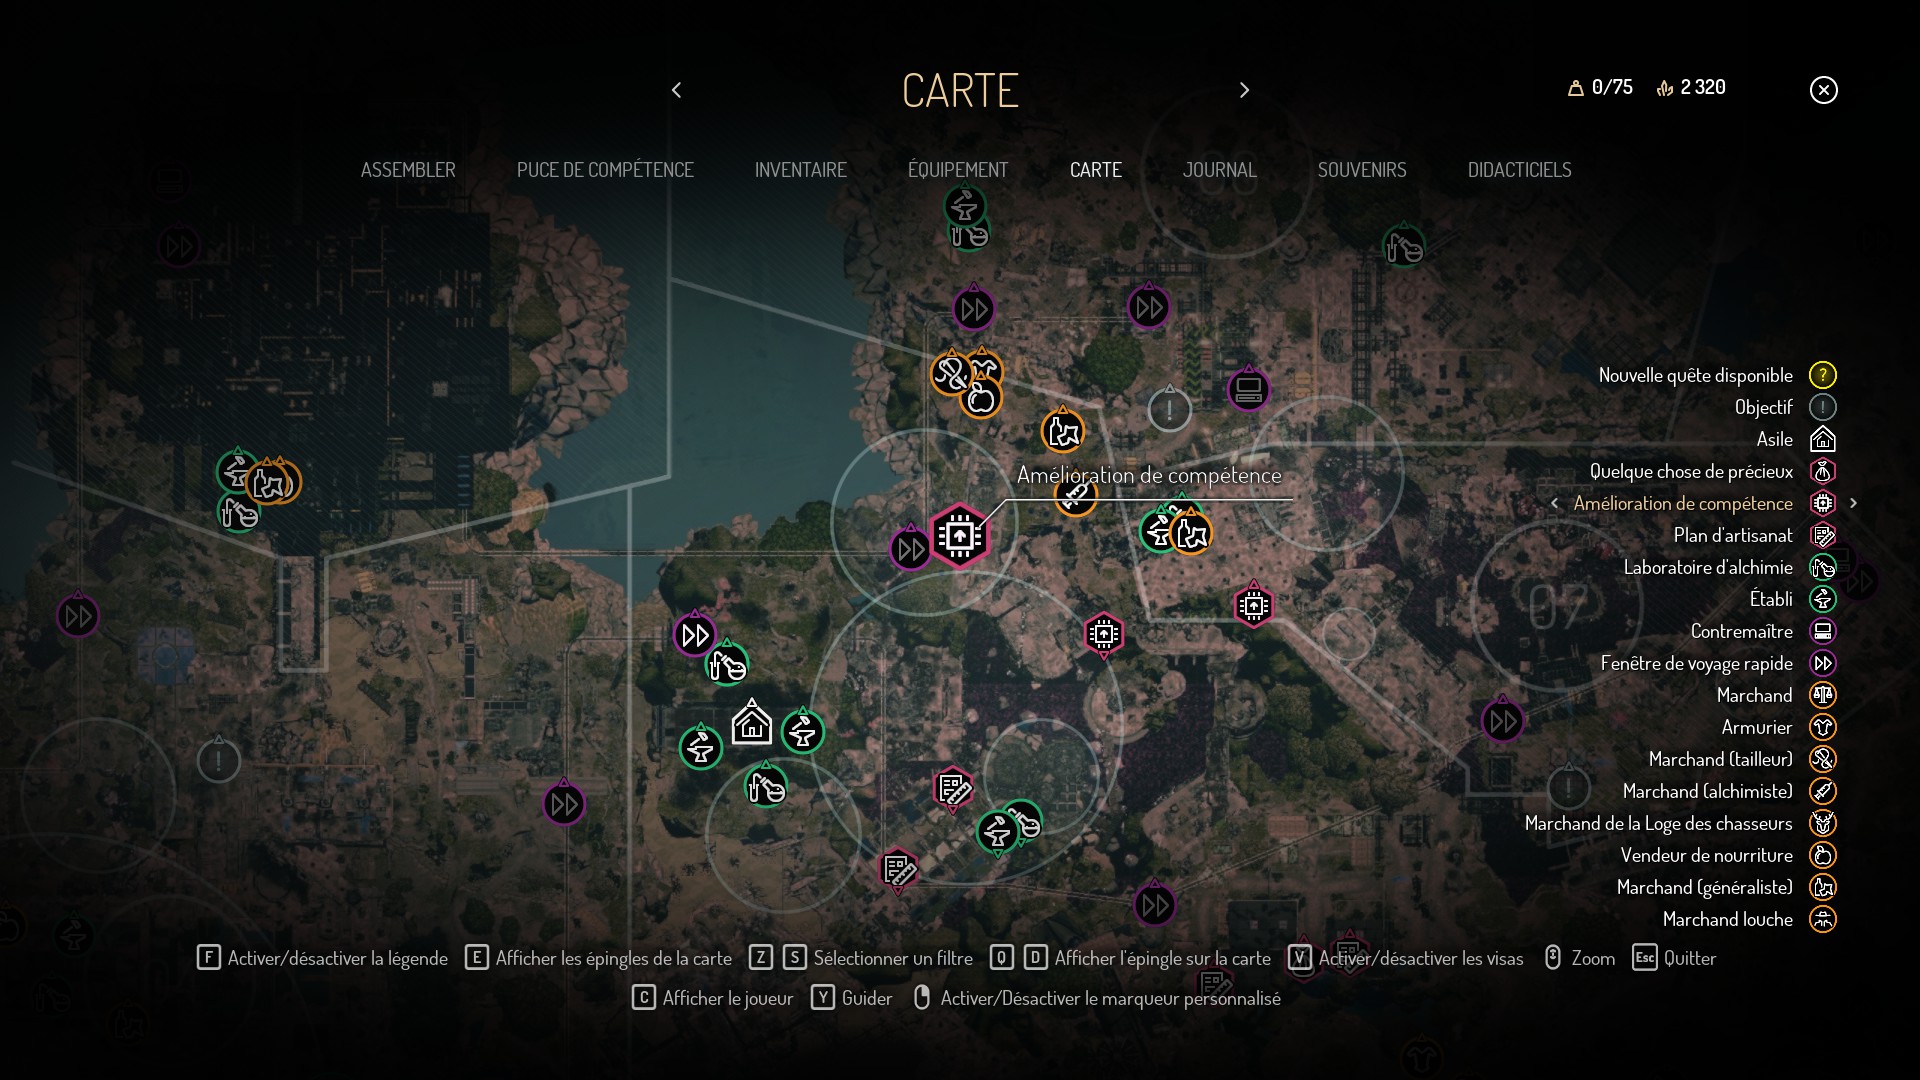
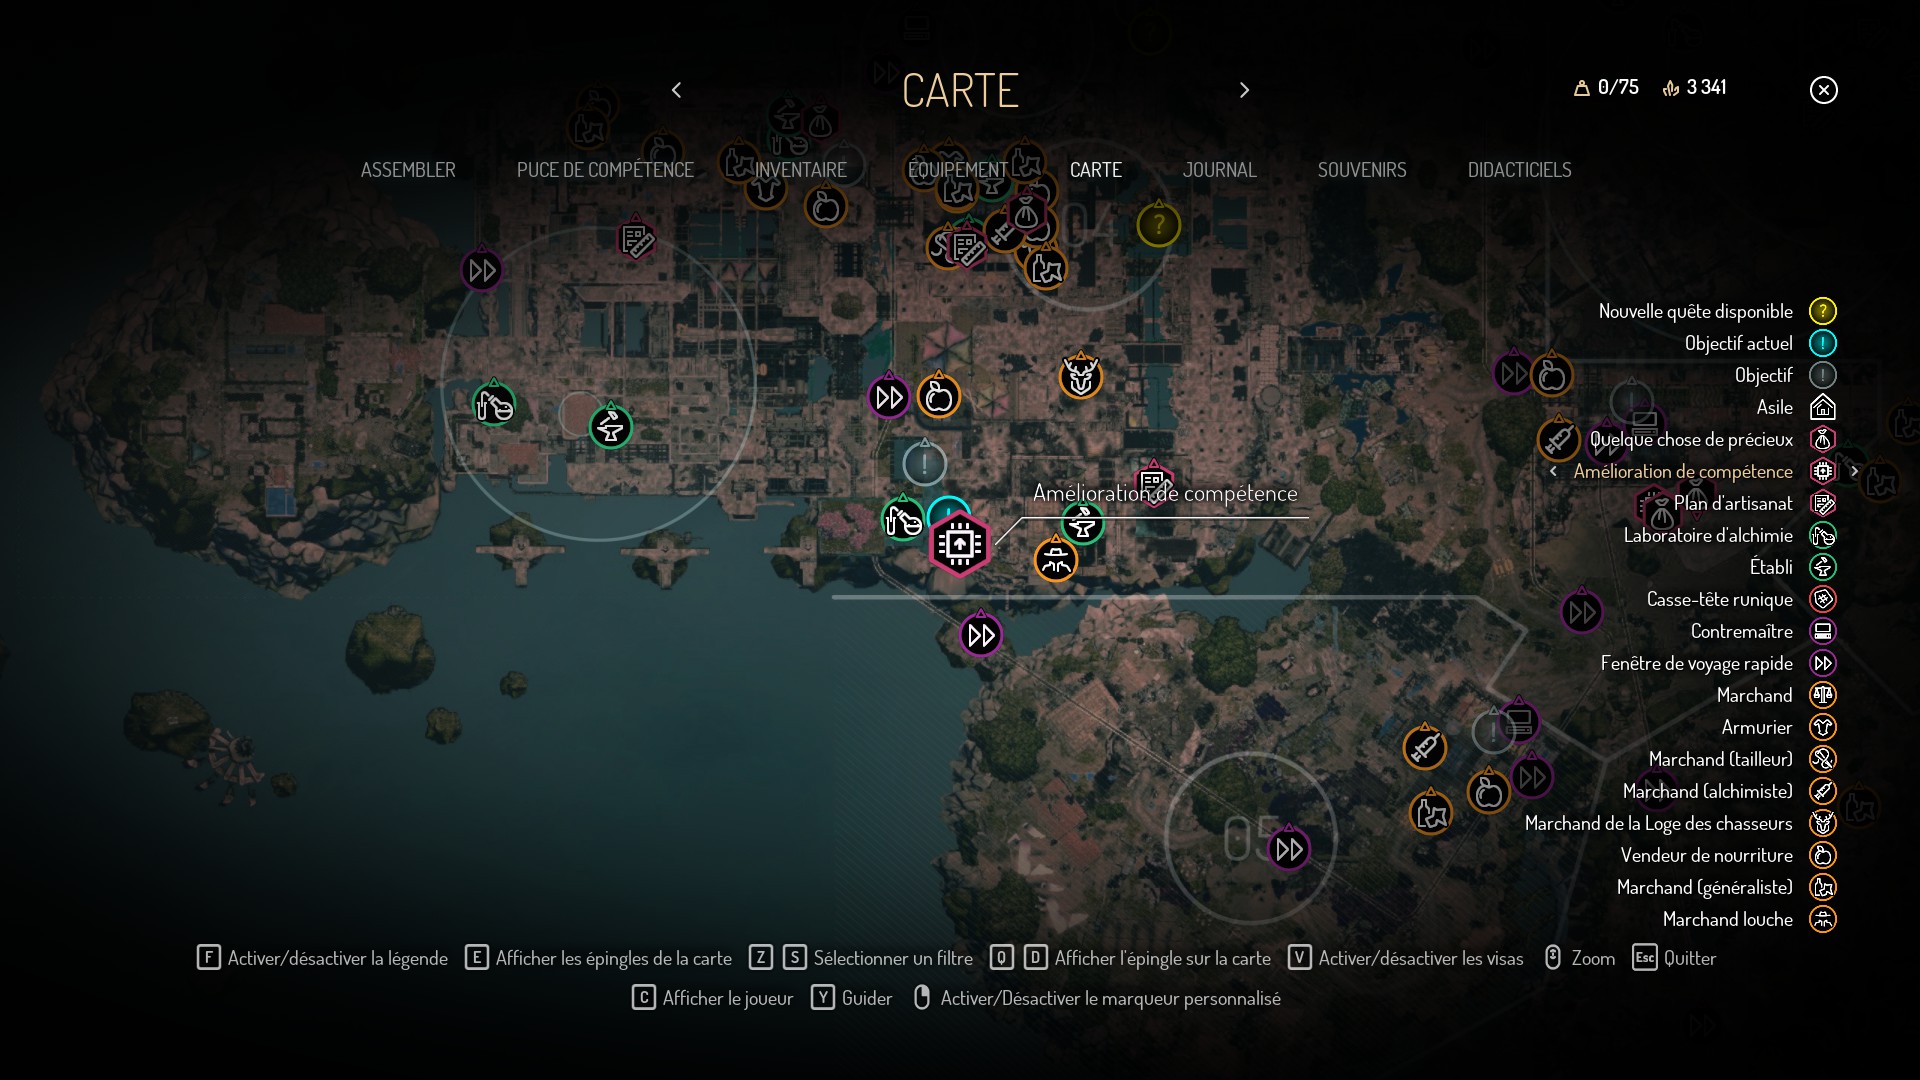
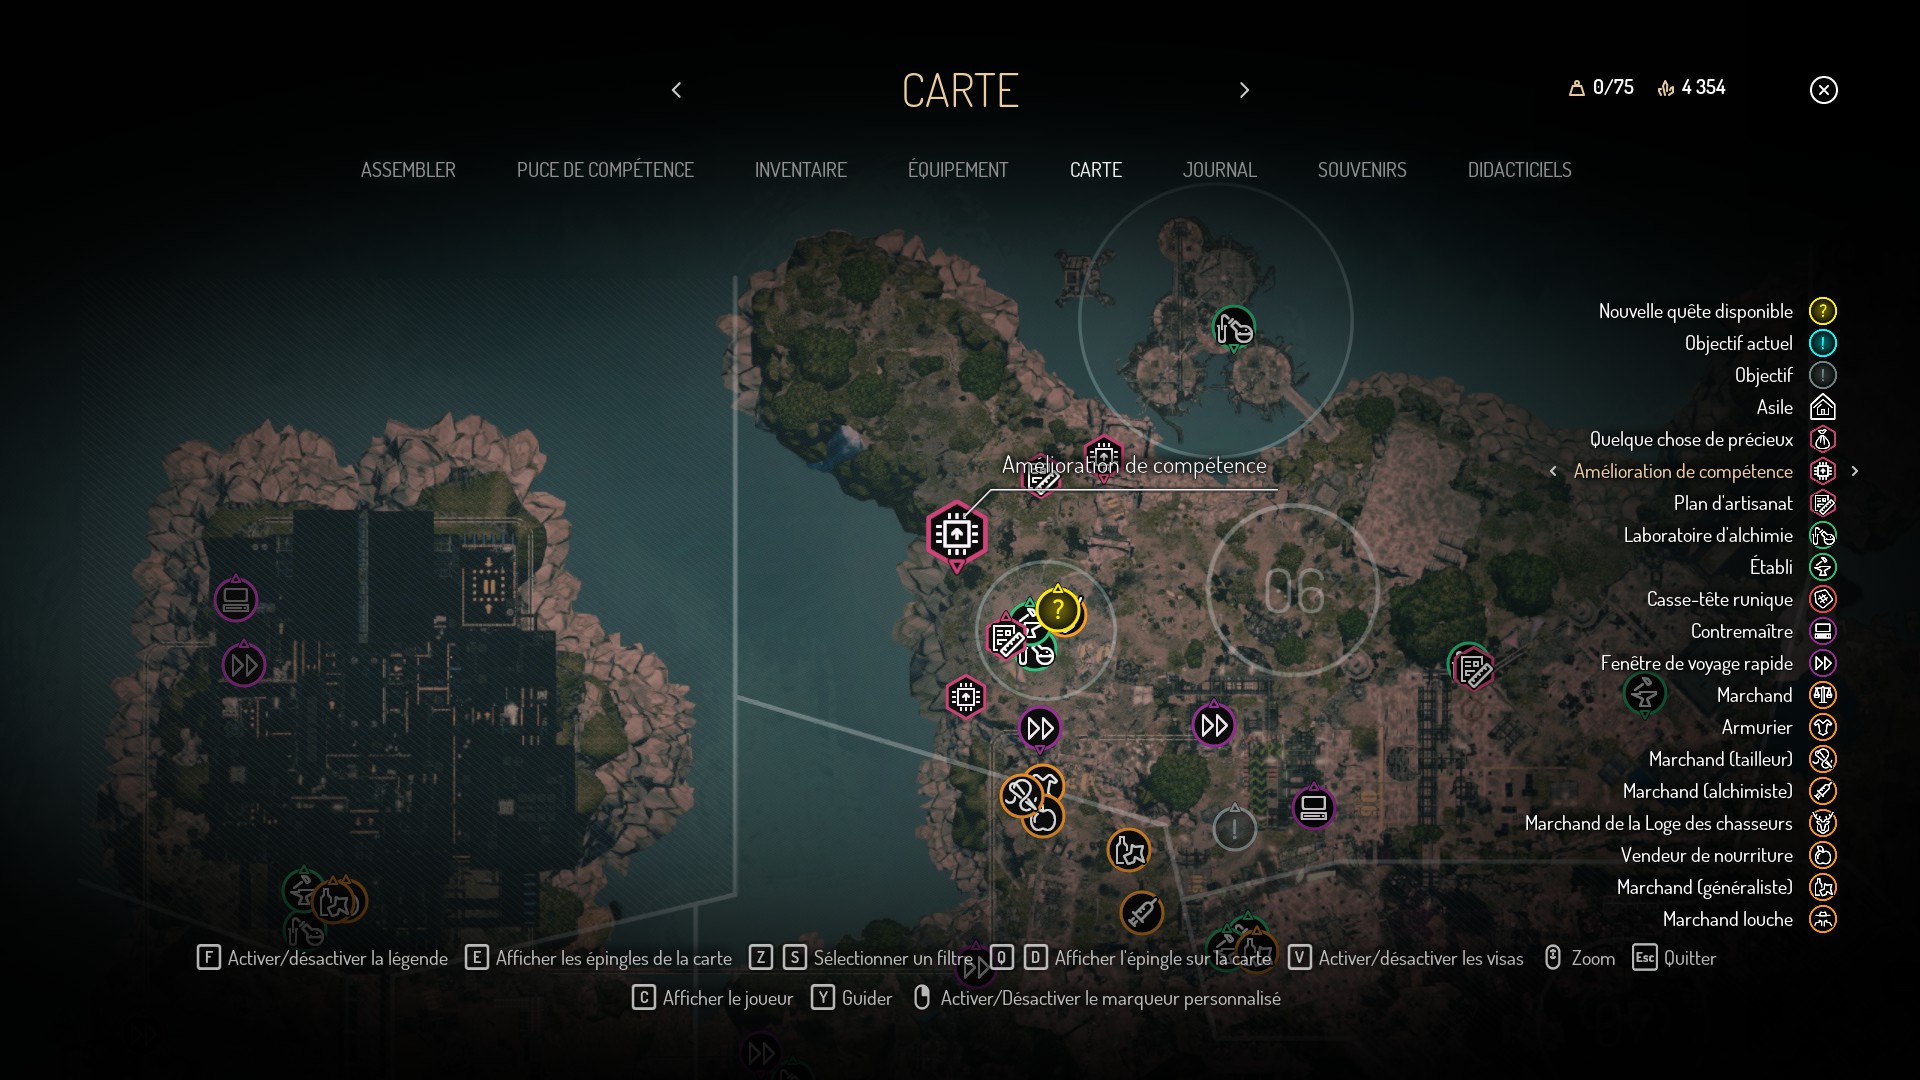
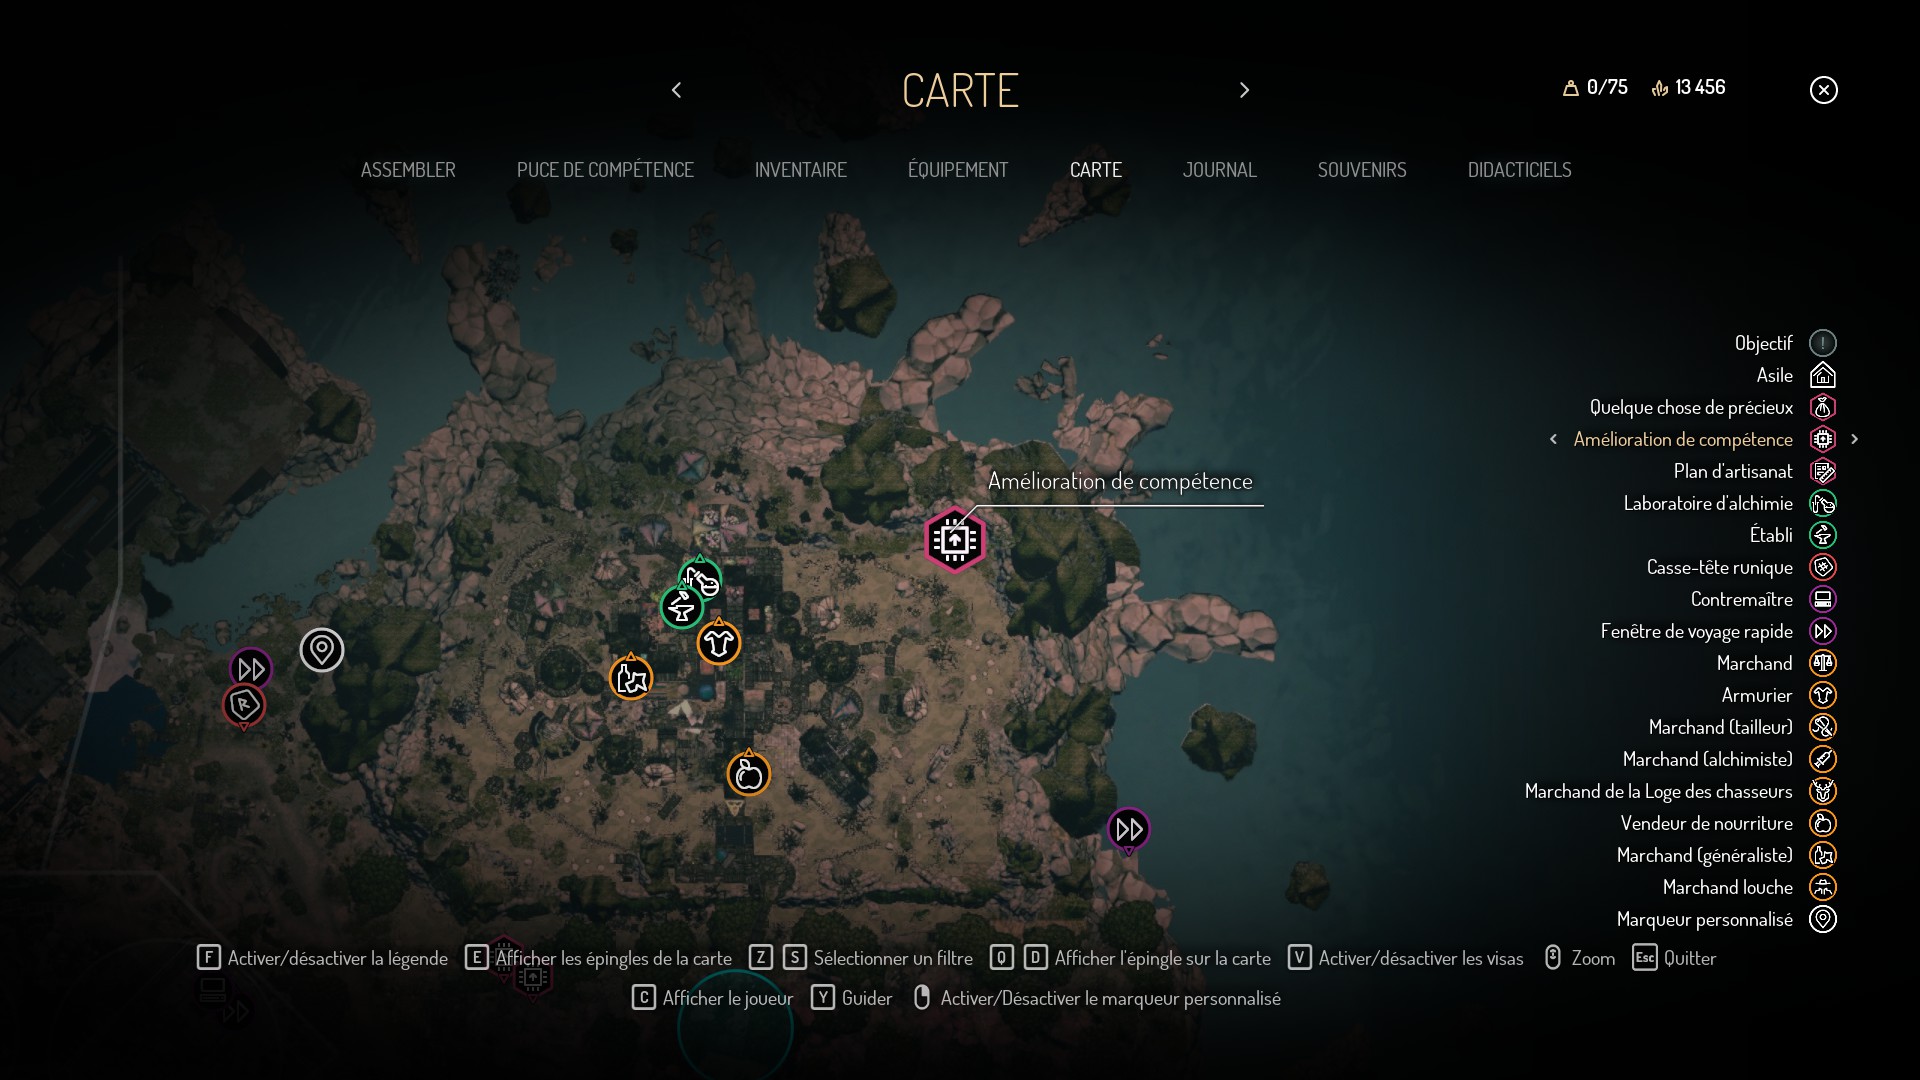
Passive chip and Upgrades – Part II
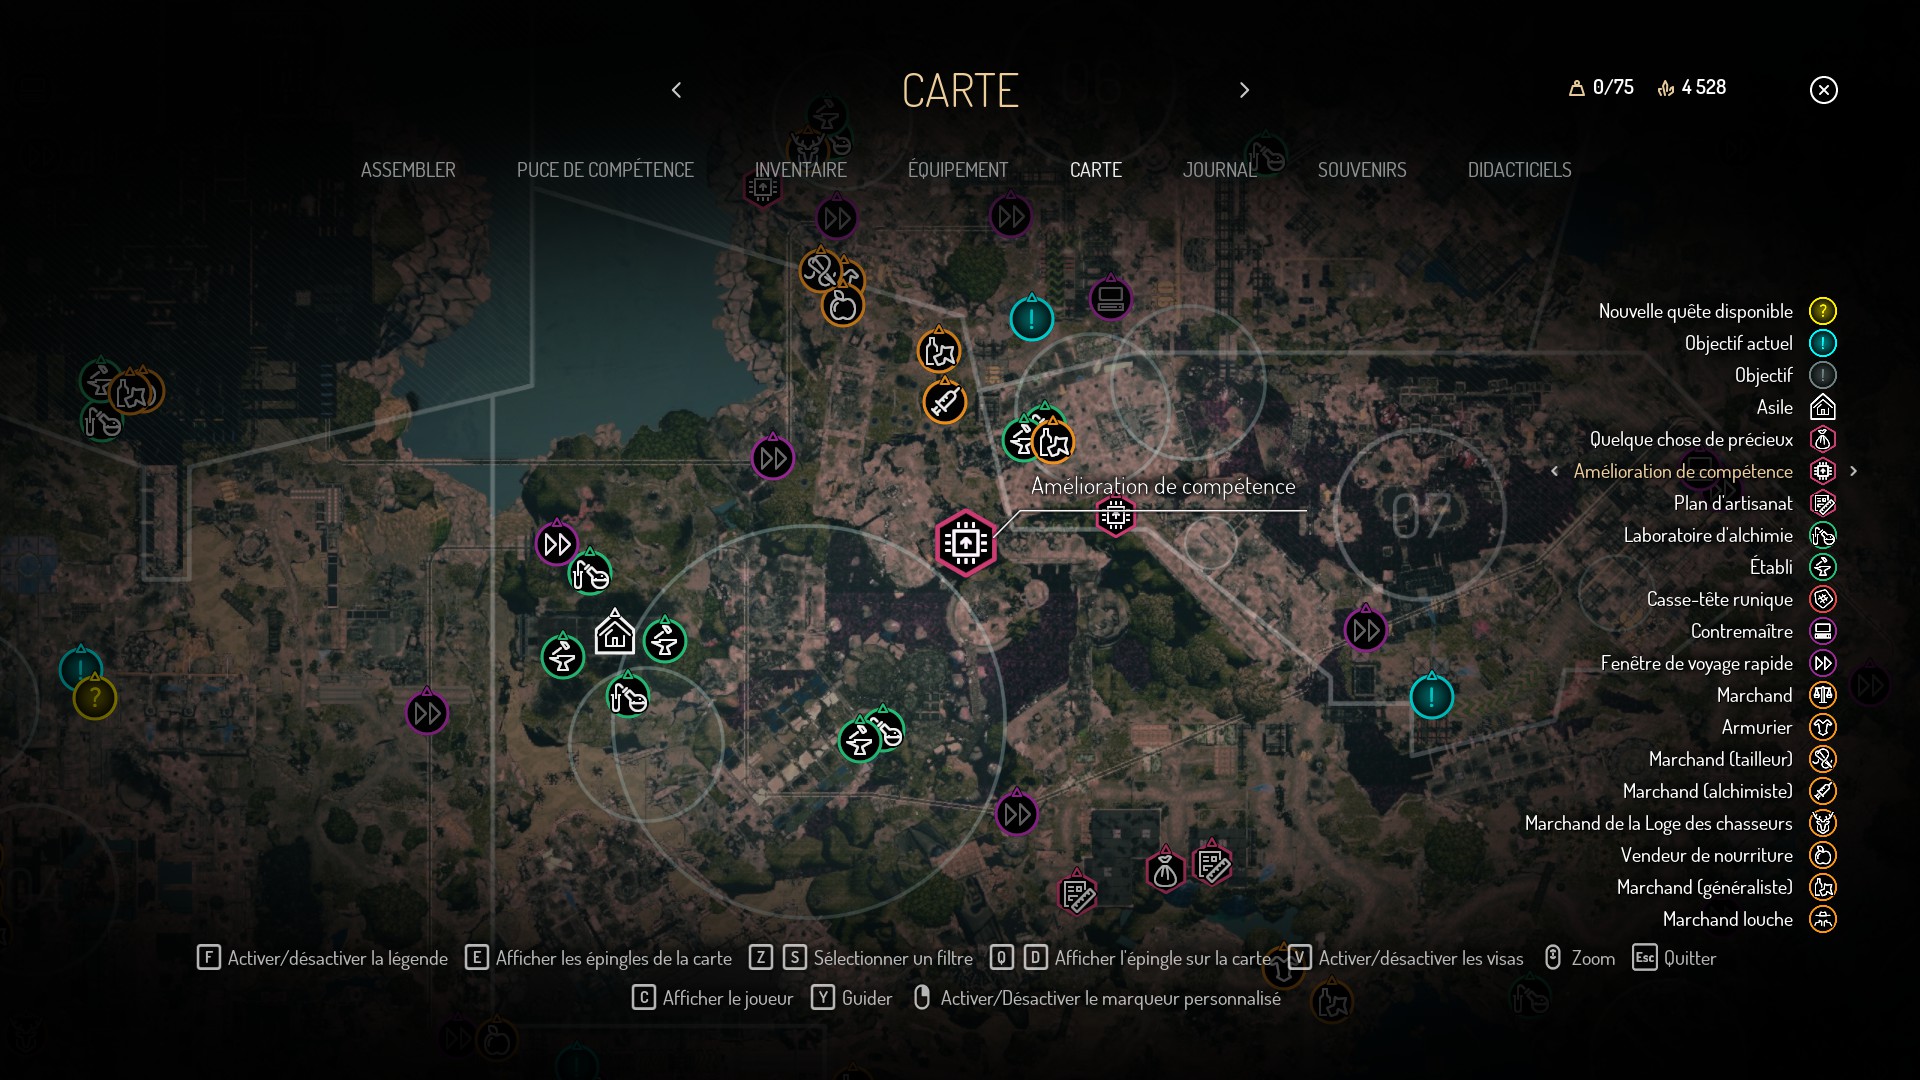
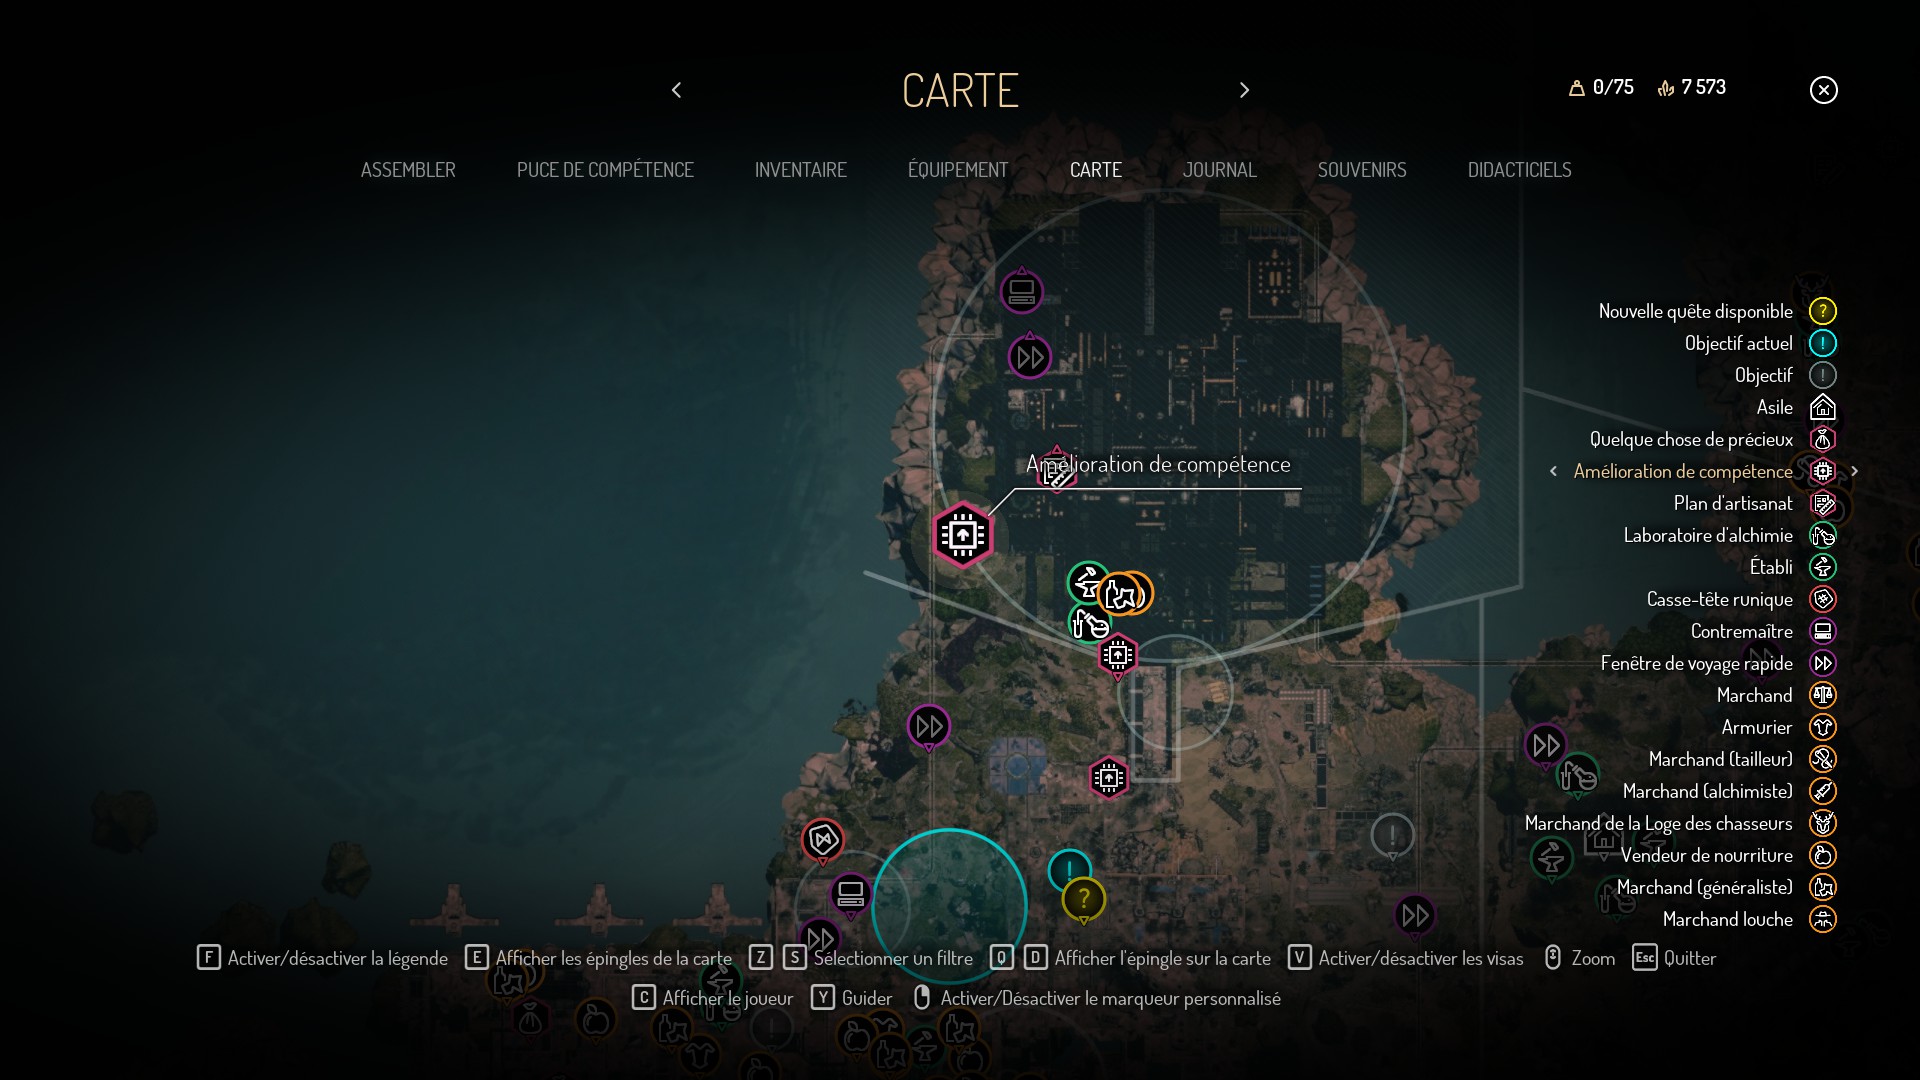
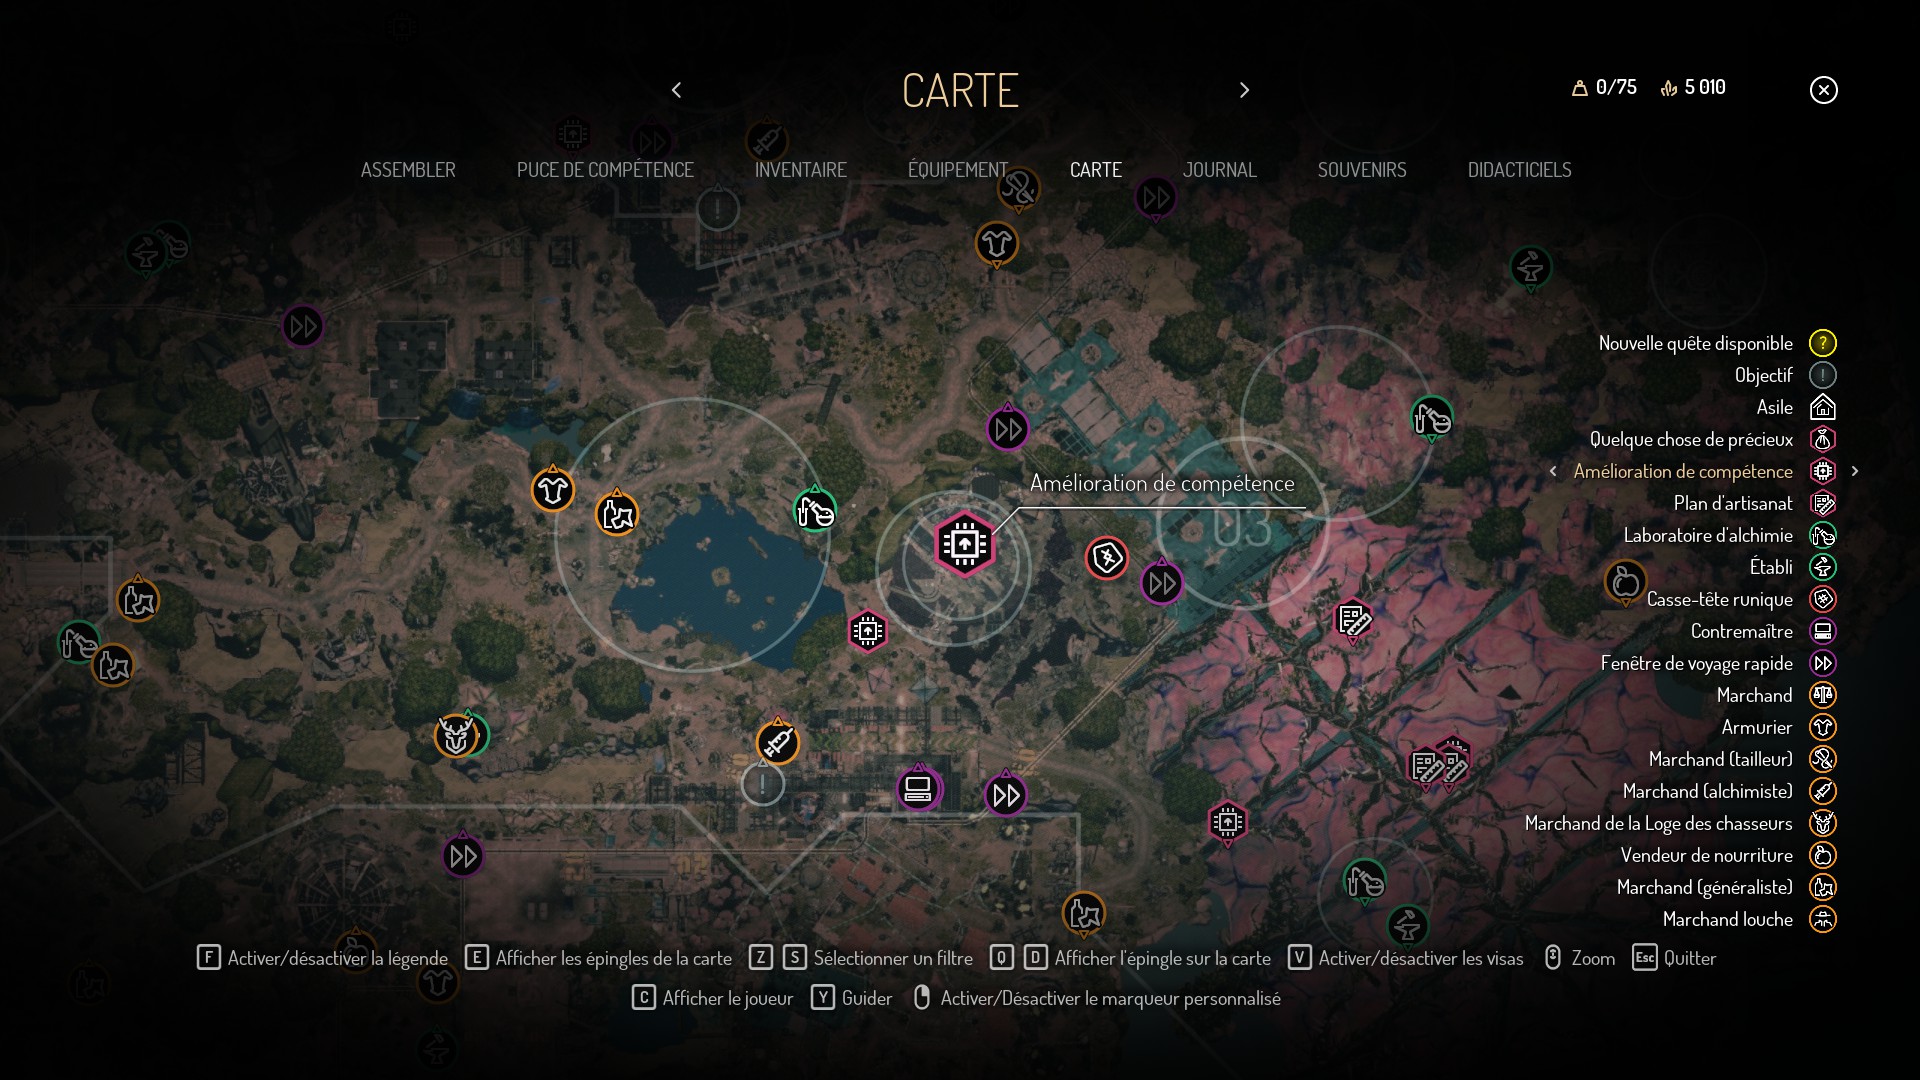
Puzzle & Runes
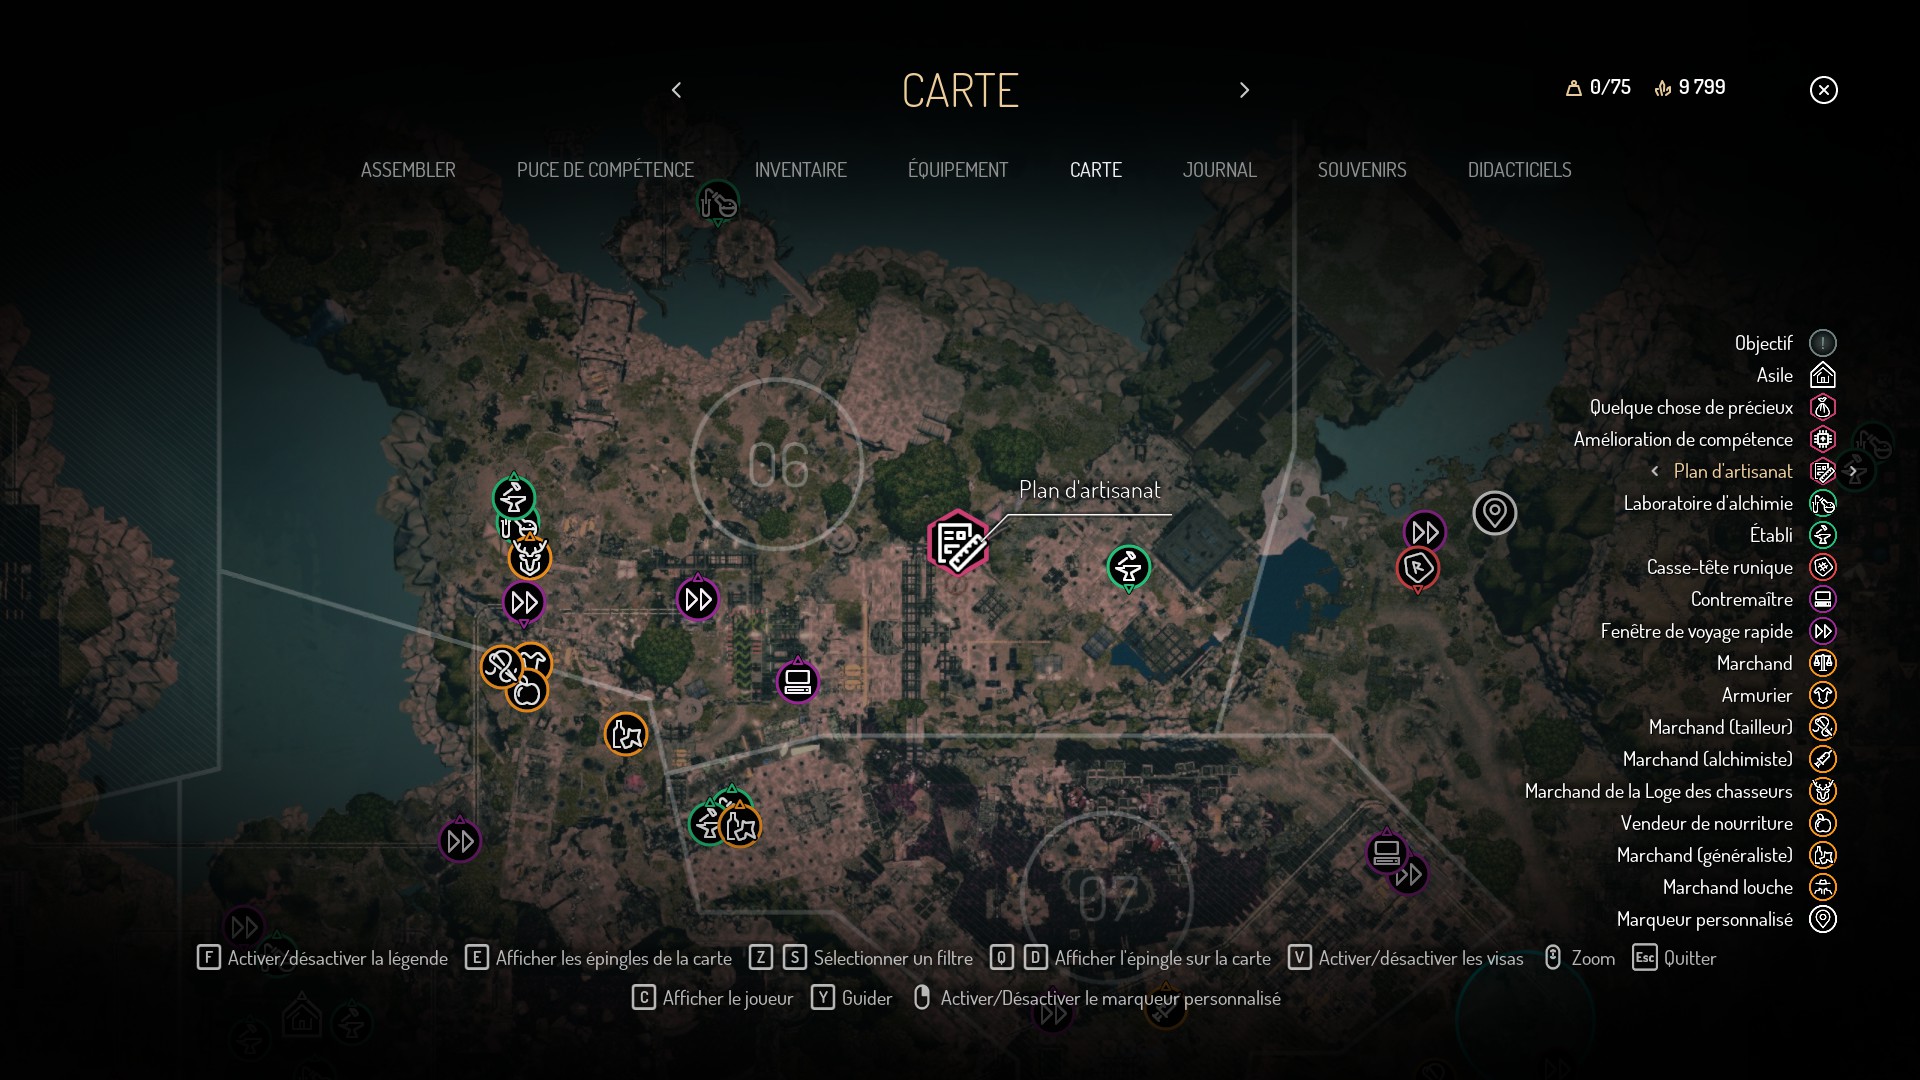
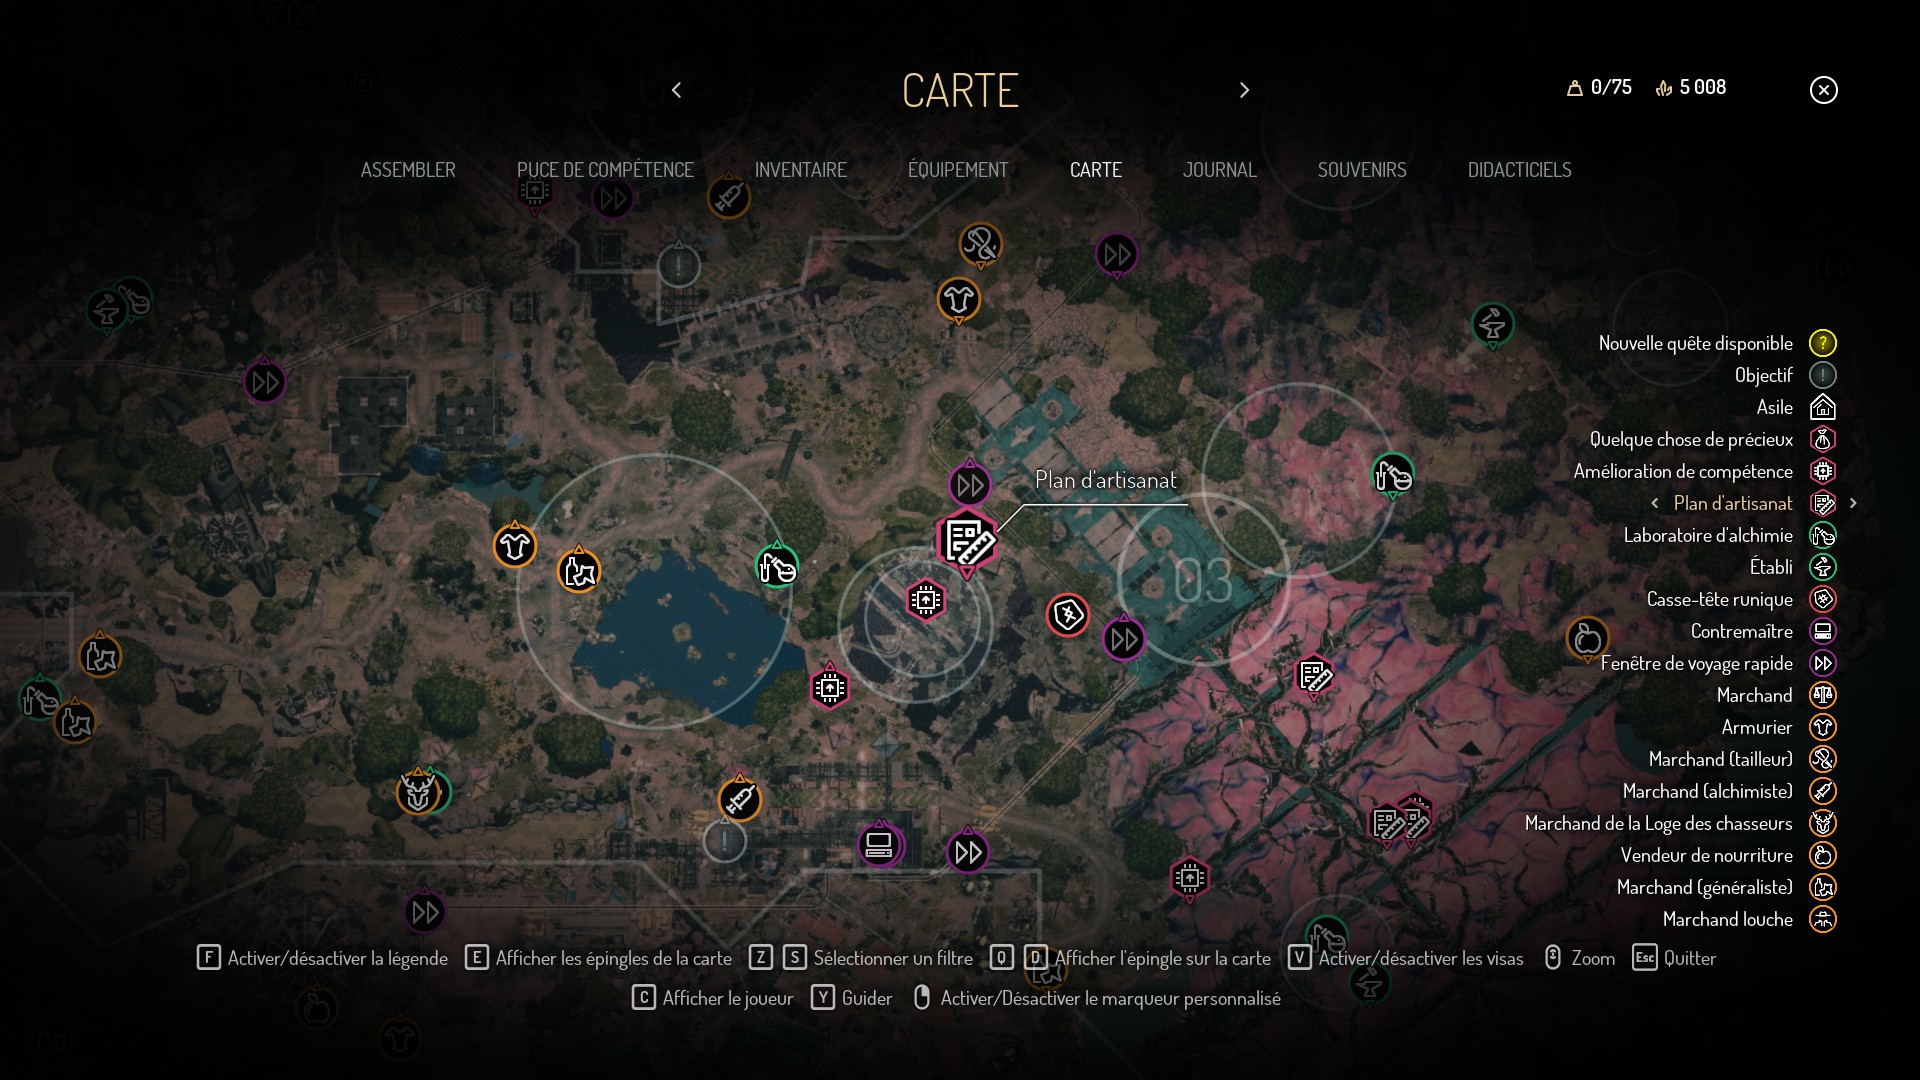
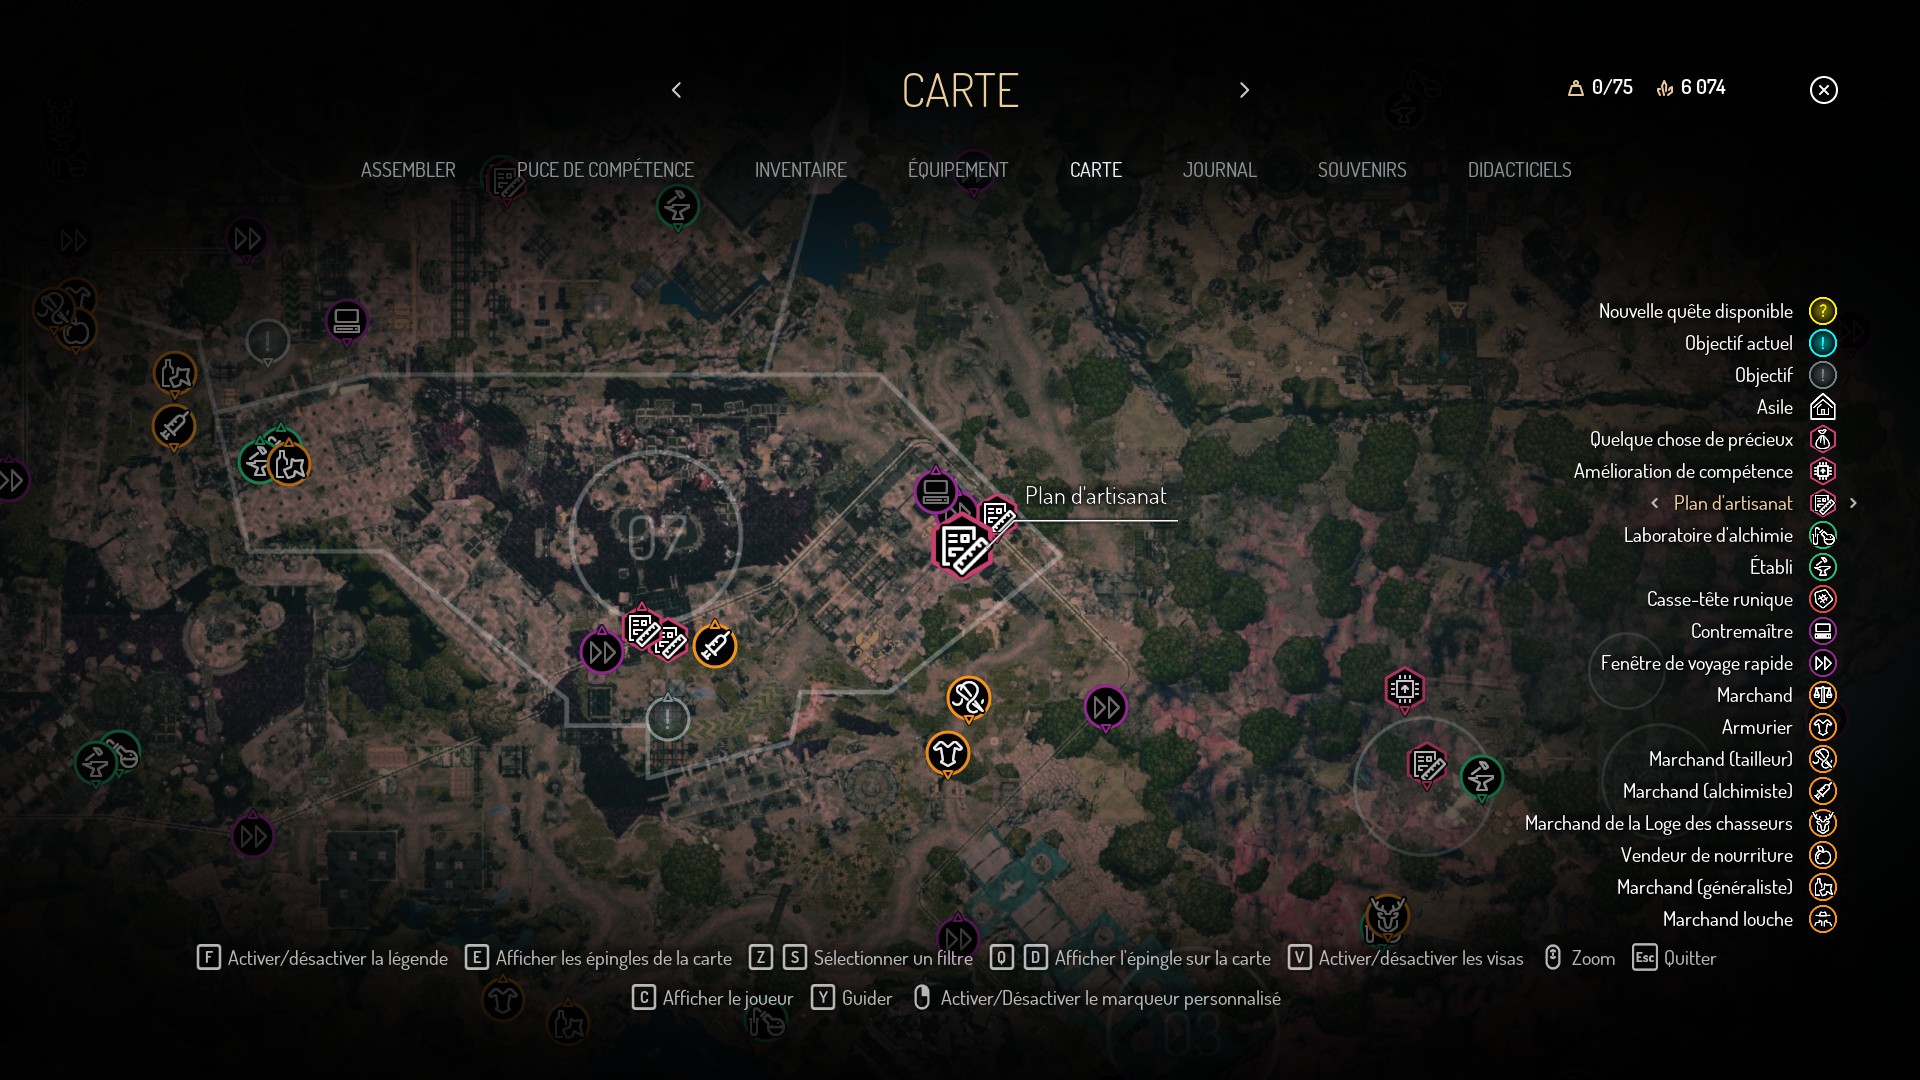
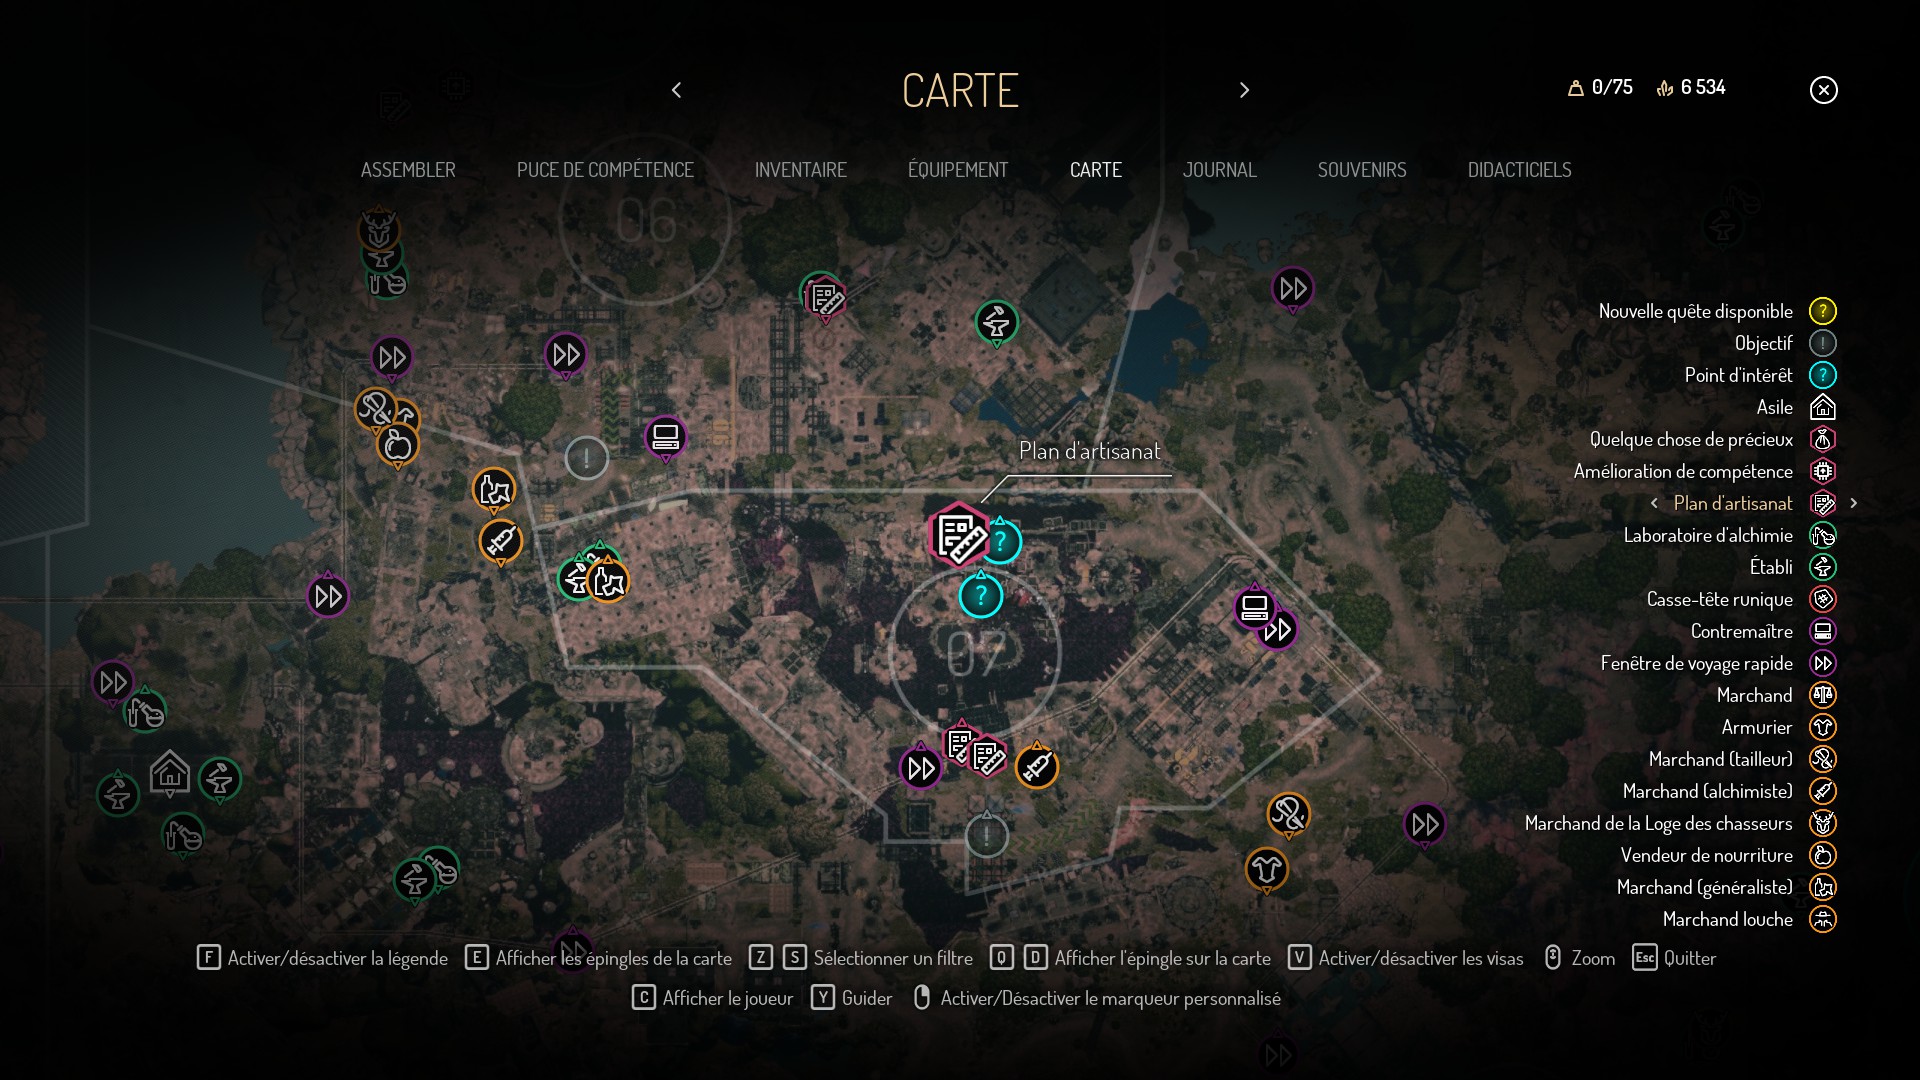
- Rune EE – Zone 2 – Found during main quest ‘Lost Contact’, in a secret stash, inside the destroyed house in Mortbane. – Corresponding puzzle is in zone 3, south west of the Biomancer temple
- Rune J – Zone 1 – Obtained from the shady merchant in the Lewmer. If you progress too far in the story, the merchant will run away. – Corresponding puzzle is west of zone 2, betwen a bandit camp and holohawk nests
- Rune O – Zone 4 – Reward for the quest “Petals and Promises” (Zone 4). – Corresponding puzzle is in zone 3, just south of Vaetic
- Rune Y – Zone 4 – Reward for the quest “Cinder Man” (Zone 4). Do not approach the Cinder Man and just go back to the biomant’s priest., OR meet with the Cinder Man and persuading him to stop the experiments. DO NOT KILL HIM. – Corresponding puzzle is North of zone 6
- Rune Z – Zone 3 – Reward for the quest “Double Cross Marks the Spot” (Zone 3). Found inside the locker at the end of the quest. – Corresponding puzzle is inside zone 5 (you’ll have to cross a rotten zone before)
- Rune R – Zone 3 – Reward for the quest “DIY” (Zone 3) from Hinbrik in Artee village. – Corresponding puzzle is North of zone 3, west of the Artee village
- Rune D – Zone 4 – reward for a line of quests from the Sea Witch in the main city, starting with the task “For Whom the Disc Tells” – Corresponding puzzle is In the Technorot zone, north of Warden’s Hole
Tools
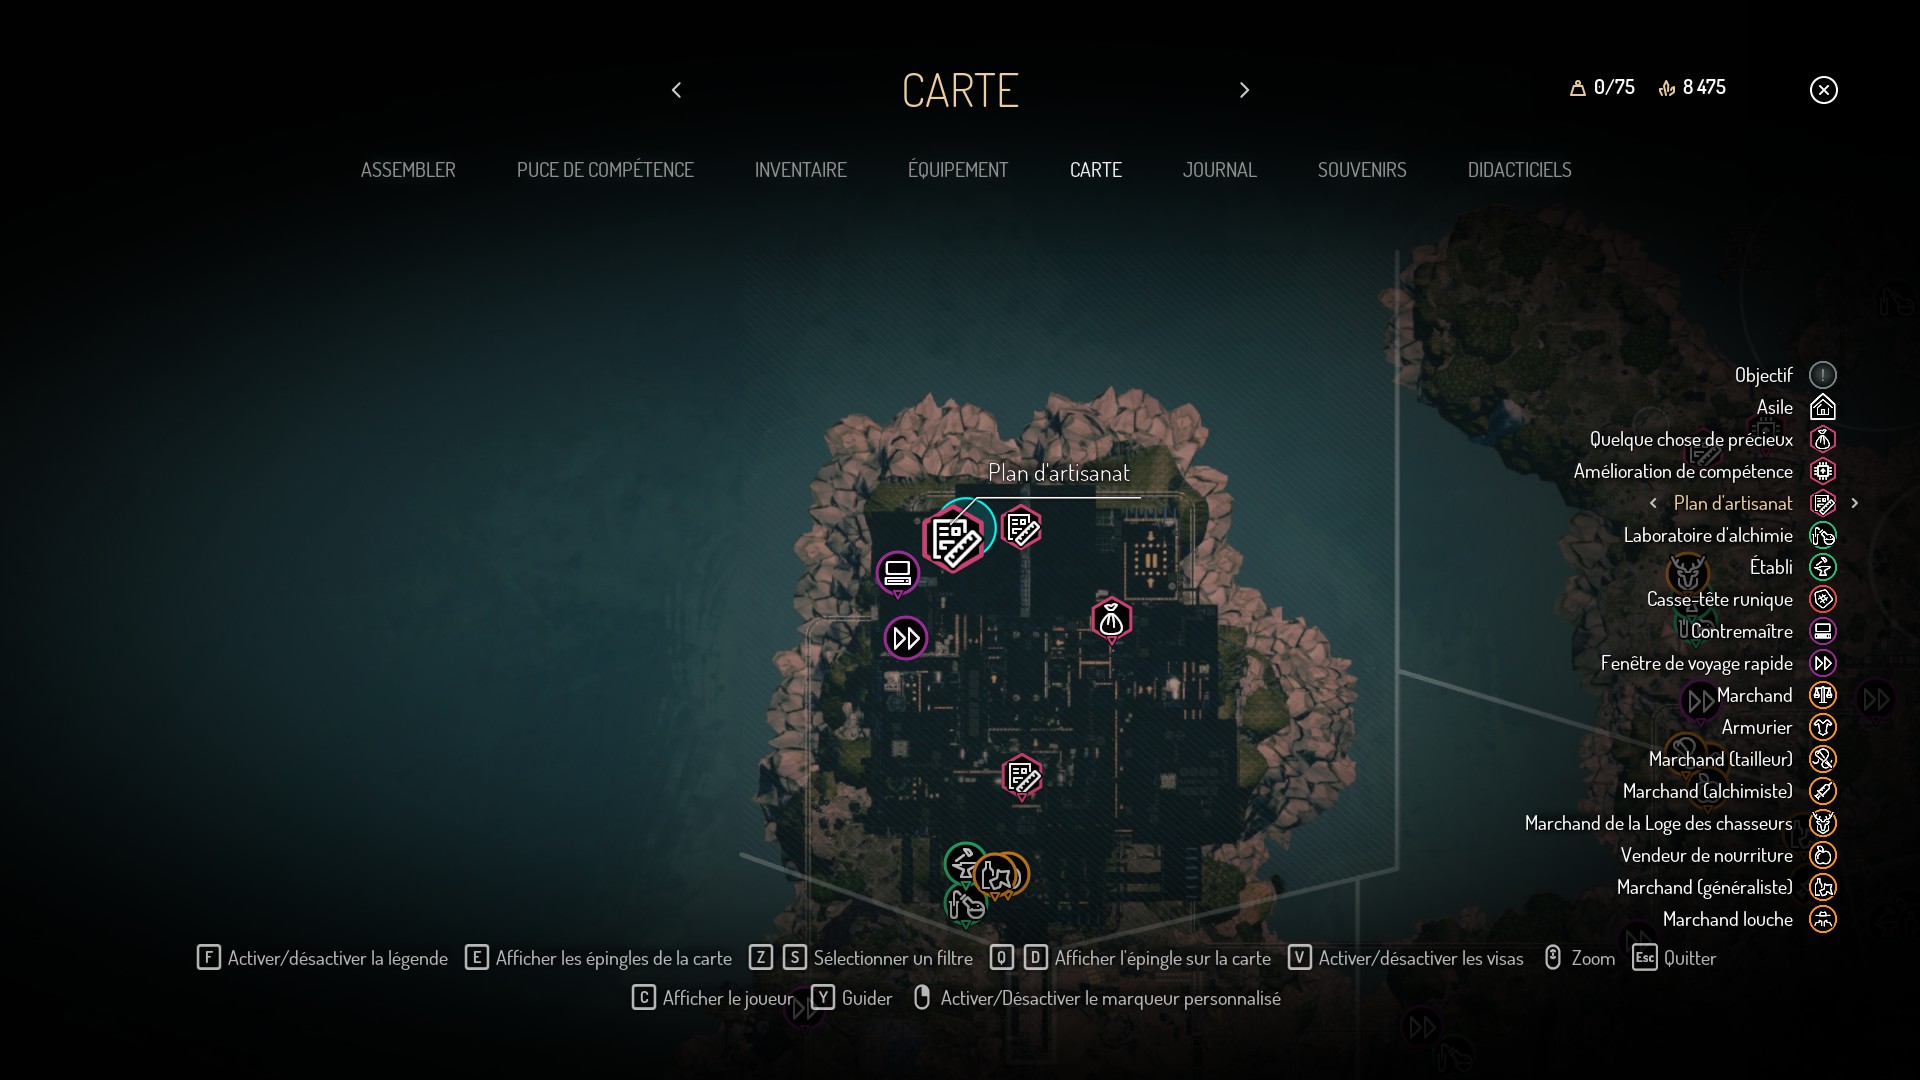
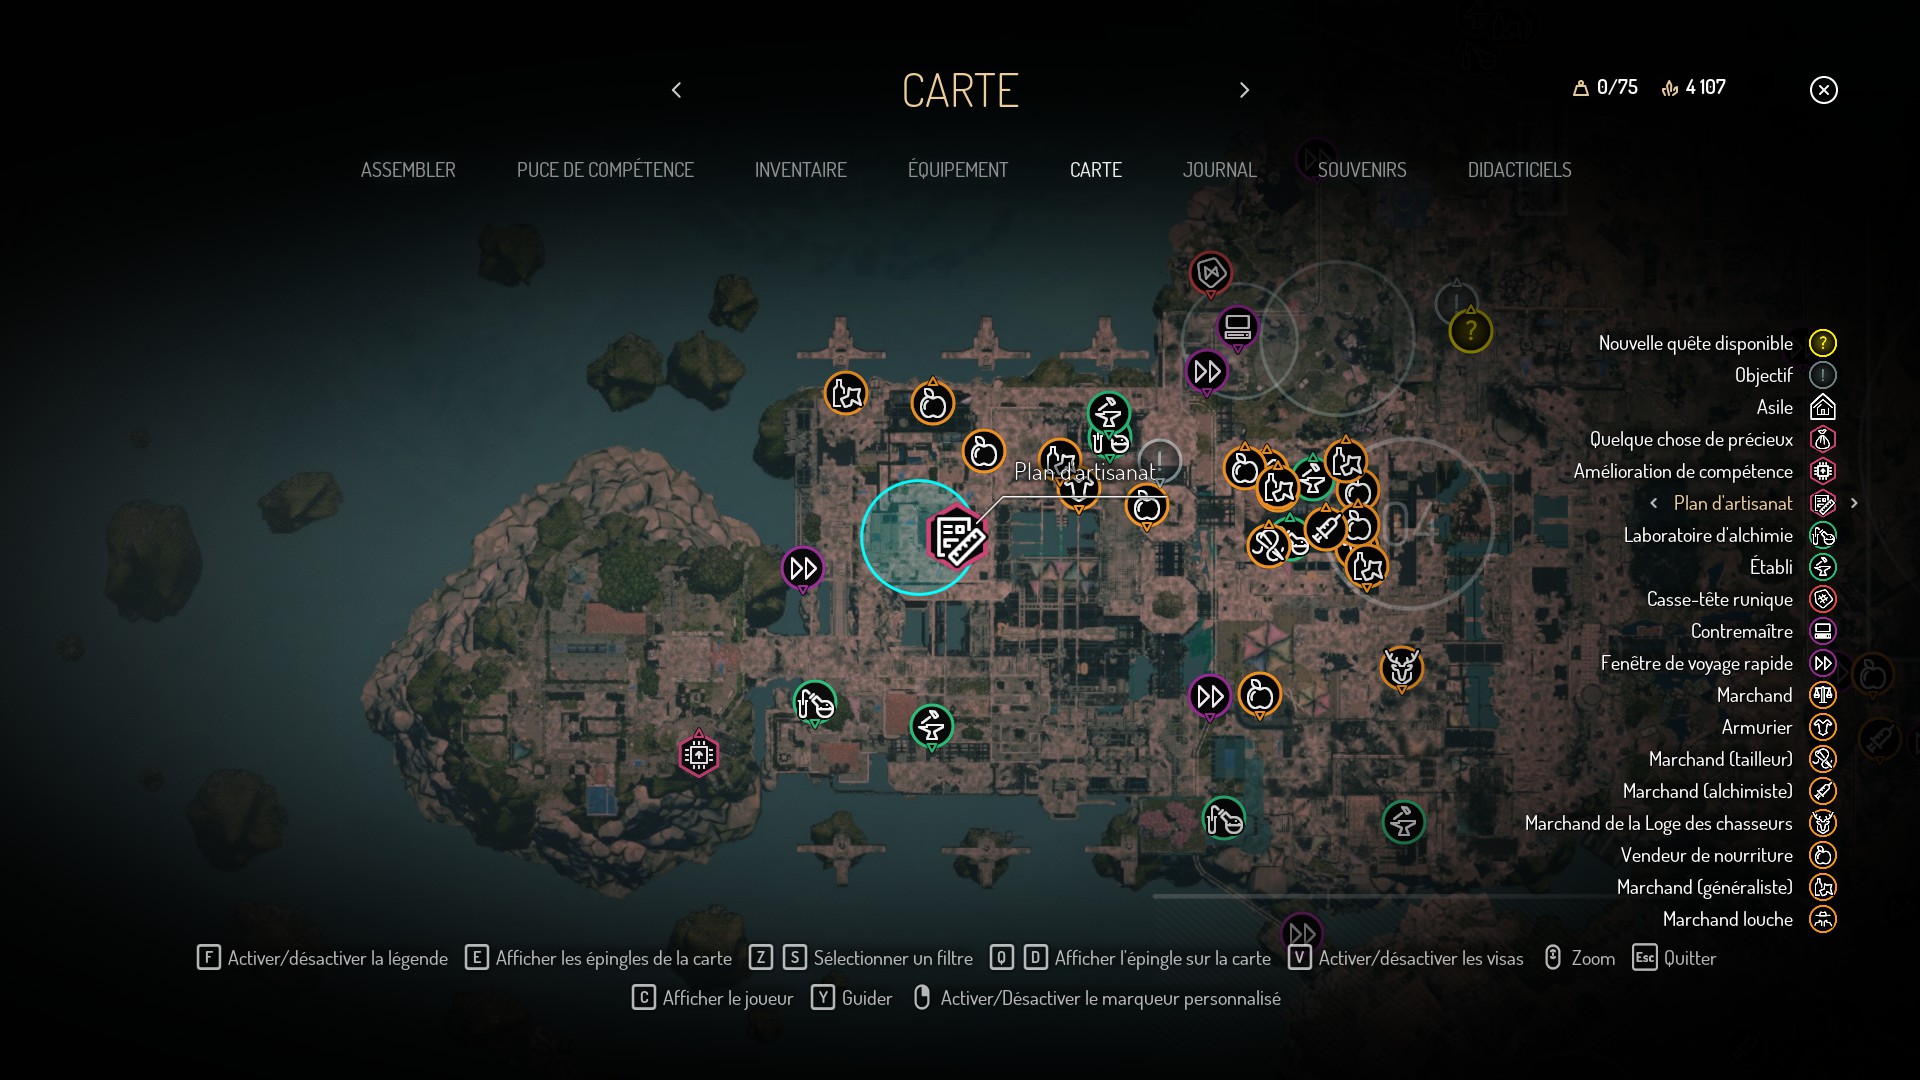
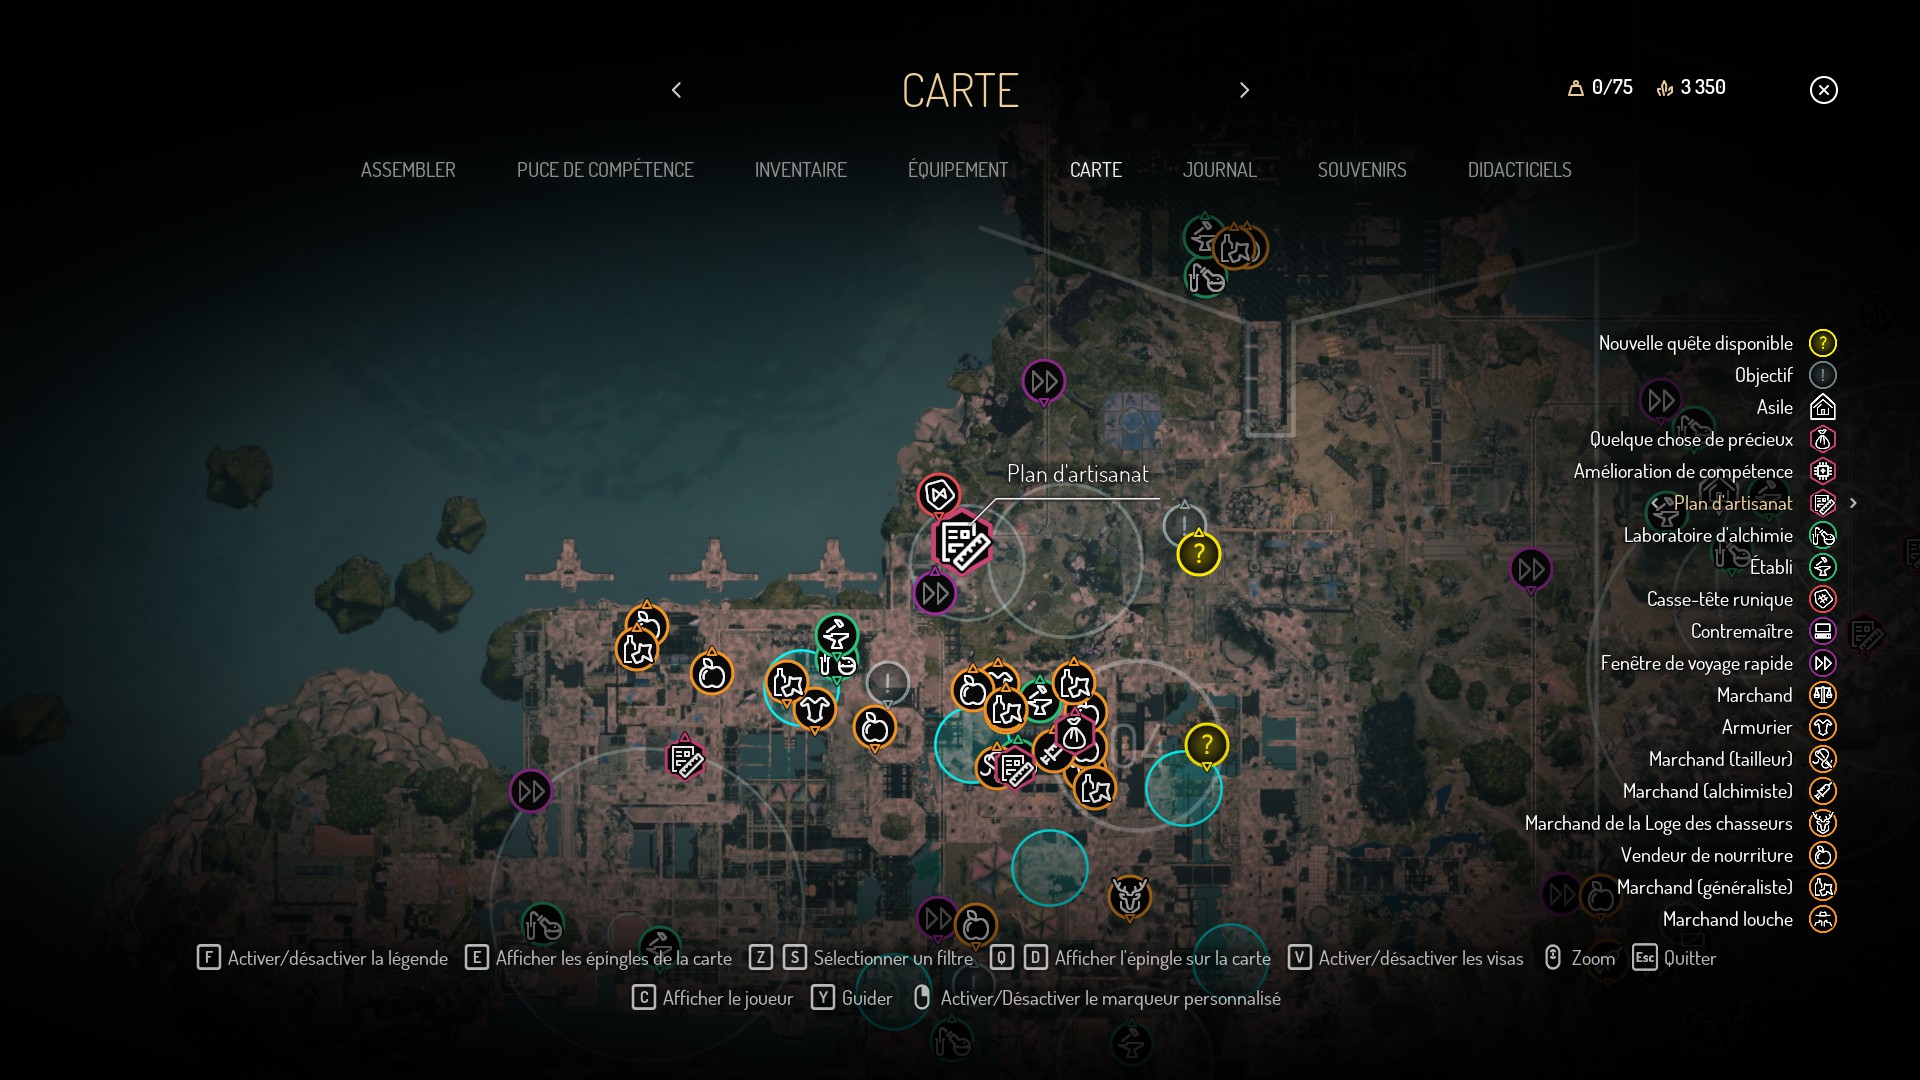
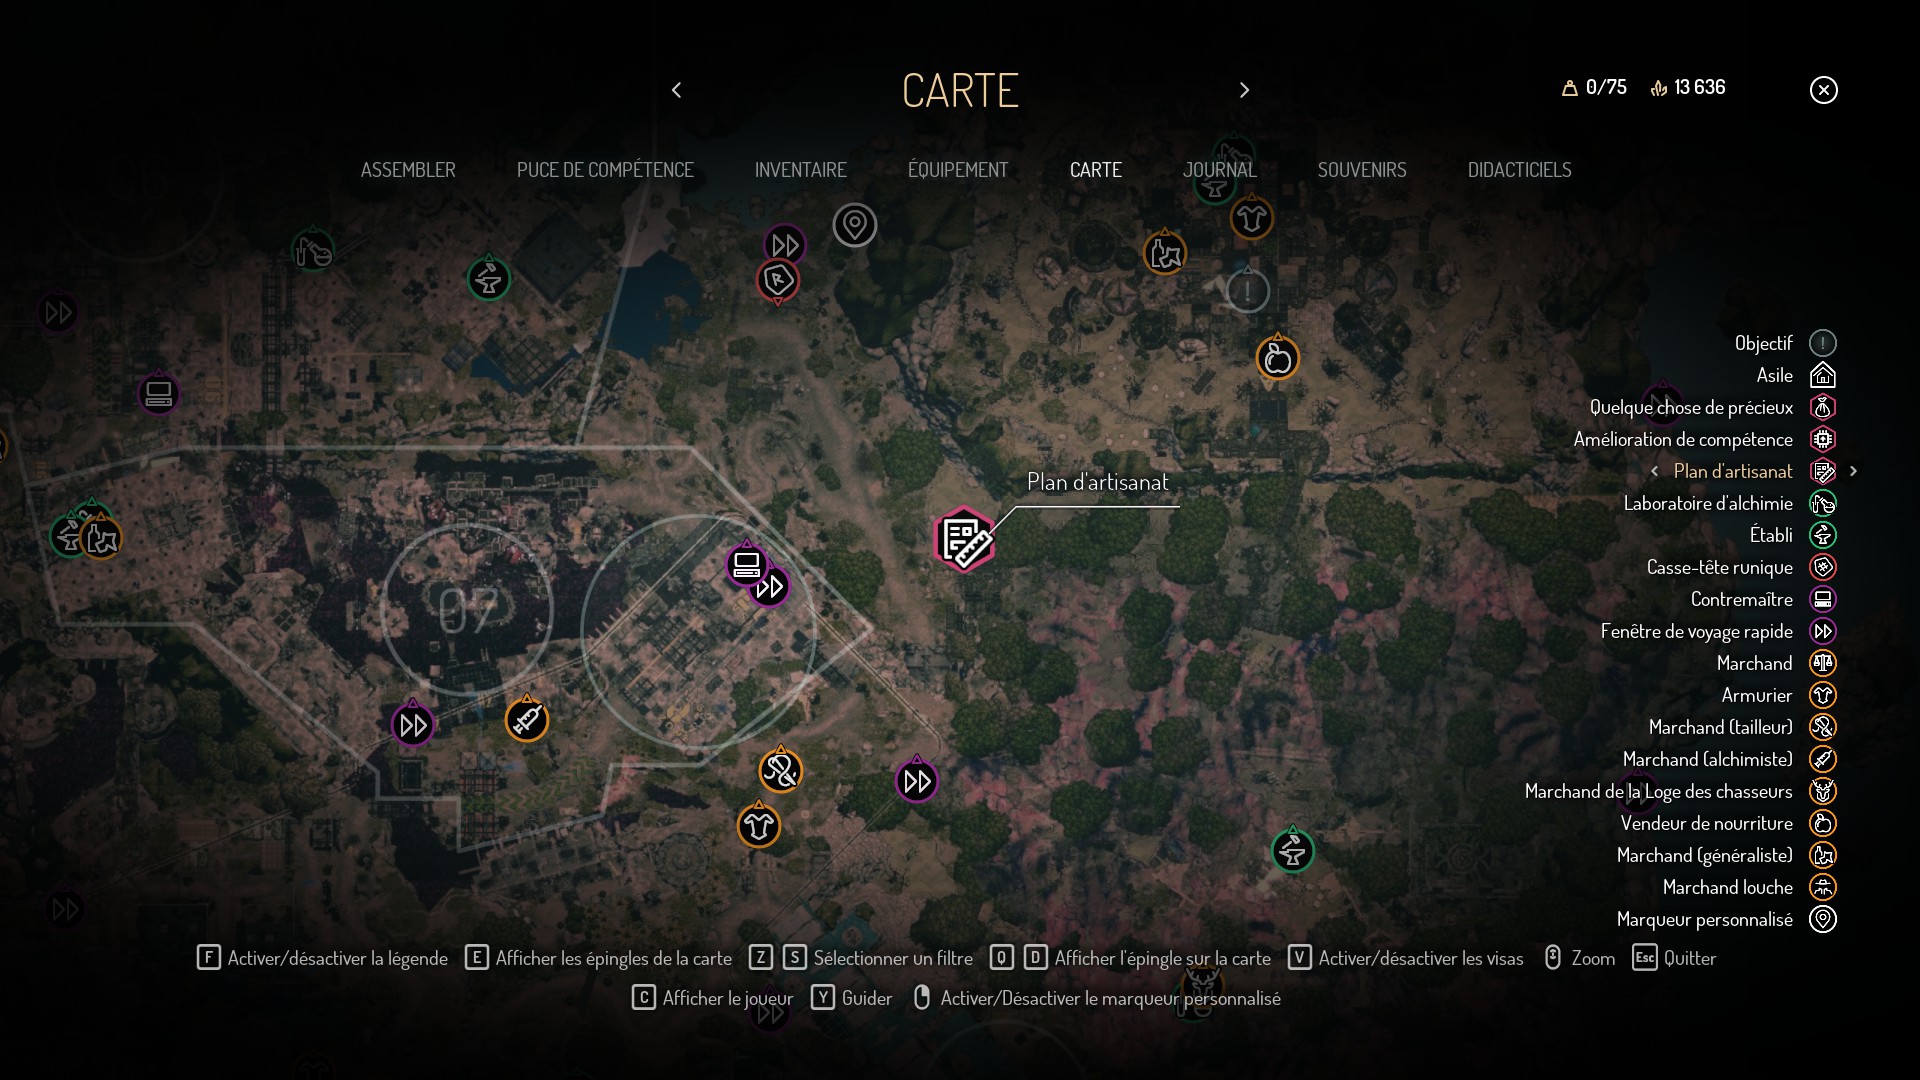
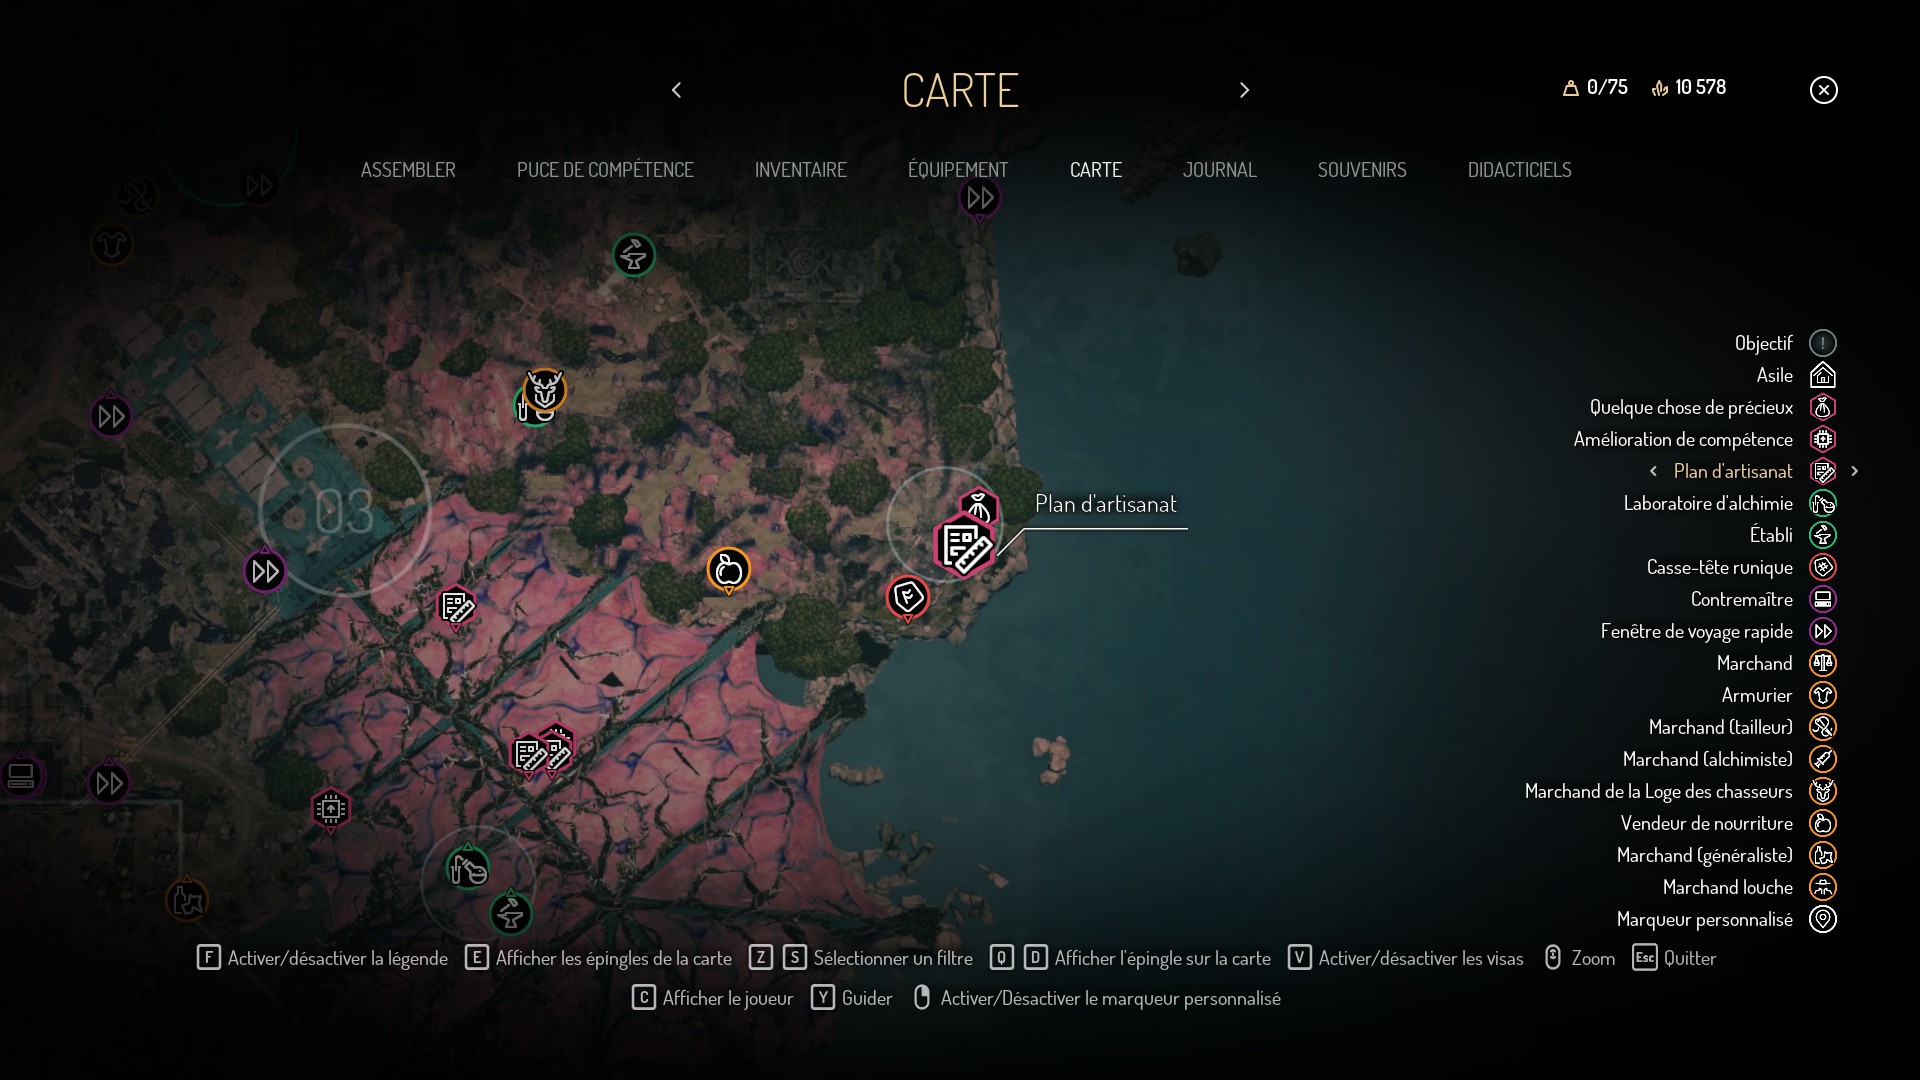
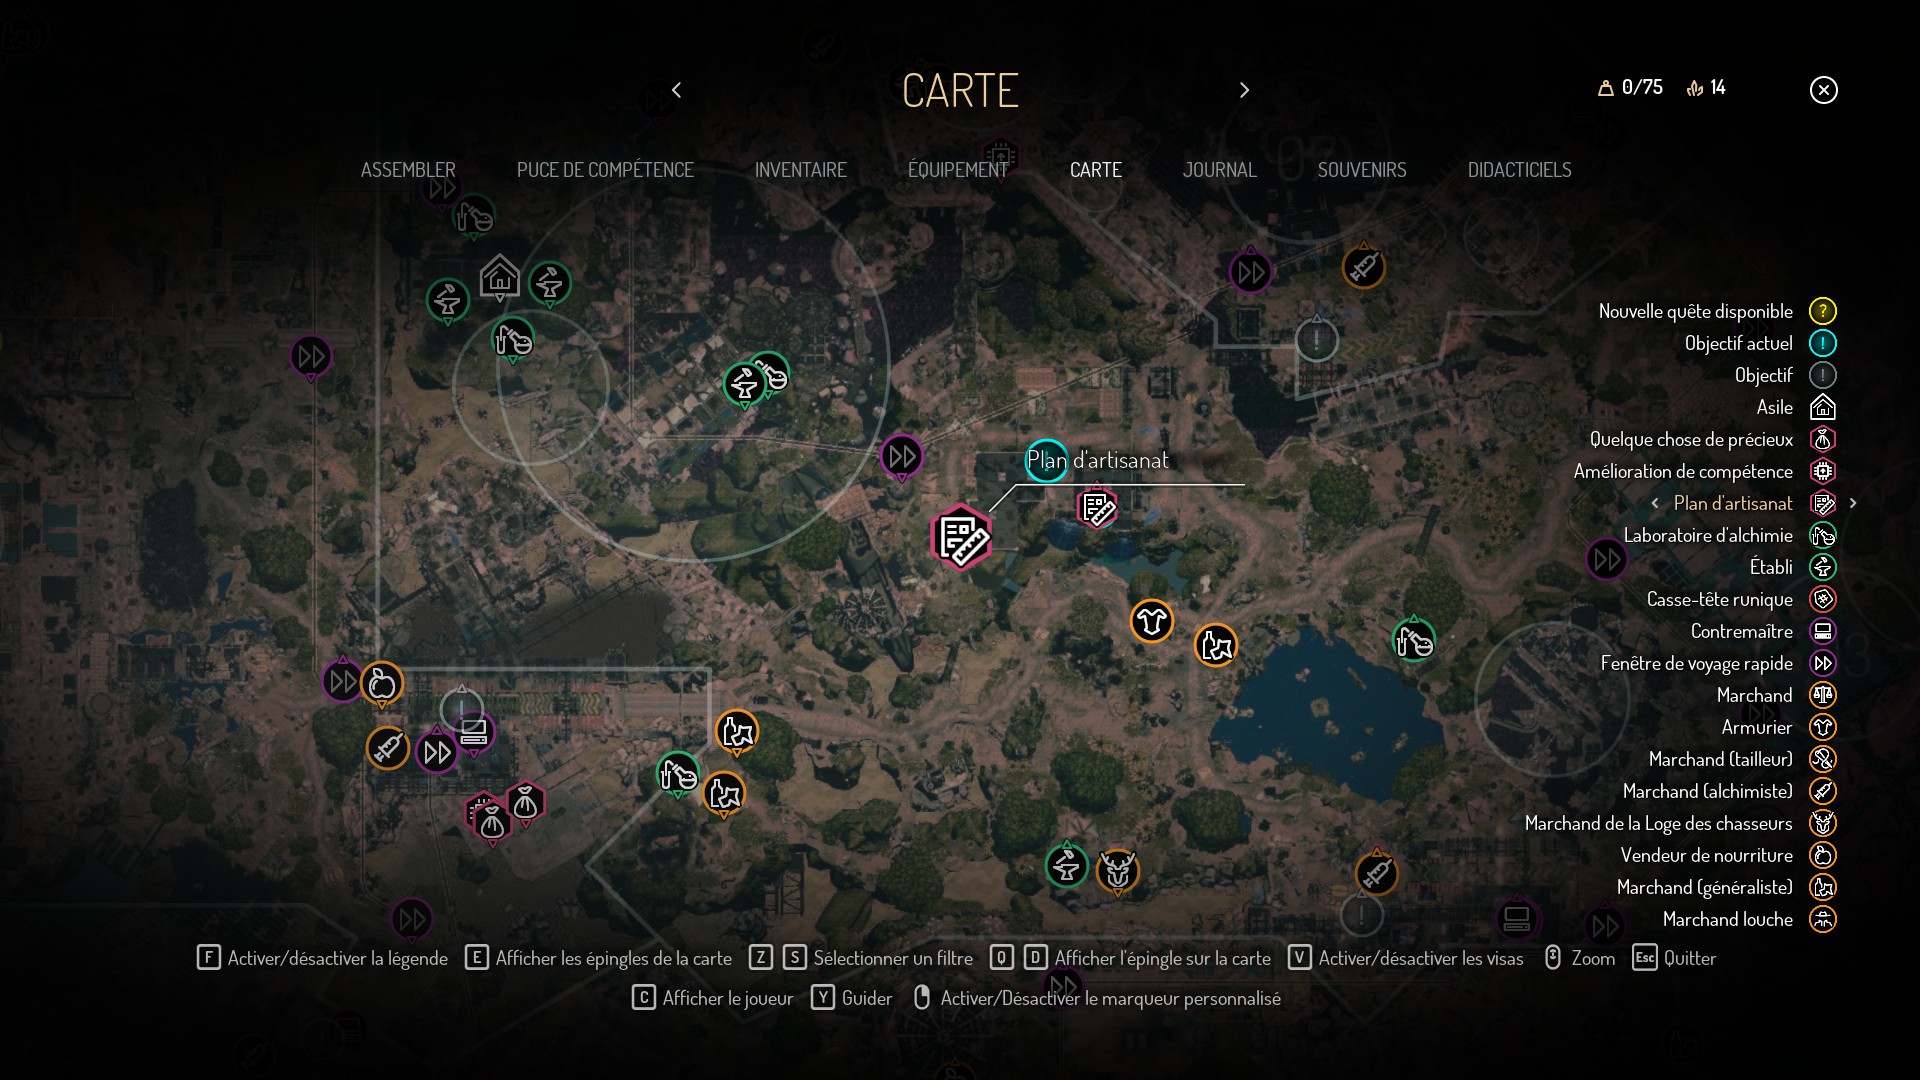
Alchemy
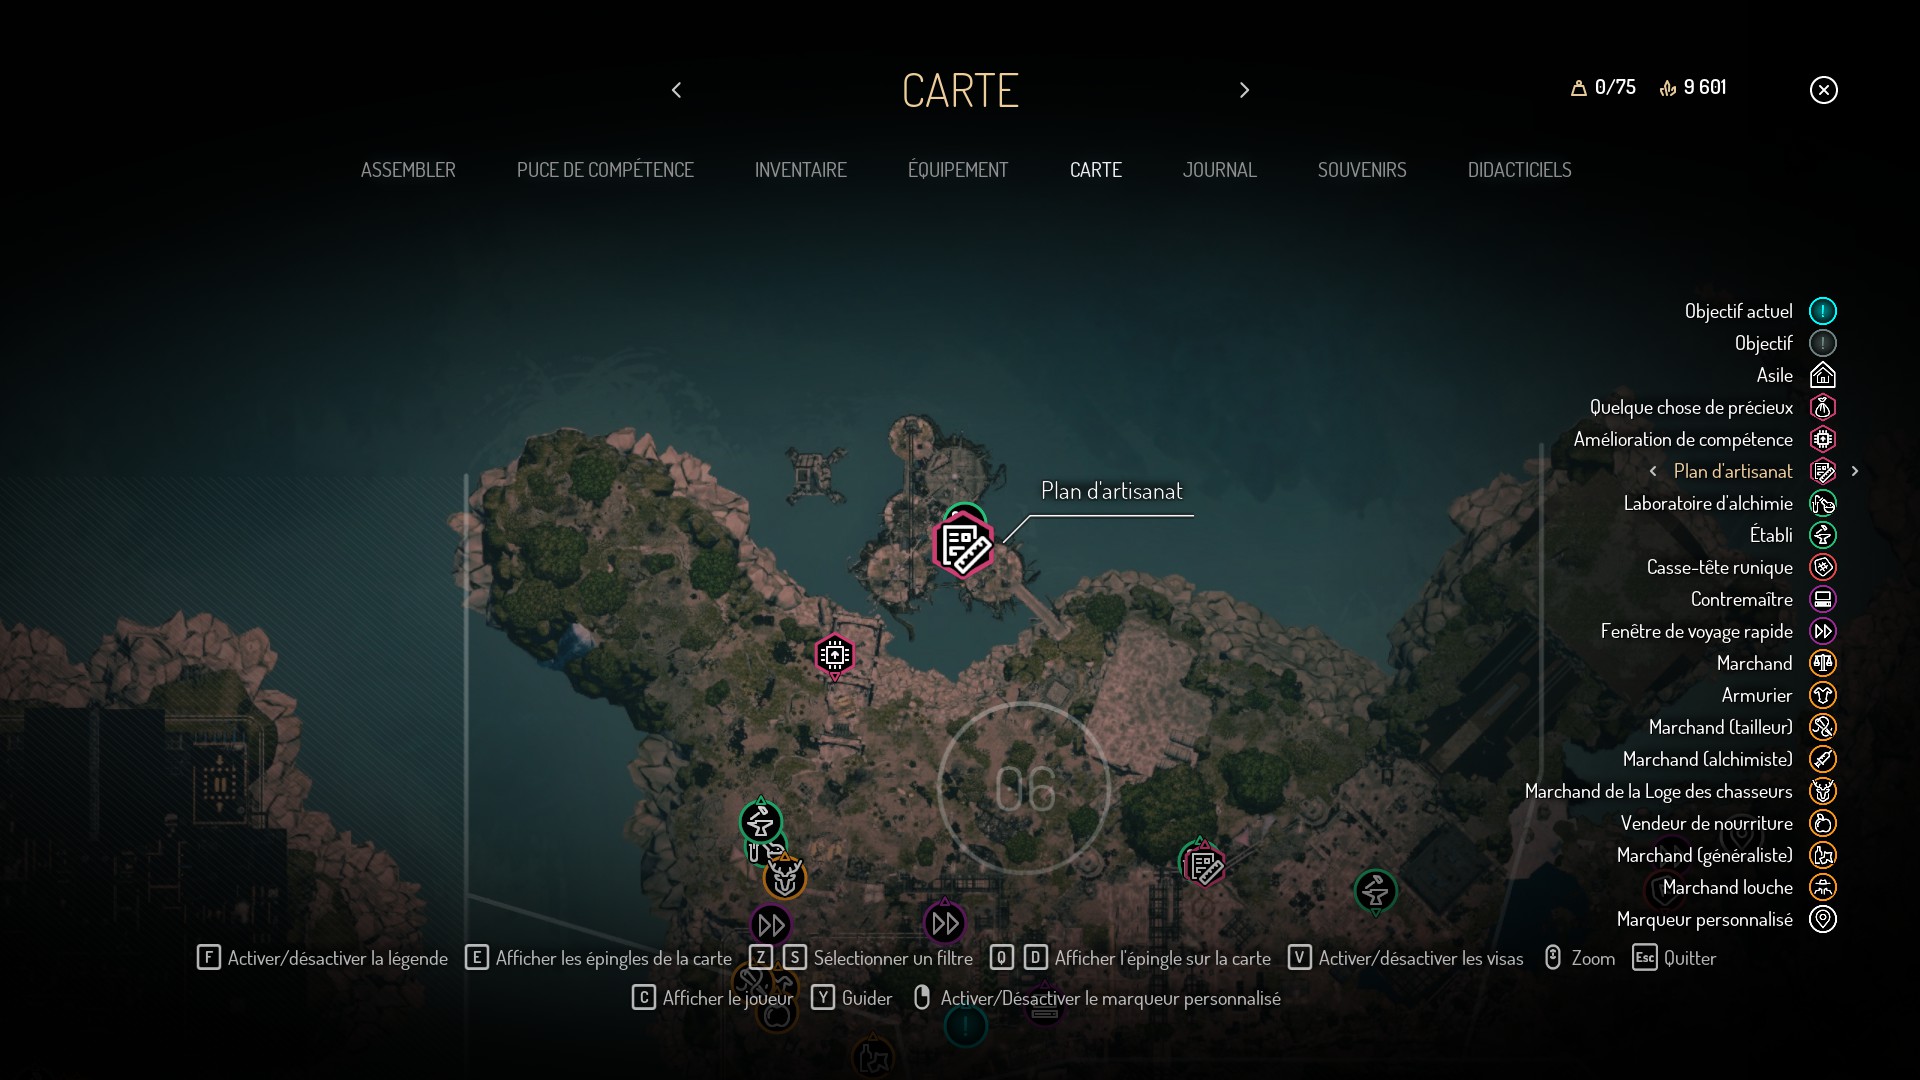
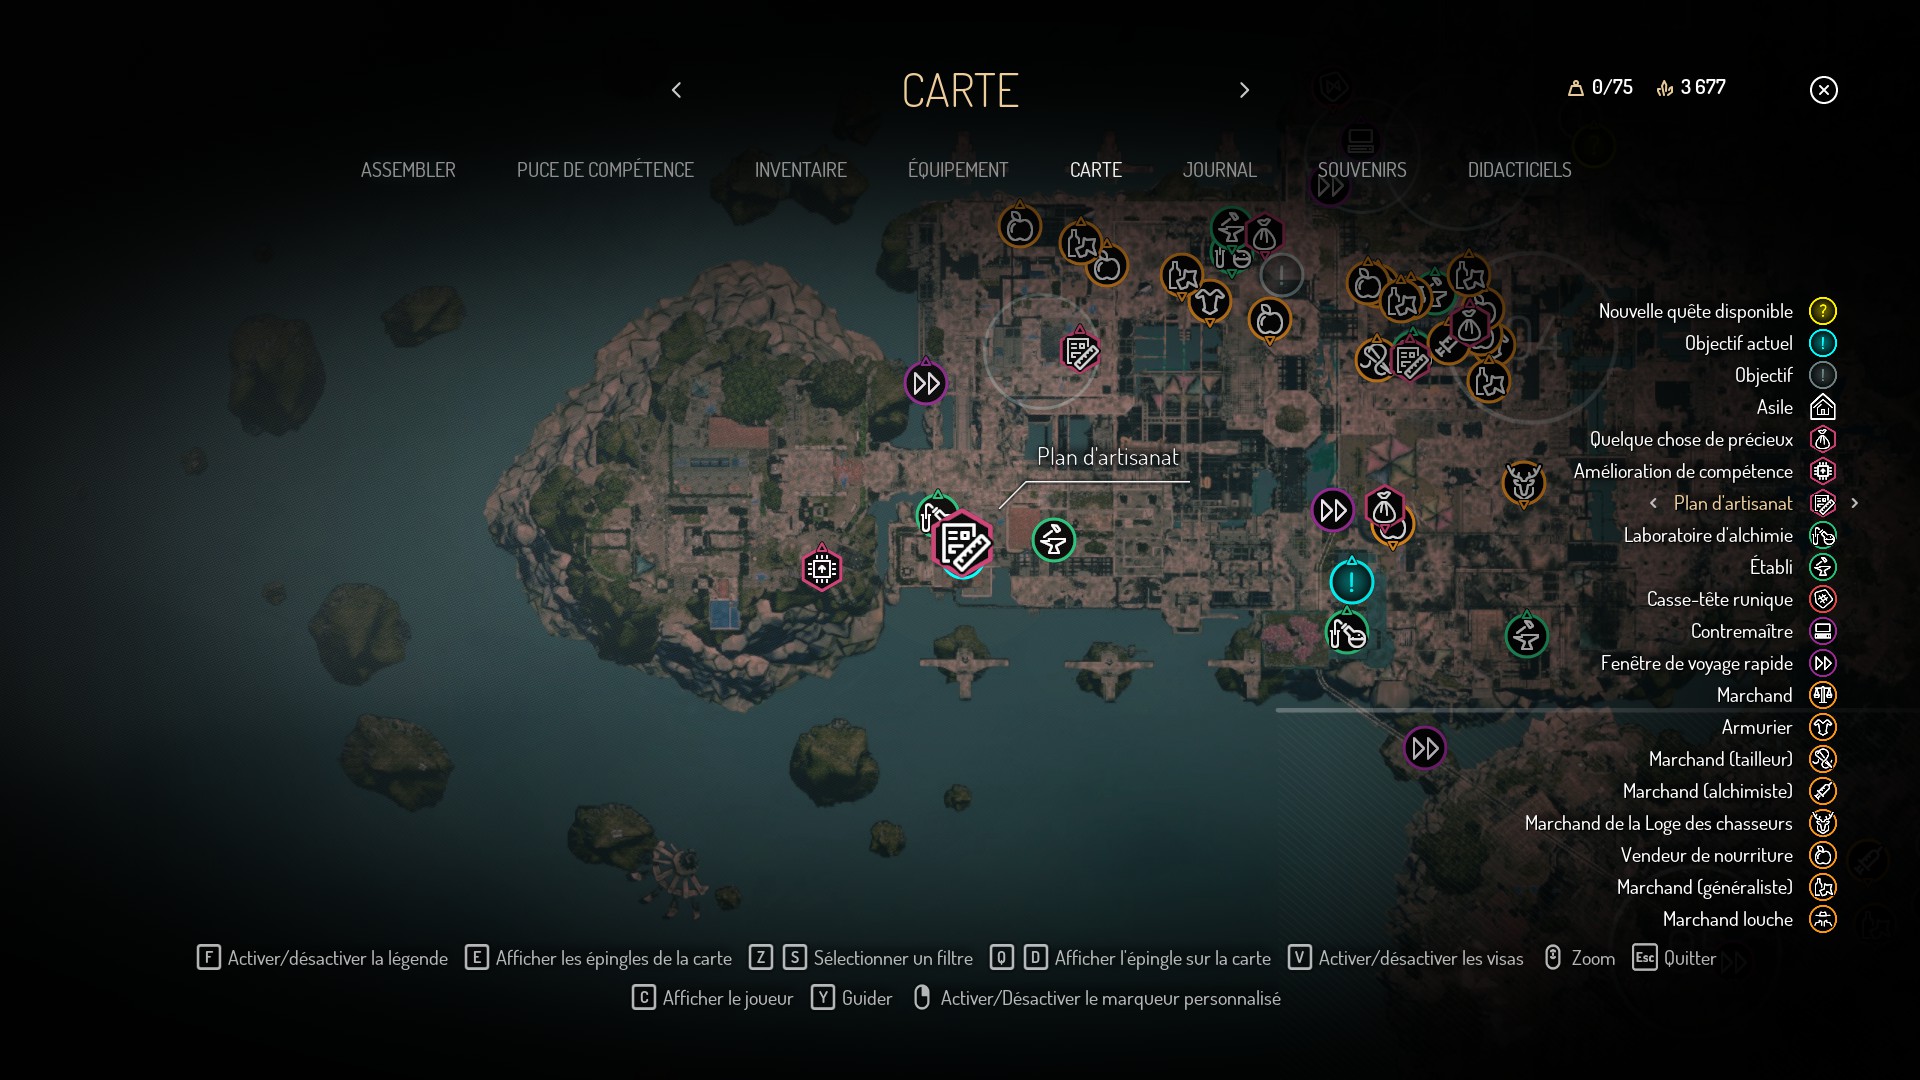 (Warden’s Hole)
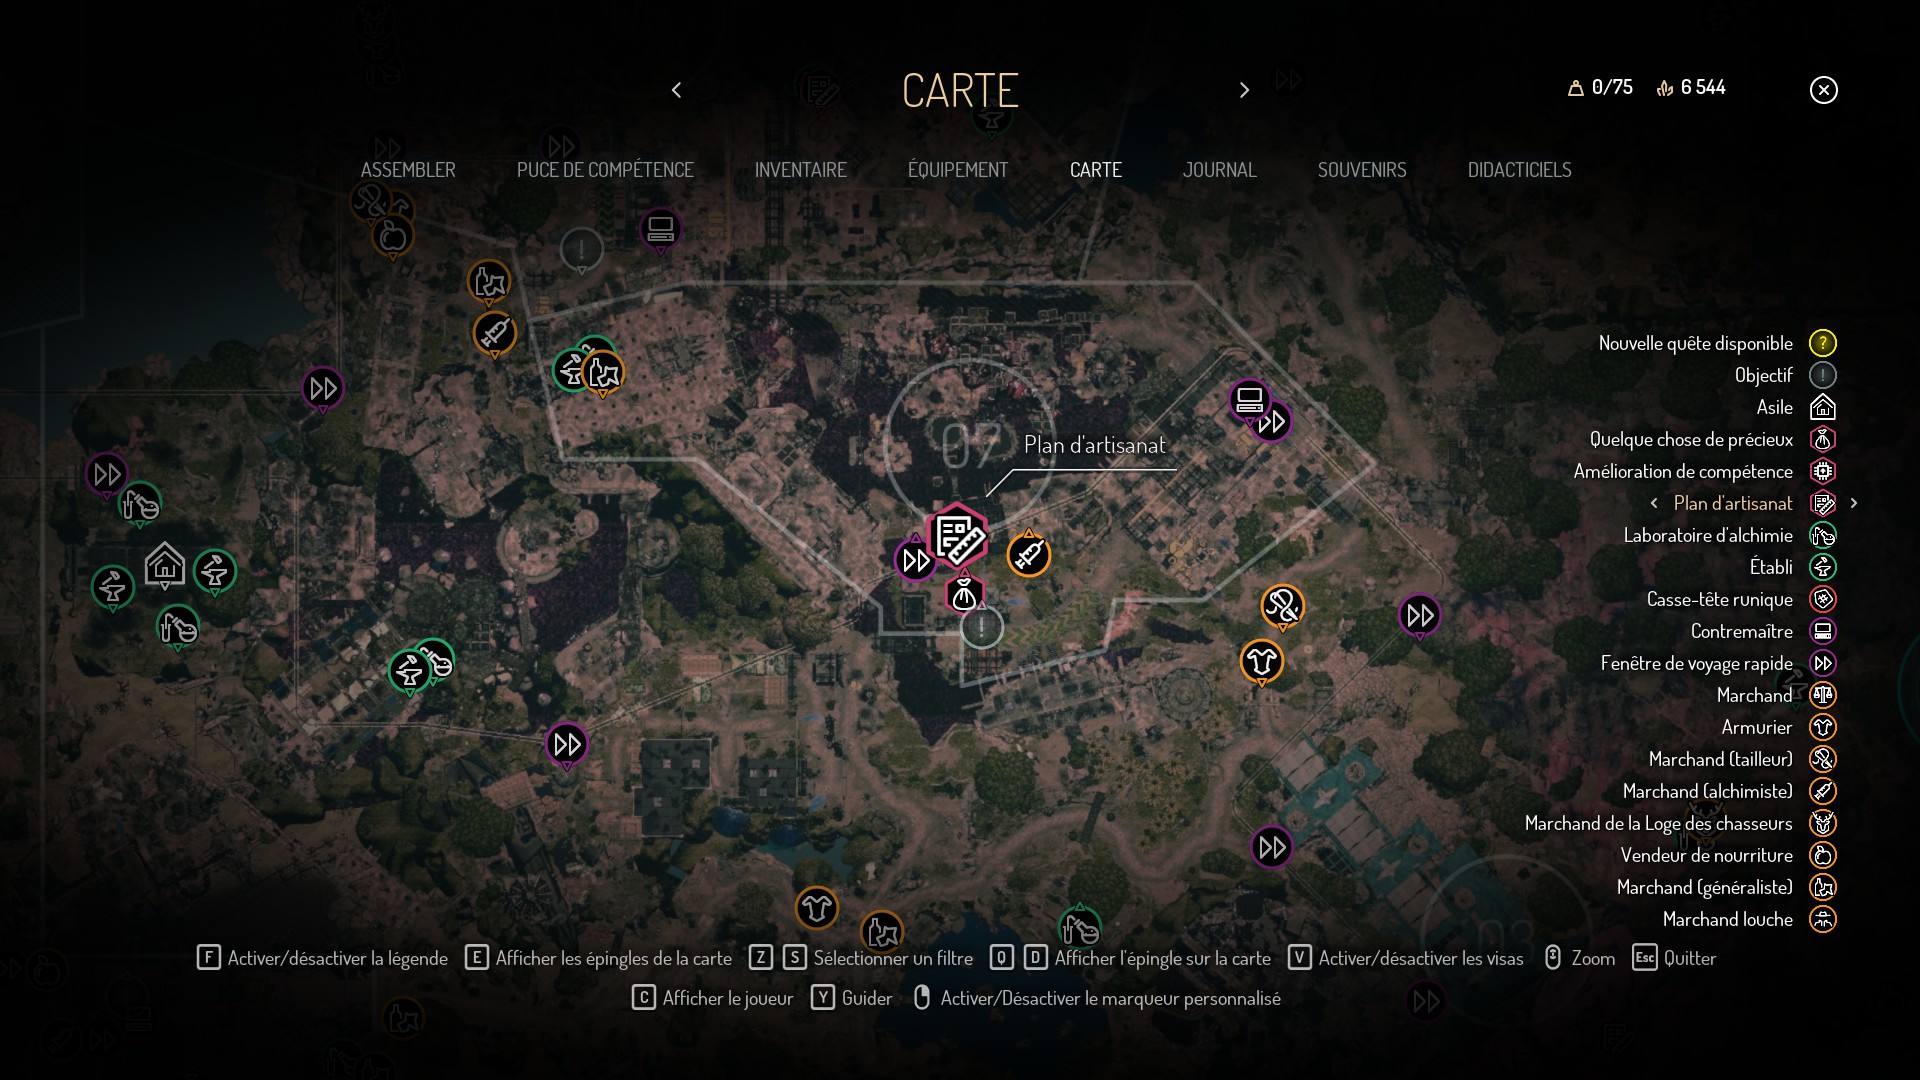
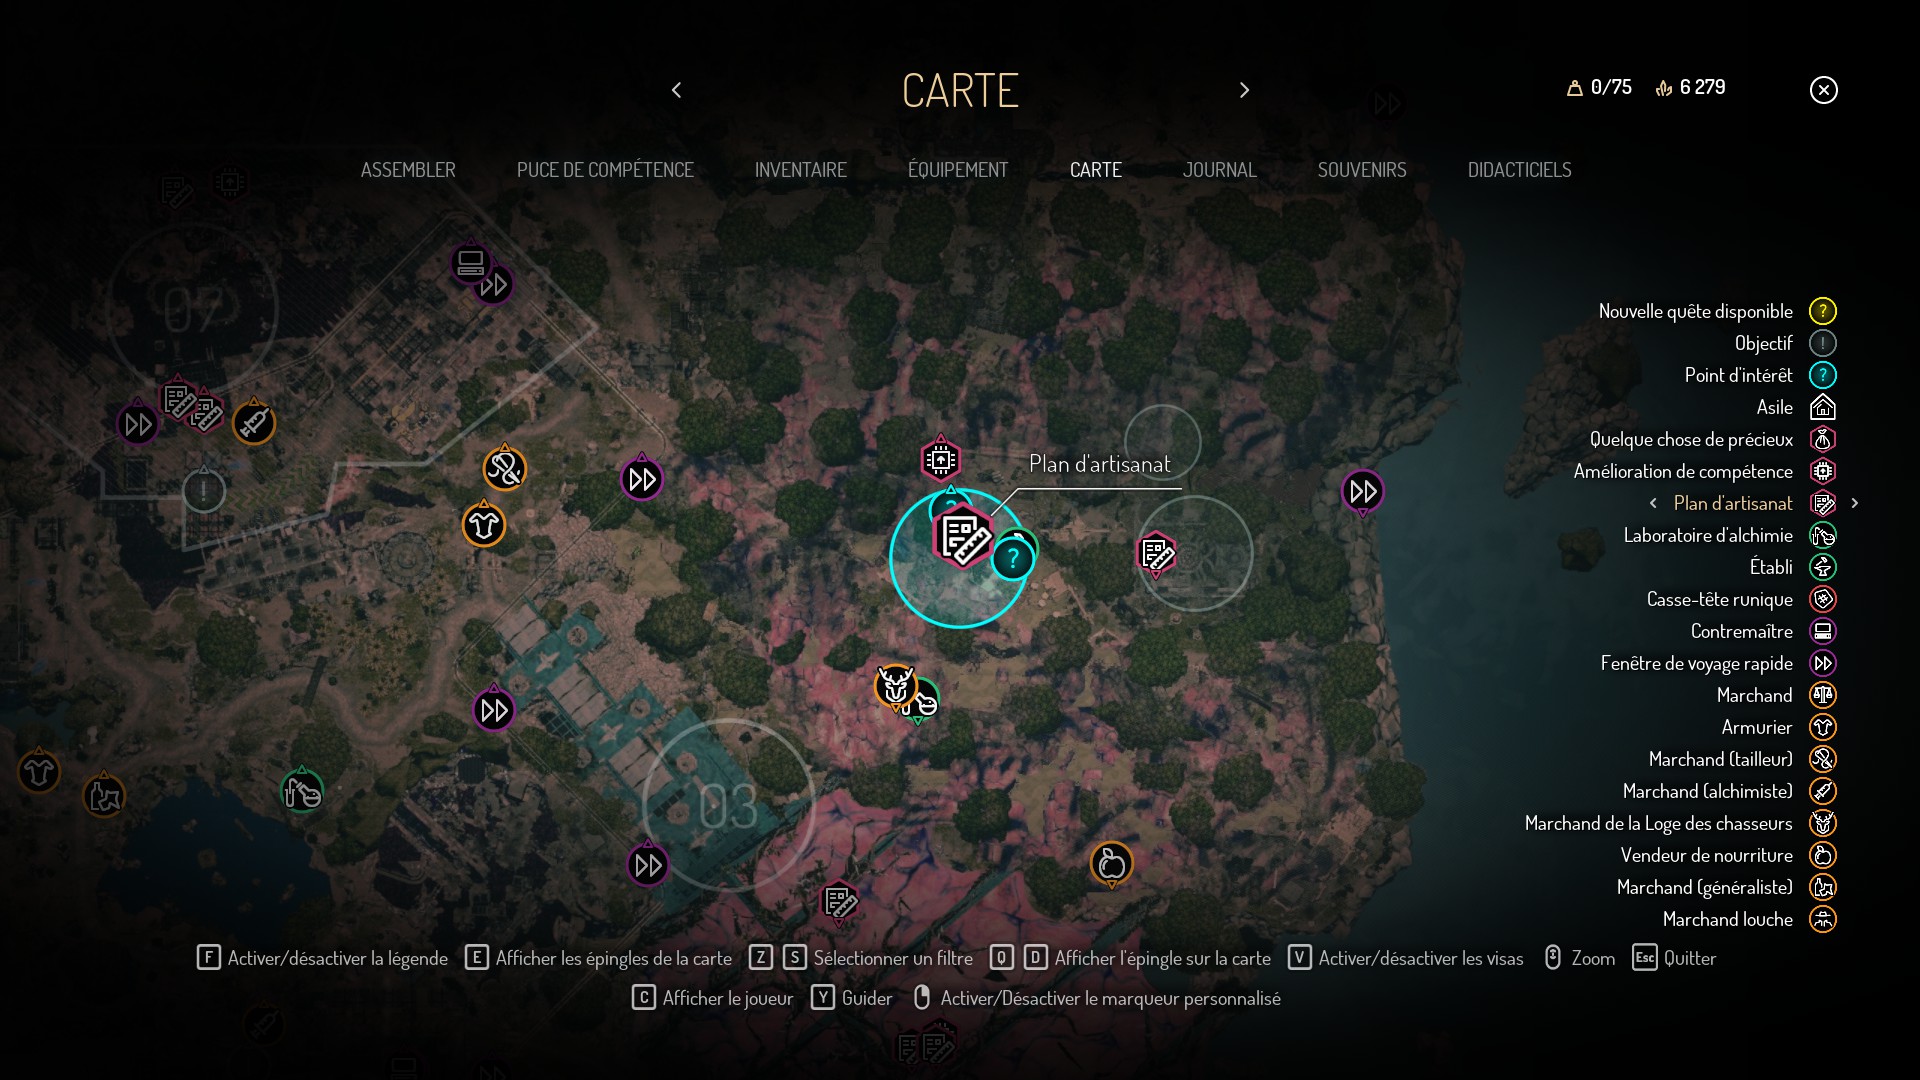
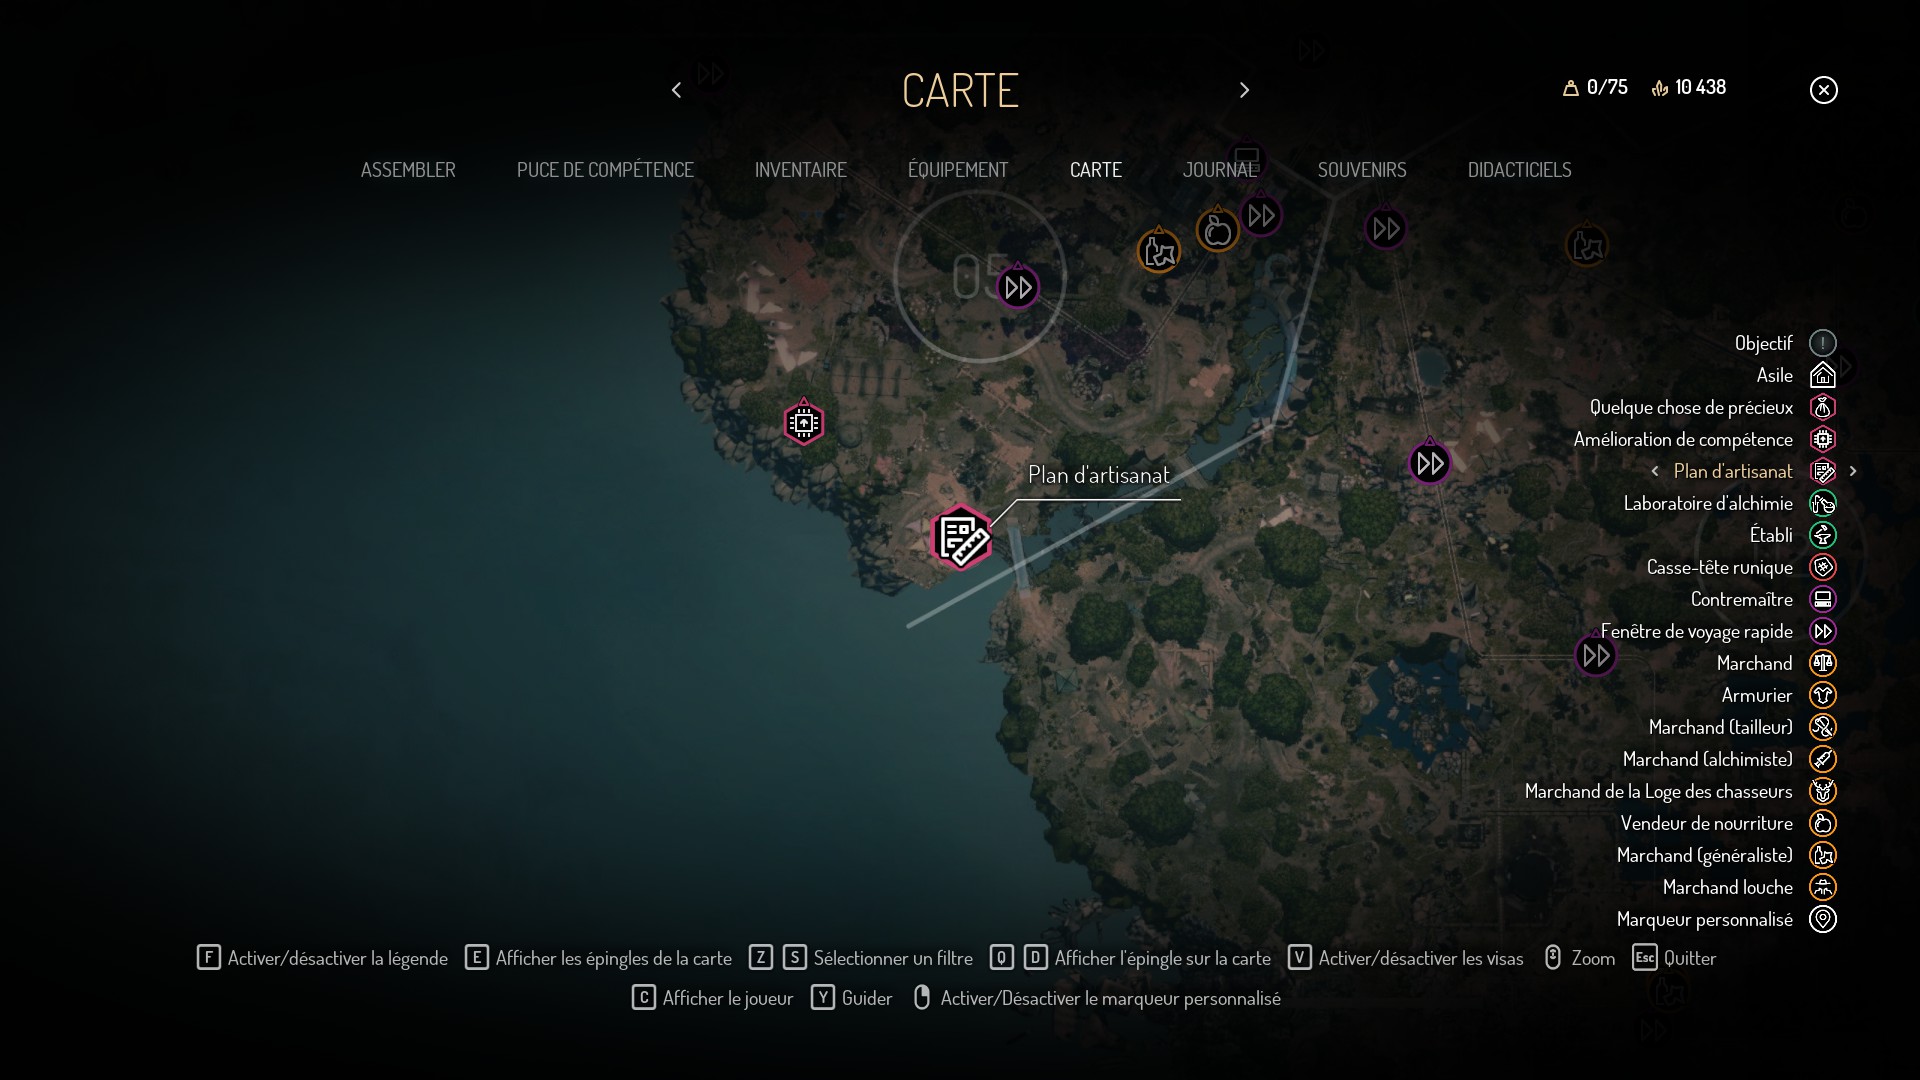
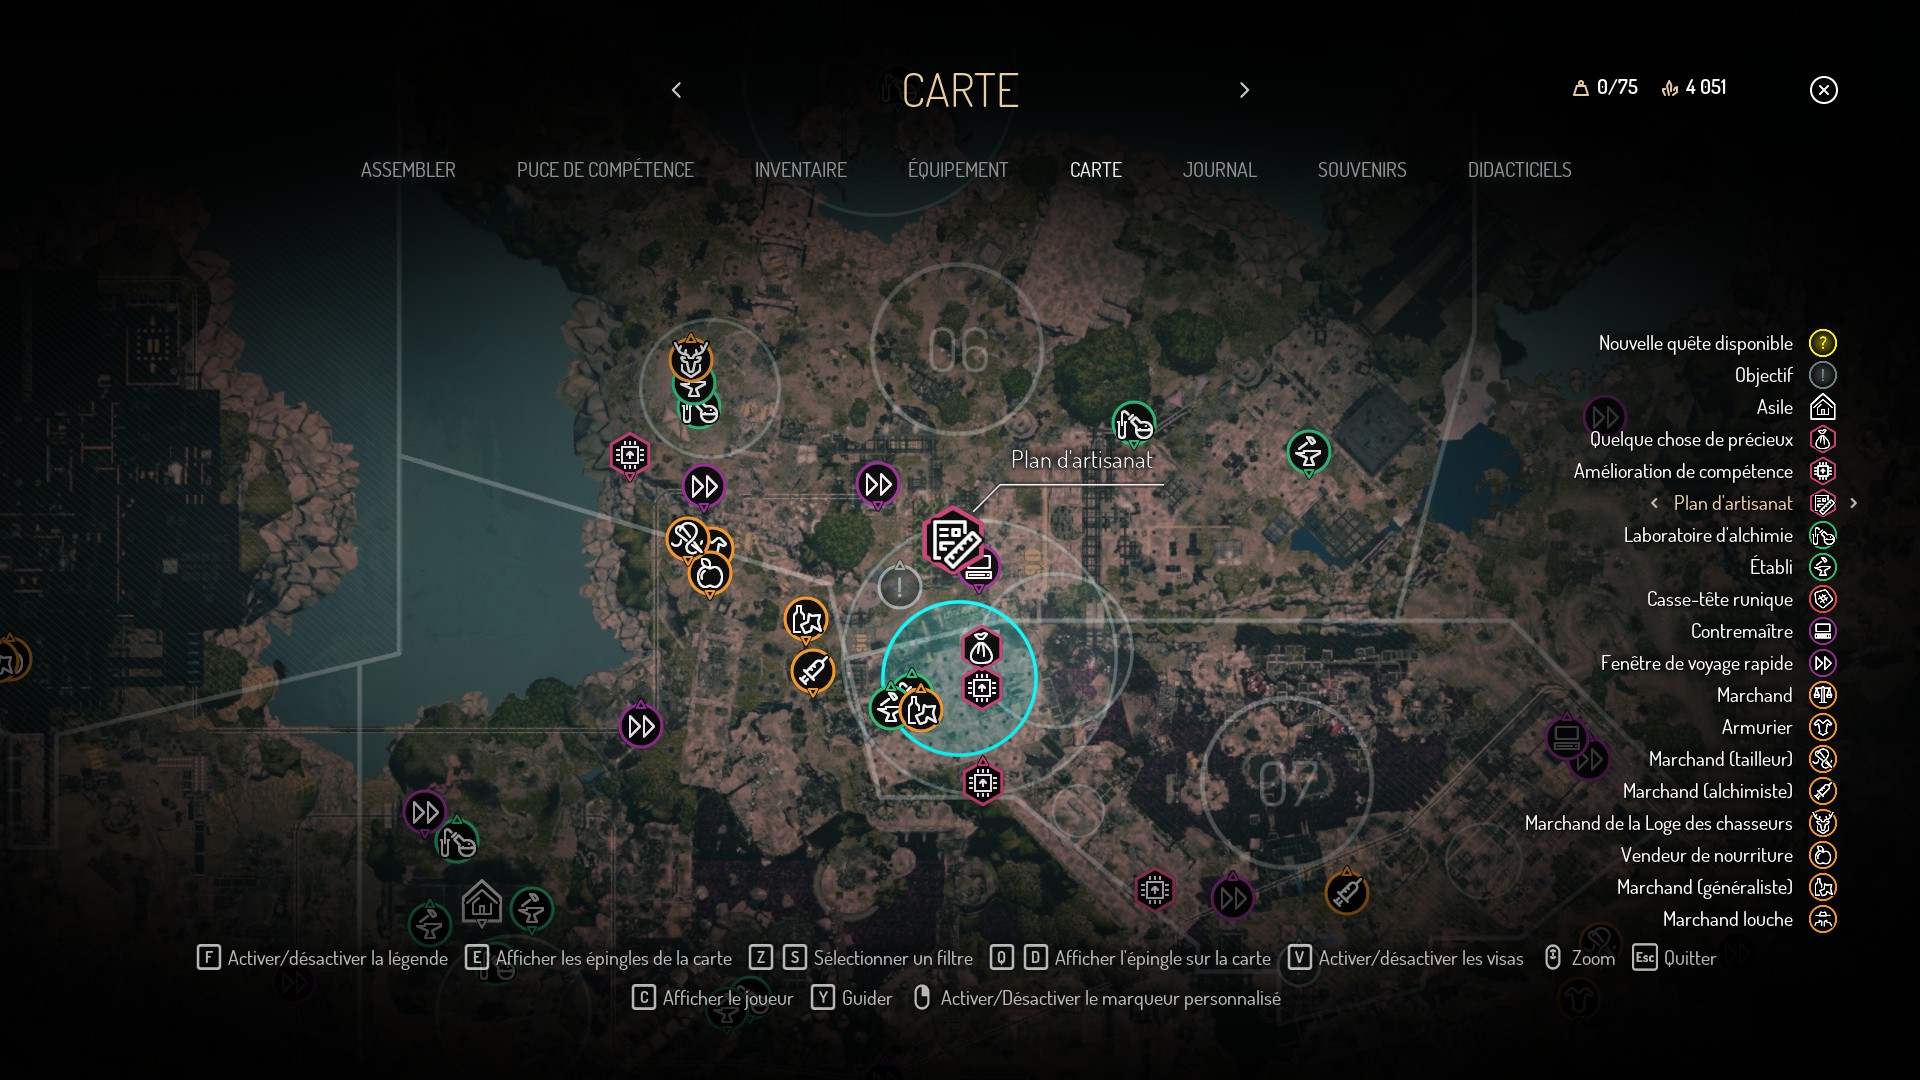
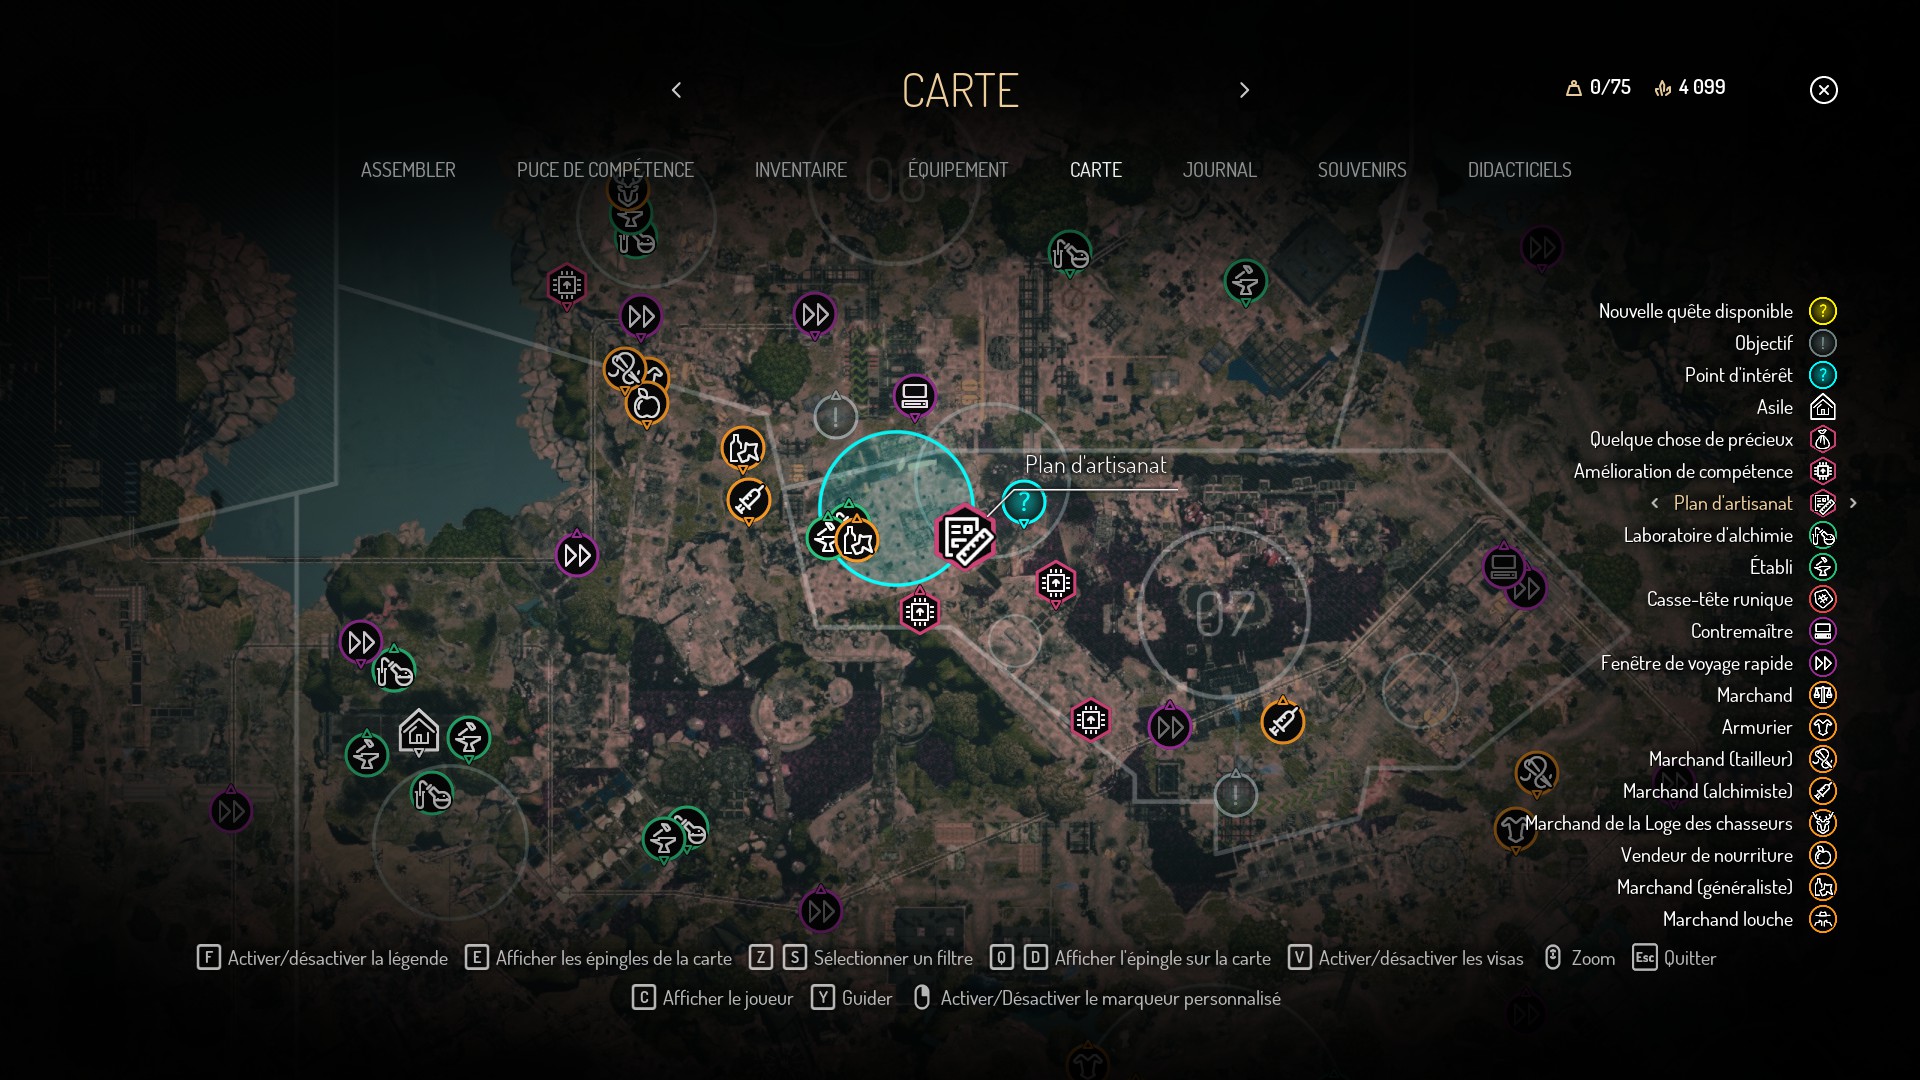
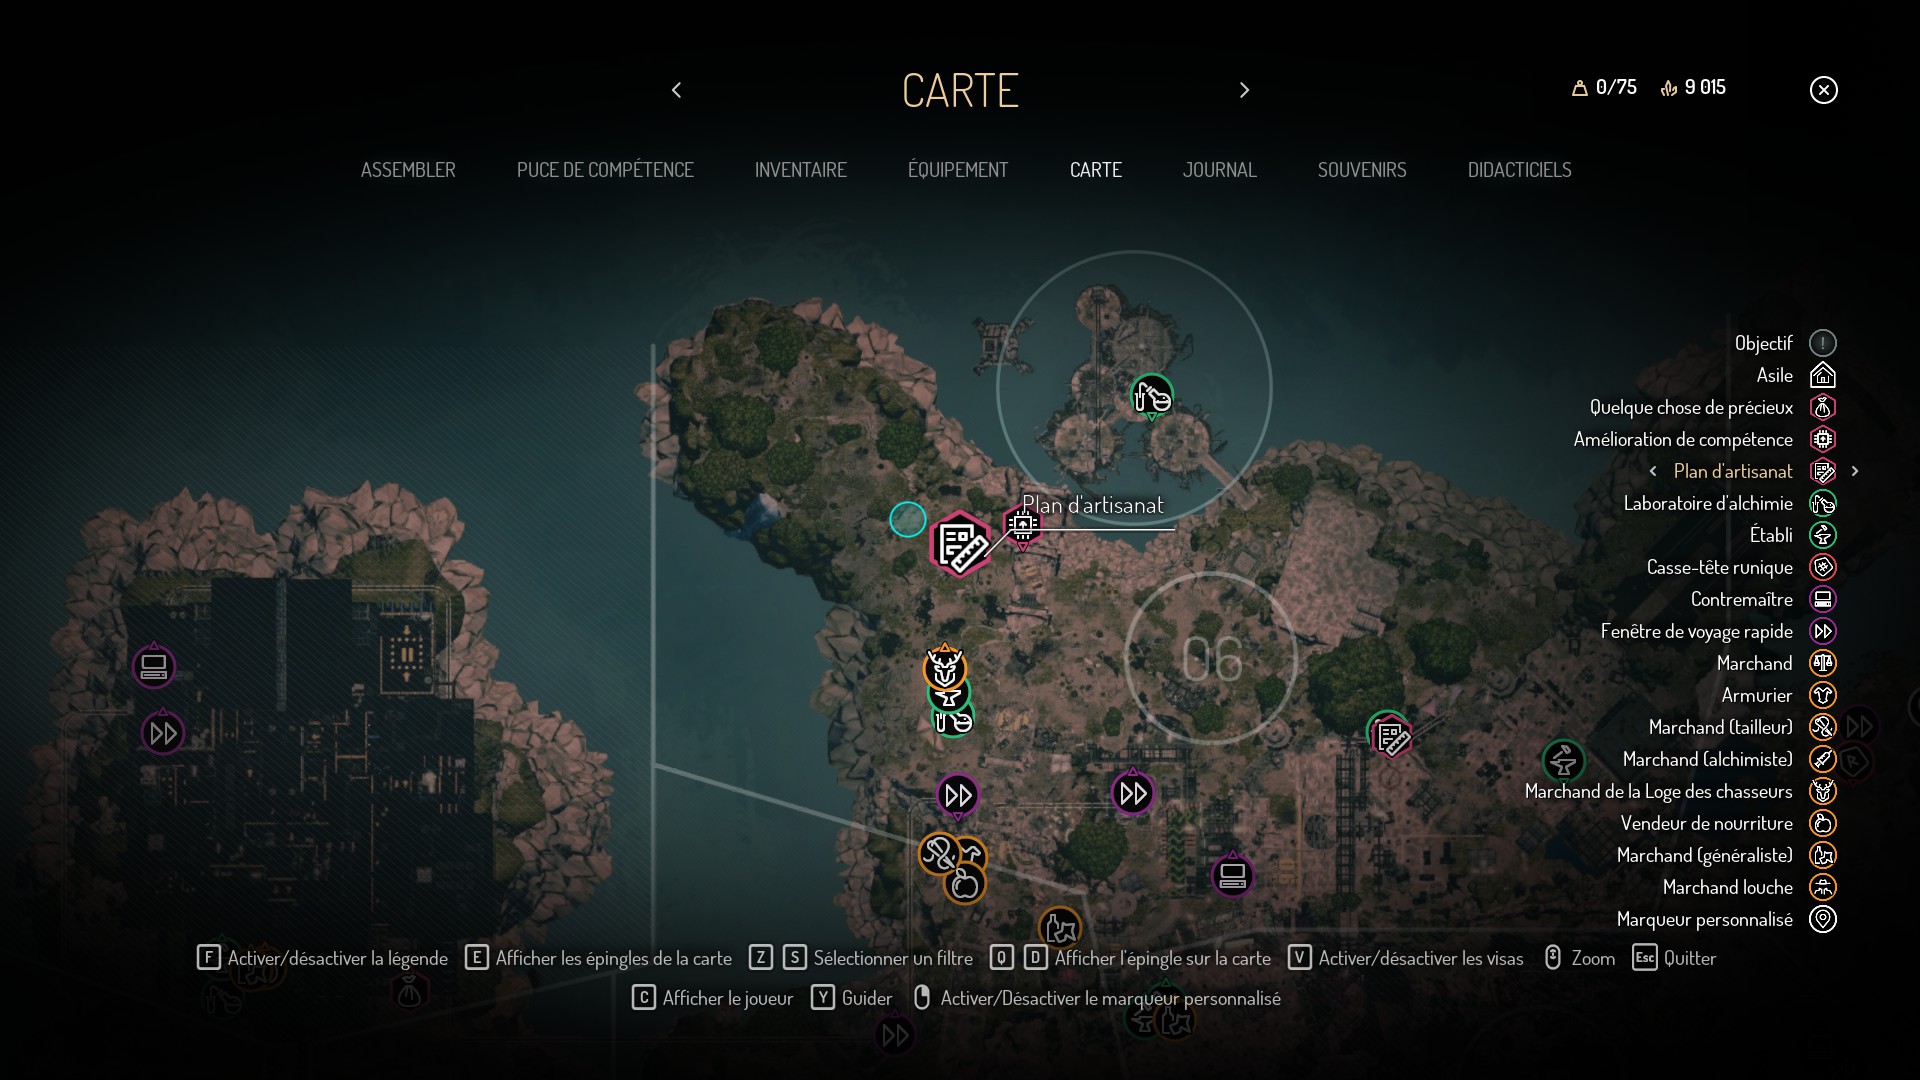
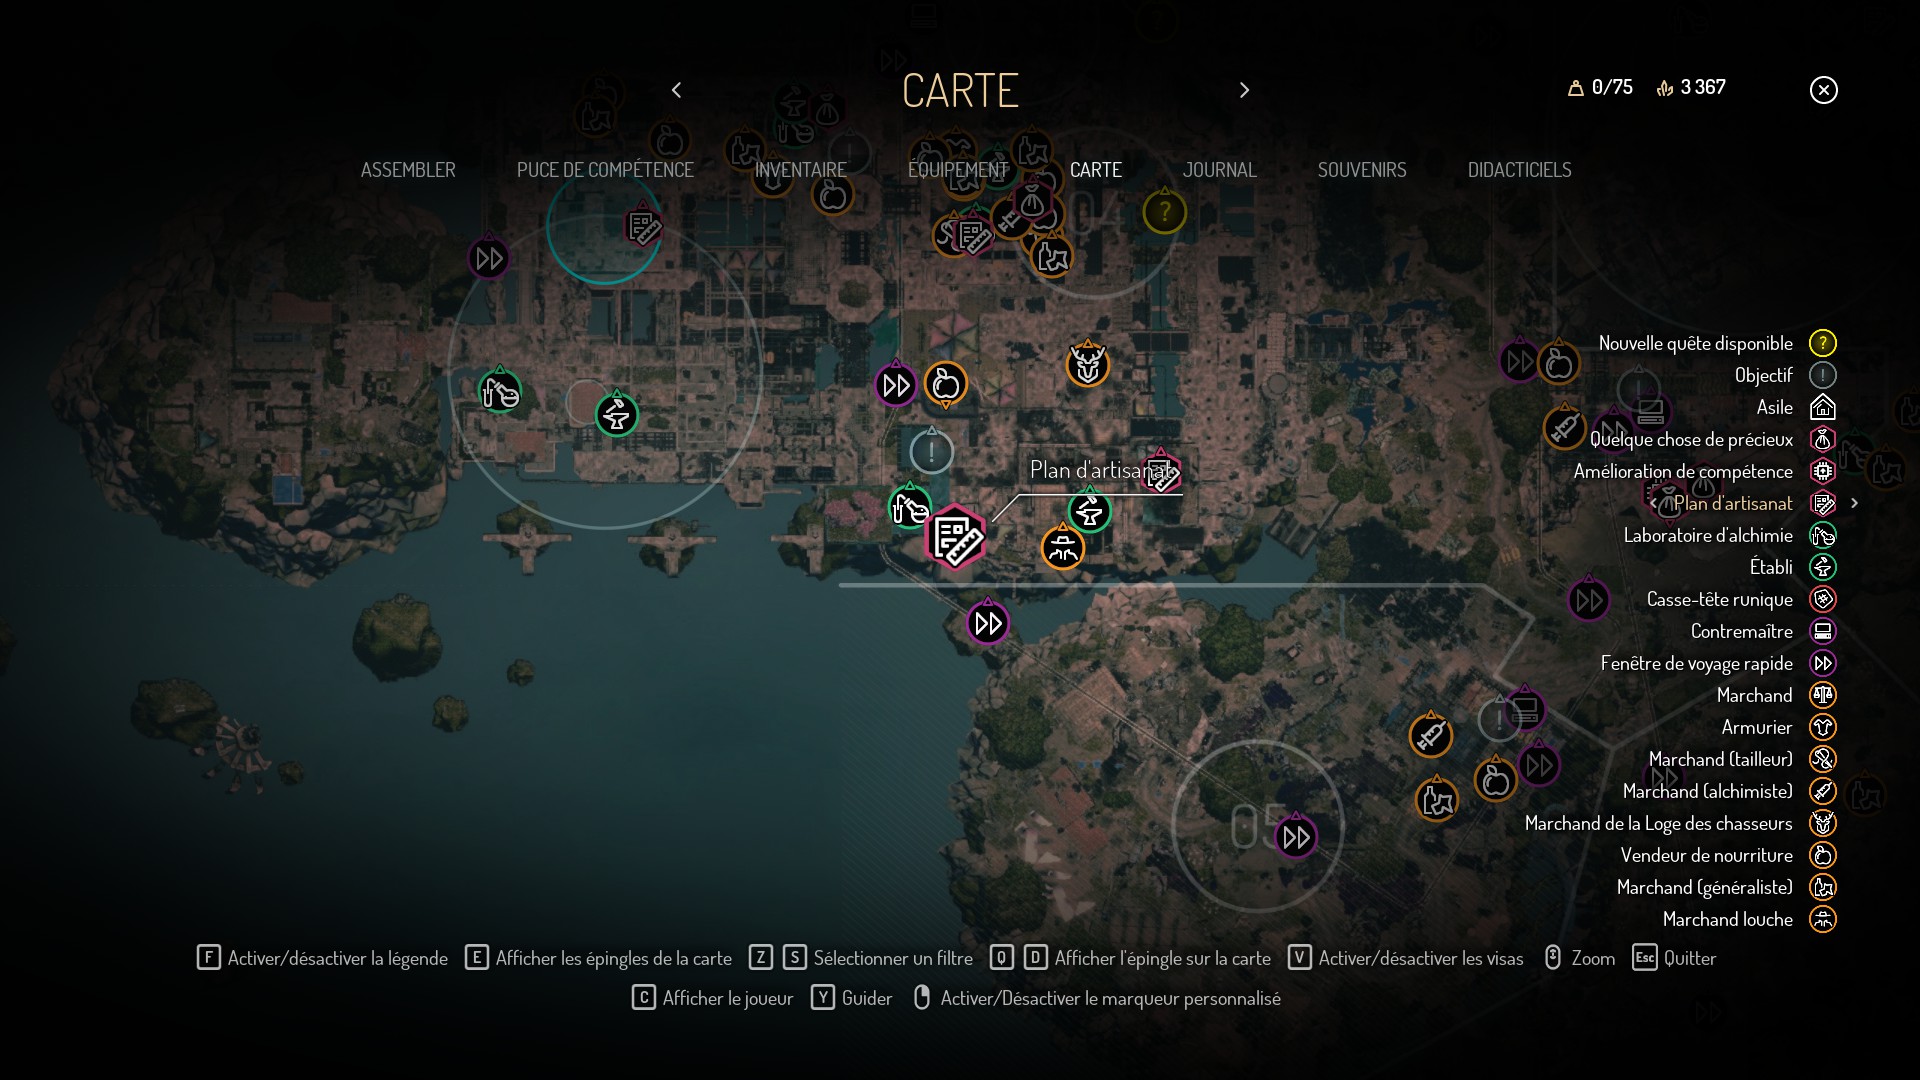
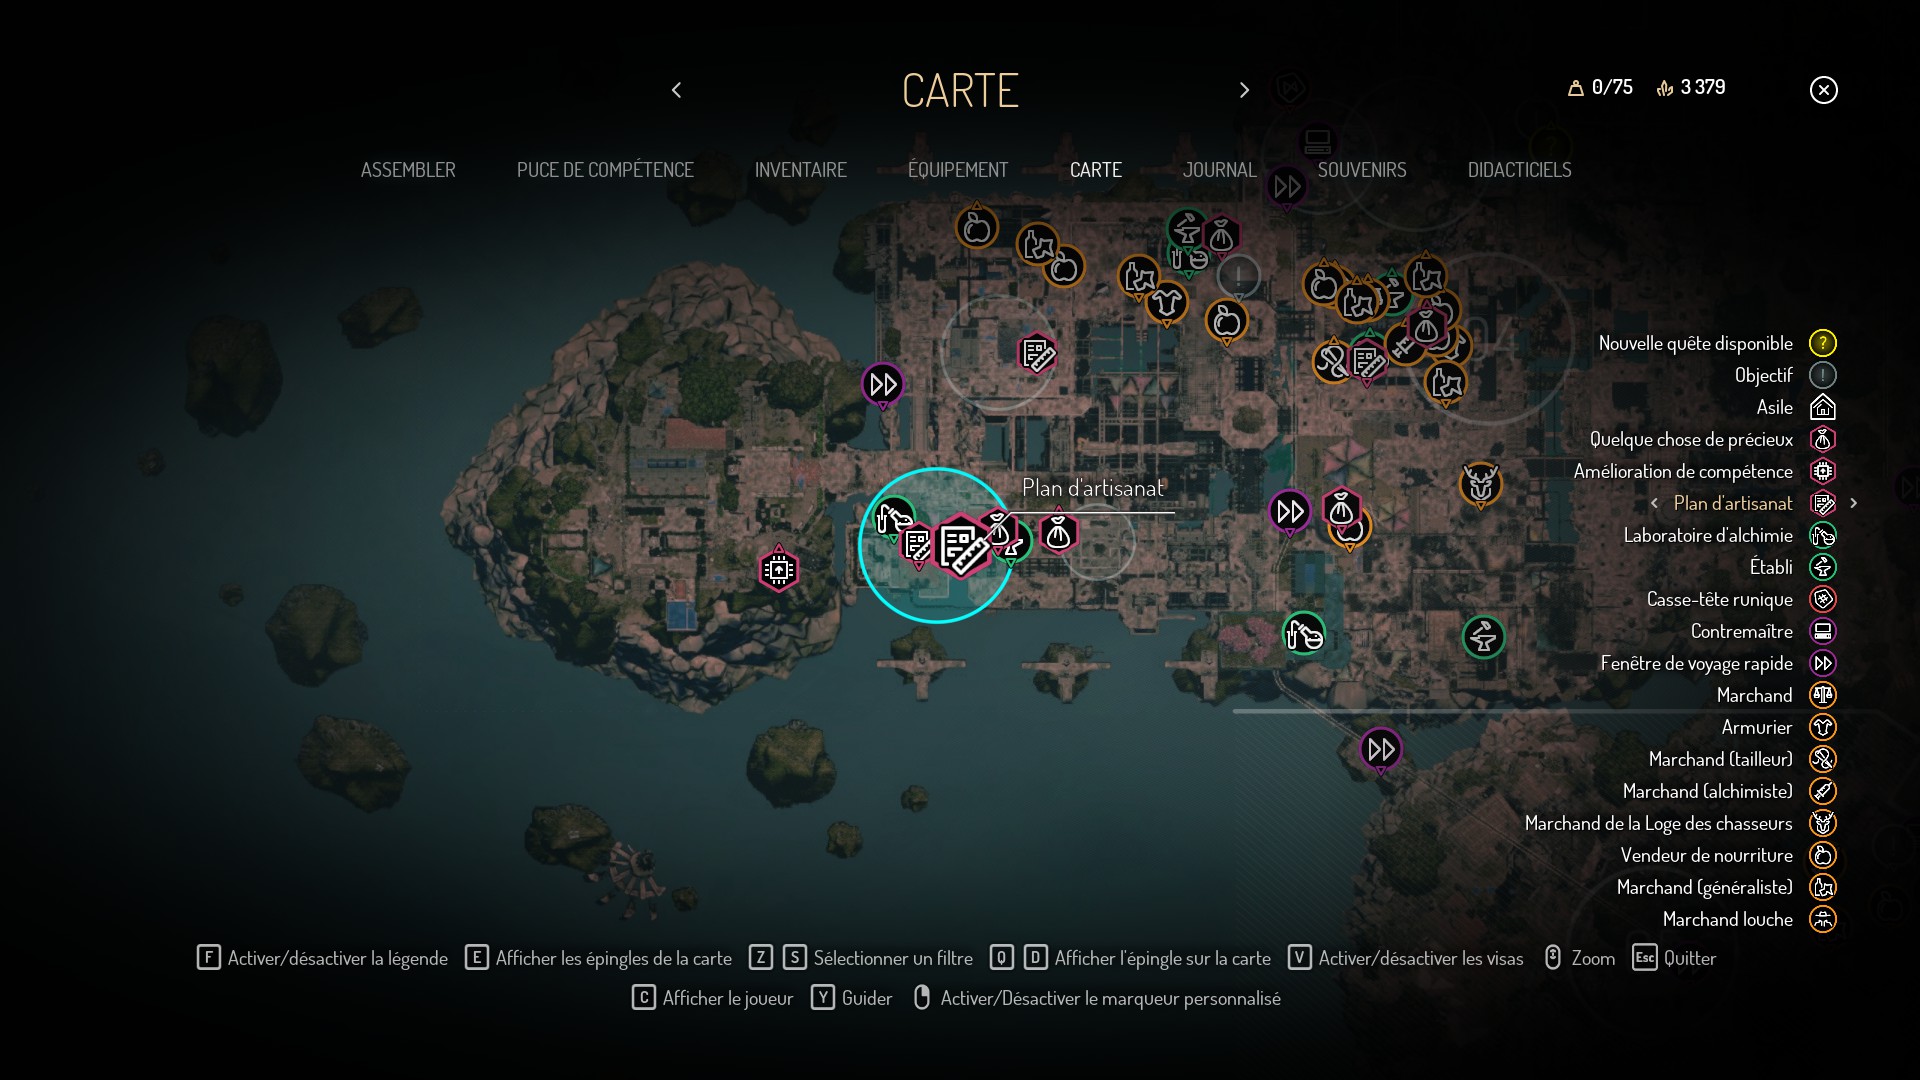
Weapons
Weapons with average damage, fairly fast attacks and an impressive range of damage.
Special attack – a wide swing that repels enemies and deals damage.
Weapons with average performance.
Special attack (sword) – swings in front of you, repelling enemies and causing damage.
Weapons with very high attack speed, as well as critical damage and finishing damage, but relatively low range and damage.
Special attack – a sweeping thrust, quite difficult to hit.
Weapons with very high damage, but also very low attack speed.
Special attack – (charged) ground strike with a huge damage radius and destructive power
Crossbows do not require energy or ammunition, but have long reload time. Repeater crossbows can fire three shots before reloading.
Energy rifles use the character’s energy to fire.
Weapon upgrade – part I
Weapon upgrade – part II
Armor
Armor upgrades
And that wraps up our share on Seven: Enhanced Edition: Seven – 100% checklist. If you have any additional insights or tips to contribute, don’t hesitate to drop a comment below. For a more in-depth read, you can refer to the original article here by najai, who deserves all the credit. Happy gaming!
