Welcome to our guide on creating scalable templates and ambient occlusion maps for World Racing 2 using Blender. In this article, we will walk you through the steps of creating these maps using simple and easy-to-understand instructions. These maps are essential for editing images in vector and pixel-based software. Let’s dive in!
A) Introduction
this guide will show you how to create vector templates and high-resolution AO maps for assets in WR2 among other games made by Synetic.
Having SVG templates and high-resolution AO maps is useful when creating liveries for existing and new vehicles.
This workflow allows you to create crisp and infinitely scalable liveries for your favourite vehicles.
Make sure to backup your game files!
B) Legal
0) Prerequisites
A computer running Windows or Linux.
For Linux: A decent WINE environment.
NOTICE: For any Linux-related stuff, please refer to the respective tutorials elsewhere.
Krom’s WR Toolkit[github.com]:
MTKit
PTXTool
Blender[www.blender.org]:
LWO Import-Export Addon[github.com] (More on that later!)
Blender is also available on Steam:
https://store.steampowered.com/app/365670/Blender/
Notepad++[notepad-plus-plus.org] (Windows)
Notepadqq[notepadqq.com] (Linux)
Inkscape[inkscape.org]
The GIMP[www.gimp.org] (in case you can’t work with vector graphics)
For hand-drawn artworks, I can also highly recommend:
Krita[krita.org]
Krita is also available on Steam in exchange for a donation:
https://store.steampowered.com/app/280680/Krita/
NOTICE: For installation of software and add-ons, please refer to the product-specific support pages.
1) Export MOX to LWO
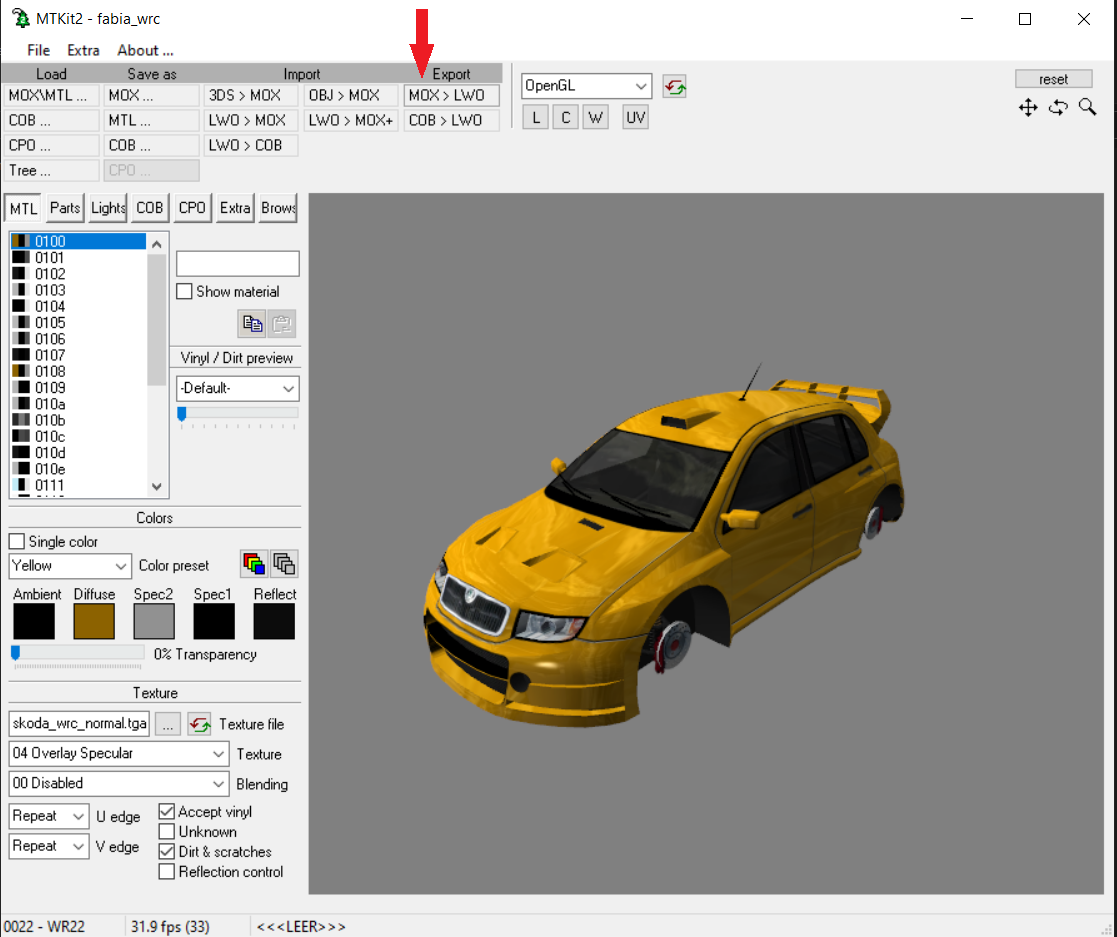 Example using a model from the original World Racing 2, but this works for WR2CE as well.
ATTENTION: Export it to a different directory than the car, to avoid conflict with the existing MTL.
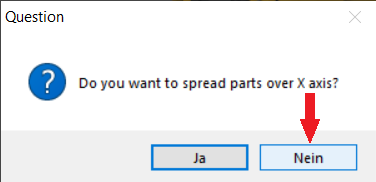
When you are prompted on whether parts should be spread, select “No”.
2) Import LWO to Blender
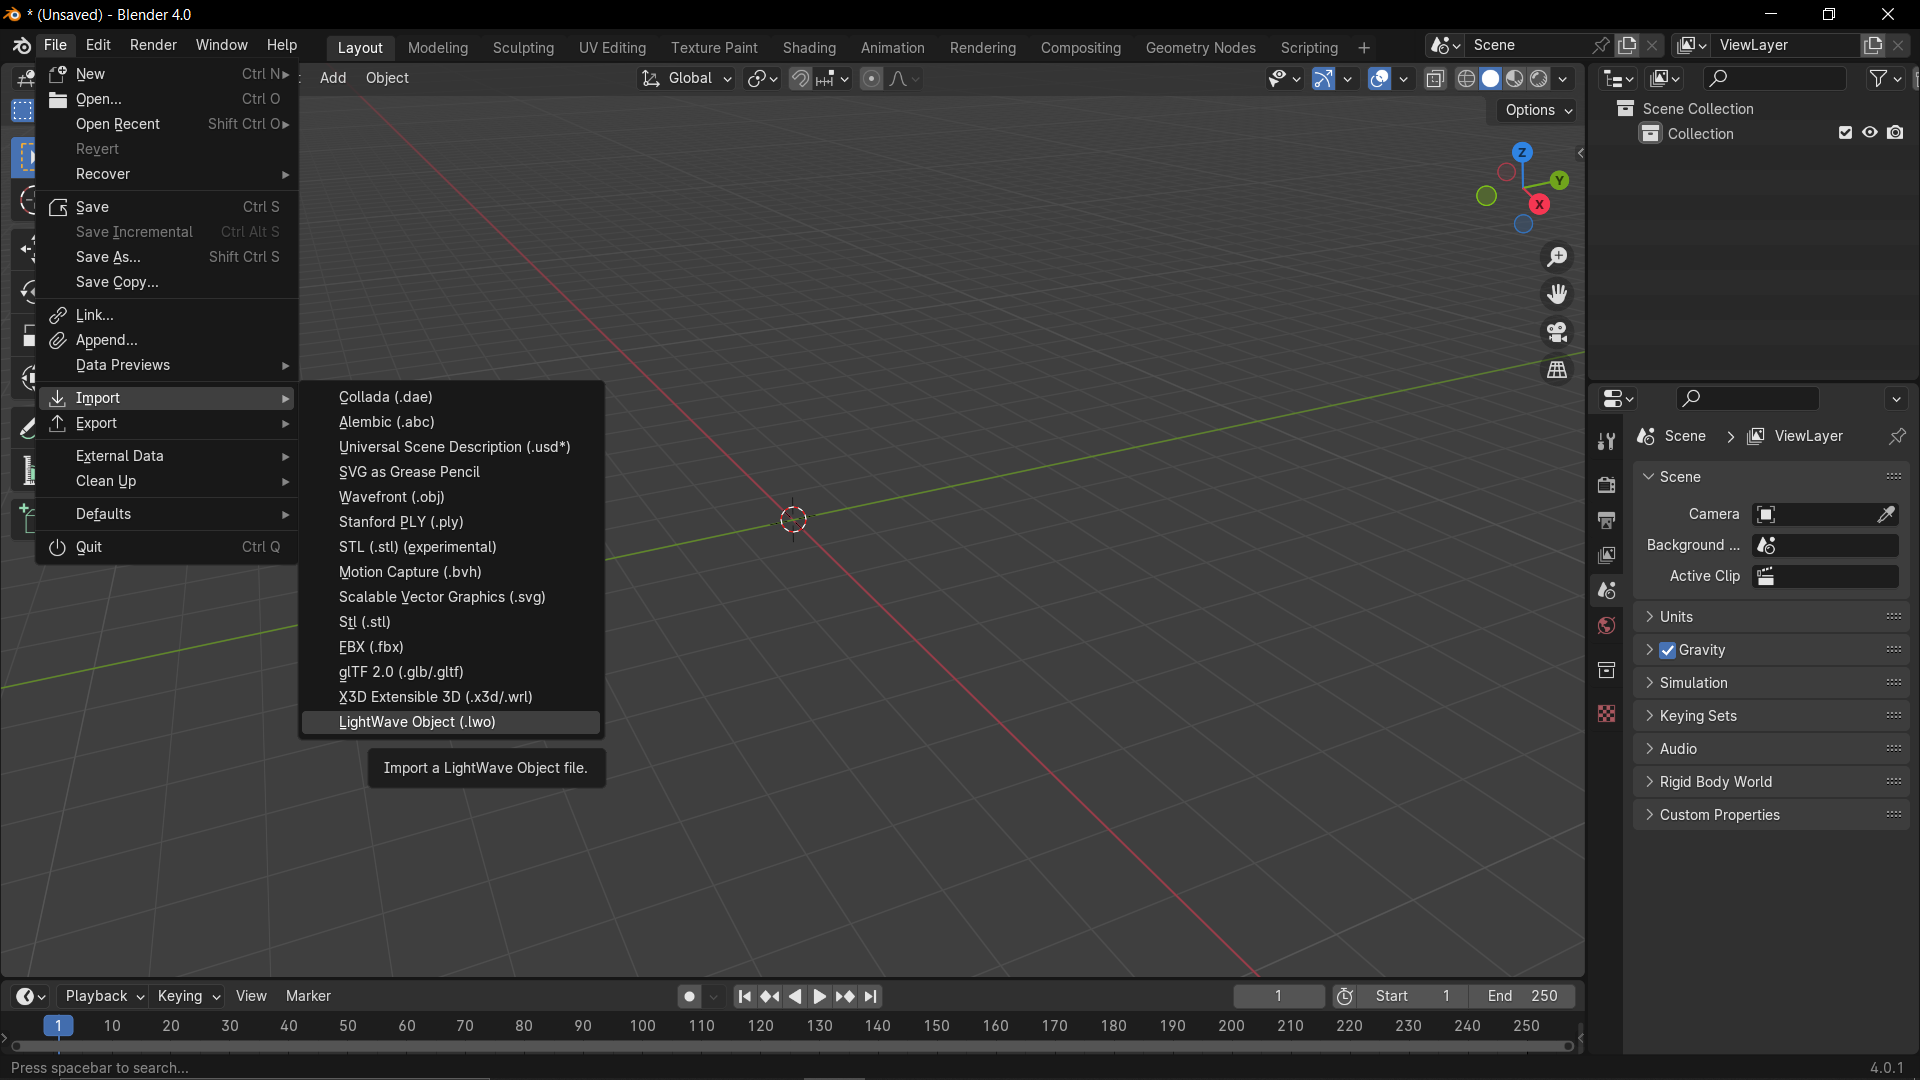
Now just make a new file, clean the scene (A + X + Enter) and import the LWO you’ve previously exported with MTKIt.
Unfortunately, unless you have unpacked all textures and put them in the right place, you’ll receive an error message prompting you about missing textures. To solve this,…
… go to your addons directory of Blender. The usual paths are…
Windows:
Windows (Steam):
Linux:
Open “lwoObject.py” with Notepad++ and comment-out line 1169-1173 with an hash (#).
The finished section should look something like this:

Left: Edited result; Right: Original.
Save the PY-file and restart Blender.
Now you should be able to import the LWO file.
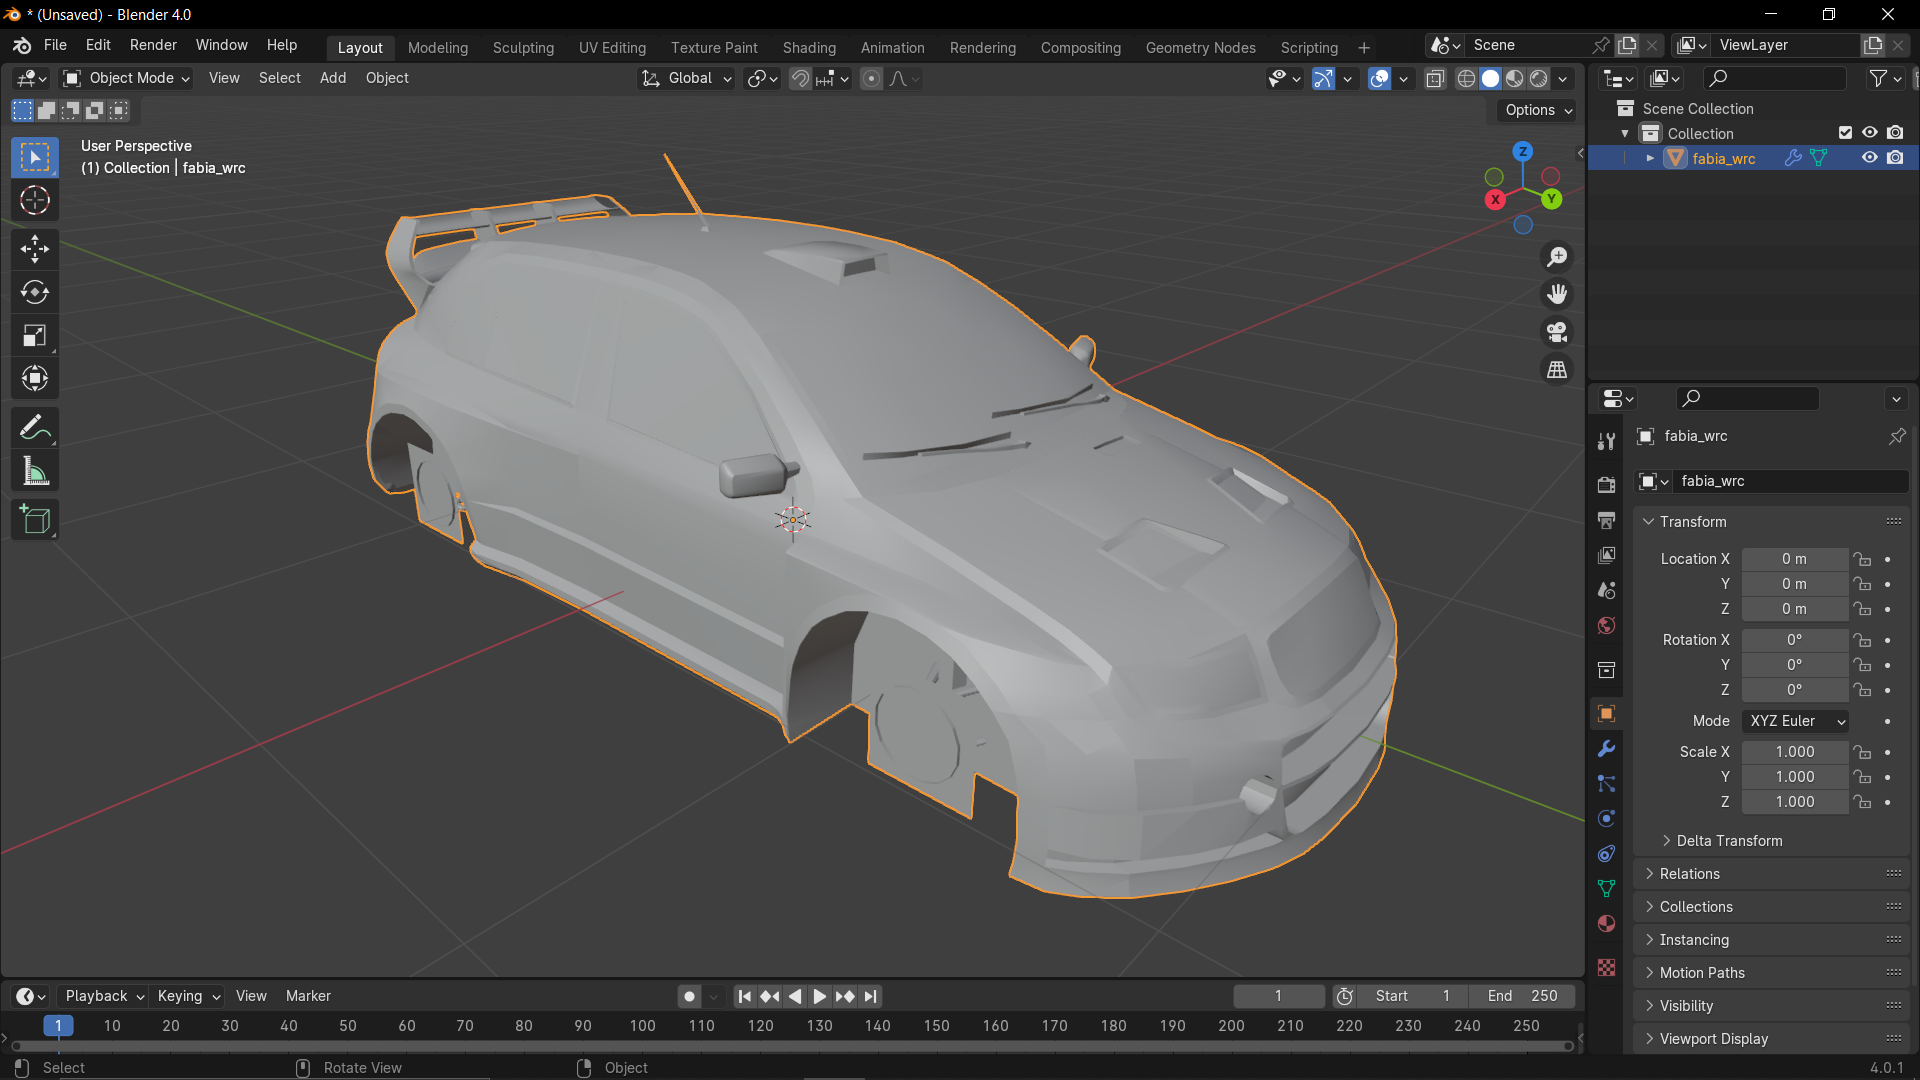
3) Create the Template
Now select the livery material, with the name and colour corresponding to the one in MTKit, from the material list (usually 0100) and click the “Select” button to select all verticies assigned to the material.
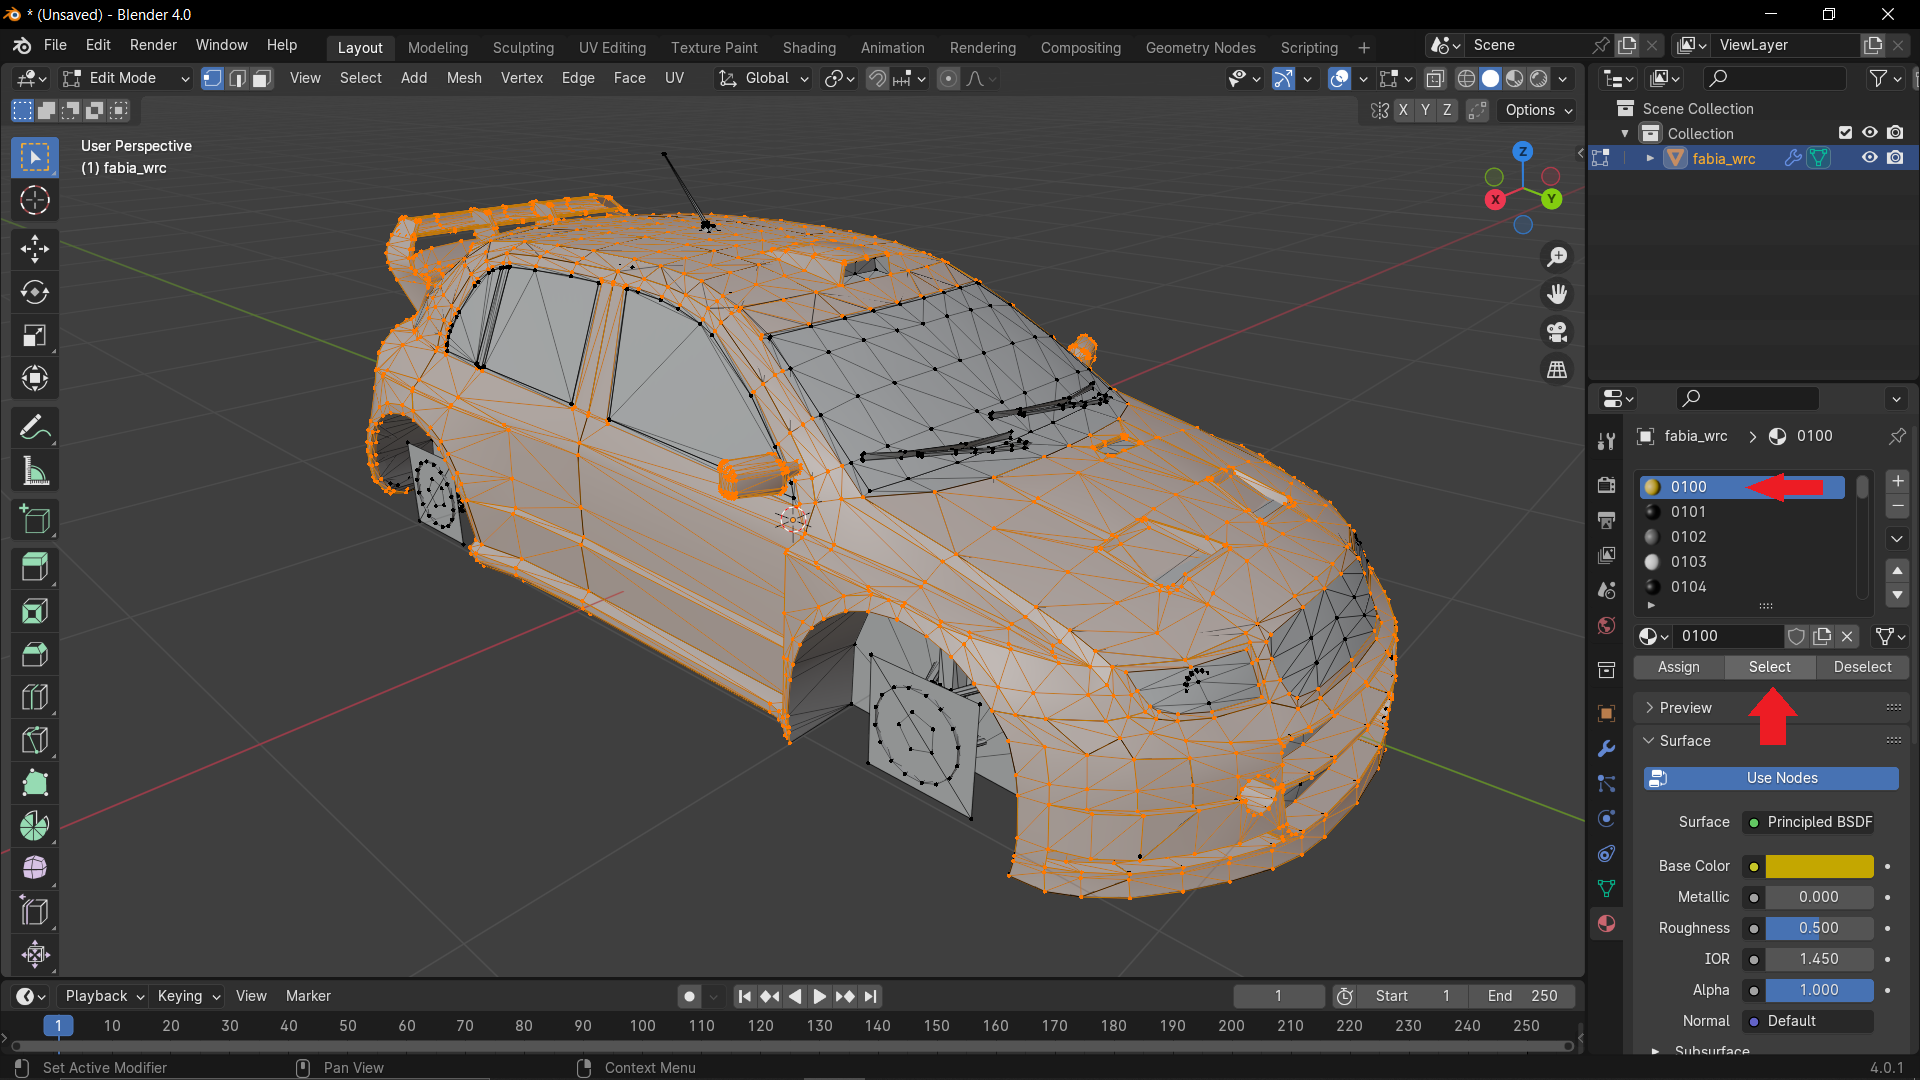 –
–
With all you need selected, switch to the “UV Editing” tab.
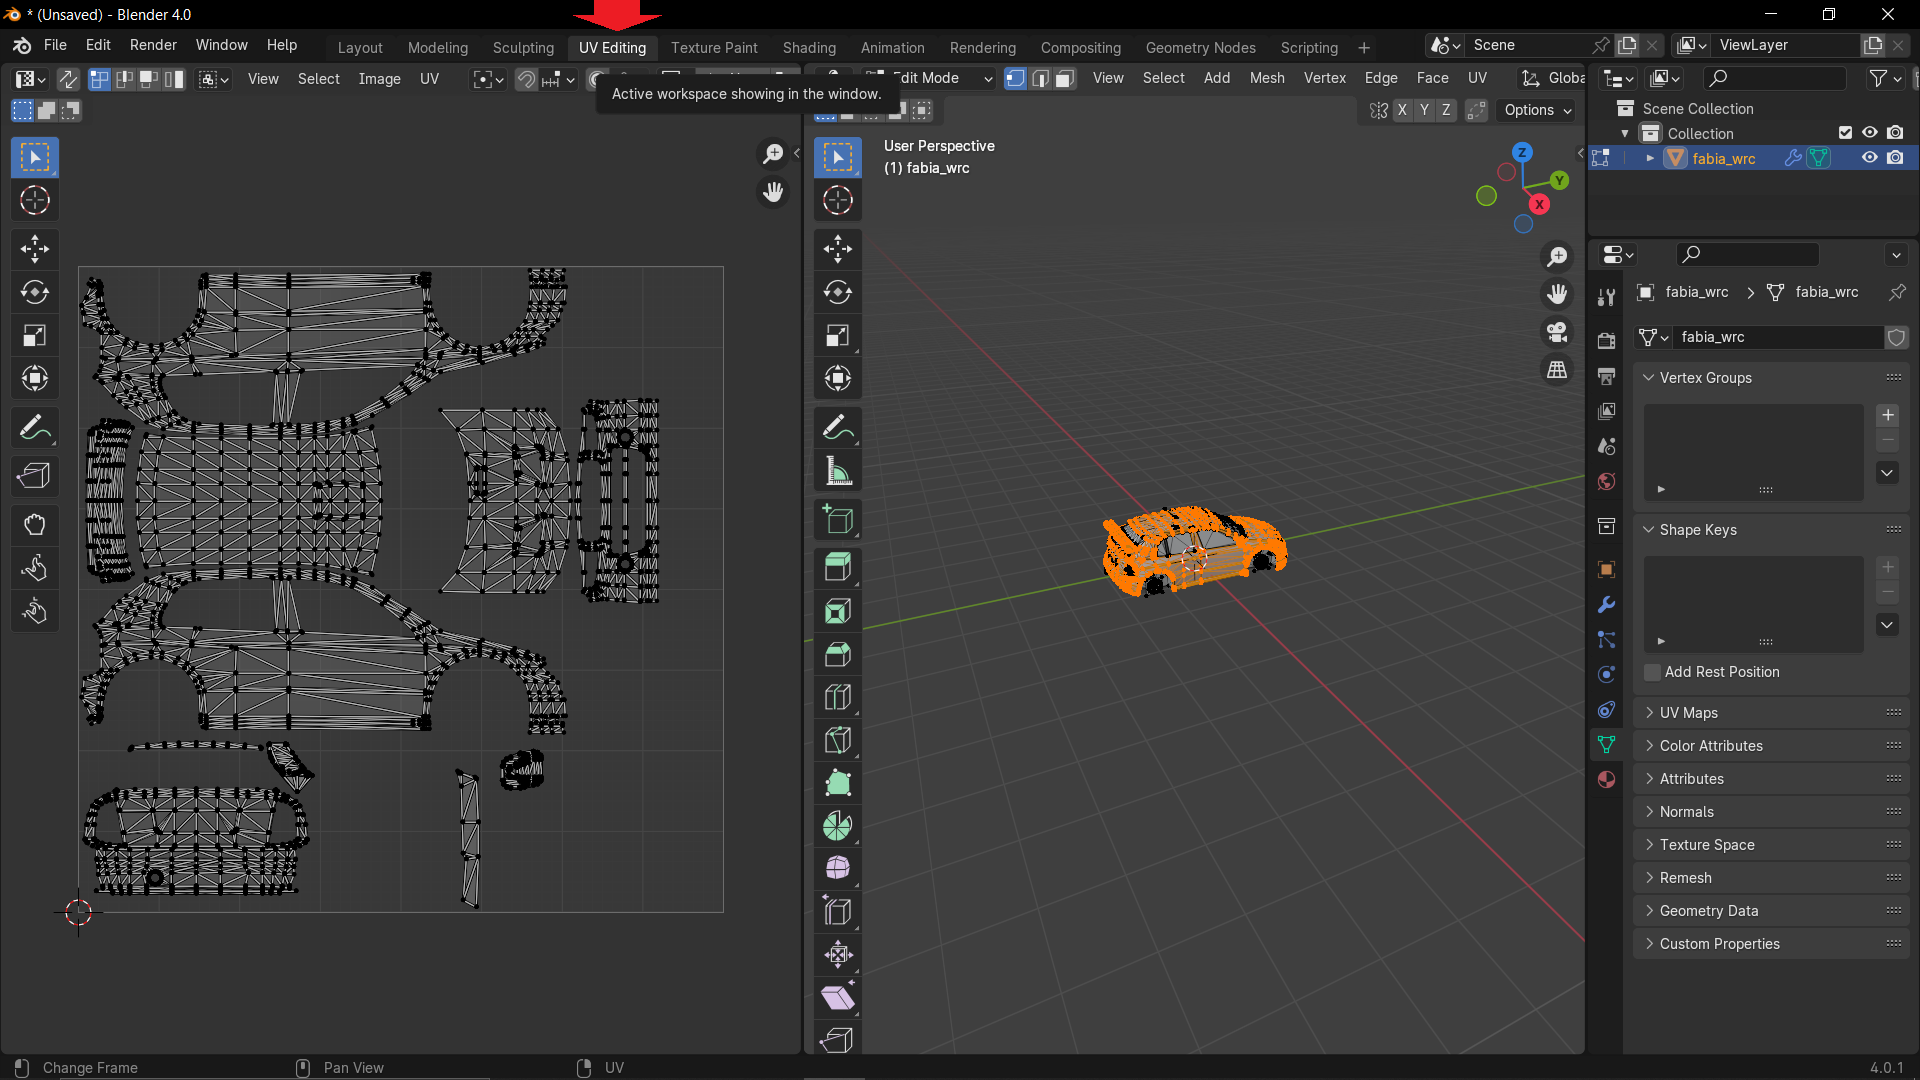 –
–
Now box-select all verticies in the UV editing window on the left.
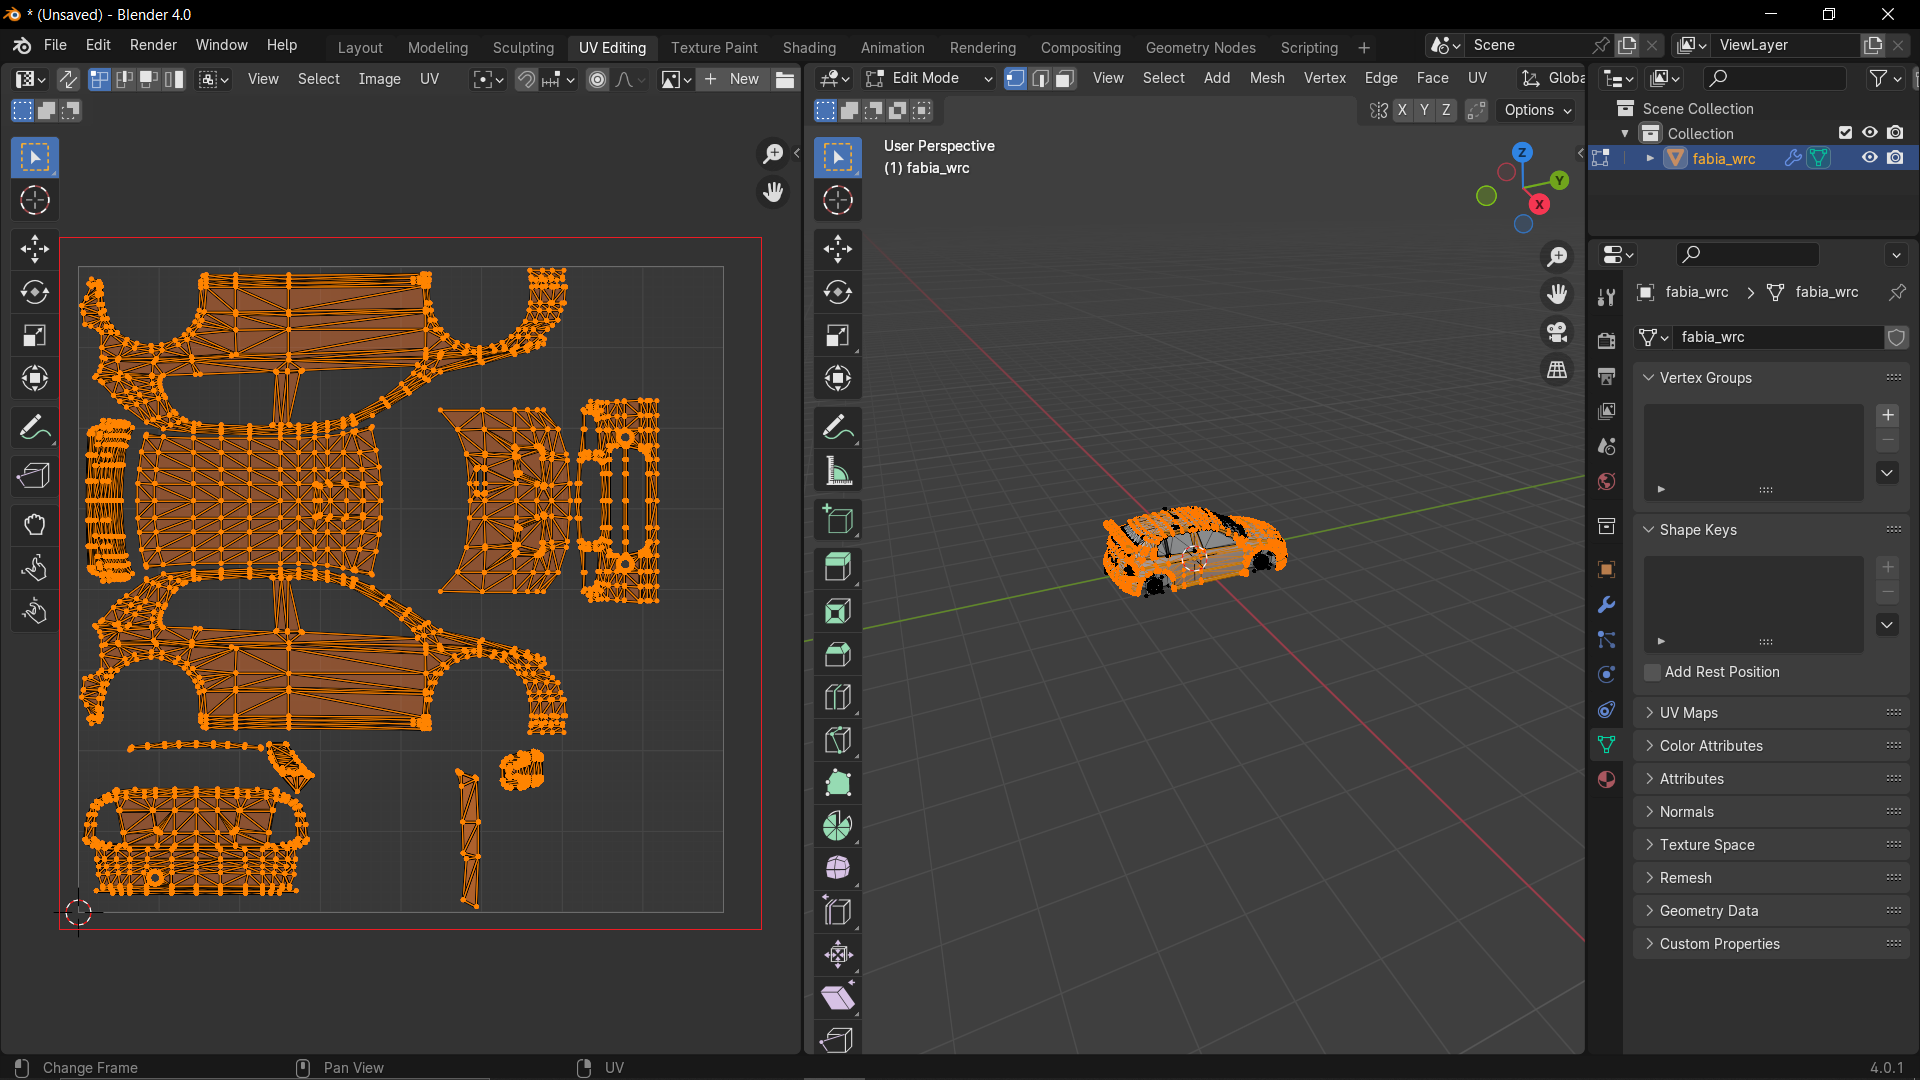 –
–
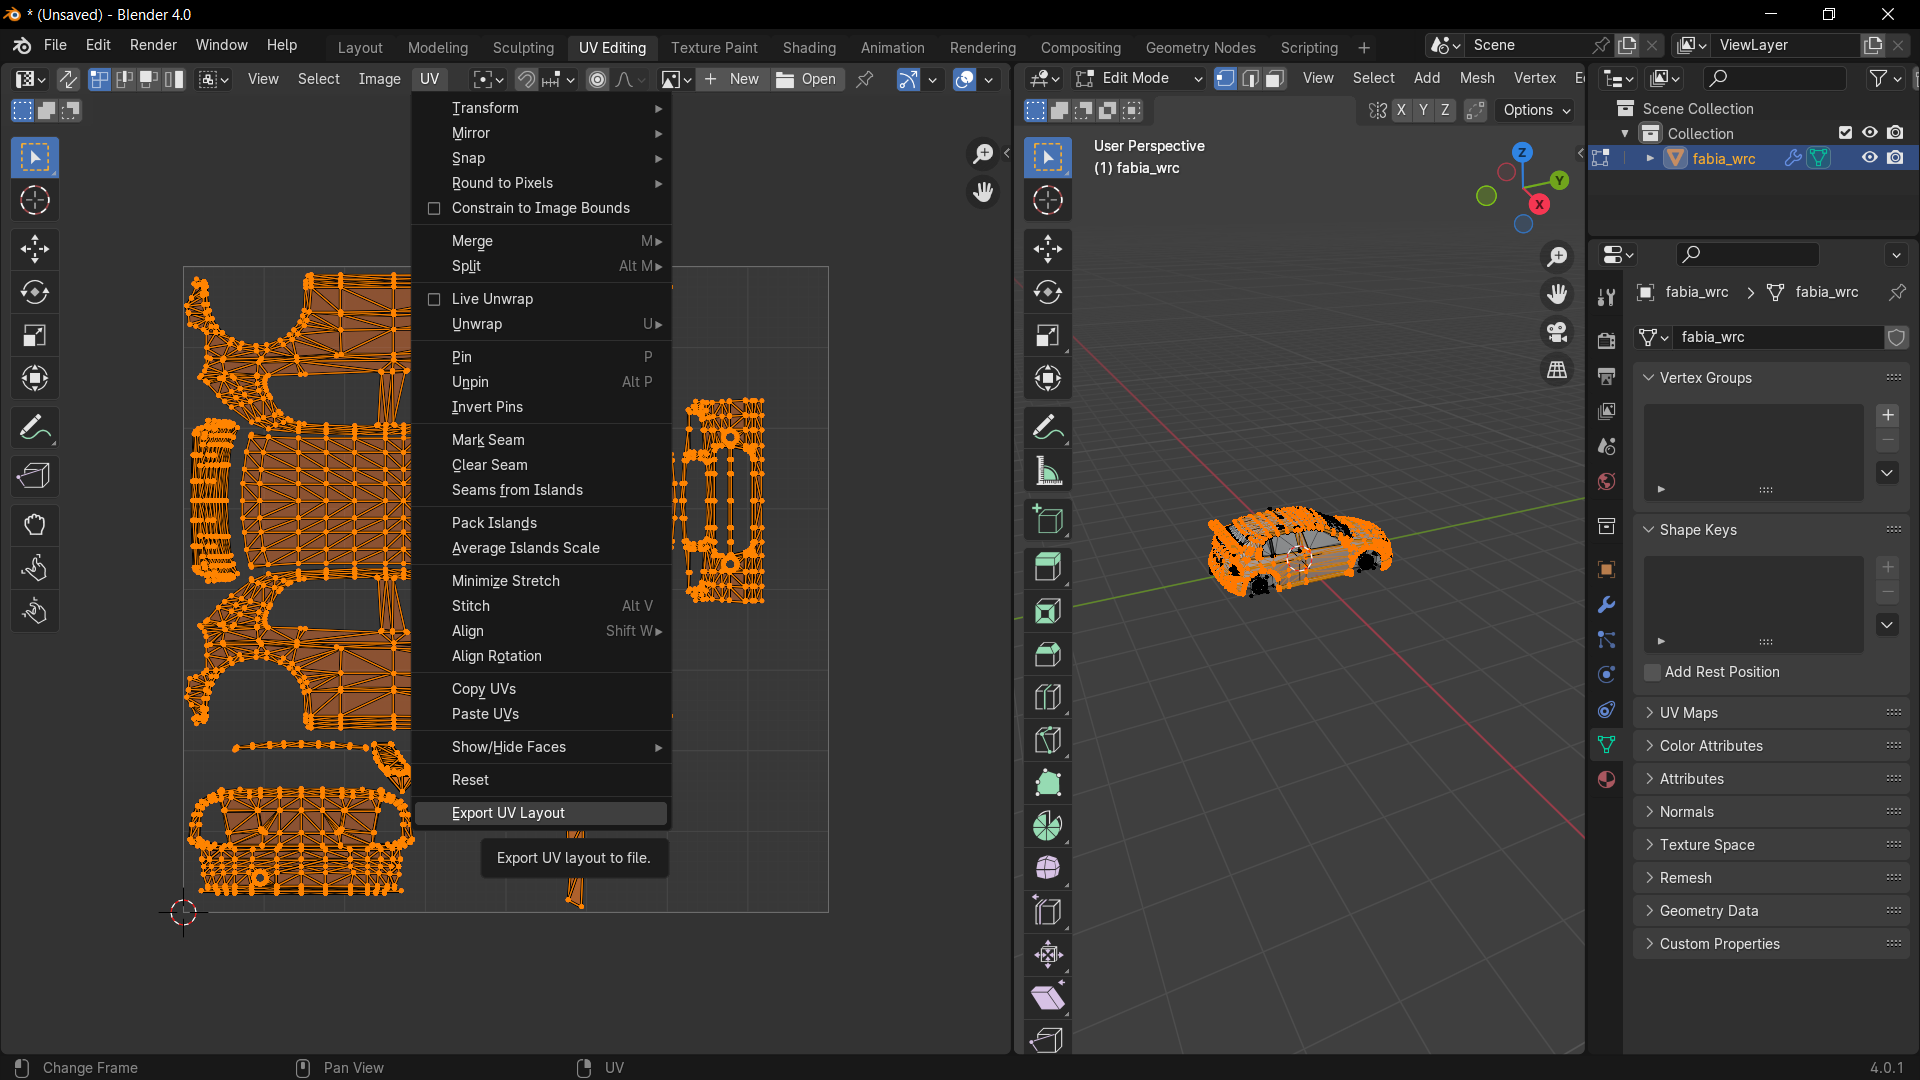
Select “Export UV Layout” in the “UV” drop-down menu.
 –
–
Choose SVG.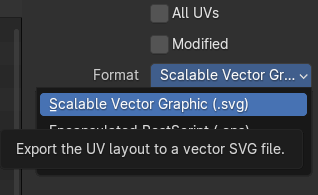 Resolution can be kept the same or multiplied, if you wish to.
4) Working with SVG Templates
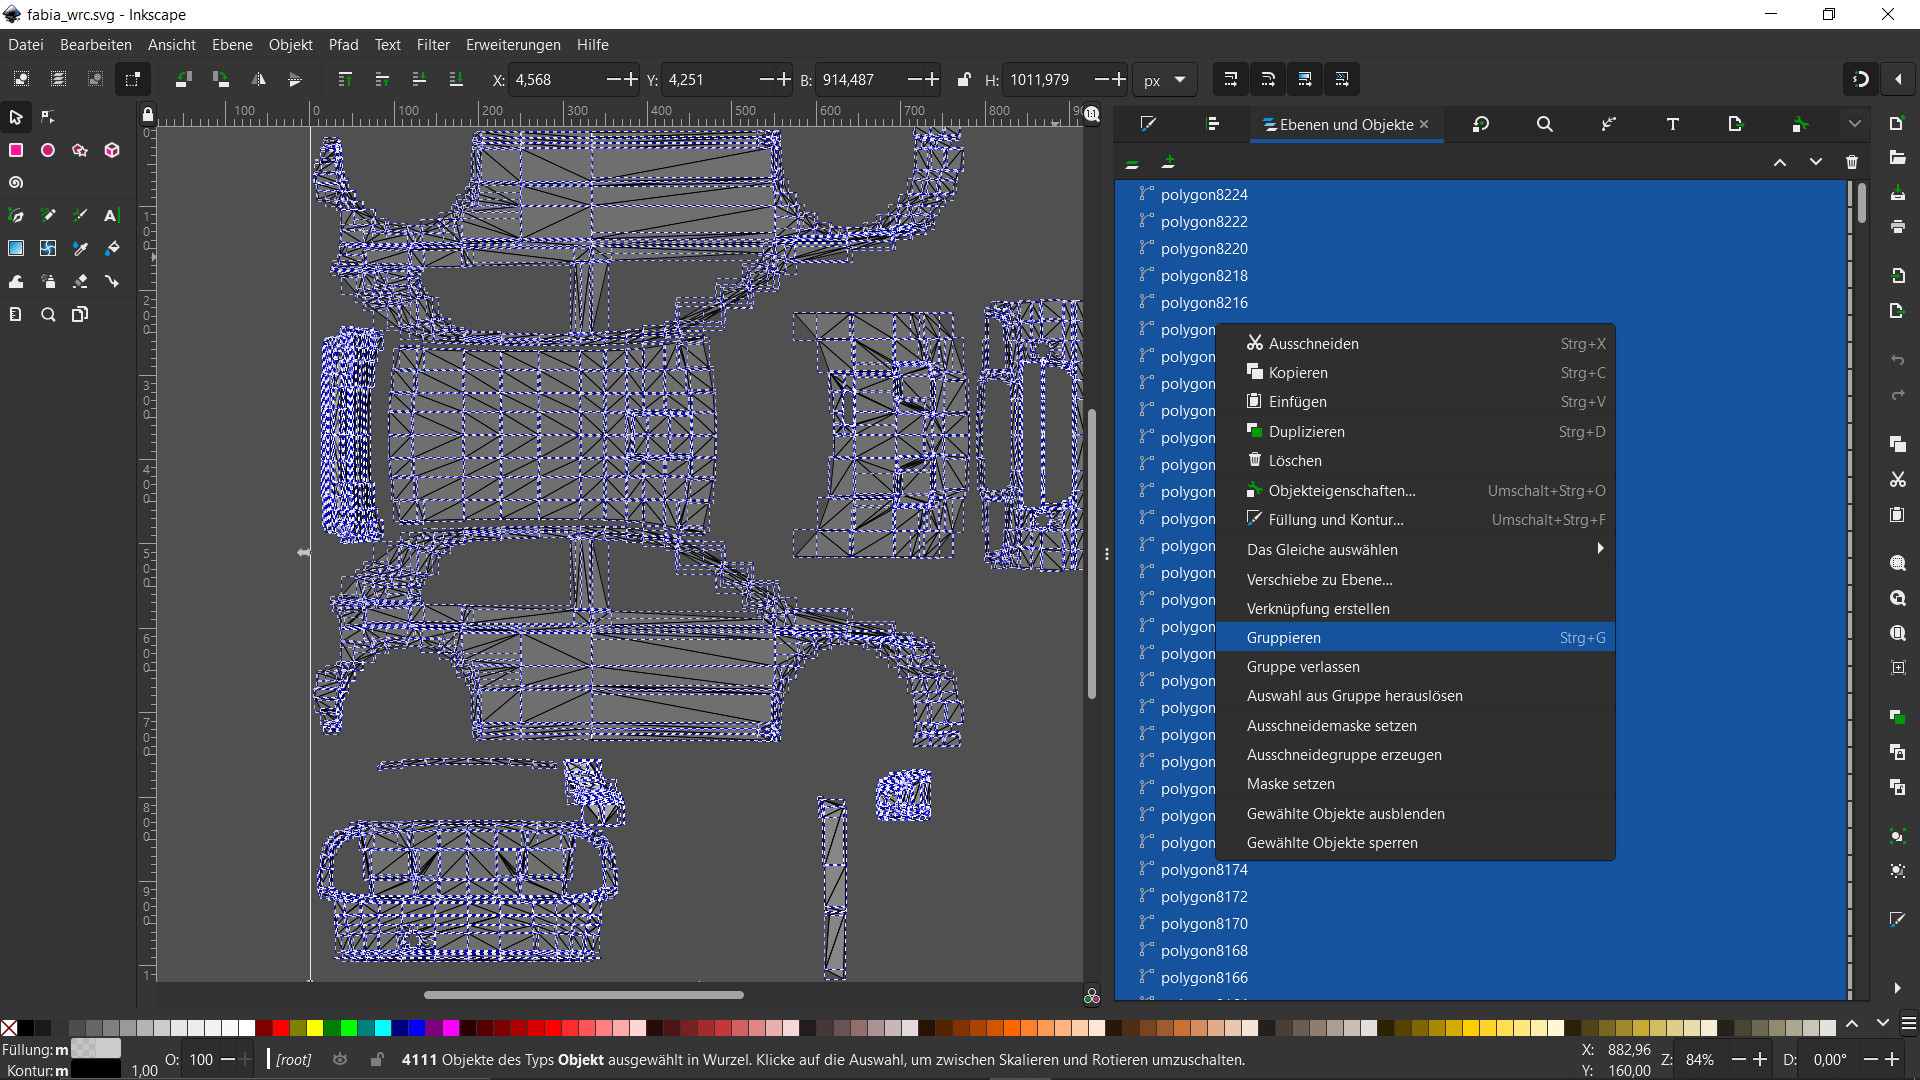
Make sure to group the template first though, or you’ll have a nice day sorting everything out later!
 –
–
What’s really nice about these templates: You can snap to the UV map’s geometry and create perfect cuts in the livery around the edges doing so. Also they are infinitely scalable.
Sometimes, physical geometry is represented as zero-width geometry in the UV map. In this case, you have to choose a higher resolution and draw a line on the zero-width geometry with the colour you wish the real geometry to have. You gotta get a bit creative there and experiment.
Either that, or you have to remap the entire thing for all real geometry to be represented properly in the UV map.
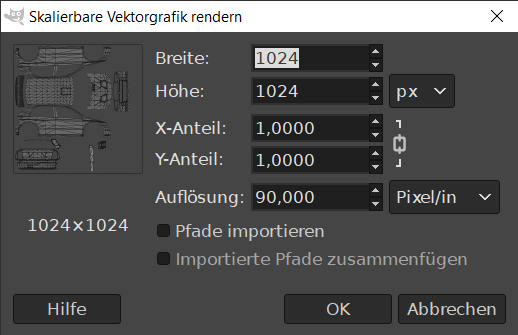
If you choose to import the SVG into a pixel-based editing program like The GIMP, you’ll lose all the advantages of vector graphics, but the template should still be useable.
 –
–
–
–
–
–
–
–
–
–
–
–
Have fun, but since we are already here, we might as well bake an high-resolution AO map that will go nicely with your high-resolution livery…
5) Baking Ambient Occlusion
And that wraps up our share on World Racing 2: Creating Scalable Templates & Ambient Occlusion Maps. If you have any additional insights or tips to contribute, don’t hesitate to drop a comment below. For a more in-depth read, you can refer to the original article here by kilésengati, who deserves all the credit. Happy gaming!
